How To Tie A Bracelet Knot
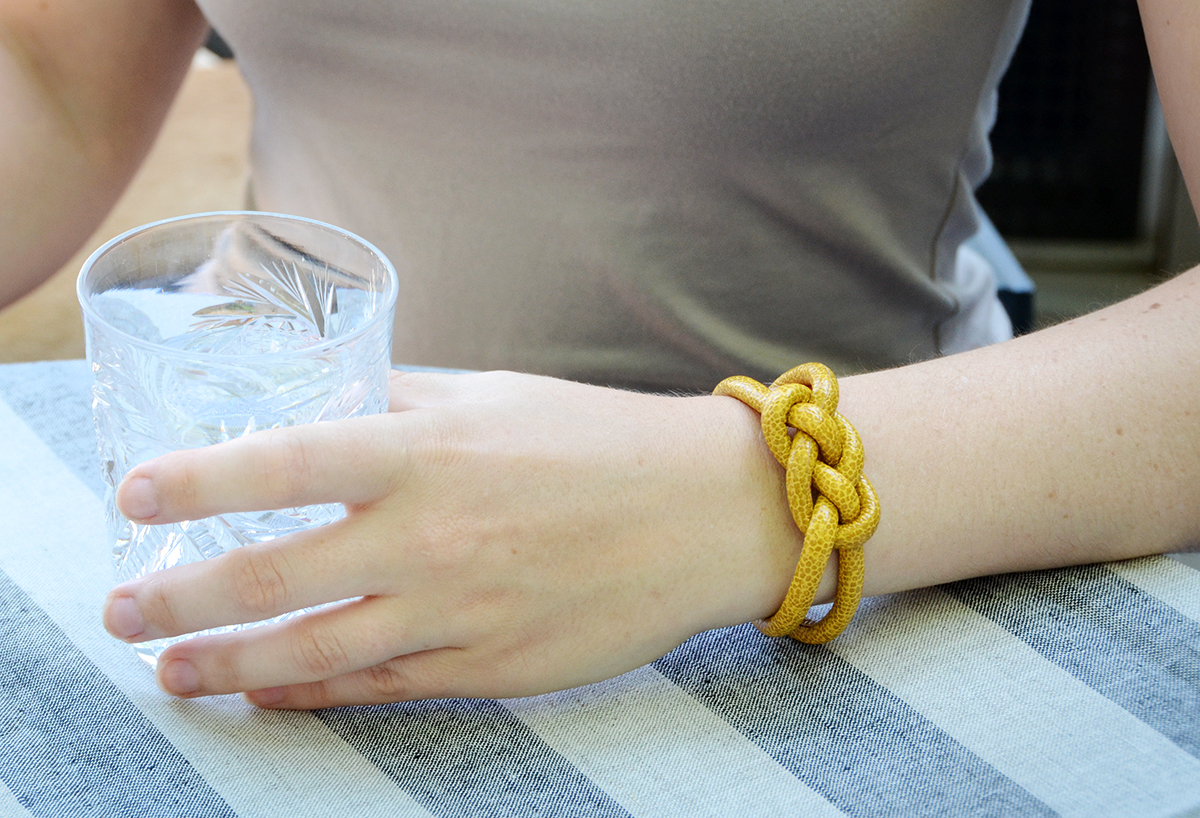
Knotted jewelry has become very trendylately thanks to the rise in popularity of nautical style clothing and accessories. So today we have an easy rope bracelet project which is made from leather rope and magnetic clasps for ease of use. Read on to find out how to recreate this stunning knotted bracelet yourself.
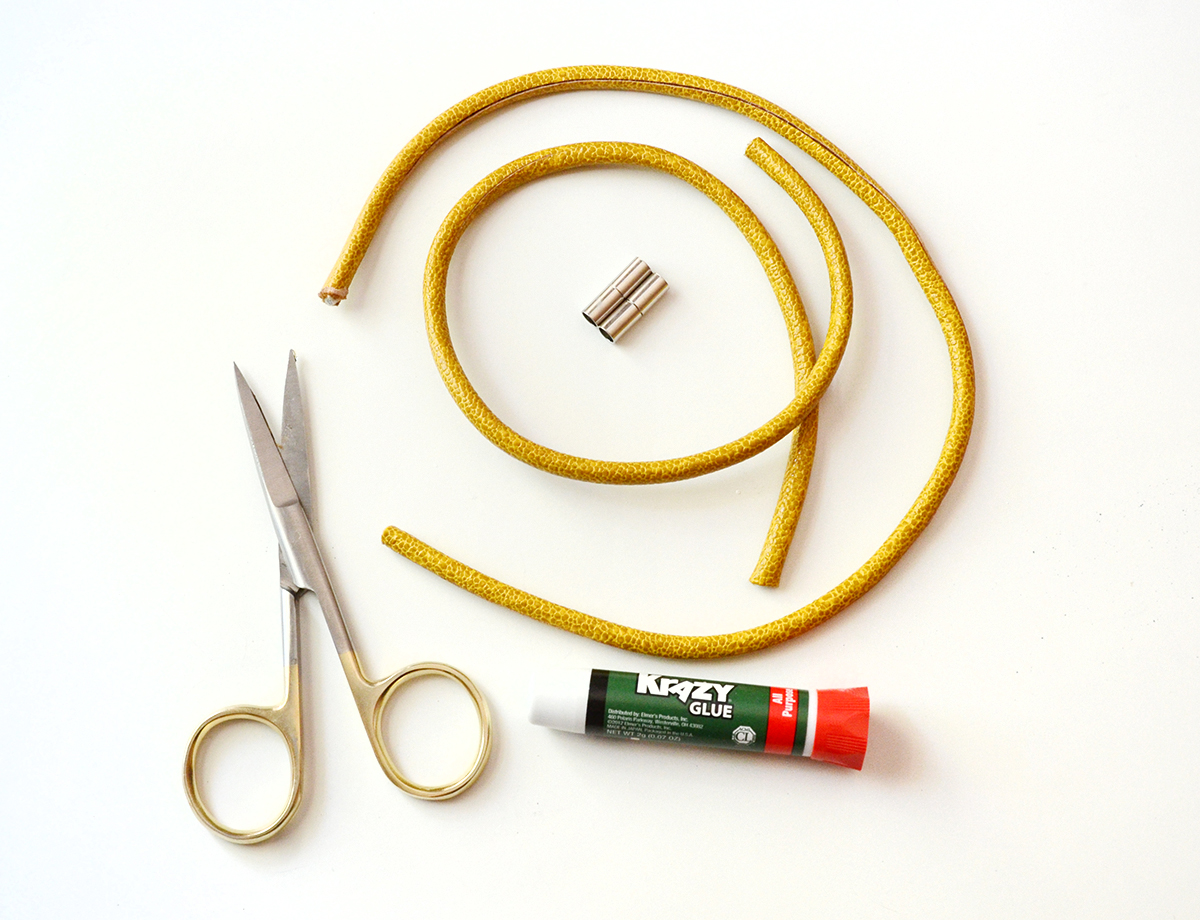
Here’s what you’ll need for this bracelet knot:
- 30″ of 5mm leather rope
- Two 5mm magnetic clasps
- Scissors
- Krazy Glue
How To Tie A Bracelet Knot: Step by Step Guide
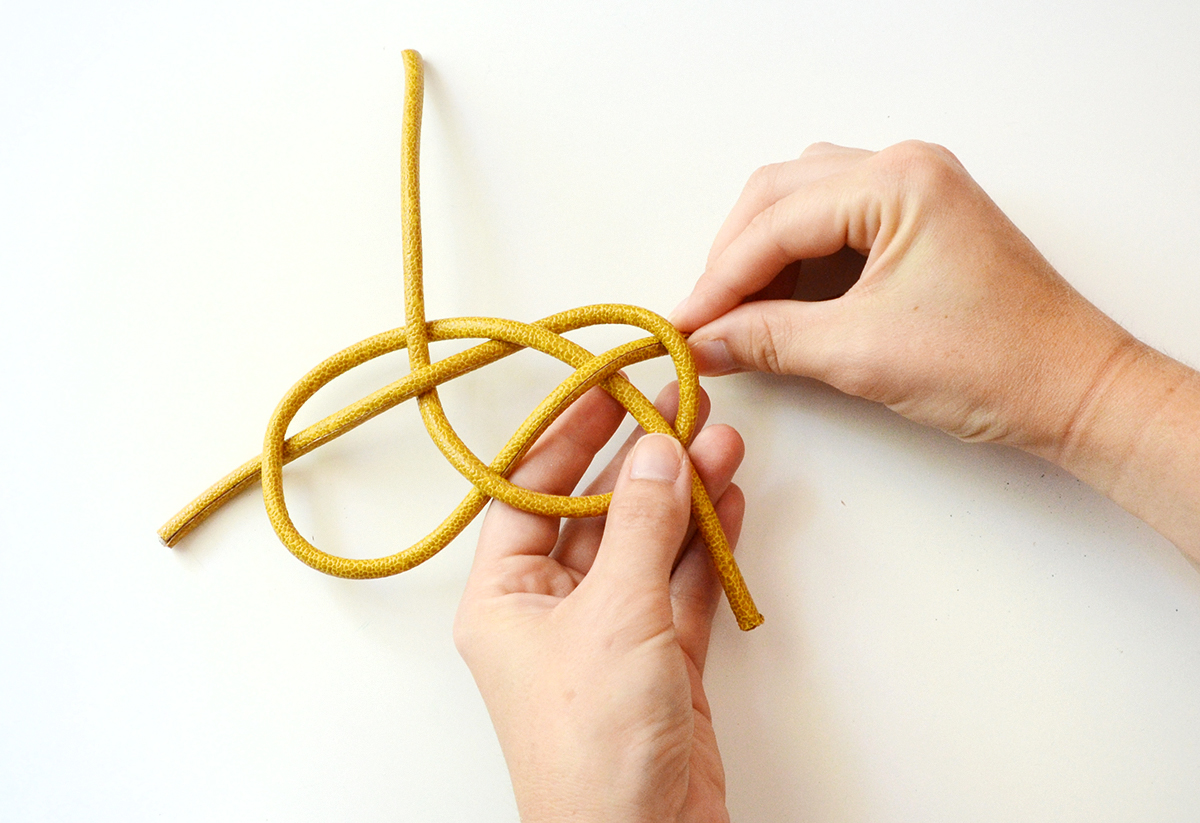
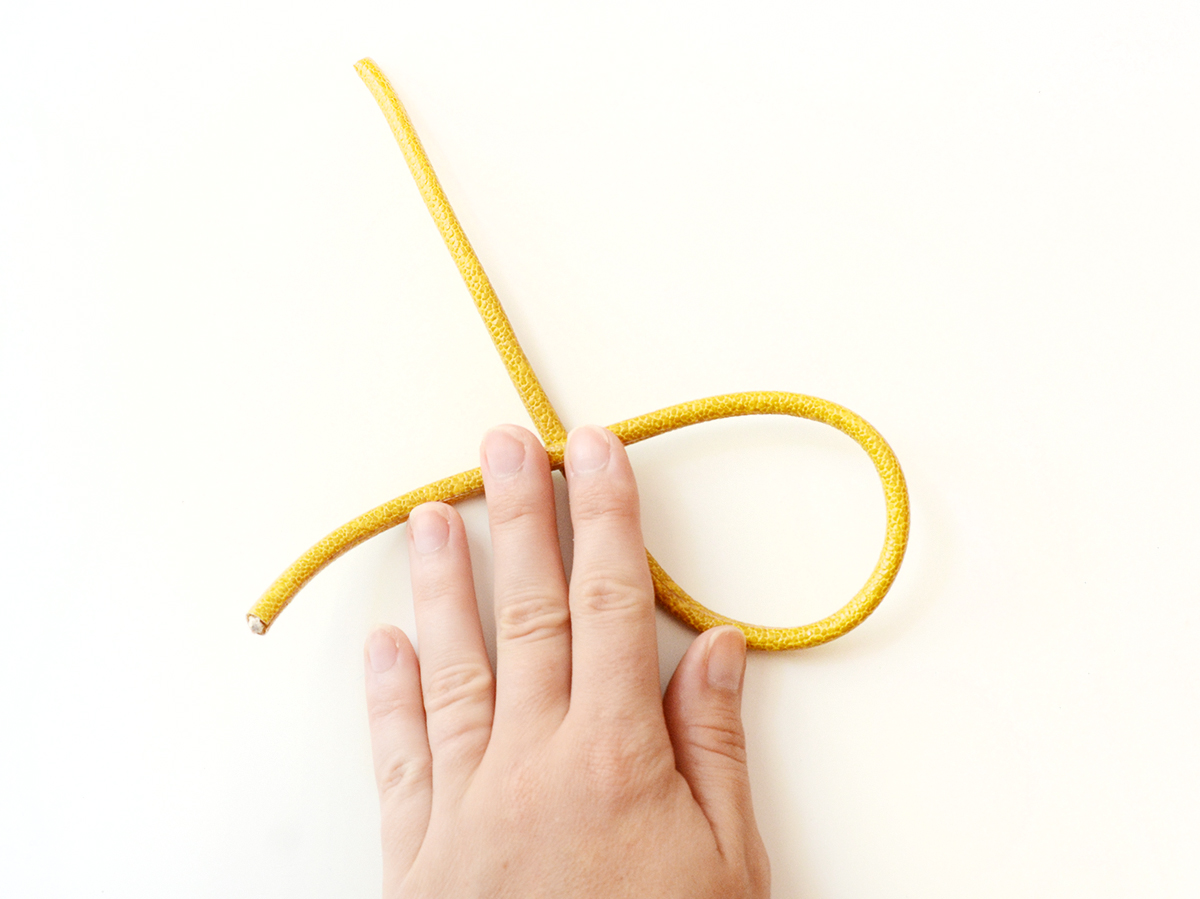
Begin by cutting the leather rope in half so you have two 15″pieces. Fold one in half as shown above.
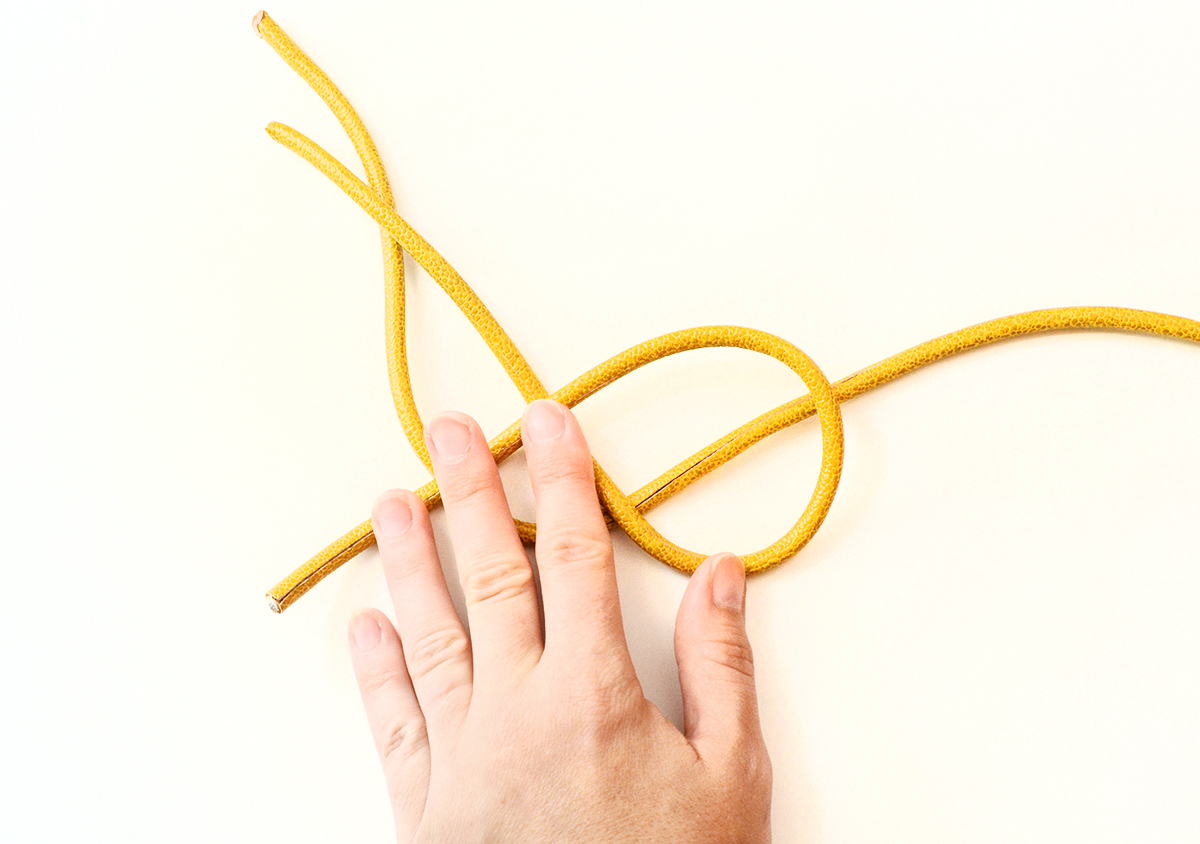
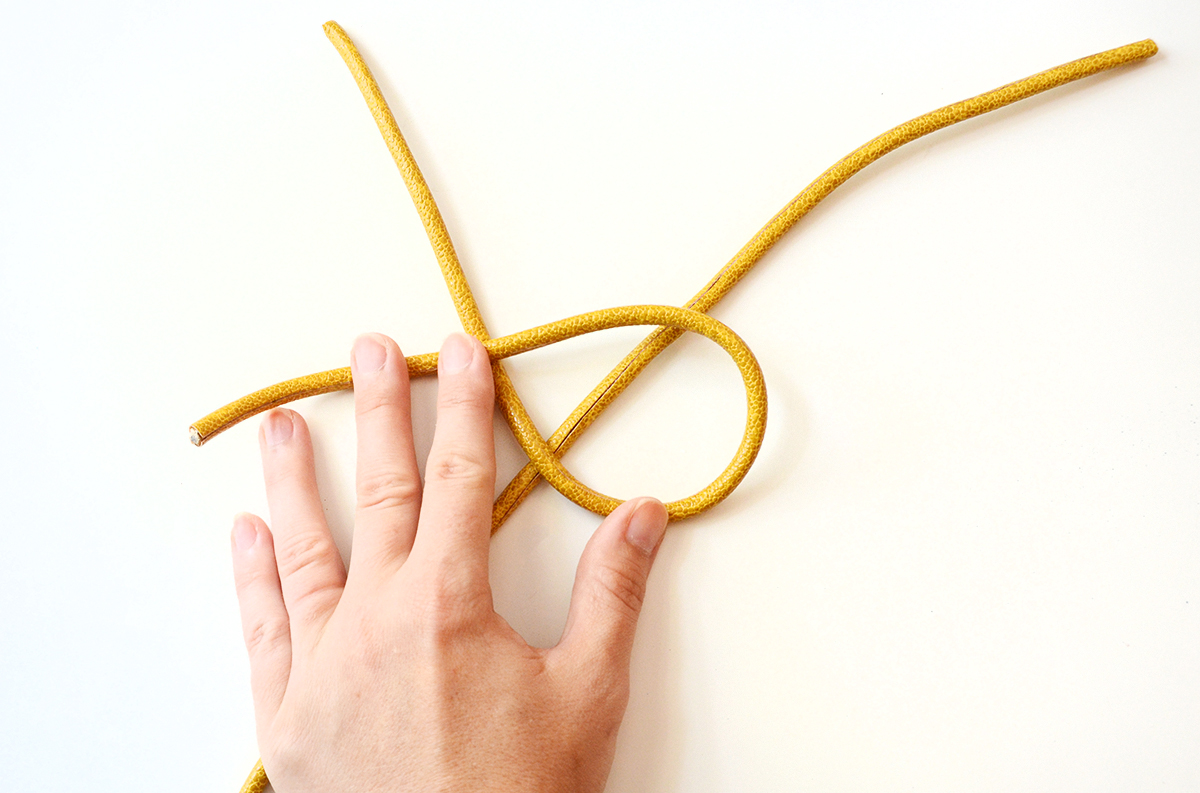
Next, lay the other piece underneath the loop that you just created.
Bring the bottom tail of piece #2 overthe bottom tail of piece #1 and under the top tail.
Now bring that same tail over the top of the loop as shown above.
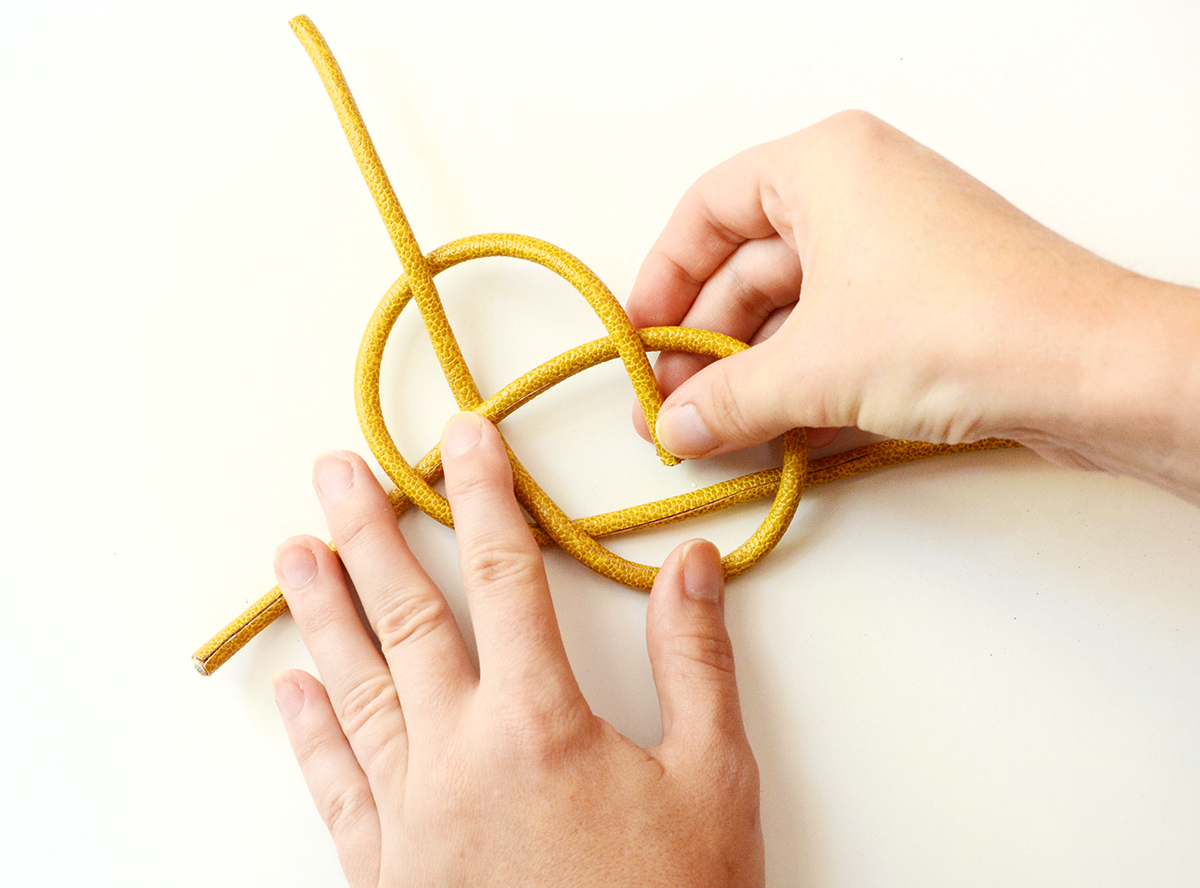
Then bring it under the next piece and over the last as shown above. Basically you’ll follow an “over-under” pattern throughout the whole knot. Before you tighten everything, make sure that the tails are roughly the same length.
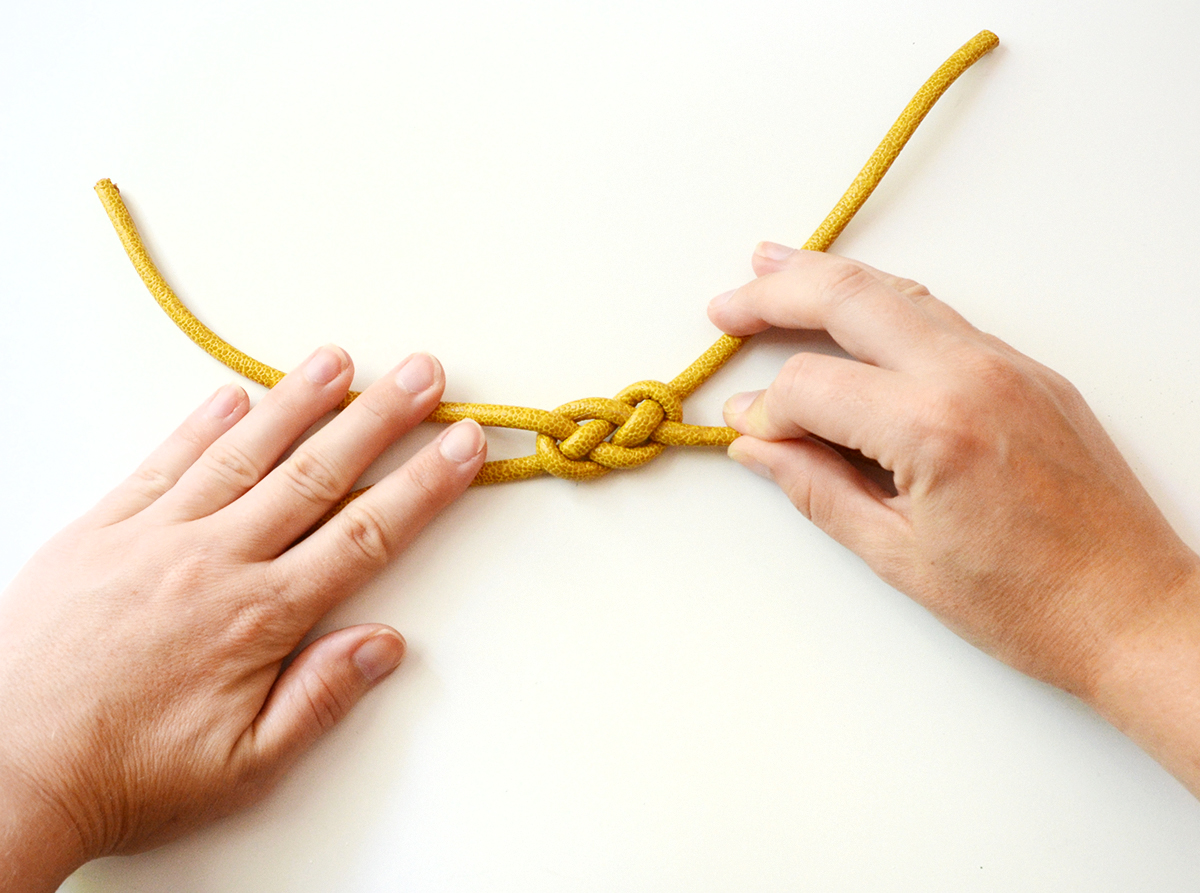
Pull everything taut so it looks like this.
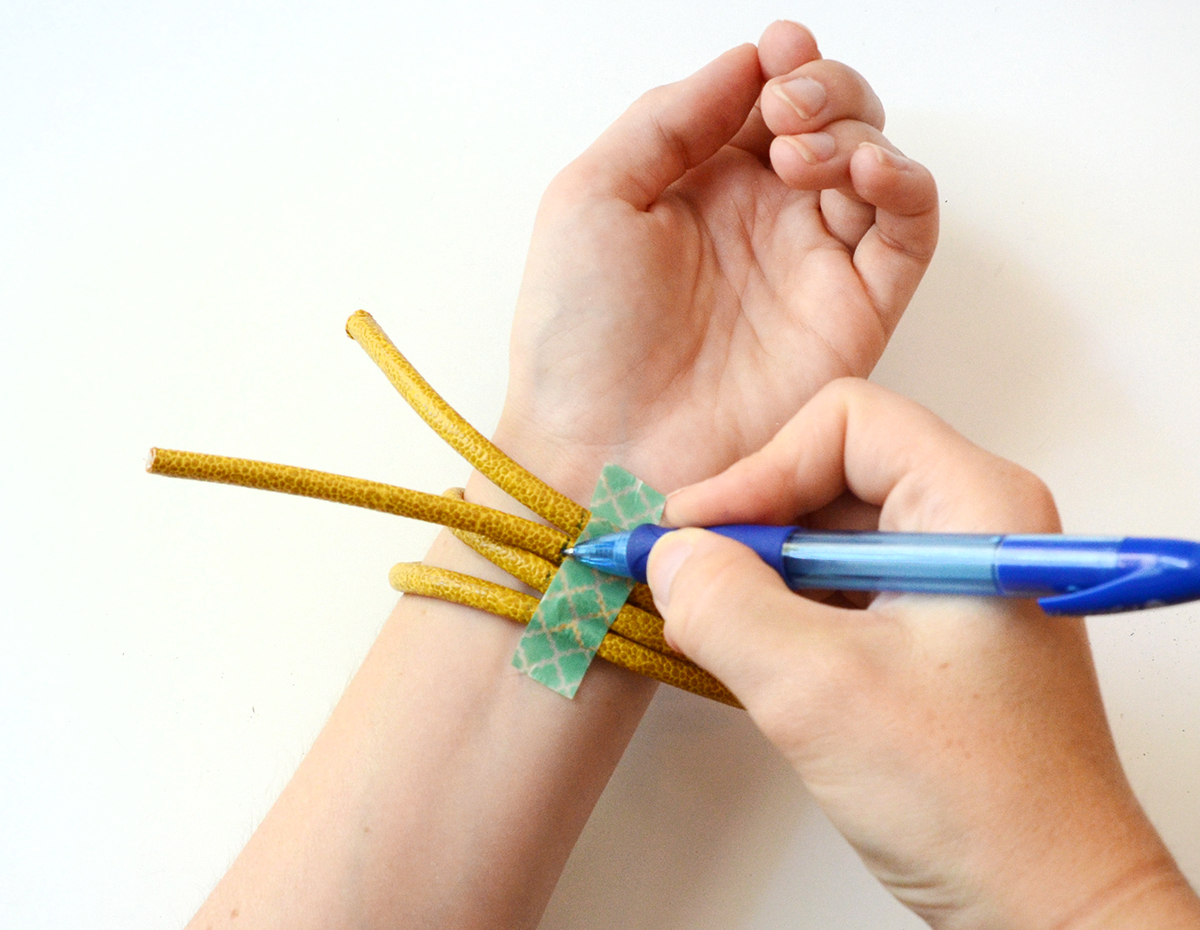
Now wrap it around your wrist and tape the ends down so the bracelet fits somewhat snugly around your wrist. Draw a line across all four pieces.
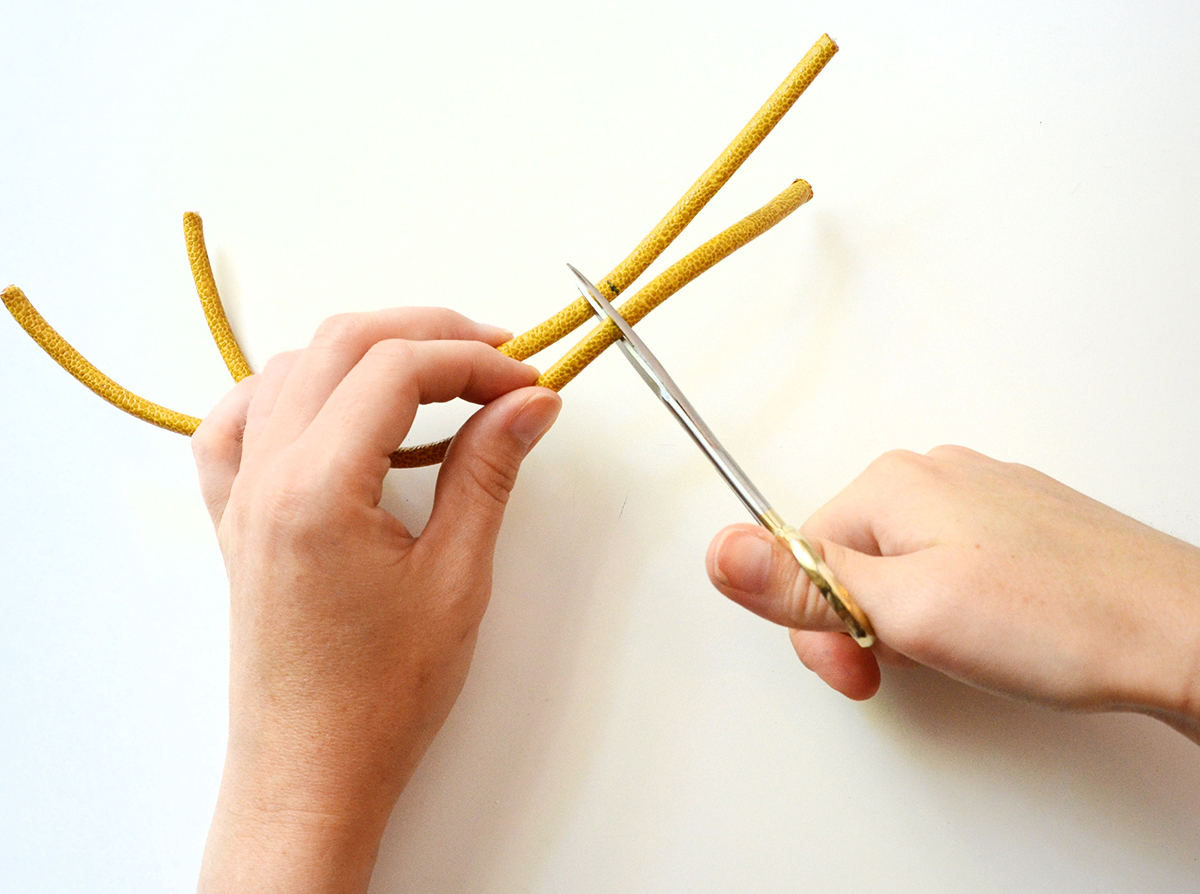
Cut the rope pieces at those lines with a sharp pair of scissors.
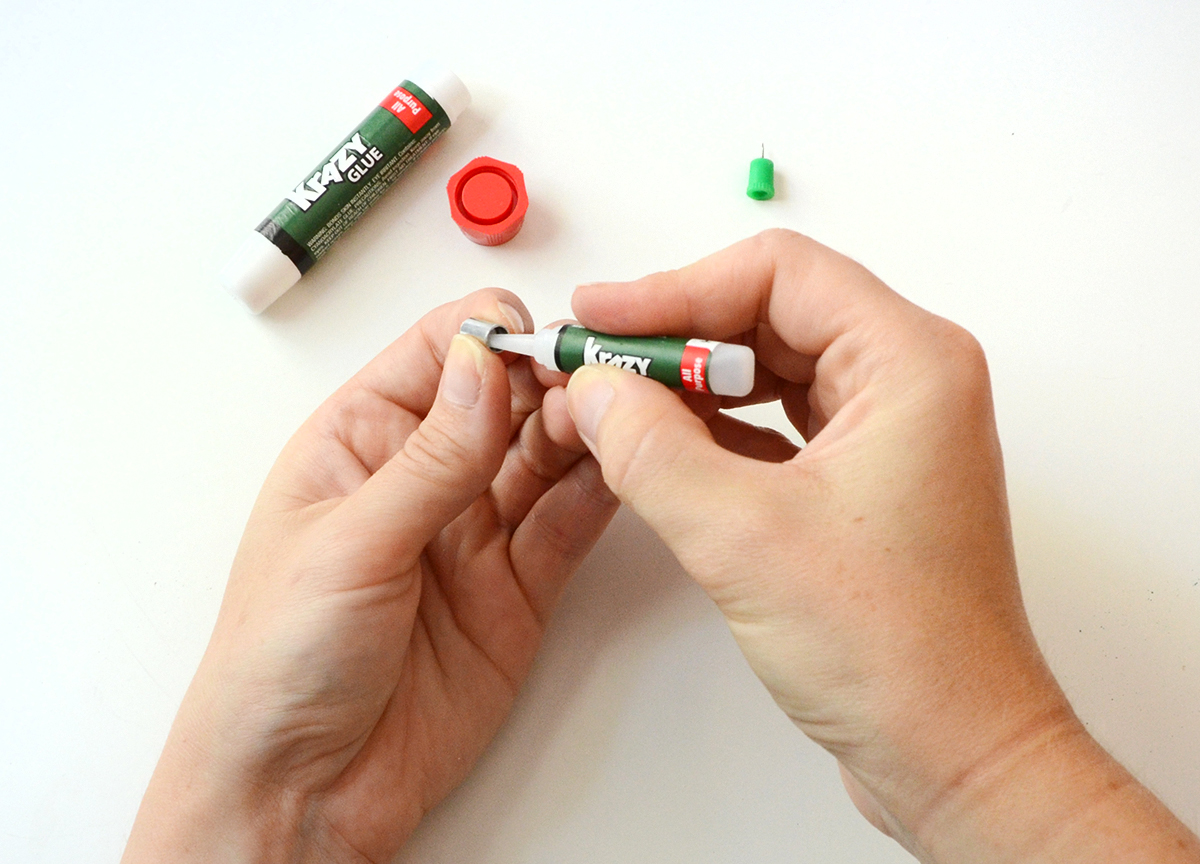
Apply a small dab of Krazy Glue to the inside of one of your magnetic clasps.
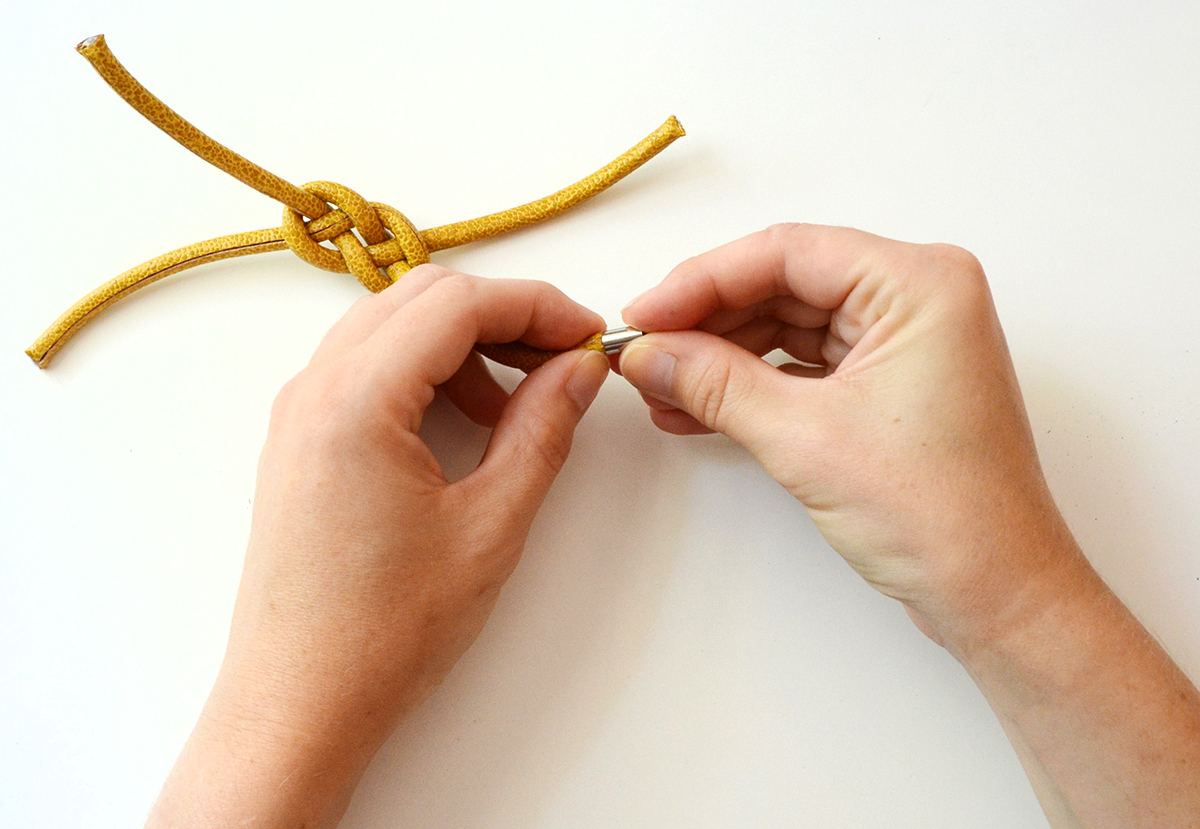
Quickly insertthe end of one cord into the clasp. Now grab the other side of this same clasp (make sure that they don’t repel one another) and attach it to the cord end on the opposite side. Then repeat this process for the remaining two ends.
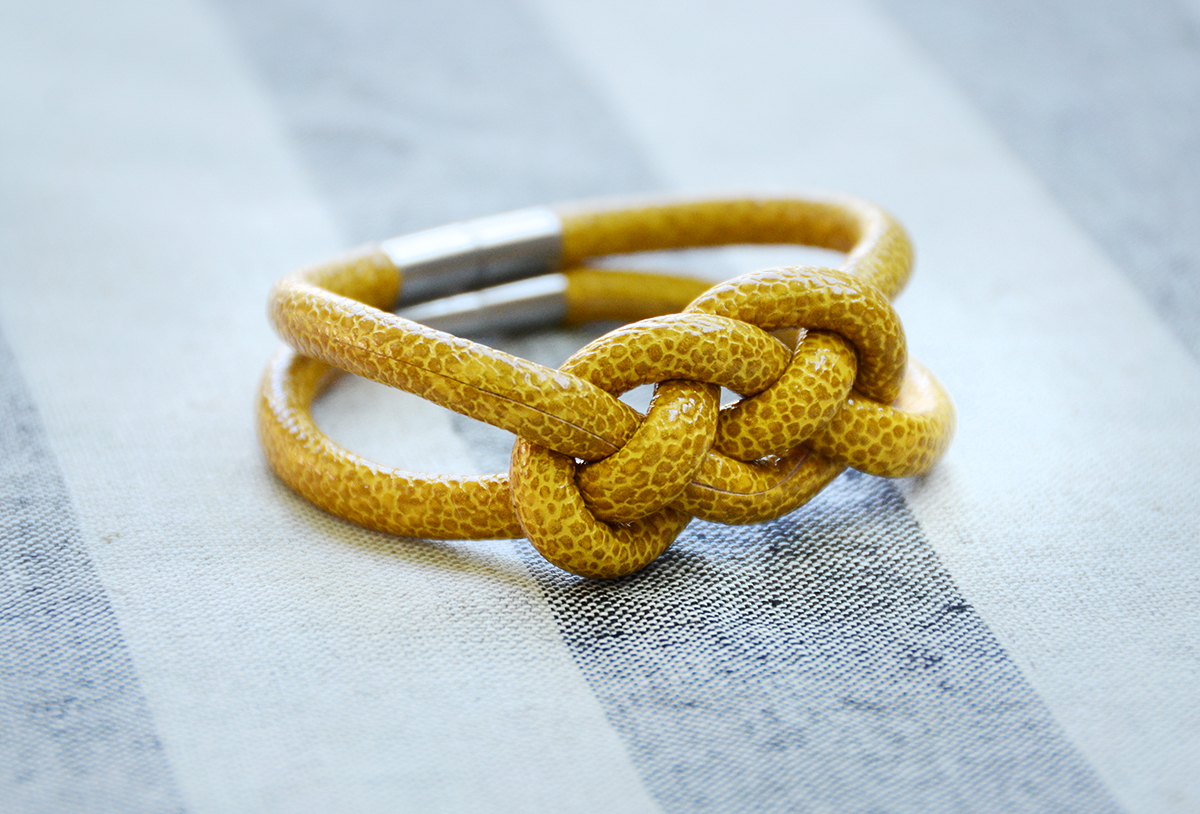
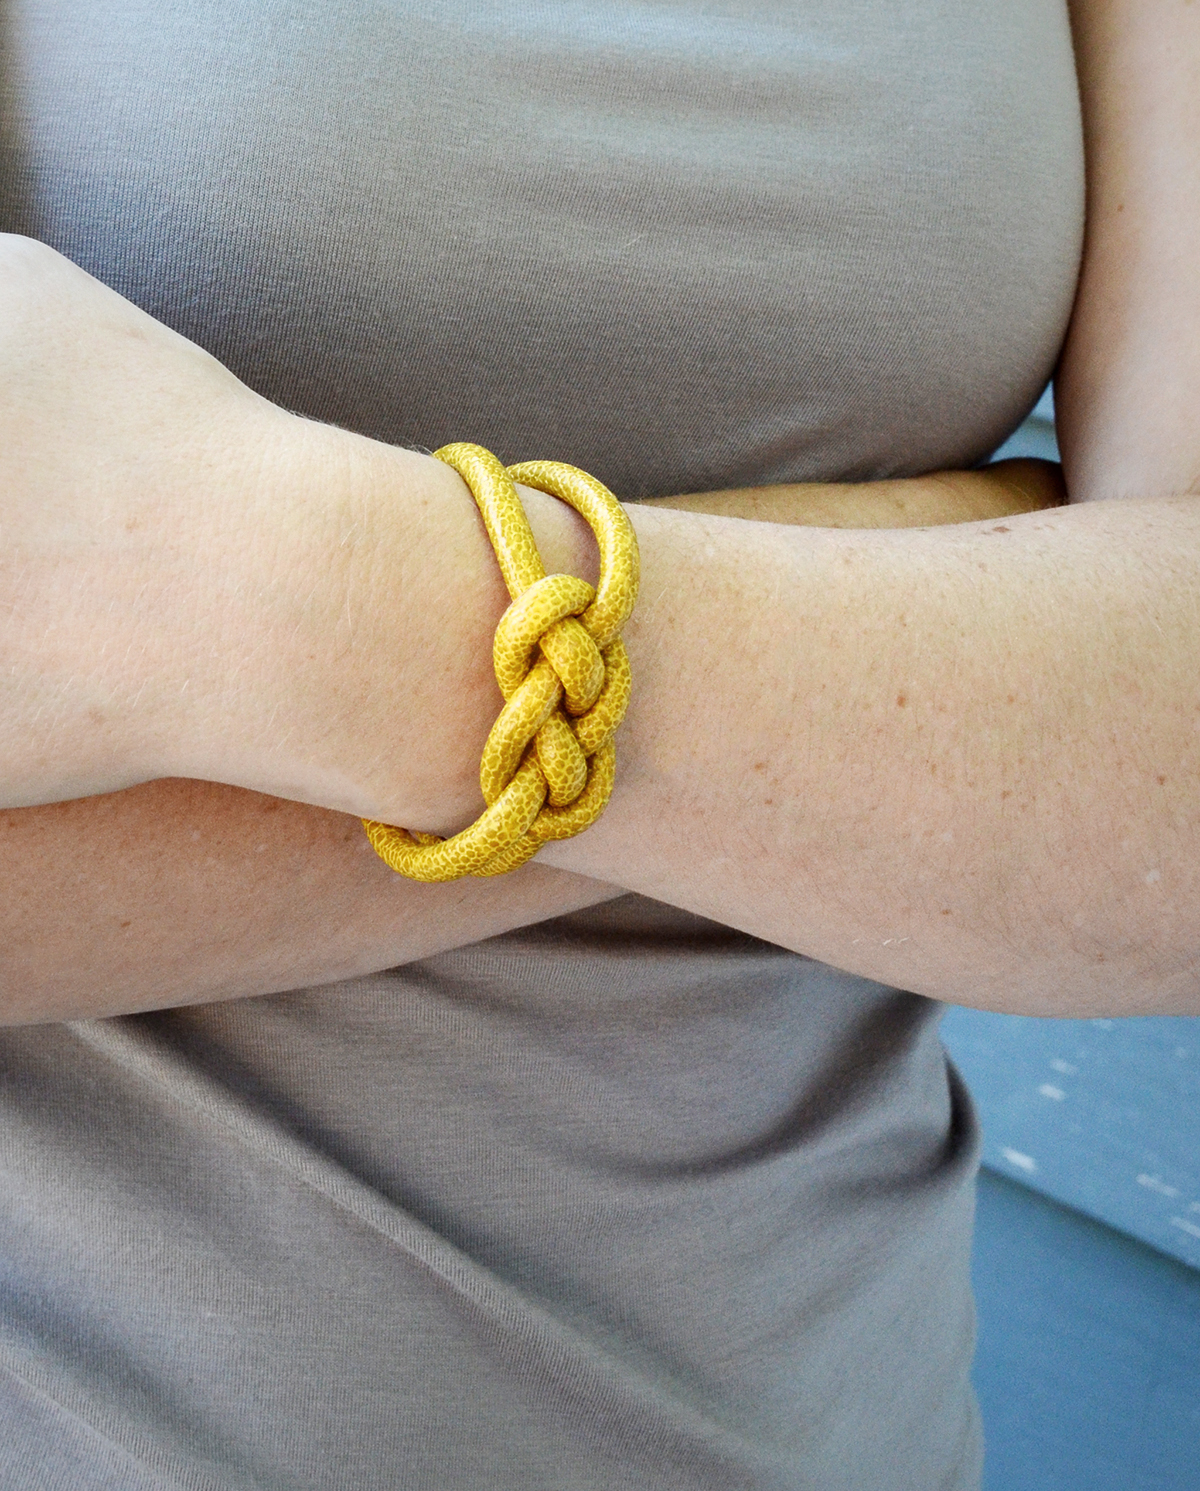
And your knotted rope bracelet is complete. Feel free to experiment with the design… it would look fantastic with two different cord colors,or evenwith satin cord. Have fun!
How SweeeT!!!!