How to Make a Pumpkin and Cat Halloween Decor Piece from Paper Plates
If you’re also a parent, then I’m sure you already know the beauty of finding crafting ideas for your kids that can be made with things you already have on hand in the house and don’t mind sparing. I recently came across a stack of old paper plates in the back of the pantry and was thrilled because they’re such a blast to make kids’ crafts with! That’s how my kids and I decided to make these adorable cat and pumpkin shaped Halloween decor pieces that I made sure to outlined nicely so that other people can learn how to do them as well.
Check out these photos and full instructions for some cute Halloween crafting! If you’re the kind of crafter who would much rather follow along with a video tutorial than written words, keep scrolling to the end of this post and you’ll find one.
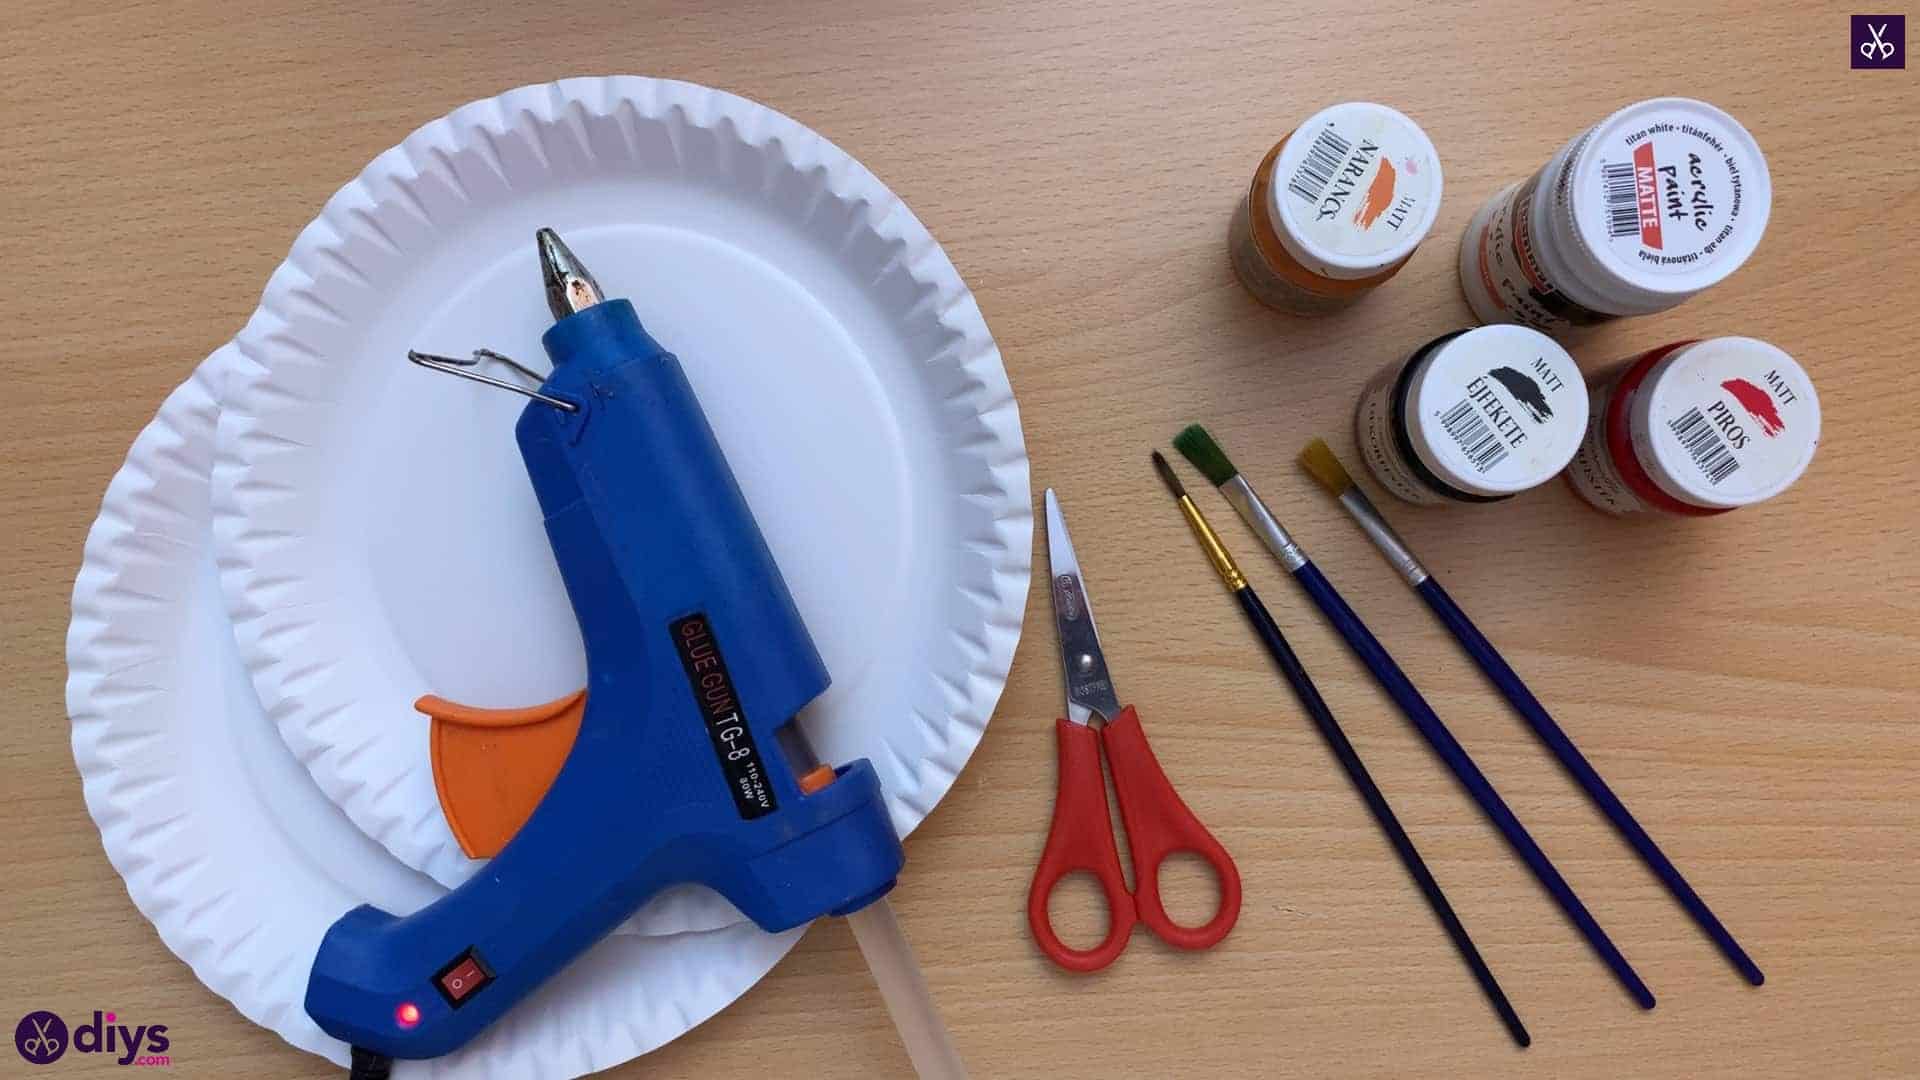
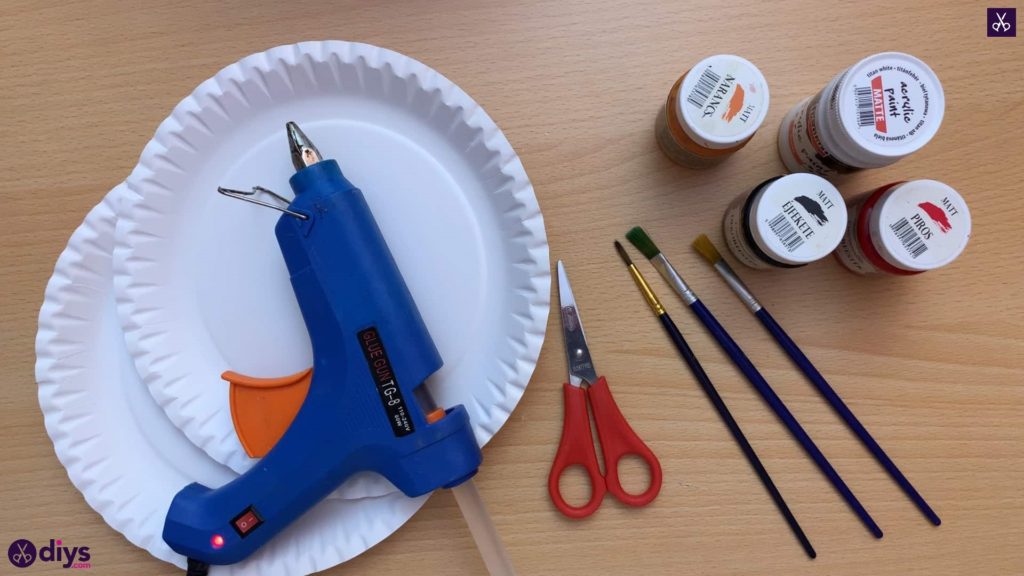
For this project, you’ll need:
- Two paper plates
- A glue gun
- A few paint brushes
- Scissors
- Paint (black, orange, white, and red)
Step 1: get ready
Gather your materials!
Step 2: paint
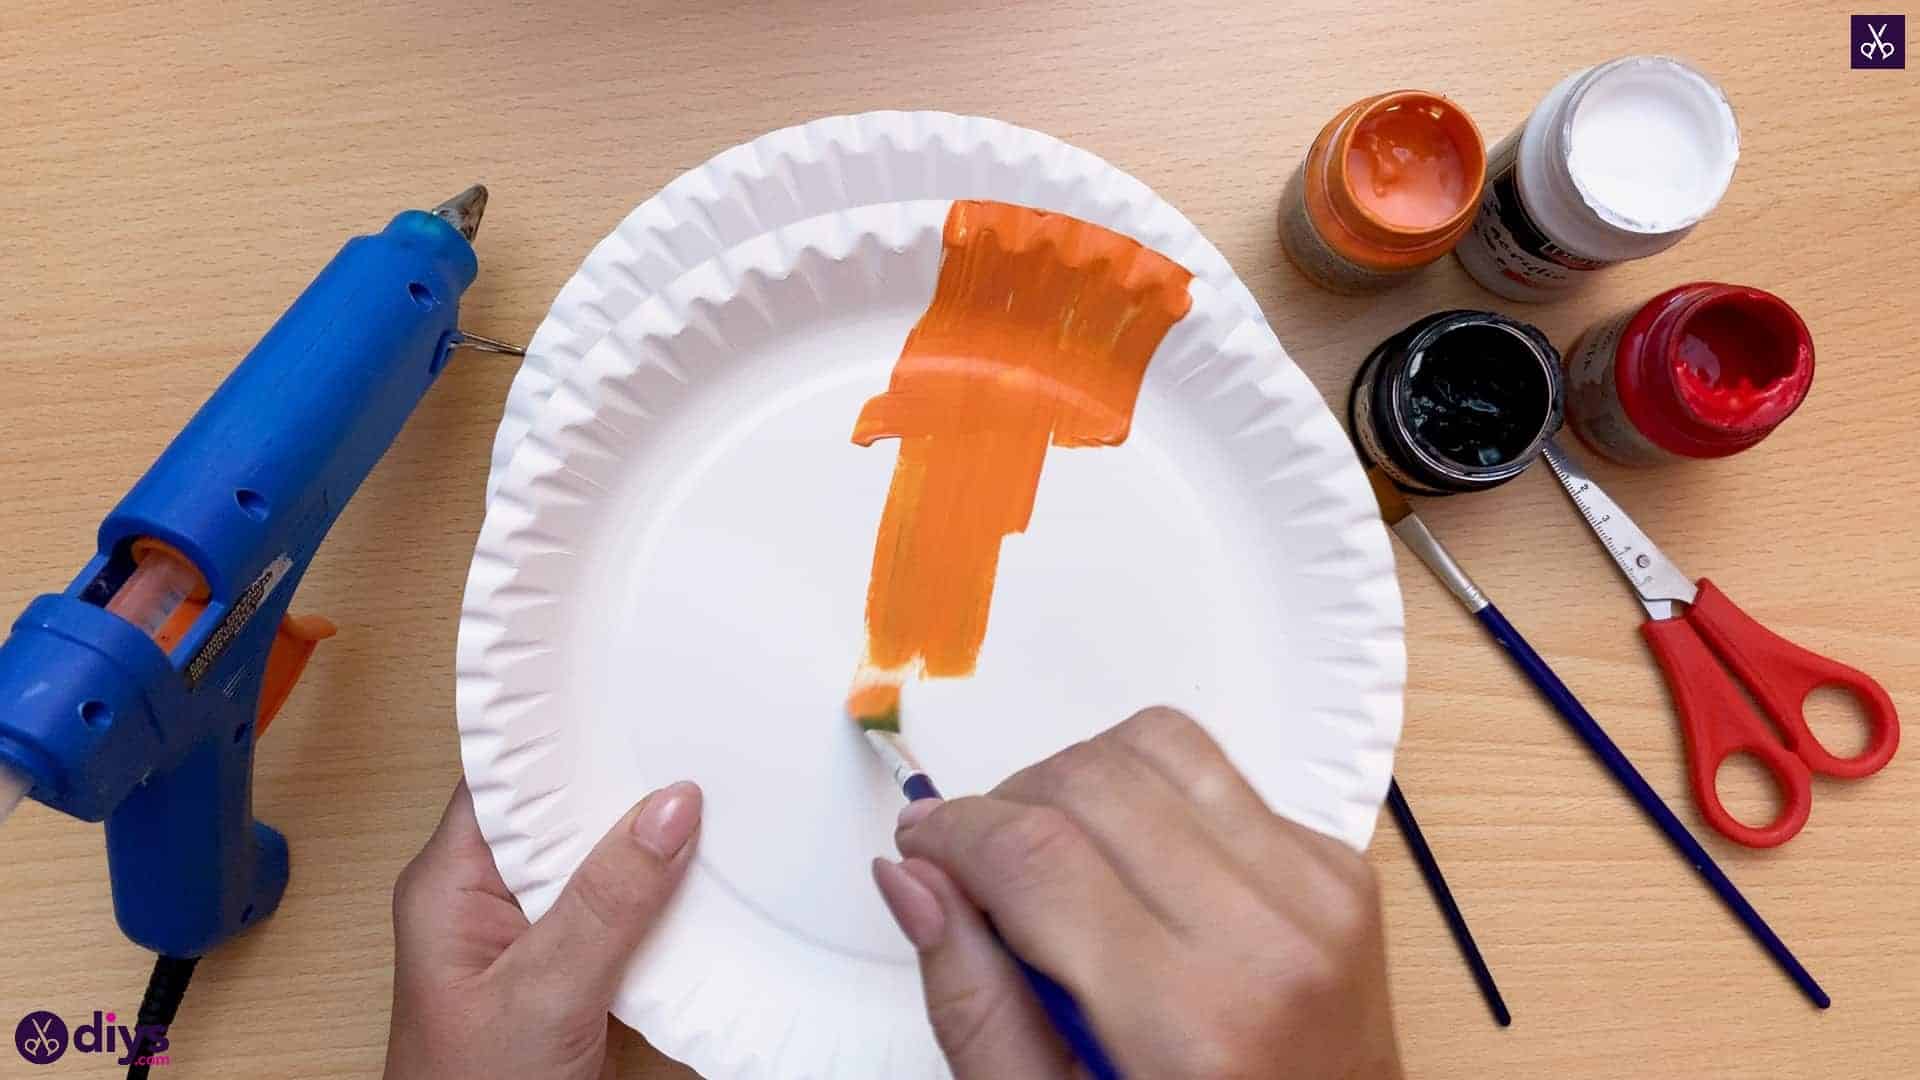
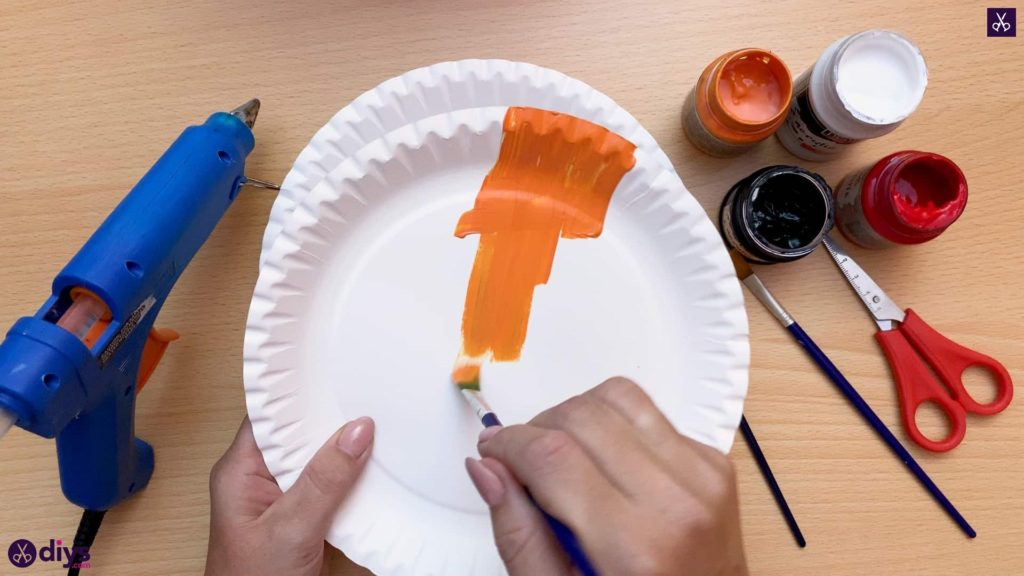
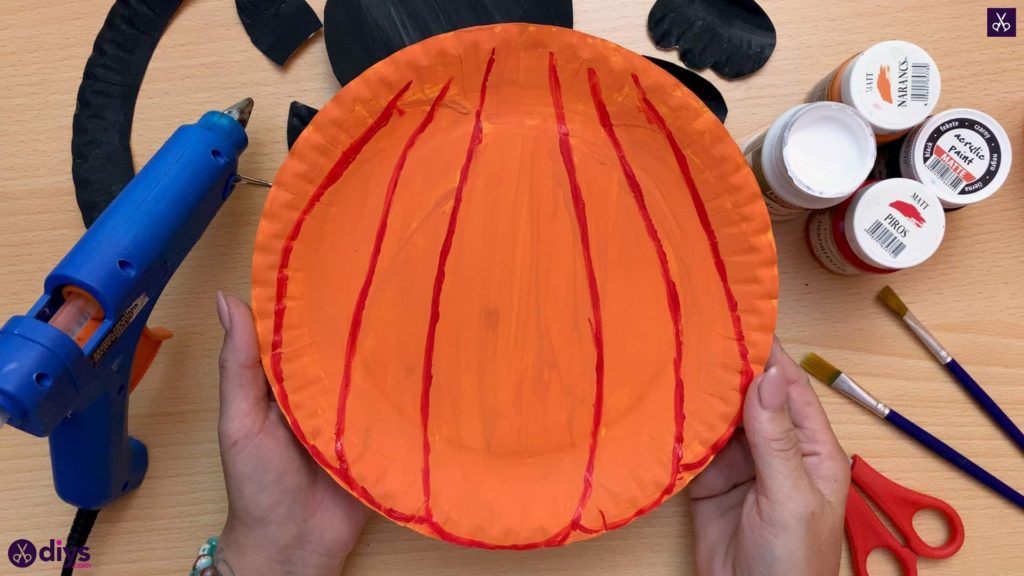
Paint the inside surface of one of your paper plates entirely orange. If the white of your paint still shows through when you’re done, let the paint dry and then paint another layer. Let that dry too.
Step 3: paint the other plate
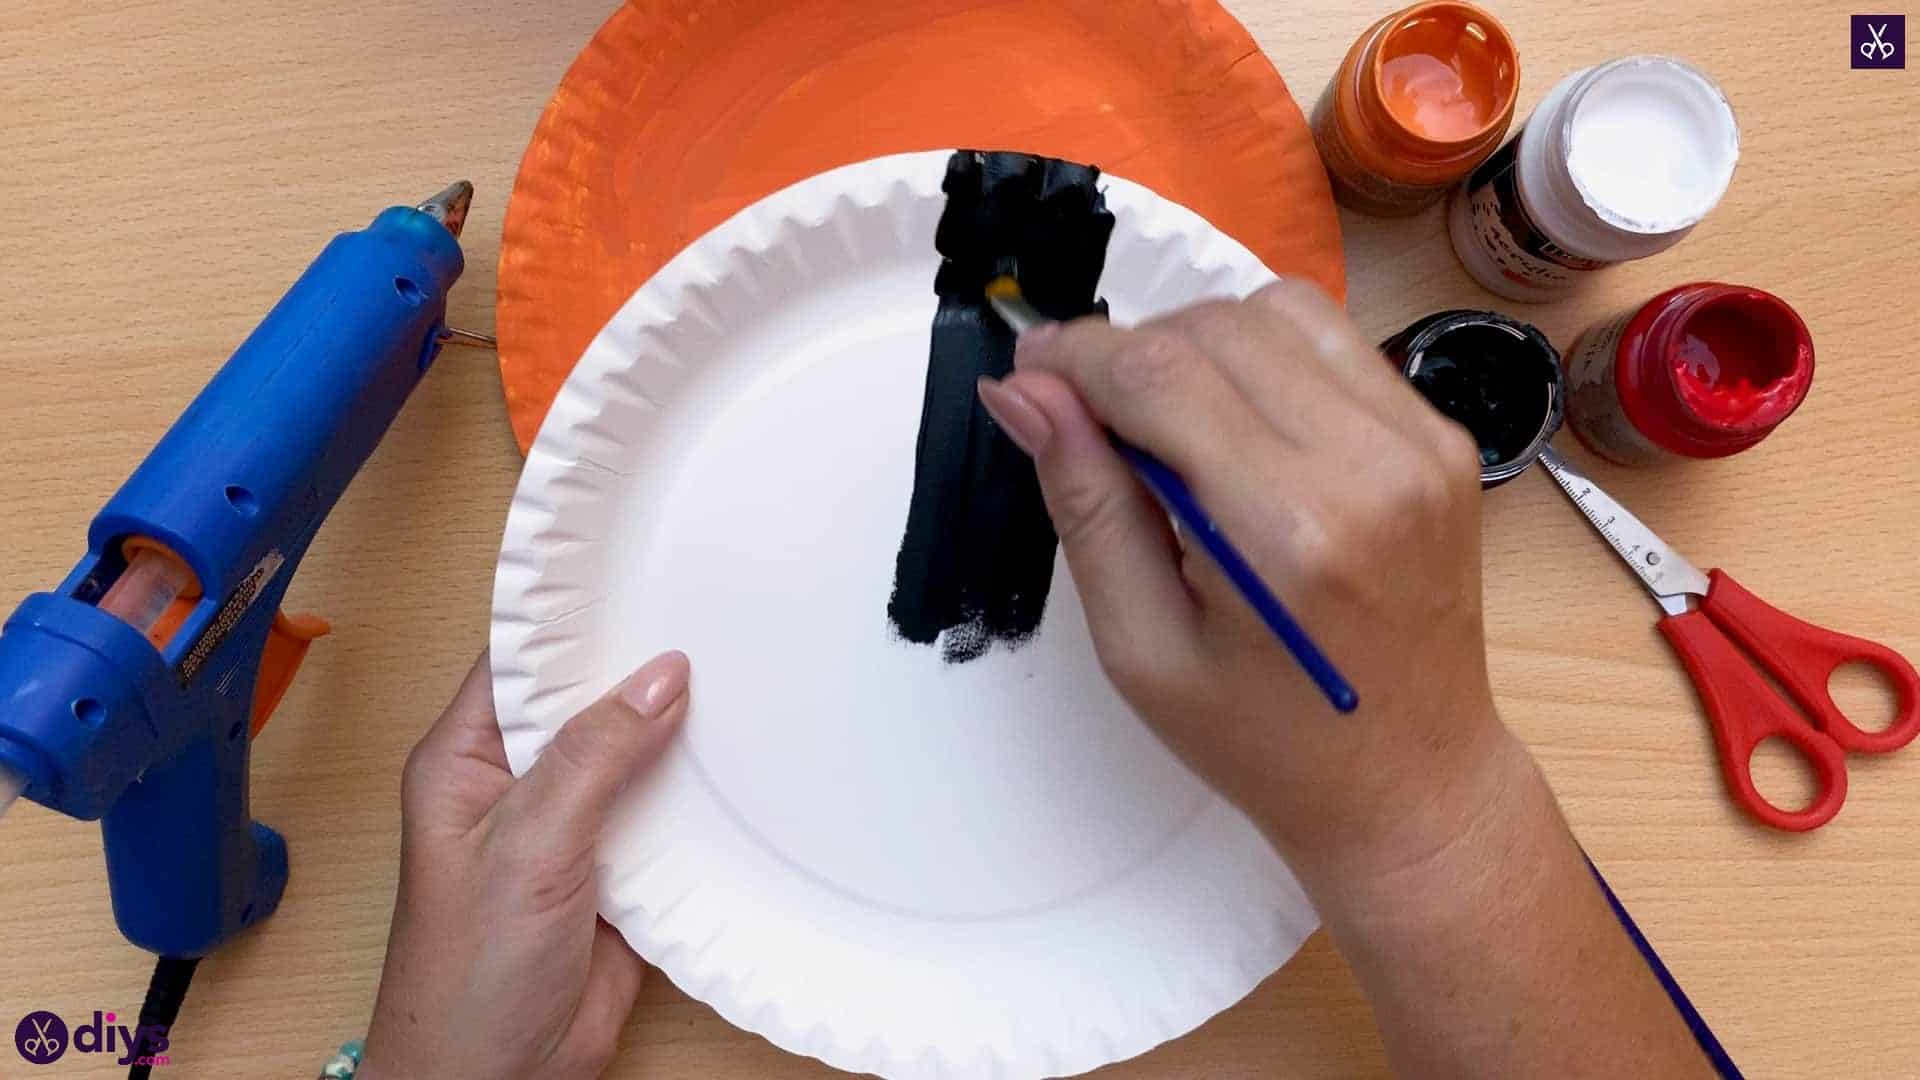
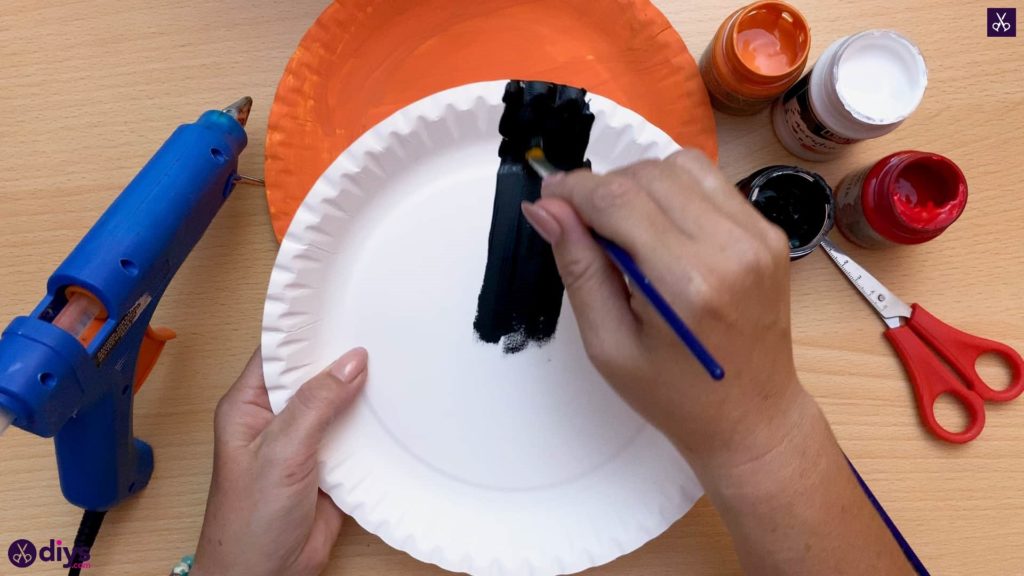
Paint the whole inside surface of your second paper plate black! Do a second layer again if you need to and then let your plate dry.
Step 4: make all the pieces
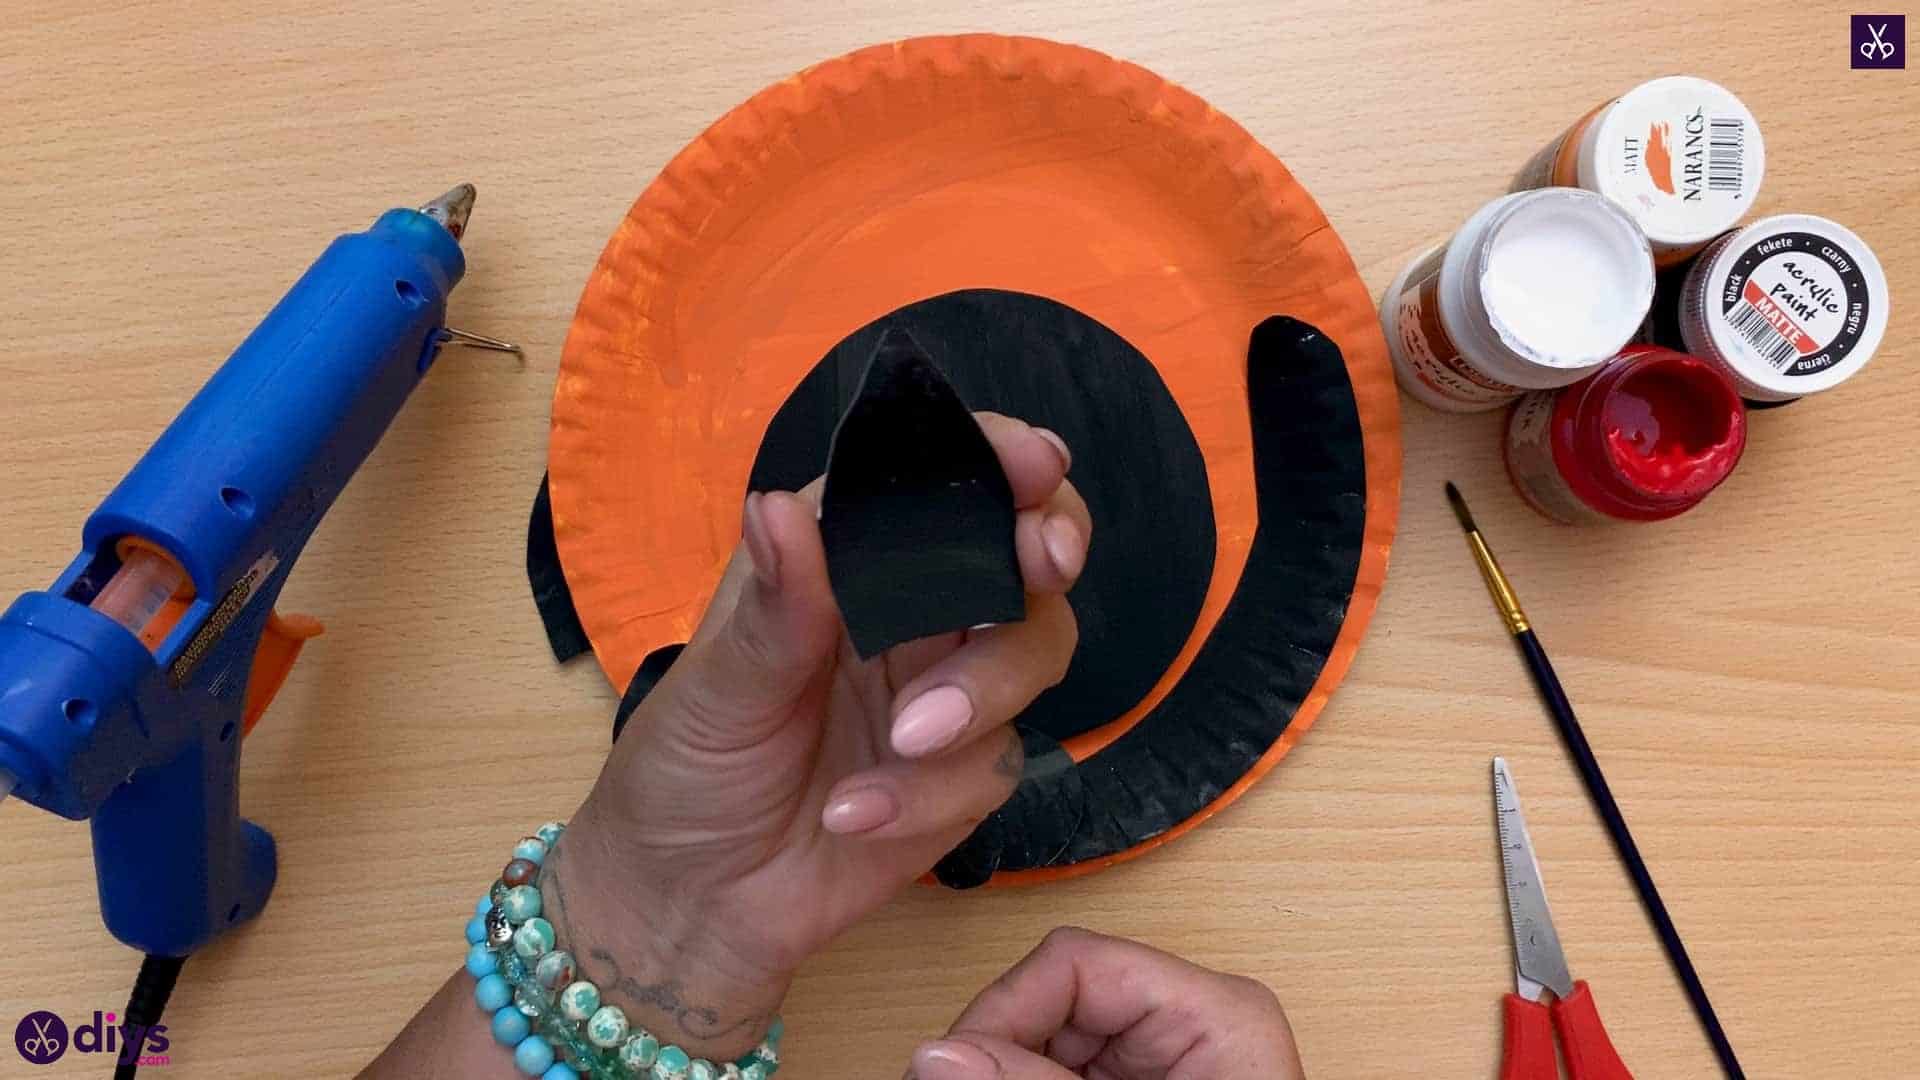
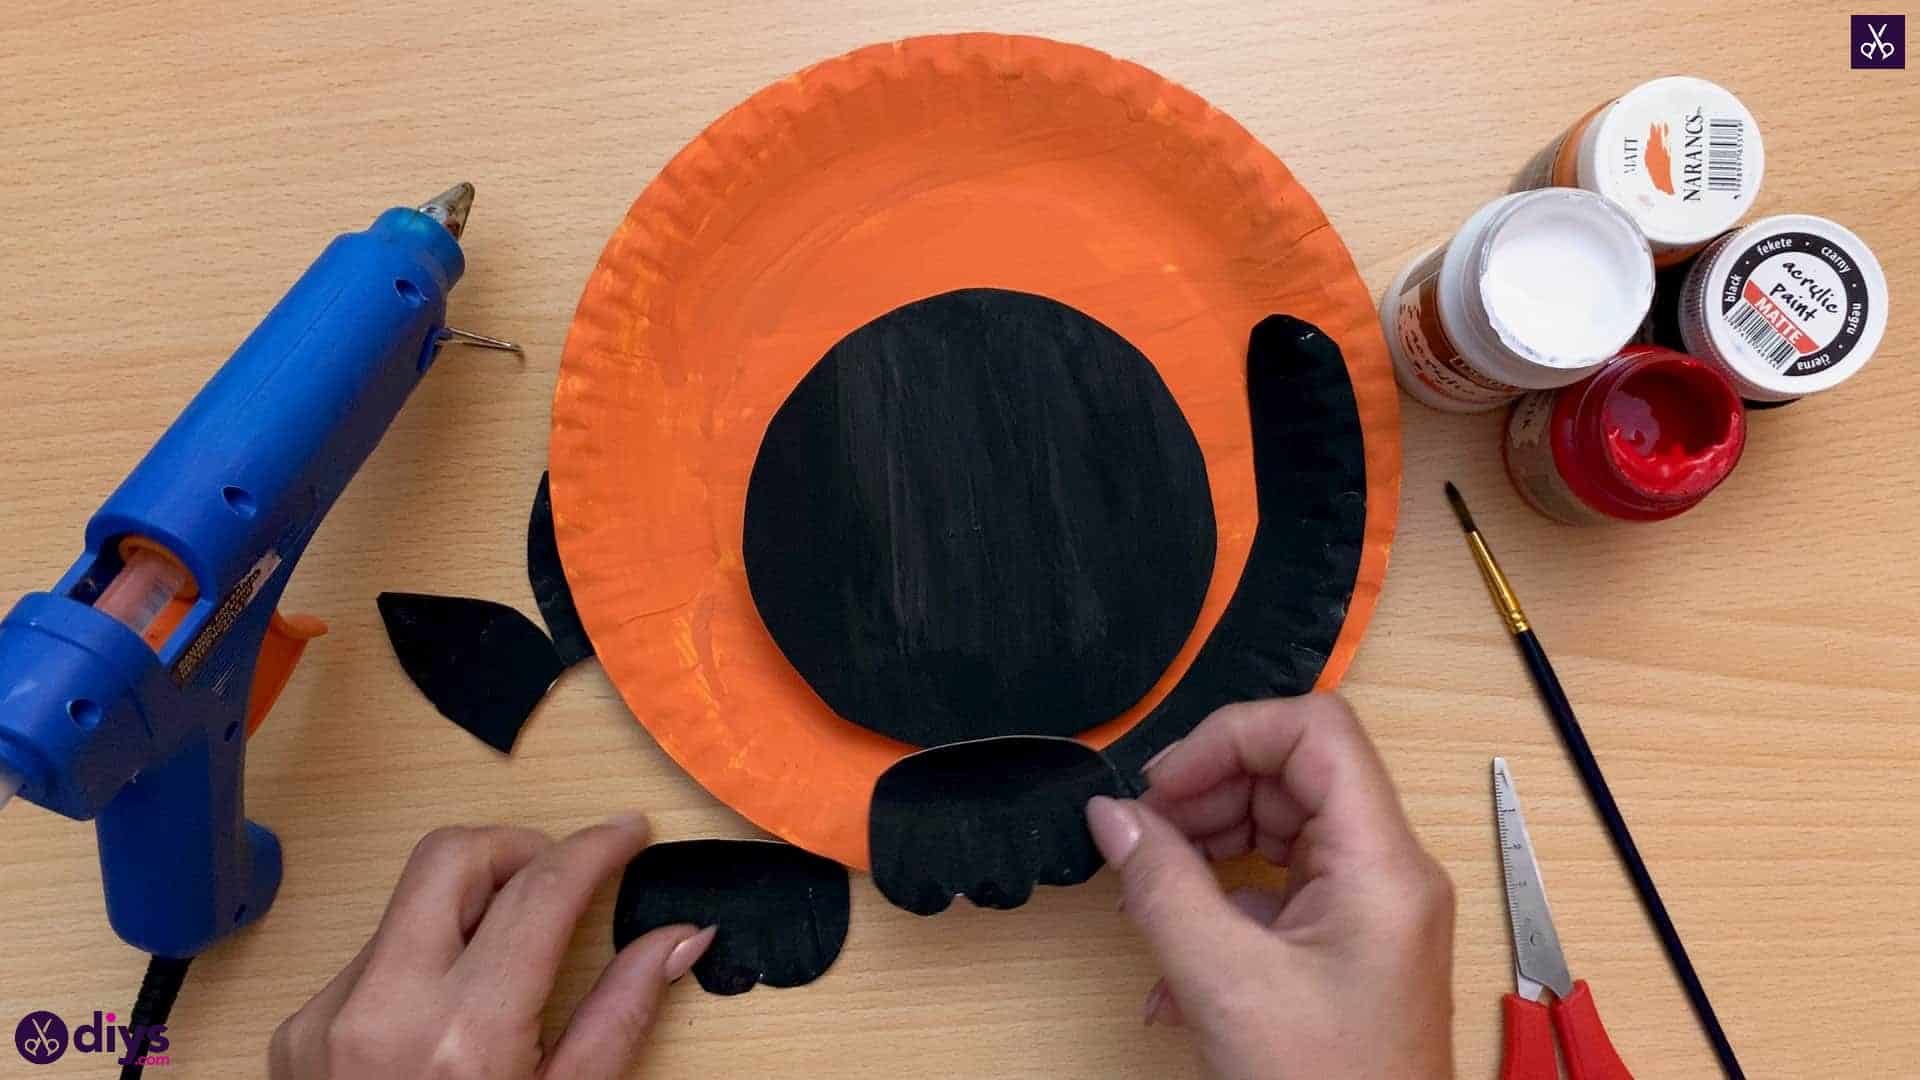
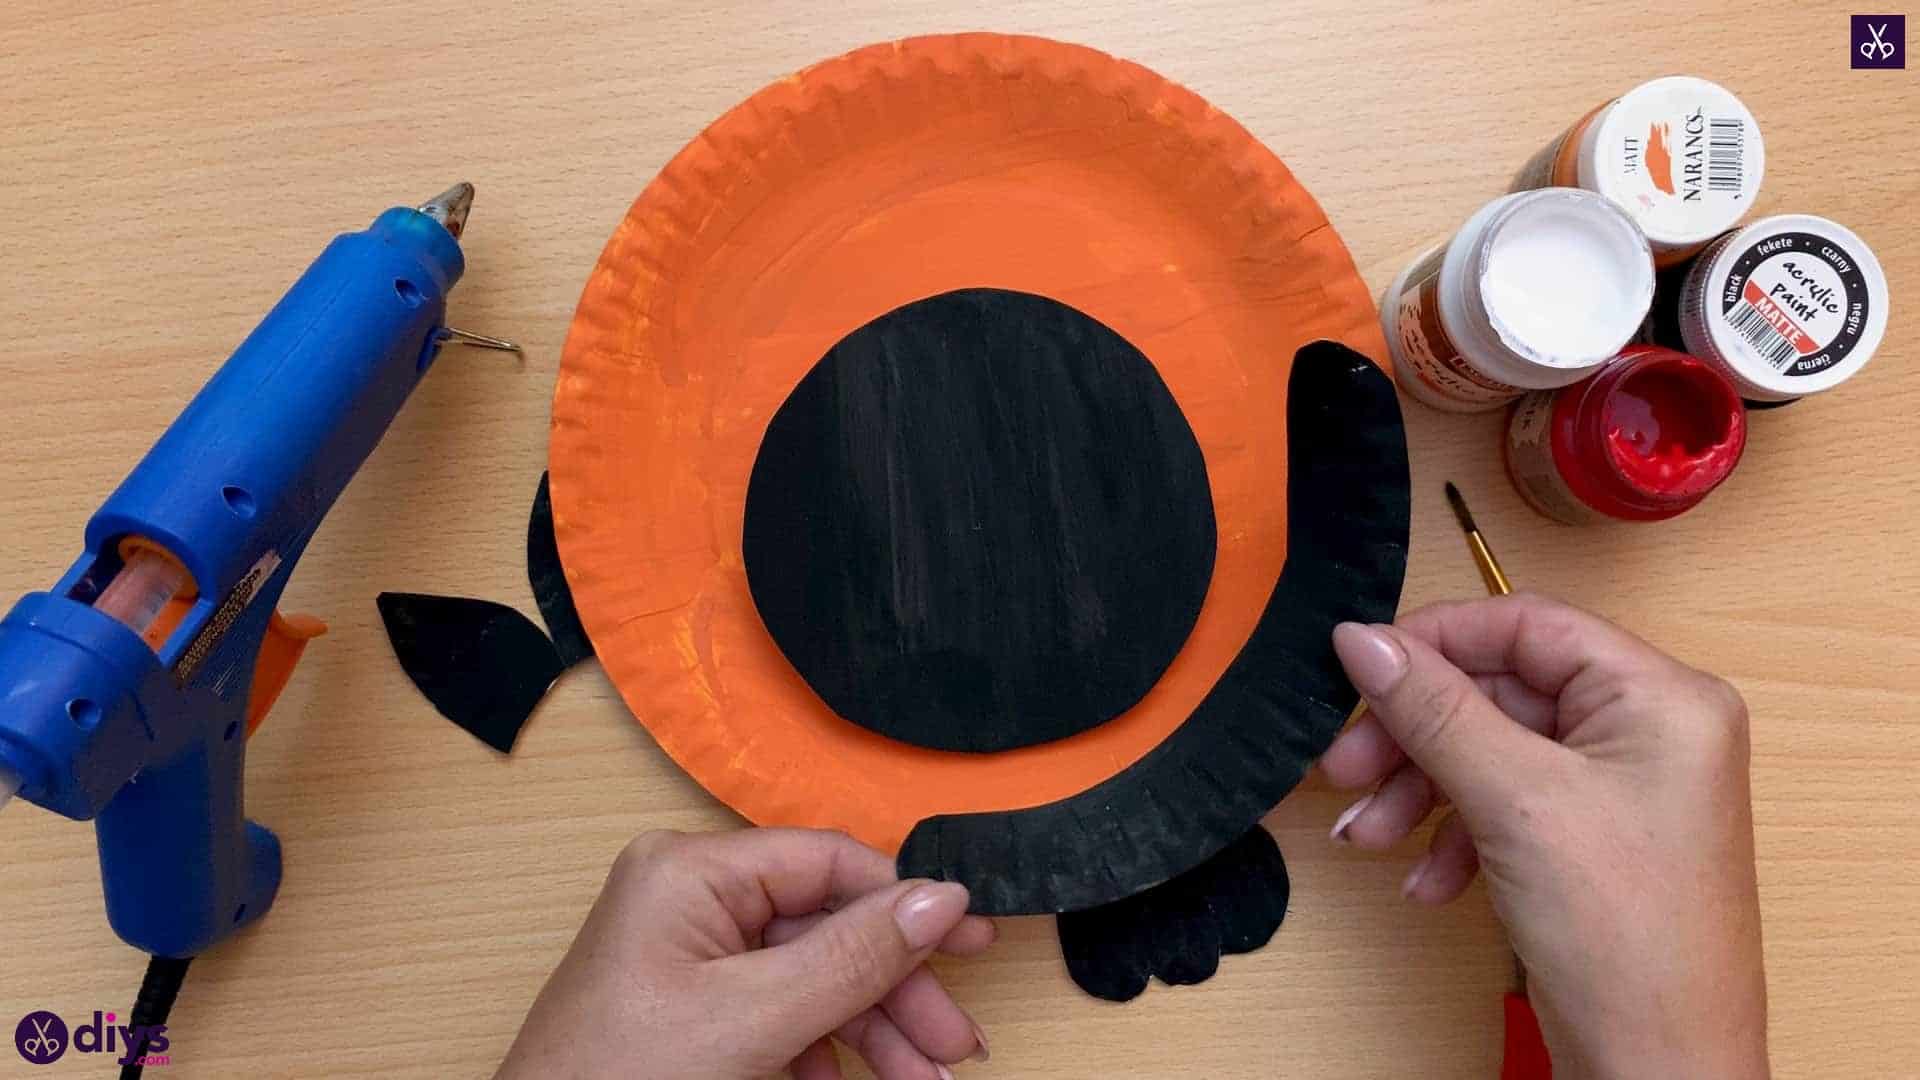
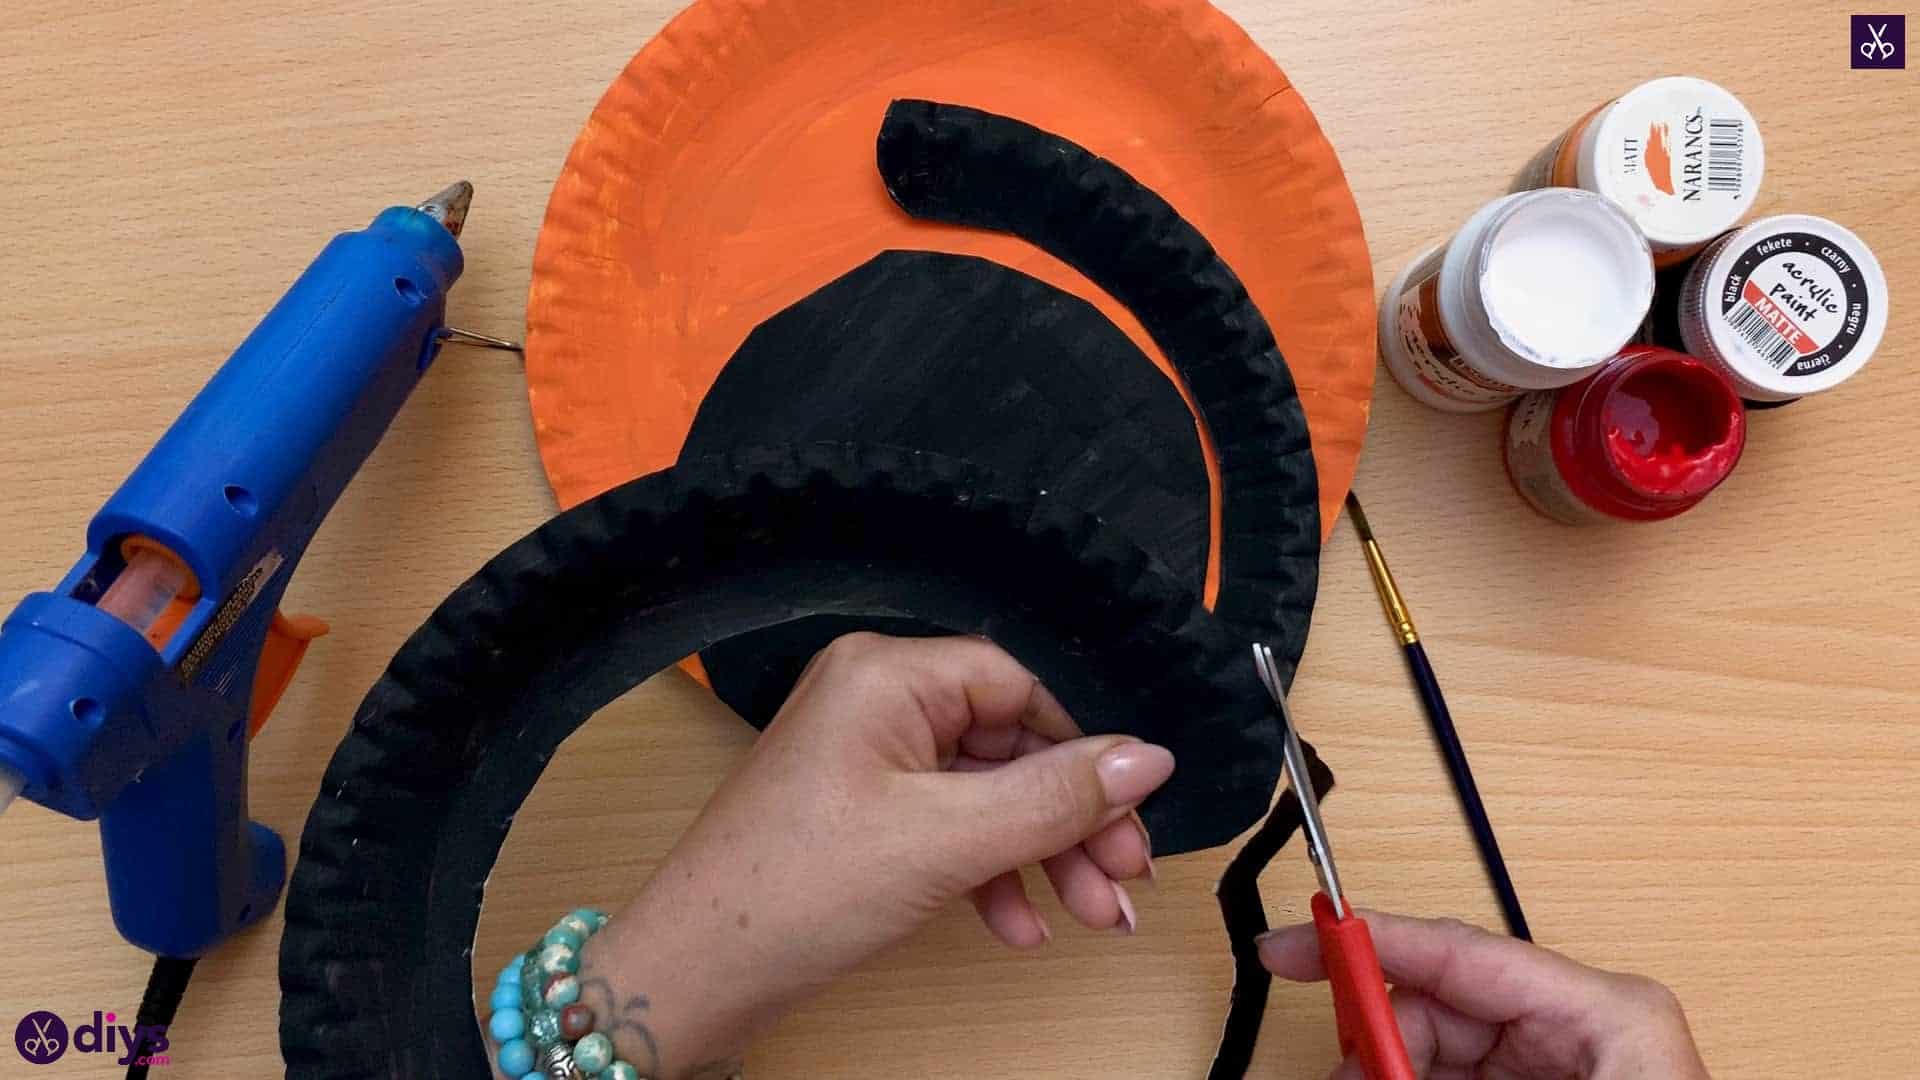
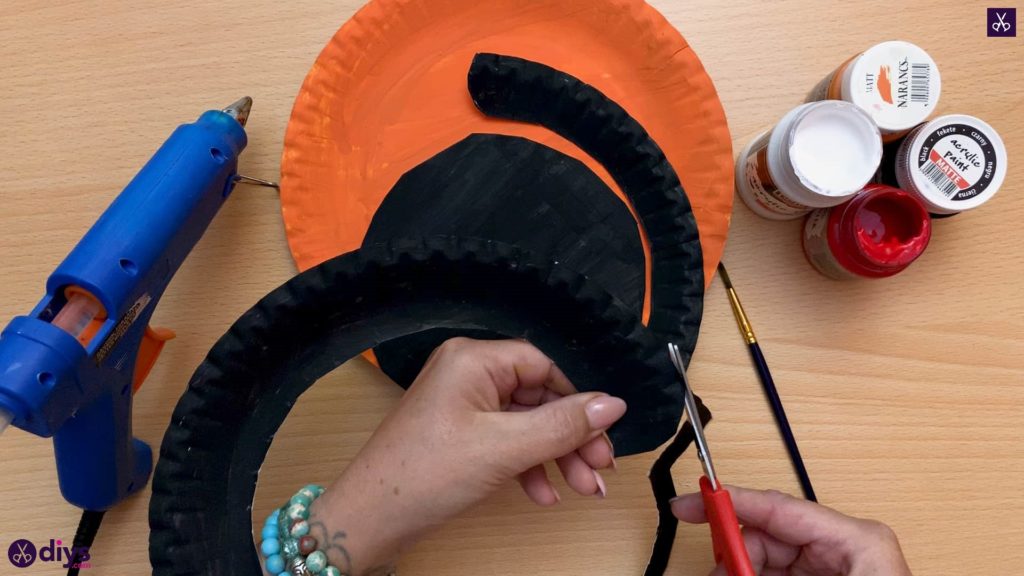
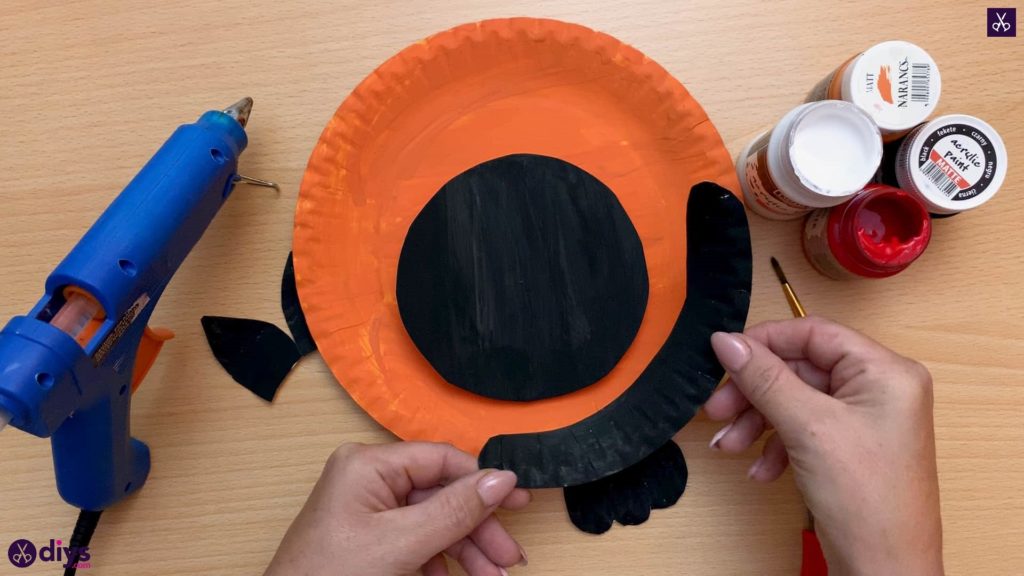
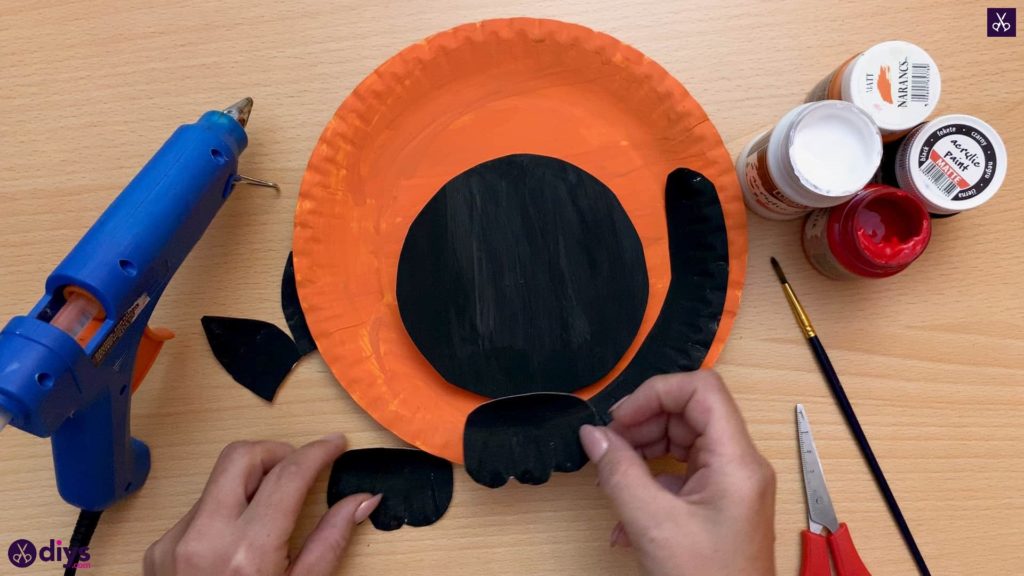
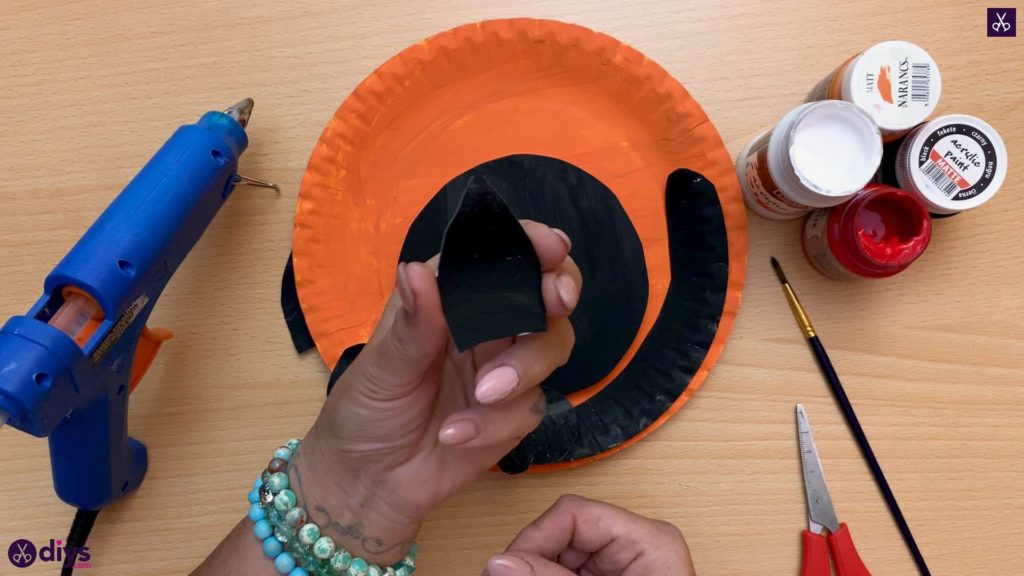
Using your black painted plate, cut out the inside circle from the center, where the plate is its flattest. Cut through the edge too where you start with your scissors in order to access the middle of the plate, but otherwise leave the ridged edge of the plate as in-tact as you can. Next, cut a piece of the ridged edge of the plate out, rounding it at the top. I made mine about five inches long. This will be your cat’s curvy tail! From what’s left of your black painted rim, cut two ovals and then round one side of each into three little ridges to make your cat’s paws. Lastly, cut two squares and taper off the corners at one end to make your cat’s pointed ears. You now have all of your pieces to work with.
Step 5: details
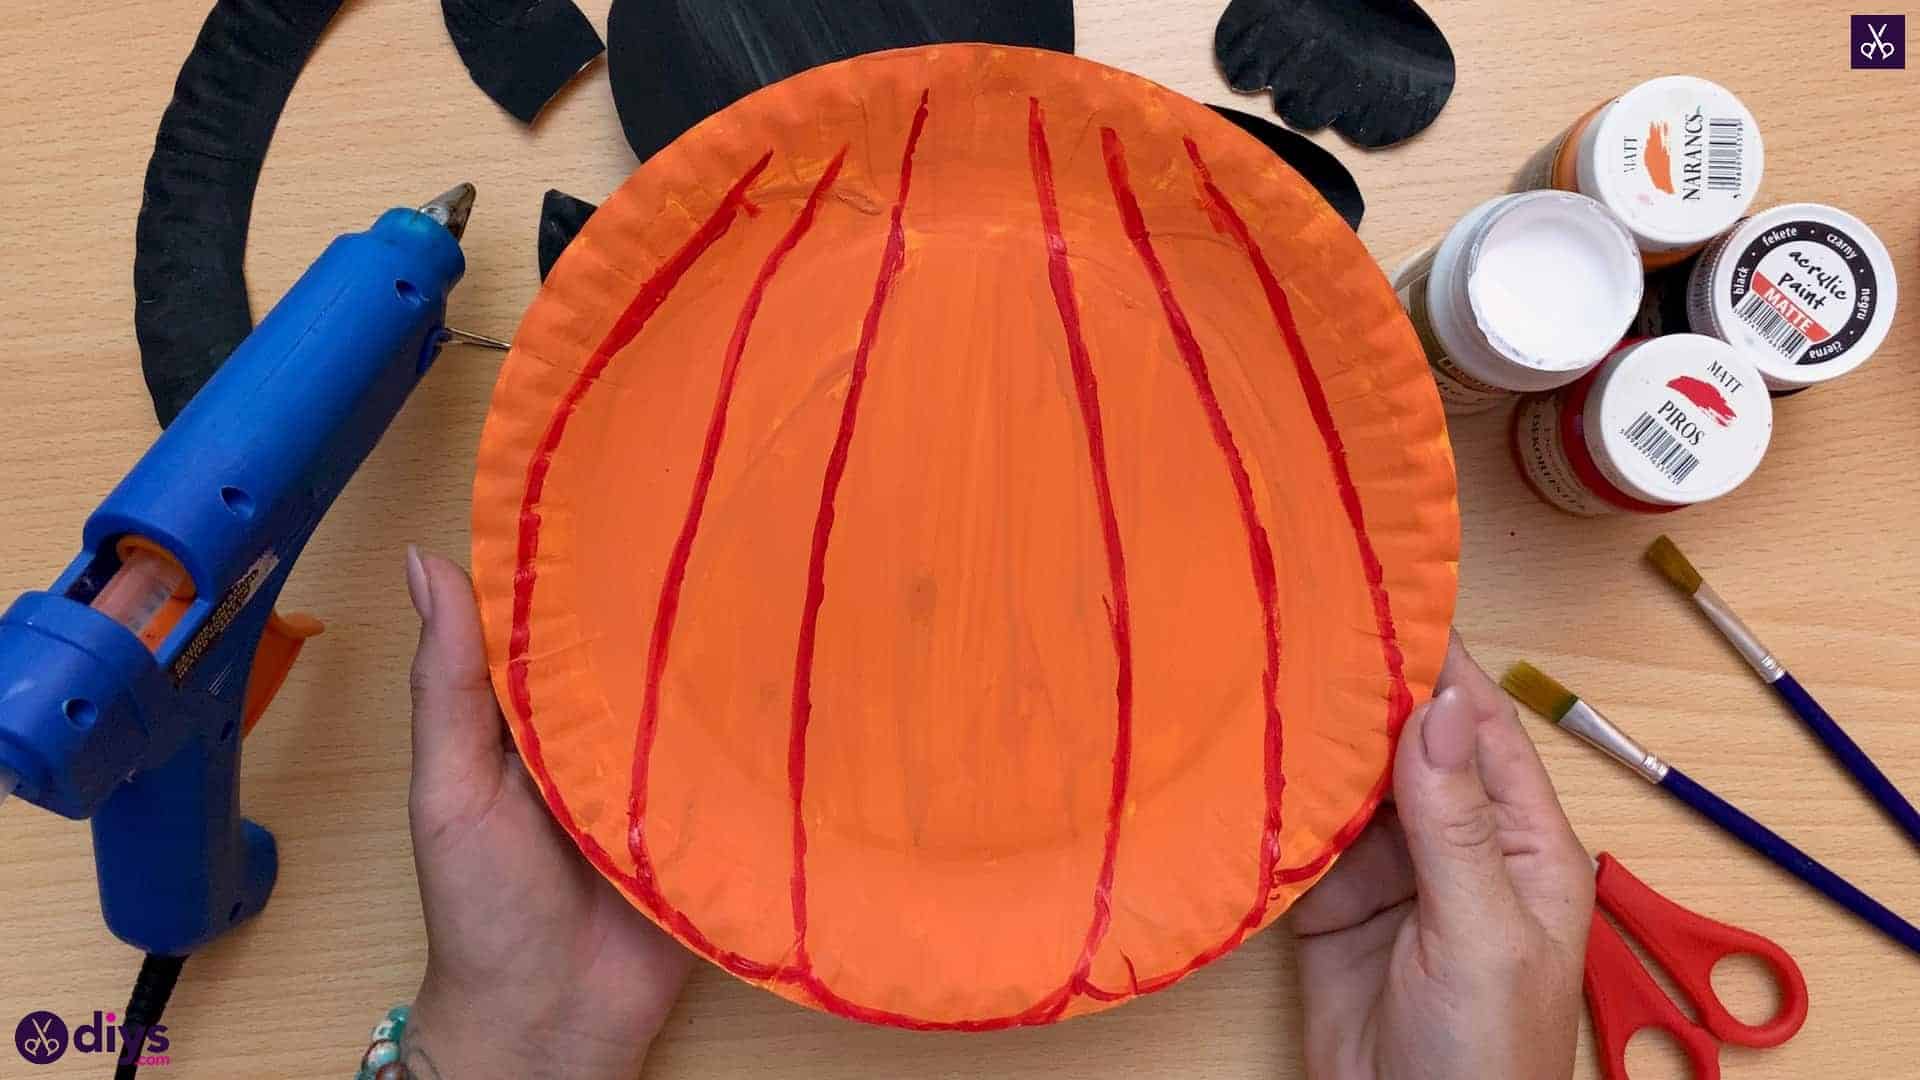
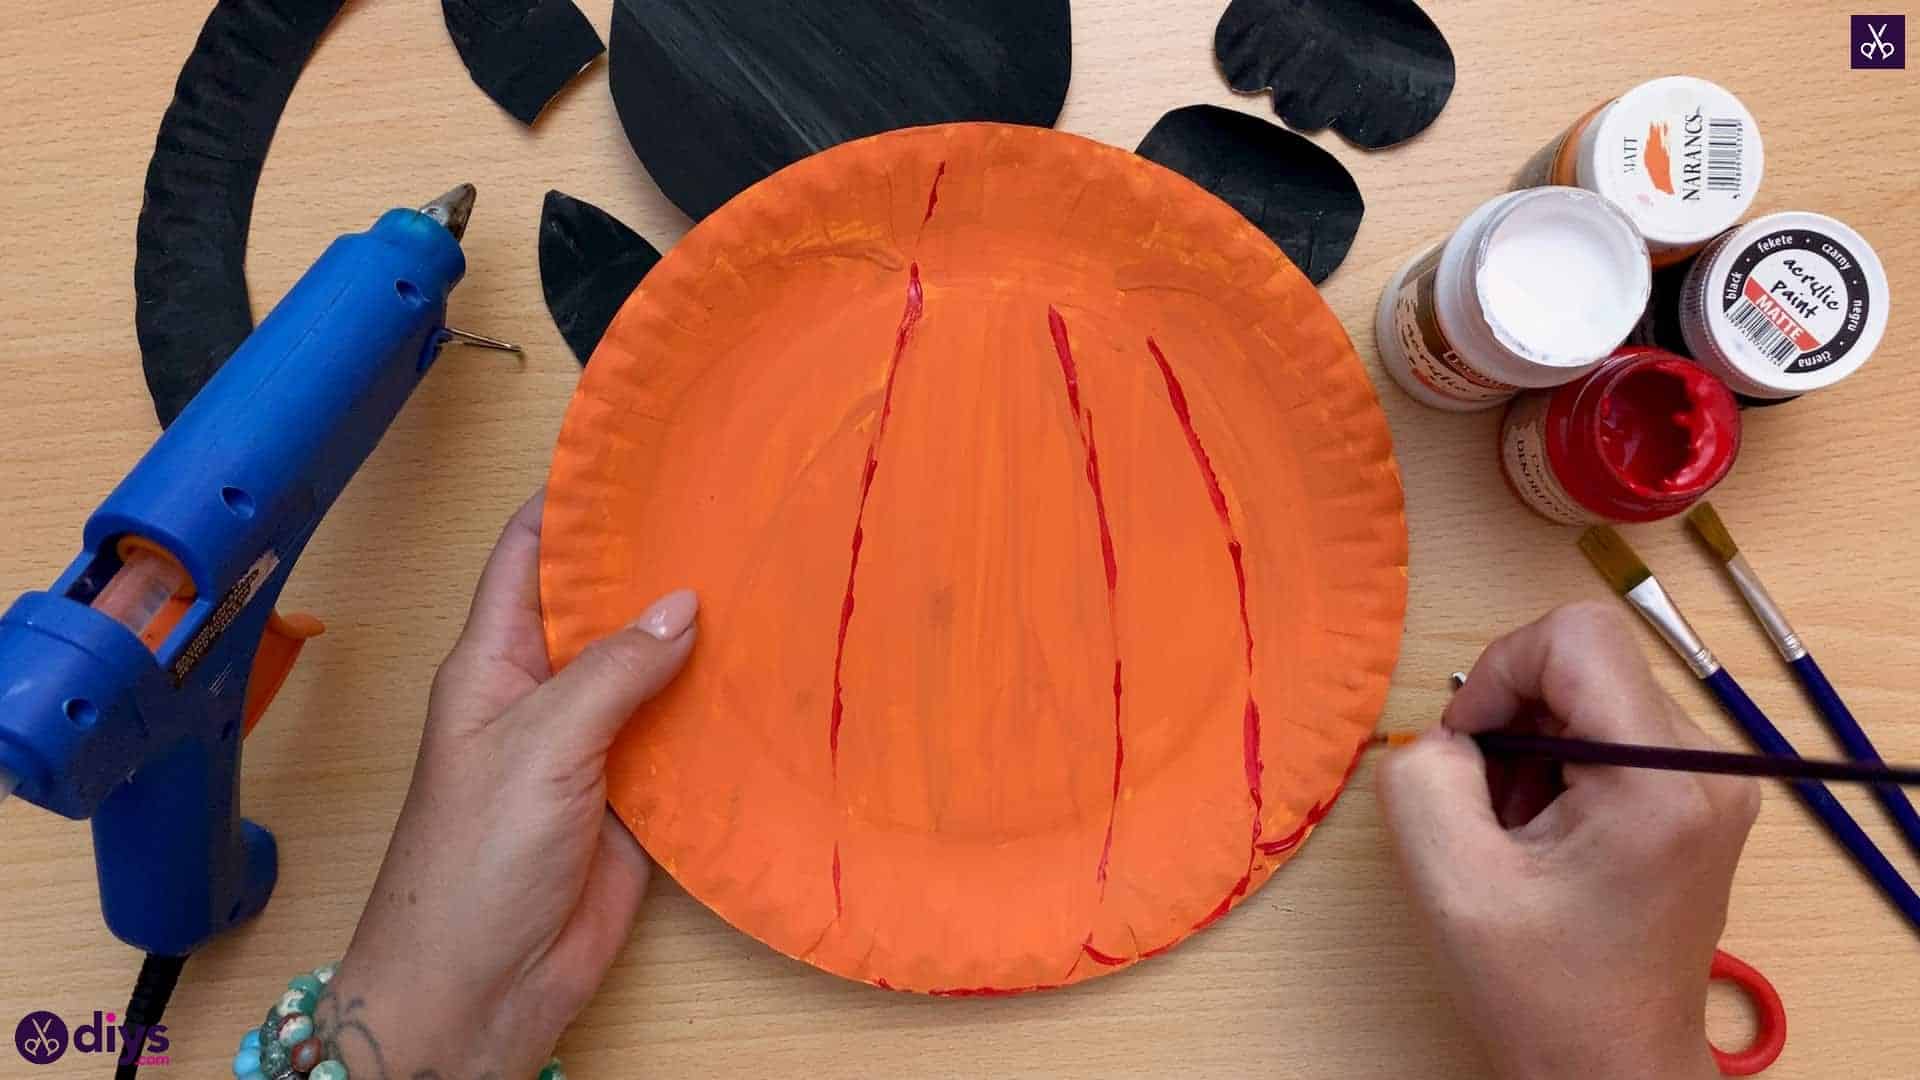
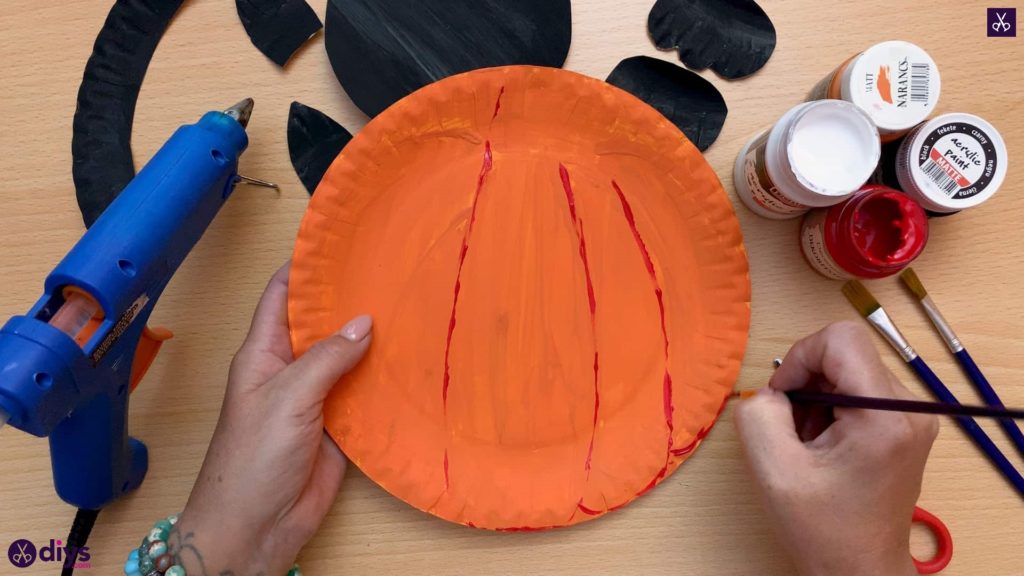
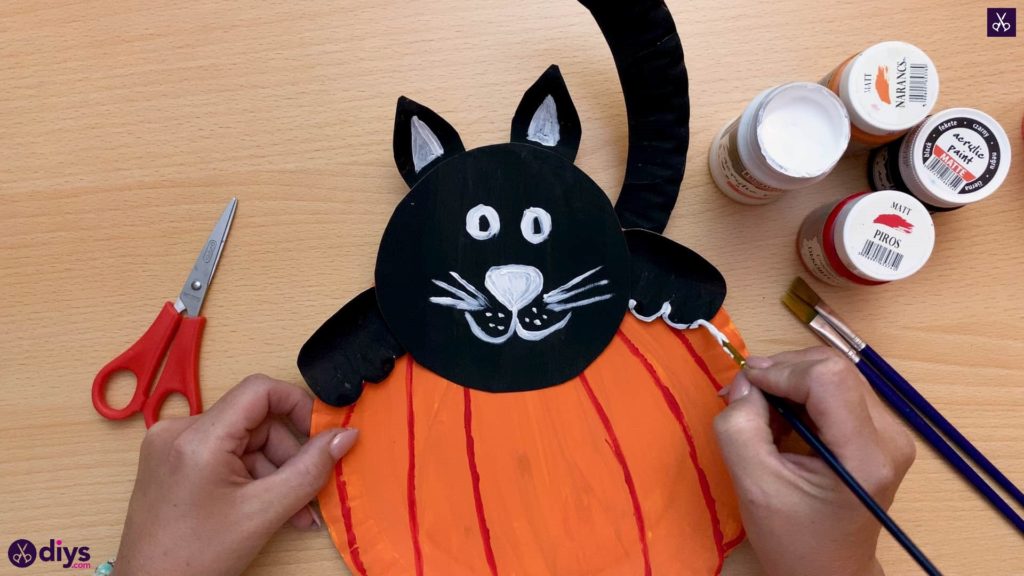
Use your red paint and a paint brush to paint some line detail on your pumpkin, the way a real one has ridges! We painted slight arc shapes starting from the top edge of the plate and curving downward. I cute the bottom edge of my pumpkin into small ridges along the plate to really mimic the shape of the ridges in the real thing.
Step 6: attach cat
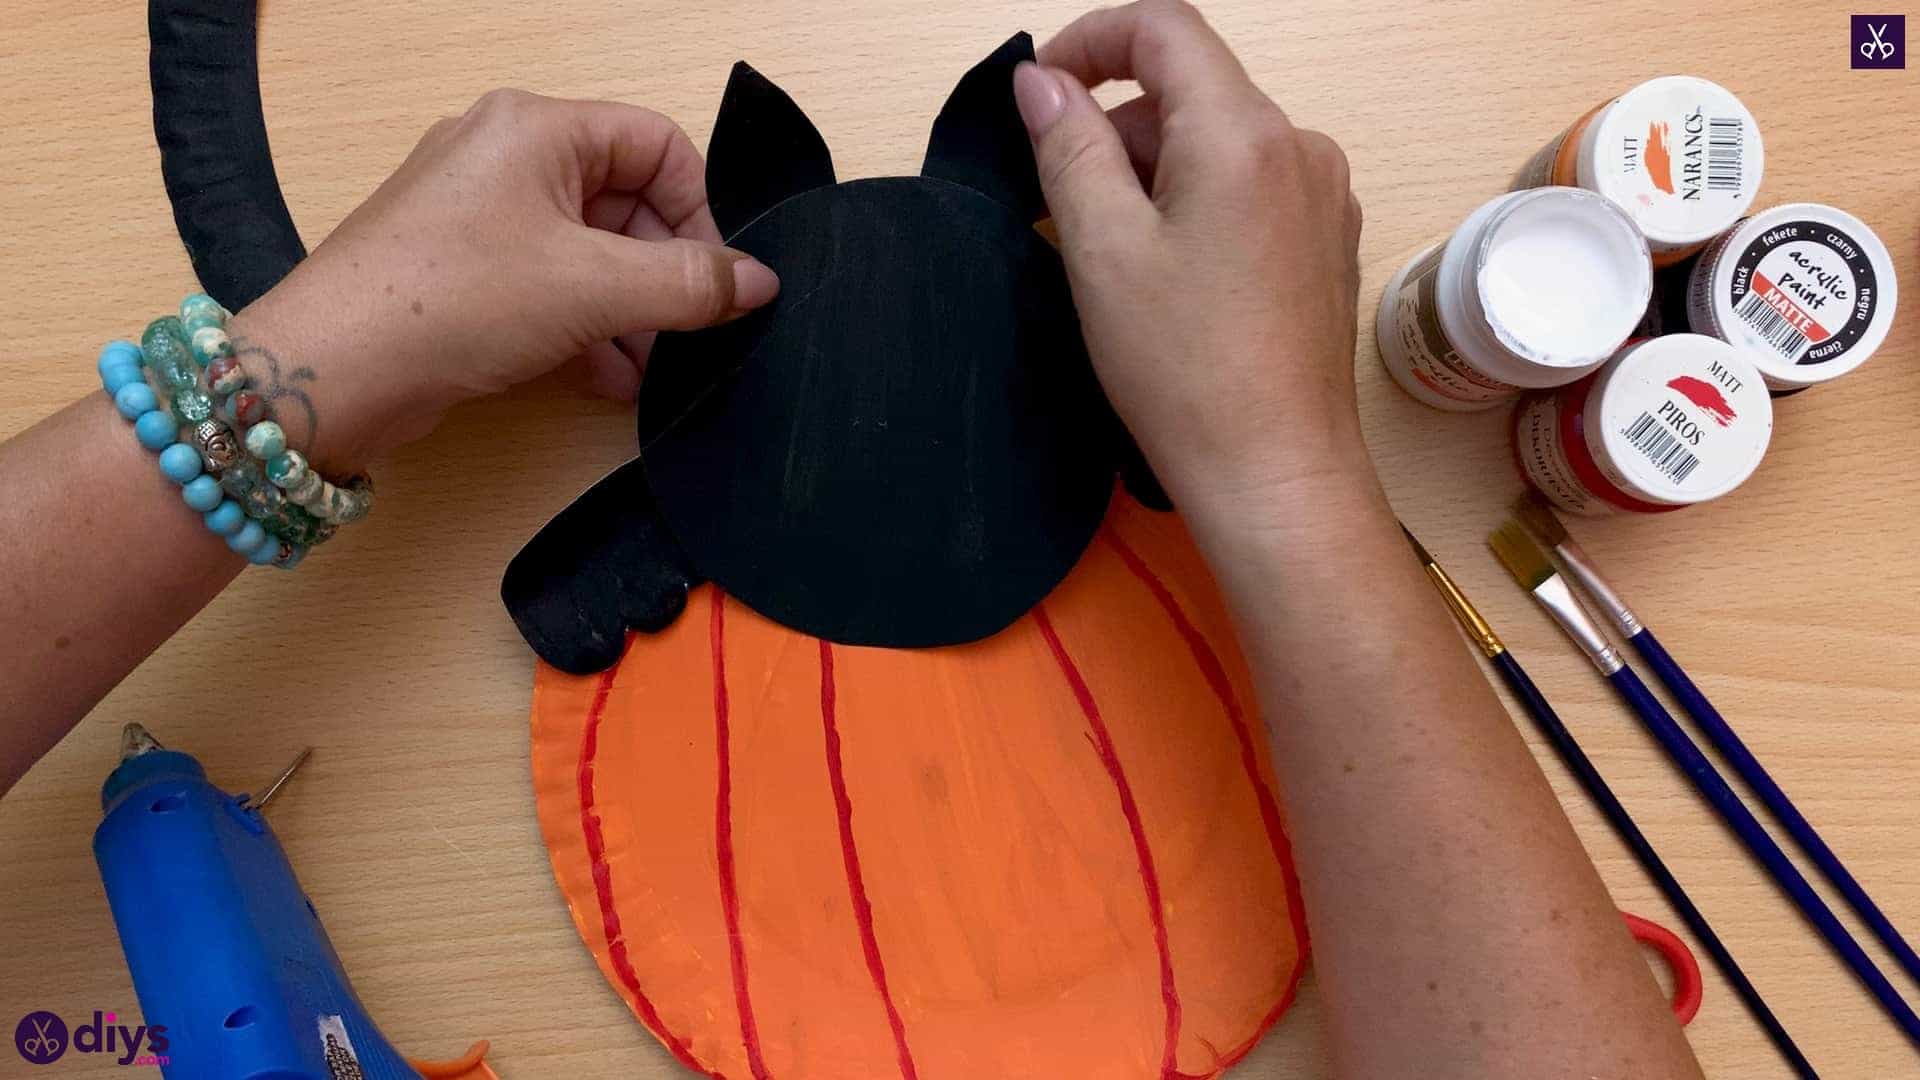
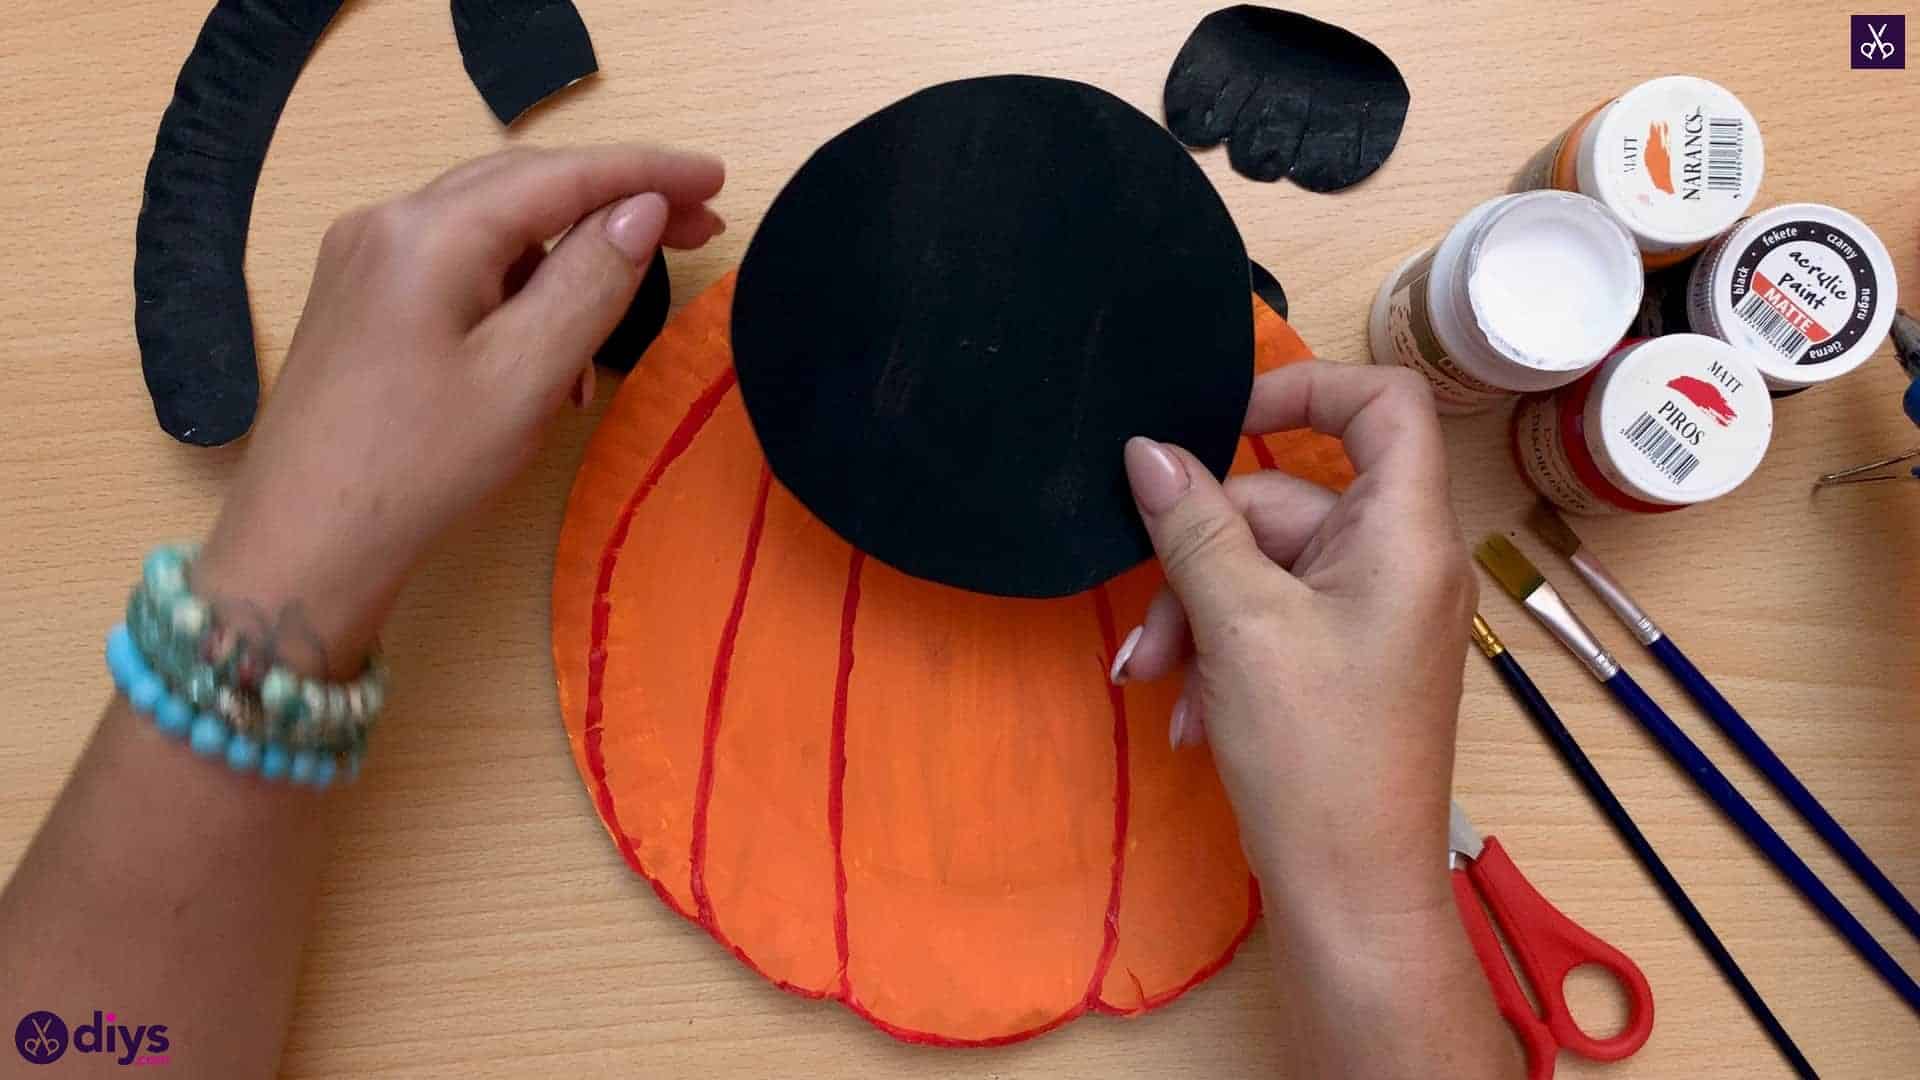
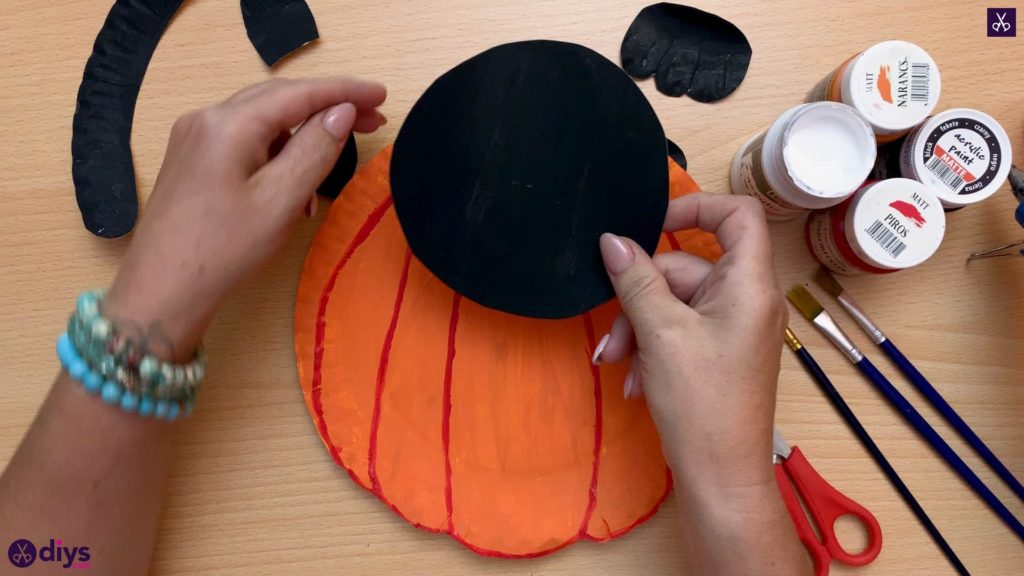
Apply glue onto the back of your black circle piece and press it into the top of of your pumpkin. I situated mine so that the middle of the circle’s back was along the edge of the plate, with half the circle resting against the orange side and half the circle sticking up above the rim. Your cat’s head is now peeking up over the pumpkin!
Step 7: attach smaller items
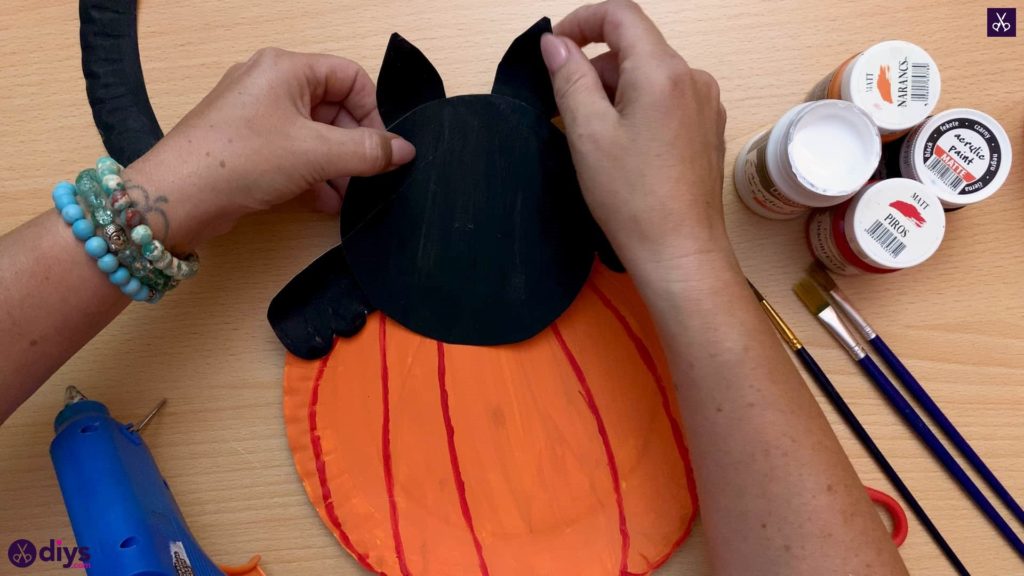
Apply glue to the backs of your cat’s paws and stick them down on the pumpkin’s top edge as well. I tucked the edges closest to the cat’s face underneath like its paws are tucked under its chin. Next, apply glue to the front bottom edge of your cat’s ears and stick them to the top back of your cat’s head.
Step 8: paint the details
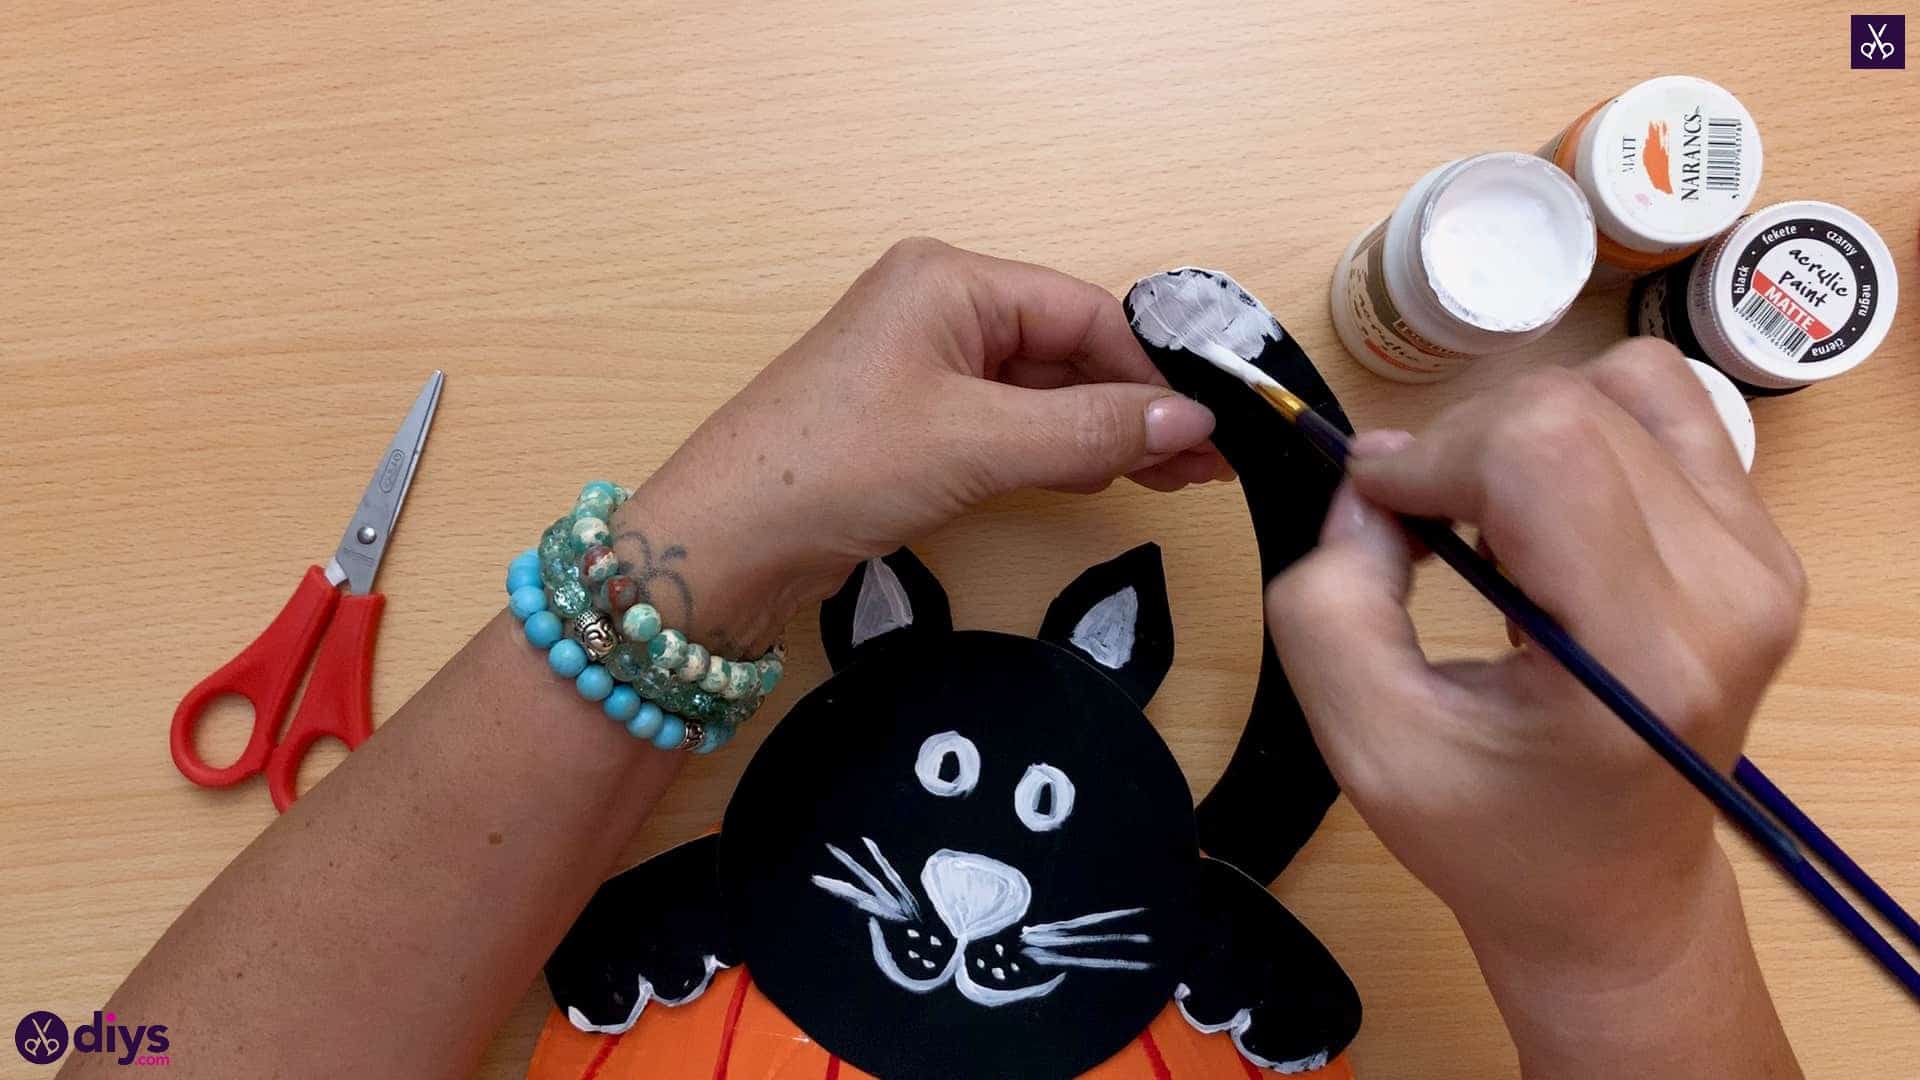
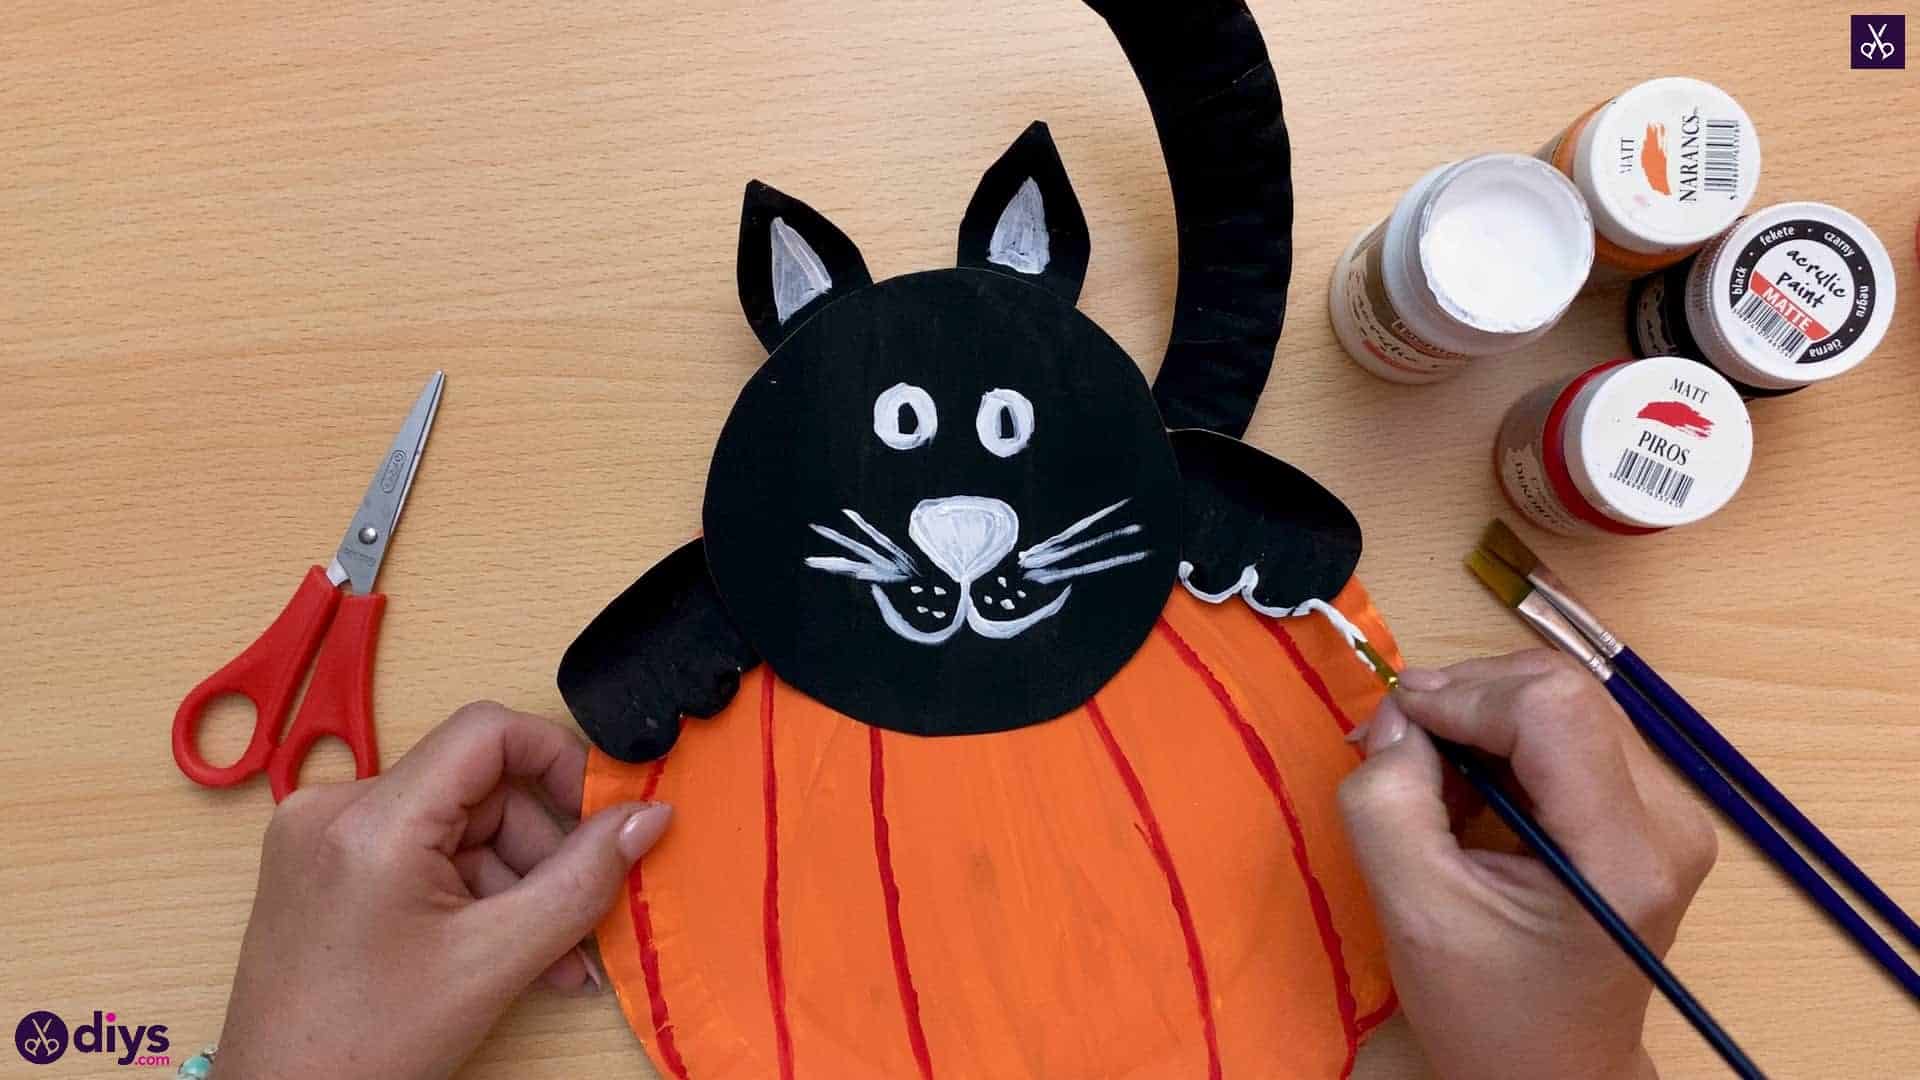
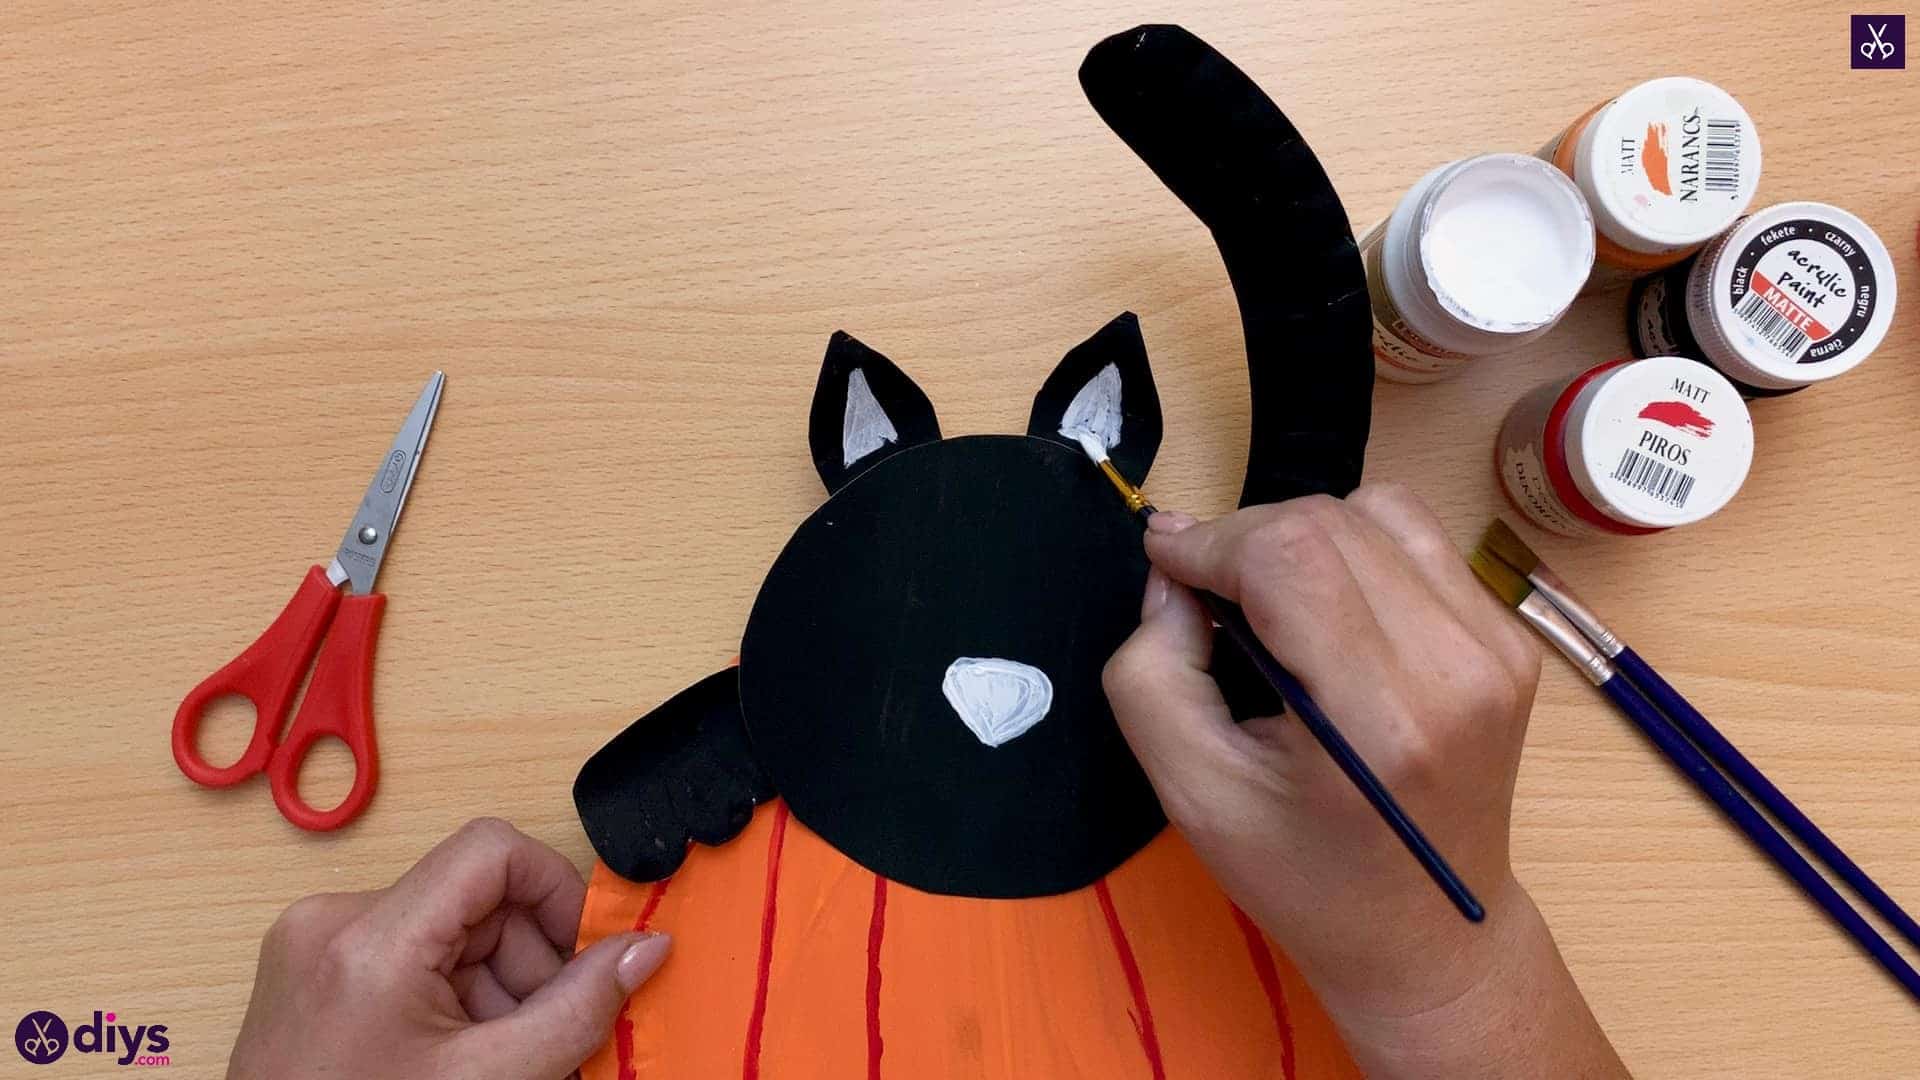
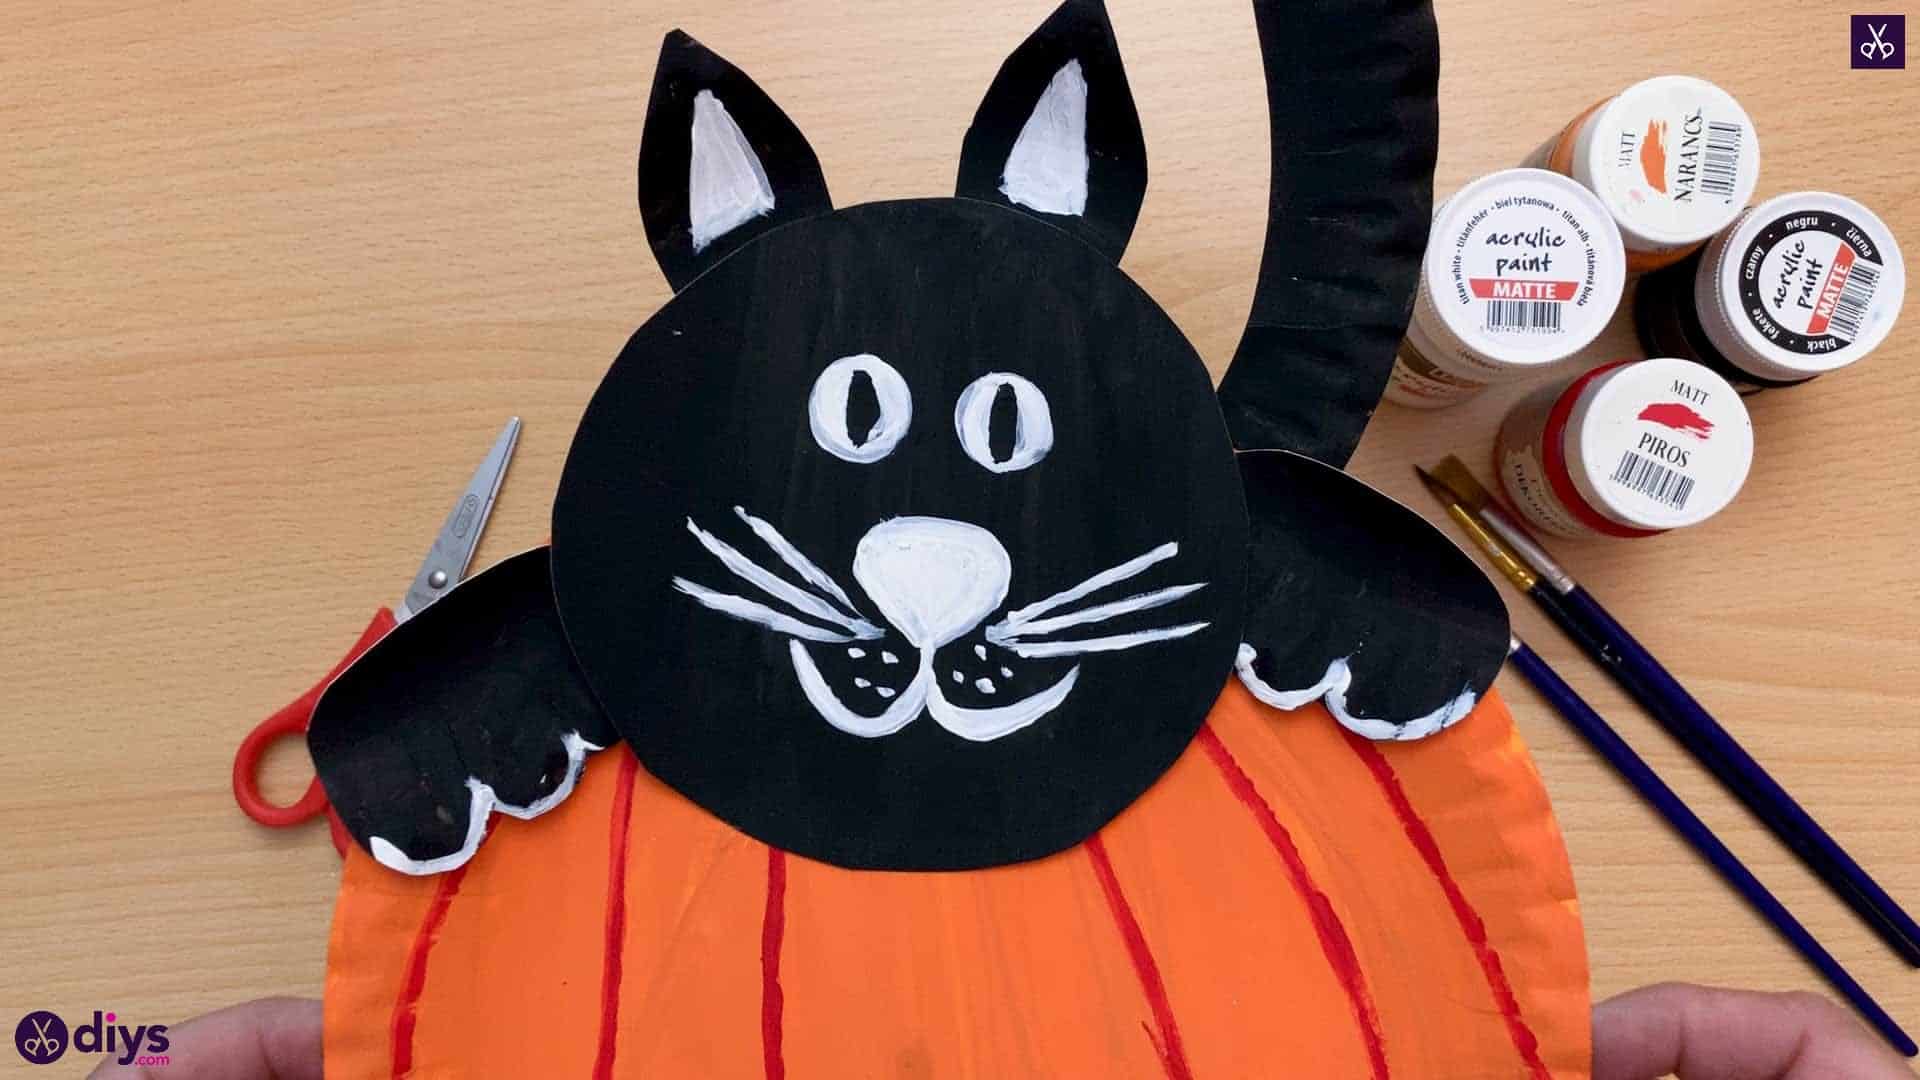
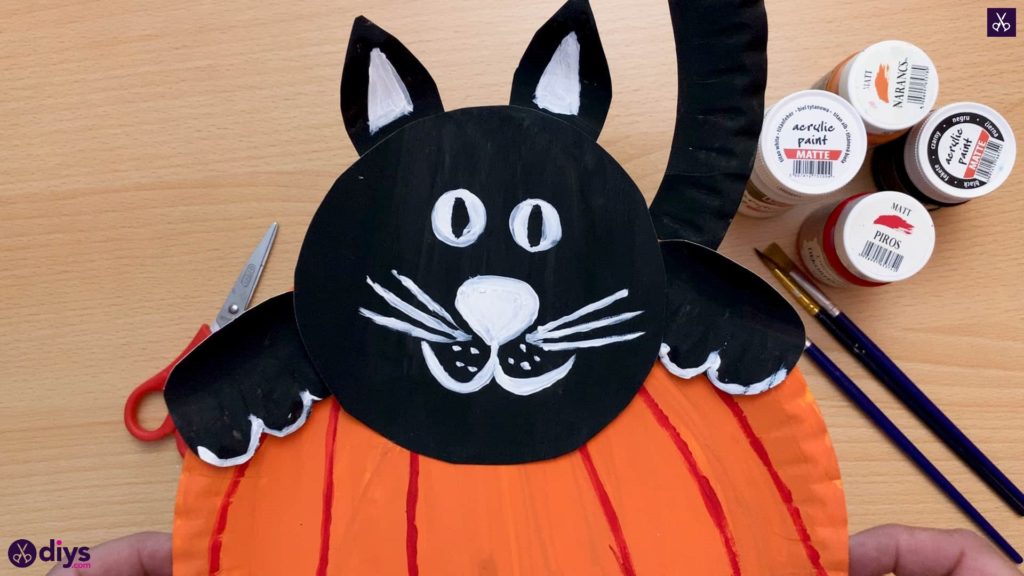
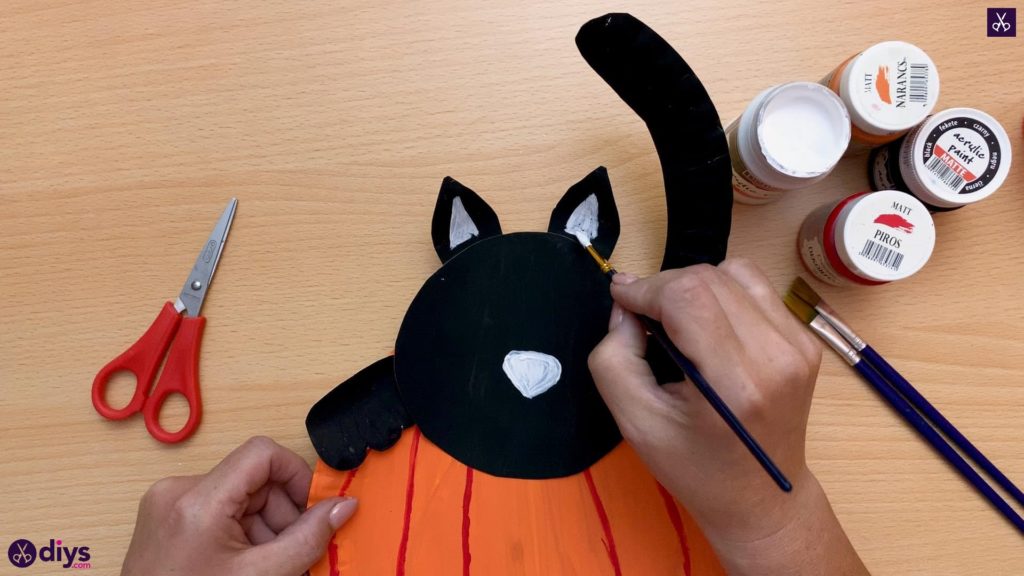
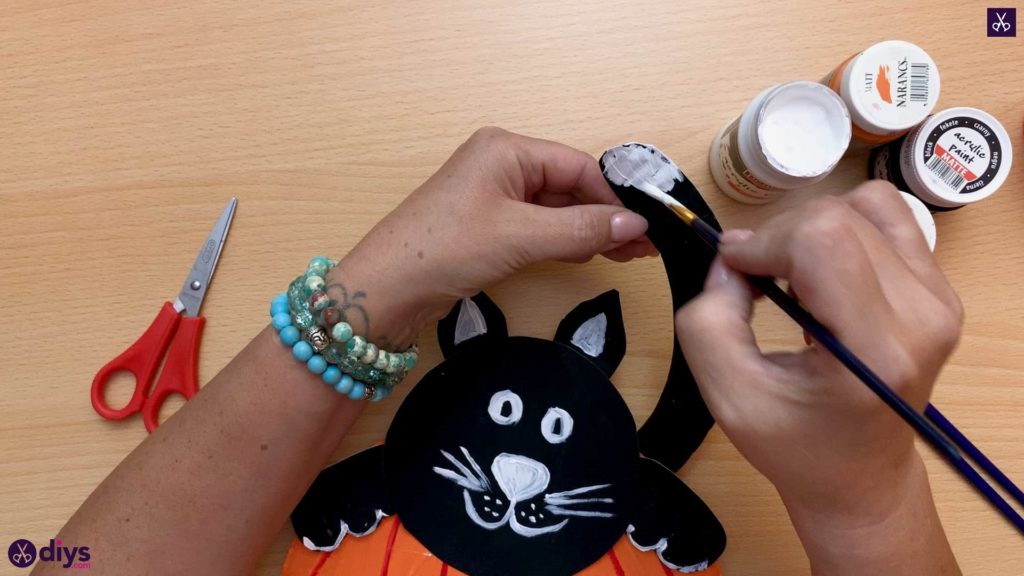
Use your white paint to add facial features and details to your cat. I painted a nose, mouth, and eyes on the head, inner triangles on the ears, a tip on the tail, and I outlined the ends of the paws.
Just in case you’d like to try this project out for yourself, here’s a fantastic tutorial video to help you!
<span=”videowrapper”>
