Make a Unique Photobooth Prop: Party Hat Headbands!
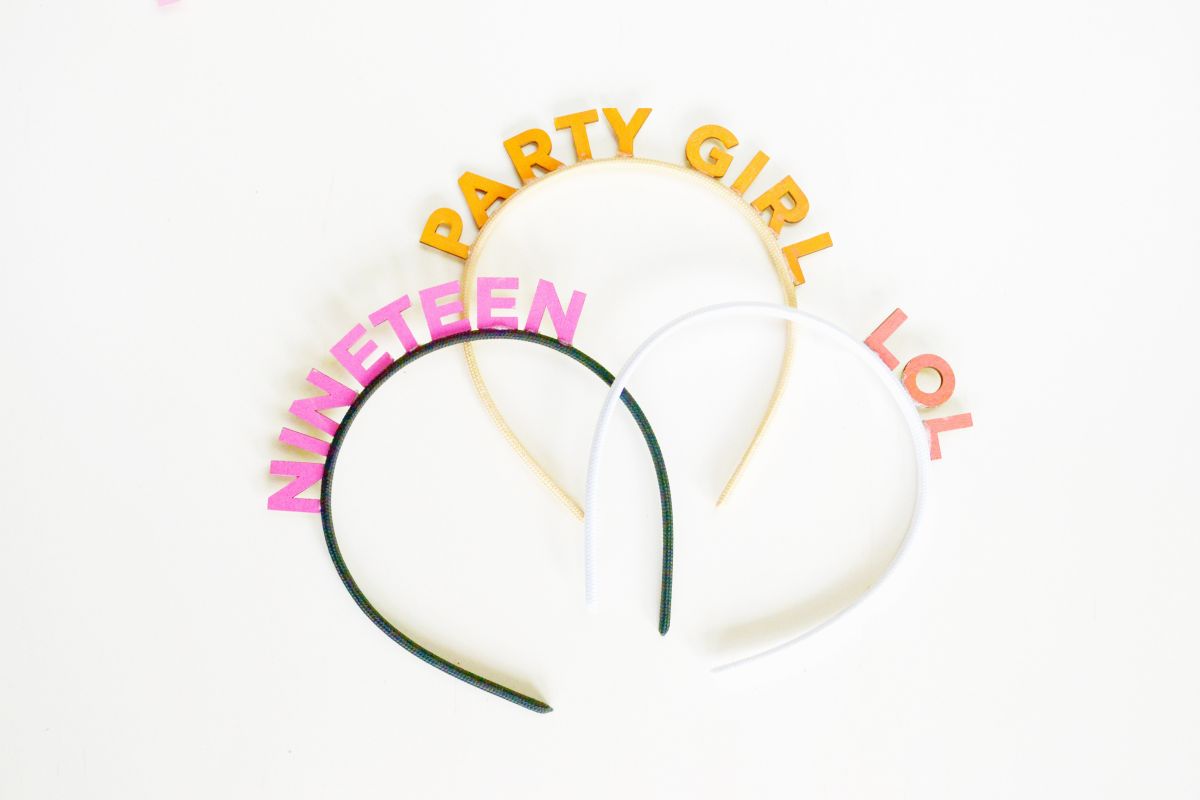
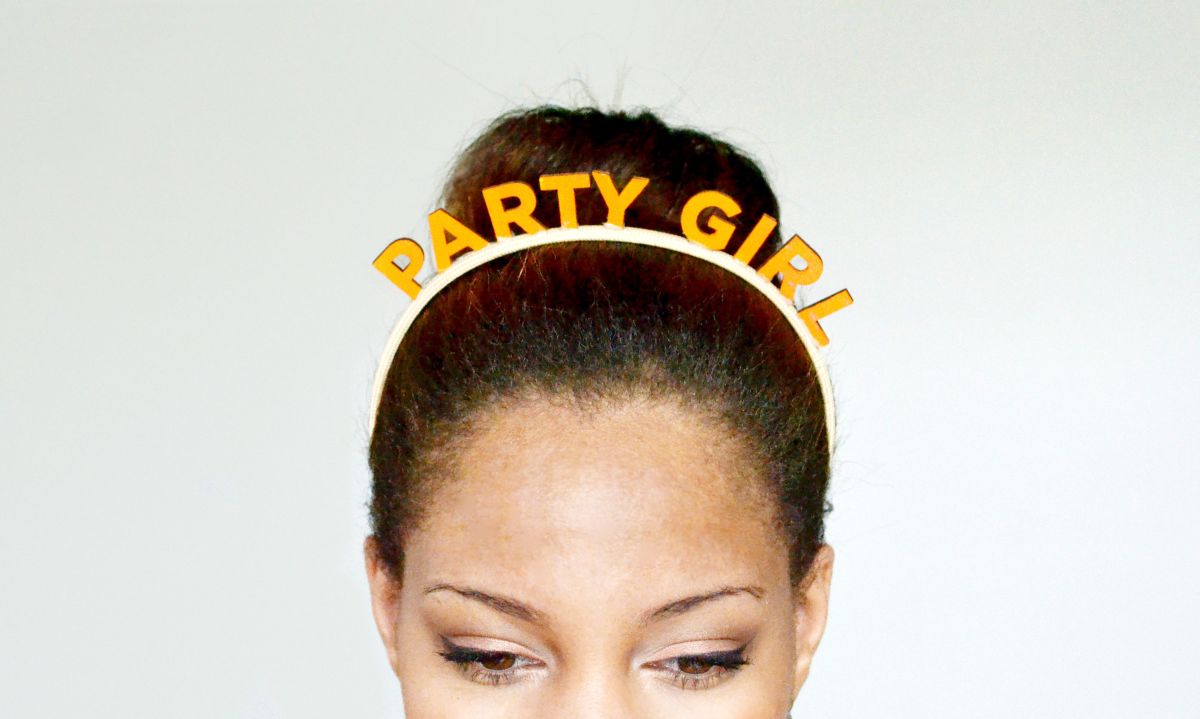
It is truly the season for parties. With the heat of the Summer, comes one party after another. For this DIY, I wanted to create something fun and unconventional that you and your friends can be super creative with. Don’t go out and buy party hats, make these eye-catching, party headbands using just a handful of supplies and in no time. Once your create one, you’ll want to make more and more to use in your party photo booths. Invite your friends to make their own headbands before the party begins. It’s great to flaunt with it on all night and switch it up to reveal another fun word or phrase as the party calls for it.
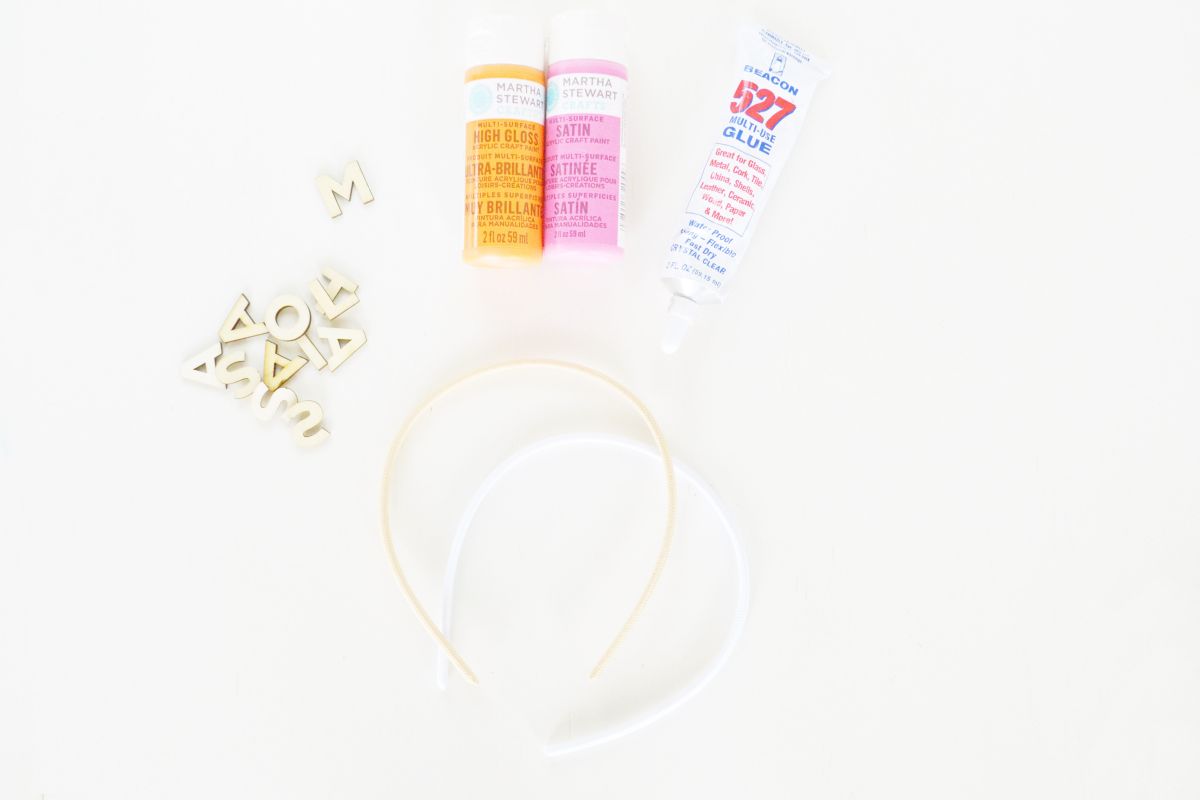
For this project you will need:
- A few headbands
- Small wooden or plastic letters
- A strong adhesive (E-6000 or 527 glue should do)
- Paint (optional)
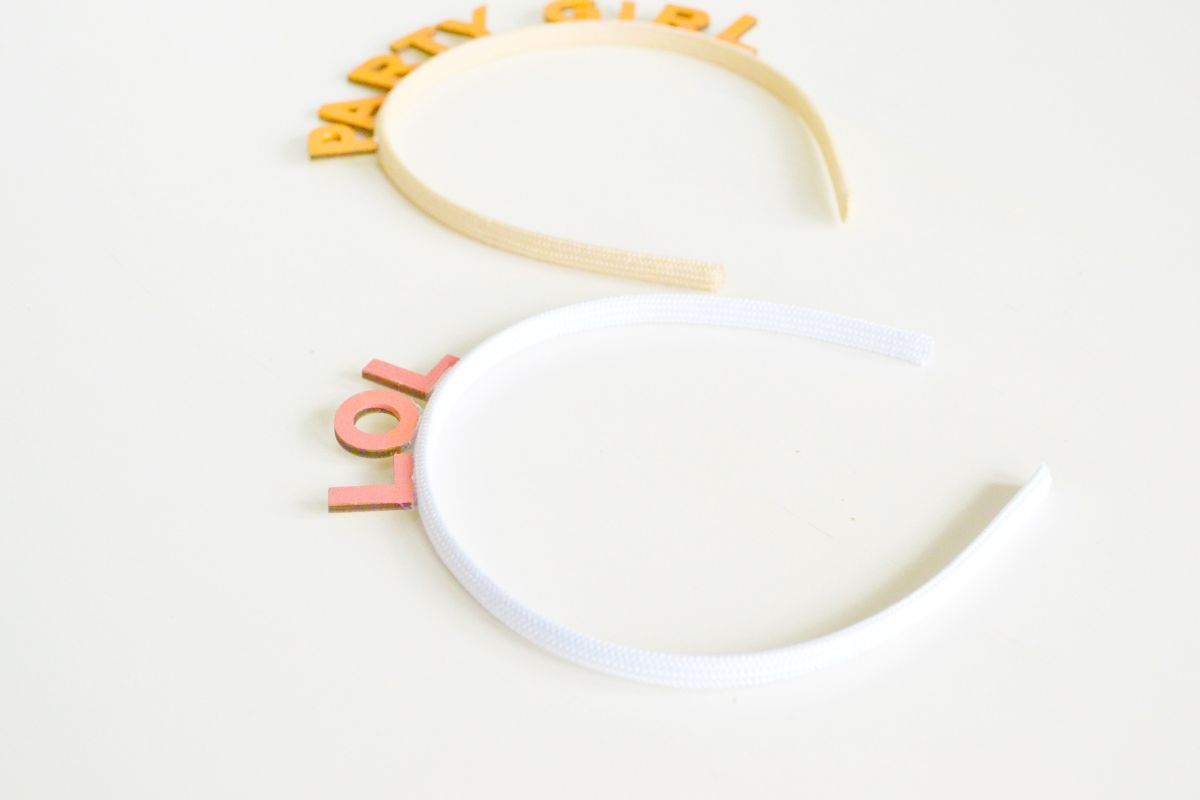
I hadn’t worn headbands in a long time, but this DIY called for it. I picked these up from my local dollar store for just a buck a piece. The low cost helps when you are buying a lot for a large party.
Step 1: Choose your words and phrases.
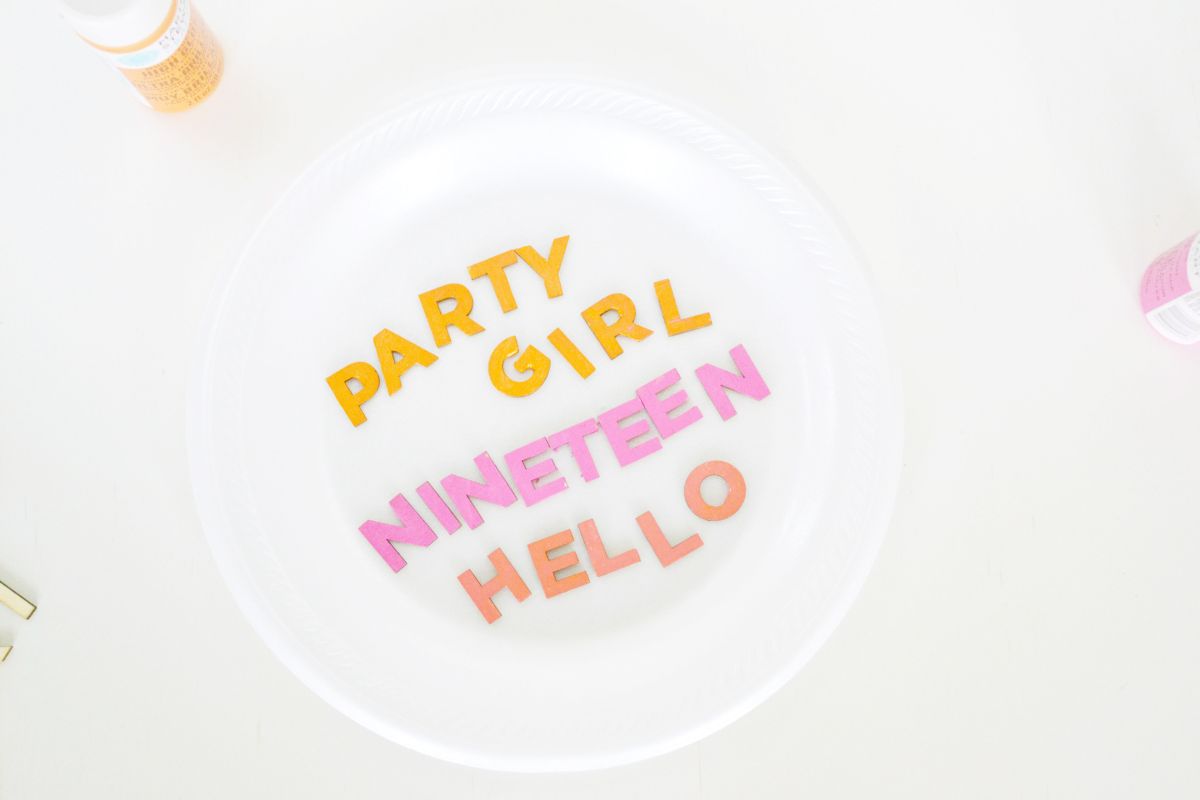
The headband should be wide enough to fit at least two words. For a birthday party, “party girl,” “happy birthday,” or the age of the birthday person are a few fun words or phrases you can attach. Depending on how many of each letter comes in your package, you may find that you’re limited to what you can spell out; so when buying your letters it’s good to either purchase multiple packs, or already have in mind what you’re going to spell out when you’re shopping at the craft store.
Step 3: Let the paint dry for about 15-20 minutes.
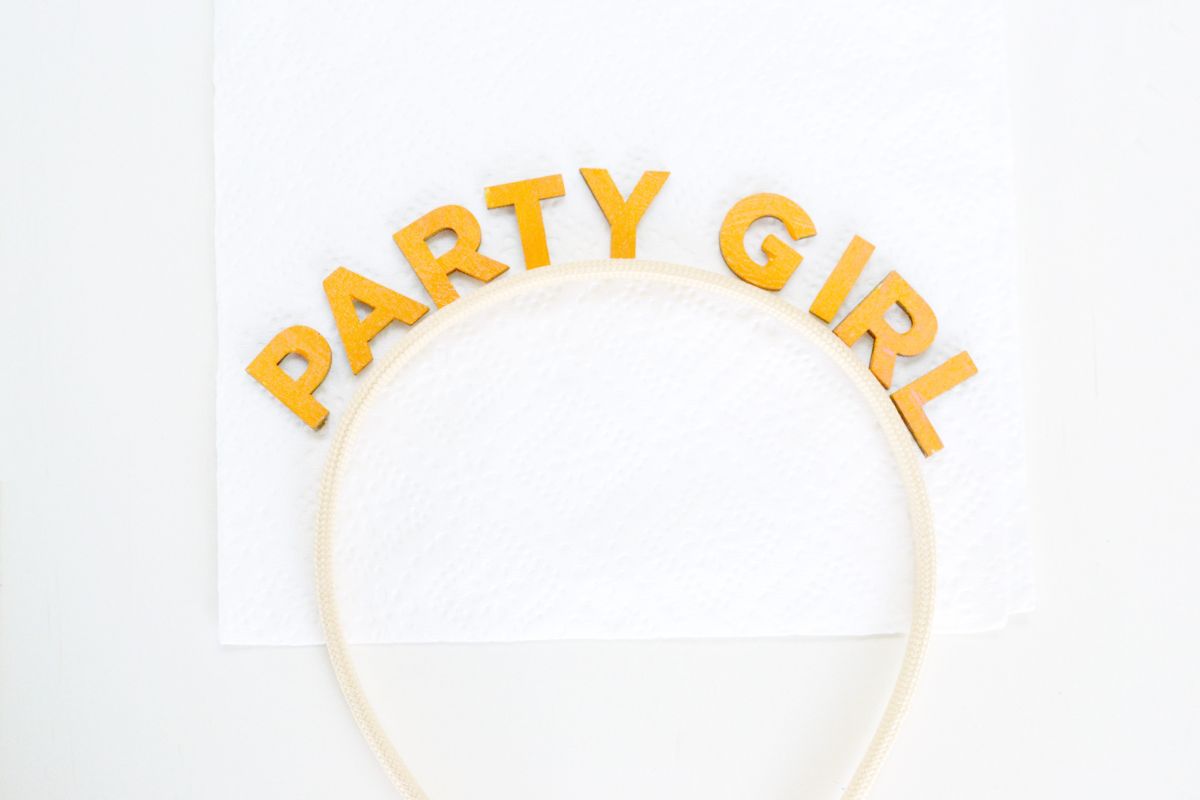
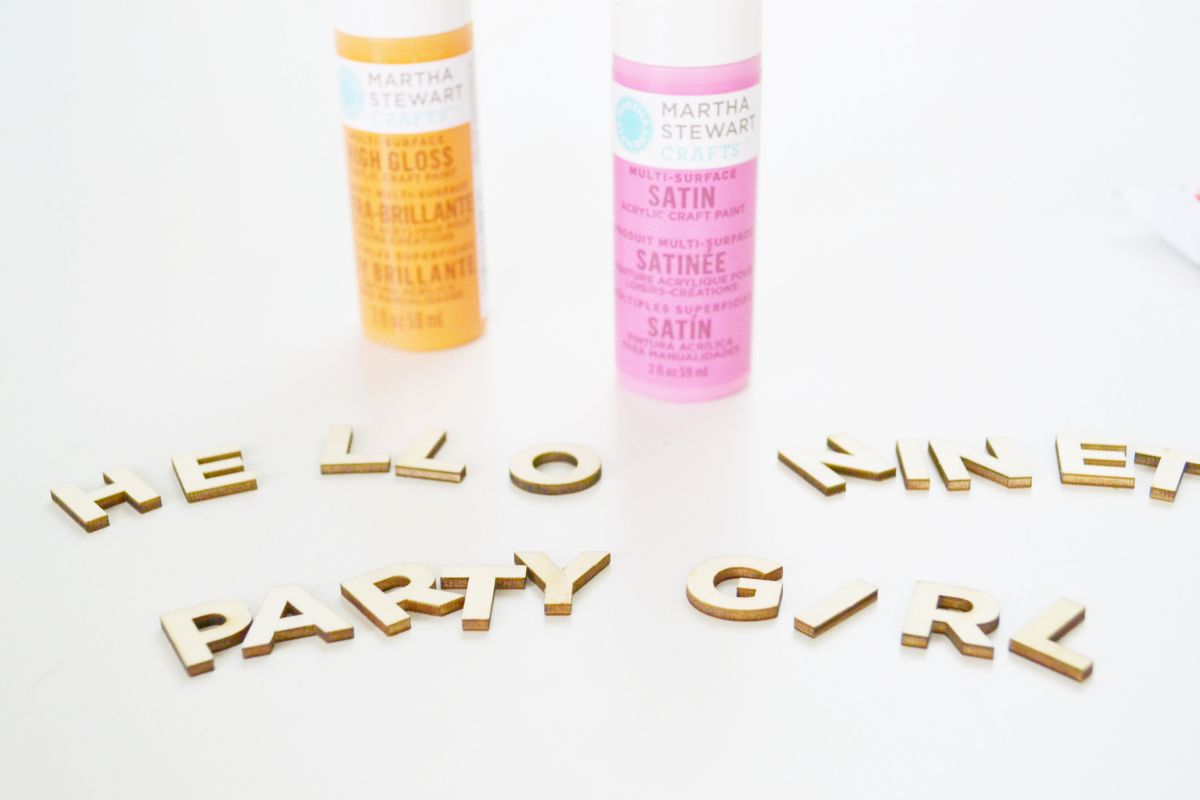
Step 4: Lay your letters above the headband before using the adhesive.
Make sure you space out them the way you’d like to ensure there is enough room to fit the entire word or phrase.
Step 5:Small amount of glue.
Drop small amount of glue at the bottom of each letter and adhere to the headband.Don’t overdo this- using a lot of glue will cause it ooze out on the sides and won’t give it a smooth, seamless look. Here, a little bit definitely goes a really long way. As you apply the letters, hold them in place and press firmly for about 10 seconds before releasing. This helps the letter stick to the headband without sliding off. I found that the smaller the bead of glue, the easier the letter adhered to the headband.
Step 6: Dry glue.
The glue should dry in about an hour, but you should be able to wear it earlier than that if the underside of the headband is free of glue. Holding it upright, or sitting it on your head helps the letters sit straight. If you notice the letters starting to fall down when drying, prop it upright so the letters dry in their proper position.
These headbands make great props for photo booths and backdrops. I love that they sky is the limit here when choosing what to say. Create headbands with the upcoming calendar year and wear them to New Year’s parties. Spell out your name at the top and use them for icebreaker games with new groups. Any way you choose to wear them, they will most likely be the talk of the day!
