How to Make a Paper Sunflower
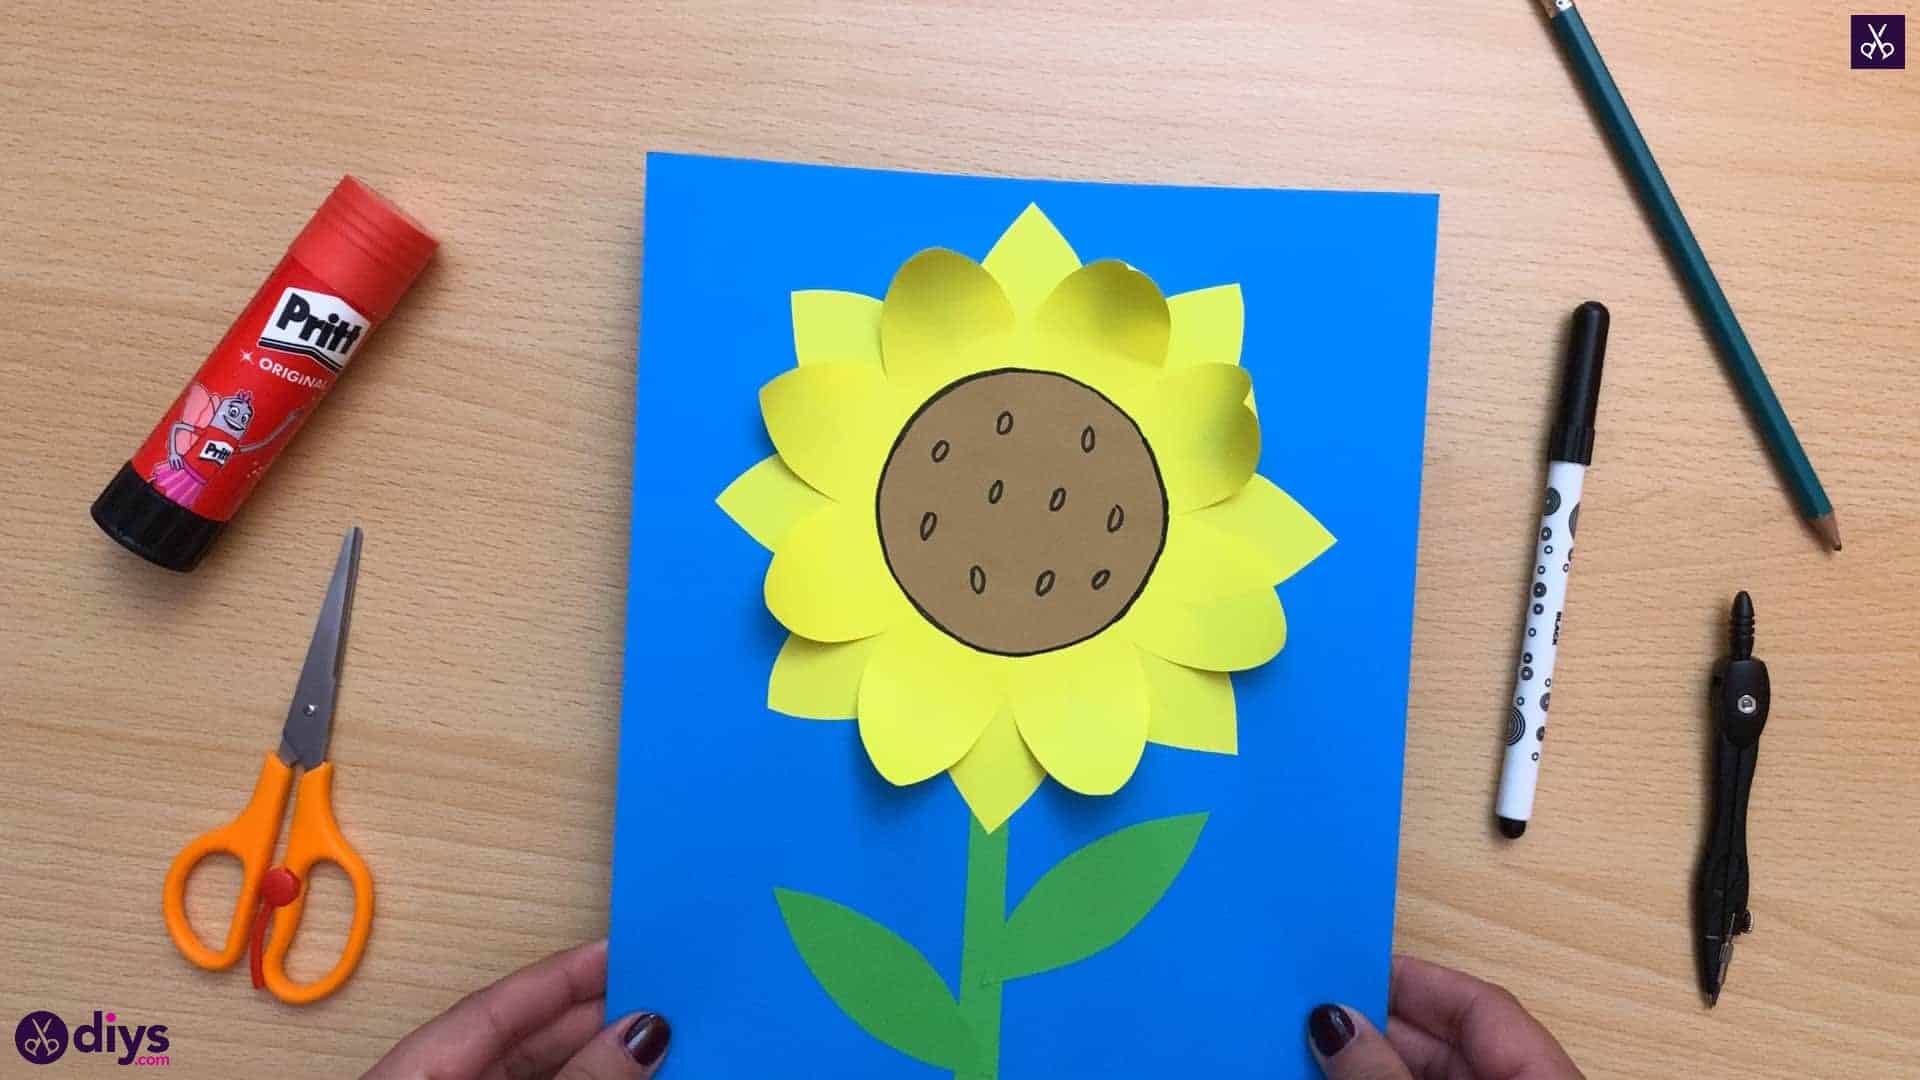
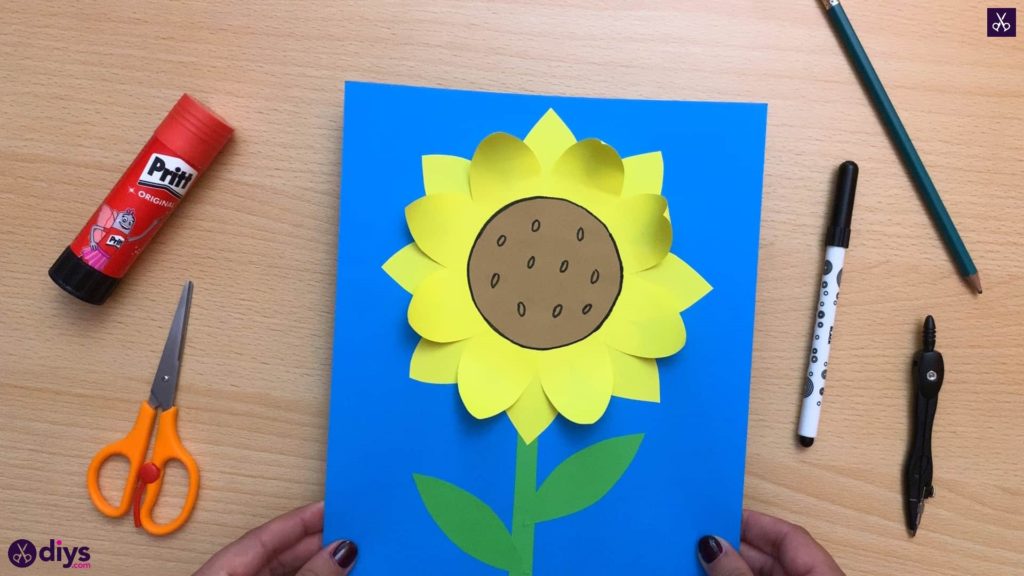
Just because fall has arrived doesn’t mean that you can’t still celebrate flowers! There are plenty of different kinds of flowers that reach their peek bloom this time of year, and sunflowers are among my very favourites. My kids are totally enamoured with their bright colour too, which is why we decided to help them make a cute paper version last weekend. The project was such a hit that we decided to make them again, this time documenting all our steps so you can follow along at home too!
Here are some helpful photos with instructions to help you along the way. If you’d prefer to follow a video, there’s a full video tutorial at the end of this post as well!
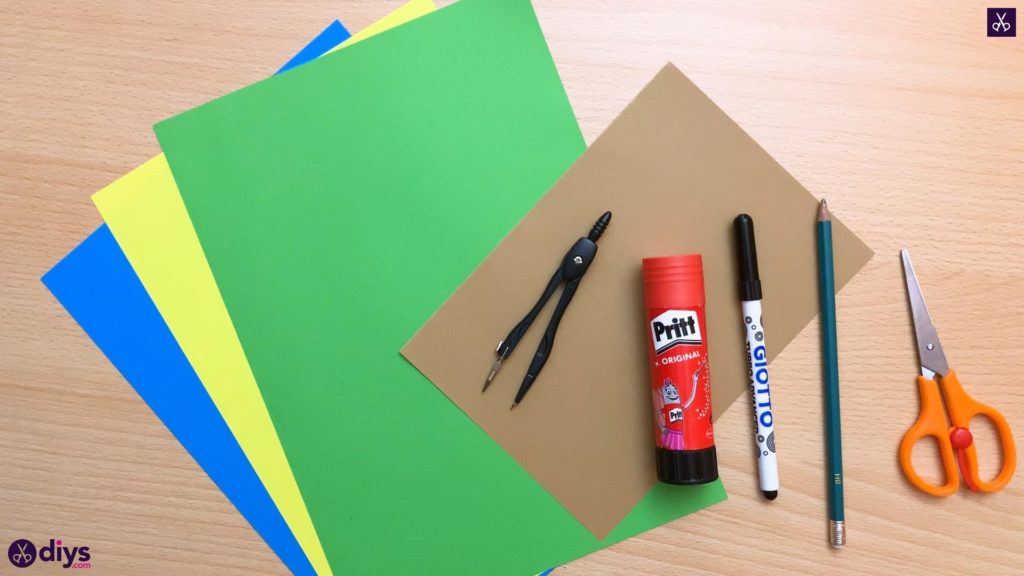
For this project, you’ll need:
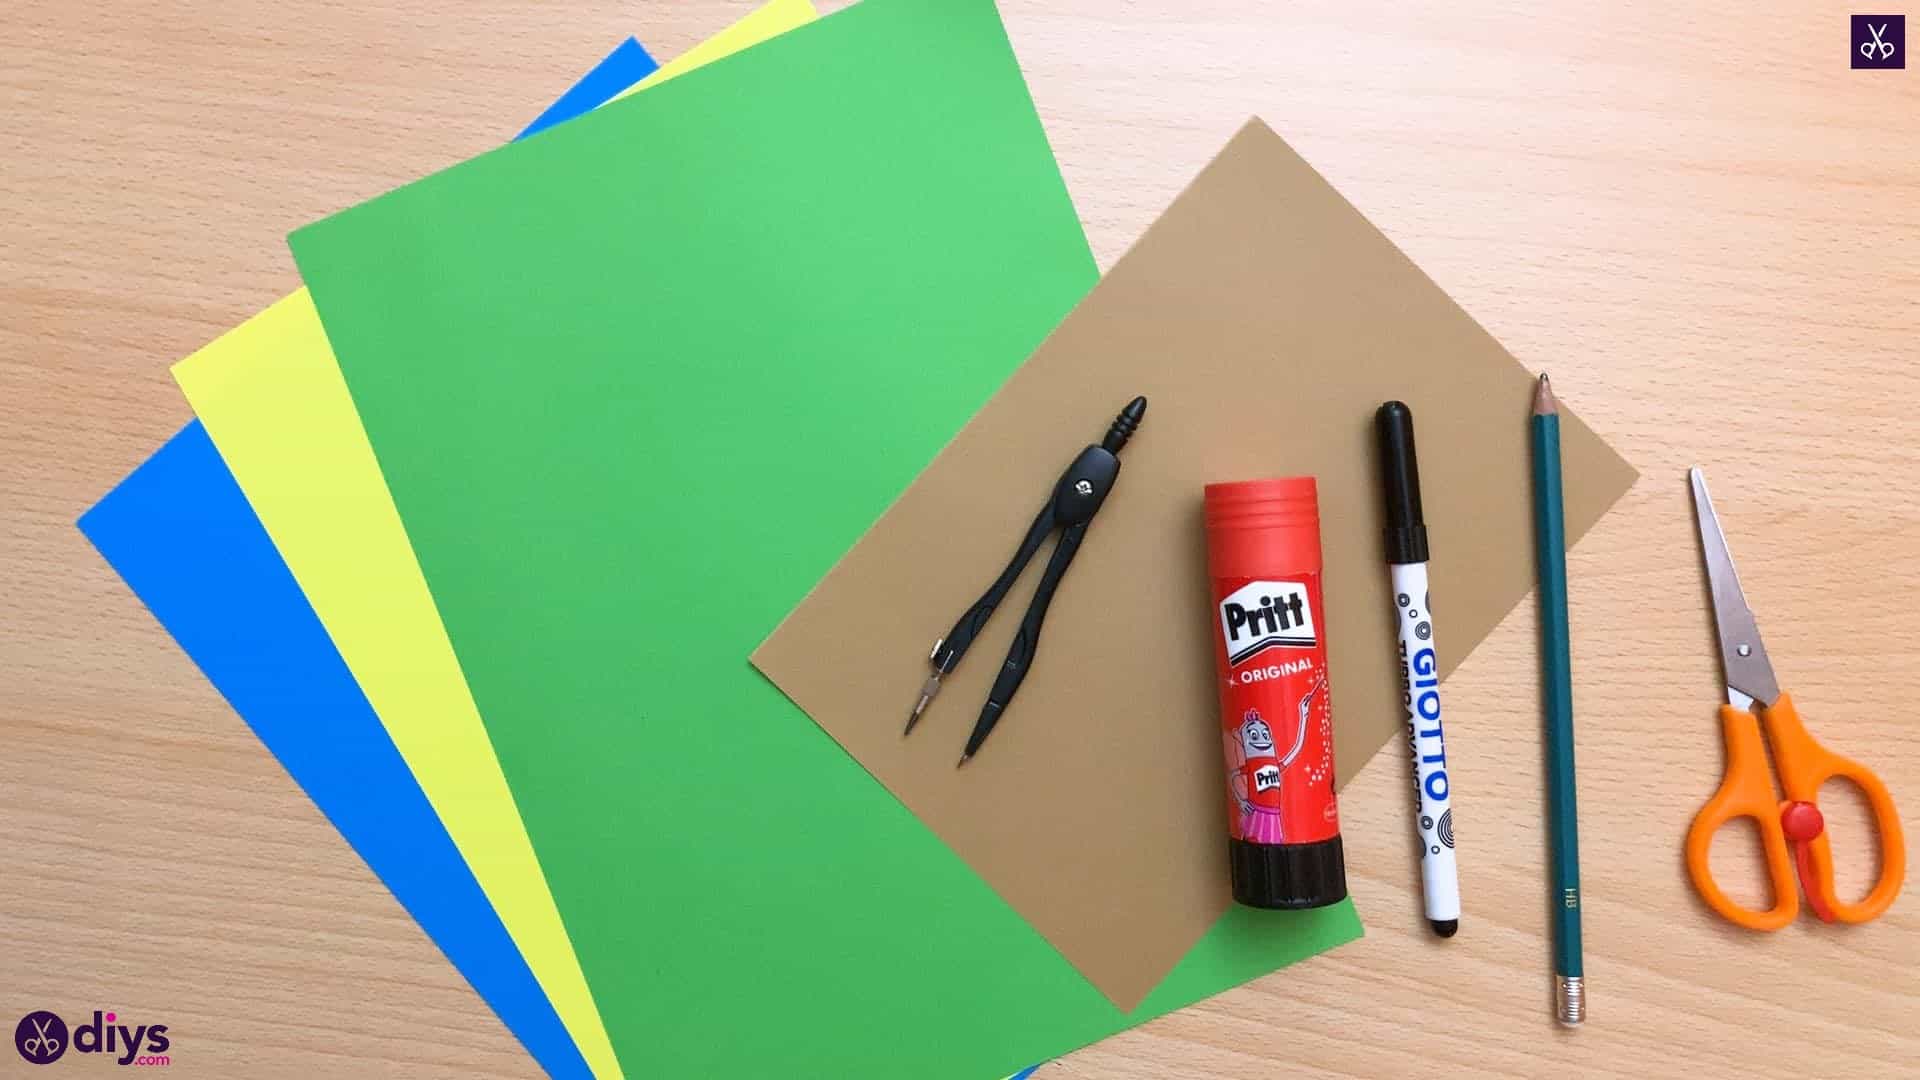
- Construction paper (brown, green, yellow, and blue)
- A protractor
- Scissors
- A glue stick
- A pencil
- A black marker
Step 1: get what you need
Gather all your materials from your list so you have everything together!
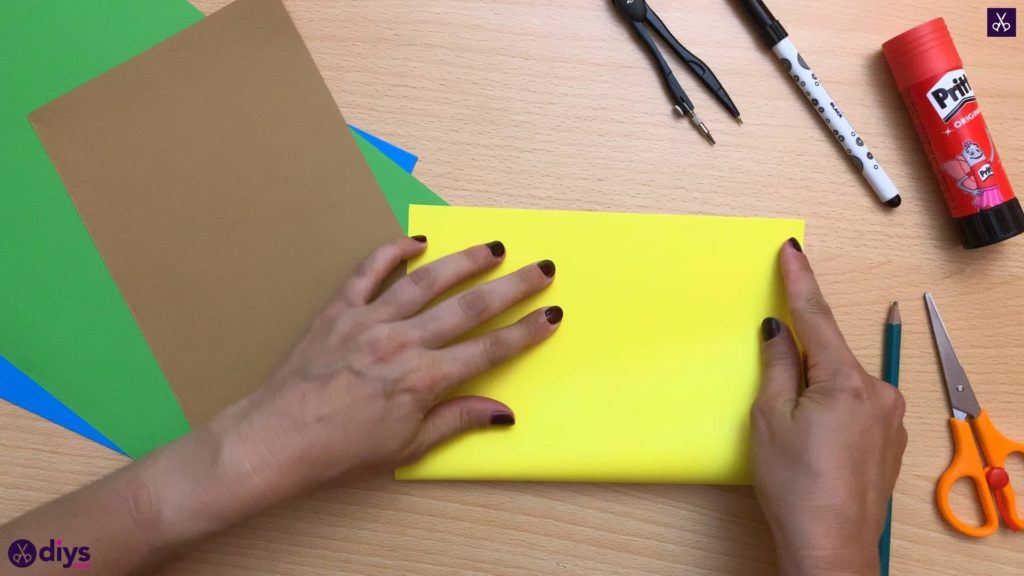
Step 2: fold yellow
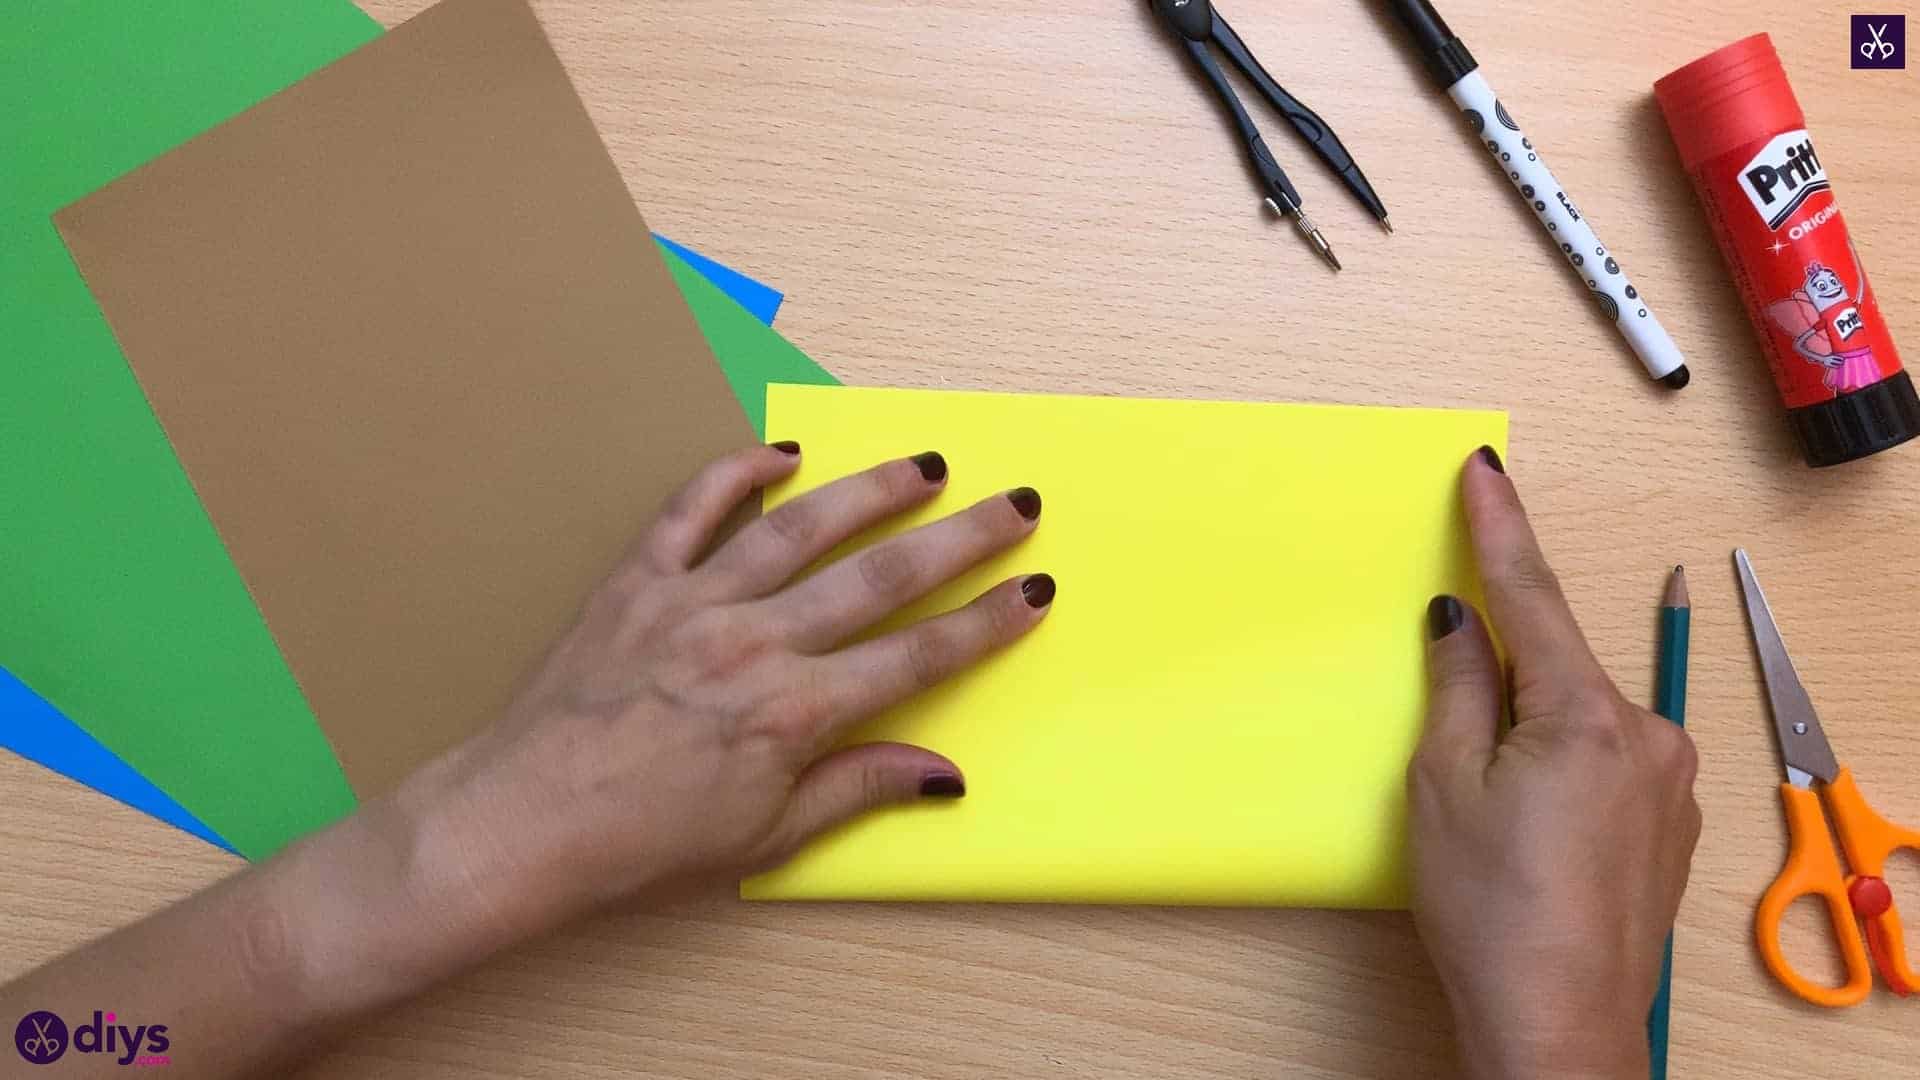
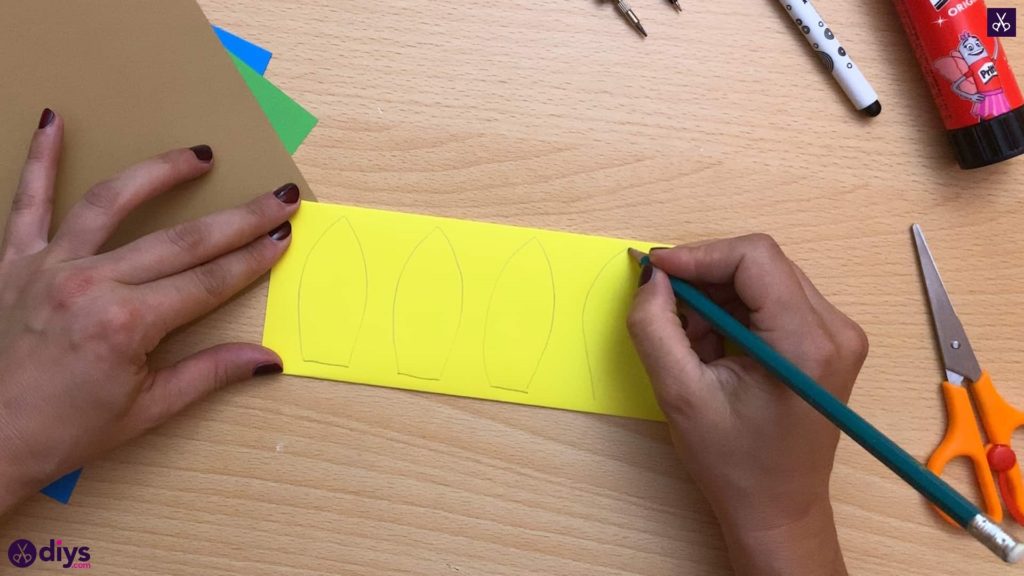
Facing your yellow paper on the table in a portrait direction, fold it in half by bringing your bottom edge up to meet your top edge and creasing it. Then fold your paper in halfagain to get a layered piece that is a quarter the length it was before.
Step 3: draw petals
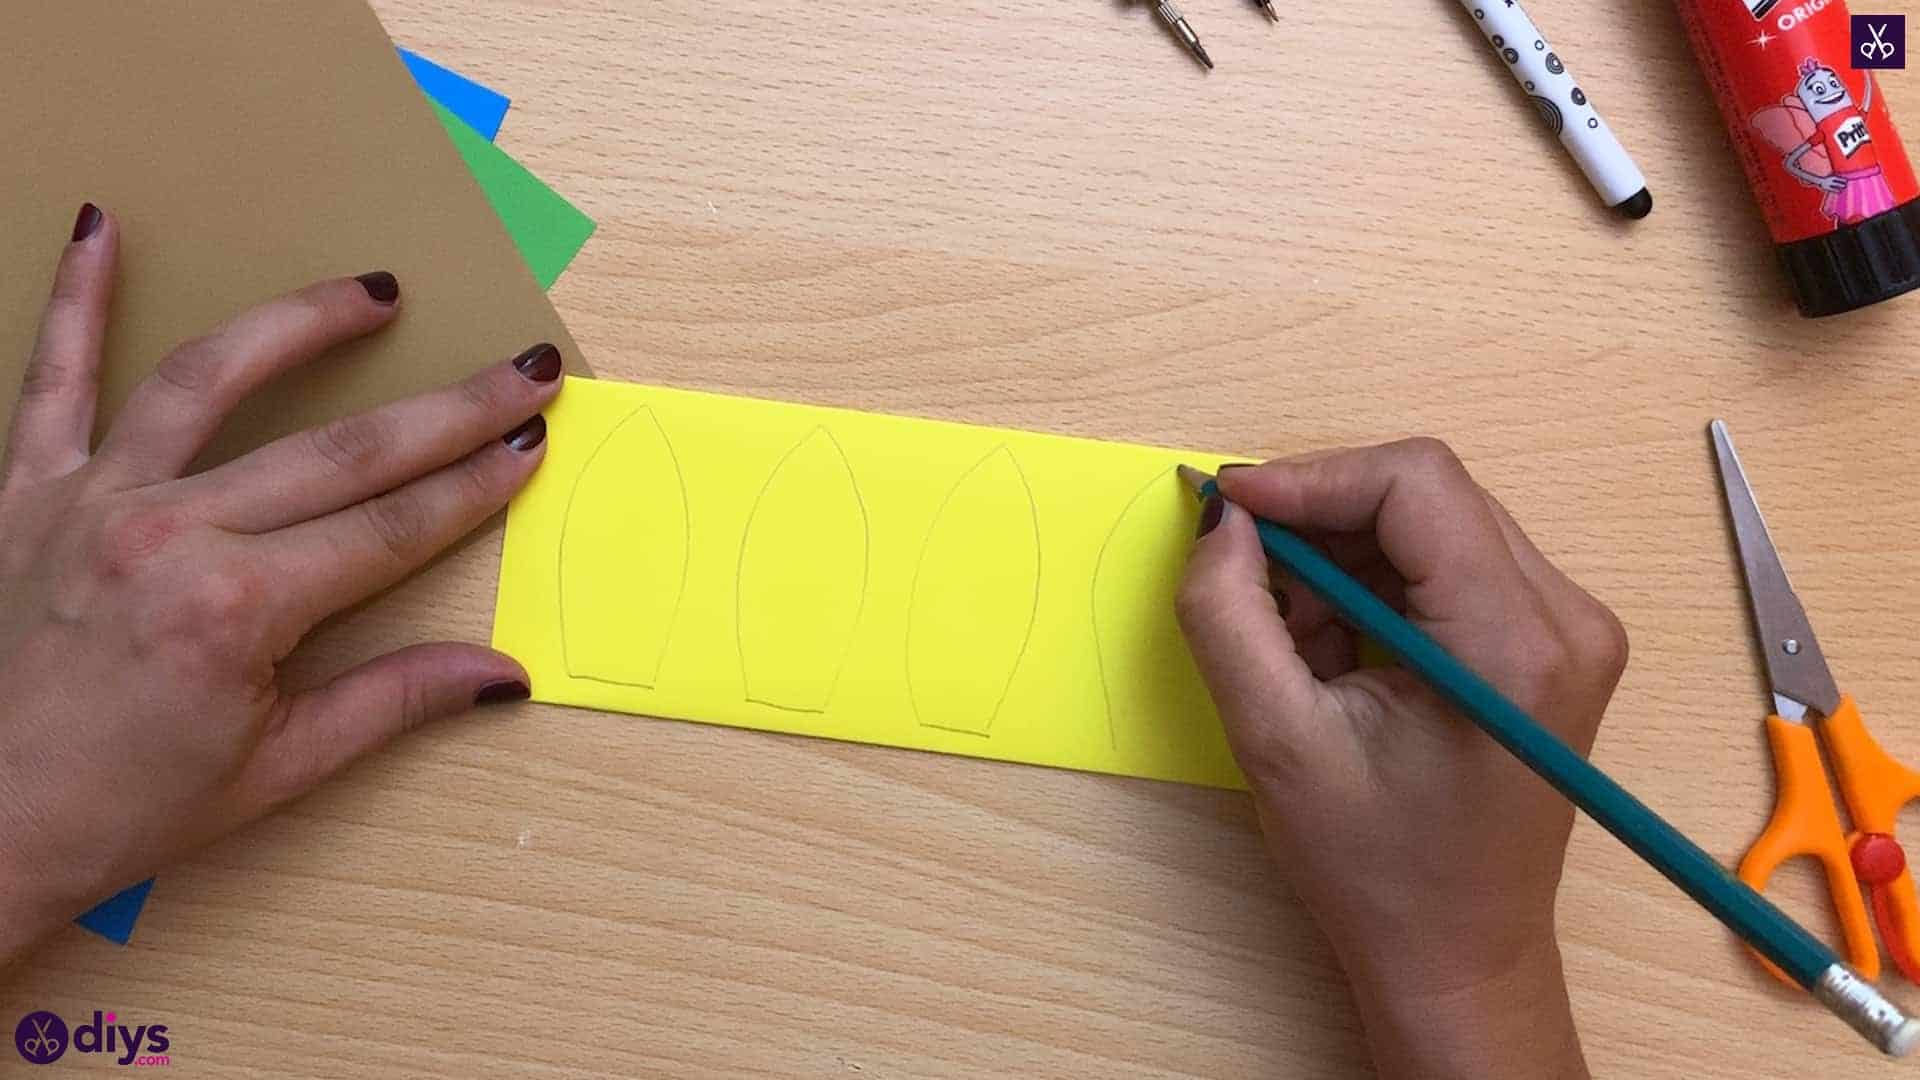
Draw the outline of a petal shape all the way across your new yellow shape, as many as will fit in the size you want. I started with a line at the bottom about an inch wide and curved another line up from each end to meet at a point near the top. Make sure you leave a bit of space between each shape so you can cut them out nice and neatly! This folded method lest you cut out many shapes at once in the same size, rather than having to draw and cut them all individually.
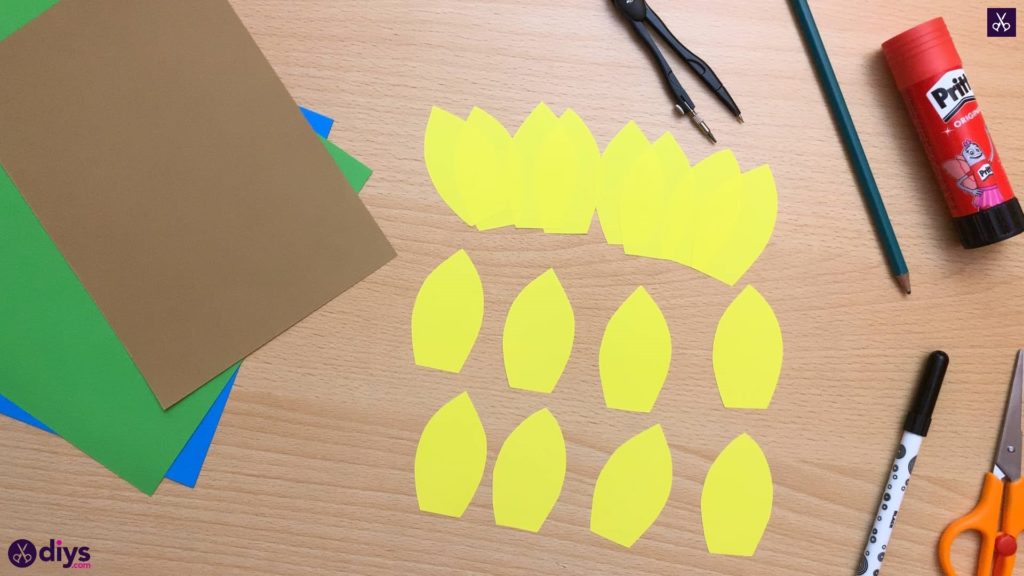
Step 4: cut petals
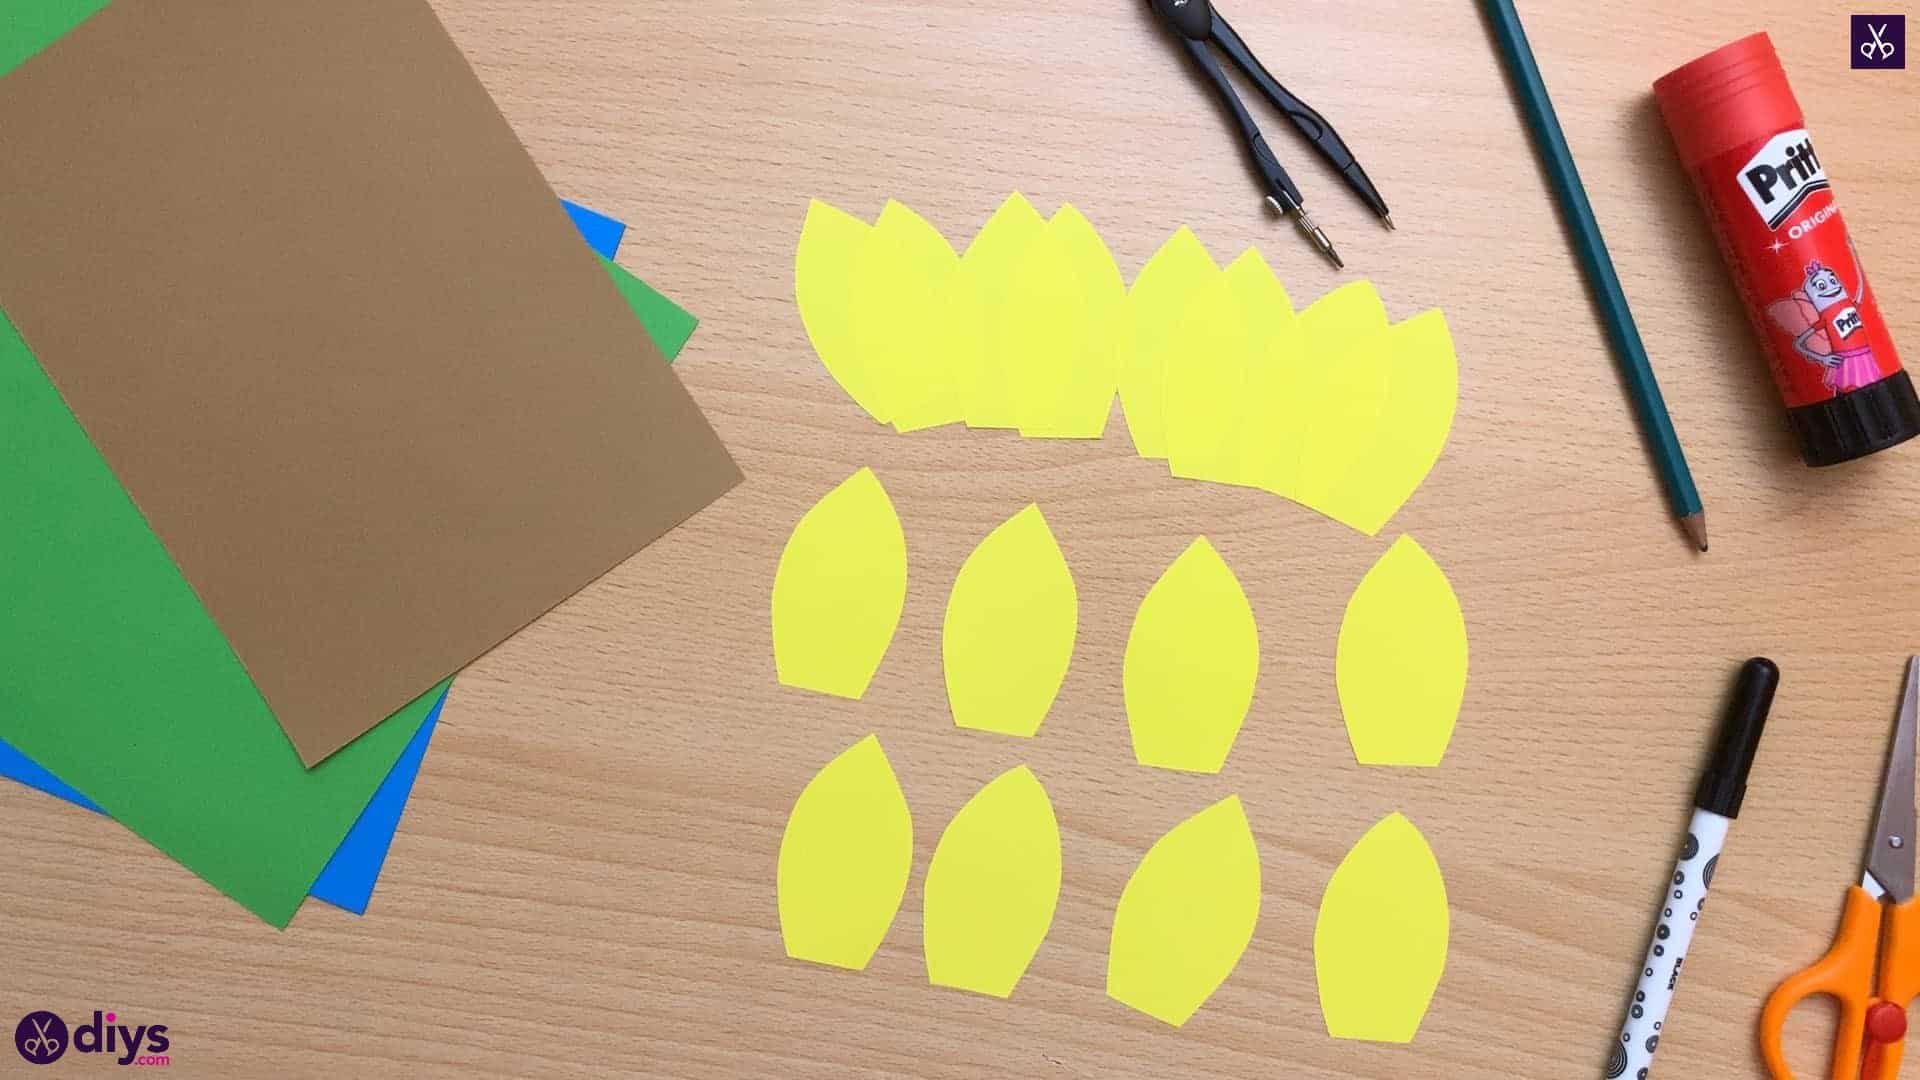
Cut out the outline of each shape and separate them so you have many yellow petals.
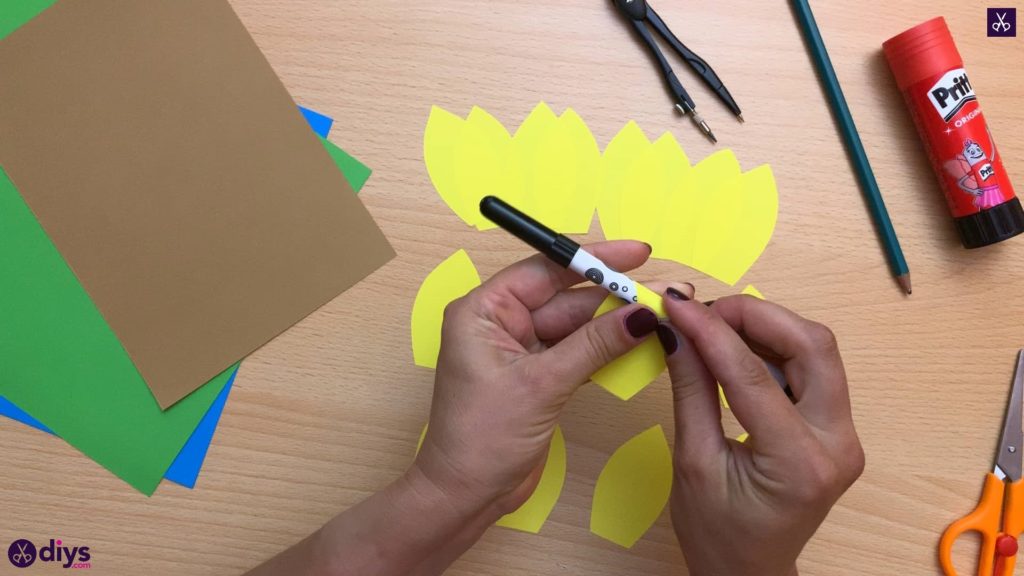
Step 5: curl petals
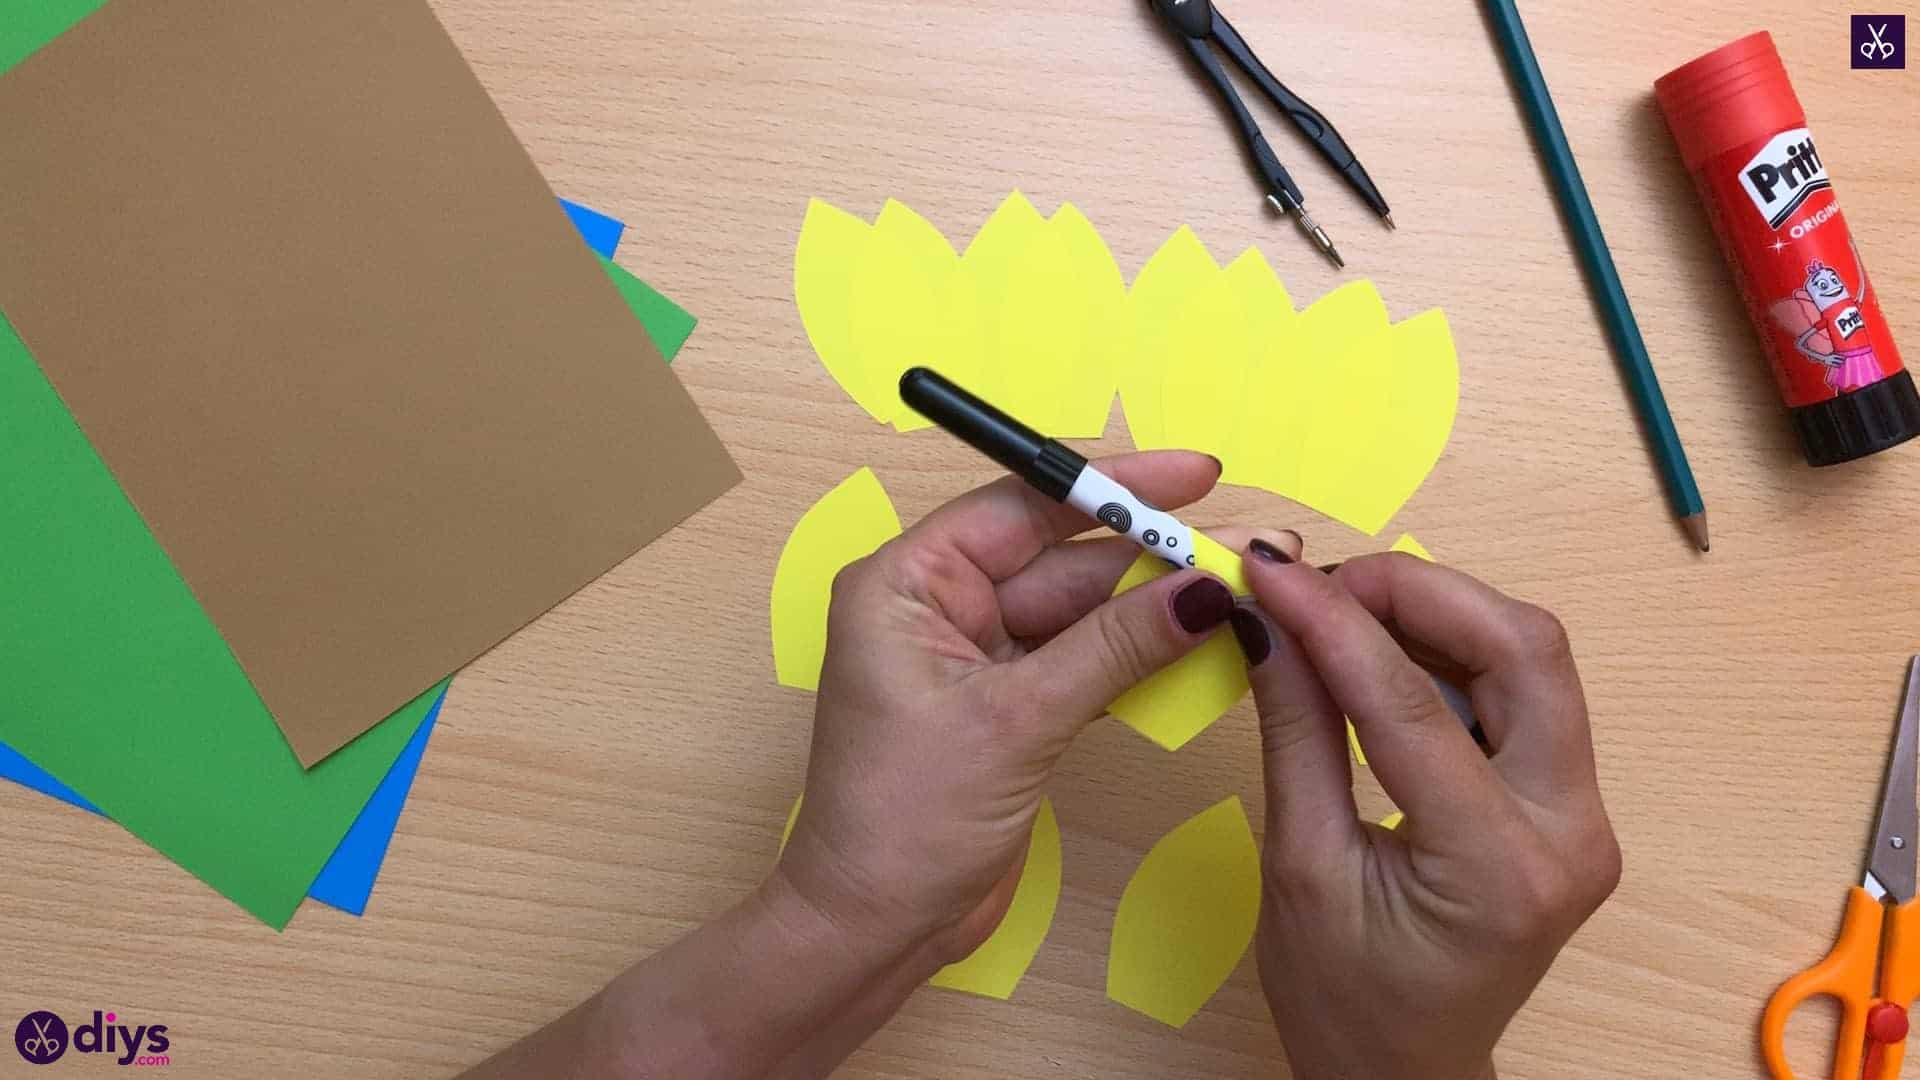
Pick out about eight petals that will have some extra shape and add dimension to your flower while the rest are glued flat to the page as a base. 3D art is always a little more fun, after all! I gave my petals a bit of a curve by curling them gently around my marker starting at the top tip and curving in towards the straight bottom edge. I didn’t curl too tightly because I only wanted them to stick out from the page a little bit, rather than rounding in on themselves.
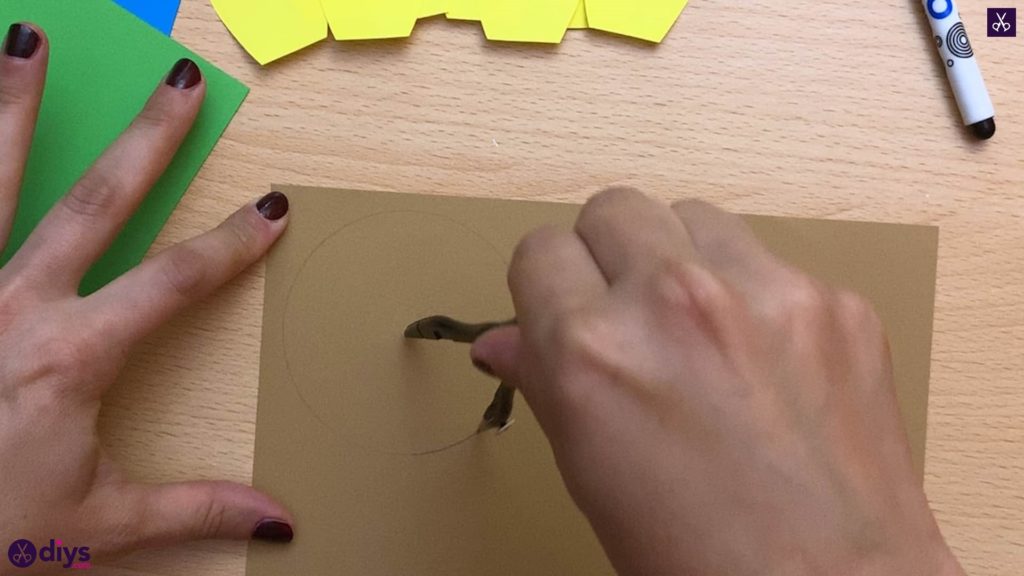
Step 6: draw center
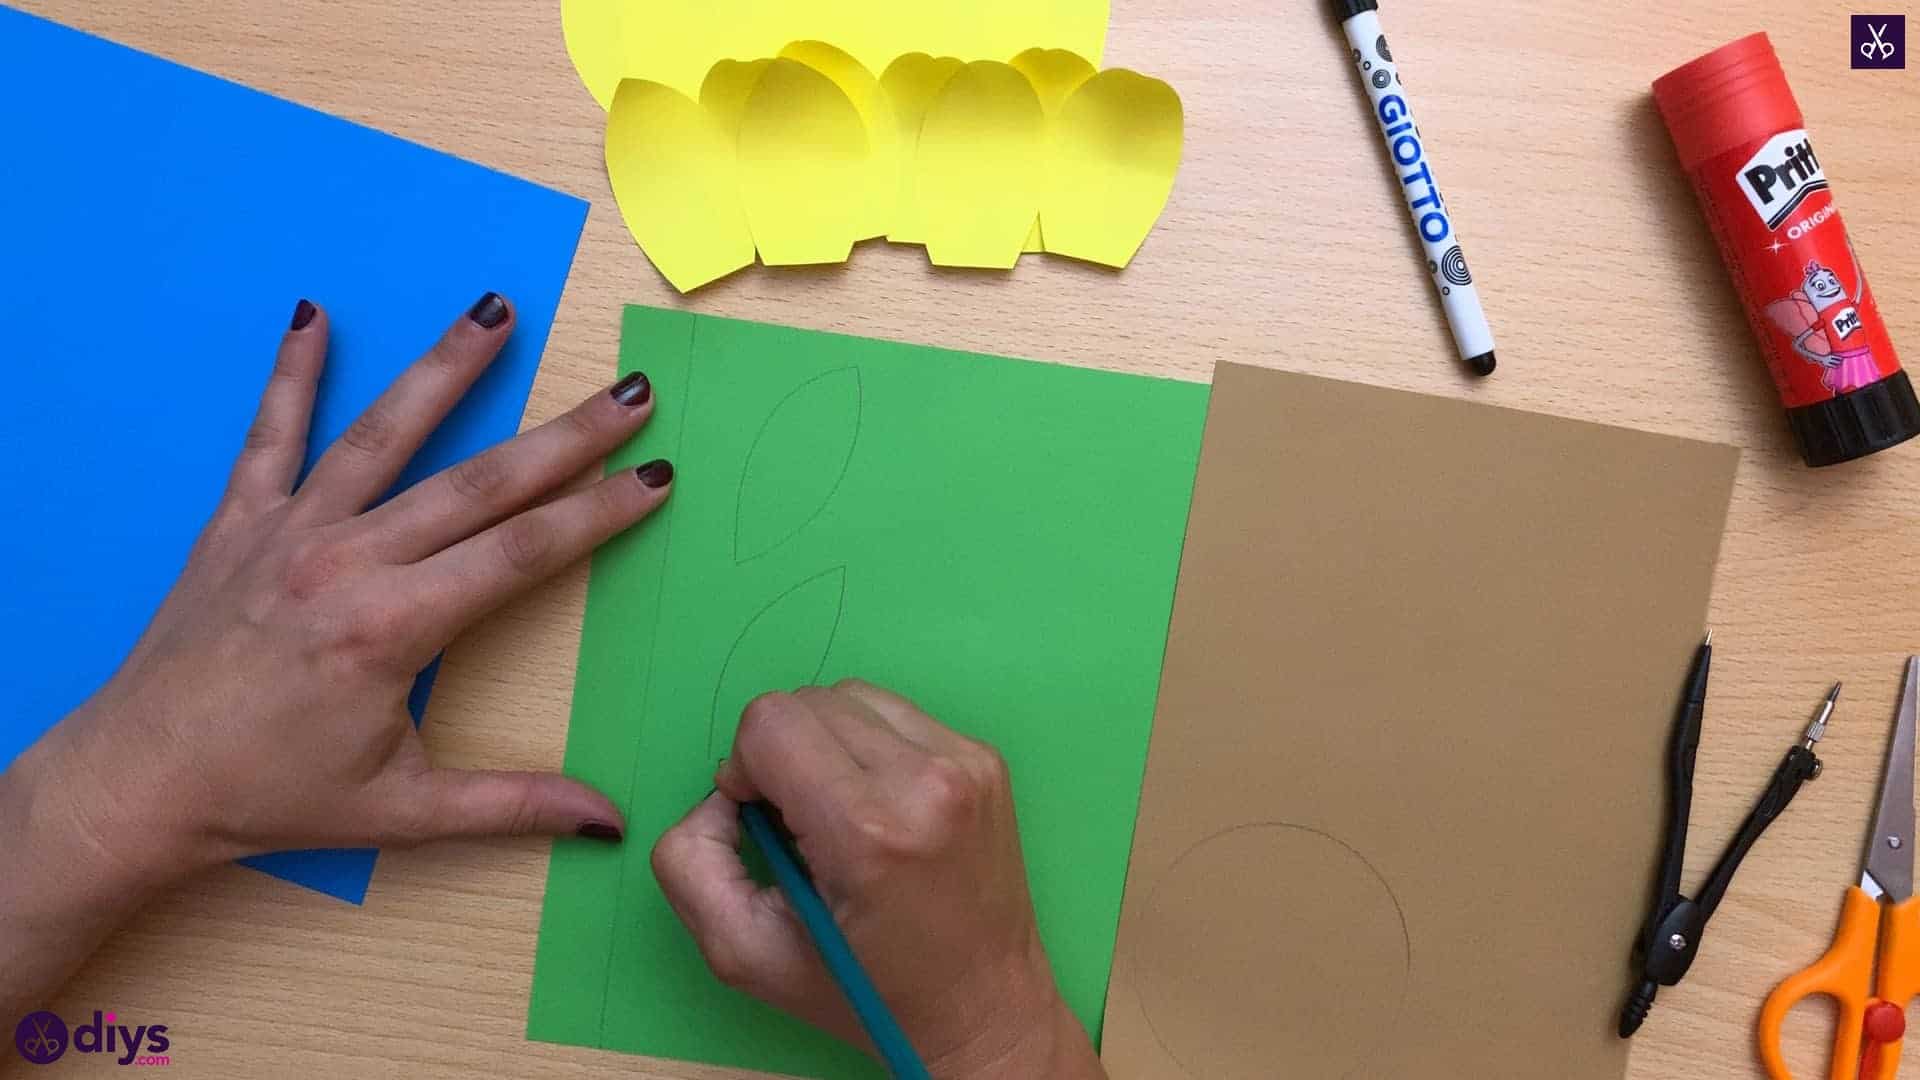
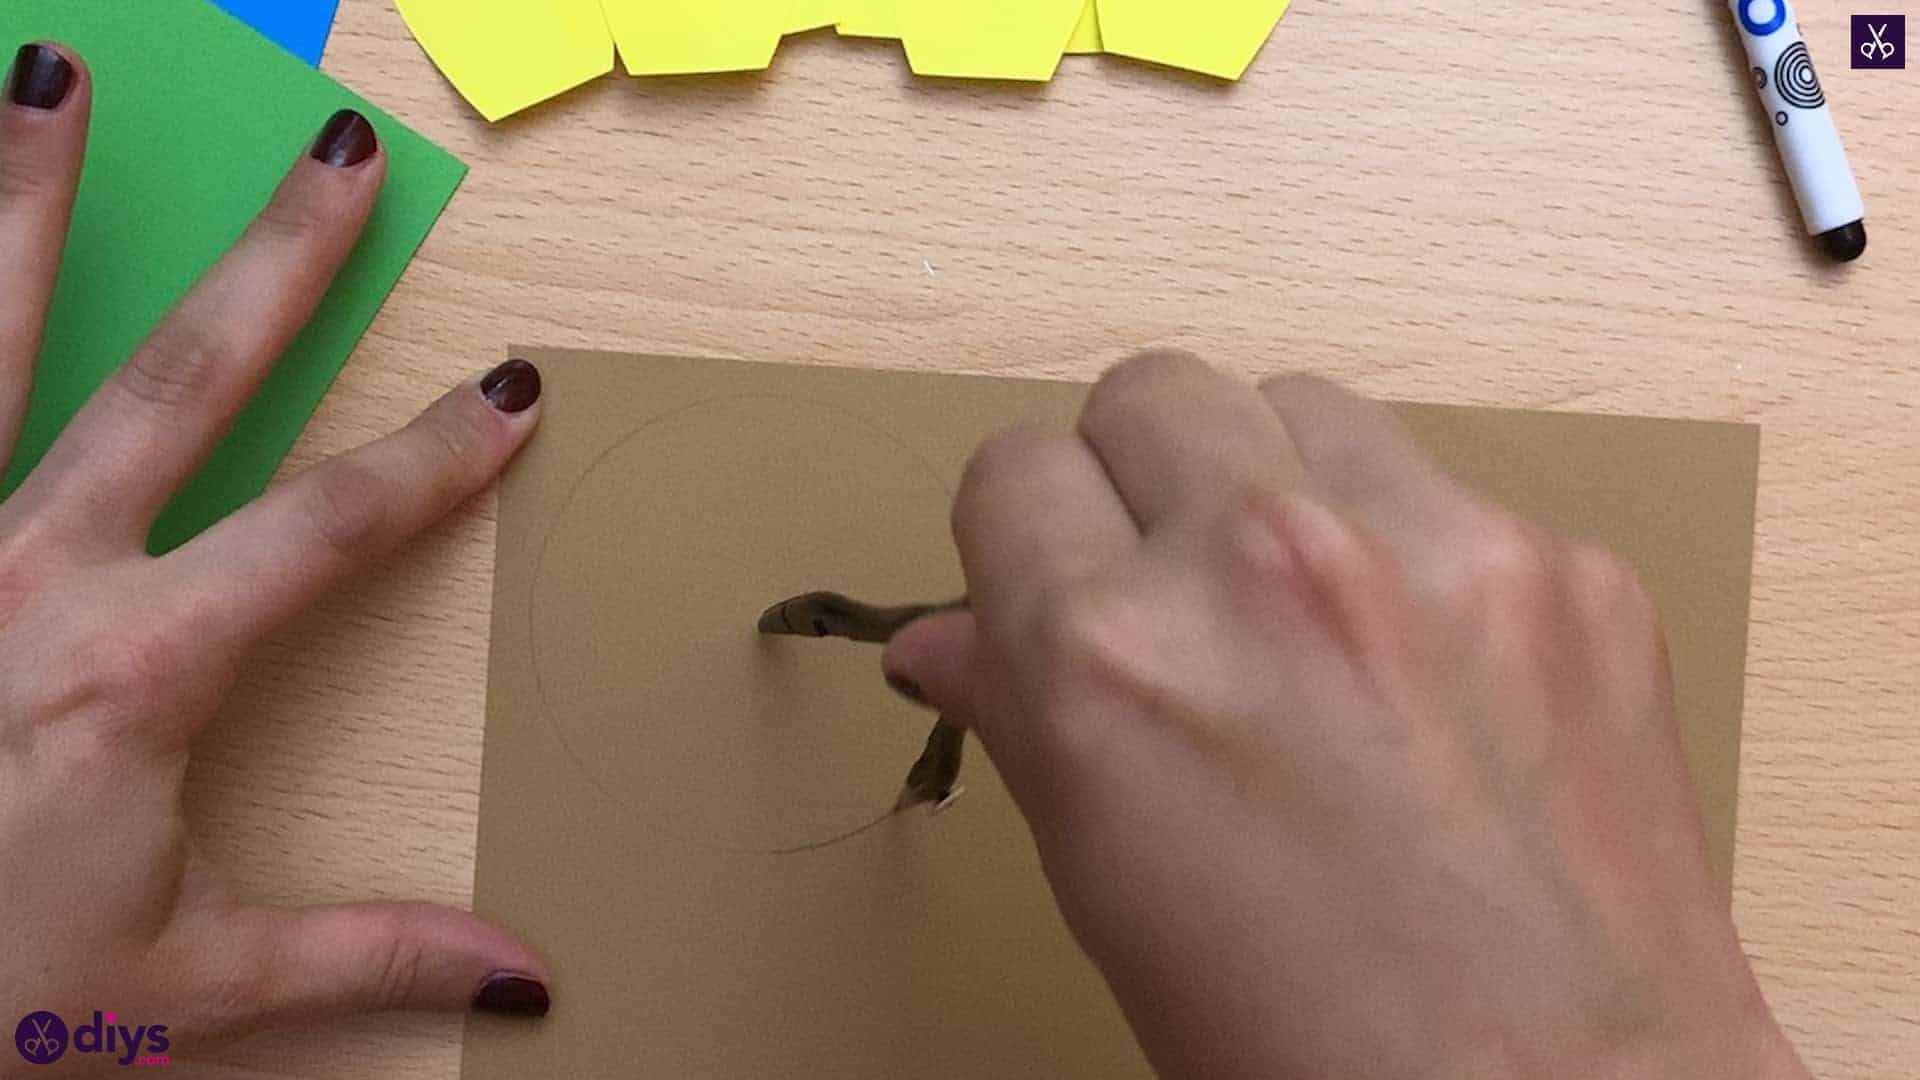
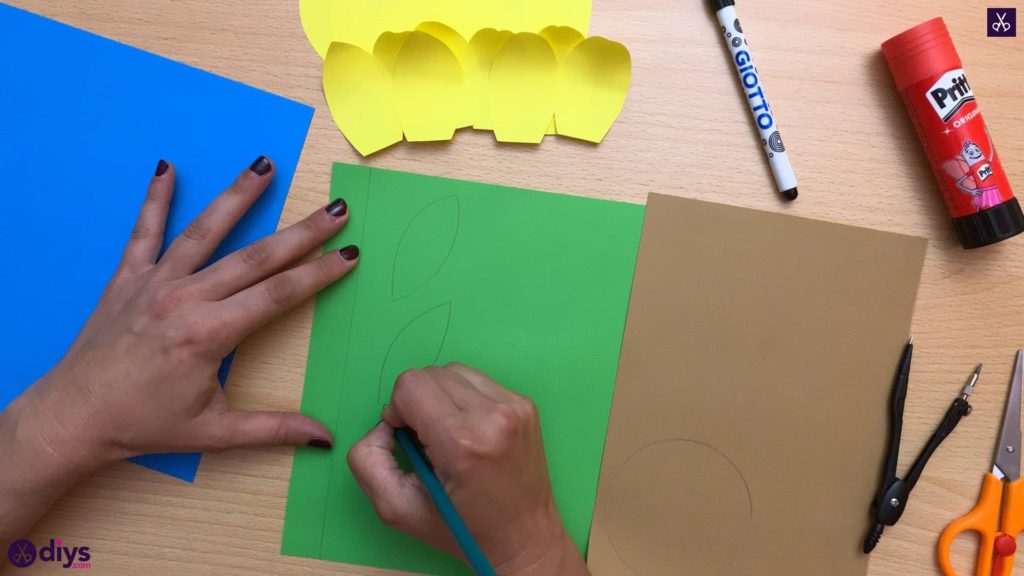
Use your protractor to draw a neat, even circle on your brown paper. I measured the tips of my protractor to be about an inch apart when I started to get the size of circle I wanted. This will be the center of your sunflower where the seeds are!
Step 7: draw leaves
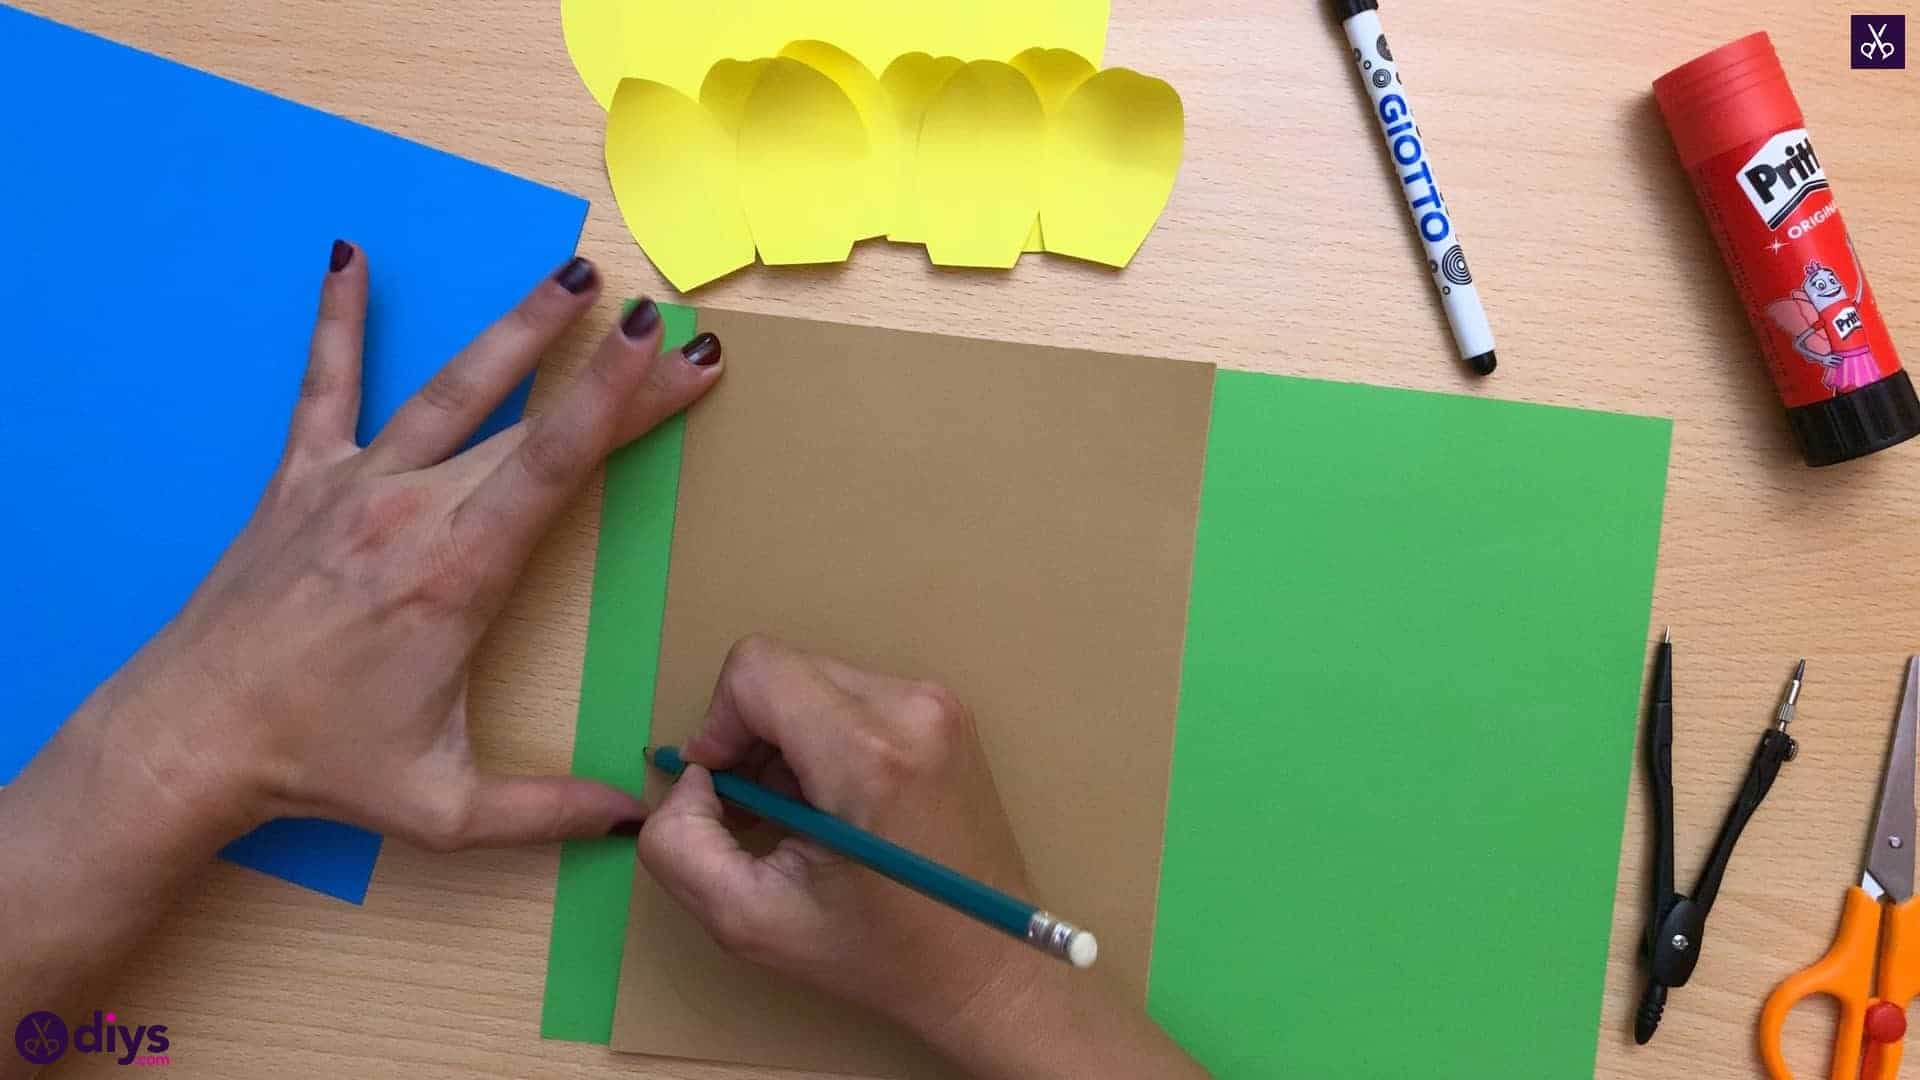
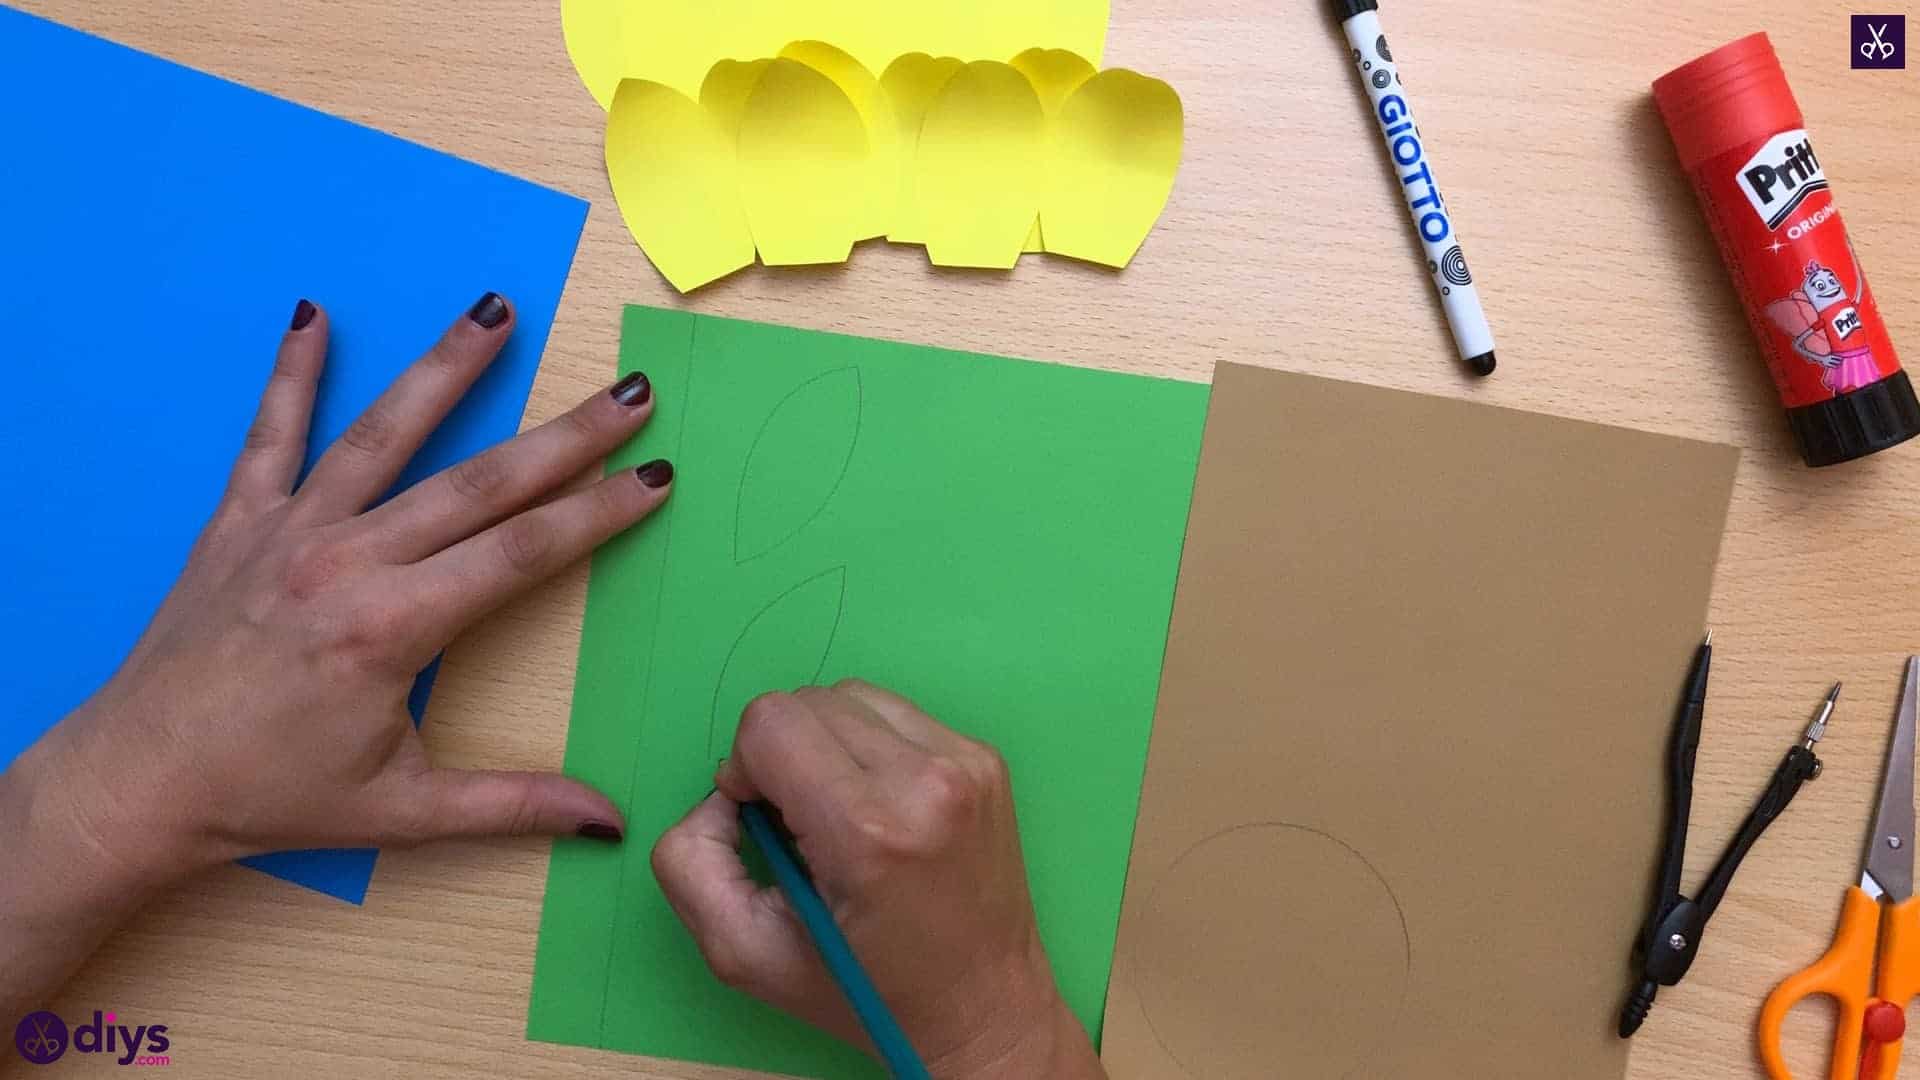
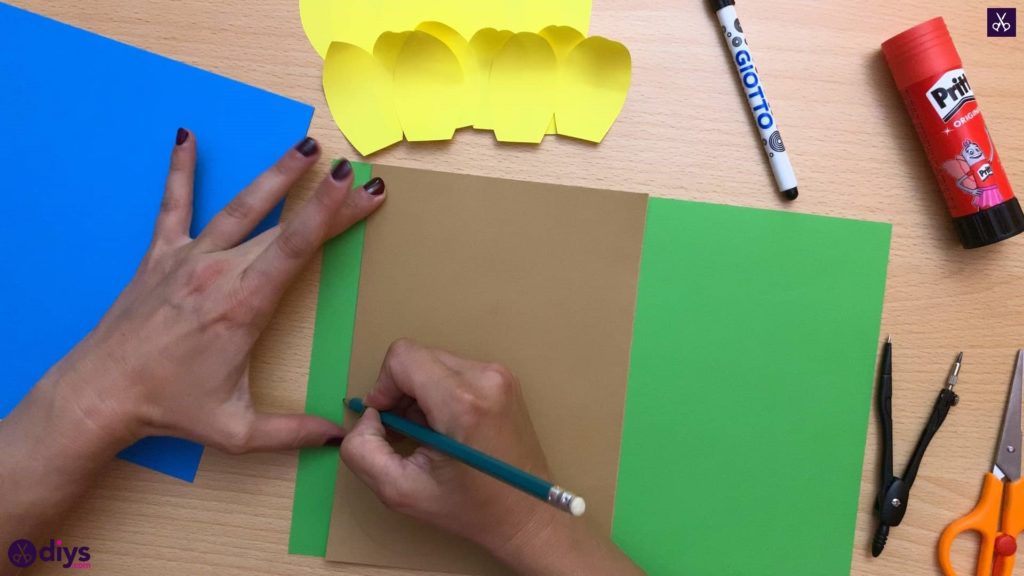
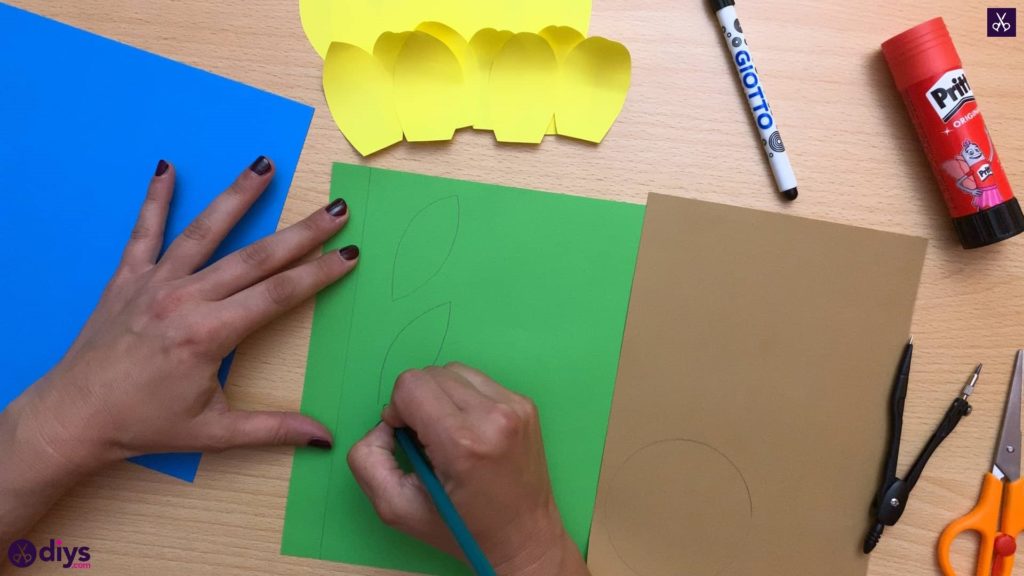
Draw a stem and some leaves onto your green sheet of paper. I made my leaves a similar size to my yellow flower petals and I used the edge of my brown paper, where I drew the flower’s center circle, to help me make a straight stem by placing it half an inch from the short edge of the green paper and following it with my pencil like a ruler to make a neat line.
Step 8: cut the leaves
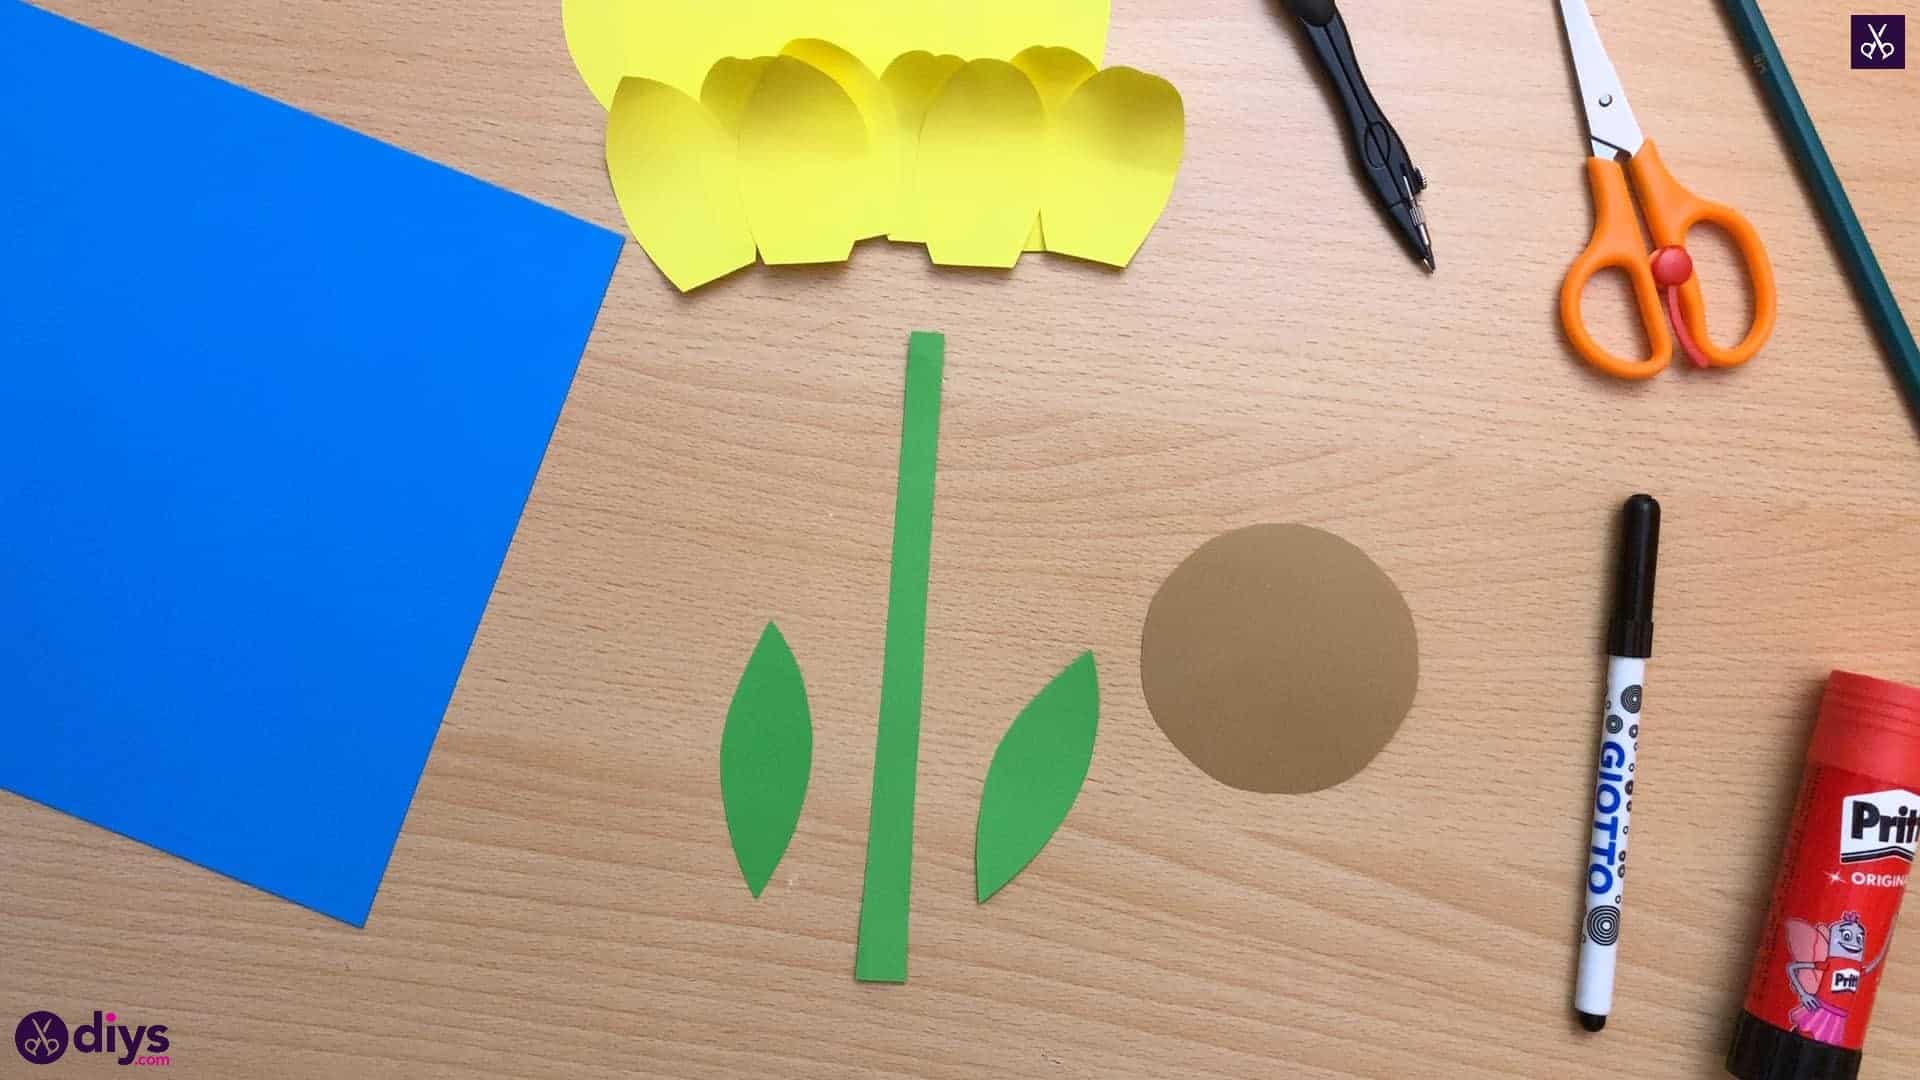
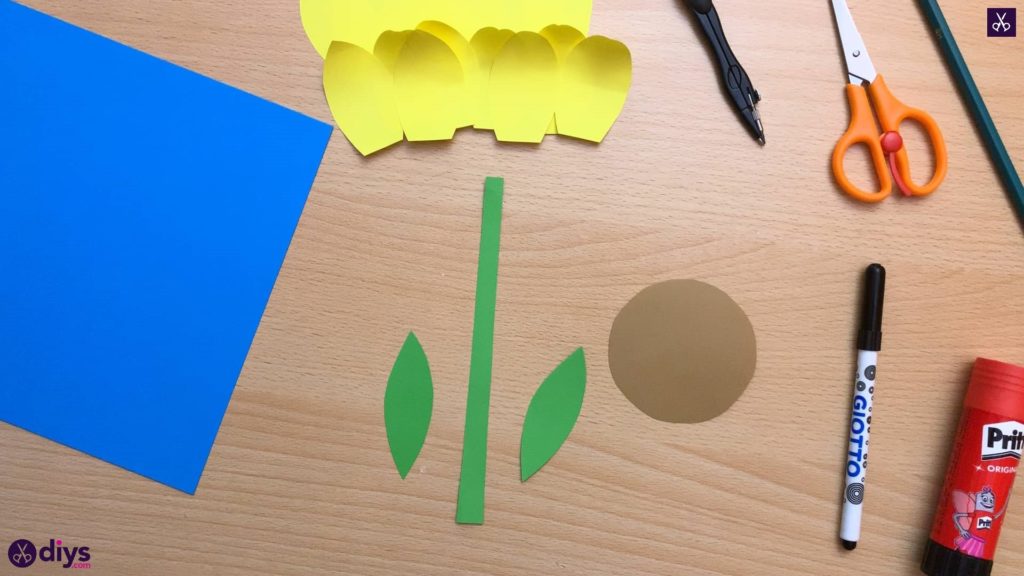
Cut the stem, leaves, and flower center out from your green and brown paper. You’ve not got all of the pieces you’ll need to make the flower cut out and ready to assemble!
Step 9: glue to stem
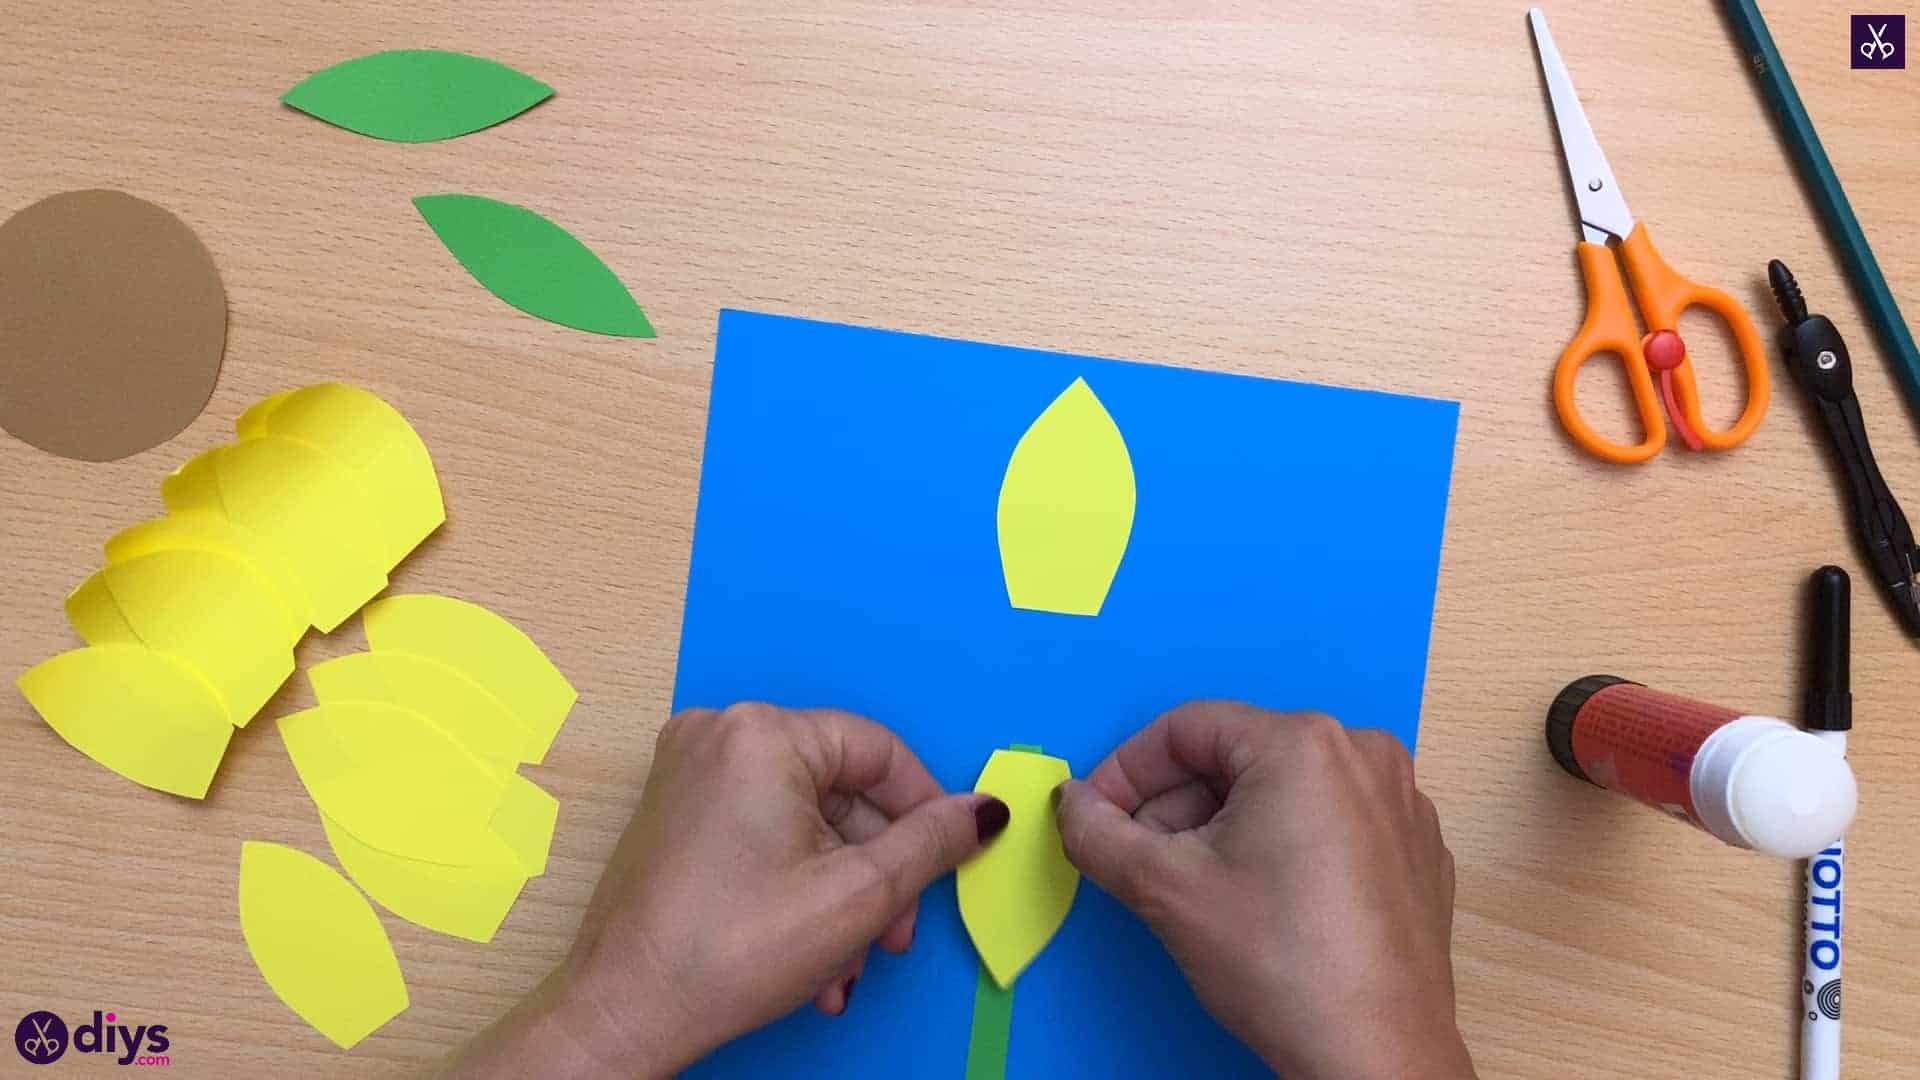
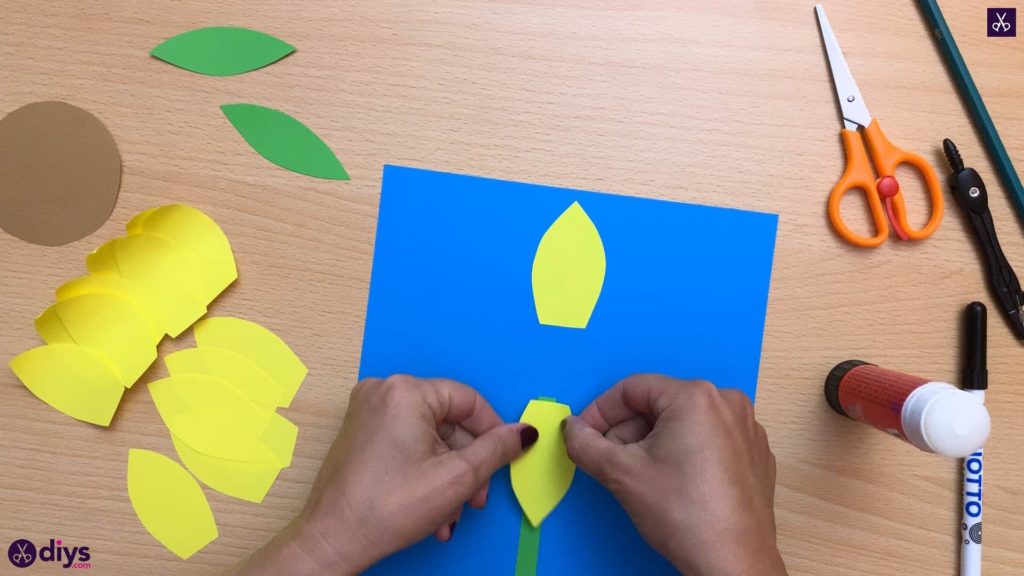
Glue your stem down on your blue page to begin lining up where you want your flower to be situated. I put the bottom edge of my stem right along the bottom edge of my base paper and glued it vertically in the very center. Next, start building your flower and layer your petals. I started by placing one pointed downwards right at the top of my stem, then lining another one pointing upwards directly opposite that, near the top of the page. This set the groundwork for my flower’s shape.
Step 10: assemble
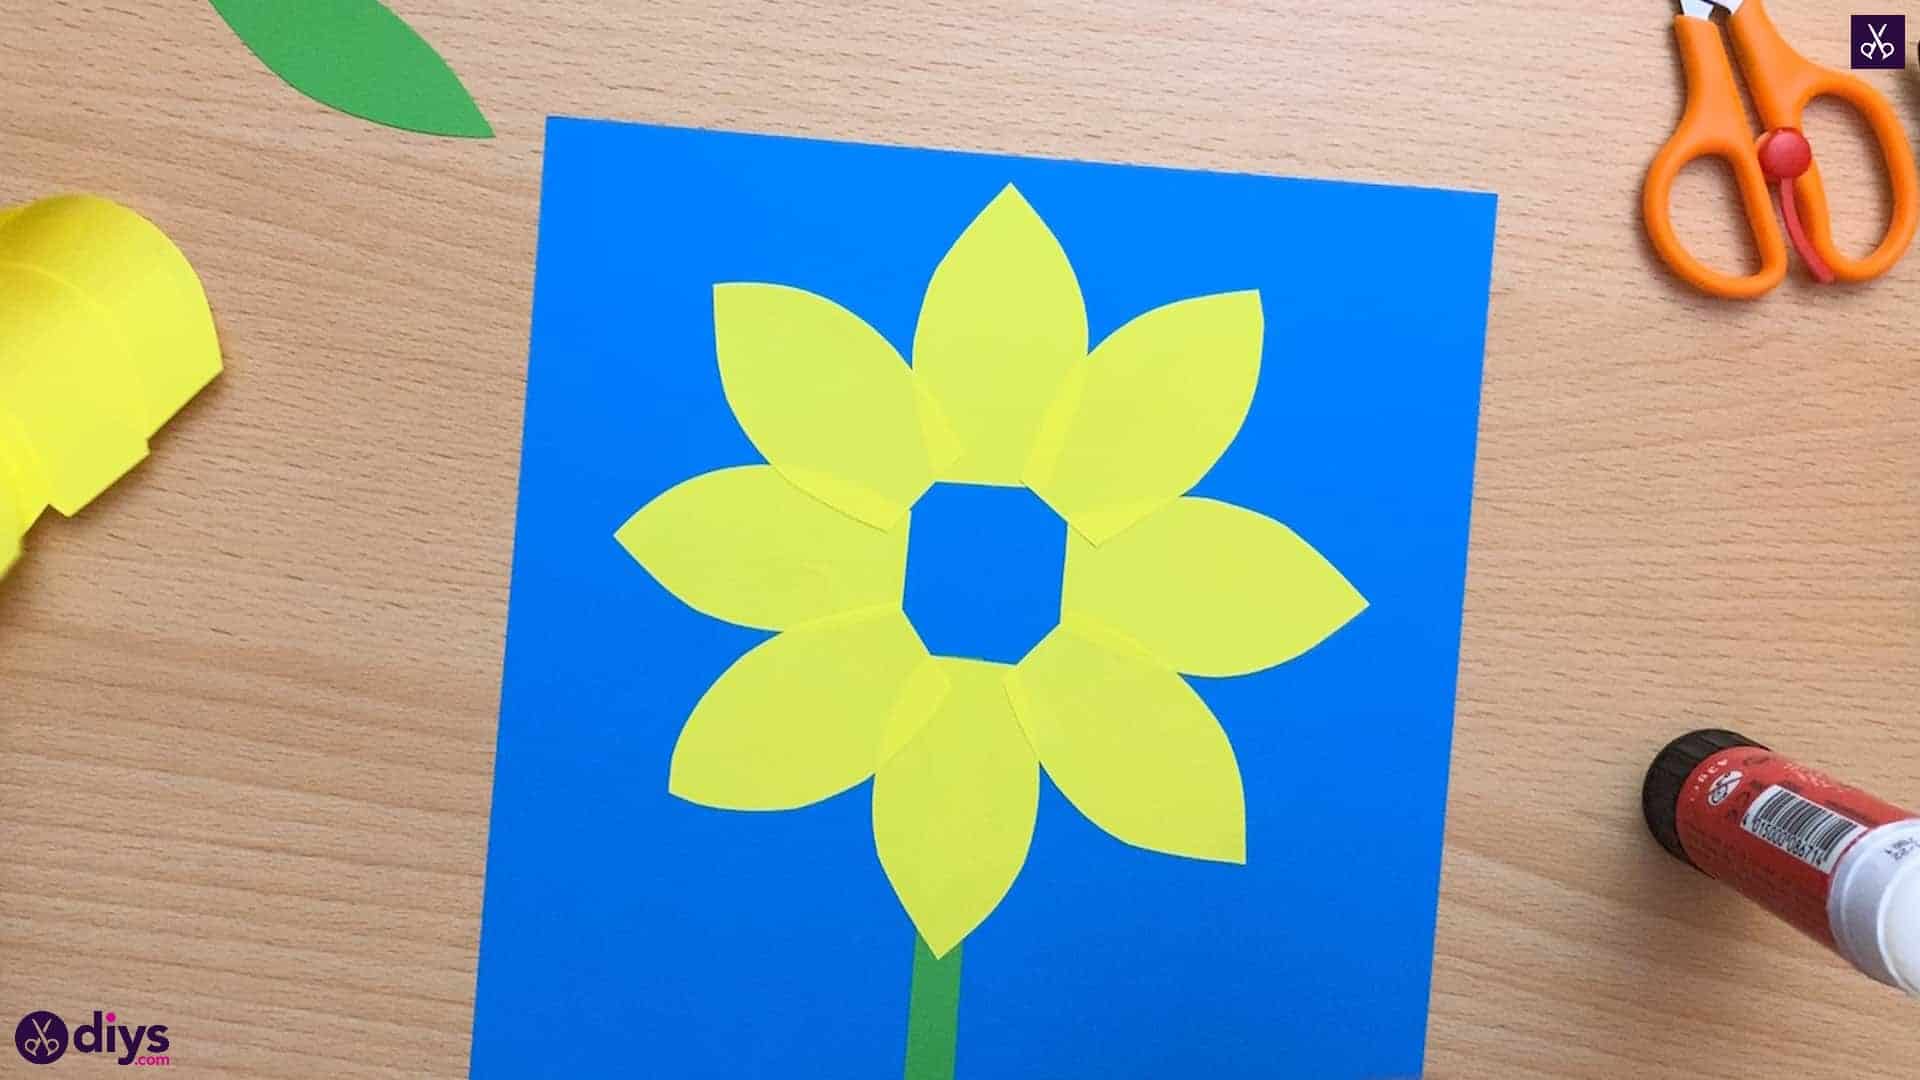
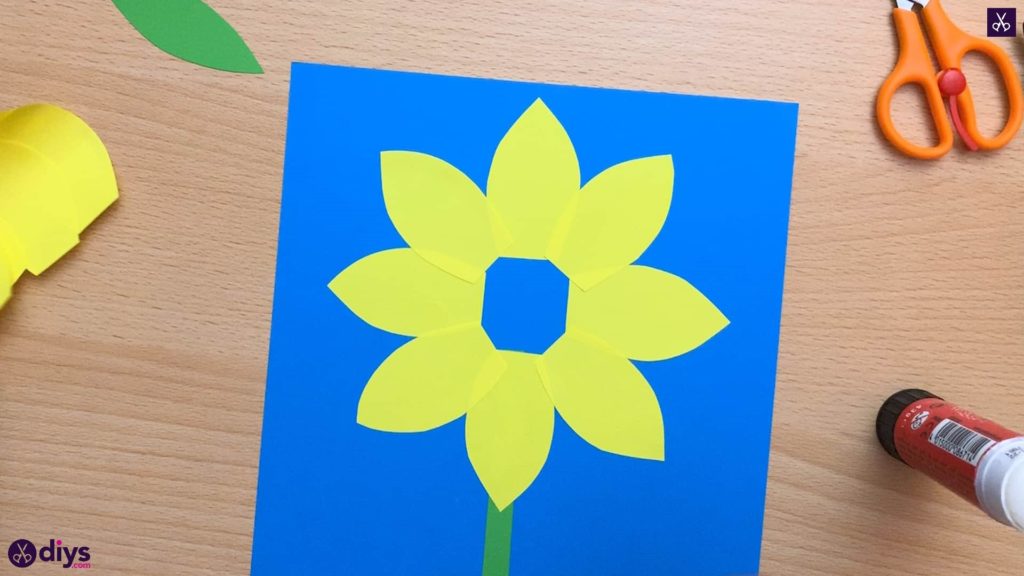
Use the rest of your flat yellow petals to complete the circle of your flower. I overlapped mine slightly to resemble the way the petals of a real sunflower are layered and to make the flower look more full.
Step 11: layer
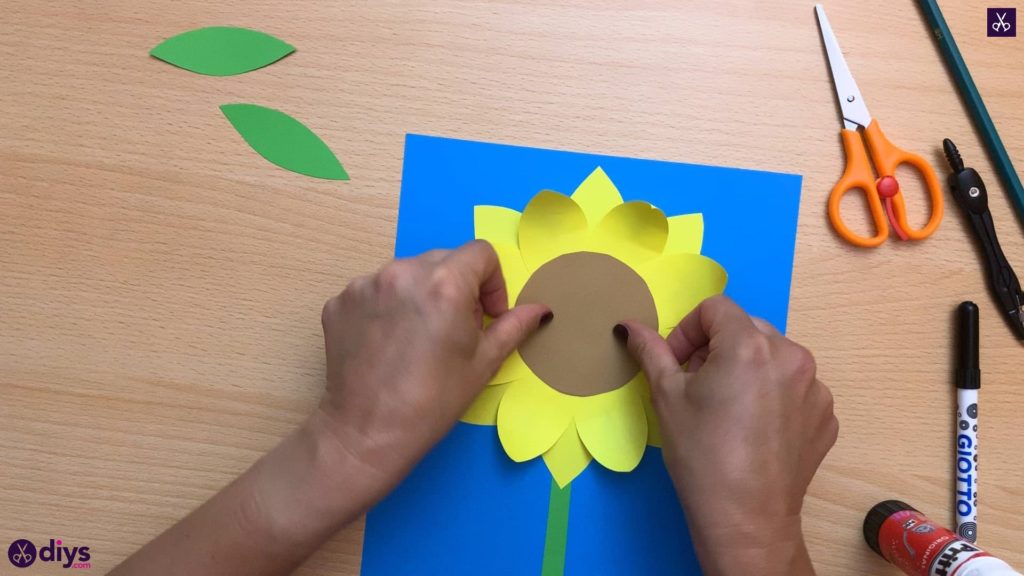
On top of your layered flat petals, overlap and stick down the curved petals that you wound around your maker earlier, also in a complete circle. This adds volume to your sunflower, like it’s blooming right off the page. I did my best to place this top layer of curved petals in the spaces between the base layer of flat petals to really create the illusion of a full flower.
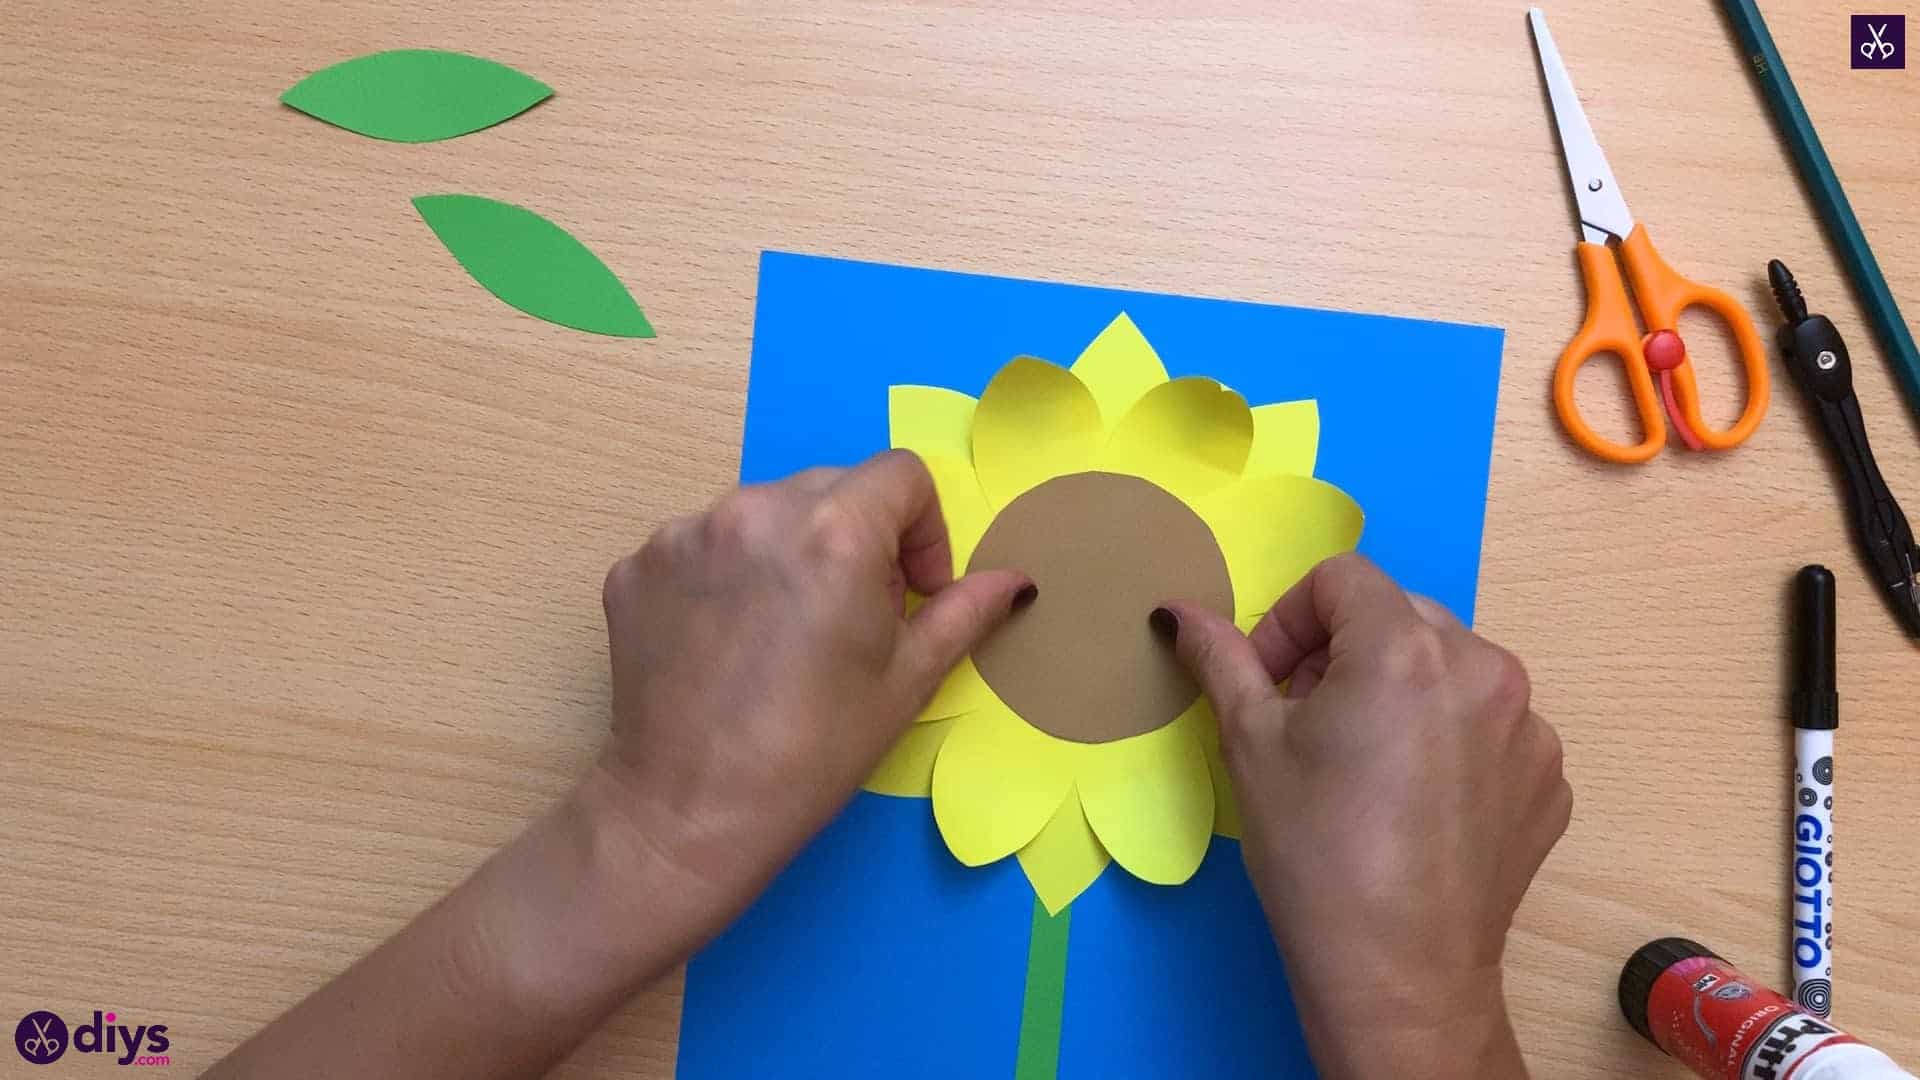
Step 12: glue center
Apply glue to the back of the brown circle you cut out earlier and stick it down in the center of your flower, covering the overlapped edges of petals you glued down in a circle.
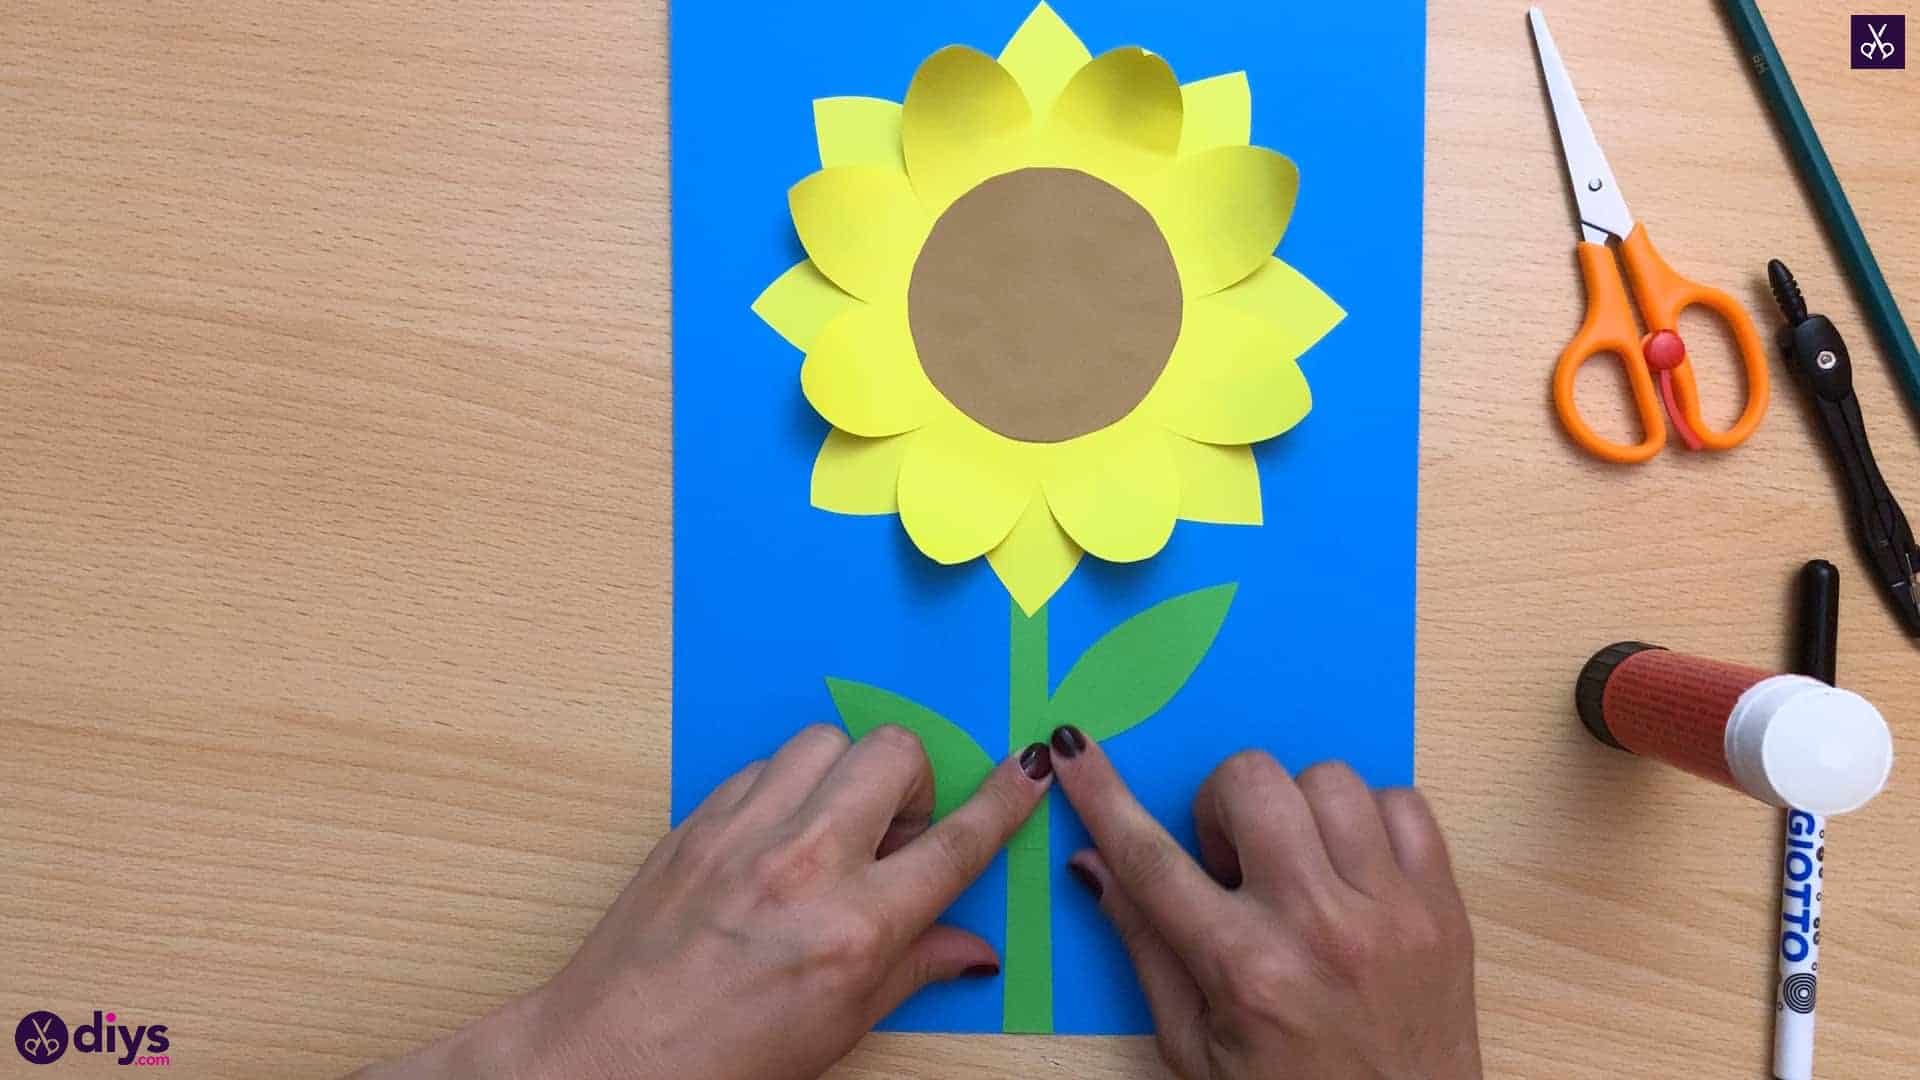
Step 13: glue leaves
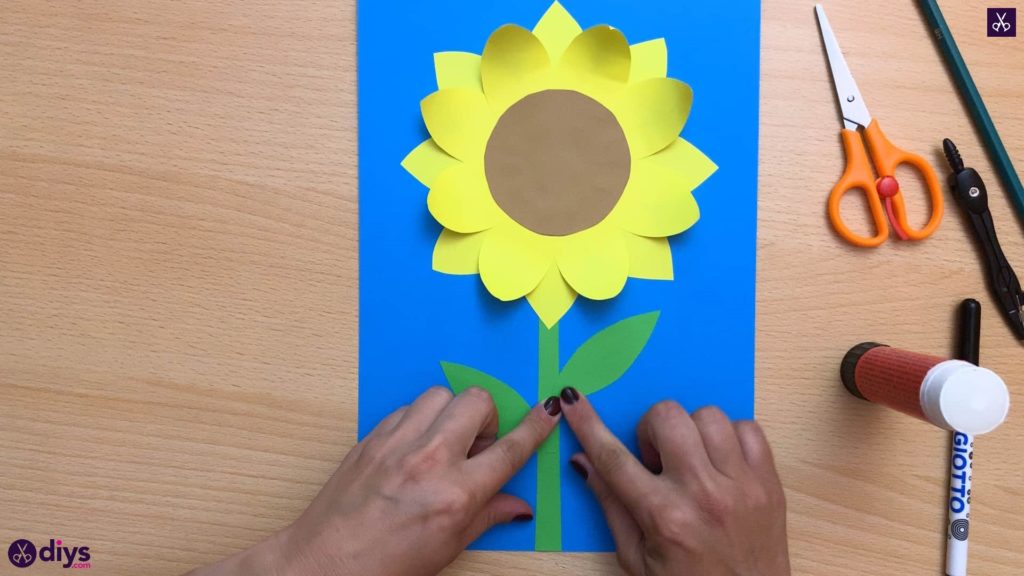
Glue the green leaves you cut out earlier onto your flower’s stem.
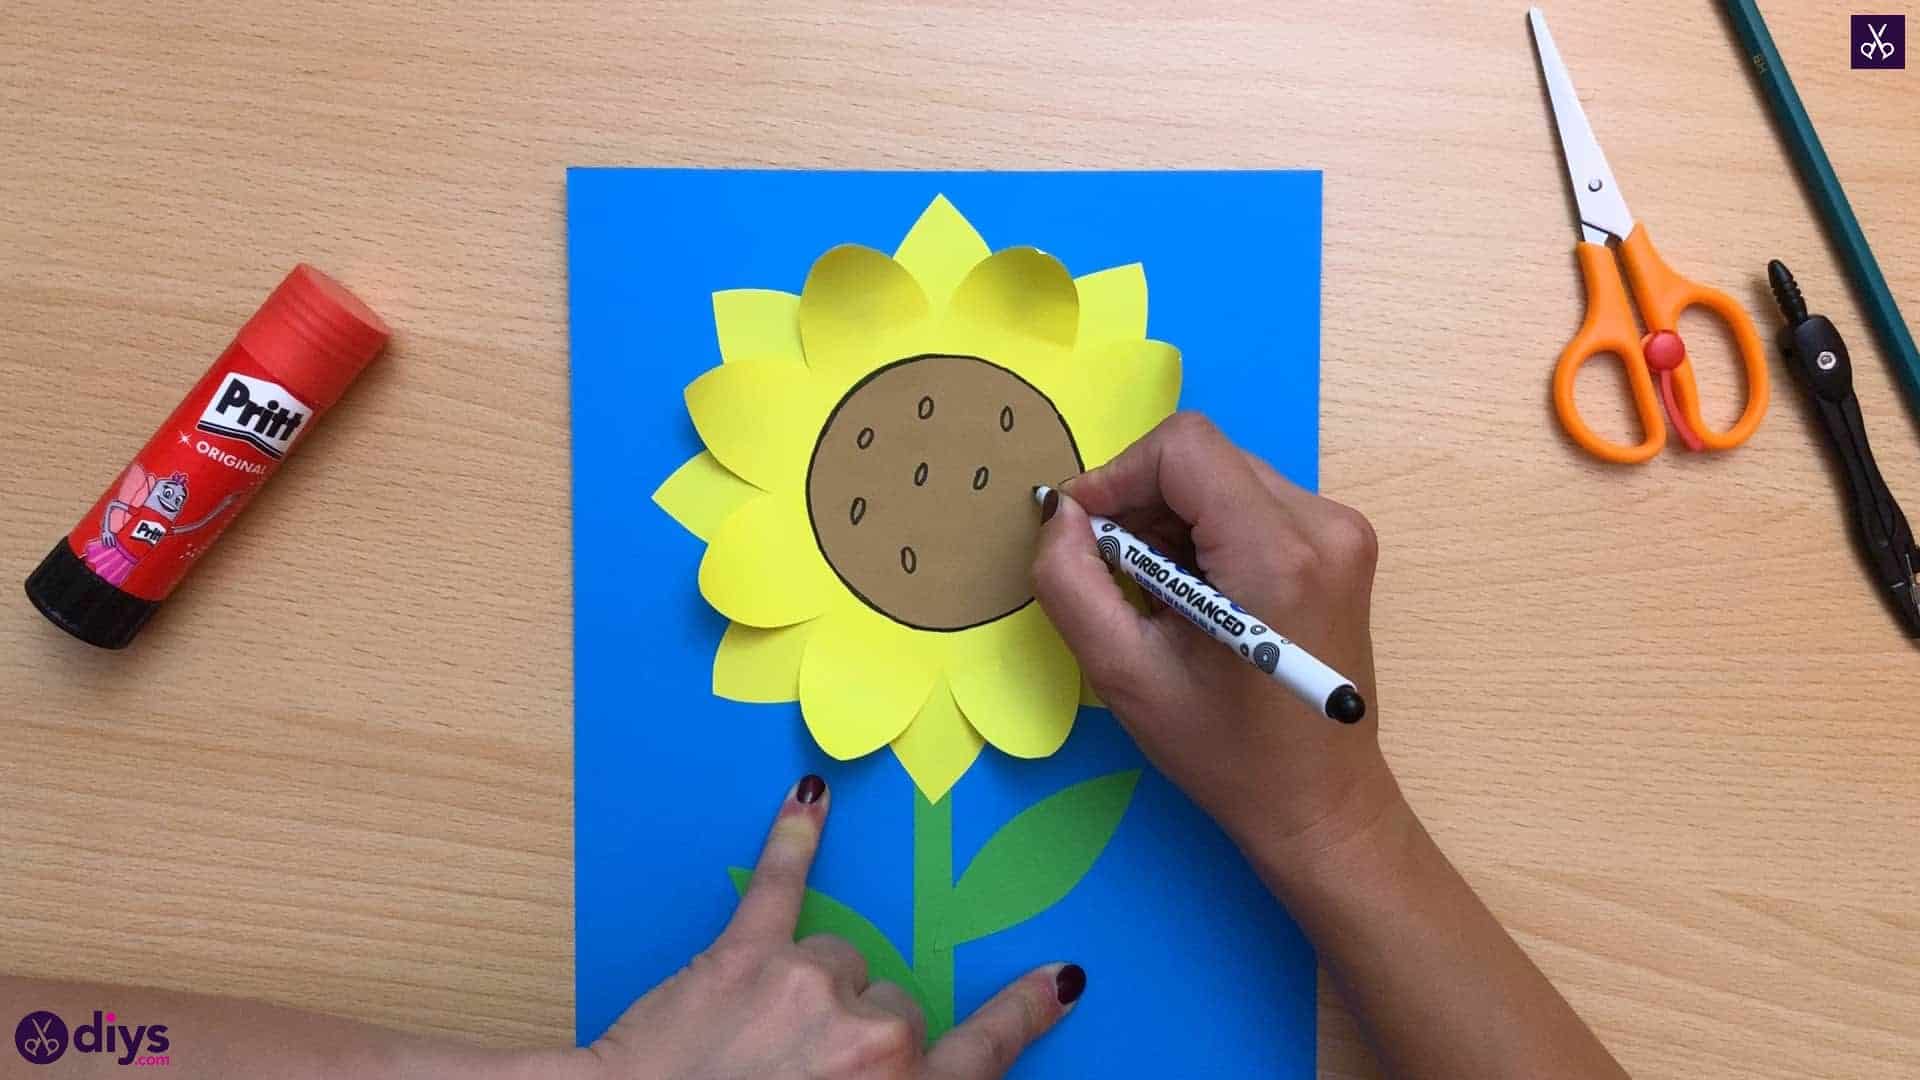
Step 14: draw seeds
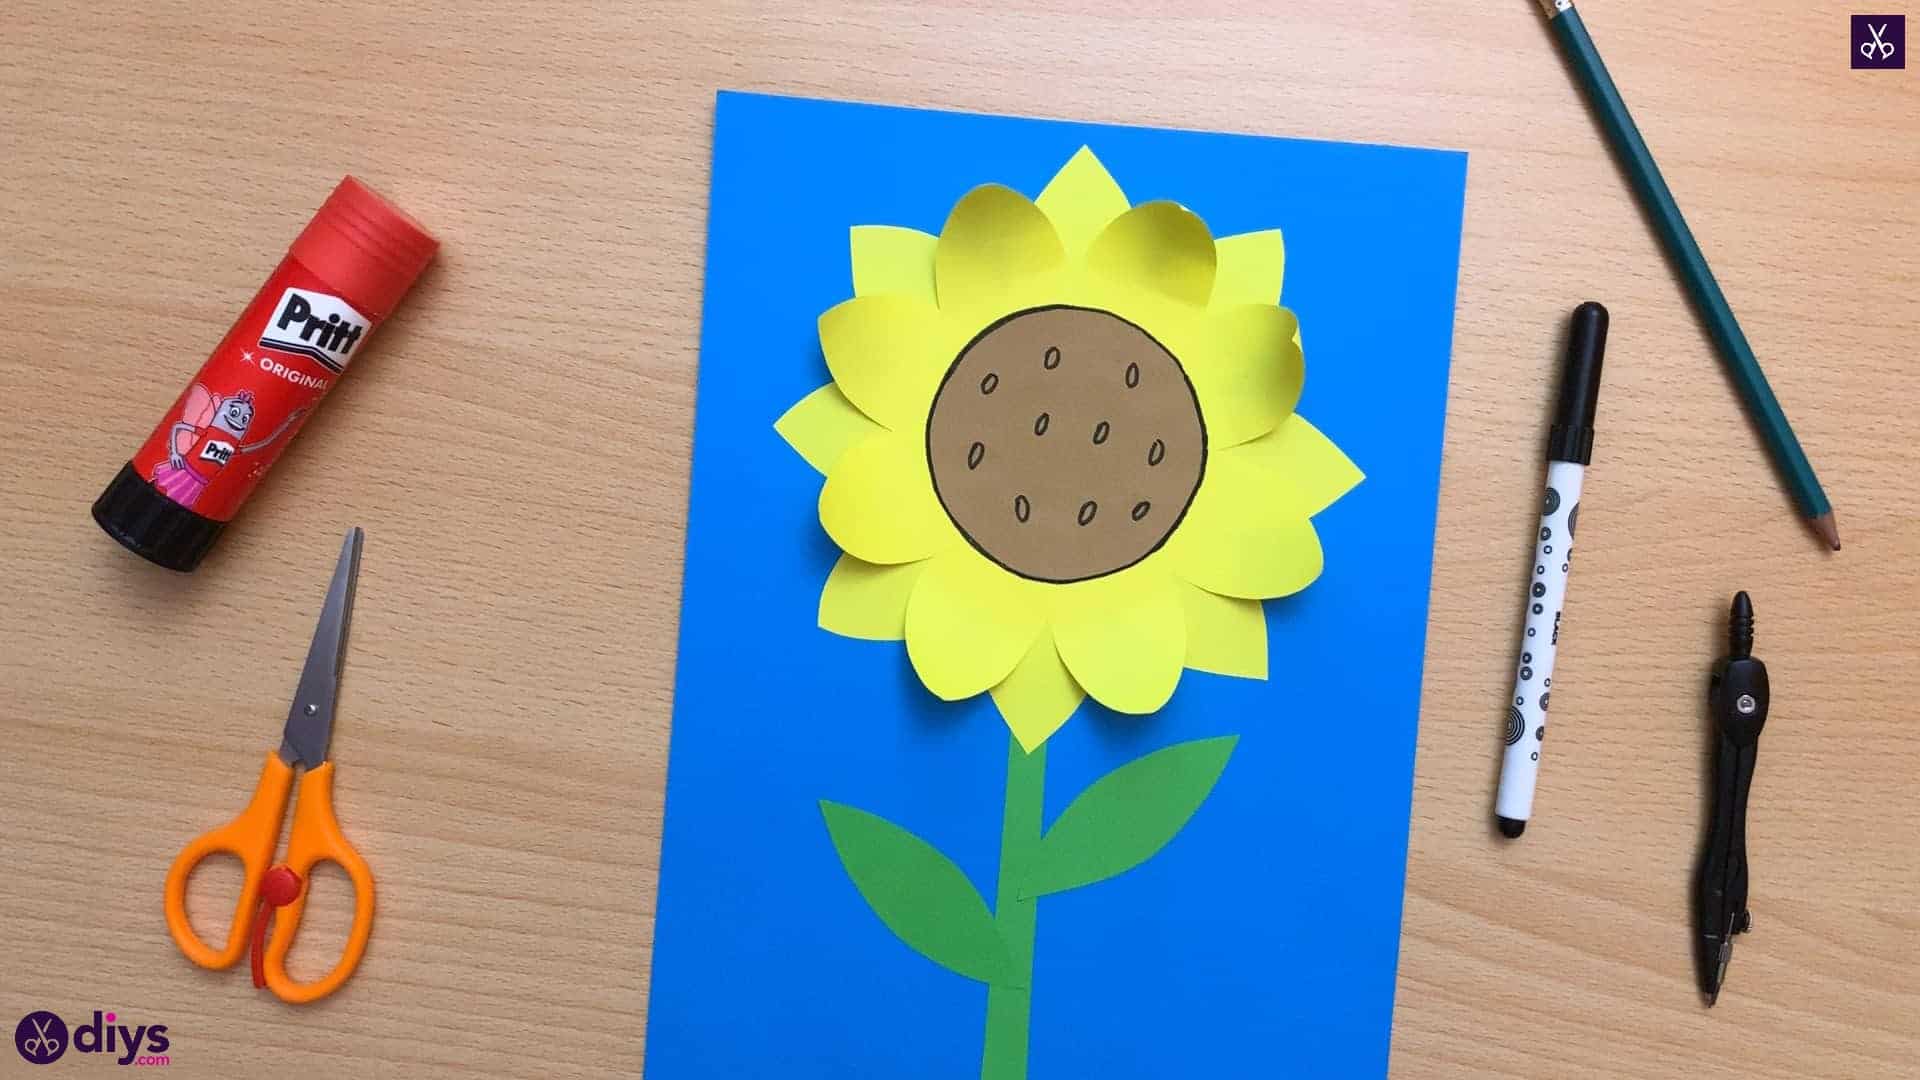
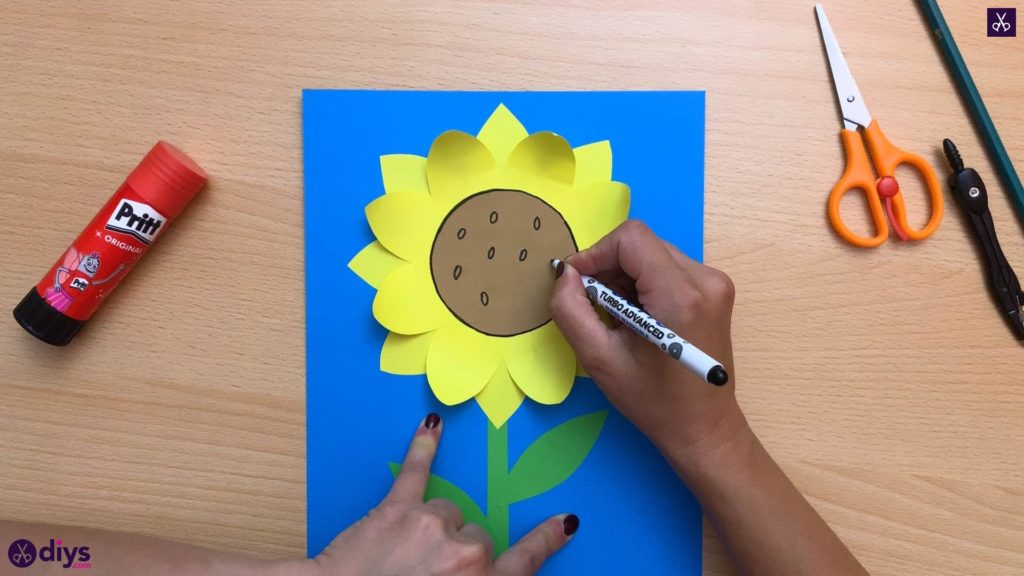
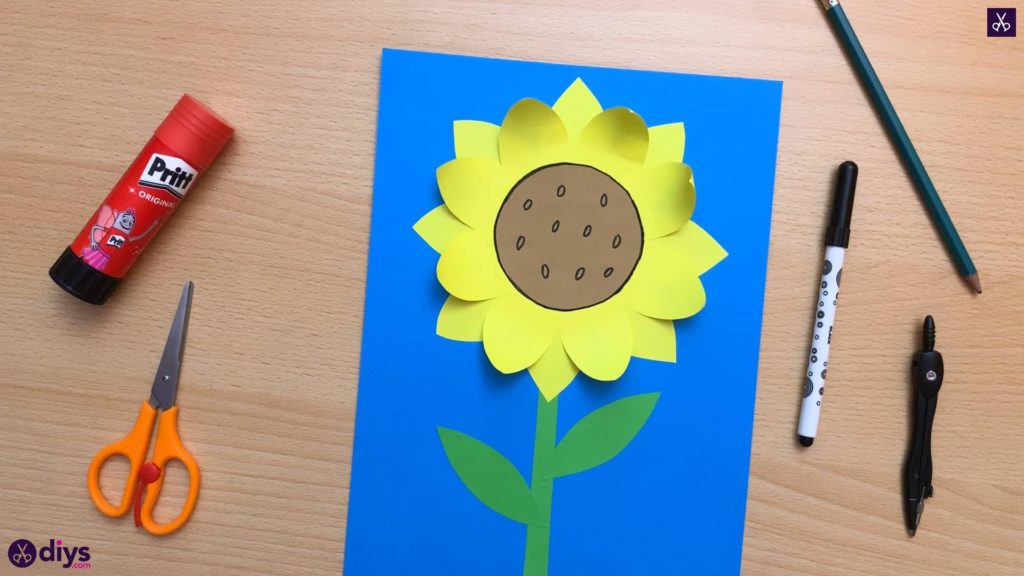
Add sunflower seeds to the center of your flower by hand drawing them on with your black marker. I also outlined the edge of the center to make the whole thing look a little more finished.
Just in case you’d like to try this project out for yourself, here’s a fantastic tutorial video to help you!
