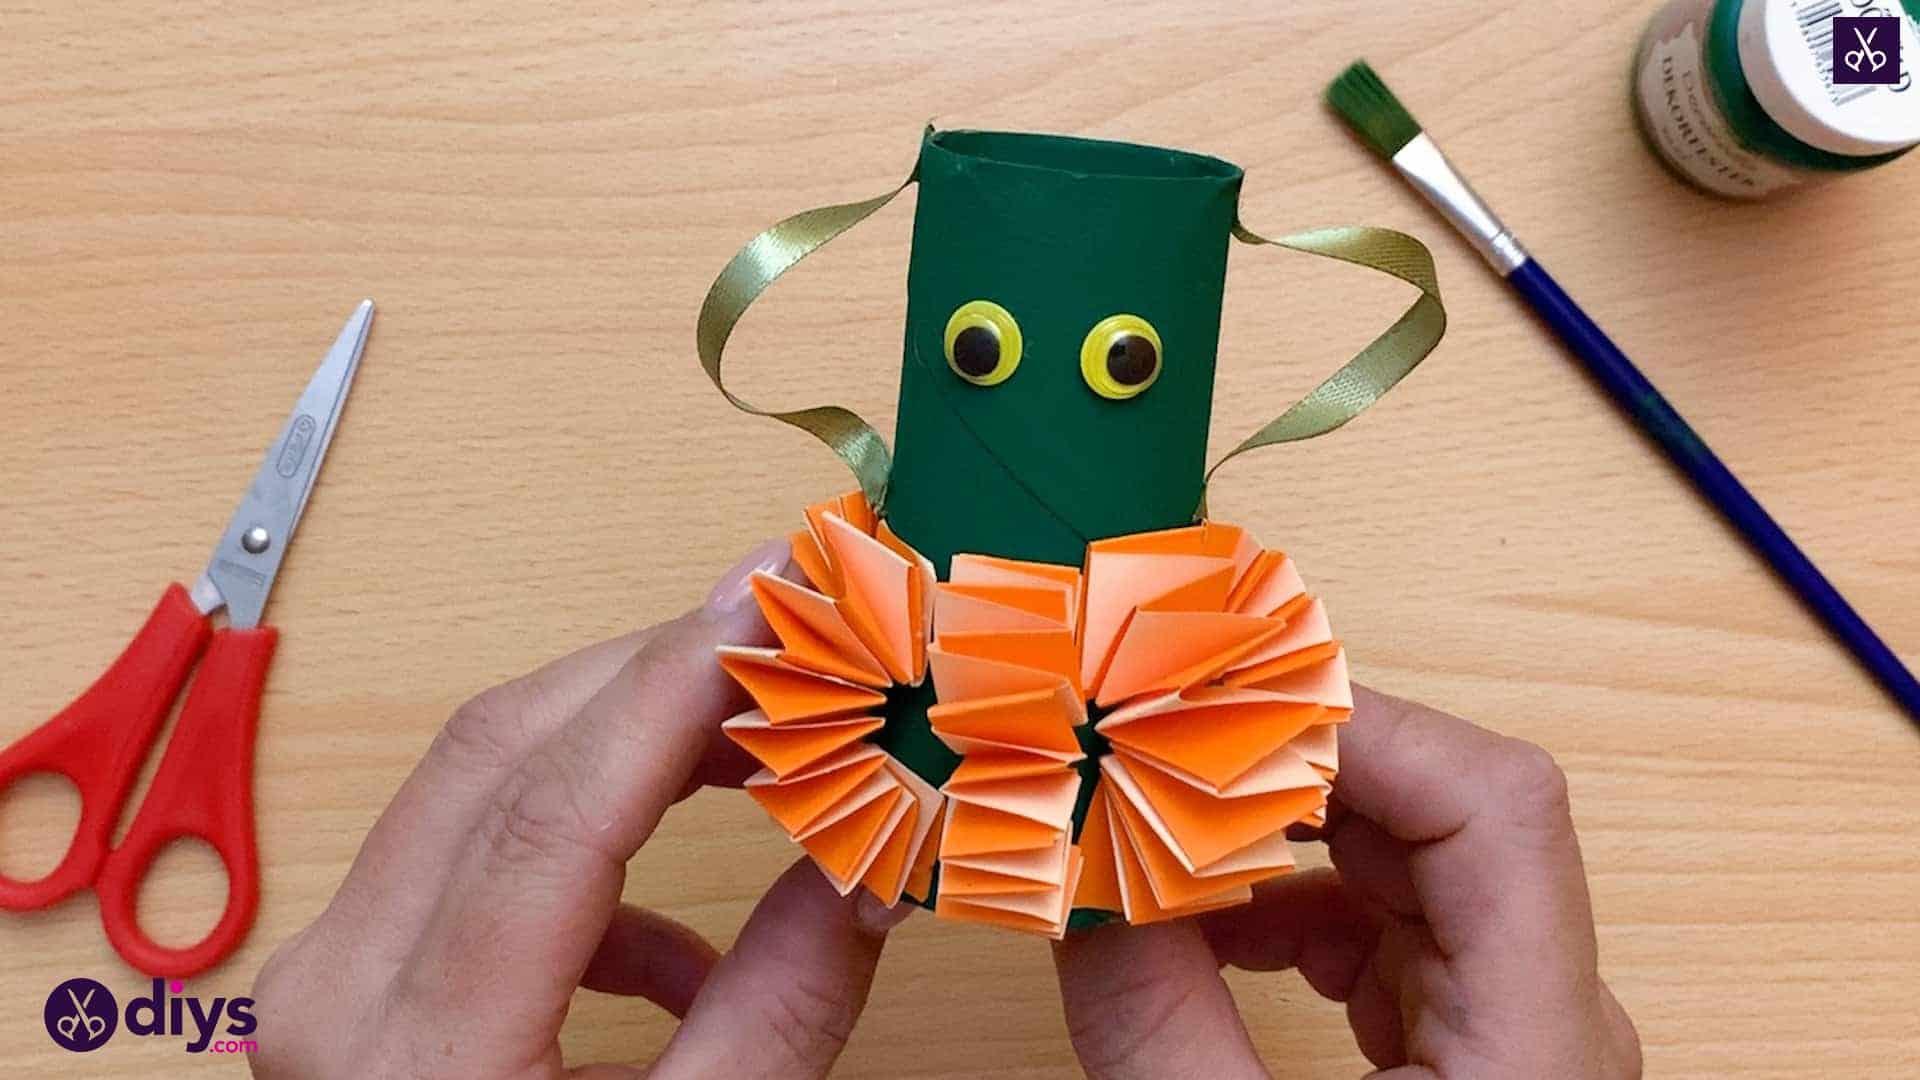
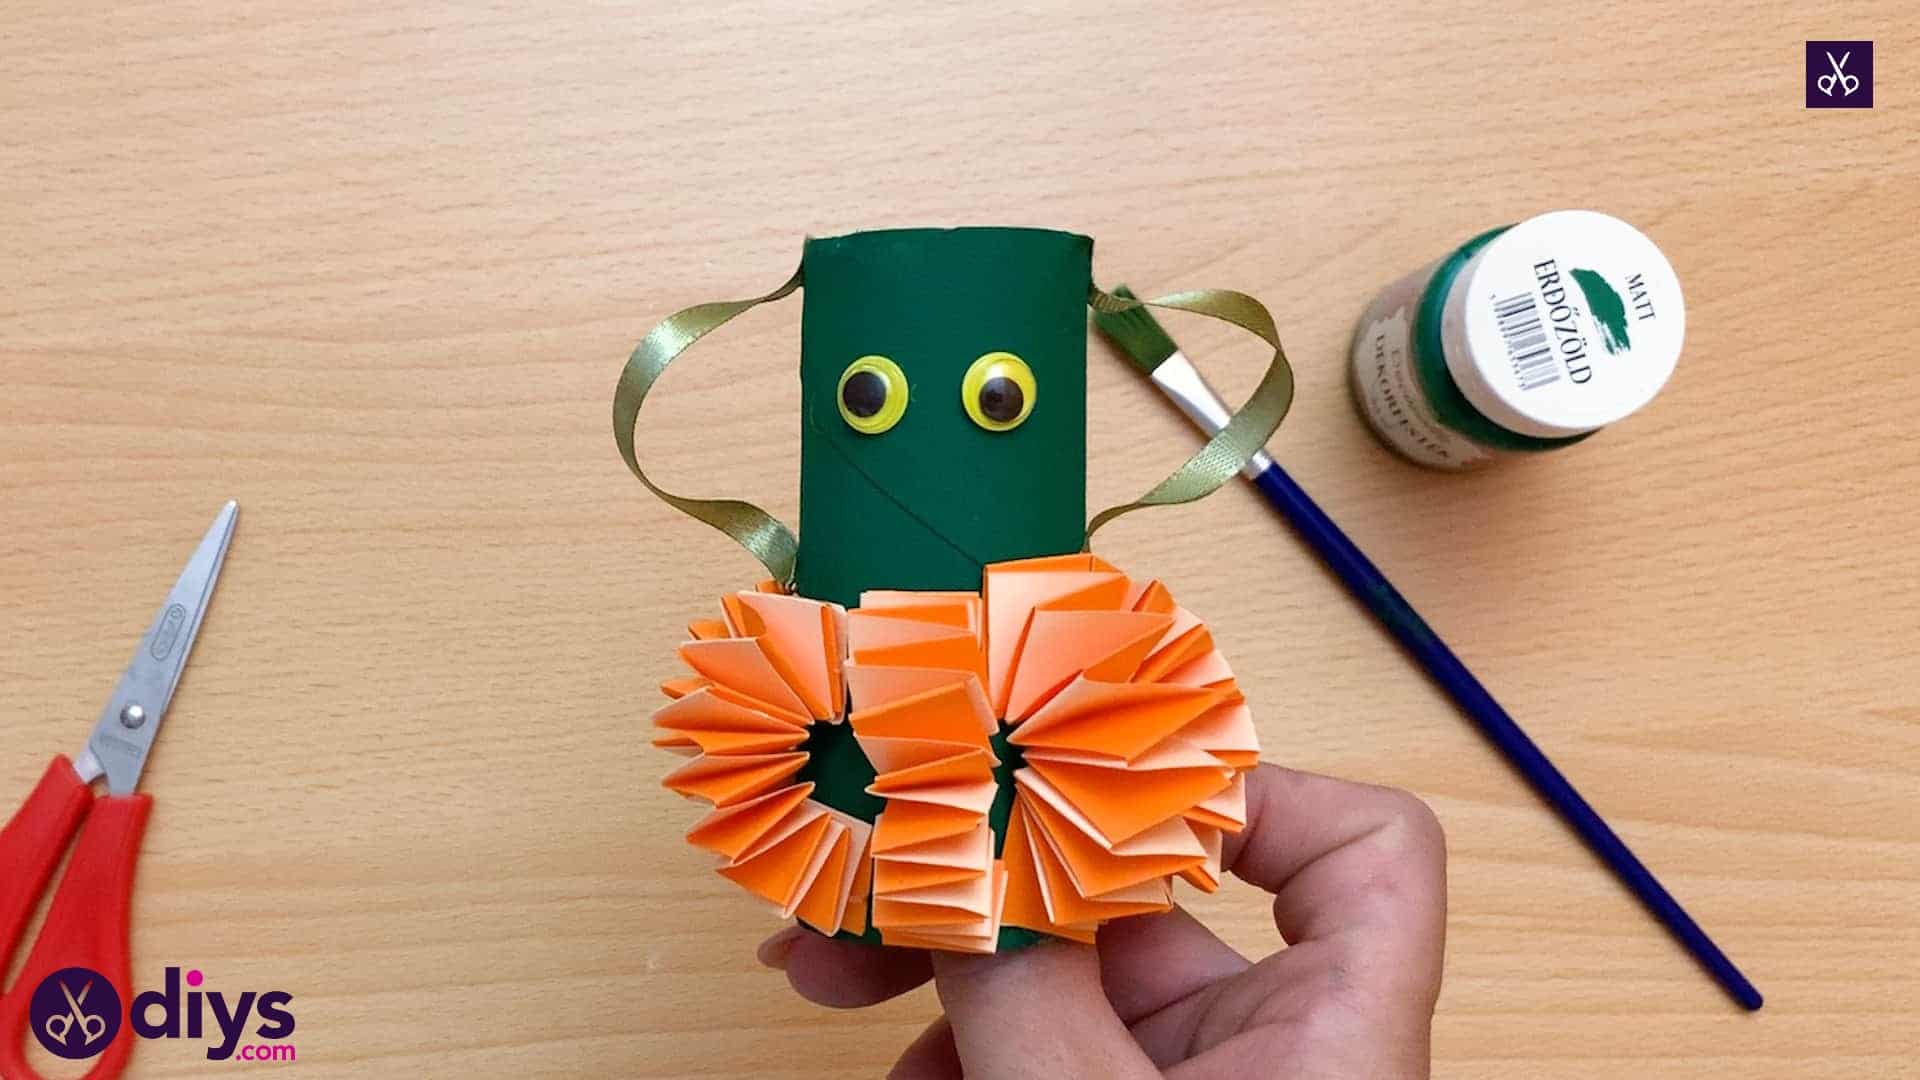
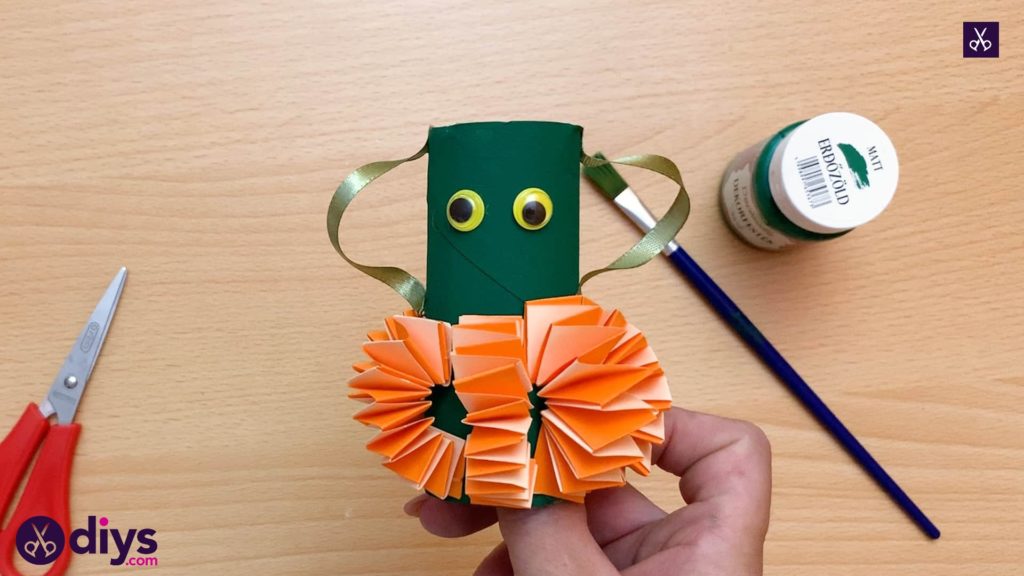
How to Make a Cute Toilet Paper Roll Pumpkin for Fall
Now that fall is here, all I can concentrate on is how much I love pumpkins! Luckily for me, my kids are total pumpkin lovers too because it means Halloween is coming, and that’s their favourite holiday. That’s why I’ve been trying my best to incorporate all kinds of pumpkins into the crafts we make lately! I’m always trying to think of new things we can make together out of empty toilet paper rolls because they’re so convenient to craft with, which is how I come came up with this funny little fall pumpkin craft that I just couldn’t help outlining for all to see and try.
Check out these full instructions complete with photos for making a toilet roll pumpkin! If you prefer to follow video tutorials rather than written words, scroll to the bottom of this post to find one there.
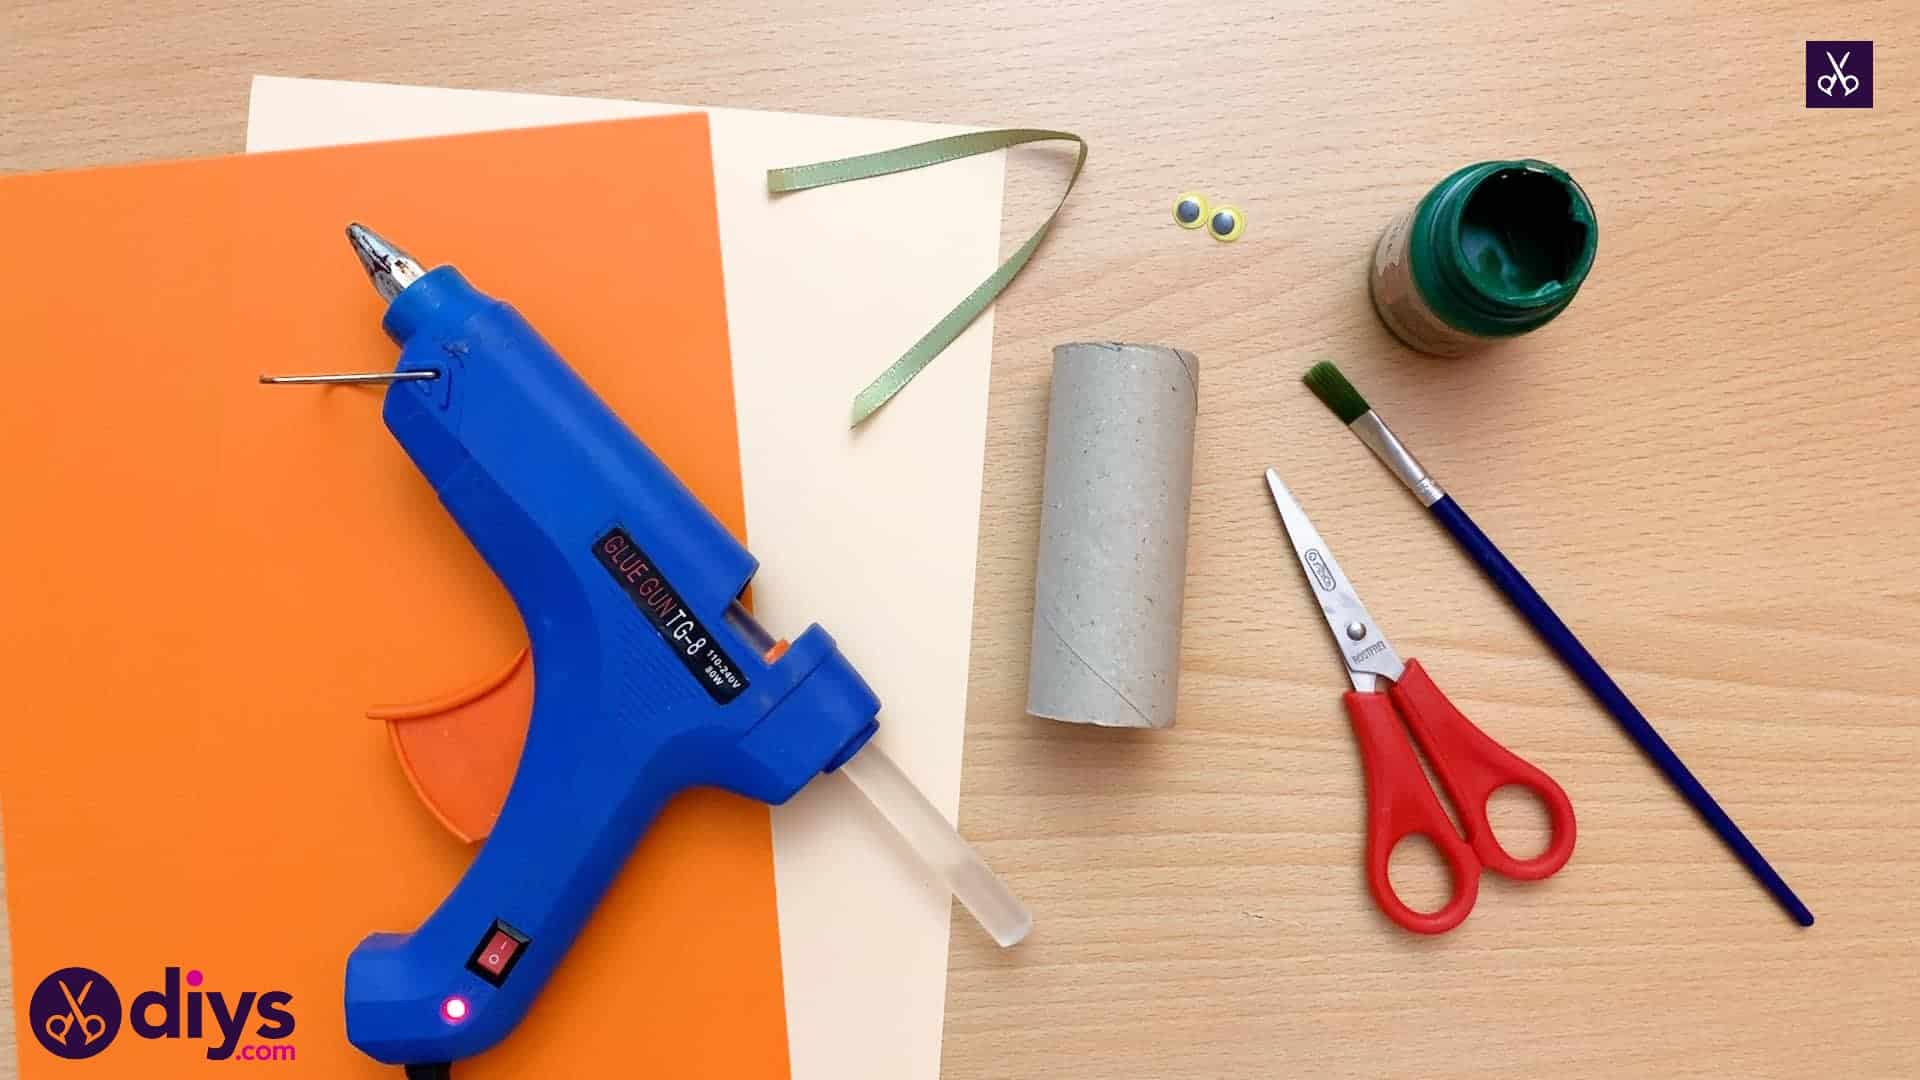
For this project, you’ll need:
- Coloured paper (orange and cream)
- A small green ribbon
- Two googly eyes
- A paint brush
- Green paint
- A toilet roll
- Scissors
- A glue gun
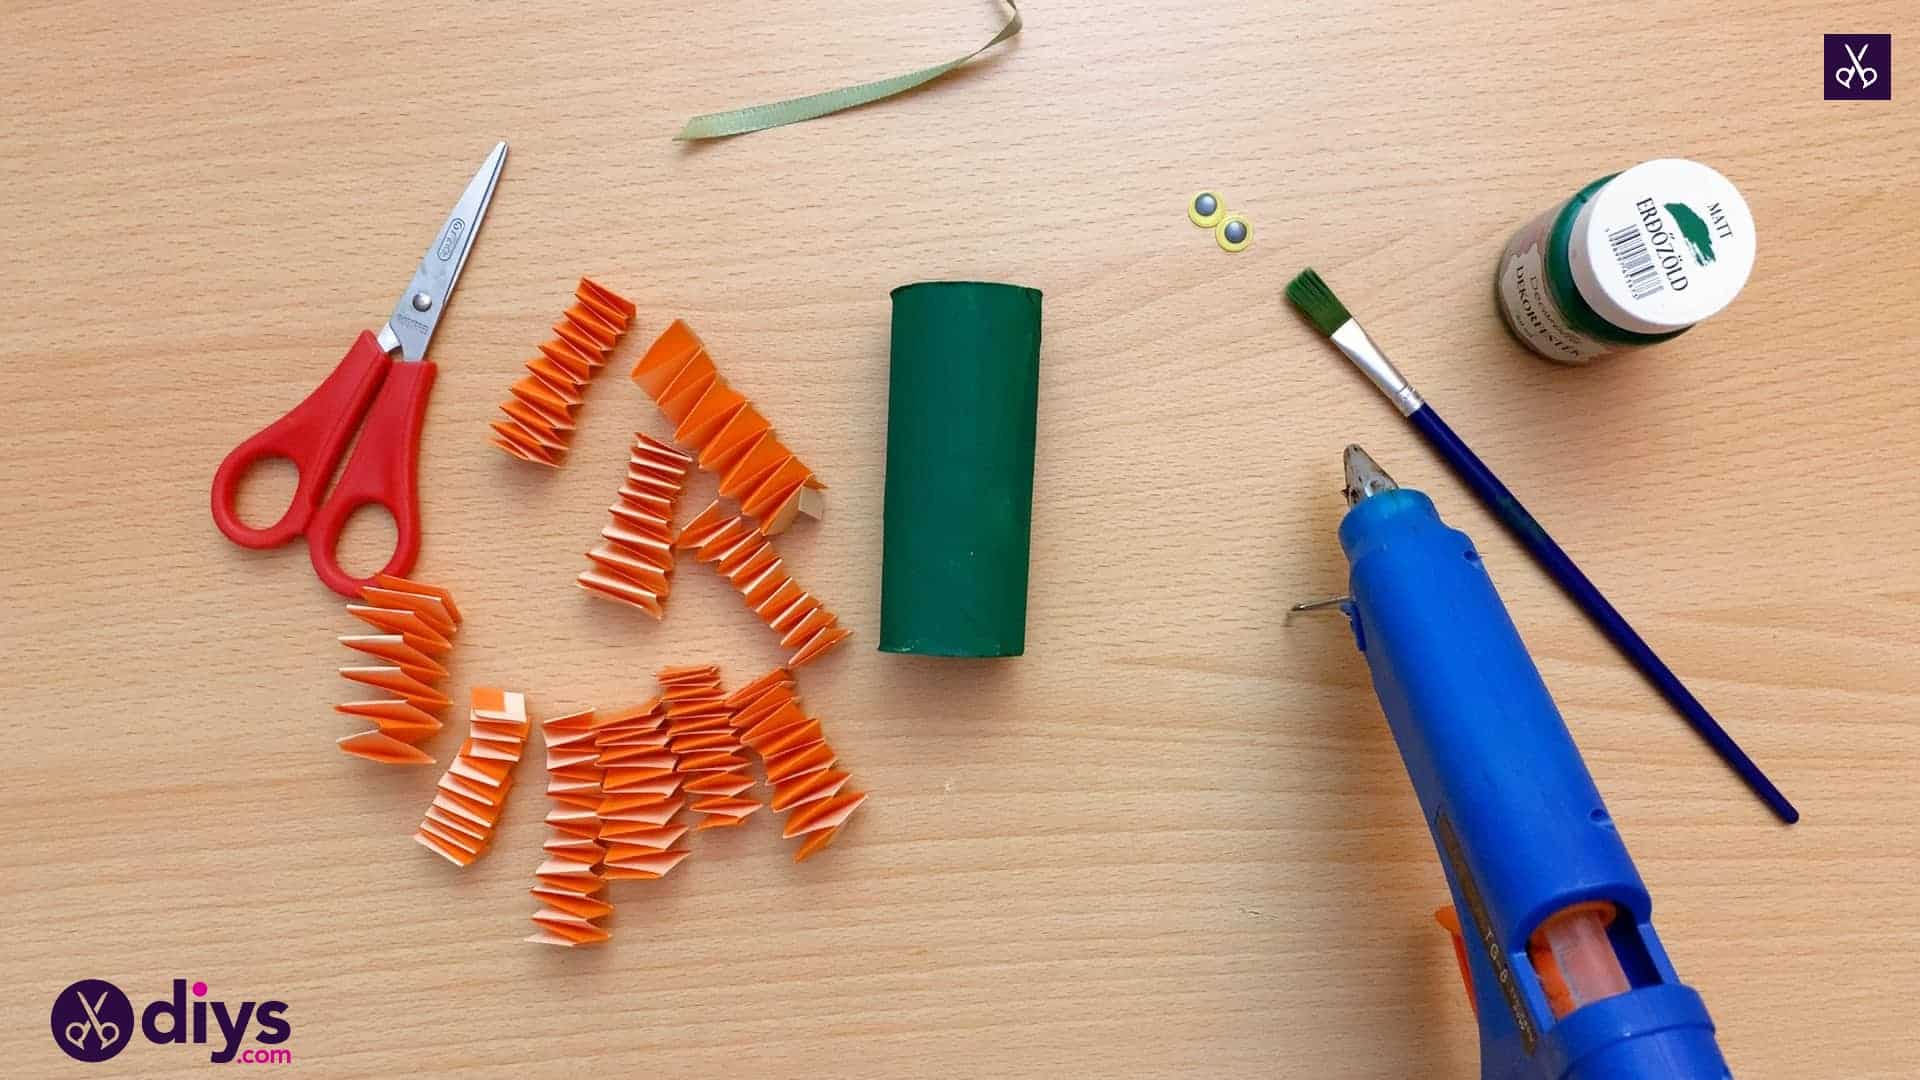
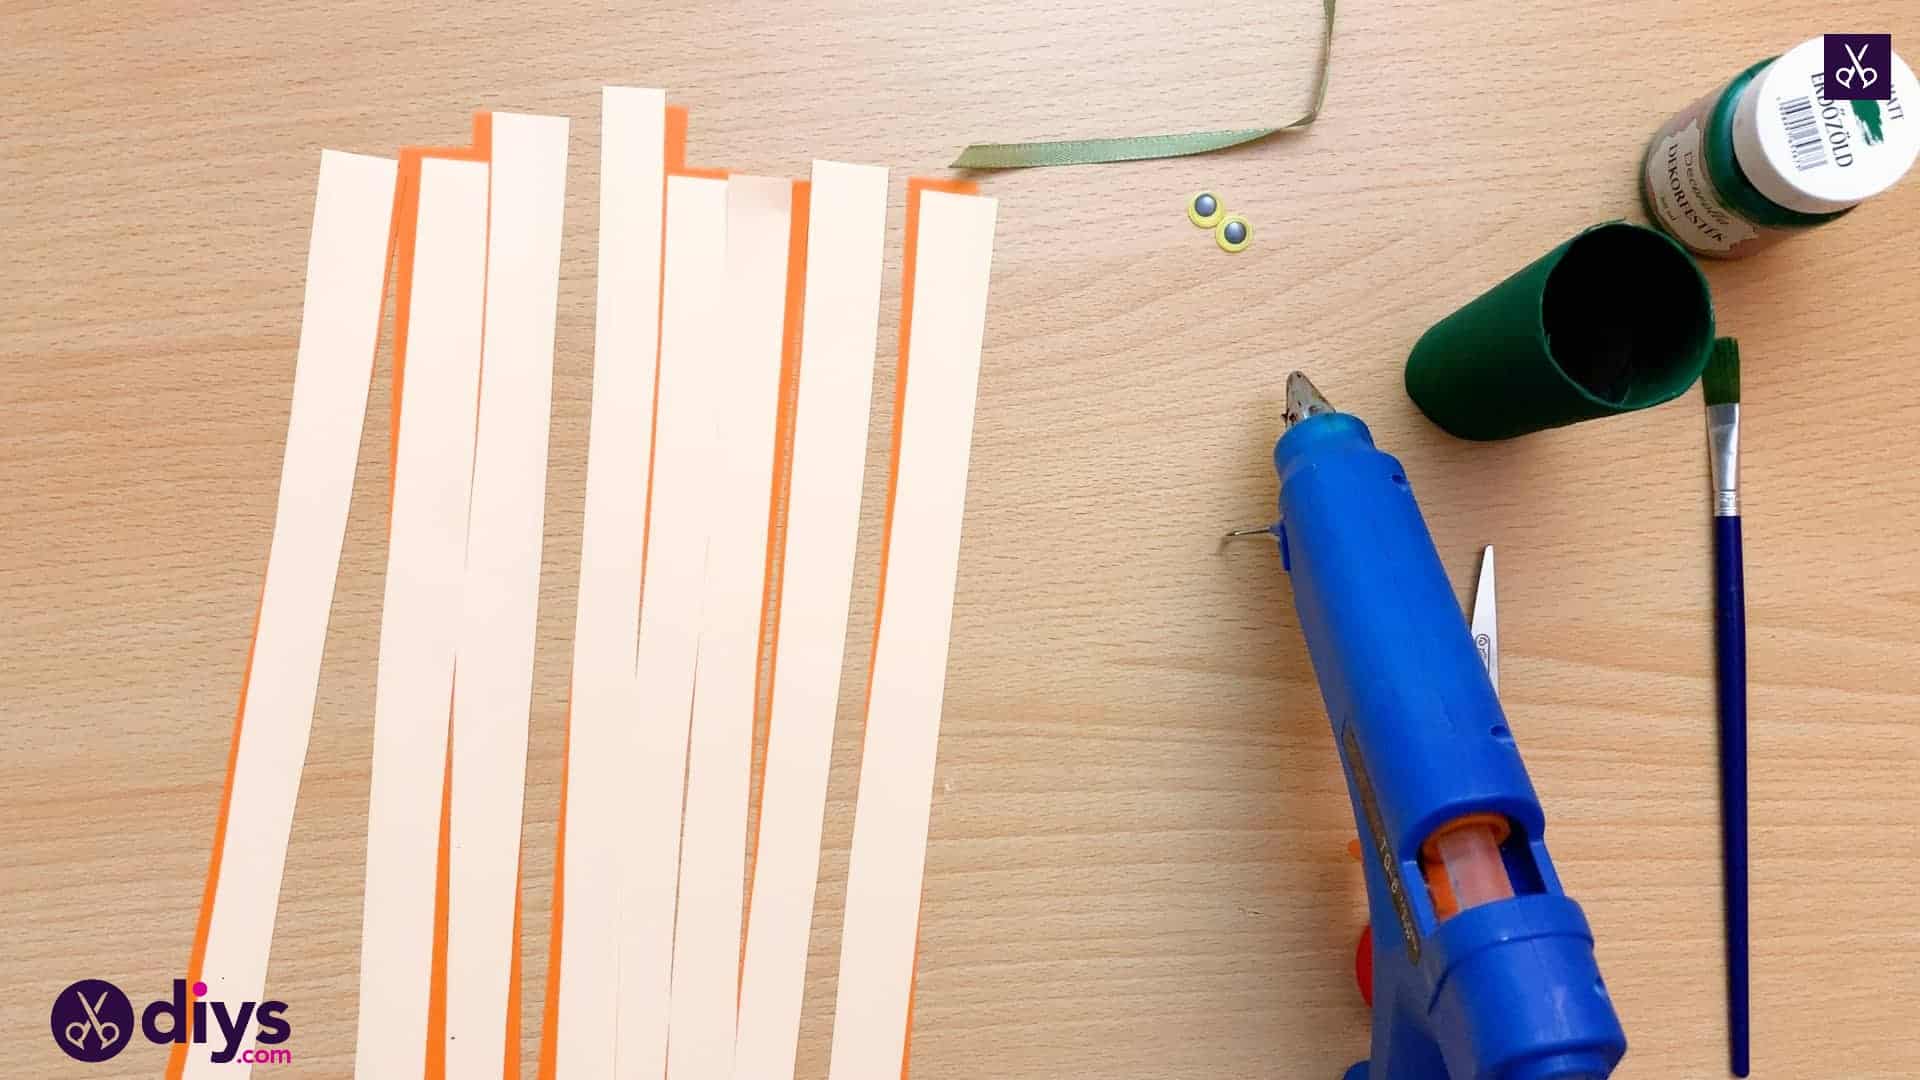
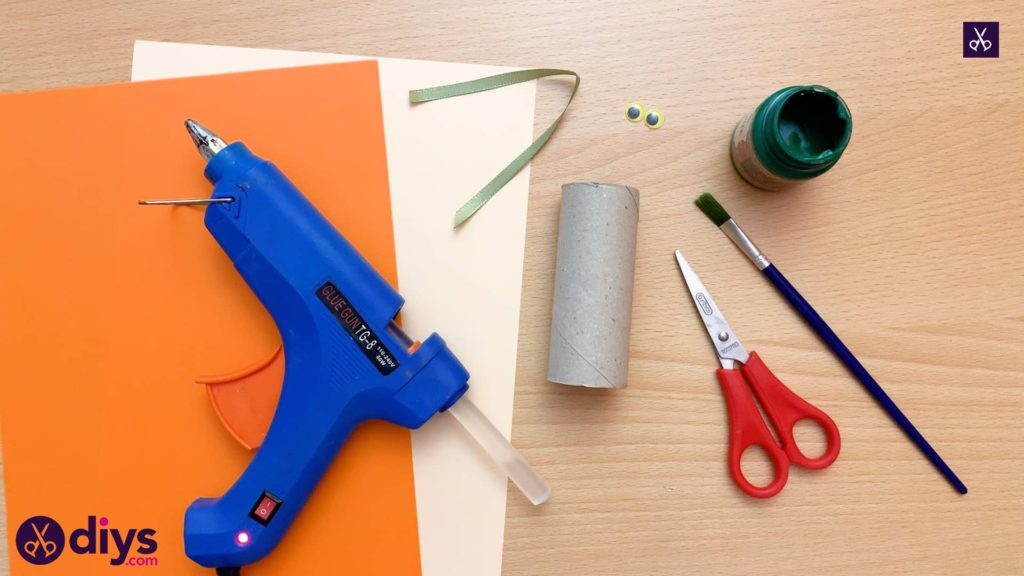
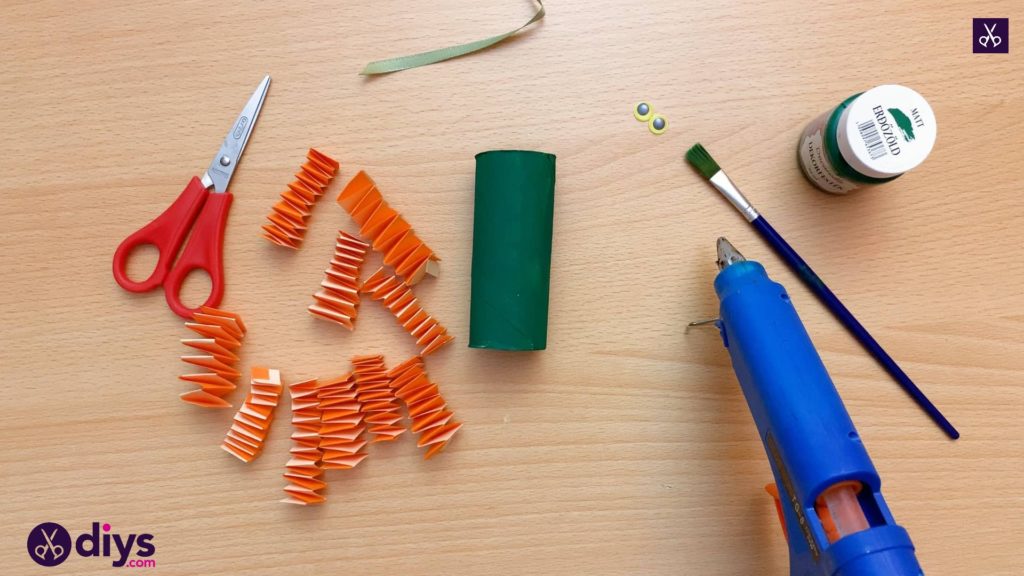
Step 1: Gather your materials!
I always like to ensure I have everything I need before beginning.
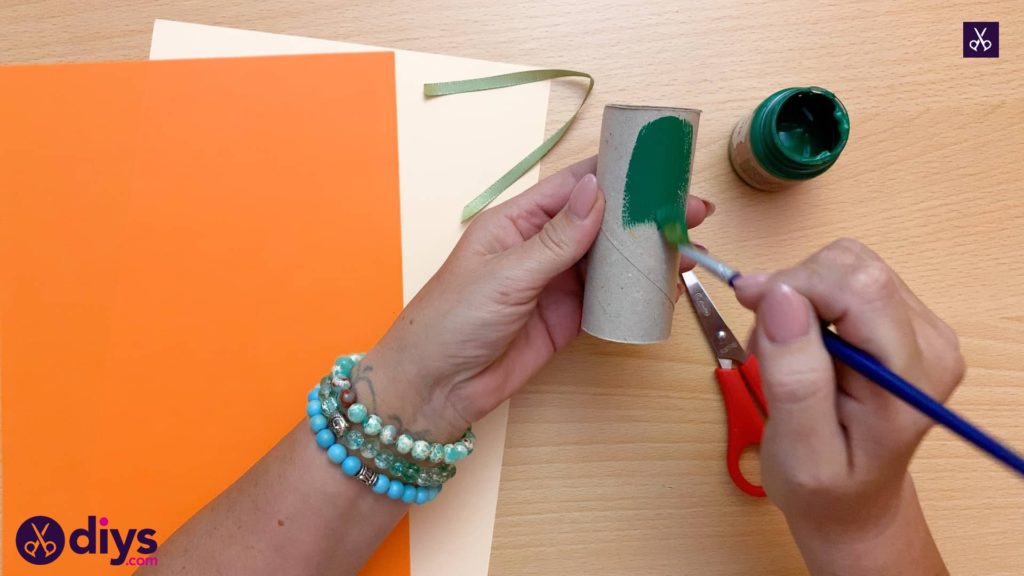
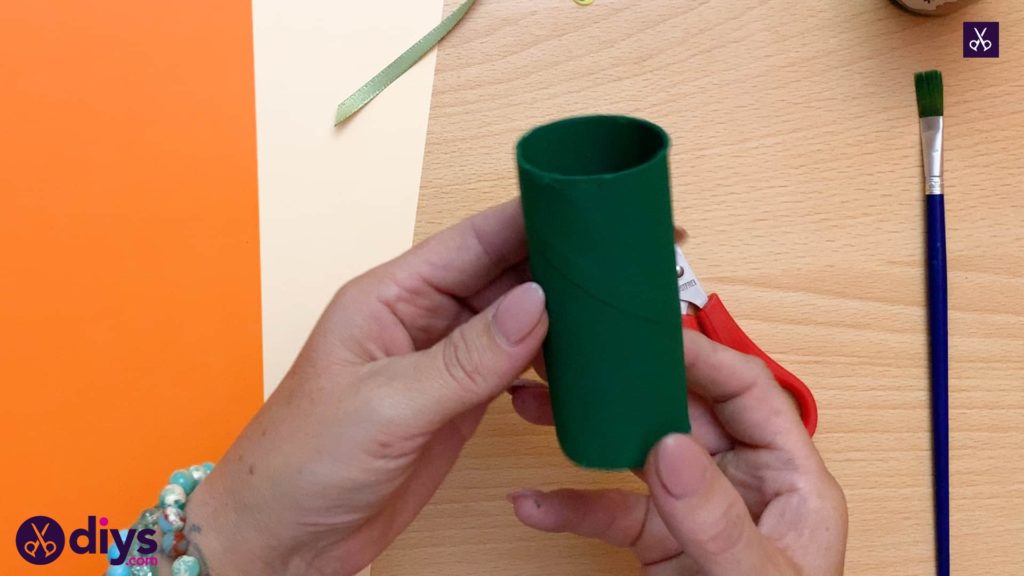
Step 2: paint the roll
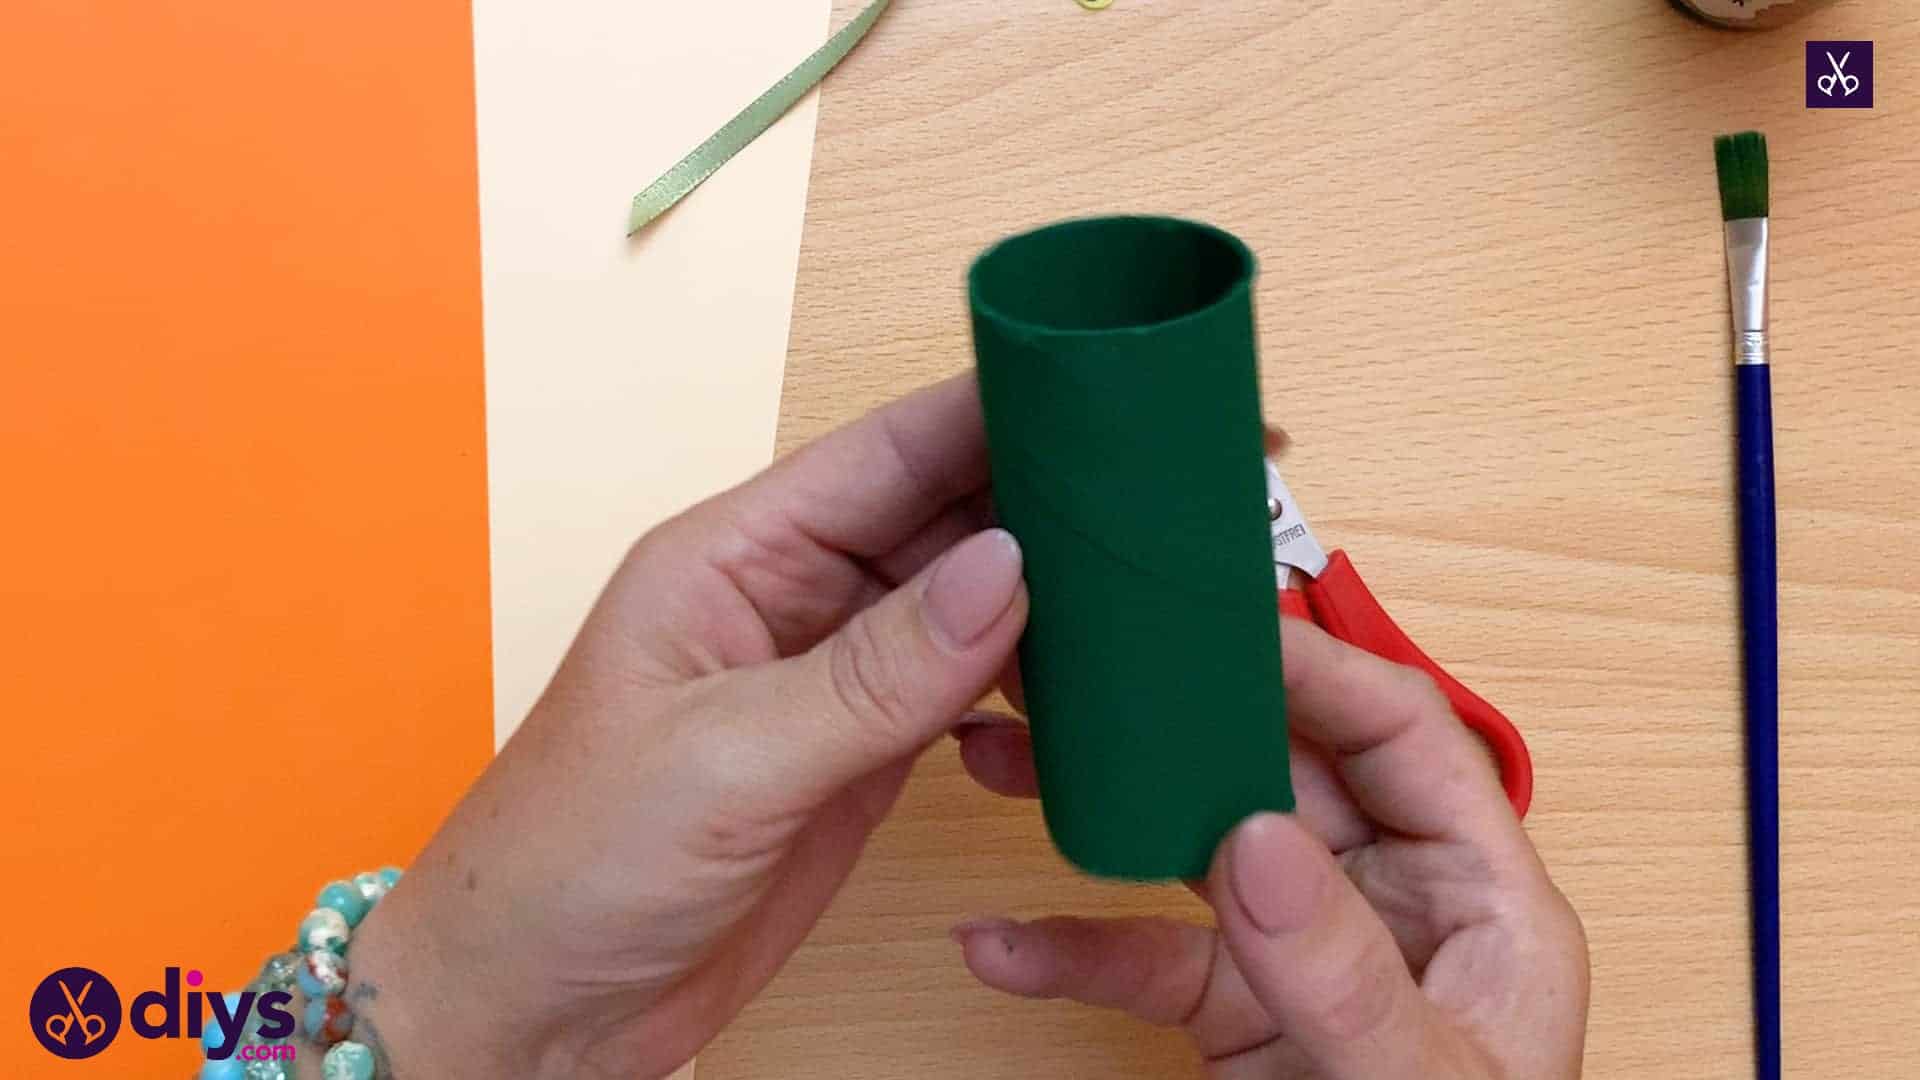
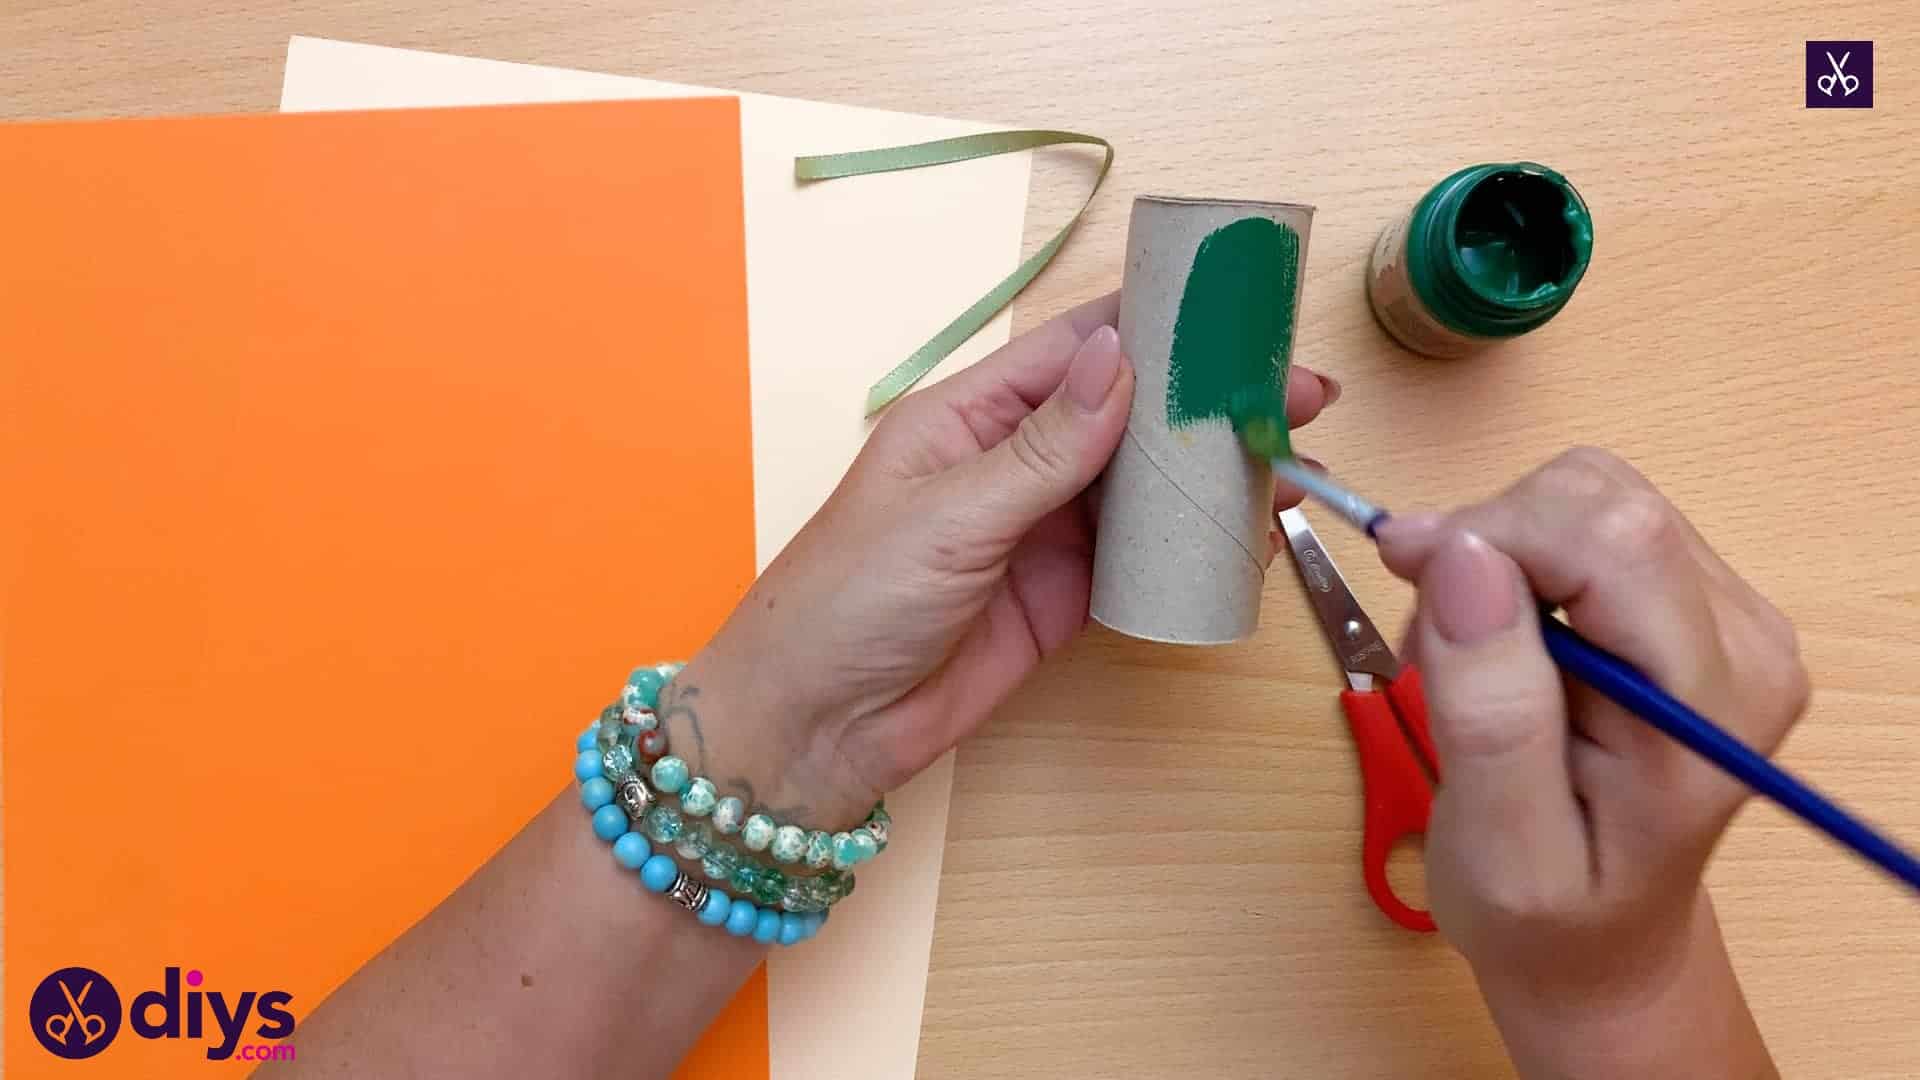
Use your brush to paint your toilet roll green. Let it dry entirely. I even painted the inside of the roll as far as I could for more impact!
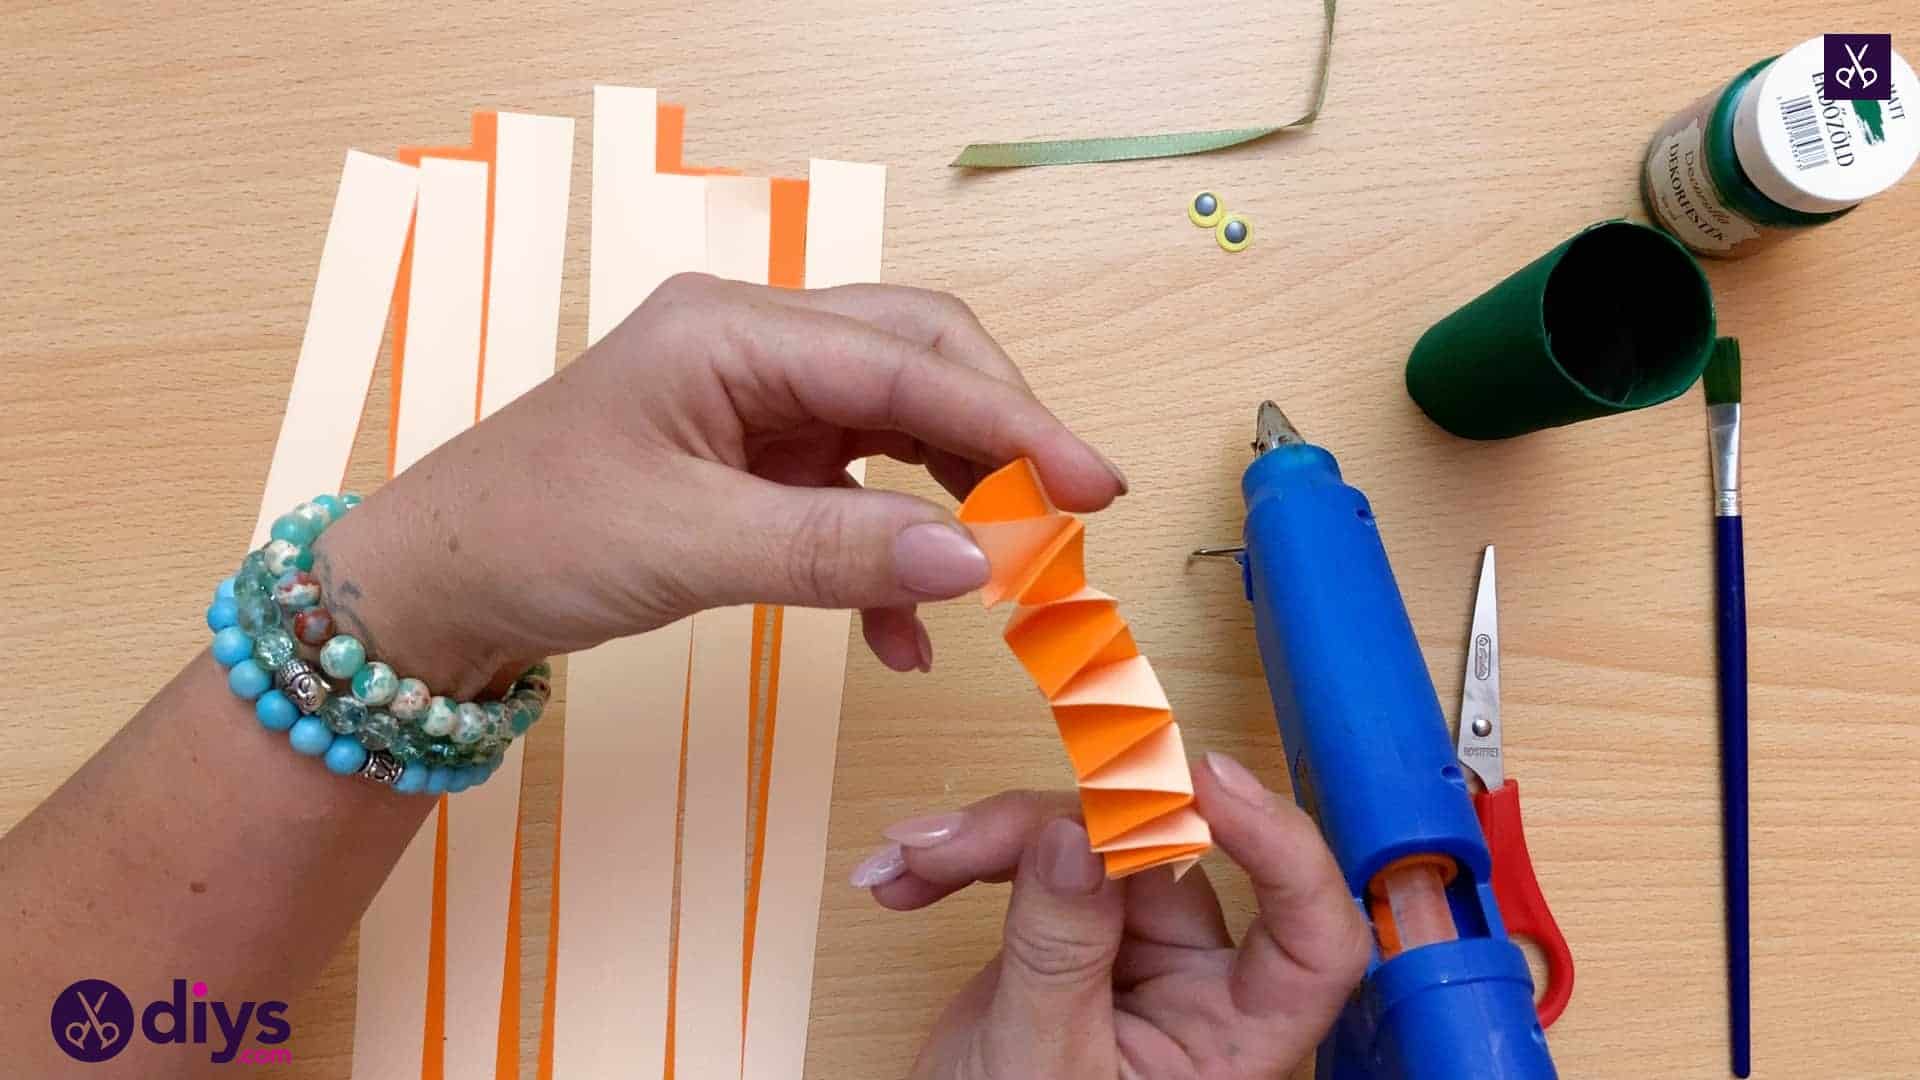
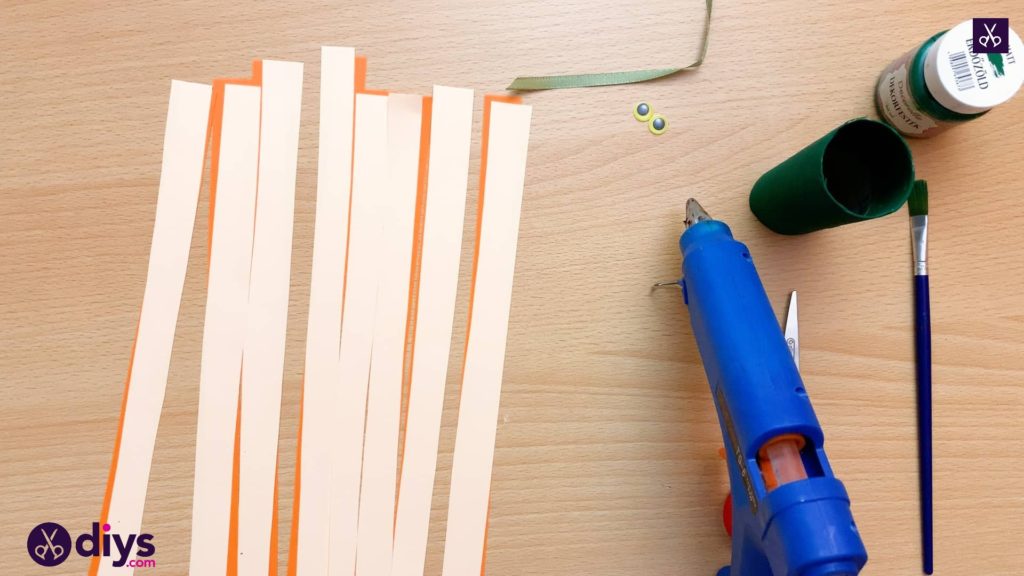
Step 3: cut strips
From each of your colours of paper, cut eight thin strips. I made each one the full length of the page and about half an inch wide.
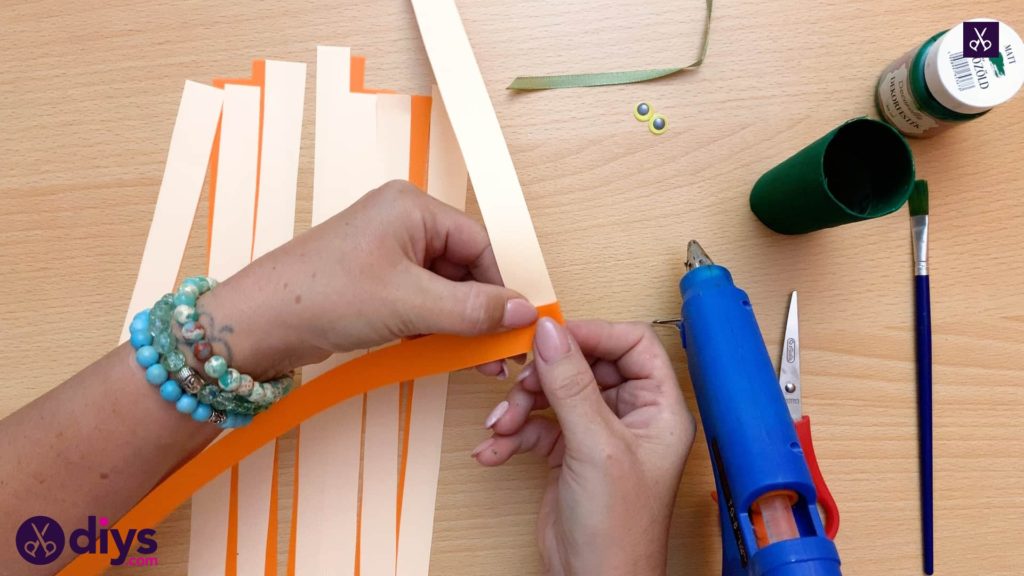
Step 4: make accordions
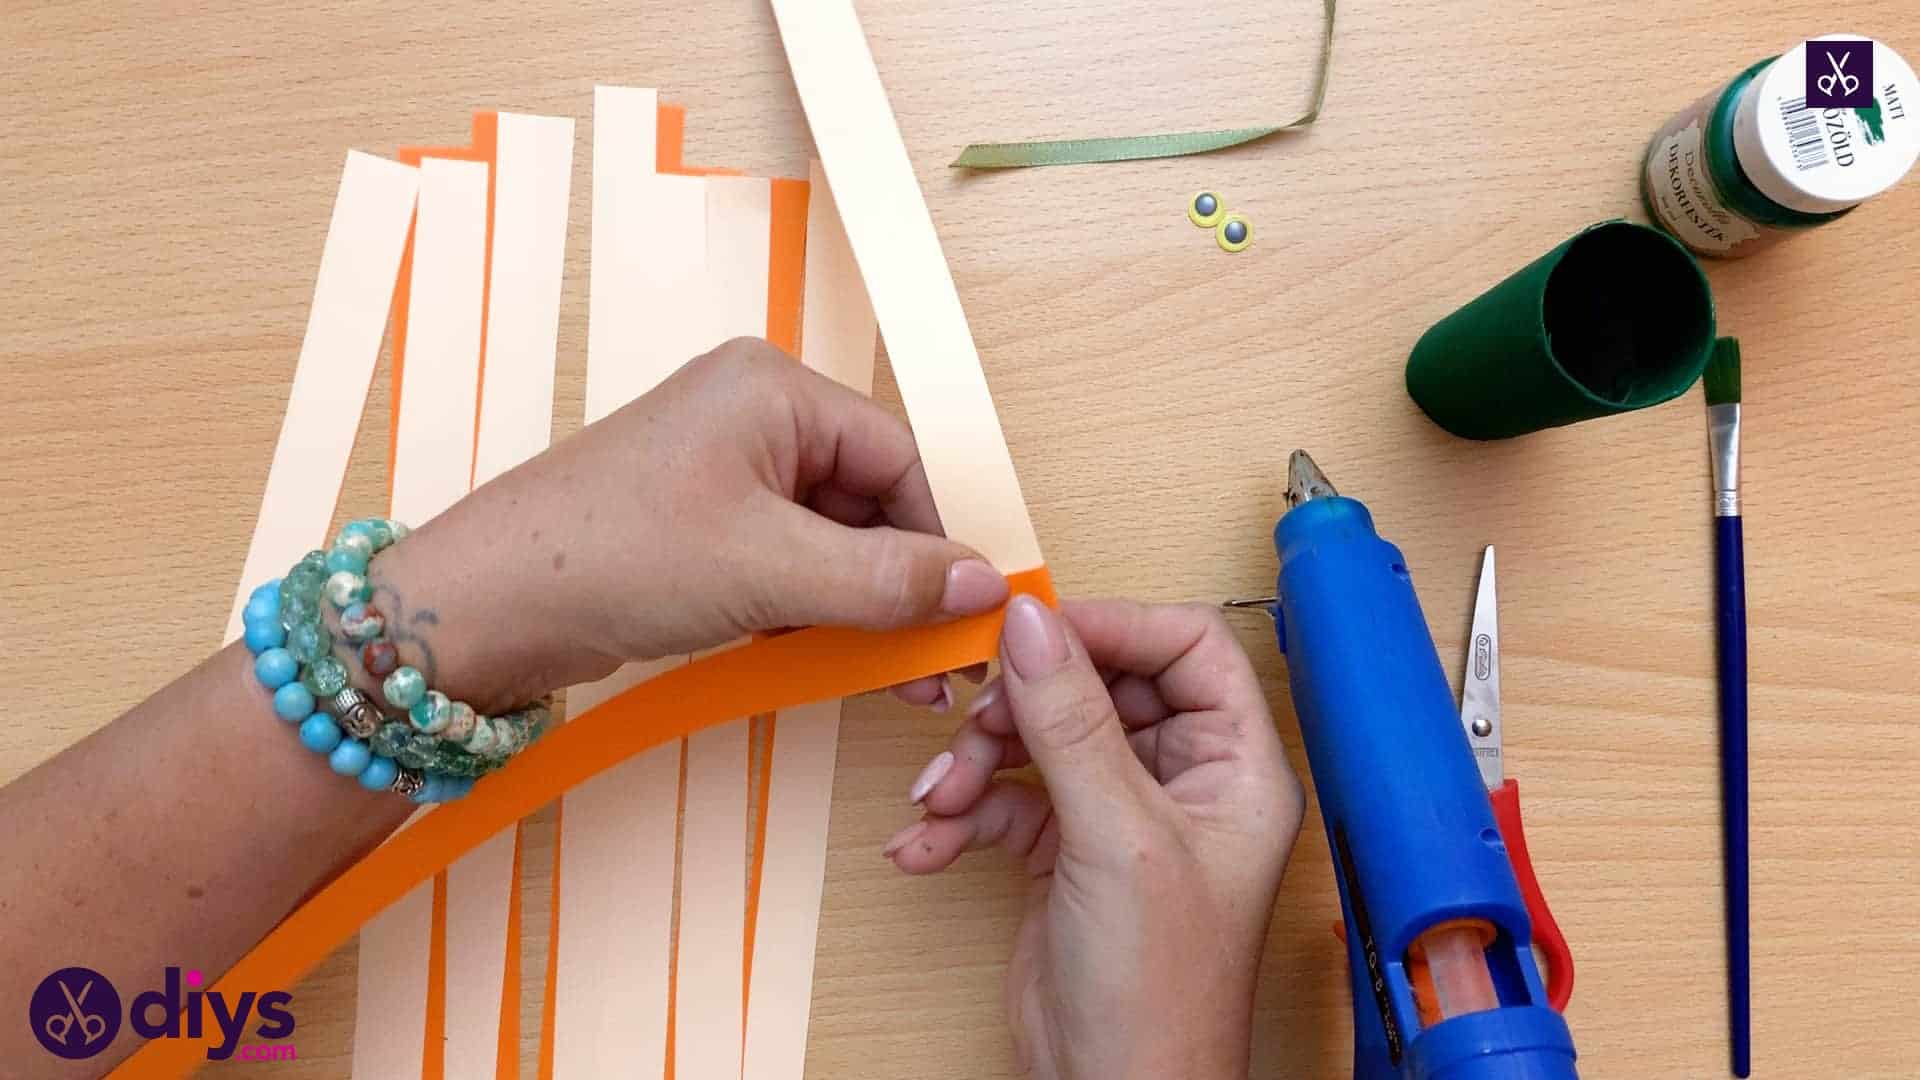
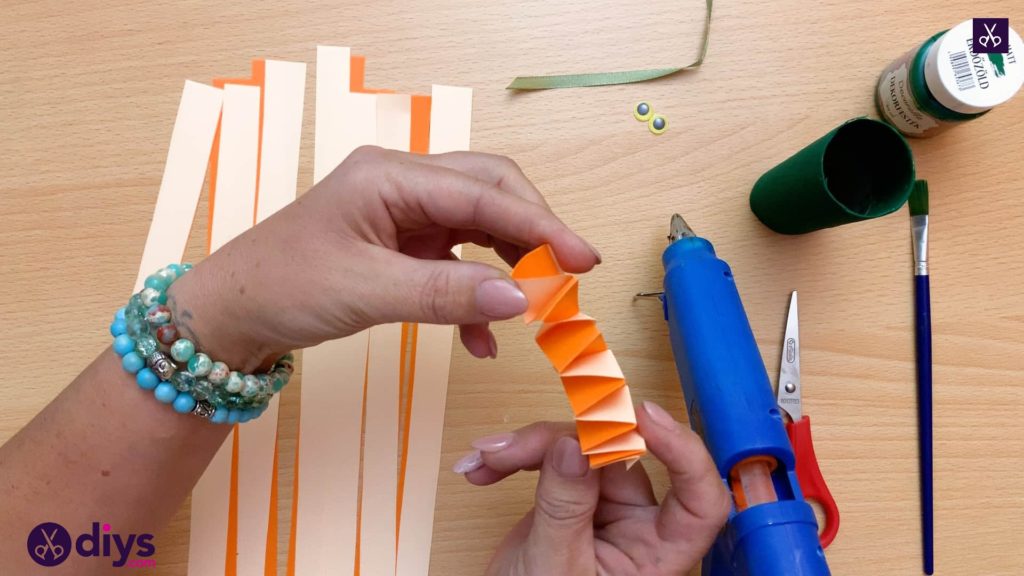
Pick up one orange strip and apply glue near one end. Place the end of one cream strip in the glue so that they stick together with their corner and edges lined up perfectly, but with the cream strip turned perpendicularly to the orange one, like two sides of a square. Then fold the orange strip that is underneath over the cream strip, creasing it so the edges line up evenly once more and the strips are perpendicular again, but in a different directly. Repeat the process with the cream strip. Continue overlapping the strips in the way, alternating which colour you’re folding, until you’ve folded the entire strips and you have a layered square. Glue the very last piece you fold into place. When you let go, you’ll have a dual coloured piece that looks kind of like an accordion!
Step 5: repeat
Repeat this folding process with all of your pairs of orange and cream paper strips until you have about ten orange and cream springy pieces.
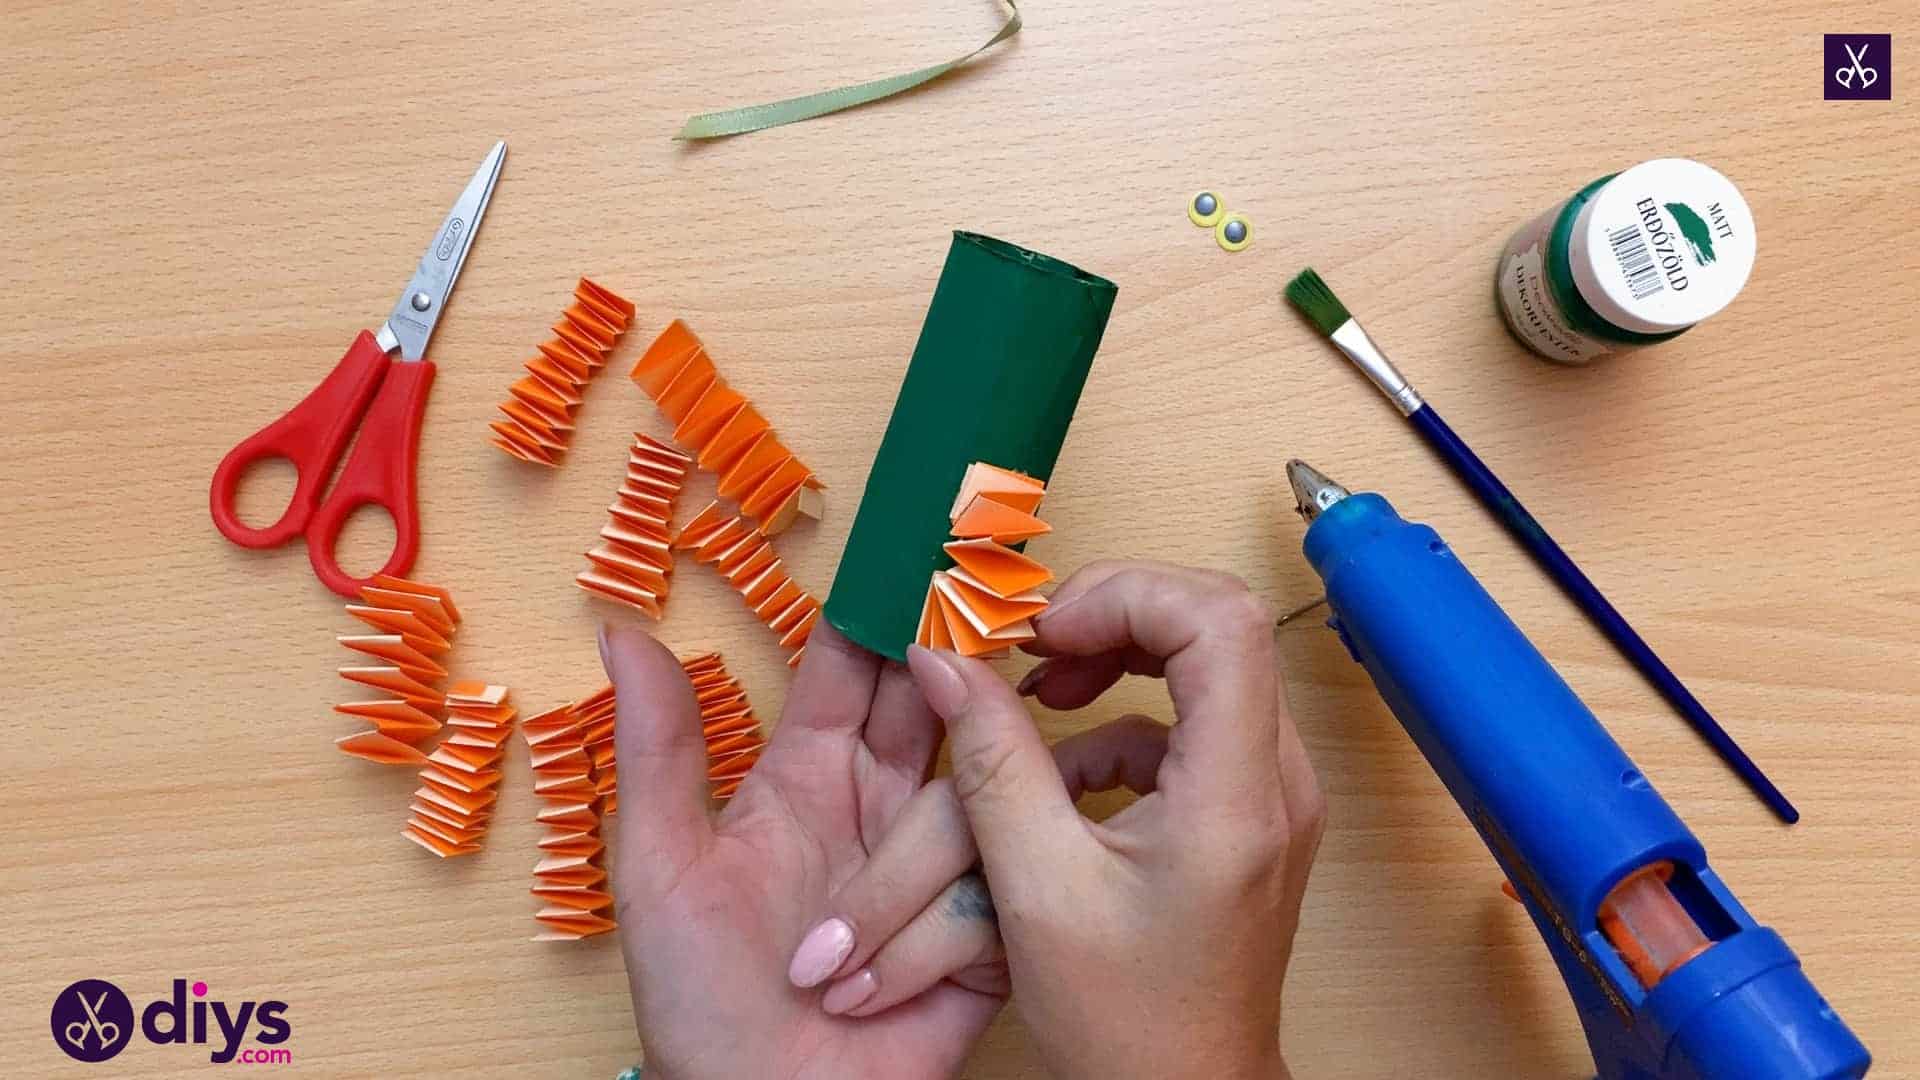
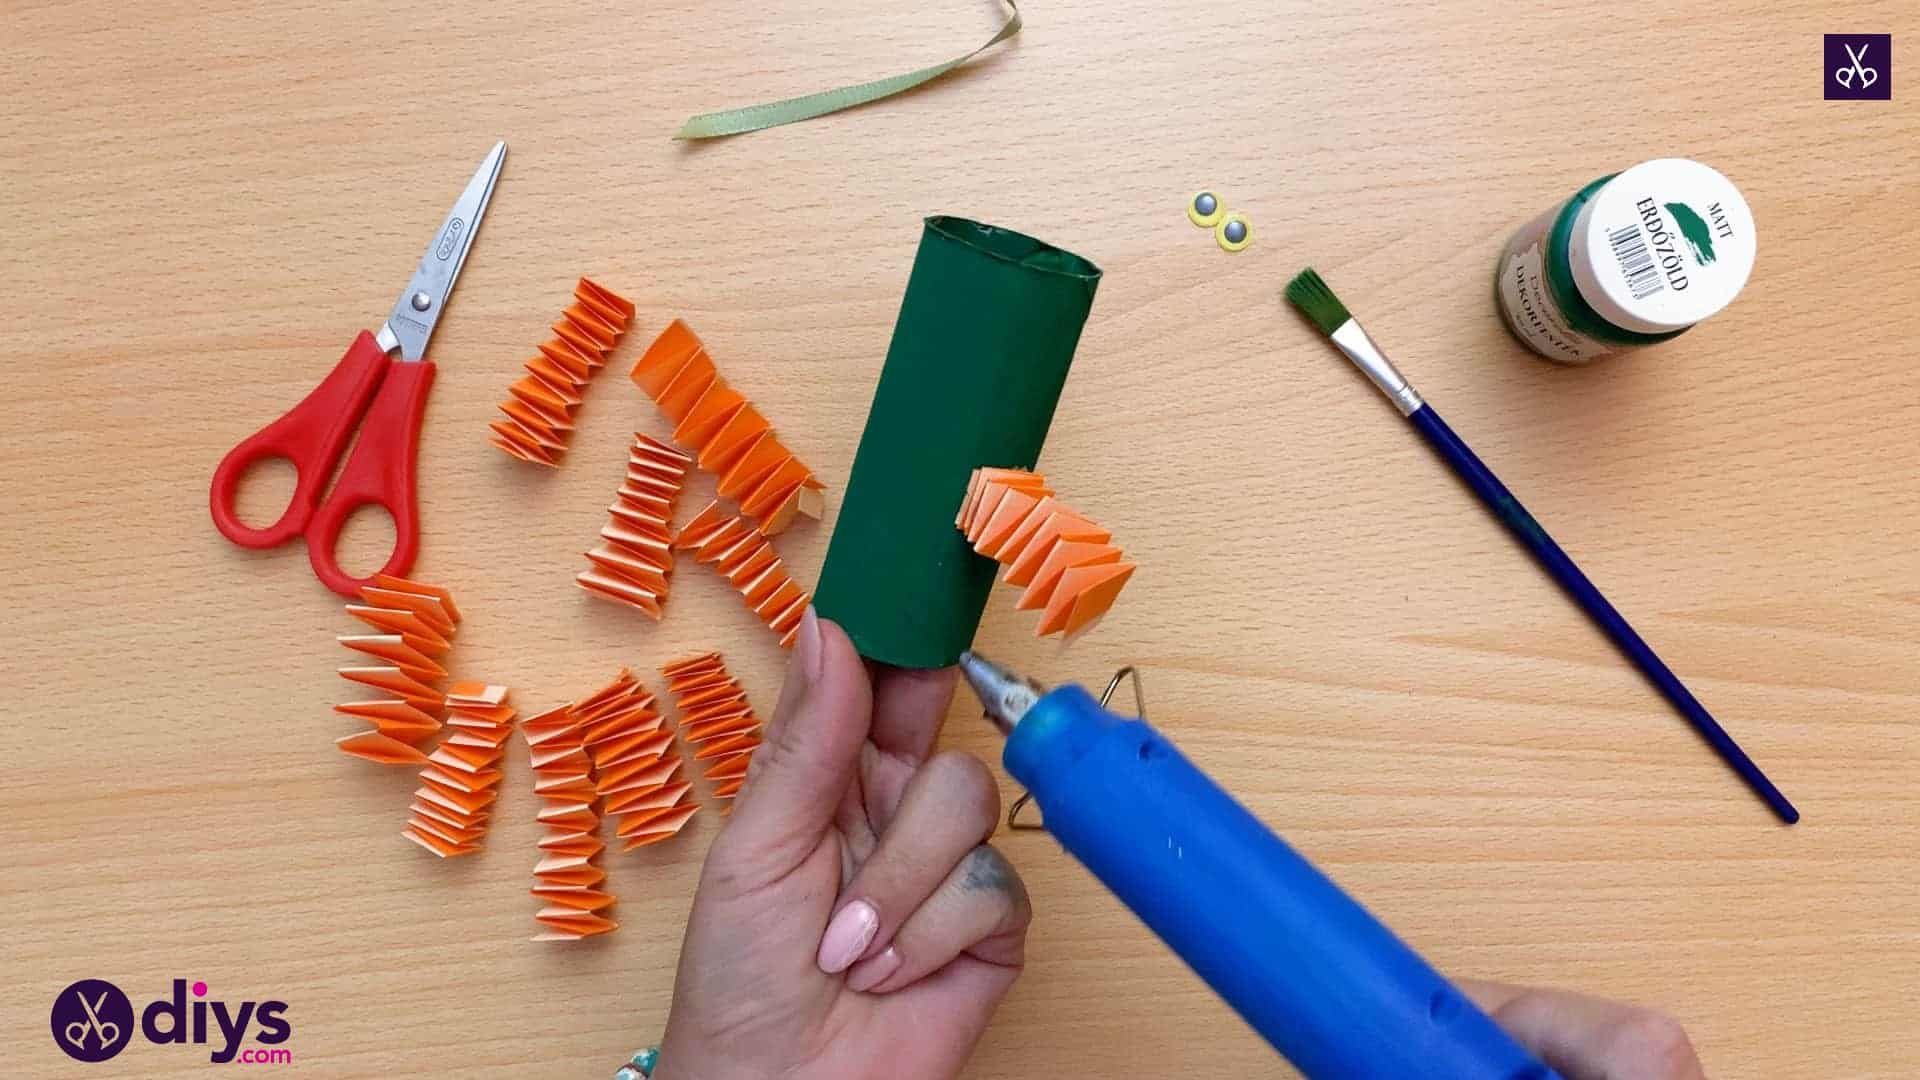
Step 6: glue to roll
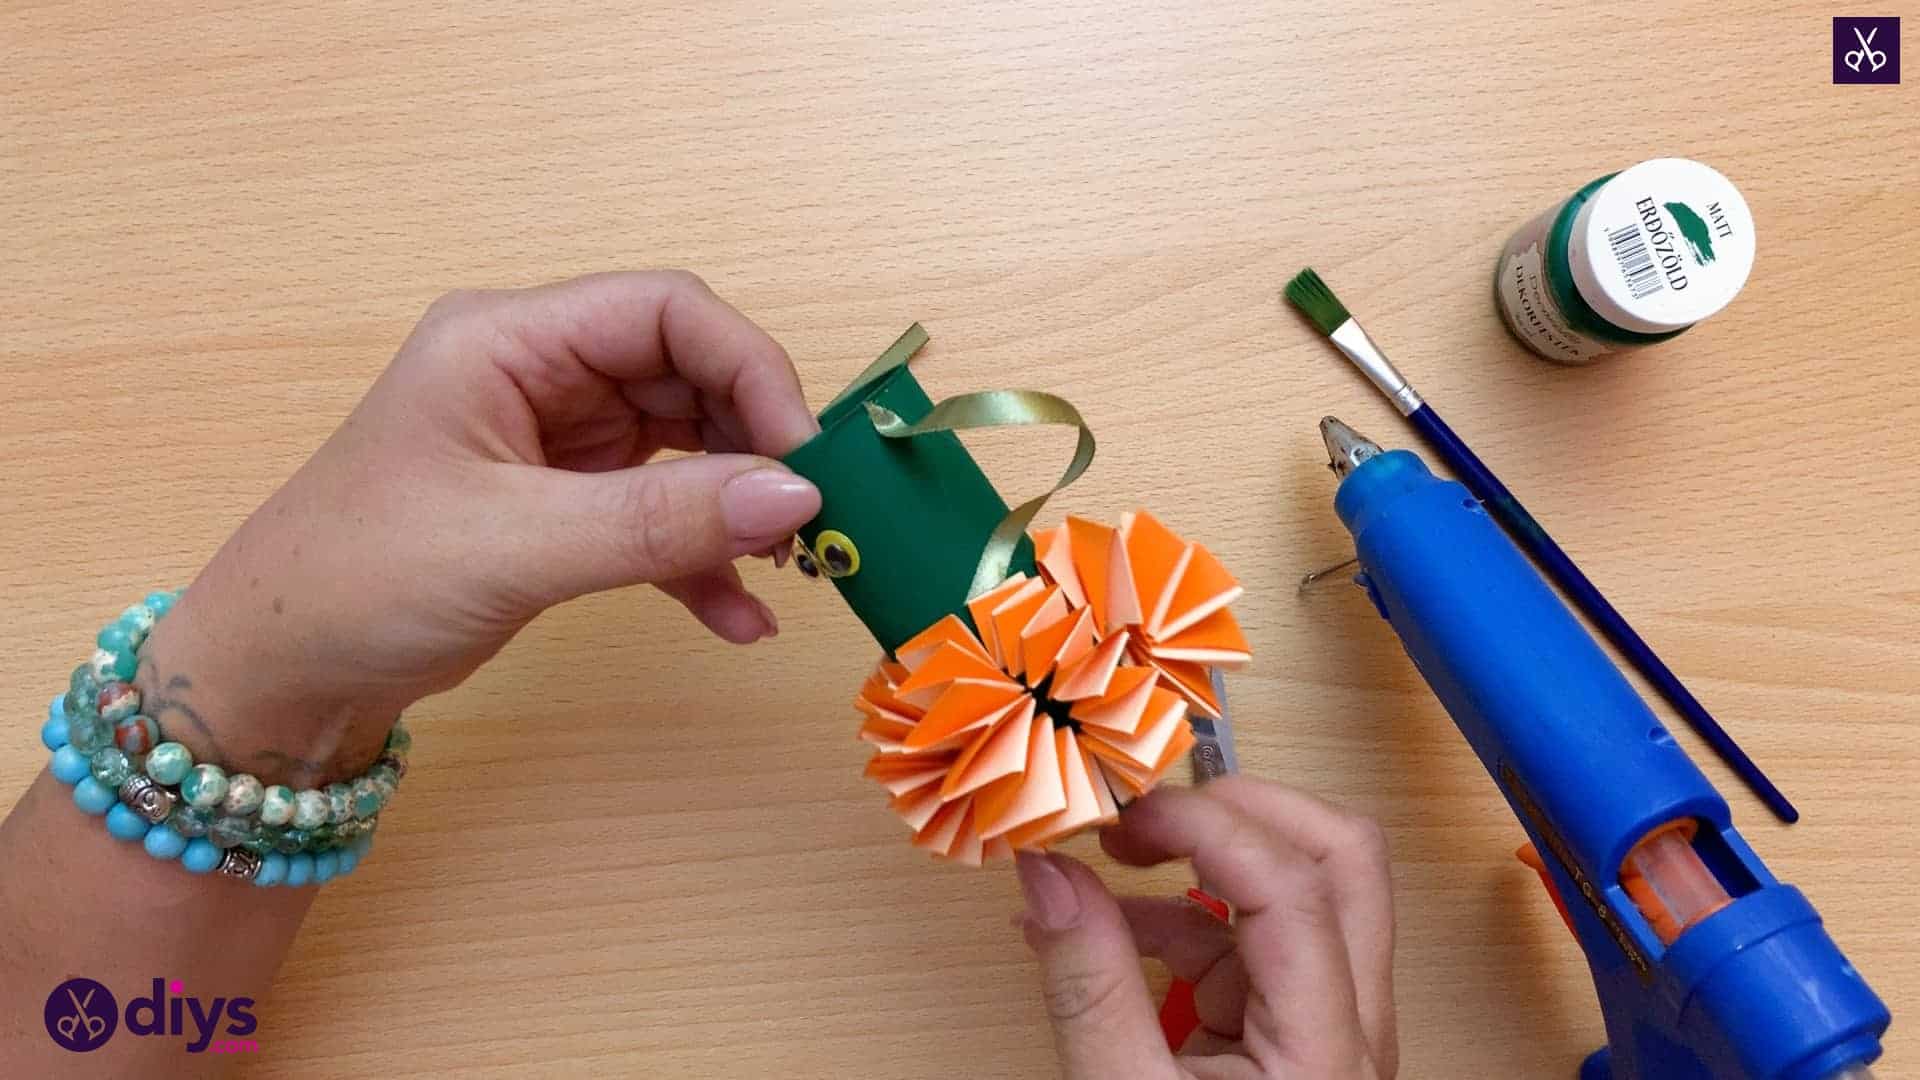
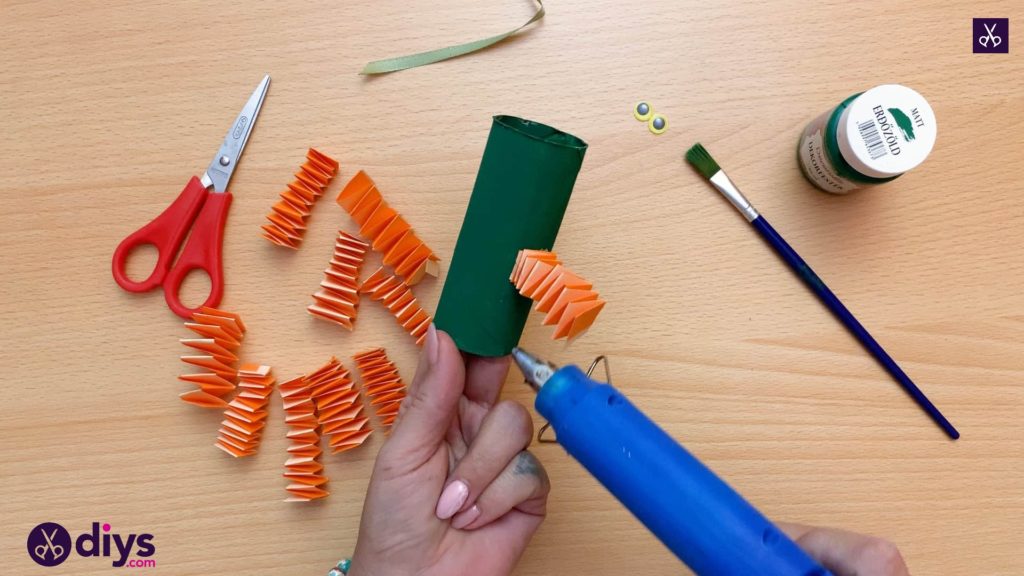
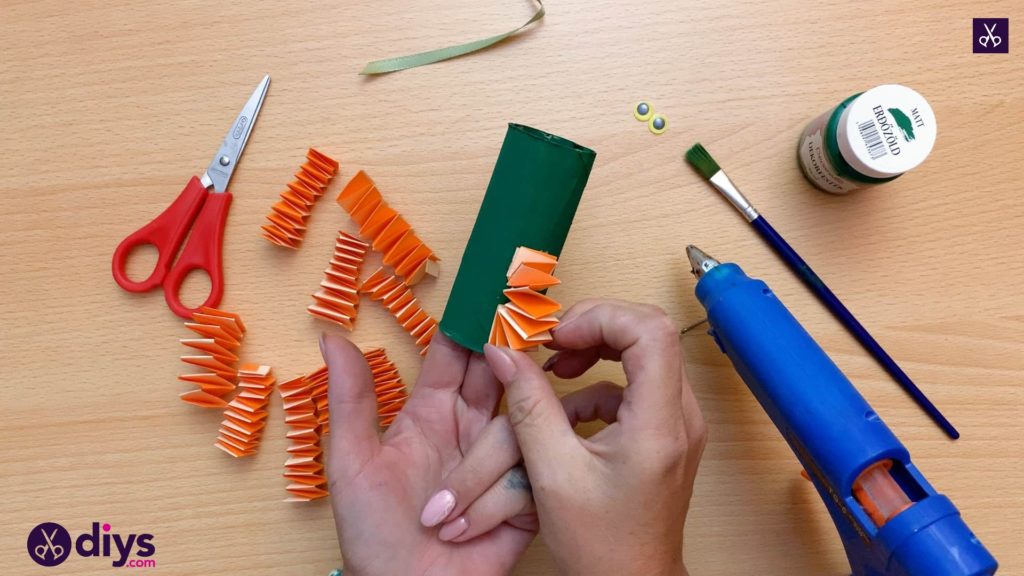
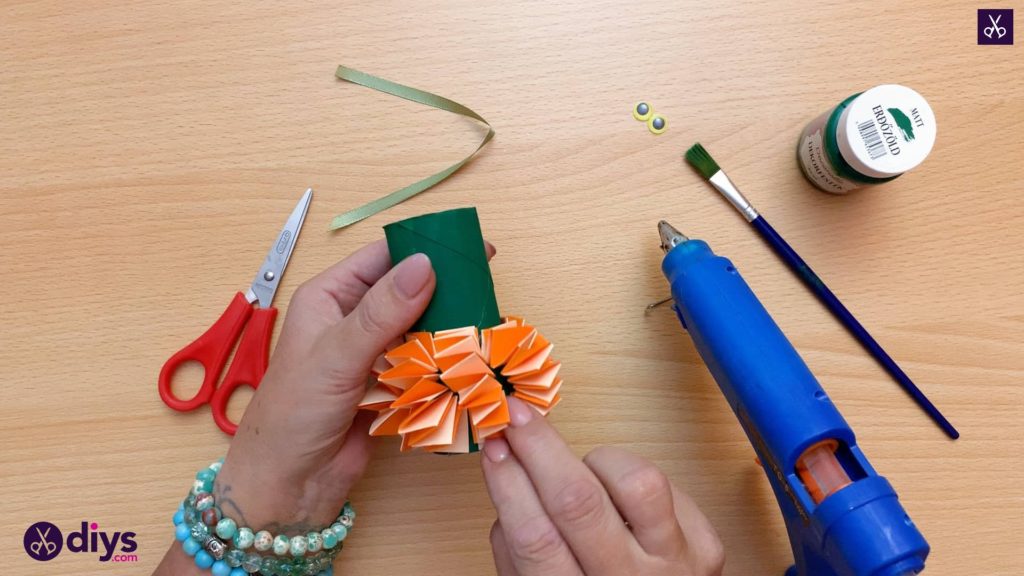
Pick up your toilet roll again. The green roll will be your pumpkin’s stem and now it’s time to start forming your pumpkin shape at the bottom. About half way up the roll, apply some glue and stuck one end of a springy orange and cream piece. Apply another dot of glue near the bottom edge and curve that same springy piece downwards, sticking its other end in the new glue. The result is a rounded 3D shape.
Step 7: repeat all around
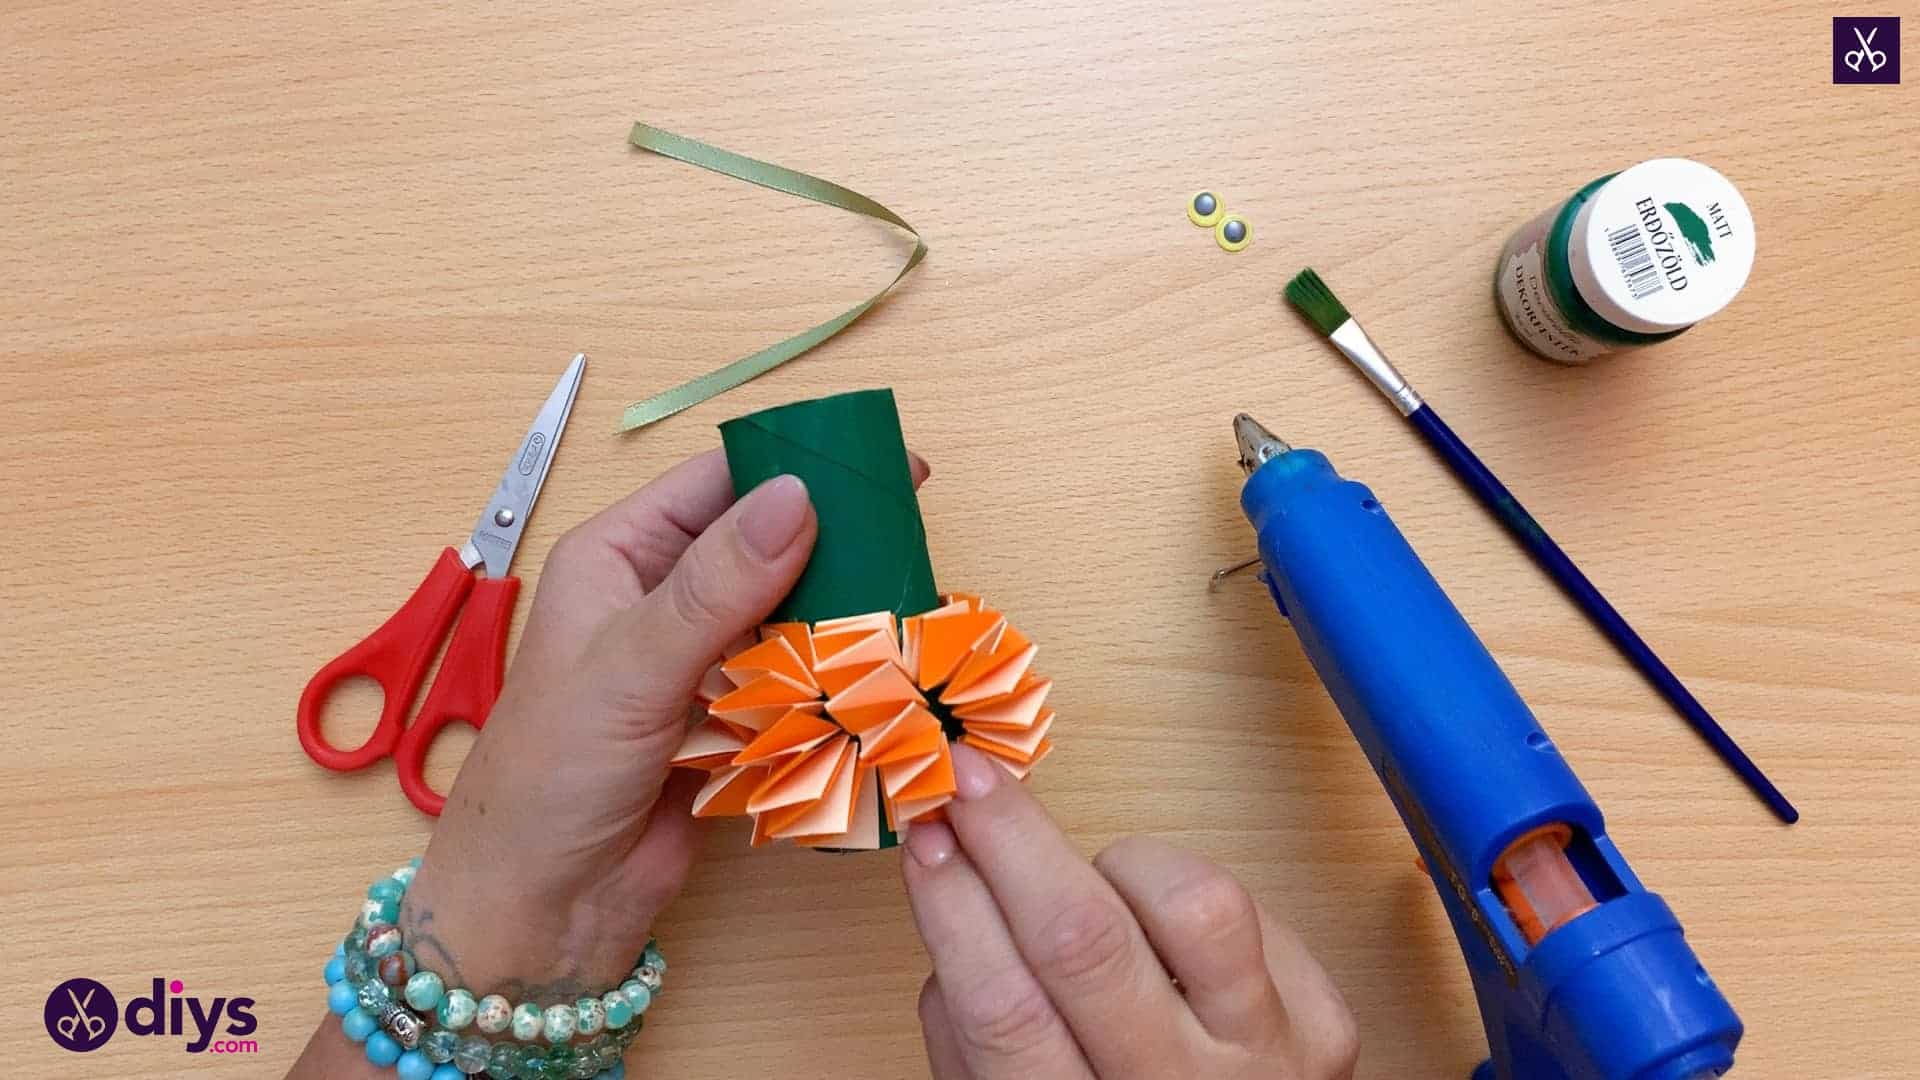
Repeat this gluing and curving process until you’ve got a fully rounded pumpkin shape all the way around the bottom half of your toilet roll.
Step 8: add eyes
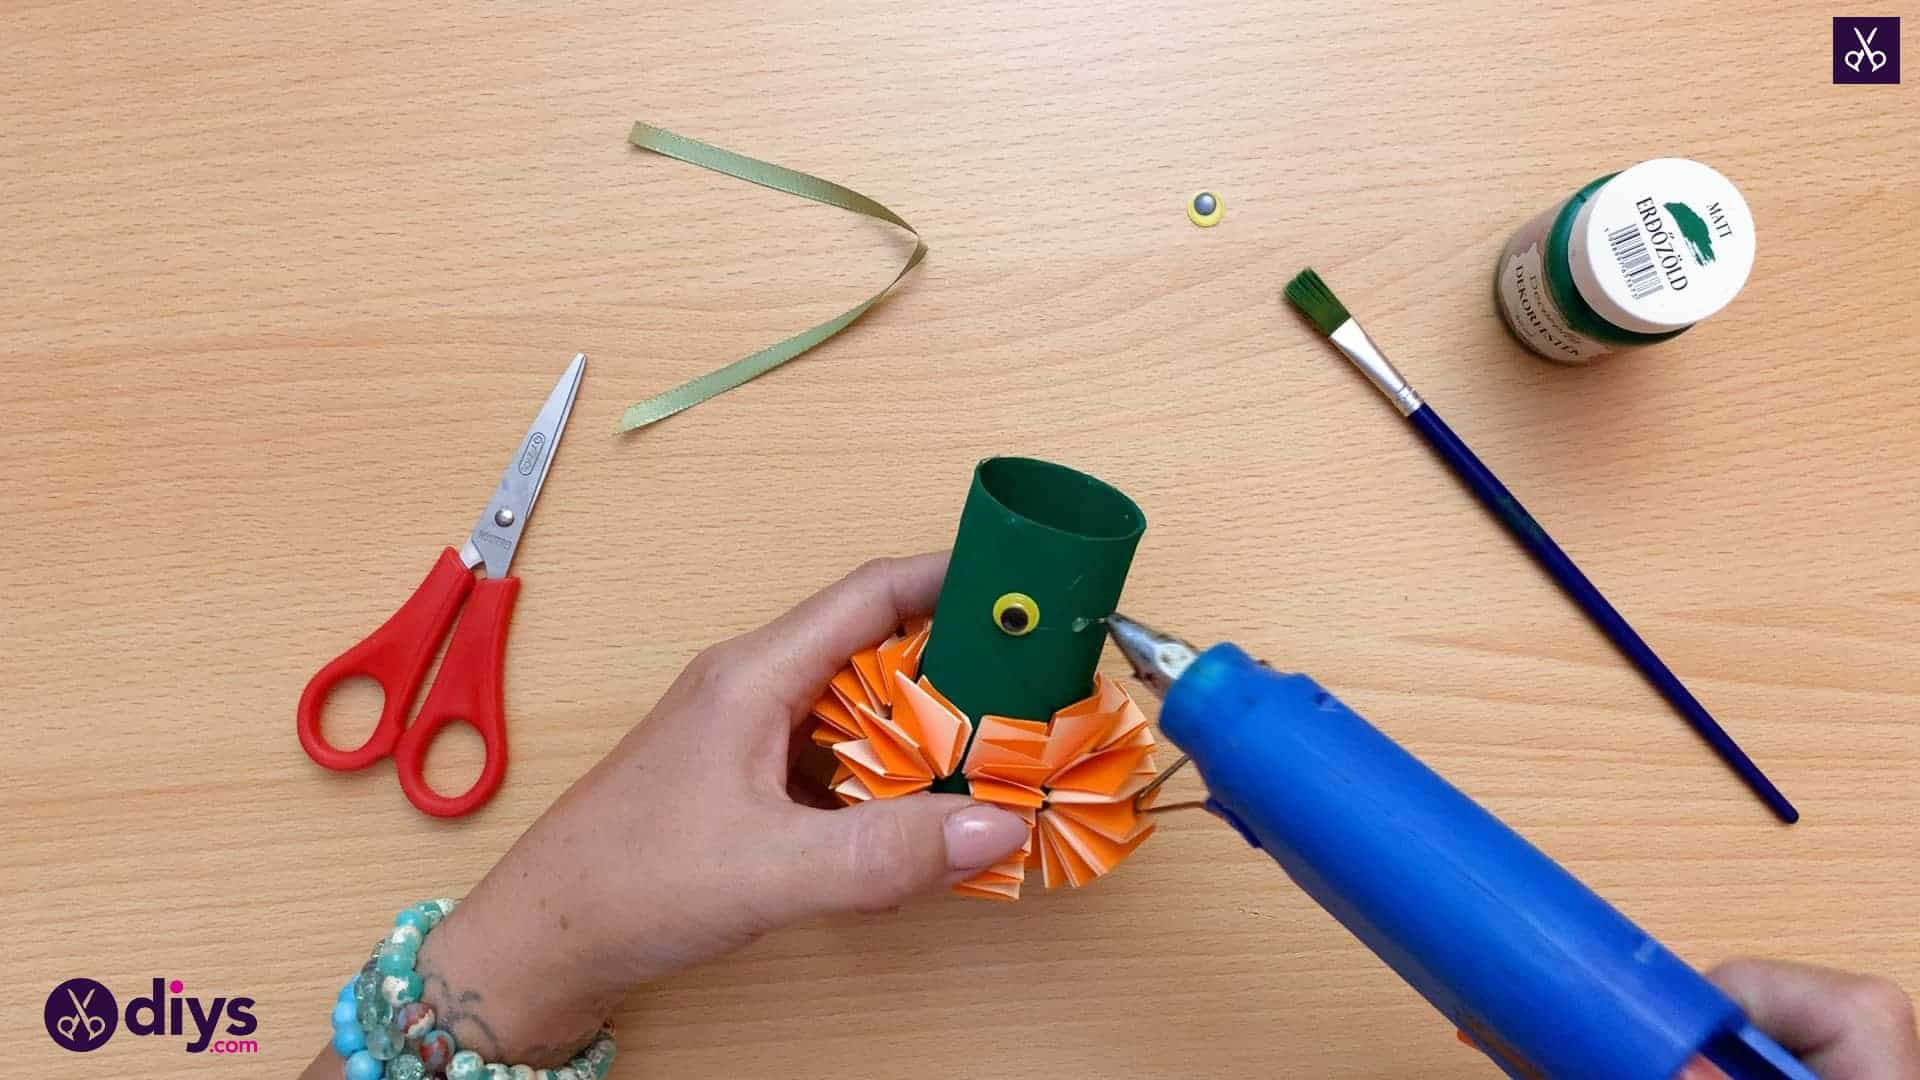
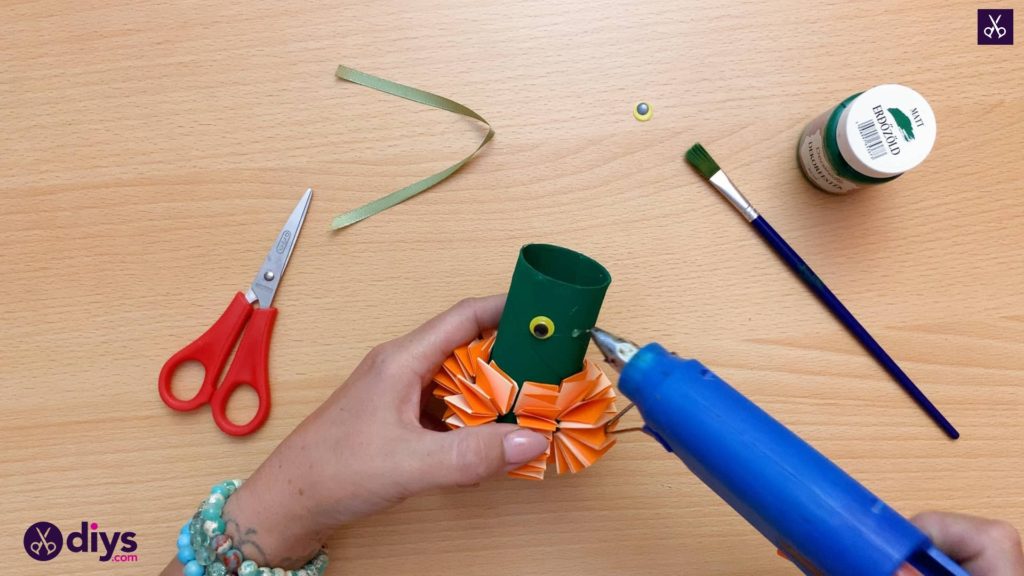
Halfway between the tops of the pumpkin springs and the top edge of your roll stem, glue your two googly eyes. I did this because it added some character and my kids got a kick out of it.
Step 9: add ribbon
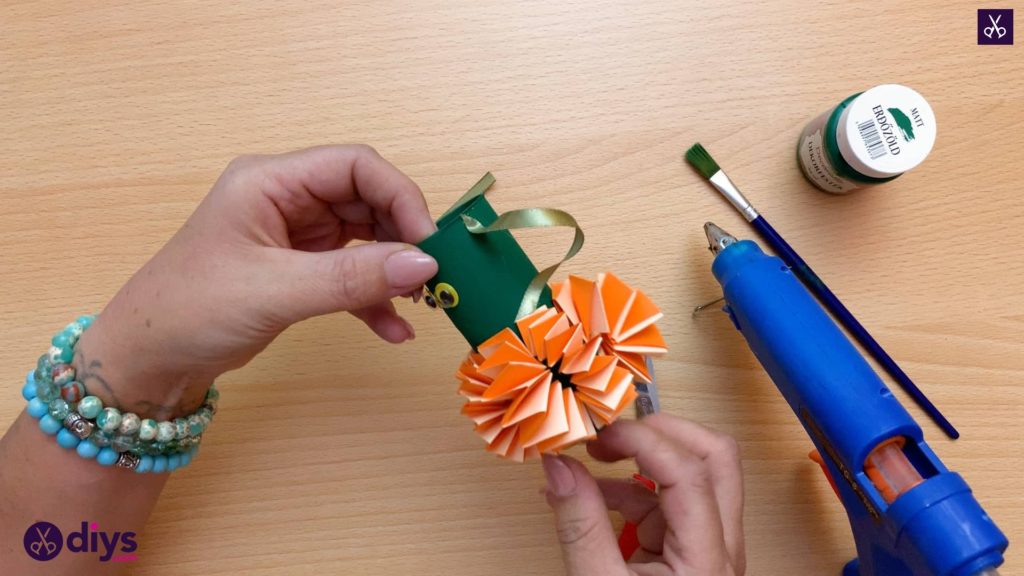
Add some pumpkin vines using your small green ribbon! Cut it in half and, on each side, glue one end of a ribbon half near the roll’s top edge and the other end of the ribbon half down where the roll and the orange paper springs meet.
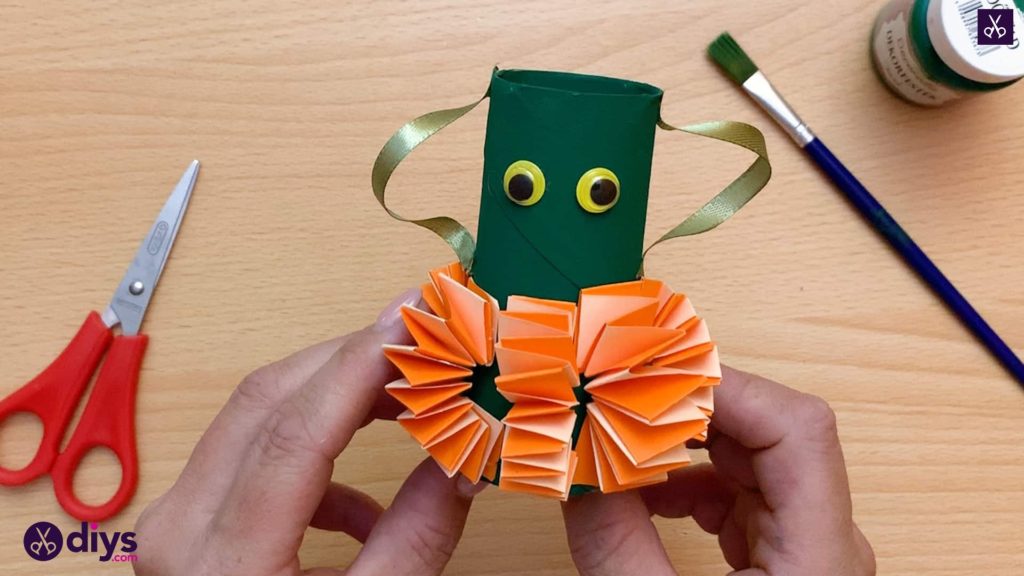
You’re all finished! Just in case you’d like to try this project out for yourself, here’s a fantastic tutorial video to help you!
