How To Make Wire Bracelets
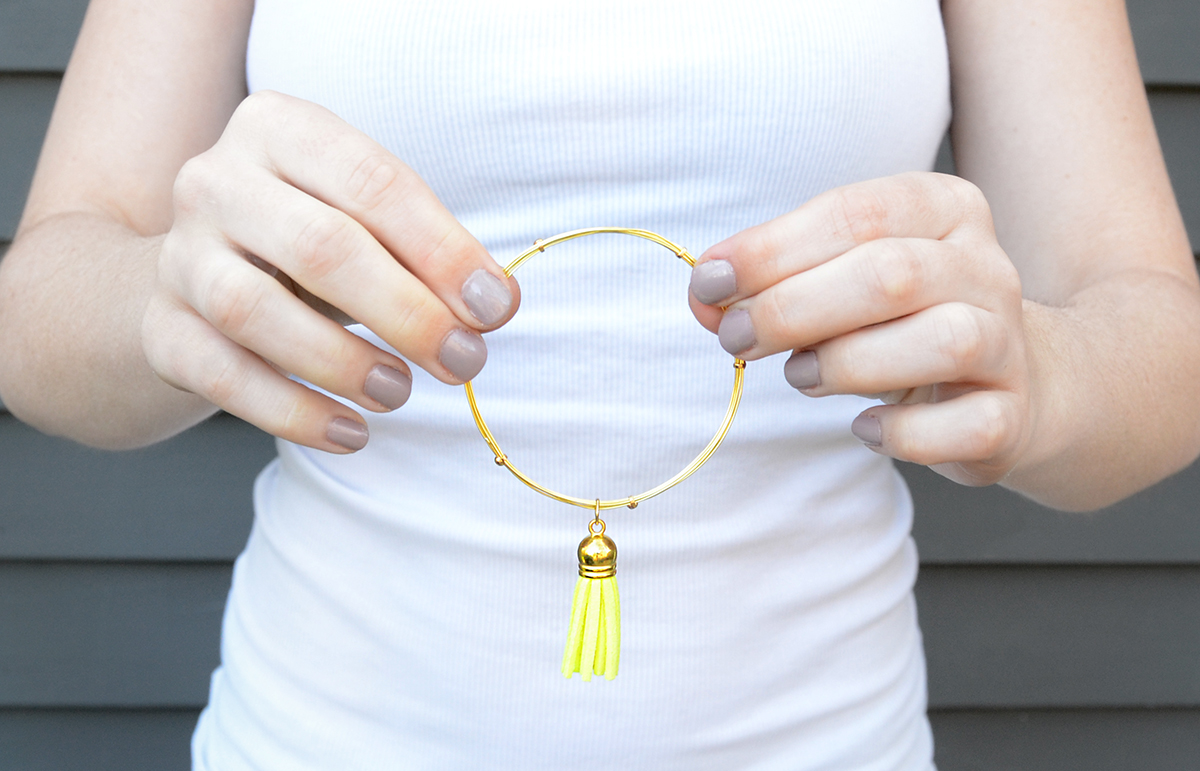
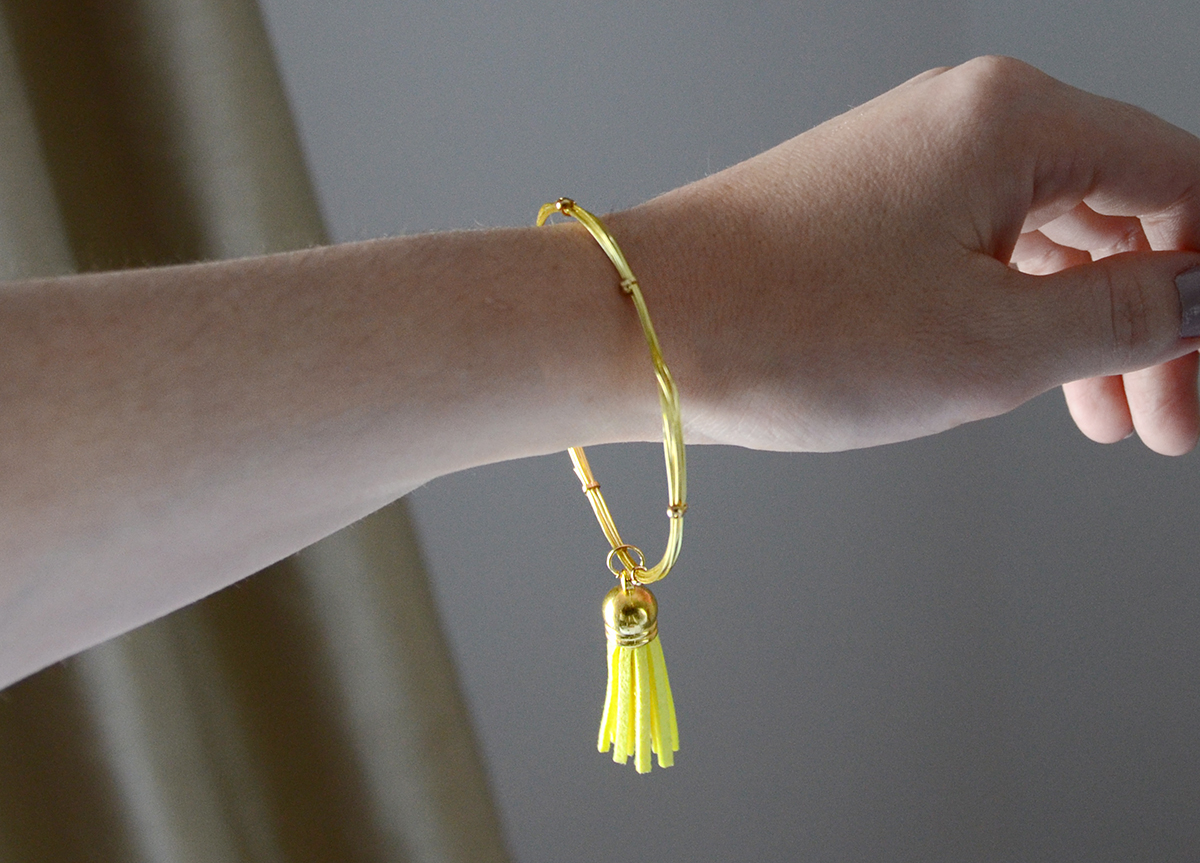
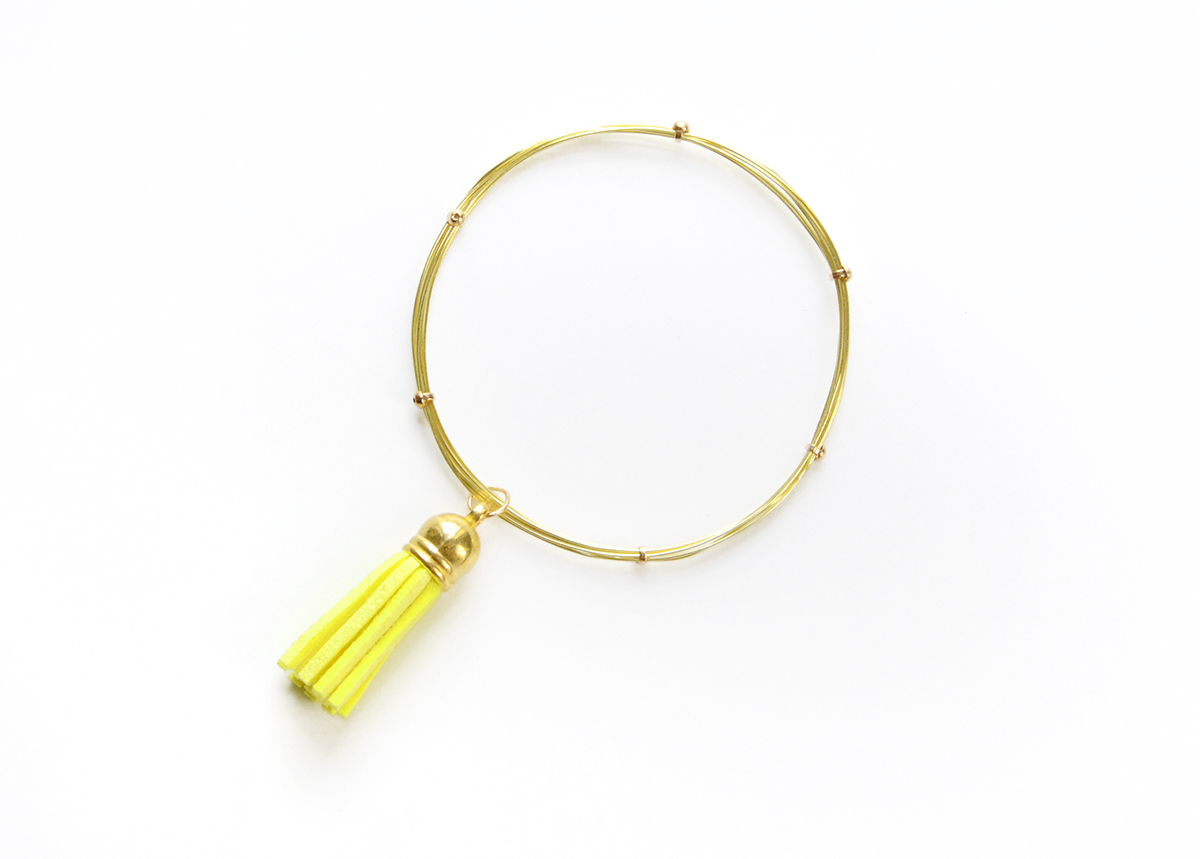
Wire can be a tricky material to work with, but once you master it, it can be one of the most valuable things in your crafting toolbox. Today I’m going to share with you a great beginner DIY wire bracelet that will help familiarize you with the versatile material. Keep reading to find out how you can make a super stylish wire tassel bracelet.
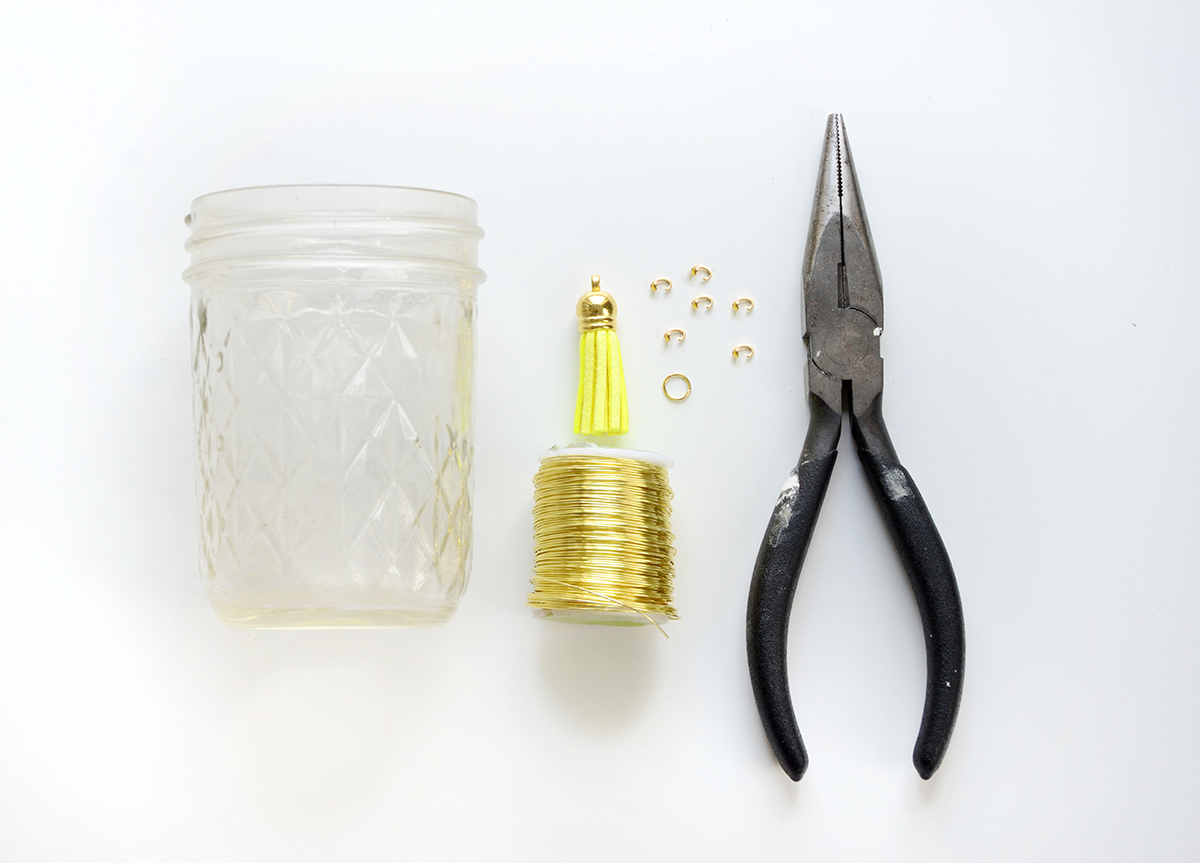
Here’s what you’ll need for this Wire Bracelet:
- Malleable gold wire
- Faux leather tassel (I bought mine on Amazon)
- Gold jump ring
- 6 gold crimps
- Pliers
- A small mason jar (optional)
How to make the wire bracelets:
Begin by wrapping the wire around the mason jar (it is really just being used as a size guide). It’s not absolutely necessary, but it does make it easier. Wrap the gold wire around 5 or 6 times, depending on how thick you’d like your bracelet to be. The more layers of wire you have, the stronger the bracelet will be.
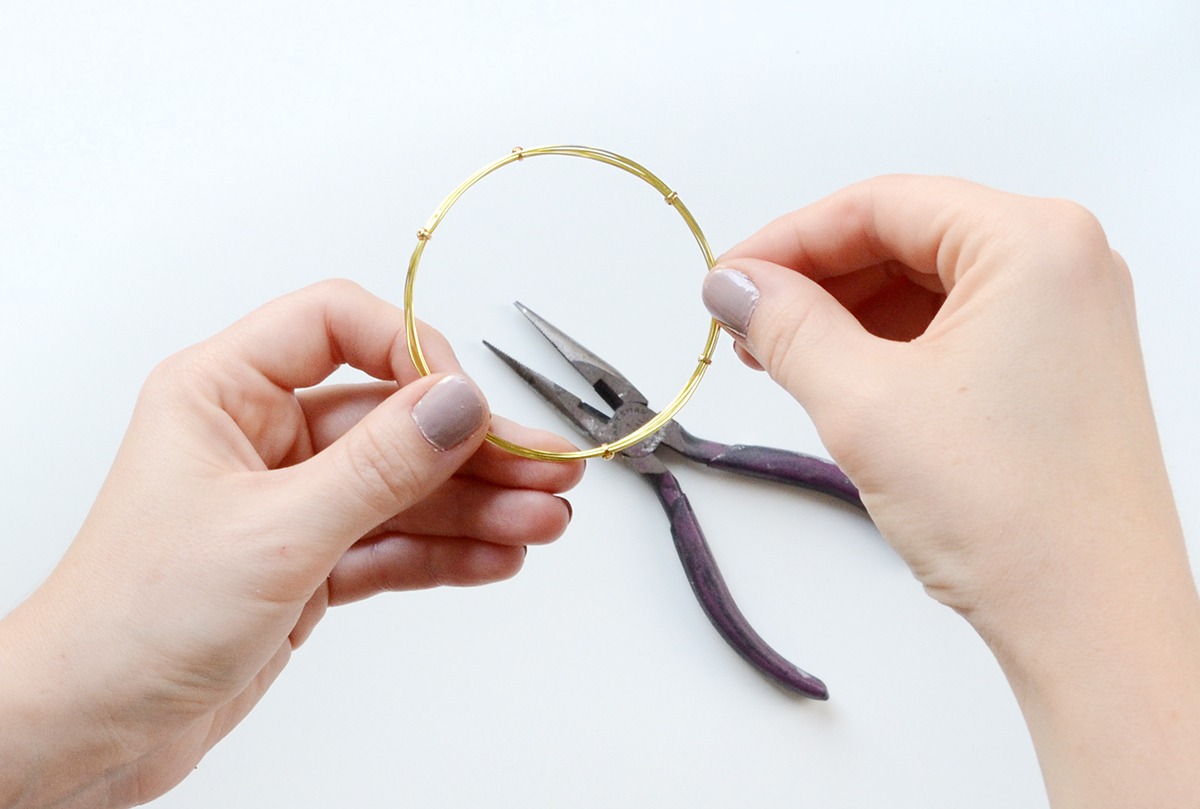
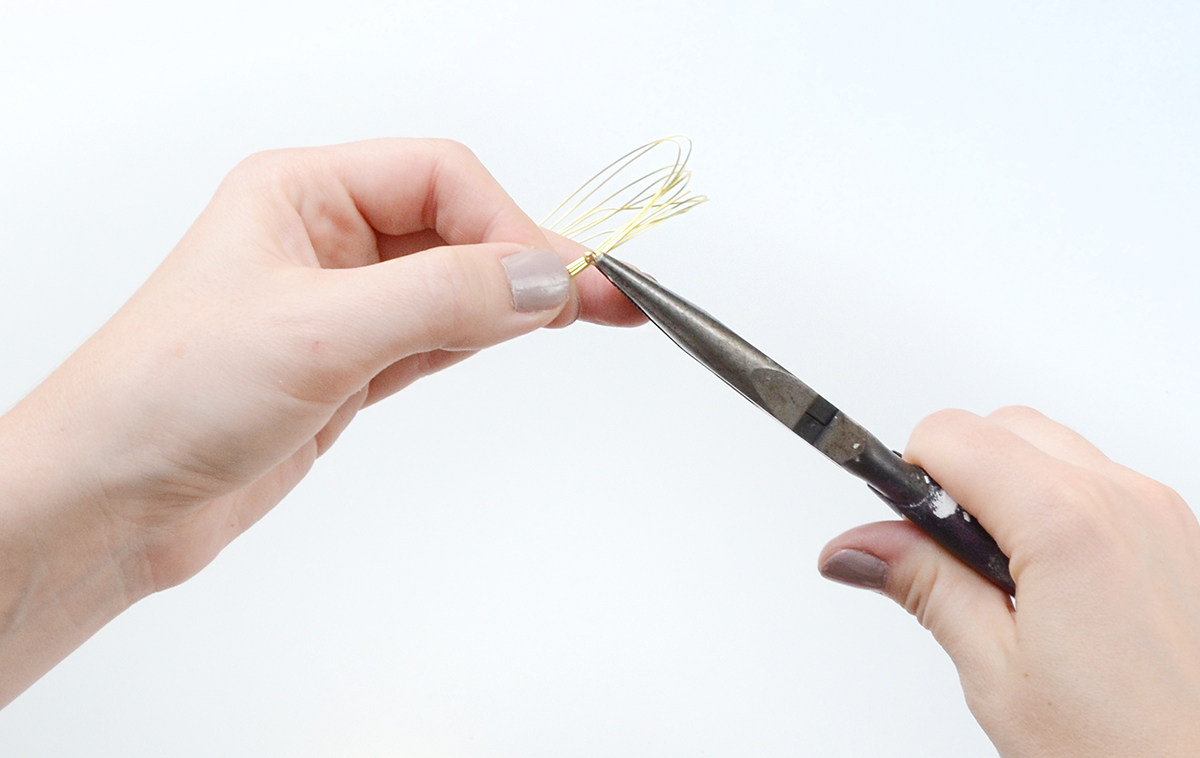
Next, use your pliers to wrapone of the crimpsaround all of the wires. Close the crimp tightly so the wires don’t slip out.
Do this with all 6 crimps so that they are evenly spaced around the bracelet. They play a functional role here, keeping the wires in place, but they also look pretty!
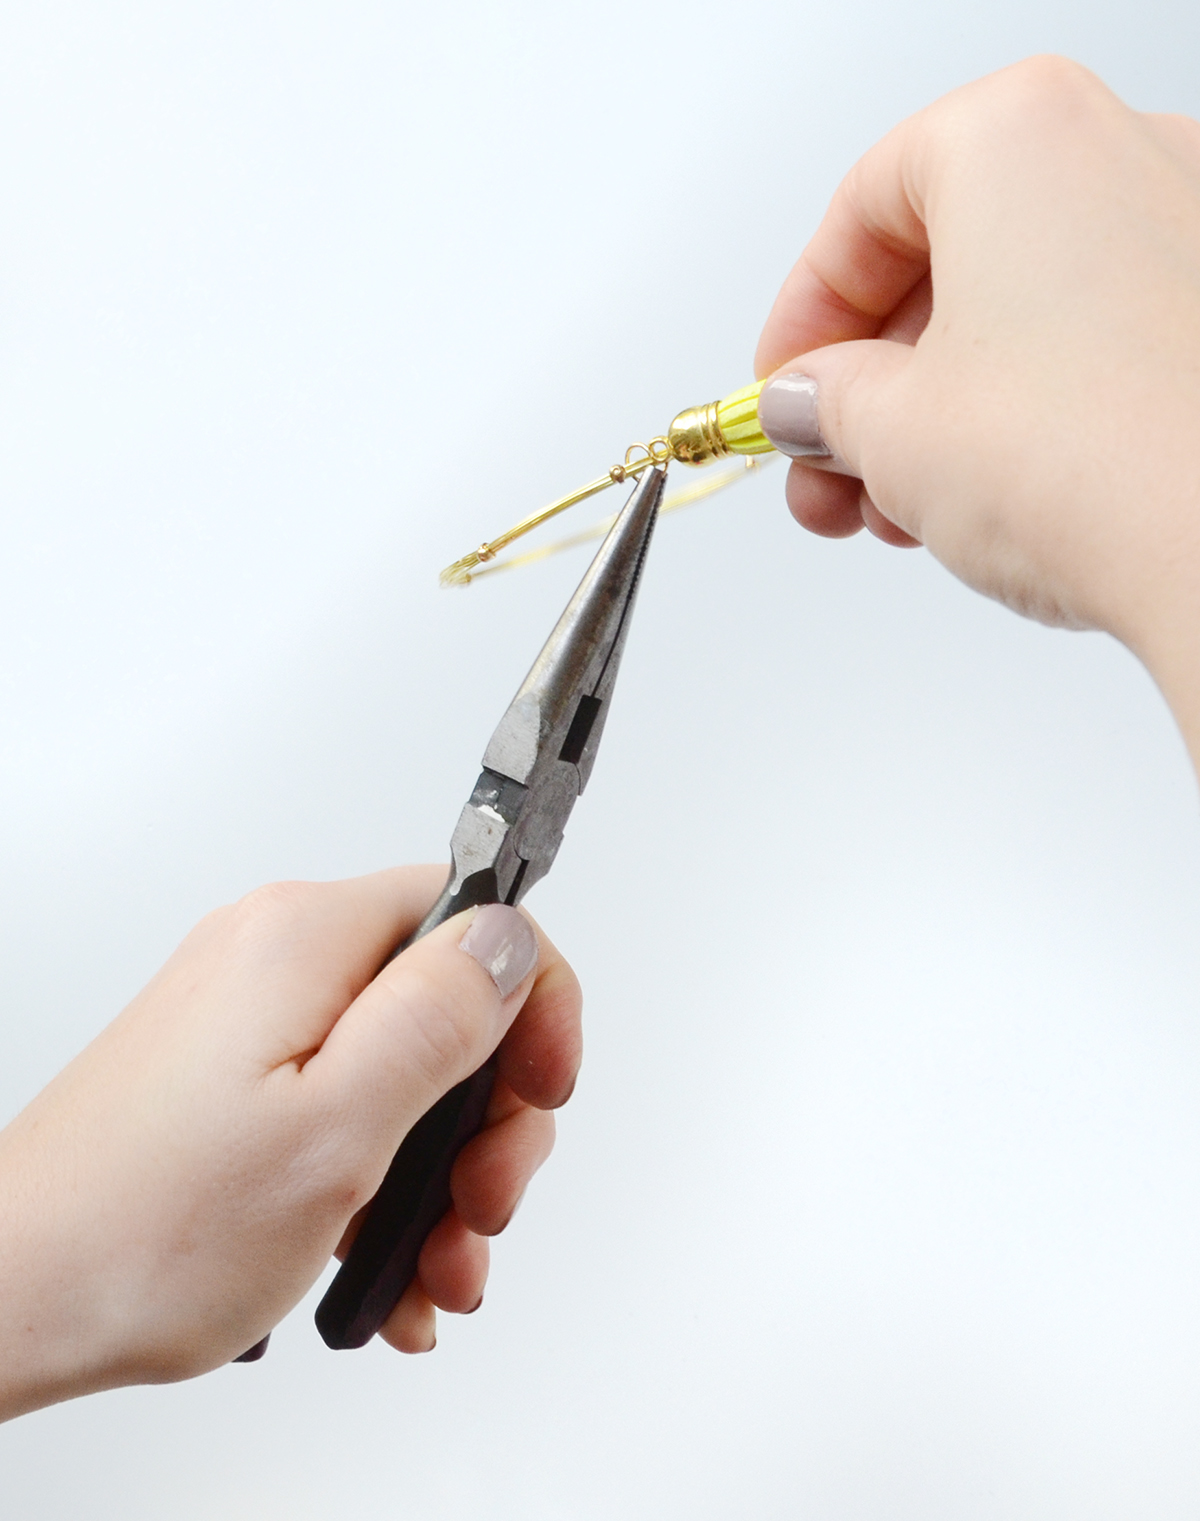
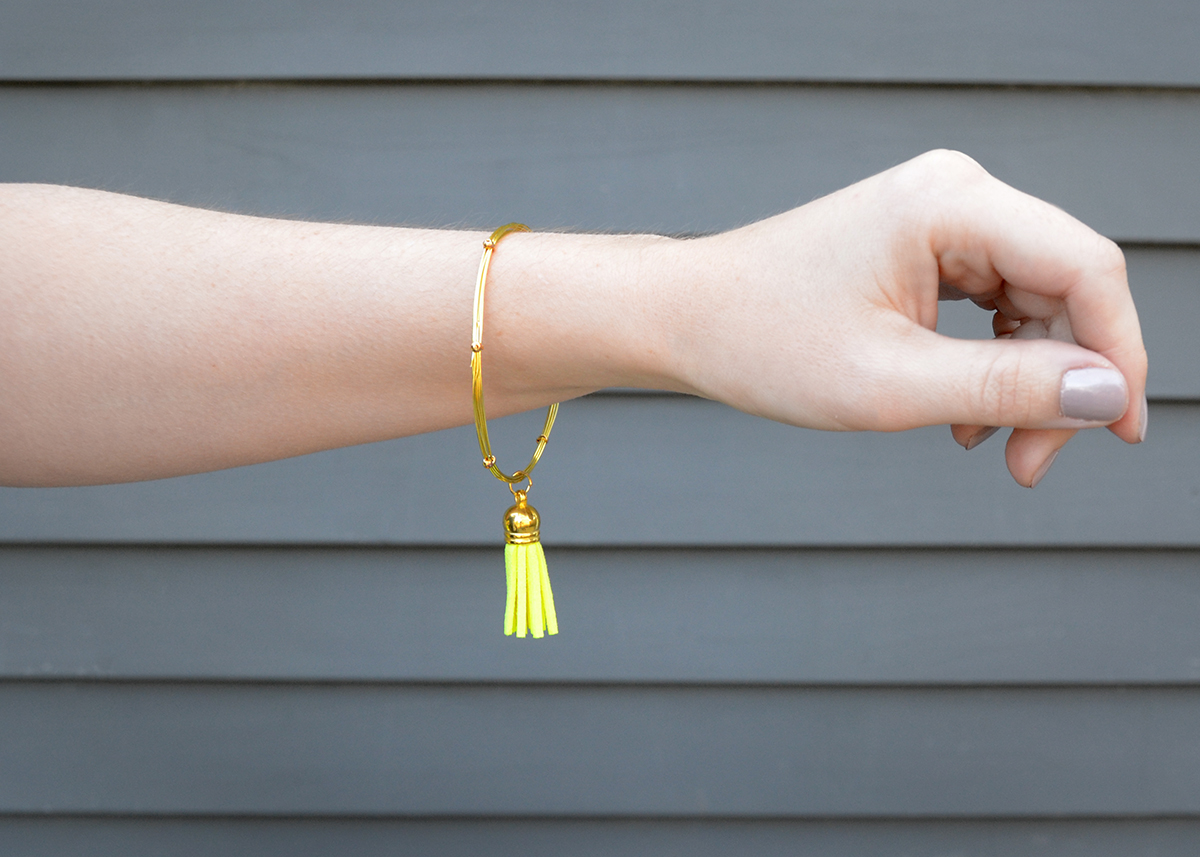
The last step is to attach the tassel to the bracelet. Open the jump ring slightly with your pliers, and slip the bracelet and the tassel through the gap. Close the ring back up, and you’re finished! Now that was easy, wasn’t it?!
This bracelet would look so pretty as a set… can you imagine four or five of these with different colored tassels? Simply gorgeous.
You could also add another charm or hanging bead onto the jump ring to give it a different look. And don’t forget that you can experiment with wire colors too.
