DIY Love Letter Wood Sign
Today’s tutorial is all about demonstrating love to the person our heart jumps for, that very special one – whoever it is – that we think of going to sleep and is our first thought in the morning. Well maybe second, my first thought is “where’s my coffee?”.
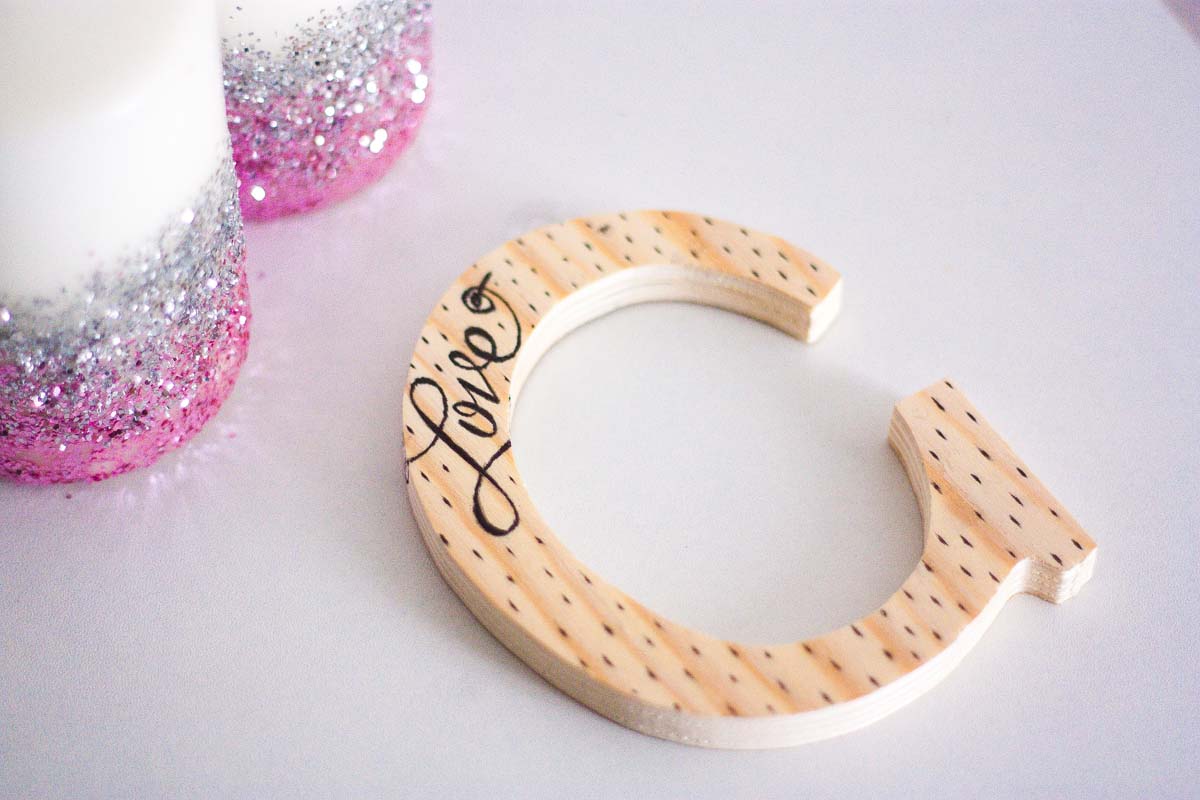
Anyway, S. Valentine’s day doesn’t have to be only expensive gifts in high-end boutiques, I think it’s more something like some special time together and little cute things that let the other half know they’re at the very center of your thoughts. And why not celebrate with a handmade craft? I decided to make my special one a wood letter sign with my initial, C, and decorating it myself with a handwritten “love” type. No panic though, I’m no good at handwriting myself but I’m going to show you a quick trick that let’s you emule handwritten typography even if you’re not so good. I decided to start with a bought wood letter, too make the tutorial shorter, but you could make it yourself from scratch using balsa wood.
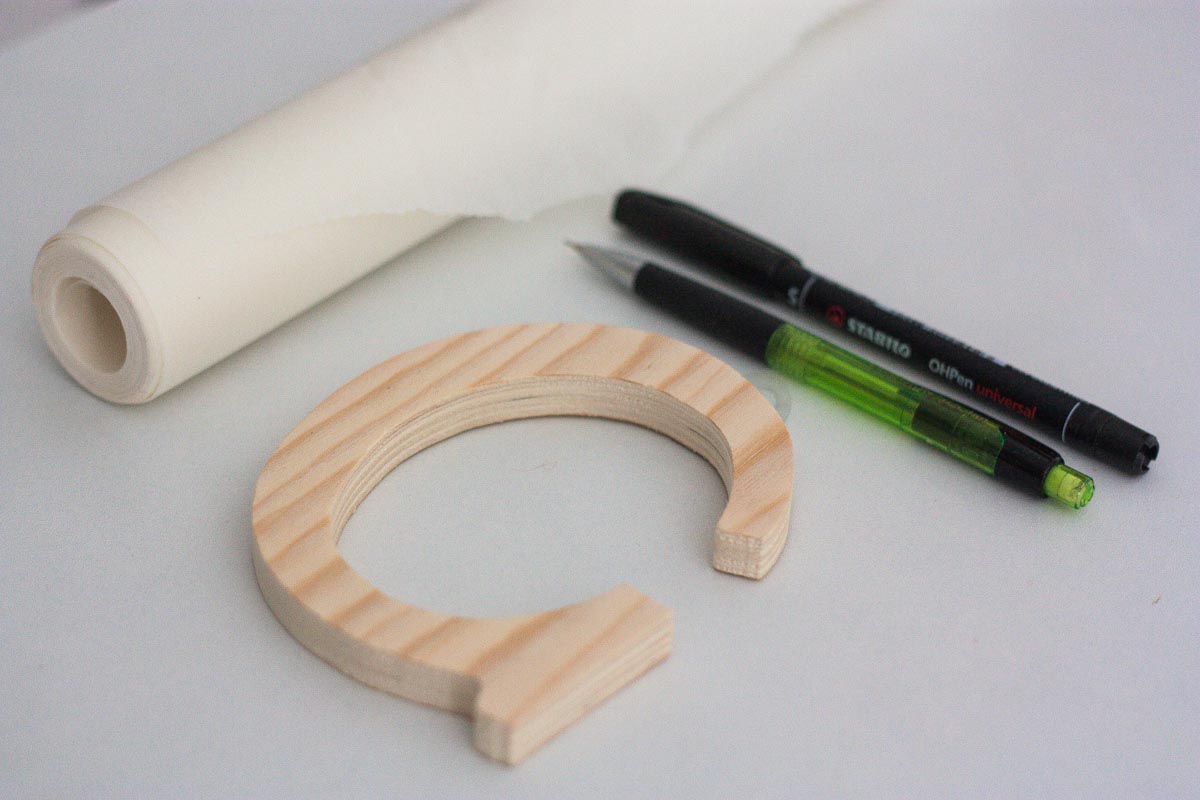
This is what you’ll need:
- letter wood sign
- black marker, thin point
- waxed paper
- pencil
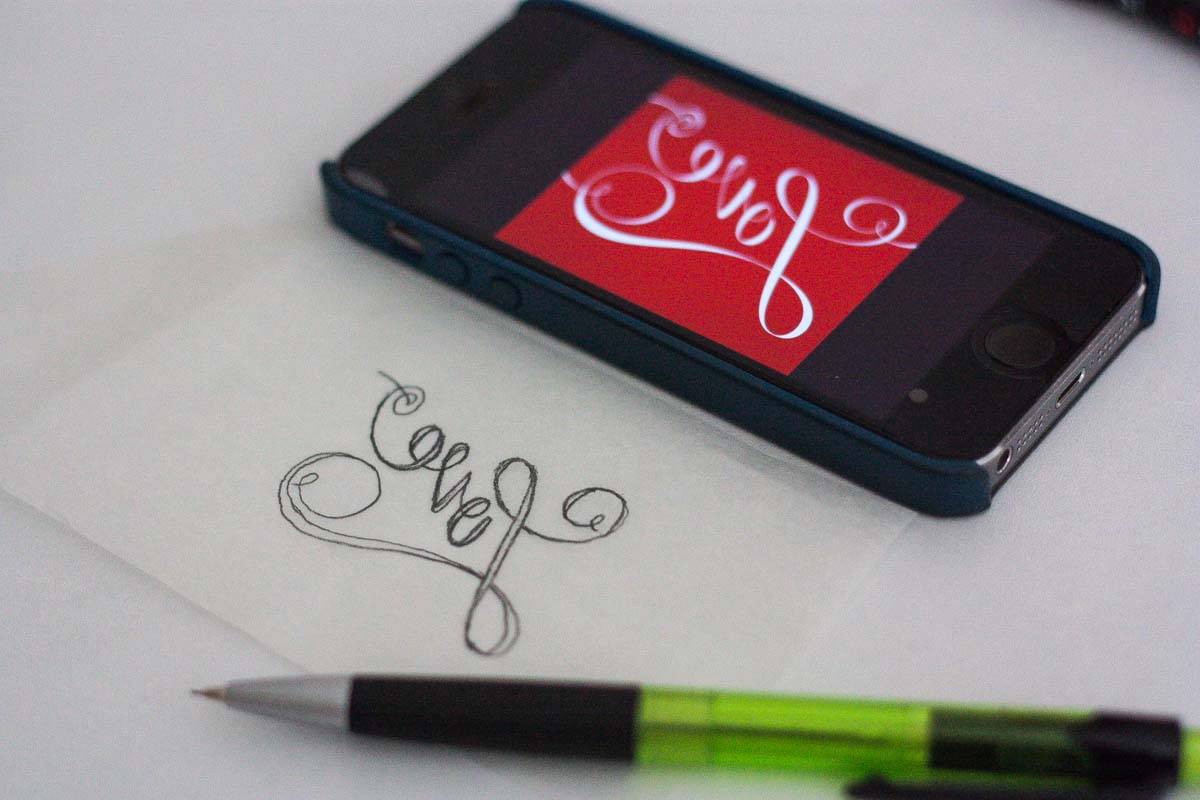
Start by selecting a “love” lettering around the web that would fit your letter. Remember it not to be too complicated and make sure it develops mostly horizontally (it has to fit your wood sign!). Grab that image and flip it horizontally, cut a small piece of wax paper and start tracing the letters with a sharp pencil. I did all this just using my phone, searching on google for the image (use “love type” as keywords), downloading and flipping it with an image editing tool; then i just traced it from the telephone’s screen ;-) Make sure you trace a second time all the letters so the pencil leaves lots of graphite on the surface.
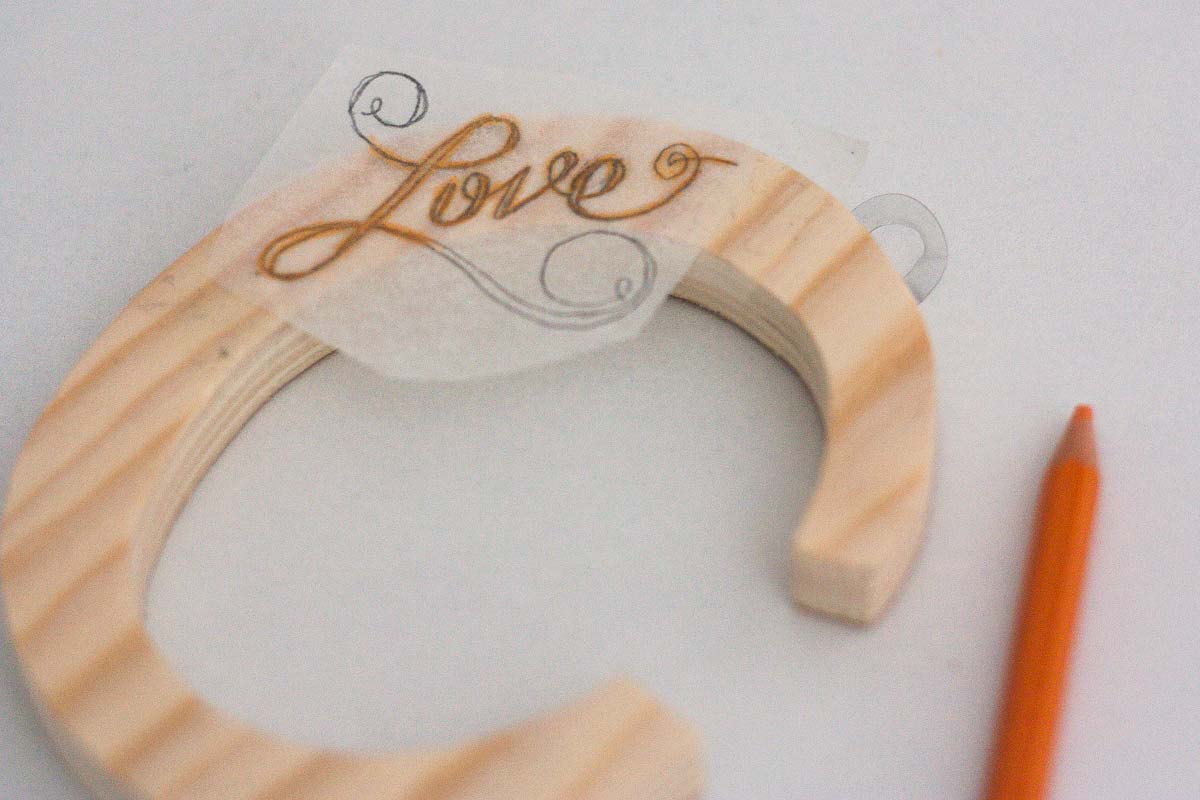
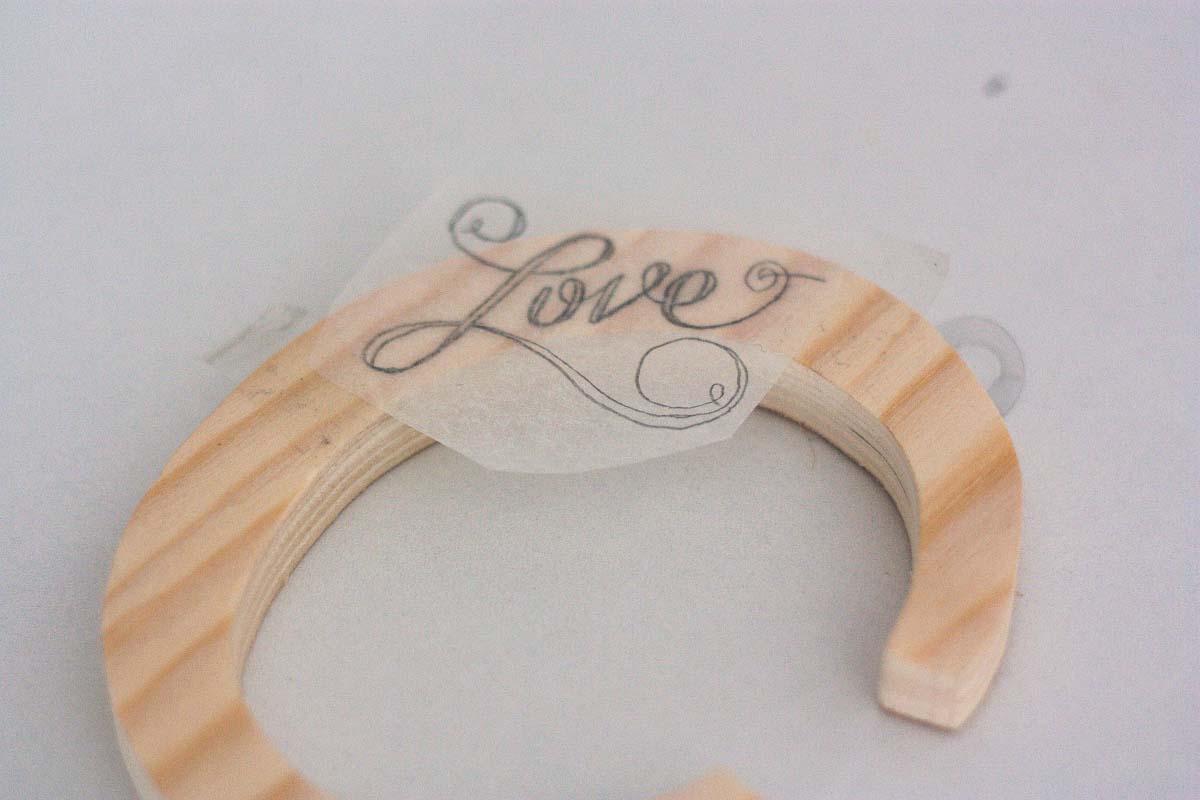
Cut around the type and place it written-side down onto the wood letter. You might need some adhesive tape to keep it in place.
Using any pencil, trace all over the letters to make the graphite transfer to the wood. The more the pencil has a round and smooth tip, the better the transfer.
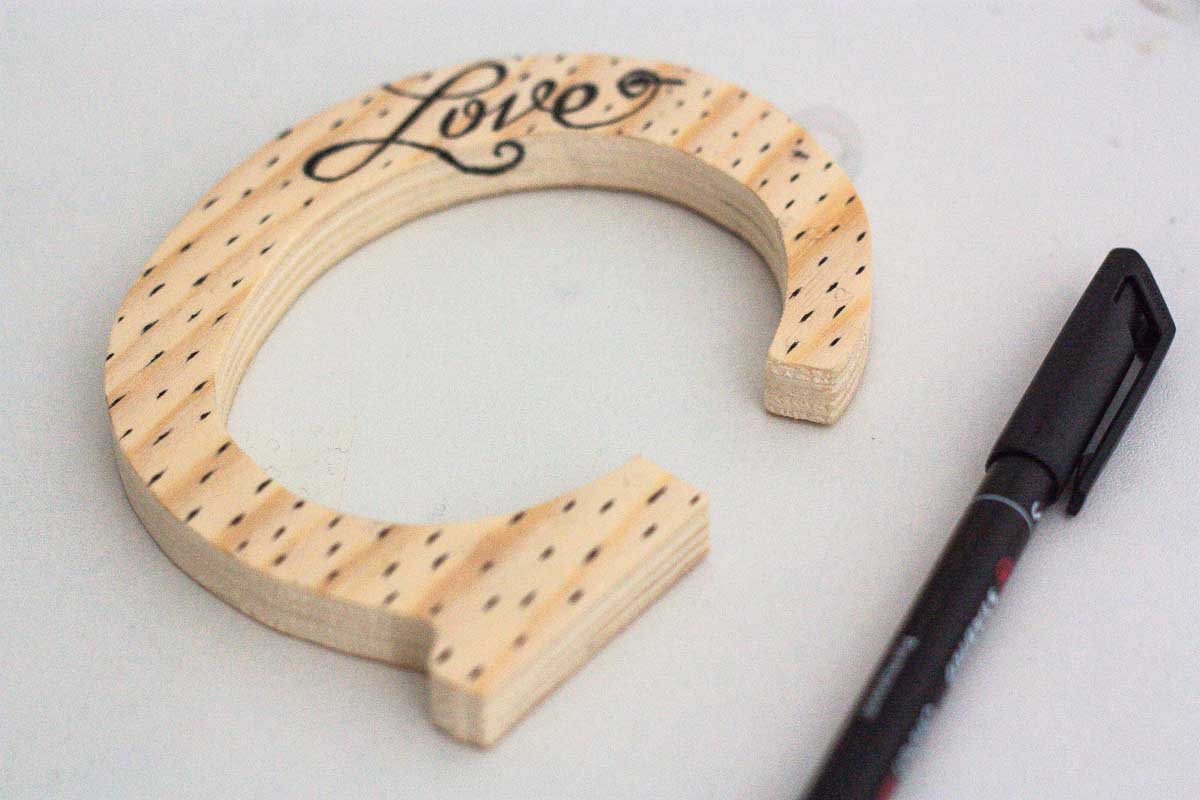
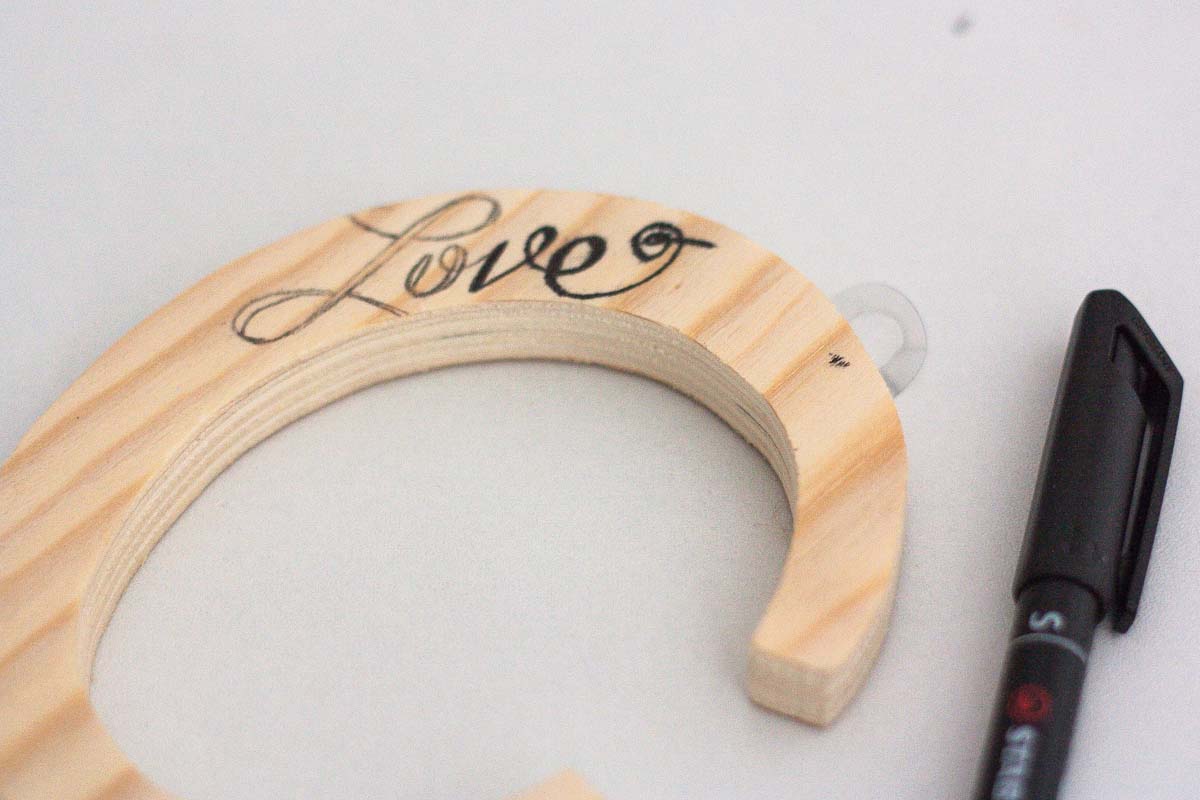
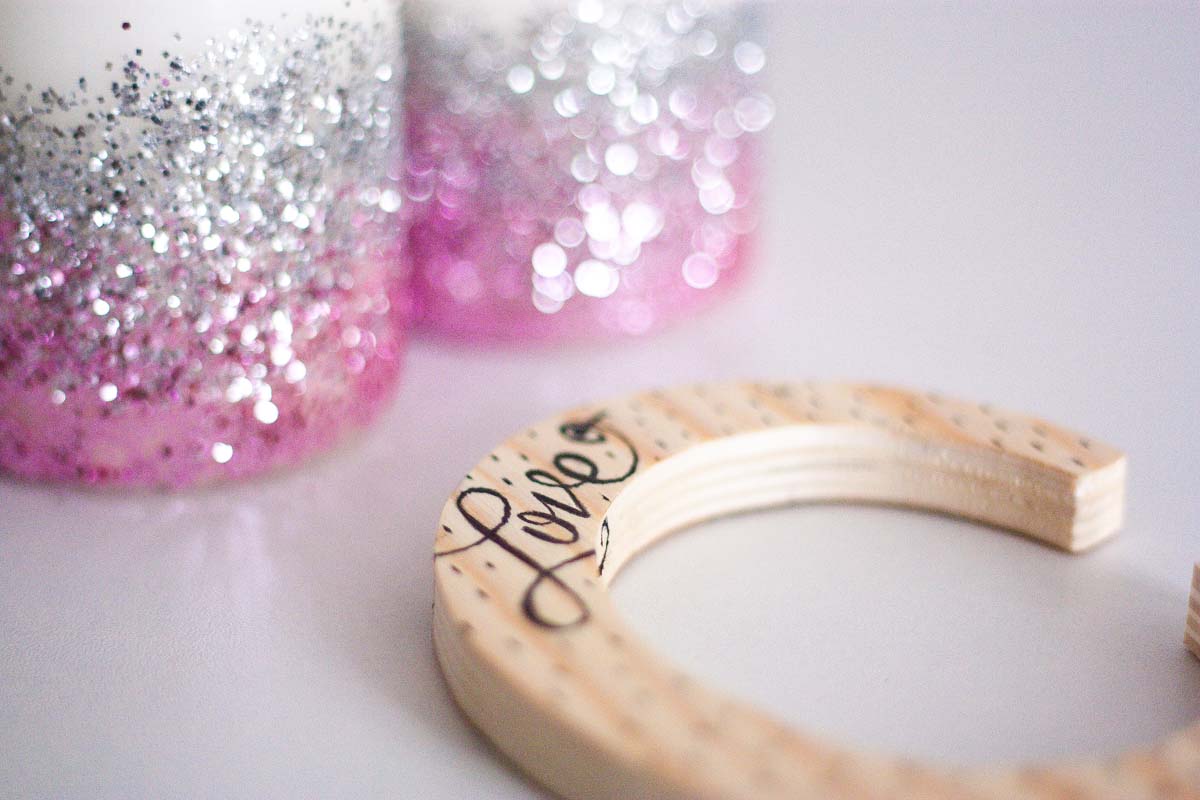
Gently take off the waxing paper and strart tracing the “love” typography with the black marker. This can be tricky on wood because the ink tends to expand, so keep your hand very light on the surface. Tip: if left handed like me, start from the end and go backwards so that you won’t get ink splattered all over ;-)
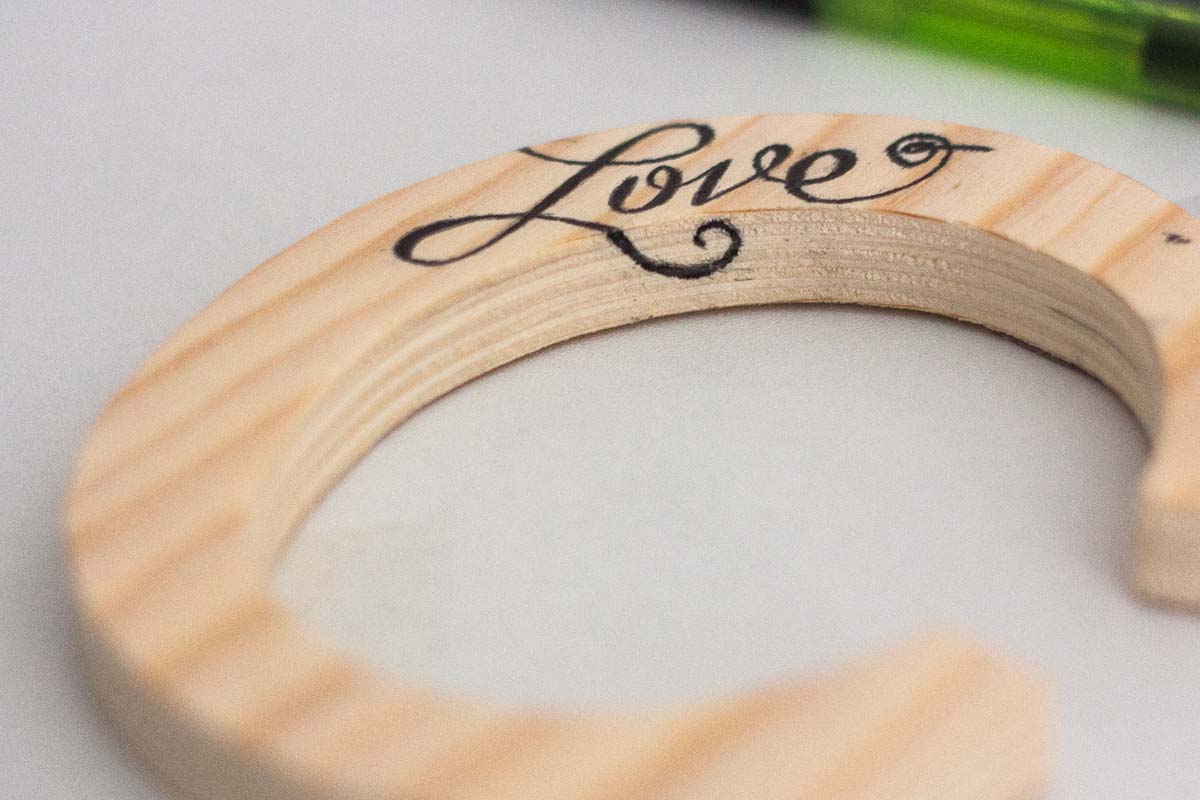
Finish the look by adding swirls continuing on the sides of the wood letter. I recommend going freehand here because the space is too narrow to transfer your original design, but this depends on the shape of the letter you chose.
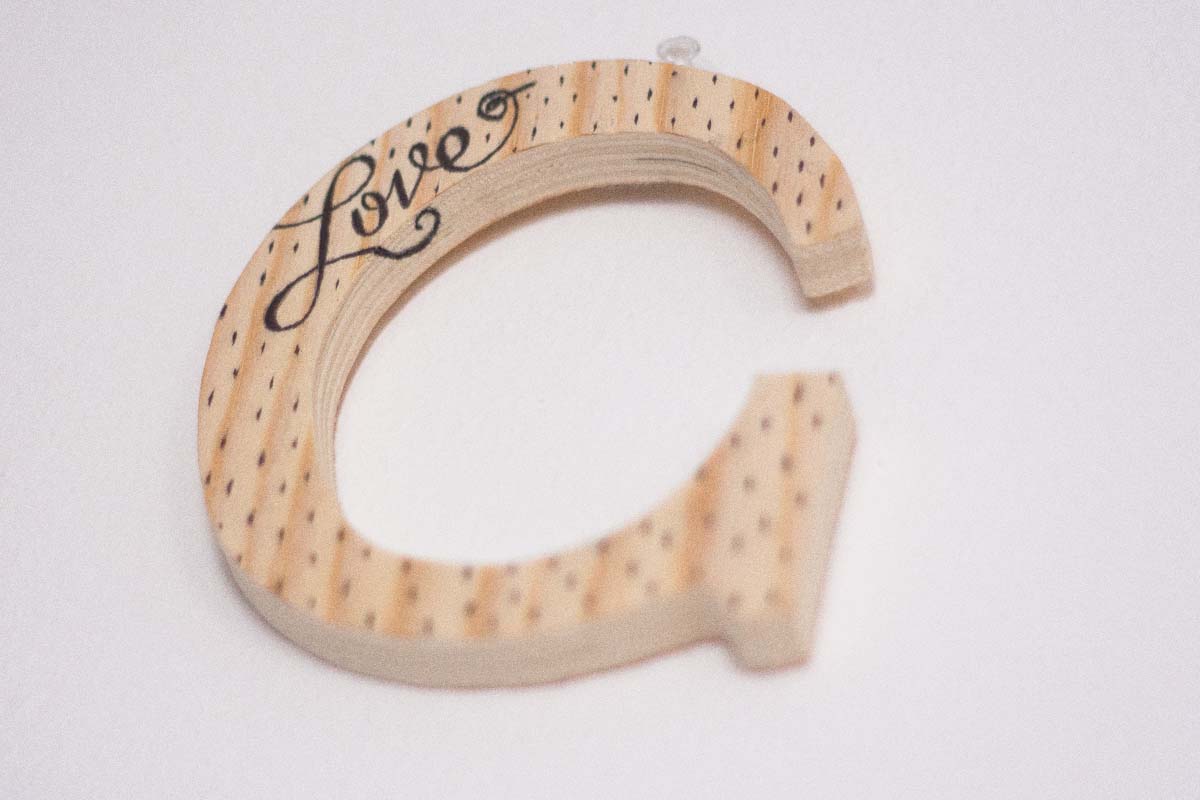
It already looks lovely! You can either choose to leave it like this, or add more “love” type scattered around or just add some cute confetti pattern. Well mine was confetti at the beginning but because of the wood’s fibers, the ink expands vertically making this sort of striped effect. I like it actually!
