Easy Ink Paintings for Fun and Relaxation!
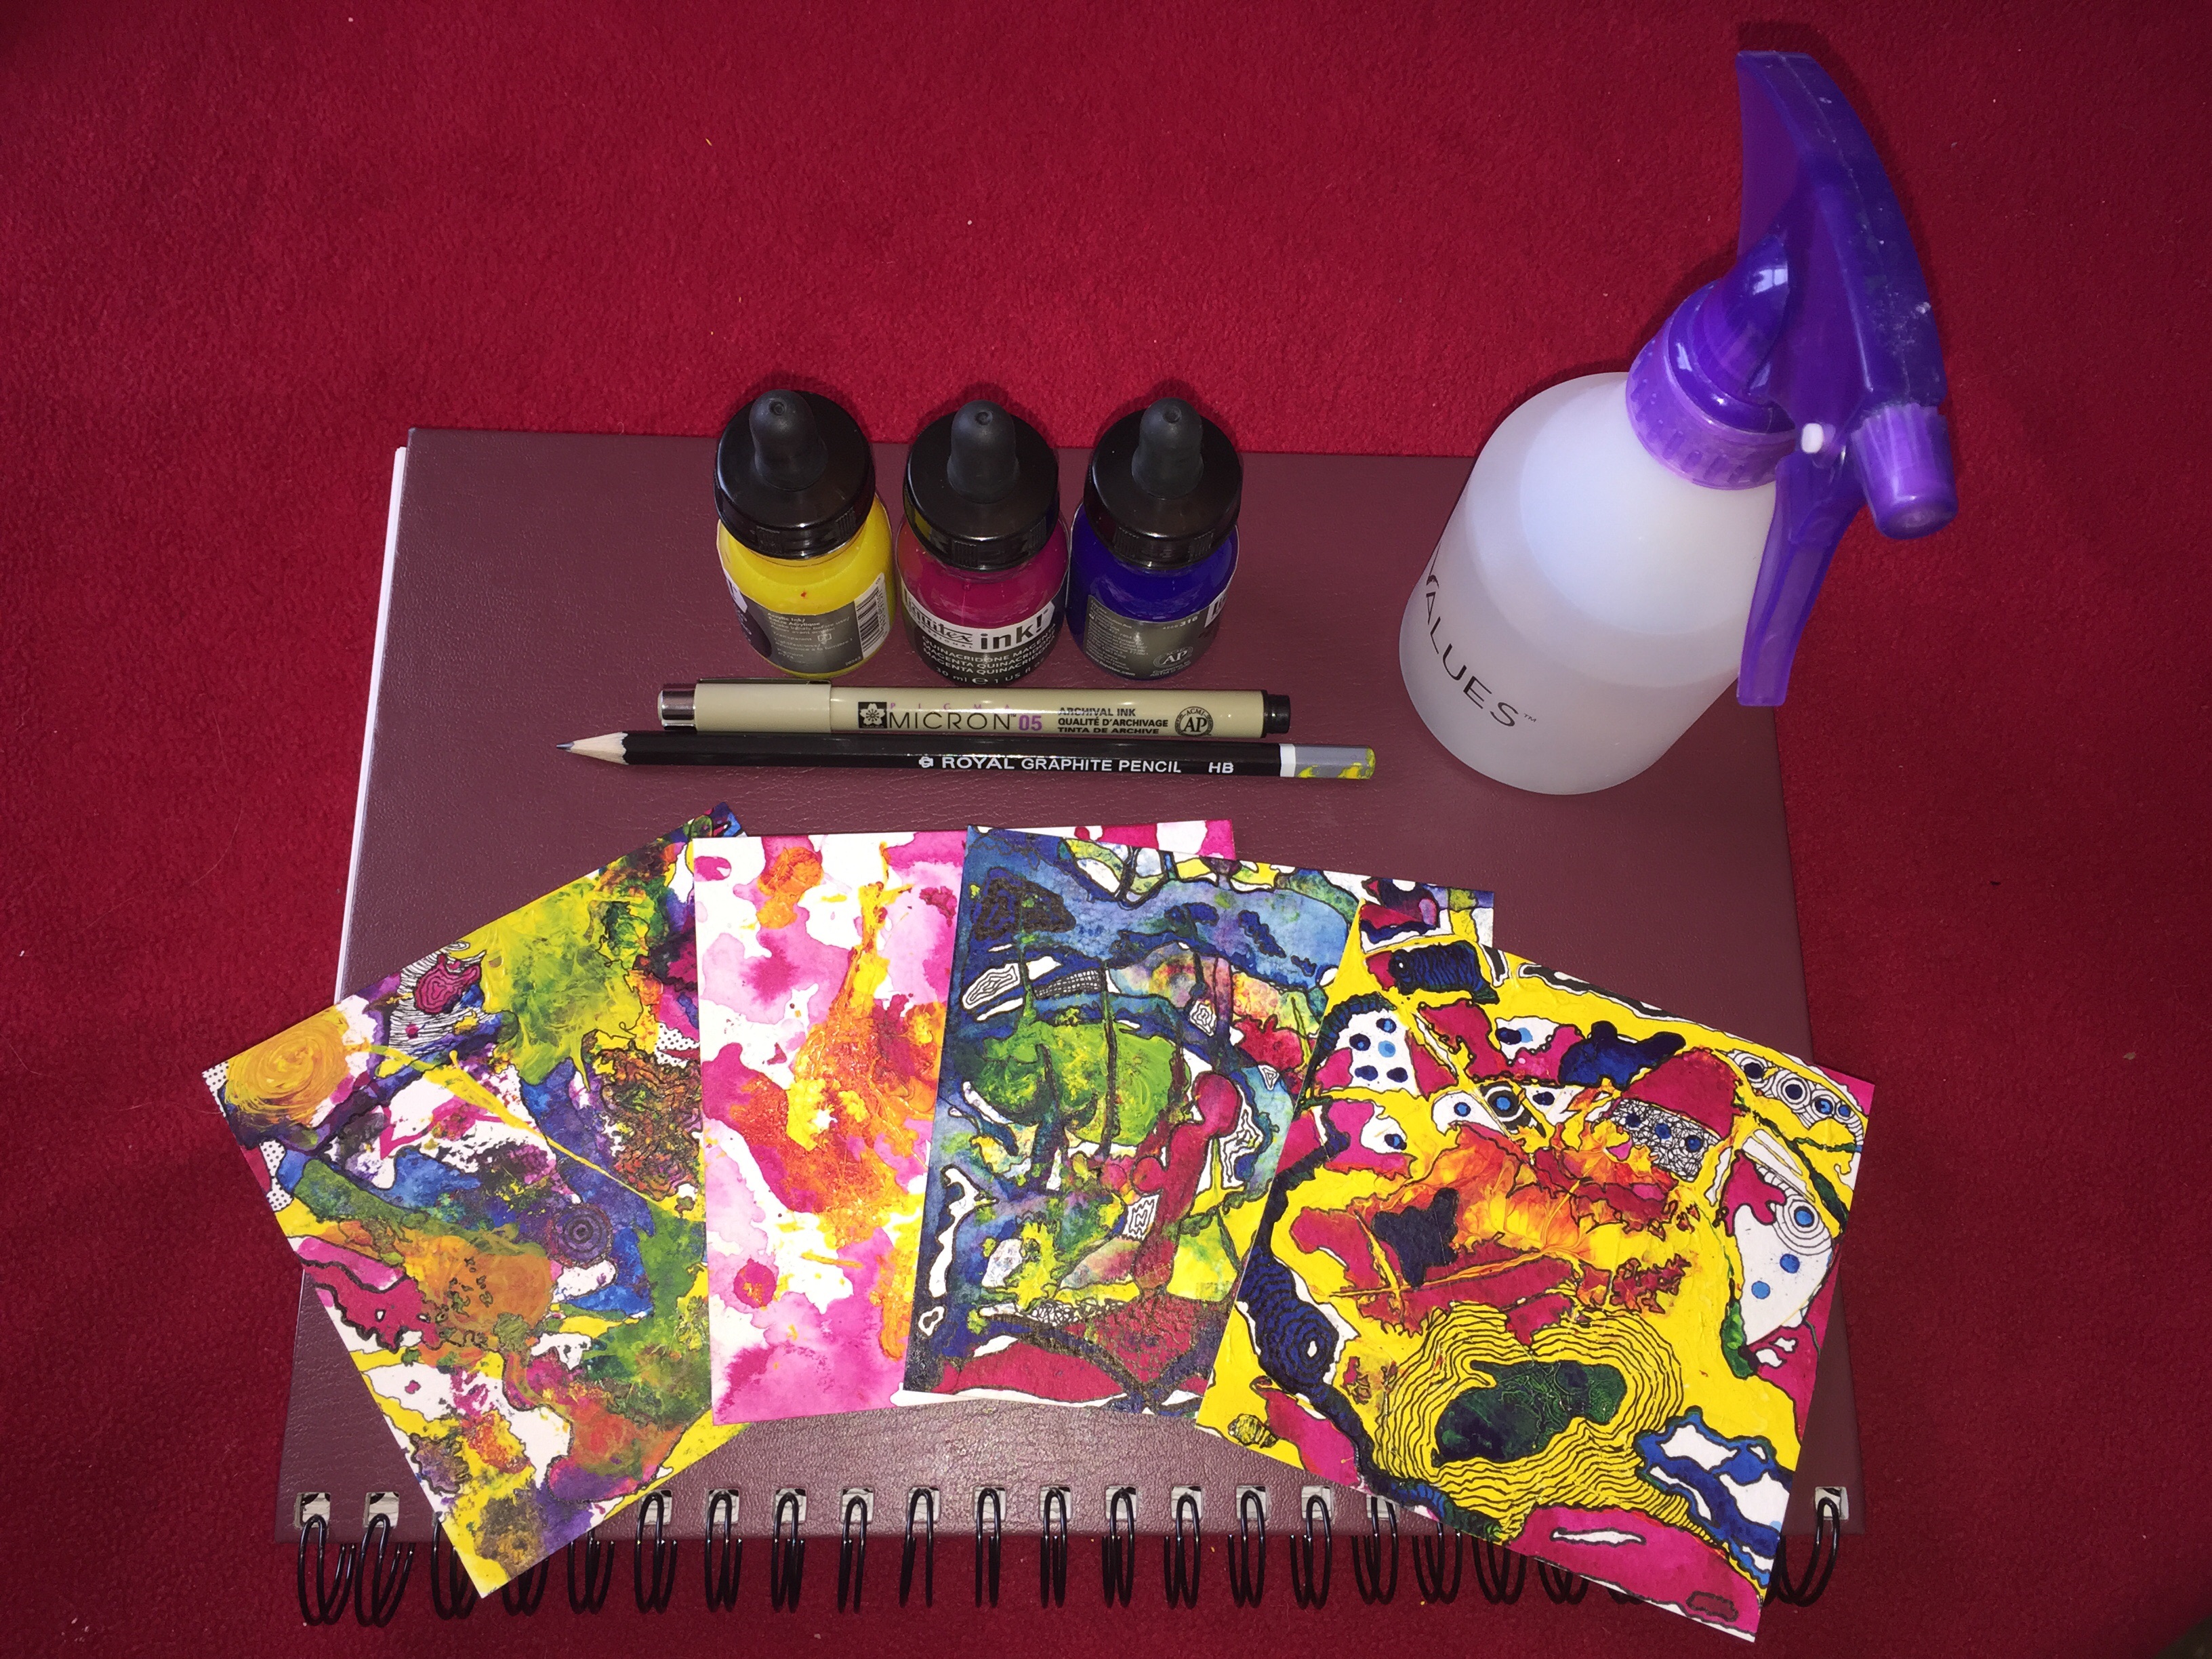
Have you ever wanted to take some time for yourself to create something, but felt like you didn’t have enough time? This quick project is great for beginners, and even professionals looking for something simple to wind down after a long day of structured creating! Using a few fun techniques, you can make multiple abstract ink paintings in just a few minutes! The greatest benefit of these little paintings is that the process is extremely relaxing and meditative.
Need to de-stress? Sit down with one of these; you’ll lose track of time, and before you know it, you’ll have a beautiful mini painting, and be significantly more relaxed & happy!
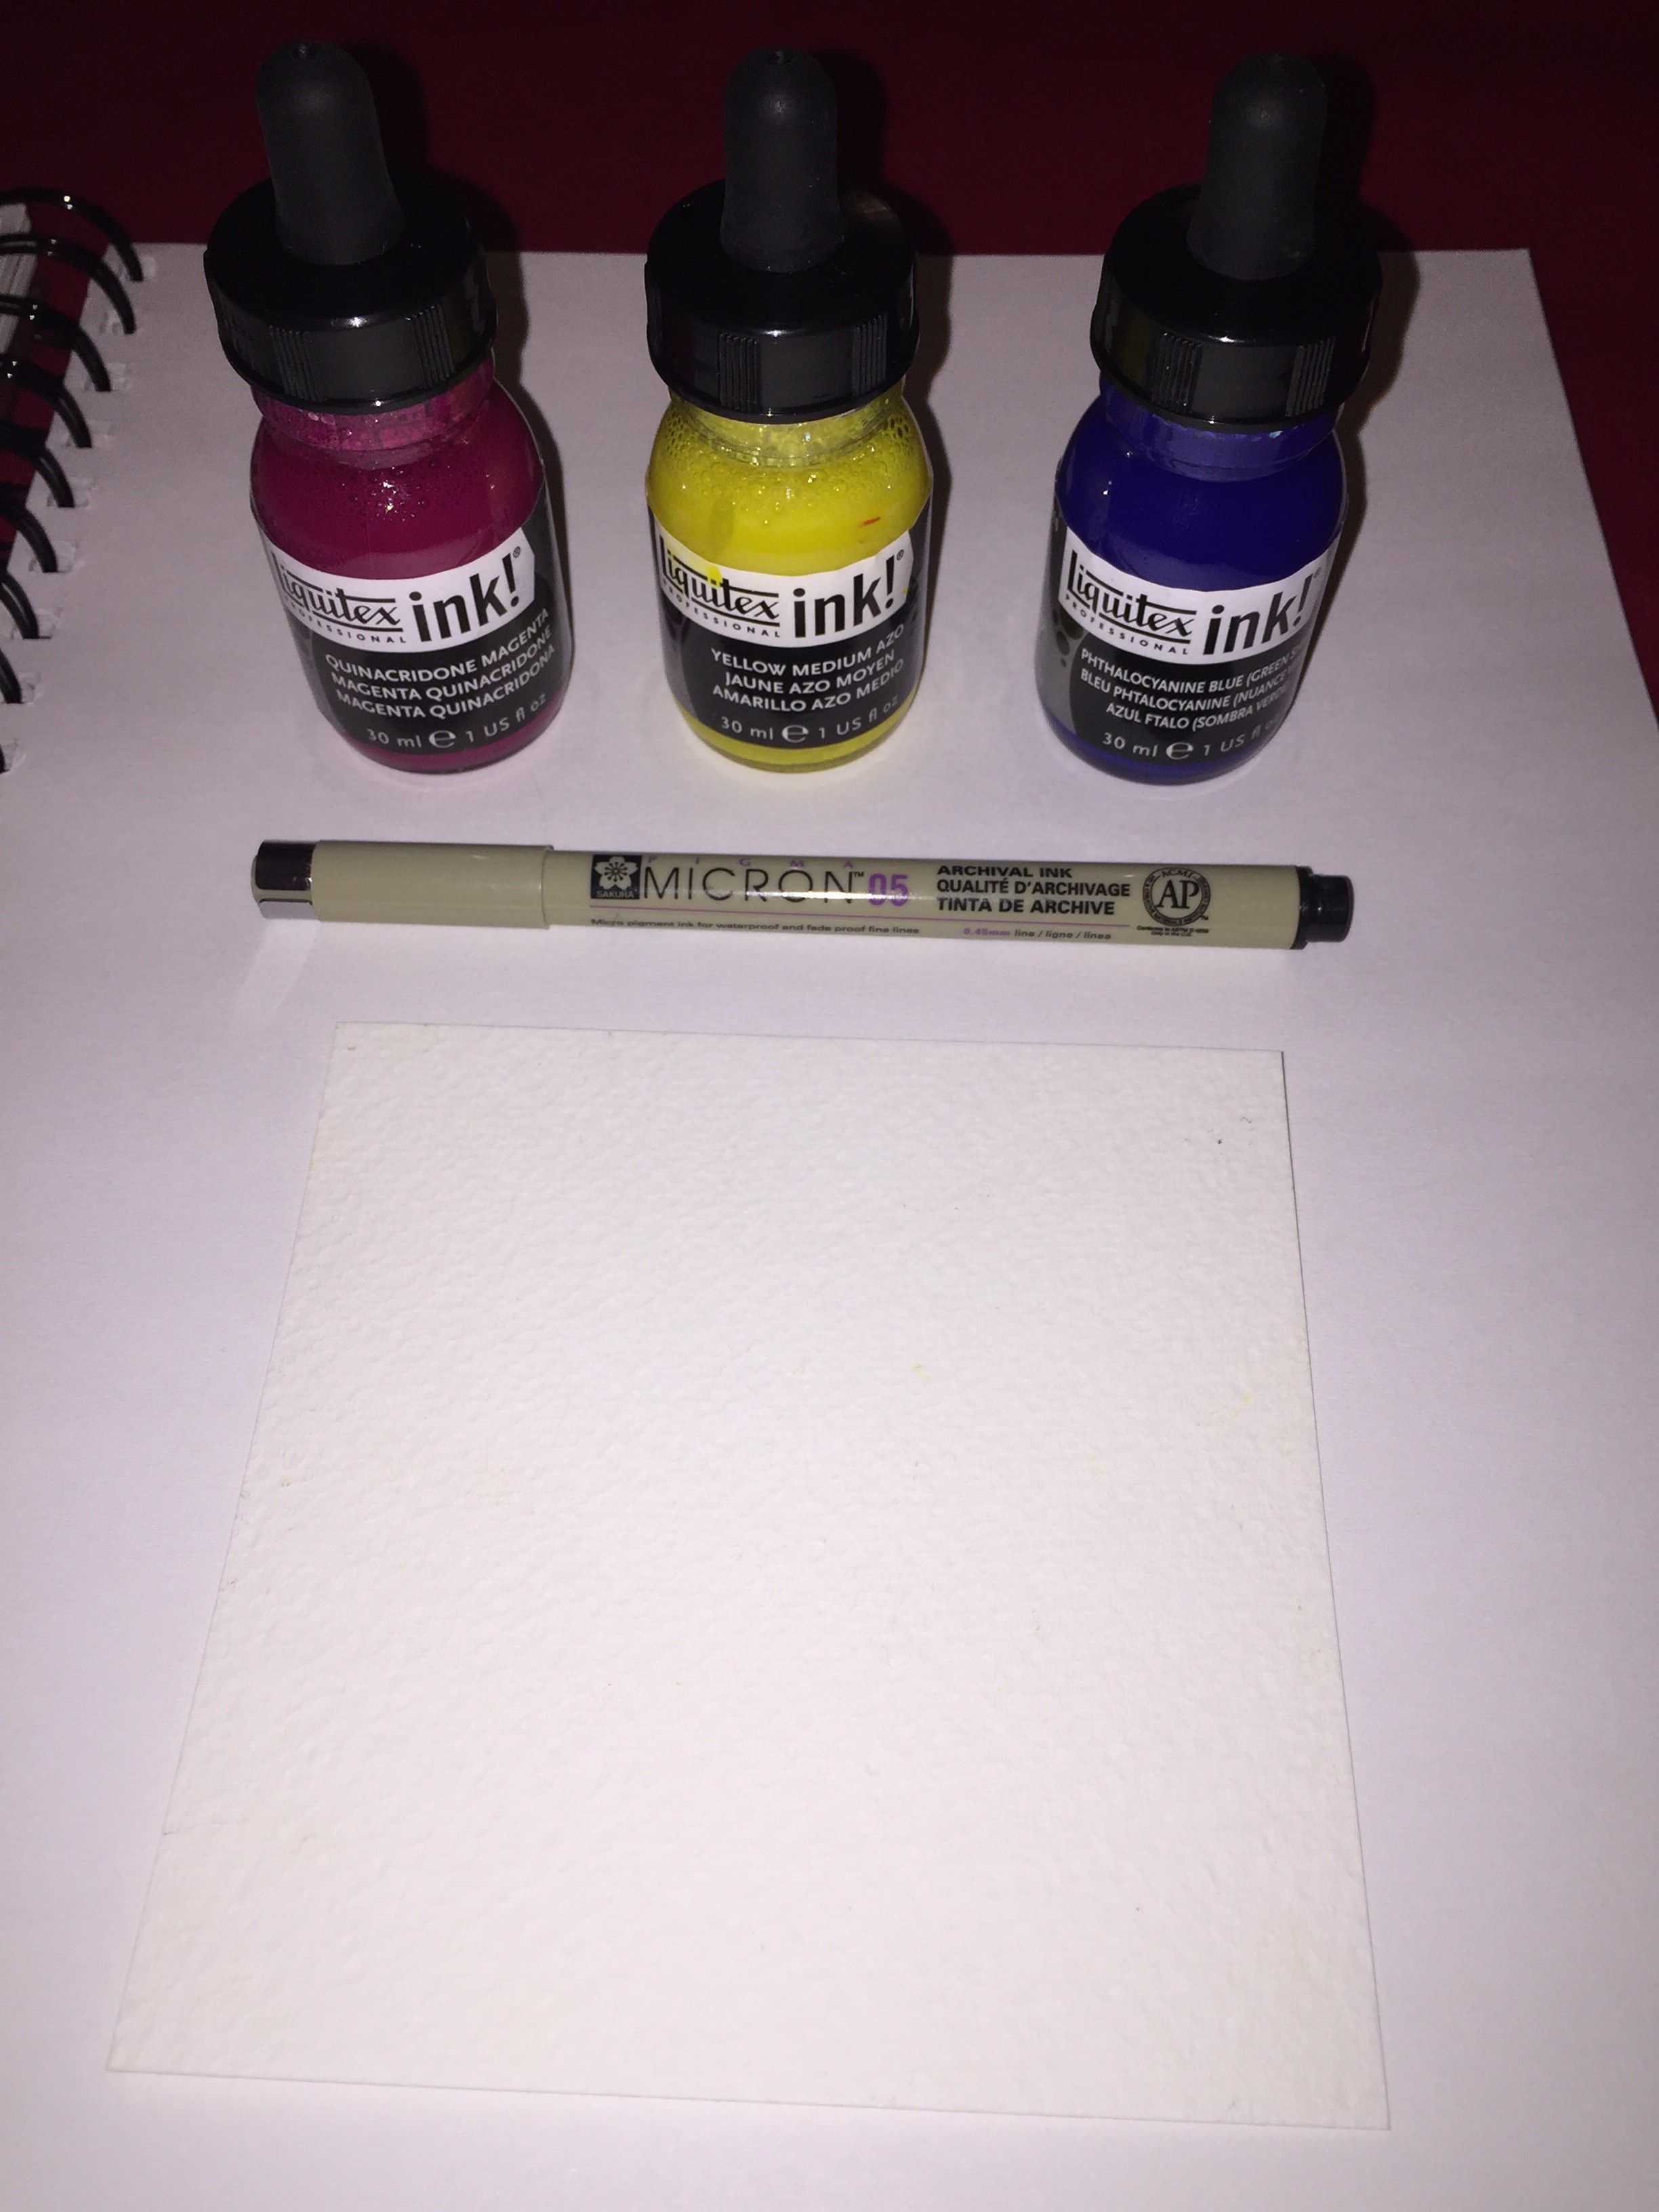
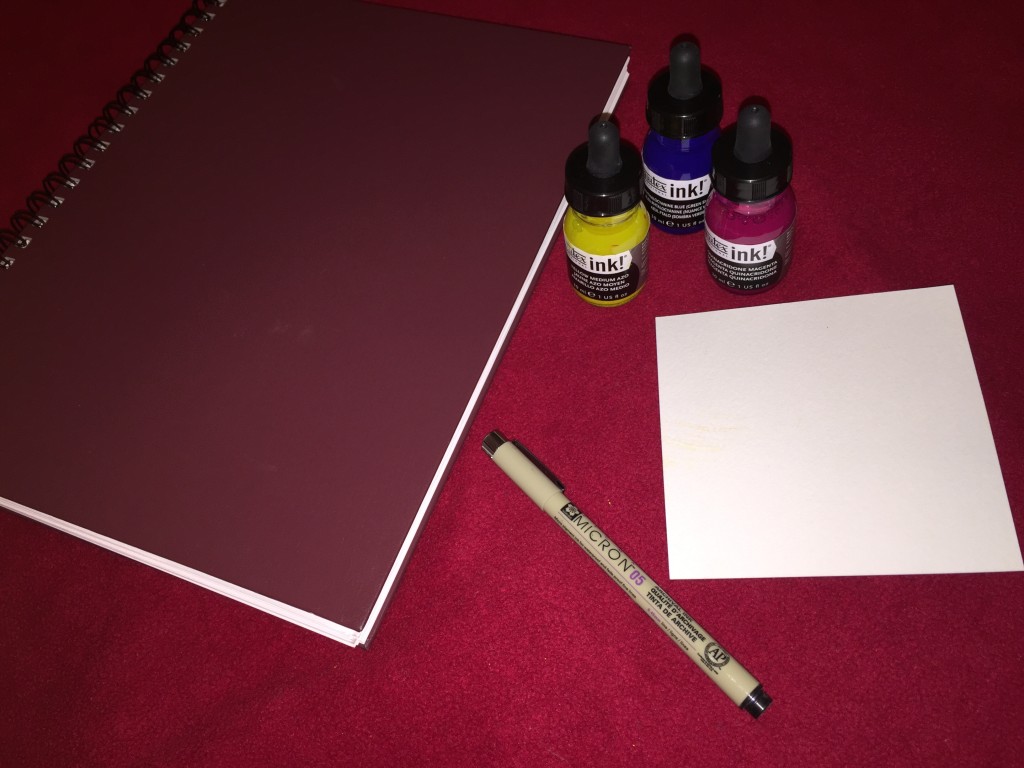
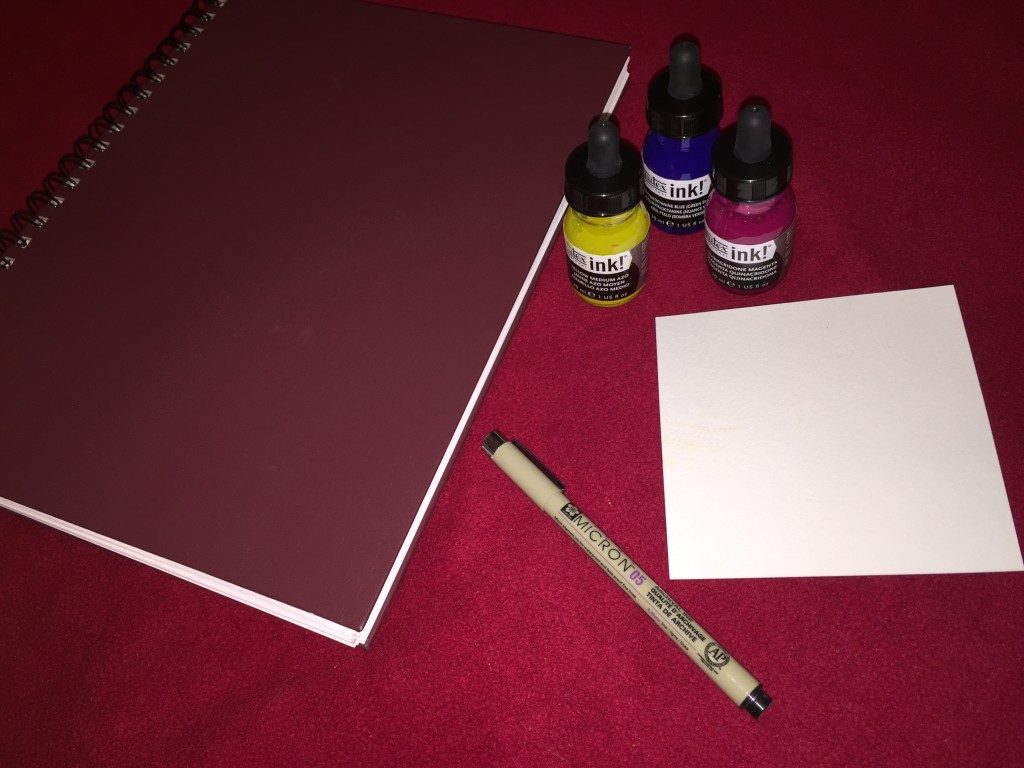
Materials you will need:
- Ink
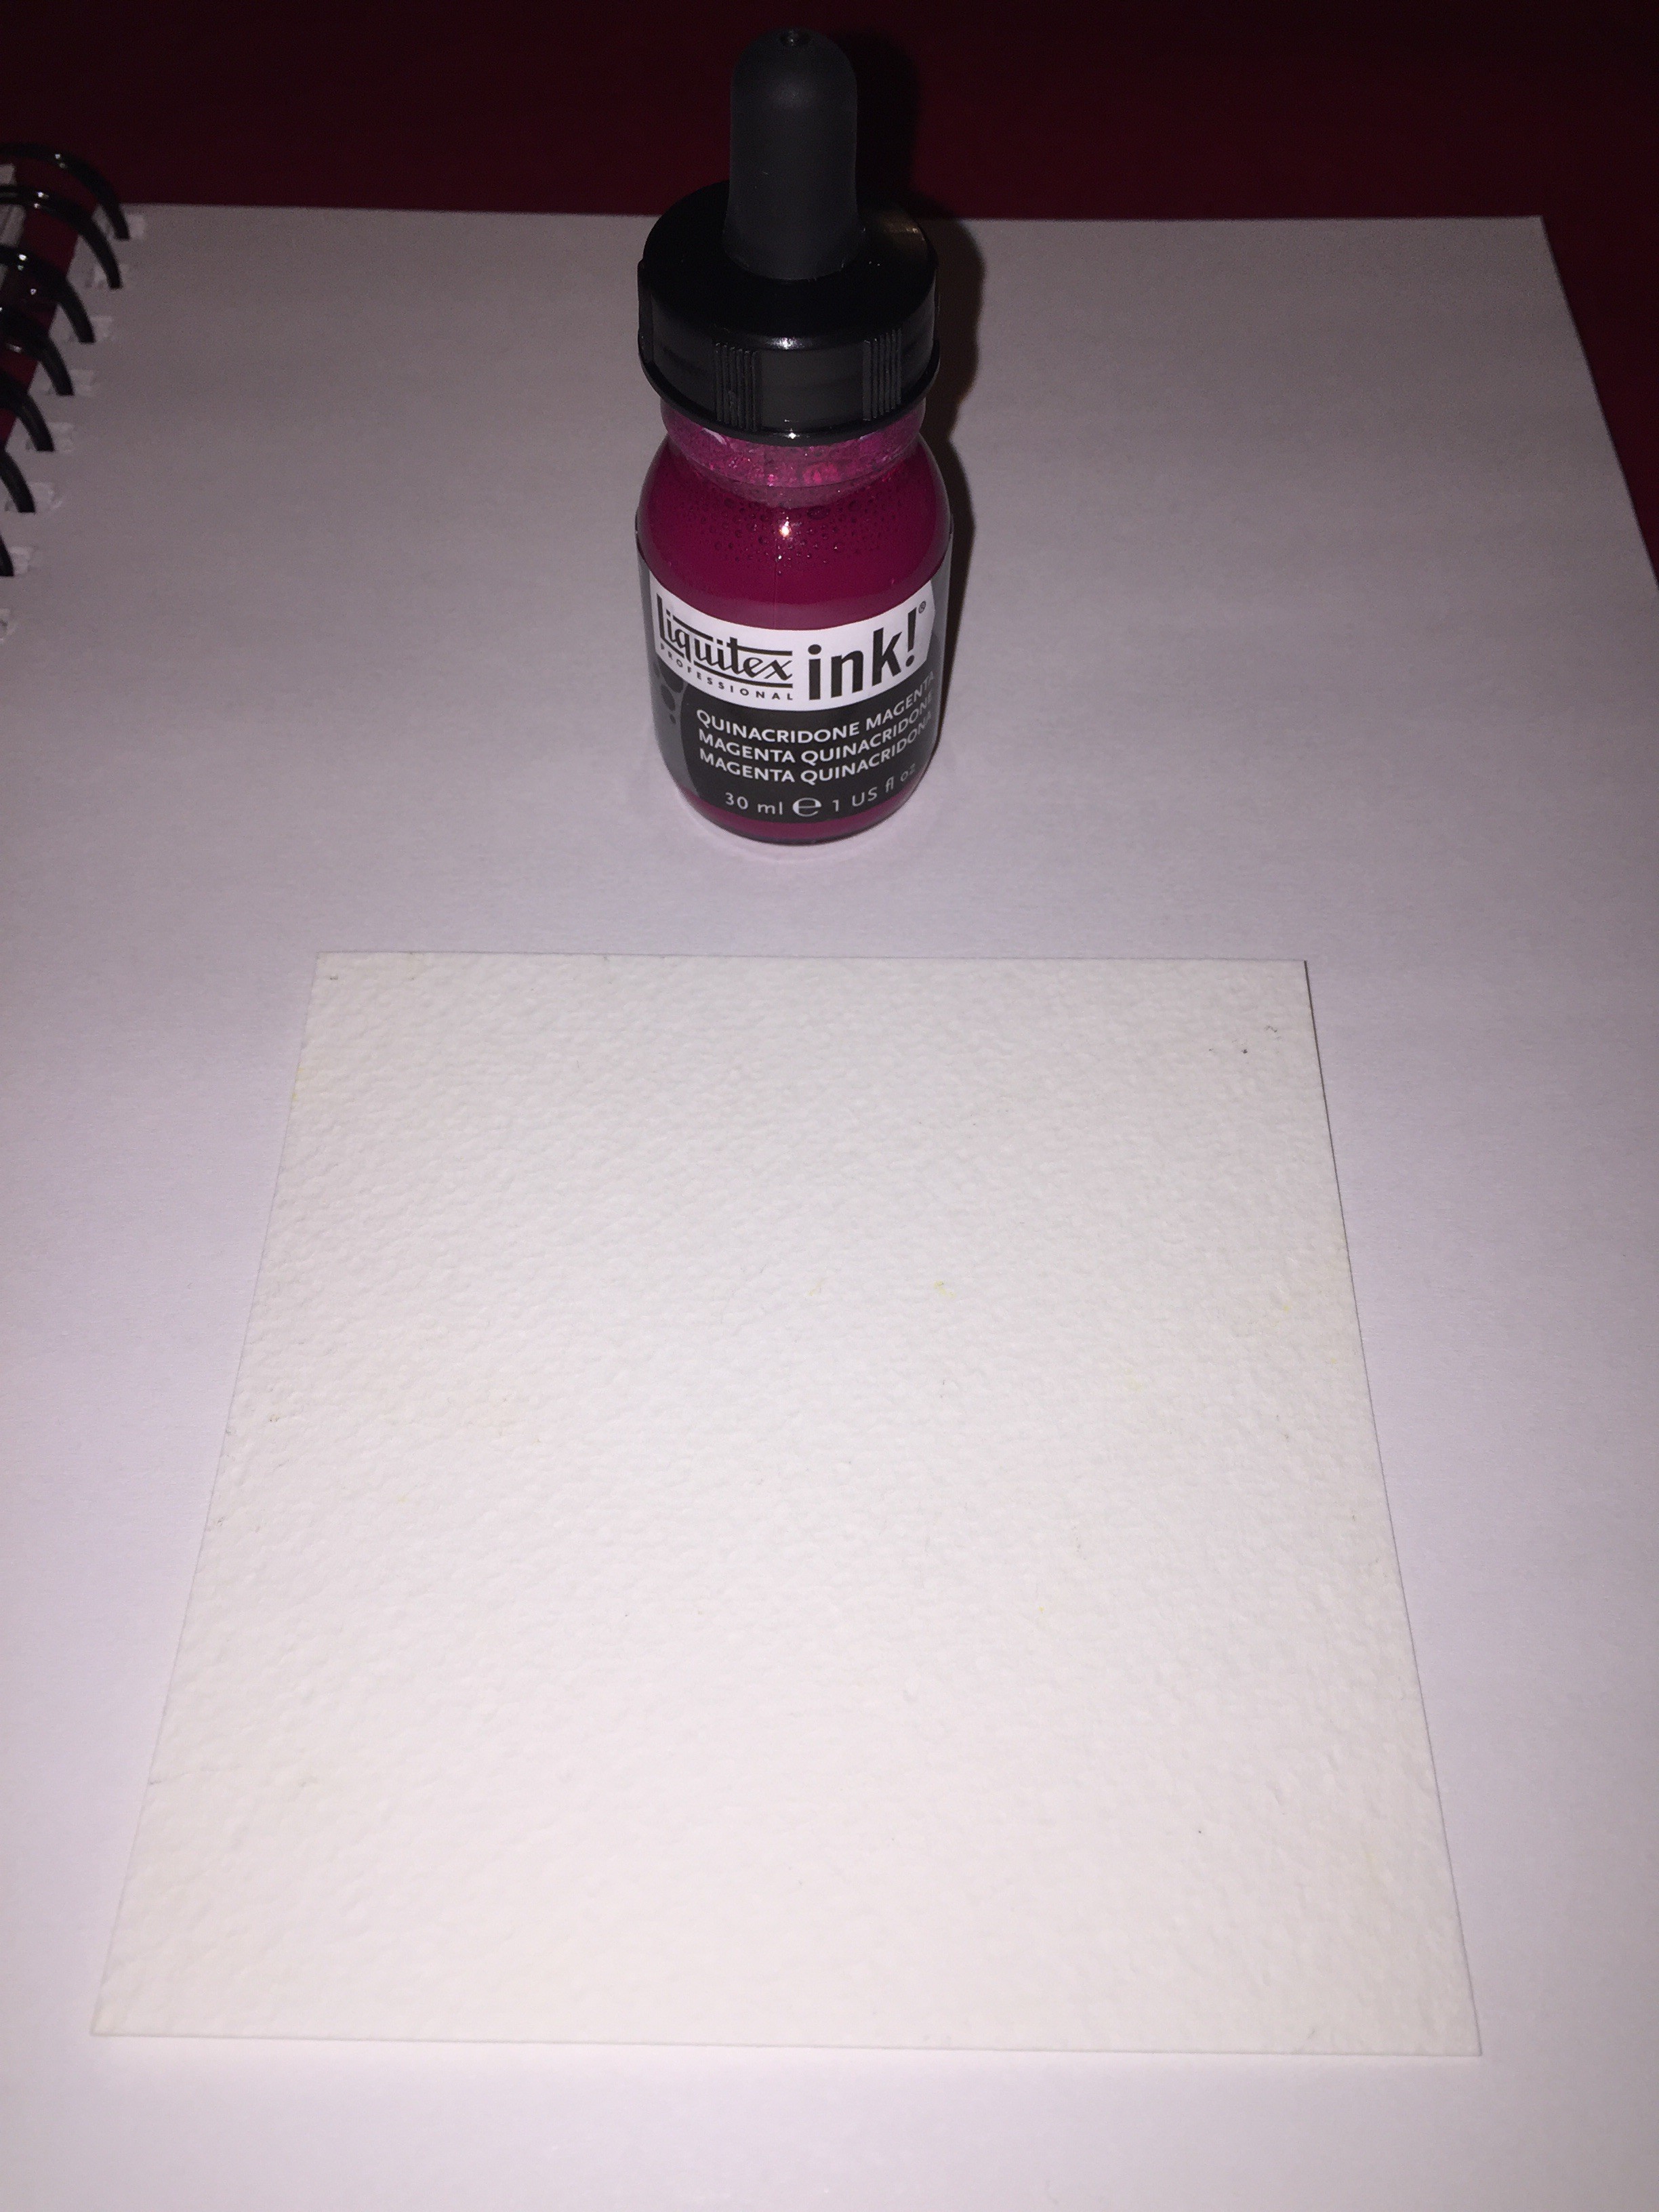
- Watercolor paper
- Pens
- A protective surface to paint on
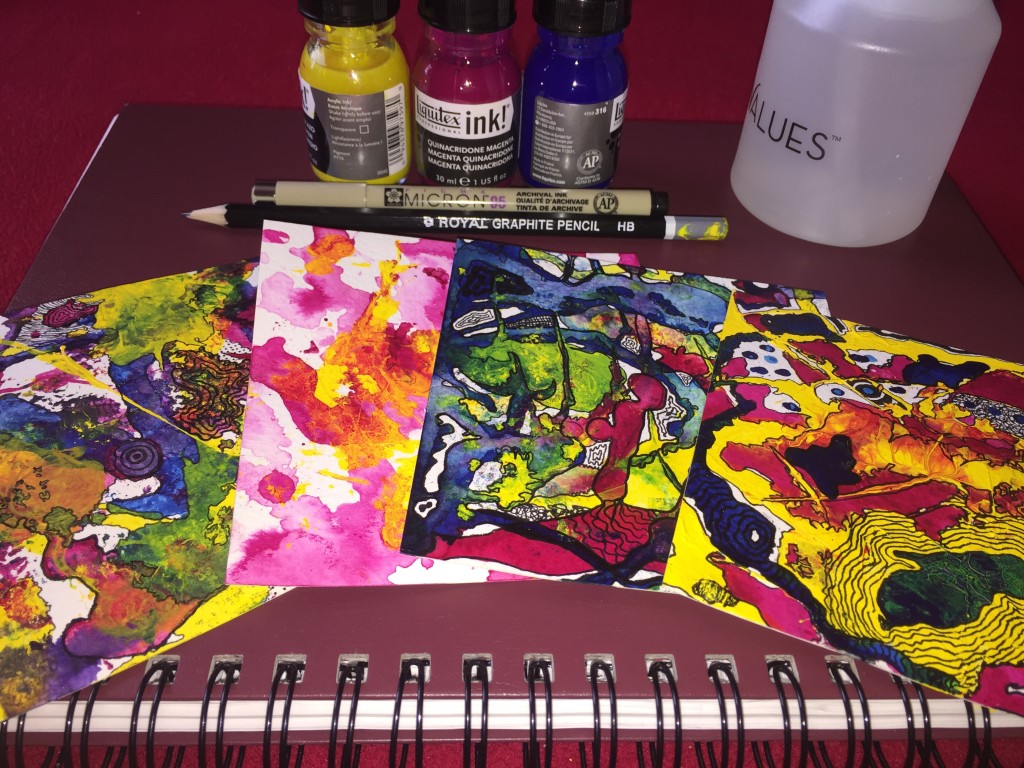
I’m Using:
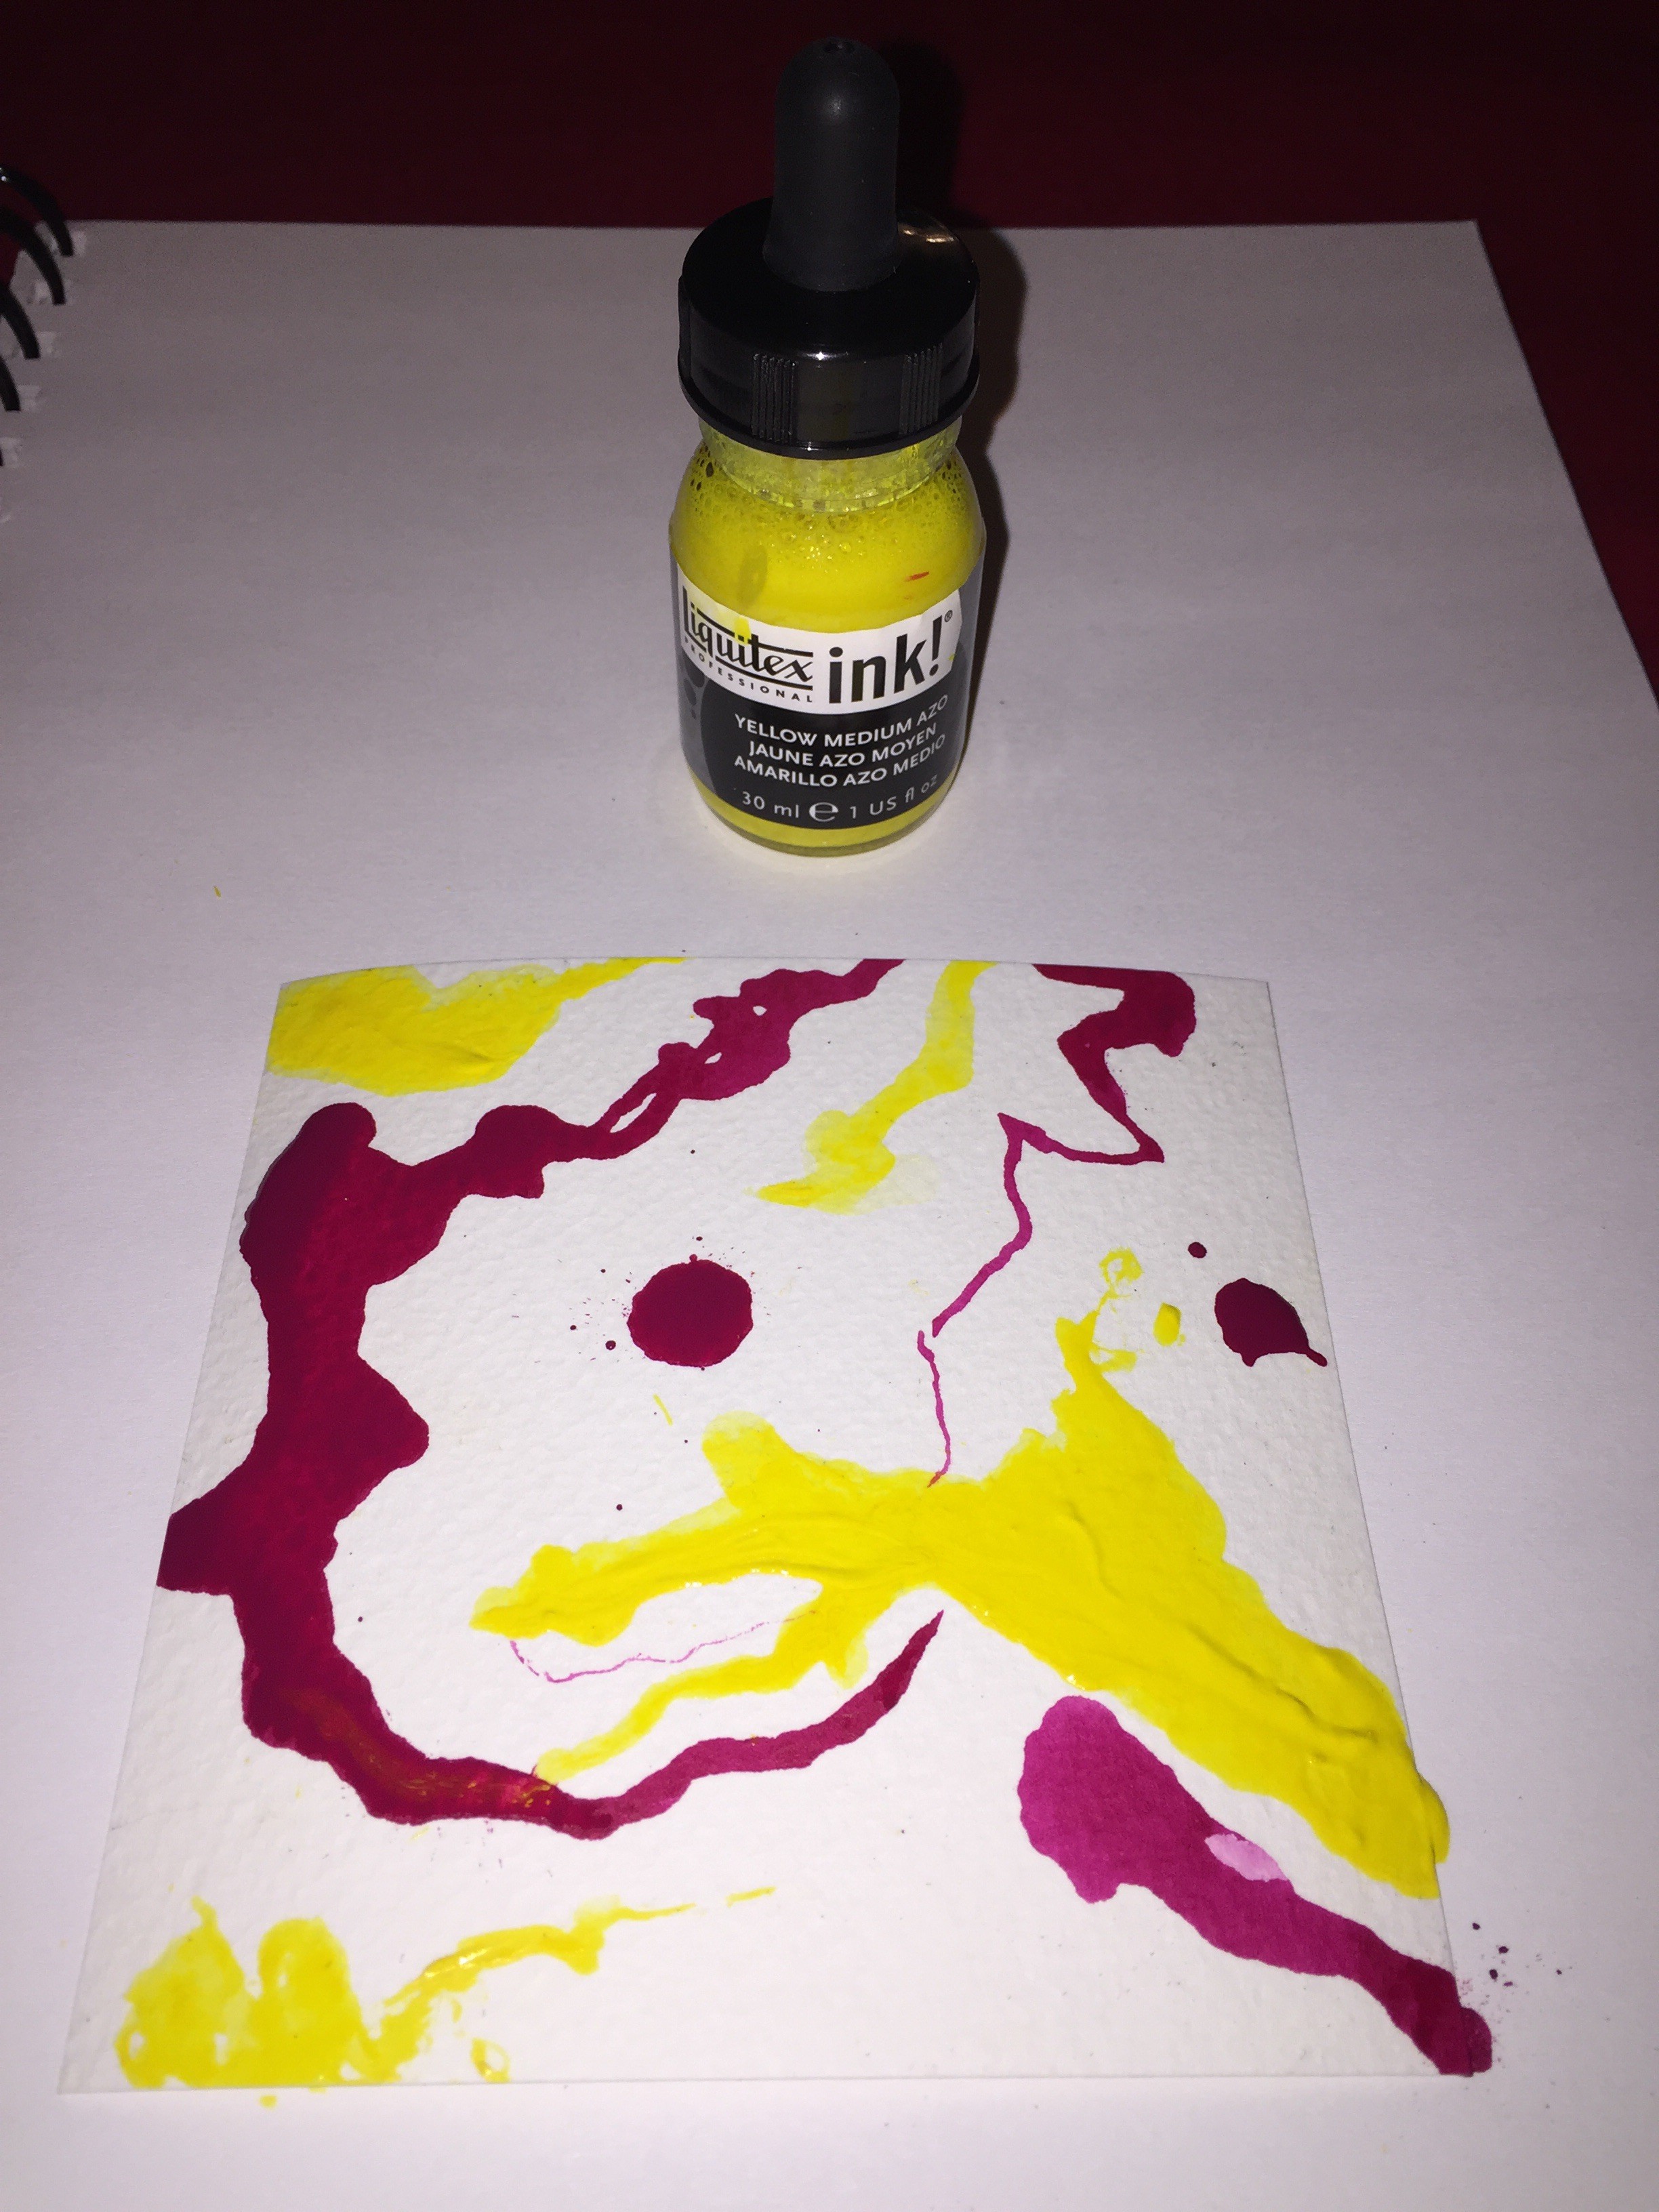
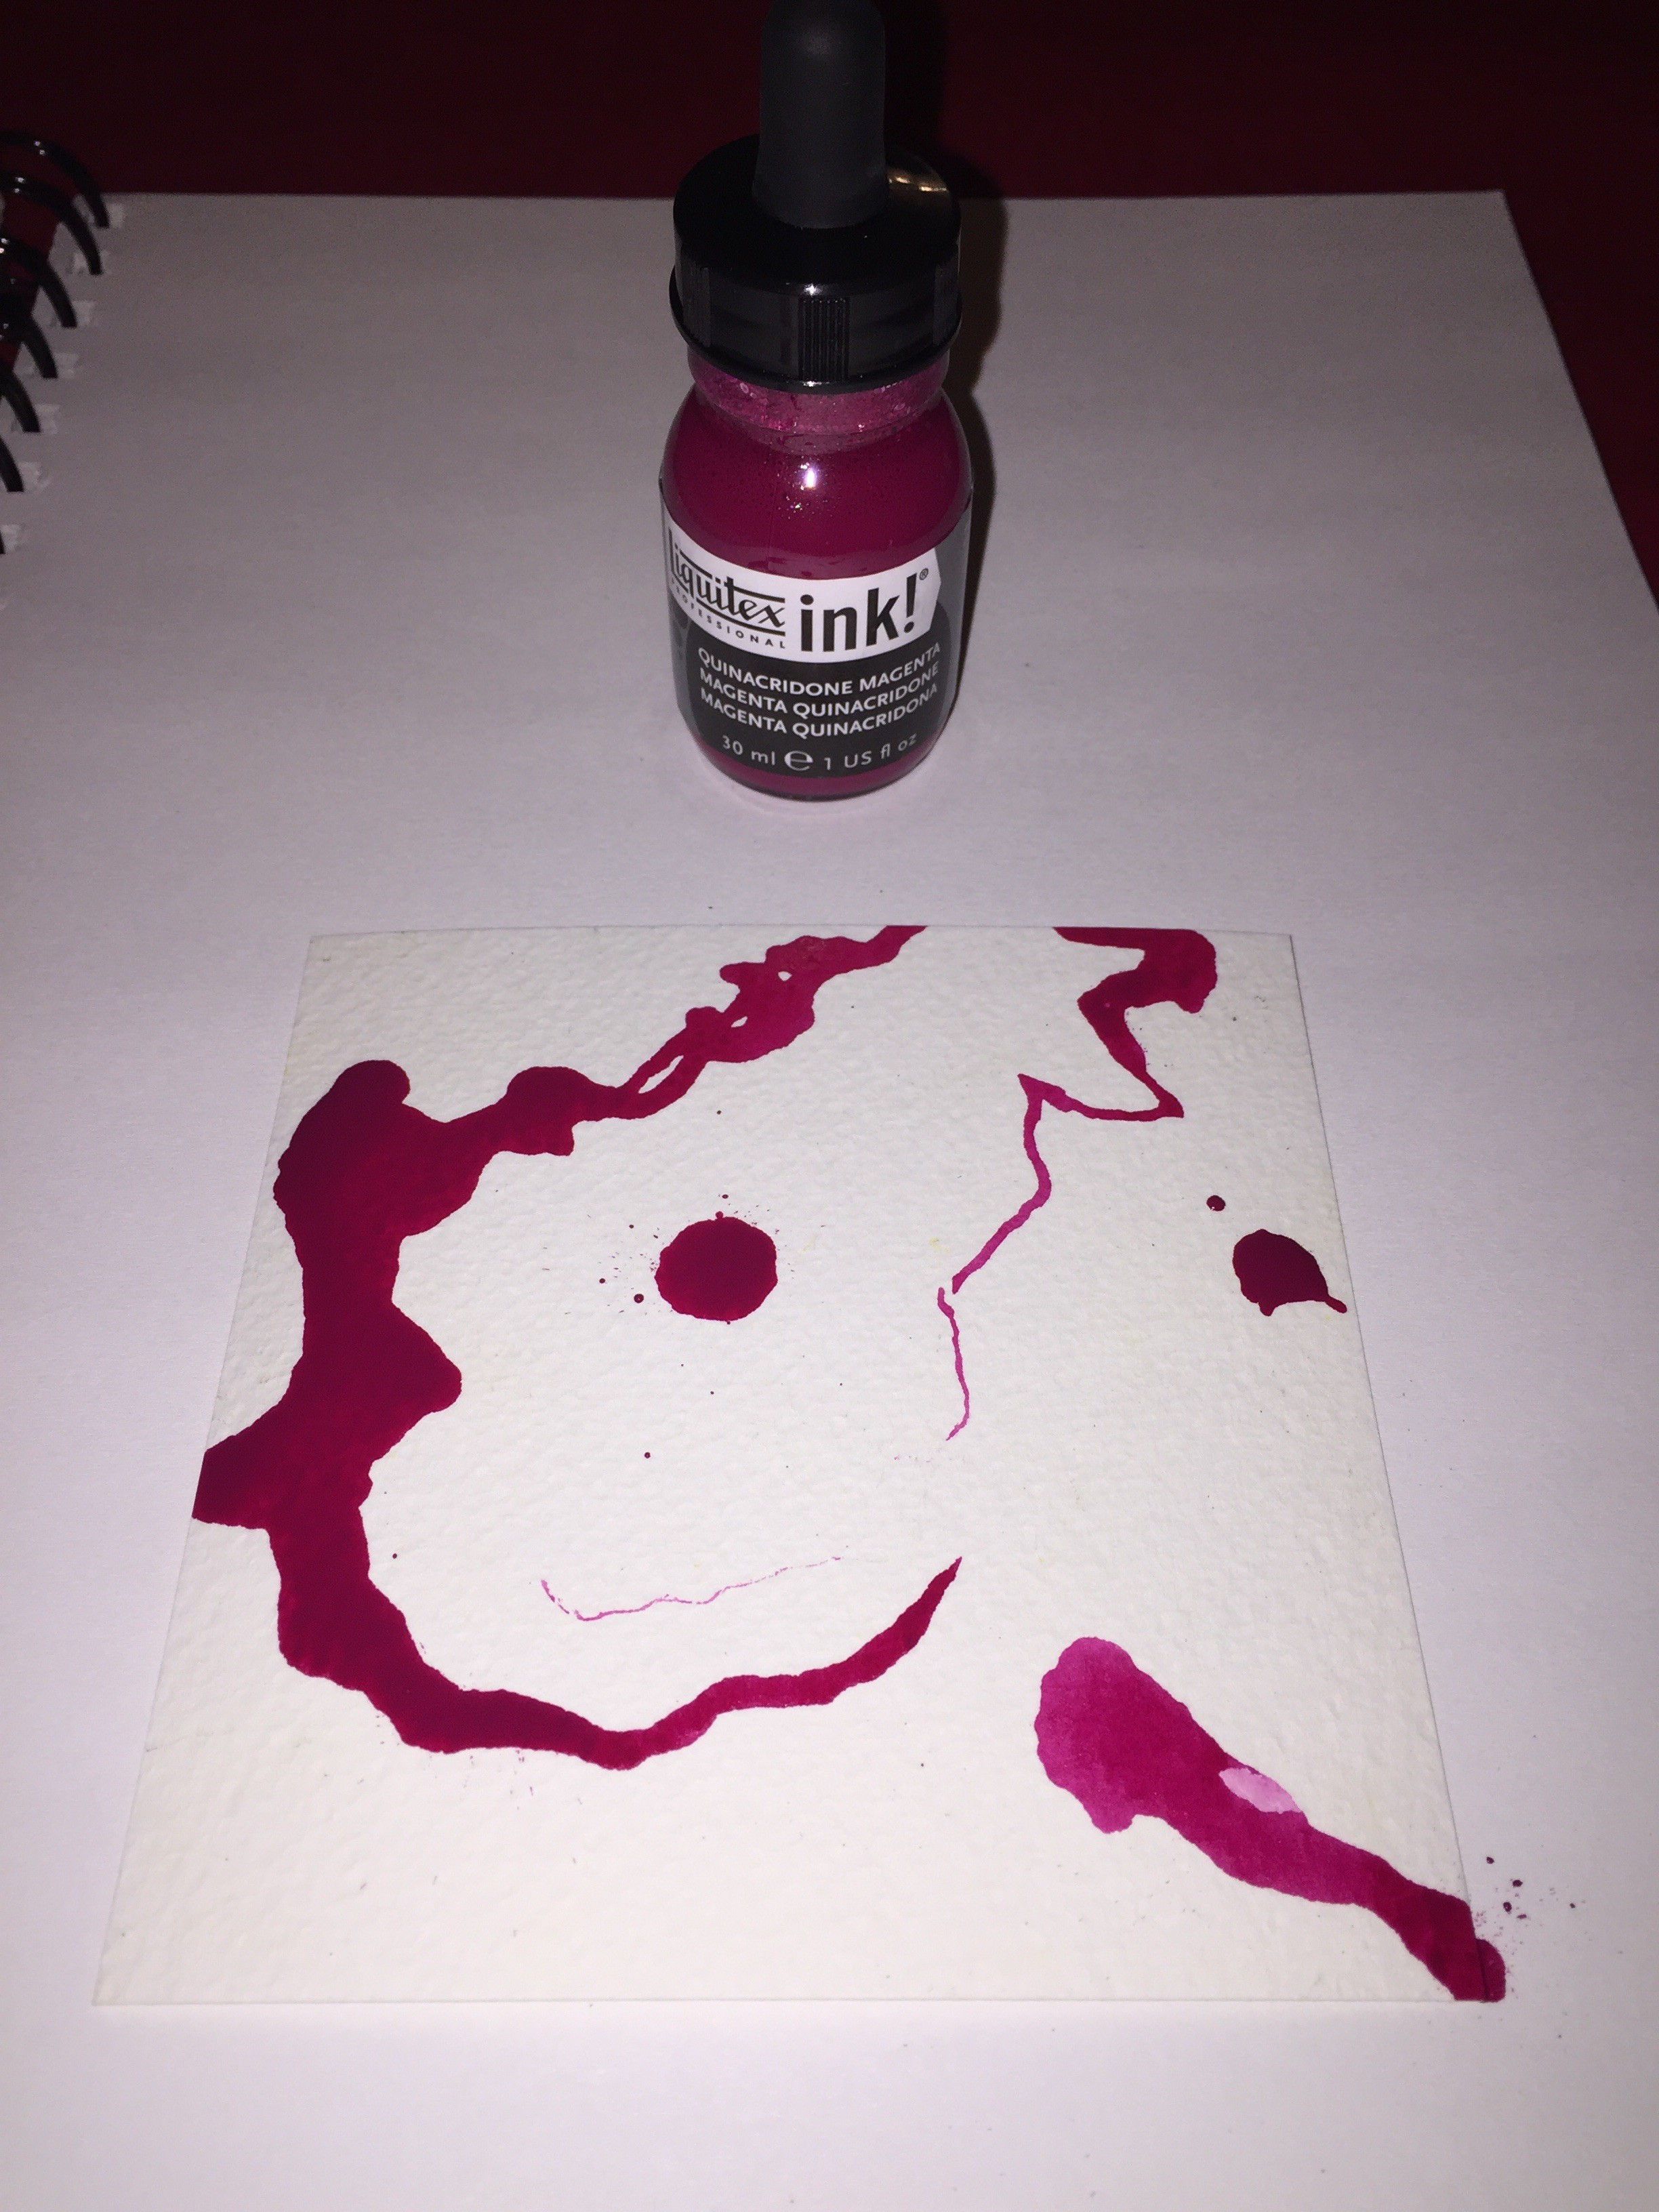
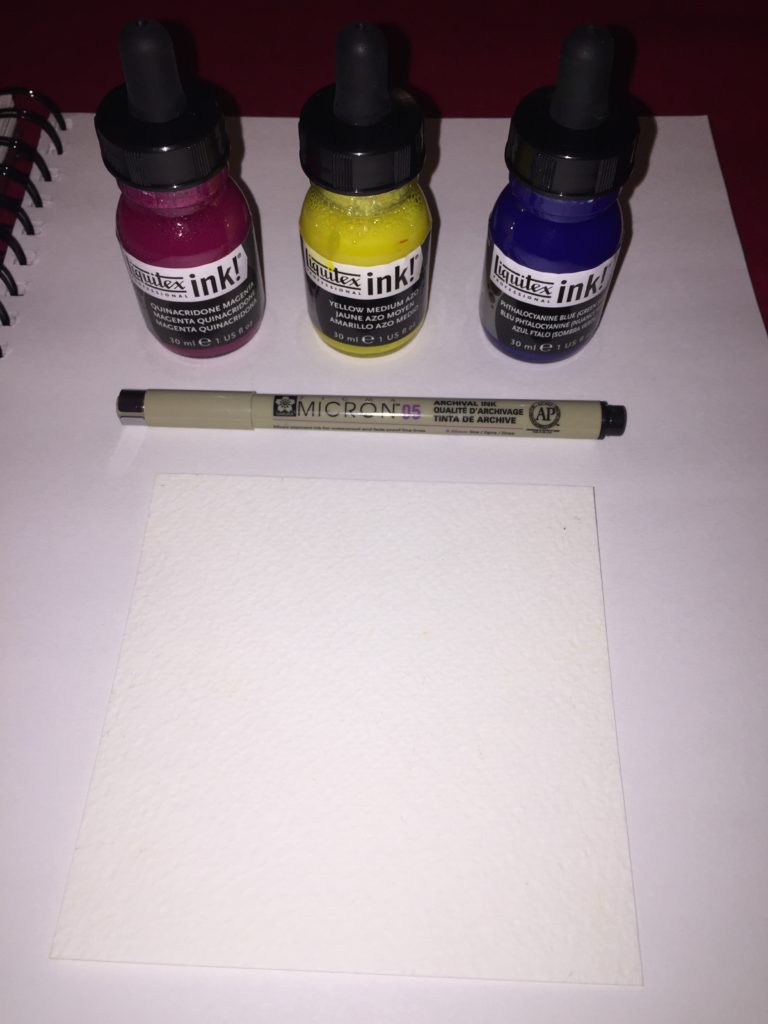
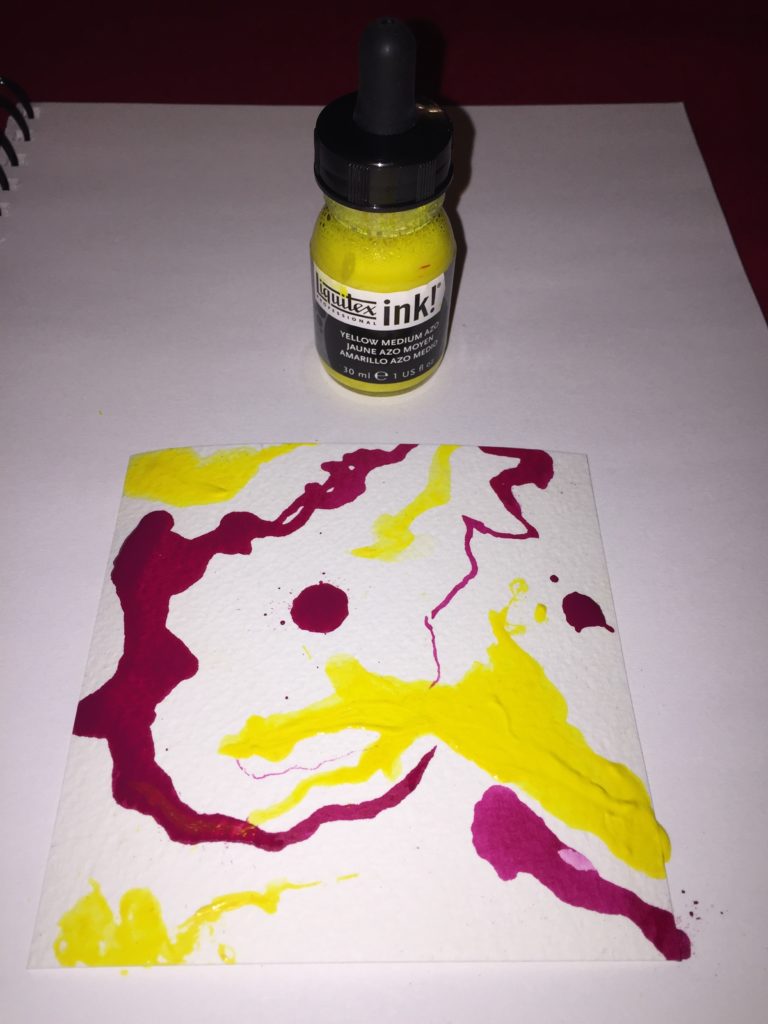
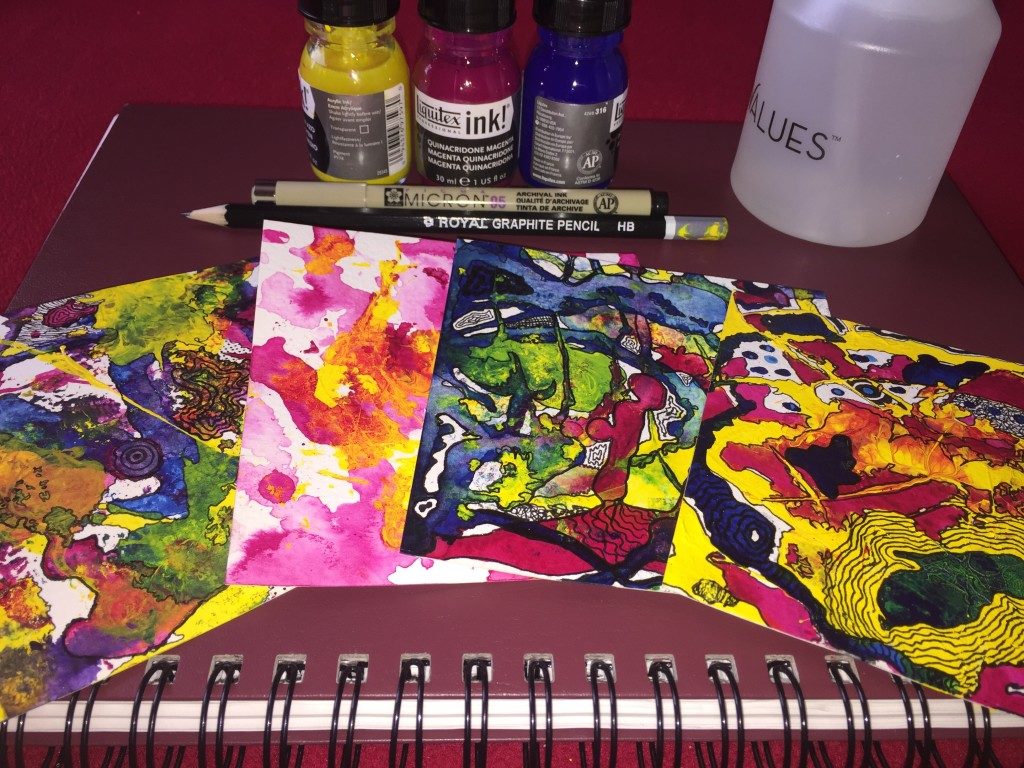
- Liquitex Acrylic Inks (Red, Yellow, Blue)
- 140lb. Strathmore Watercolor Paper (3 1/2″ x 3 1/2″)
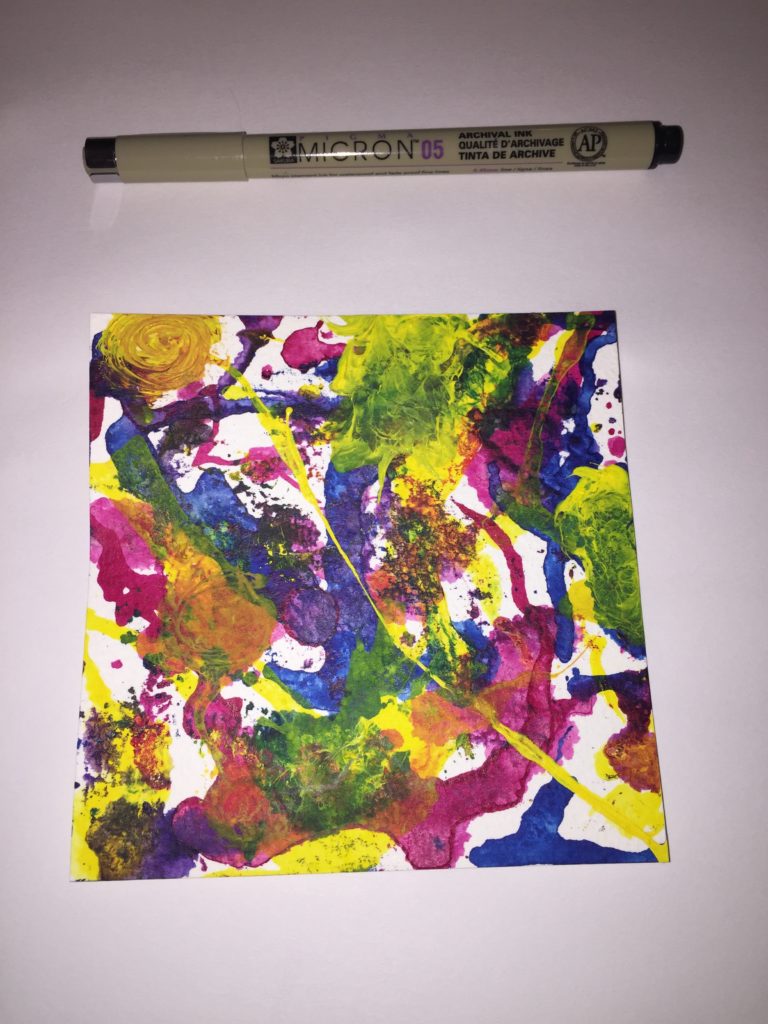
- Micron .5 tip (Black)
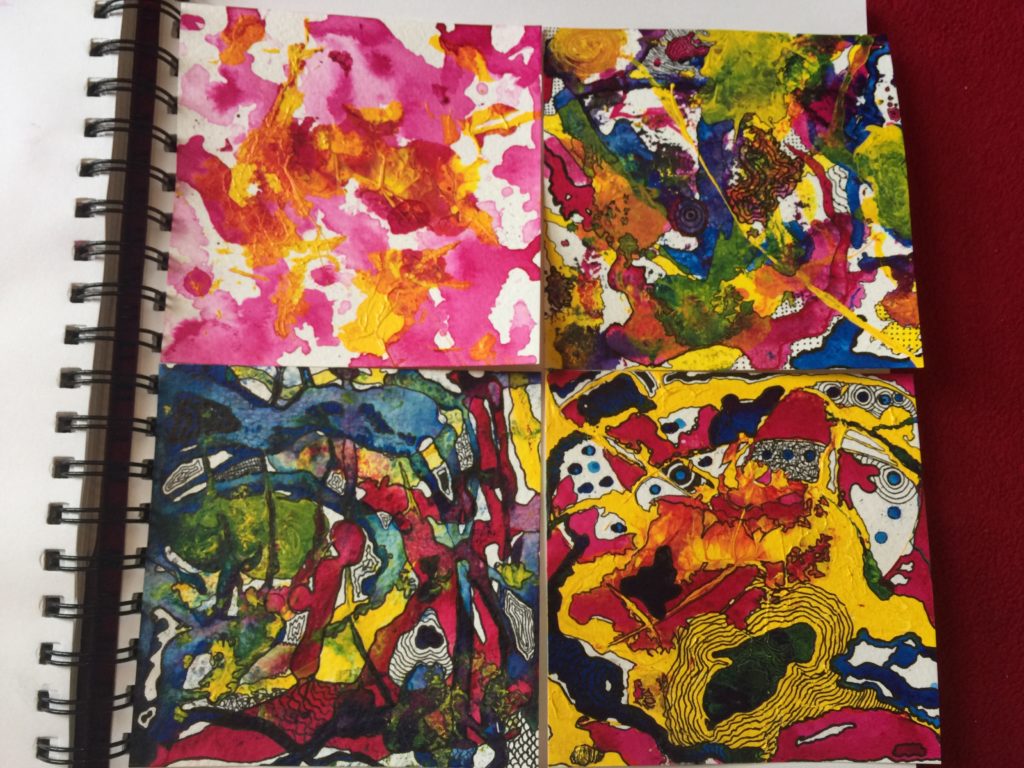
- A sketchbook
The good thing about this project is that you don’t have to follow anything line-by-line. Once you get the general idea of each step, every painting will be unique!
STEP ONE:
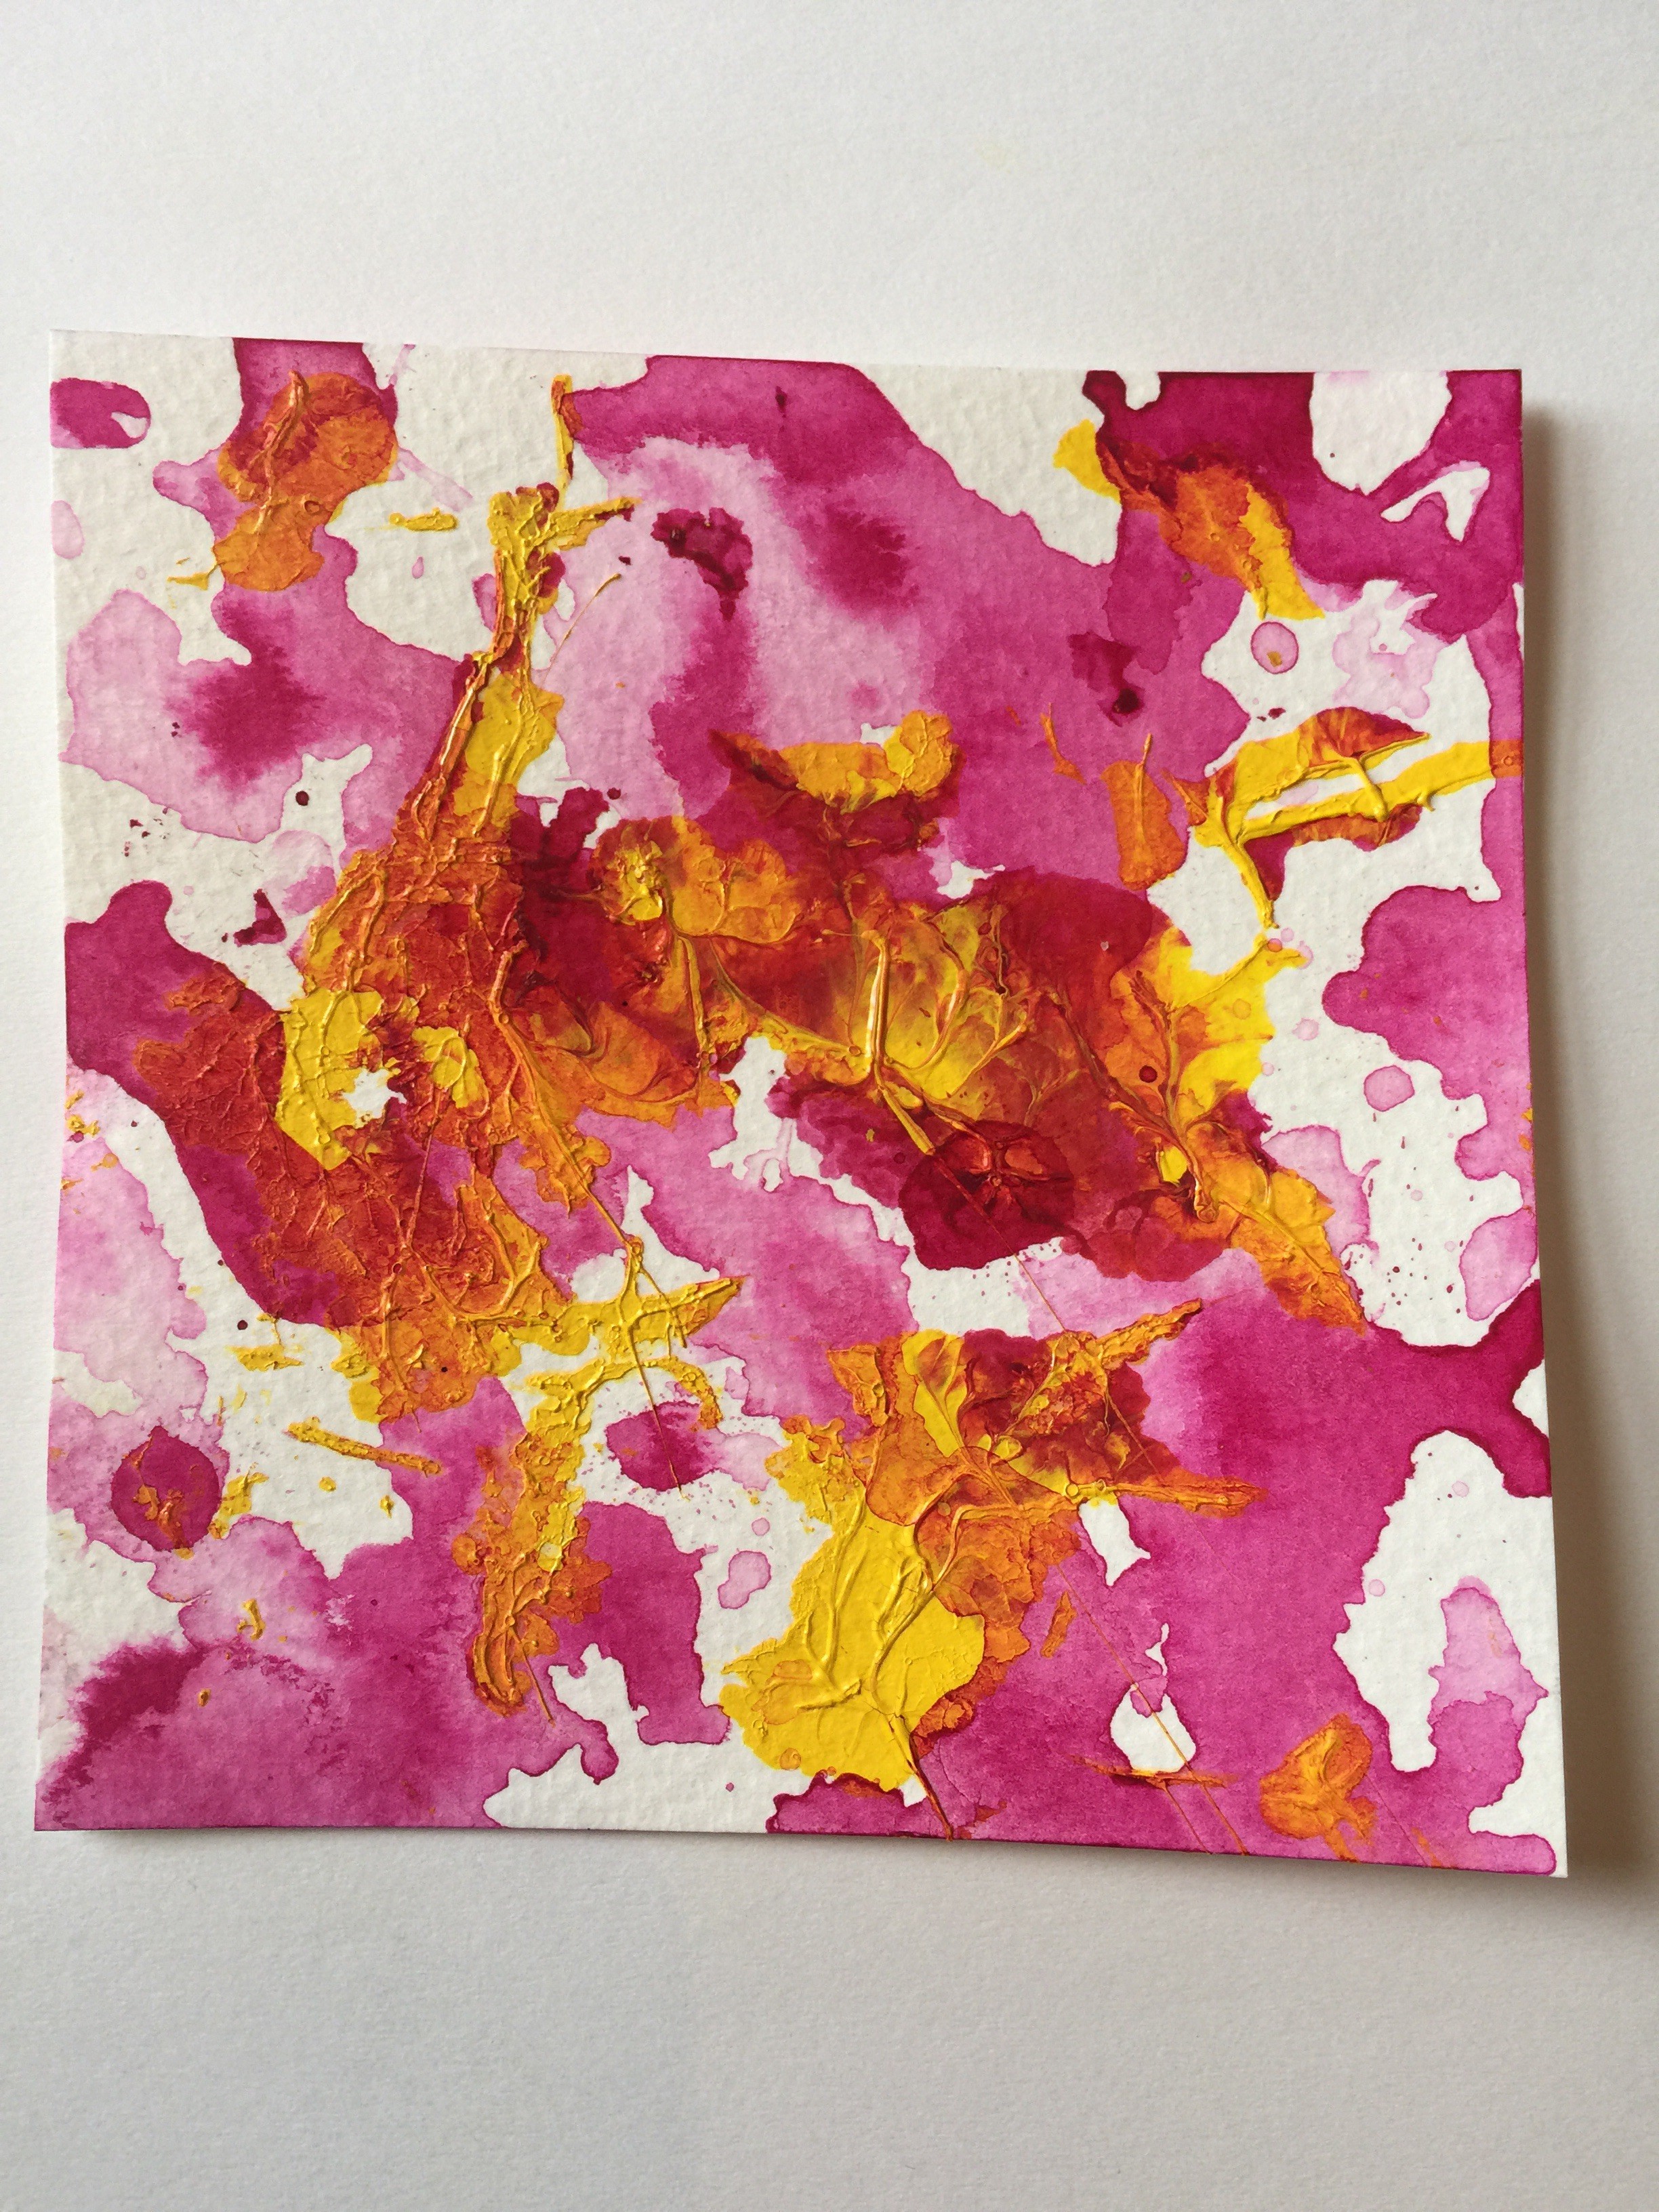
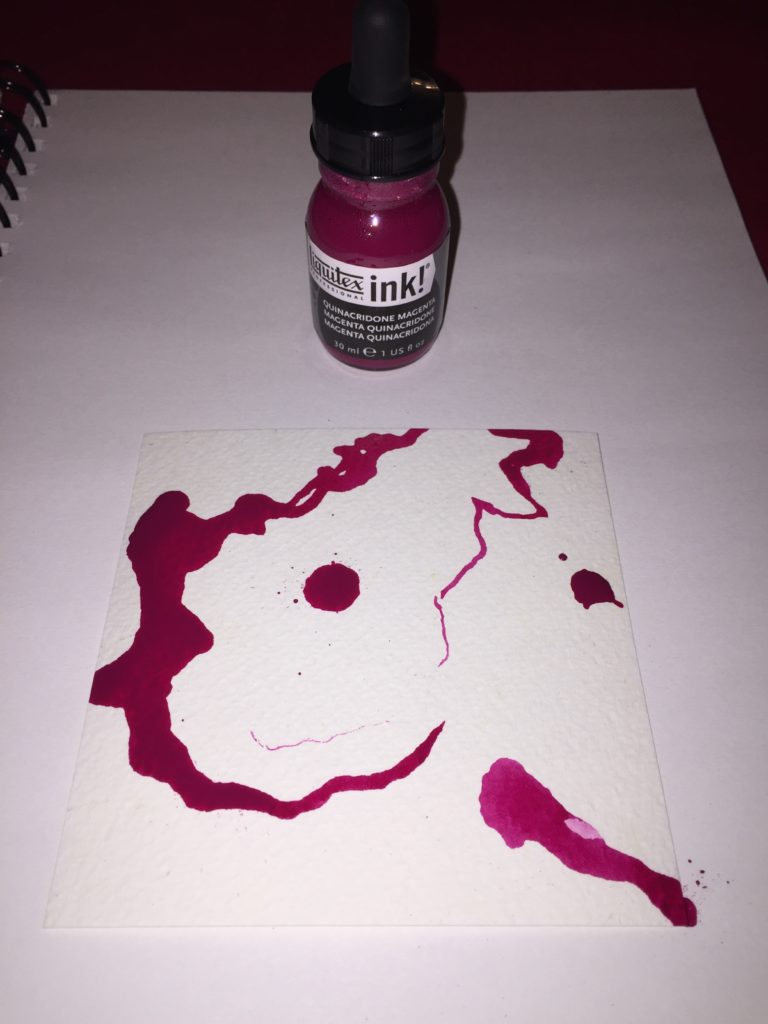
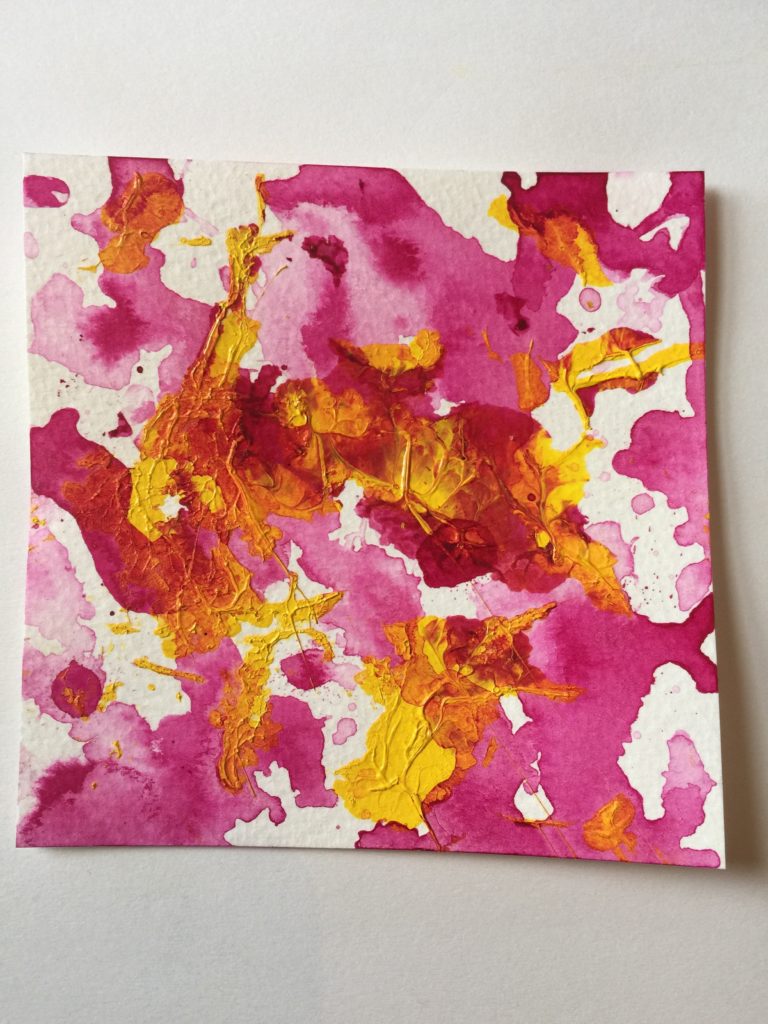
Pick whichever color you’d like to start with first. With that color, begin dripping, splashing, or pulling the ink around your paper. There is no right or wrong way to do this!
STEP TWO:
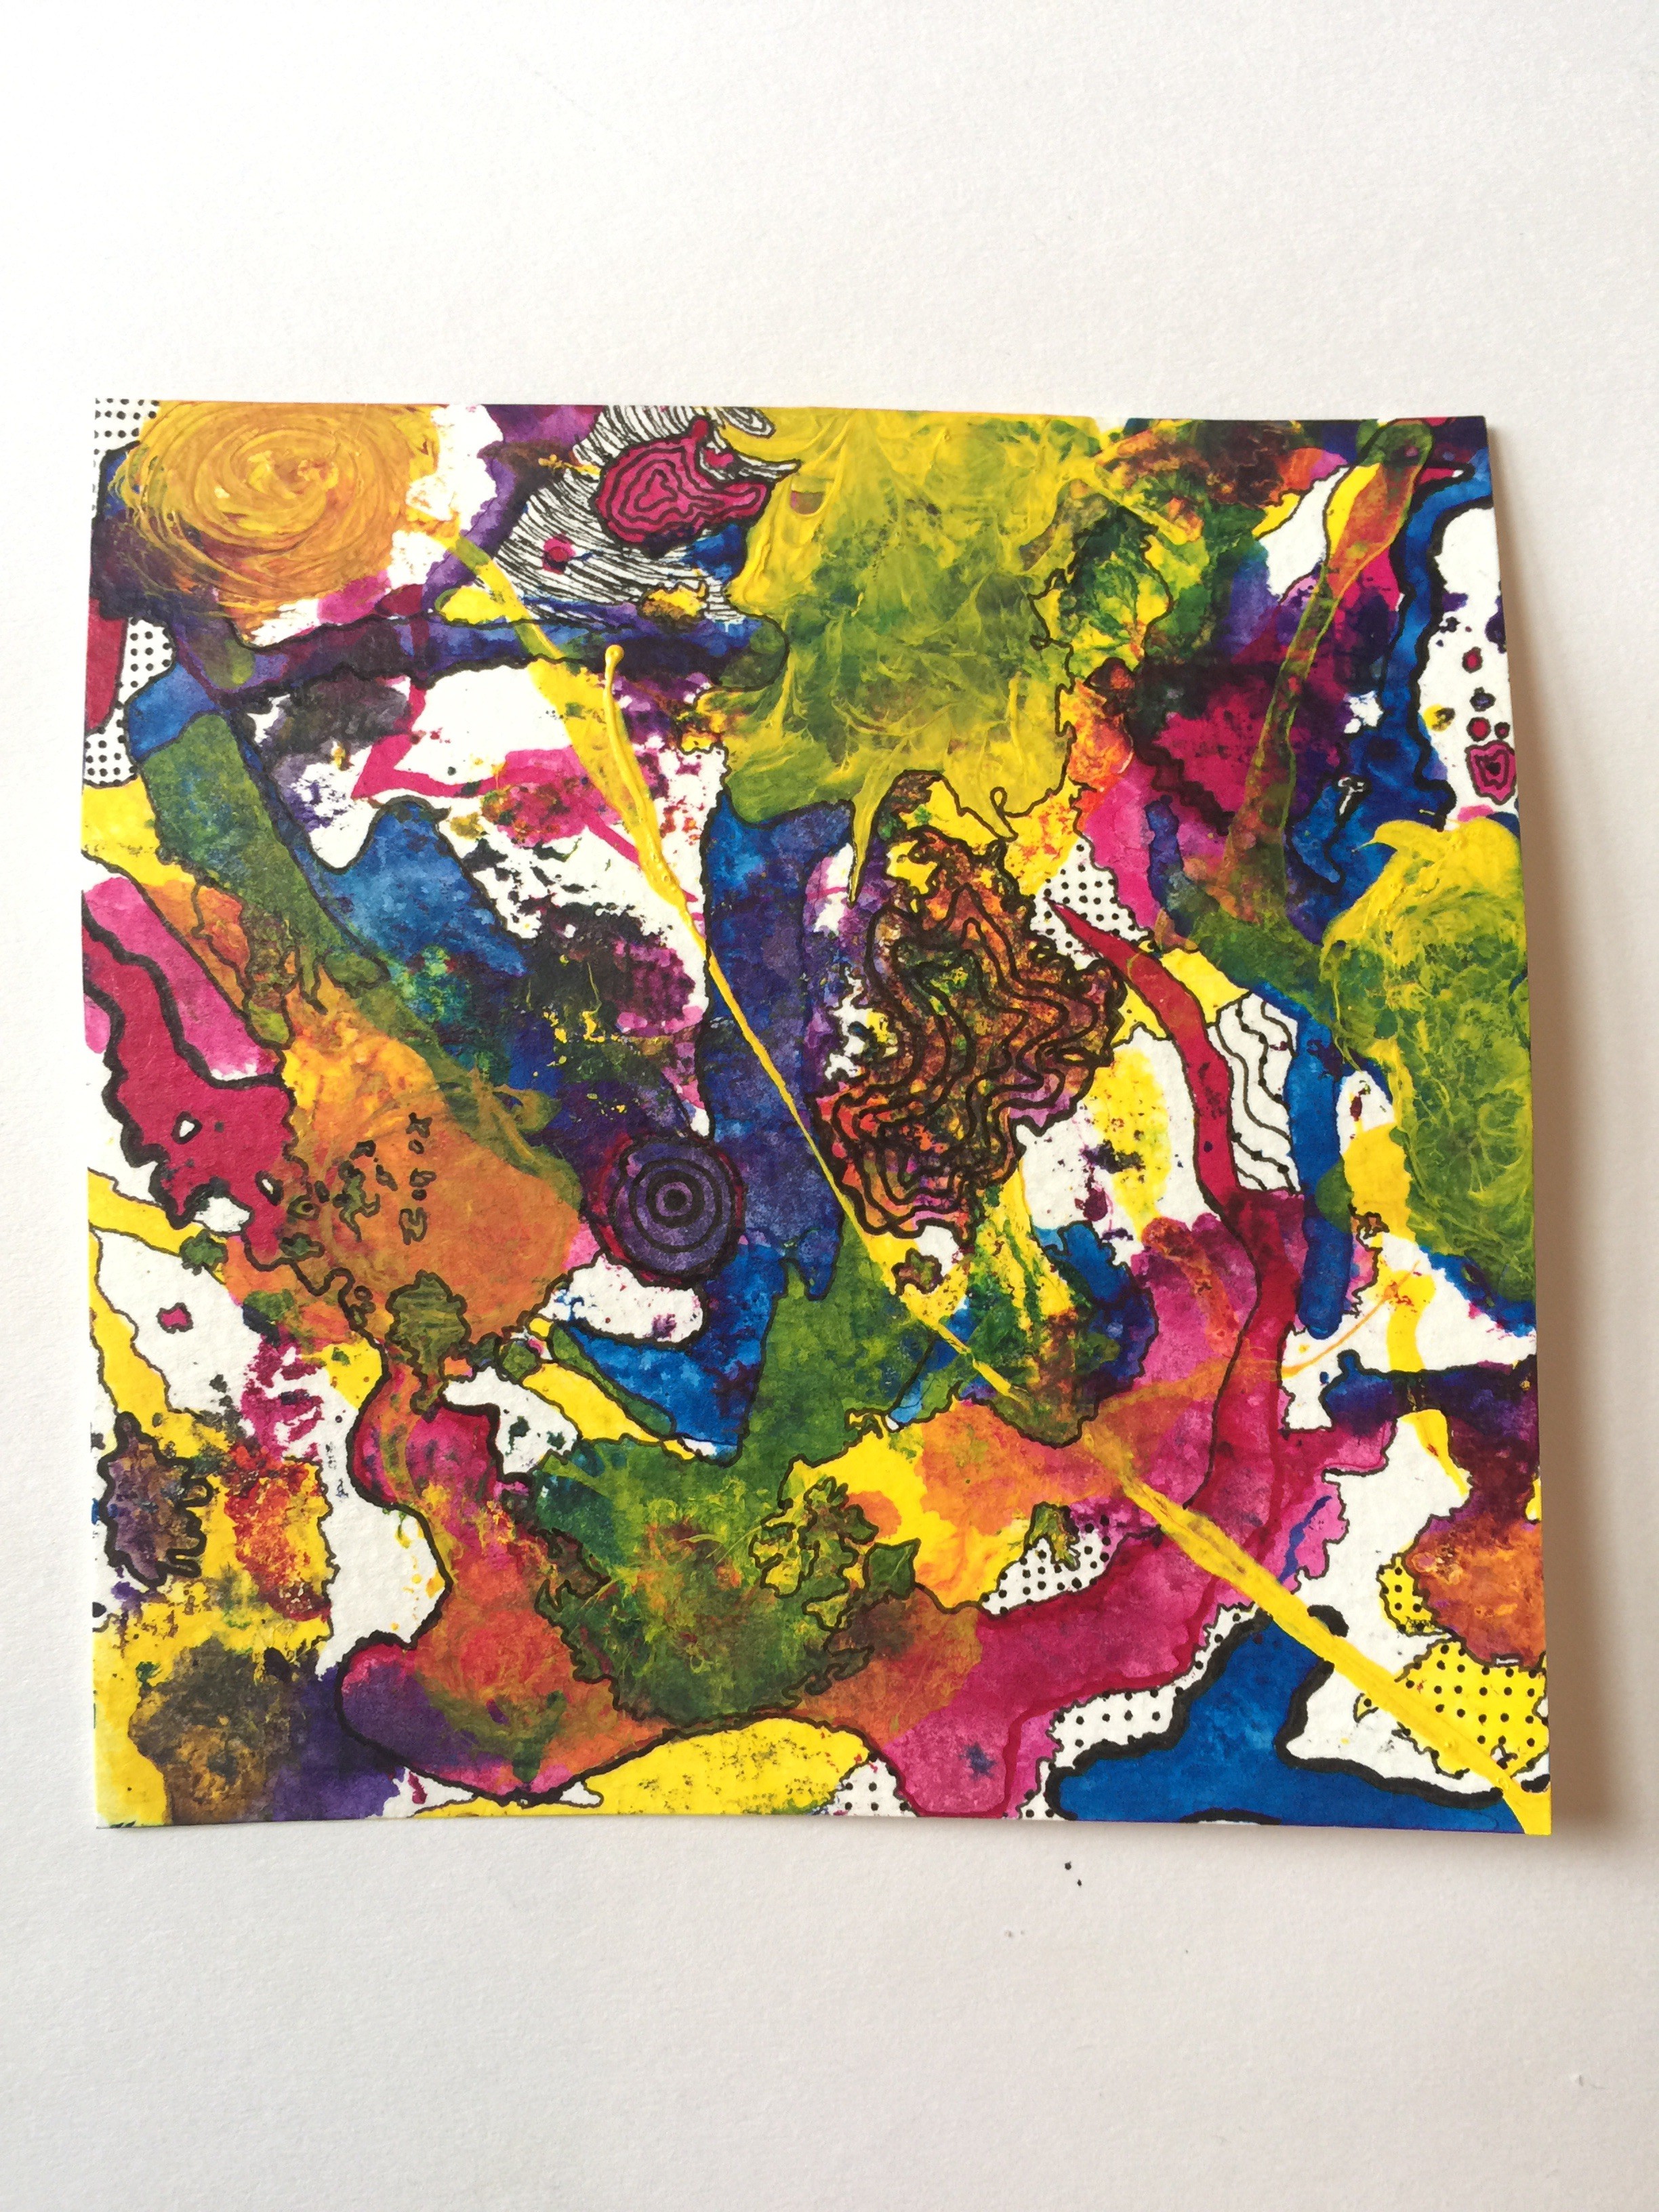
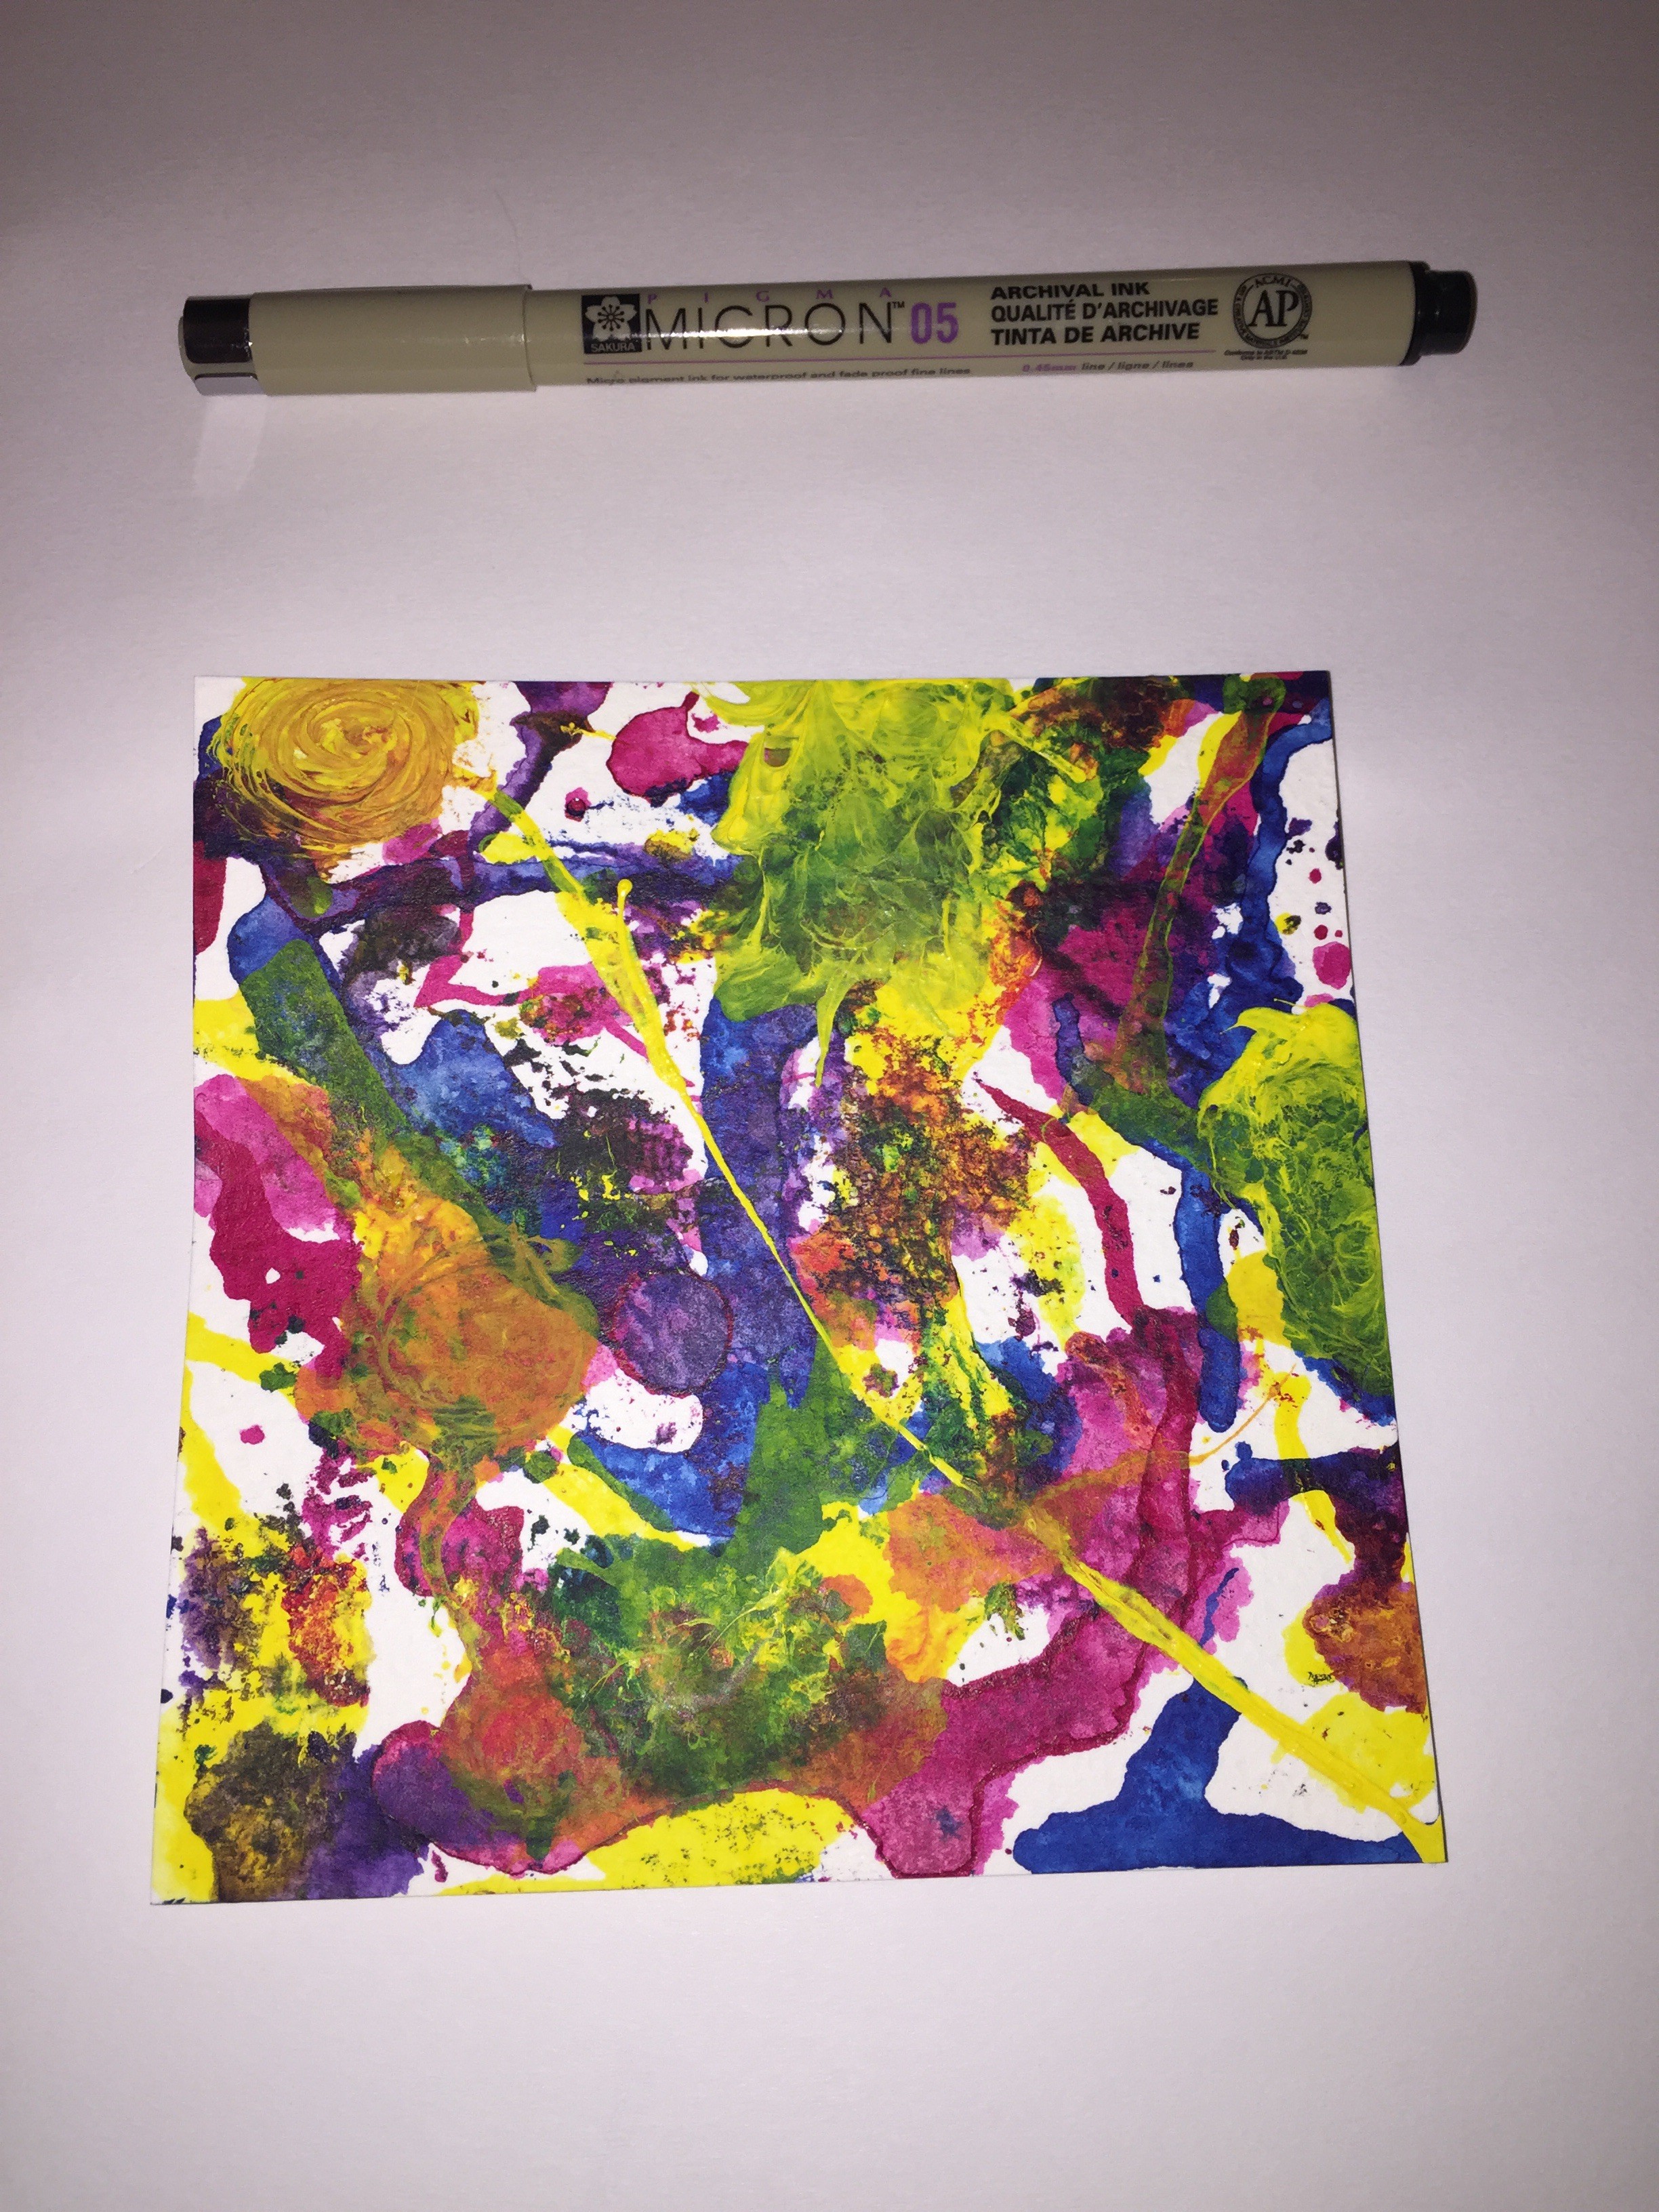
Repeat this process with whichever other colors you’d like to add. Some other techniques include swirling the ink around the paper, flicking it to create interesting patterns, and tapping the dropper from different heights above your paper for different sized ink droplets.
STEP THREE:
Once you’ve got your ink on your paper, you can begin using some different techniques to make the piece more interesting. Some of which include:
- Using the droppers to mix colors
- Using a pencil/toothpick/cotton bud to mix, swirl, and play with the colors
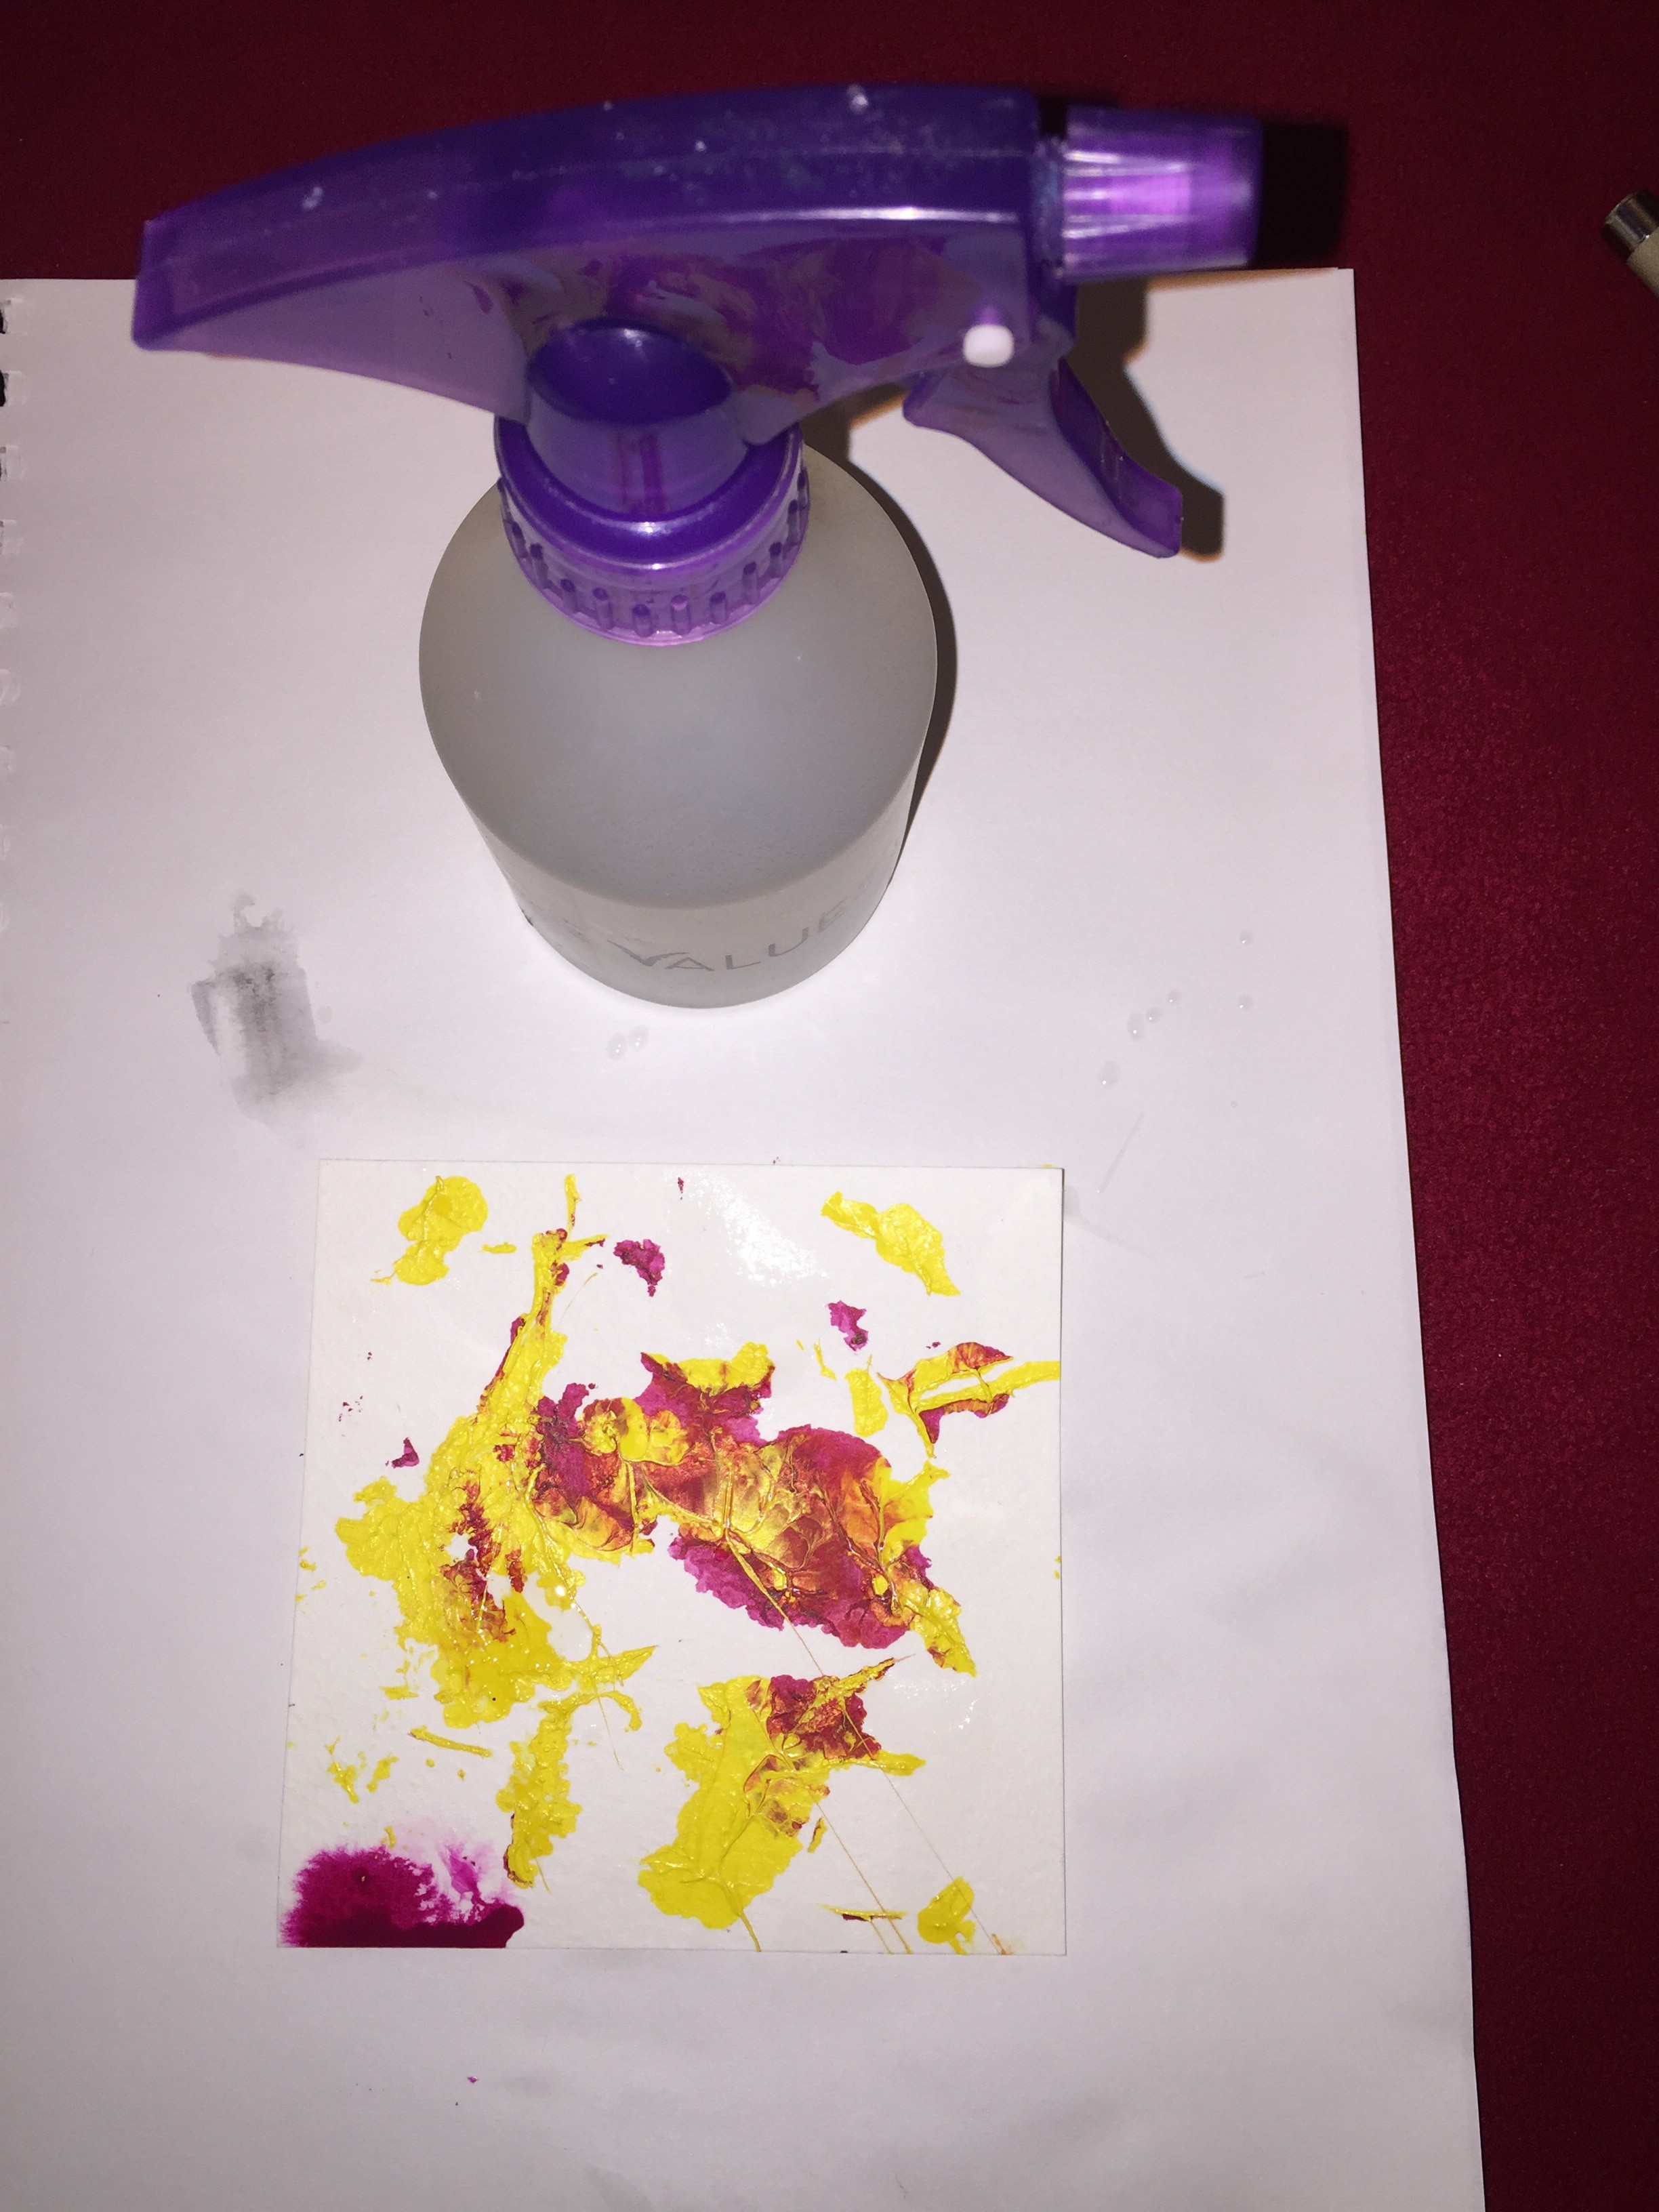
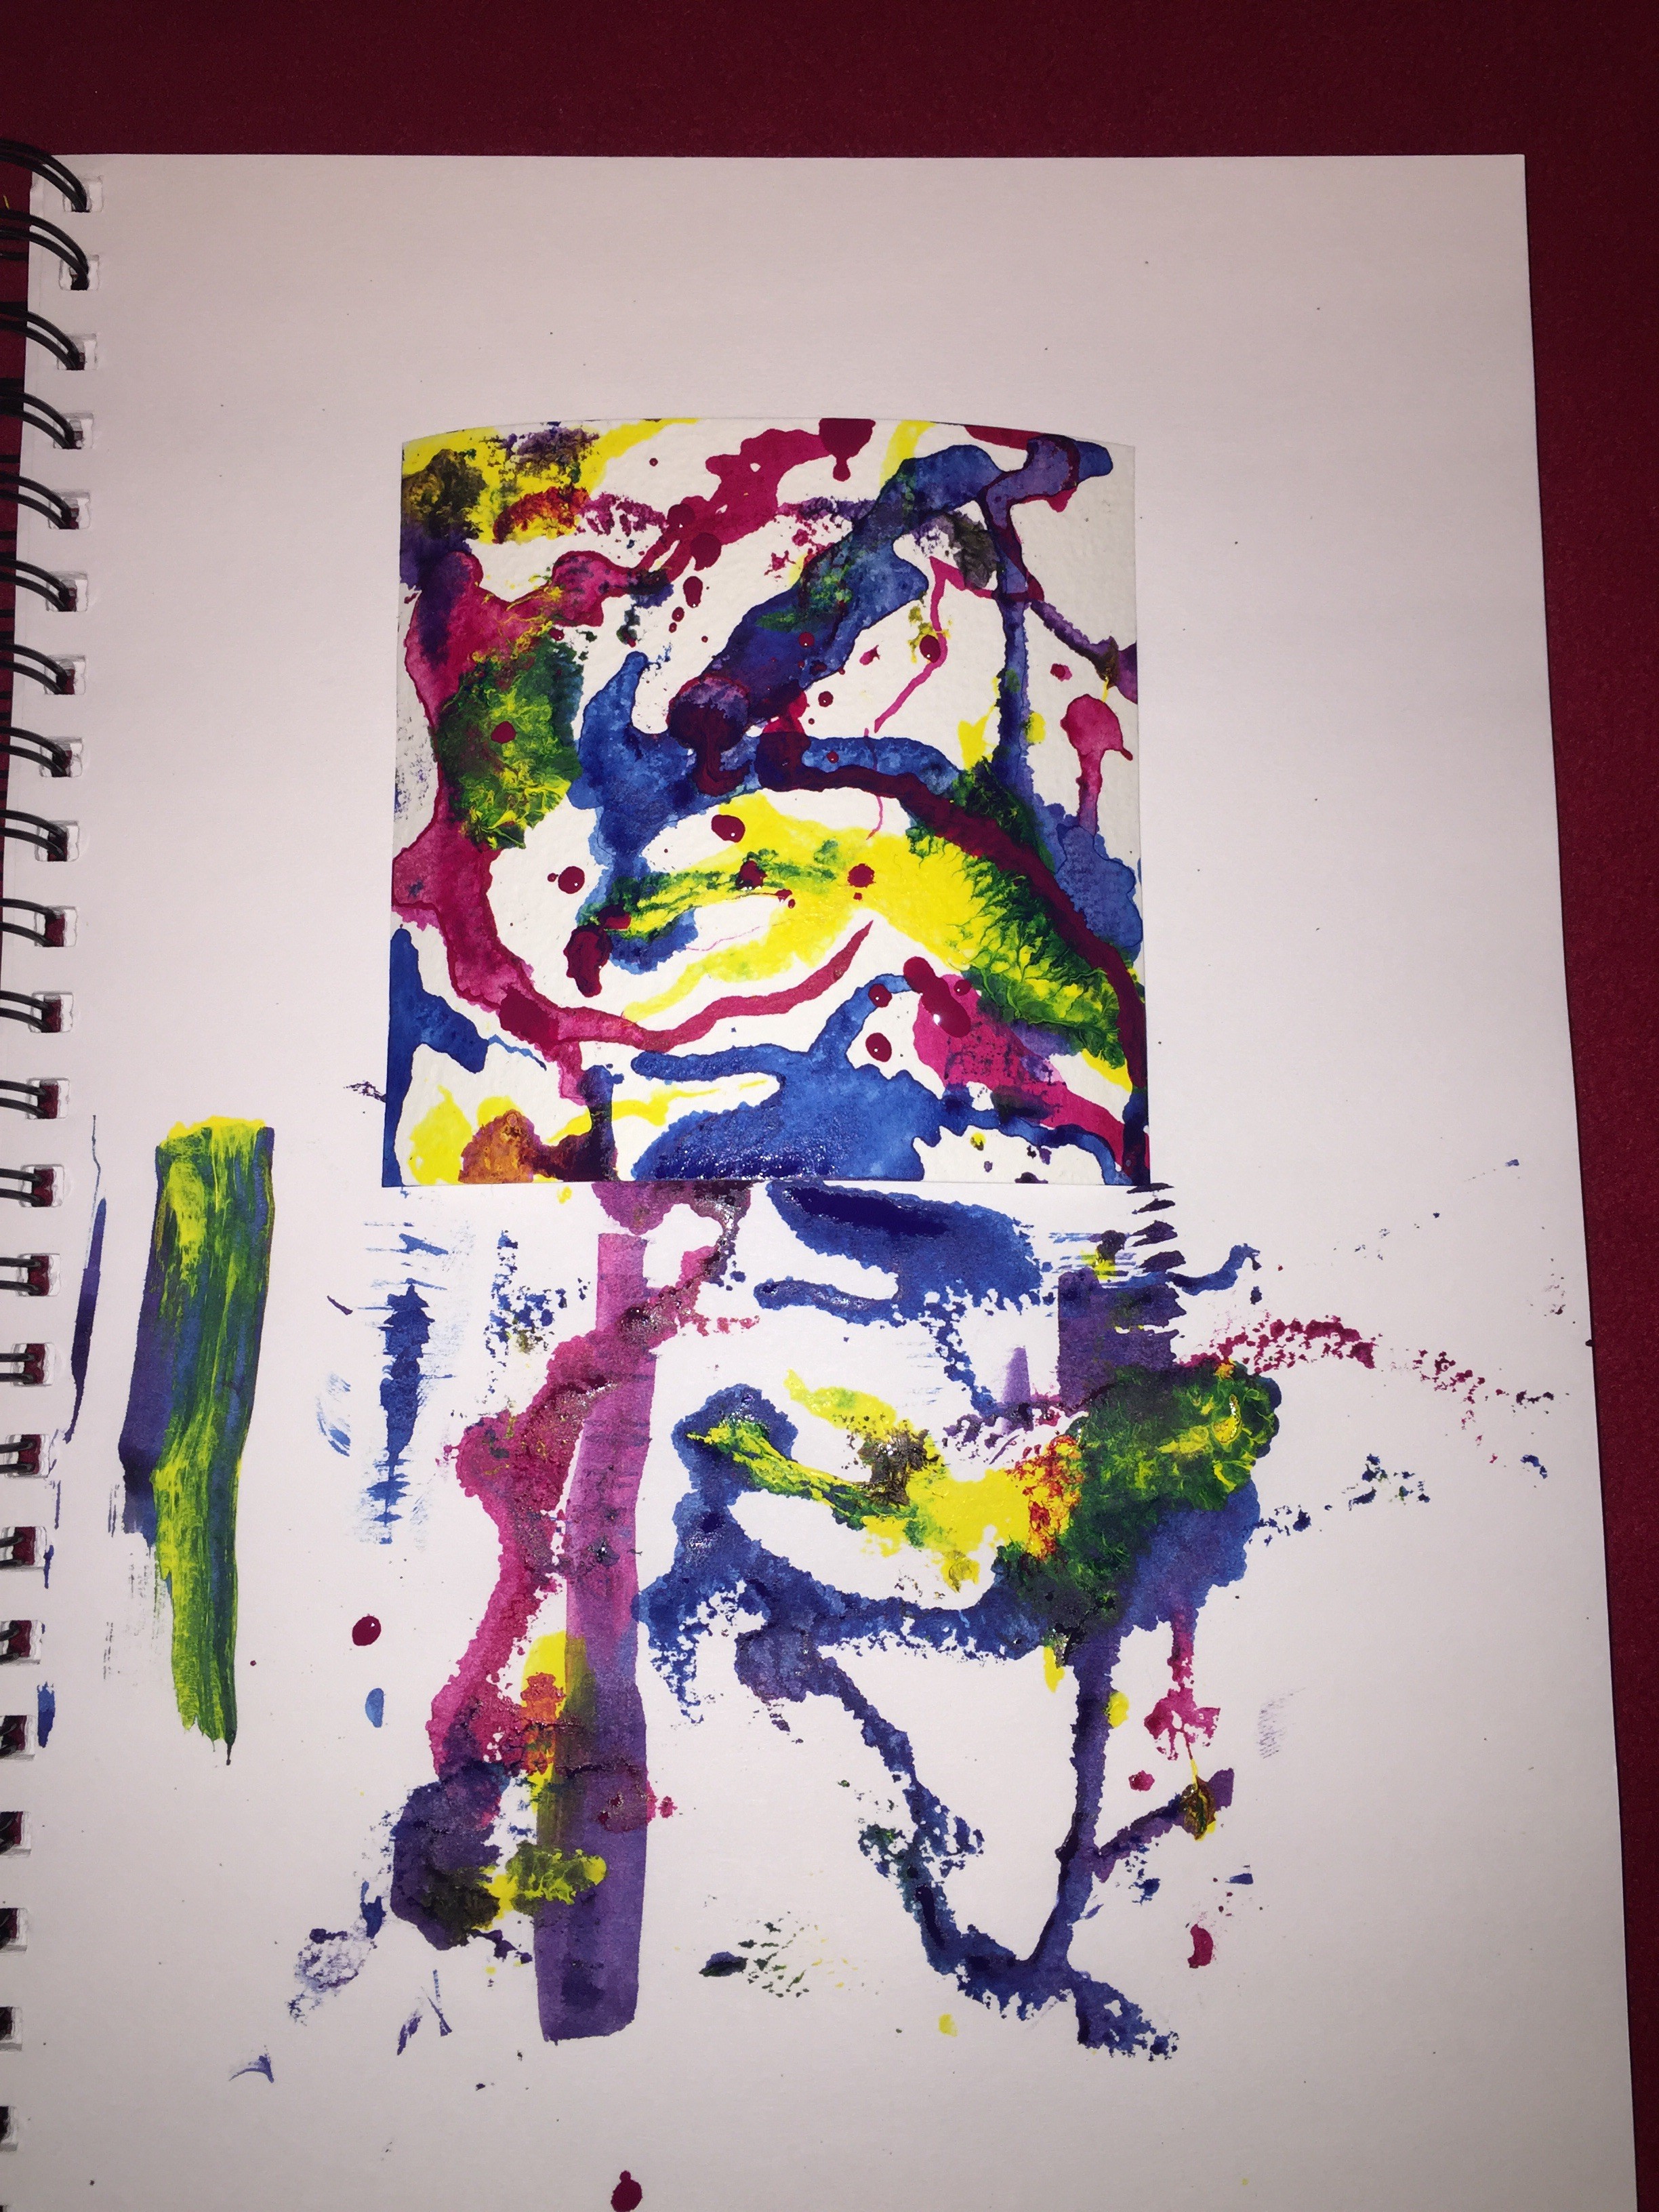
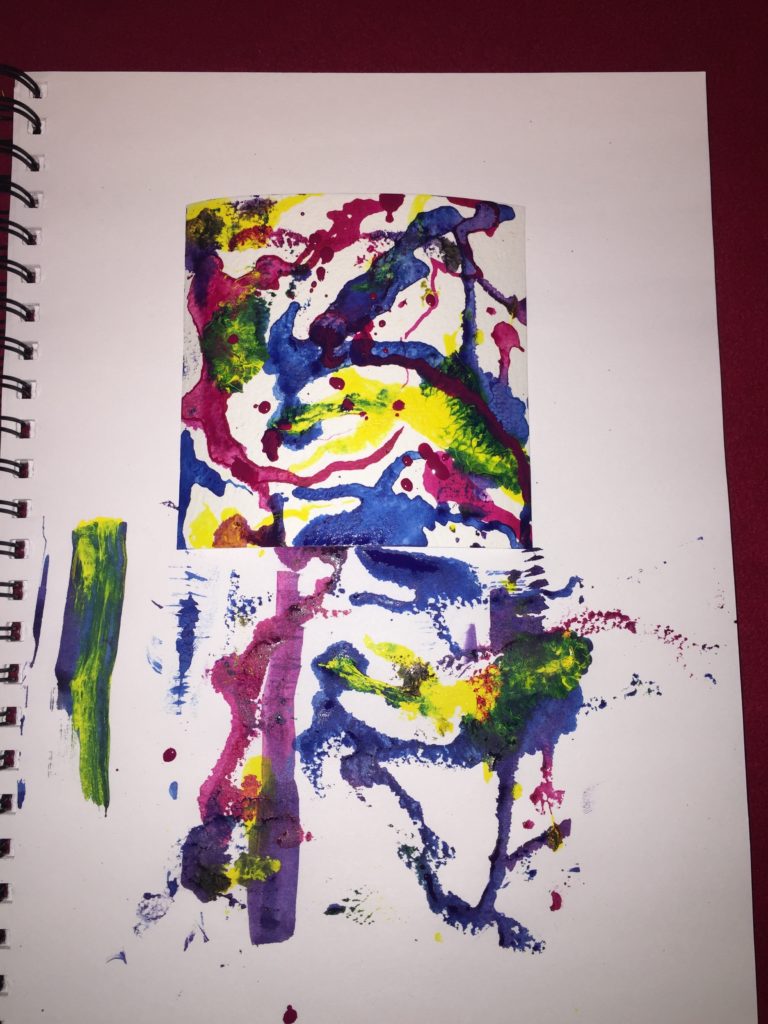
- Flipping your paper upside-down onto another (shown here) to remove excess ink and create dimension
- Smearing the paper (or bits of it) along another to drag inks around, adding gradients, etc.
- Rotating your paper and placing it on top of the excess inks you’ve just removed to copy your design from a different angle on top of the original
- and many more!
Play around with this until you like the overall design.
STEP FOUR:
Once you’re satisfied with the way your inks look on your paper, let them dry for a bit. Depending on how thick you put them on, the inks should dry pretty quickly. (Note: Acrylic inks take longer to dry than water-based inks.)
Now it’s time for the meditative part!
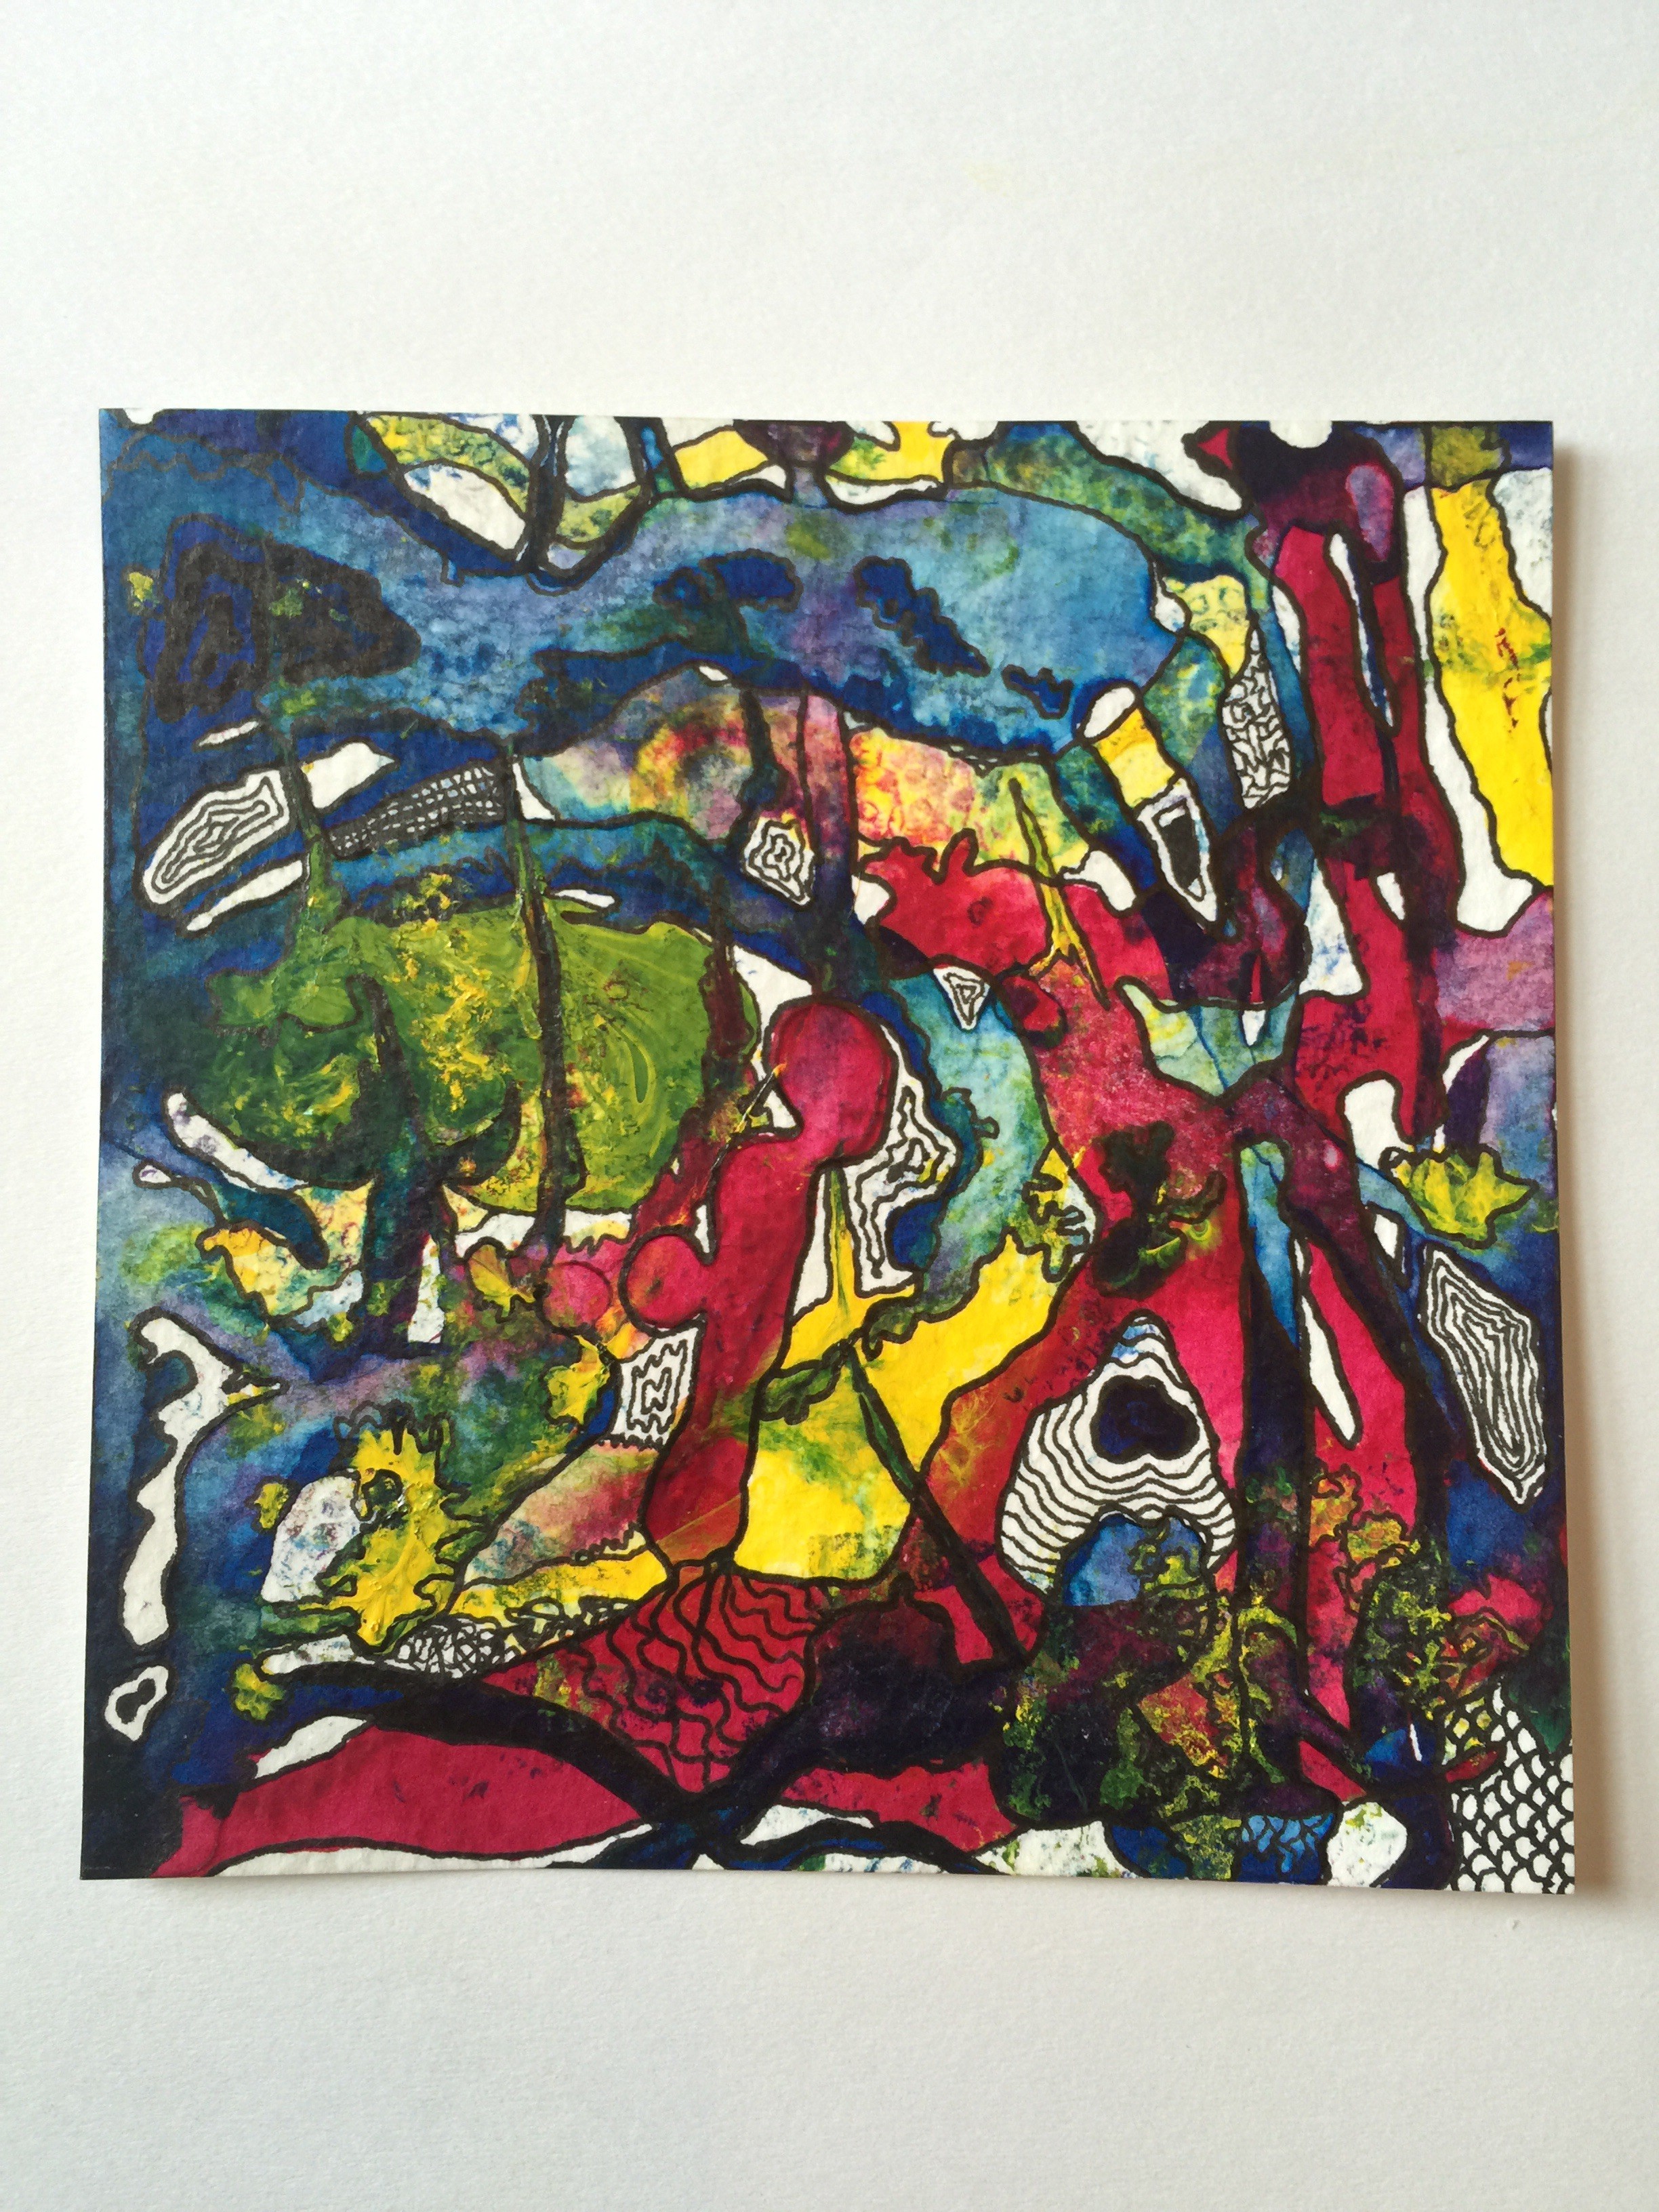
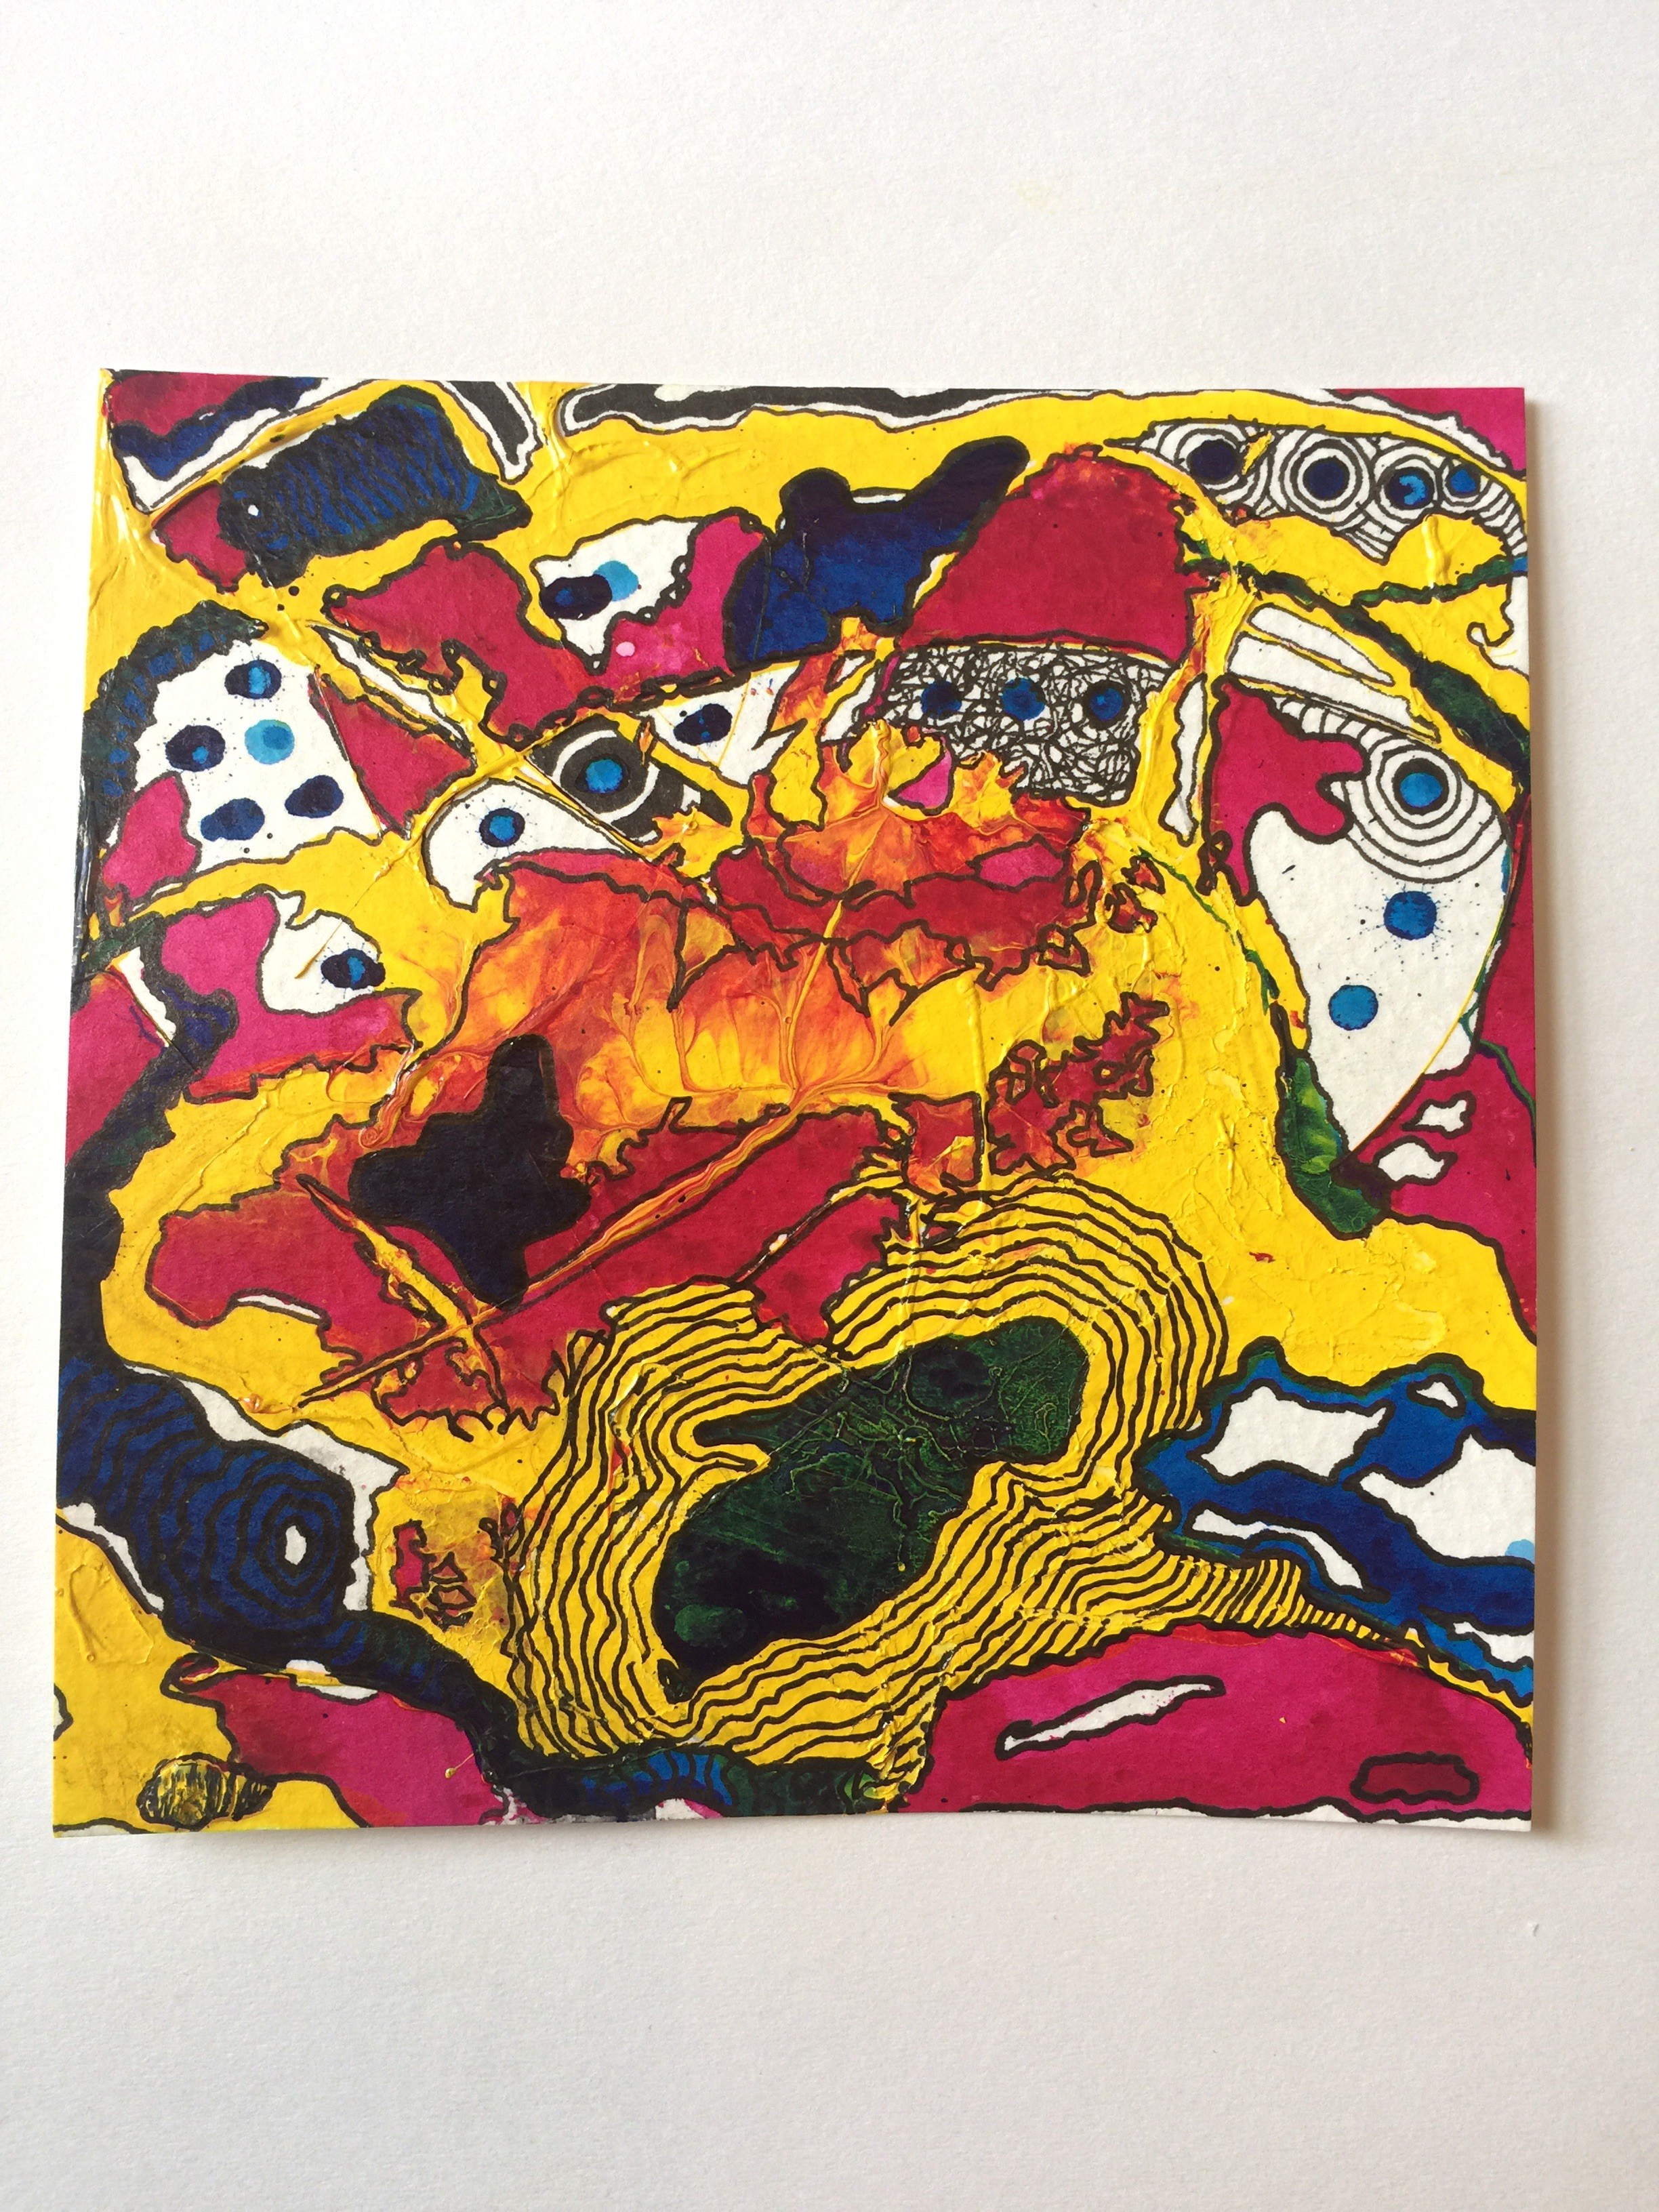
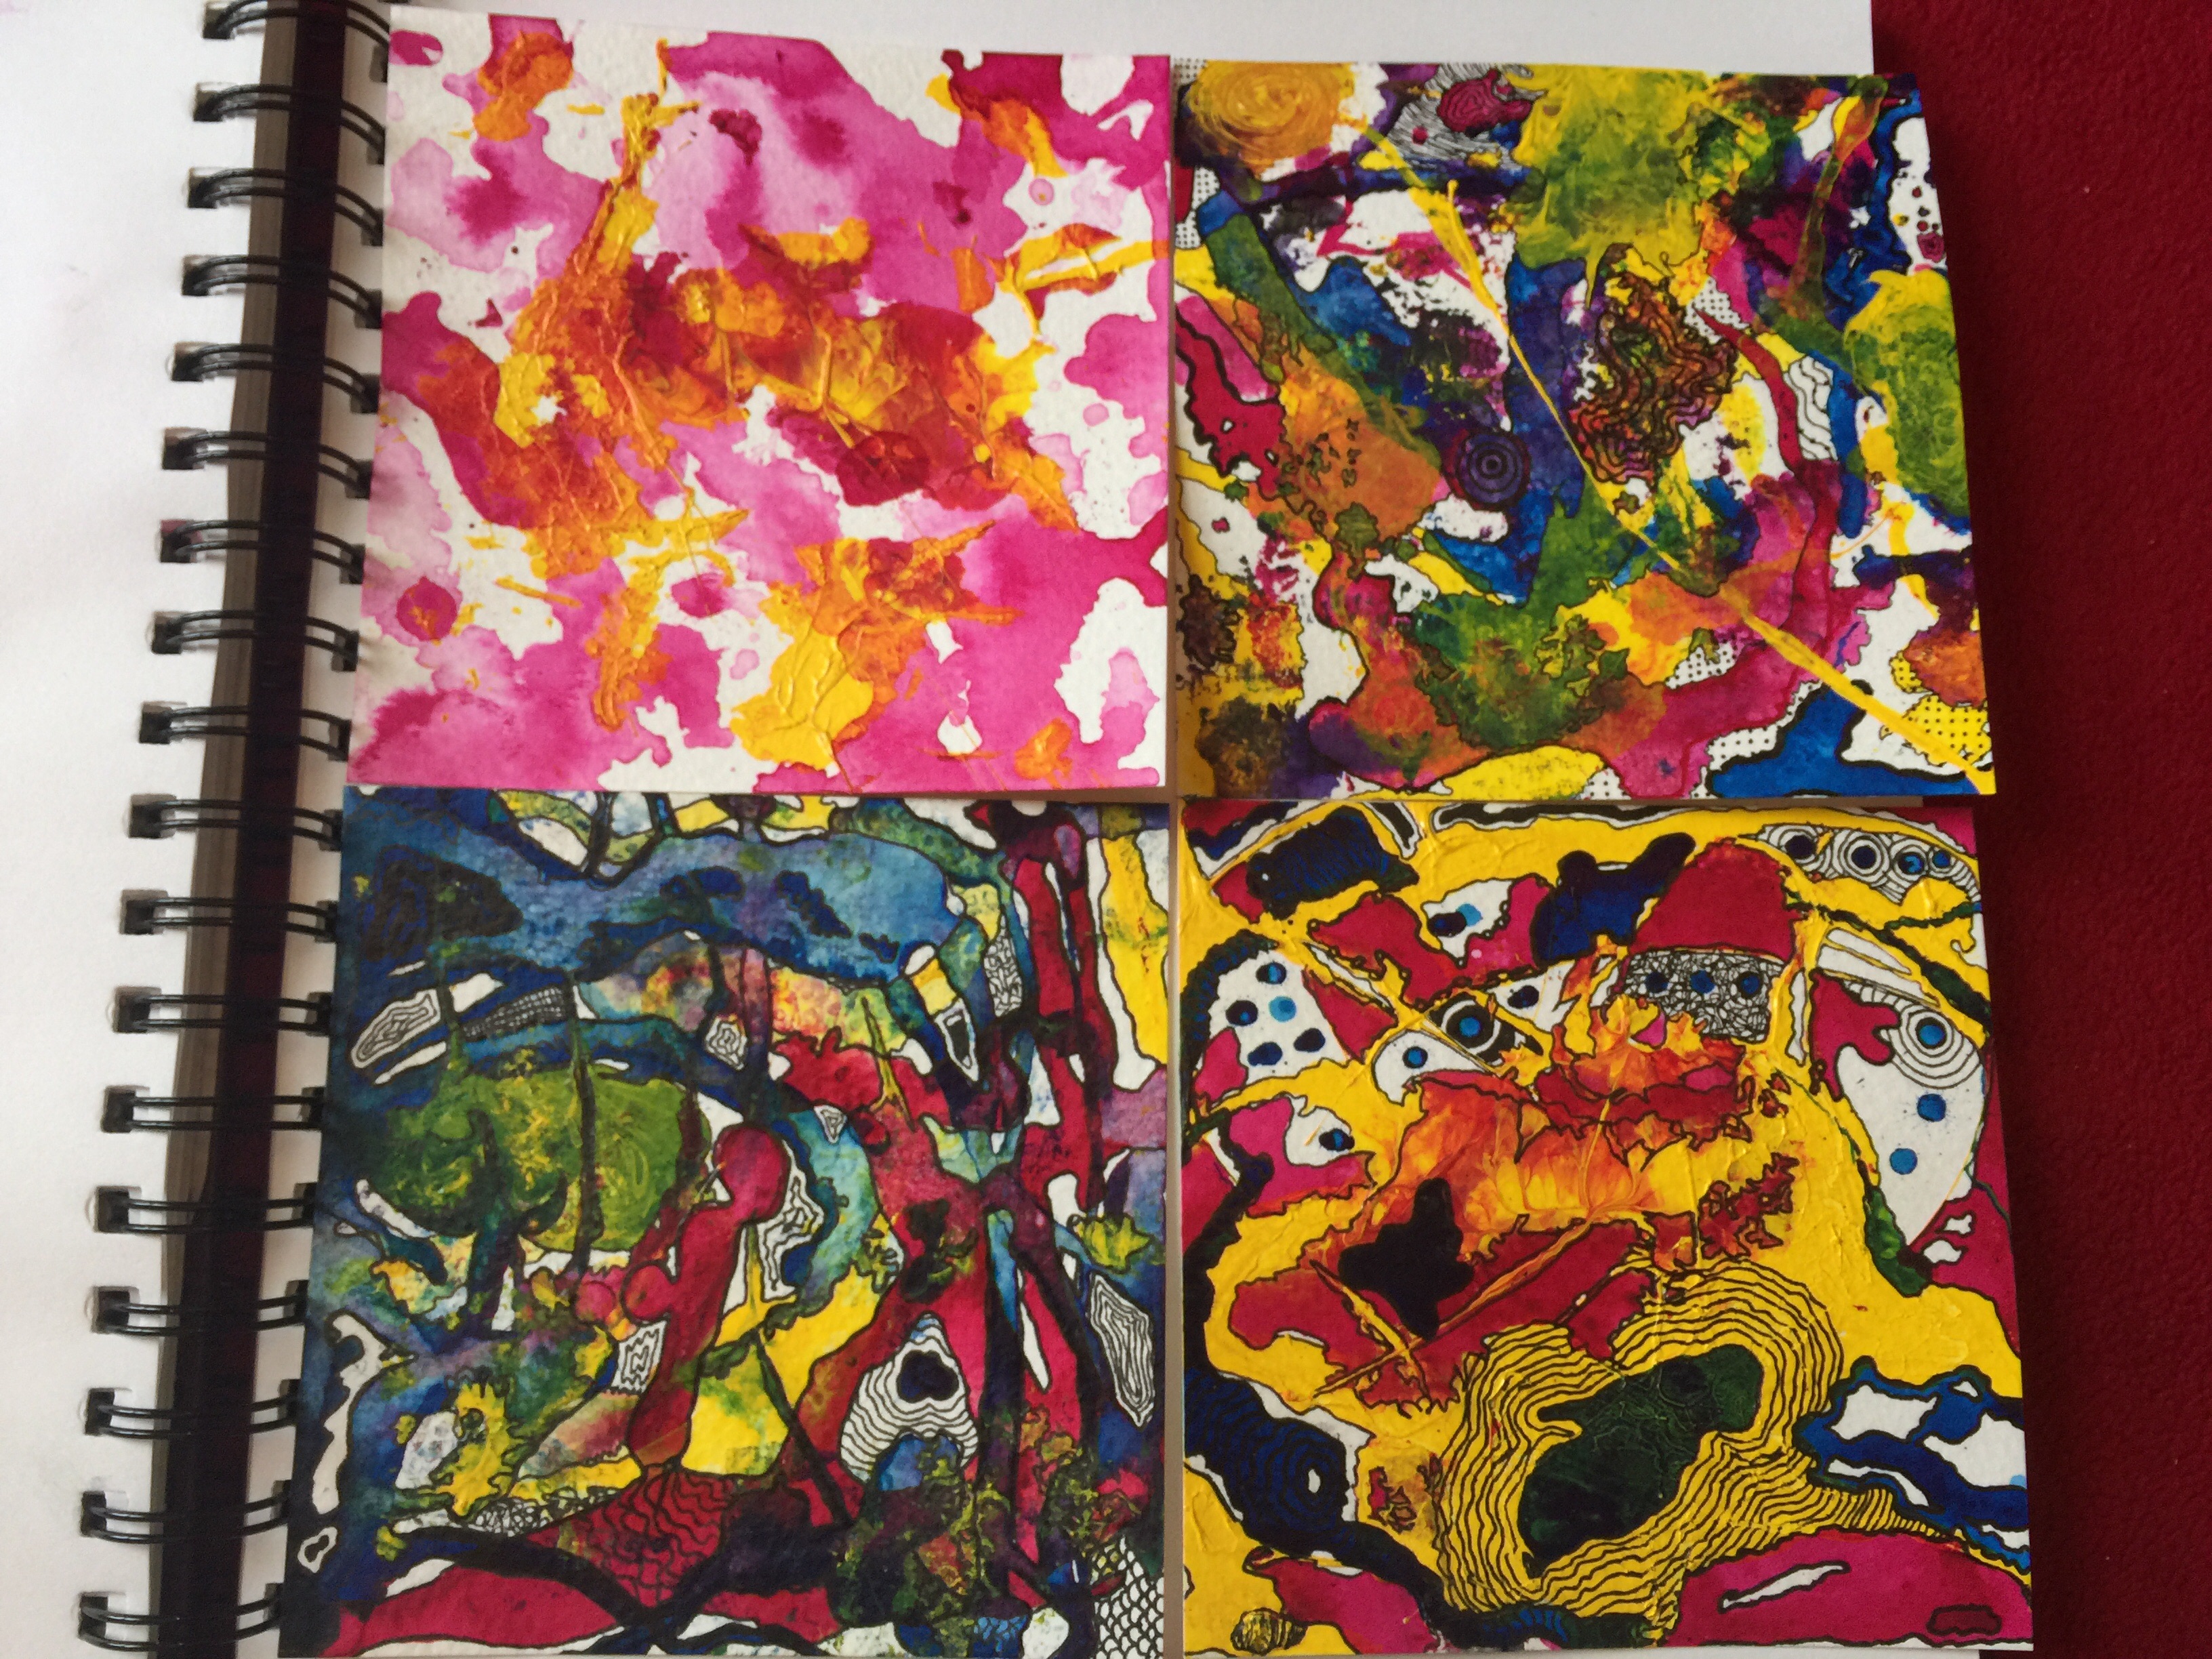
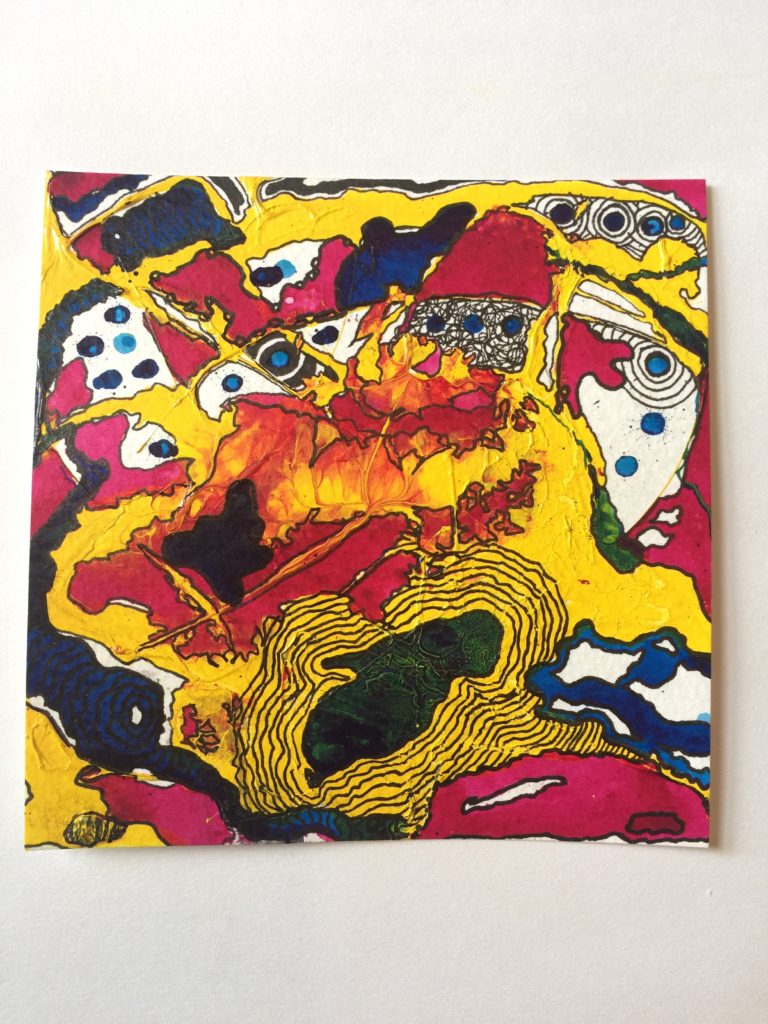
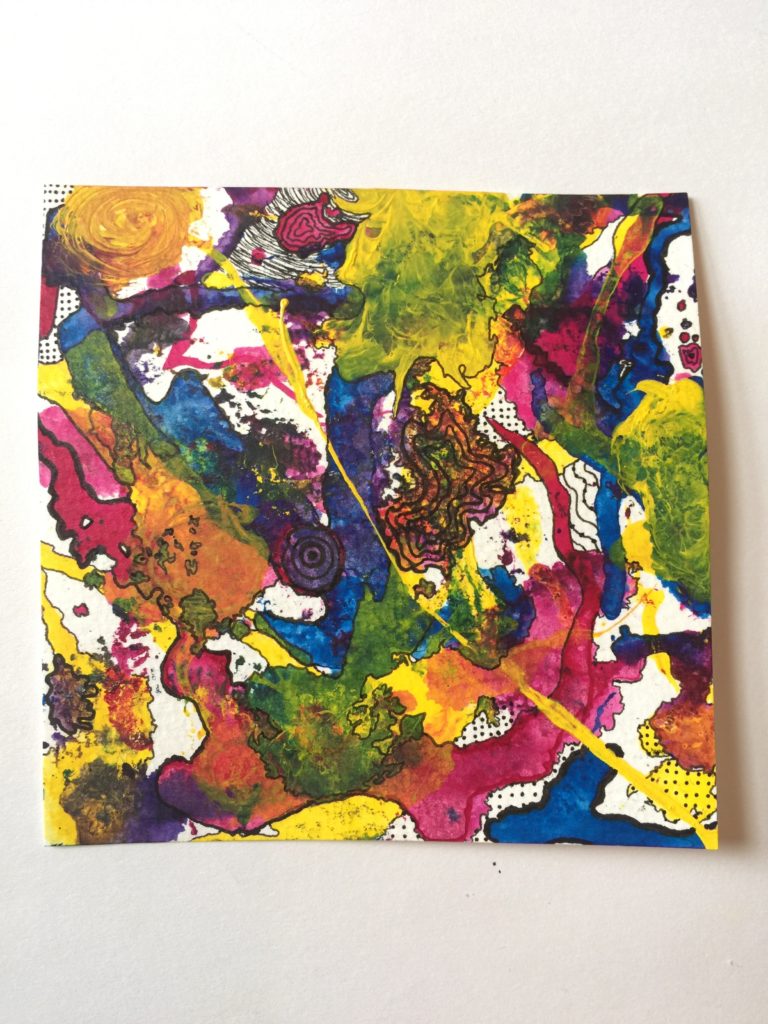
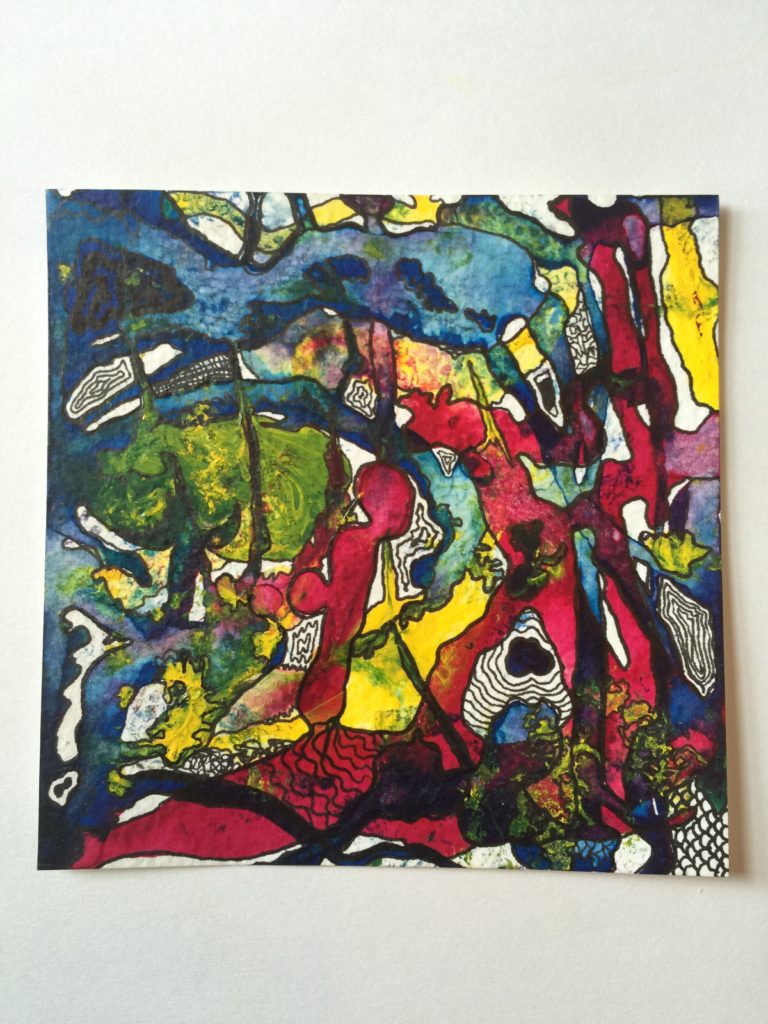
Using a pen (or multiple) of your choosing (any colors, thickness, etc.) you can begin to outline some basic shapes. When I do this, I like to start with the more “plain” looking spaces. In this case, I began by outlining the blue and red spots in the bottom righthand corner. There is no wrong way to do this, either! Experiment with leaving some colors without lines, try to find shapes in all of them, or any combination of the two. You can choose to only outline red ink bits, or to make the outlines of the blue inks thicker than the rest. Whatever you feel looks best!
Also, try adding tiny patterns inside colors, or in the white space between them! You can add polka dots, stripes, zigzags, squiggles, shapes, scribbles, anything you can think of! Make as much or as little pen detail as you want, it’s your painting!
AN OPTIONAL TECHNIQUE:
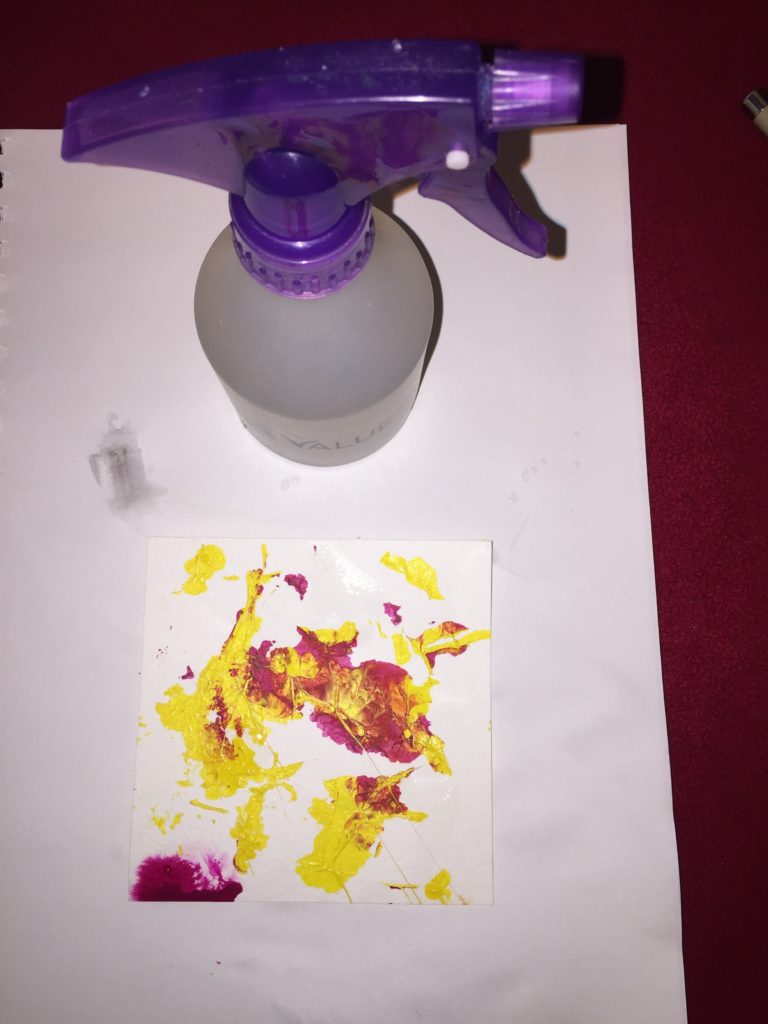
Try dripping or spraying a bit of clean water onto your paper, and then carefully dabbing your inks onto it. Sit back and enjoy as the inks spread out and dissipate in beautiful and random patterns! (This is personally one of my favorite methods.)
AND YOU’RE DONE!
This project is quick, fun, easy, and wonderfully relaxing! It’s also something you can do over and over again, still making new and exciting paintings each time, without having to learn new things or put in much time/effort.
