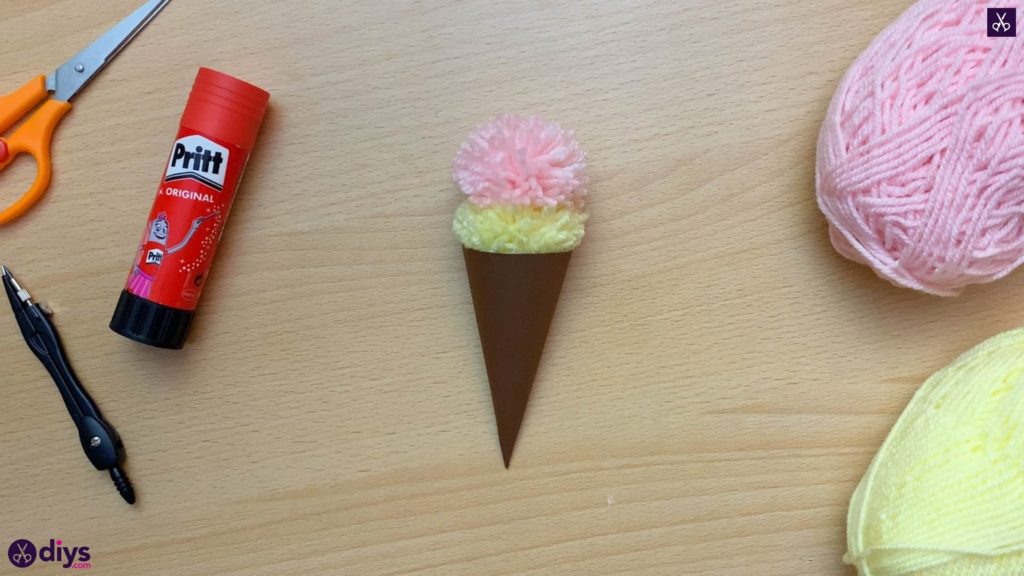
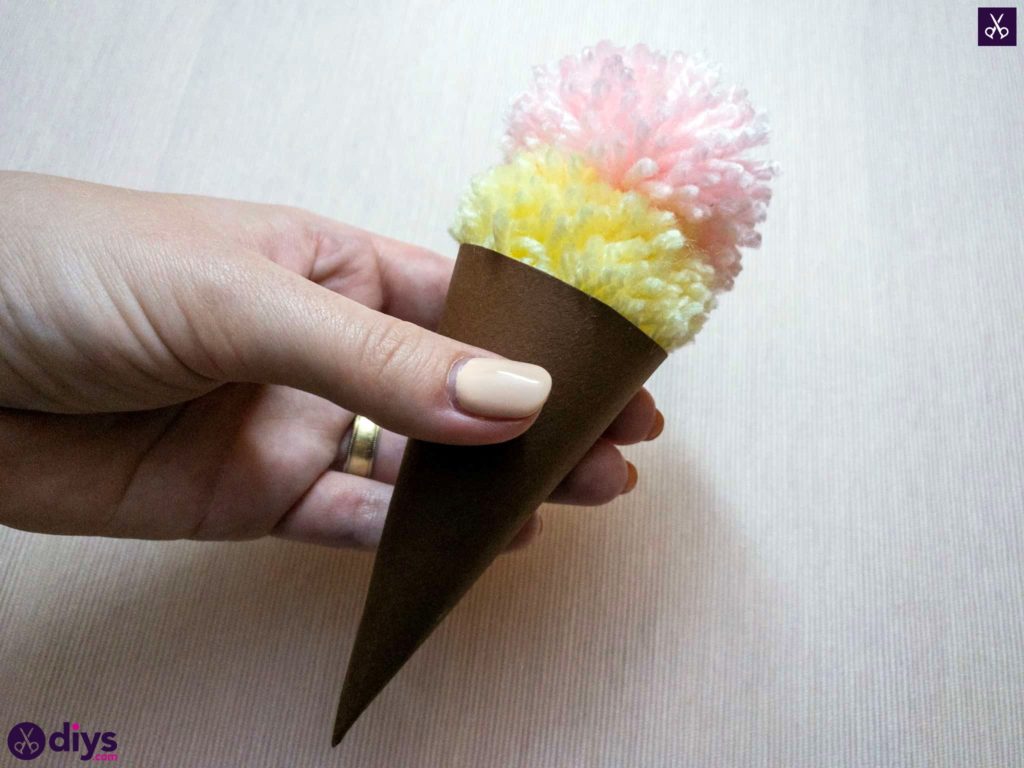
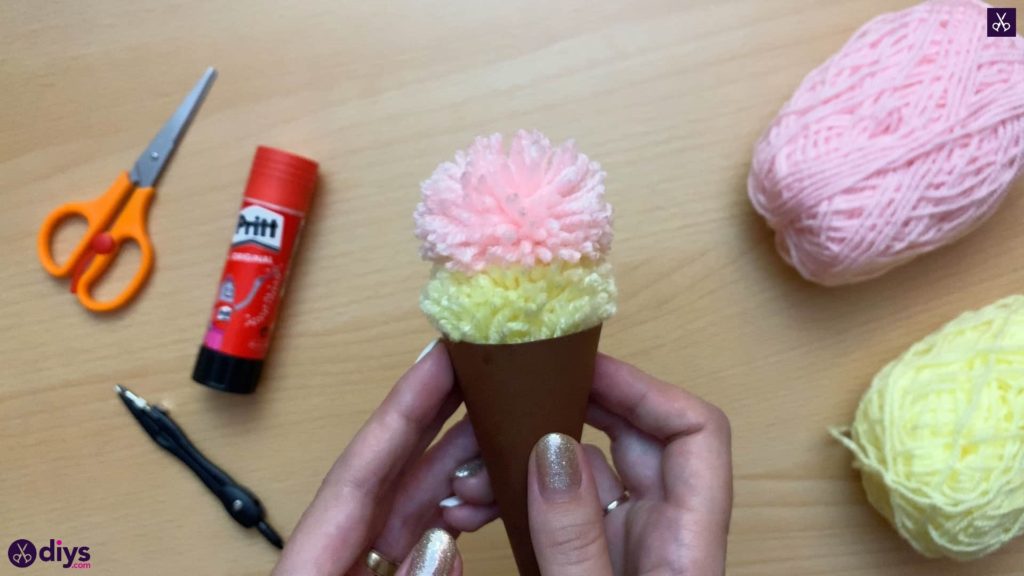
How to Make an Ice Cream Pom Pom
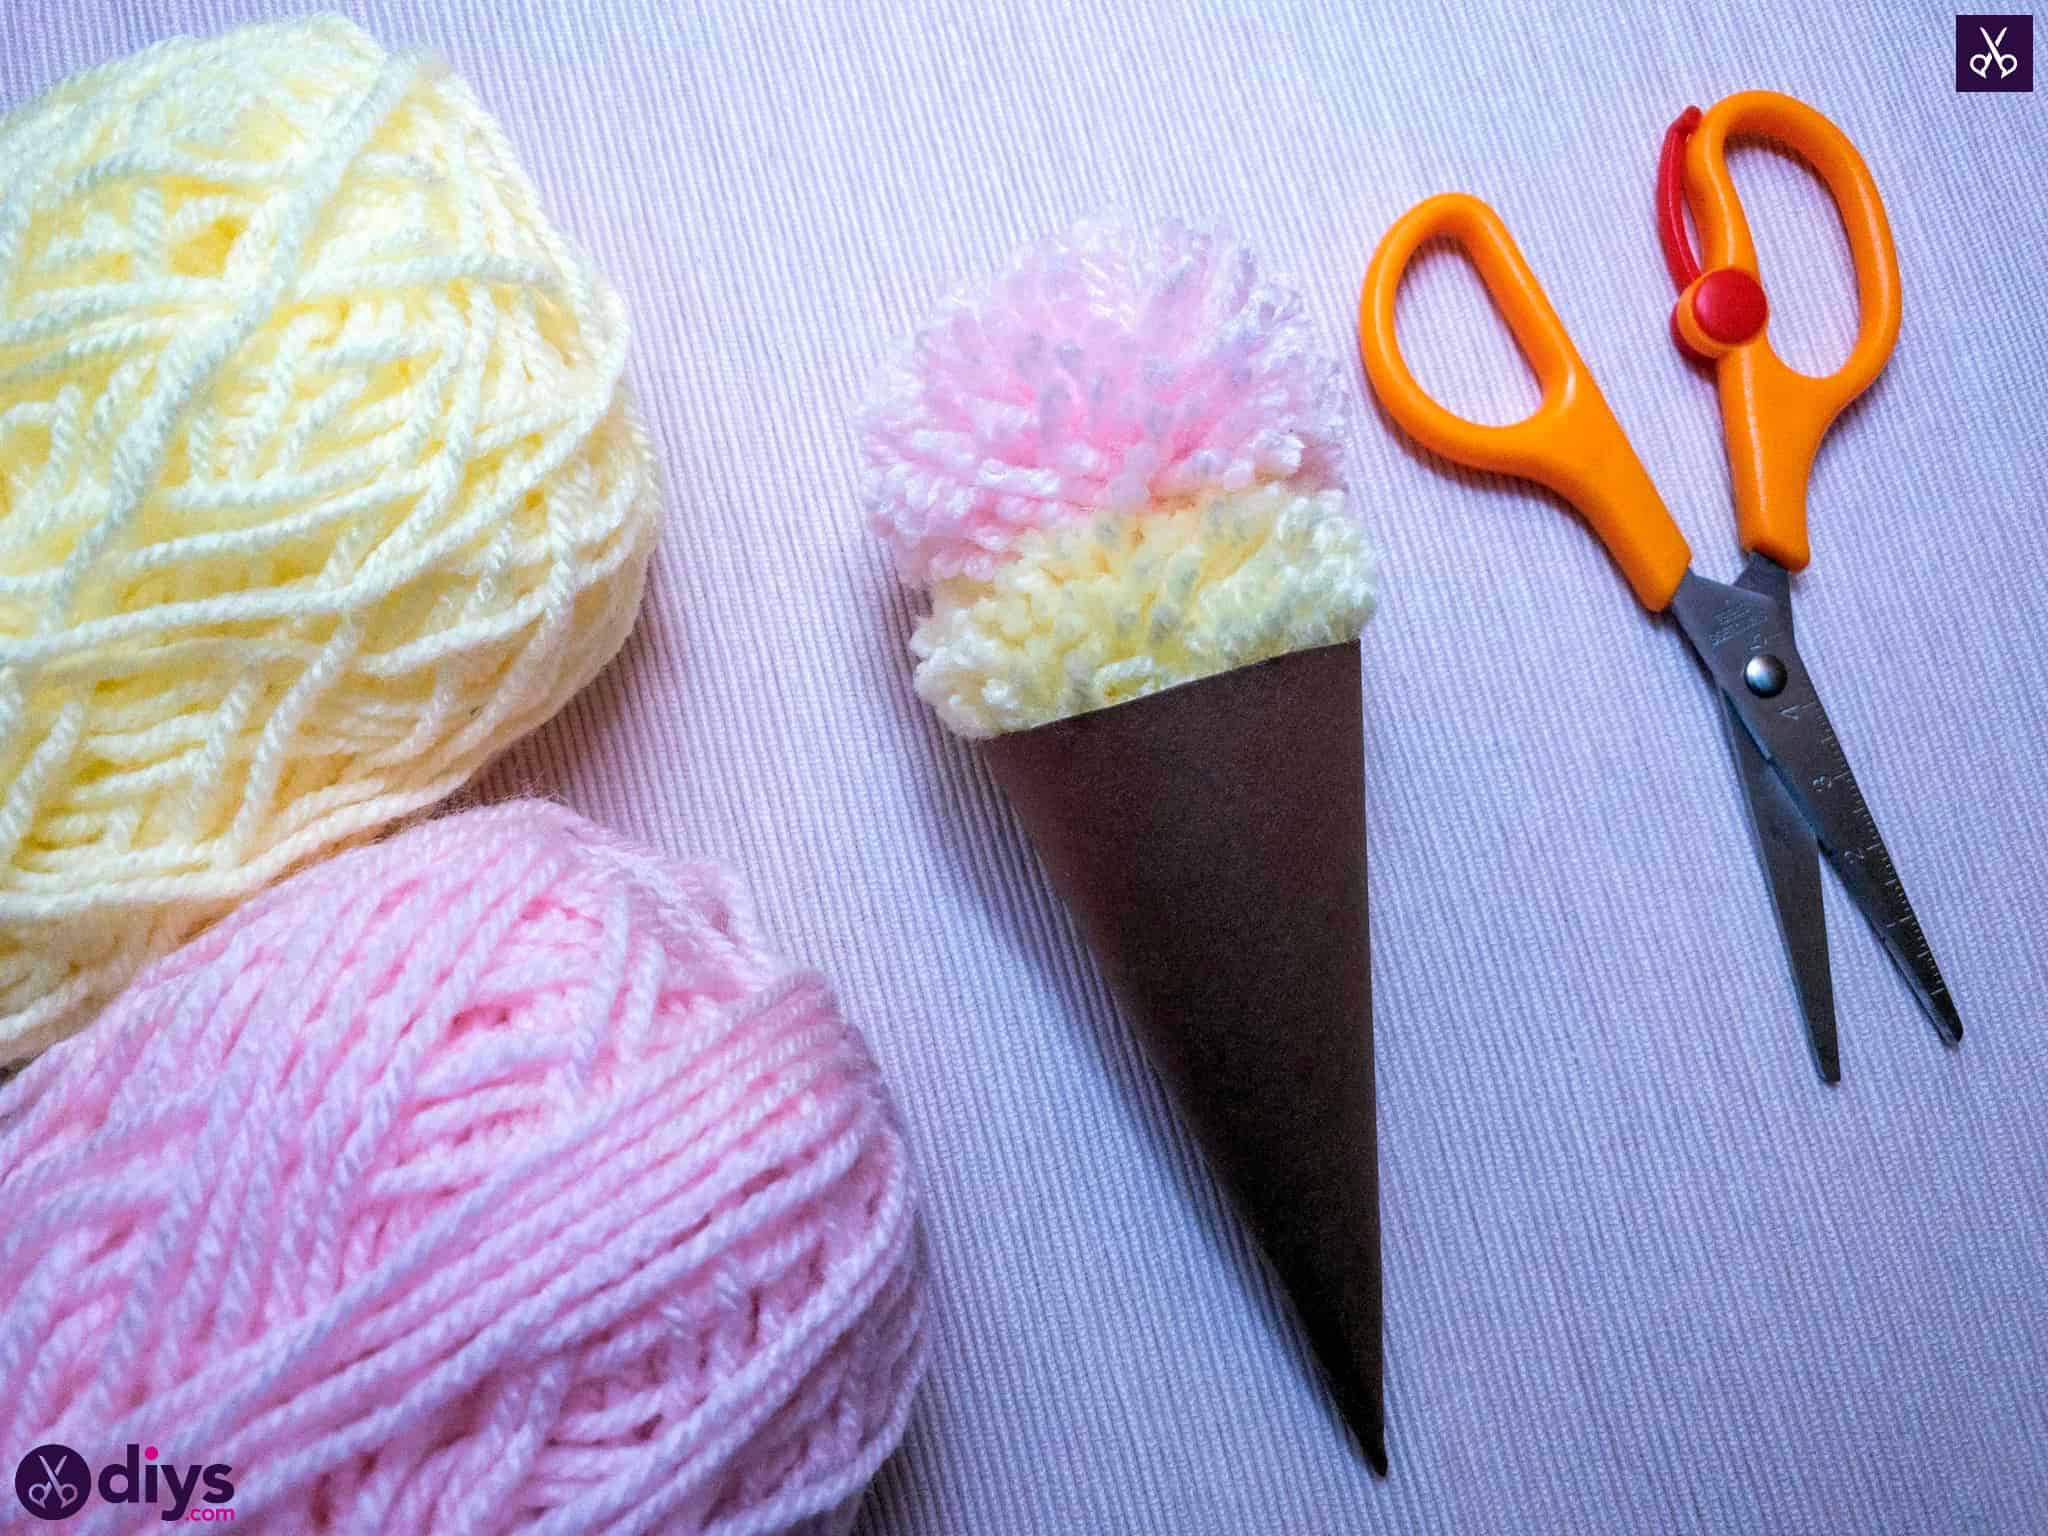
Being the avid yarn crafter I am on a daily basis, I always have scrap yarn ends on hand and ready to be used, so this yarn pom pom ice cream project was basically perfect. I couldn’t find a nice, clear tutorial to go along with the idea once I’d found photos of the finished product online, though, so I decided to make one of my own that you can follow along too!
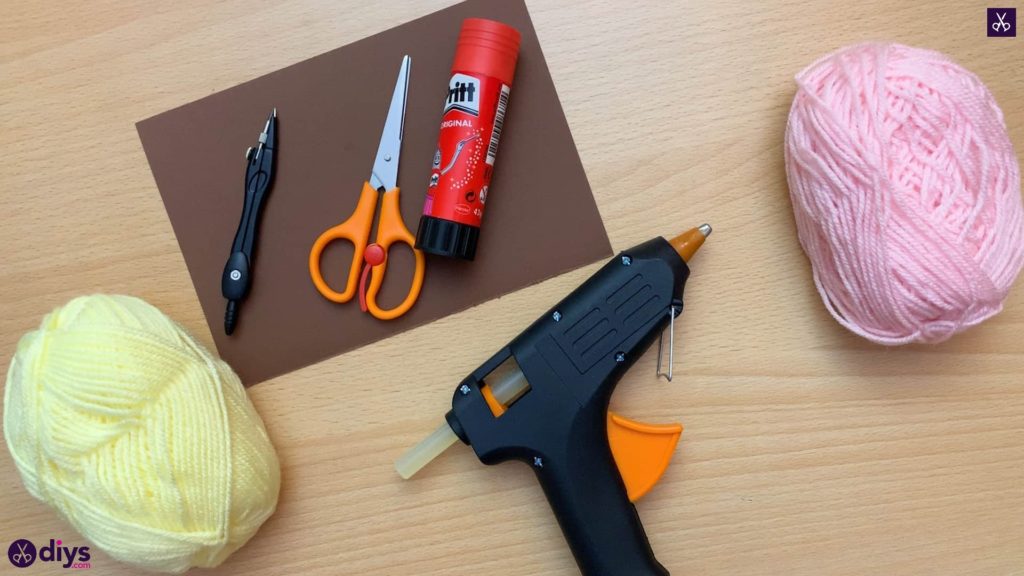
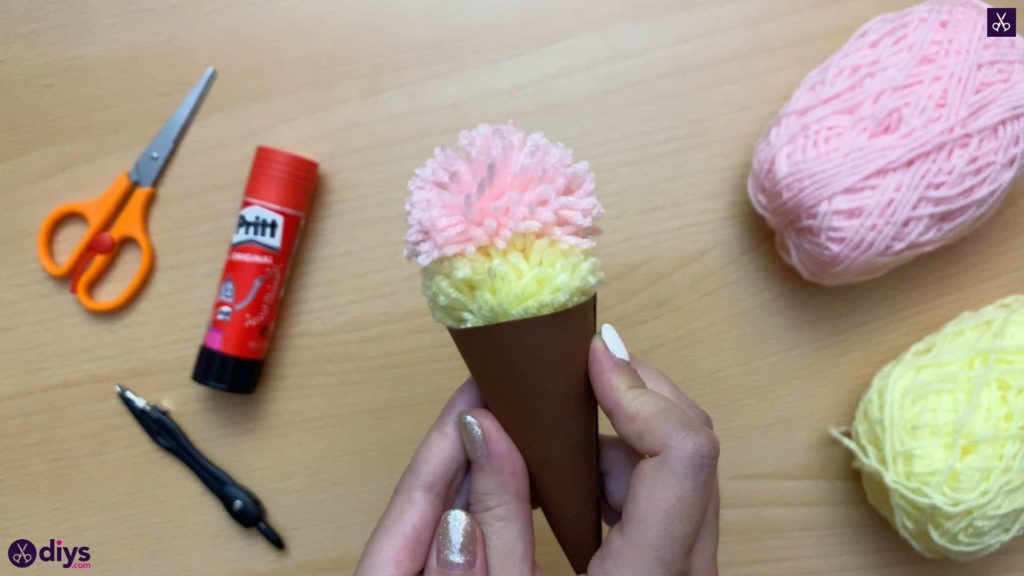
For this project, you’ll need:
- Yarn in your choice of colour
- Brown cardboard
- Hot glue
- Glue stick
- Scissors
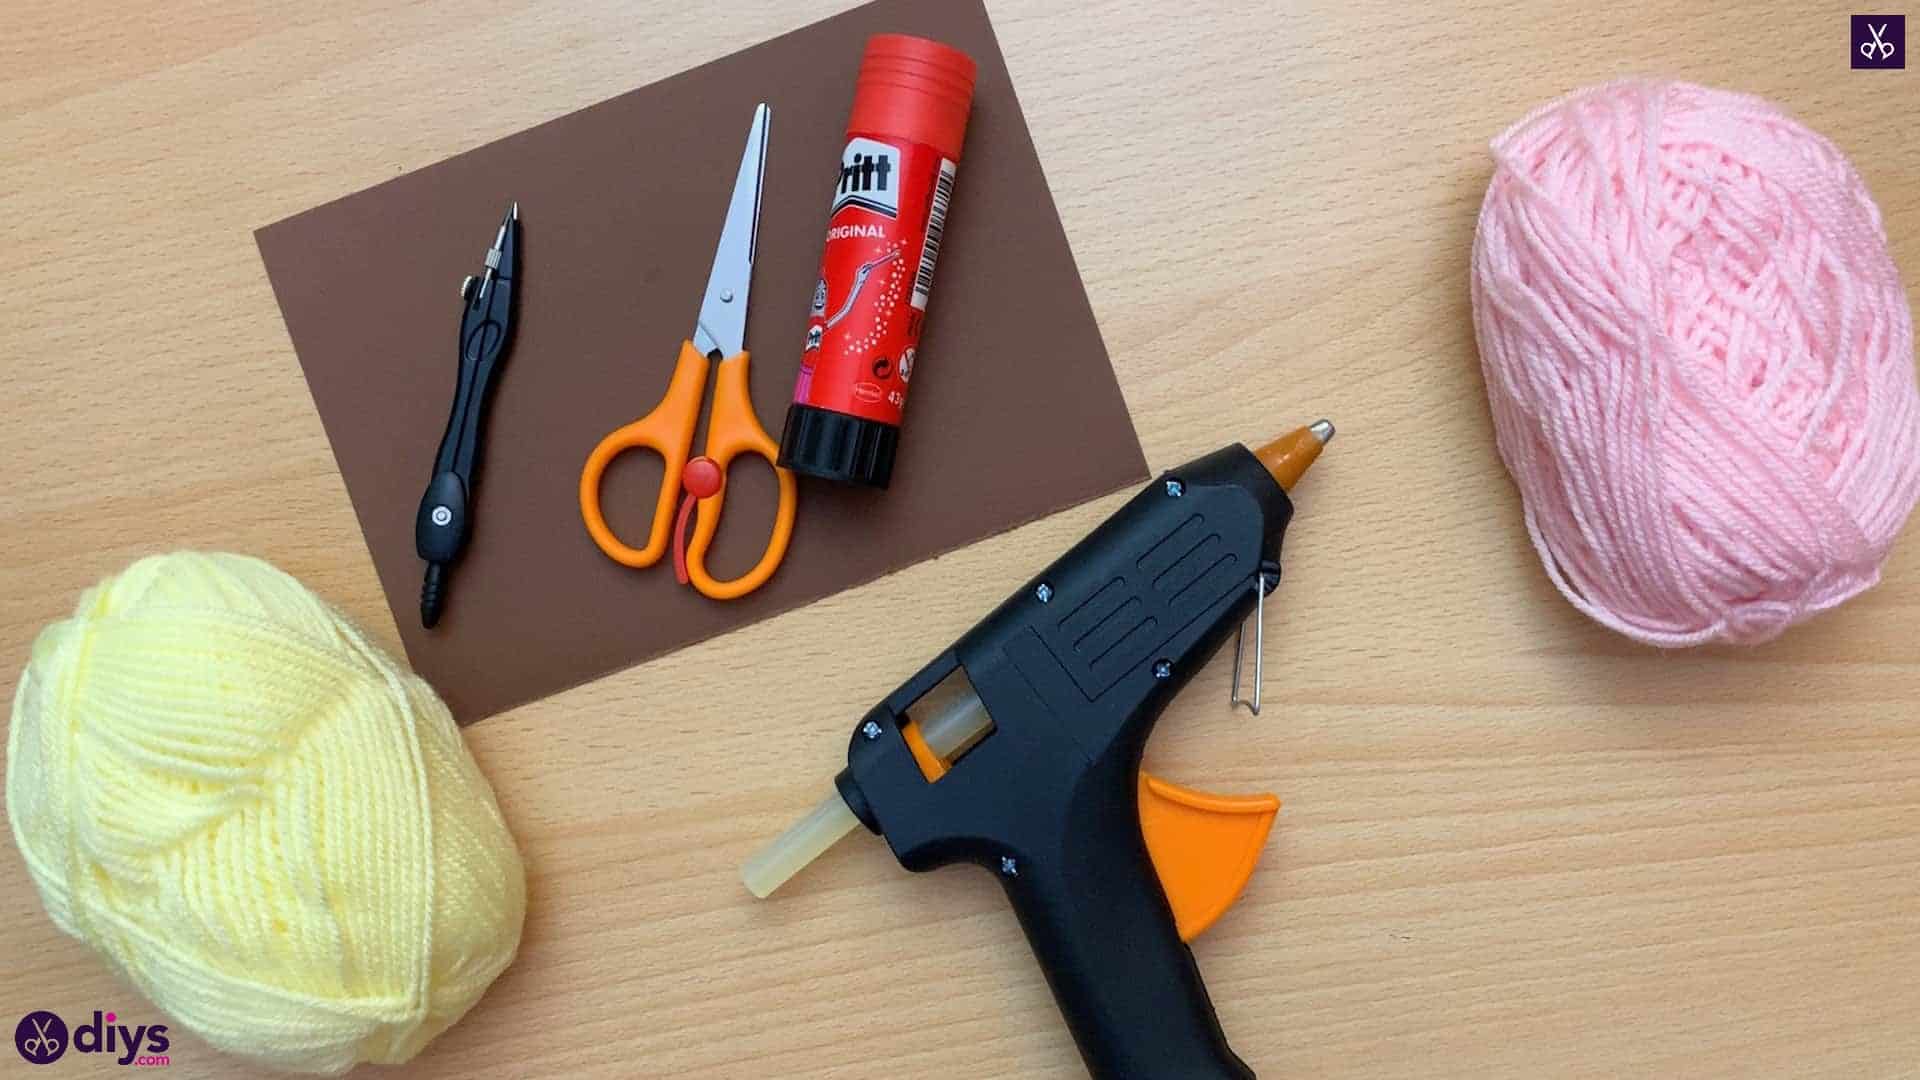
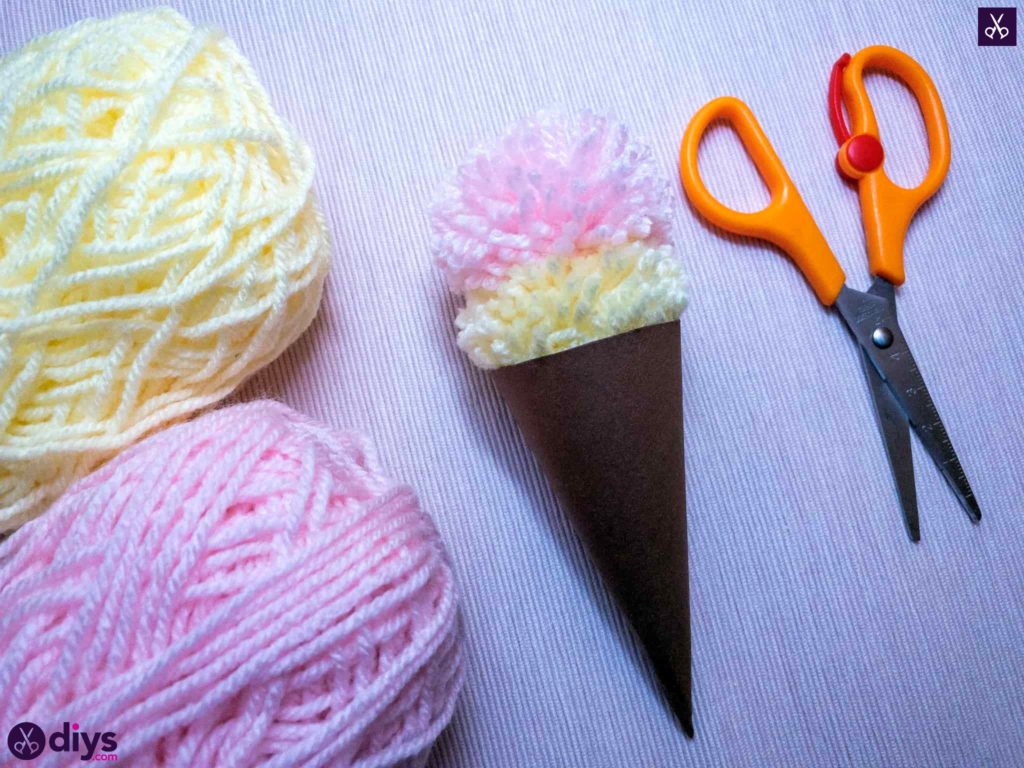
Step 1: Gather your materials!
You don’t have to use the same kind, weight, or colour of yarn as us; this project will look neat in all kinds of variations.
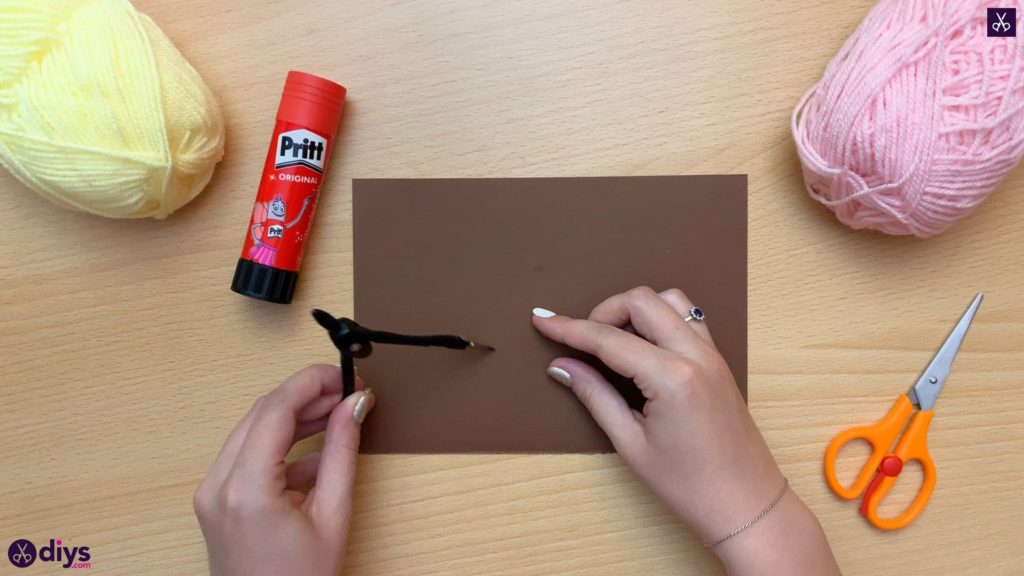
Step 2: create an arch
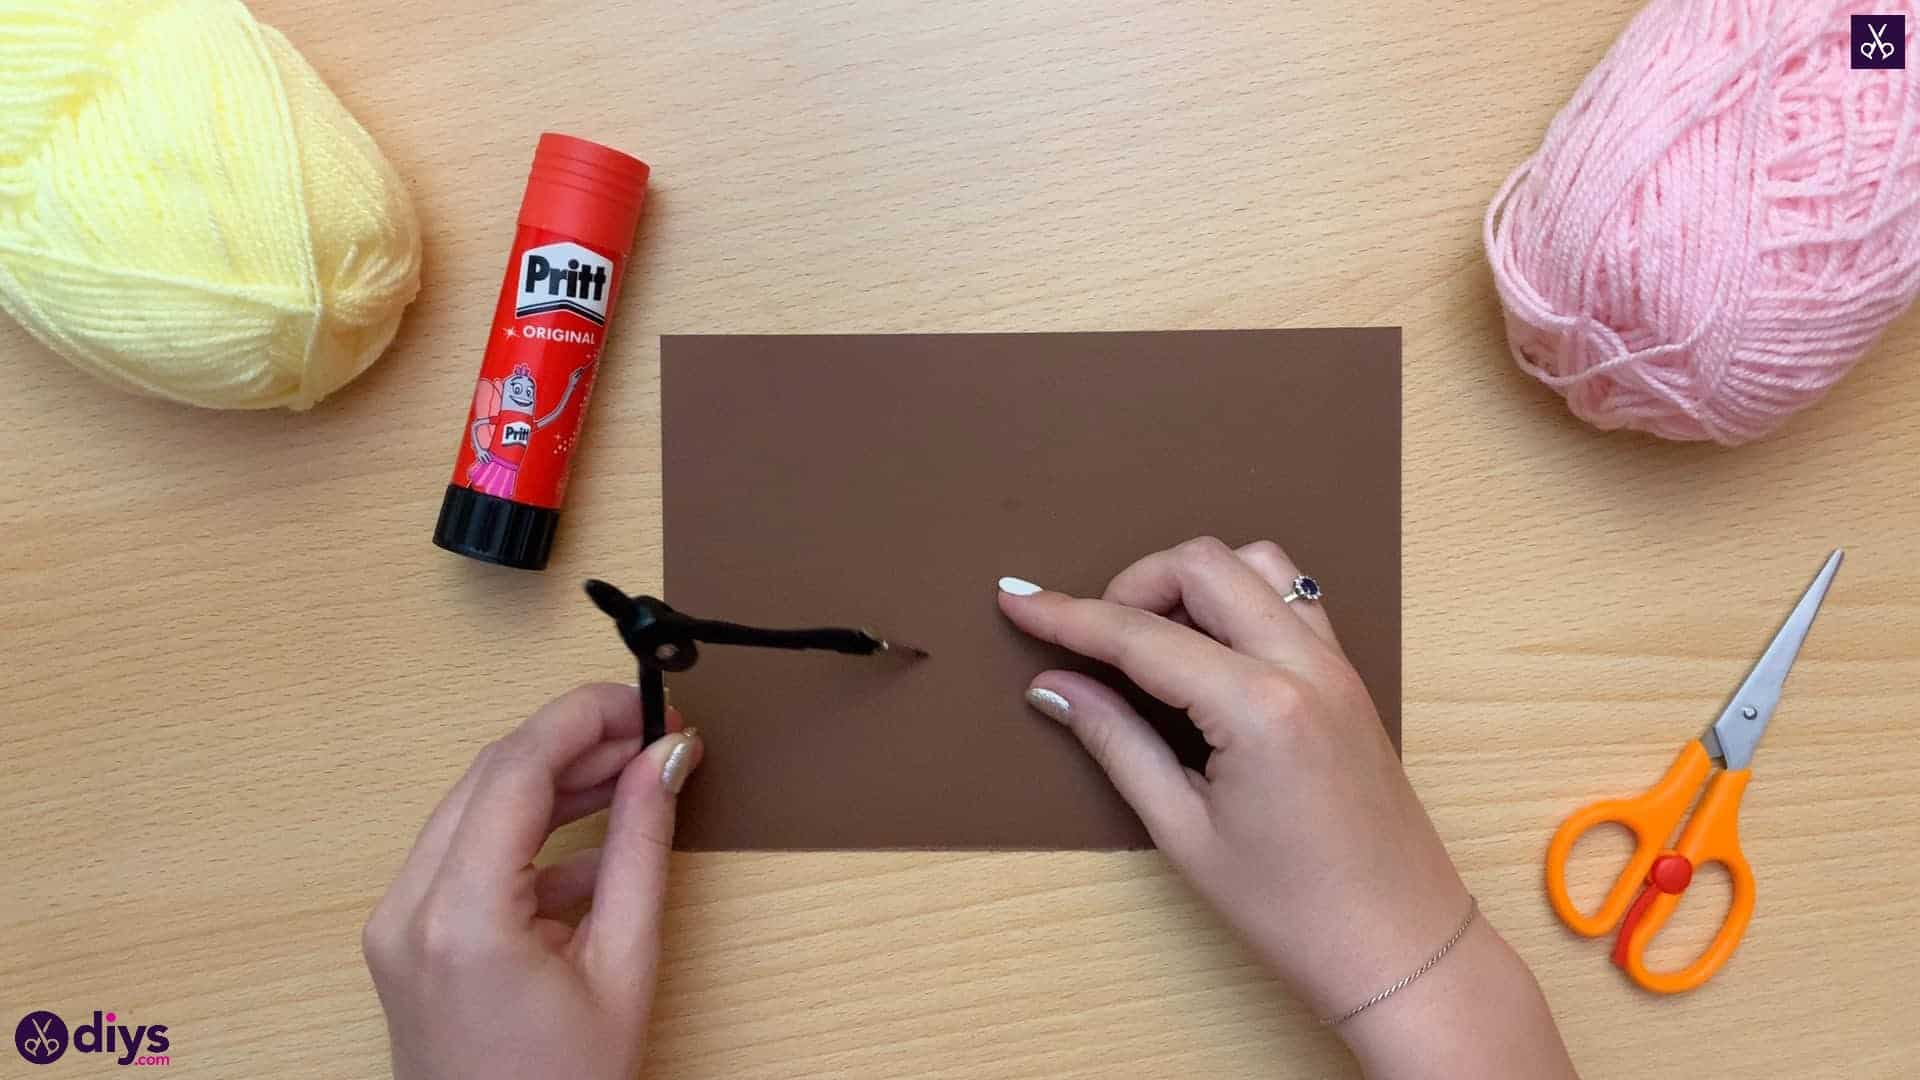
Place the pointy end of your calipers in the very bottom corner of your page. Extend the other end out about two inches wide and place it along the edge of the page vertically above that anchor corner. In a smooth motion, draw the pencil end of your calipers downward towards the bottom edge of your page, creating an arching shape.
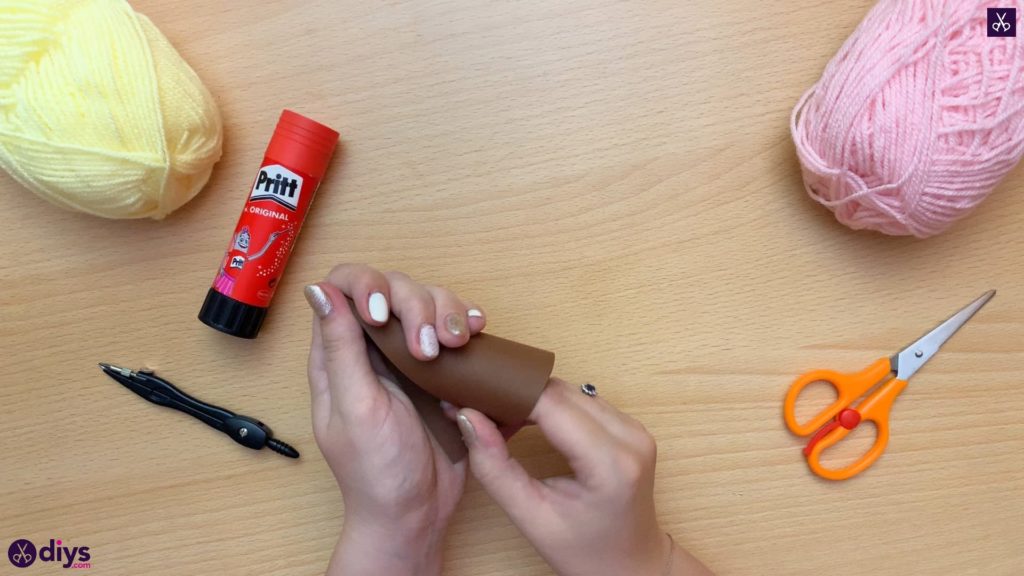
Step 3: cut and form cone
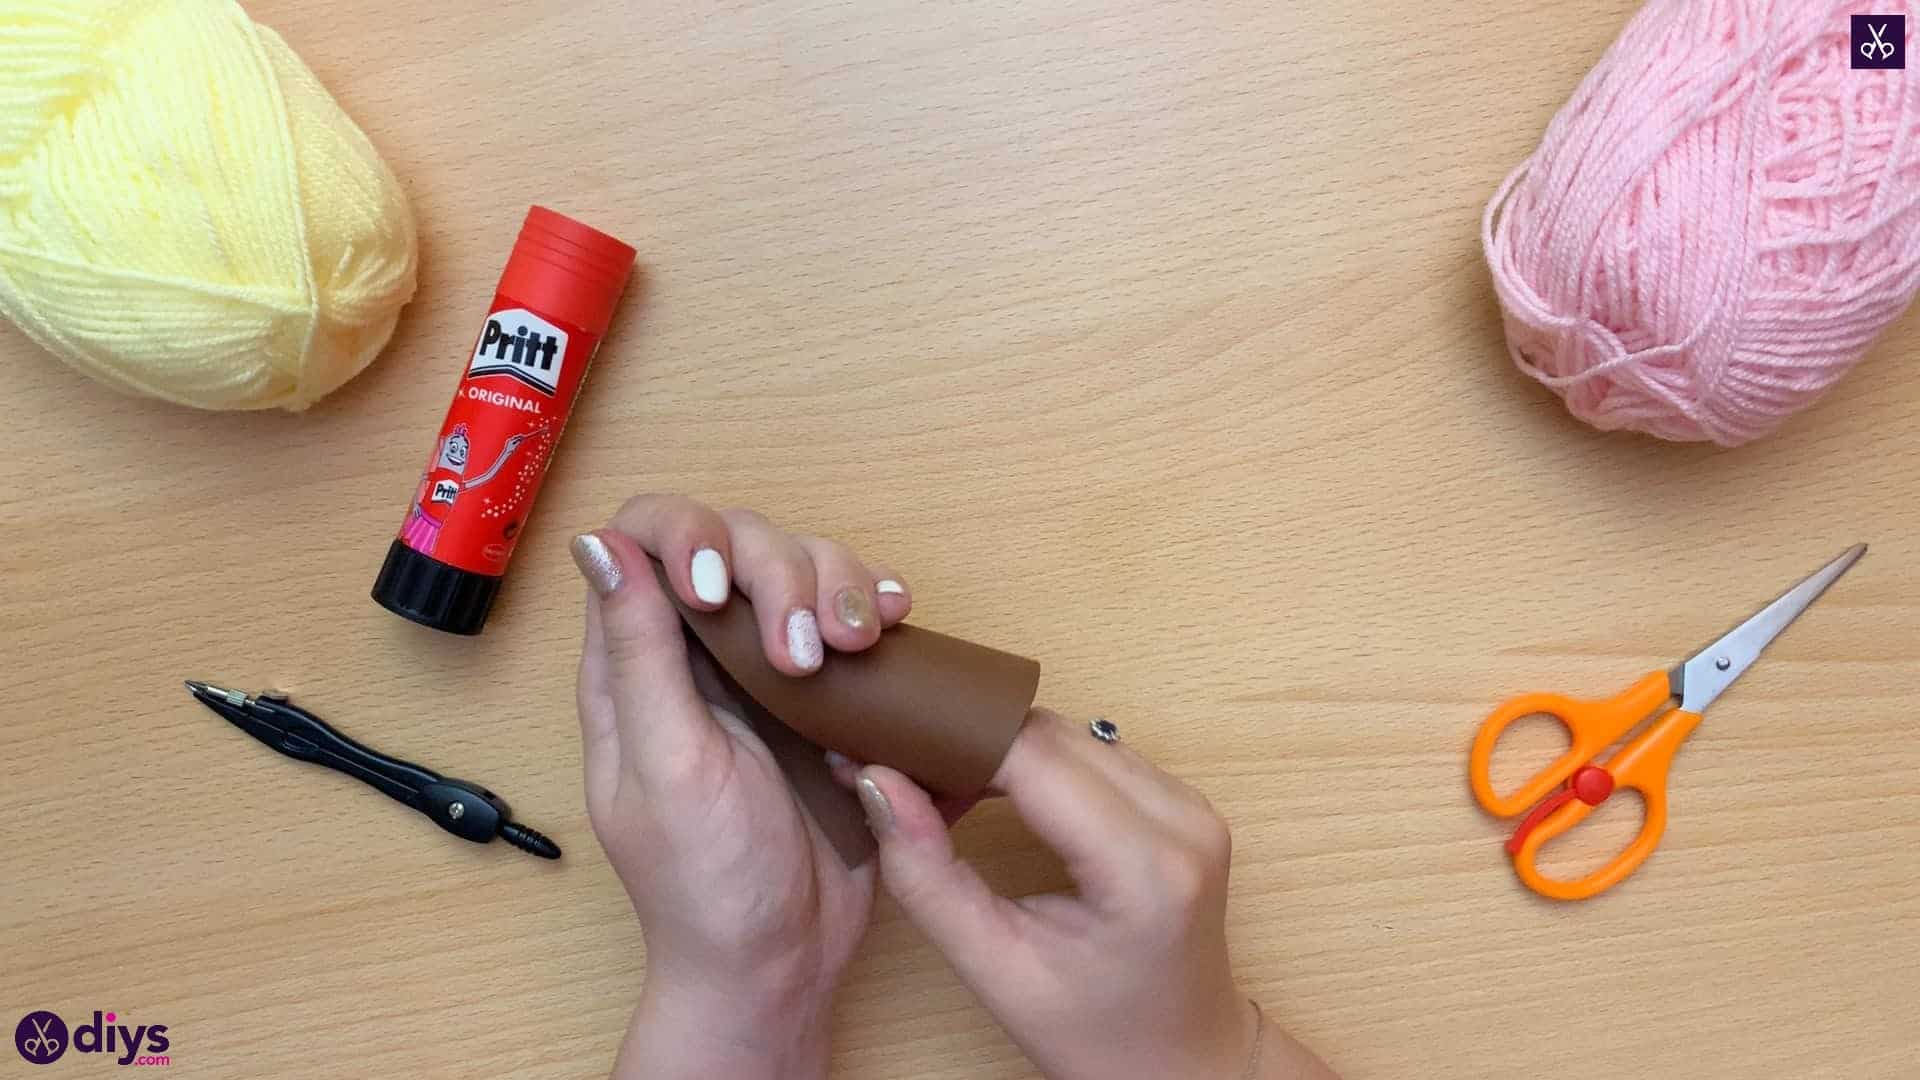
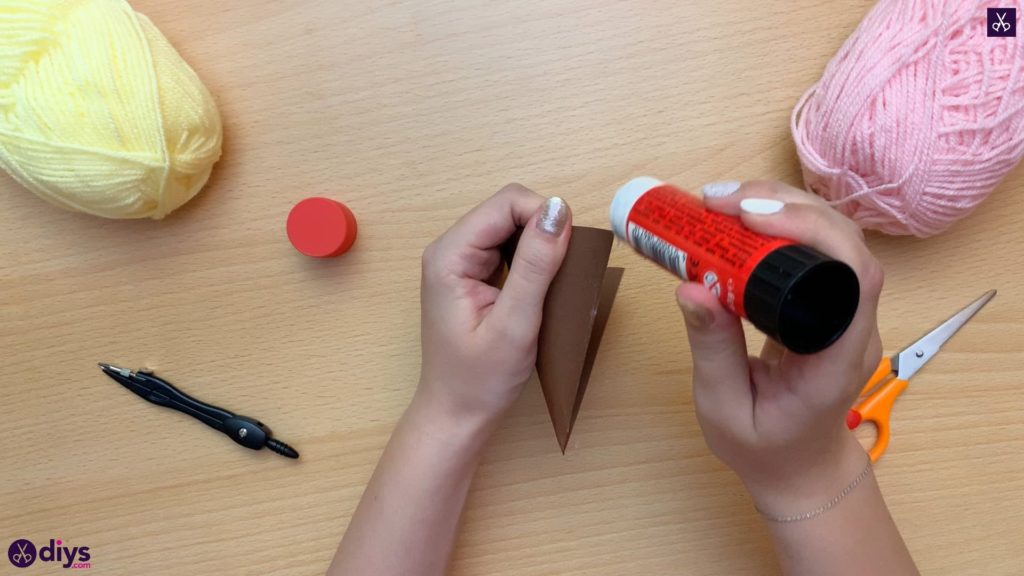
Cut along the arc so you have a flat cone that tapers with the corner of the page. Pick it up and curl it into an actual 3D cone shape, overlapping the straight edges of the page a little bit. You’ll now have a pointy end and a circular opening at the top. With your glue stick, glue the straight edges down against each other.
Step 4: start making pom pom
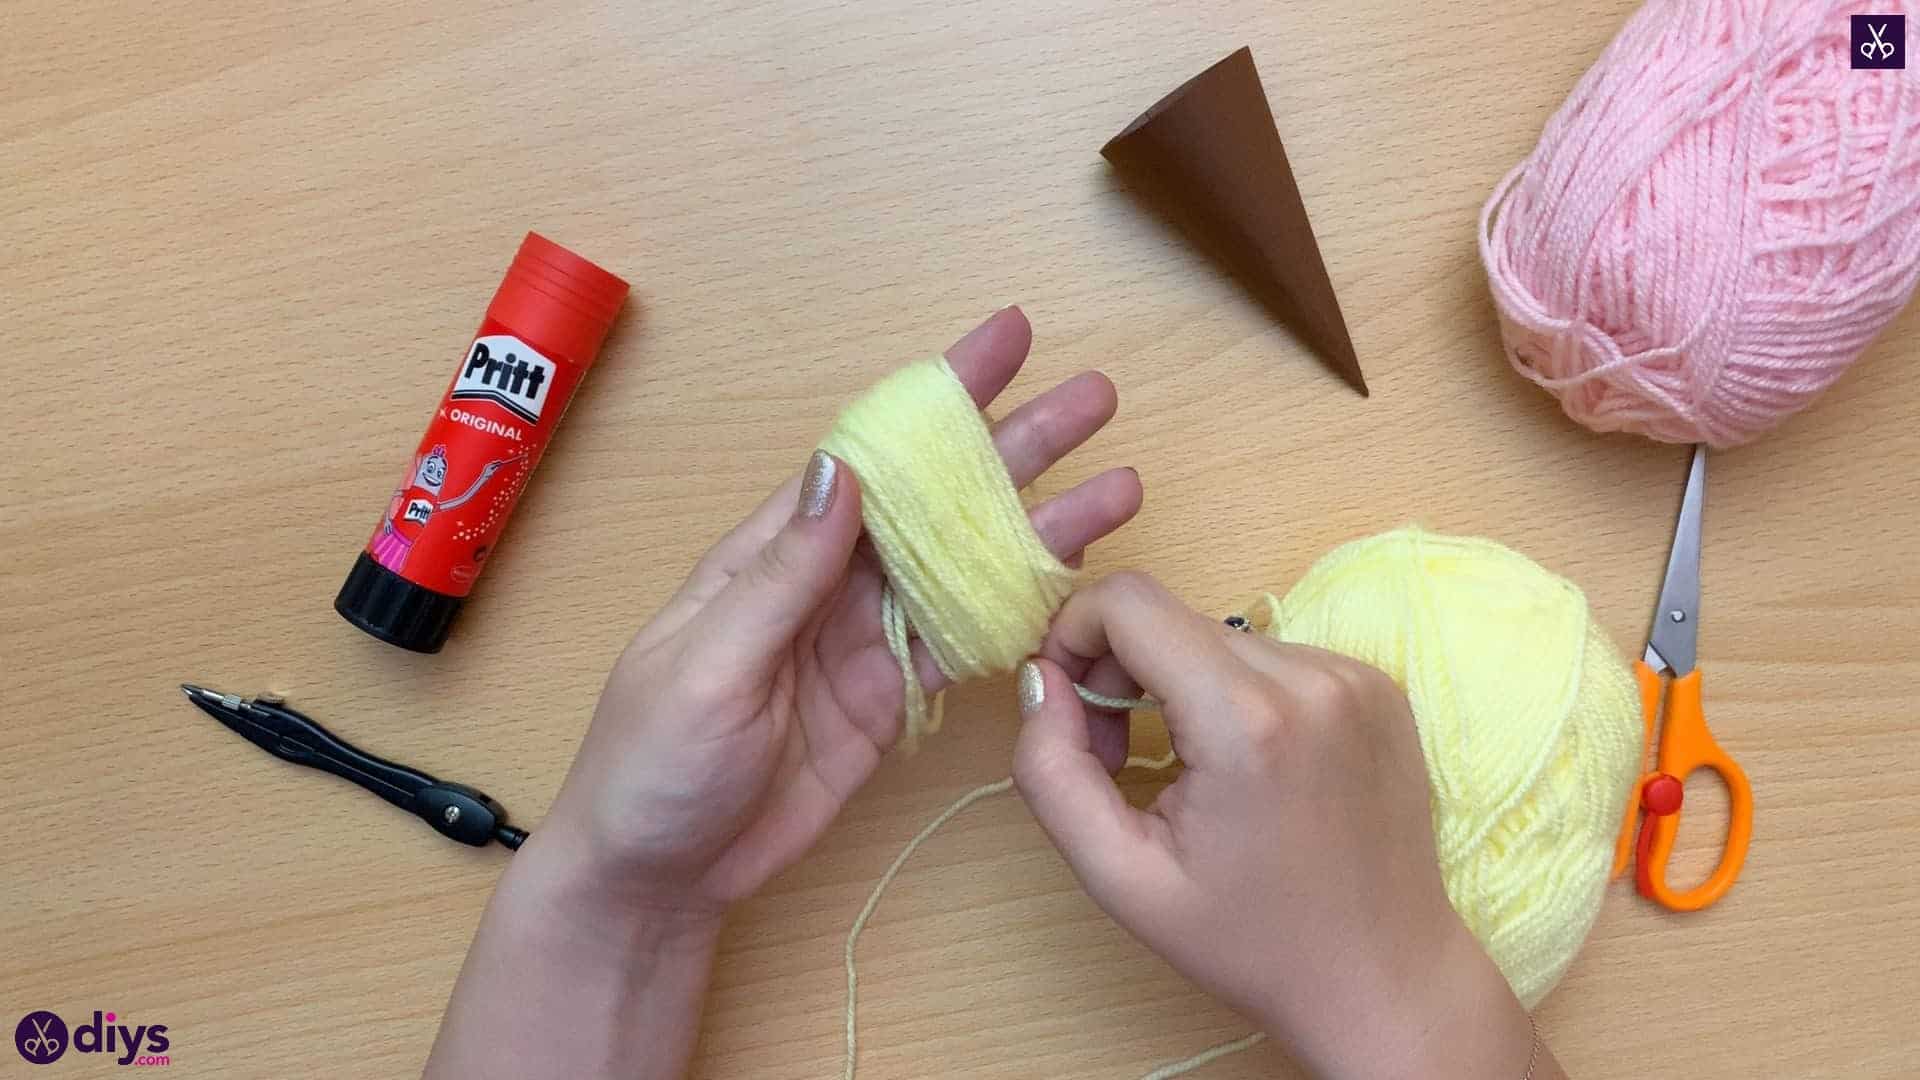
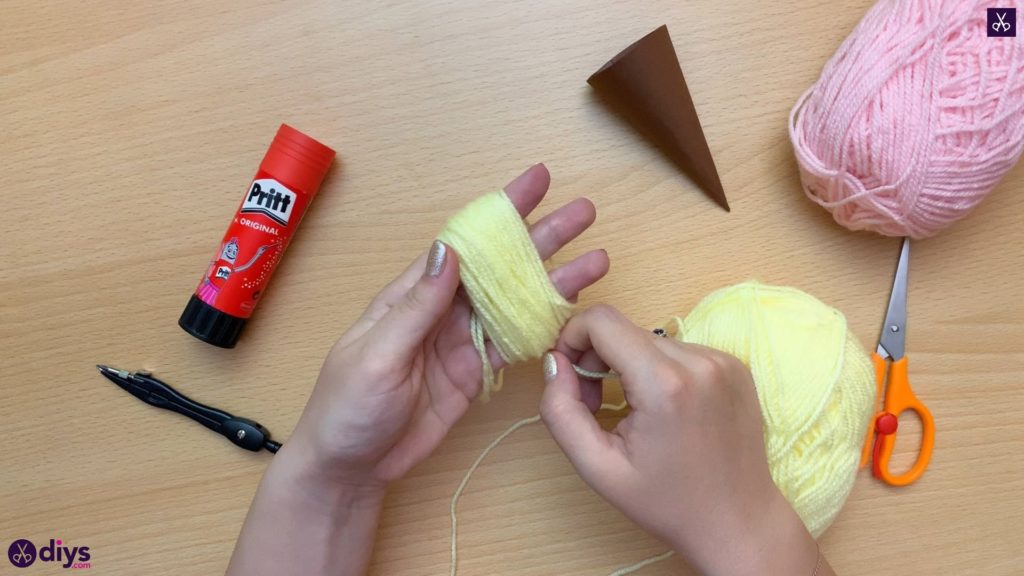
Make the yarn pom poms that will be your stacked ice cream scoops! Start by holding your four fingers on one hand together, pinching the end of your yarn down with your thumb. Start winding the yarn around and around all four fingers (pull your thumb out once you’ve wrapped enough to hold that end in place for you instead) until you have an overlapped bunch about half an inch thick.
Step 5: tie
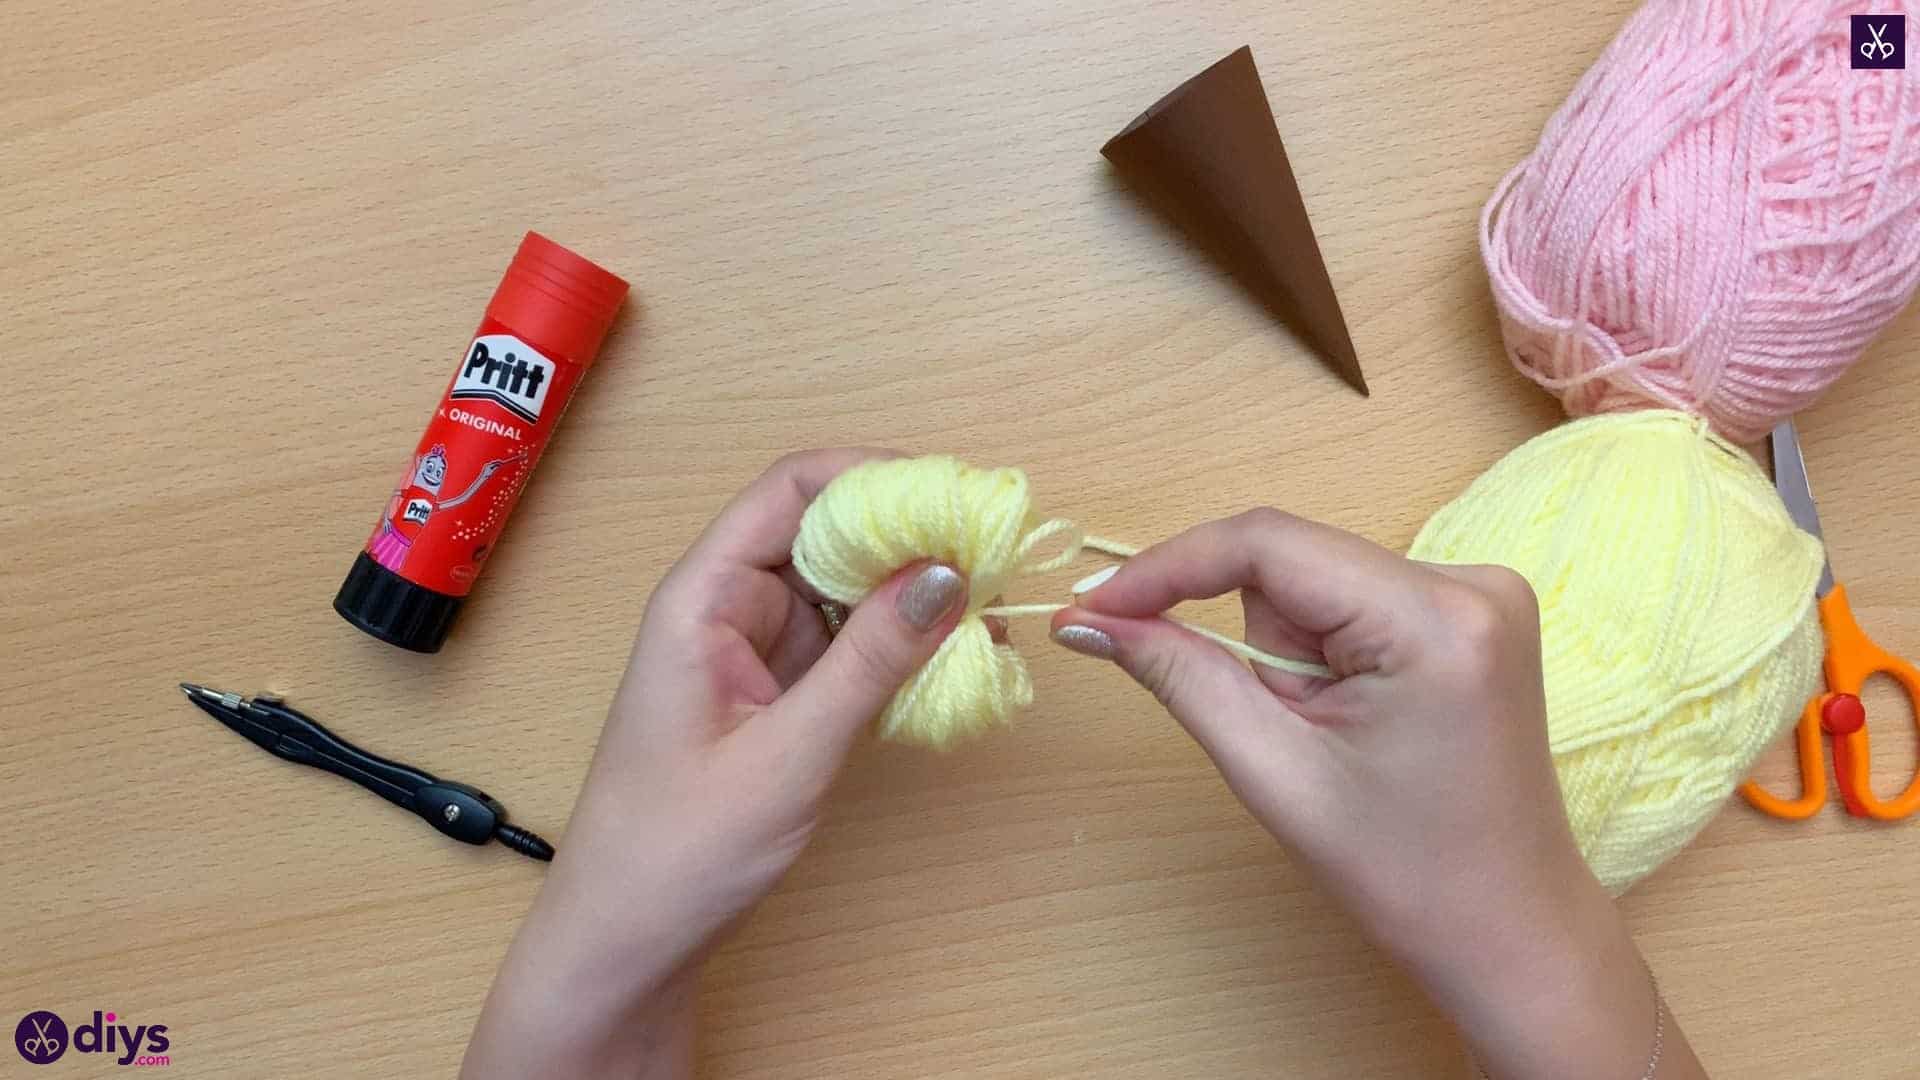
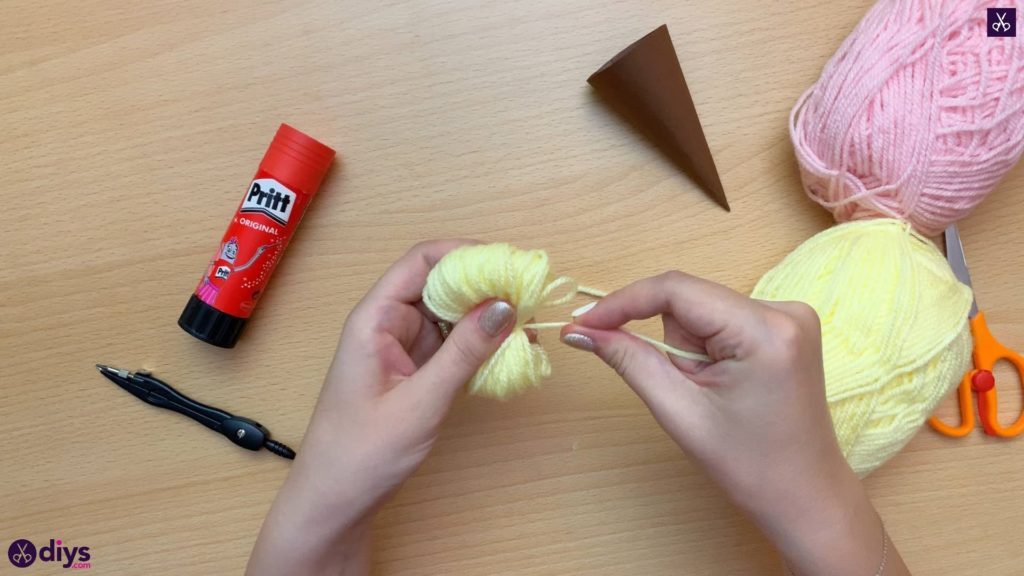
Cut a length of yarn about four inches long. Thread it between your middle and ring finger underneath your wrapped yarn layers. Take the other end above the layers and tie the yarn piece tightly around the middle, knotting it to keep the yarn layered cinched. Once it’s cinched, slide the layers off the ends of your fingers.
Step 6: cut
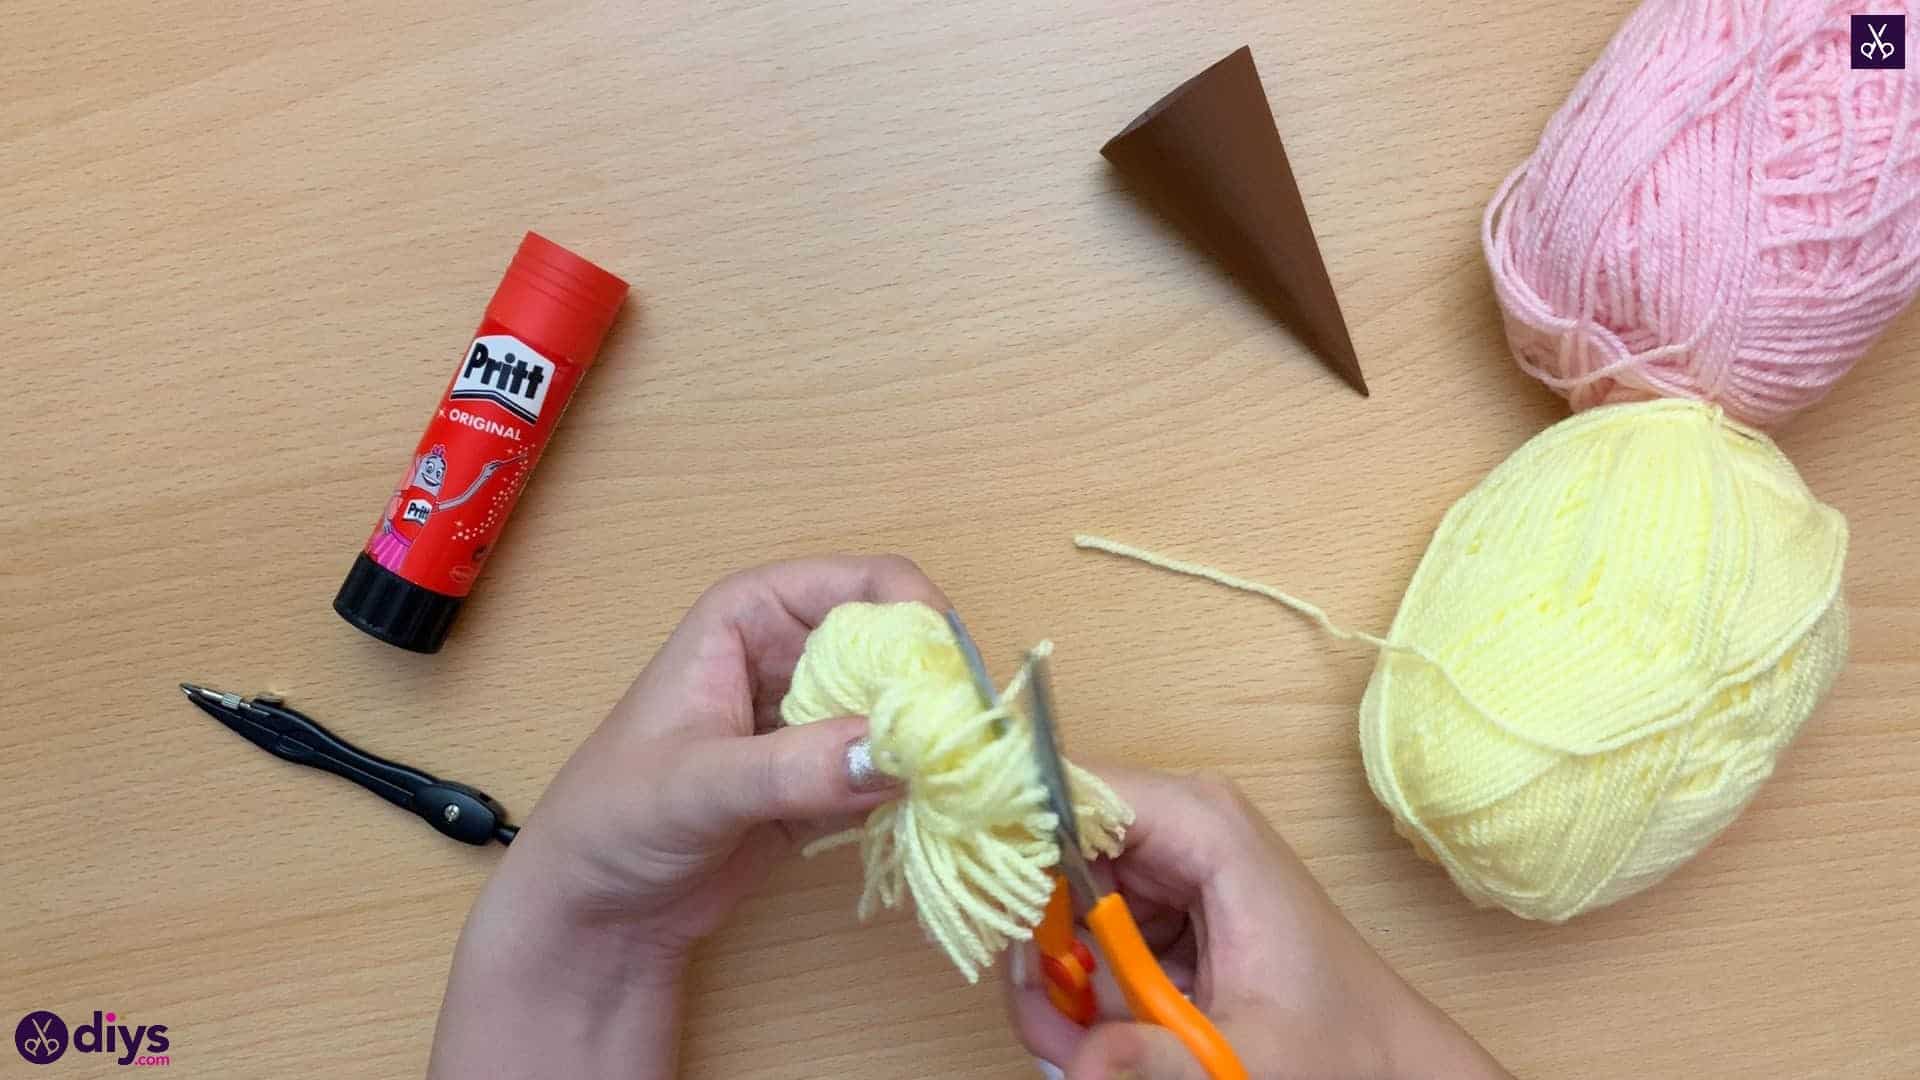
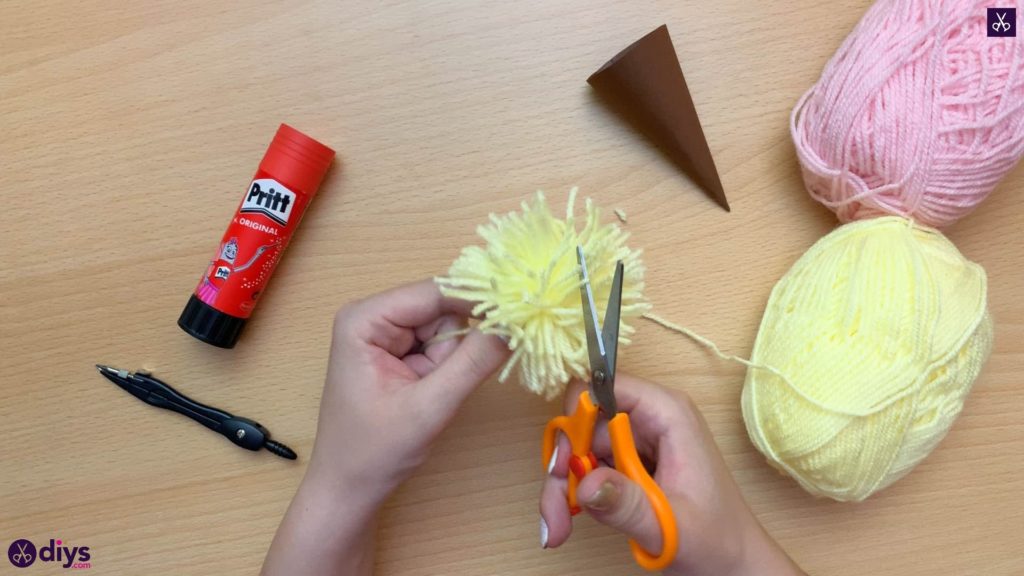
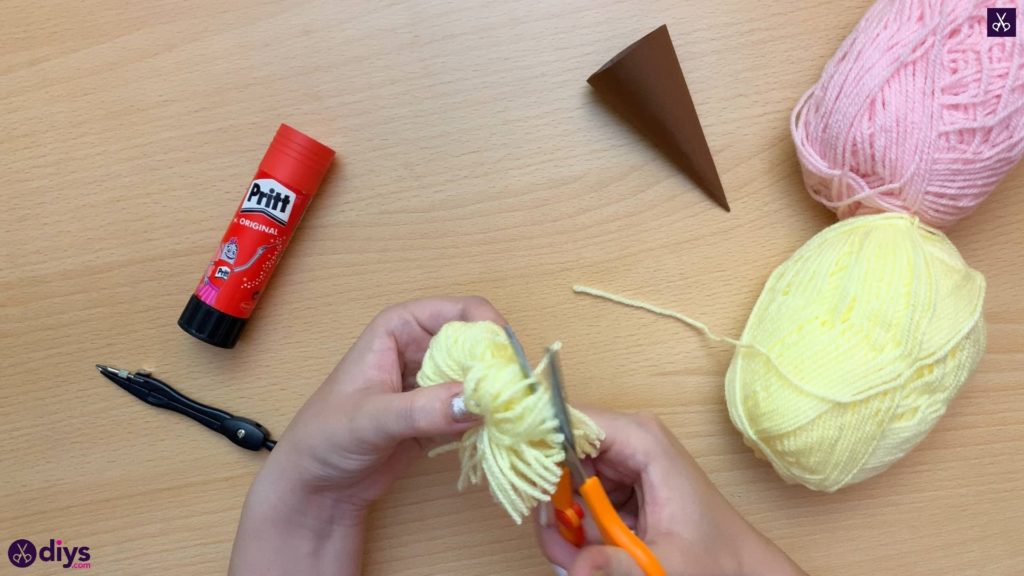
Now you’ll have what looks almost like a stranded bow with loops of yarn at either end. Take your scissors and cut the loops on both sides so it looks more like fringe. The yarn will spring out at either end thanks to how tightly you’ve cinched it.
Step 7: trim
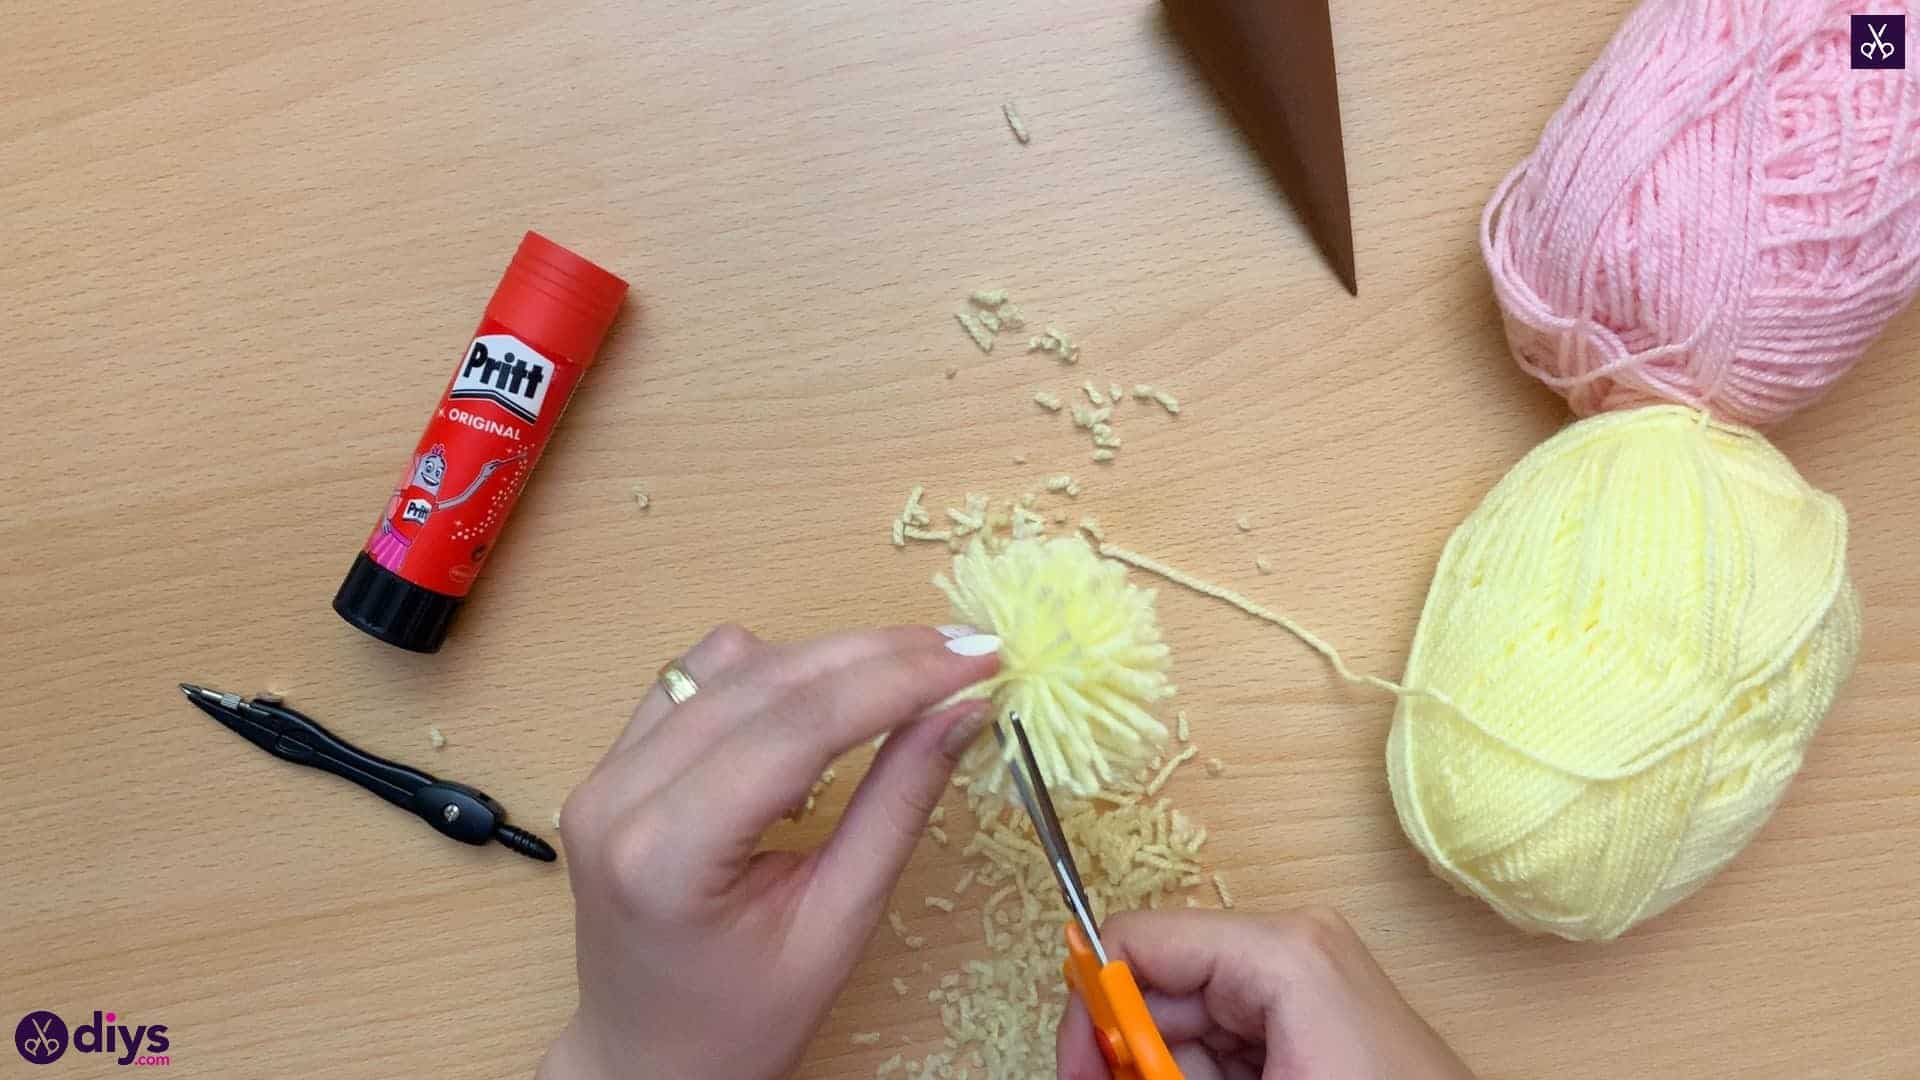
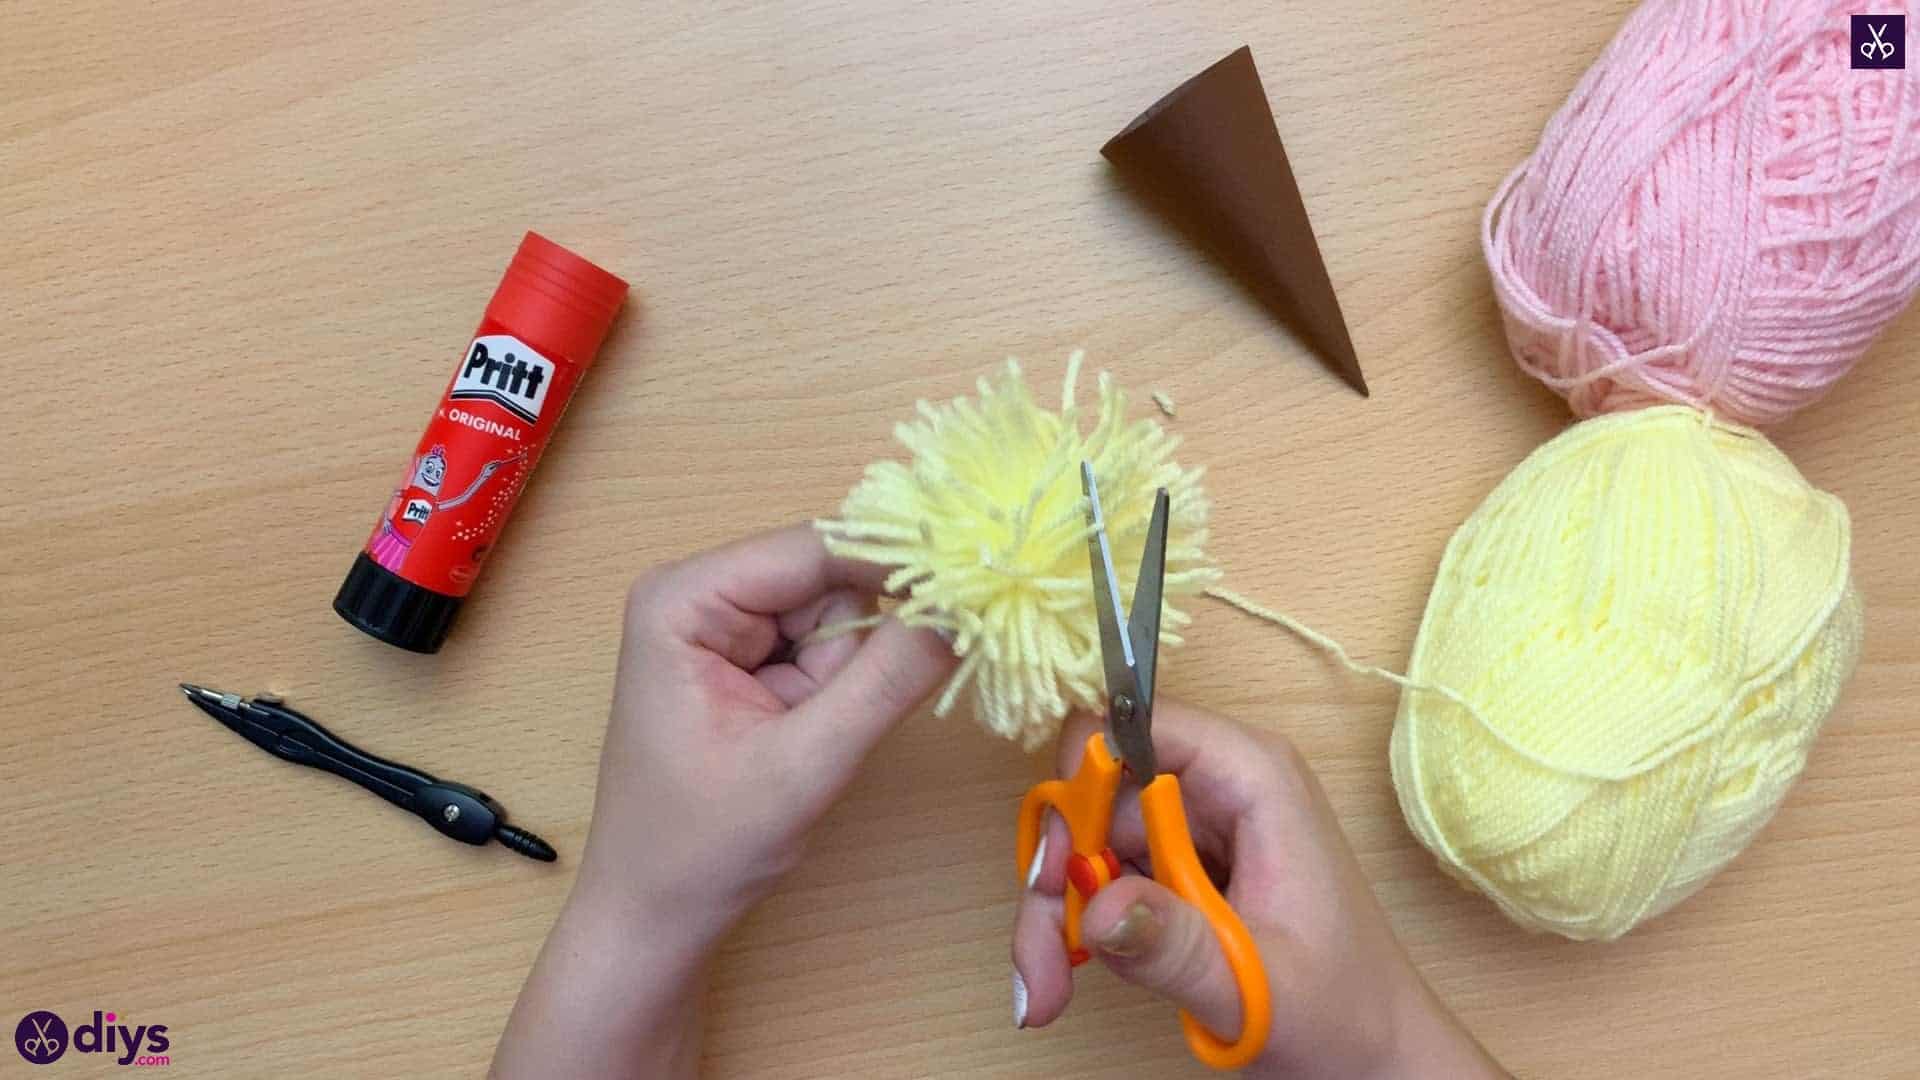
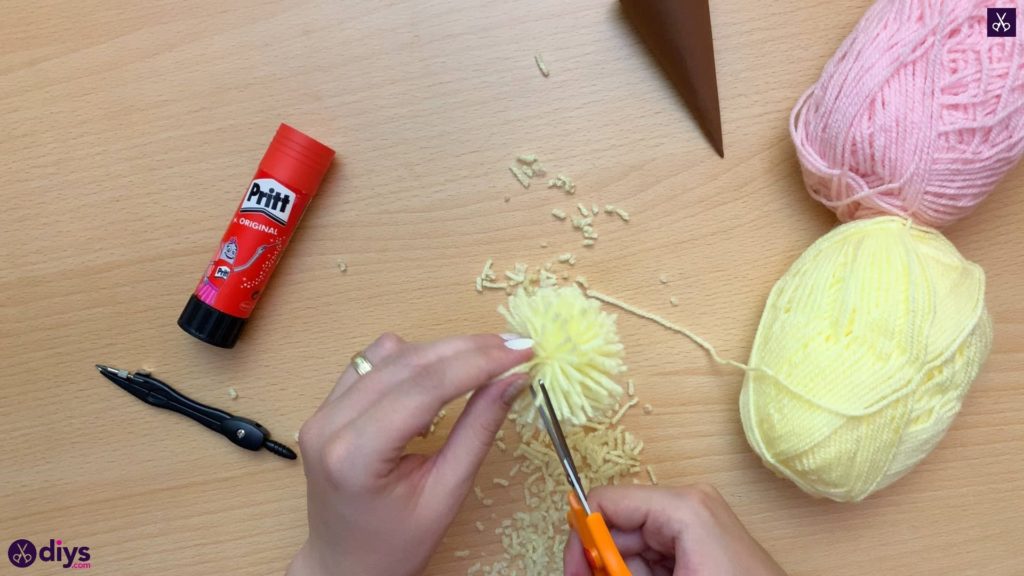
Use your scissors to trim the length of your tied center piece down to match the length of the rest of the pom pom. Trim all the way around the new sphere until it’s quite even and neat looking; the goal is to make your pom pom look nice and round rather than scruffy with lots of uneven straggling ends. Once you’ve finished a pom pom in one colour, repeat the whole process with the second colour so you have two pom poms.
Step 8: glue to cone
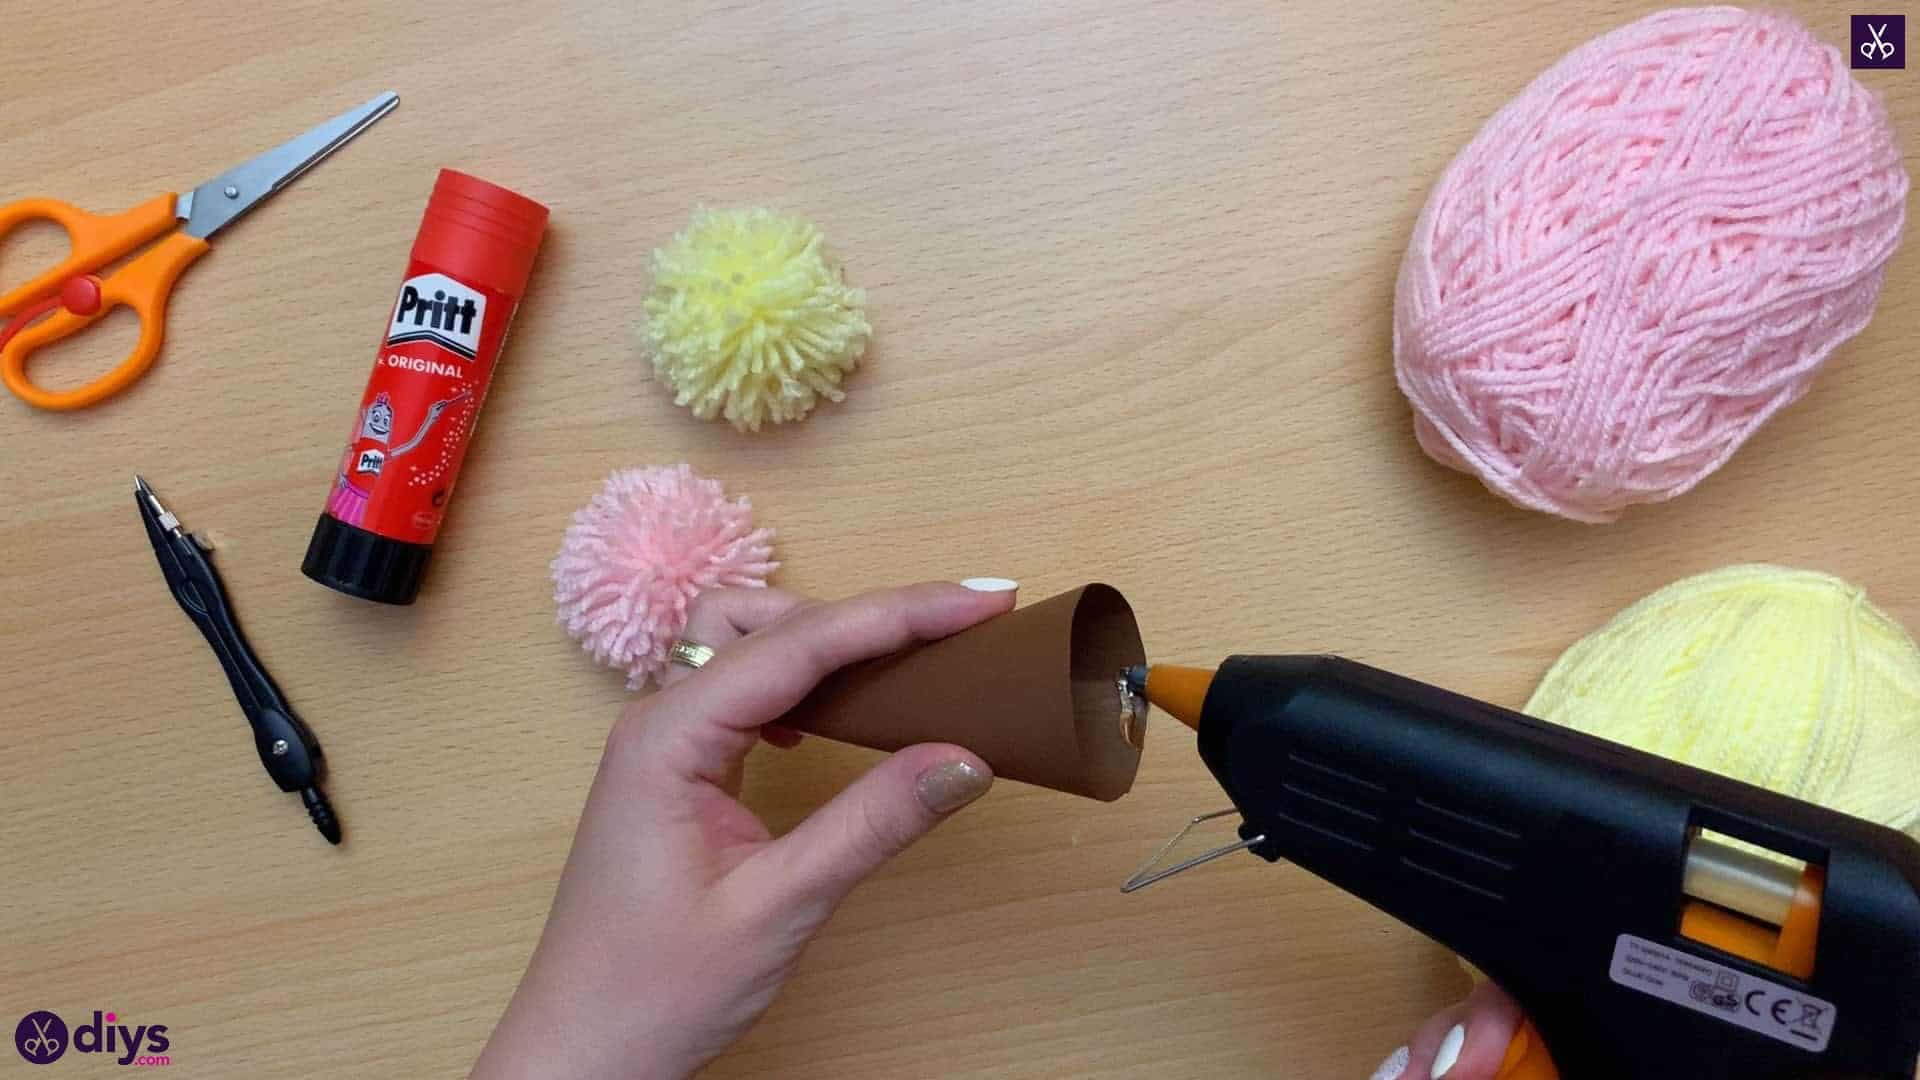
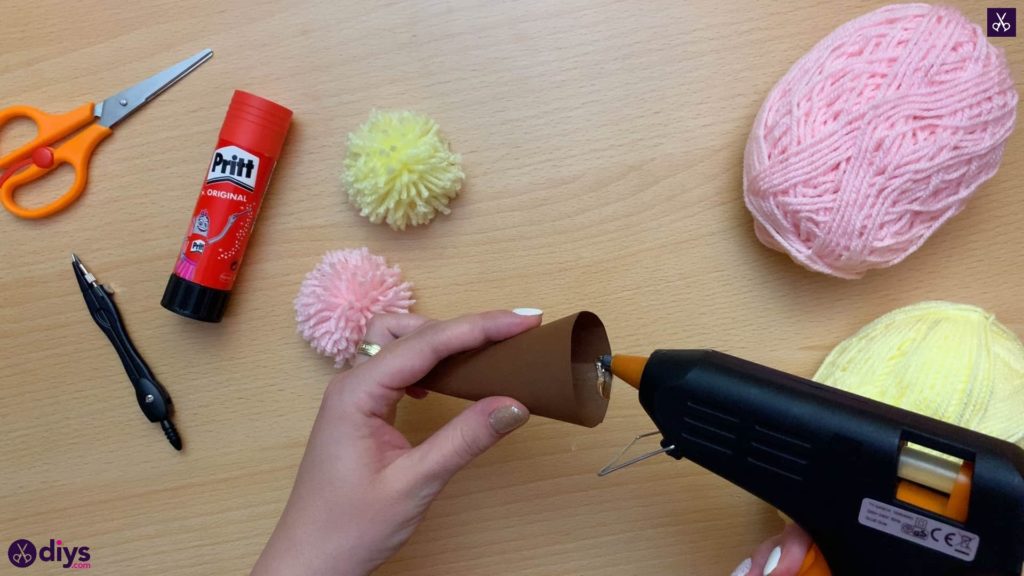
With your hot glue gun, apply glue along the inner edge of your paper cone, at its open circular top.
Step 9: start stacking
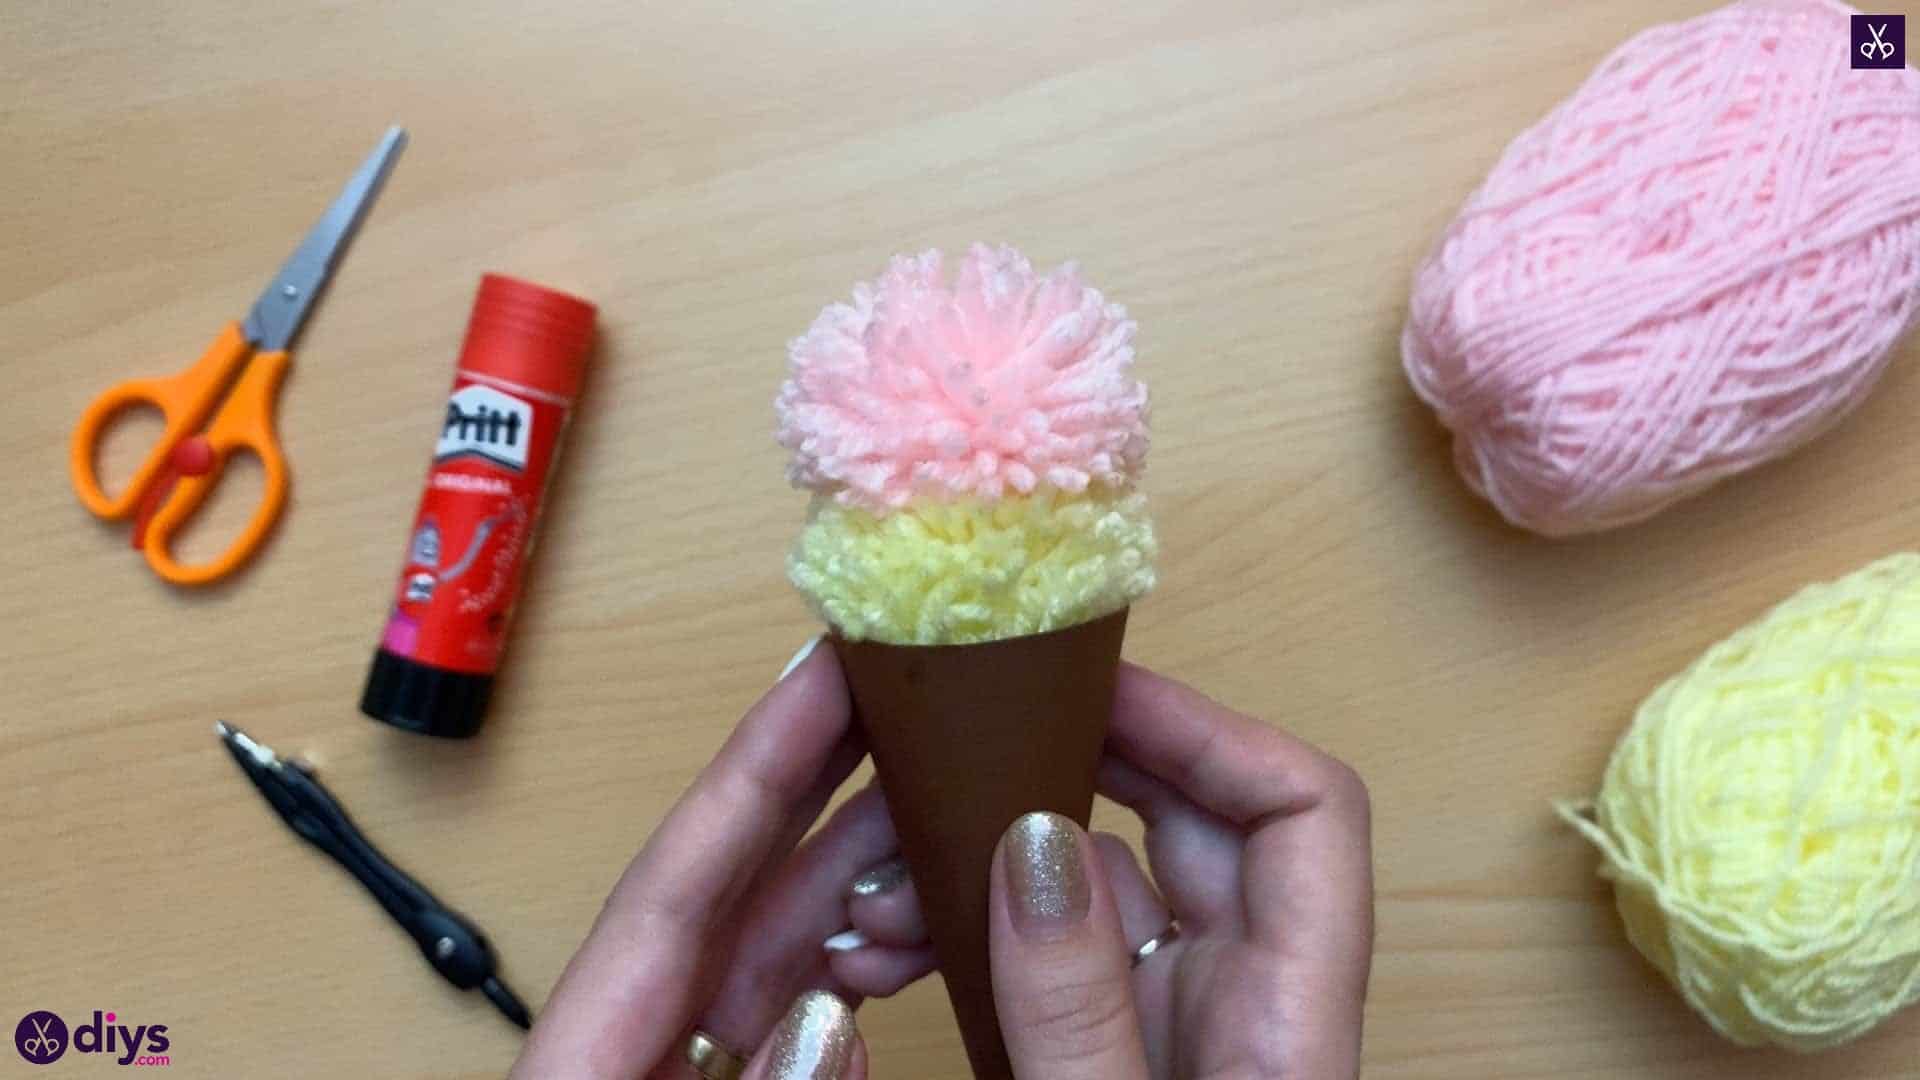
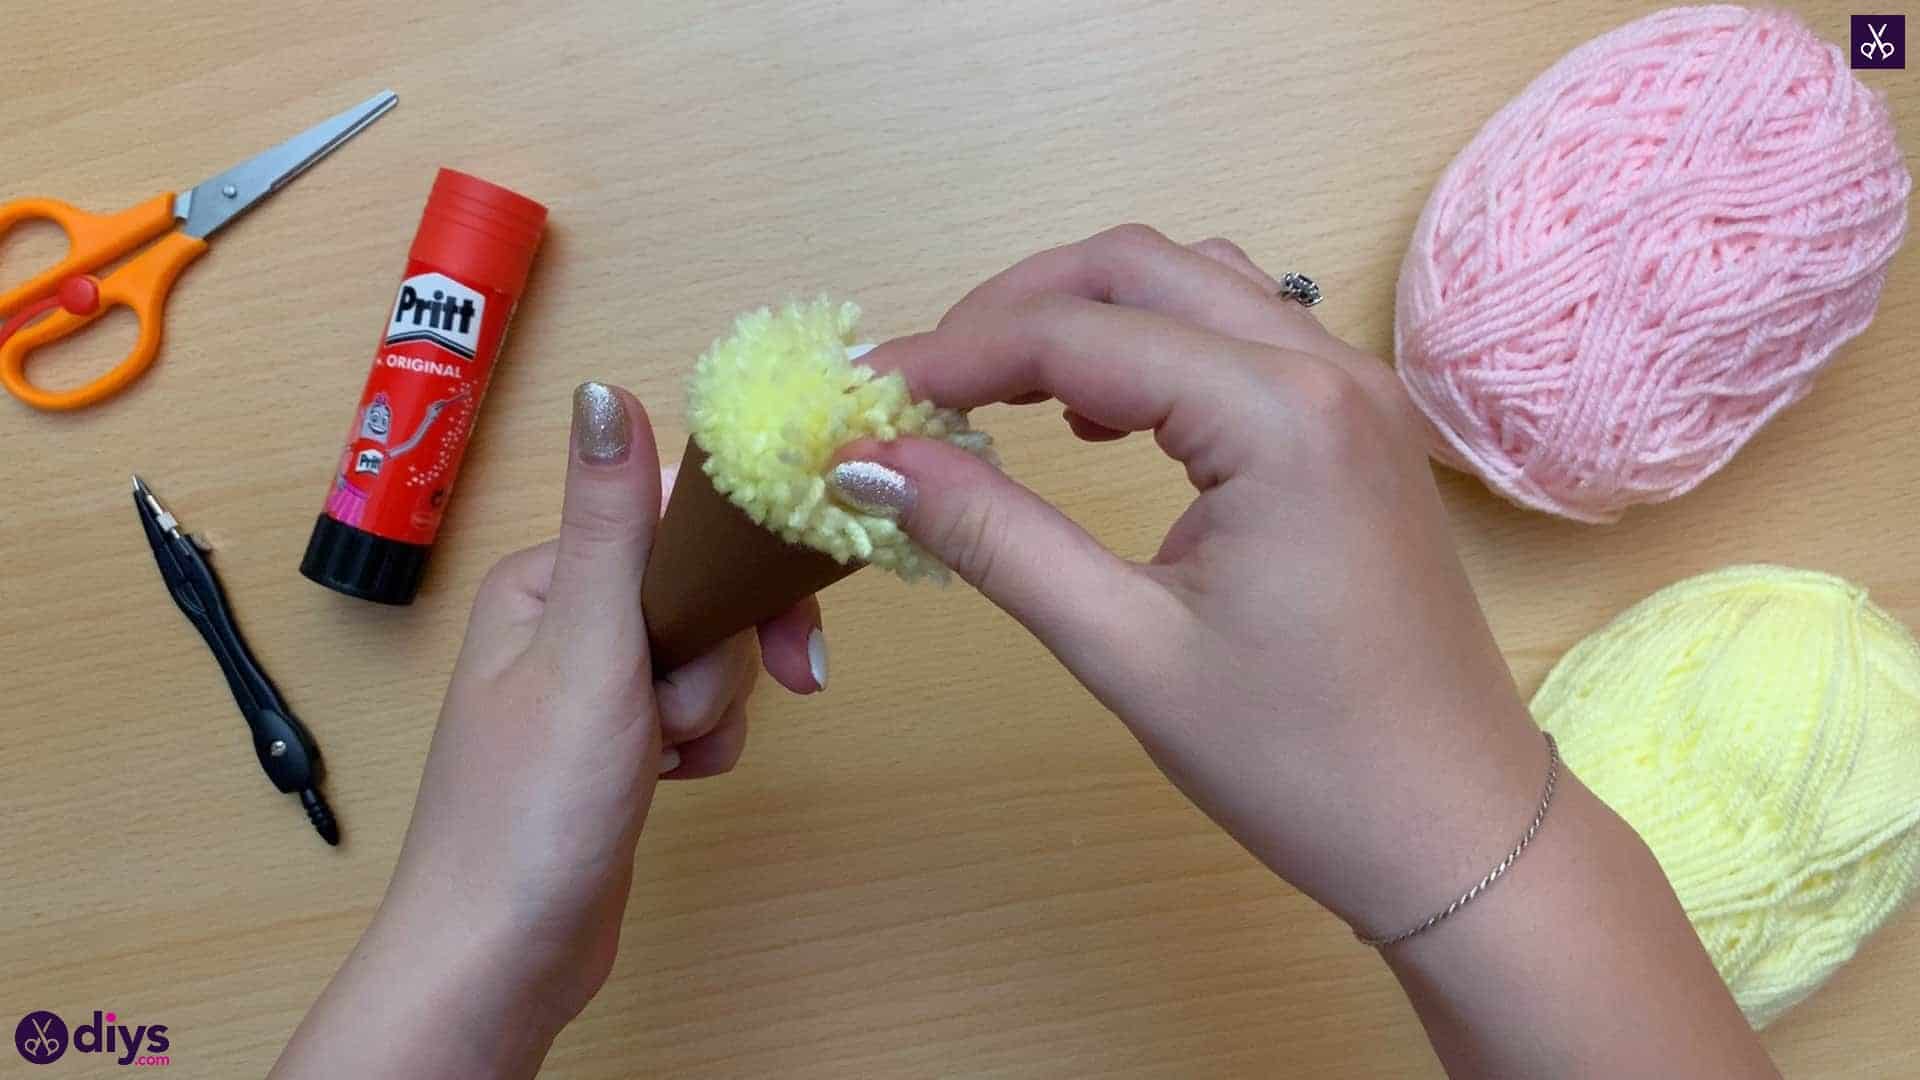
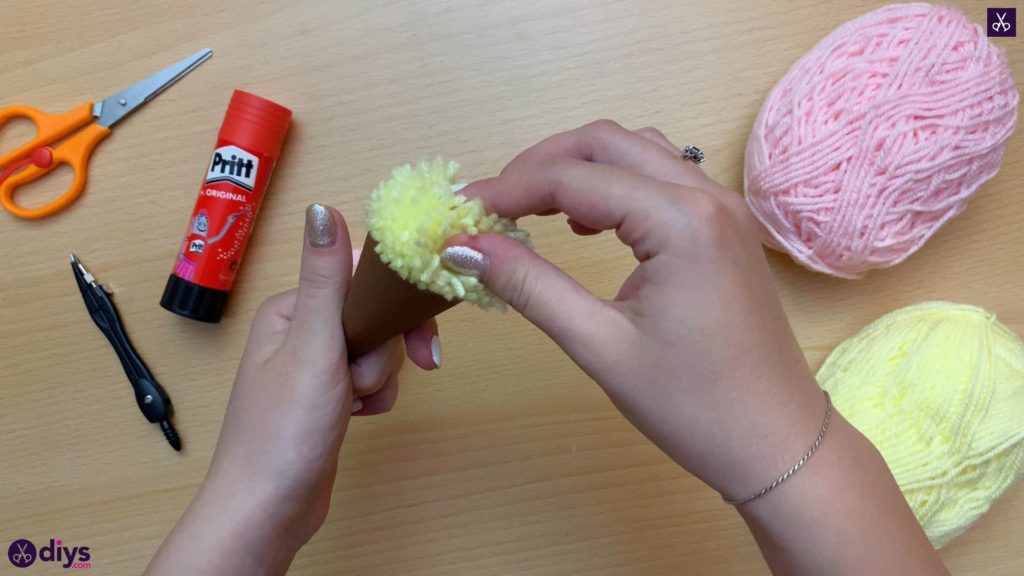
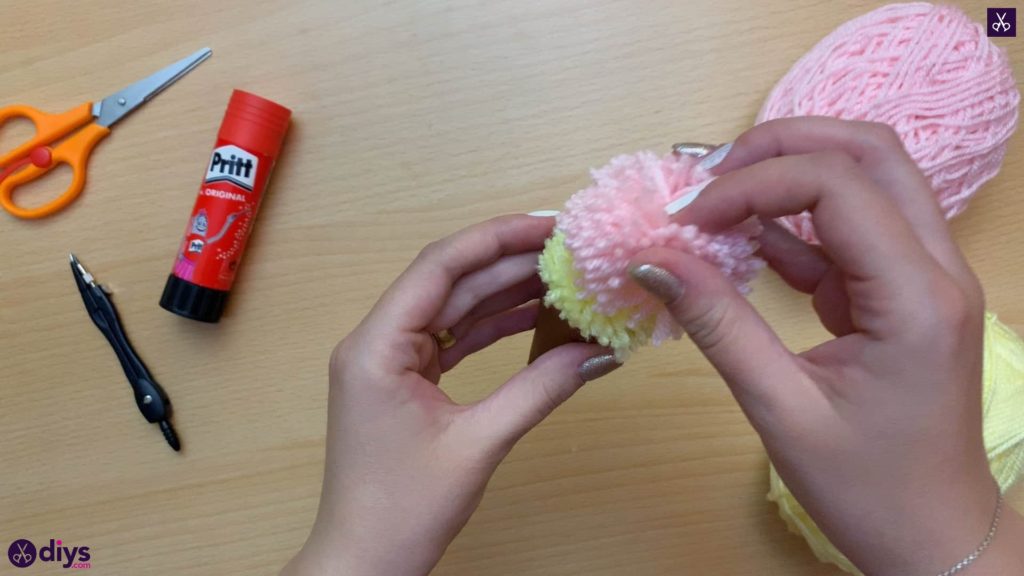
Press your first pom pom into that glue so it nestles snugly into the top of the cone, just like a scoop of ice cream would.
 Step 10: voila!
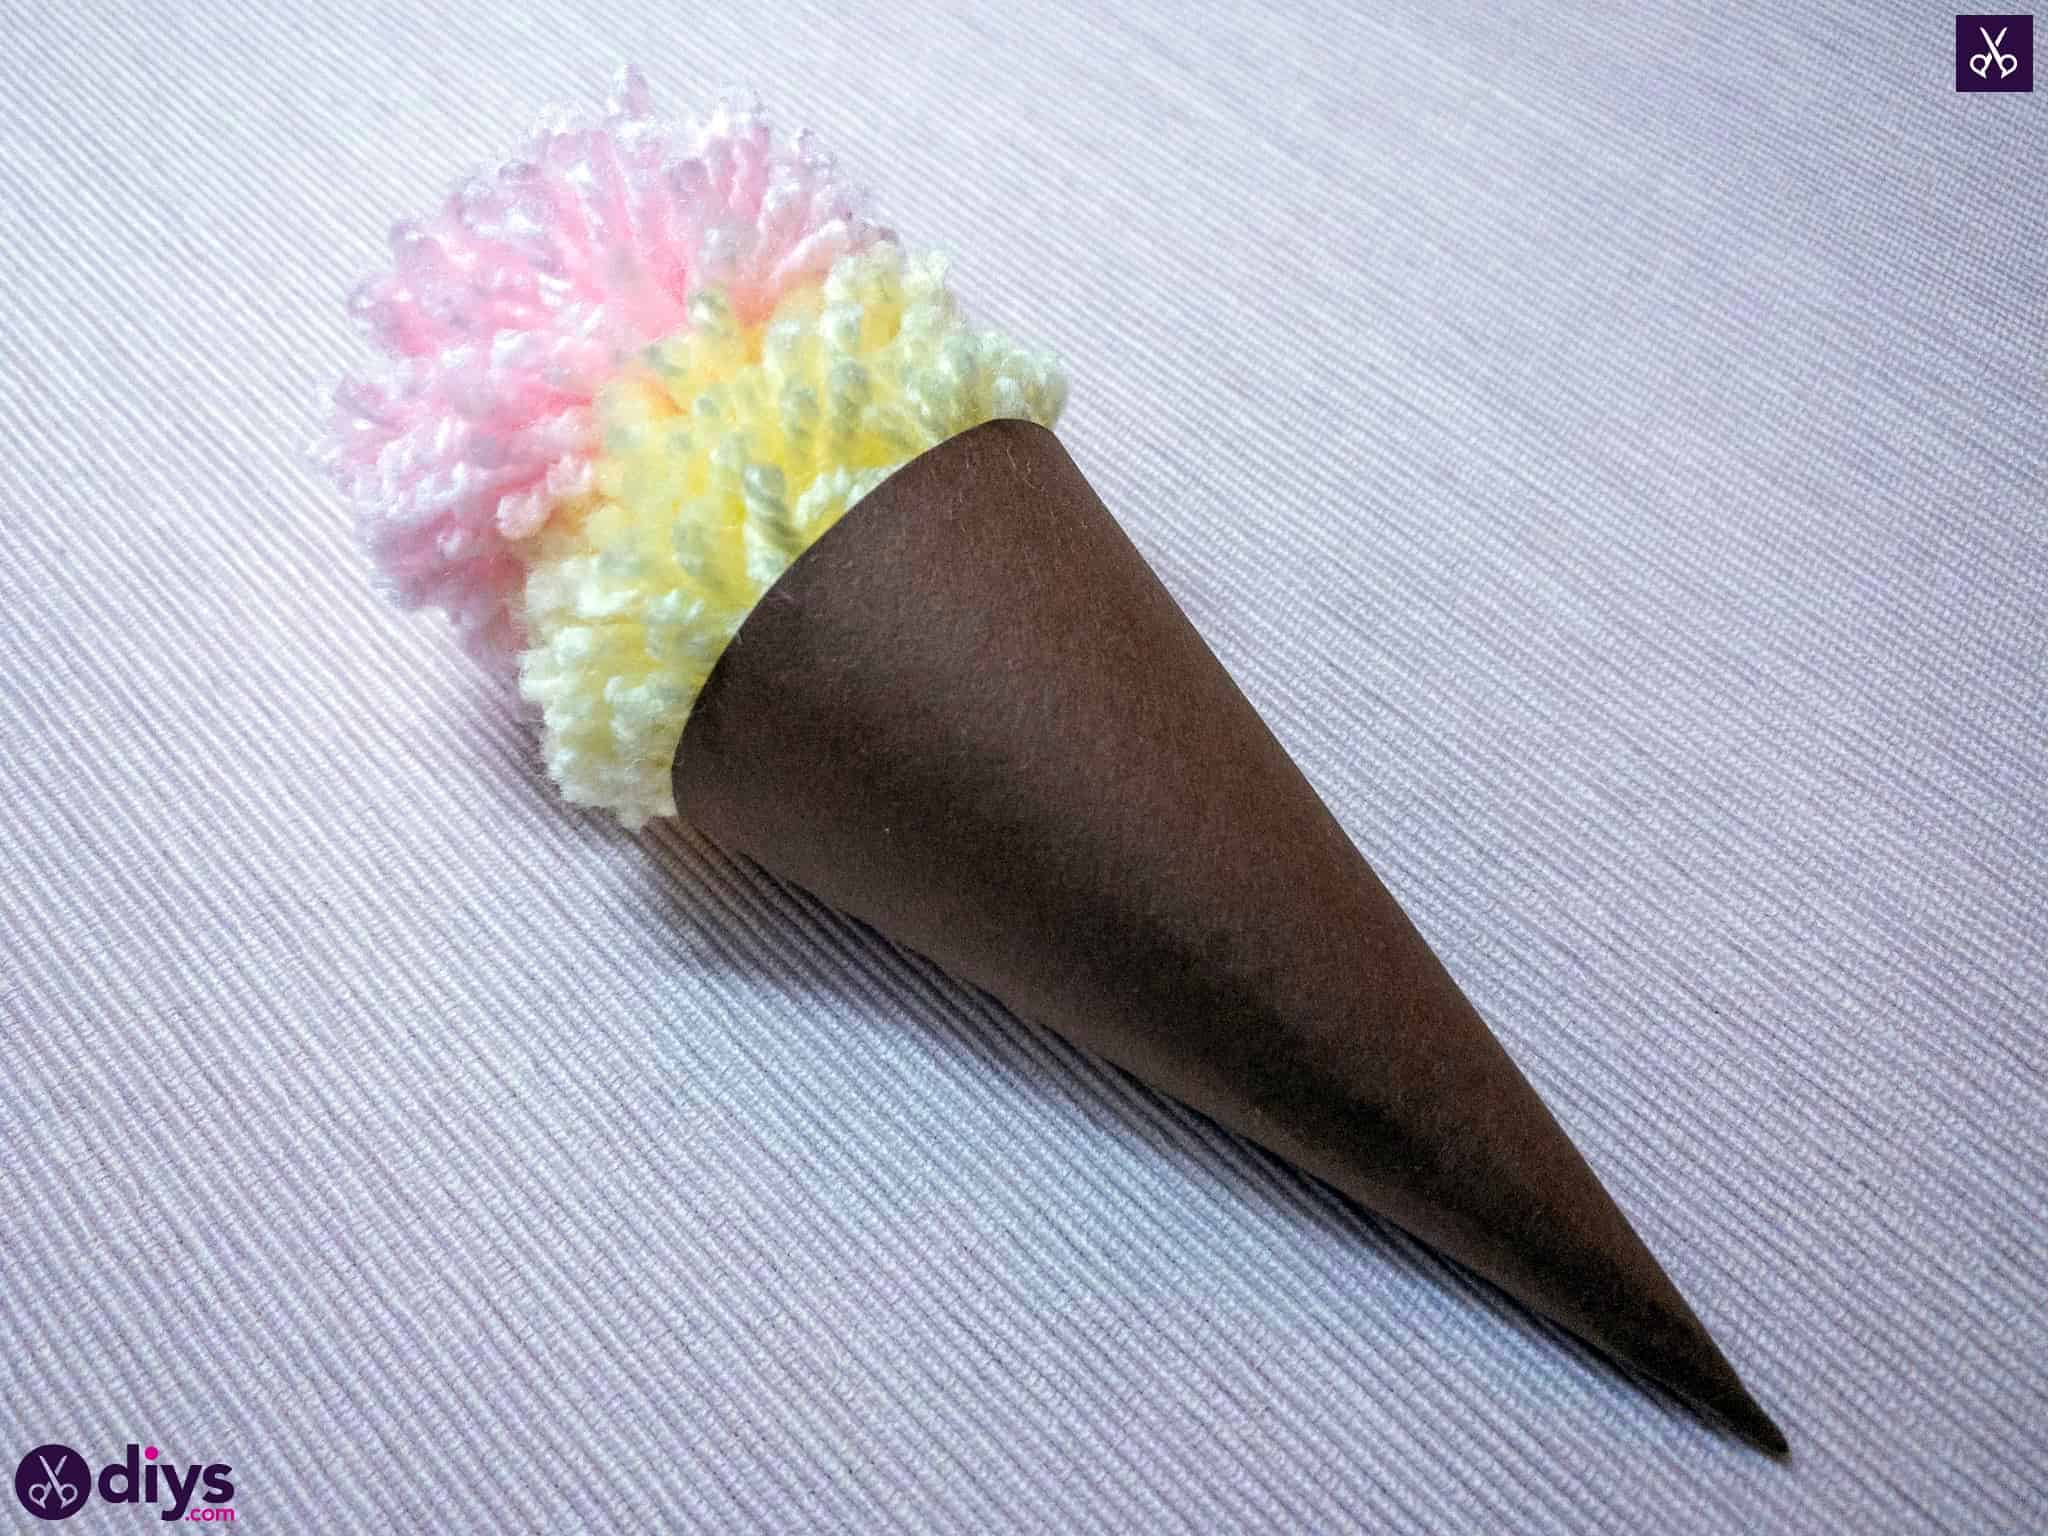
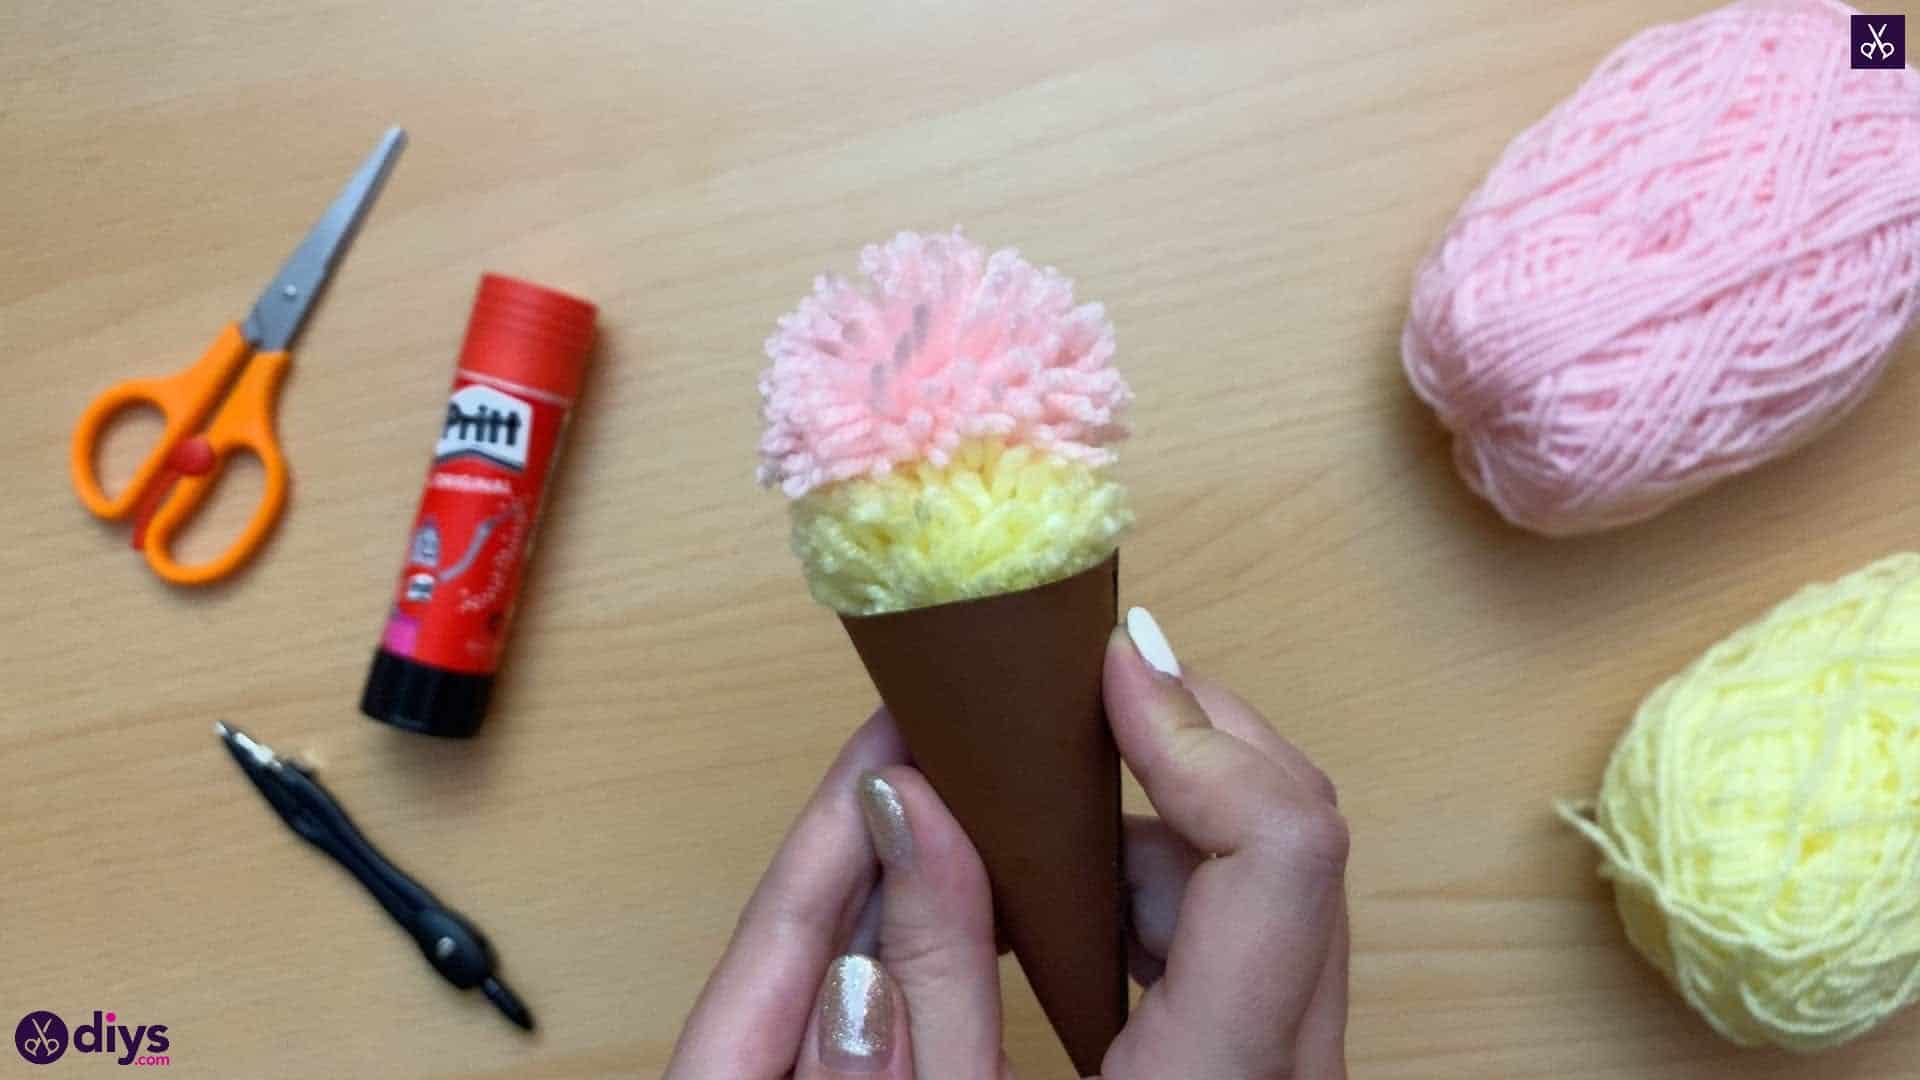
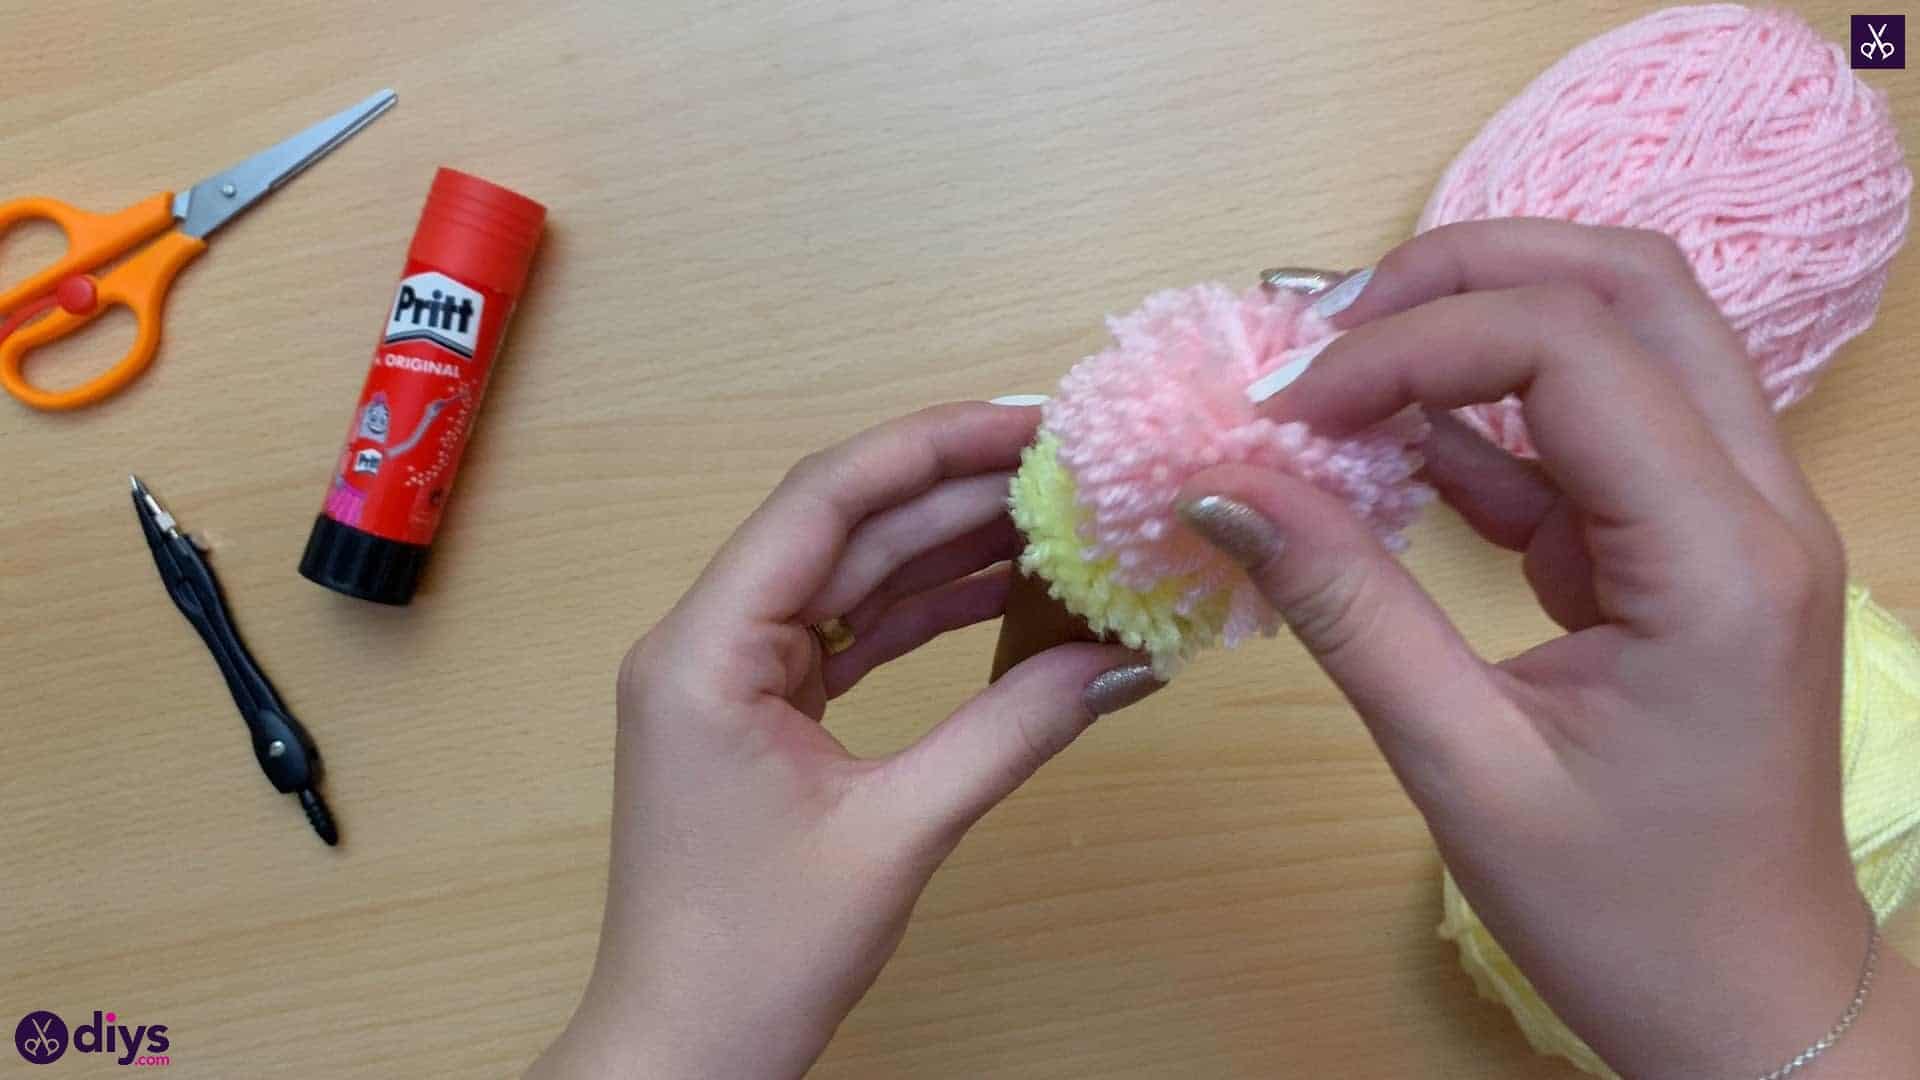
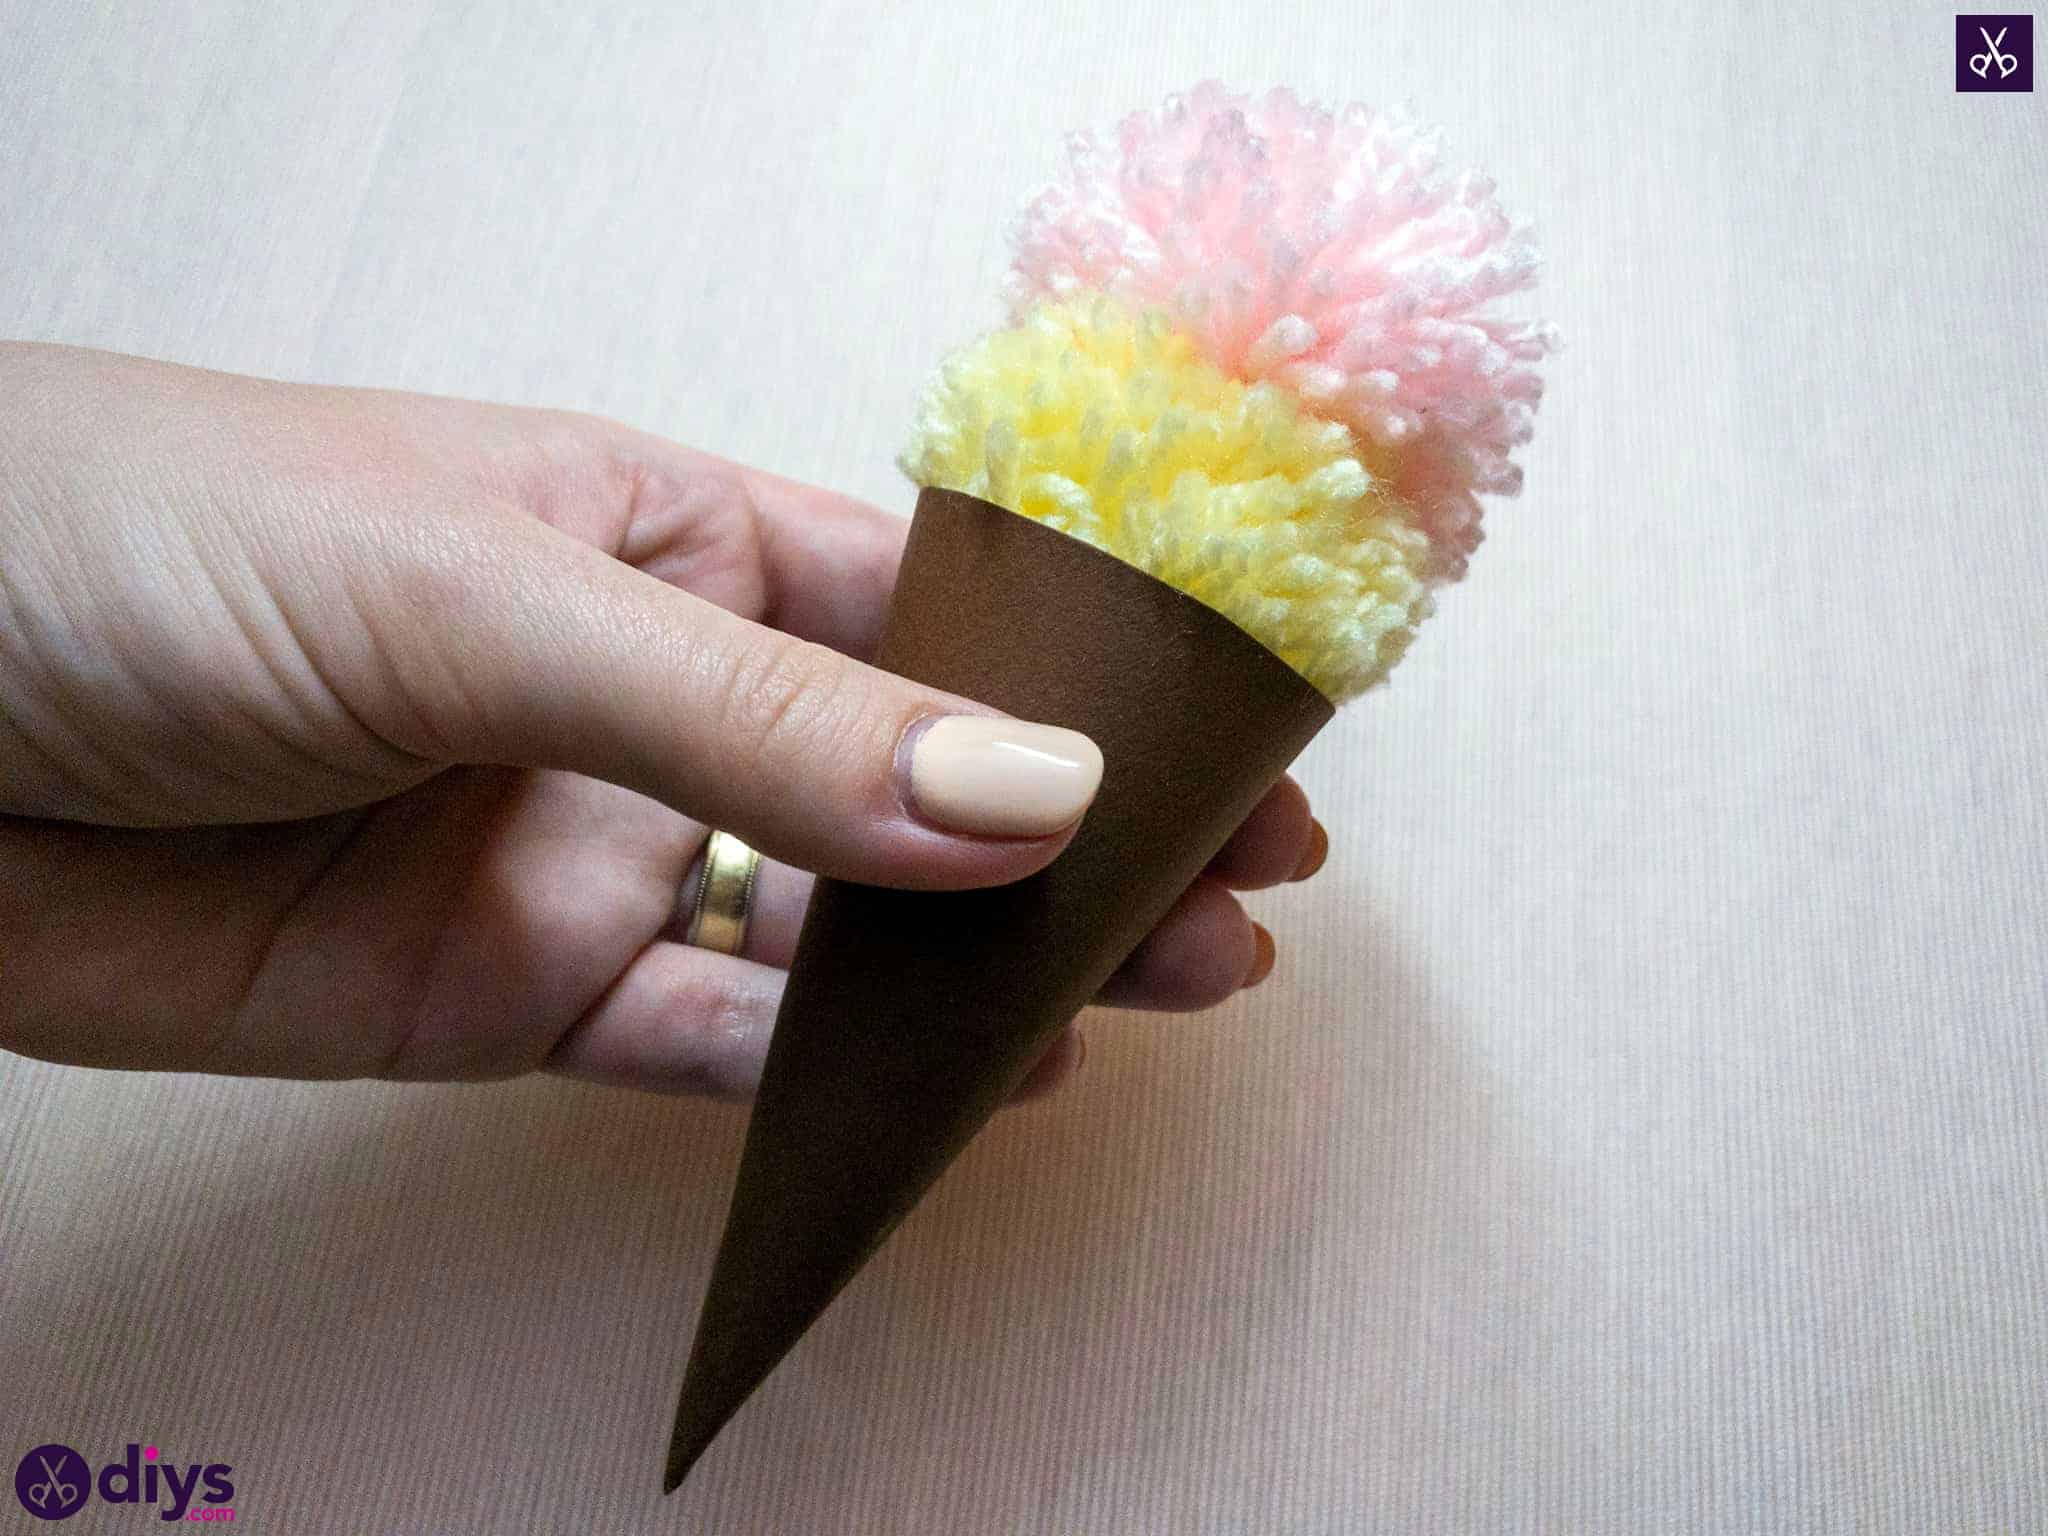
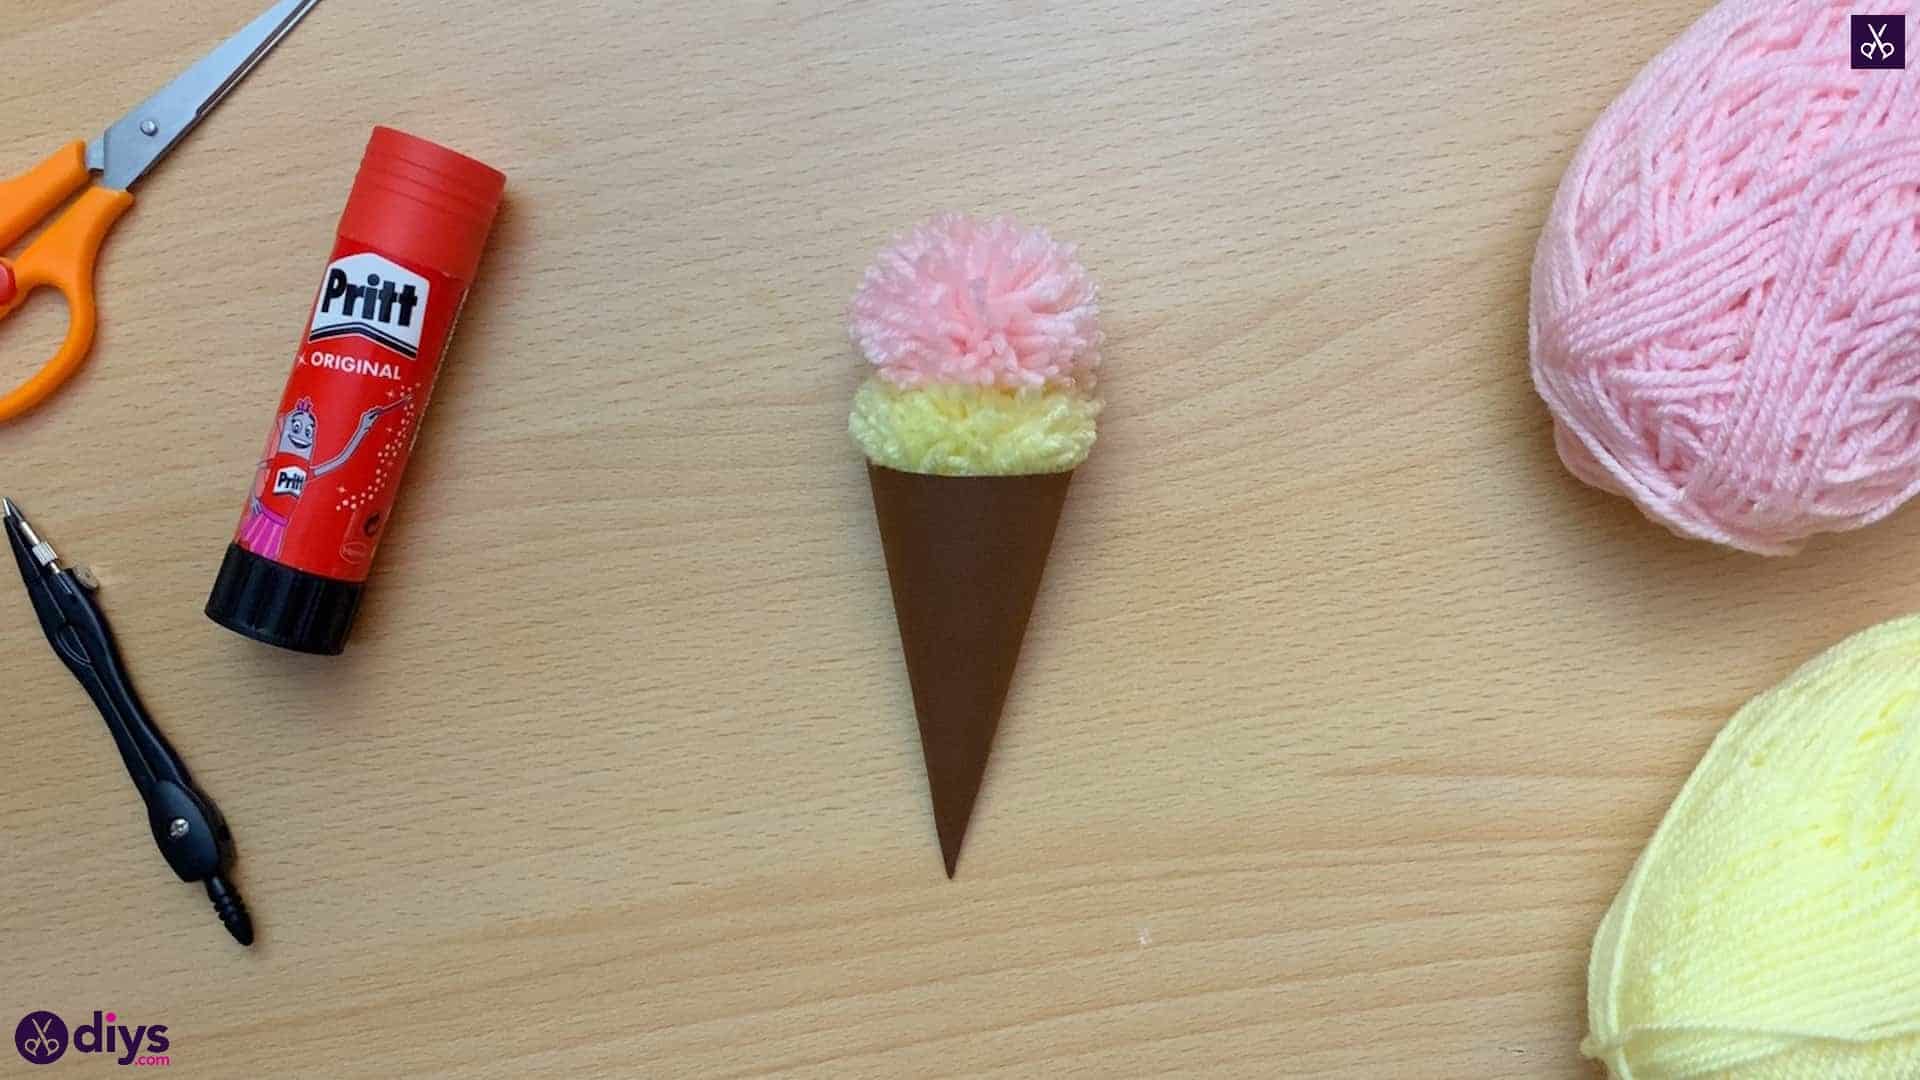
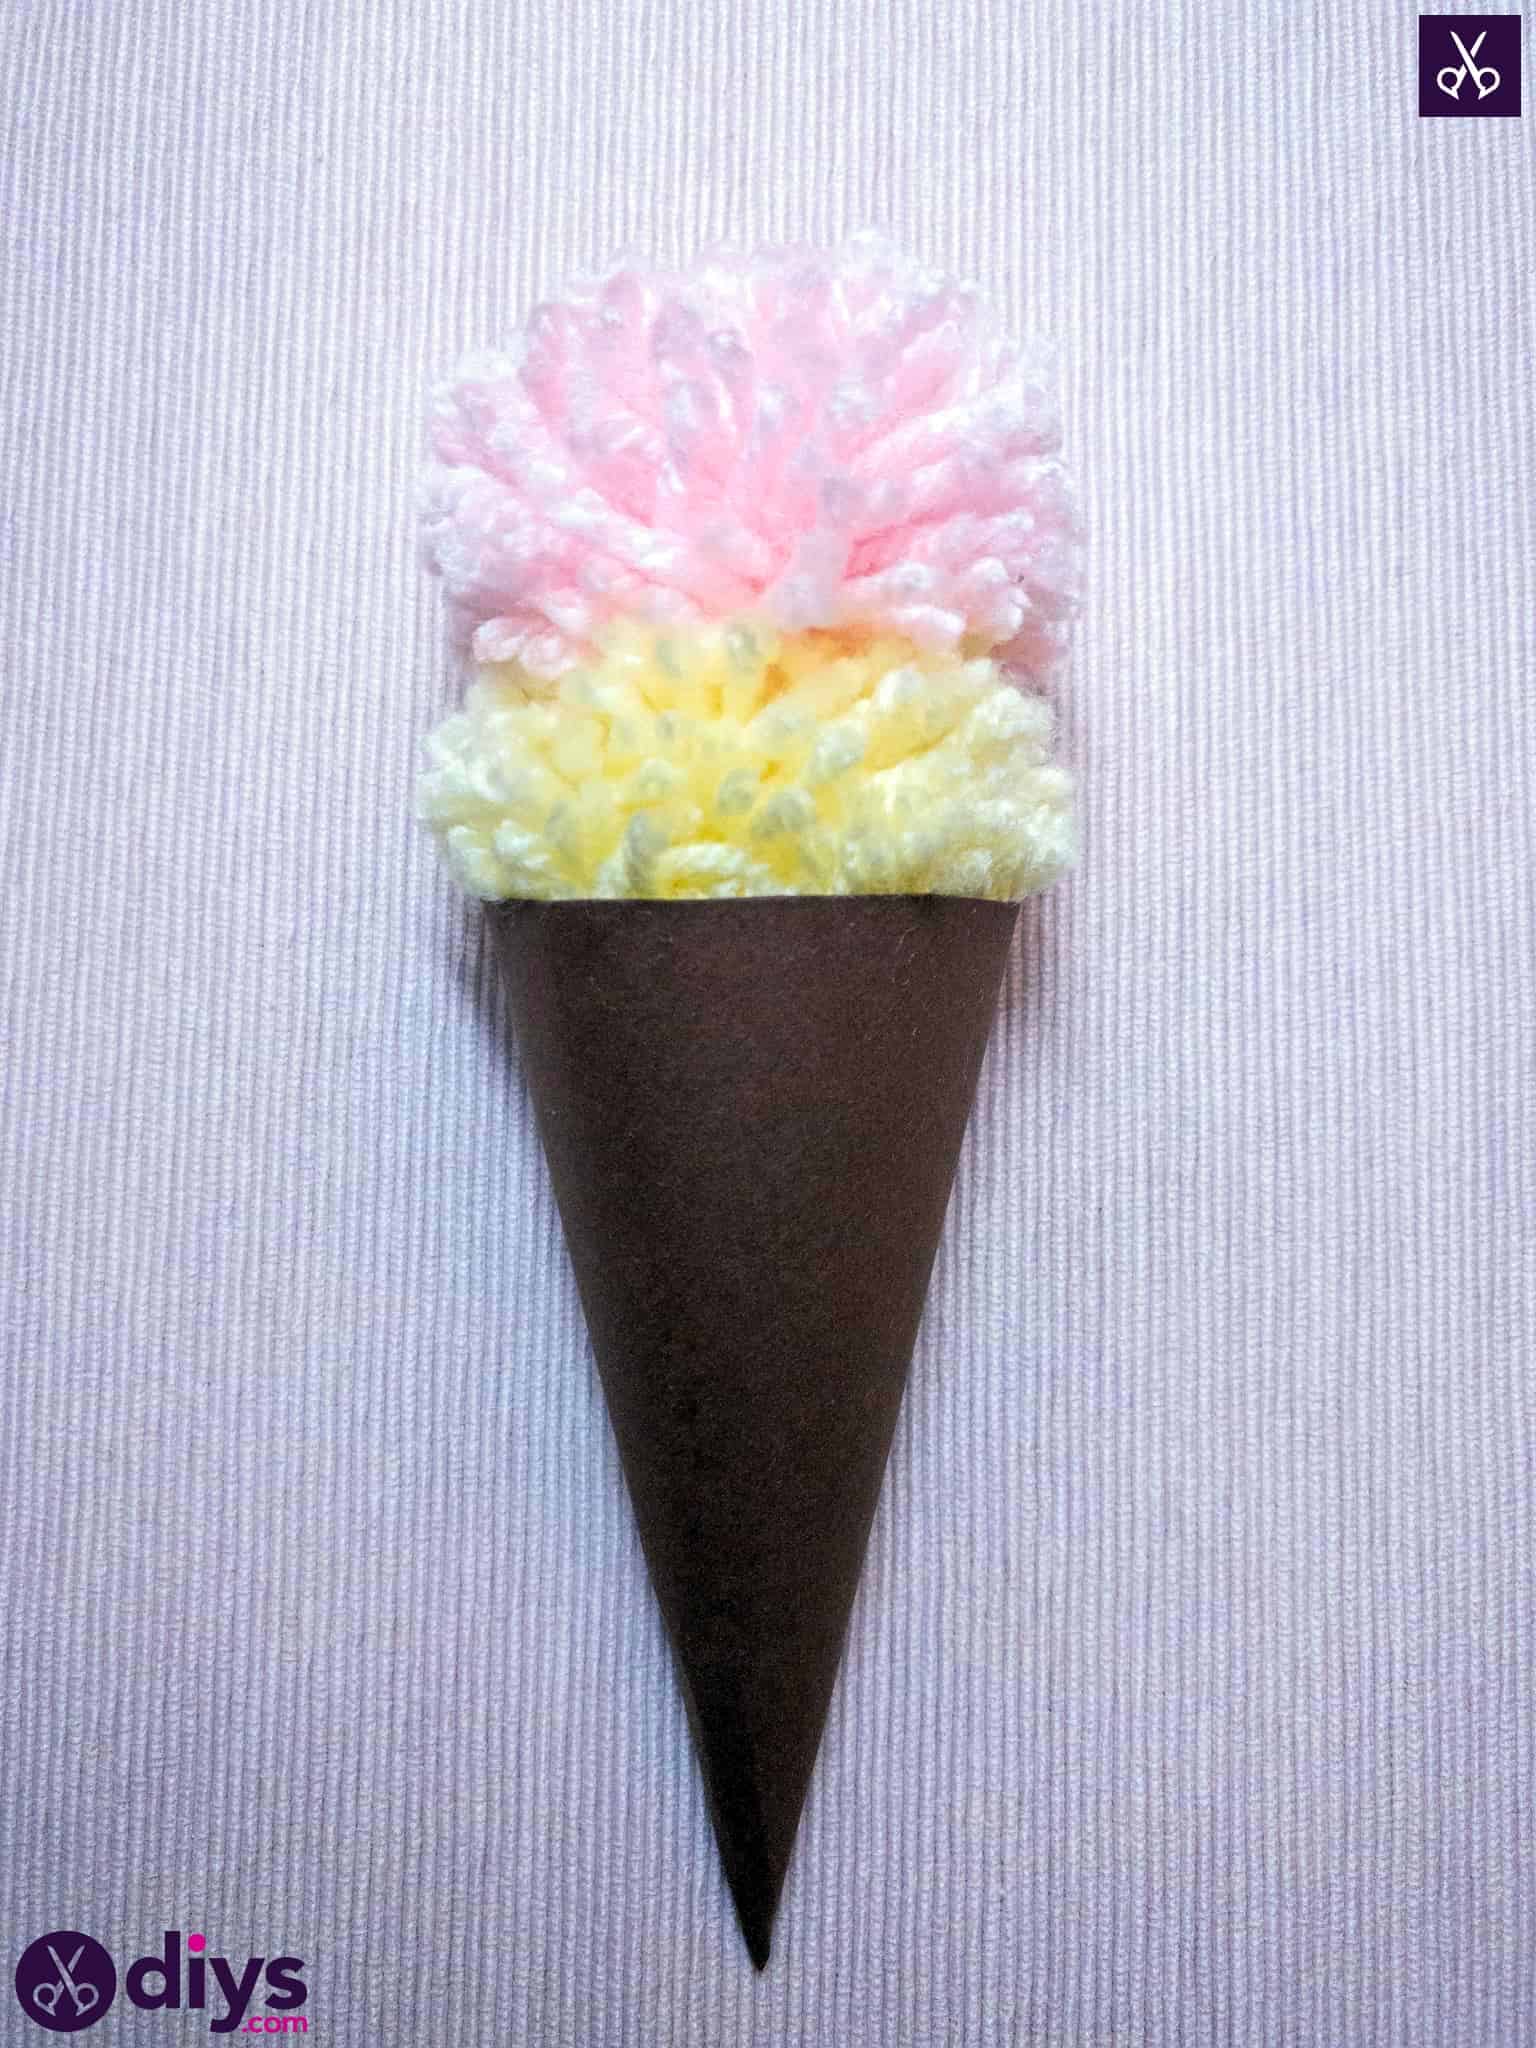
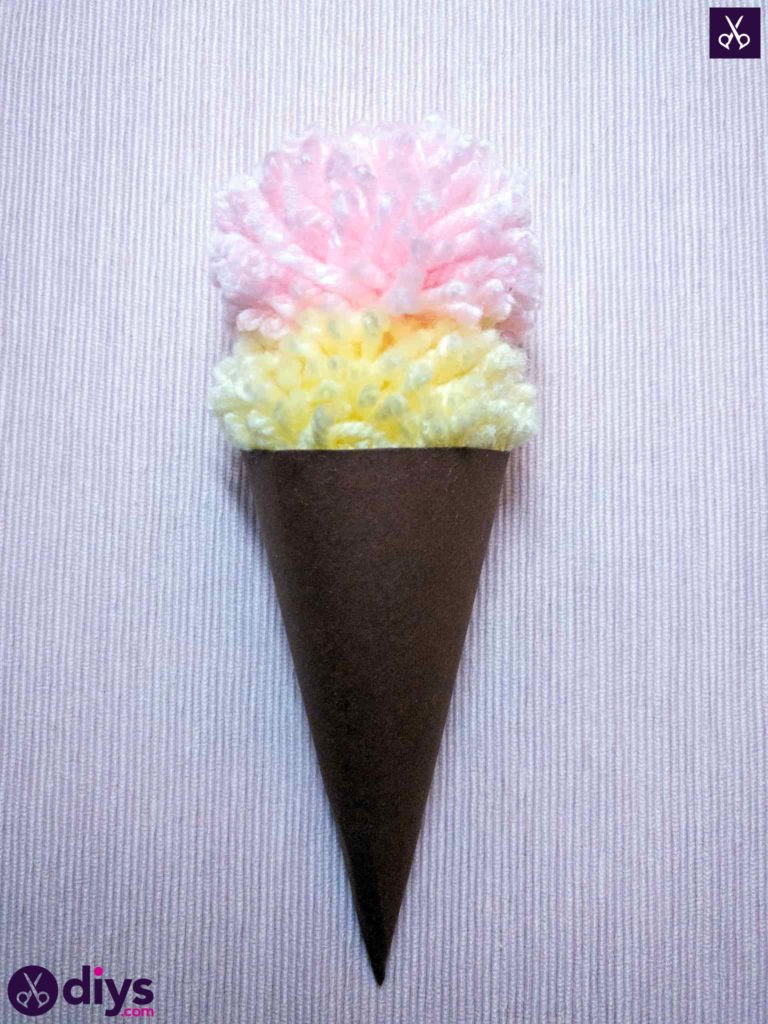
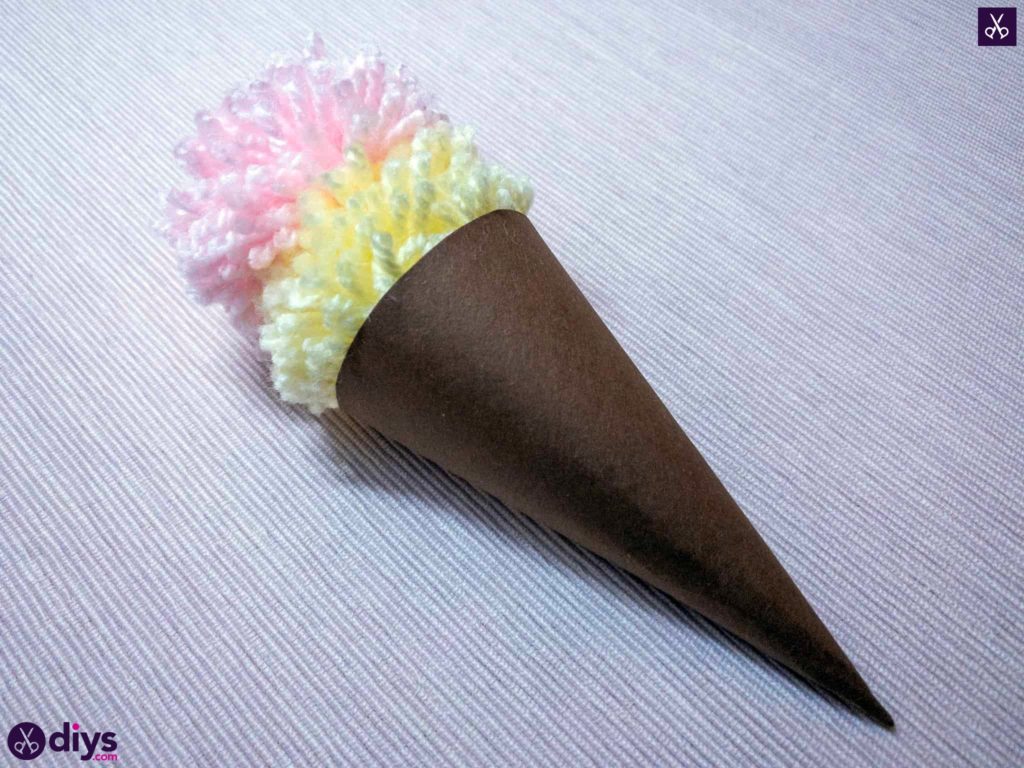
Apply a dot of hot glue on the very top of your first “scoop” and press your second pom pom into it. You now have two stacked scoops of yarn ice cream!
You’re all finished! Feel free to make more pom poms and keep stacking, if you prefer something a little more deluxe and gourmet looking rather than just your average double scooped ice cream cone.
You can find a full video tutorial for this awesome craft here!
