Easy Holiday Felt Poinsettias
One of the easiest crafts to make this season is felt poinsettias. Once you make one, you can go crazy and make a million more! And they can be used in a variety of projects. You can use them for hair clips, attached to napkin rings, scrapbooking, cards, brooches, and the list goes on. For the sake of this craft, I’m going to show you how to make a felt poinsettia hair accessory.
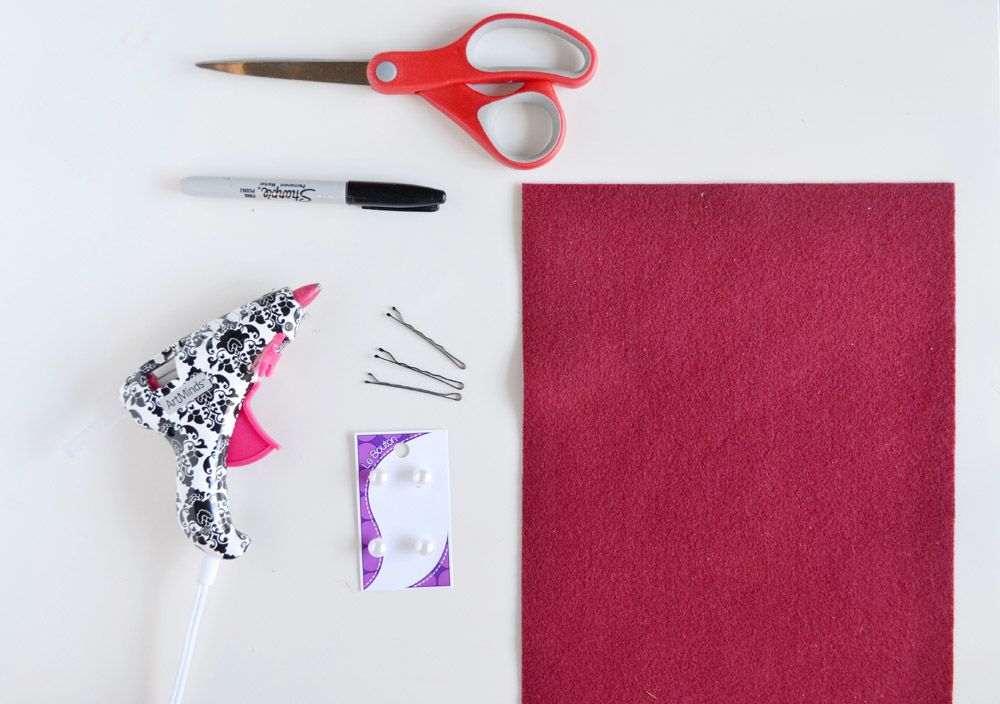
You will need:
- 1 Sheet of felt
- Scissors
- Hot glue or Fabric glue
- A ruler (optional)
- Marker or pen
- Bobby pins
- Small round buttons
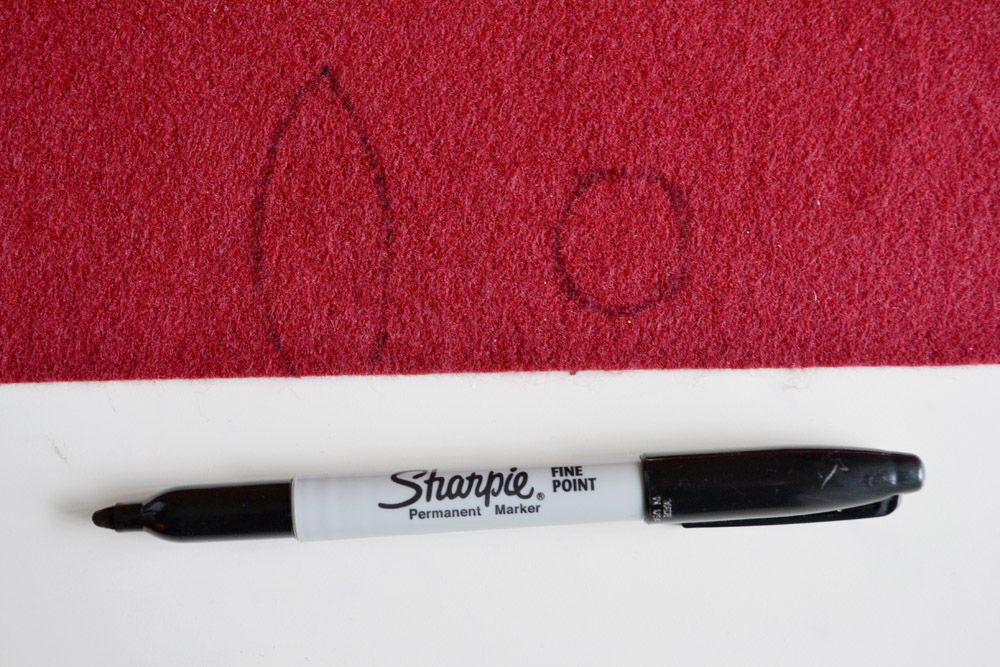
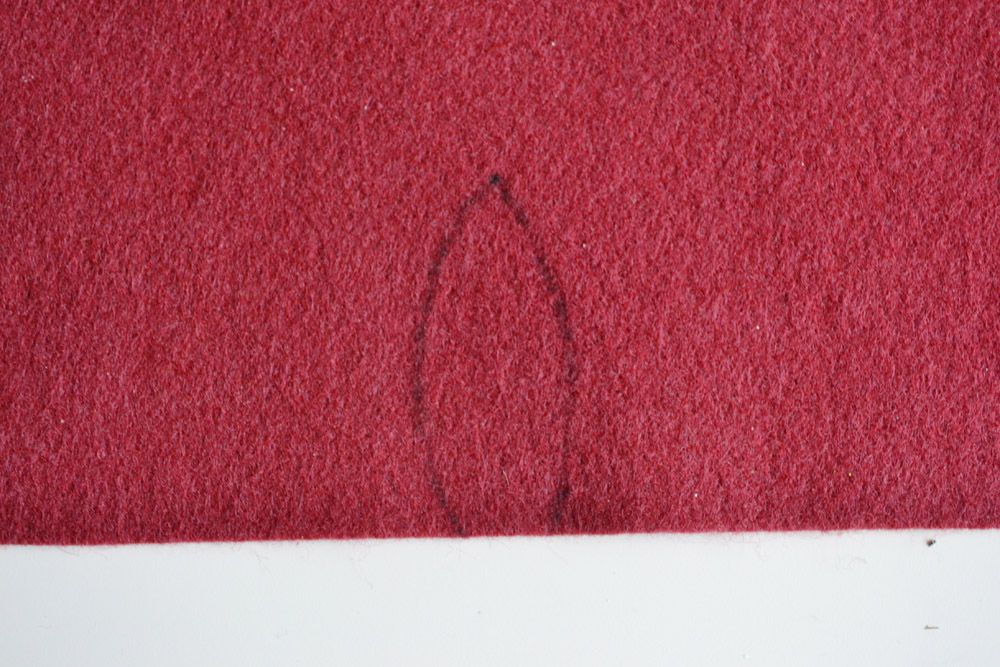
Start by creating your petals. You will be making 15 petals, 5 will be 2 1/4″ high, the next 5 will be 2″ high, and the last 5 will be 1 1/2″ high. The size of the petals can be modified to your liking. Once you create one, cut it out and use it as a template to create the other petals. Another option is to draw the petals on a sheet of paper first, and use it as a template to create the others on the felt. Also, create an approximate 1″ circle, which will be used as a base to which the petals will be glued. Cut out all of your petals.
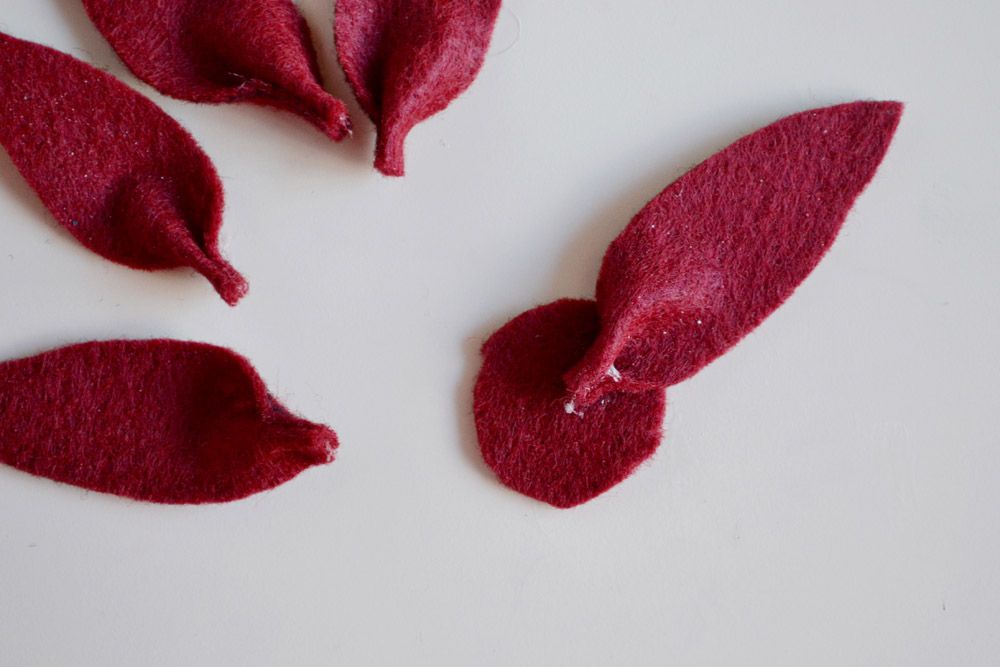
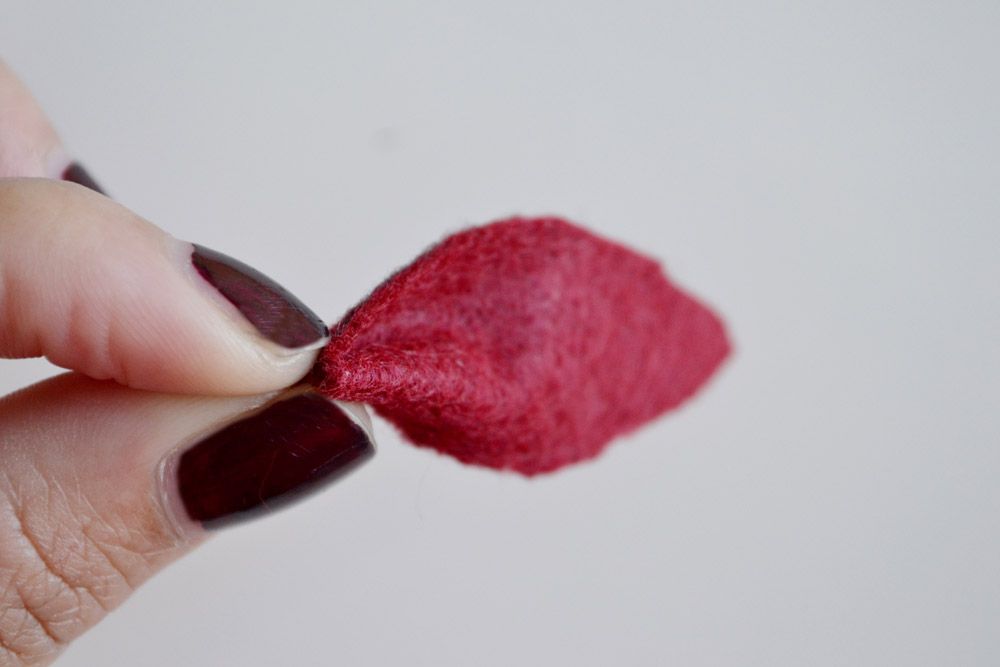
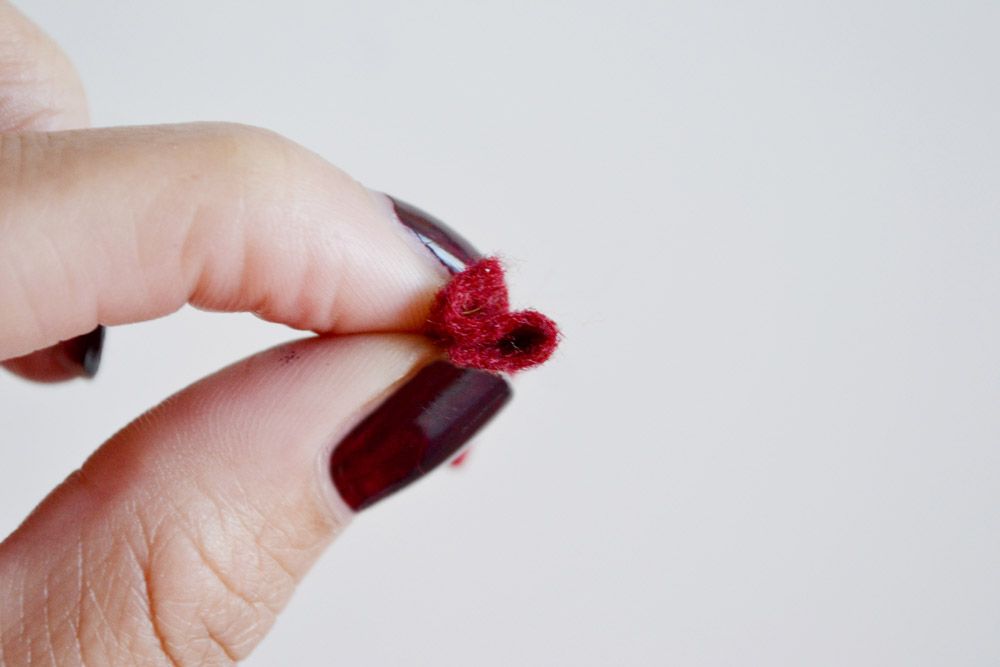
With your hot glue gun (or fabric glue) ready, fold the ends of the larger petals into a “S” form. See my photos for the proper technique. Make sure you fold with the marker writing FACE DOWN. If you used pen to create your petals, it may not show as much, but I used marker and it shows! I’ve seen this part done several different ways, however, I want to show you my technique. Making this “S” form at the base will give your flower a 3D effect, rather than it lying completely flat when it is finished. Very carefully, glue secure the “S” form at the end. If this is too difficult with hot glue, use fabric glue. I know hot glue can burn pretty bad if it hits the skin, especially on a project like this if you’re not careful! If you are doing this craft with small children, you can skip this step.
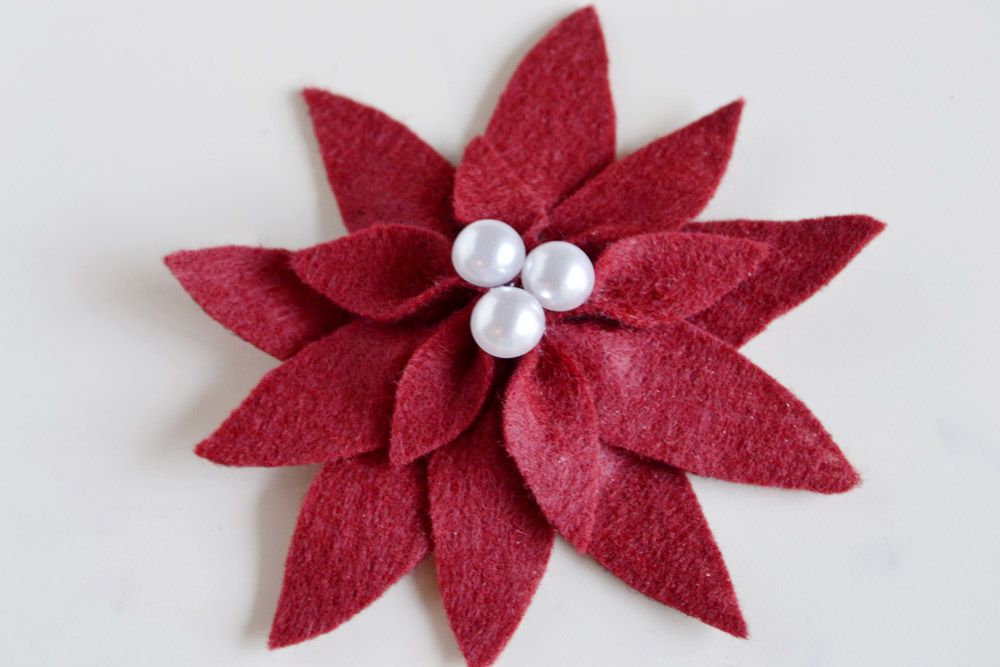
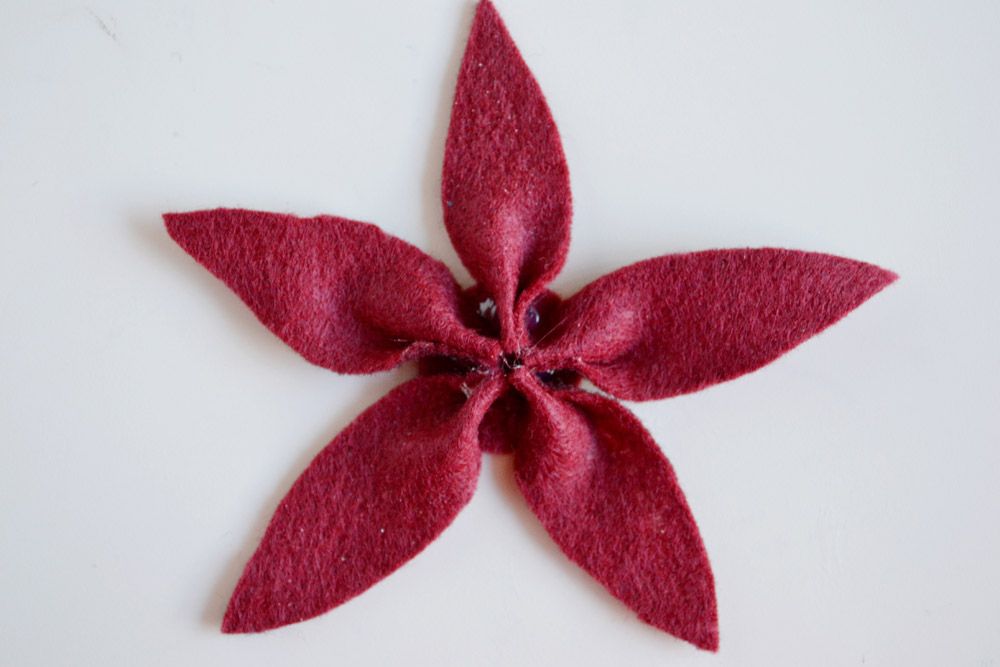
Once your petals are glued individually, adhere the larger 5 petals on the circle base. Fold and adhere the next 5 petals on top of that layer, gradually building up the flower, and making sure each new petal sits in between the two underneath it. When you are finished you should have all the petals built up with the largest ones on the bottom and the smallest on top.
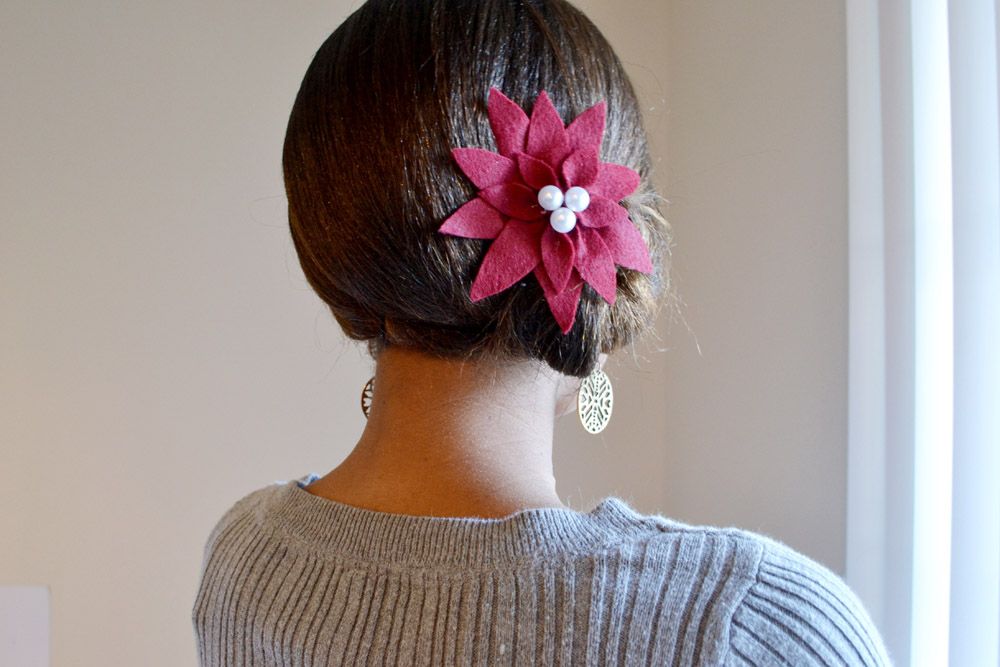
Glue 3 small buttons in the center of the flower to complete it. If you used hot glue, pull all of those unwanted glue strings away to reveal the finished poinsettia! So pretty! Feel free to stop here and use your poinsettia for whatever other project you’d like.
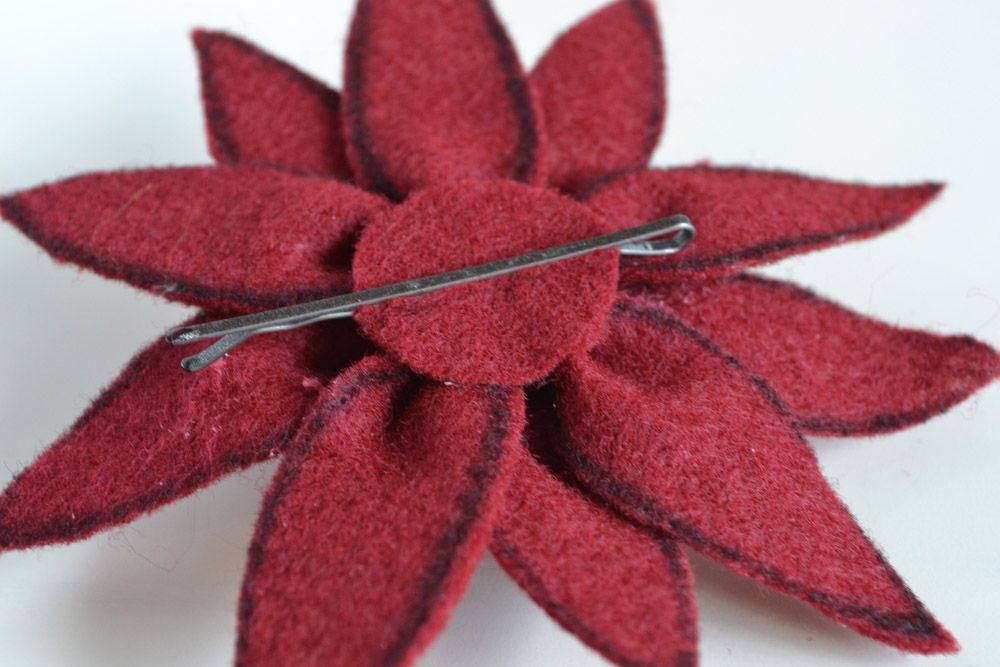
To make a hair accessory, slide a bobby pin in the bottom of the flower. You can insert the bobby pin before gluing the petals down if you’d like, as it may be a bit difficult to shove the pin in once the flower is complete. I attached the pin at the end, so I could slide it right out and use the poinsettia for another project if needed!
And there you have it! All done! This hair accessory is great for Christmas parties and any other semi-formal holiday event!
