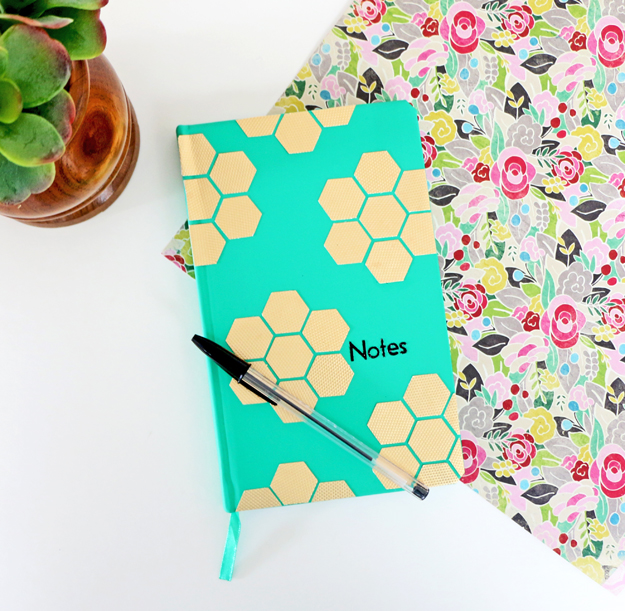
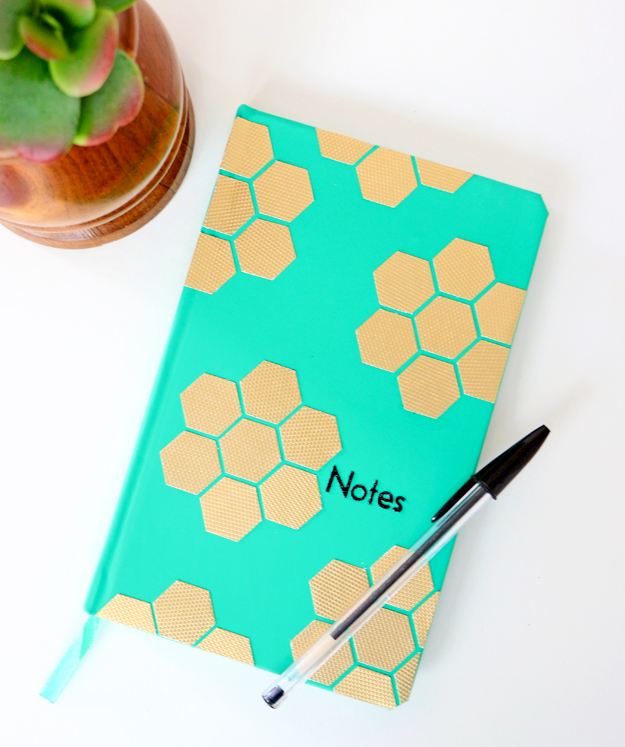
DIY Gold Hexagon Embellished Journal
Living in a very tech-centered world means everything we do is done digitally/electronically. We send emails instead of regular mail, we keep track of important meetings and dates on our digital calendars, and we even get directions from our smartphones instead of using a paper map. Being so digitally driven is nice and all, but sometimes it’s nice to go back to the basics when everything was much simpler.
There is nothing better than sitting down with a cup of coffee or tea and jotting down your to-dos for the day. There is something to be said about physically writing an idea down as opposed to typing it into a phone, laptop, or tablet. It is so fulfilling to cross off each to-do once it has been completed. Having a notebook on hand is also a great way to capture any ideas or goals that may pop into you head.
In an effort to slow down and reconnect with the way things used to be, I thought it would be nice to create a custom journal. You can jot down ideas, keep track of your to-dos for the day, and note any important happenings that occurred during the day. With a little help from a paper punch and some Mod Podge, you can create your very own customize journal for capturing all of your thoughts and to-dos! After you create your custom journal, toss it into your purse or workbag so it is handy anytime an amazing idea comes to you!
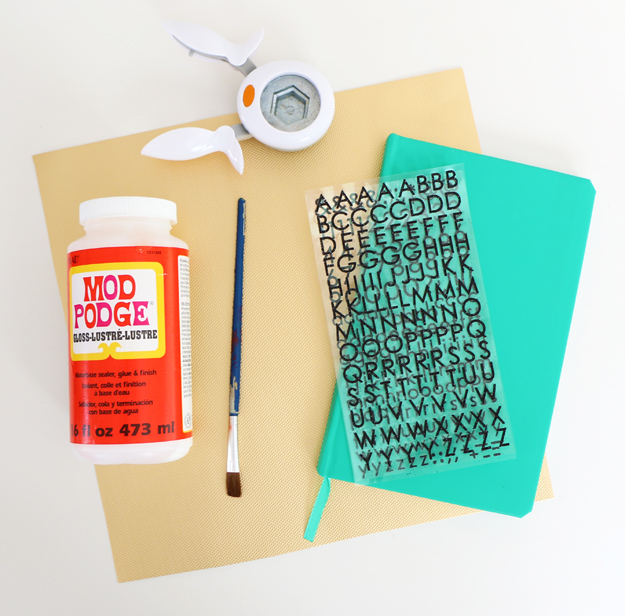
For this project you will need:
- Journal
- Gold Metallic Paper
- Hexagon Punch
- Mod Podge
- Scissors
- Paint Brush
- Black Alpha Stickers
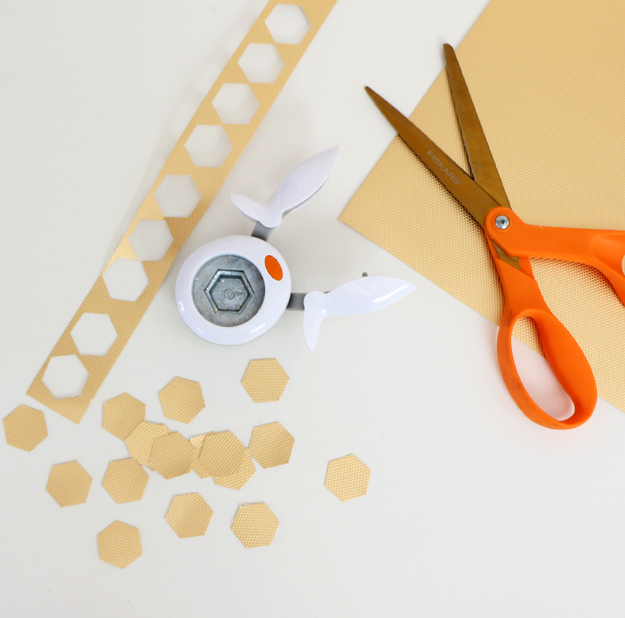
Step 1: Cut a strip of gold paper that is wider than your hexagon punch and punch out numerous hexagons. When you are punching out our hexagons, flip your punch over so you can see the design. This will help get the perfect punch without wasting any paper.
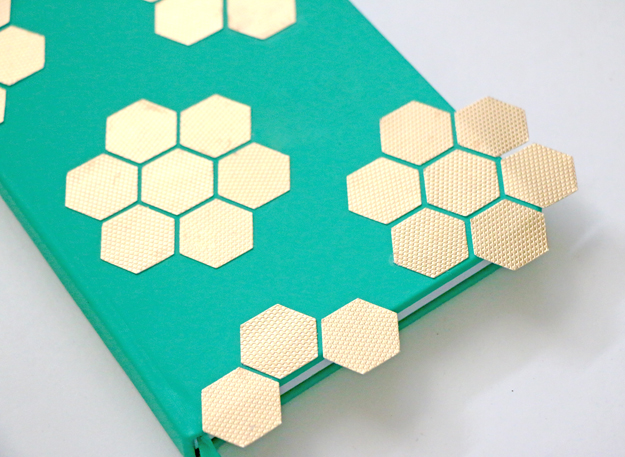
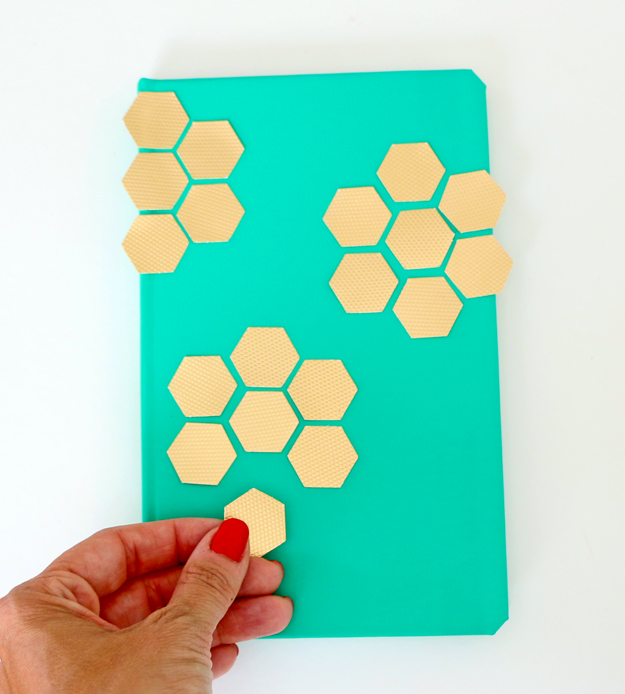
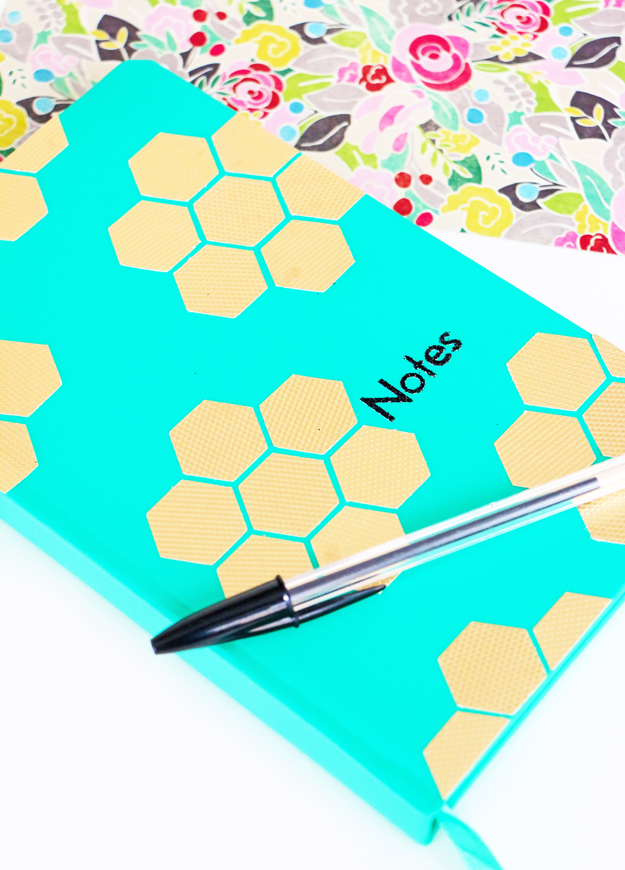
Step 2: Arrange your hexagons on your notebook until you get your desired design.
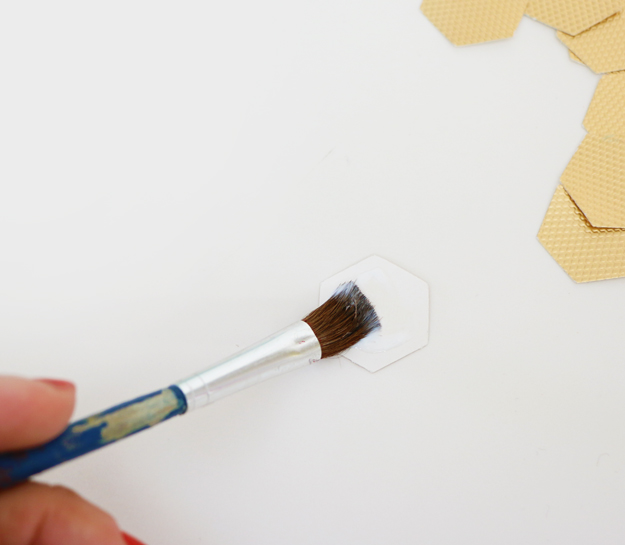
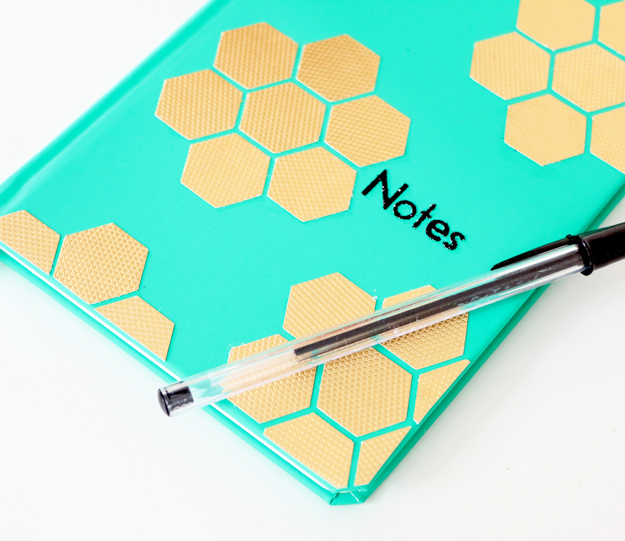
Step 3: Add Mod Podge to the back of your paper hexagon with your paint brush and place it on the front of your journal. I had some of my hexagons going over the edge of my journal.
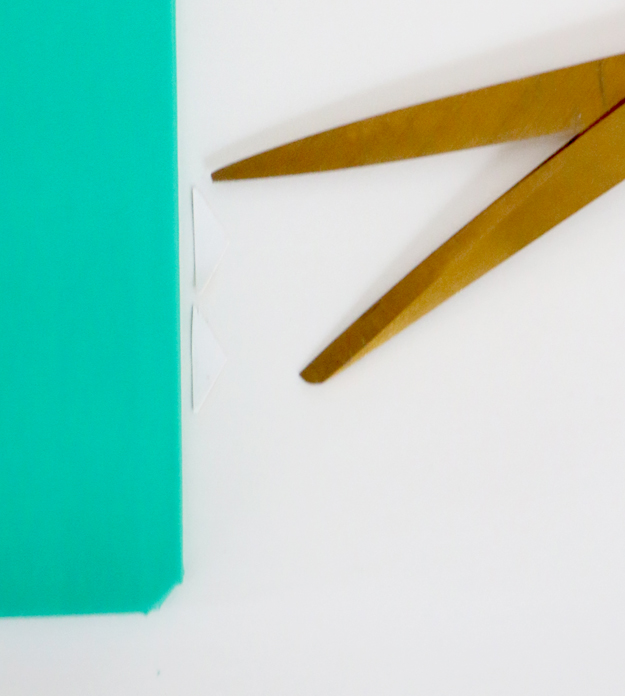
Step 4: After you have glued down all of your paper hexagons (and the glue is dry), trim off the hexagons that are going over the edge of your journal. This will make your book and hexagon cut-outs even.
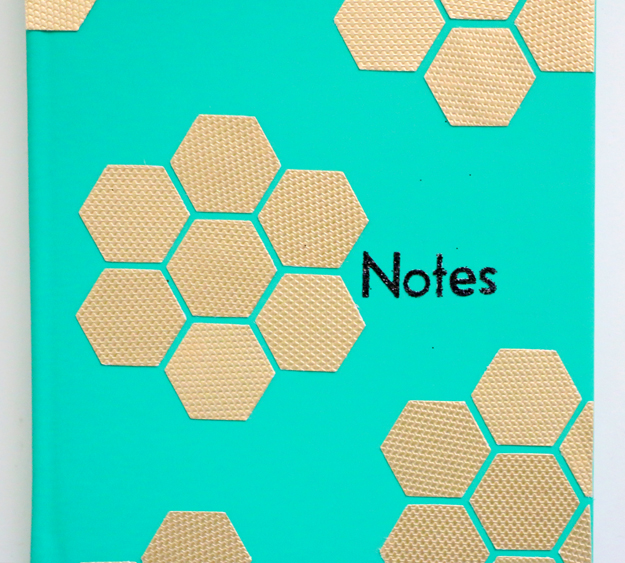
Step 5: Grab your alpha stickers and add them to your notebook. I added “Notes” to the lower right hand side of my journal. If you need help getting your letters straight, go ahead and use a ruler. Once your letters have been added, your journal is ready to be used!
