How to Make a Hedgehog Puppet from Autumn Leaves
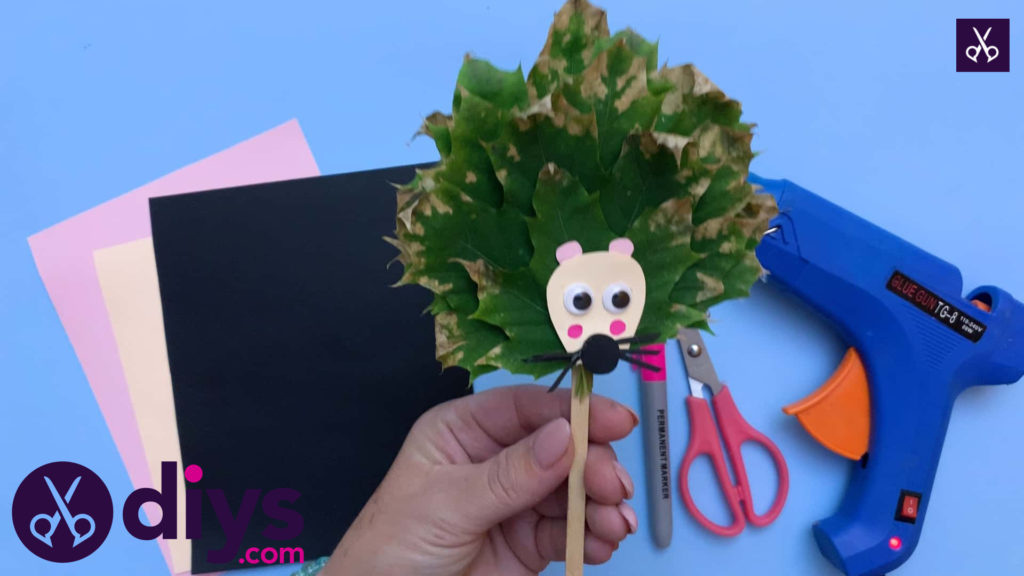
Now that fall is here, my kids are totally obsessed with autumn leaves! They love raking them into piles and jumping into them, crunching them under their feet, and collecting the ones they think look the most interesting. That’s why I’ve been on the lookout for cool ideas that will help them incorporate leaves into their crafting process. The moment I thought of these adorable little hedgehog leaf puppets, I knew I just had to document the steps so that other people can try it out with their own kids too!
If you’re the kind of person who has always preferred following along with videos over reading written instructions, scroll to the bottom to find a full video tutorial instead.
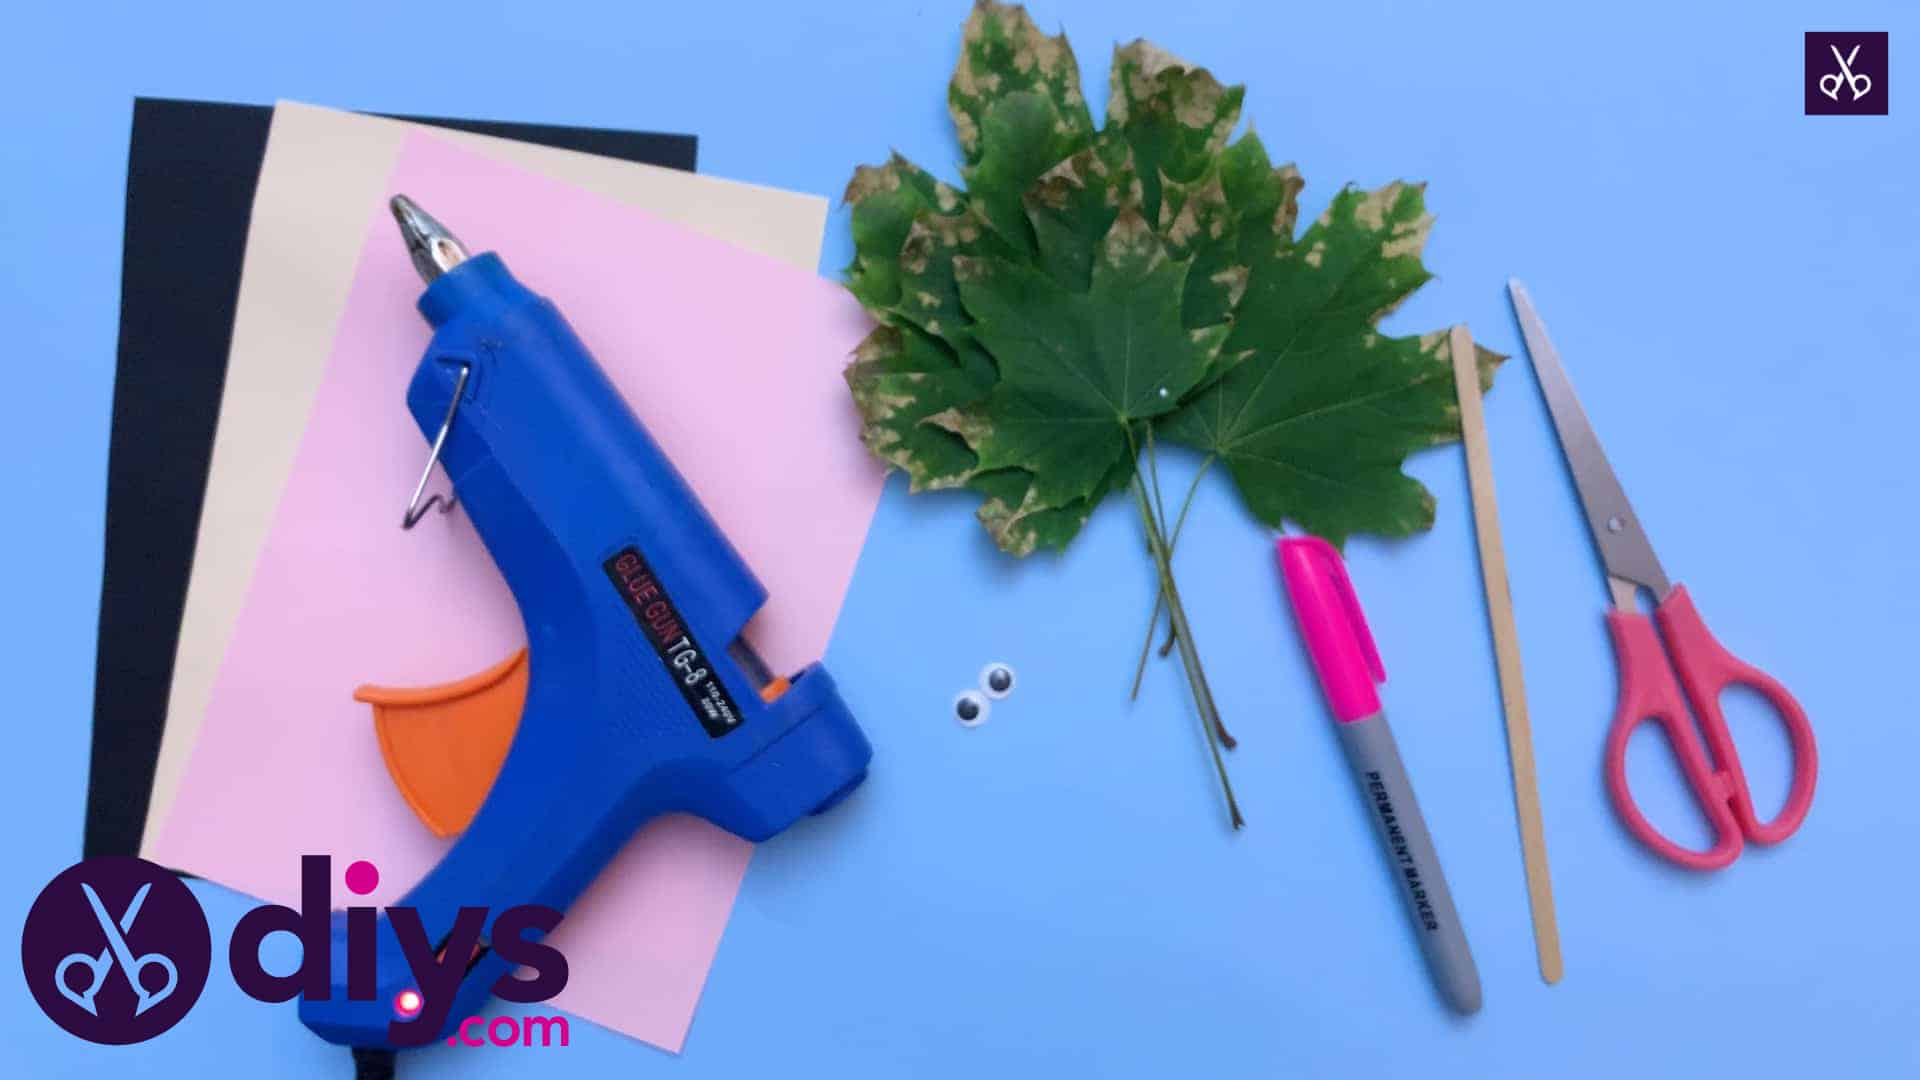
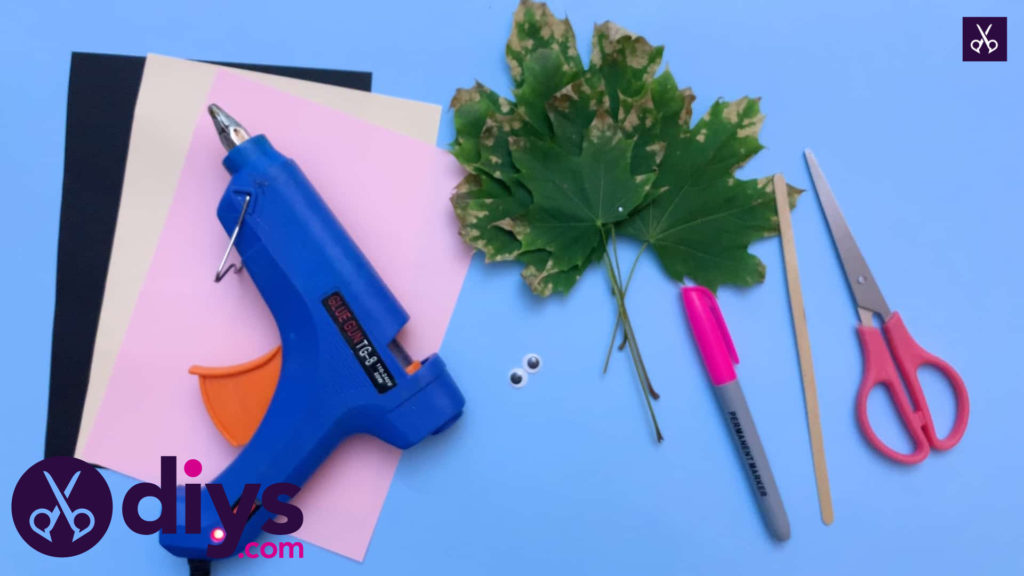
For this project, you’ll need:
- Coloured paper (black, light pink, and peach or tan)
- Two googly eyes
- A pink marker
- A popsicle stick
- Scissors
- A glue gun
- Fall leaves (about 4, ranging from big to small)
Step 1: get things ready
Gather all of your materials from your items list.
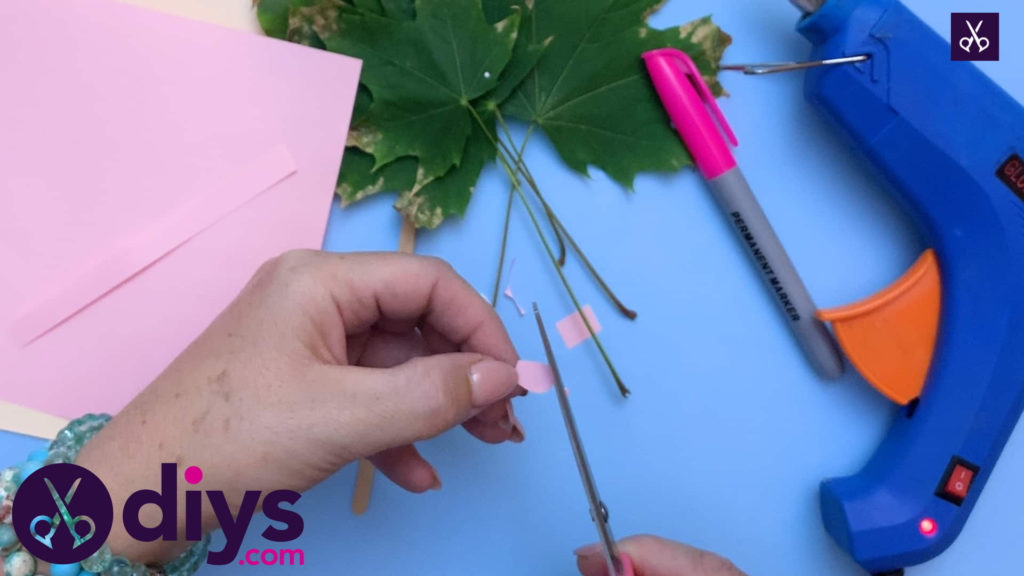
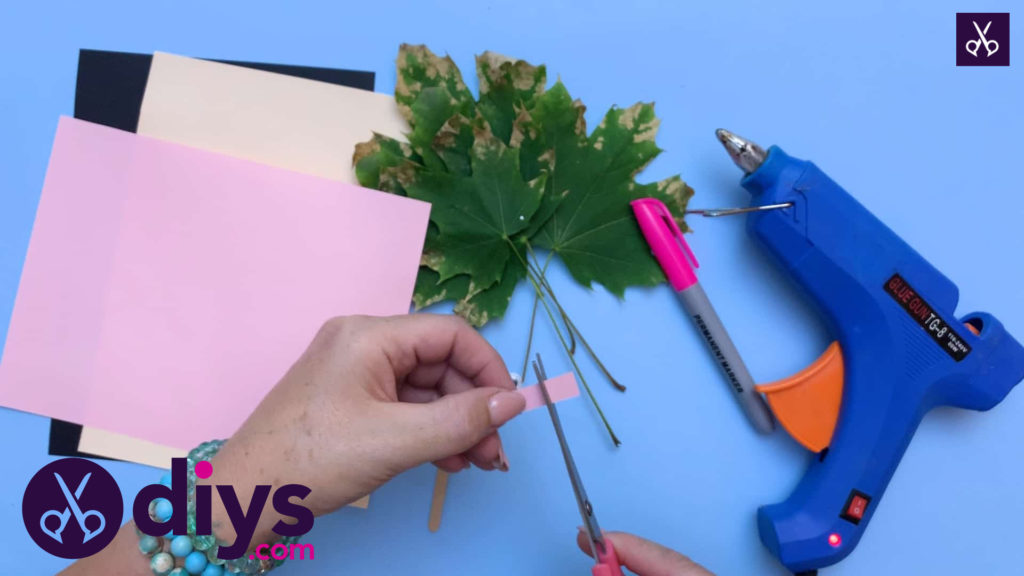
Step 2: cut two ovals
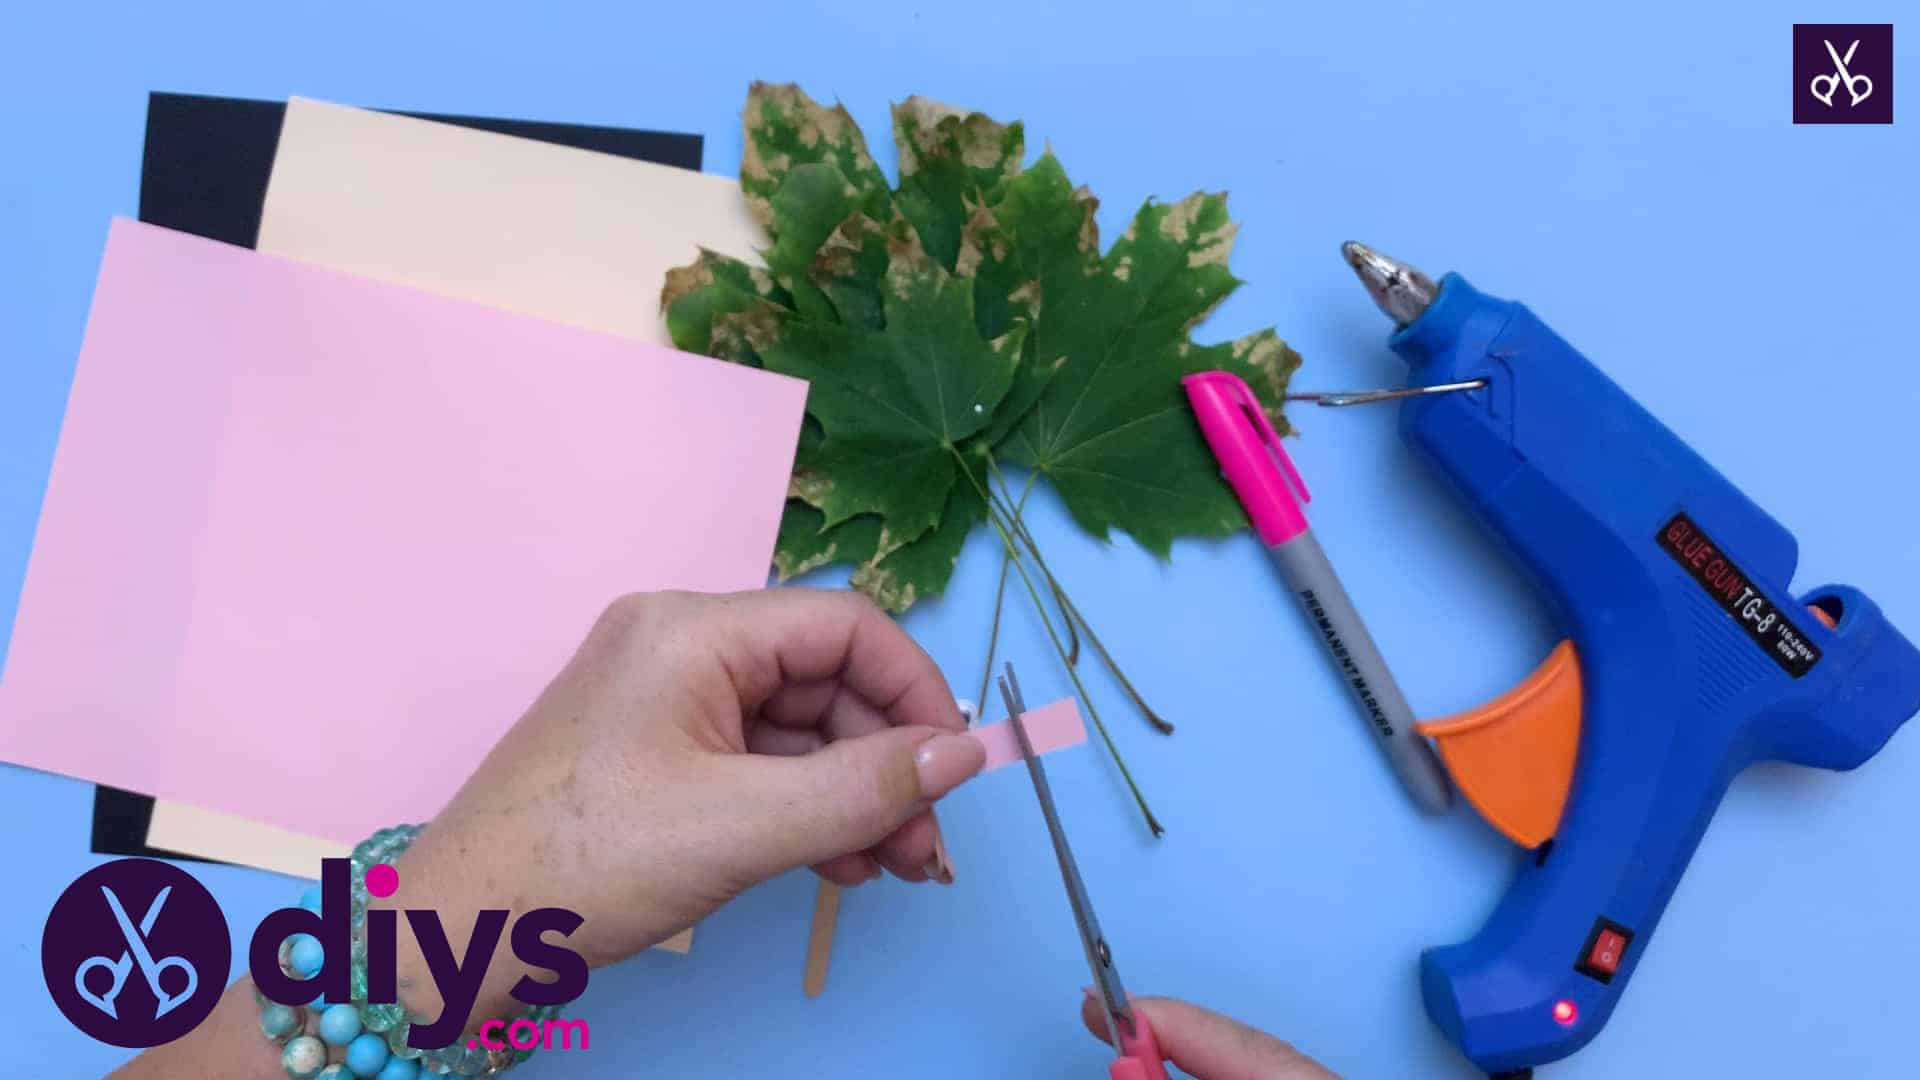
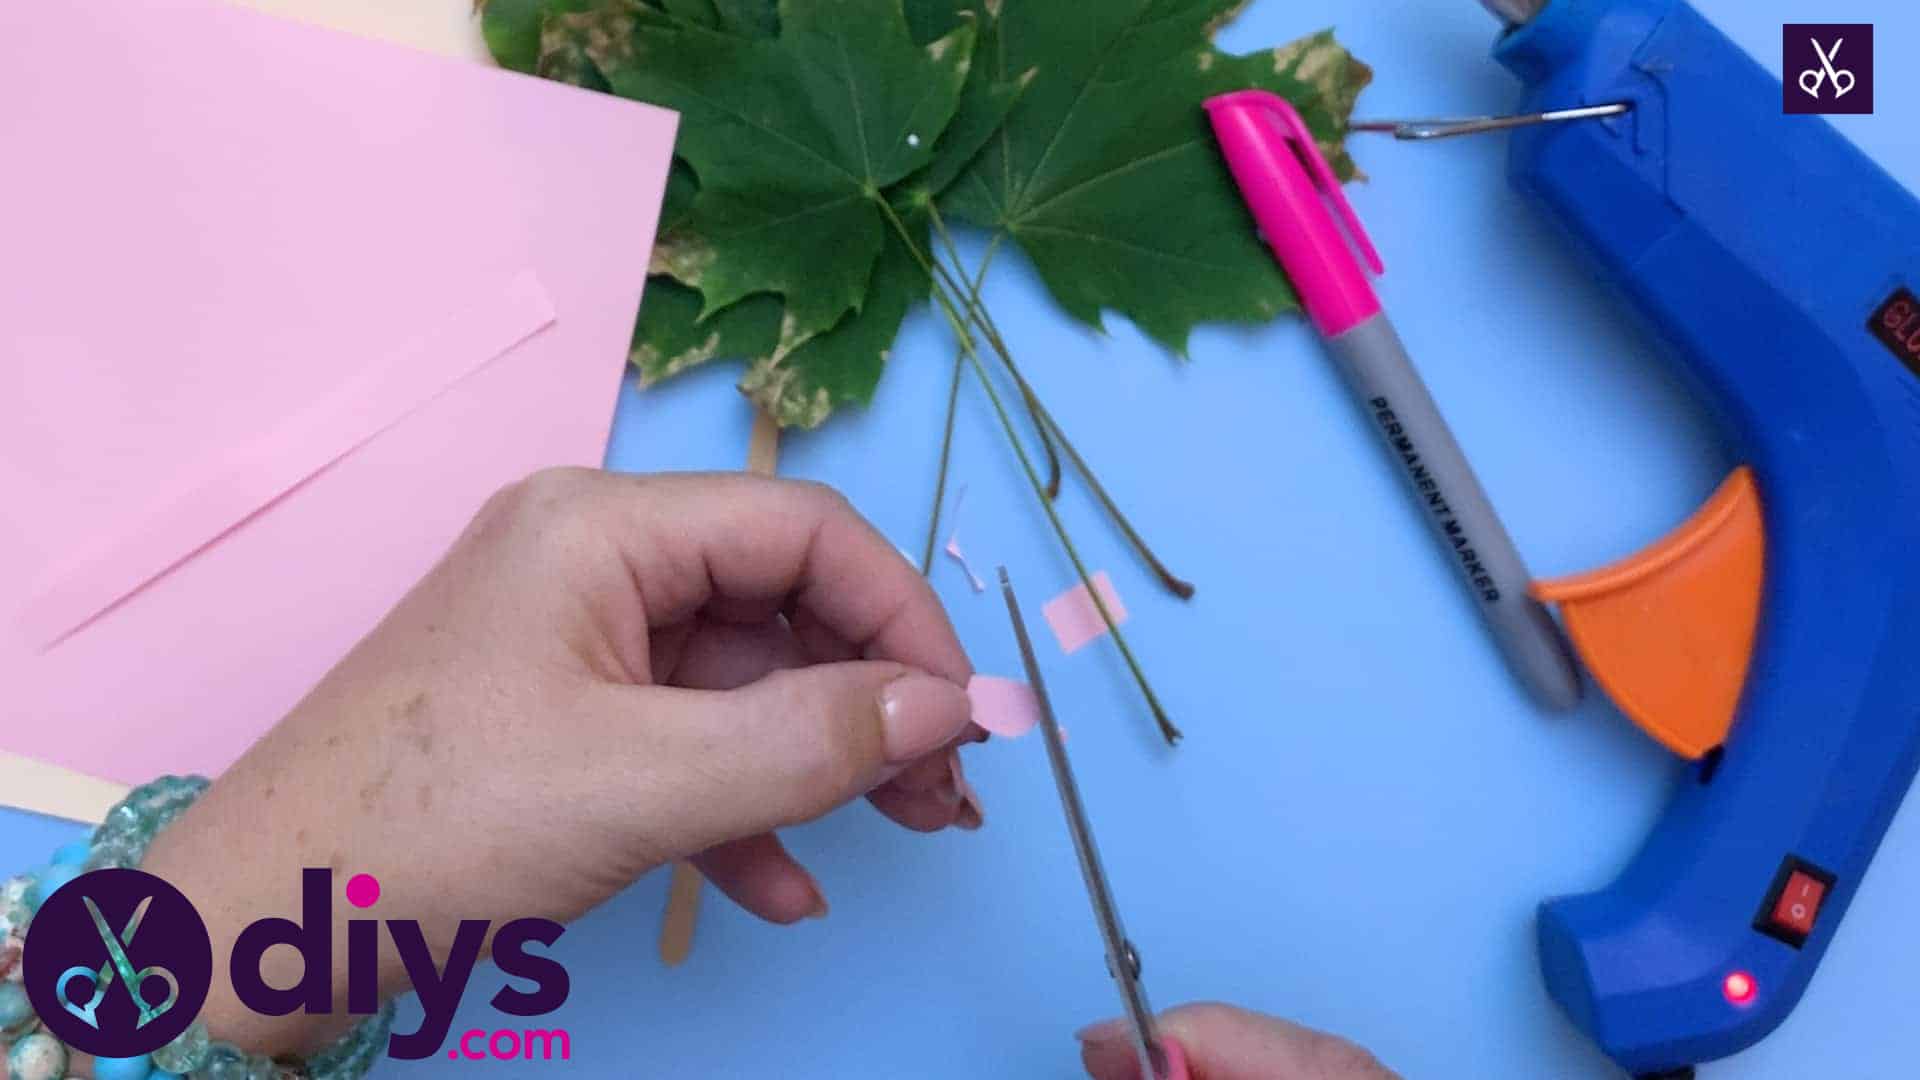
Cut two very small ovals from your light pink paper. These will be your hedgehog’s little ears, so think you sizing accordingly. I started by cutting a strip from the pink paper, then cutting two equally sized small squares from the end of the strip, and then rounding the corners off until I got the shape I wanted. I find this technique makes it easier for me to get an even shape.
Step 3: cut the face
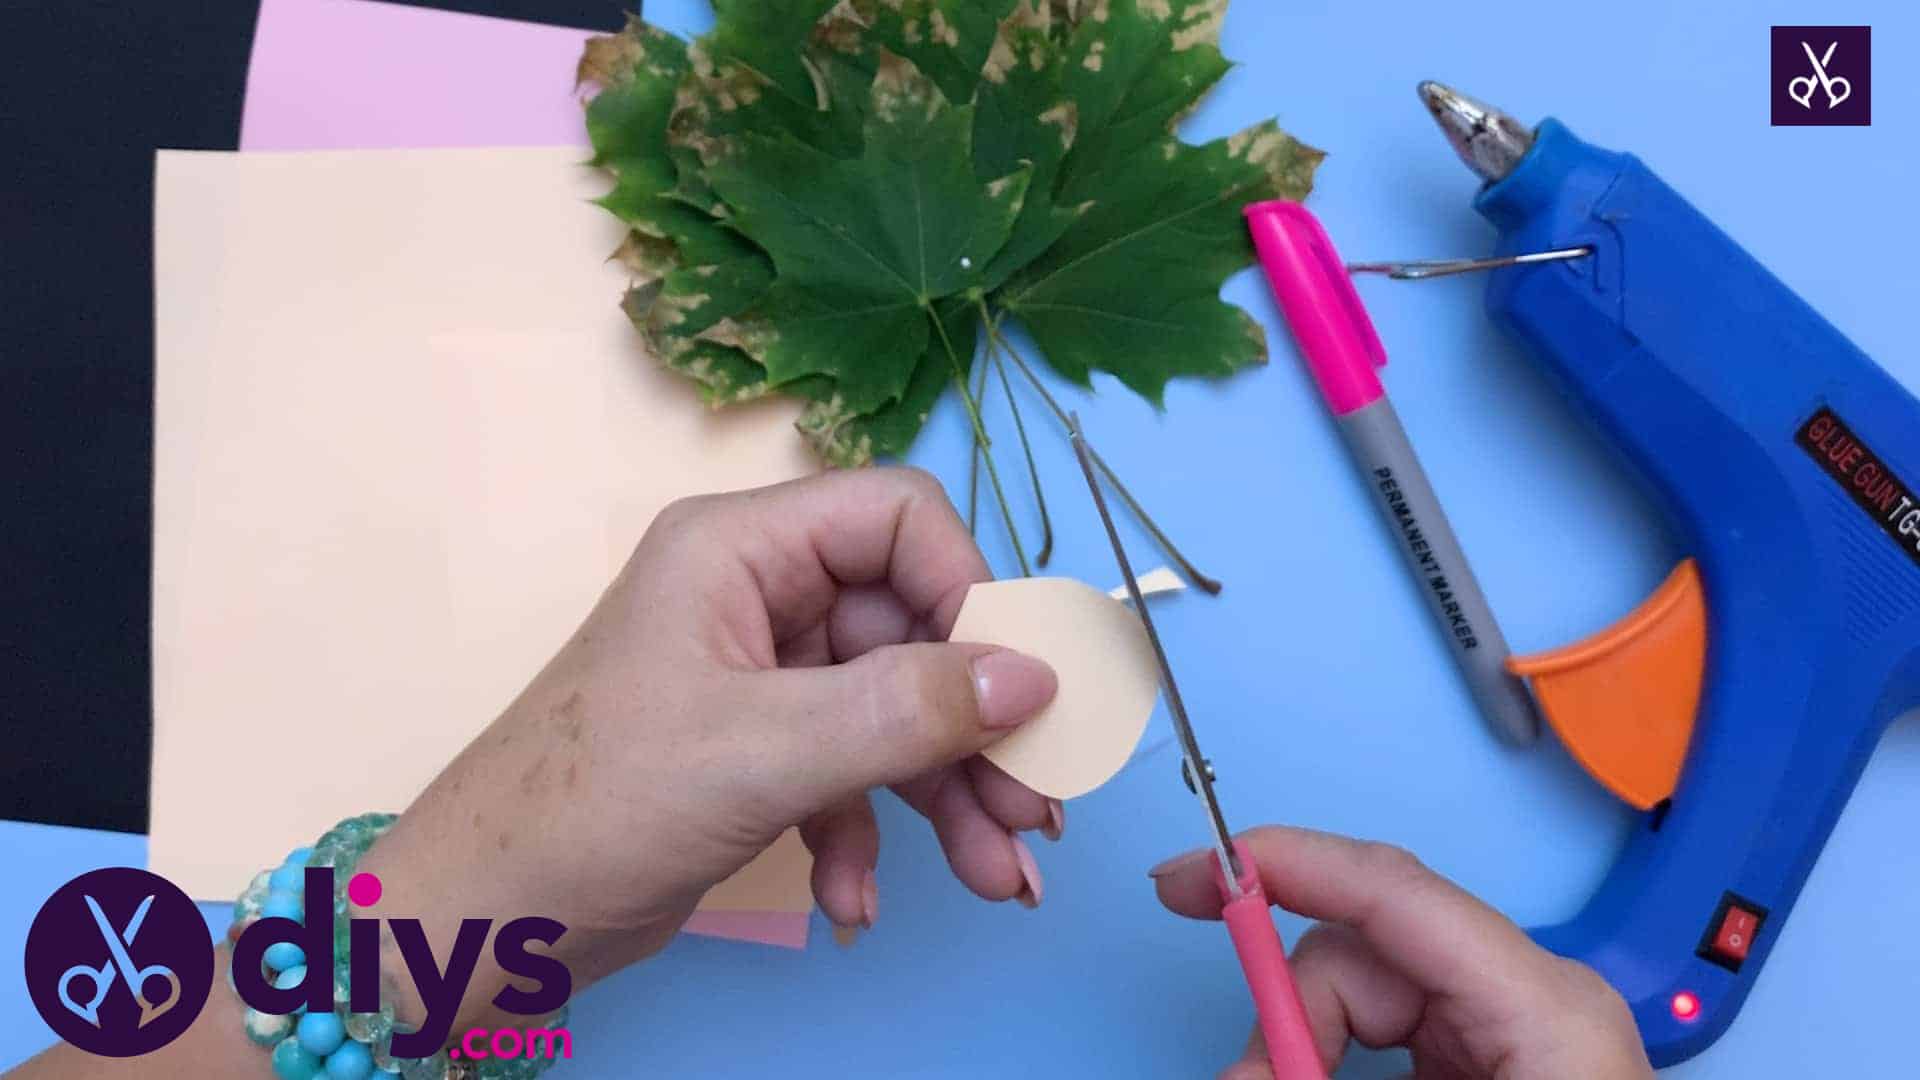
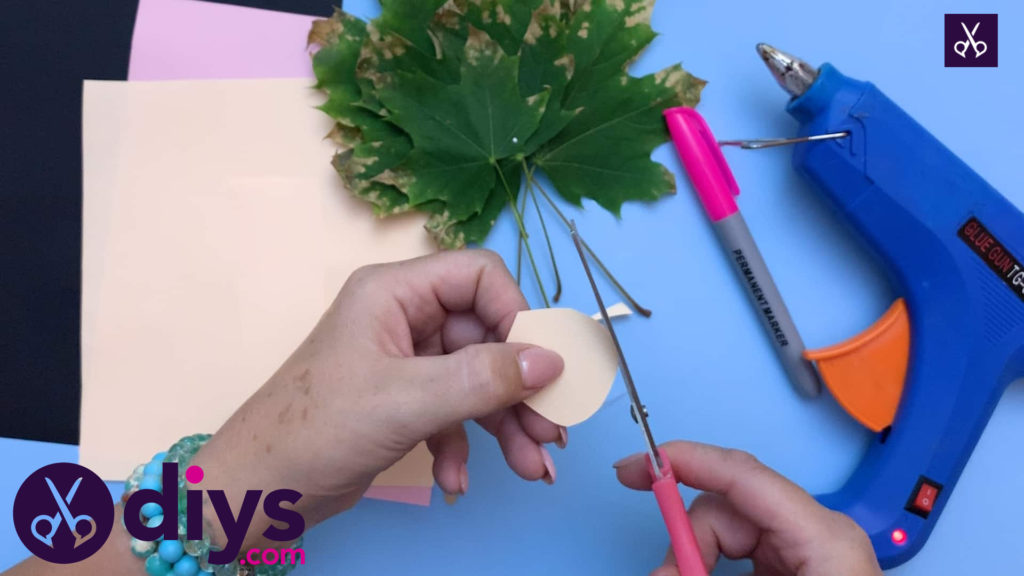
Cut the shape of an upside down egg from your cream coloured sheet of paper, but cut the tip of the smaller end straight across instead of rounding it. This will be your hedgehog’s head. I found the easiest way to make an evenly cut shape was to first cut a rectangular strip and then round off the corners and edges from there.
Step 4: nose and whiskers
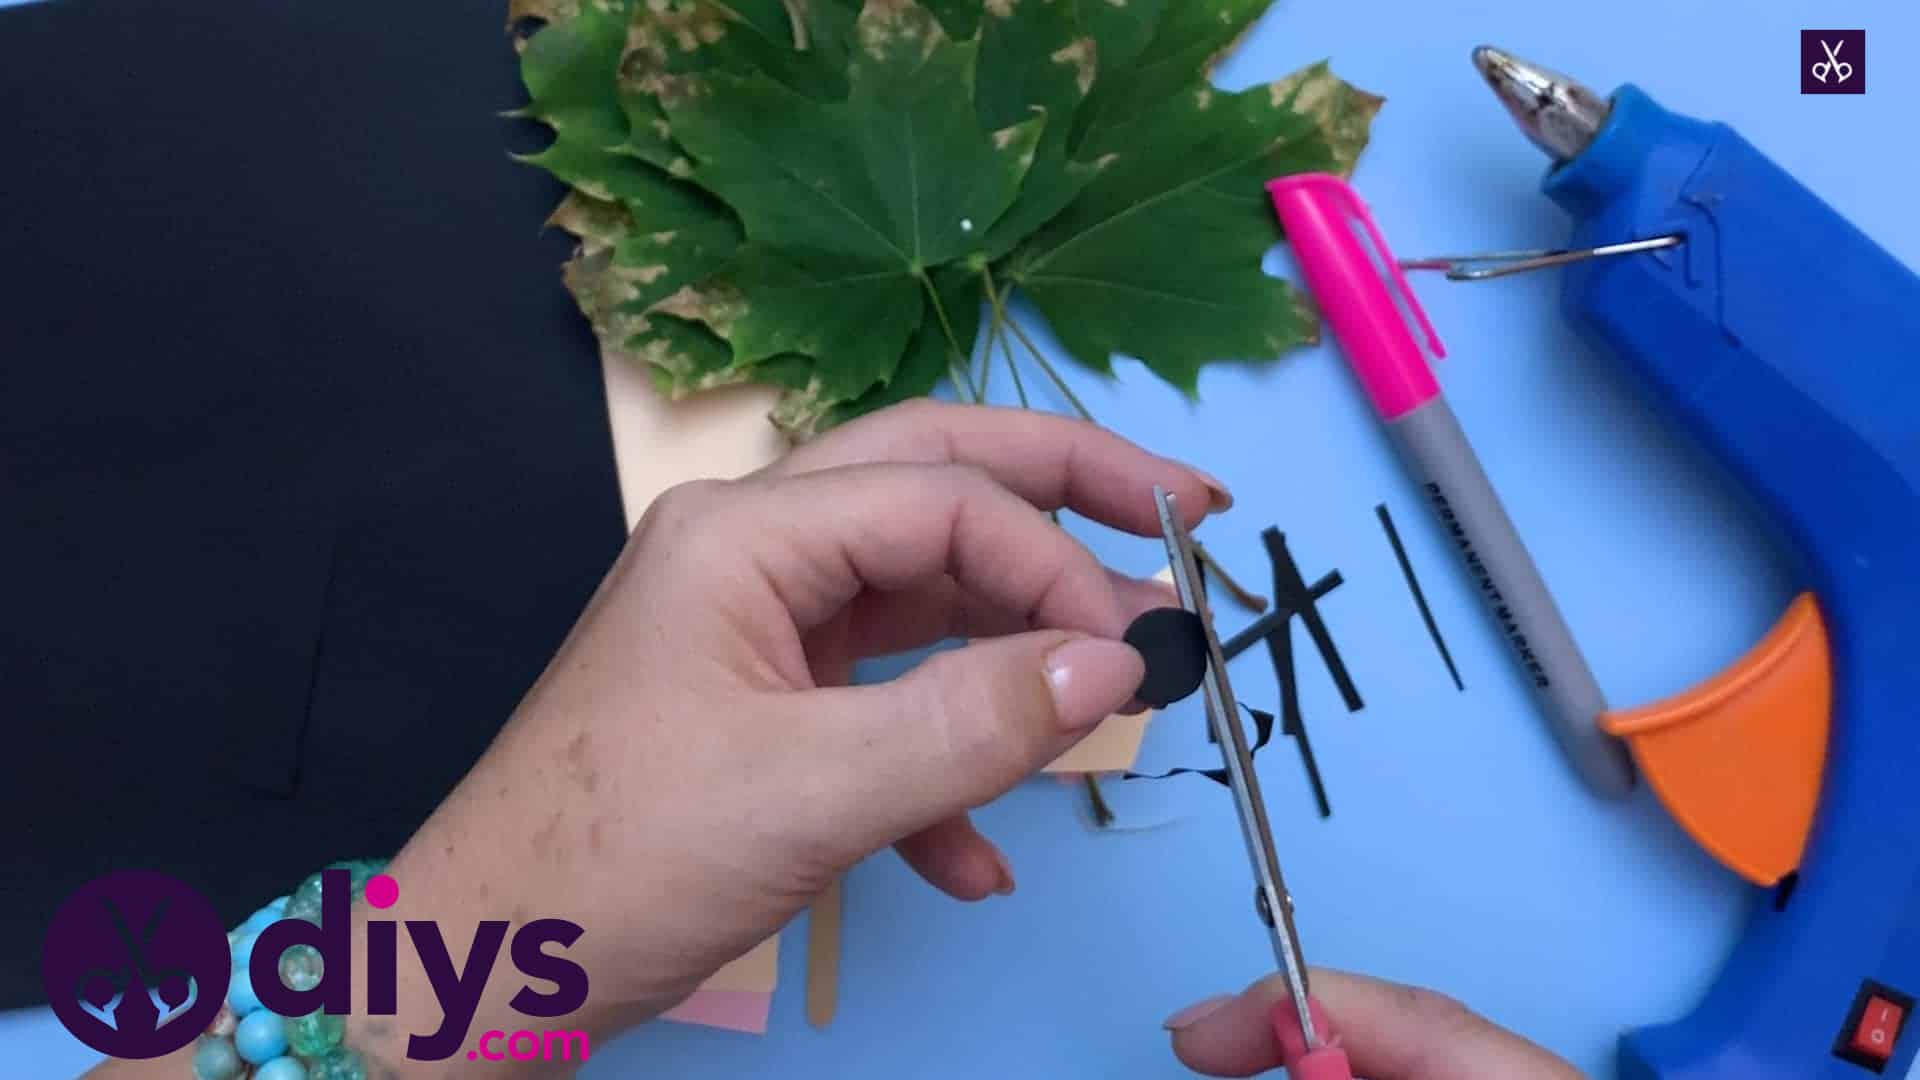
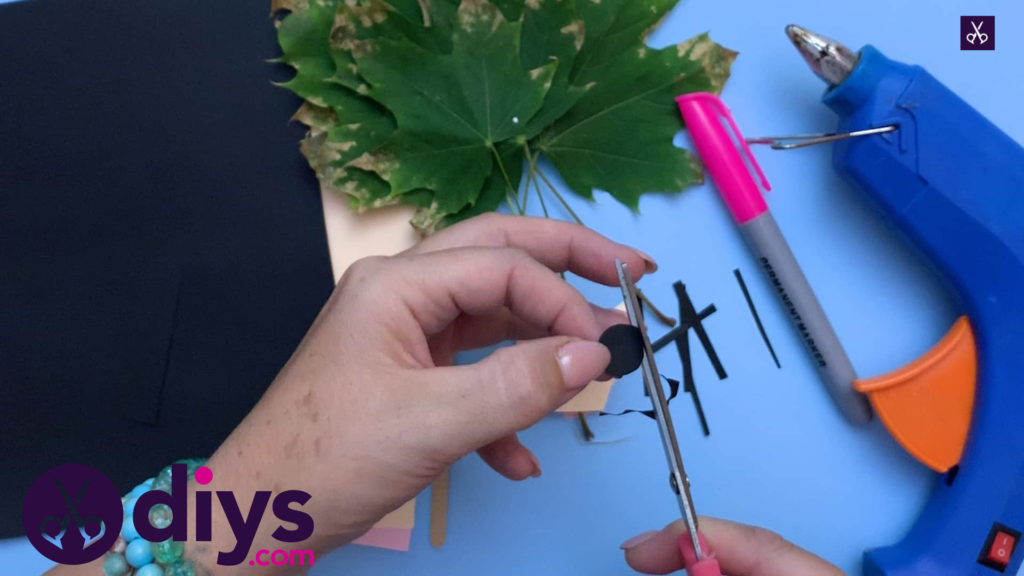
Cut a thing, short rectangular piece from your black paper and then cut a square from the end of that. Round the edges of the square off into an oval shape to make your hedgehog’s nose, then cut the leftover little triangle into thinner strips to make your hedgehog’s whiskers.
Step 5: make the body
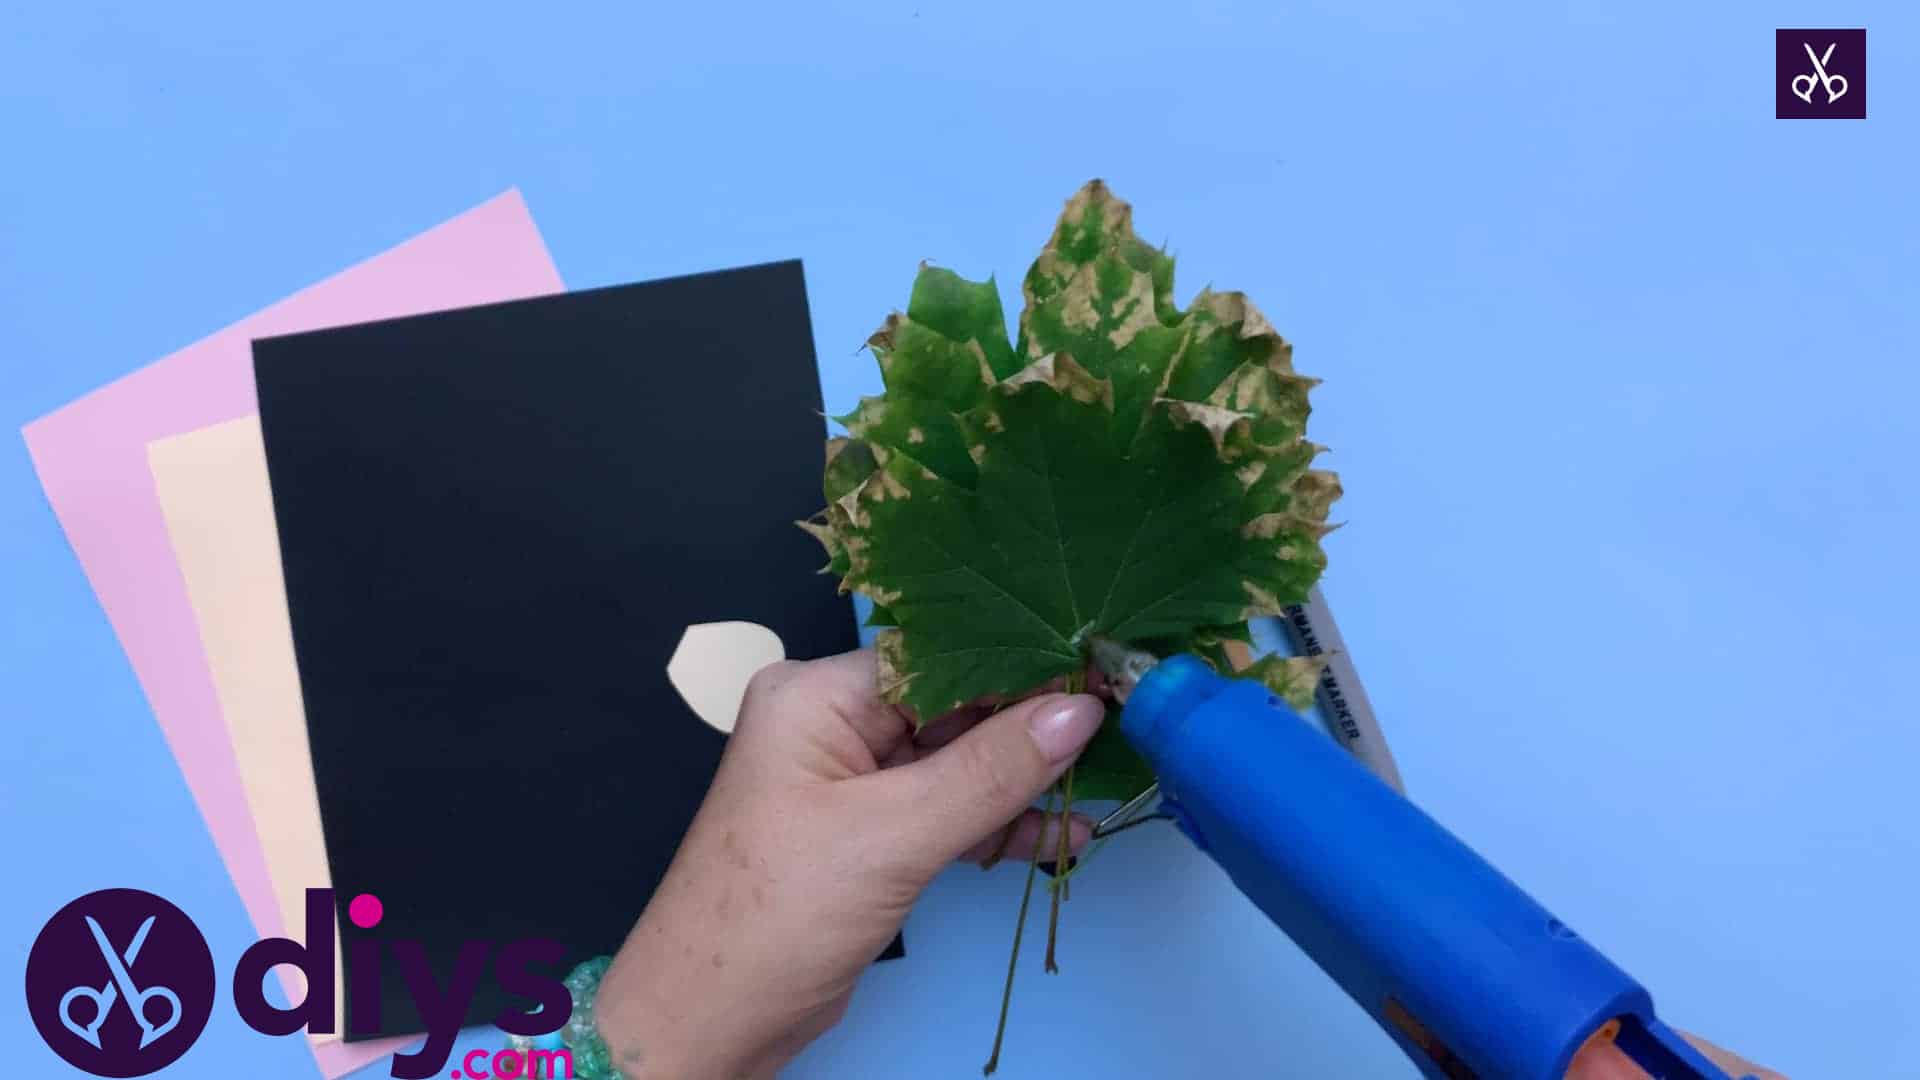
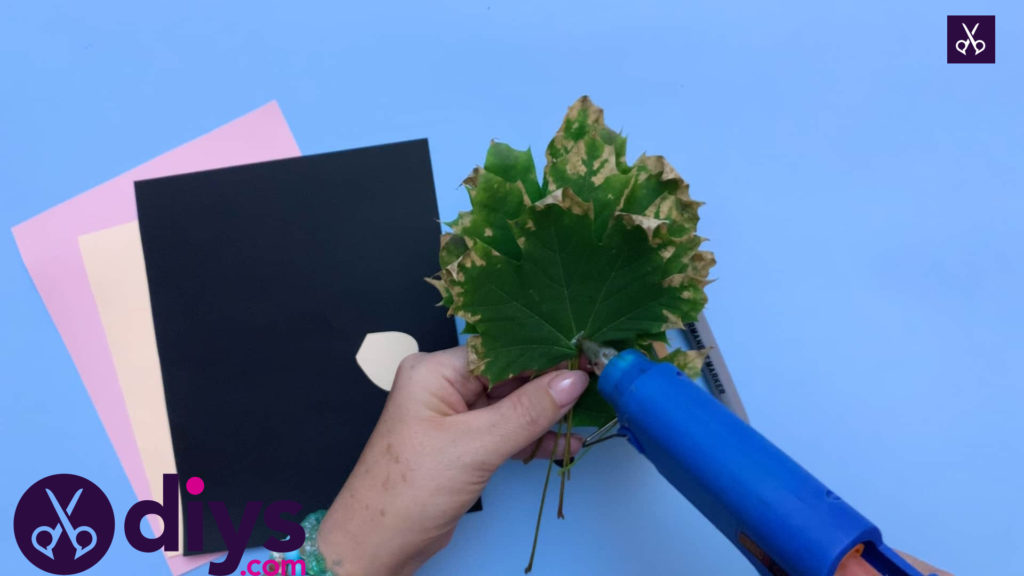
Create your hedgehog’s body by layering your leaves. I layered mine by size, putting the biggest leaf at the back and the smallest one at the front, on top. Use your glue fun to apply a dot of glue in the center base of each leaf (except the last one), near the top of the stem, then place the next leaf on top and press it into place.
Step 6: glue to stick
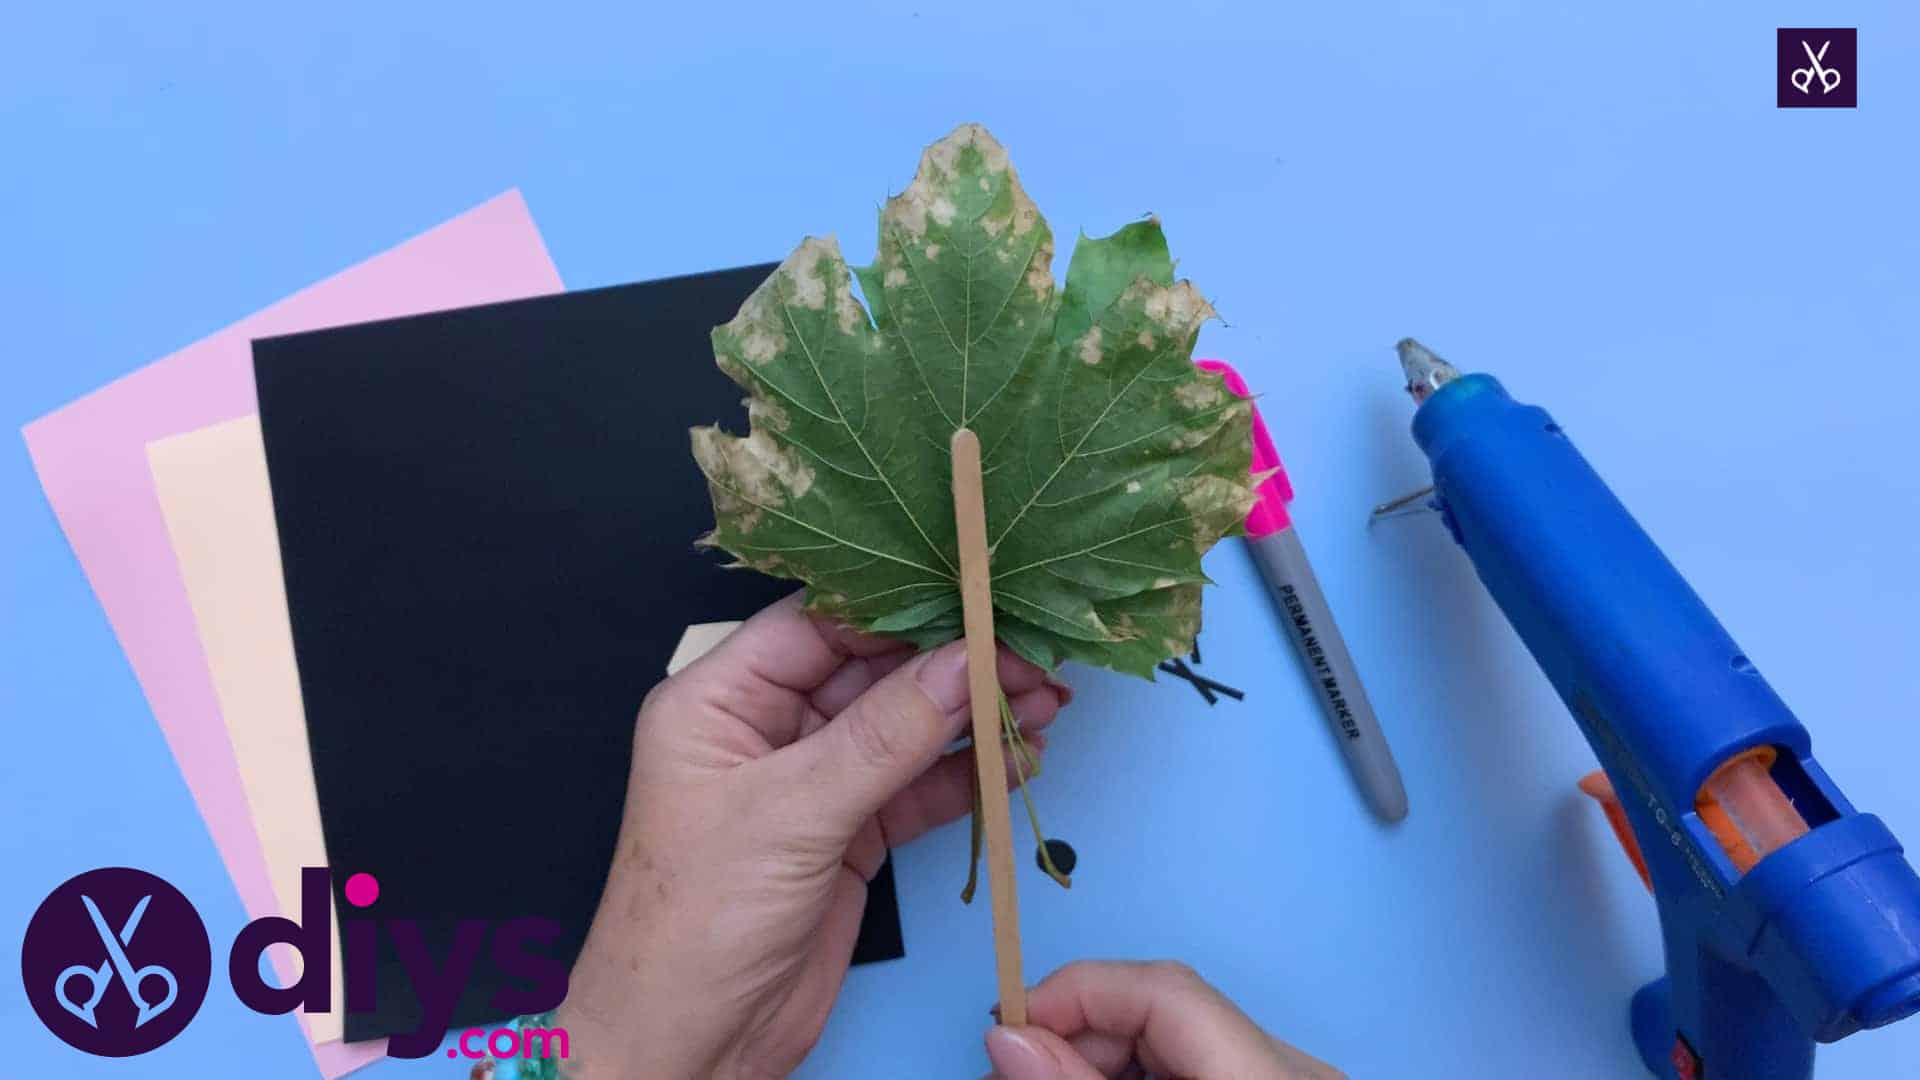
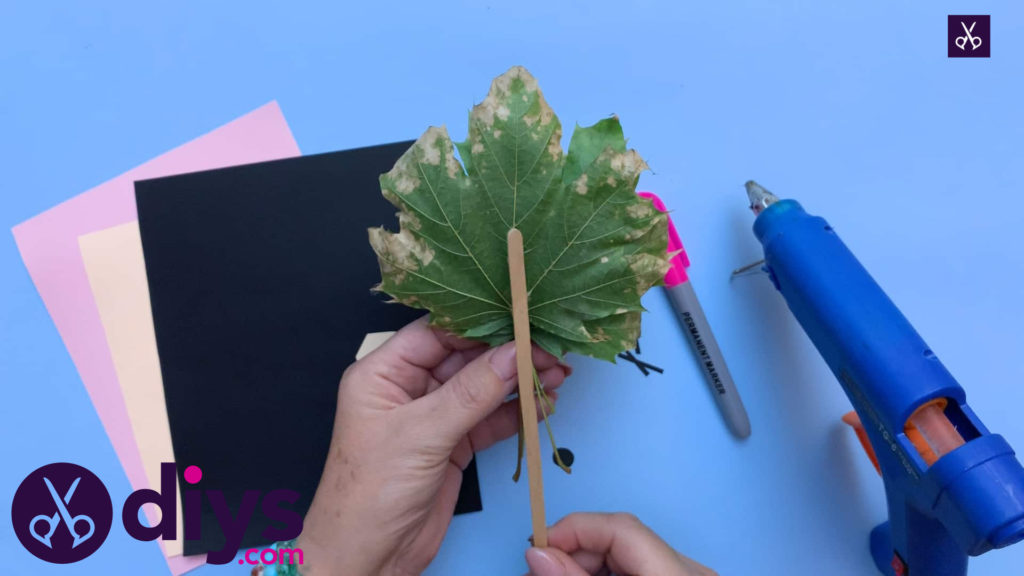
Turn your new pile of leaves around and apply some glue in the center of the back, on the bottom leaf, down its center spine. Press your popsicle stick into place here to make the puppet’s handle.
Step 7: assemble the face
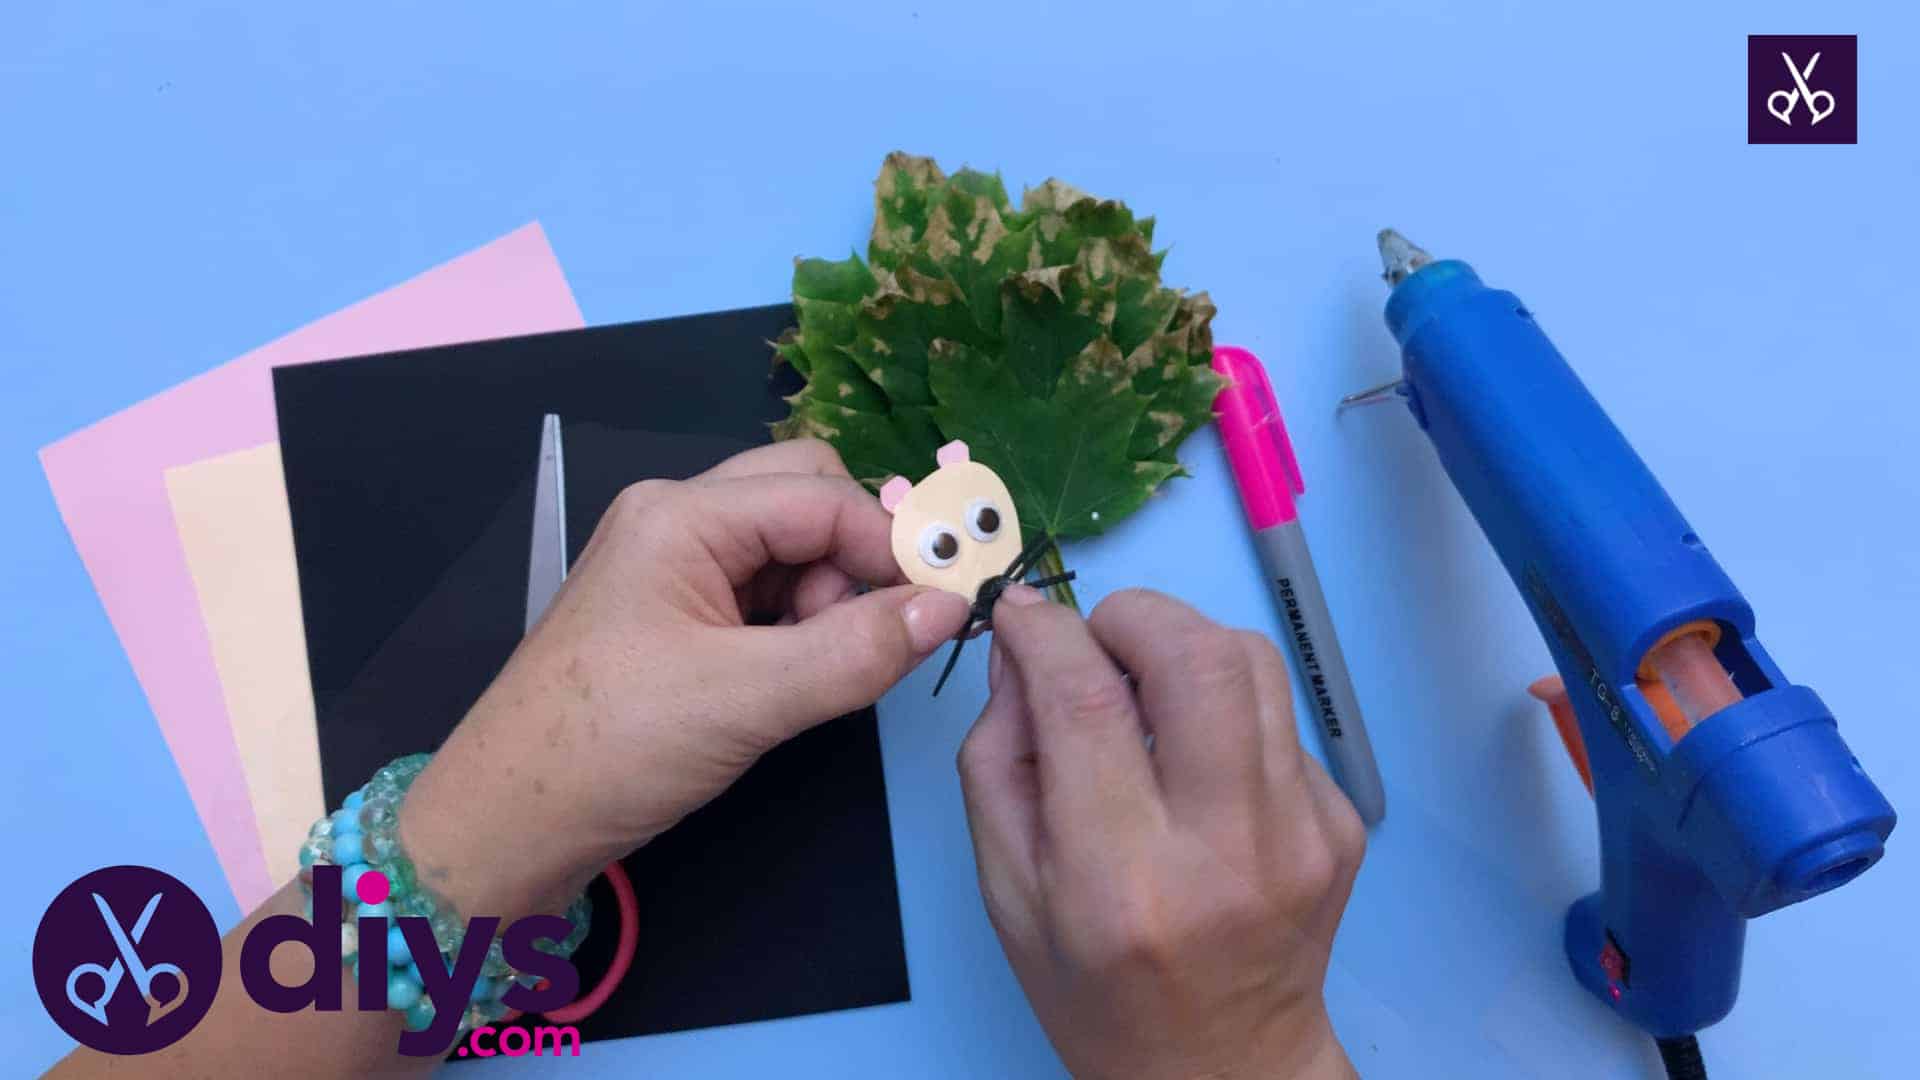
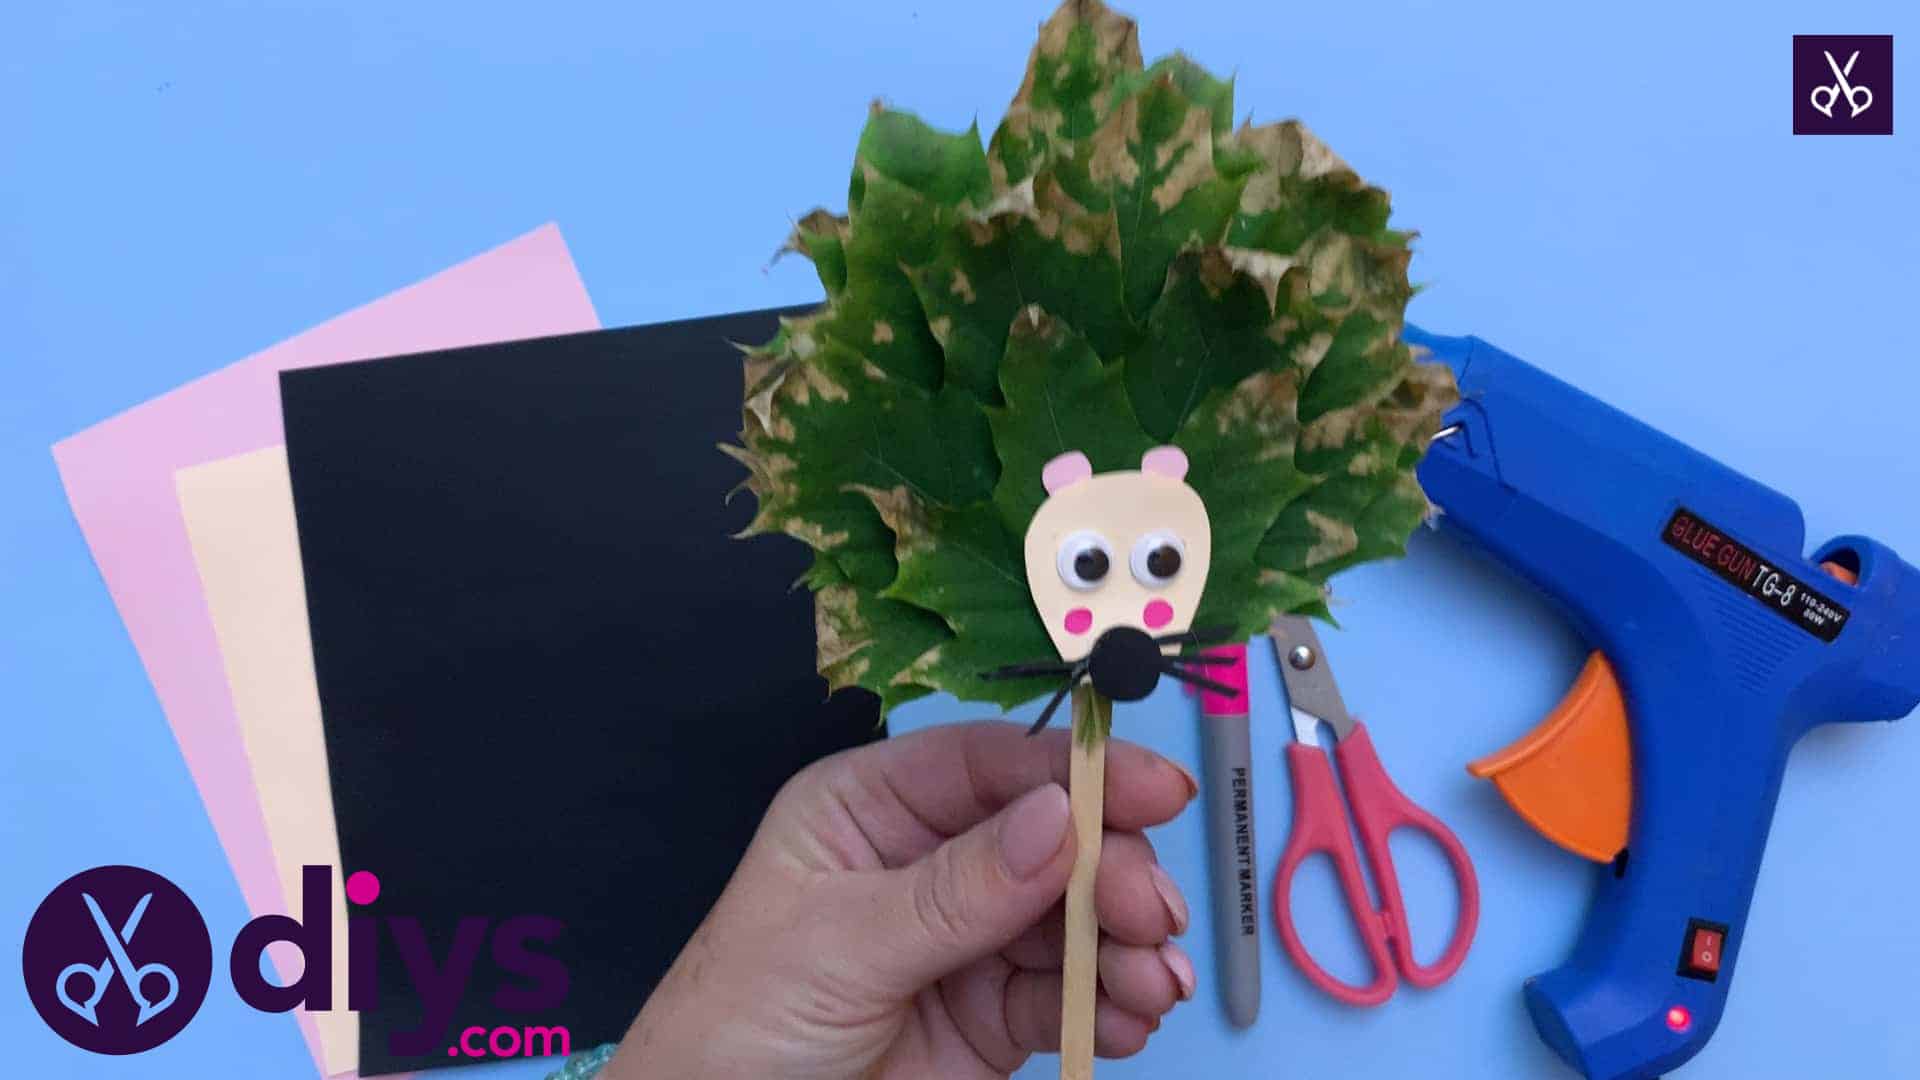
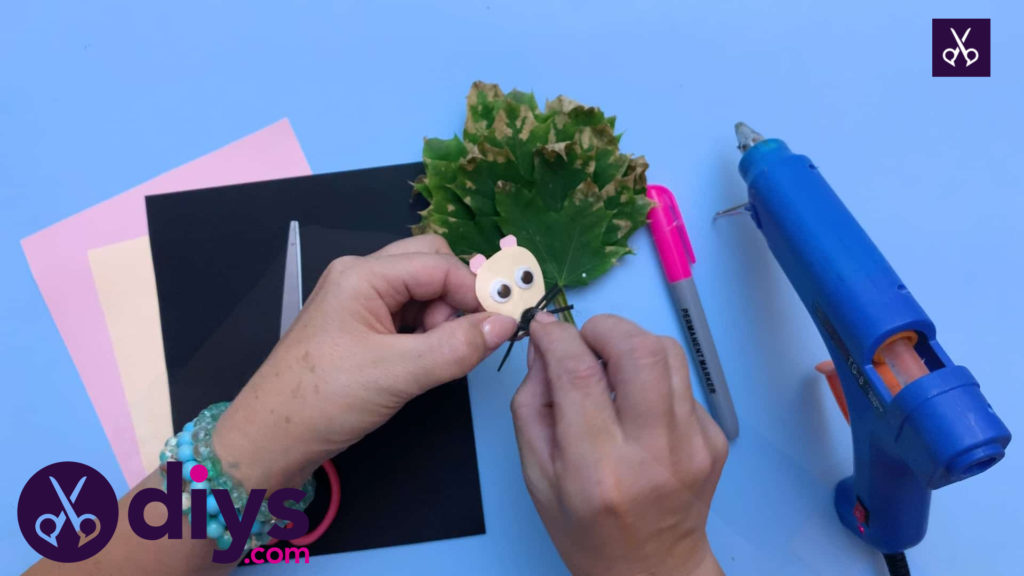
Put your hedgehog’s face together! Use the glue gun to stick on the little pink ears onto the back of the cream head shape. Next, stick the googly eyes to the middle of the face, closer to the top. Finally, glue the whiskers in a splayed fashion to the bottom edge of the face so they stick out in different directions, and then stick the nose on top in the center.
Step 8: glue to body
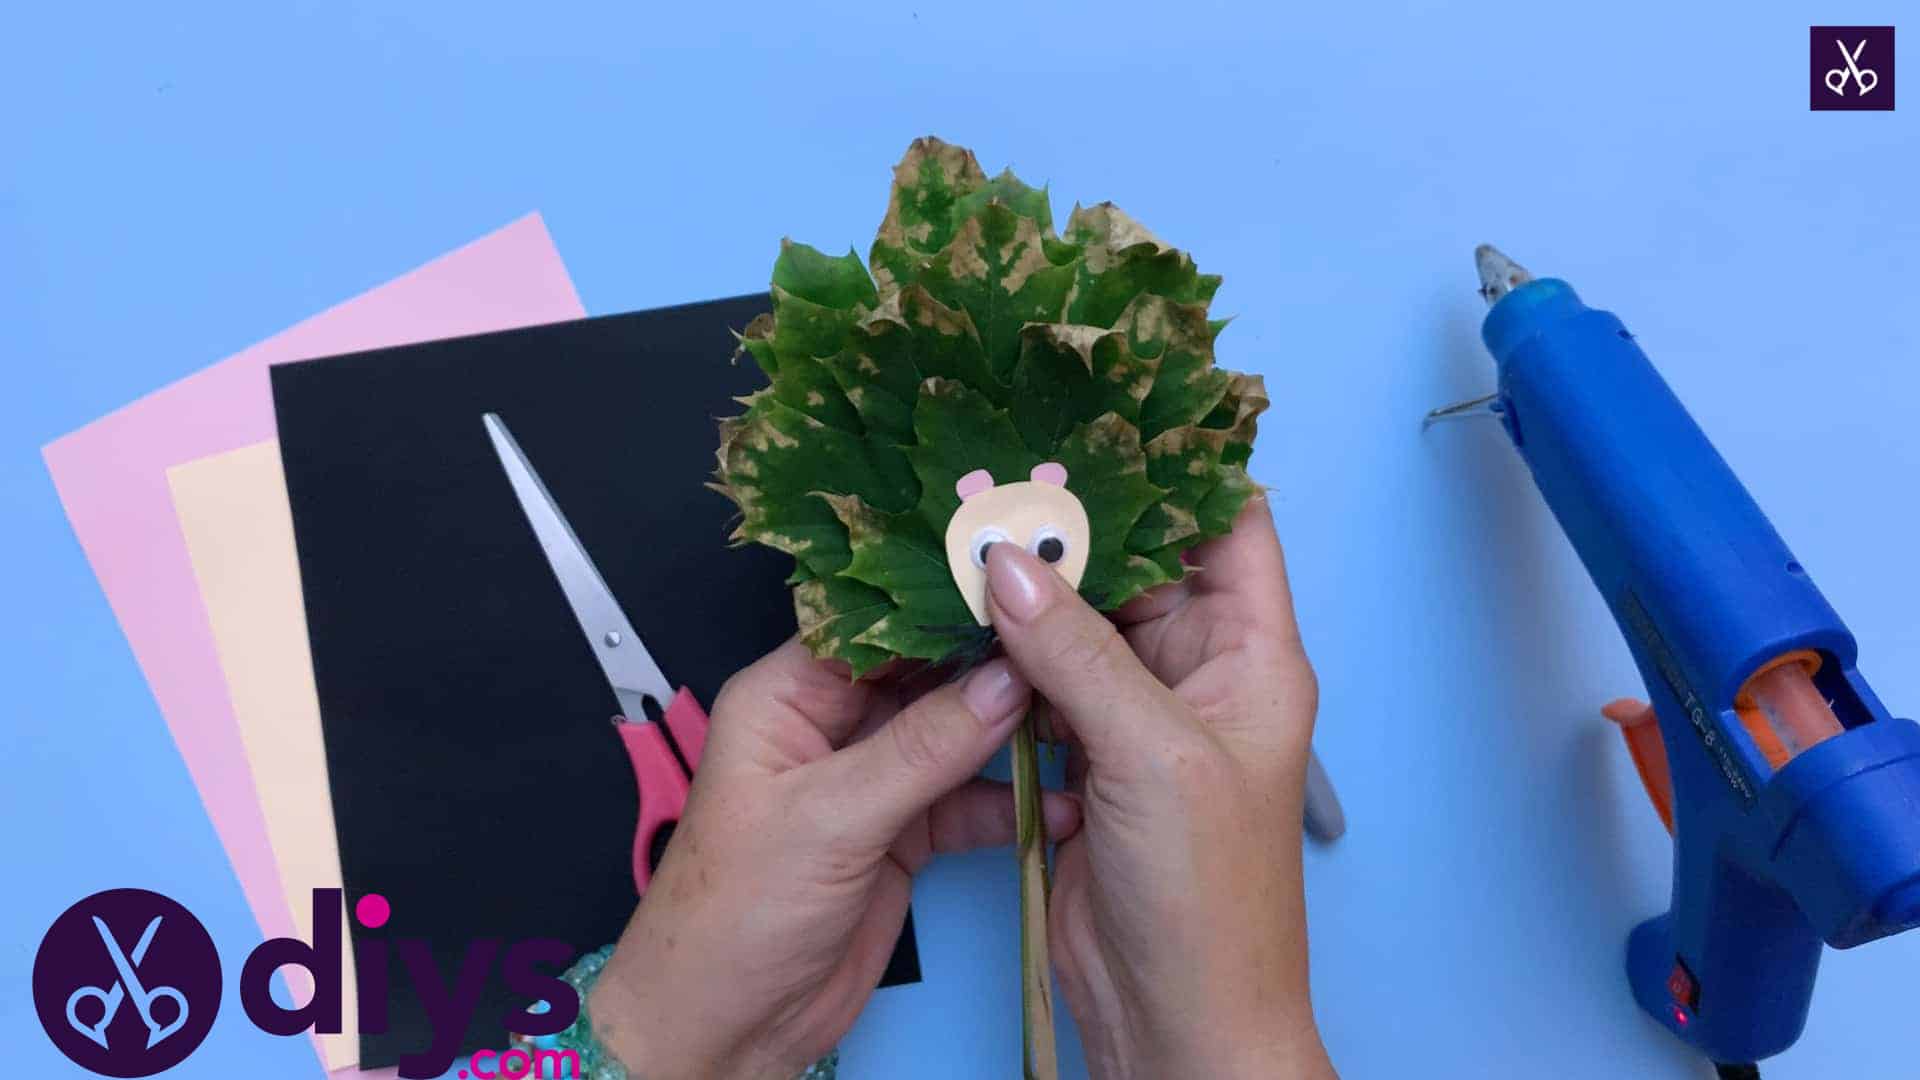
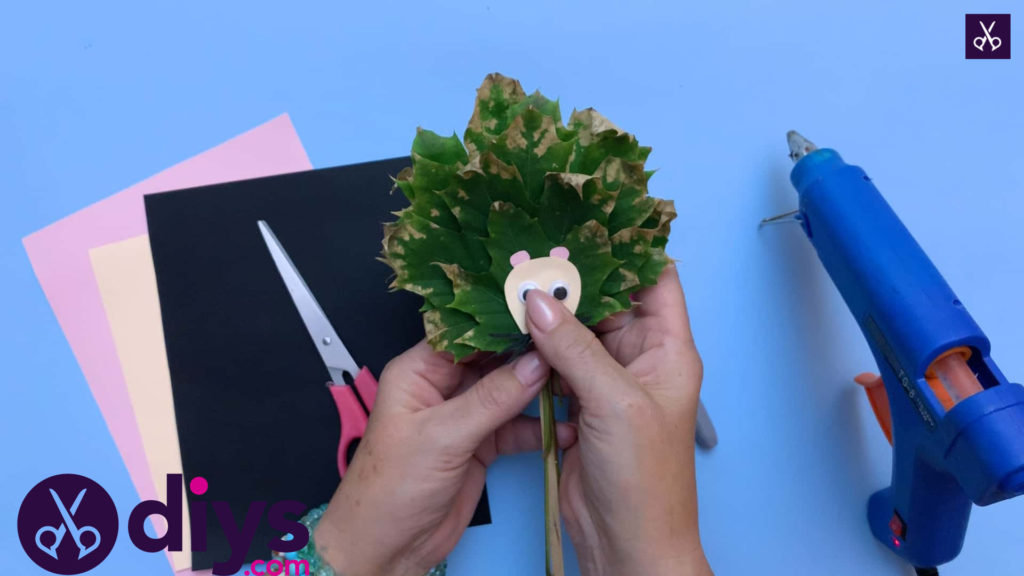
Glue the whole head onto the leaves, right in that bottom center spot where you were putting the glue dots before when you were layering your leaves. This lets the leaves stick up behind the head the way a hedgehog’s spikes do.
Step 9: add details
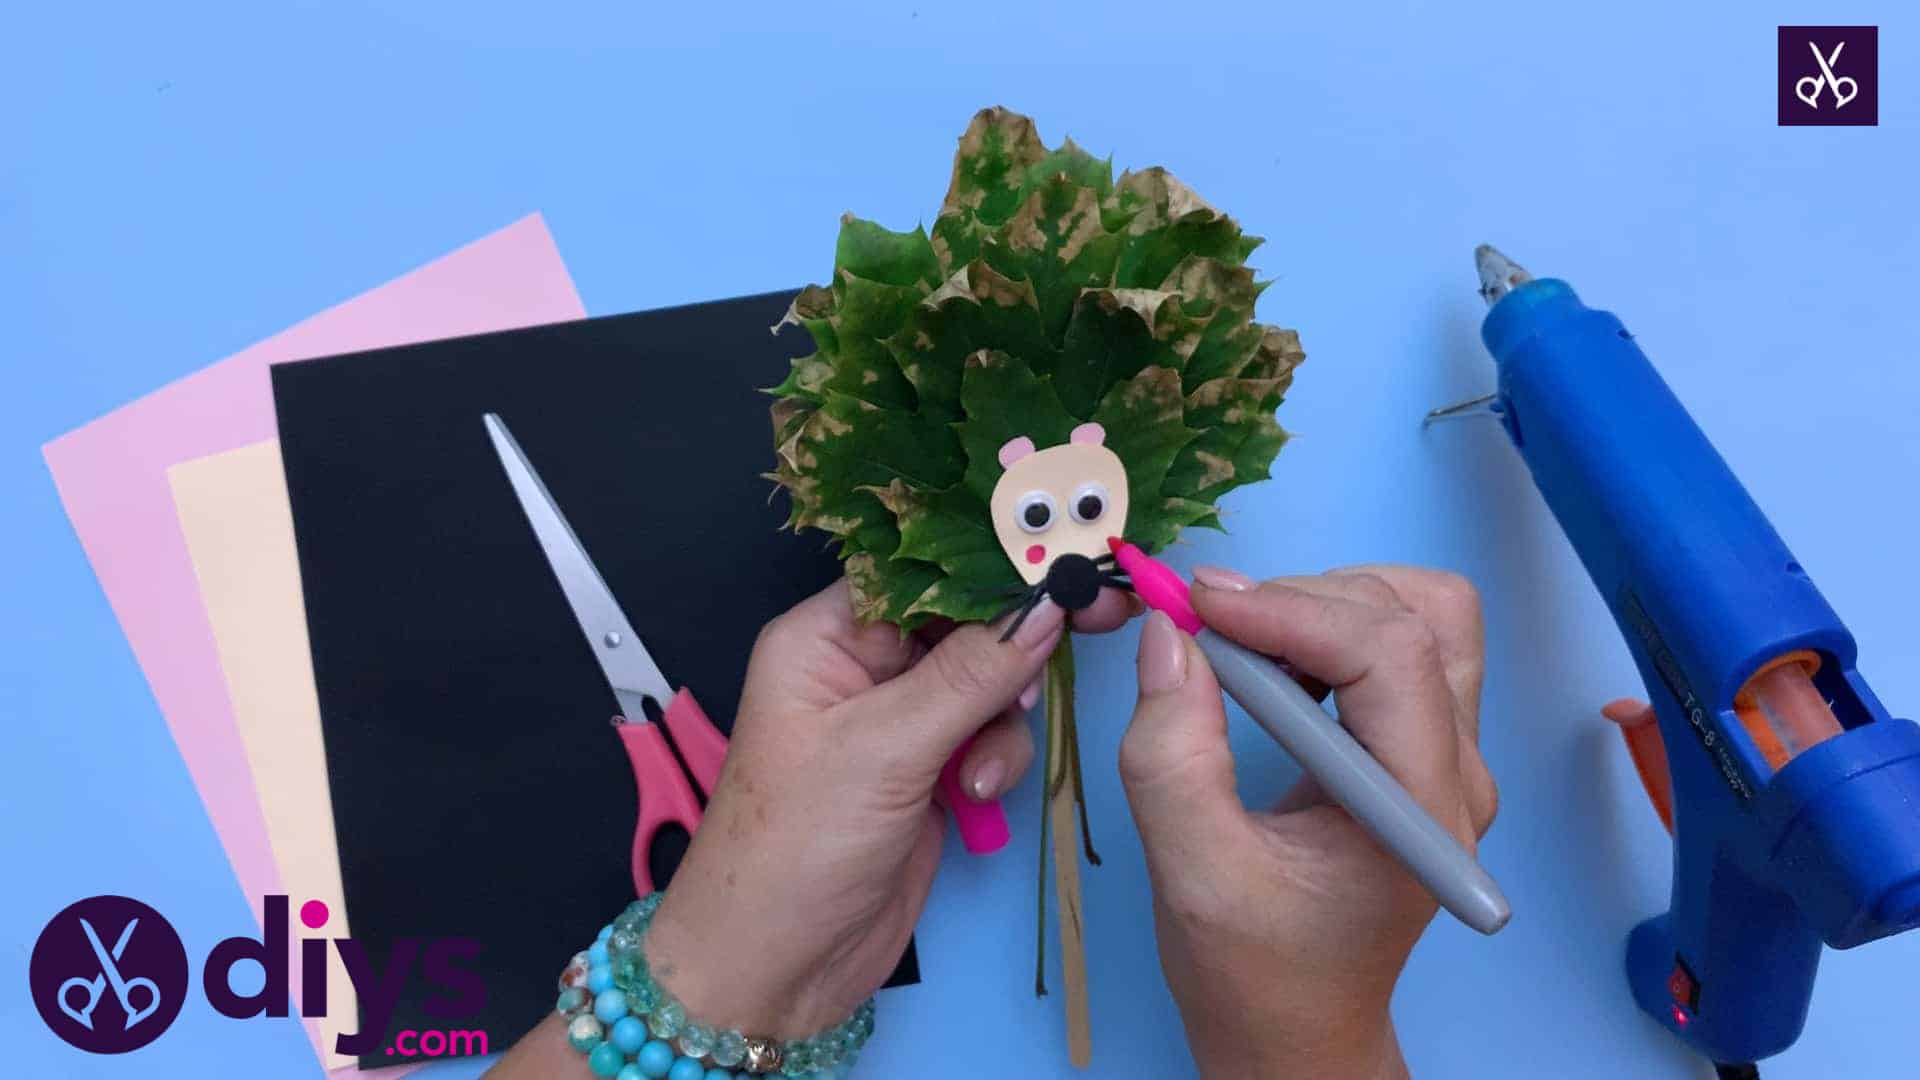
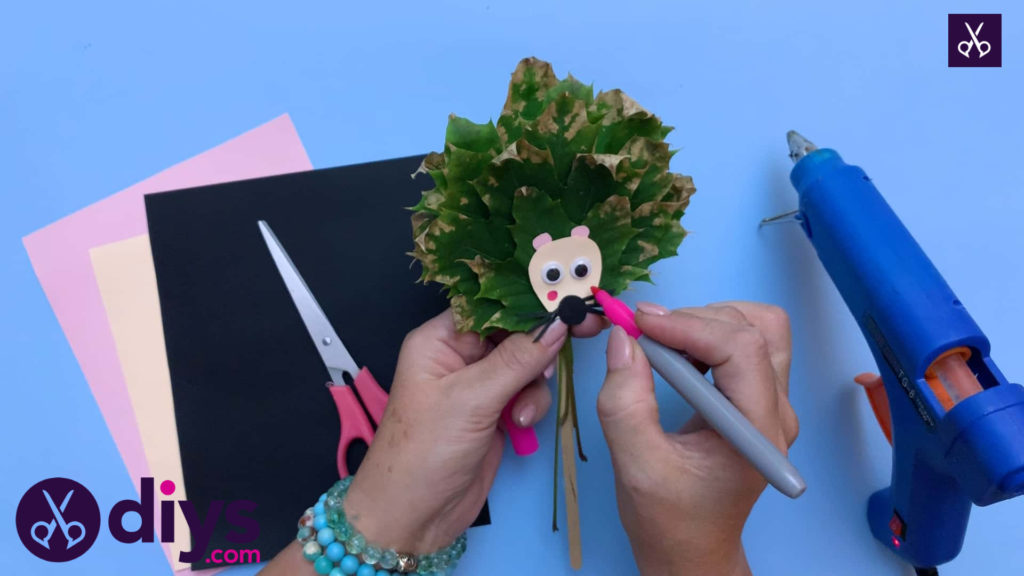
Use your pink marker to draw on little blushing cheeks, adding some extra cute character to your hedgehog’s face.
Step 10: trims stems
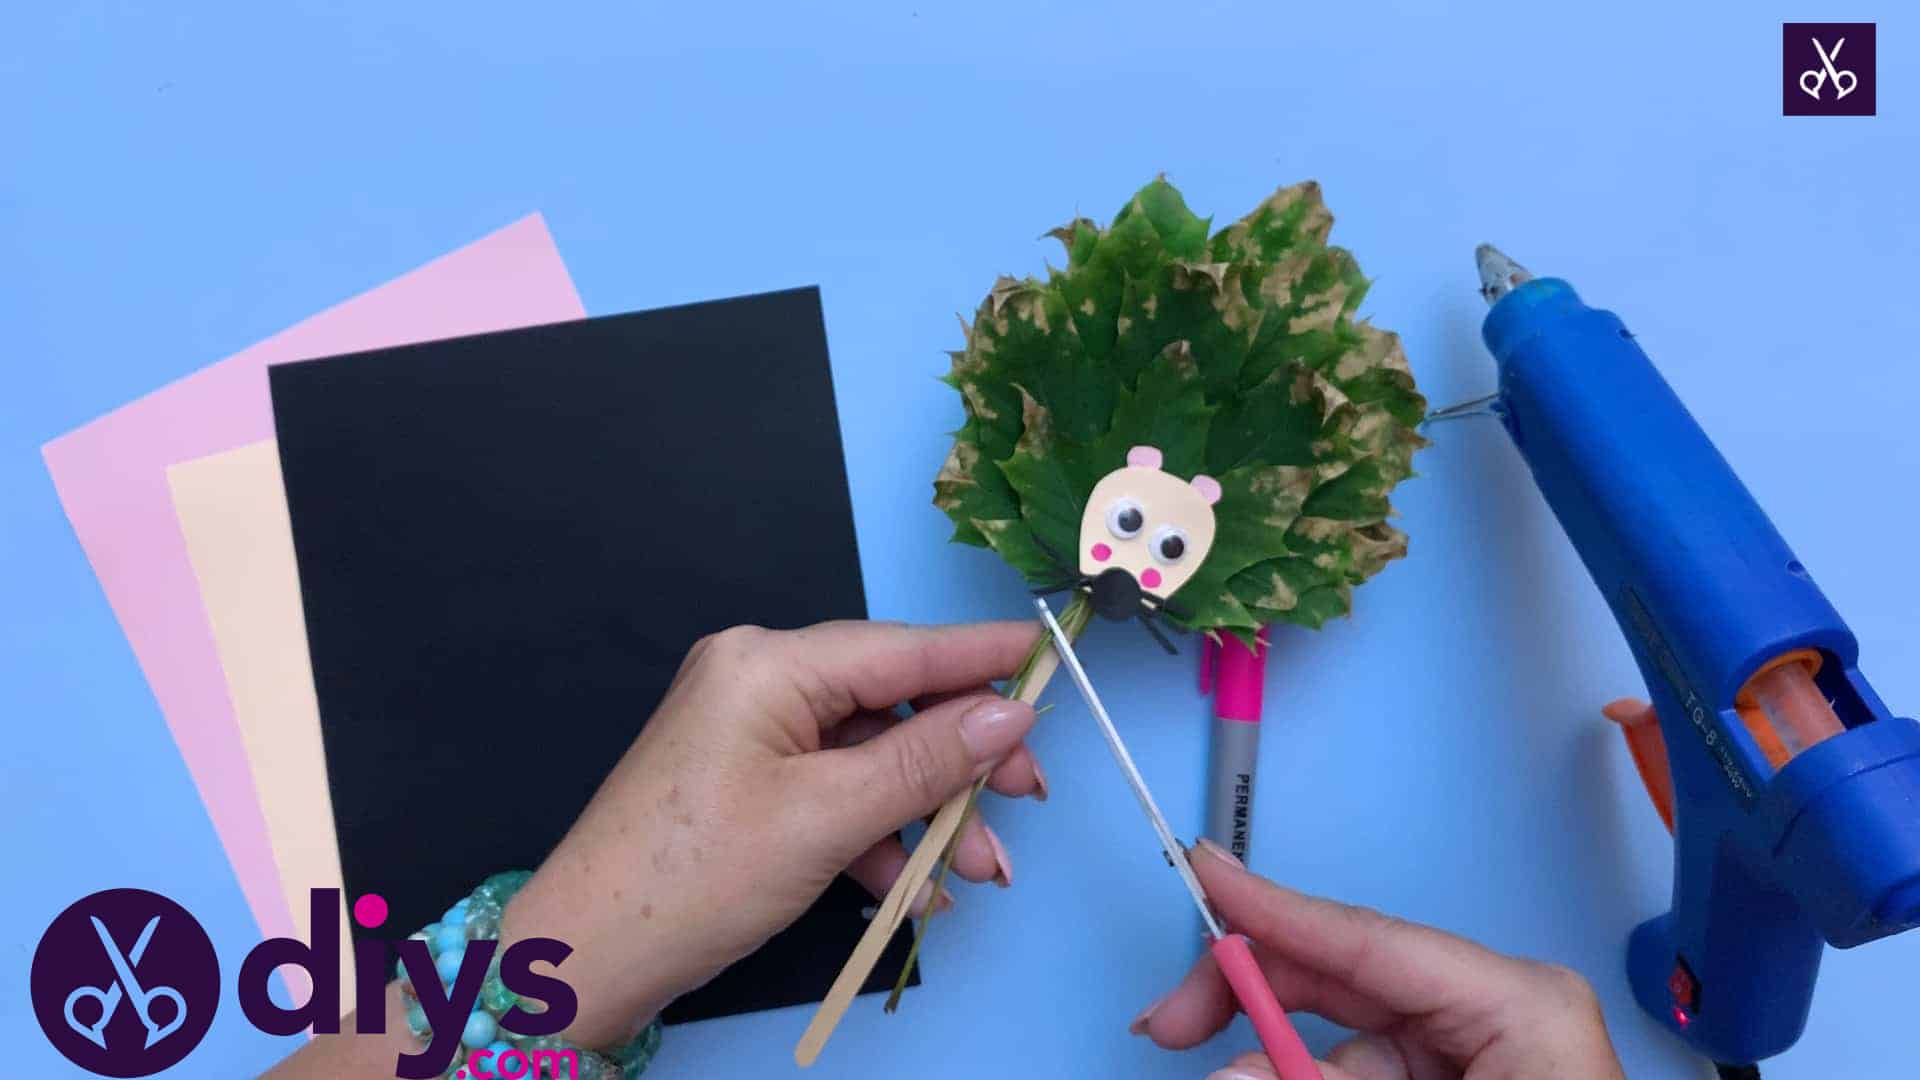
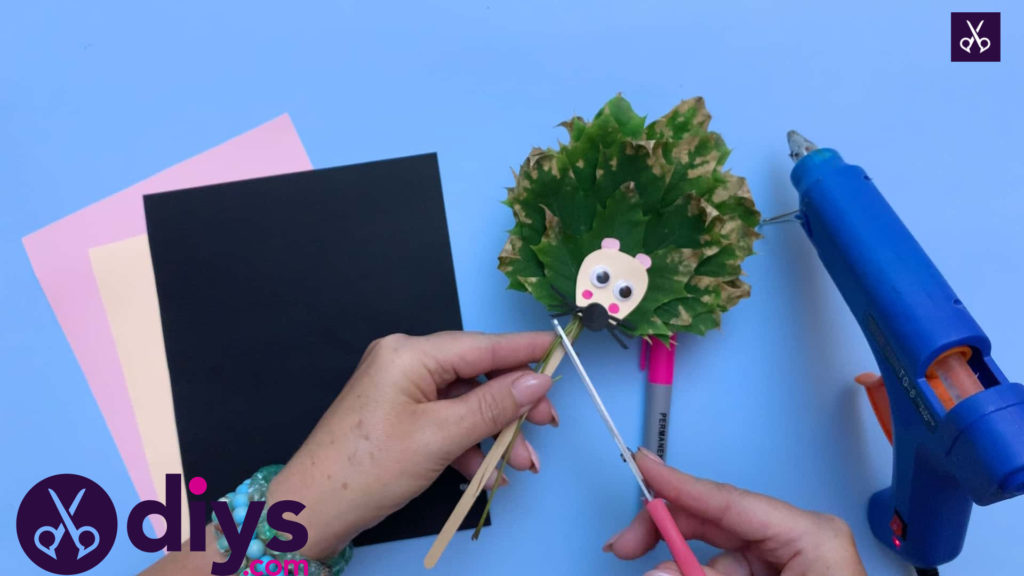
Finally, cut the stems off your leaves so they don’t stick out from underneath your hedgehog’s chin.
Voila! You officially have a hedgehog puppet made of autumn leaves. Just in case you’d like to try this project out for yourself, here’s a fantastic tutorial video to help you!
