How to Make a Halloween Candy Holder Shaped like a Witch’s Boot
Now that October has begun, my kids are alreadytotally preoccupied with Halloween. I craft with them several times a week andall they want to do right now is make Halloween themed things! I recently came across the idea of making toilet paper roll candy holders in a few online tutorials but I didn’t see a witch themed one and I know that witches are what my kids like most about Halloween, so I opted to try out a little tutorial of my own.
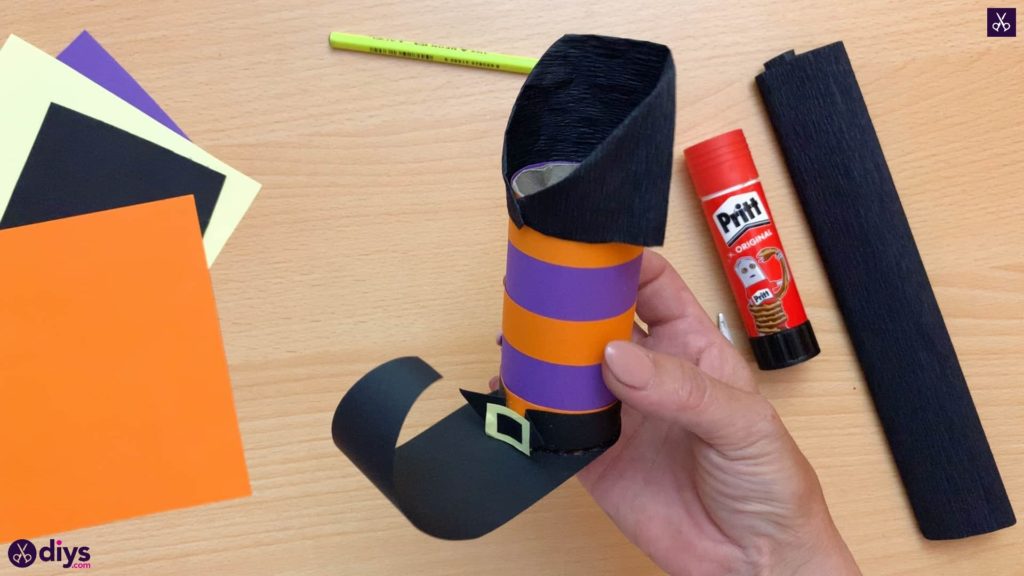
Check out these simple steps for making a Halloween candy holder shaped like a witch’s boot! If you prefer following video tutorials to written instructions then keep scrolling to the bottom to find one there.
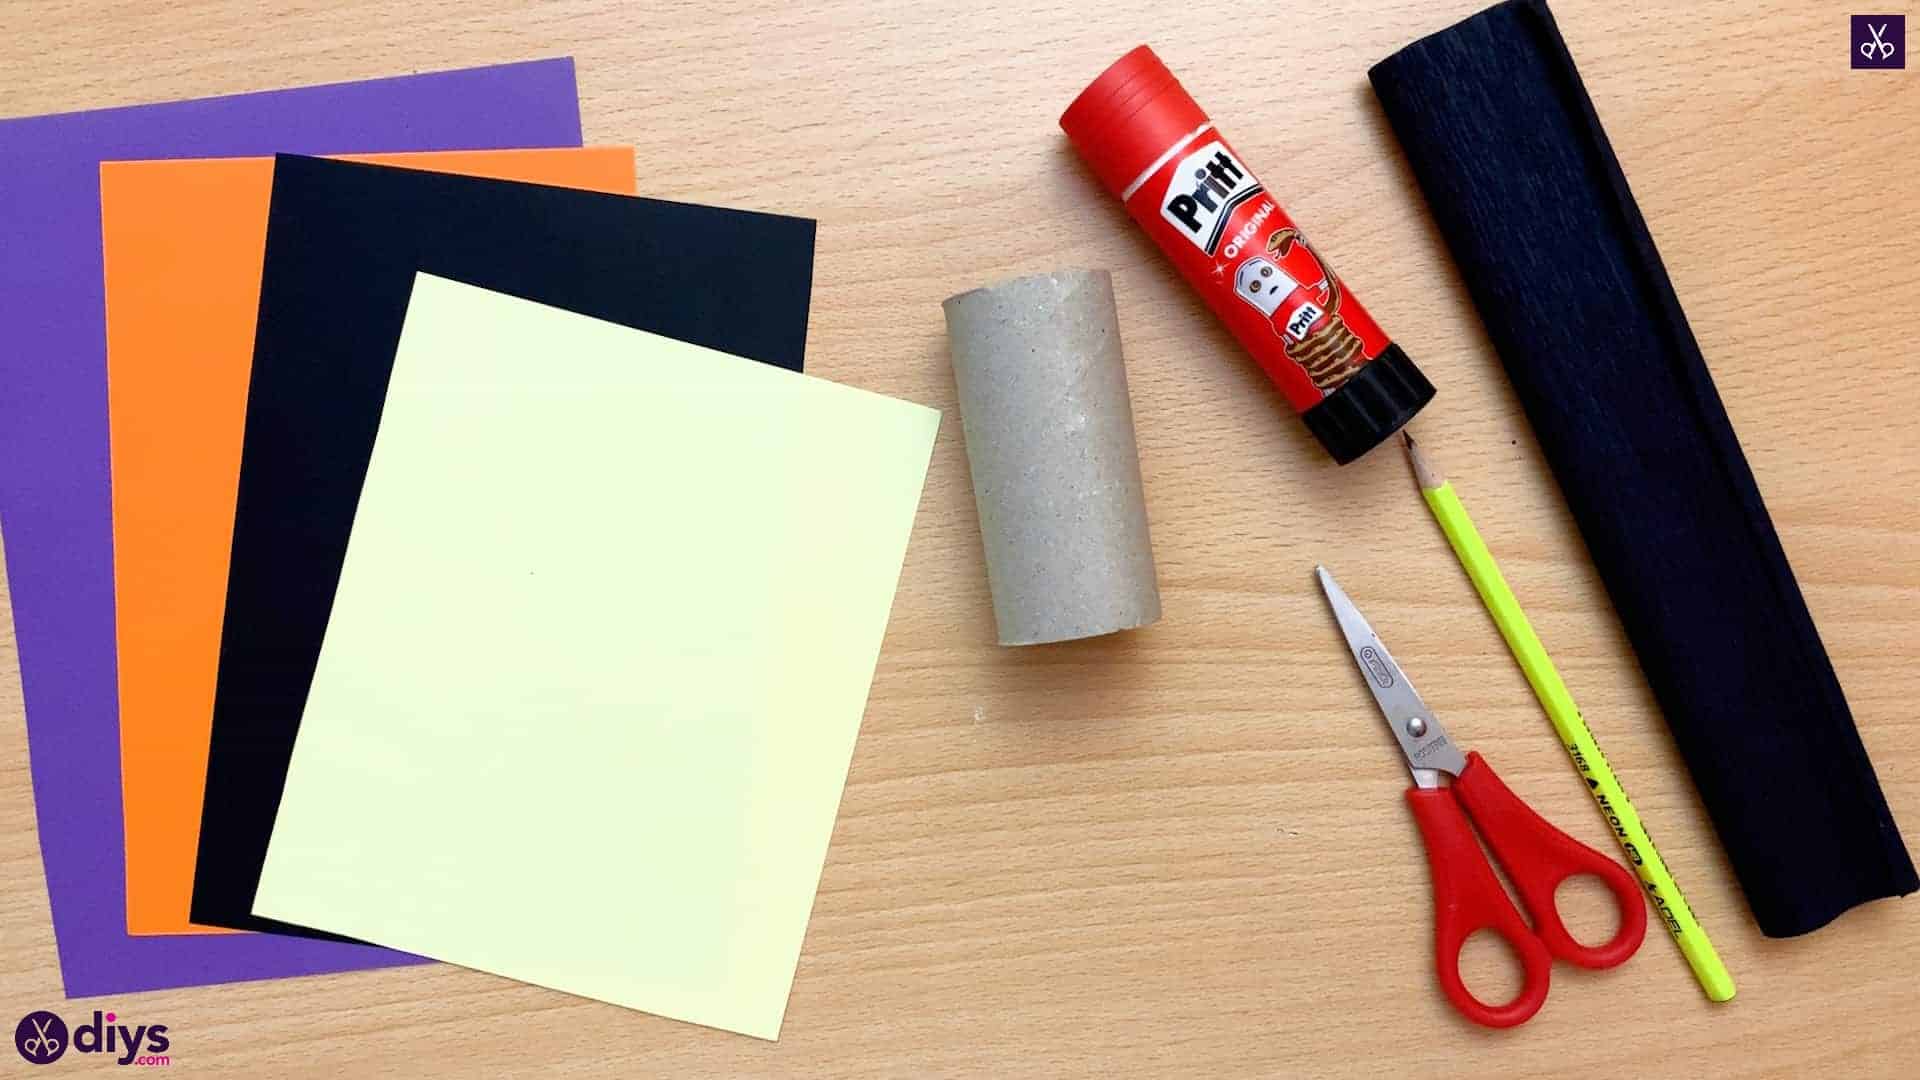
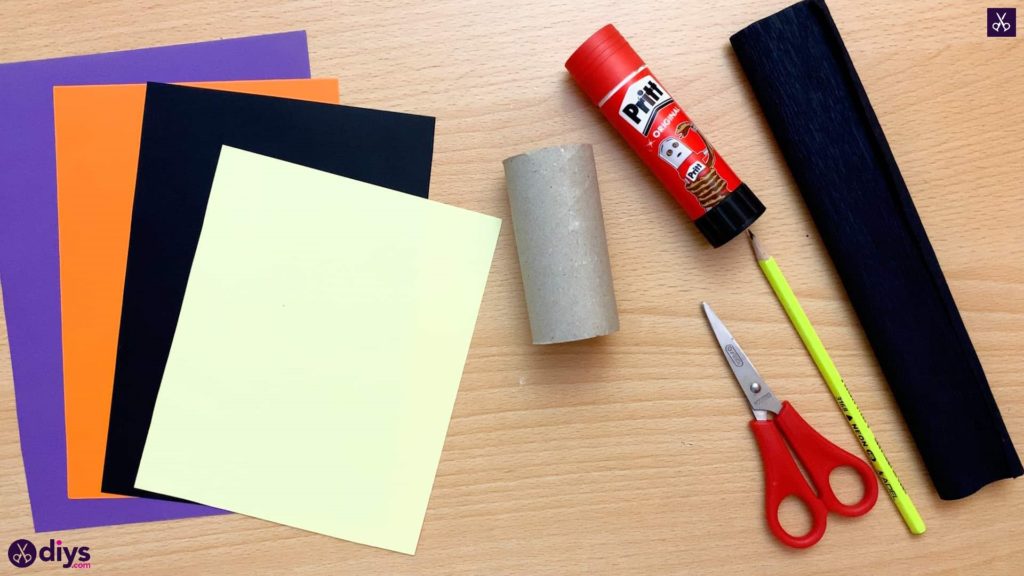
For this project, you’ll need:
- A gluestick
- An empty toilet paper roll
- Scissors
- A pencil
- Black crepe paper
- Coloured paper (light yellow, black, orange, and purple)
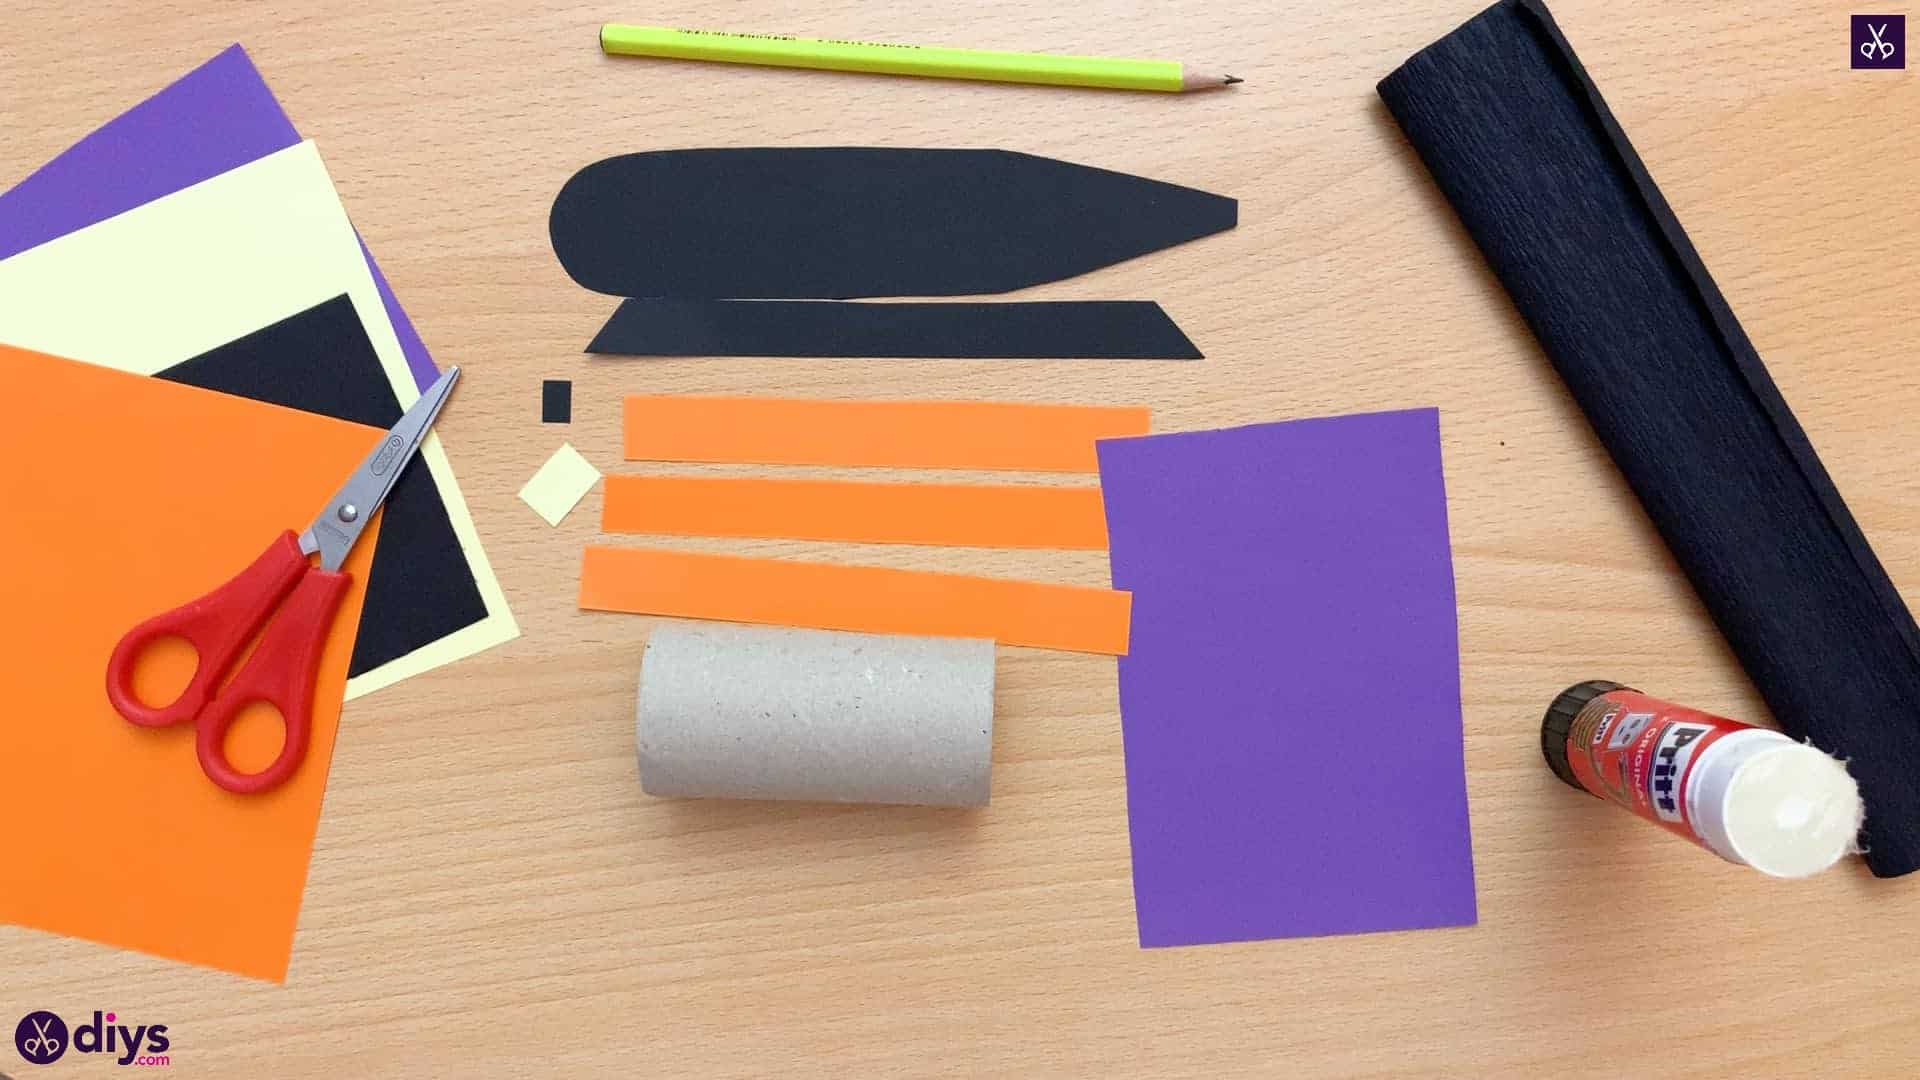
Step 1: Gather your materials!
Be sure to double check your list and gather up all the things you need.
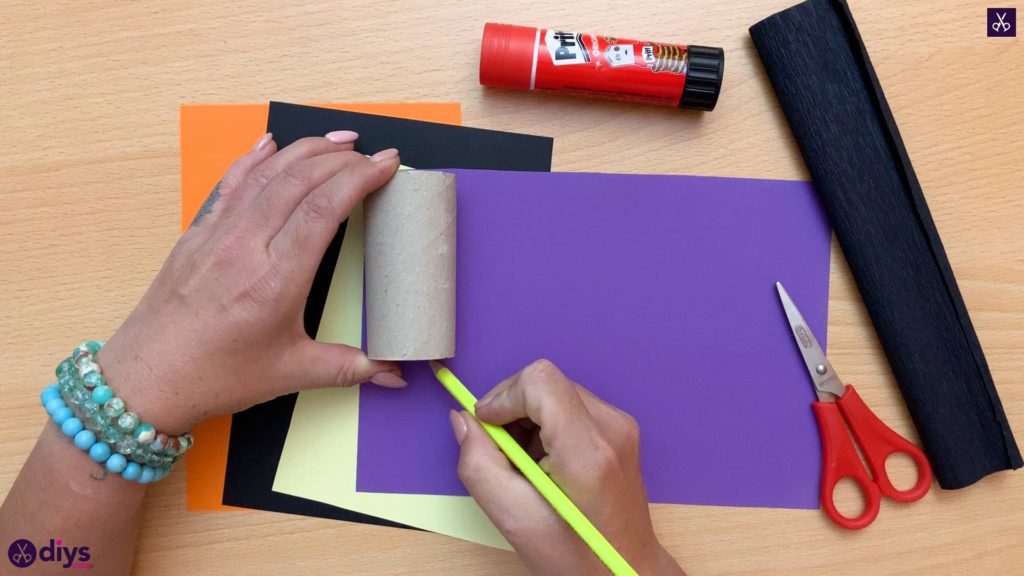
Step 2: cut and measure
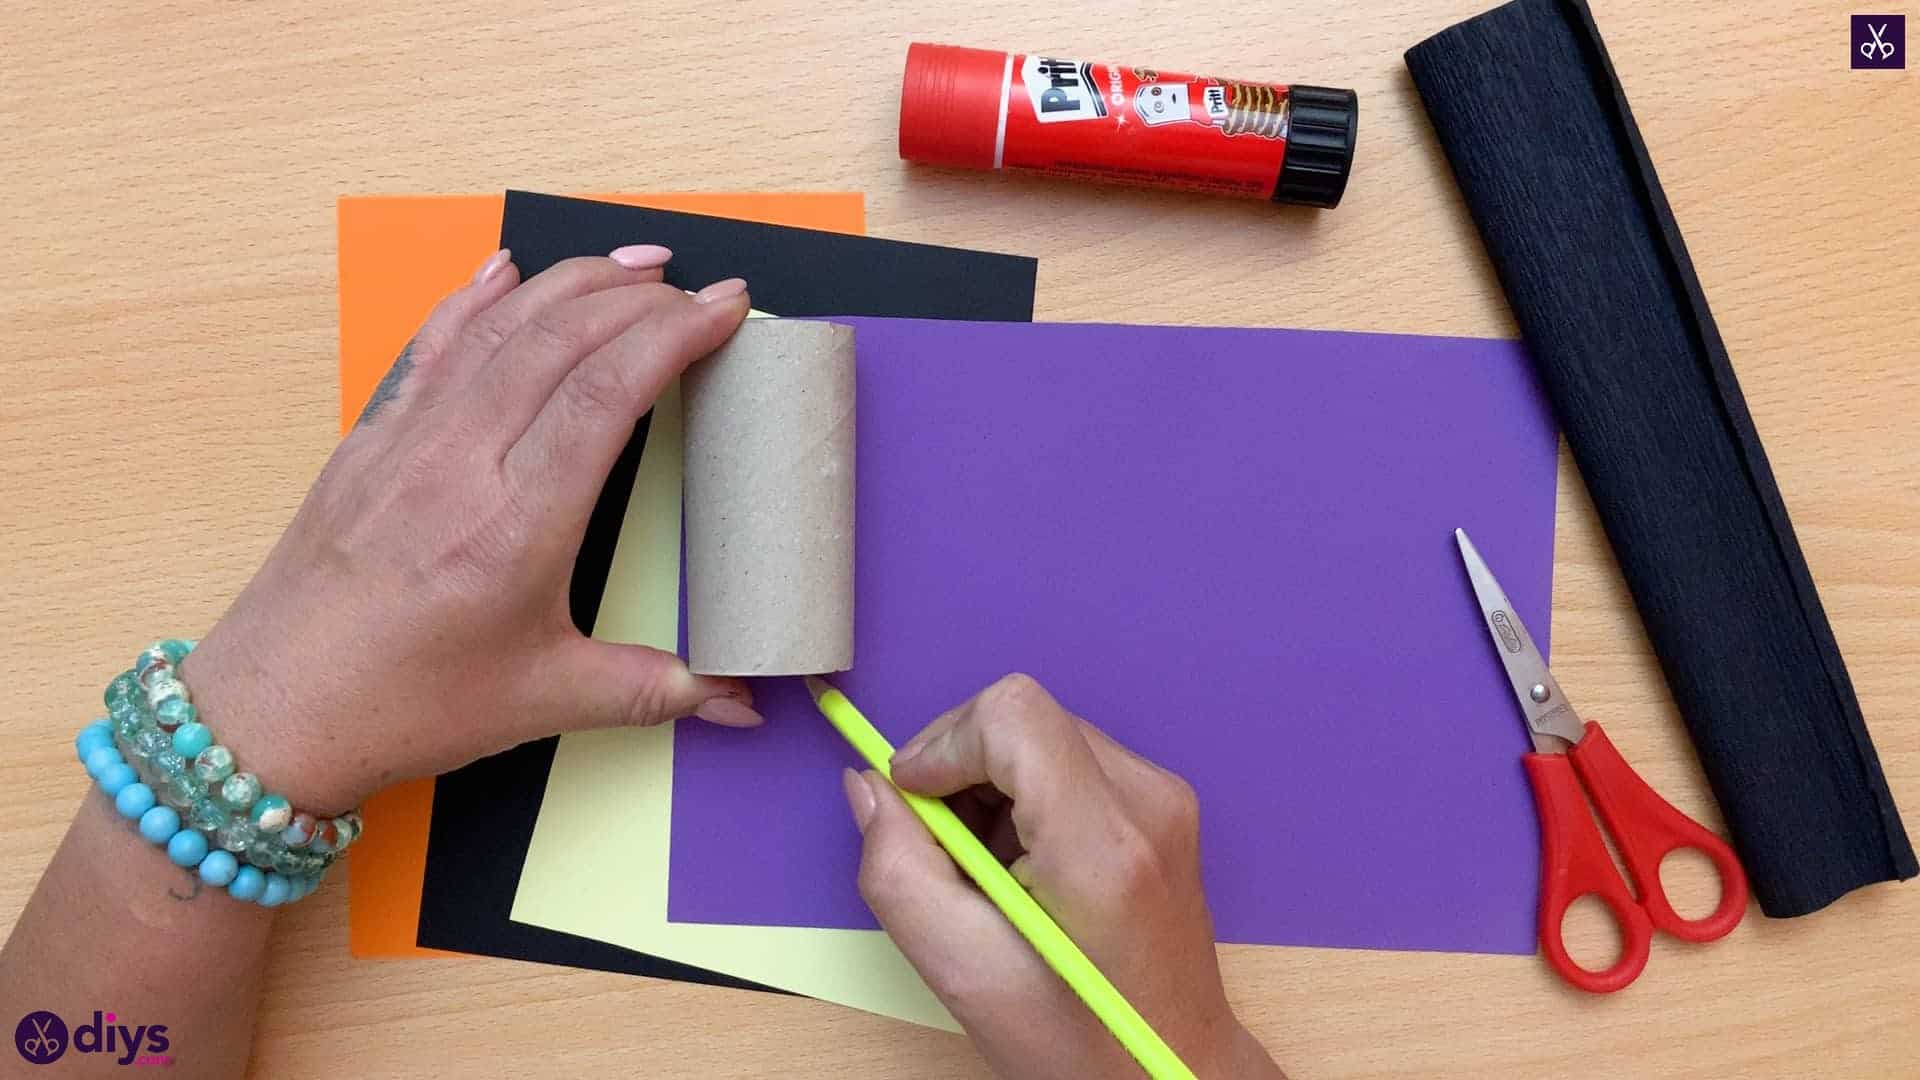
Use your toilet paper roll to measure its length all the way along your purple paper. I used the top edge of the page when it was placed on the table horizontally as a guide, marking where the bottom edge of the toll hit on the paper. I did this all the way across the page from one end to the other for consistency.
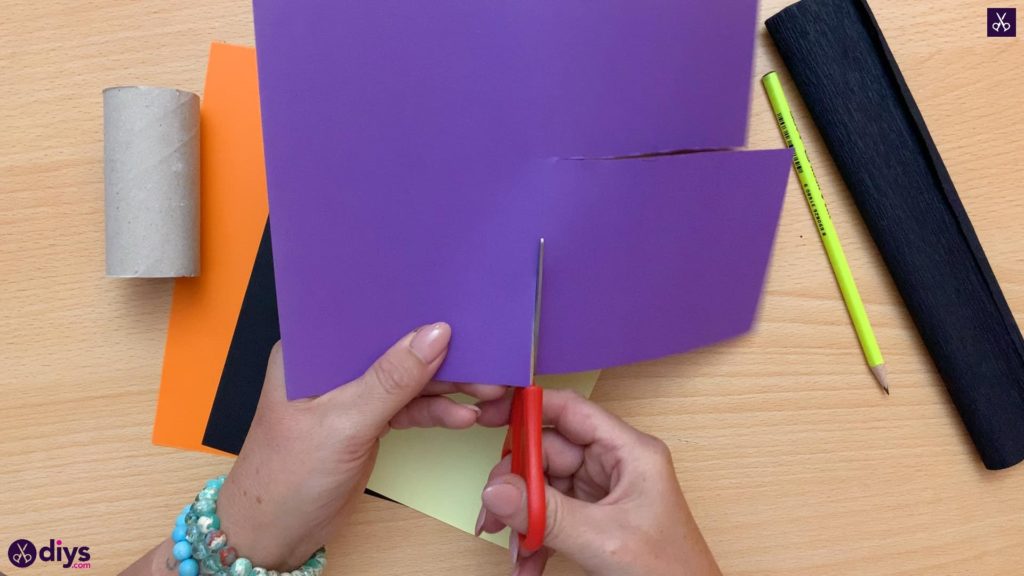
Step 3: prep the stocking
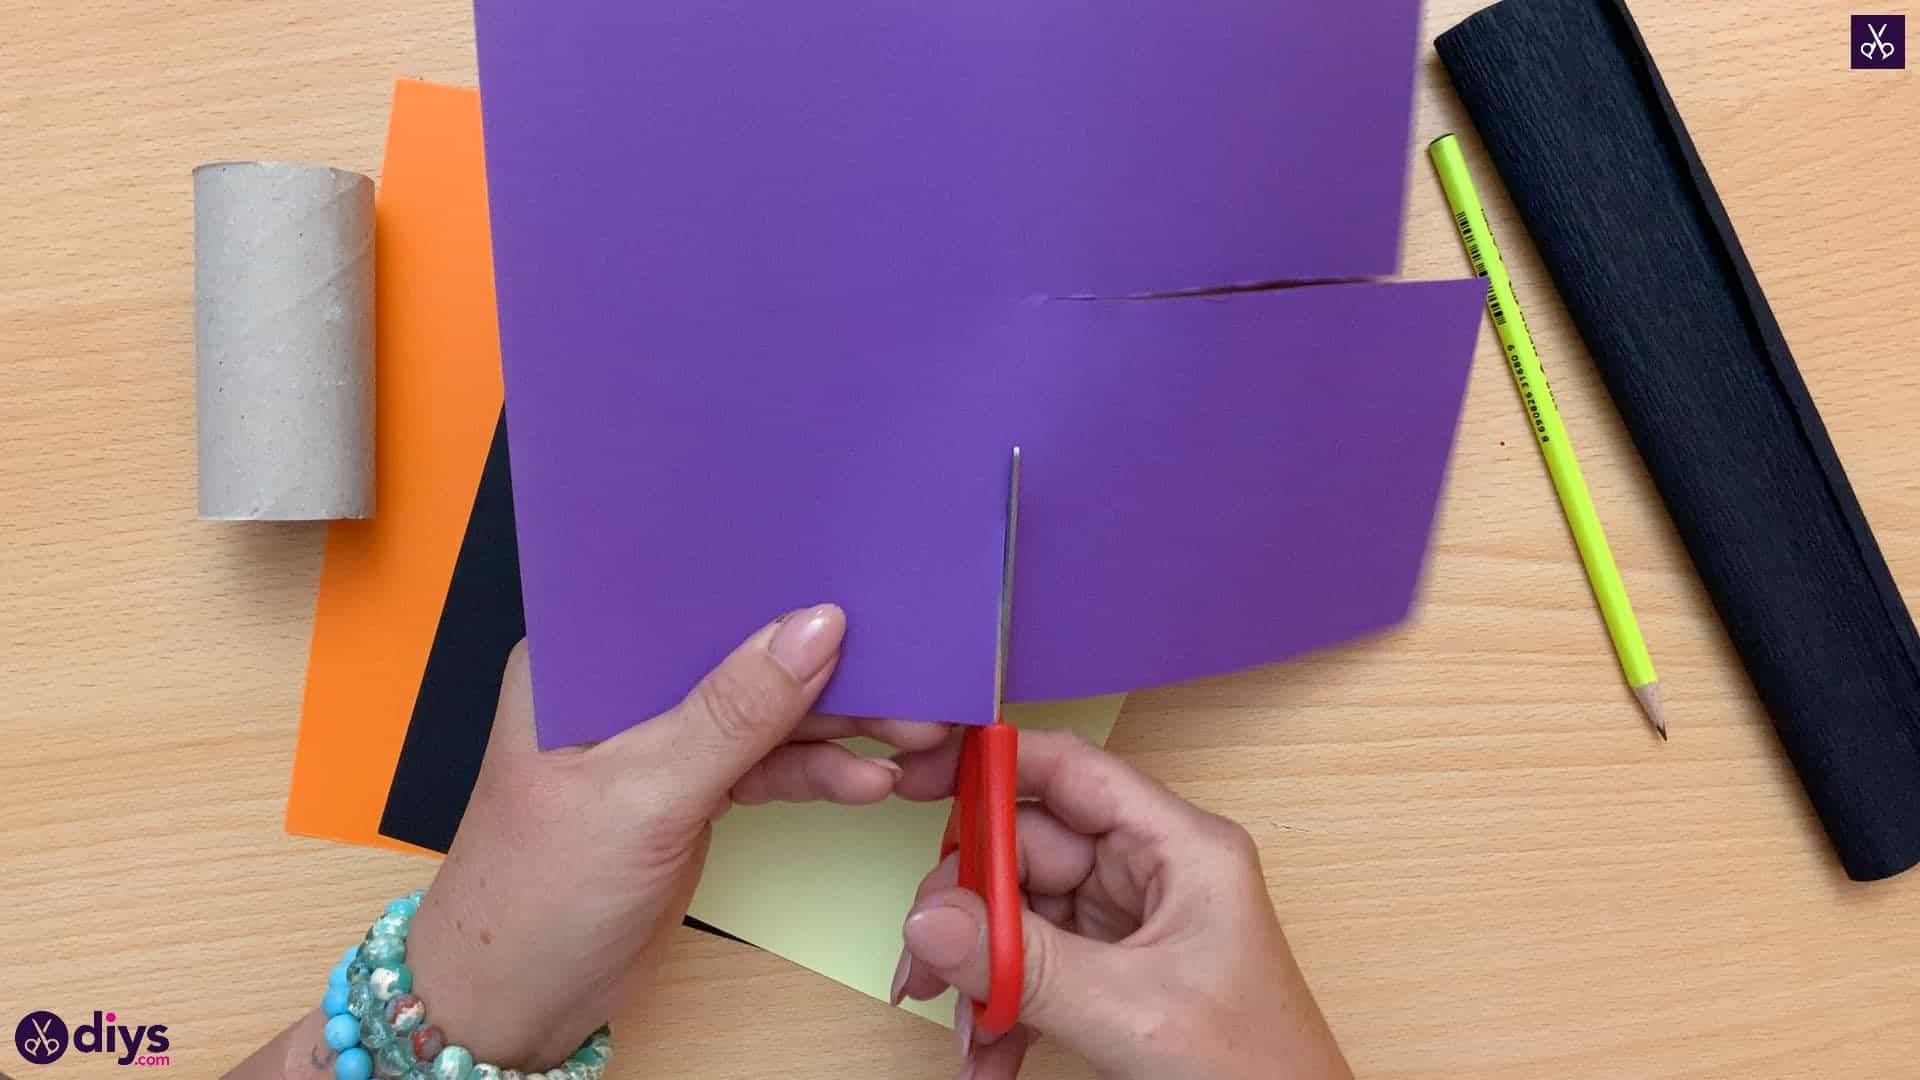
Cut out a section of purple using the marks you just made to get the length right, and cutting enough out that you know the resulting piece is long enough to wrap all the way around the outside of your toilet roll. This will be the base colour on the witch’s stocking.
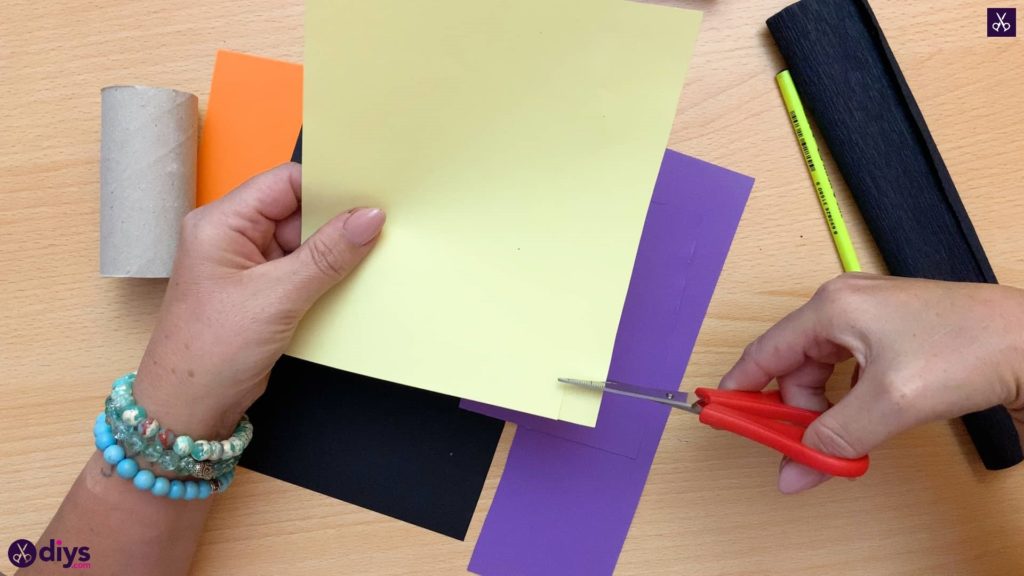
Step 4: shoe buckle
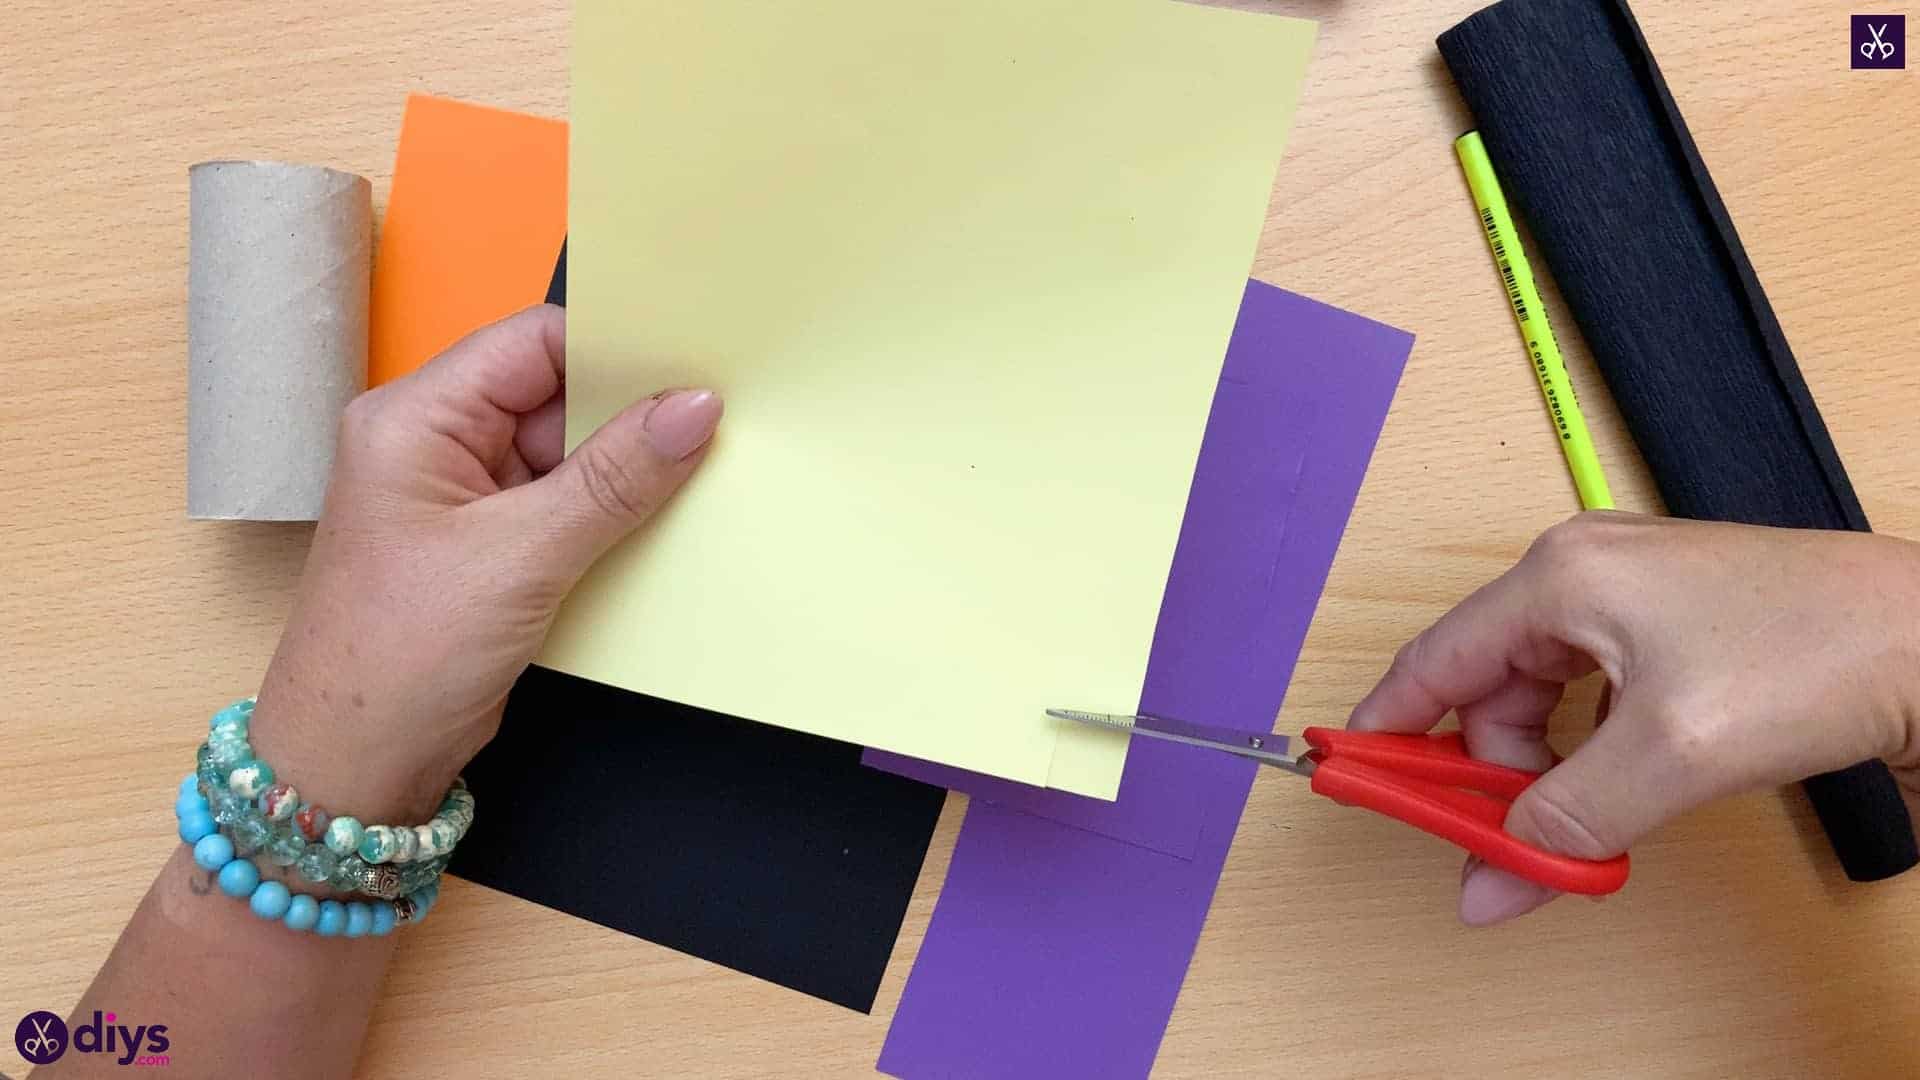
Cut a small square from the corner of your yellow piece of paper. This will be the buckle on the witch’s shoe.
Step 5: create the foot
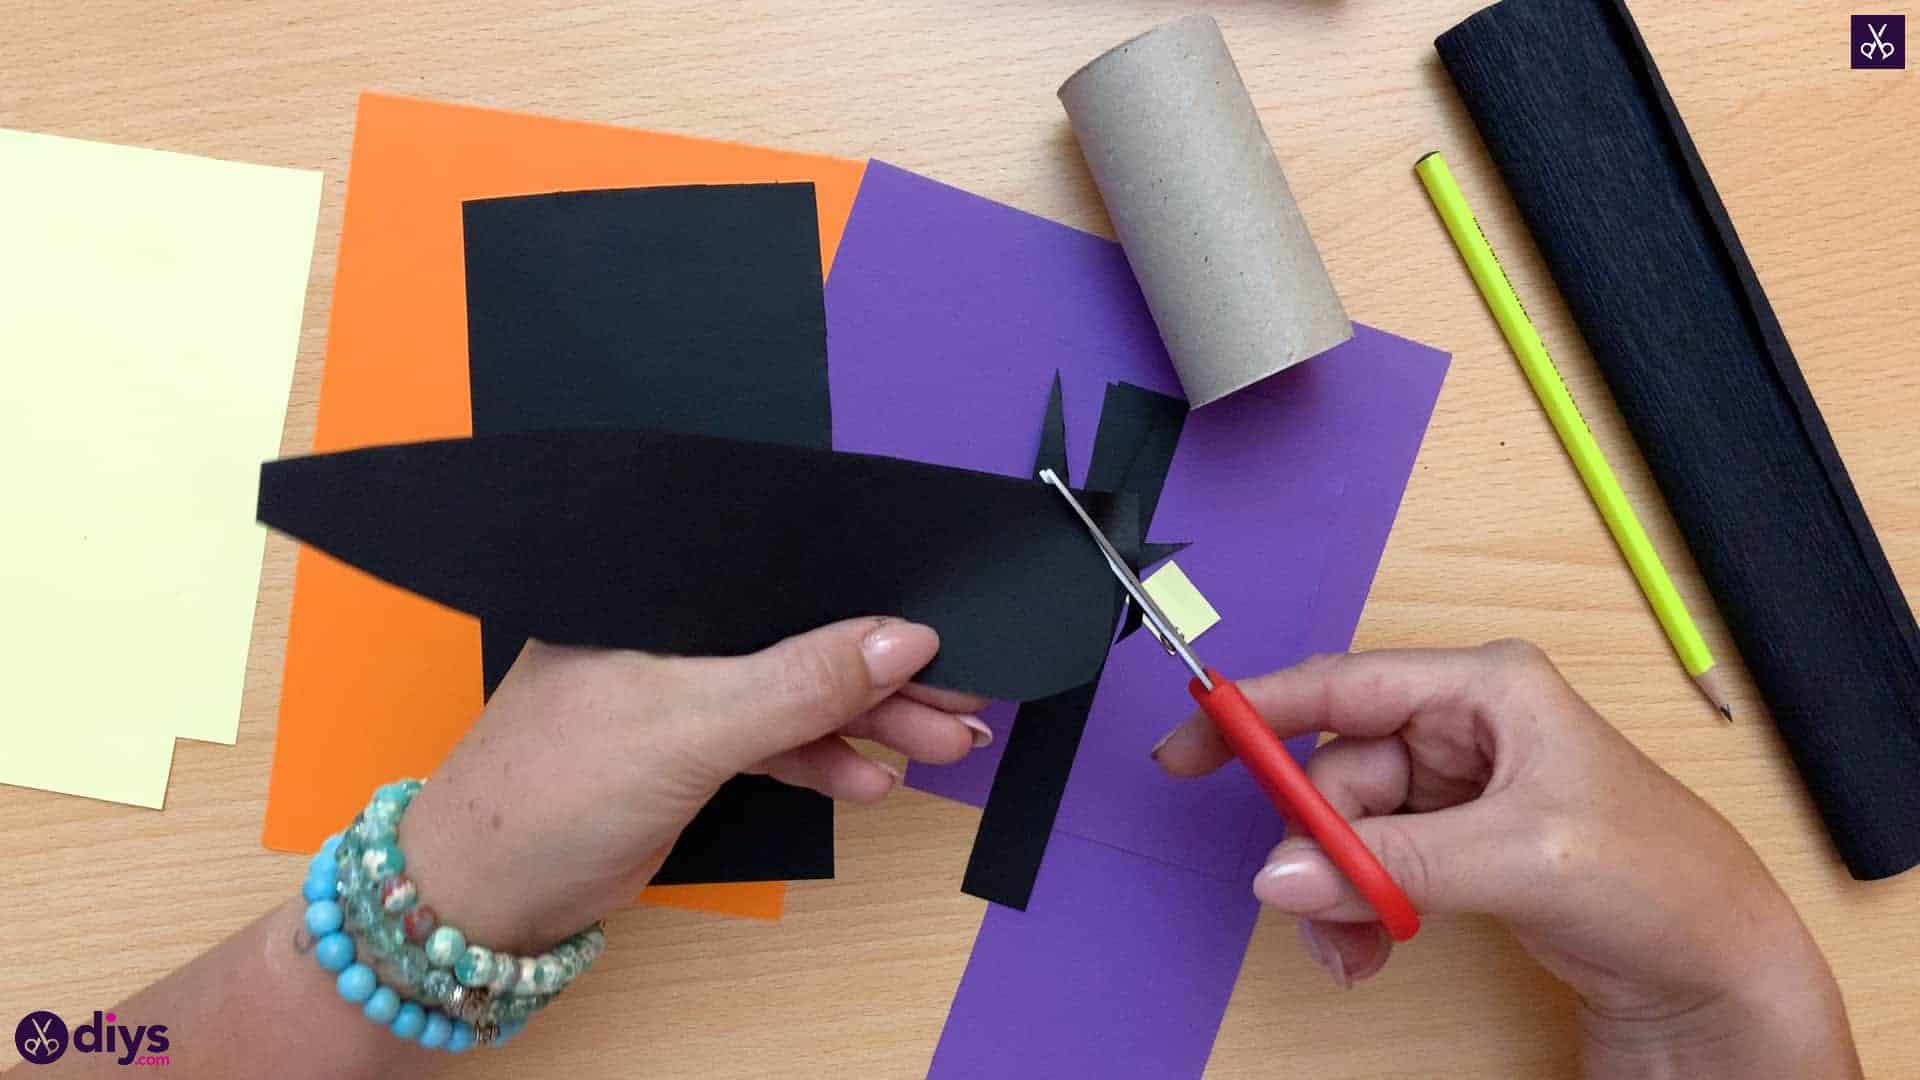
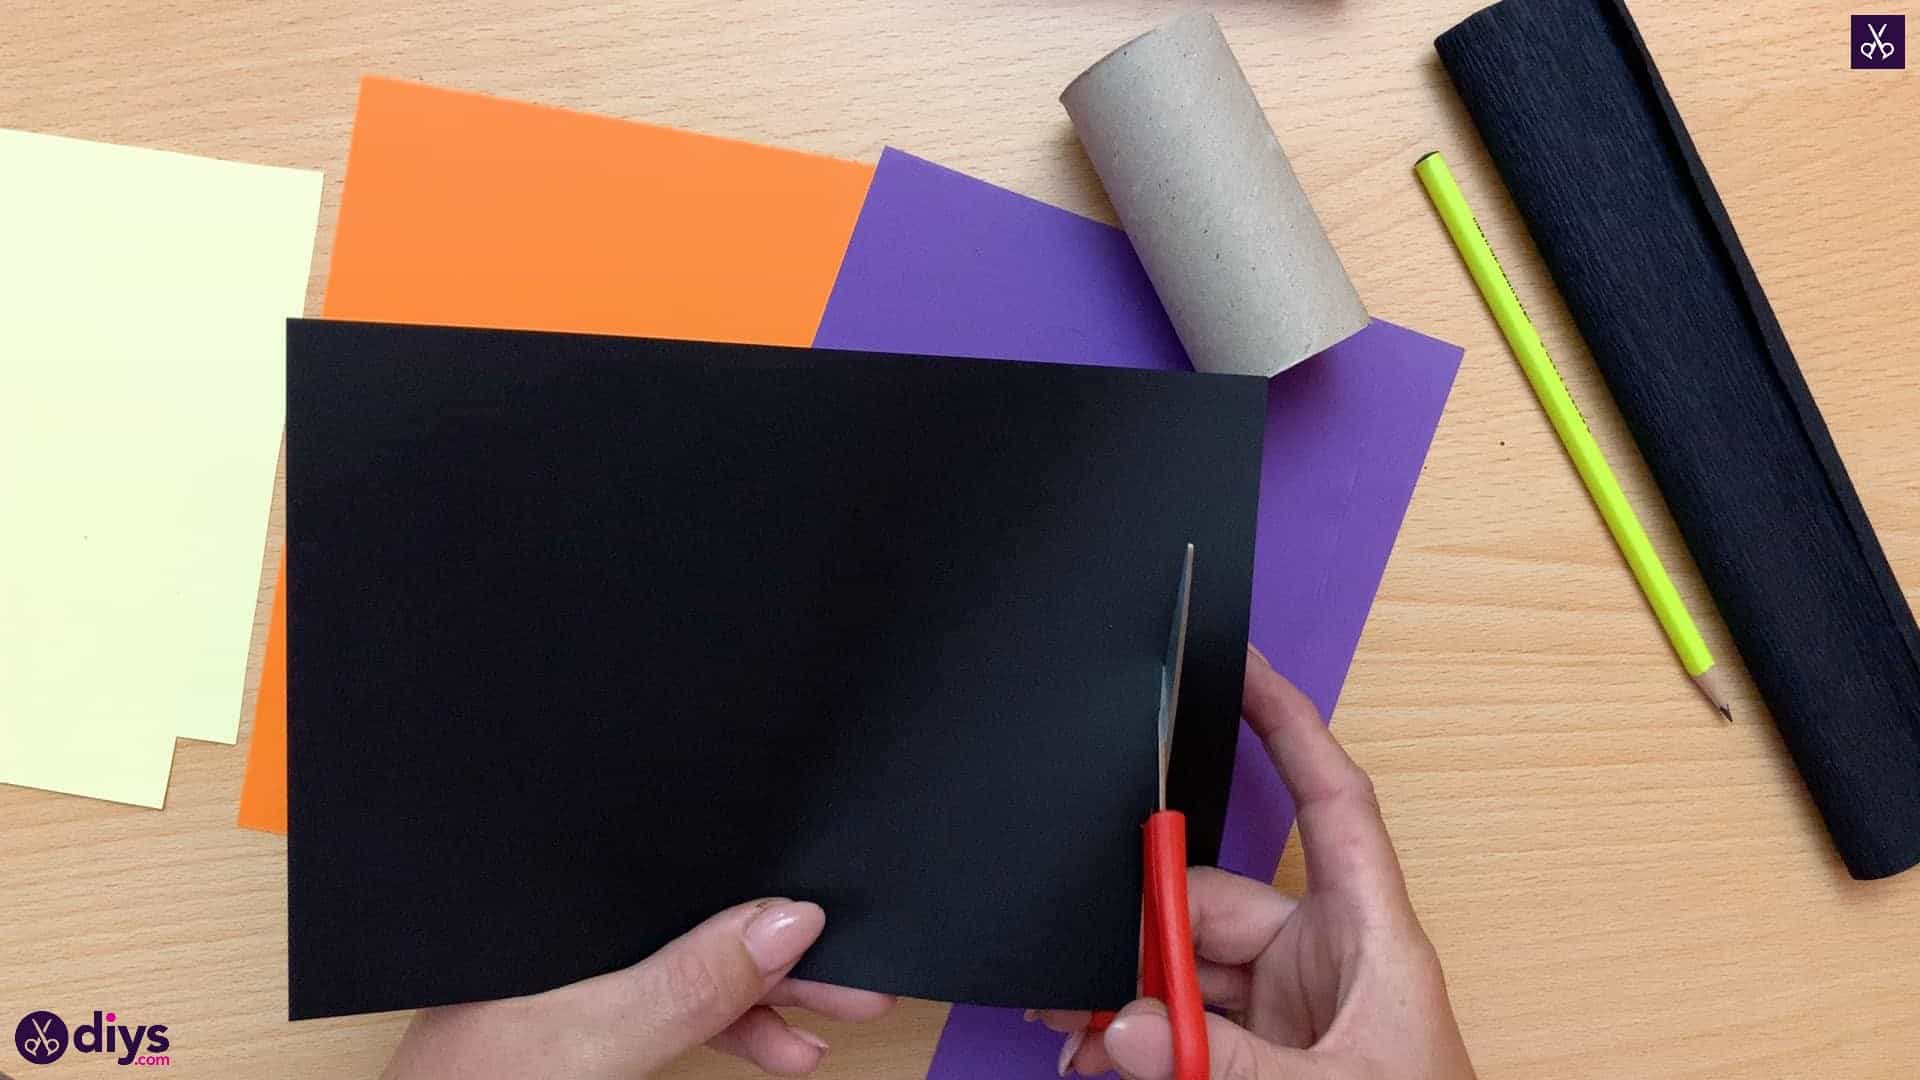
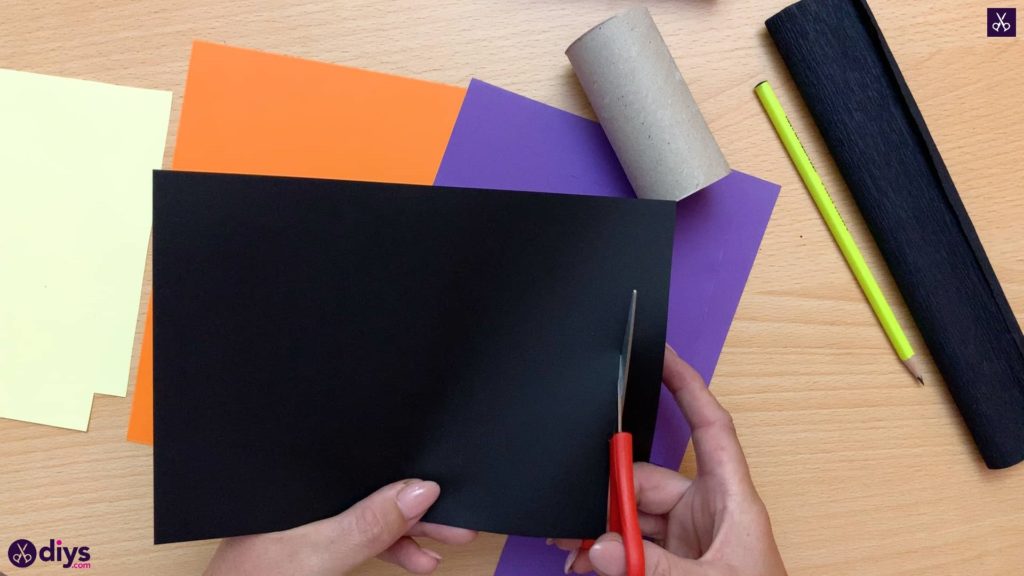
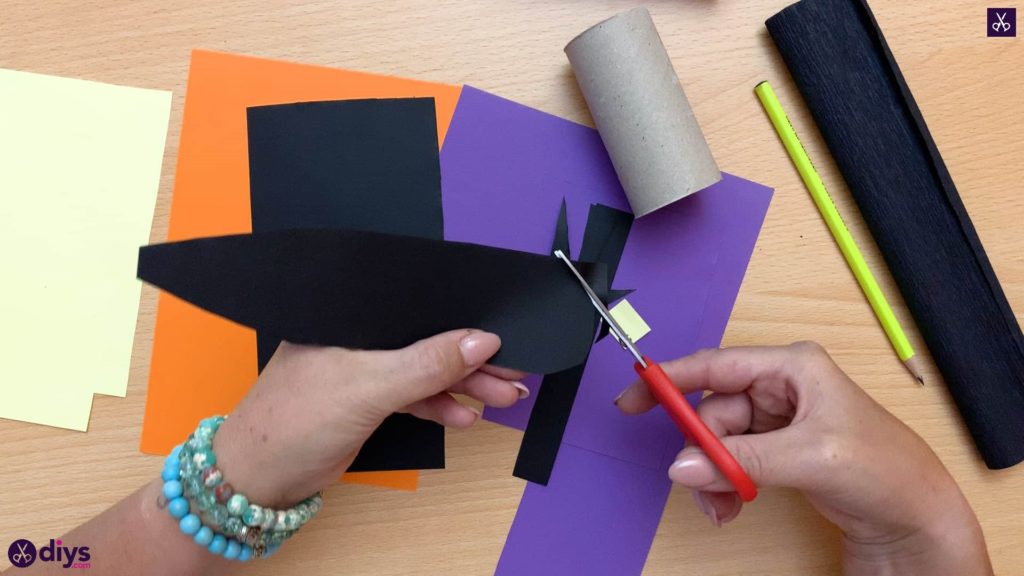
Cut a thin rectangle the whole width of your piece of black paper. Then, cut a thicker rectangle just wide enough that it would cover the whole end of your toilet paper roll. This thinner piece will wrap around your roll to be the ankle of the witch’s boot. Cut one end of your thicket rectangle into a tapered point but with a flat end, then round off the corners at the other end of that same piece. This will be the foot of the witch’s boot.
Step 6: more stripes
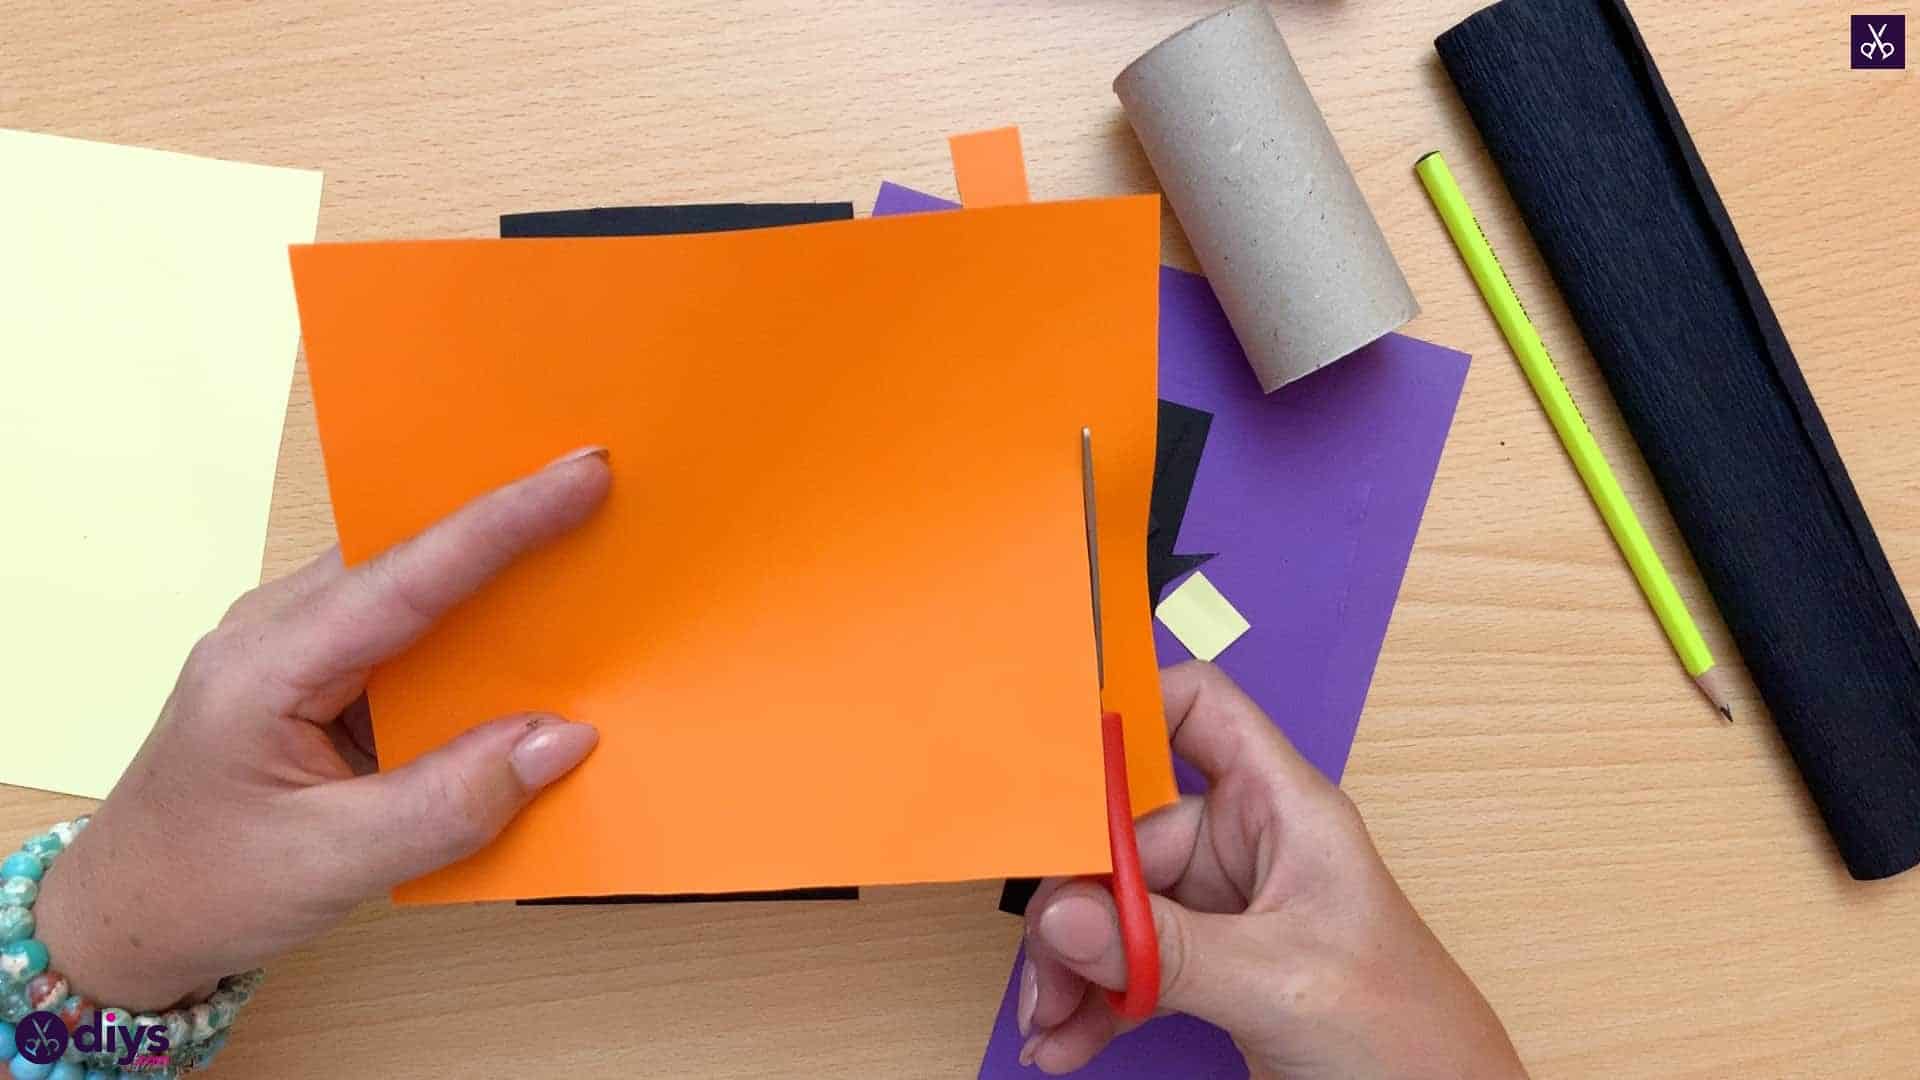
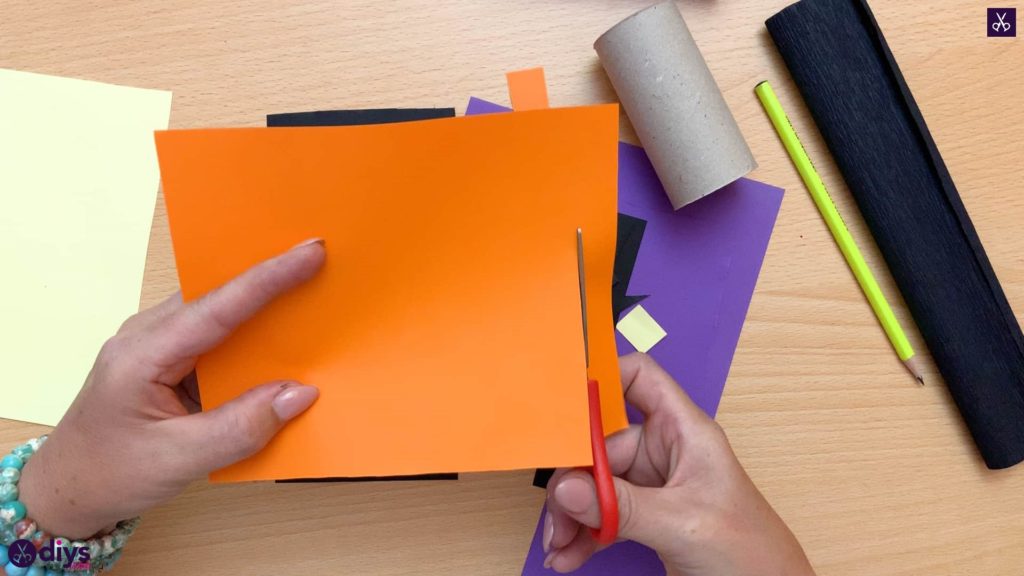
Cut three equally wide strips from the width edge of your orange paper. I made mine about half an inch wide each. These will be the stripes on your witch’s stocking.
Step 7: start gluing
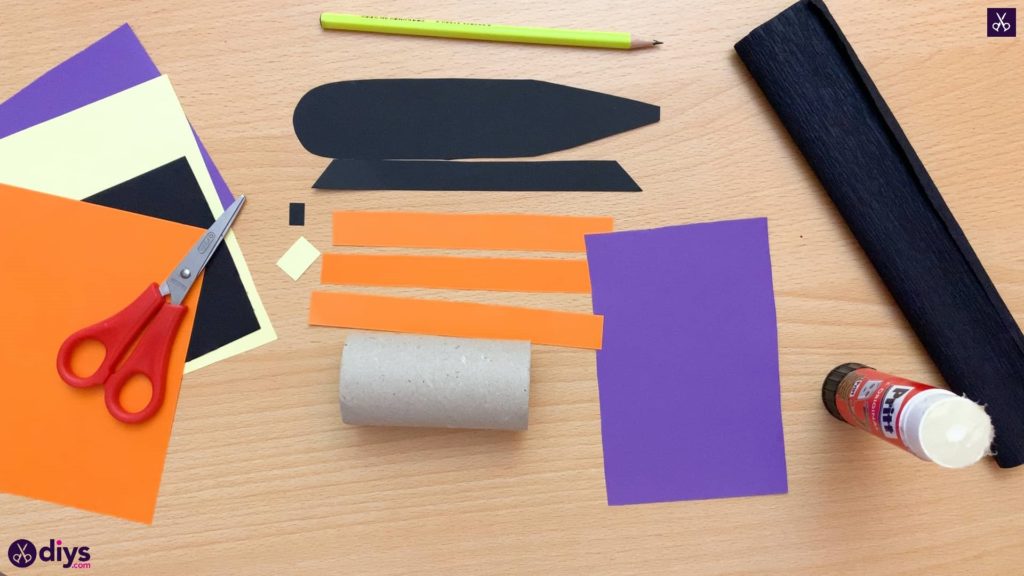
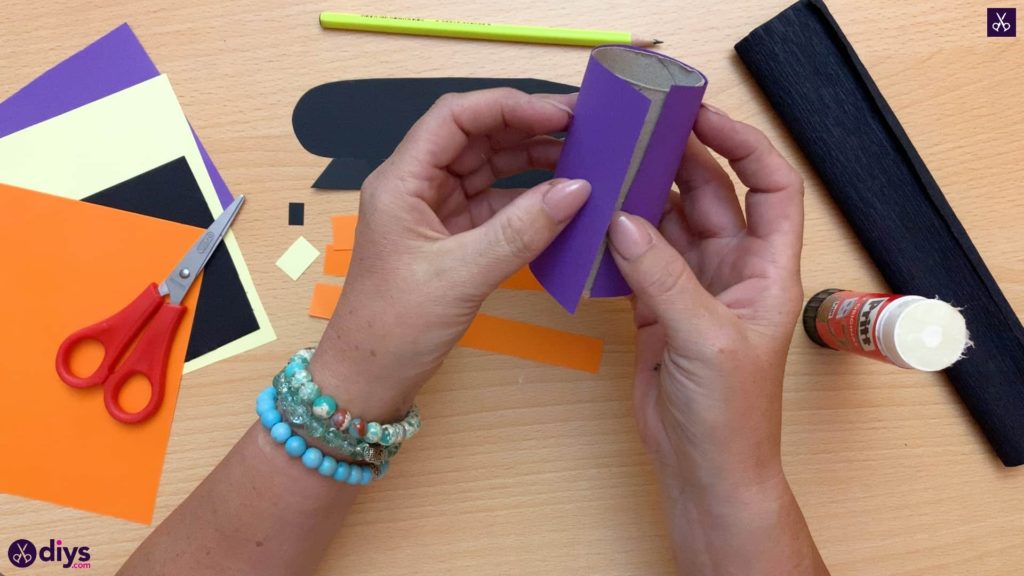
You now have all of your pieces cut out and your boot is ready to assemble. Use your glue stick to apply a stripe of glue the full length of your toilet paper roll in one section.
Step 8: wrap the roll
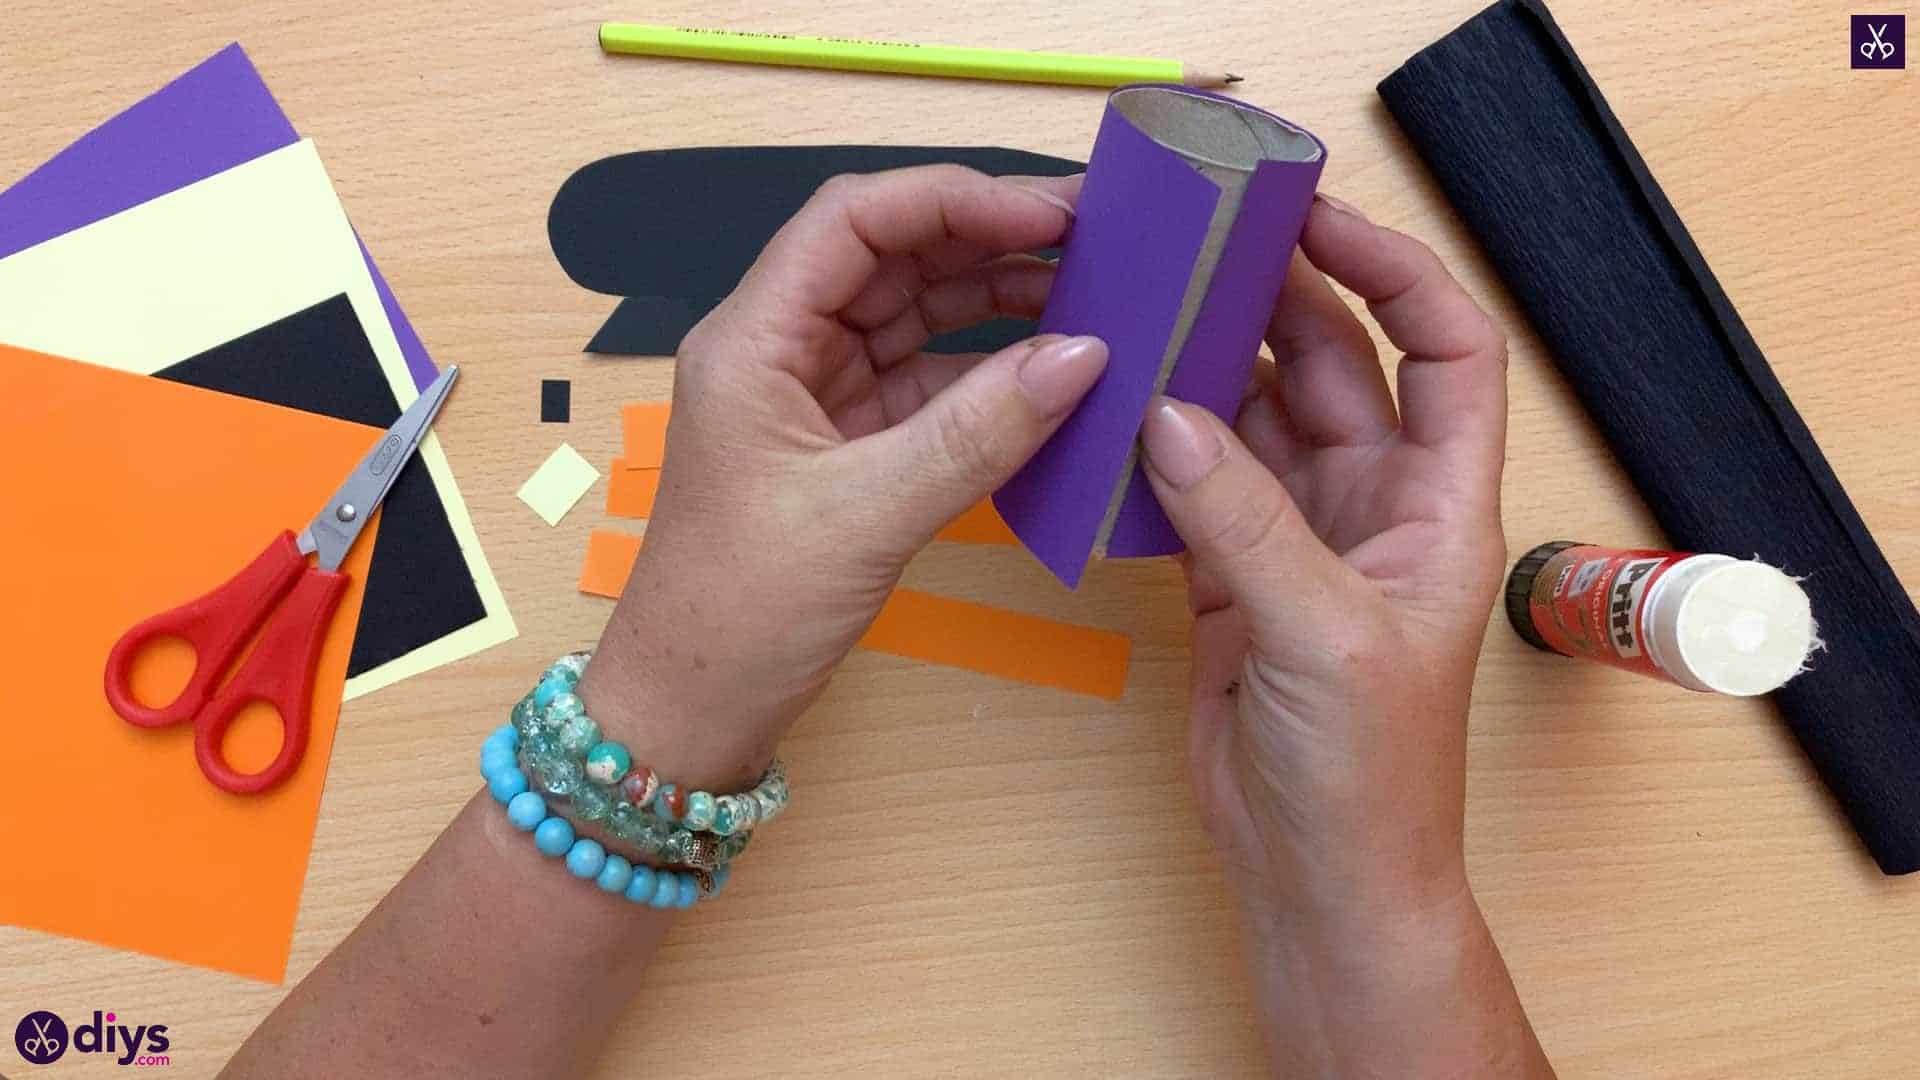
Wrap the purple section you cut earlier all the way around your toilet roll, sticking the ends into your stripe of glue. If your piece is slightly too long, use your scissors to trim the excess so your edges meet up and sit flush against each other.
Step 9: start adding stripes
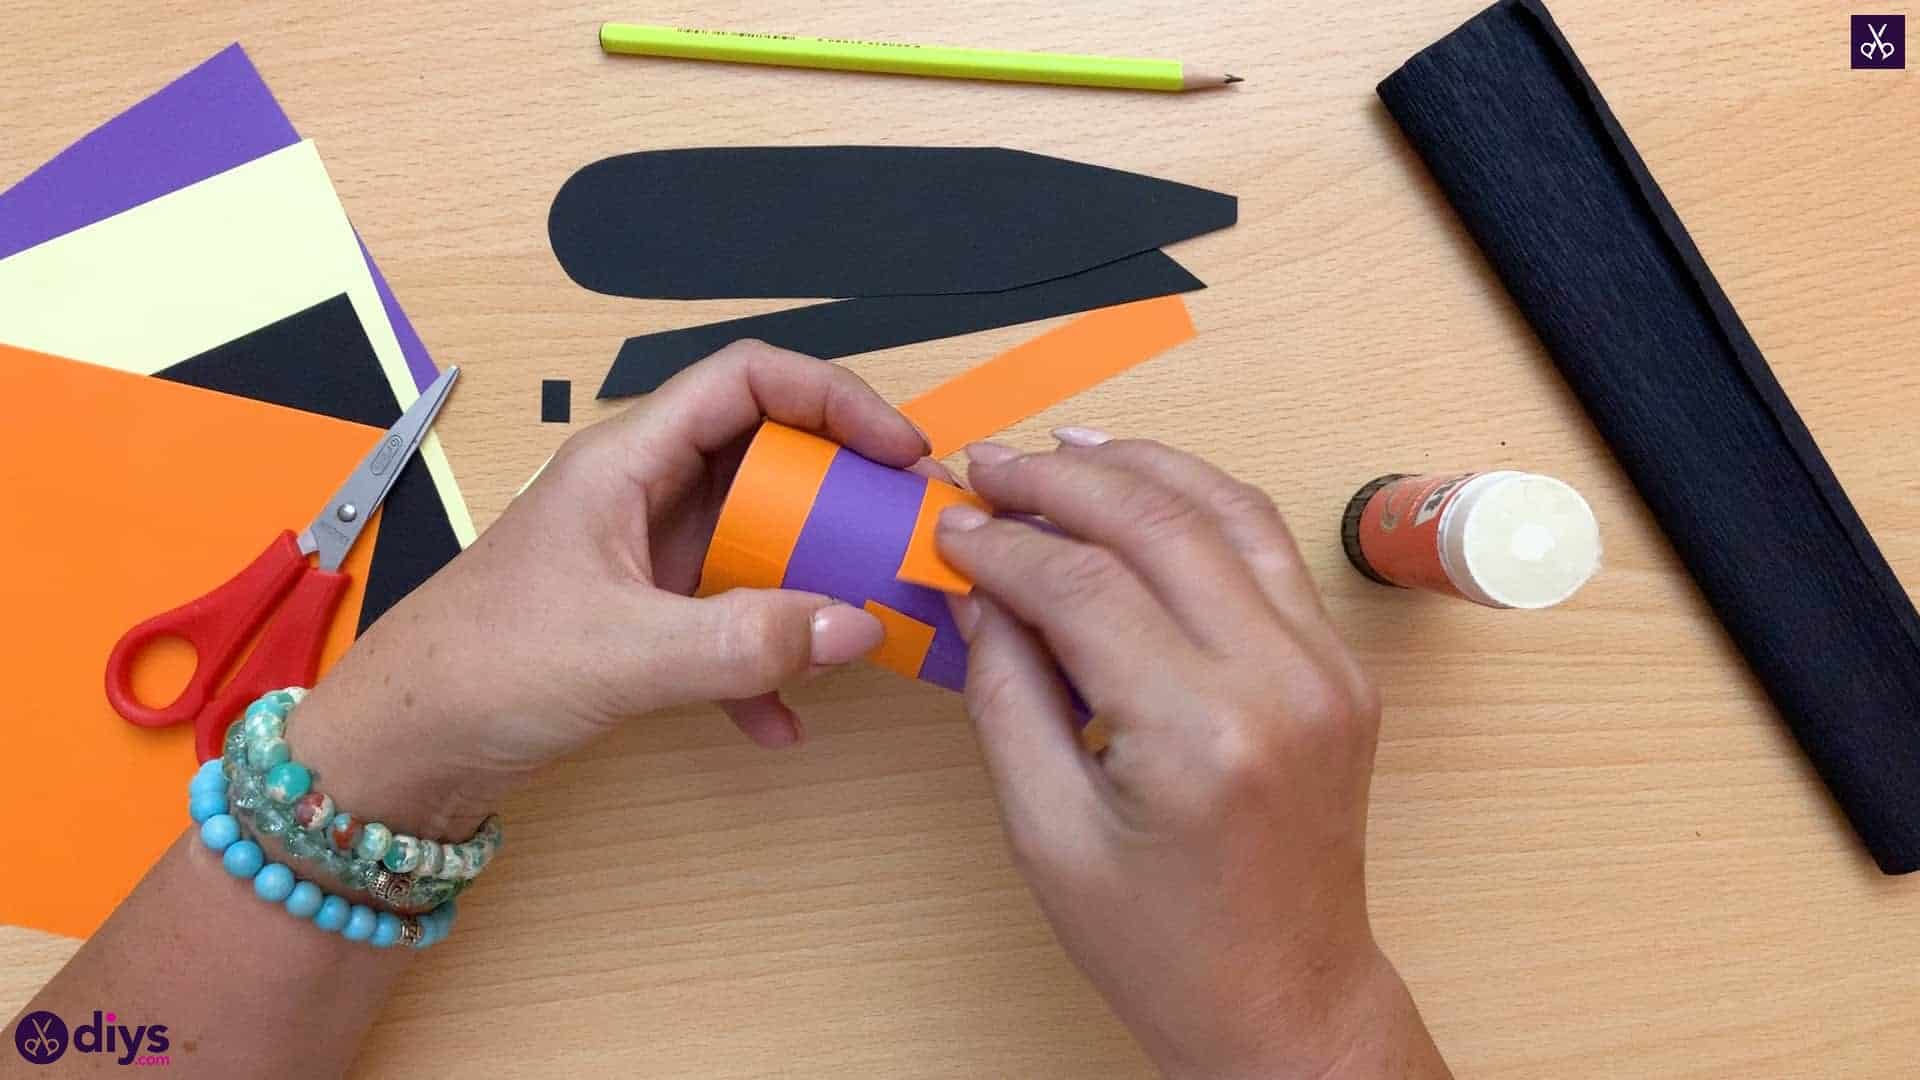
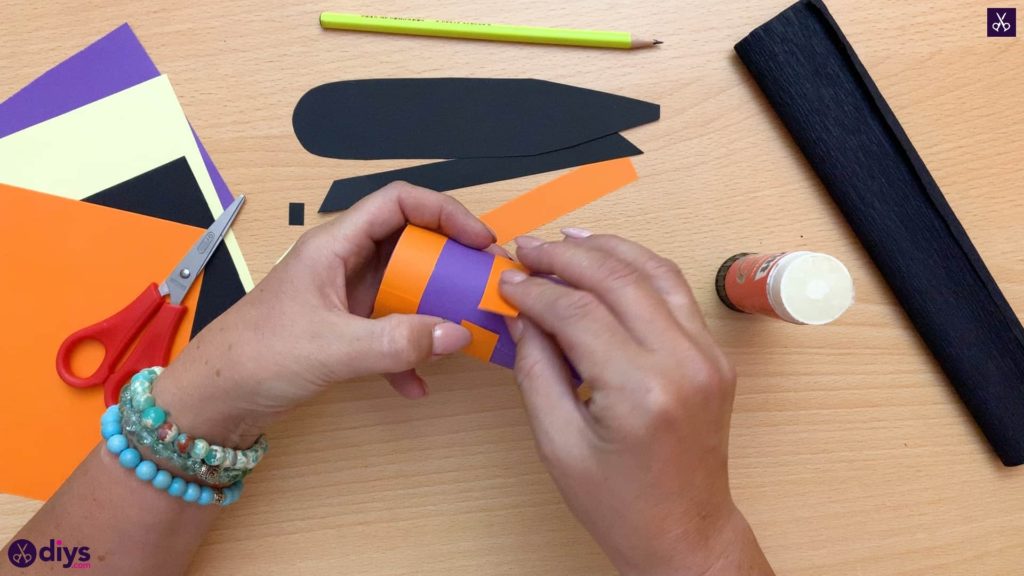
Glue your three orange strips around your toilet roll on top of the purple paper. I glued one along the bottom edge, one in the middle, and one along the top edge. Once again, if your stripes are a little too long, either trim the end with your scissors so the edges sit flush against each other or overlap them, gluing one end over the other.
Step 10: make the ankle
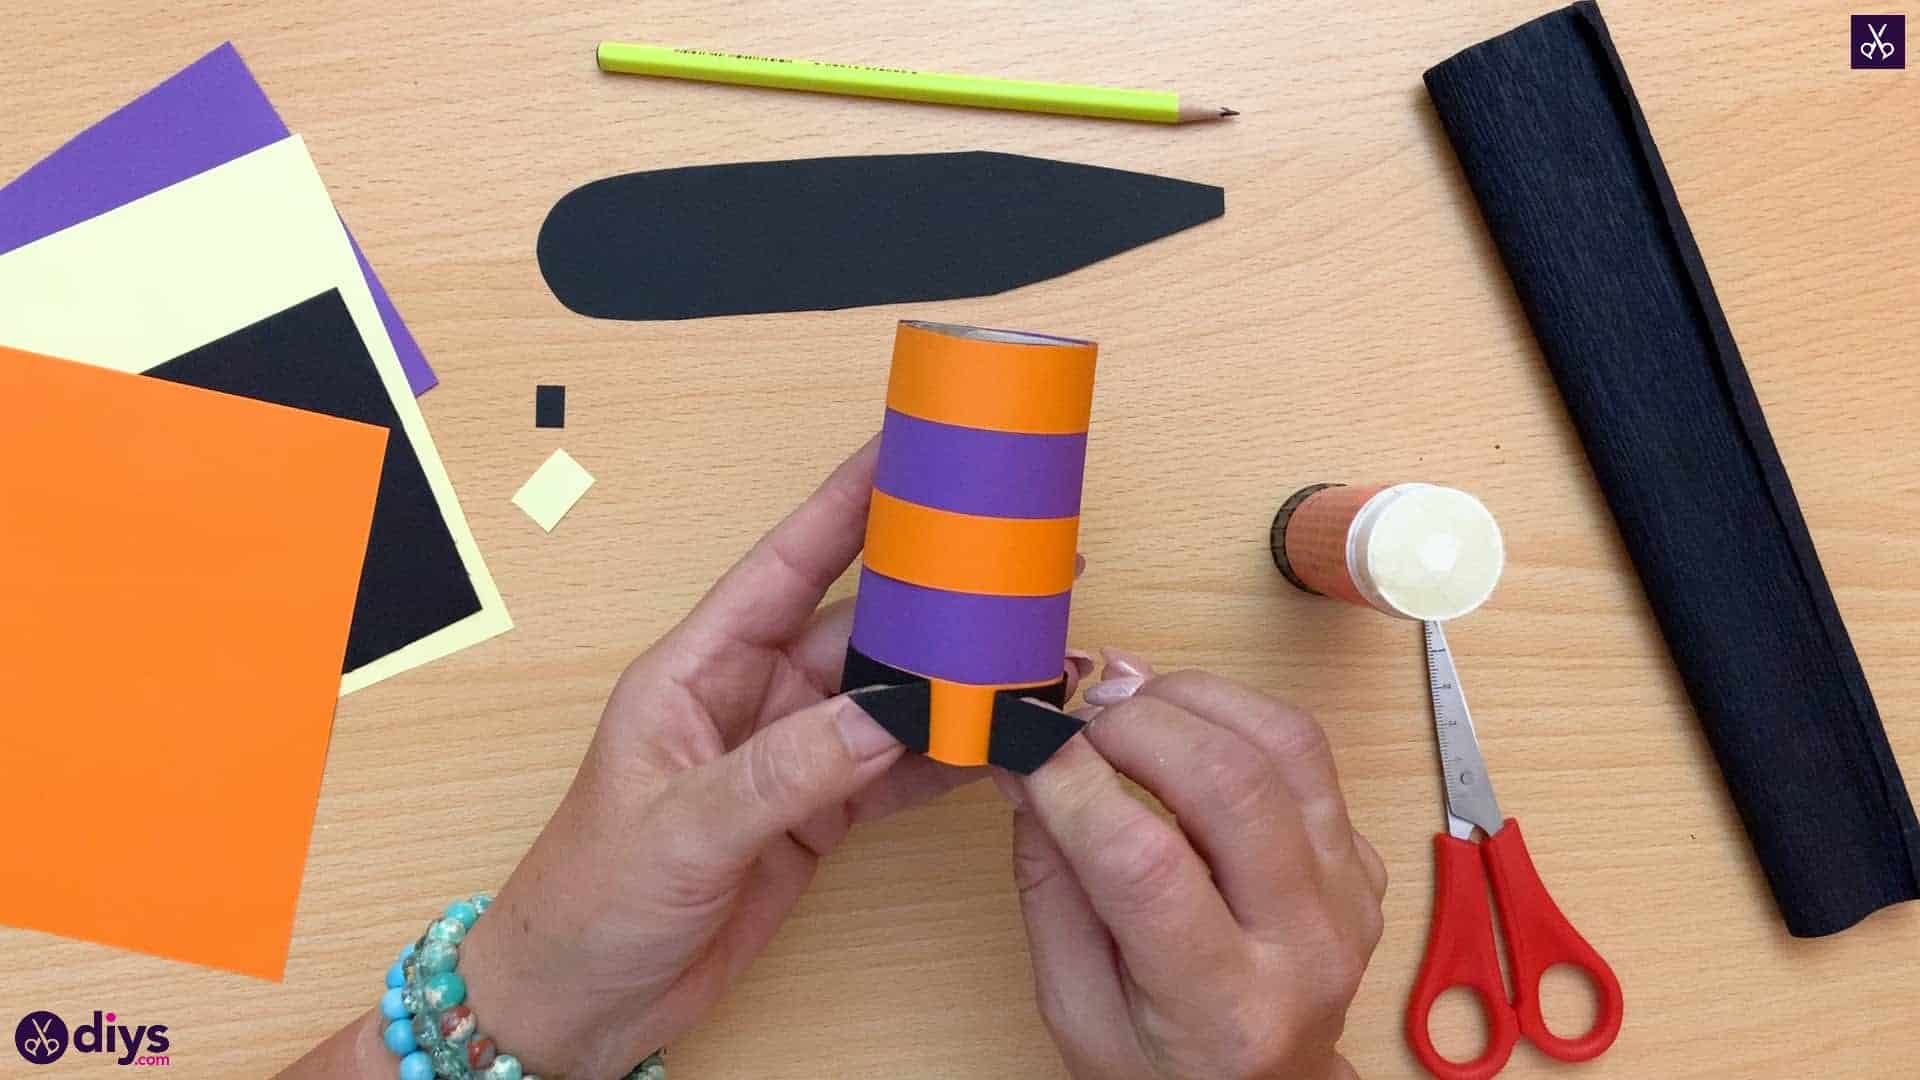
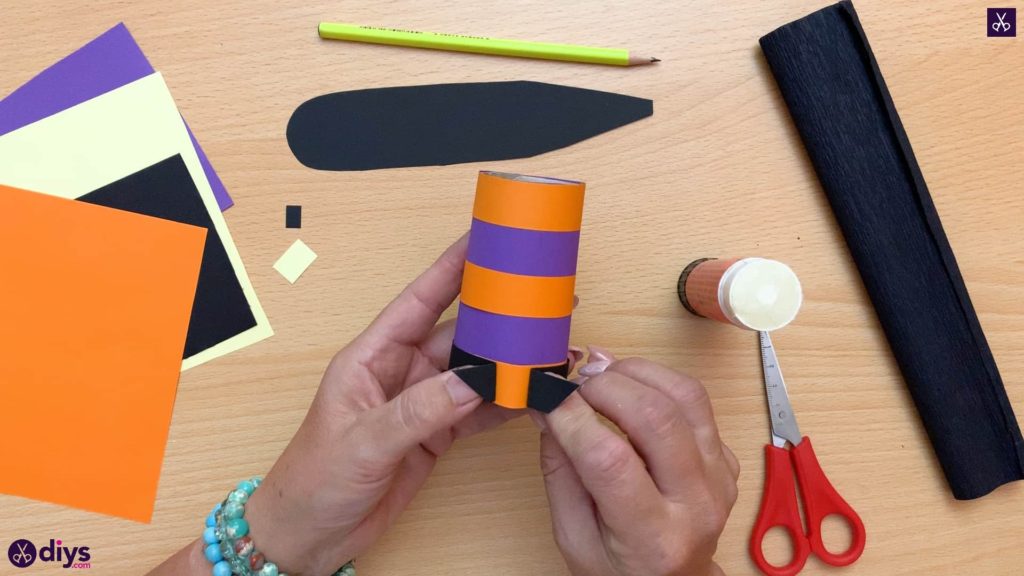
Glue the smaller of the two black strips you cut earlier around the very bottom edge of your toilet roll, so the orange stripe that’s already there still shows above it. This time, instead of Gluing the ends down flat, I bent each one back on itself to look like the top of an ankle boot.
Step 11: add the belt
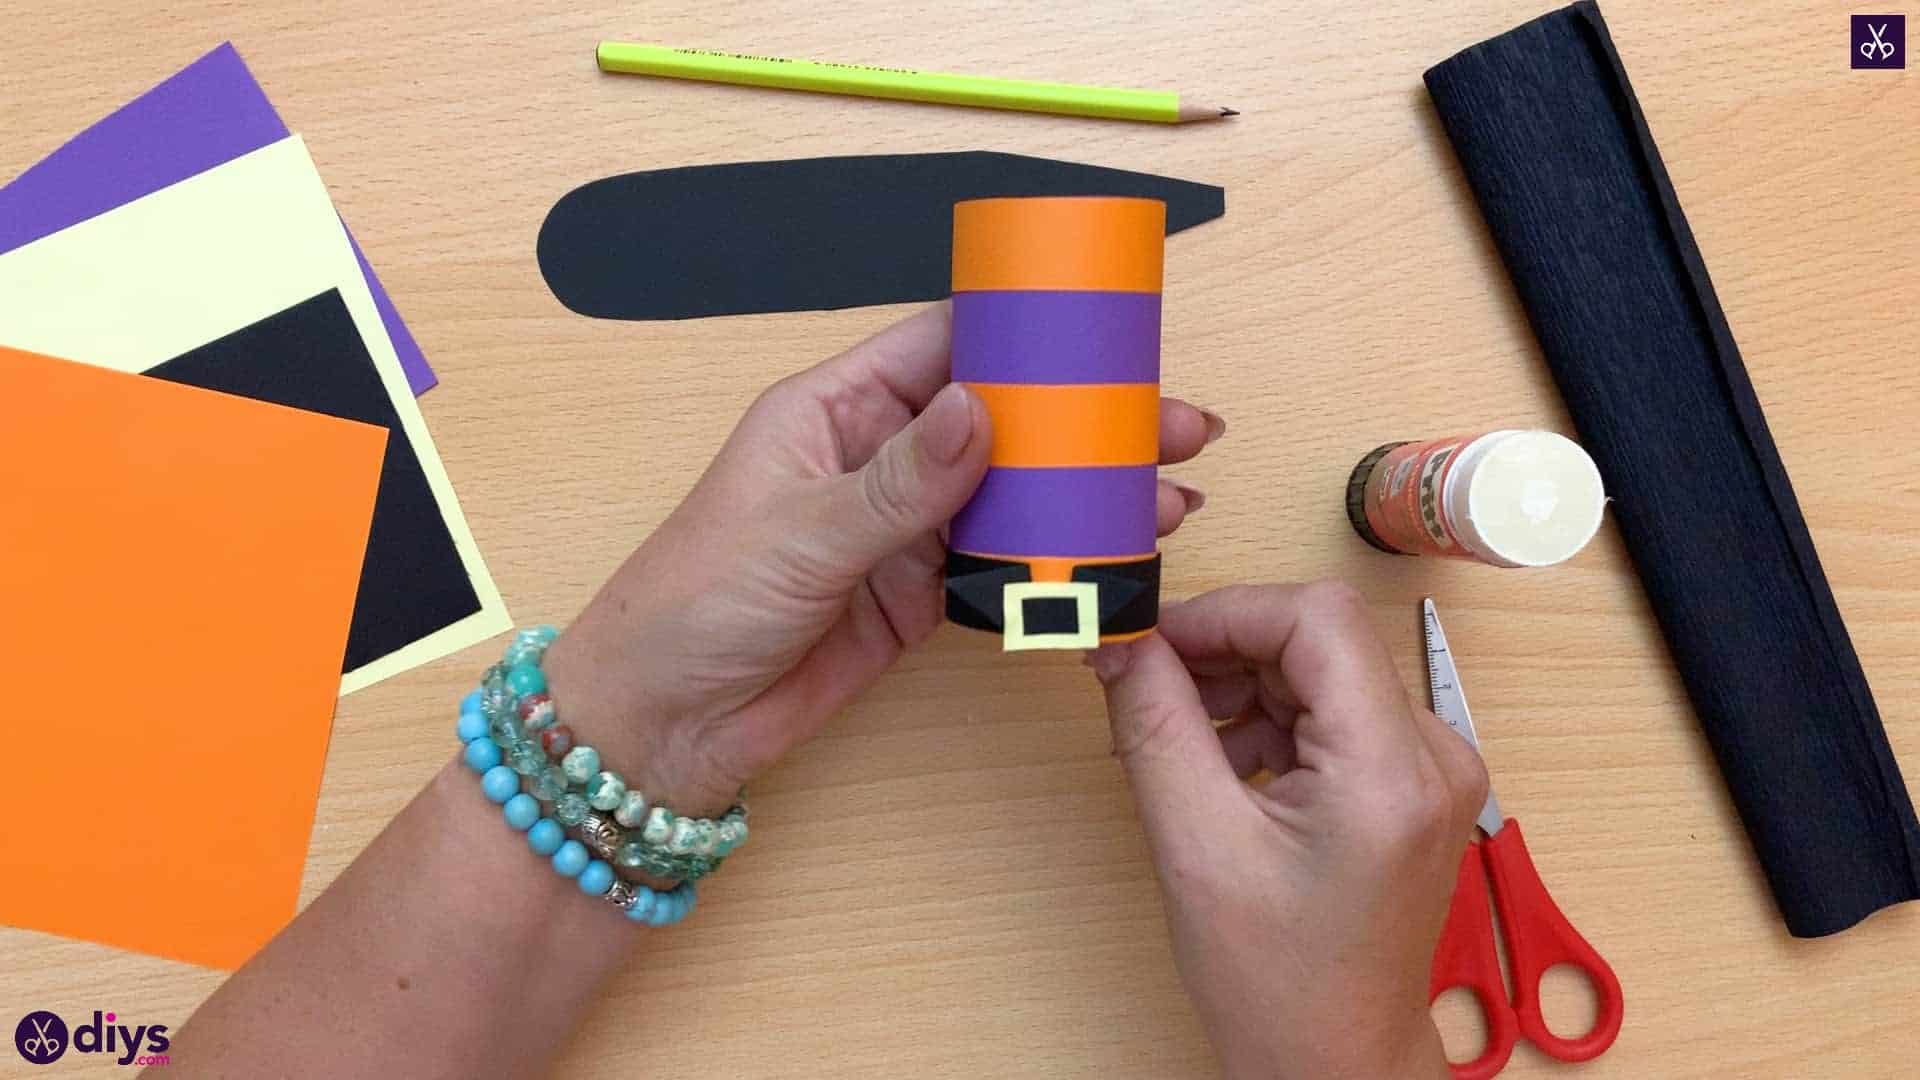
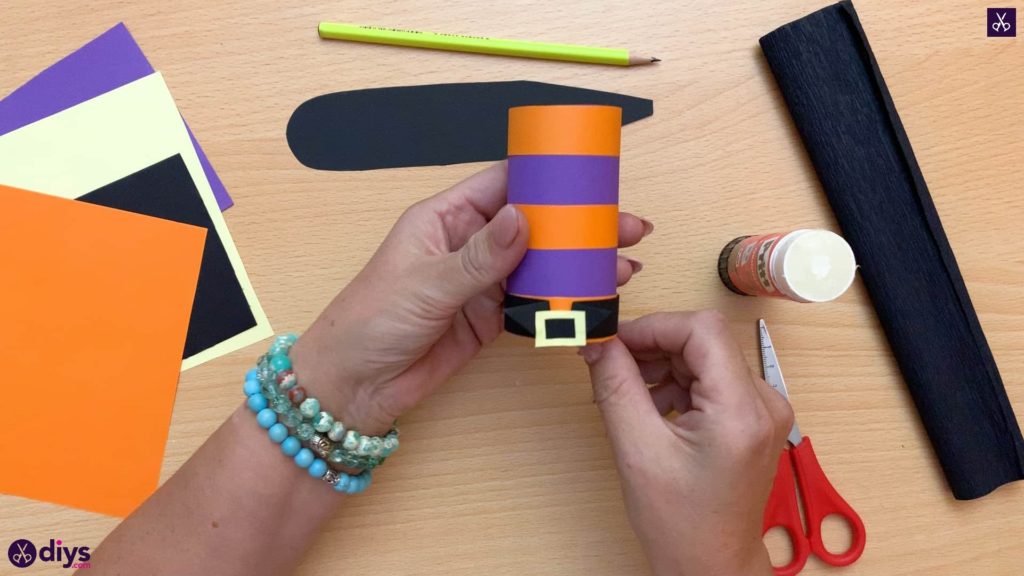
Into that orange space left between the black ends of your boot’s ankle, glue the little square that you cut out of your yellow paper. Before I stuck that down, I glue a tiny black paper square into the center of that, slightly smaller than the yellow one so that some colour still showed around the black square’s edges. This is the buckle of the boot.
Step 12: curl toe
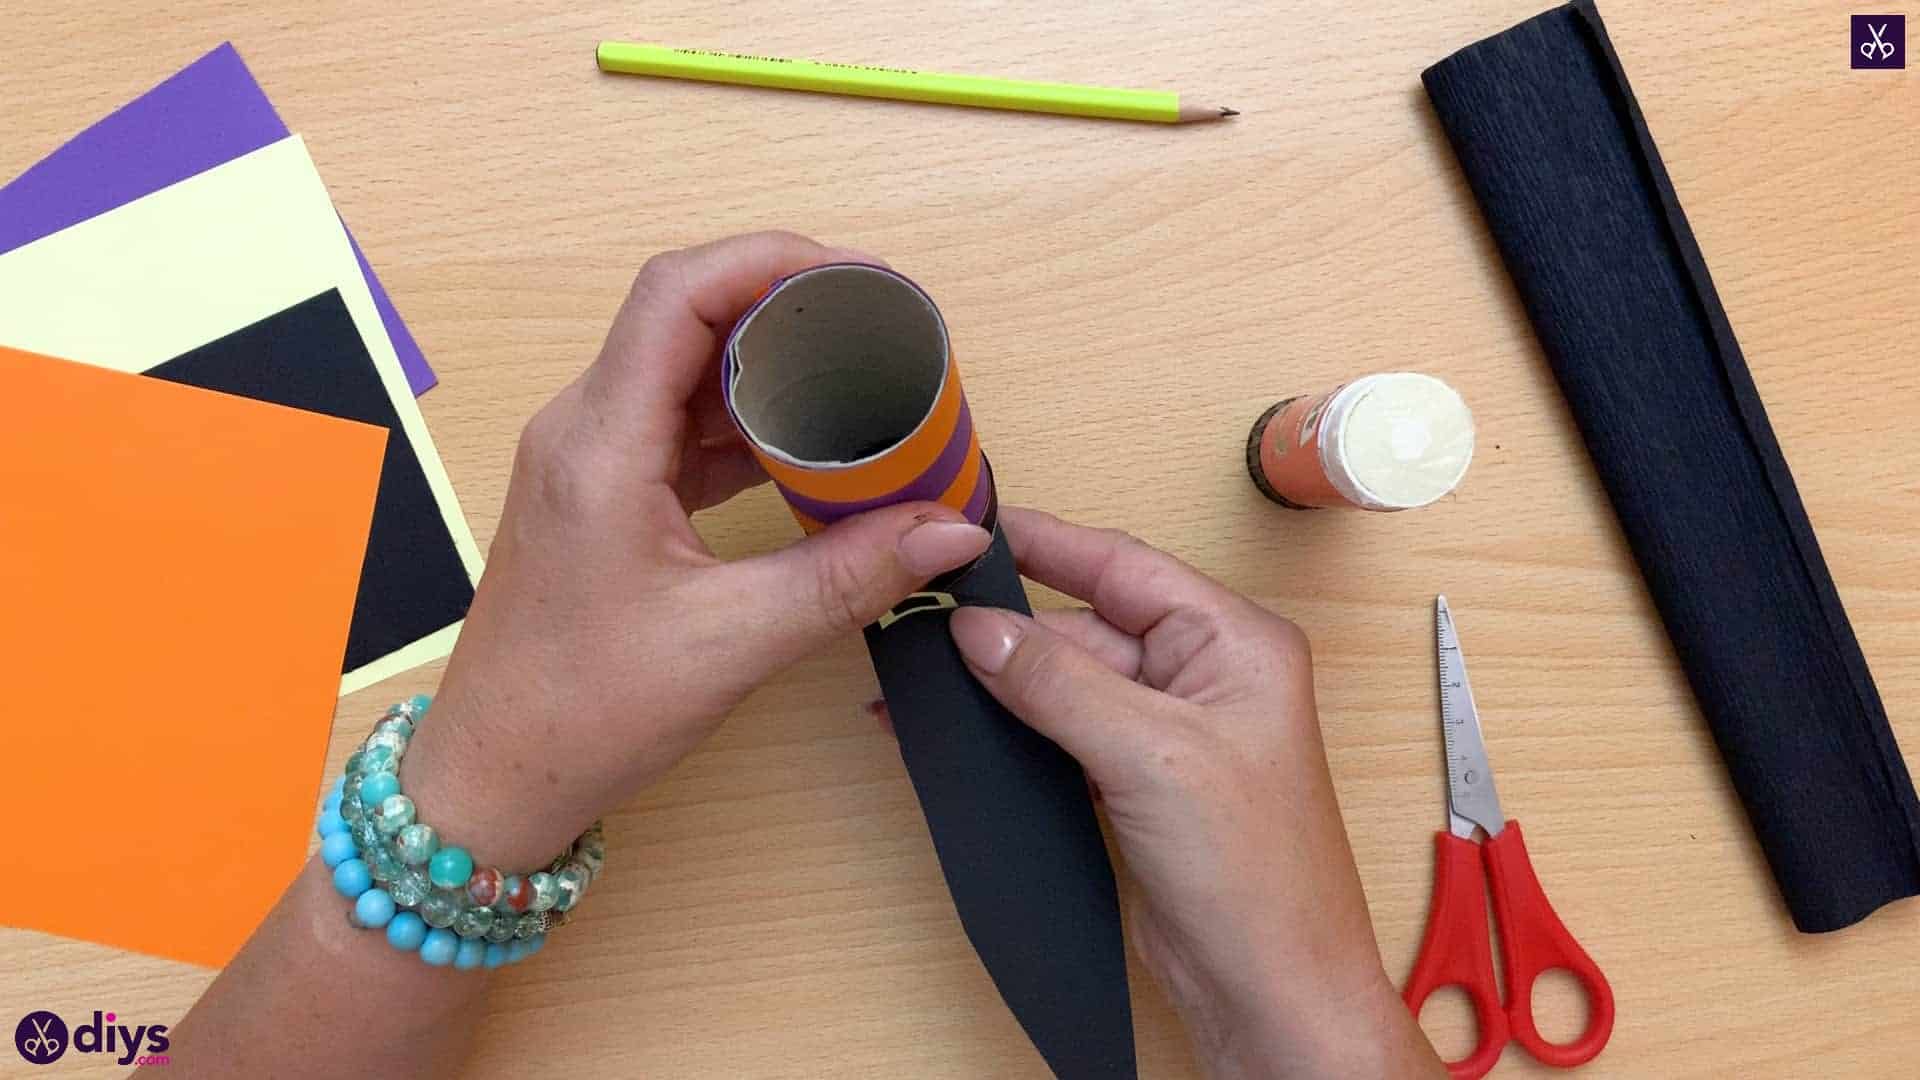
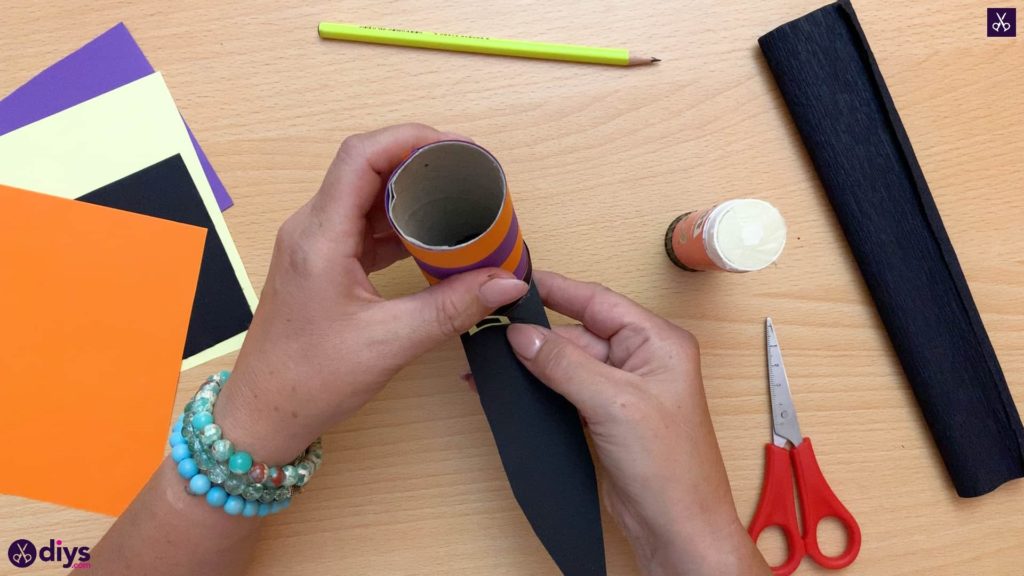
Apply glue on the rounded end of your larger black piece and on the edges of the bottom circle of the toilet roll, on the end where your ankle sits. Press the glued roll onto the black piece to make your witch’s foot.
Step 13: stiffen
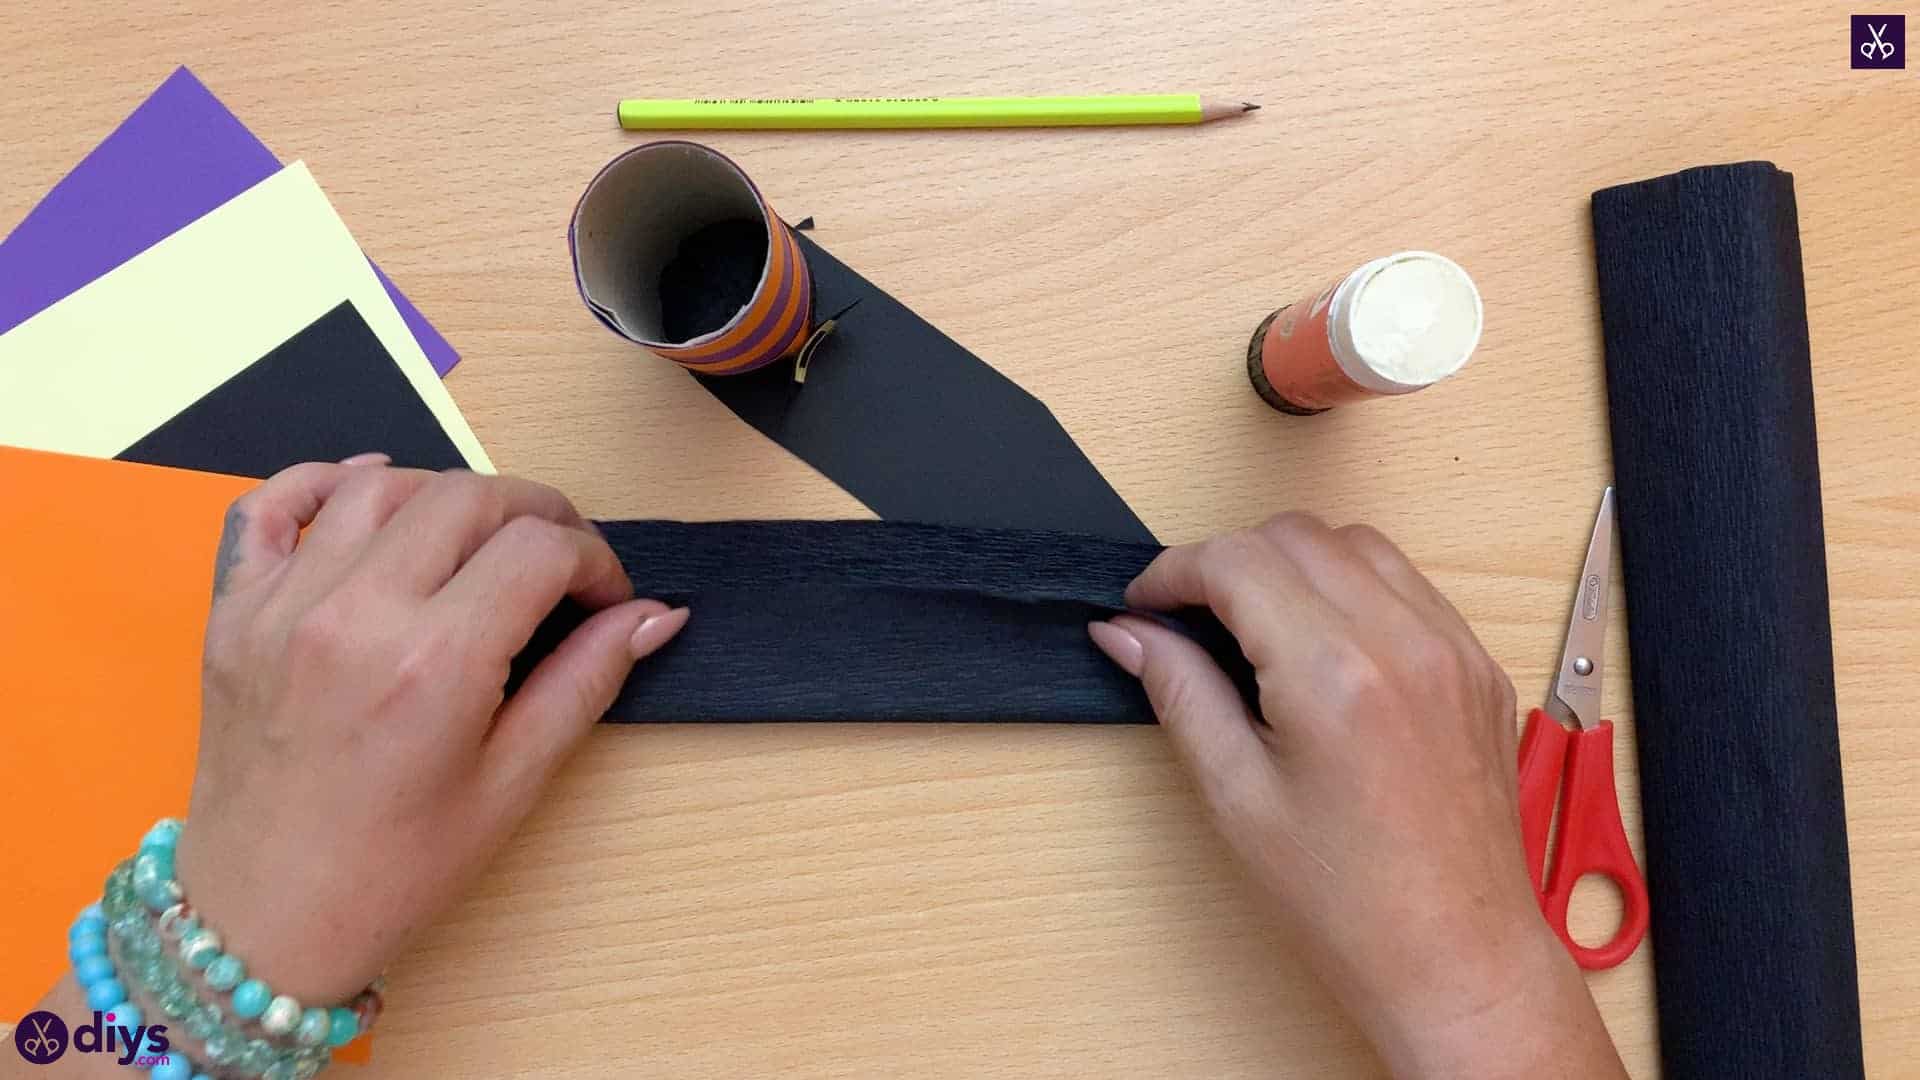
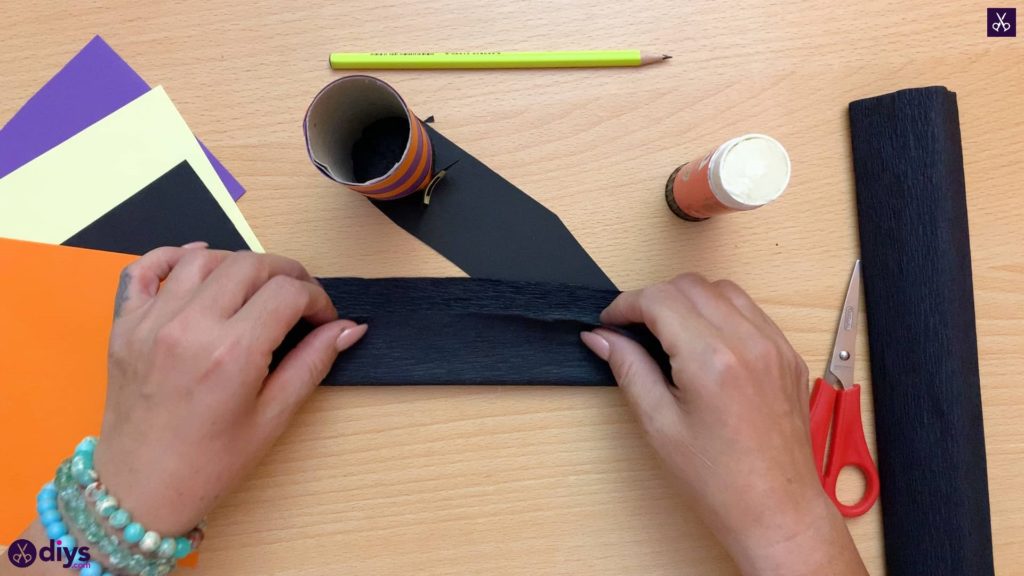
Cut a rectangle from your black crepe paper about two inches wide and the full length of the roll. Fold it in half down its length so you now have a piece that’s an inch wide but double thick. This will give it some extra stiffness. I glued my halves together to make the strip easier to work with.
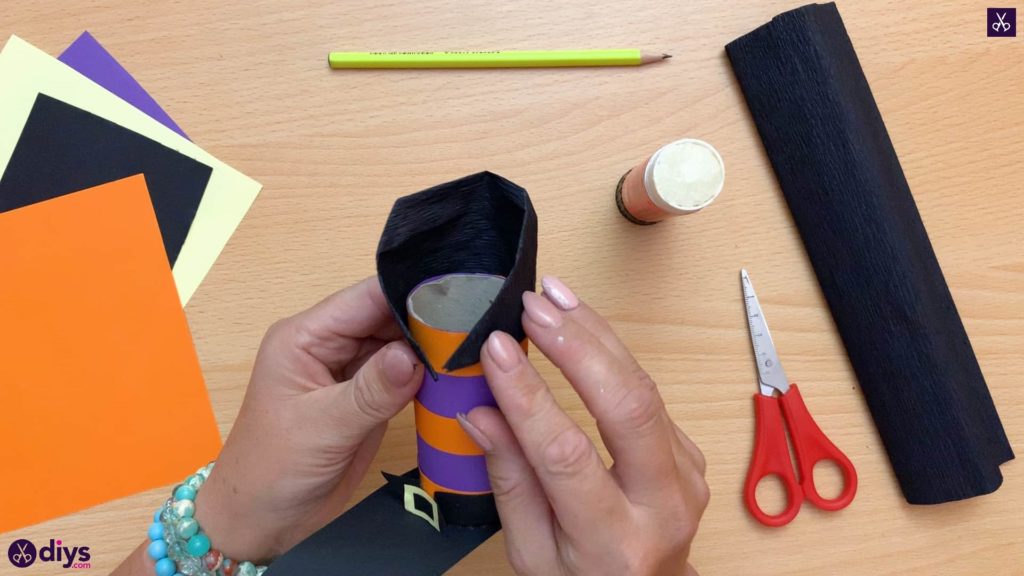
Step 14: make the cuff
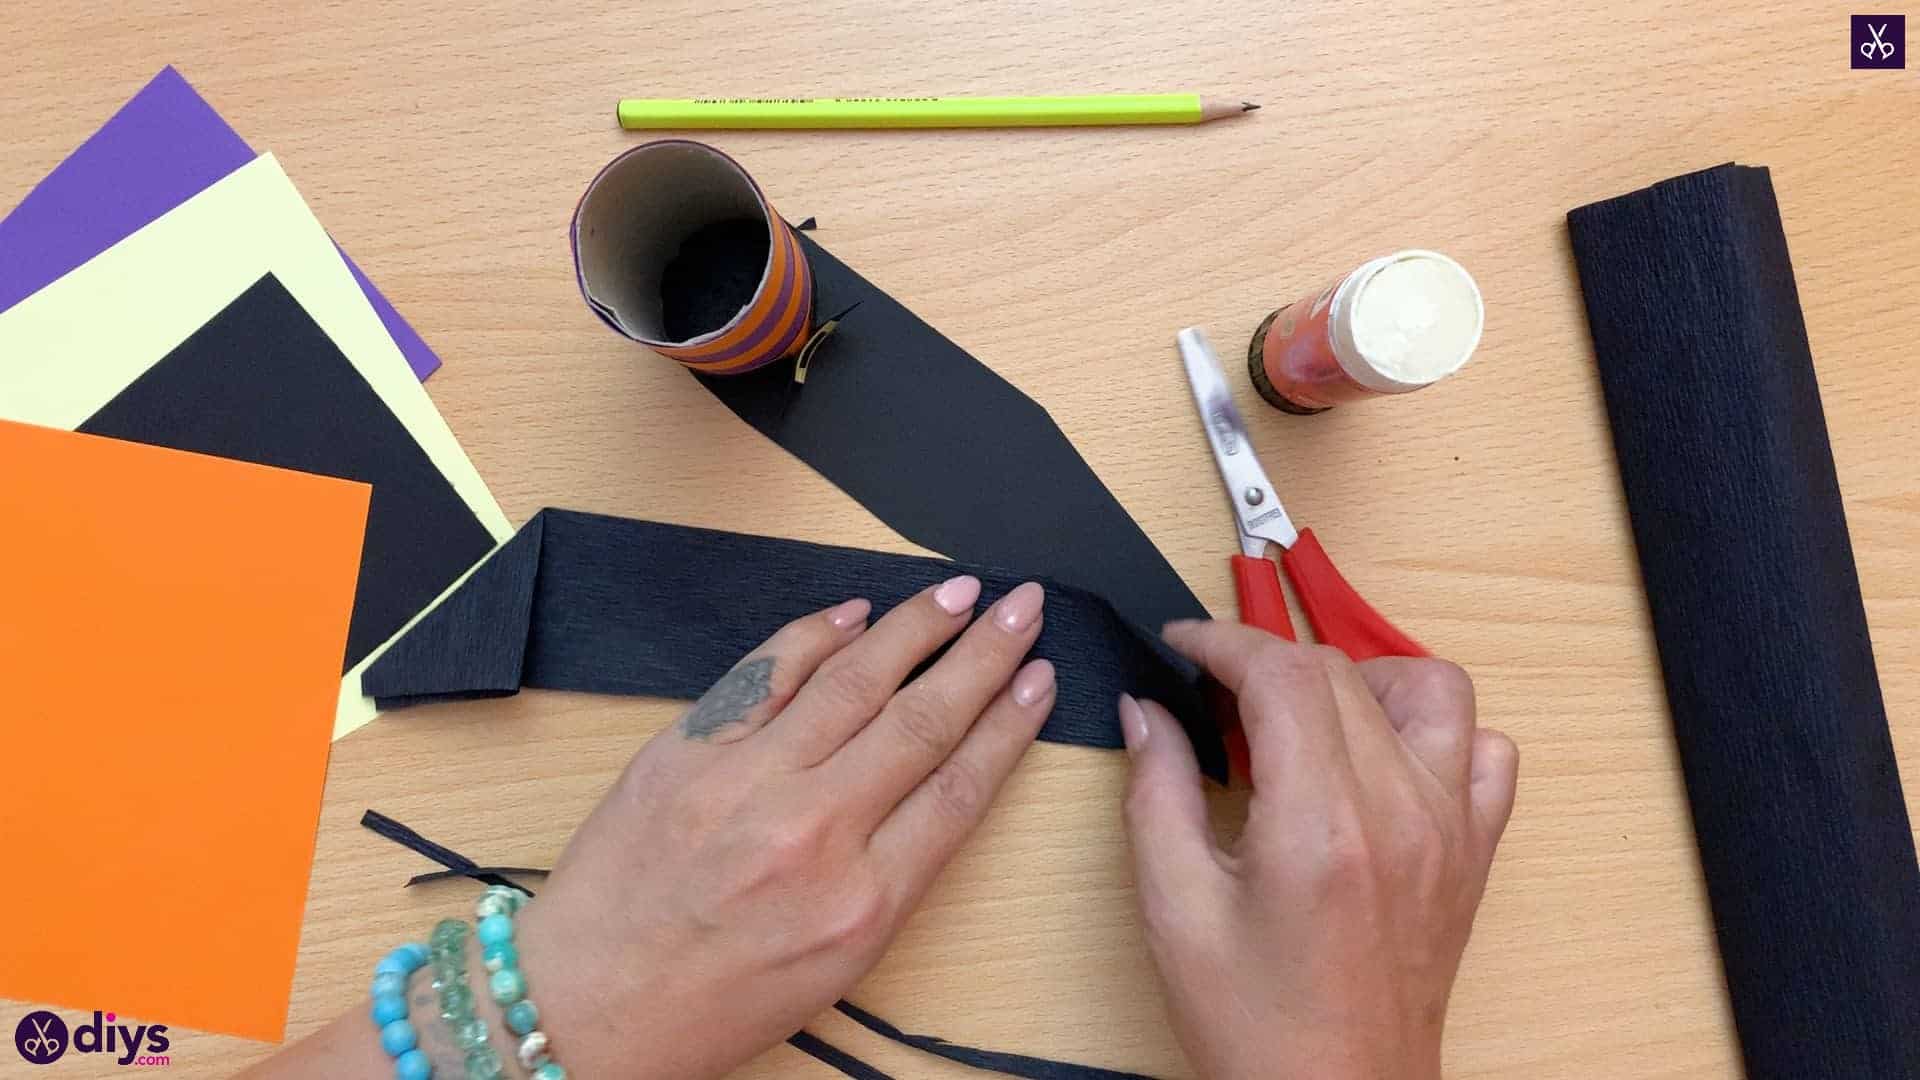
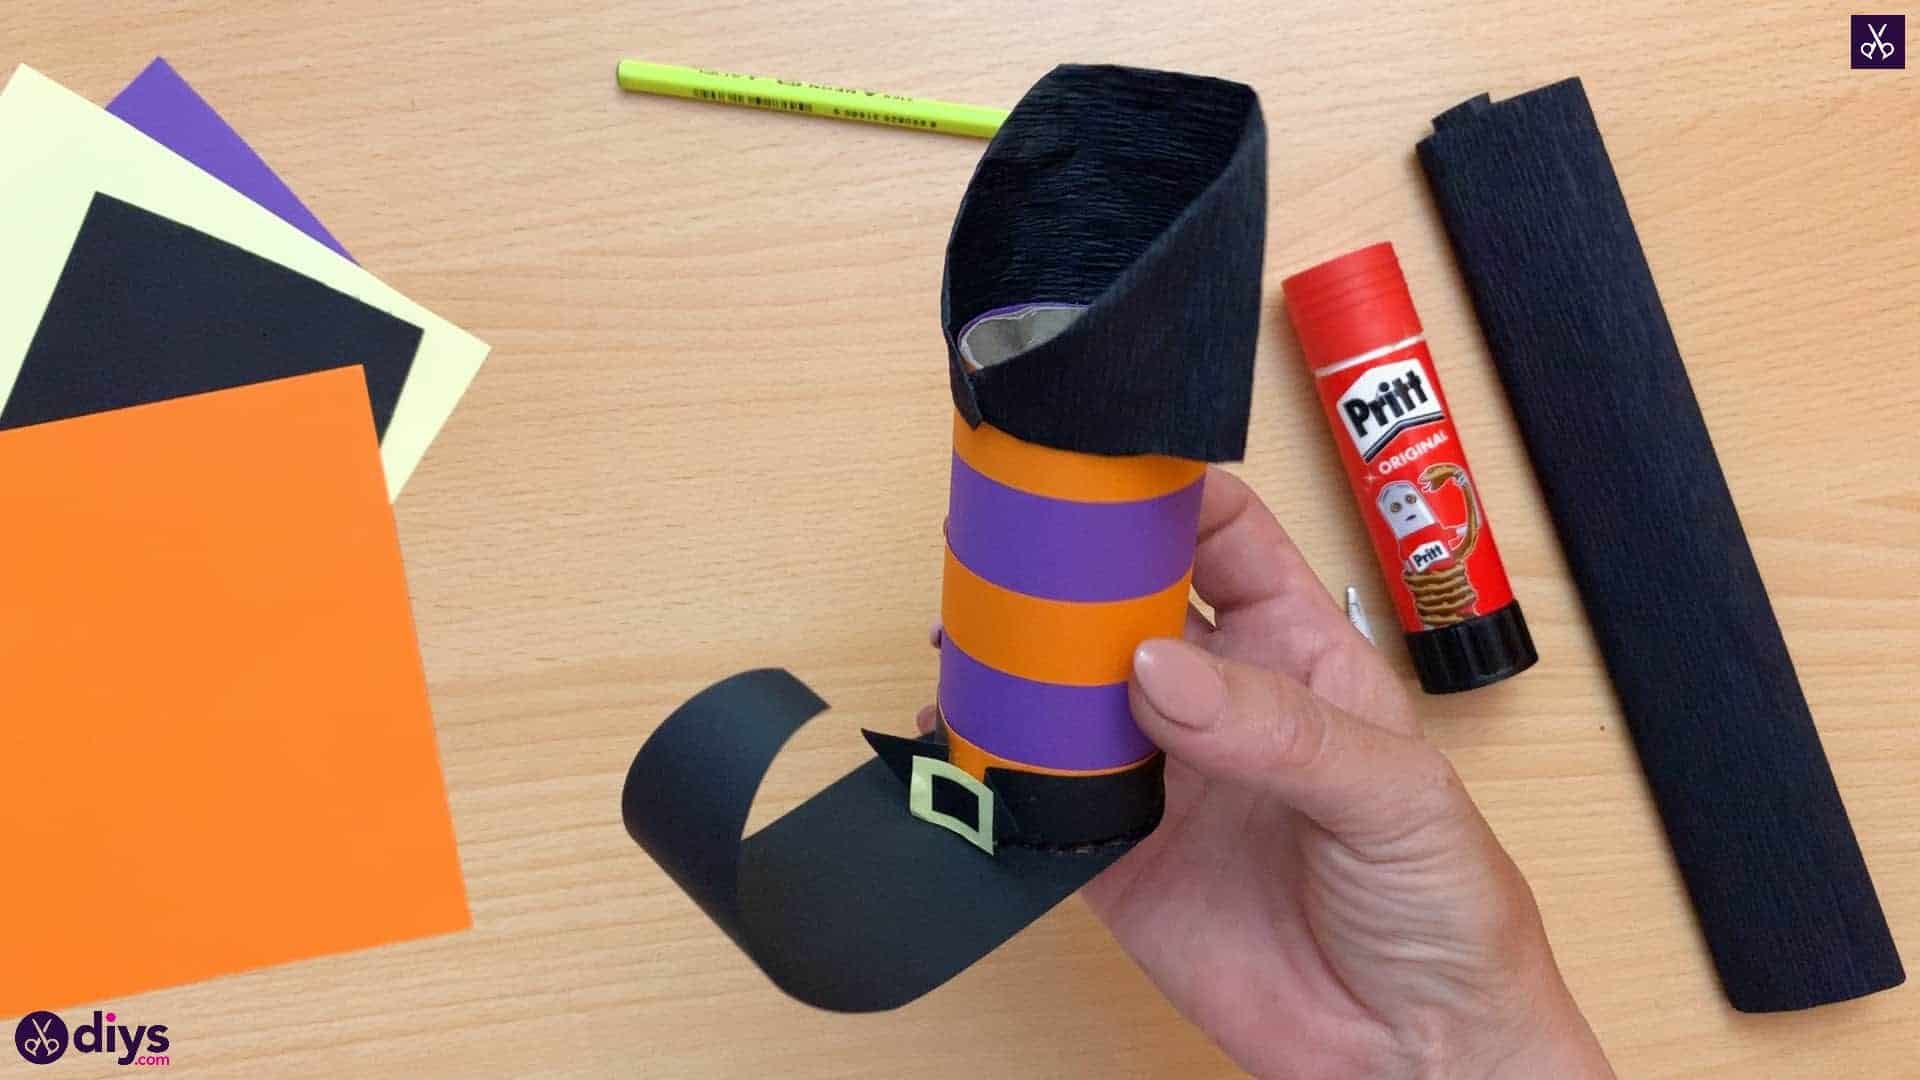
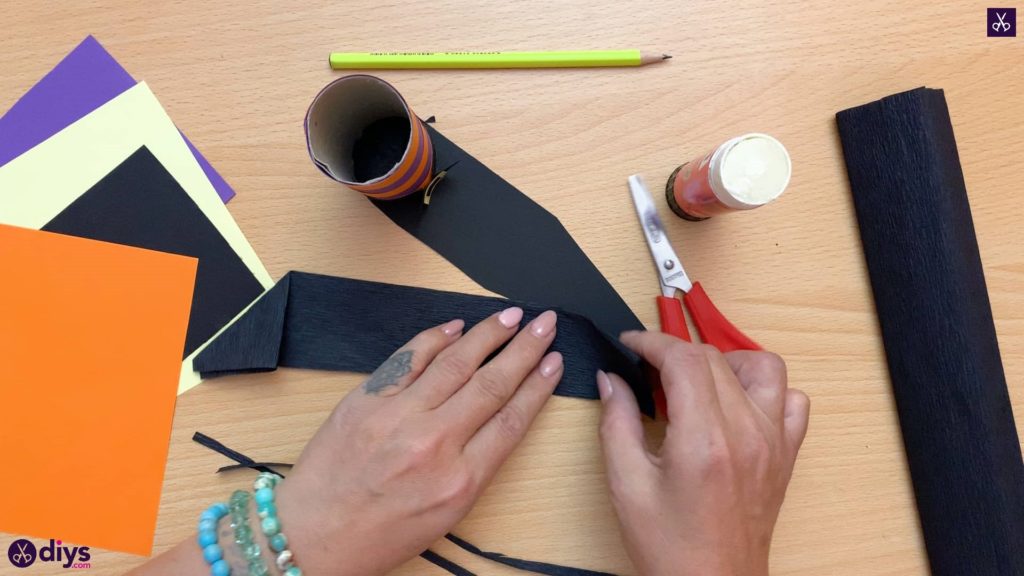
Fold the paper down on itself at each end to make a diagonal edge on each side rather than a vertical one. This will be the top of your candy holder, like a cuff at the top of the stocking.
Step 15: finish the top
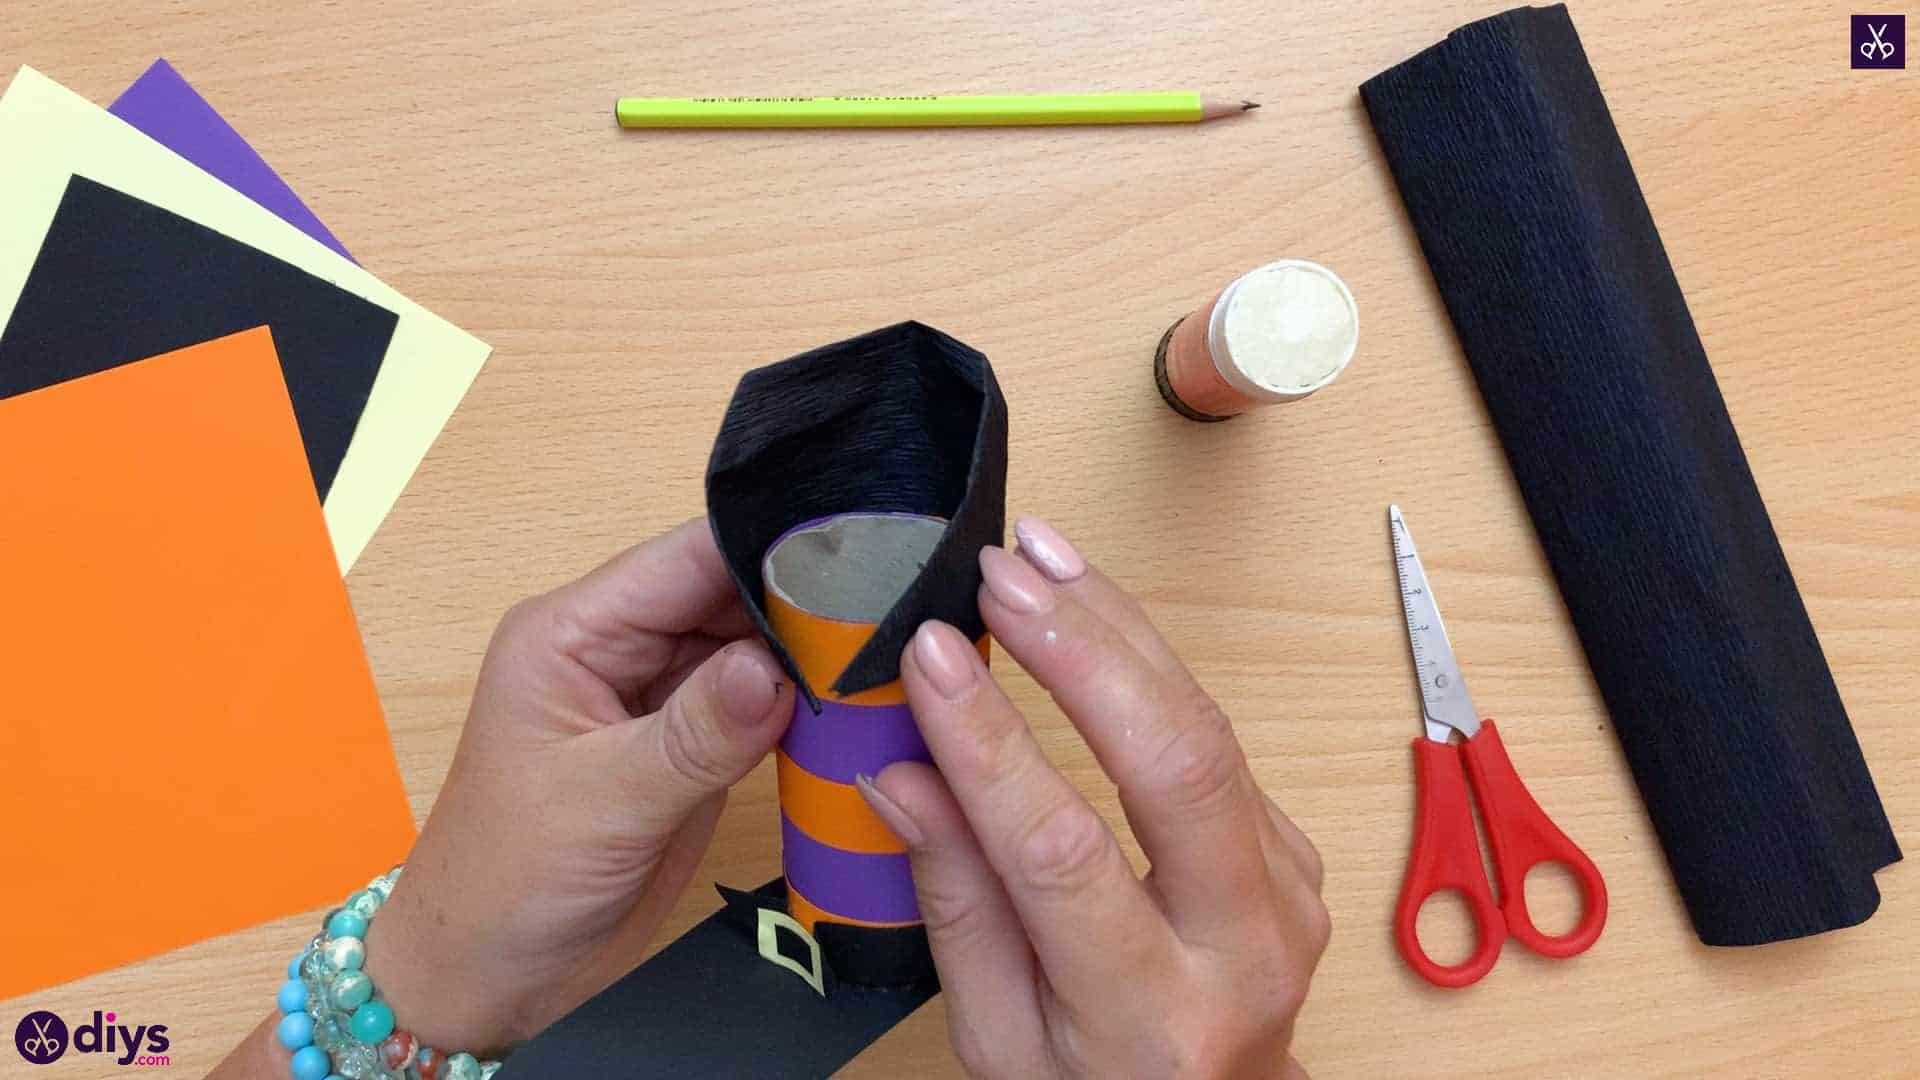
Glue the newly made cuff around the top edge of your toilet roll. This makes the boot look more finished around the top, rather than just ending bluntly at the striped stocking’s edge.
Step 16: and that’s a wrap
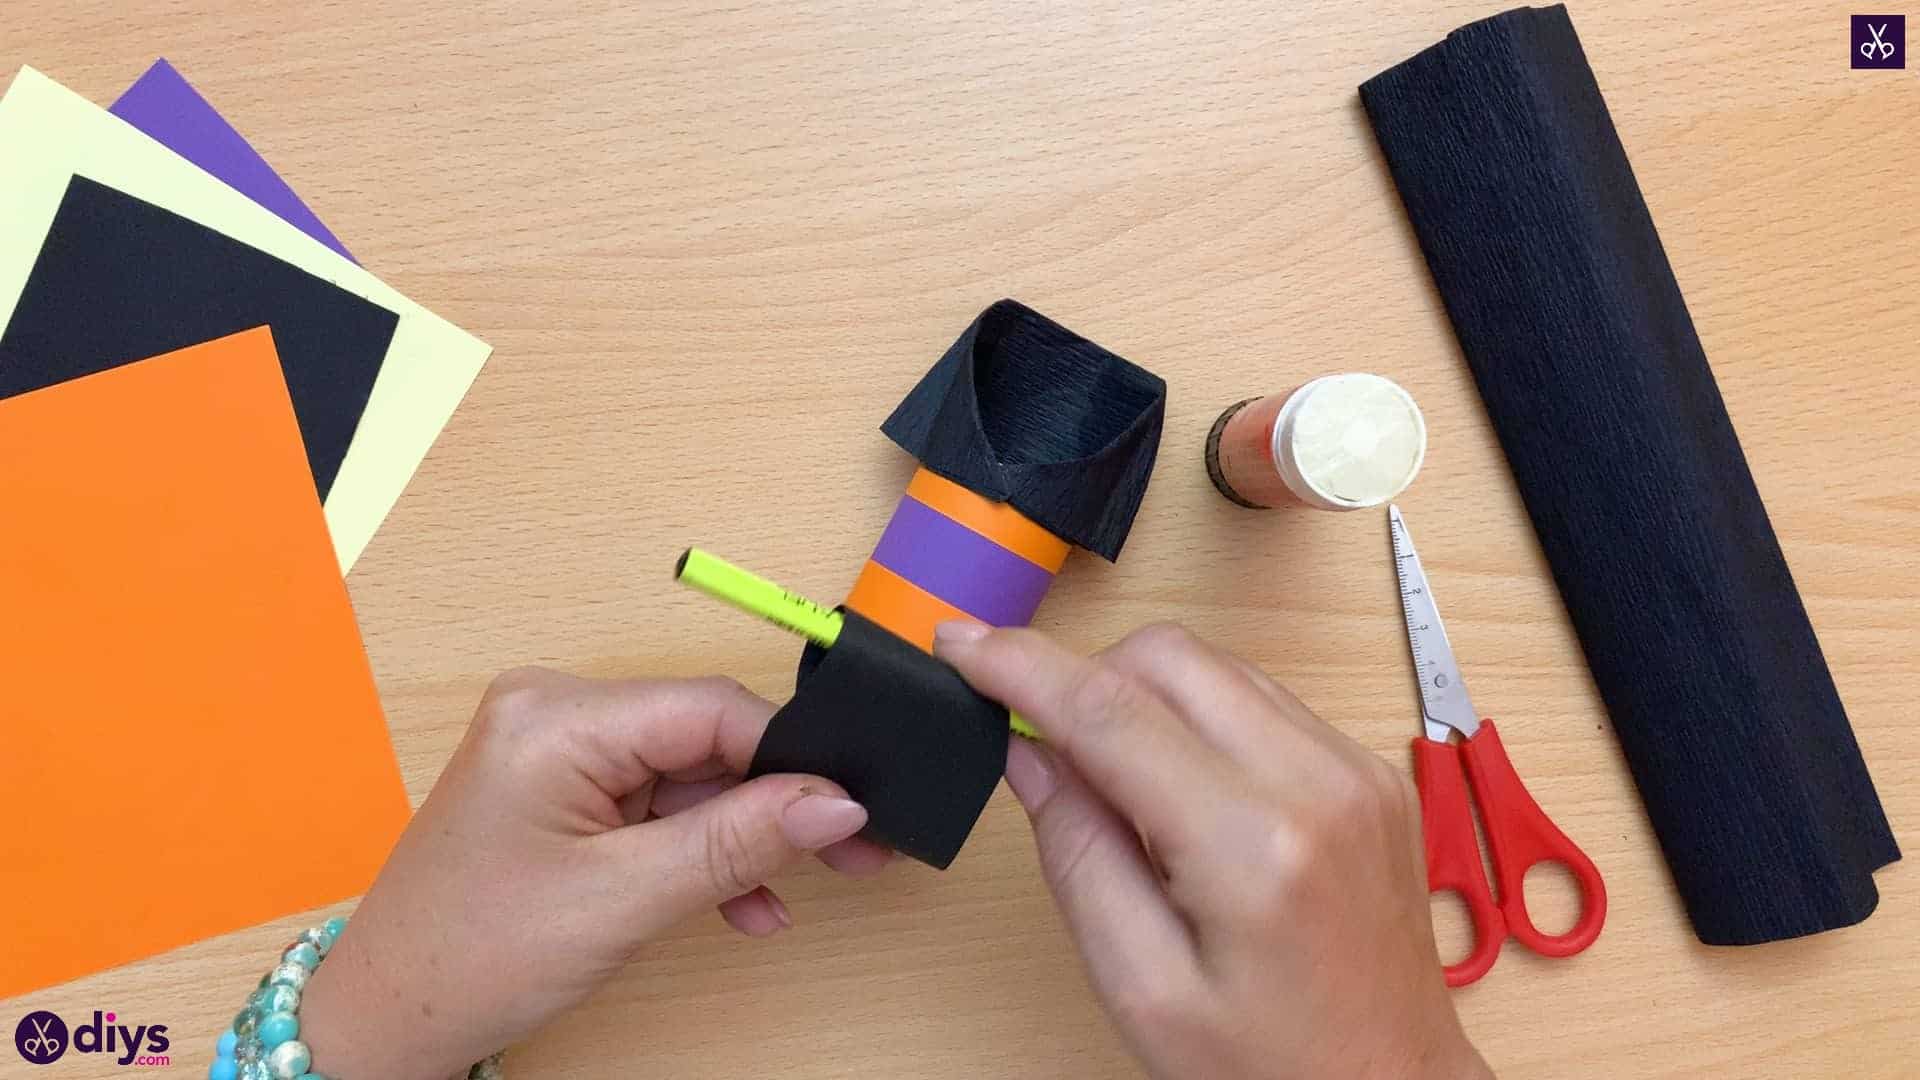
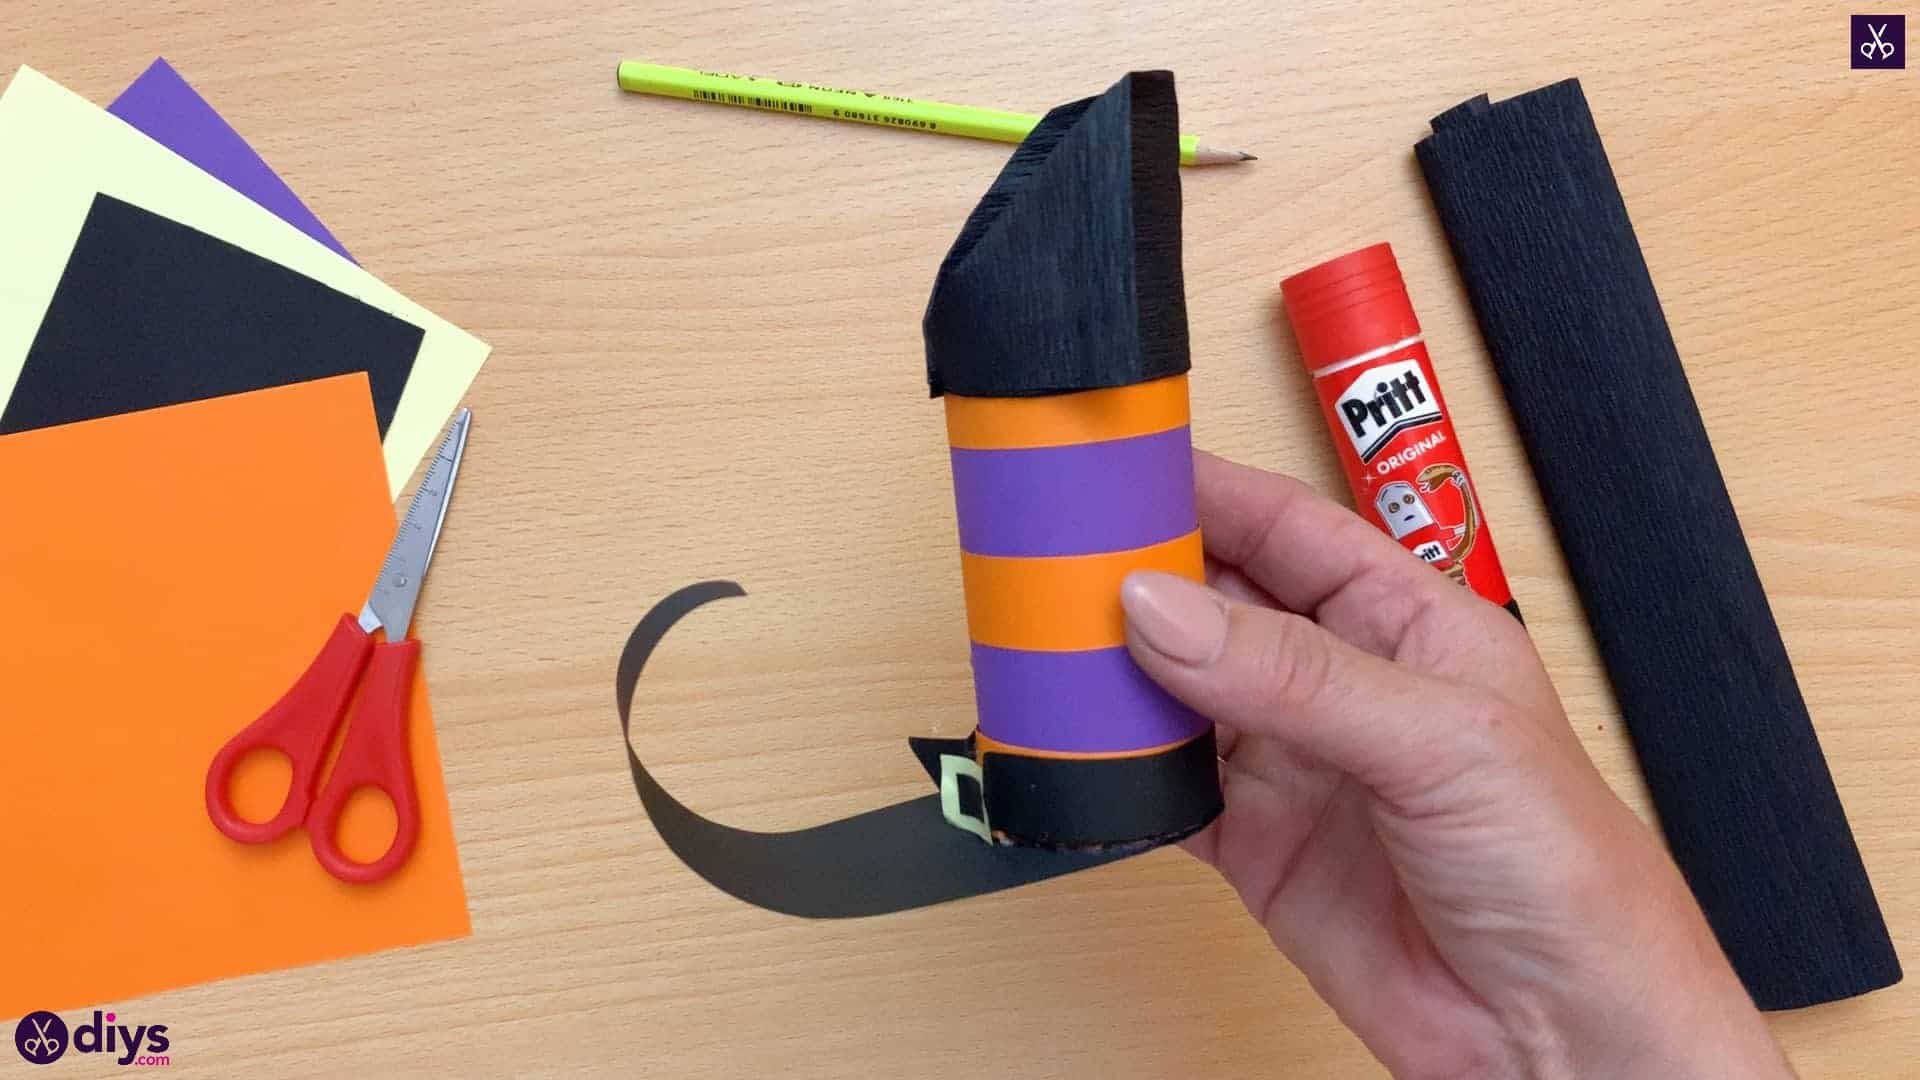
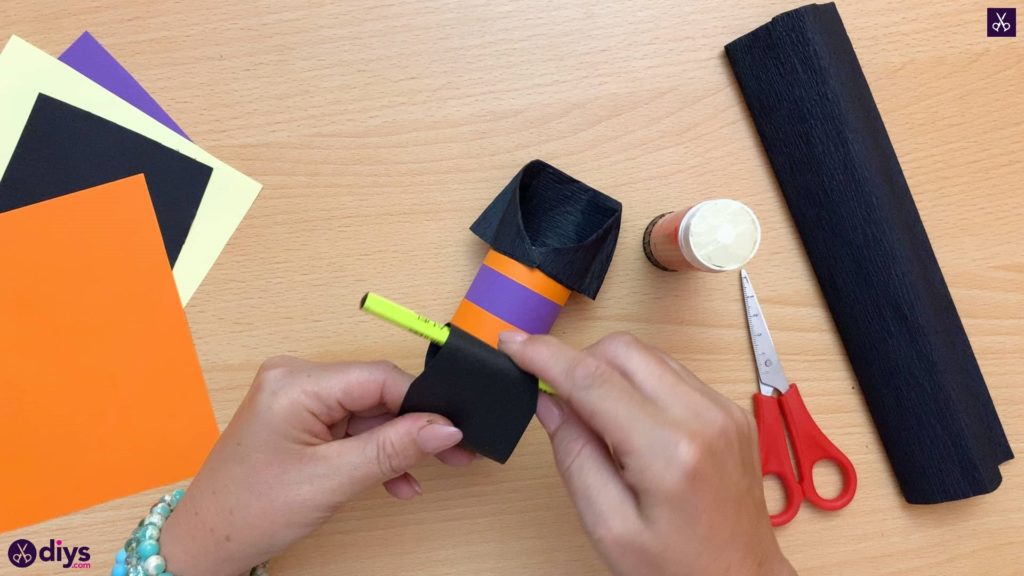
Starting at the tapered end of the boot’s foot, roll the end around your pencil so it curls upwards and inwards towards the ankle of the boot. let the curl go and smooth it if necessary. Now the foot piece will curve like the toe of a witch’s boot!
That’s all there is to it! Just in case you’d like to try this project out for yourself, here’s a fantastic tutorial video to help you!
