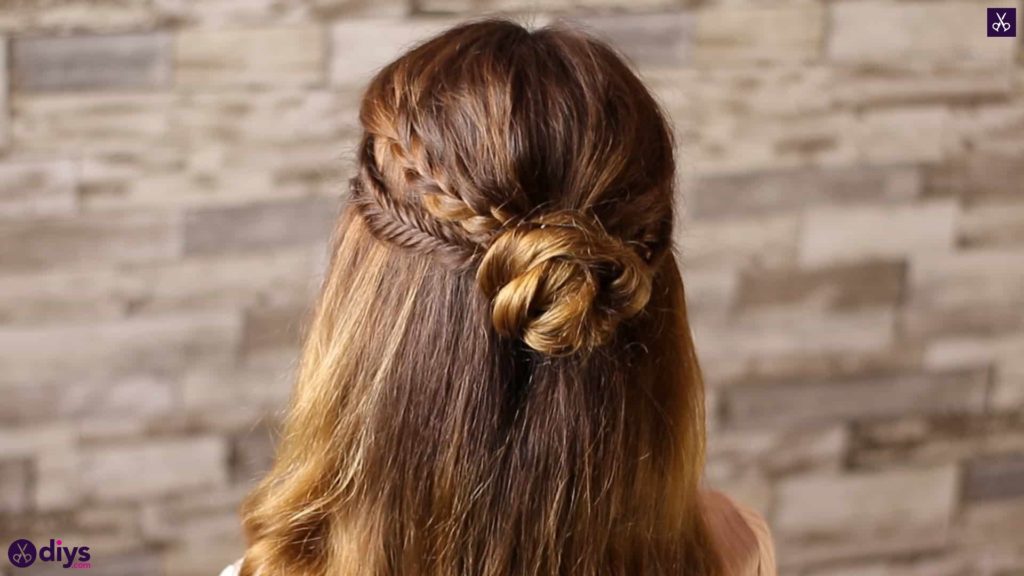
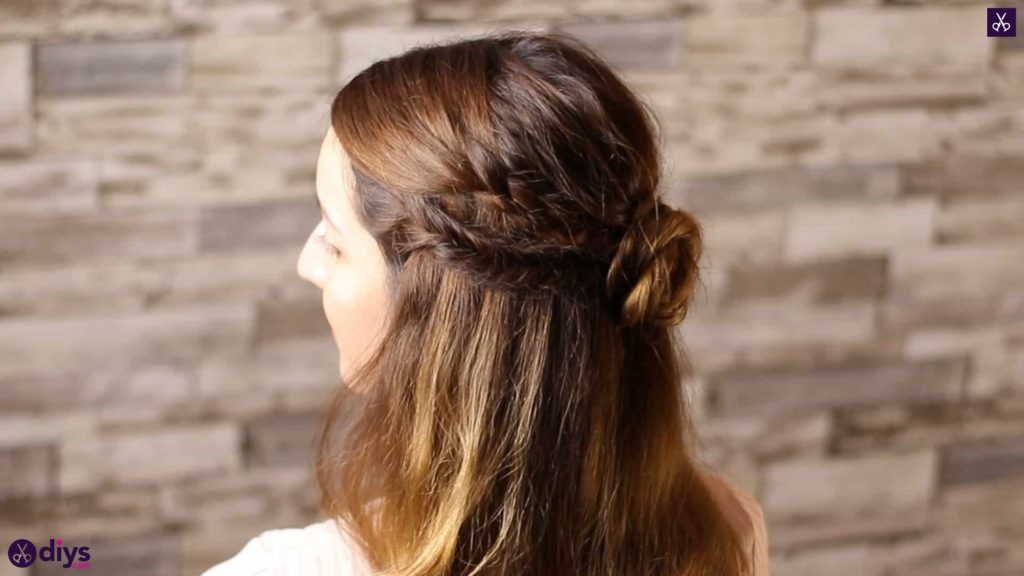
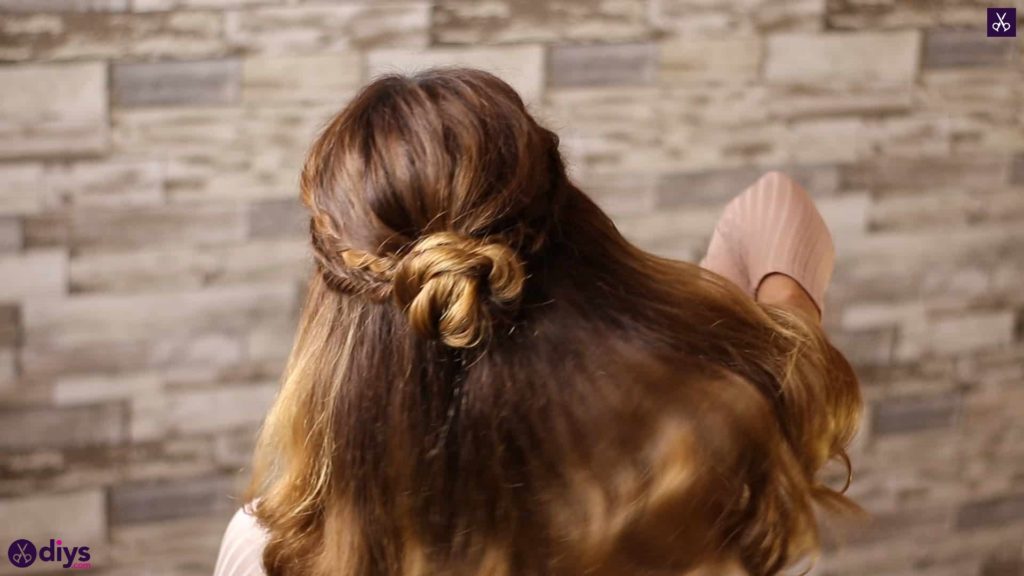
Half Up, Half Down Hairstyle for Spring
Every year when springtime comes and the weather is finally warm enough that we can take our winter hats off for the year, I get a little bit of an upswing in the hairstyling department. I always feel like showing my hair off a little bit more after it’s been covered up so often for so many months! That’s why, even though spring isn’t here yet, I’ve already been practicing with a few styles so that I’m all ready to look my best the moment the weather gets warmer. I’ve done a few I really liked so far, but this particular half up, half down style was my absolute favourite.
Check out these step by step instructions complete with photos! If you’d rather follow along with a video tutorial instead of written words, scroll to the bottom of this post to find just what you’re looking for.
For this style, you’ll need:
- Hair elastics
- Bobby pins
- A brush
- Hairspray
Half Up, Half Down Hairstyle for Spring
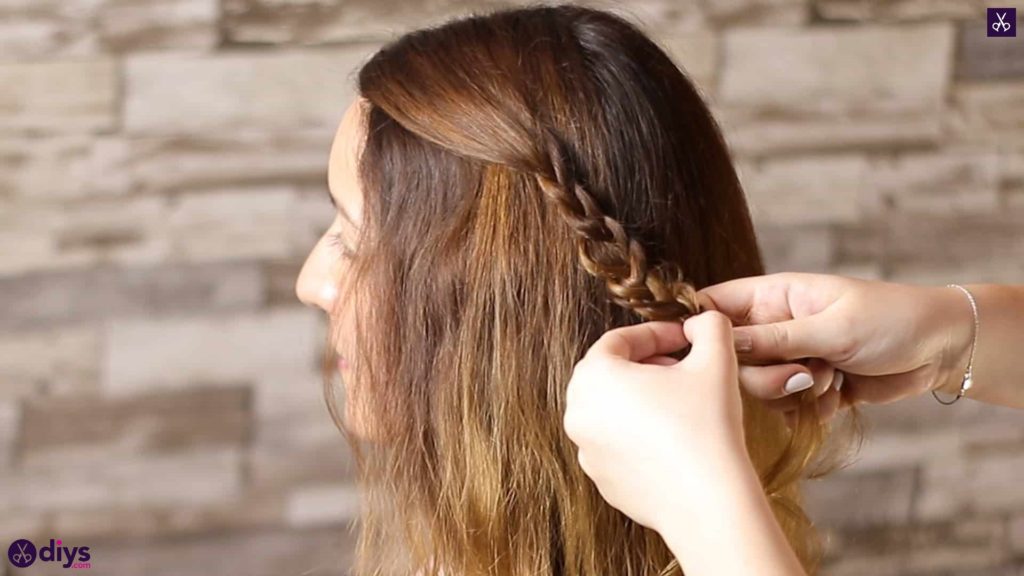
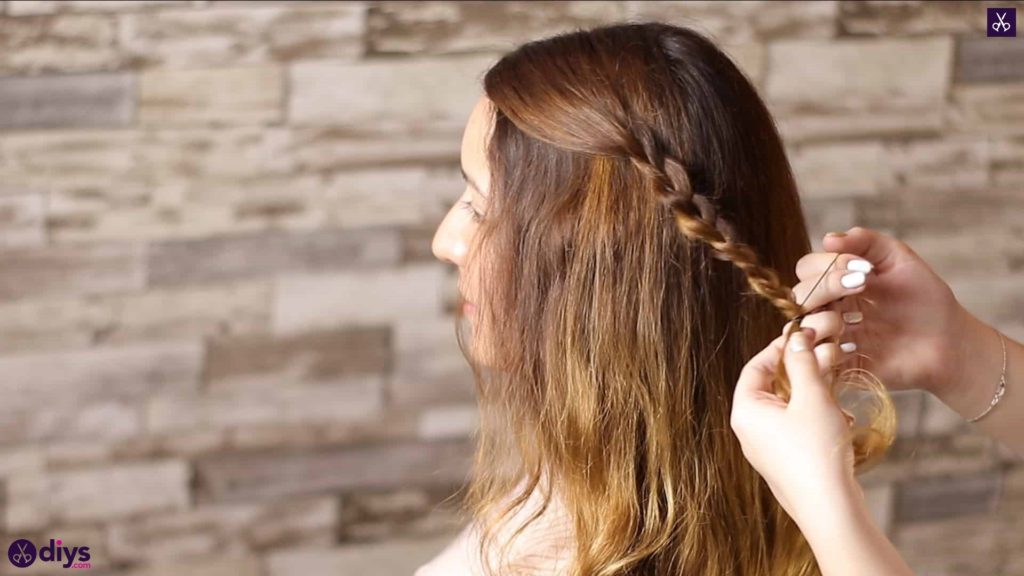
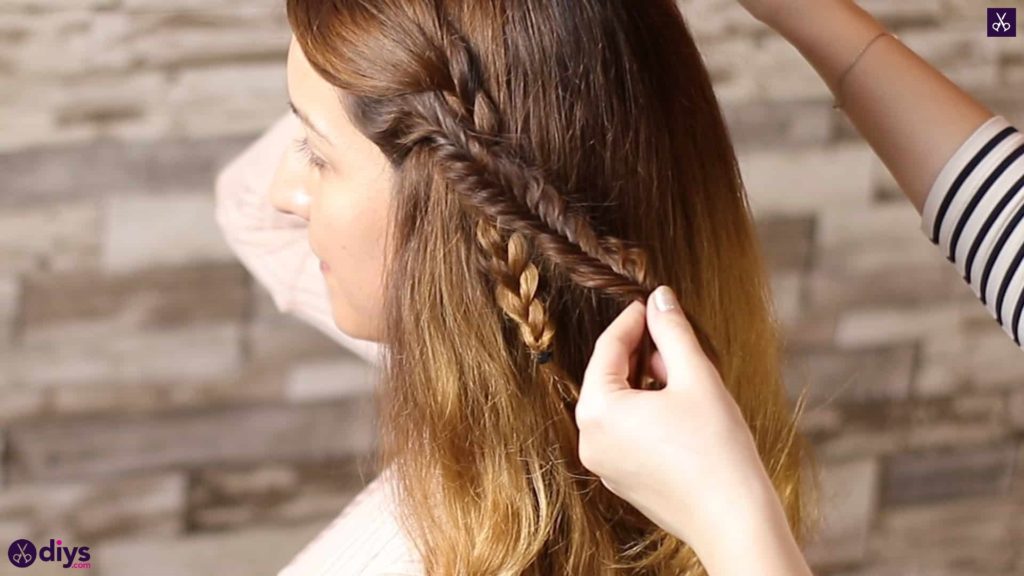
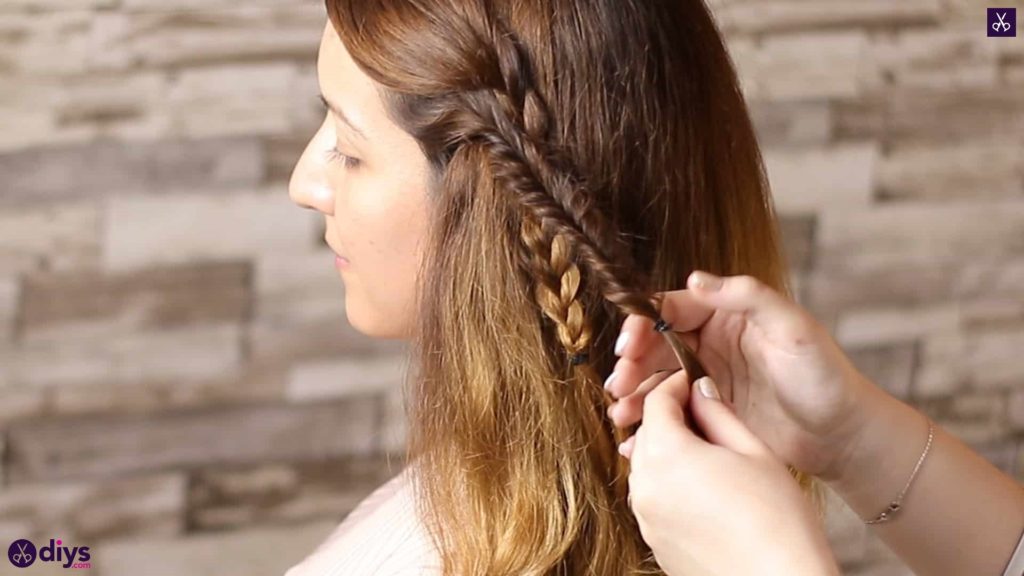
Step 1: start braids
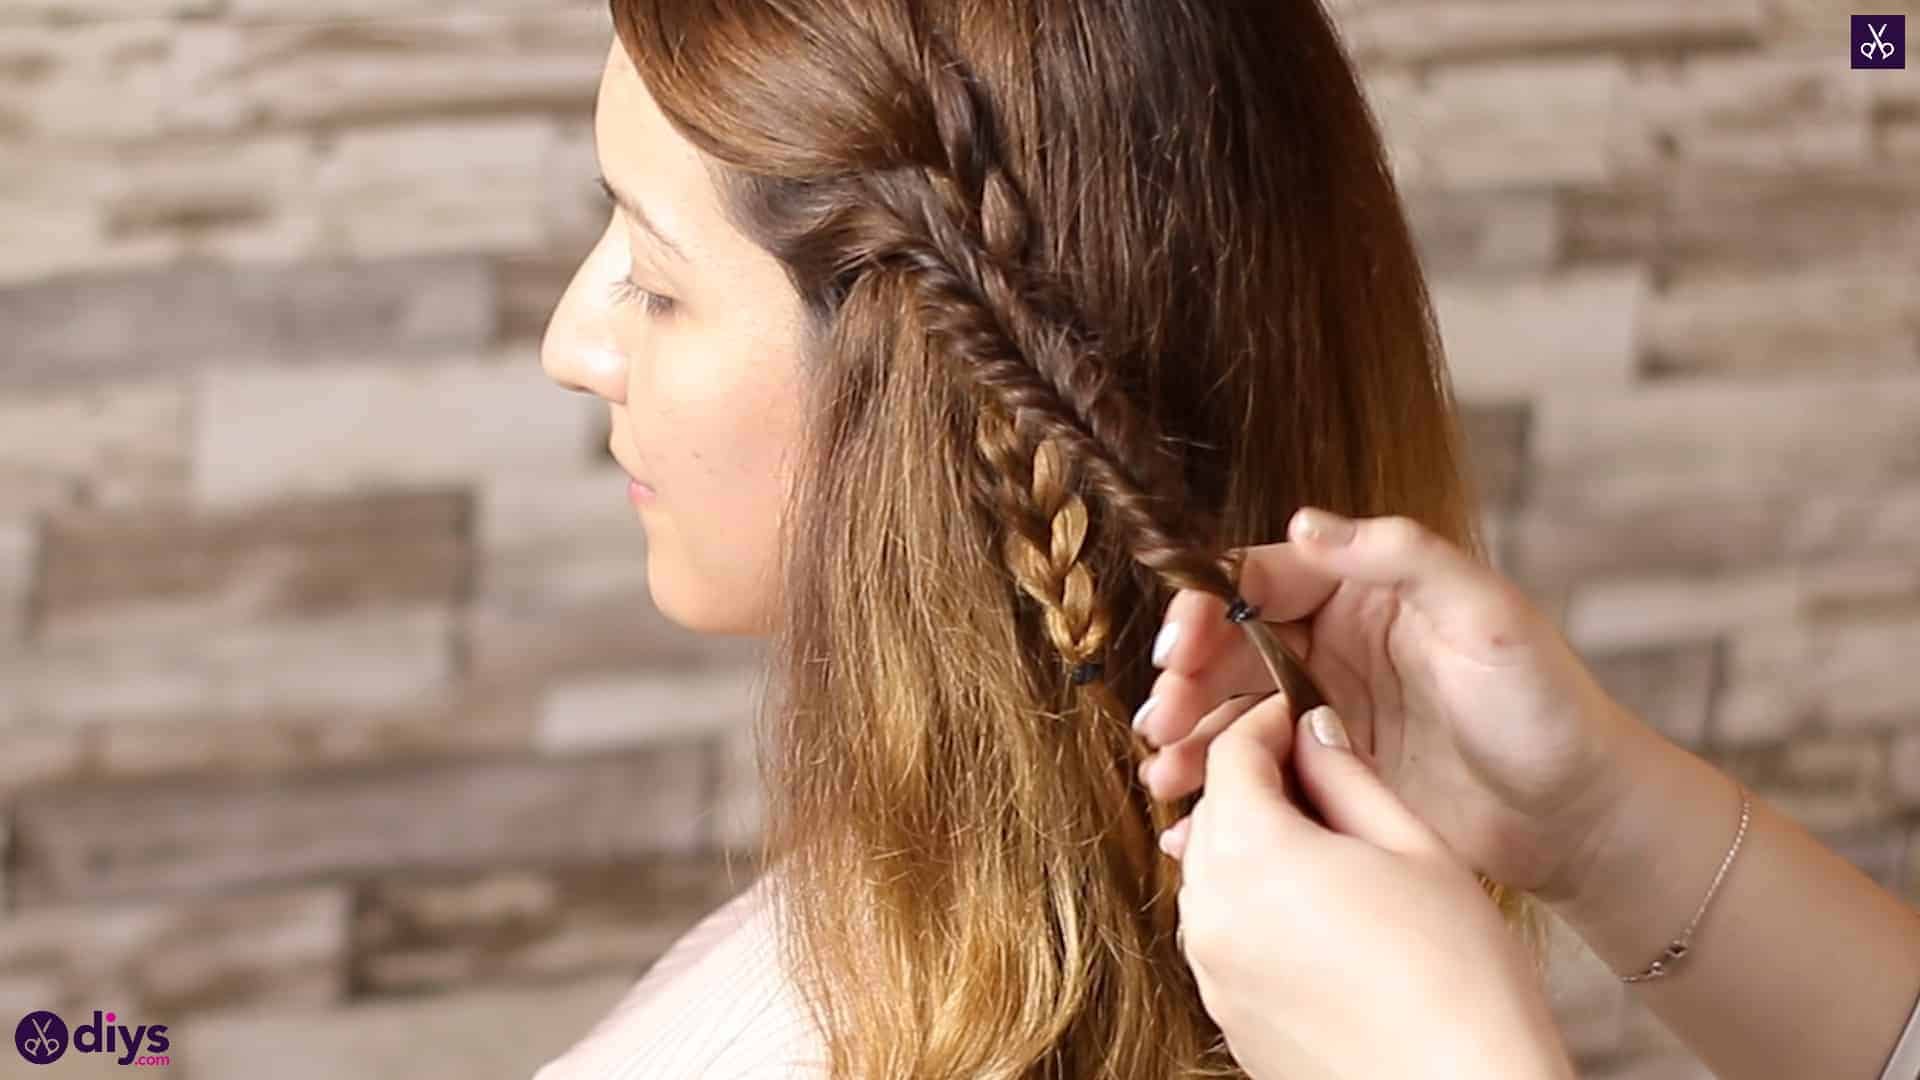
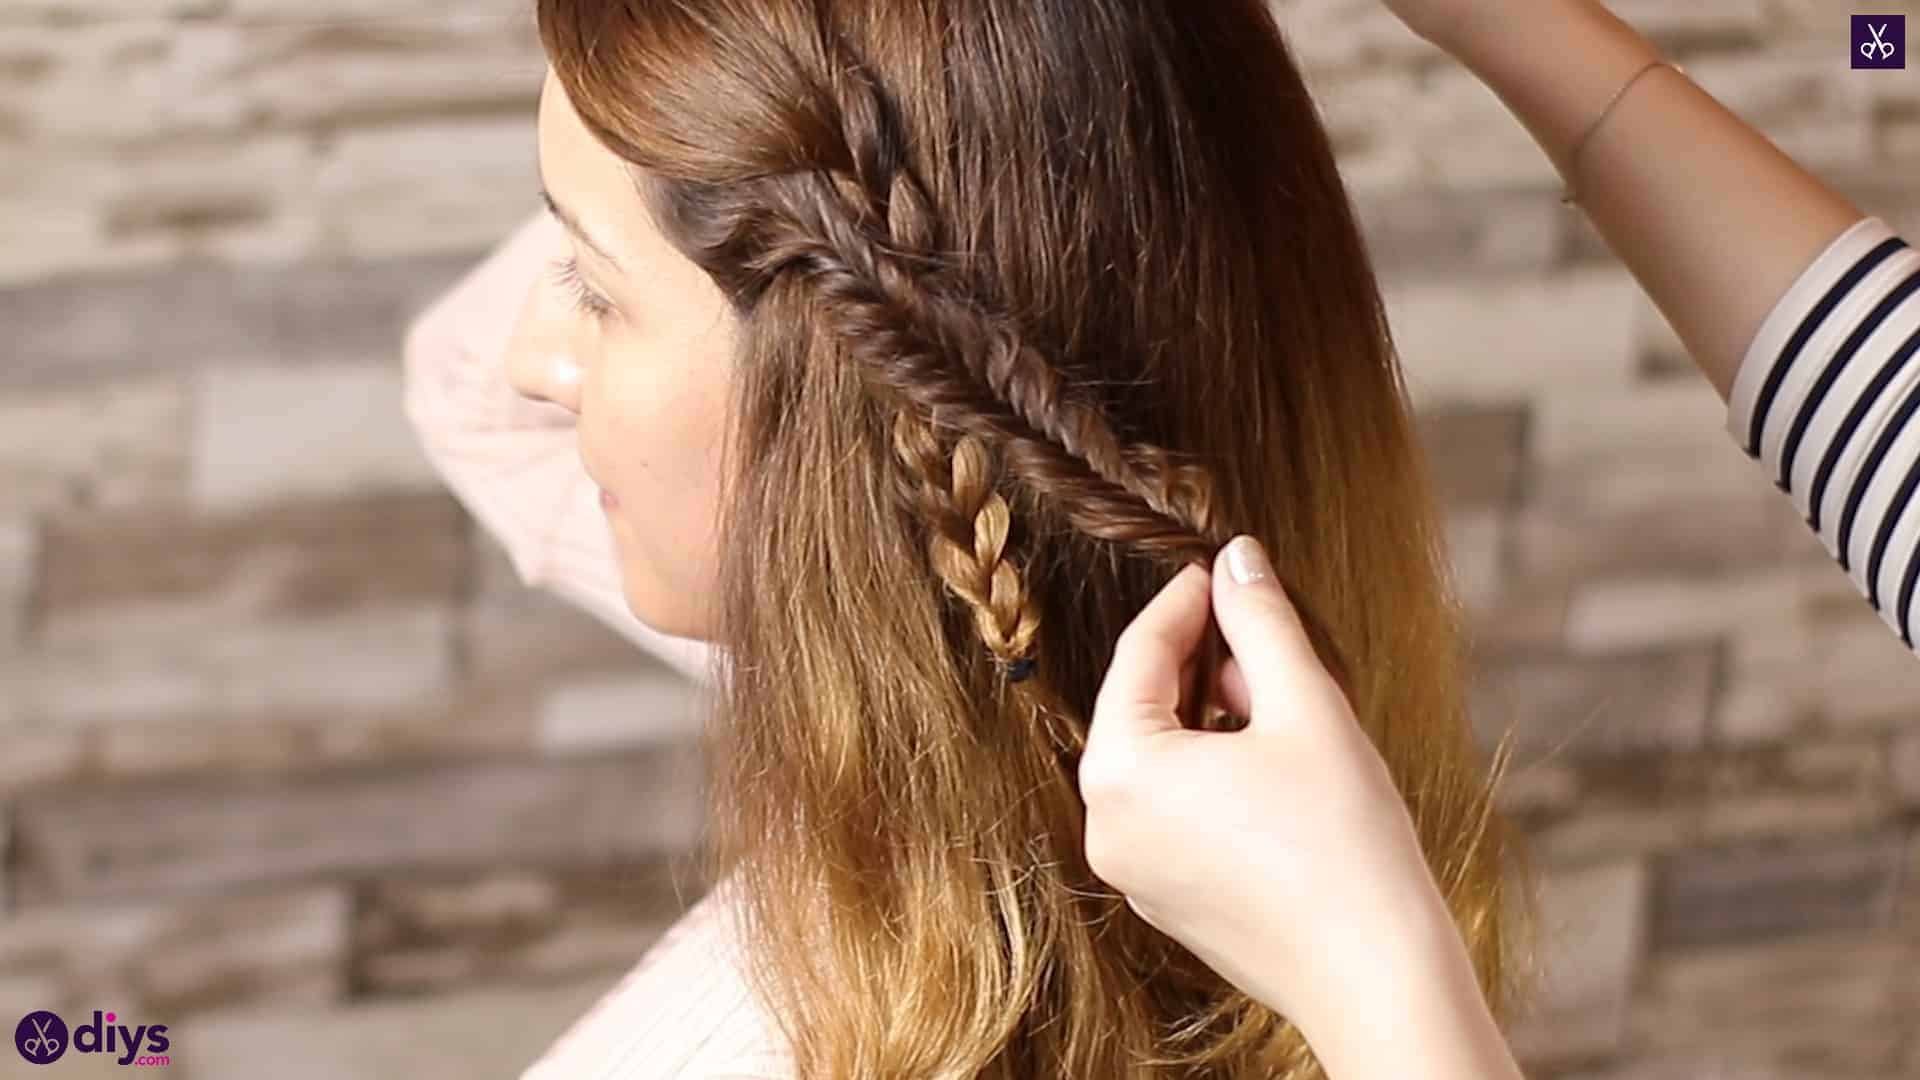
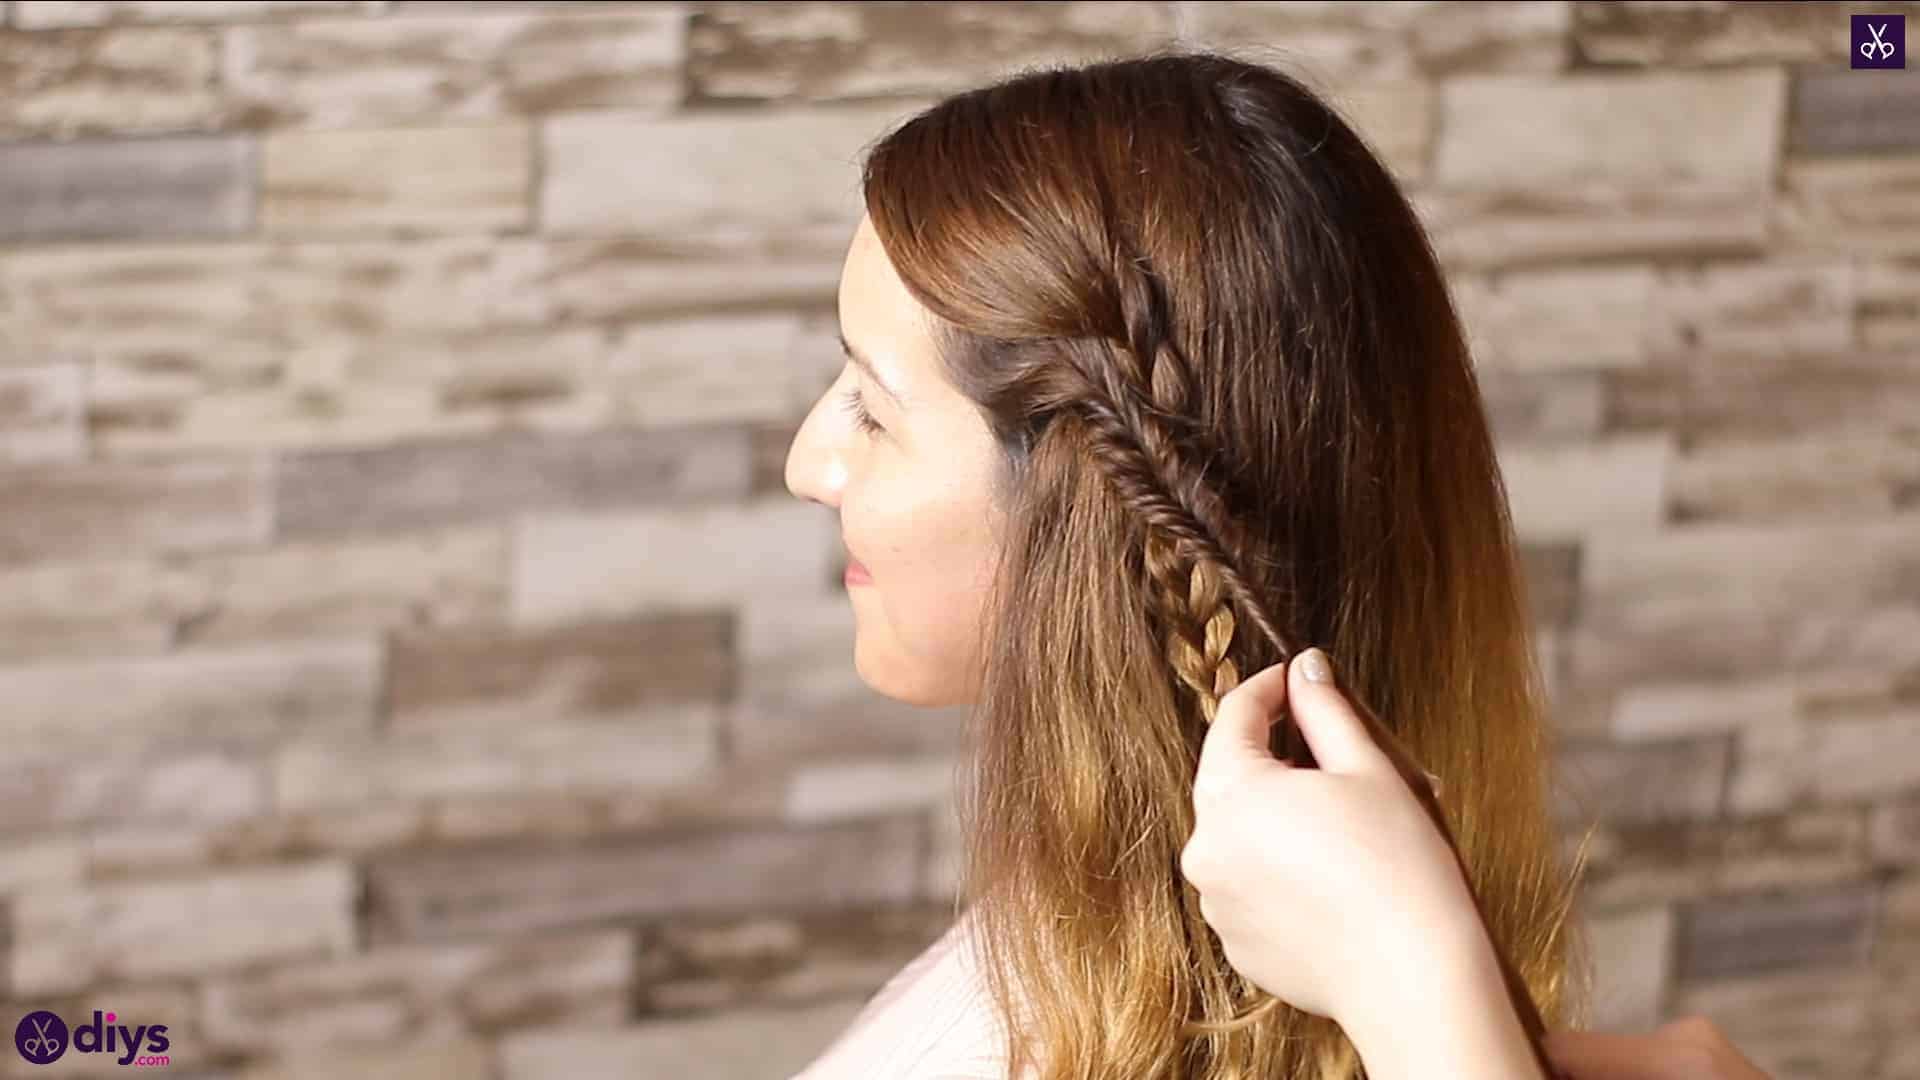
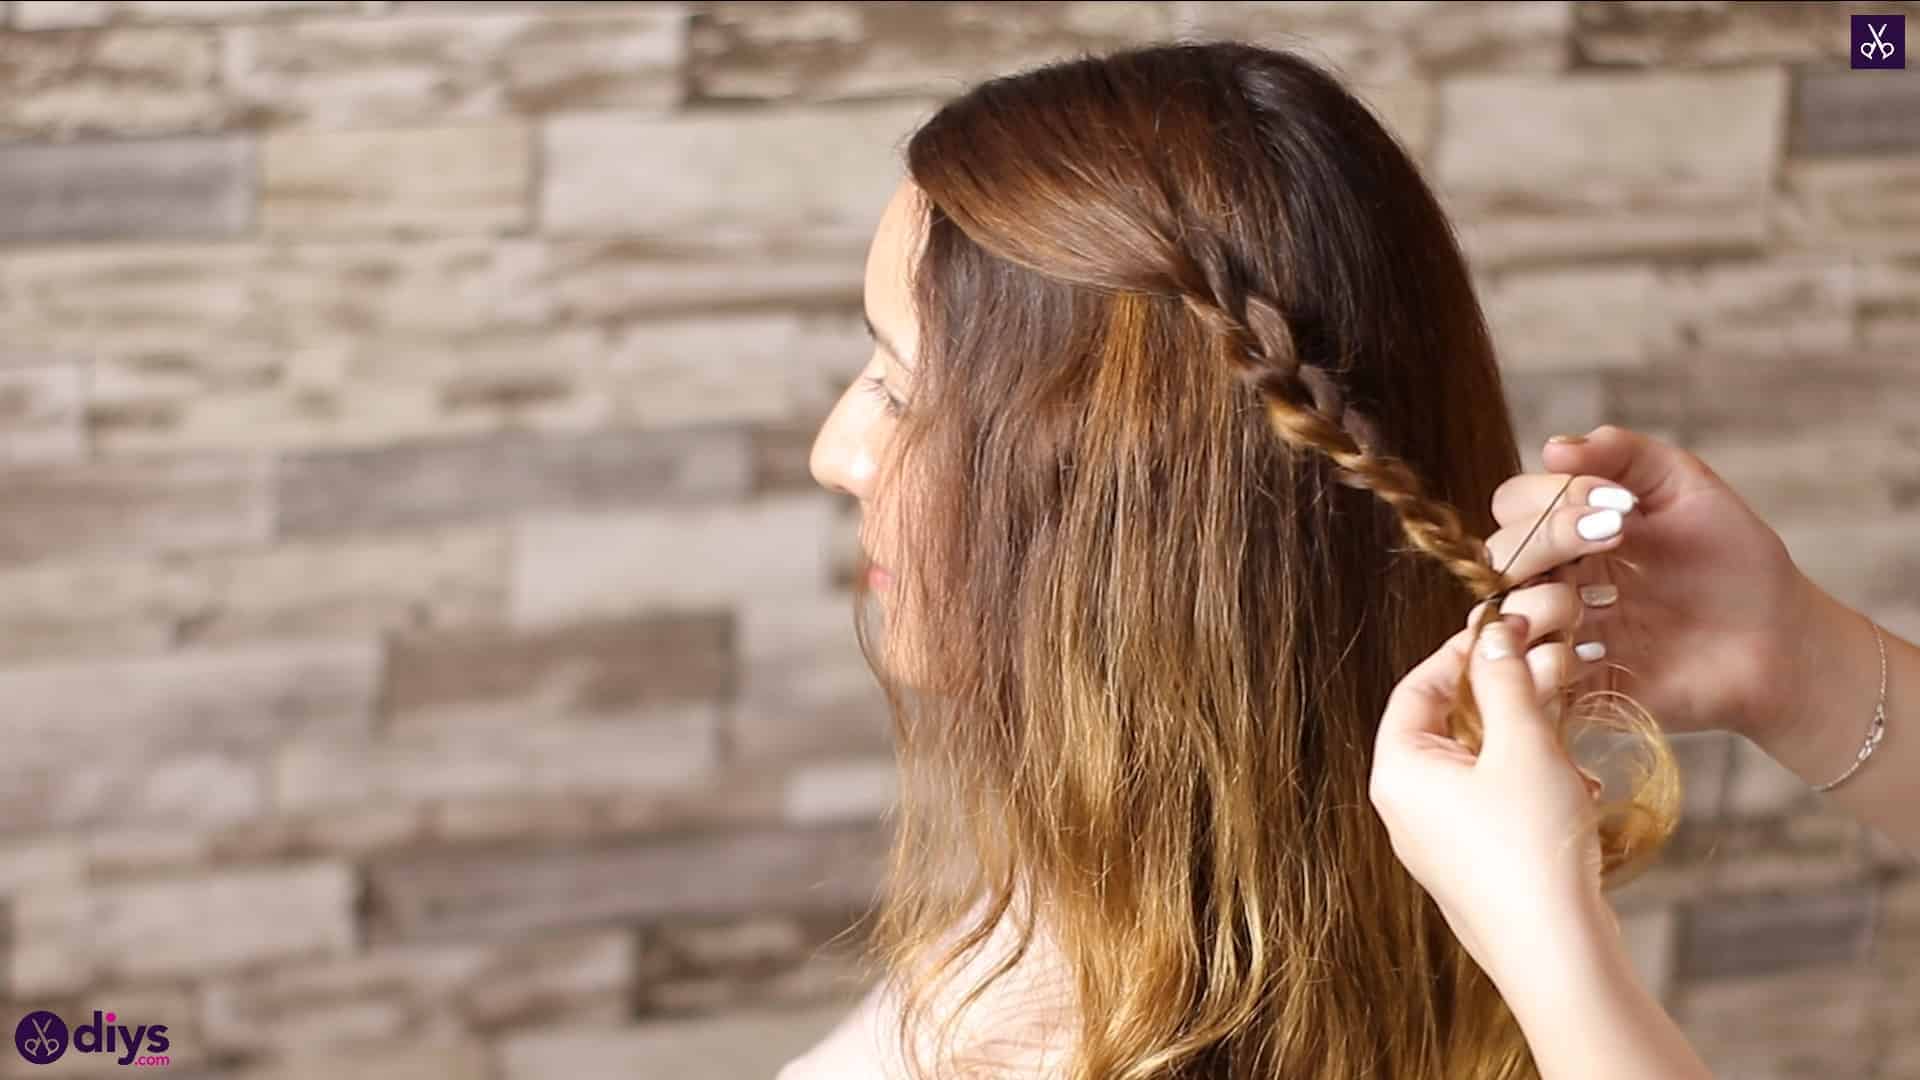
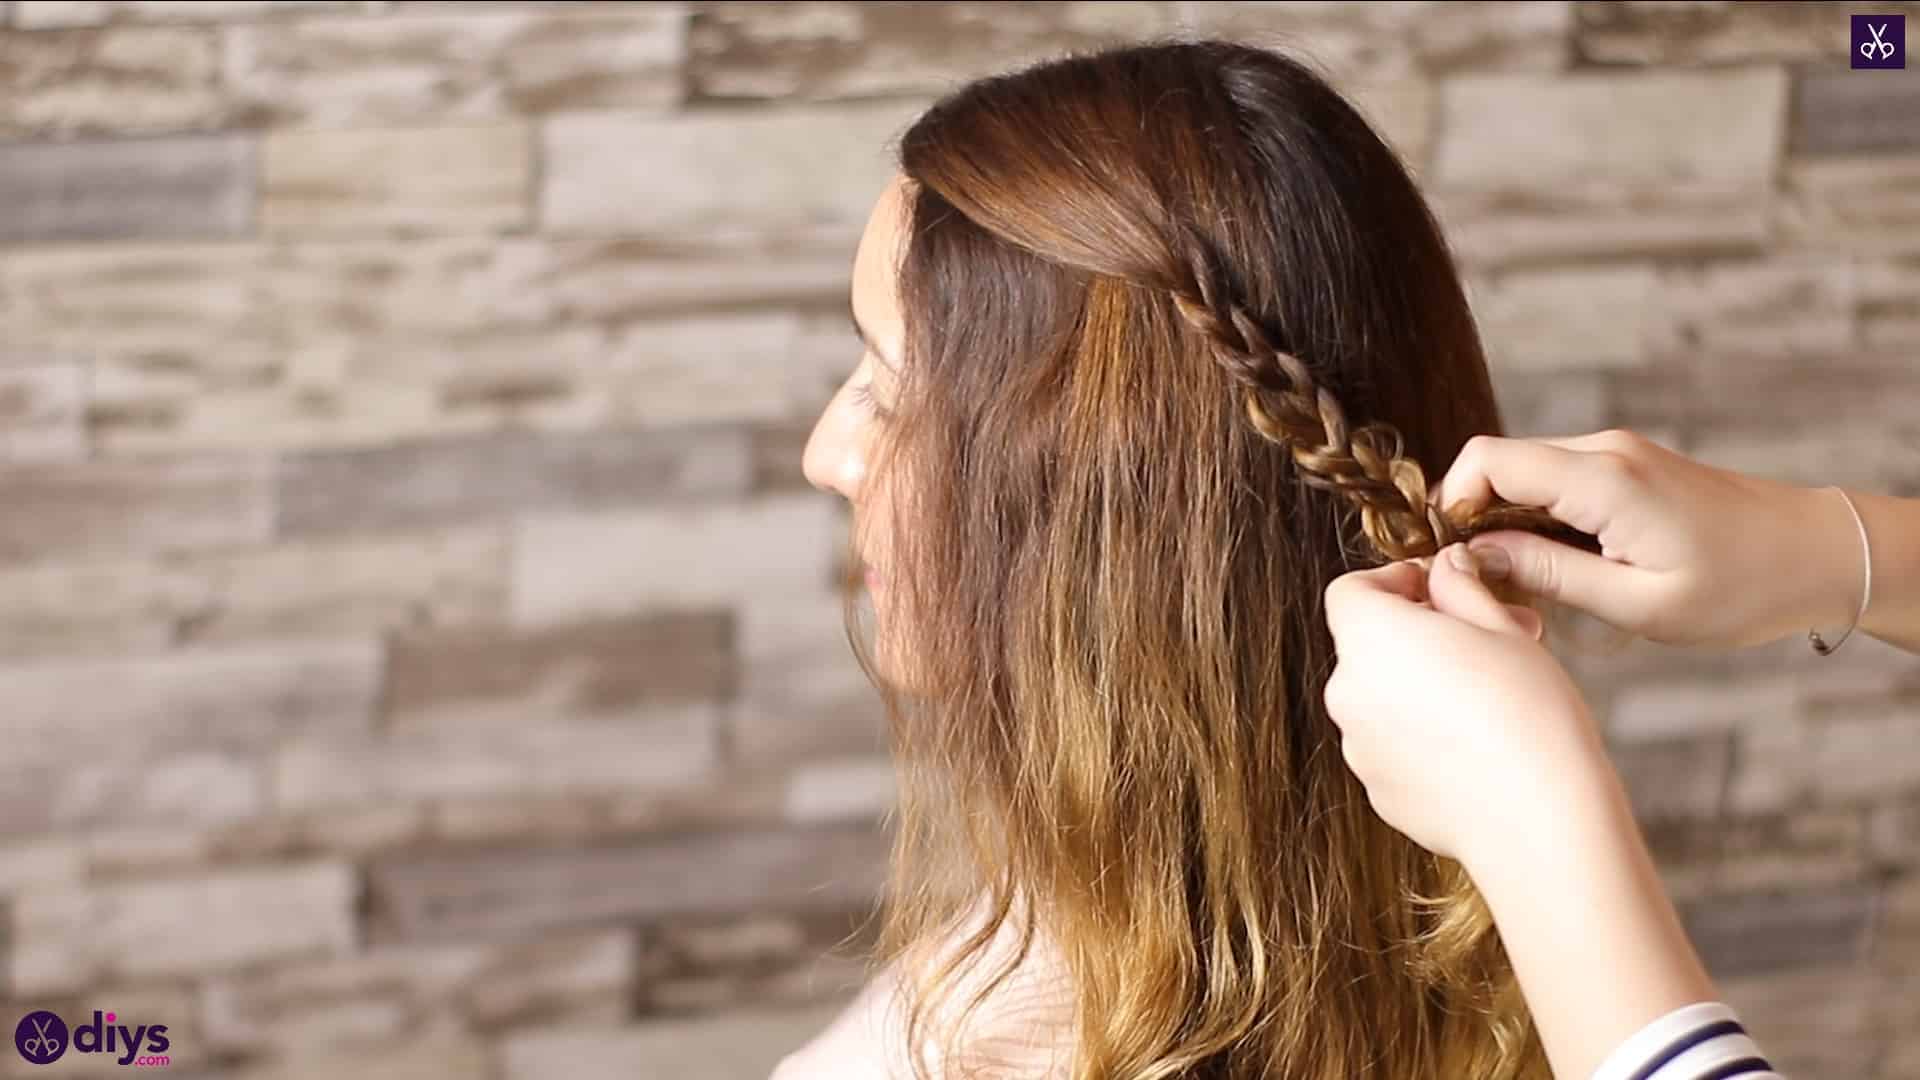
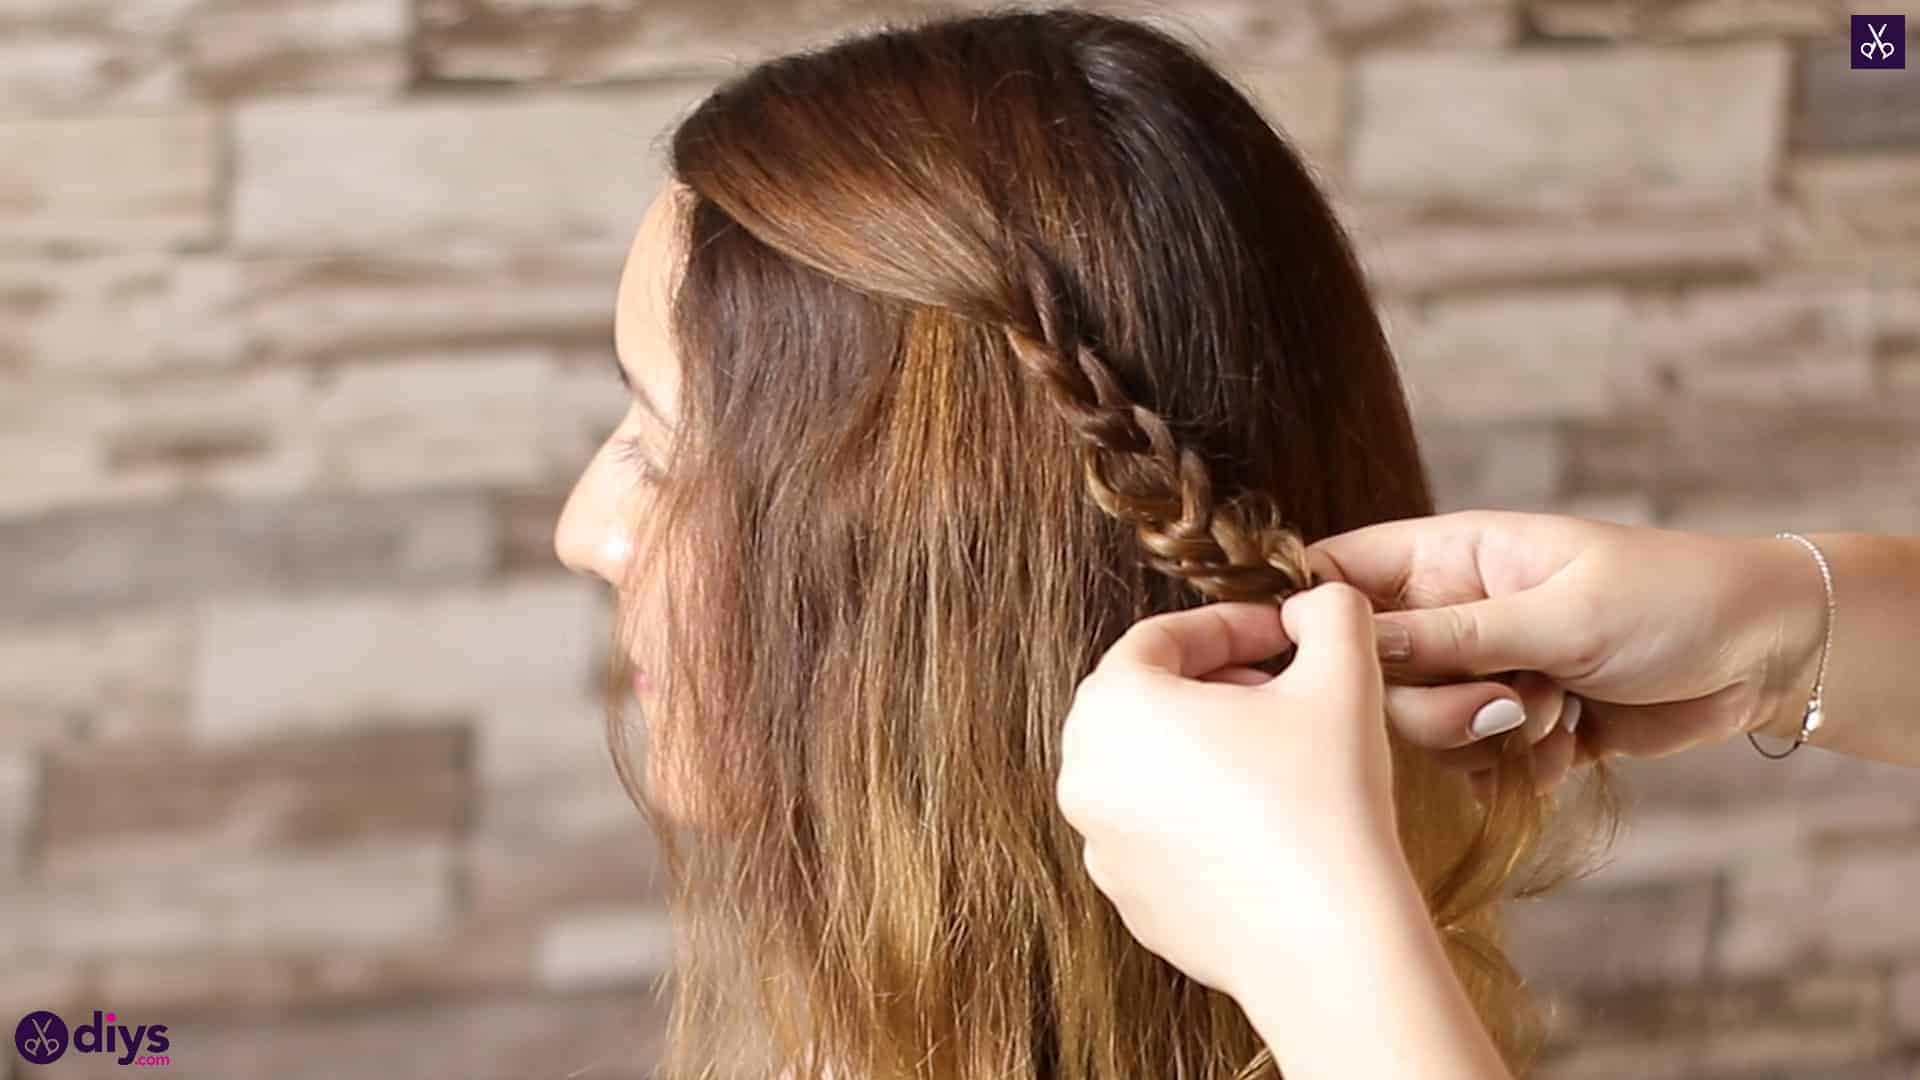
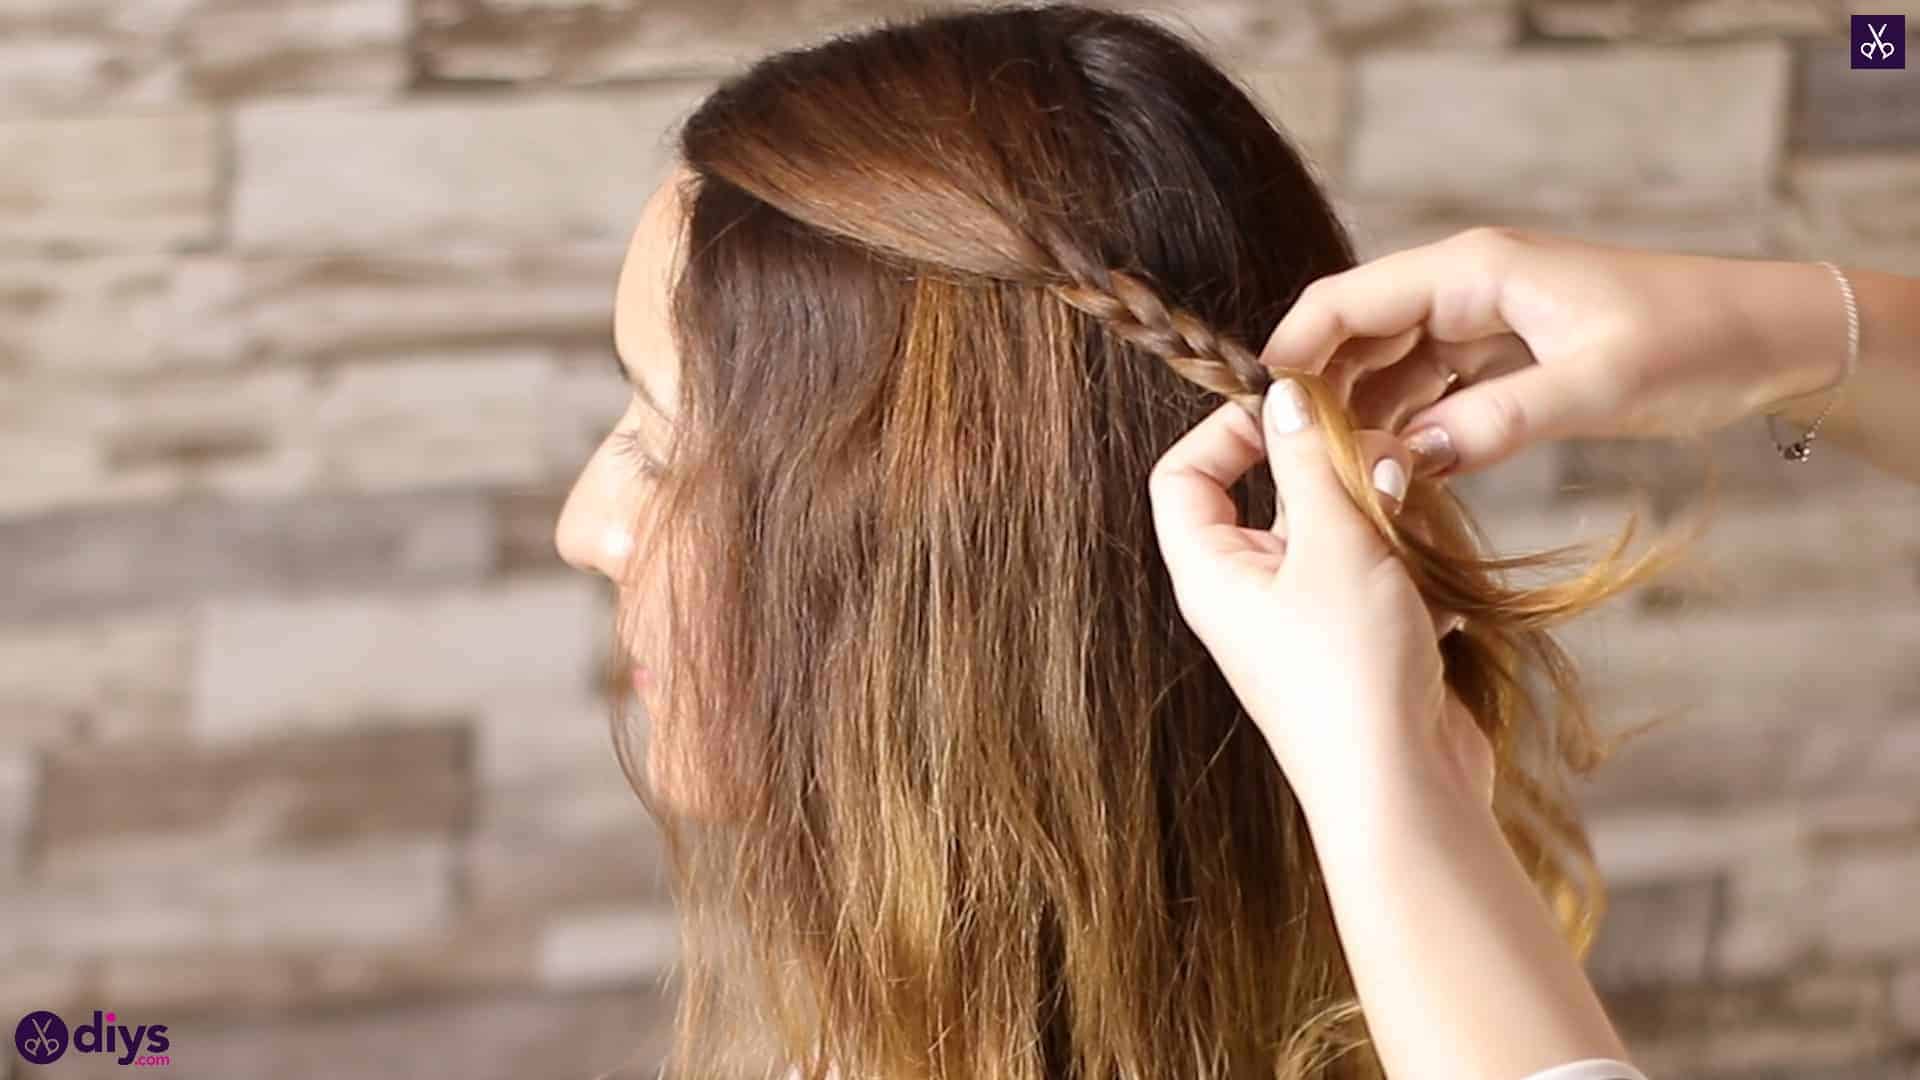
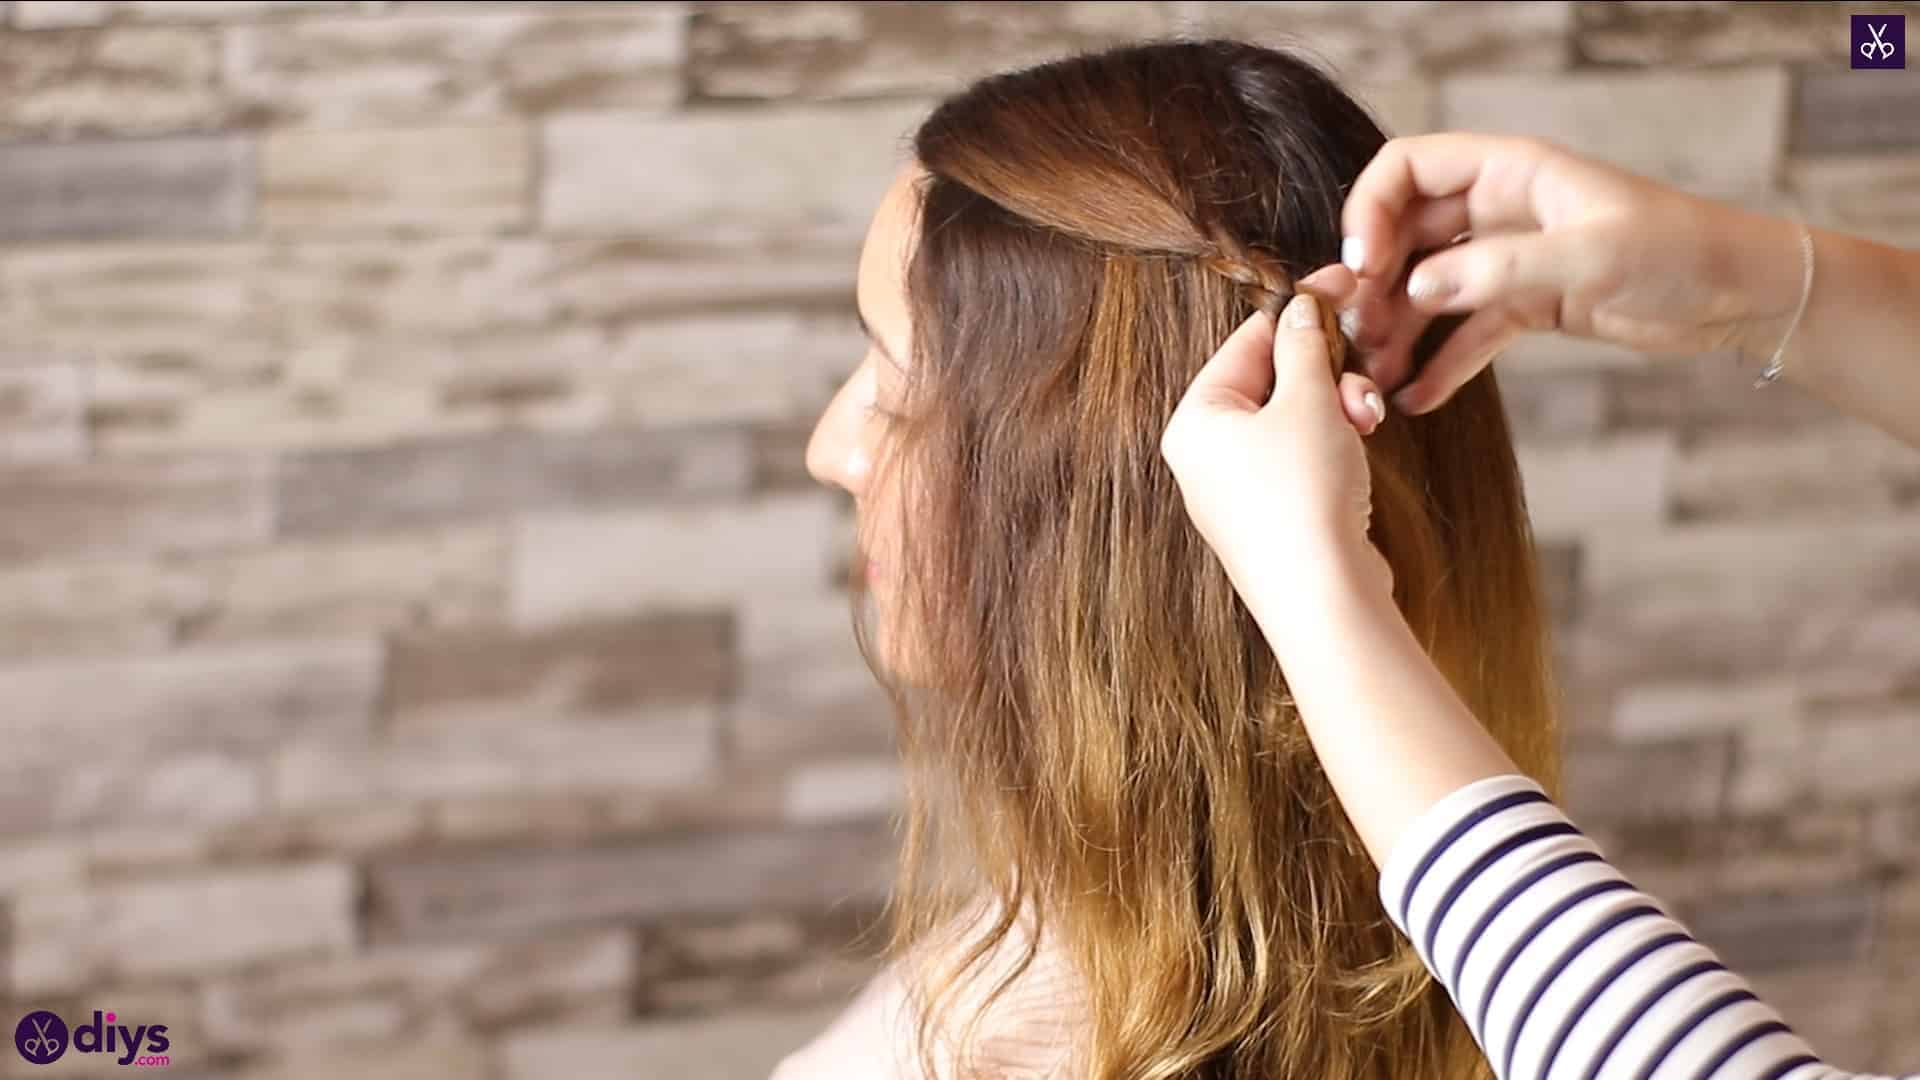
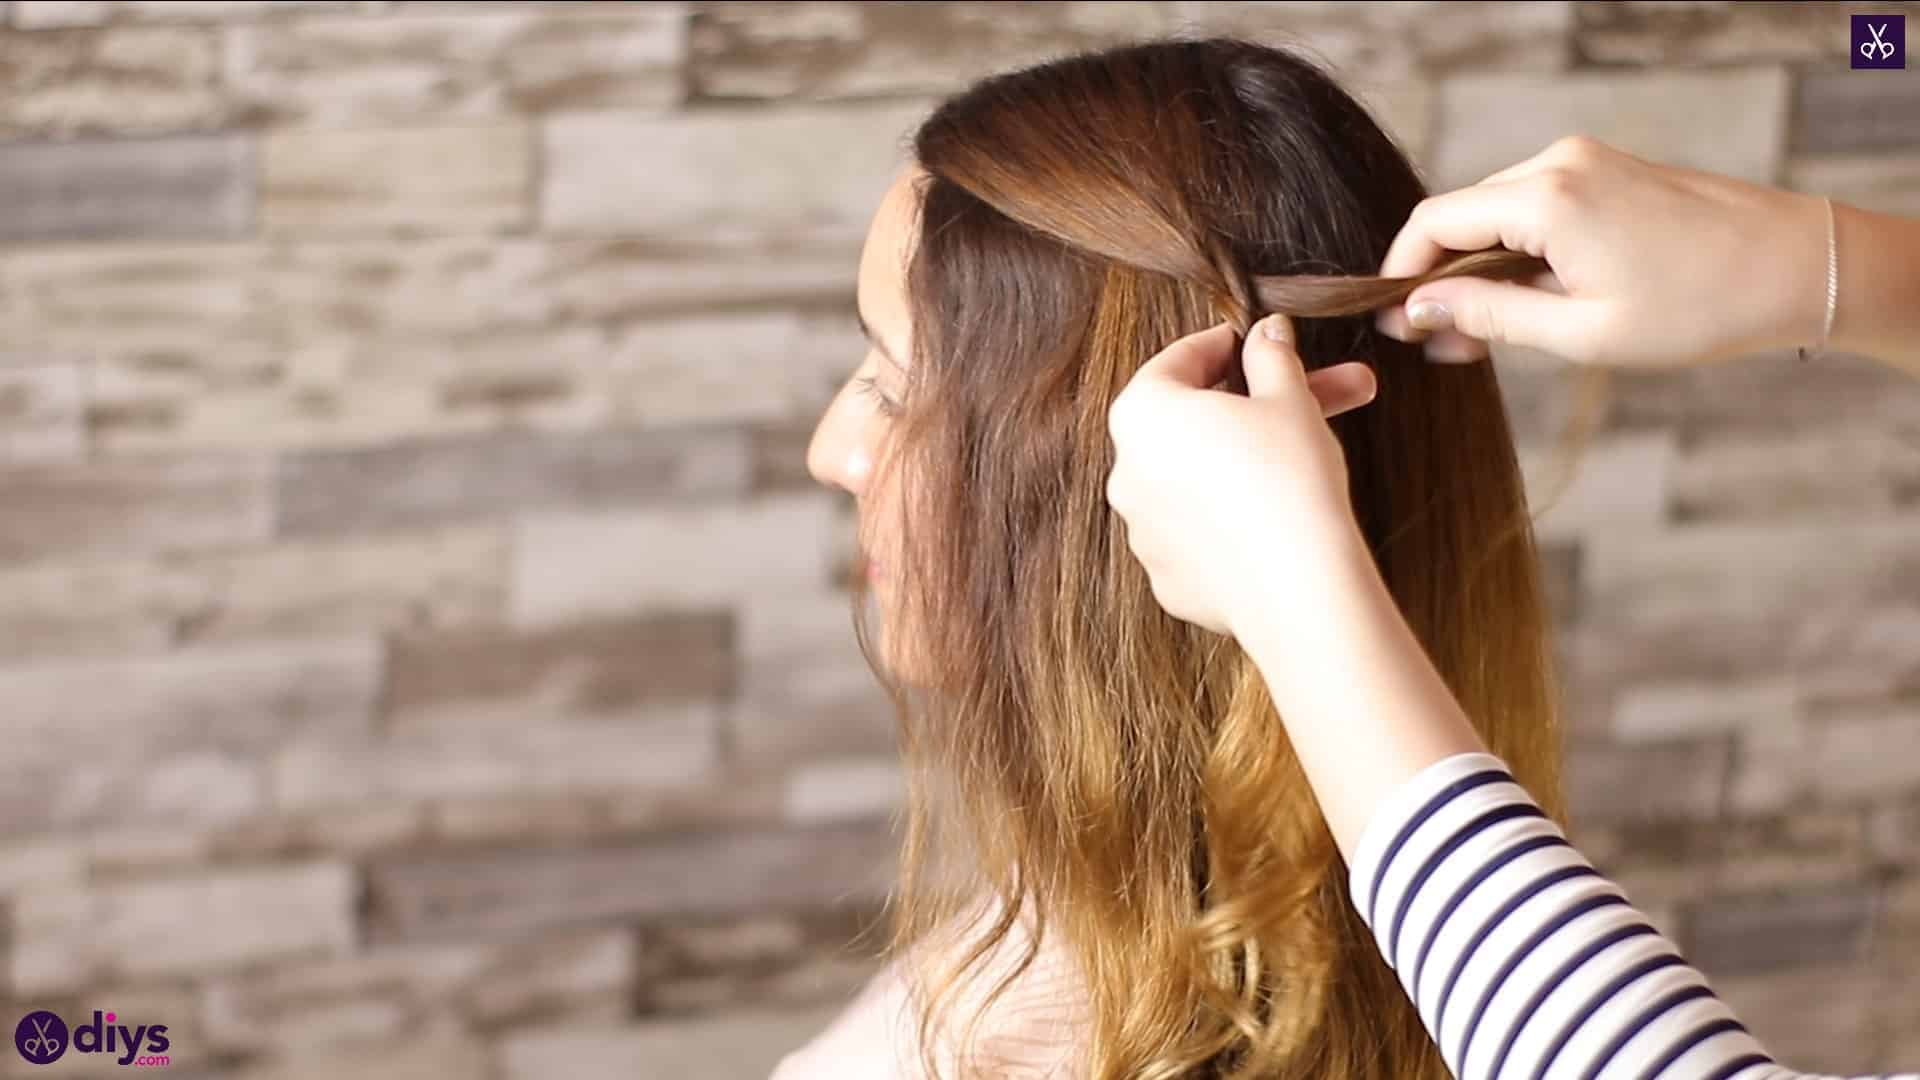
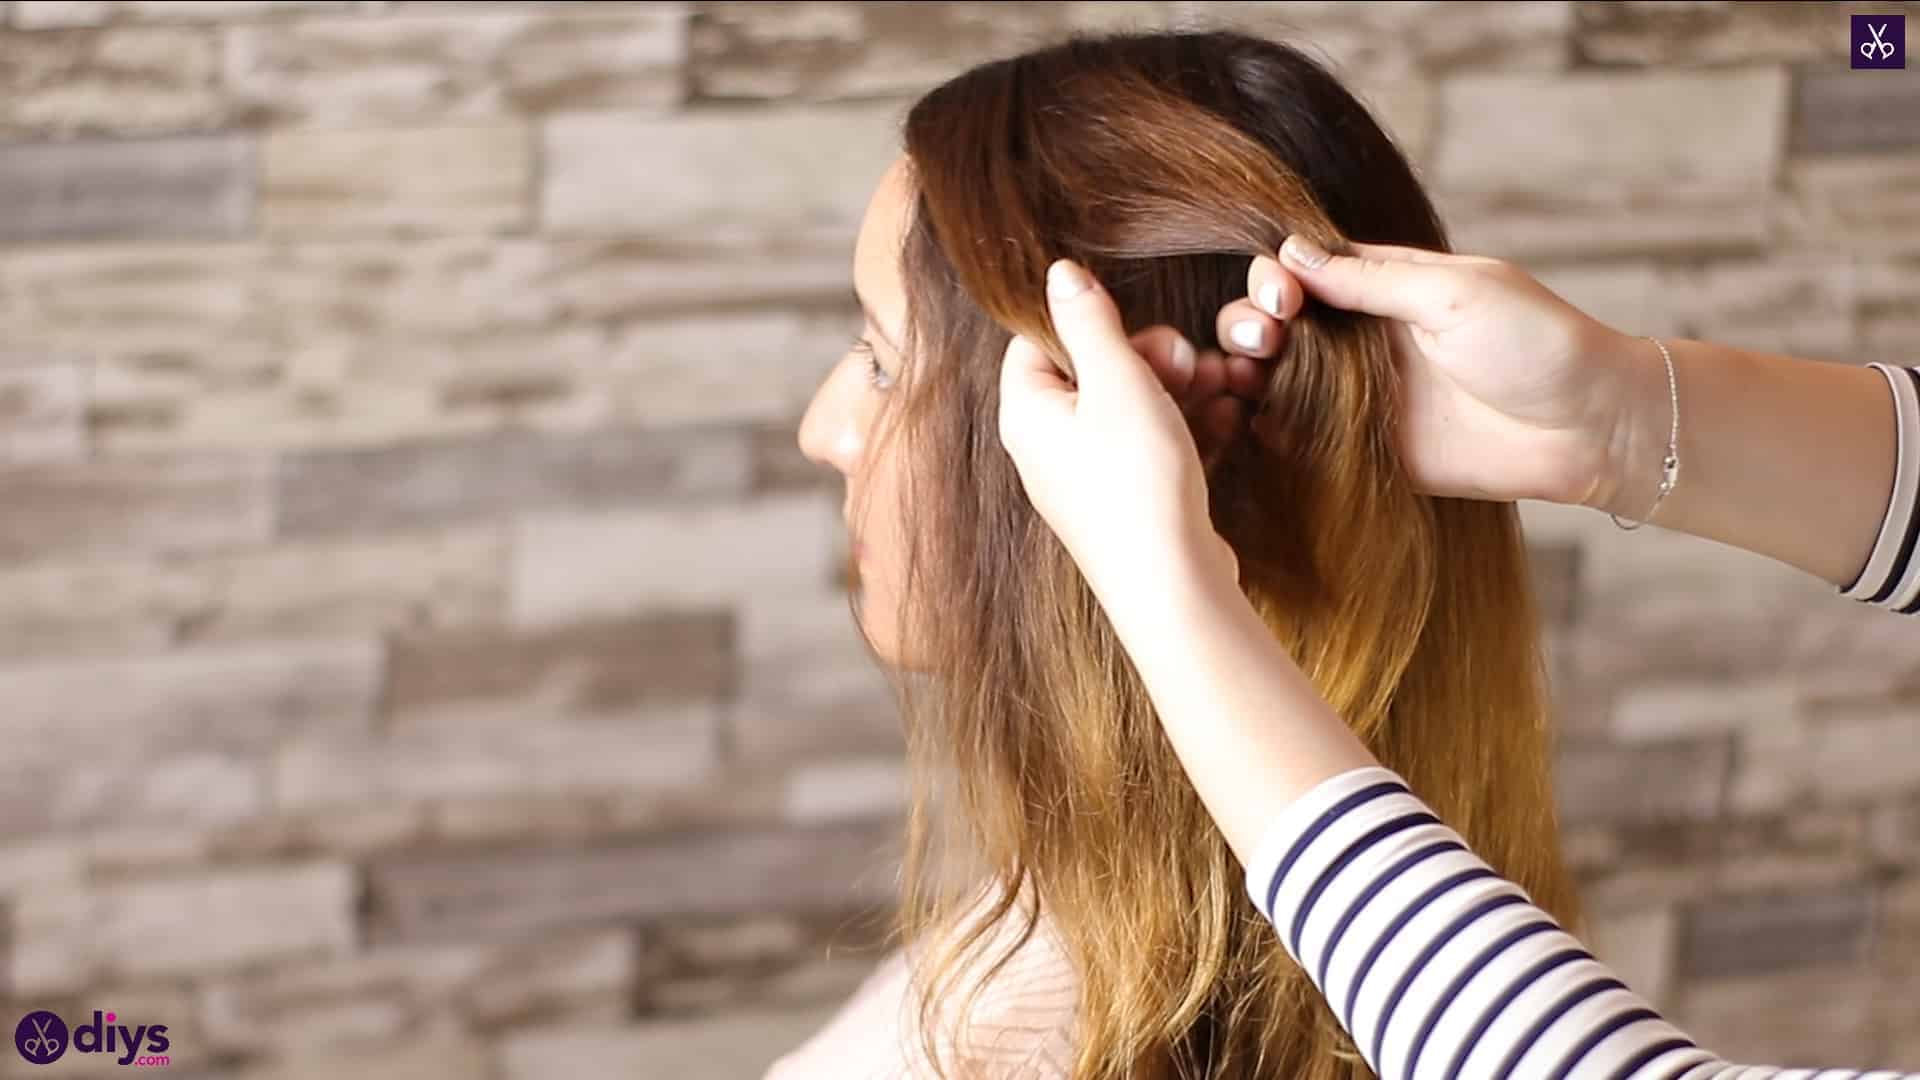
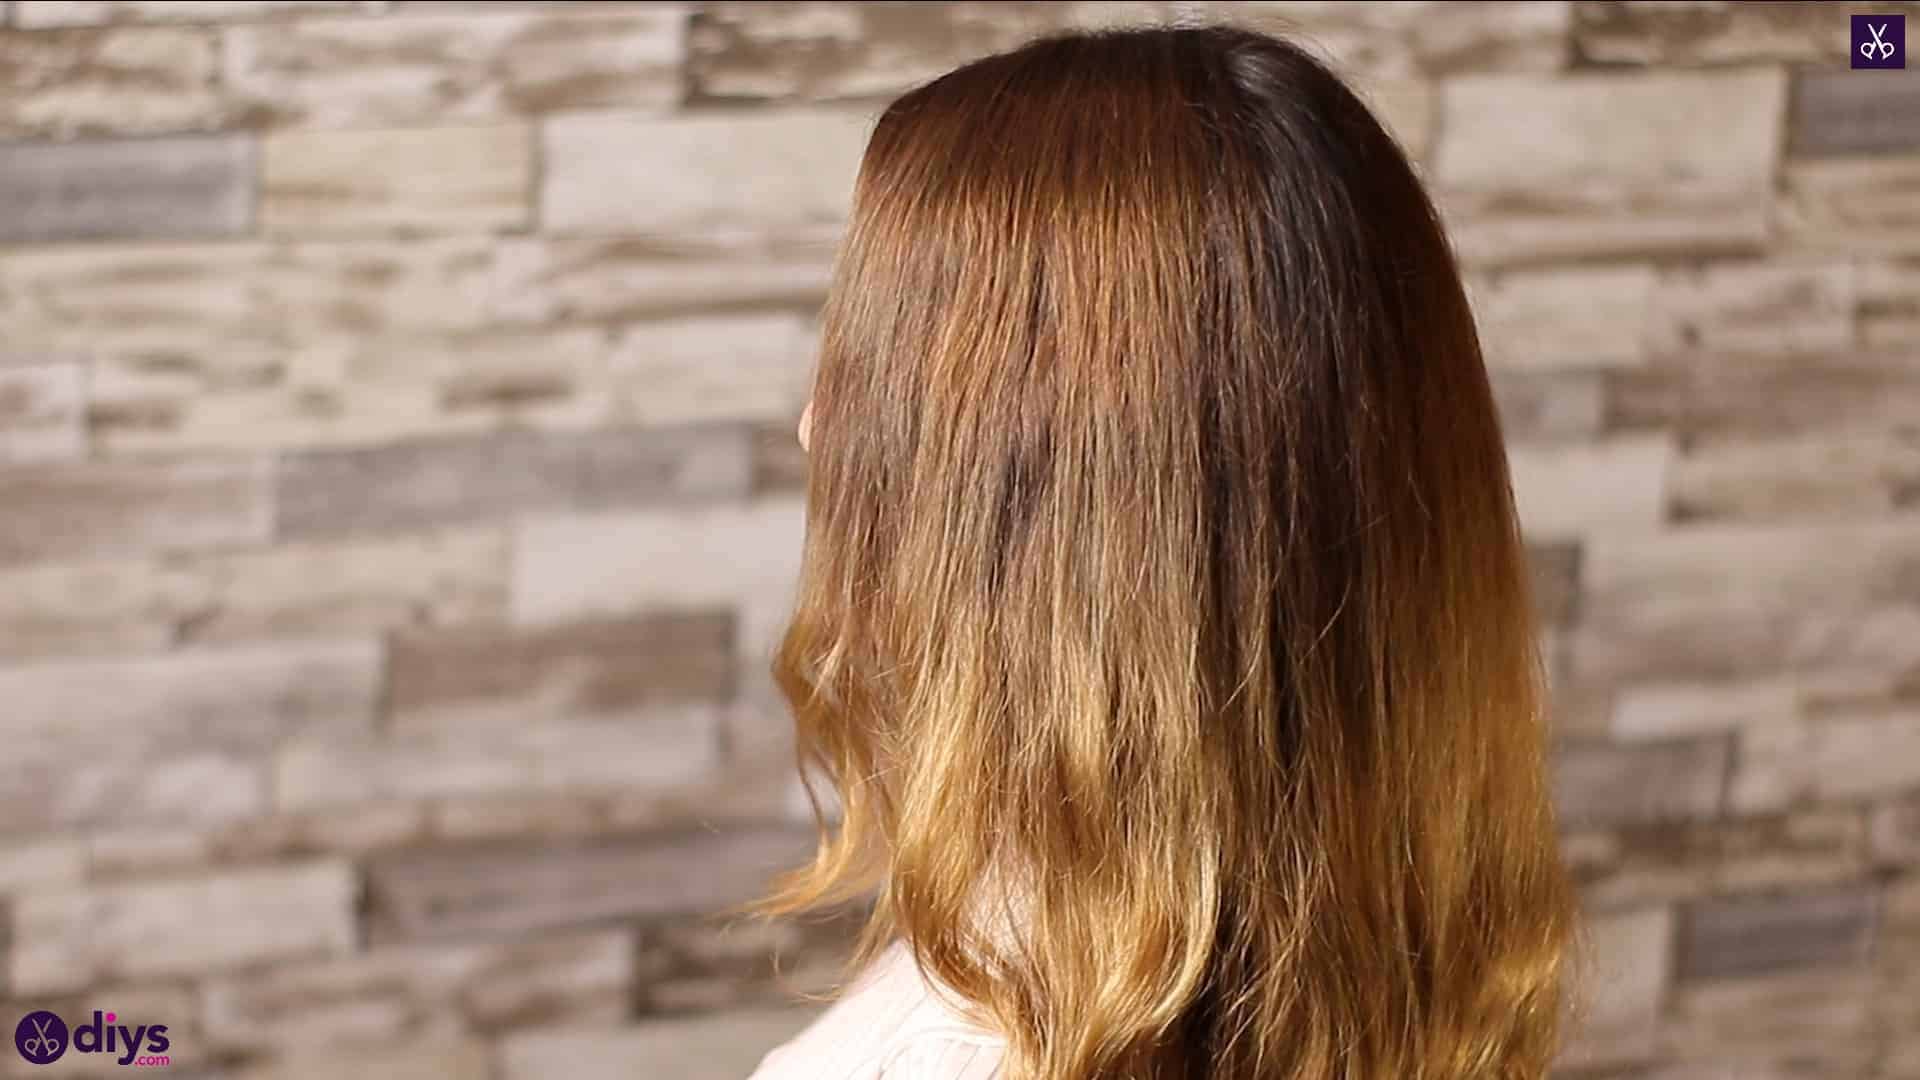
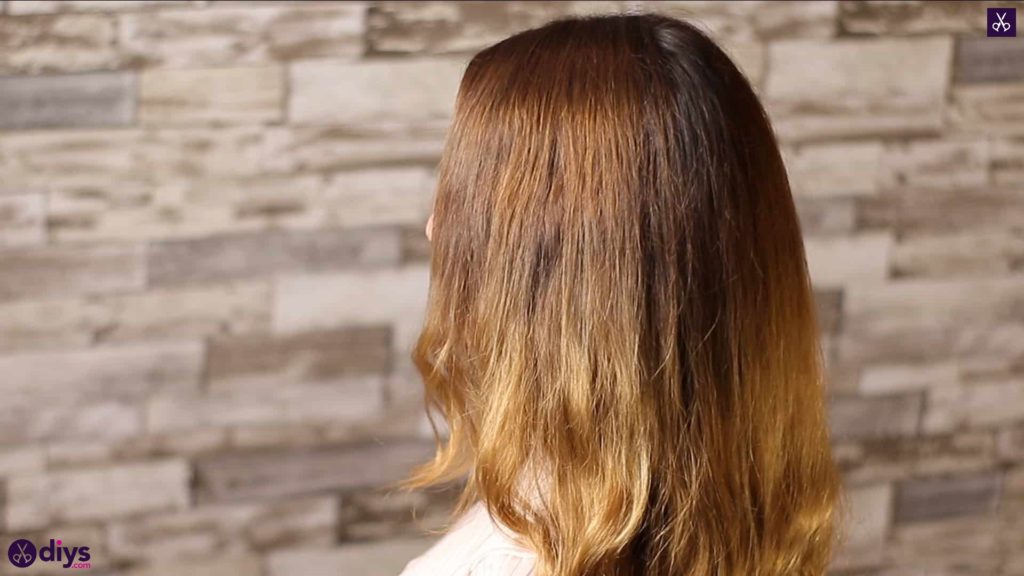
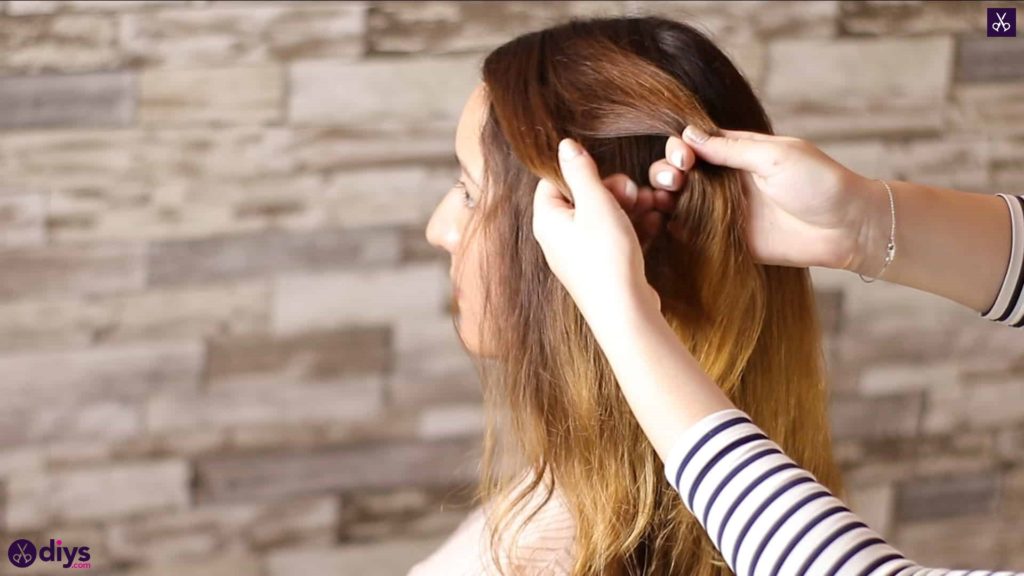
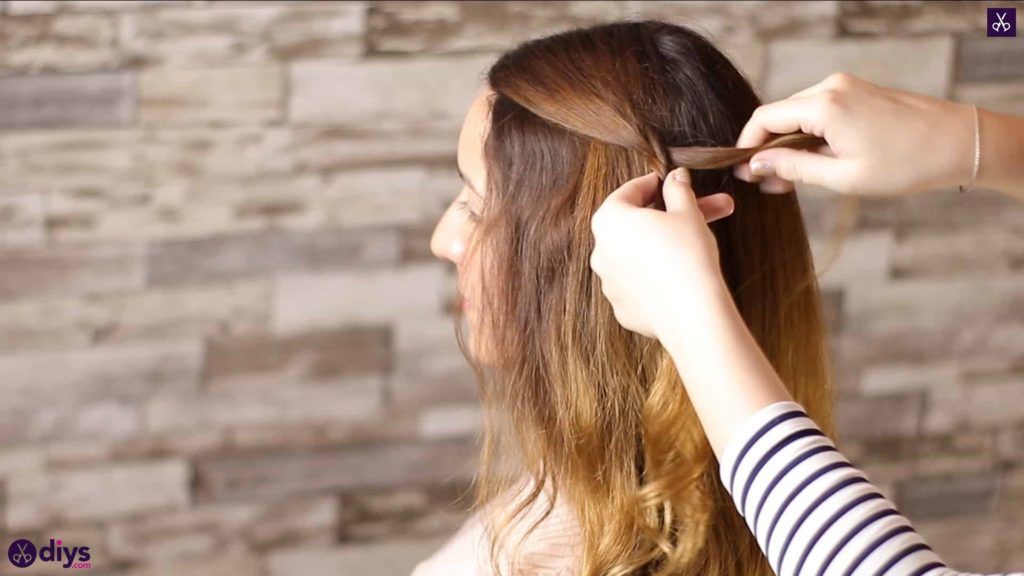
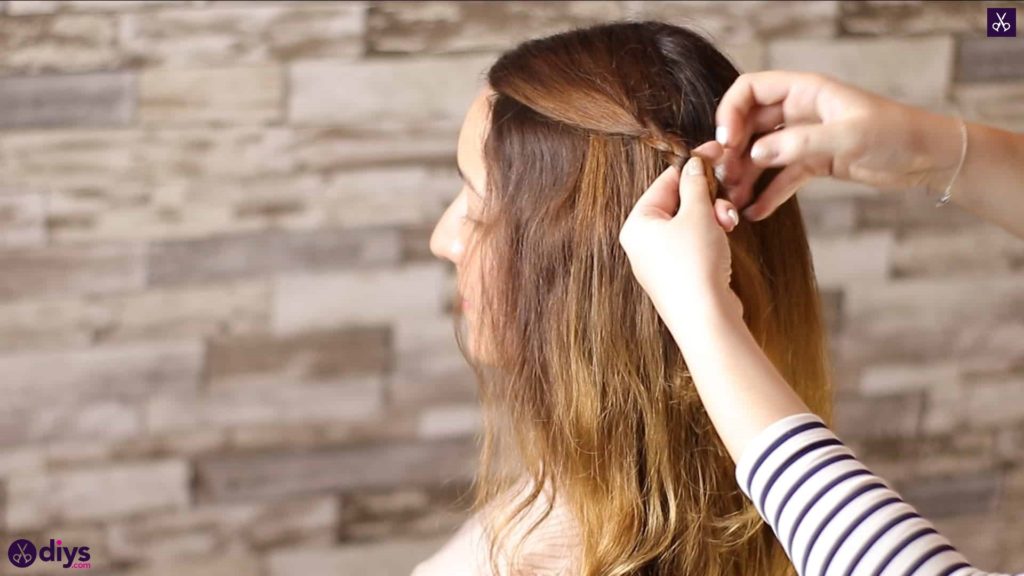
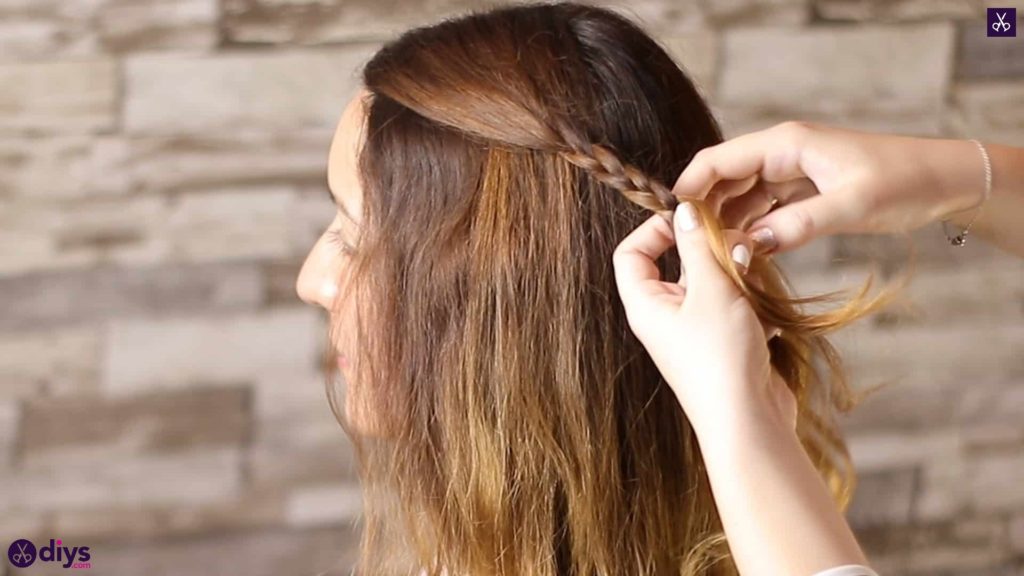
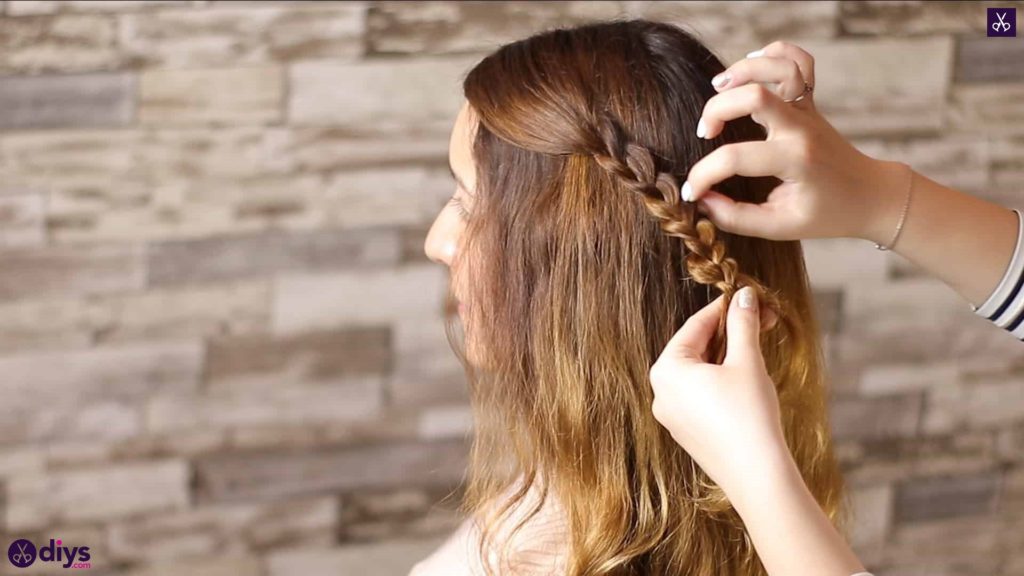
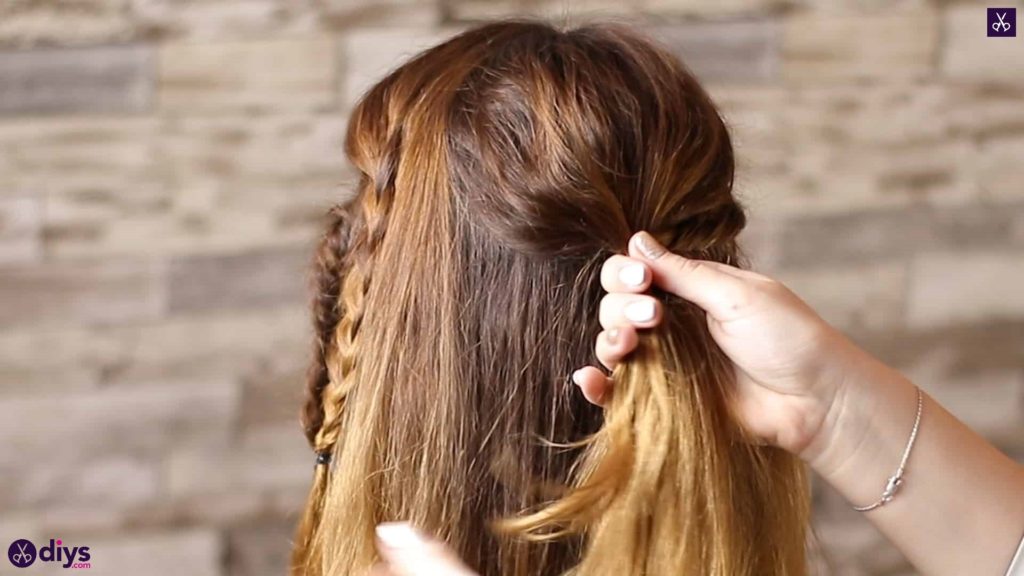
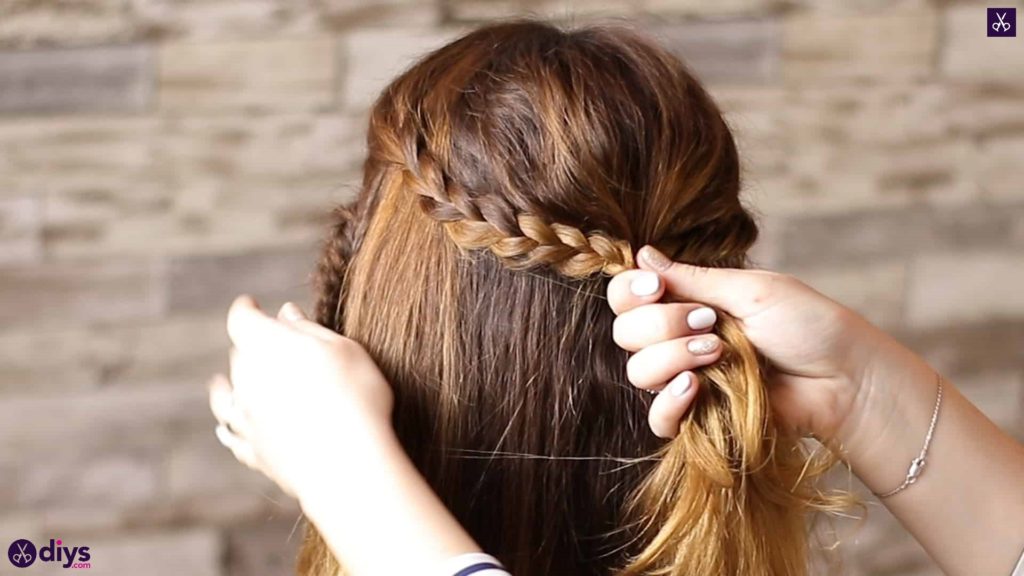
Brush your hair through entirely so it’s free of tangles. Let it part wherever is most comfortable for you. Start by sectioning out a piece on the left side, about two inches wide, at the top front near the part. Split this piece into three evenly sized strands. You’ll use these to turn the whole section into a standard three strand braid. Pass the strand in your right hand over the one in the center and into your left hand, taking the center one into your right. Then pass the far left strand over the new center piece, taking the center one in that hand as you pass the left strand to your right. Repeat this process all the way down to the end of the section. Don’t pull the hair too tightly; you want to keep it a little looser so it looks like it has a little more volume and texture. You can also get this look by lightly pulling the woven strands to loosen them up a little while you hold the ends tightly together, but don’t pull anything so hard the it comes entirely loose. When you’re done, fasten the braid at the end of the strand with a small hair elastic.
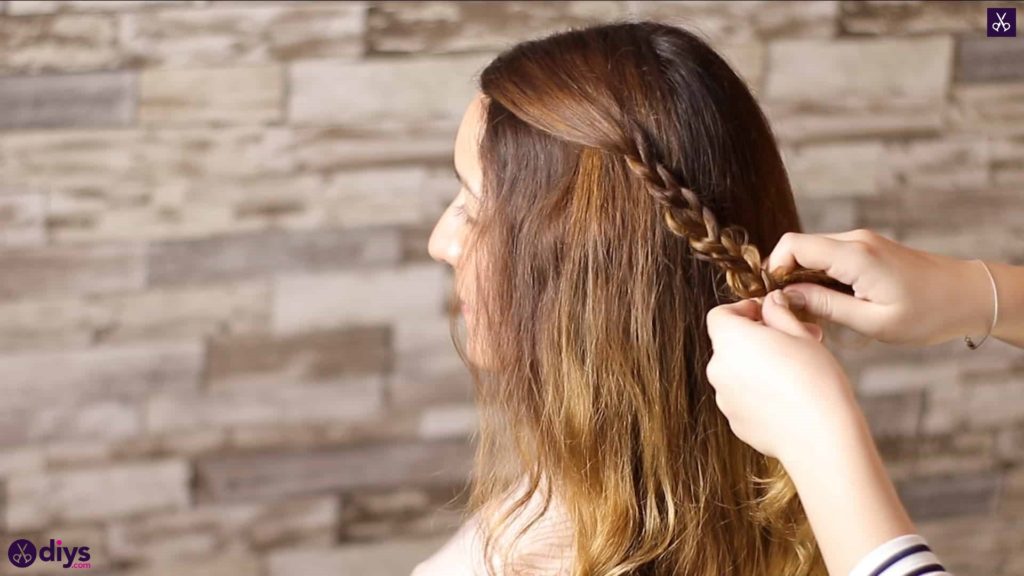
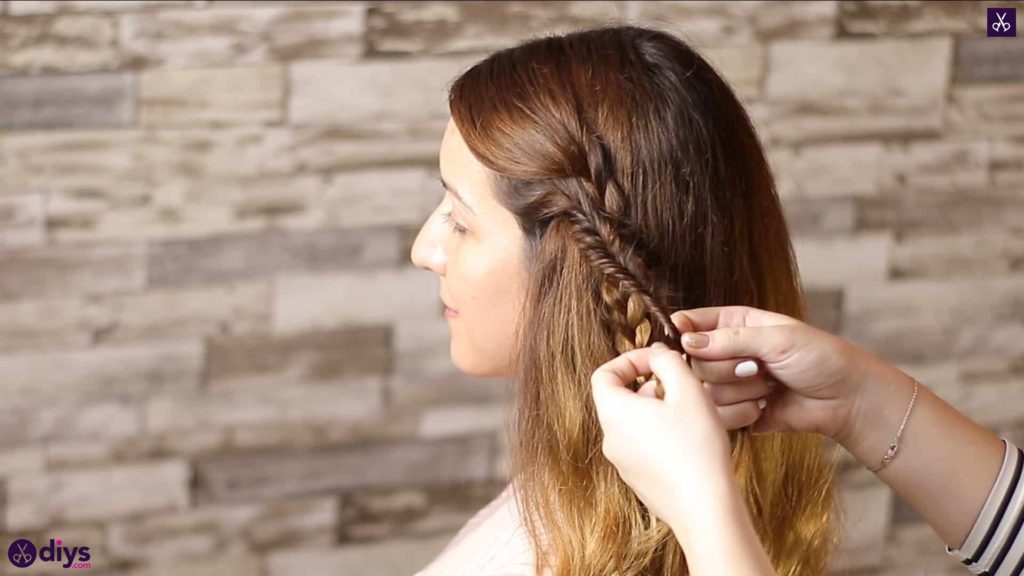
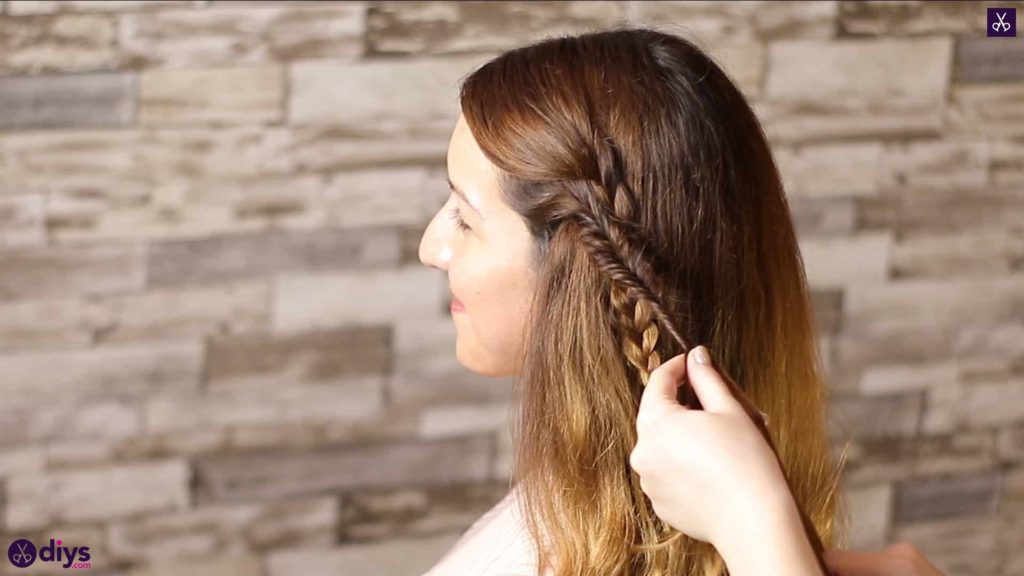
Step 2: add the twists
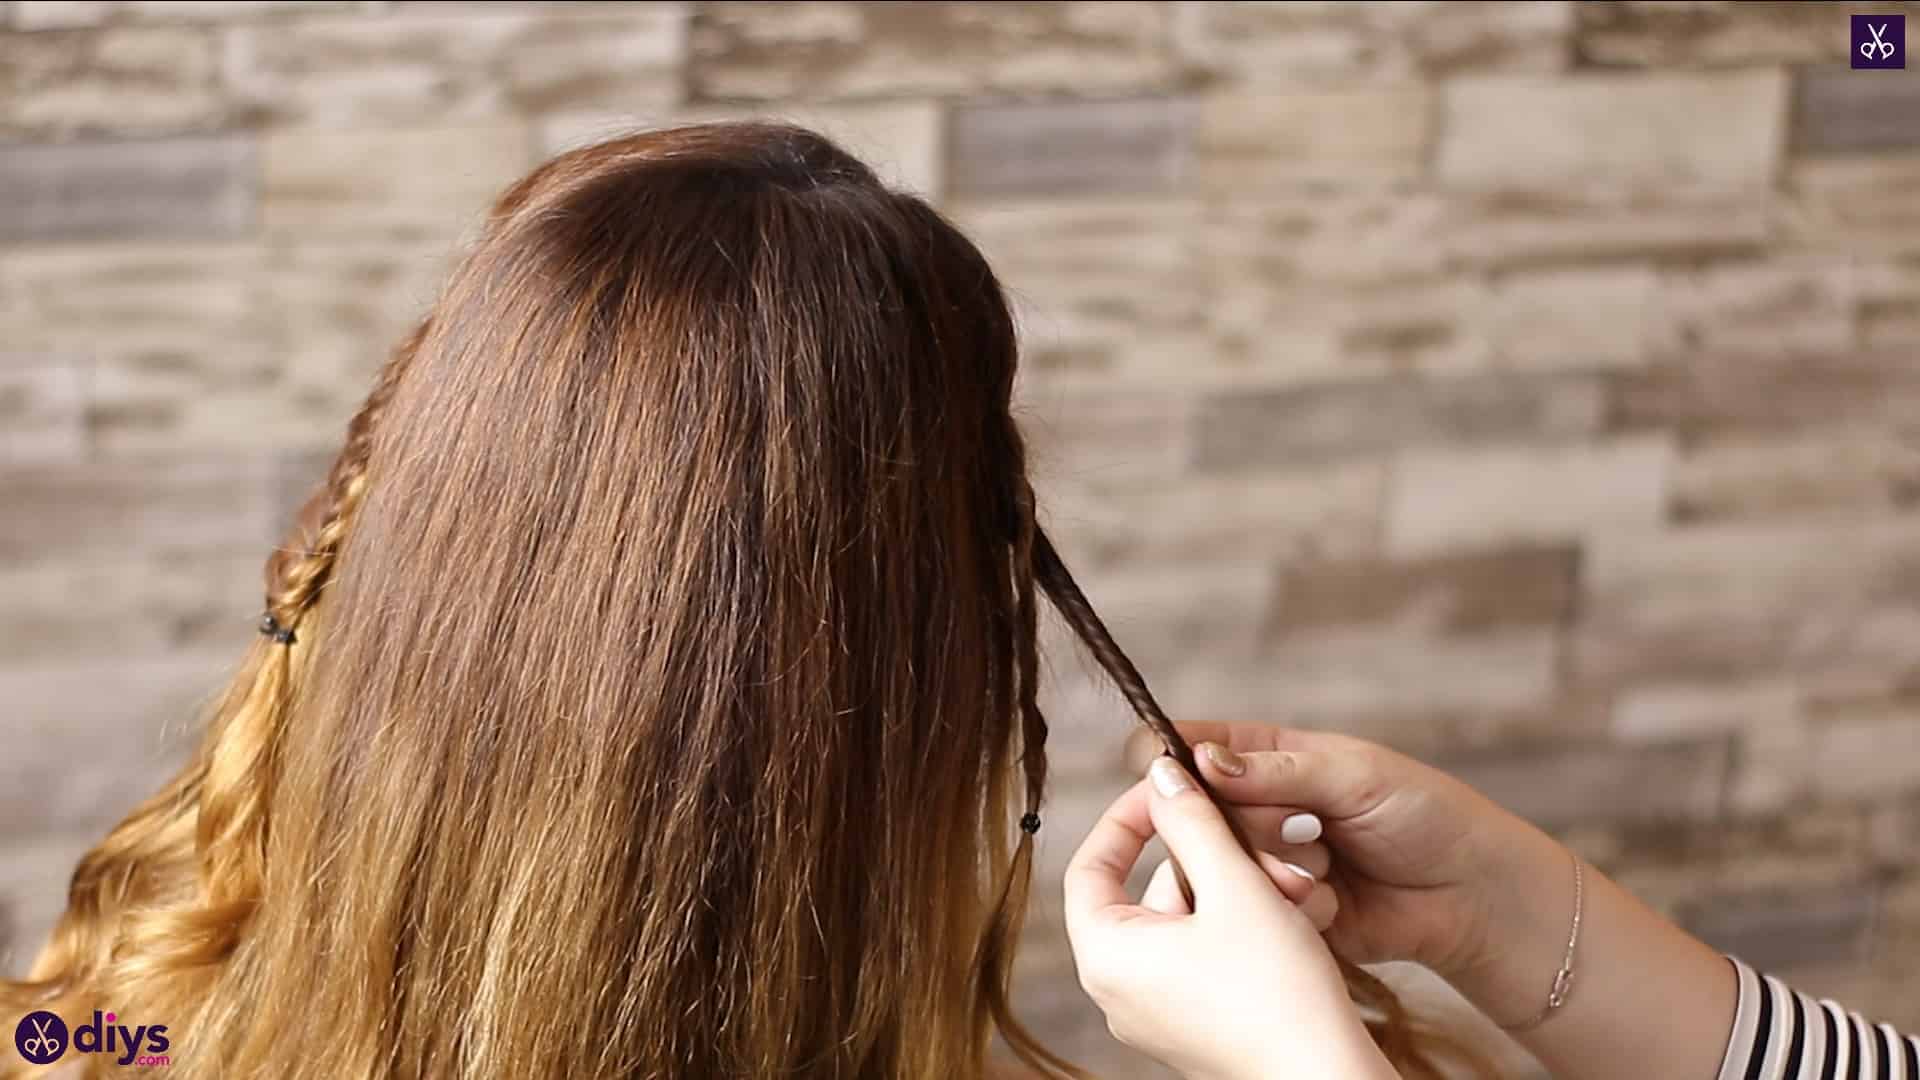
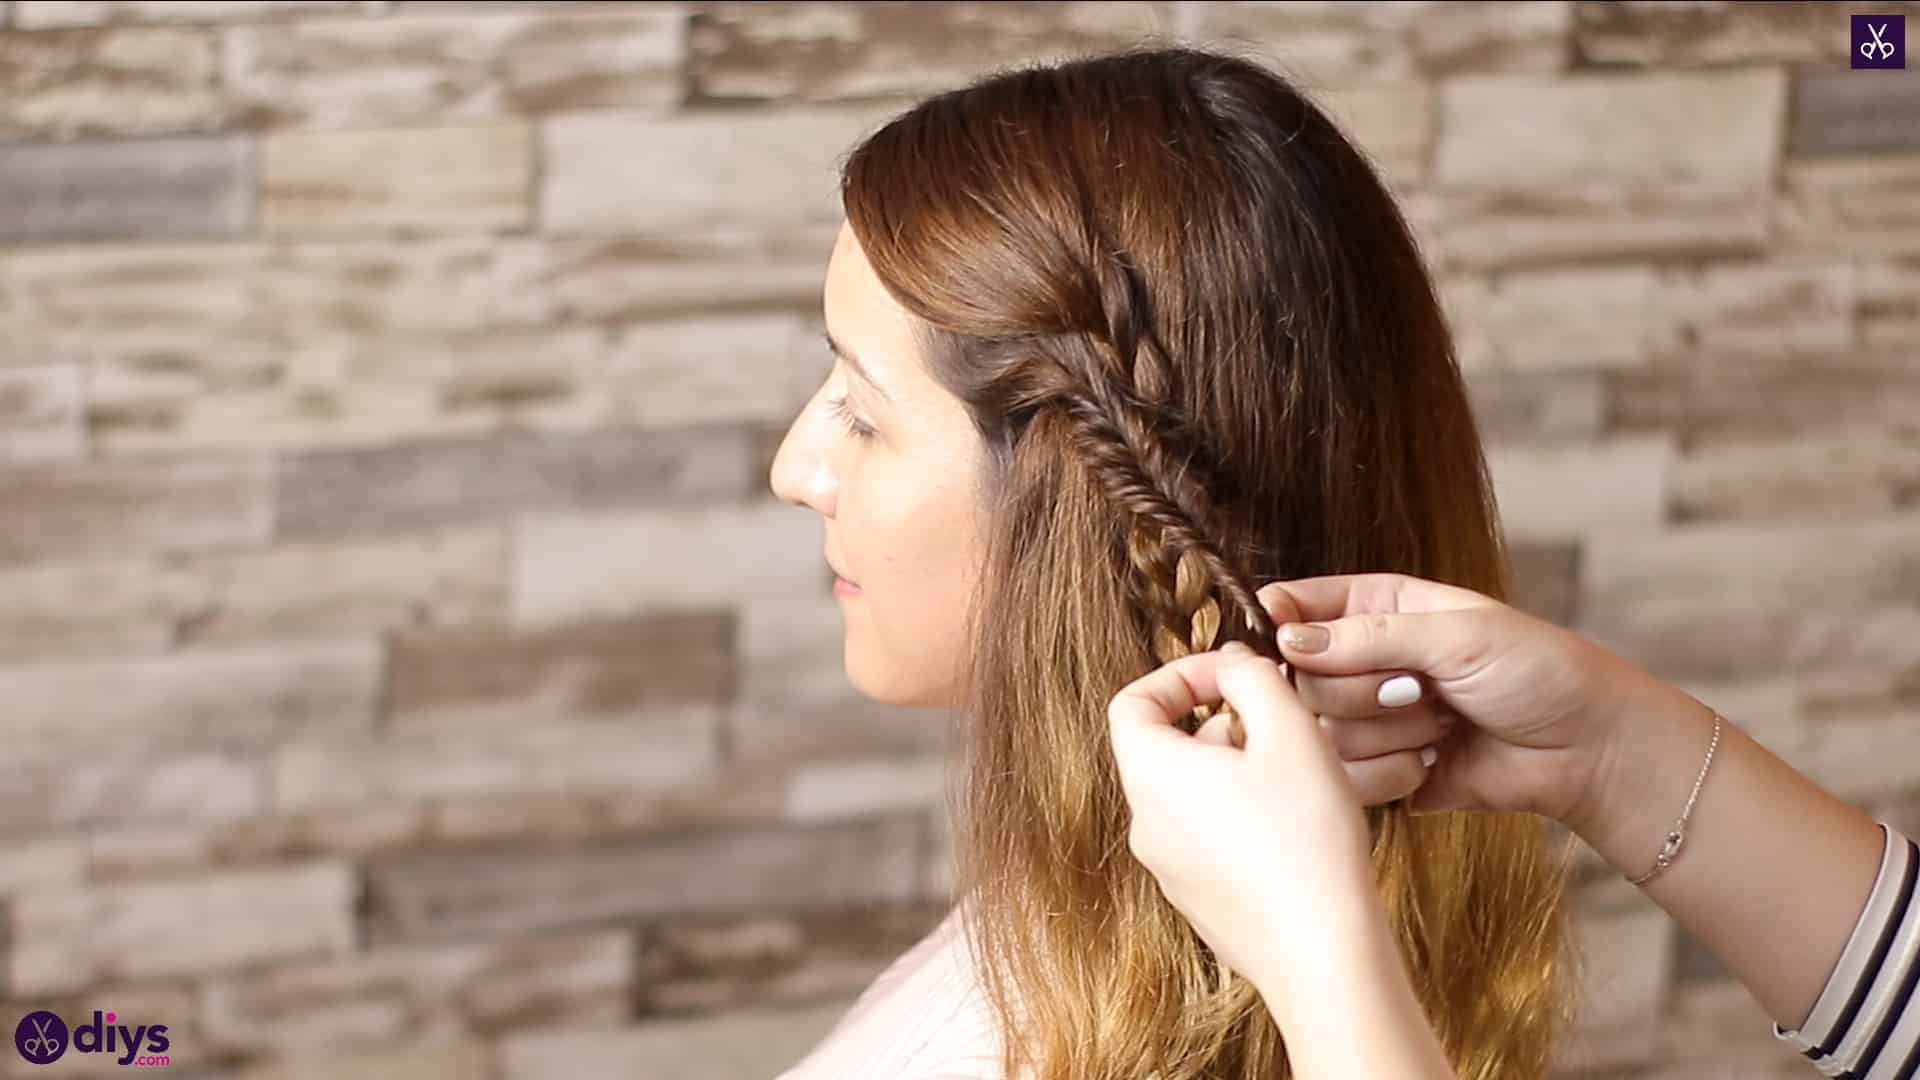
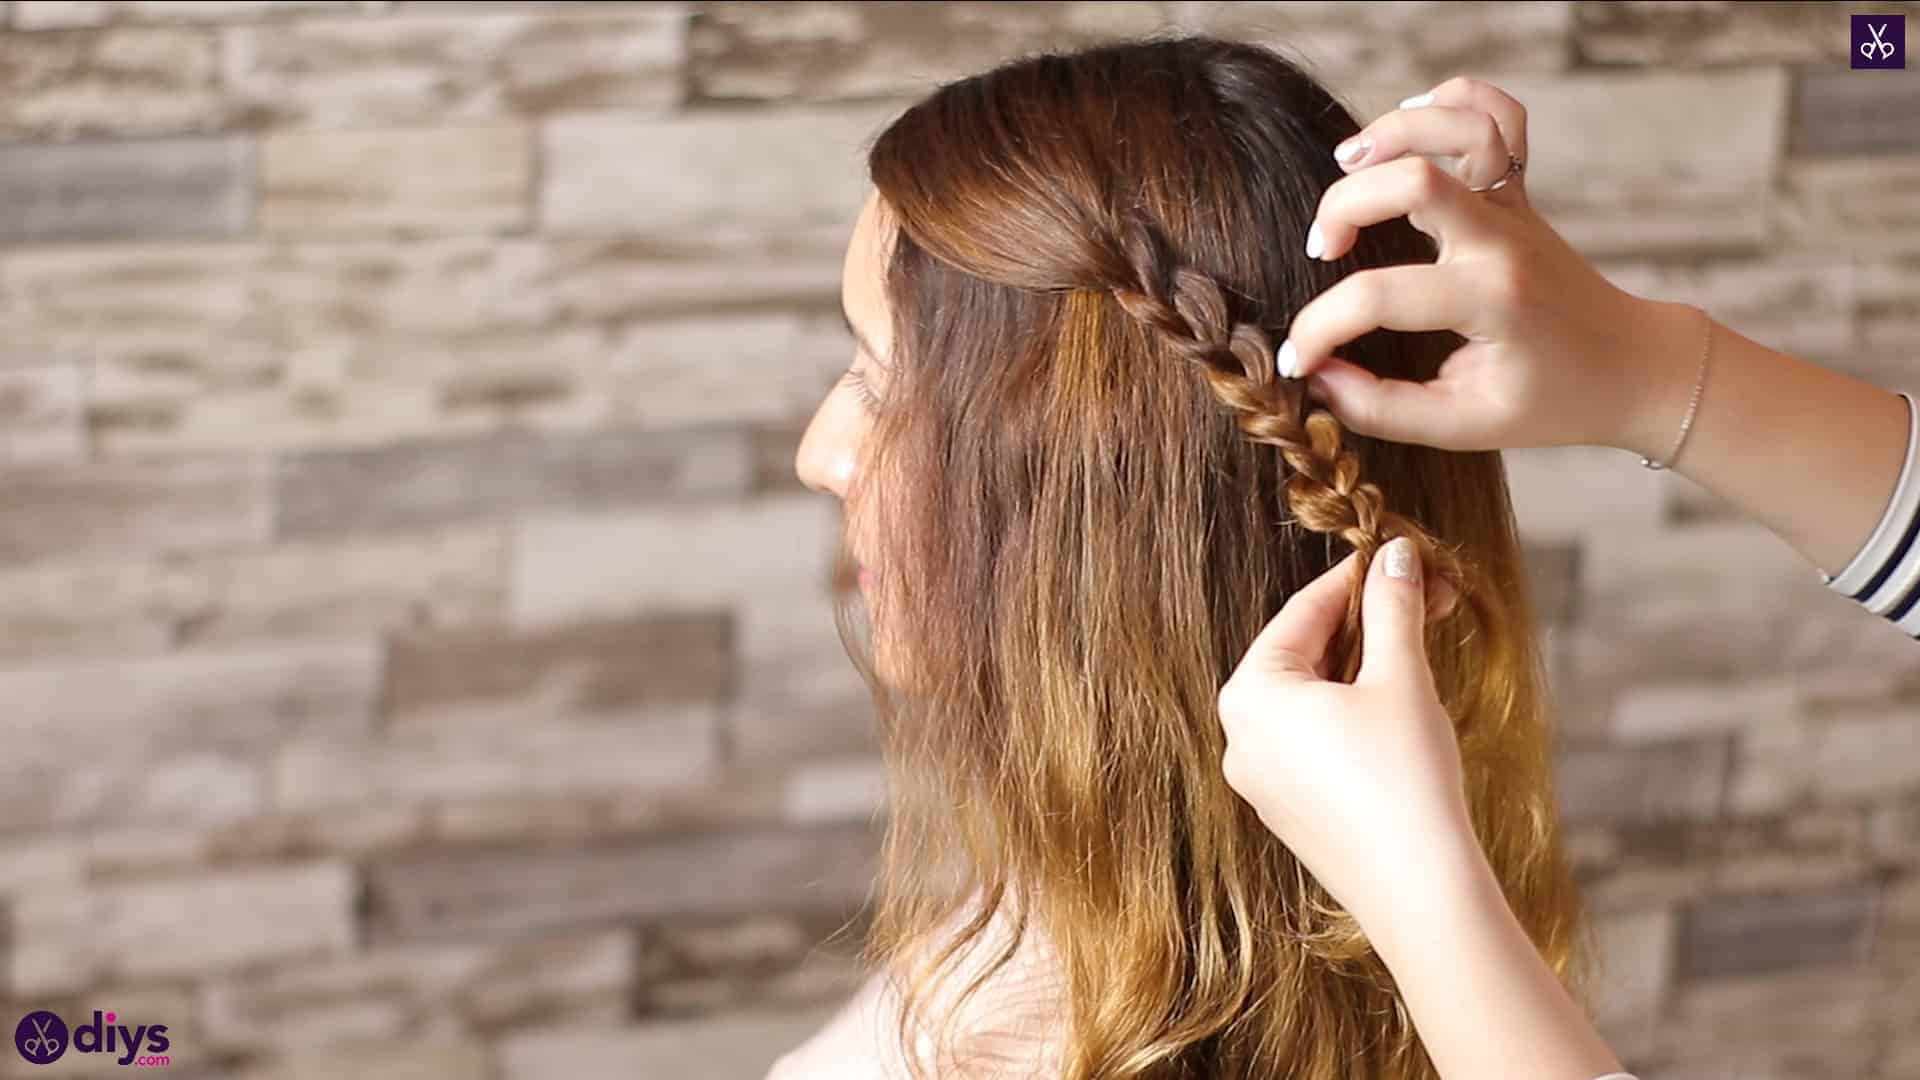
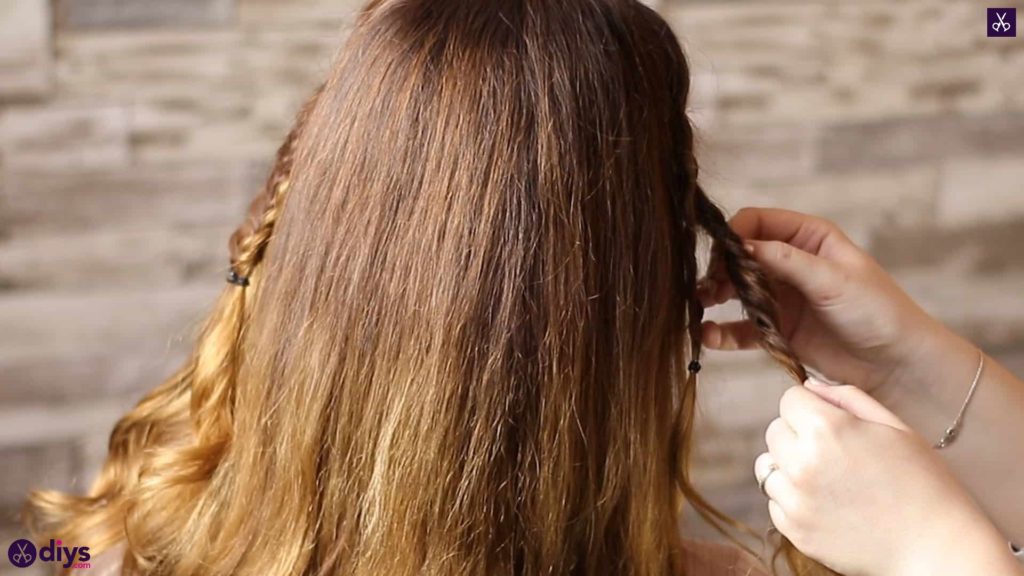
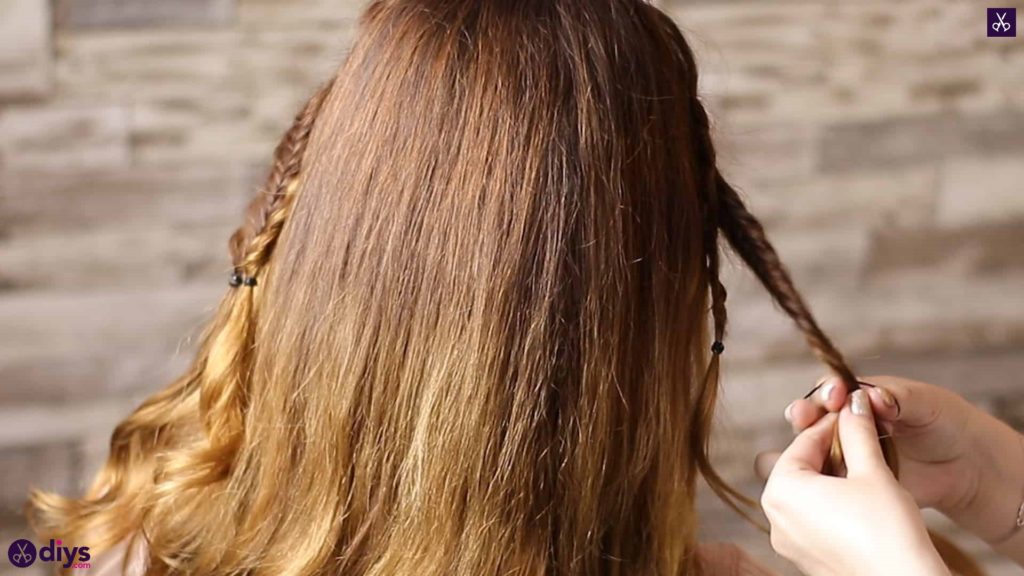
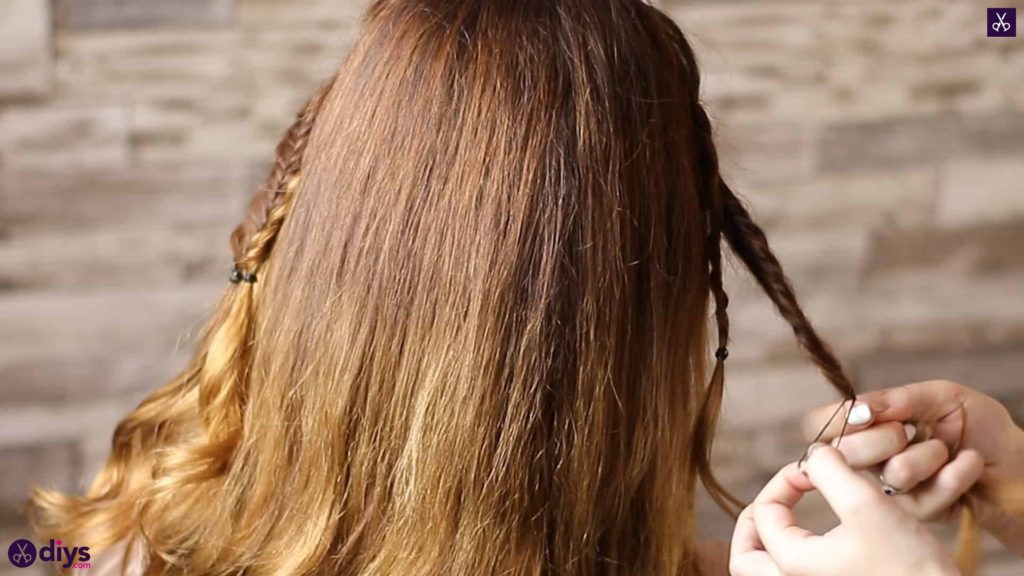
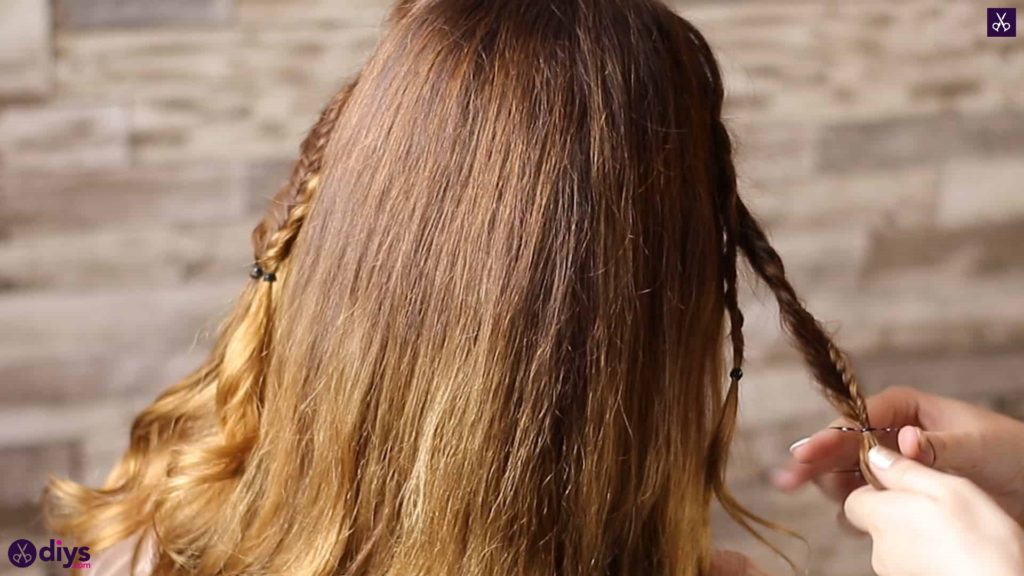
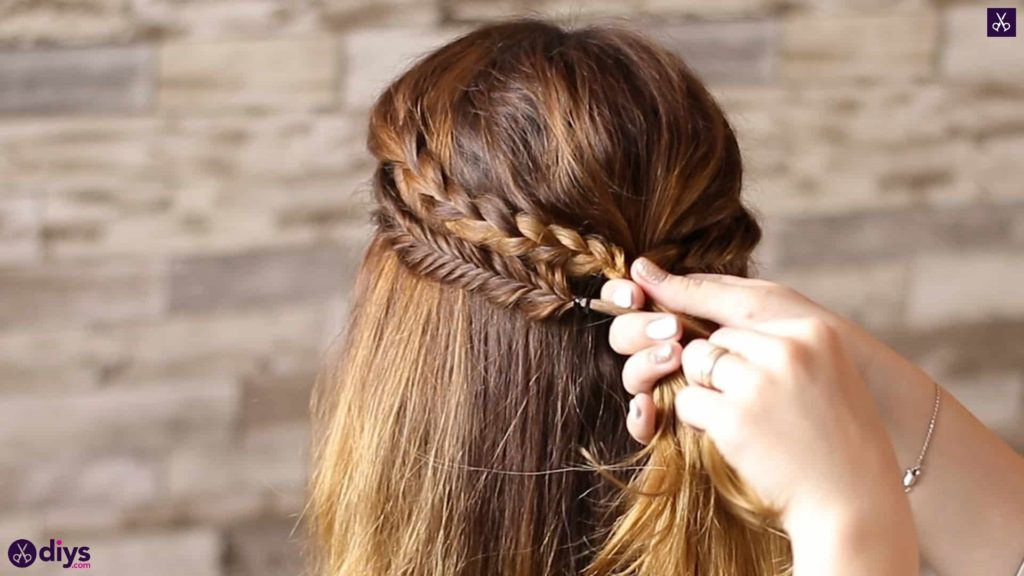
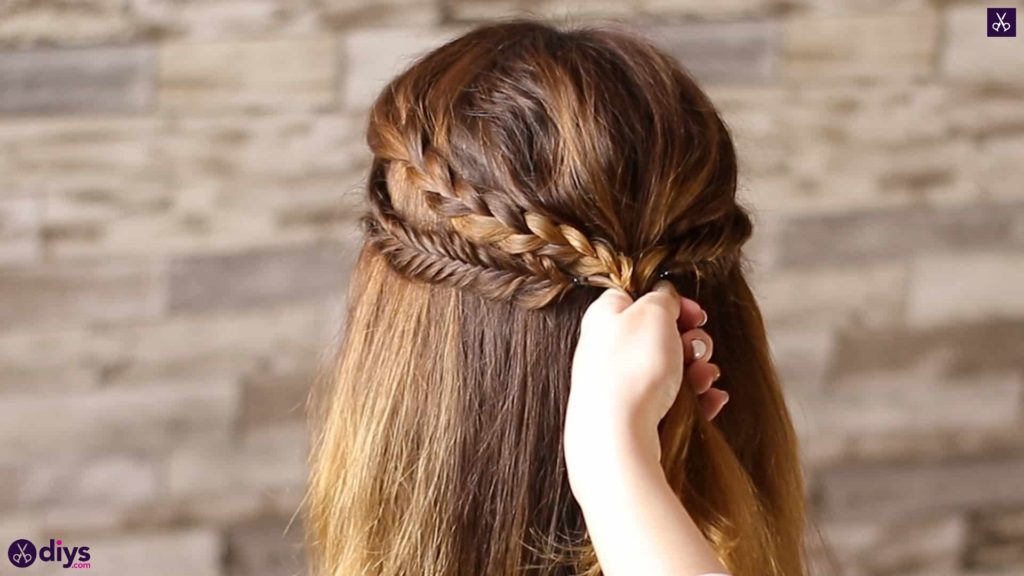
Right below the section you just braided, separate another section at the front around the same size. This time, you’re going to create a fishtail braid. Separate the section into two equally sized pieces, one in each hand. Take a thin piece from theunderside of the left strip, bring it to the right side, and pass it up and around the right strand, merging it back into the left strand at the middle between the two main sections. Then take a small piece from the underside of the right strand, bring it to the left side, and pass it up and around the left section and down into the middle to join the right strand again. Repeat this process all the way down the section until you get to the end. Loosen your woven pieces for a voluminous look again, just like you did with the first braid, and fasten the ends with a small hair elastic when you’re done.
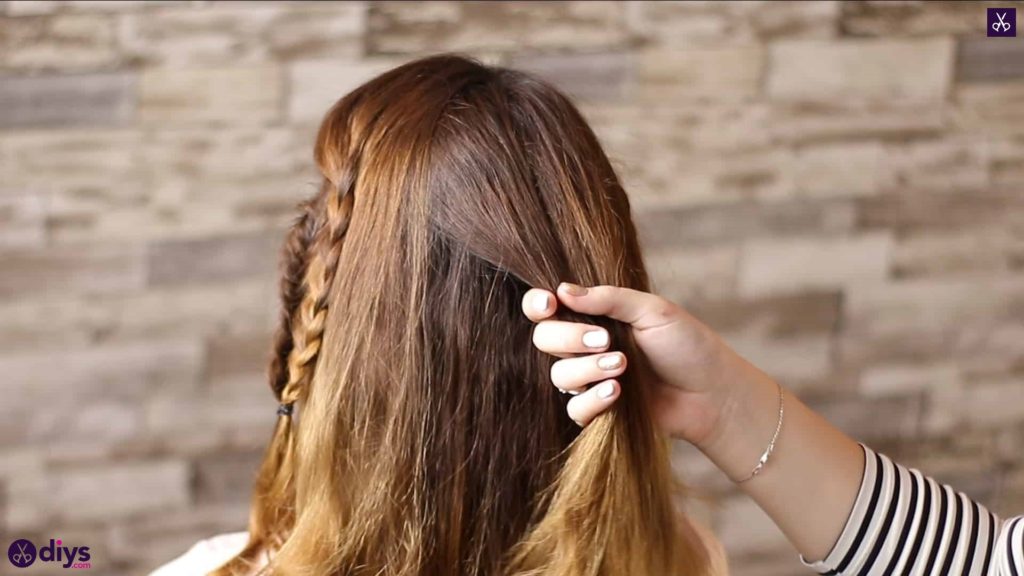
Step 3: repeat
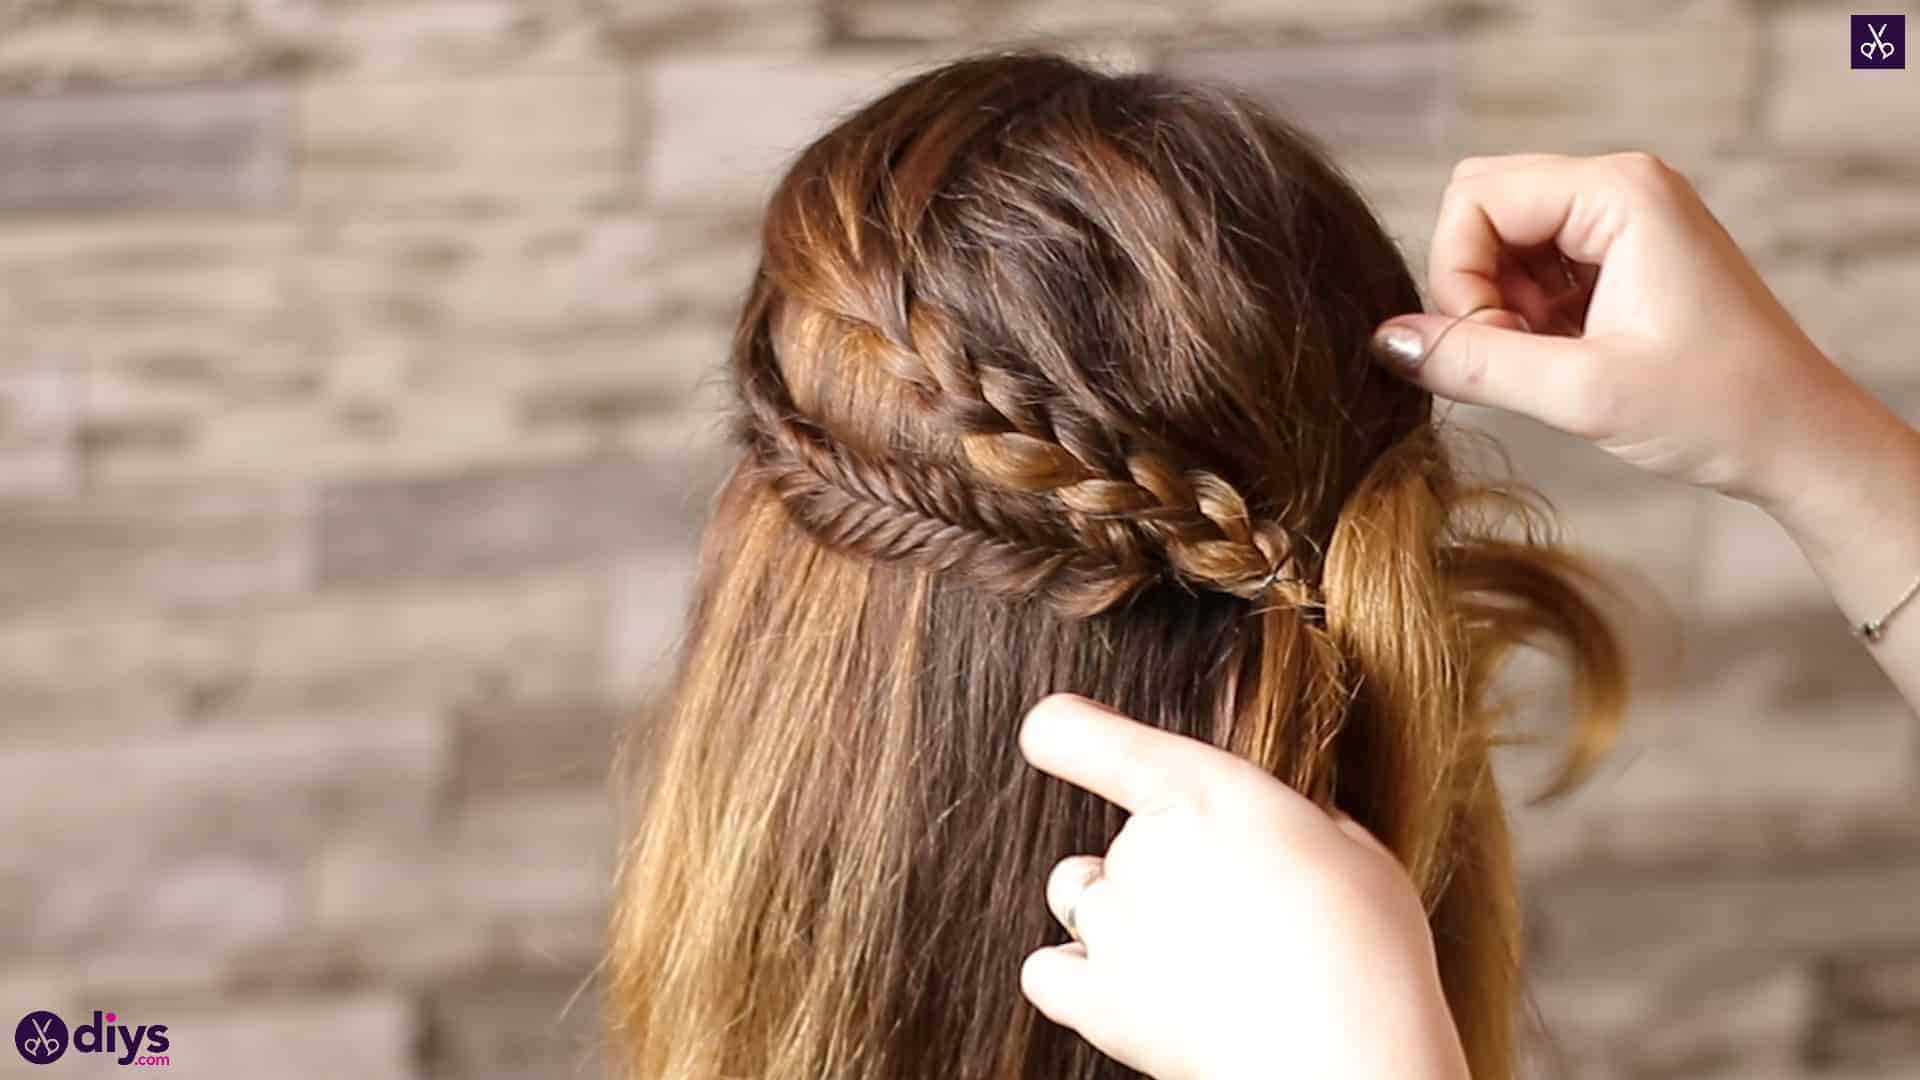
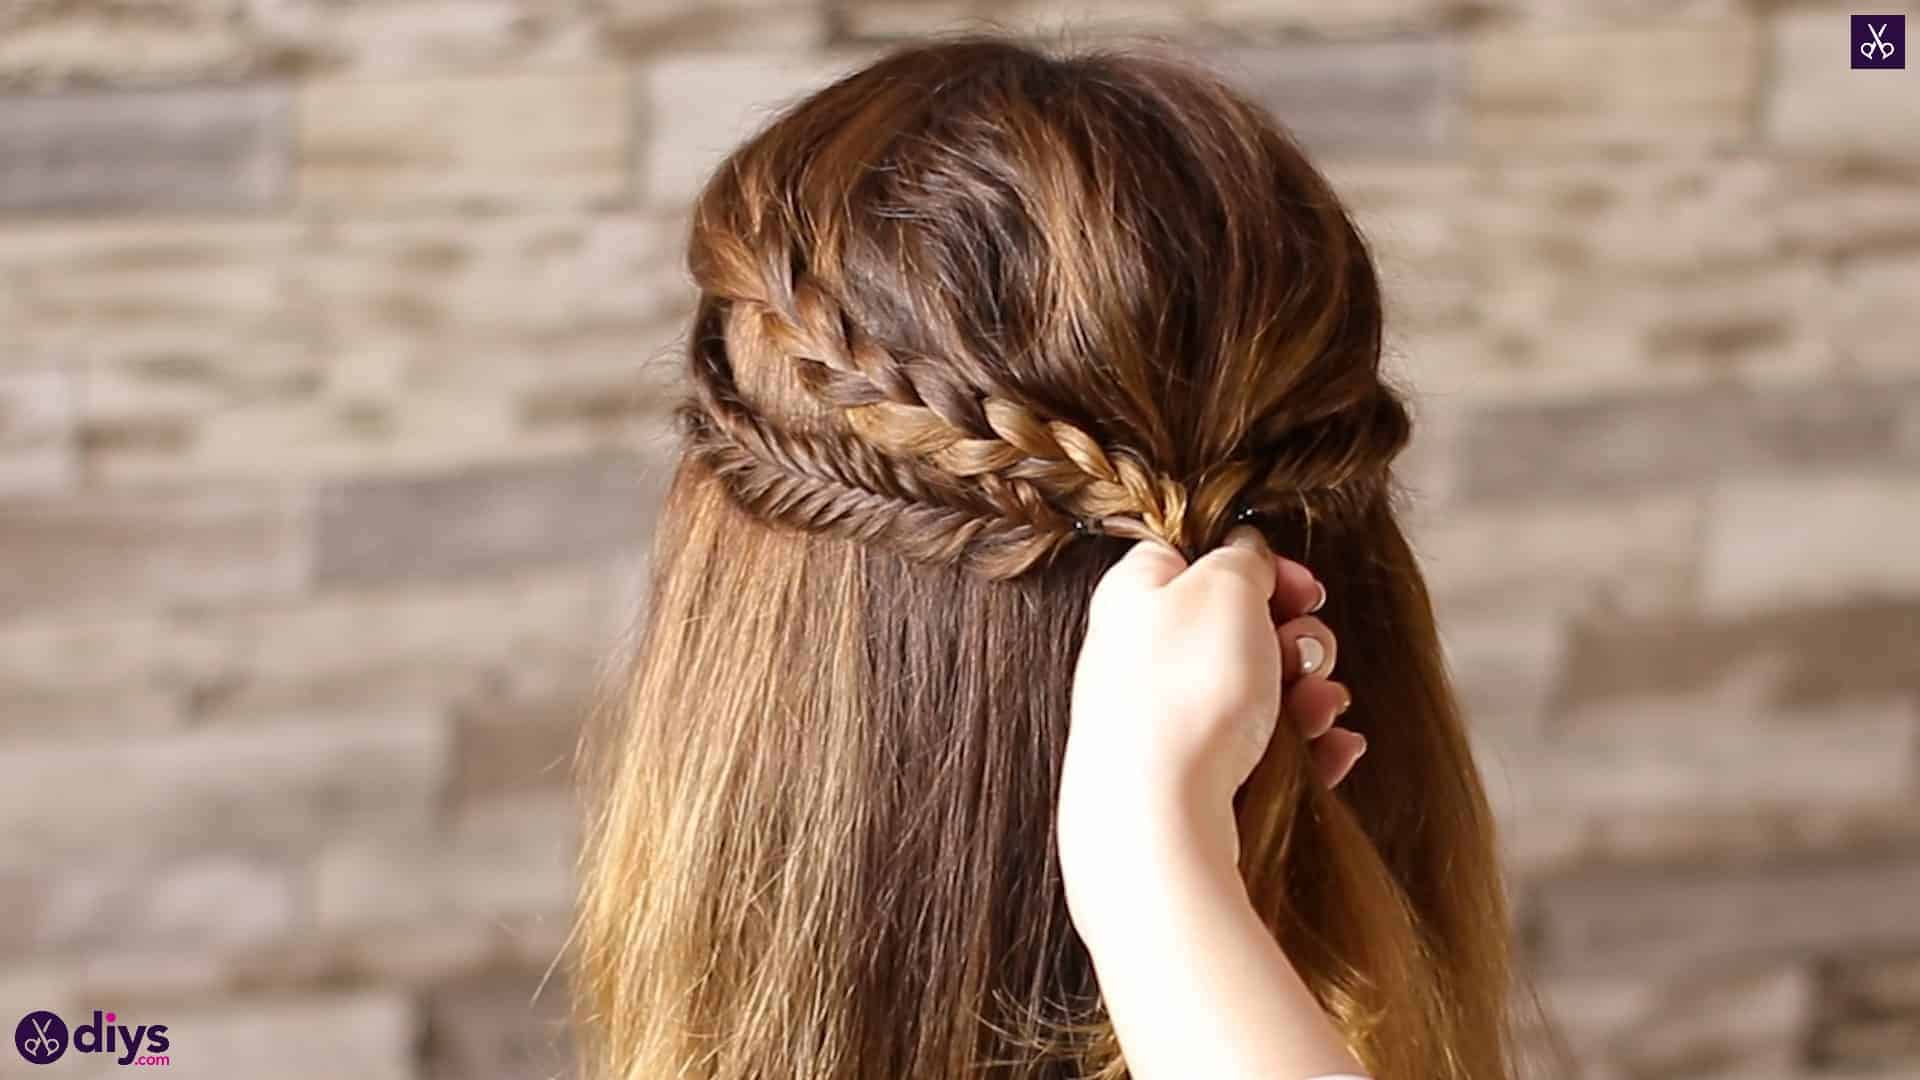
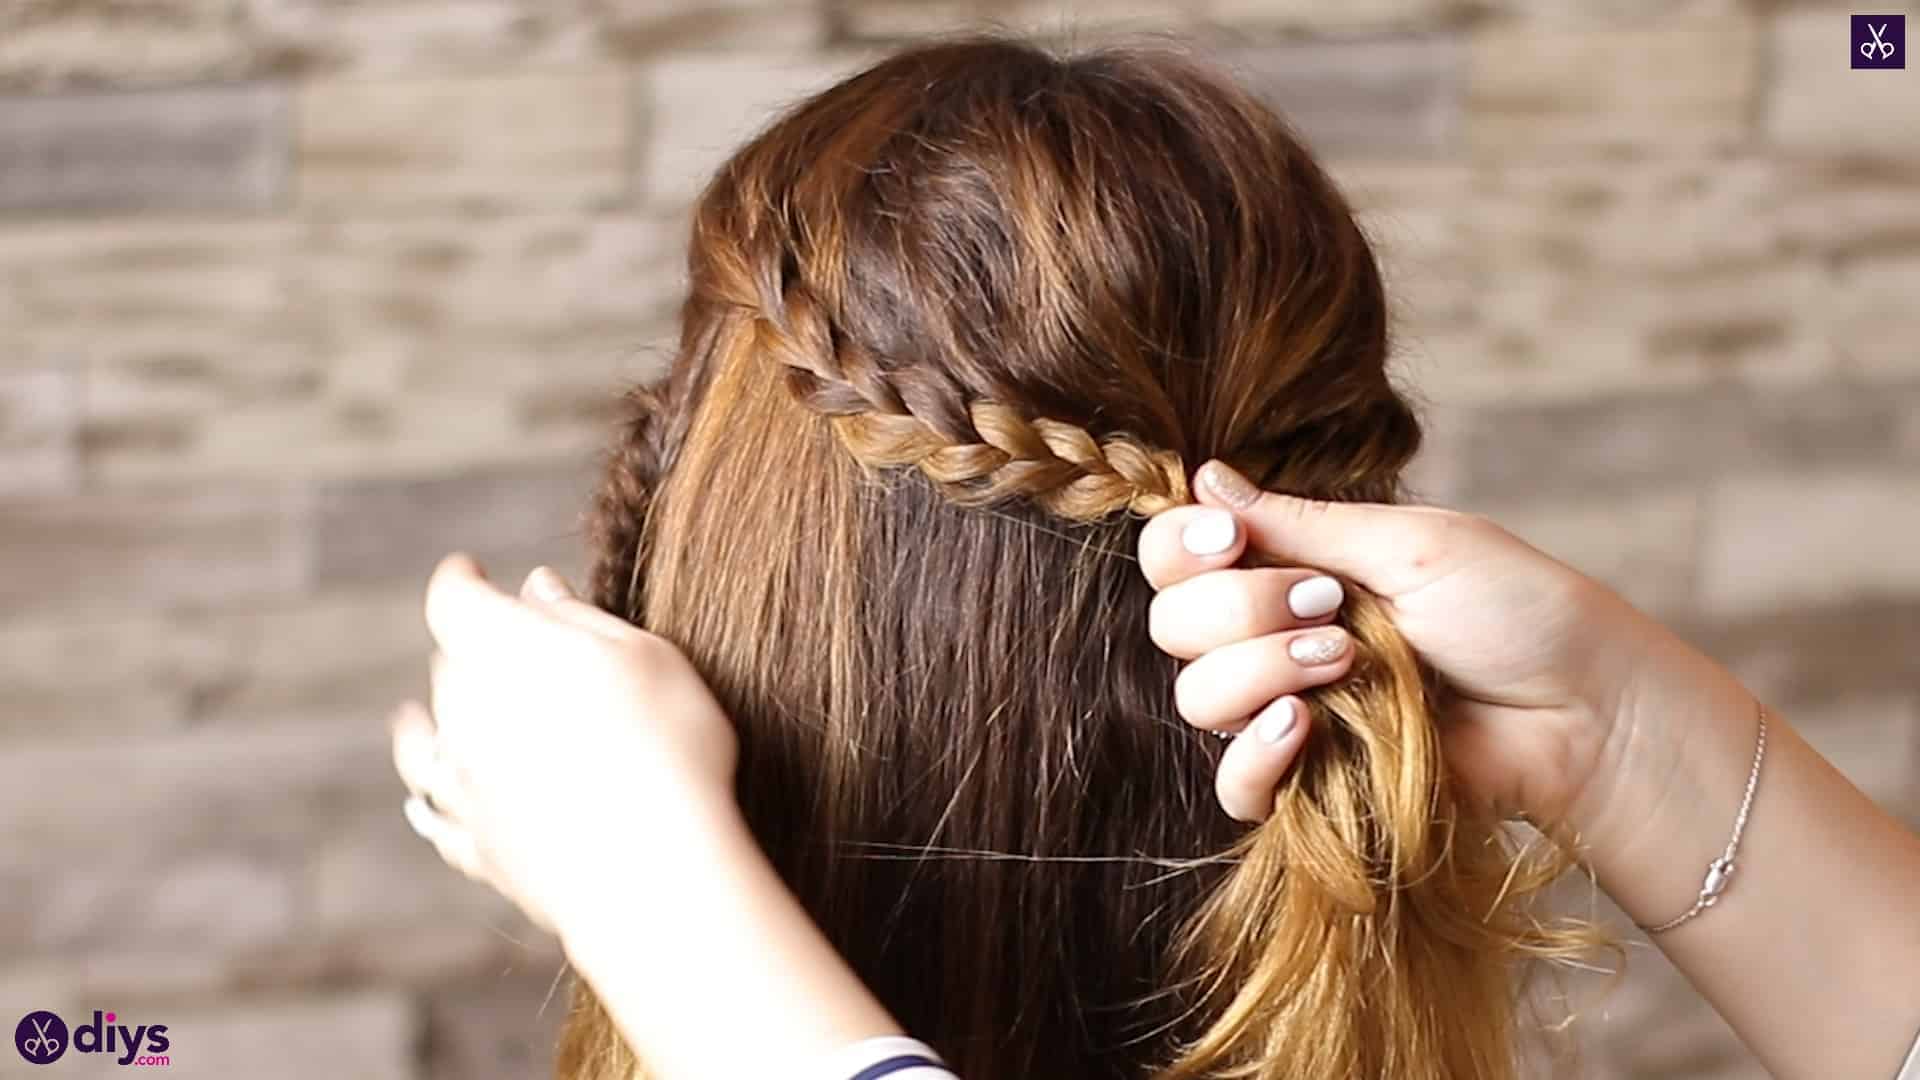
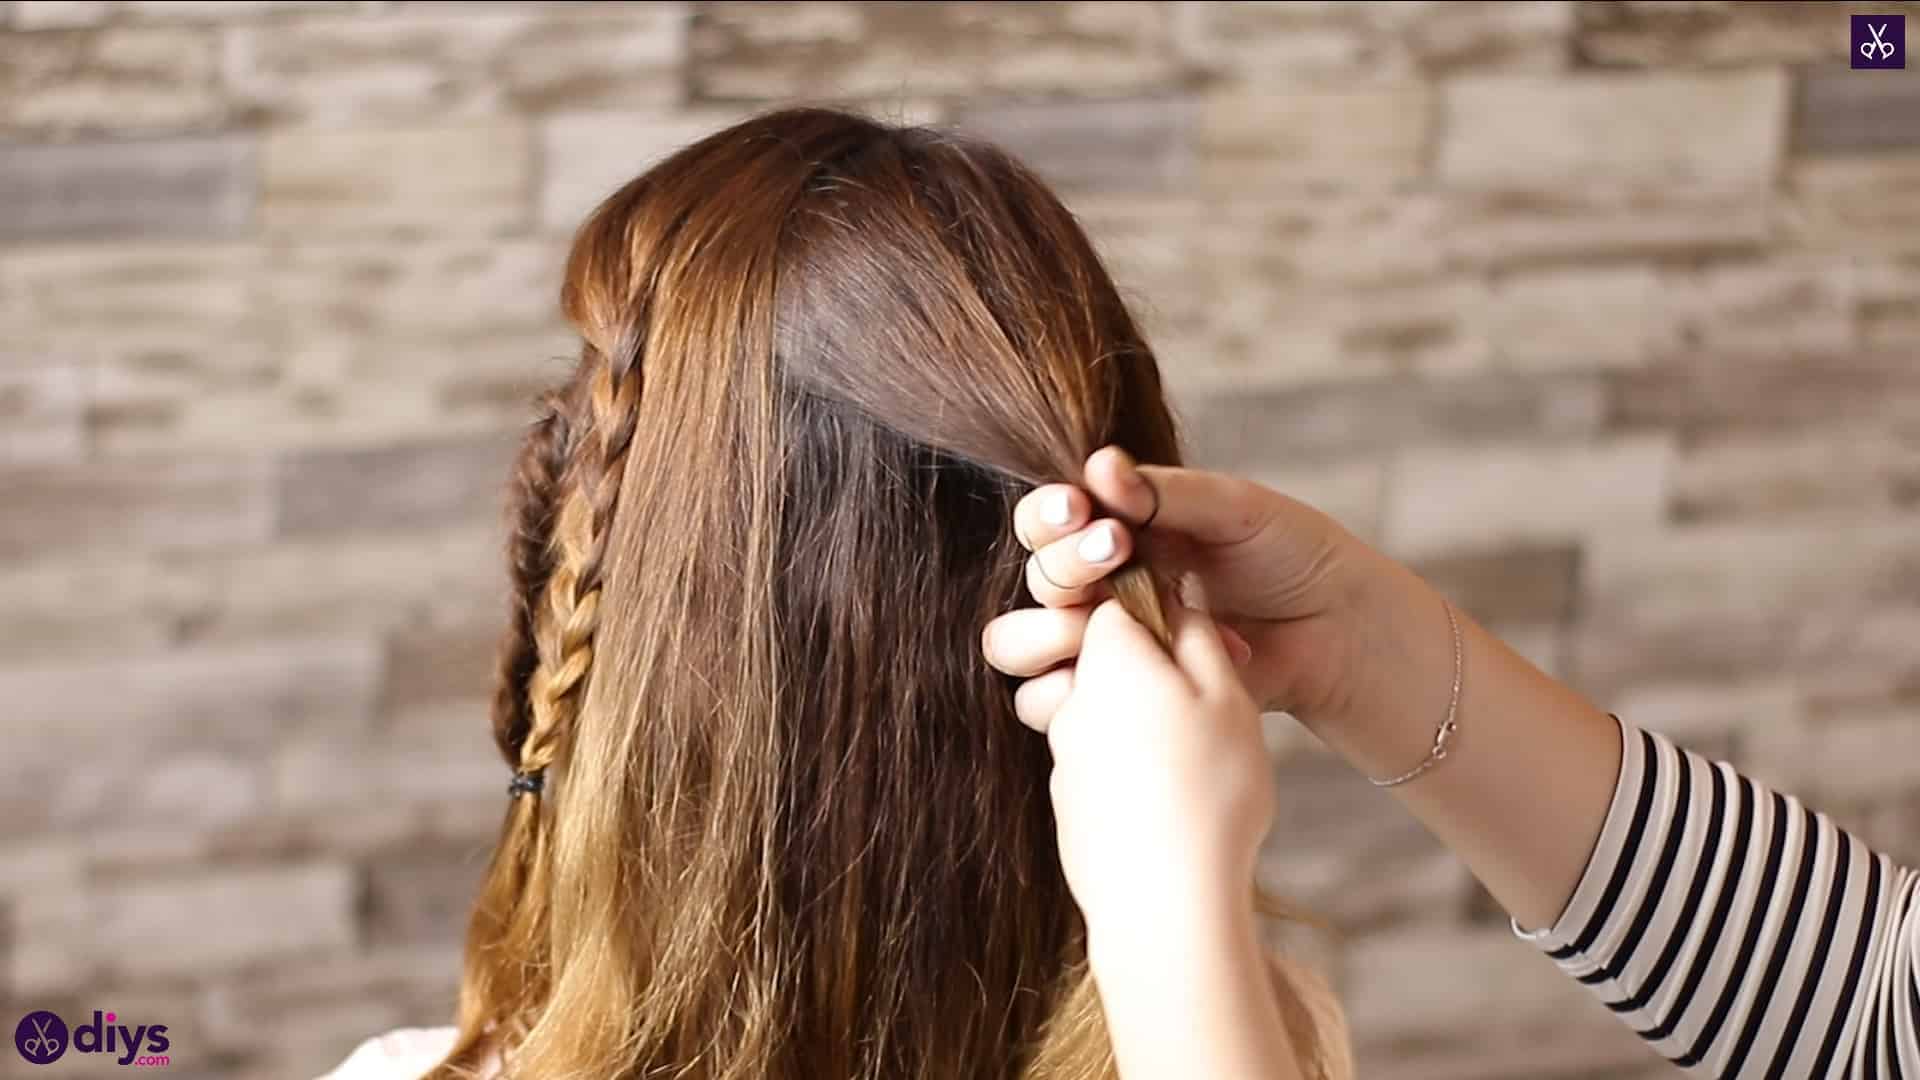
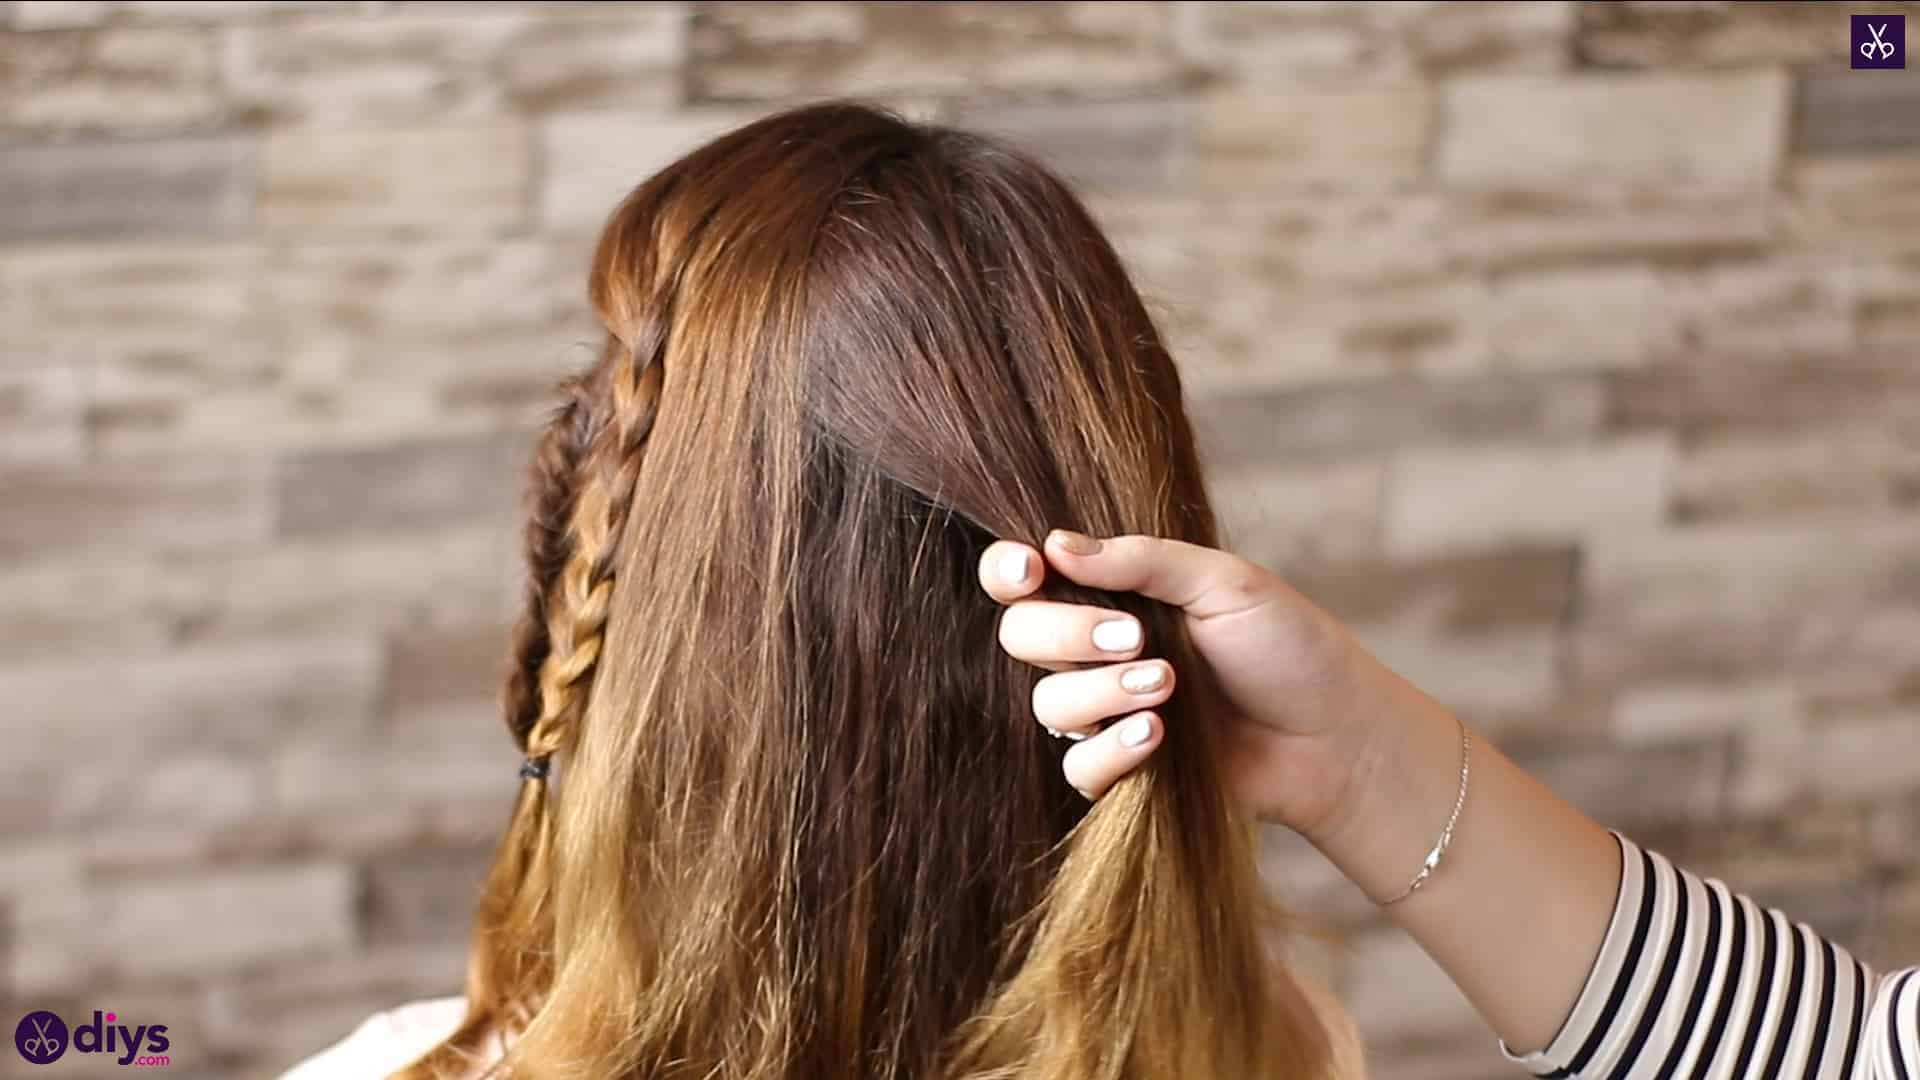
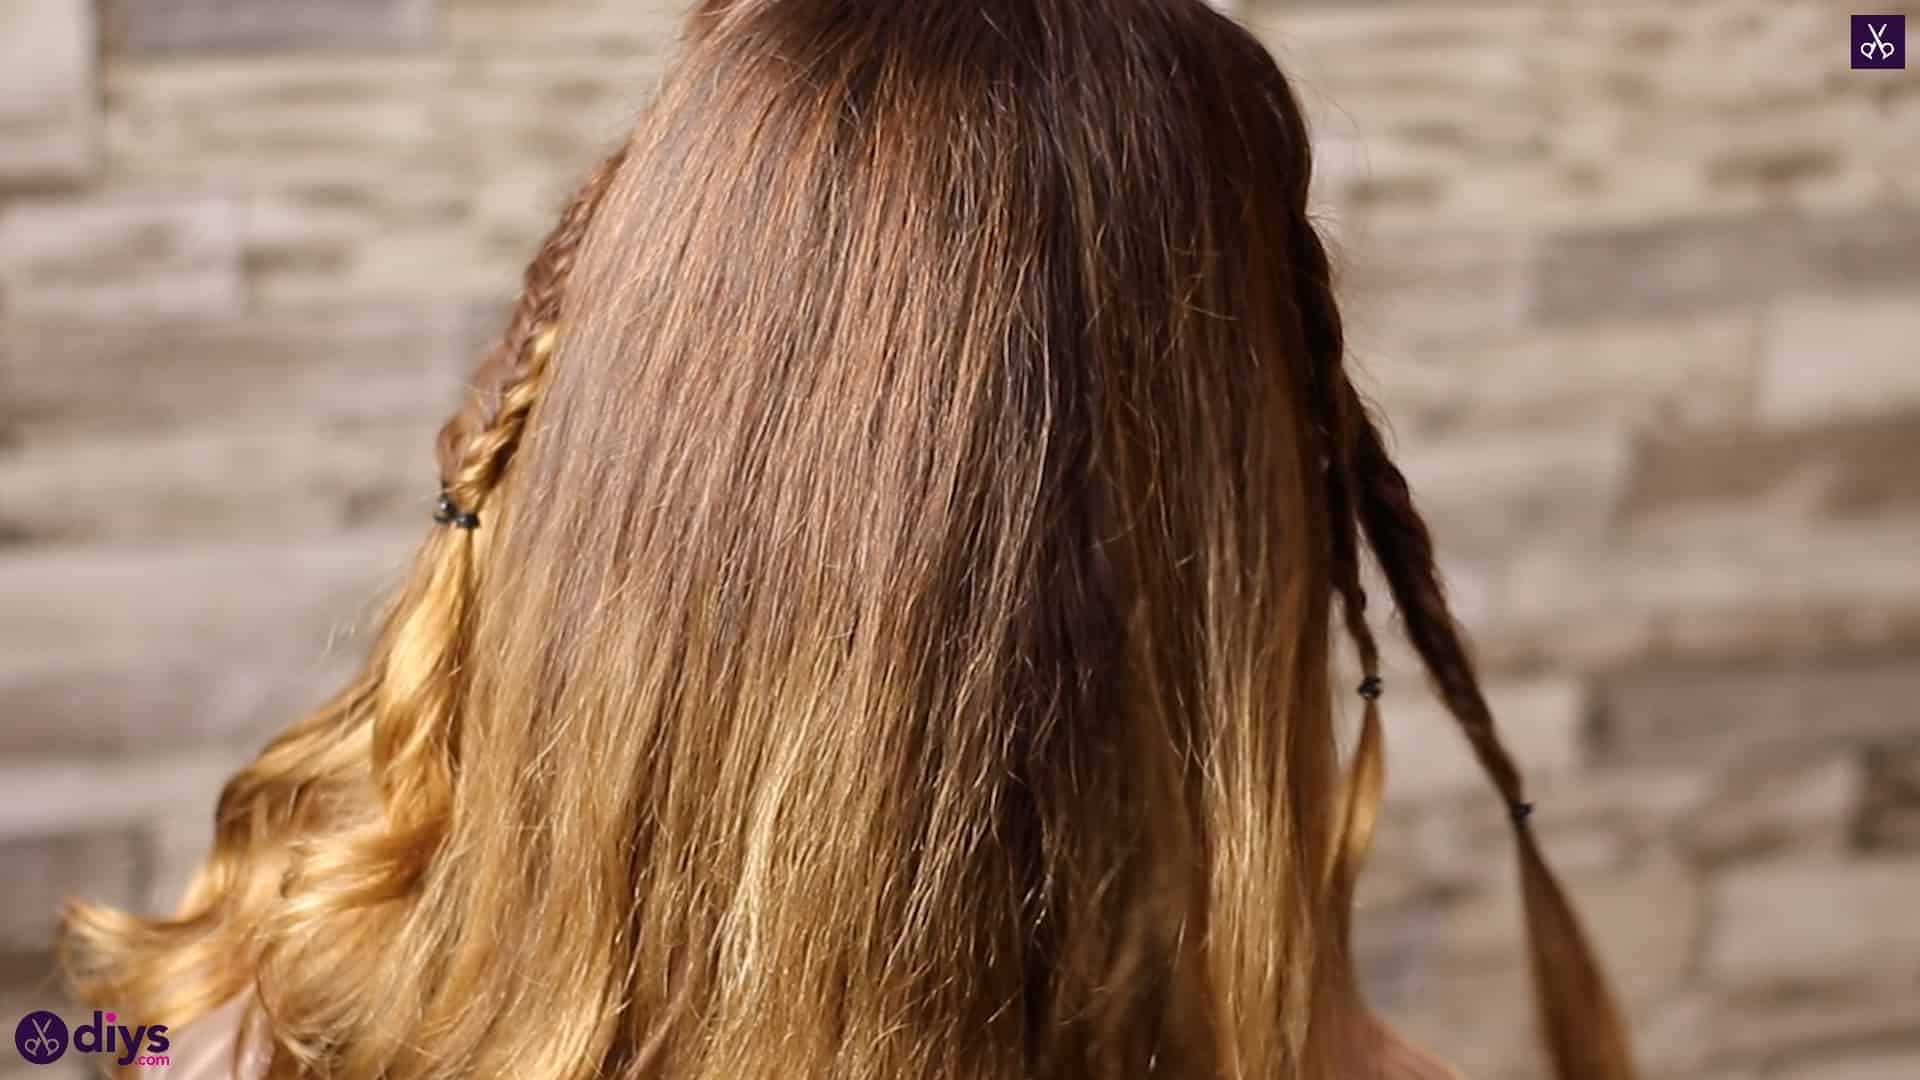
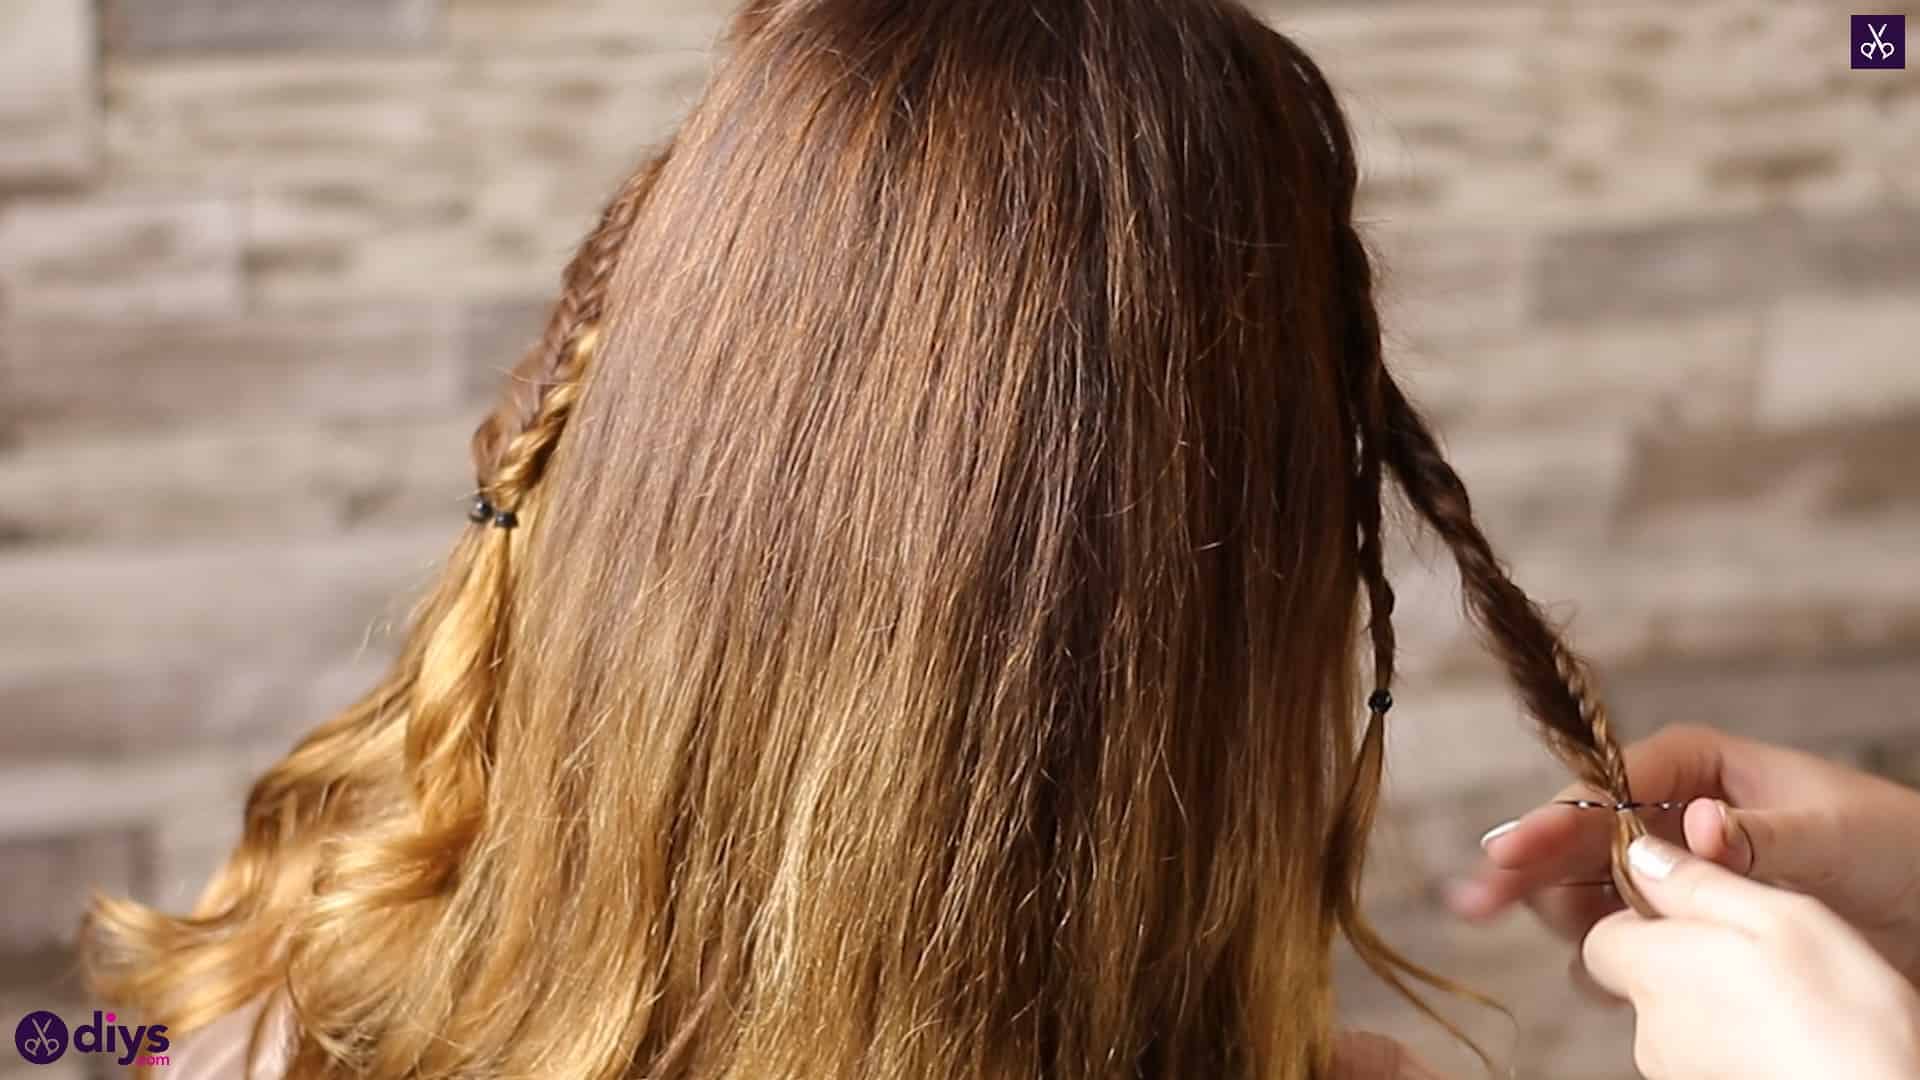
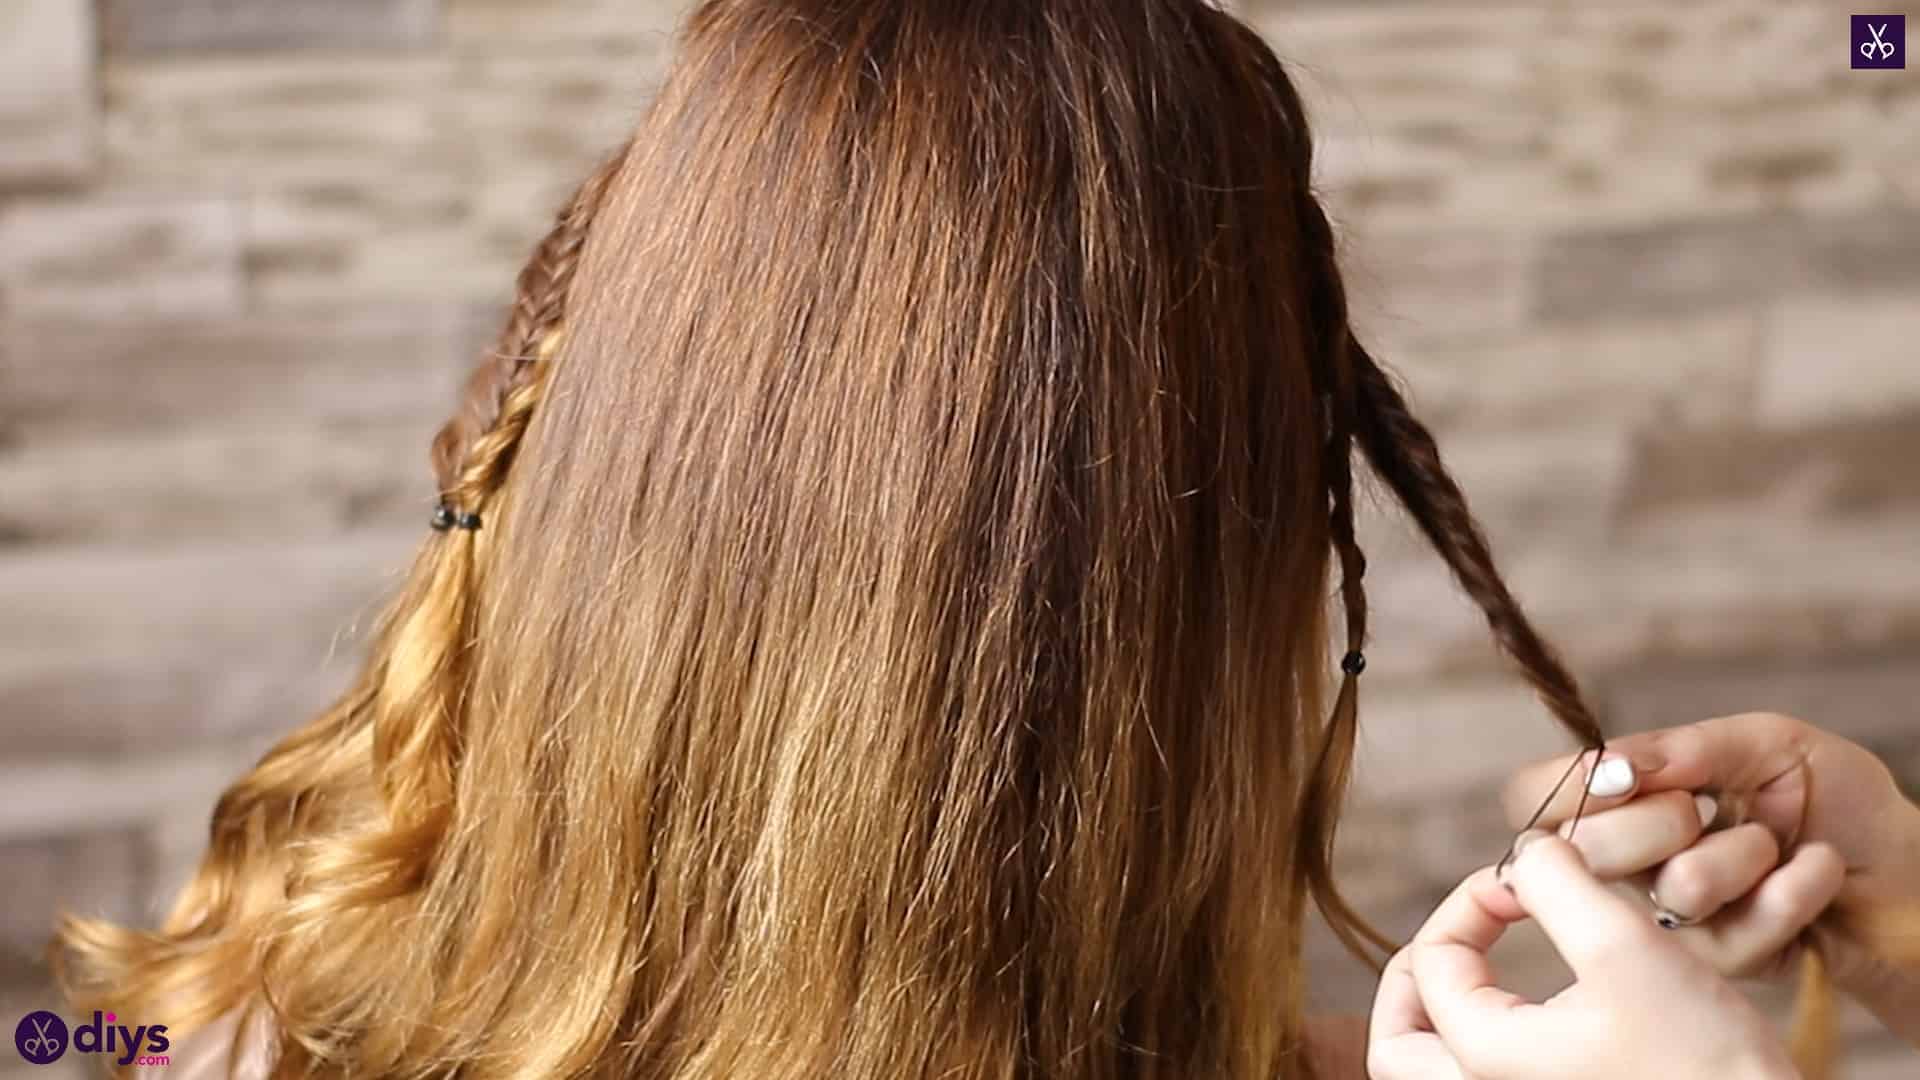
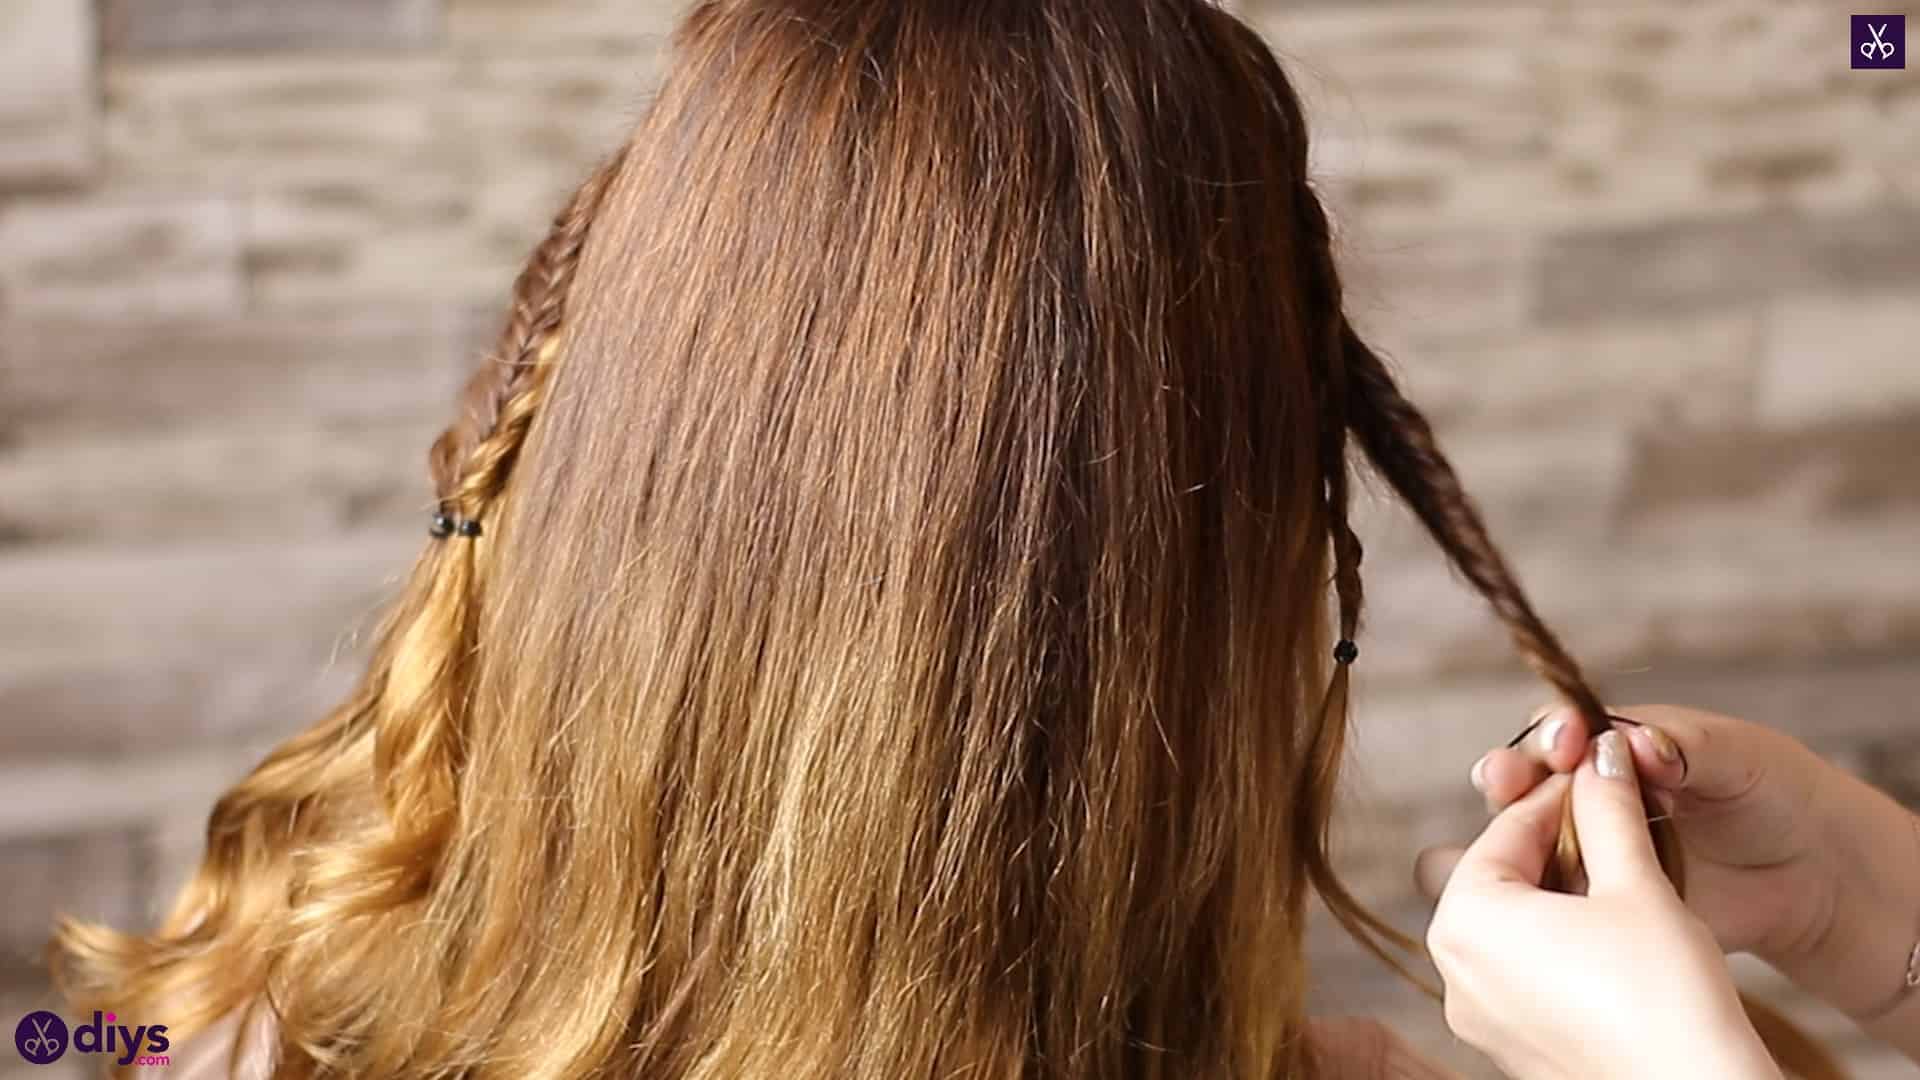
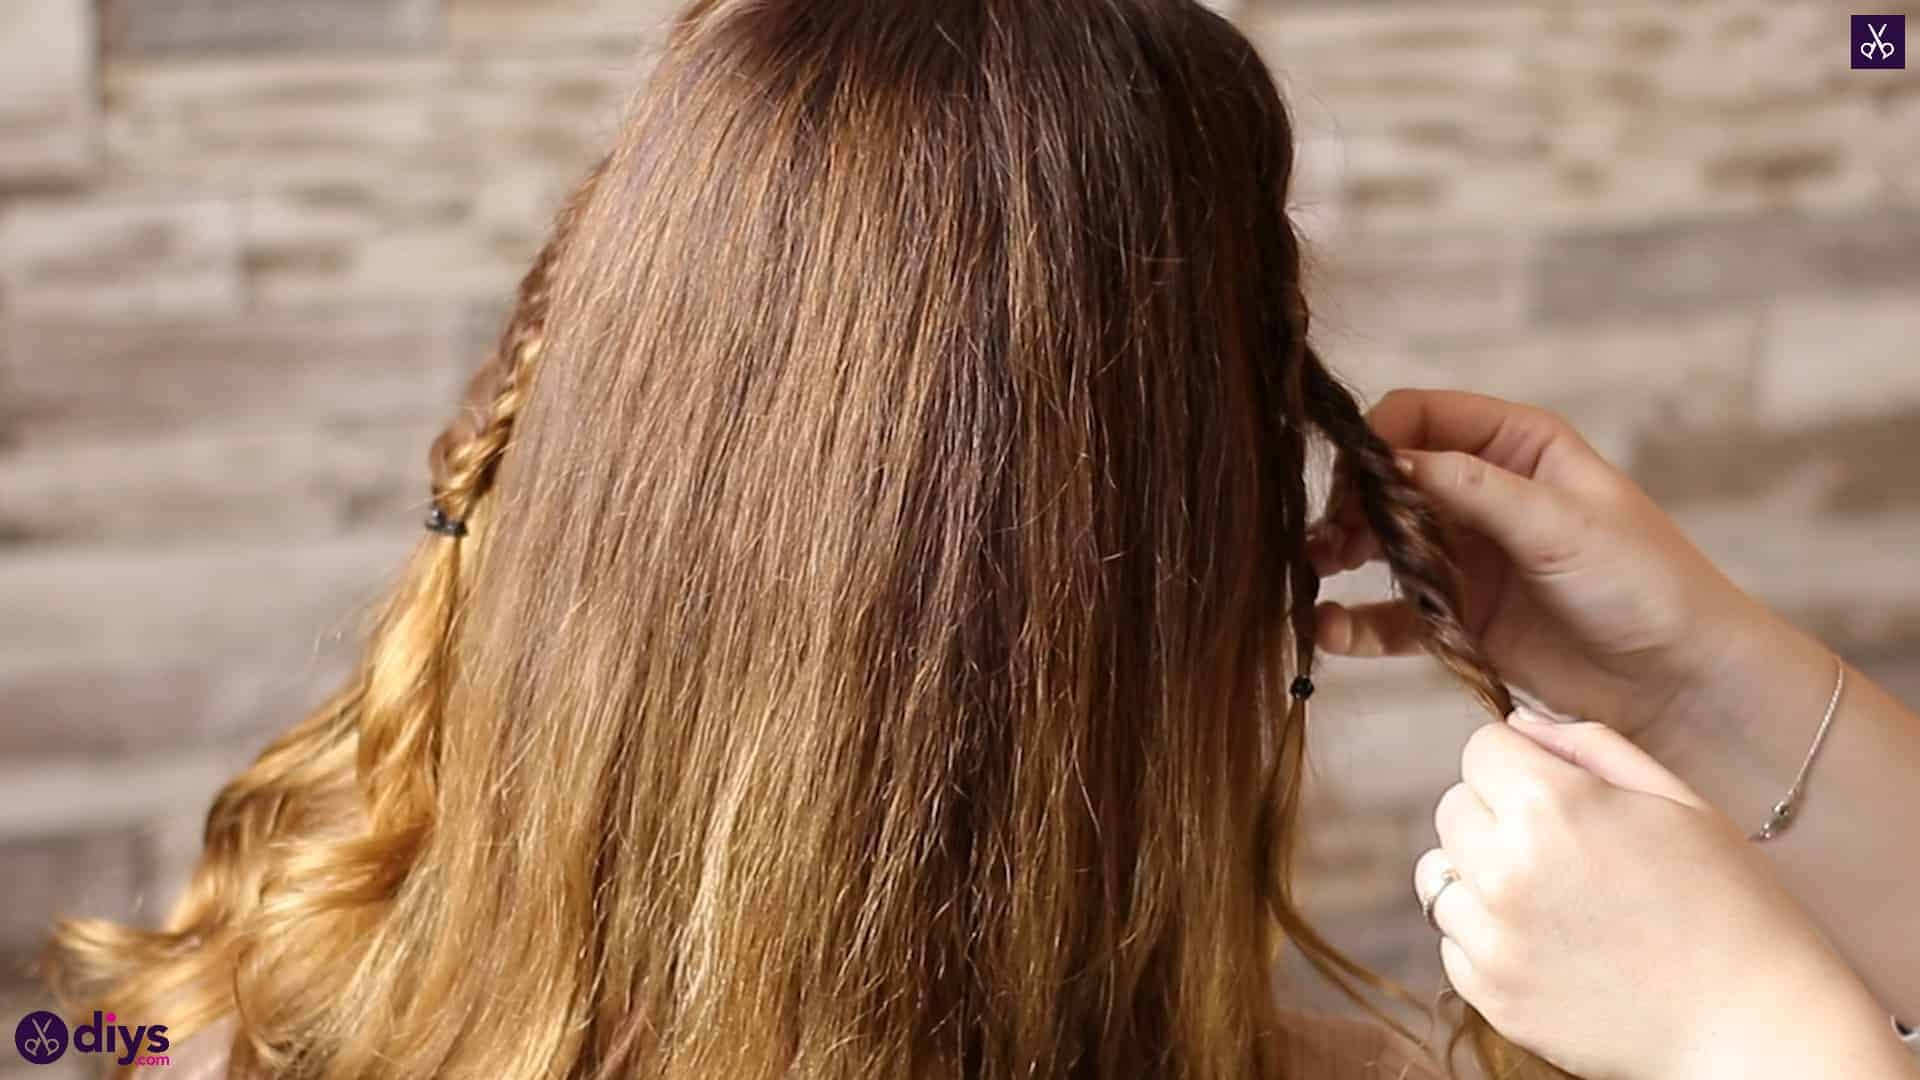
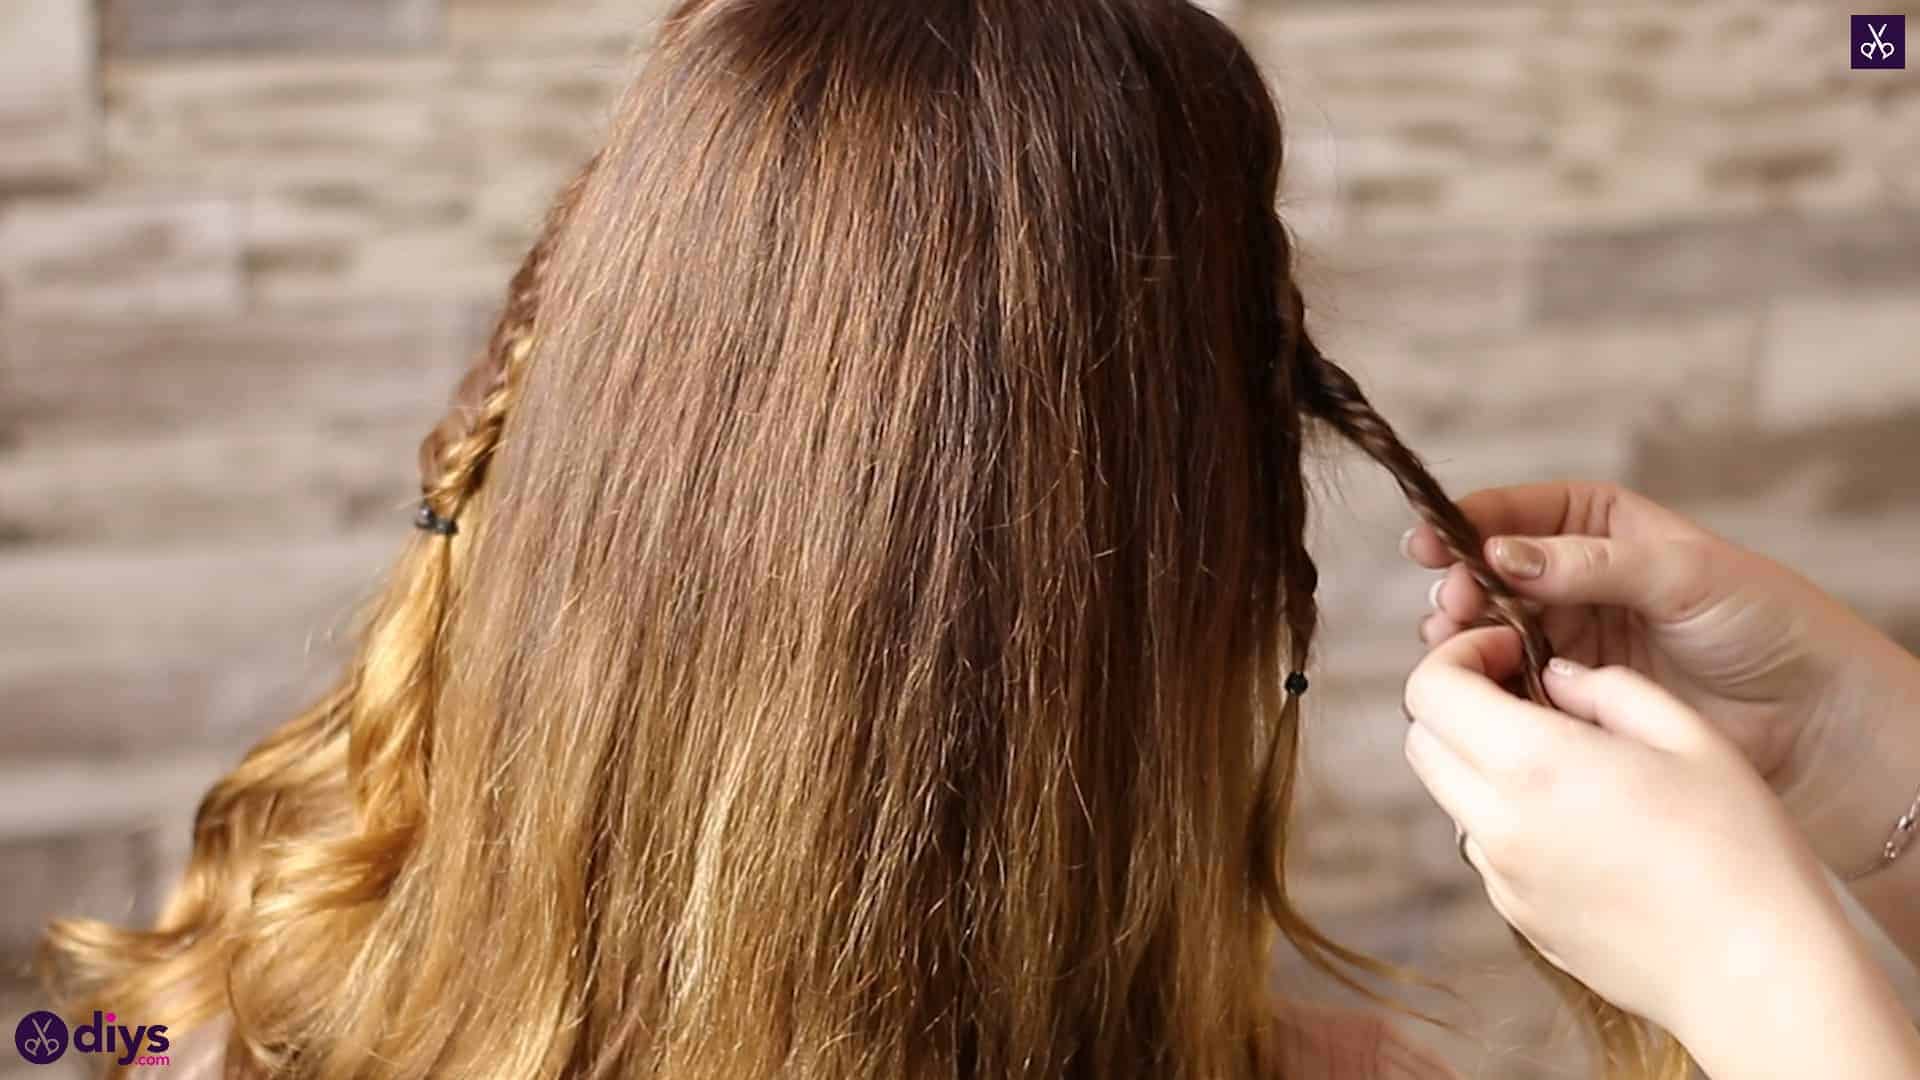
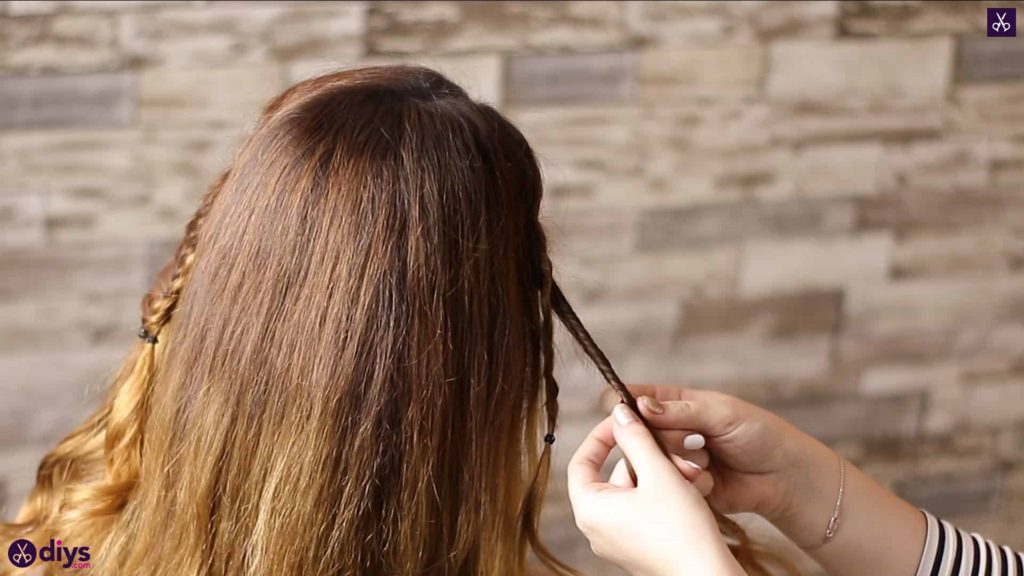
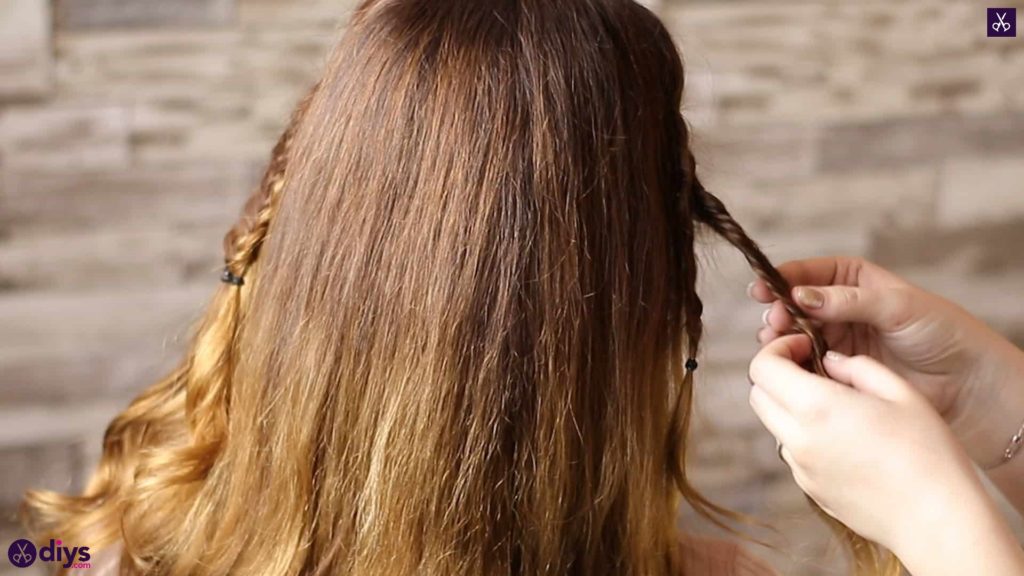
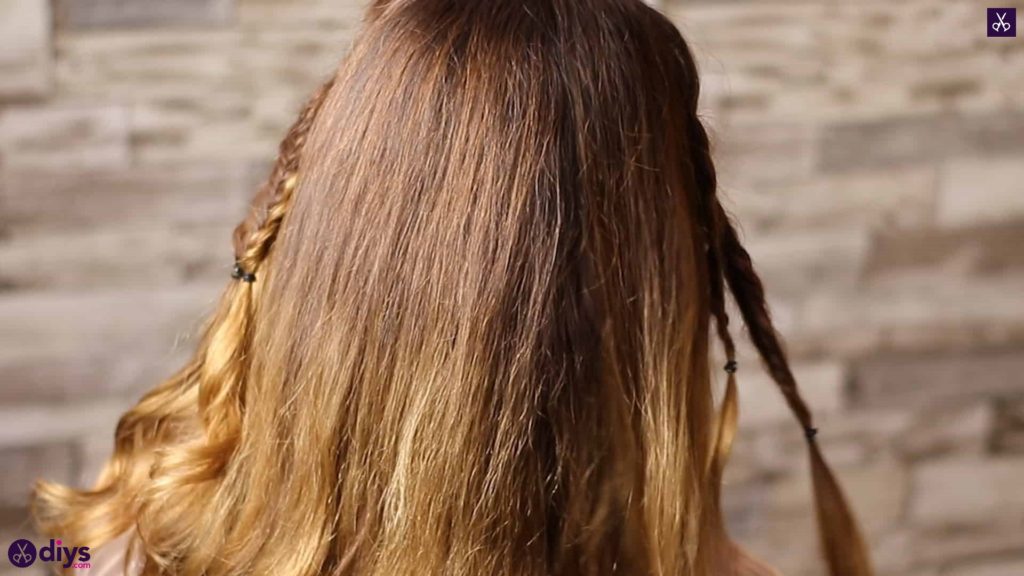
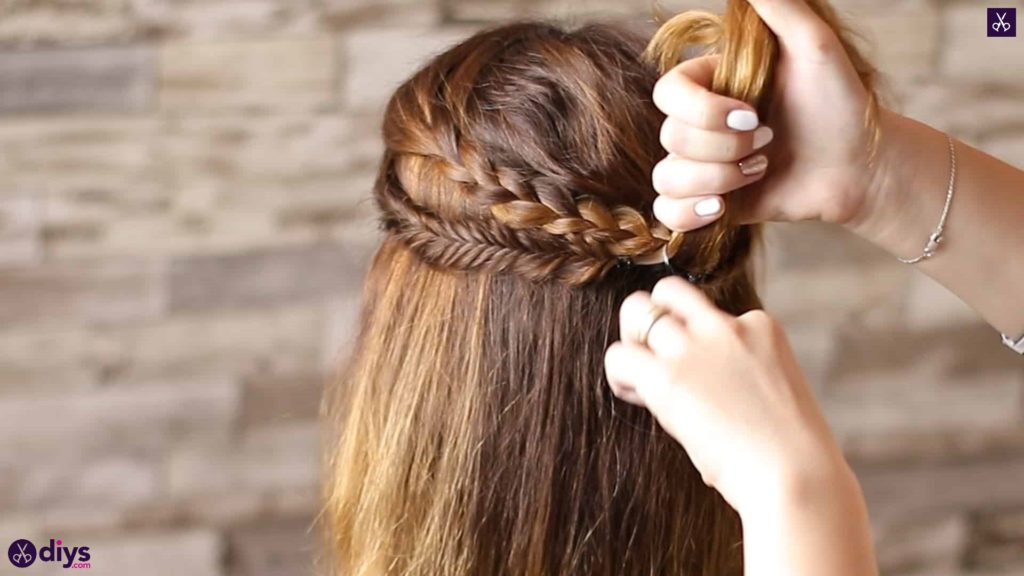
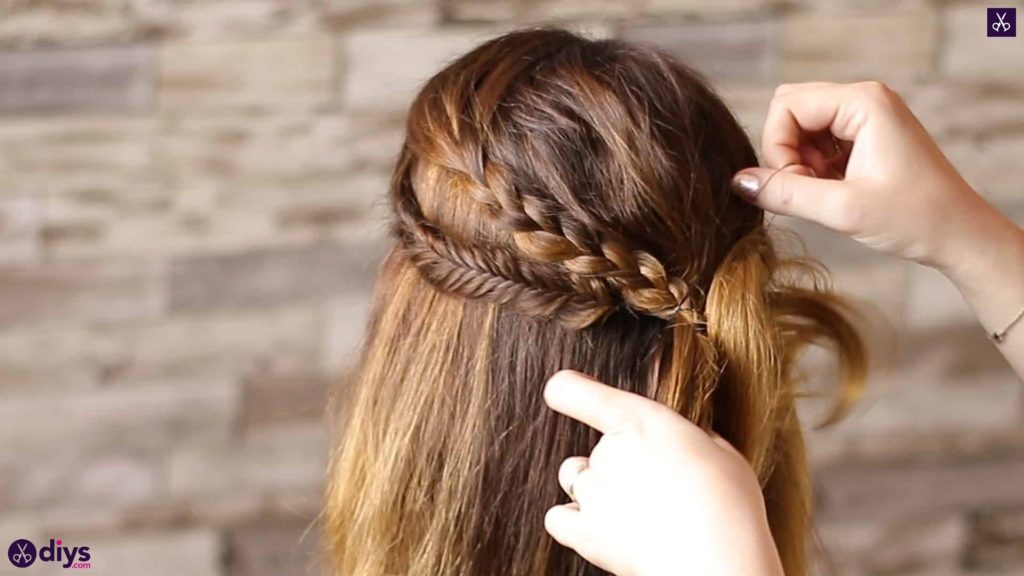
Repeat the entire process of making both of these braids on the other side of your head, placing them evenly in height to the first ones you made. Repeat the loosening steps for volume aiming for the same thickness and textured look as well. Once again, you’ll make one three-strand braid and one fishtail braid.
Step 4: combine
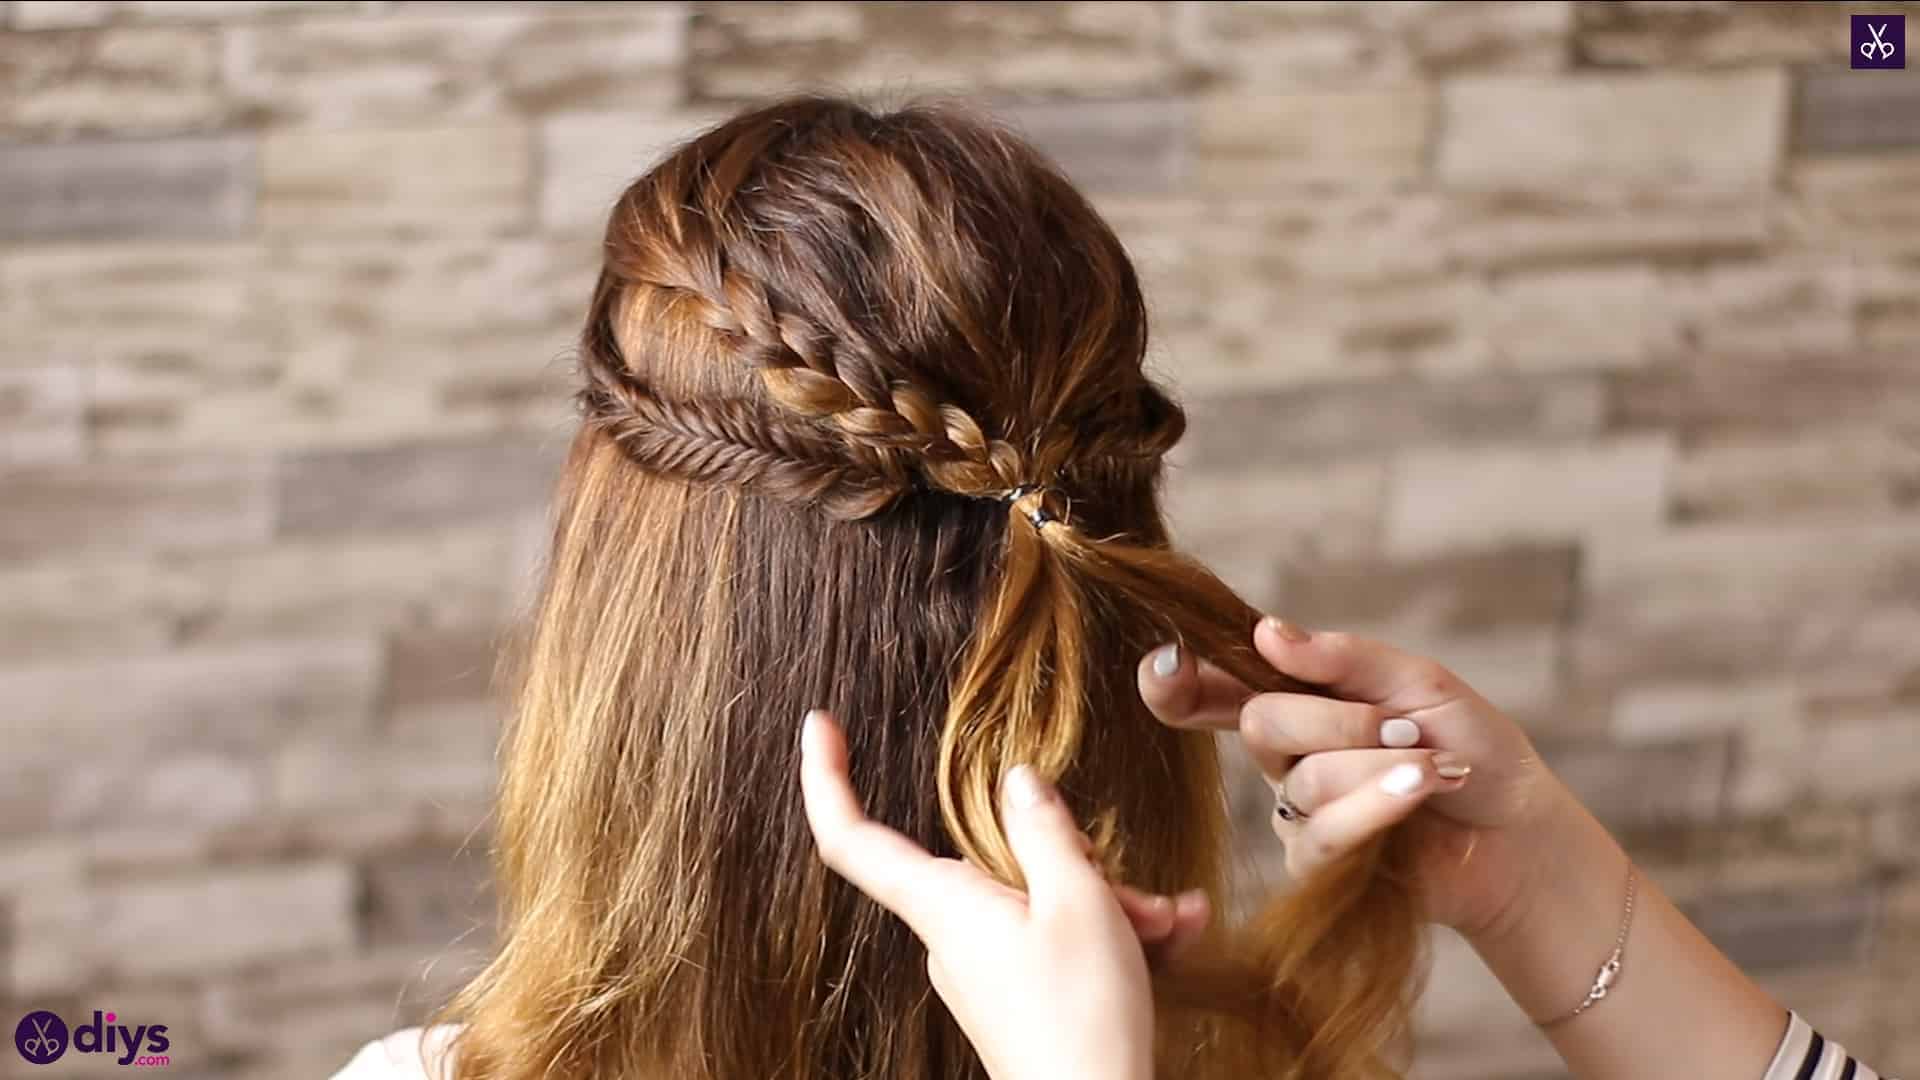
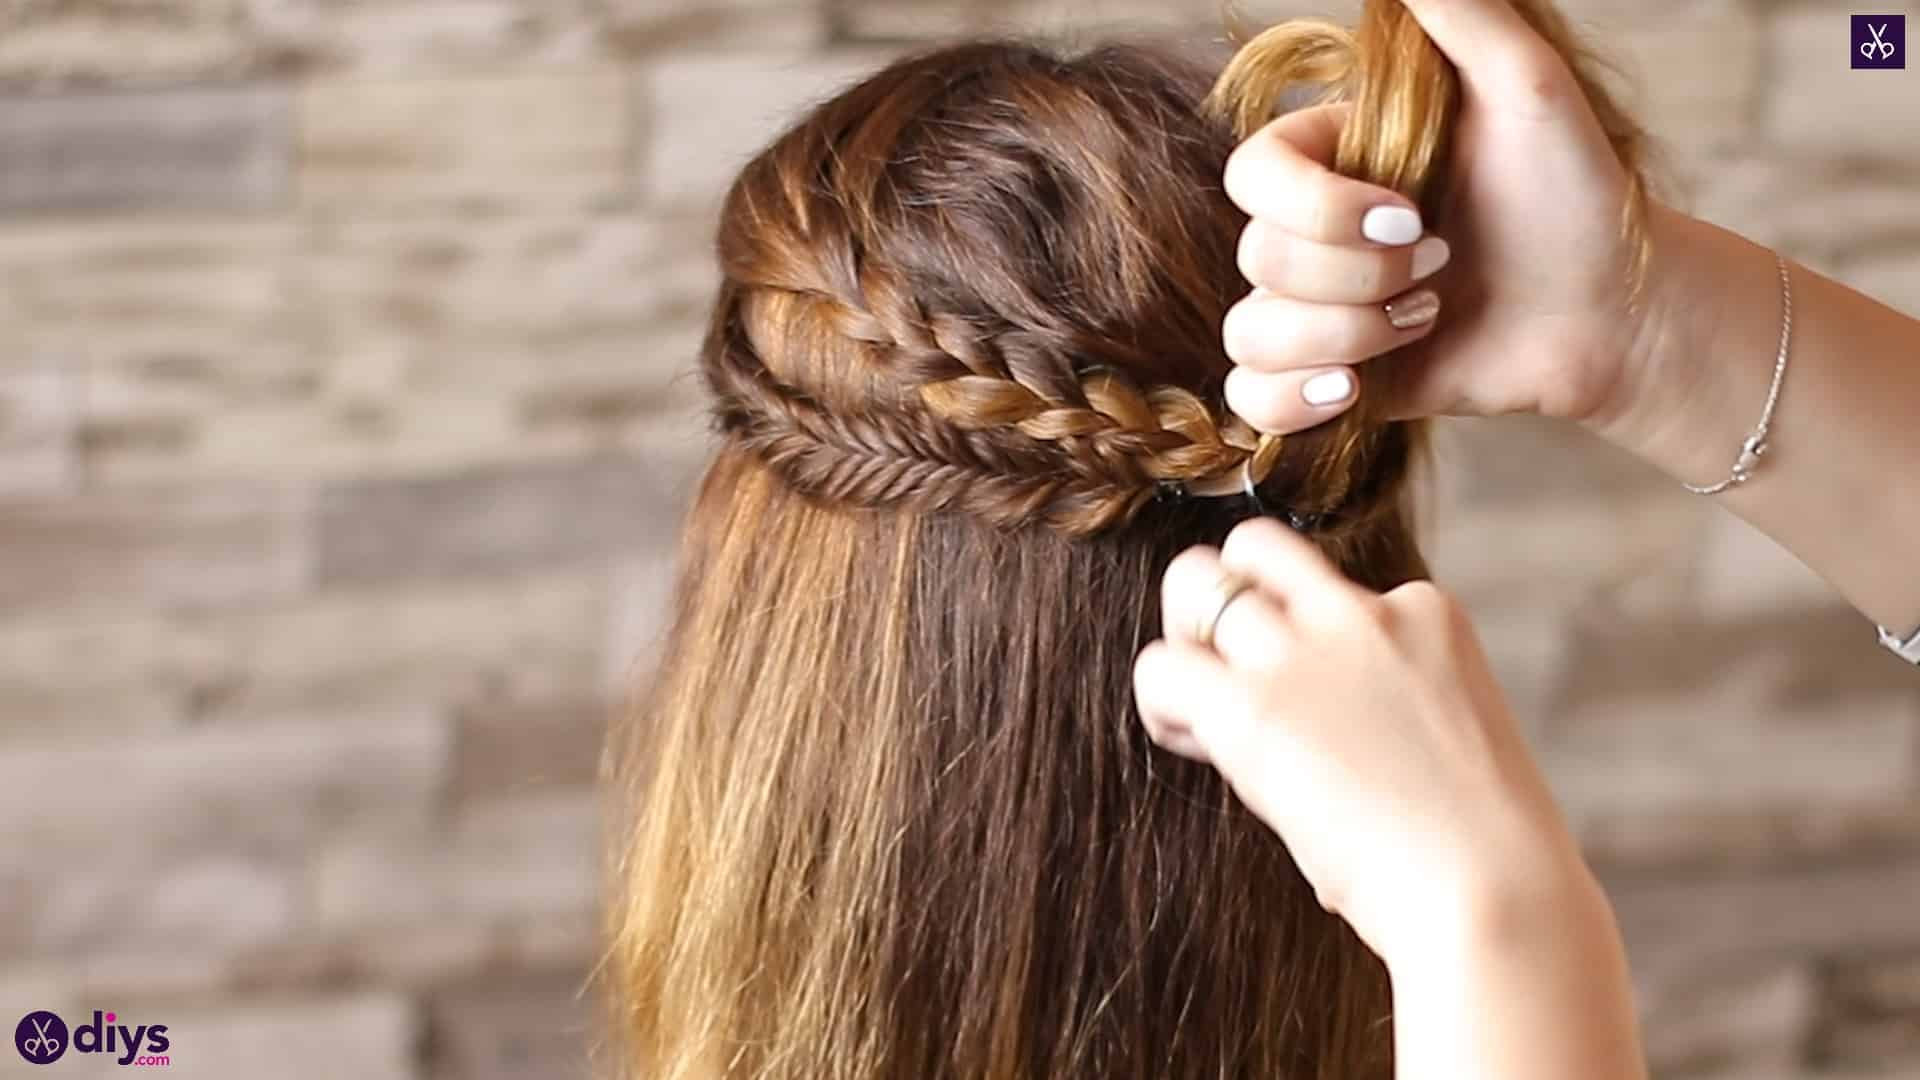
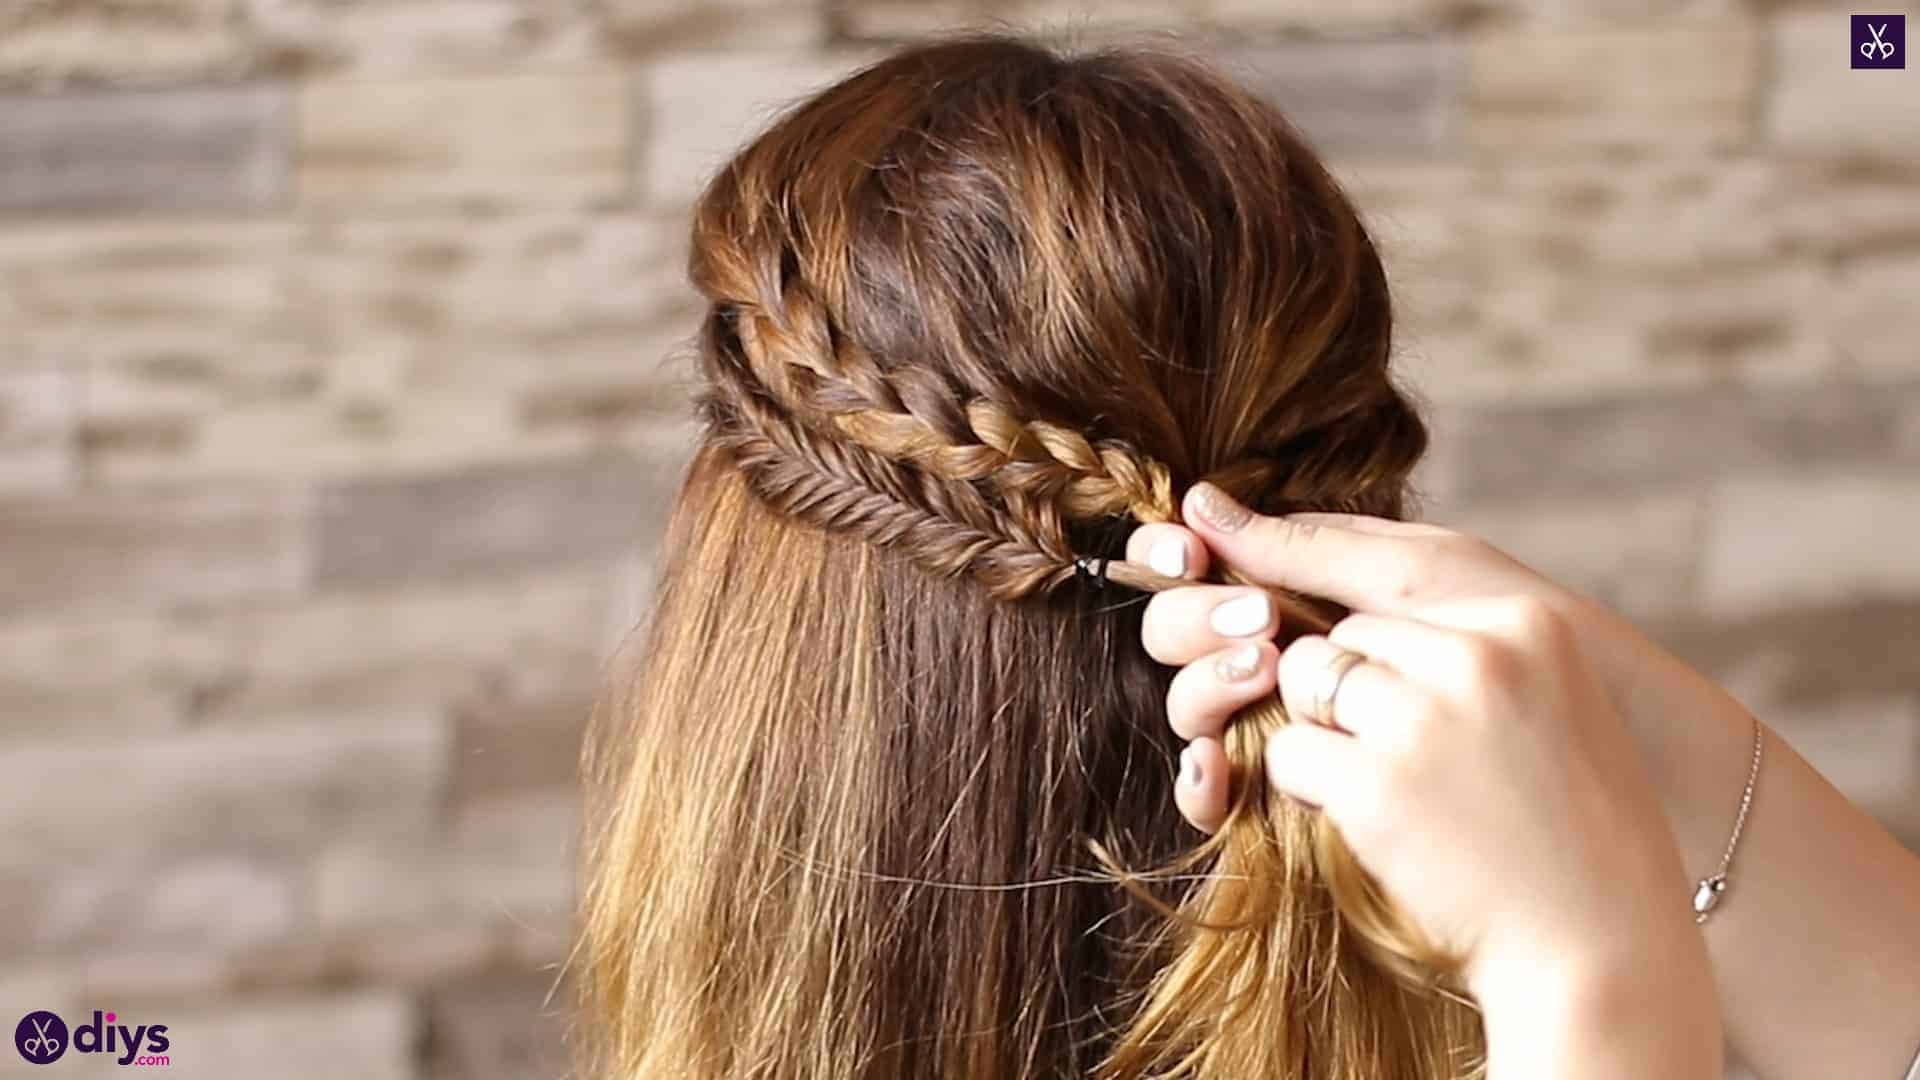
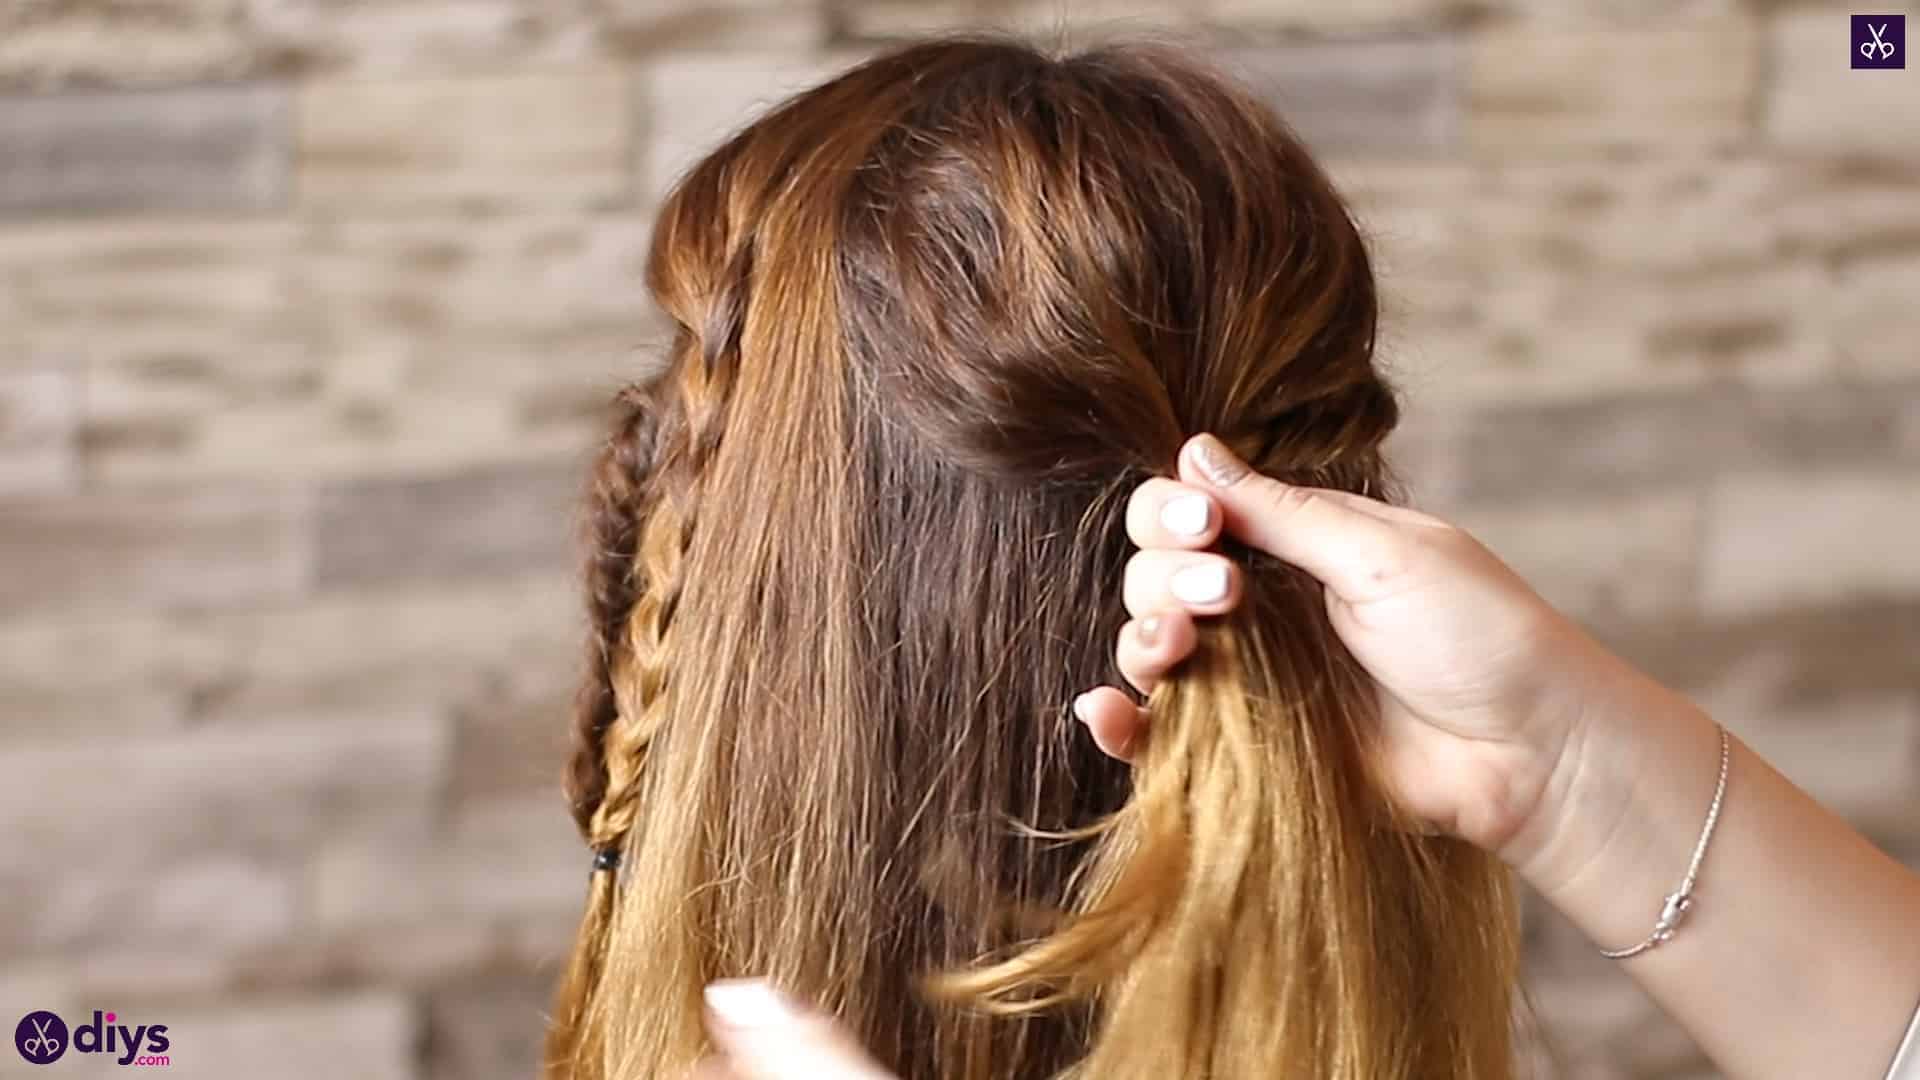
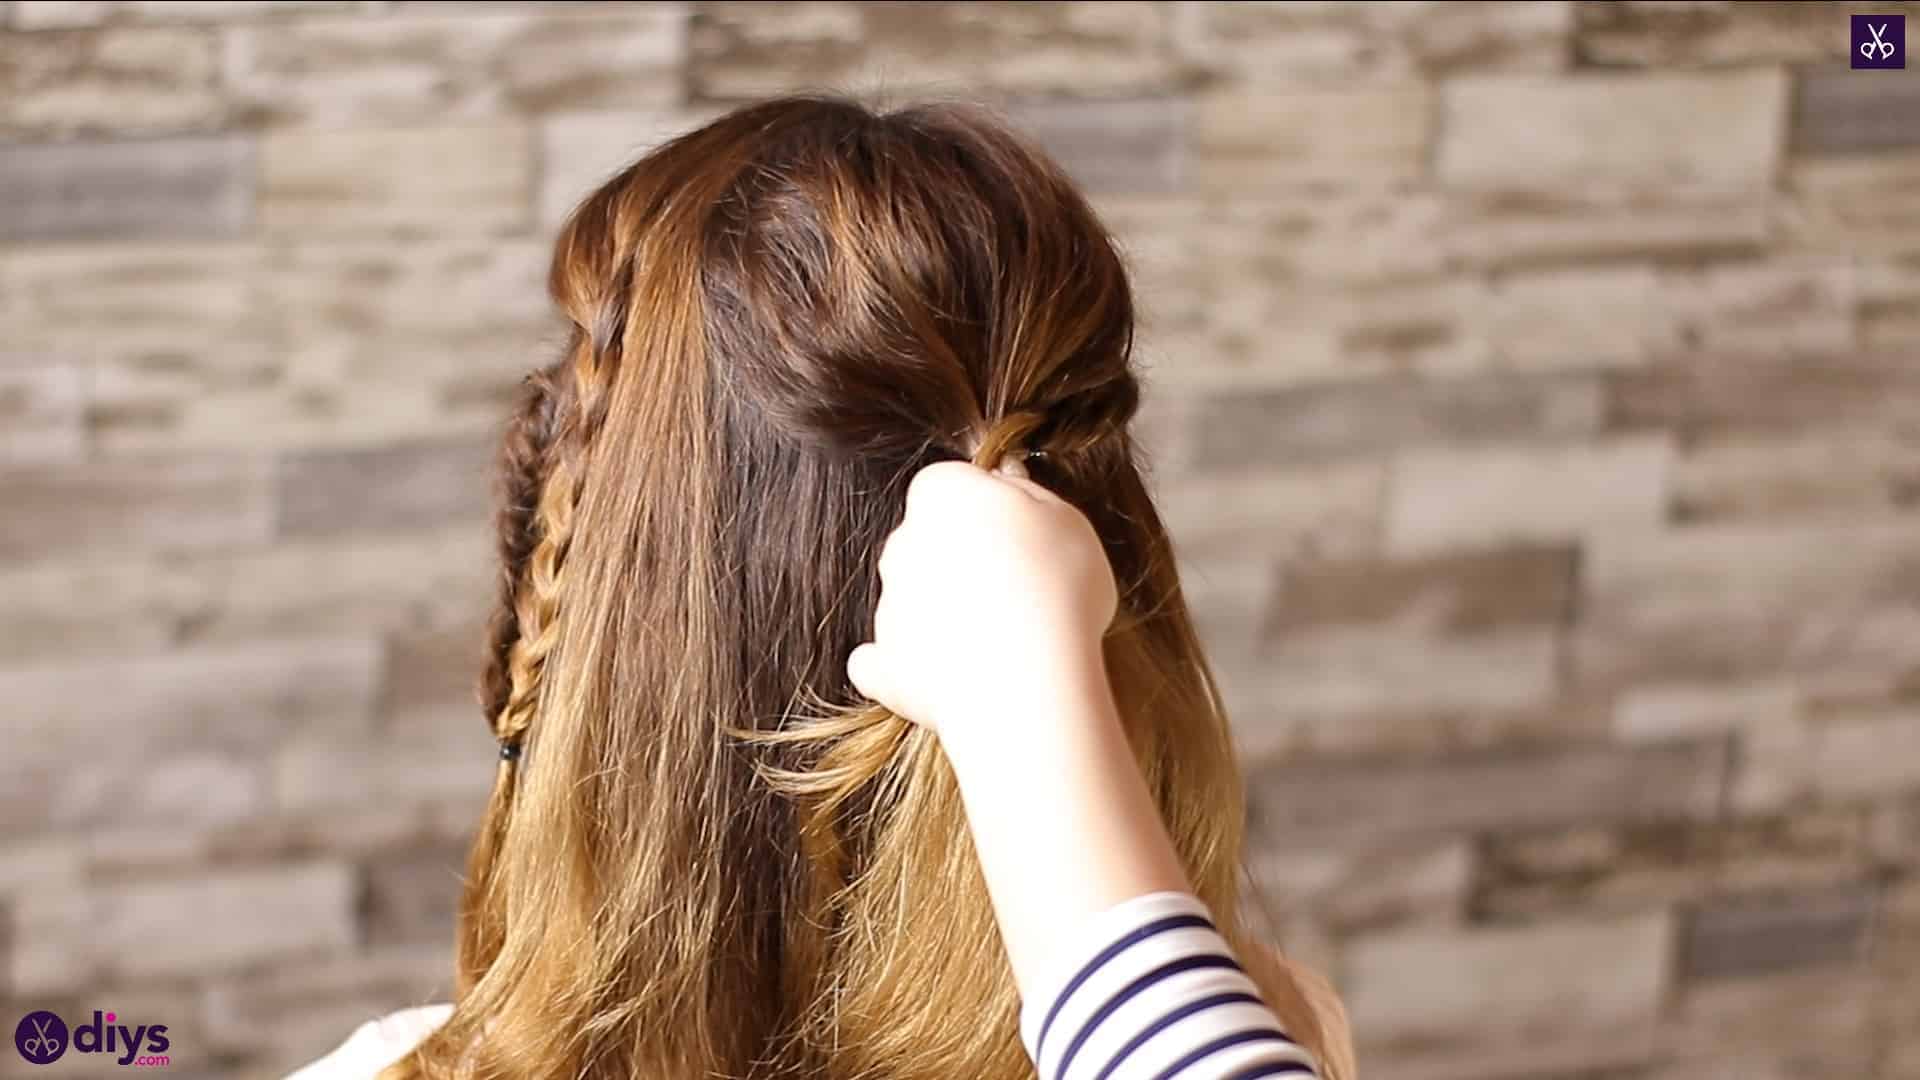
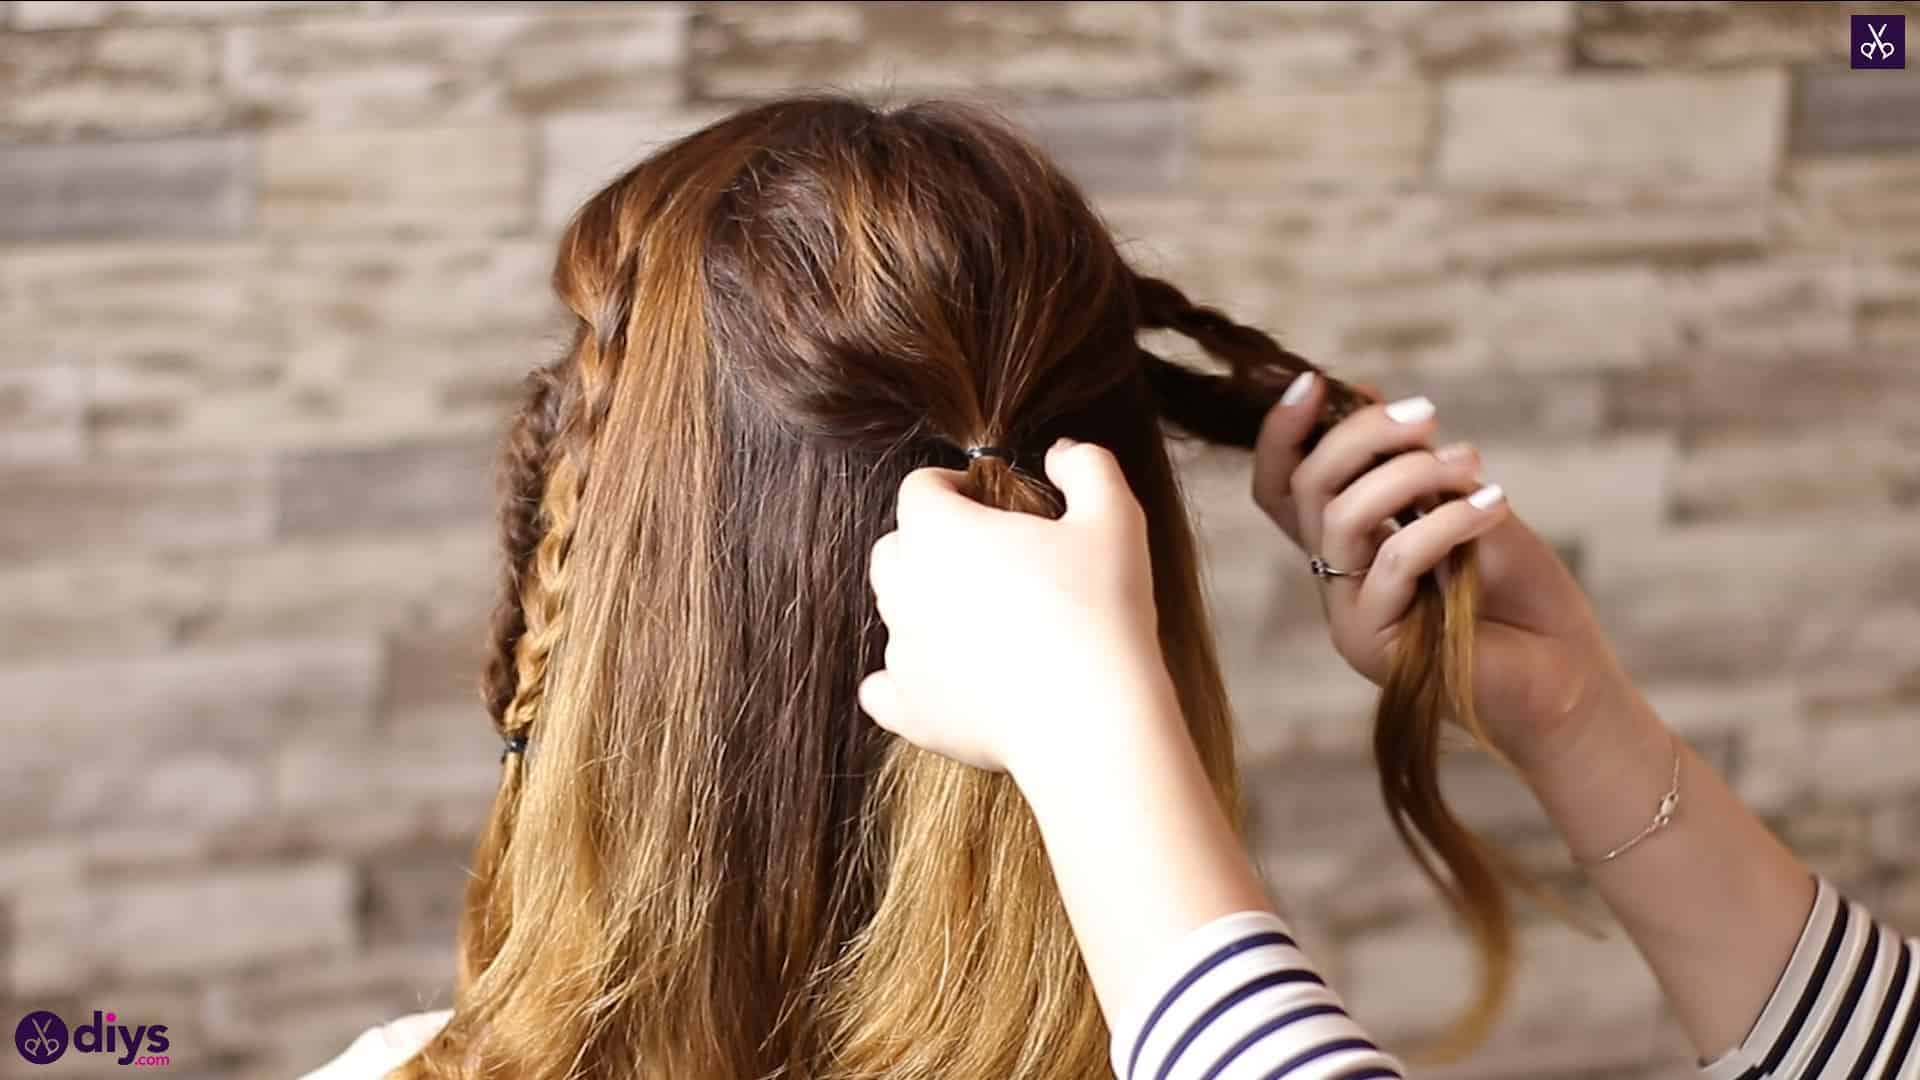
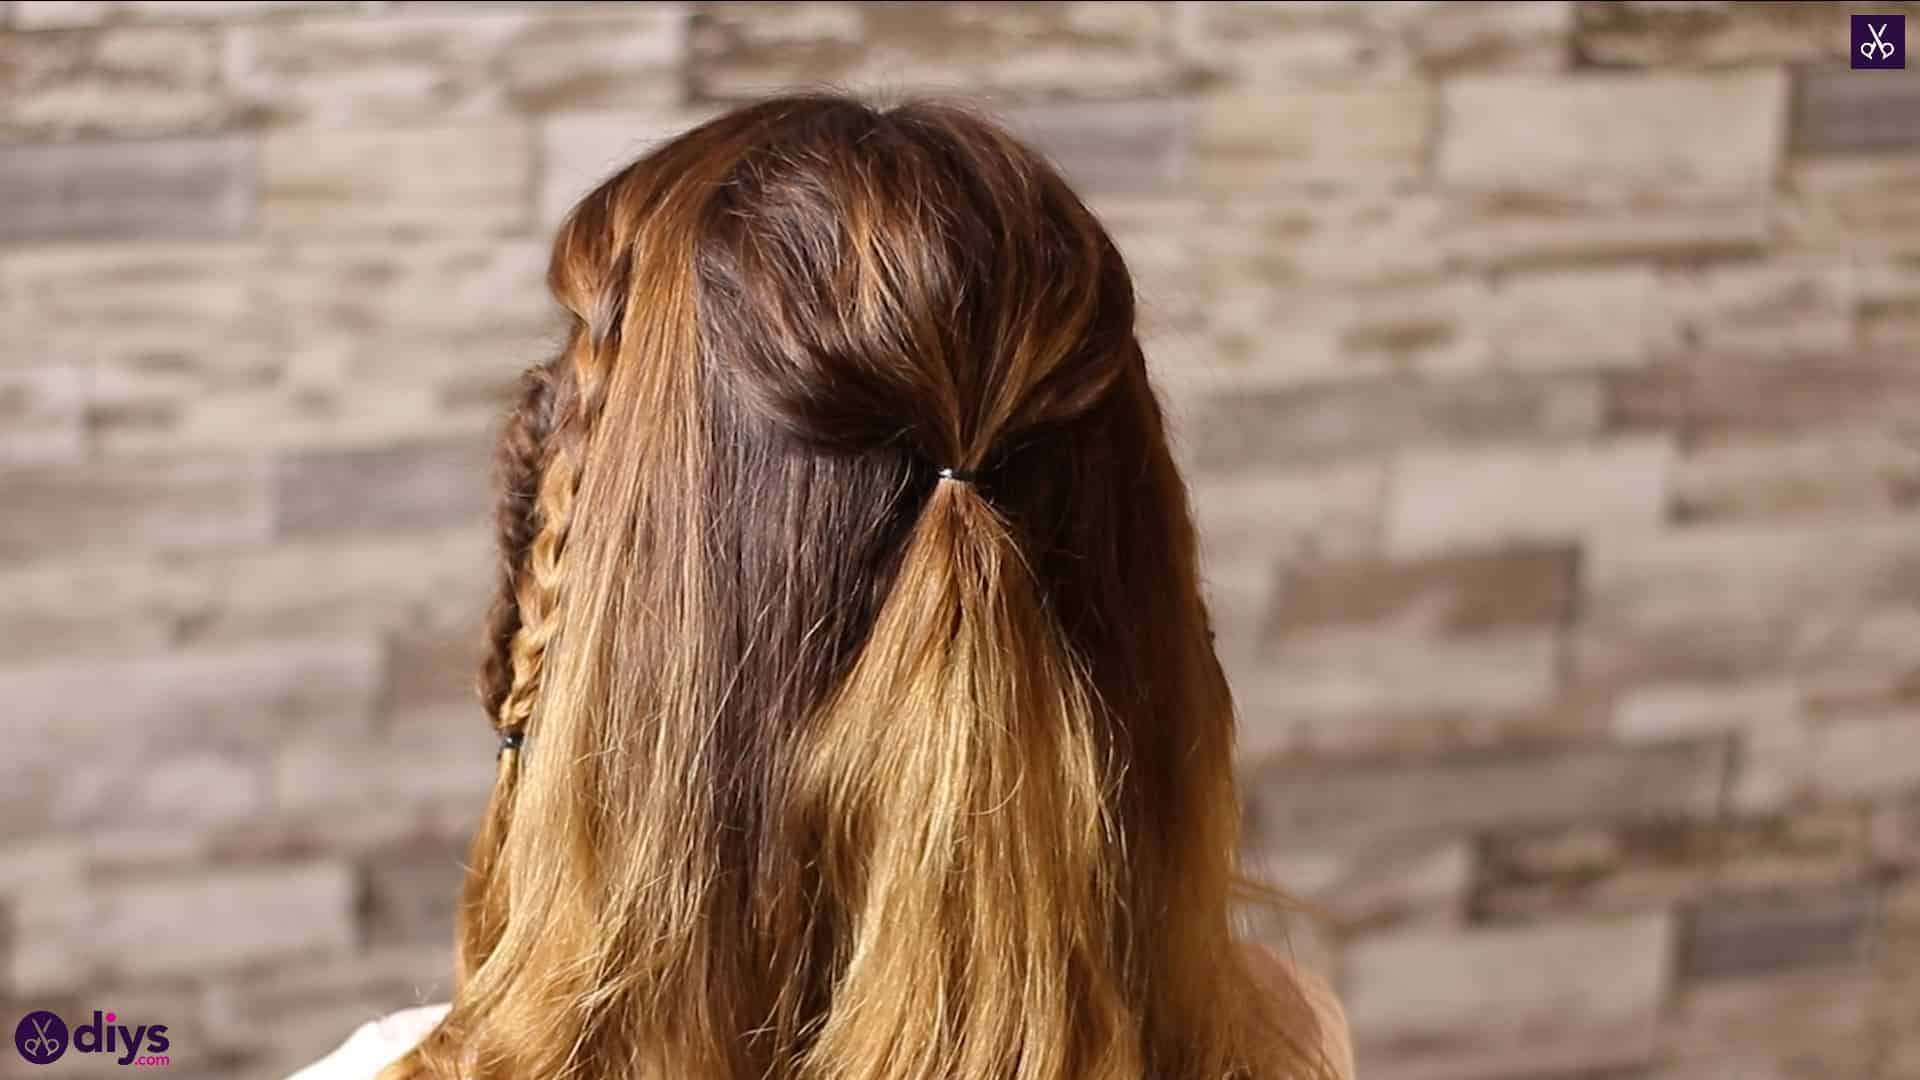
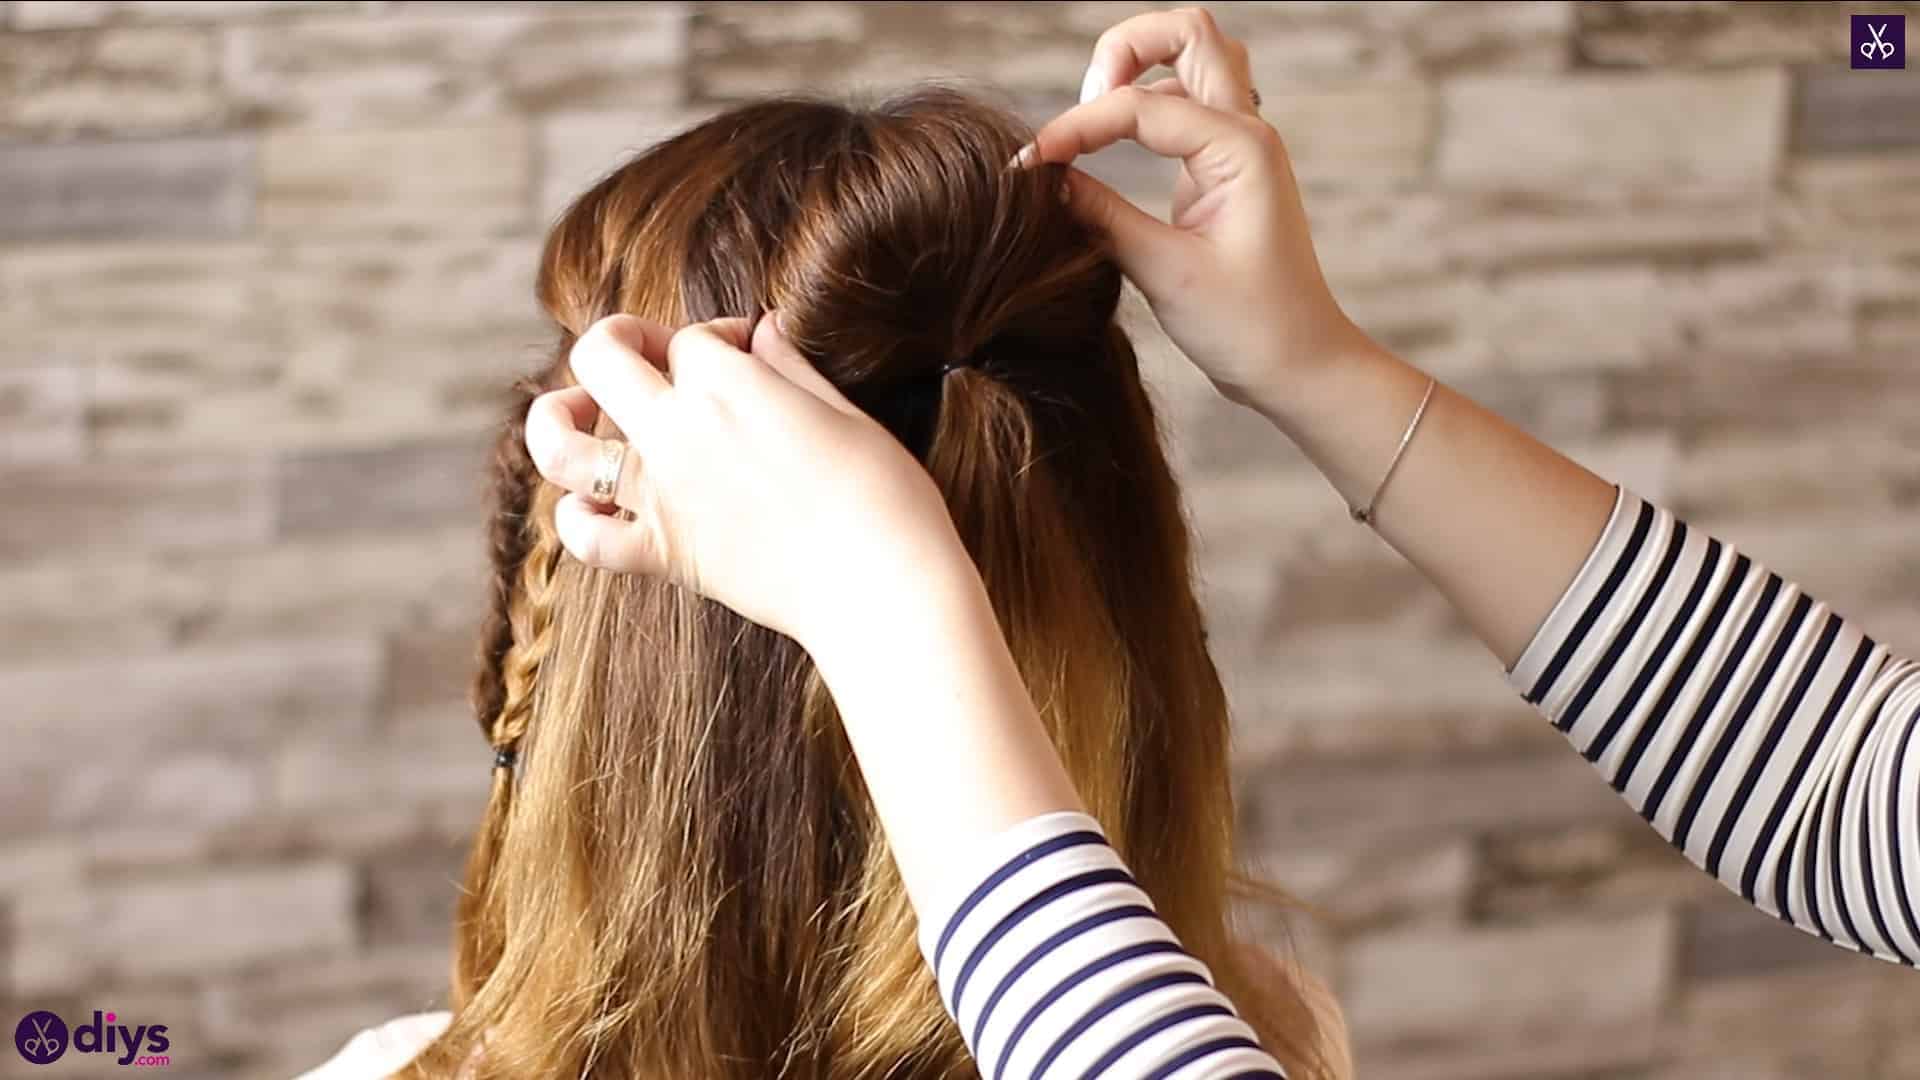
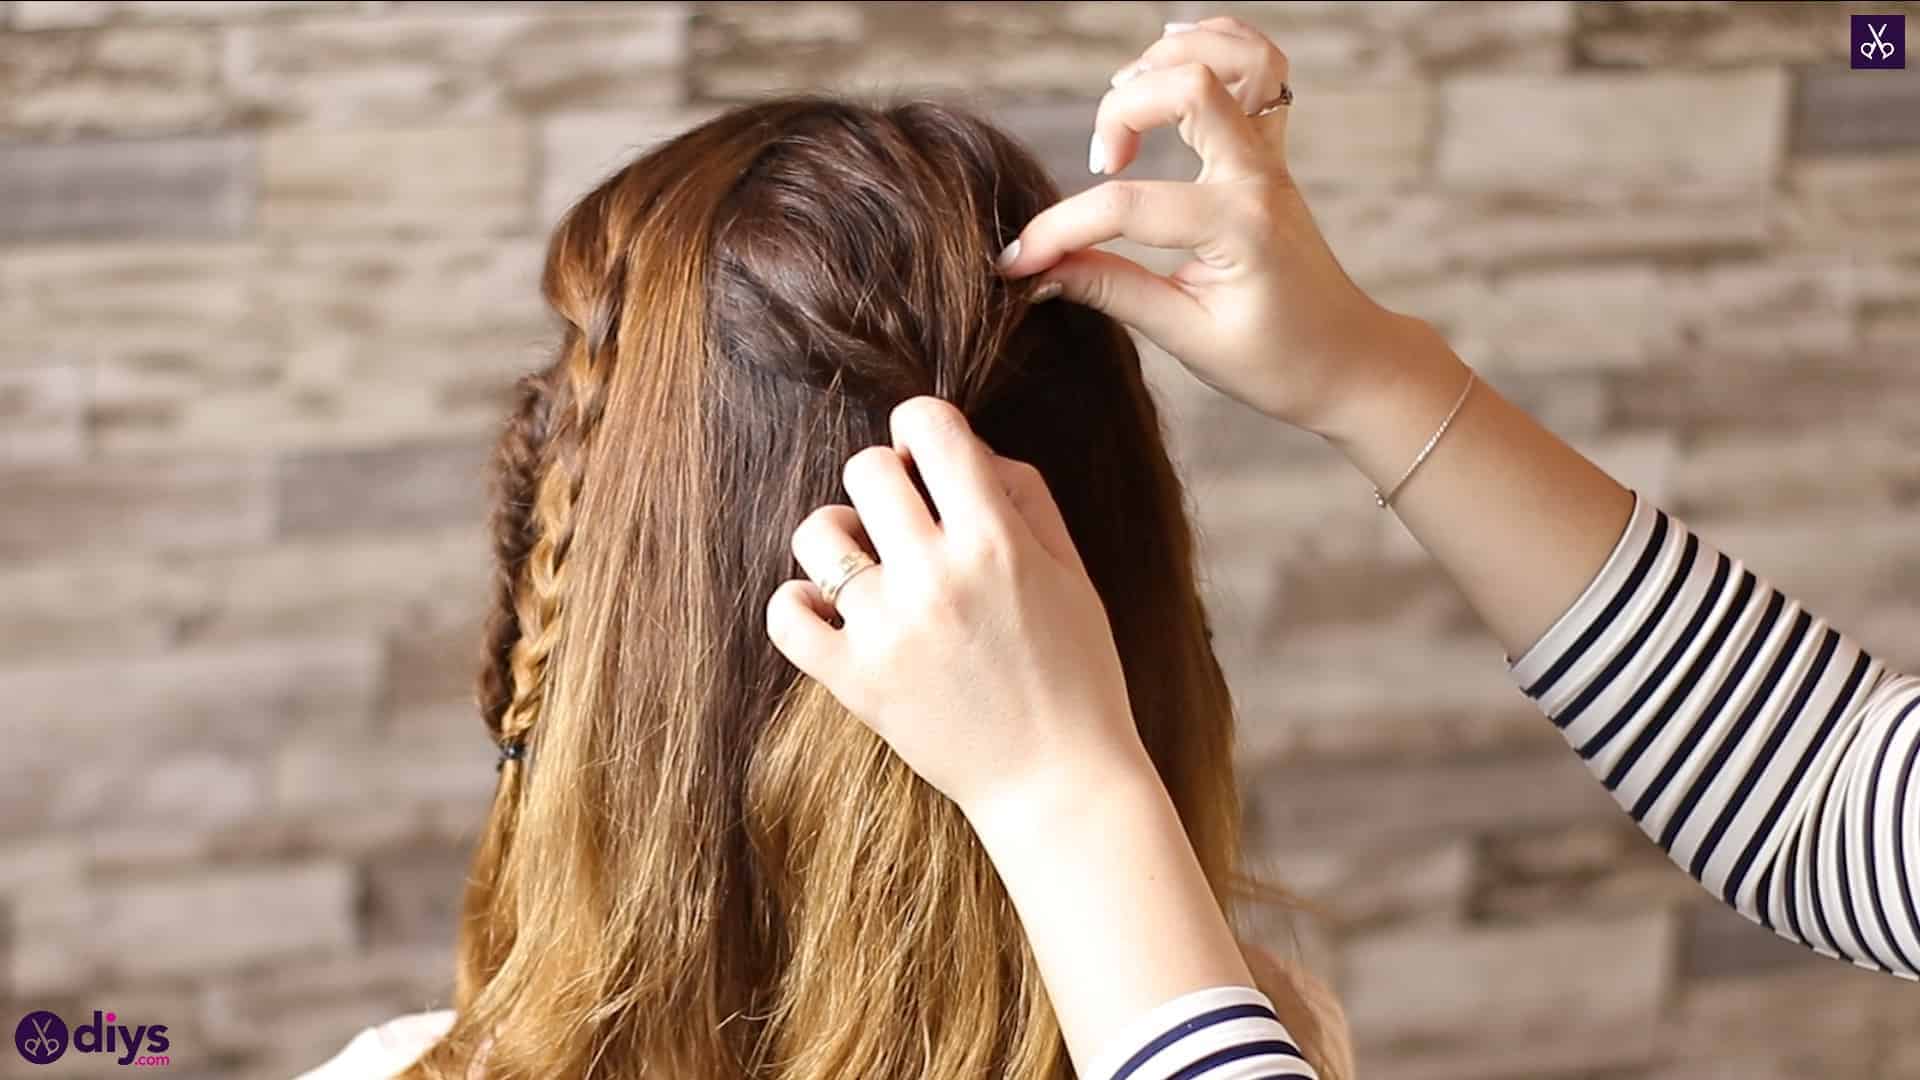
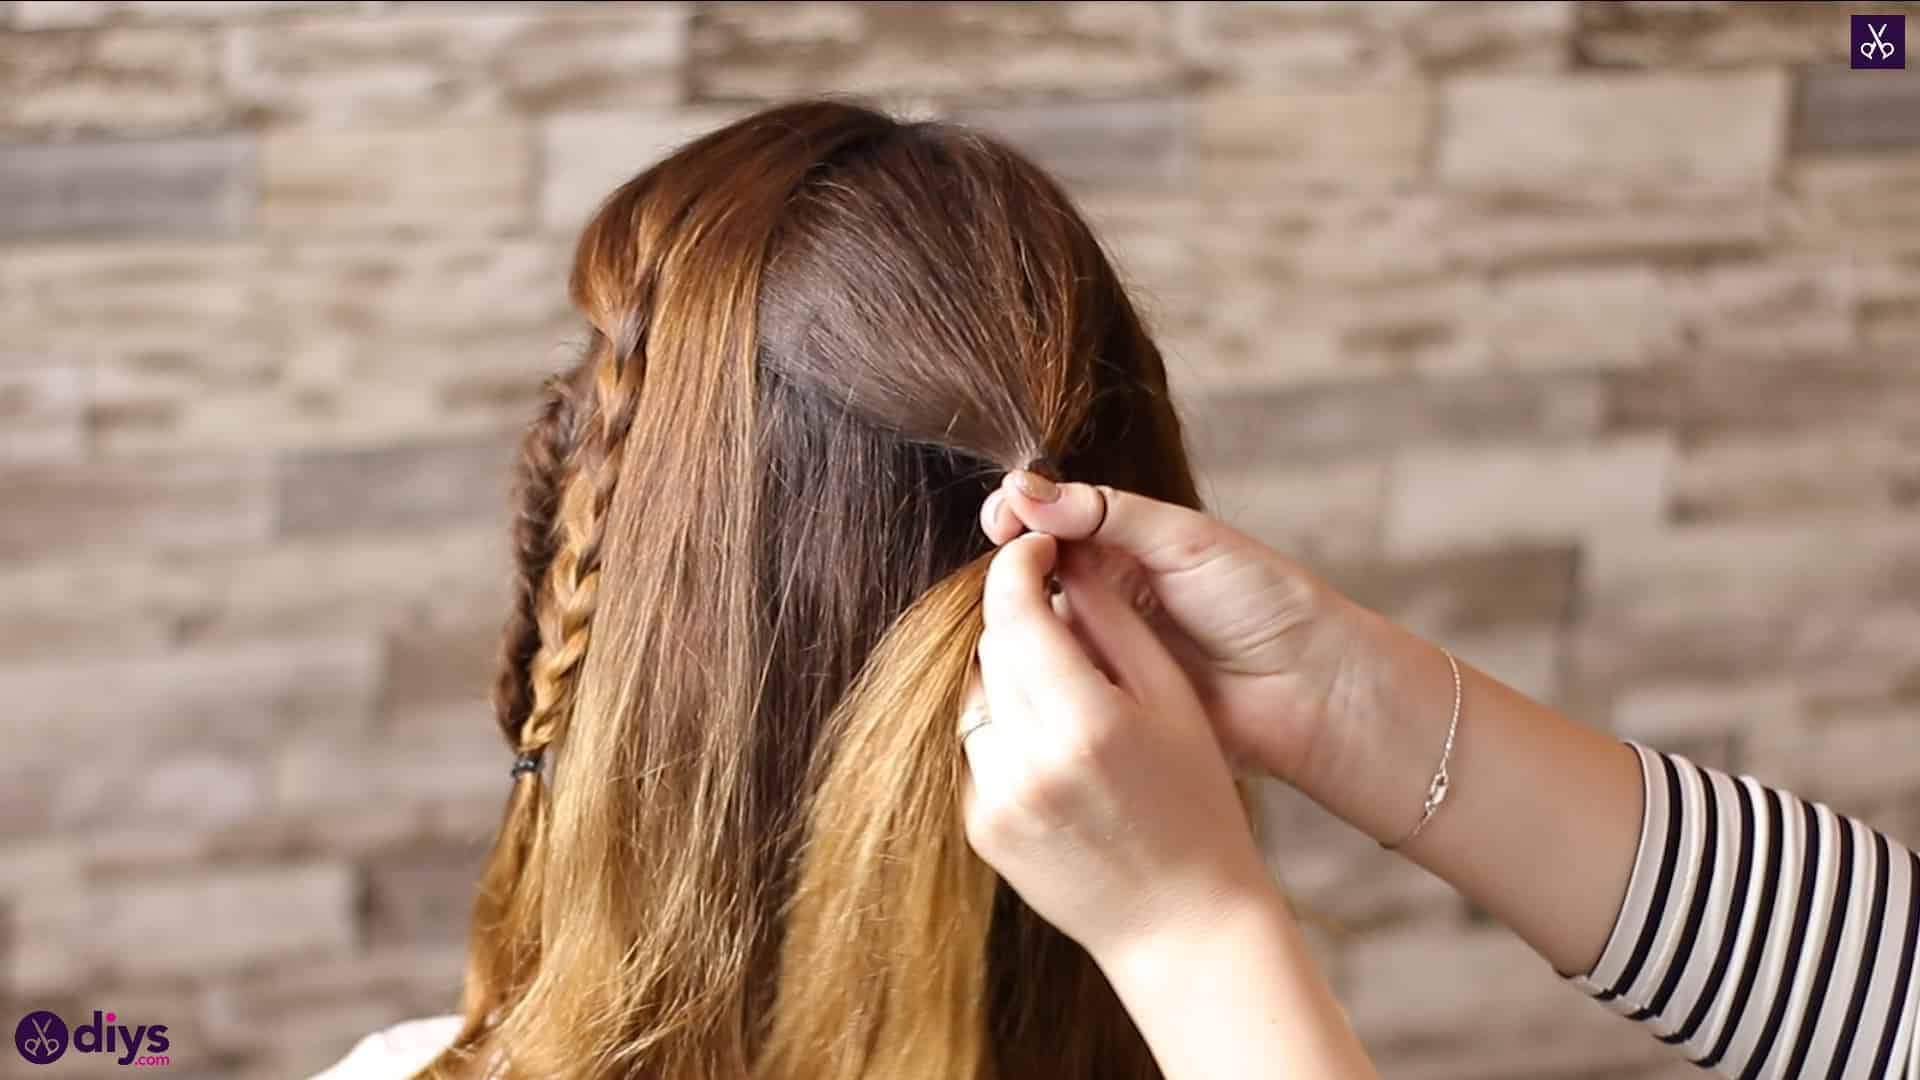
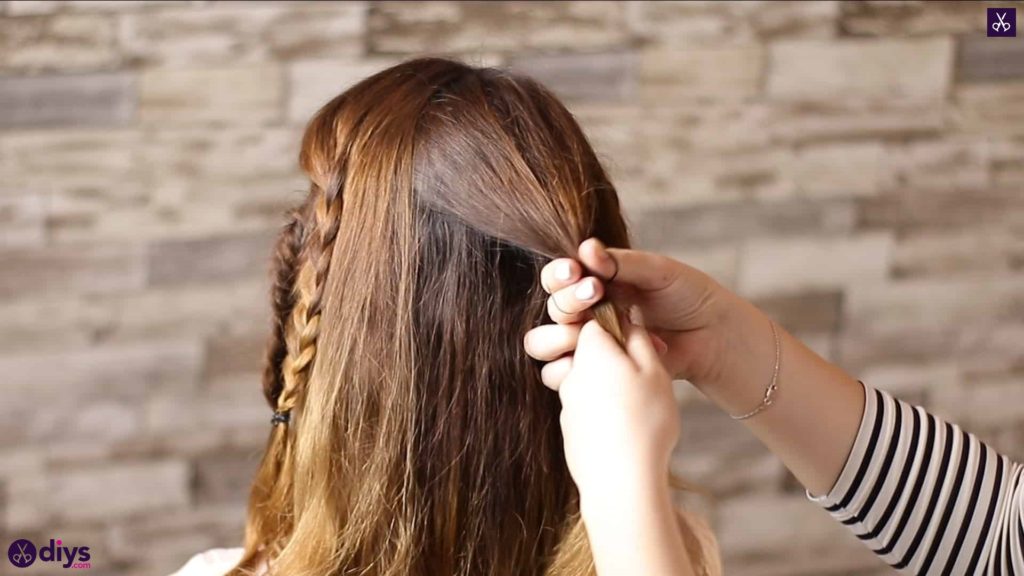
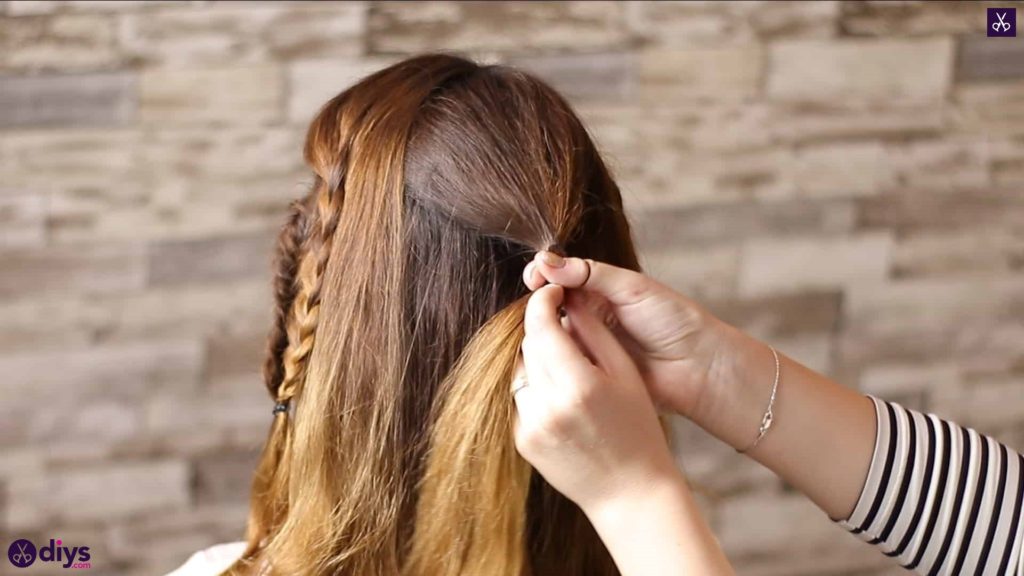
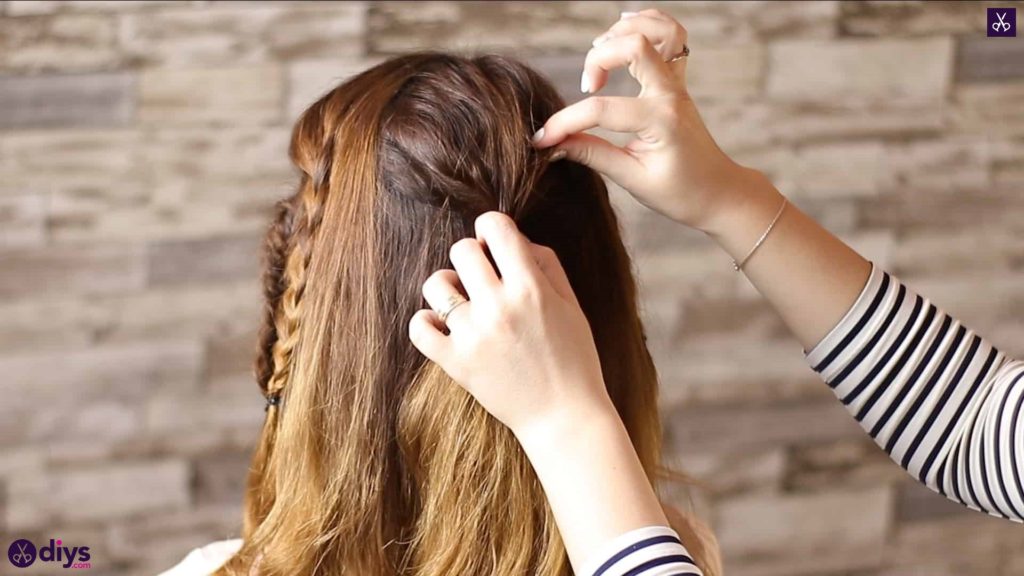
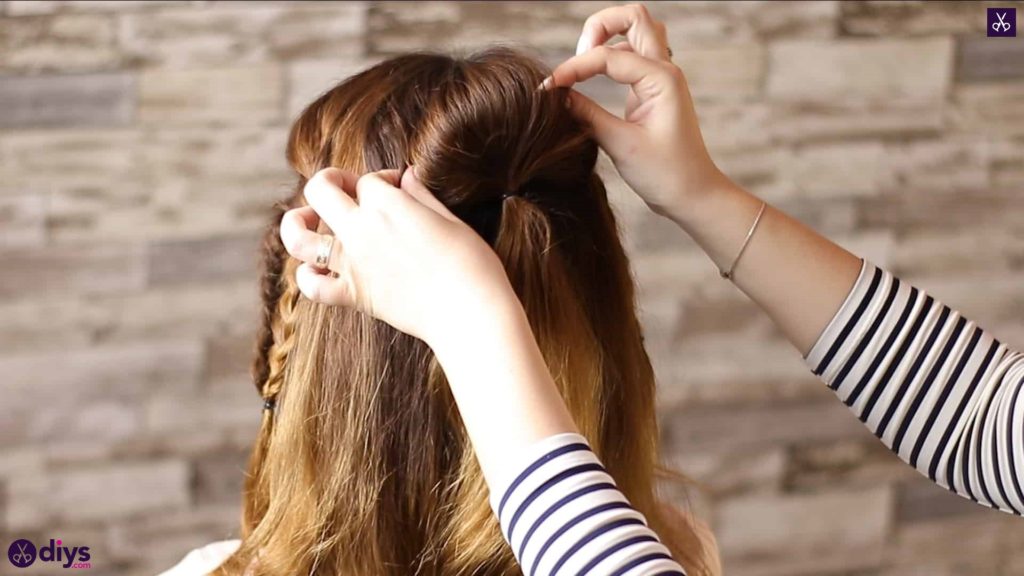
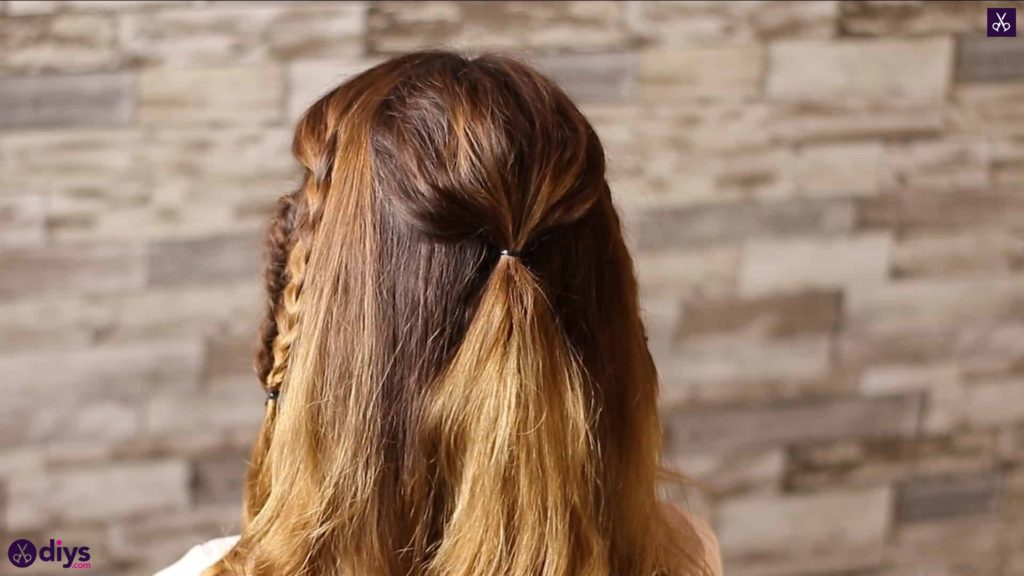
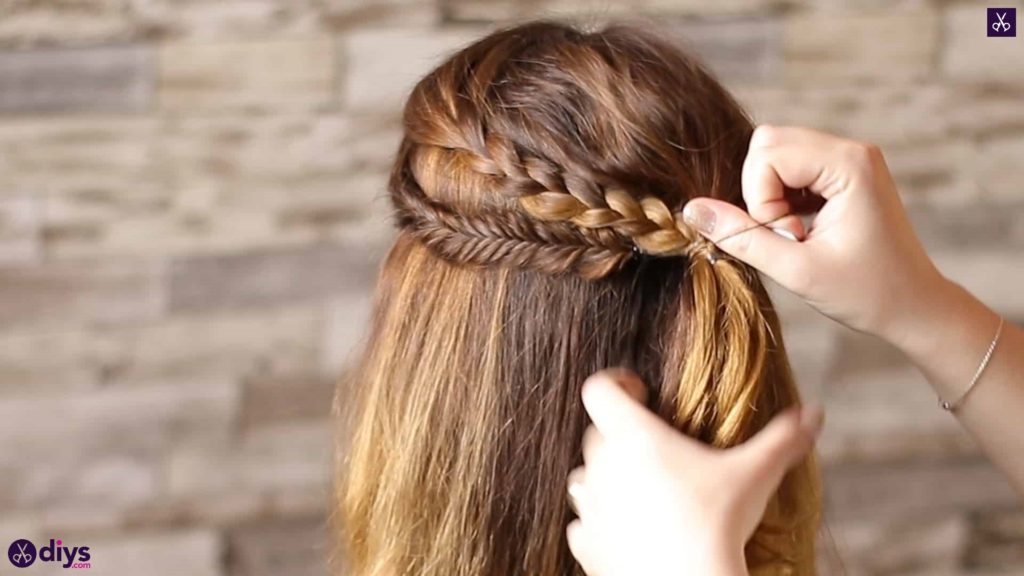
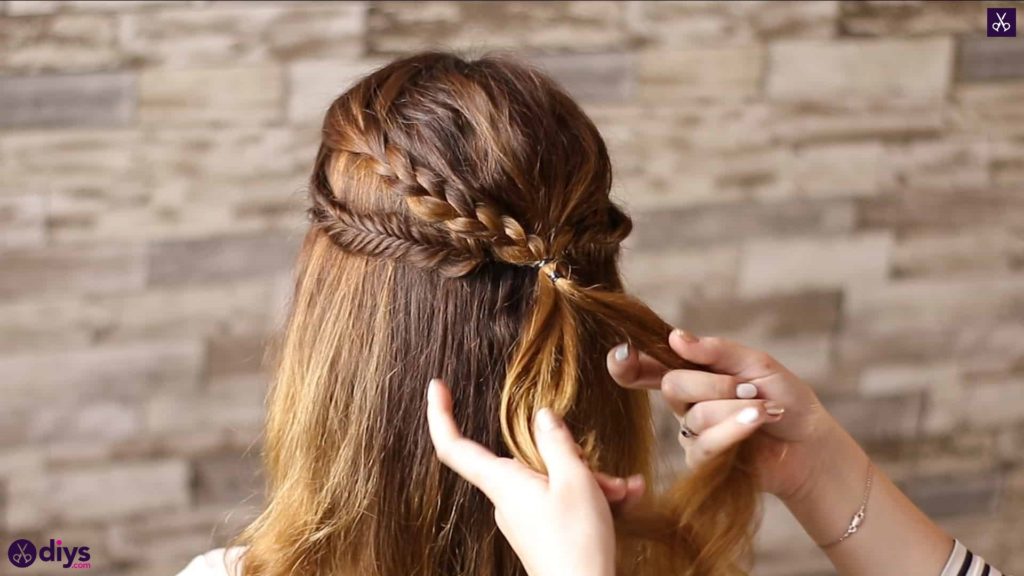
Let the pairs of braids you make on either side rest where they are for a moment and work with the hair at the back of your head now. Starting at the crown, section a piece of hair that spansalmost enough width to meet up with your side sections, gathering up about half the hair at the back into your hand for decent thickness while still leaving a good volume of hair down. Tie this section of hair into a ponytail at the back, but do so loosely and a little lower down than you might usually if you were making a regular high ponytail tight to the head. Once you’ve got the elastic in place, split the ponytail in two and pull the two sections away from each other to slide the elastic up the ponytail a little. This will bunch the hair above it, giving it a raised, voluminous look. Pull and adjust the section as you need to in order to get the height you want at your crown for the style.
Step 5: securing in place
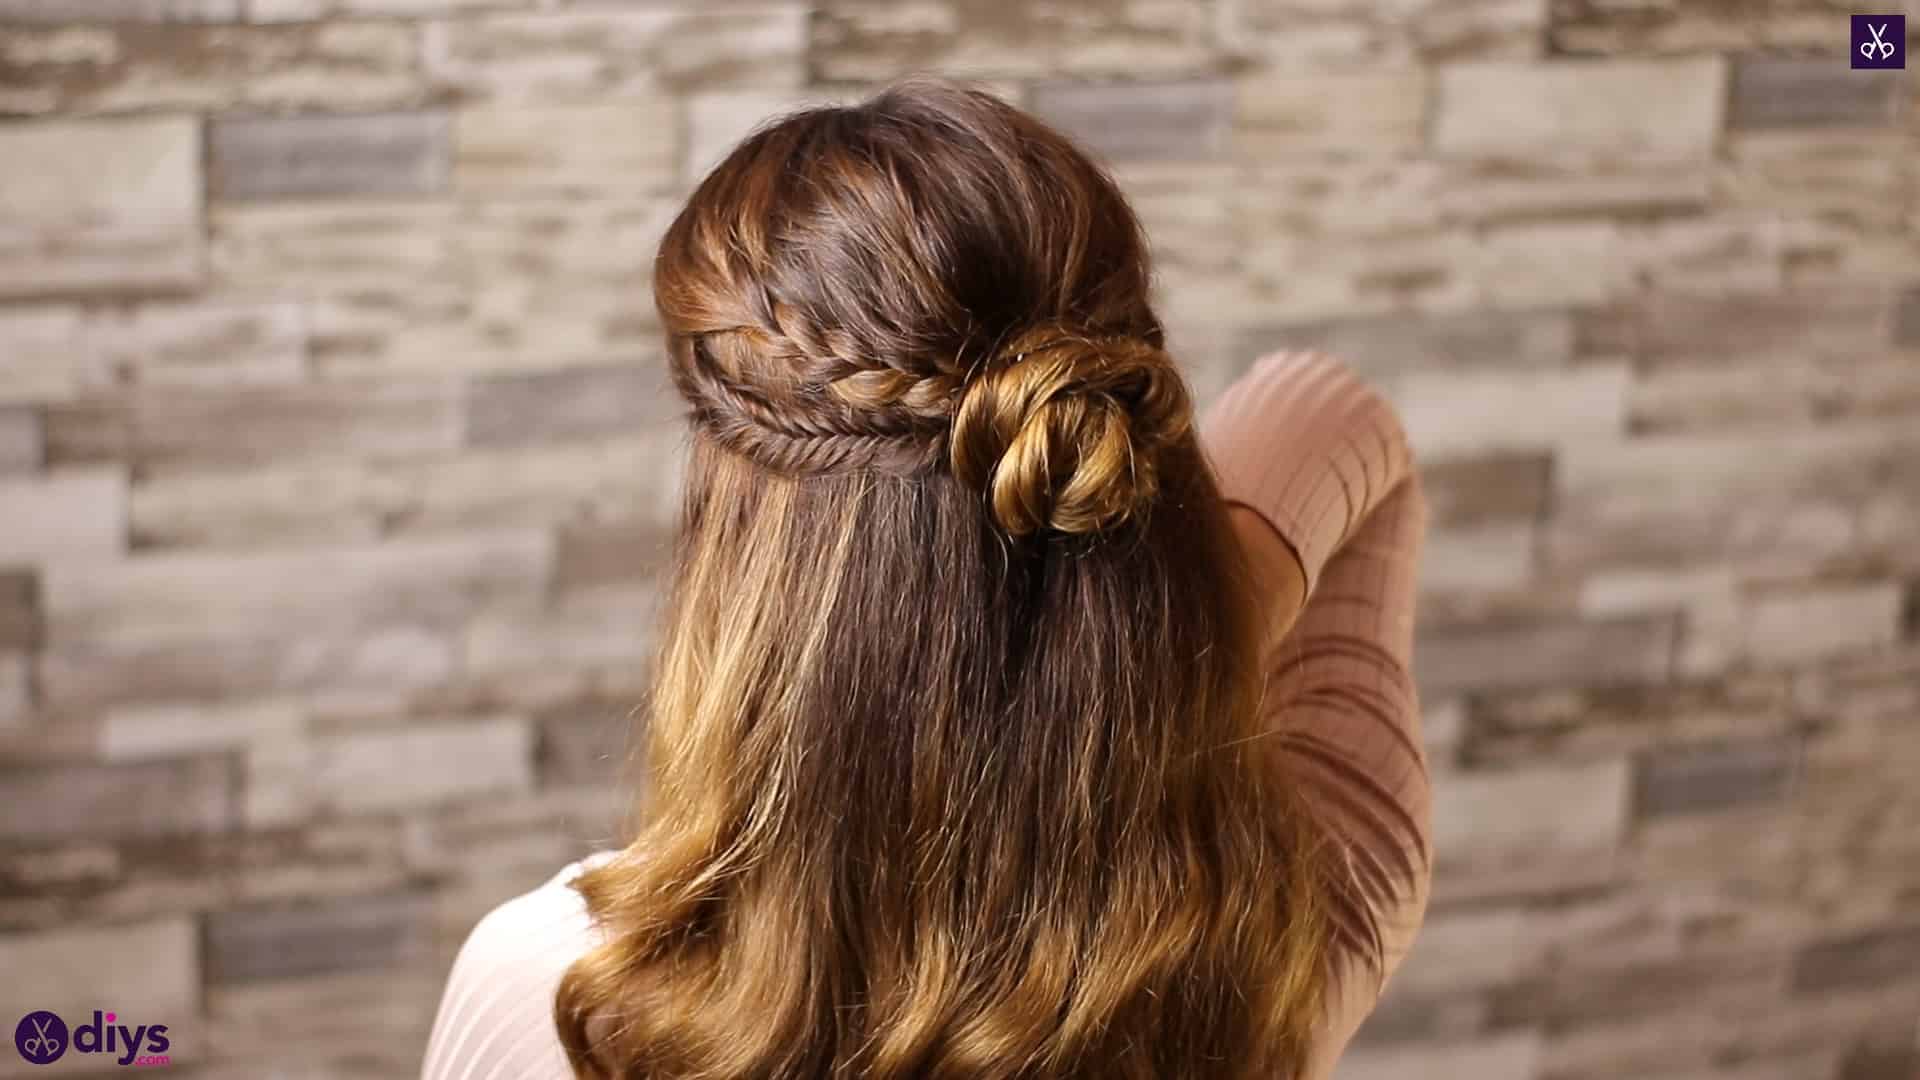
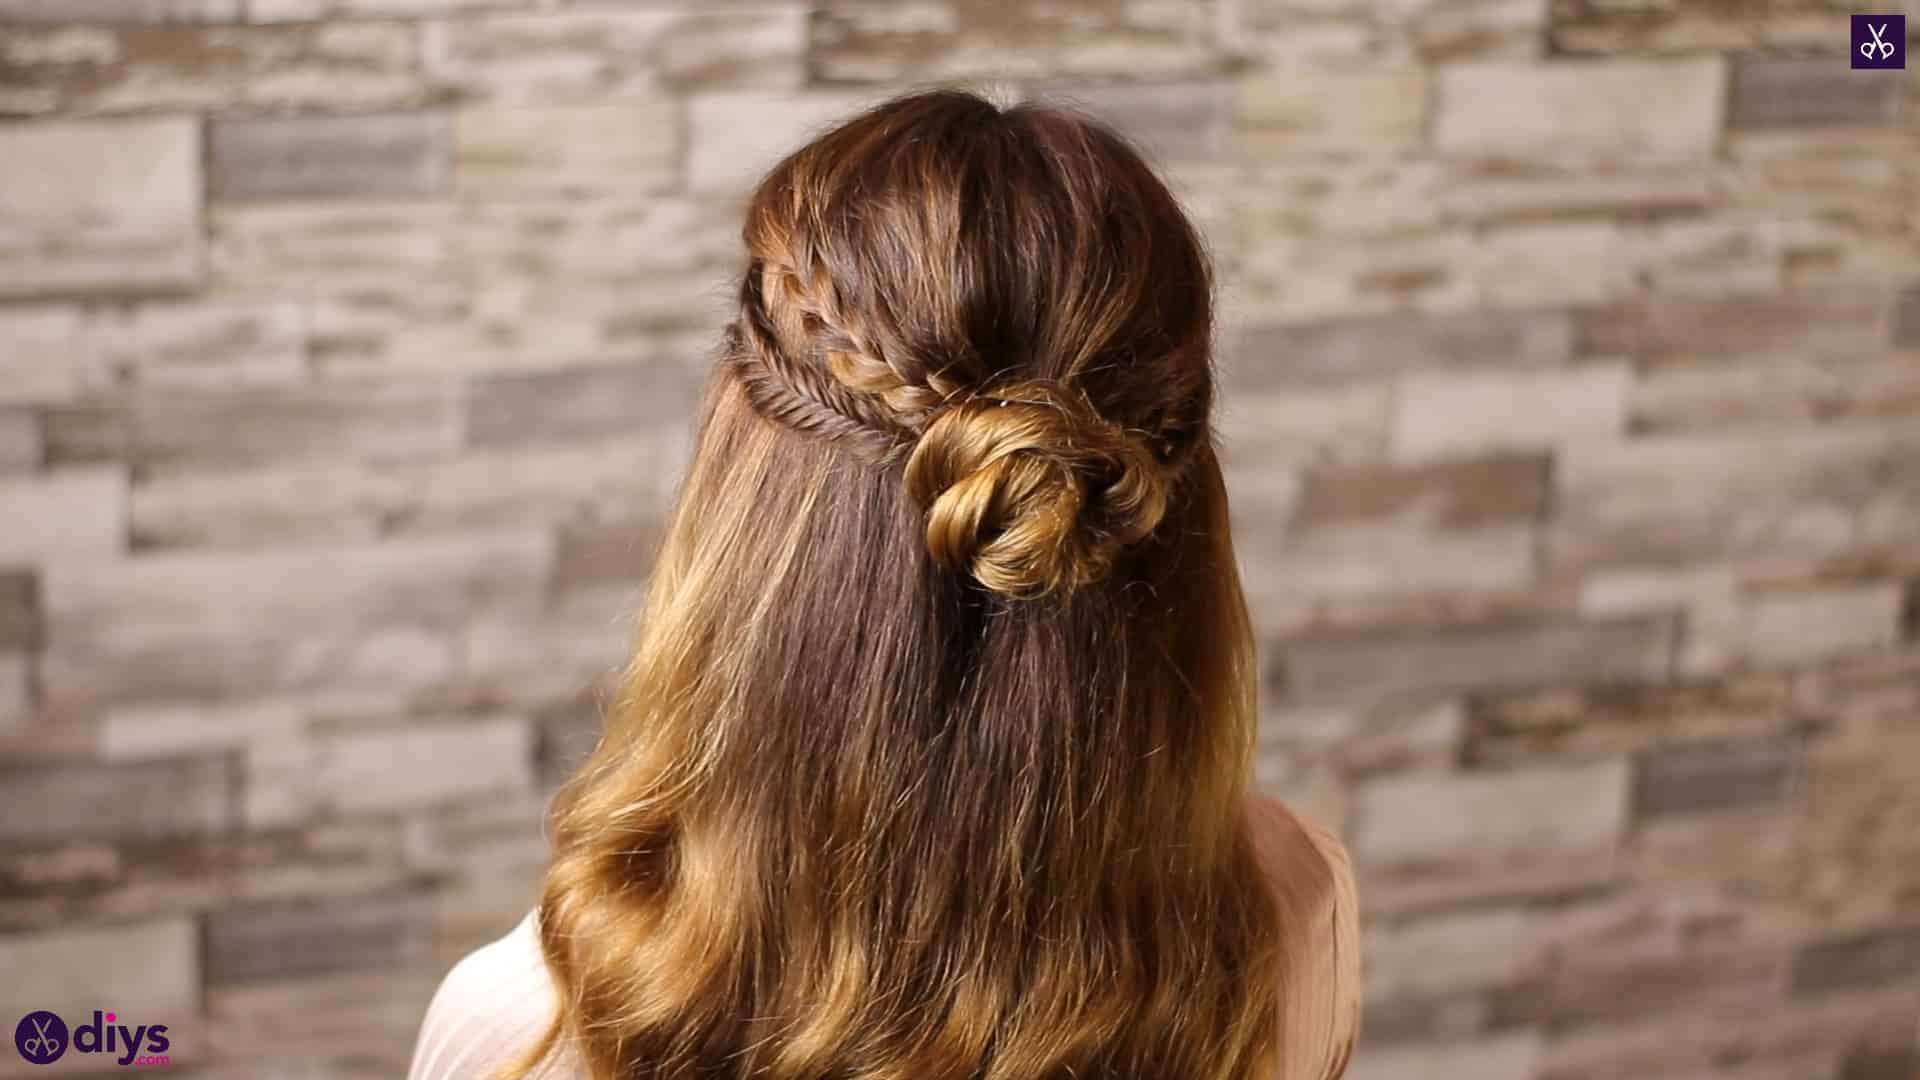
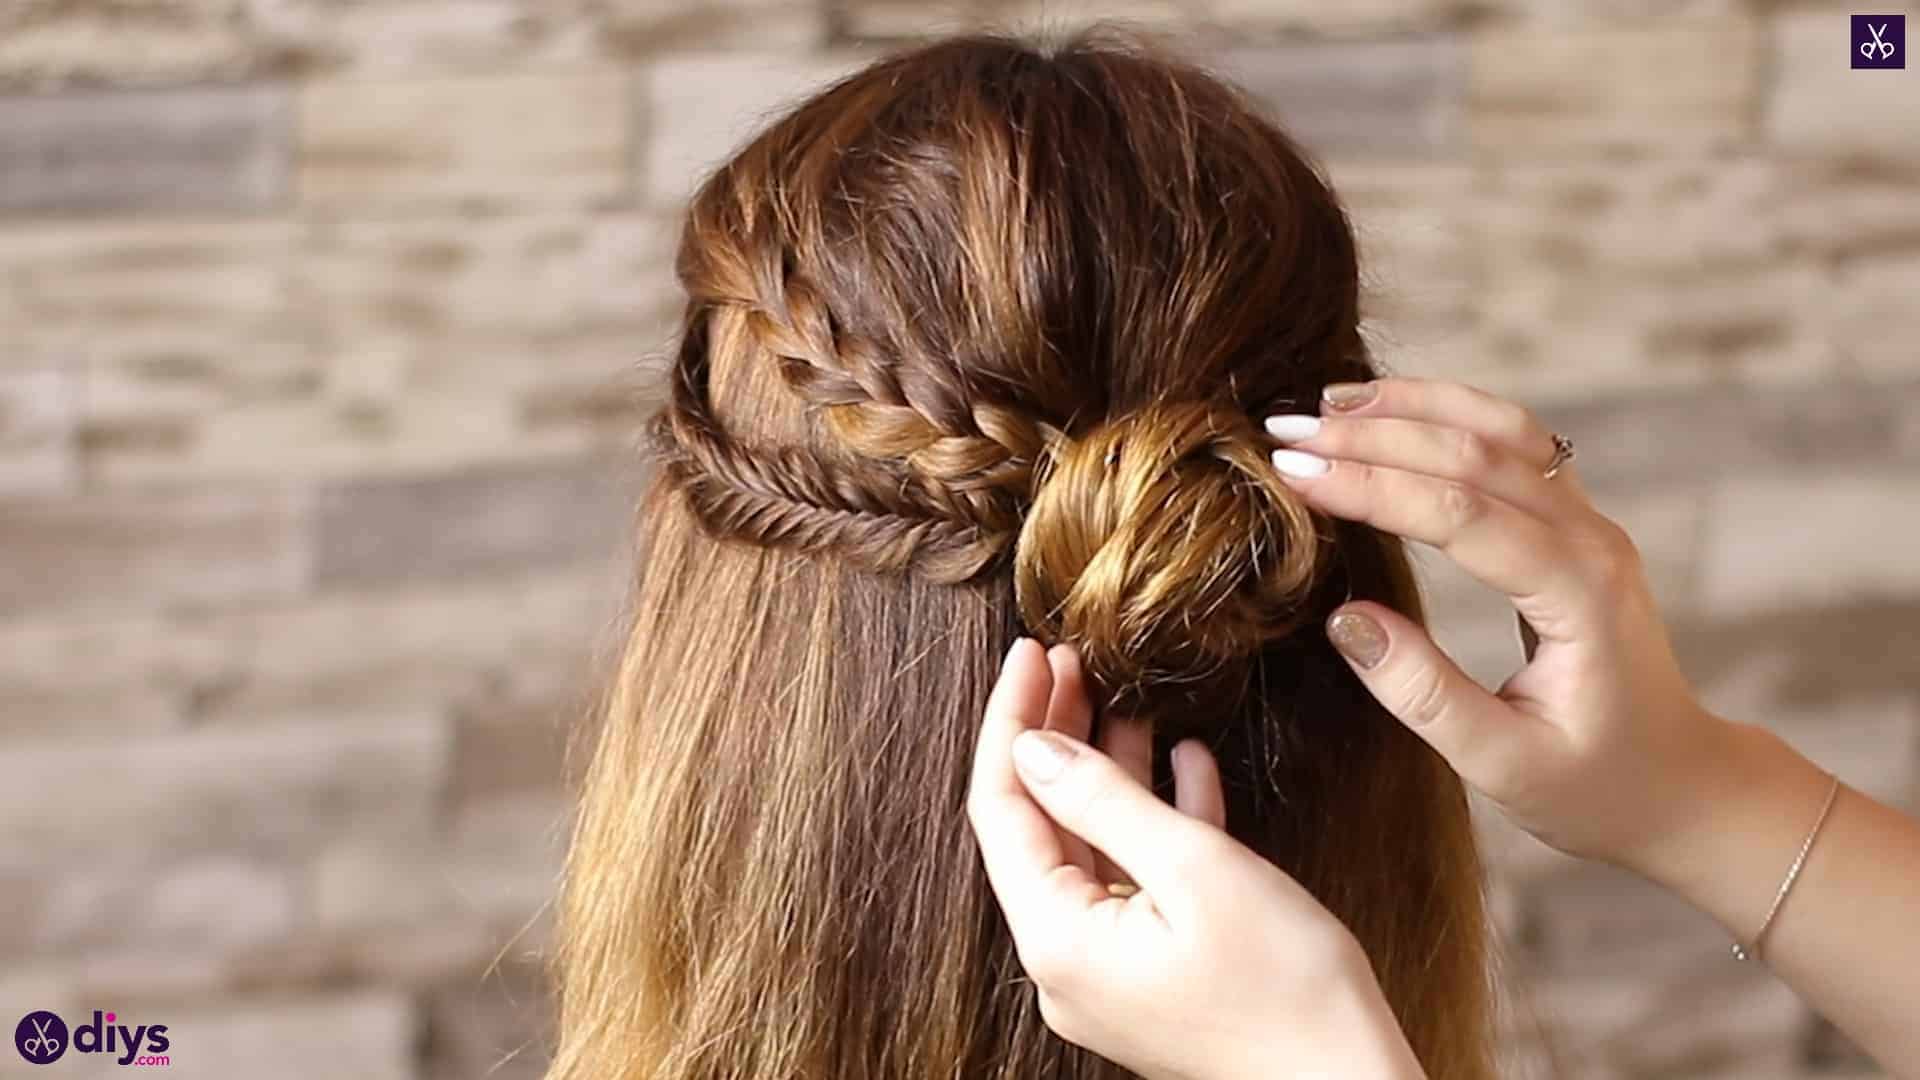
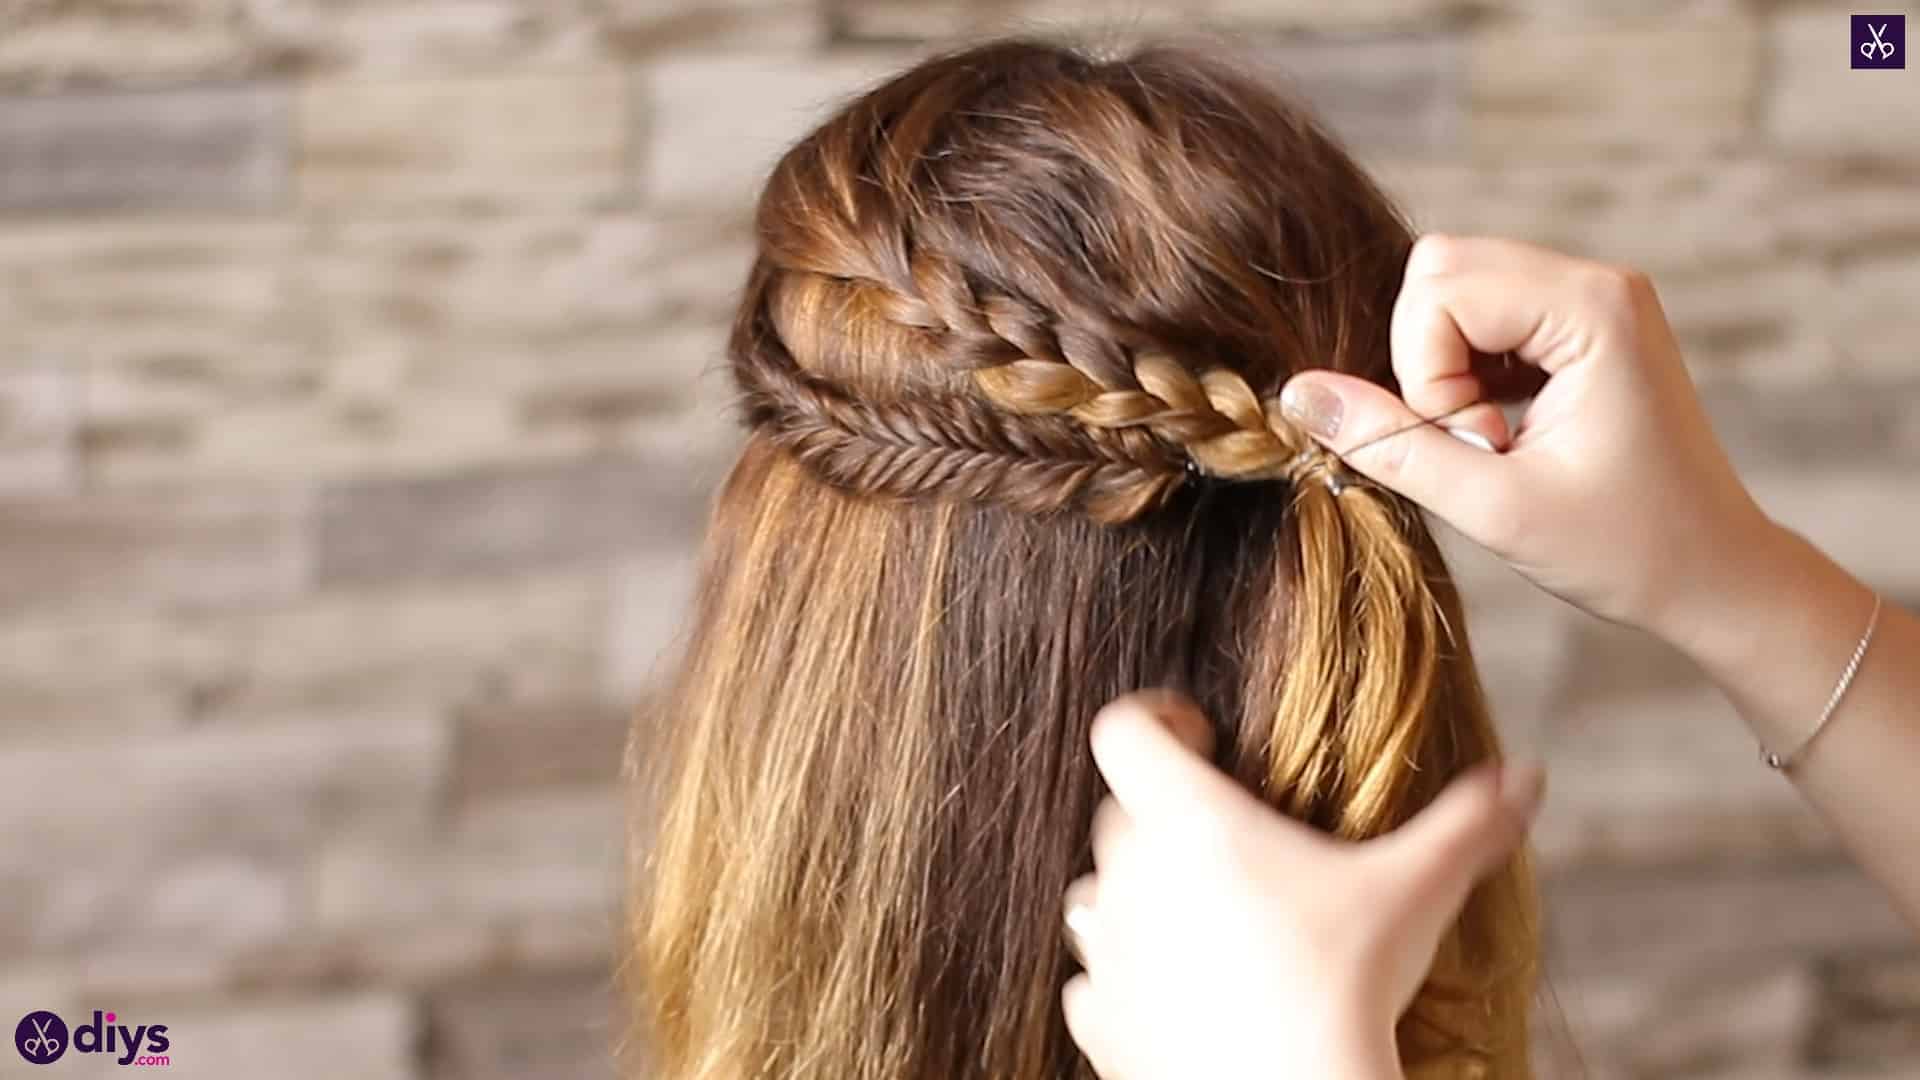
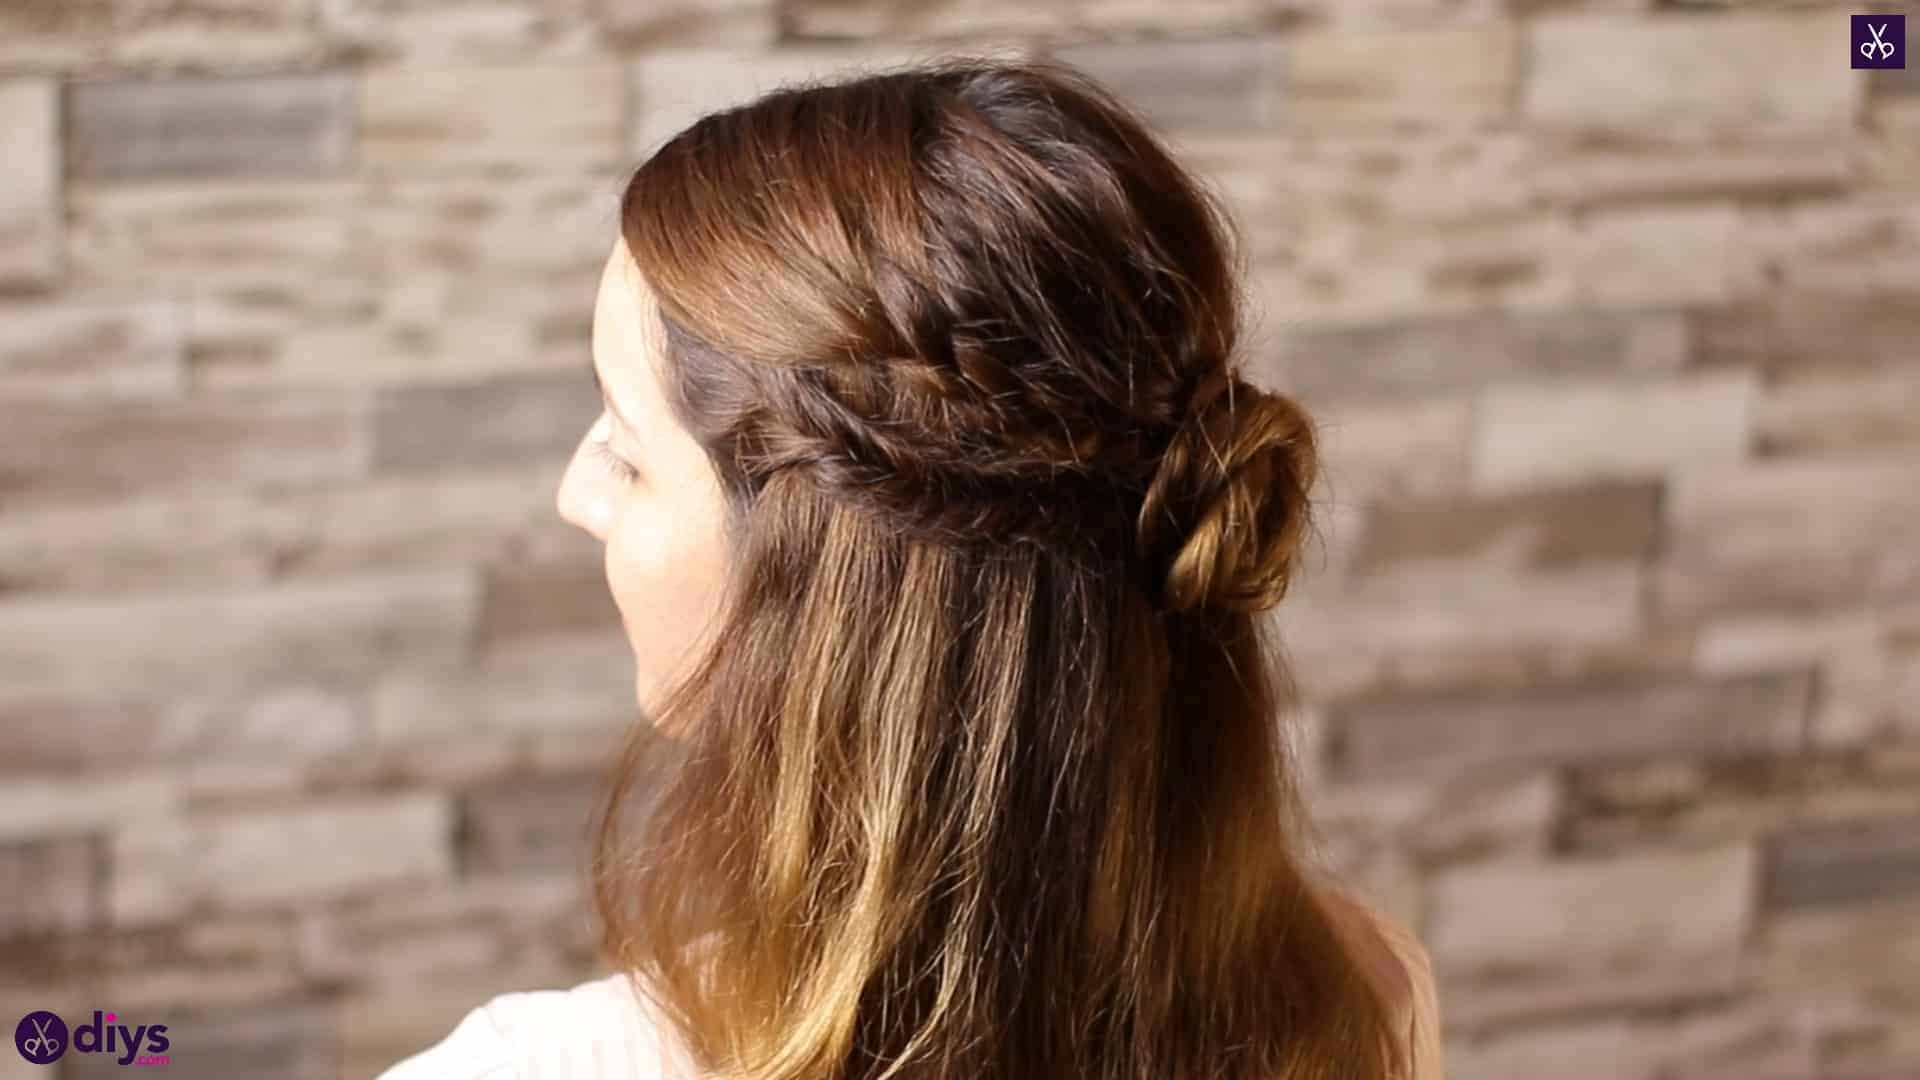
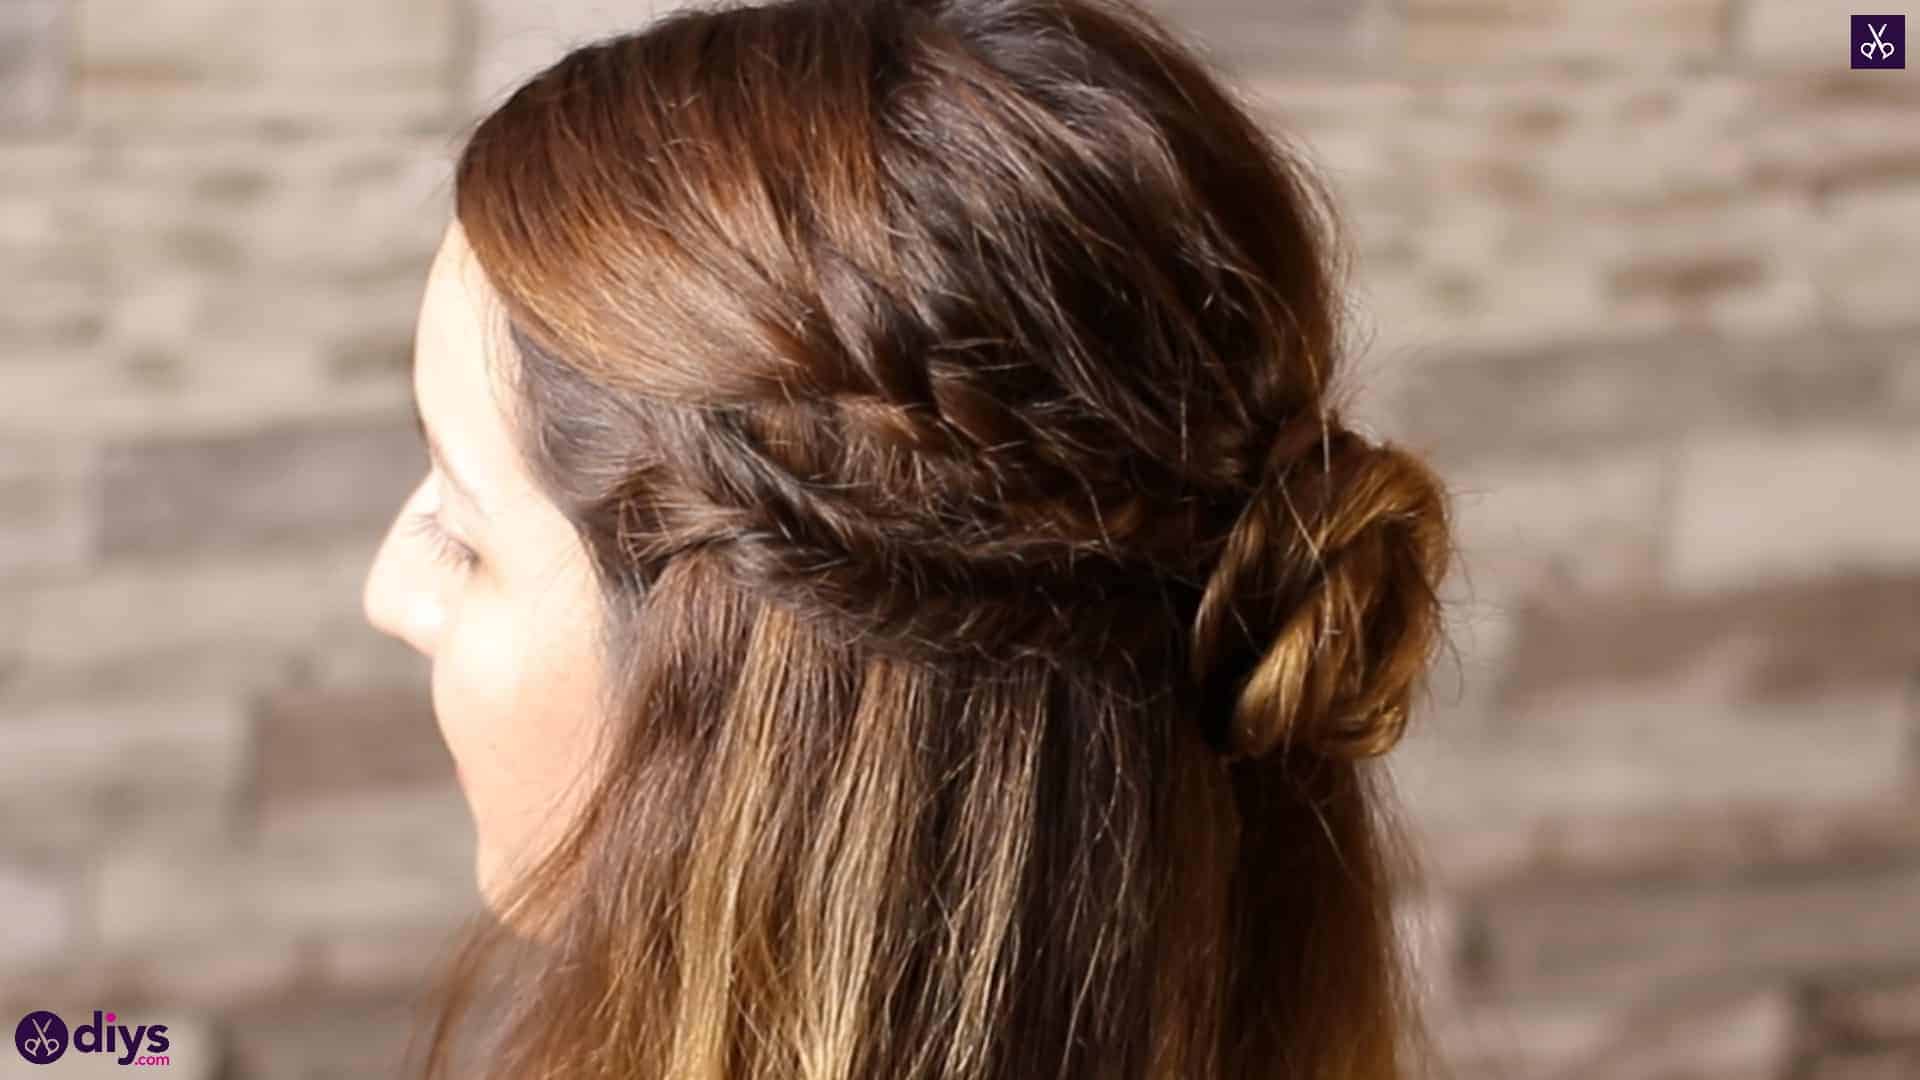
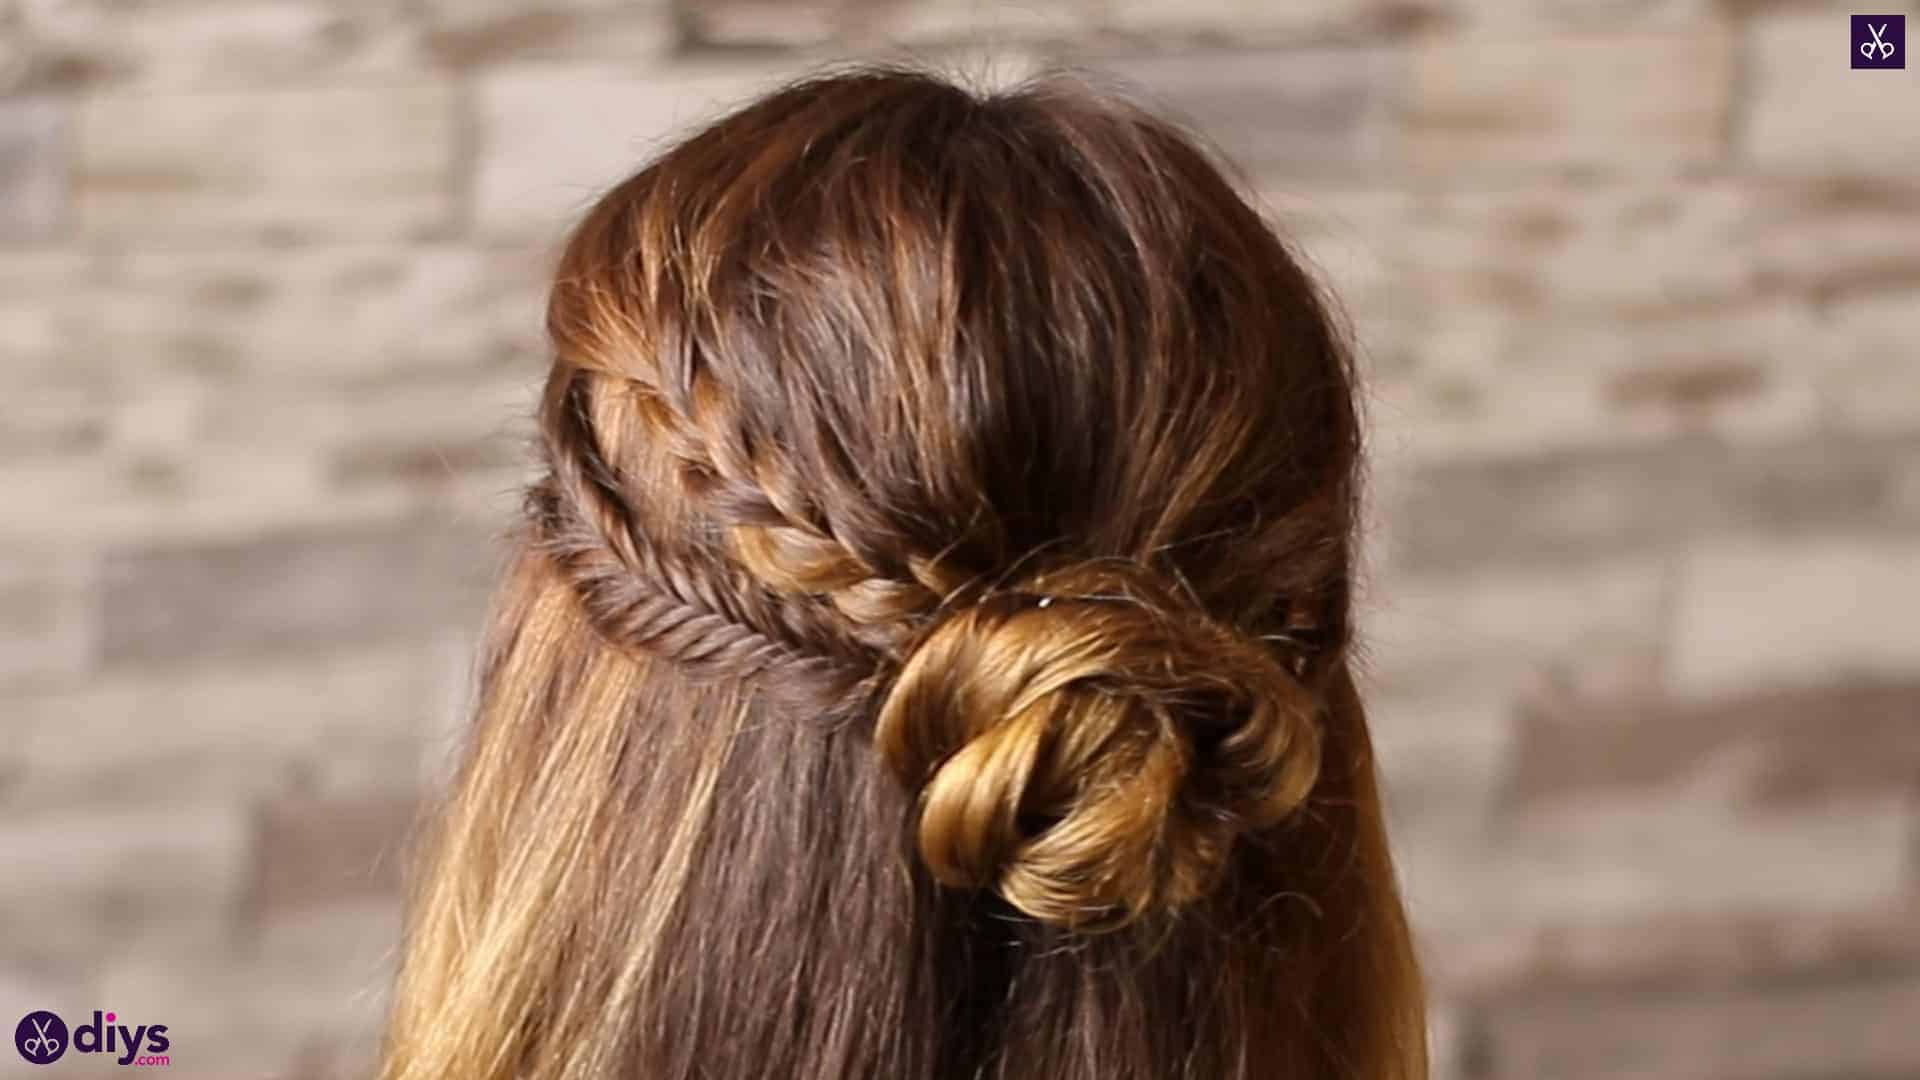
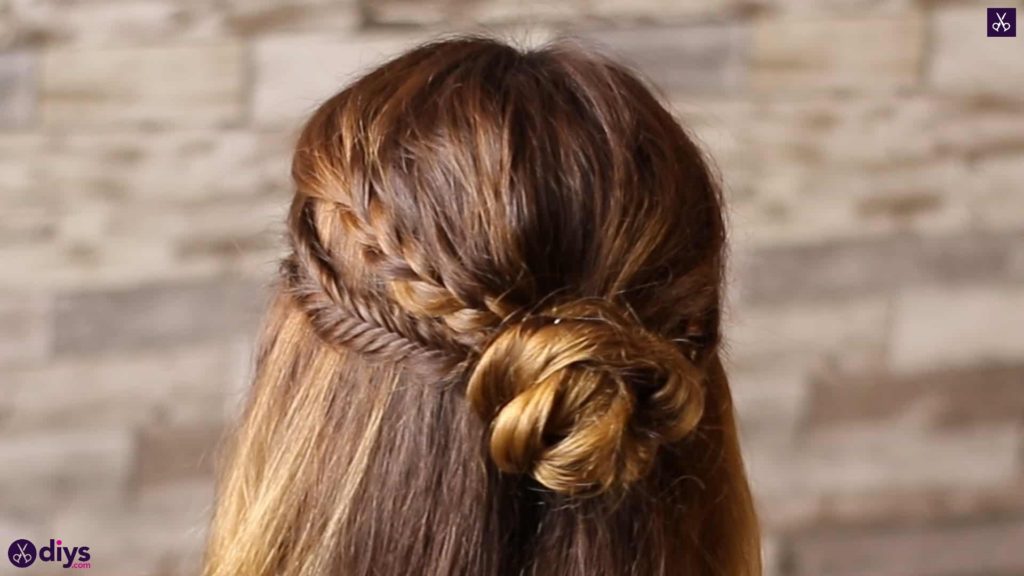
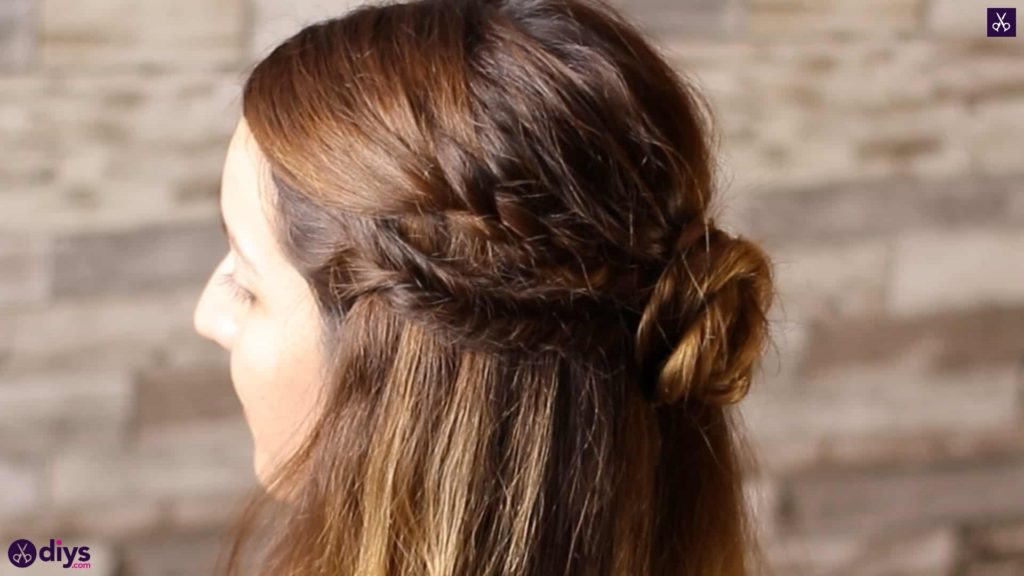
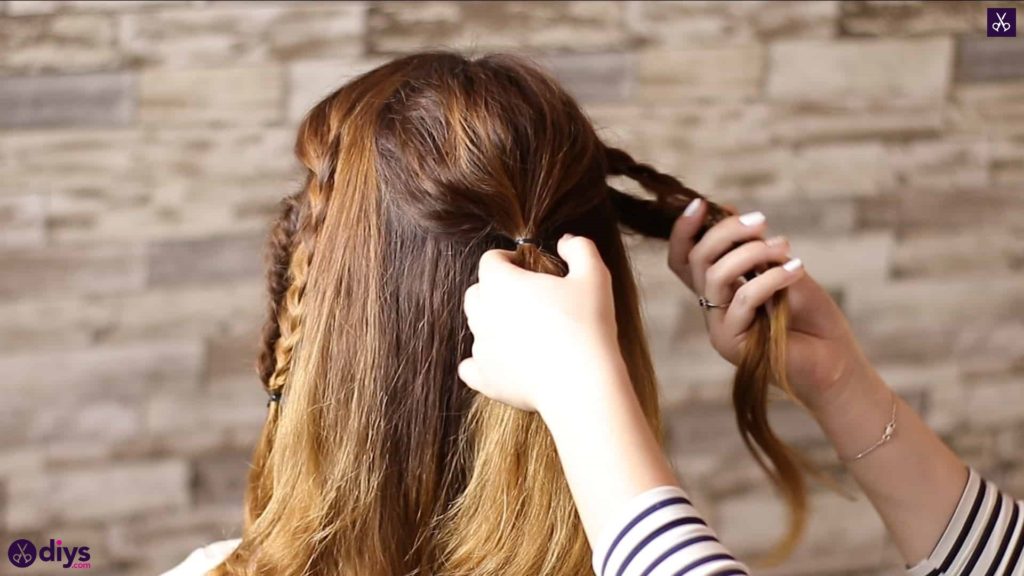
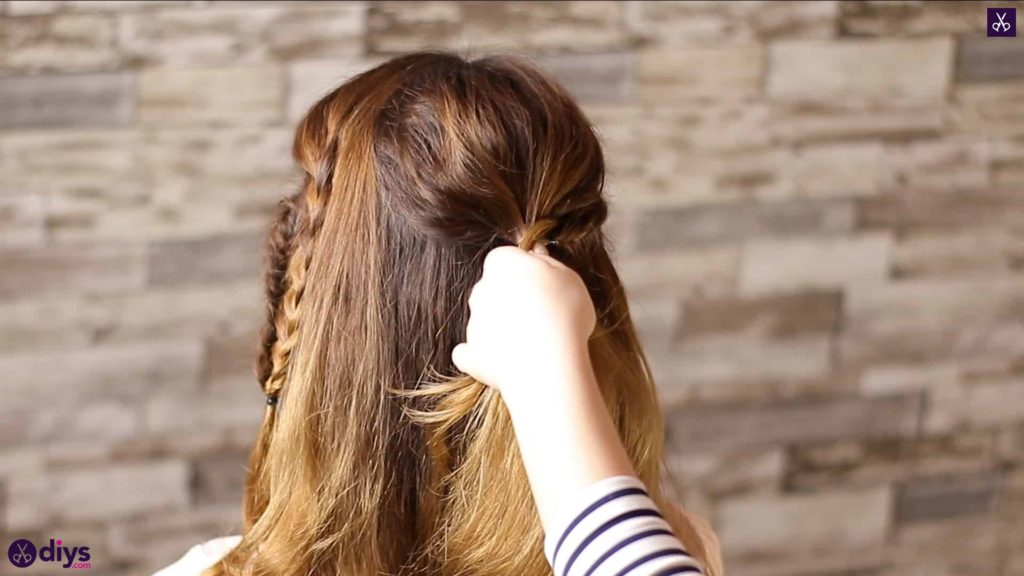
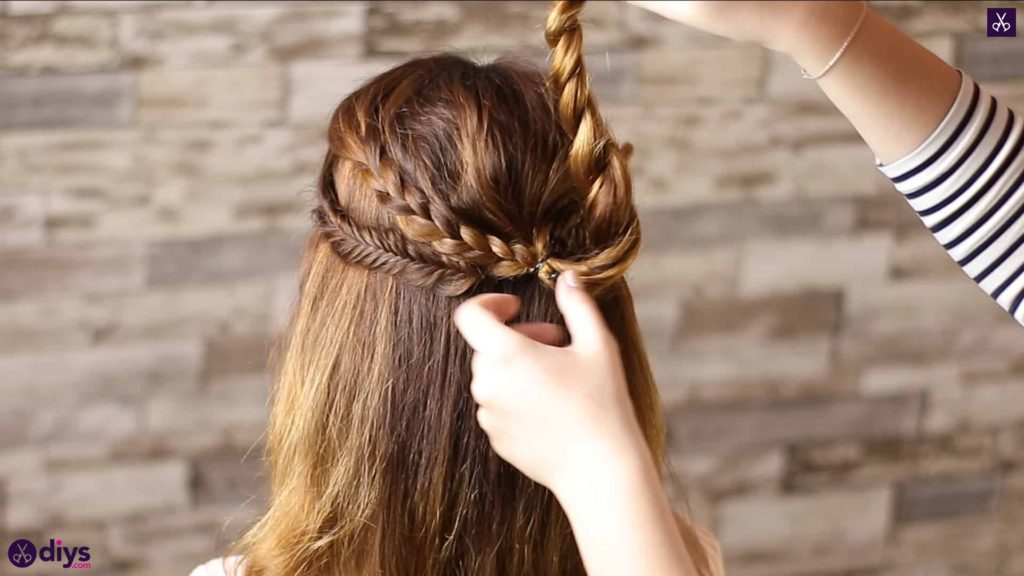
Pick up the pairs of braids on either side of your head and bring them smoothly towards the back to meet up with the ponytail you just made. Gather the ponytail and the four braids all together like one piece and wrap a hair elastic around the whole bundle. If your hair is long enough that this new amalgamated ponytail features a lot of braid in it, feel free to take the elastic you put in the end of each braid out and use your fingers to break up the woven pieces and blend them into the rest of the ponytail. The elastic that you tiedall of the hair together with will hold the braids above that in place and stop them from unwinding as well.
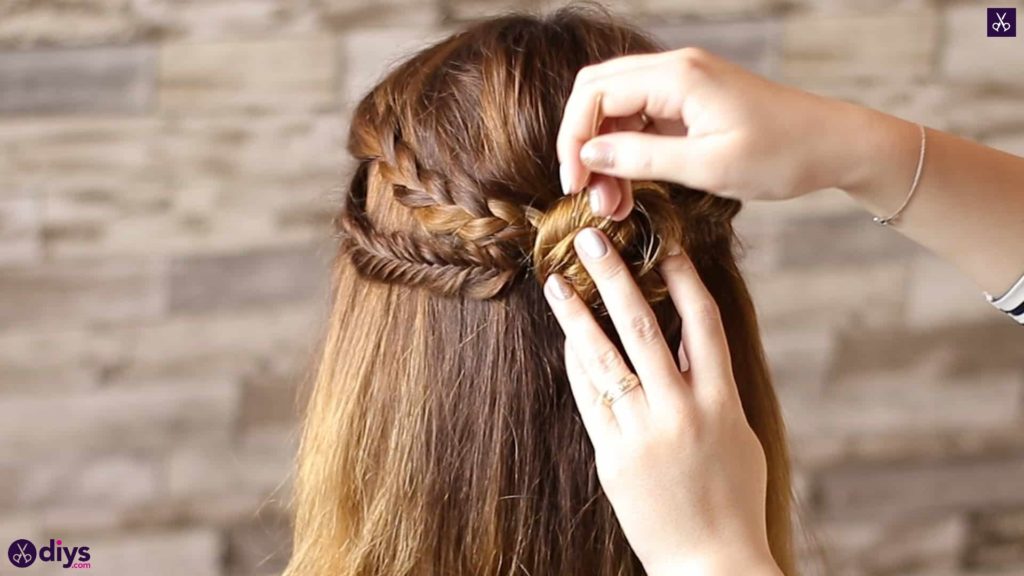
Step 6: make the bun
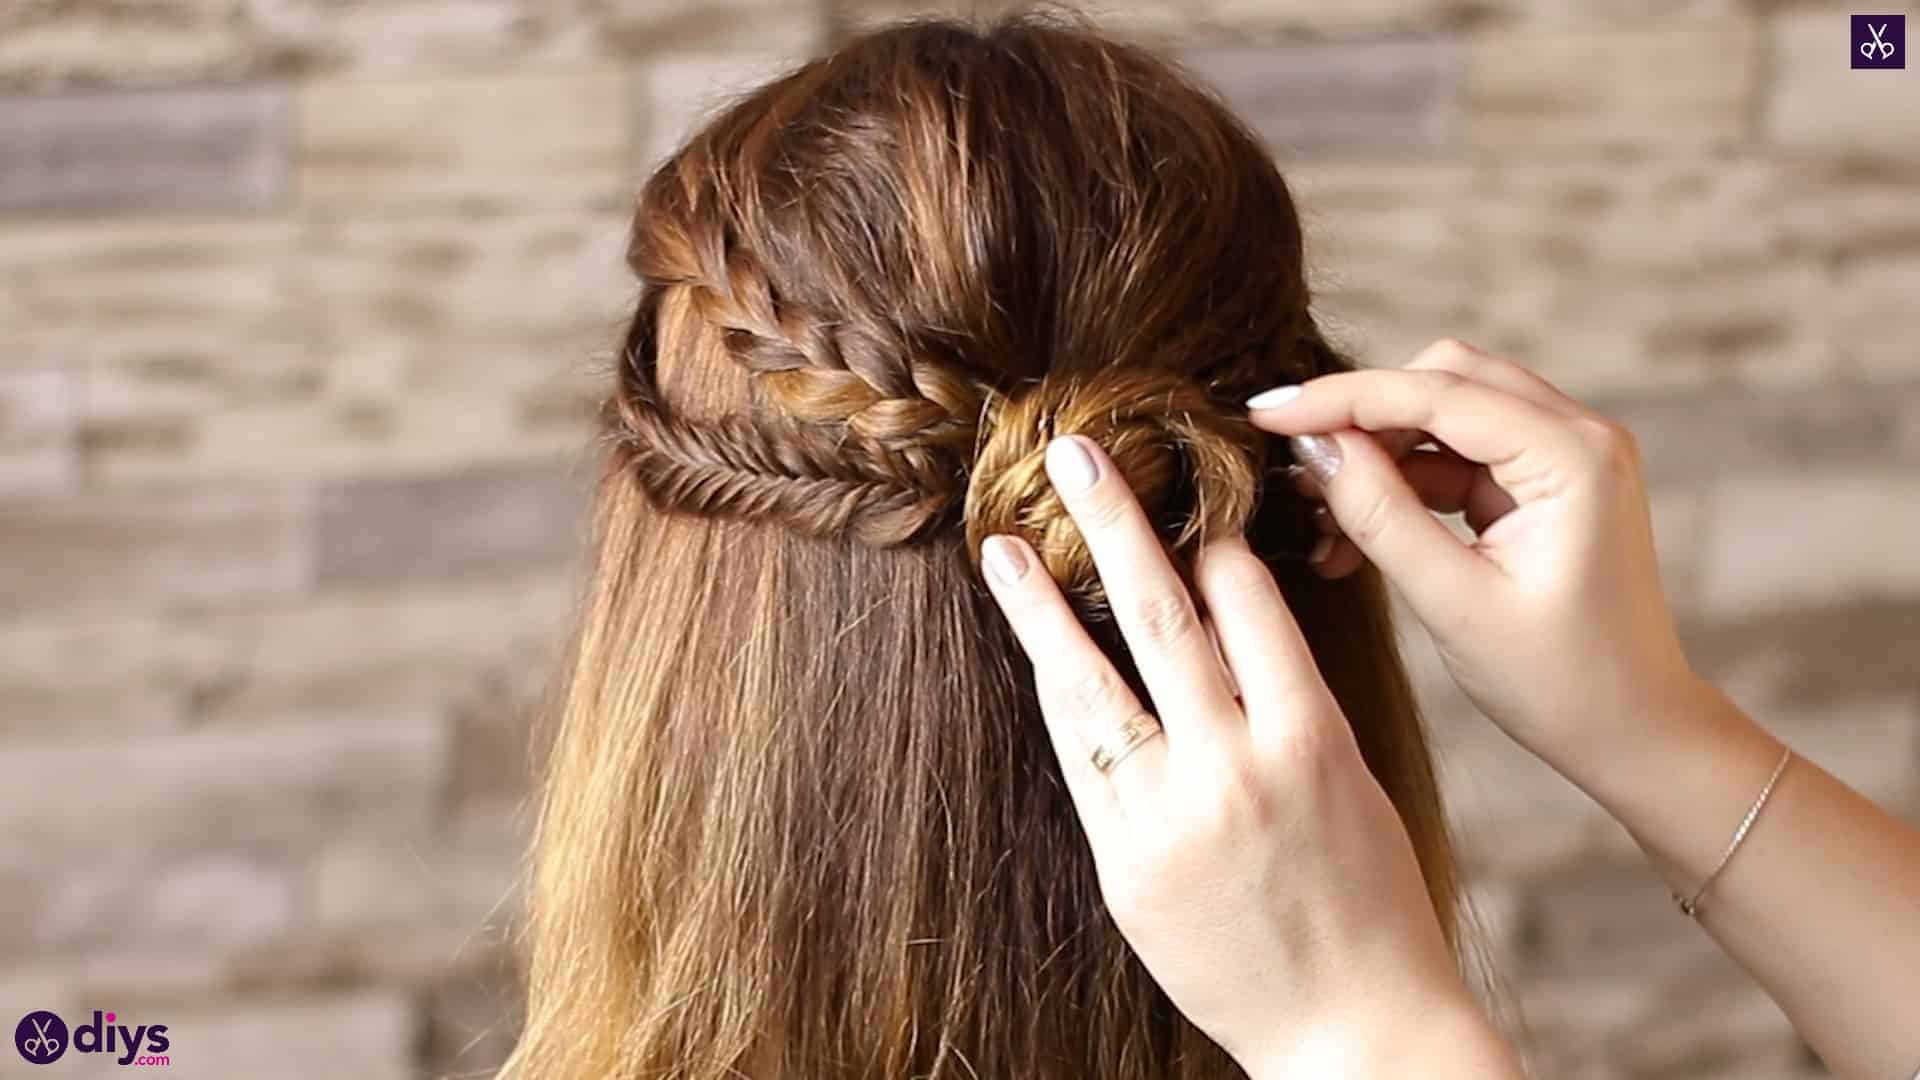
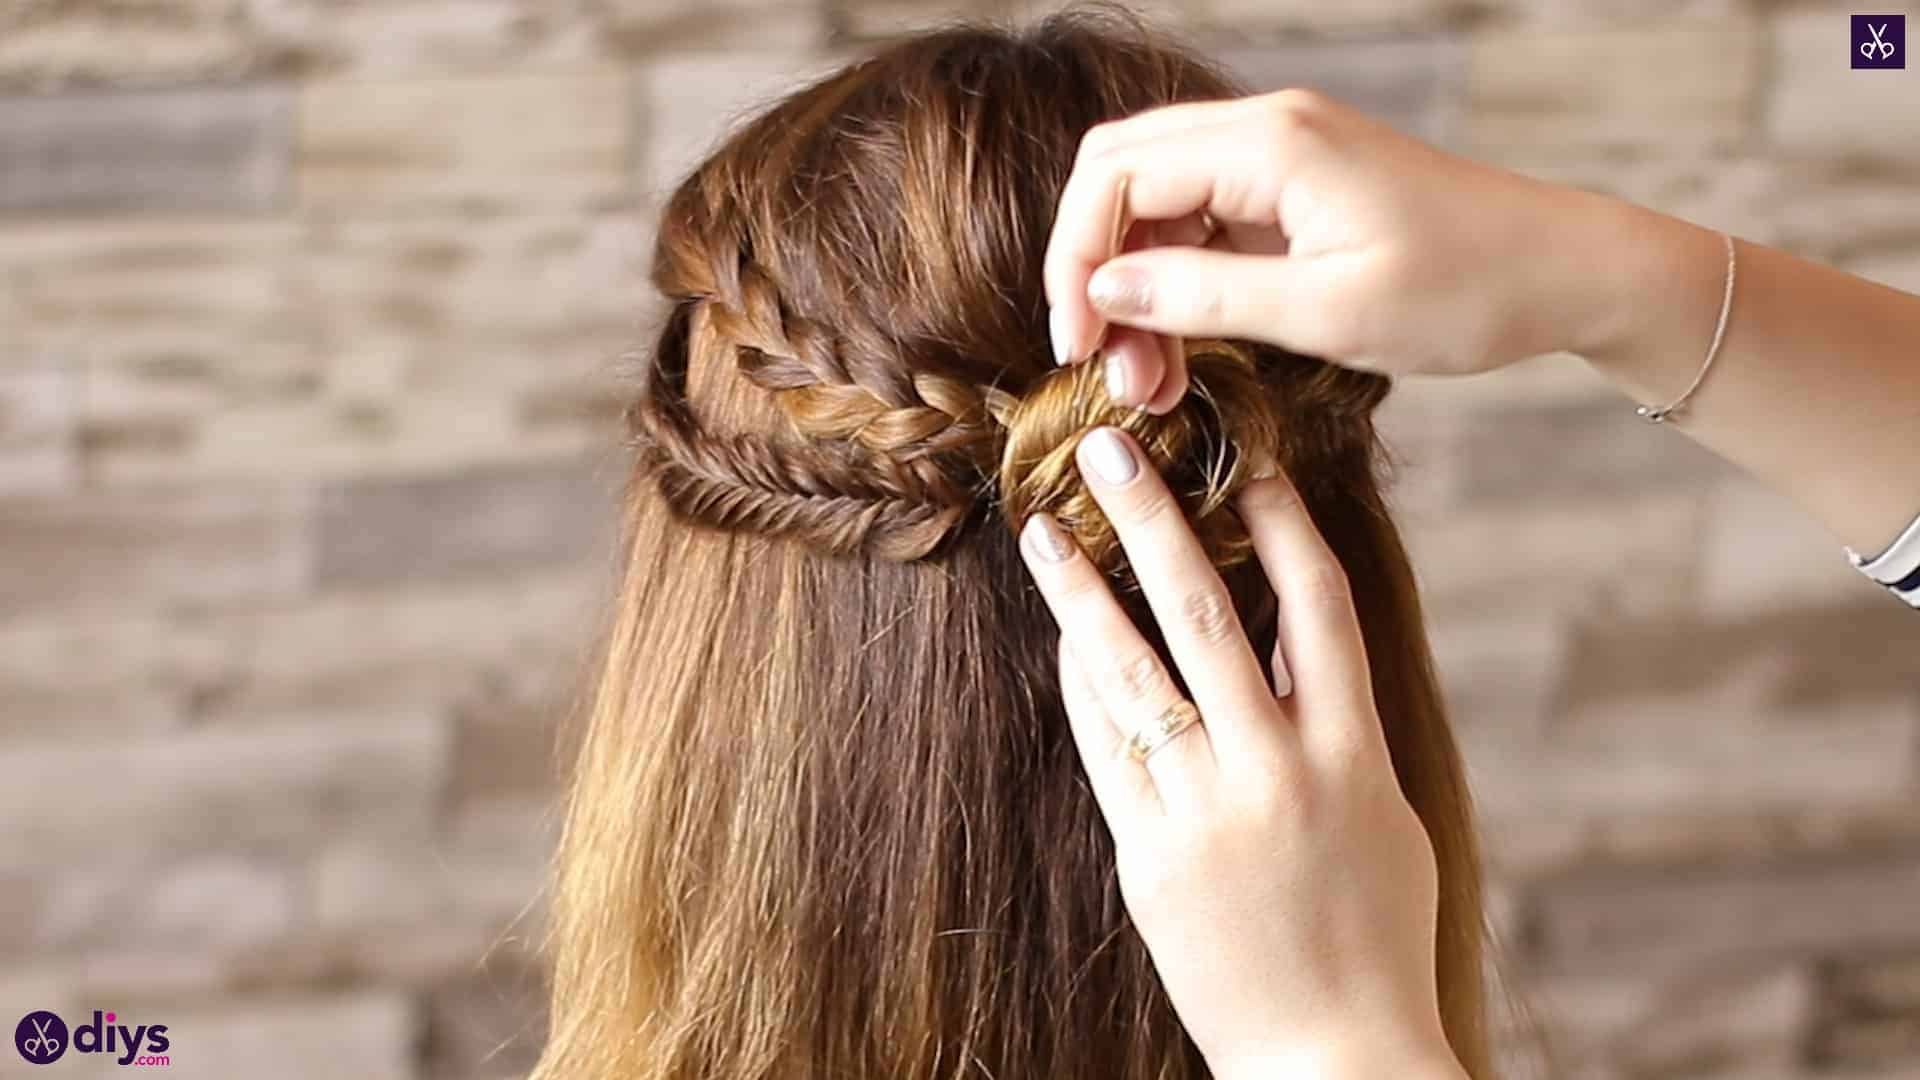
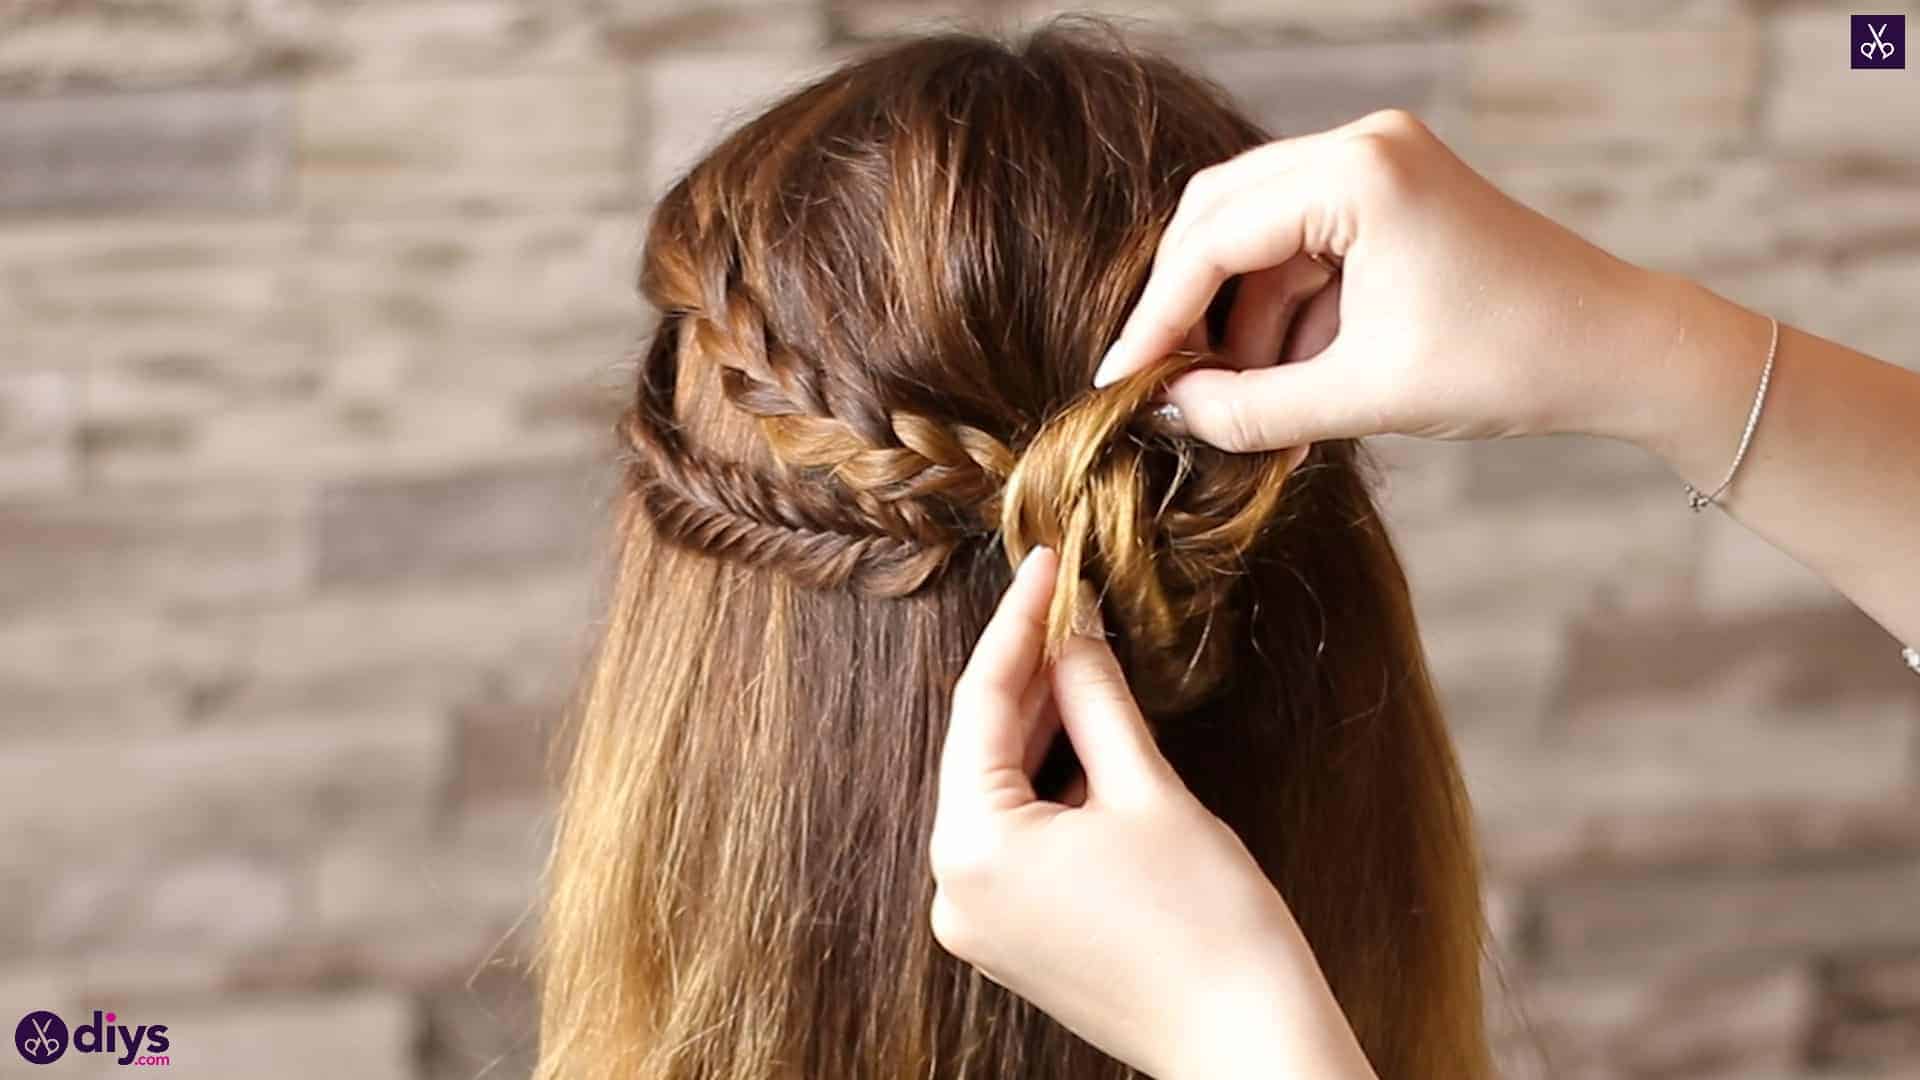
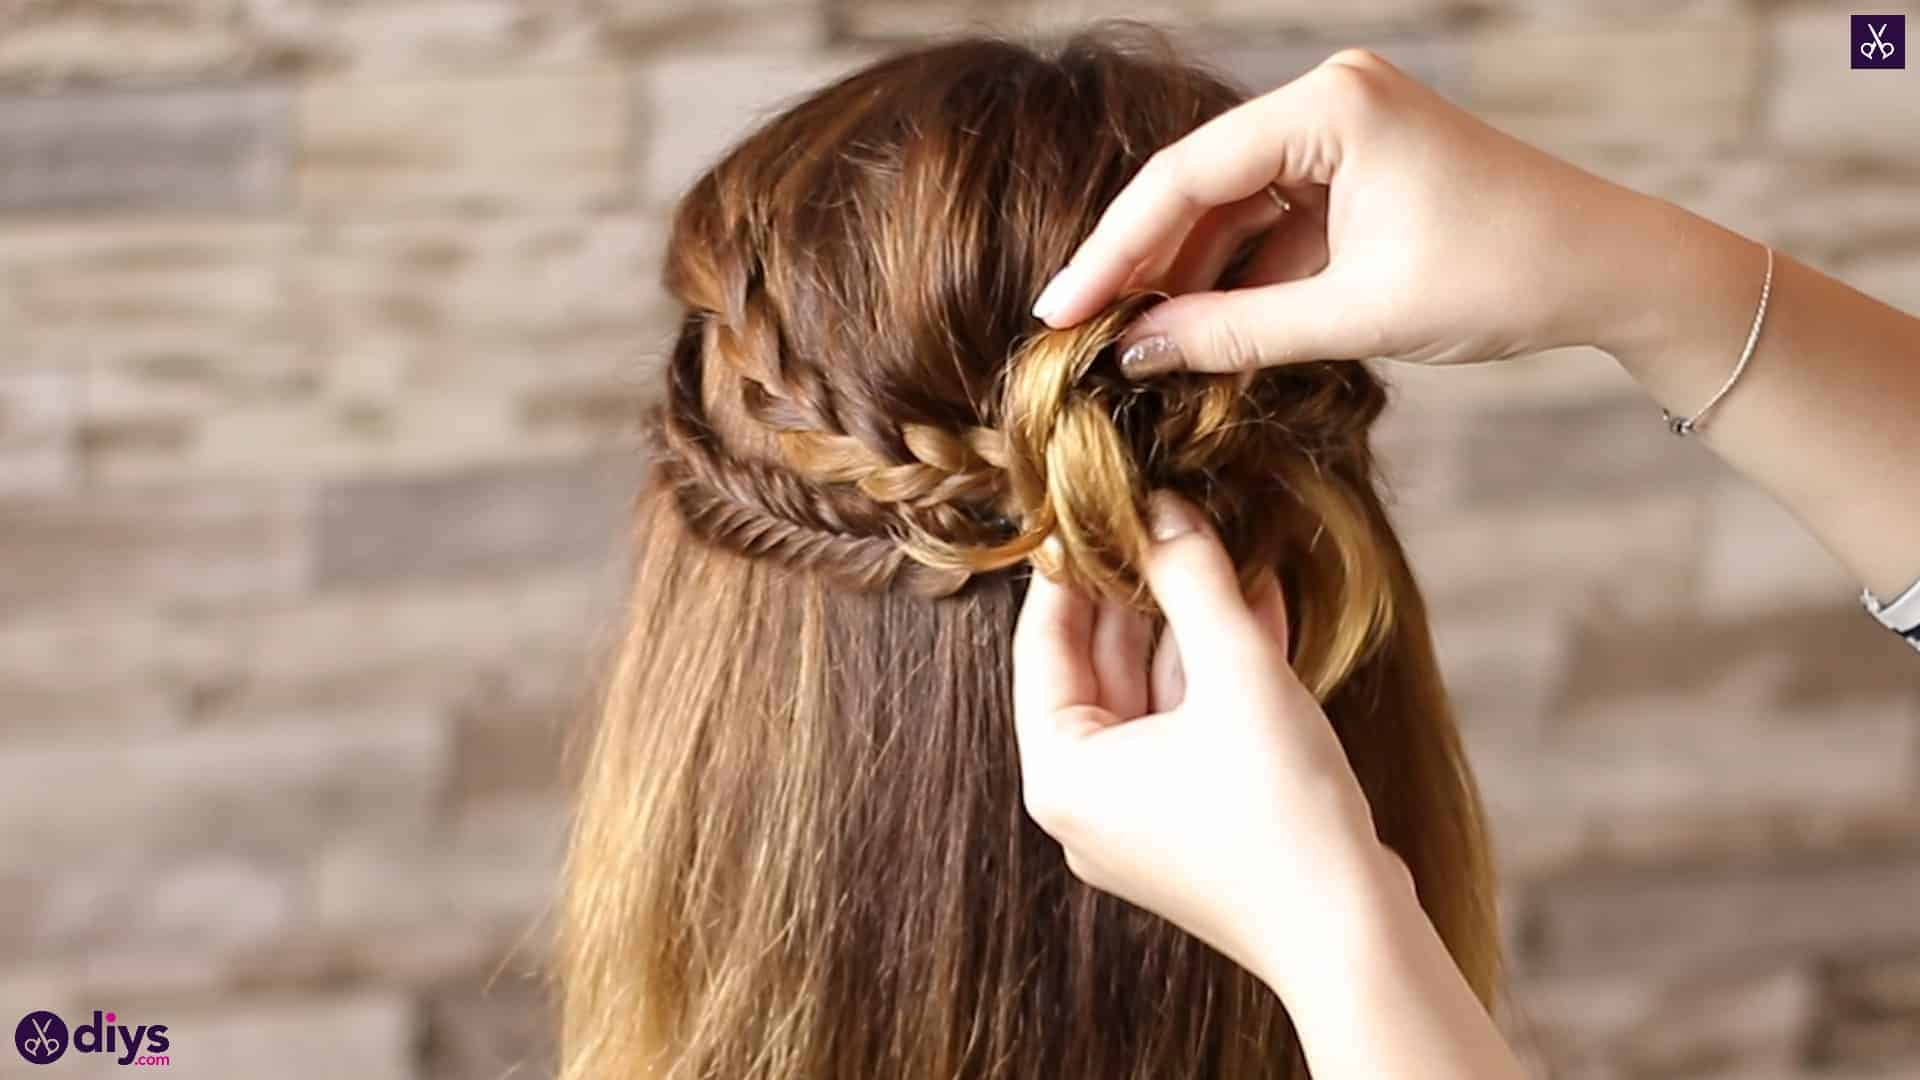
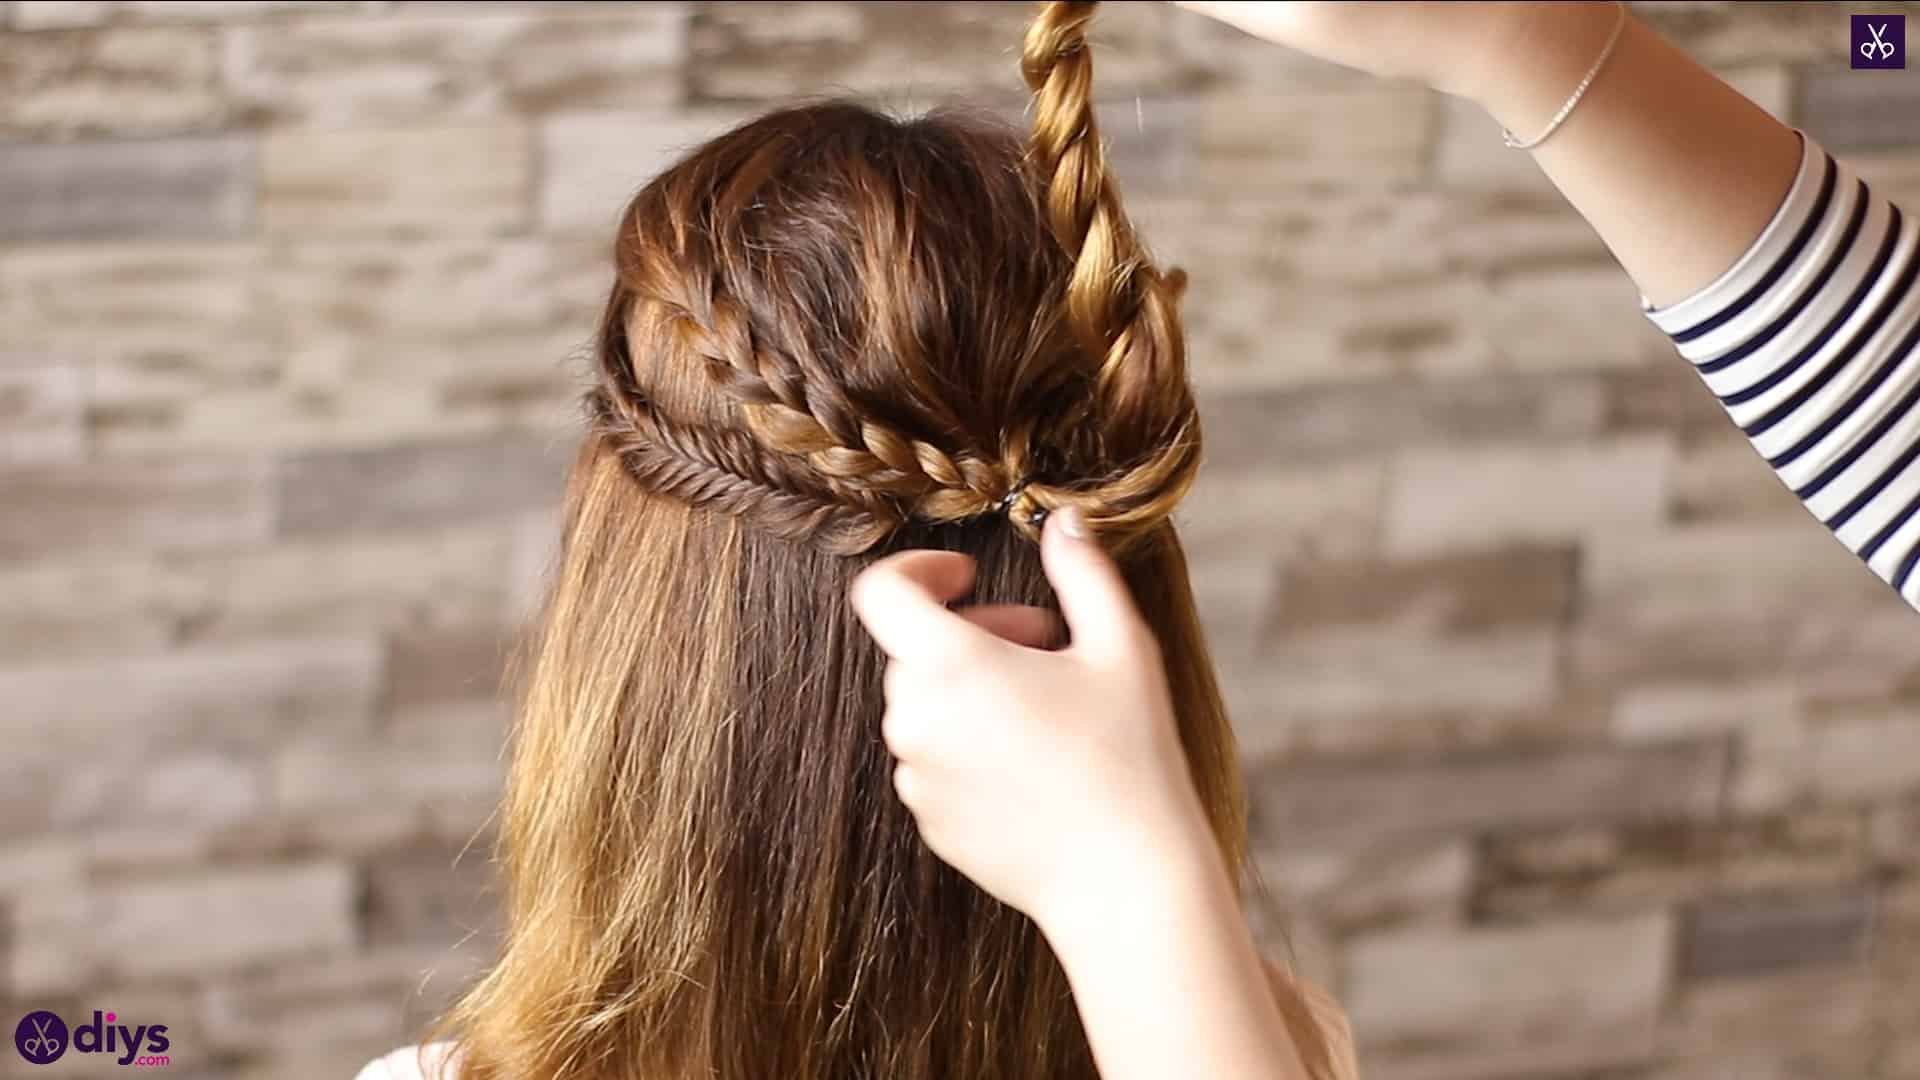
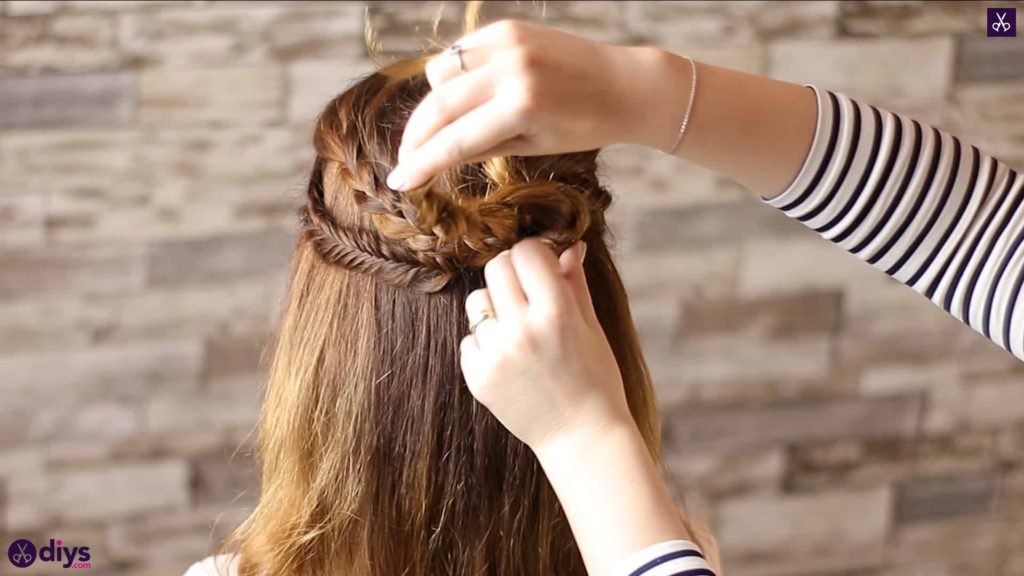
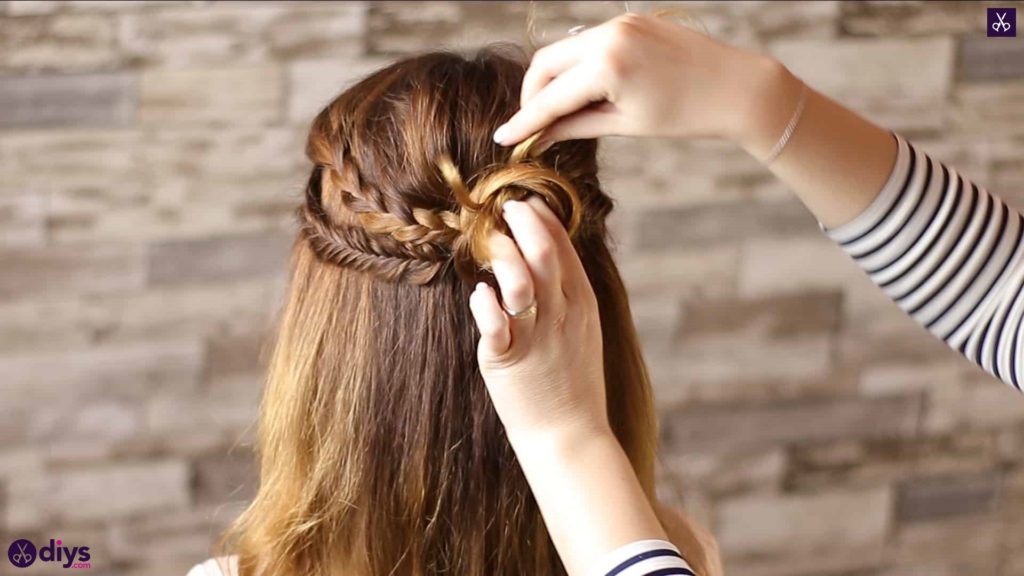
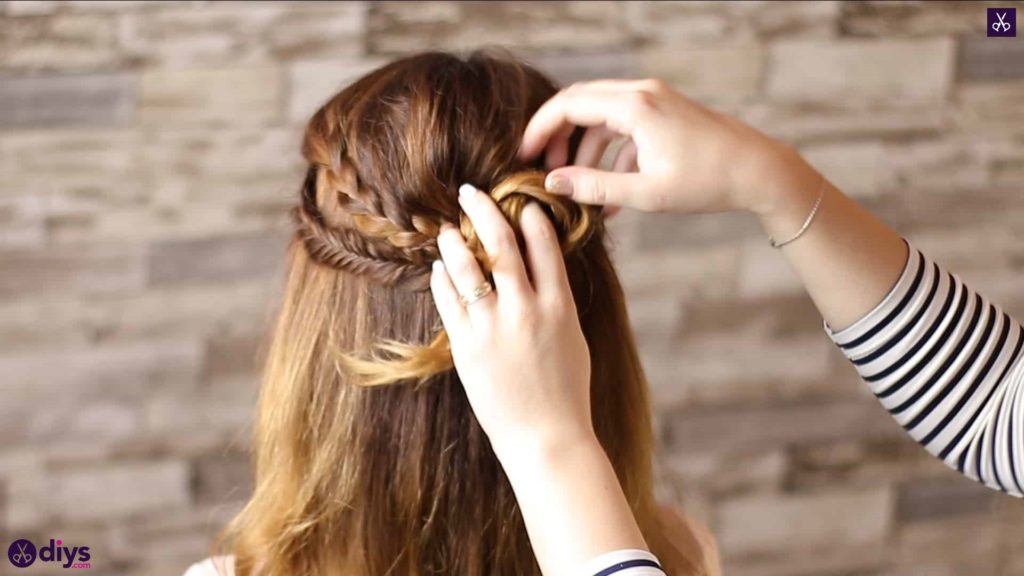
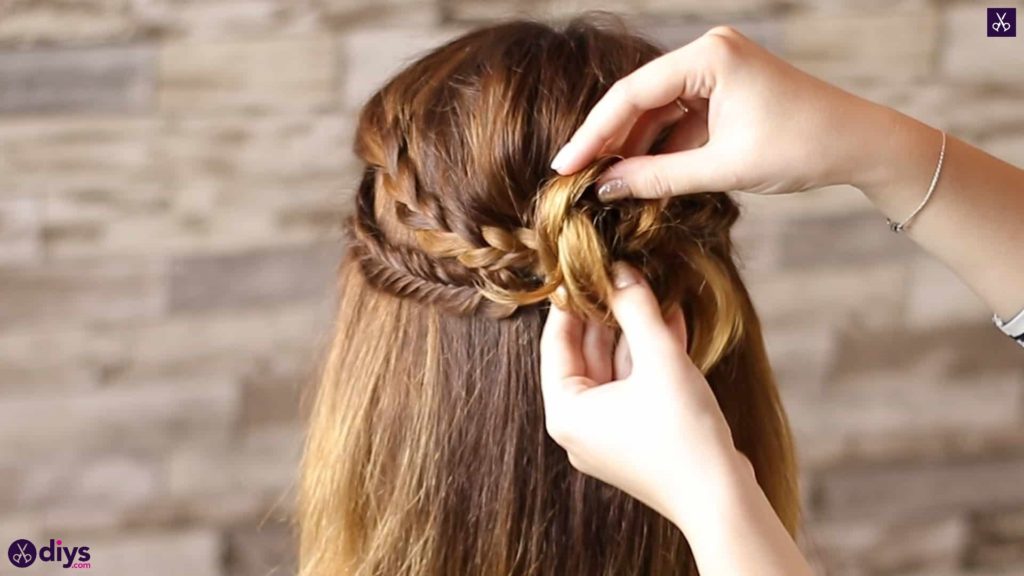
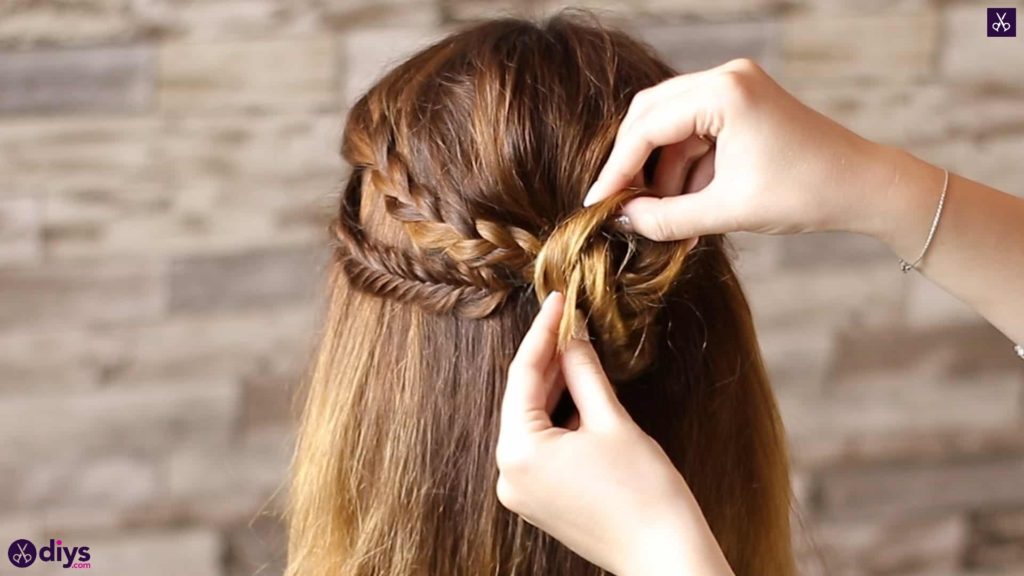
Take your gathered ponytail and split it into two sections, one in each hand. Give the section in your right hand a twist to the right and then pass it over the other section into your left hand, taking that second untwisted section into your right hand from underneath. Then give that section a twist to the right and pass it over the other just like before. Repeat this process to create a twist, wrapping the pieces all the way down to the ends. Fasten the ends in place with a small hair elastic. Feel free to loosen the woven pieces again like you did before to give the twist a little more volume.
Step 7: twist and tuck
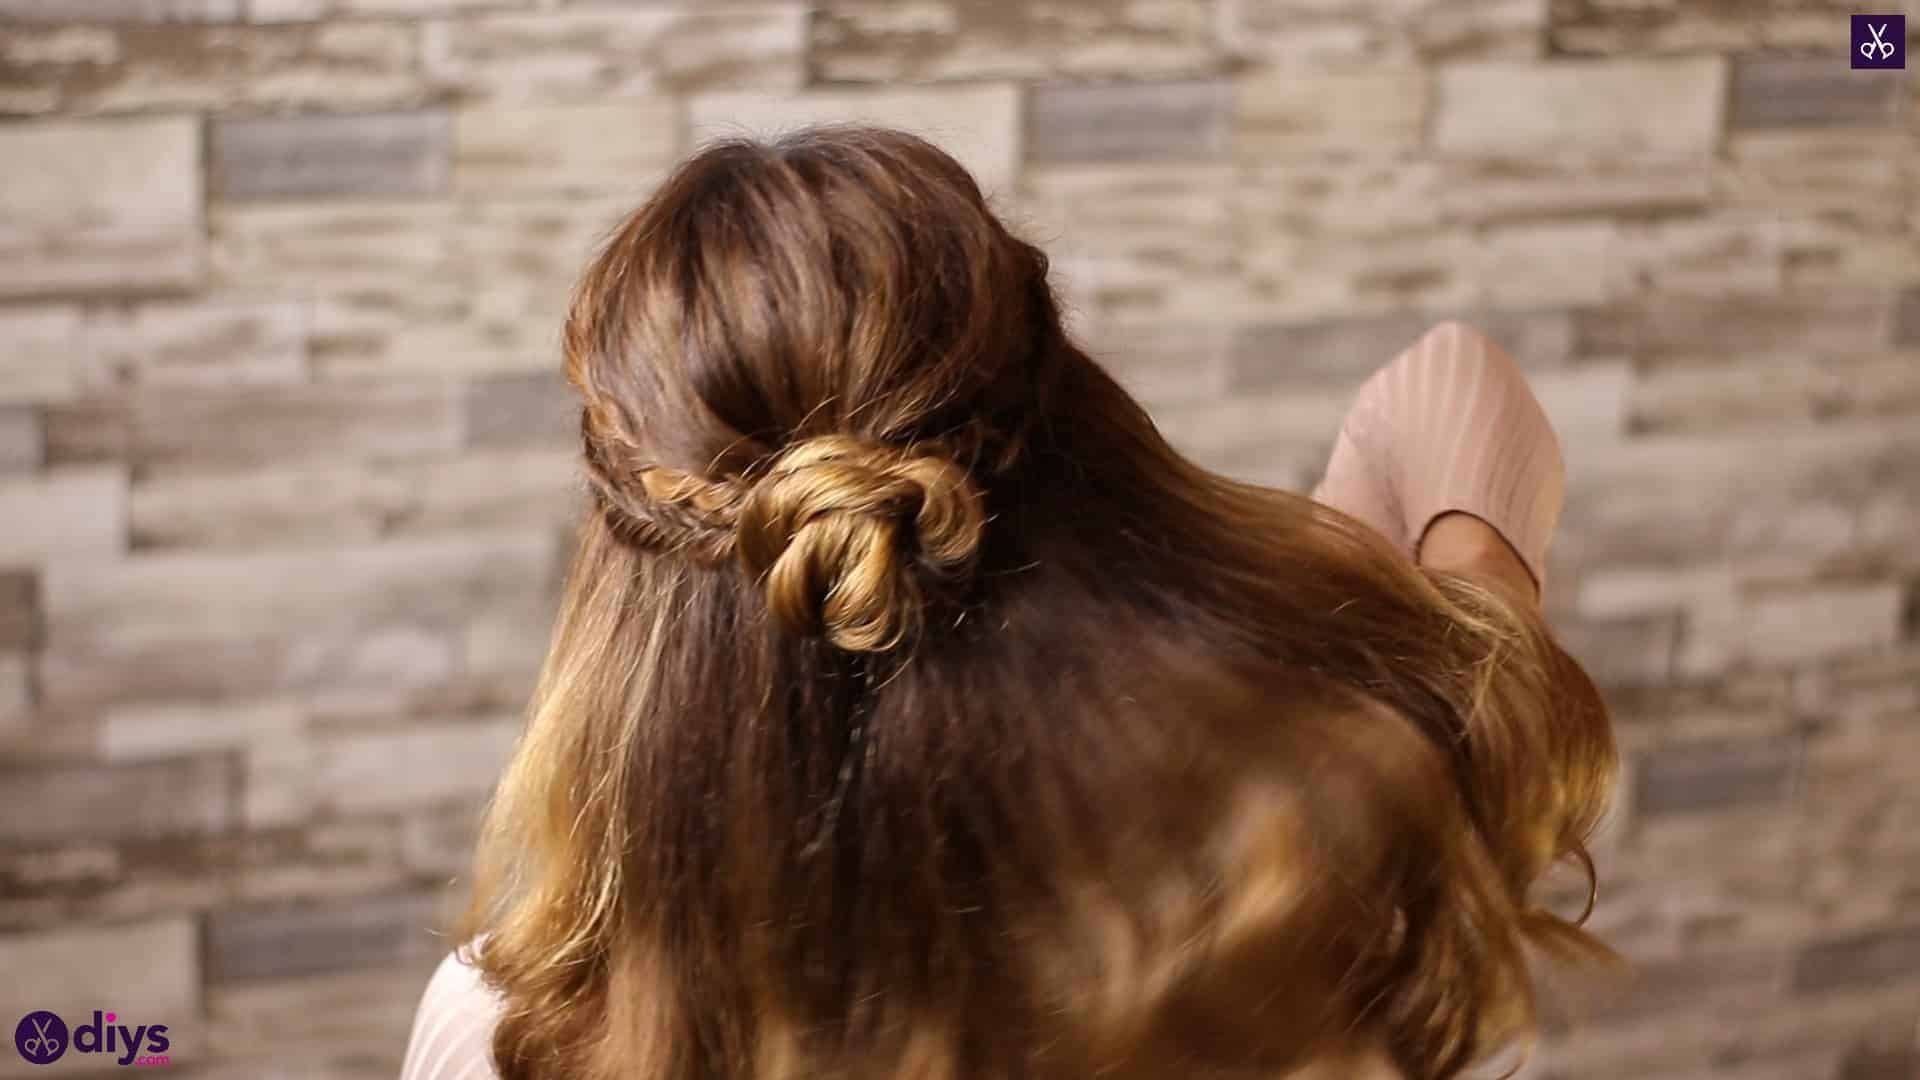
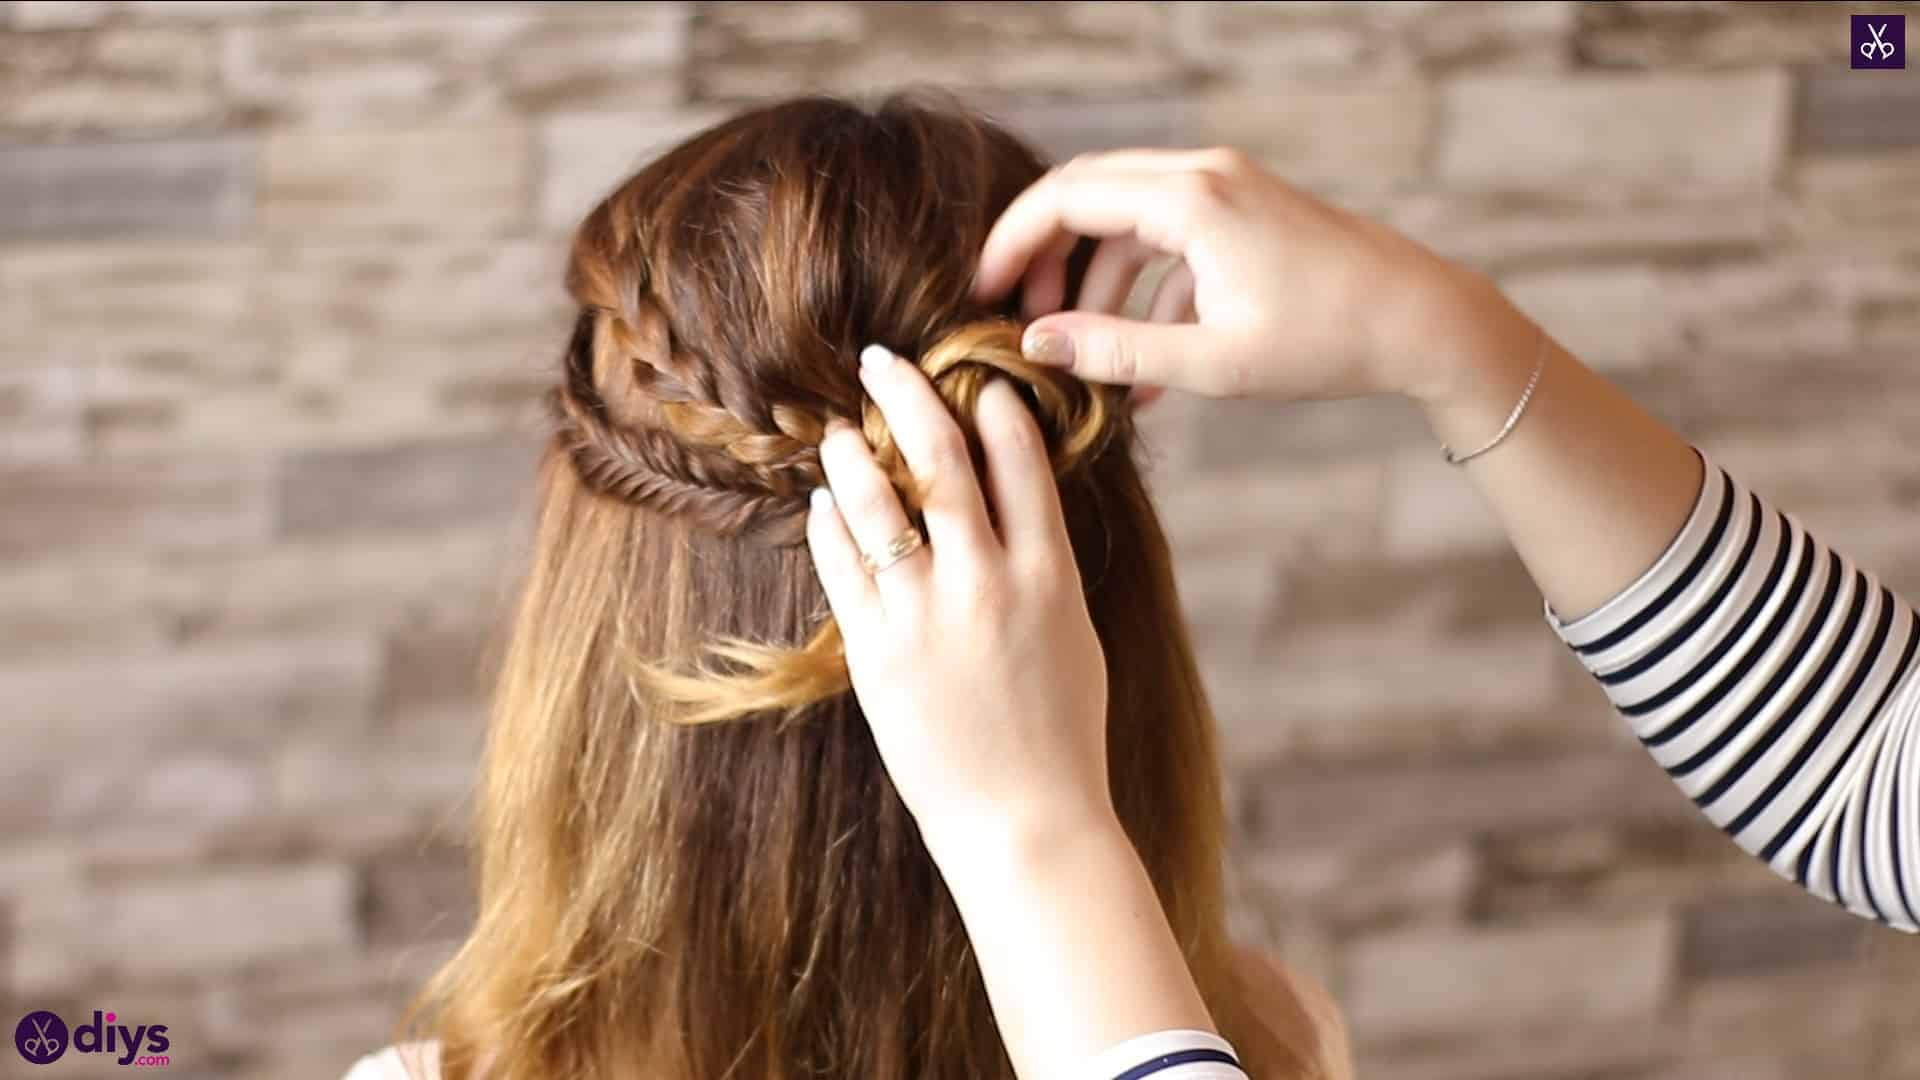
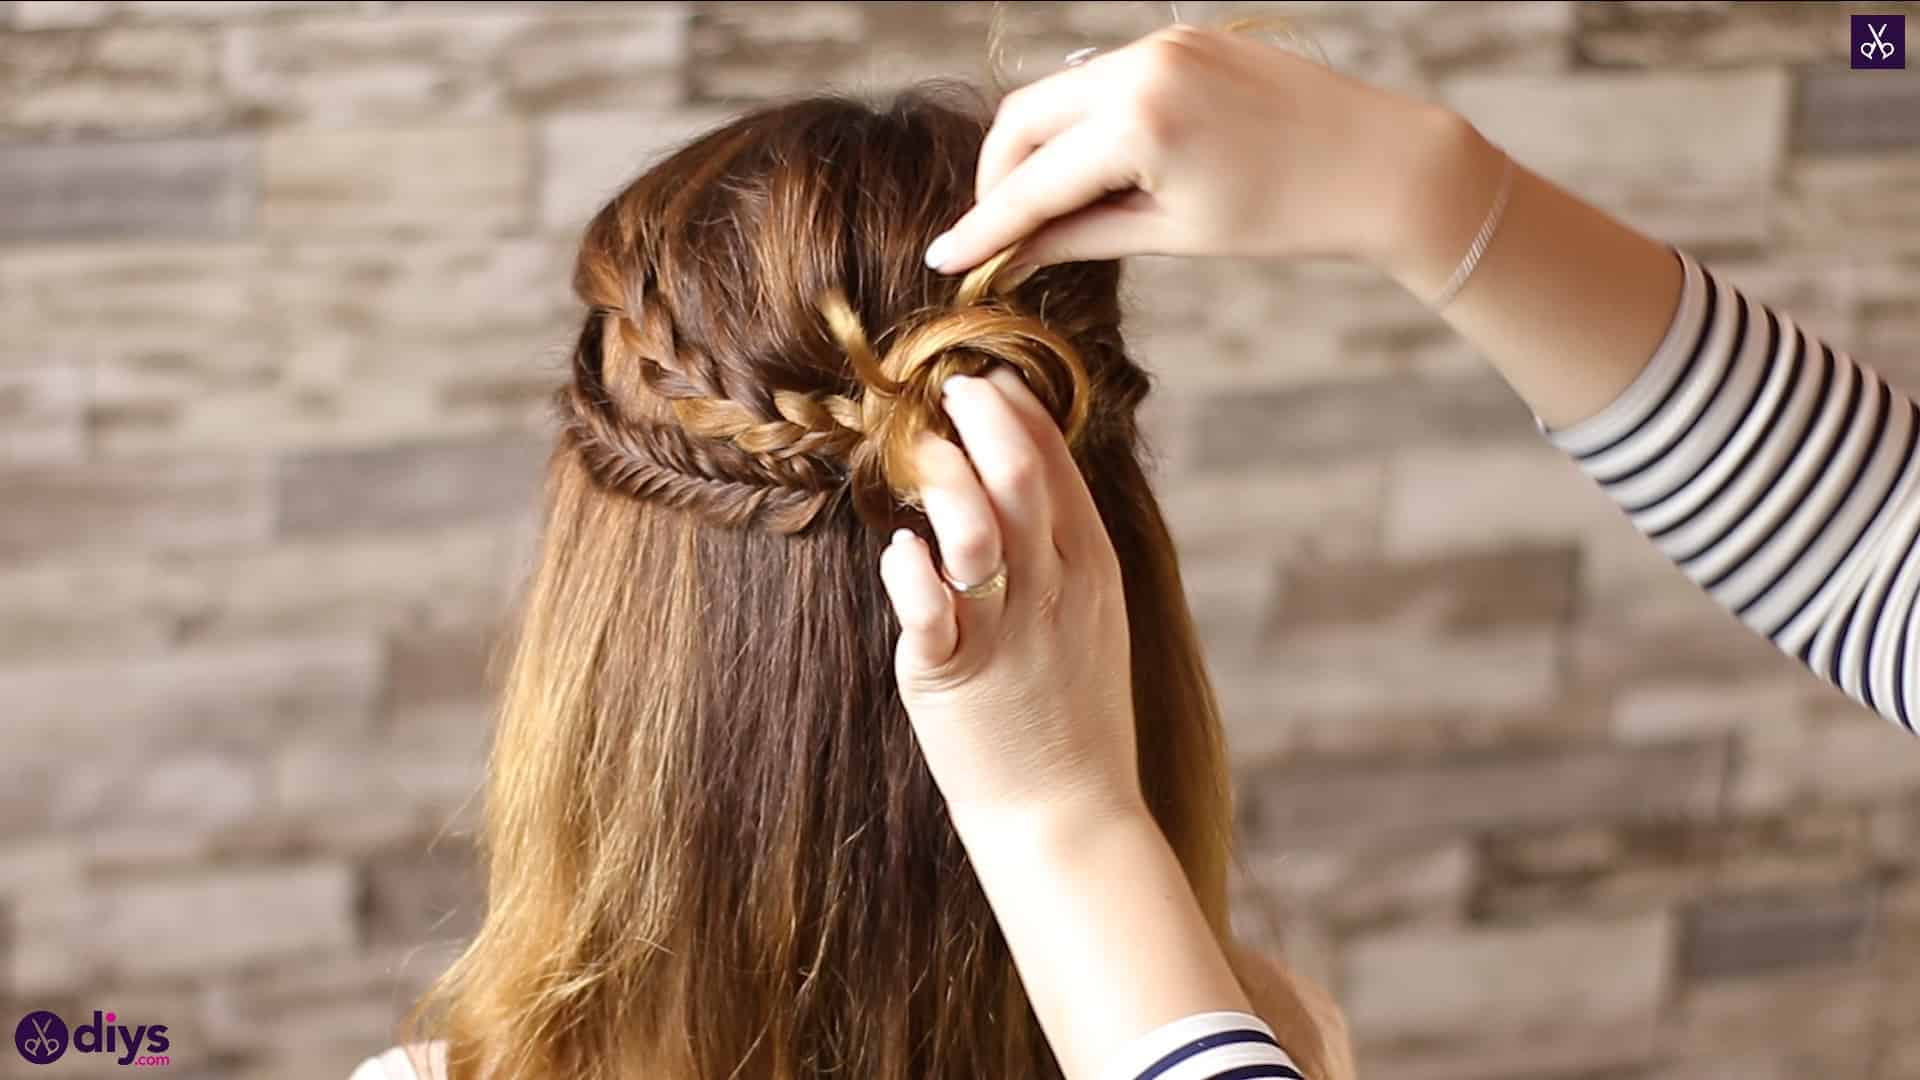
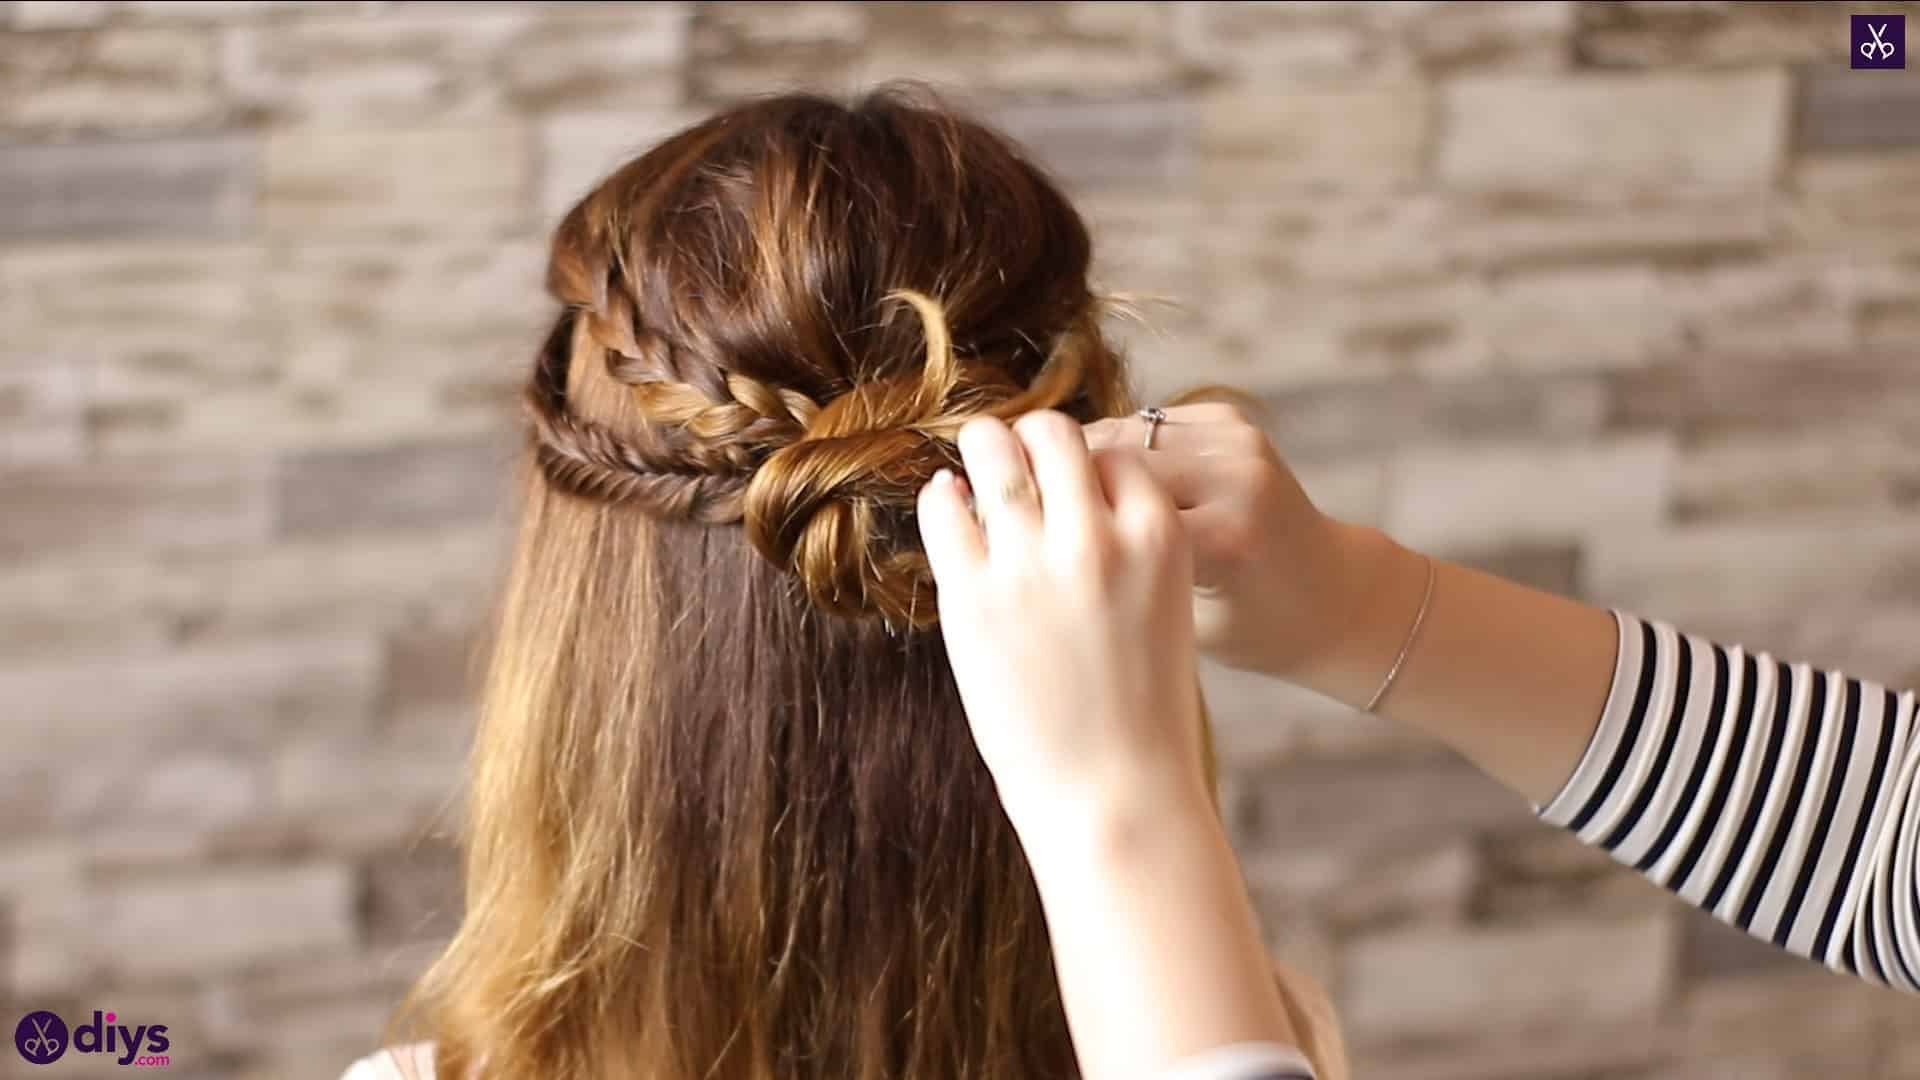
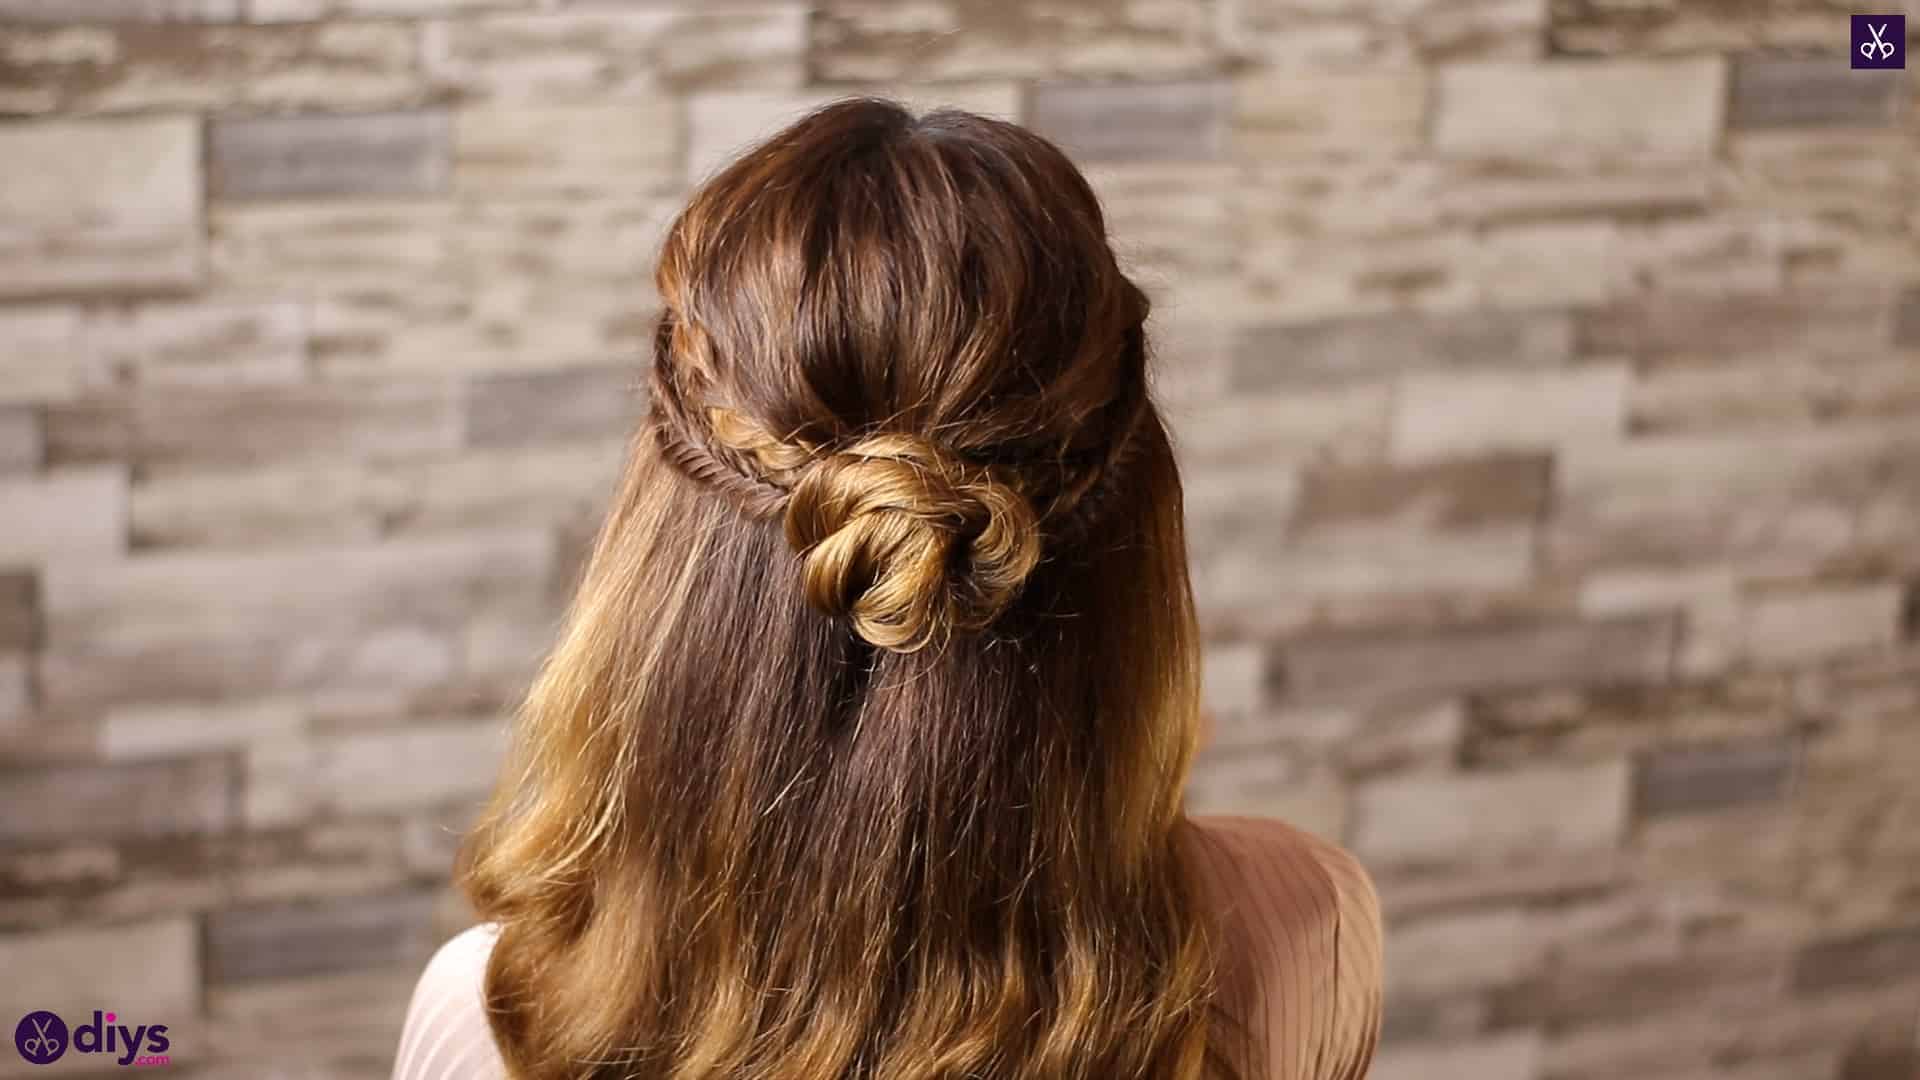
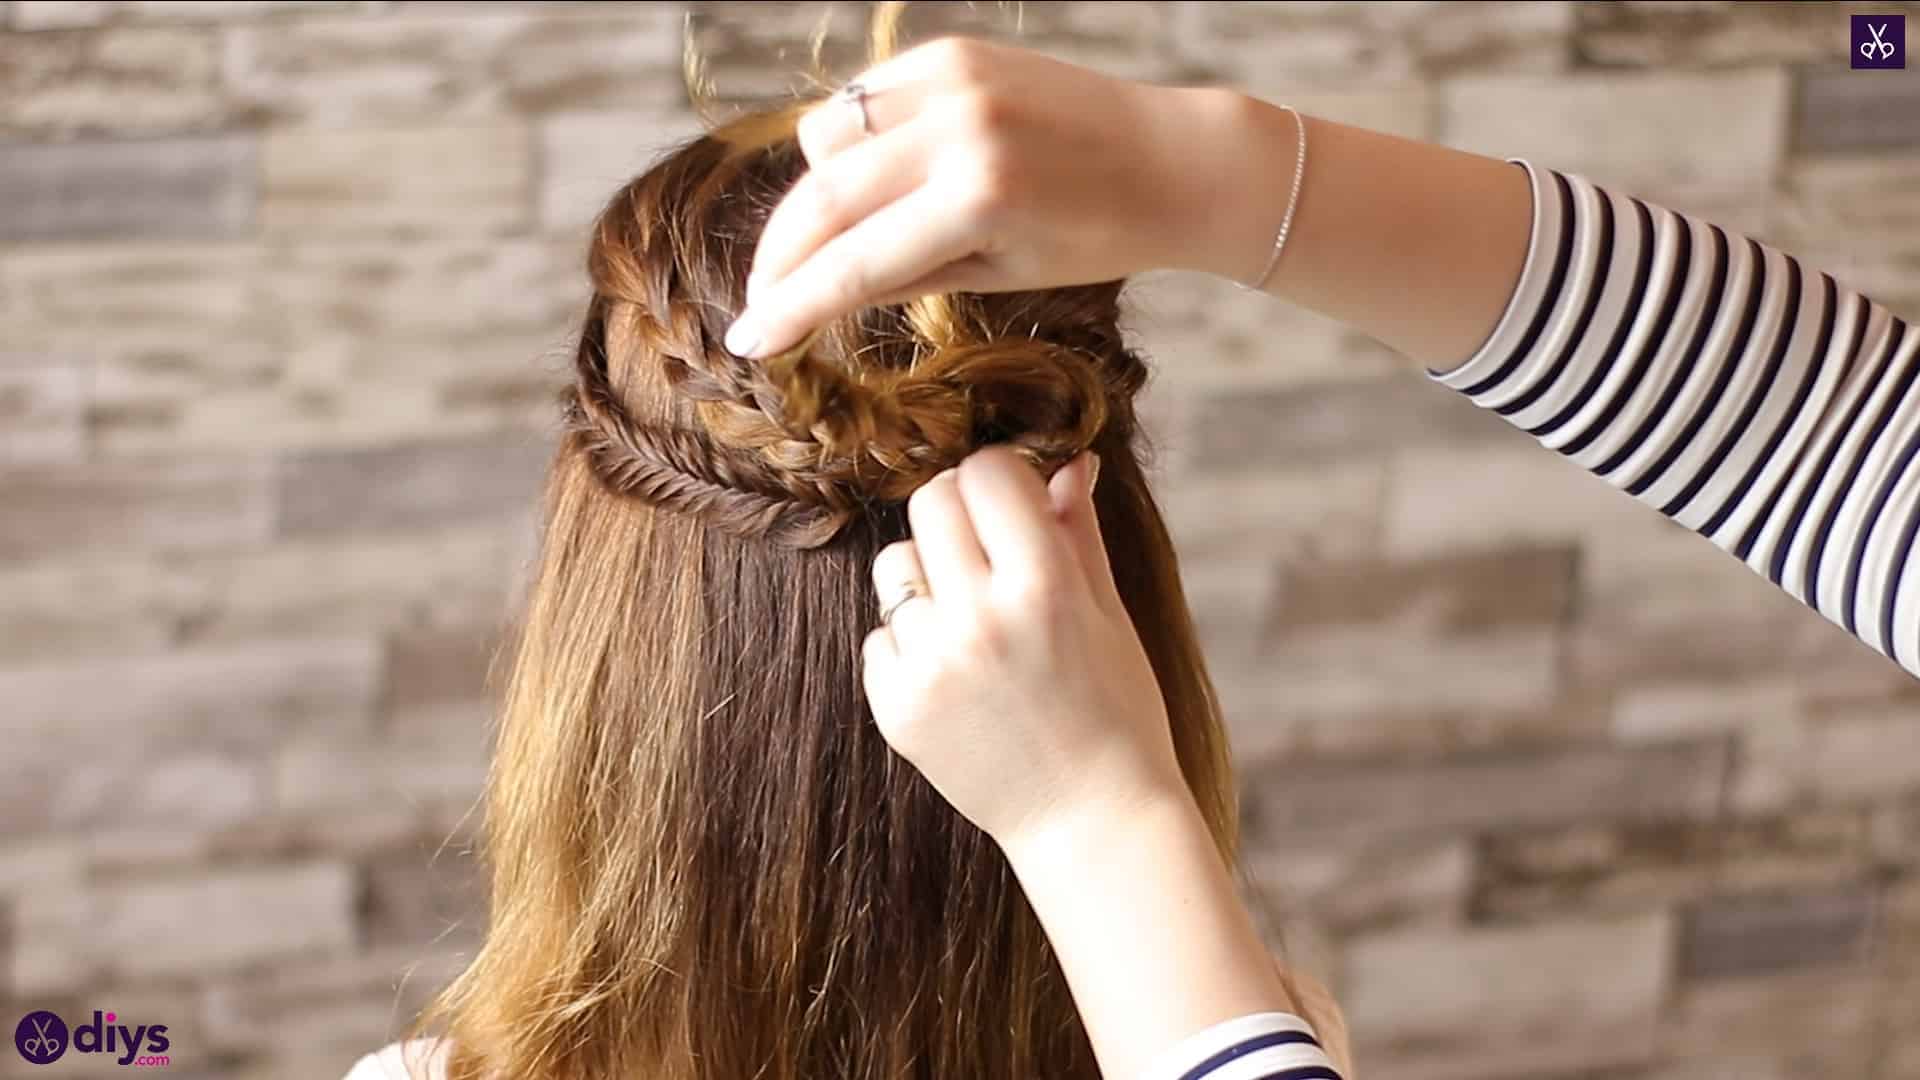
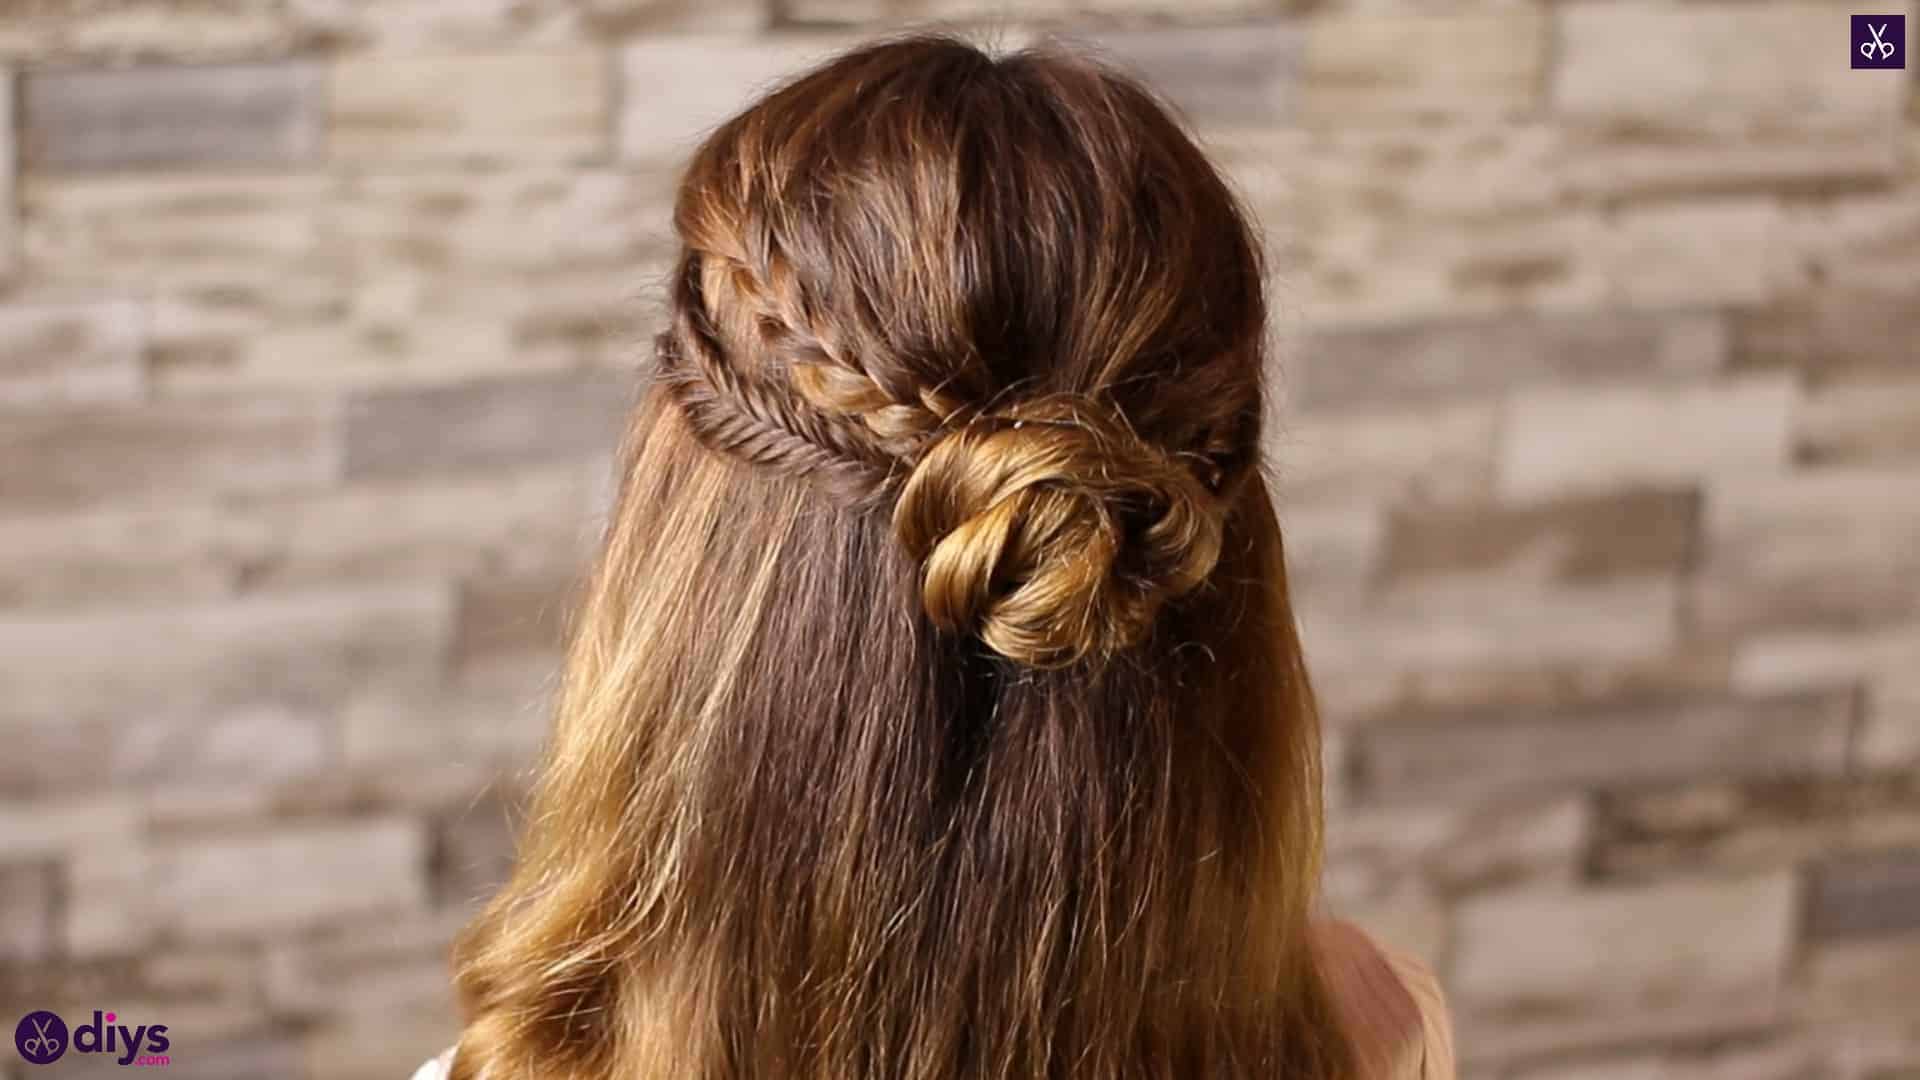
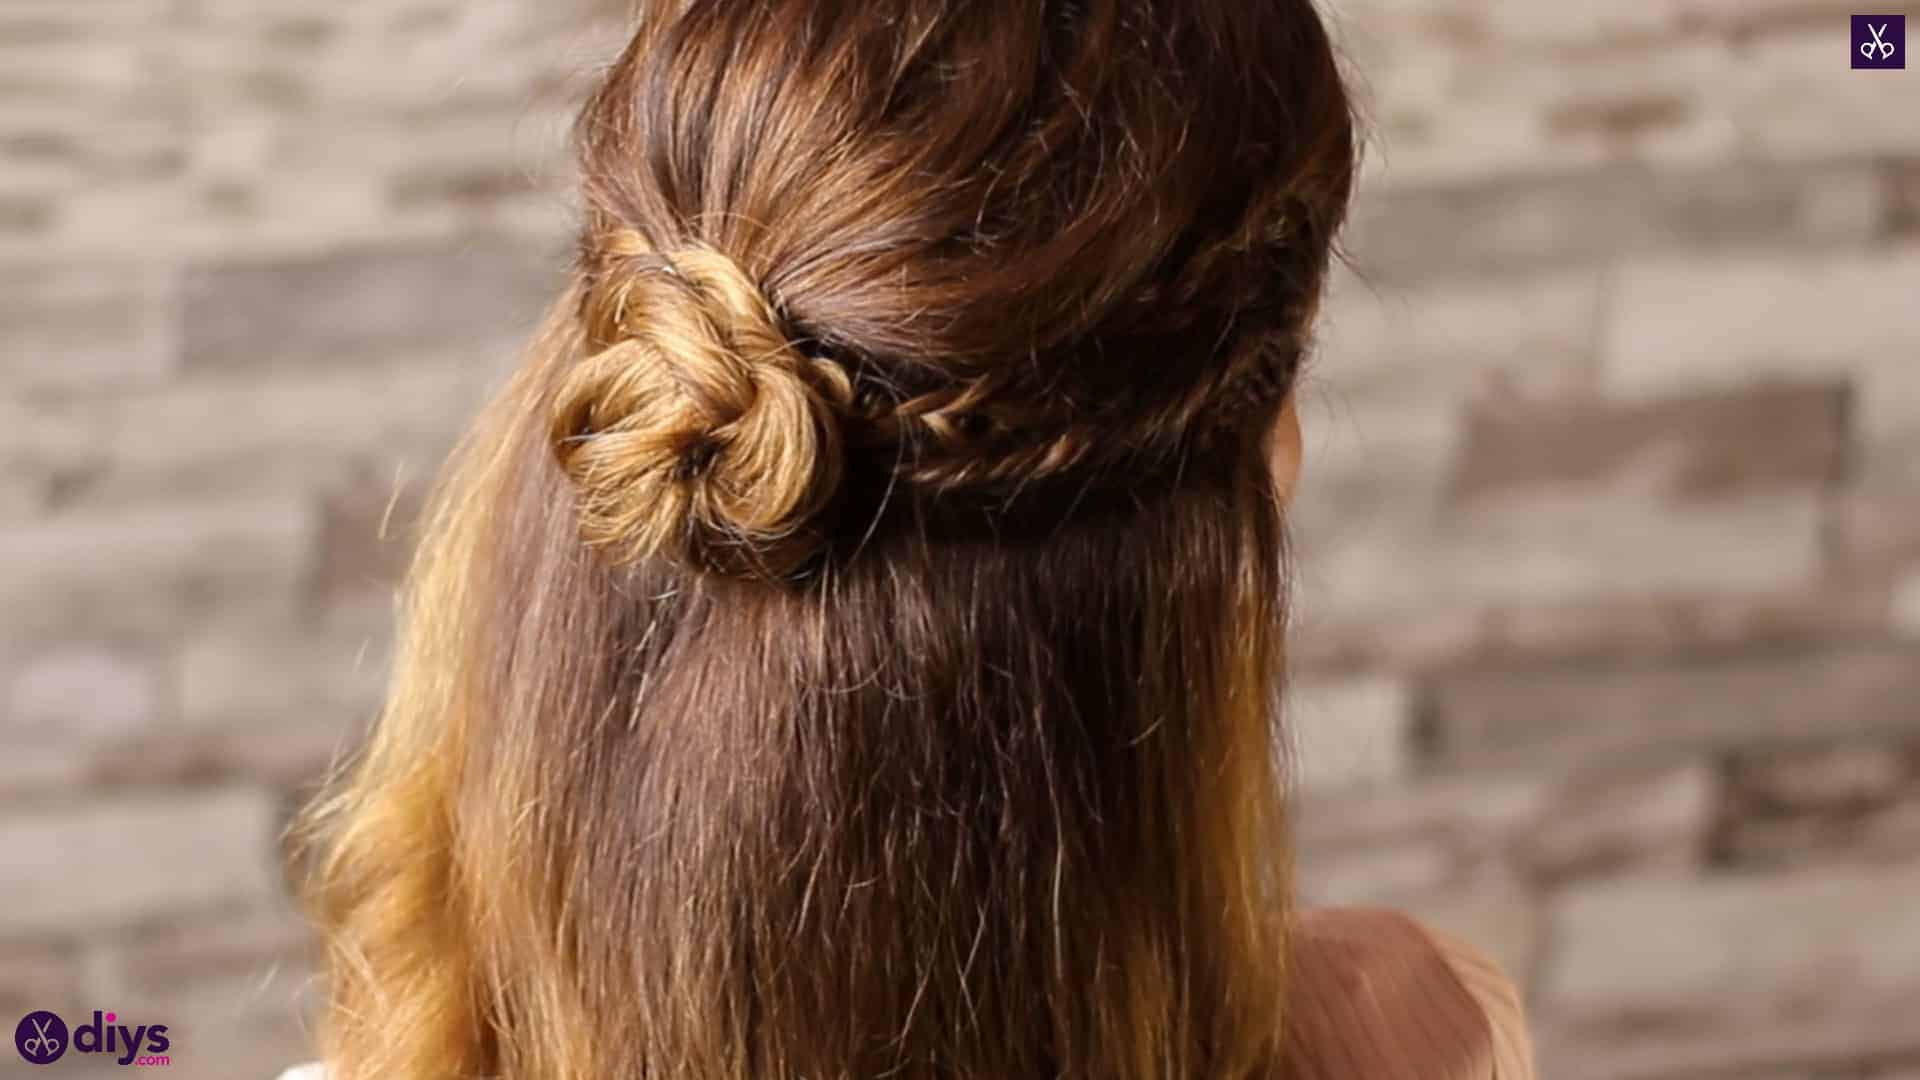
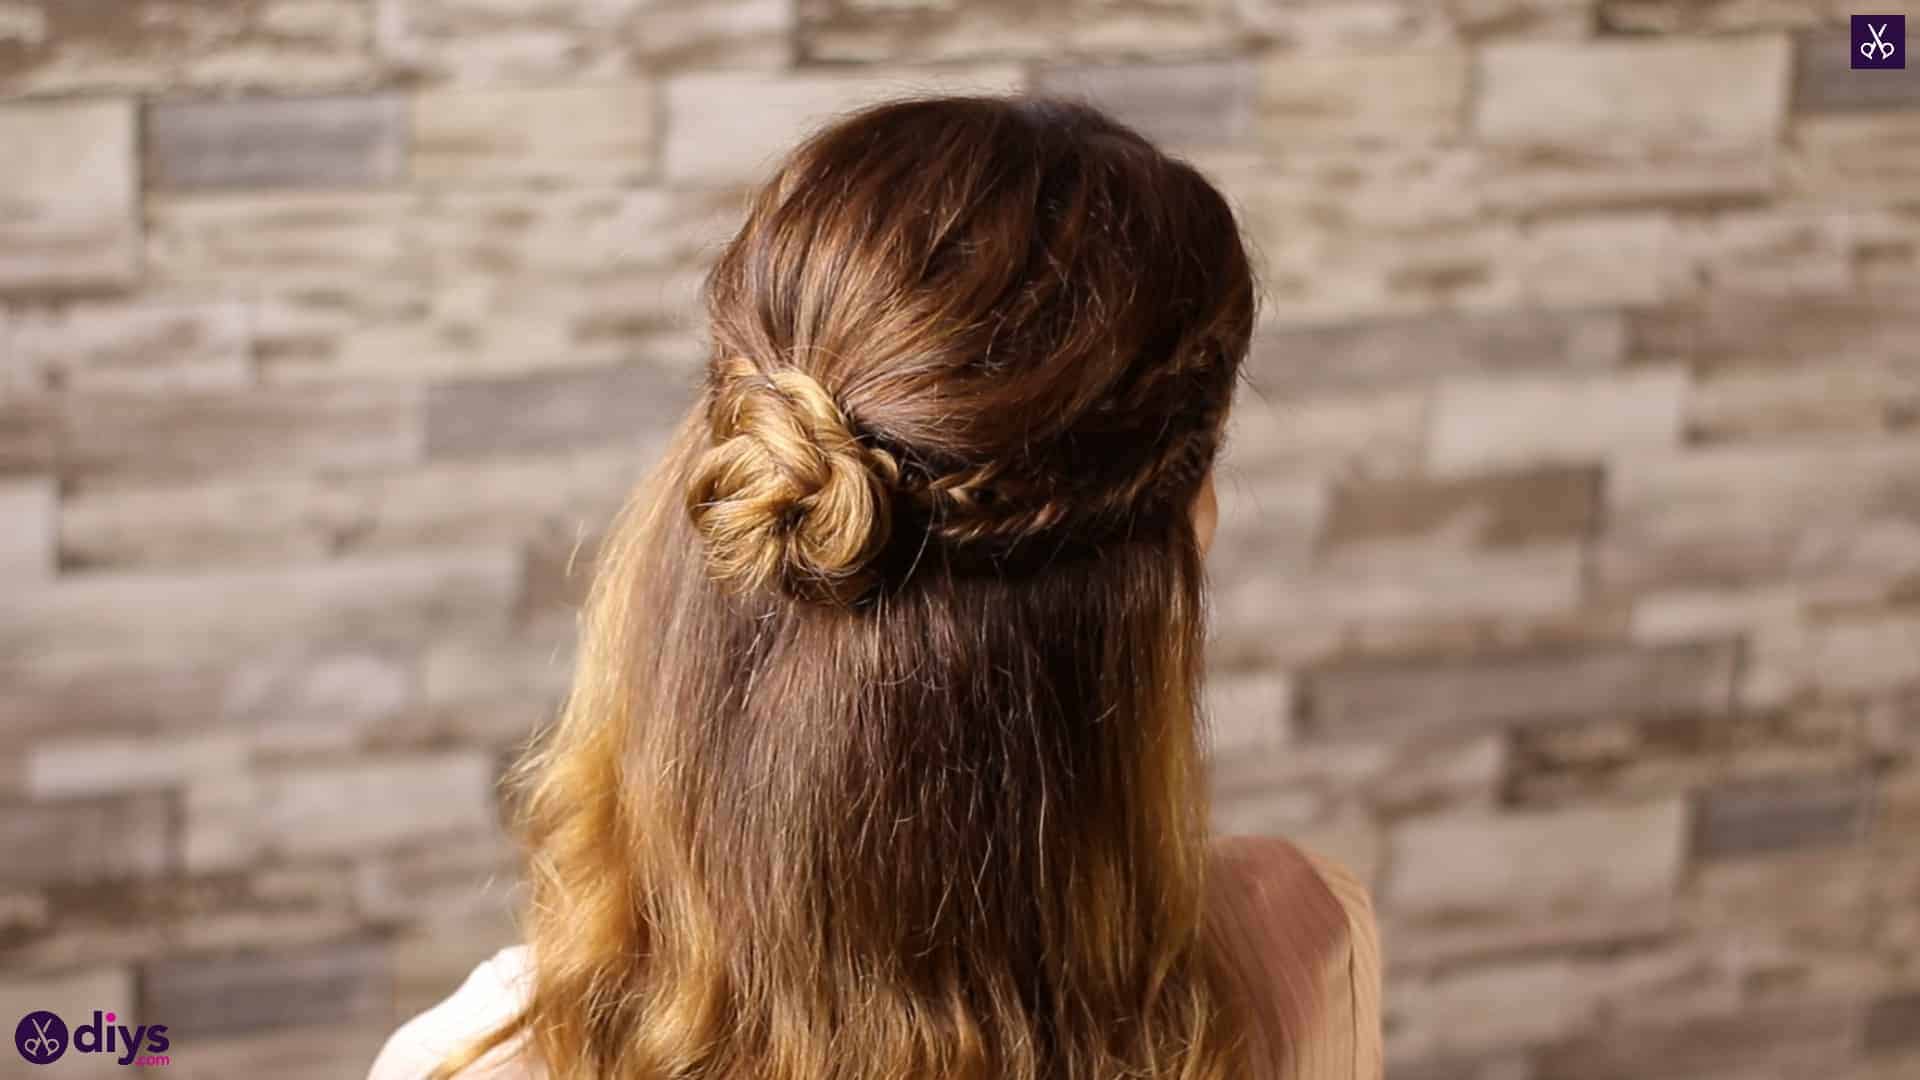
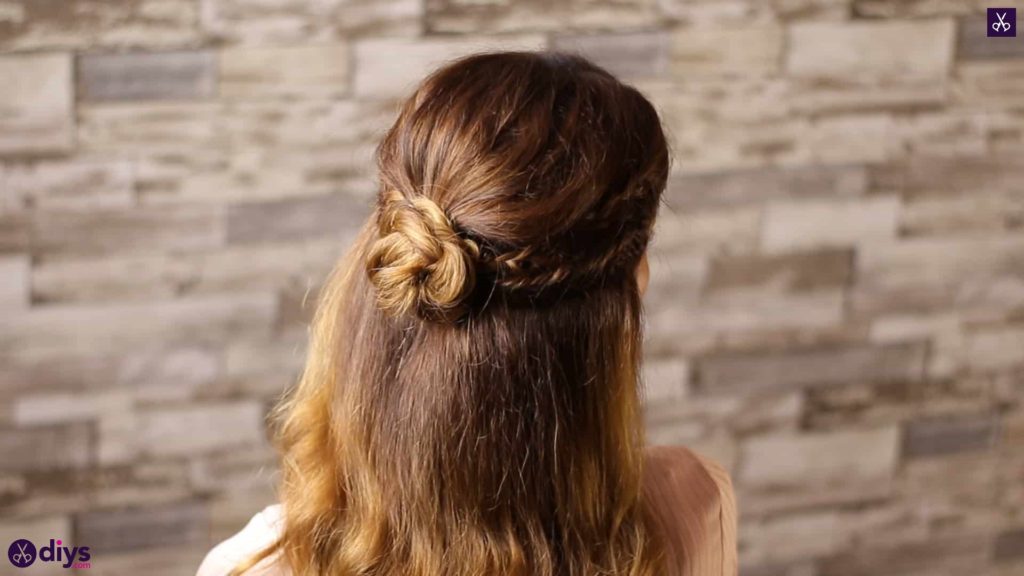
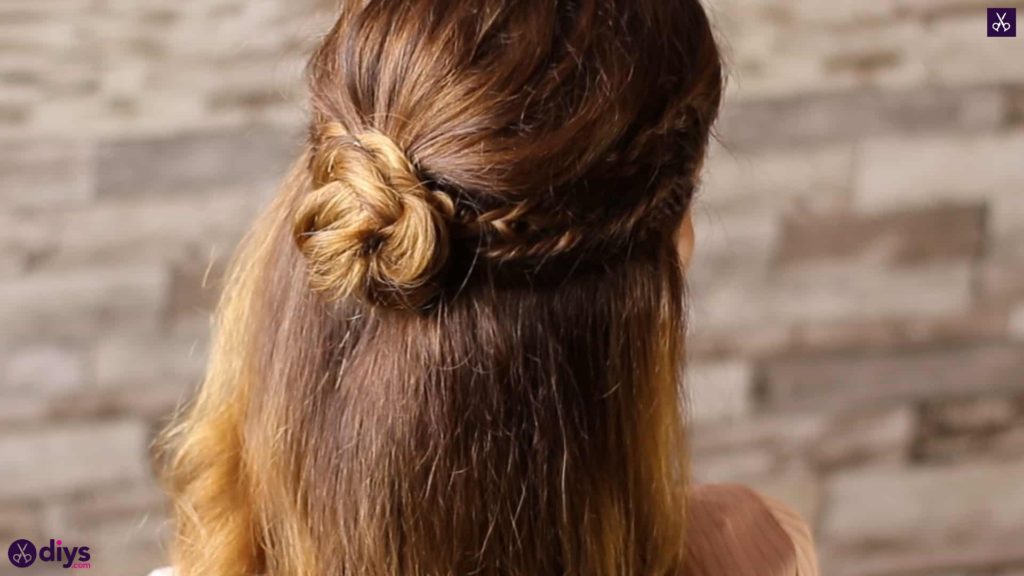
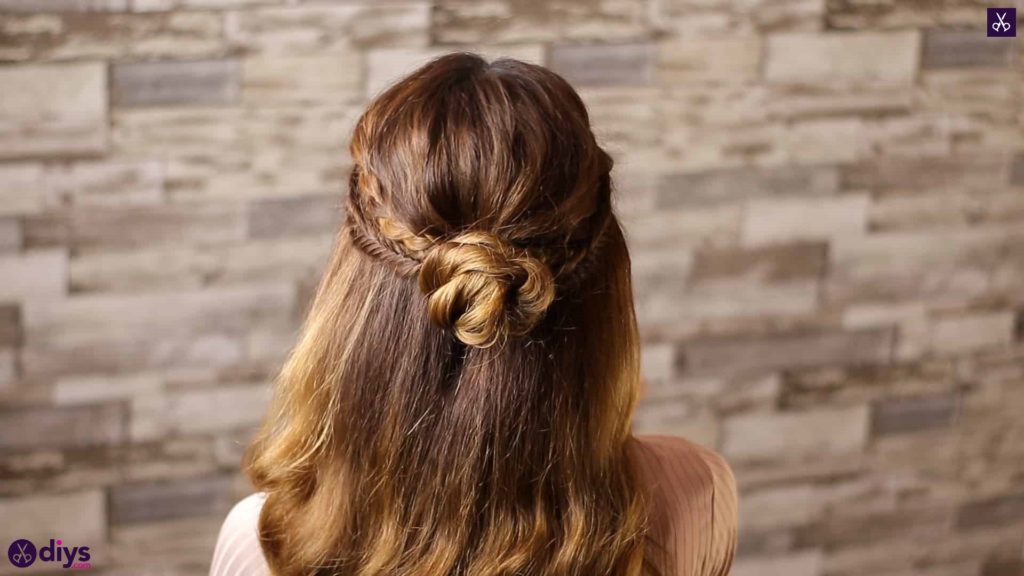
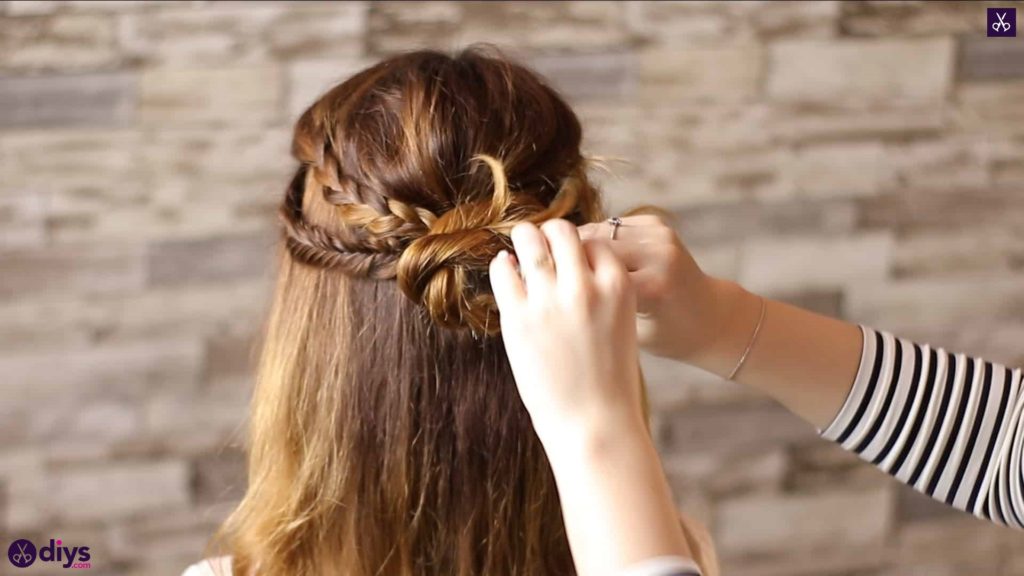
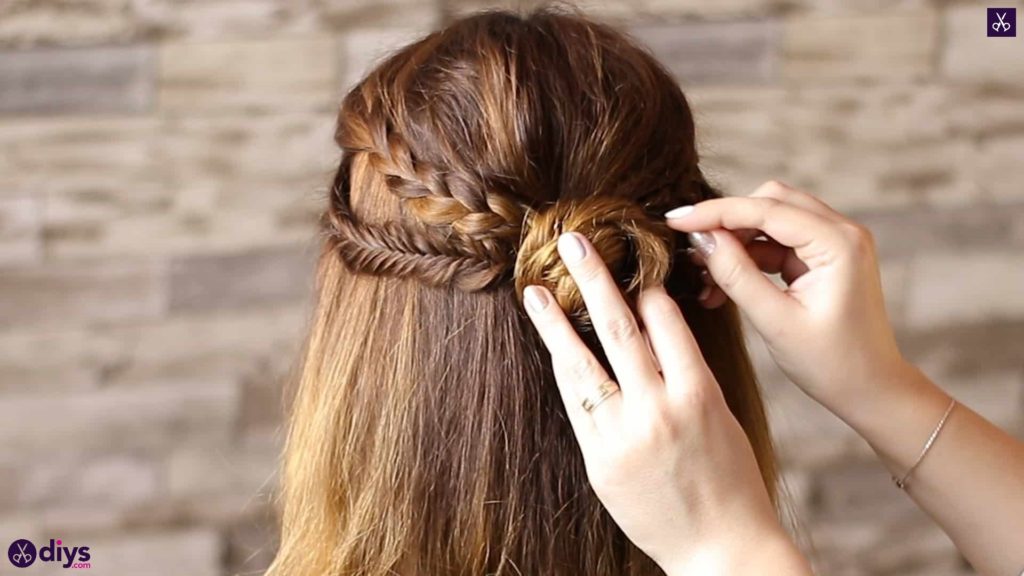
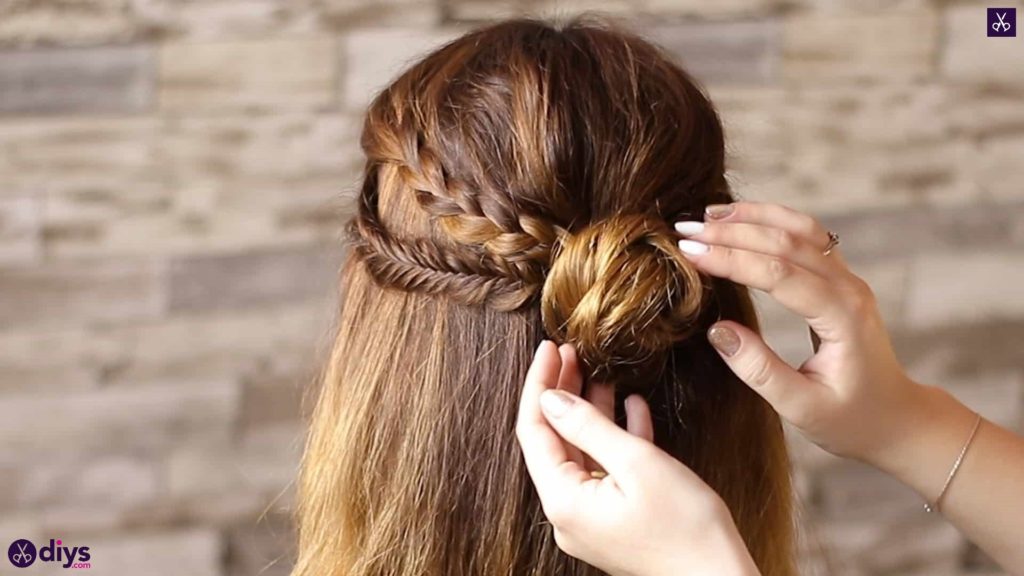
Take the twist by the end and curl it around and upwards to the right. Start spiralling the twist around itself to create a bun, tucking the end under. Hold the bun in place and insert pins around the edges to jeep the bun in place and wrapped properly. Adjust the hair on the twist and around the bun as needed.
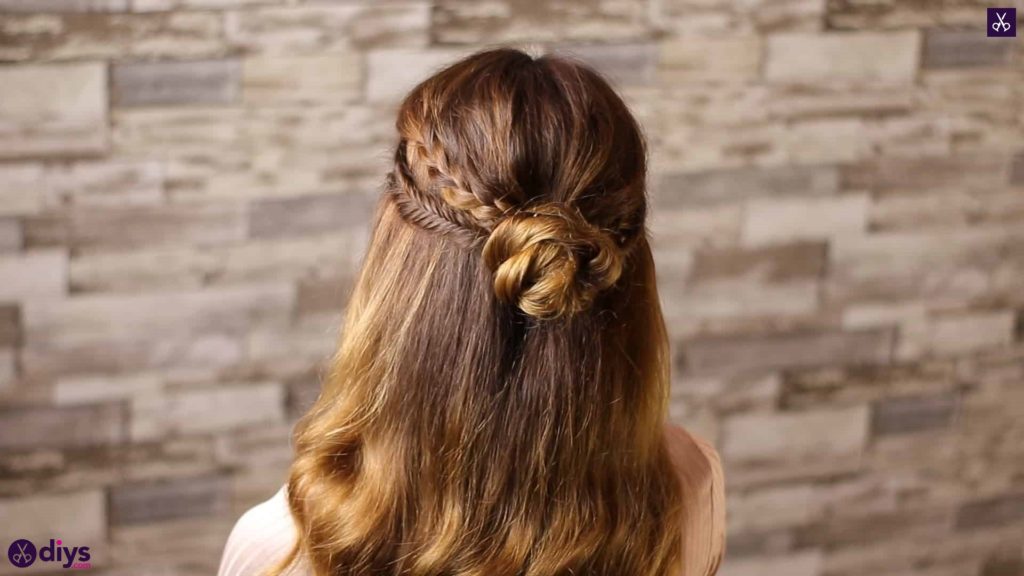
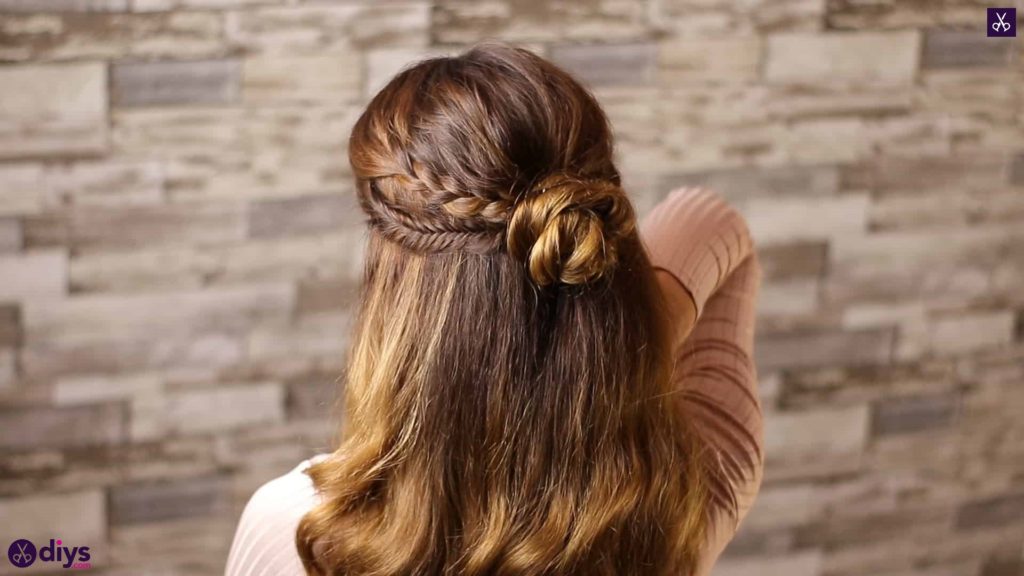
Overall , the style reminds me a little bit of a rose, which I think is why I like it so much for spring! Just in case you’d like to try any of these styles out for yourself, here’s a fantastic tutorial video to help you!
