Holiday Gift DIY – Glass Pastry Jars
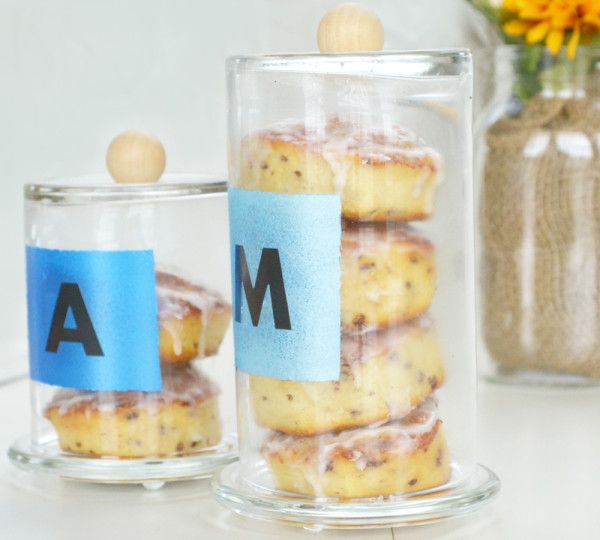
This is one of my favorite crafts to do for the holidays. Not only because it’s another simple craft, but because I love to bake all kinds of pastries to give to family and friends. These cute, miniature glass domes are created from very inexpensive vases purchased from my local dollar store. One of these jars will probably cost around 5 dollars- and that works for me with all the holiday spending coming up. Here’s how you can make them.
For this DIY, you’ll need:
- Clear, glass cylinder vases in various heights
- Glass pillar candle trays
- Wooden beads with a flat base
- E-6000 craft glue
- Painter’s tape
- Glass paint or multi-surface paint
- Sponge brush
- Small pastries!
The cylinder vases were purchased from my local dollar store. They come in various heights and widths, but you want to stick around 4-5 inches in diameter and 4-8 inches tall. The round, glass dishes for pillar candles were purchased from my local craft store. They should be found near the candle-making area. If you purchase the vases and the candle dish from two different stores, make sure you test the two out together before buying. The vase should be able to sit on top of the dish without sliding off. I found that a 4″ vase and a 4-5 inch round glass dish worked perfectly.
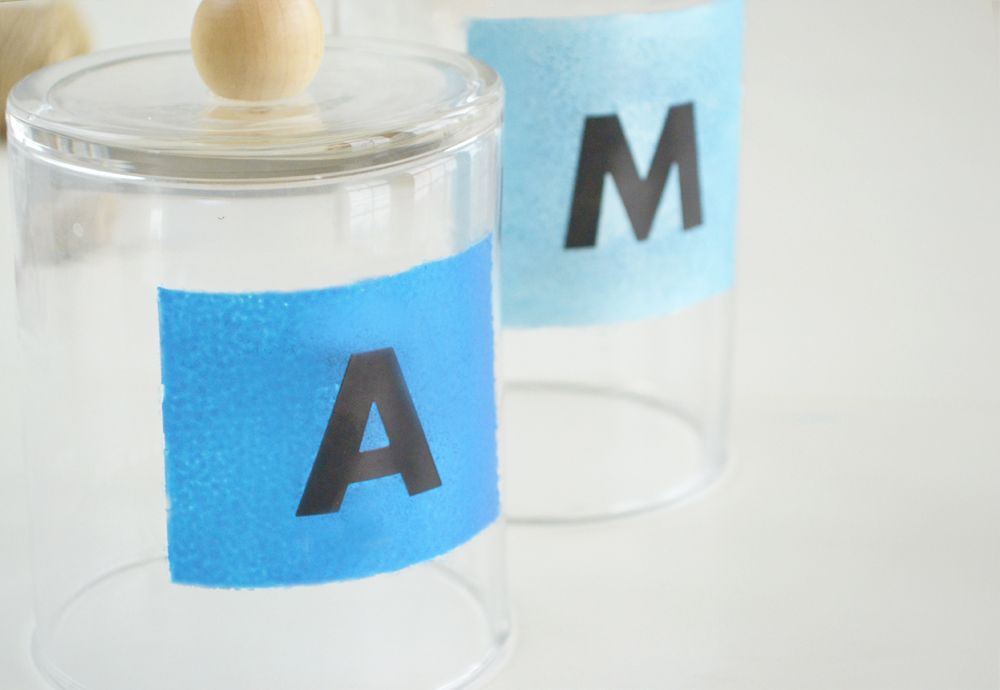
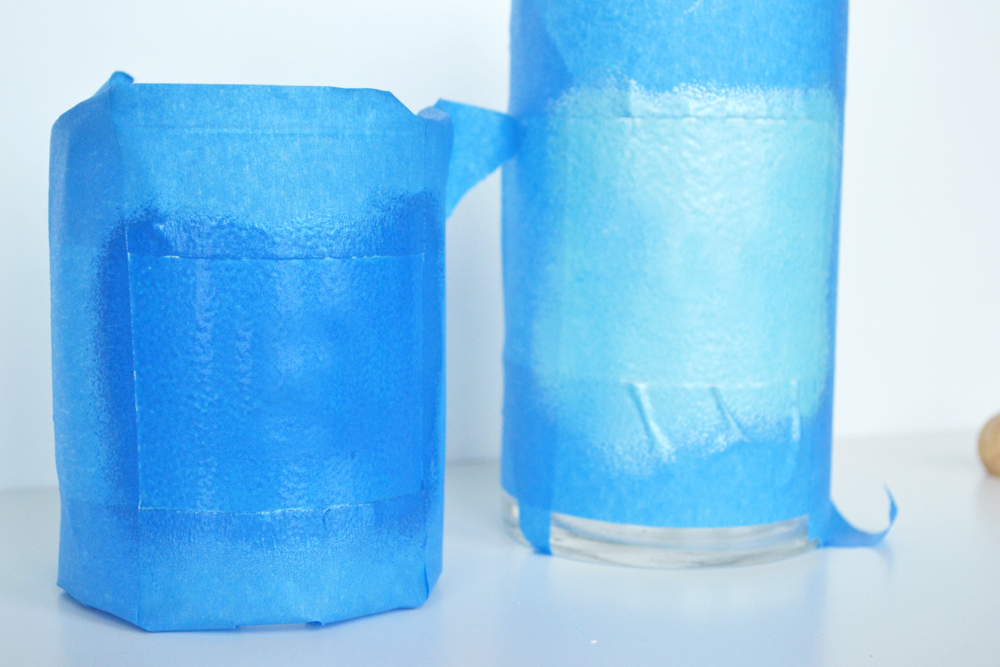
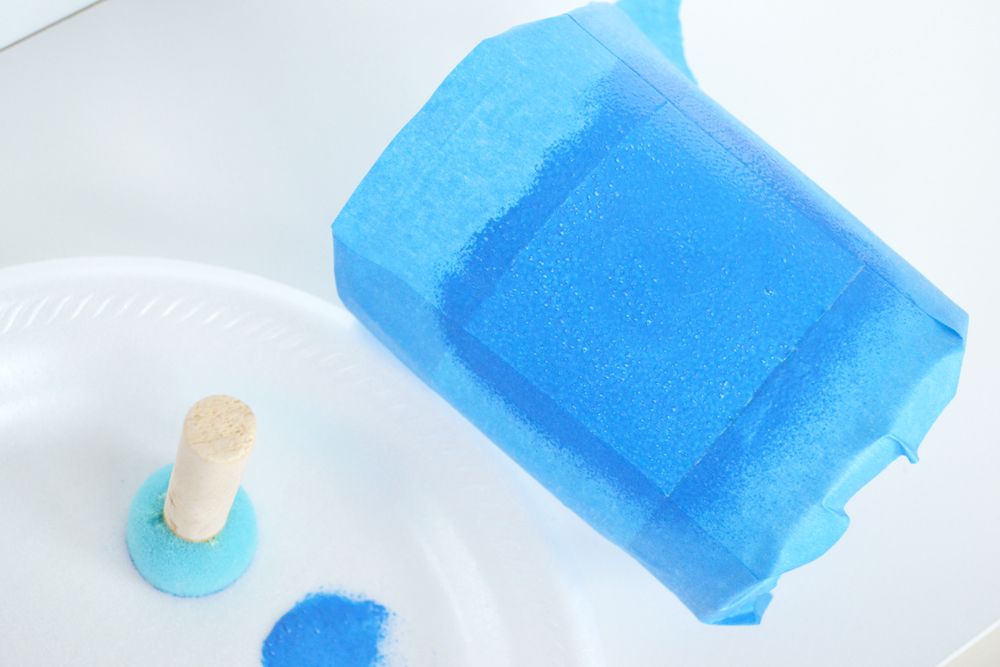
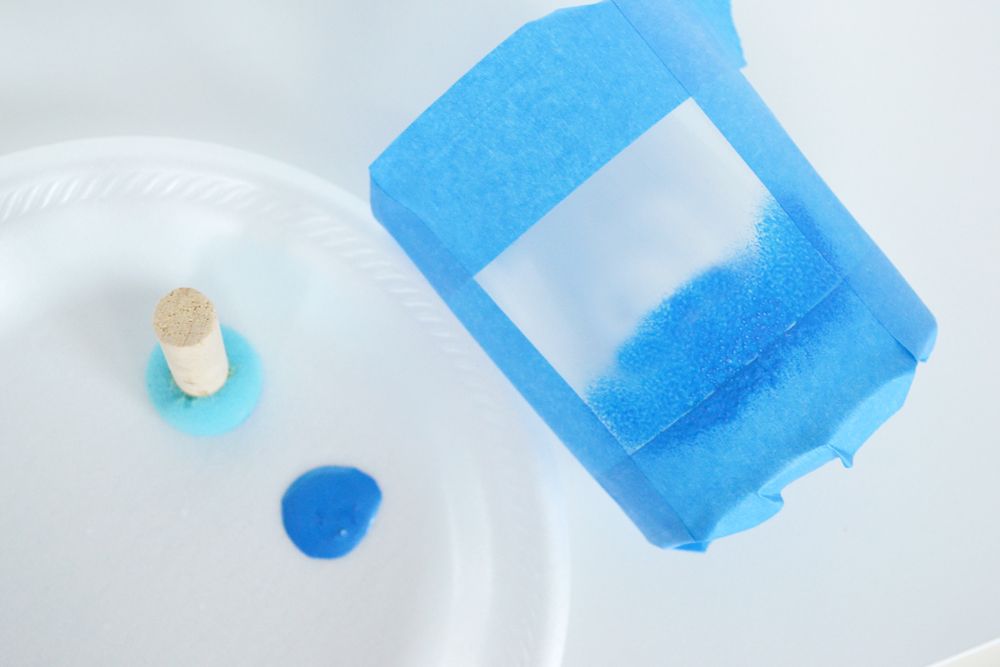
Start this craft by decorating the front of the vase. I decided to create a square with painter’s tape and paint the inside of that square in a metallic blue color. Once dry I will add letters to the top (being the first letter of the person receiving the gift). I am using a multi-surface paint from the Martha Stewart collection. Just be sure that the paint you use works well on glass. Be sure to press the painter’s tape down firmly so the paint doesn’t bleed on the edges.
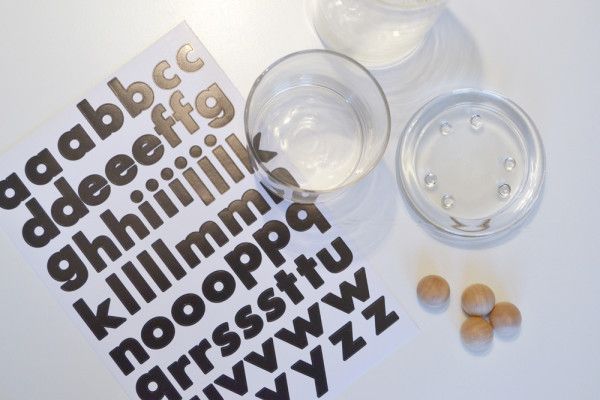
Let the paint dry for about an hour before adding any sticker letters to the front. If you add letters, be sure to turn the vase over as the bottom of the vase will now become the top. Keep that in mind if you decide to paint around the sticker letters and remove them once the paint dries instead.
If you want to make the vase secure, you can add twine or thin rope, securing the bottom and top pieces before adding the bead. When the bead is glued down, it should secure the twine in place. Tie a knot at the bottom to finish.
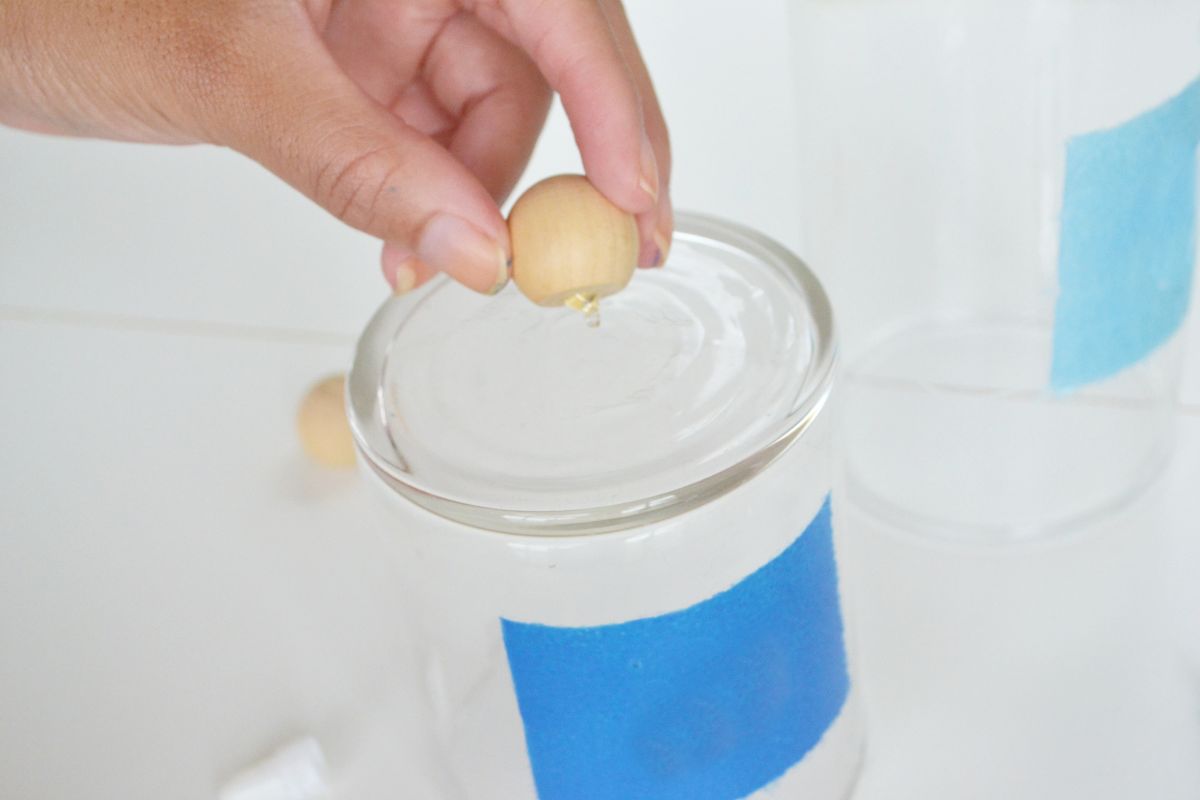
If not, simply glue the round wooden bead to the, now, bottom of the vase. The glue should dry in an hour, but I suggest not using it as a handle until it cures to the manufacture’s specifications. You don’t want to use the bead as a handle before it’s fully dry!
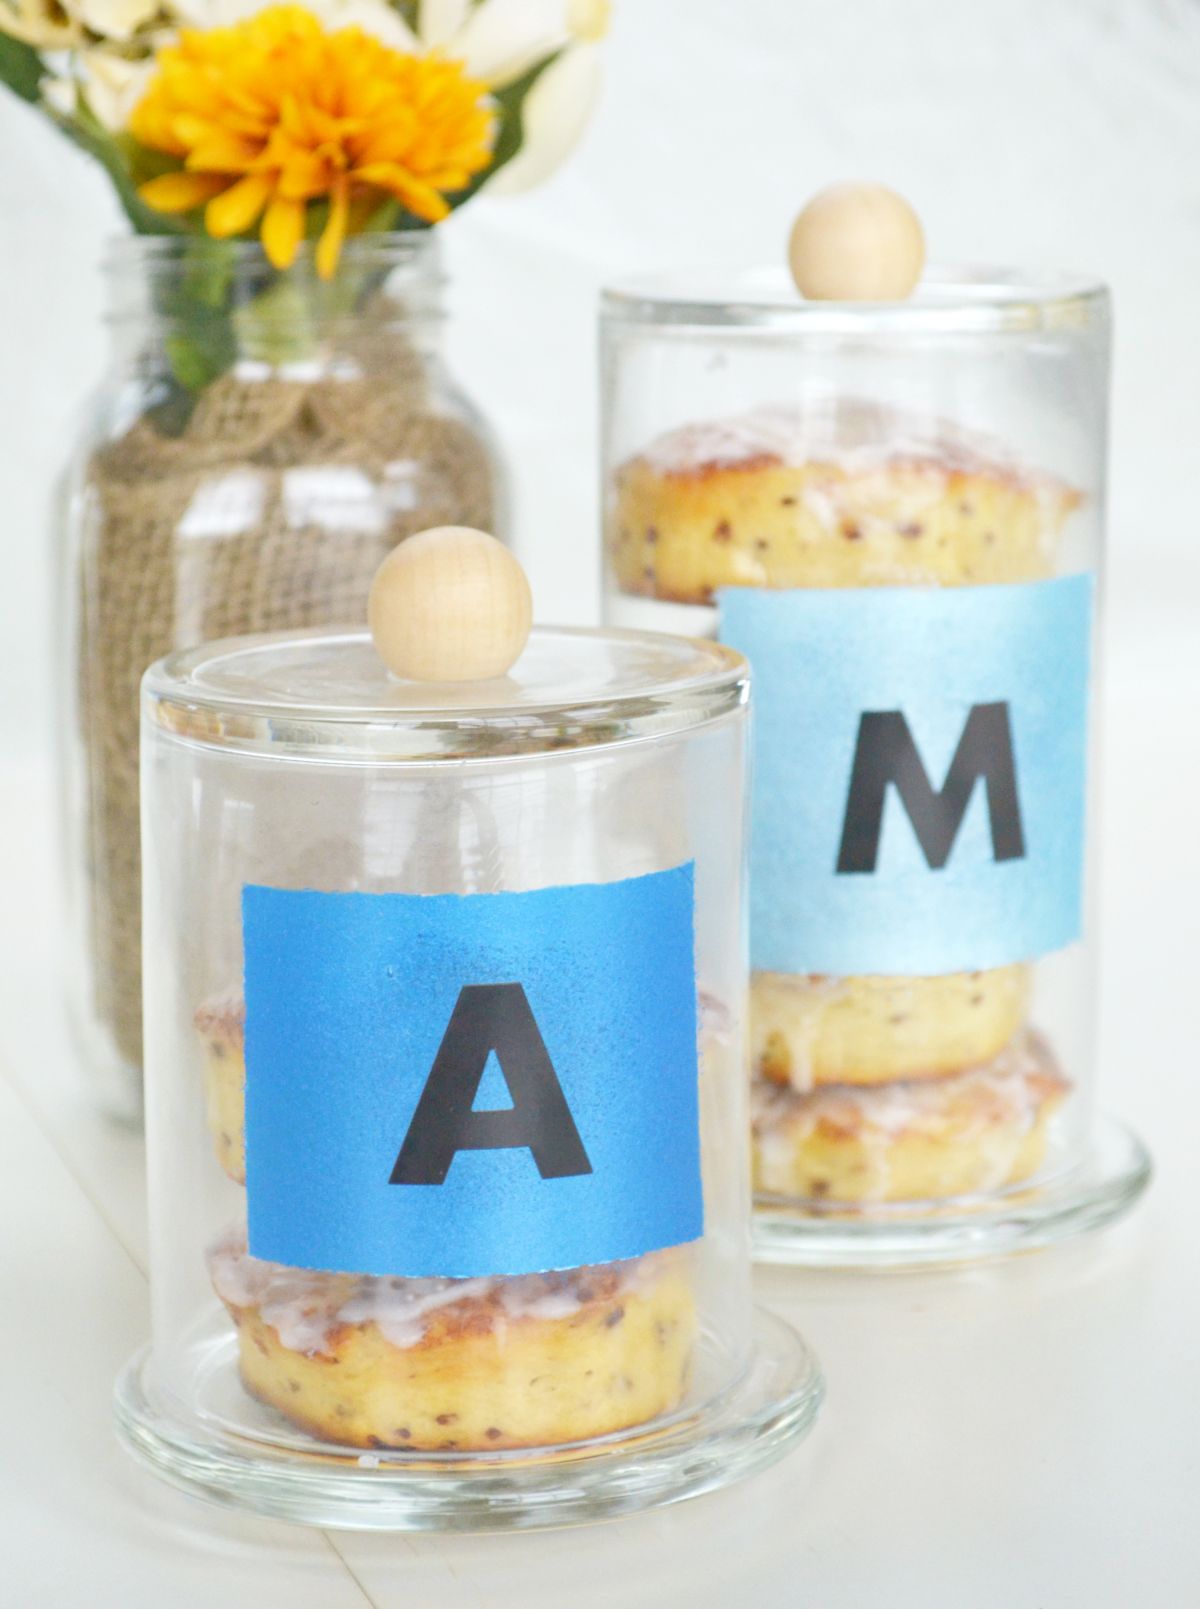
Finally add you pastries inside the jar and now you have a display gift or a great jar to display your own holiday treats on your kitchen counter!
The height is not just good for stacking pastries, but also if you want to stick a small flag or sign at the top of the pastry. You have a lot of room to work with if you want to add a decoration on top.
