DIY Geometrical Brass Necklace
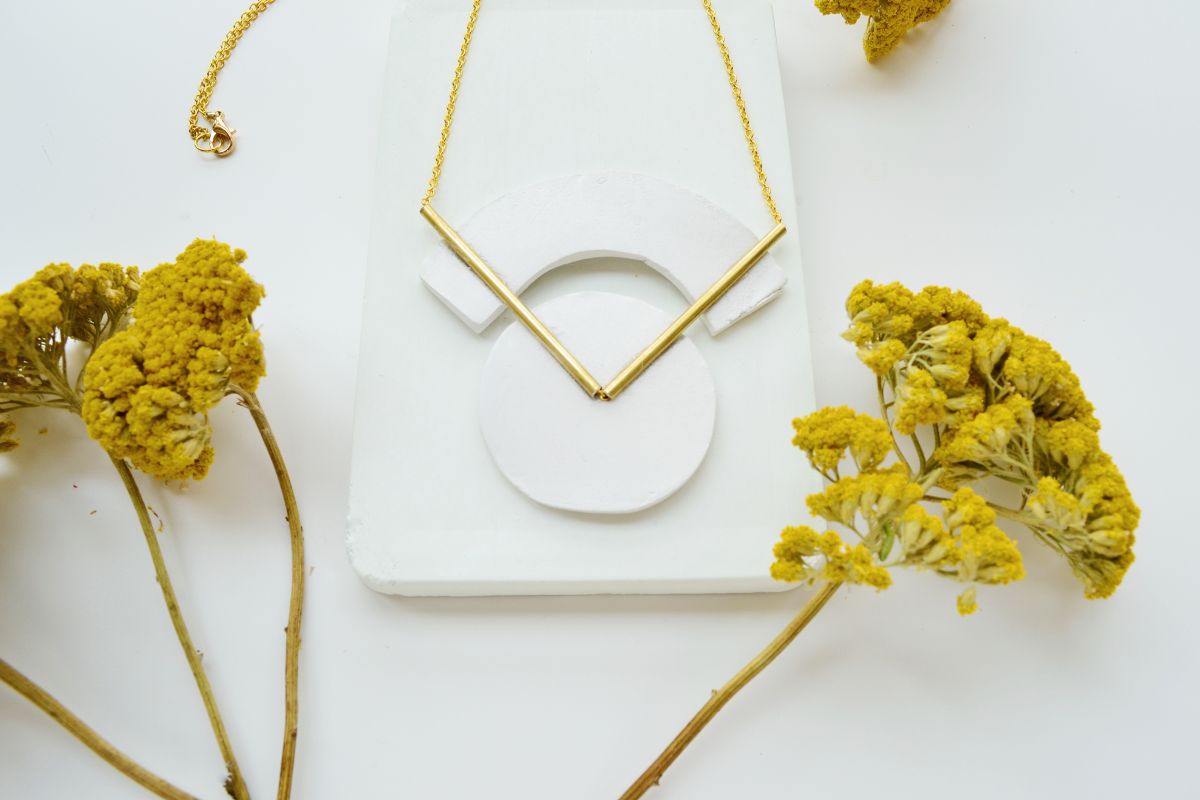
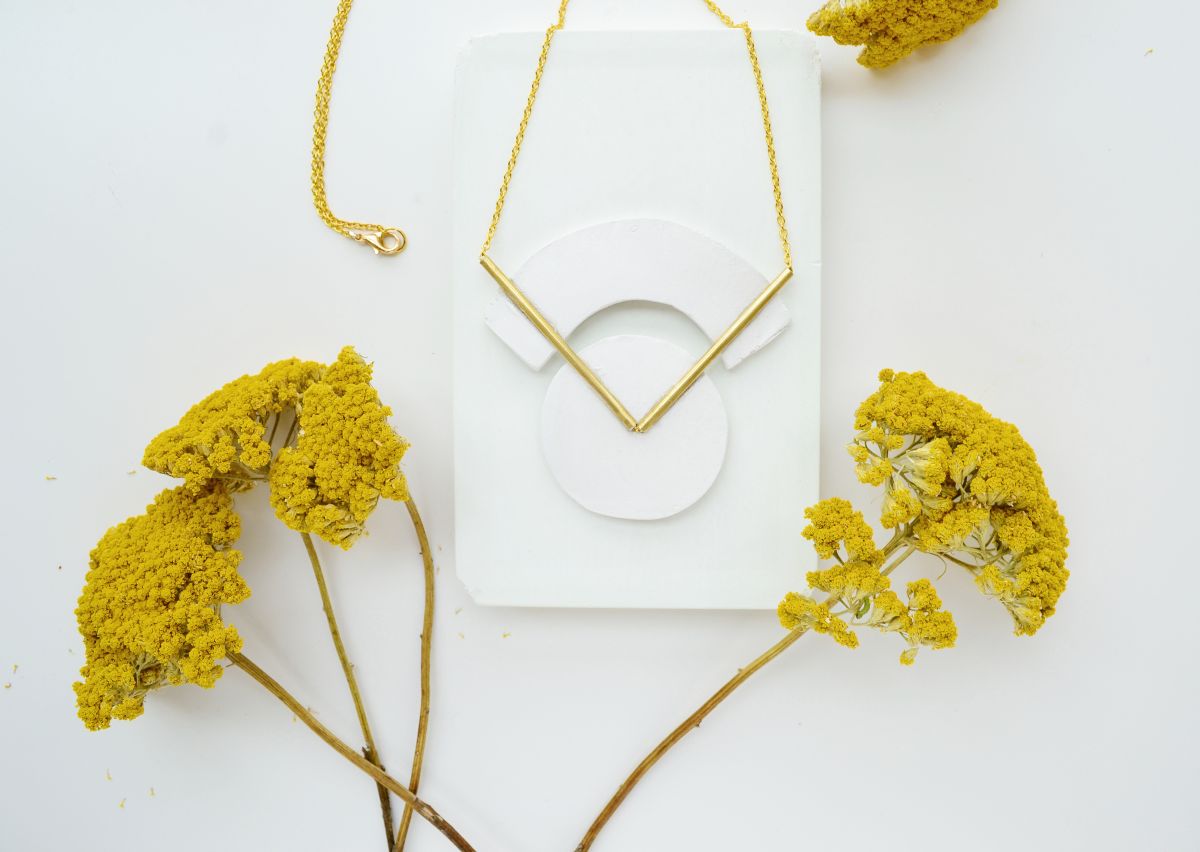
Lately, I have been engrossed with structures of all kinds and wanted to make a geometrical necklace while still retaining a minimalist look as much as possible. What better else to use than our store found air-dry clay. You really can’t underestimate what all you can make from it. And to give it the glistening detail I used my brass tube. I am content that I did as I was already beginning to think about using it in a project and I must say it looks fantastic with white.And the only thing that could possibly stop me from entering the geometry way was calculating the math that it involved. But, that’s not a problem anymore as I easily created a template to better equip myself to get this whole structure thing accurate. So you too can make it as I have put it out for you to download the template and if you are thinking of another design, you can make one using any online image editing tool.Now let’s see what we need and how we can make this geometrical brass necklace.
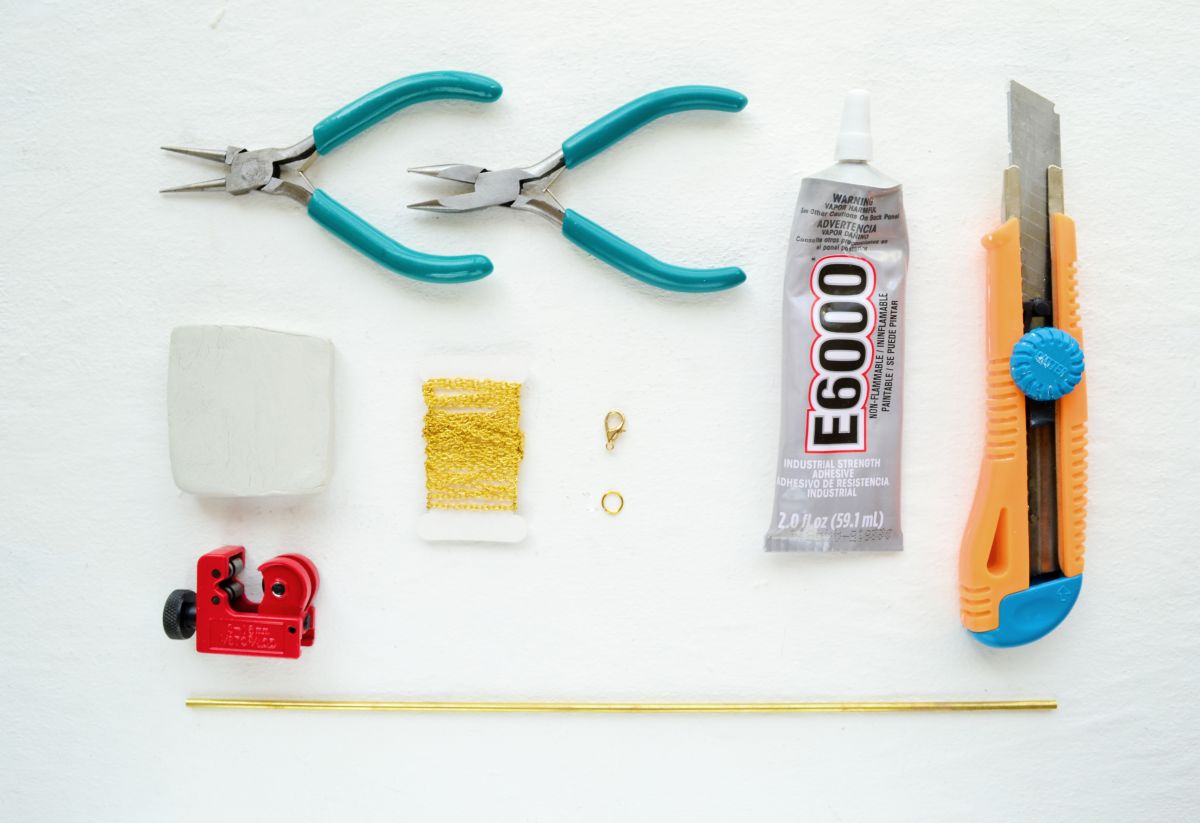
Materials:
- Brass tube
- Air-dry Clay
- Chain
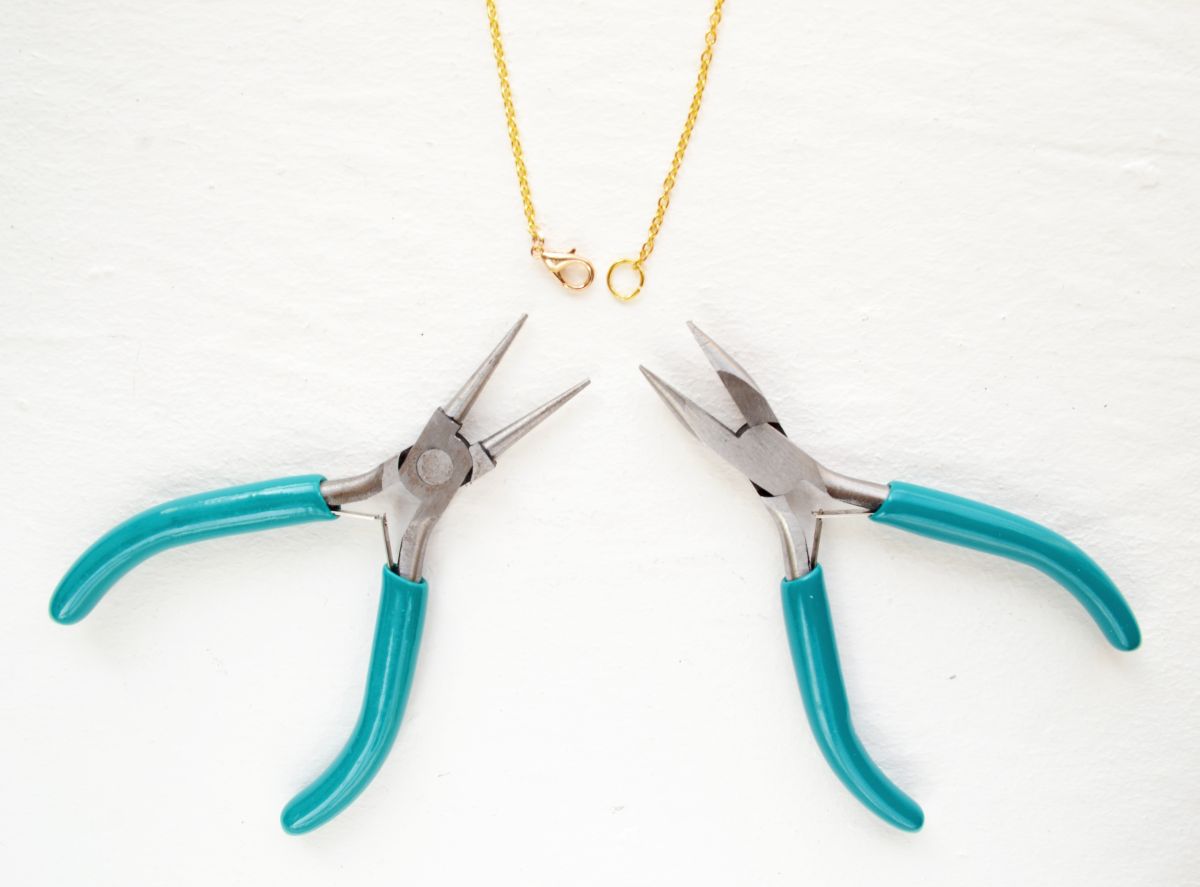
- E6000 glue
- Cutter
- Mini tube cutter
- Lobster clasp
- Jump ring
- Template
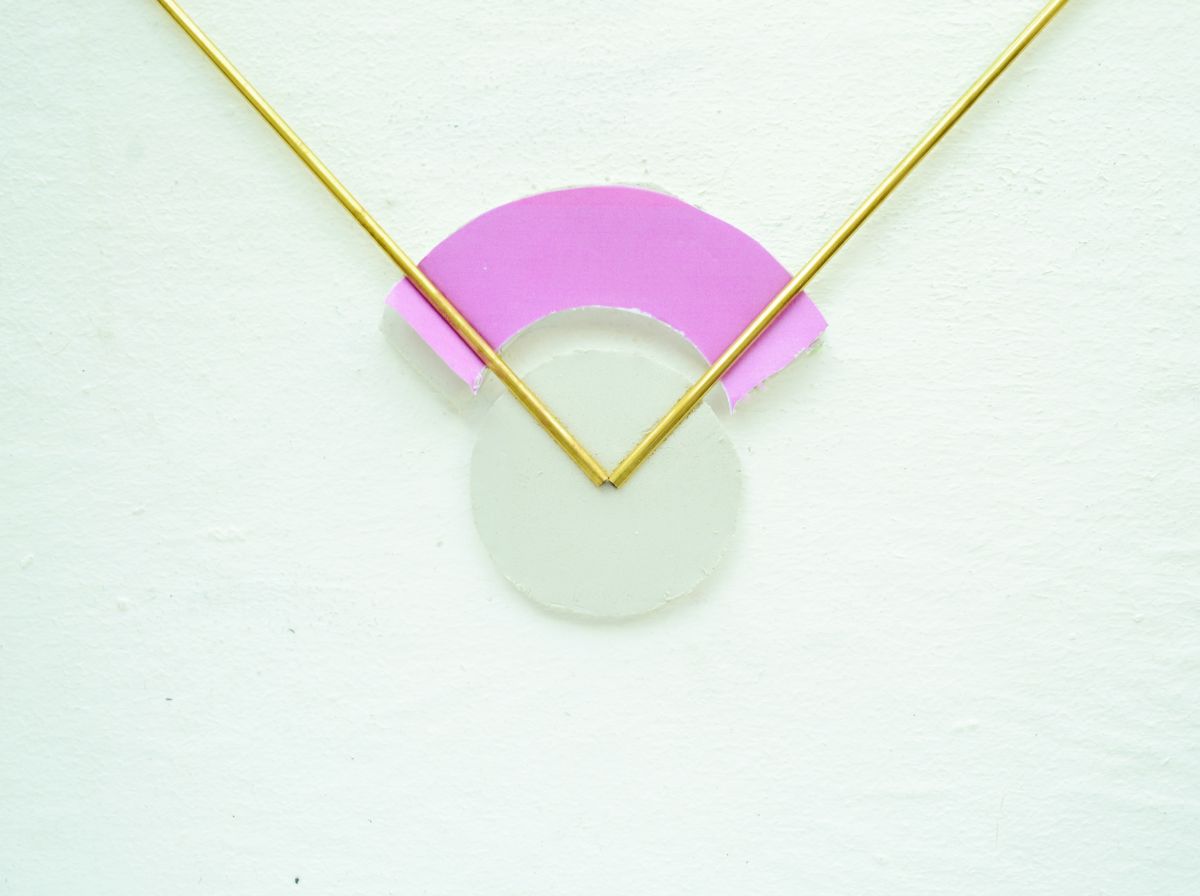
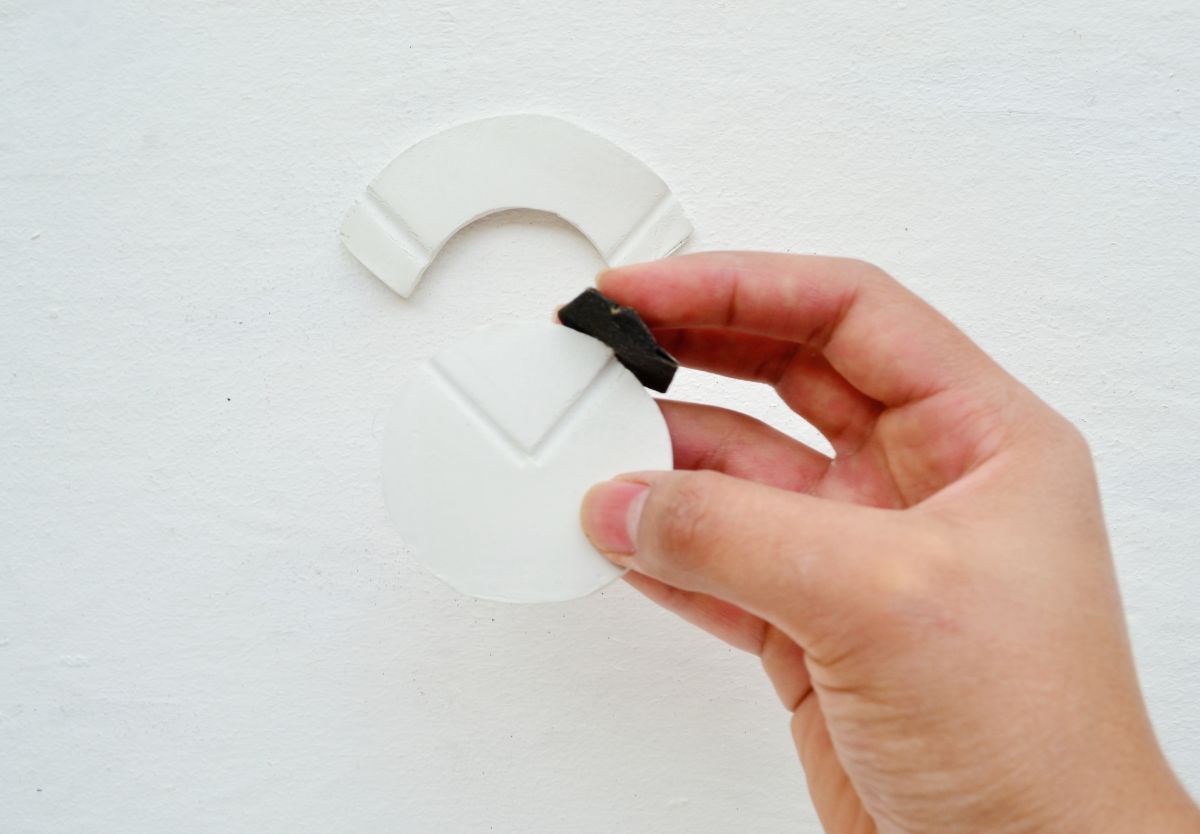
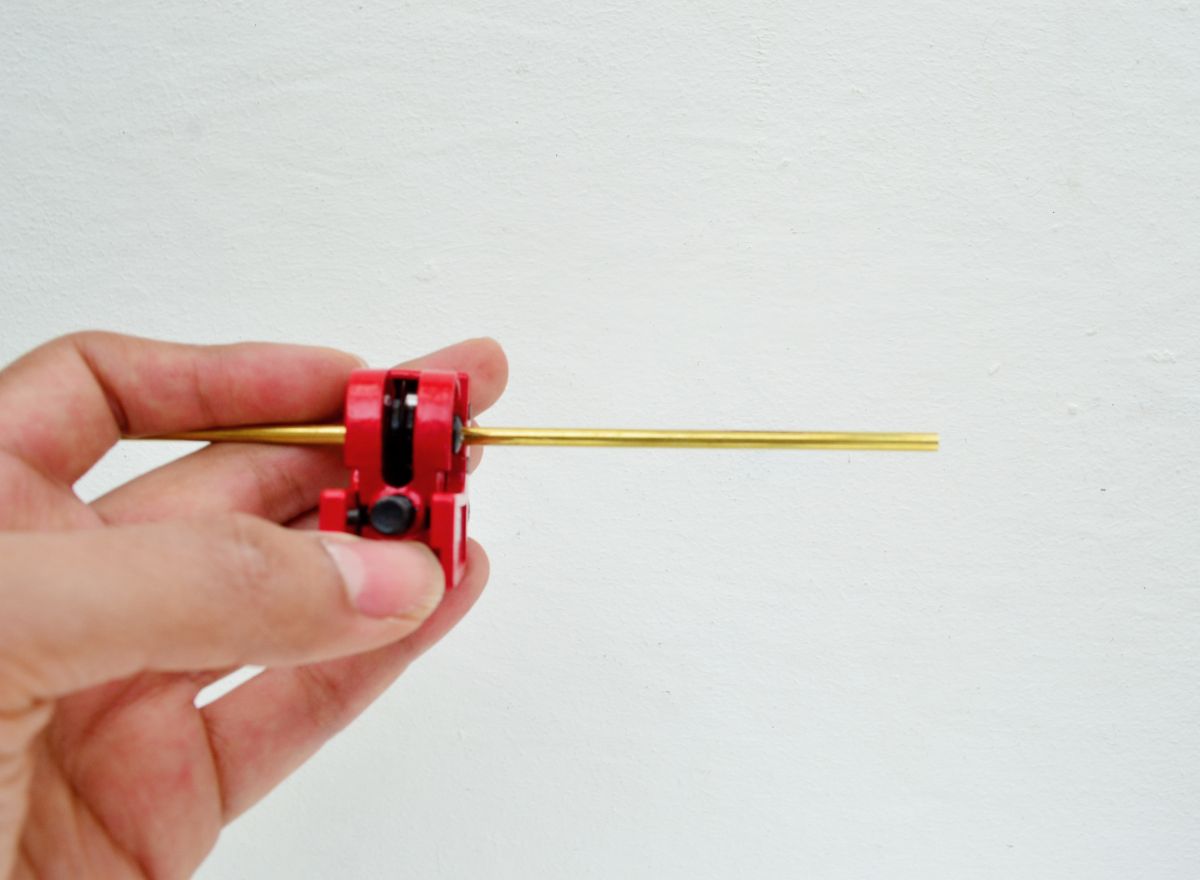
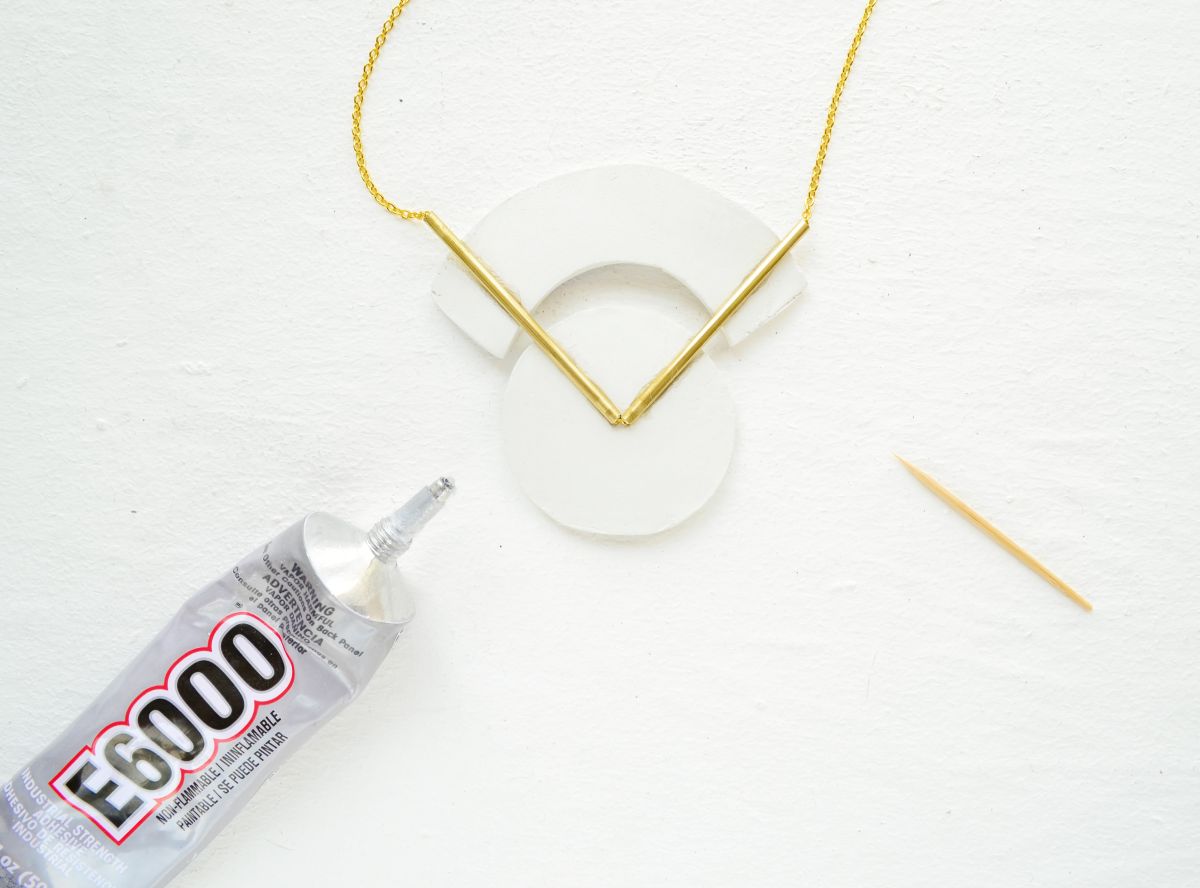
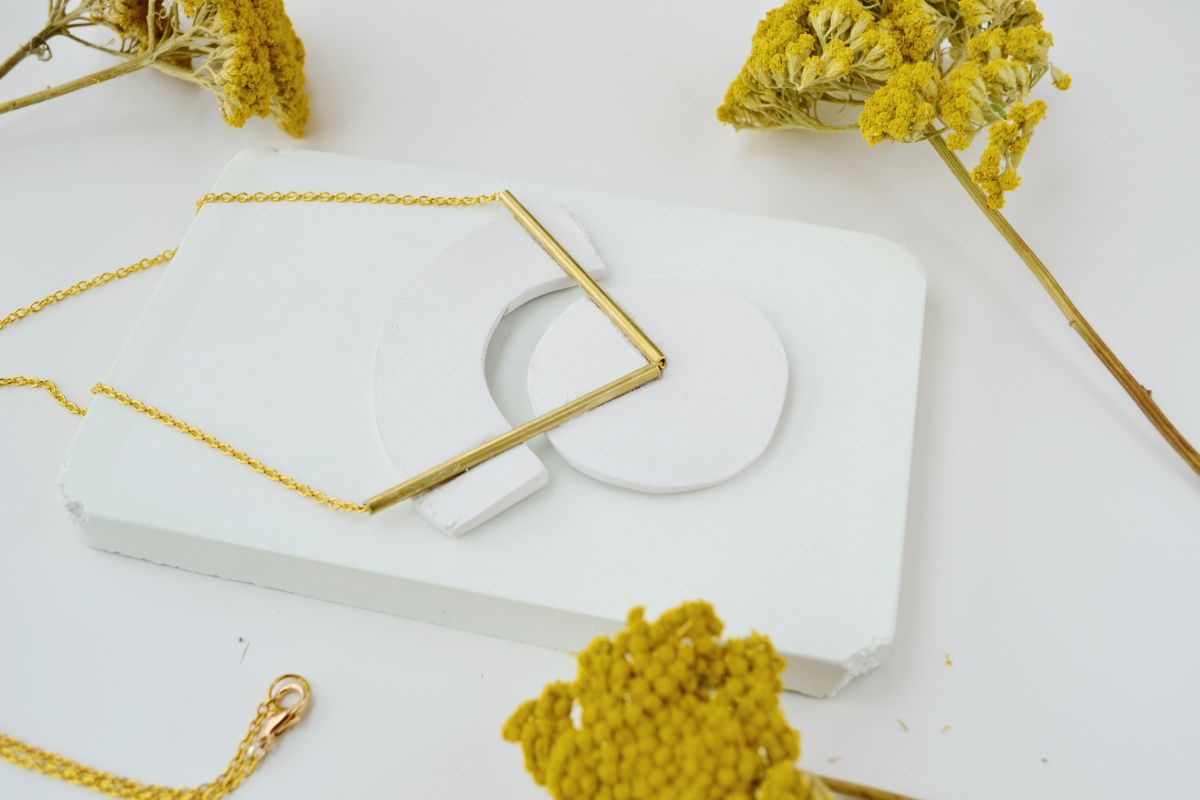
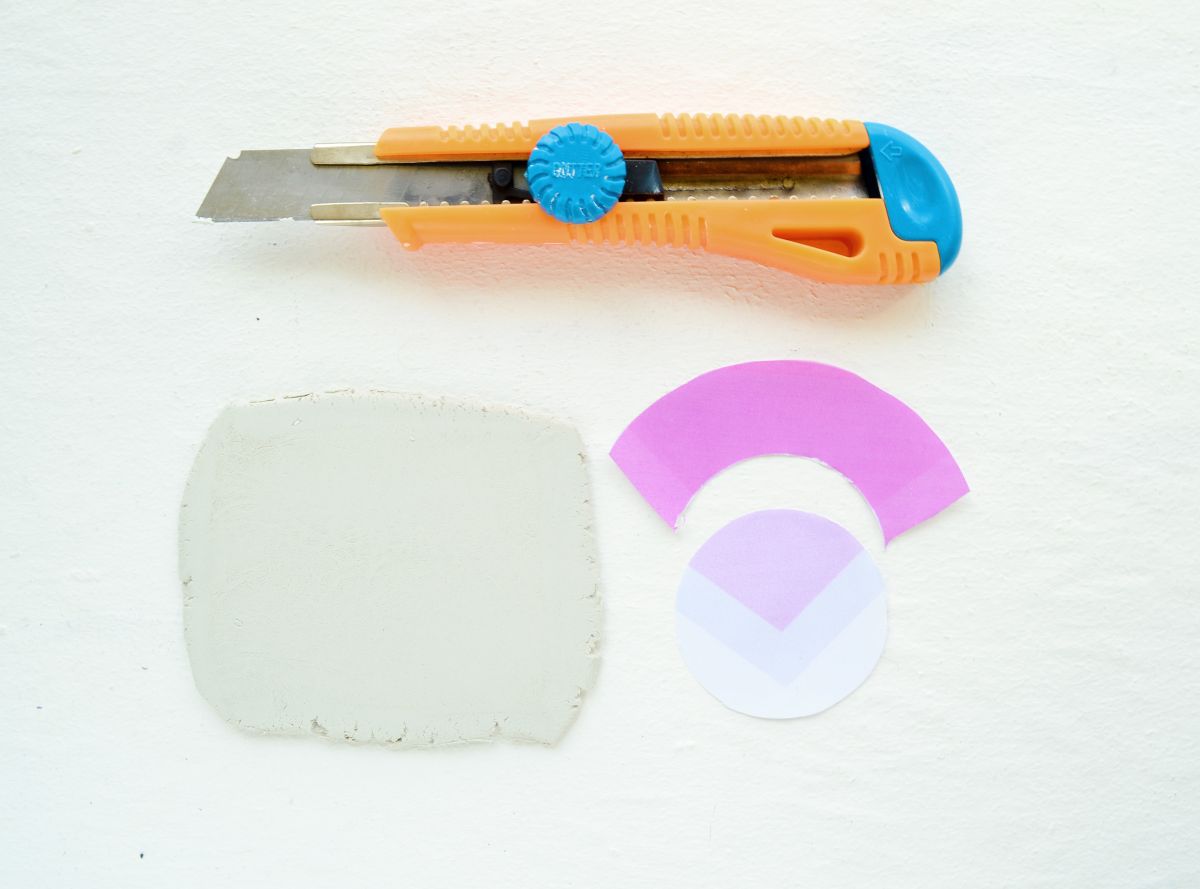
1. First of all, we will print out our template and cut out the shapes required for the making of the necklace. Then we can go ahead and roll out some clay meanwhile keeping in mind to keep the thickness to 1.5 mm approx or more. Place our templates over the clay and cut around it with a sharp cutter/x-acto knife to ascertain our two pieces.2. We arrange our cut out clay with a distance of 0.4 inches approx between them the way we designed it with the help of our template and place the template over the rainbow-shaped clay piece. Then we balance the brass in a way shown in the picture above.That is the two end of the brass meet at the center of the circle and divert away at where the template points to(the inner triangle). You gently press the brass against the clay to leave an impression deep enough for the brass to go.3. Now leave it to dry for a day. If your dried out clay is looking good then you can go ahead with the following steps, if not you can shape them up by sanding off any rough edges with a piece of sandpaper.4. Now we measure out around 2.55″ inches of brass and point it with a marker. And now with the help of a mini tube cutter slice the brass tube from the marked point. Now it’s best and safer to measure and insert your delicate chain to your brass tube at this time, as later on after gluing the brass tubes to the clay pieces you might not get the chance. The length of the chain really depends on where do you want it to dangle. I went for the chest you can go even longer if that’s what you are looking for.5. Now with the help of a toothpick, we apply glue to the impressions left behind with our brass tubes previously and press them down and hold for 5 minutes. Then we leave it to bond for an 1 hour or so.6. After sipping some tea or coffee, we come back later to put our jump ring and lobster clasp at the endings of the chain with the help of our pliers.And here we have a gorgeous piece of a geometrical brass necklace to call off our own. Now this is how I created mine, I left the clay white and didn’t bother to paint or gild it. As I liked the minimal look the best. But you can choose to gild it gold for that matter.I would also say that this piece was inspired of the jewelry trends for the year 2015. You can totally rock gold as it is very hot on trend and from what I see its here to stay.Till then happy DIYing!!See you next time!