Frosted Glass 101: How to Add Privacy and Beauty to Your Home
DIY frosted glass projects are popular right now because the effect is fascinating. You can give your doors or windows a fantastic look that can’t be matched by any paint job. Keep reading to find out everything you need to know about it.
It’s not hard to learn how to frost glass, and the supplies are very affordable. You’ll need a few items from the hardware store, along with some basic supplies that you may already have around the house.
Keep reading to find out everything there is to know about frosted glass, including benefits, differences to mirrored glass, and how to apply it to your doors and windows. You can also check out some images for inspiration and ideas.
Table of Contents
What Is Frosted Glass?
Frosted glass is a common term for mirrored glass in marketing materials, though often the terms are used interchangeably.
Frosting is a graphic technique that gives commercial or residential glass or reflective material a diffused-reflection finish, giving the appearance of “light fog” on the surface.
Benefits
Here are some of the advantages:
Adds a sense of mystery to your glass
If you’ve ever seen frosted windows in a business, you know just how intriguing they can be. It’s impossible to see into the building, which creates a sense of mystery. It’s like there is something or someone significant inside, and you can’t see it until you are invited inside.
Gives an upscale look to your windows
The frosted glass effect is perfect for creating an upscale appearance. Even the smallest window can turn into something extraordinary with this simple treatment. It’s also classy for bathroom windows, where people want to maintain a sense of privacy.
Gives the appearance of expensive decor without the price tag
Frosted glass is a great way to add some luxury to your home without spending a lot of money. You can create the same look as professionally tuned glass with a few simple steps. Besides, you can save money on home decor this way.
Adds privacy
Privacy is what most people are looking for in frosted glass. But it also offers another benefit: security. You won’t have to worry about anyone peeking through your windows because the glass will be difficult to see through.
Is Frosted Glass Reflective?
Frosting glass diffuses light instead of reflecting it like a plain mirror. Frosted, textured, and reflective privacy films will appear nearly the same in most lighting conditions but may not be interchangeable for all uses.
To determine if your project requires frosted glass versus mirrored glass or mirrored film, it is important to understand their unique qualities.
What Is Frosted Glass Made Of?
Frosted is often used as a term for textured glass, which is typically made by sandblasting or acid etching. However, some frosting products use etched like silver or gold to diffuse the light.
Frosted glass is a type of low-emissivity (Low-E) coated glass that reduces the amount of infrared radiation transmitted through the window while still allowing visible light to pass through.
Unlike standard clear float or soda-lime glass, frosted glass has been treated with a coating of one or more materials which scatter light in many directions rather than allowing it to pass straight through. This causes the appearance of a “frosted” look when viewed from either side.
The surface treatment used on the translucent glass will determine whether it should be considered a mirrored film or frosted glass product. For example, if you prefer the frosted glass texture in a shower enclosure, then you would need a water-resistant and frost-resistant product.
Frosted Glass vs Mirrored Glass
Maintaining privacy is a key concern for many homeowners and businesses. Frosted glass can provide this privacy without sacrificing natural light, as it does with mirrored glass.
Frosting also helps disguise fingerprints and other blemishes on the glass, making it a more practical option for heavily used surfaces. On the other hand, mirrored glass can create an ethereal and dramatic effect in the right setting.
When to Use Frosted Glass
Frosted glass is a great choice for areas where you want to maintain some privacy. For example, it’s ideal for doors and partitions, helping to divide areas while still allowing natural light to pass through.
Frosting also disguises any fingerprints or smudges on the glass. Even though it will not prevent someone from seeing through your window, a privacy glass will only give passers-by an impression of what is happening inside.
When to Use Mirrored Glass
Mirrored glass is perfect for creating a glamorous and elegant look, as it reflects light and creates the illusion of space. People often use it in modern and luxury design schemes.
Mirrored glass can also be used to make a small room or space feel larger by bouncing light off the walls and ceiling. It is also a great way to add interest to a room that might feel a little too bland.
How to Frost Glass
You don’t need to turn to a professional for applying frost glass to your doors and windows unless you’re thinking of a large project that requires precision, like covering garage doors with adhesive film.
Instead, you can take on this task yourself. There are three ways to obtain the frost glass texture: spray paint, window film, and etching cream.
Using Frost Glass Spray Paint
Spray-painting windows is a fast and effective way to get the frosted glass effect. Here’s what you need to do:
Step 1: Choose the frost glass paint
Before taking on this project, pick and buy the preferred frosted spray paint. Just make sure it’s specifically designed for use on glass. Otherwise, you may end up with a mess on your hands. Rust-Oleum is an excellent example.
Step 2: Clean the glass
Make sure that the glass is clean before applying the frost paint. This will help the paint stick to the surface better. If there is any dirt or dust on the glass, it will be difficult to remove after already applying the paint.
You can use a standard glass cleaner or even a vinegar and water solution to clean the surface.
Step 3: Start spray-painting
The best way to frost glass with paint is to start in the middle and work your way out. This way, the paint will be evenly distributed across the surface.
Another critical aspect is not to overload the spray bottle, especially if you are using low-grade paint. Overloading the bottle can cause the paint to splatter, making it hard to control the coverage.
Step 4: Let it dry
Once you have finished frosting the glass, let it dry completely; the paint may take a few hours to fully dry, so be patient. Once it’s dry, you can start using your newly frosted glass.
Step 5: Re-frost as needed
Your glass may start to lose some of the effects after a while. If this happens, reapply the paint and let it dry again before using it.
You don’t even have to wait – reapply the paint if you’re unsatisfied with the level of opacity that the thin coat provides.
Step 6: Clean up
After making your new frosted glass, use paper towels or an old shirt to clean up any excess paint on the outside of the bottle. If you let too much paint build up on the outside of the bottle, it can lead to drips that make a mess. So be sure that you wipe off any extra paint before storing away your new creation.
If you later change your mind about using window frosting spray, it’s possible to quickly remove it with a glass scraper.
Using Frost Glass Film
Window film can be a great way to frost glass without making it too opaque. This is a simple process that anyone can do, and it will only take a few minutes to create an opaque window.
Step 1: Clean the window
You can use a glass cleaner and a clean rag or lint-free cloth to thoroughly clean the window and prepare it for the film. Otherwise, the film may not stick to the surface. Make sure it dries completely before proceeding.
Step 2: Measure and cut
The first step is to measure the window that you want to frost since the window film comes in a large sheet; you can use a ruler or measuring tape. You’ll need to know the height and width of the window, as well as the desired thickness of the frosted film.
After doing so, cut the film to size. But make sure to leave a little extra room on all sides (about 1 inch) so that you can easily apply it to the window.
Step 3: Lightly spritz the glass
Peel back a few inches of tape on all four sides of the window. Next, prepare a water and soap solution in an empty spray bottle to lightly spritz the glass with a thin mist. It will help the film stick to the glass better.
Step 4: Attach the window film
Peel off the backing from the film and attach it to the window. You can use a squeegee, credit card, or your fingers to smooth out any air bubbles or wrinkles in the film.
Step 5: Cut the excess film
Finally, trim around the space with a utility knife. Fold down the excess piece of film and spray some soapy water onto it.
Get a razor and cut off any pieces of excess film on top of your window. This will give you a clean edge.
Using Glass Etching Cream
Applying etching cream to glass has many steps and must be completed carefully to turn out correctly.
Before getting started, a word of advice: be careful not to touch the glass surface with dry hands – tiny pieces of skin left on the glass could make it difficult to remove the window etching cream later if you change your mind and wish to go back to clear panes.
Step 1: Choose a glass etching cream
Start by picking and buying the product intended for glass etching application. It’s crucial to select a cream with low-concentration hydrofluoric acid since it’s safest for glass. For example, you can use Armor Etch.
Step 2: Clean the glass
You can use a glass cleaner and a clean cloth. However, many people turn to vinegar mixed with water since it won’t leave streaks or residue on the surface.
After spraying the mixture onto the glass, use your cleaning cloth to rub down any fingerprints or contaminants. Don’t dispose of the cleaning solution just yet!
Step 3: Clean your etching cream applicator
Use the same solution to disinfect your etching cream applicator before using it on the glass. If there are pieces of tape stuck to your tool, submerge them in water until they come right off.
And remember to not pour household cleaners like bleach directly onto the applicator because this could ruin it permanently.
Step 4: Wear safety gear
Etching cream contains toxic chemicals that may harm your skin and eyes when exposed to its fumes. For your safety, it’s best to wear chemical-resistant gloves, goggles, and a face mask. Furthermore, ensure plenty of ventilation in the room you’re working.
Step 5: Apply tape to the glass
Apply a piece of tape diagonally across a section of the glass. Remove the backing from the tape and press it firmly onto the pane to seal all edges with no air underneath.
Continue doing this with as many sections as necessary until covering every square inch with at least two layers of transparent film.
Step 6: Apply the glass etching cream
Use your glass etching tool to spread a very thin layer of cream onto the tape only. Allow it to sit for 1 minute, then wash it off with lukewarm water; if you wait too long, it could eat through your film. Finally, peel off the tape slowly after washing.
Step 7: Reapply cream if necessary
Your design might not turn out the way you hoped. For example, some parts of the frosted window might not be uniformly distributed.
In this case, you can reapply cream the same way with one exception: allow the cream to sit for only 30 seconds instead of 1 minute before washing and peeling.
Step 8: Rinse and dry the glass
Before rinsing, you can clean the glass with a bit of dish soap on a wet cloth. Don’t use any harsh abrasives or cleaning solutions with chemicals since the glass is no longer smooth due to etching. Otherwise, you risk damaging your window or door permanently!
Rinse the window thoroughly with lukewarm water and dry it completely with a clean cloth. You can use a squeegee to remove any leftover etching cream.
Frost Glass Ideas
Check out the following images for more inspiration:
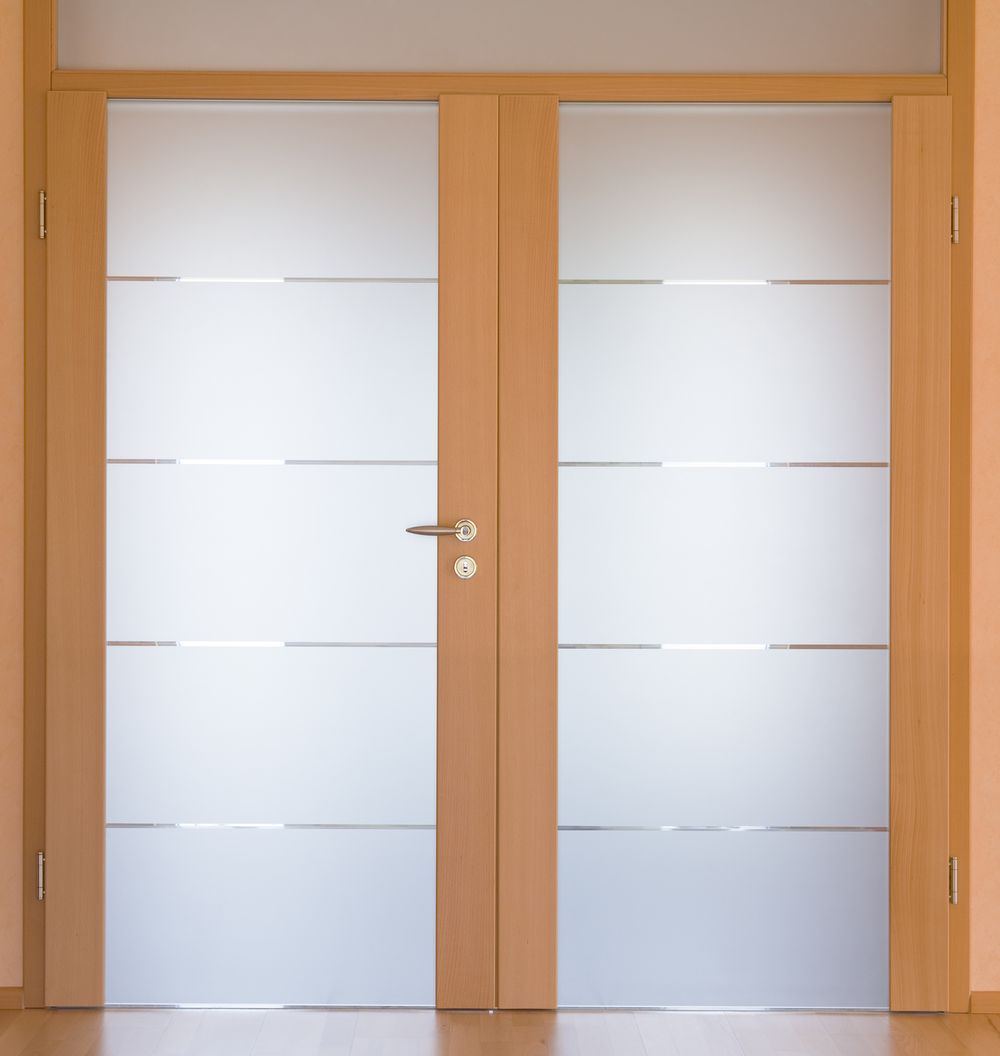
1. Frosted Glass Door
The most common use for frosted glass is in the home. It’s often used with interior lights to allow light out, but not the ability to see in.
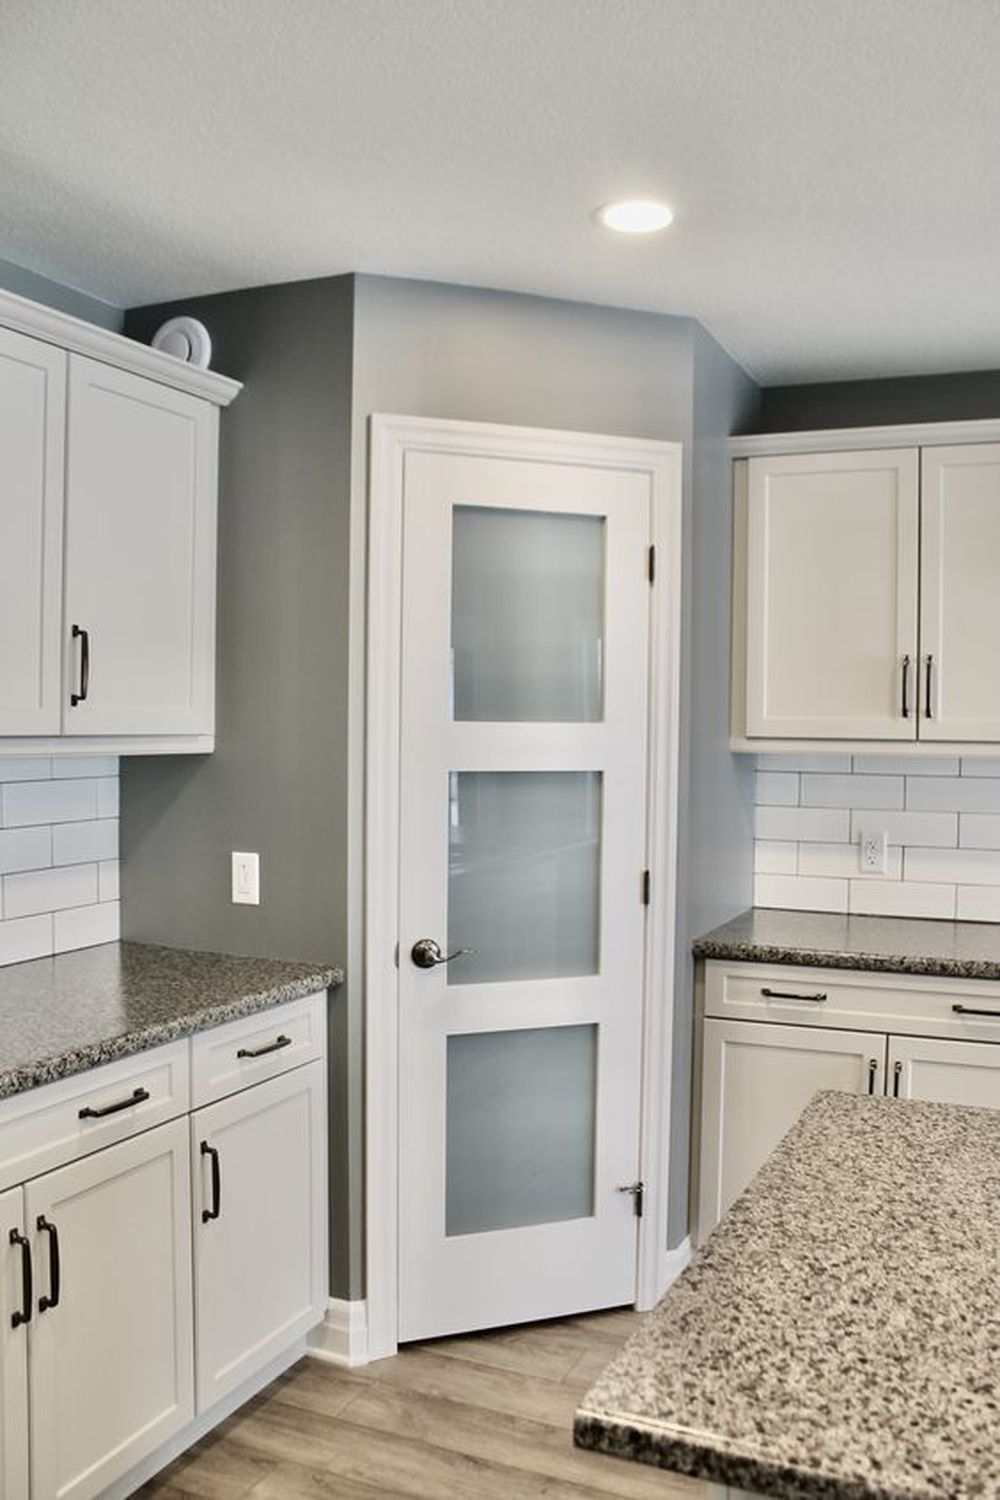
2. Frosted Glass Pantry Door
This image uploaded by Ridge Landing is of a frosted glass pantry door. It’s private but still allows light to go through.
3. Frosted Glass Interior Door
This interior door is blocked from view by a thin layer of frosted glass. The thin layer allows some light through while still maintaining privacy.
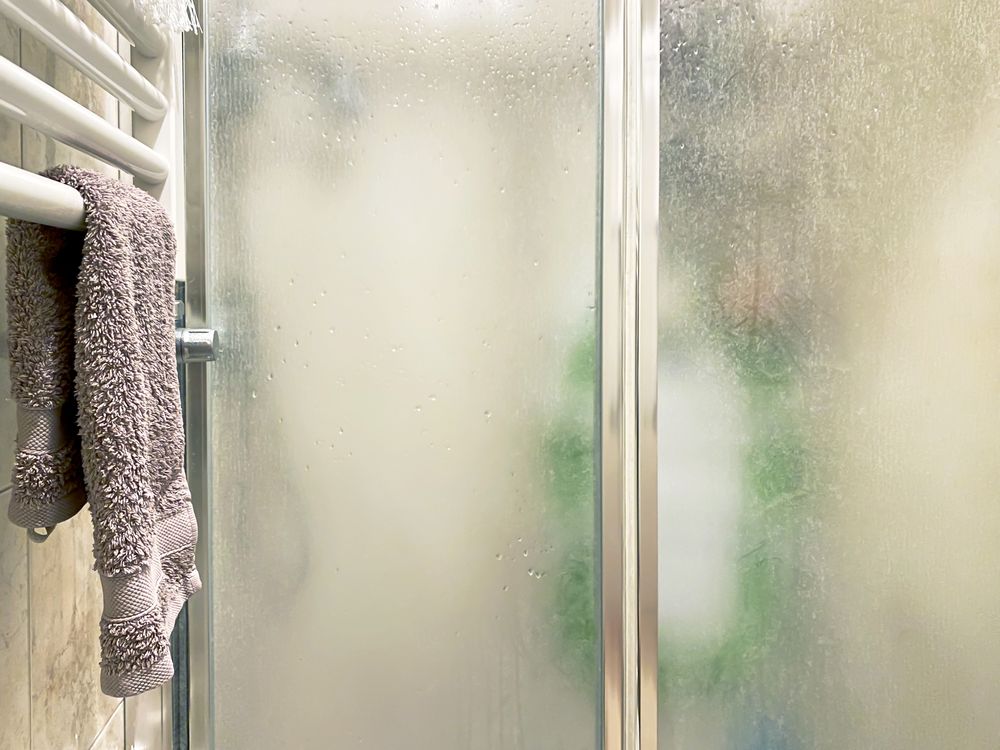
4. Frosted Glass Shower Doors
Frosted glass is also a popular choice for shower doors, as it provides some privacy while still allowing light in.
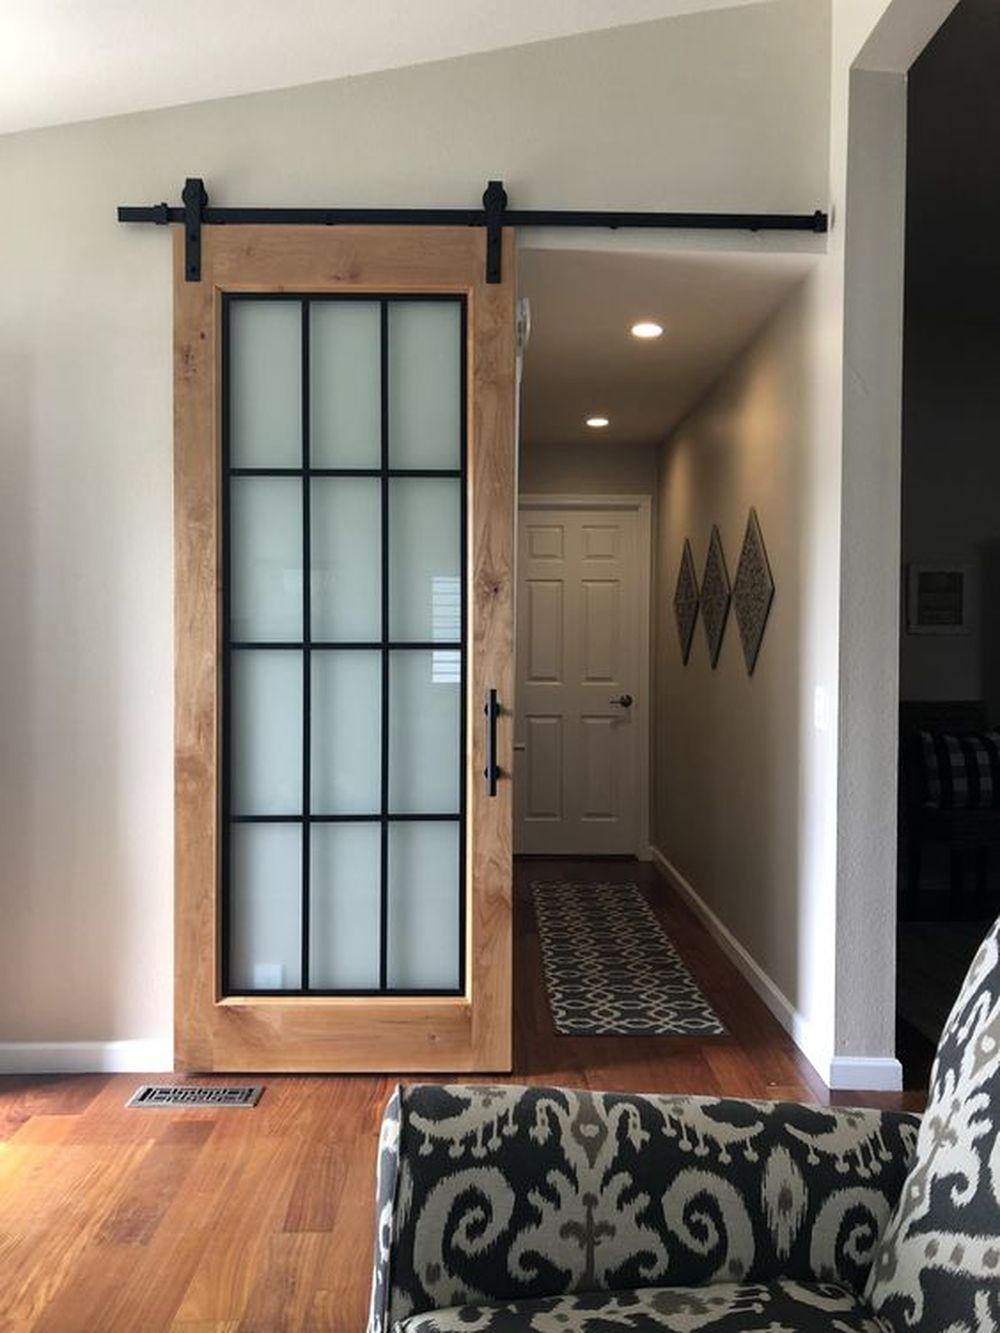
5. Frosted Glass Barn Door
Uploaded by SoCal Barn Doors on Pinterest, this barn door has a frosted glass panel. It’s a great way to let the light come in without giving people a full view inside.
6. Frosted Shower Doors
Posted by @ashwini__decors on Instagram, this shower door uses gray color-tinted glass panels. It’s a popular choice for big bathrooms that need a lot of natural light.
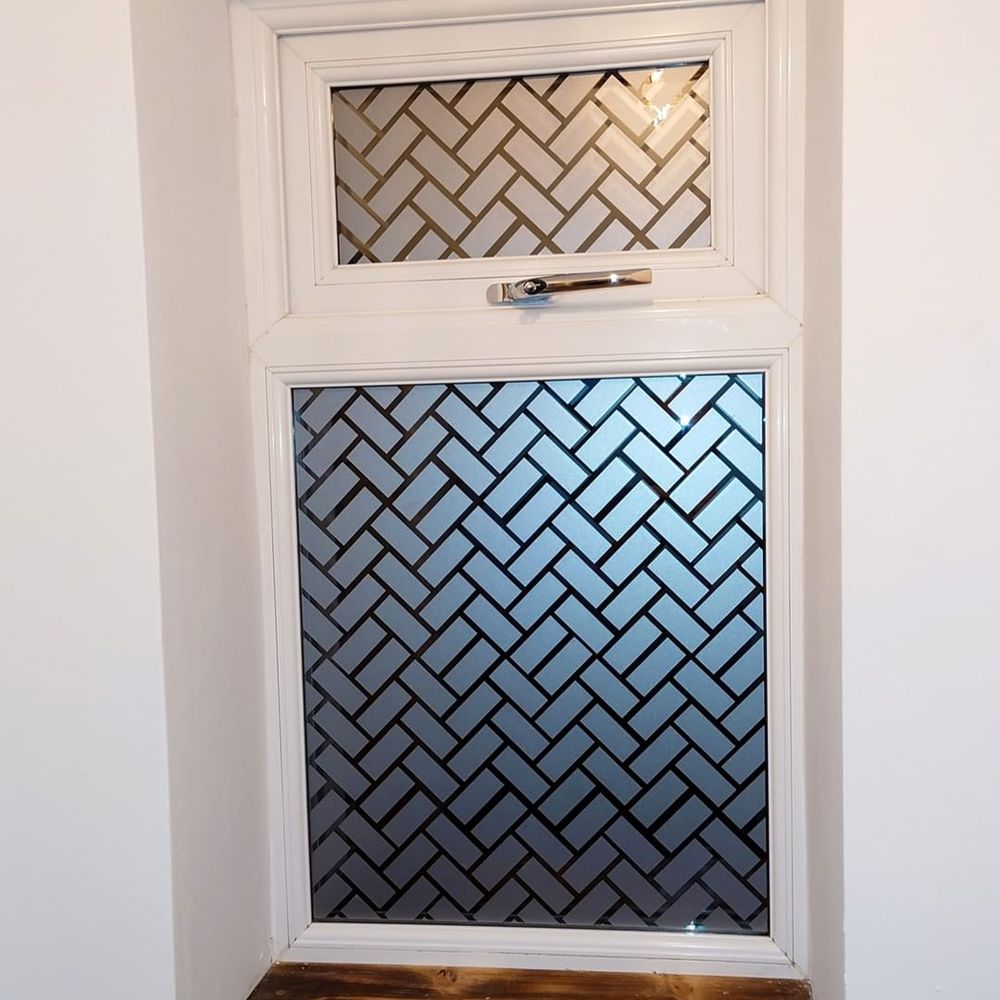
7. Obscure Glass Window
A personalized obscure glass window matches the parquet floor pattern in this Instagram post published by @templargraphicsuk.
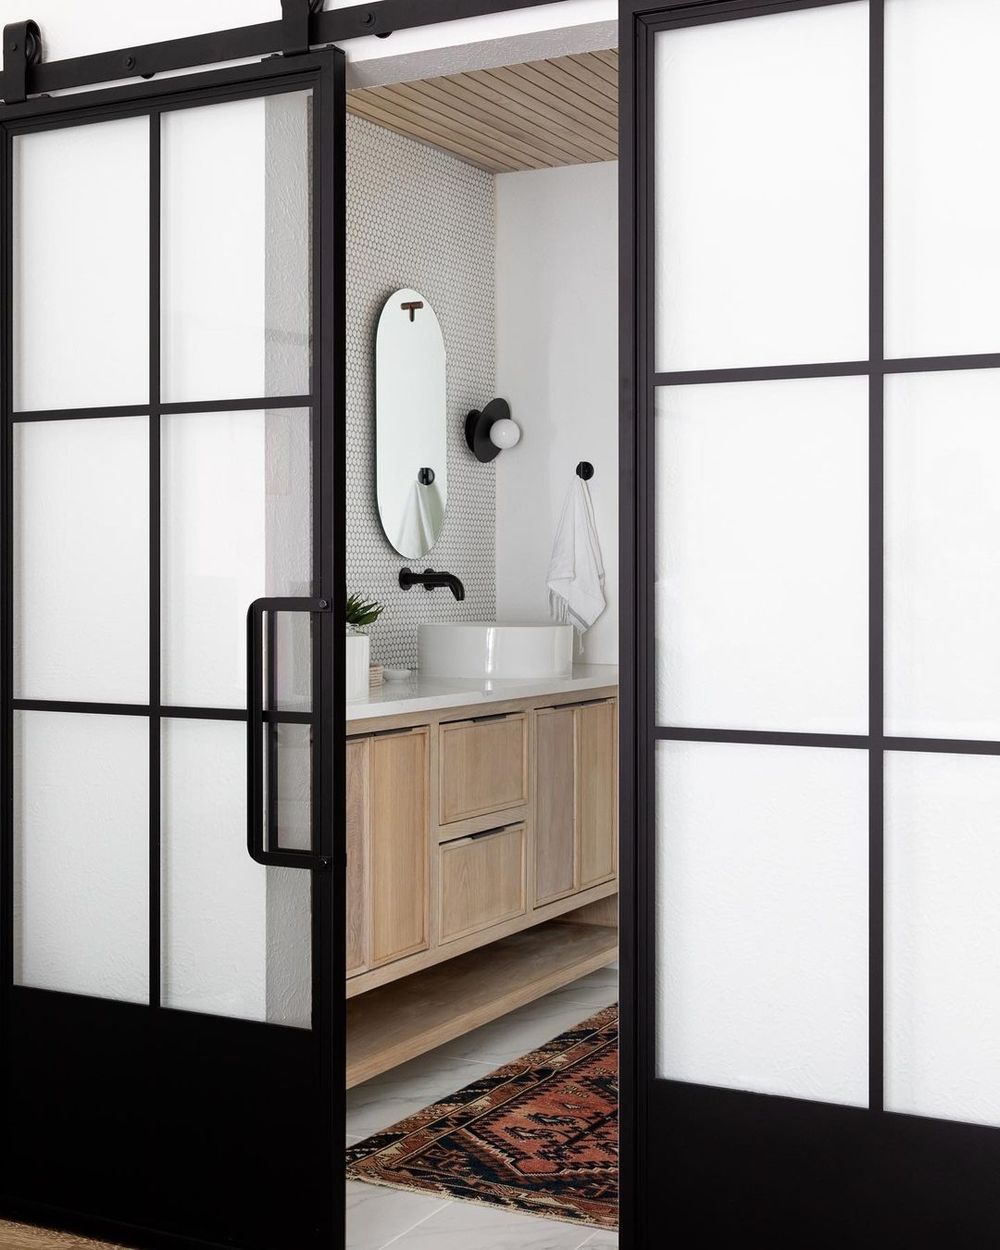
8. Frosted Glass Bathroom Door
This Instagram post by @rusticahardware reveals a bathroom door. It’s chic and private while still letting some light through!
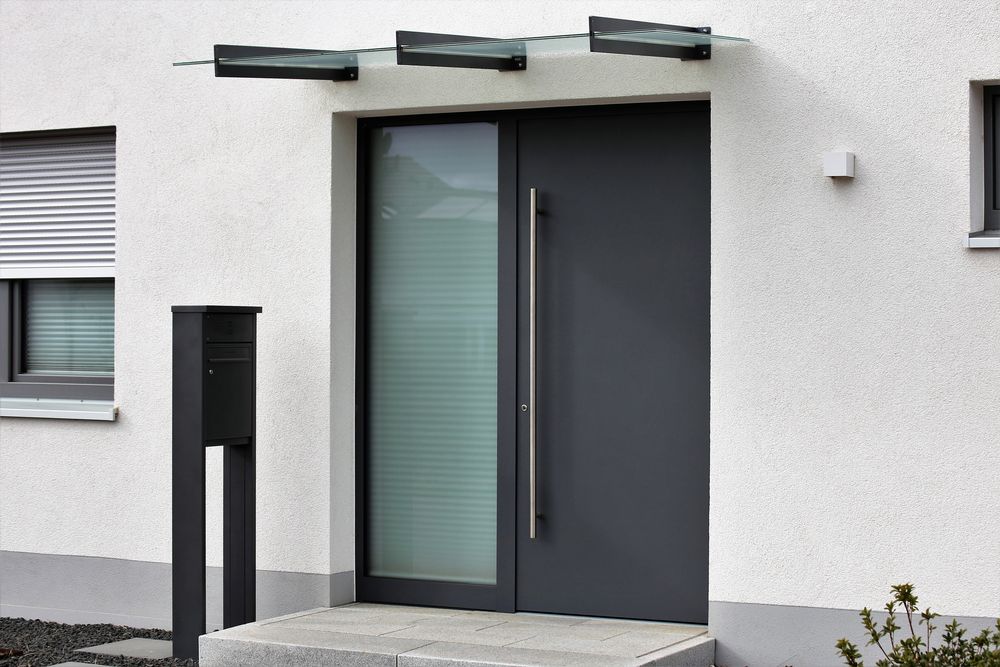
9. Frosted Glass Front Door Privacy
Frosted glass is a great choice for privacy and light, such as this front door example. The light peering through gives a warm feeling to those walking up to the door.
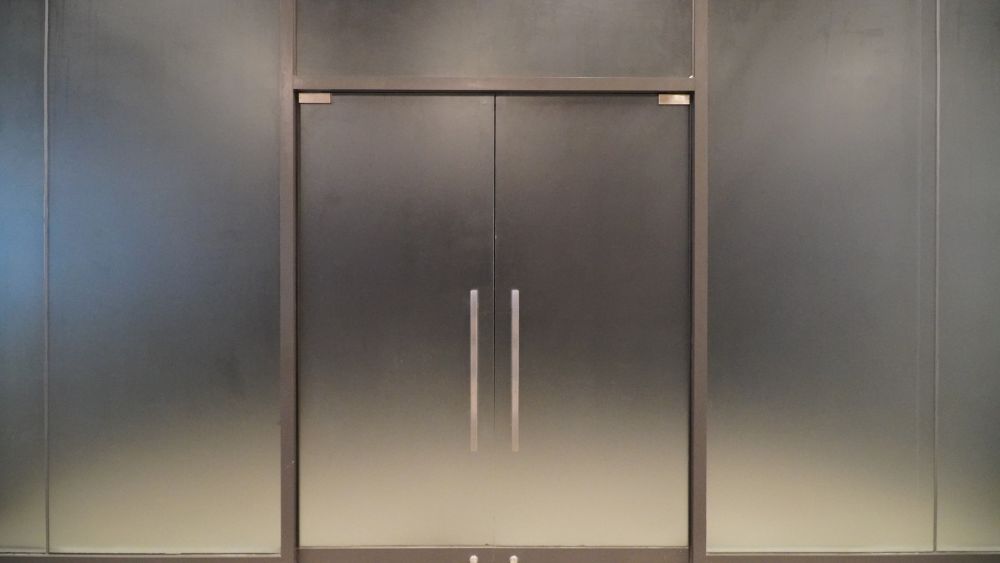
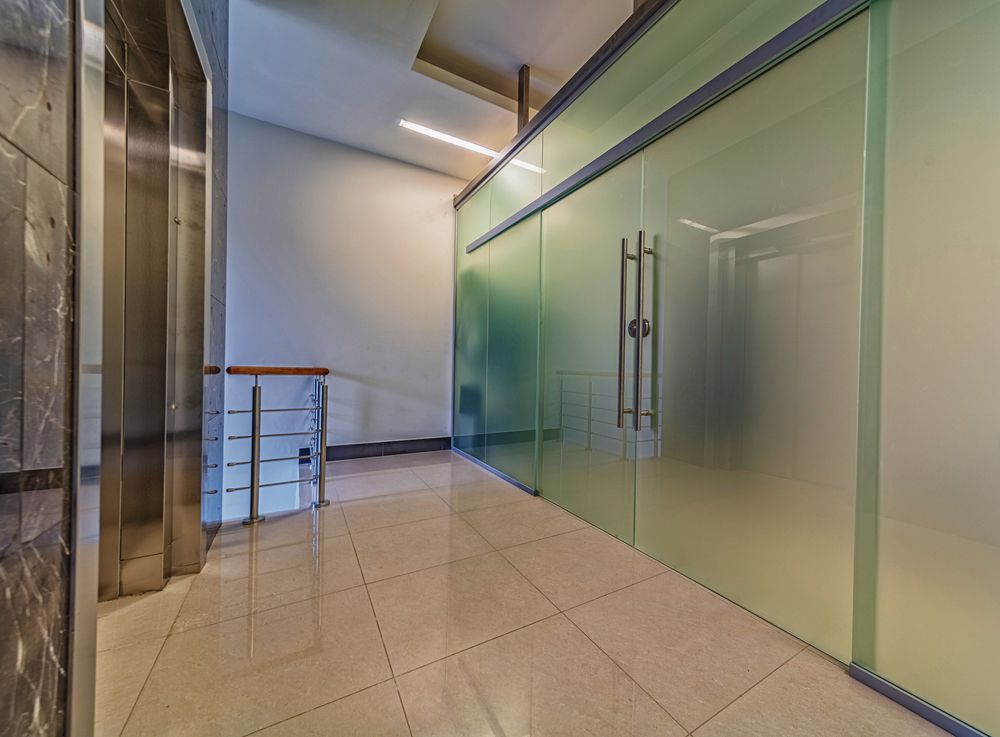
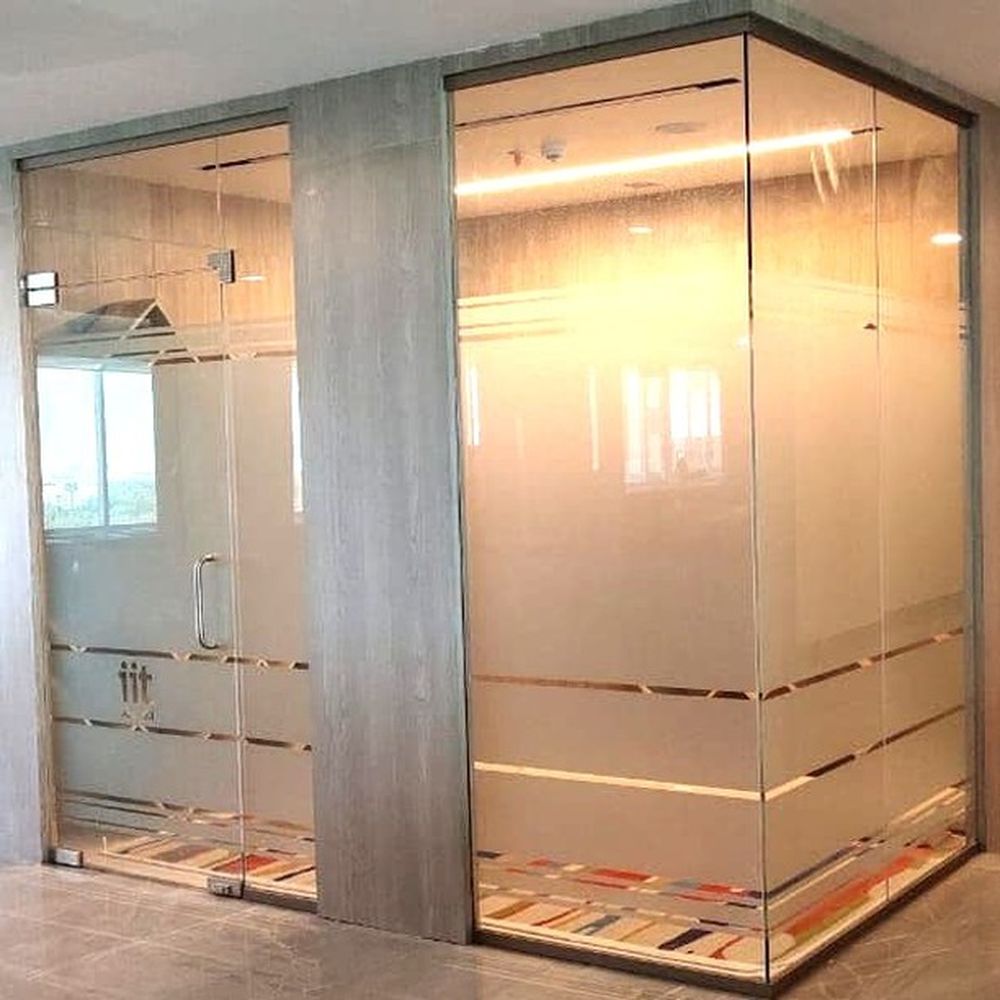
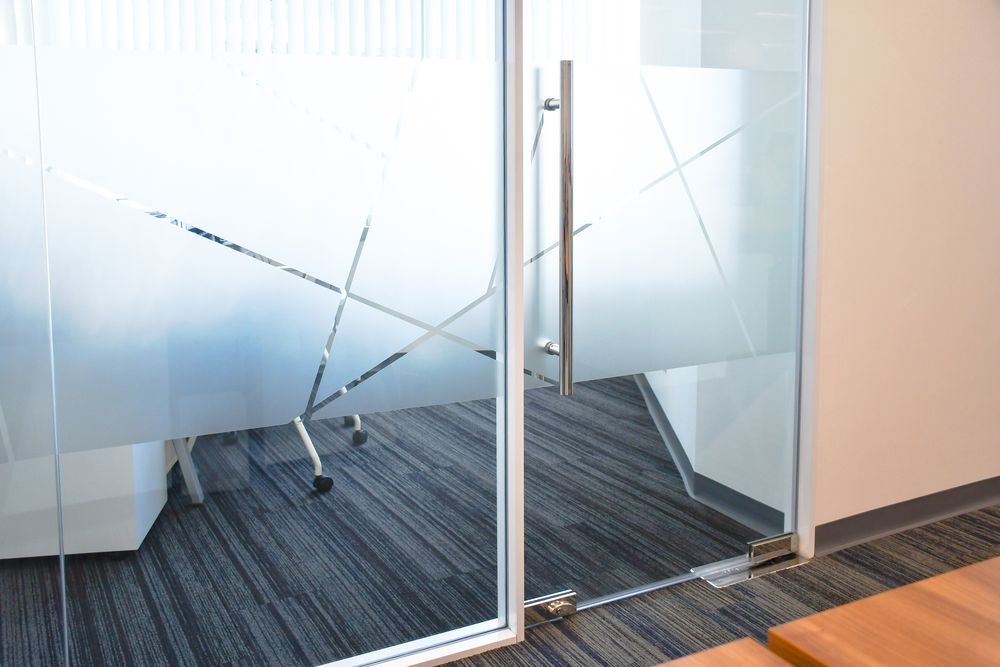
10. Opaque Glass
This is an image of a modern opaque glass door entrance near an elevator in an office. The doors block the view inside.
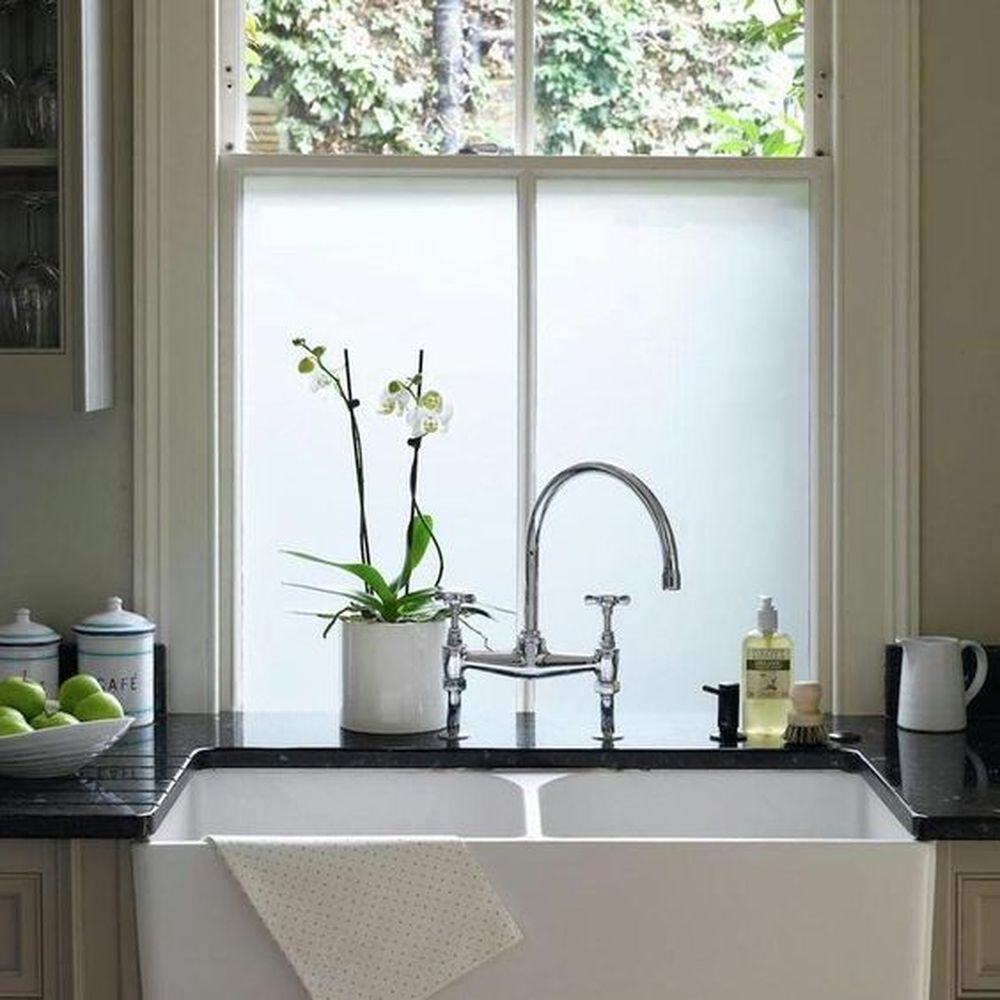
11. Frosted Glass Window
Uploaded by RoomMates Decor on Pinterest, this photo shows a kitchen window that has been isolated from the exterior with adhesive film to create a more private setting.
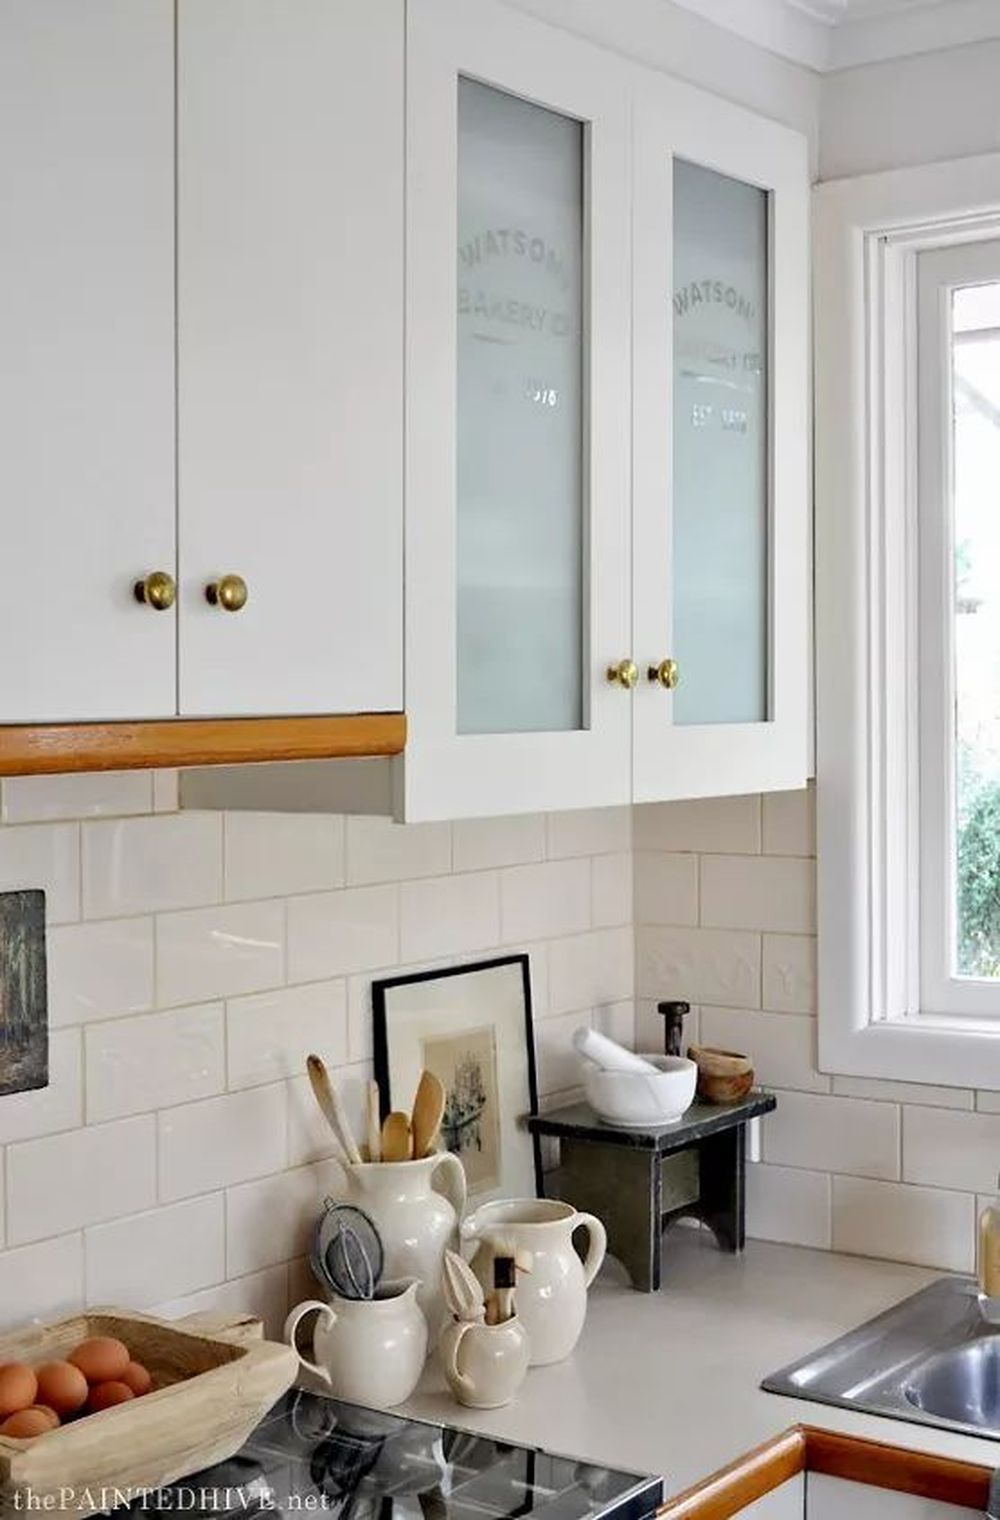
12. Frosted Glass Cabinet Doors
Pinterest has many photos of glass cabinet doors that have been frosted. Just check out this example by Hometalk! It shows glass cabinets with frosted glass inserts on the drawer faces.
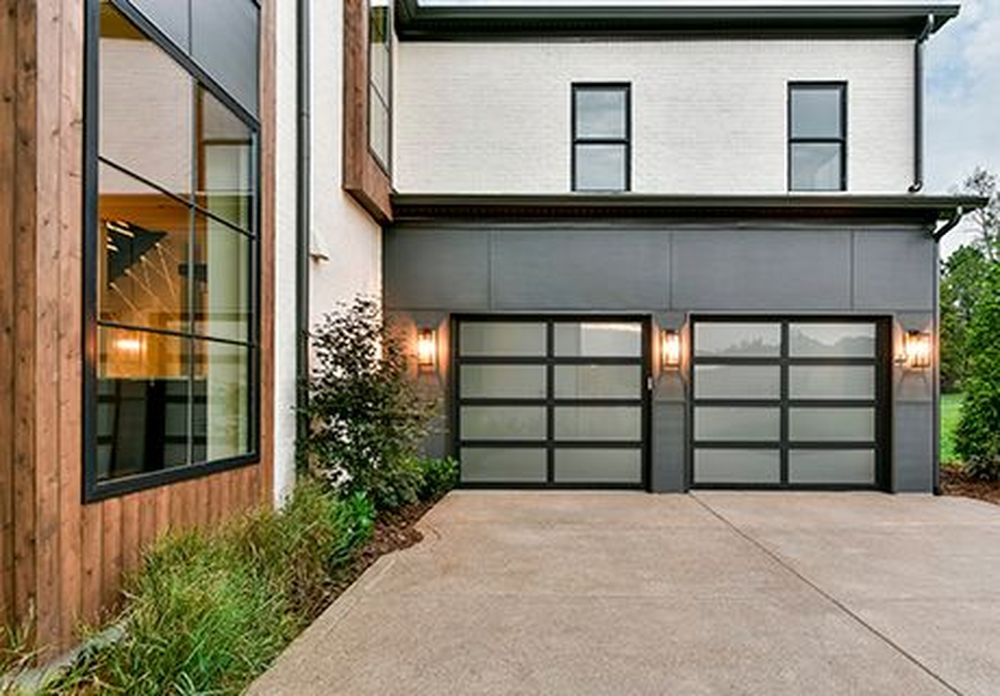
13. Frosted Glass Garage Door
Frosting garage doors is not that common, but it adds a certain level of sophistication to homeowners. However, this is the type of project best left to professionals. Just ask Clopay Garage Doors!
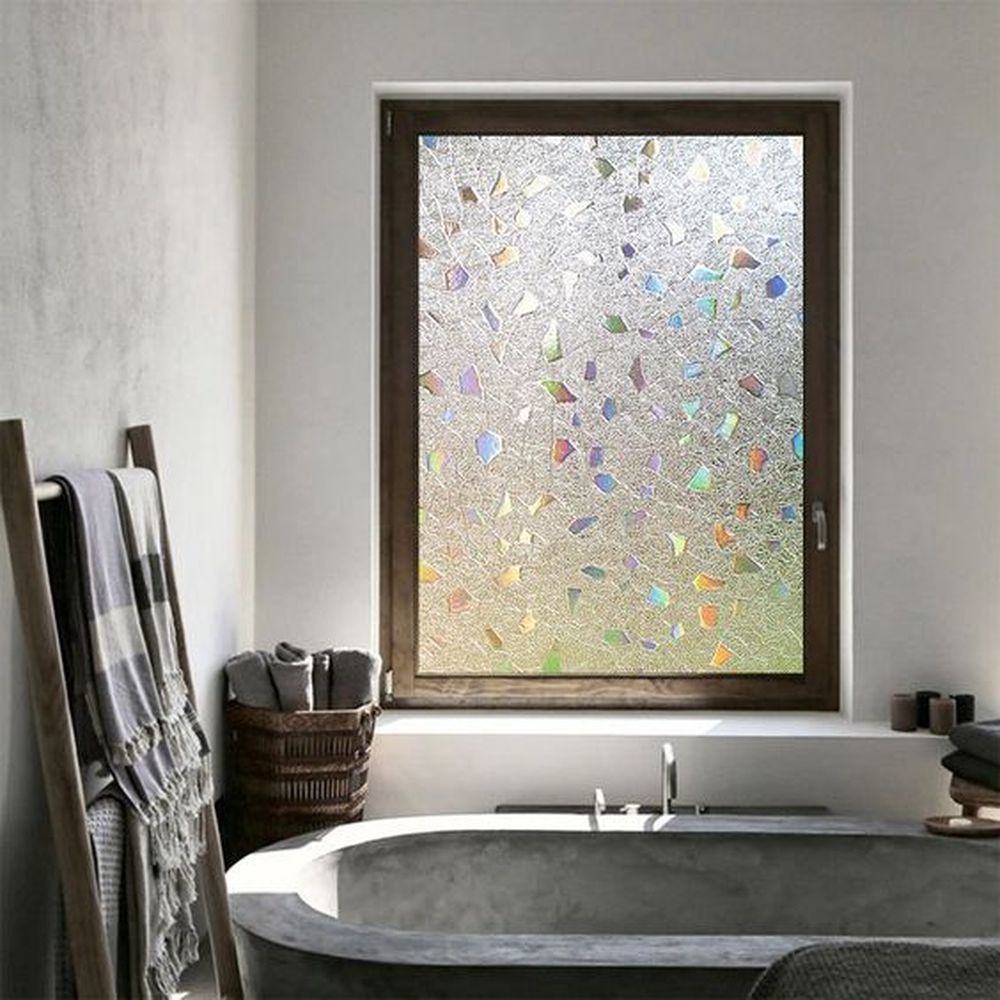
14. Frosted Glass Bathroom Windows
Promoted by QDH, this image shows frosted glass bathroom windows with self-adhesive privacy static cling. You can easily apply it.
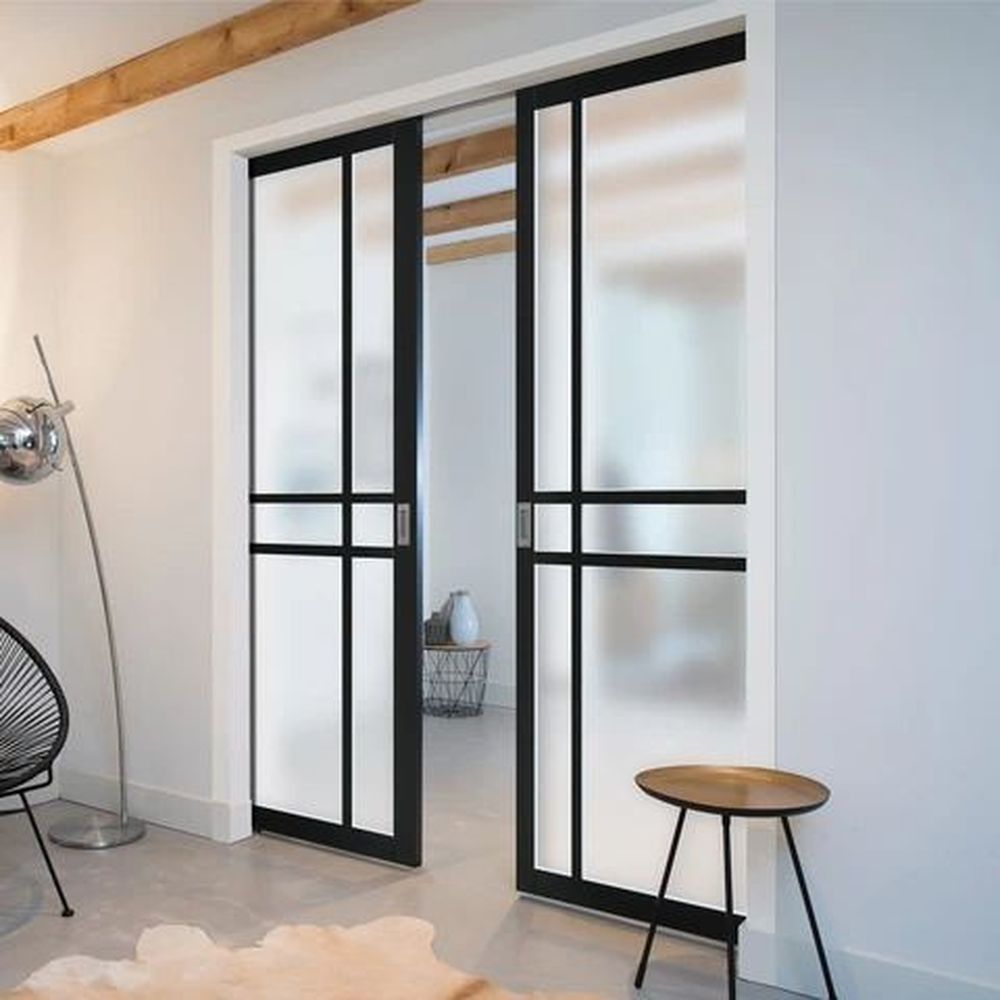
15. Frosted Glass Pocket Door
Here is a photo of a frosted glass pocket door shared by Direct Doors. The privacy film makes the view look like tinted glass, but it’s actually just a sheet of adhesive static cling.
FAQ
Discover more details:
How do you make glass?
To make glass, you need to heat sand until it becomes a liquid. You then add other materials to create the desired color and texture.
How to frost a window?
You can frost a window using adhesive film, frosting spray, or glass etching cream.
How long does frosted glass last?
Frosted glass is most often made with privacy film, which means it’s removable and can be replaced. It can last for a long time if maintained properly.
What is frosted glass used for?
You can use frosted glass for a variety of purposes, such as privacy, decoration, and insulation. It is most often used in bathrooms and kitchens to separate areas without blocking out light or sound.
What does frosted glass look like?
Frosted glass can look opaque, translucent, or tinted. It varies in appearance, depending on the material used to create it.
What is the difference between frosted and etched glass?
Etched glass is a type of frosted glass that has been treated with acid to create a design or pattern.
What is the difference between frosted and privacy glass?
Frosted glass is a type of privacy glass. It has a cloudy appearance that obscures the view inside of a space. Privacy glass is similar, but it has an opaque look that blocks the view inside of a space.
What is the difference between glass and frosted glass?
Glass is an inorganic substance with a clear appearance. It may or may not have been treated with another material to add color or create texture. Frosted glass is a type of glass that has been treated with acid or another material to give it a cloudy appearance.
How do you clean frosted glass?
It would be best to clean frosted glass using the same techniques you would use to clean other types of glass. There are also dedicated frosted glass cleaners that make the task easier.
Can you see through privacy glass at night?
Privacy glass can be treated with an adhesive film that makes it translucent, so you can see through it at night. However, some types of privacy glass are opaque, making it difficult to see through them under any circumstance.
Do you need a building permit for frosted glass?
There is no law or building code that requires you to get a permit to install frosted glass.
Can you remove frosted glass?
Yes, you can remove frosted glass if needed. It is most often installed using adhesive film, which can be peeled off and replaced if necessary.
How do you make frosted glass at home?
To make frosted glass at home, you would need to create a design and then use acid to etch it onto the surface of the glass.
Final Thoughts on Frosted Glass
Now that you know the difference between frosted glass and mirrored glass, you can make a more informed decision when choosing which type of glass is best for your needs.
Frosted glass is a great choice for areas where you want to maintain some privacy, while mirrored glass is perfect for creating a glamorous and elegant look. If you are not sure which type of glass is best for your project, be sure to consult with a professional.
