DIY Floral and Gold Wooden Quote Sign
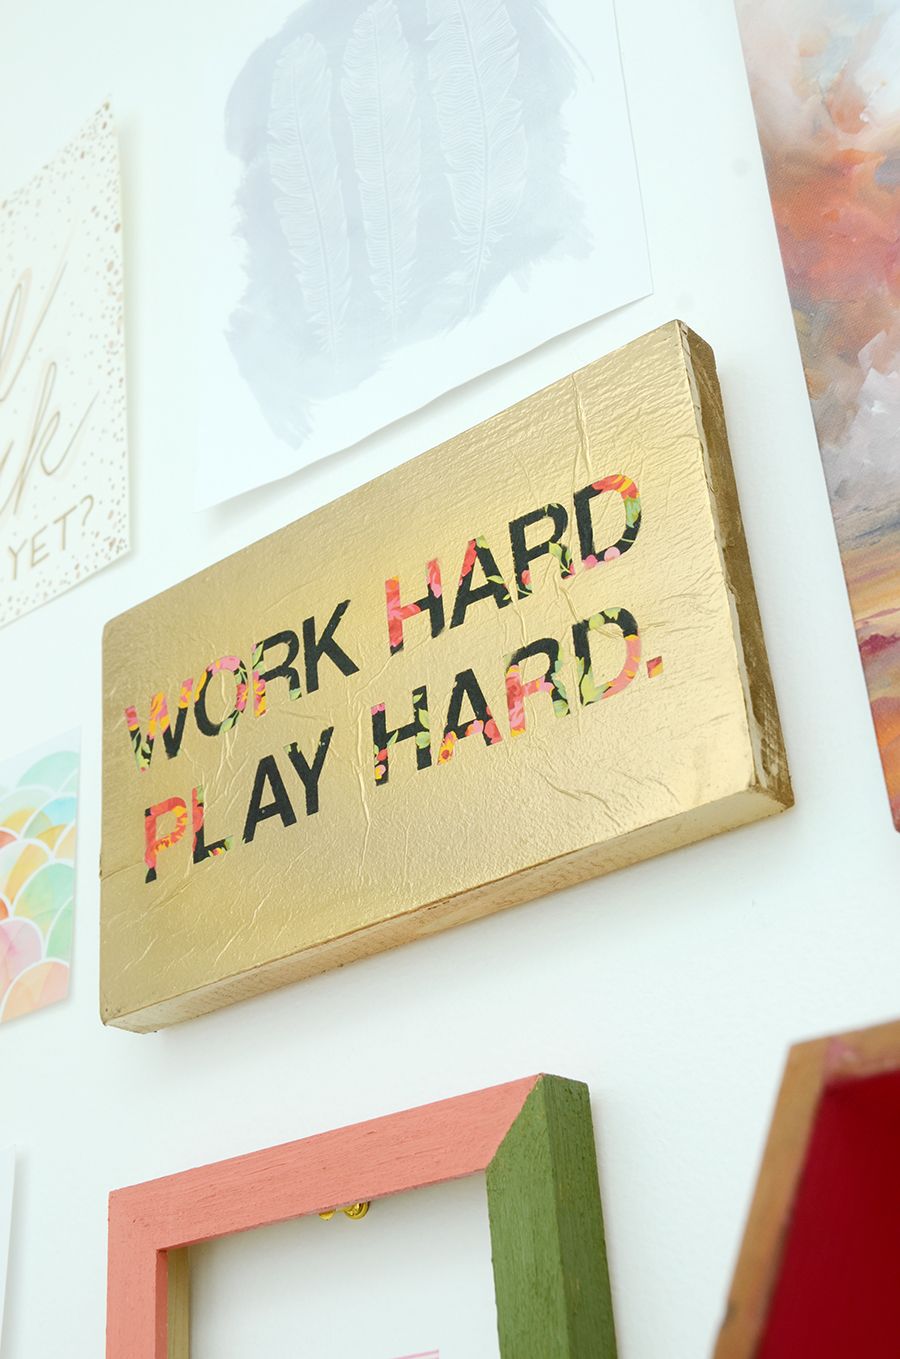
Today we’re sharing a fun wooden quote sign tutorial with you, done with a layered technique that involves a combination of decoupage and masked spray painting. Choose any quote you like, and any colors too! Keep reading to check out this surprisingly simple tutorial.
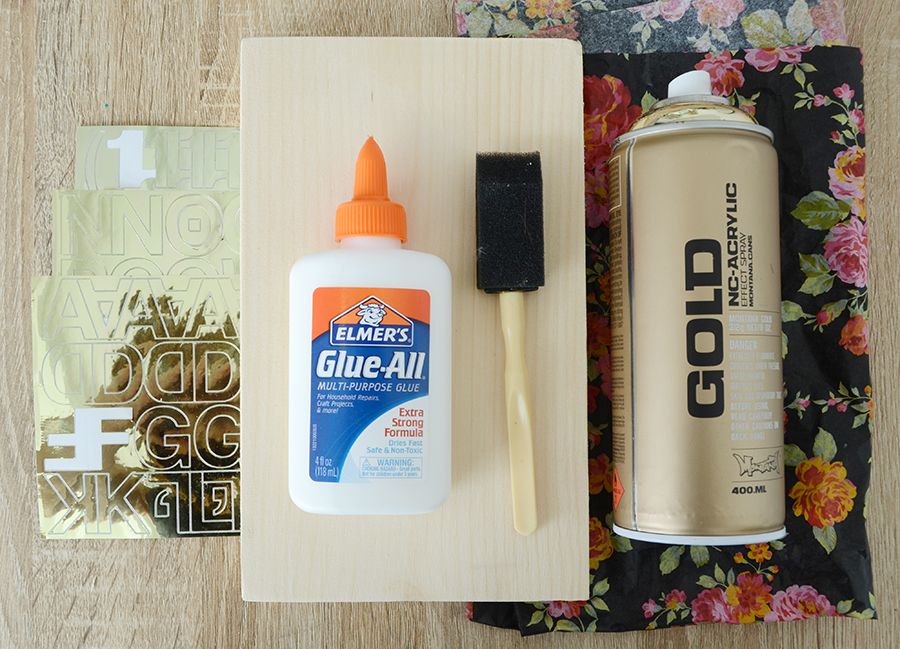
Here’s what you’ll need for your wooden quote sign:
- Piece of scrap wood (mine was 12×8 inches)
- Elmer’s glue
- Foam brush
- Gold spray paint
- Floral tissue paper
- Adhesive letters
Step 1: mix the glue-all
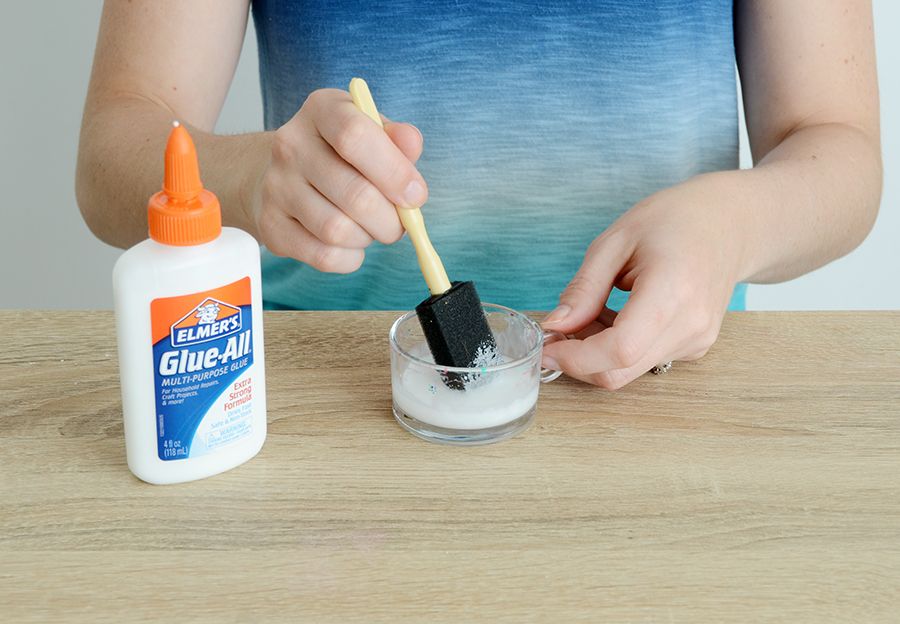
Begin by mixing about a tablespoon of glue with a tablespoon of water. This will thin it out, making it easier to spread on the wood.
Step 2: apply first coat
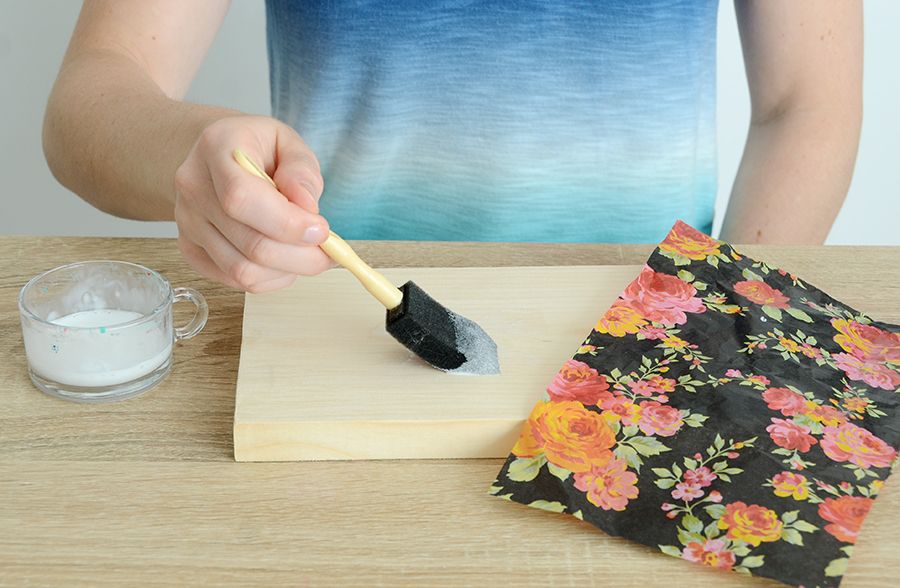
First, cut a piece of tissue that is the same size as the wood. Then paint the glue mixture across the wood, covering the entire surface. Work quickly so it doesn’t dry as you’re going.
Step 3: lay the tissue down
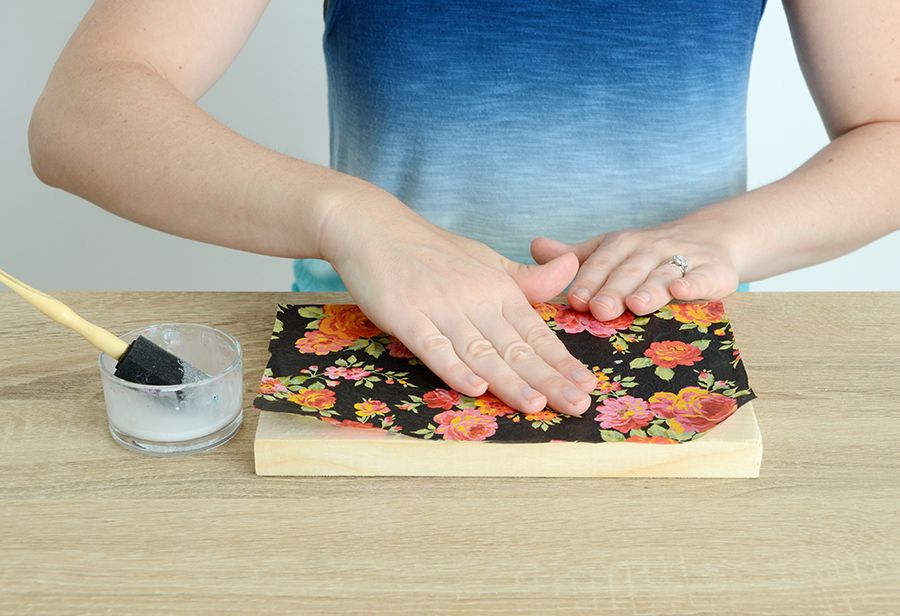
Lay the tissue down on top of the glued surface. Smooth it out with your hands so it lays nice and flat, and smooth out any air bubbles.
Step 4: glue over the tissue
Next, spread a layer of the glue mixture over the top of the tissue paper. This will seal it so it will stay nice and flat. Trim any excess tissue paper that extends past the edge of the wood.
Step 5: let it try
Let it dry for a few hours. Once it is completely dry, lay out your adhesive letters out in your quote of choice. Press the letters down very firmly once you have them all situated perfectly.
Step 6: Spray paint
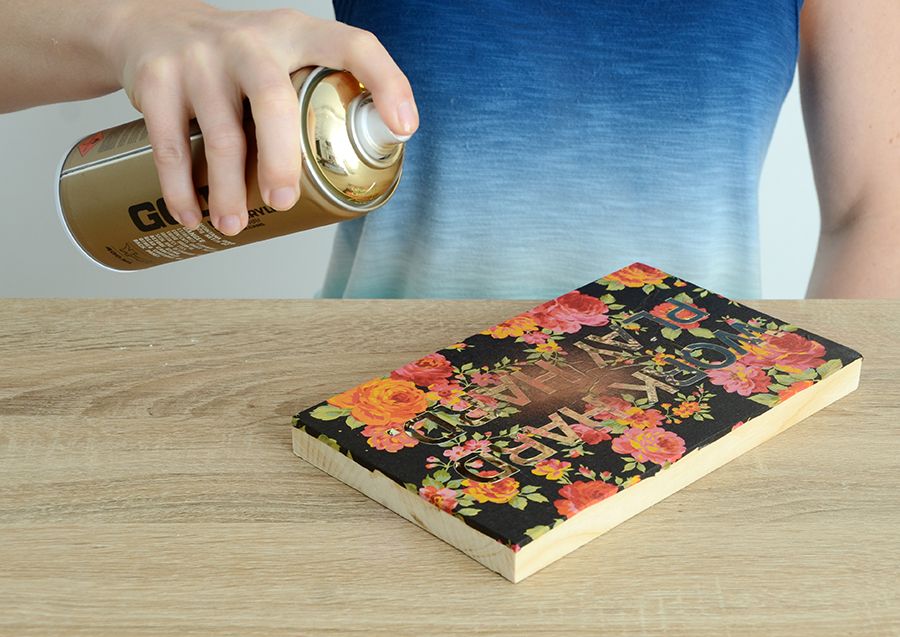
Spray paint the entire piece of wood, including the sides. I would recommend doing this outside, or in a well-ventilated area. Let the spray paint dry for a half hour.
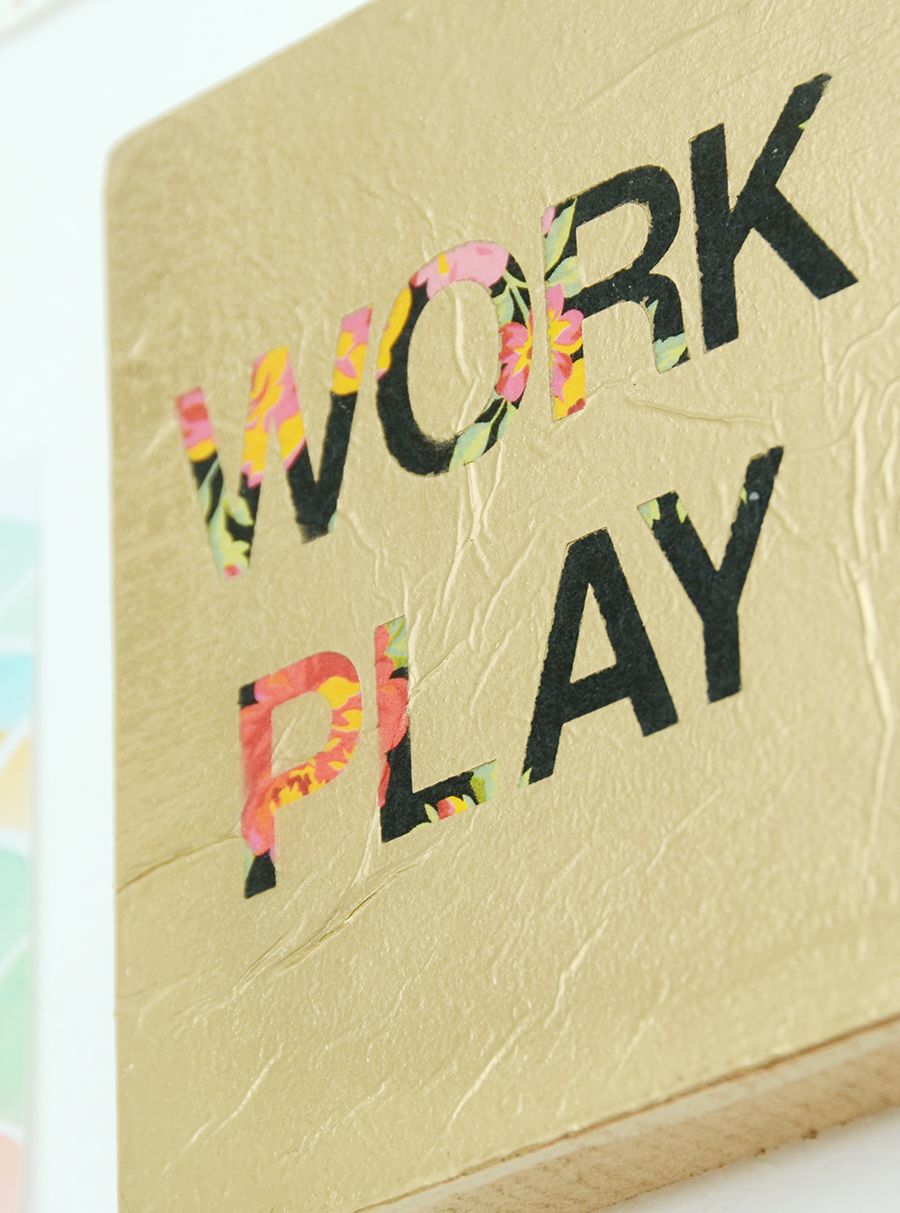
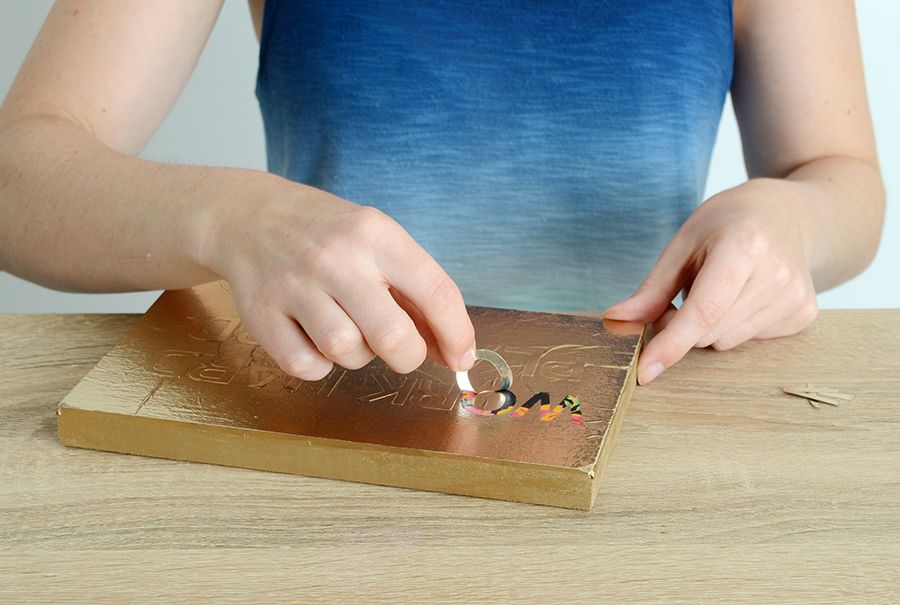
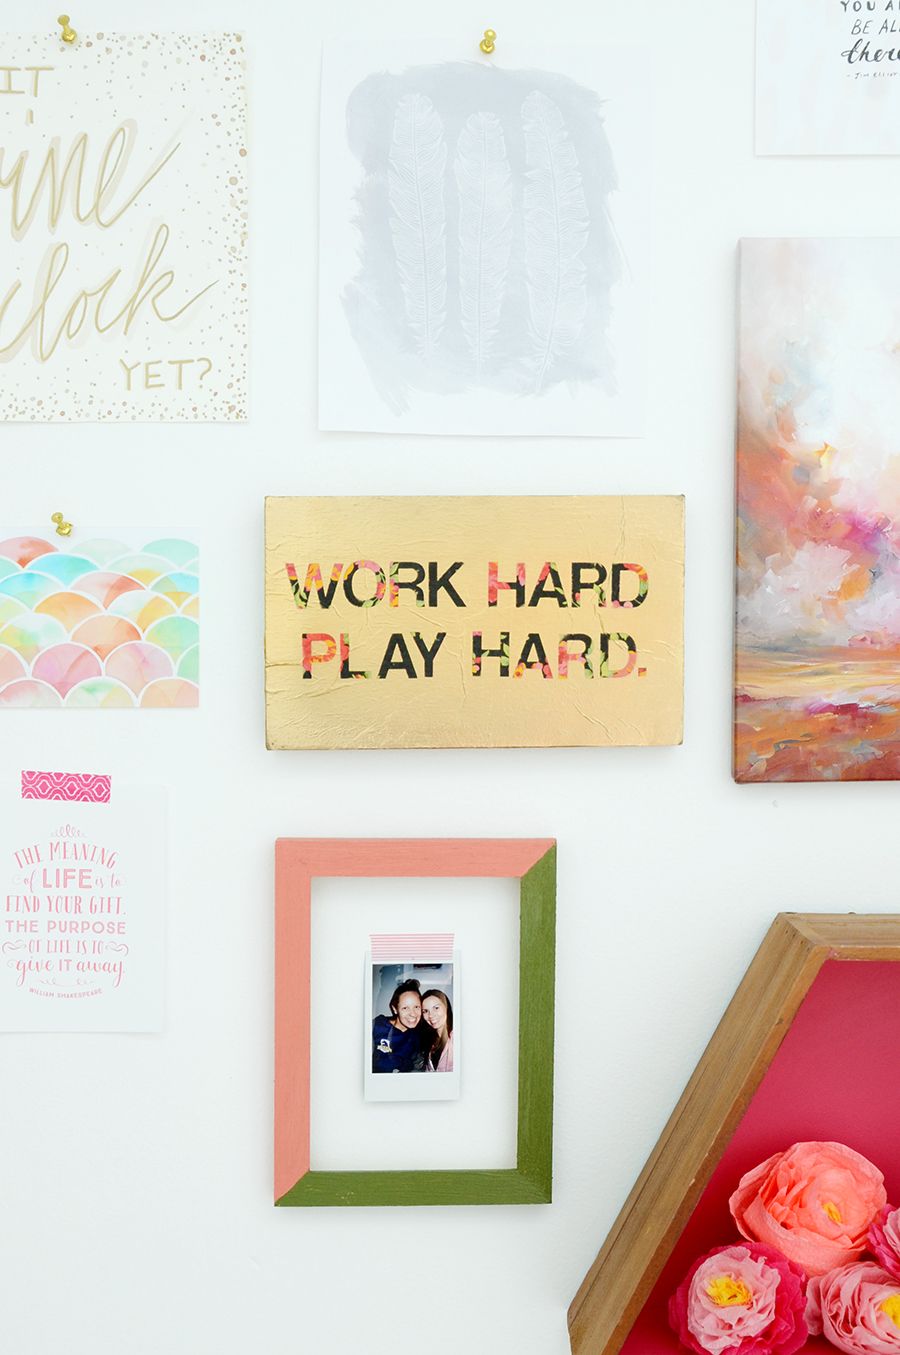
Once the paint has dried, carefully peel the letters up to reveal the floral tissue paper underneath. If you have trouble grabbing the edges of the letters, use a thumbtack or pushpin to gently lift the edge up and then pull the rest of the way with your fingers. And your quote sign is complete!
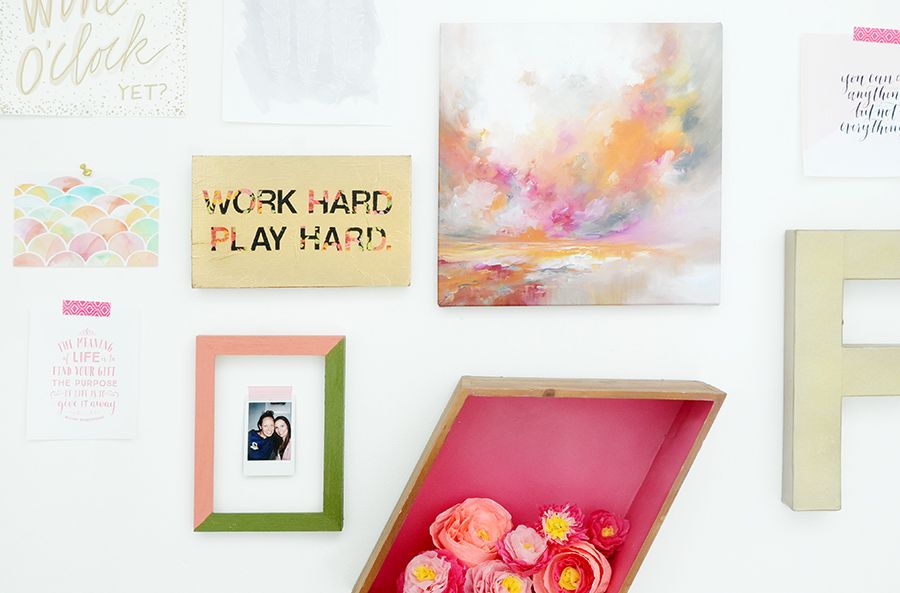
If you’d like to hang it on the wall, simply attach a picture hanger to the back. It makes a great addition to a gallery wall as shown above, or you could just stand it up on your desk or bookshelf.
The layered technique allows for lots of customization… you could use any kind of tissue paper, and any spray paint color too. And you could even try a different type of adhesive letter – there are tons of different fonts and styles available at your local craft store or online.
