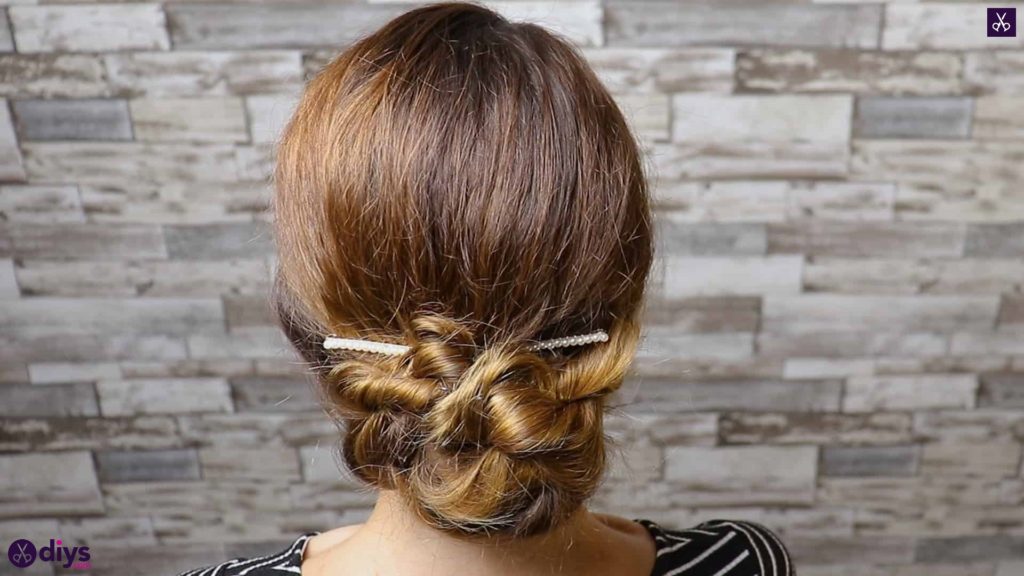
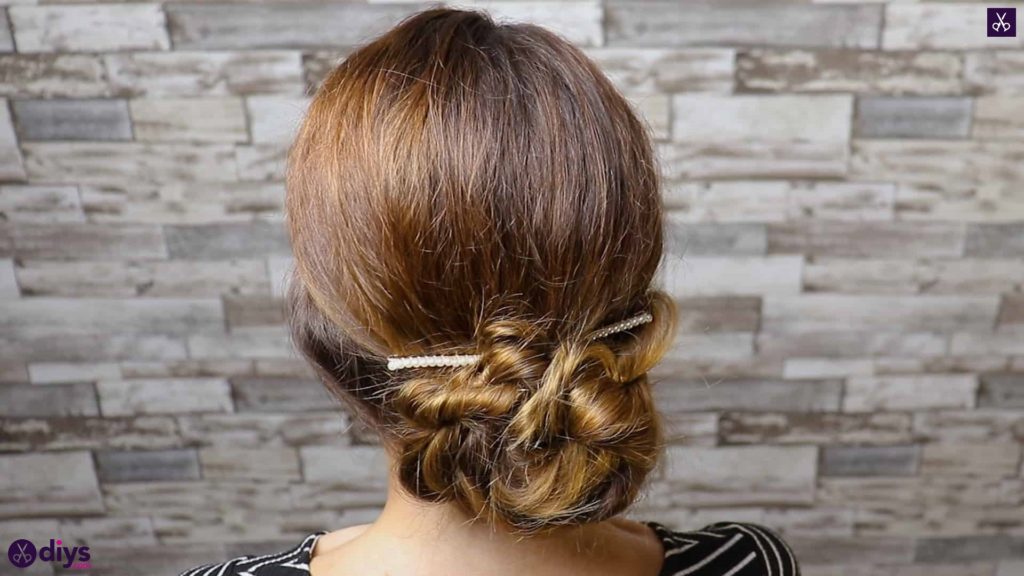
Elegant and Easy Wedding Bun Hairstyle for Guests
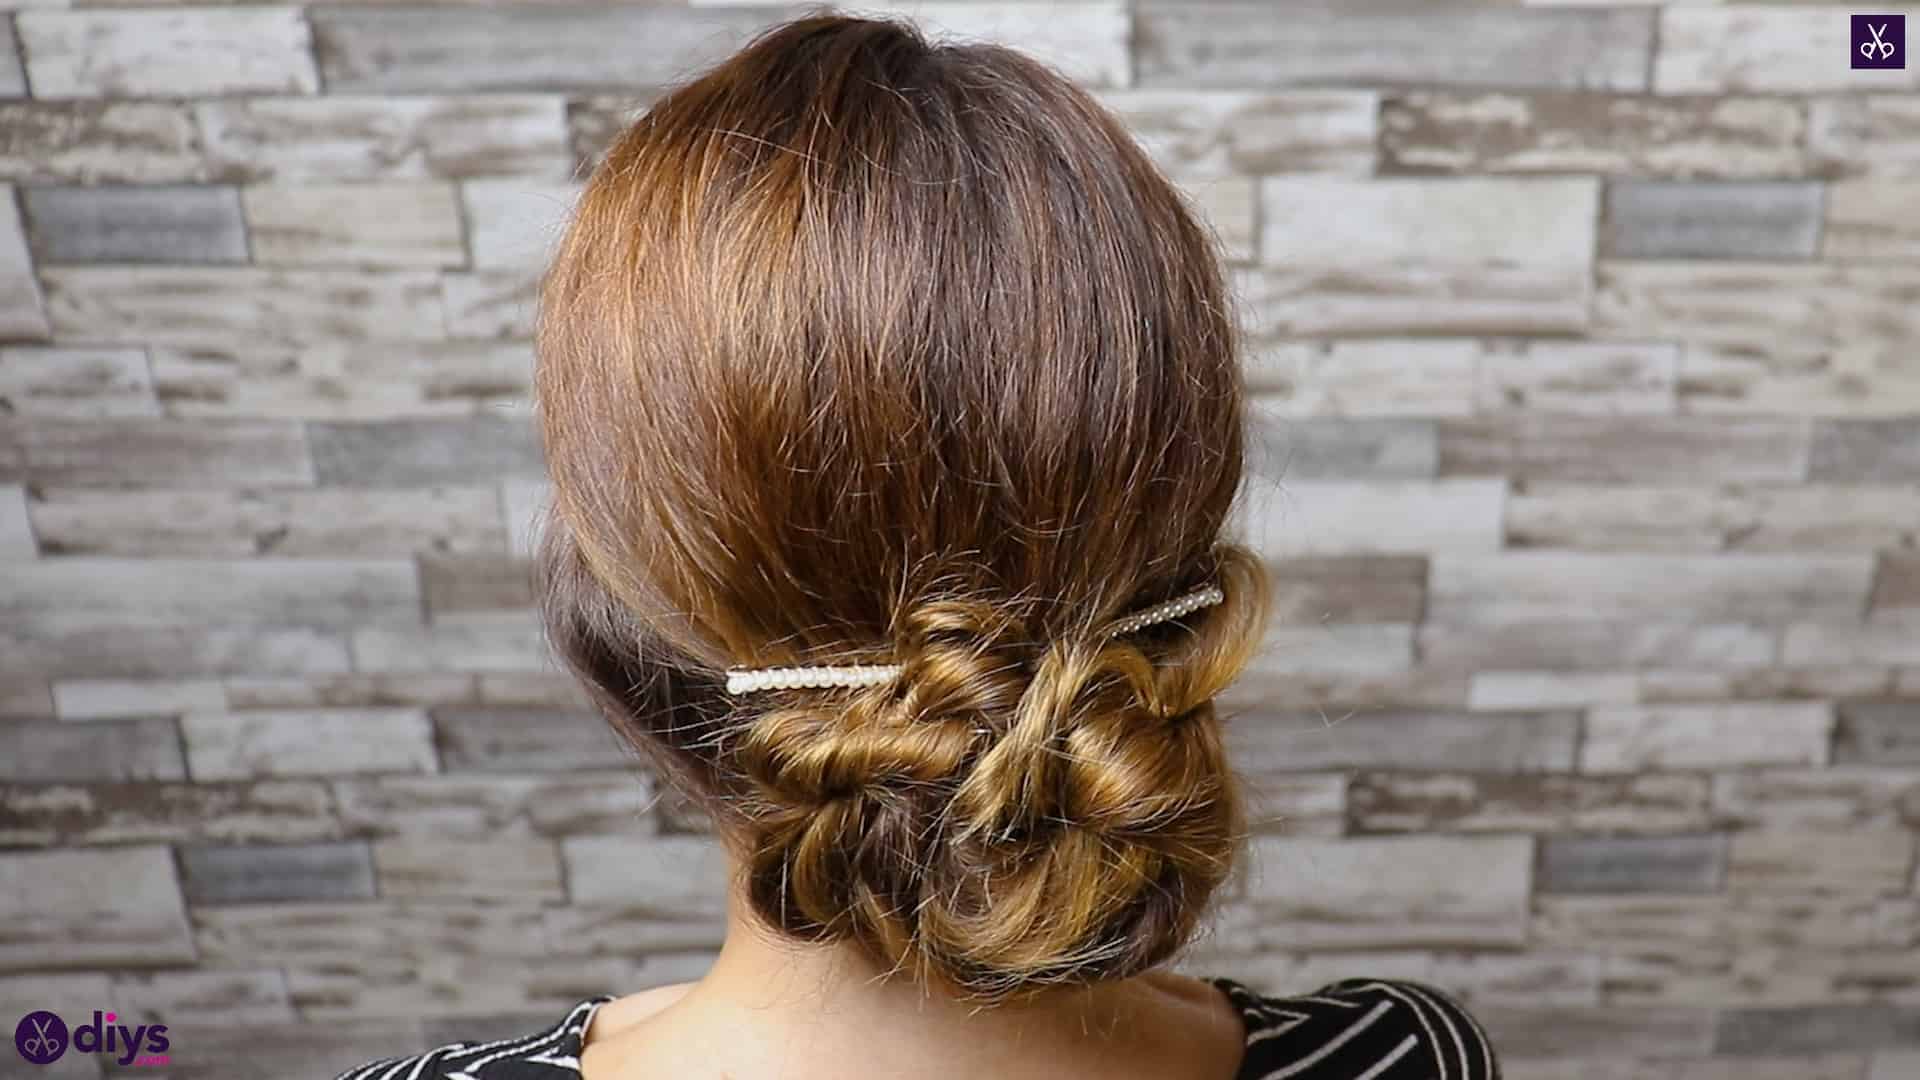
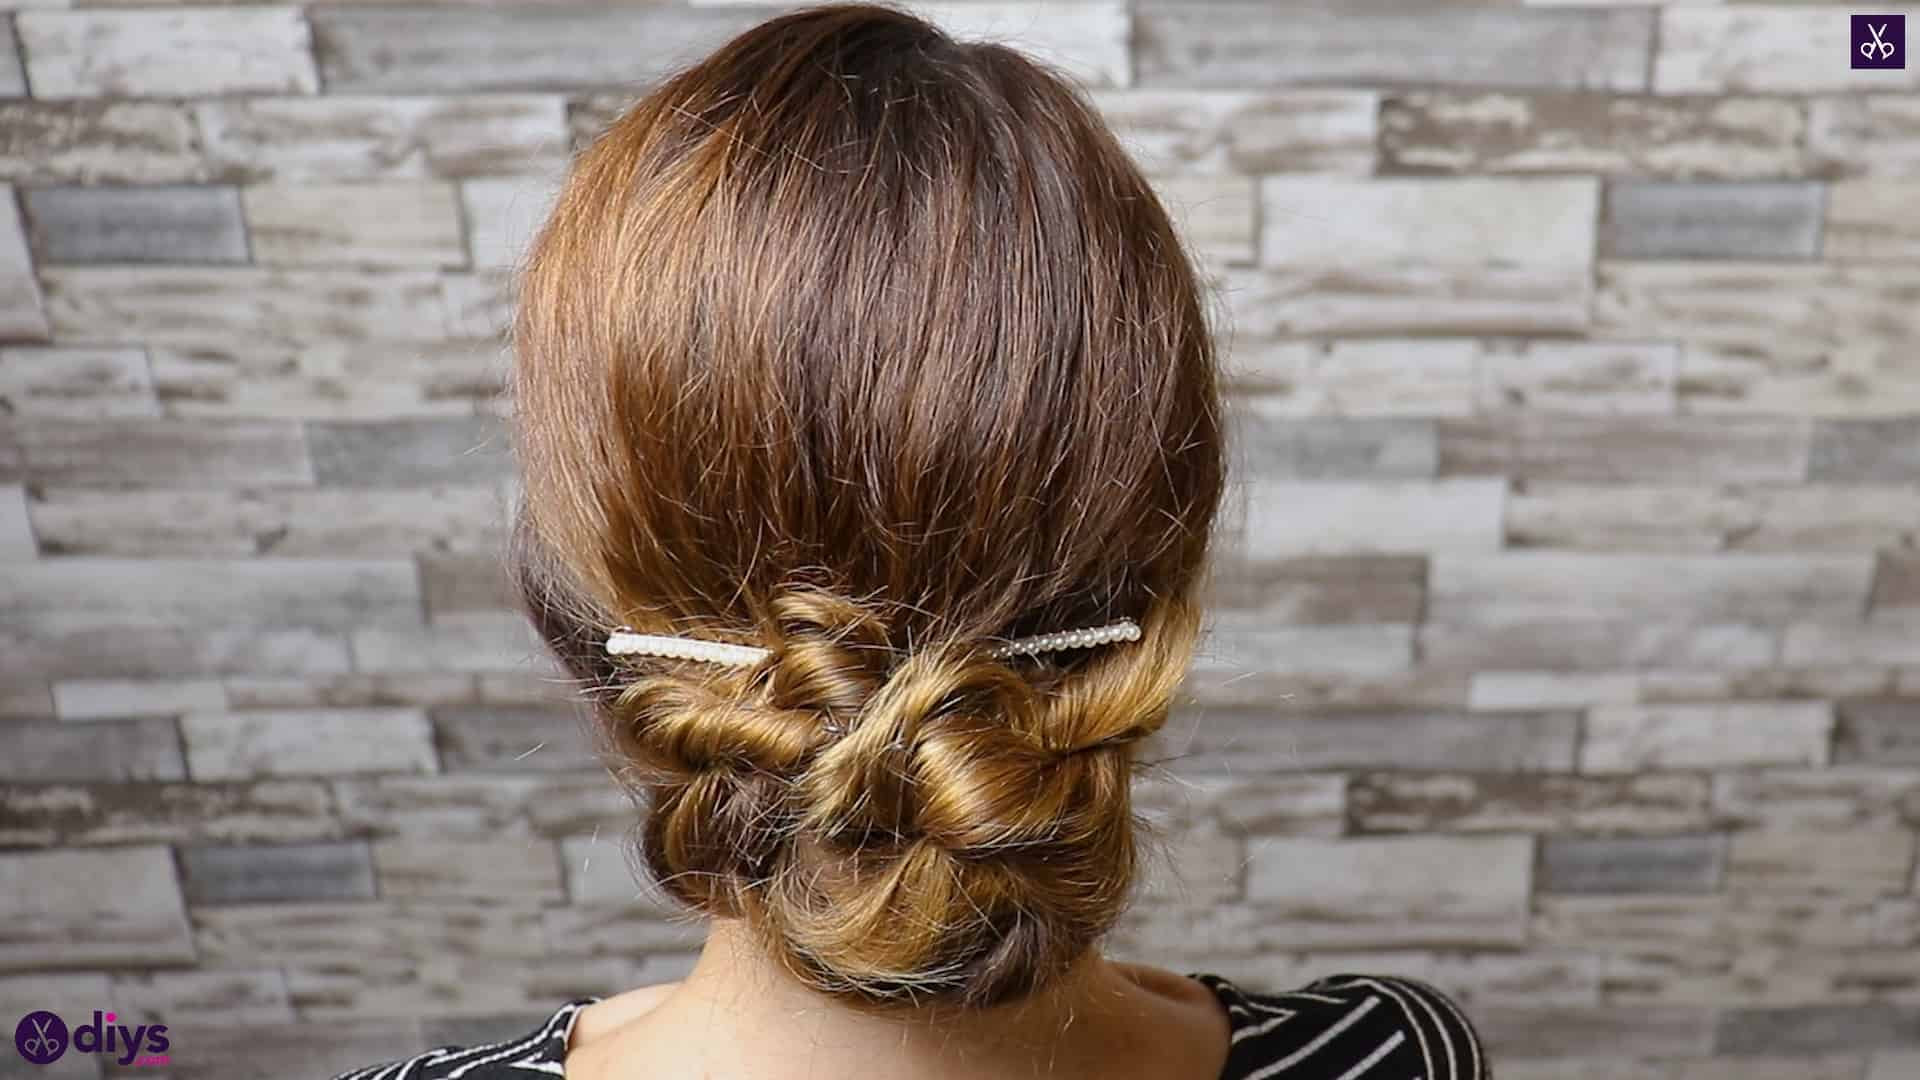
Within the next few months, I have a rather large number of weddings to attend as a guest and I’mreally excited about that! I very briefly though of treating myself for at least a few of these occasions by getting my hair and makeup professionally done, but I’ve been practicing with hairstyling lately and I’m quite proud with some of the styles I’ve tried. Recently, I created a pearl adorned bun that’s very elegant indeed andperfect for any wedding guest, and I just knew I had to share the process for others to see.
Check out these step by step instructions complete with photos! If you’d rather follow along with a video tutorial instead of written words, scroll to the bottom of this post to find just what you’re looking for.
For this style, you’ll need:
- Hair elastics
- Bobby pins
- A brush
- Hairspray
Step 1: brush and section hair
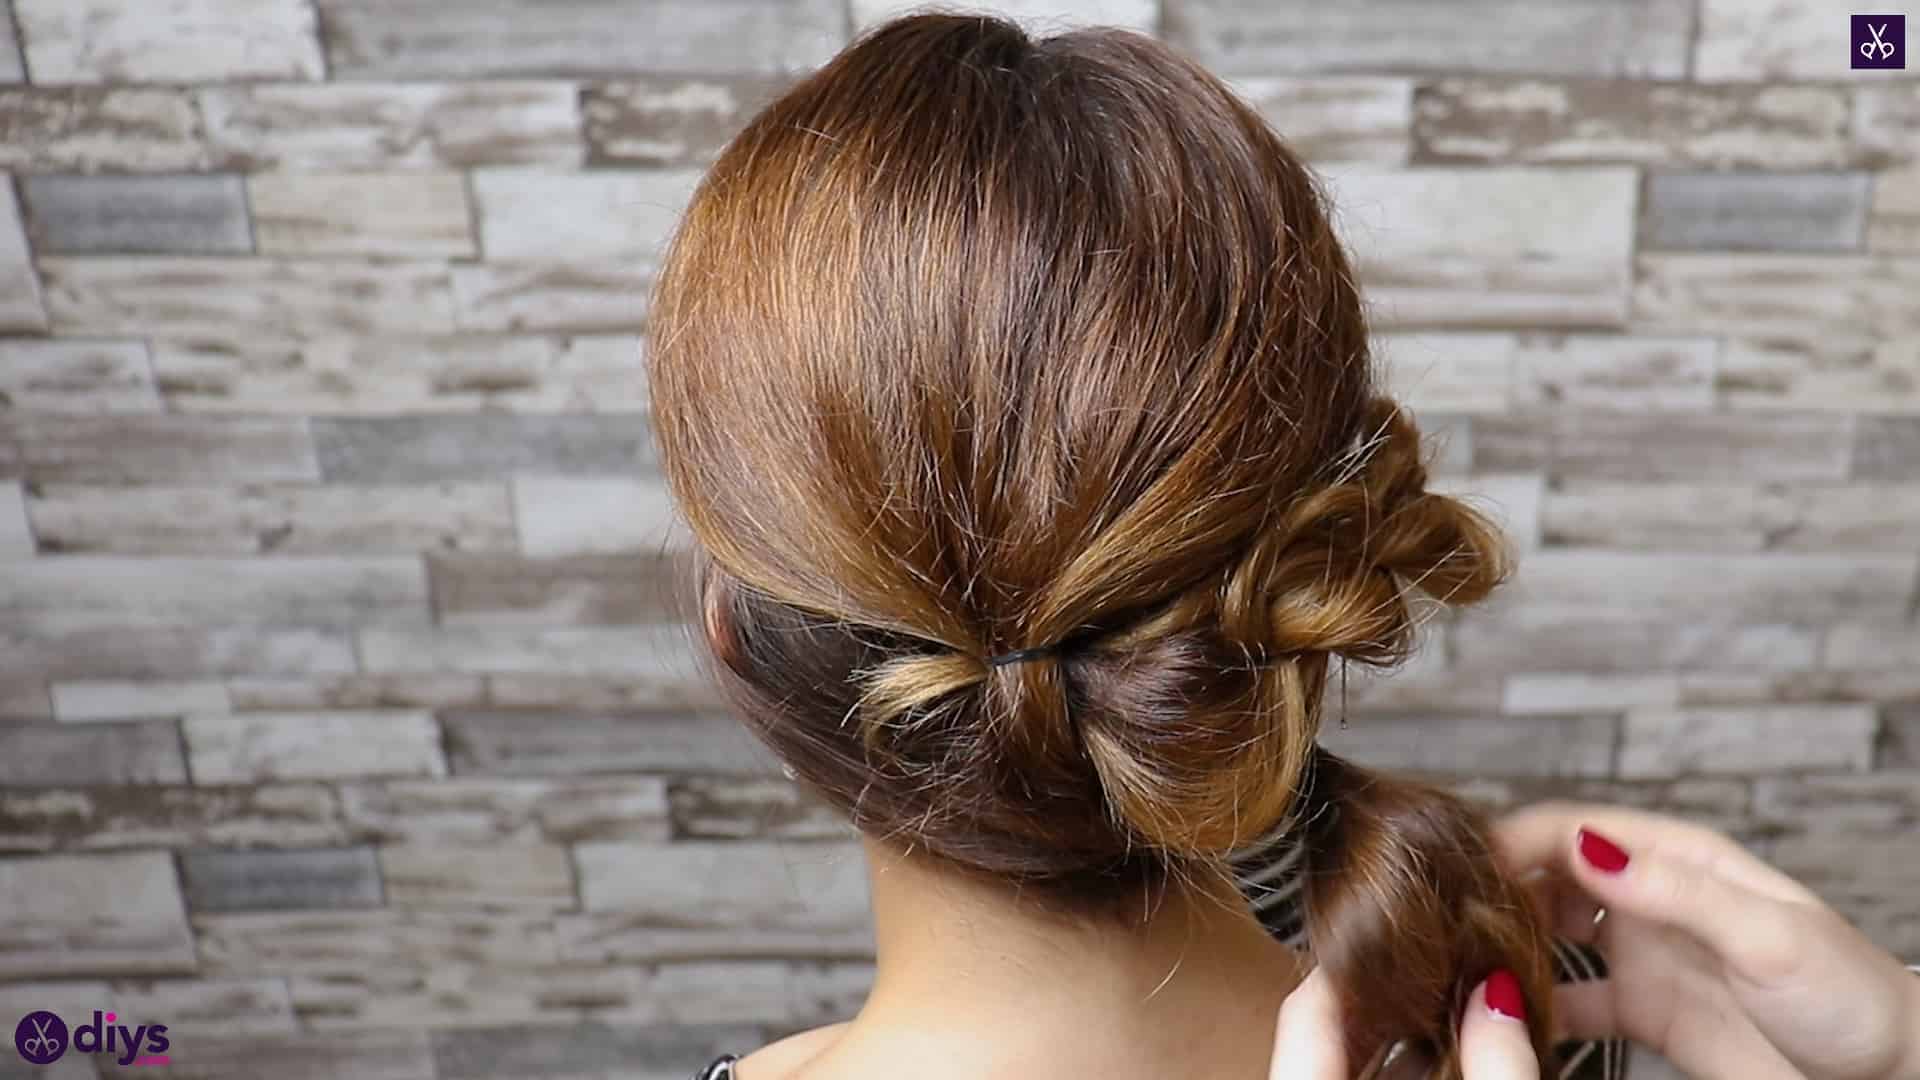
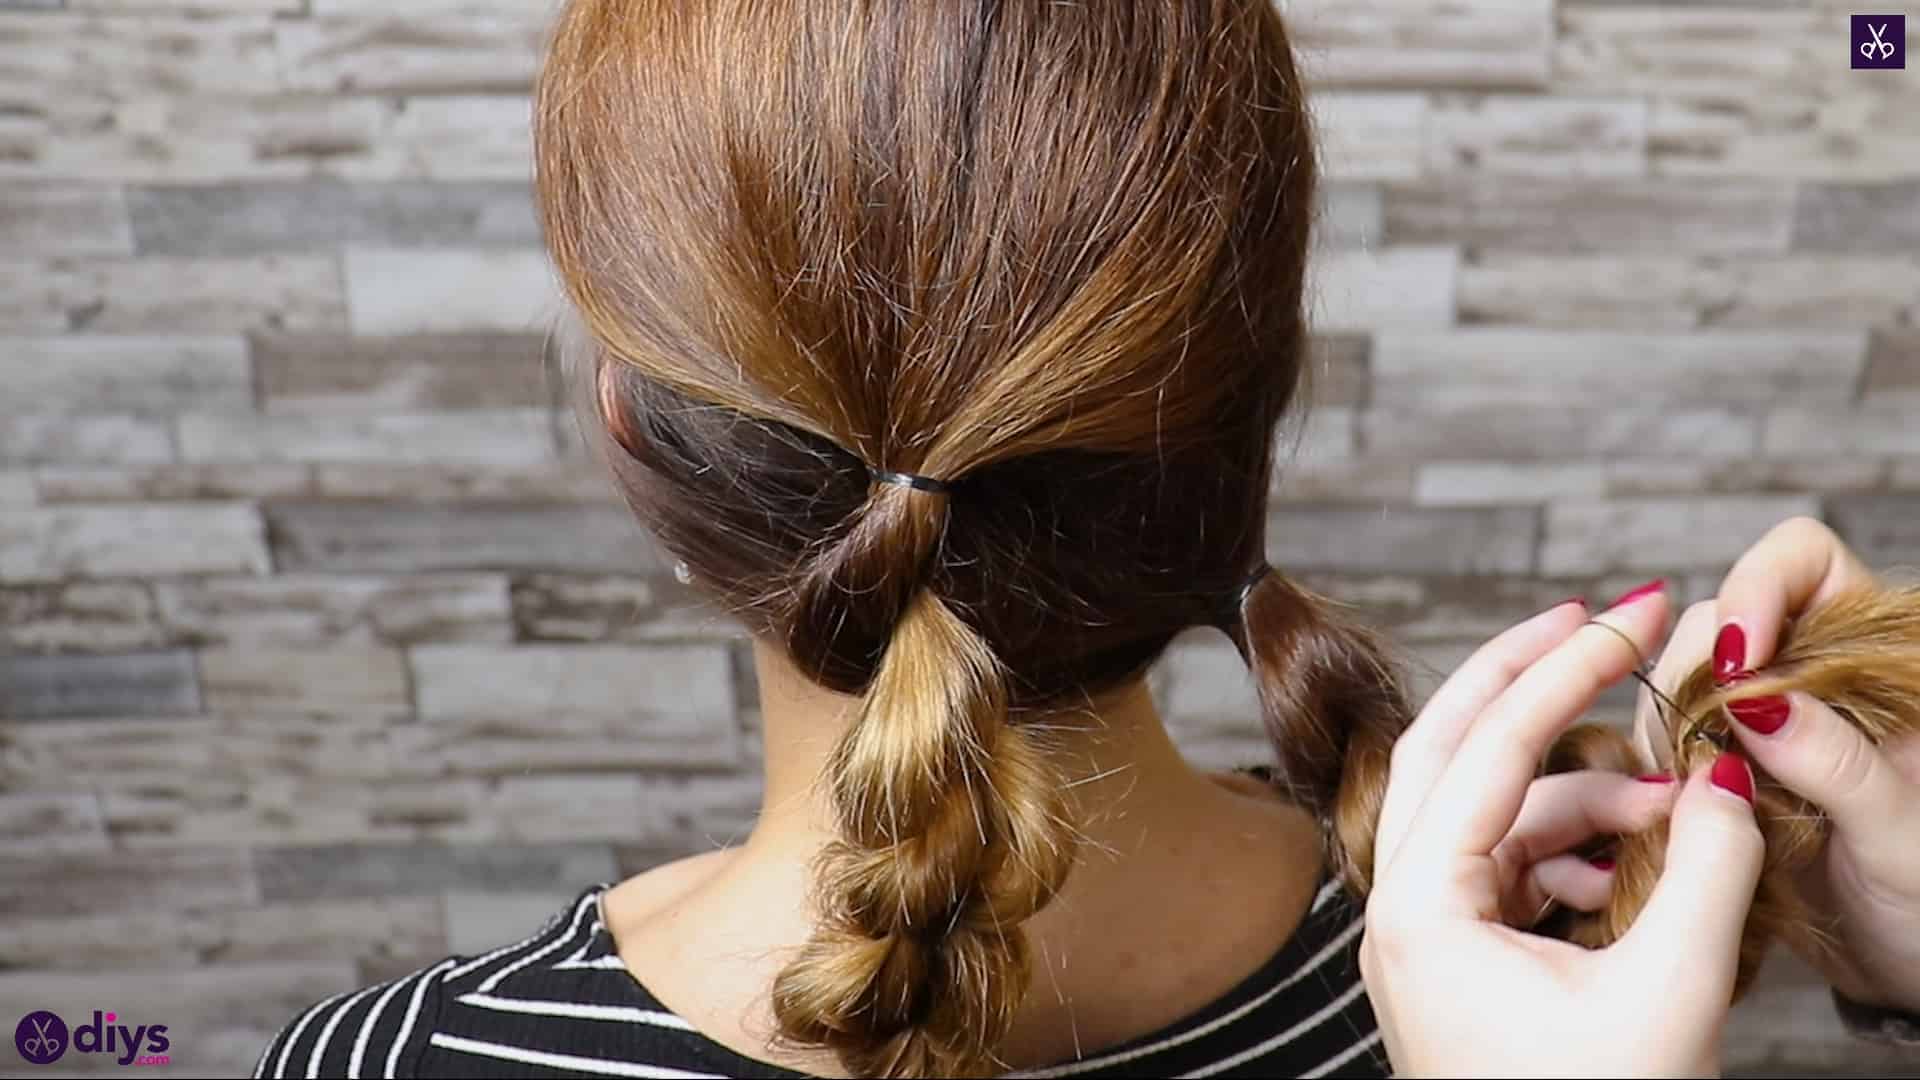
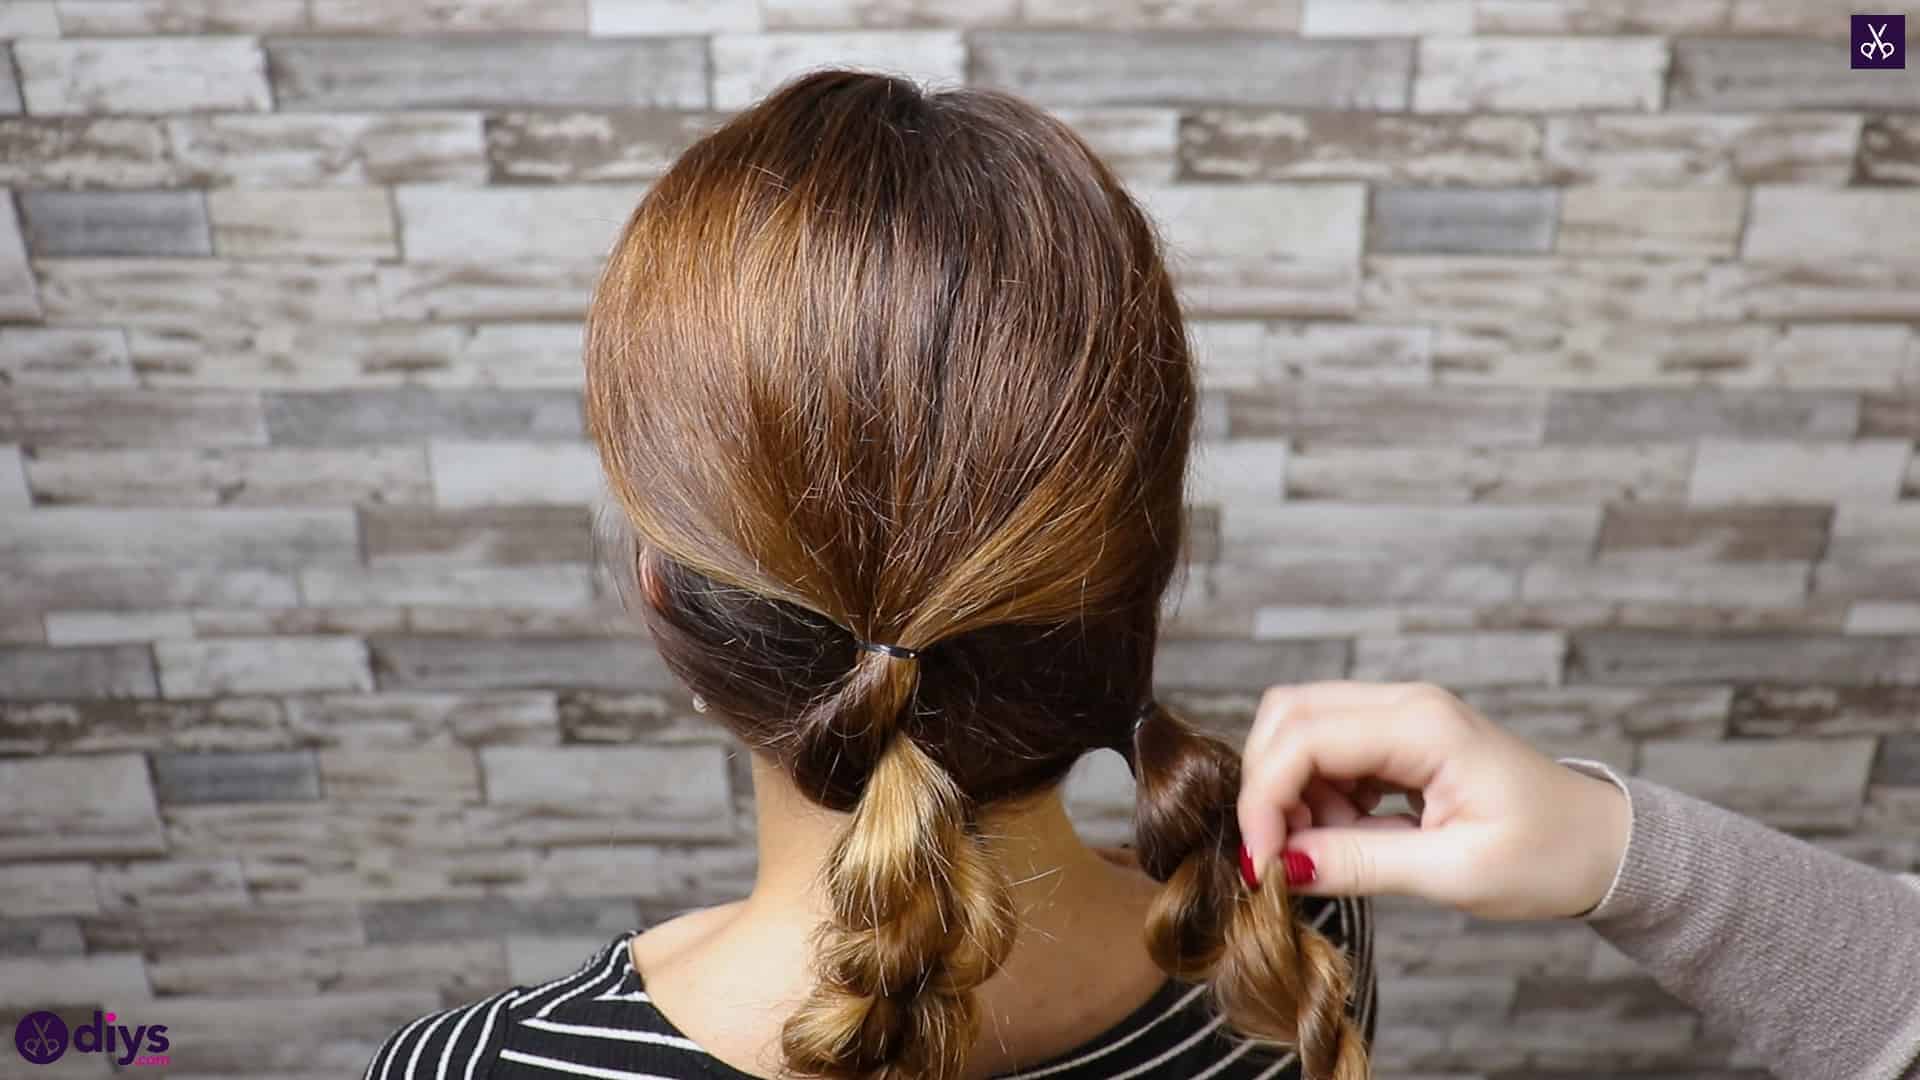
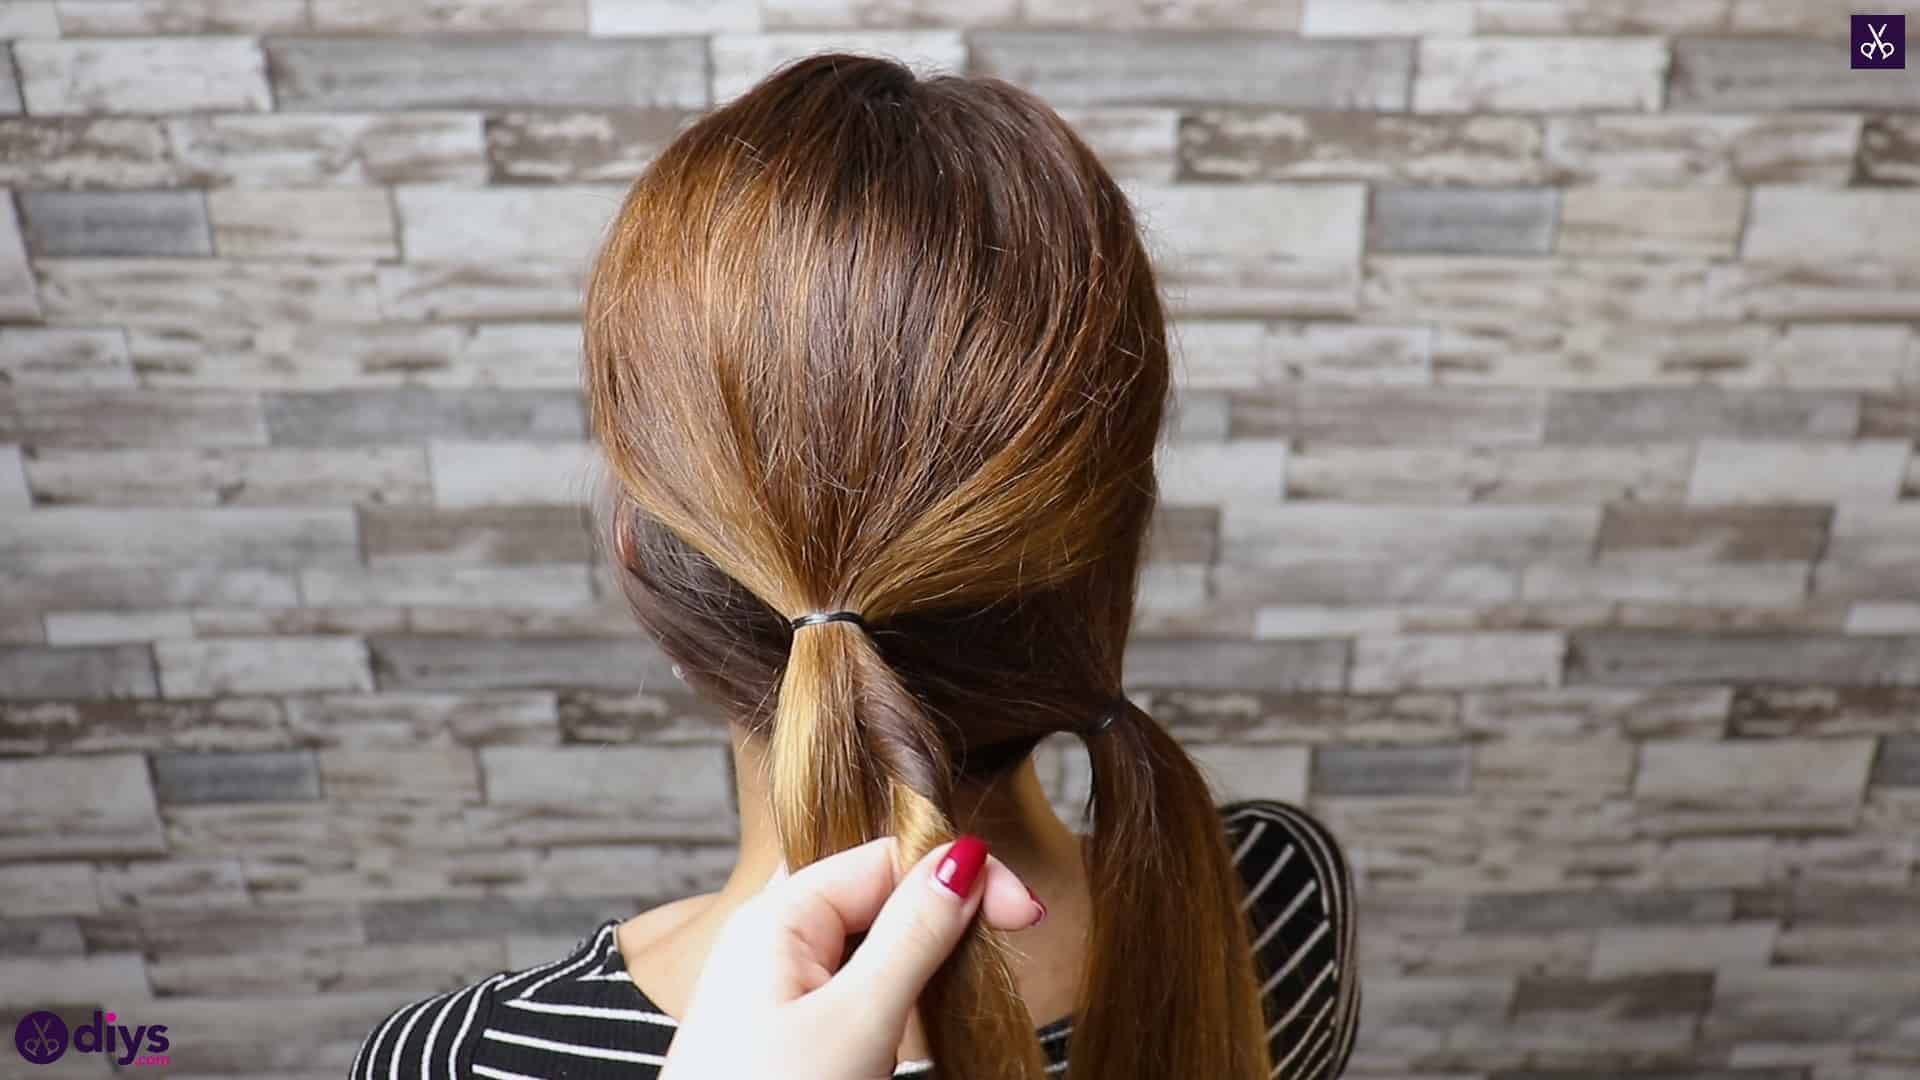
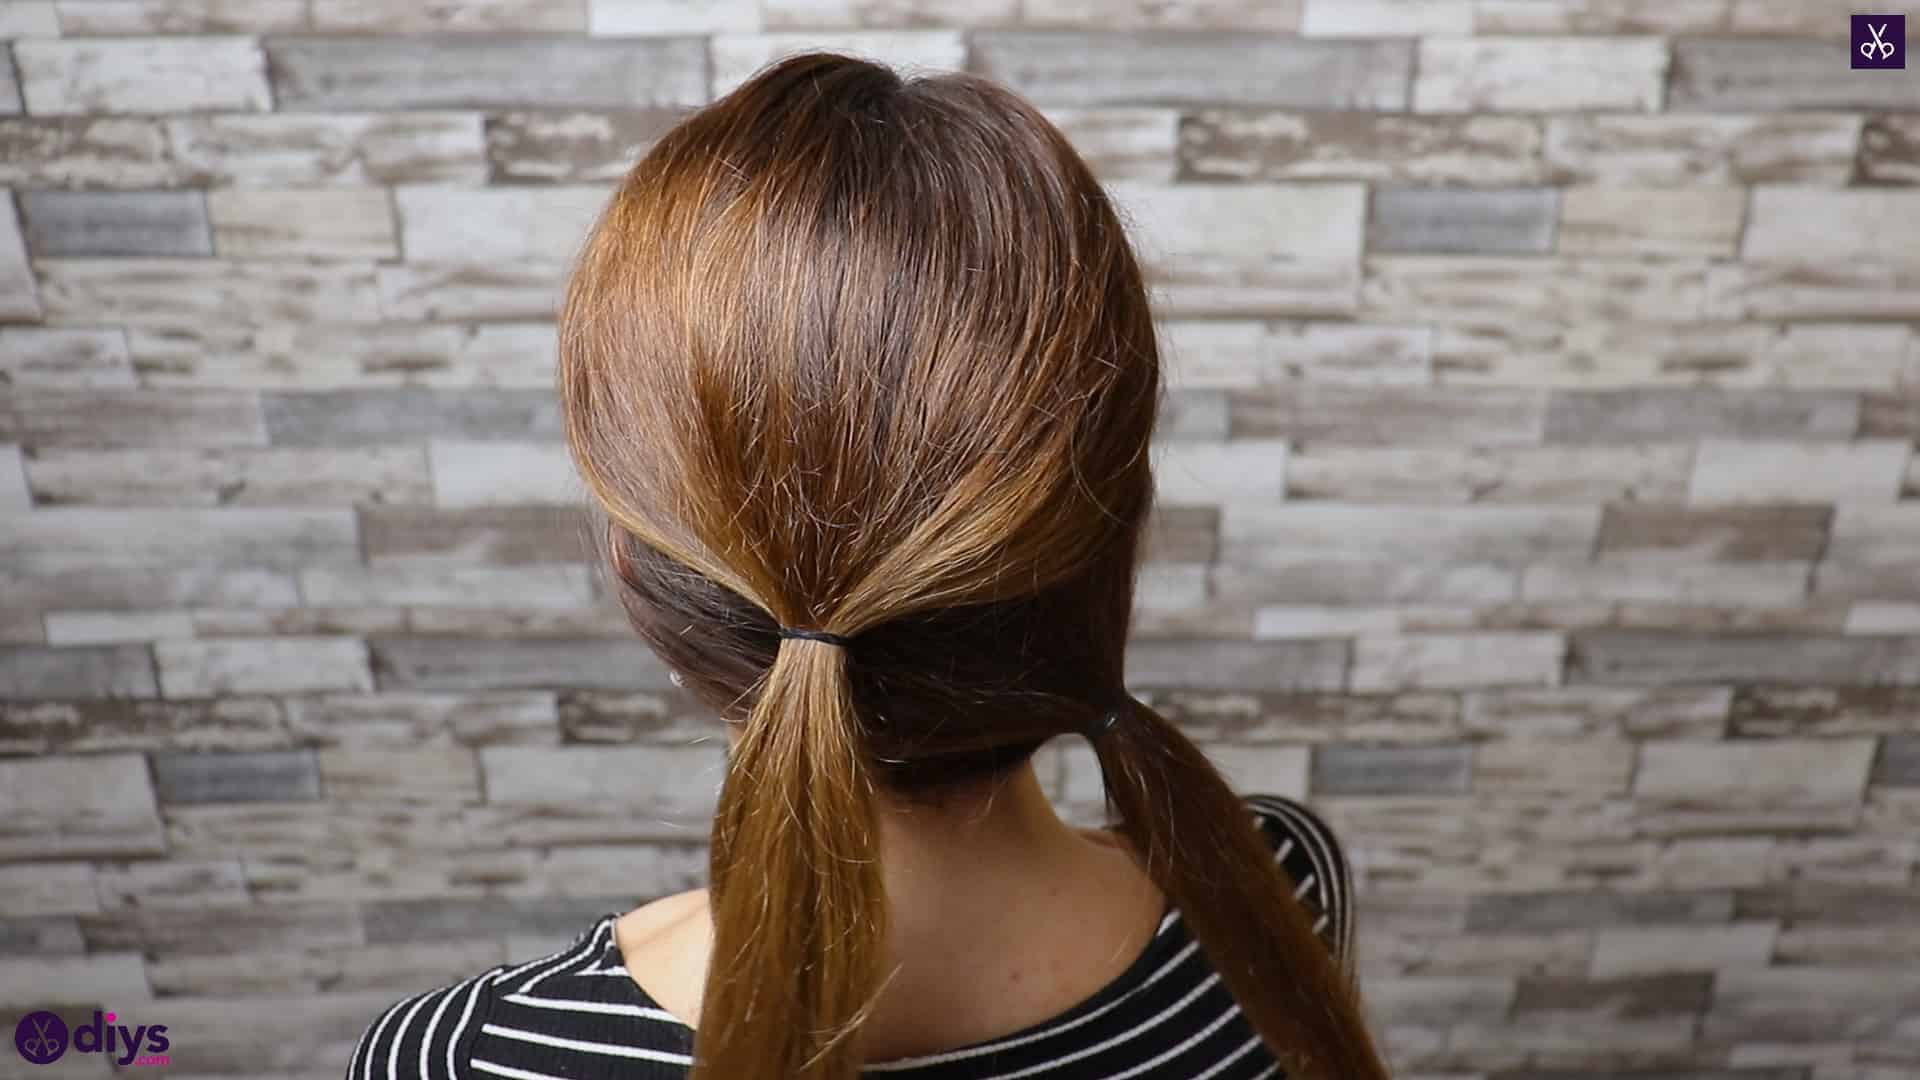
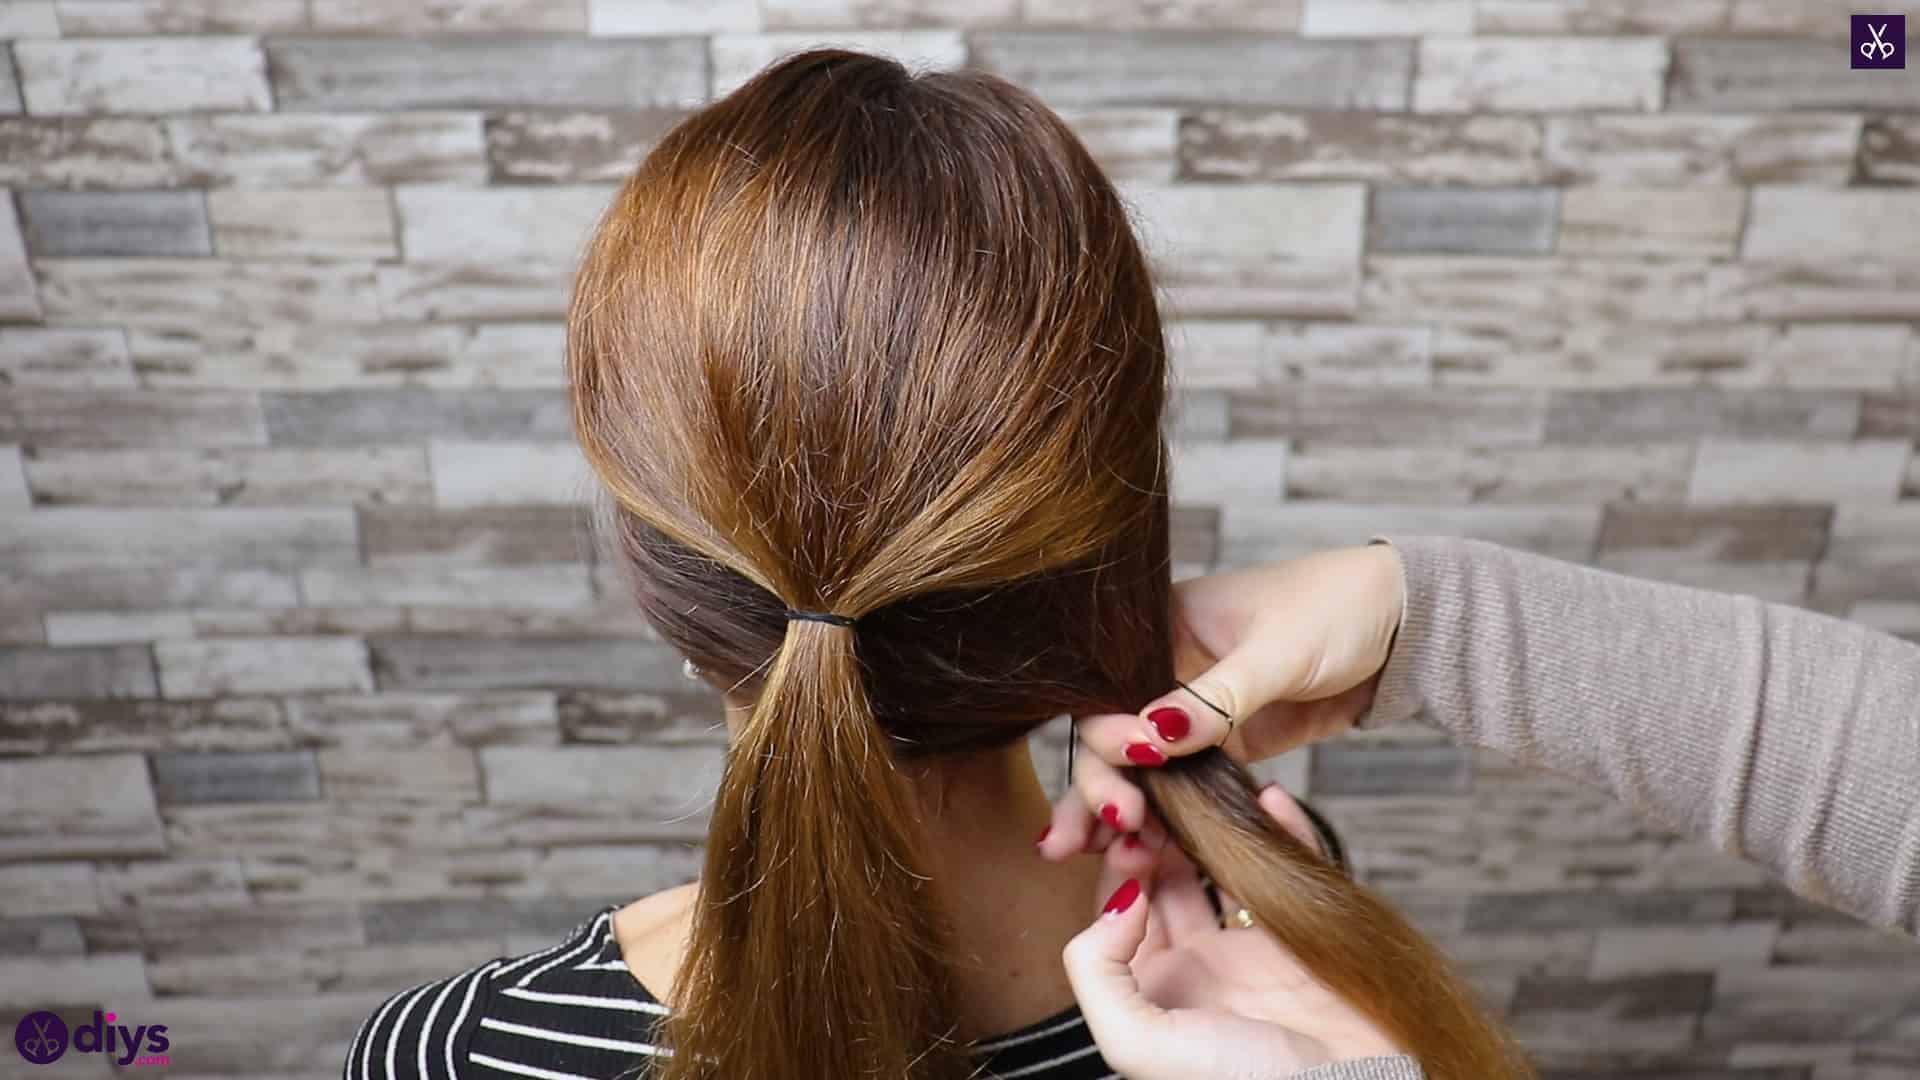
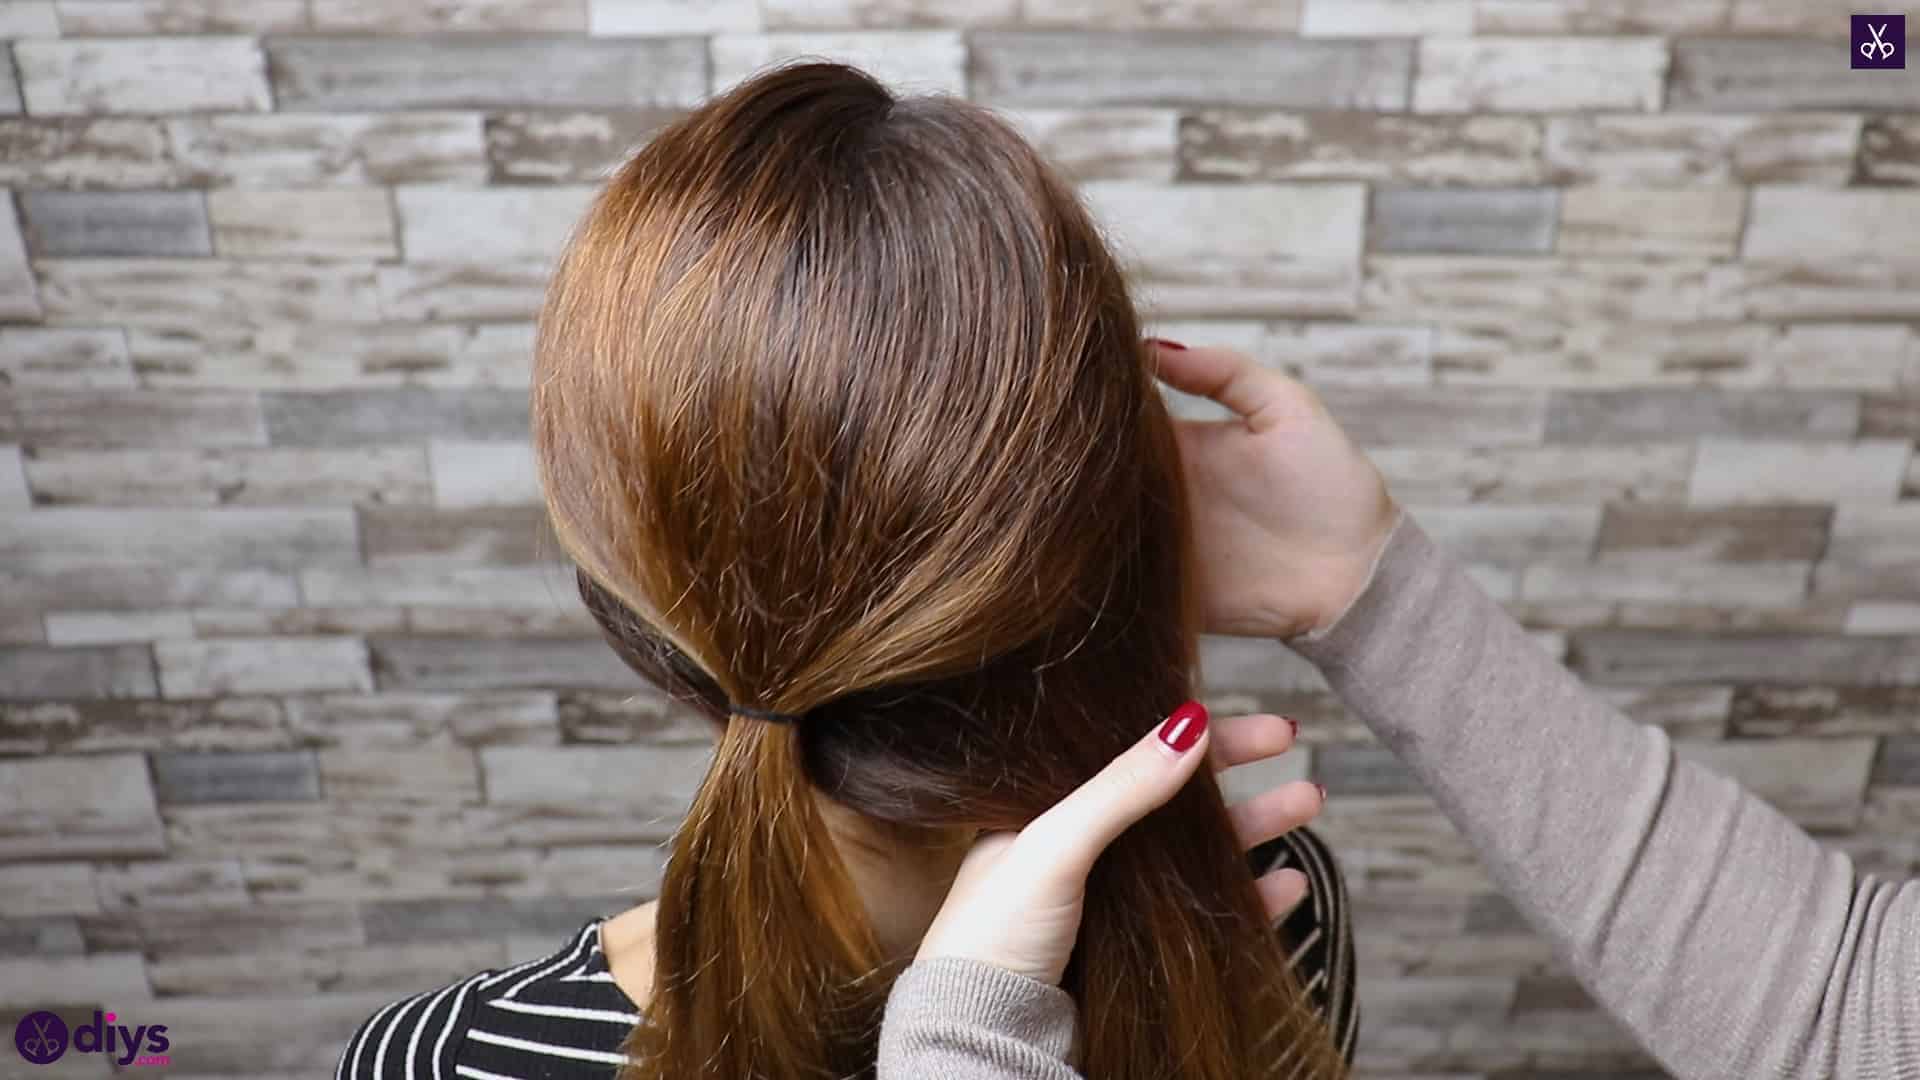
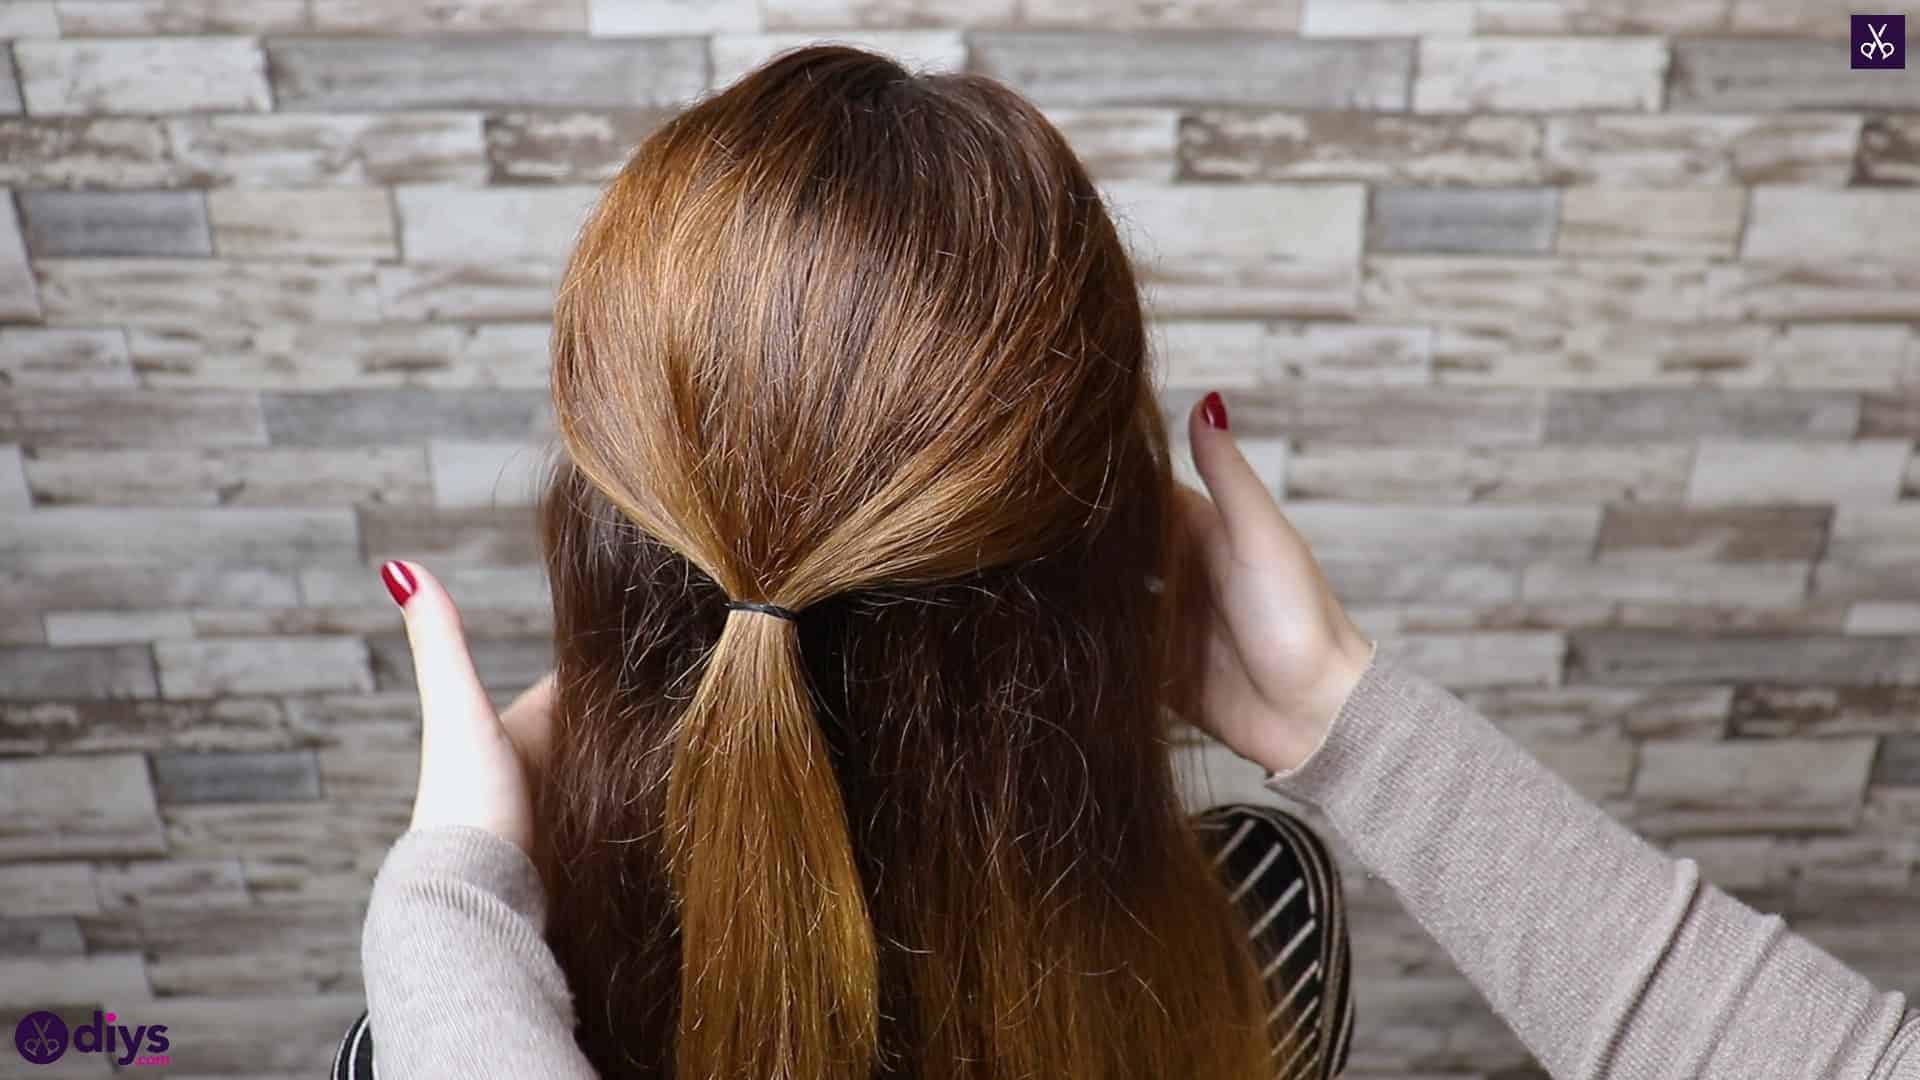
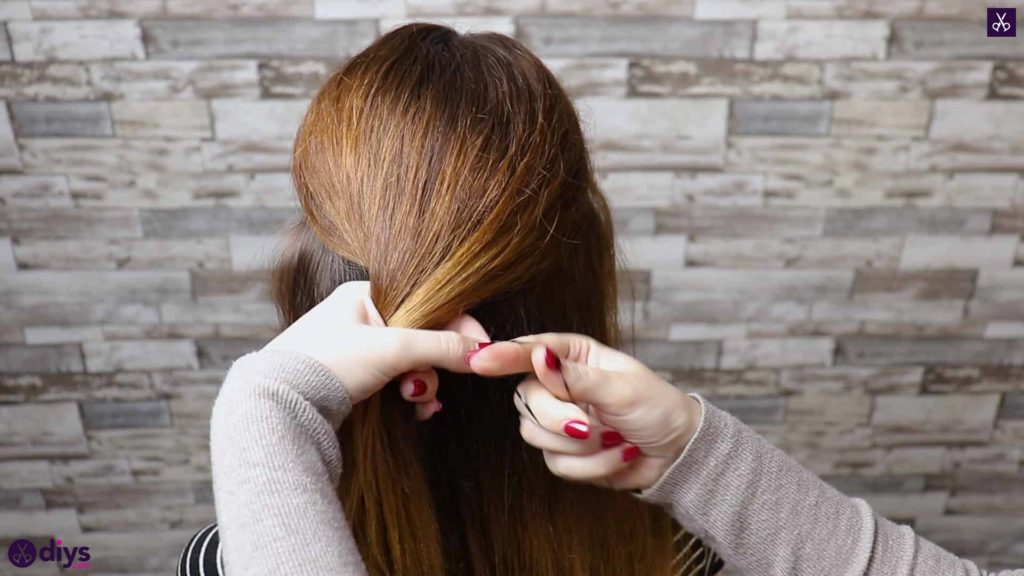
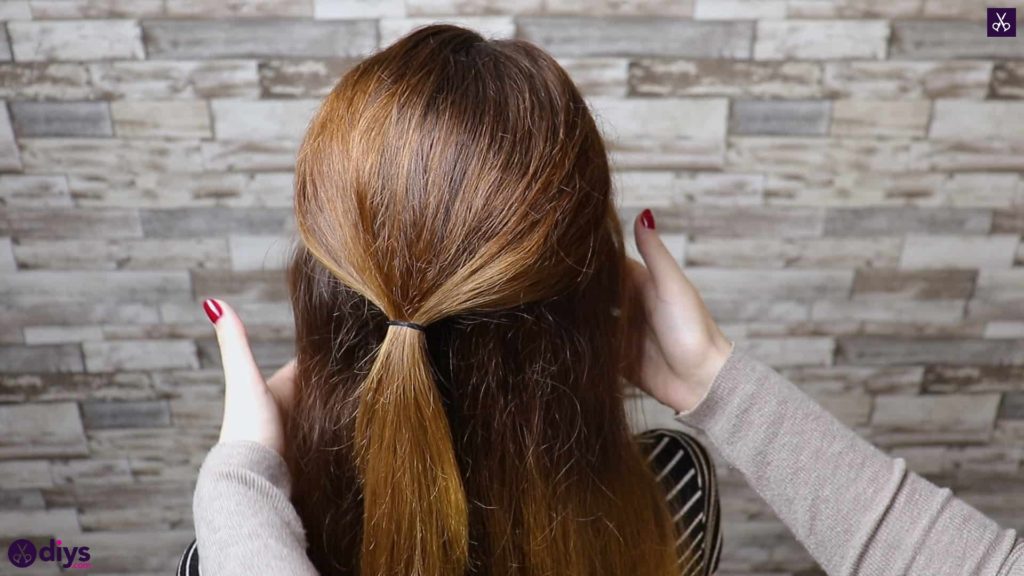
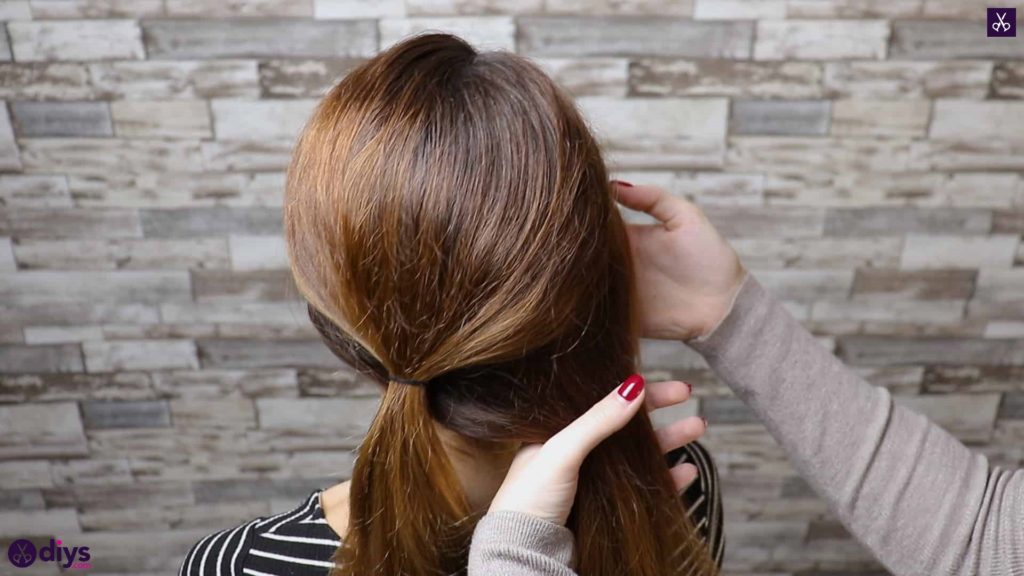
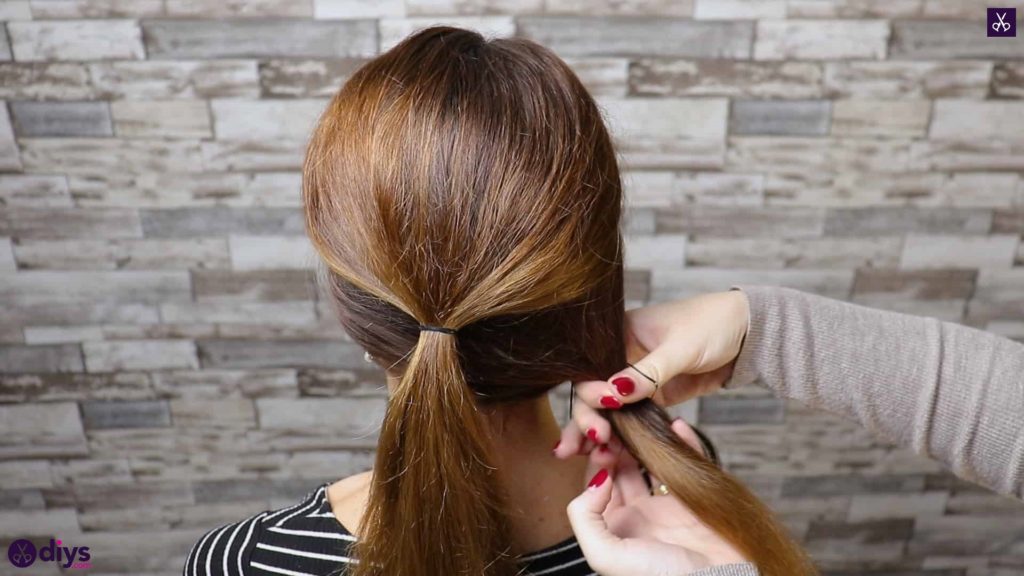
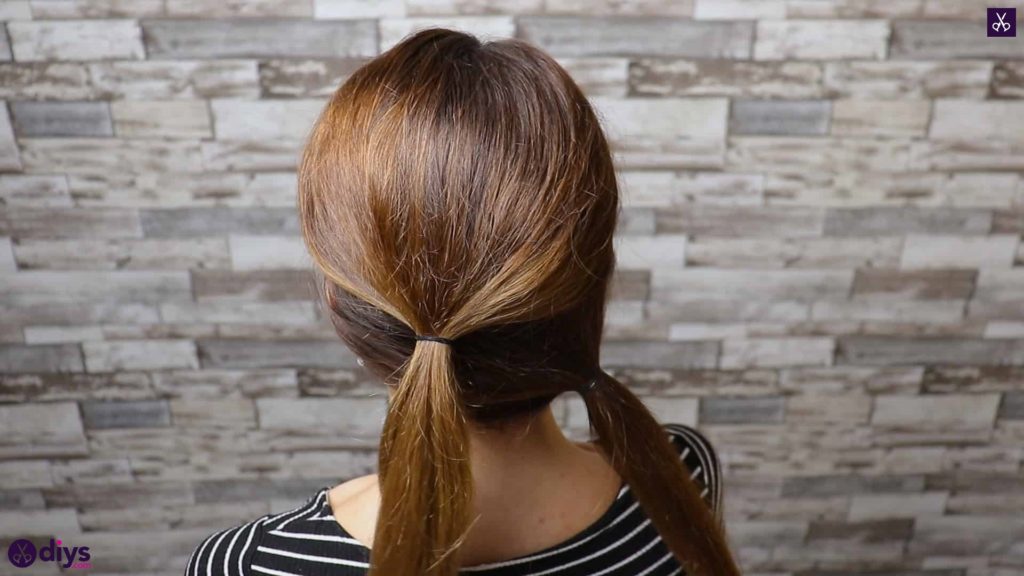
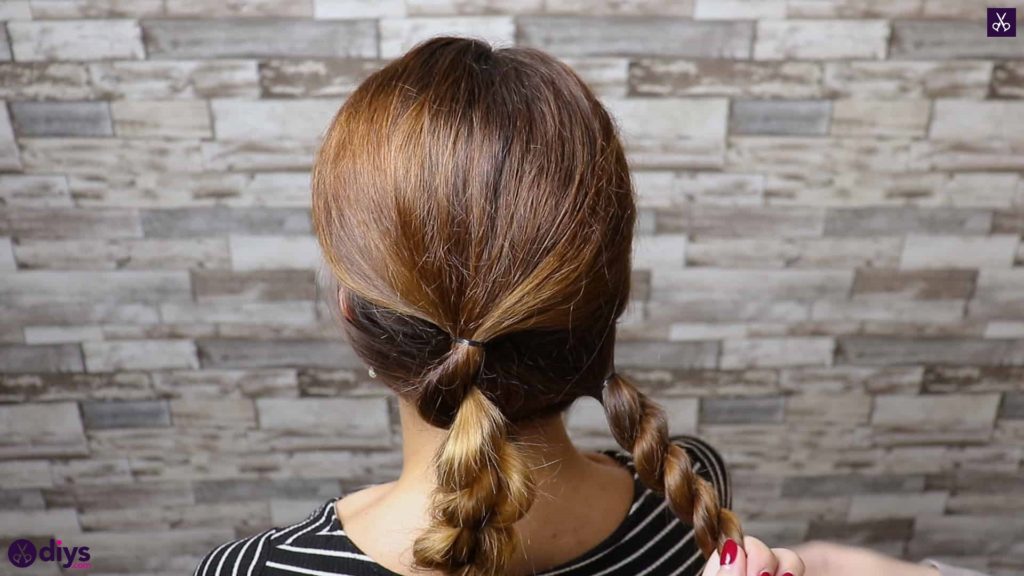
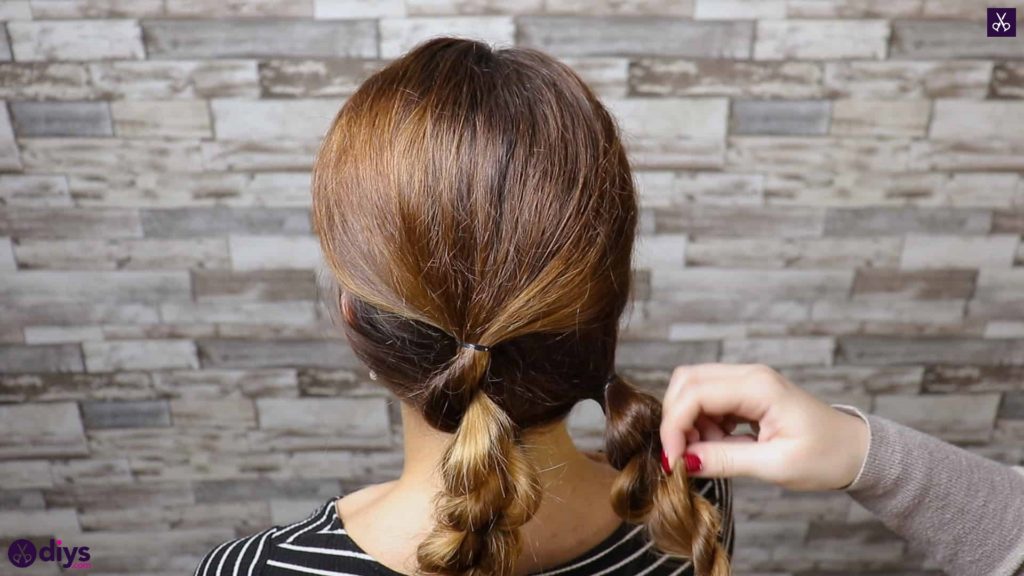
Brush your hair thoroughly to rid it of tangles. Let it part wherever is natural or wherever you prefer. Section the top layer of the hair out as though you’re going to put it in a regular half-ponytail. You actually kind ofare, but rather than pulling it to the back centre like you might be used to, you’ll pull it farther to the left. Tie this layer in a ponytail just under the crown of the head with a small hair elastic. Now gather the rest of the hair in the lower layer into another ponytail and do the same thing, but this time positioning the ponytail lower down, beneath the first one, and farther to the right. You’ll have two ponytails that are staggered in height and direction.
Step 2: twist
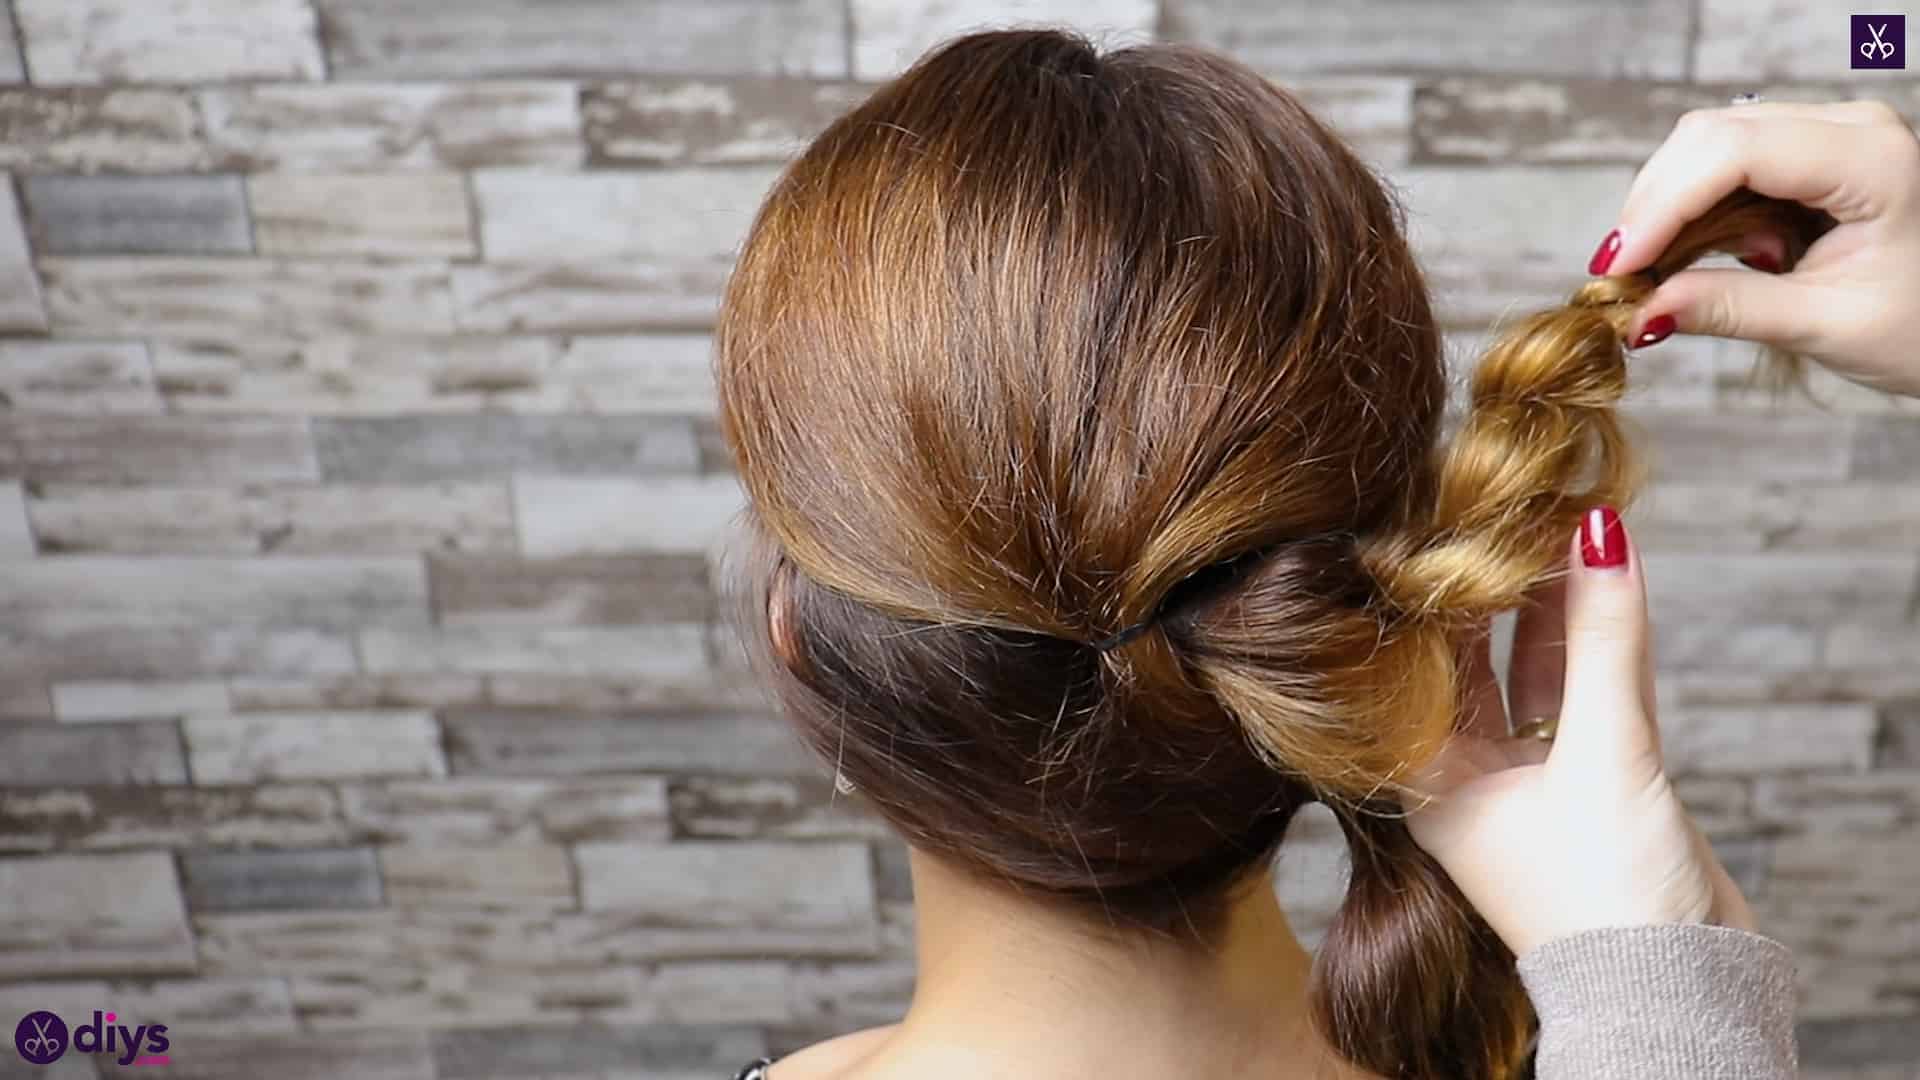
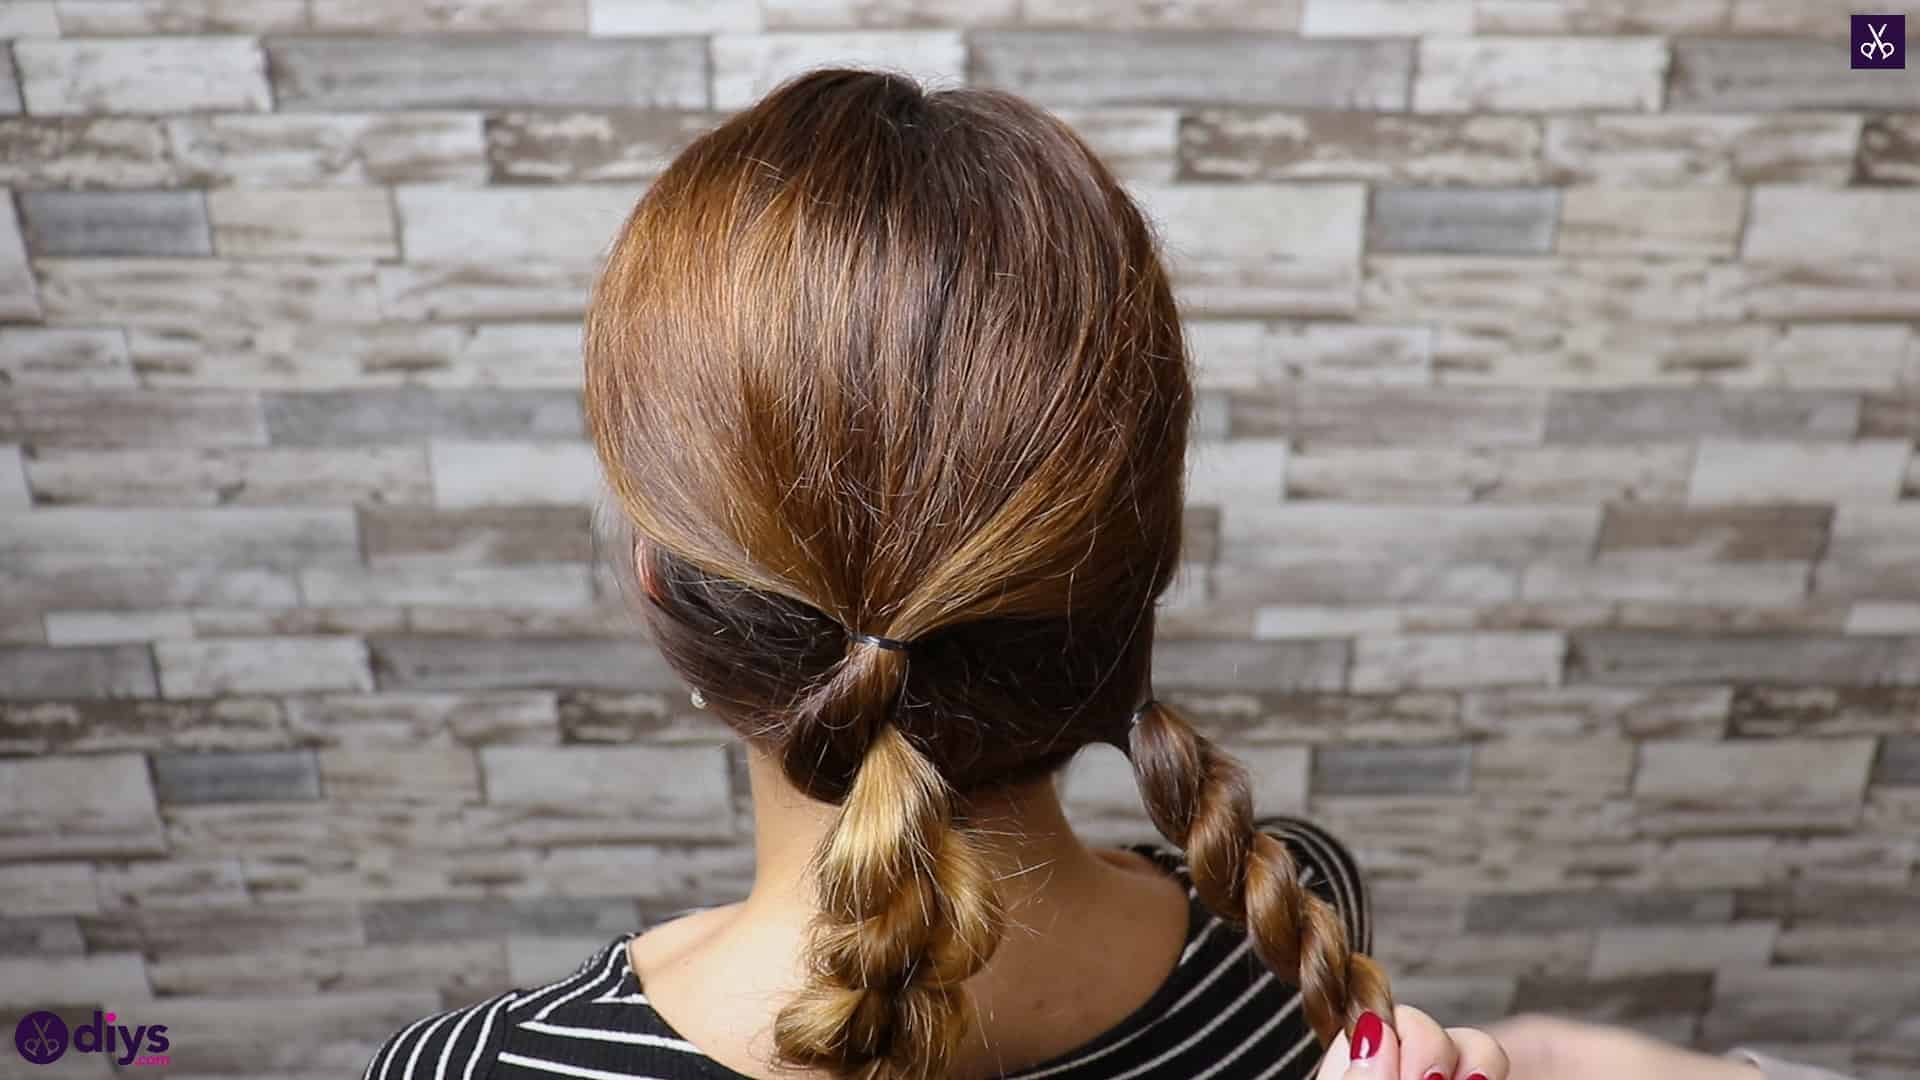
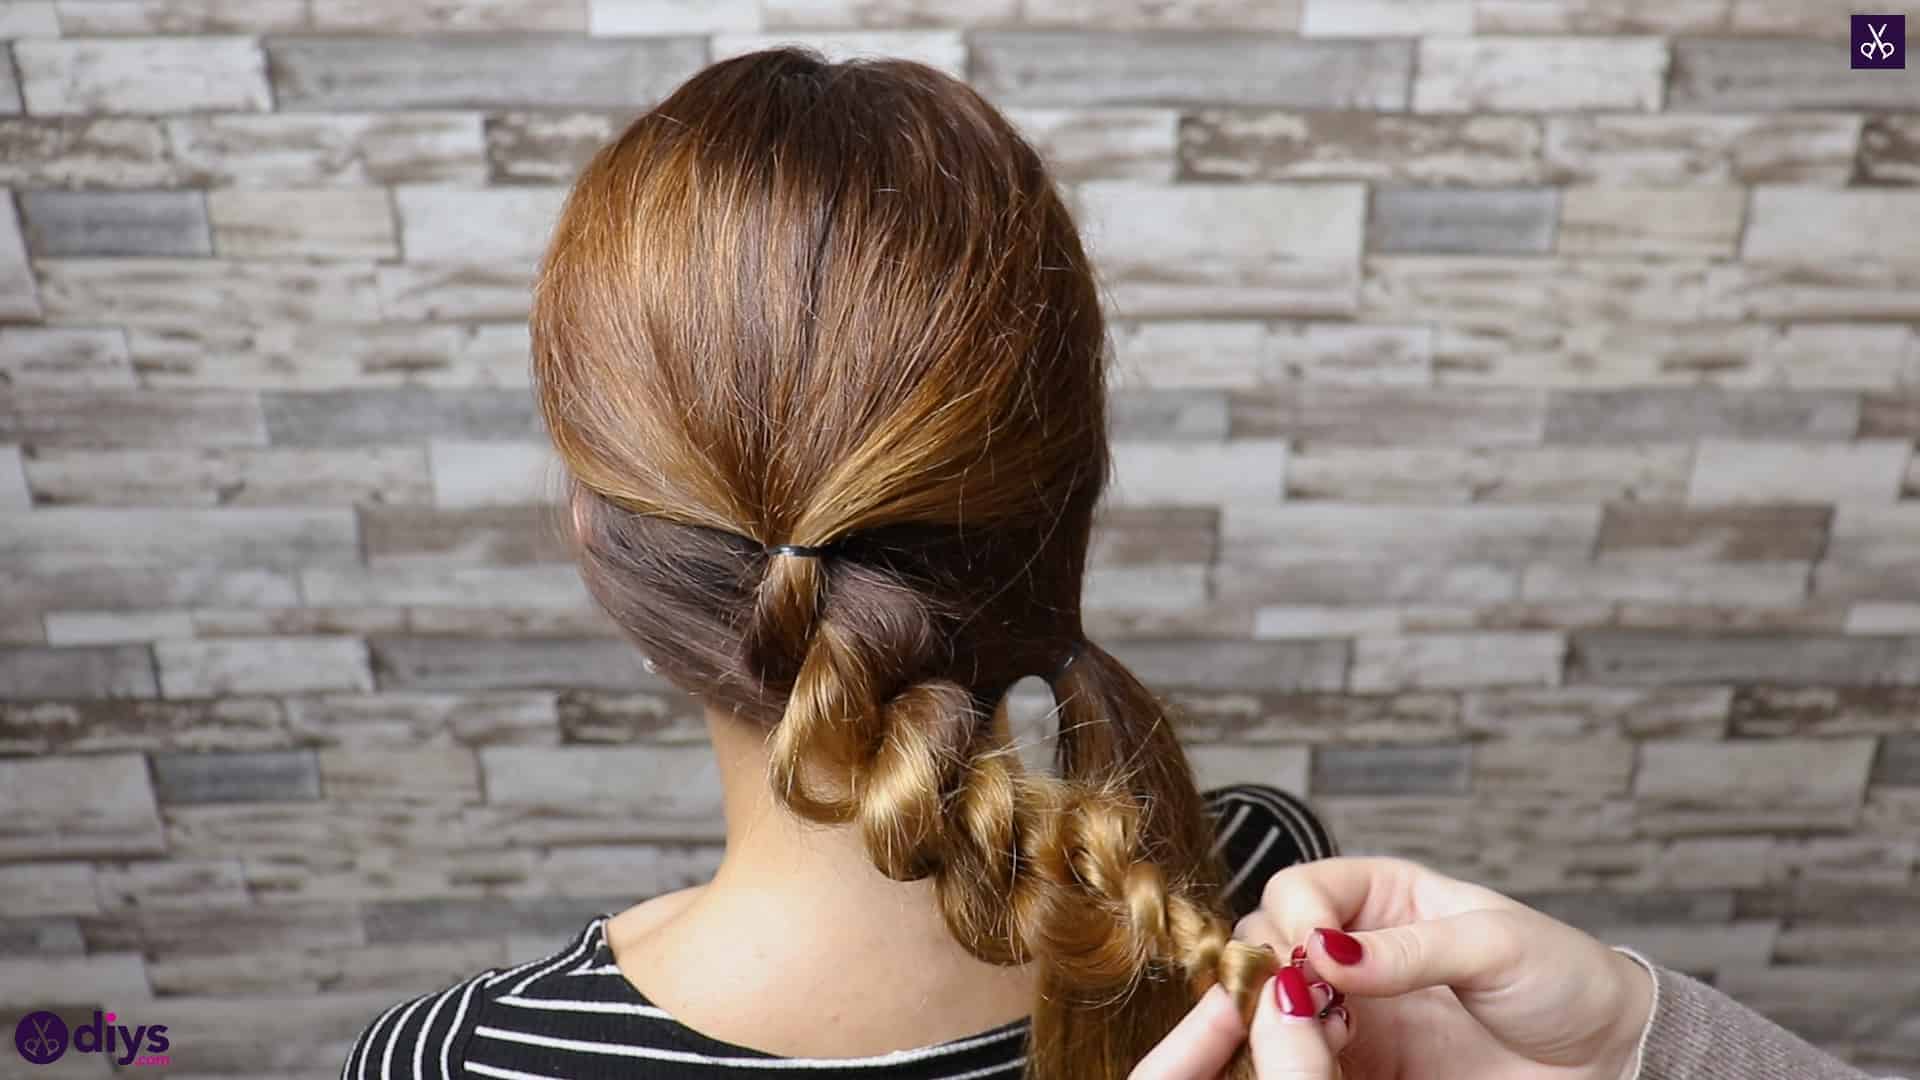
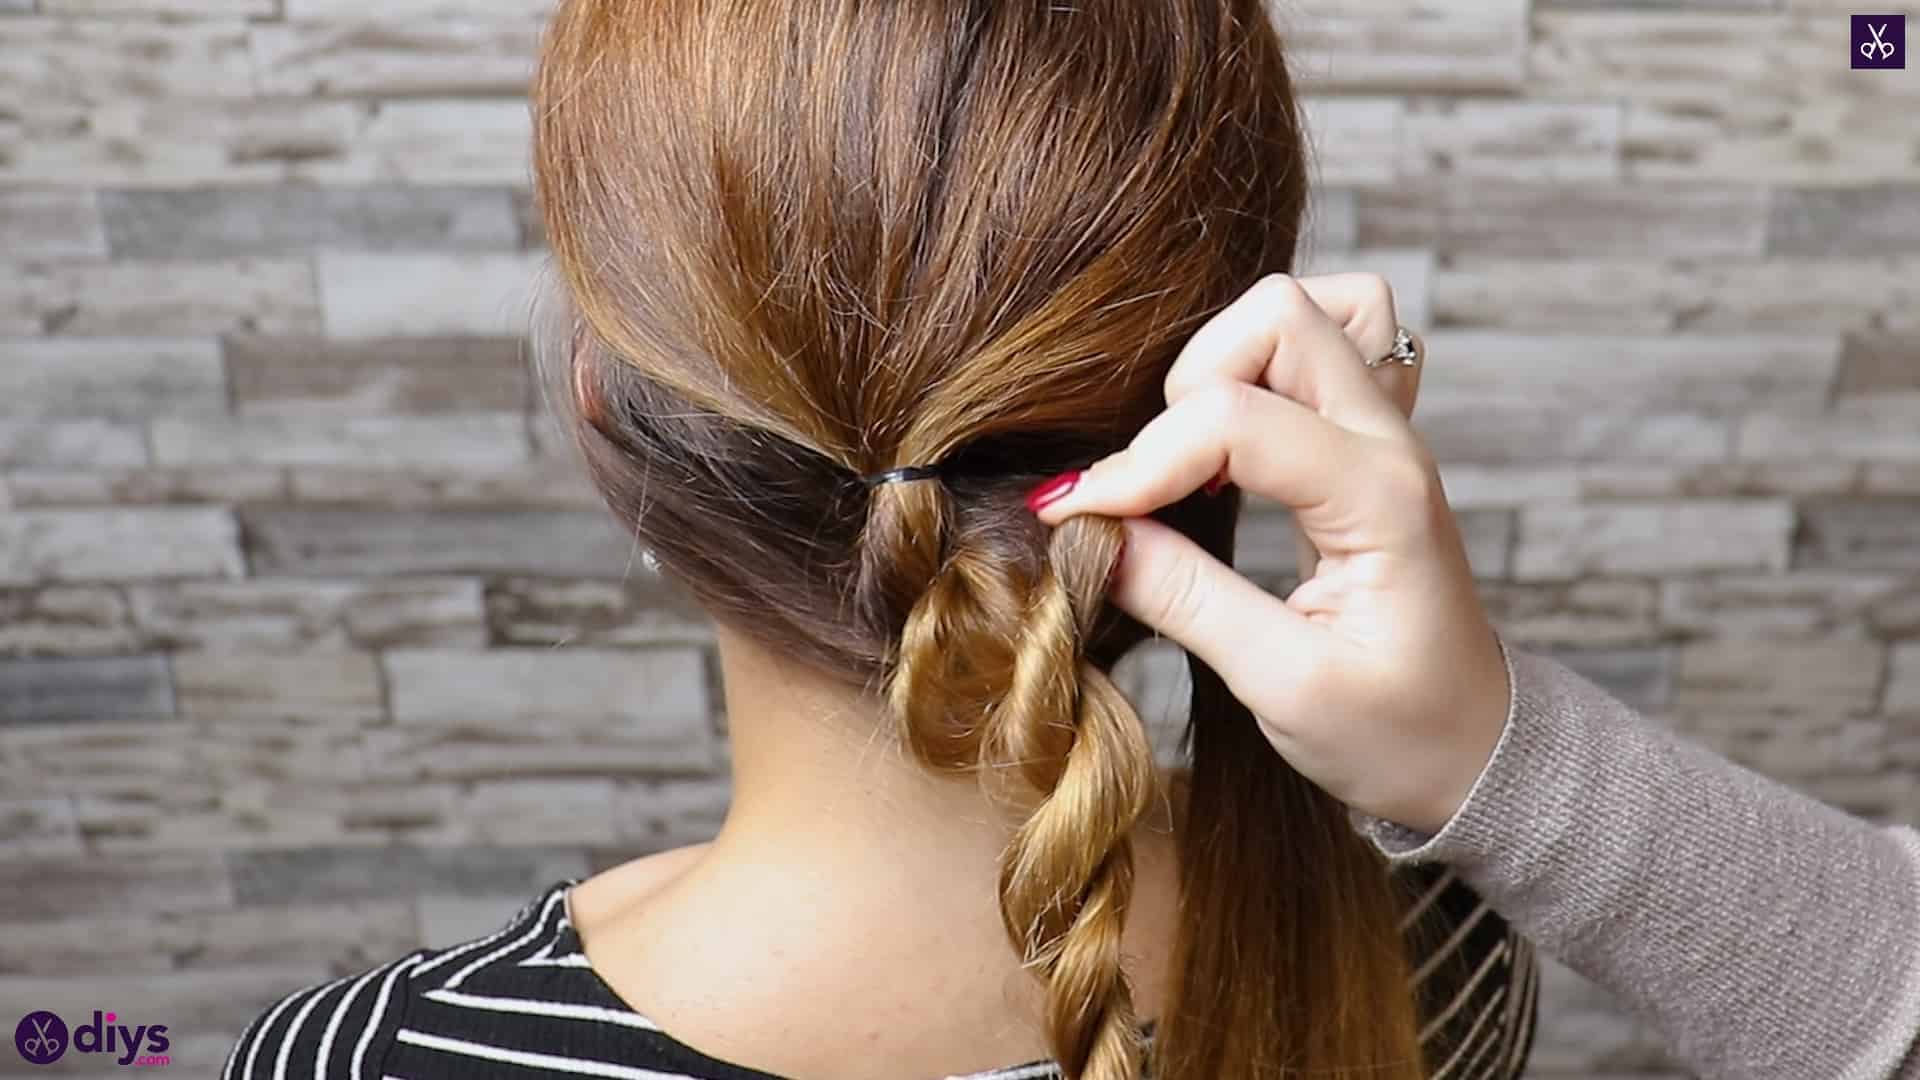
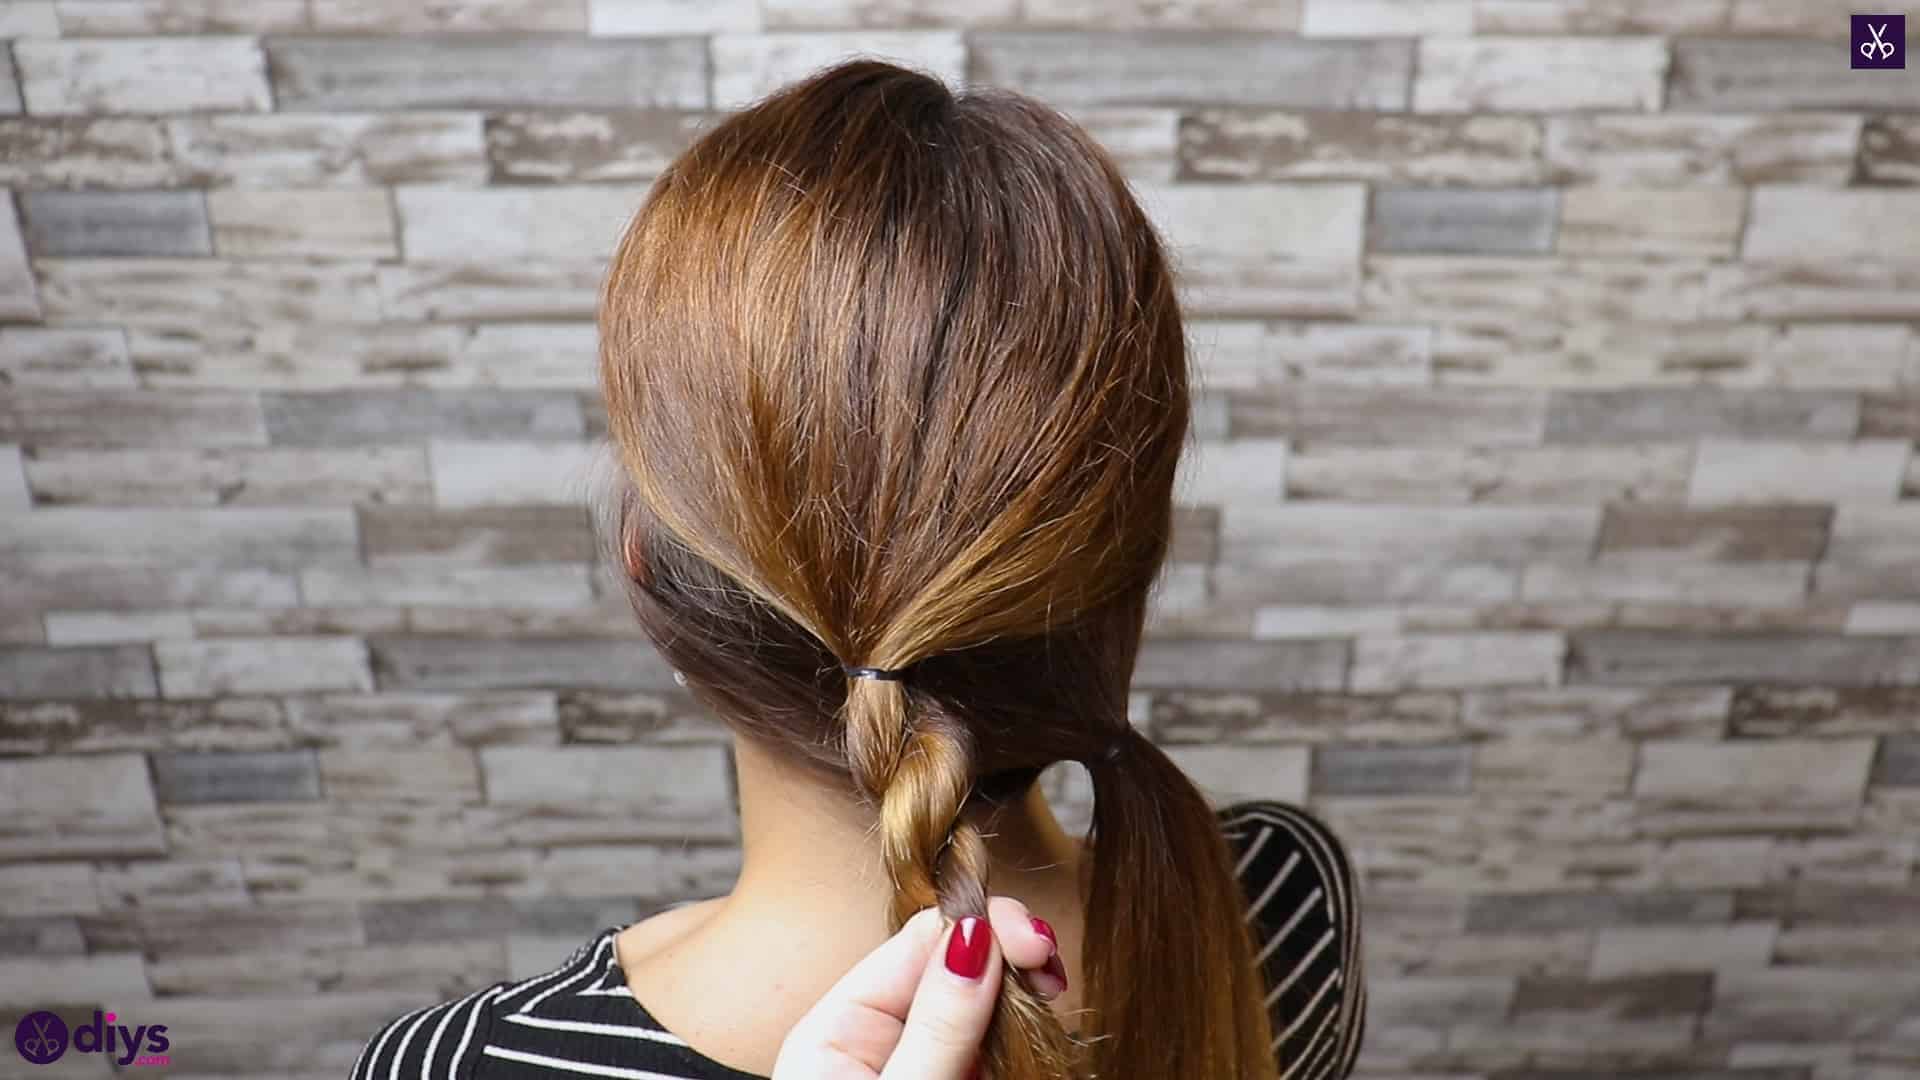
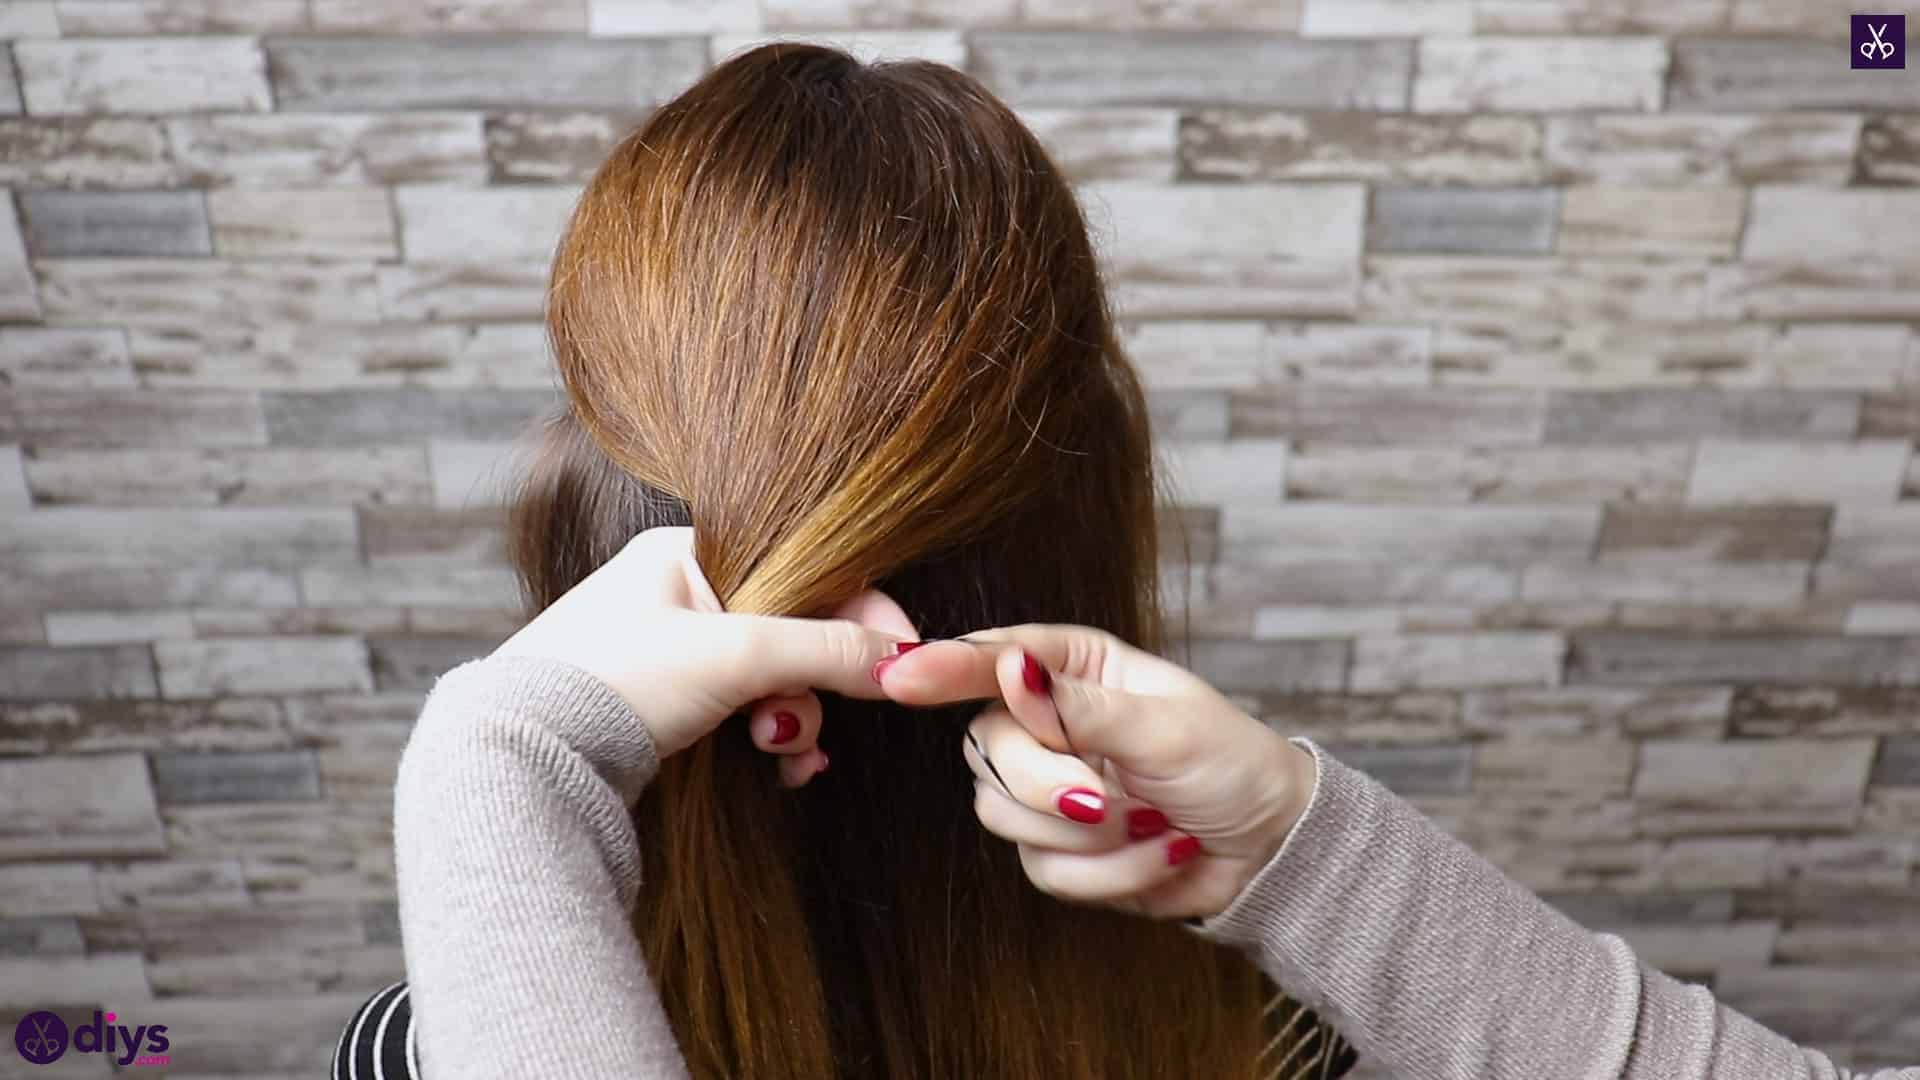
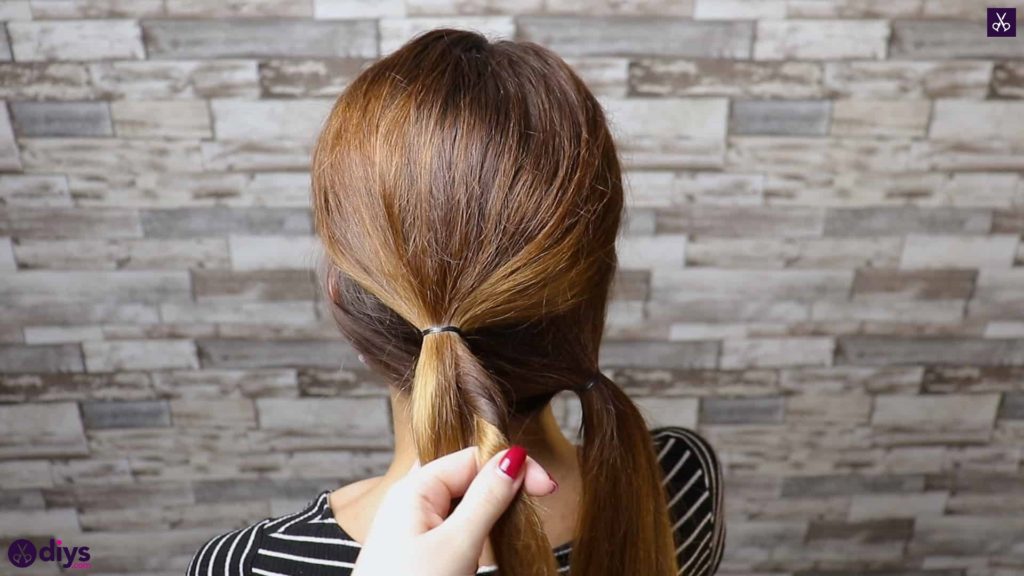
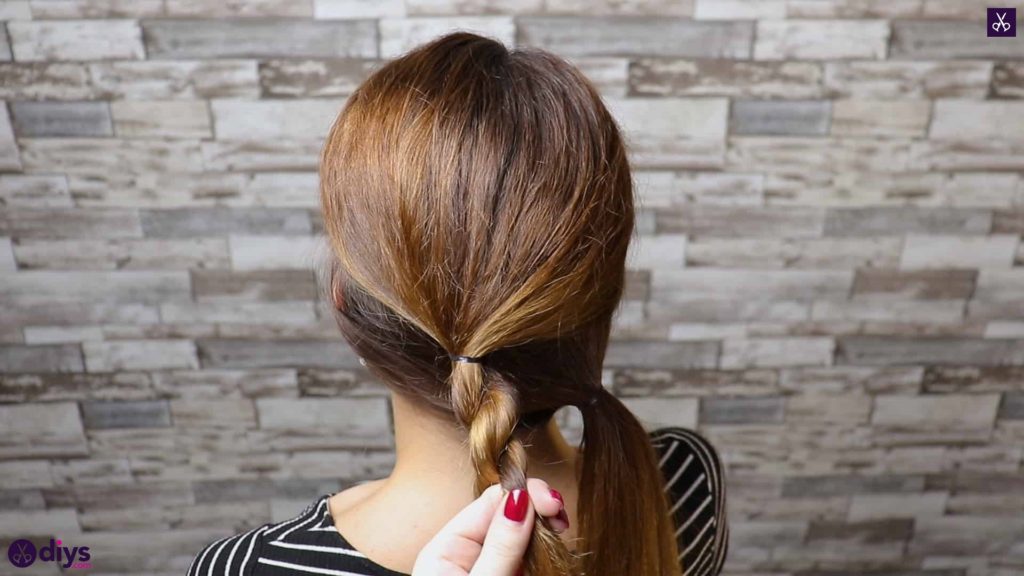
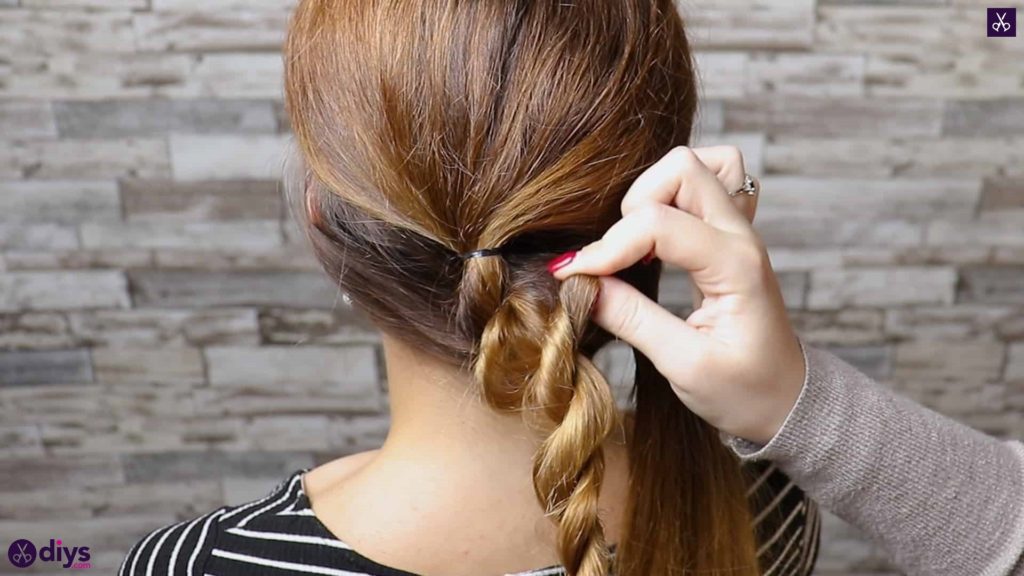
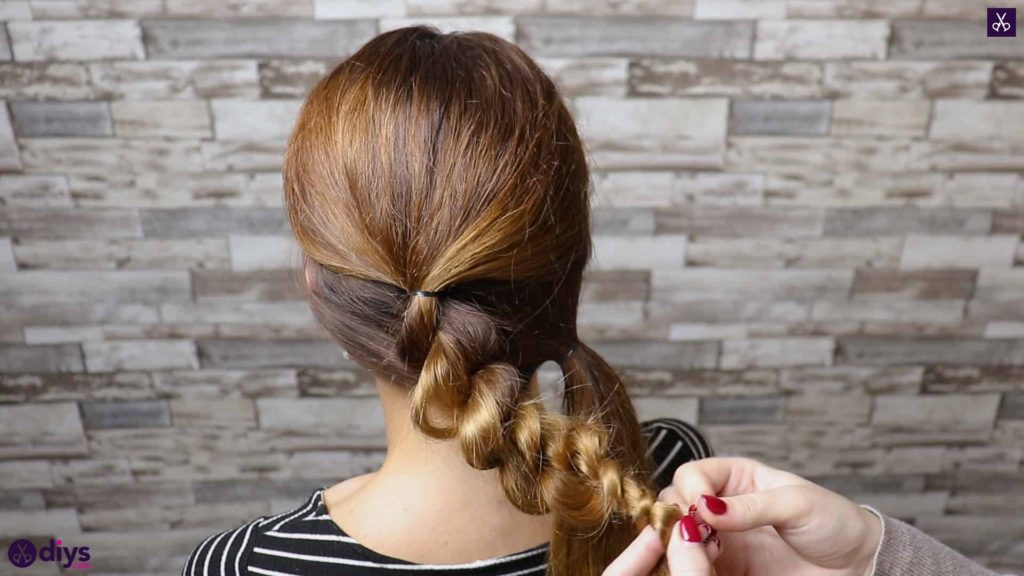
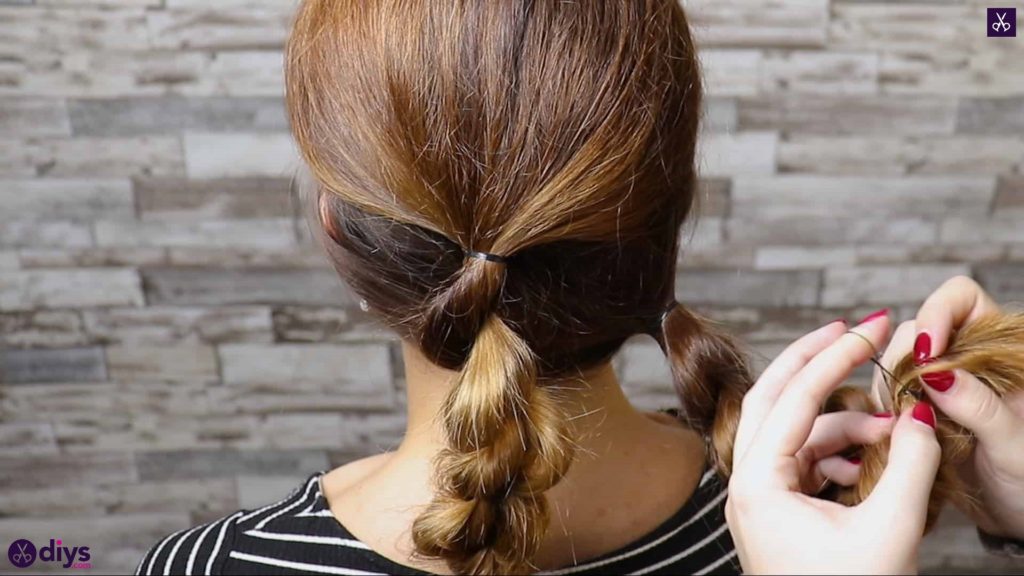
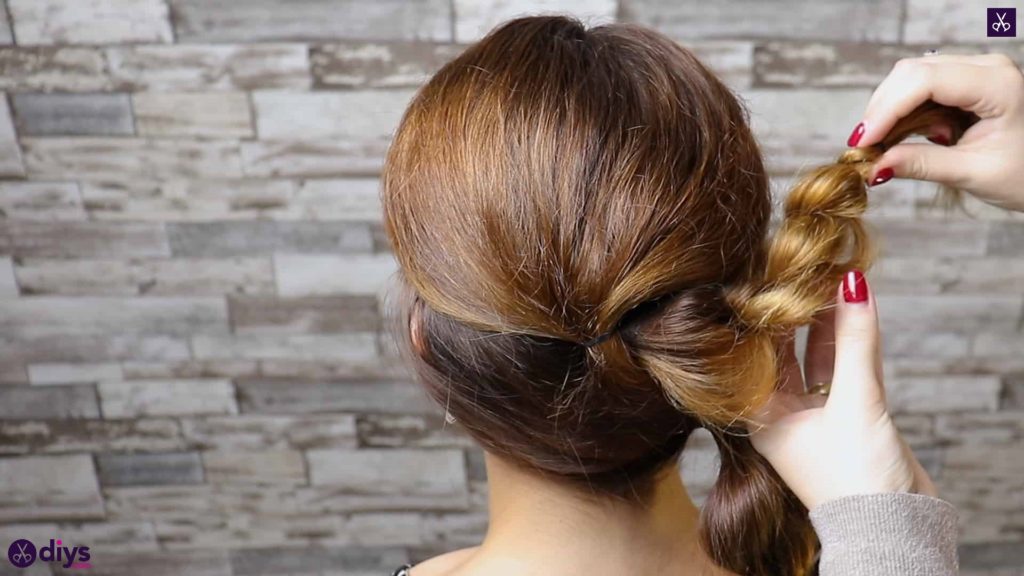
Turn your ponytails into twists! Start with one and then complete the other. Separate your first ponytail down the middle into two even sections, holding one in each hand. Give the section in your right hand a twist to the right and pass it over the other section into your left hand. Then take your untwisted section from underneath the one you just passed, into your right hand. Give that section a twist to the right and pass it over its counterpart back into your left band, taking the first section back into your right hand from underneath. Repeat this twisting and passing process over and over until you reached the ends and they become too short to continue. Twisting the sections individually like this before you twist them around each other stops the “rope” effect you make from unwinding. Tie your ends in place with a small hair elastic. Once you’ve finished one side, do the same thing on the other. Either while you’re twisting or after you’ve twisted, right before you put the elastic on, give your woven pieces a light tug to loosen them a little and make the twists look a little more voluminous (but don’t pull so tightly that anything comes loose).
Step 3: start pinning
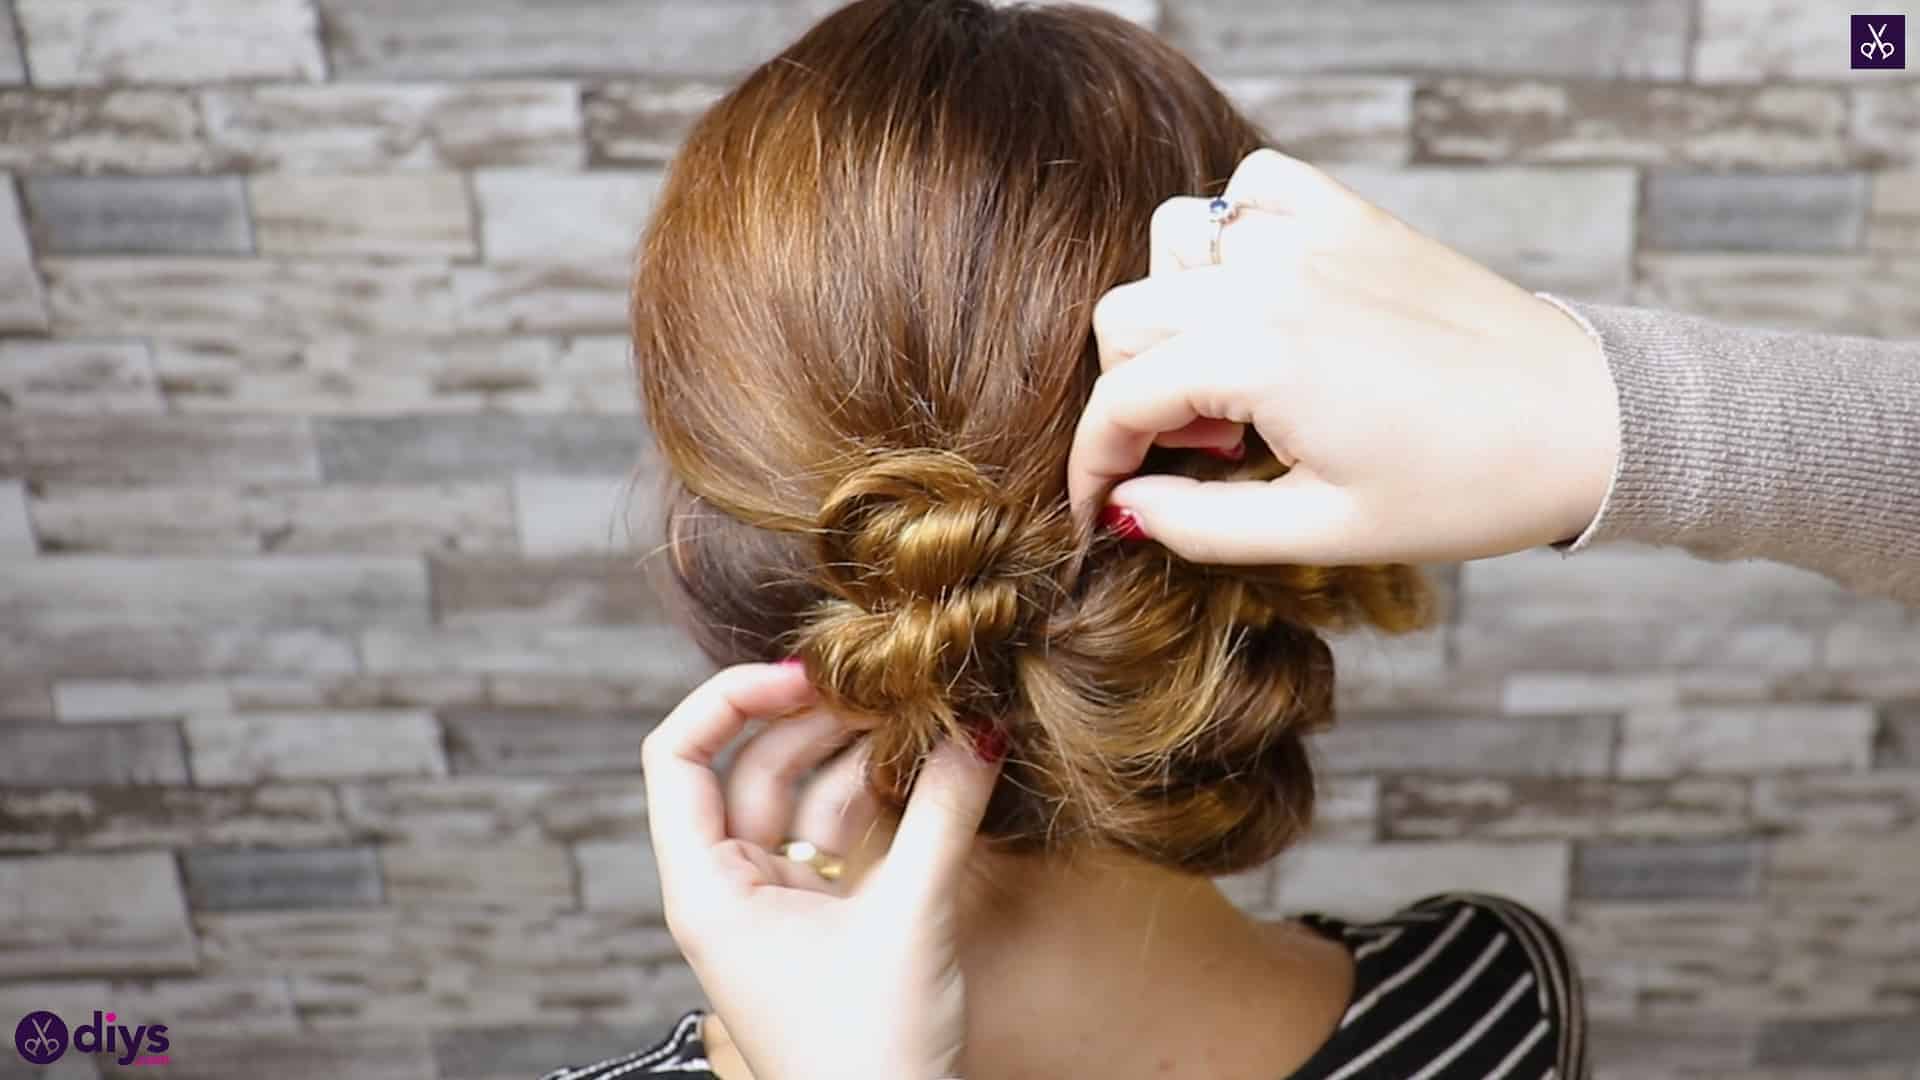
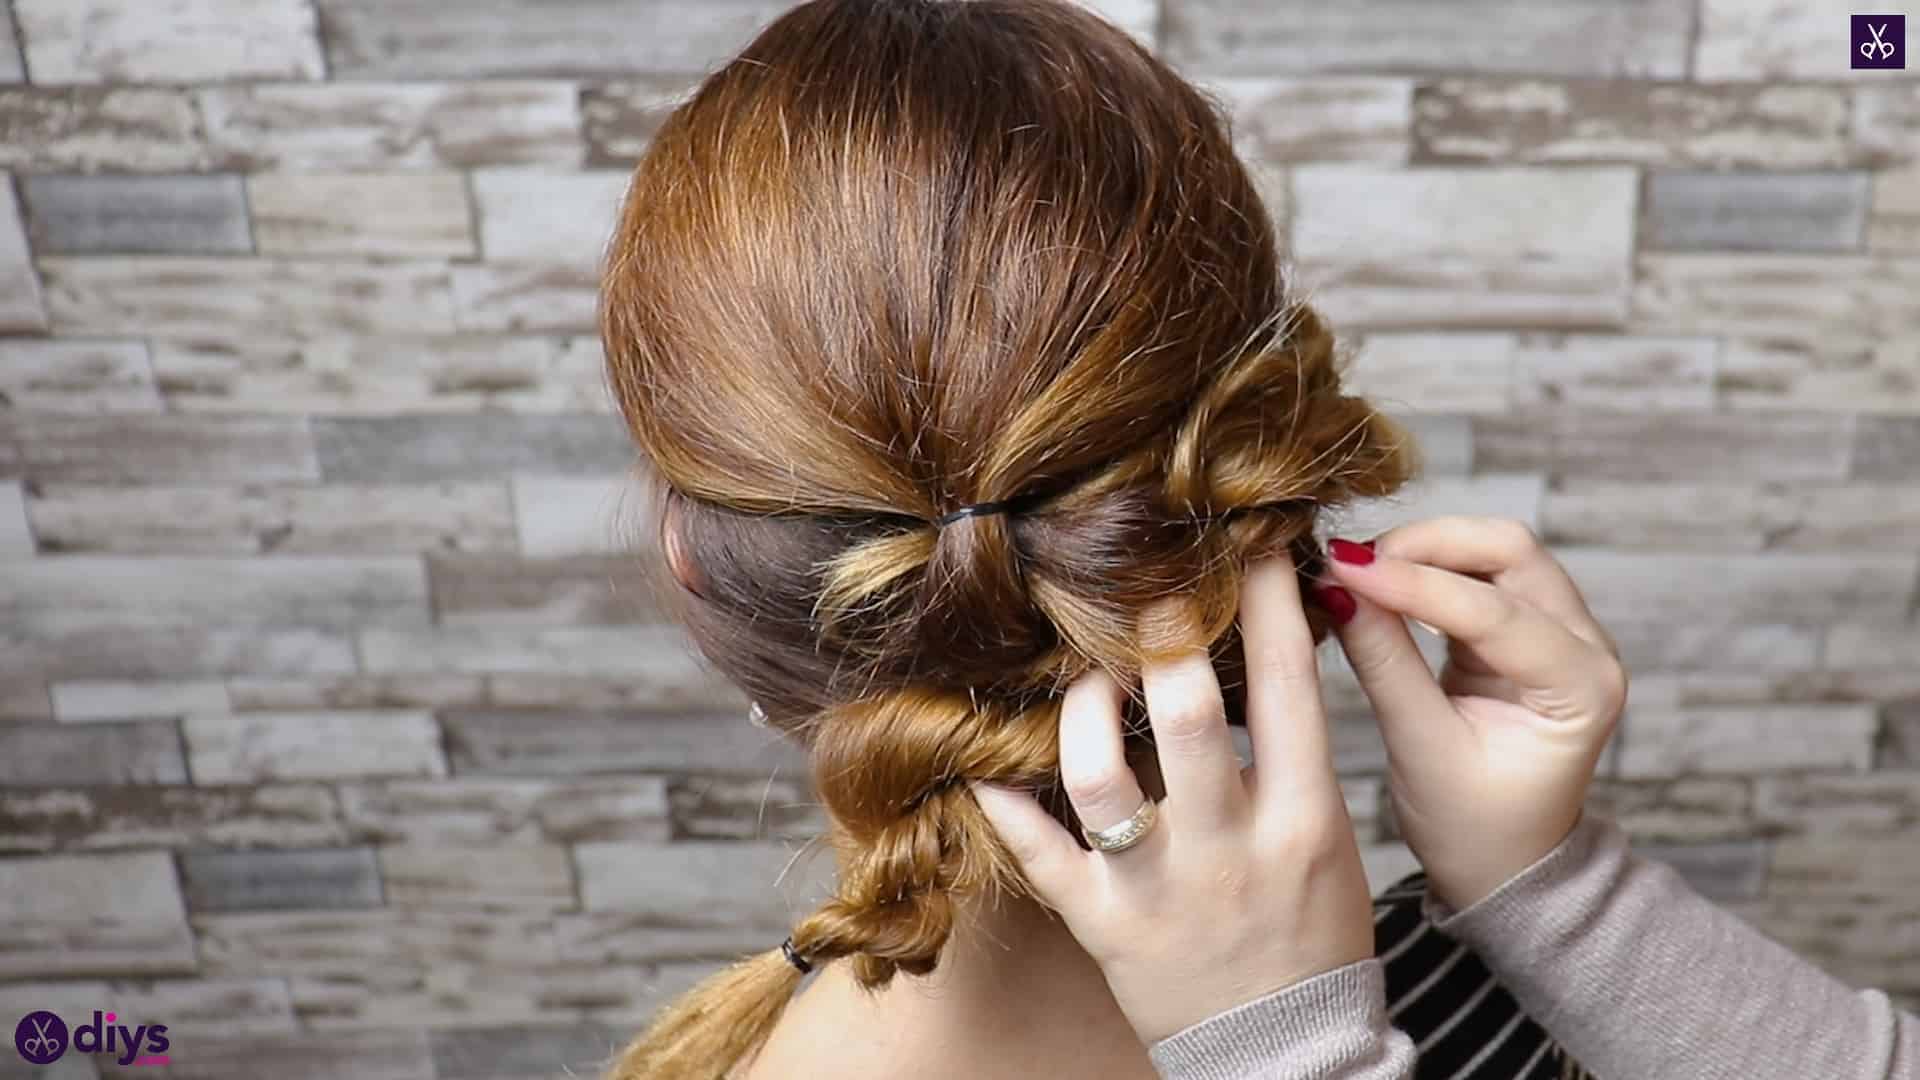
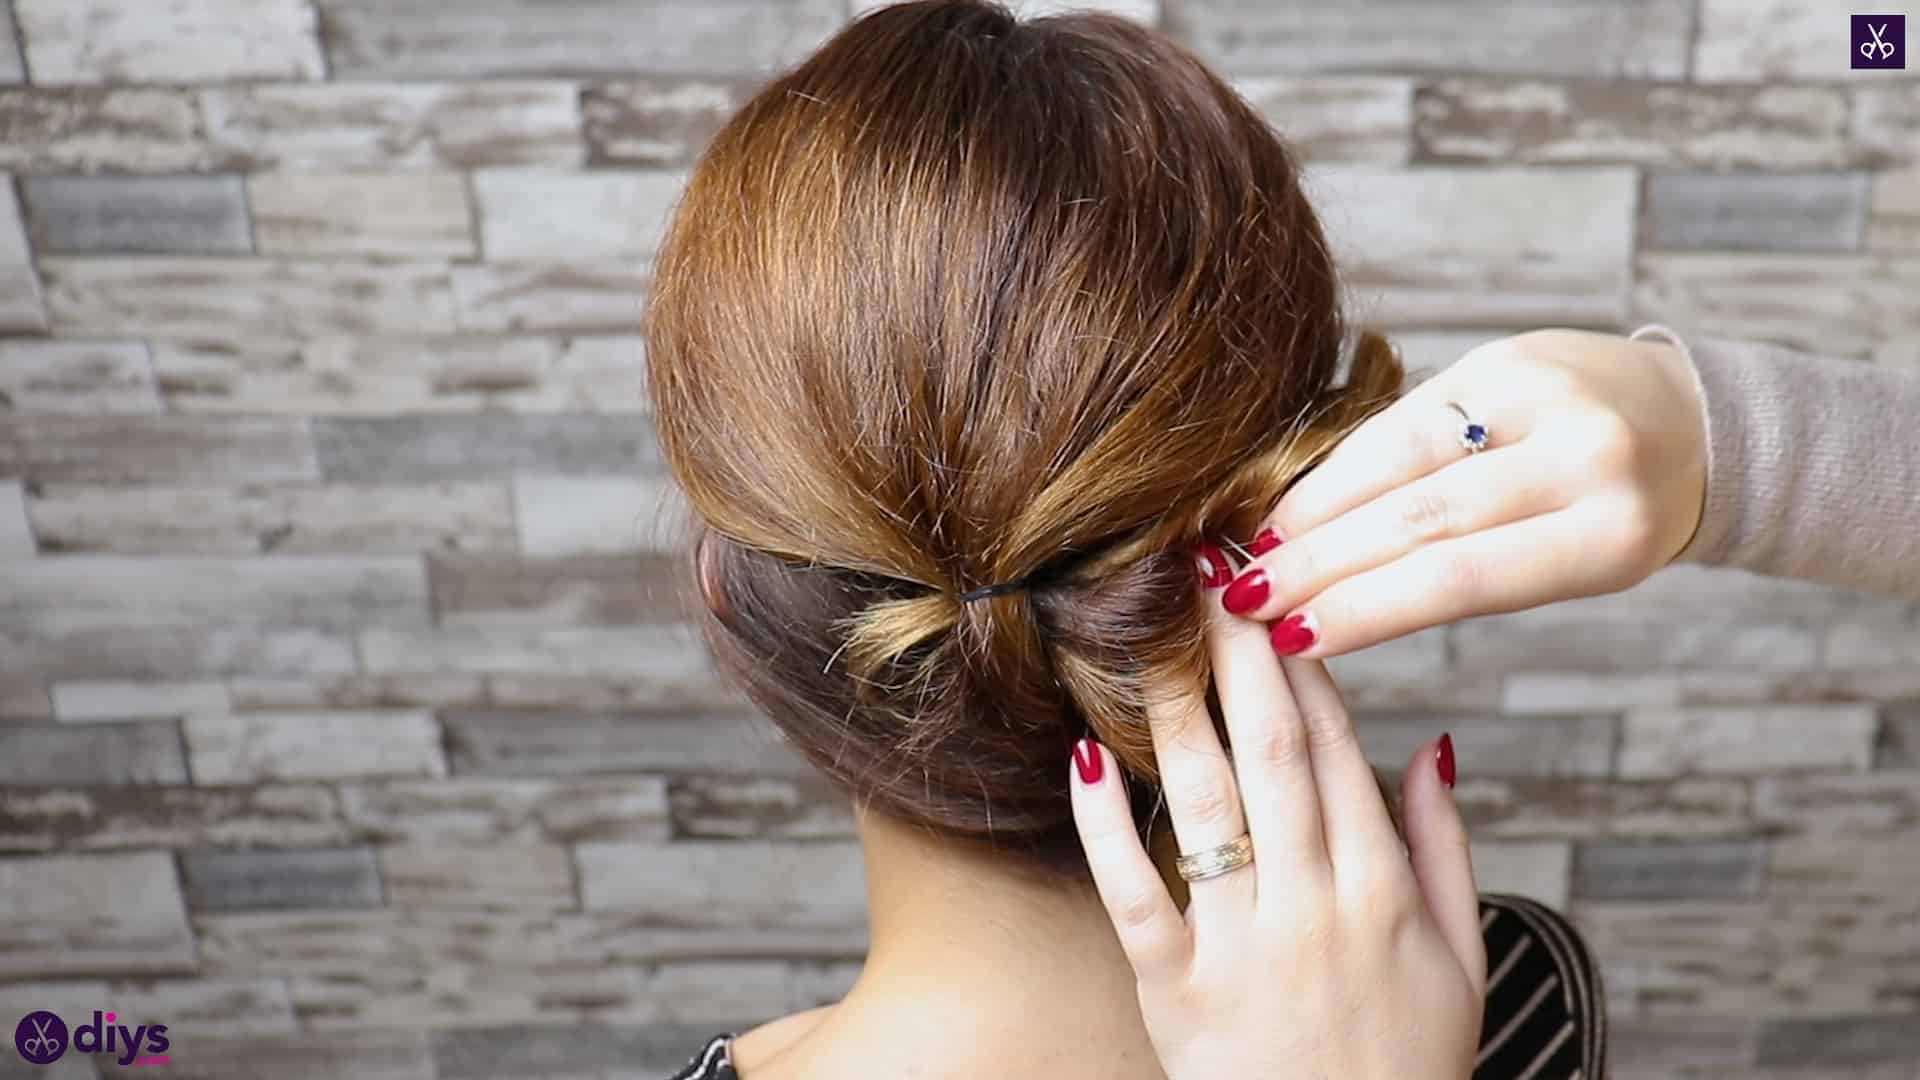
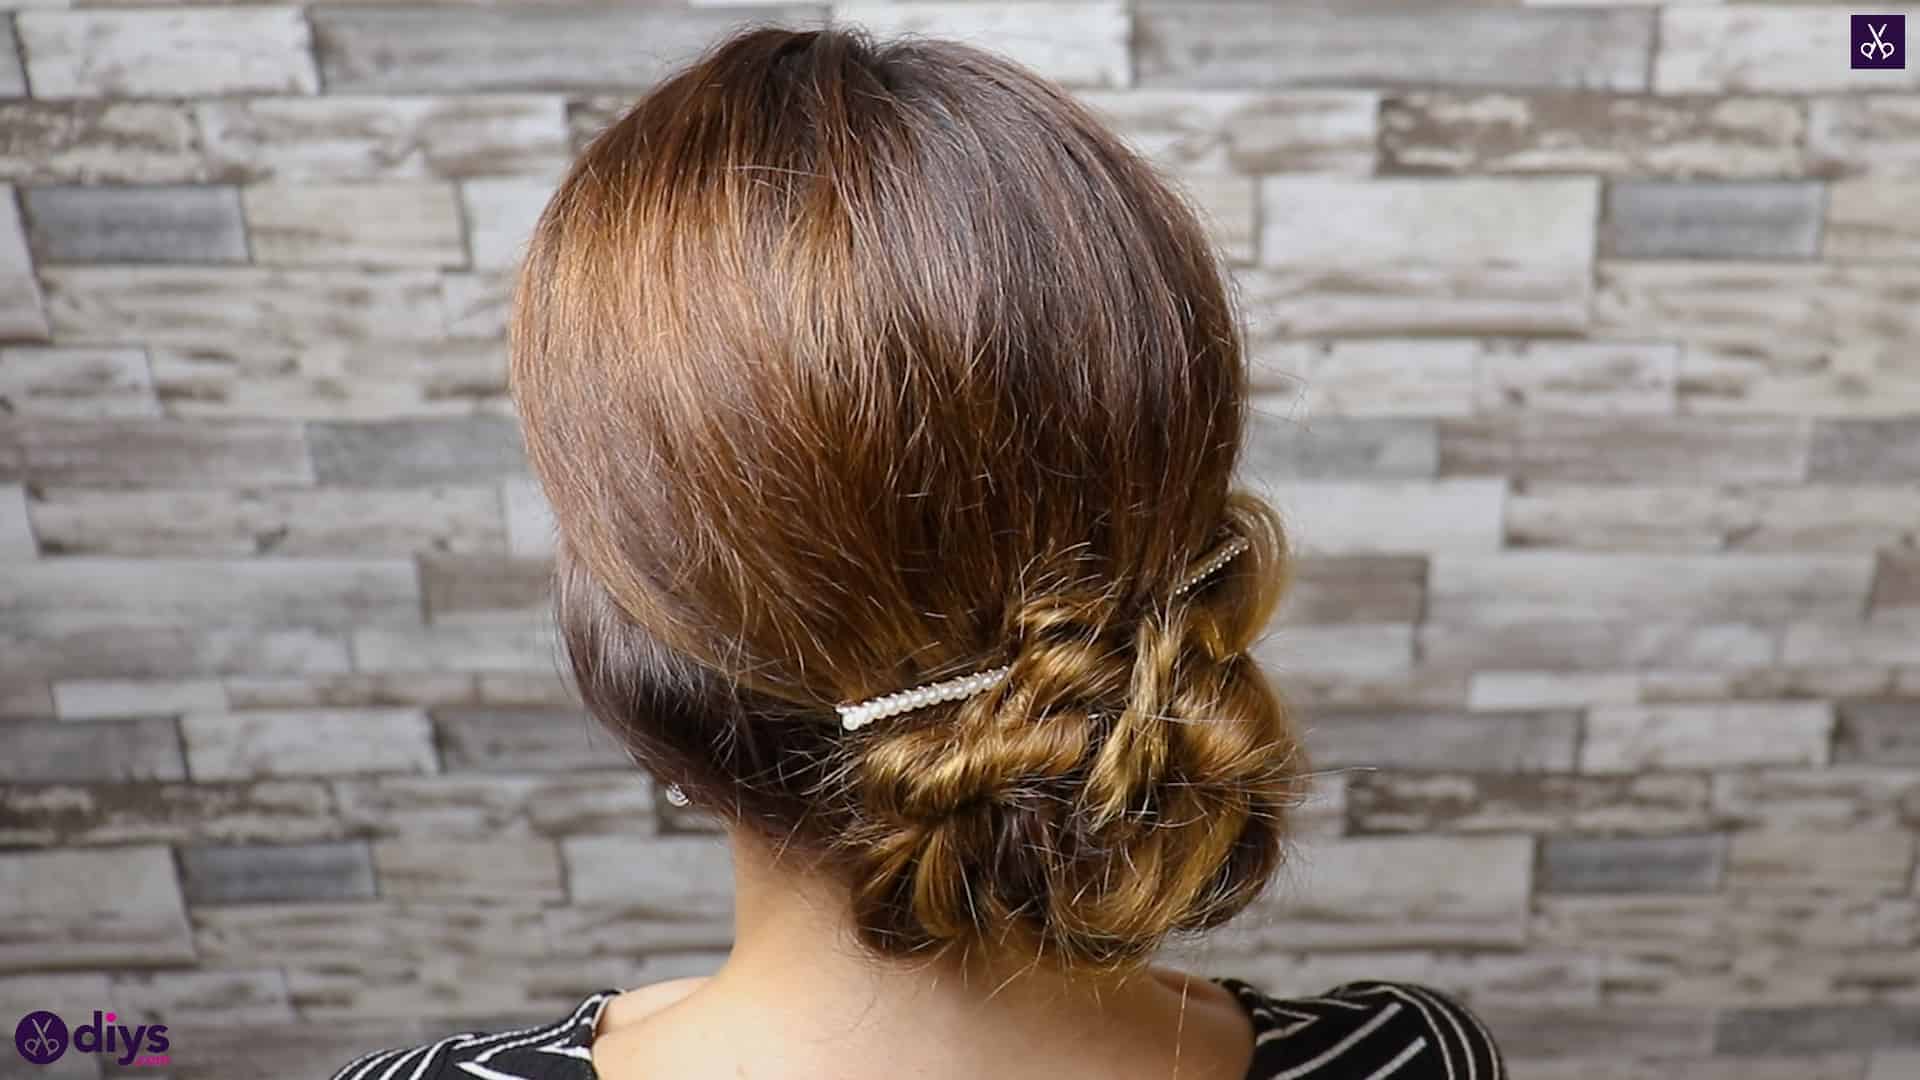
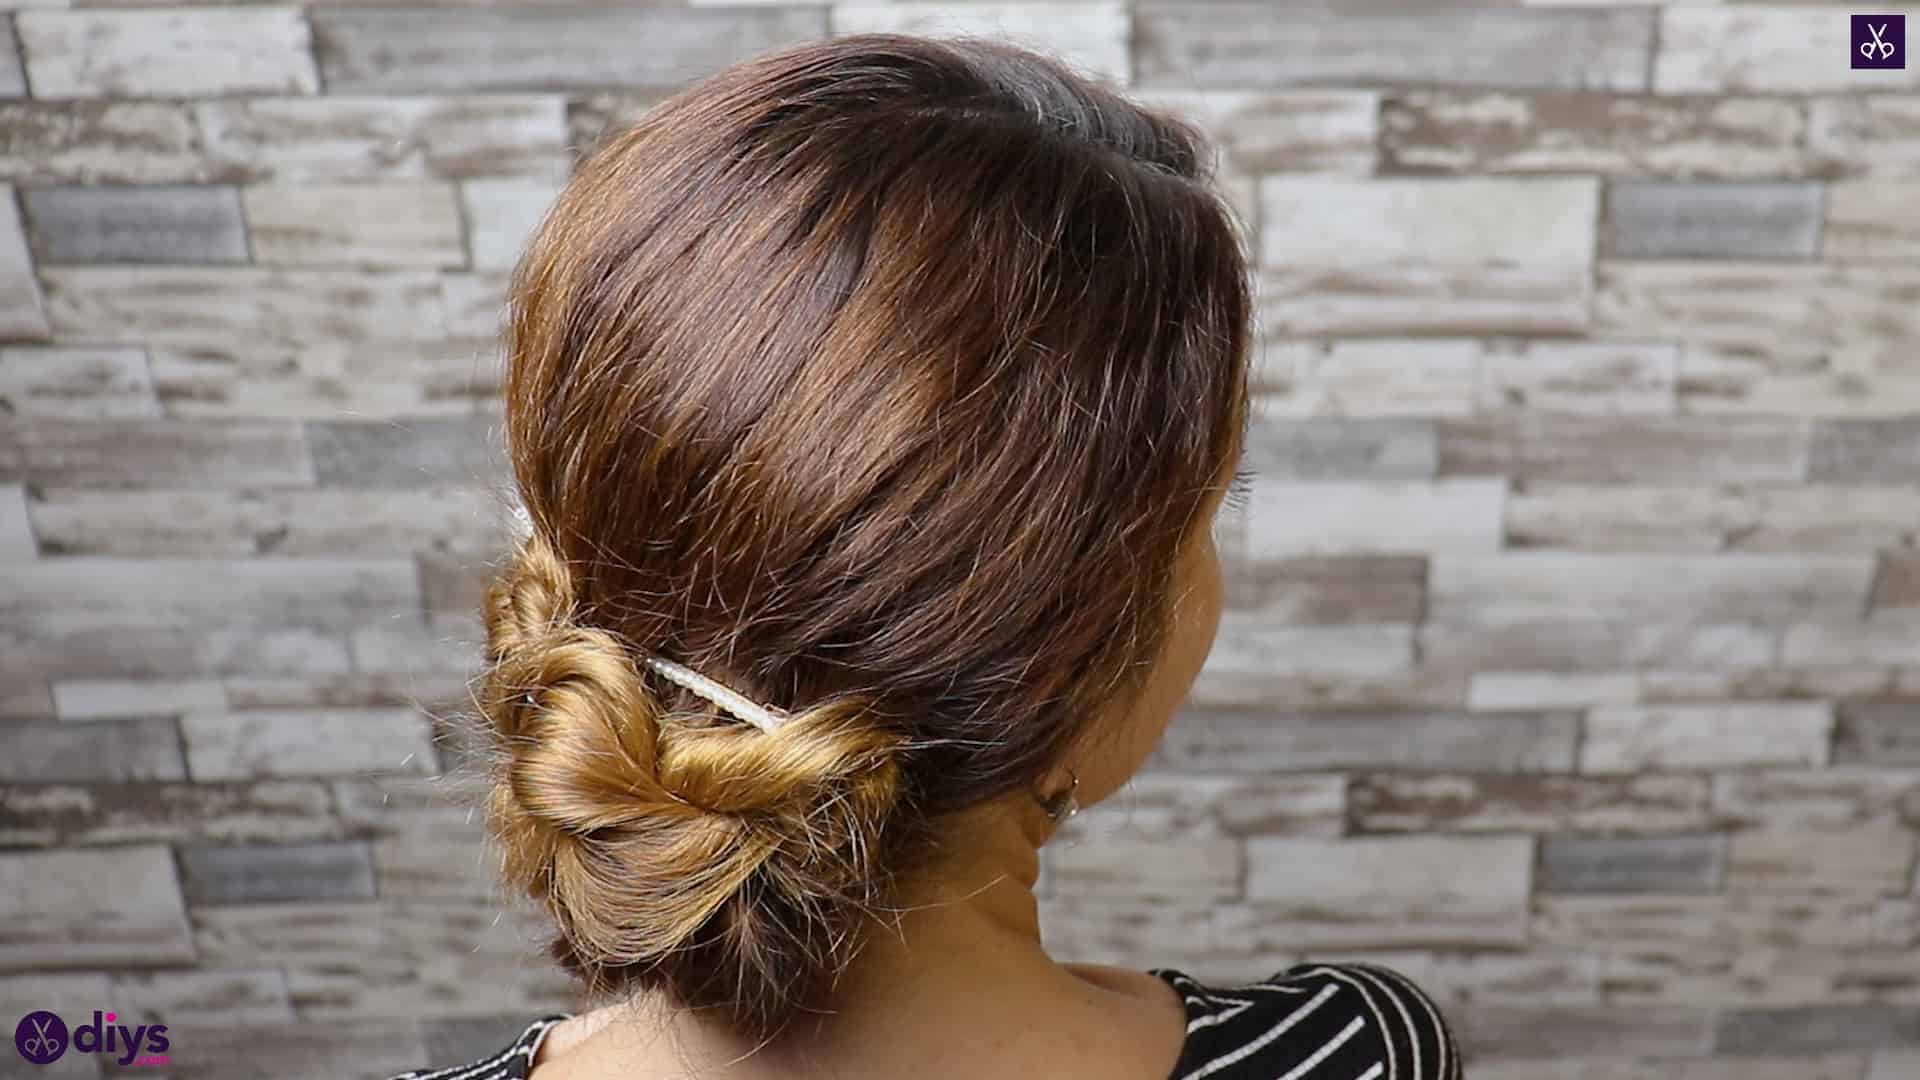
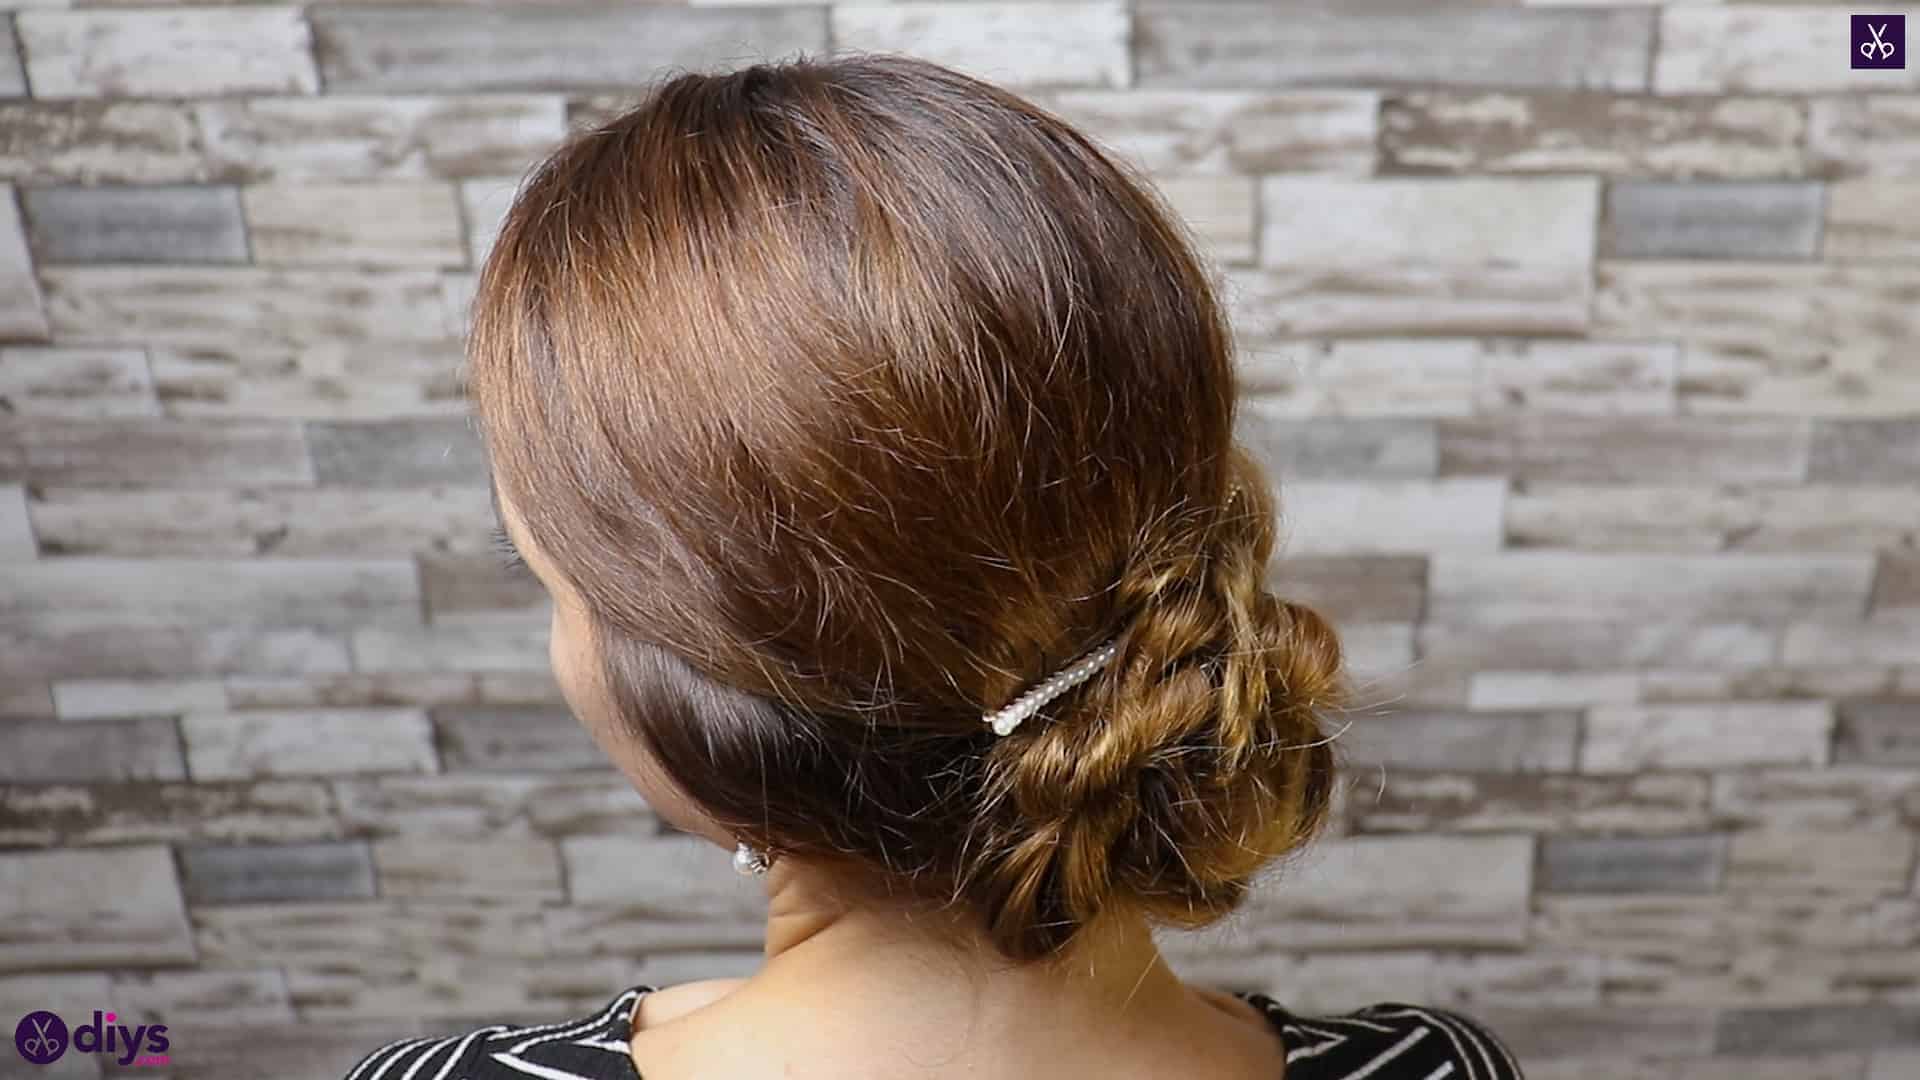
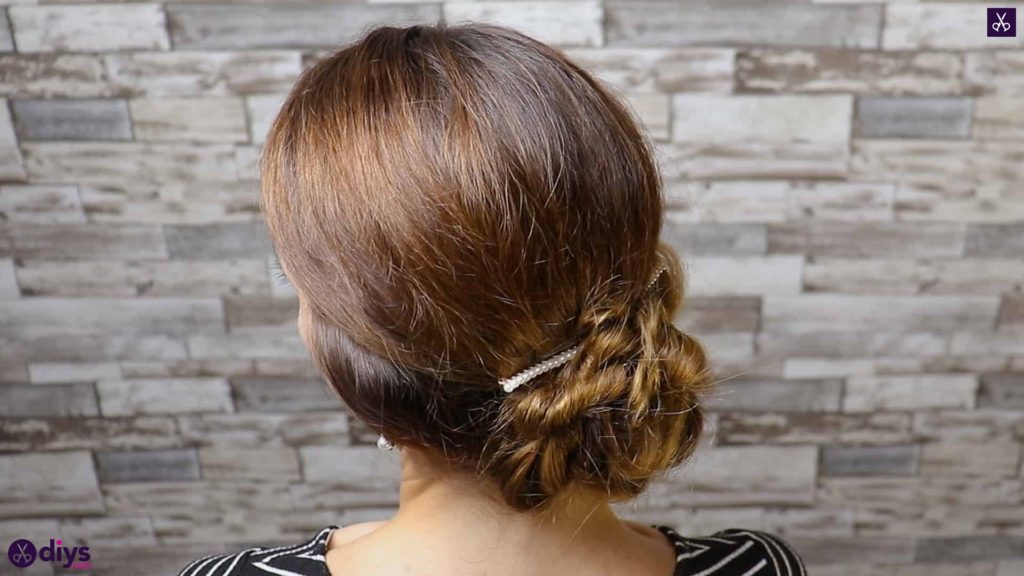
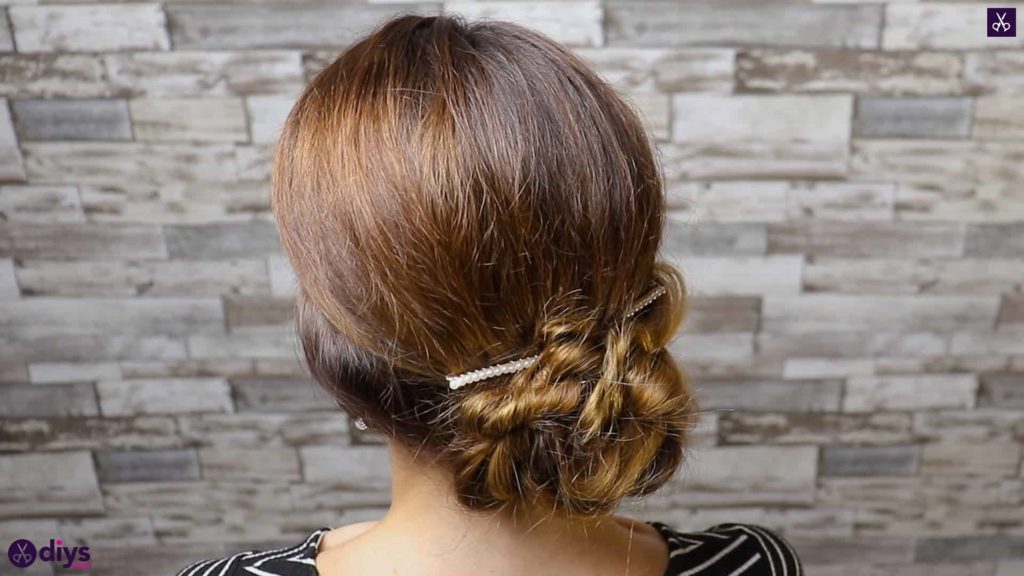
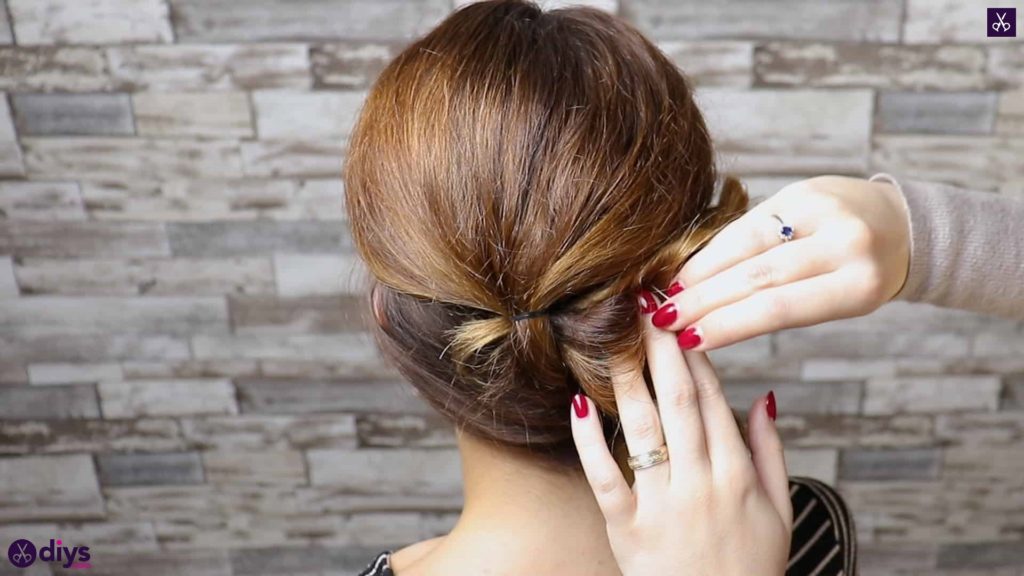
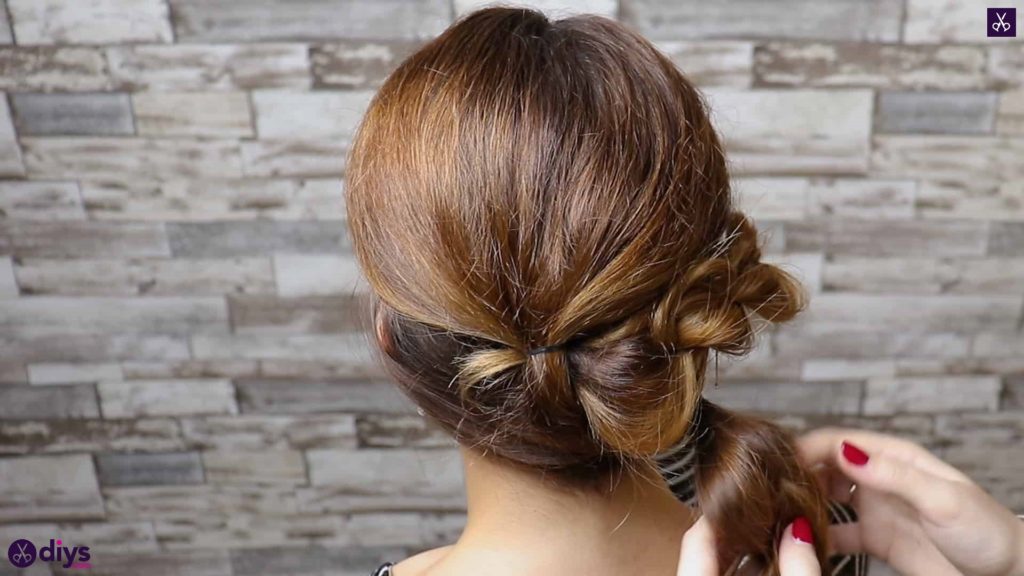
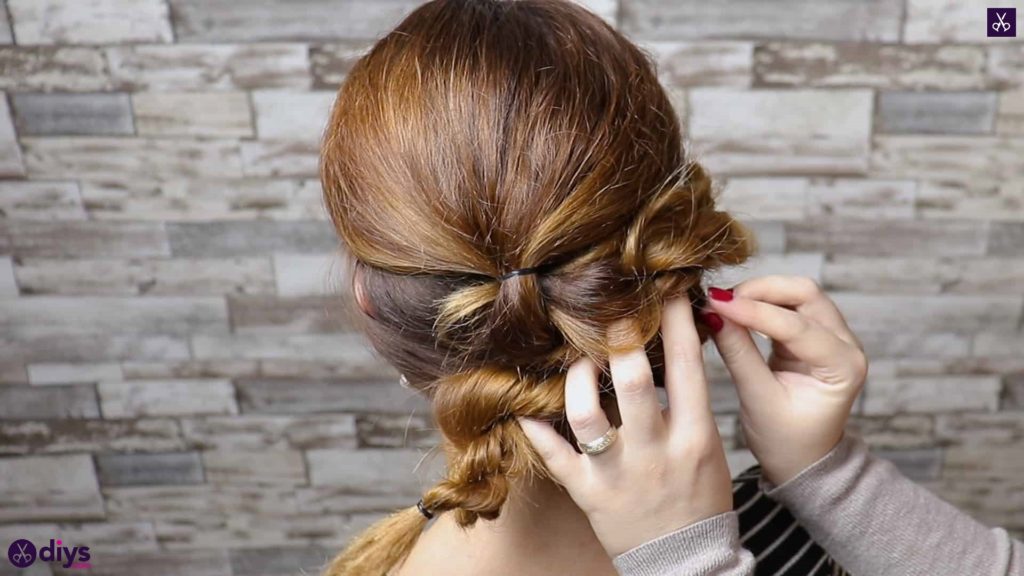
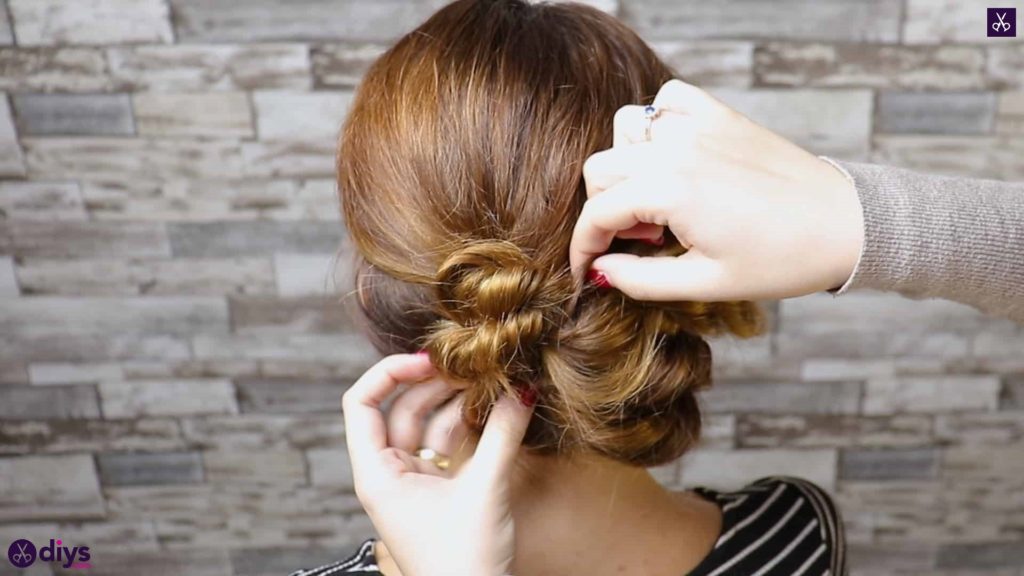
Bring the end of your top left twist across the back of the head to the right side. Hold its middle against your head an inch or so from its top and bend the end back in one itself, curling it over and back towards the left. Tuck the end in behind the twist and insert bobby pins wherever you need to in the folded twist to hold it in place. Next, bring the lower righthand twist across the head in the same way, angling it up to hold it in place under the base of the first twist and curling the end back in on itself to tuck it behind the twist like you did with the first one. Pin this piece in place as well. You now have an intricate looking bun!
Step 4: finishing touches
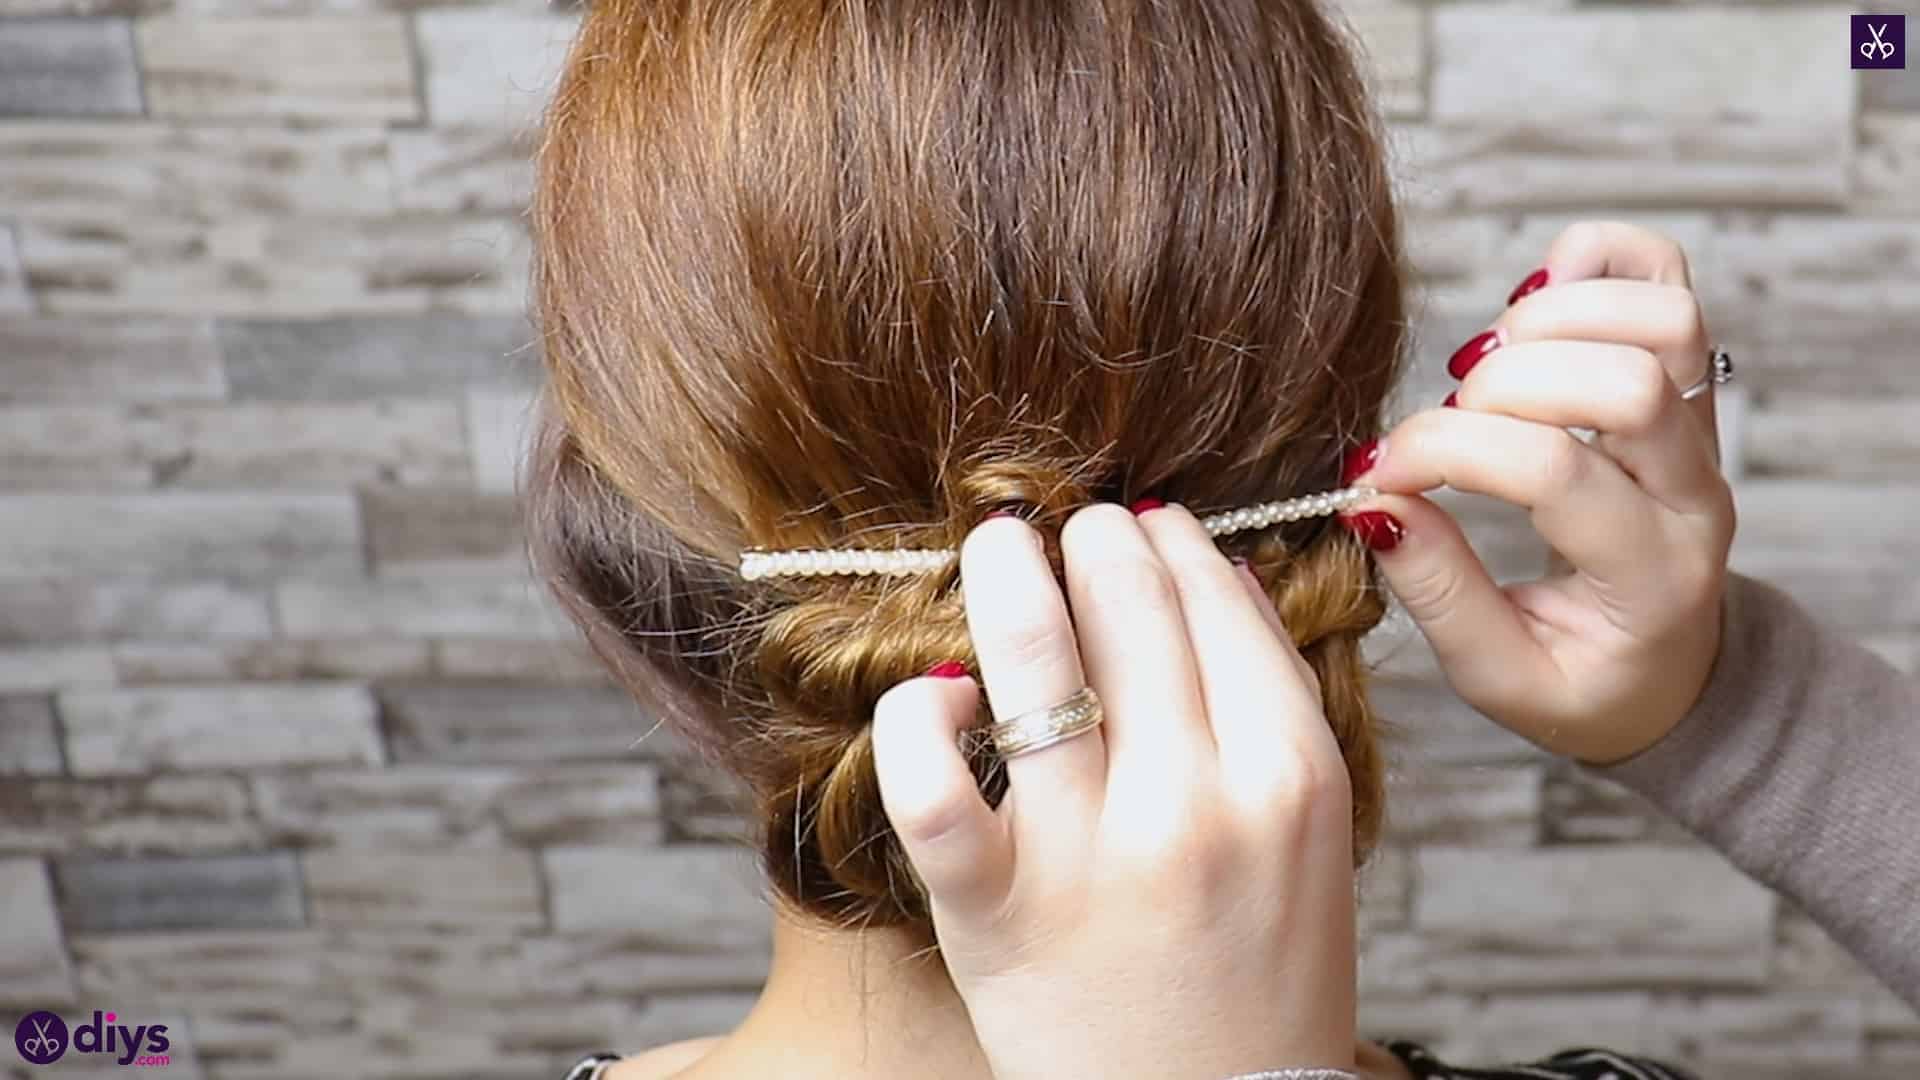
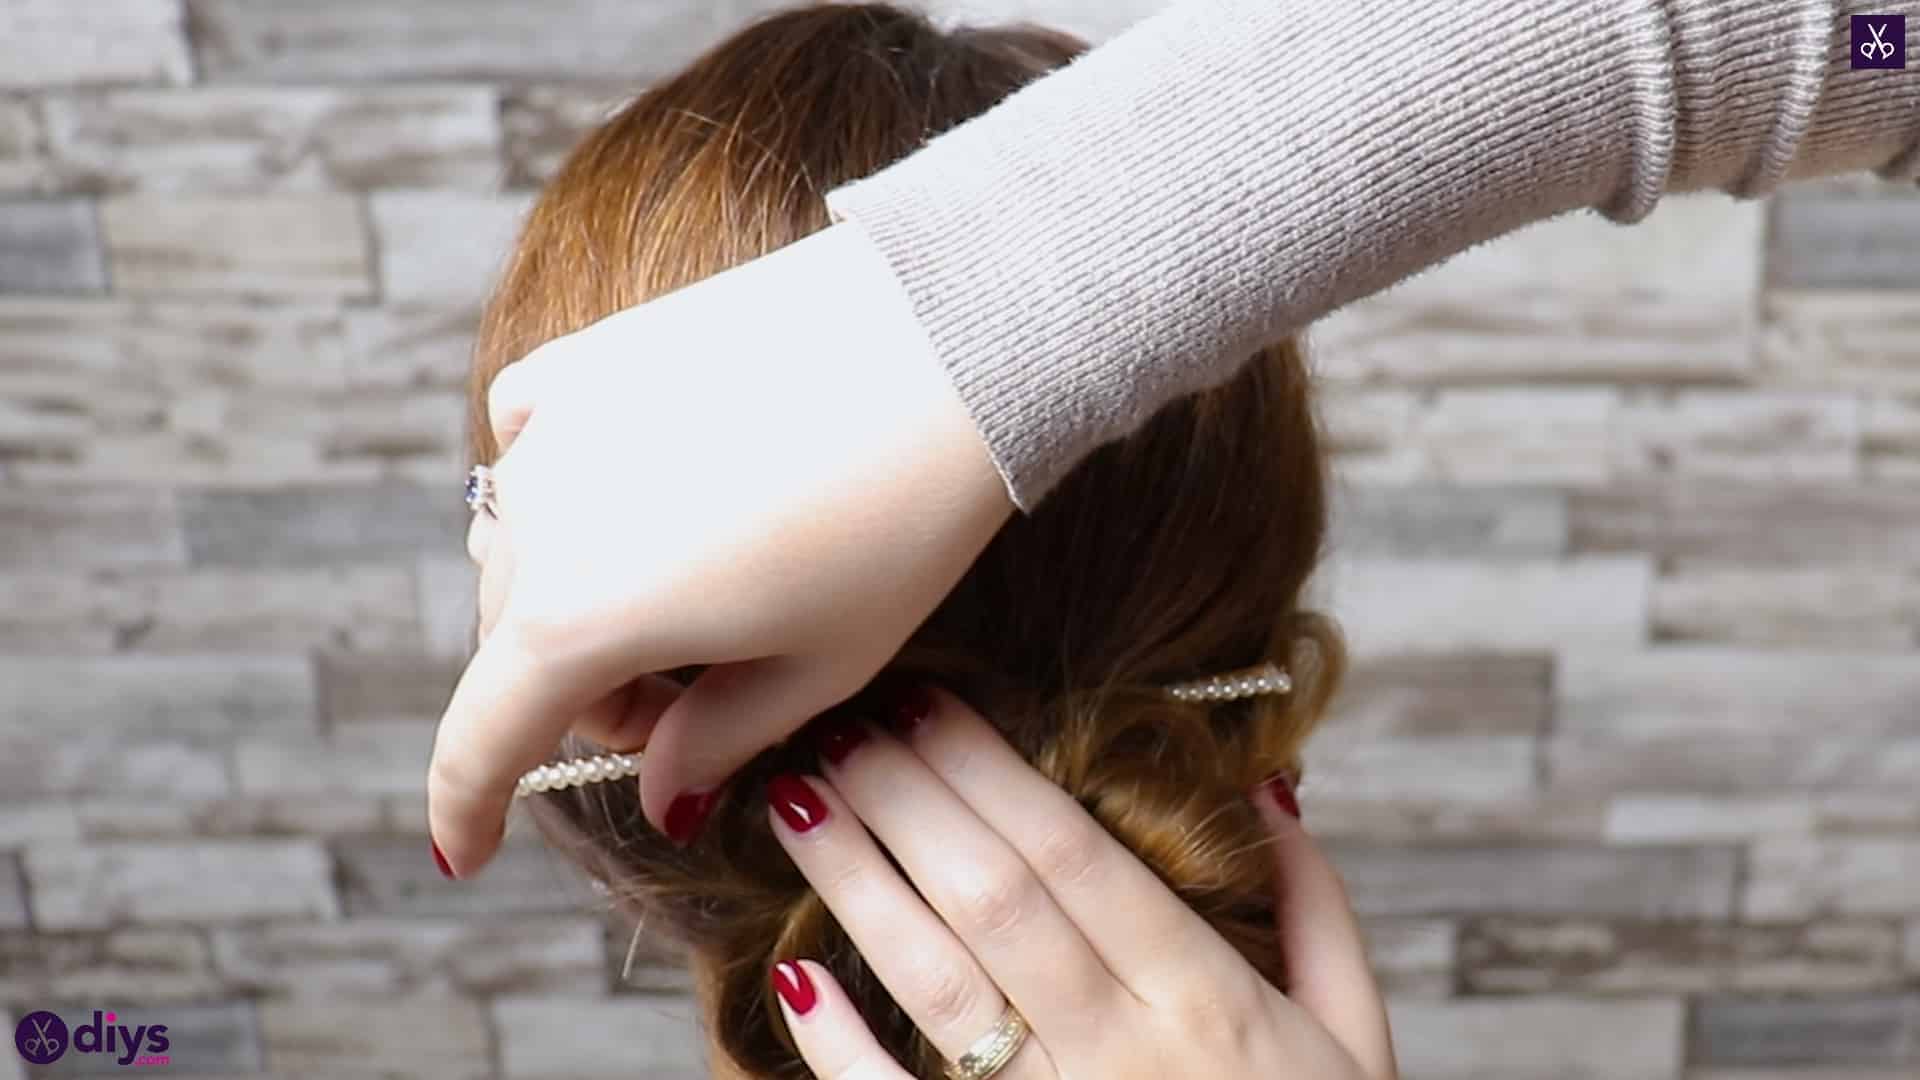
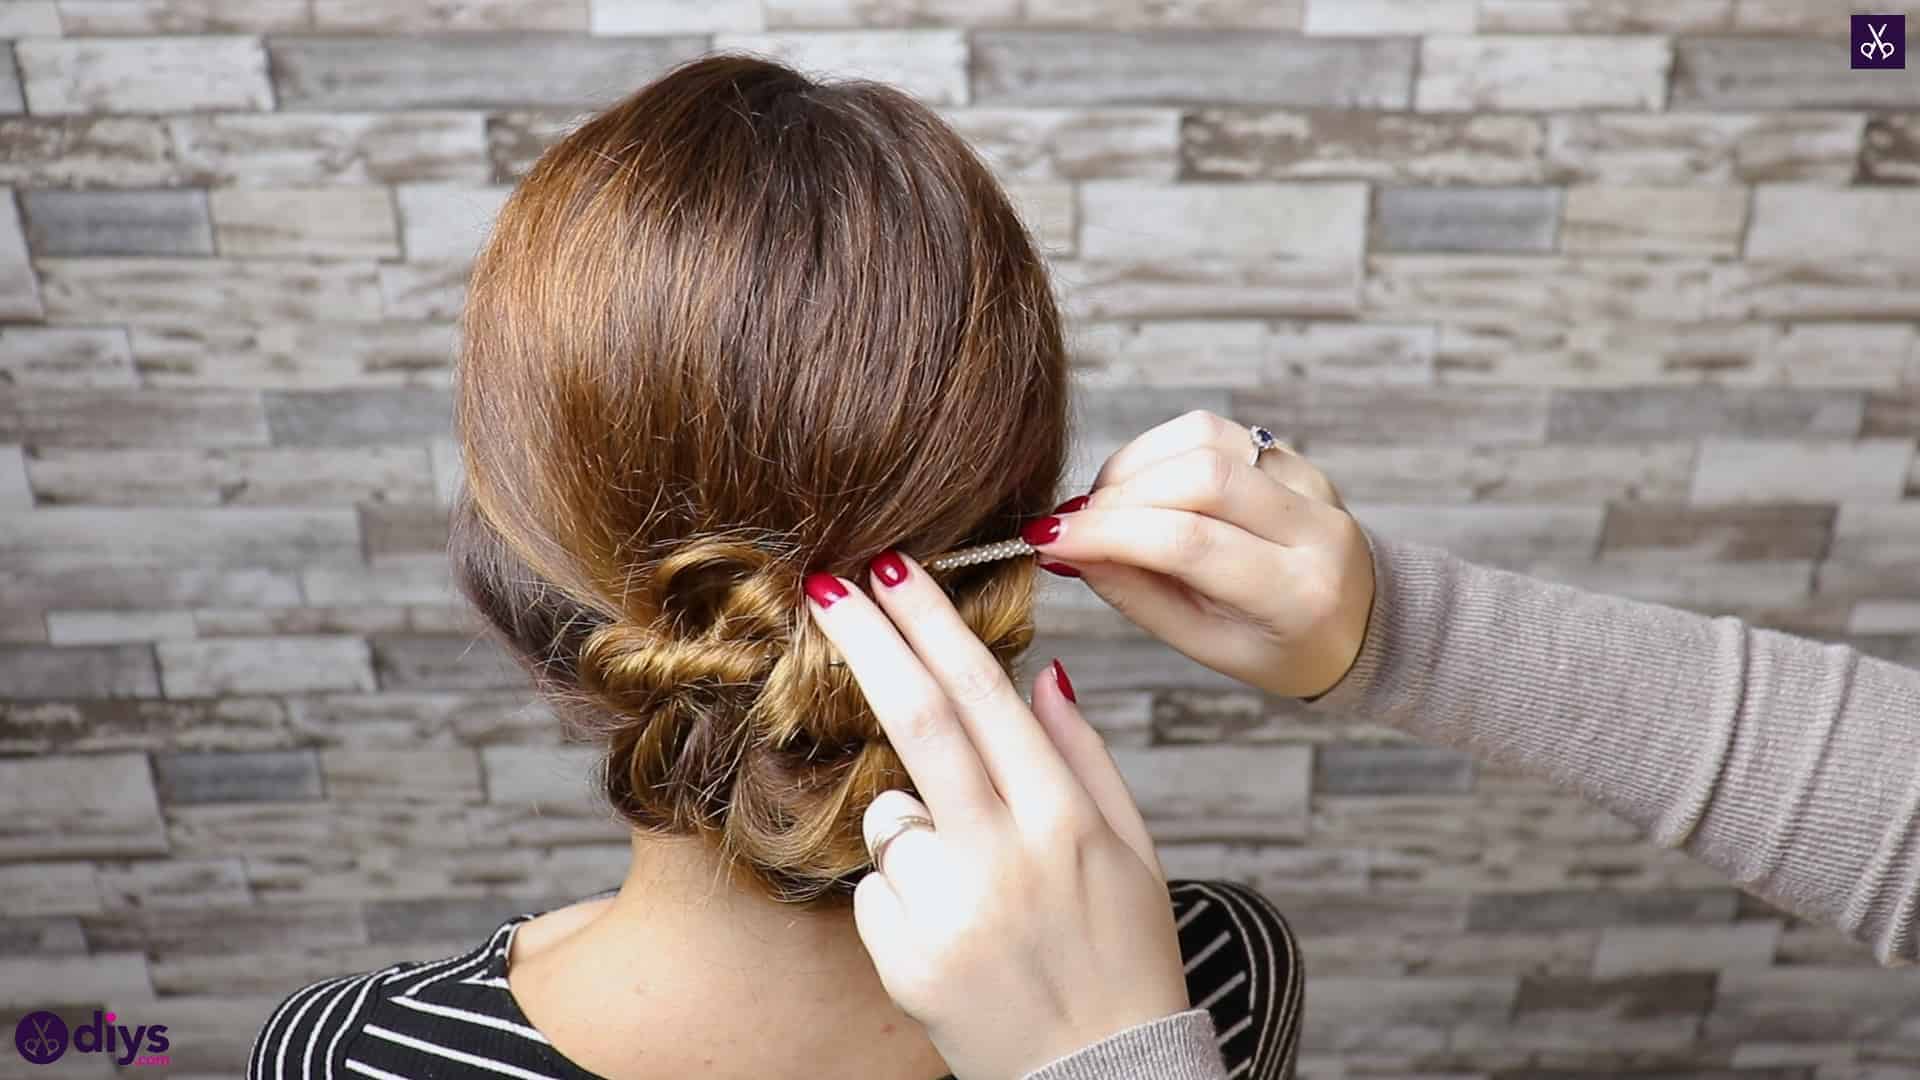
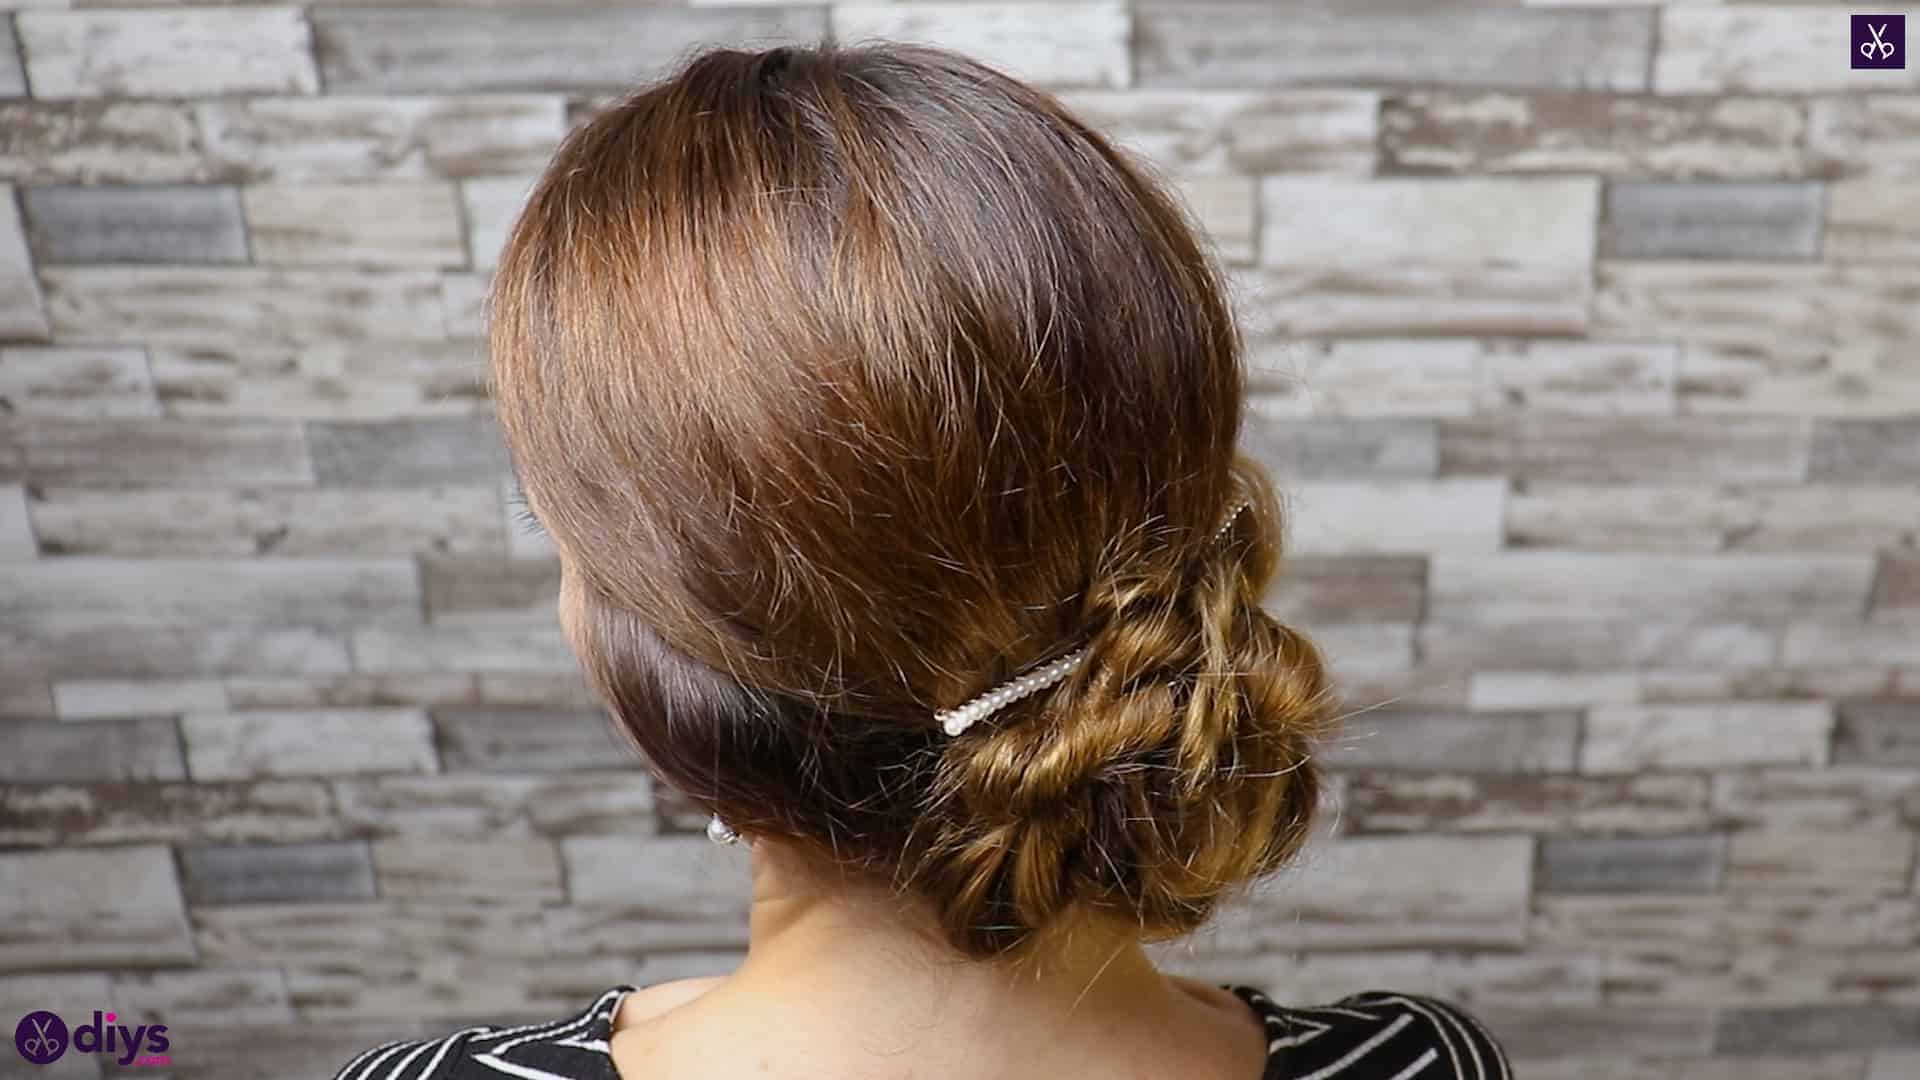
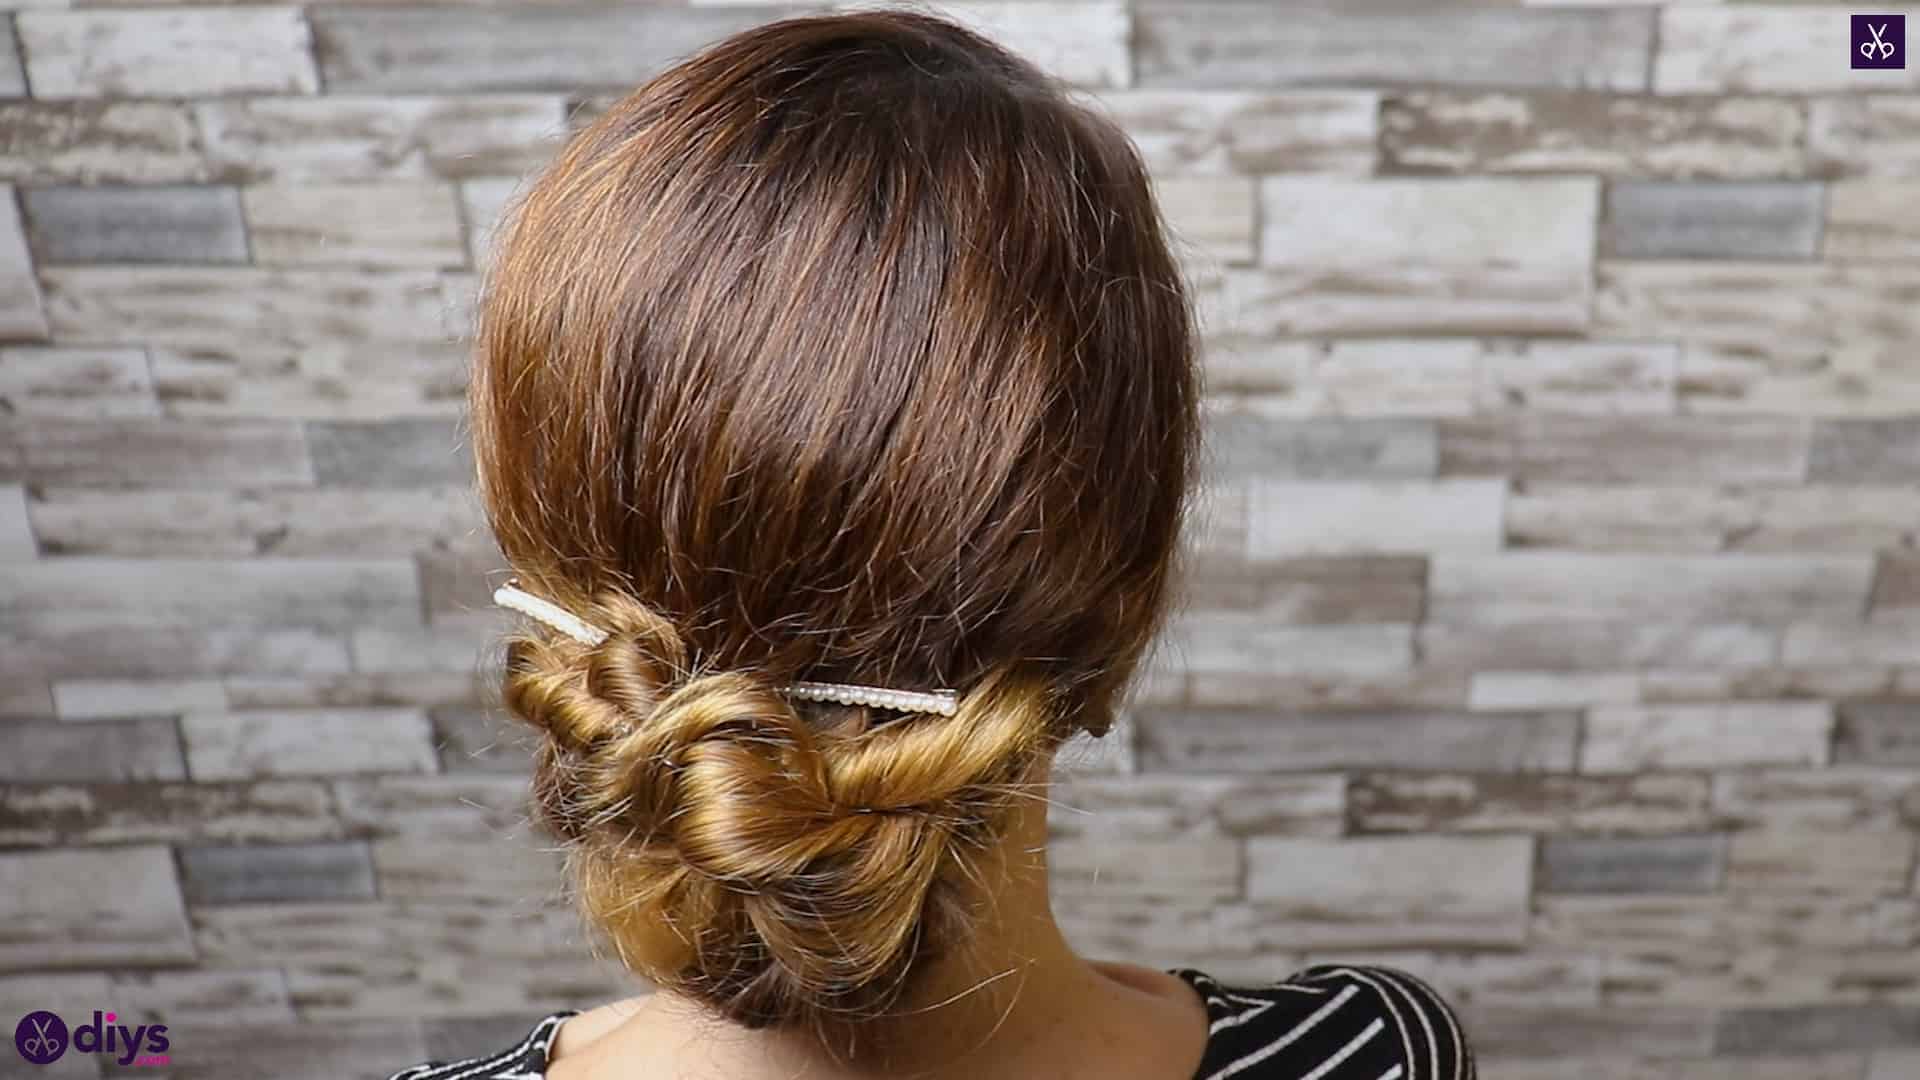
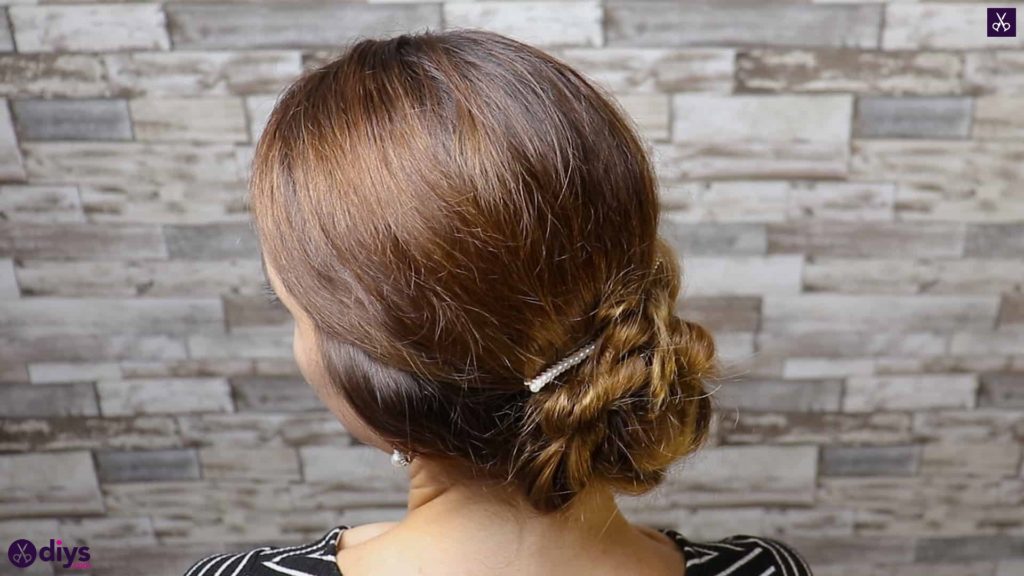
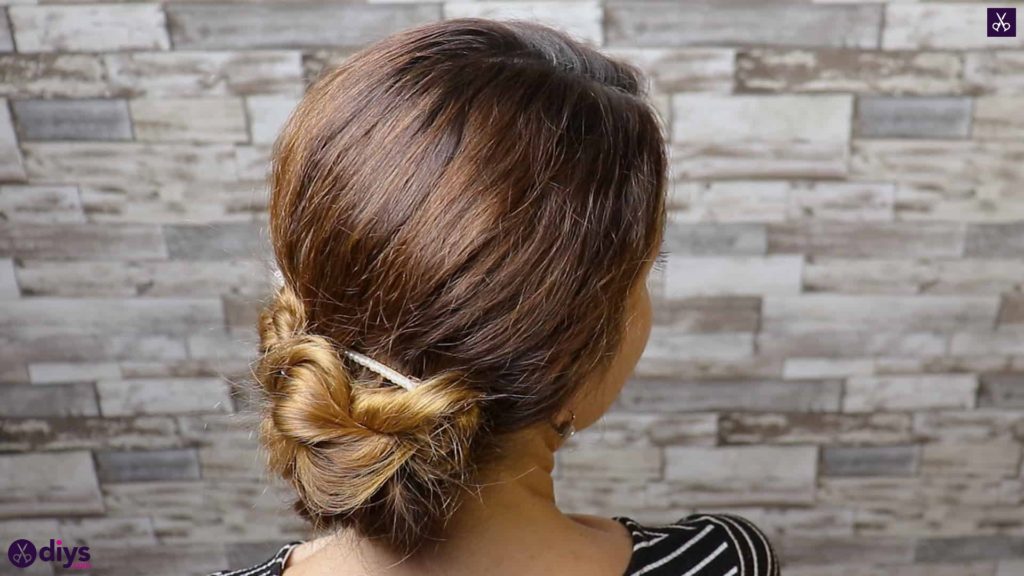
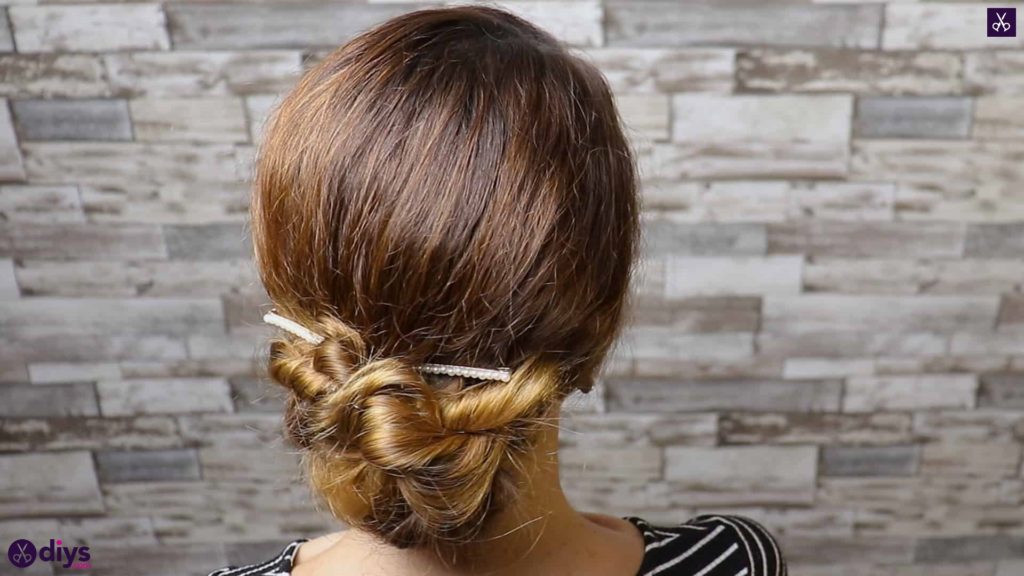
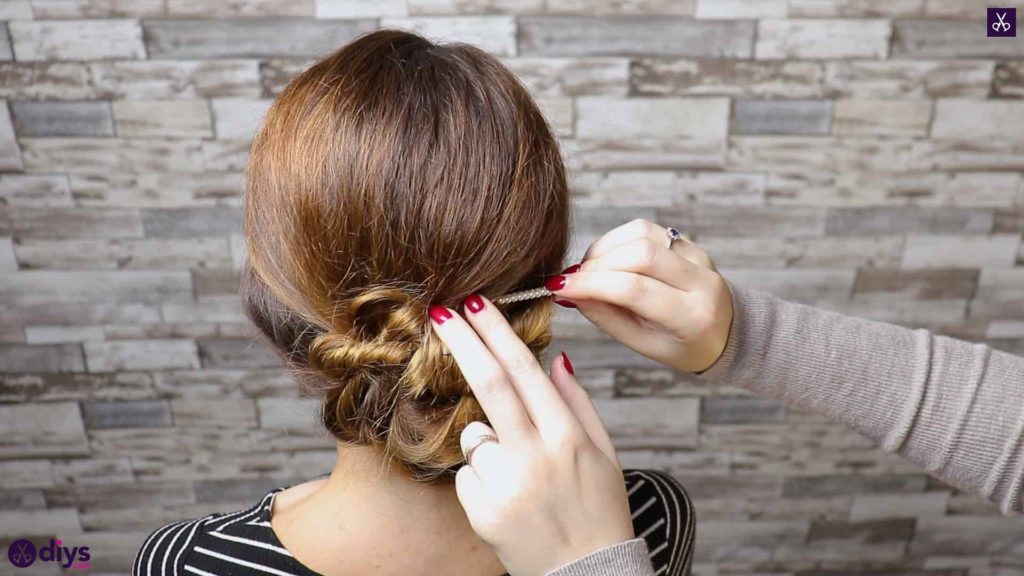
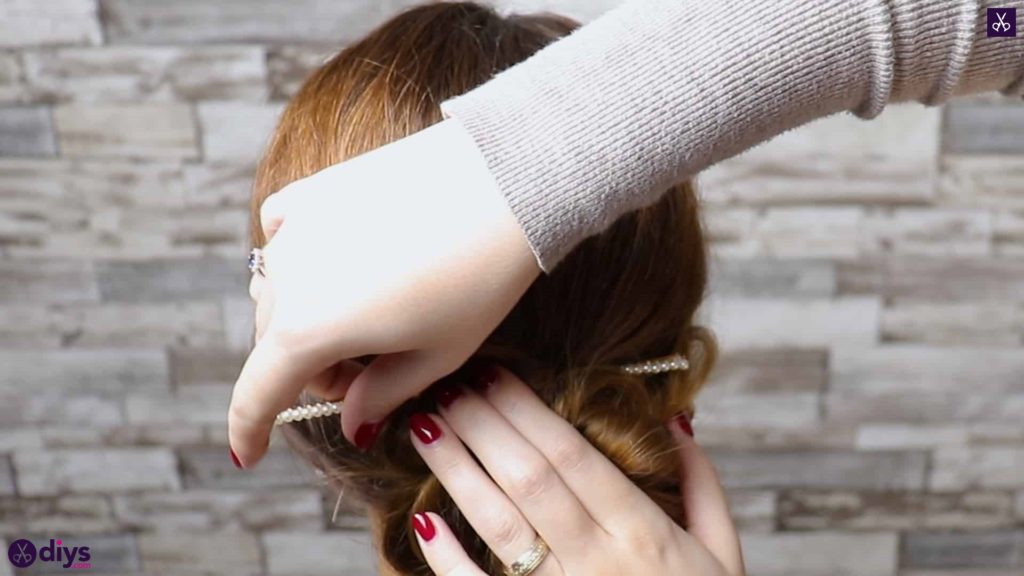
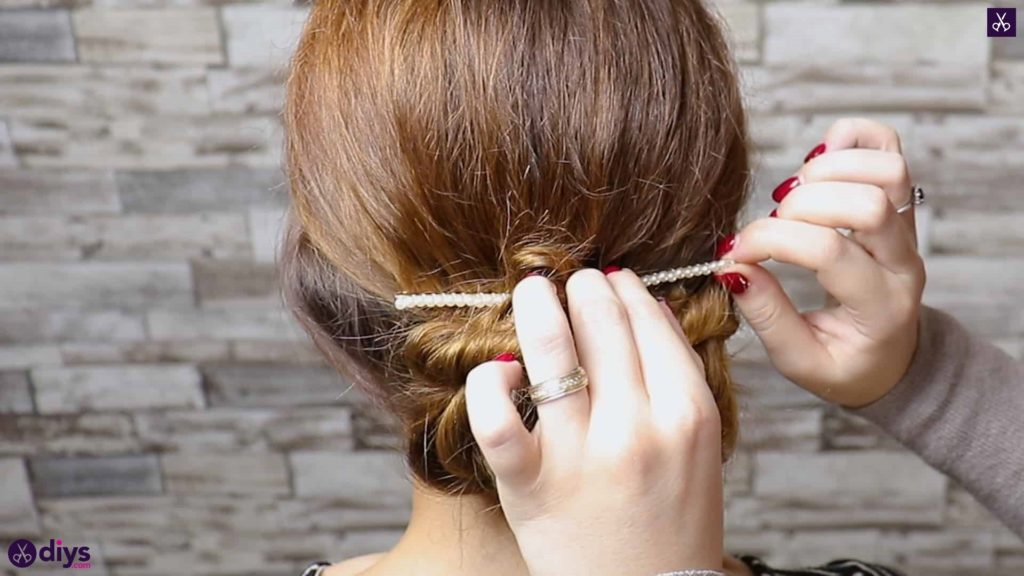
Add your hairpiece, clip, or embellishment! I chose a horizontal pearled clip that I could nestle in the hair across the top of my bun, almost matching it in width so the bun blooms out from below it, but you can use whatever kind of accessory you please.
This style really is easier than it looks when it’s all finished! Just in case you’d like to try this style out for yourself, here’s a fantastic tutorial video to help you!
