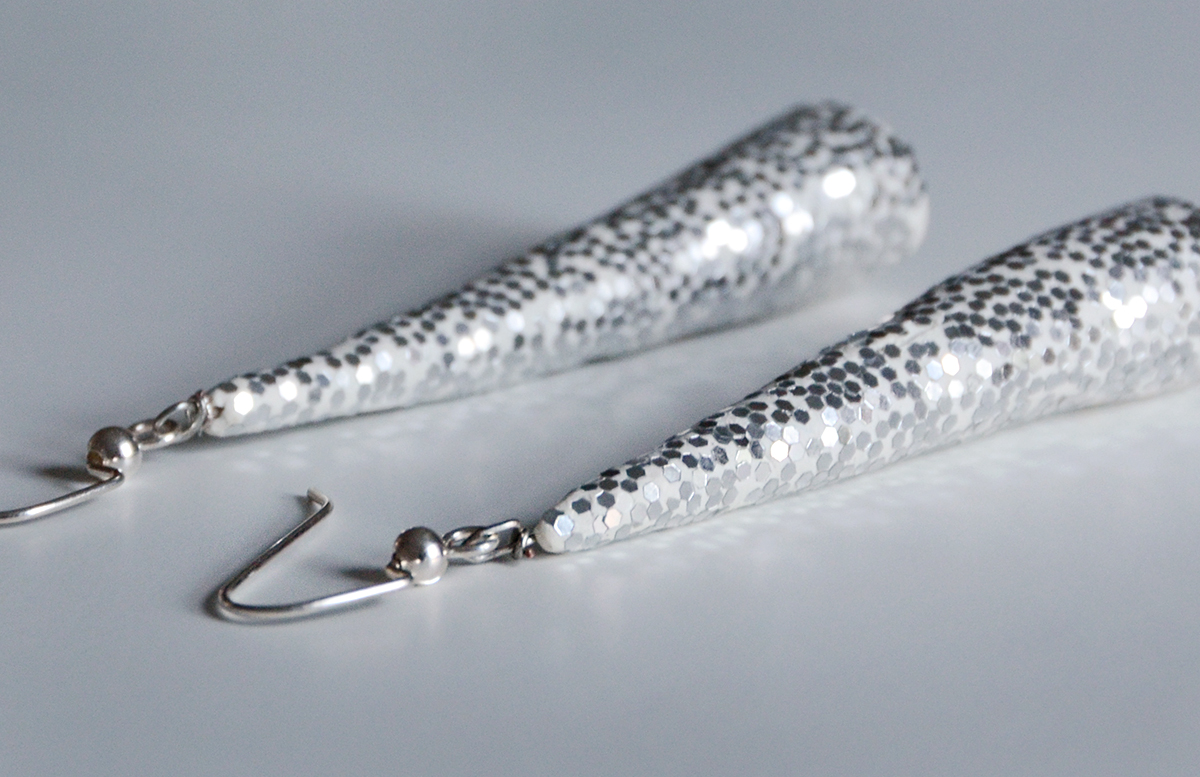
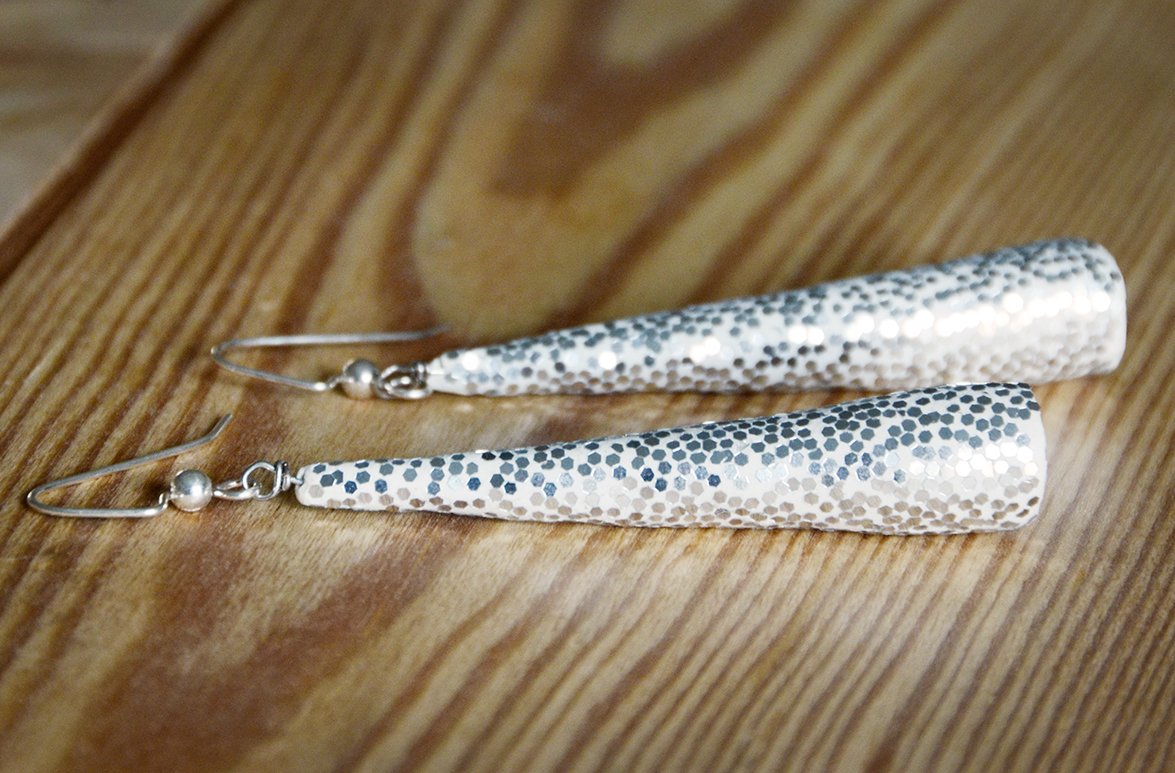
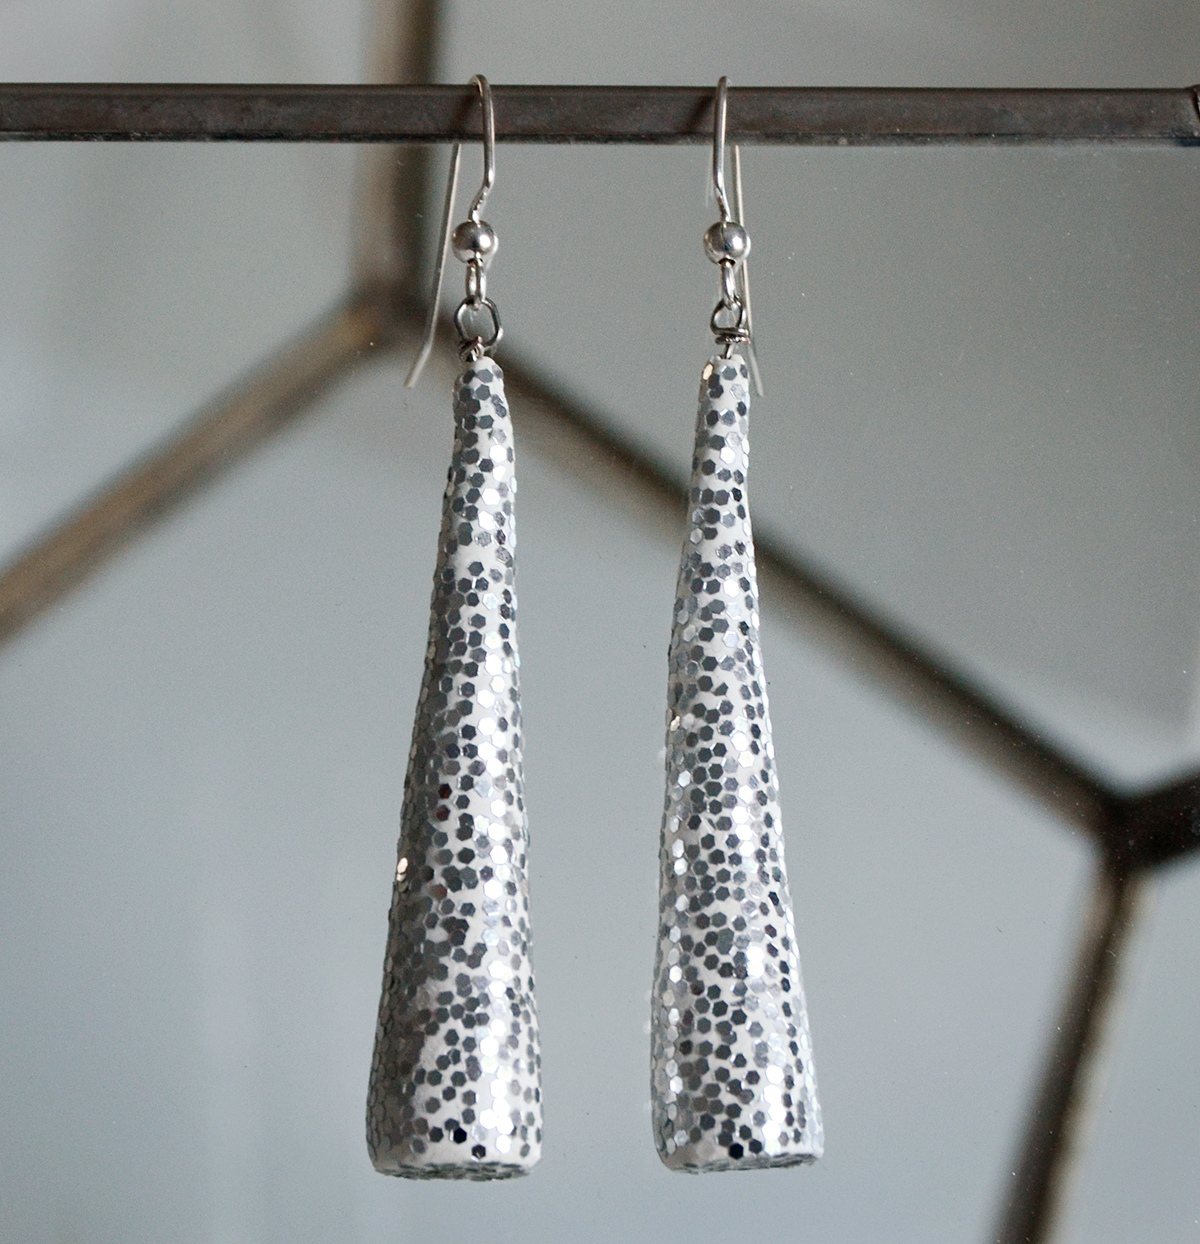
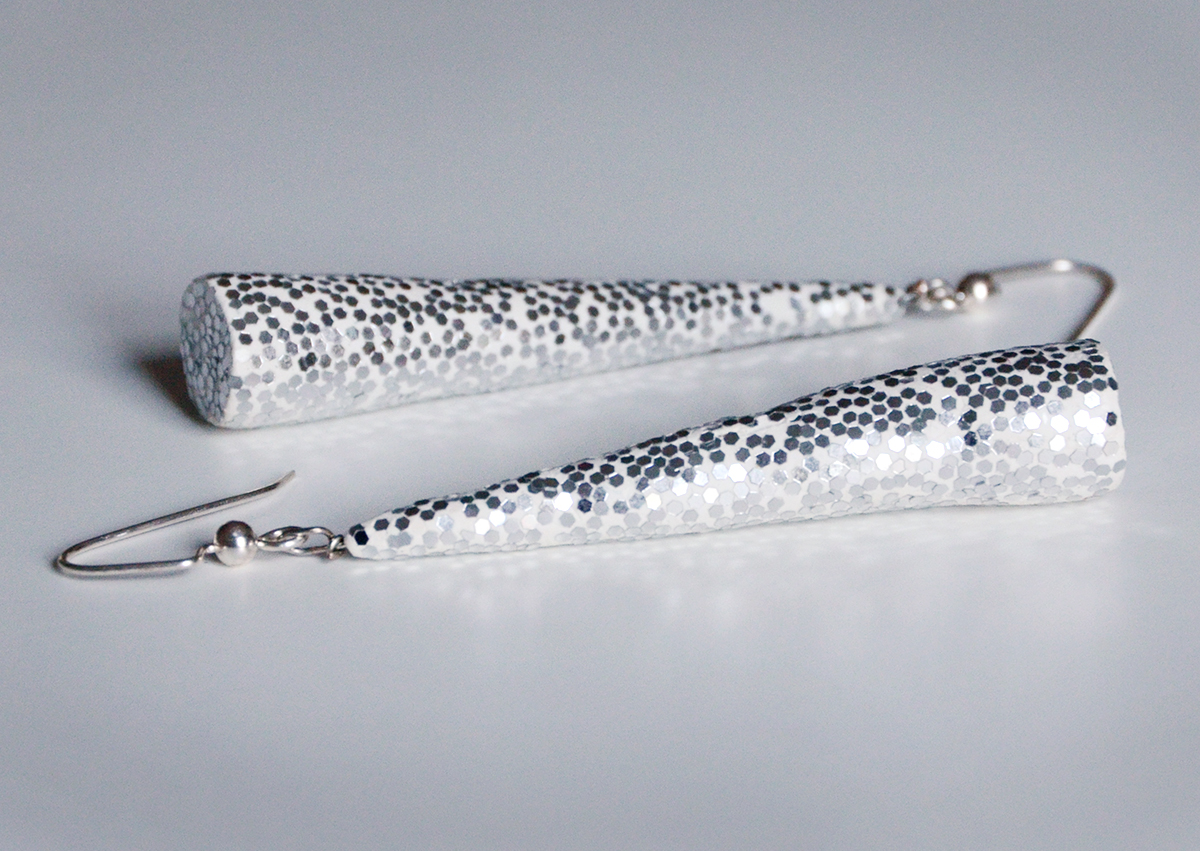
Easy DIY Glitter Earrings
Add some sparkle to your outfit with these gorgeous, easy-to-make earrings that are sure to garner attention from your friends. And here’s the best part – they take about 20 minutes to make! Now how’s that for simplicity? Continue reading to check out the full tutorial for these glittering beauties.
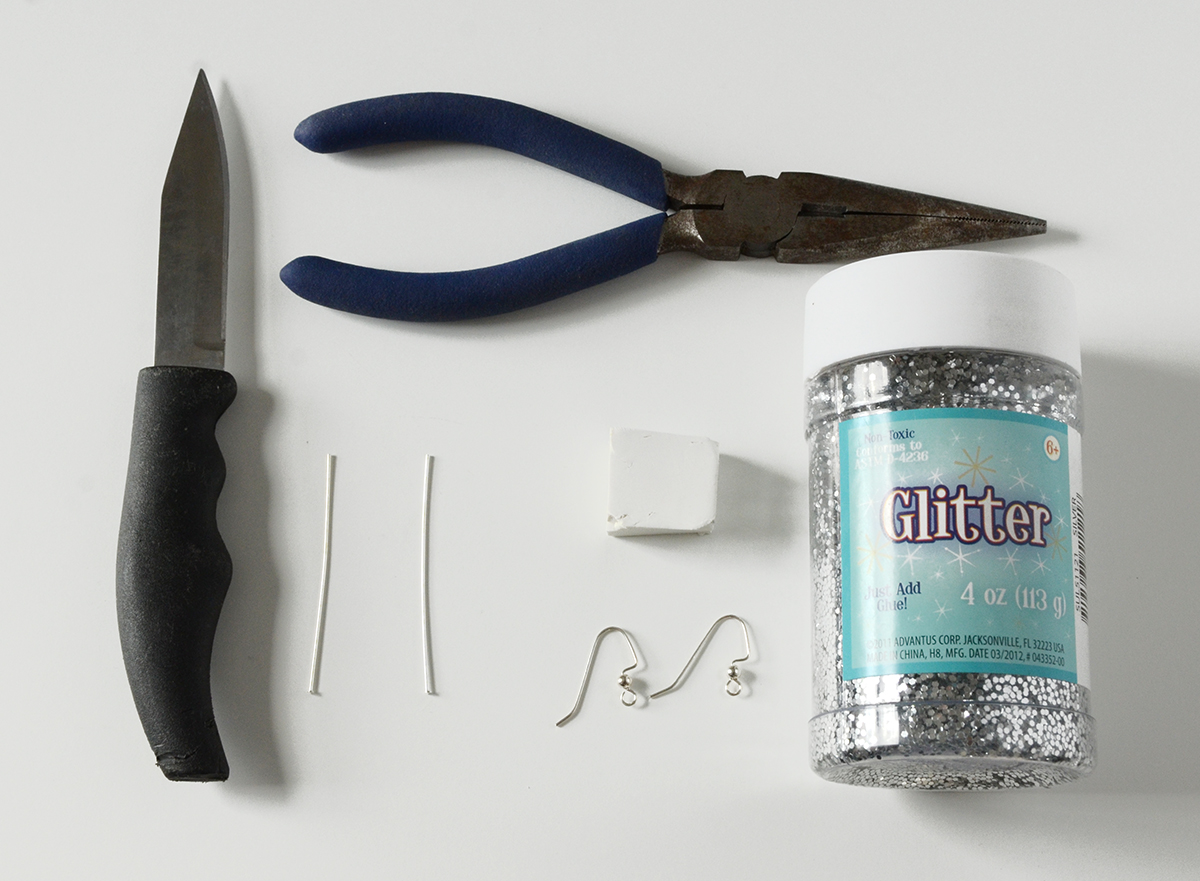
Here’s what you’ll need:
- Small piece of white Sculpey or Fimo polymer clay
- Silver glitter
- Silver earring hooks
- Silver wire
- Pliers
- Paring knife
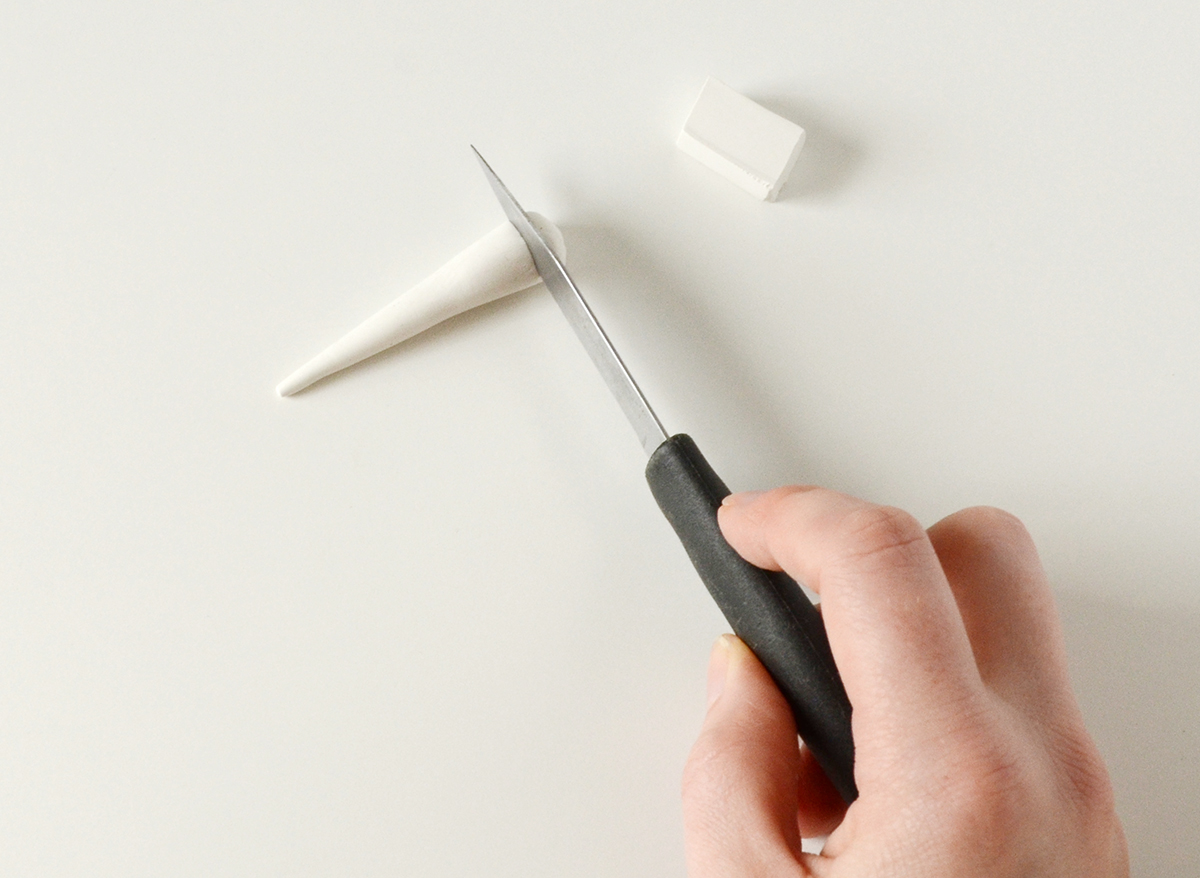
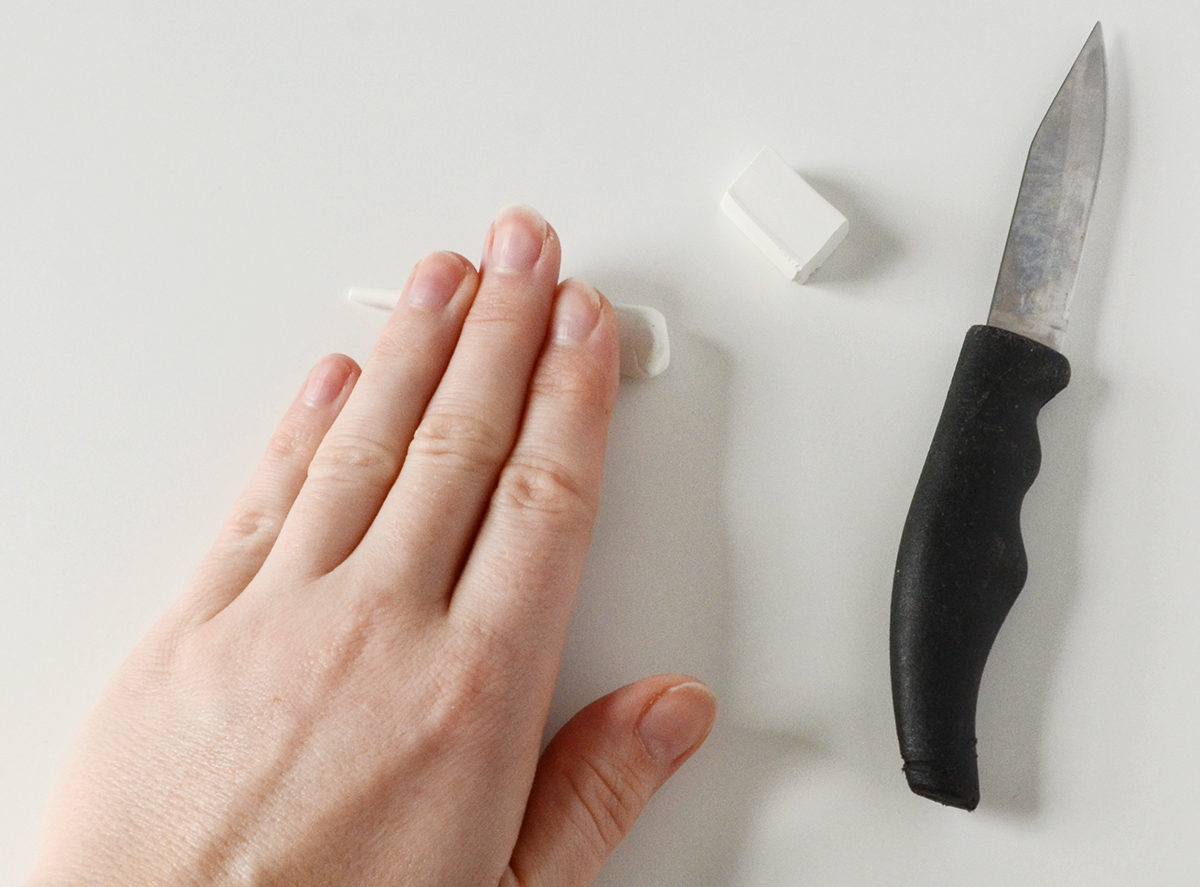
Begin by cutting the clay in half. Start working one piece with your hands, and roll it out so that it becomes a cone shape.
Cut off the end so it has a nice, crisp edge. Then create another cone shape that is the same size.
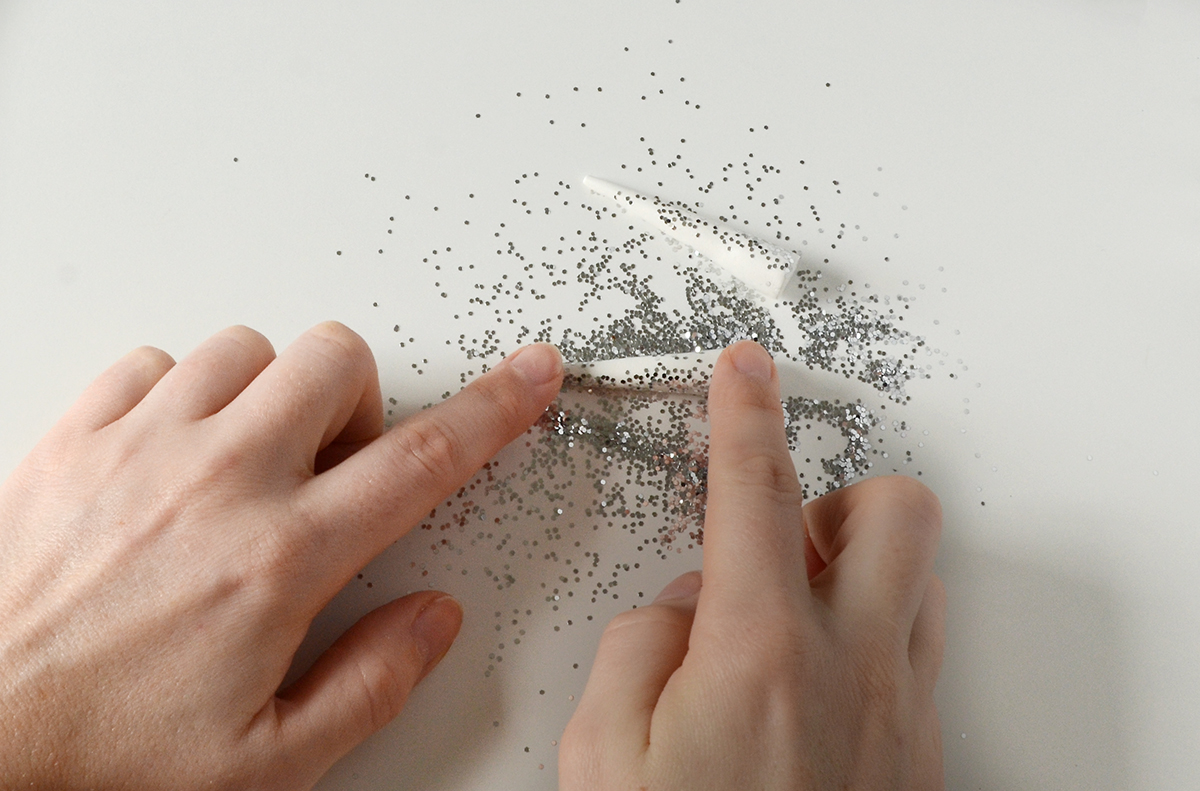
Dump a whole lot of glitter on them and gently roll them in the glitter until they are completely covered. Fair warning: this is a messy project!
Use your fingers to attach glitter to any uncovered spots.
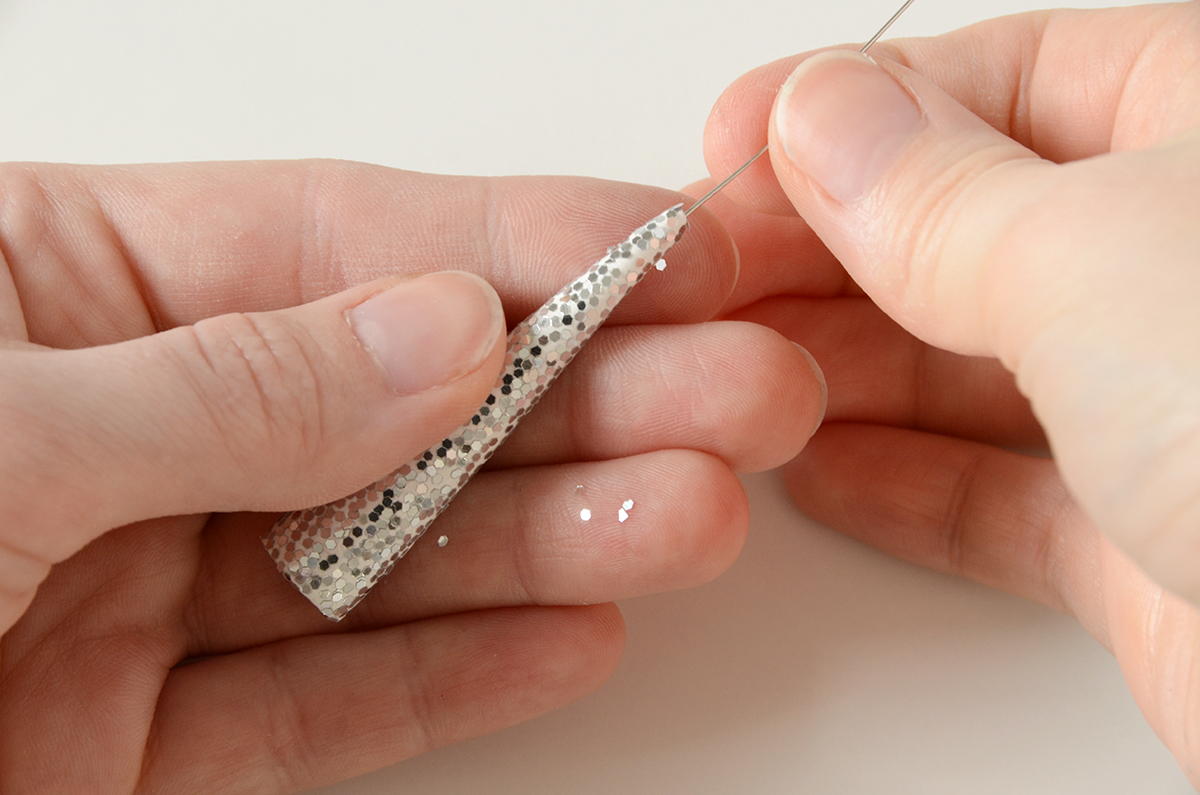
Then insert a piece of wire down through the center of the cone, starting at the smaller end. The wire should be about half an inch longer than the cone itself. If the wire pokes out the bottom, pull it back up until it is no longer visible. Now it’s time to bake your clay – do it according to the instructions on the package. Let it cool off completely before handling it.
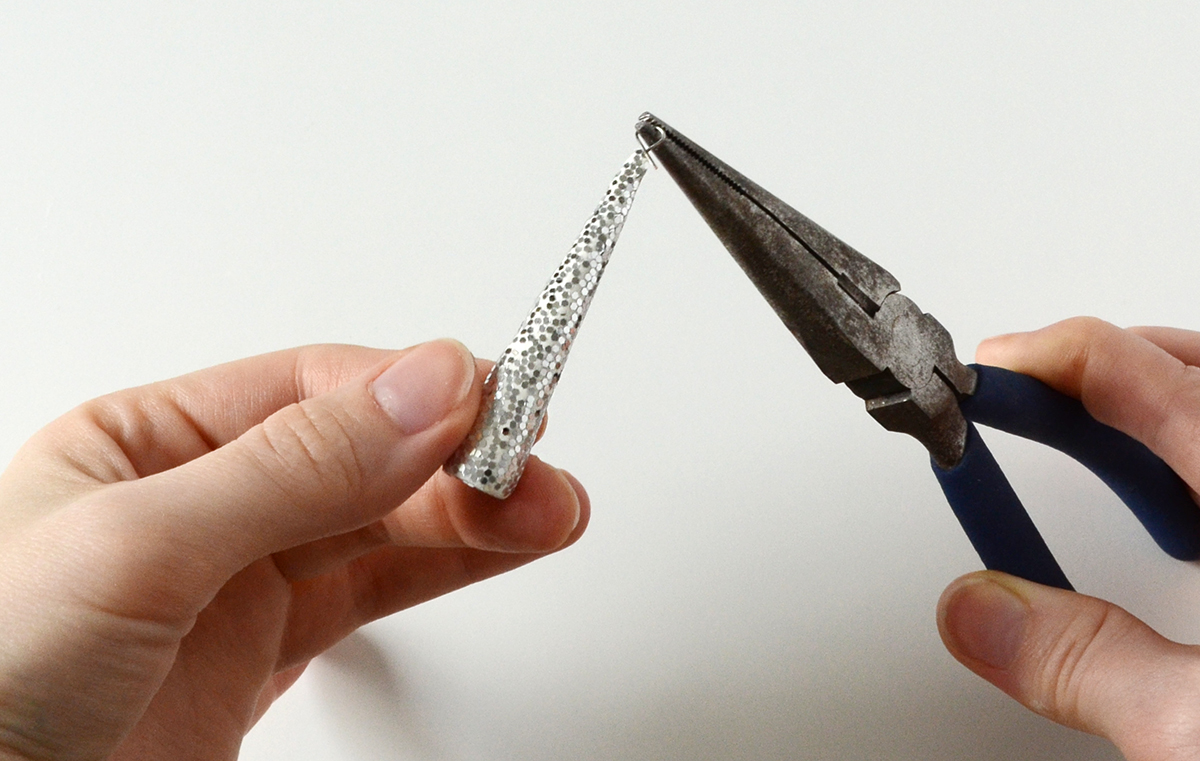
Using a pair of pliers, bend the wire into a circle so you can attach it to the earring wires. Finish by tucking the free end around the top, right above the top of the cone.
That was easy, right? They won’t take long to make at all, and they don’t require any crazy art skills either. Just a few basic materials and some creativity!
And they would look so great in other metallic colors as well. I’m envisioning gold glitter on a light yellow clay for a different look. So glamorous!
You can experiment with the shape as well. A series of triangles attached with jump rings could be quite stylish too. Or a number of round beads increasing in size. The sky’s the limit, really!
