How To Make Easter Egg Magnets
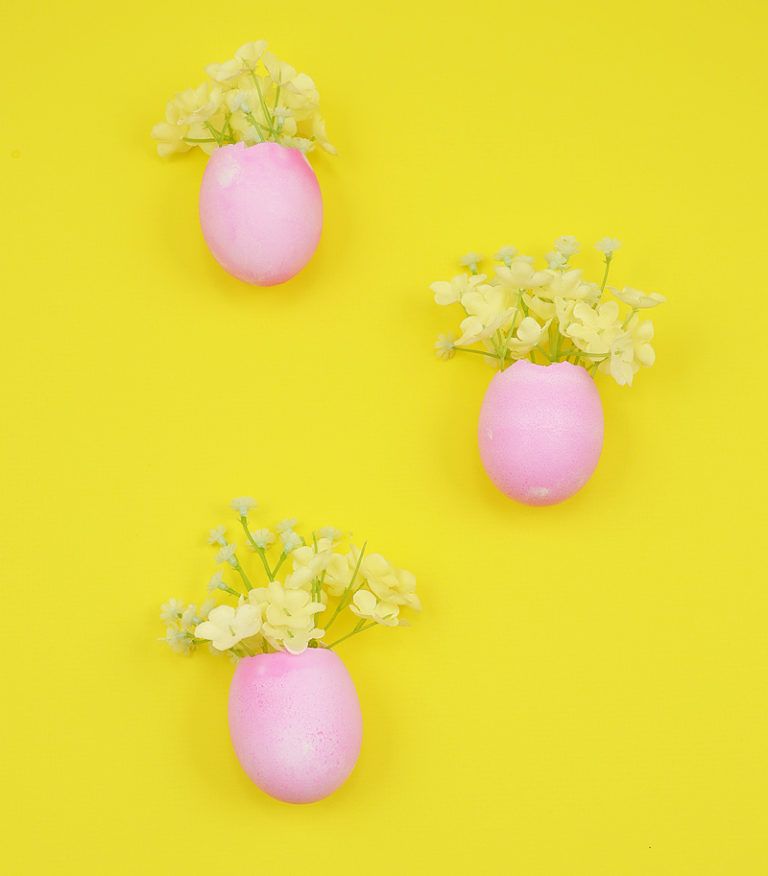
Easter is such a colorful holiday! I love all the pastels and bright colors that are in decor and fashion for the Spring season. Dying eggs can be a great color addition to your Easter decor. You can use these eggs in unconventional ways. Try creating these vase magnets to put on your refrigerator throughout the month of April!
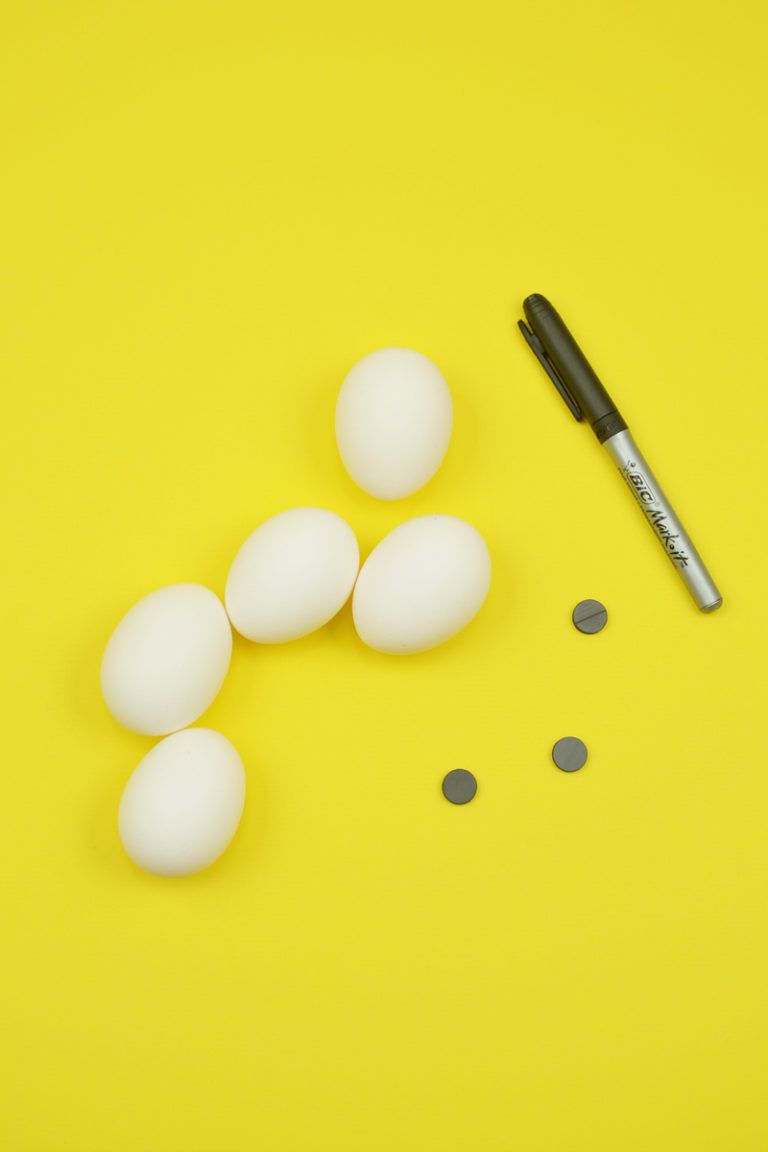
For this DIY, you’ll need:
- Eggs
- Food coloring
- Water
- Bowl
- Magnets
- Hot glue and gun
Step 1:
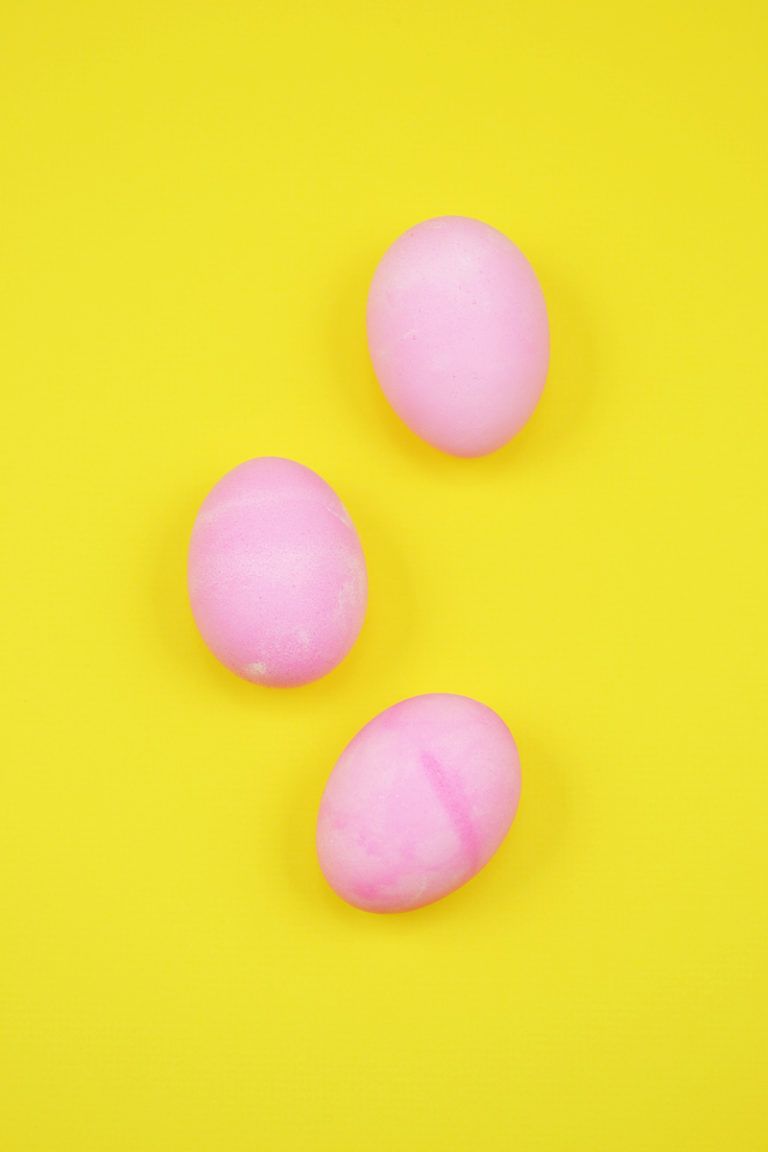
You’ll need fresh eggs for this craft; but you can also make Easter egg magnets with plastic eggs if you have those on hand. I like the look and feel of real eggs for my Spring decor. You’ll need to start by dying the eggs.Fill a few bowls with water and add a few drops of food coloring to each bowl. Let the eggs soak in the colored-water for about 30 minutes.
Step 2:
Next, using a knife or a similar object, poke a hole at the top of the egg, gently. Gradually make the hole bigger and begin to peel small bits of eggshell from the top. Be gentle with this, as you do not want the entire egg to crack. Once you have a large enough hole at the top to add flowers, you can stop peeling. Make an omelette with the yolk inside and rinse out the egg!
Step 3:
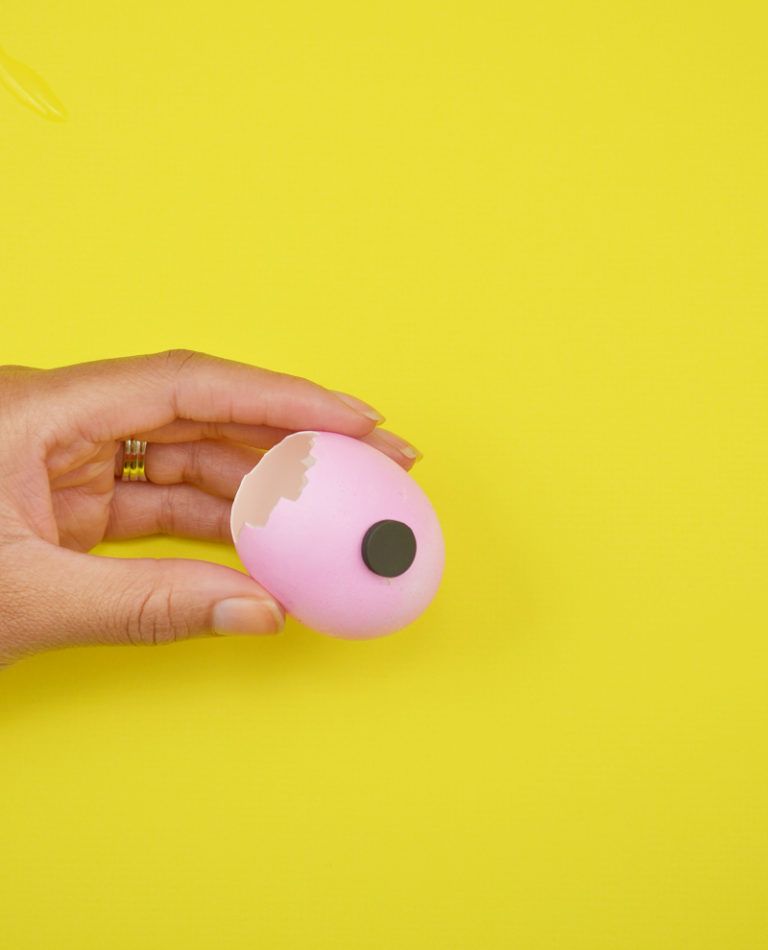
The egg will be very fragile, so use it gently. Hot glue a small magnet to one side of the egg.Make sure you use a strong magnet so the egg does not fall off of the refrigerator and break. The glue should dry pretty quickly. If you want, add a face to the front of the egg with a permanent marker to give it a personality!
Now you have the basis for your magnet! If you want, add fresh flowers with water, or even tiny treats such as candy inside. Mount it to your refrigerator and it will add a little bit of Spring freshness to your kitchen! This quick and easy craft is great to show off to your friends at your Easter party and a good craft to hang notes and reminders throughout the season.
