How to Make a Yarn Wall Hanging
Have you ever looked at an empty space on one of your wall’s and thought about all of the simple DIY possibilities there are out there that you could easily fill it with? Well, I’m a pretty big yarn crafter because I’ve been knitting and crocheting ever since I was a child, so scrap yarn is something Ialways have on hand, making it my tool of choice whenever the mood takes me to randomly craft something easy and decorative. That’s how I came up with the idea of making an awesome fringed wall hanging!
The process was actually so simple and also fun that I couldn’t help feeling like other crafters I know would really enjoy the project as well. That’s why I opted to lay it out in a tutorial! Just in case you find yourself feeling more successful when you follow video tutorials as opposed to written ones, I’ve included a full instructional video at the end of this post as well.
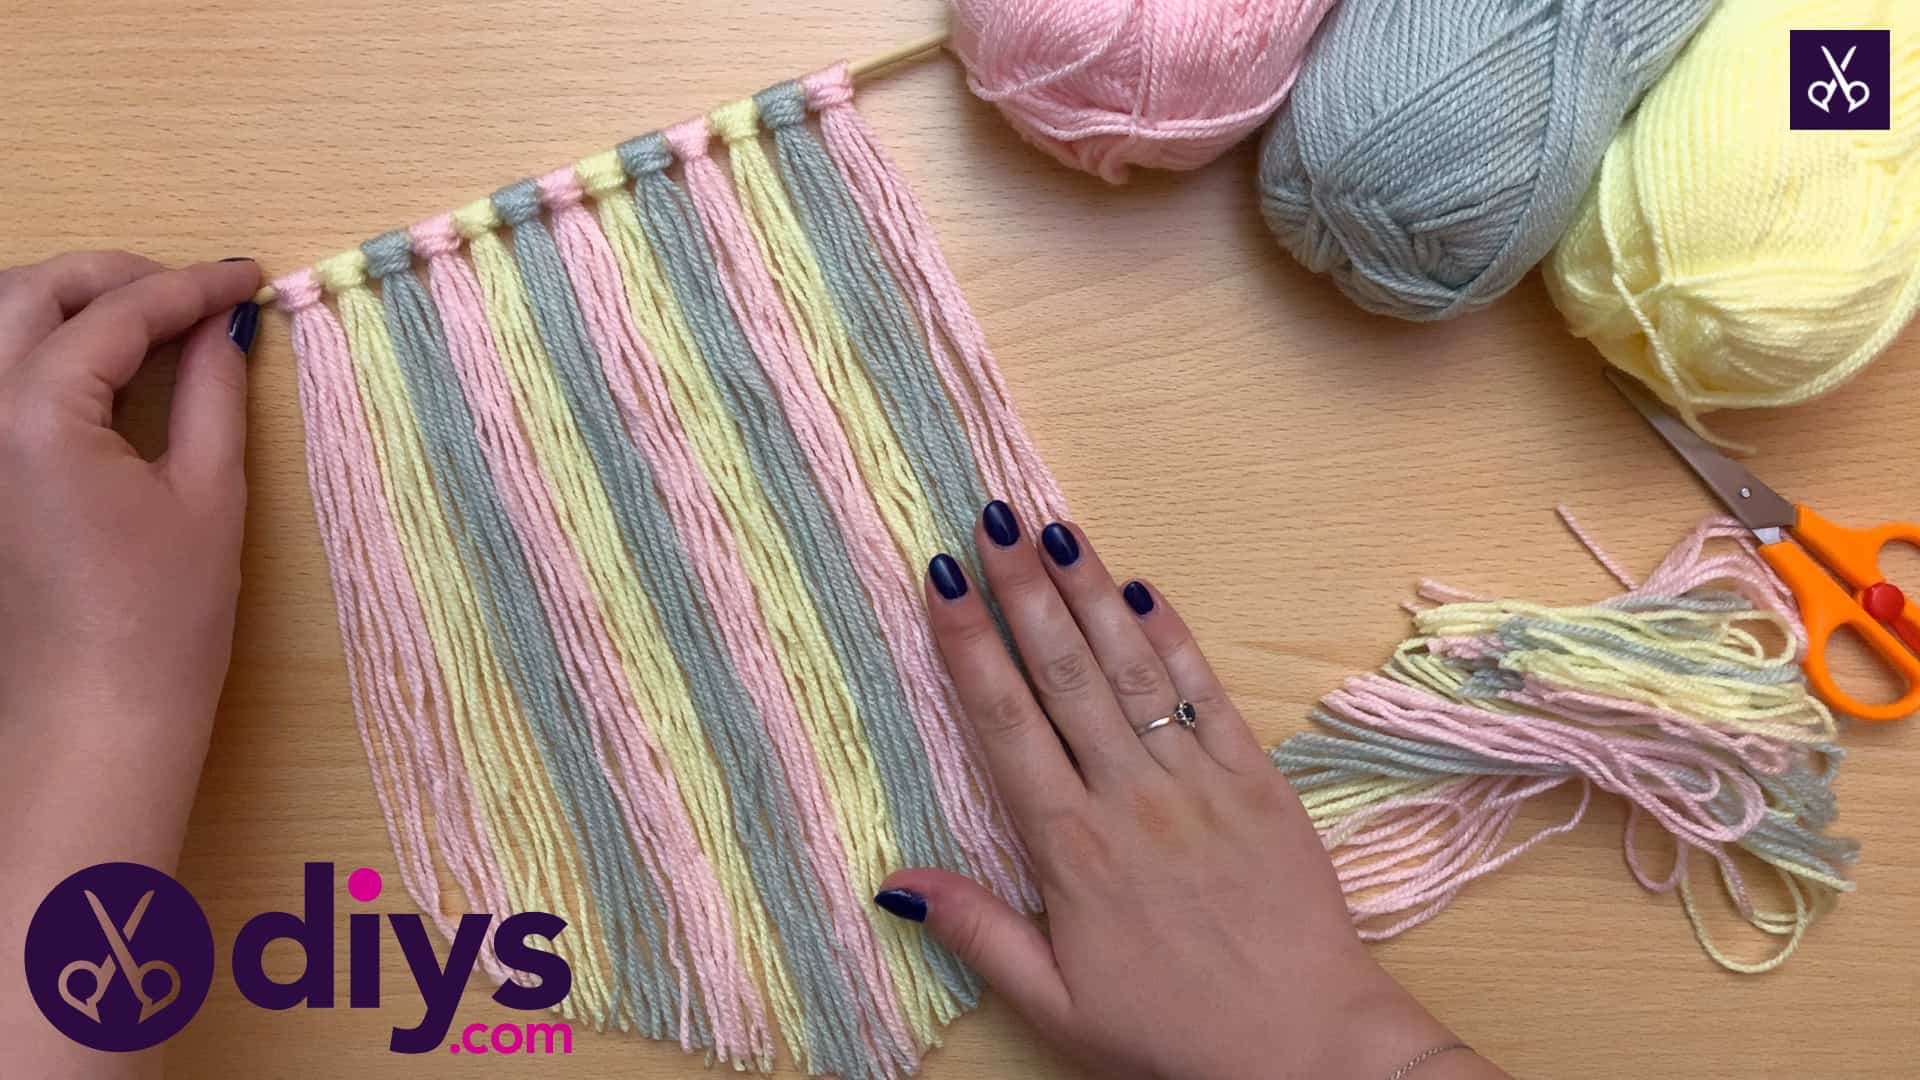
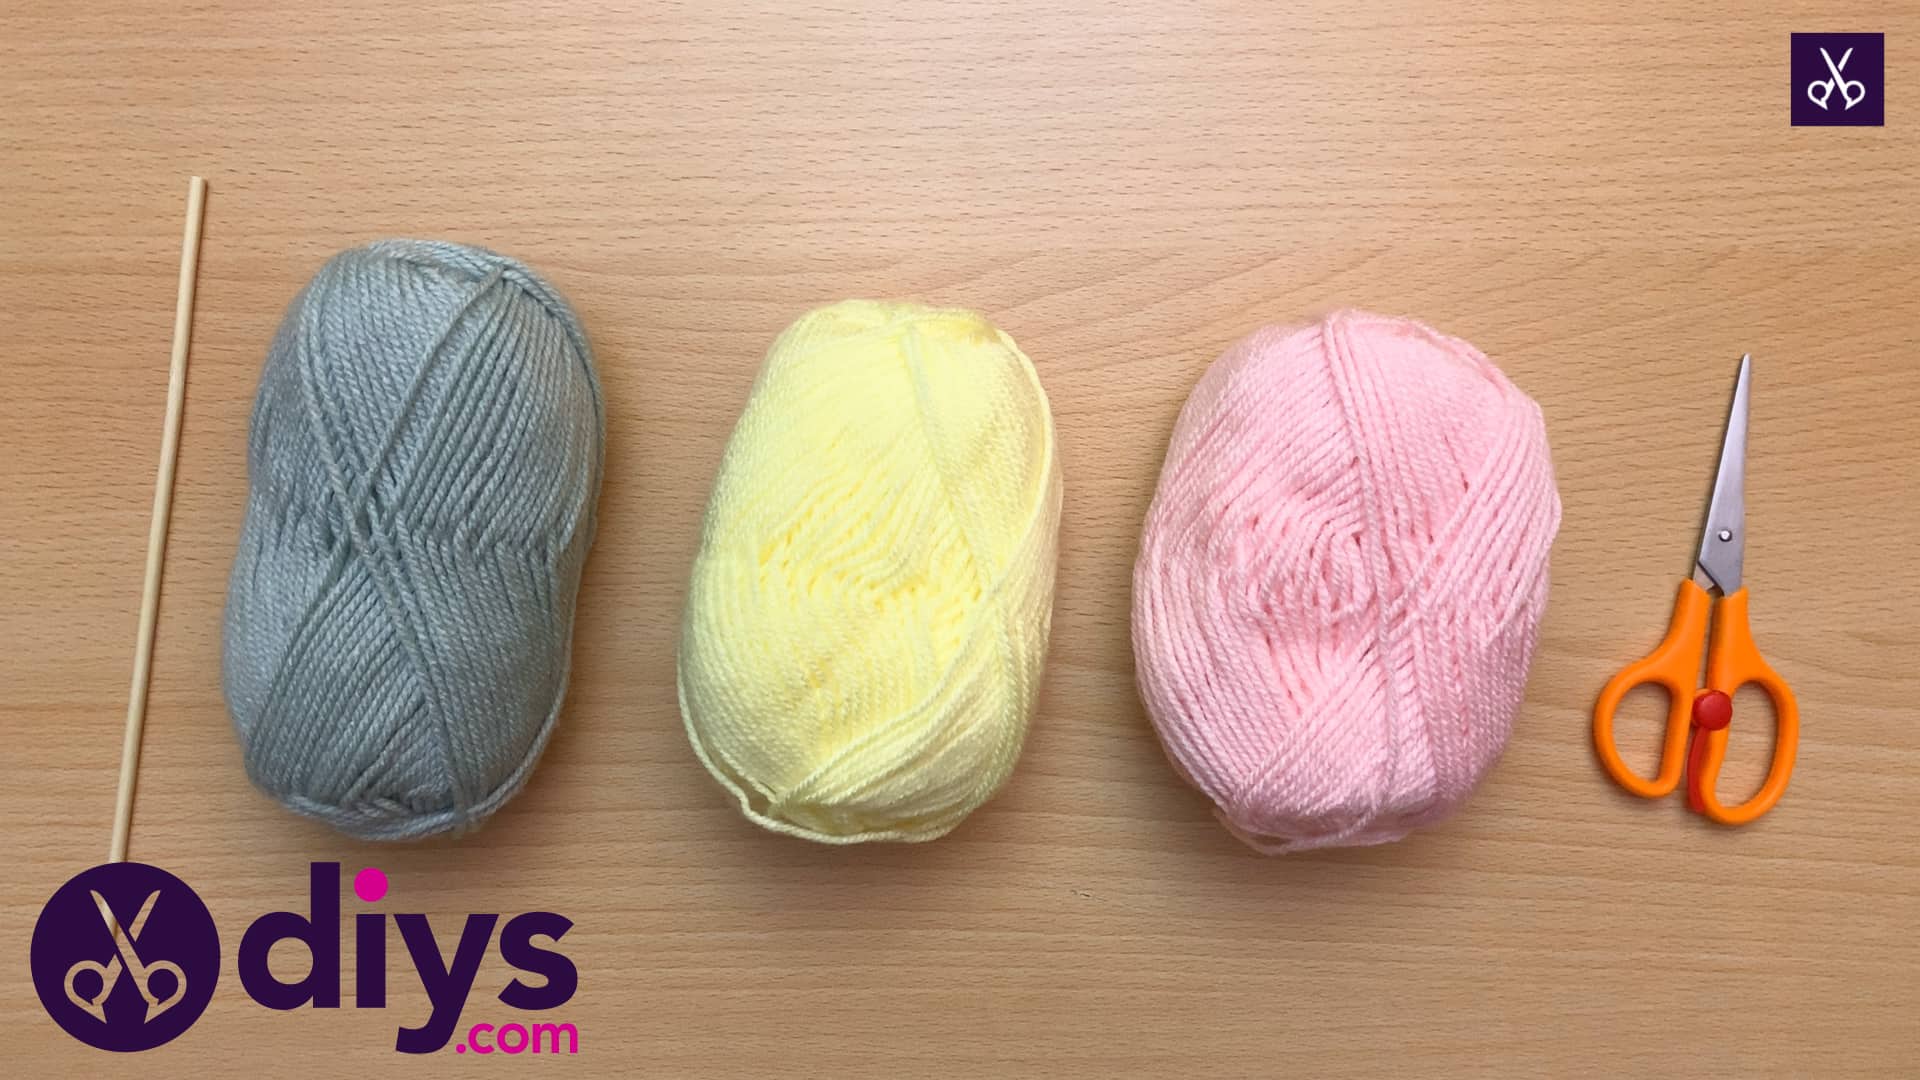
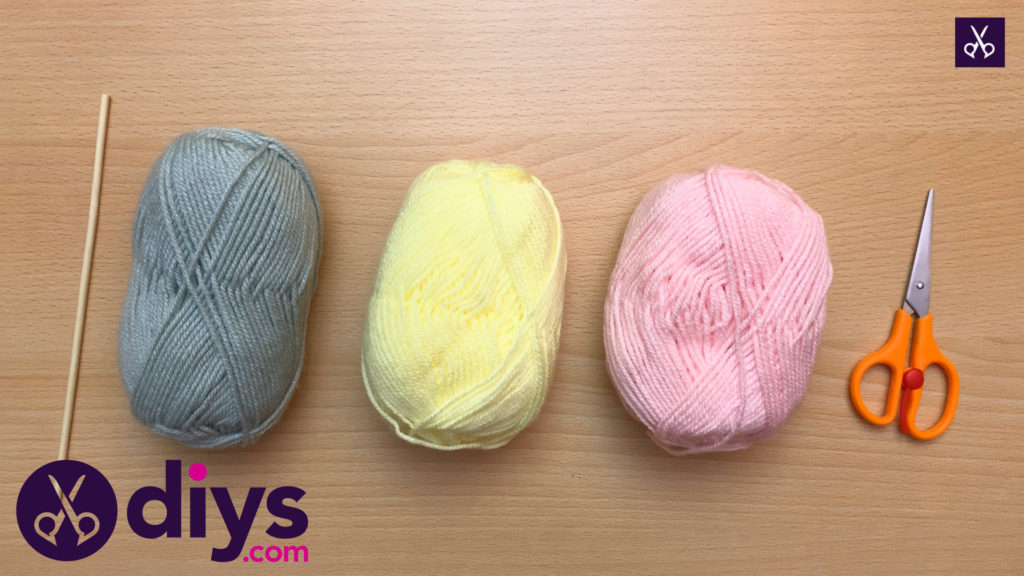
For this project, you’ll need:
- Wooden stick
- Yarn (any colour you like)
- Scissors
Step 1: Gather your materials!
We chose three colours of yarn in quite a pastel scheme of shades, but you could easily adapt basic parts of this technique to include more colours or brighter, deeper hues.
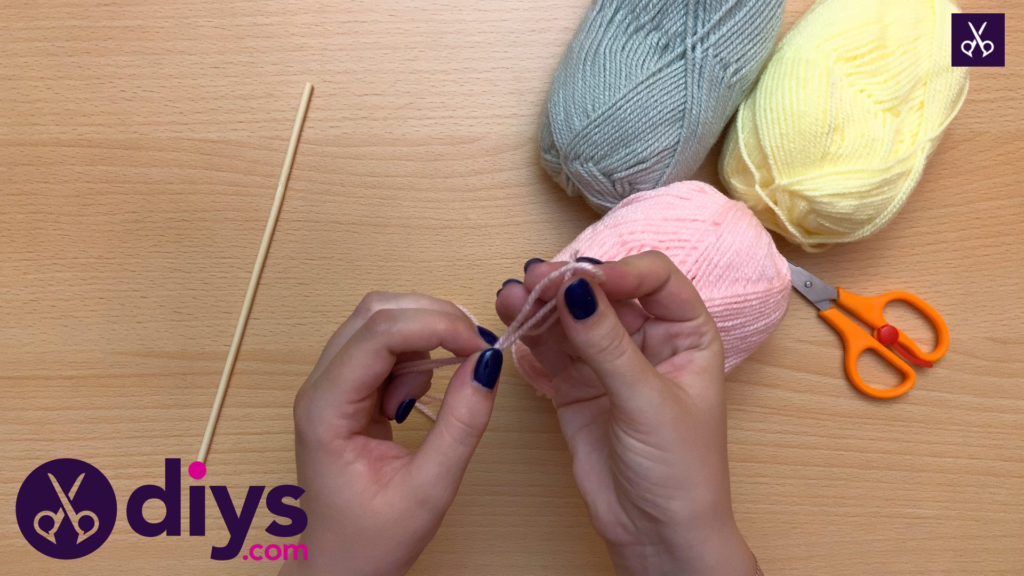
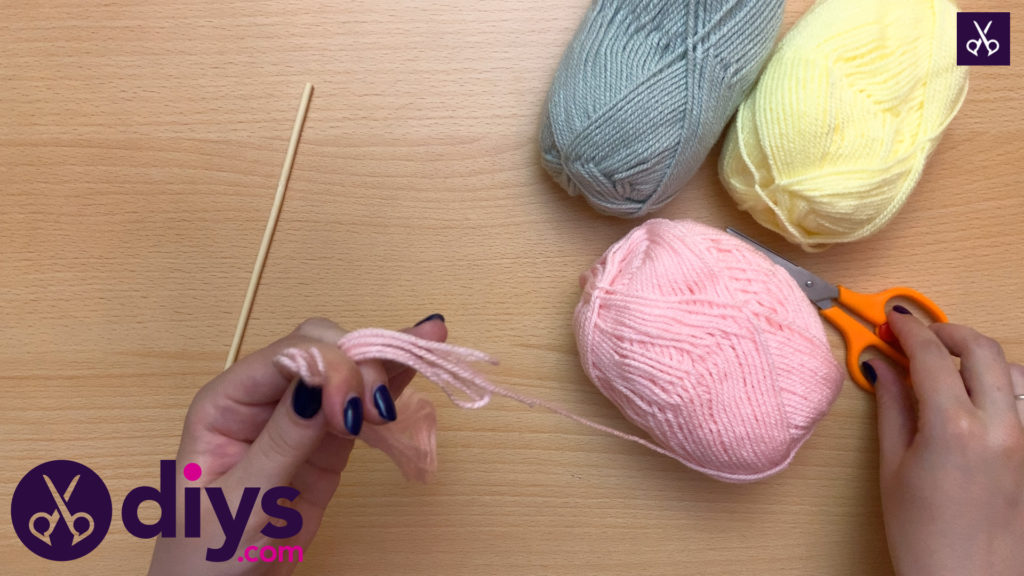
Step 2: cut the yarn pieces
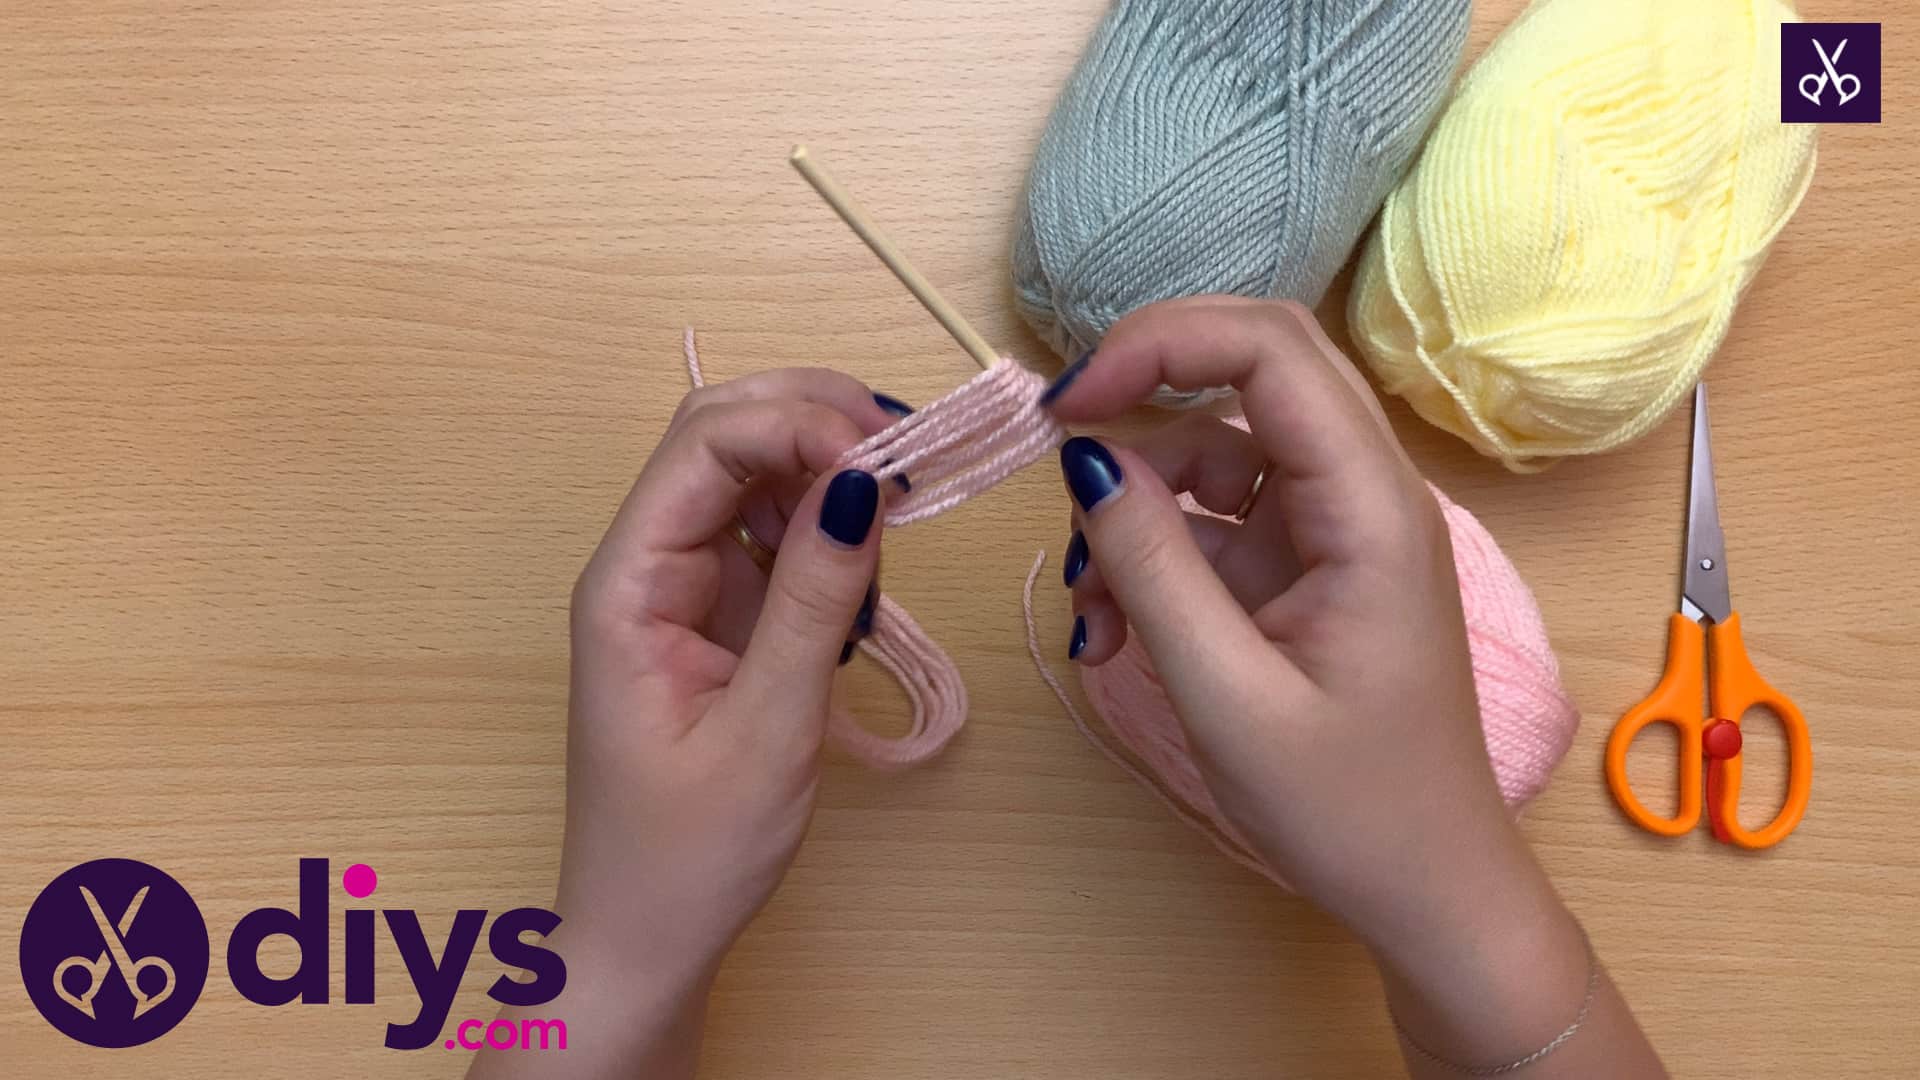
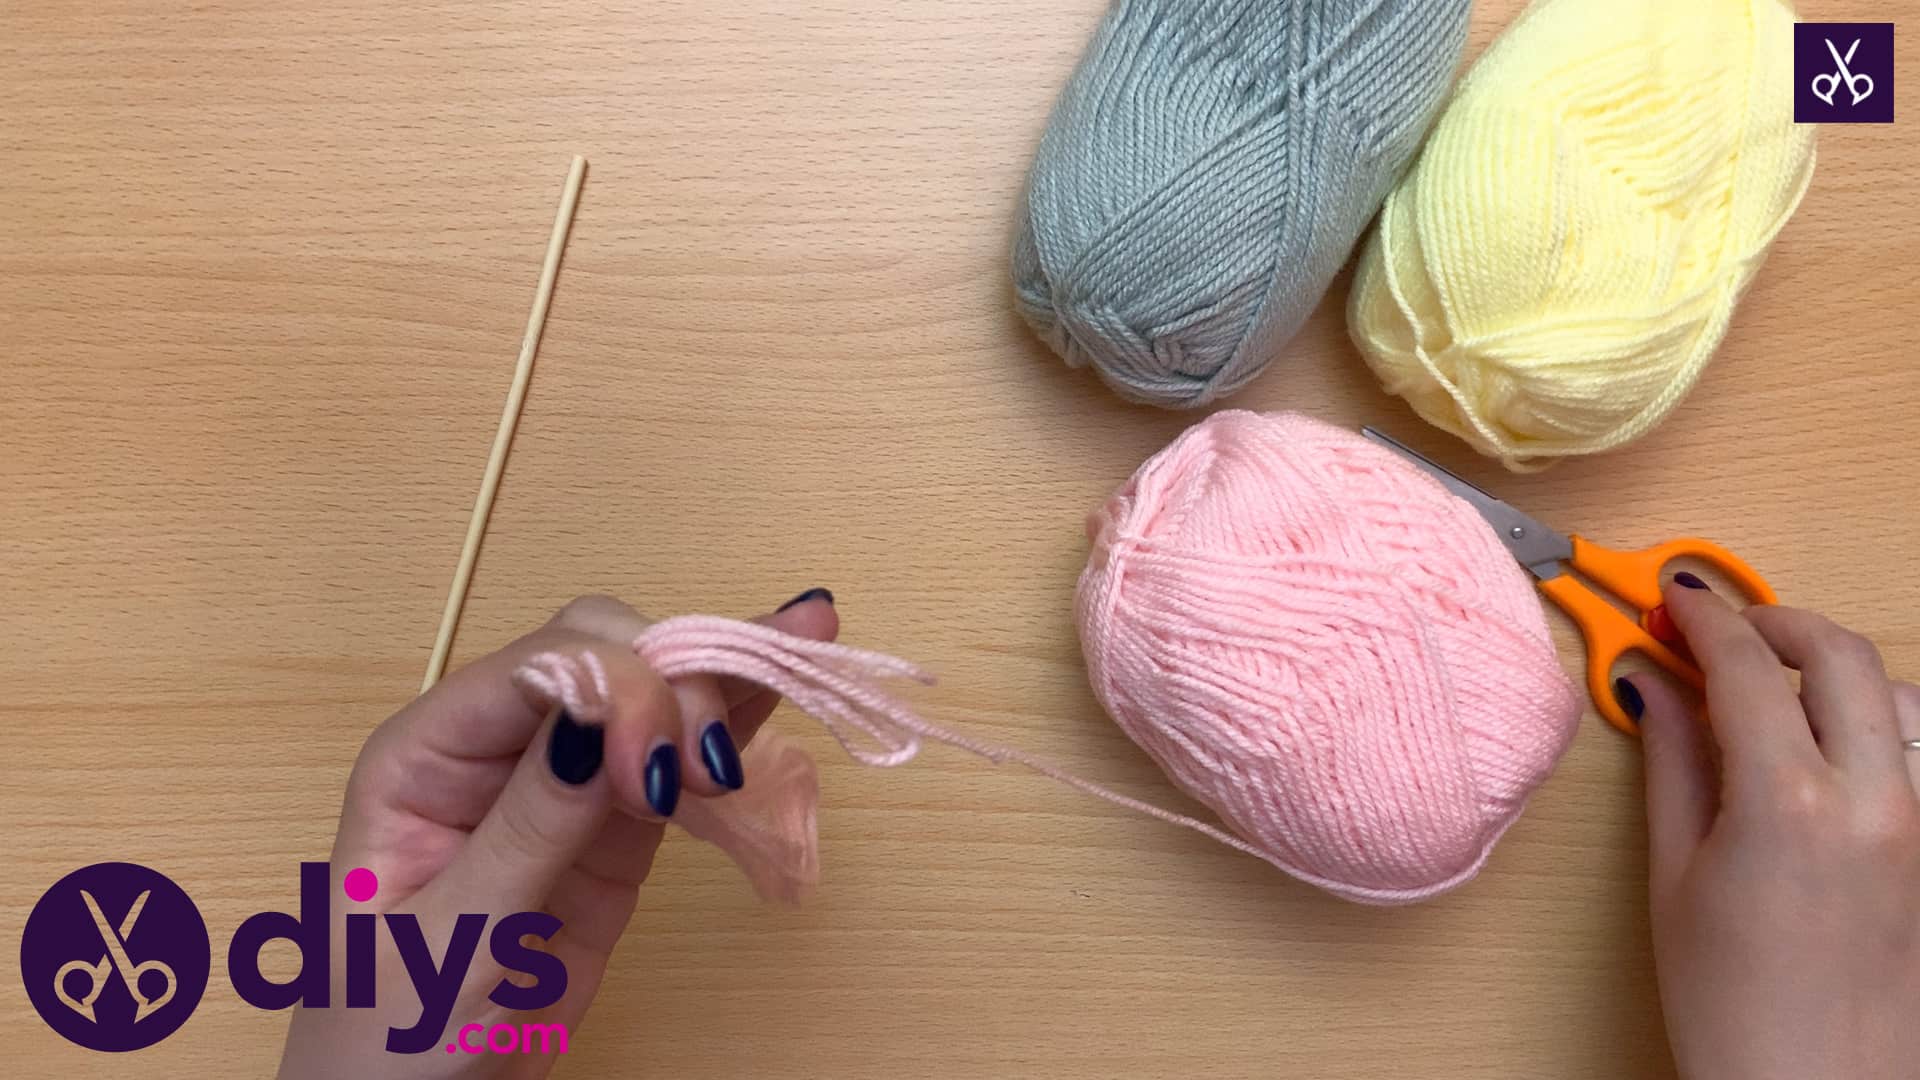
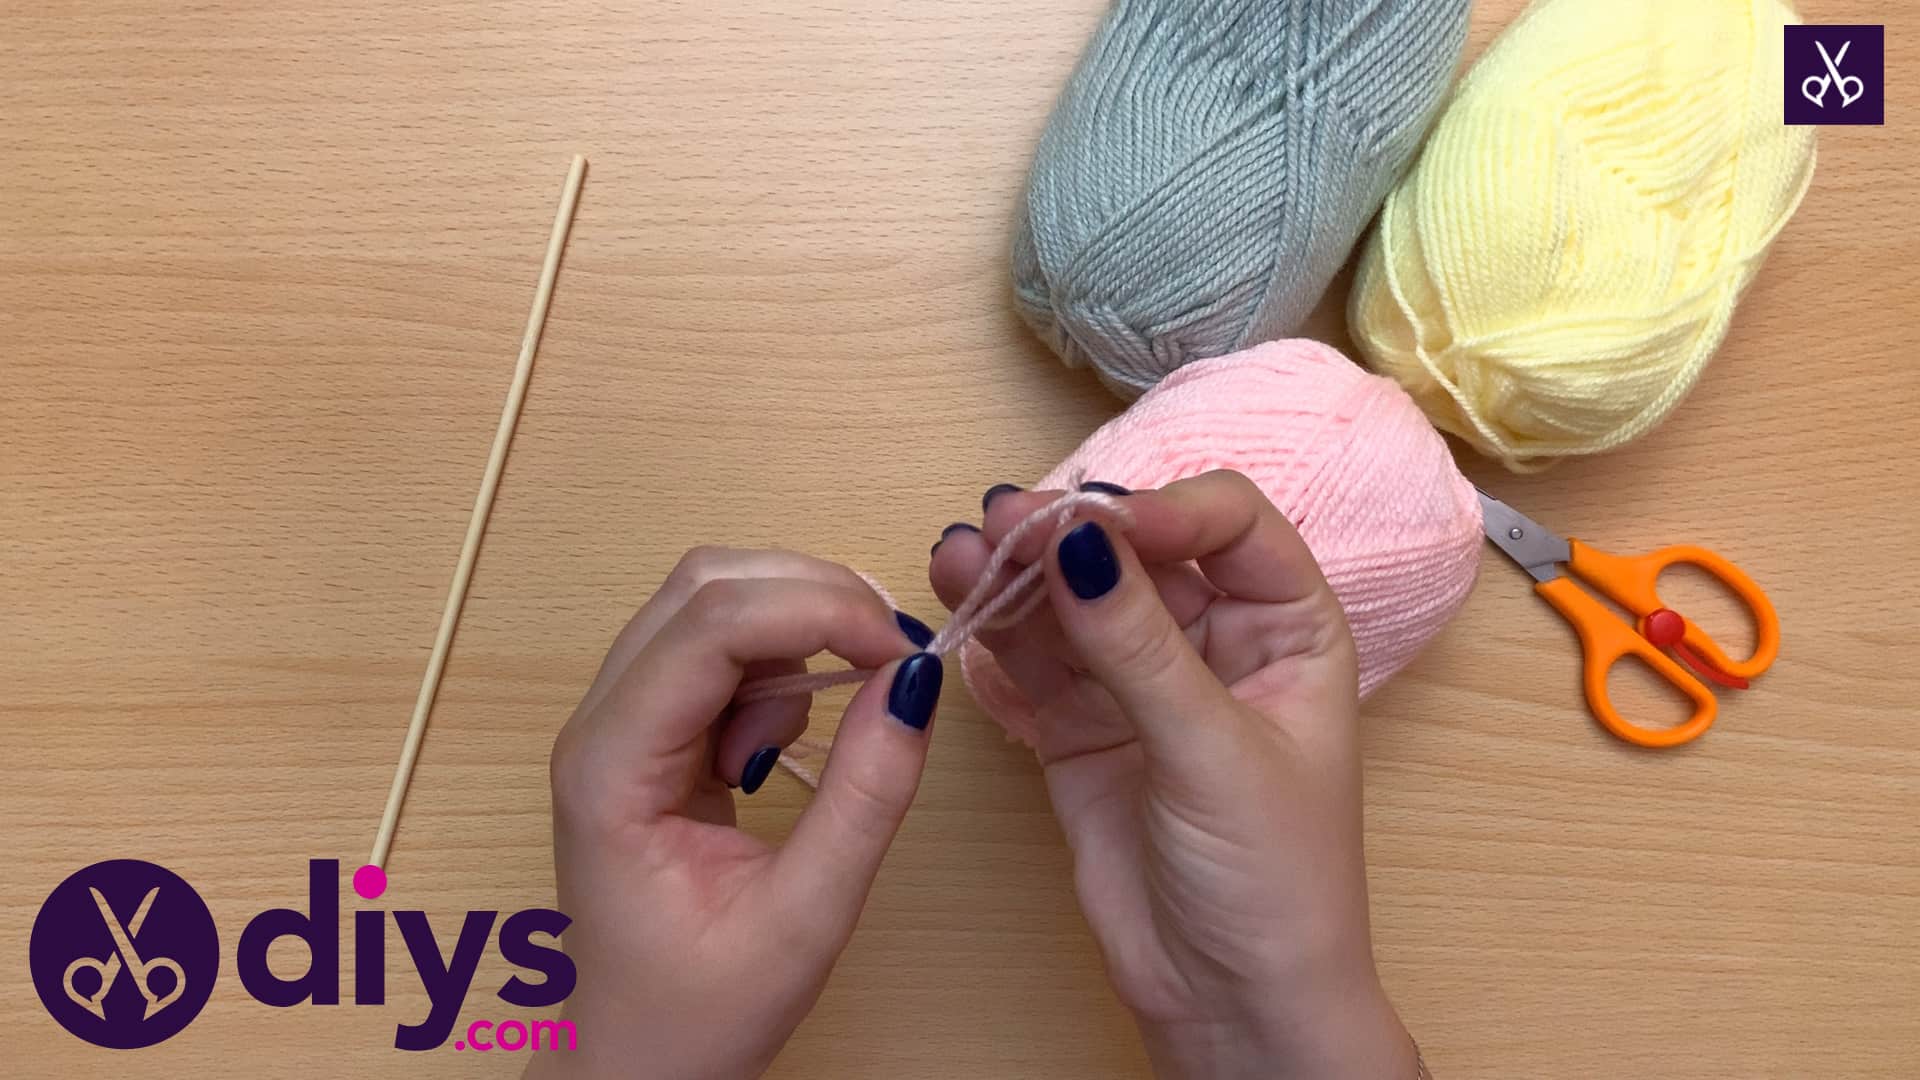
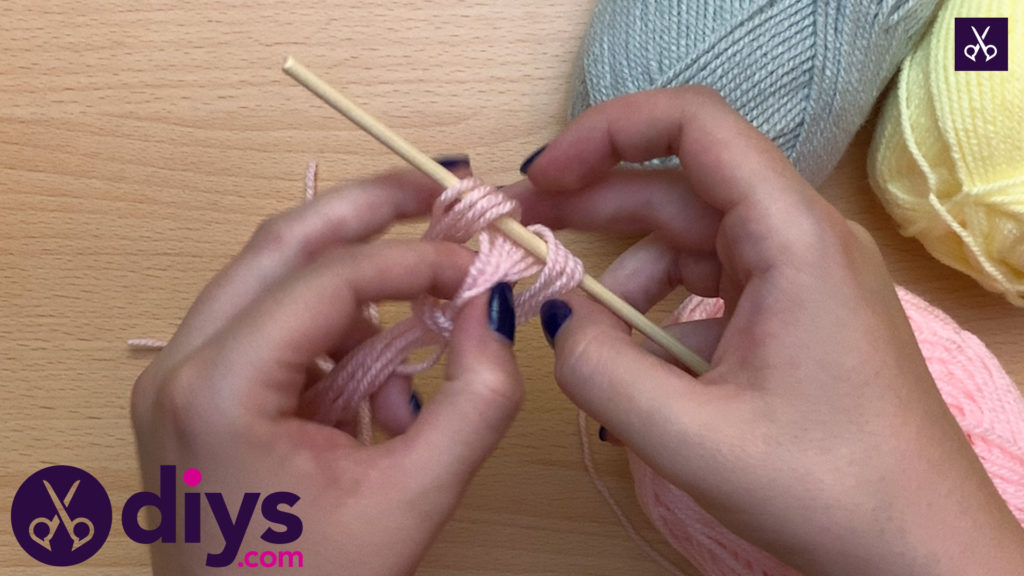
Pull a length of yarn from the first ball. A few inches down, fold the end of the yarn in towards the ball and hold it along the rest of the string, creating a sort of loop. Pull more yarn from the ball and fold it to bring another loop up the opposite way, so a loop lies at the other end of what is starting to look like a little bundle. Repeat this process several times until you’ve got about four to six loops or layers all together, going back and forth. Holding the bundle tightly so the strings don’t fall apart from each other, cut the end of the yarn.
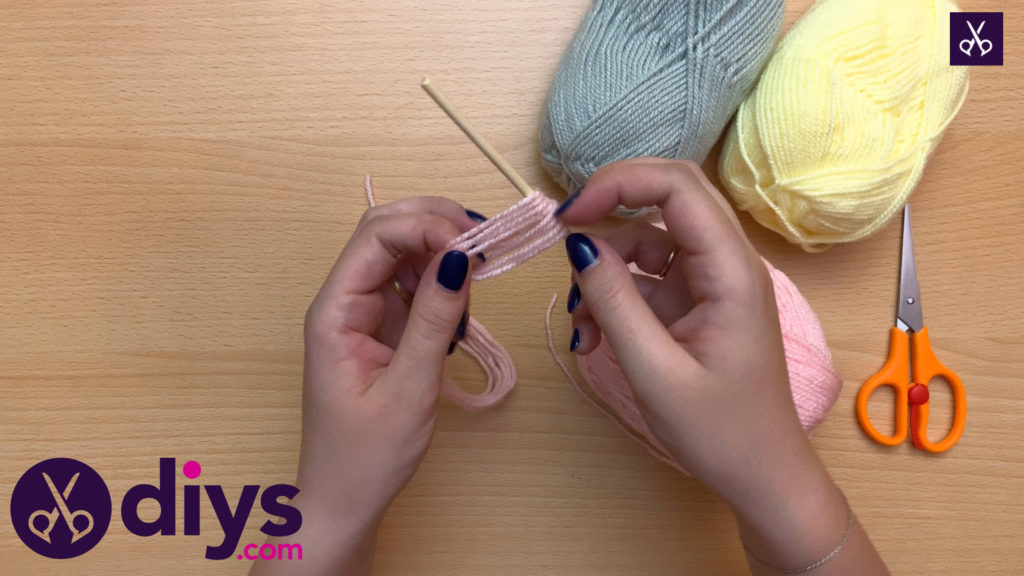
Step 3: tie to stick
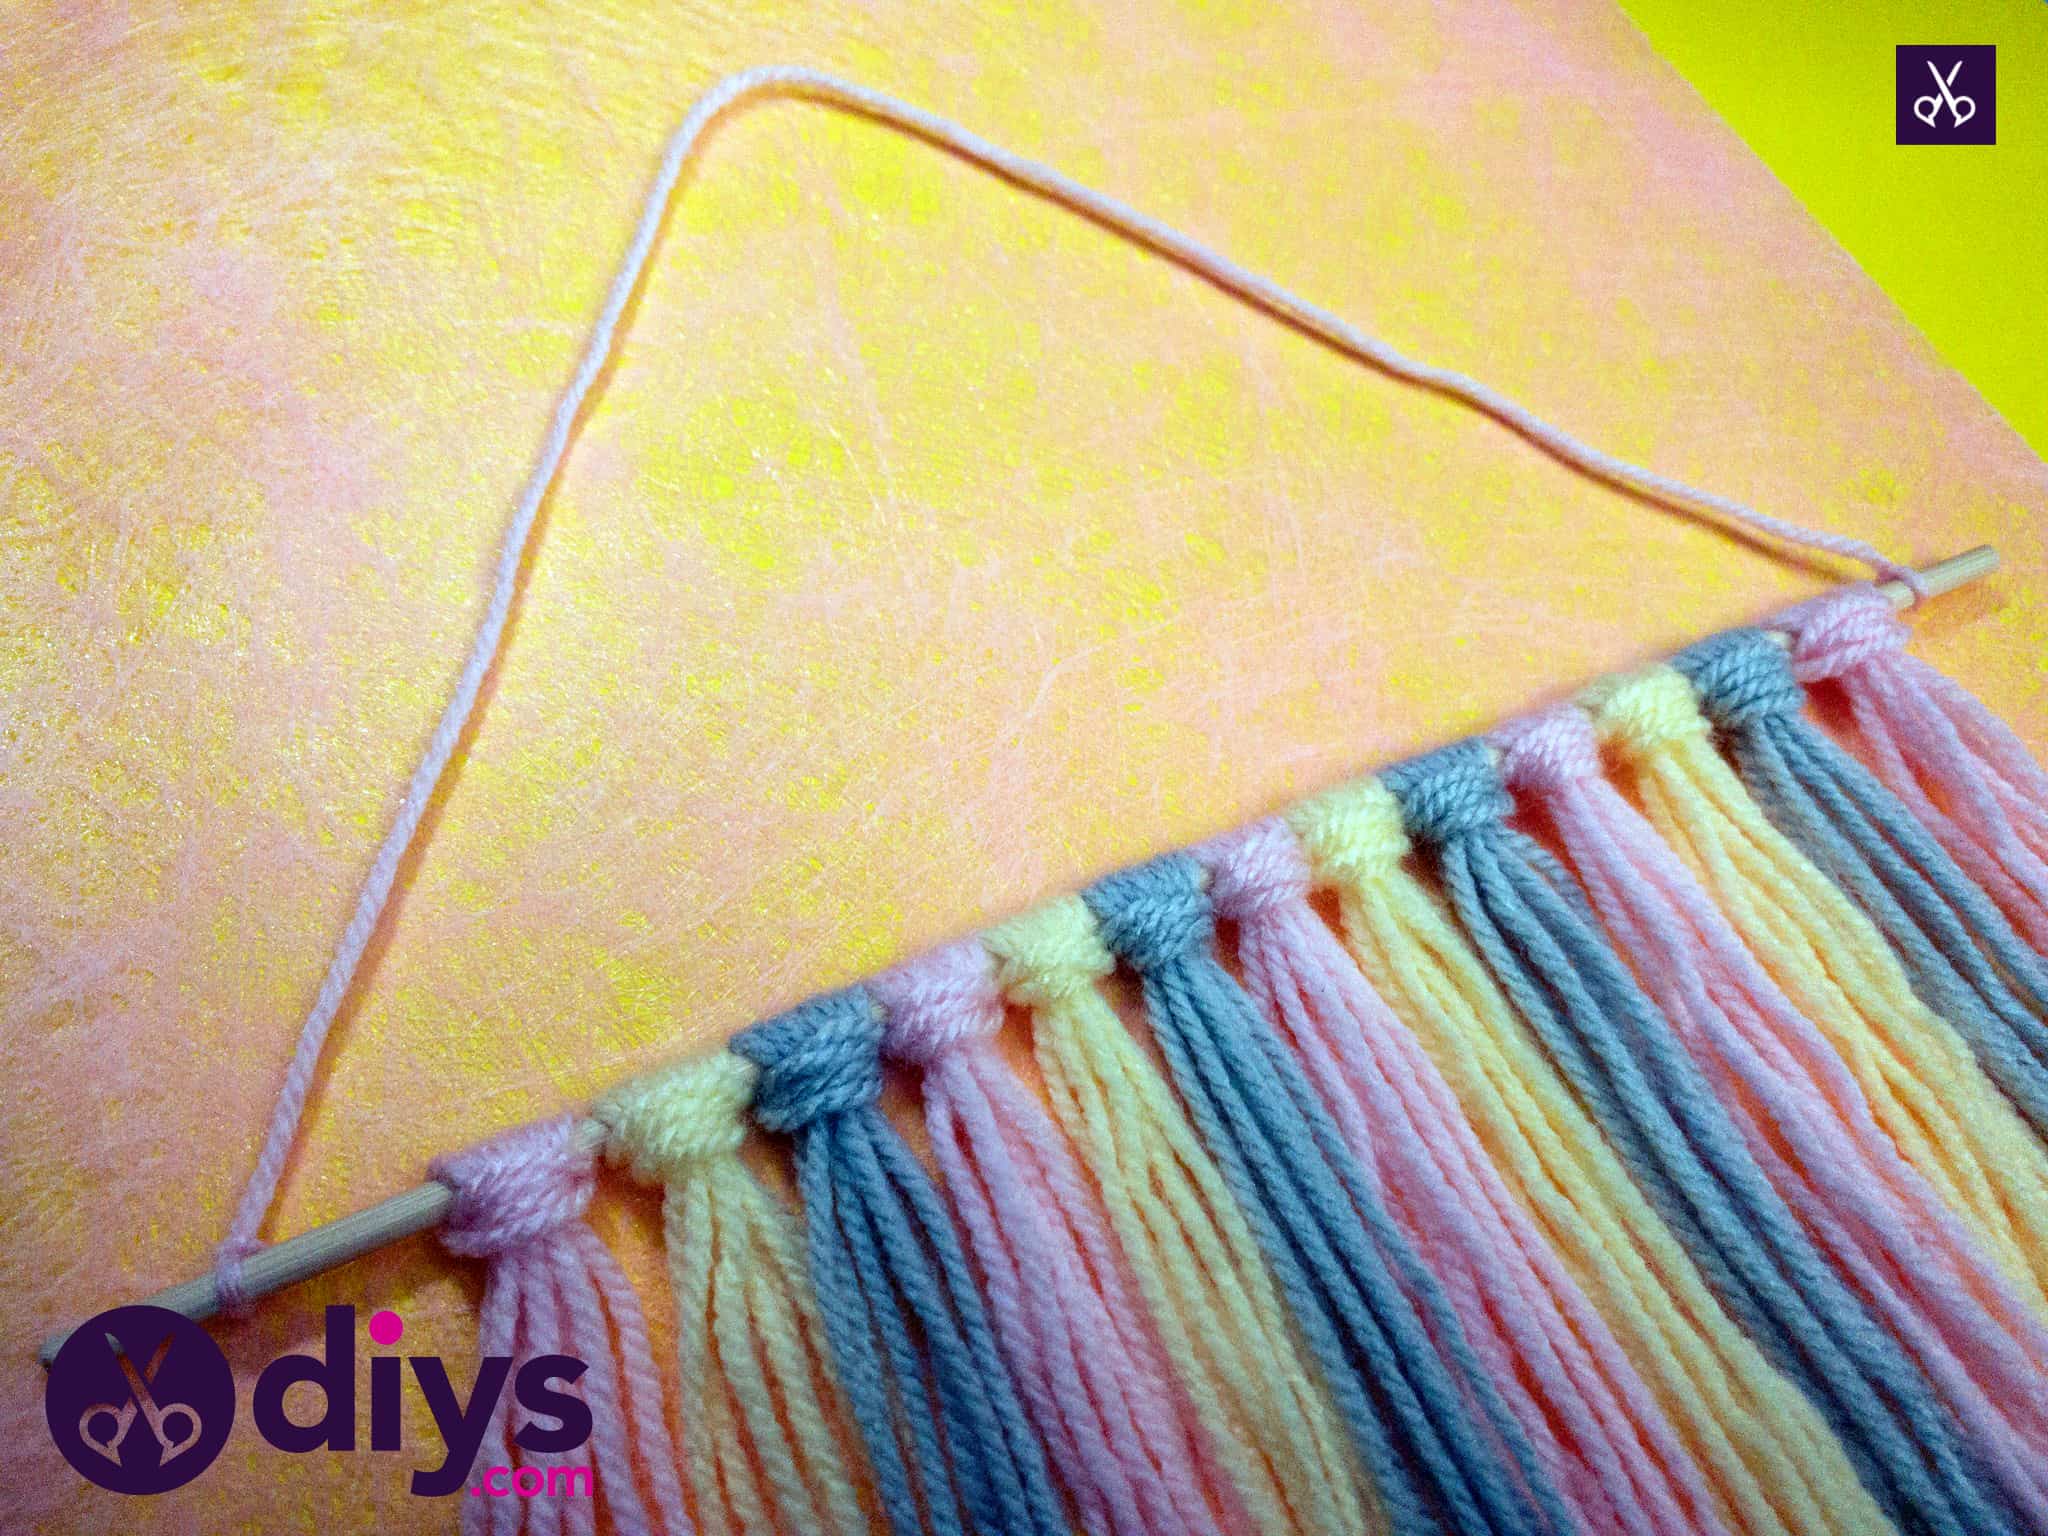
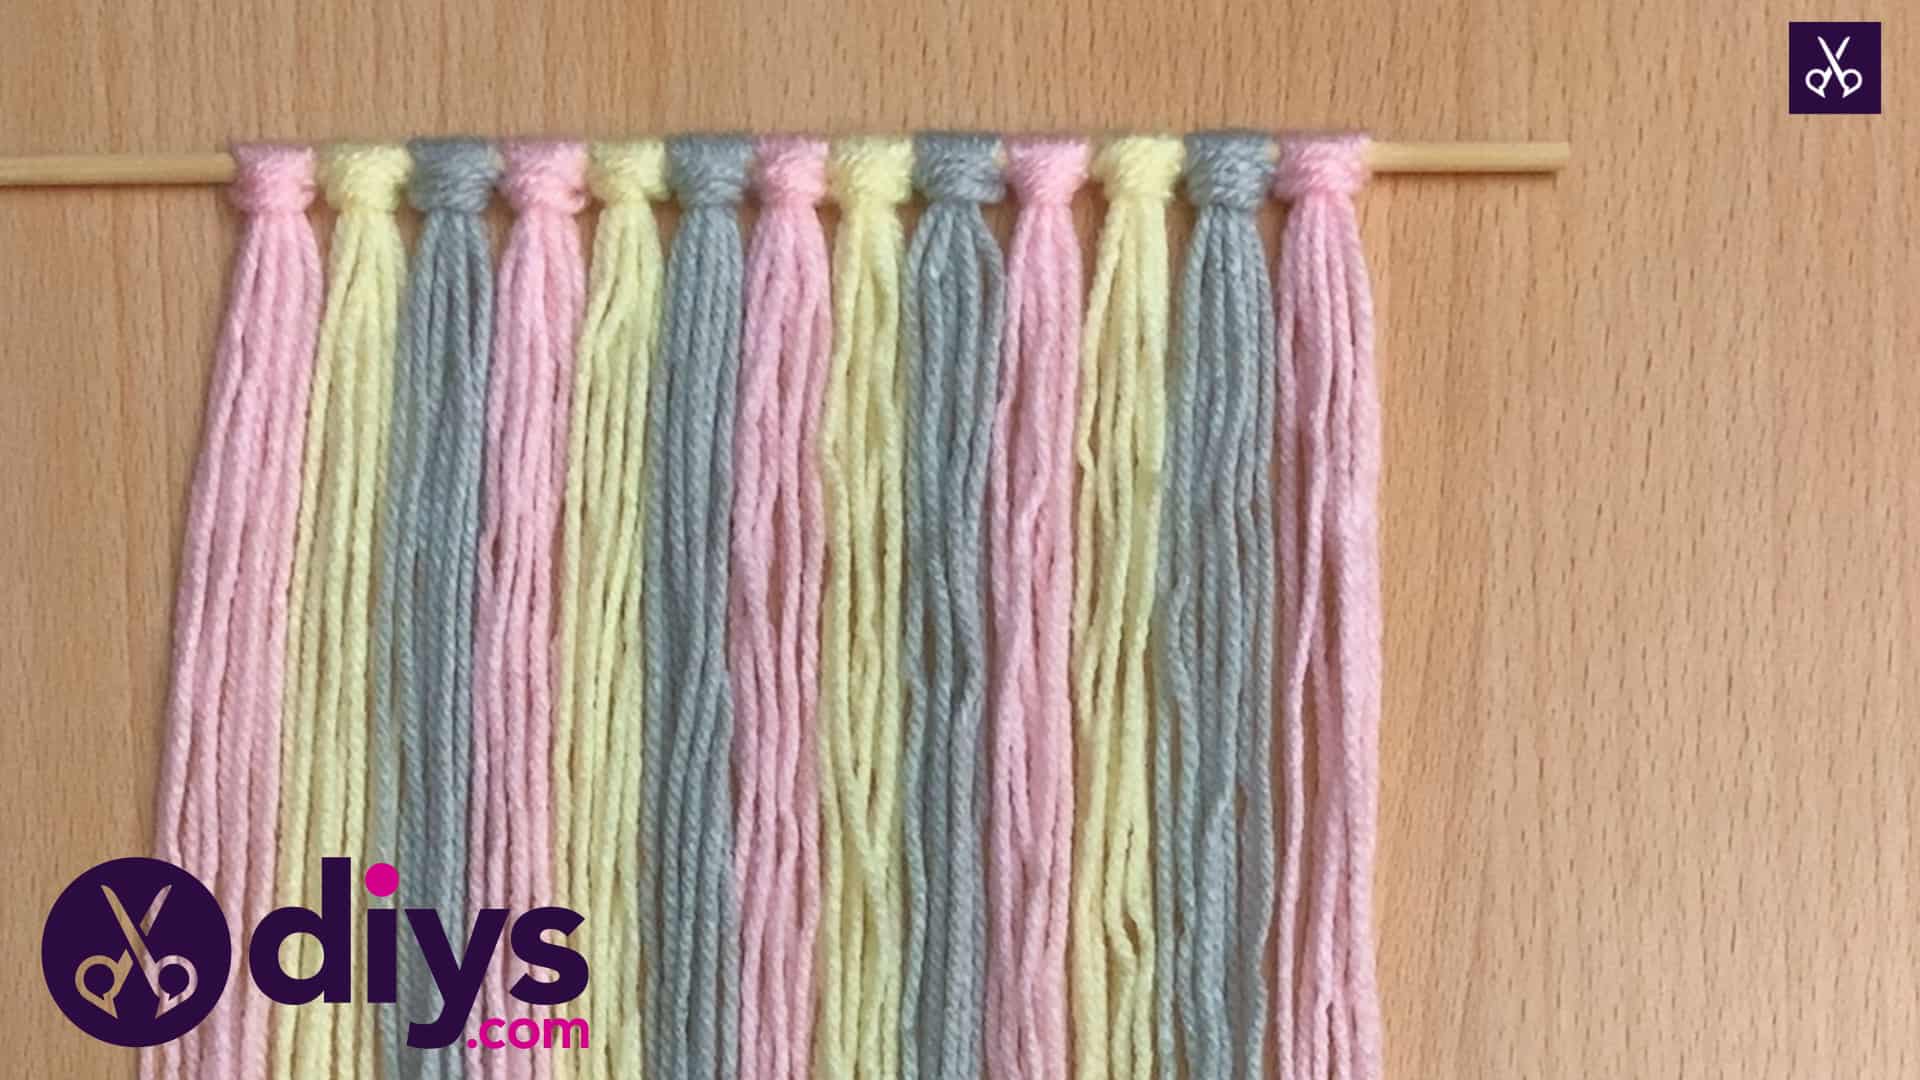
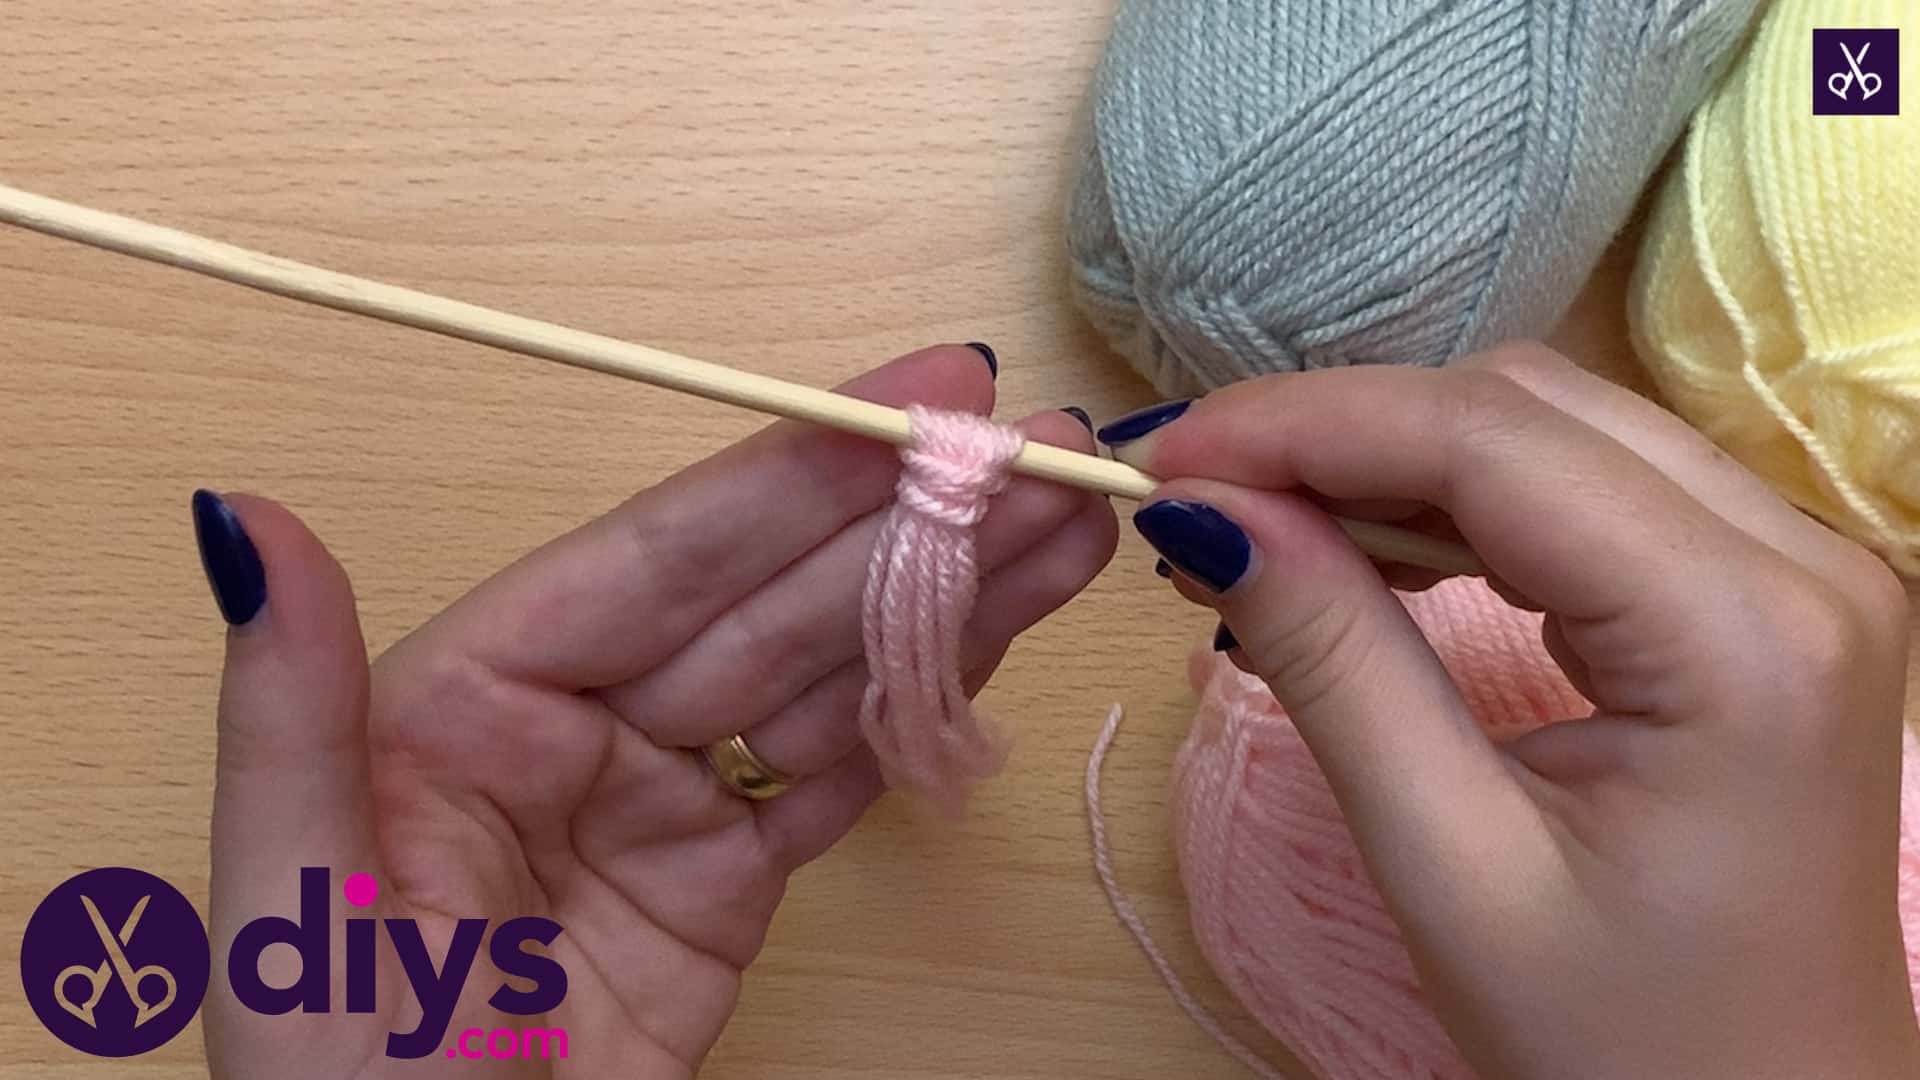
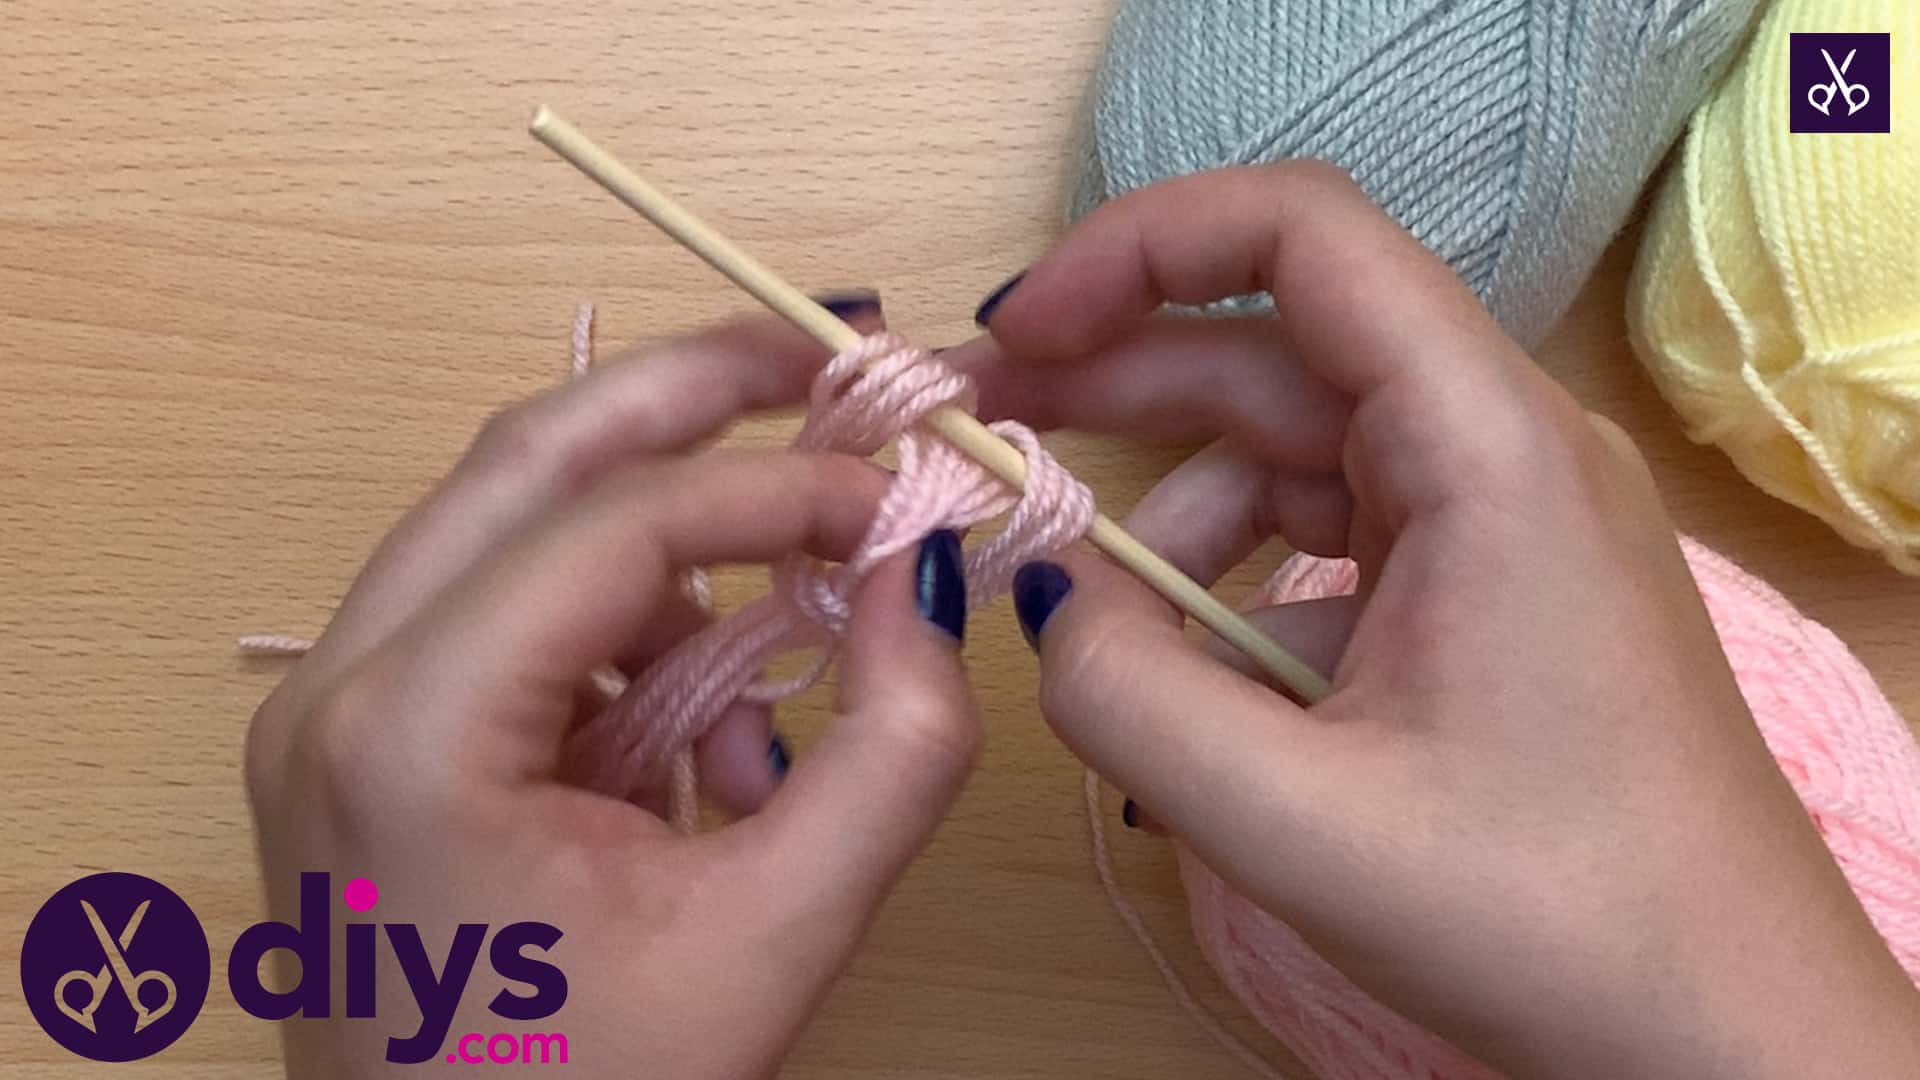
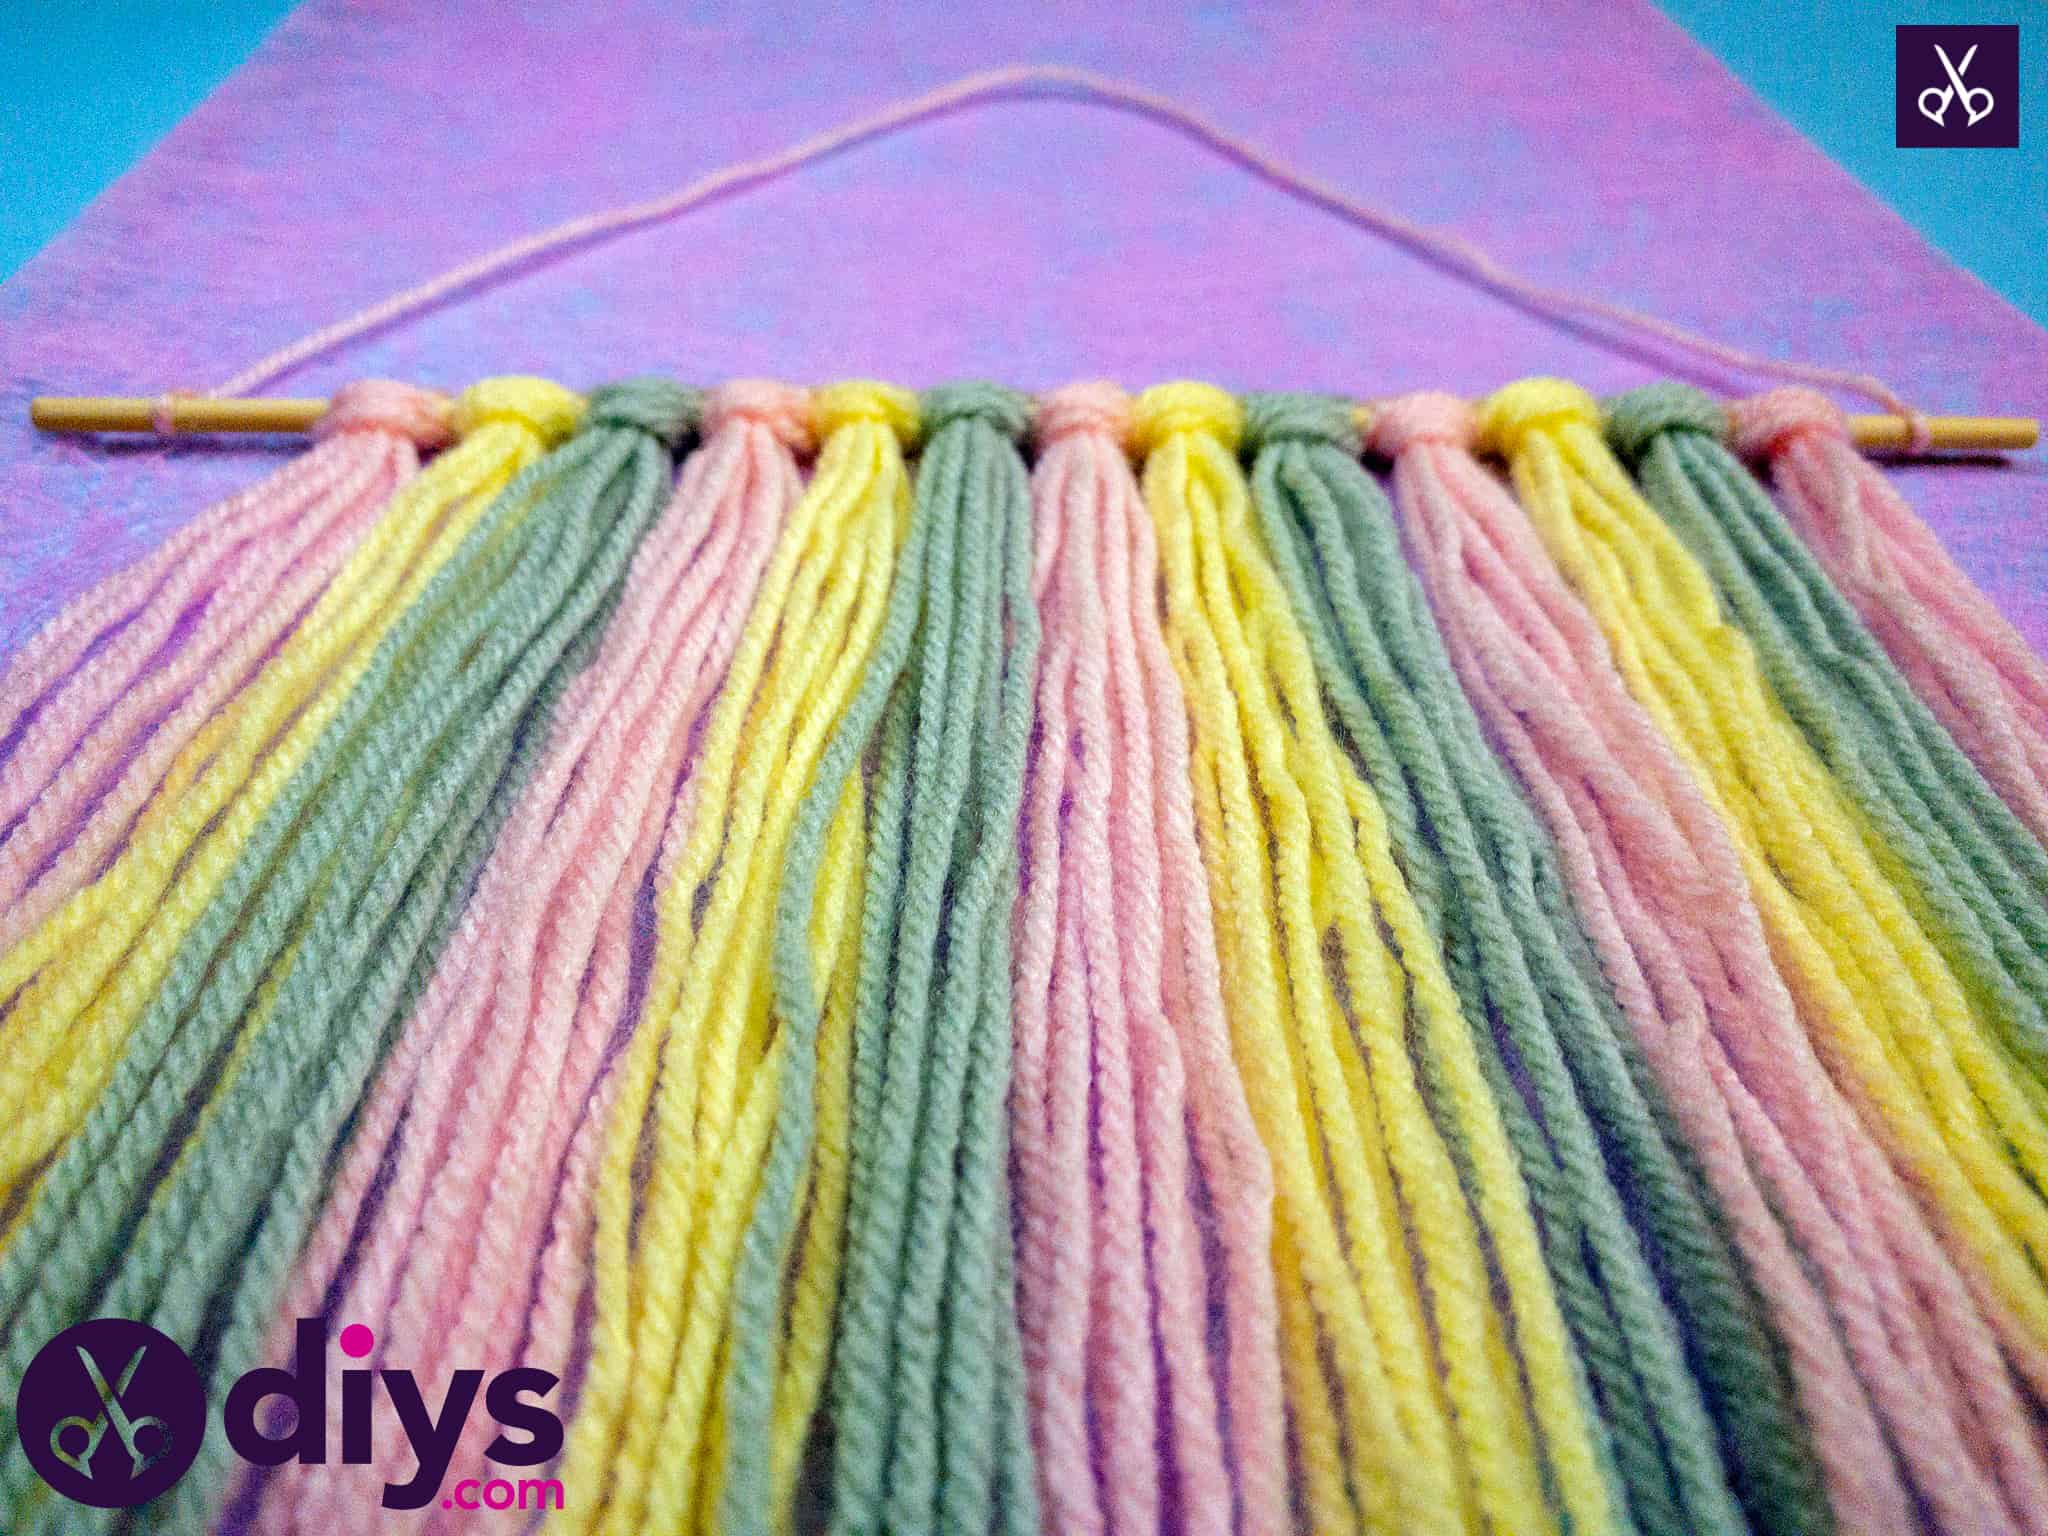
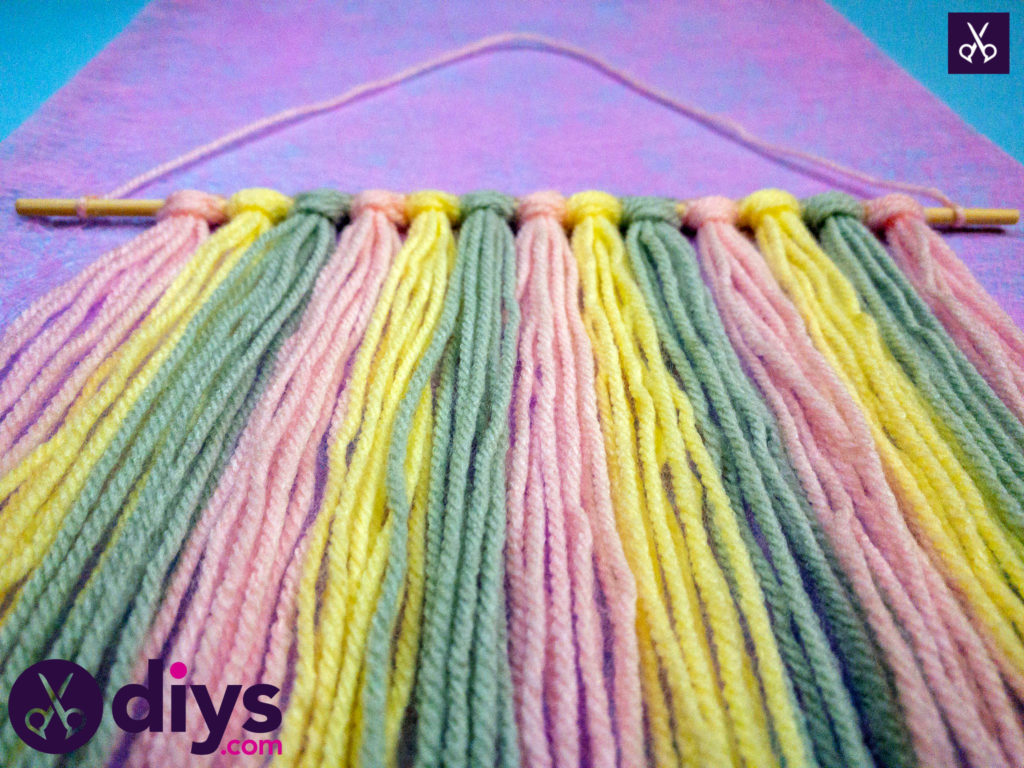
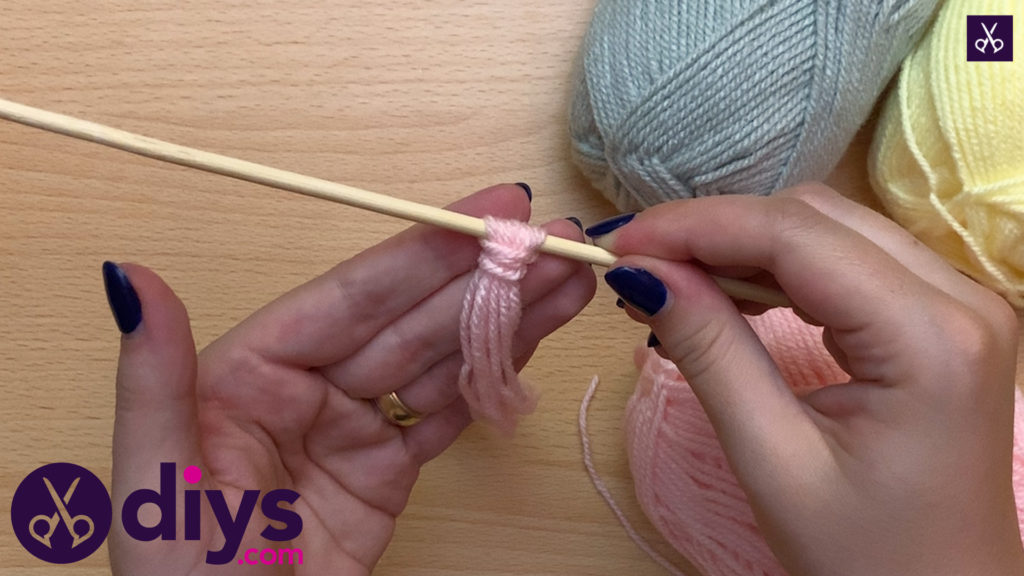
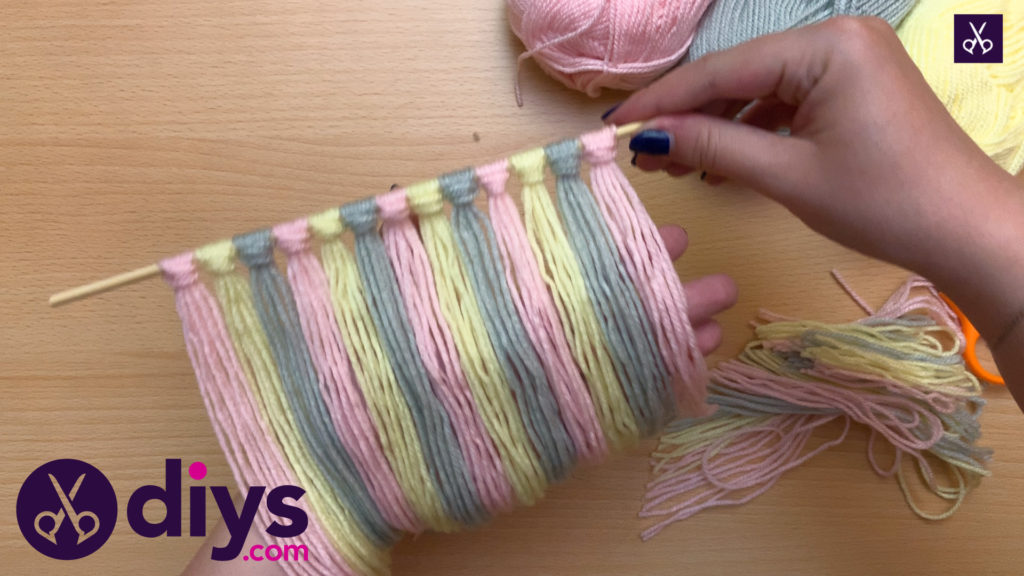
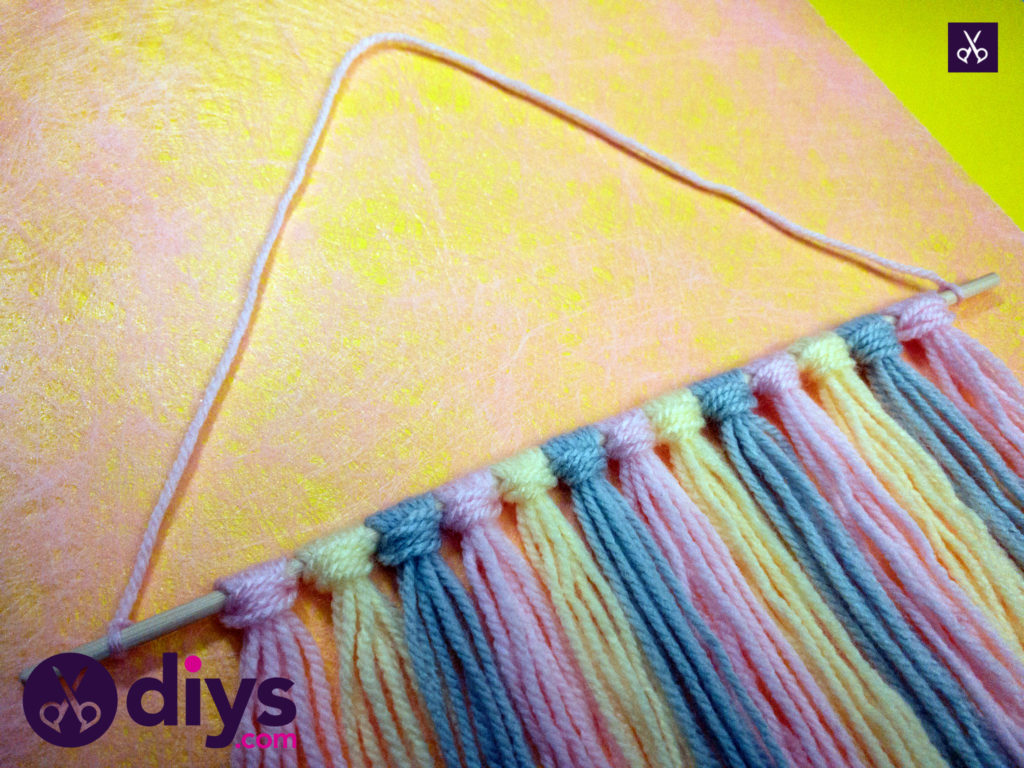
Find the center of your bundle of yarn strings and fold the whole thing in half there, doubling the strings over. Now you have a slightly bigger central loop. This is where you’ll create a pull-through style knot around the wooden stick you’ll use as your wall hanging’s base. Fold that central bend over the stick so it makes a loop on one side and carefully pull the strings from the other side right through the loop, like a slip knot. Tighten the yarn around the stick.
Step 4: repeat
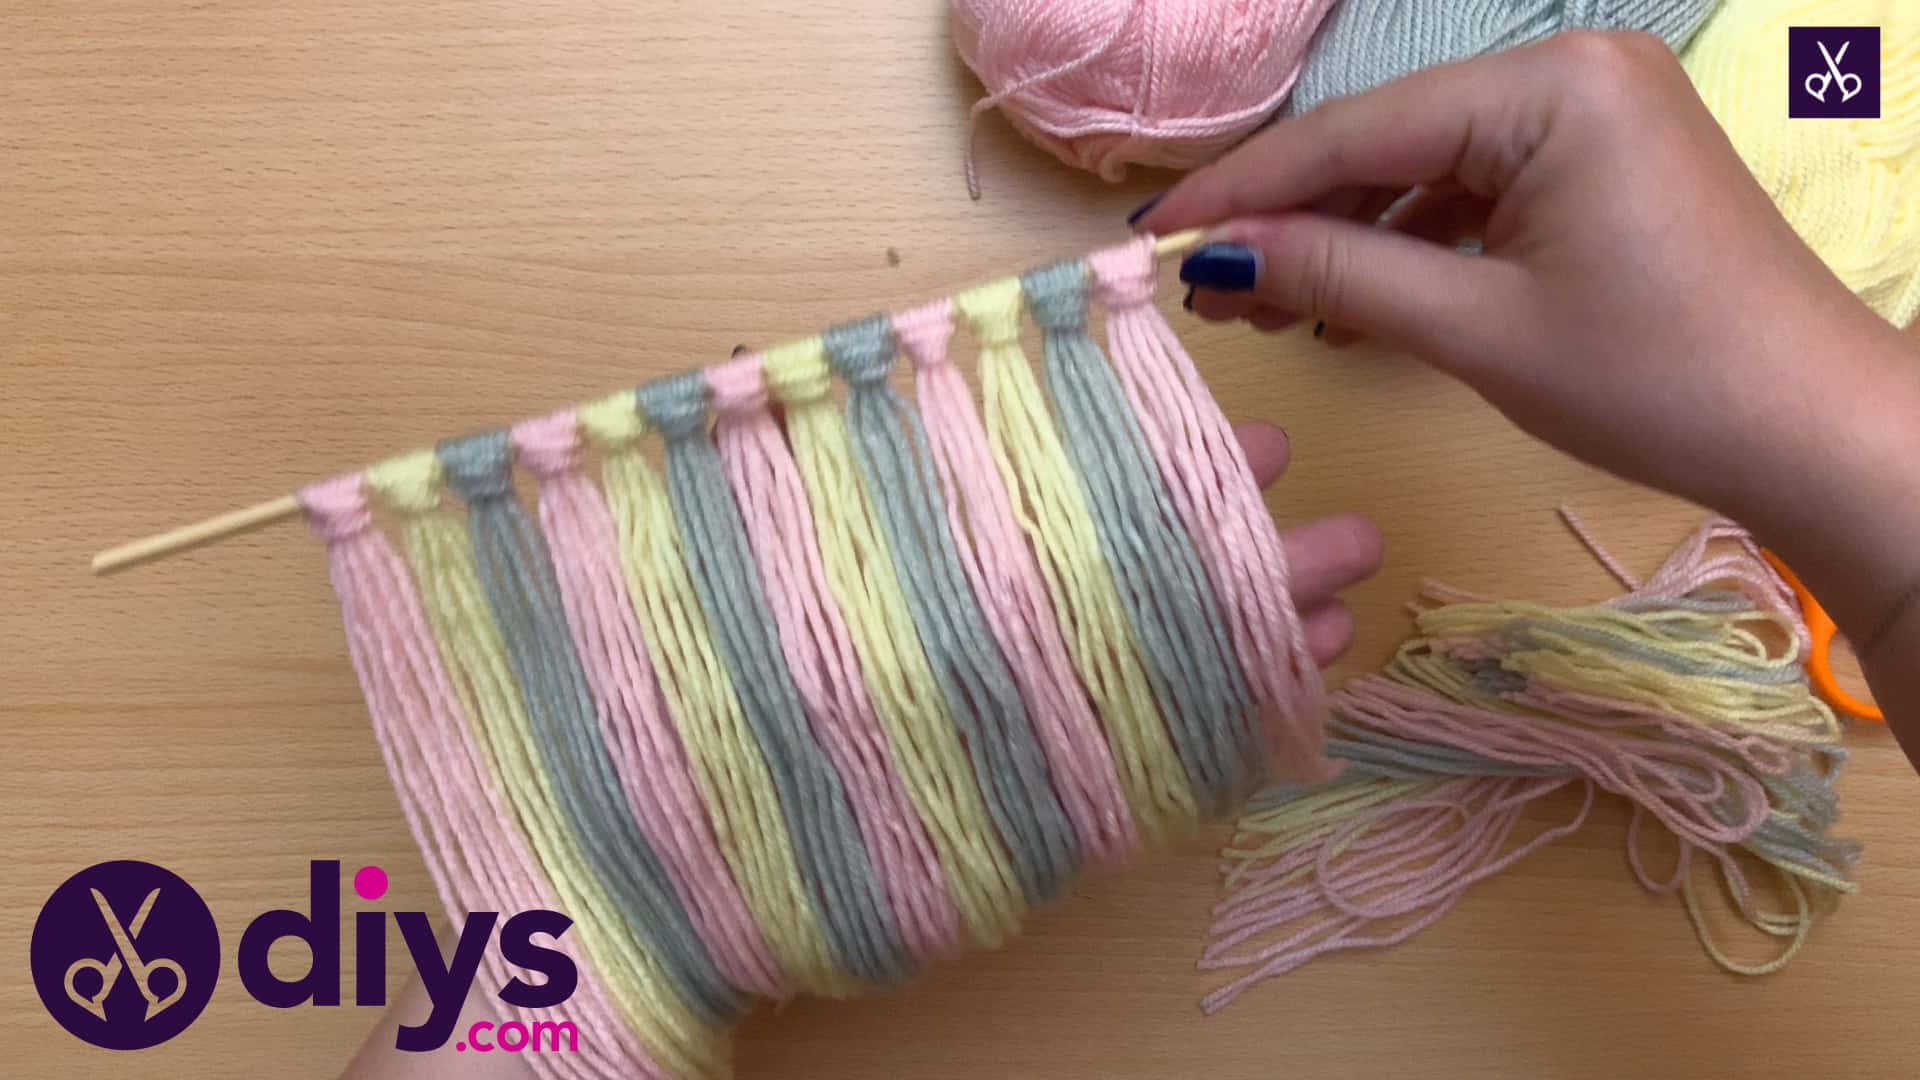
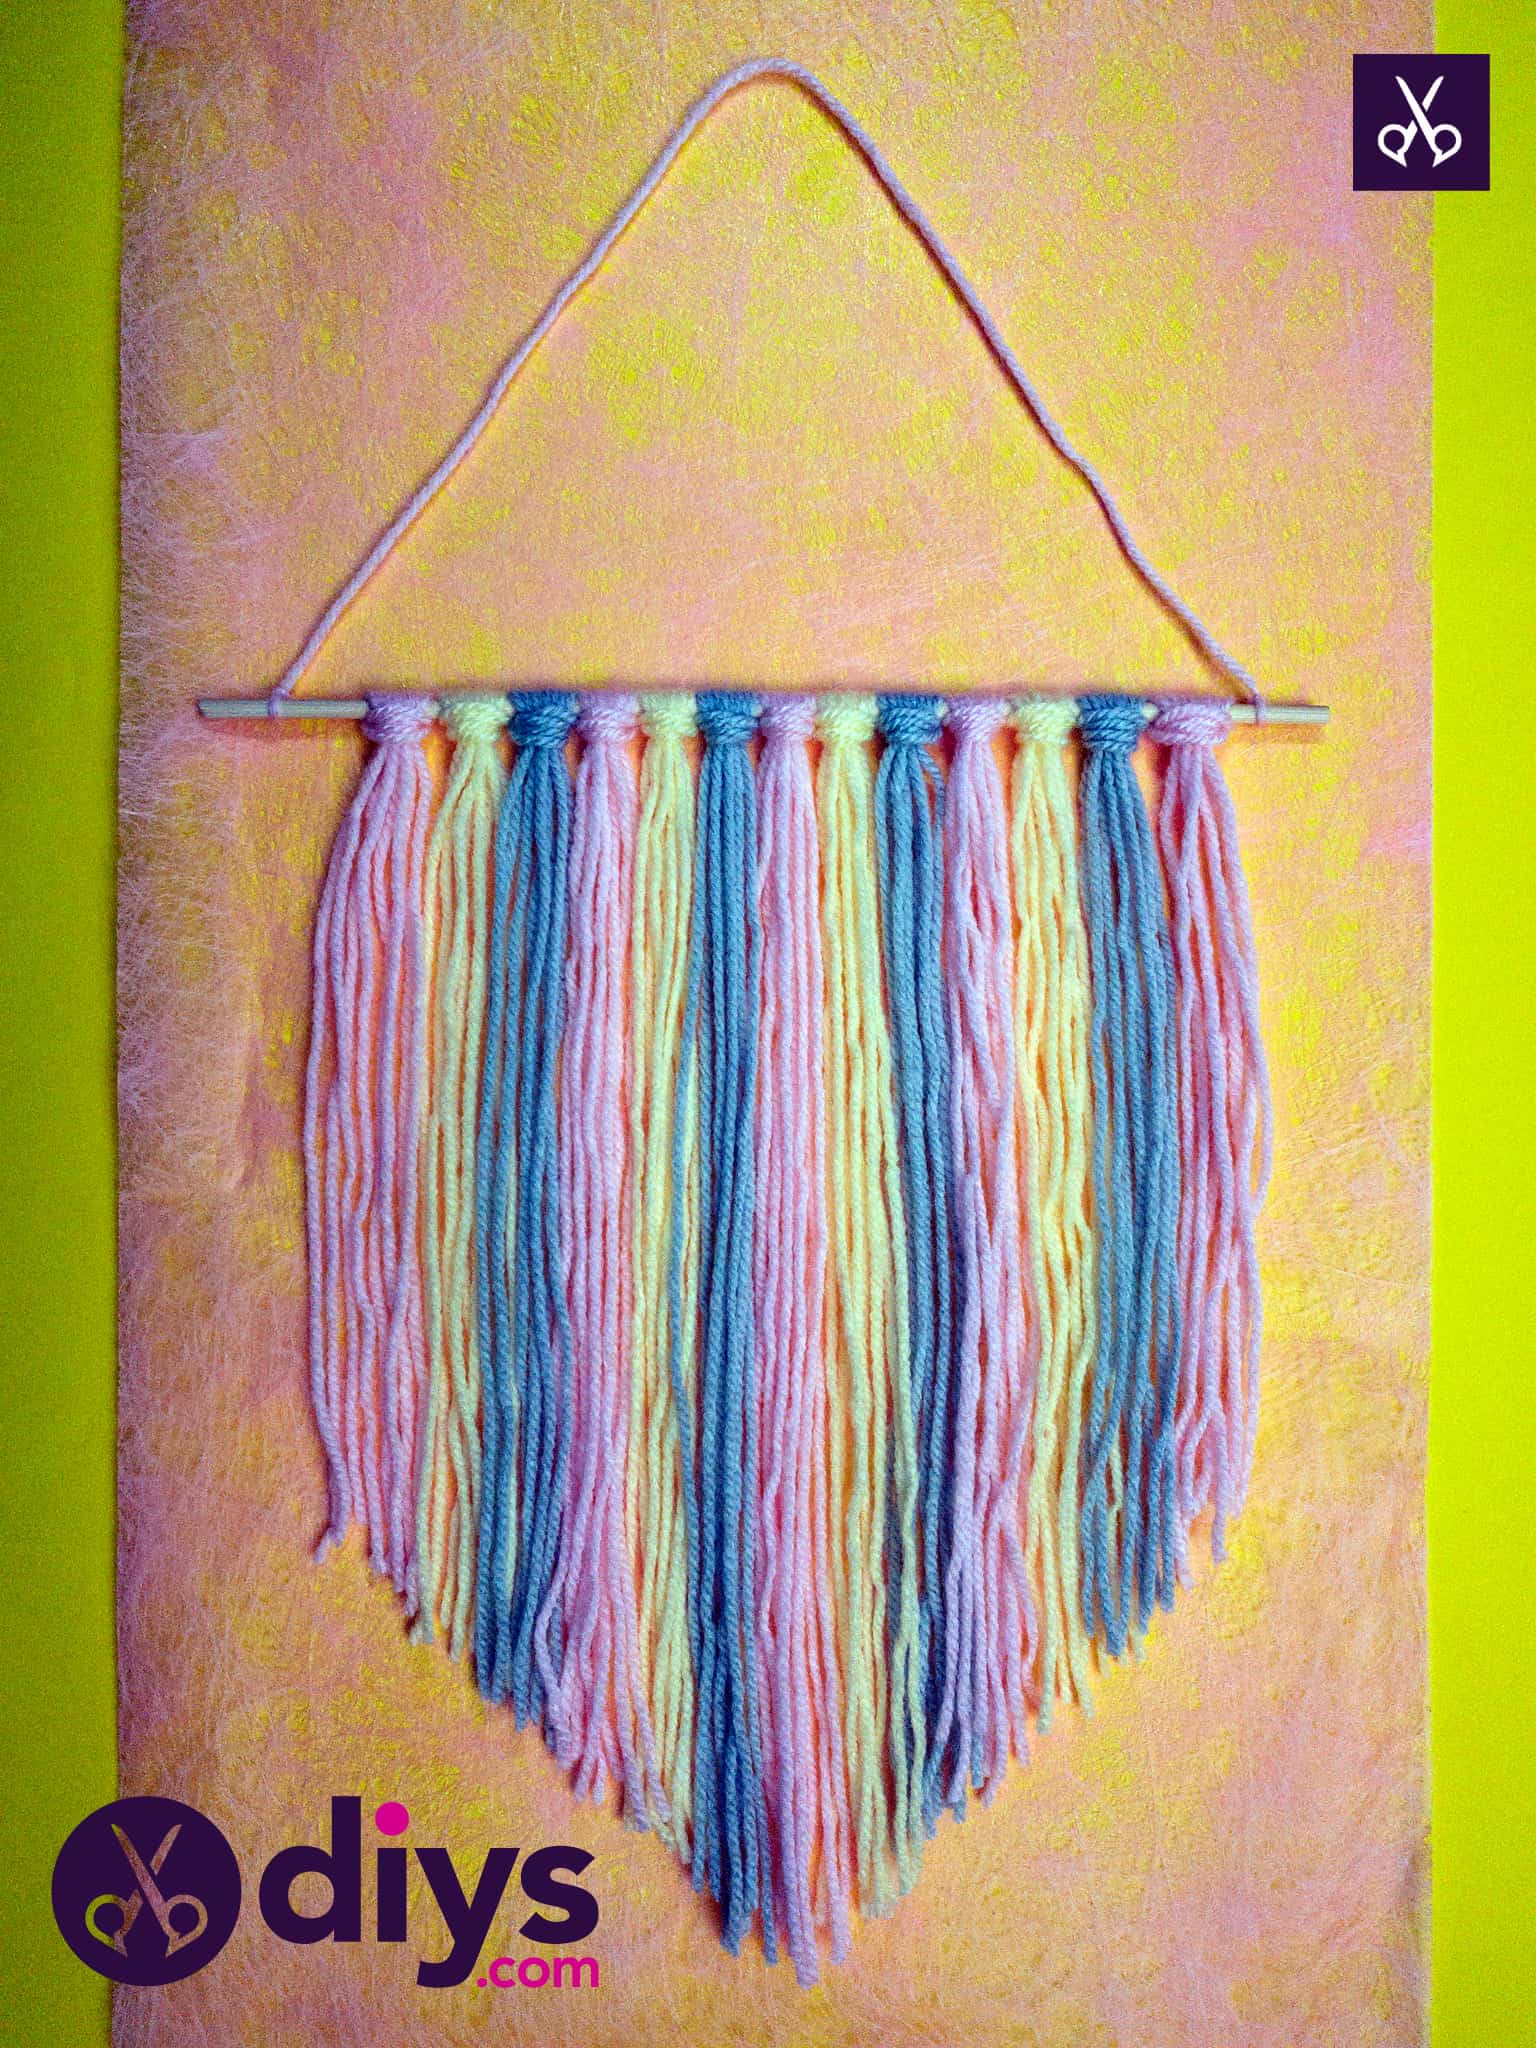
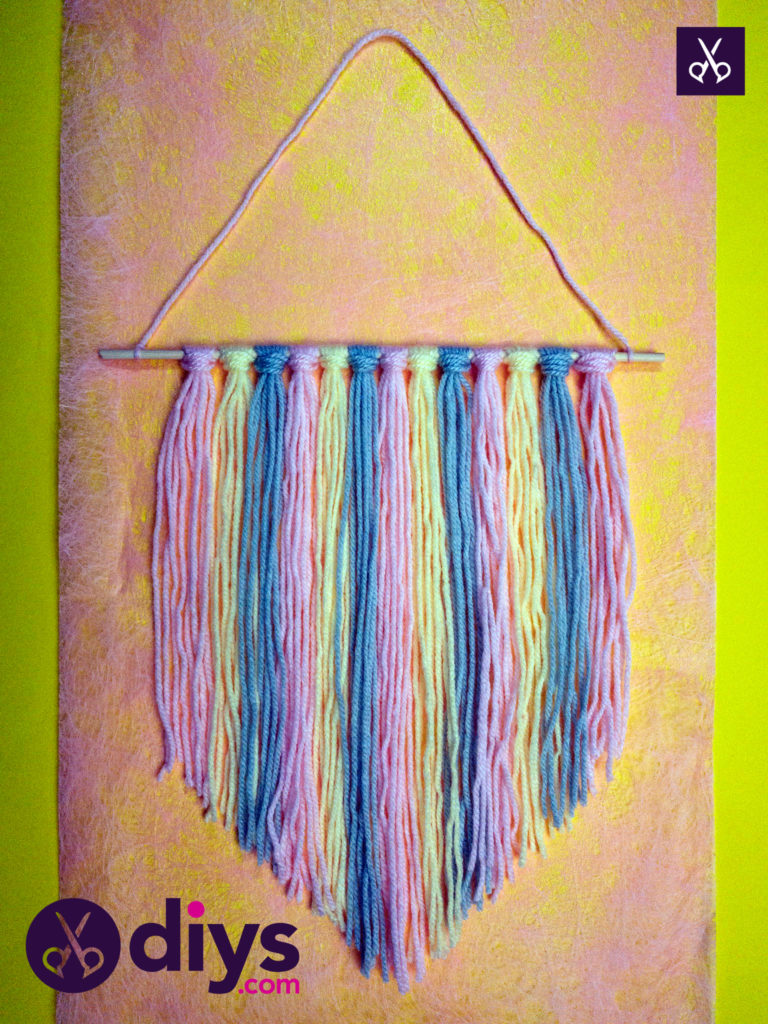
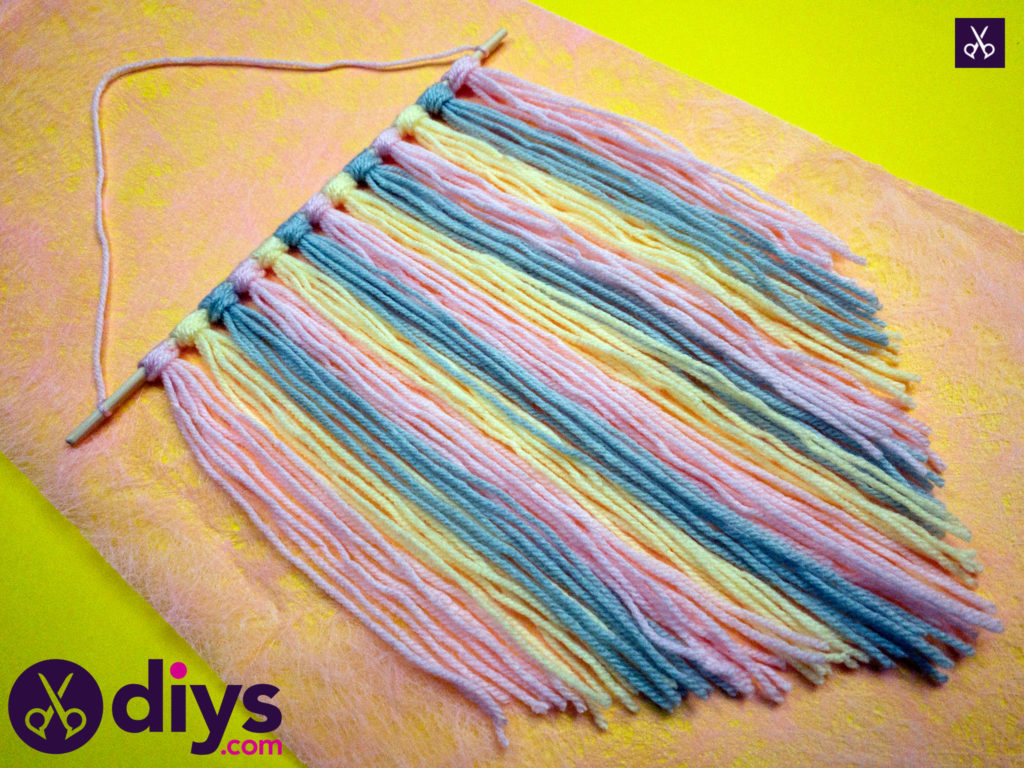
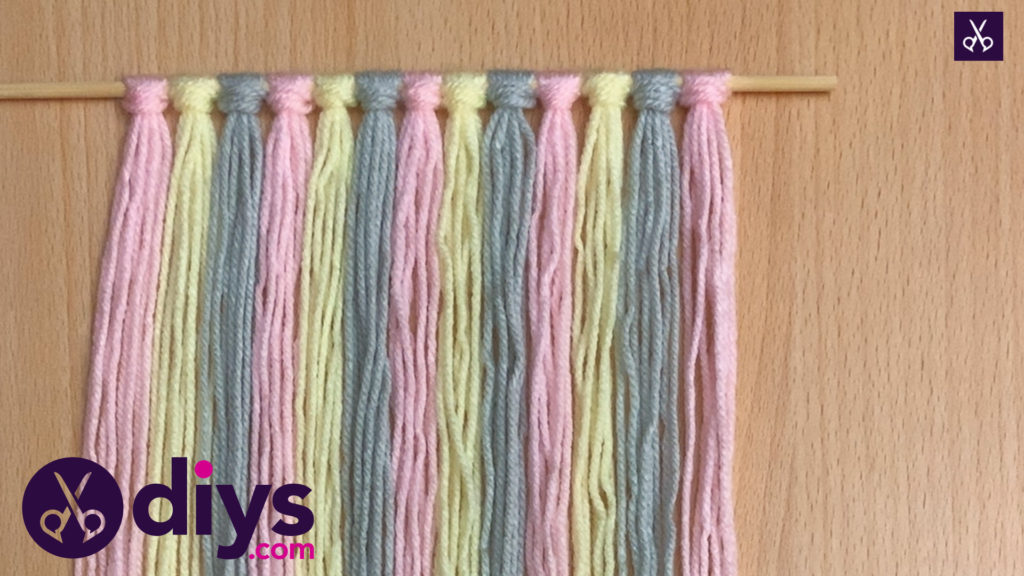
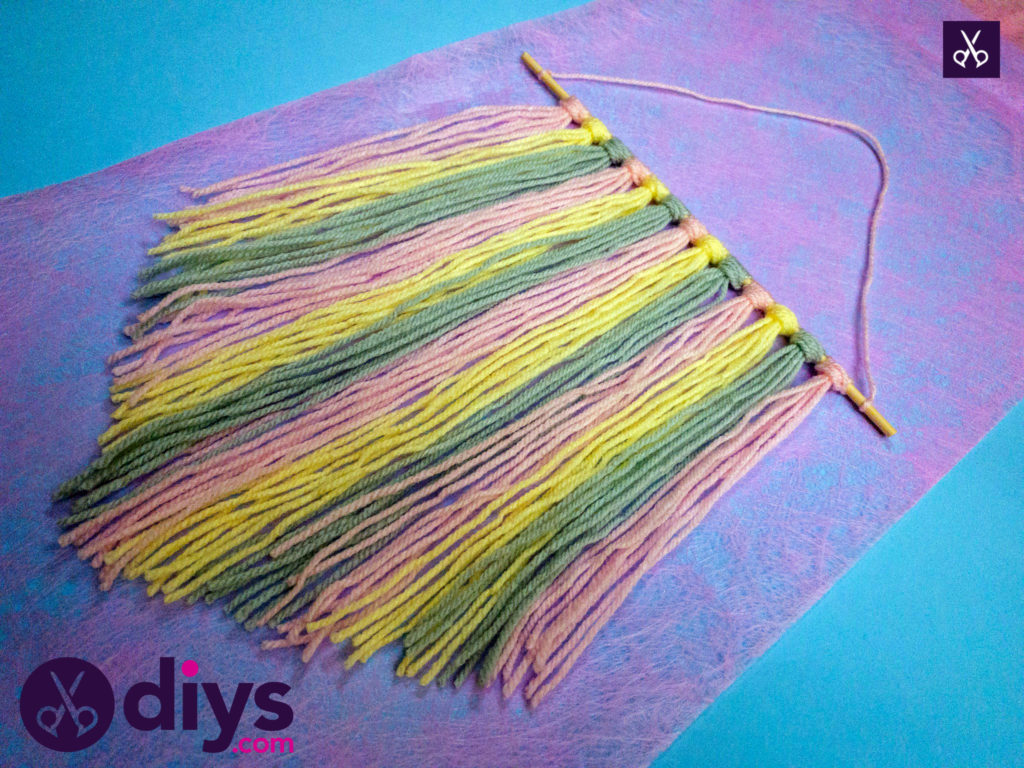
Repeat this whole process several times! I chose to create a repeating pattern with my three colours, arranging my knotted tassels along the stick from pink to yellow to grey, and then repeating that trio three more times, to get four complete sets along the dowel in total. I finished off with an extra pink tassel just to make things look symmetrical, like book ends.
Step 5: cut
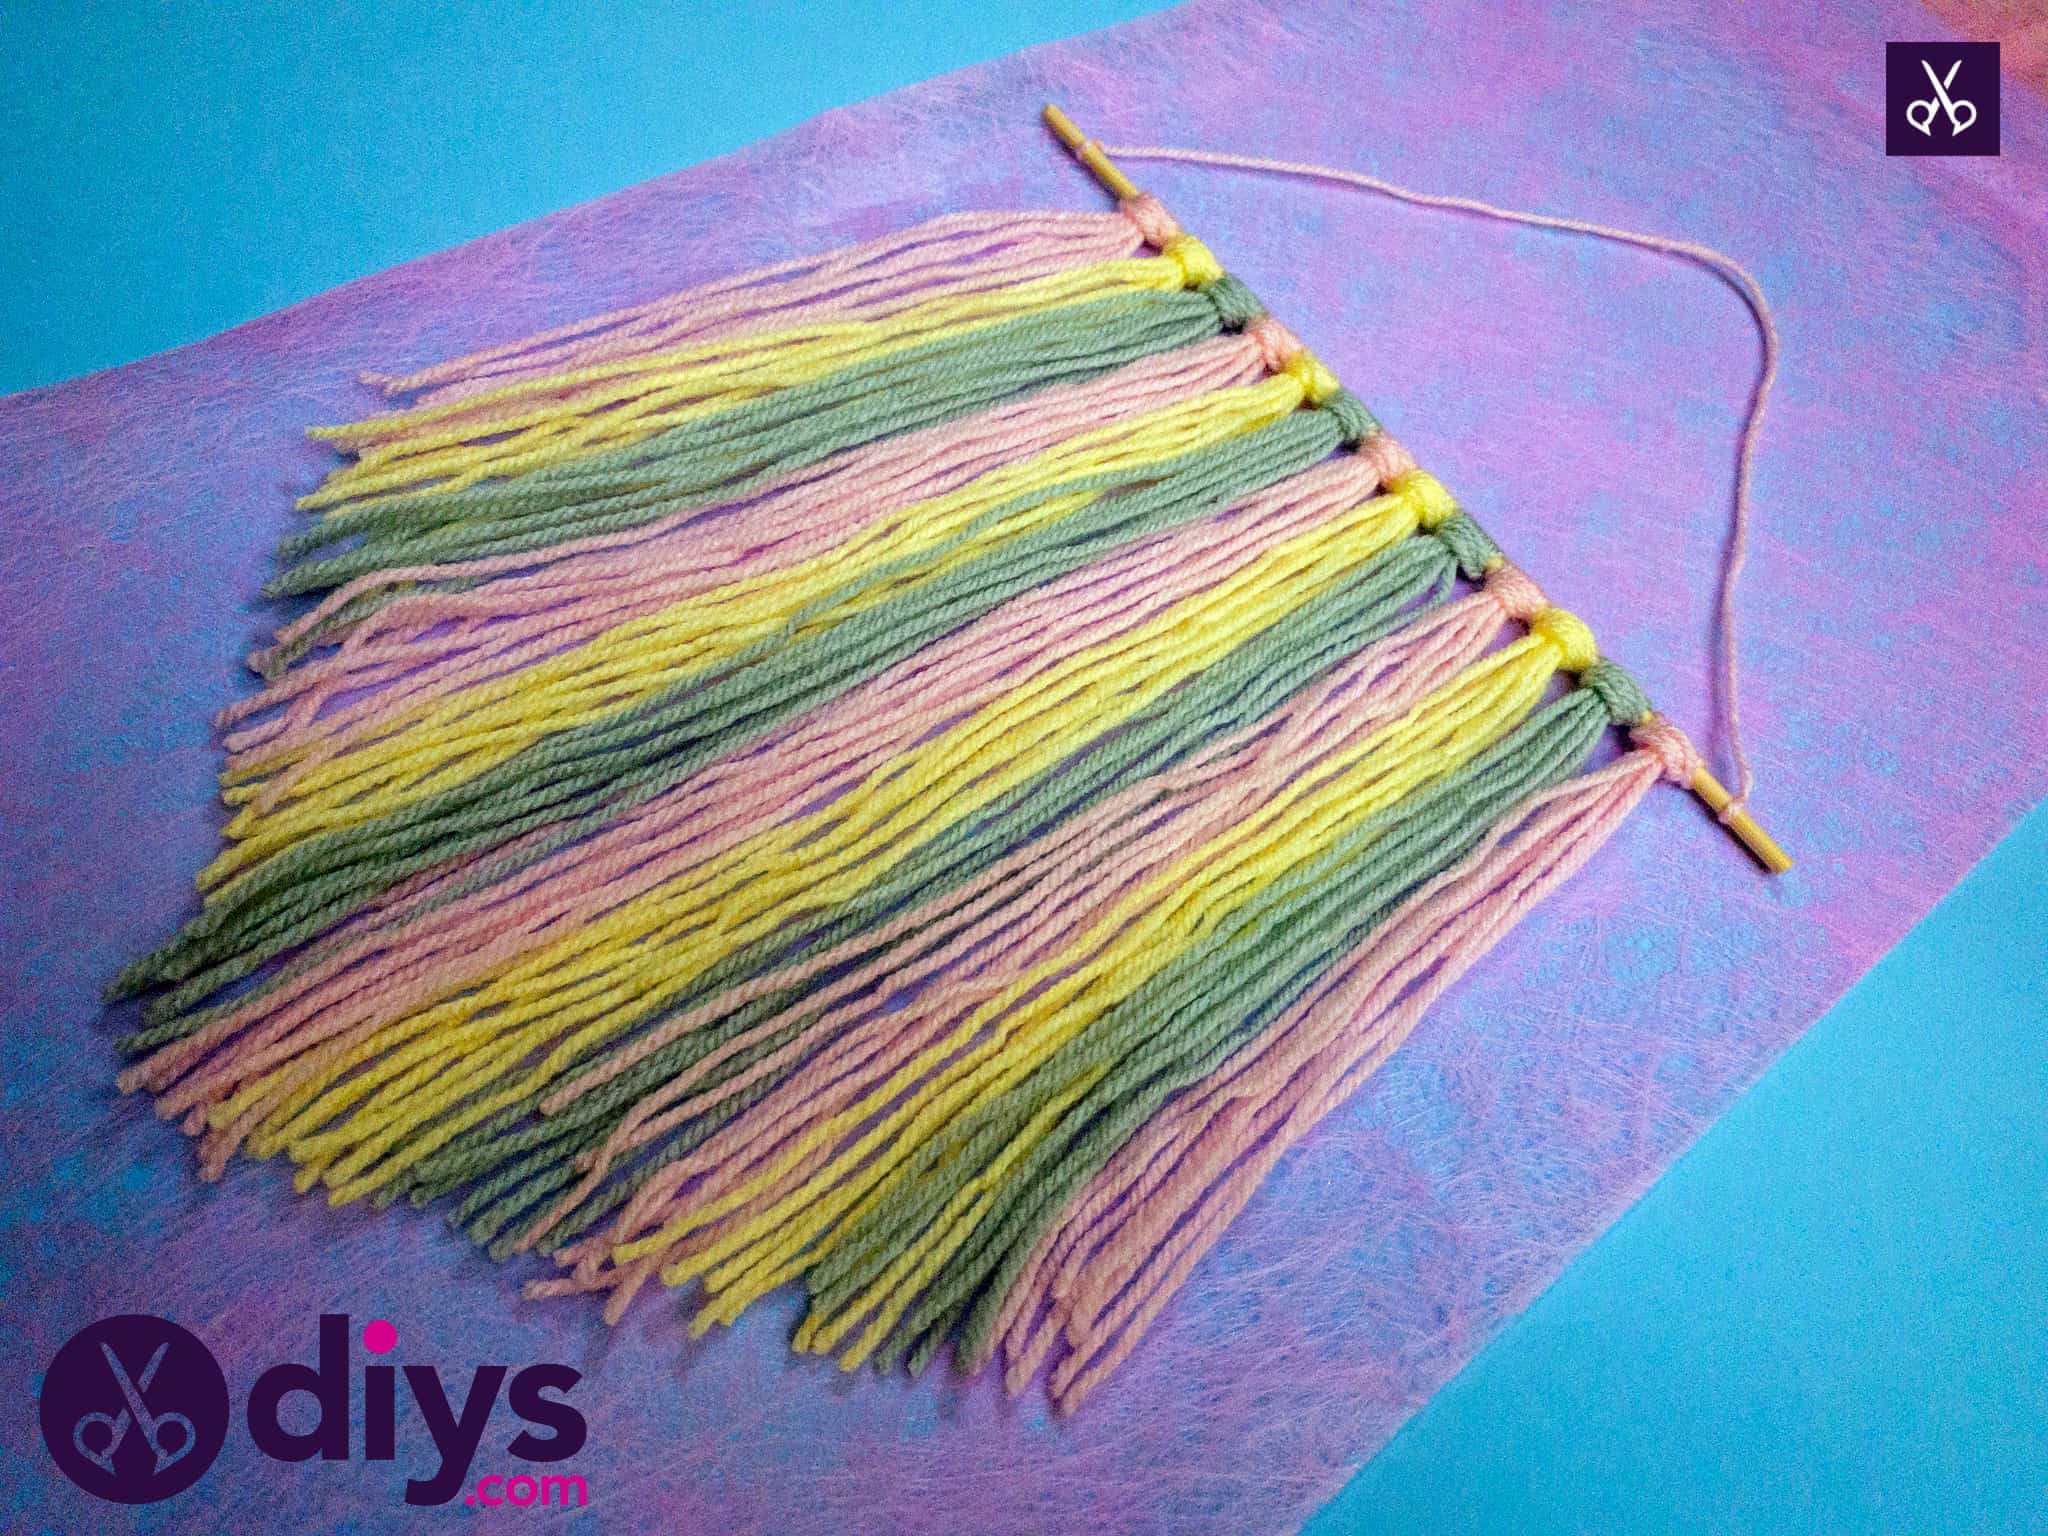
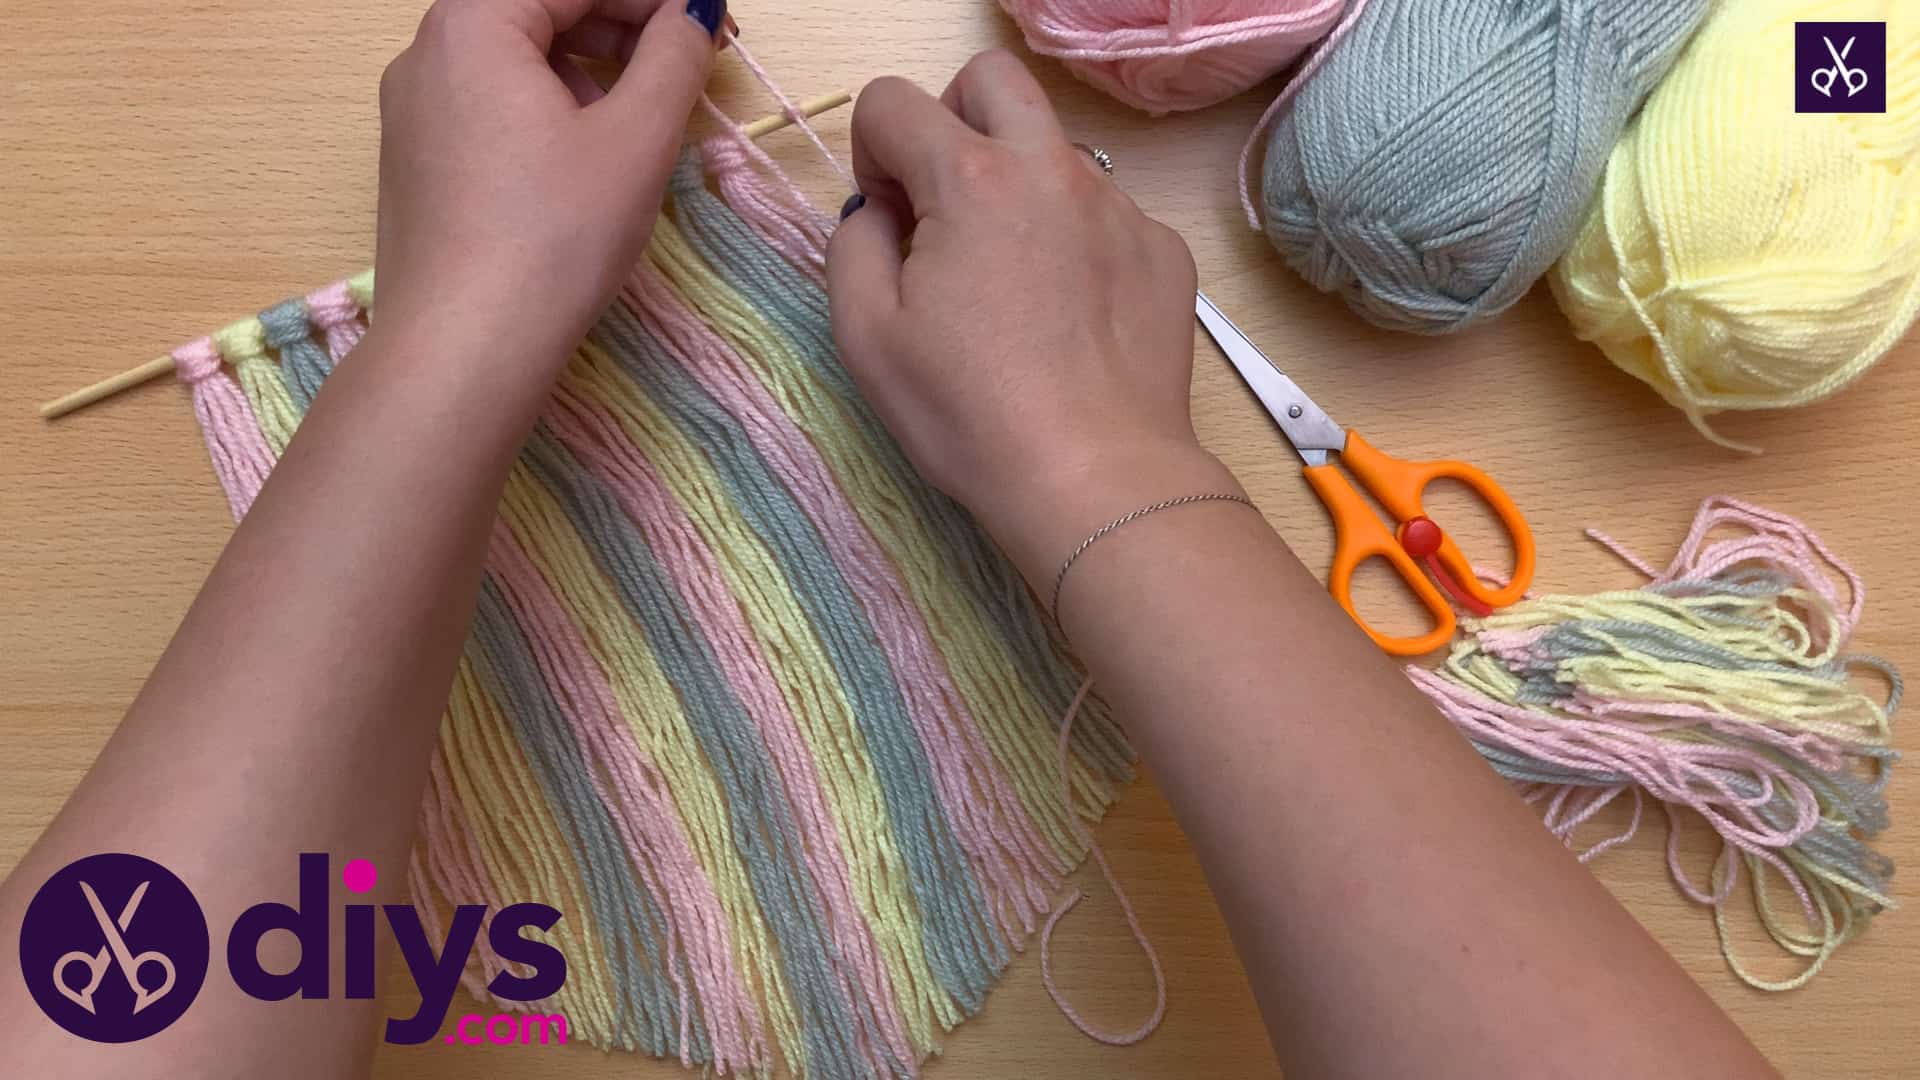
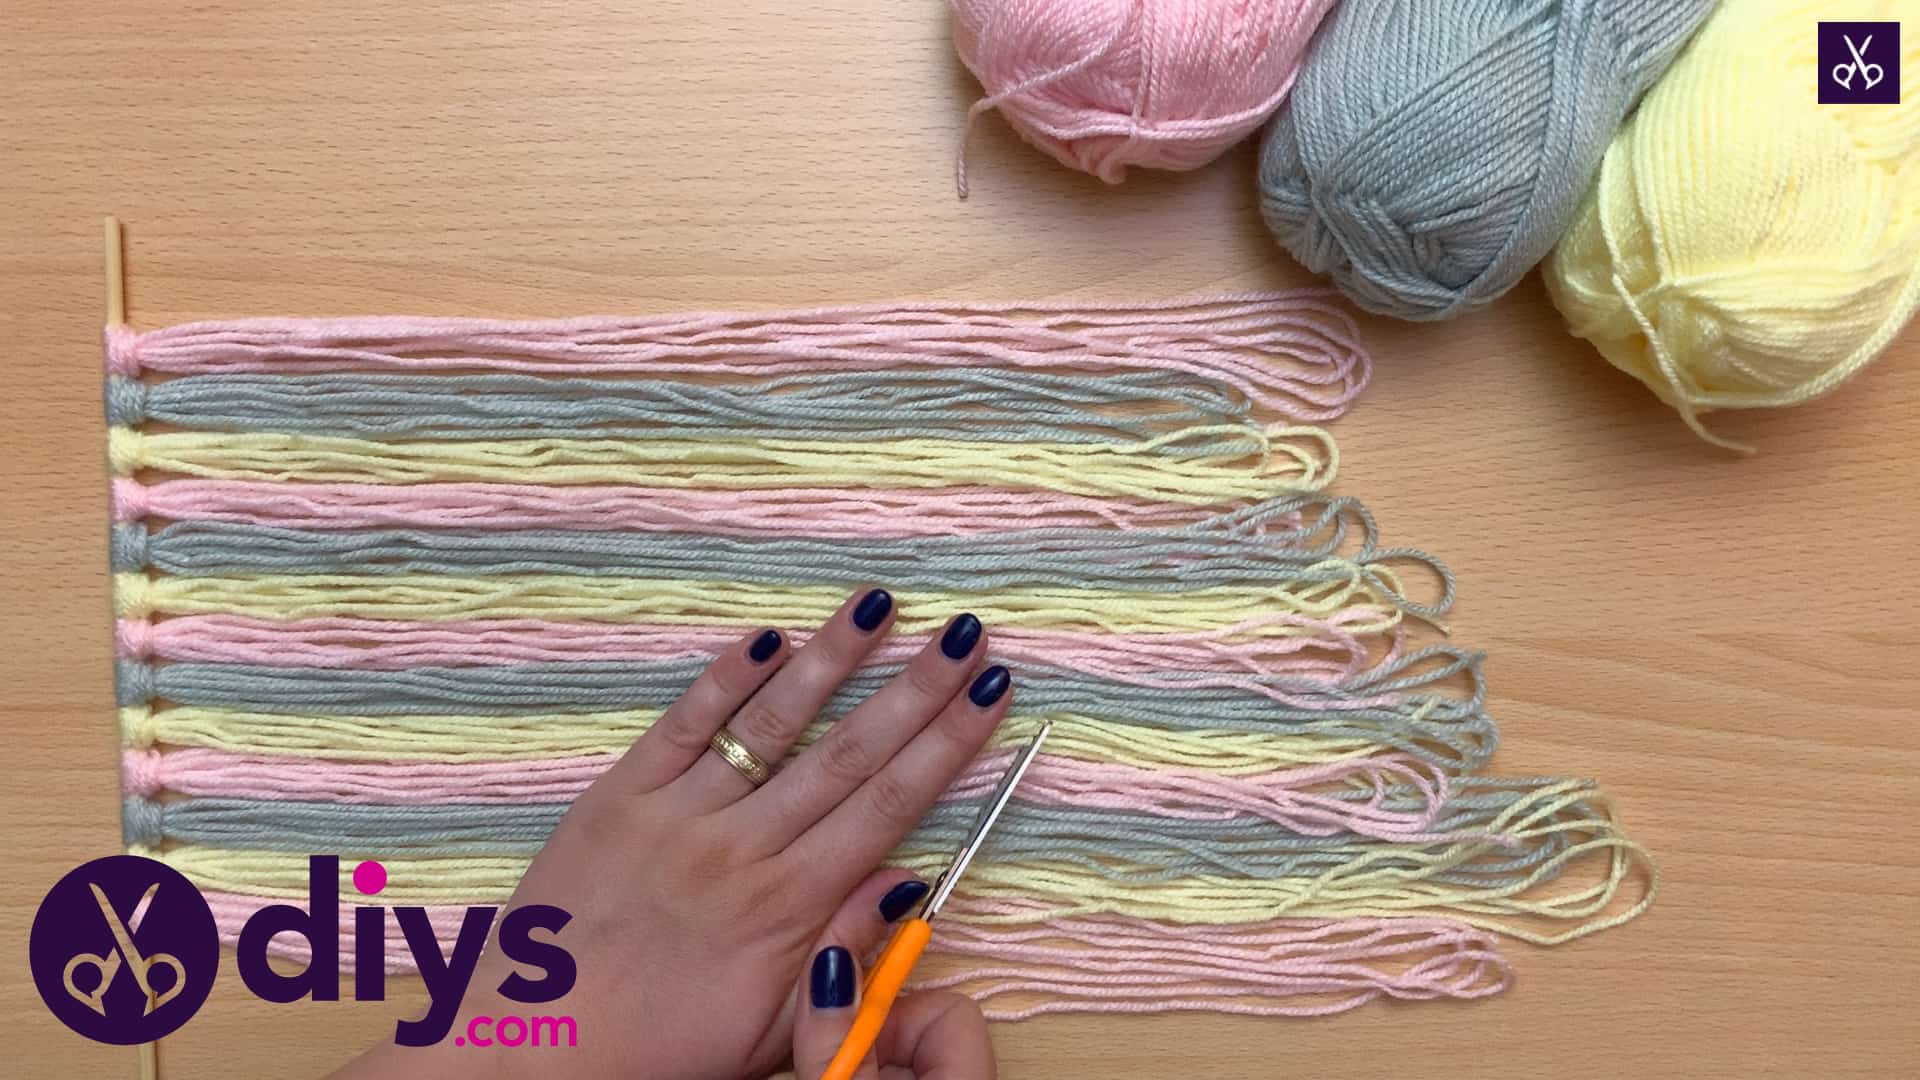
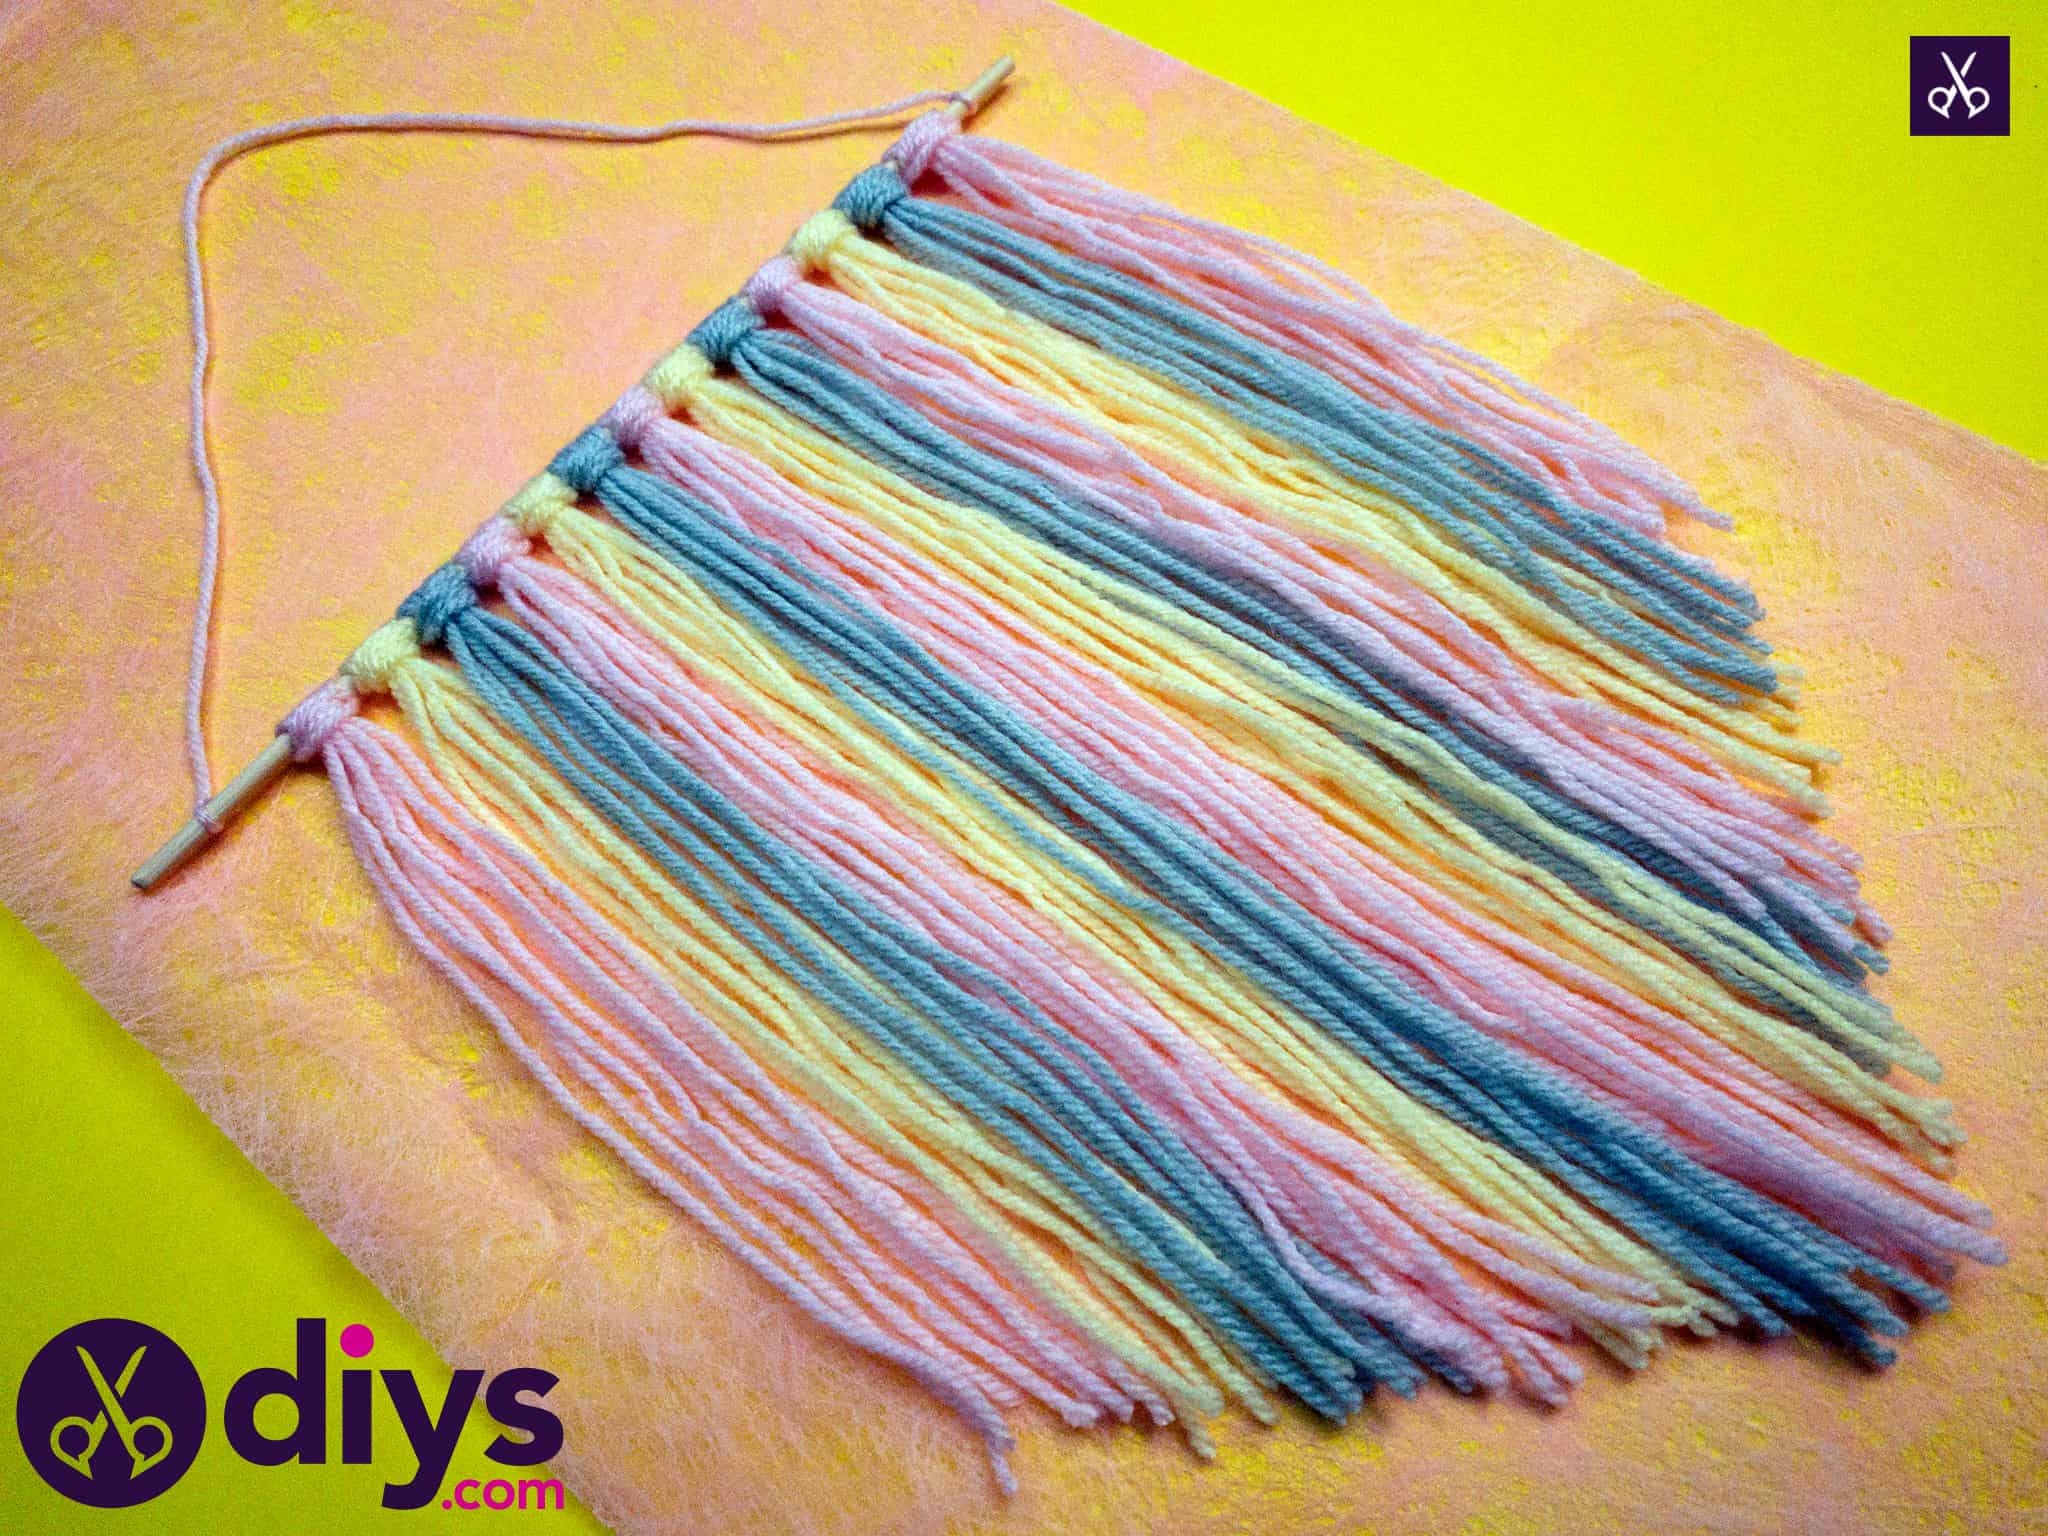
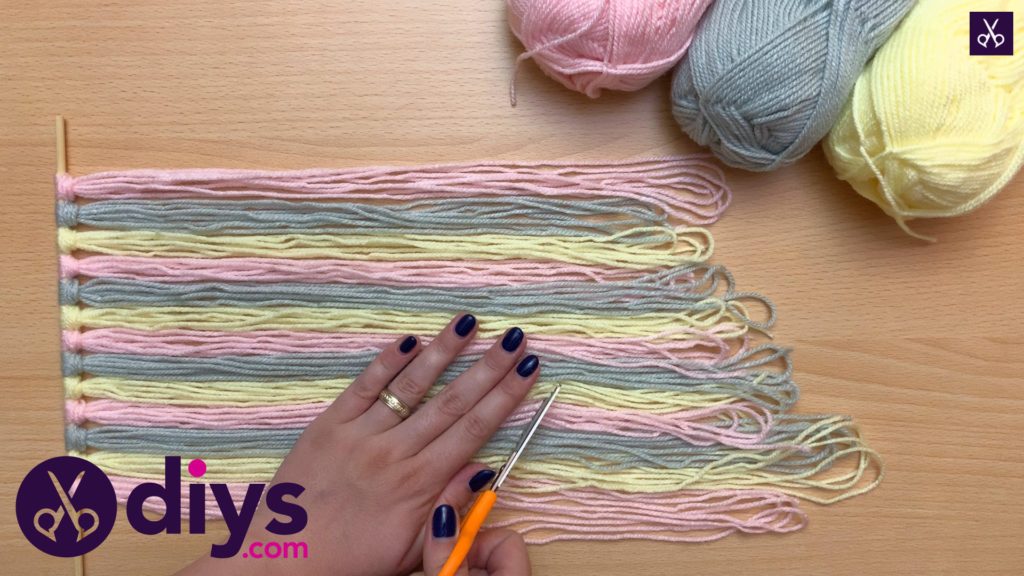
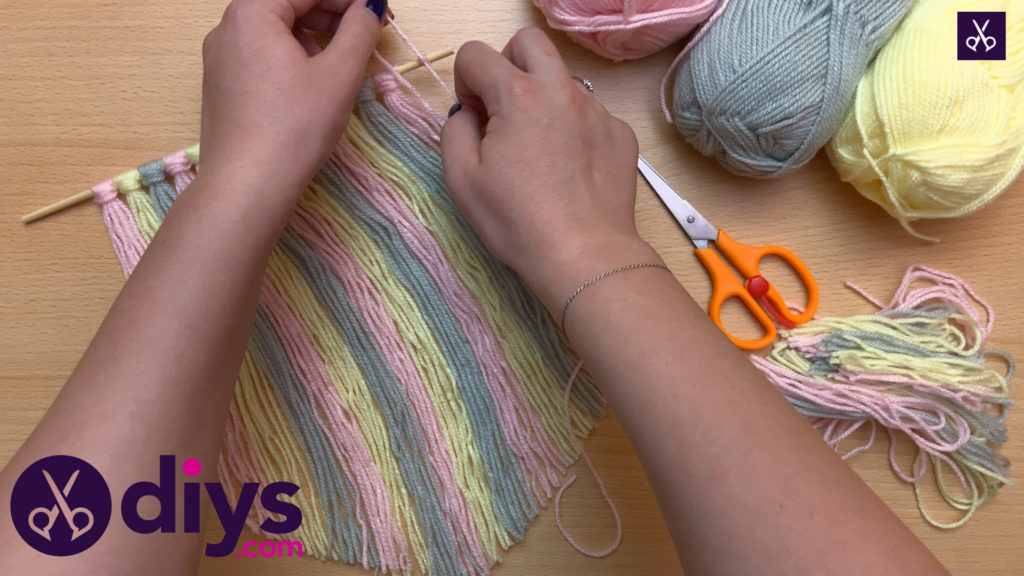
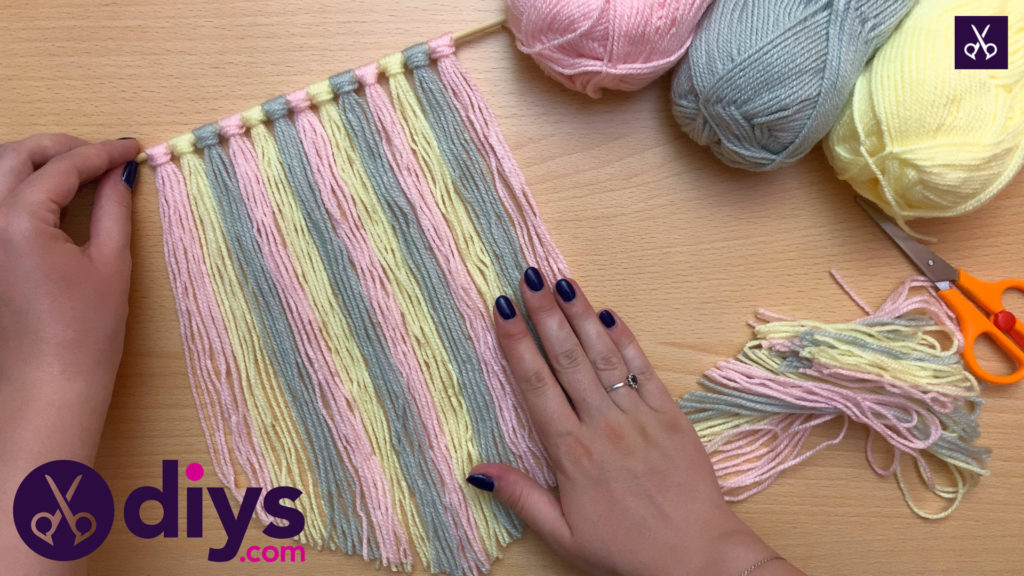
Lay your hanging flat on the table so your yarn extends neatly. Staring about a quarter of the way up from the bottom, you’re going to trim off the looped ends of your tassels so they look more like free fringe. You’re going to cut them, however, in an over all V-shape, cutting downward on an angle and then upward again on the other side from the point in the center.
Step 6: hang it
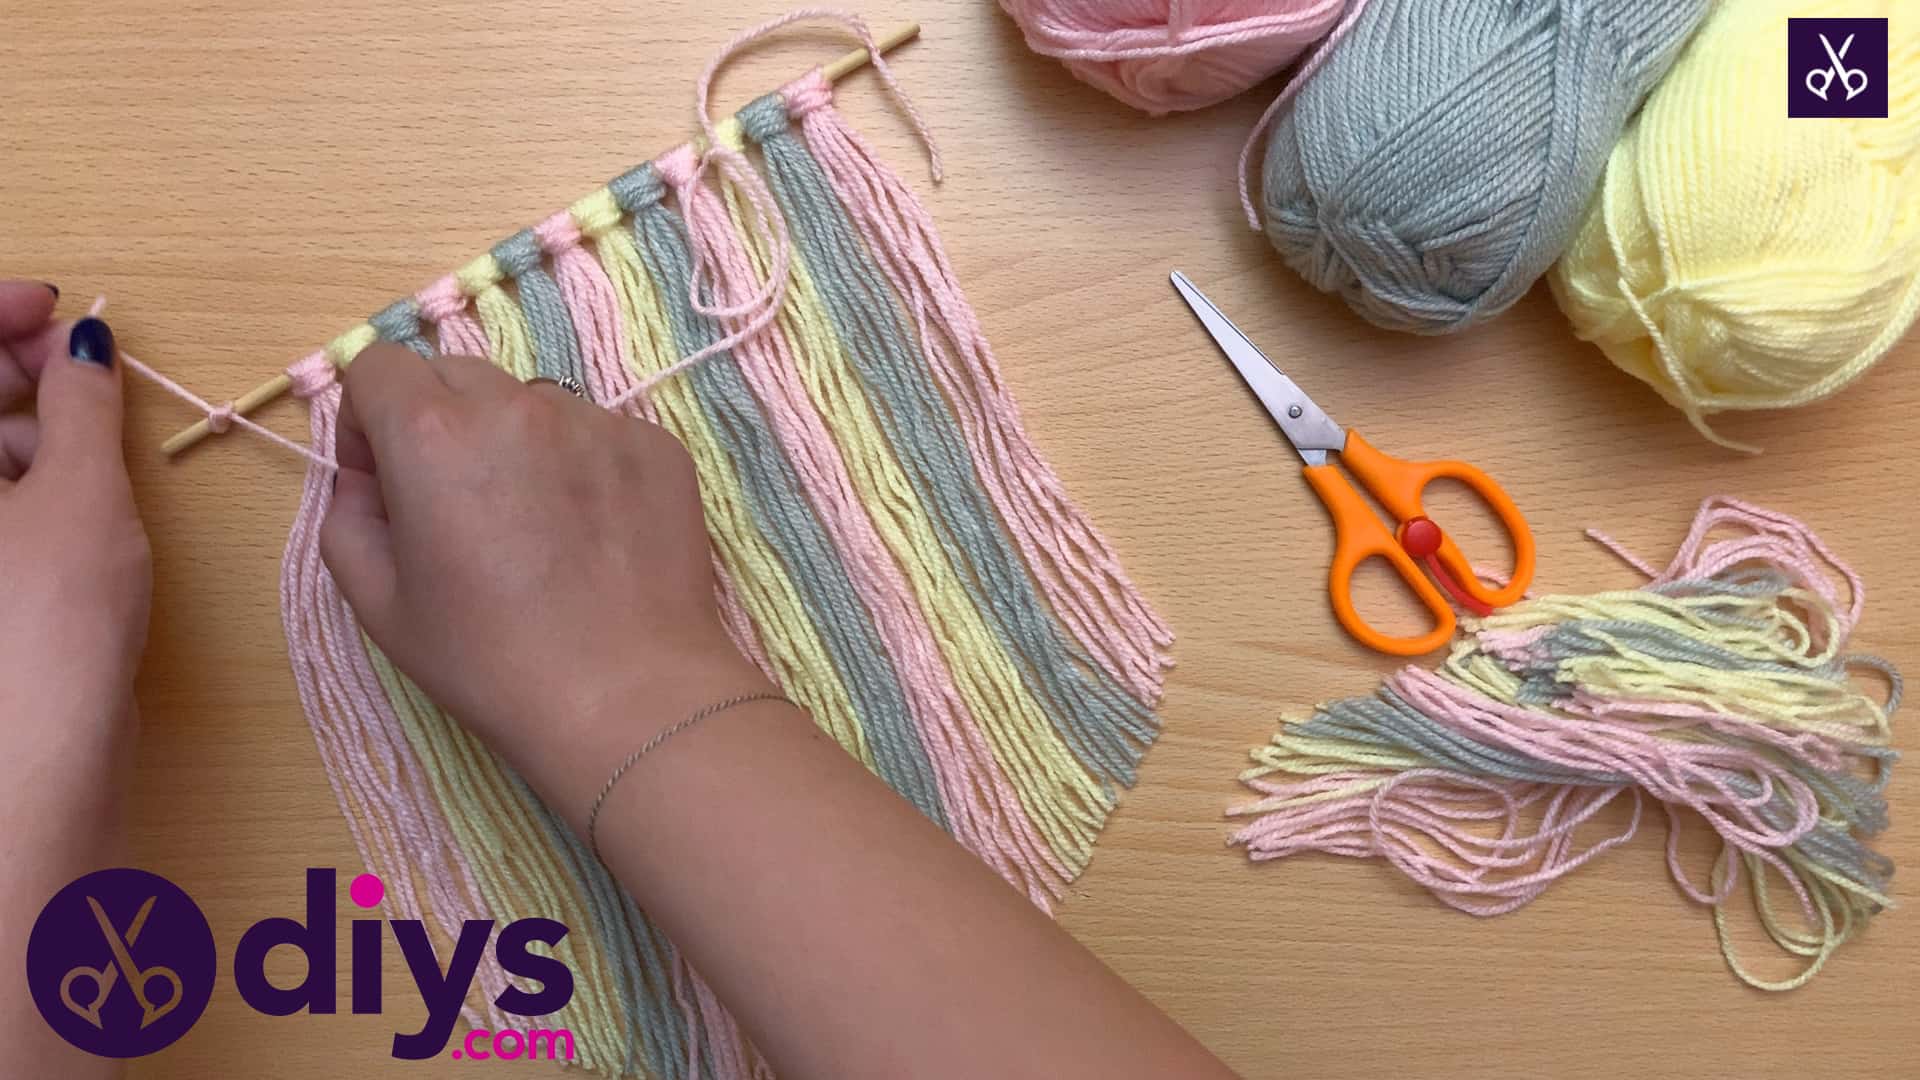
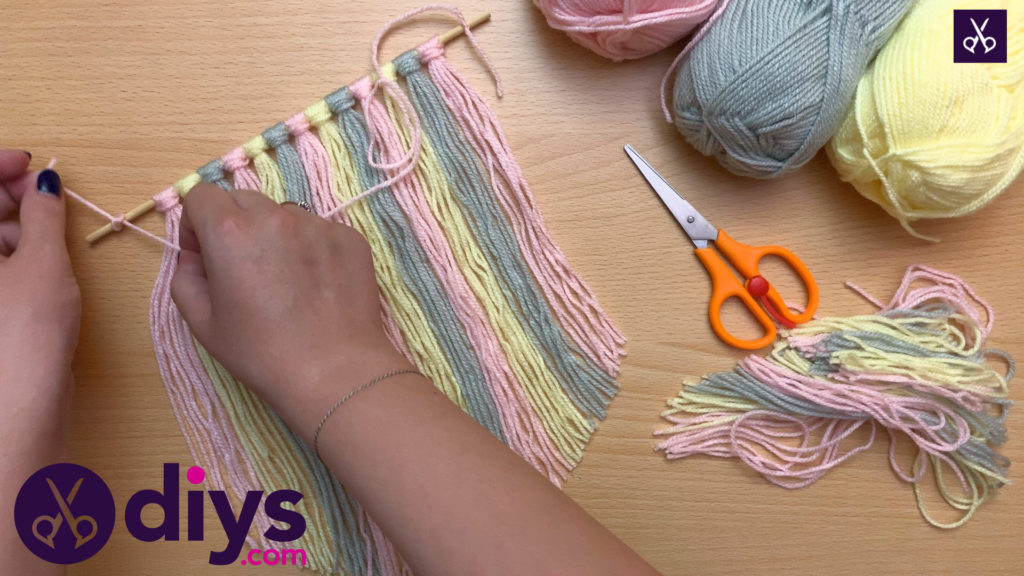
Once you’ve got your banner style shape, tie a hanger string onto the stick so you can easily mount your new hanging to the wall. I did this by simply knotting some pink yarn around one end of the wooden stick, about hand an inch from my edge tassels, then giving myself several inches of slack, cutting the yarn off, and tying the other end on the other side of the hanging, about an inch and a half from the edge tassel on the opposite side. This string makes it simply to hang your new decor piece on a nail or hook on the wall or something similar.
There you have it! The basic technique is simple, and I particularly enjoyed this project because even as I was making it, I was fully aware of its customizability in terms of size, length, and colour scheme.
Just in case you’d like to try this project out as well, here’s an awesome tutorial video to give you a hand!
