DIY Twine String Wall Decor
Various pieces of wall décor you find in-home stores or even in department stores cost a fortune, and sometimes, you can’t even find exactly the right quote or design for your taste or philosophy. In addition, they are beautiful pieces, but often they are mass-produced, meaning you don’t get anything original. It’s why a lot of people, whether naturally inclined with artistic ability or not, have turned to DIY twine wall décor. With this easy to create a project, you have tons of options, with a creative license to copy a saying you’ve seen elsewhere or created your own, as well as to have a picture or drawing that’s meaningful to you.
To make it even more desirable, you get to choose your own unique colors. Find a patterned twine, solid twine, or use multiple colors as you desire to create your personalized wall décor. It’s an inexpensive way to dress up your home the way you want, to match your other home décor, and to make a statement, with few materials needed and only a little time required to complete it.
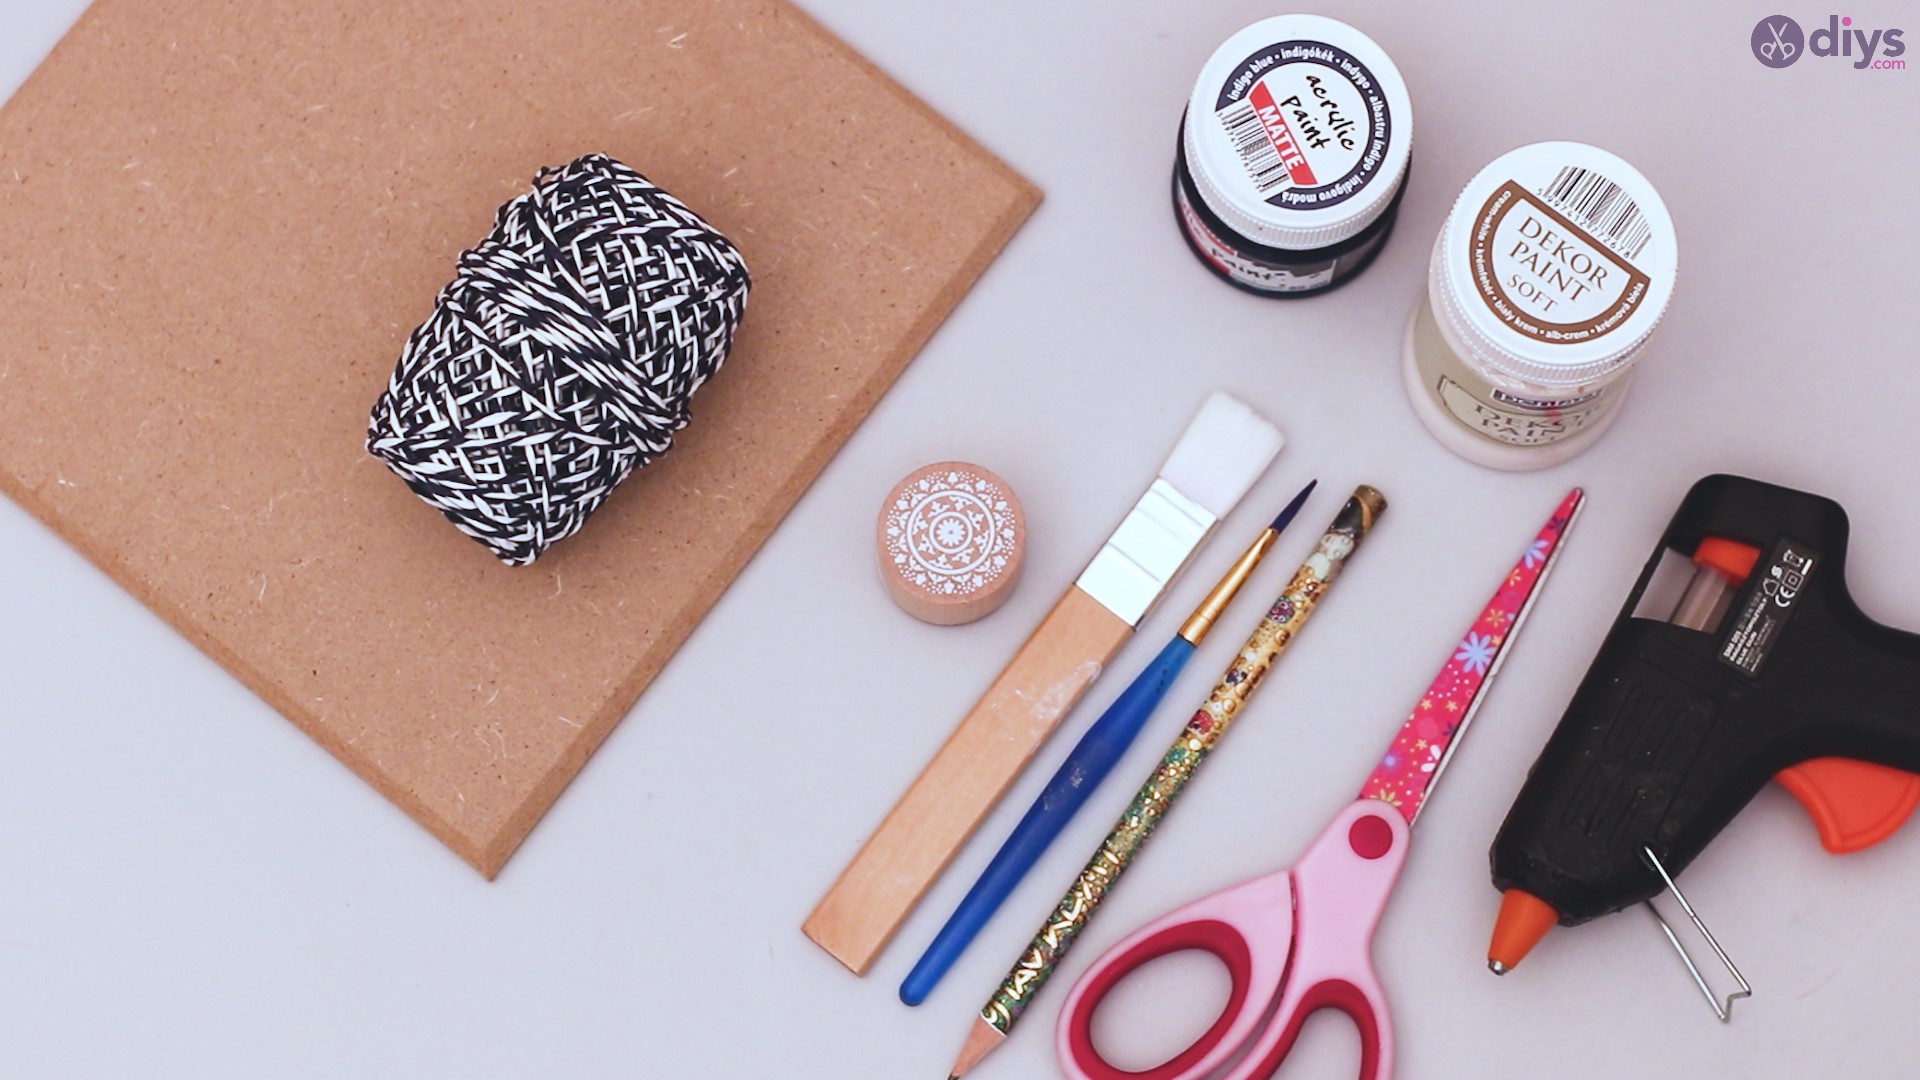
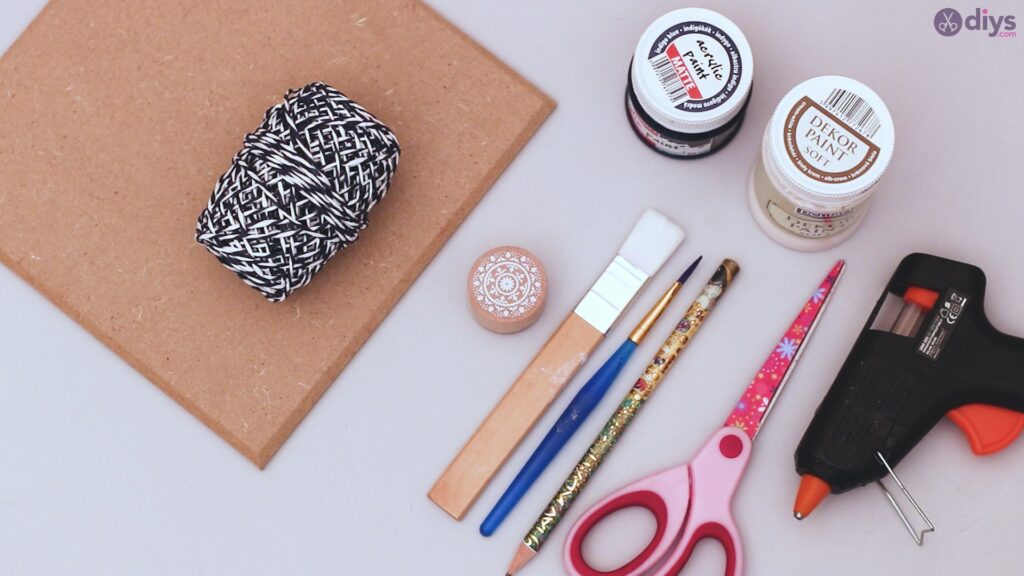
Materials to craft the Twine String Wall Decor:
- wood tile
- twine string
- white/blue acrylic paint (or other colors, if it fits your design)
- paint brush
- glue gun
- pencil
- scissors
- stamp
Step by step instructions for the wall decor art:
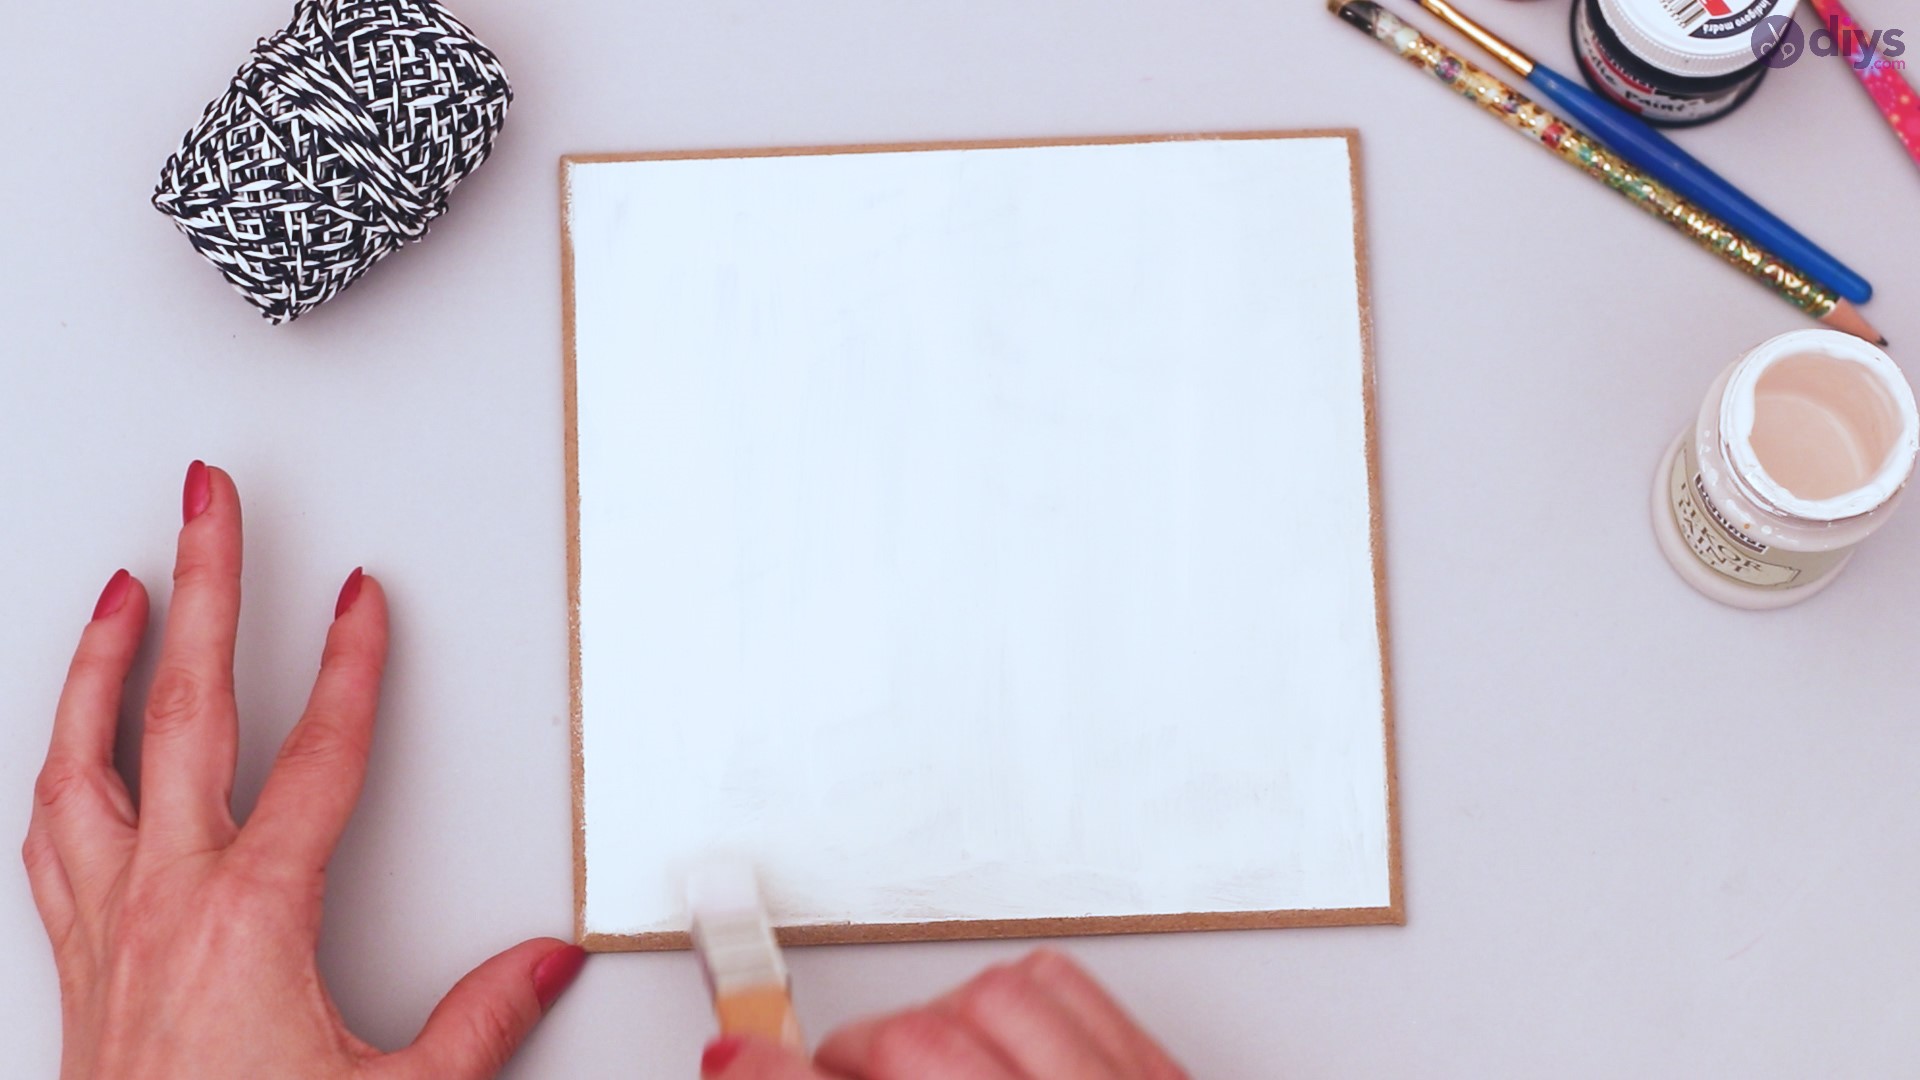
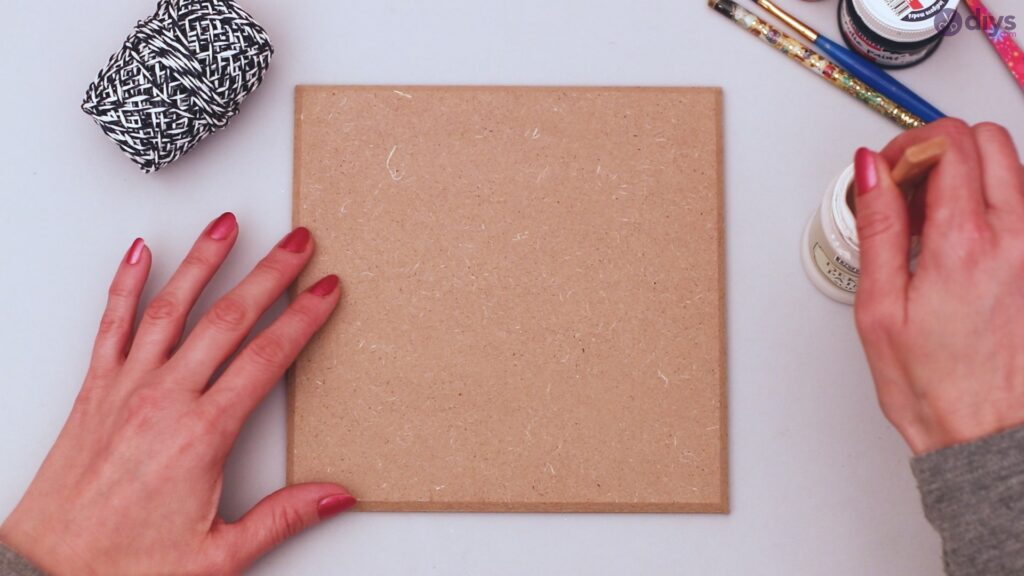
Step 1: Prepare your wood tile
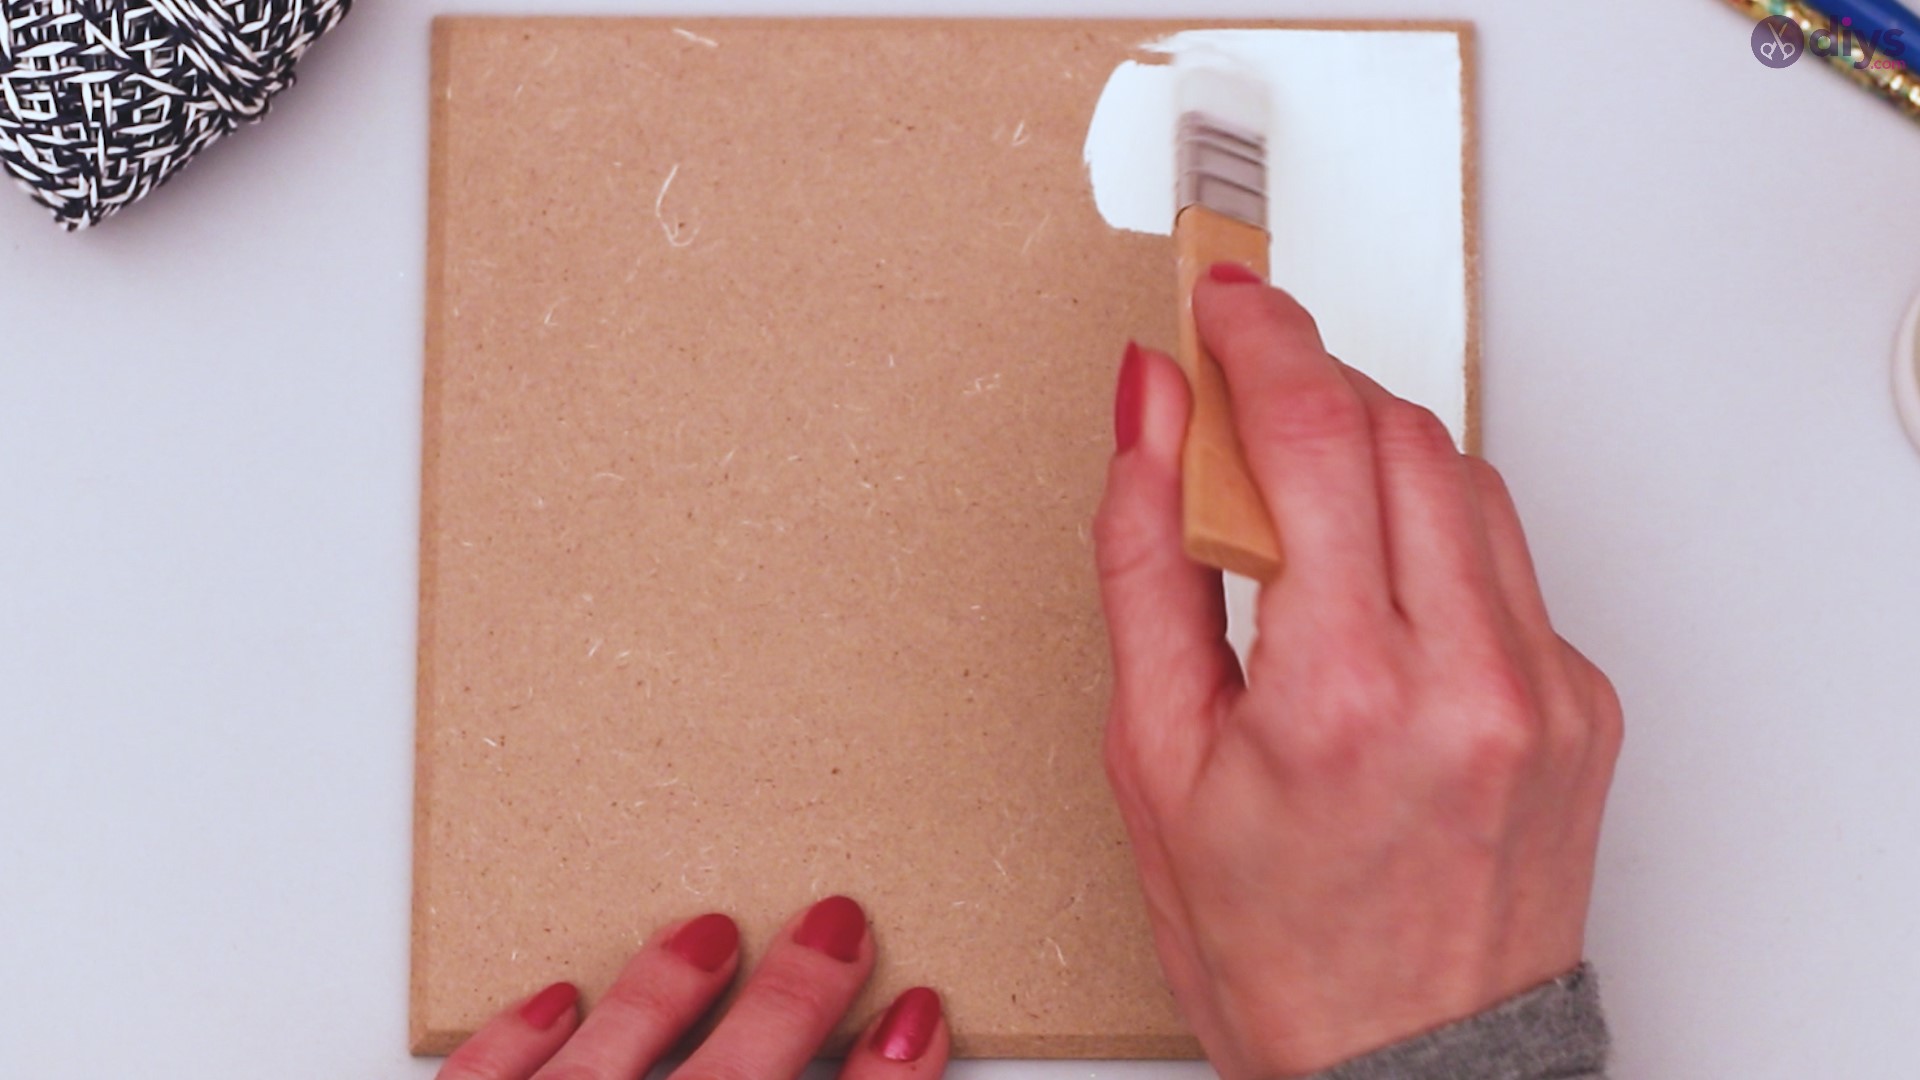
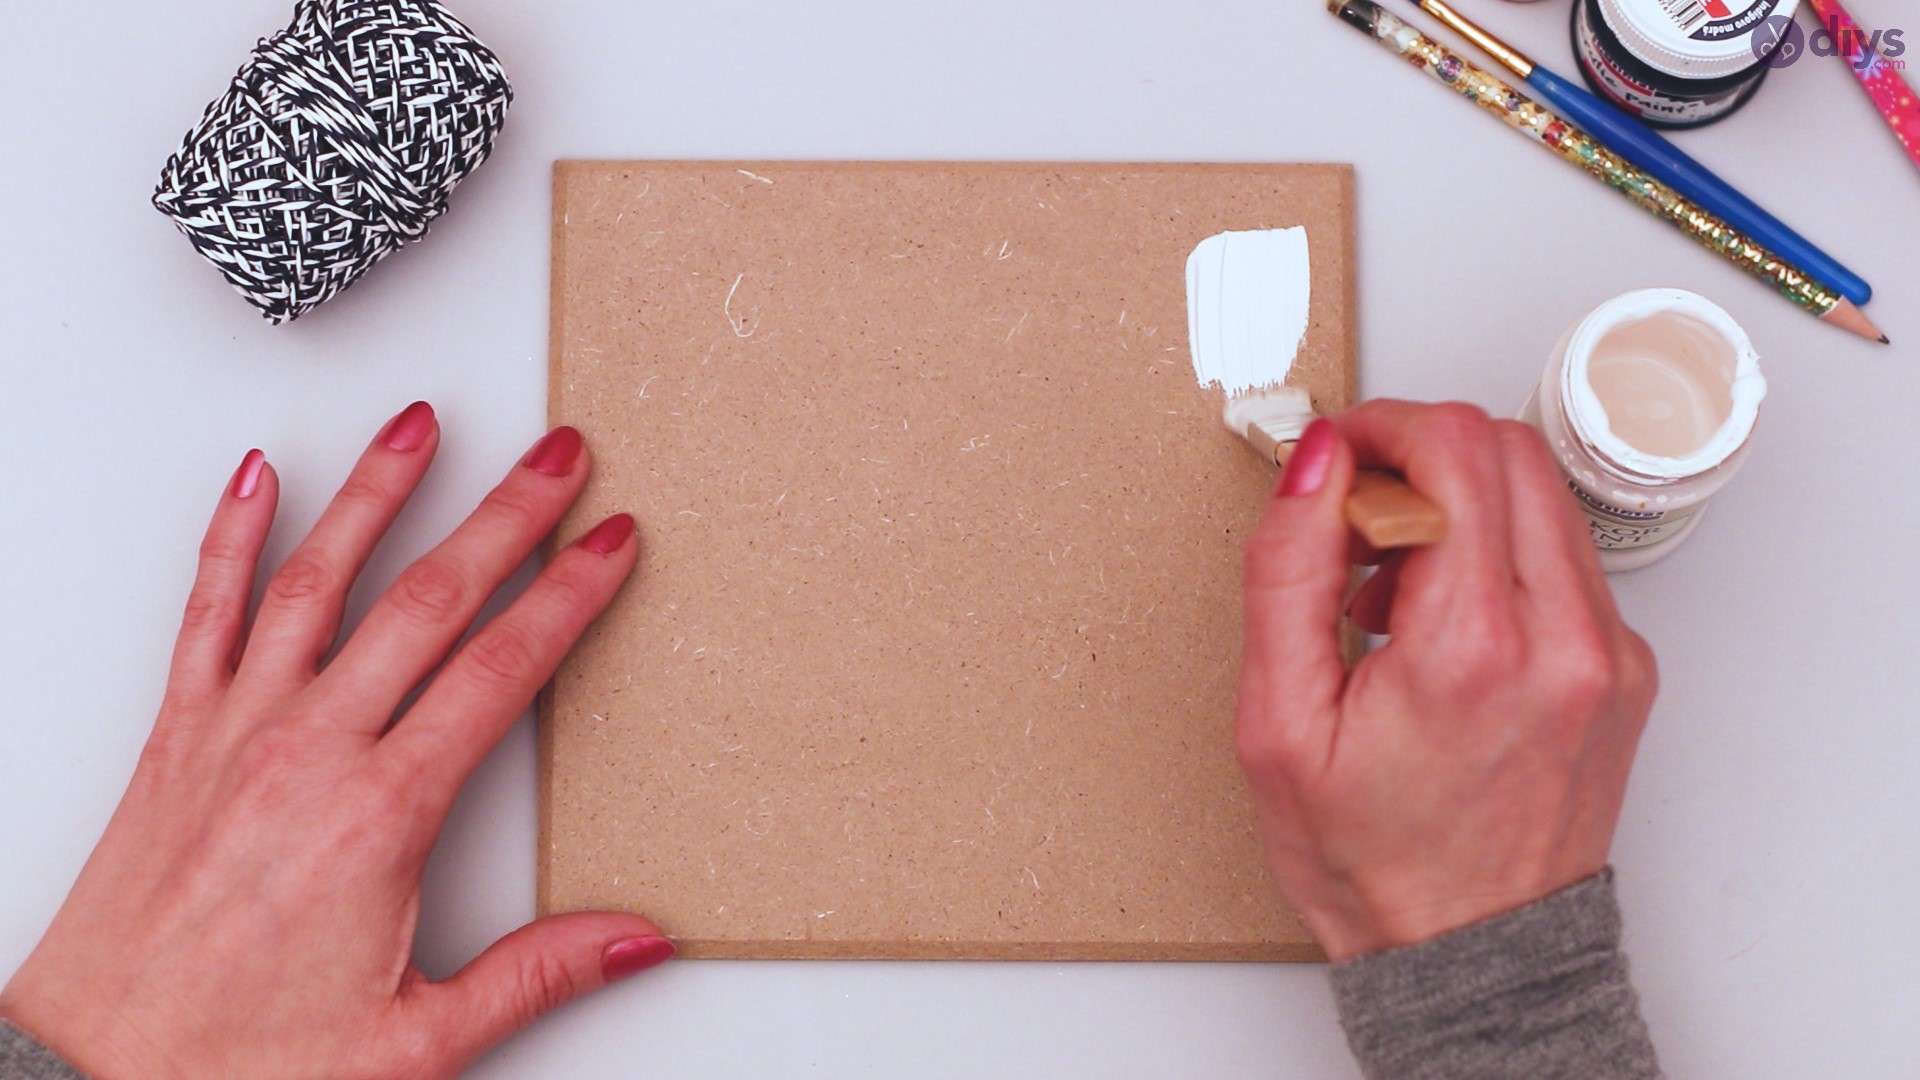
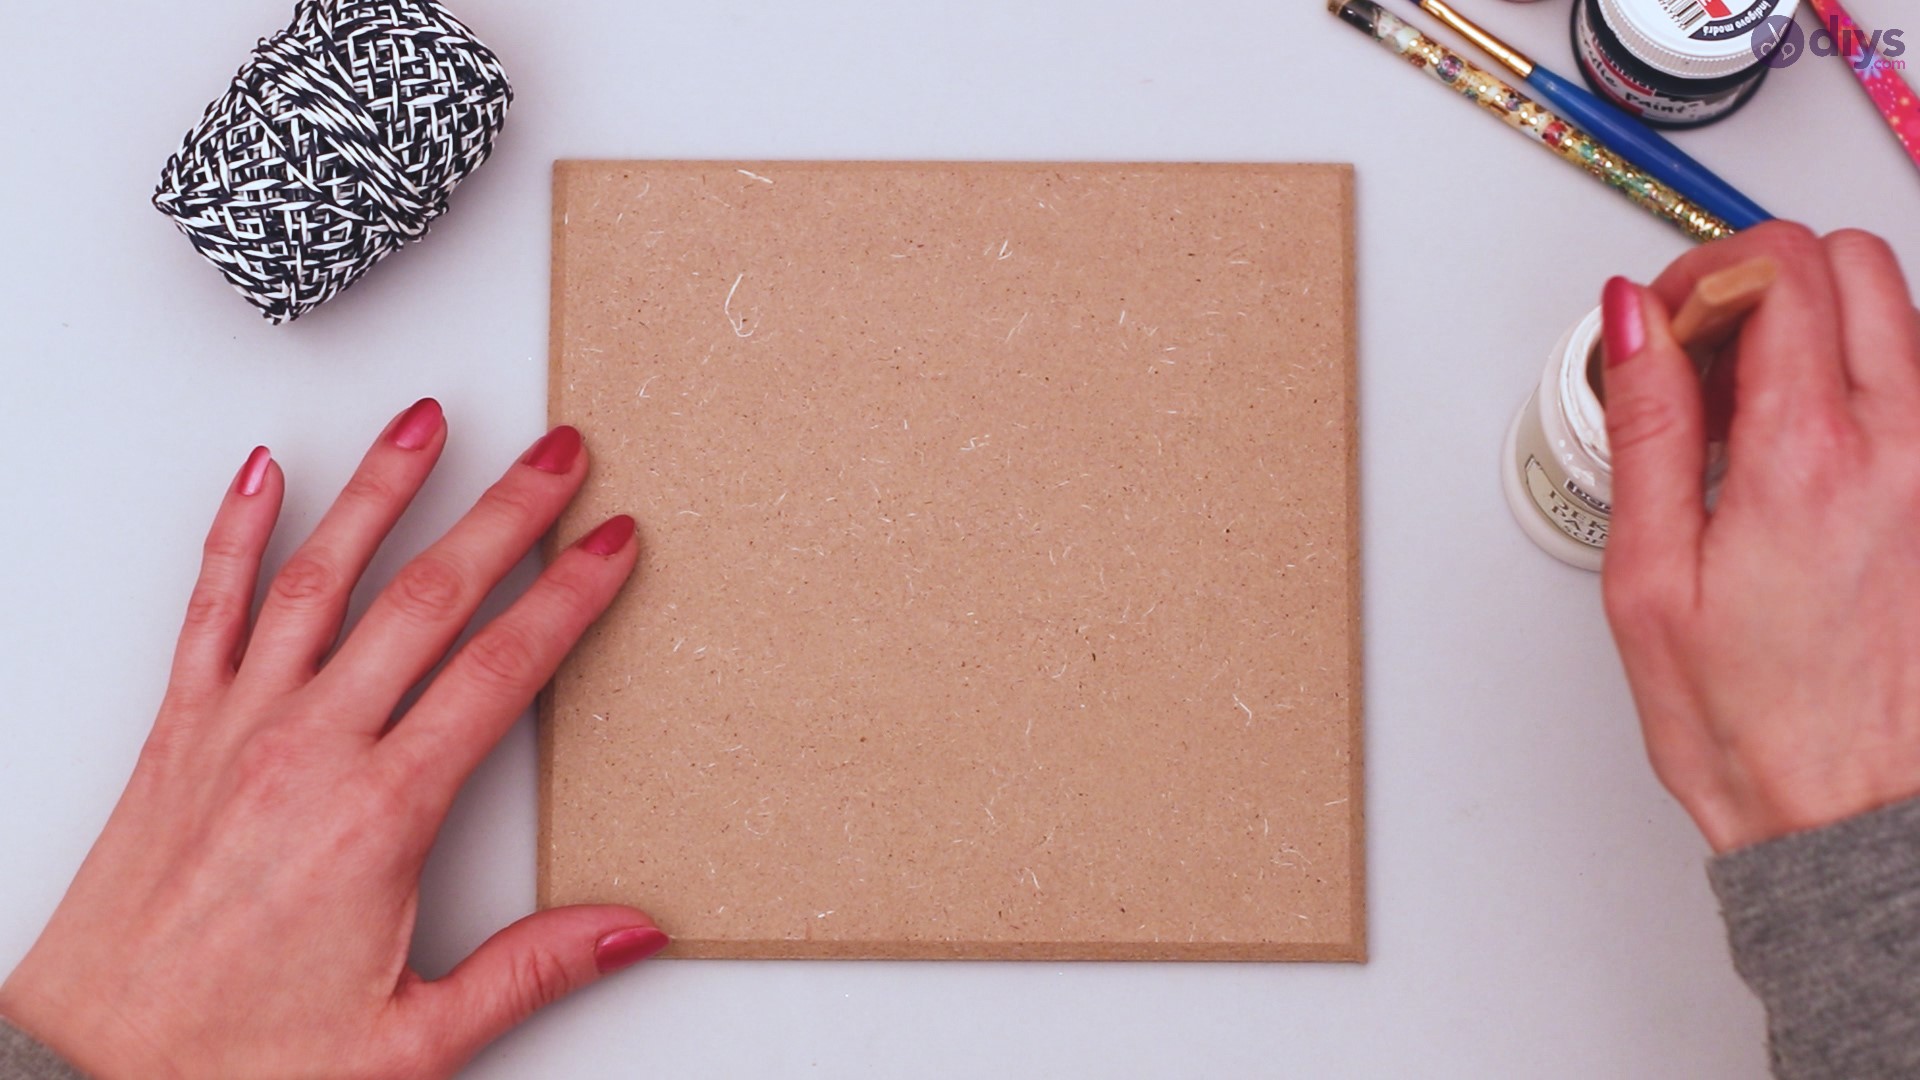
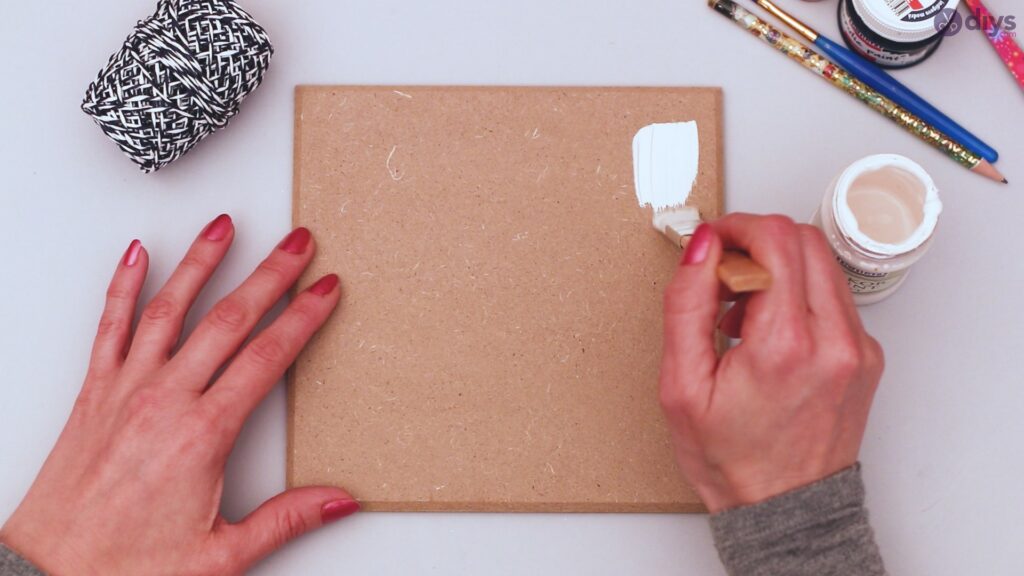
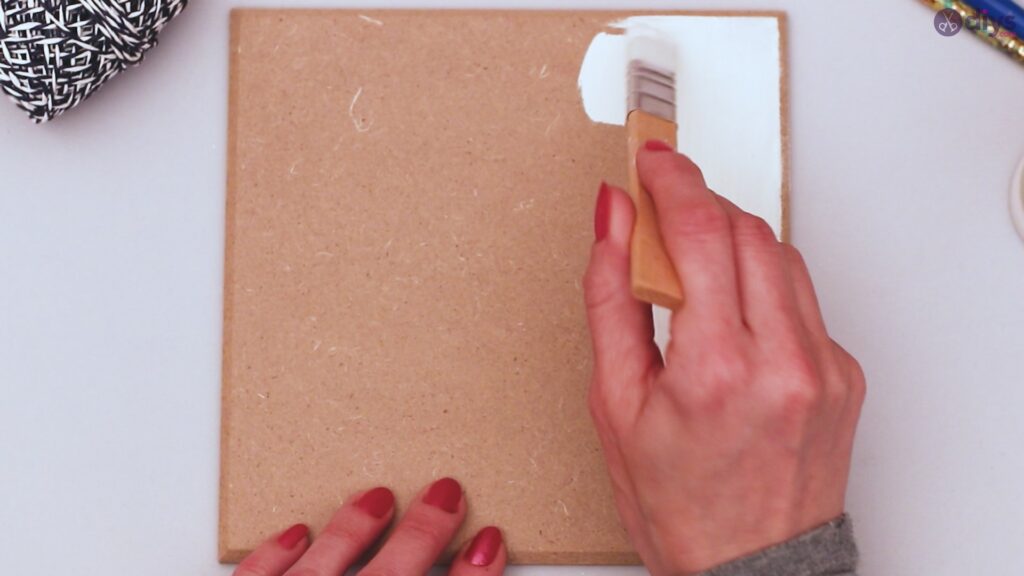
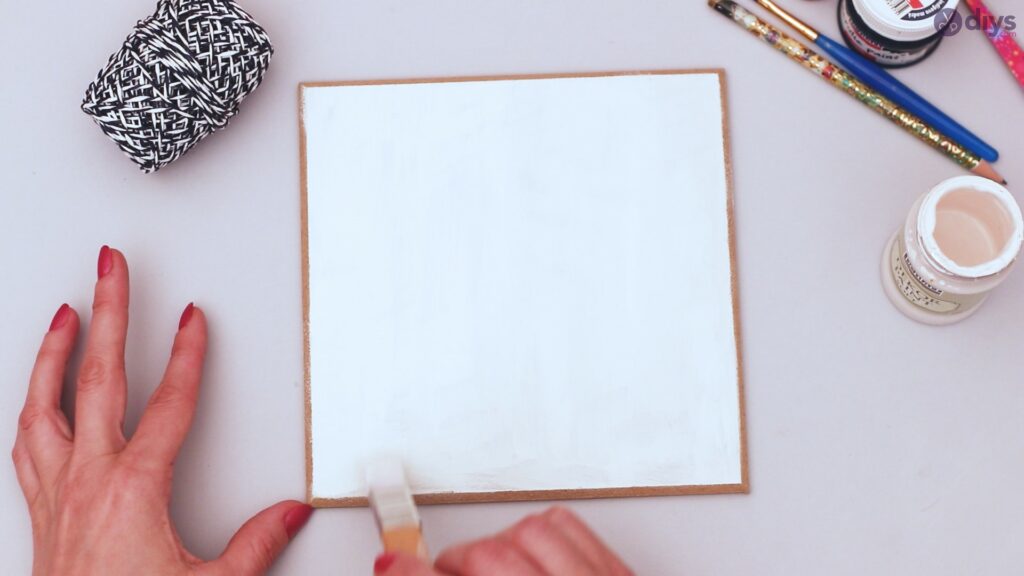
With your white acrylic paint, coat your tile using your paintbrush, using an even layer that fully covers the entire tile. This is usually easier and creates a flatter, more even look with a wider, flatter paintbrush, but any artist’s brush will do. Allow your paint to dry before continuing with the project.
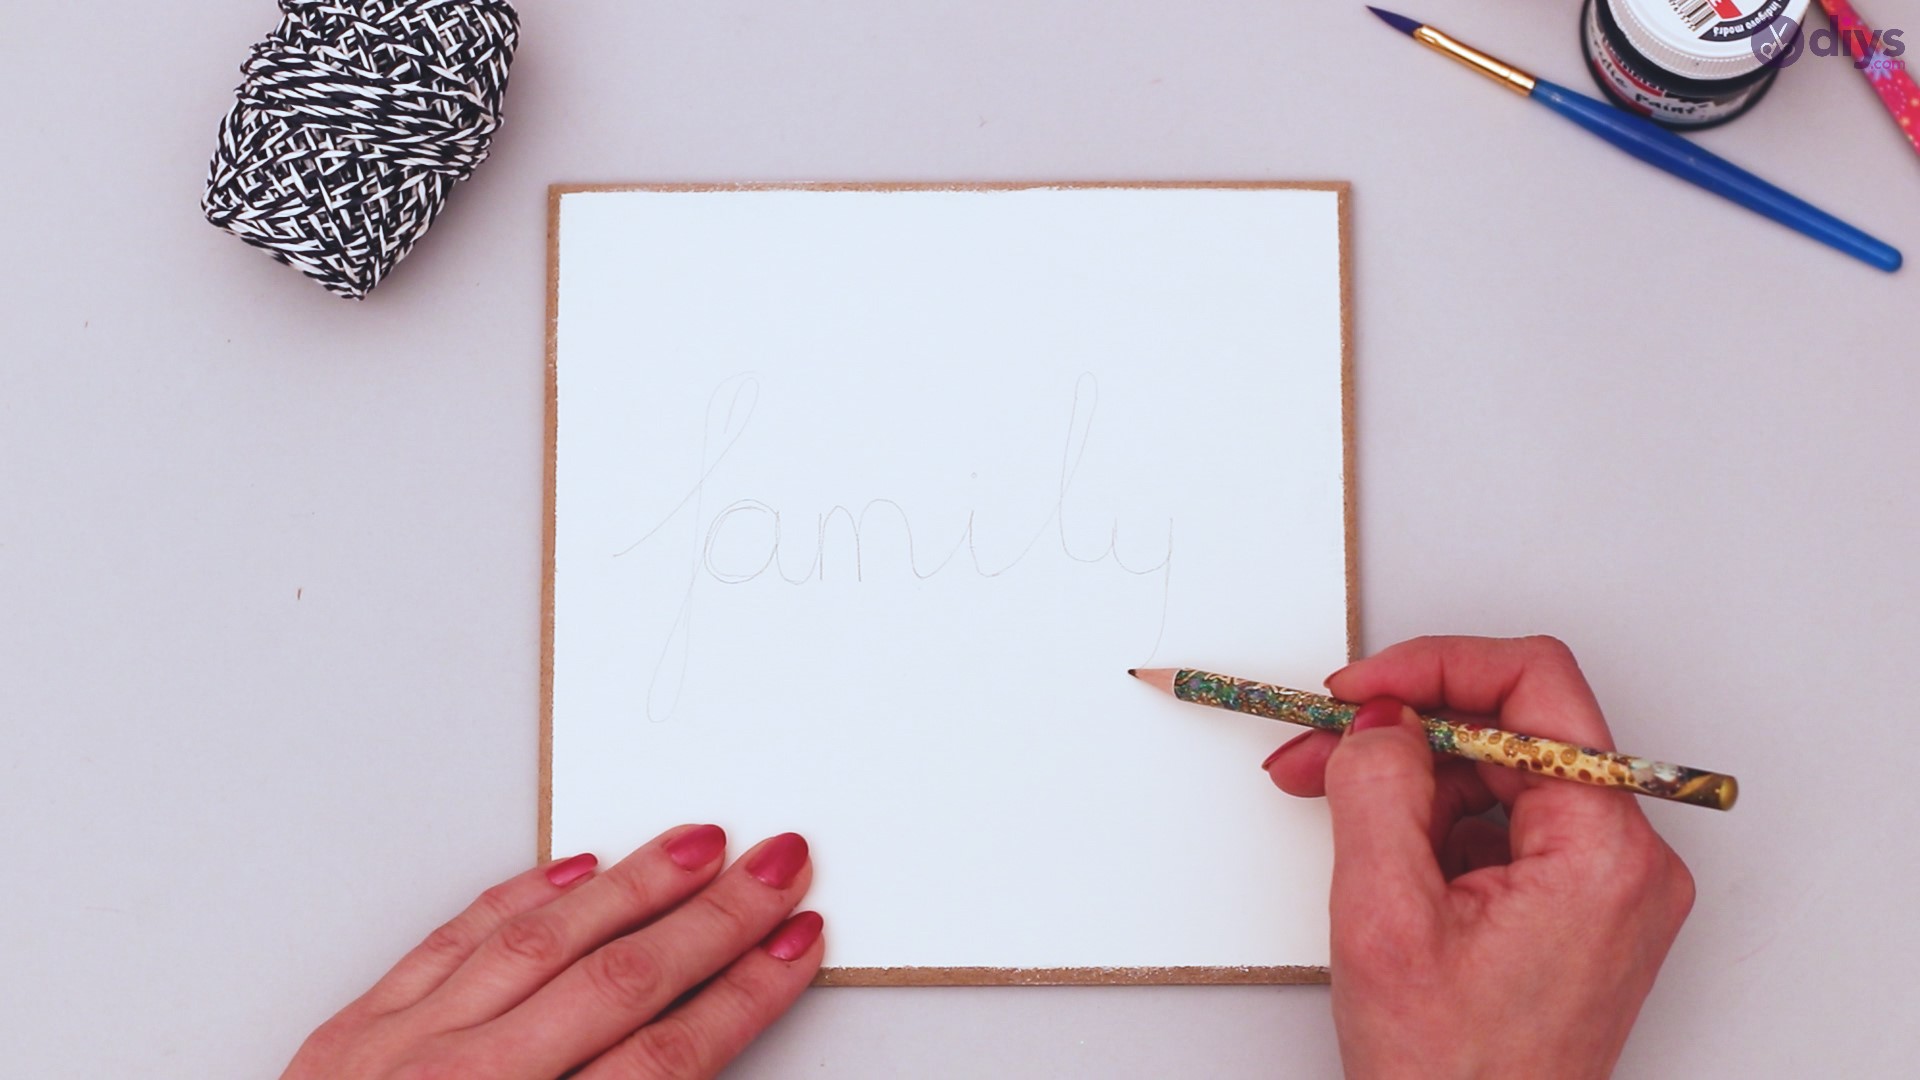
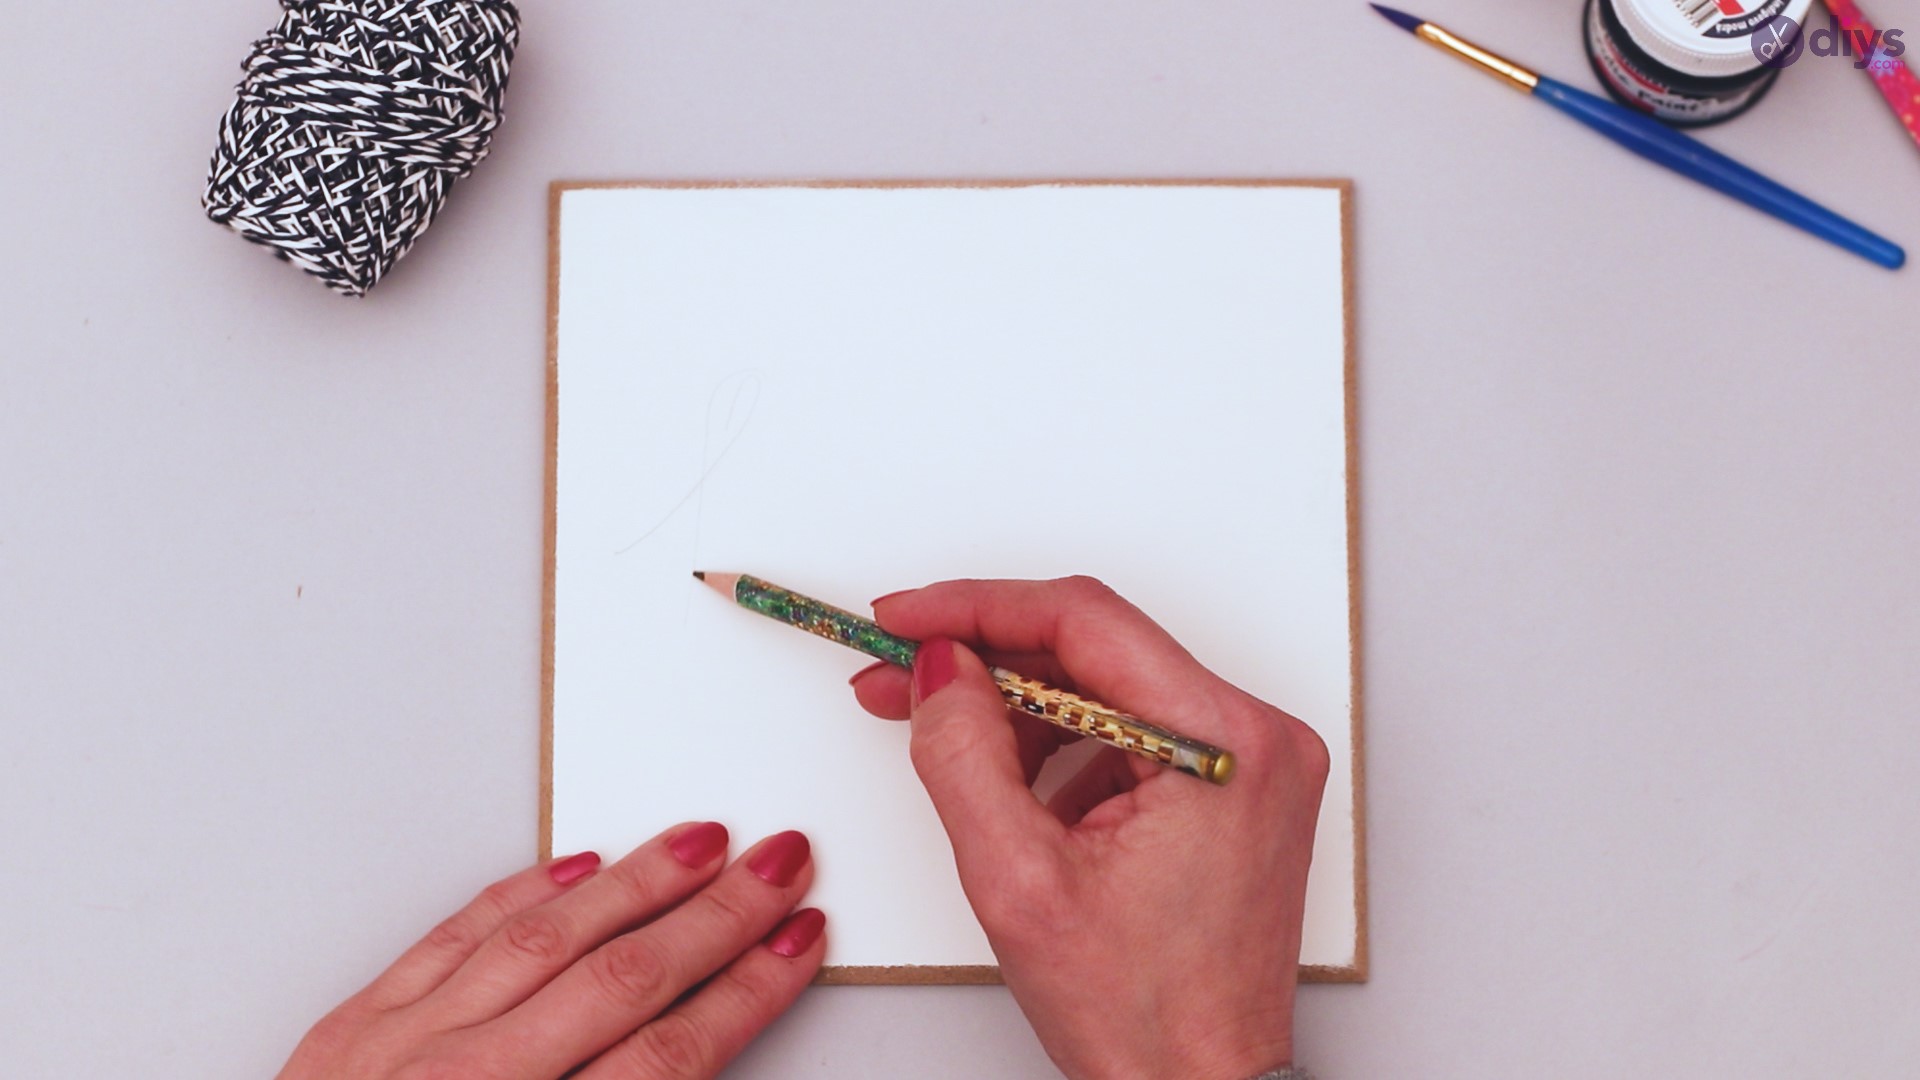
Step 2: Draw your design
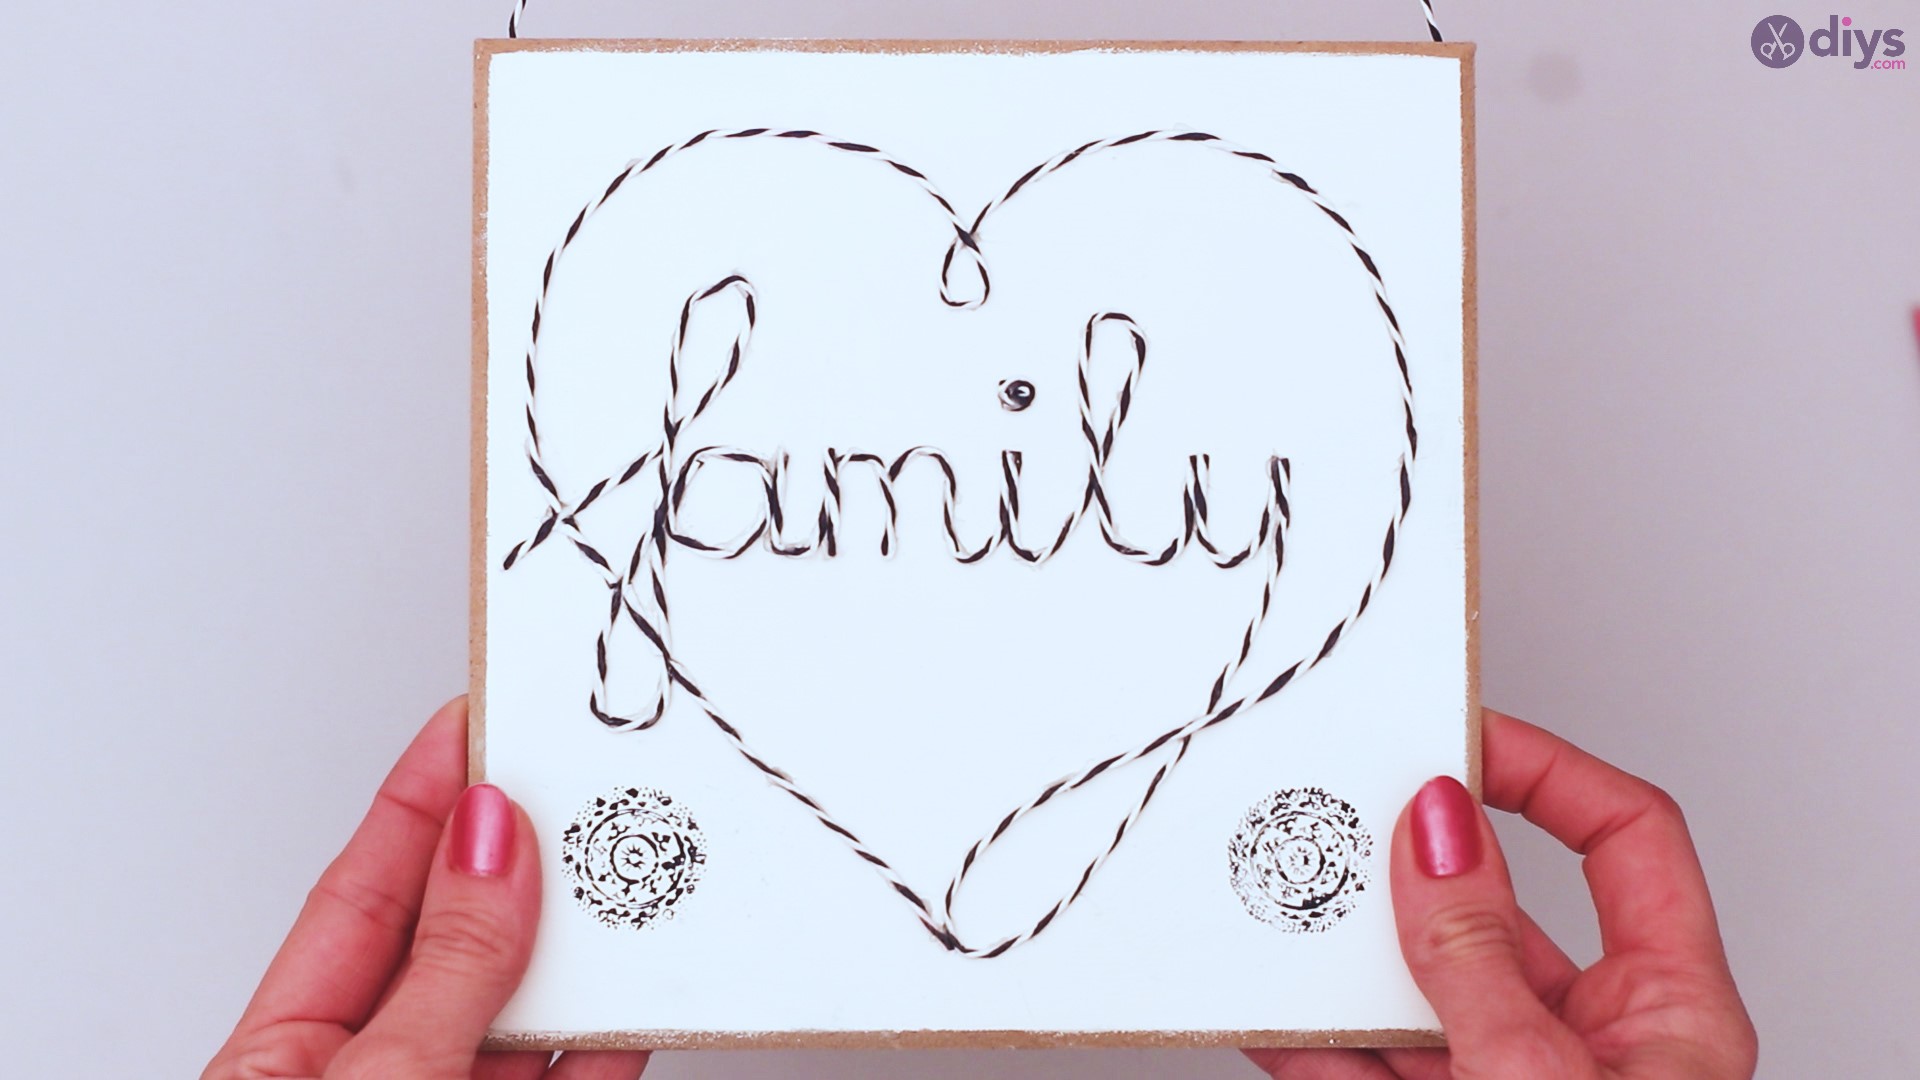
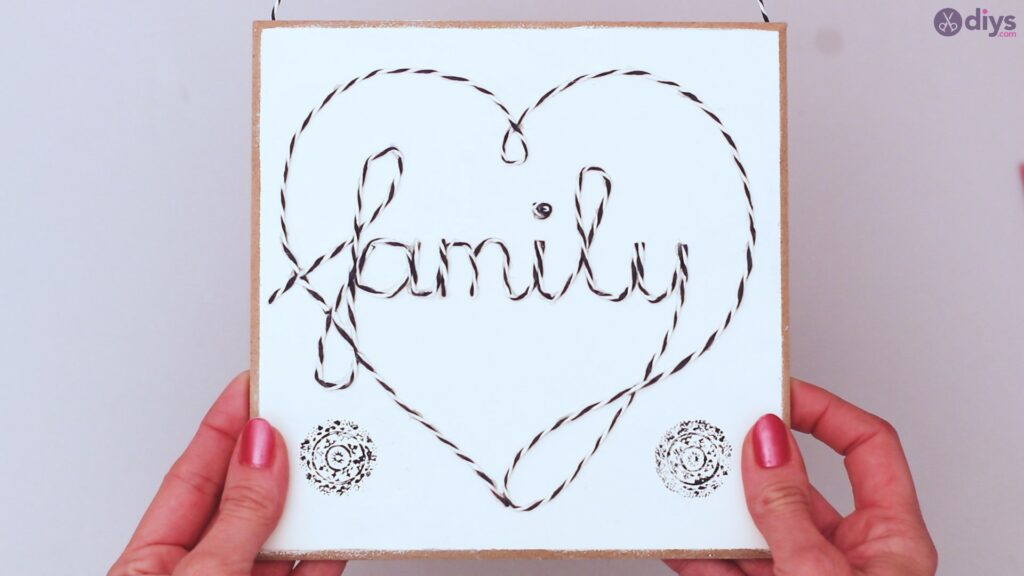
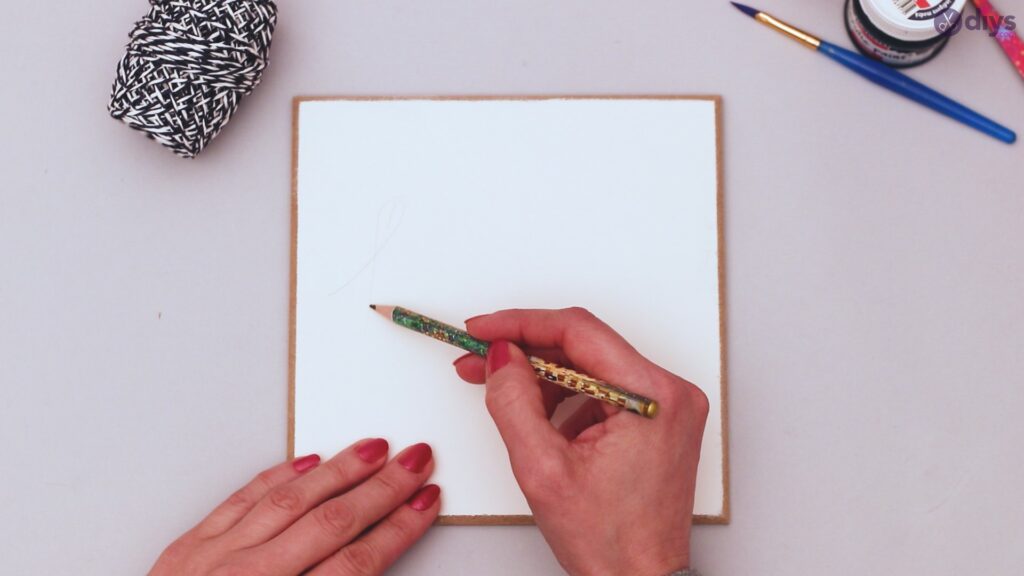
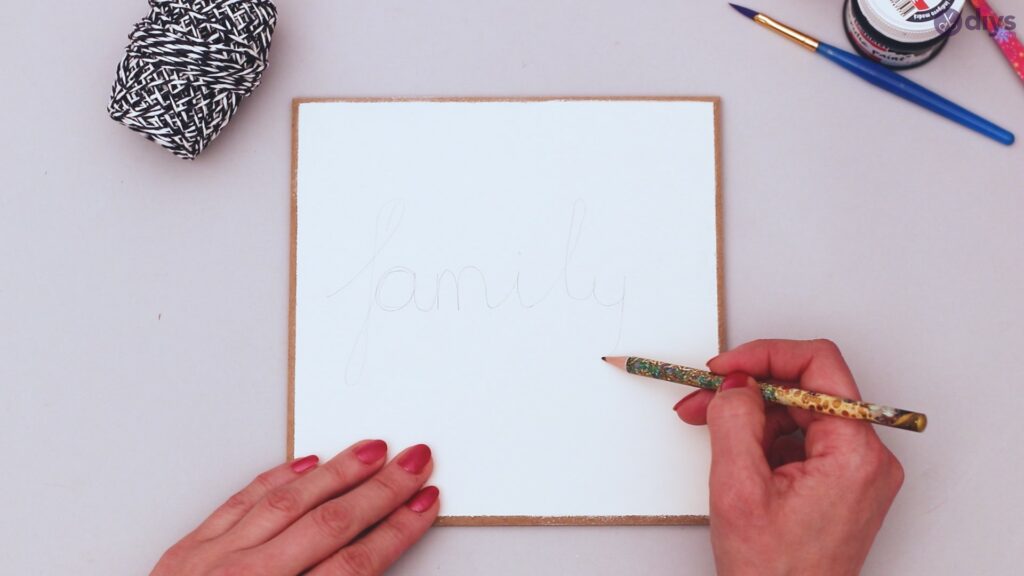
Everyone has different ideas of the art project they want to complete. In some cases, there is a particular word or phrase that means something to you. In other examples, you may have a specific design or picture you want to express. Either way, when the white paint has dried, take your pencil and trace out exactly what you want to make. If you aren’t incredibly artistic, you can use a stencil of some kind. For our purposes, we’re going to design a tile with the word ‘family’ as its central theme.
If there are additional elements you wish to include, this is the time to draw out those parts of your picture as well. Using pencil allows you to erase and correct areas where you aren’t satisfied and wish to make revisions.
Step 3: Start your twine
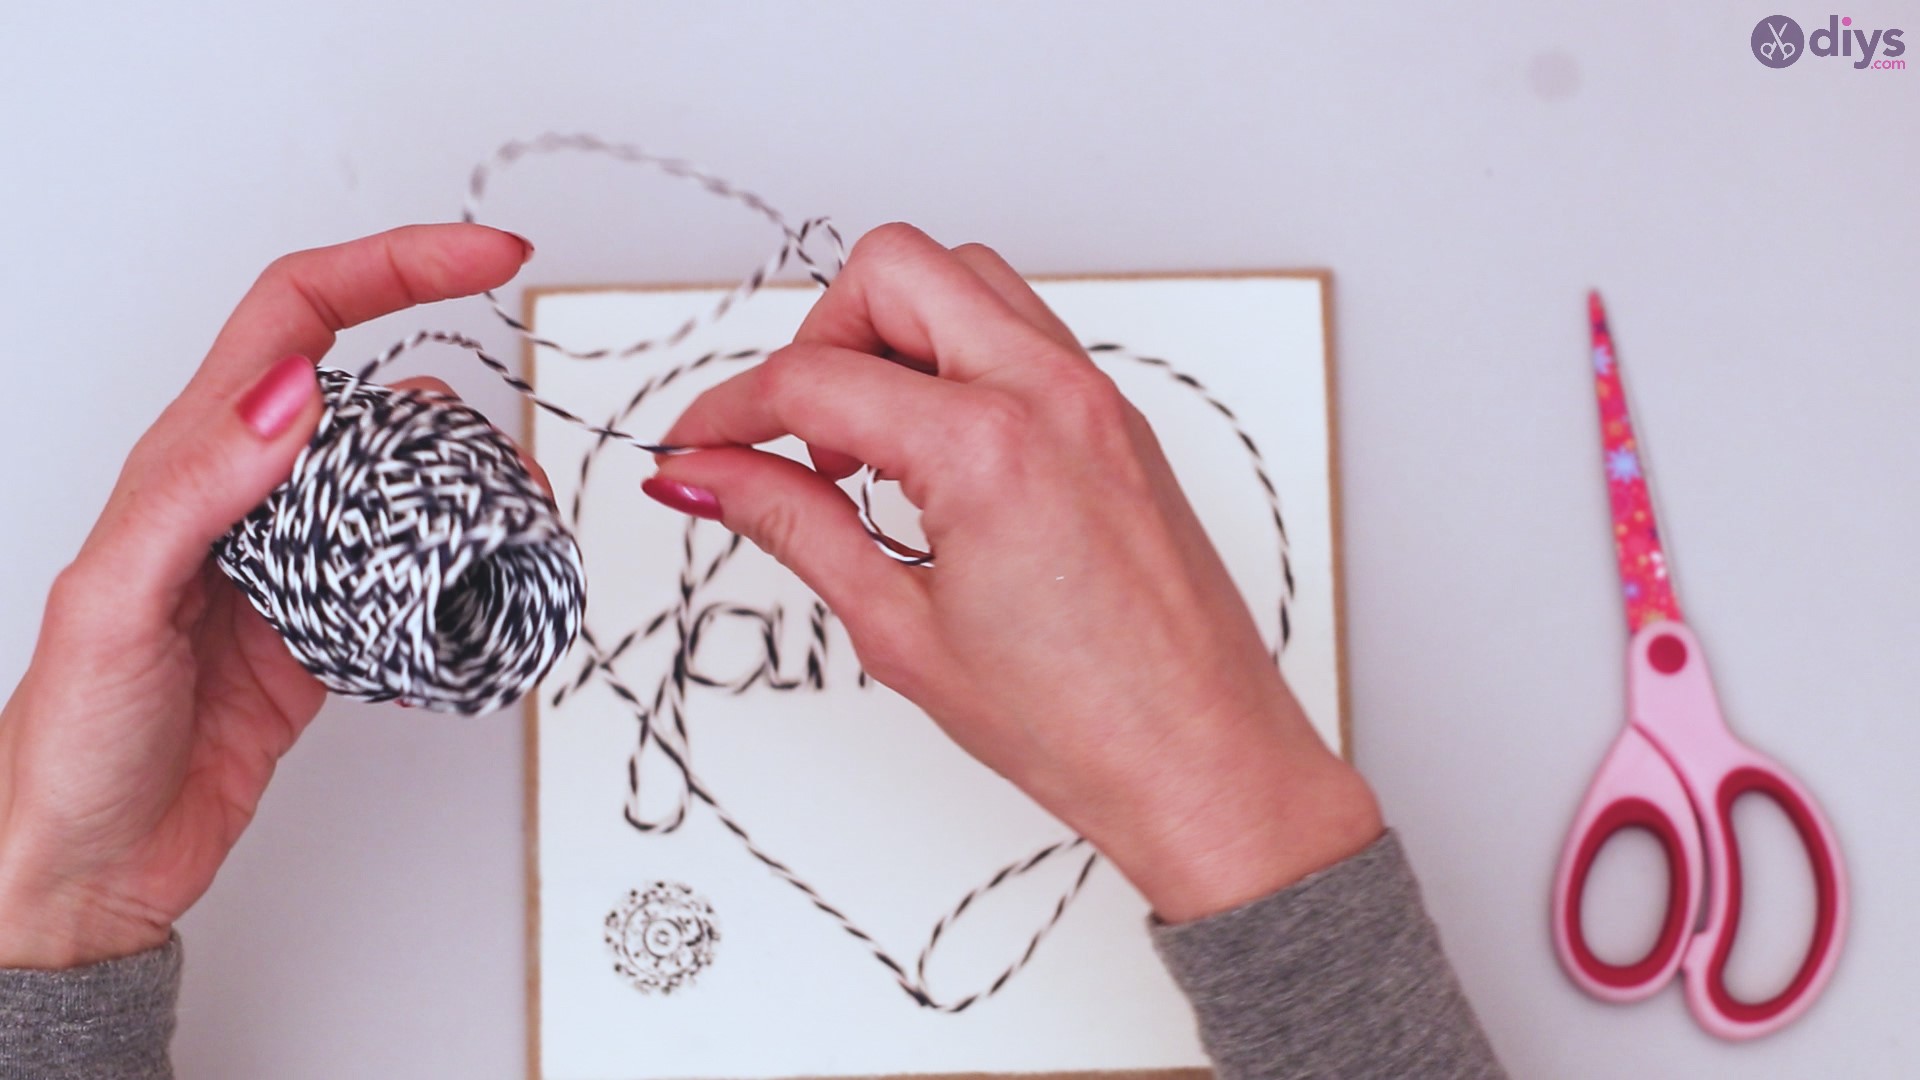
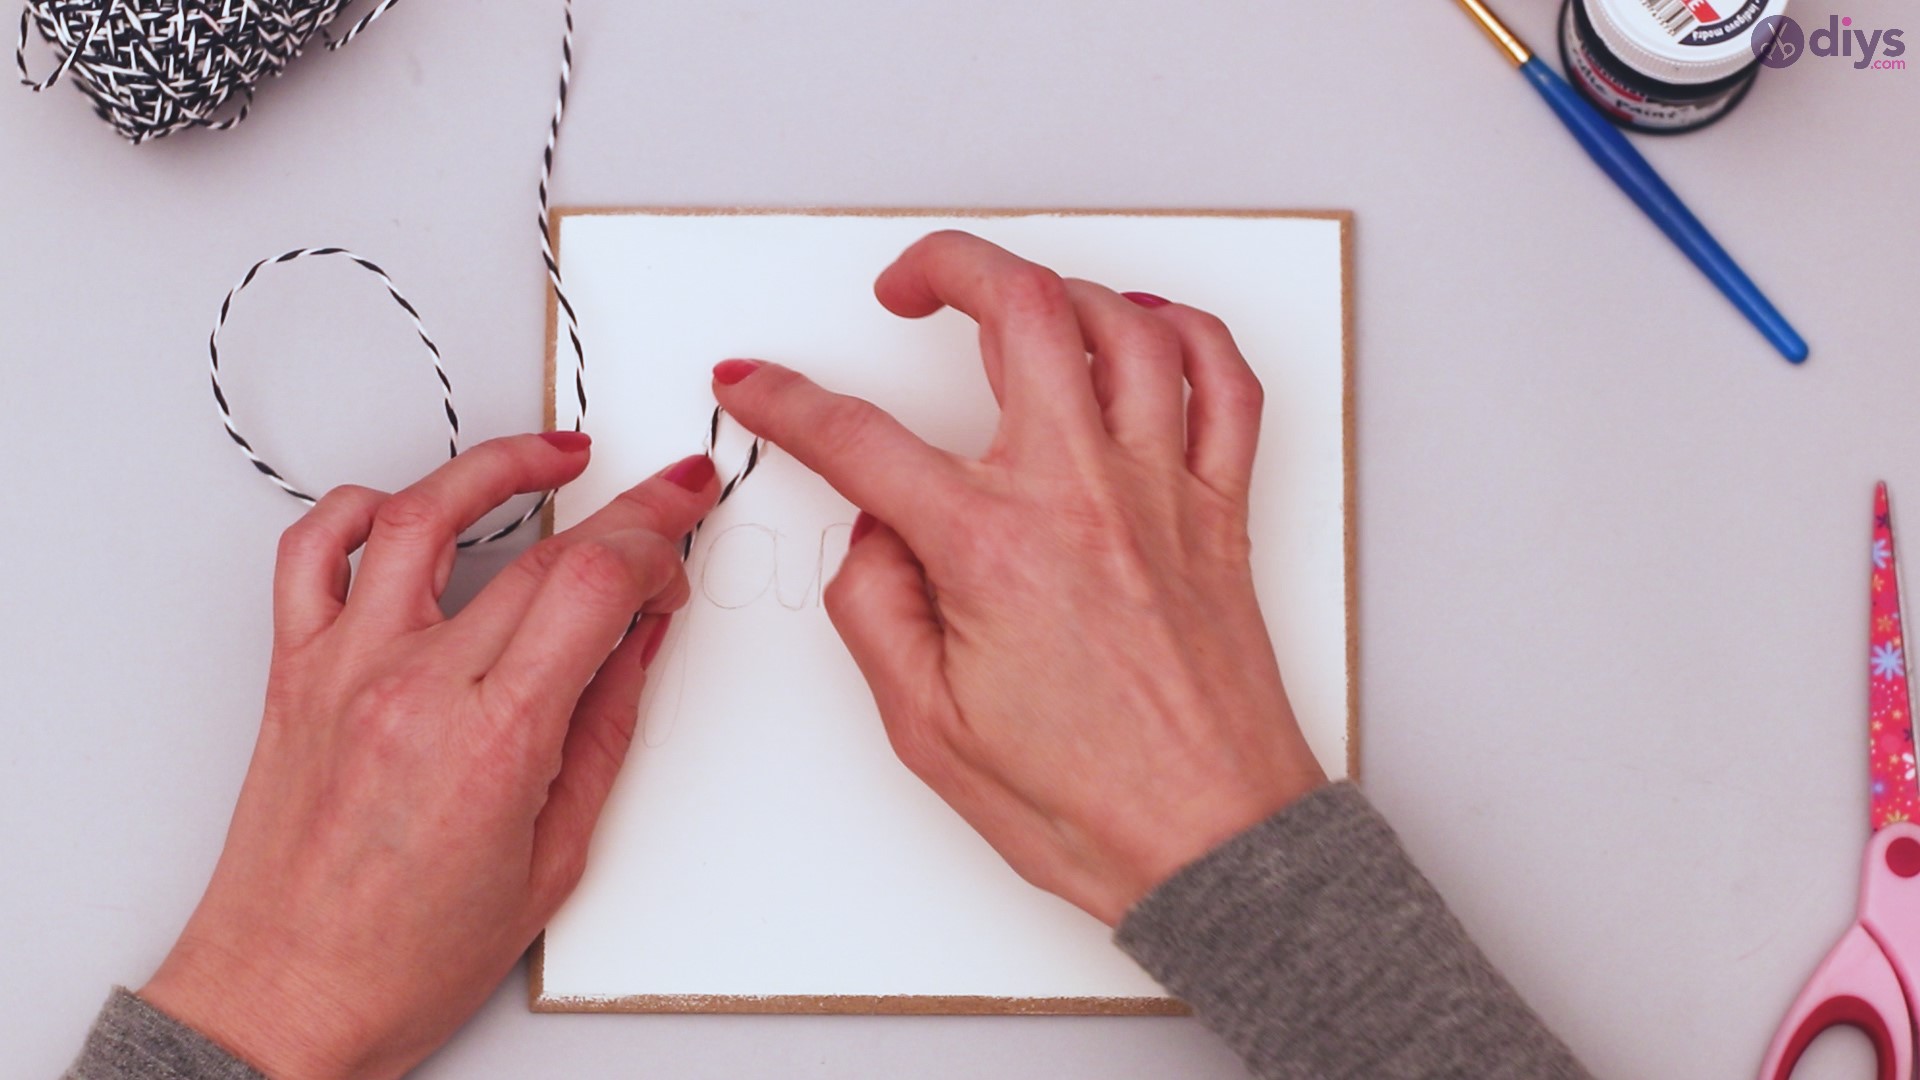
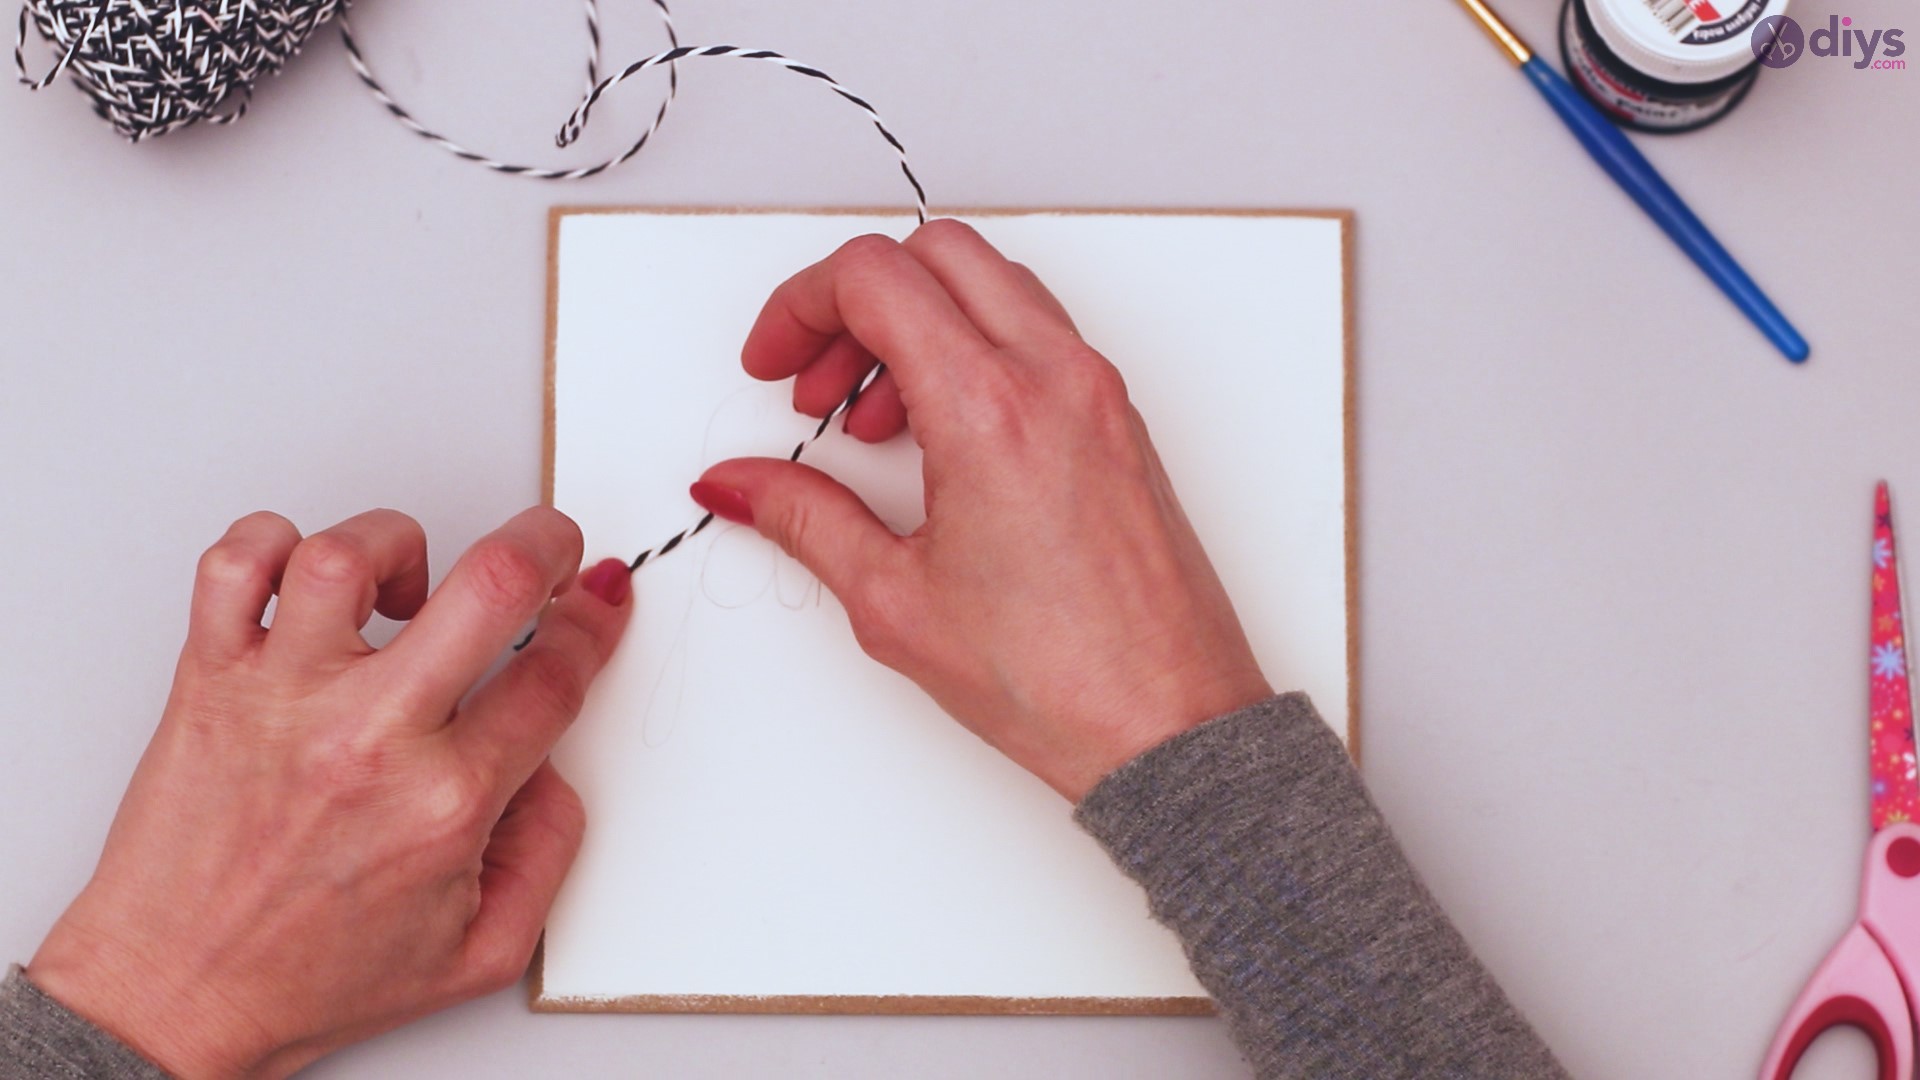
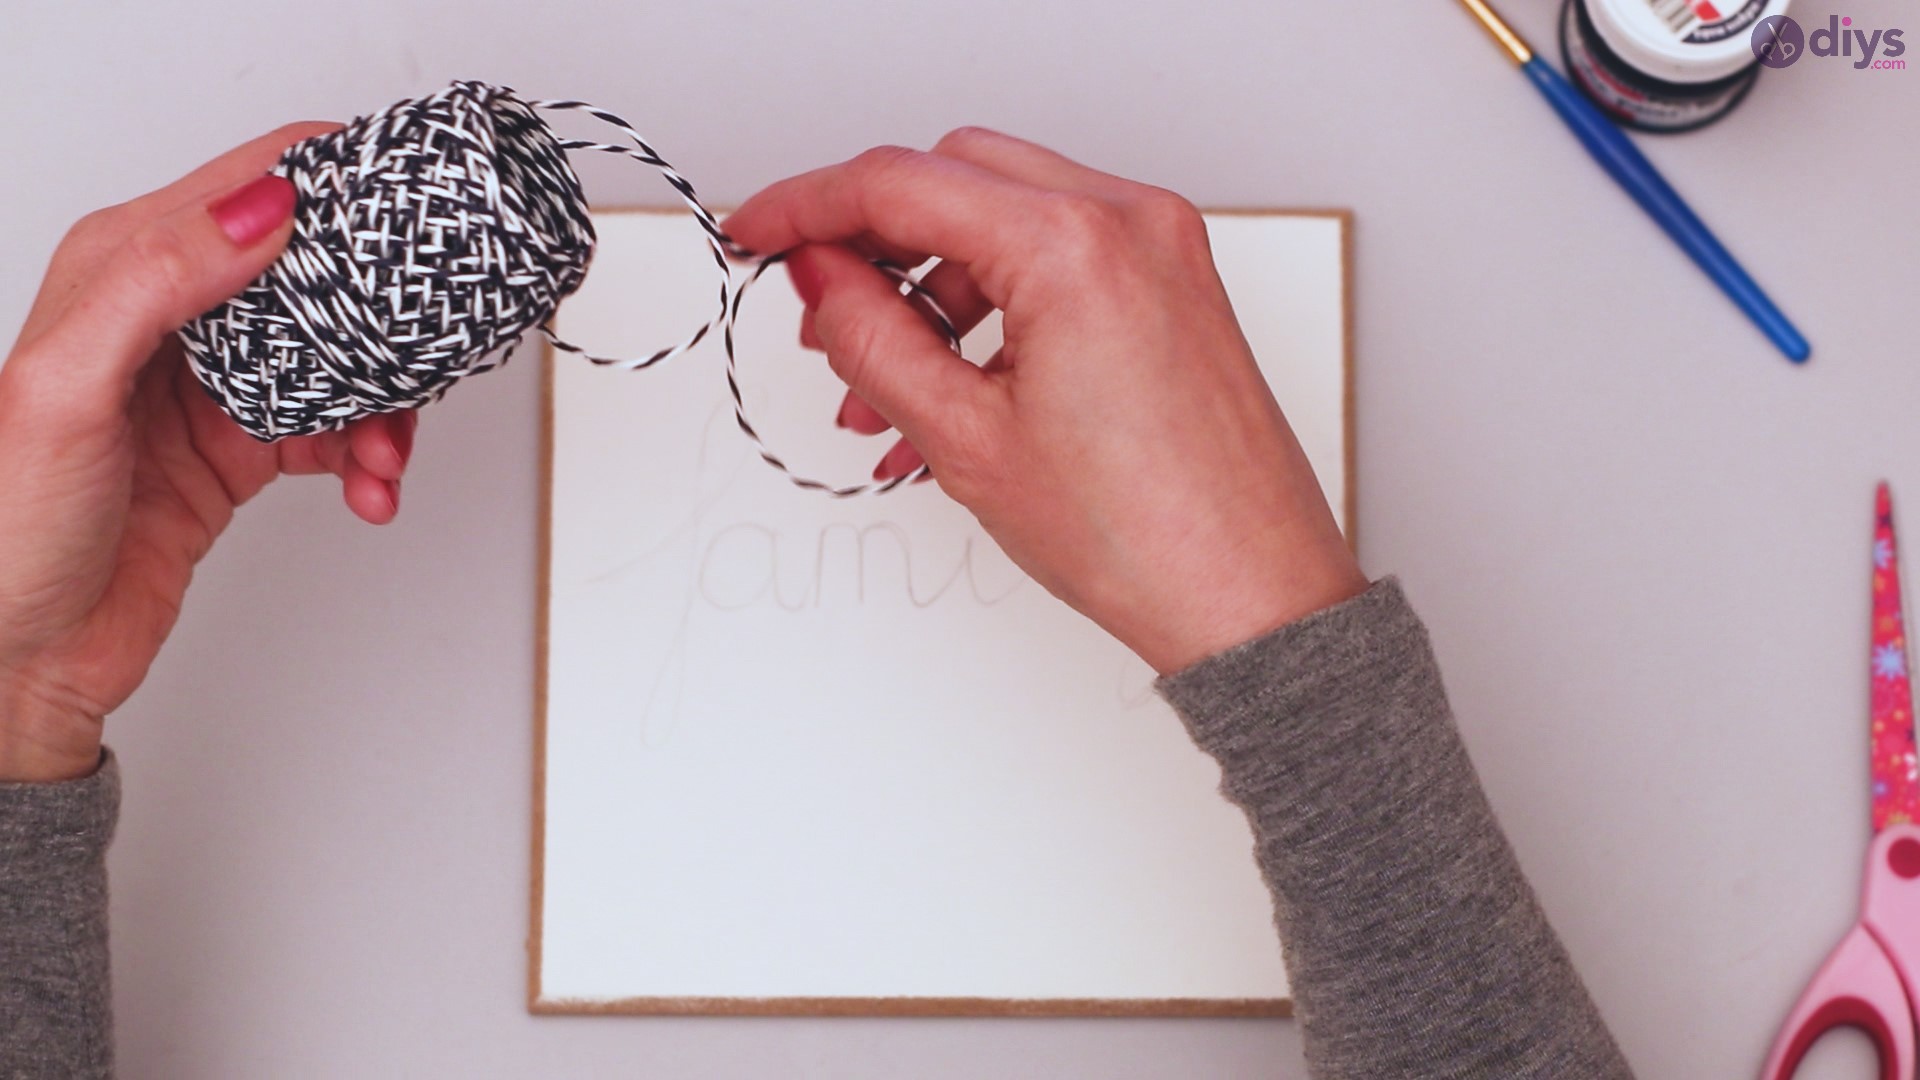
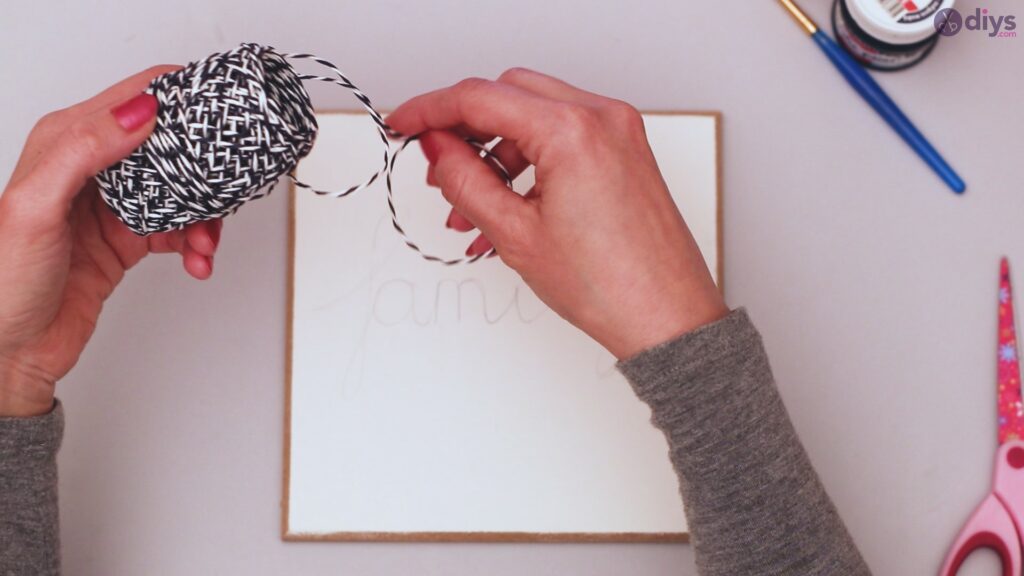
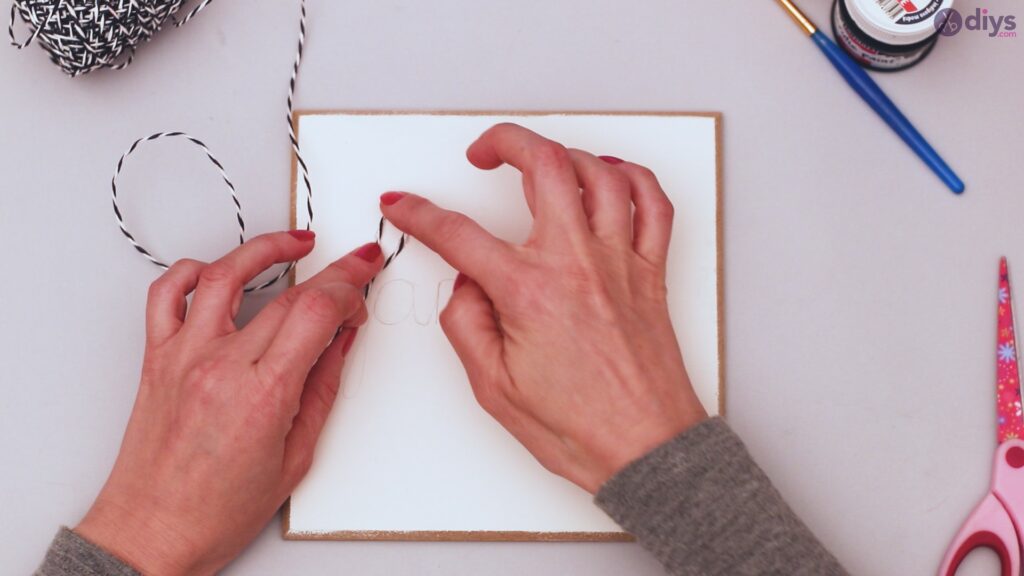
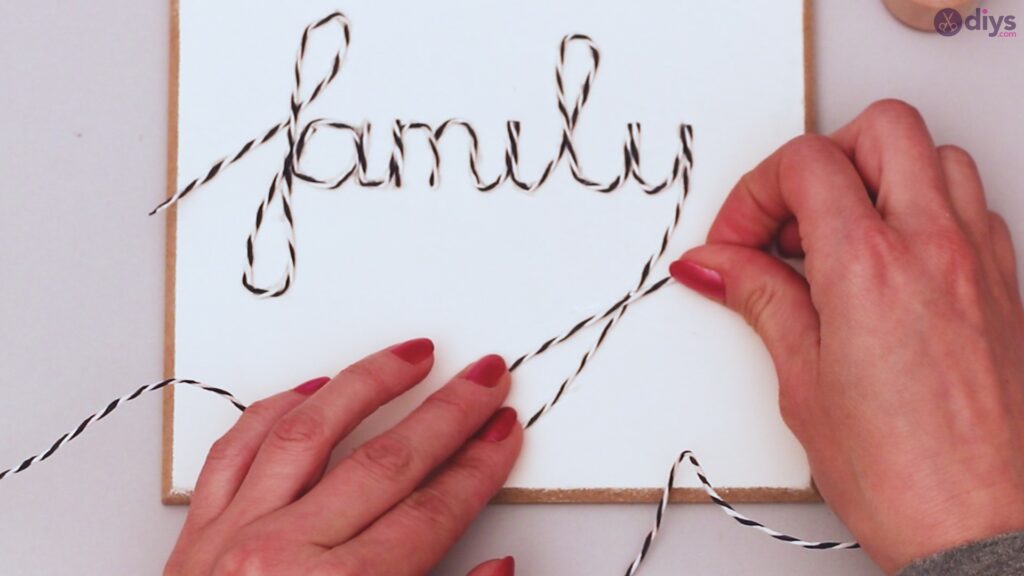
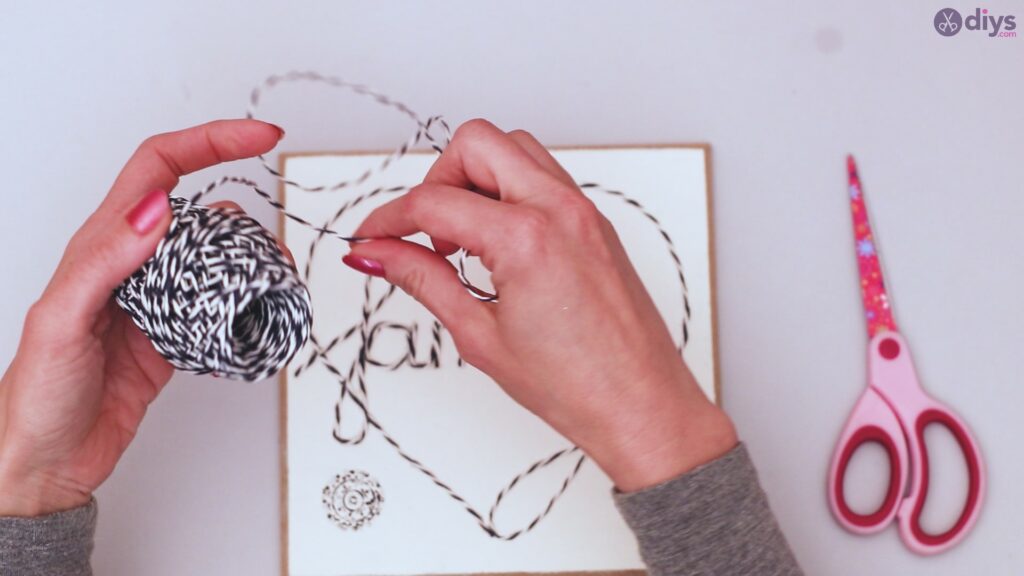
Pull loose the twine or yarn you’ve chosen so that it’s ready to use. Make sure your twine is loose enough to continue to roll out easily or that you’ve provided yourself an adequate length to complete the element you’re working on. You want this easily accessible, since you’ll want one continuous strand to complete the entire picture or word you drew out with your pencil.
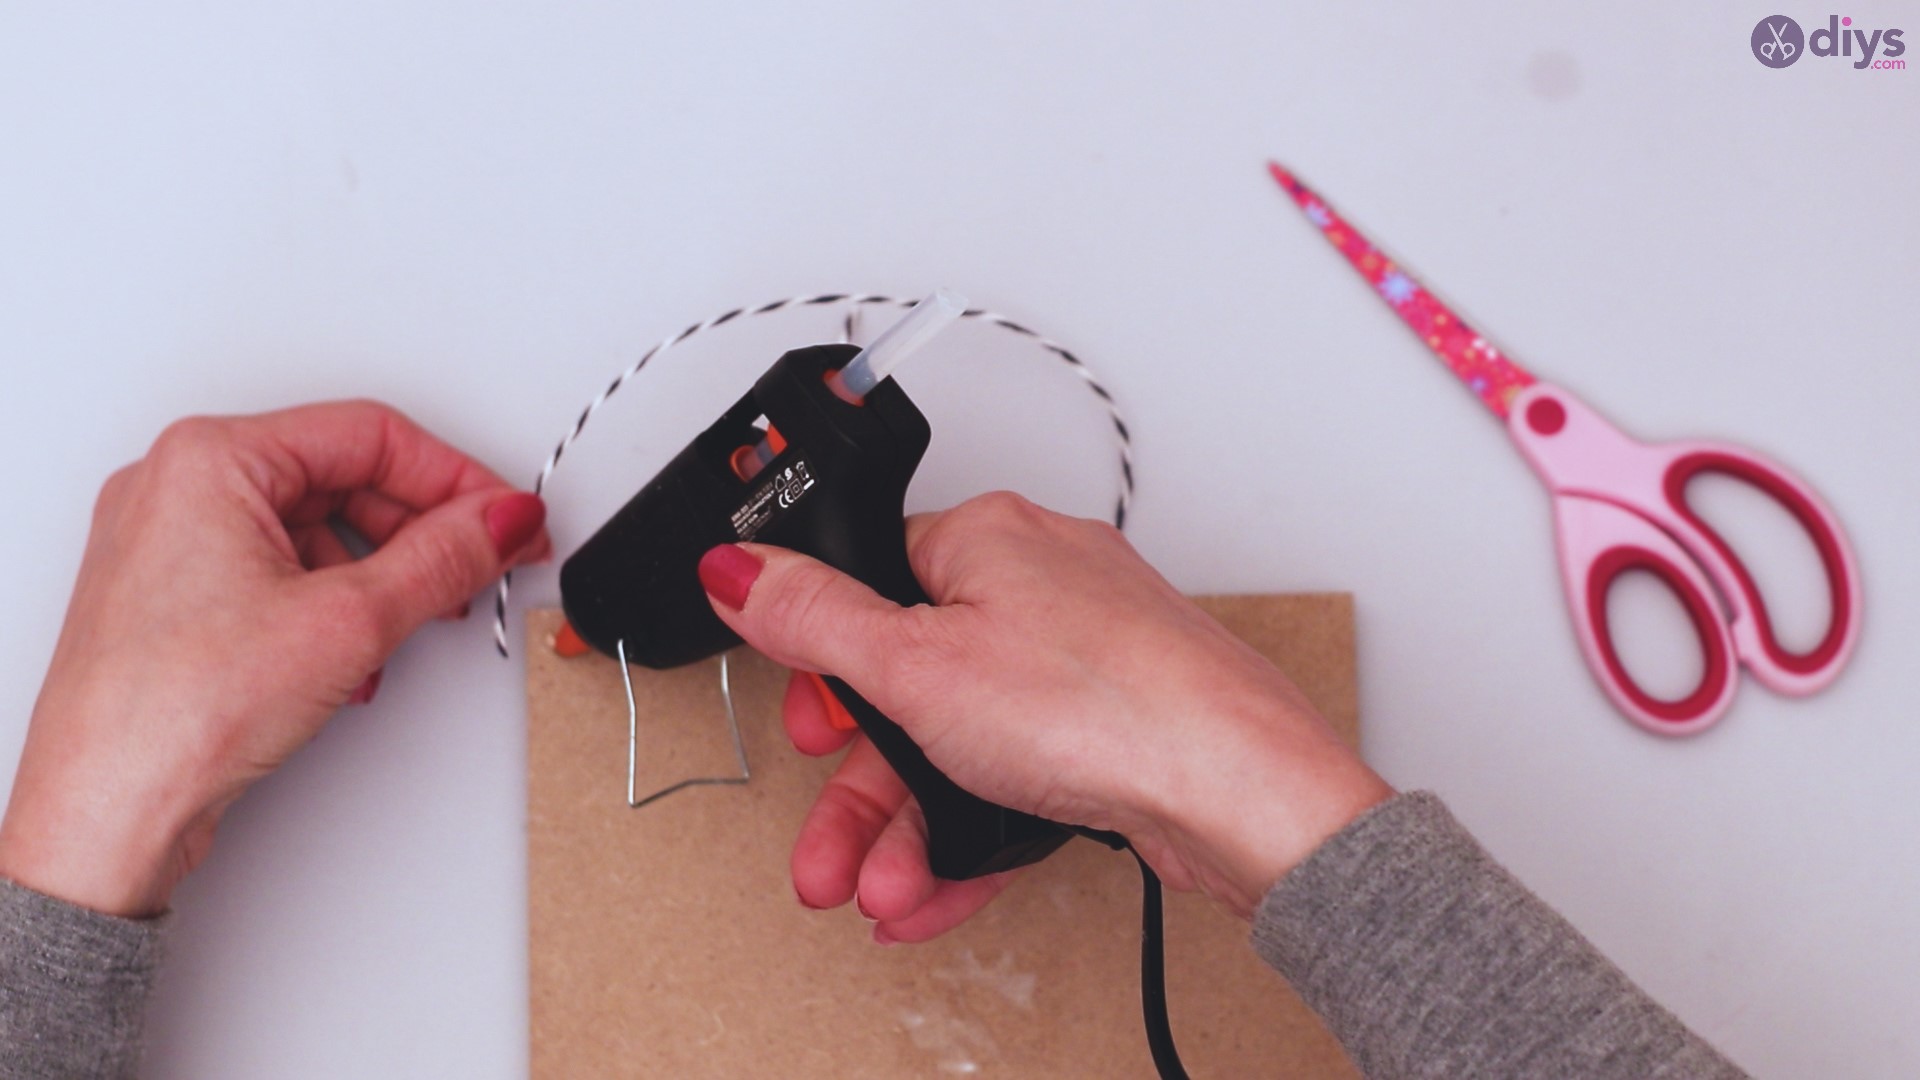
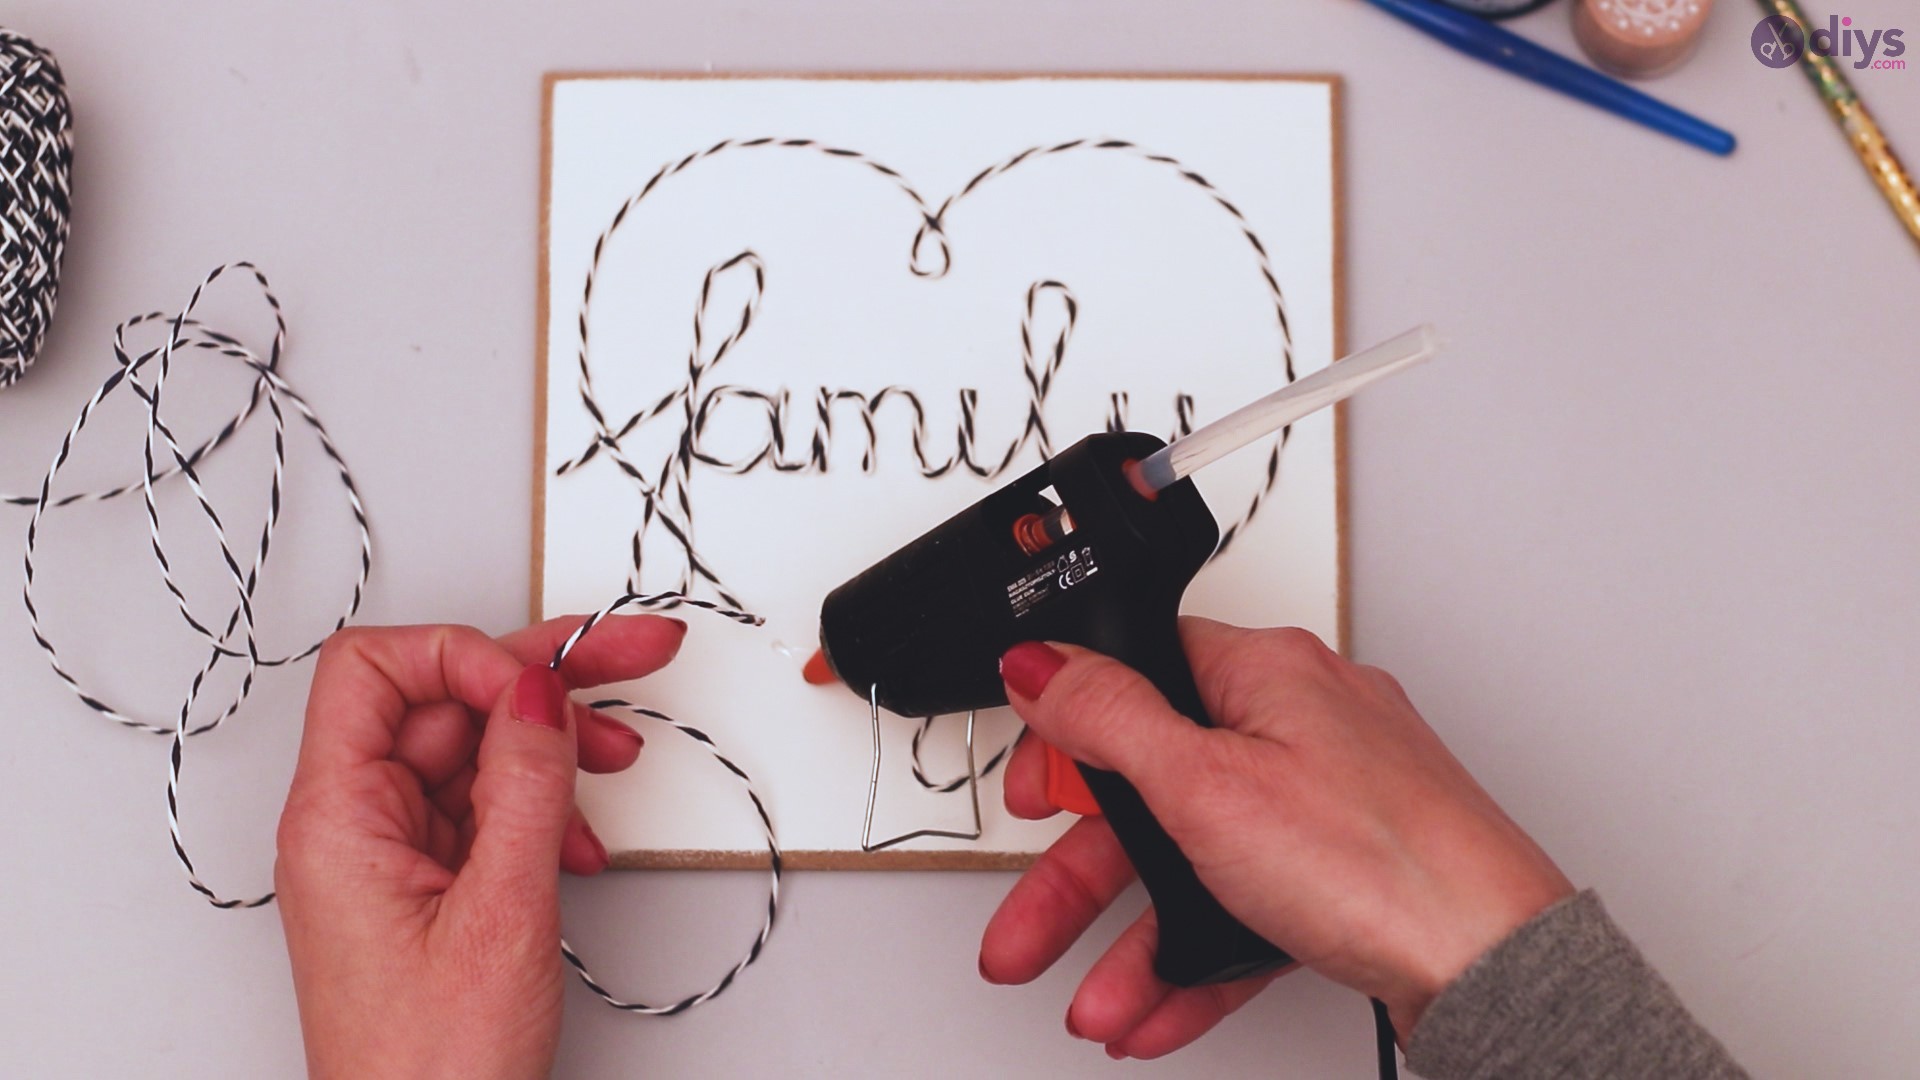
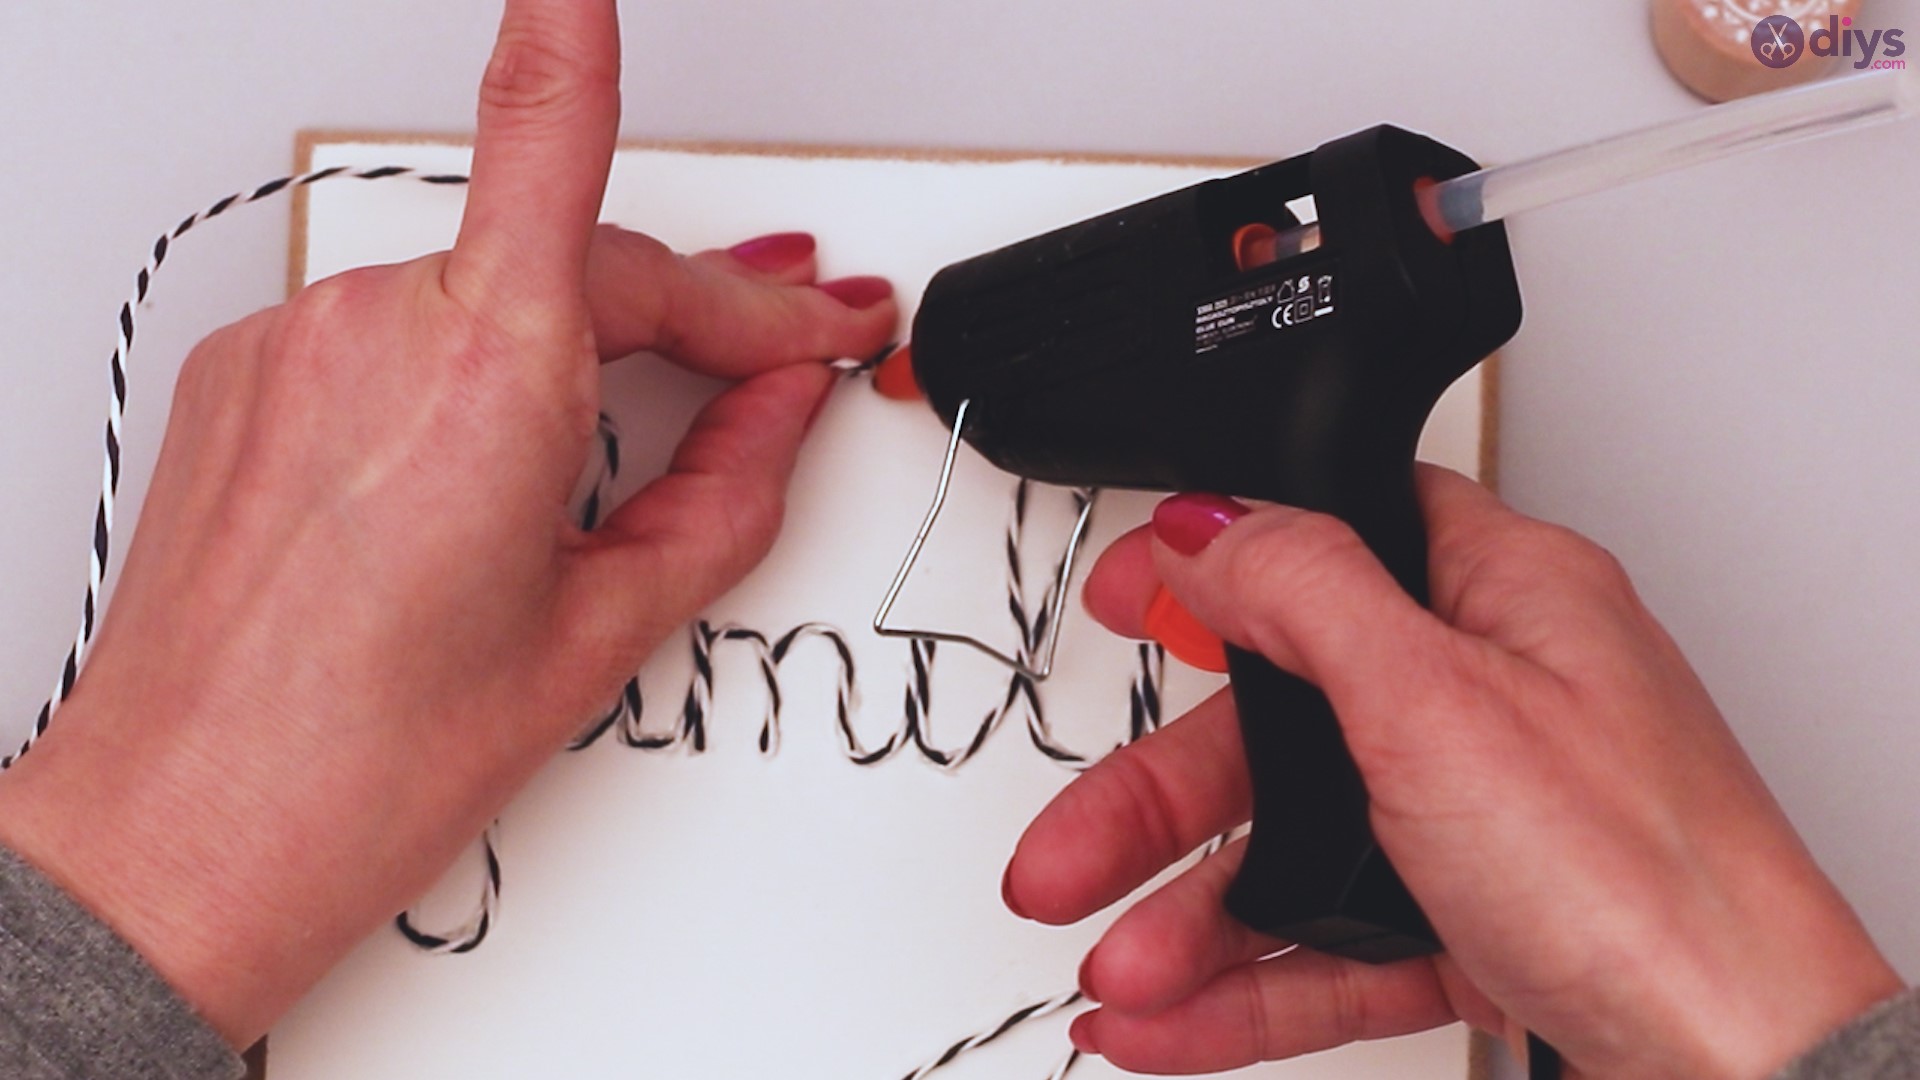
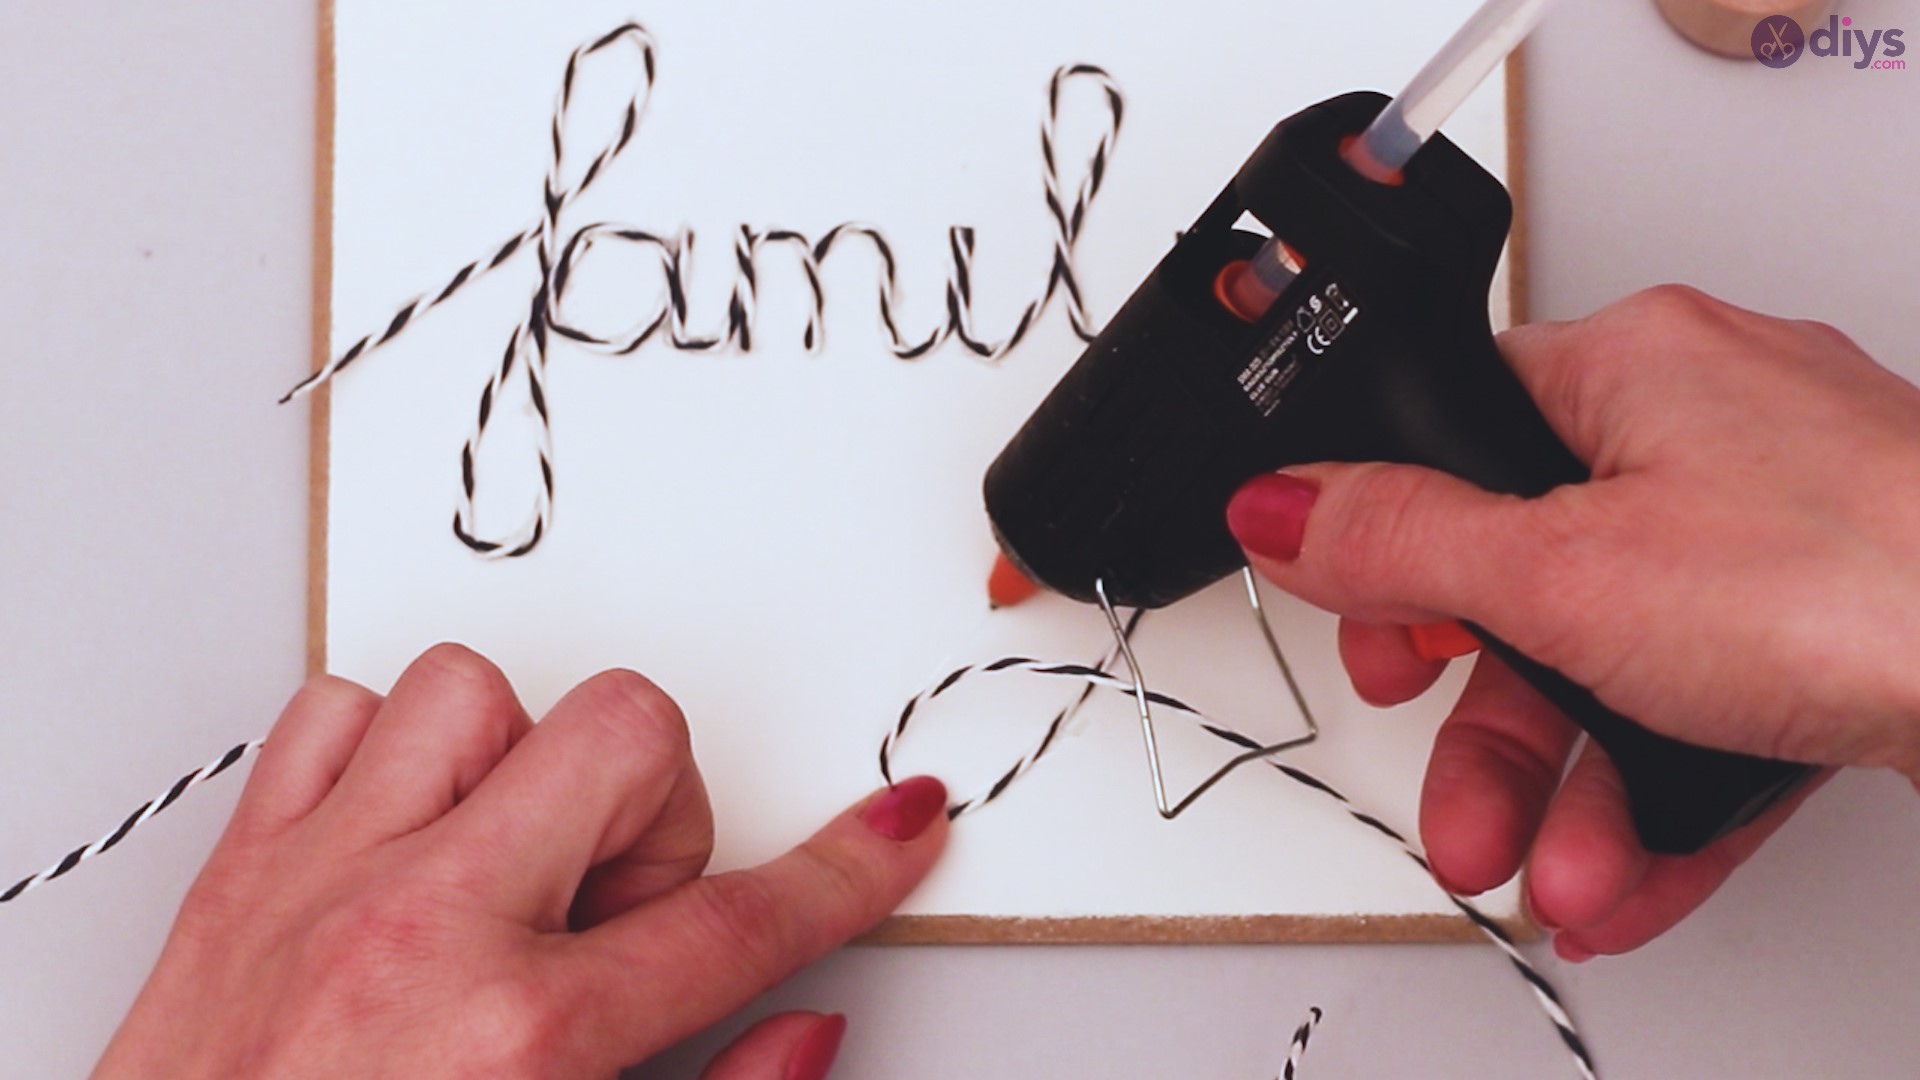
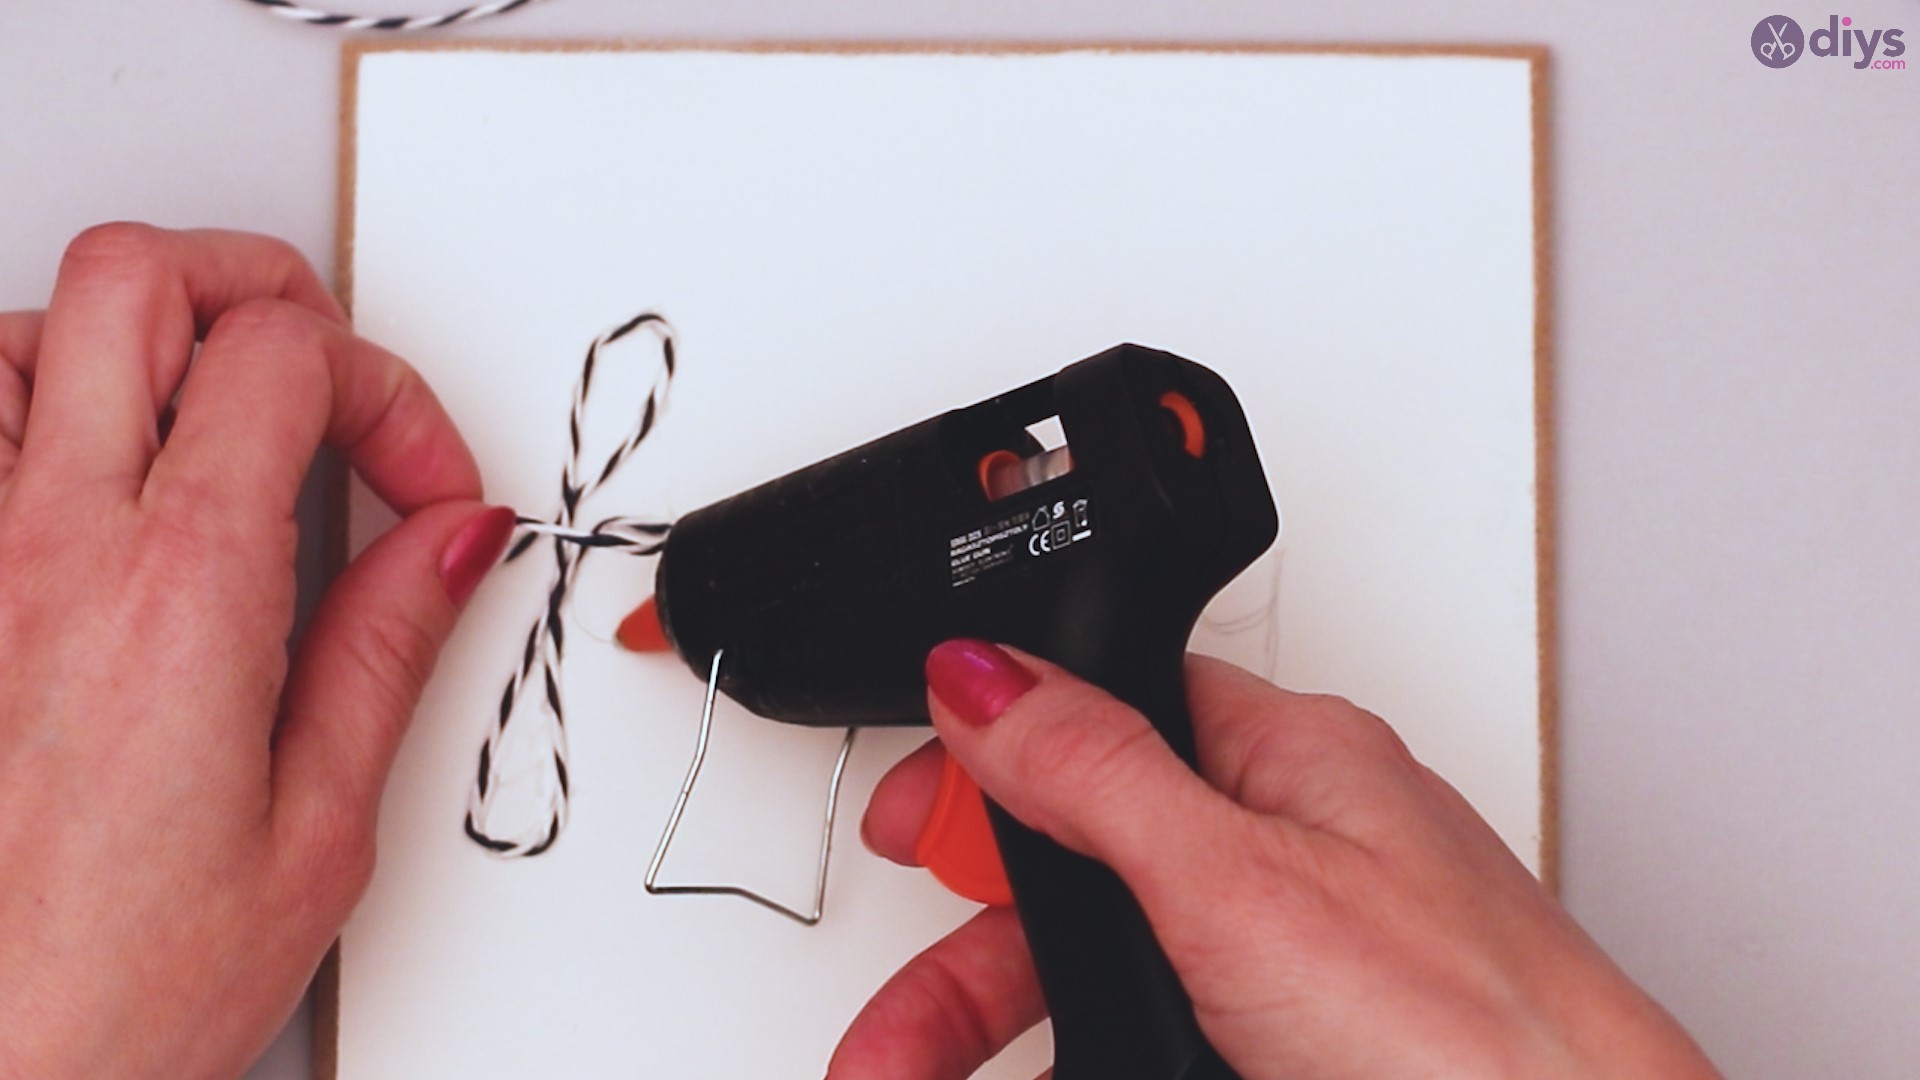
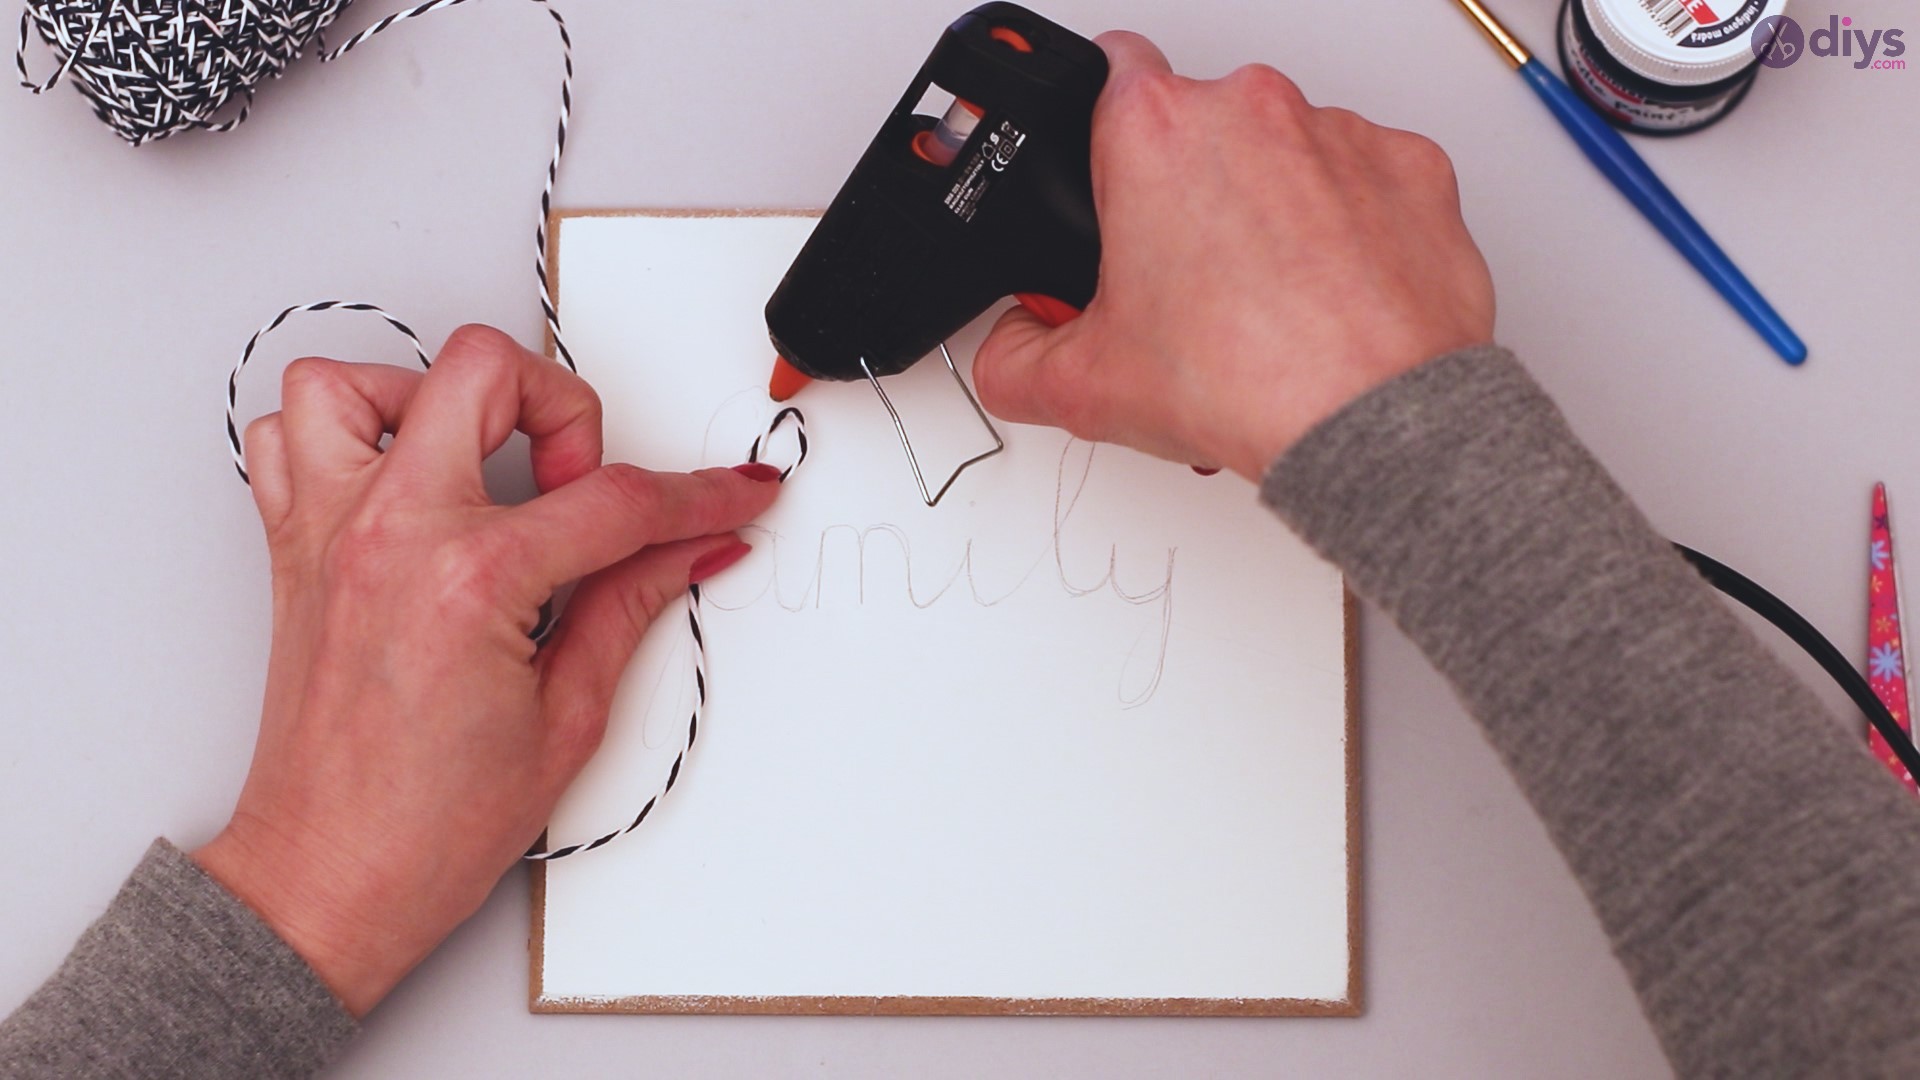
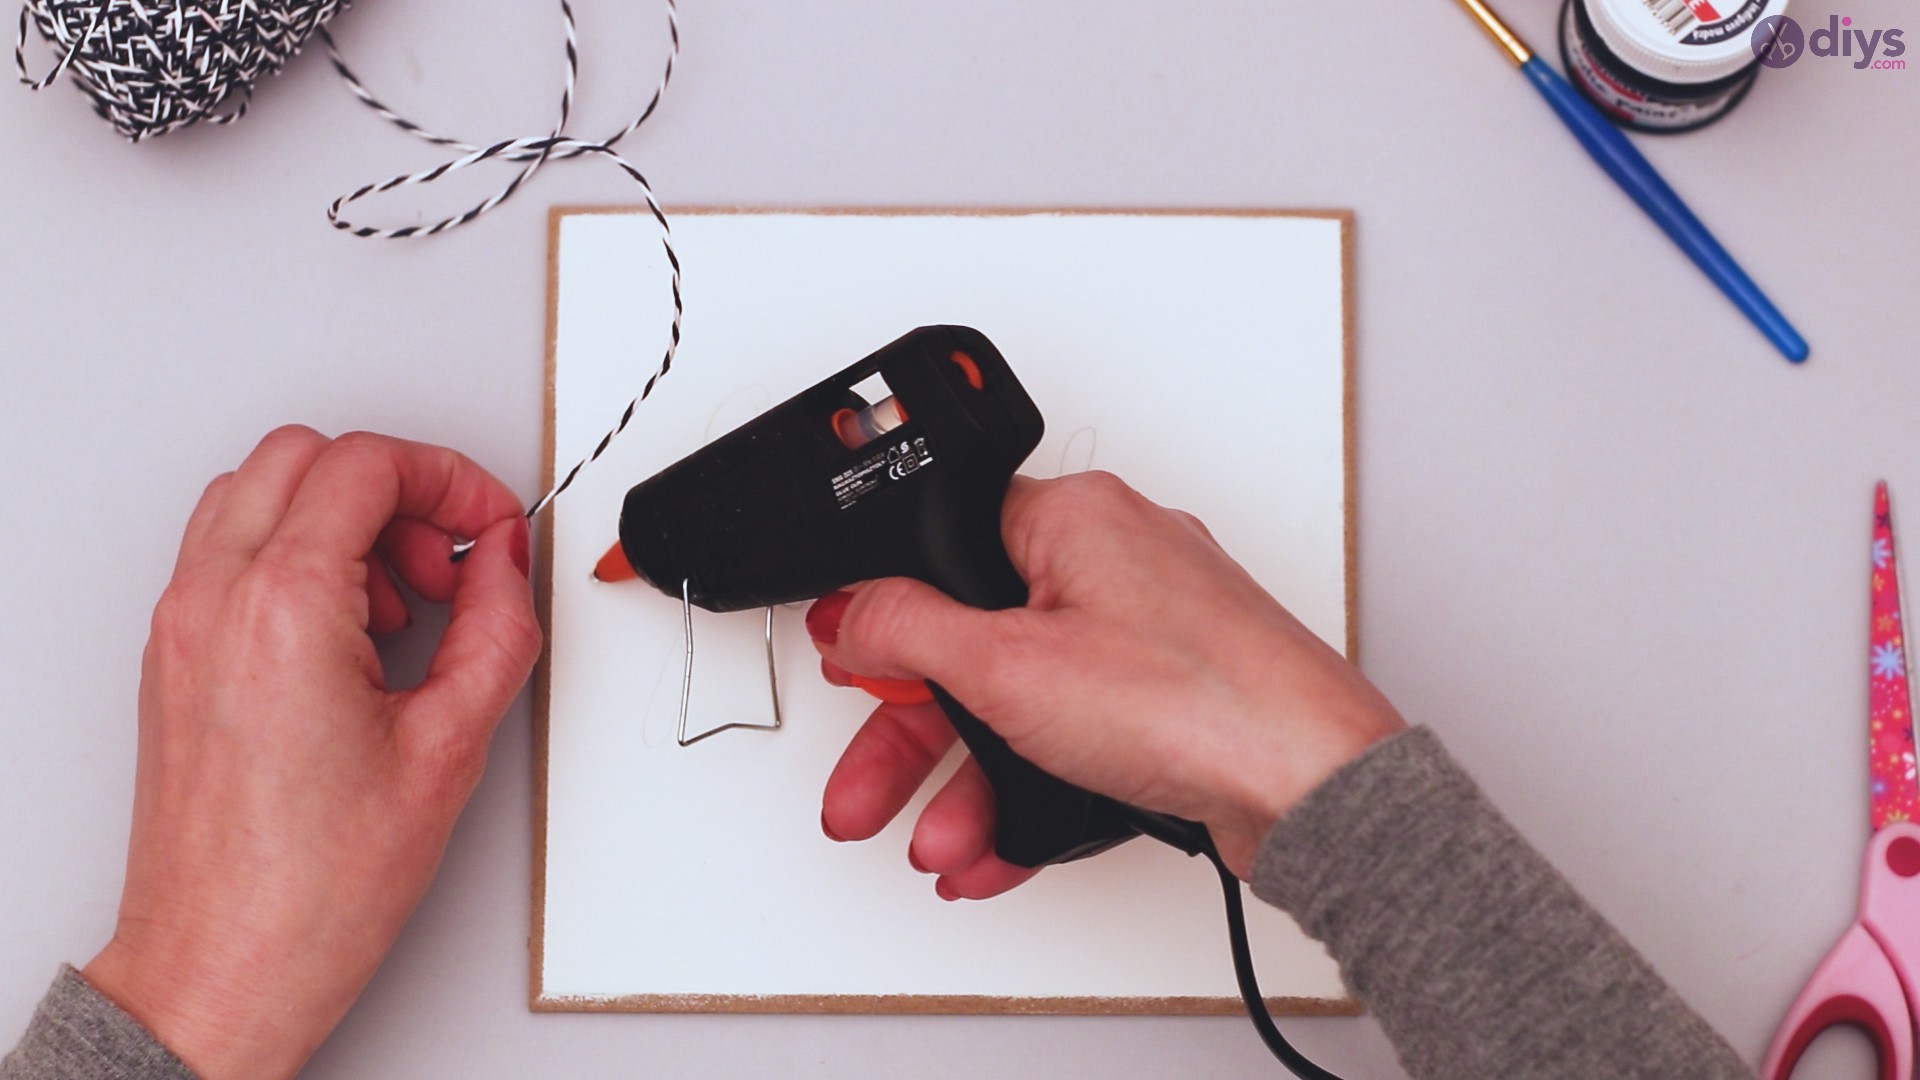
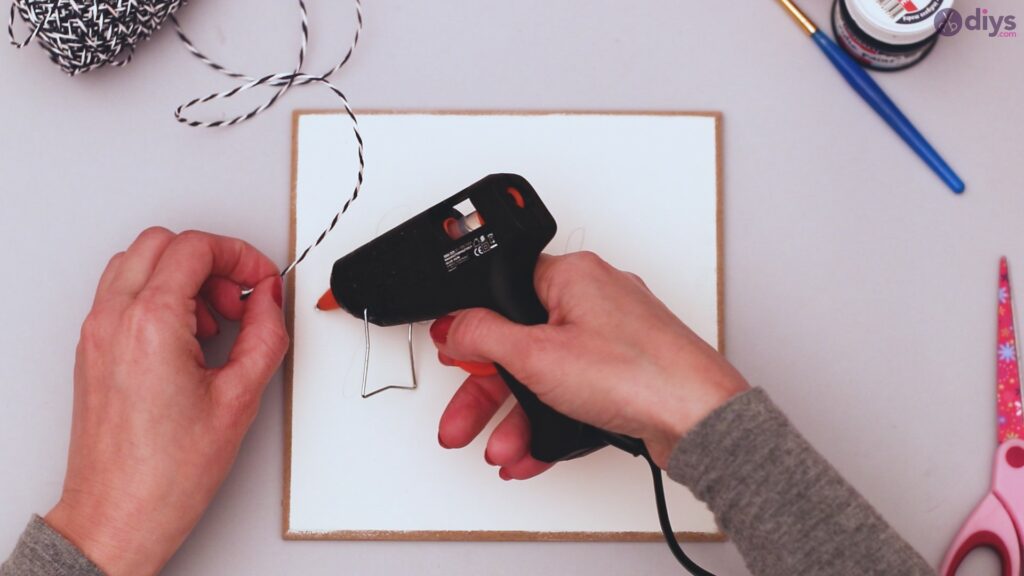
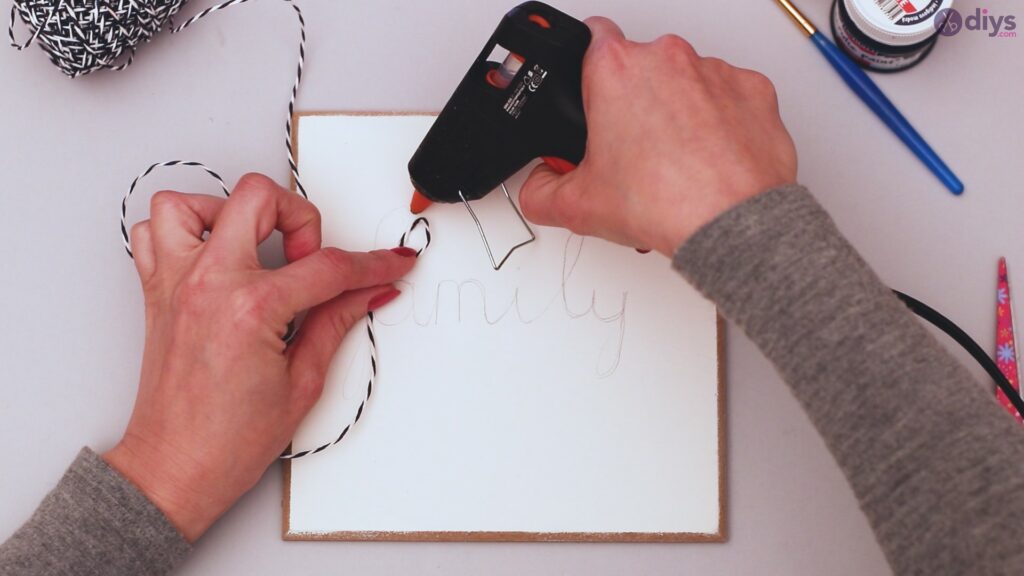
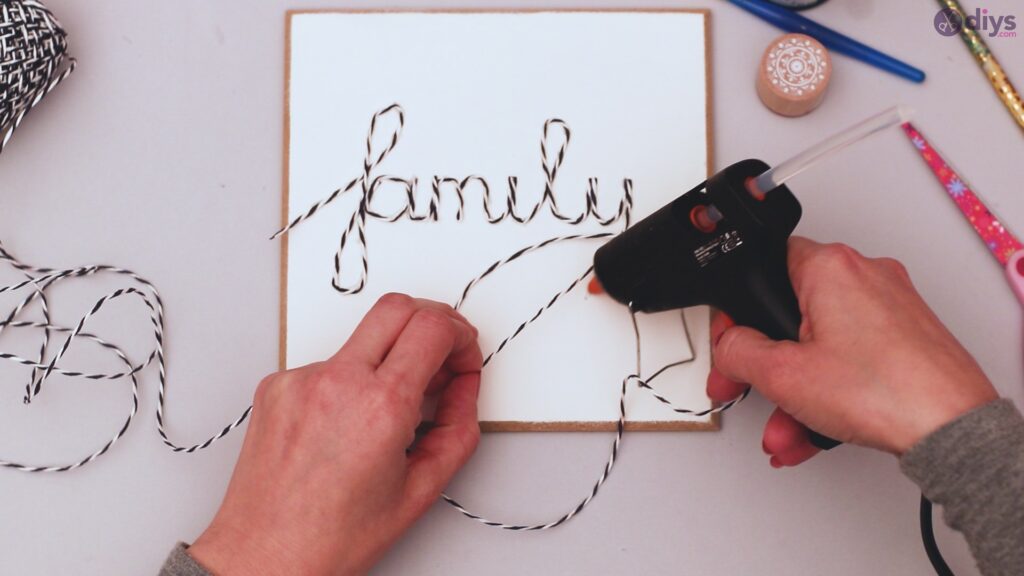
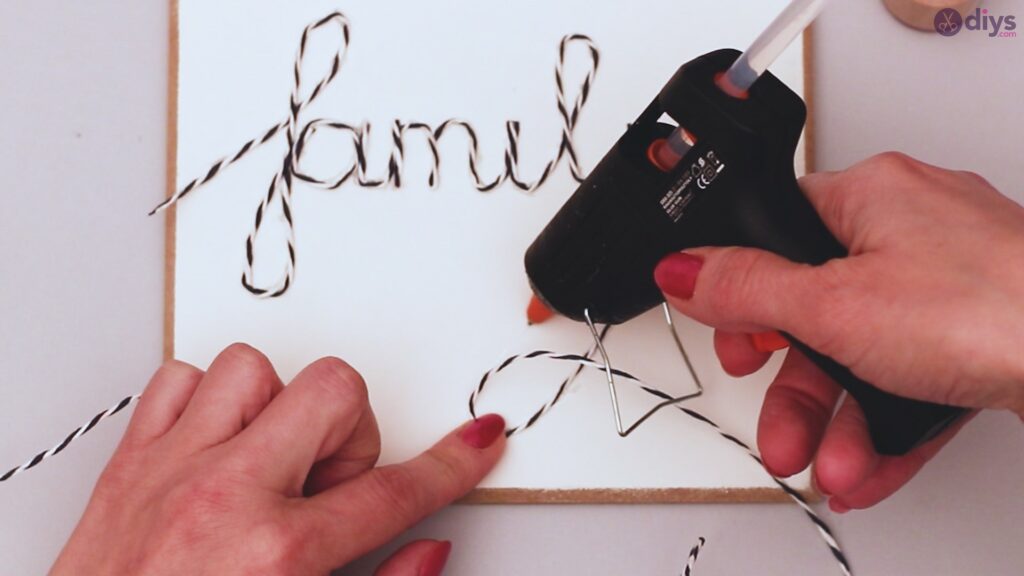
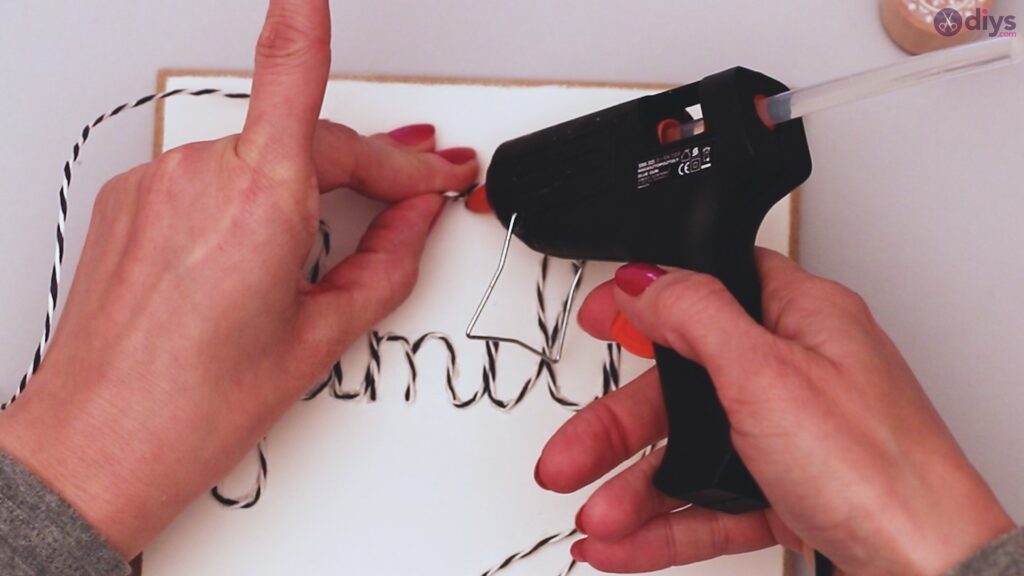
With your glue gun, apply a thin thread of glue to the start of your word or picture. Begin at your starting point, and don’t take the line too far so that your glue doesn’t begin to dry too quickly for use. In this example, we’ll apply glue to the top half of the ‘f’ in family first.
Step 4: Complete the first design element
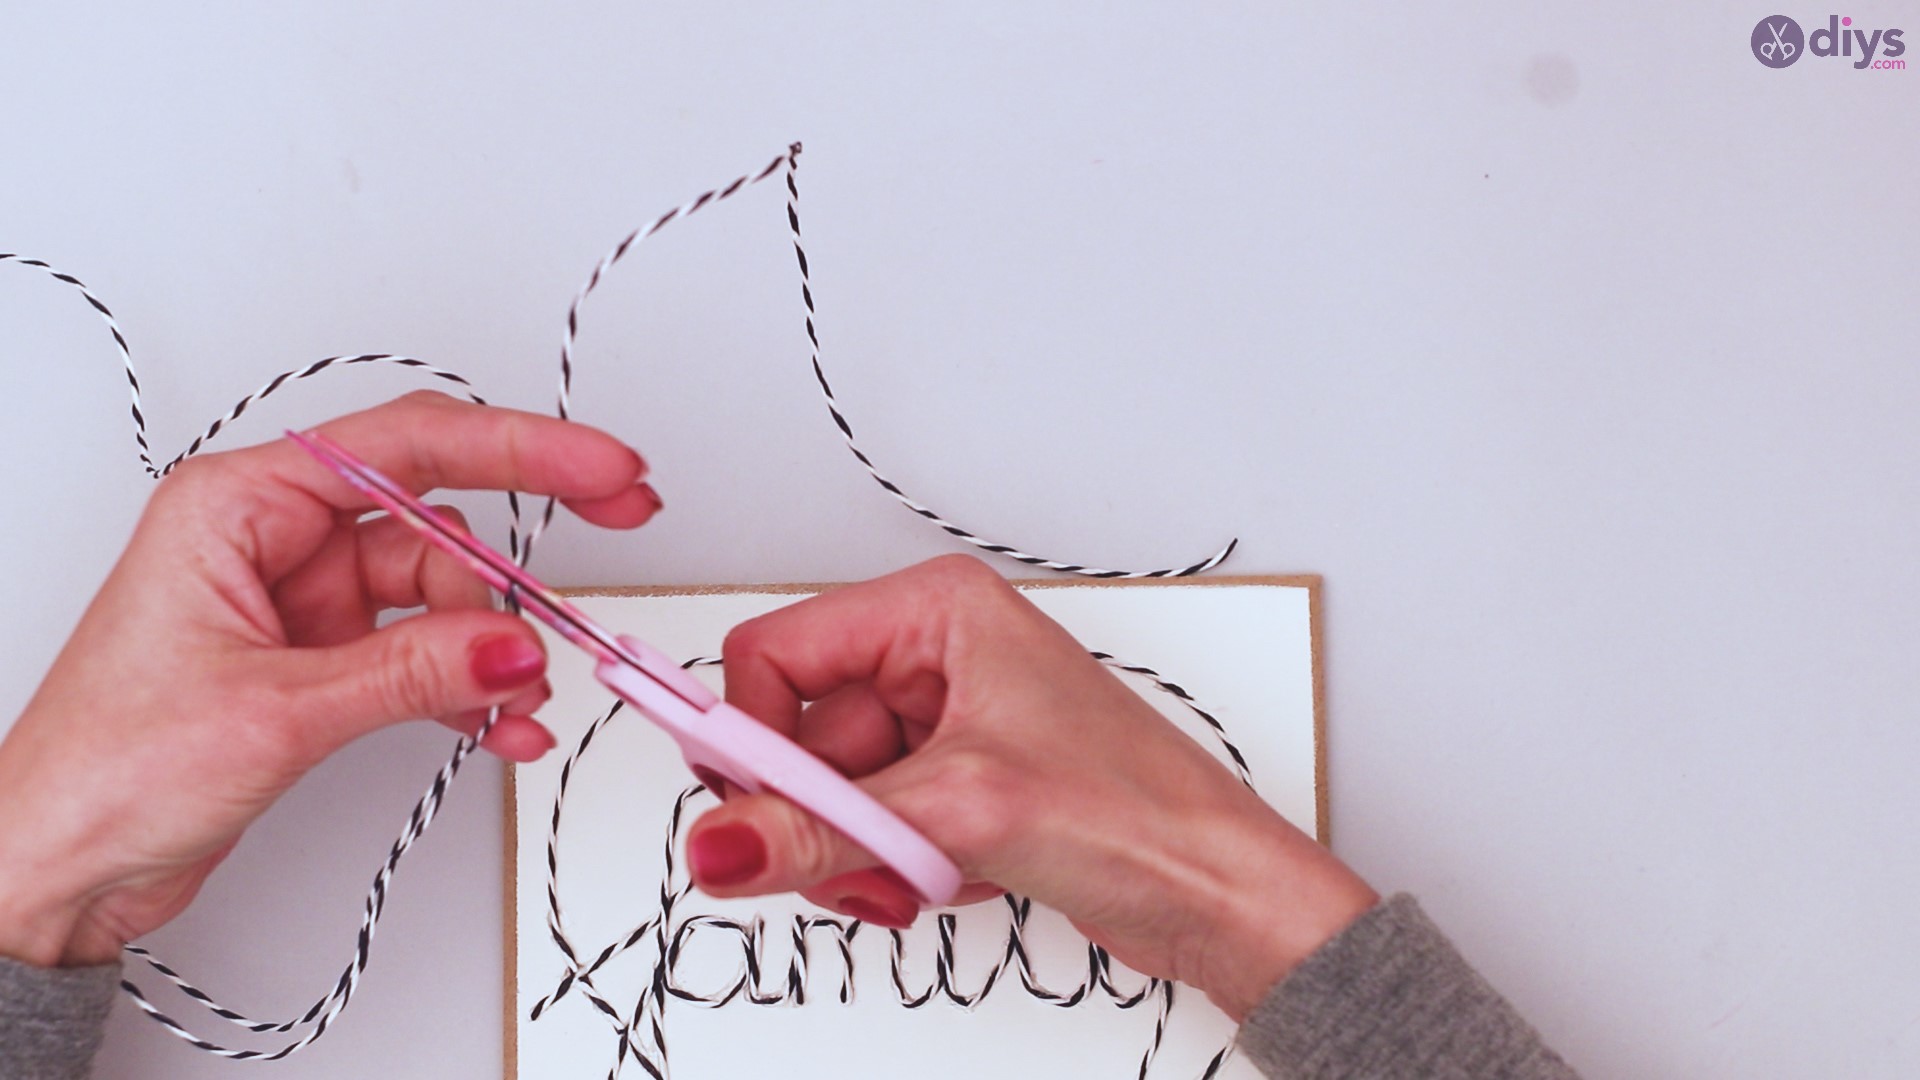
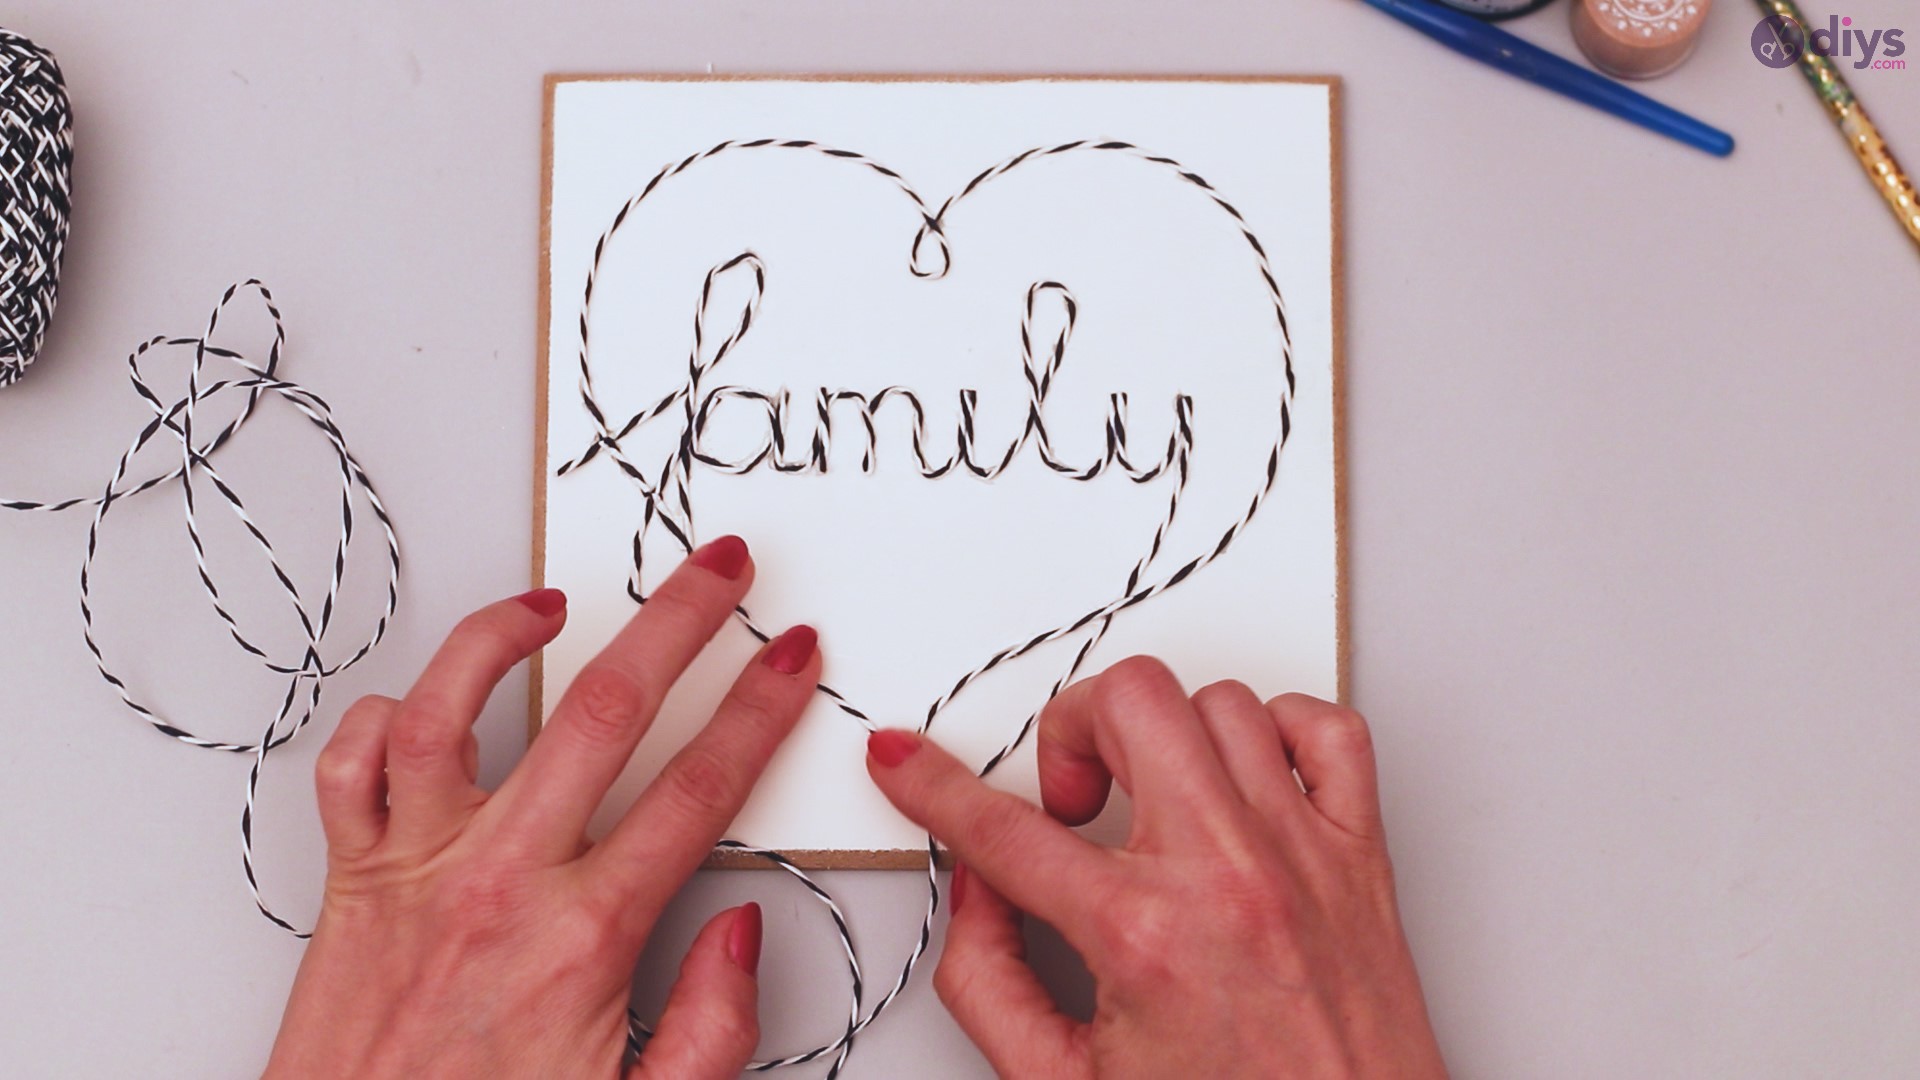
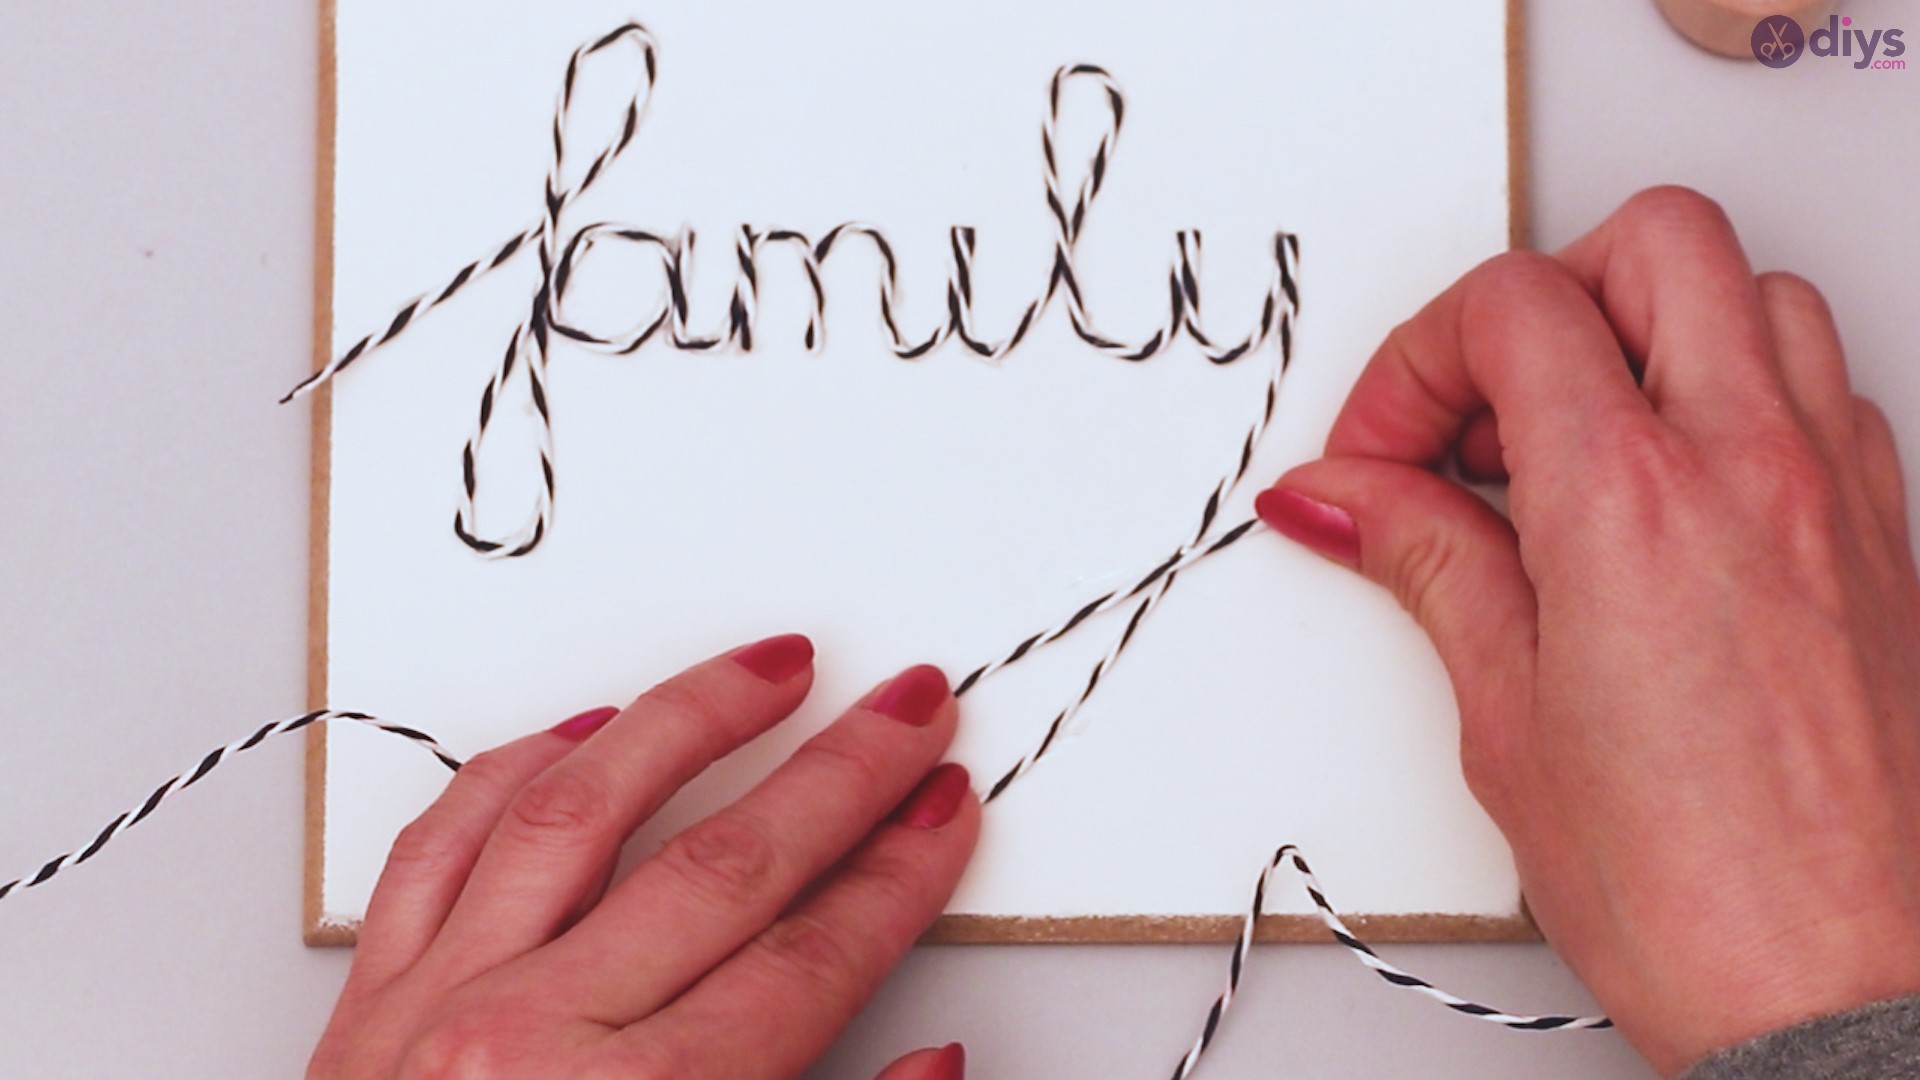
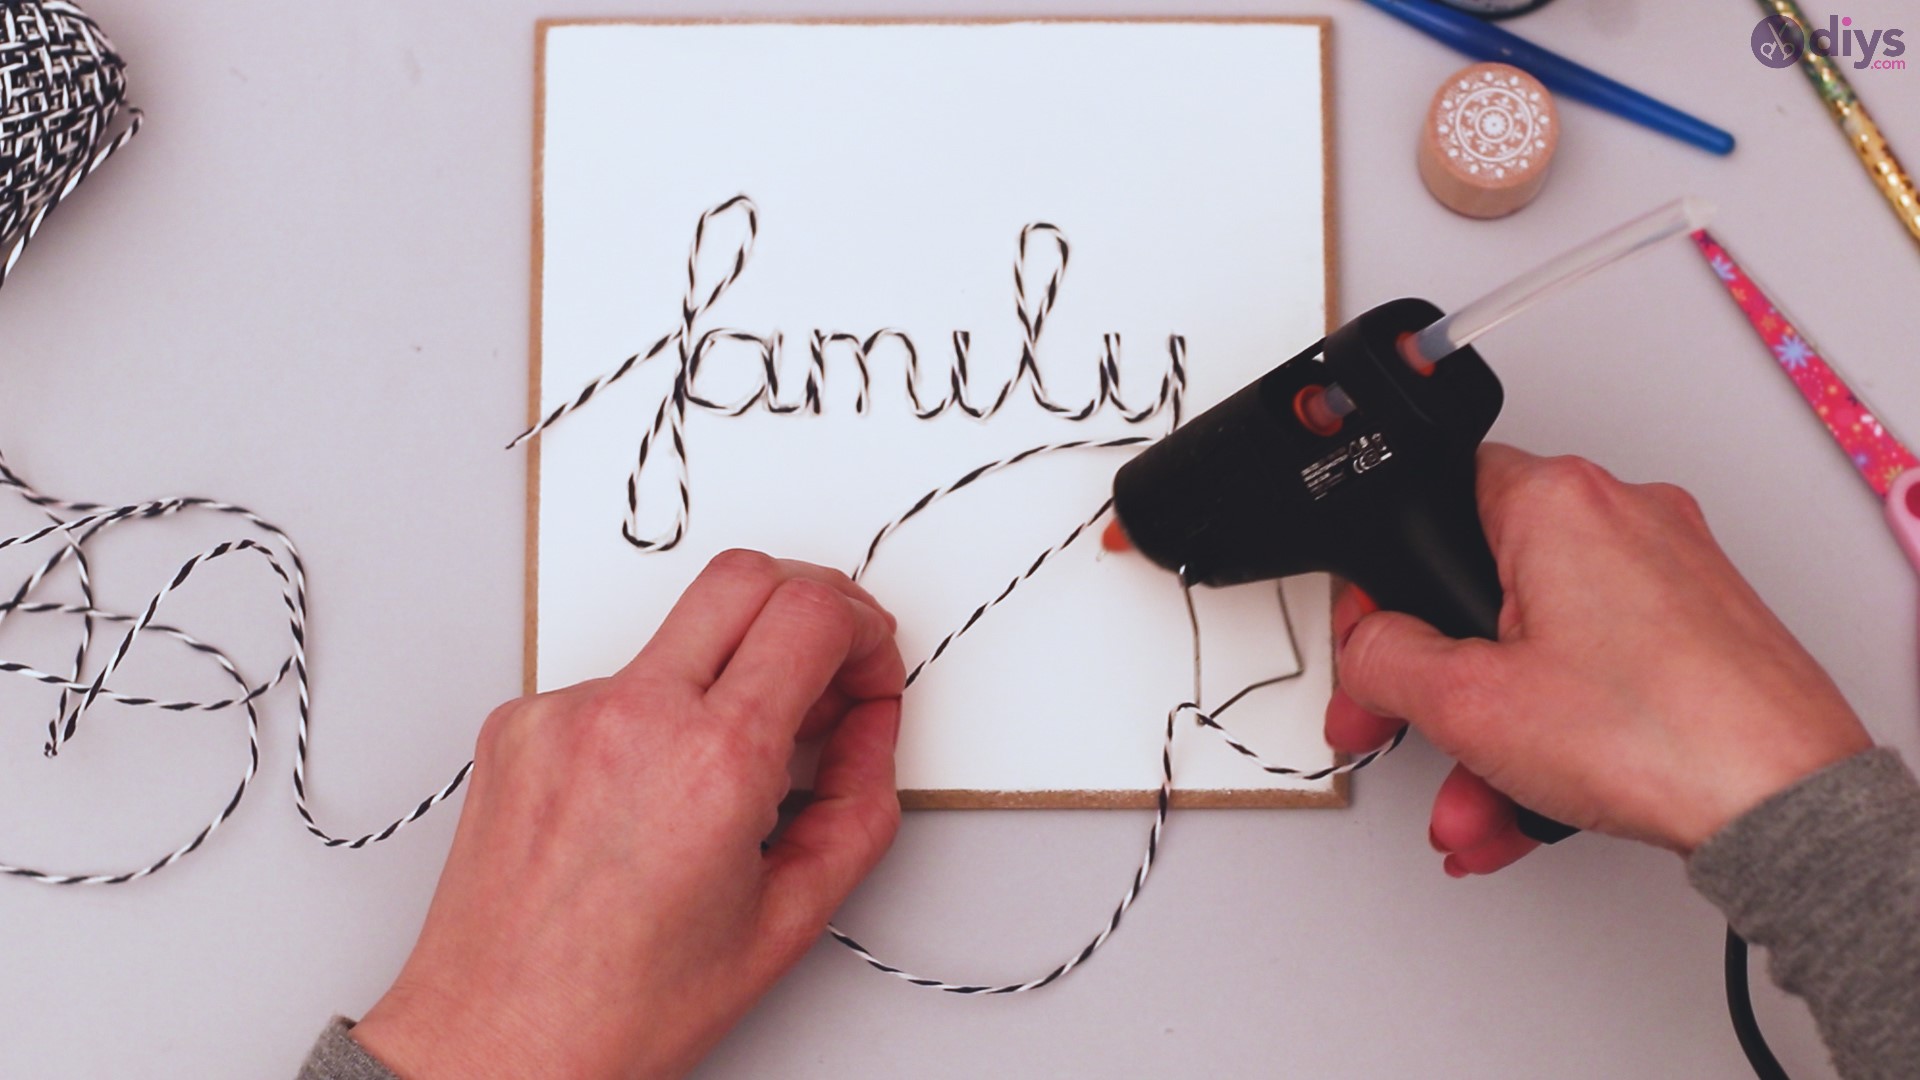
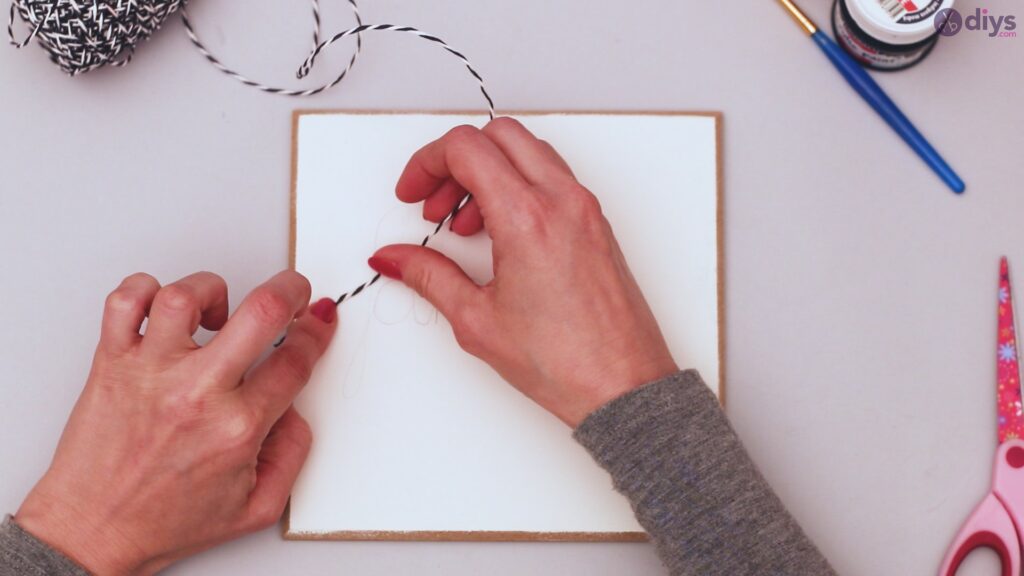
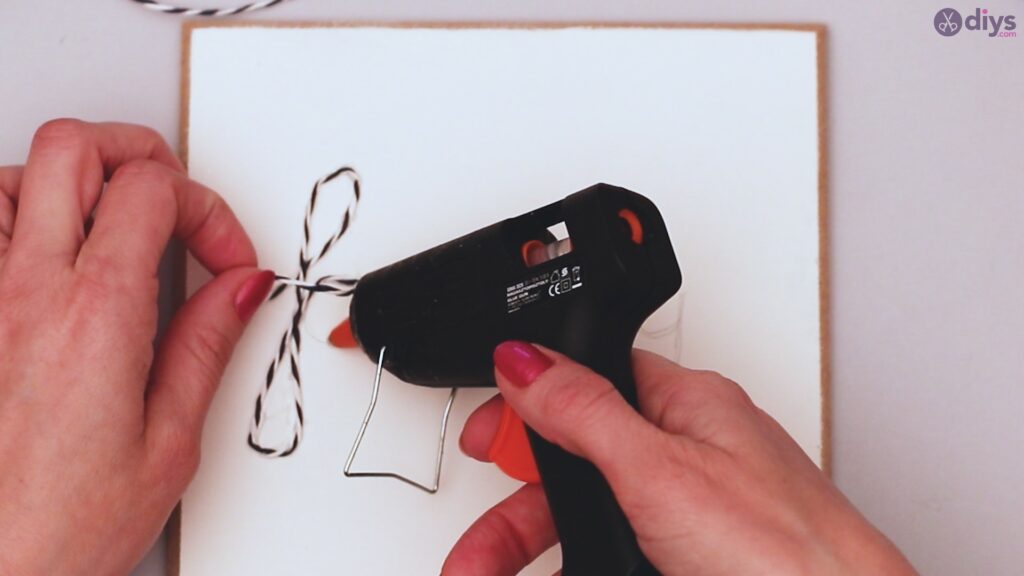
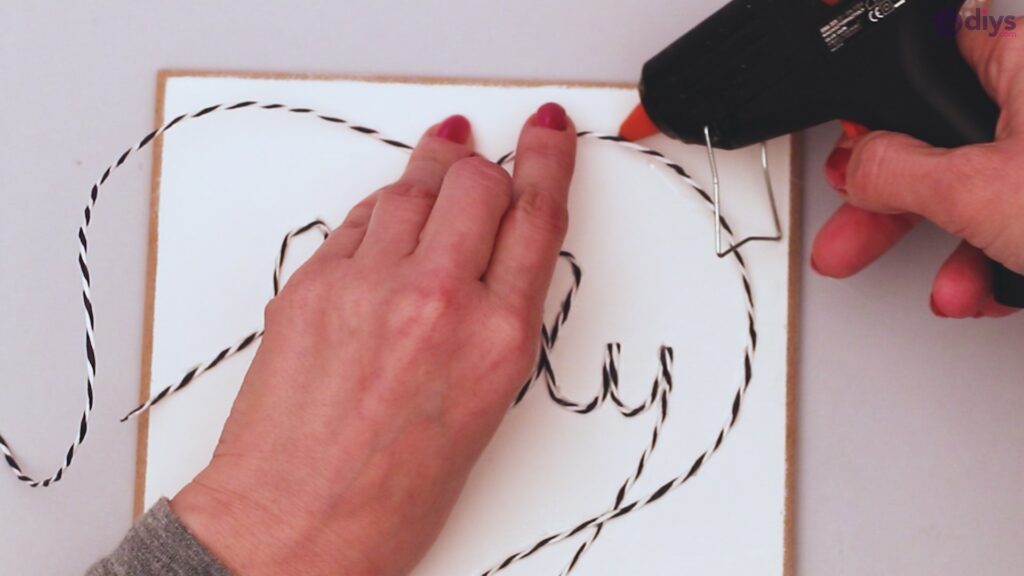
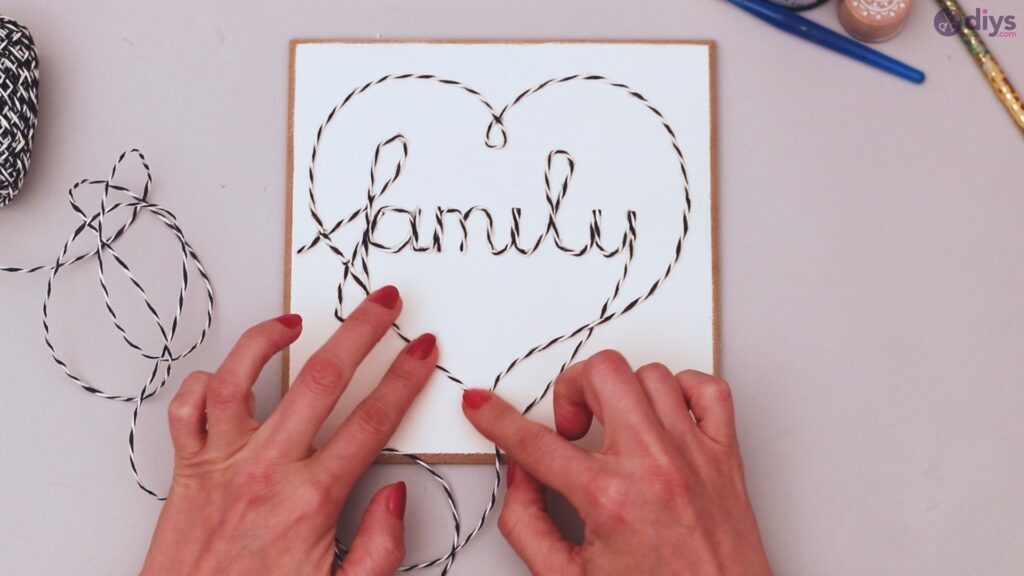
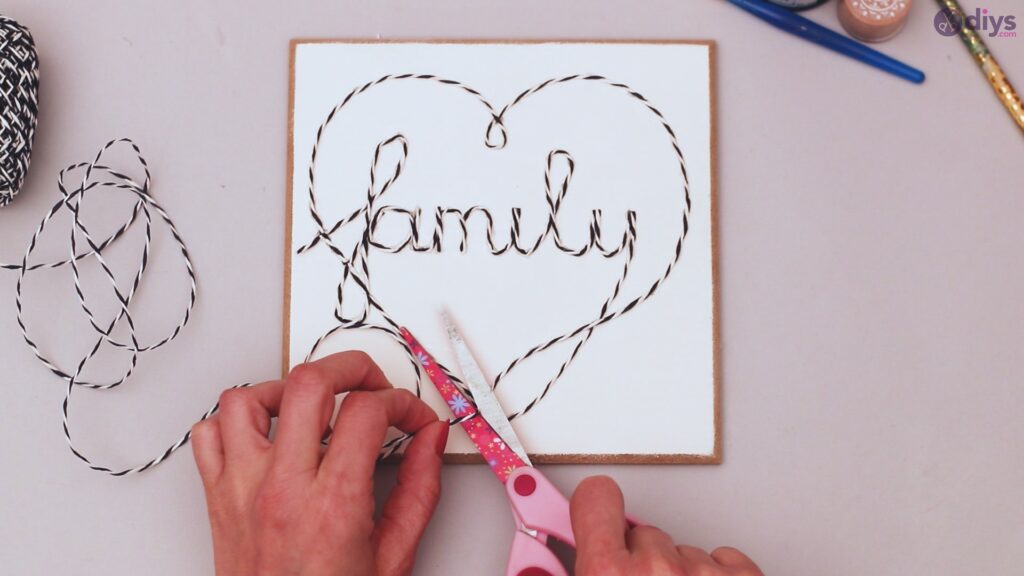
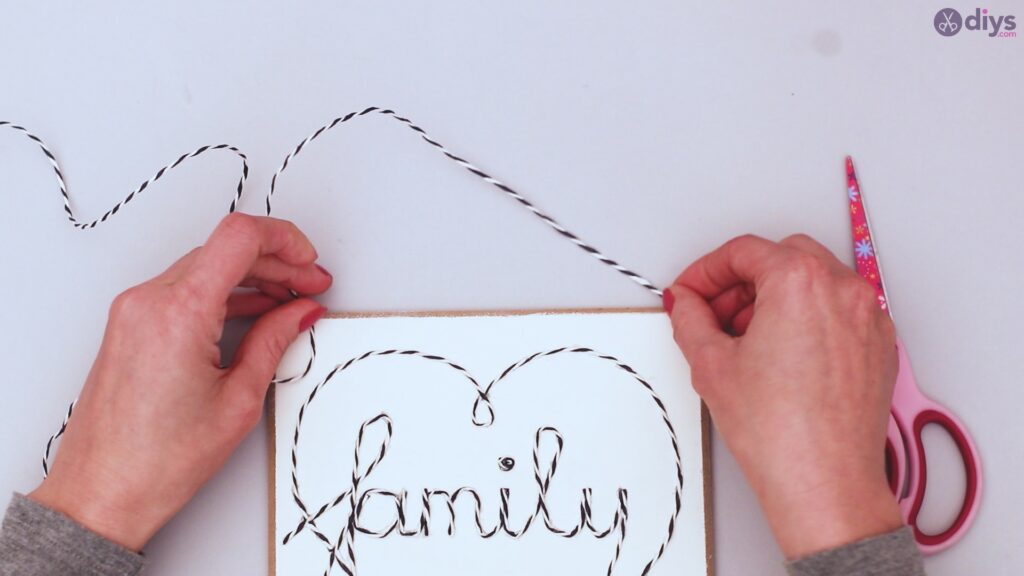
Continue with this process until the entire drawing or word has been outlined in twine. Take your time so you get a smooth, even line with no bumps or mistakes. Note that, if you want to set your project aside for a bit, this is a simple thing to pick up and put down, since glue will dry quickly, and you won’t be risking any damage to the completed work, as long as it’s stored in a safe place.
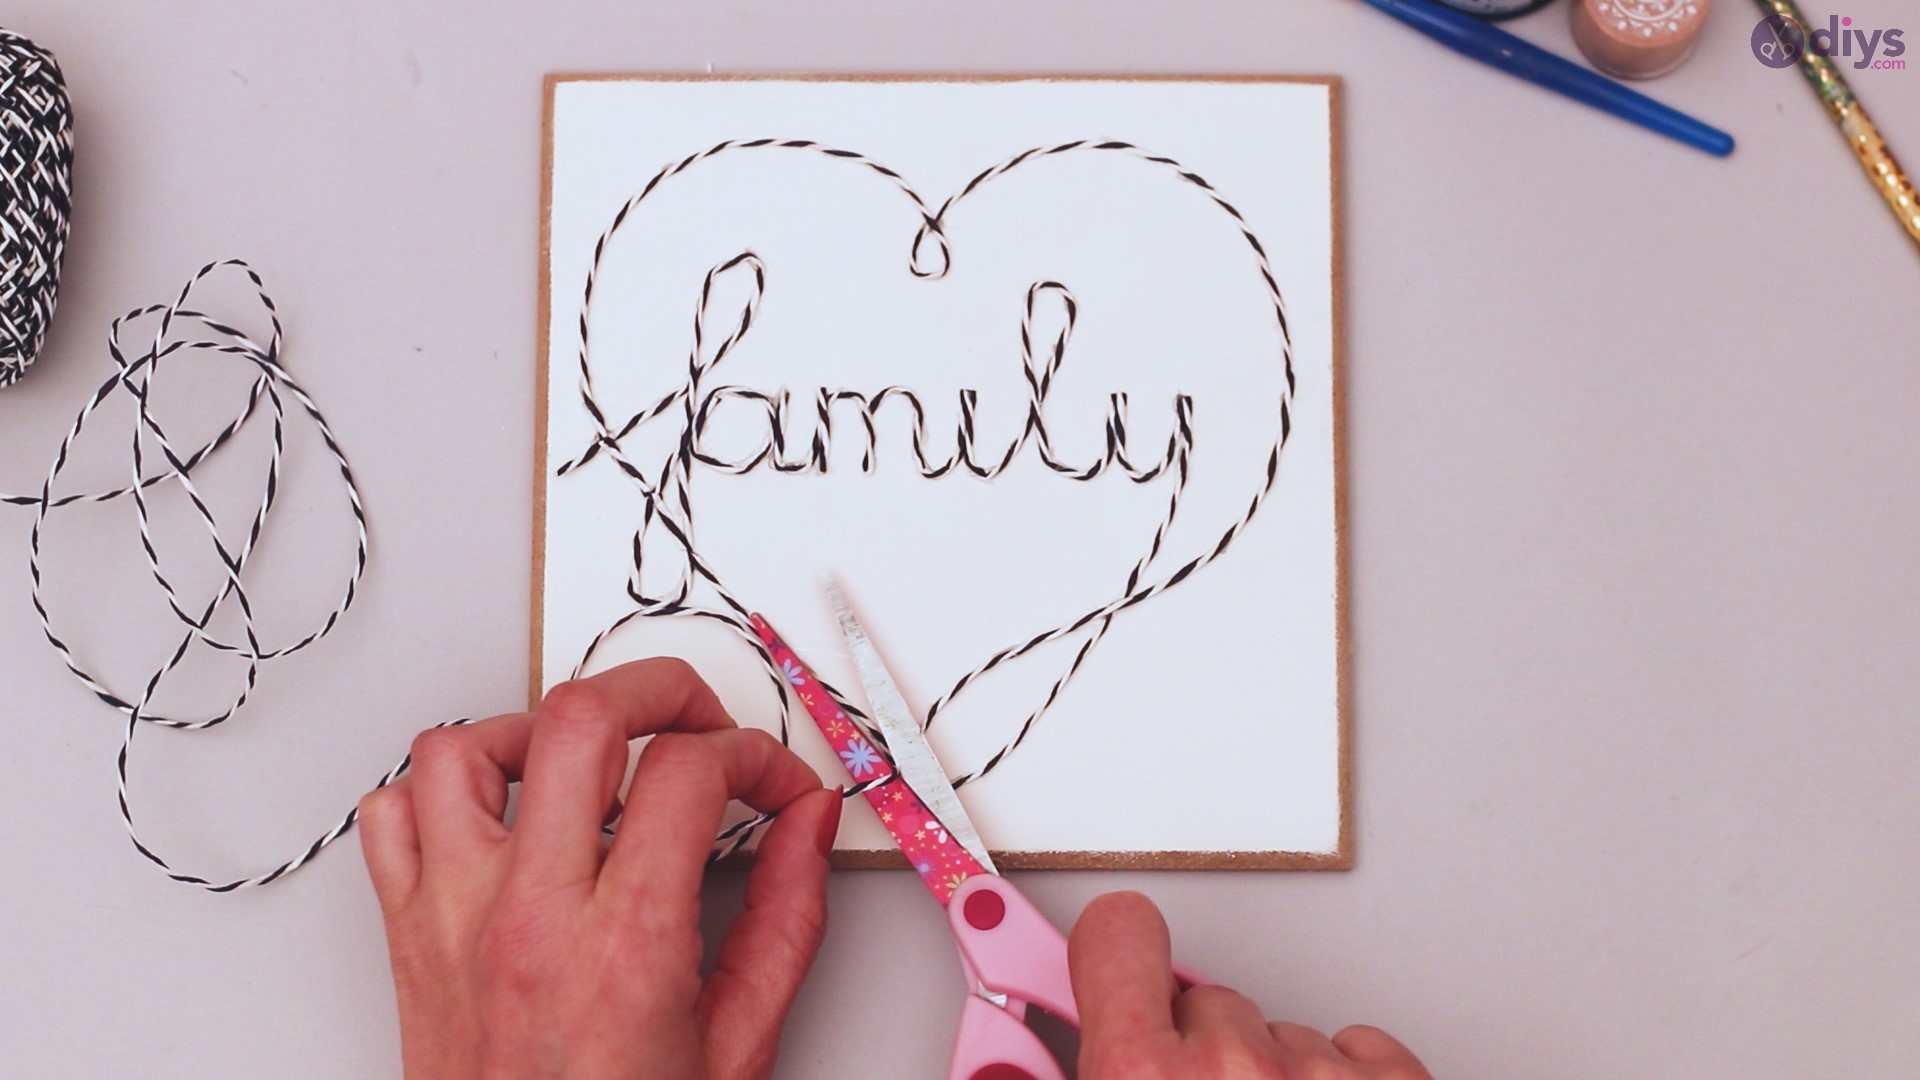
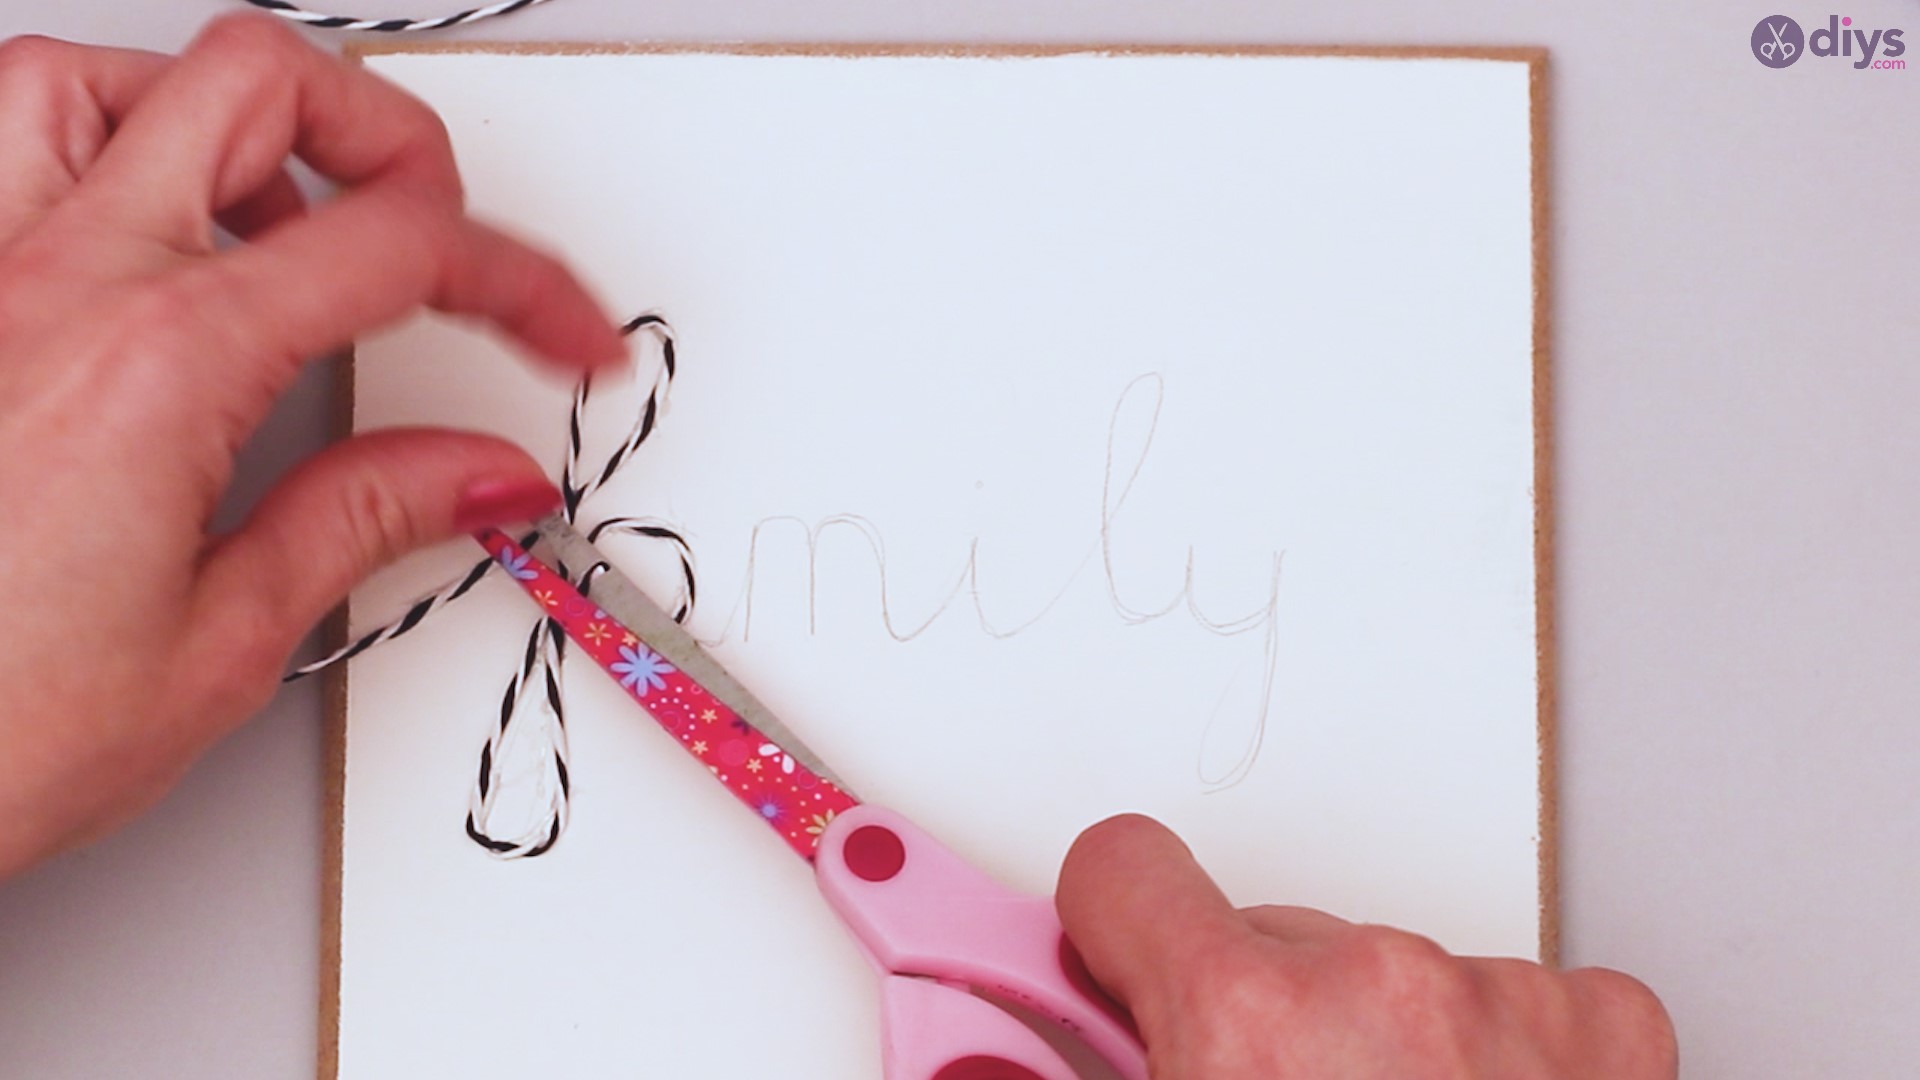
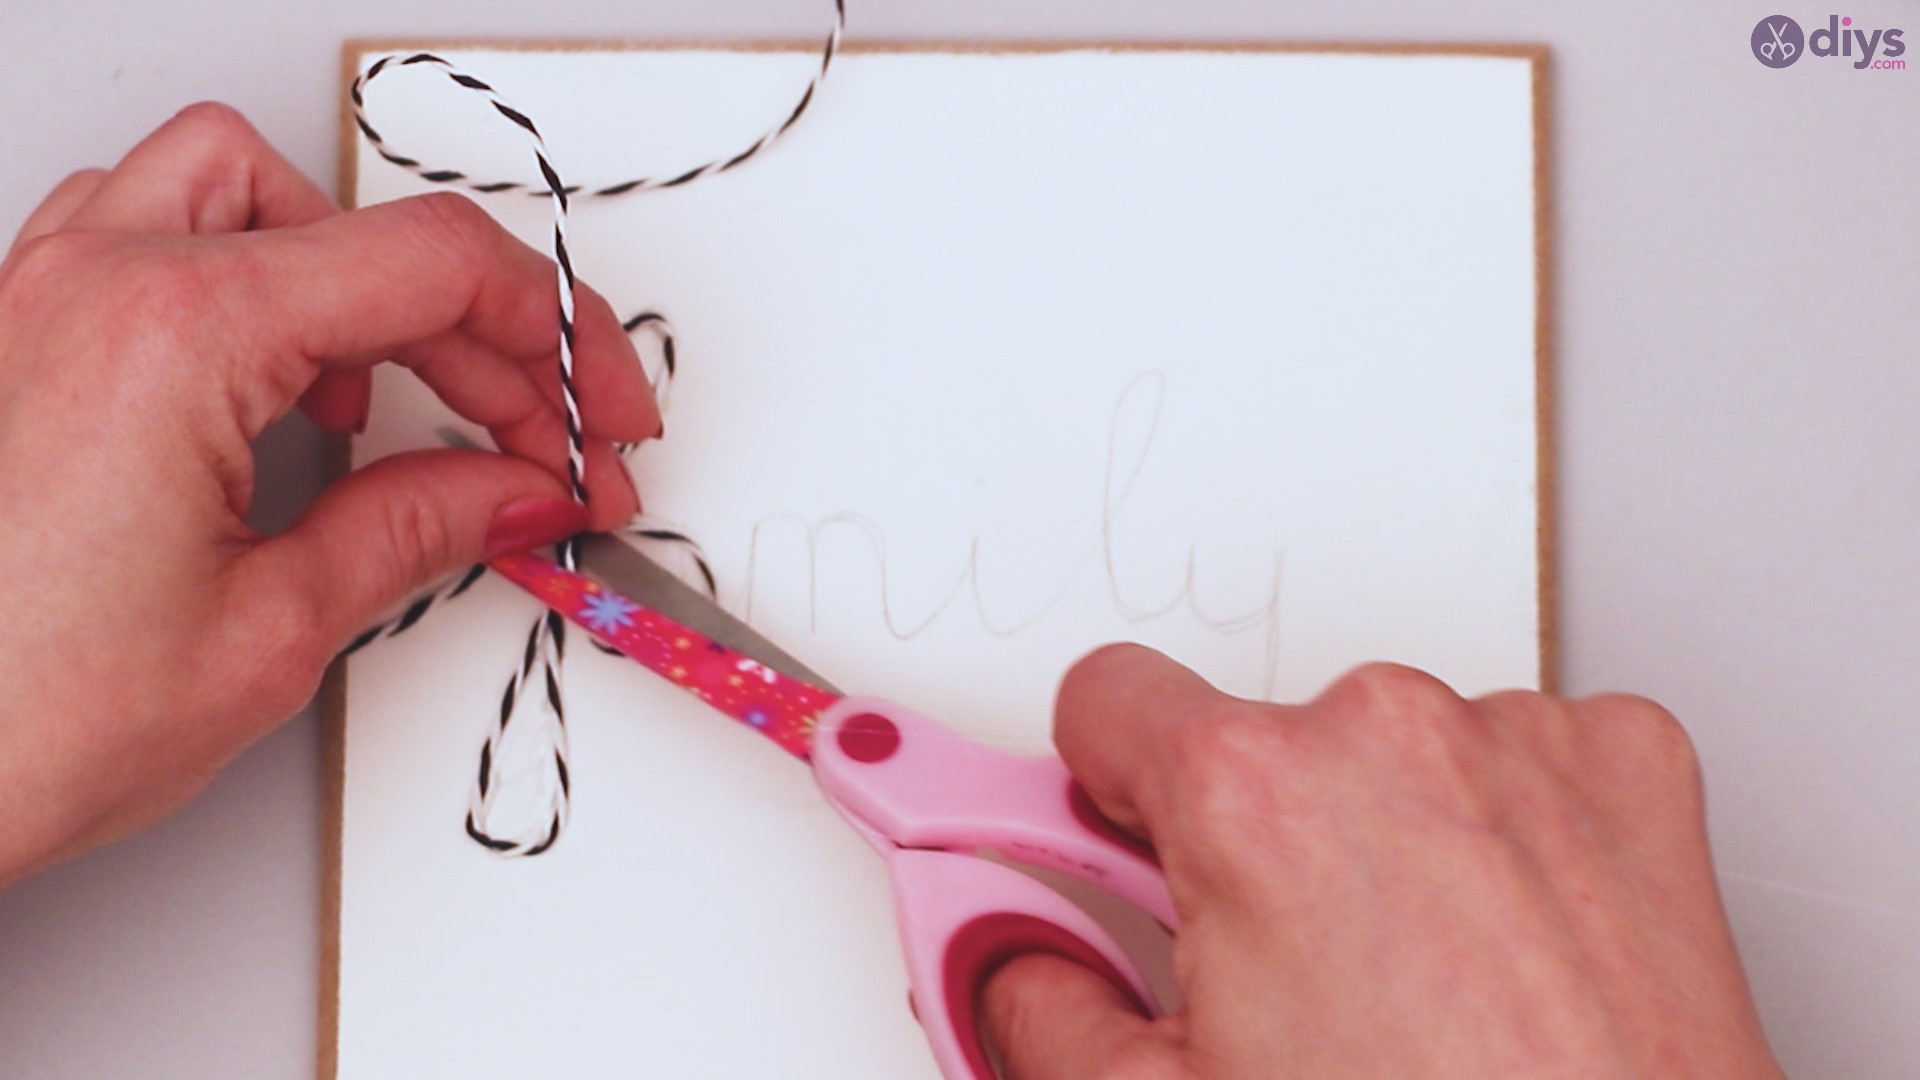
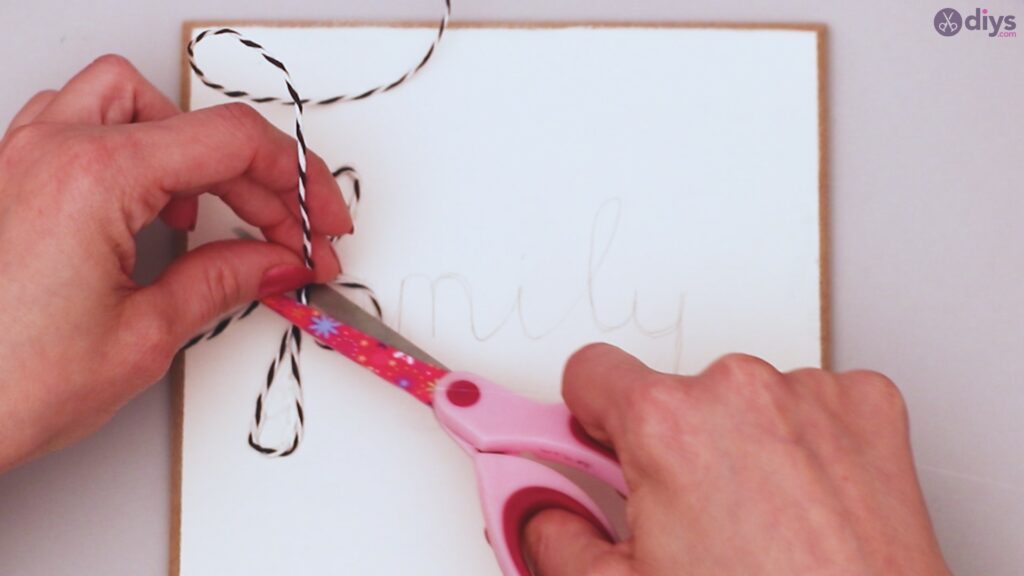
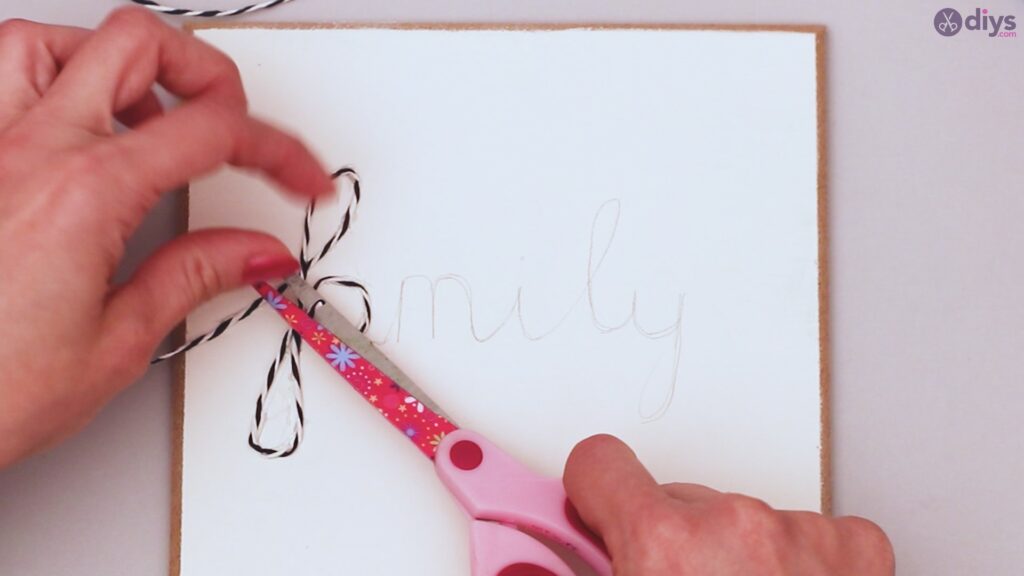
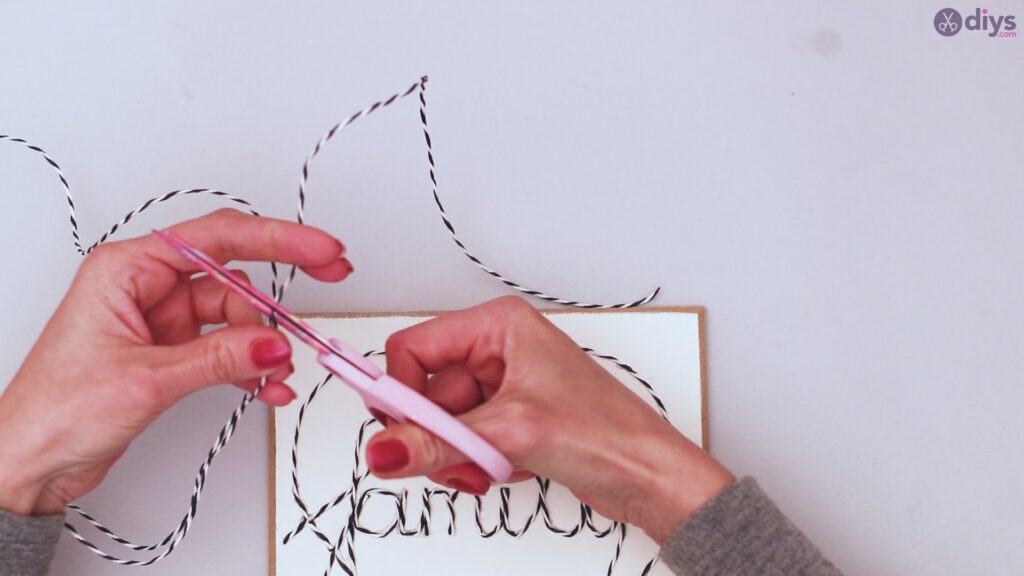
In some cases, you may need to cut the twine to avoid going back over the same spot twice. For example, between the ‘a’ and the ‘m’, we cut the twine and started again to avoid having 3 segments of twine along the start of the ‘m’. However, as you create the word or picture with your twine, try to piece the twine so that the separation is not noticeable, unless your design calls for it.
Step 5: Other elements
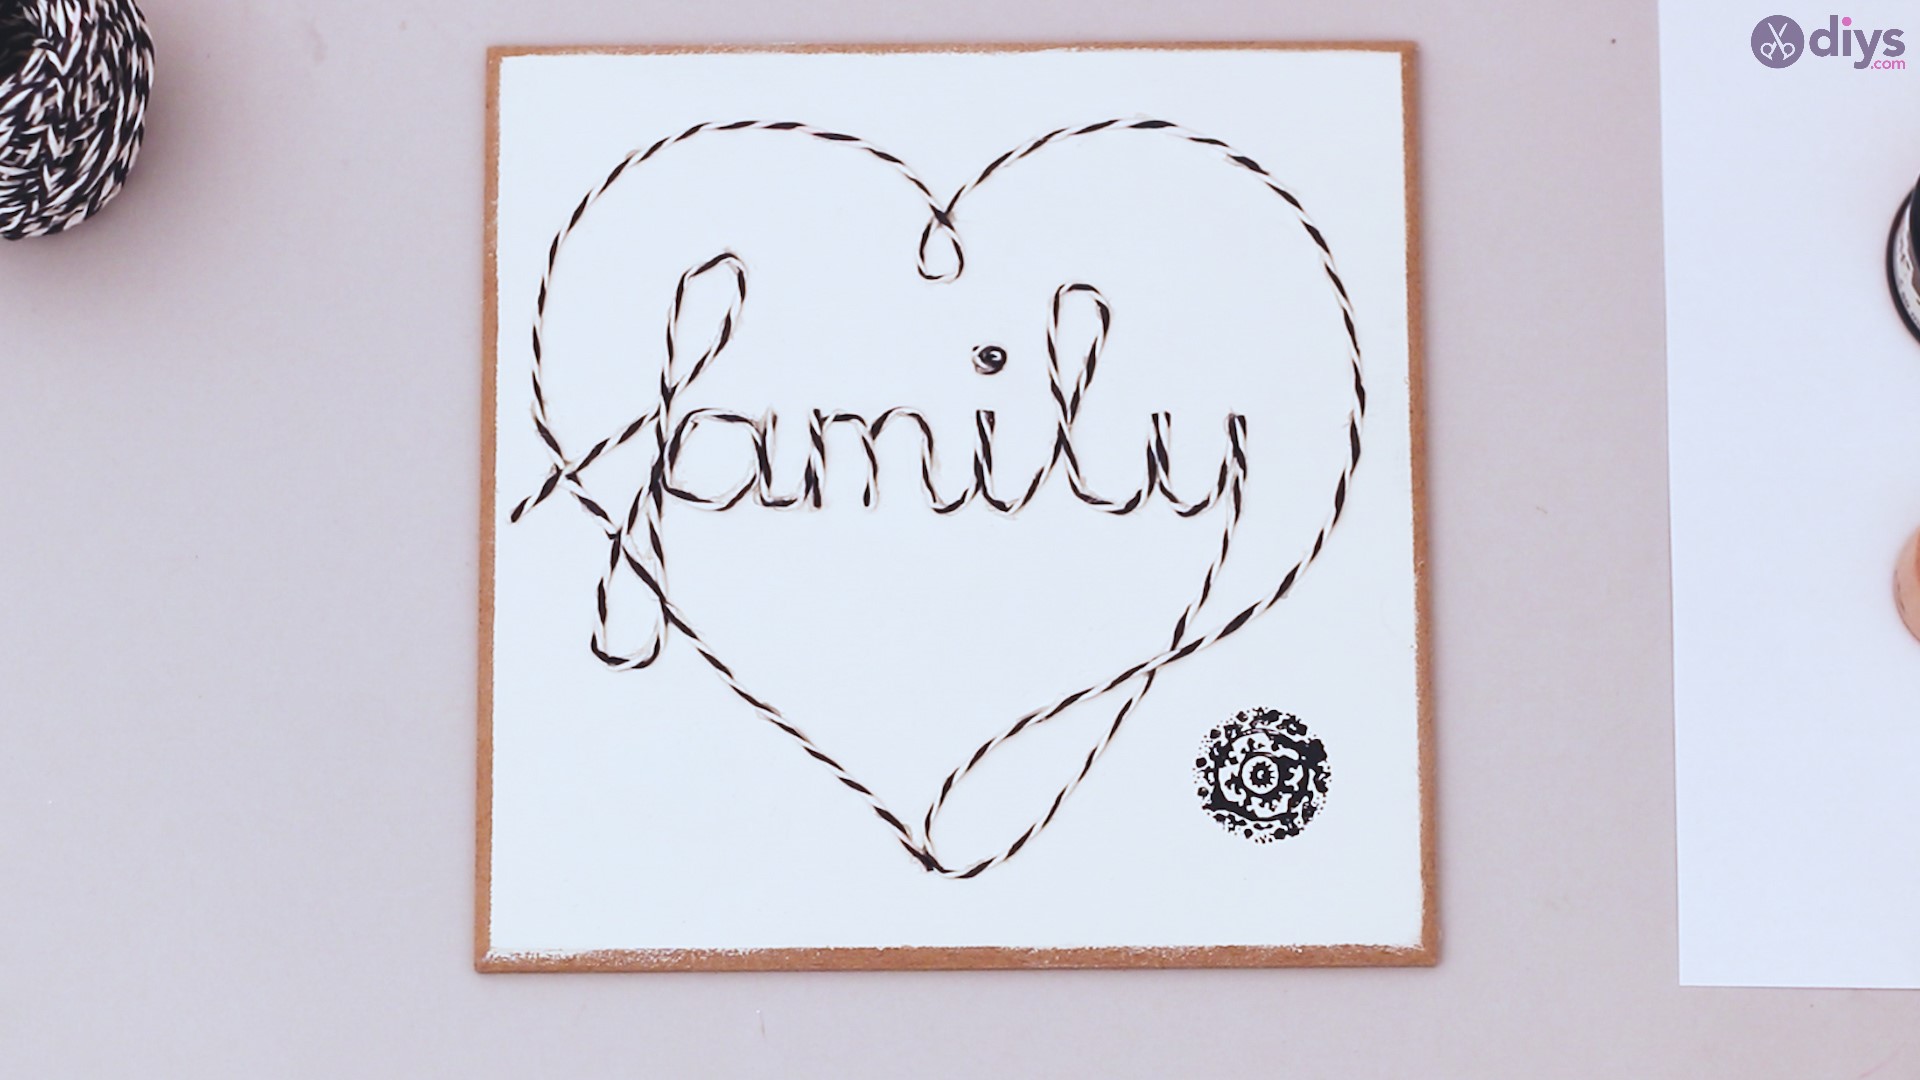
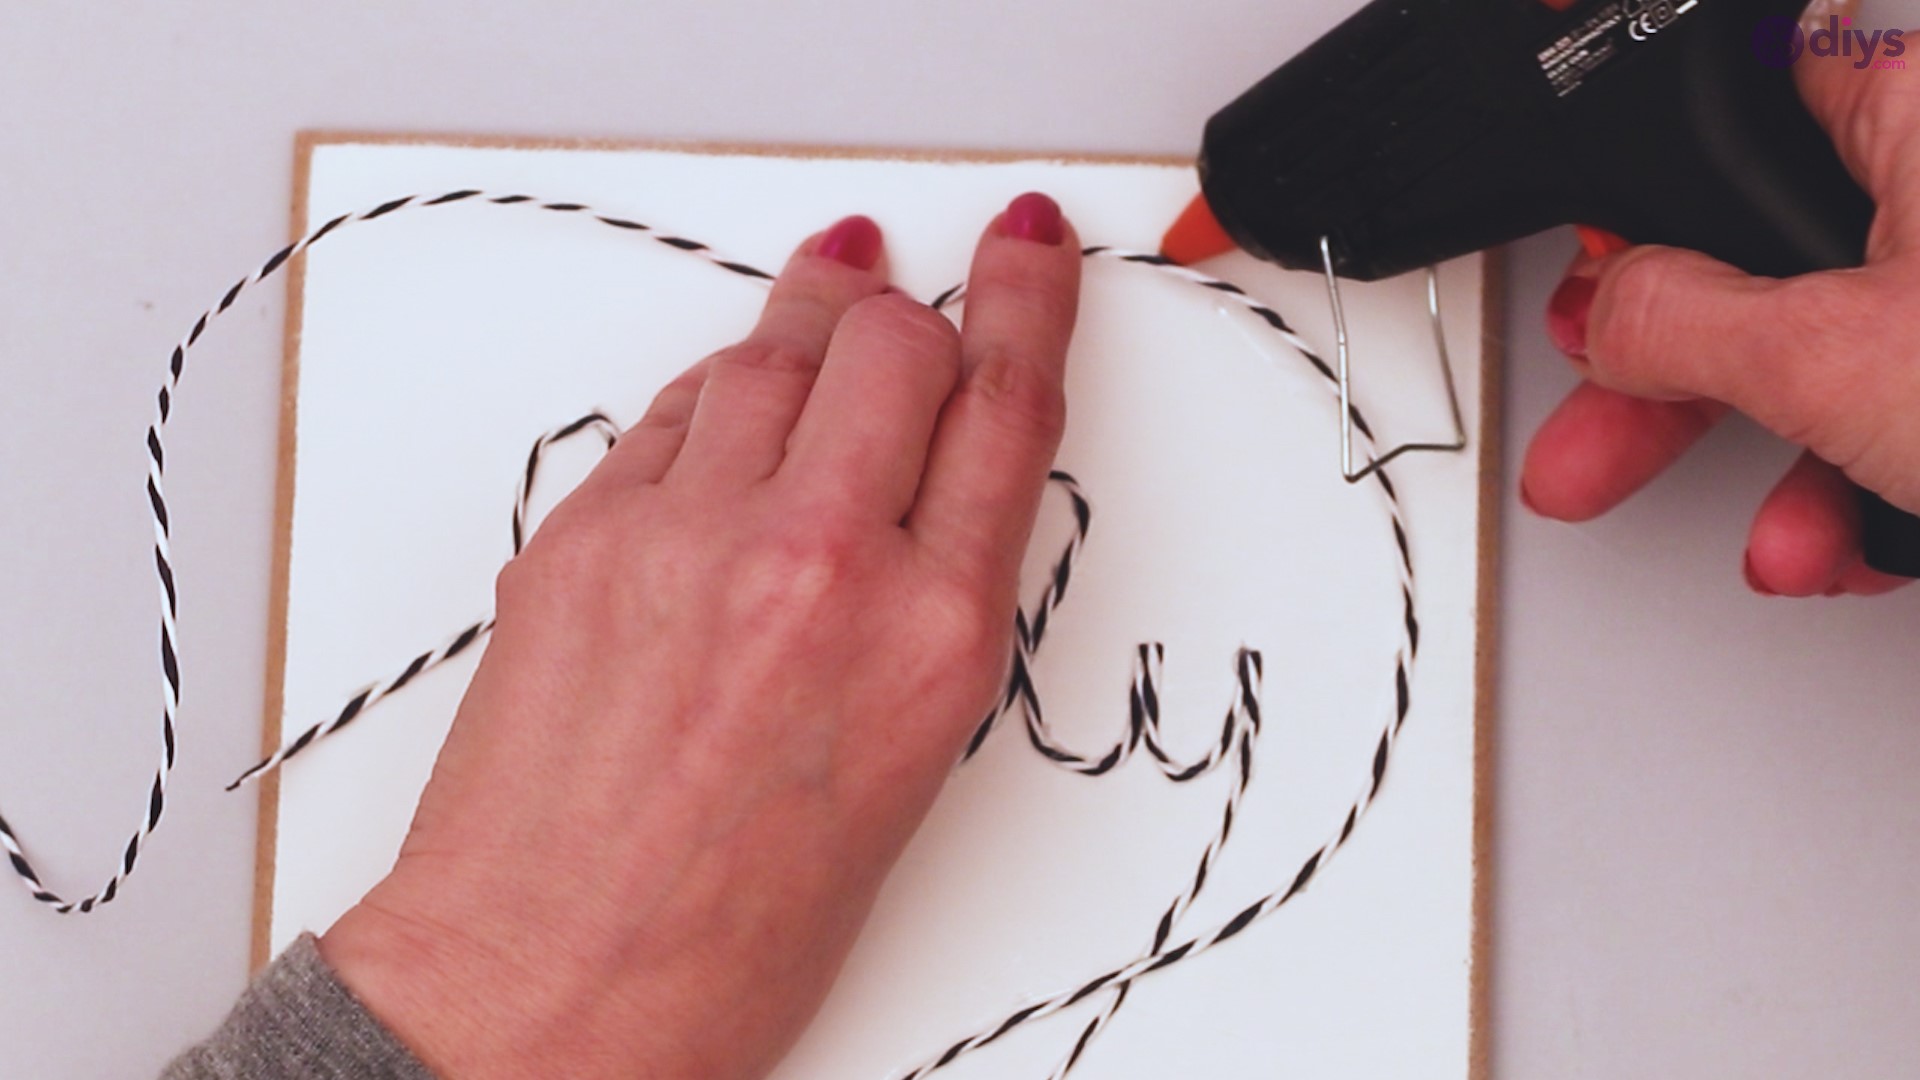
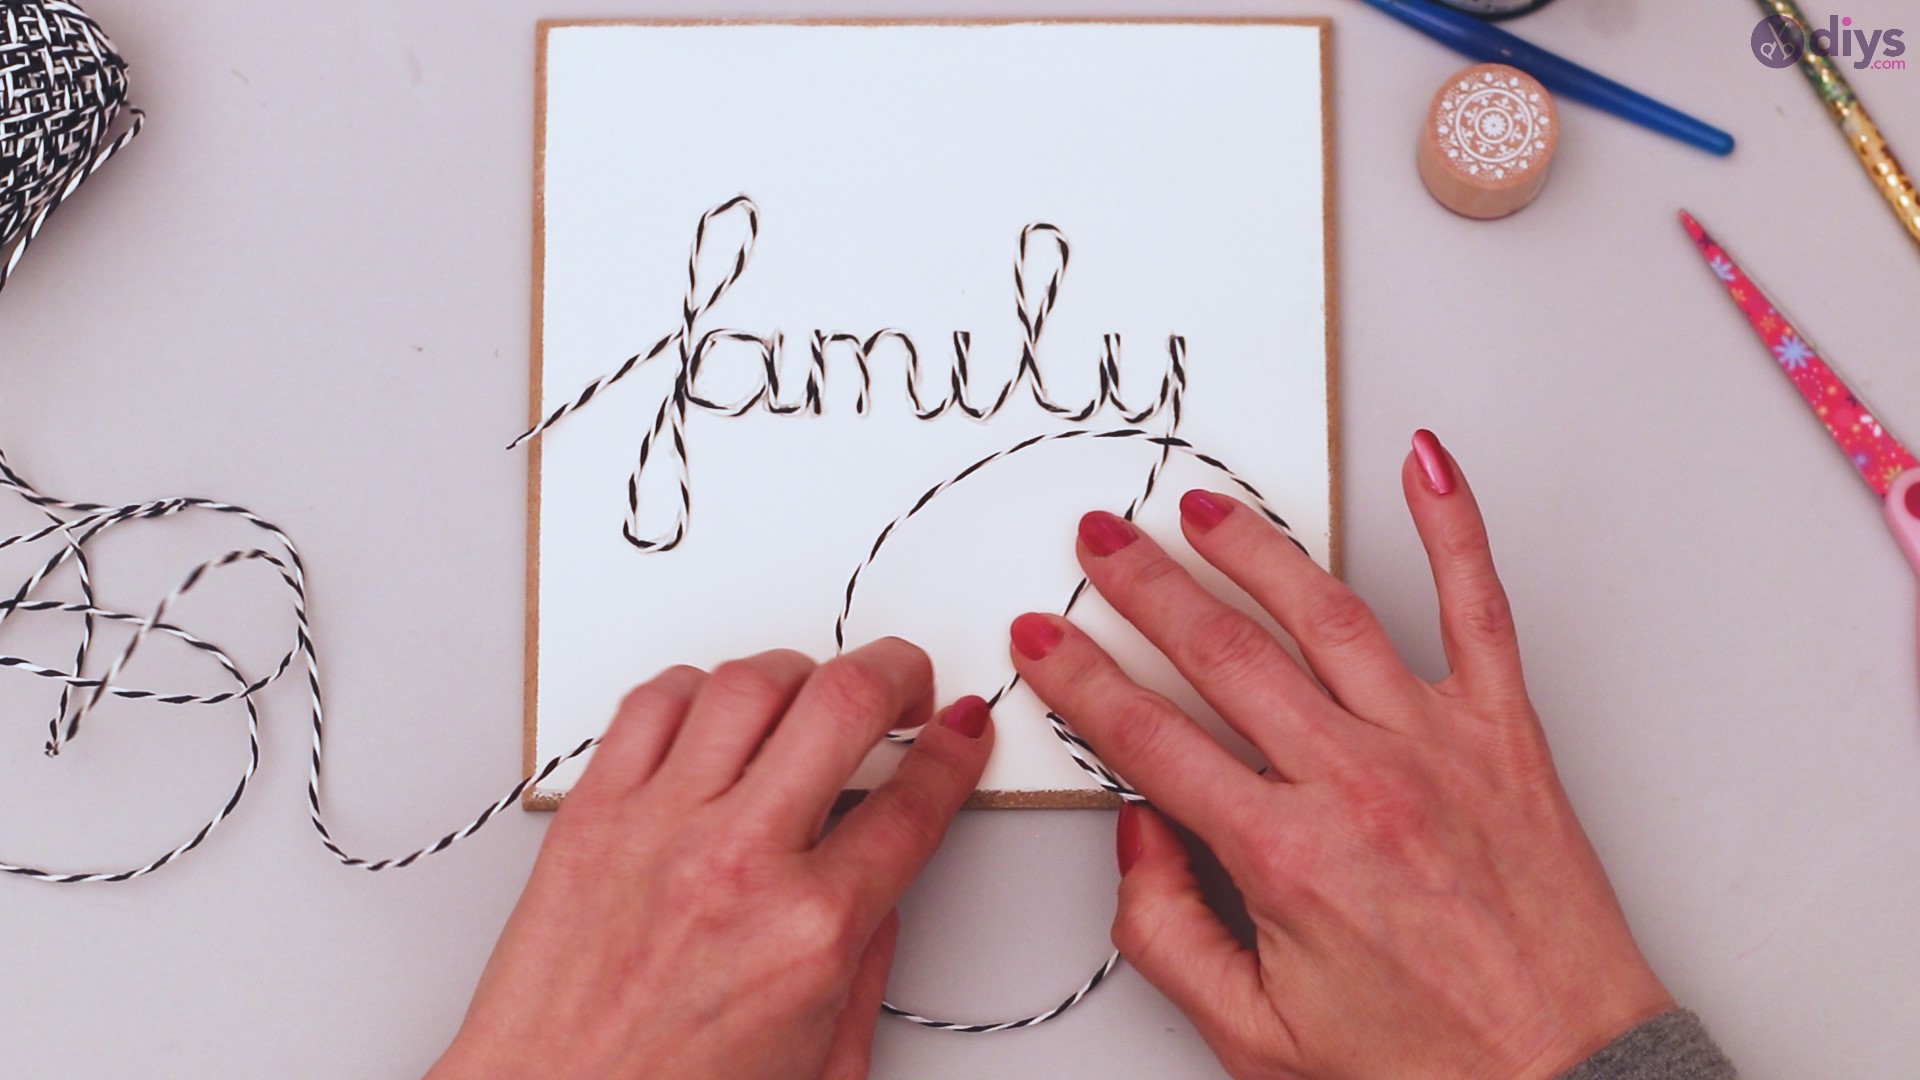
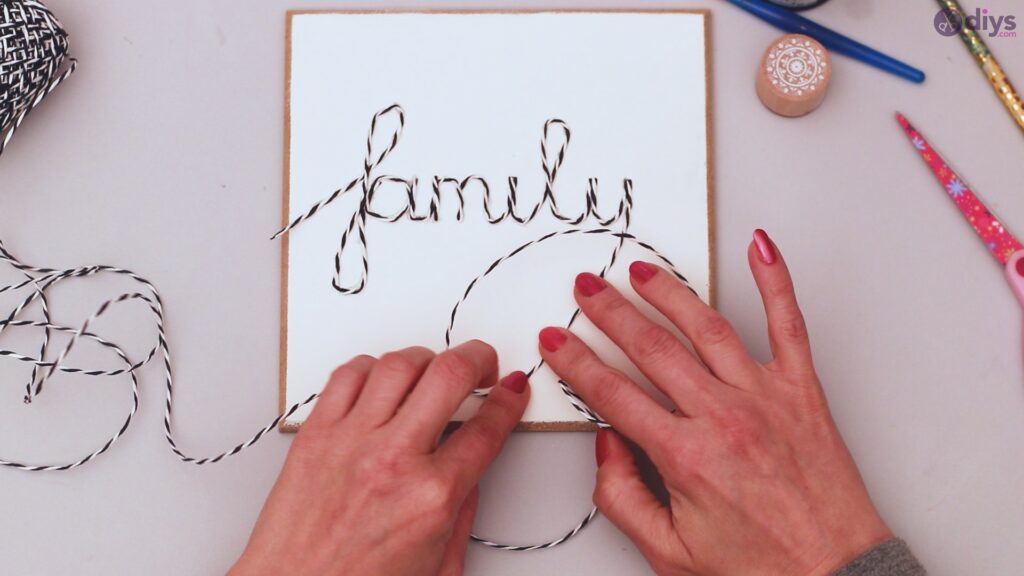
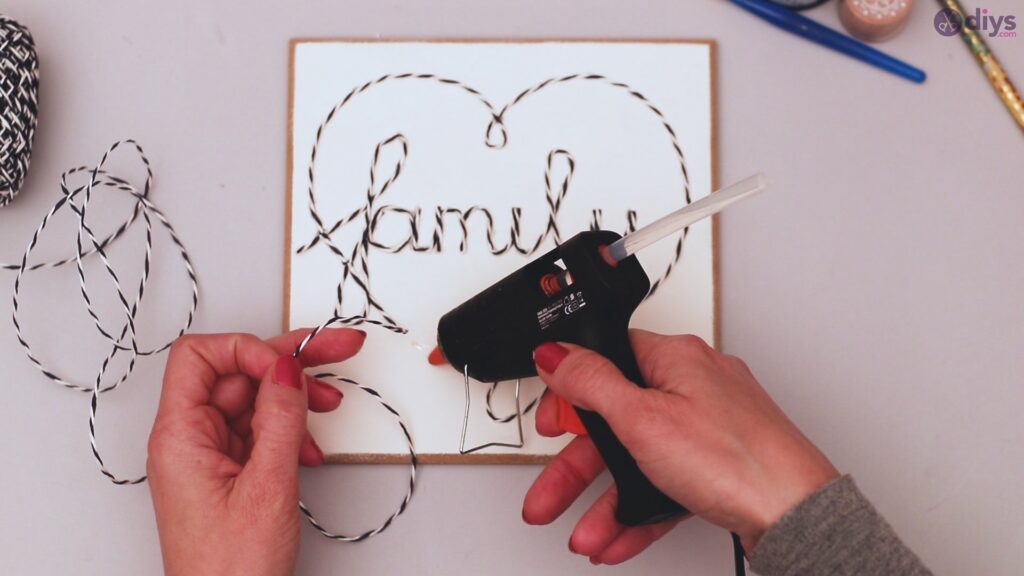
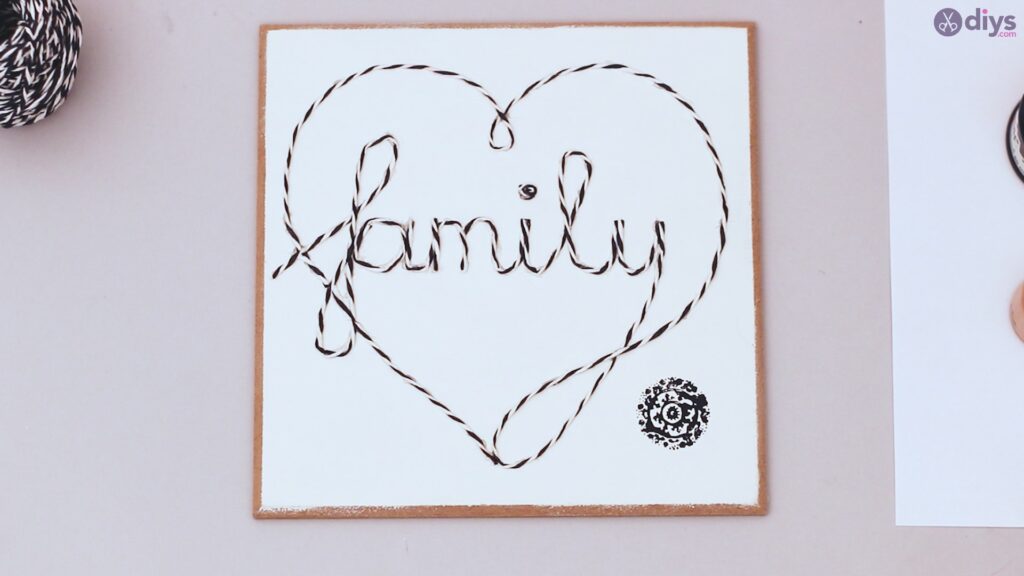
Repeat this process for every picture or element in your wall décor. For example, here, we have a heart around the word ‘family’ that is also outlined in twine.
Step 6: Add your stamp
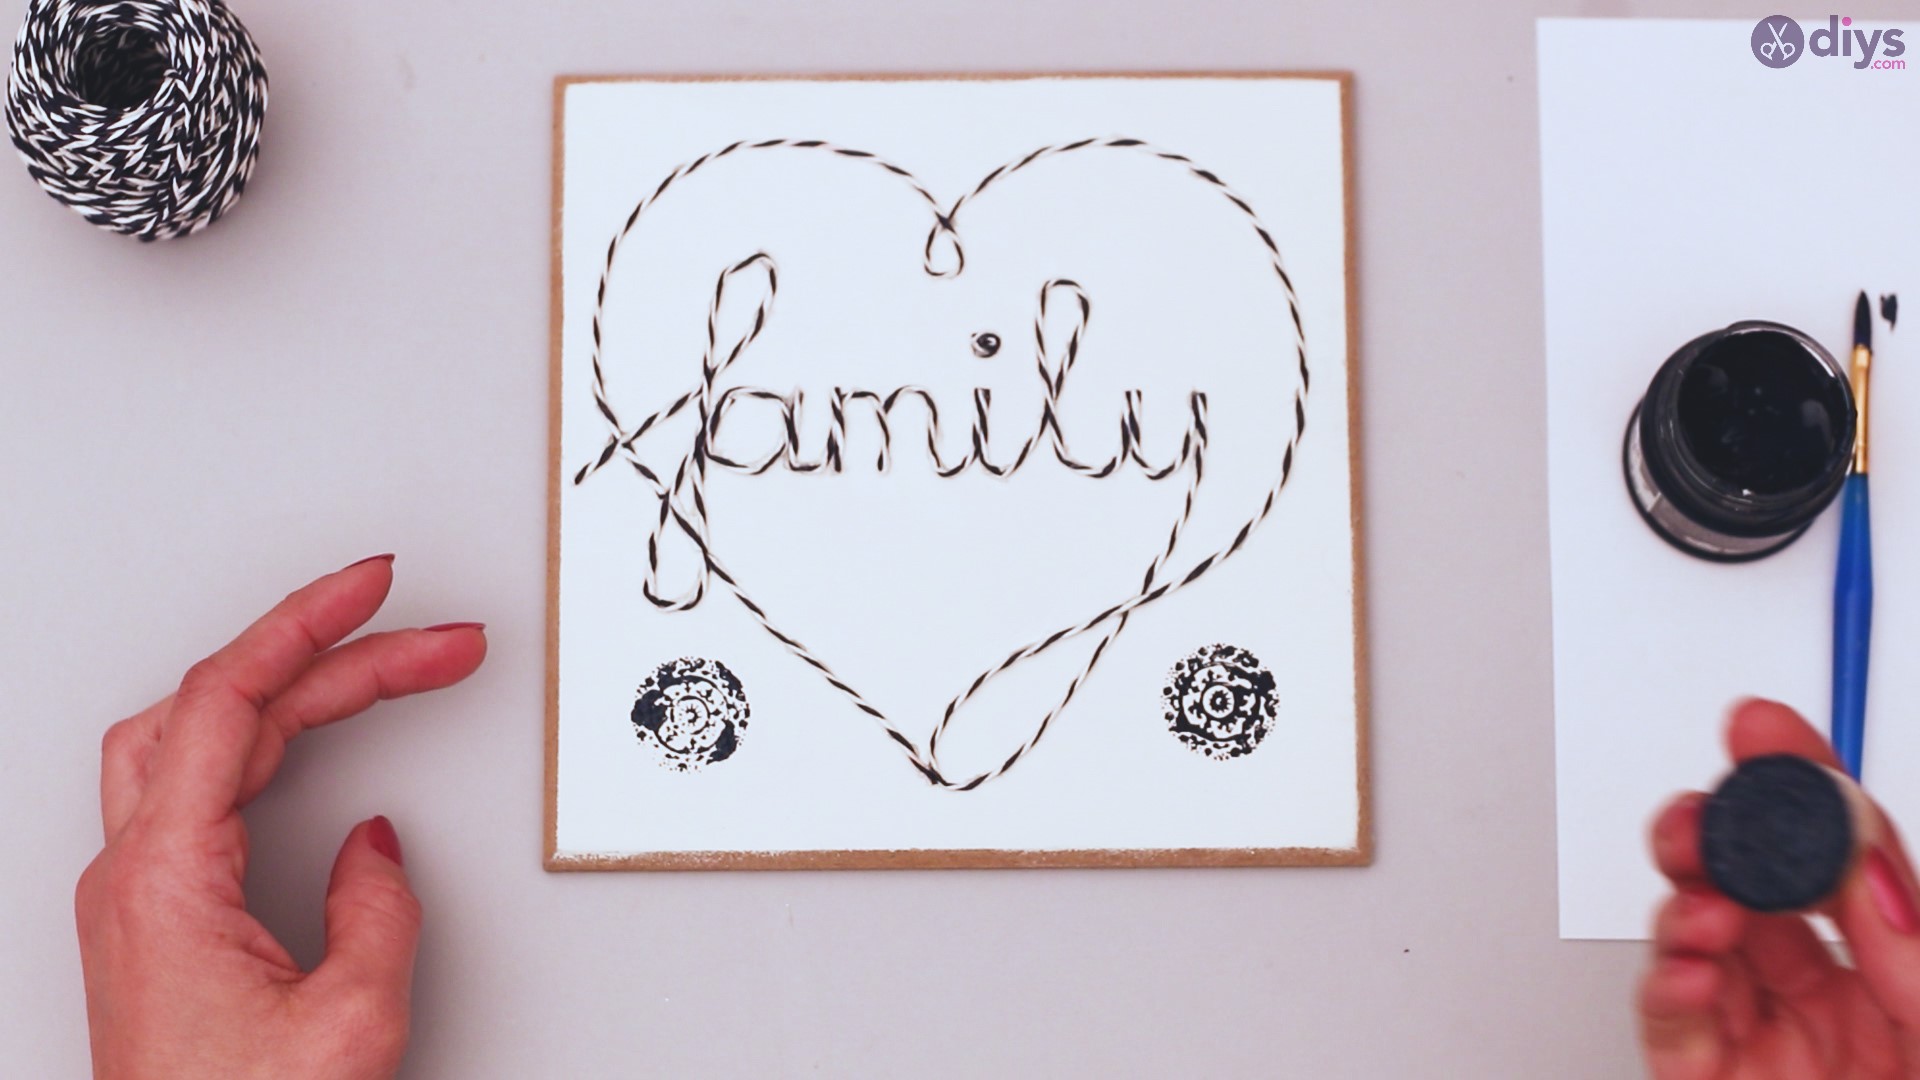
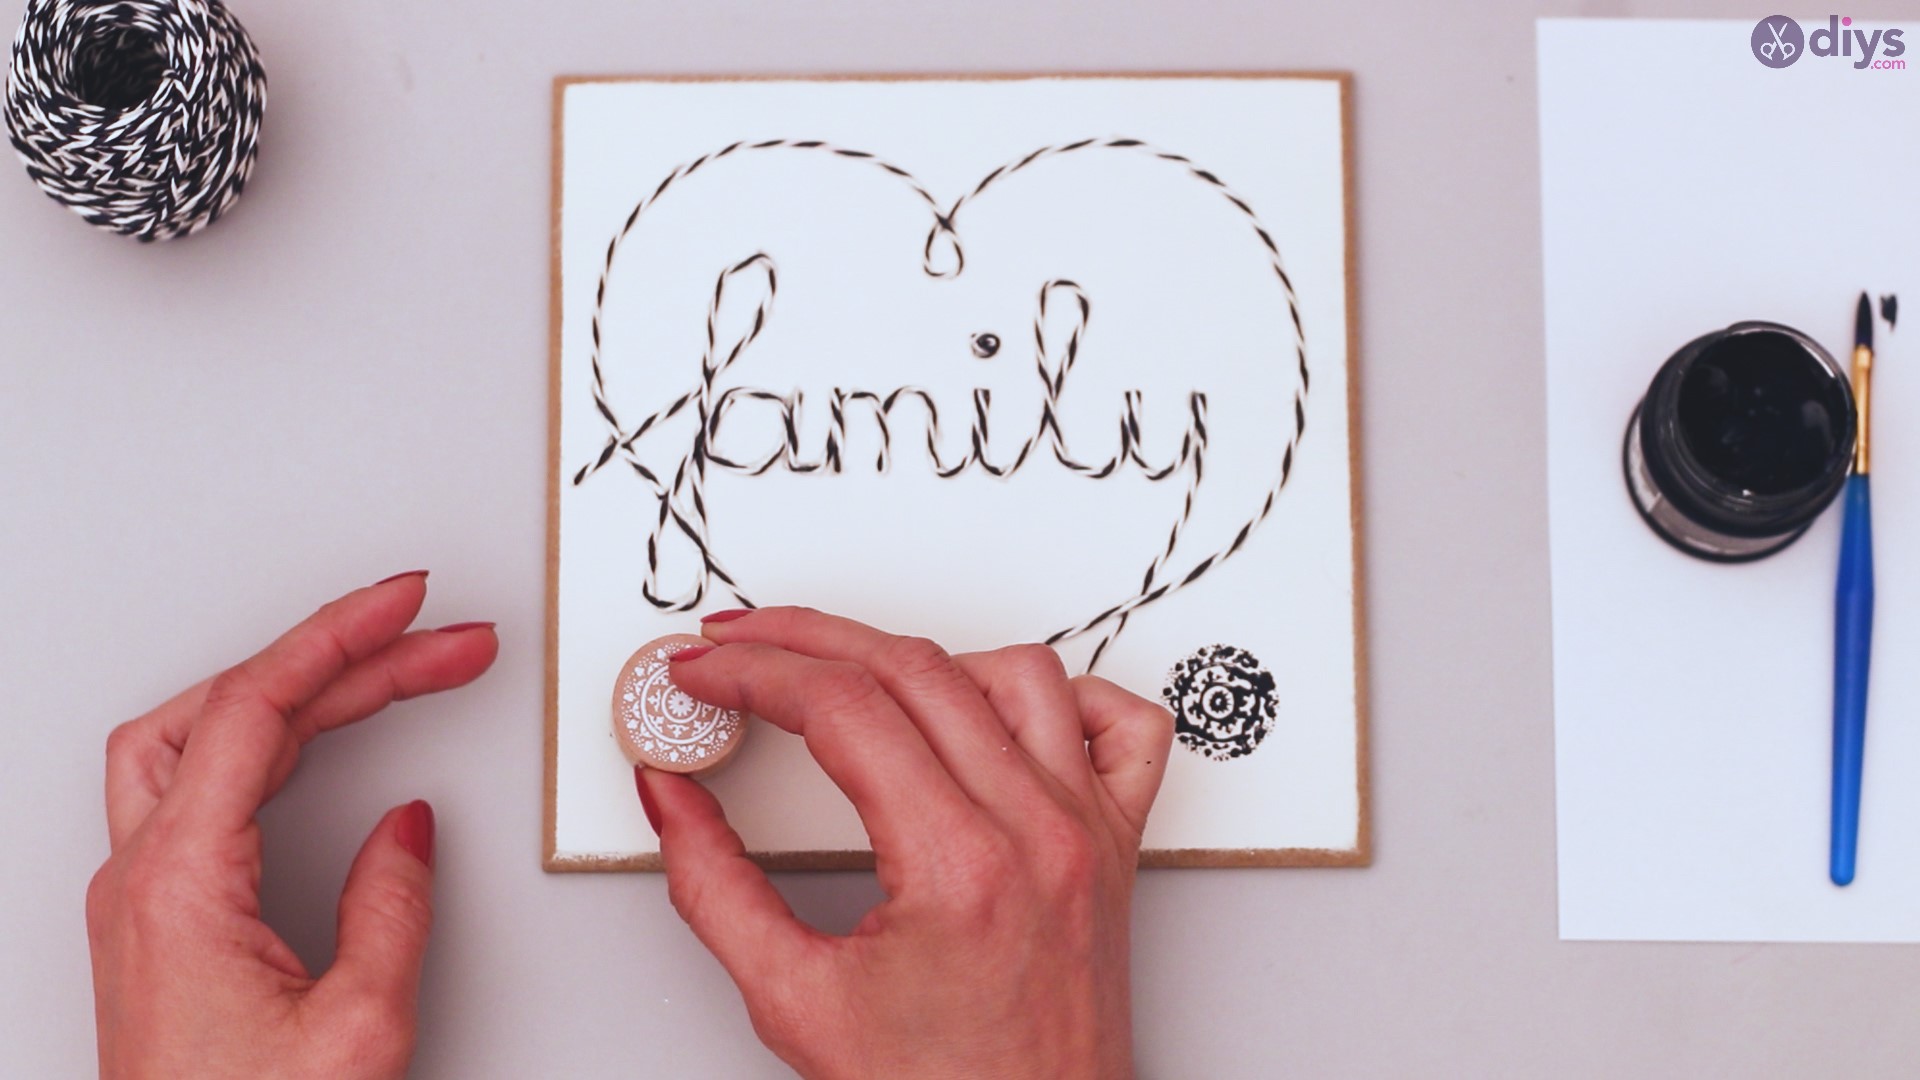
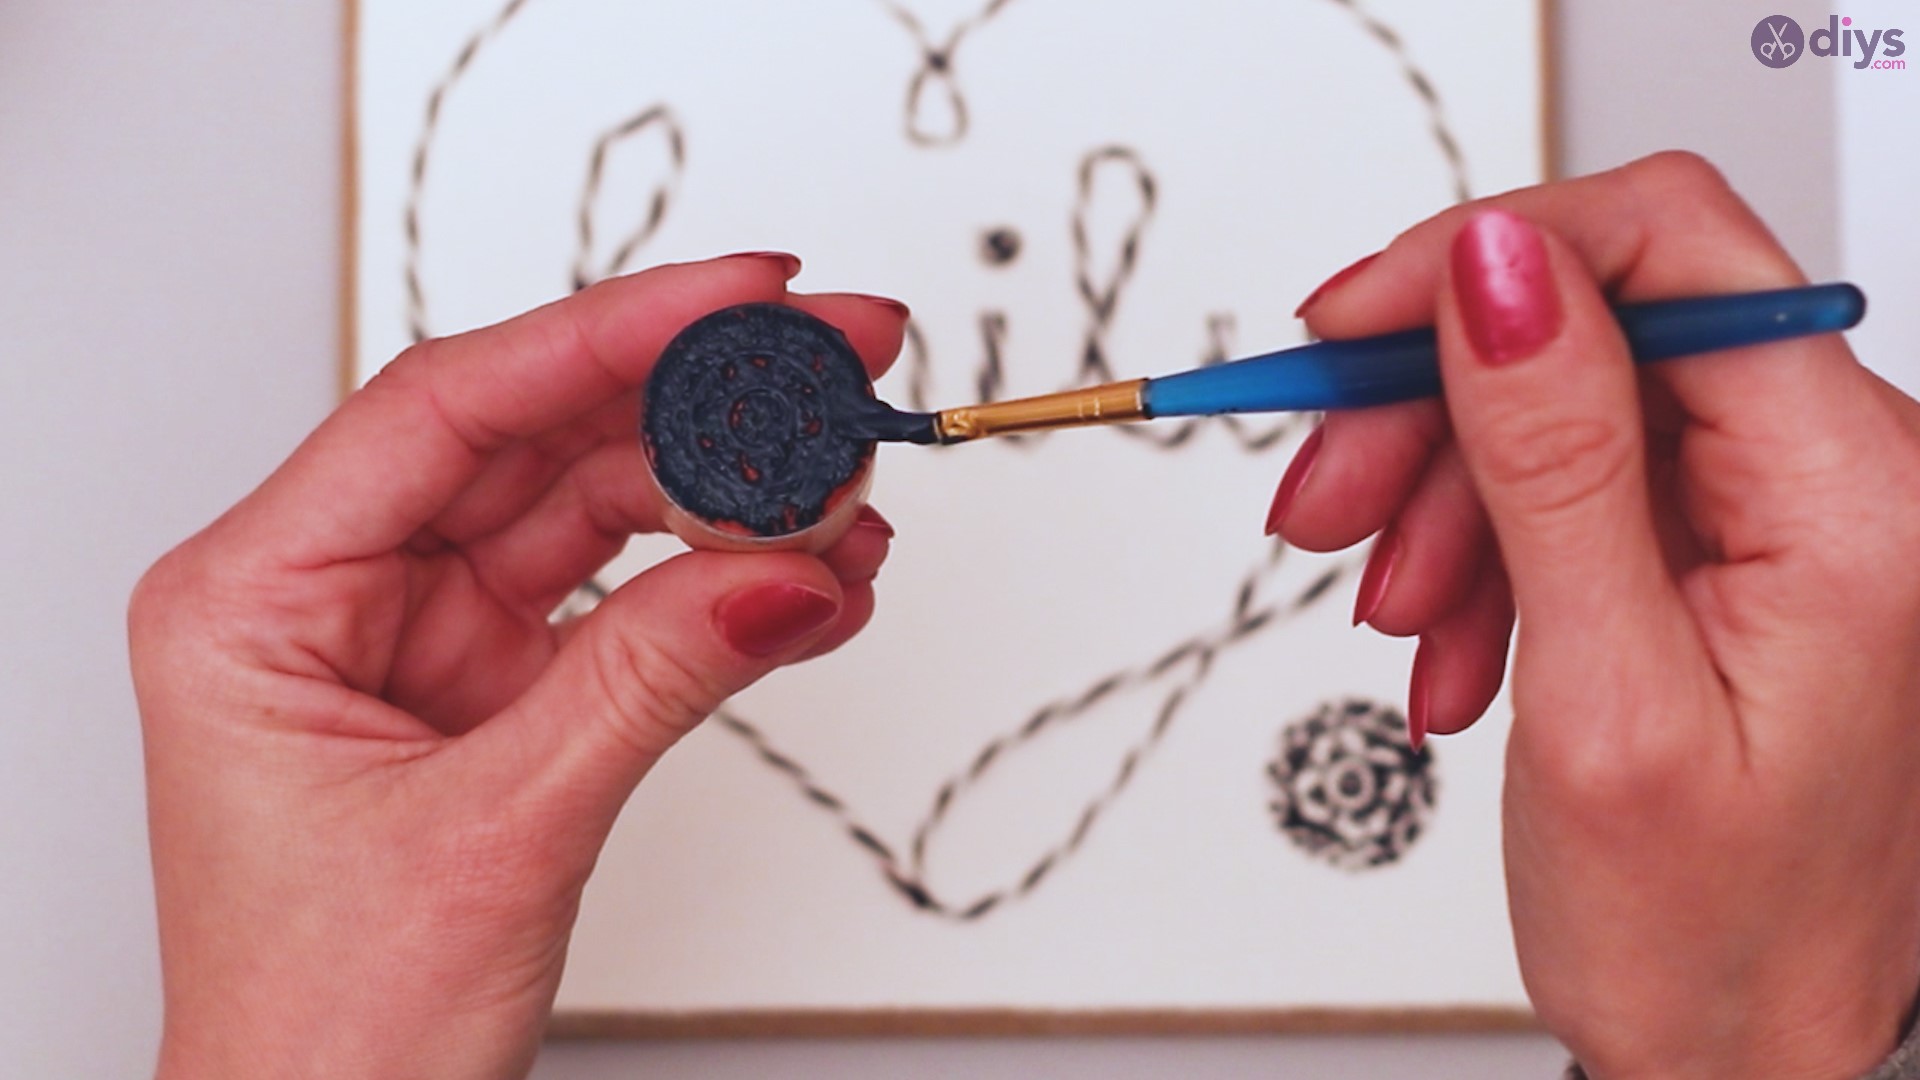
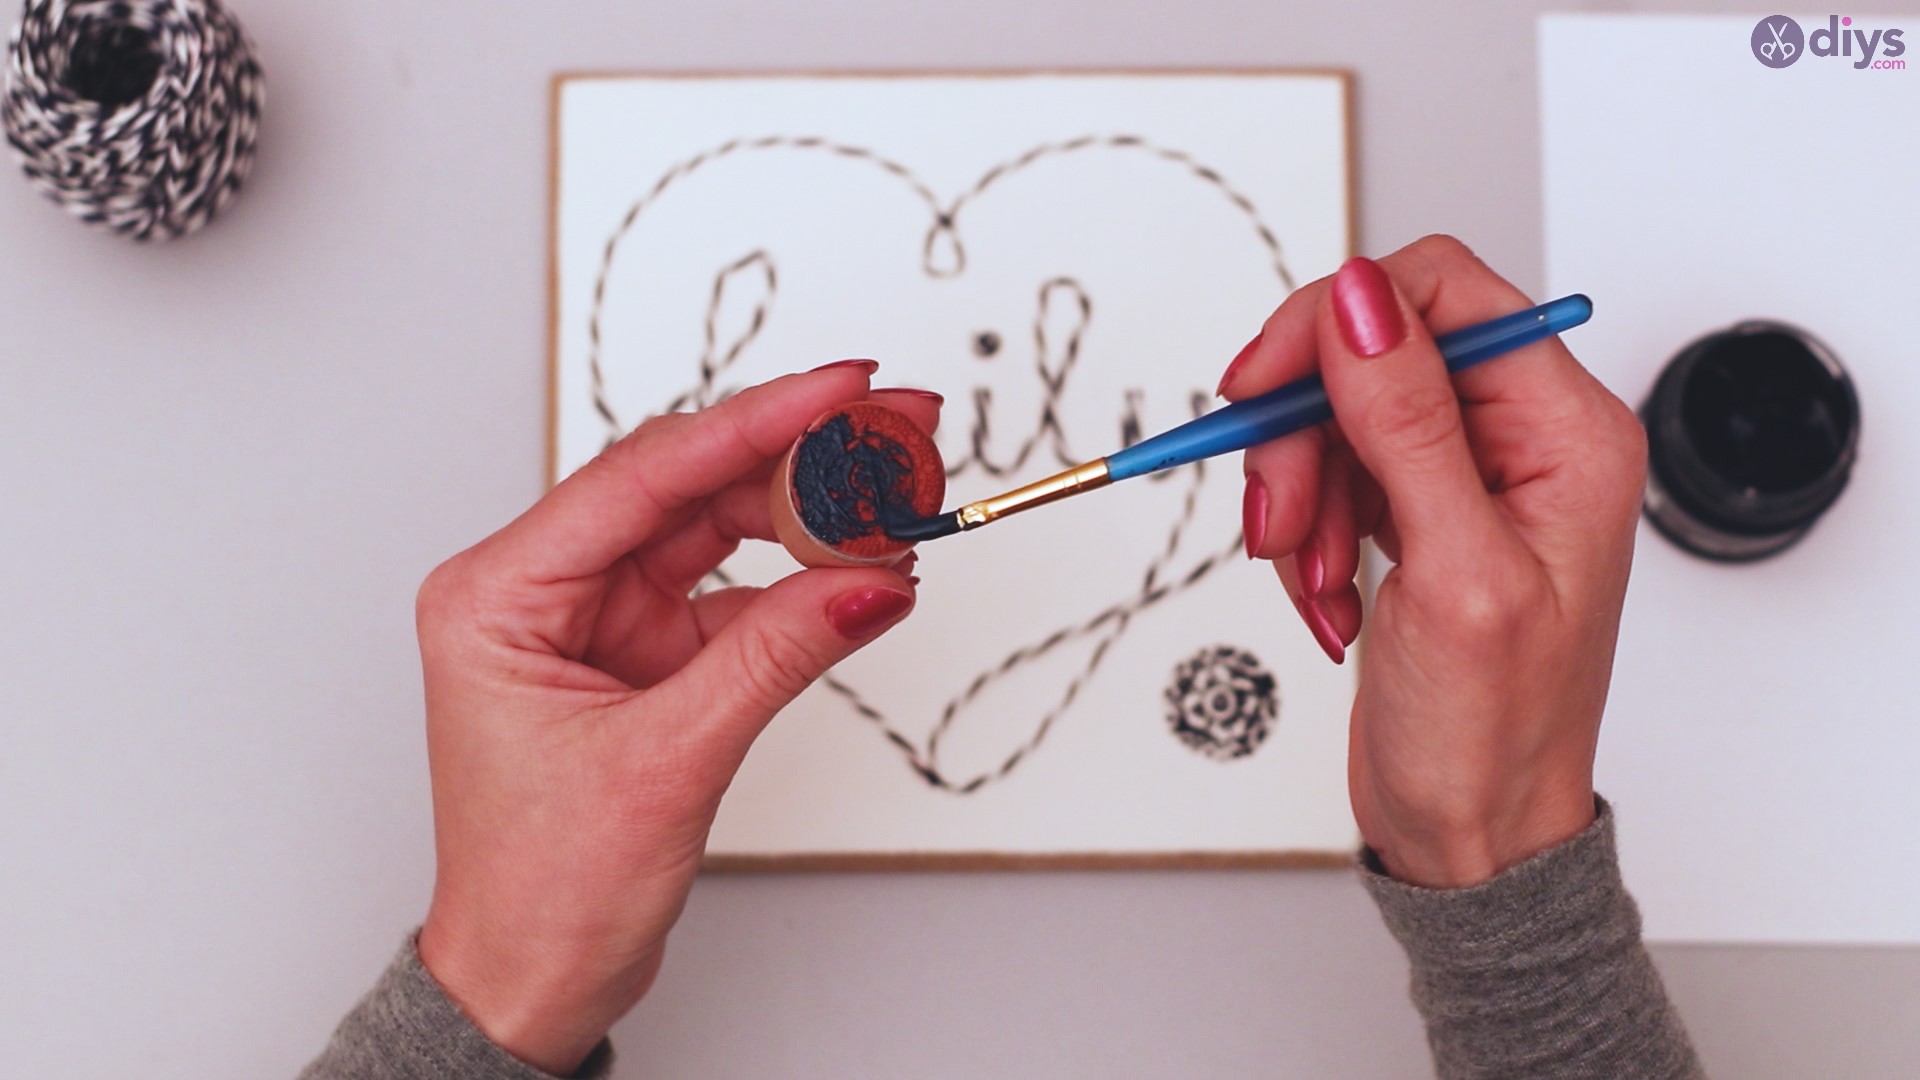
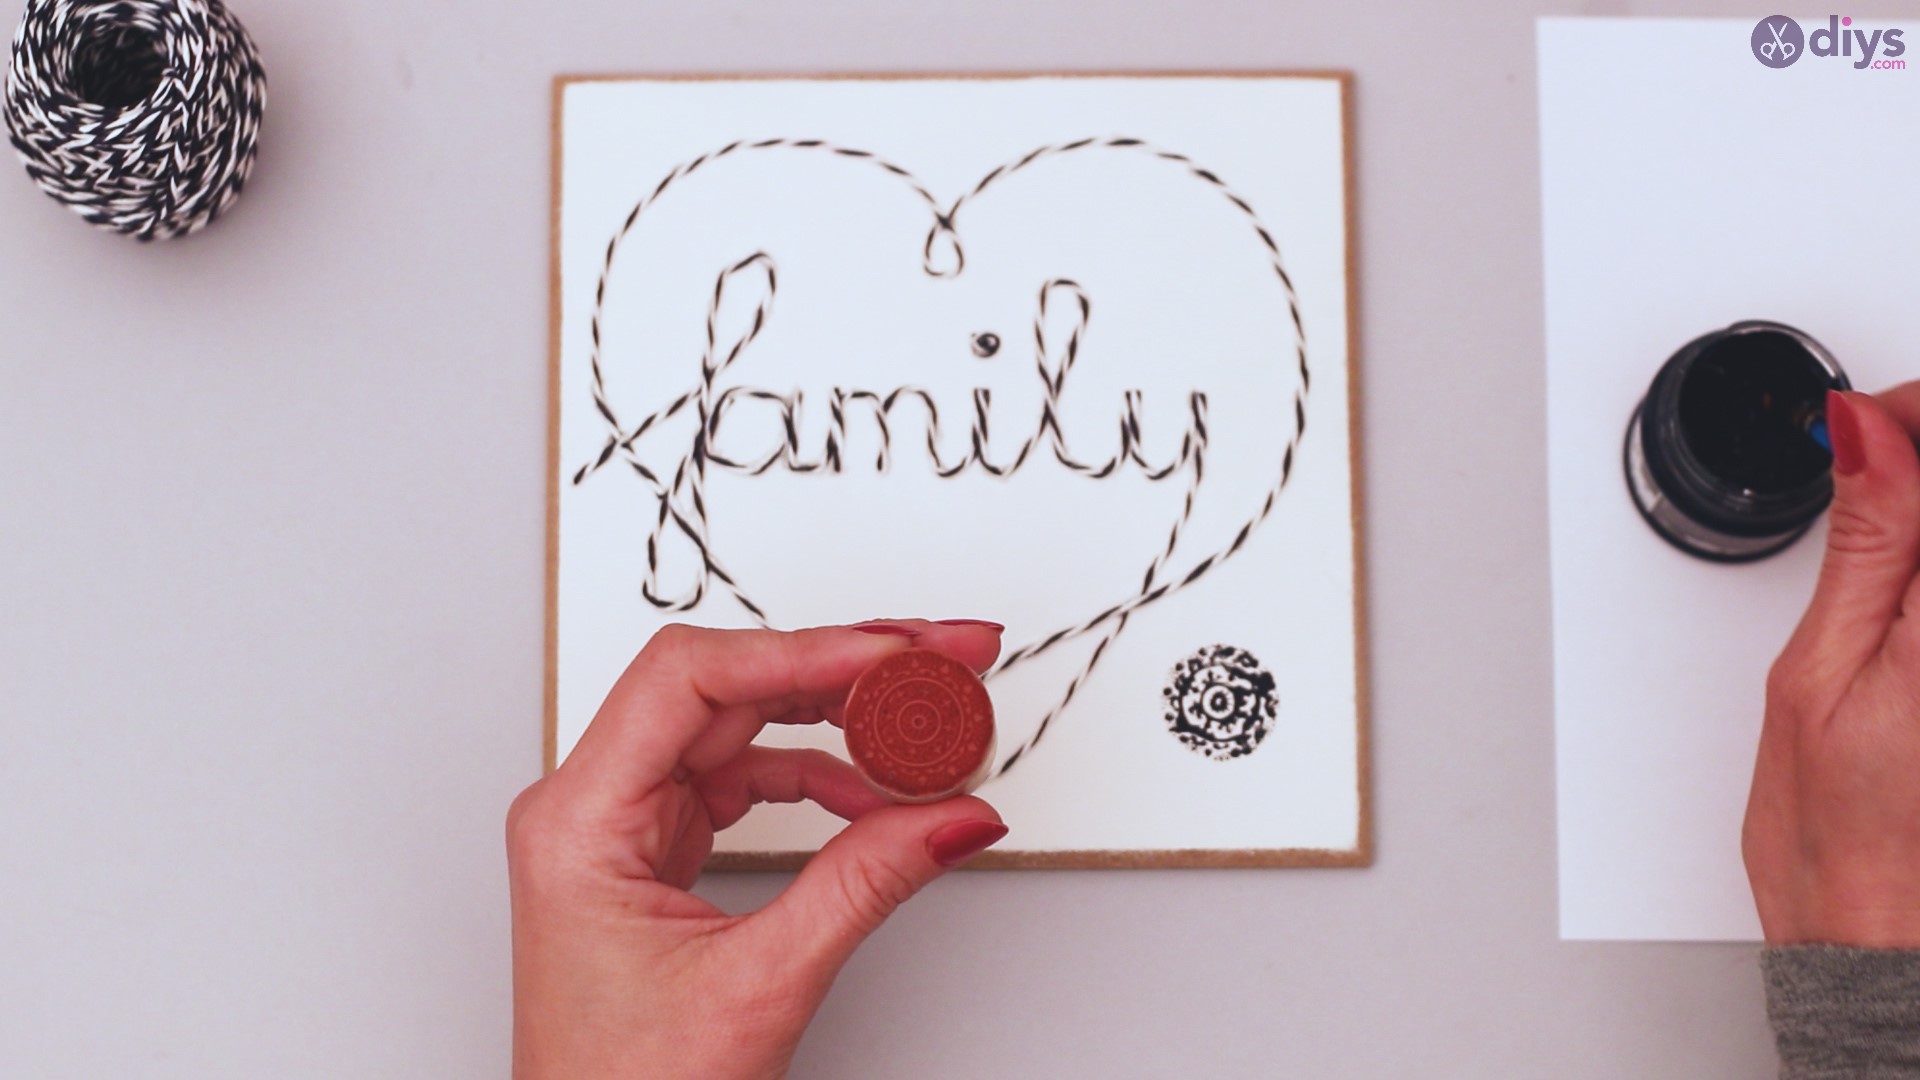
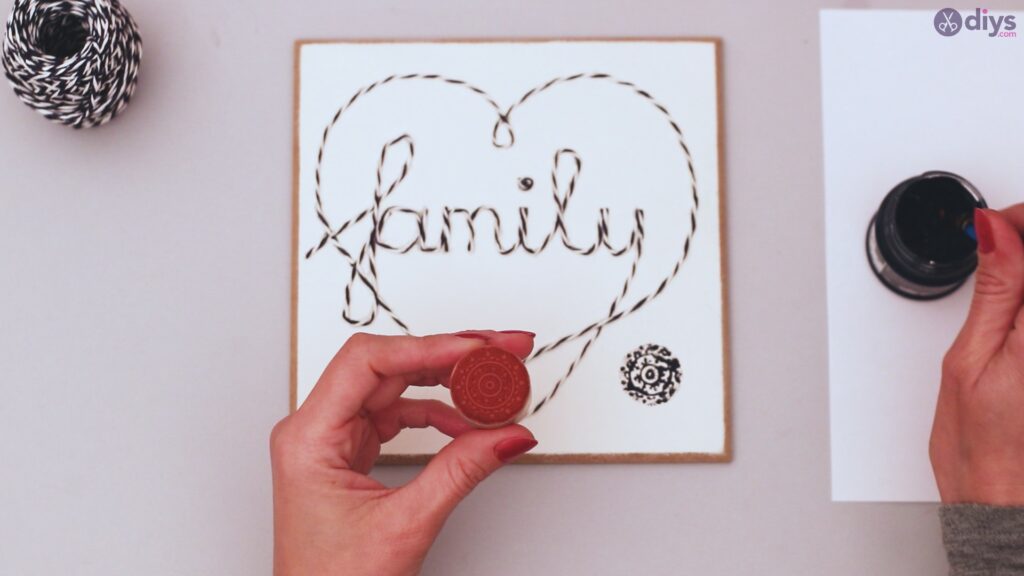
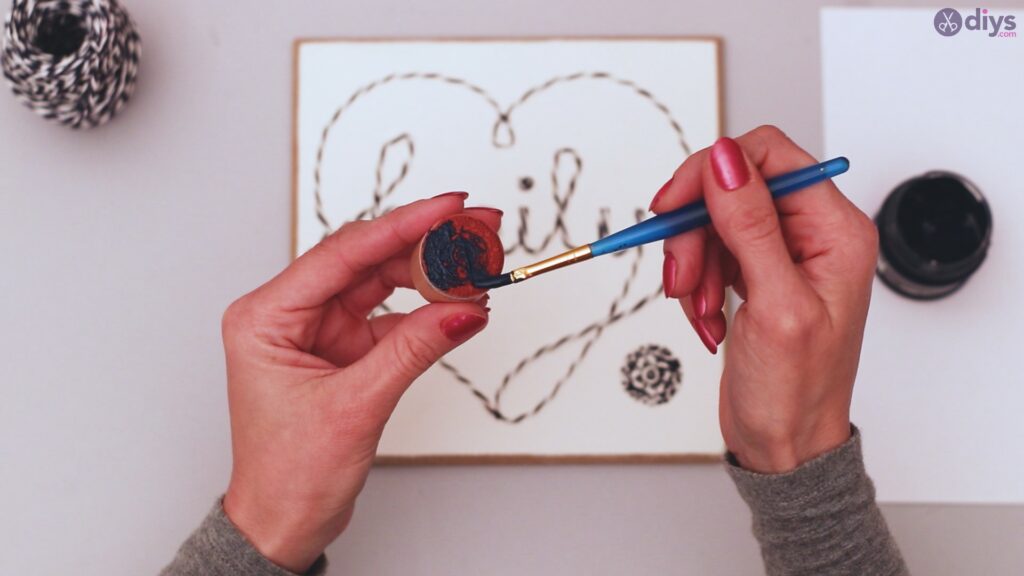
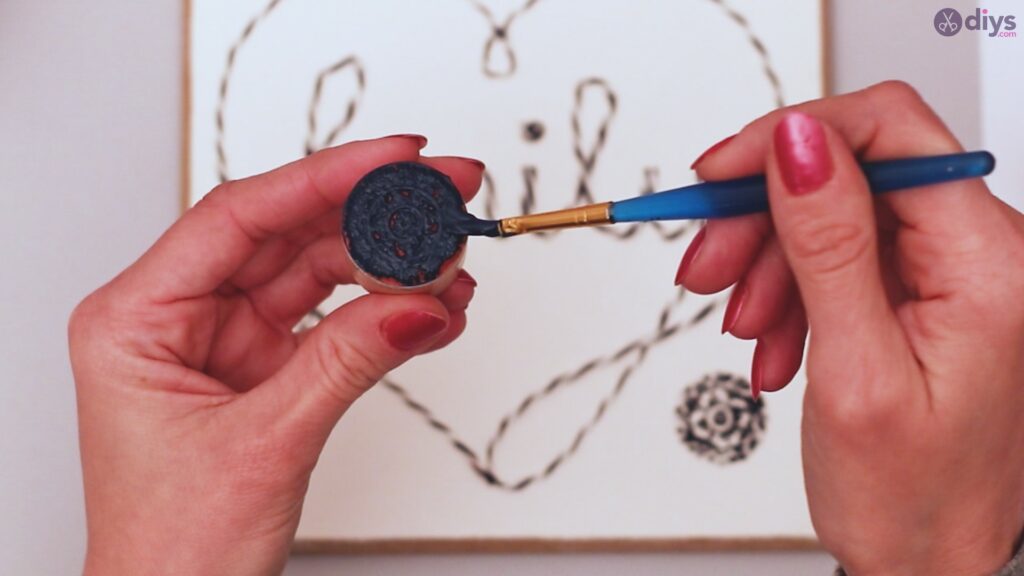
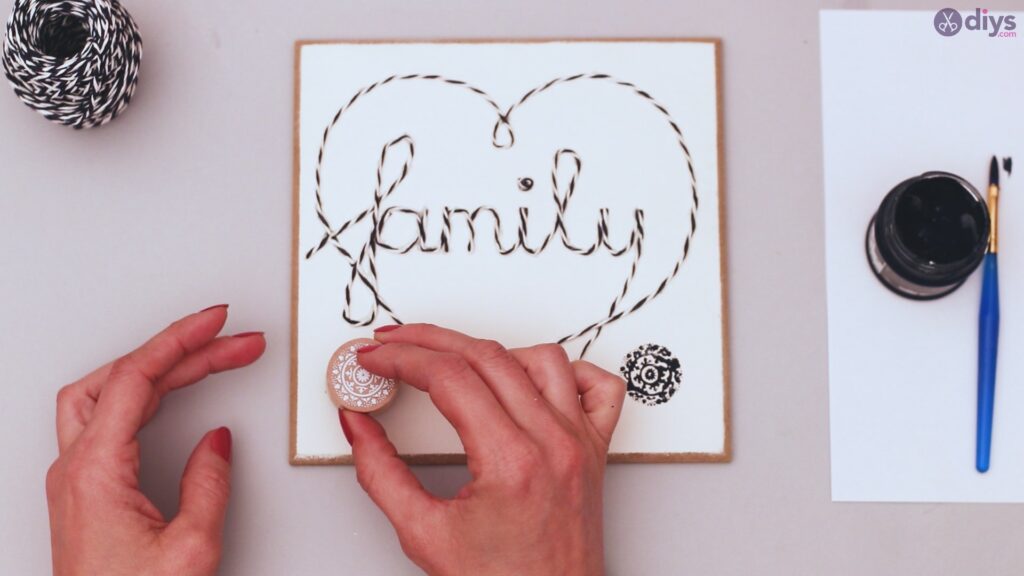
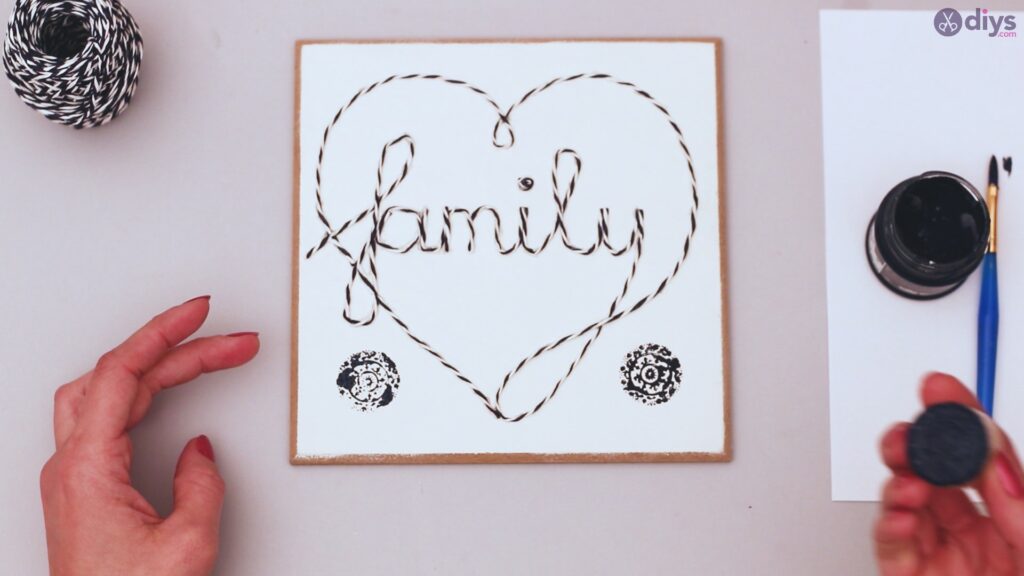
Additional design elements can be accomplished utilizing a stamp or stencil. Here, we’ve incorporated a stamp. To do so, use the paintbrush to coat the stamp in the blue acrylic paint and place on your wood tile where you desire. Repeat the process to place in every area you want. If you’re using a stencil, place the stencil on your tile and, using a paintbrush, paint over it with the blue acrylic paint.
Allow time for the paint to dry before continuing with the project, or you could end up smearing the paint.
Step 7: Create a hanging loop
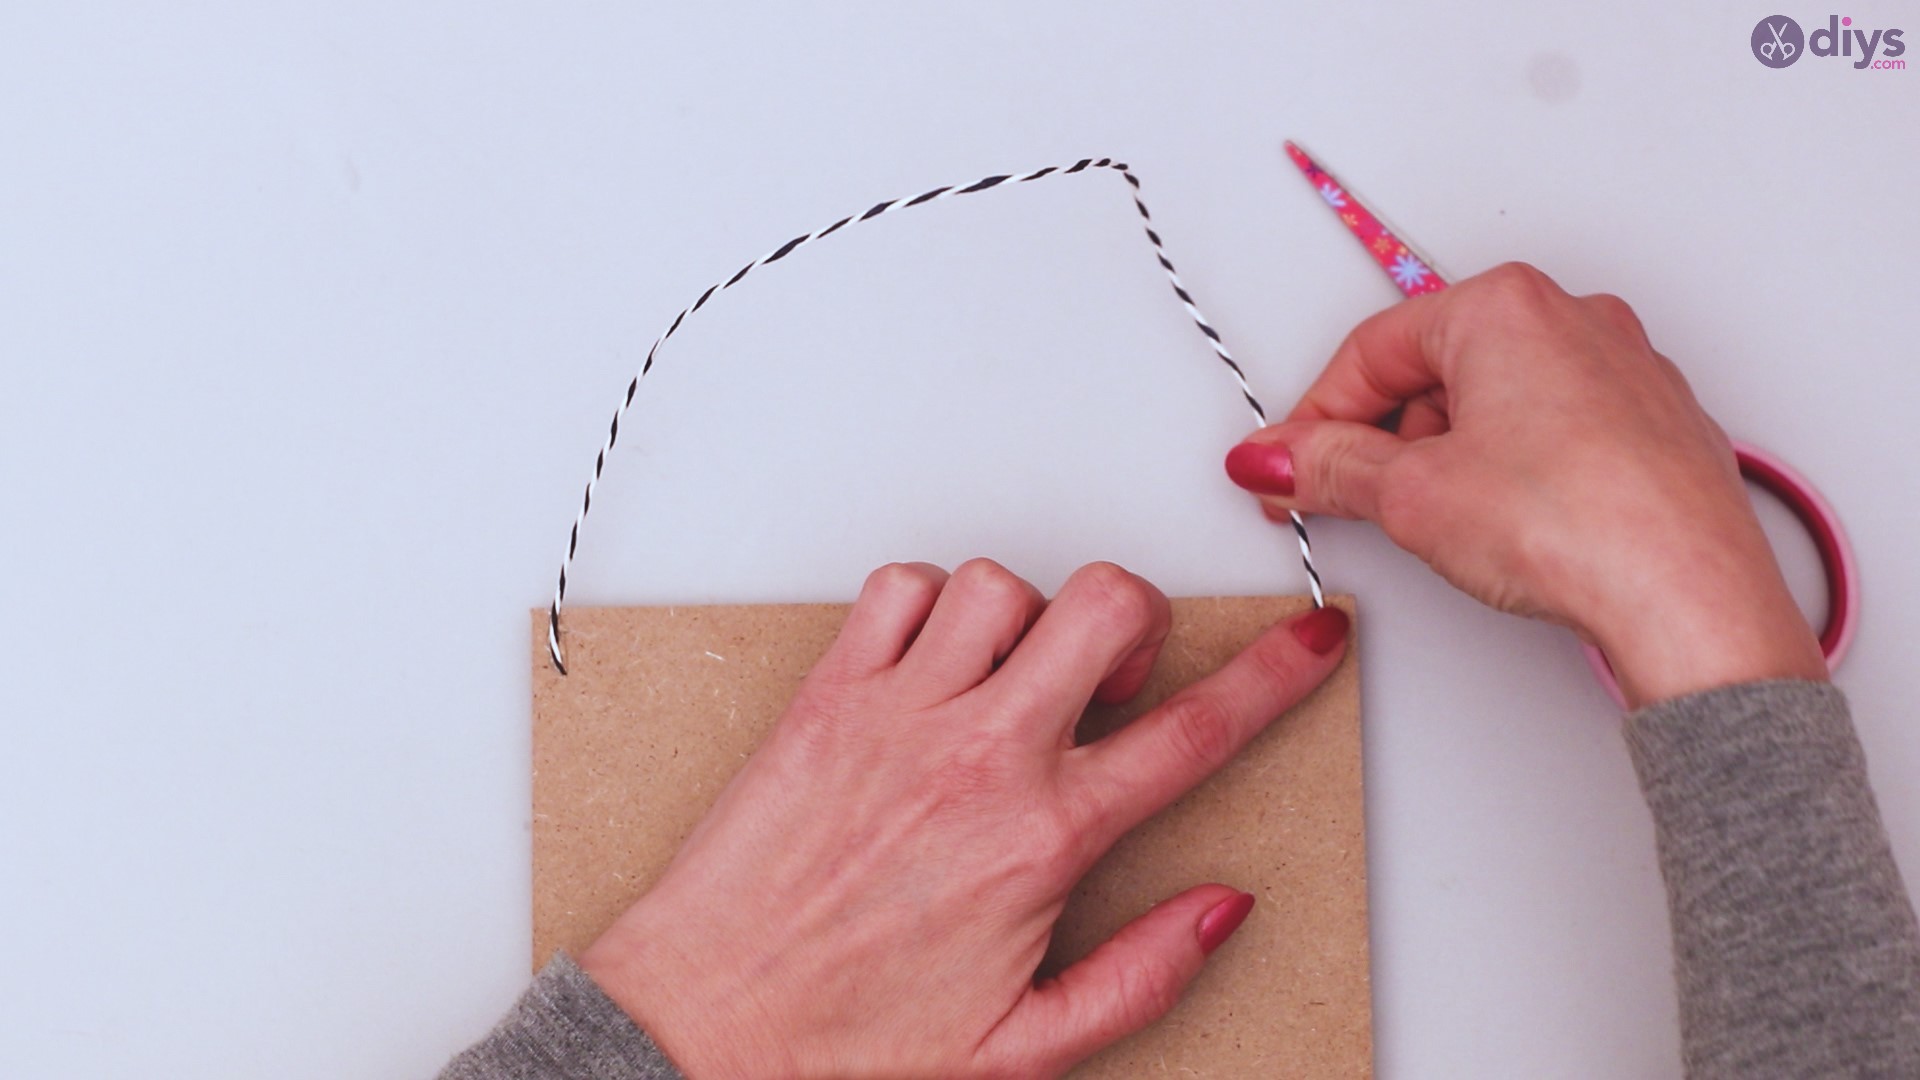
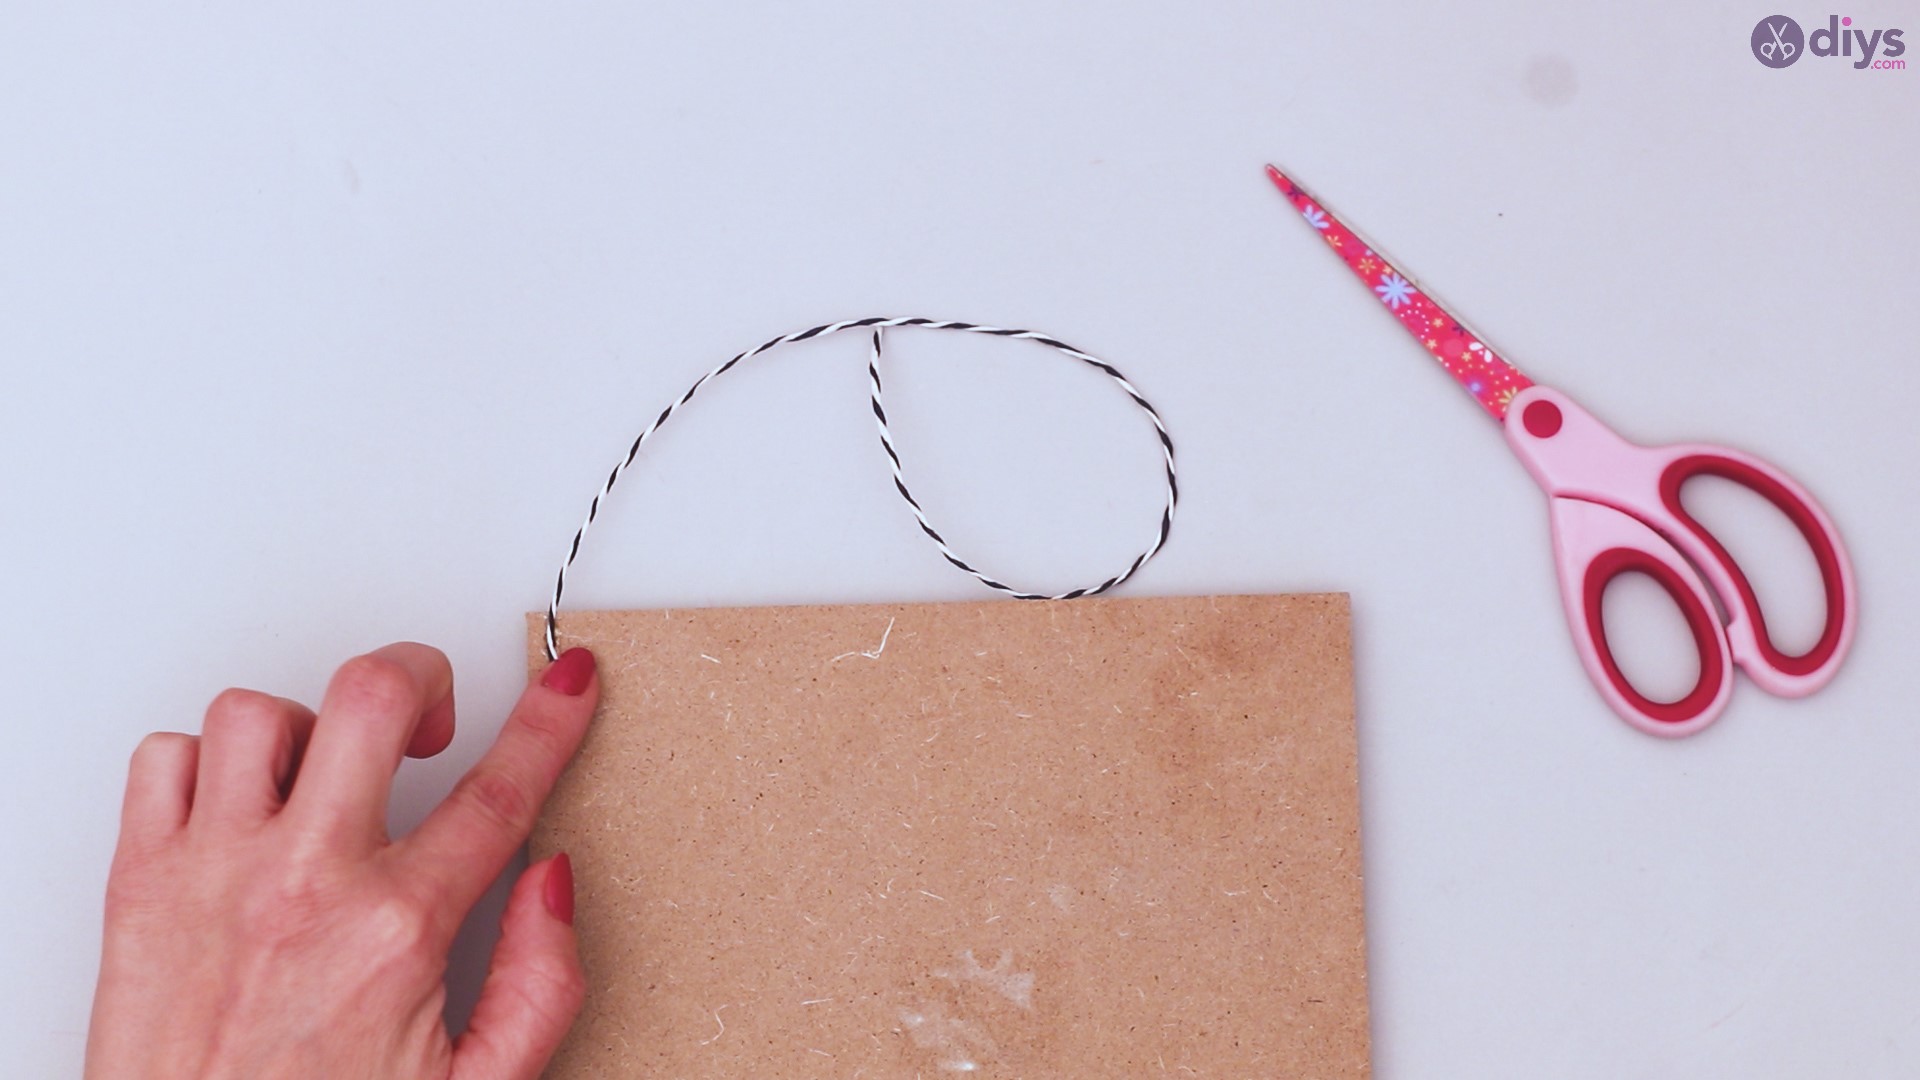
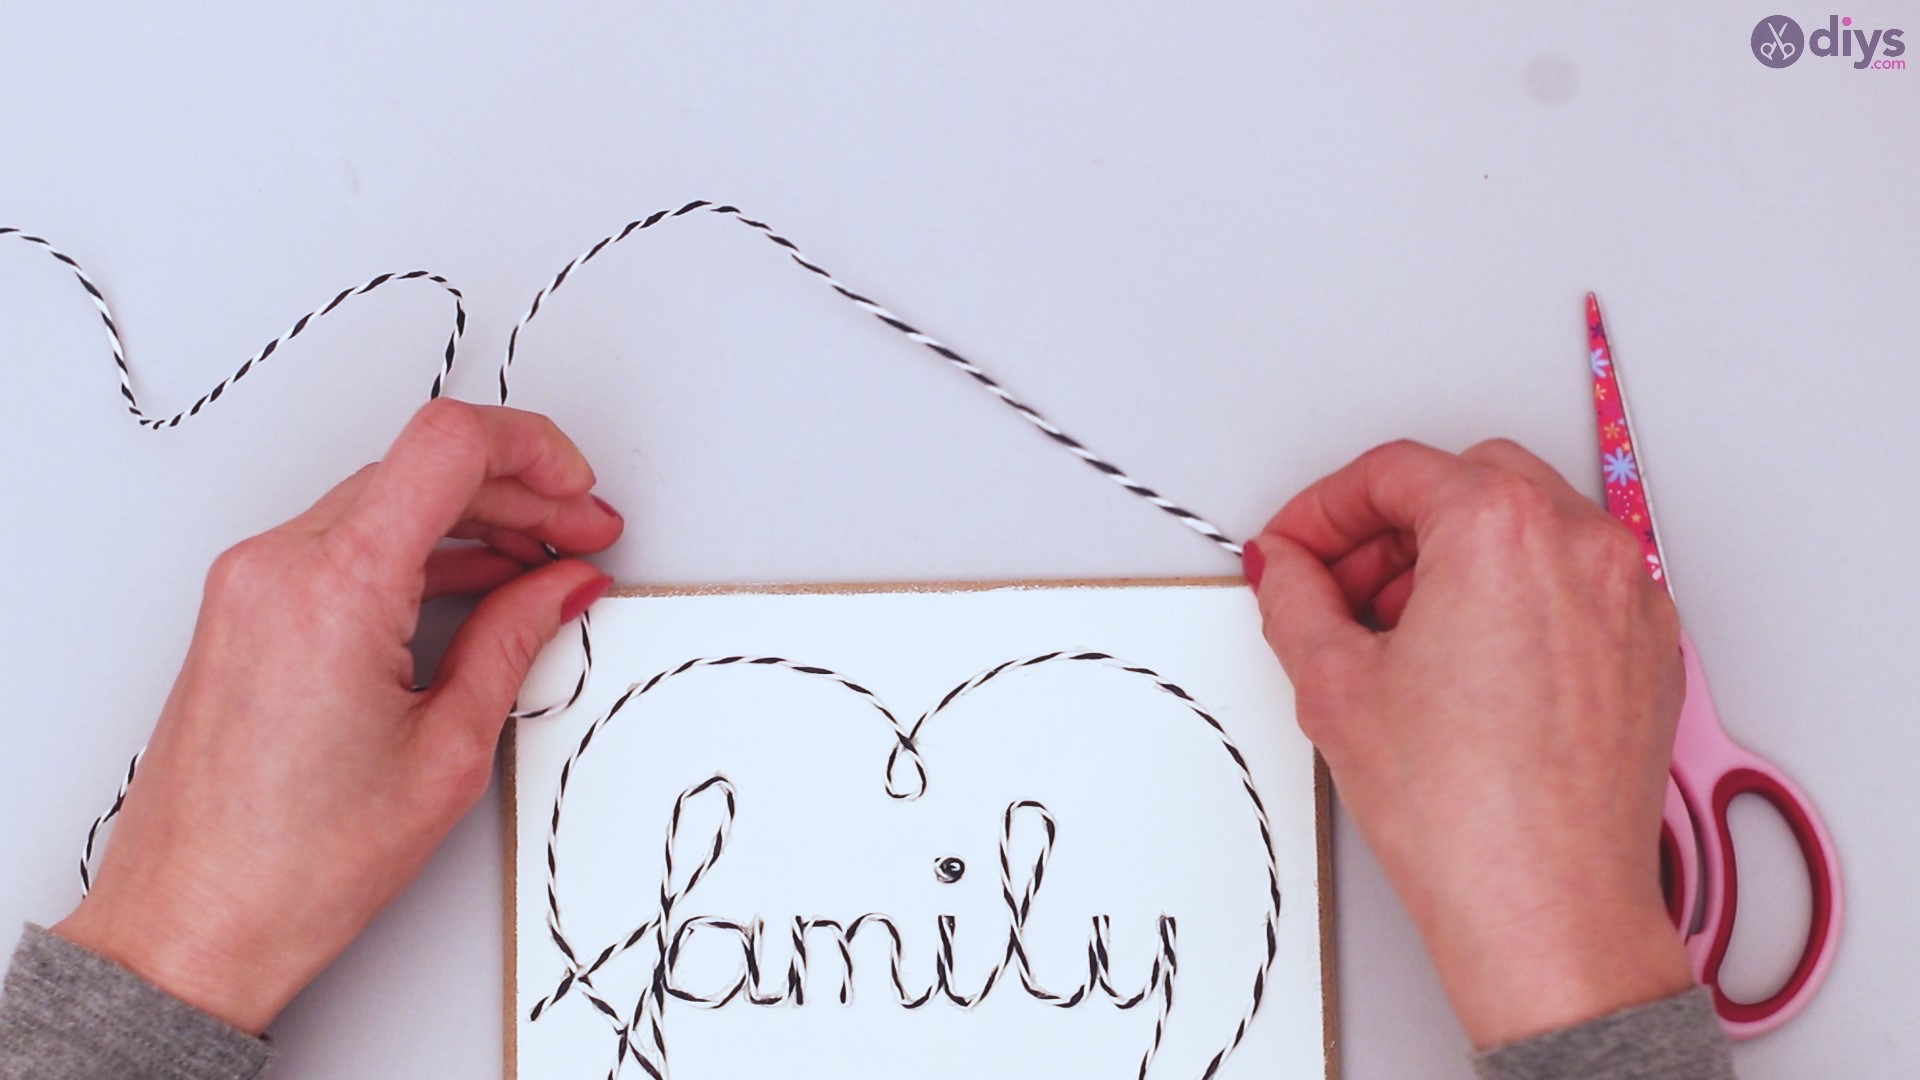
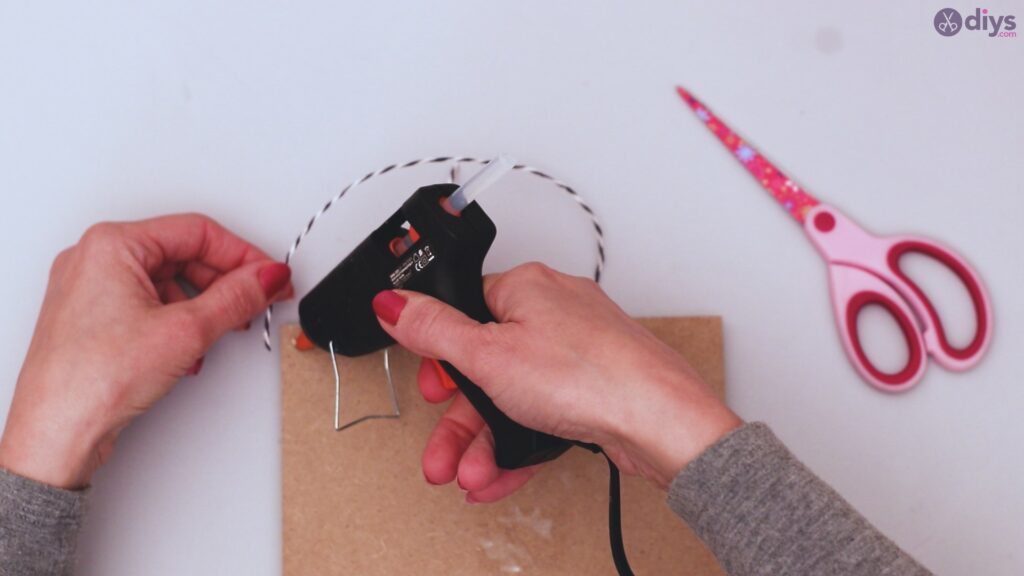
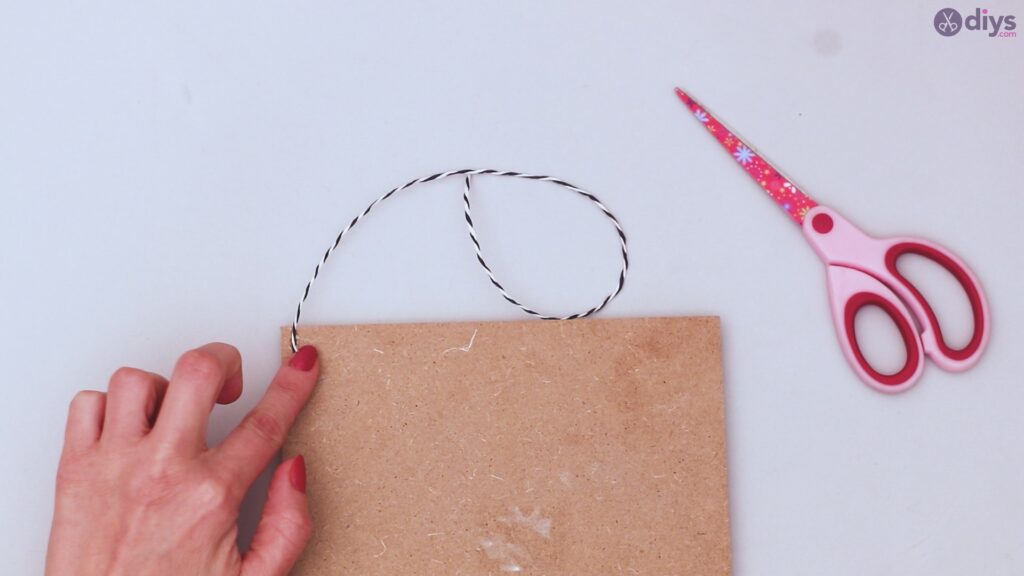
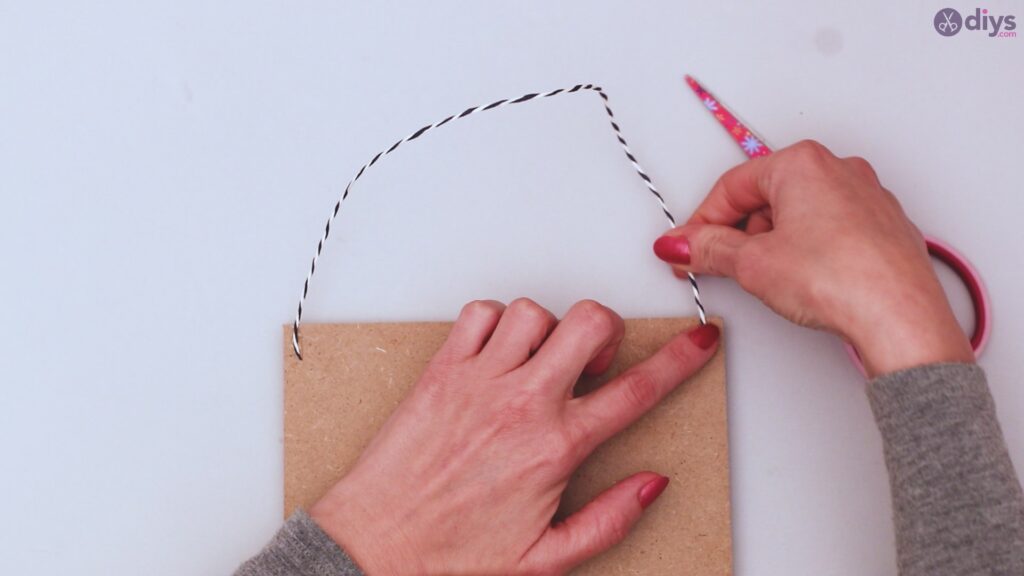
Cut a length of your twine that is about twice as long as your wood tile is wide. Using your glue gun, flip your tile over, and place a bead of glue on the top two corners of the tile.
Attach the ends of your length of twine to the glue. Allow your glue to dry.
Your completed twine wall décor will rival anything you find in a home décor or department store, and you’ll take greater pleasure in it because you put the work in and because it relates directly to your values. With the ease of creating these, they make perfect projects for holidays so you can switch out your décor to match the season or other special time of year with minimal cost and effort. In addition, these last a long time and, should you ever find the glue coming loose, they are easy to repair. Even children can assist with these projects, teaching them the value of art and personal expression.
