DIY Popsicle Stick Airplane Craft
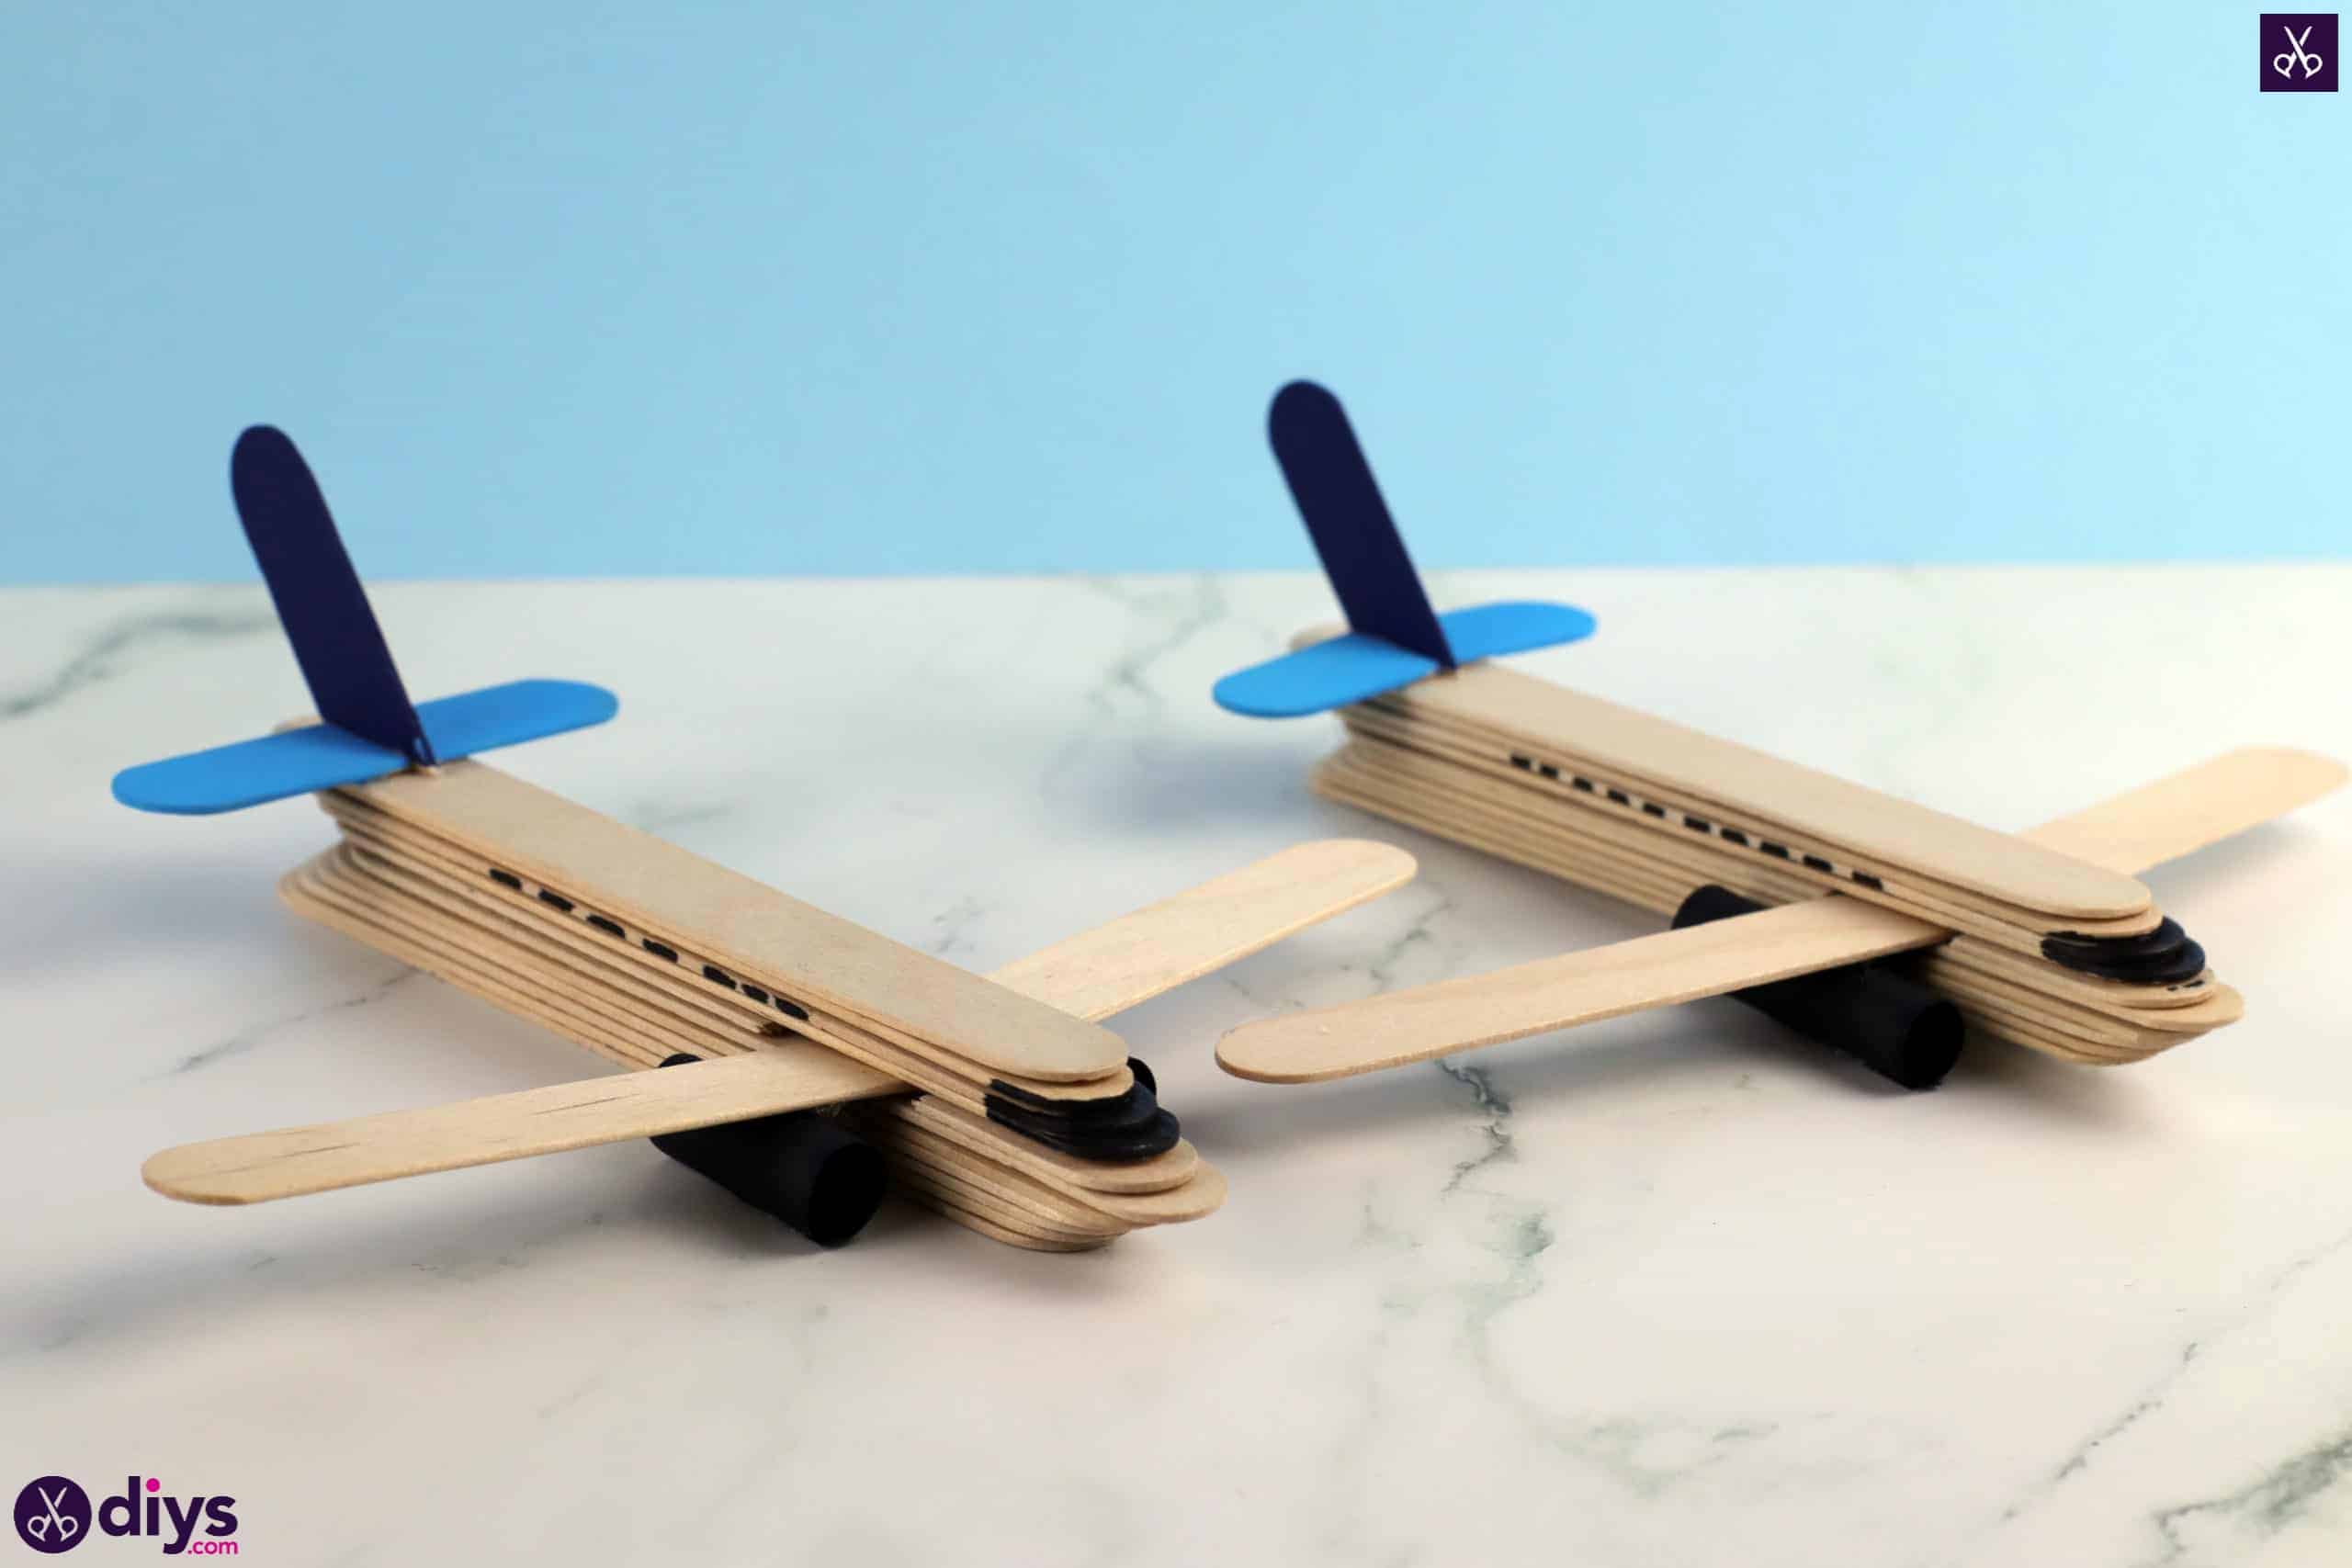
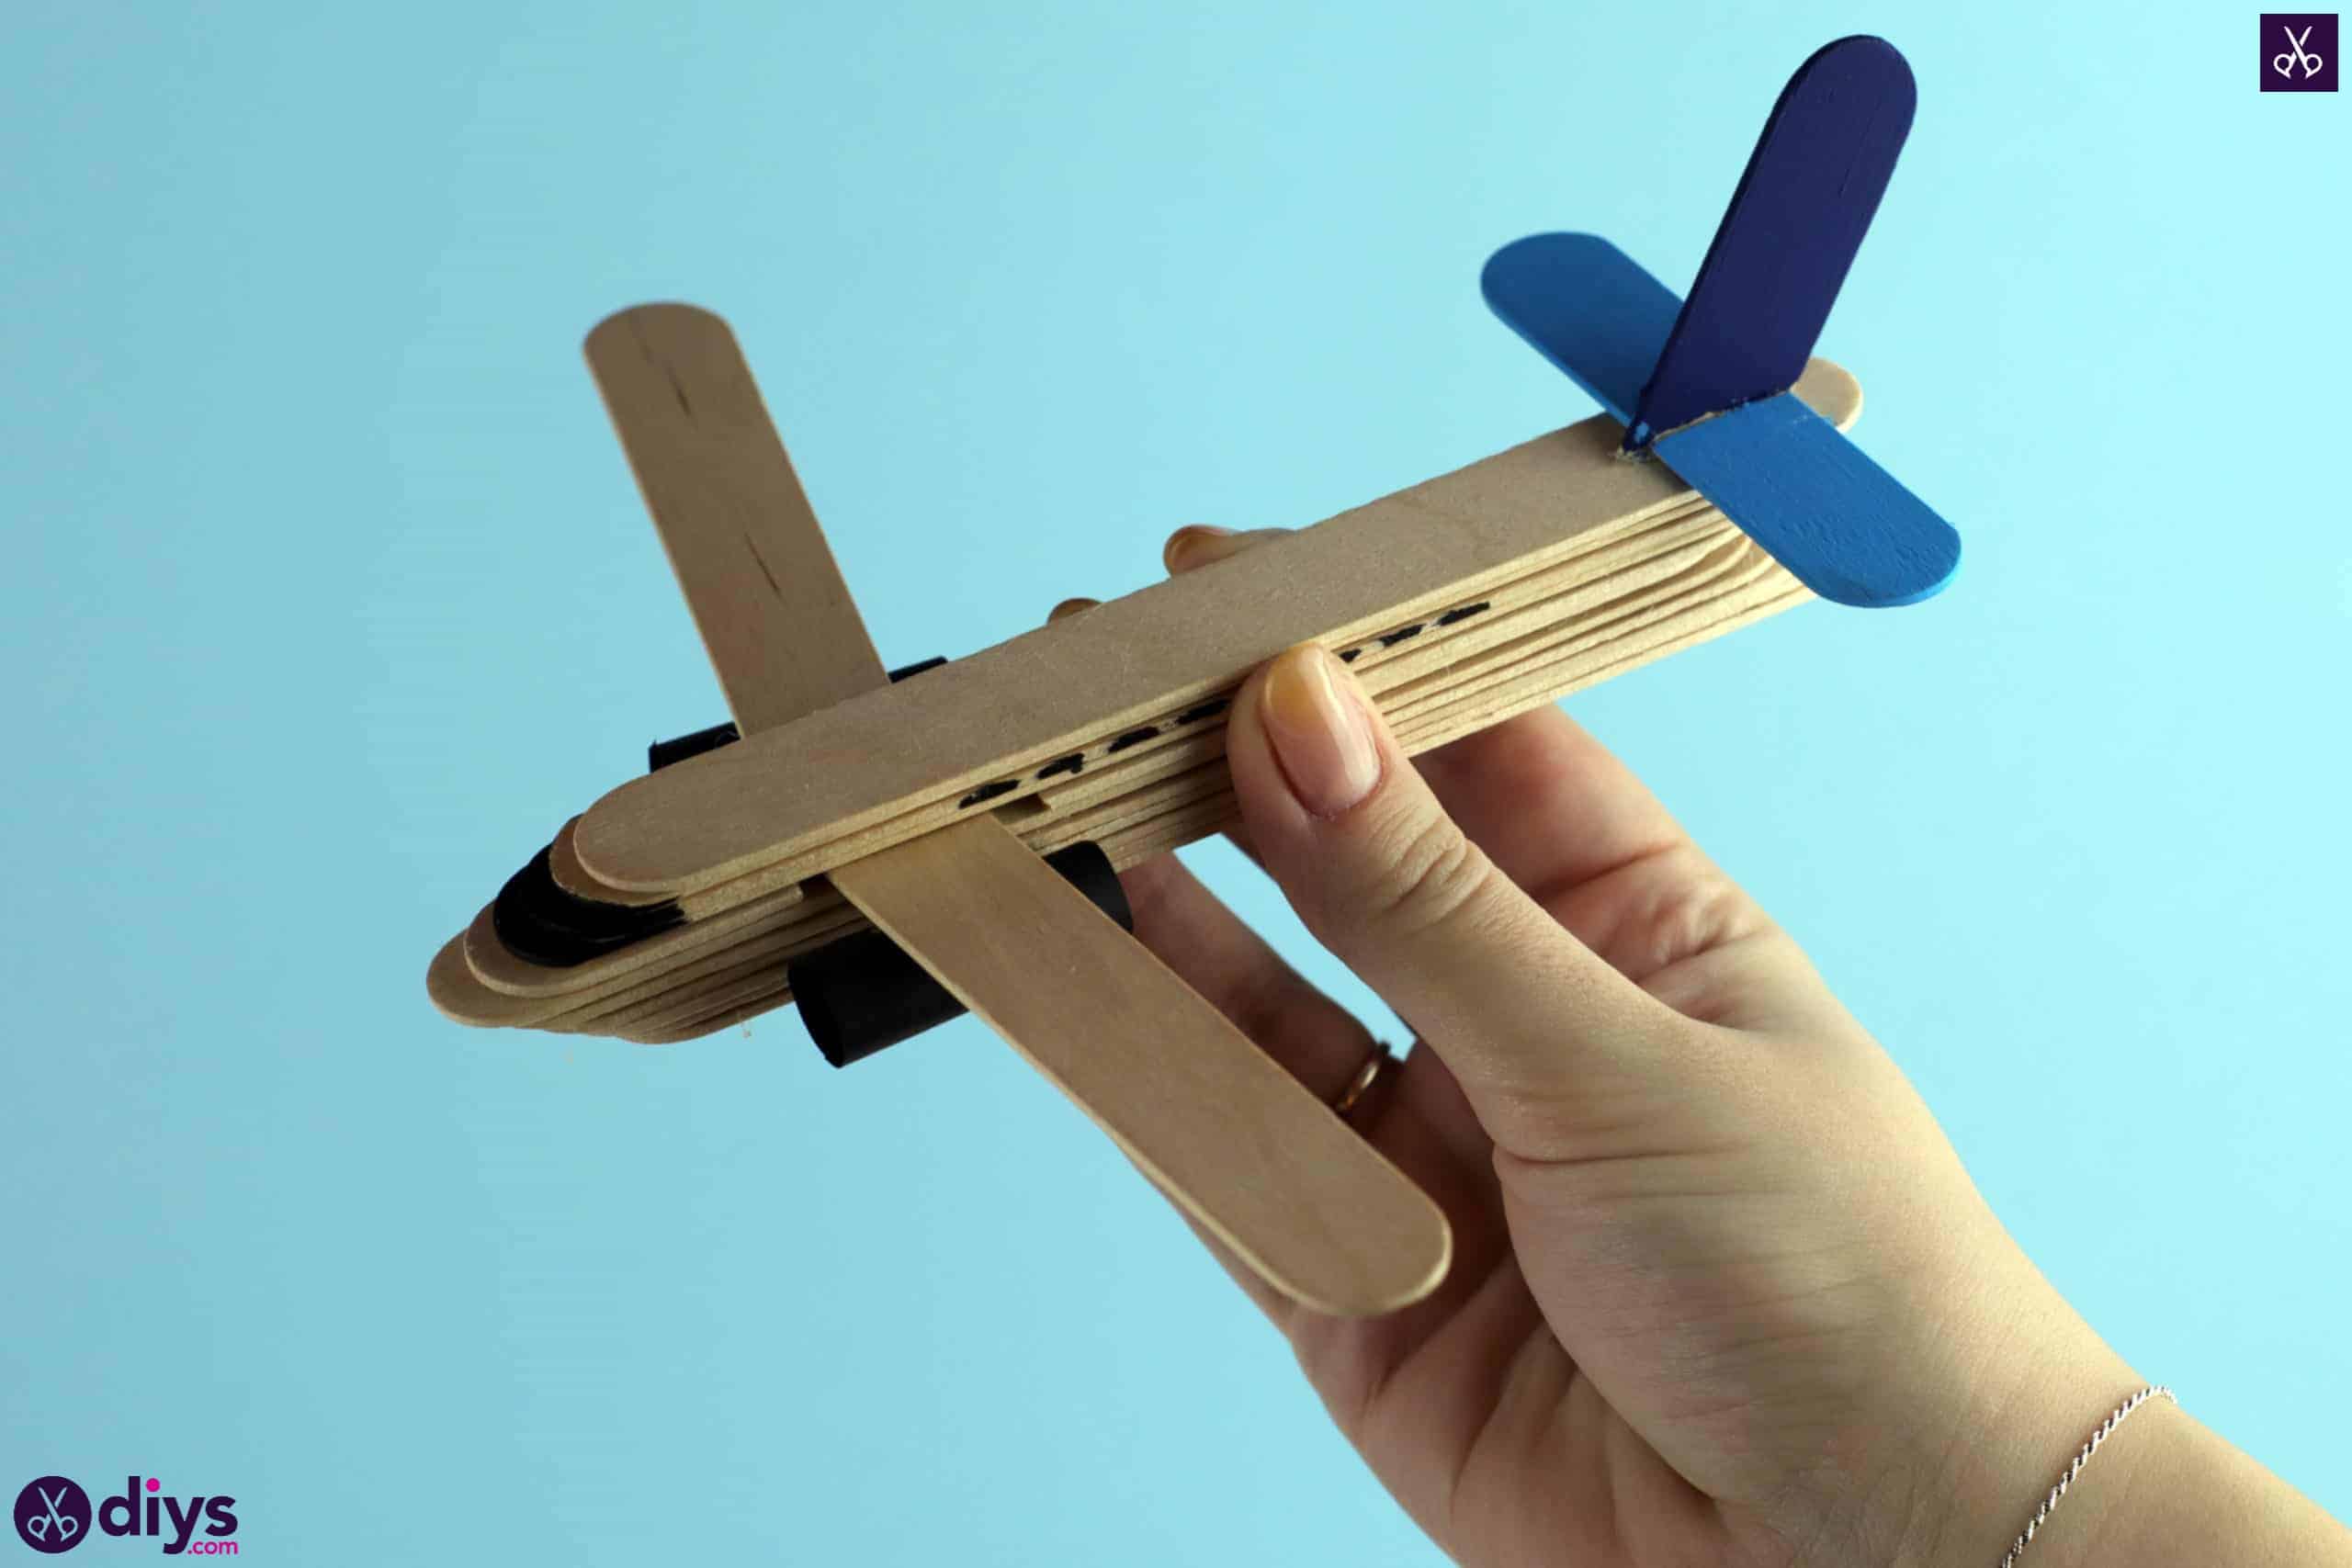
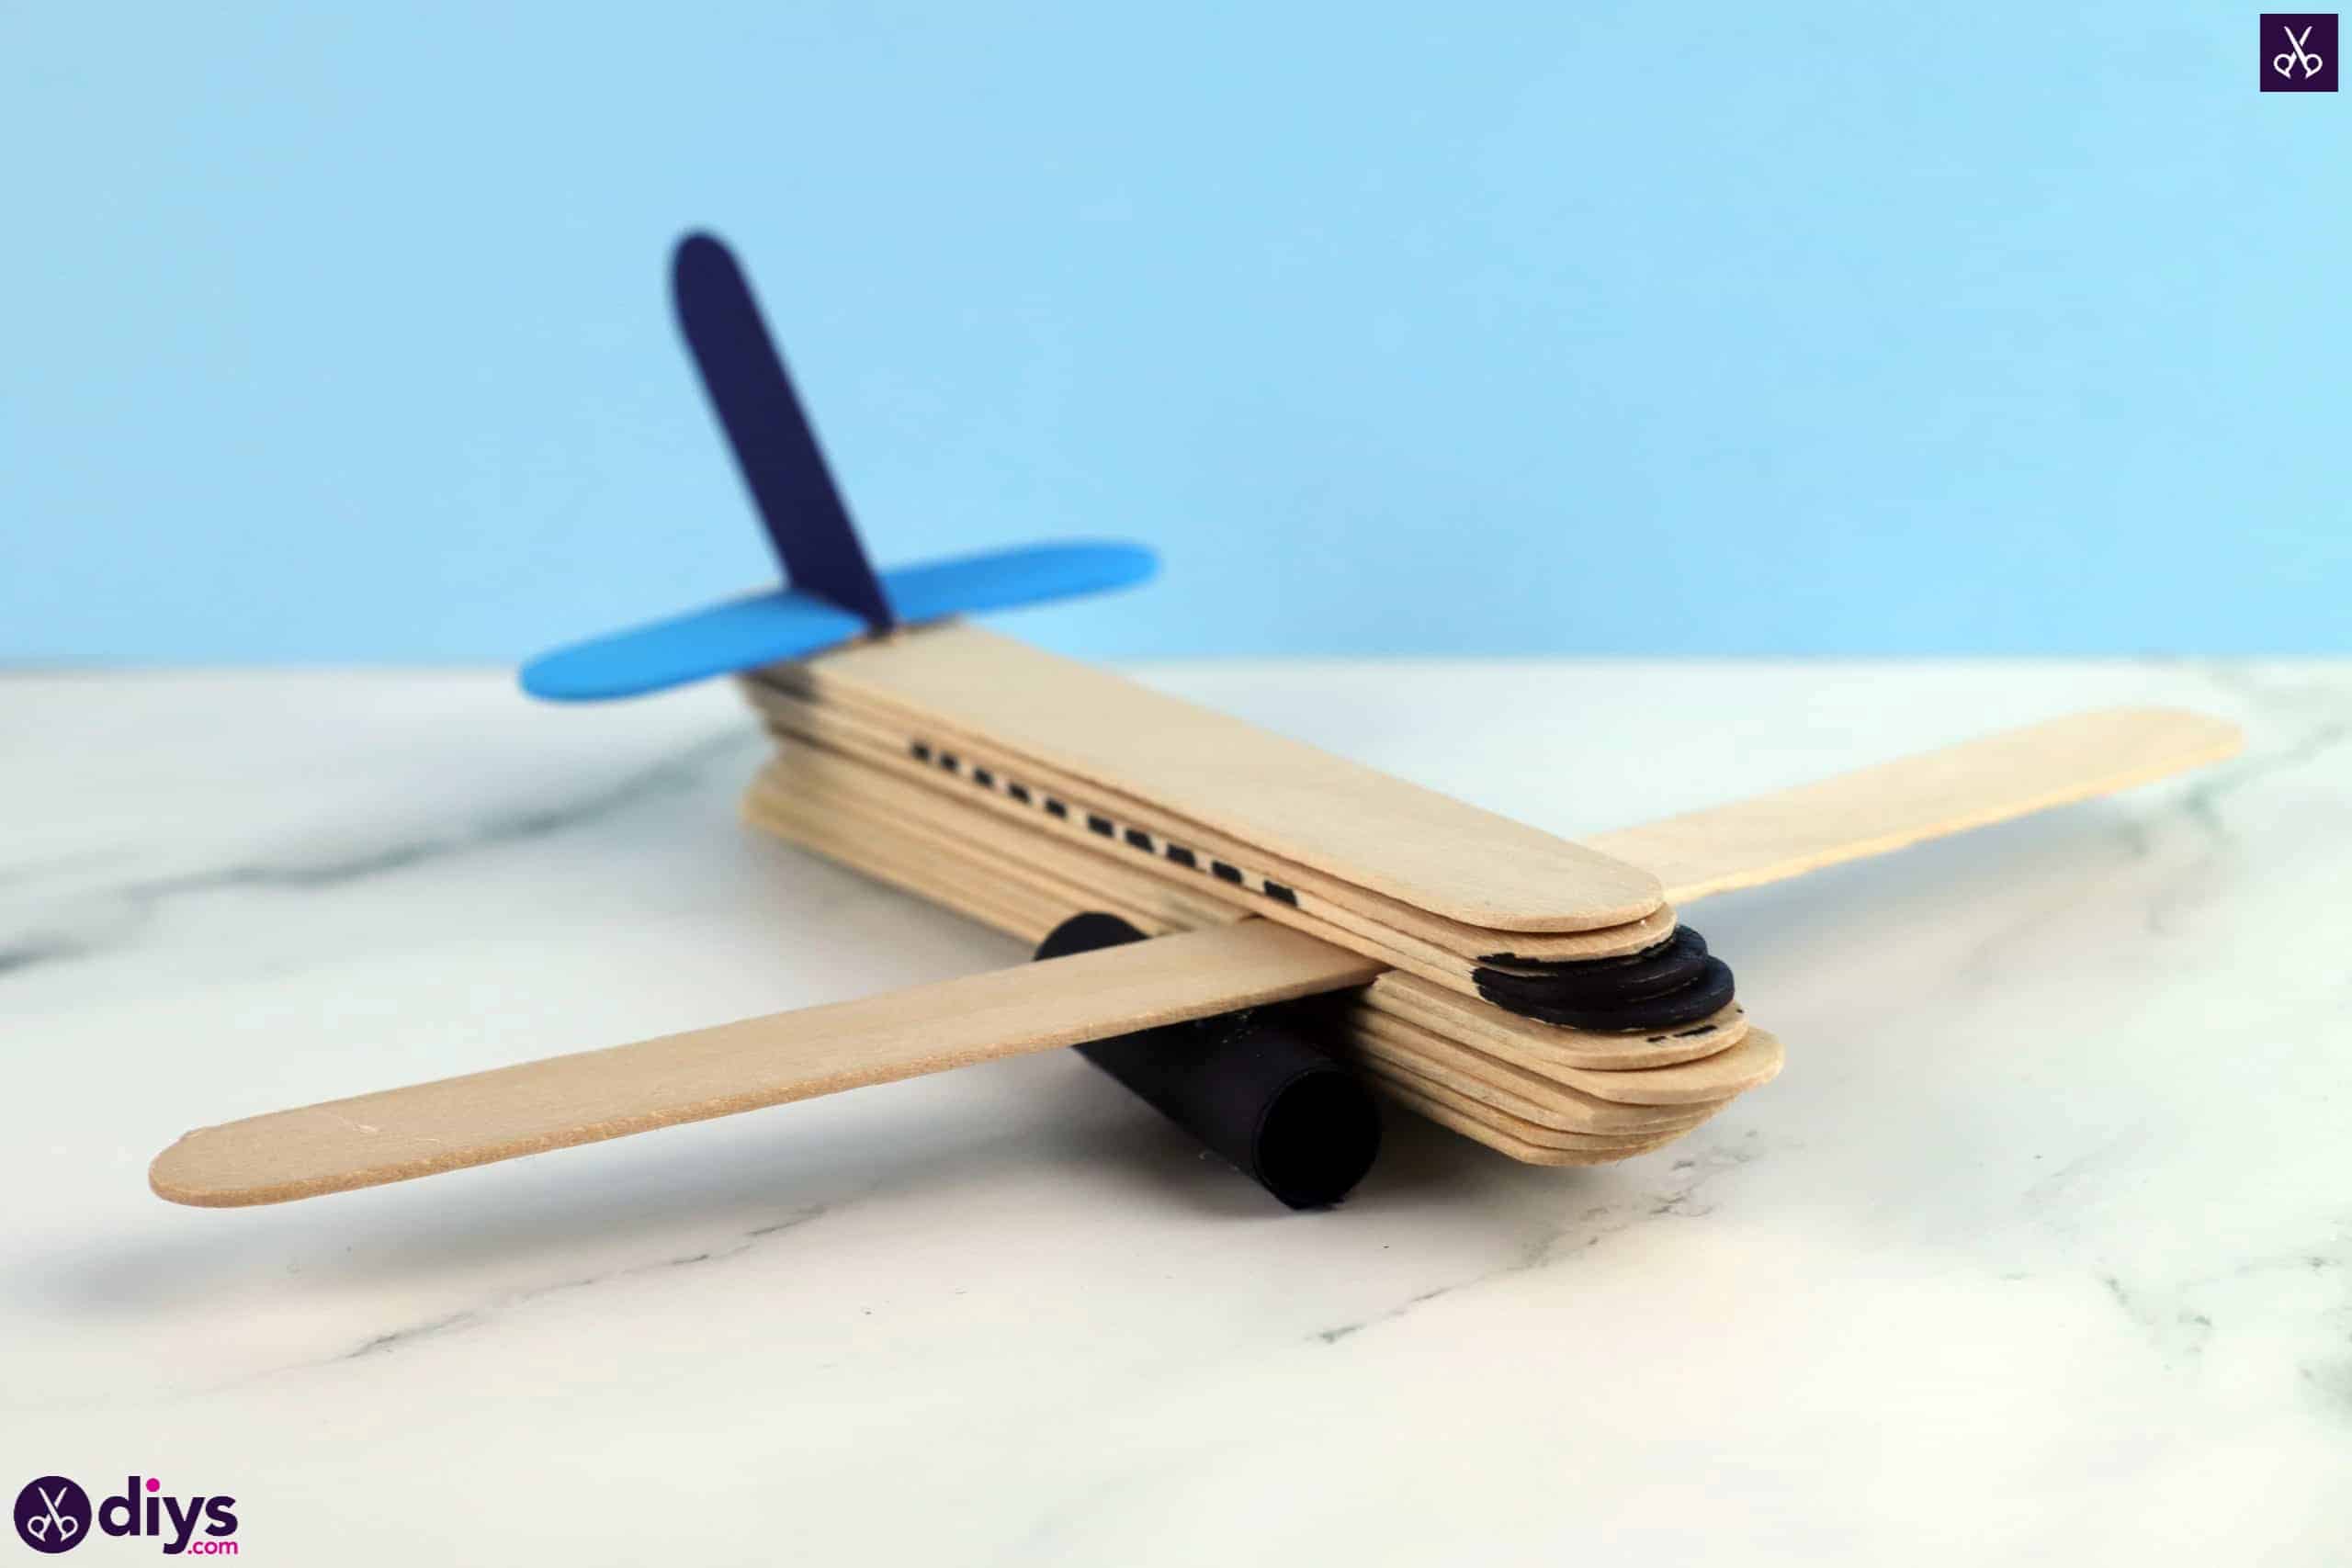
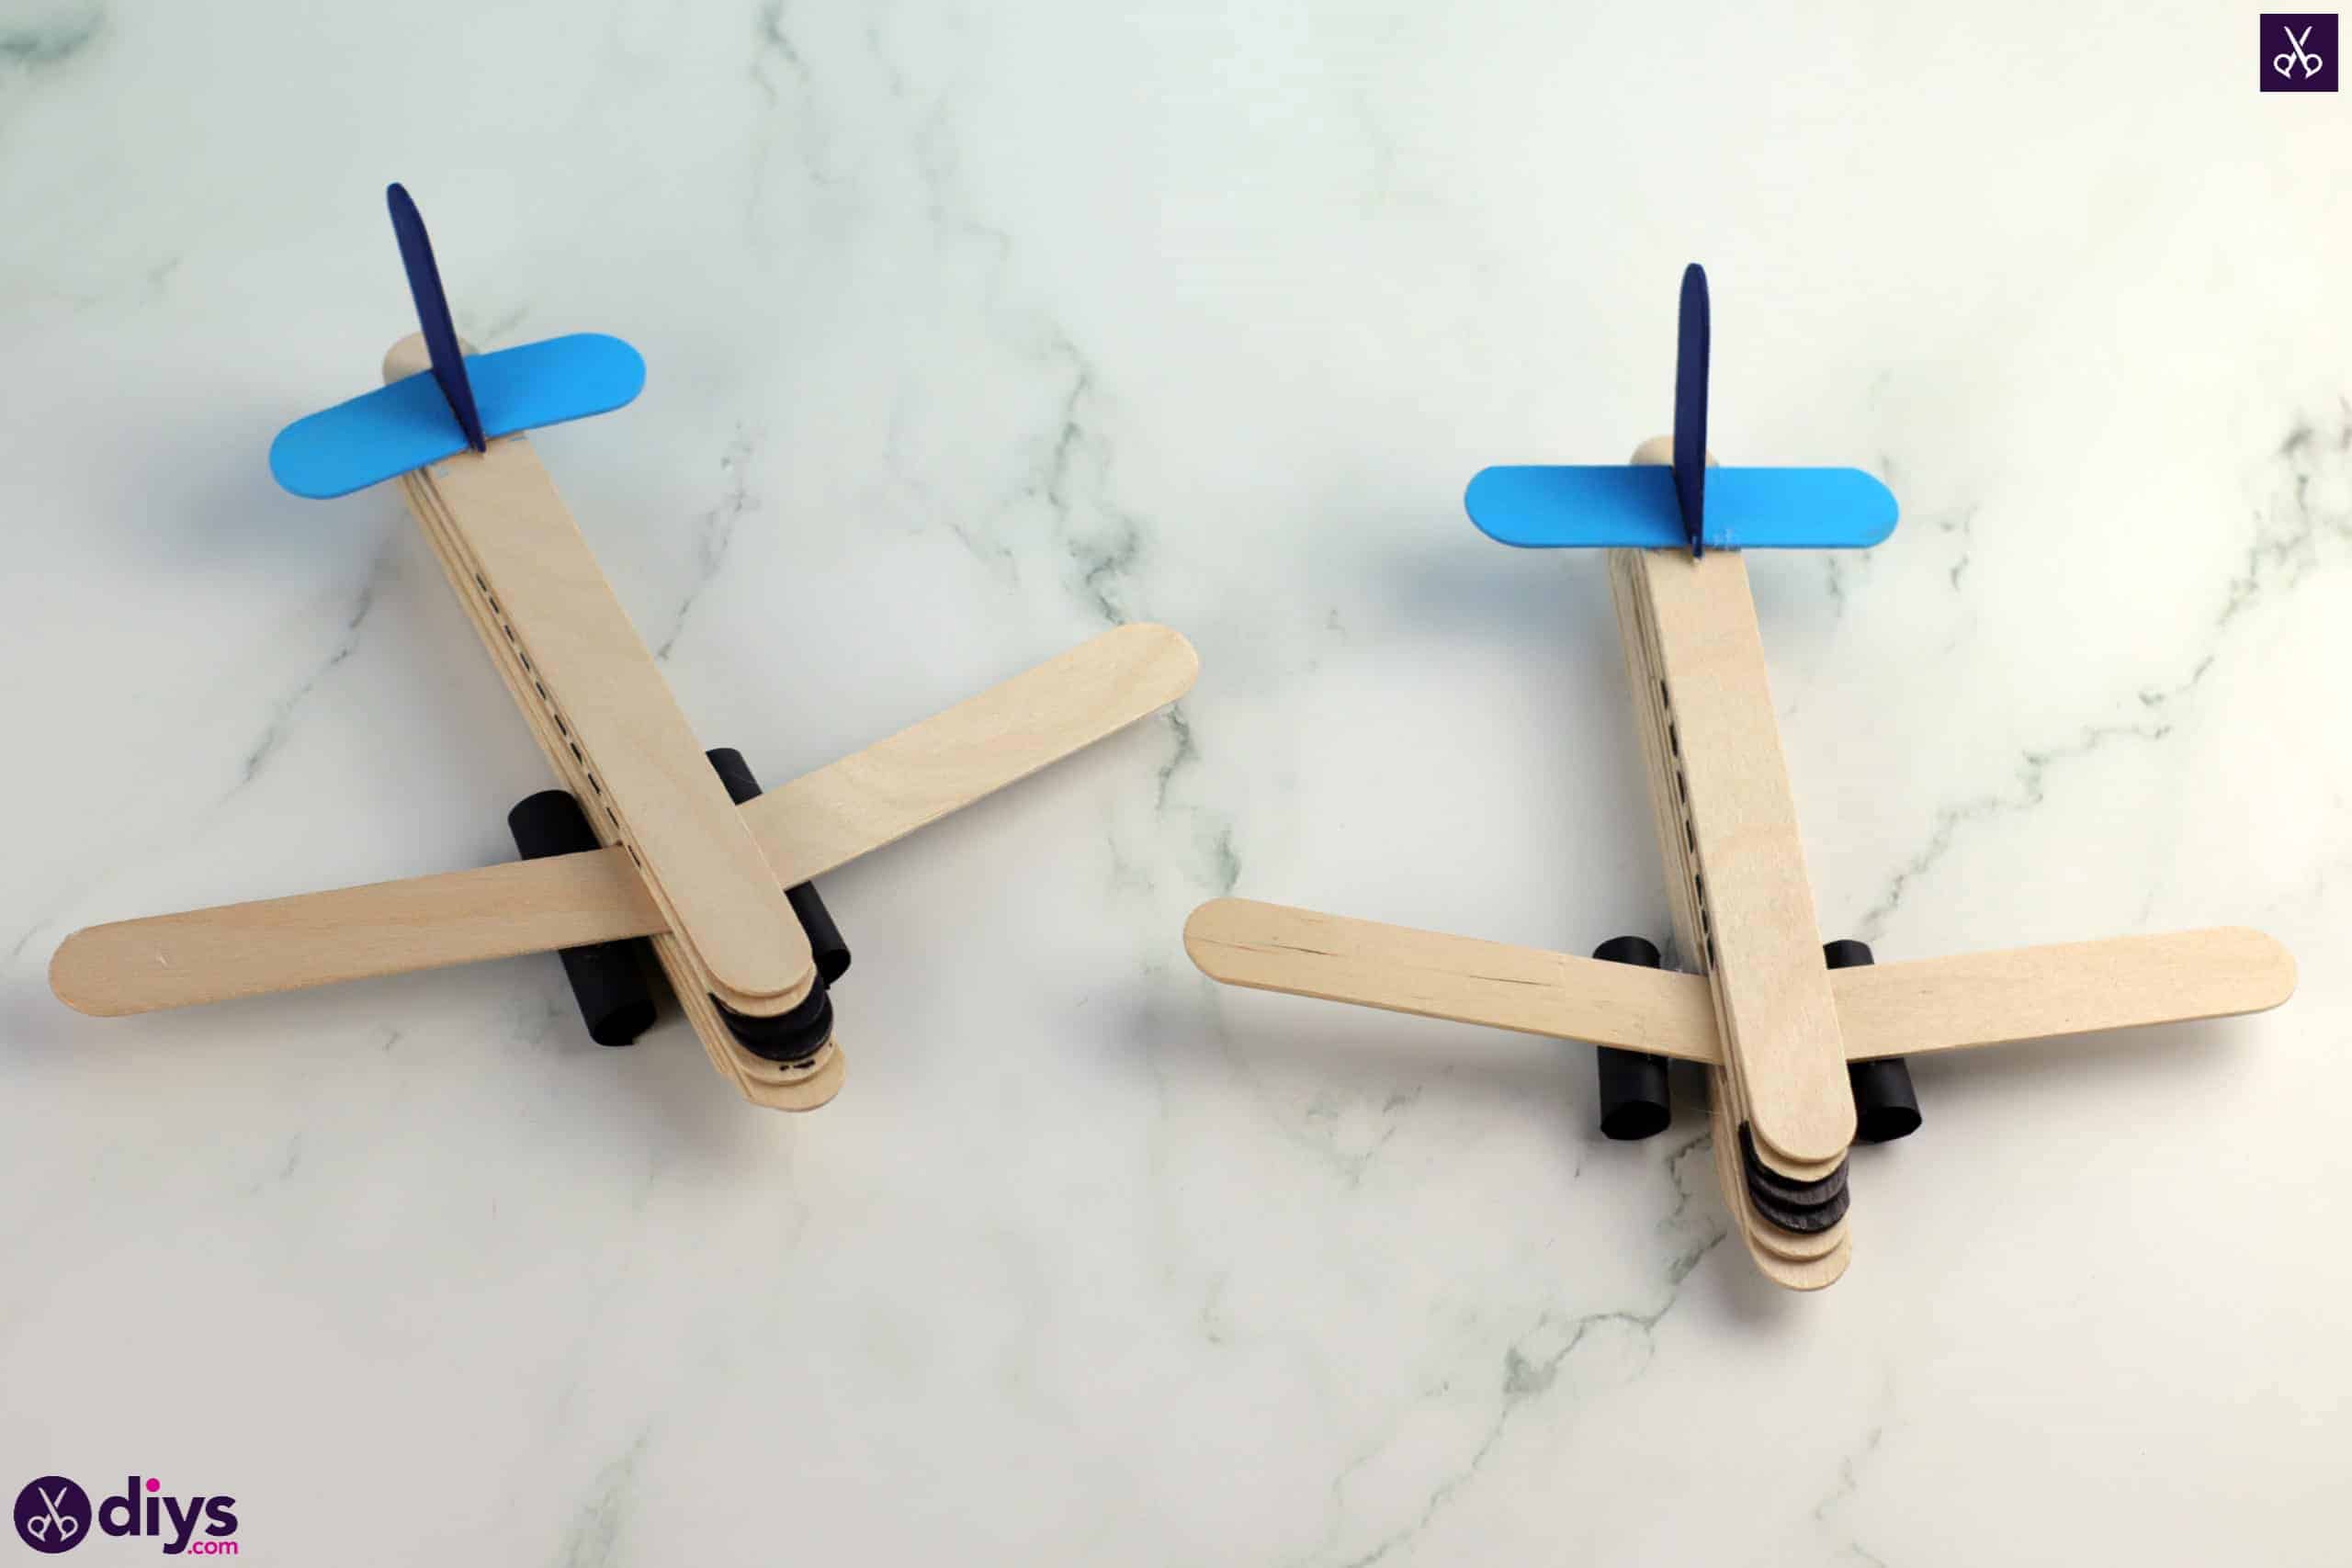
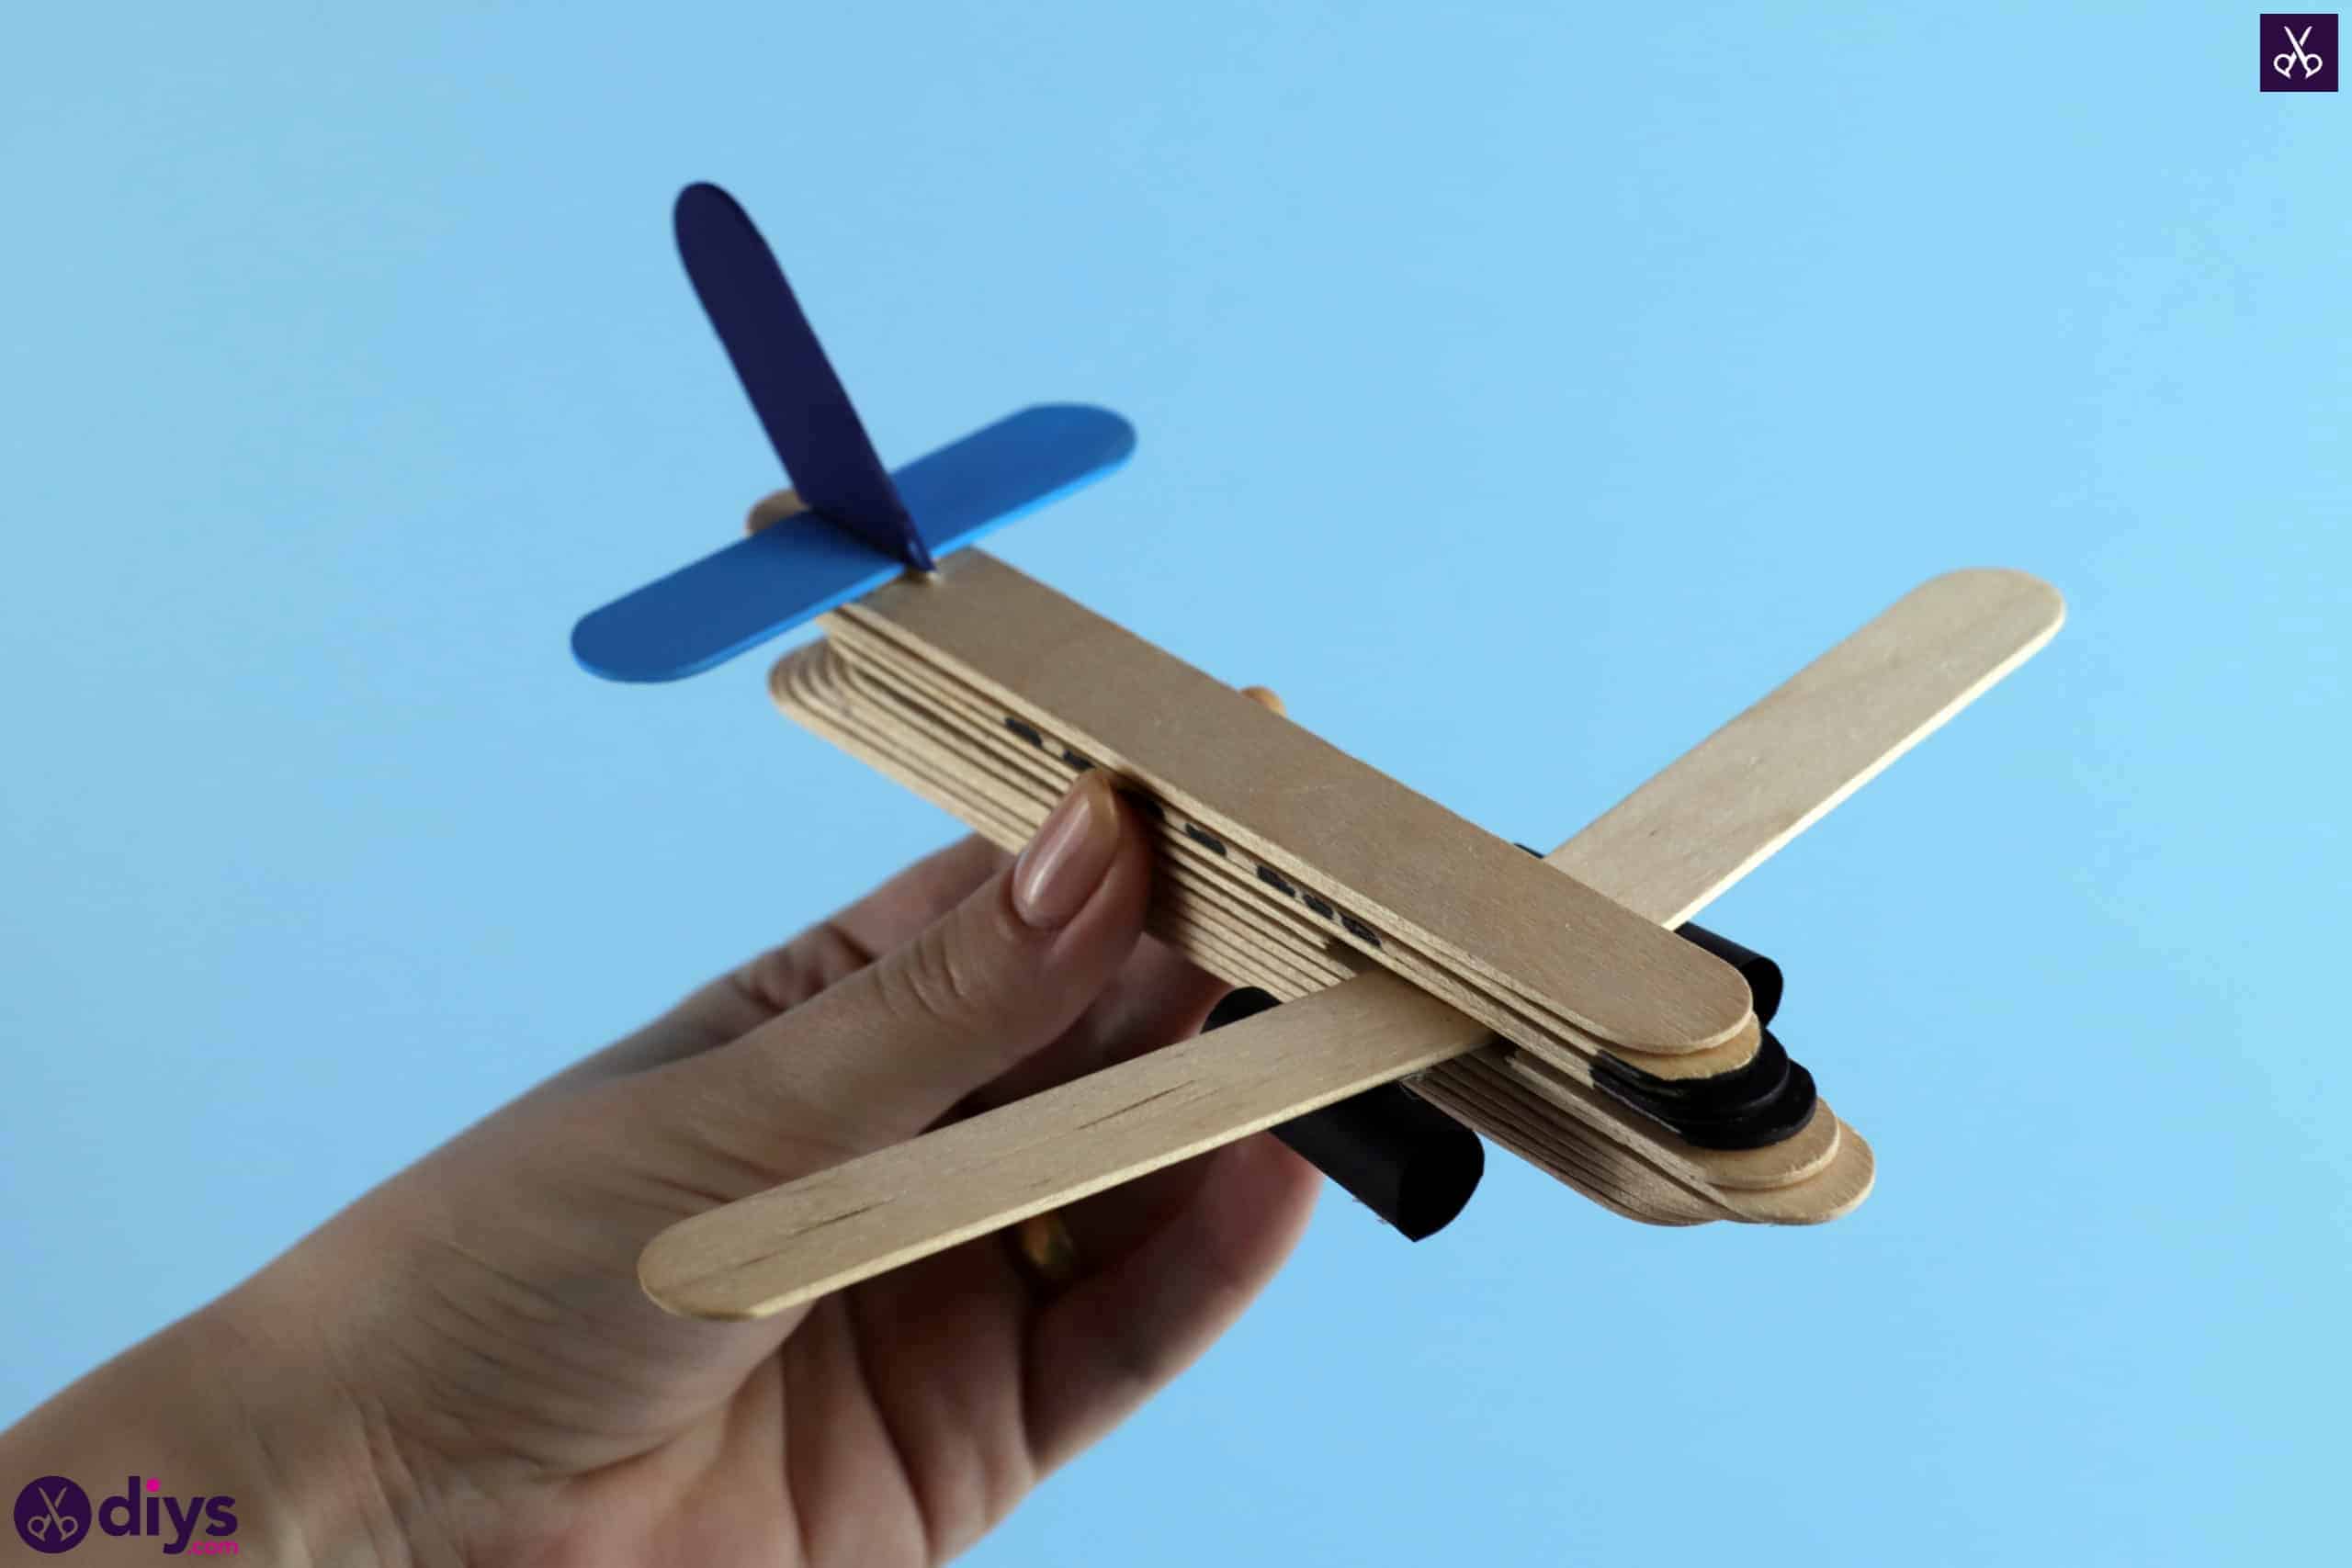
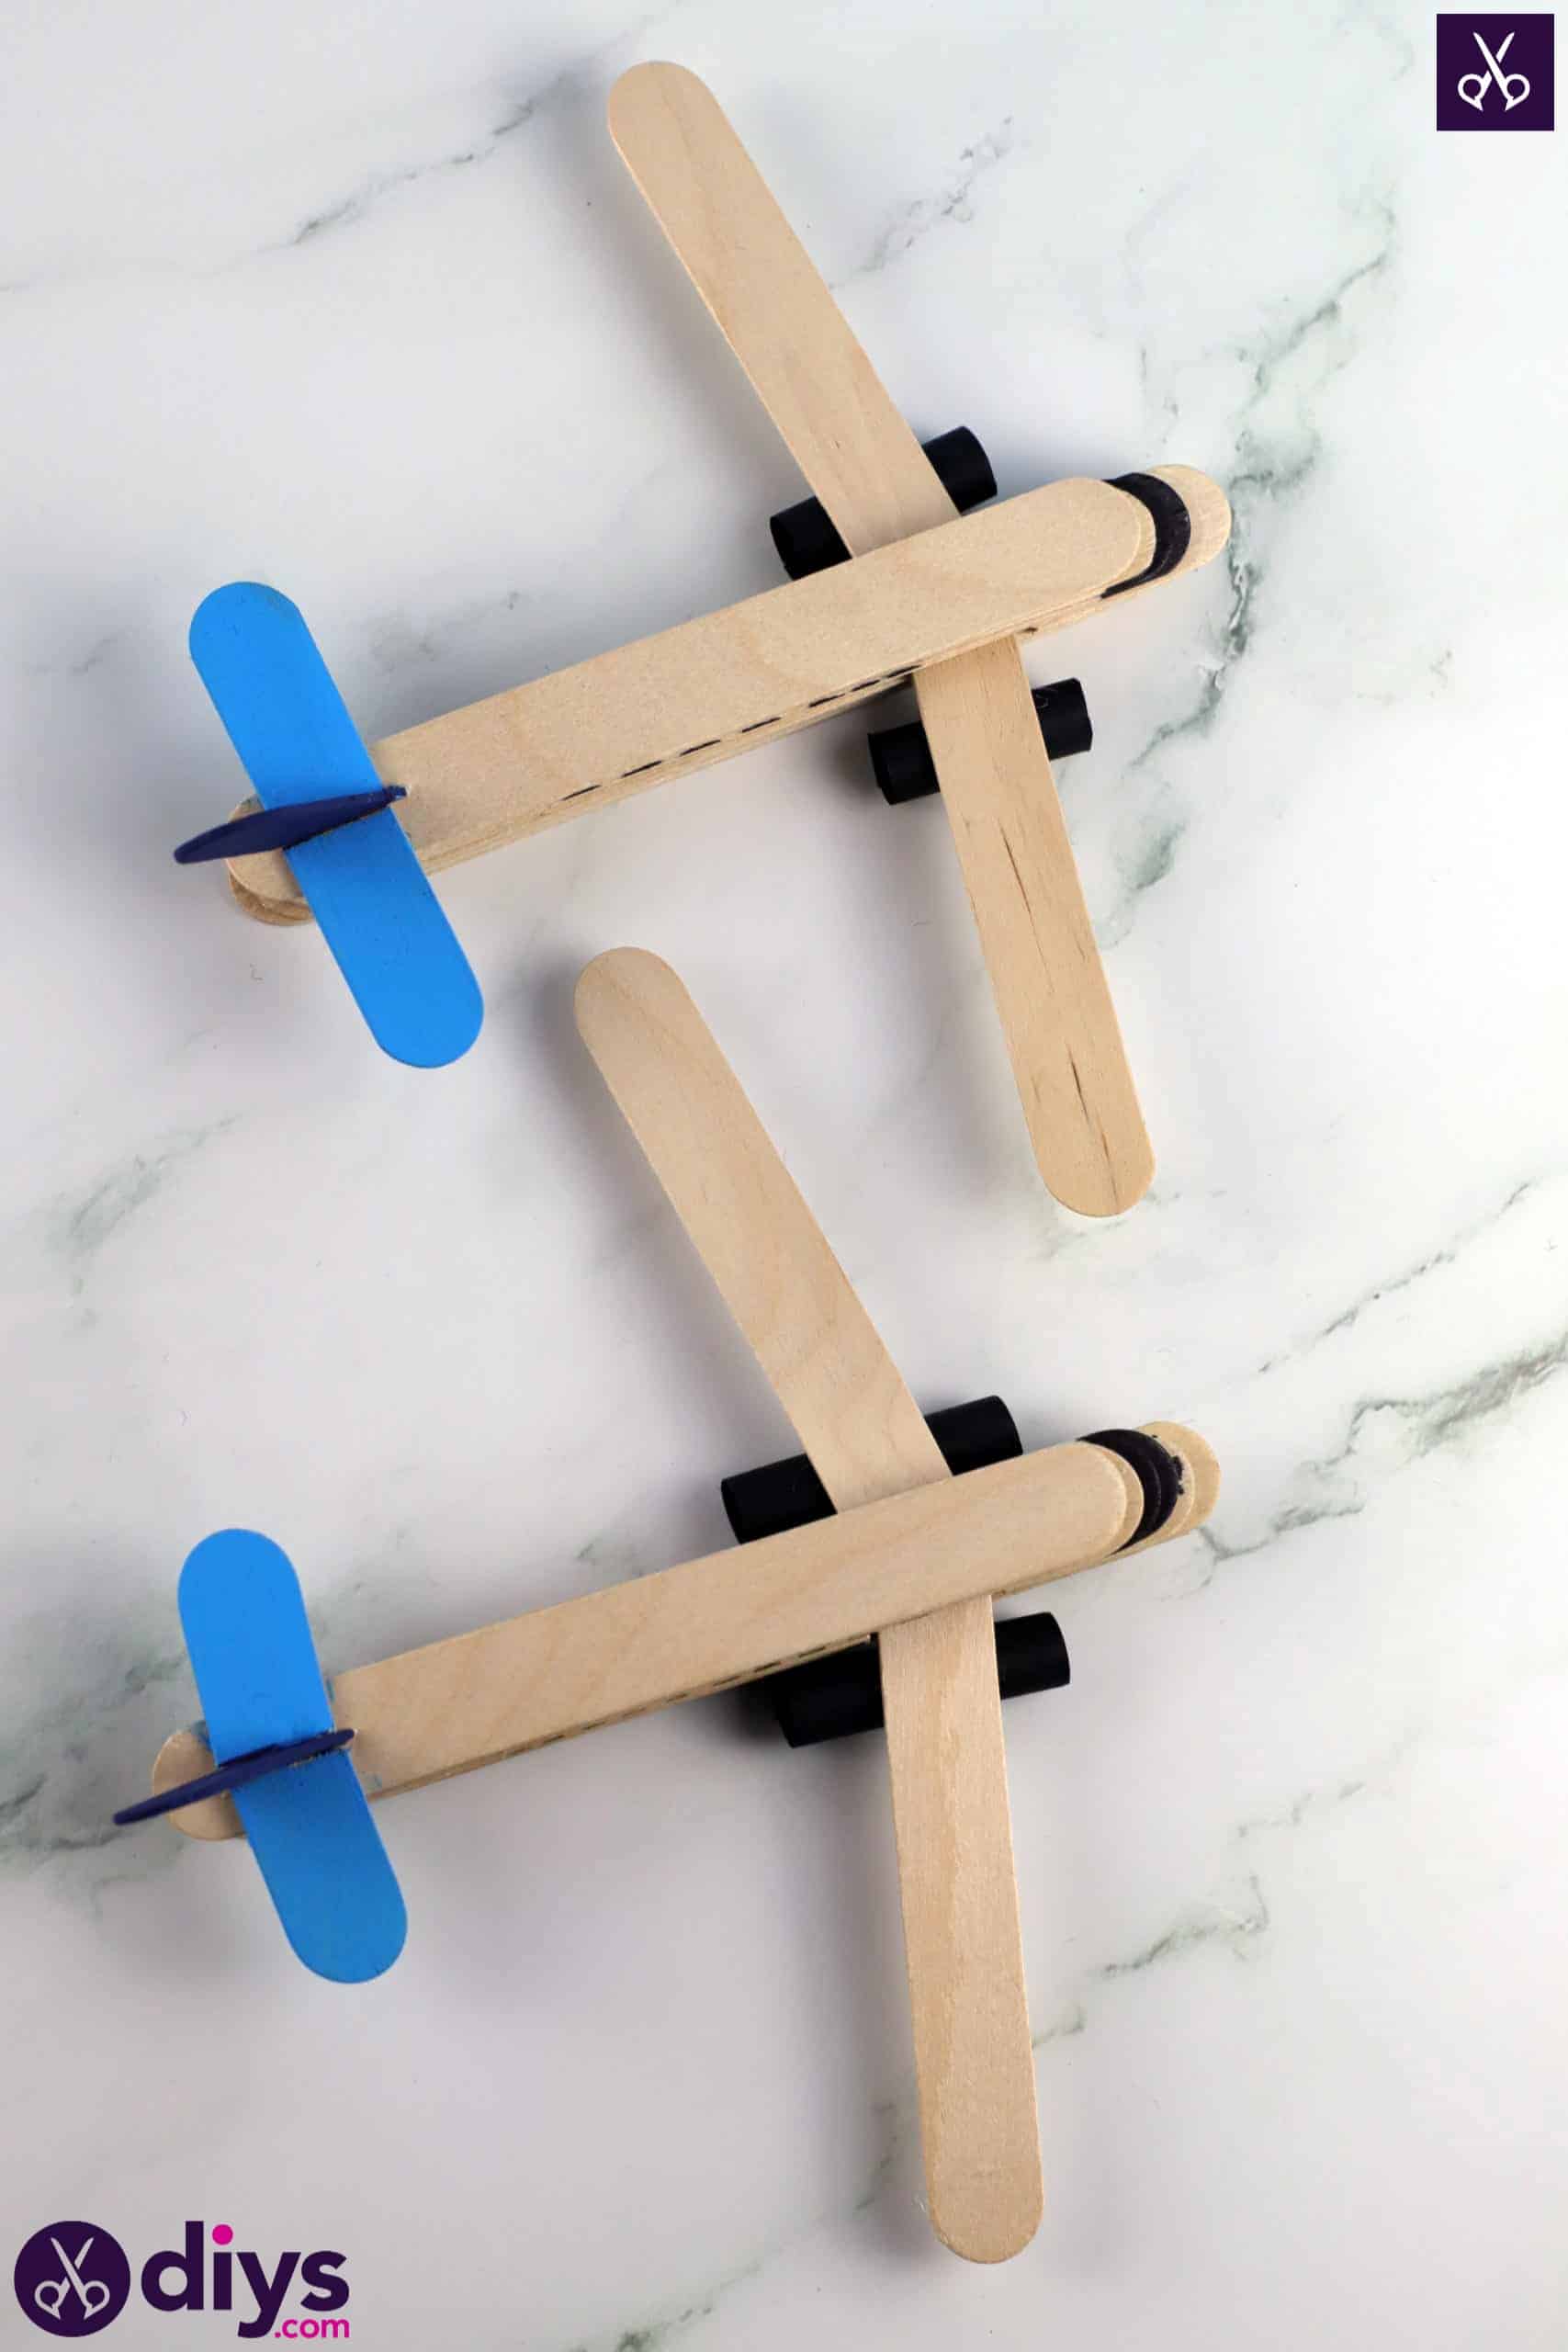
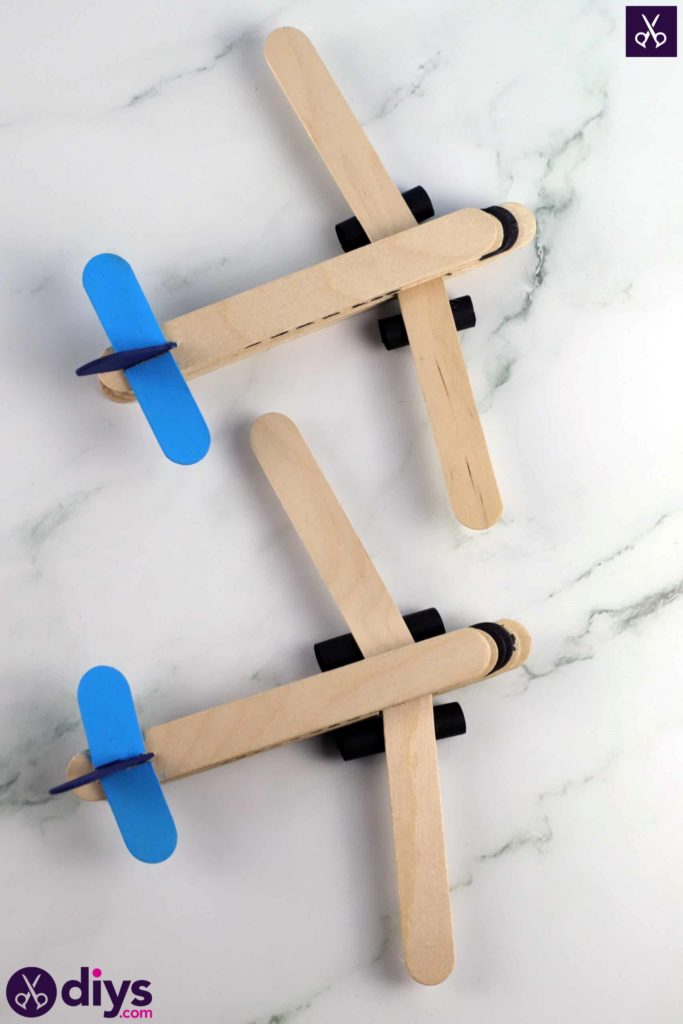
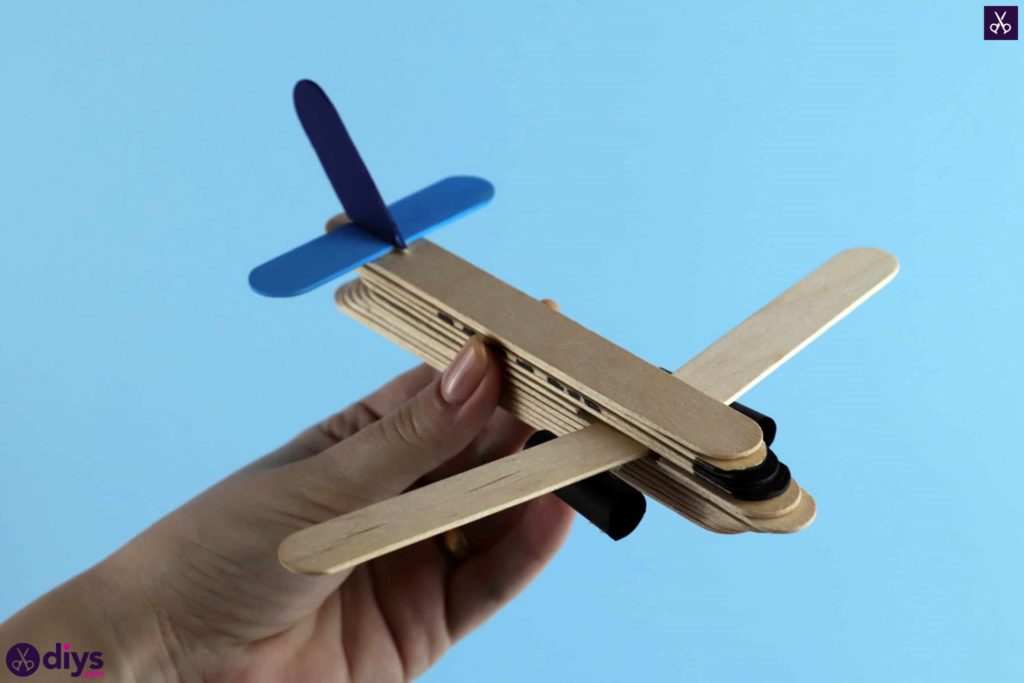
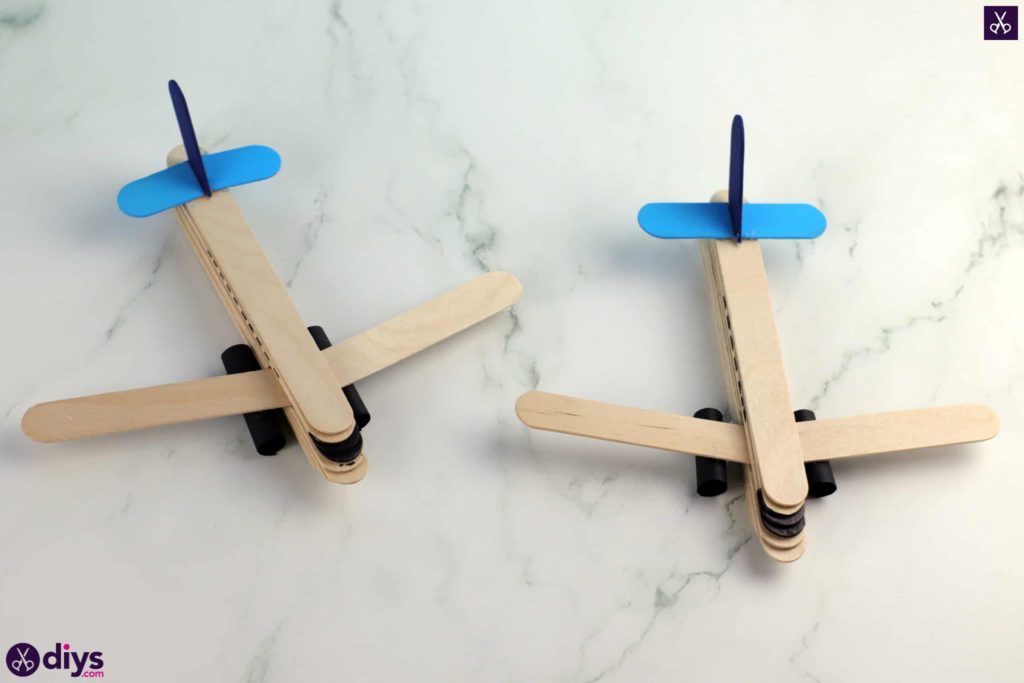
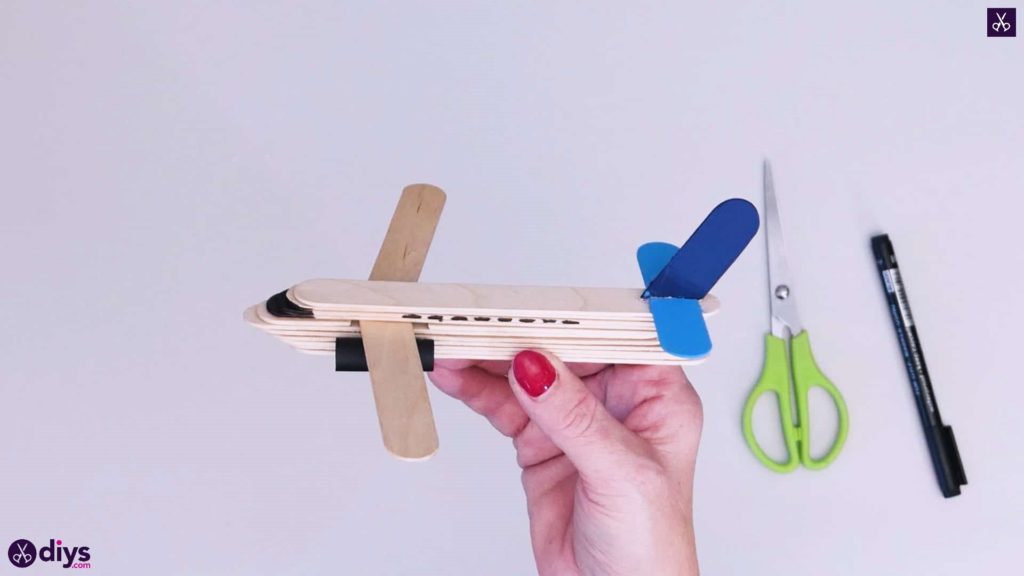
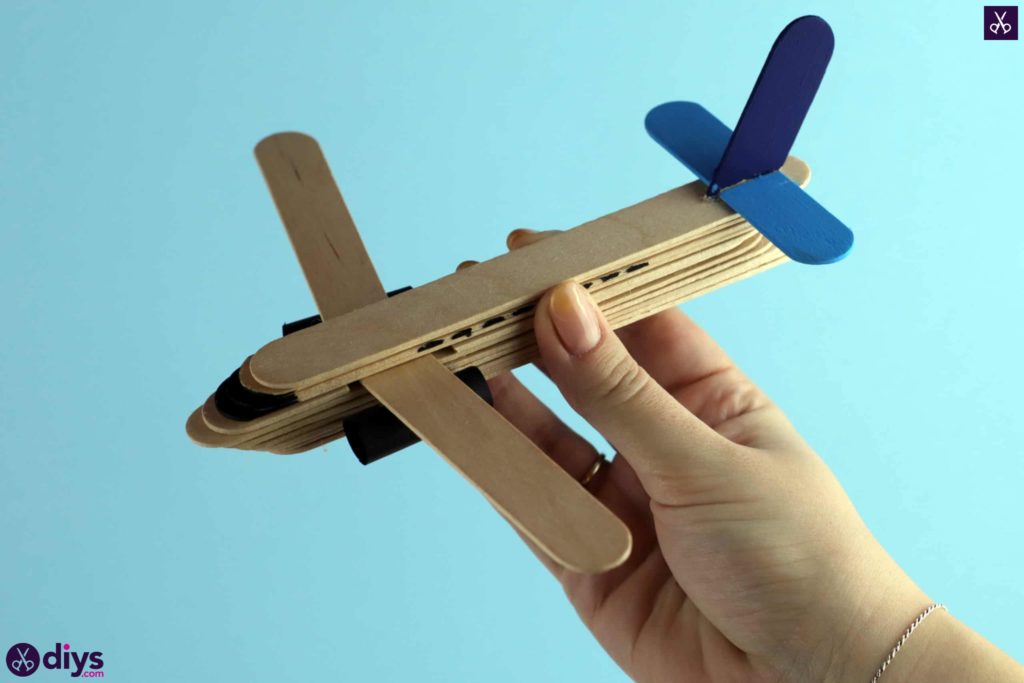
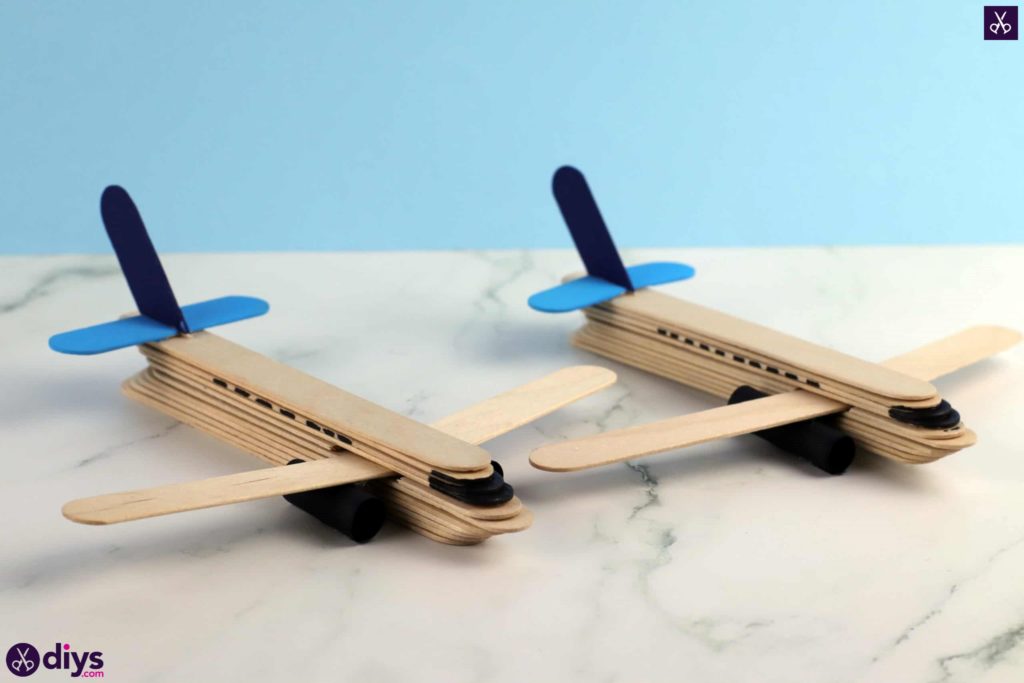
My kids have always loved crafting with popsicle sticks because it’s something simple that they can feel independent about by doing it almost entirely themselves with very little help, so I just knew they’d adore this DIY popsicle stick airplane craft idea, and I was right! Check out how we made it!
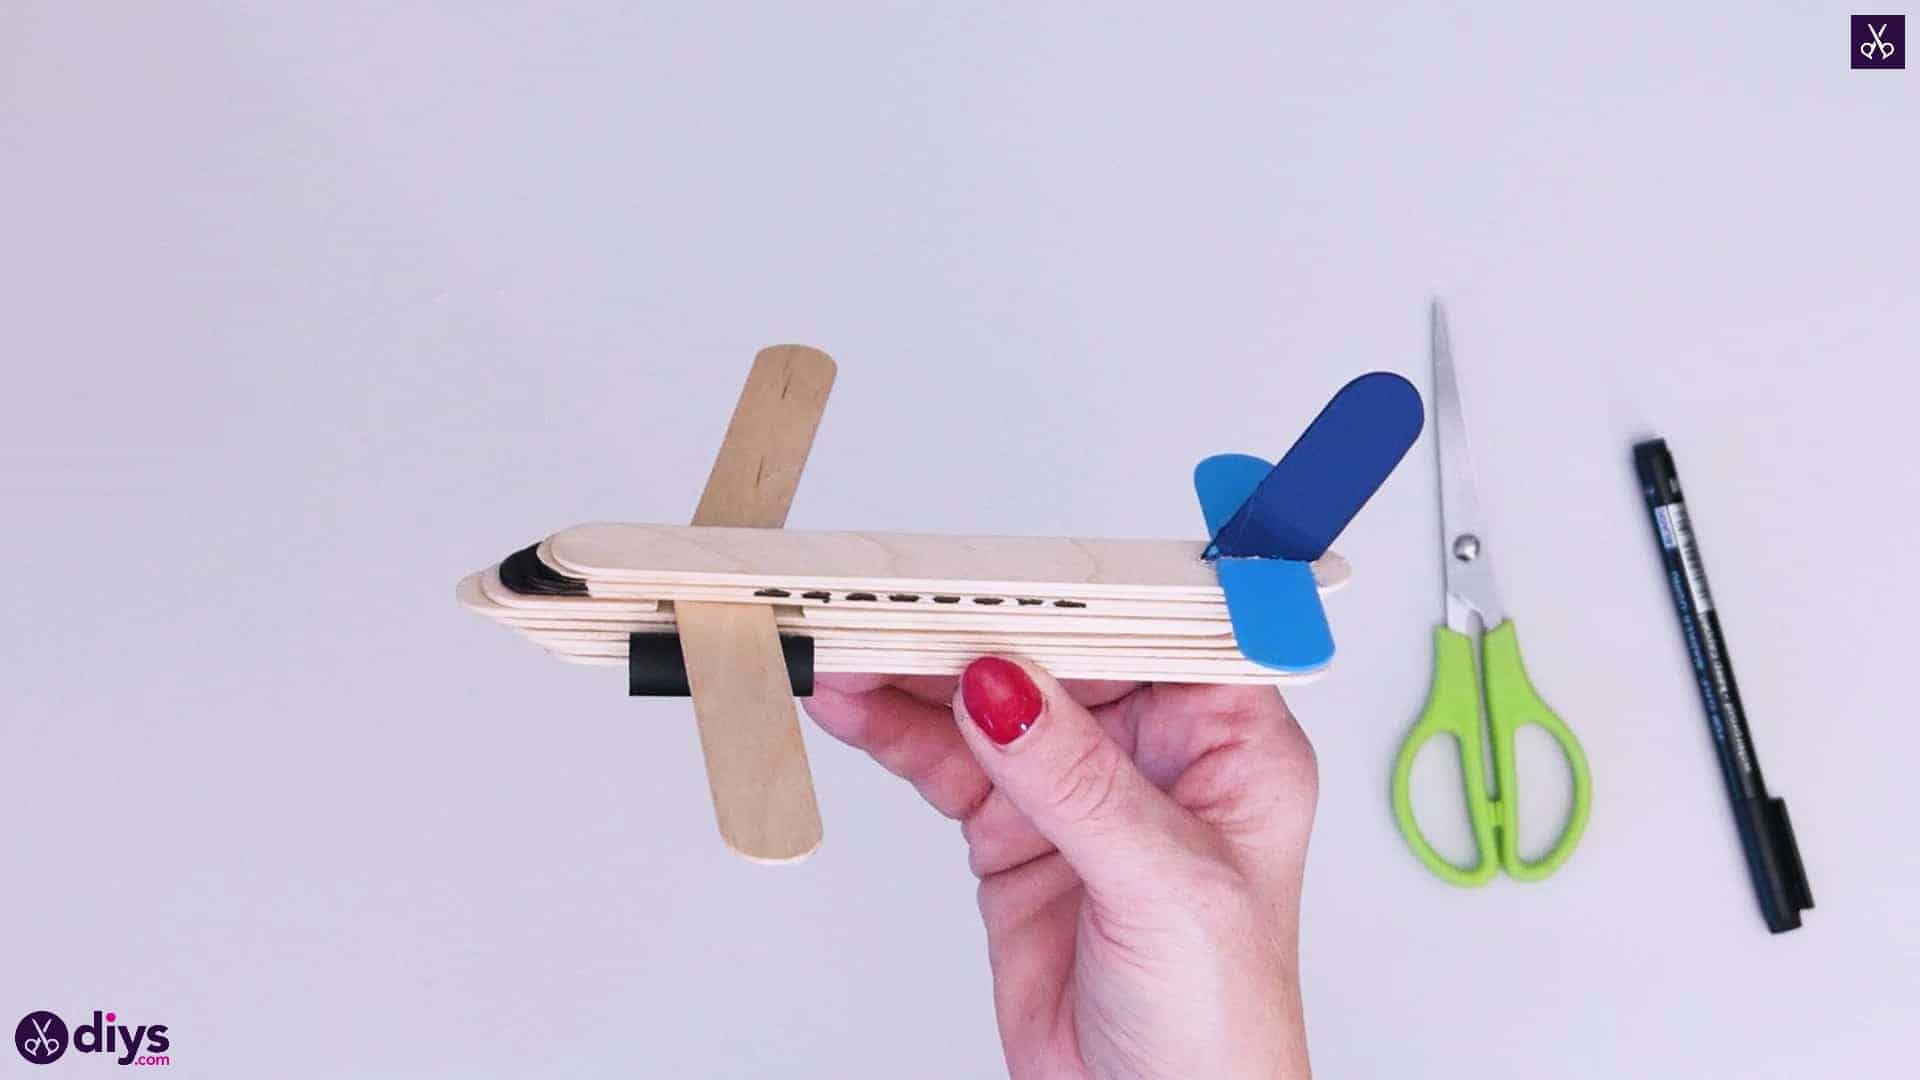
I documented the DIY process for one of the planes so I could share it and show other craft lovers how we made them! Check out these step by step instructions complete with photos! If you’d rather follow along with a video tutorial instead of written words, scroll to the bottom of this post to find just what you’re looking for.
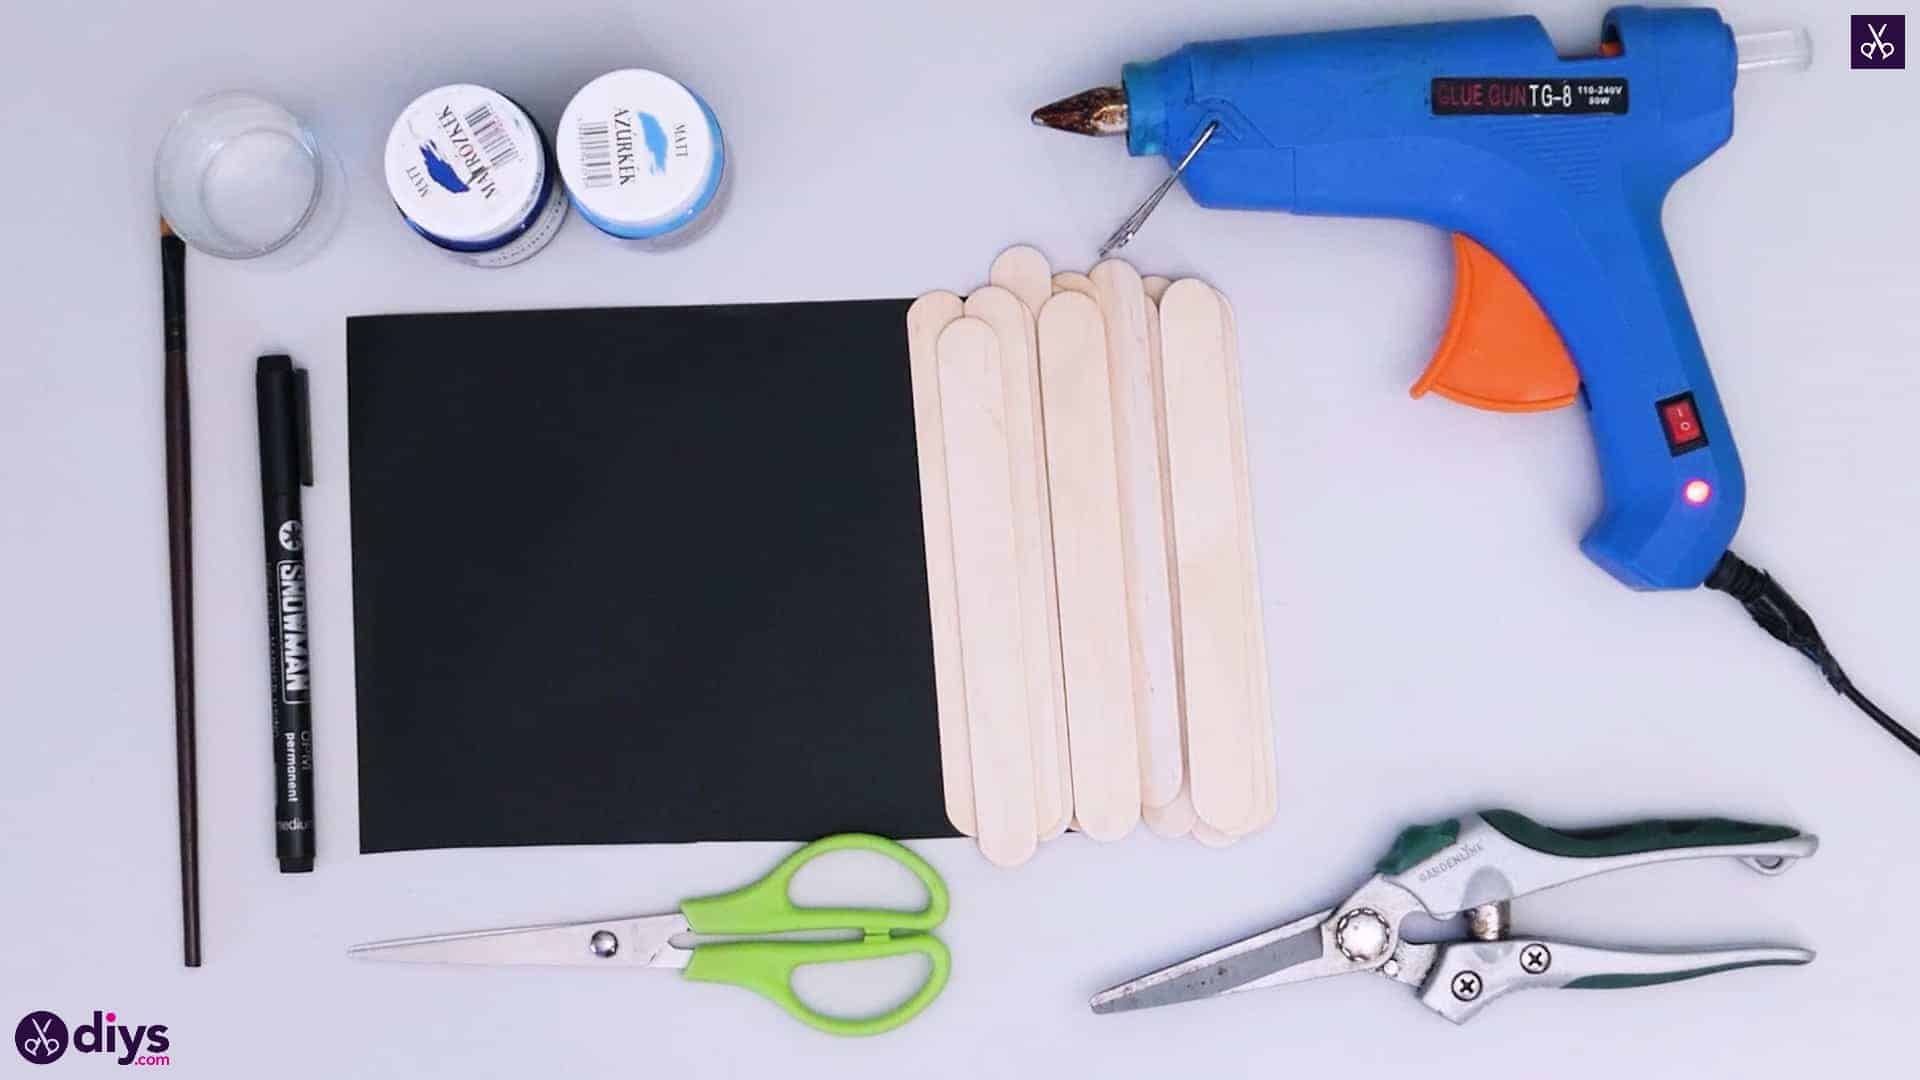
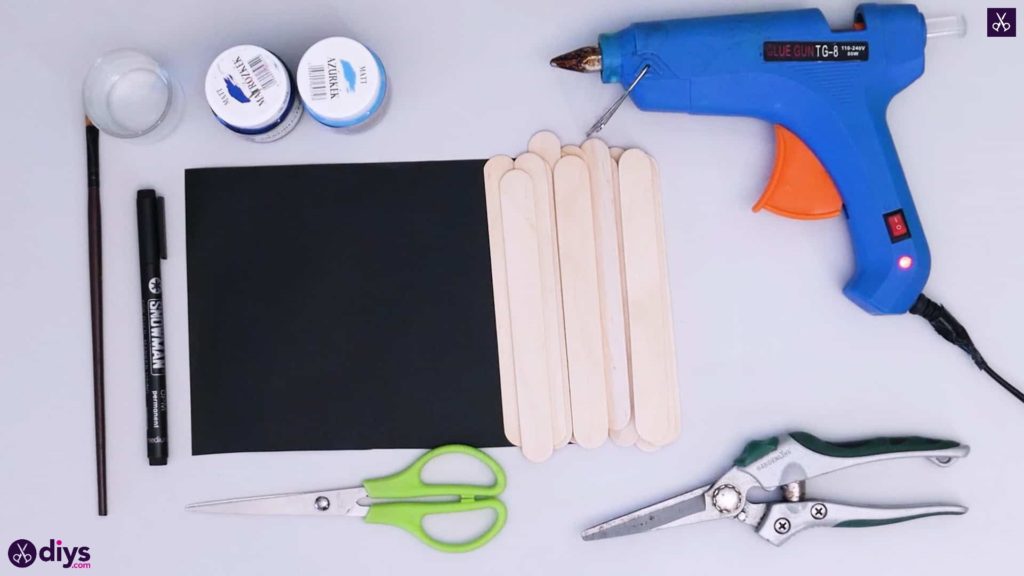
For this project, you’ll need:
- Popsicle sticks
- Paint (black, light and dark blue)
- A paintbrush
- Scissors
- Hot glue
- Black paper
- A black marker
- Scissors
- Secateurs
Step 1: Gather your materials!
With hot glue, it’s good to have everything you need before you begin.
Step 2: making the body
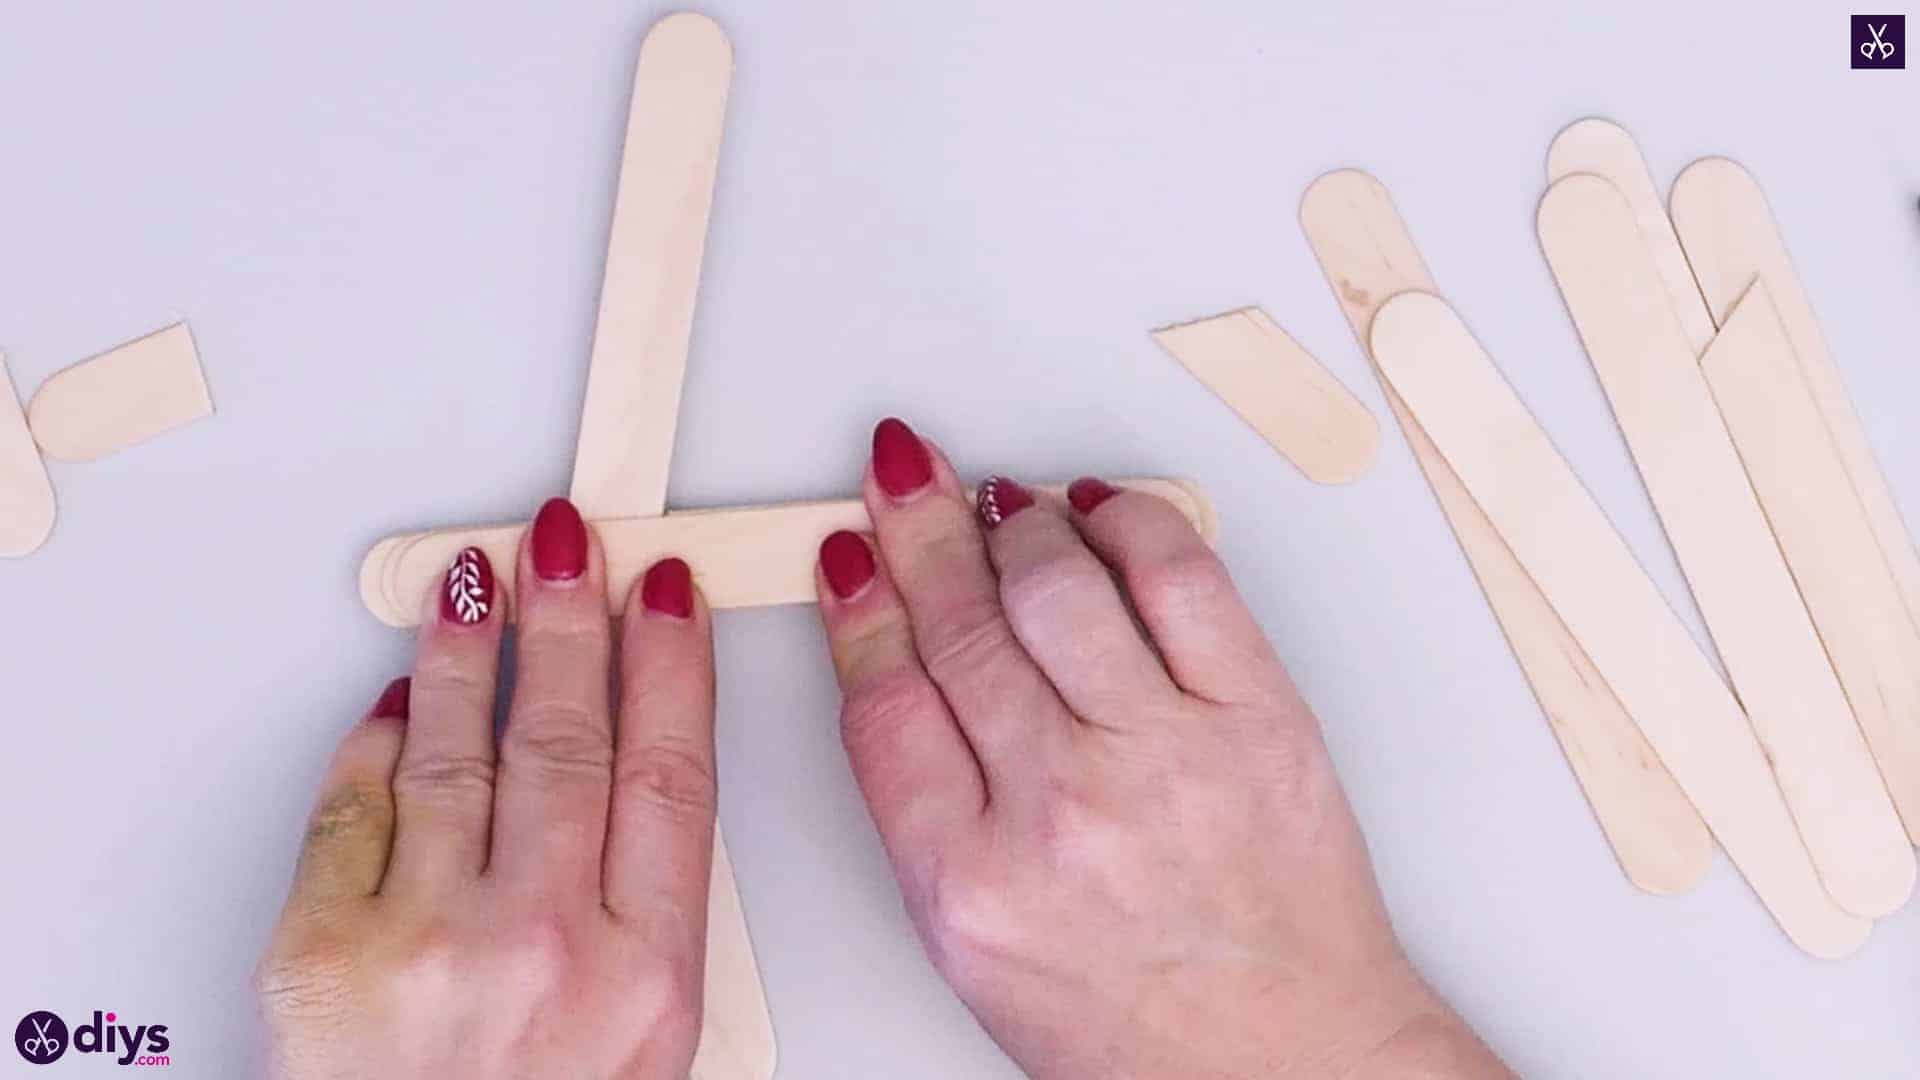
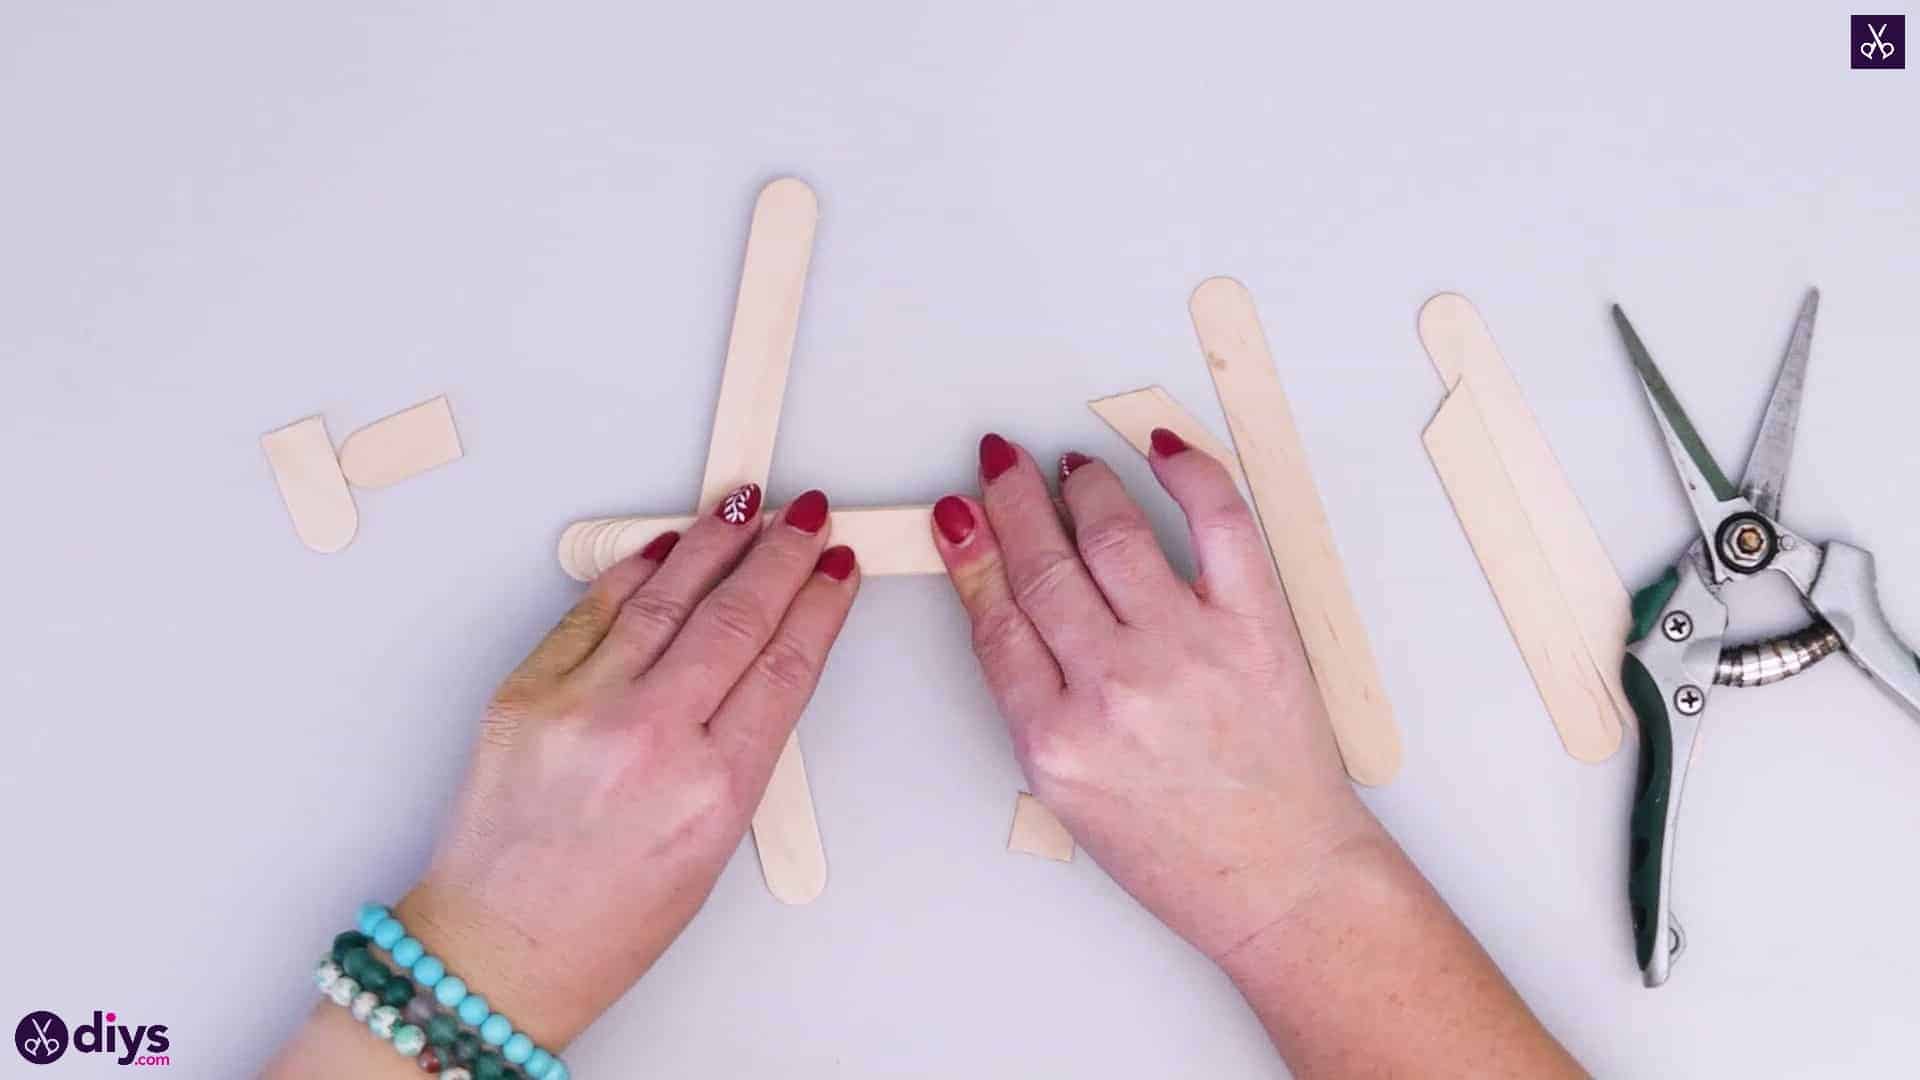
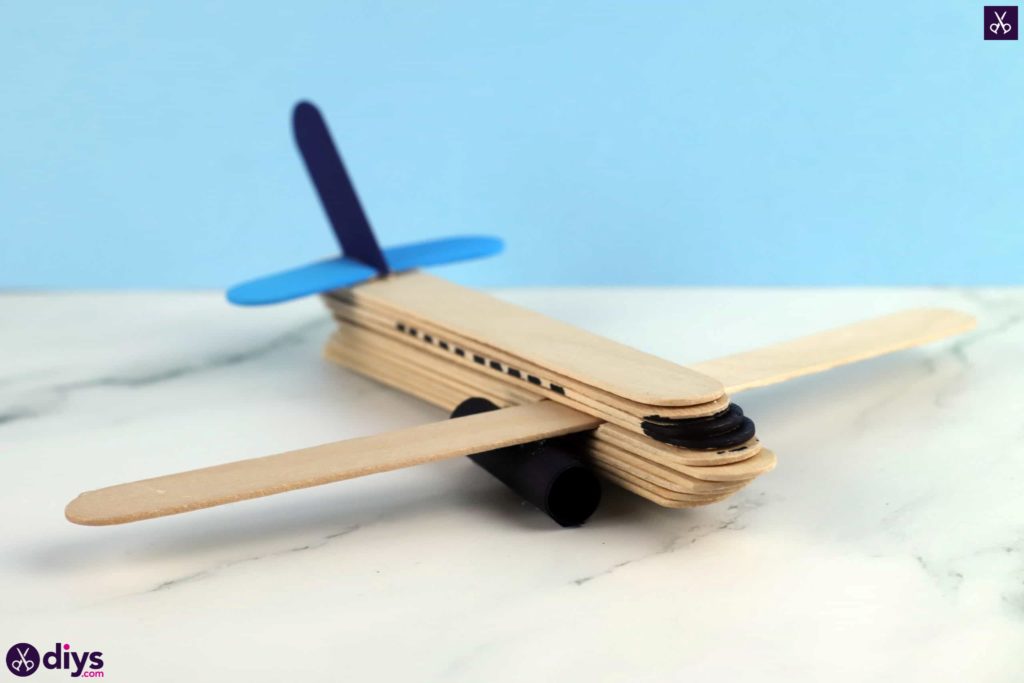
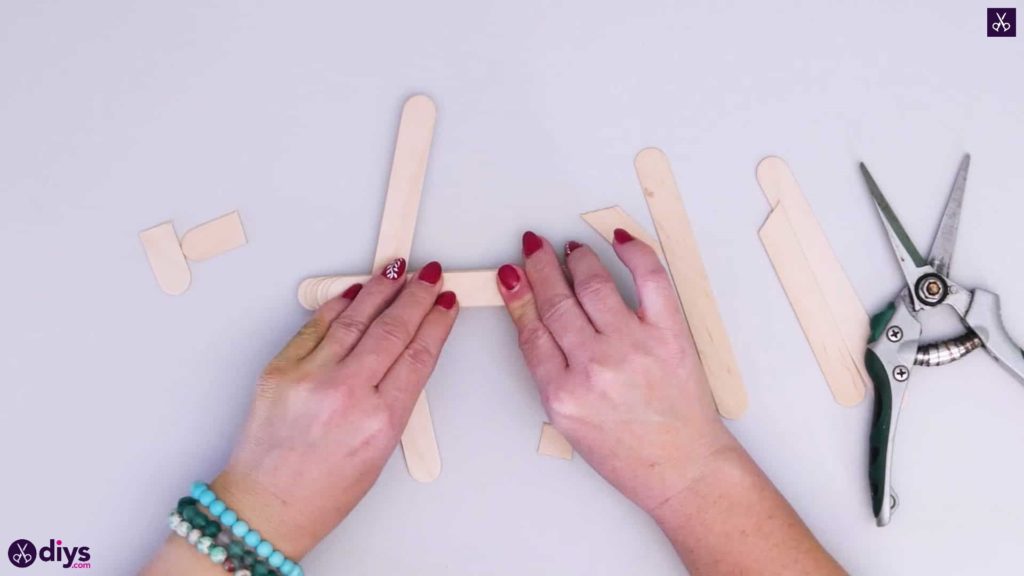
Start by building the body of your plane. You’ll stack five whole popsicle sticks on top of each other, but you’ll stagger them instead of matching their ends up evenly. Apply hot glue down the length of your first stick, but avoid putting it all the way t one end; this will be the nose of your plane and will stay uncovered. Stick your second stick down on top of the first but pull it back a little from the end you avoided putting glue on; you want just a couple millimetres to show from underneath the tip of the second stick. Repeat the process to place a third, fourth, and fifth stick down, pulling each one back from the tip of the one below it a little so the front end at the nose of your plane has a sloped shape. Turn this upside down so the first stick is on the top and the front of the plane protrudes.
Step 3: safely cutting
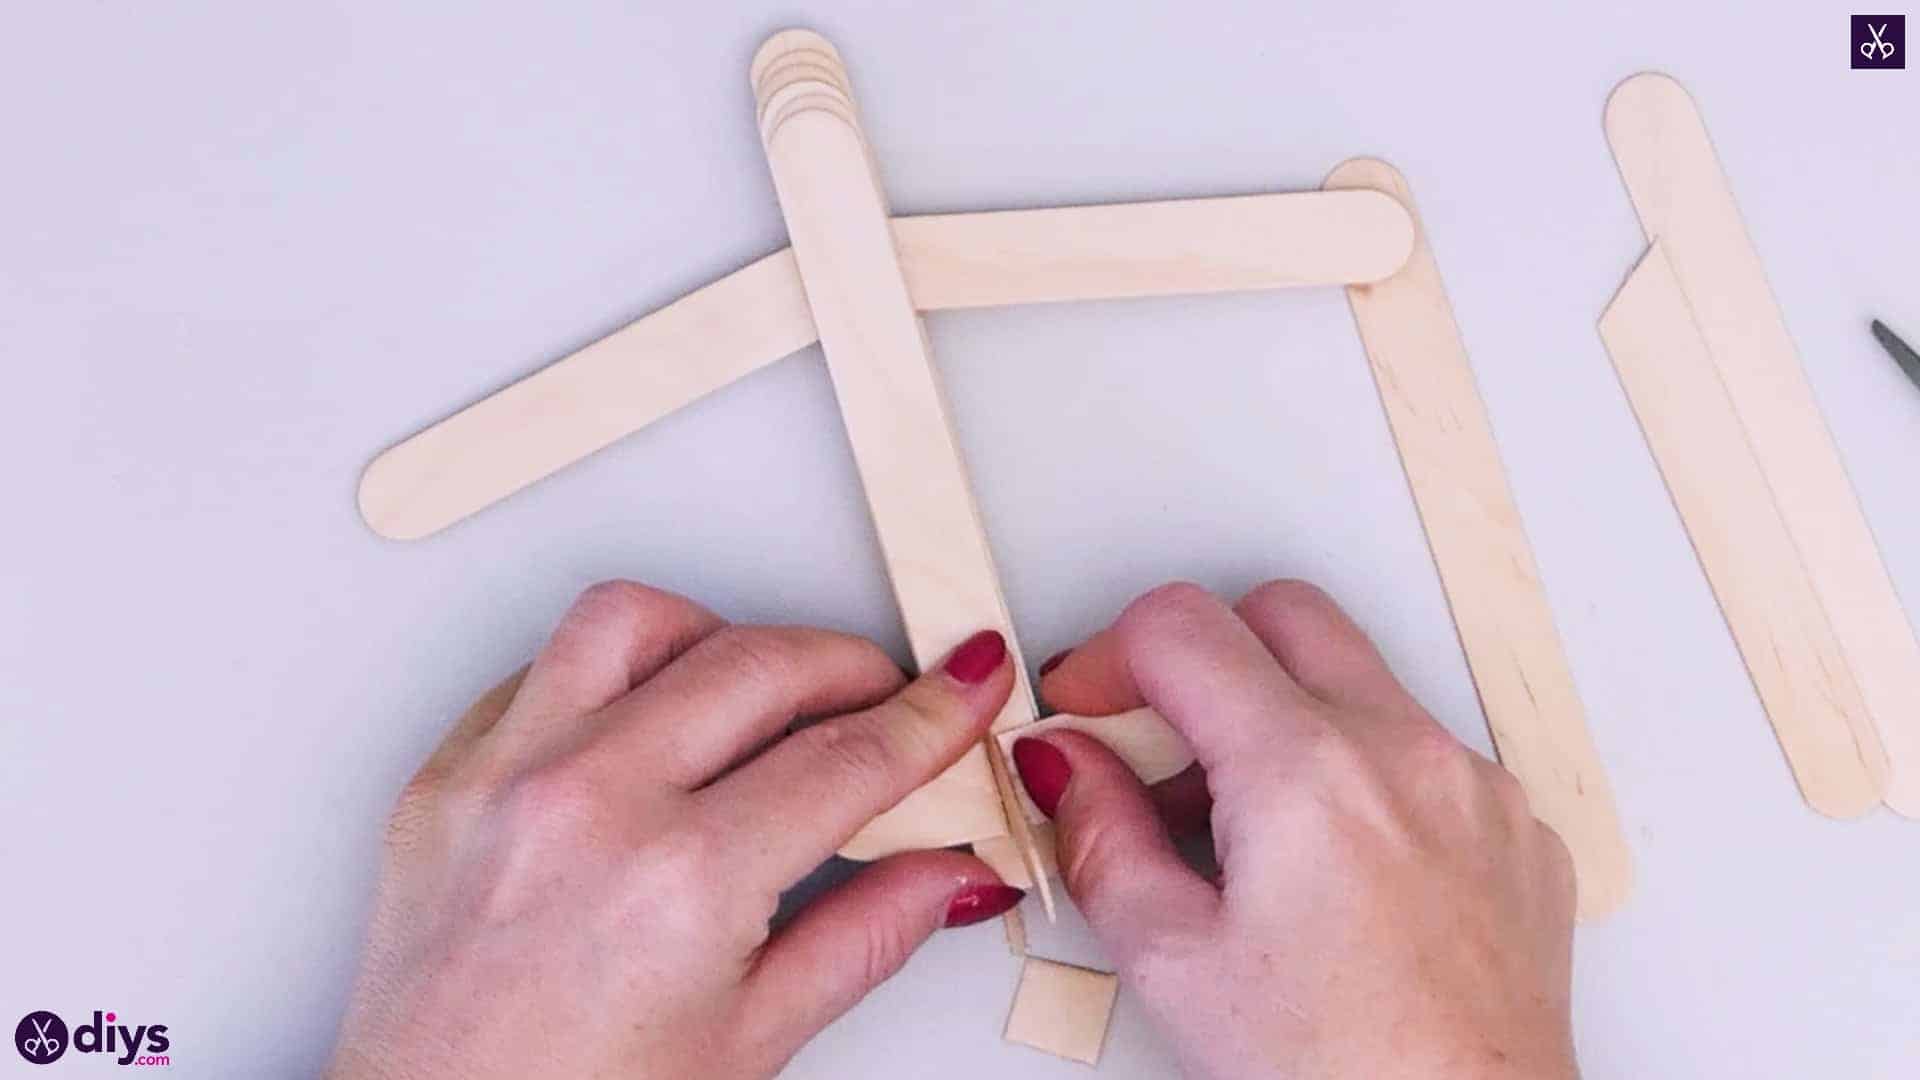
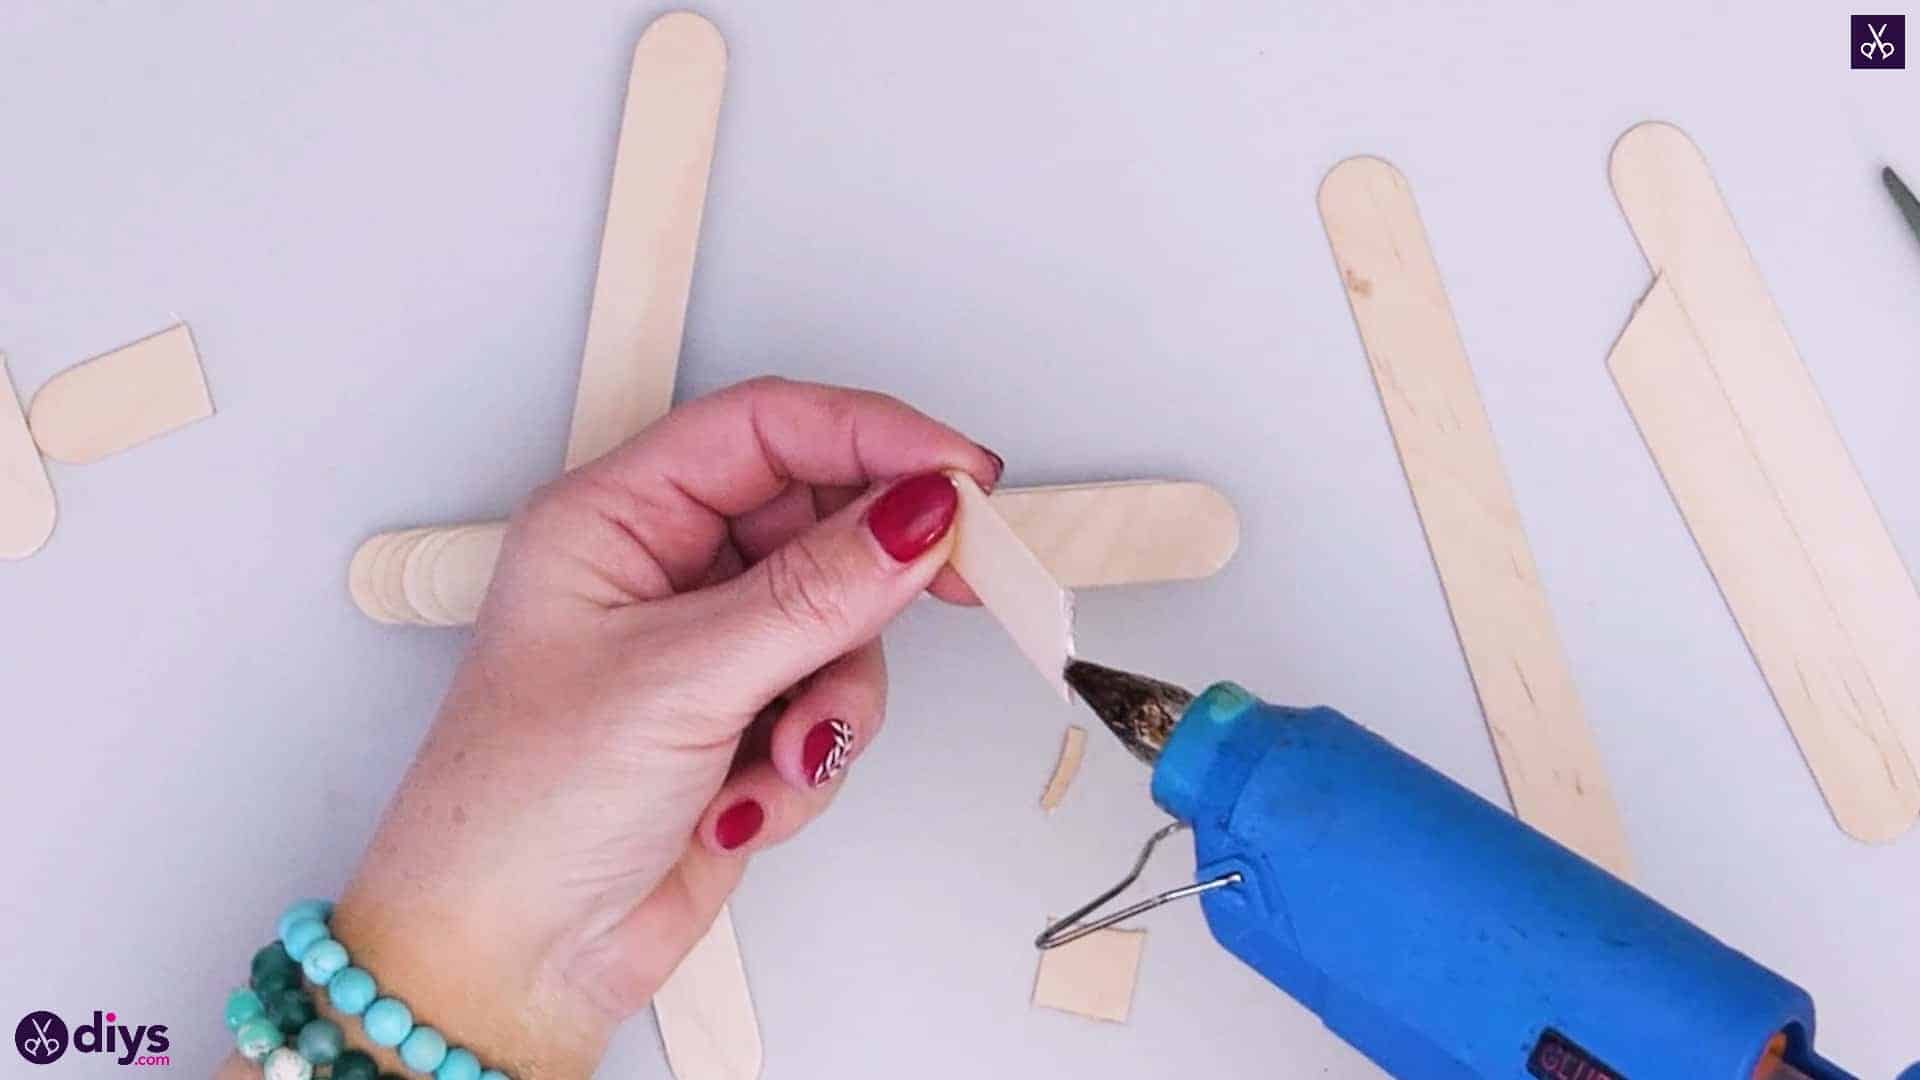
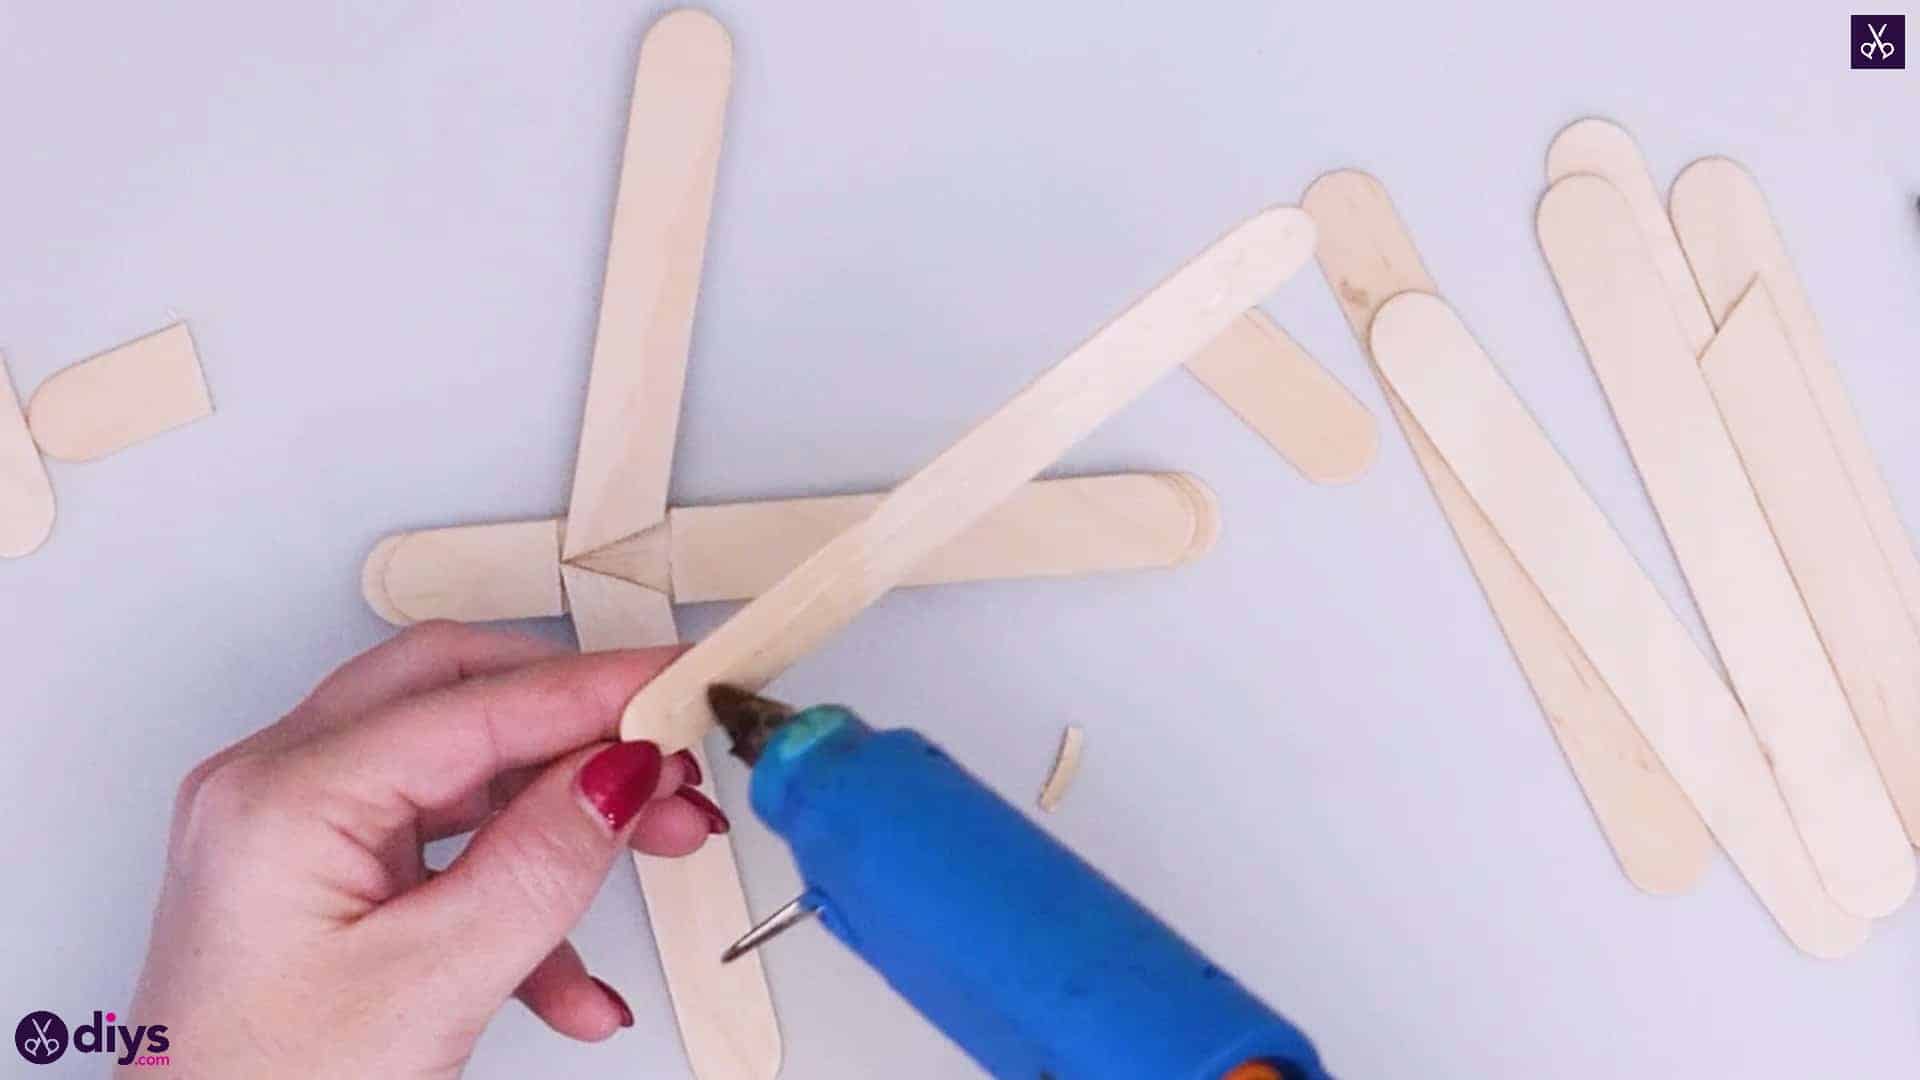
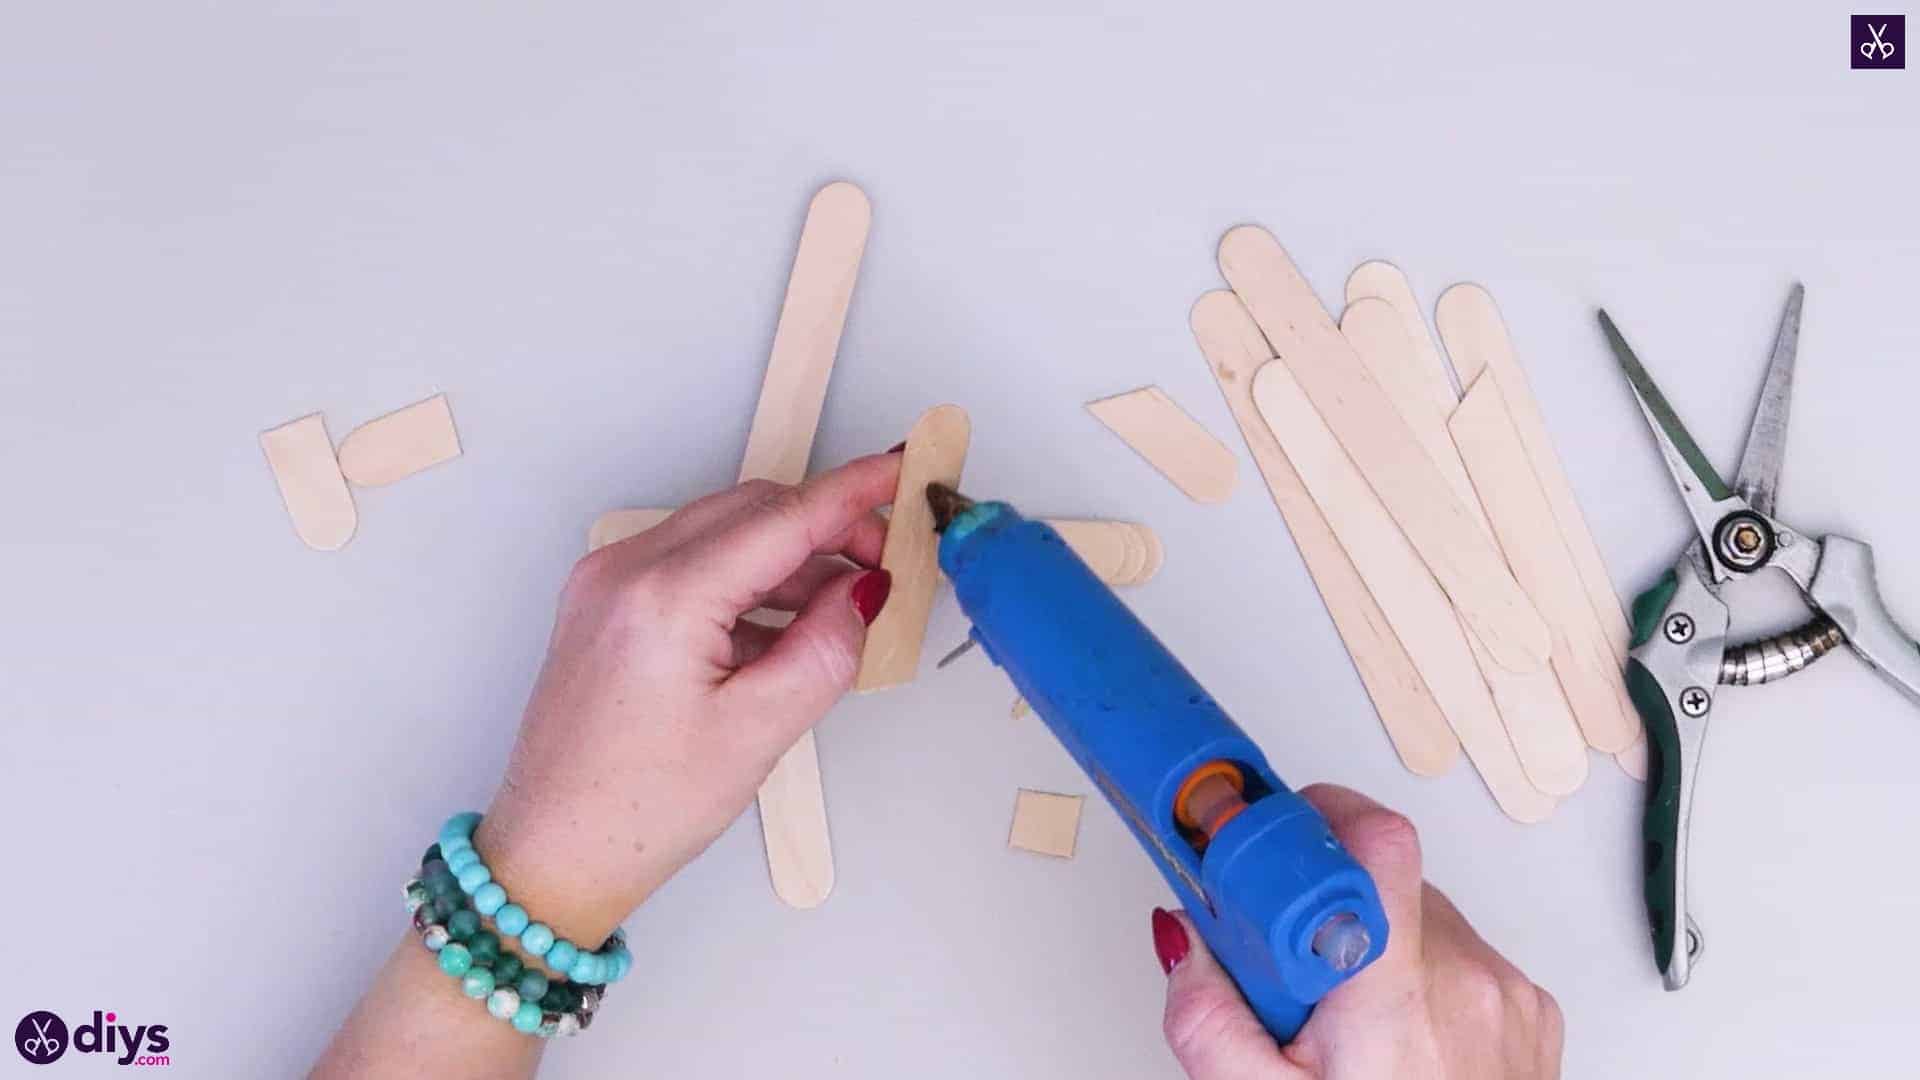
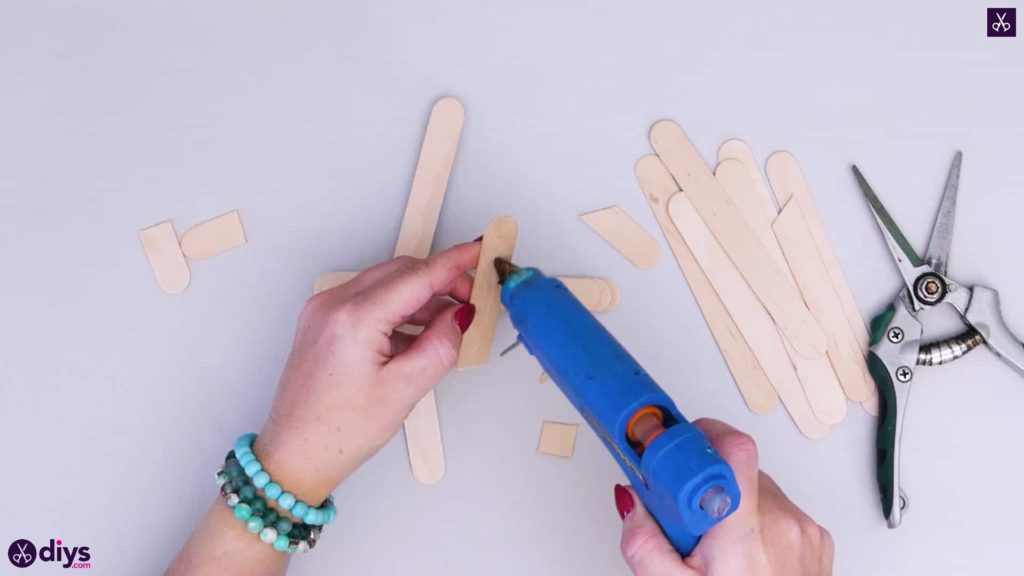
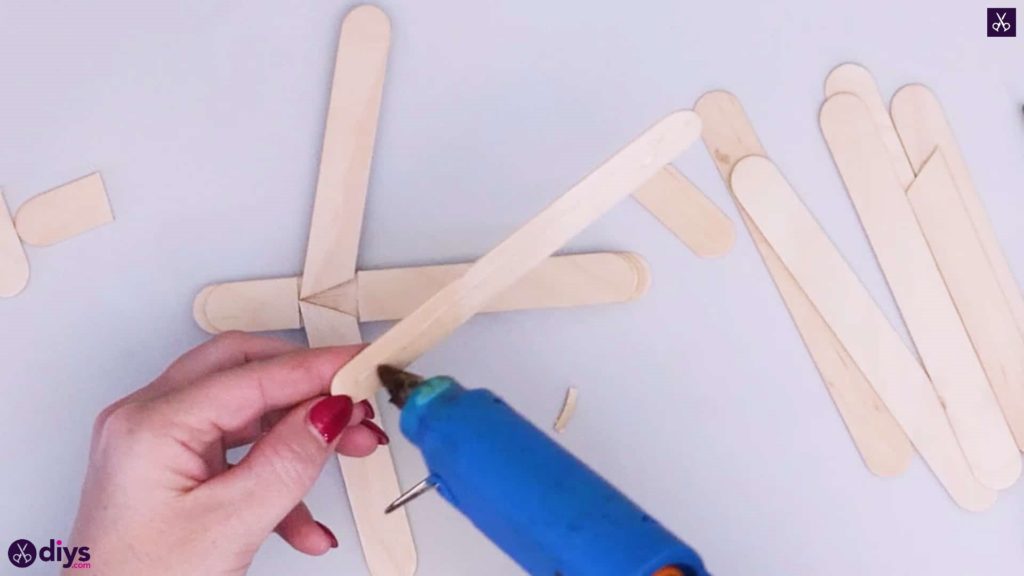
Next, use your secateurs to cut some popsicle sick pieces. First, you’ll cut one rounded end off a whole stick about a third of the way down its length, angling your shears at a diagonal and leaving you with two pieces, one longer than the other, both with pointed and angled ends. You’ll leave this angled end on the longer piece but, on your shorter piece, use your secateurs to cut the point off and make a straight edge. Repeat this entire process with a second stick so you have two angled long pieces and two straight edge shorter pieces. Near the nose of your place, about a third of the way back, you’ll place your wings. Apply glue across the full width of the popsicle stick and stick the angled ends of your longer cut sticks down there, flipped to mirror each other with their diagonal edges facing down towards the back of the plane or the tail.
Step 4: sizing the wings
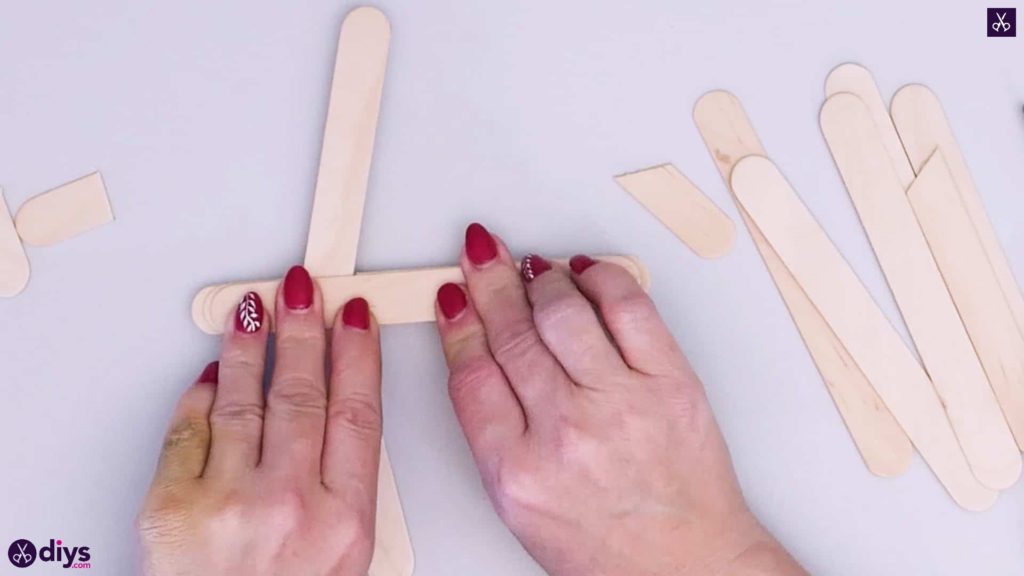
Use your secateurs to cut another popsicle stick into two pieces around the third of its length mark; you’ll use these pieces to fill in the front and the back of the plane’s body in front of and behind the wings to keep it even when you continue layering. Measure the length of the space between the plane’s nose and where the wings start and cut a rounded end to that side, sticking it down with glue. This time, you can match the ends up with the one underneath it. Then measure the length of the space behind the wings and cut your longer end to fit there, gluing it down evenly with the other end. Finally, glue down another full popsicle stick across the top of all this, using the same slightly pulled back placement you used before when you were building the bottom of the plane. Place four more whole sticks on top of that in the same way, pulling each one back a little from the edge of the one below it for a ridged effect.
Step 5: making the tail
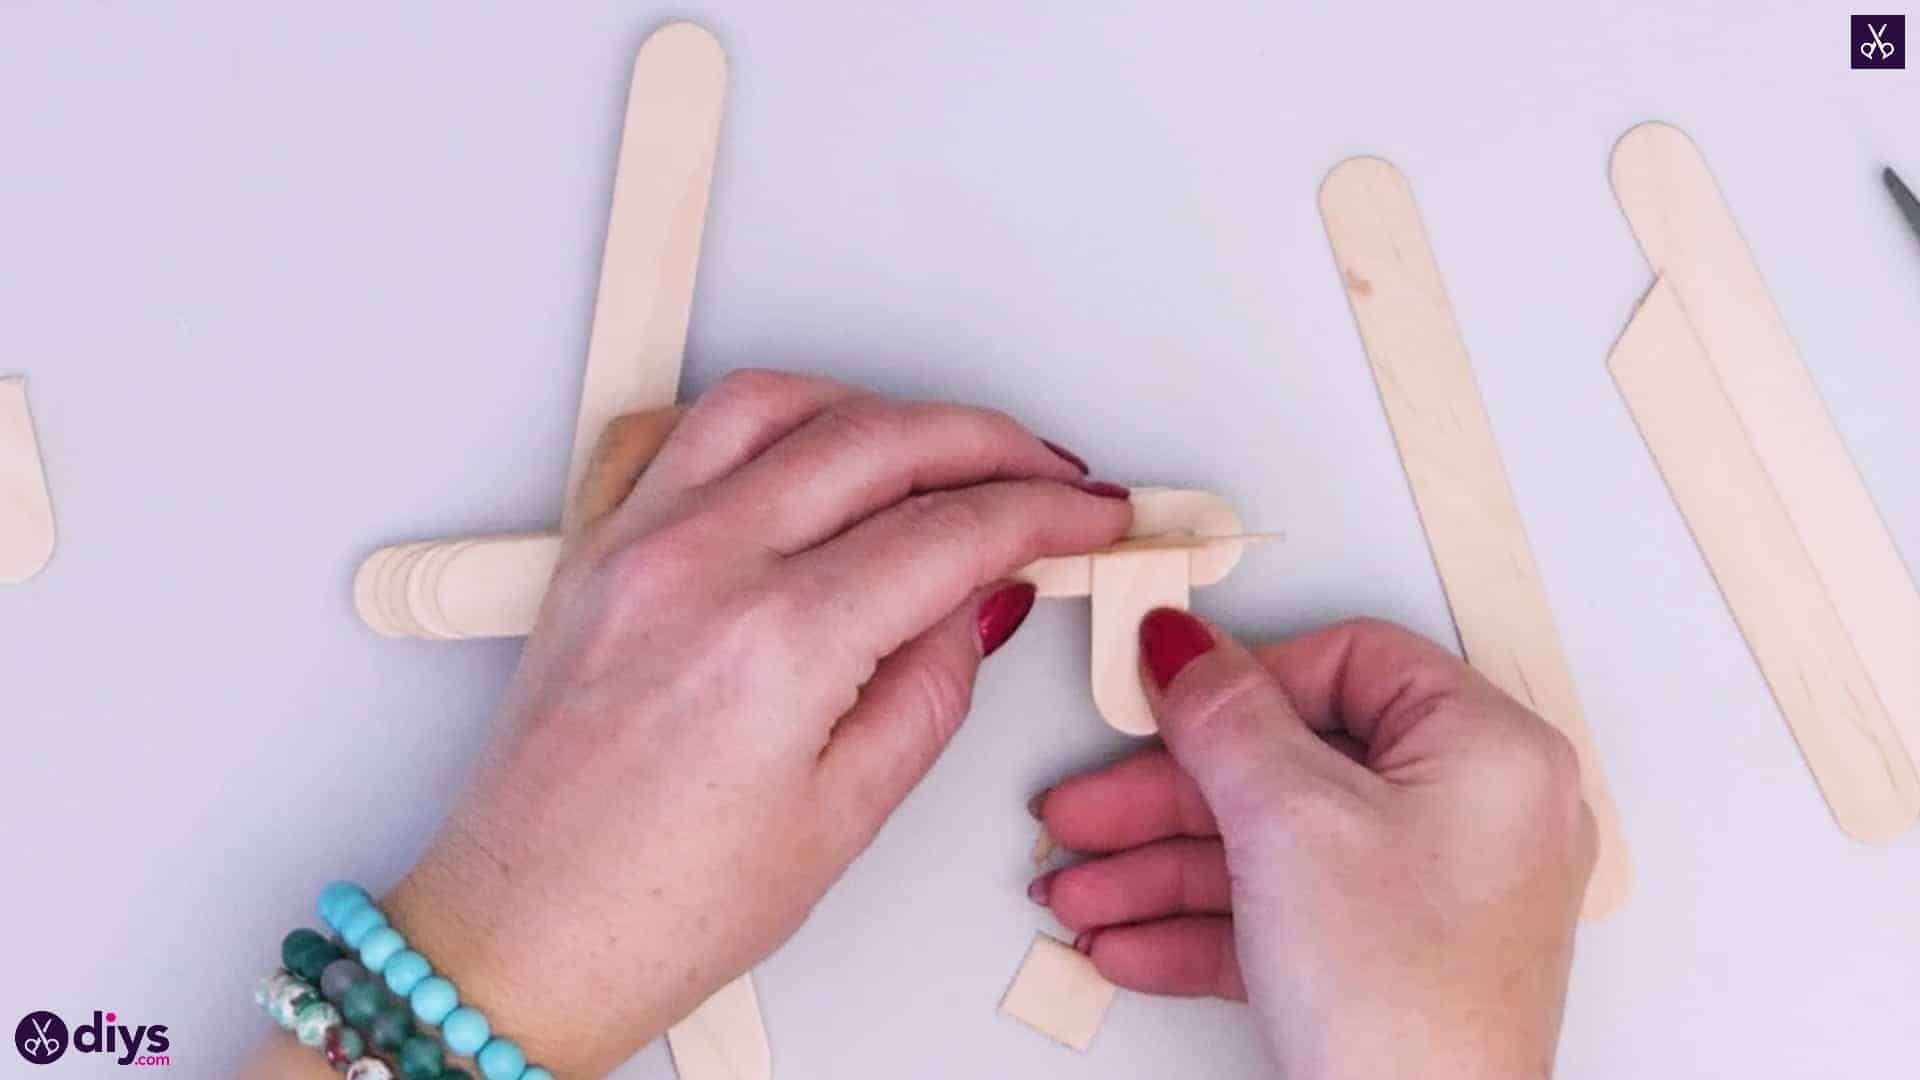
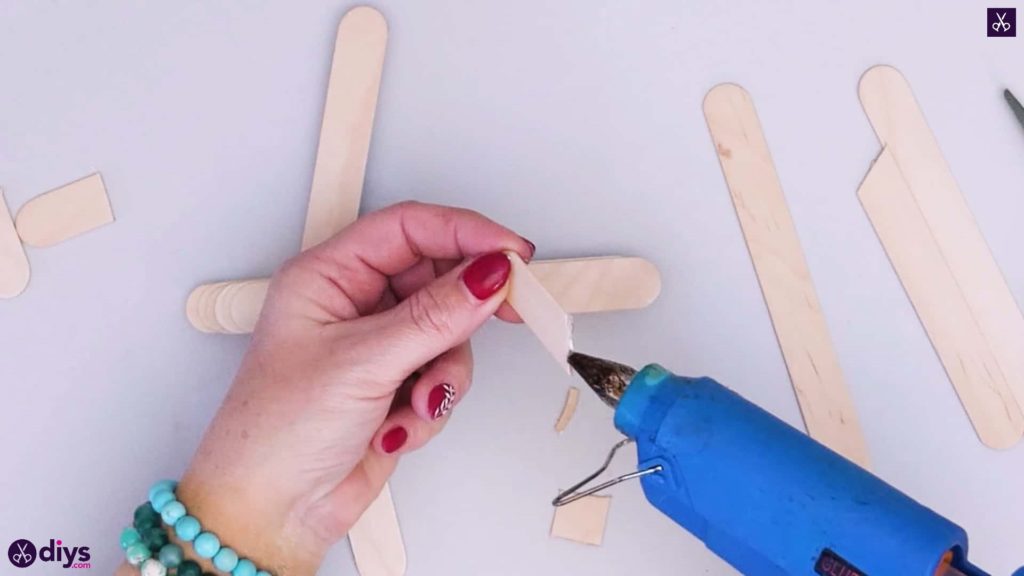
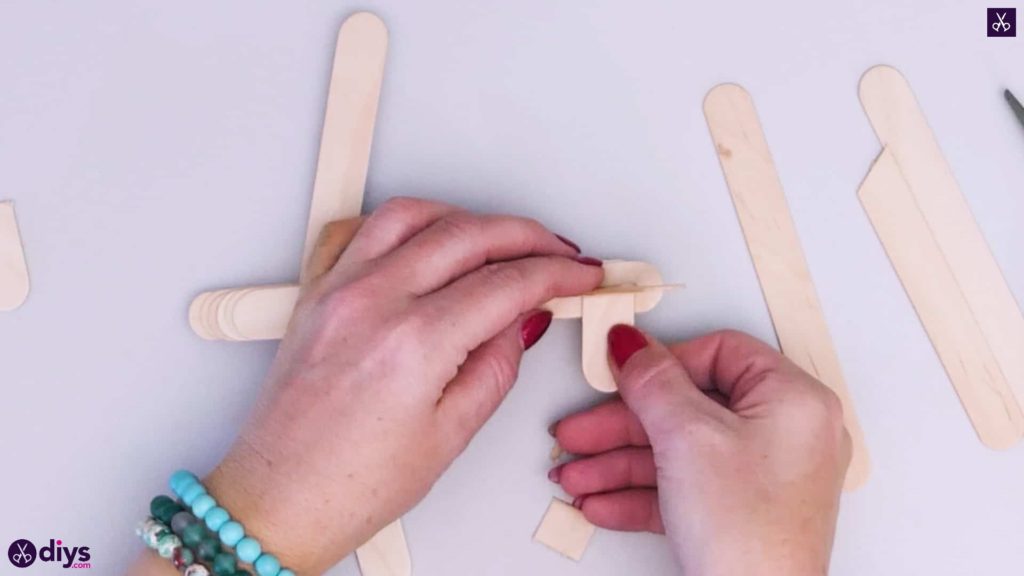
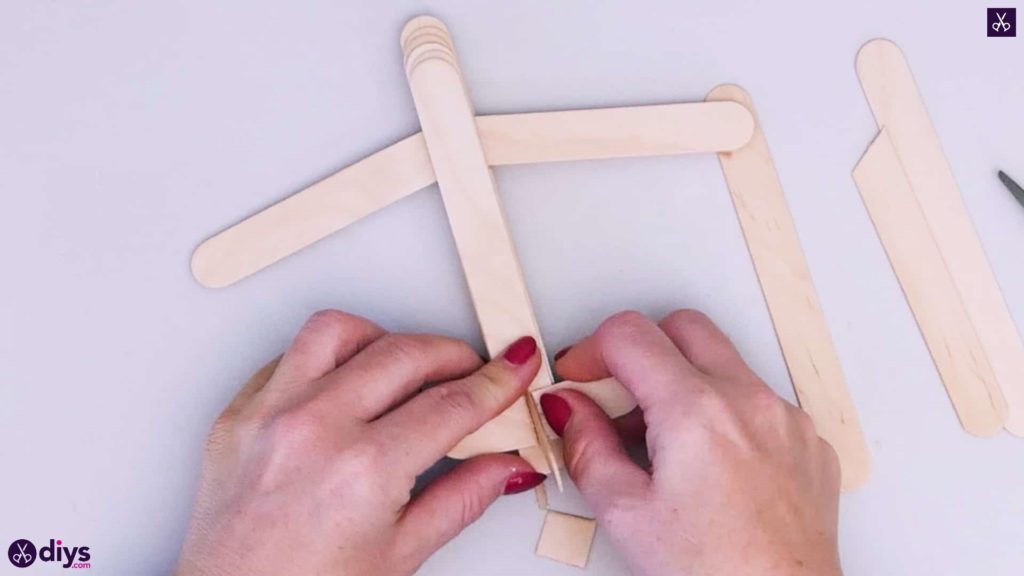
Take one of your leftover angled short pieces with the rounded popsicle stick end and apply glue to its diagonal edge. Stick it about a centimetre up from the back end of your plane so it stands perpendicularly to the plane’s body and leans back thanks to that diagonal angle. This is the tail of your plane. Now grab the two short pieces you cut straight edges onto at the beginning of your first wing process and glue them flat side down and at right angles on either side of your standing tailpiece.
Step 6: paint!
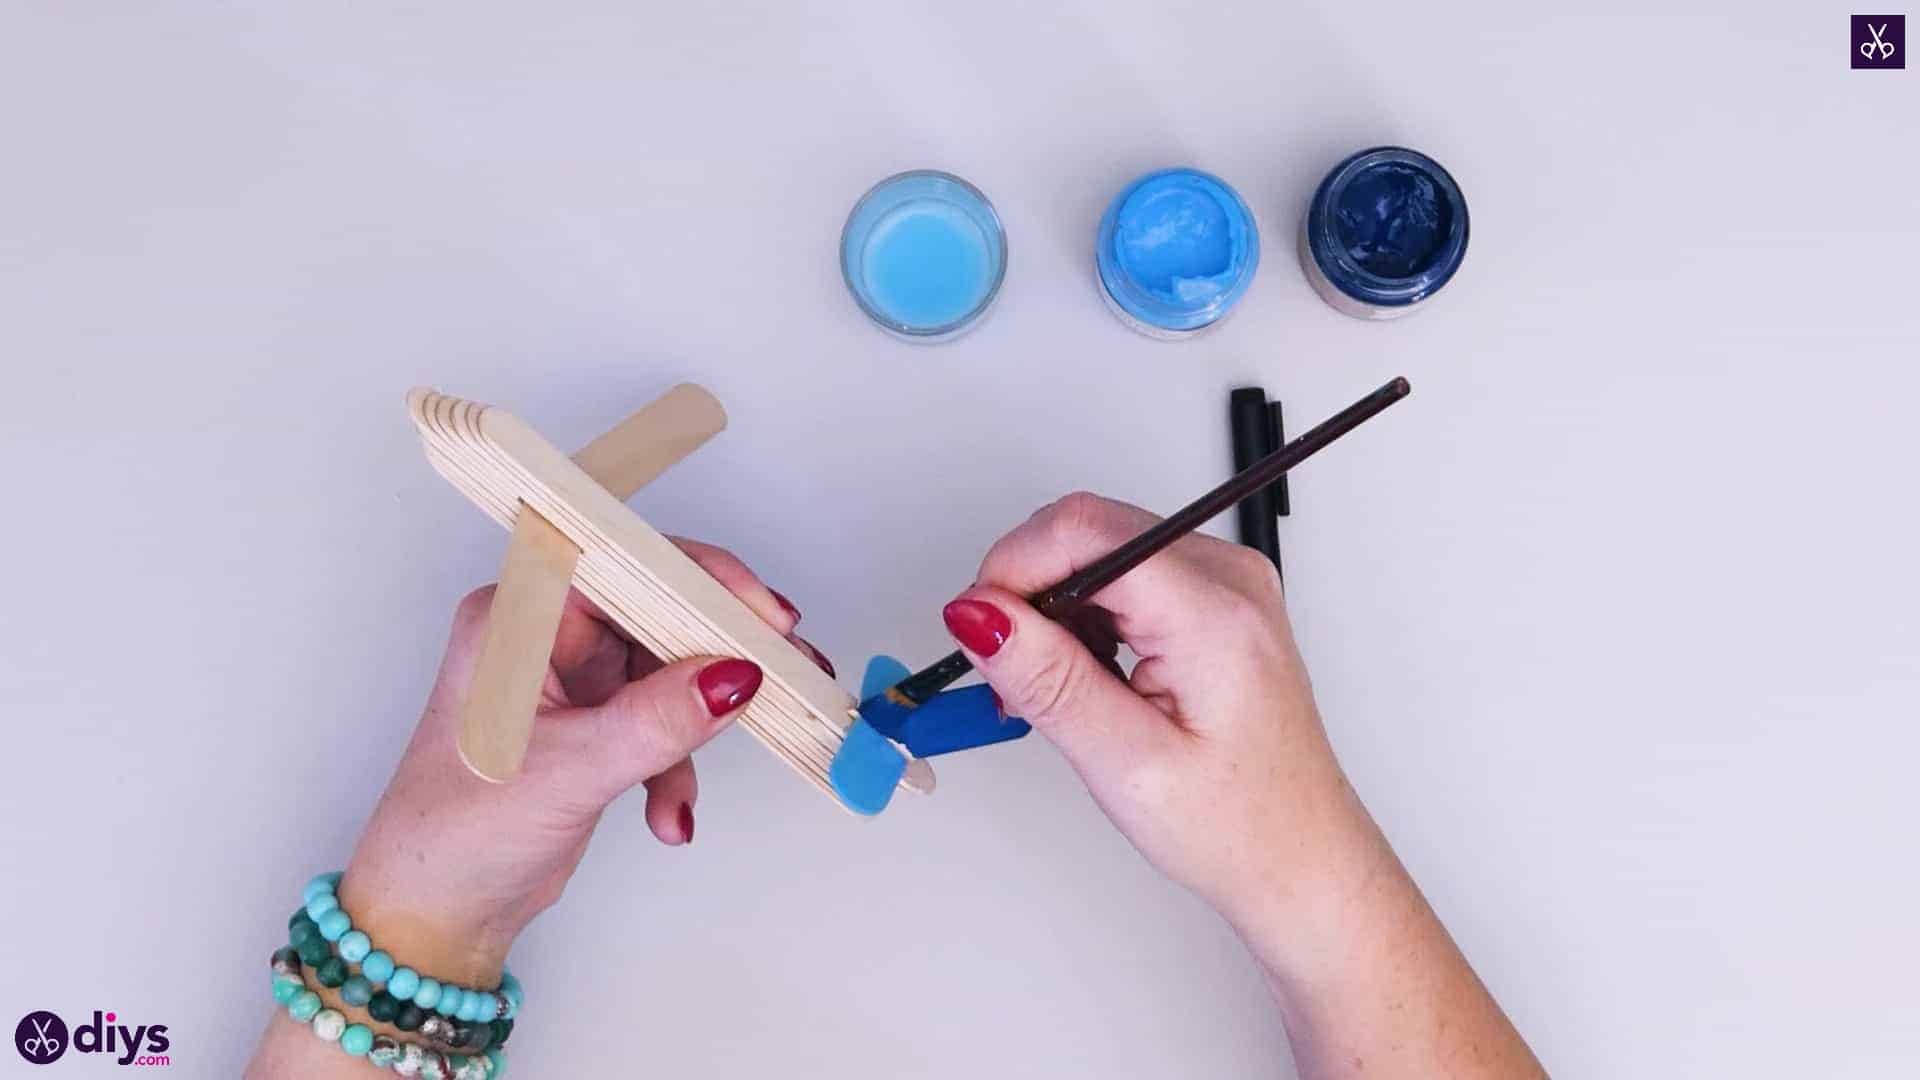
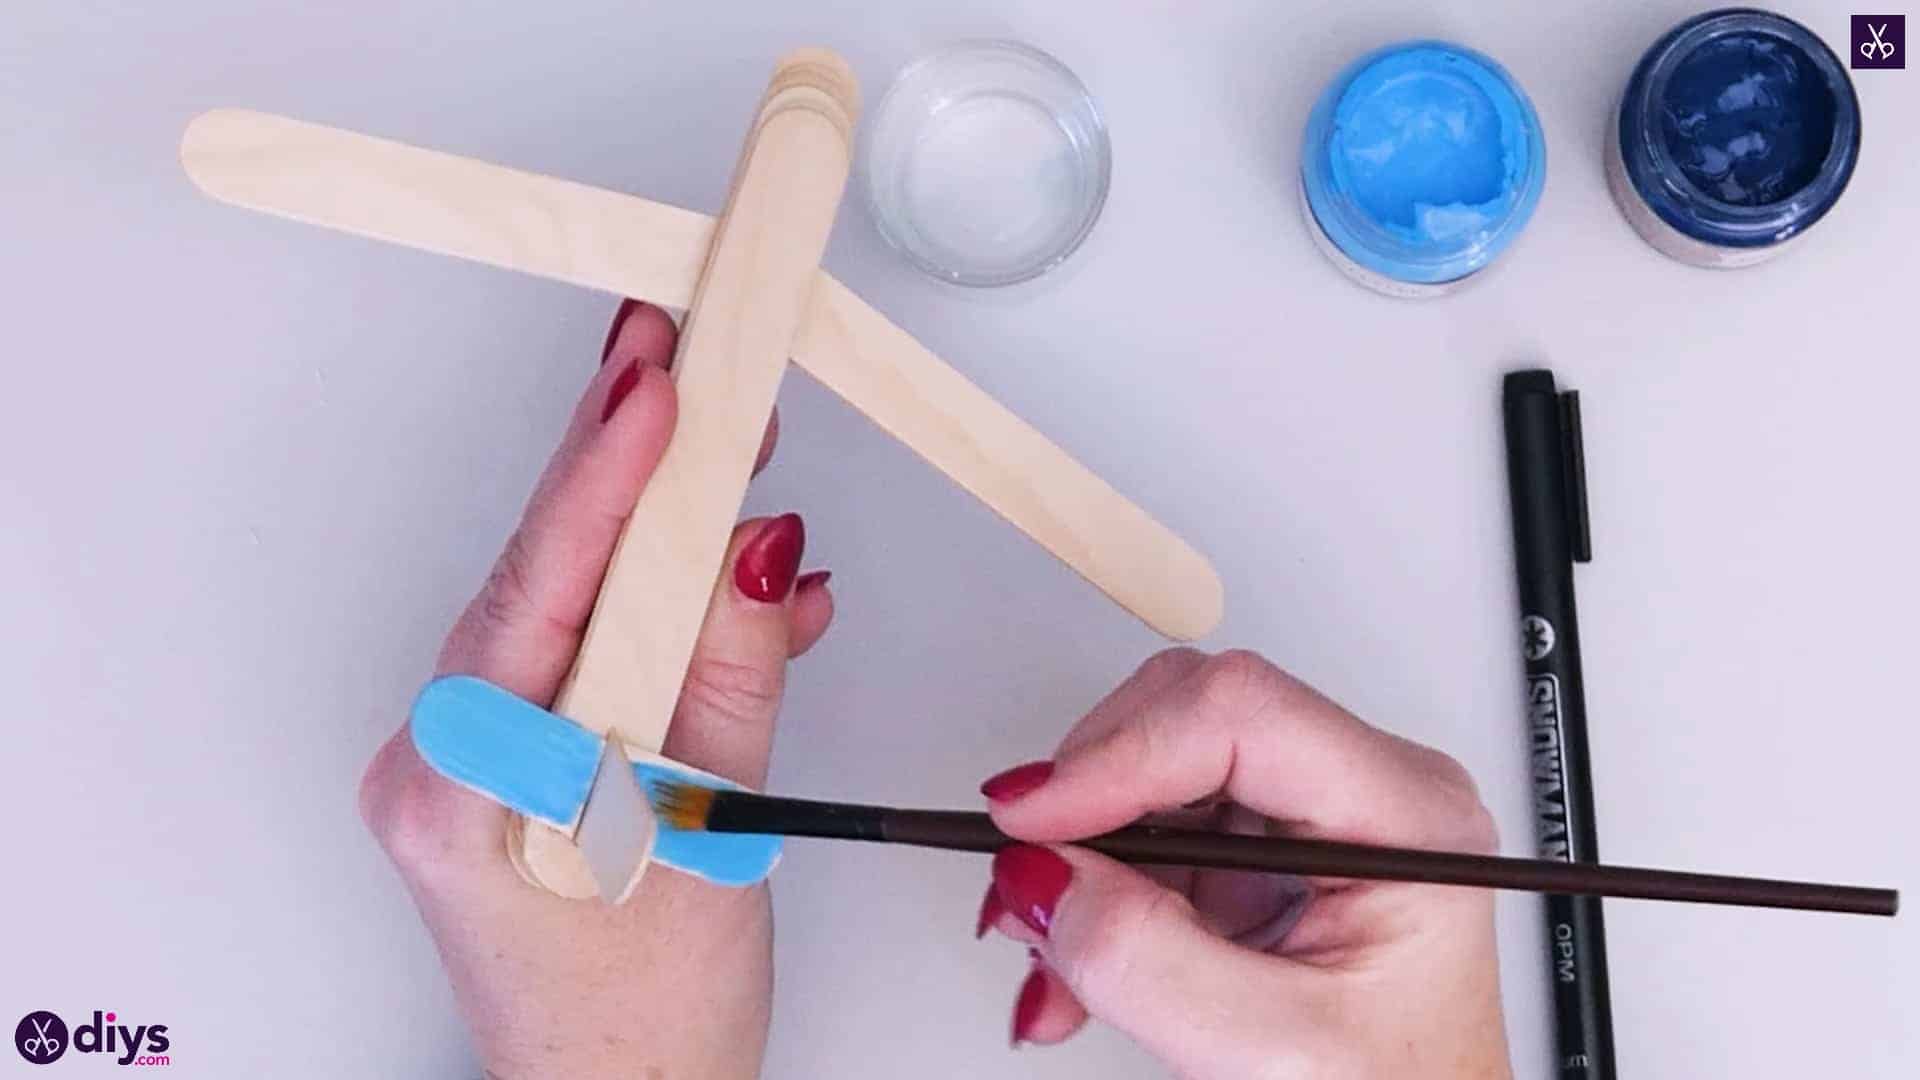
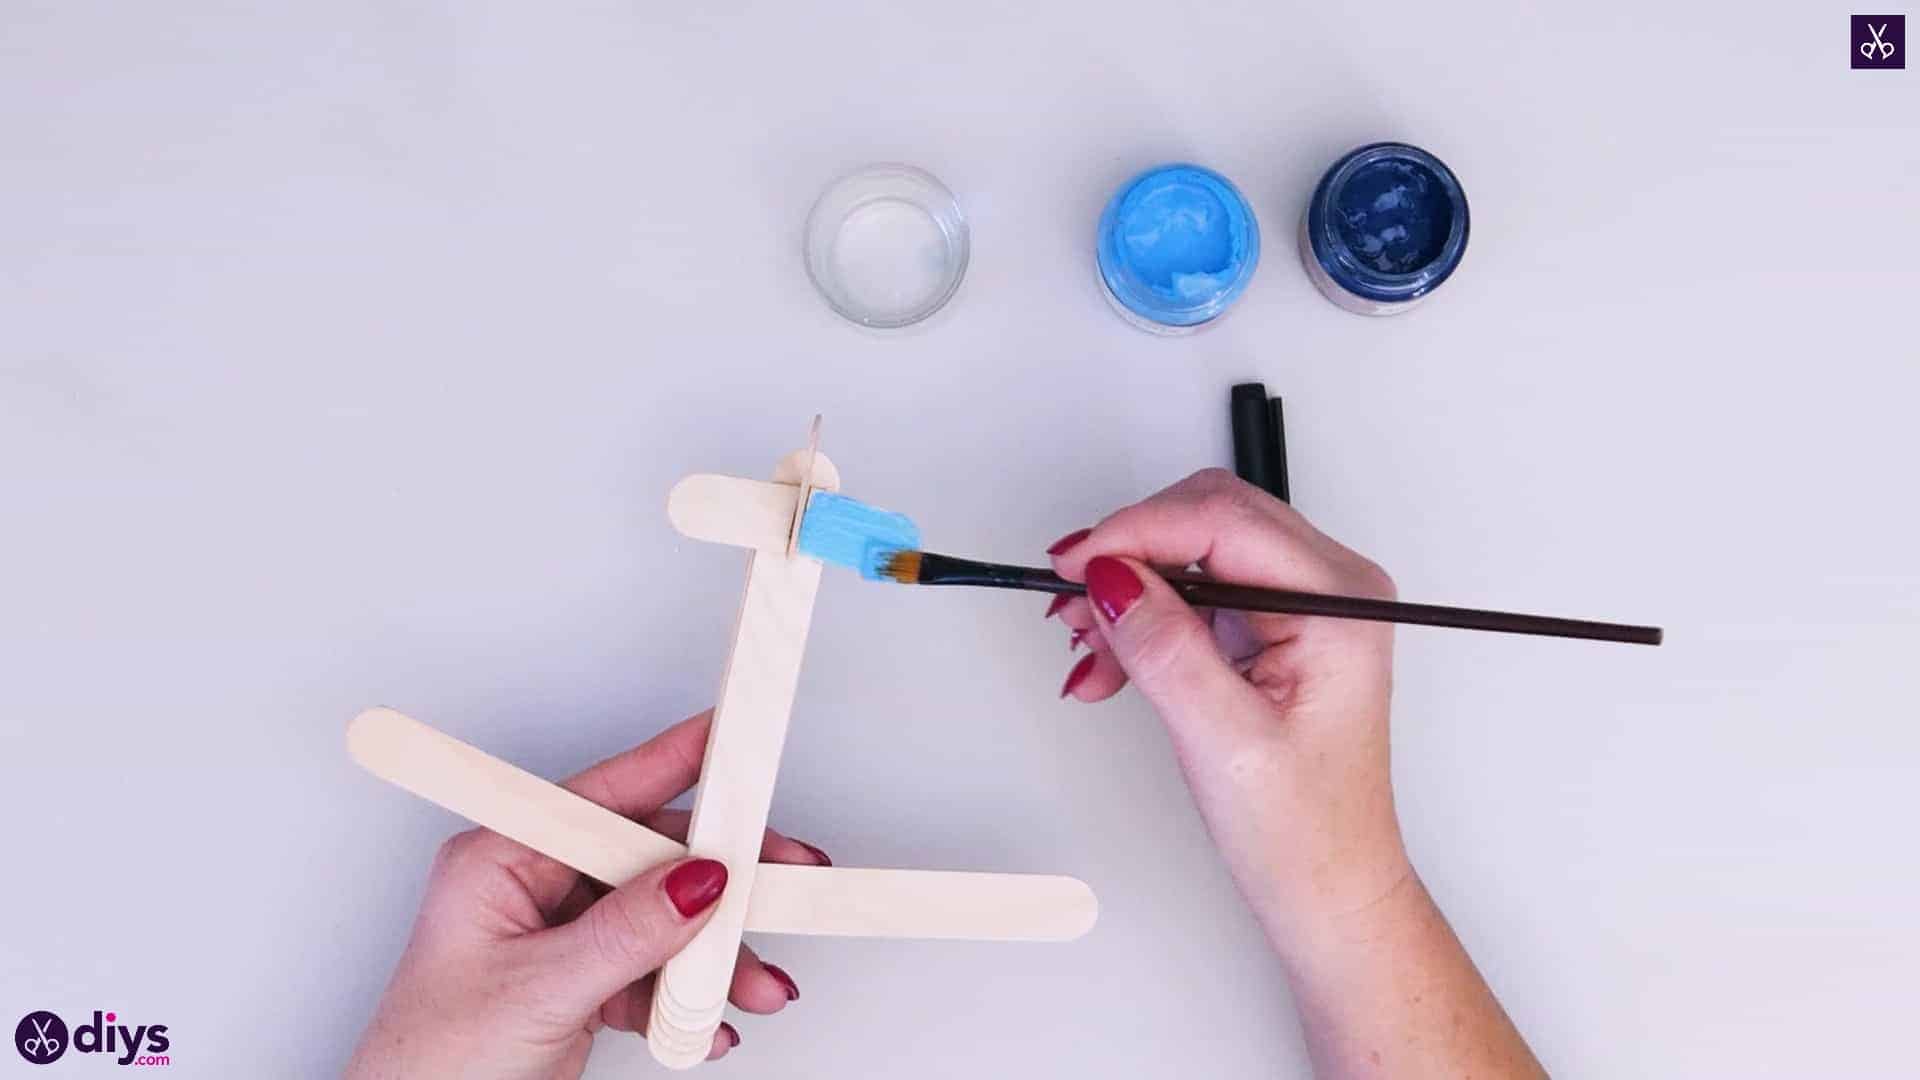
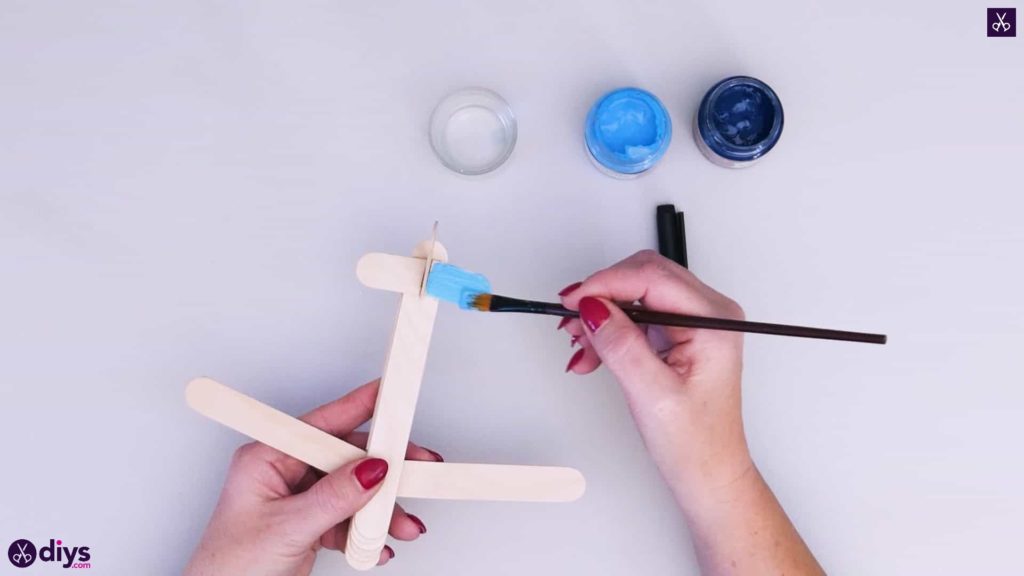
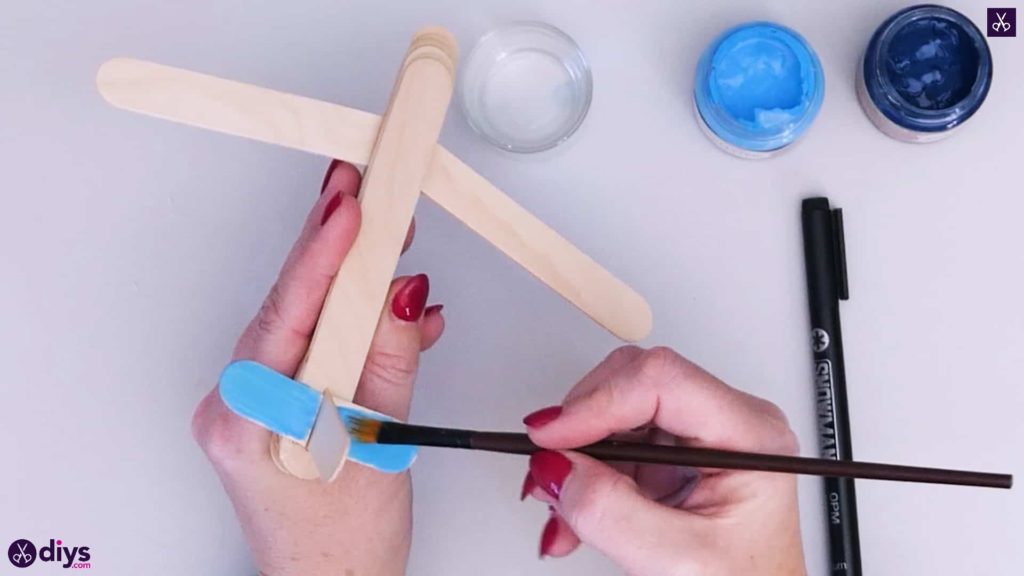
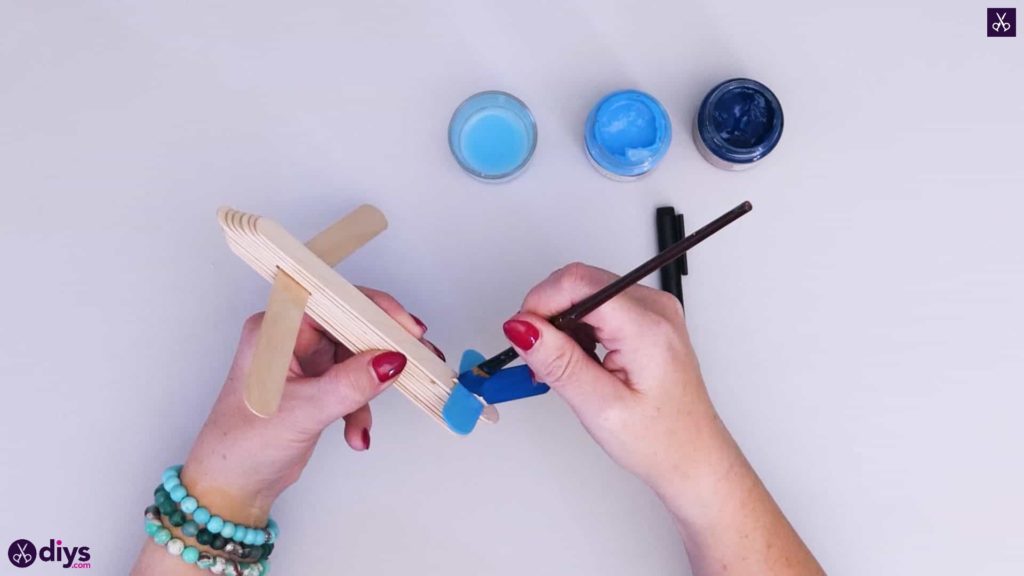
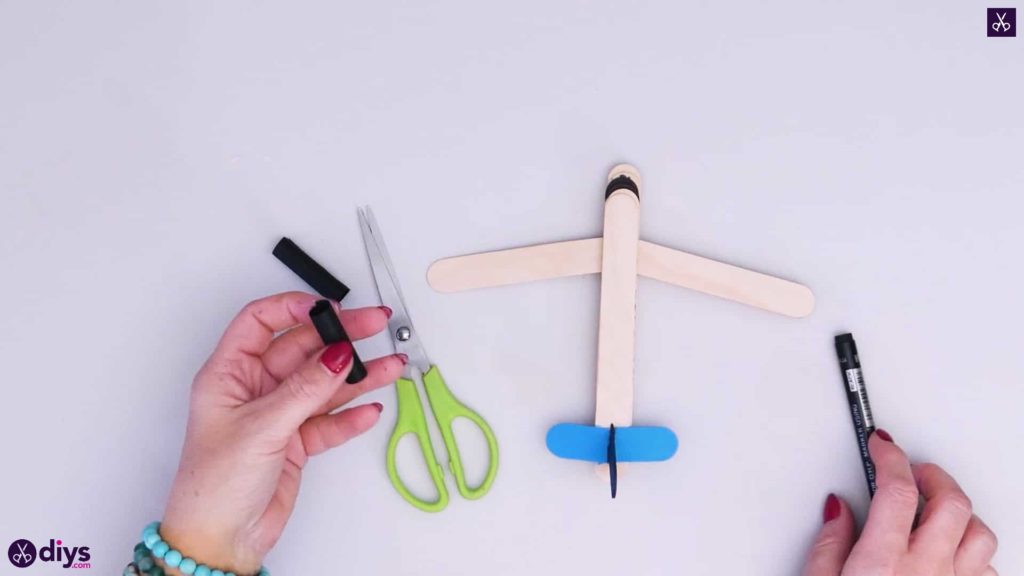
Use your paintbrush to paint the top and bottom of the side tail wing pieces light blue! Then clean your brush and paint the standing perpendicular piece dark blue.
Step 7: draw the windows
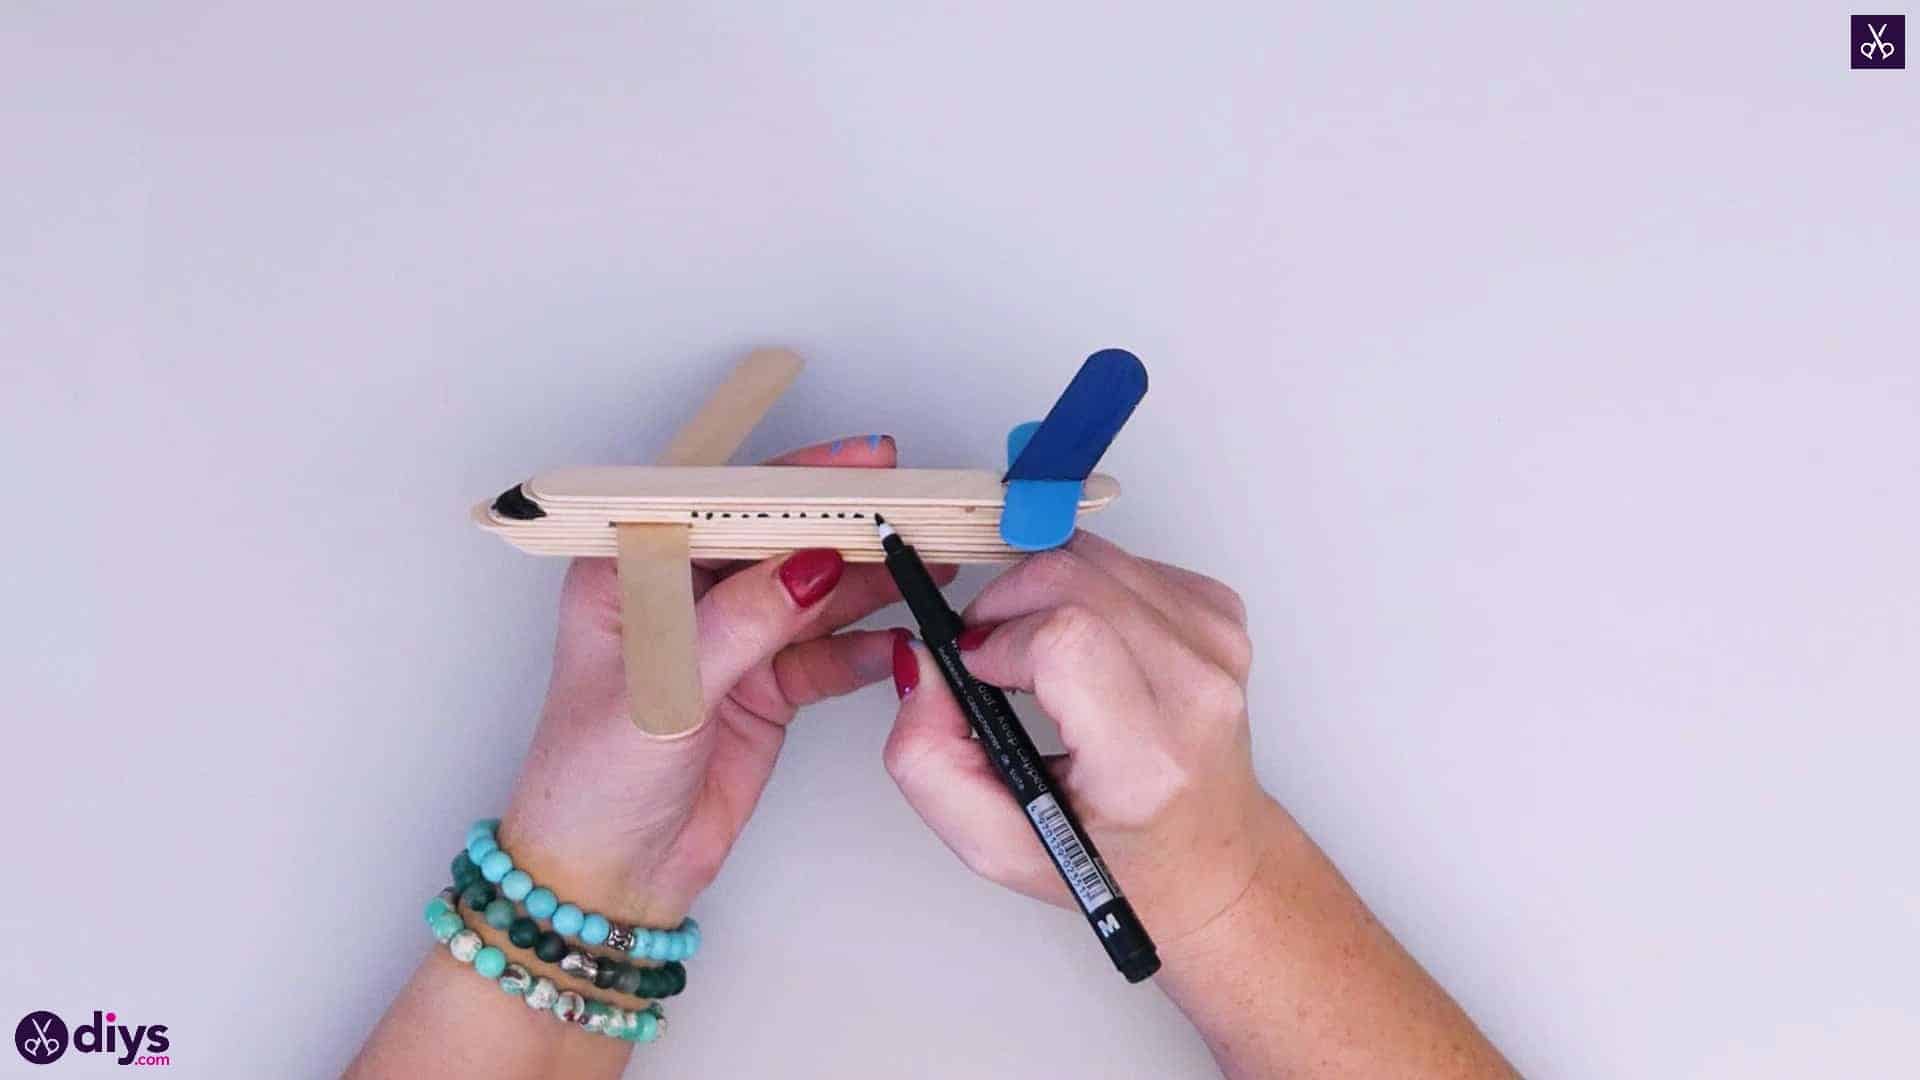
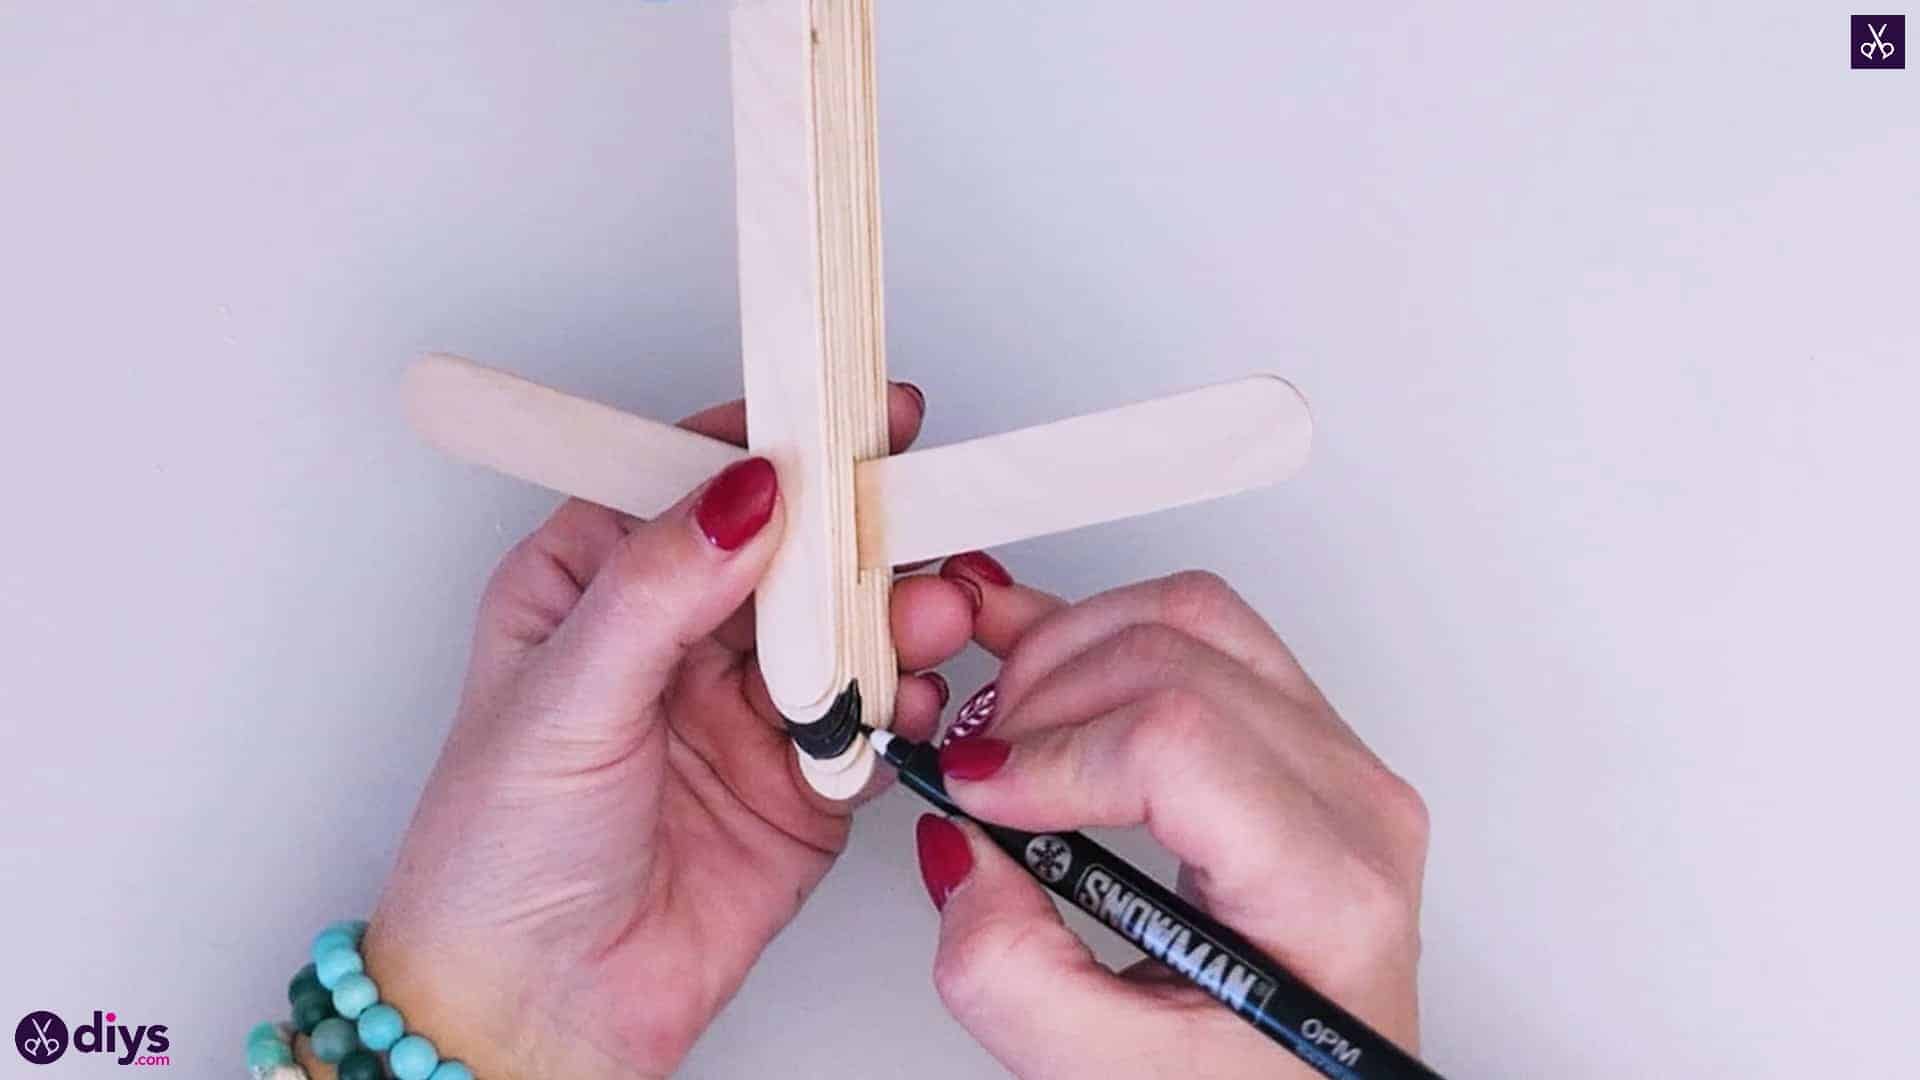
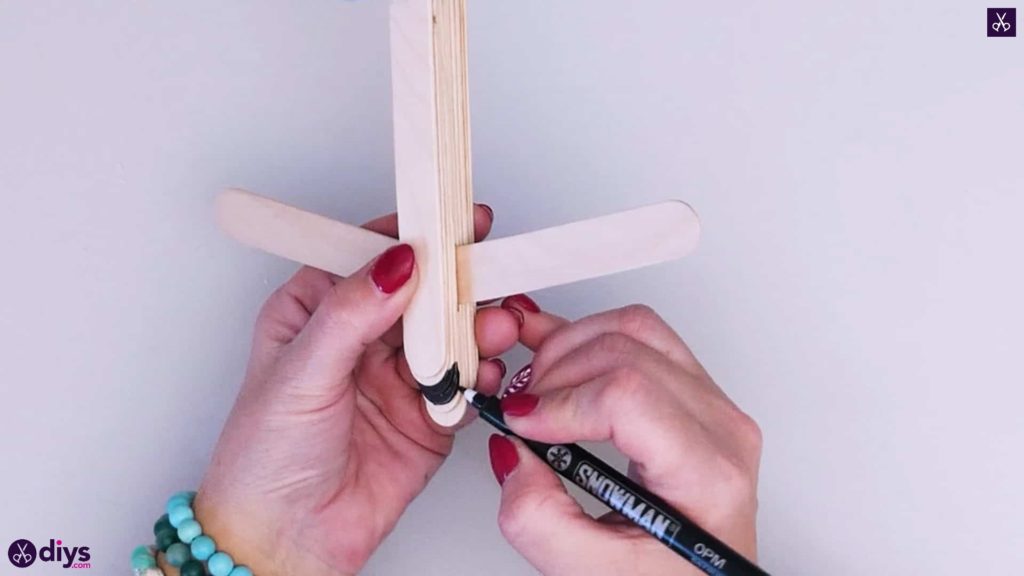
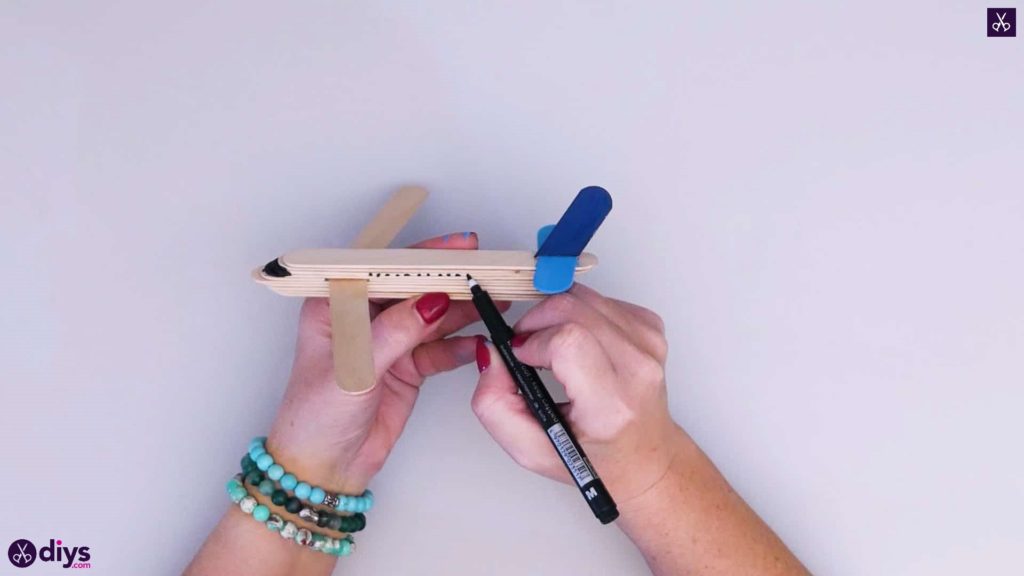
Use your black marker to draw a windshield on the front of the plane, filling in the top and front edge of the third, fourth, and fifth laters in the top side of the plane’s nose. Then use your marker to draw tiny square windows in a row down each side of the plane.
Step 8: shaping the engines
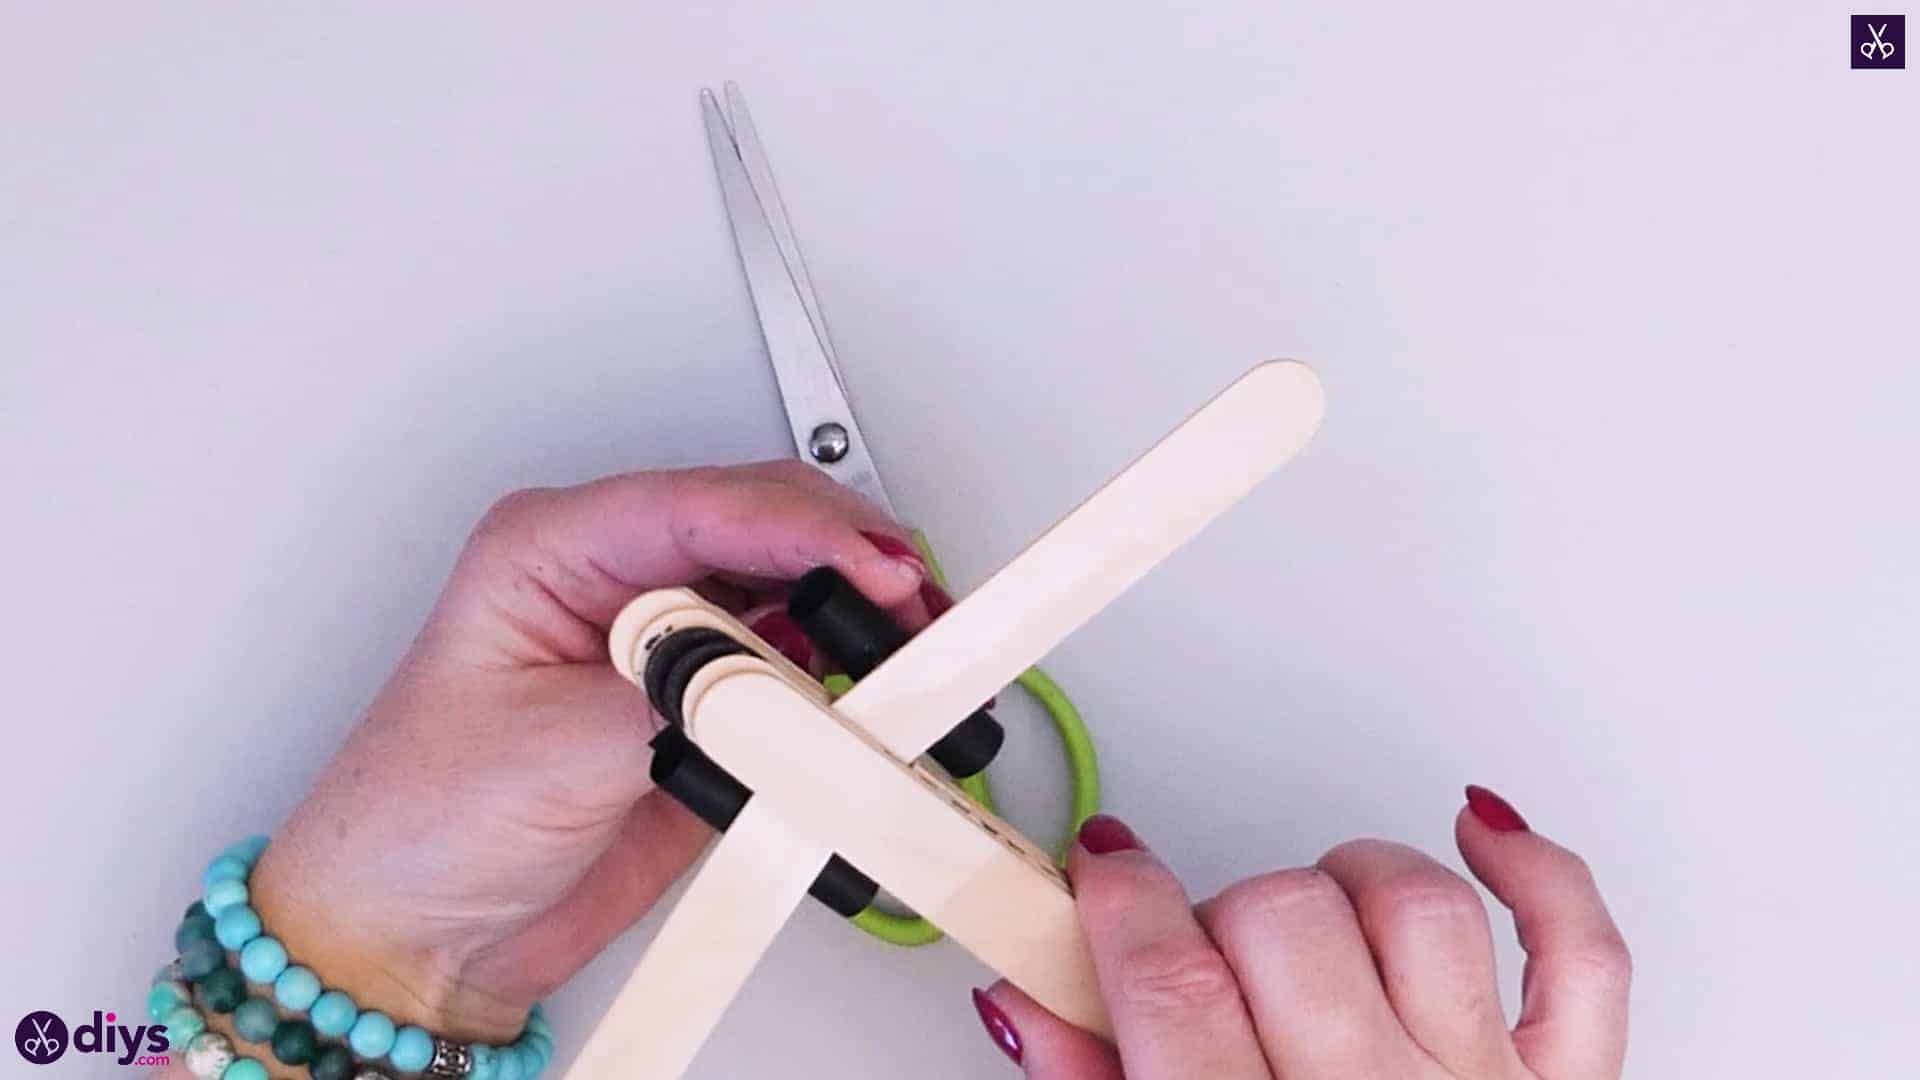
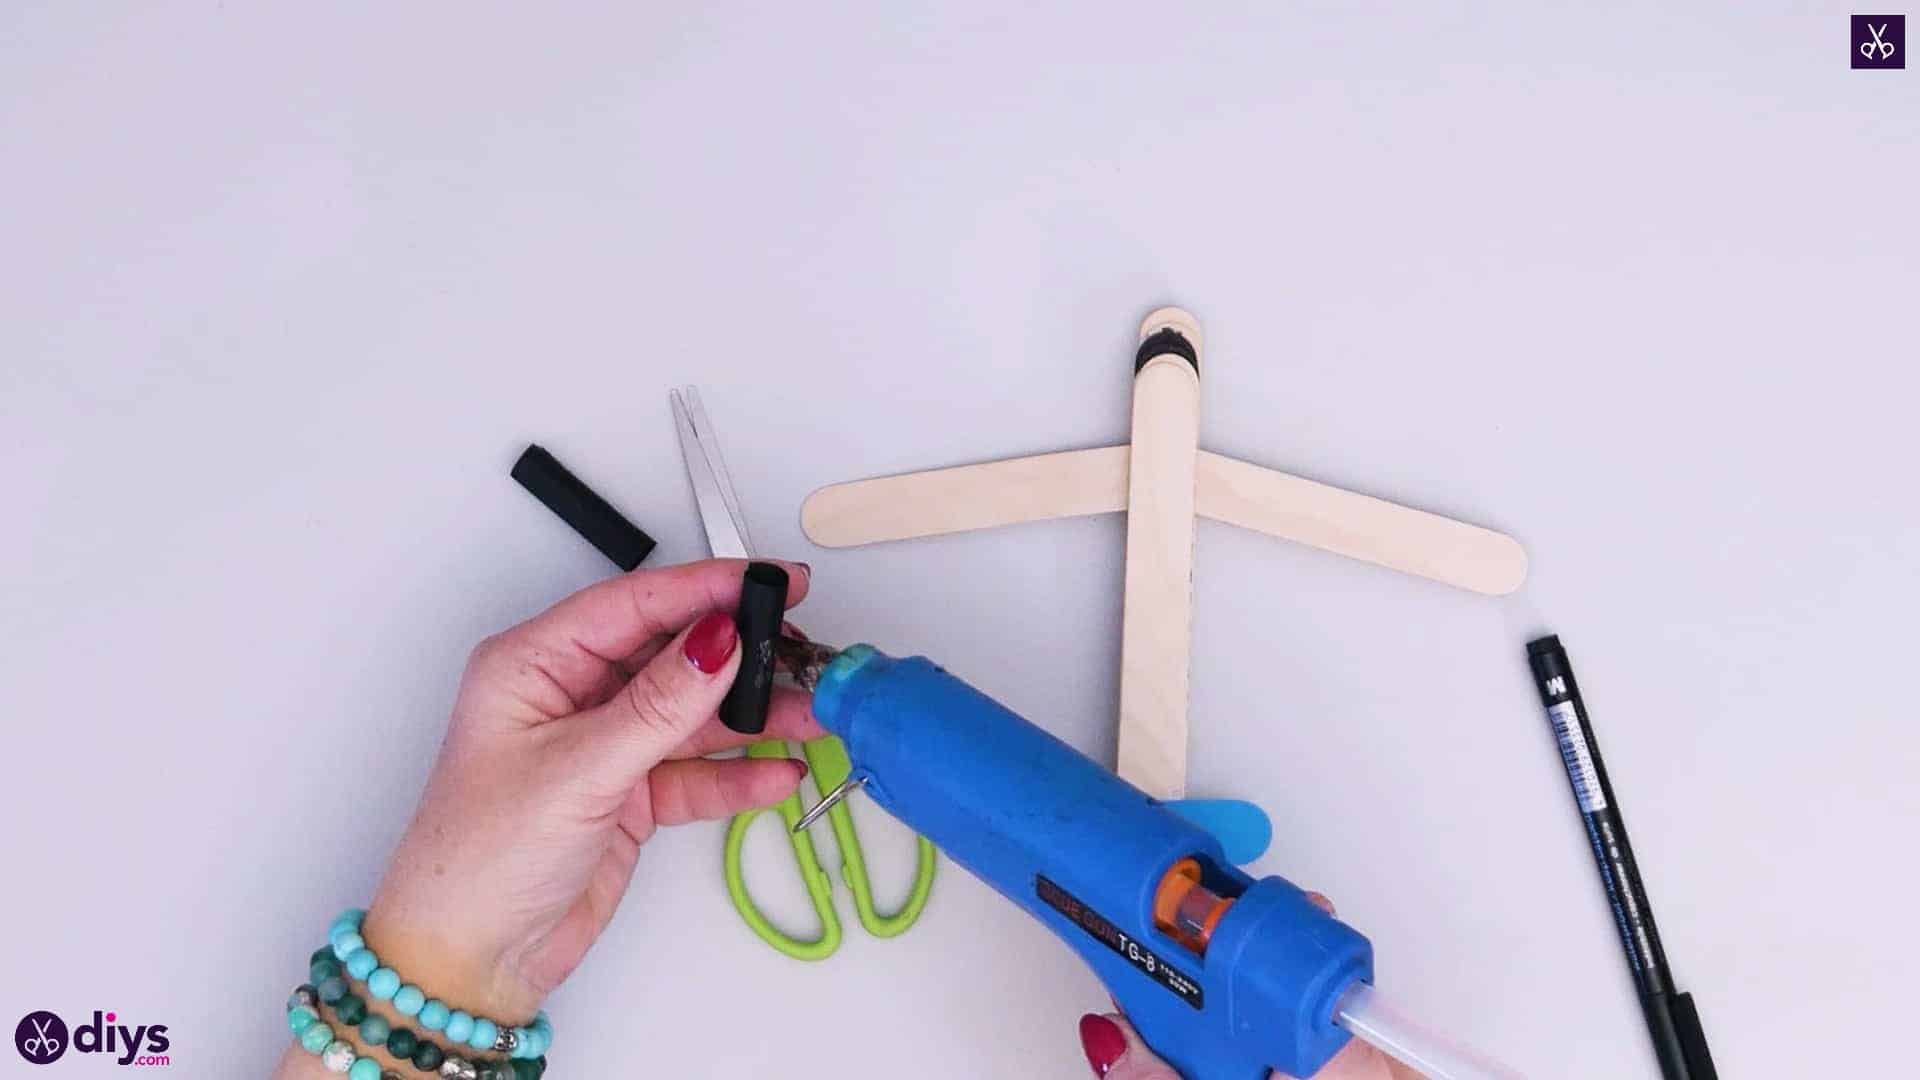
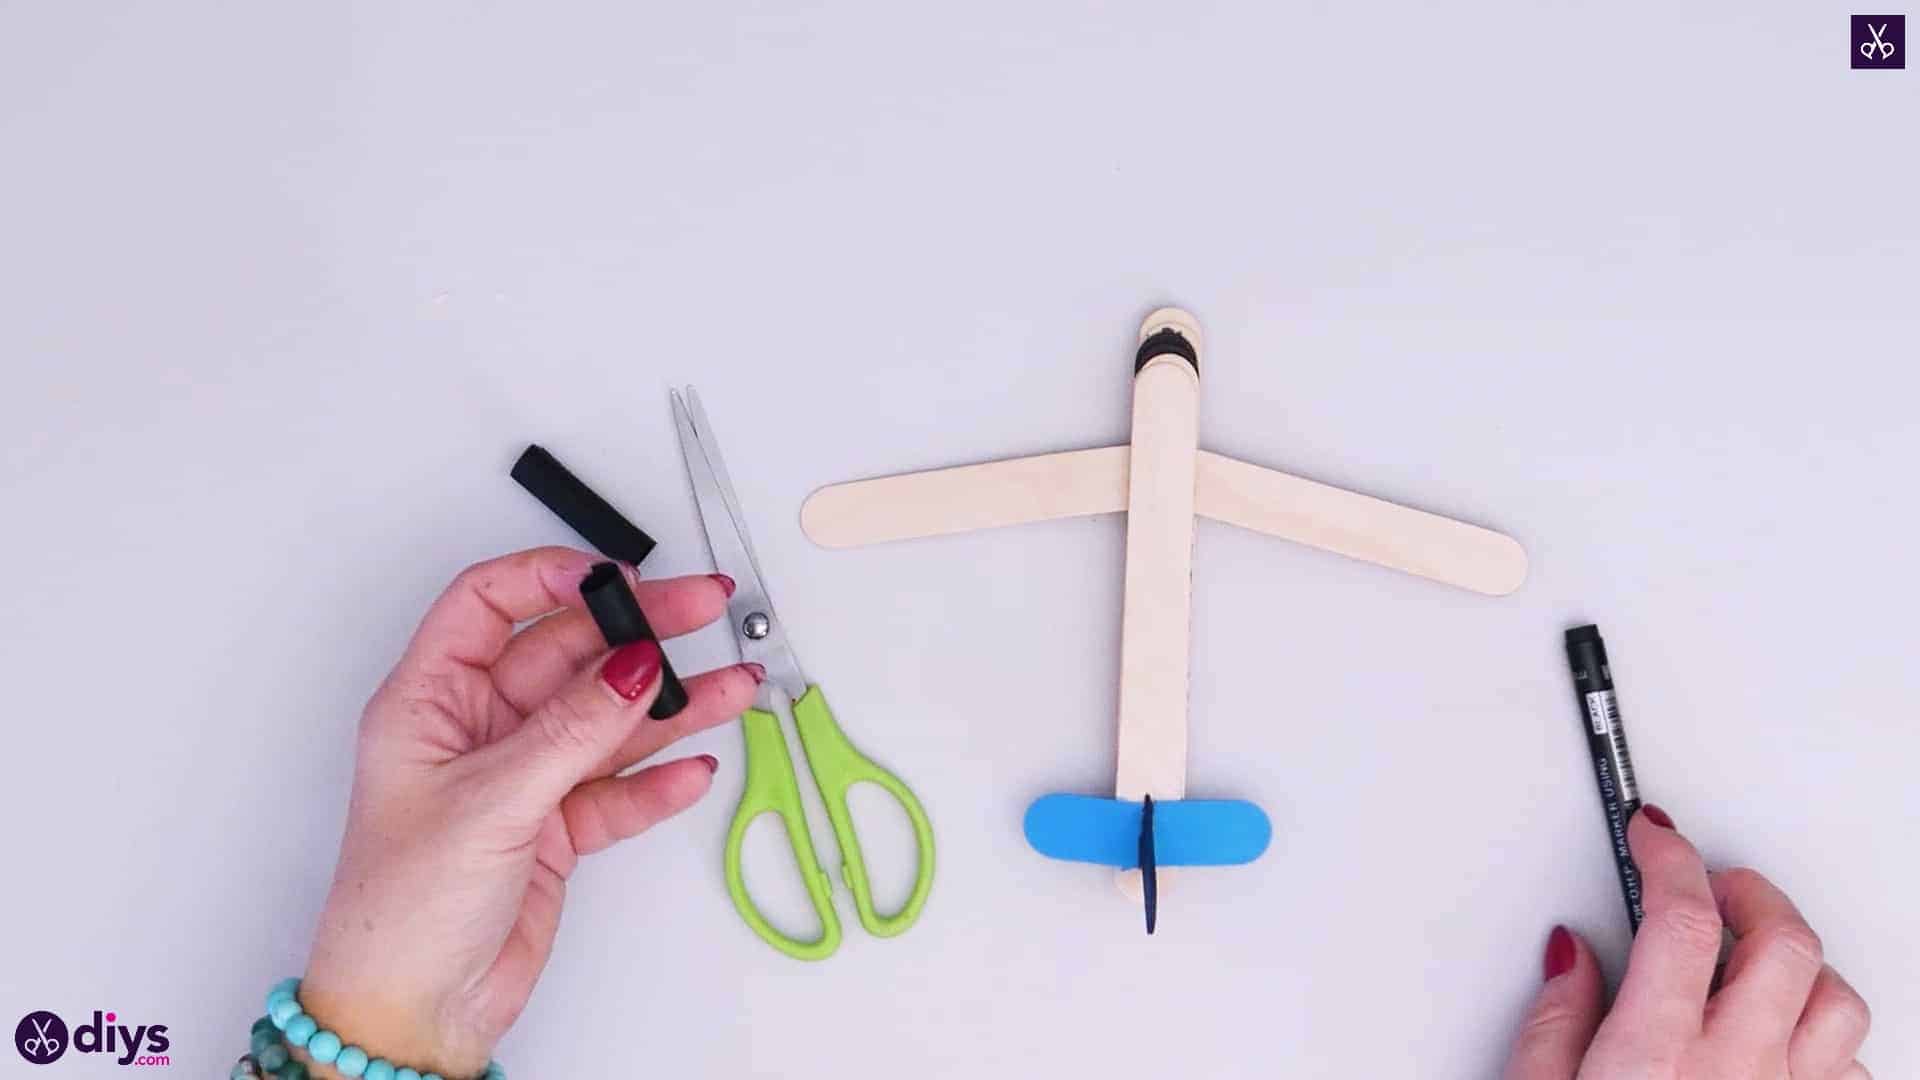
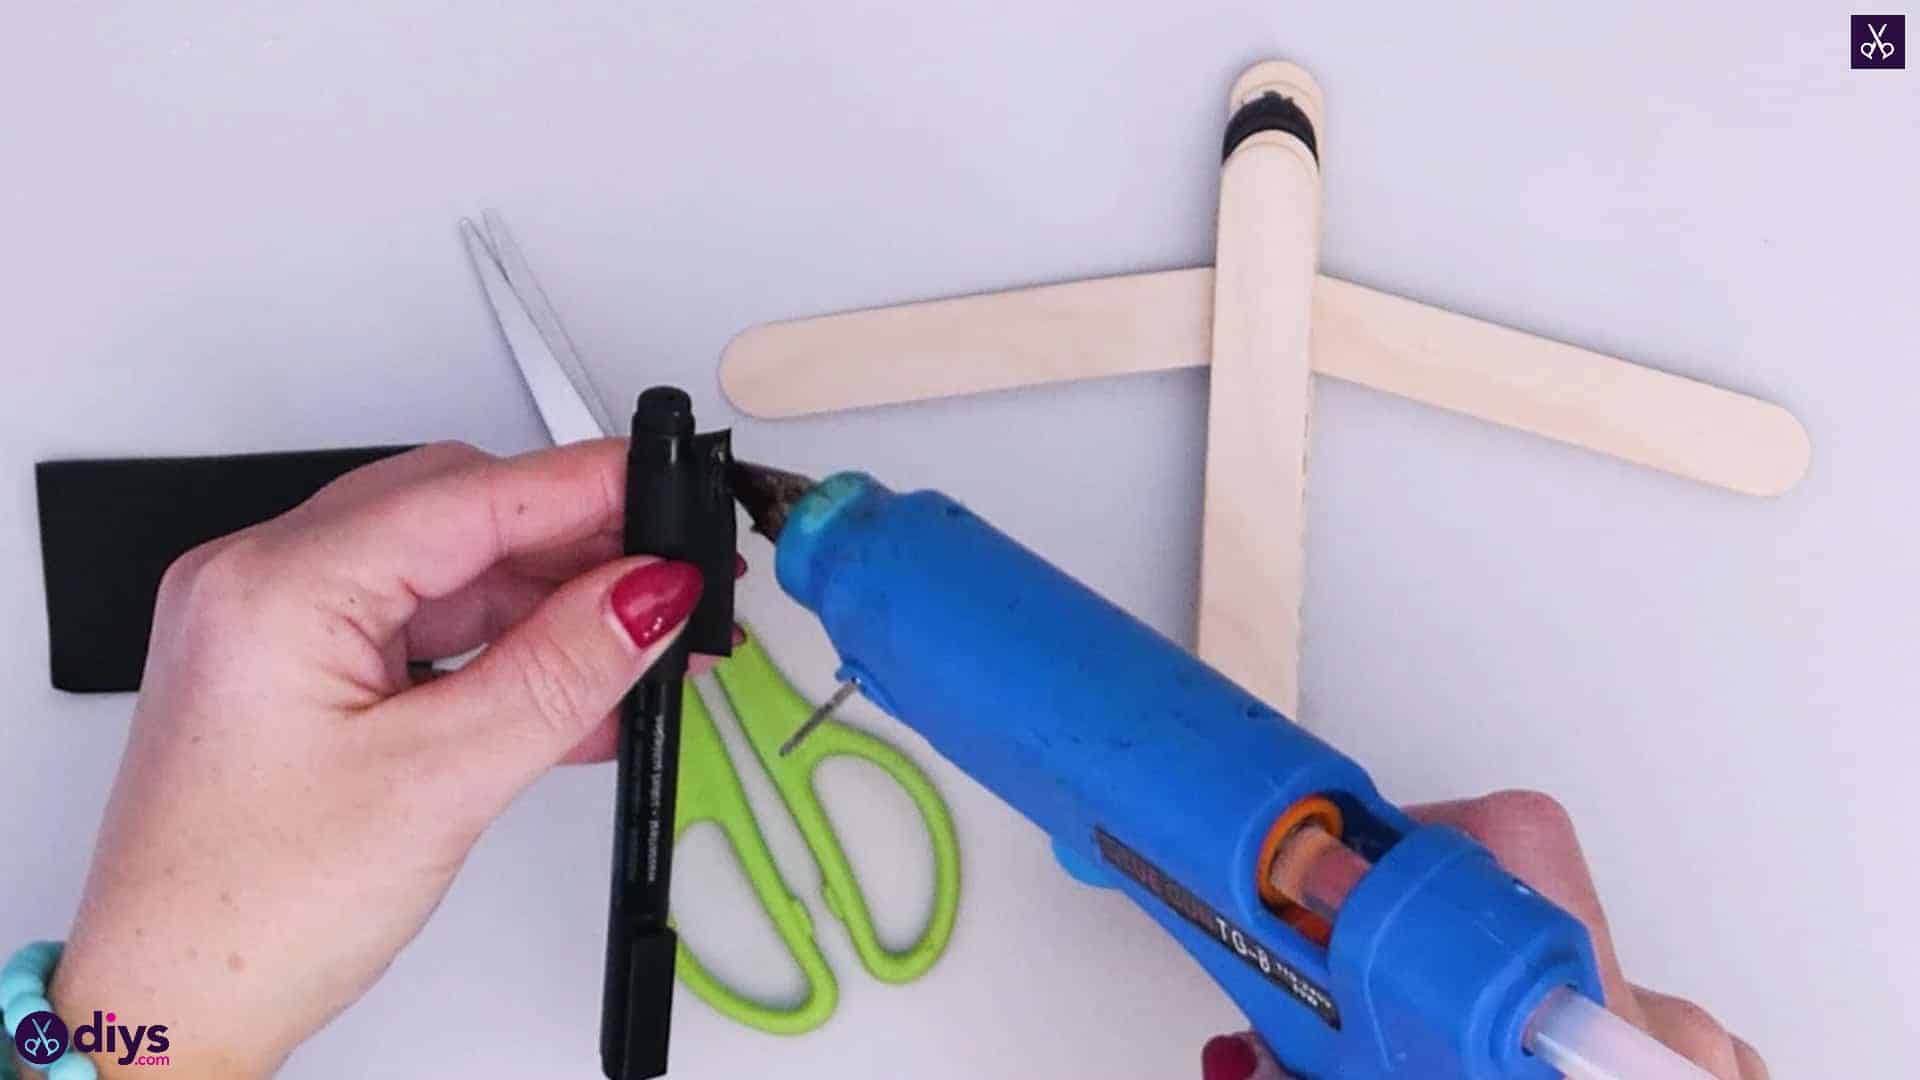
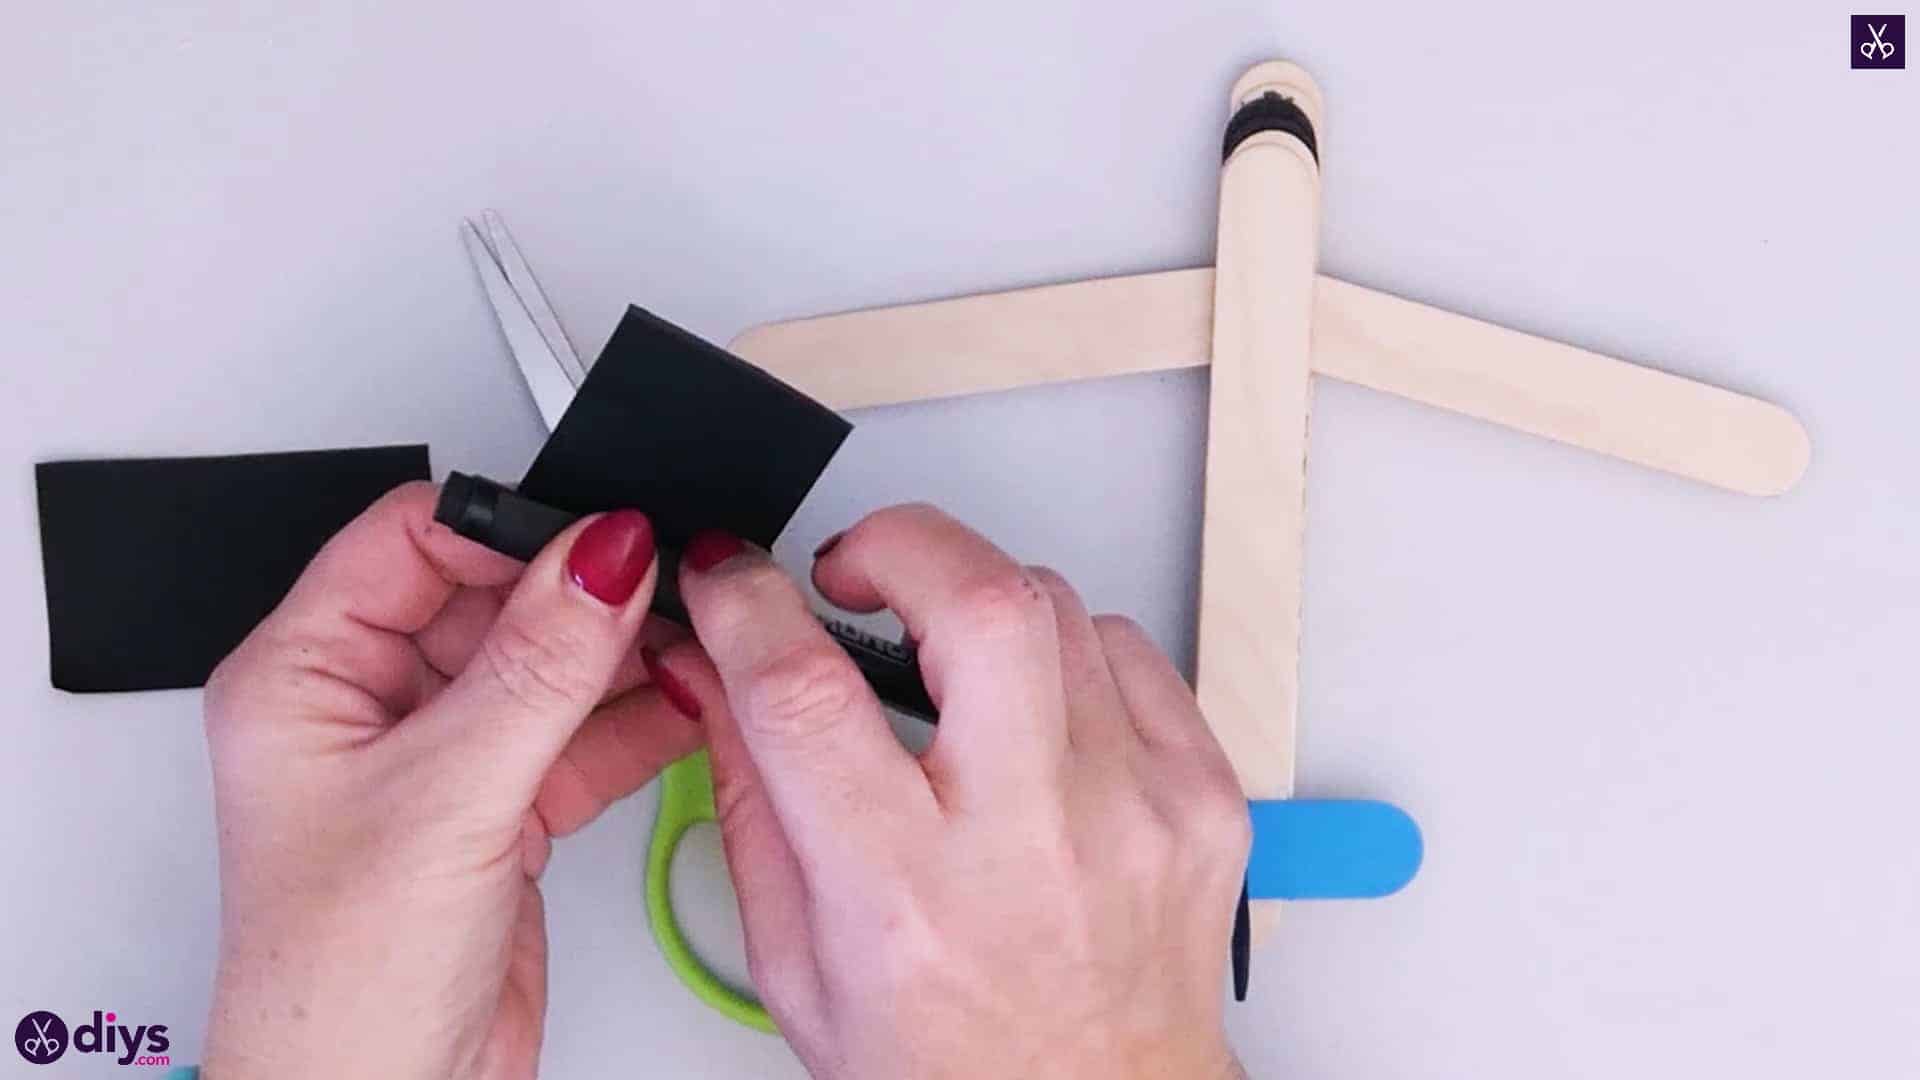
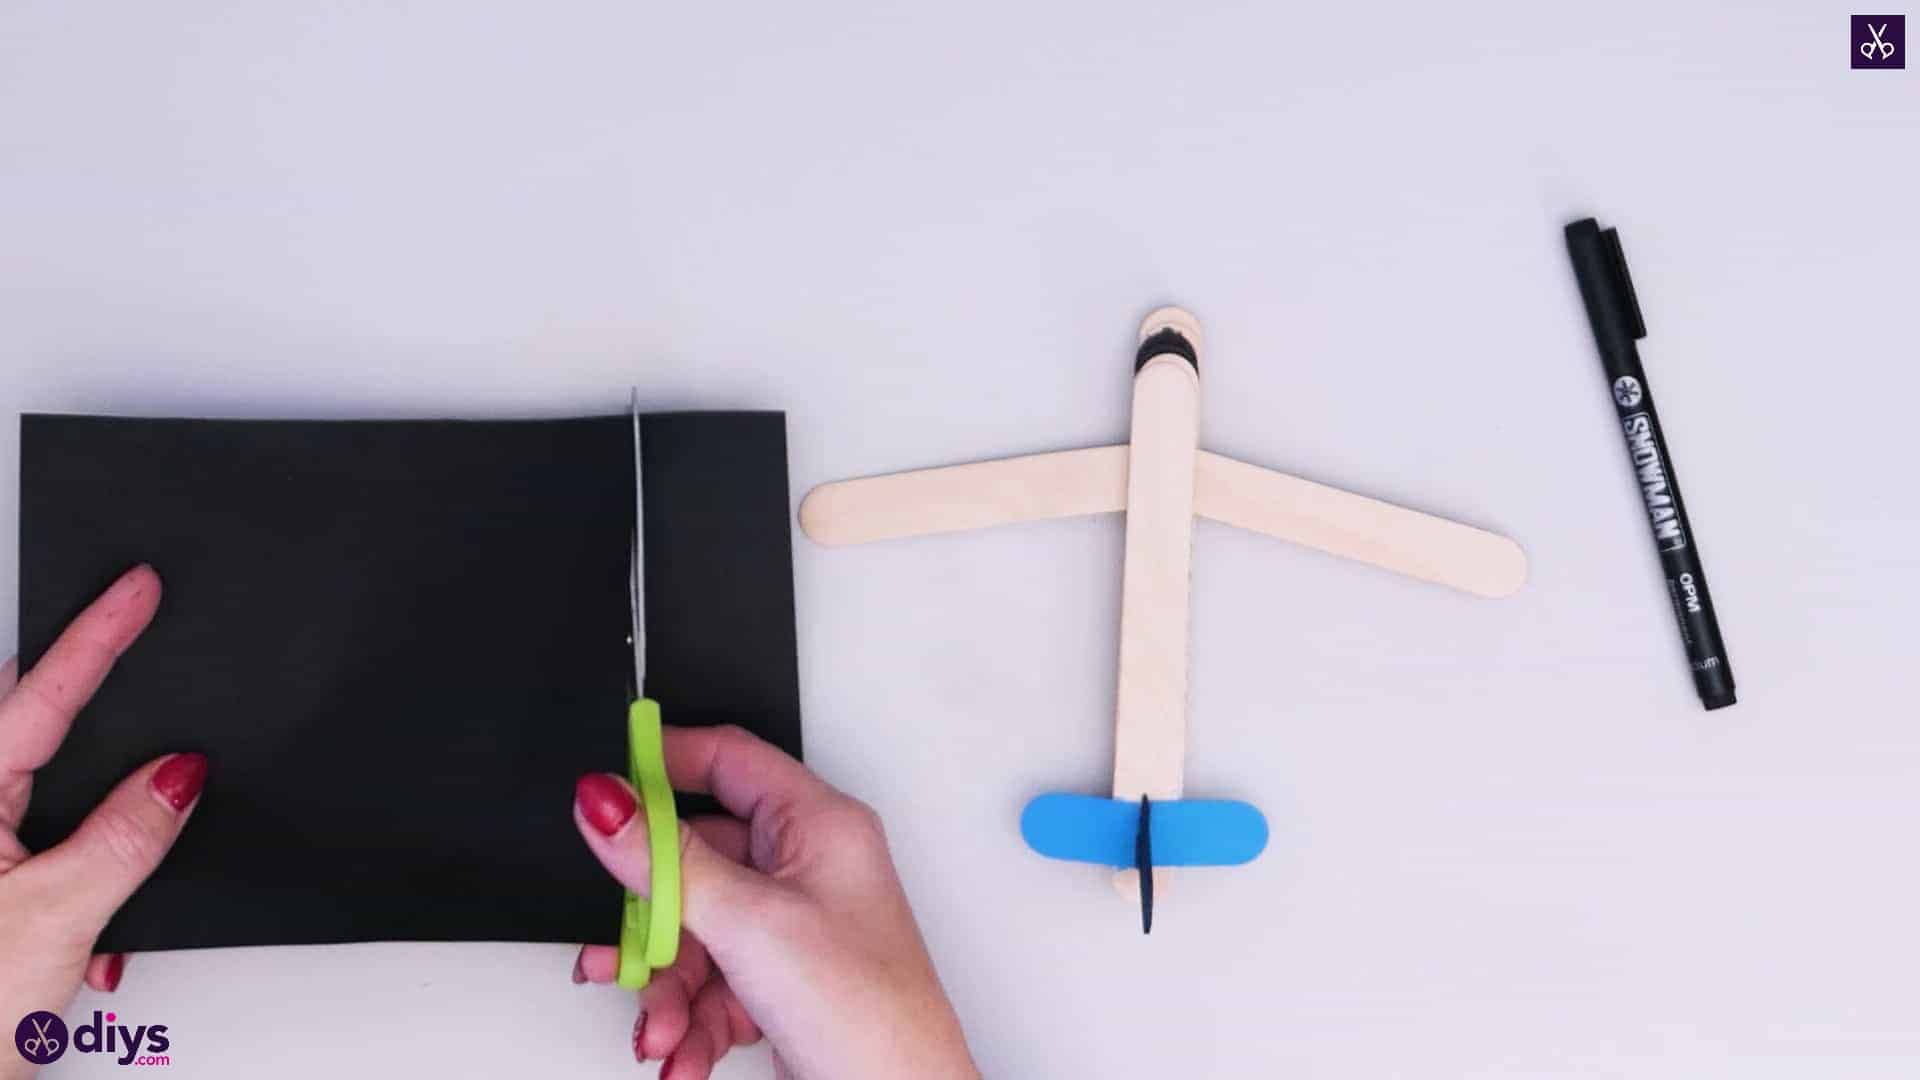
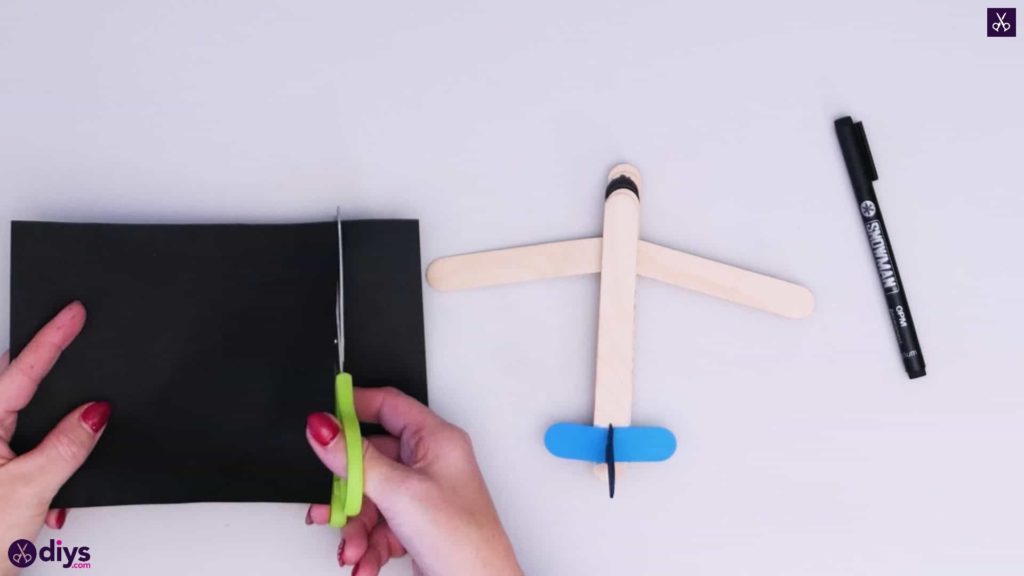
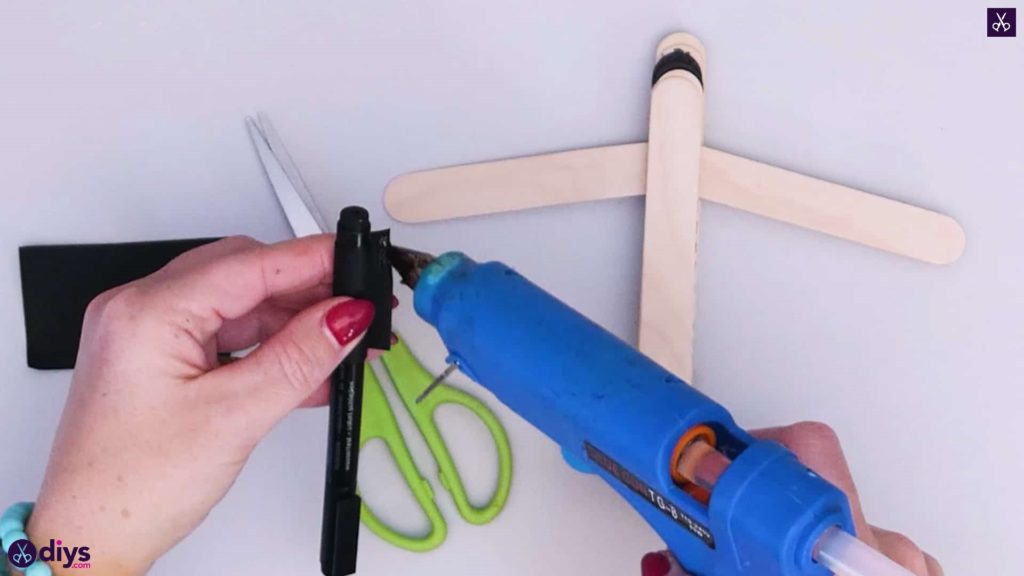
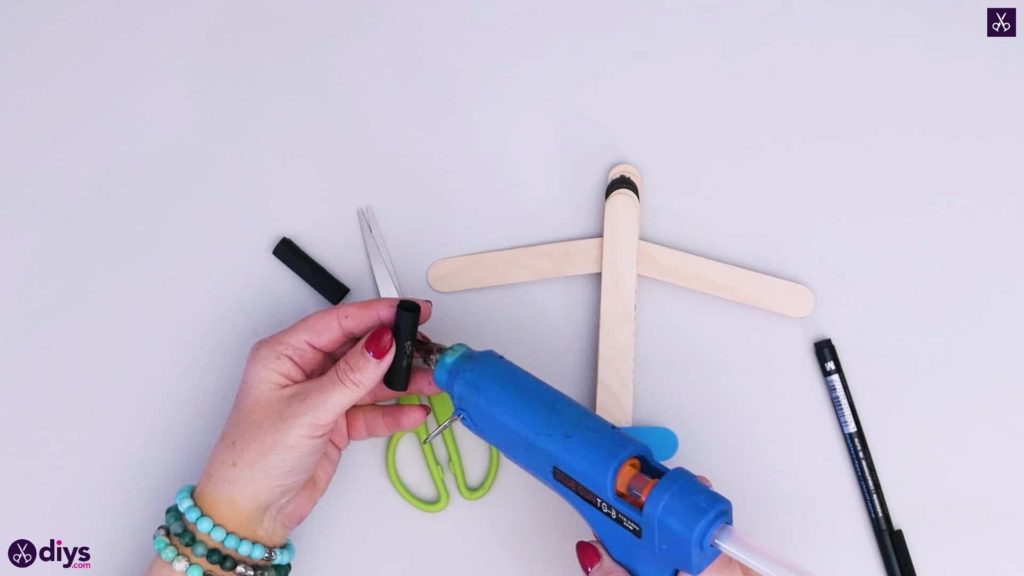
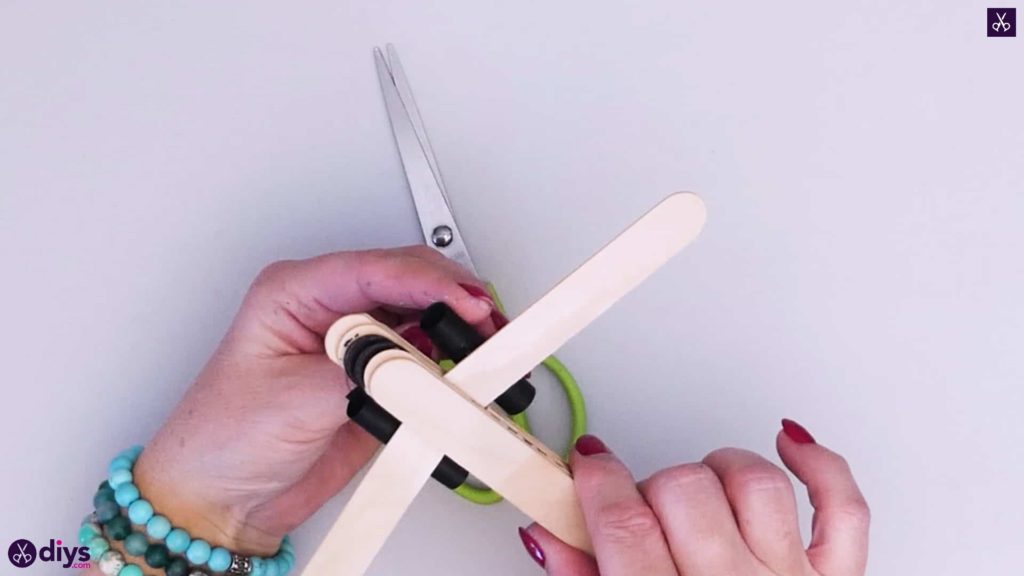
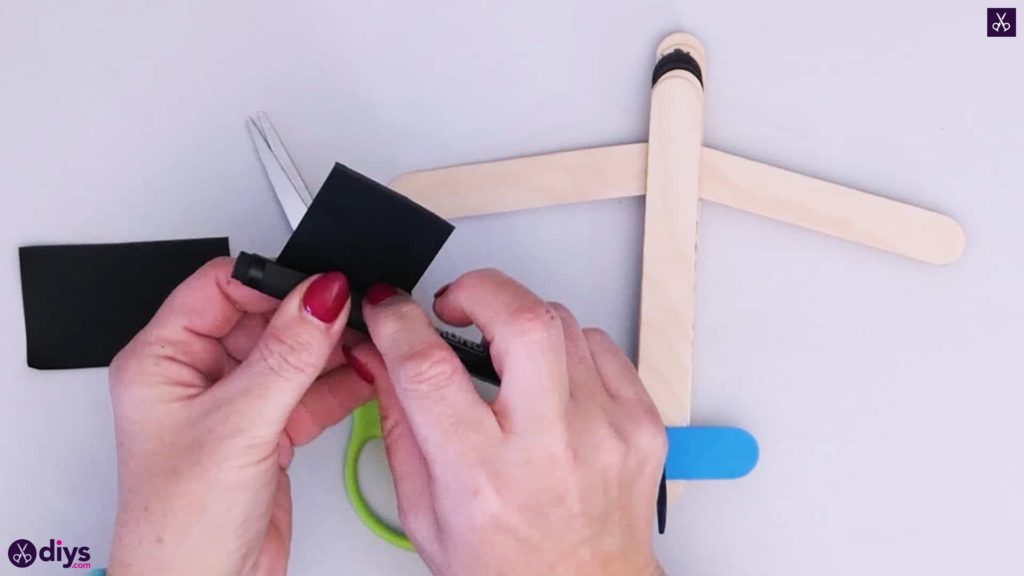
Cut two rectangles from your black paper that are about an inch wide and two inches long each. You’ll roll these to make the engines that sit under each wing of a plane. Holding the paper piece perpendicularly to your marker, so the shorter edge on one end runs down the marker’s length, anchor the edge in place with your thumb and start curling it around the marker. When you reach the other end, apply some glue down the second short edge and roll it into place to complete your new paper cylinder. Slide this carefully off the end of your marker and repeat the whole process with the second paper rectangle. Now apply glue down the length of each tube and stick them under the plane’s main wings, one on each side.
Just in case you’d like to try this project out for yourself, here’s a fantastic tutorial video to help you!
