DIY Paper Plate Tree Art
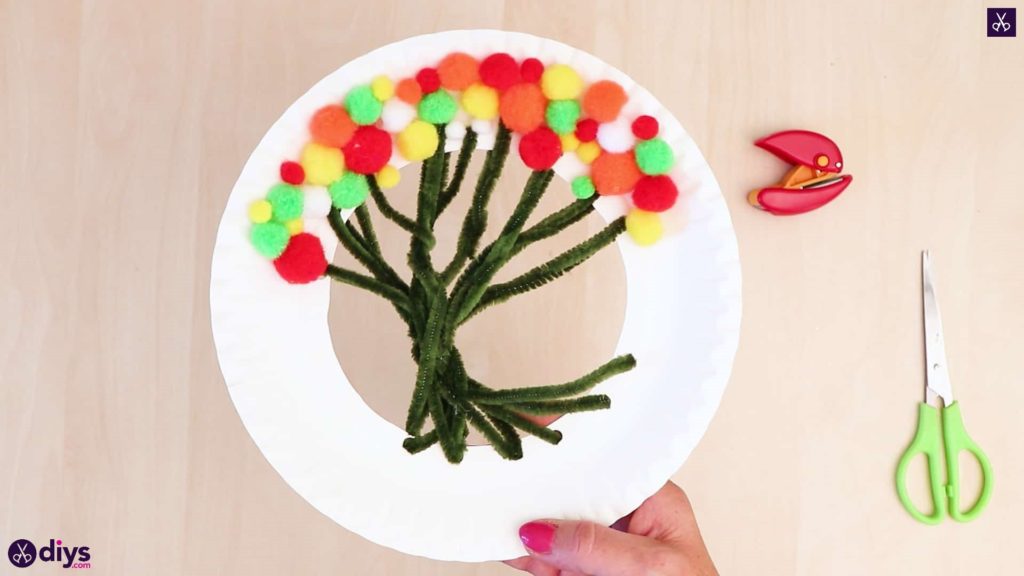
Looking for a fun craft to do with the kids this weekend? Or maybe you need some ideas for a group art project. Either way, this DIY paper plate tree art is perfect for all ages to try. See how I put it together right here and learn how to make it yourself!
This project is actually simple enough that my kids could do essentially the whole thing on their own, but I still made my own alongside them so I could be part of the fun, spend time with them, and outlined the whole easy process for other people to see and try. Check out these step by step instructions complete with photos! If you’d rather follow along with a video tutorial instead of written words, scroll to the bottom of this post to find just what you’re looking for.
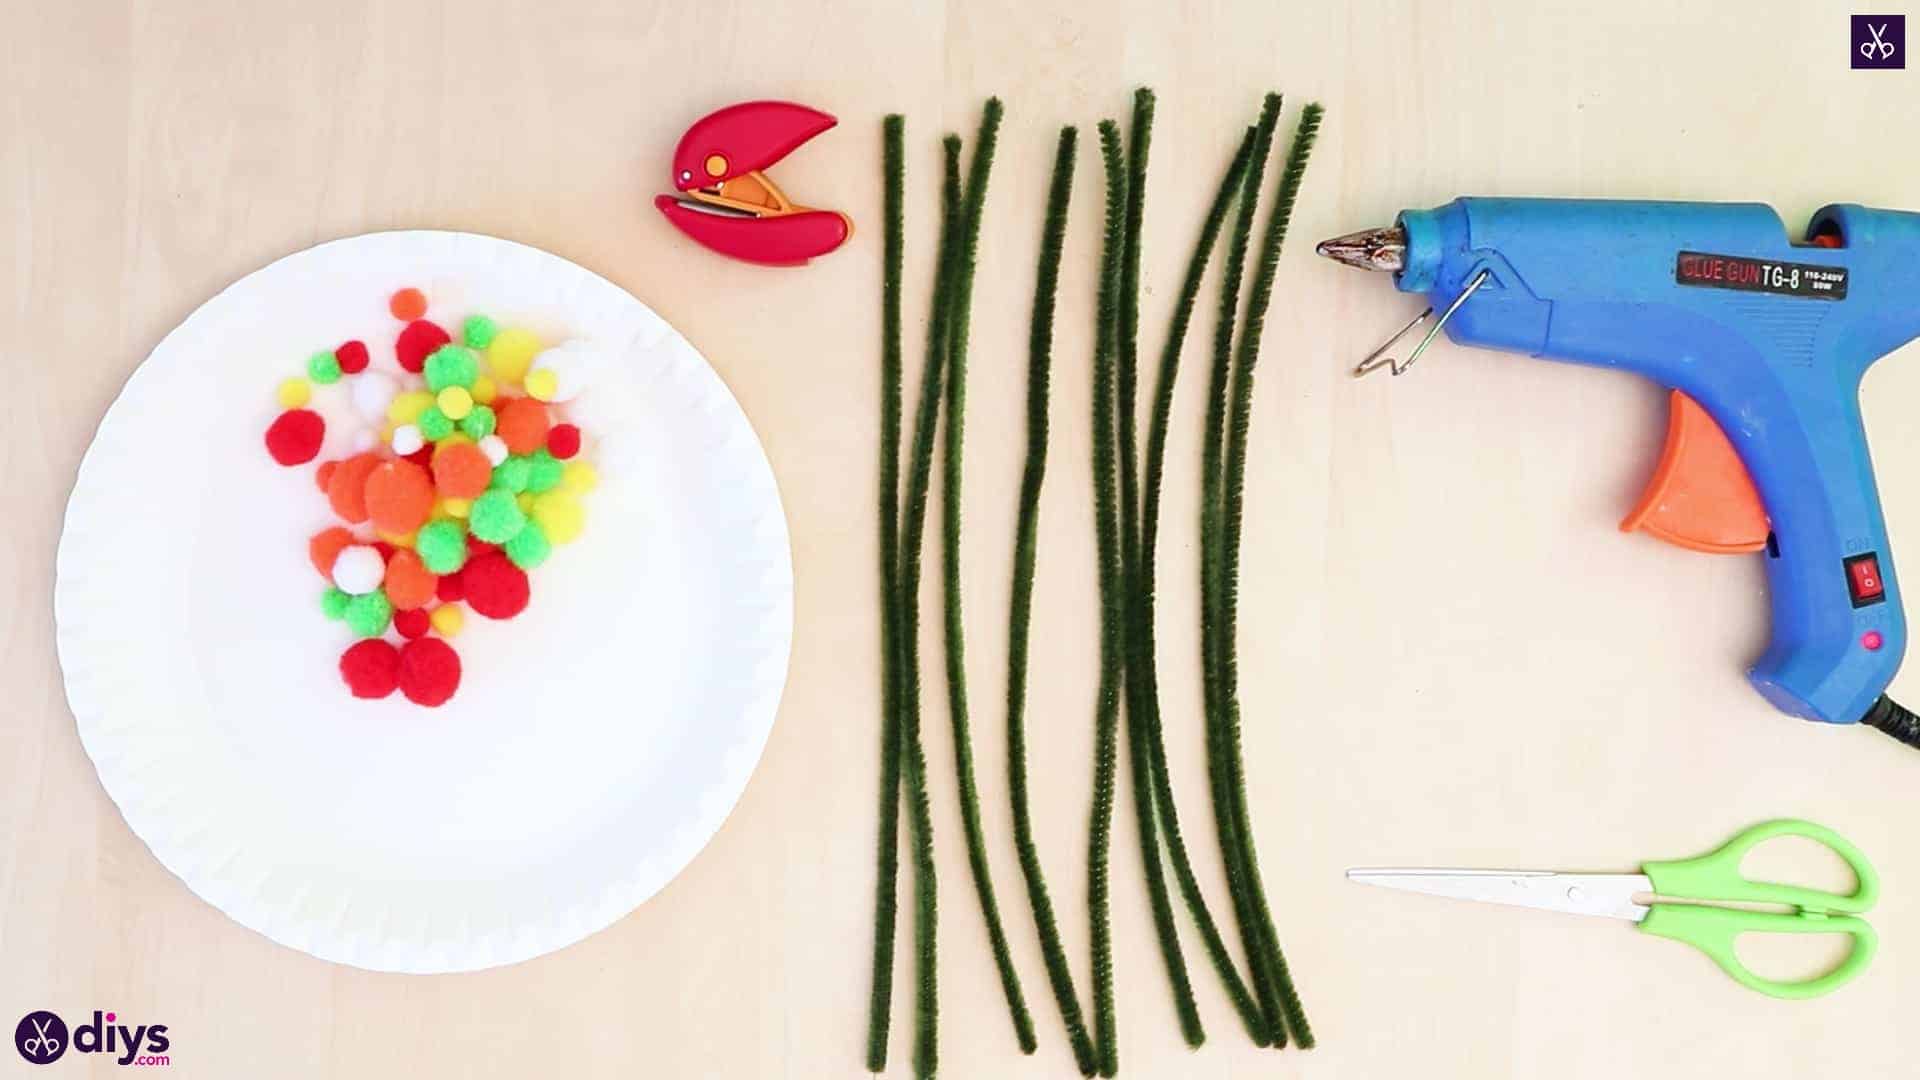
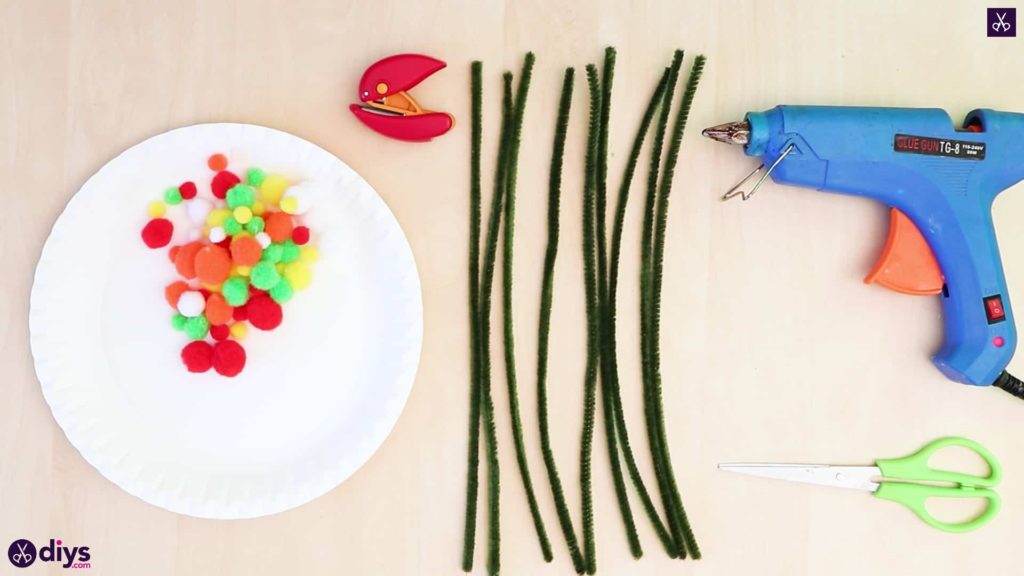
For this project, you’ll need:
- A paper plate
- Colourful crafting pom poms in different sizes
- Green pine cleaner
- Scissors
- Hot glue
- A single-hole punch
Step 1: check your list
Gather your materials!
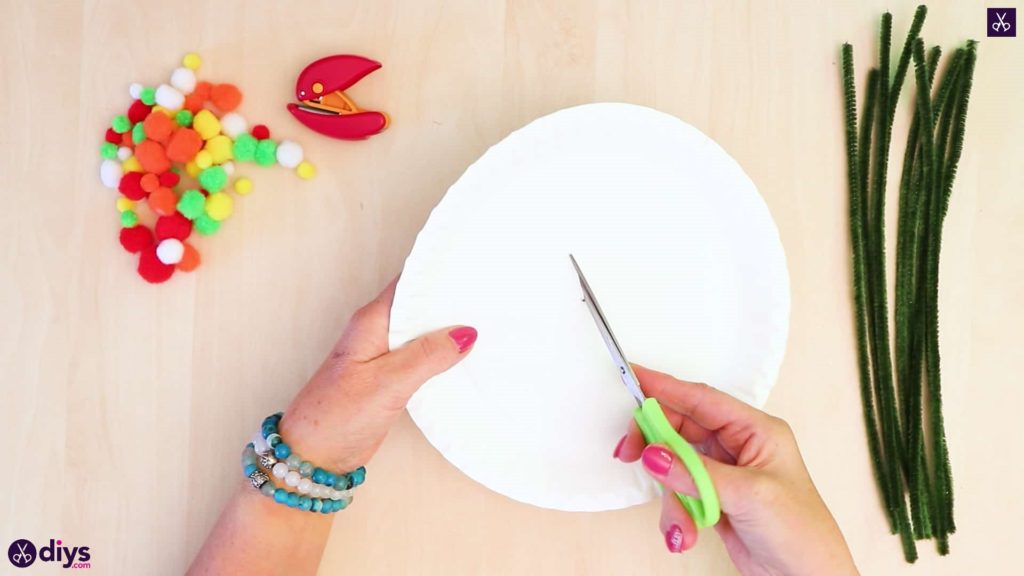
Step 2: cut out the plate
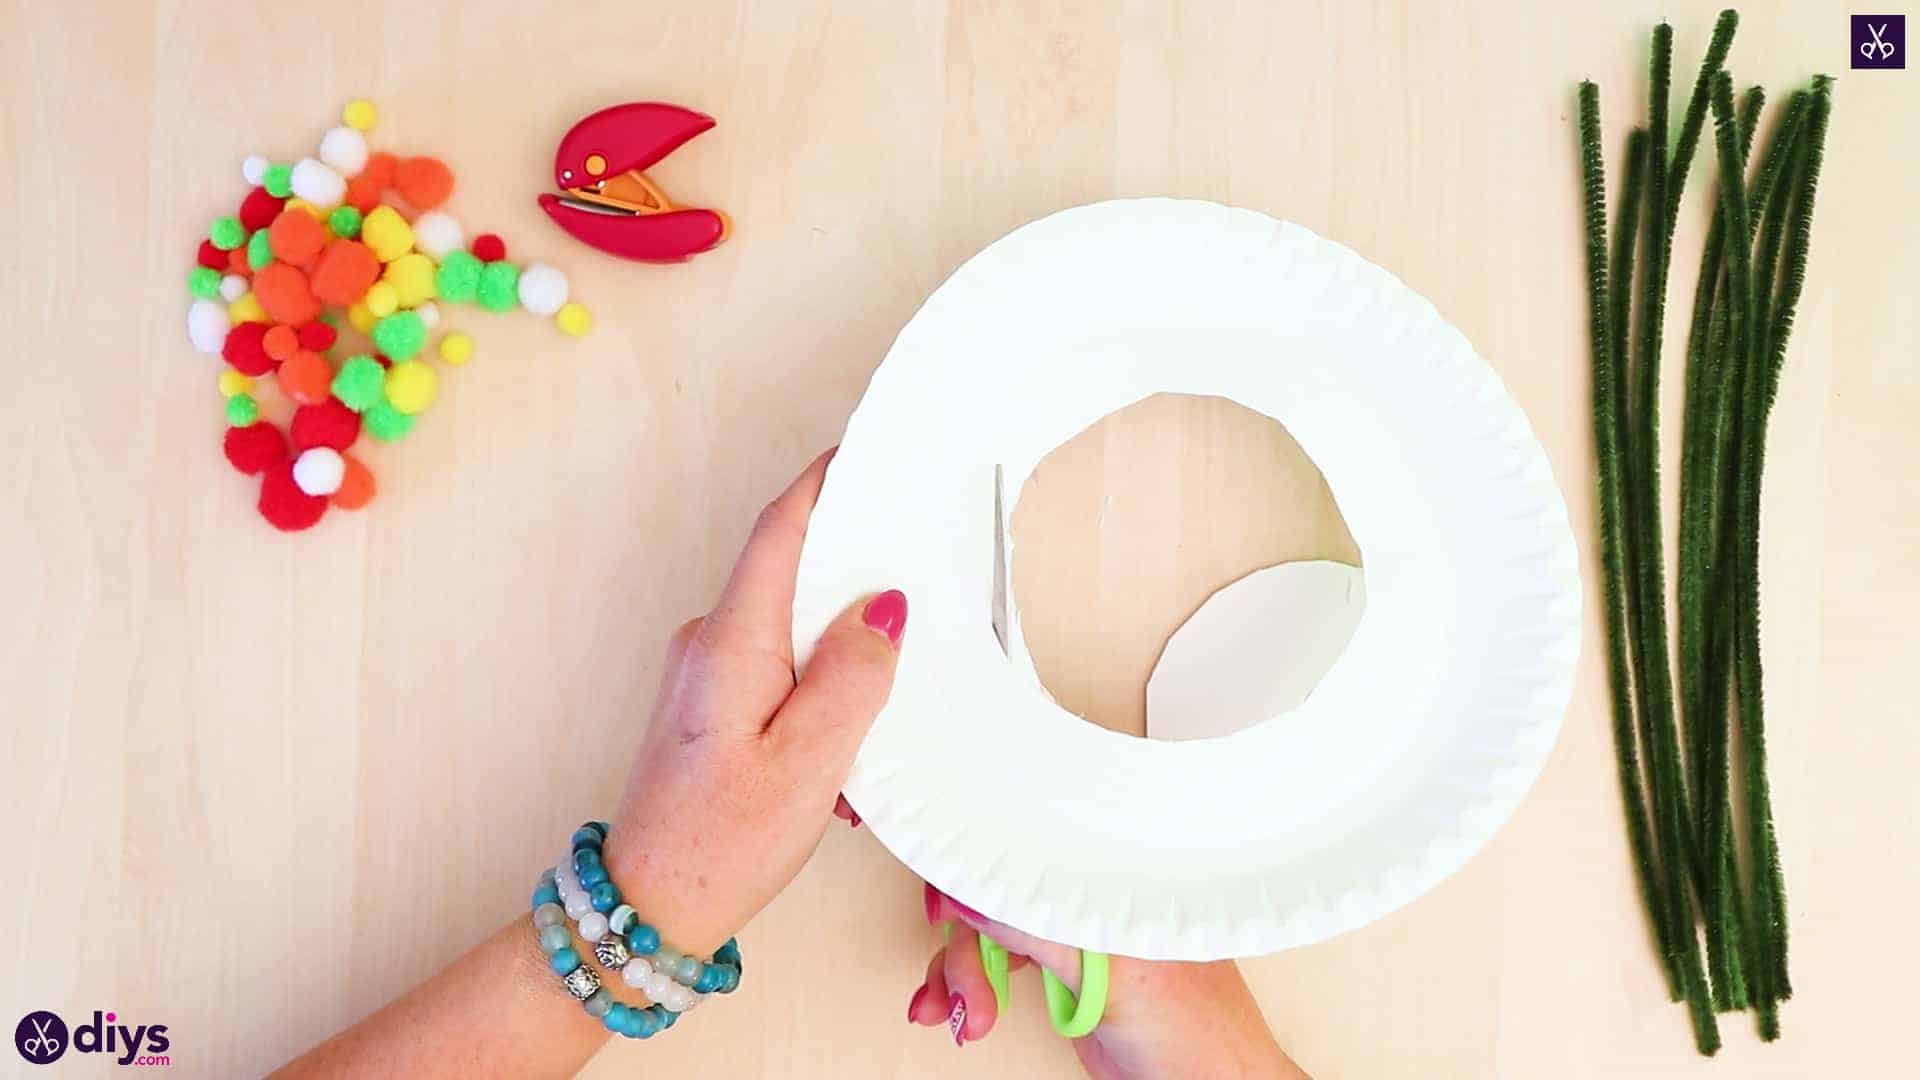
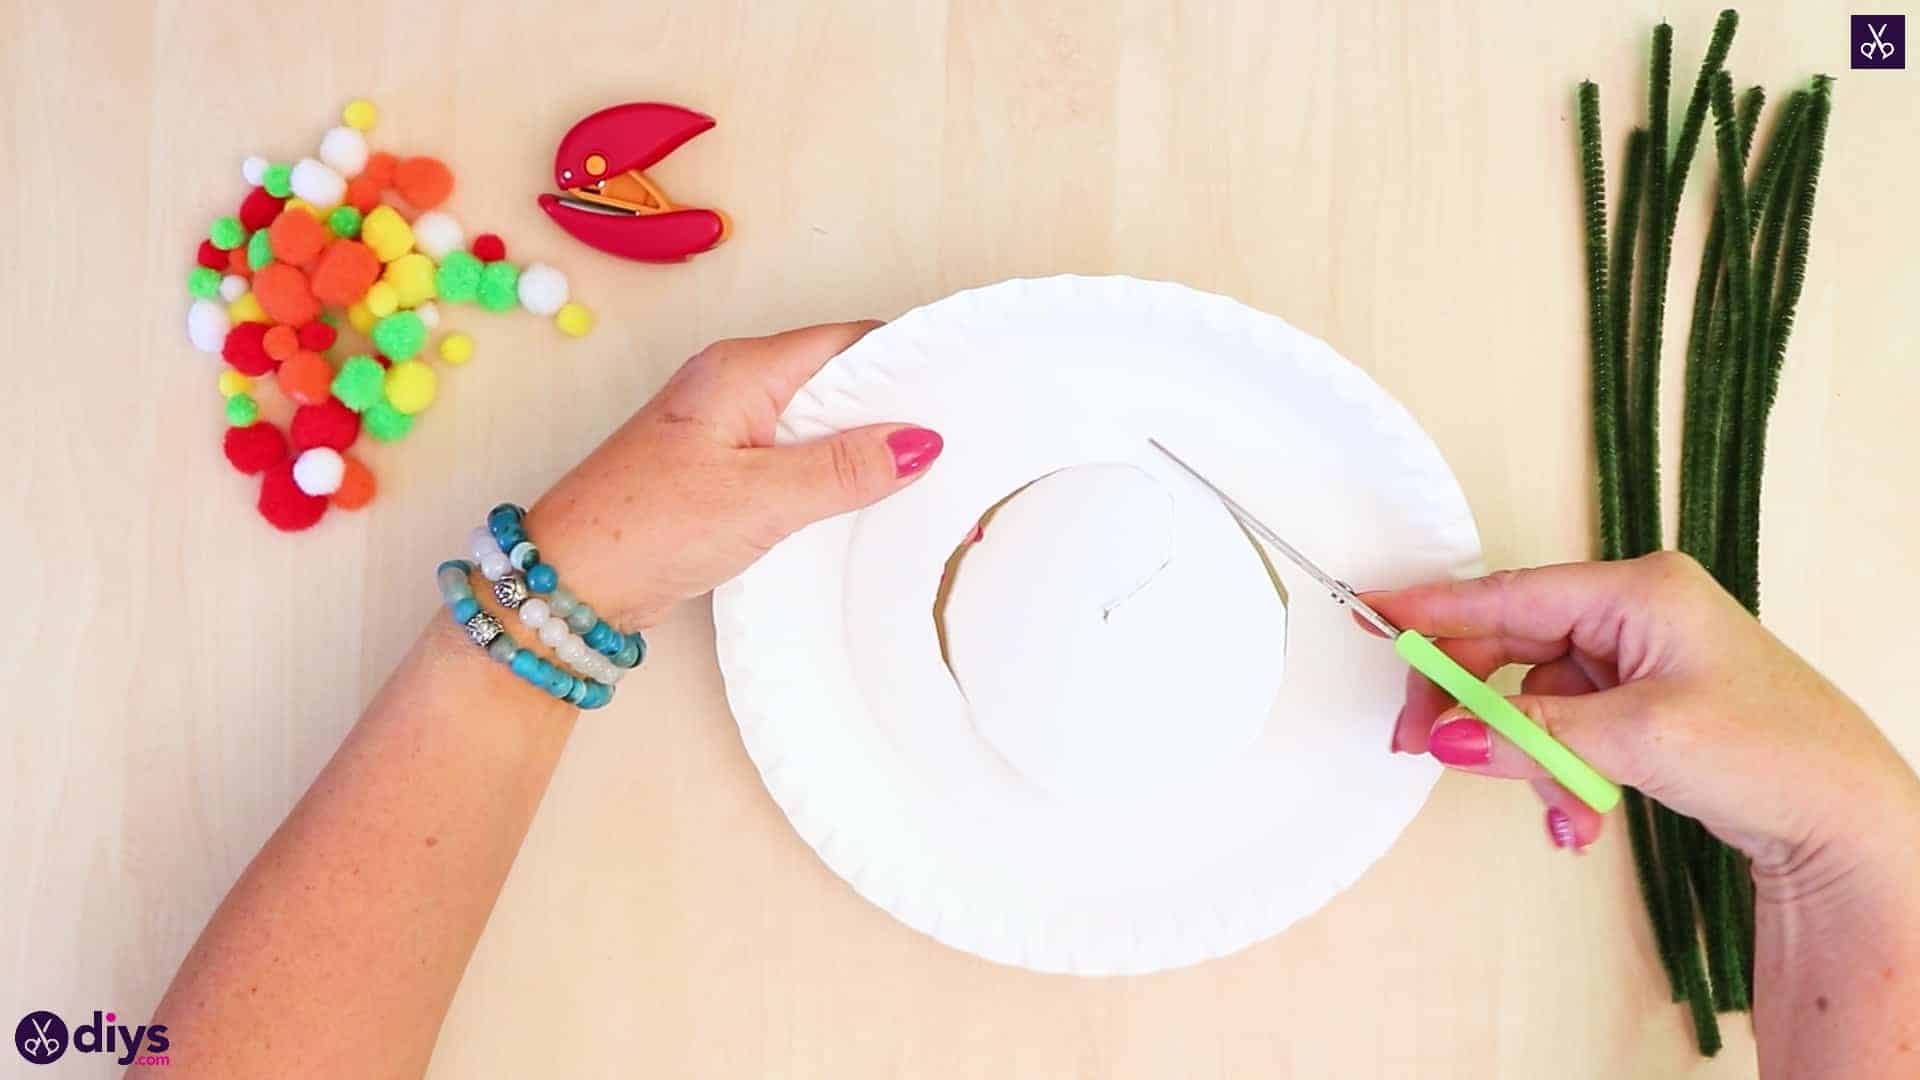
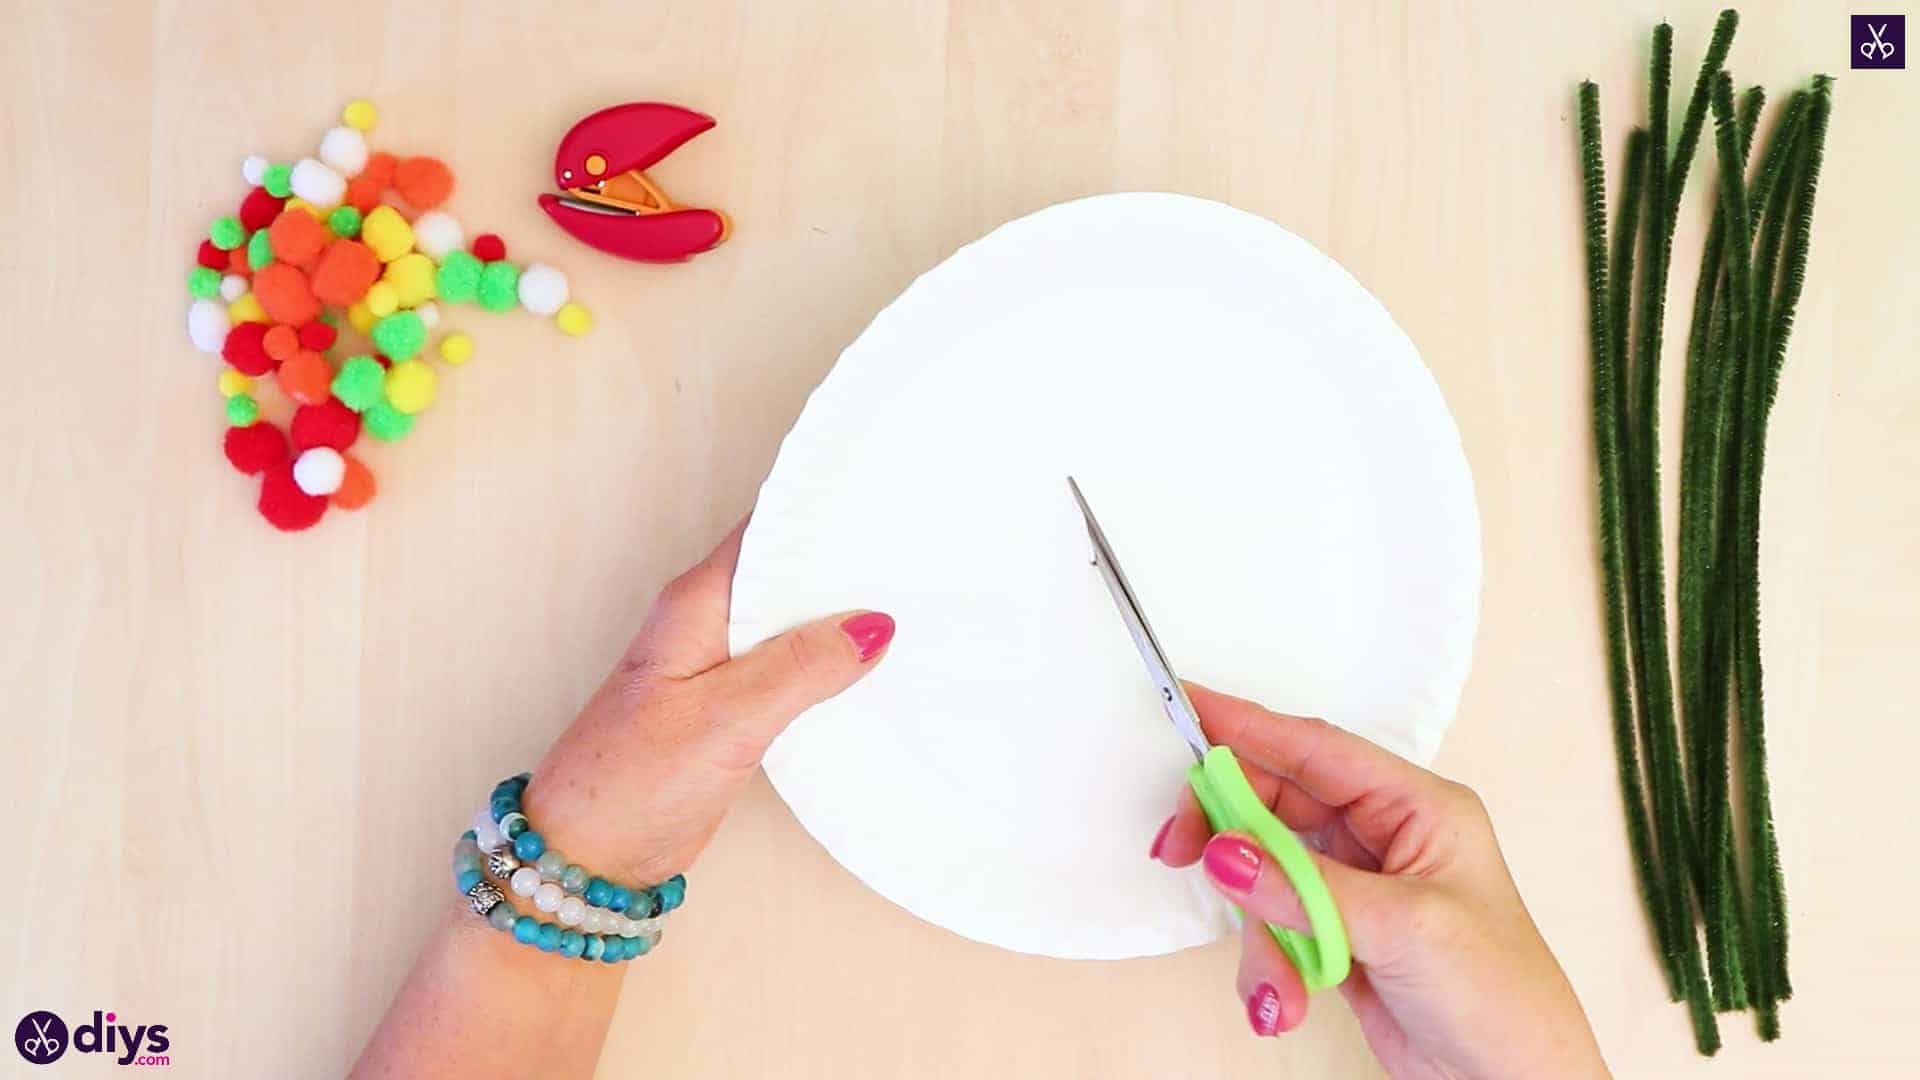
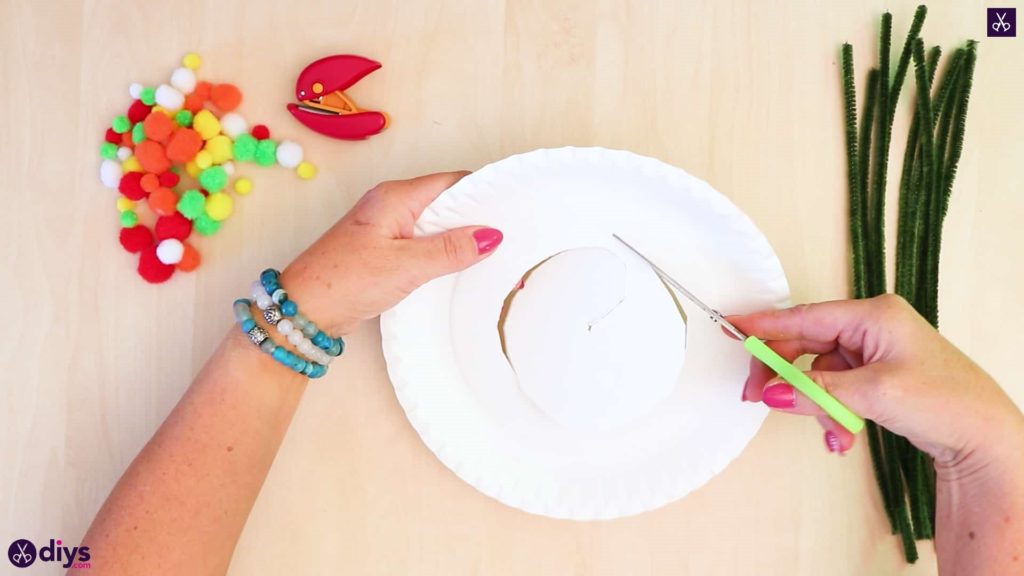
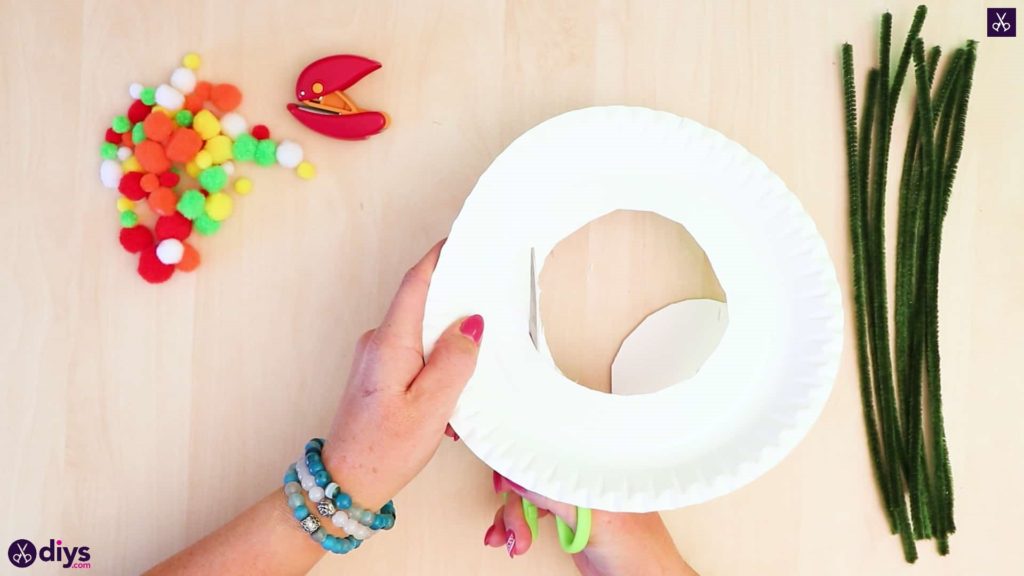
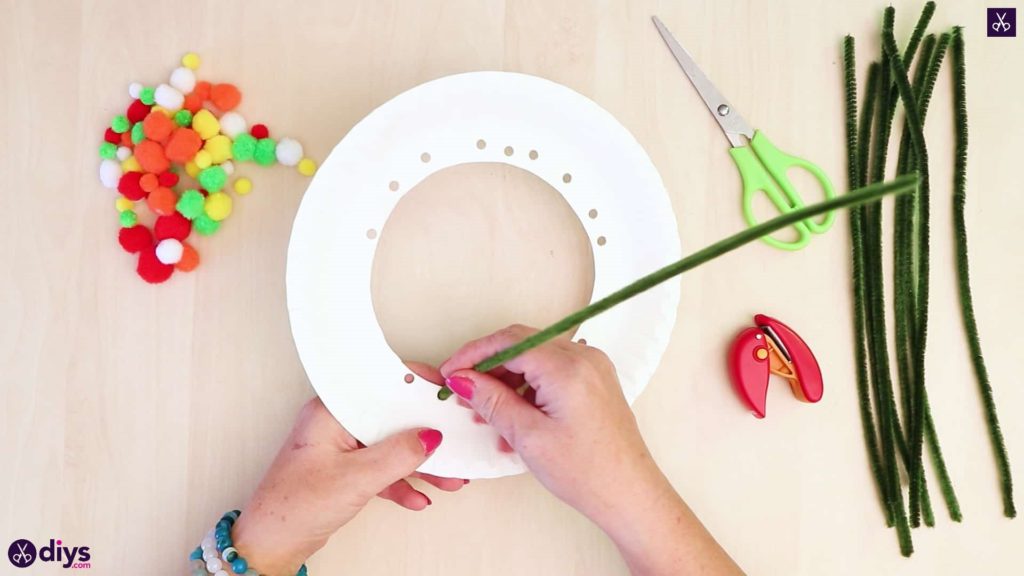
Use the tips of your scissors to poke a hole in the center of your paper plate. Use that hole as a starting point to cut a circle out of the center of the place. Make your circle sizeable but not wider than your pipe cleaners are long; I made sure to leave an inch of space between the edge of my cutout circle and where the sides of the plate start to rise. You’ll need that excess later.
Step 3: punch holes
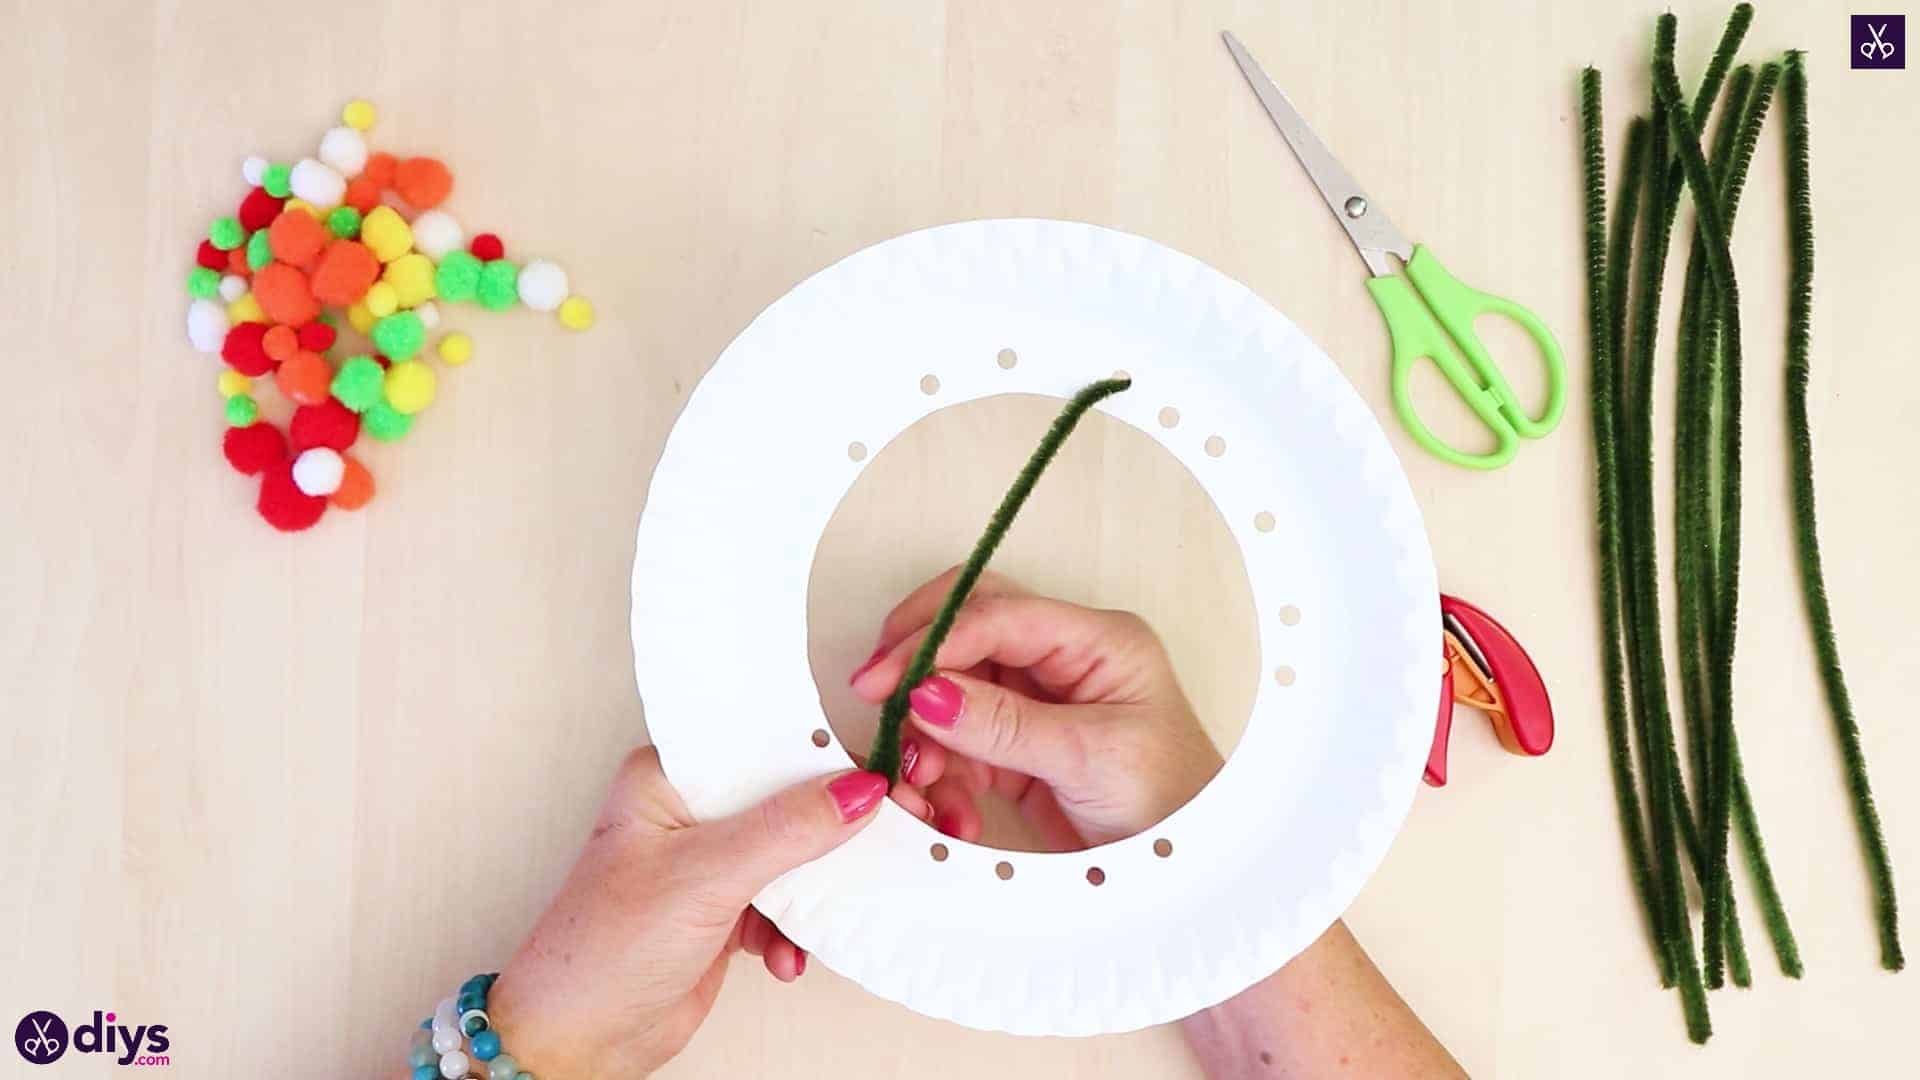
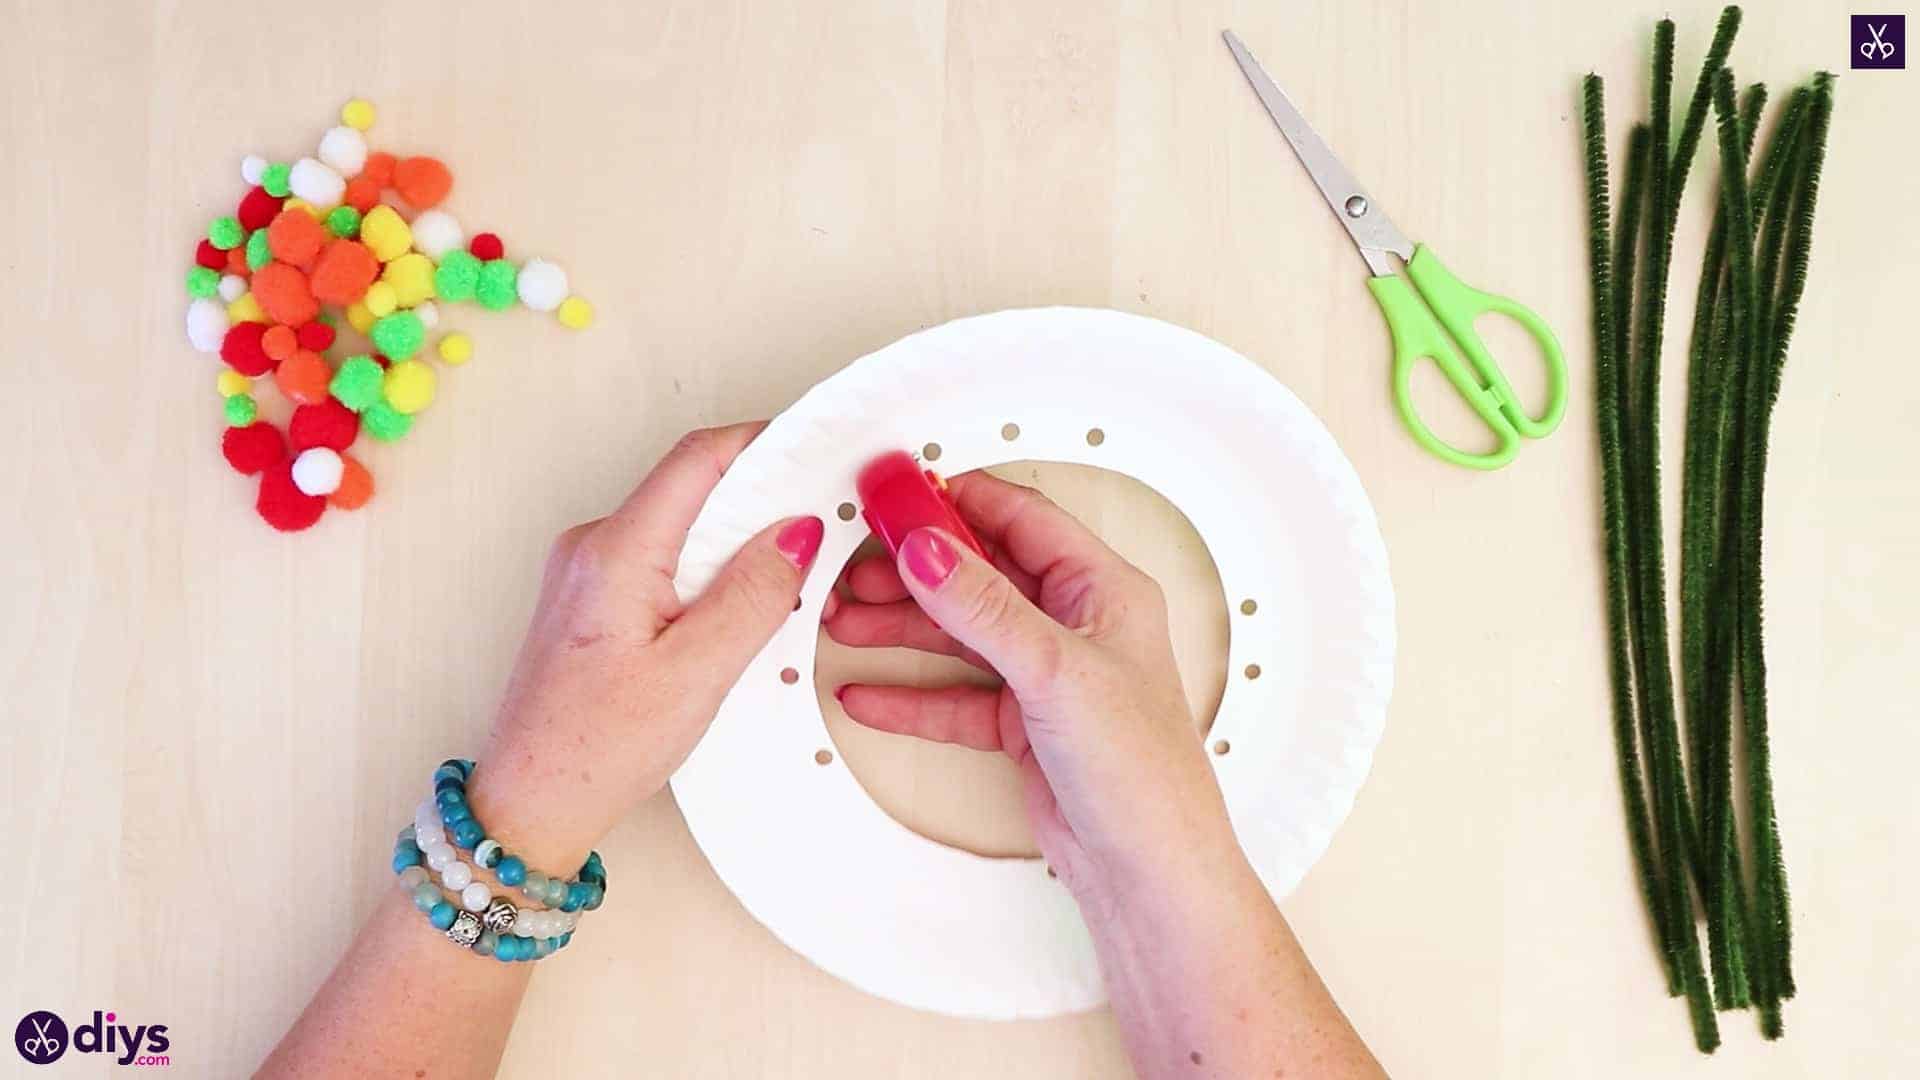
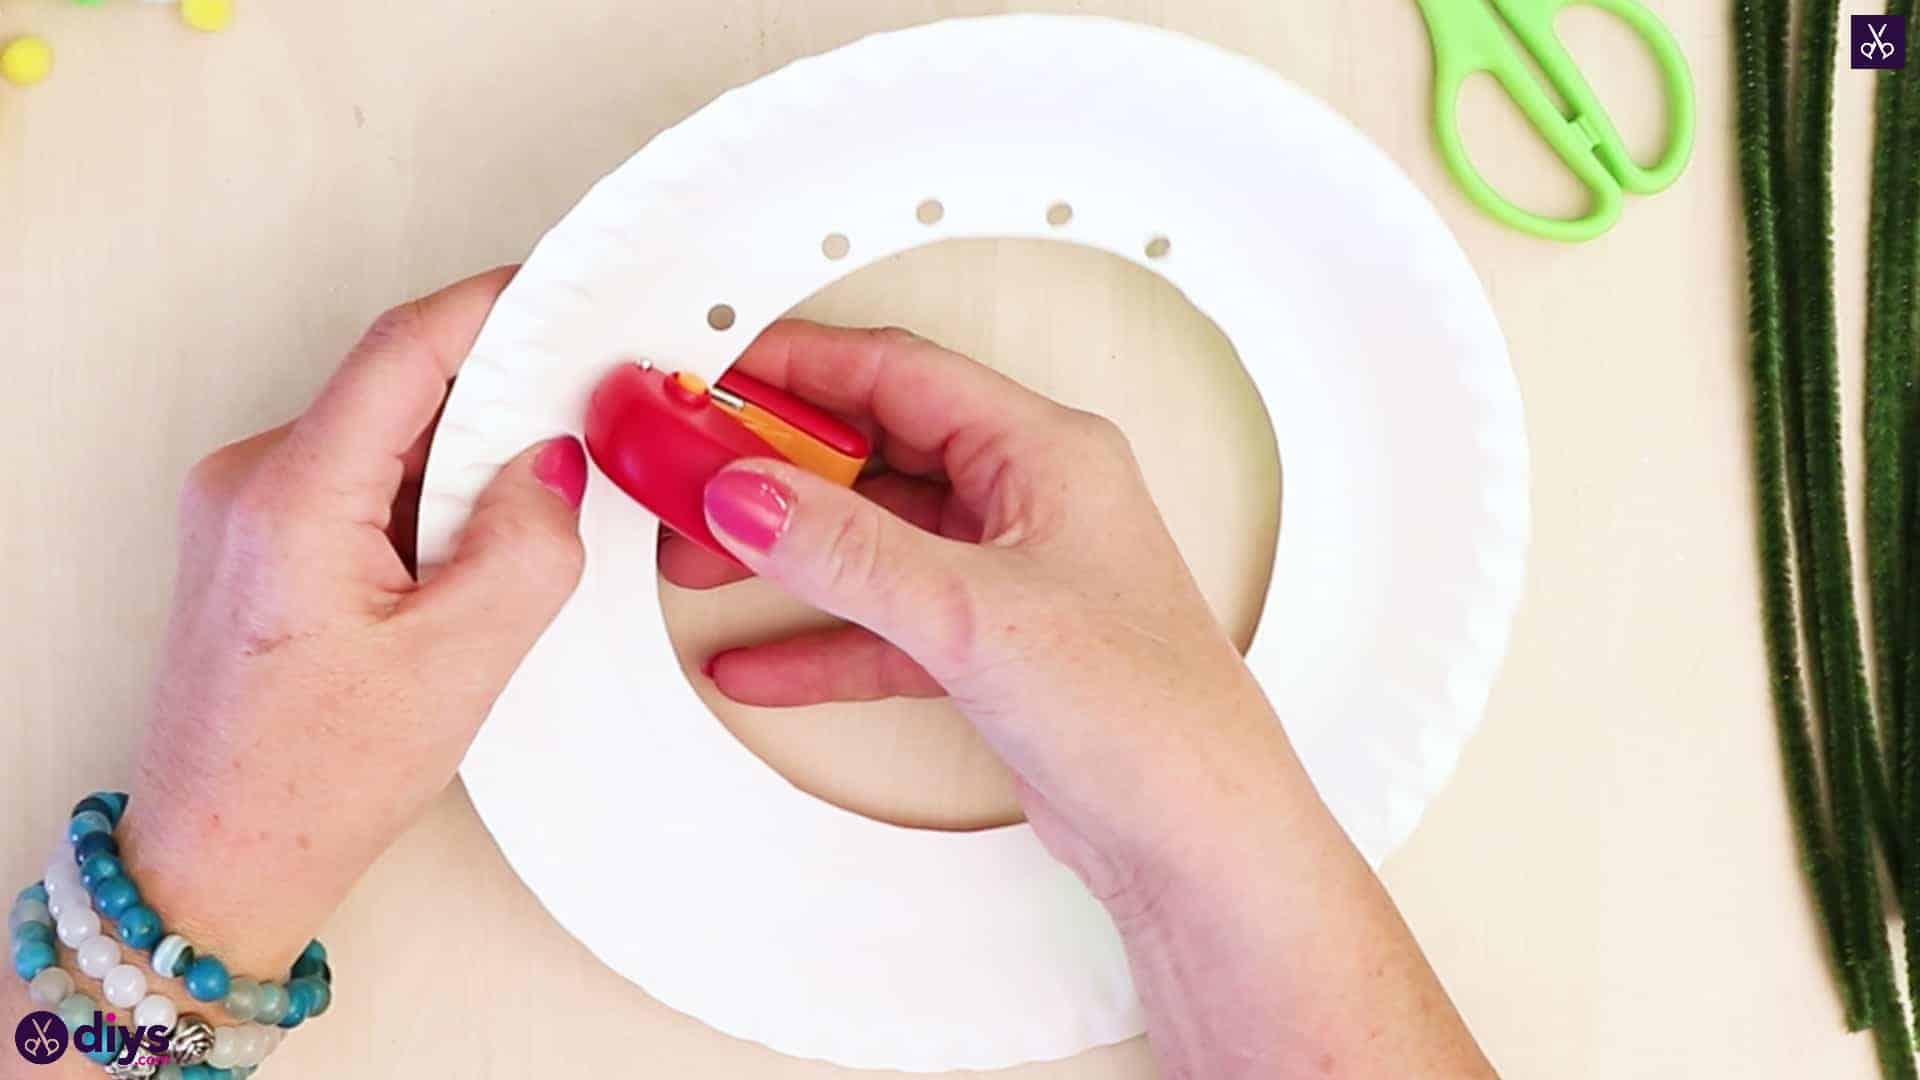
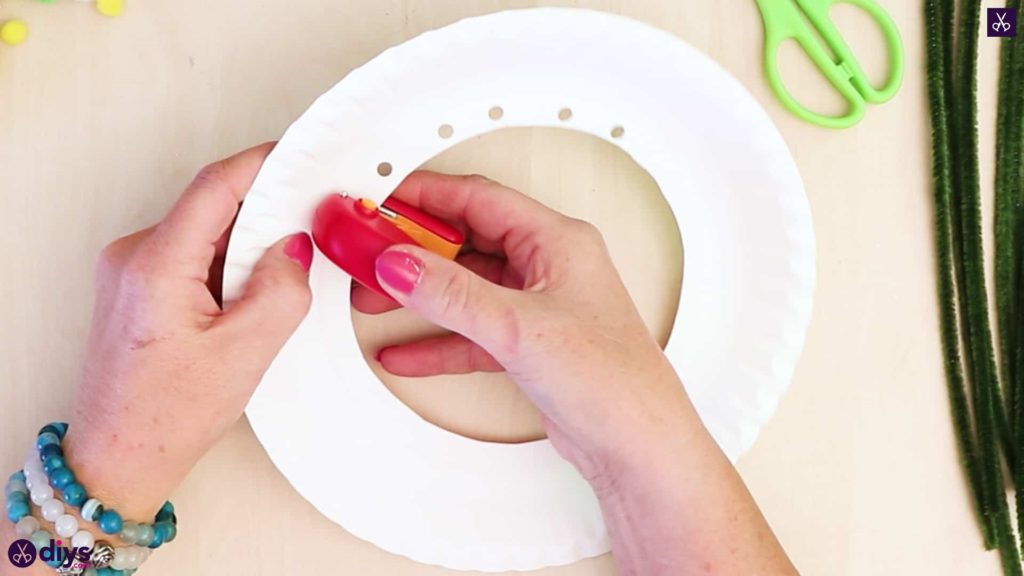
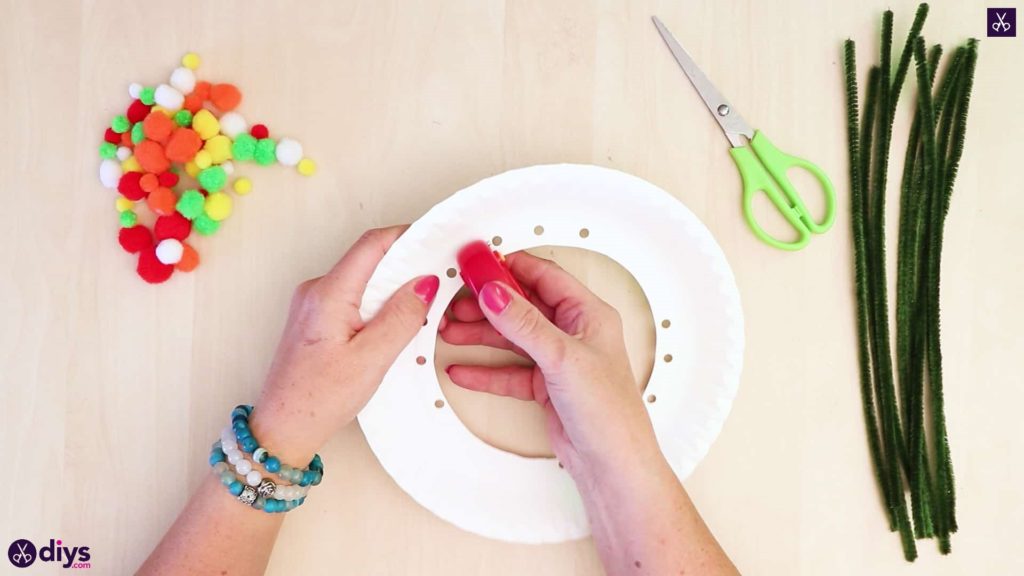
Use your single-hole punch to create holes around the edge of your circle in that excess space we just described above. Create six holes on the bottom of the circle and curving slightly to the side, and nine holes along the top edge of the circle cross from the first six, curving slightly to the other side. Staggering the holes towards opposite directions like this will help your tree look like it’s leaning in the wind later.
Step 4: add the pipe cleaners
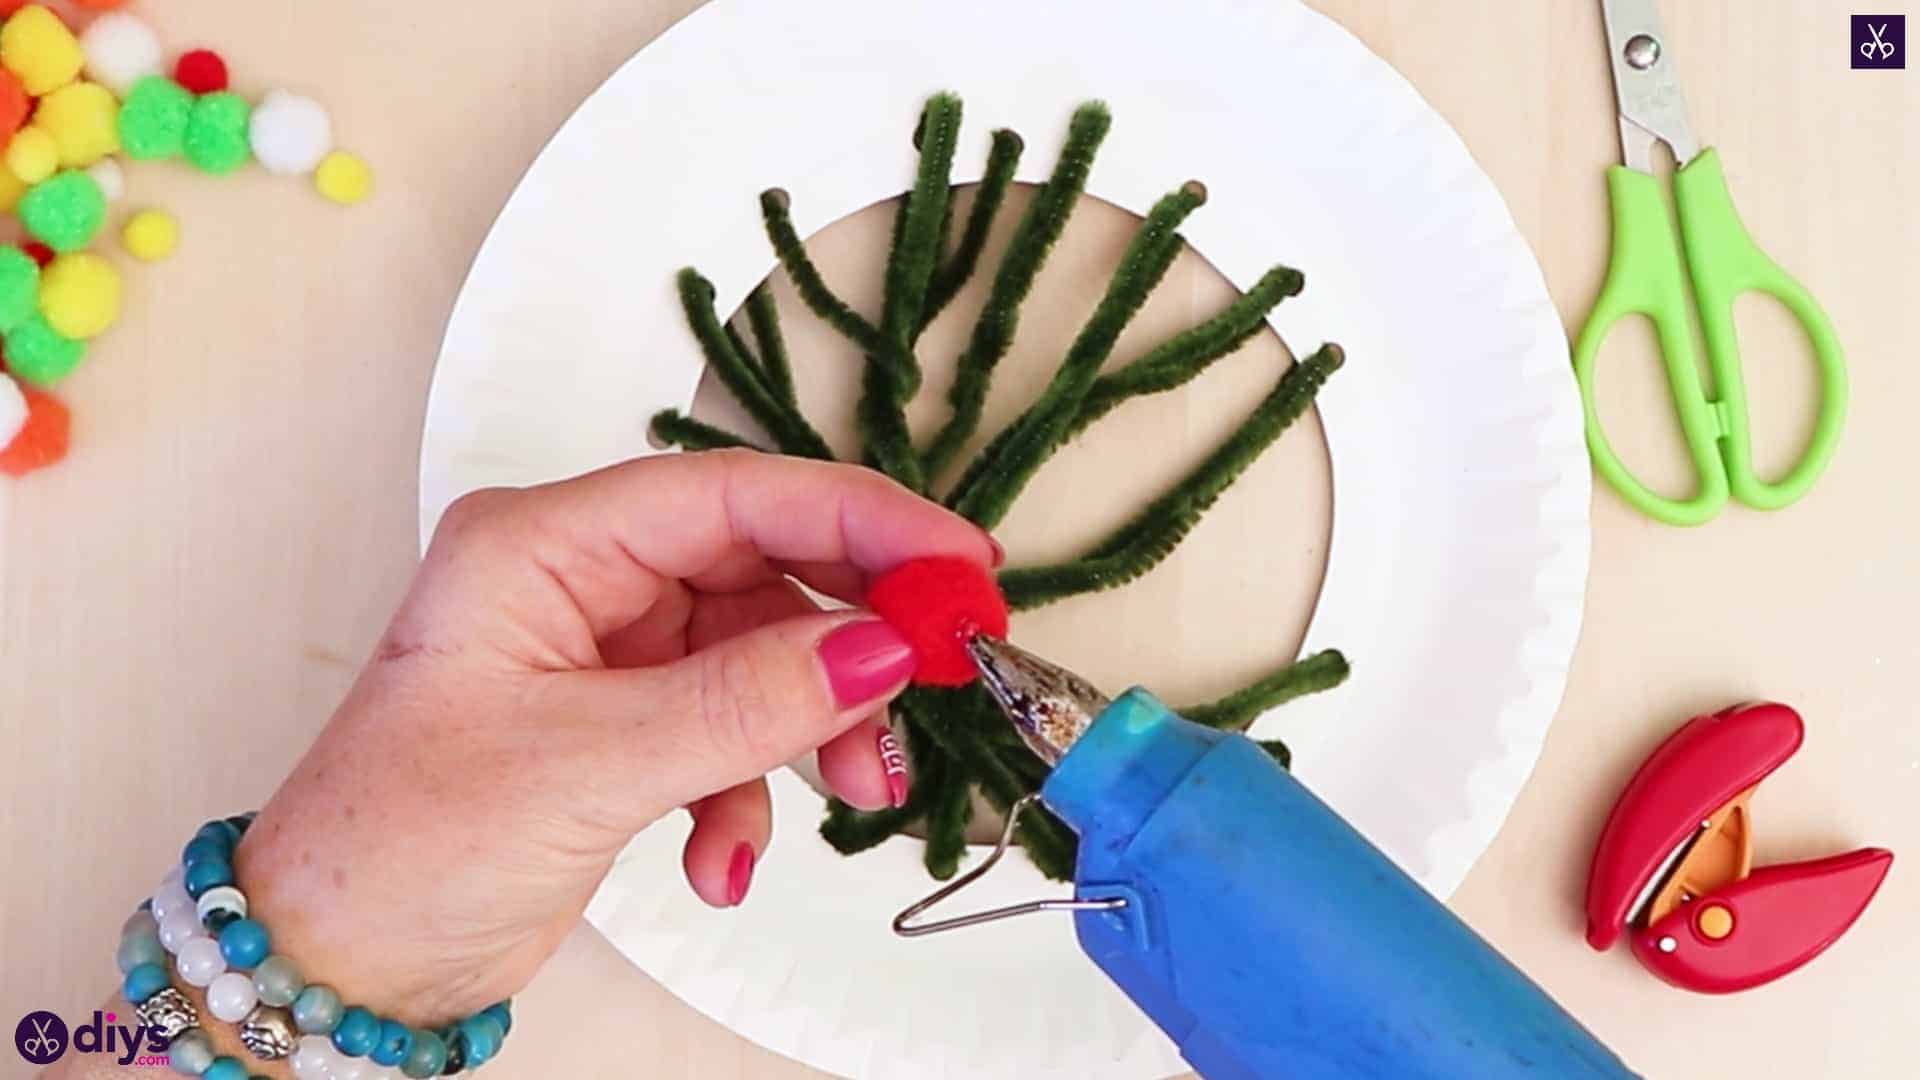
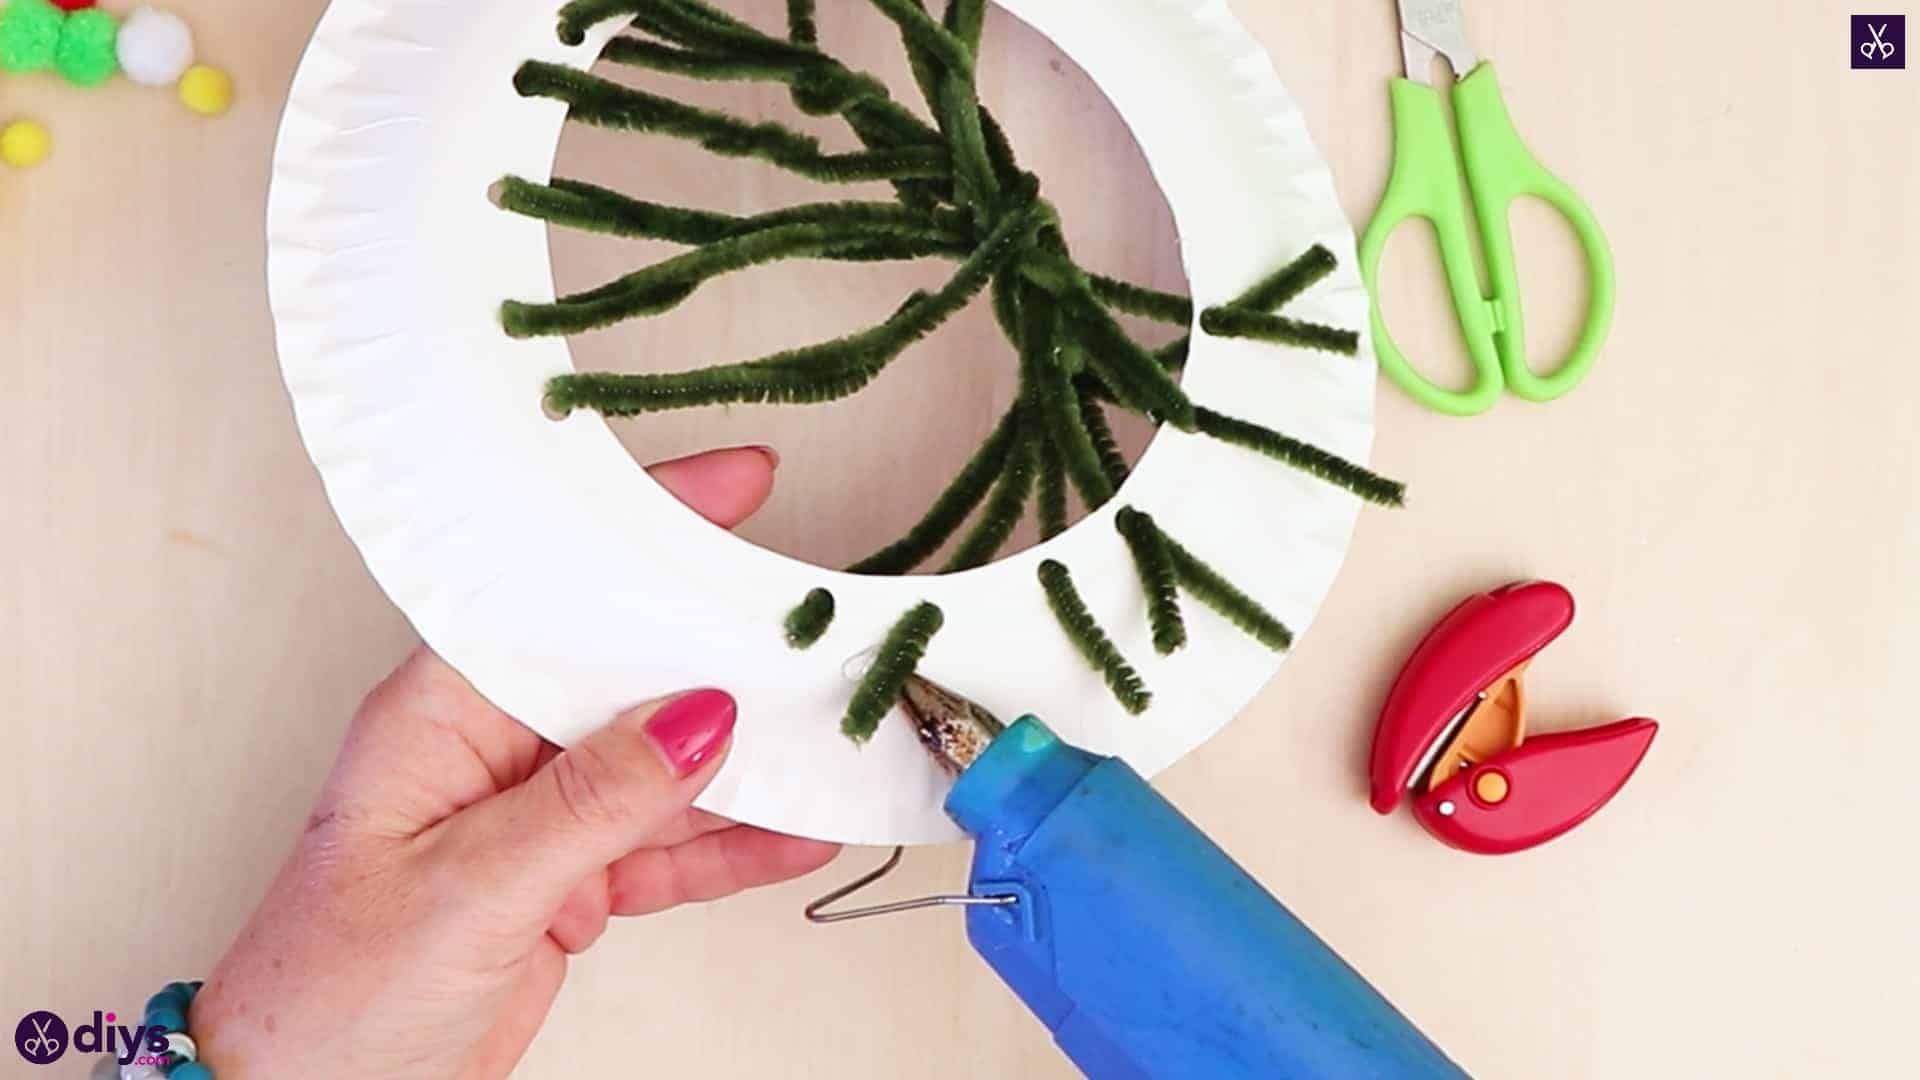
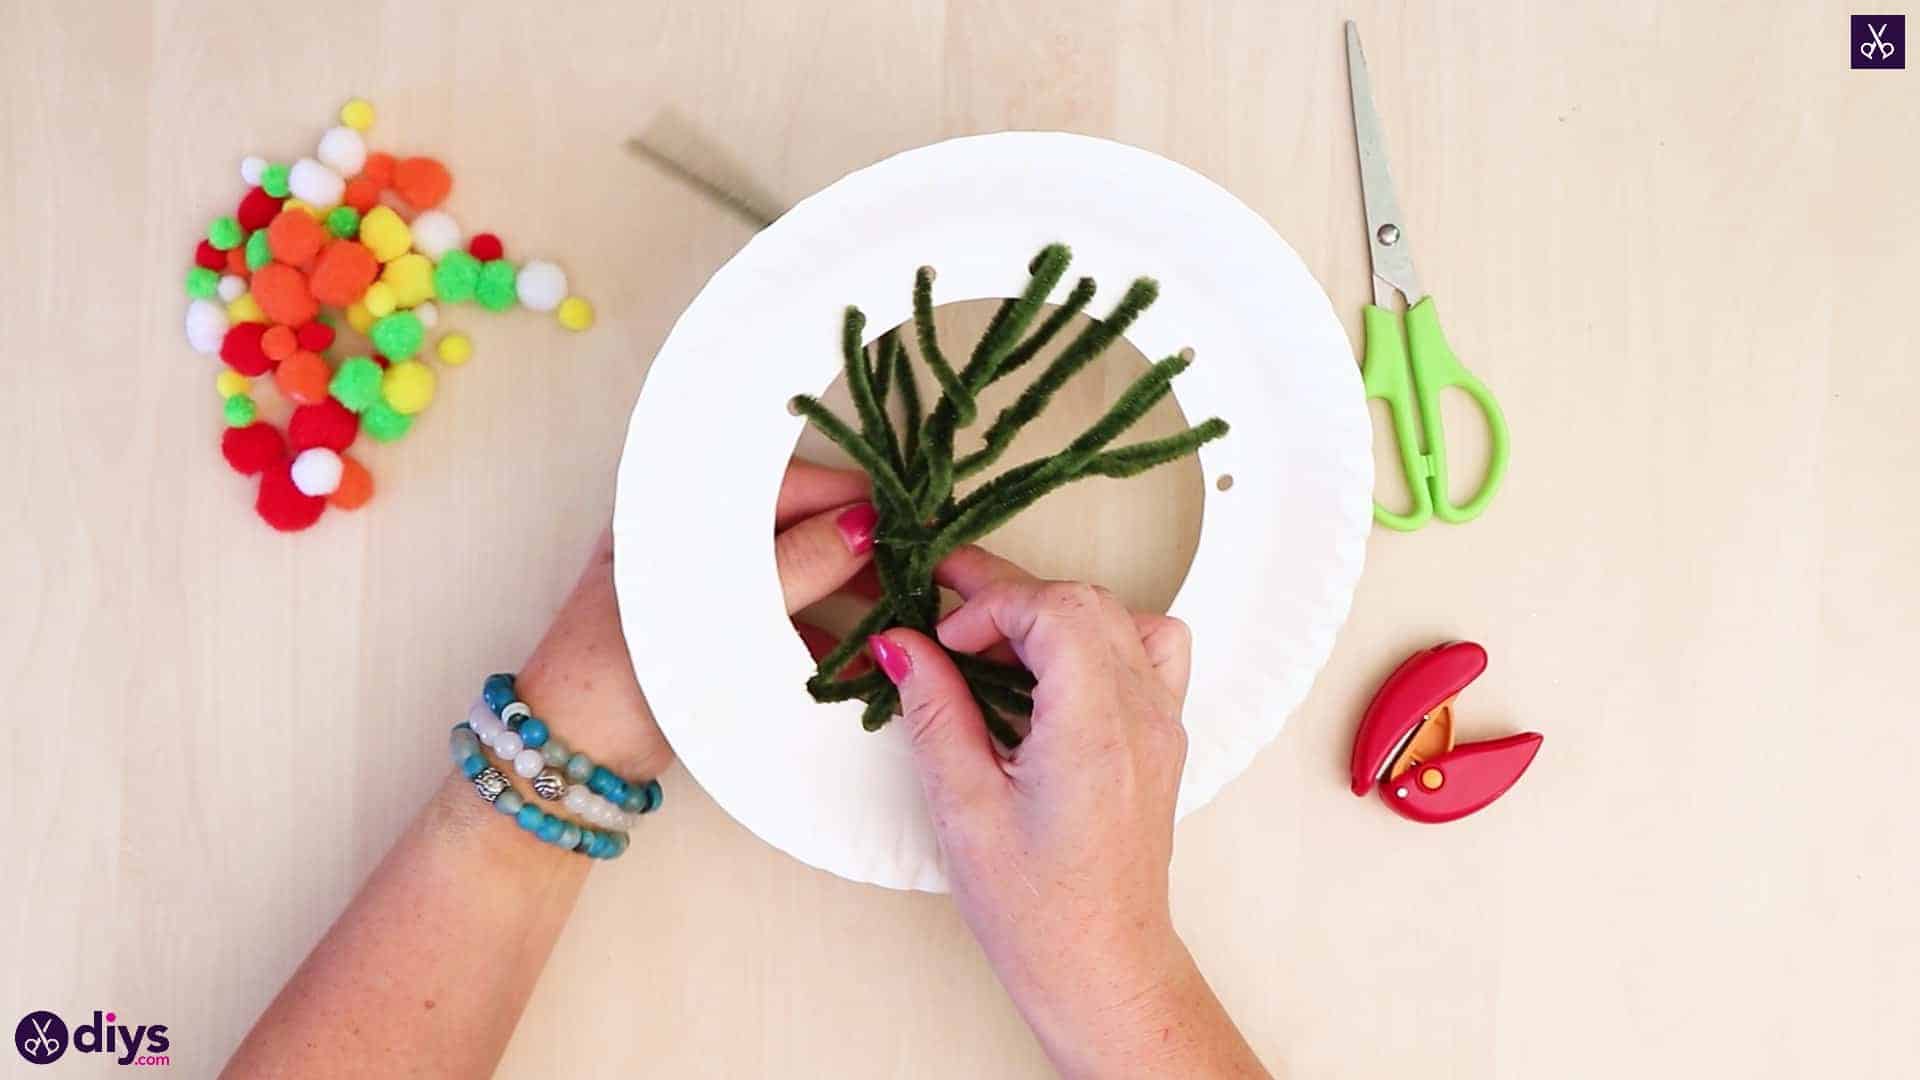
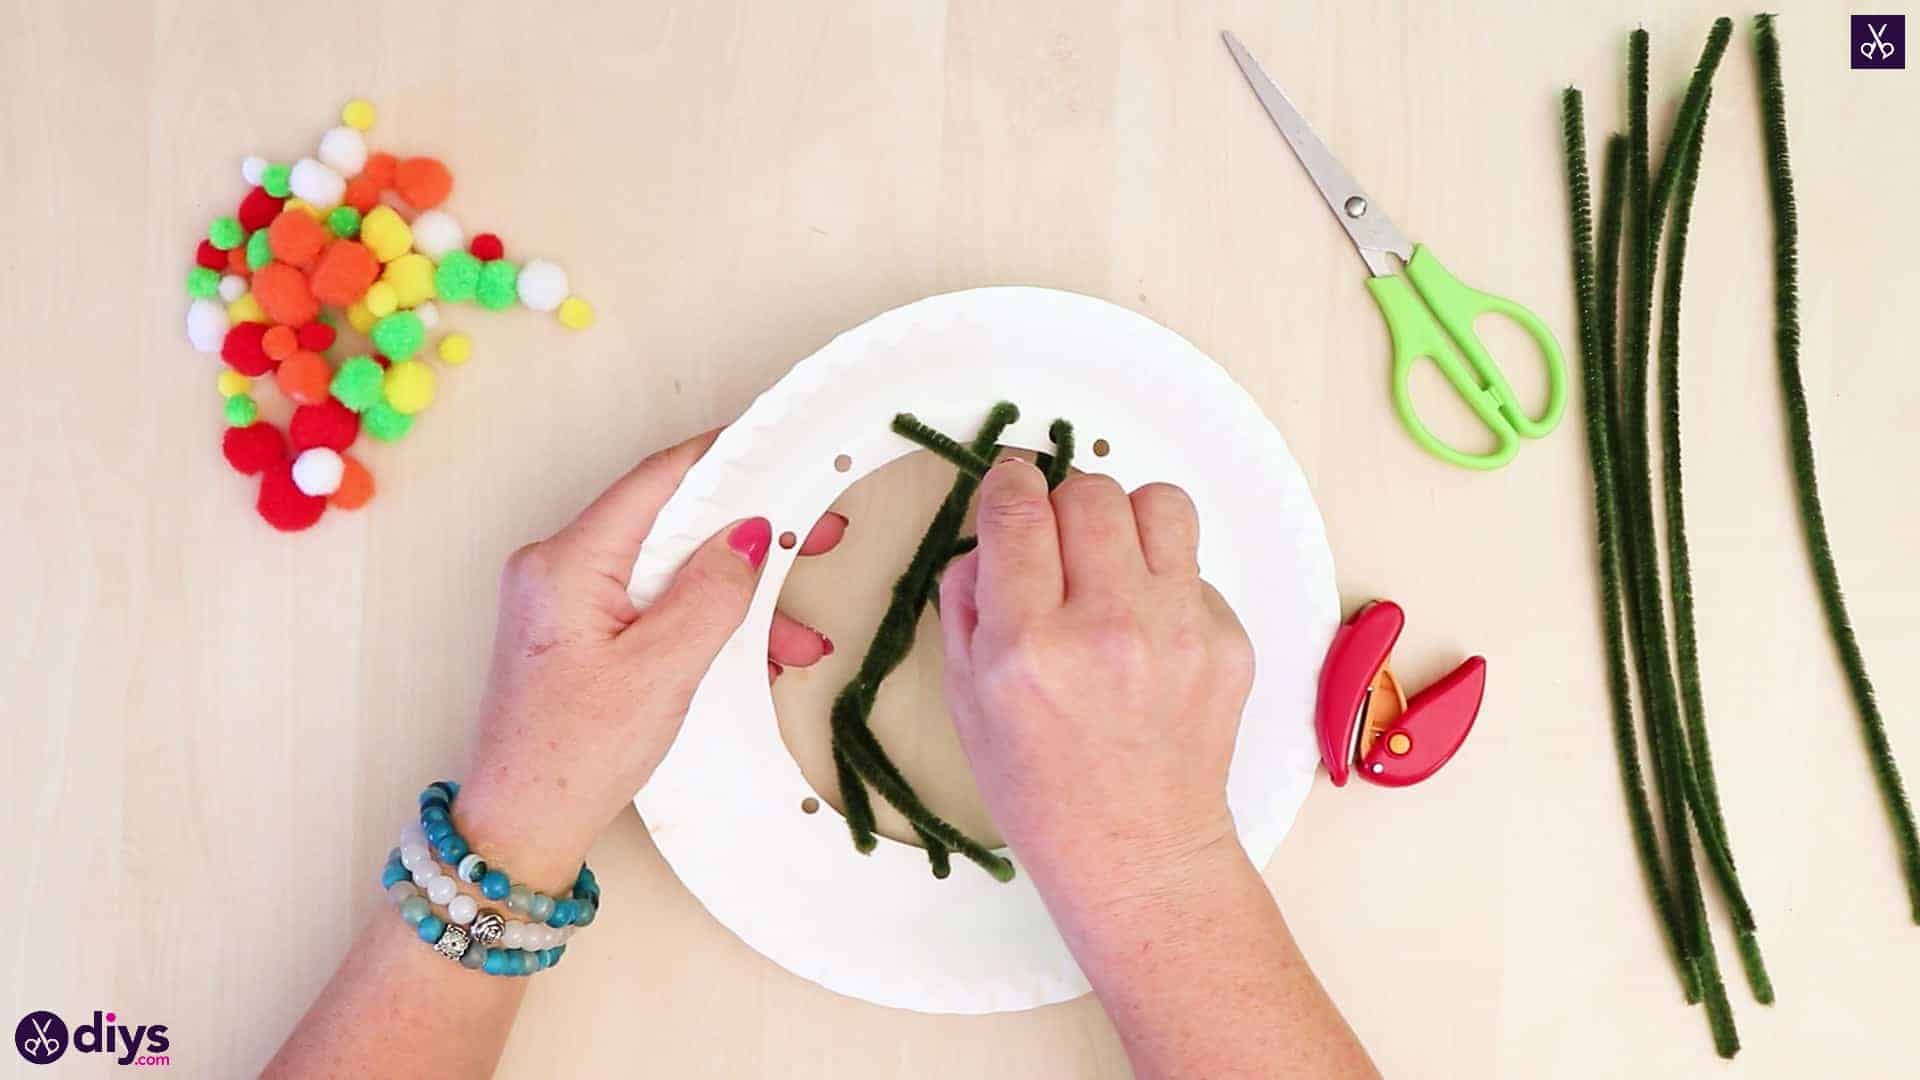
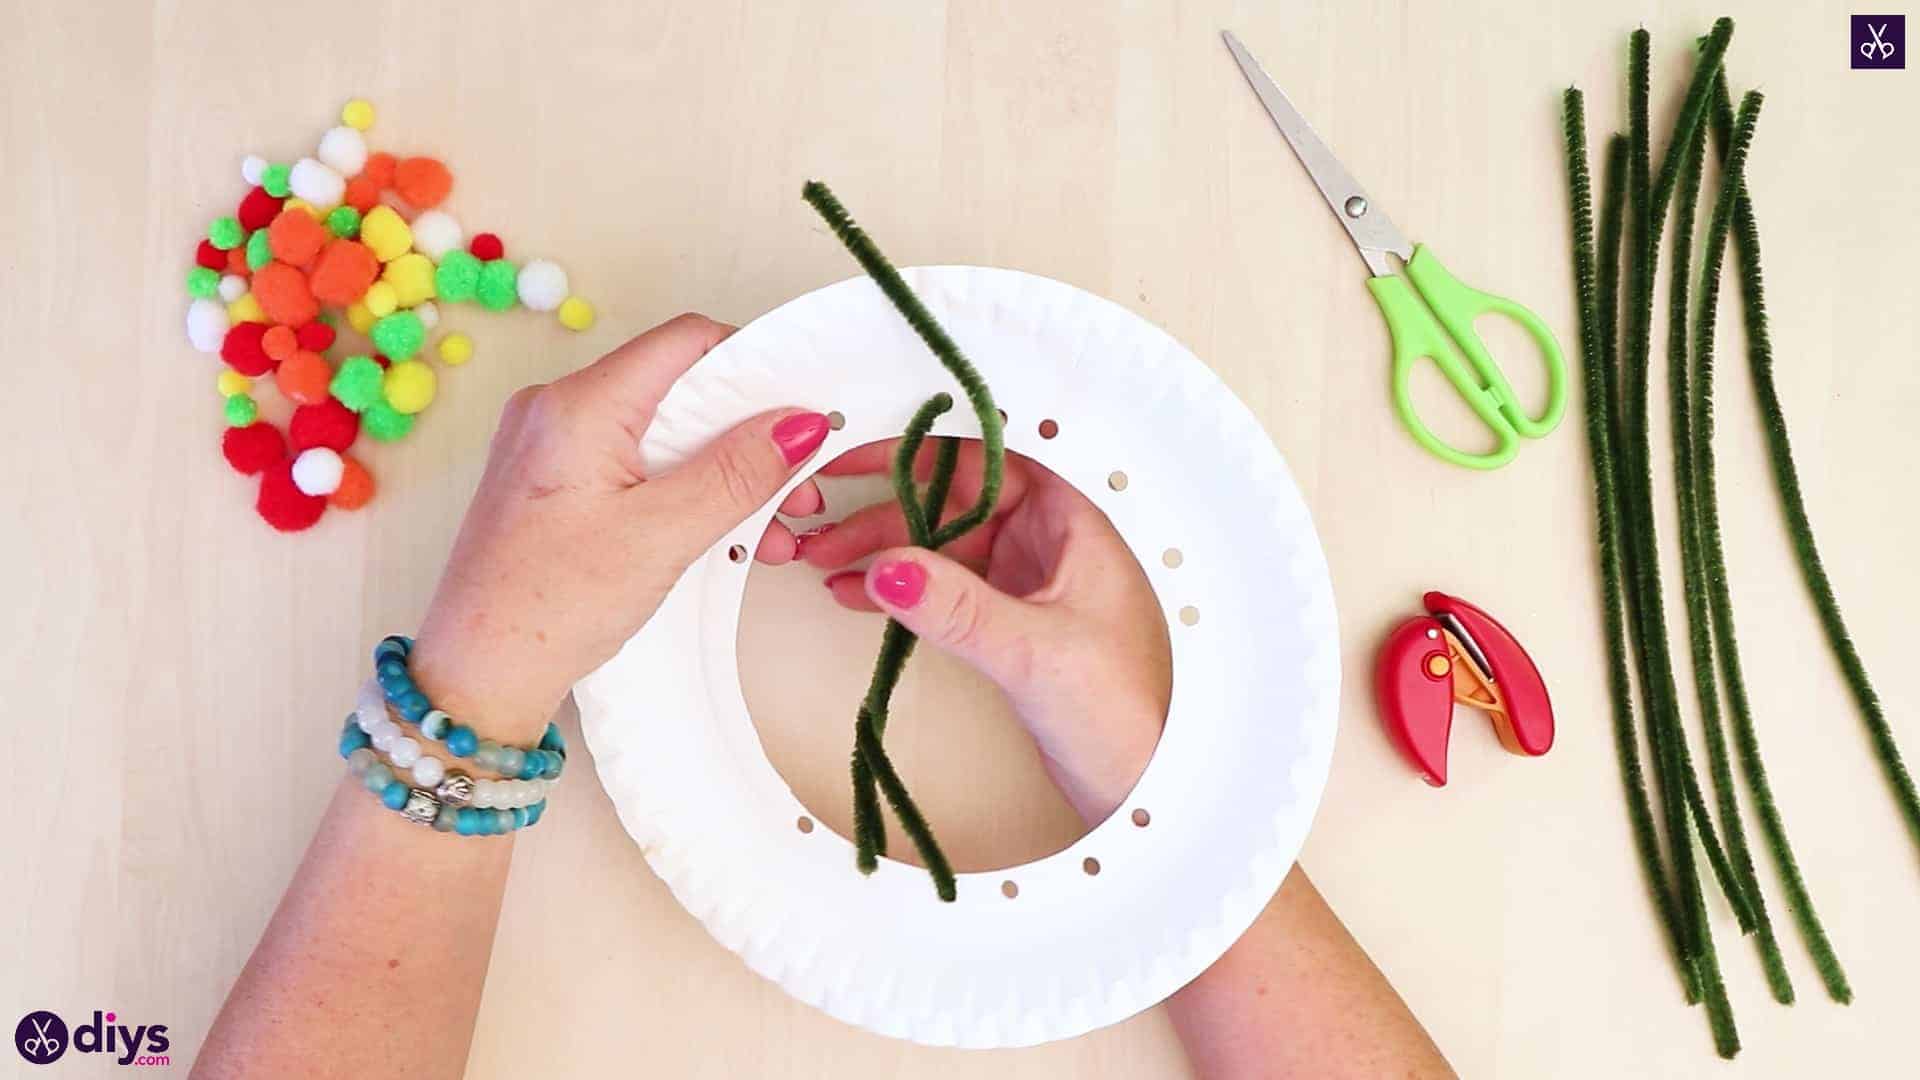
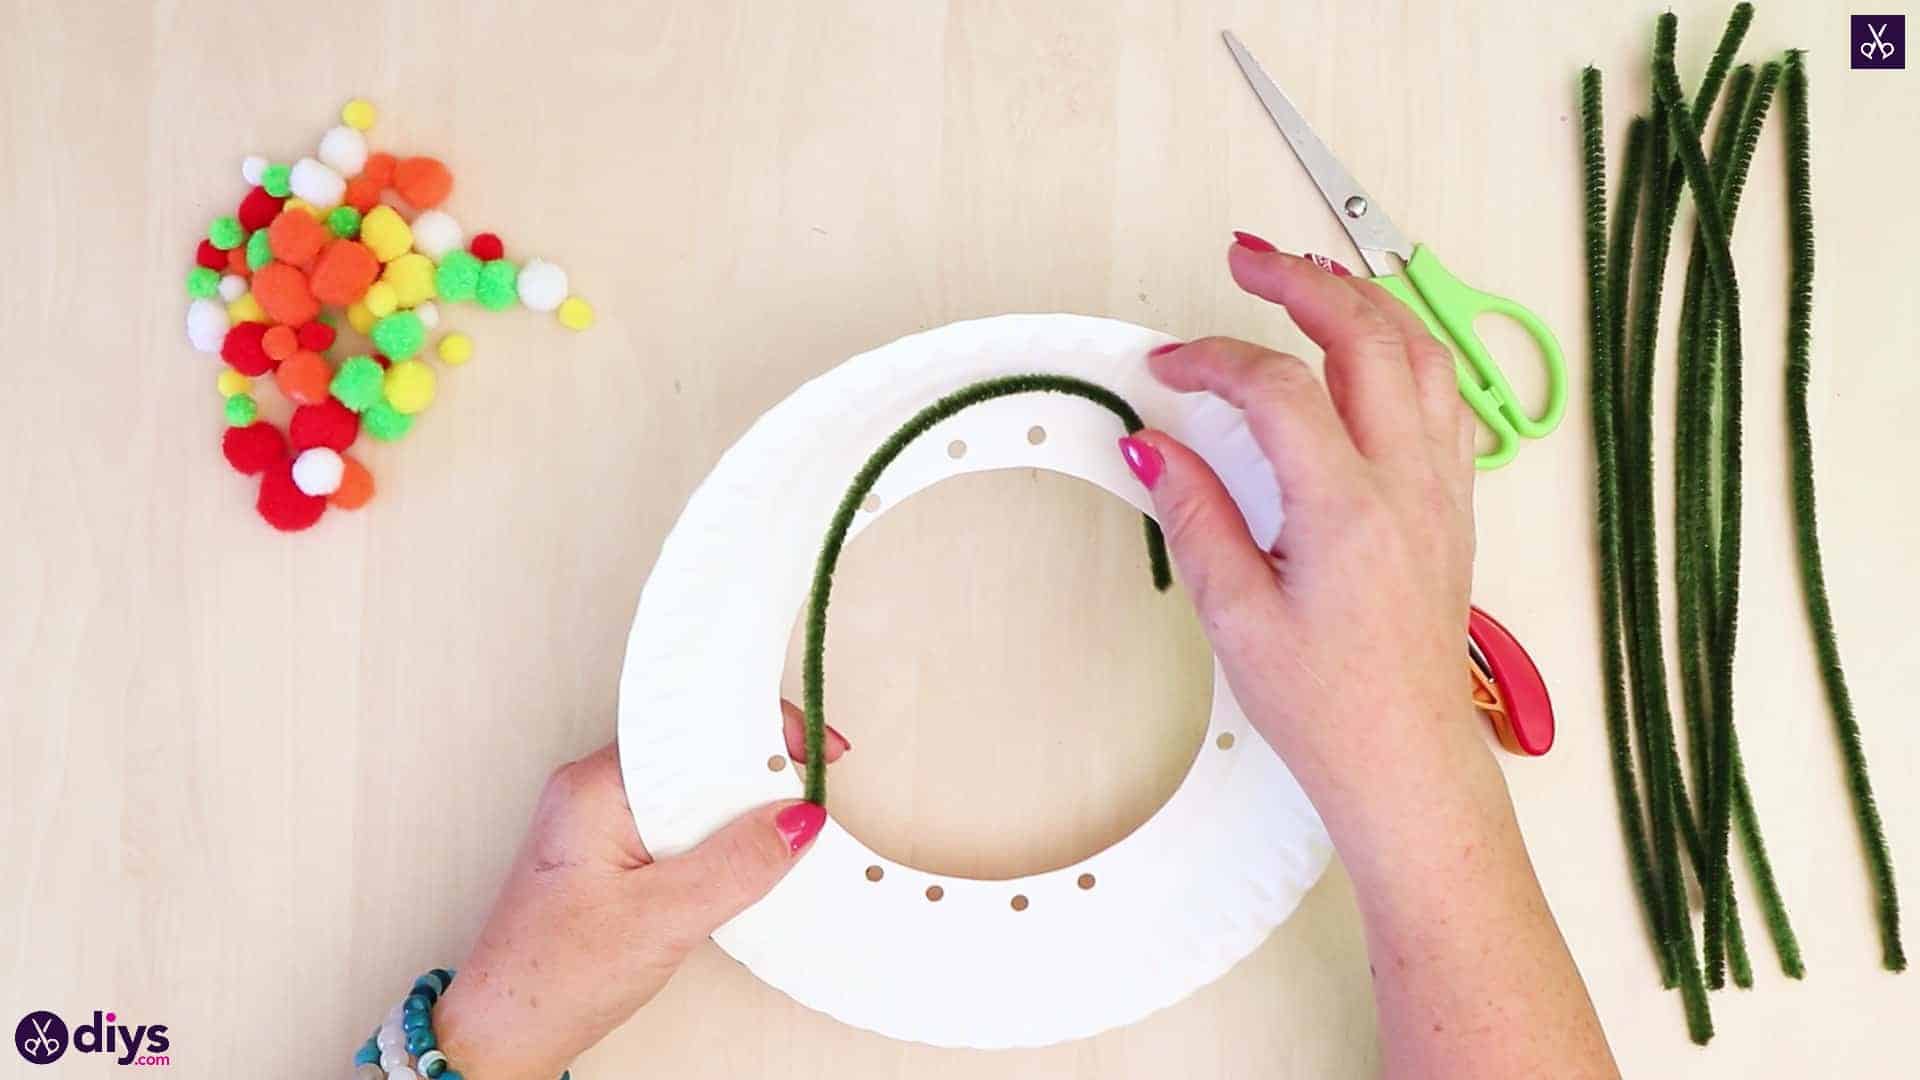
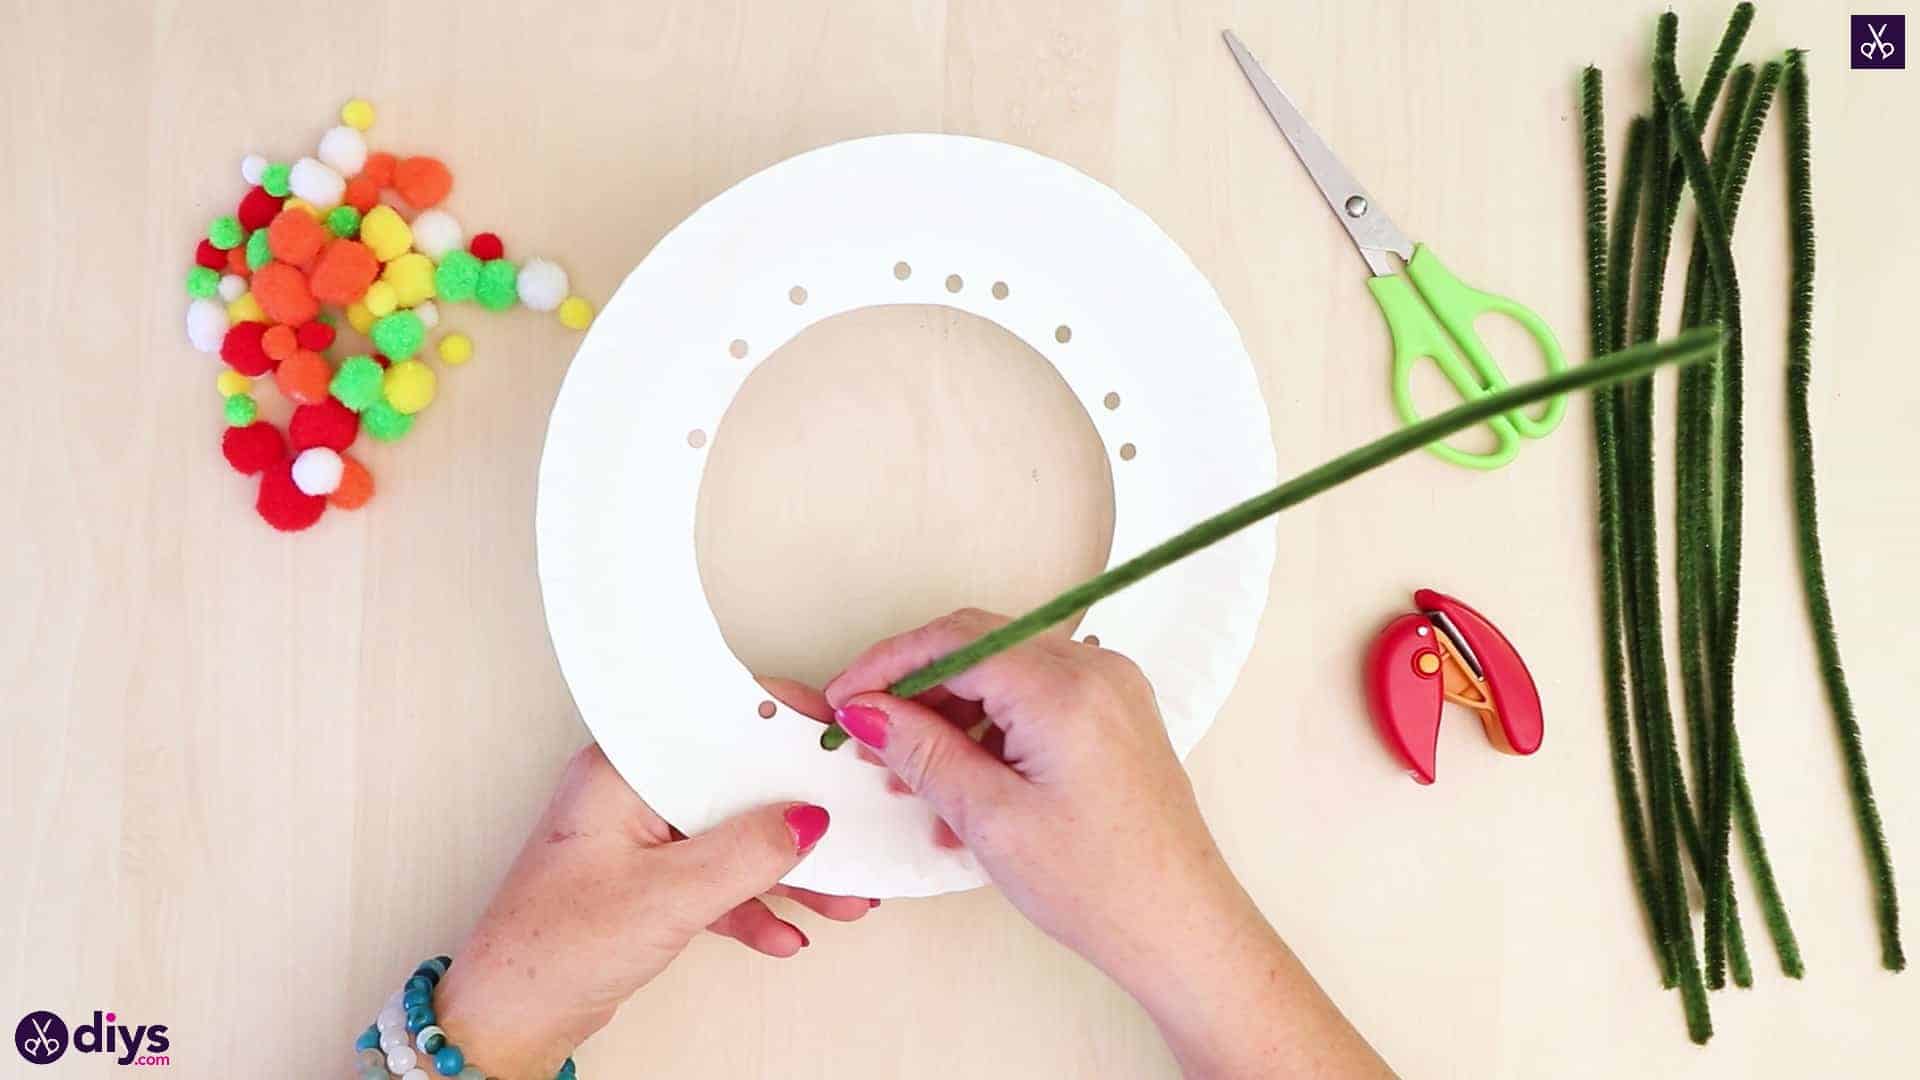
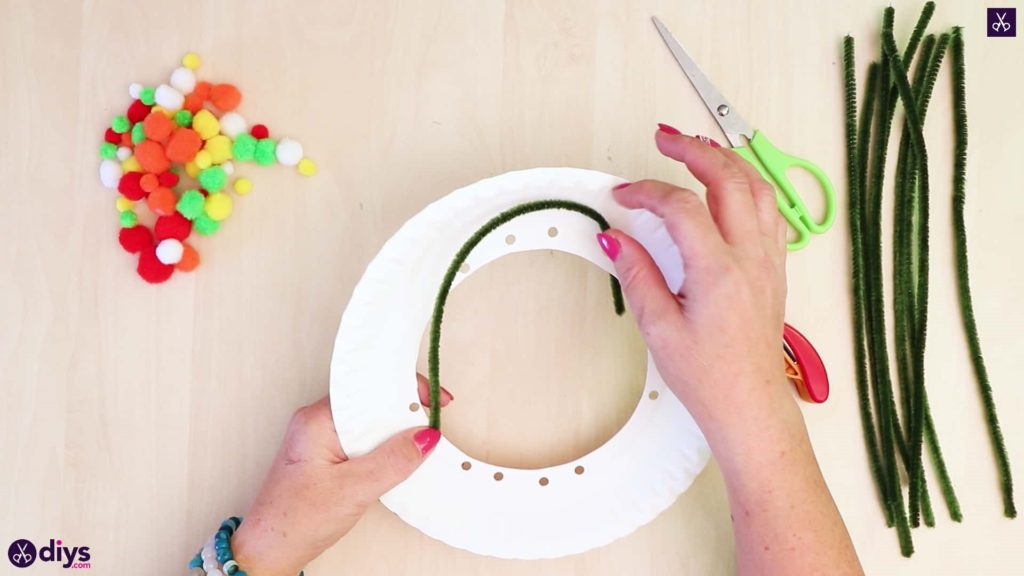
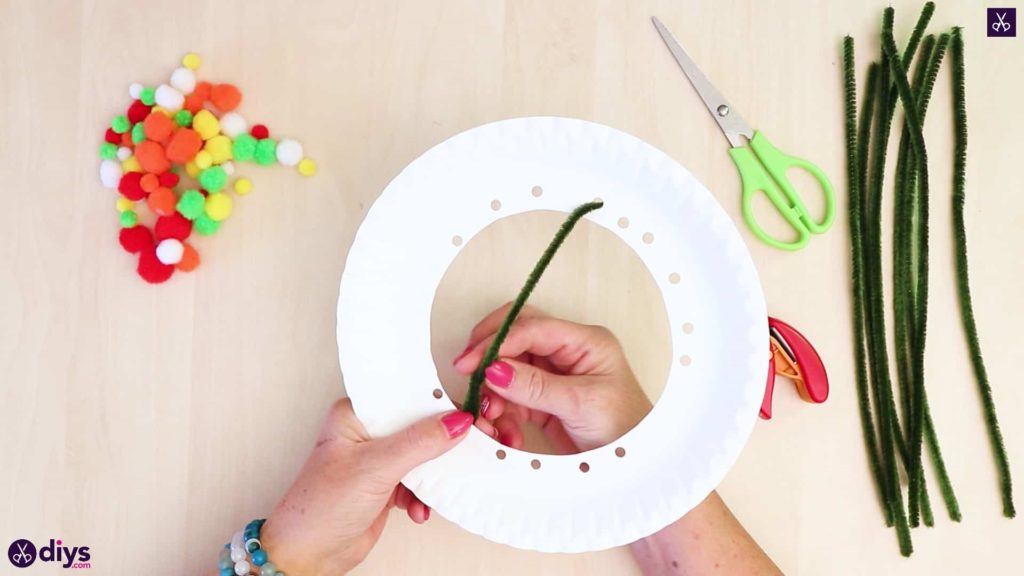
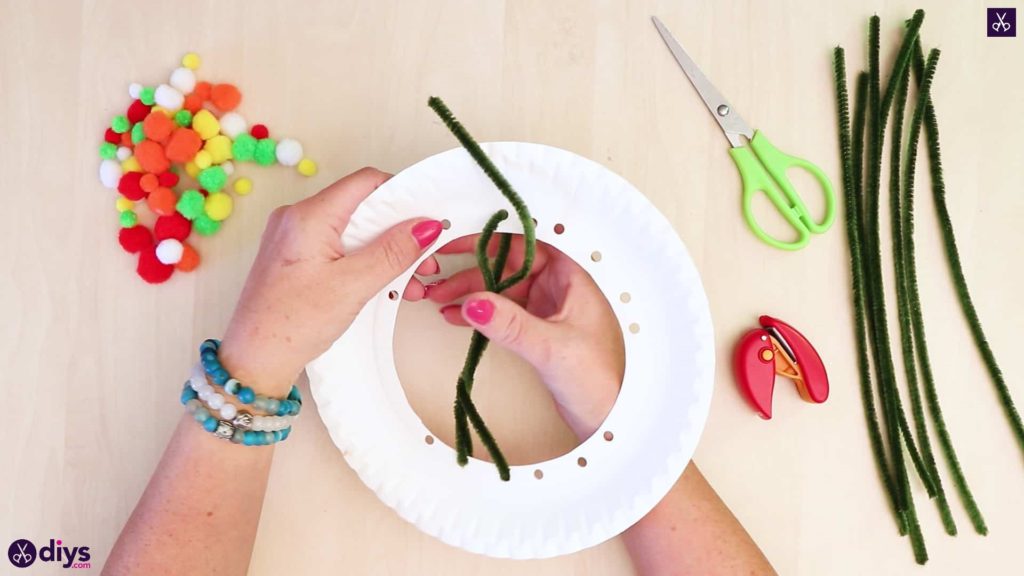
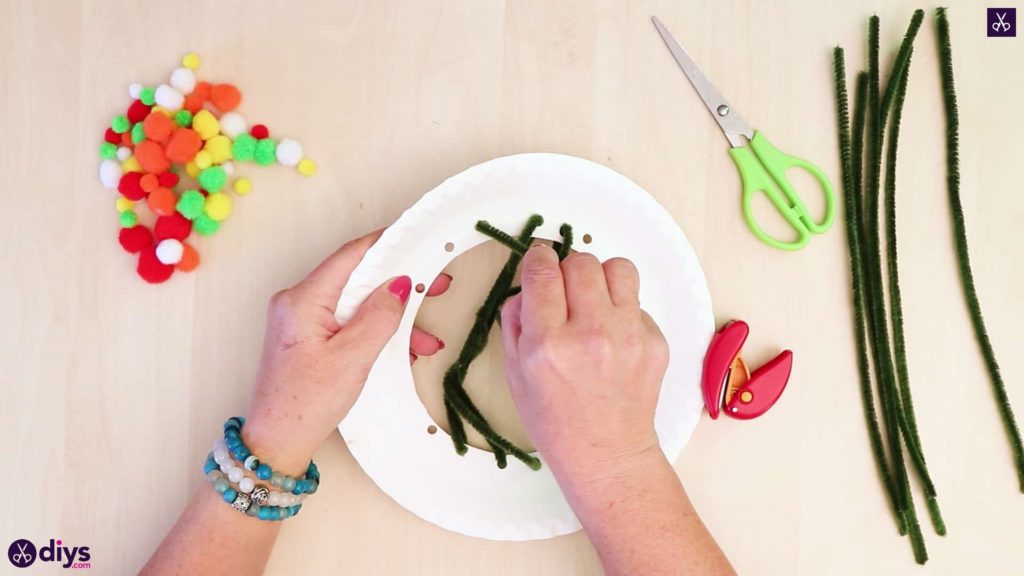
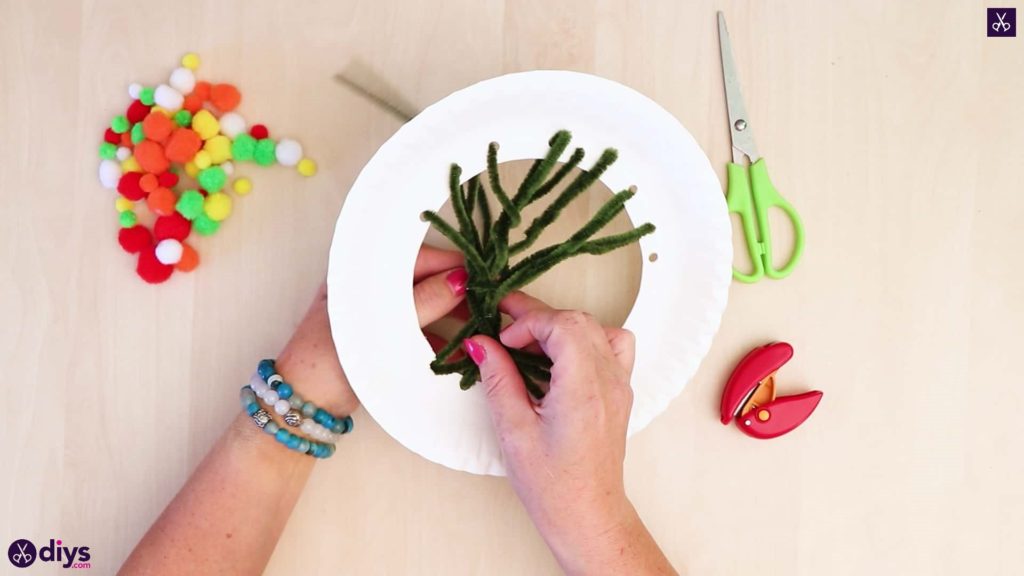
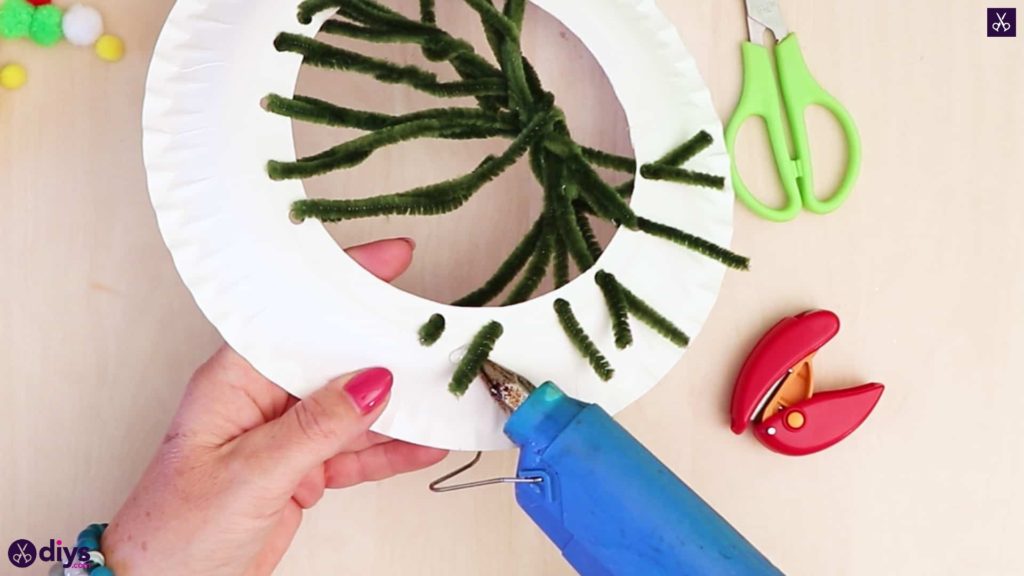
Start creating the trunk and branches of your tree using you green pipe cleaners! Treat the side of the plate that you’d serve food on as the front and the underside of the plate as the back where things can be a little less neat. Thread your pipe cleaners through the holes in the bottom and extend them to do the same at the top, but get creative; there’s no steadfast method to this part. Choose holes that are close together or far apart to position your pipe cleaners at different angles, twist your pipe cleaners around each other in different ways in the middle so the bottom holds splay them like roots leading to a cinched trunk in the middle and then more splayed angles at the top like branches. The goal is to create texture like knotted tree bar and shape like a tree growing from the ground and reaching up to the sky. Fasten each one in place by twisting the ends of the pipe cleaners around themselves and bending them at the back of the plate so they don’t slip back through the holes. Feel free to bend your ends back and change around the way things are positioned as you go to make them look just right. Once you’re satisfied with the way the tree looks, use your hot glue fun to glue all the ends in place on the back side of the plate so the pipe cleaners stay through the holes where you put them.
Step 5: glue your pom poms
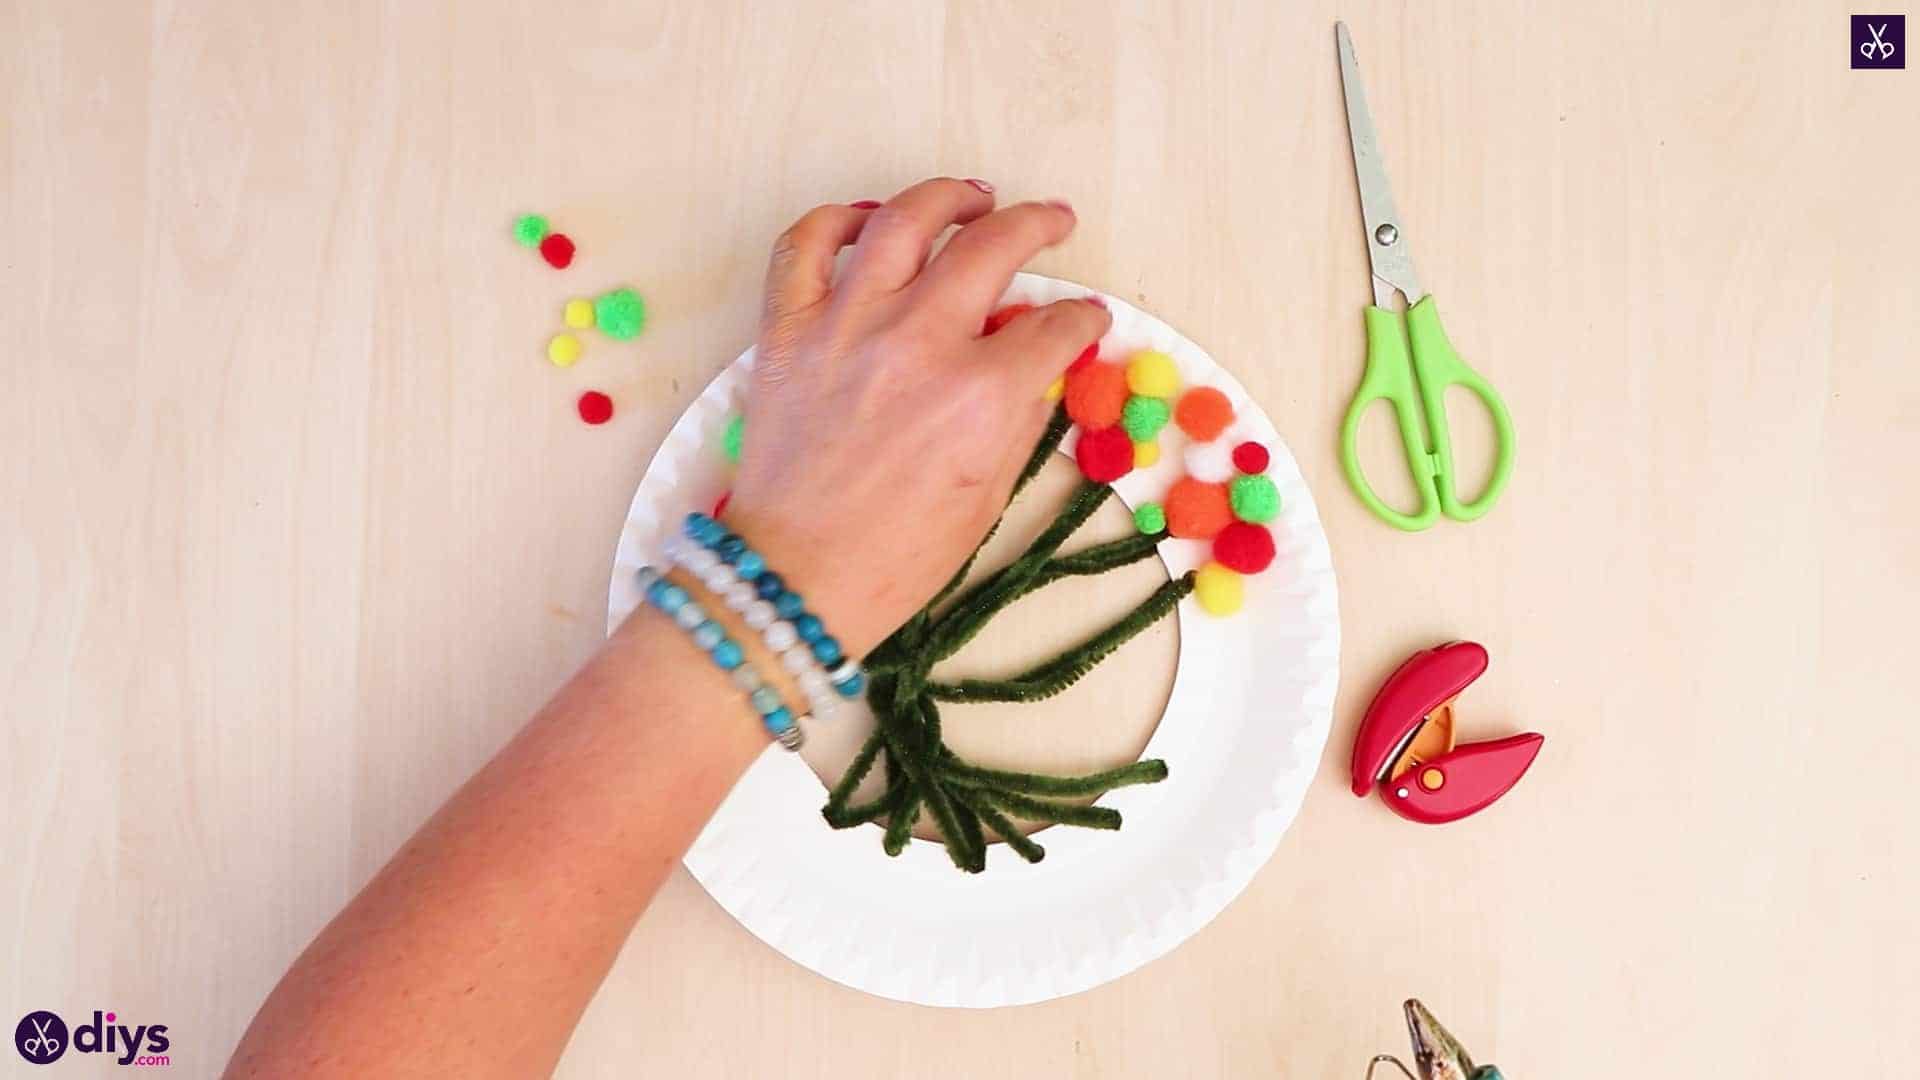
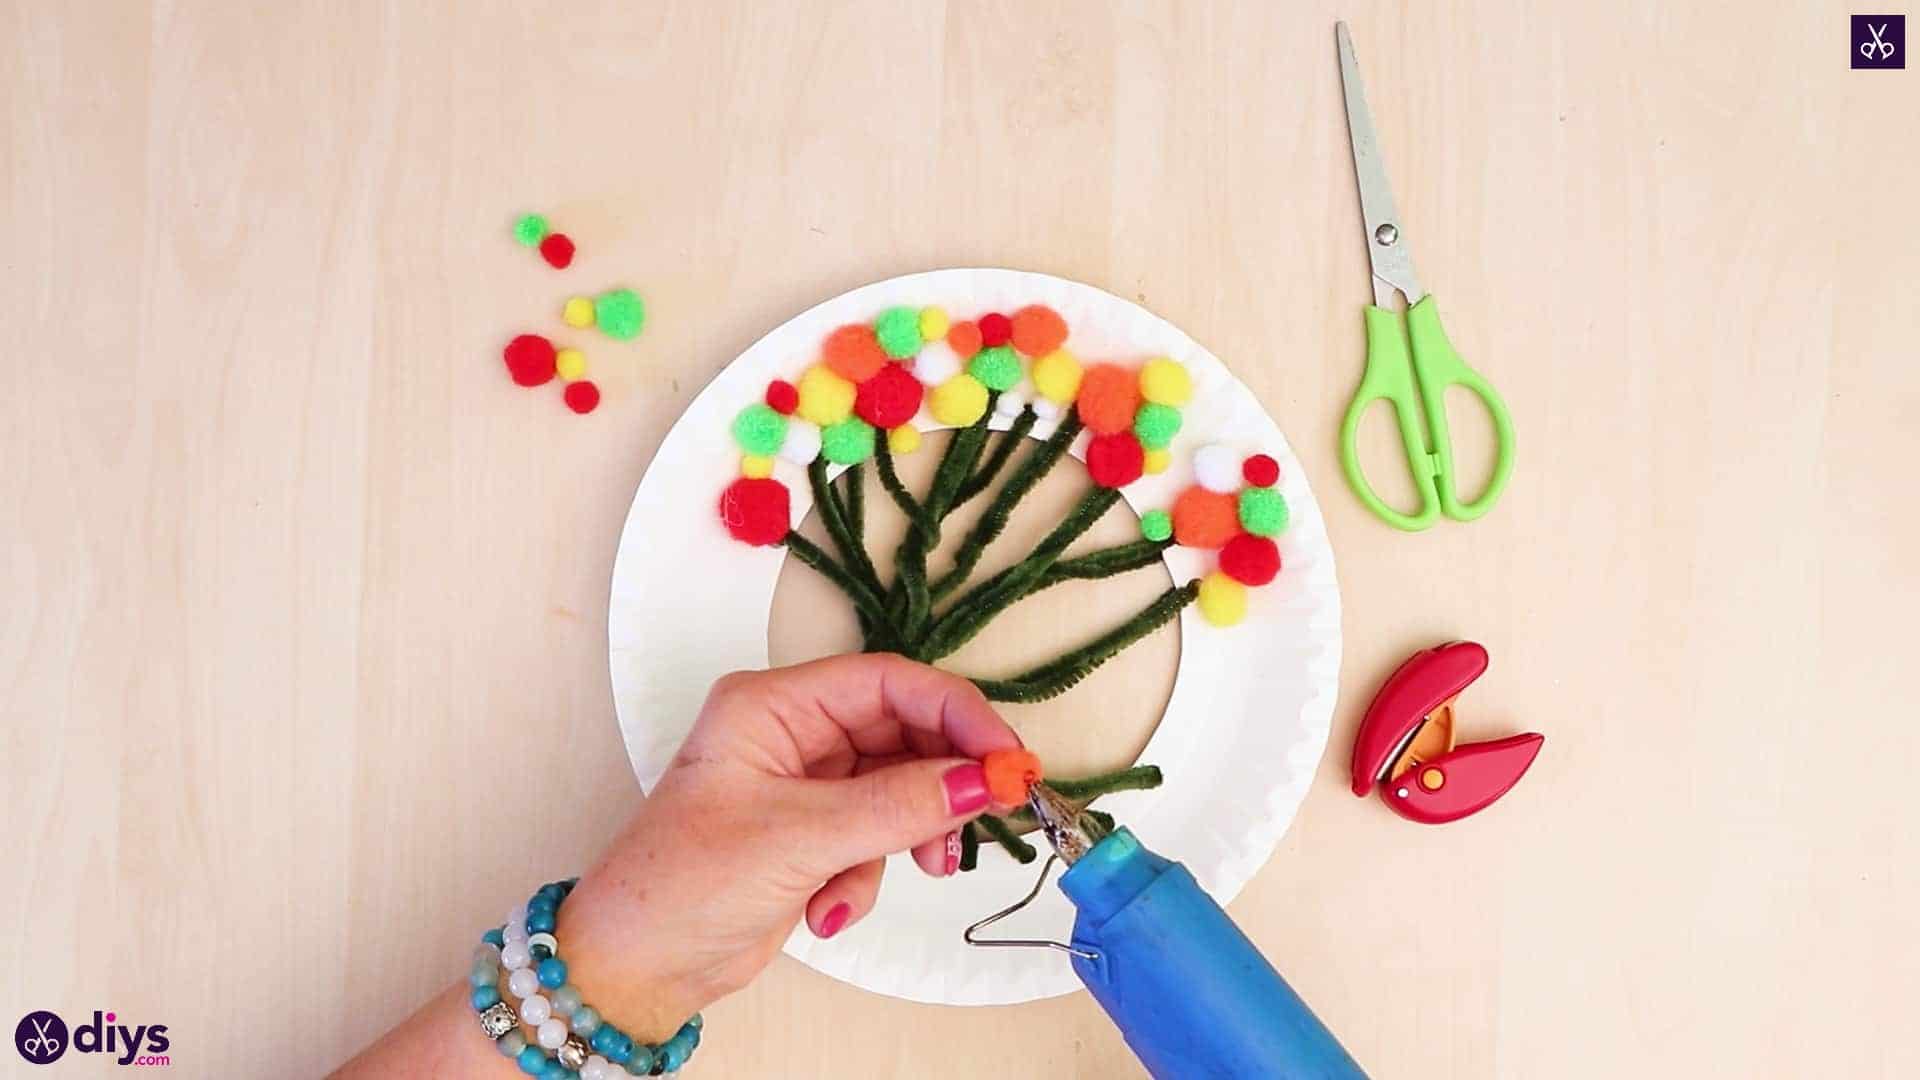
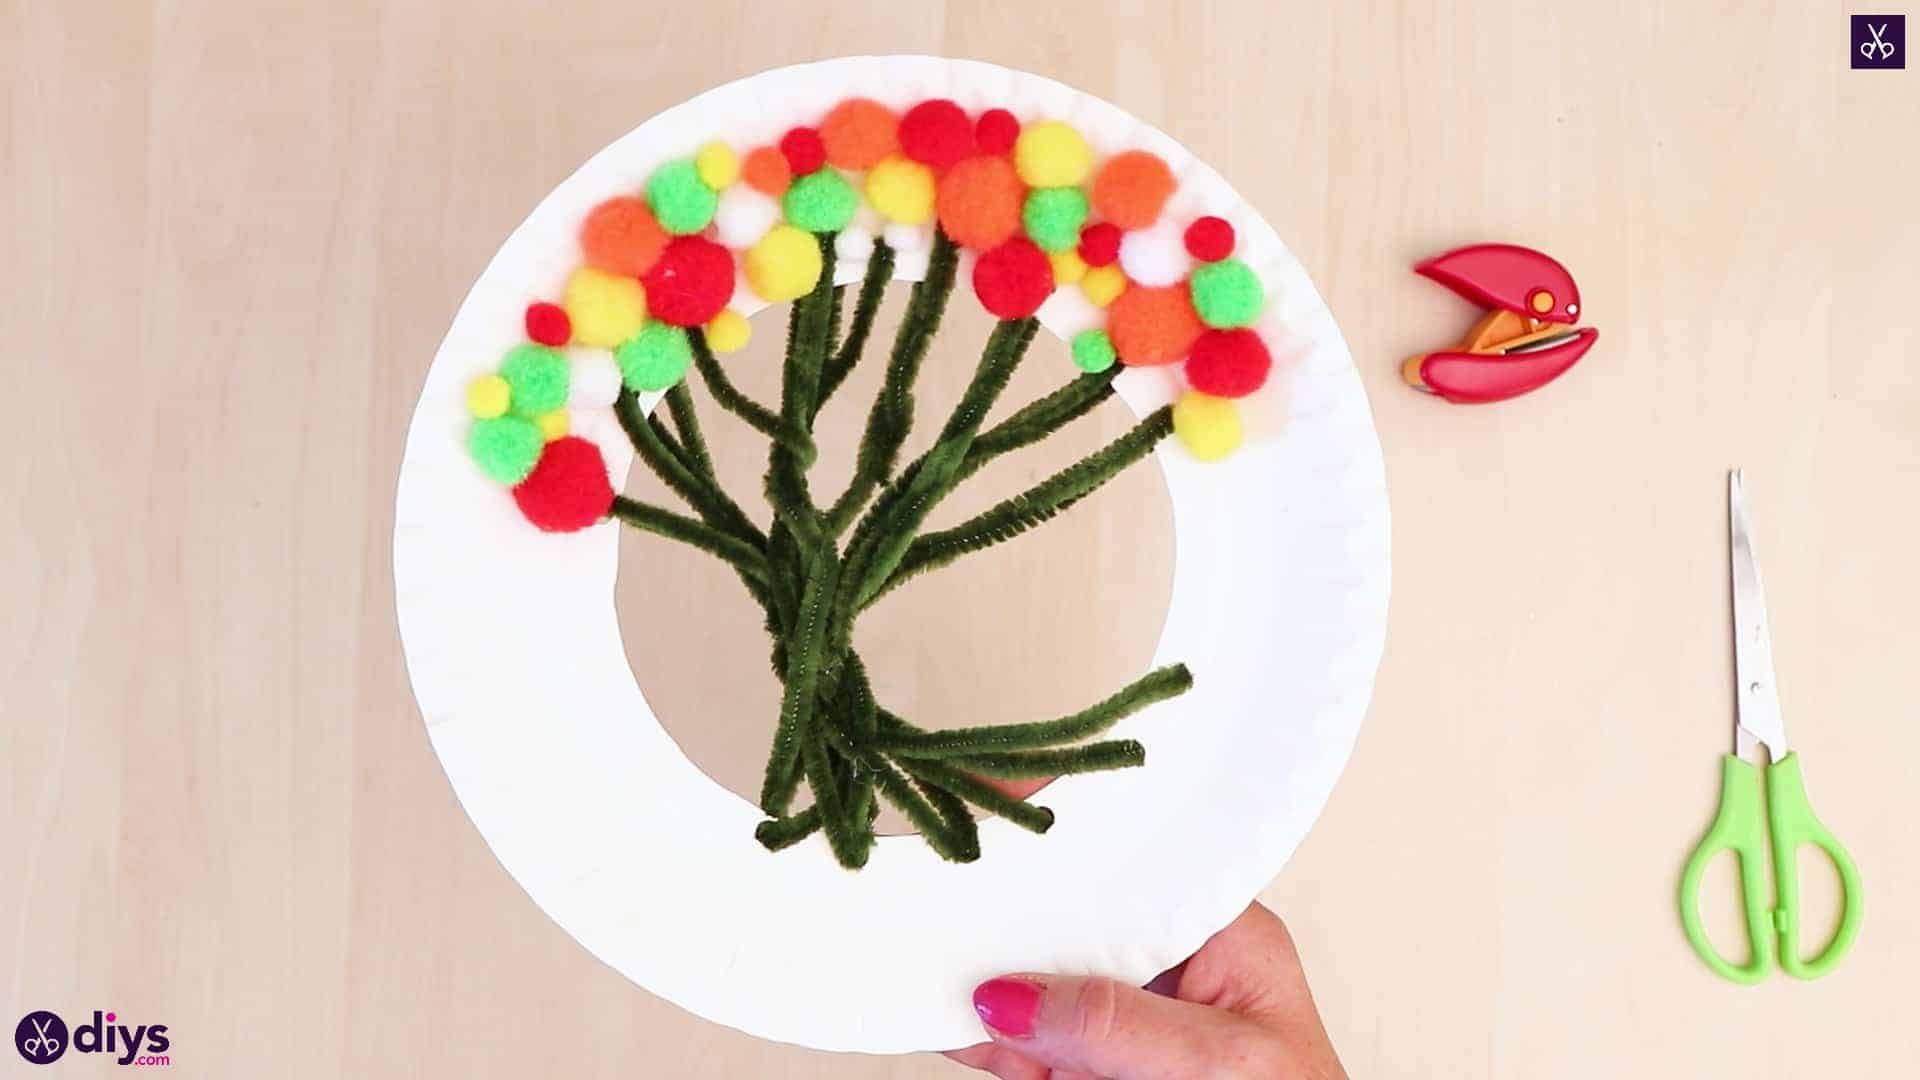
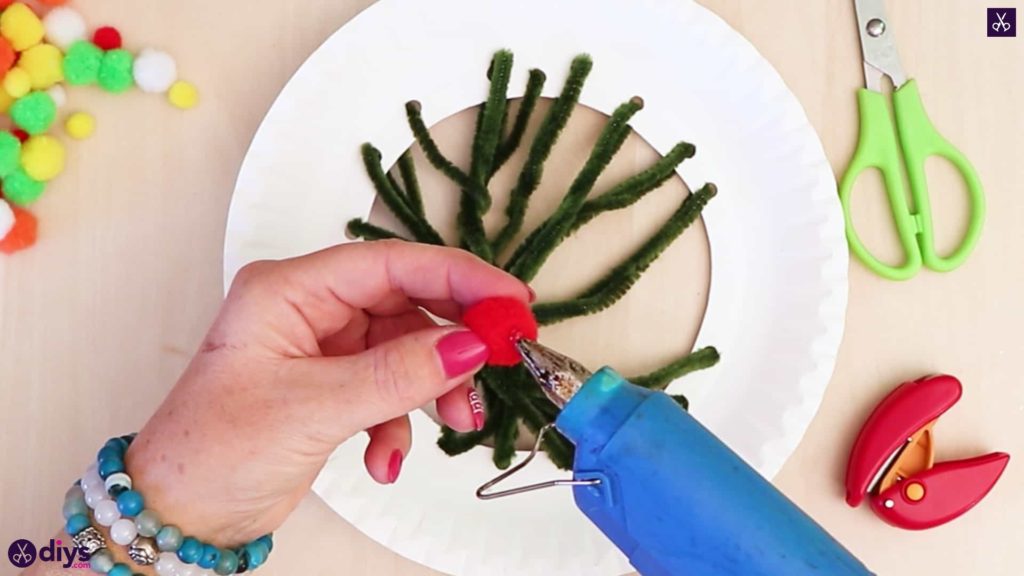
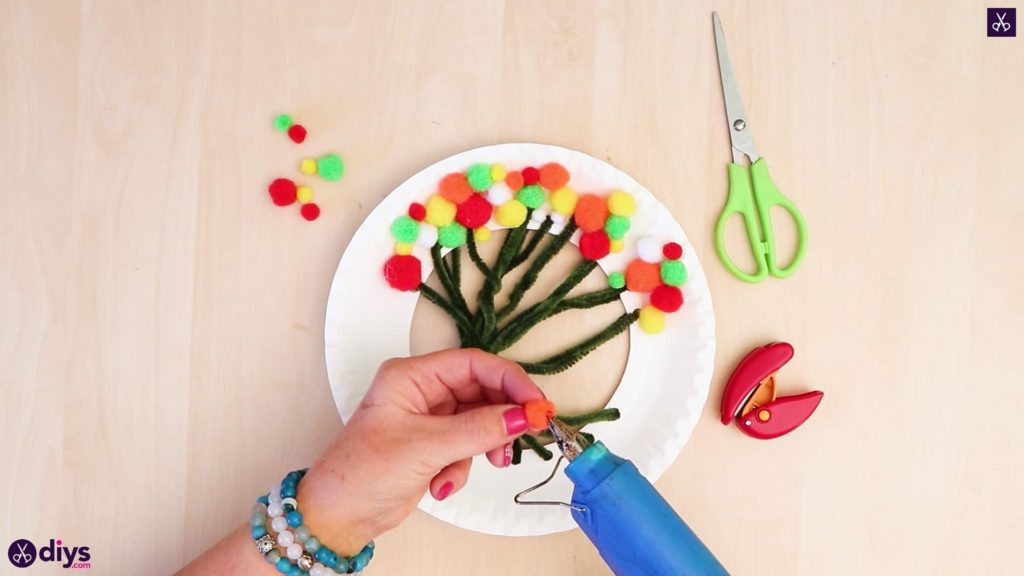
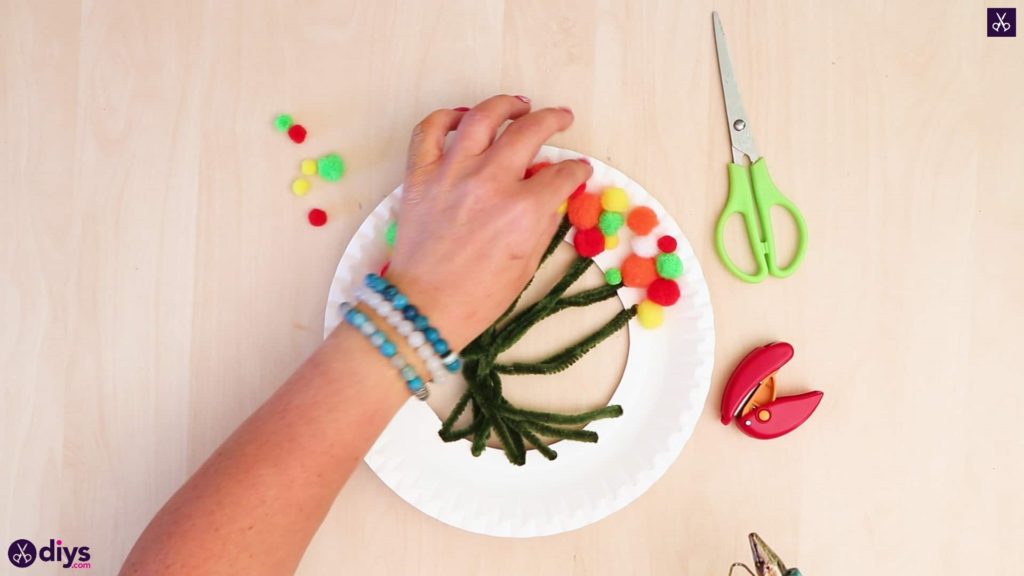
Create your leaves using your crafting pom poms! The top of your tree where you’ll scatter and group the pom poms will be the end with more holes punched, since it will have a wider spread of pipe cleaners to act as branches. Apply hot glue to your pom poms and stick them down all over, positioning the colours however looks best to you and mixing the sizes in together to once again create texture. The pom poms might be rounded and not leaf shaped, but the message is clear and the visual is a bit modern art inspired looking!
You’re finished whenever you’re satisfied with how your pom pom leaves look! Just in case you’d like to try this project out for yourself, here’s a fantastic tutorial video to help you!
