DIY Lollipop Holder Felt Bunny
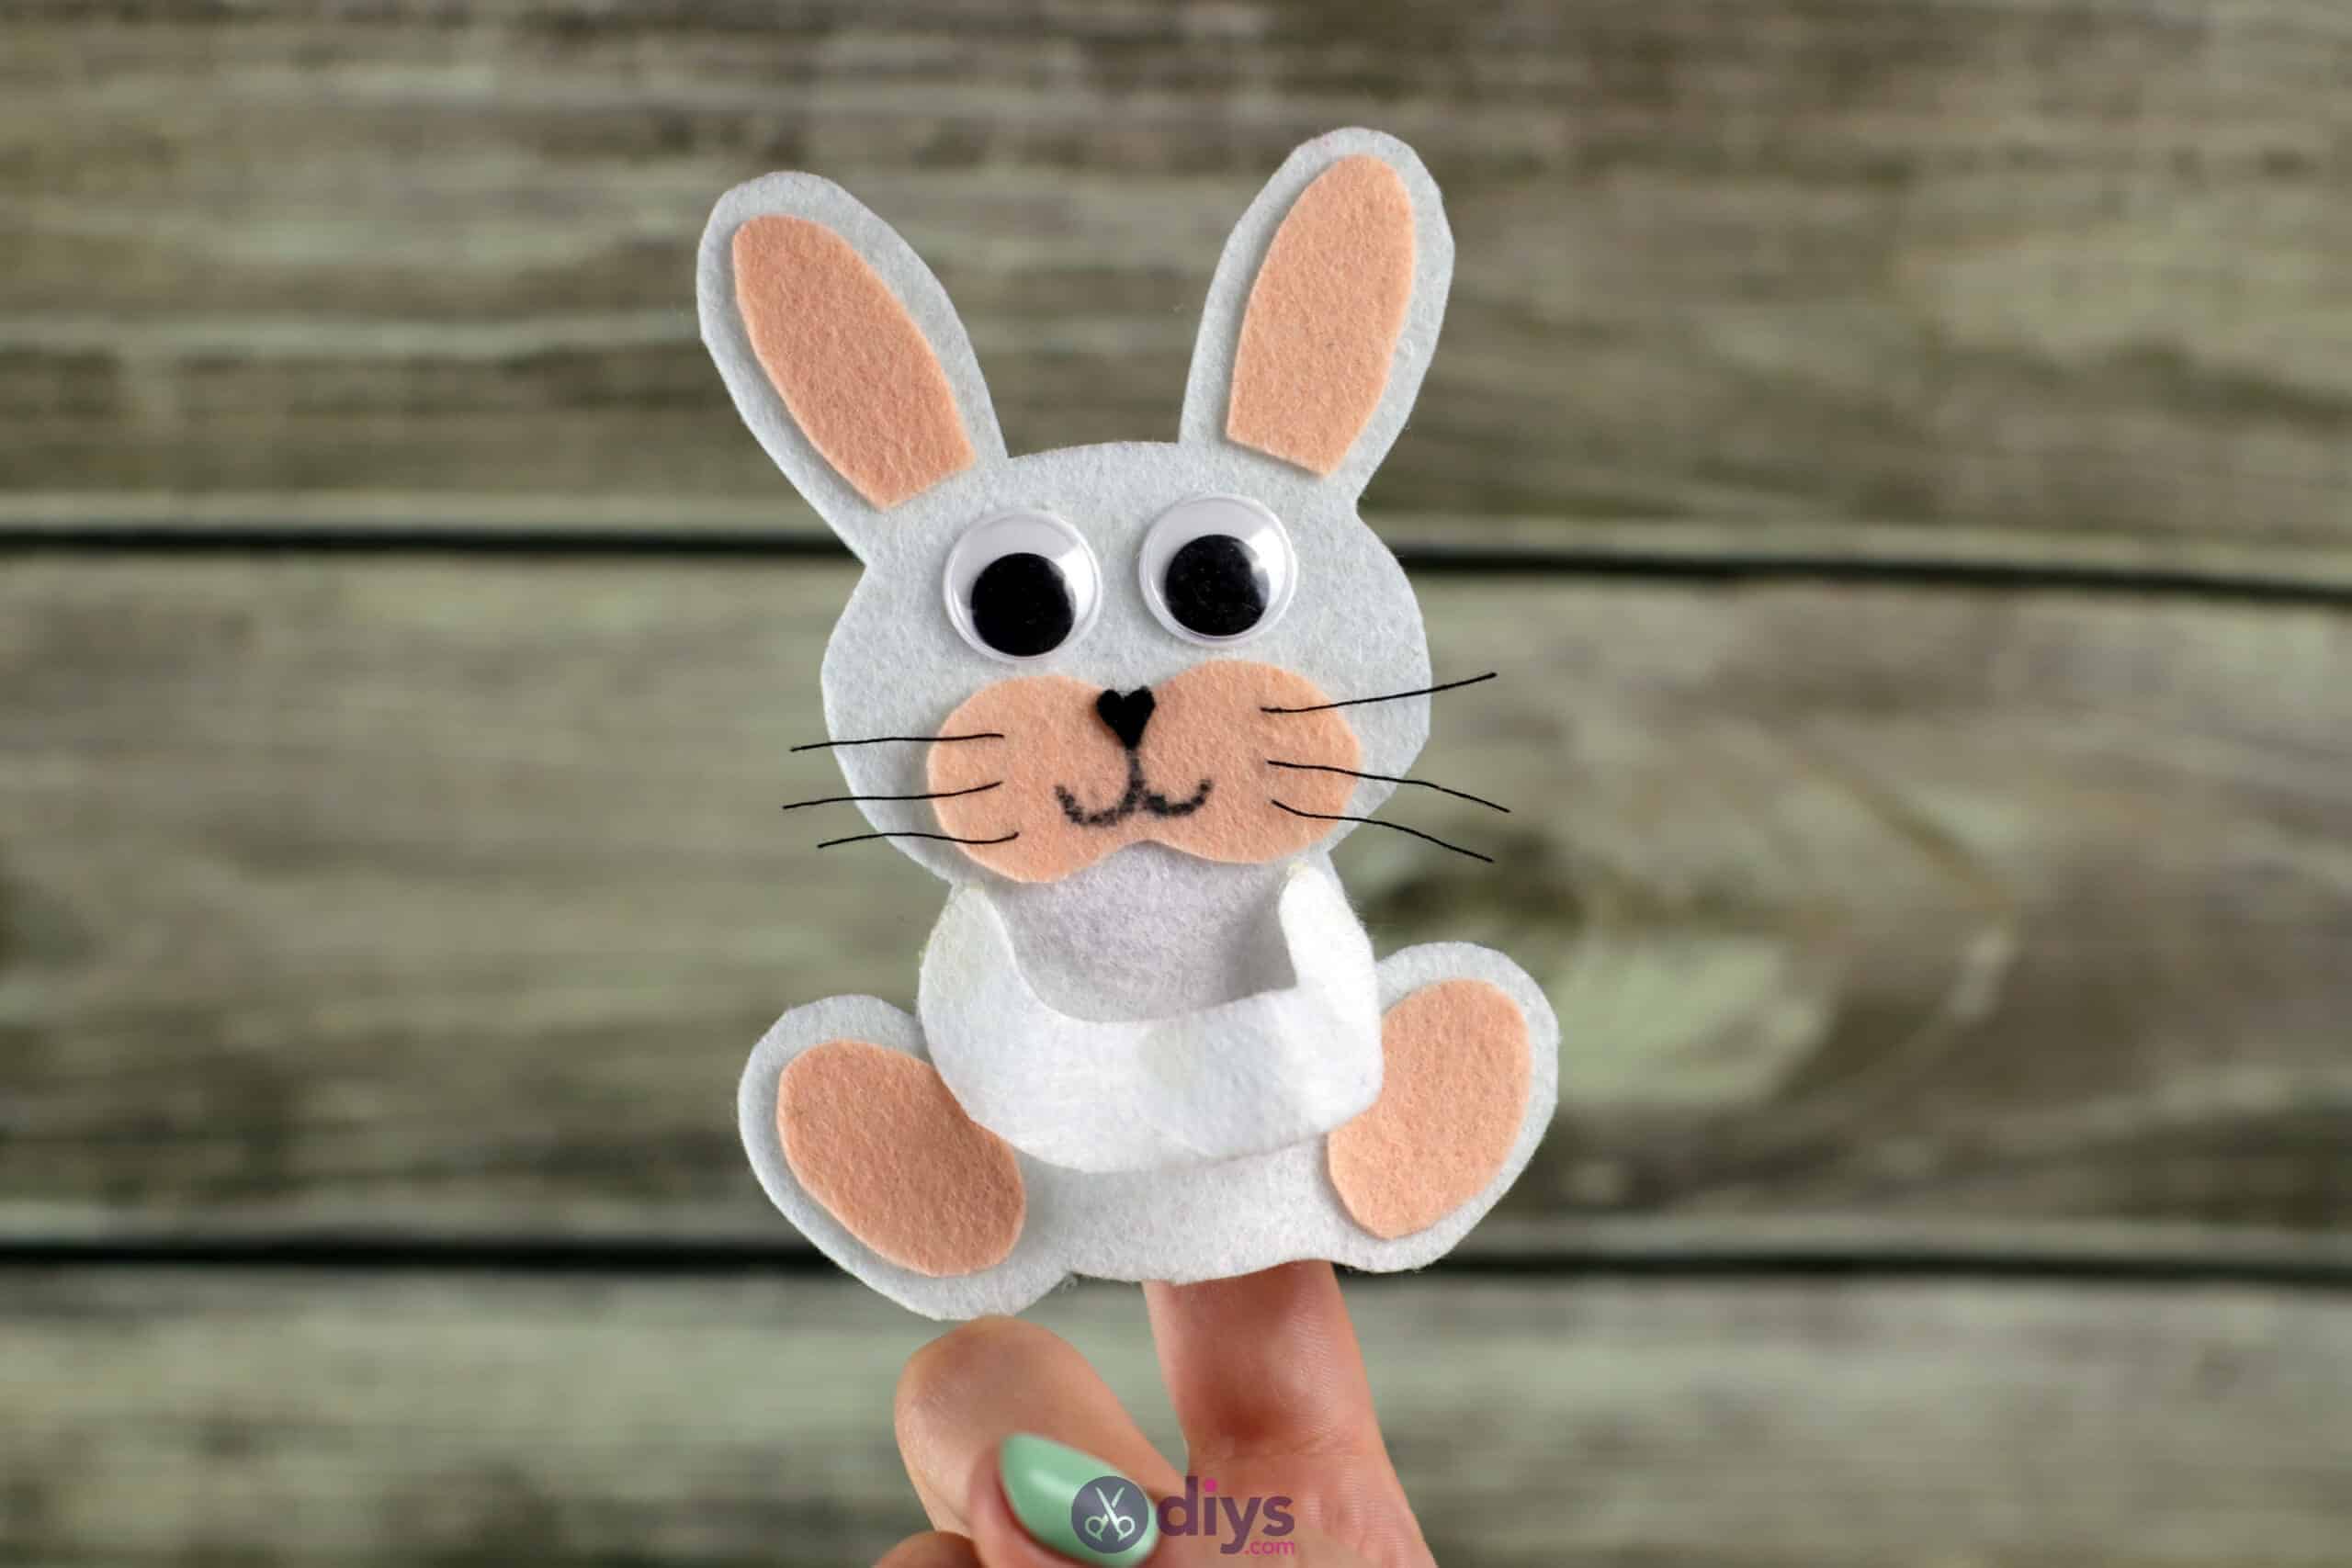
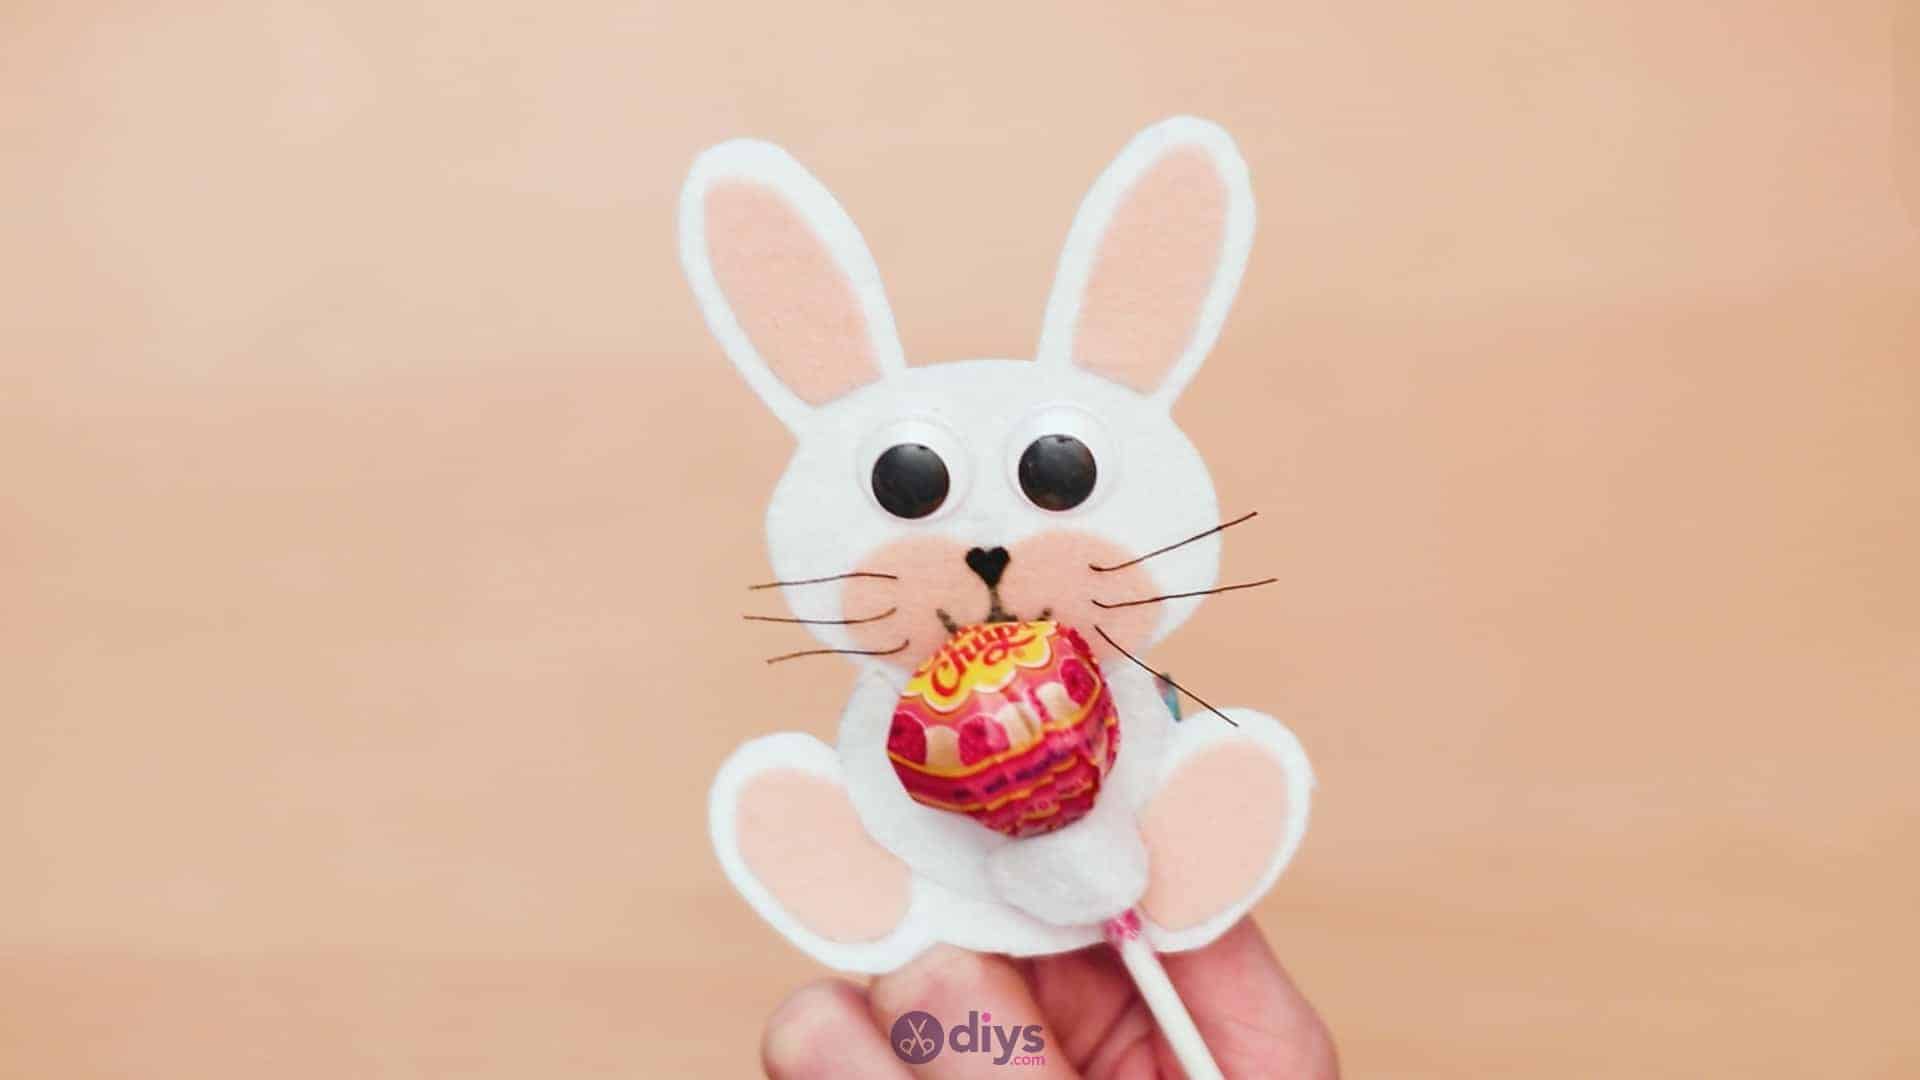
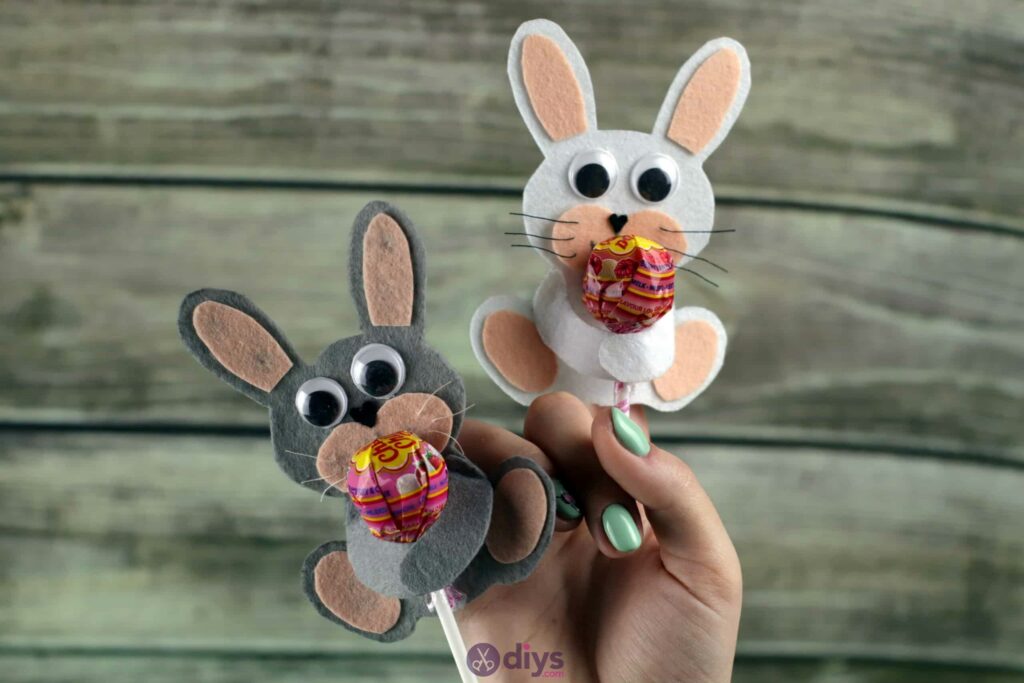
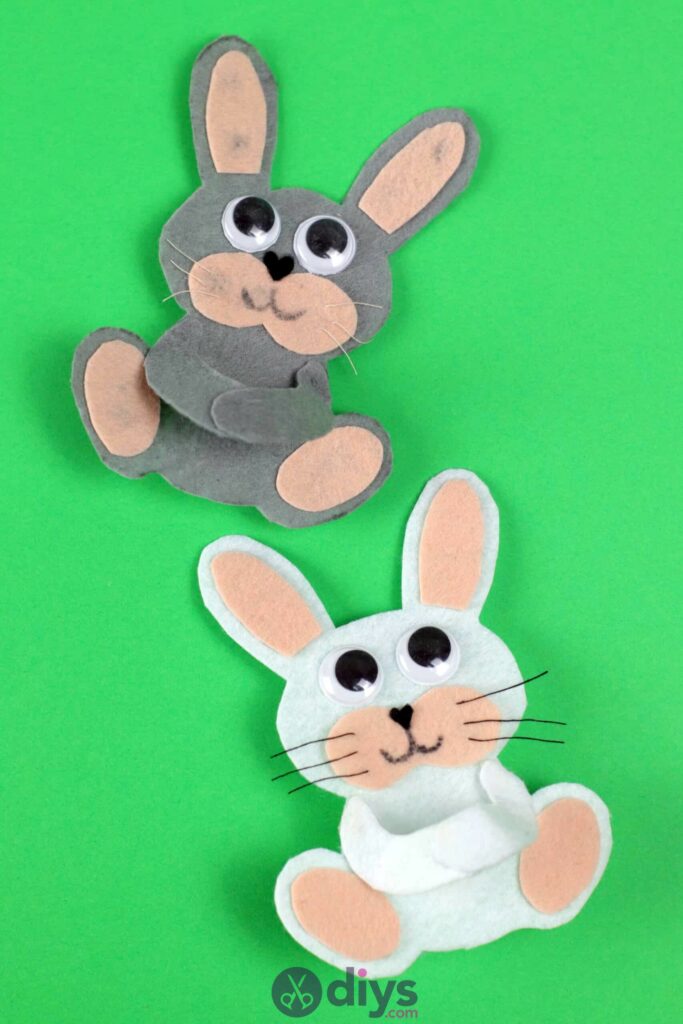
Try this cute DIY lollipop holder felt bunny at home by yourself, or with your kids. They make Easter a little more fun, and also turn a simple lollipop into a cool gift for kids to hand out to their friends. Keep reading to see just how you can make this!
Kids love making this DIY project, but its fun for adults too. Check out these step by step instructions complete with photos or, if you’re more of a visual learner, scroll to the bottom of this post to find a video tutorial instead.
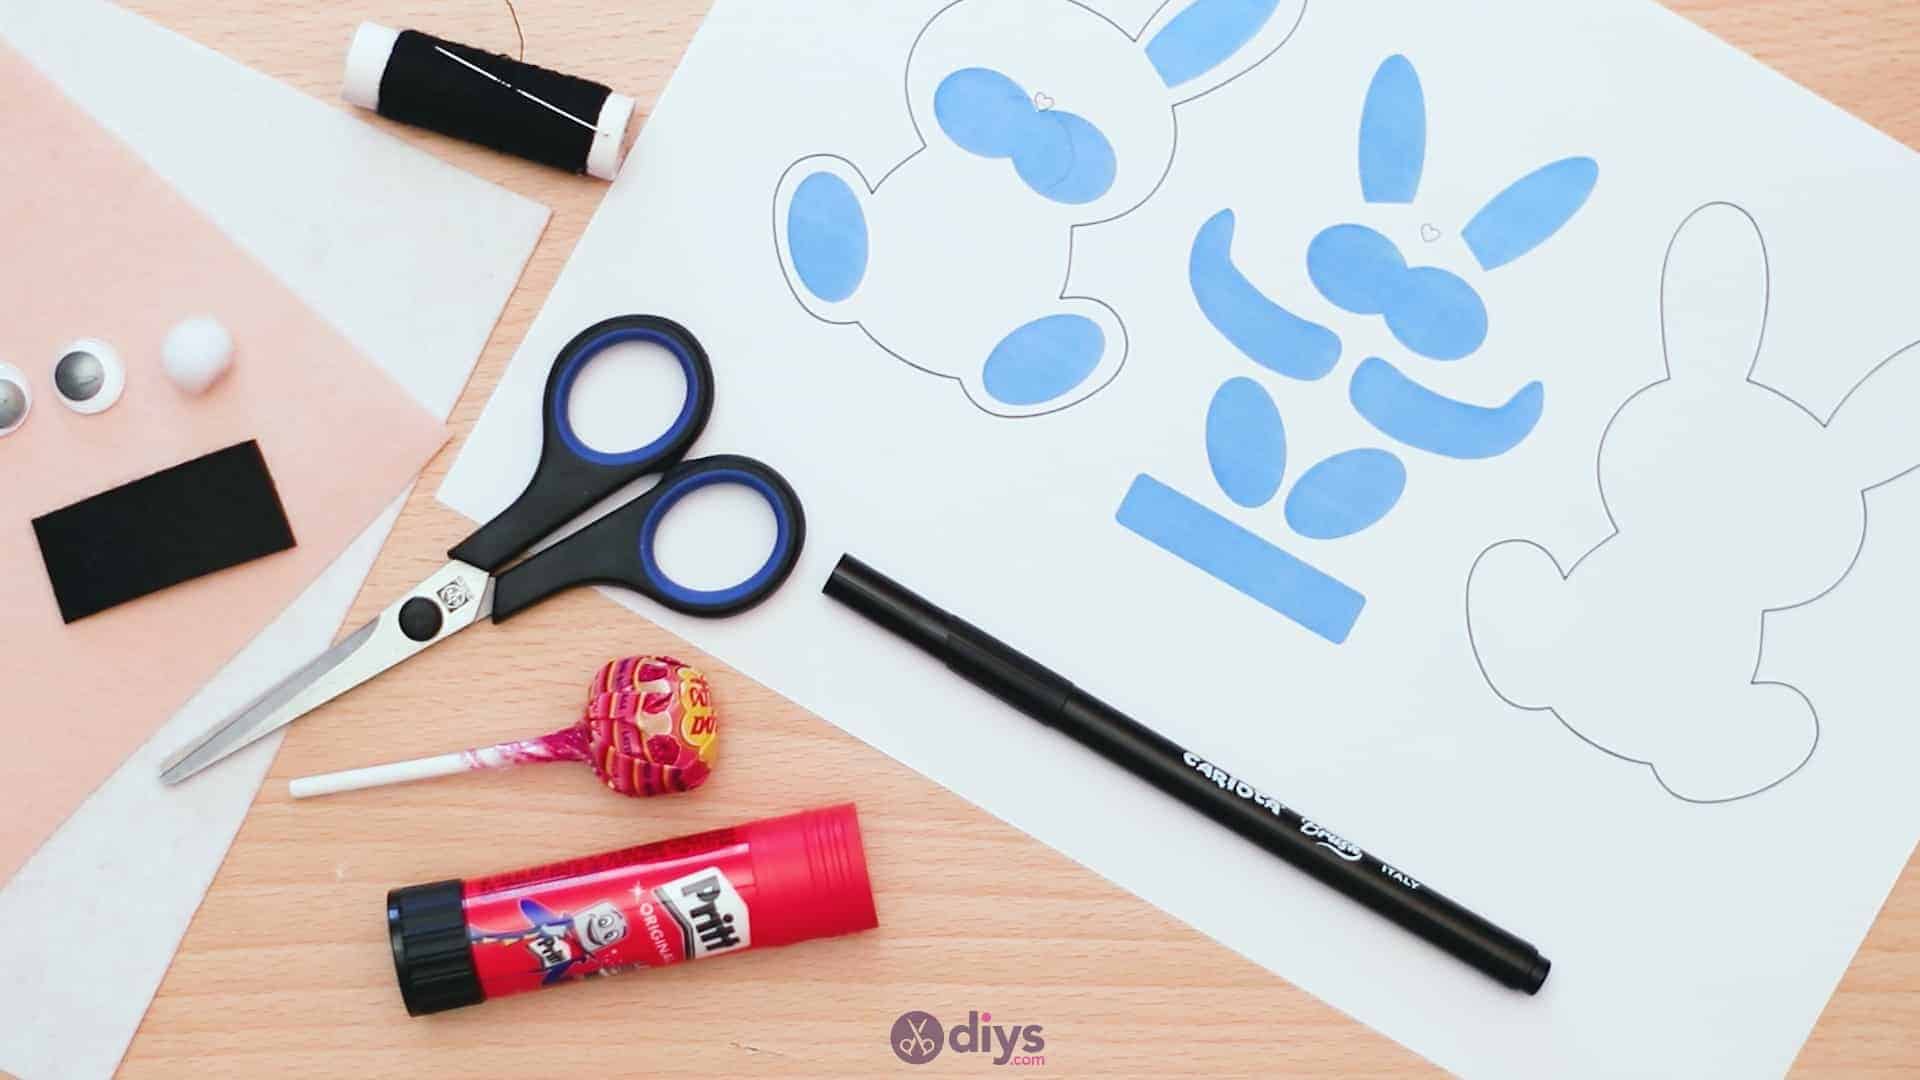
For this project, you’ll need:
- Felt fabric (white or grey, black, and beige)
- Lollipop
- Needle and thread
- Glue stick
- Bunny template (you can find one here)
- Scissors
- Cotton pom pom
- Googly eyes
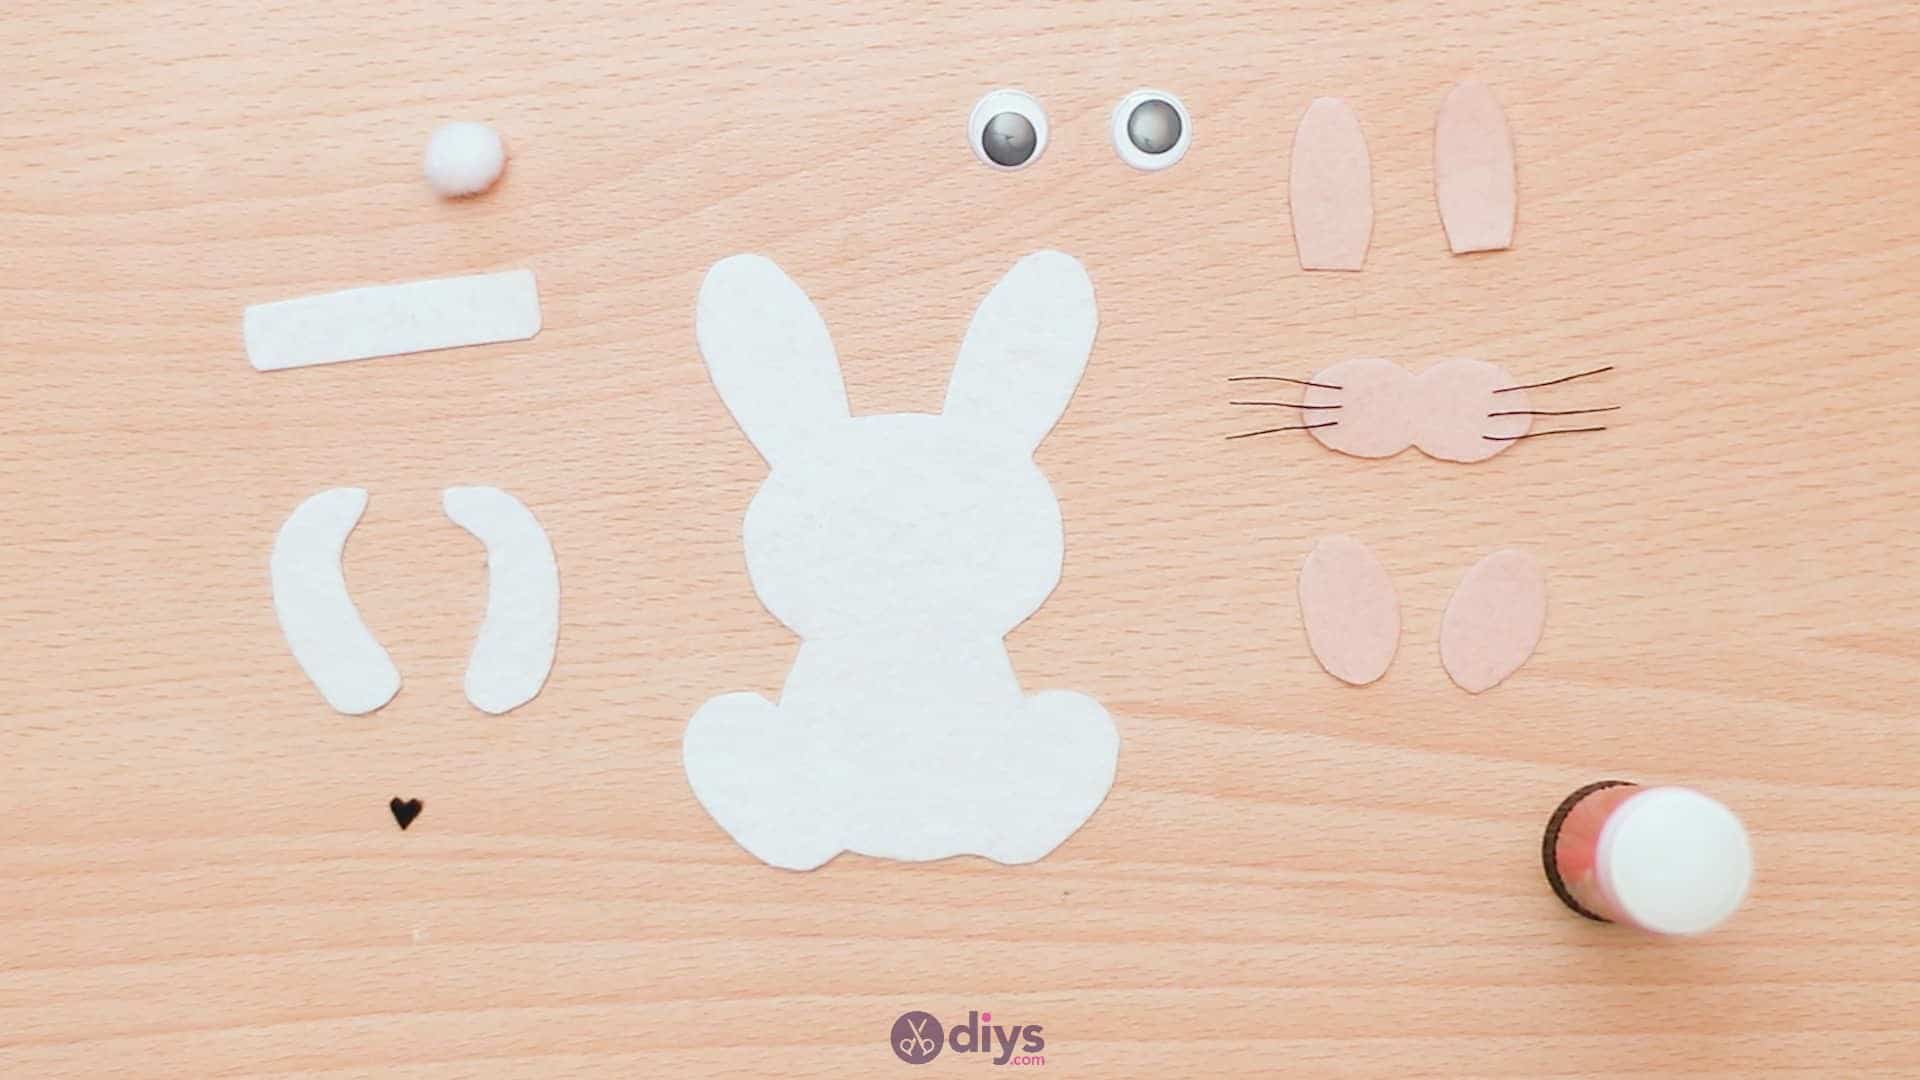
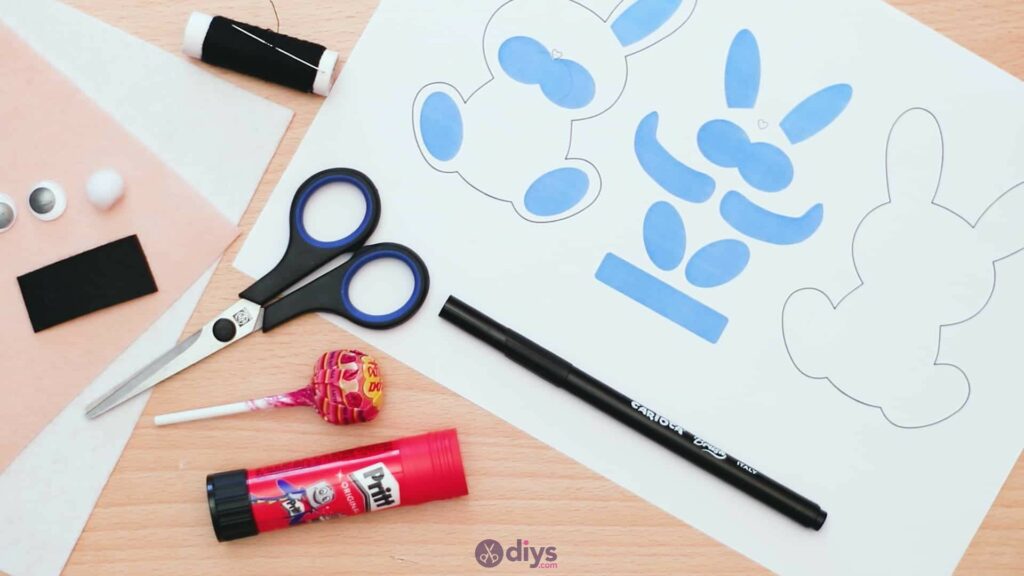
Step 1: Gather your materials!
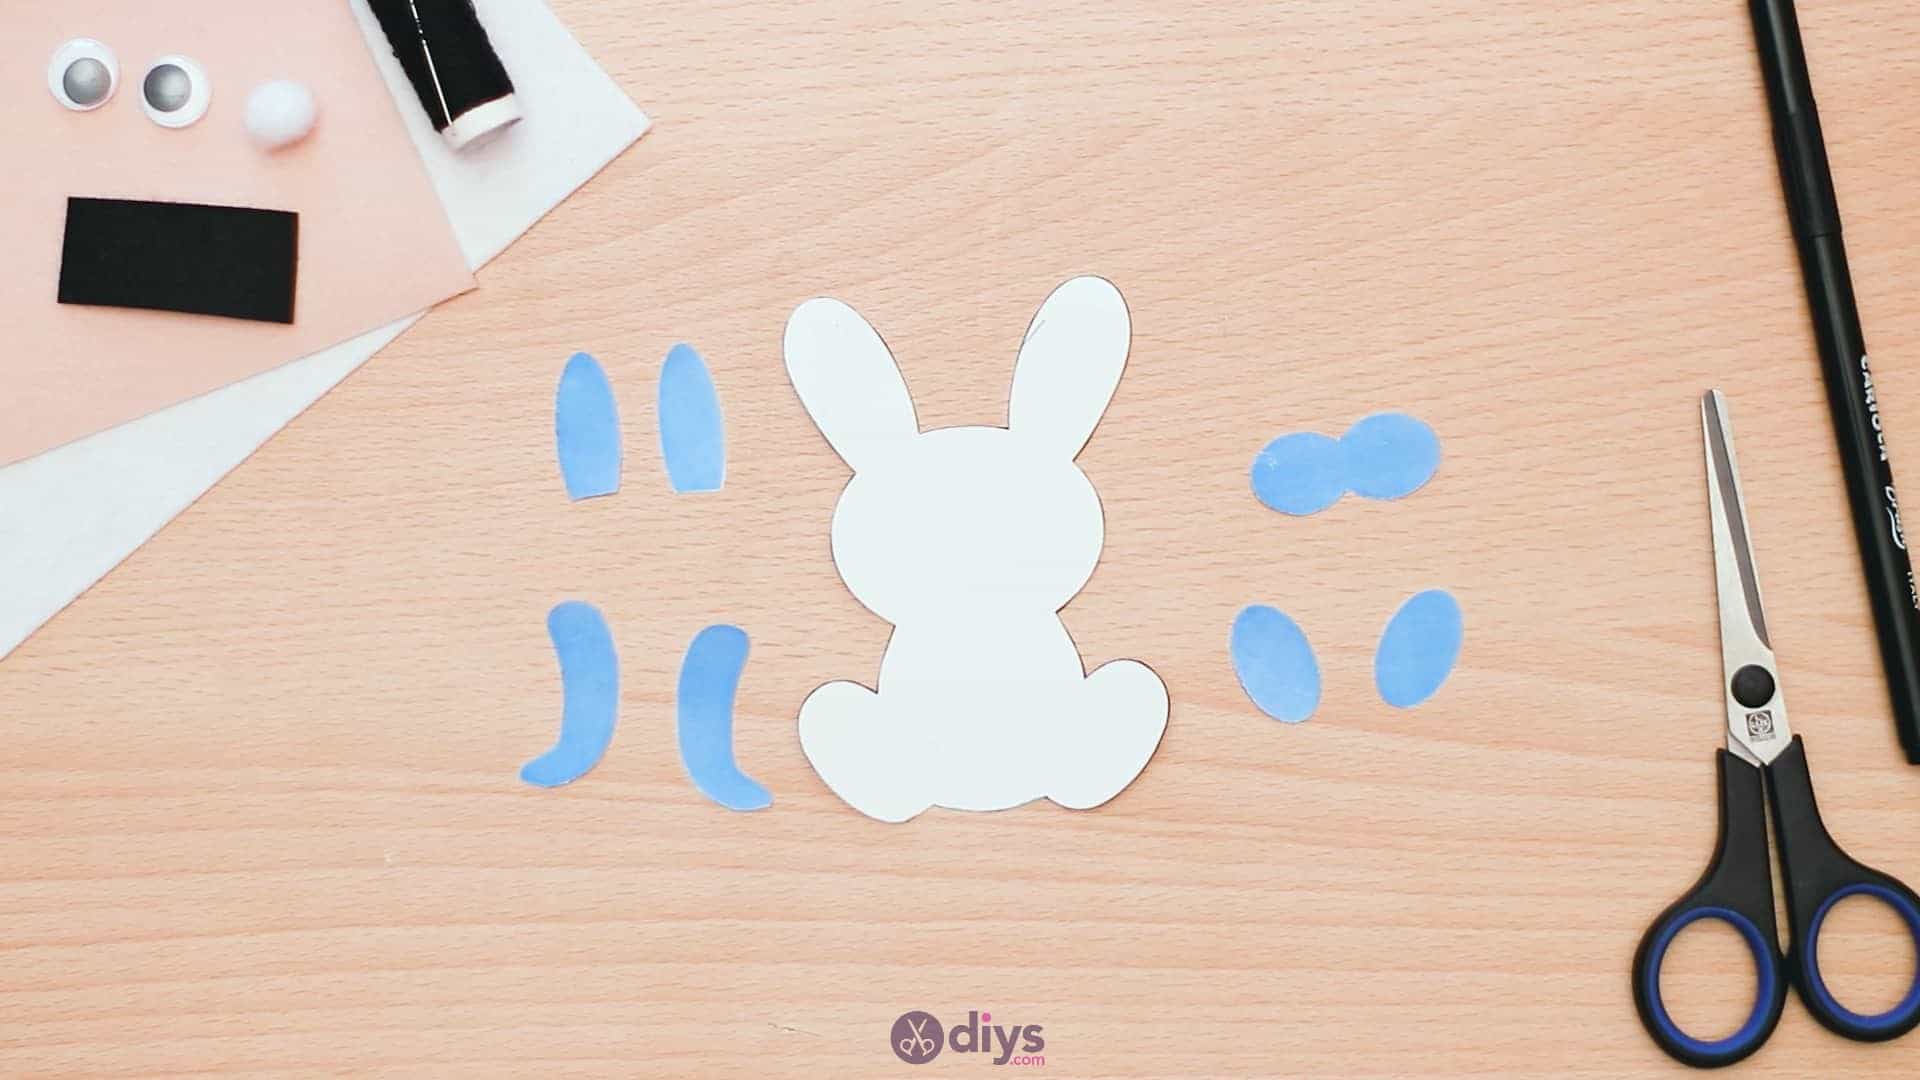
I printed my template out beforehand. But also make sure you have your tools needed.
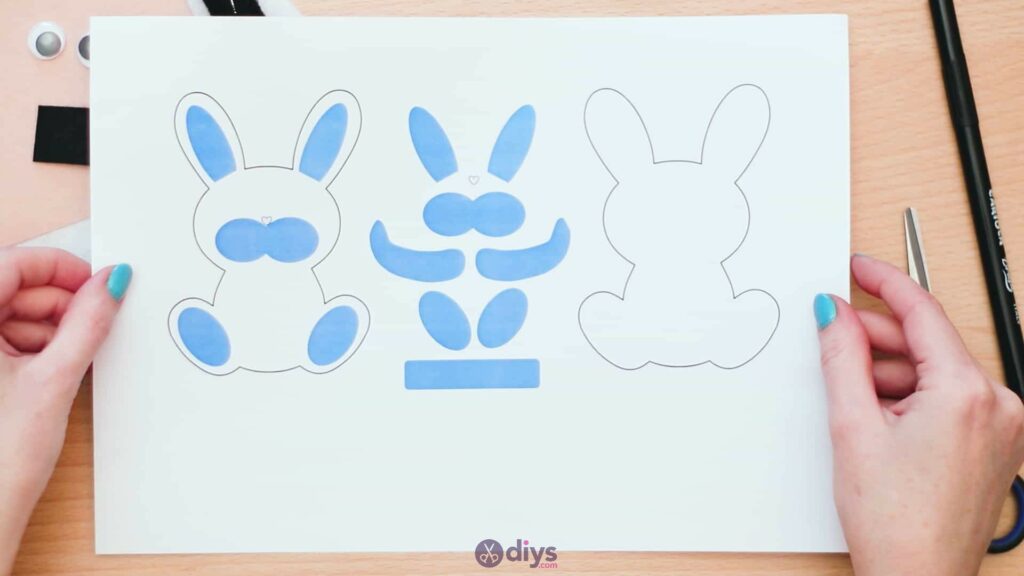
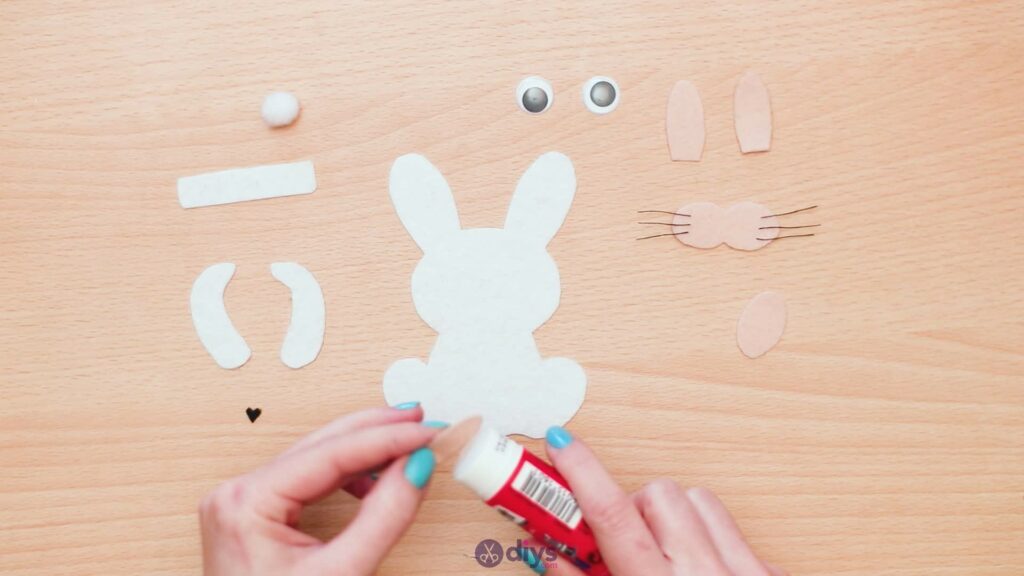
Step 2: cut the shapes
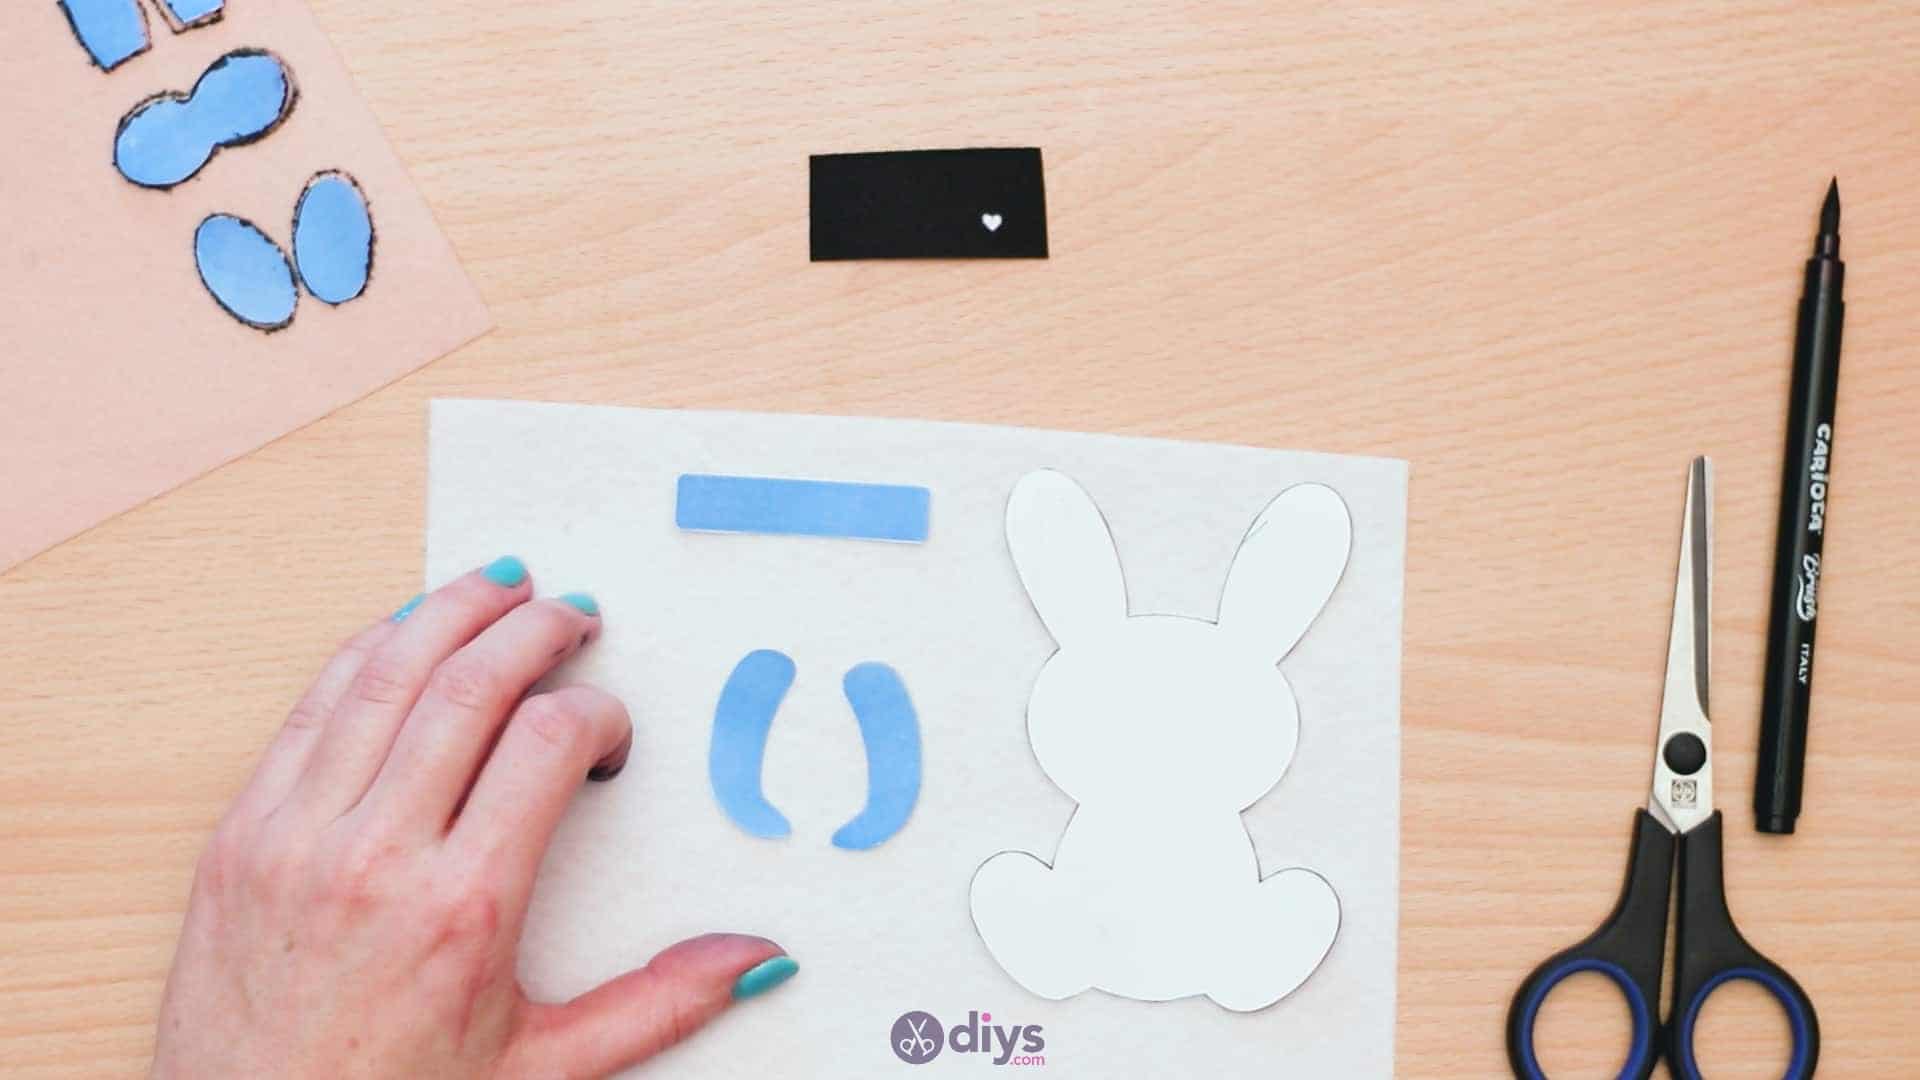
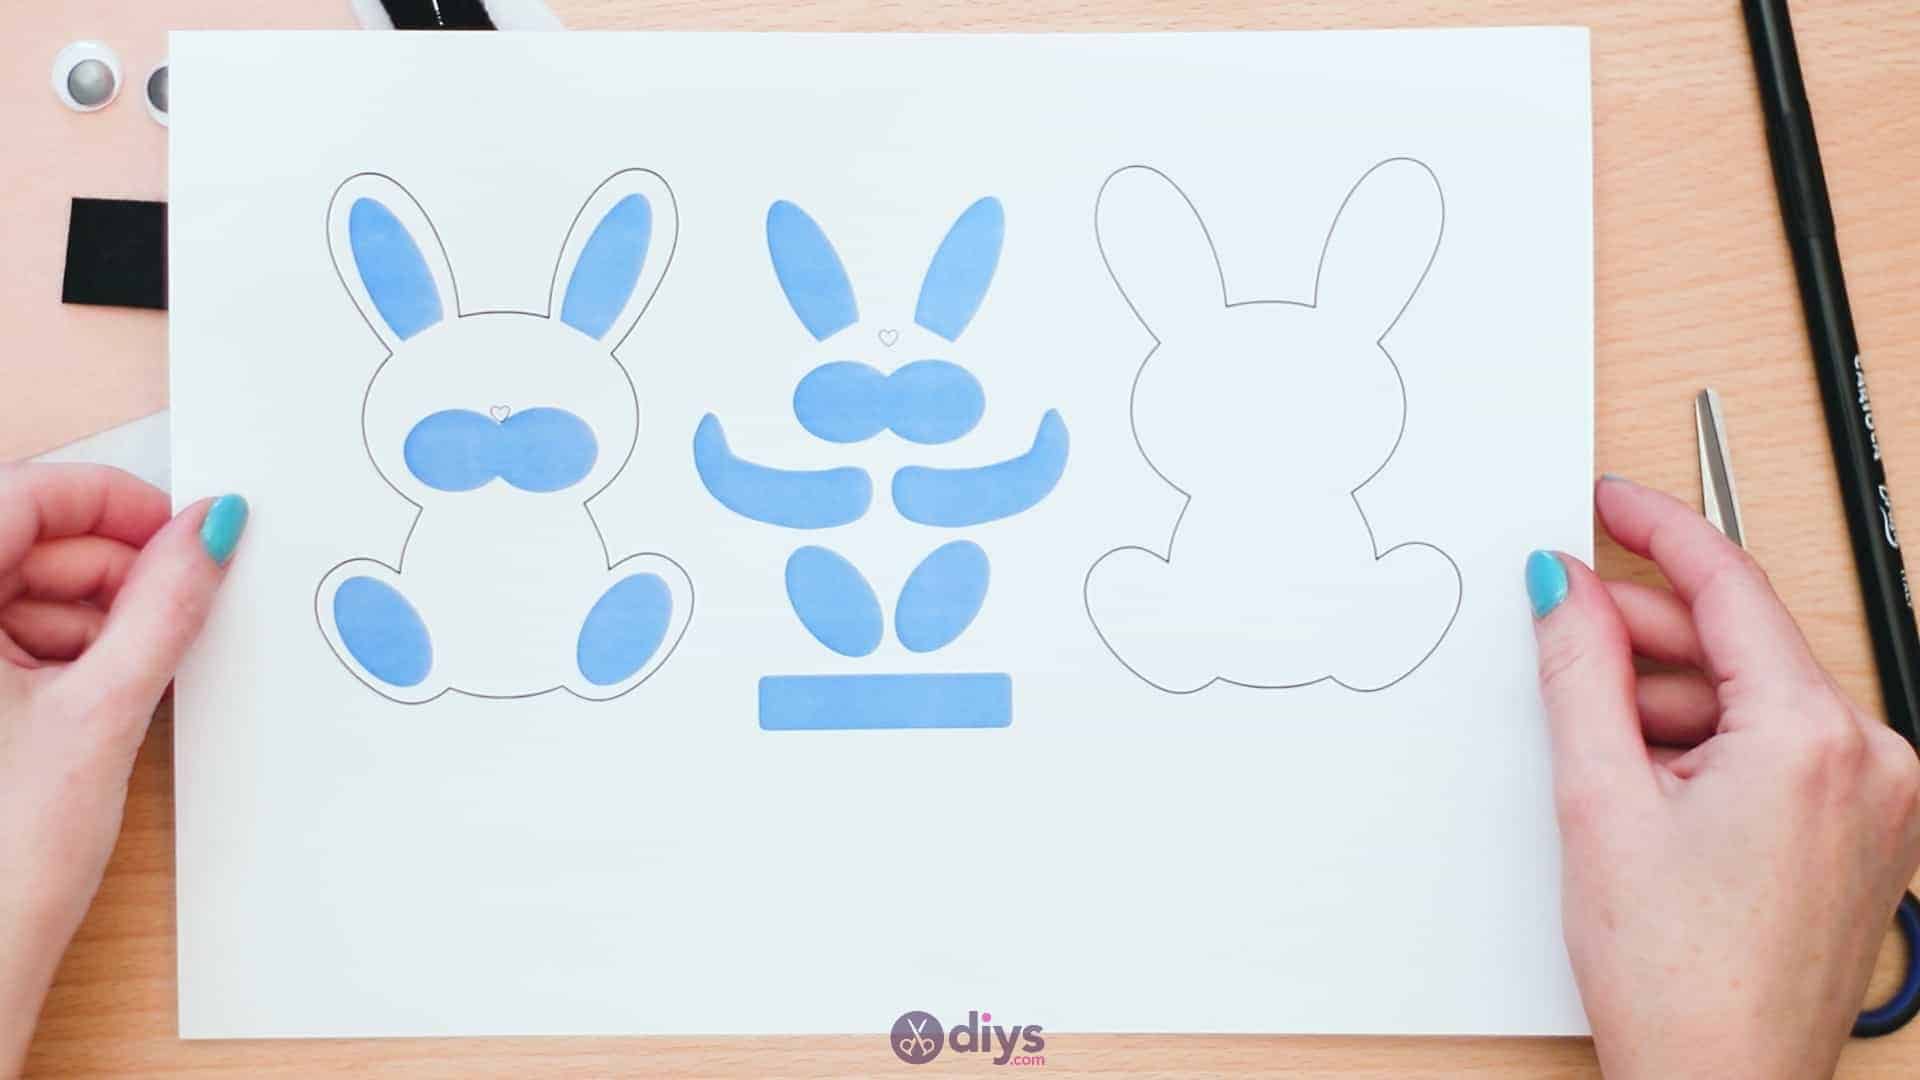
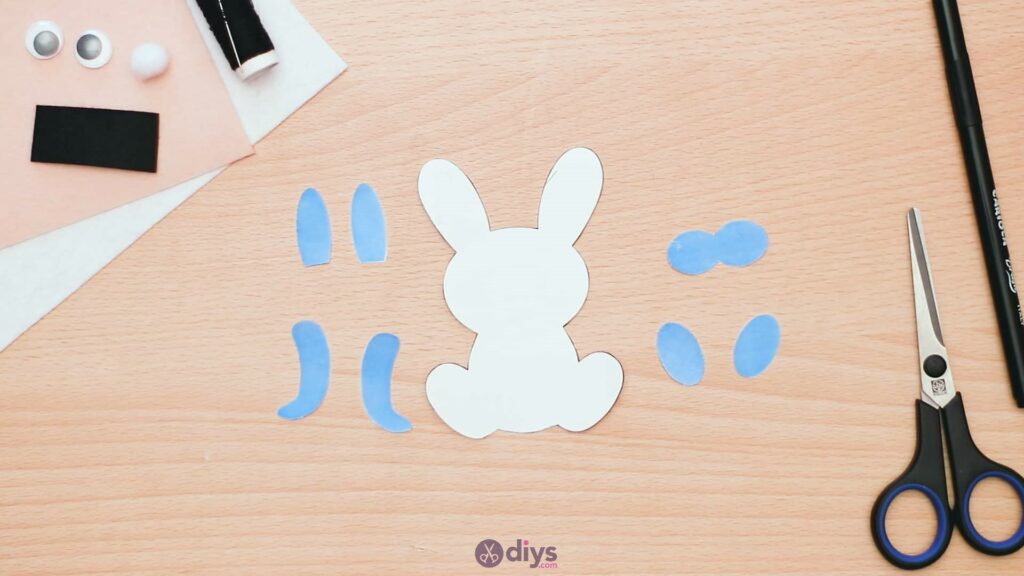
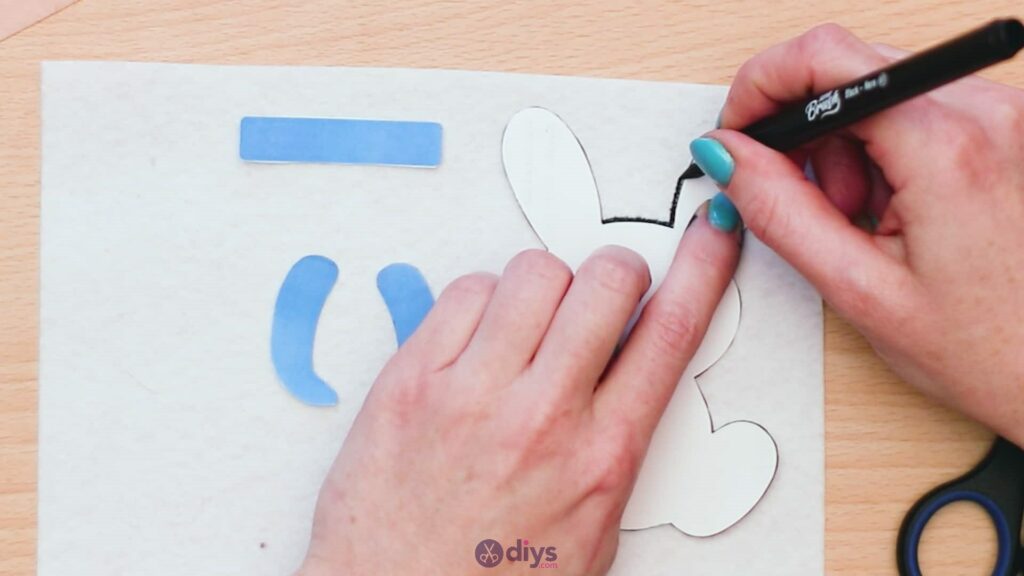
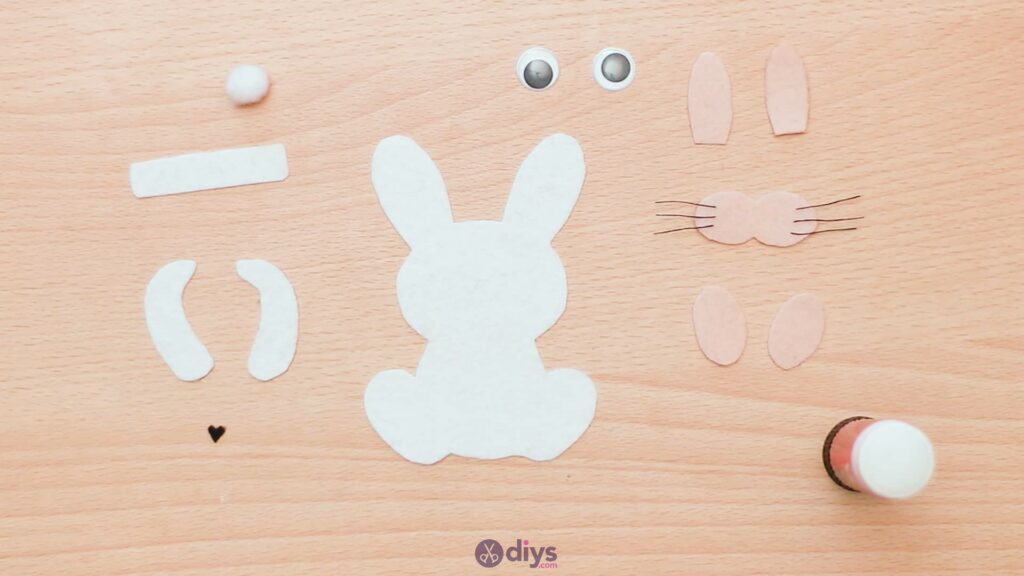
Cut the pieces of your template out! The one on the left that has a black outline, white body,and blue features is just a guideline to shower you how all the pieces eventually assemble. You want to cut out the white full body outline on the right and the individual blue features in the centre.
Step 3: trace
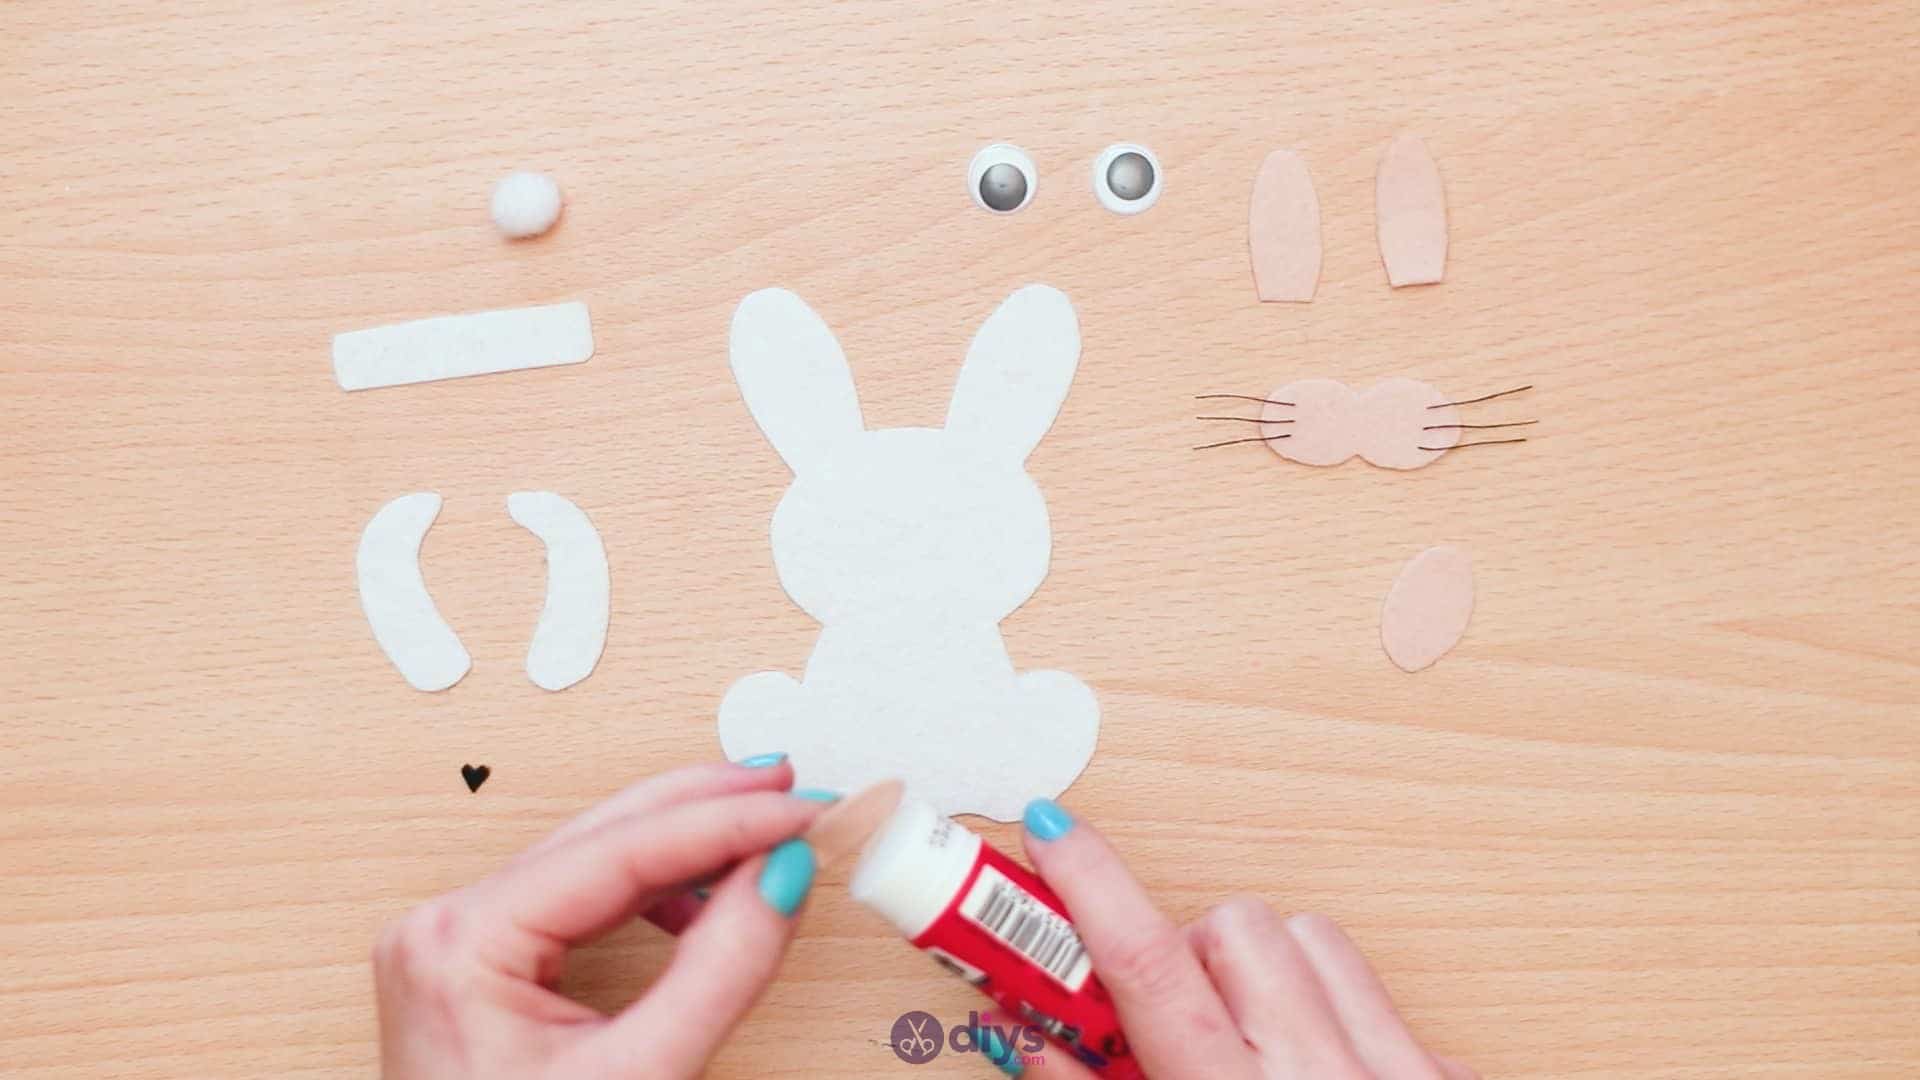
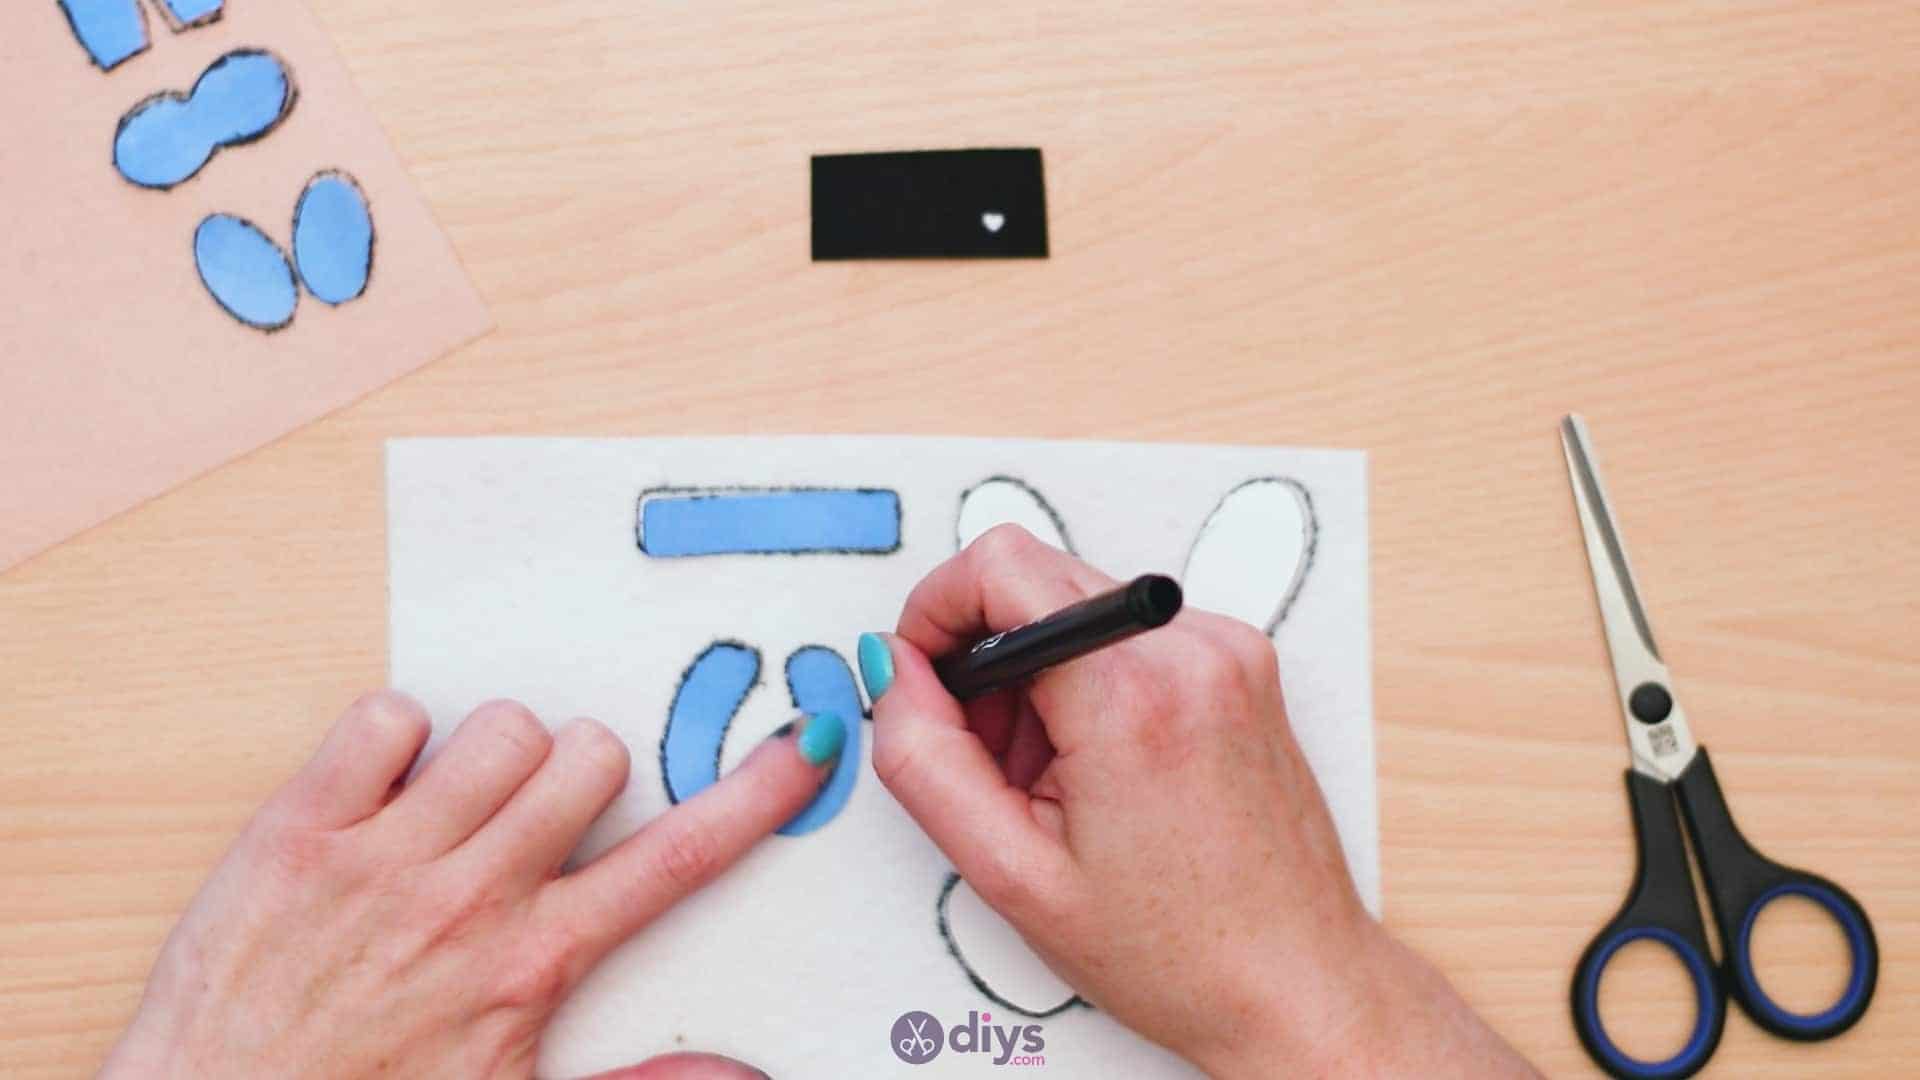
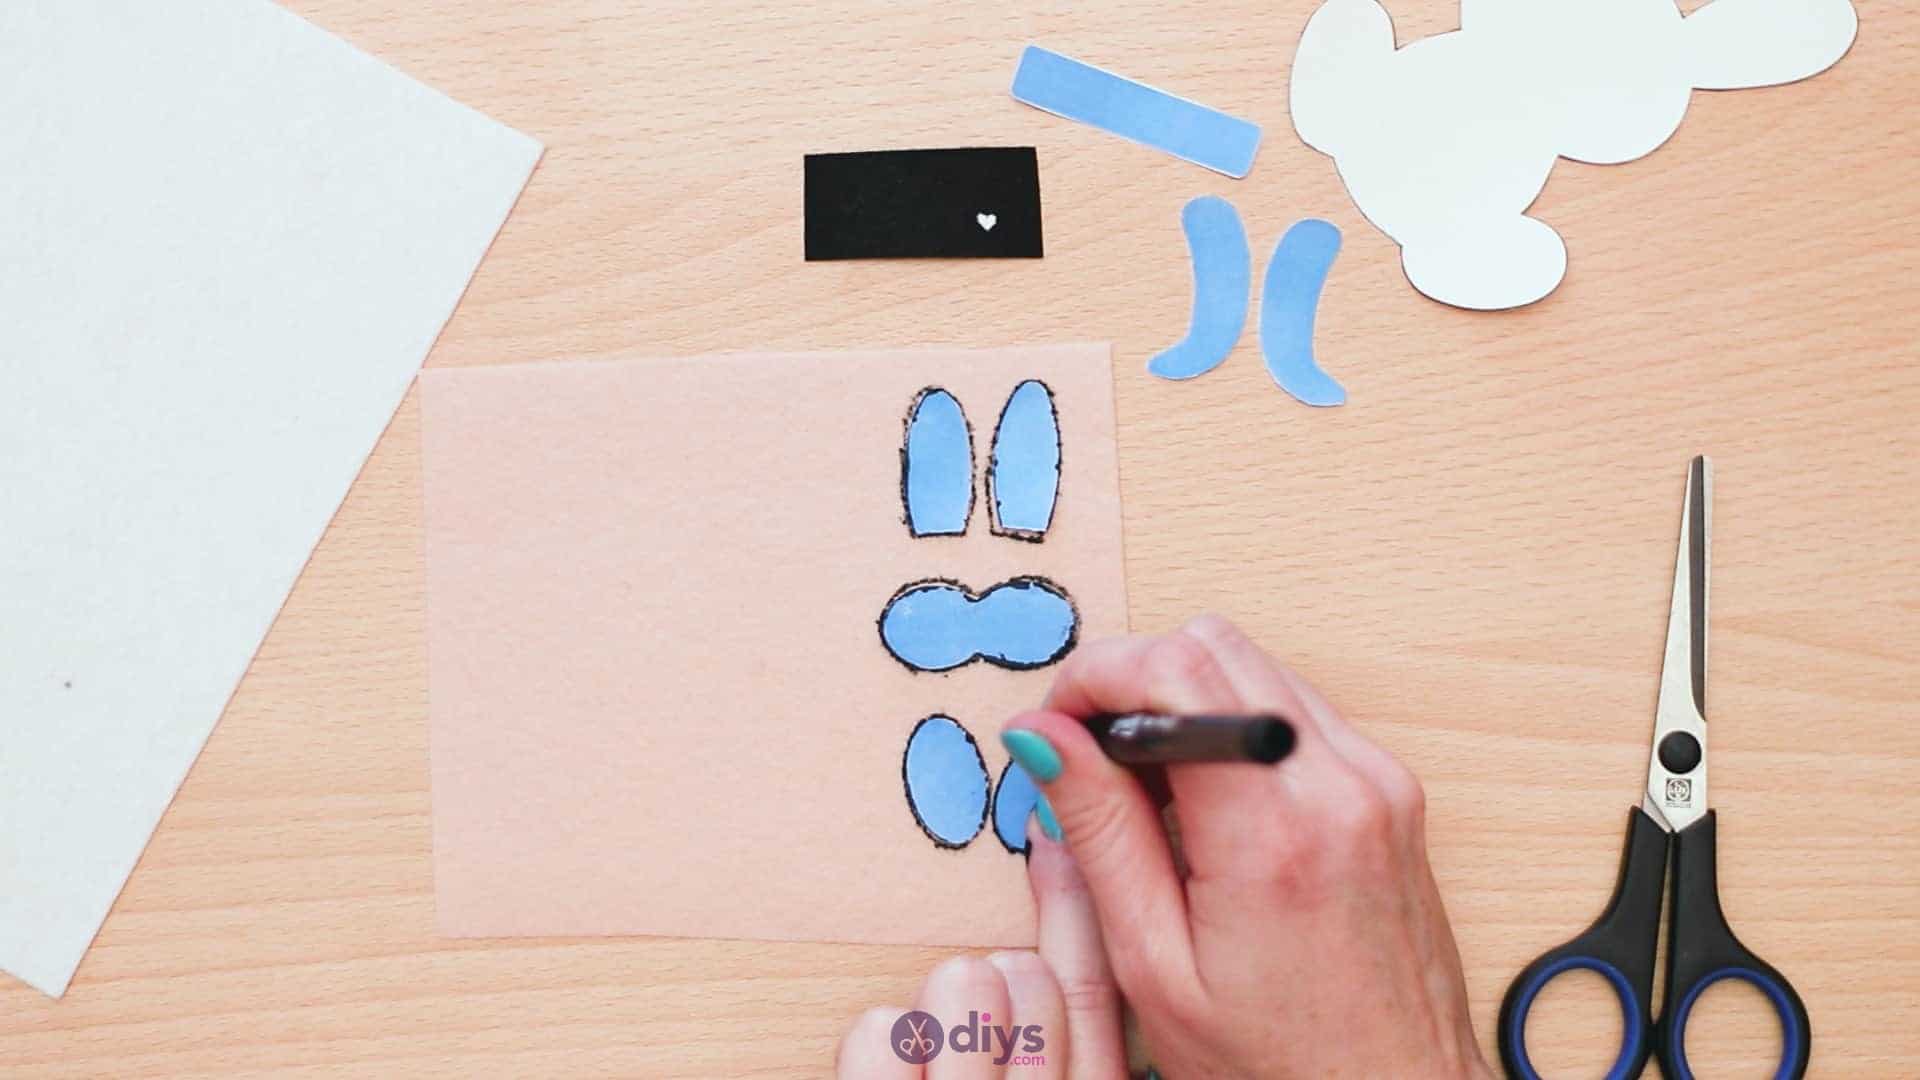
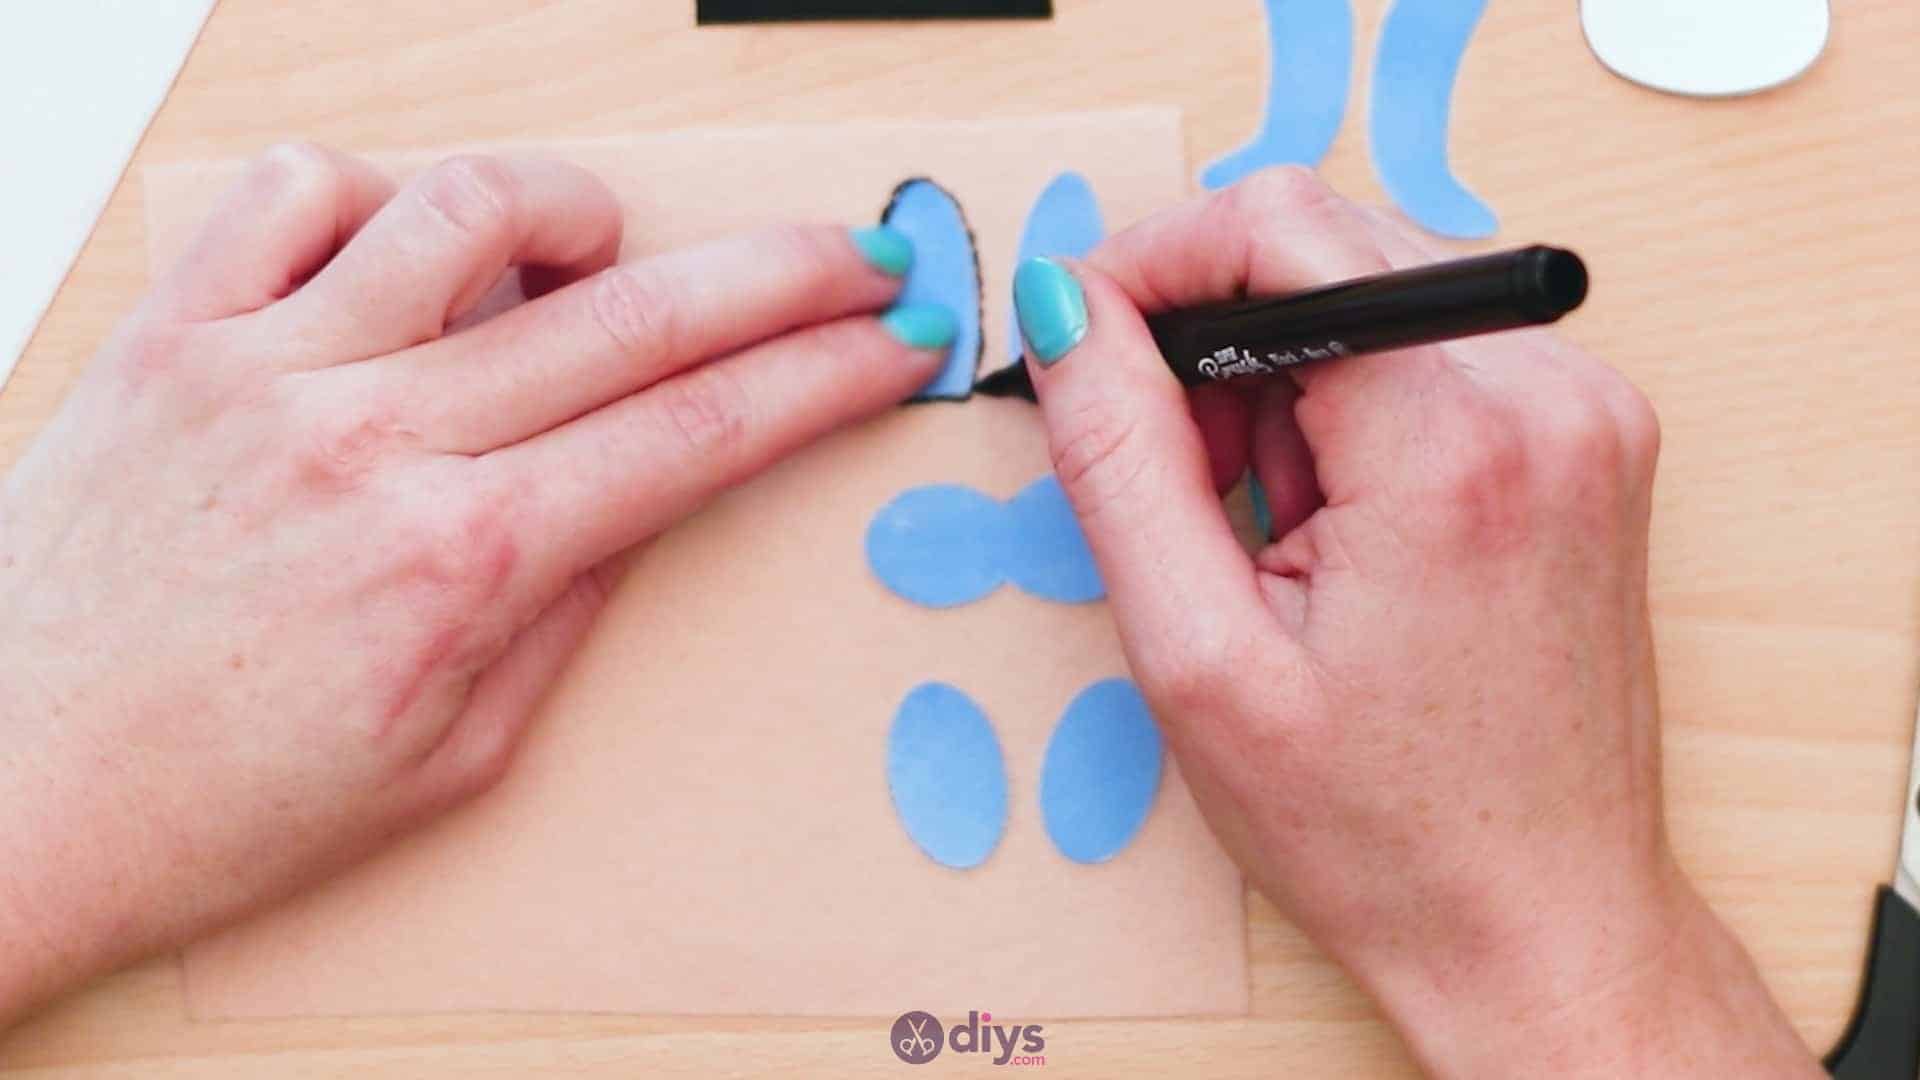
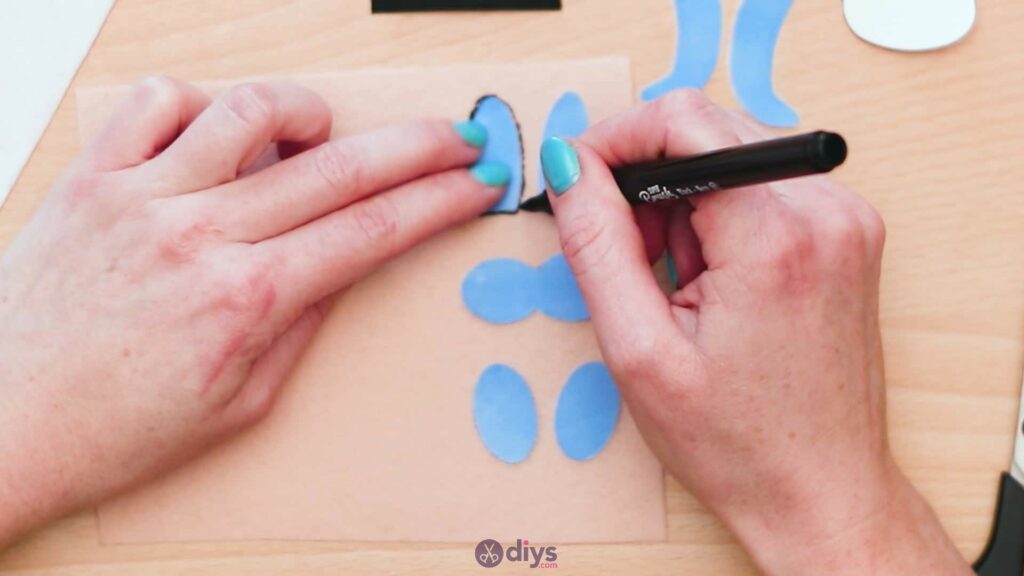
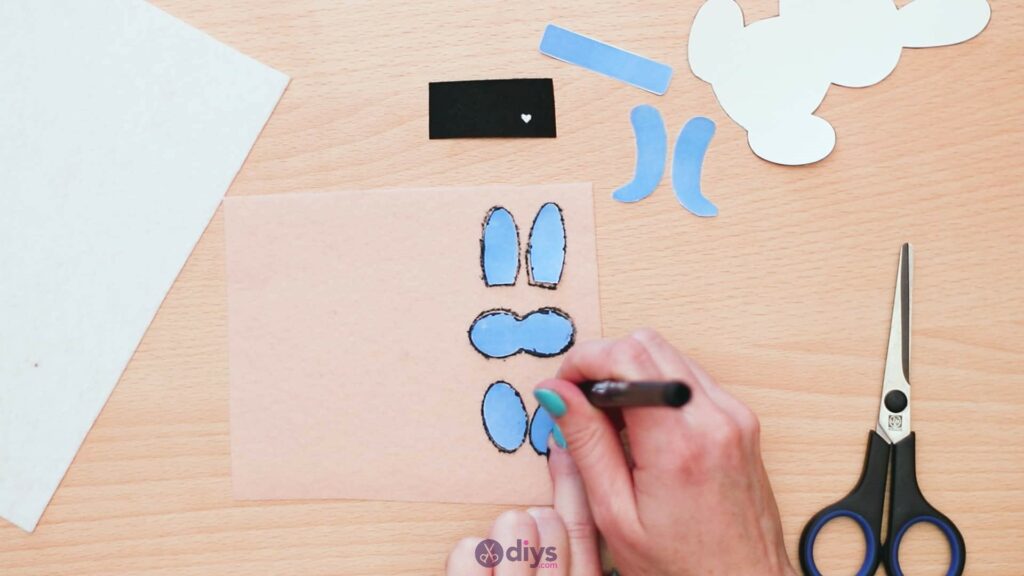
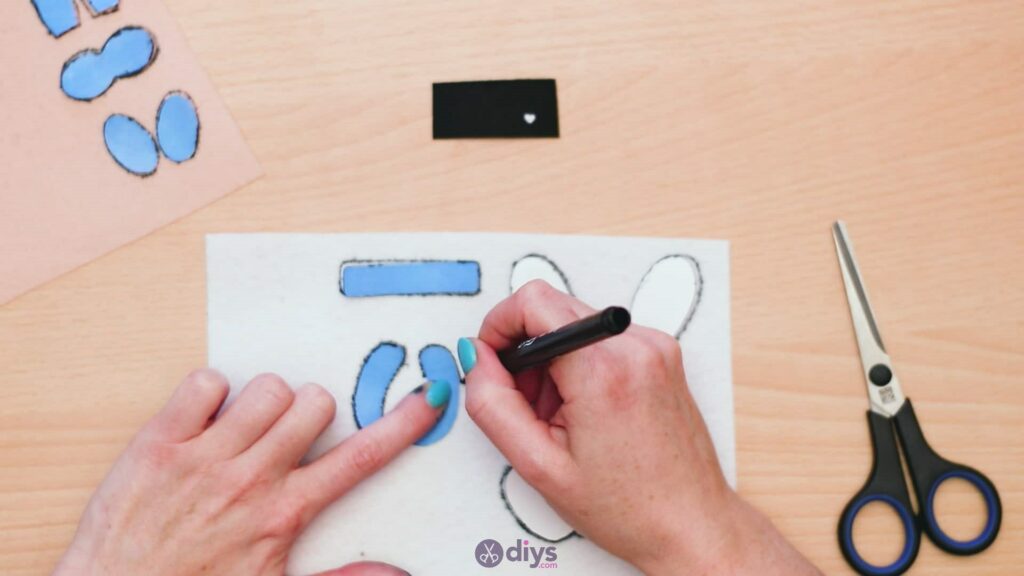
Take your beige coloured felt piece and lay it flat on your worktop. On the piece, lay down your bunny’s two inner ears, muzzle, and feet. Space them out so you have enough room to trace between them and then use your marker to outline each shape onto the felt around the edge of each paper piece. Set the piece aside for the moment. You’ll also want to place your tiny heart-shaped nose piece onto a scrap of black felt (even if you don’t have any marker or pen that will trace onto the place; the shape can still mark the shape and its size for you in a moment when you start cutting pieces out).
Step 4: repeat
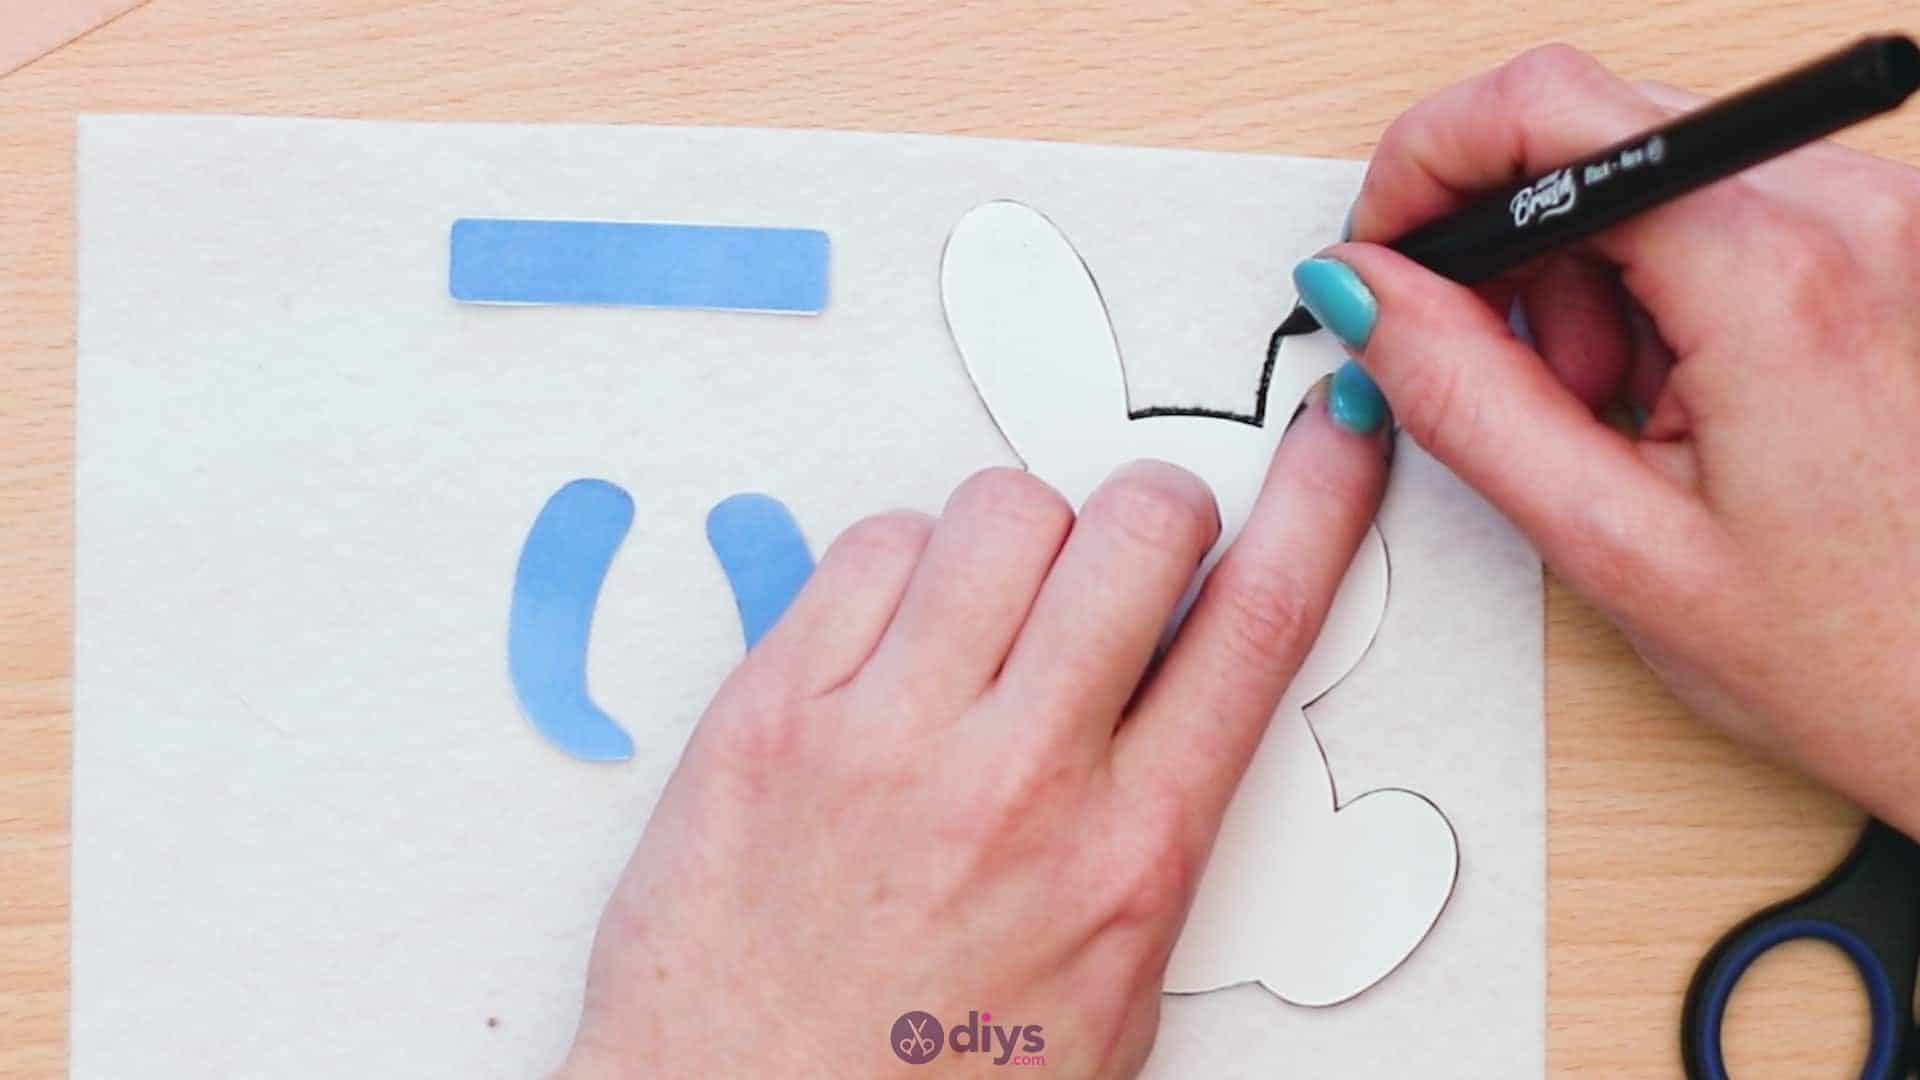
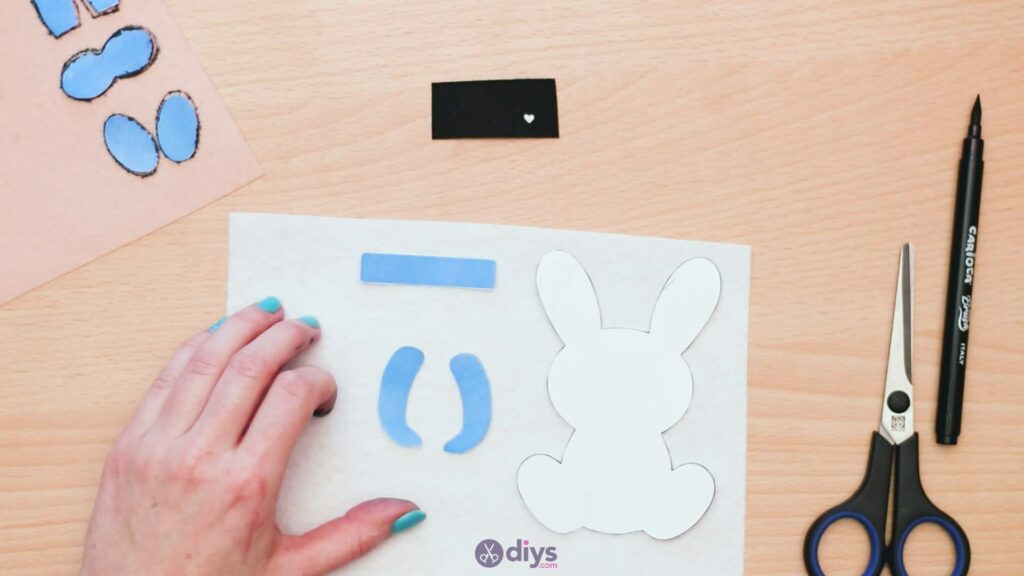
Repeat the tracing process, but this time outline the arms, back finger band, and full body on your white felt instead.
Step 5: cut the shapes
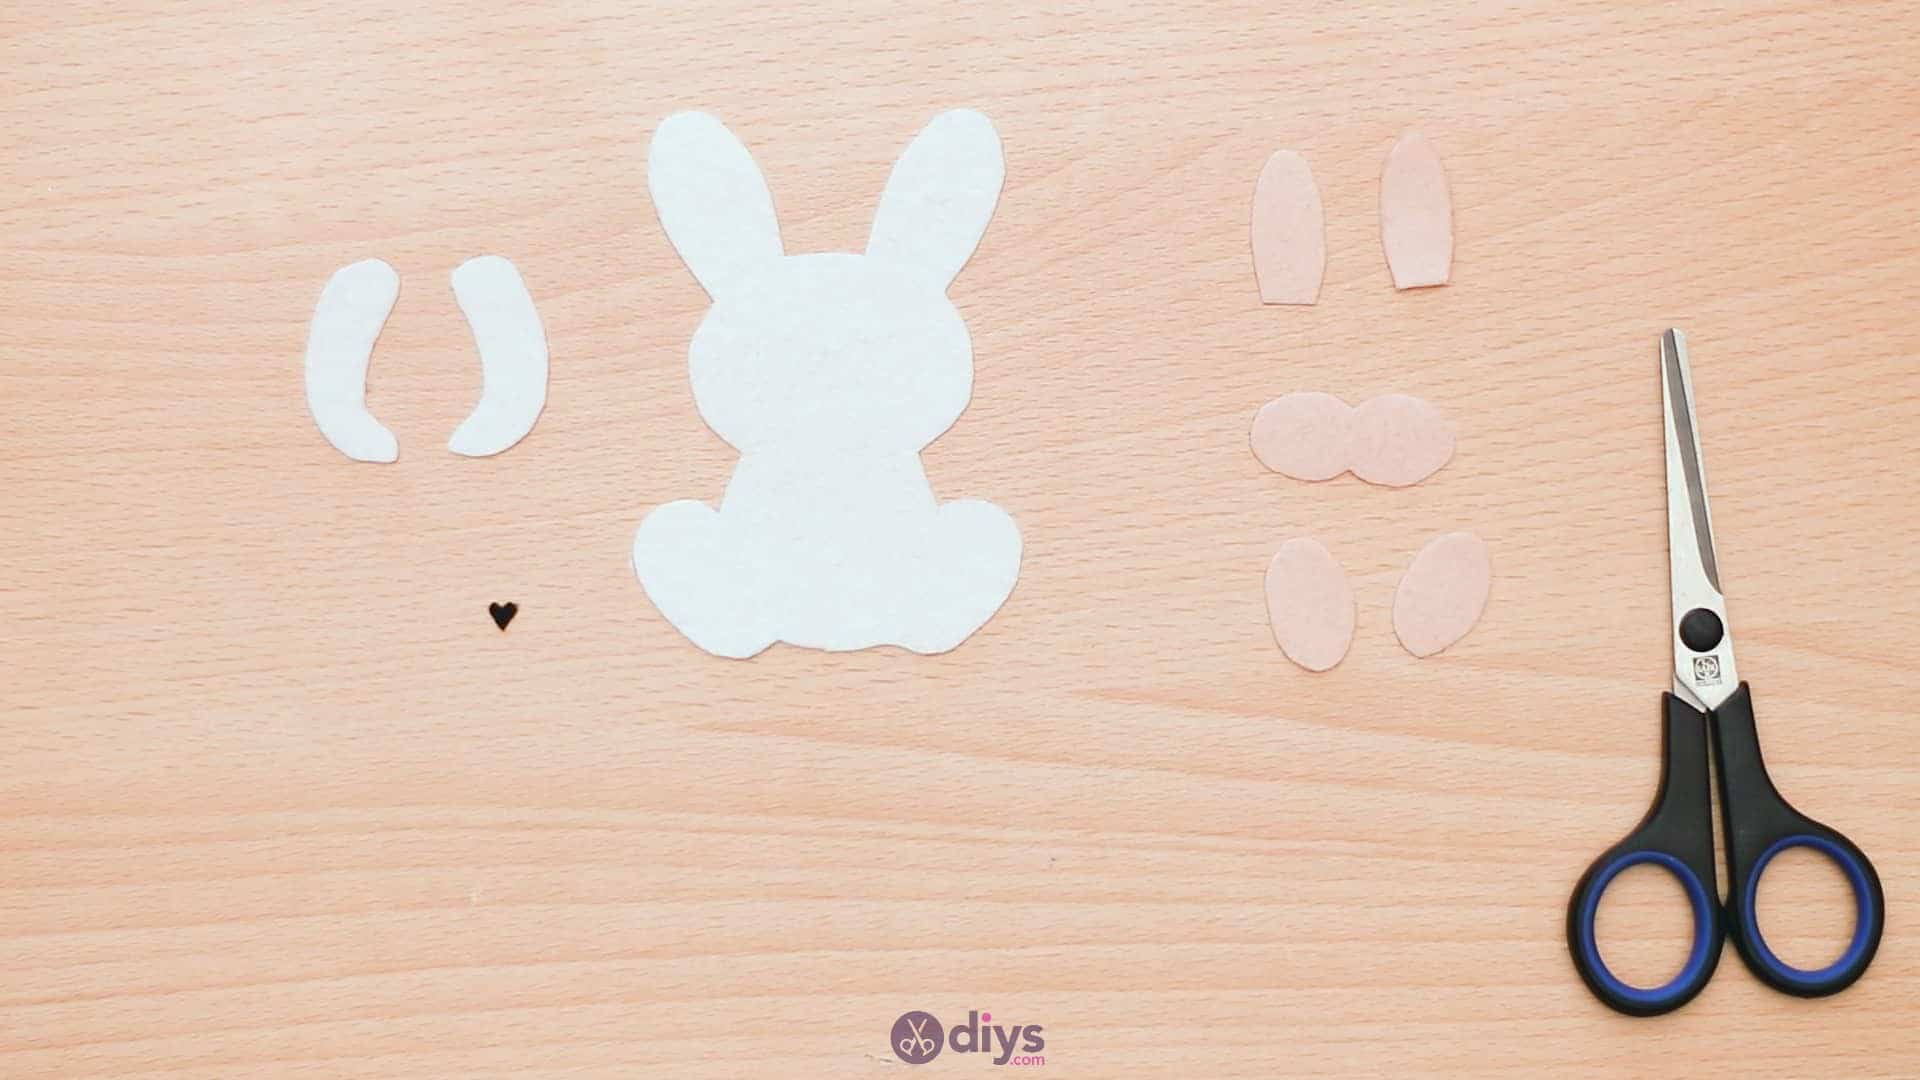
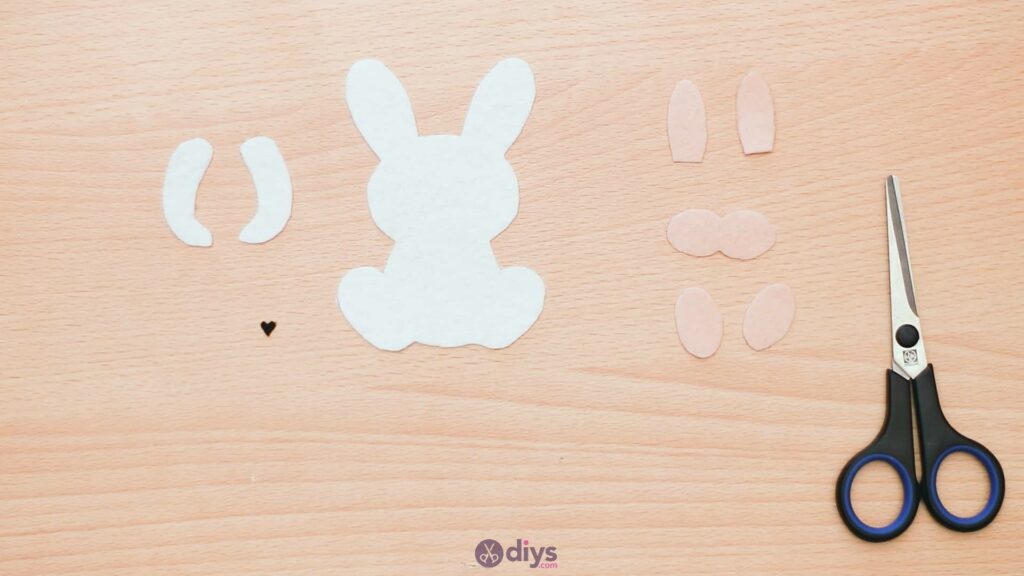
Use your scissors to cut outall of the pieces you traced onto both colours of felt, and also the little heart shaped nose that you placed onto your black scrap piece.
Step 6: add the whiskers
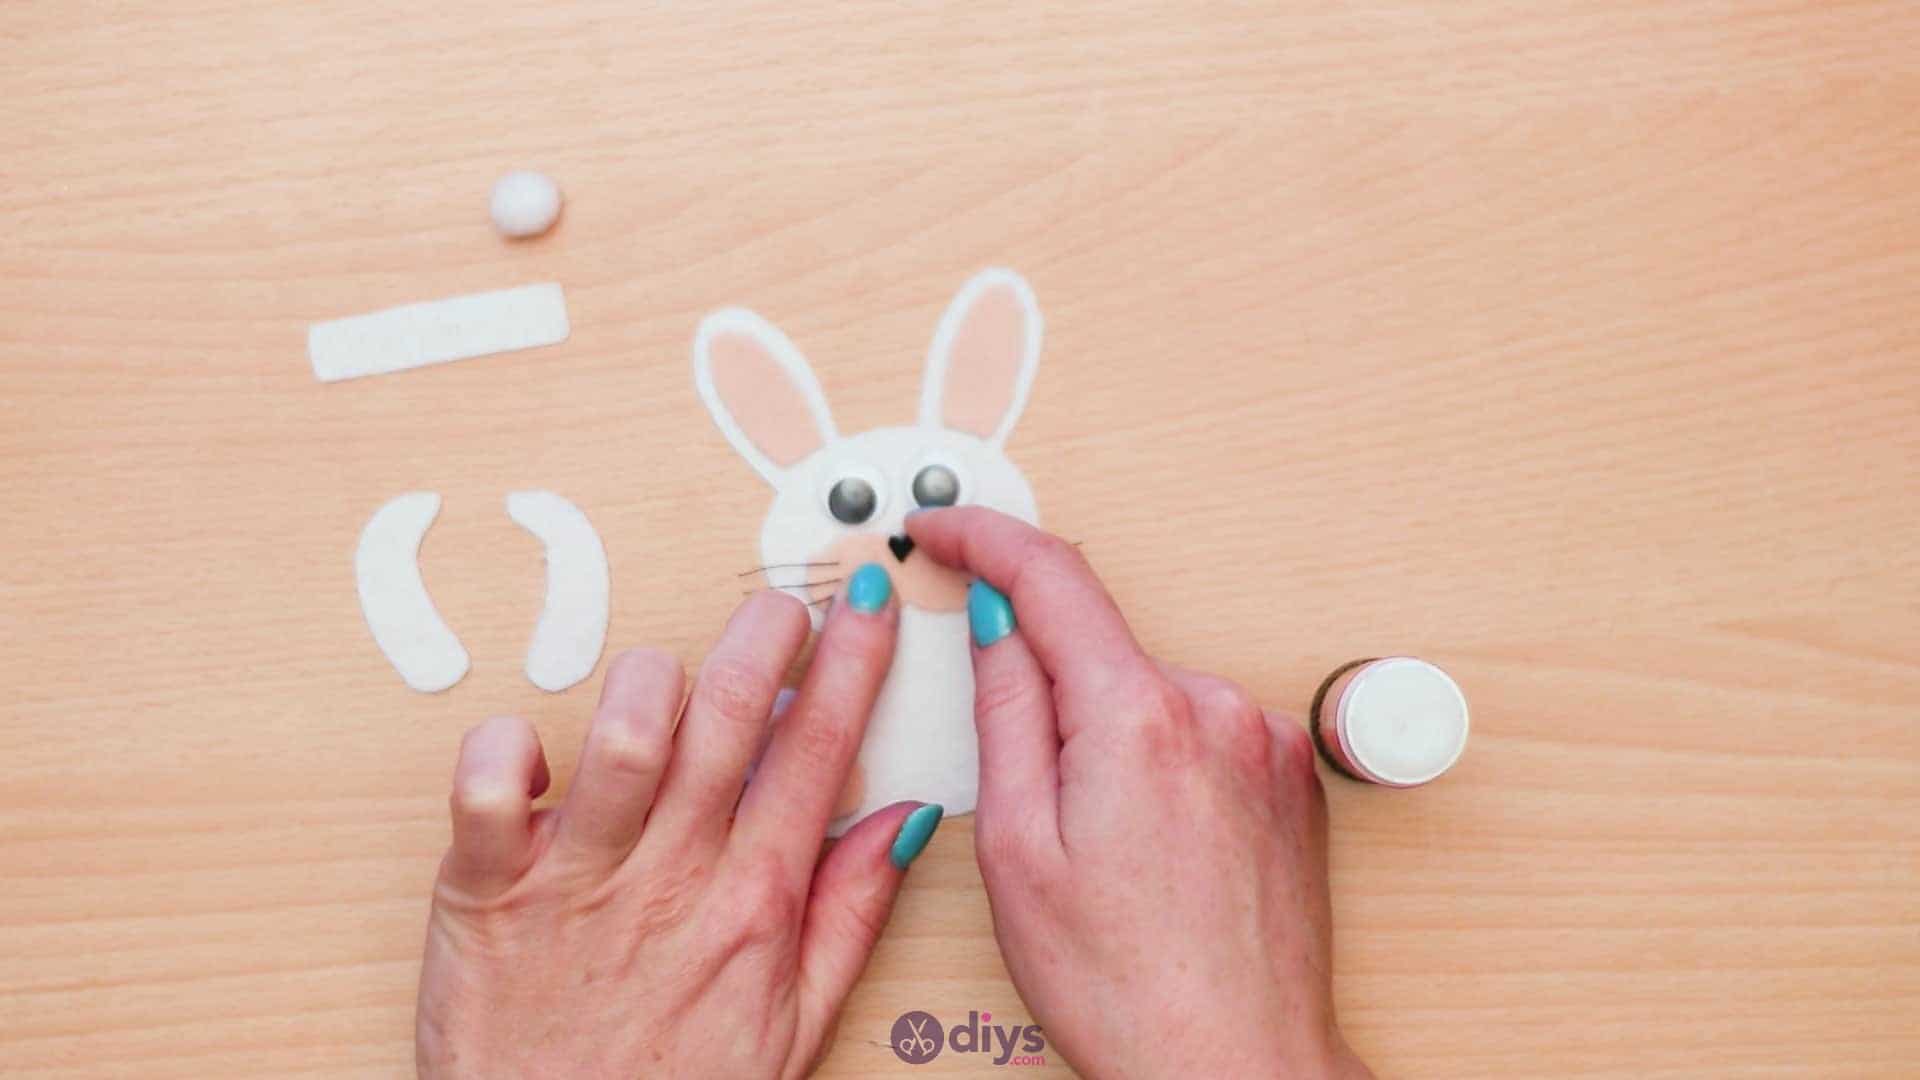
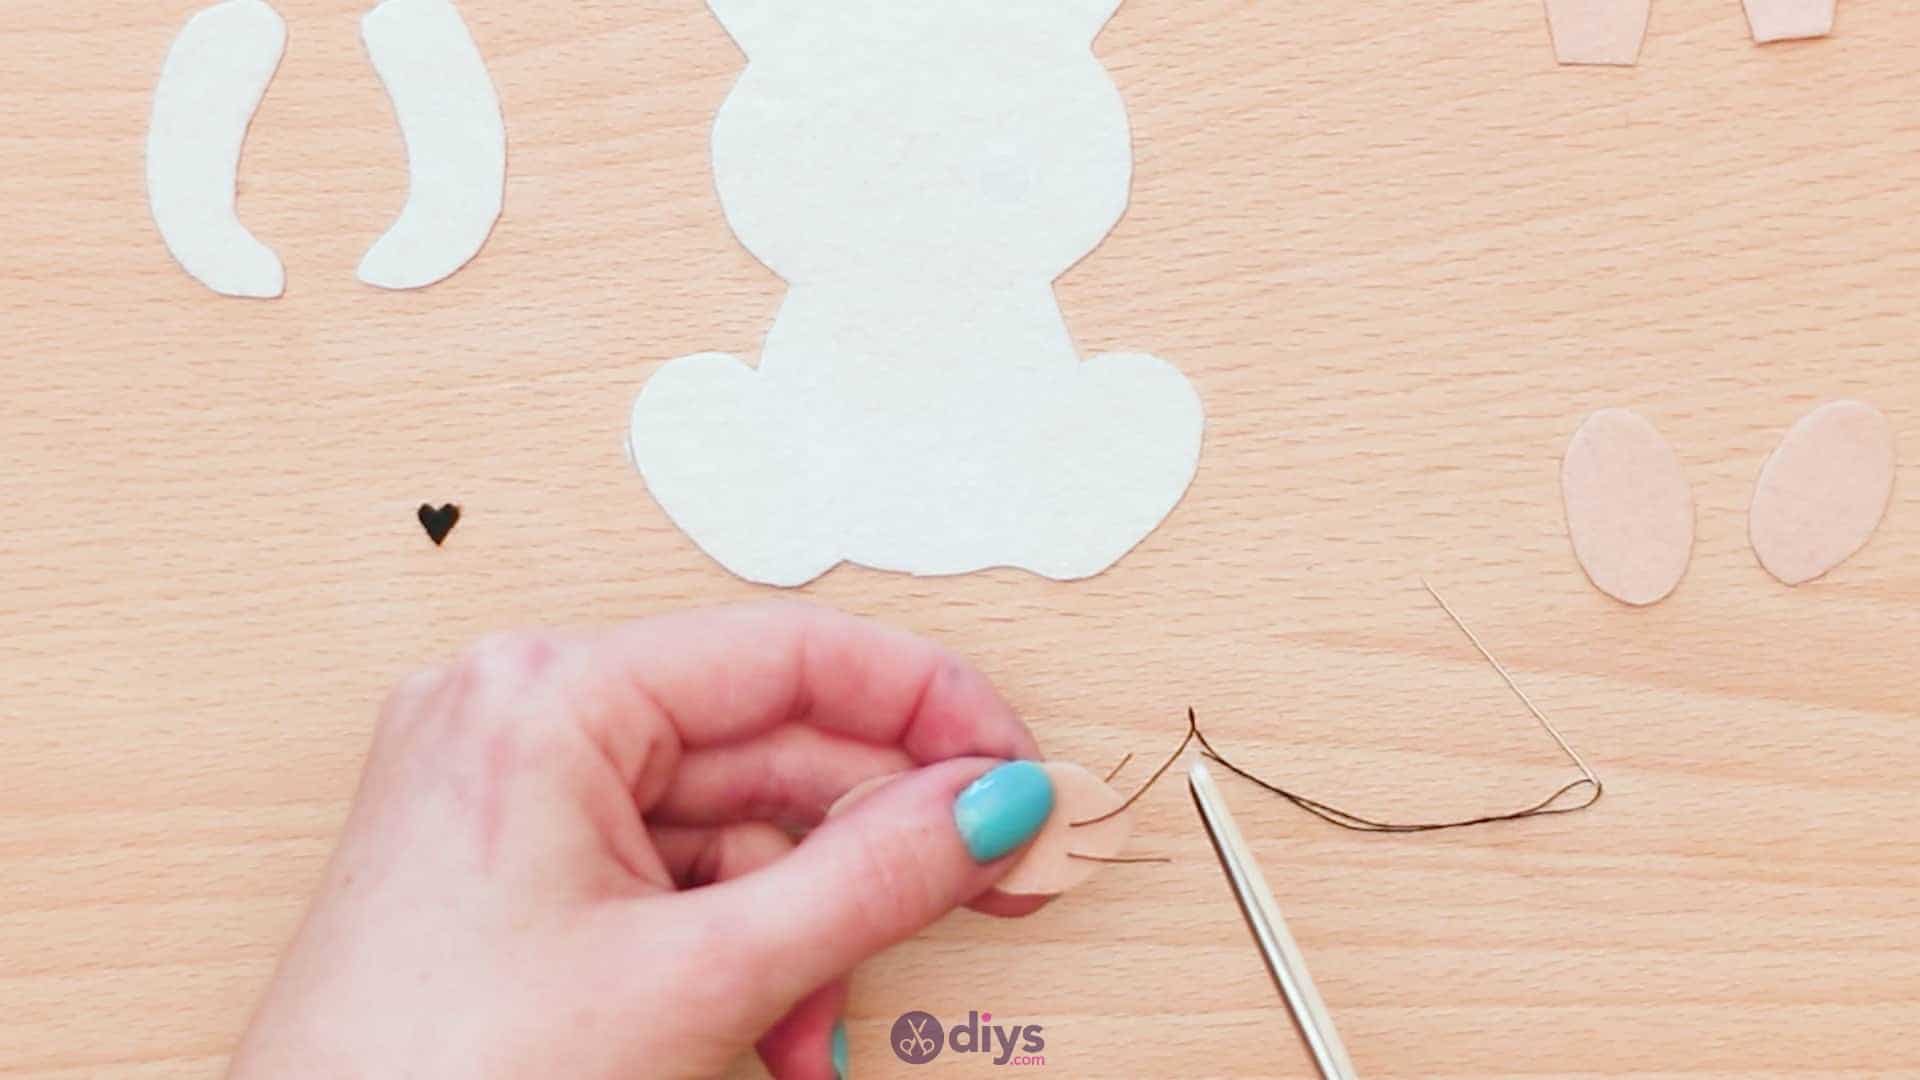
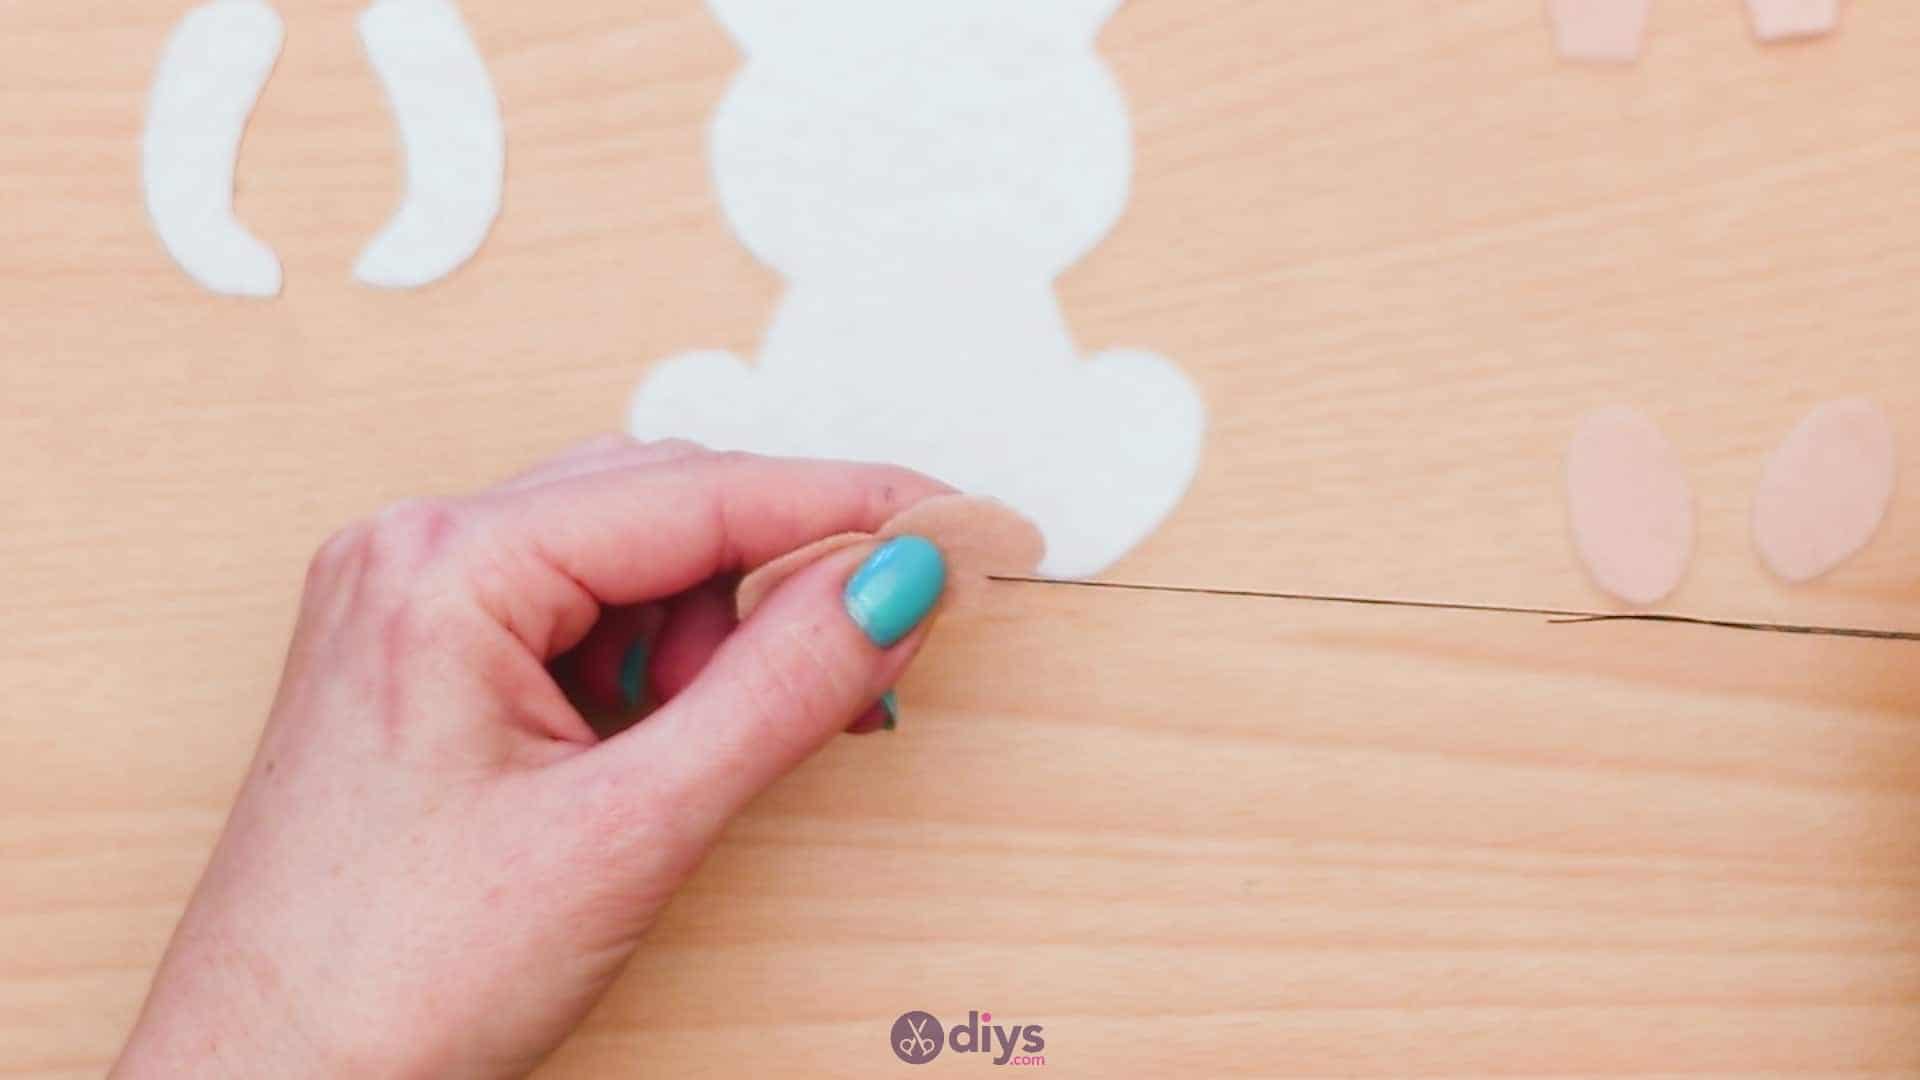
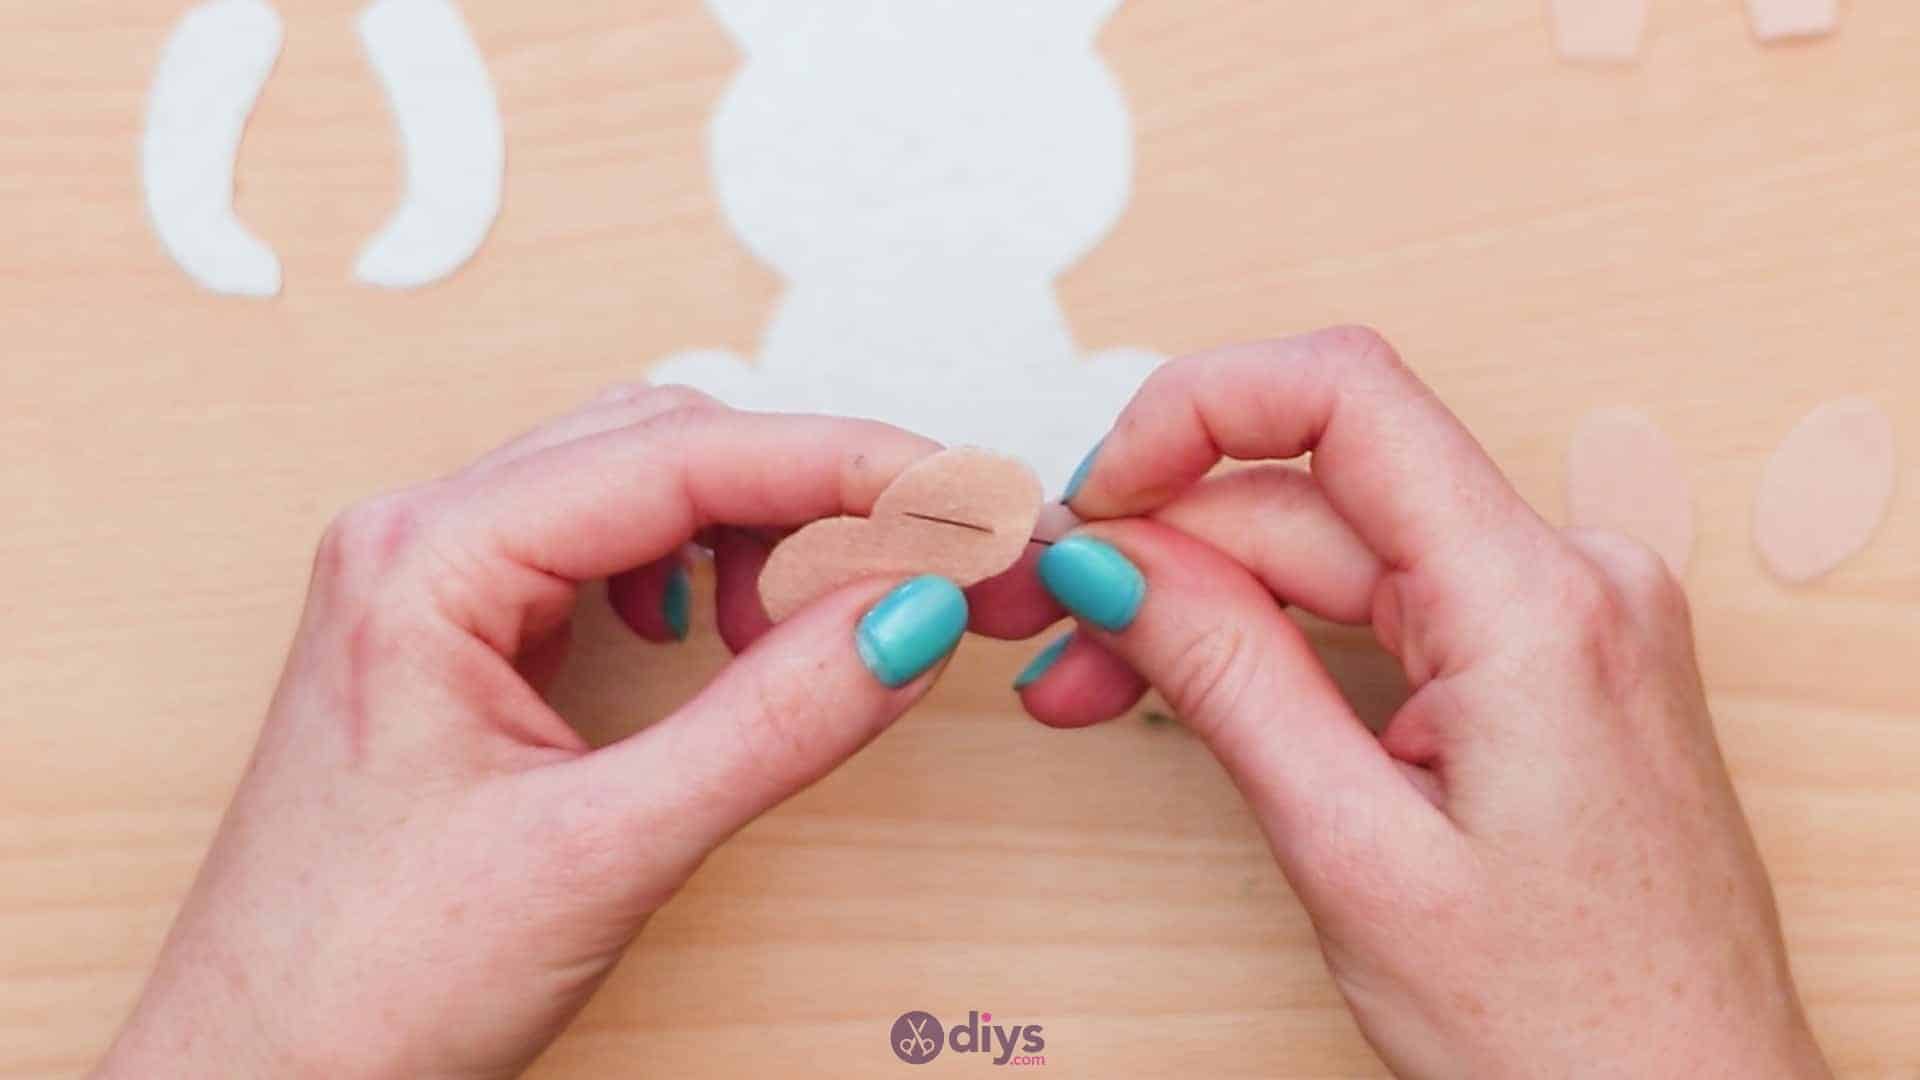
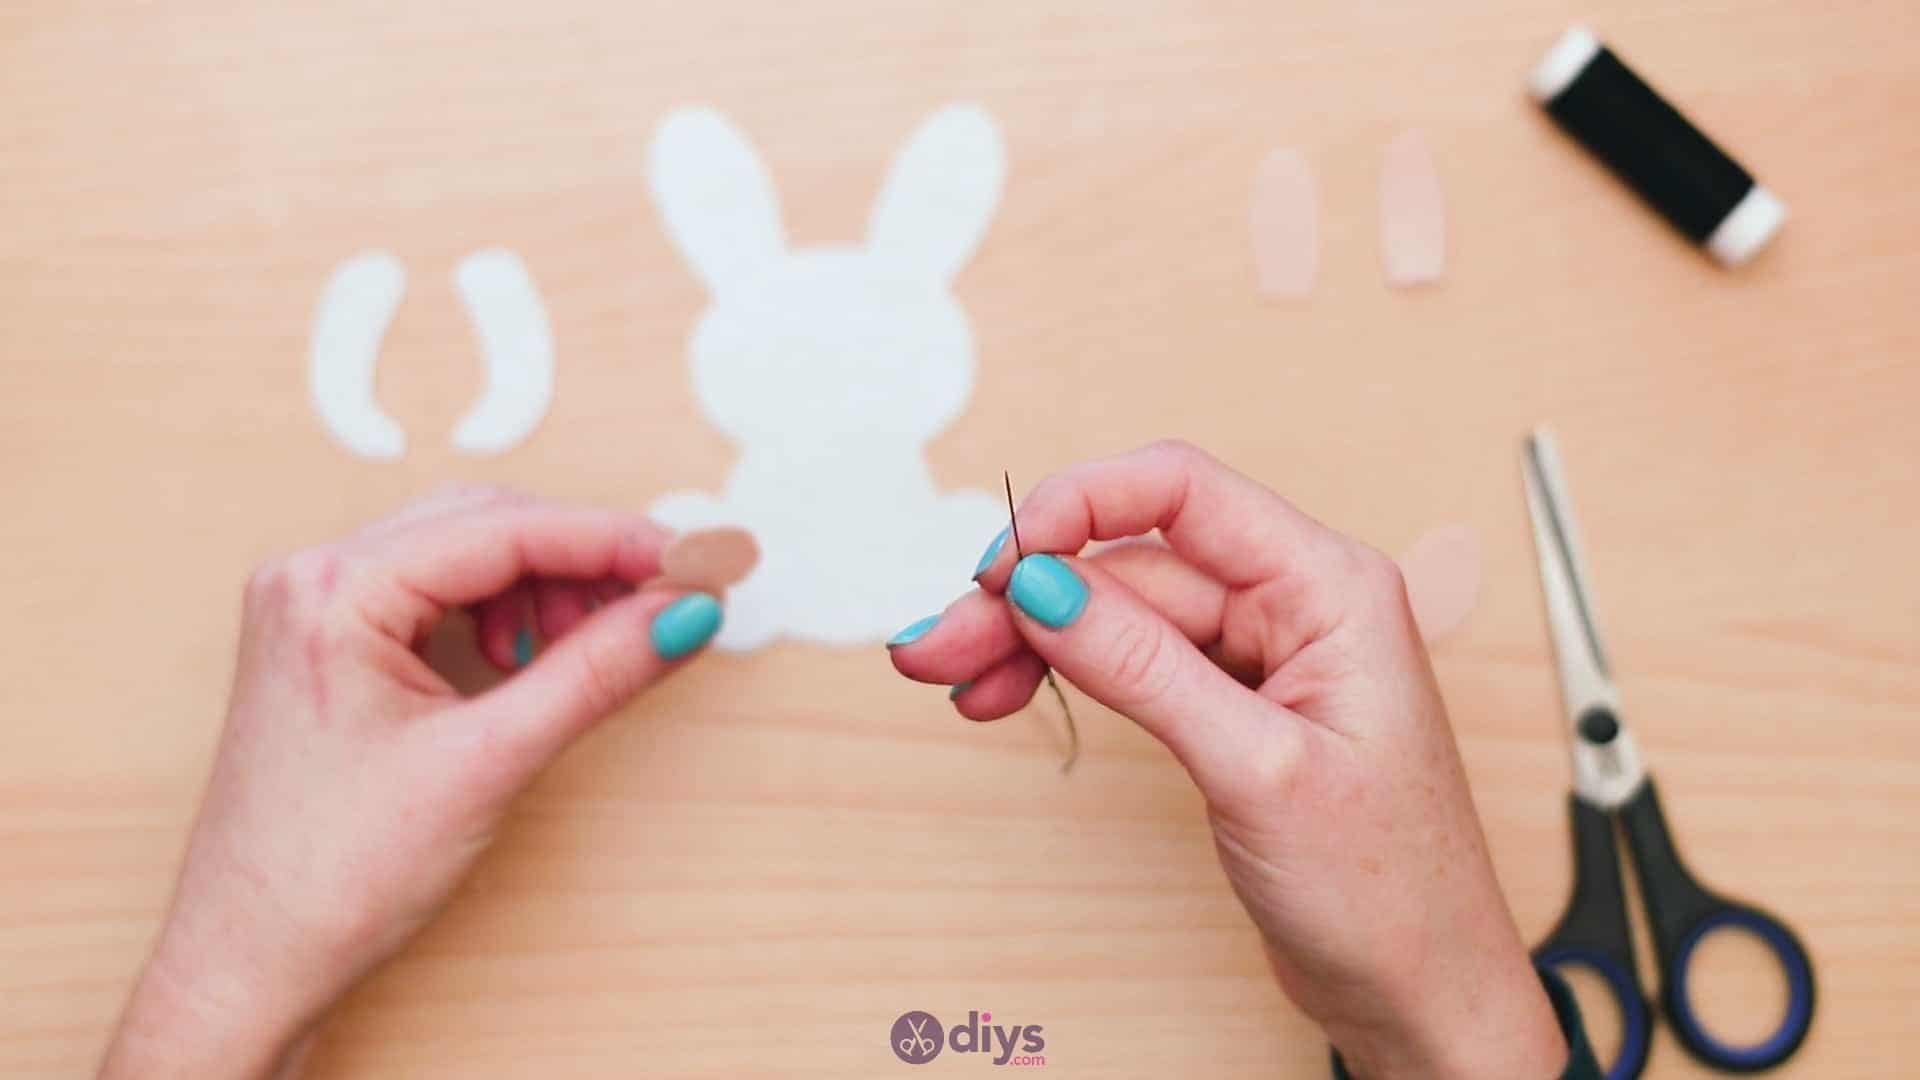
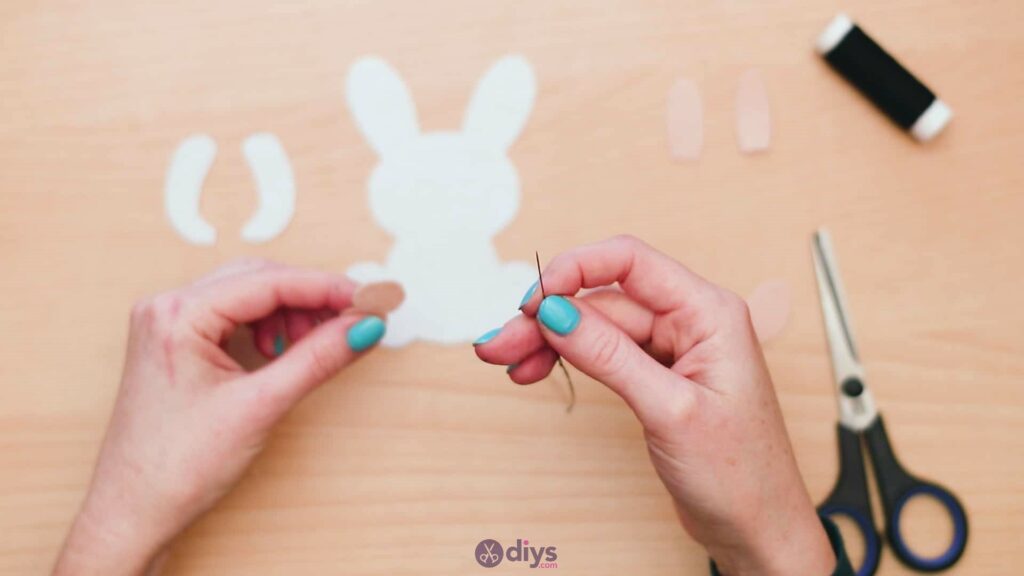
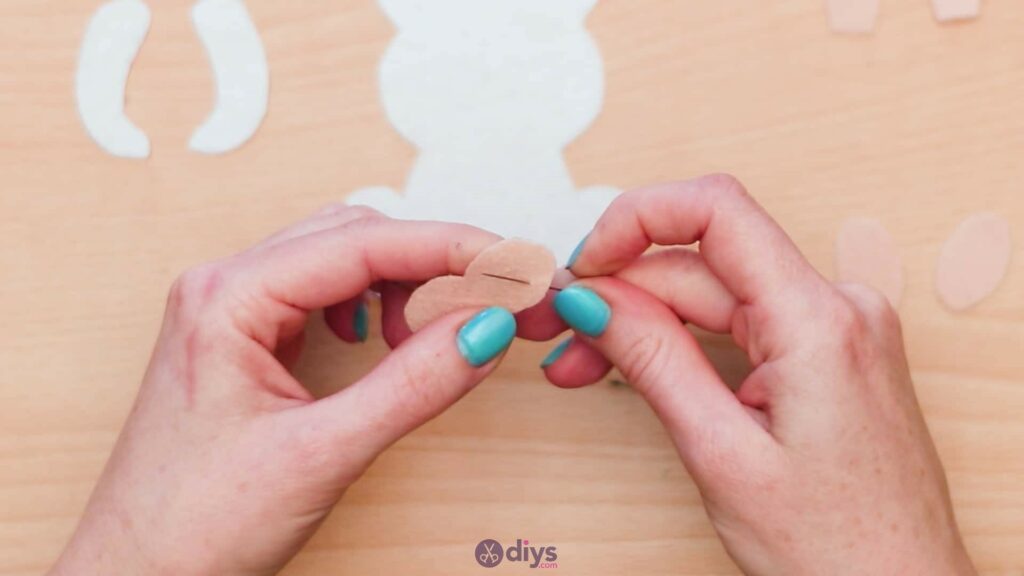
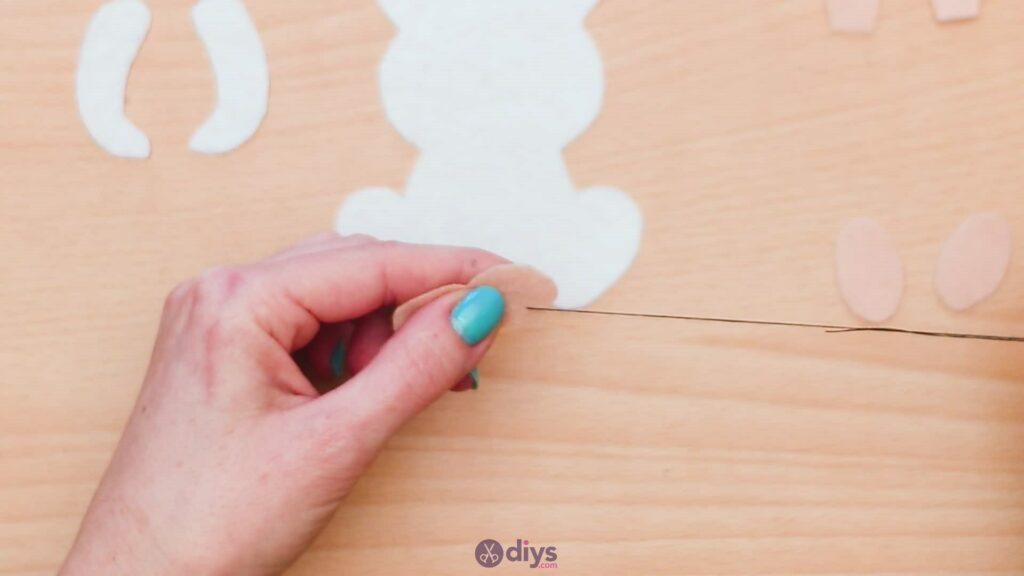
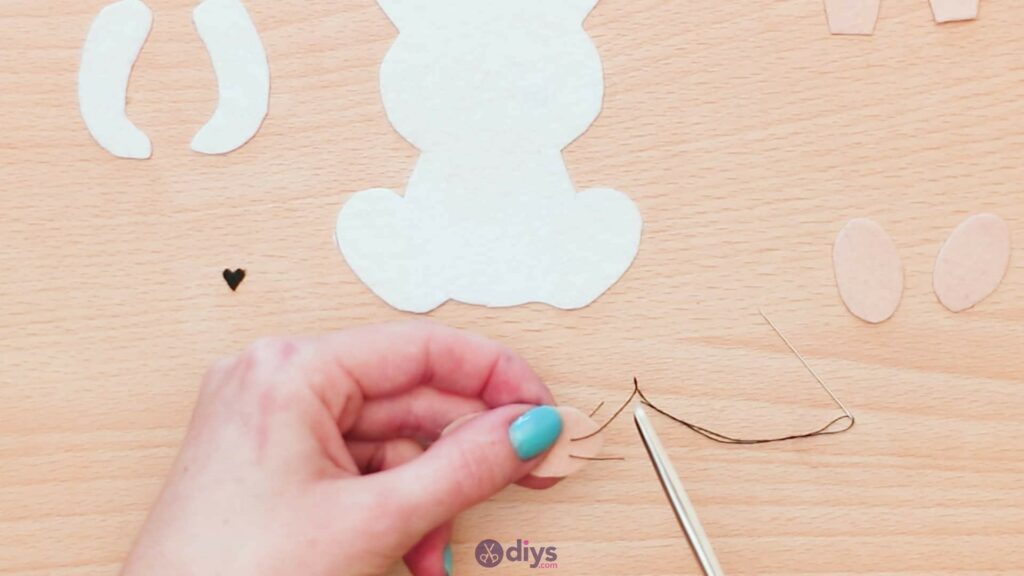
Use your needle and some black thread to add whiskers to your bunny’s muzzle on each side. Thread your needle and tie a knot in the end (you don’t need very long pieces in this step) so that you cannot pull it all the way through the felt. On each side, poke your needle through to the front from the back three times, cutting each stitch off on the front without ever bringing it through again to the back. This will make a little loose string anchored in the felt that looks like a whisker. Do this three times on each side, in a gently sloping vertical line up each edge. The knots will be anchored in place when you glue all your pieces together, so they whiskers won’t slide back out.
Step 7: make the face
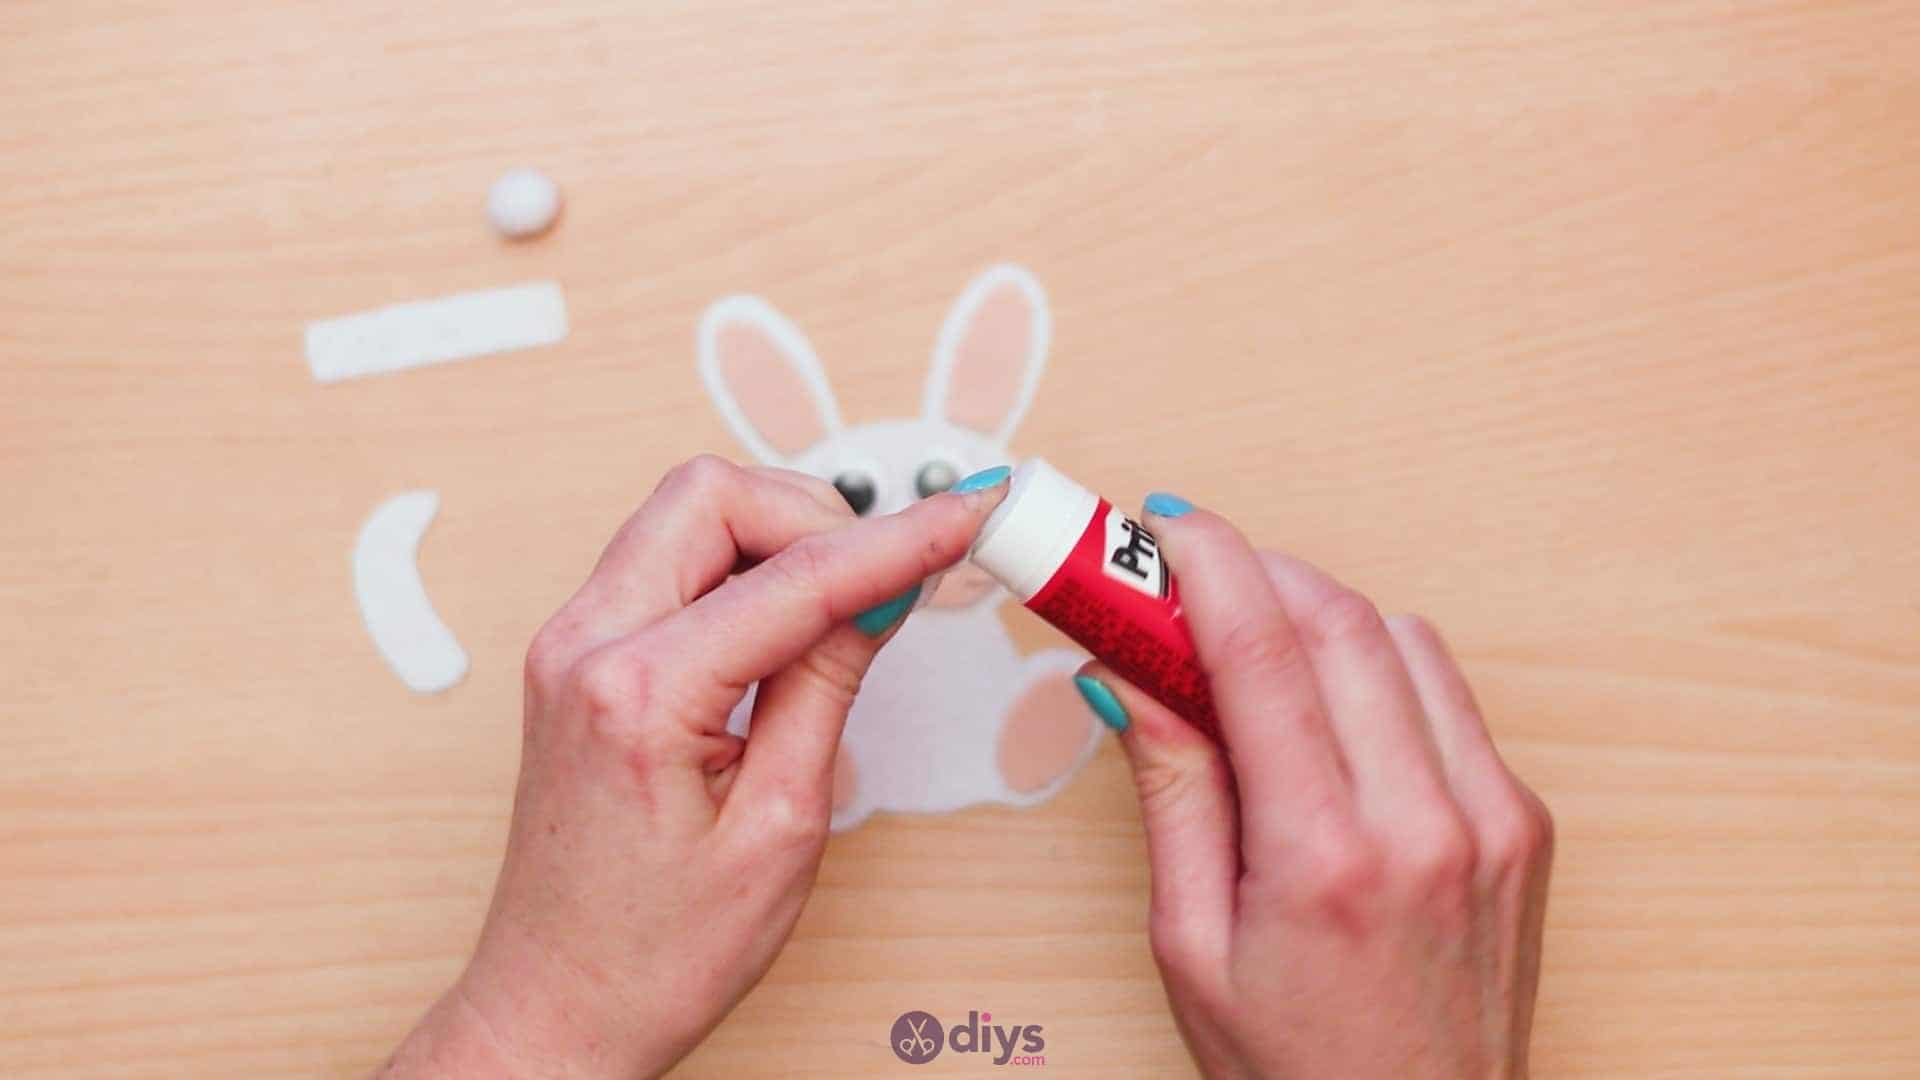
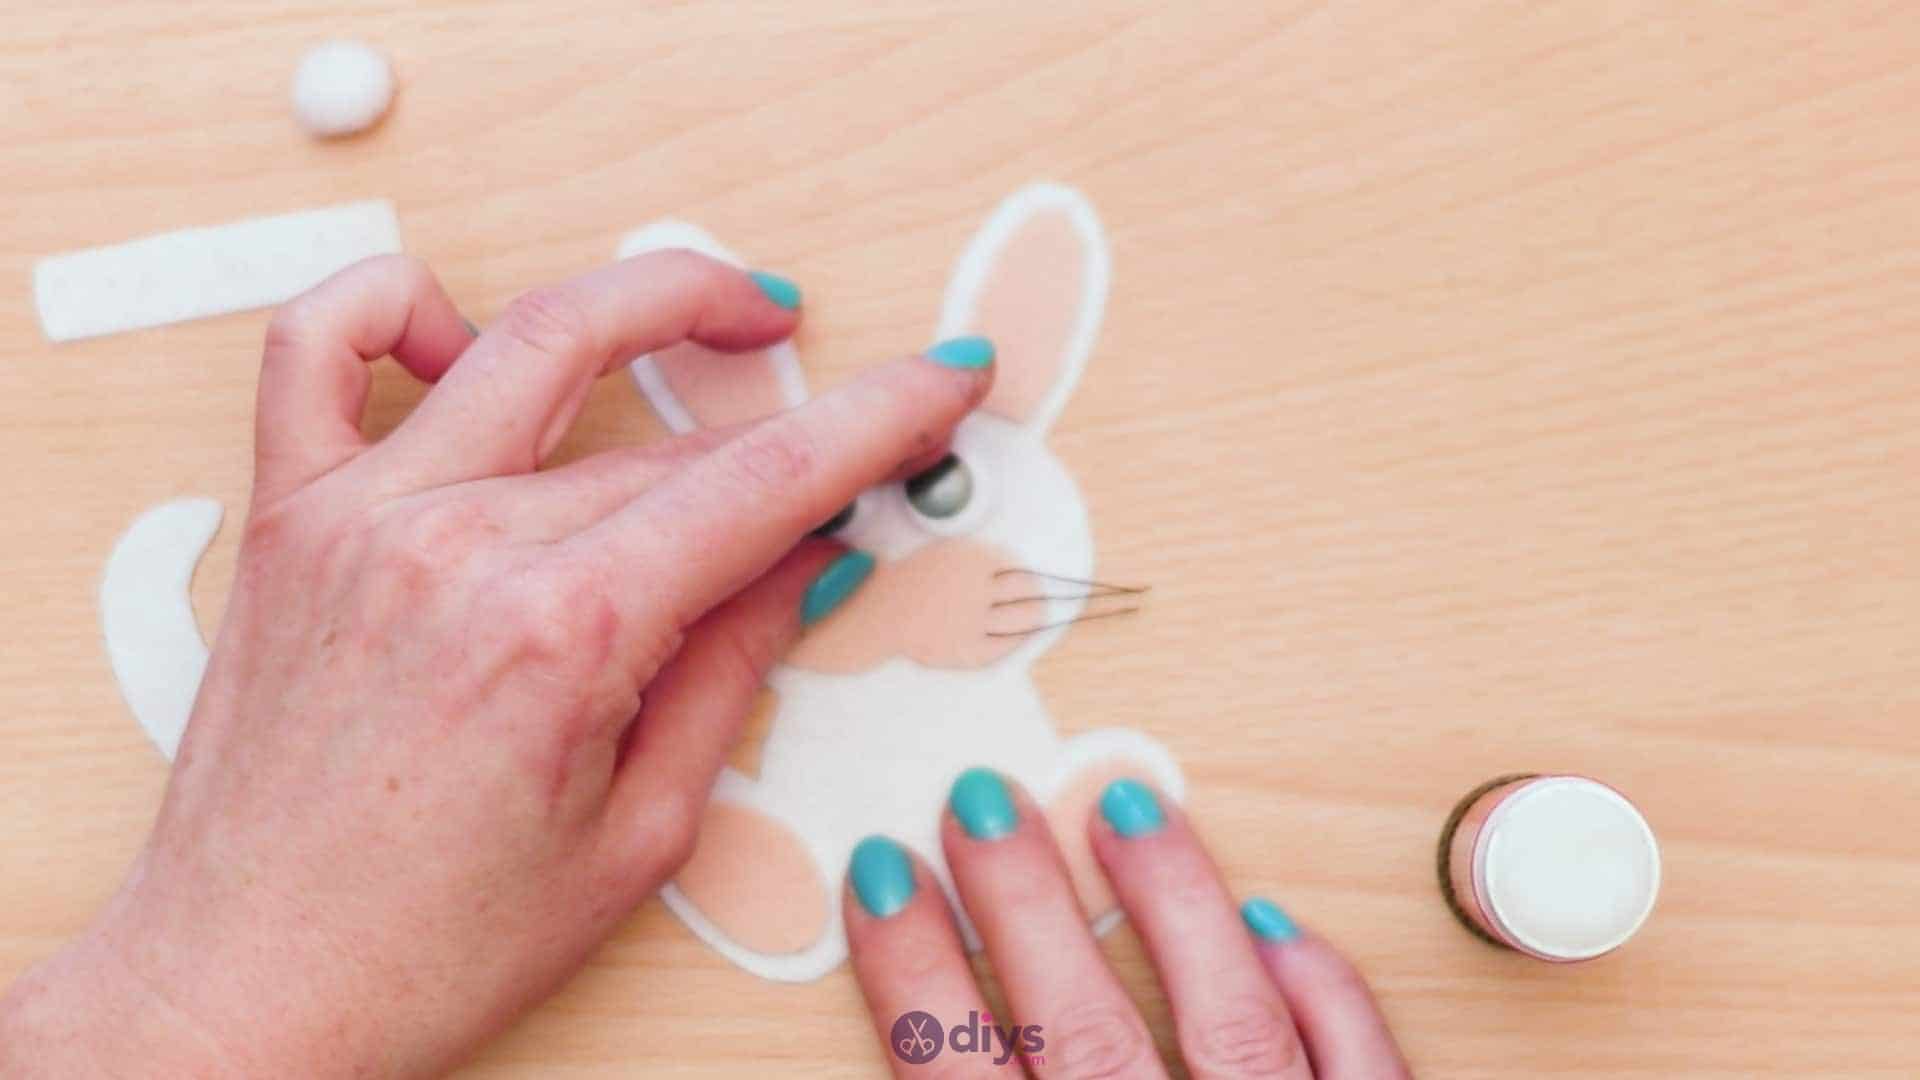
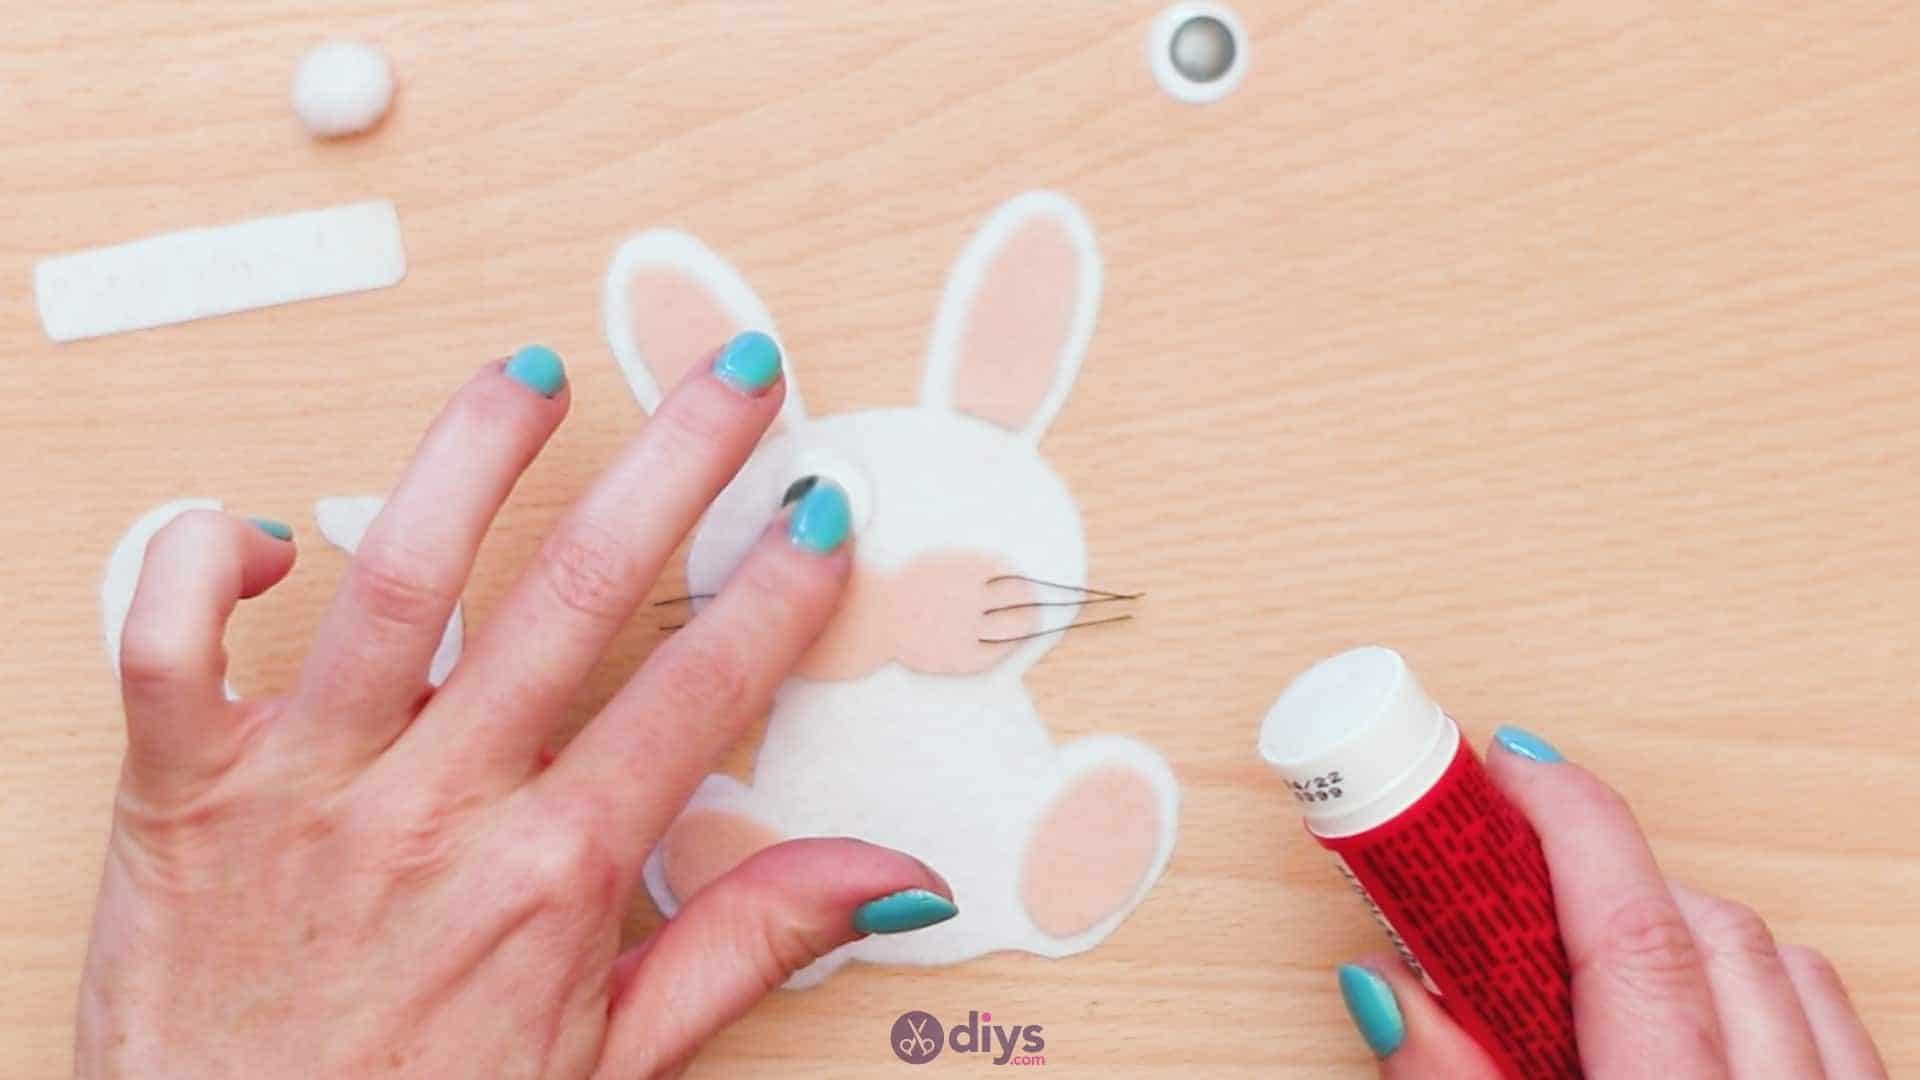
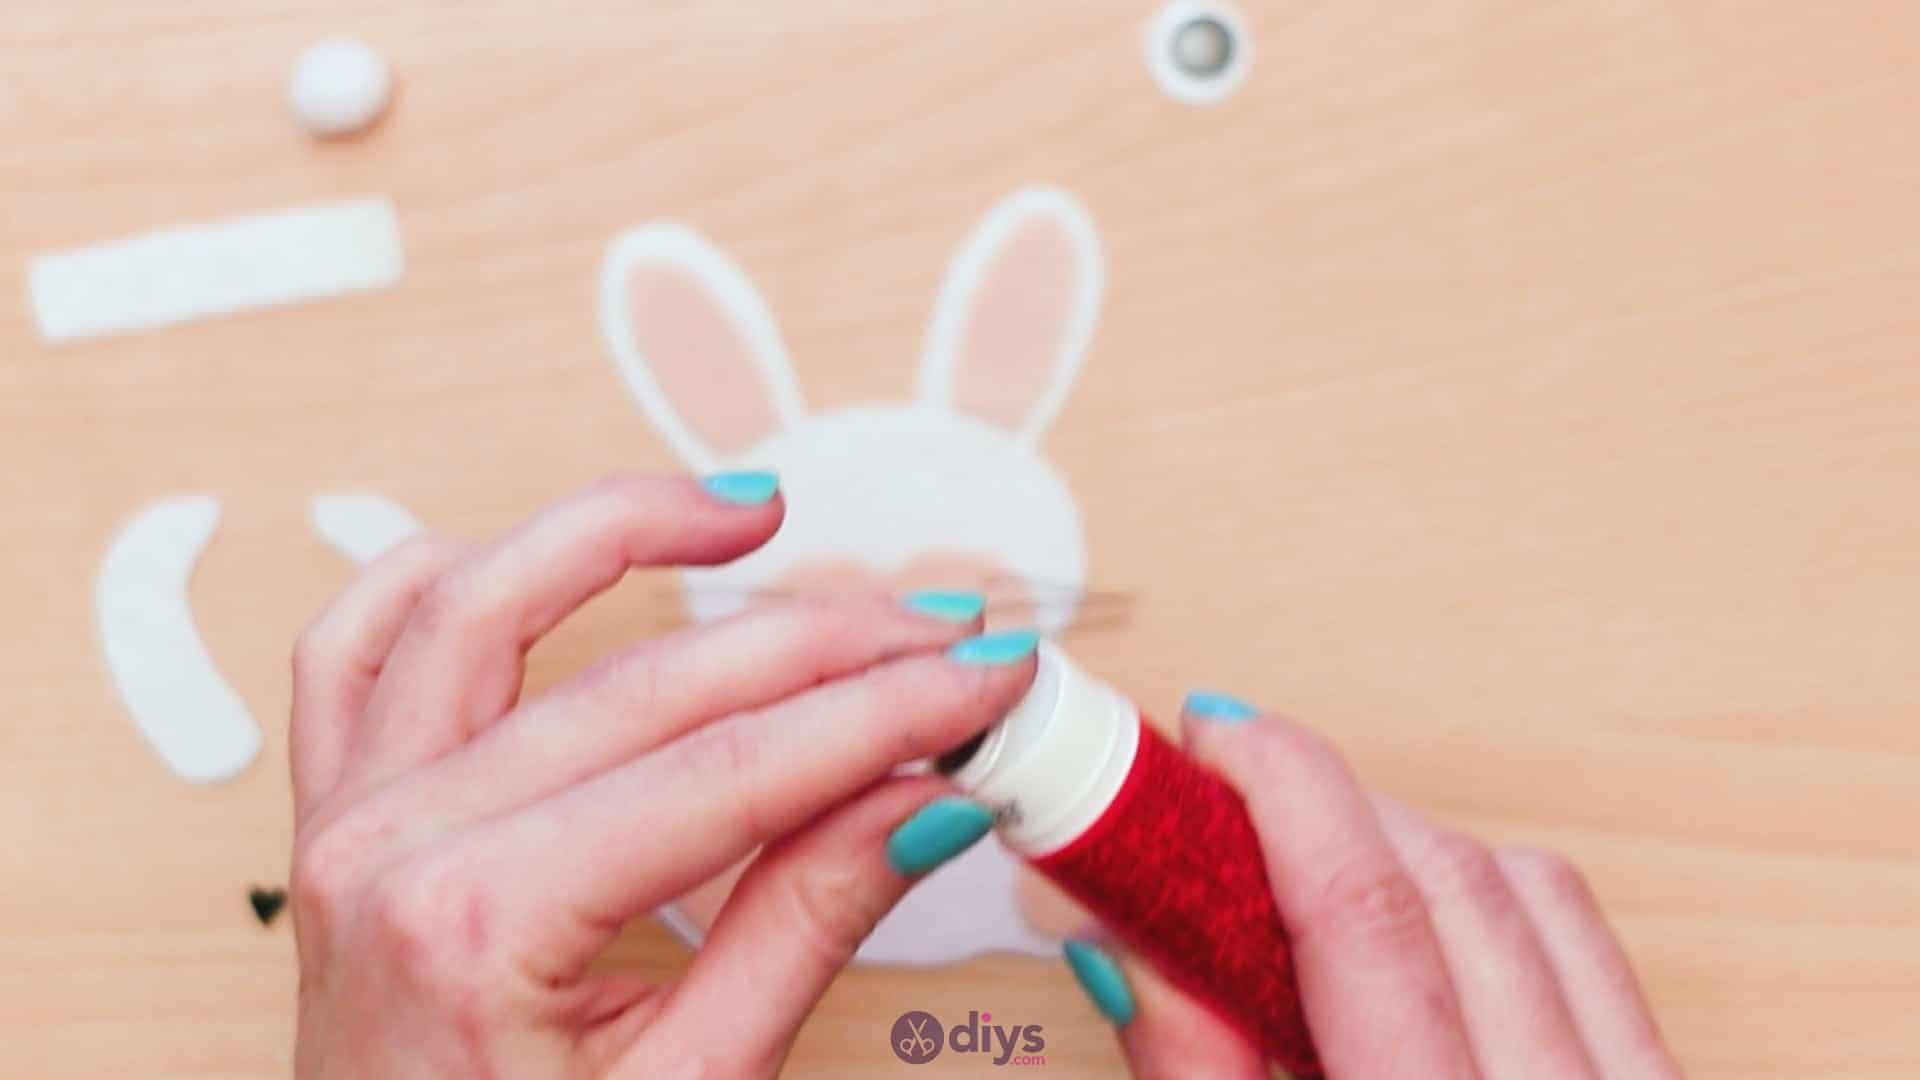
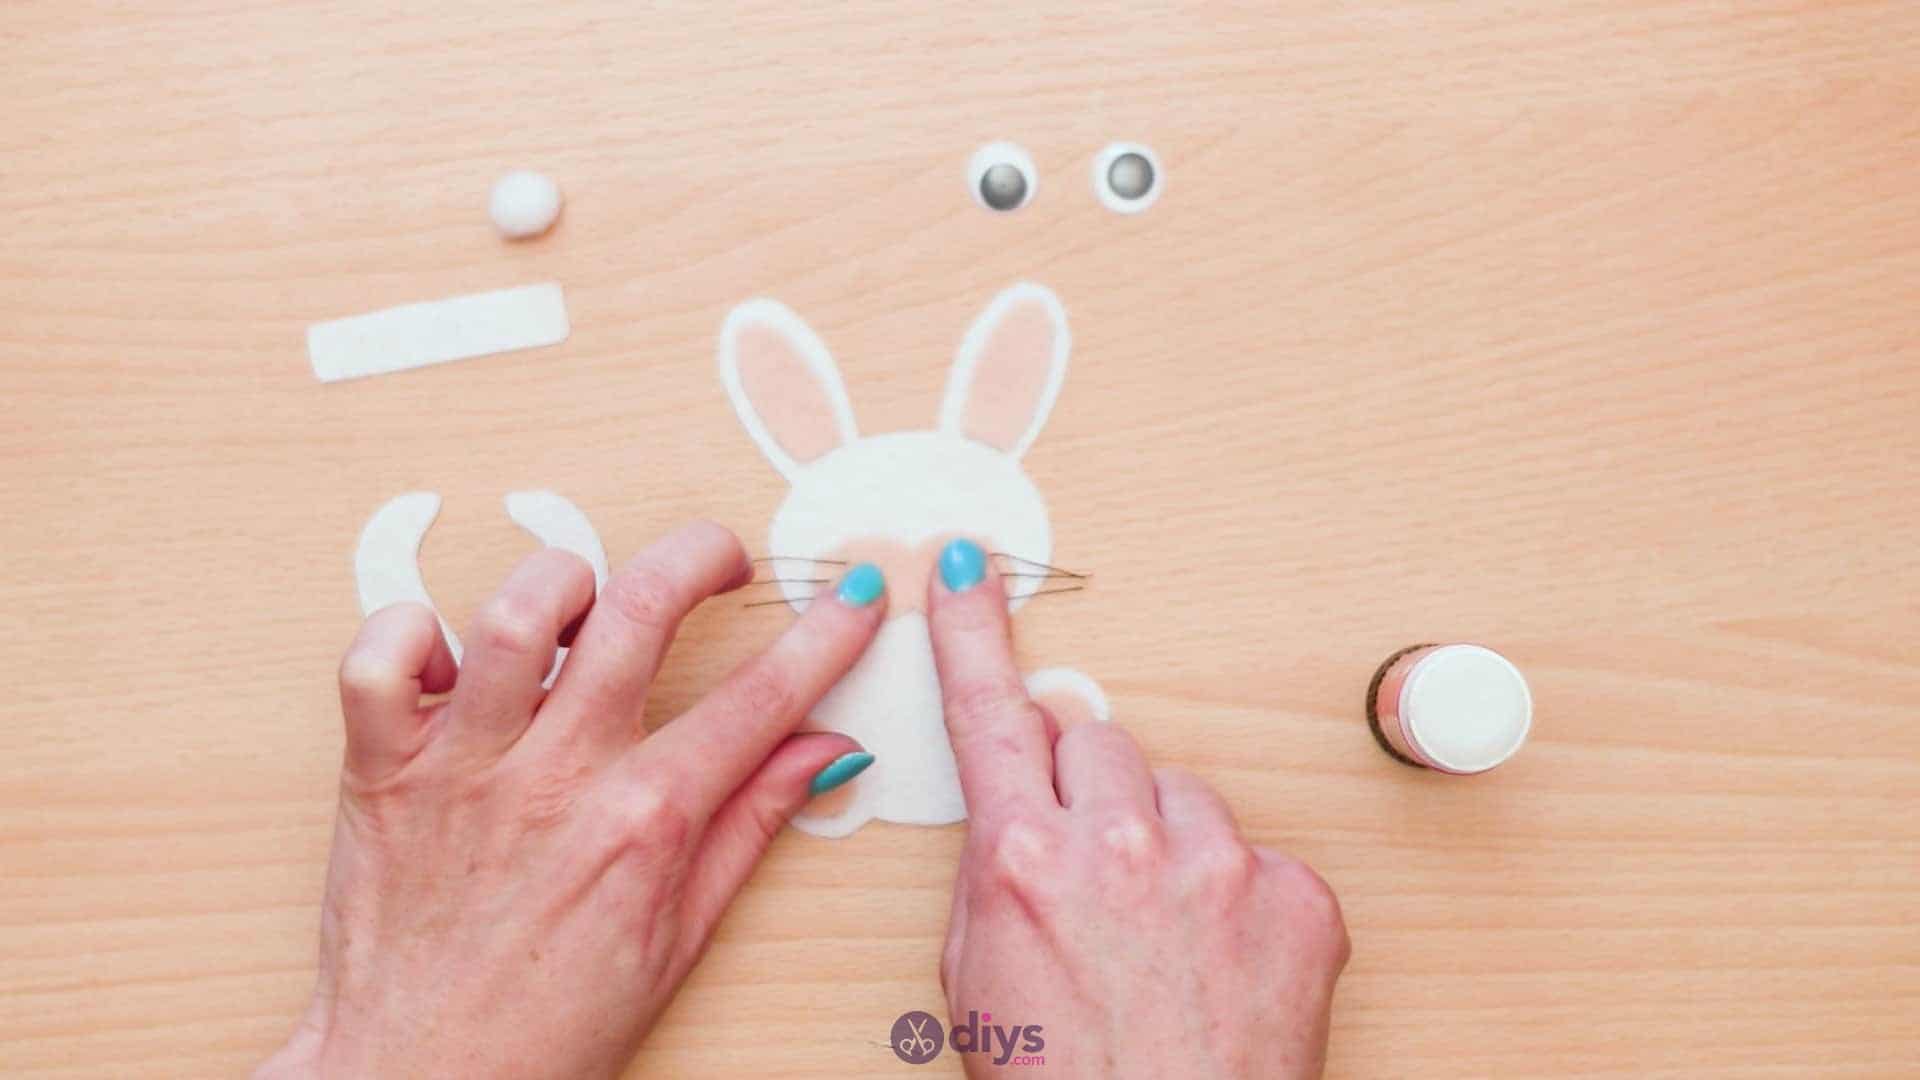
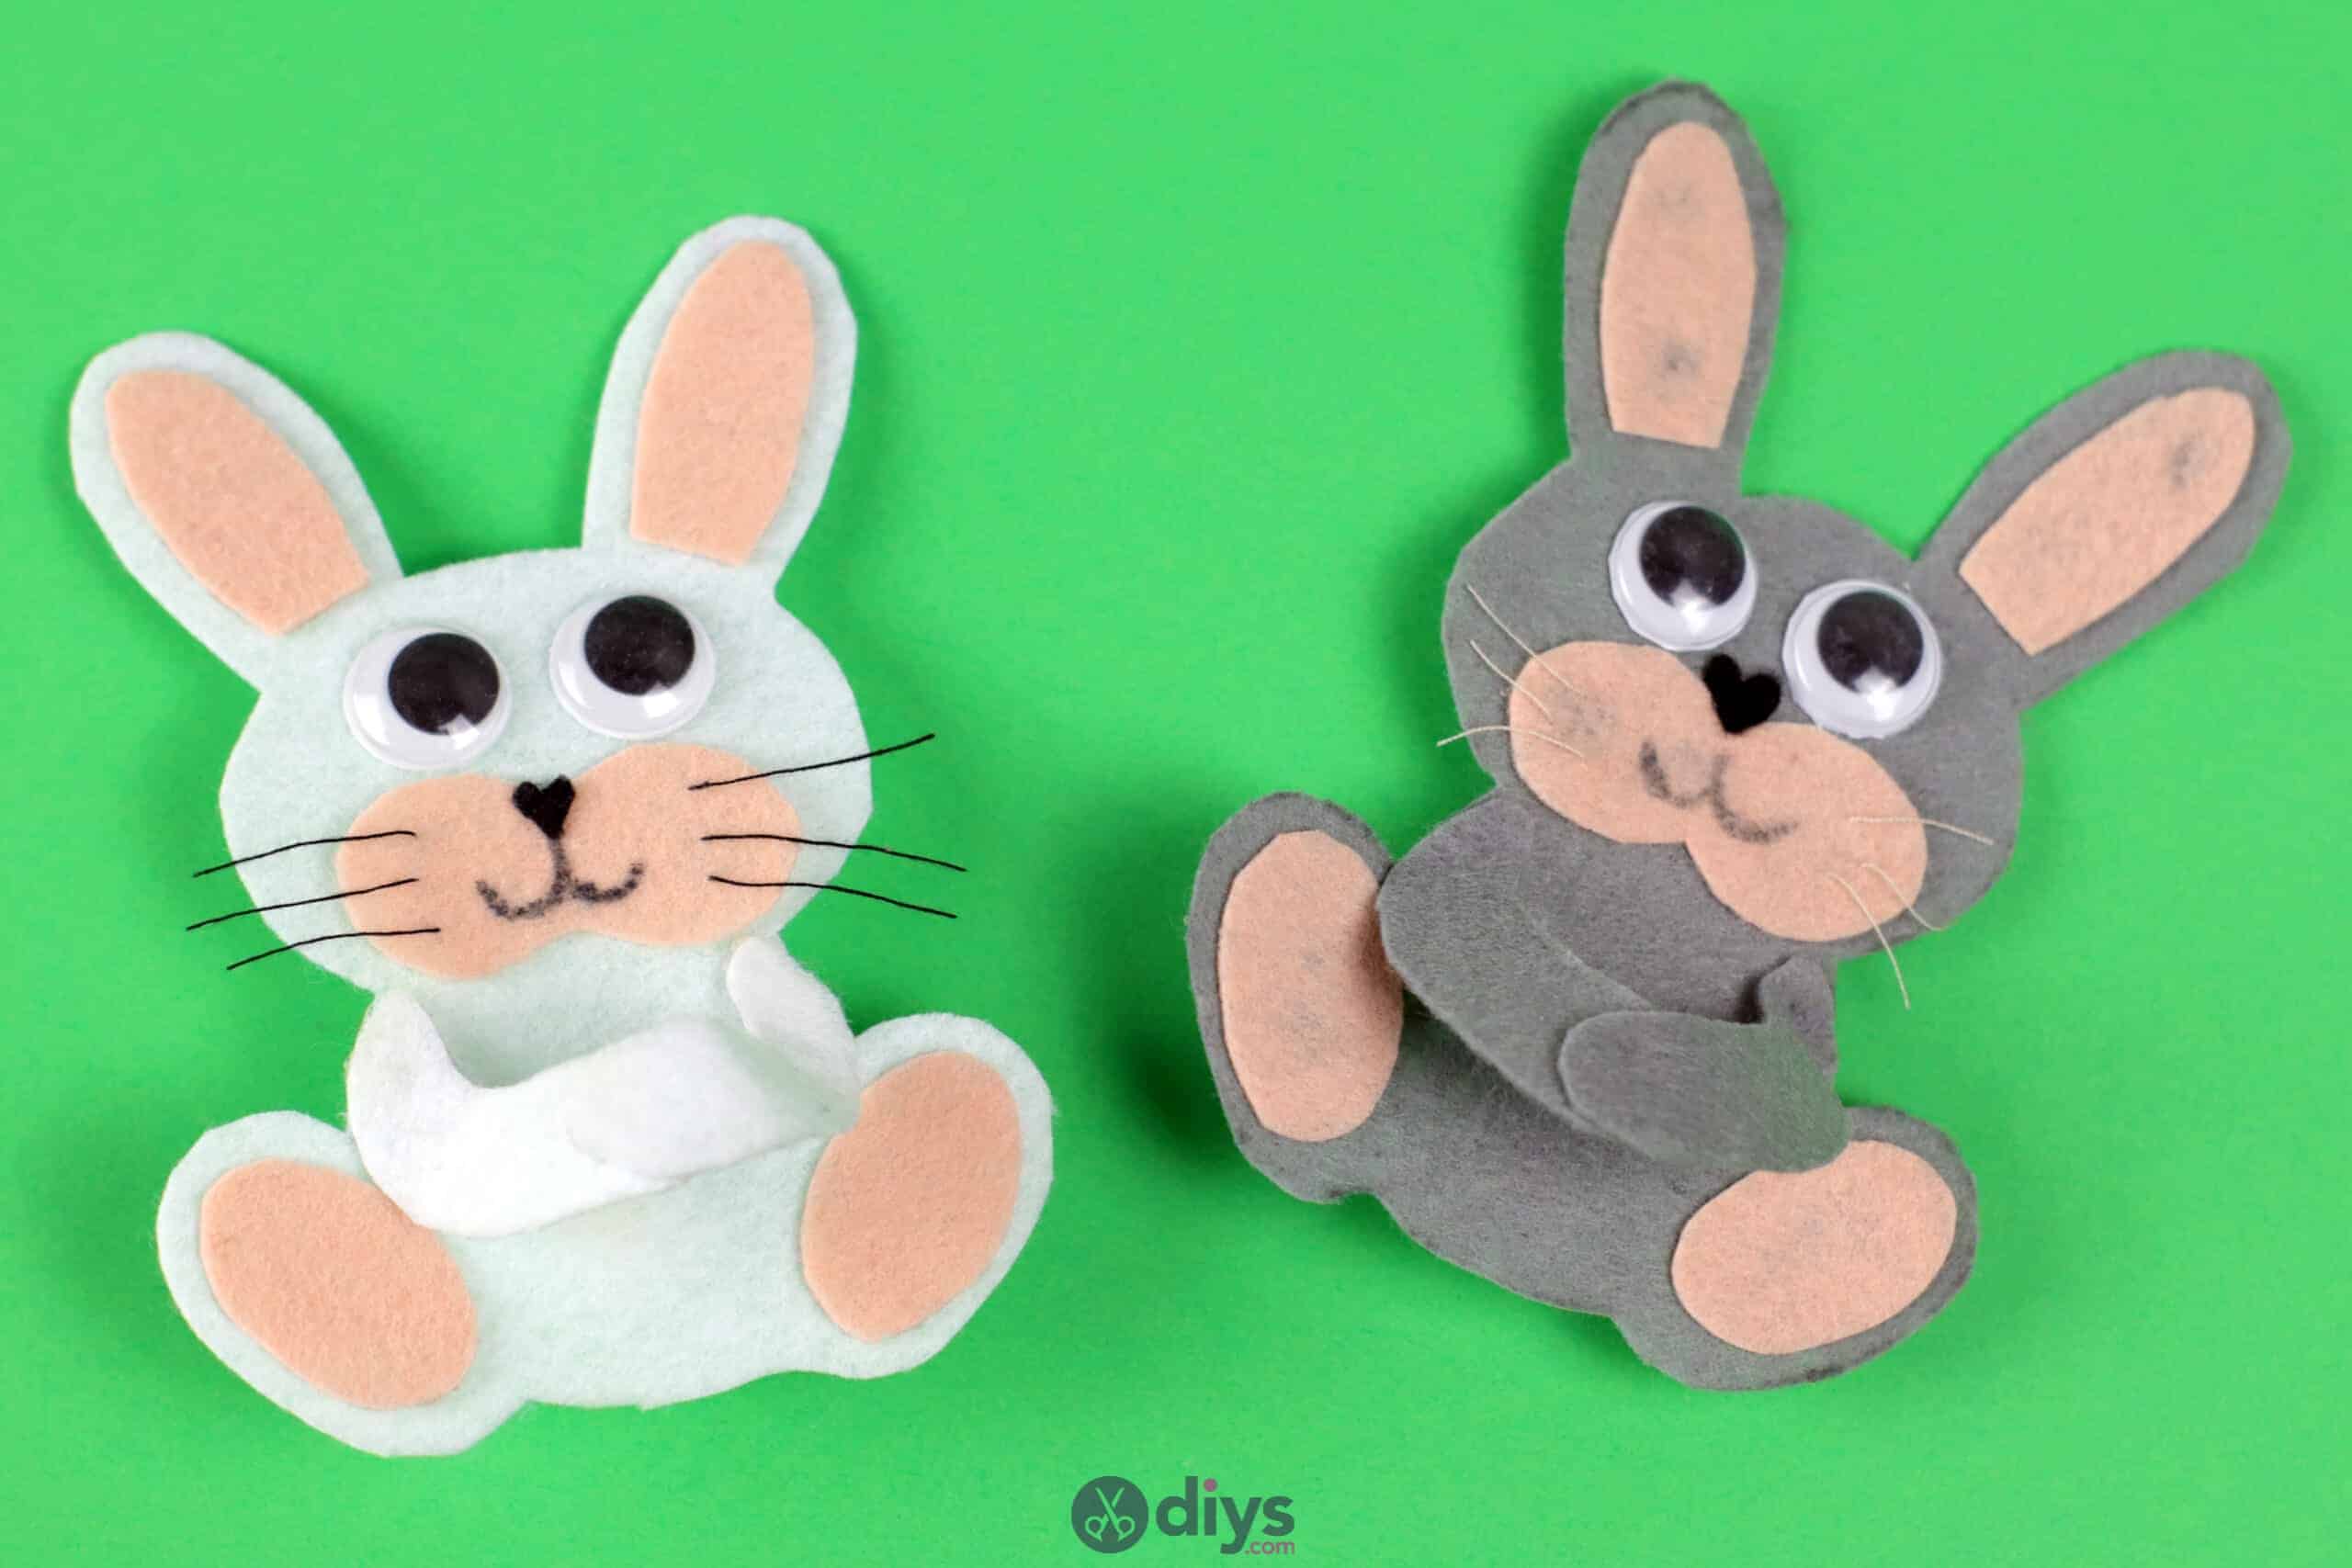
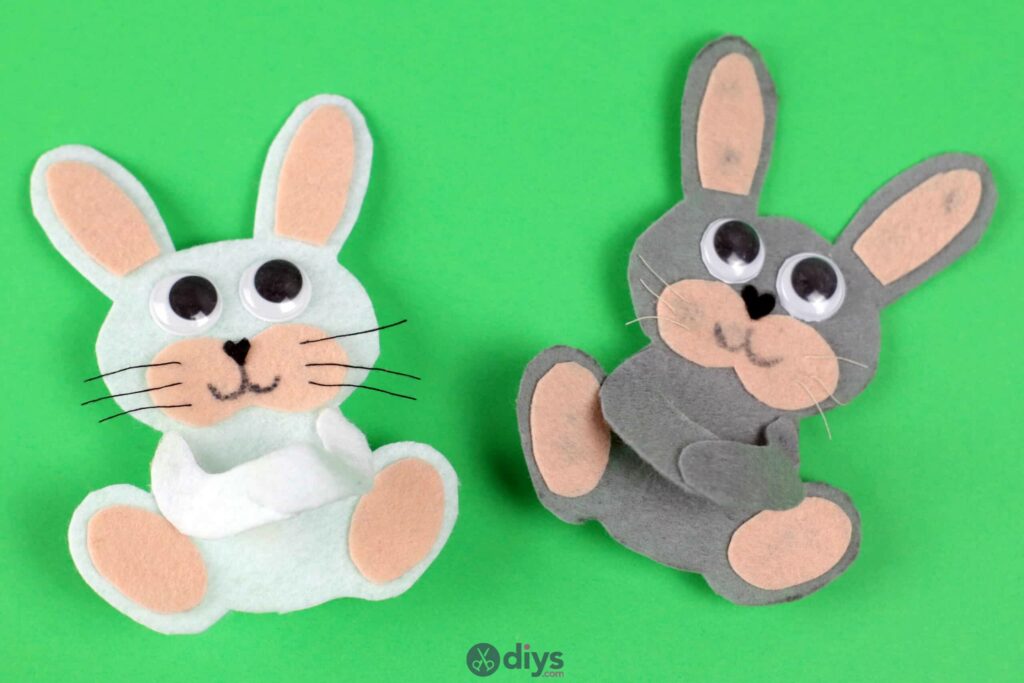
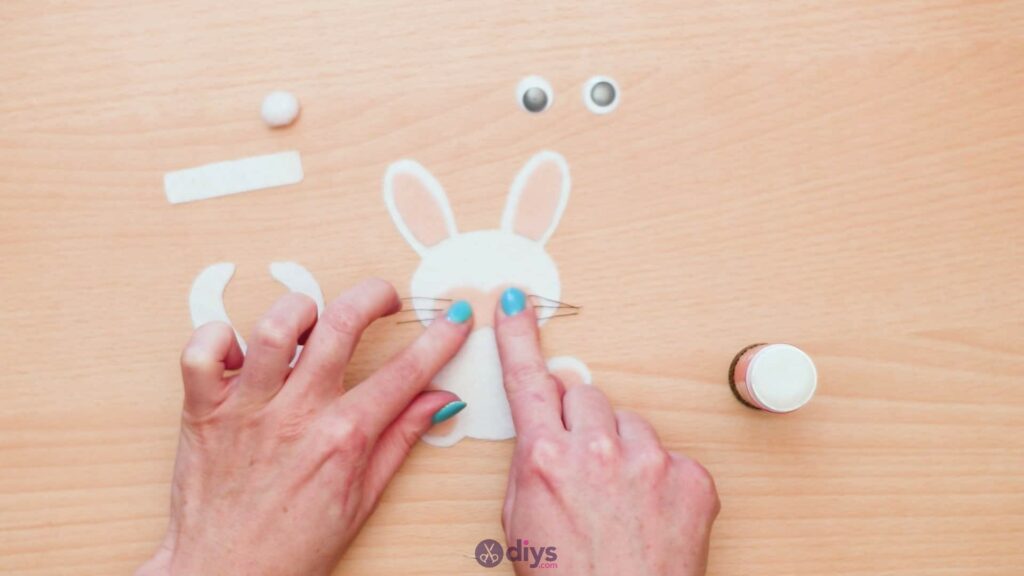
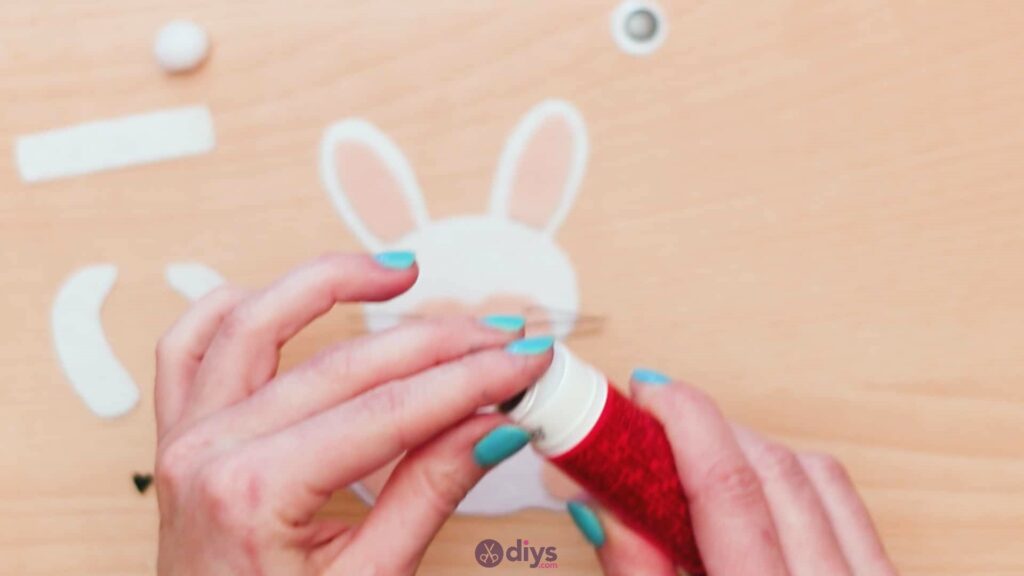
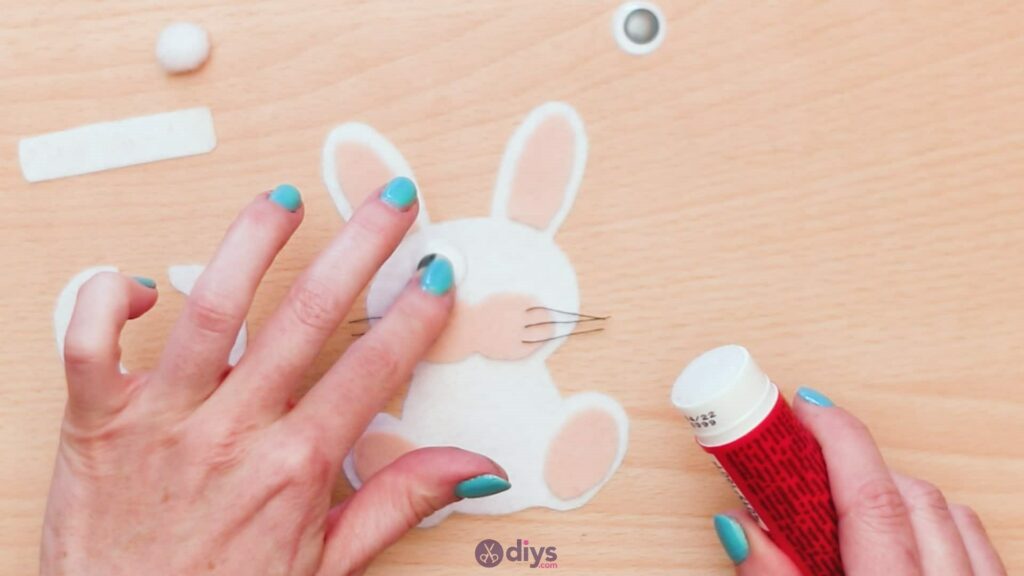
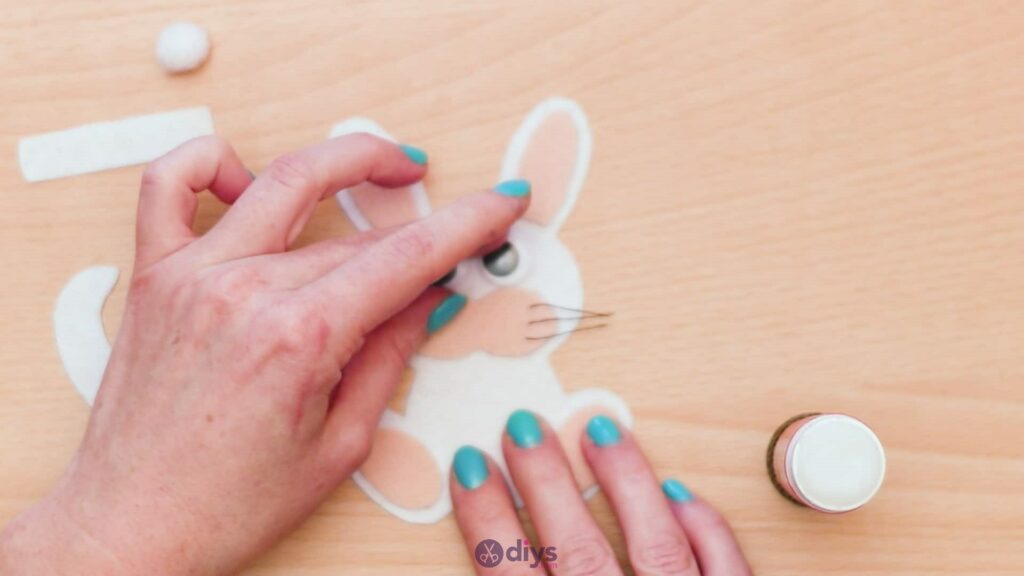
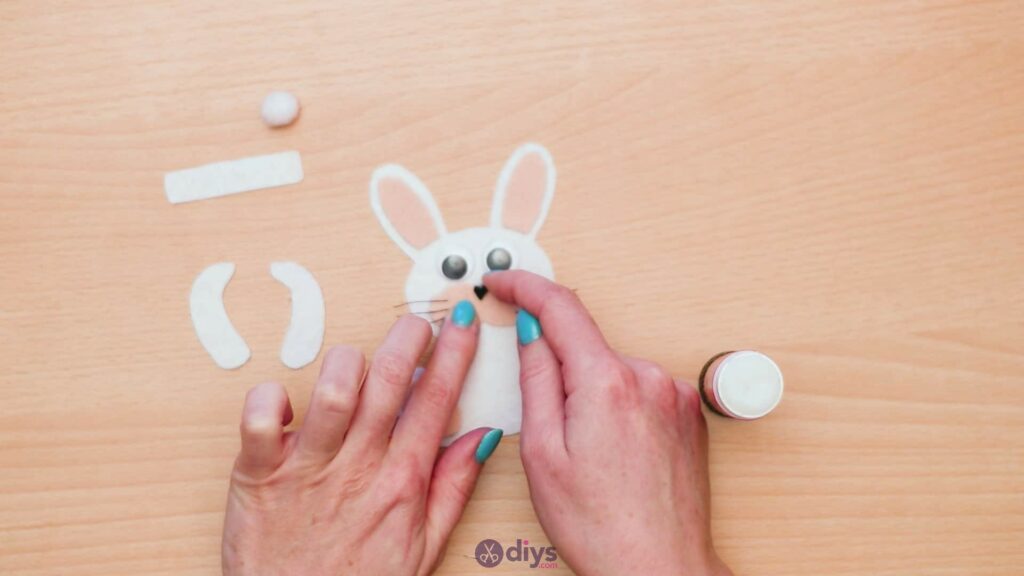
Use your glue stick to stick on all of your bunny’s facial features and details. This is where the colour coded outline that came printed on your template will come in handy. Remember to add your googly eyes in just above the heart shaped nose but just below the ears.
Step 8: make him smile
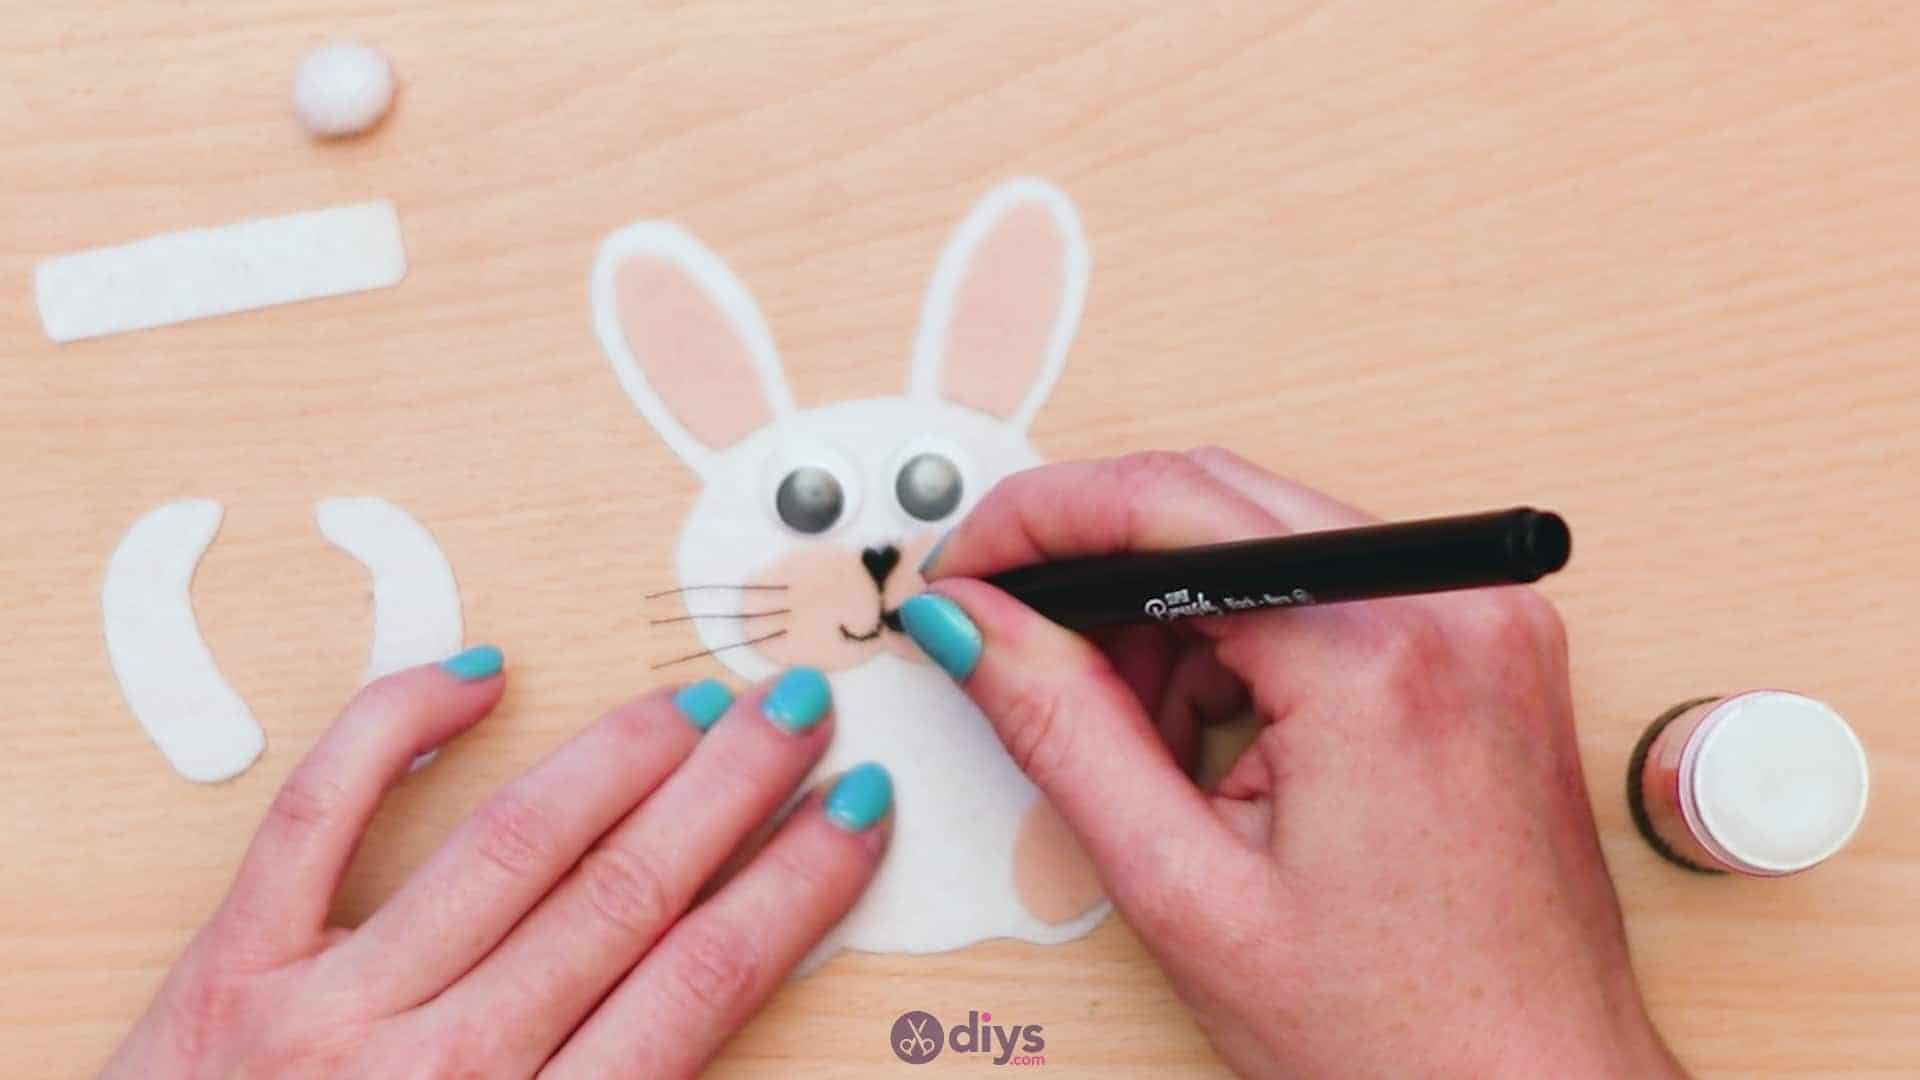
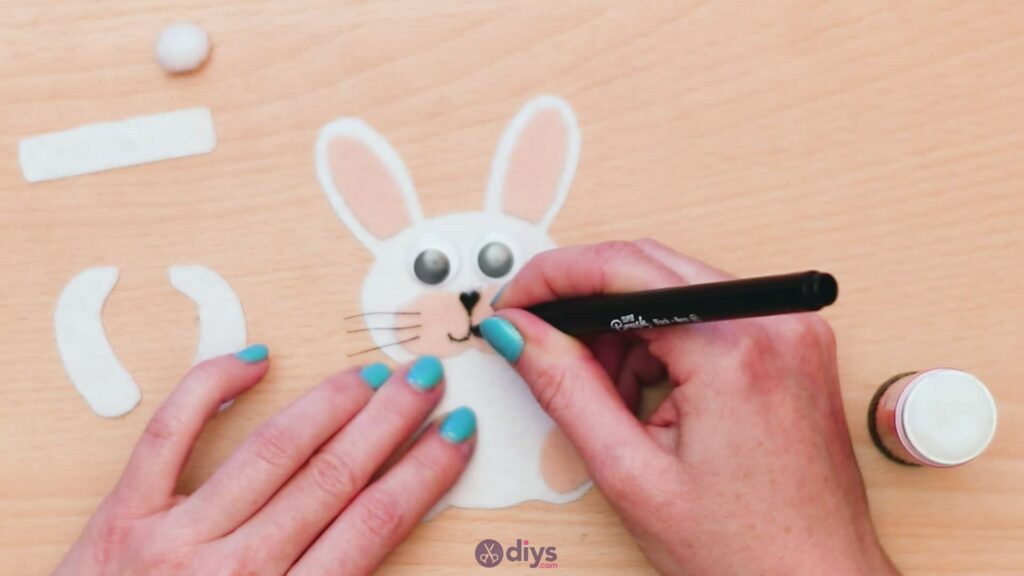
Use your marker to draw your bunny a smile on the muzzle, beginning at the tip of the little heart nose and curving up and out to the side.
Step 9: add the limbs
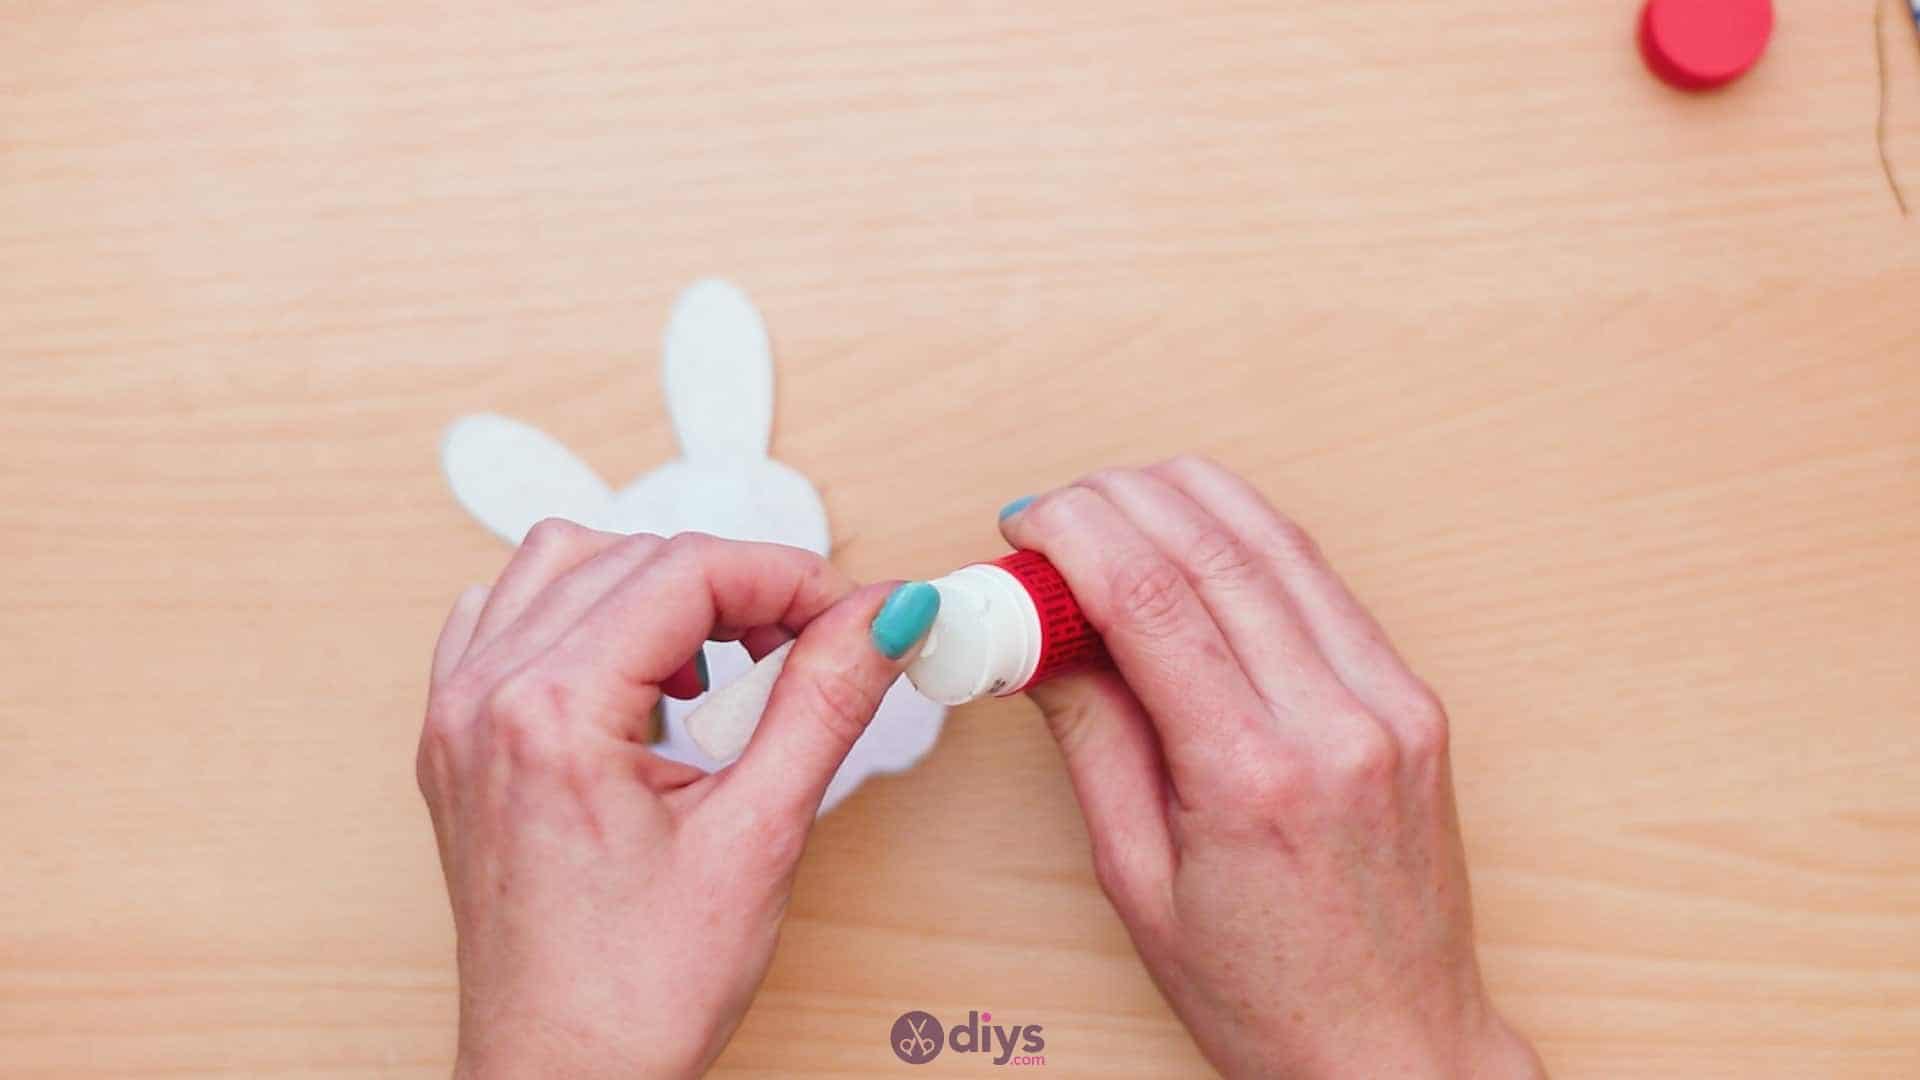
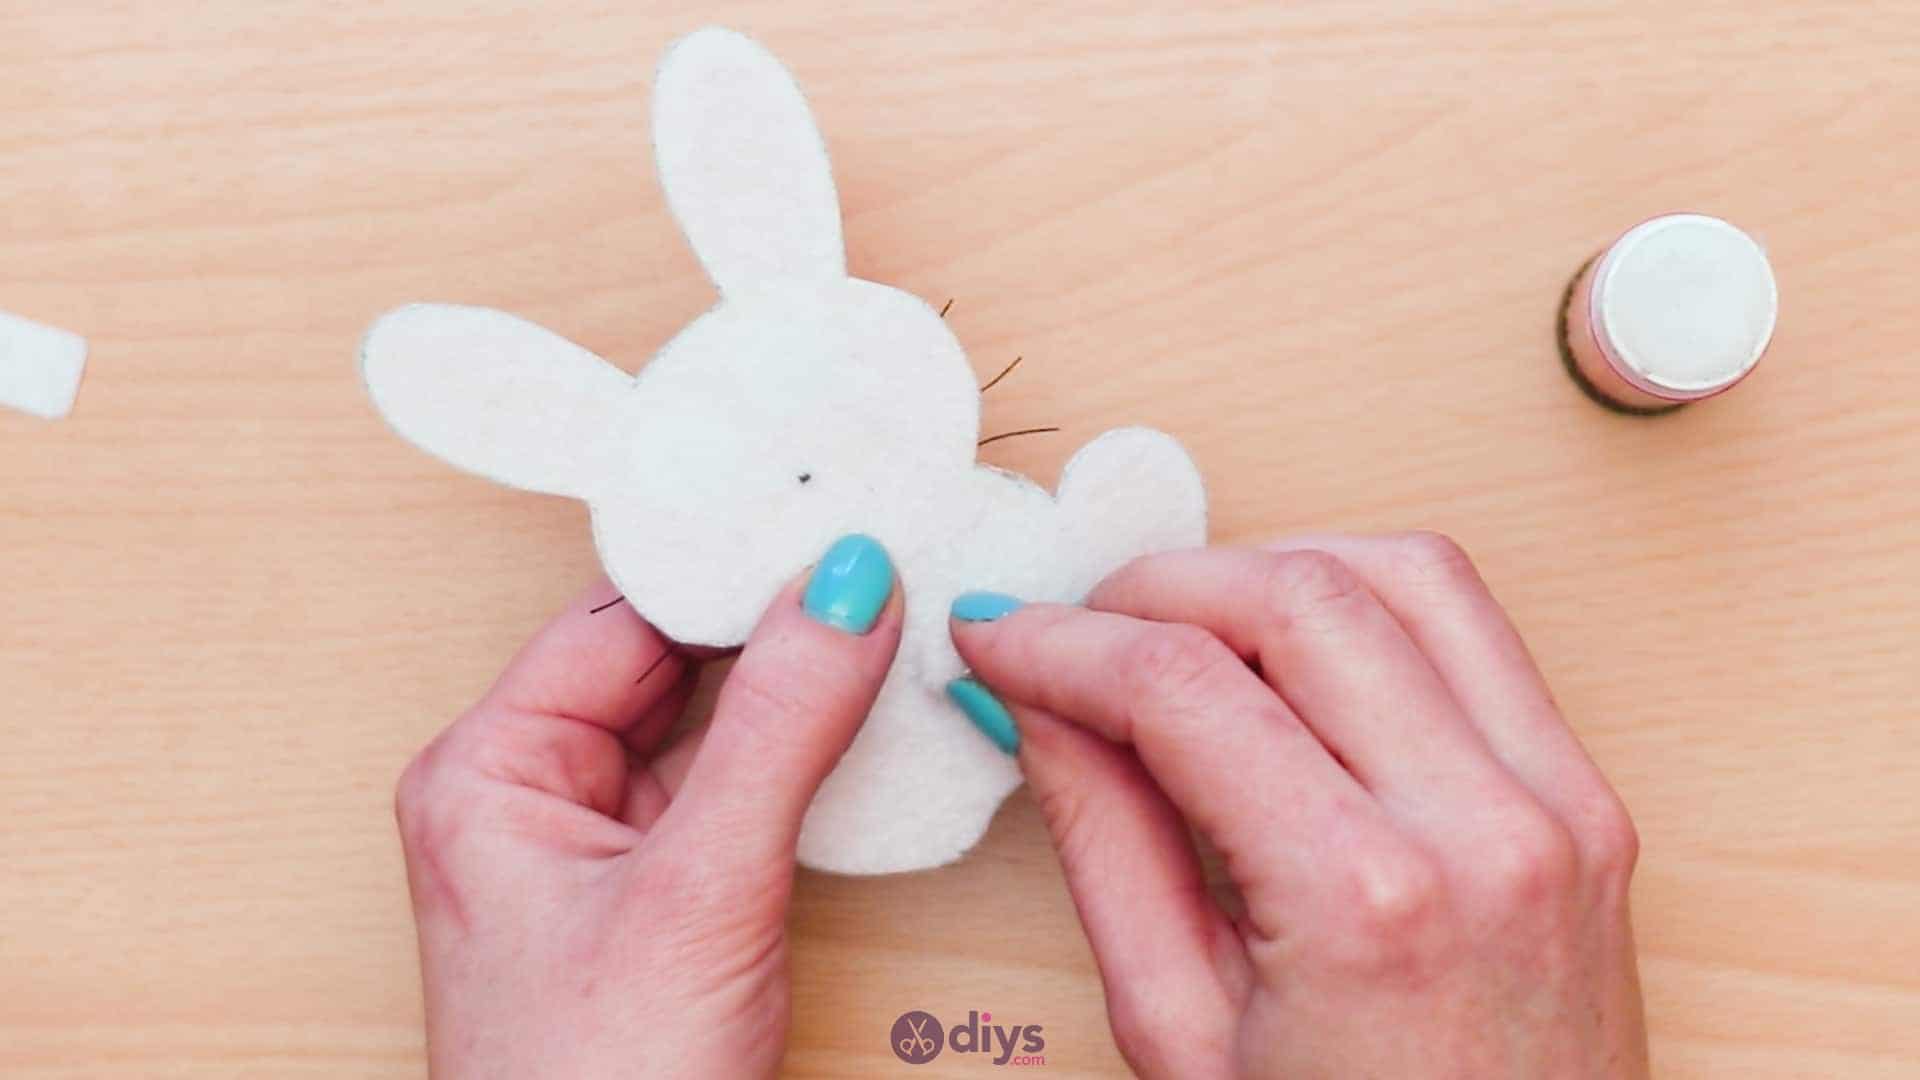
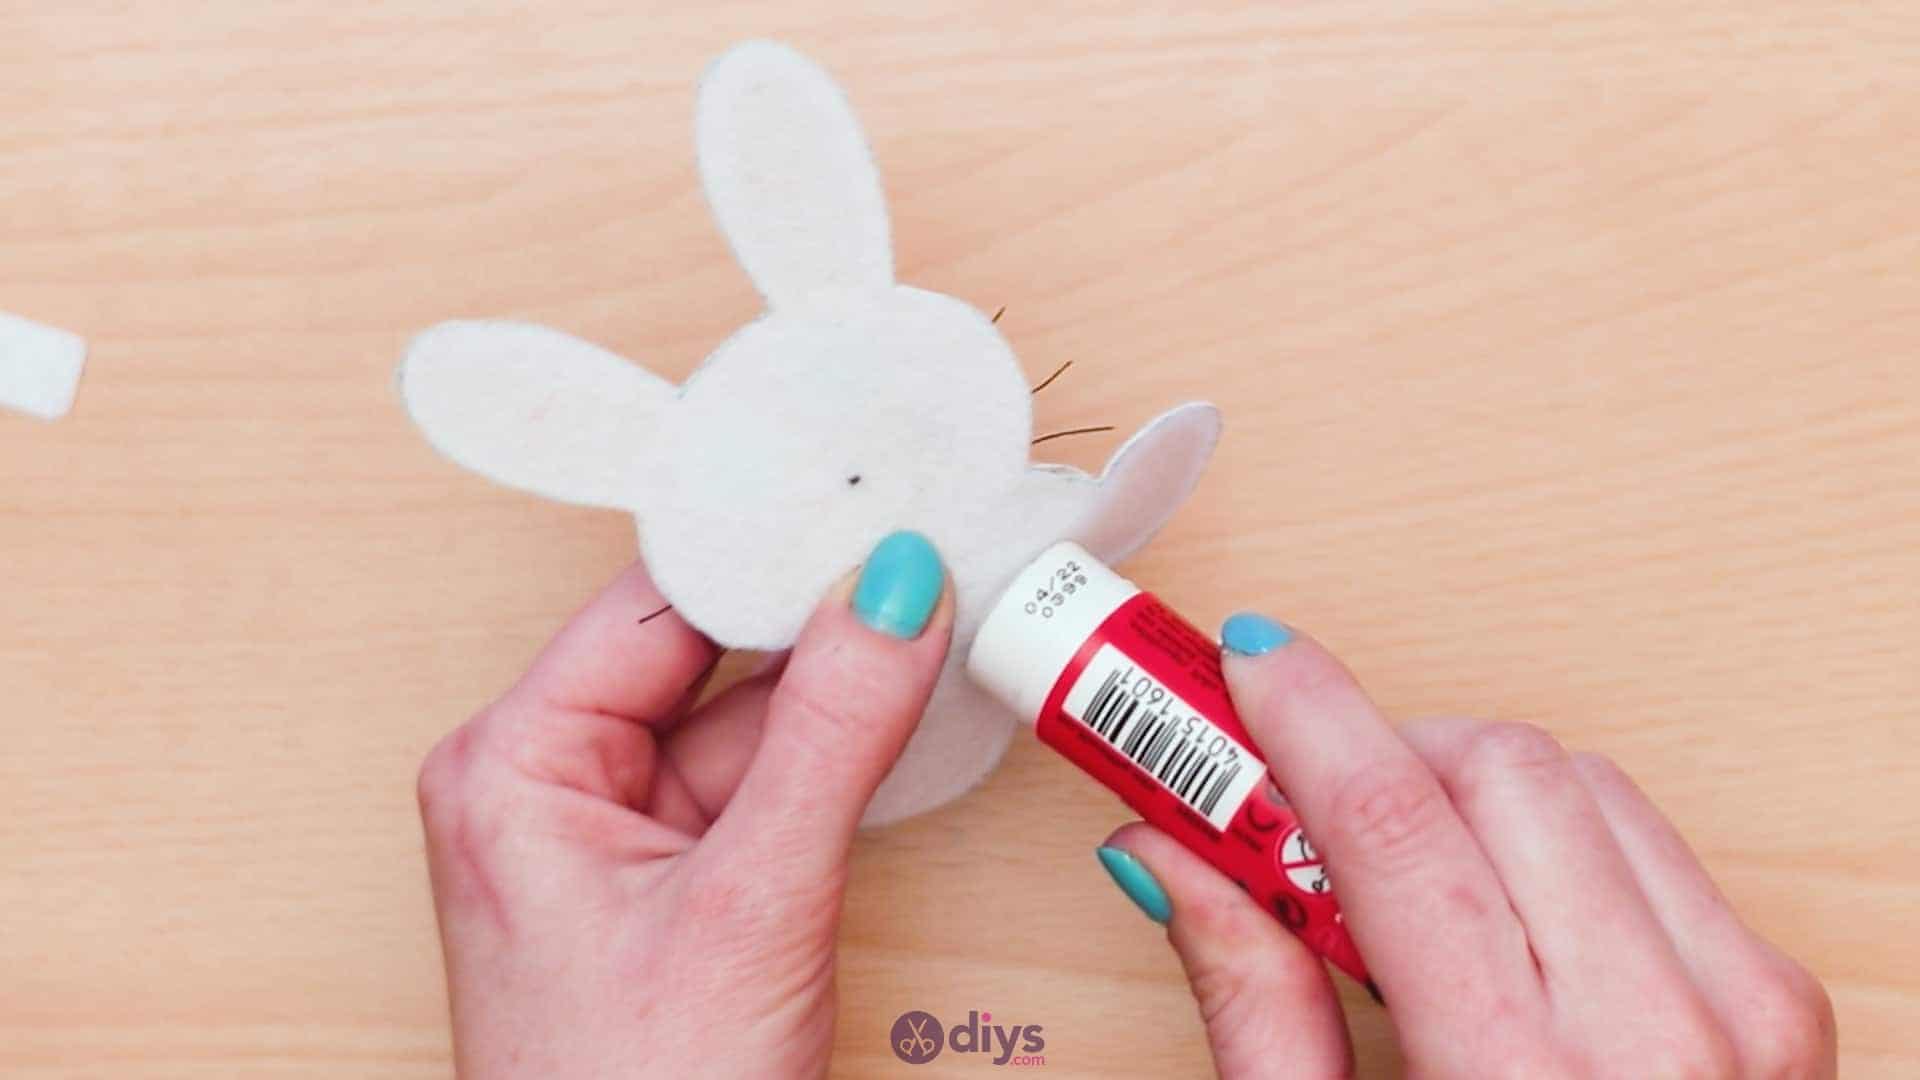
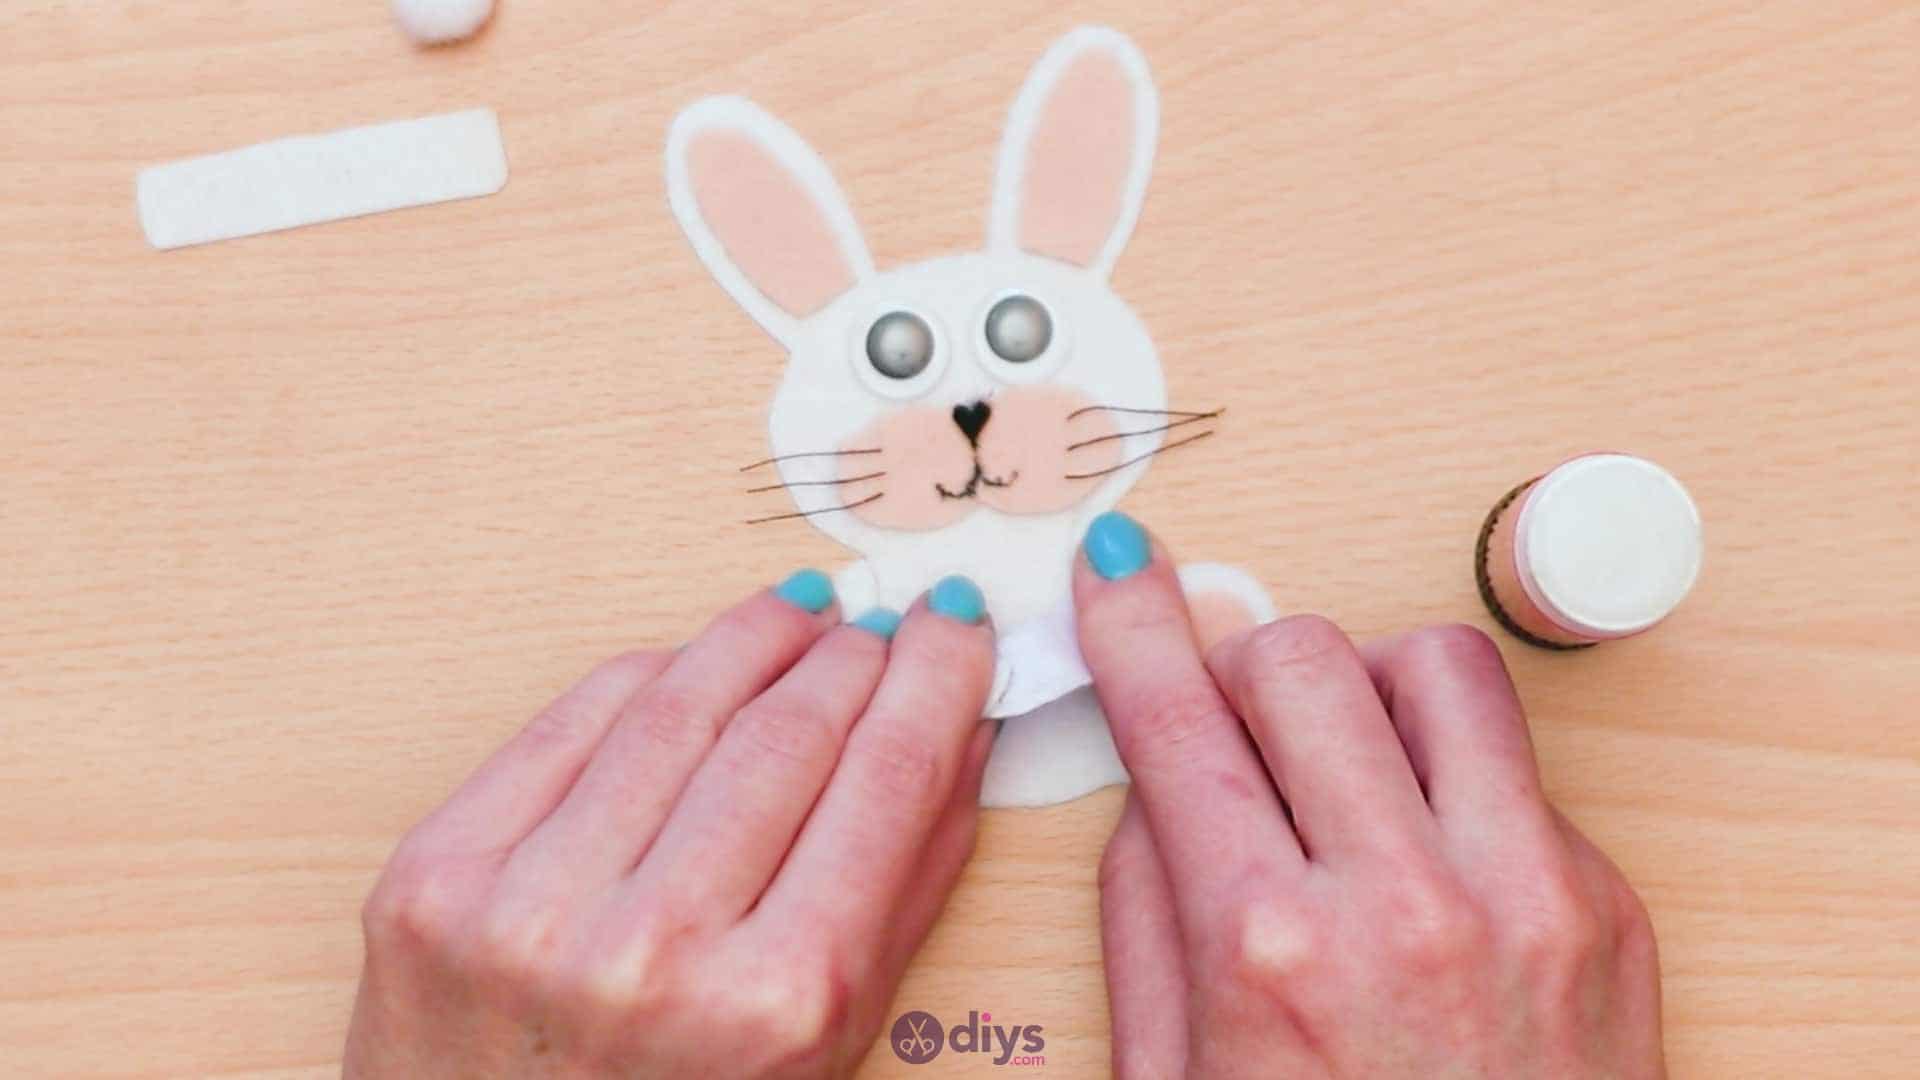
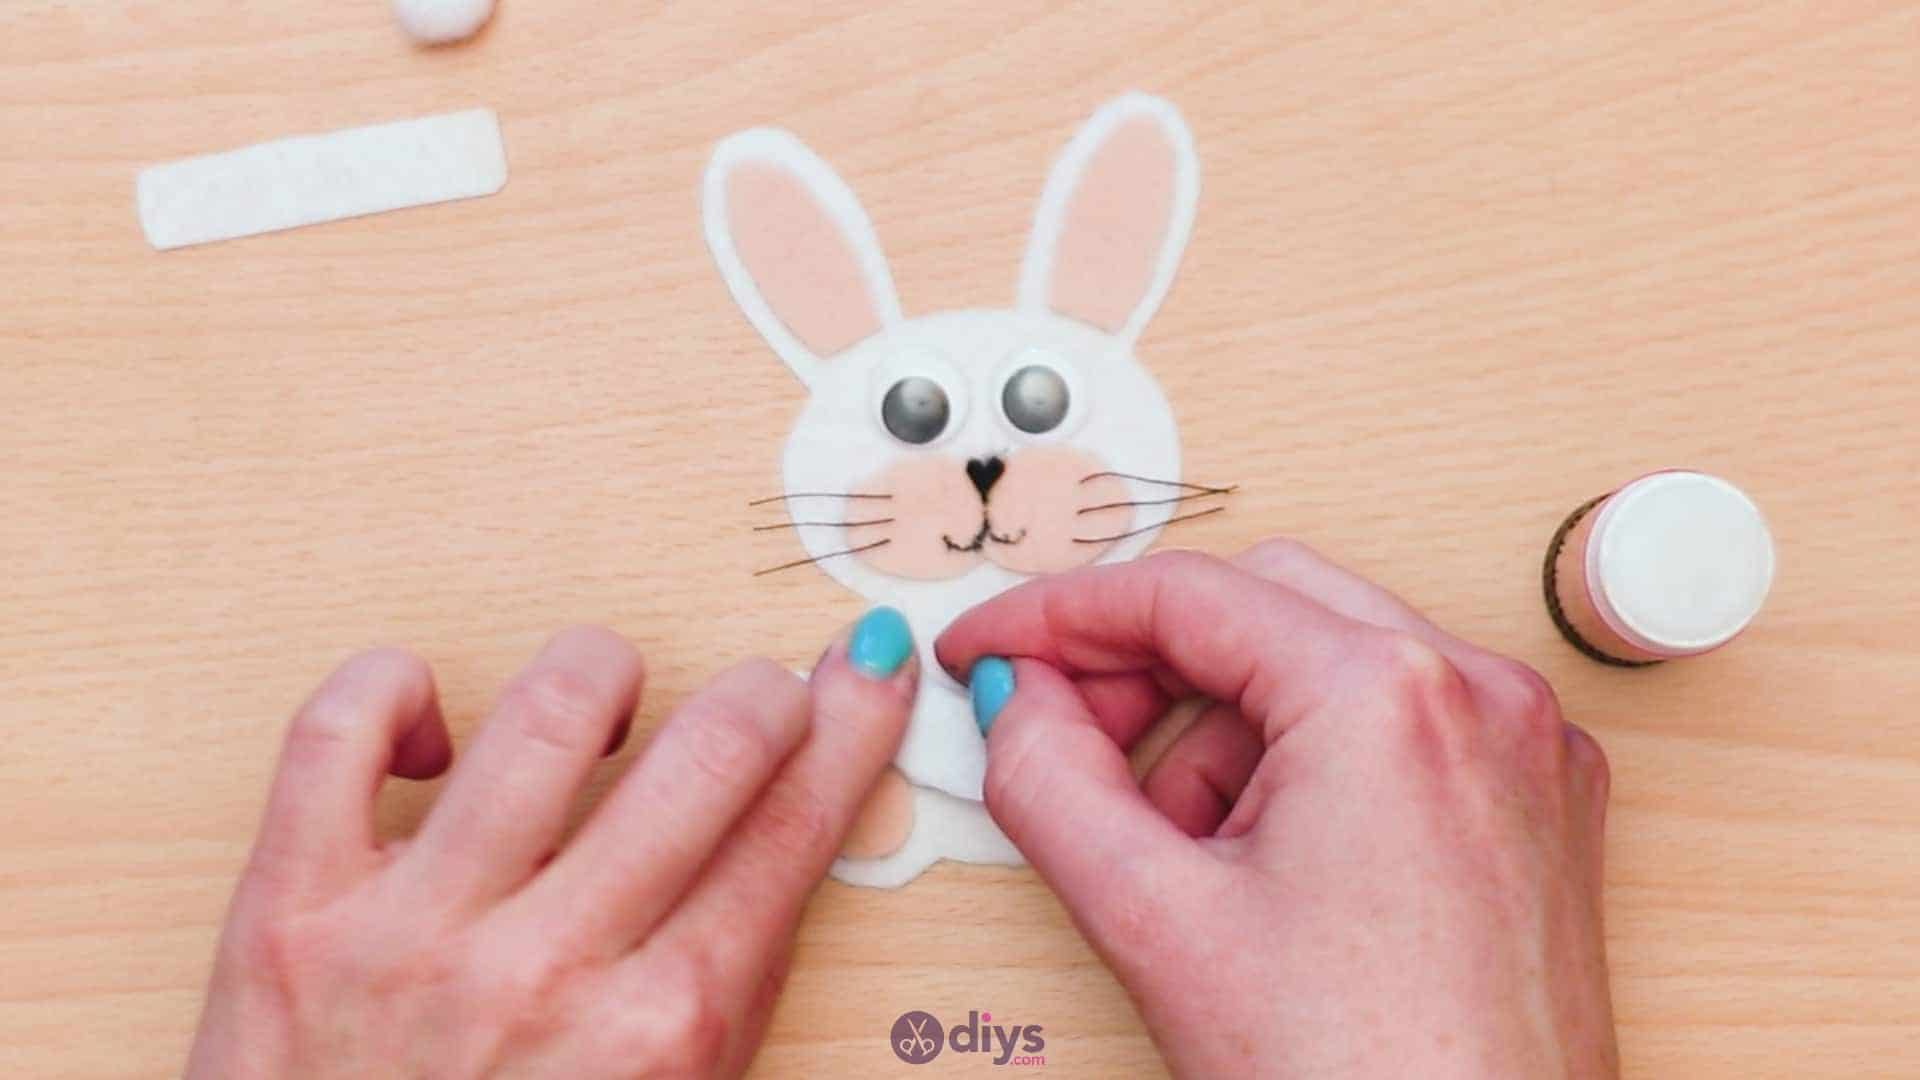
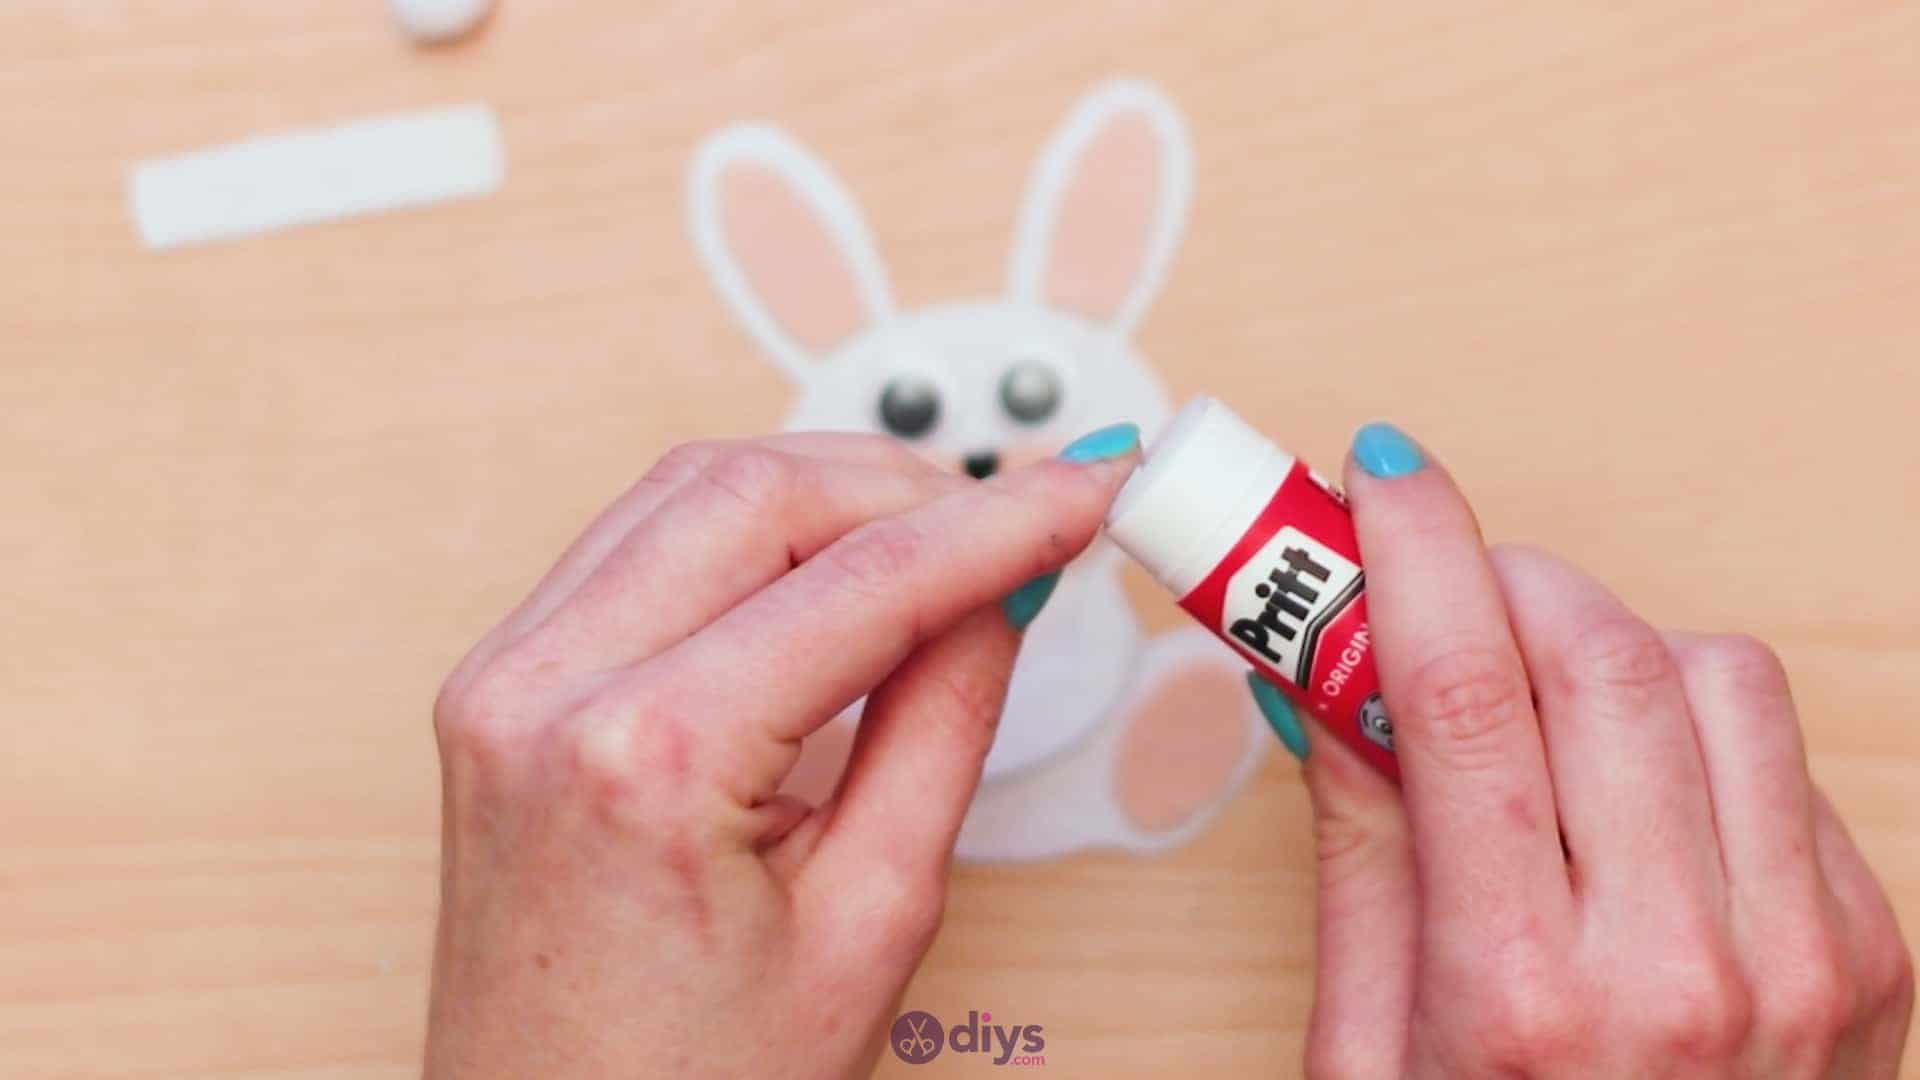
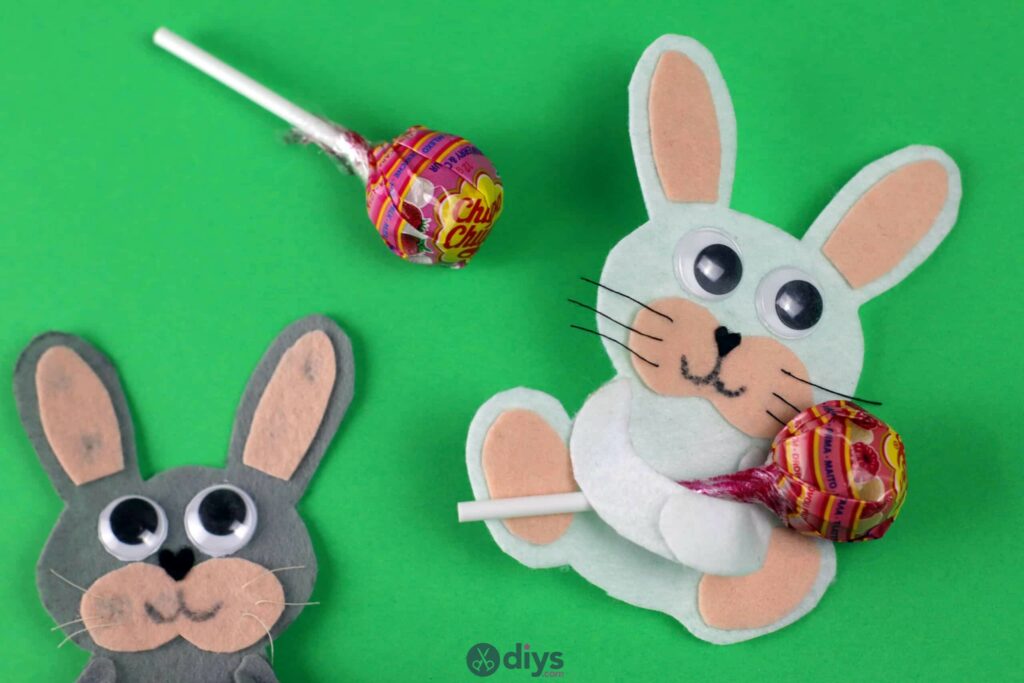
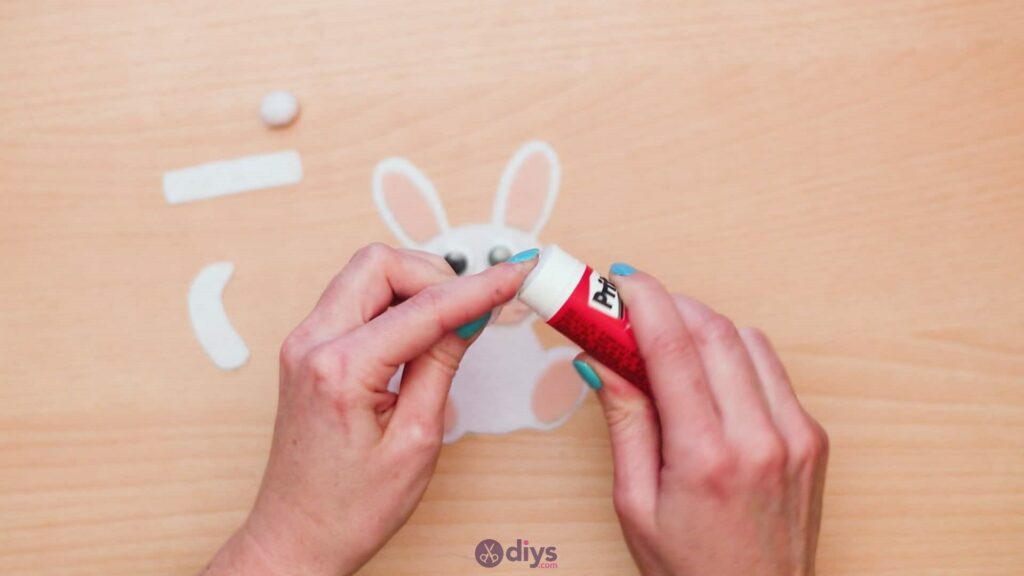
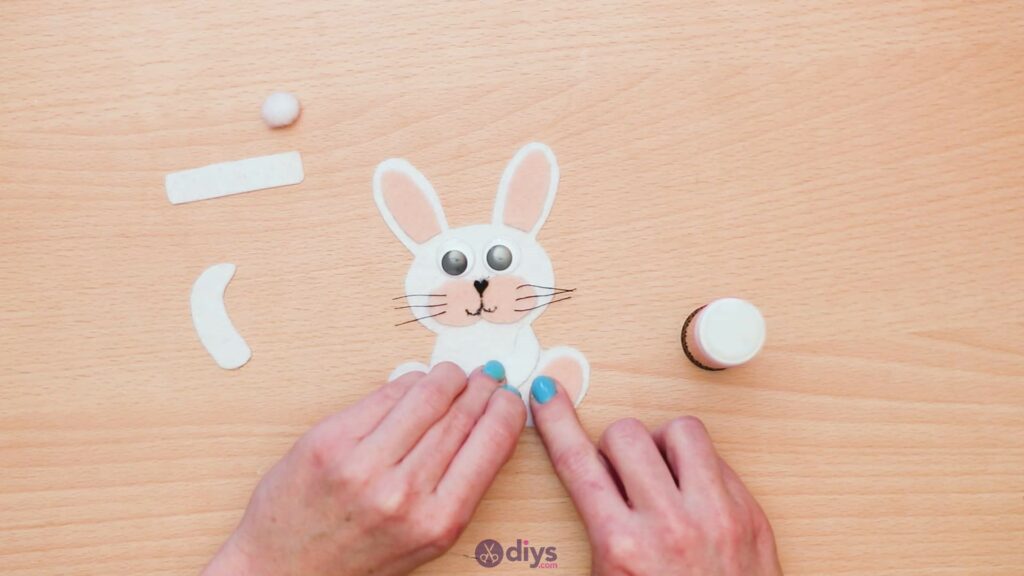
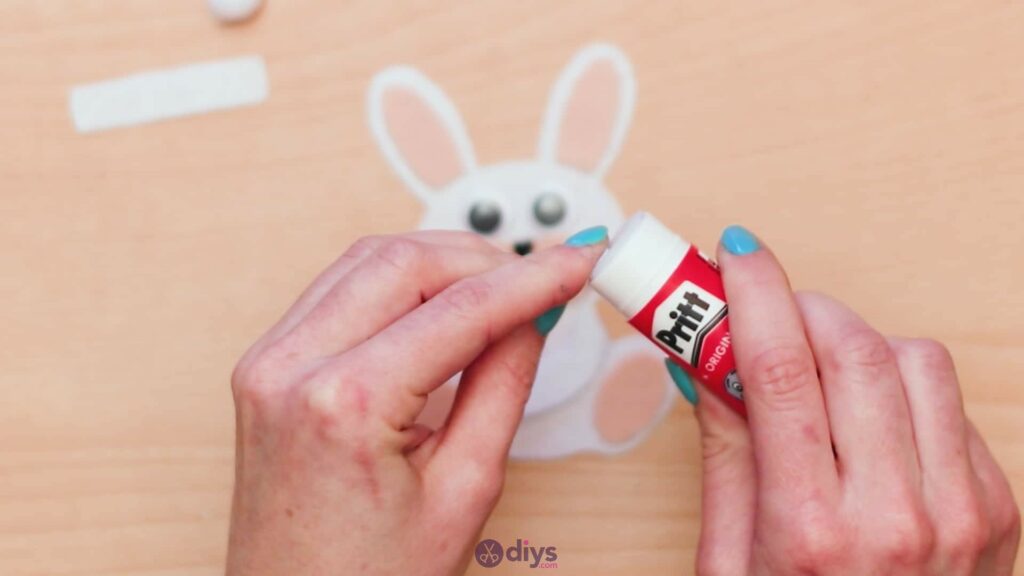
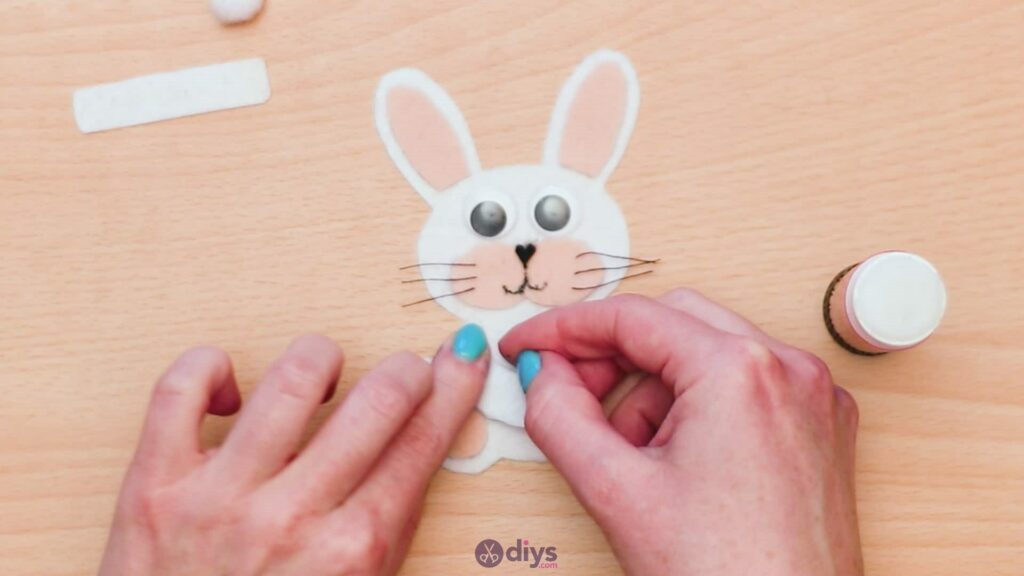
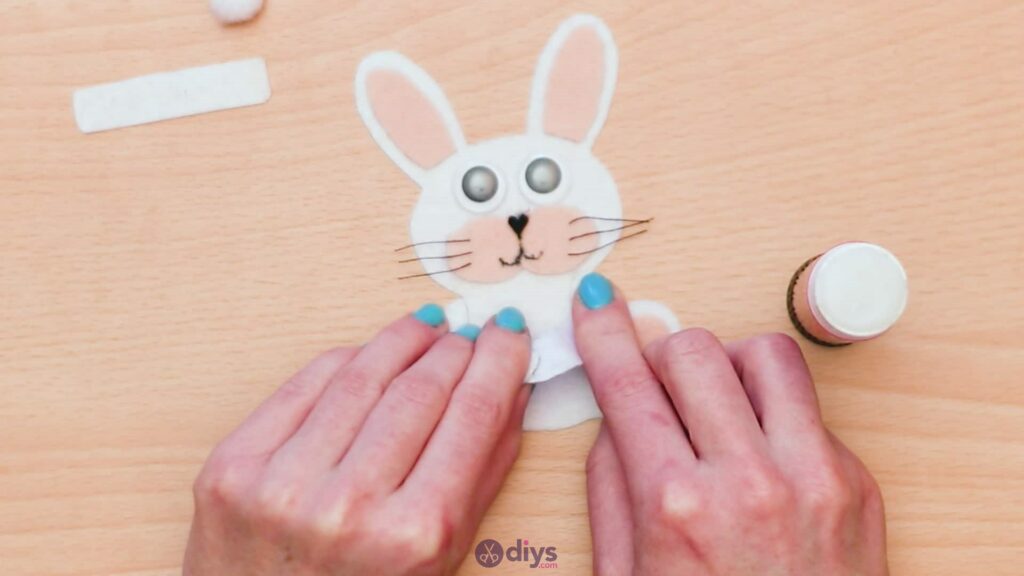
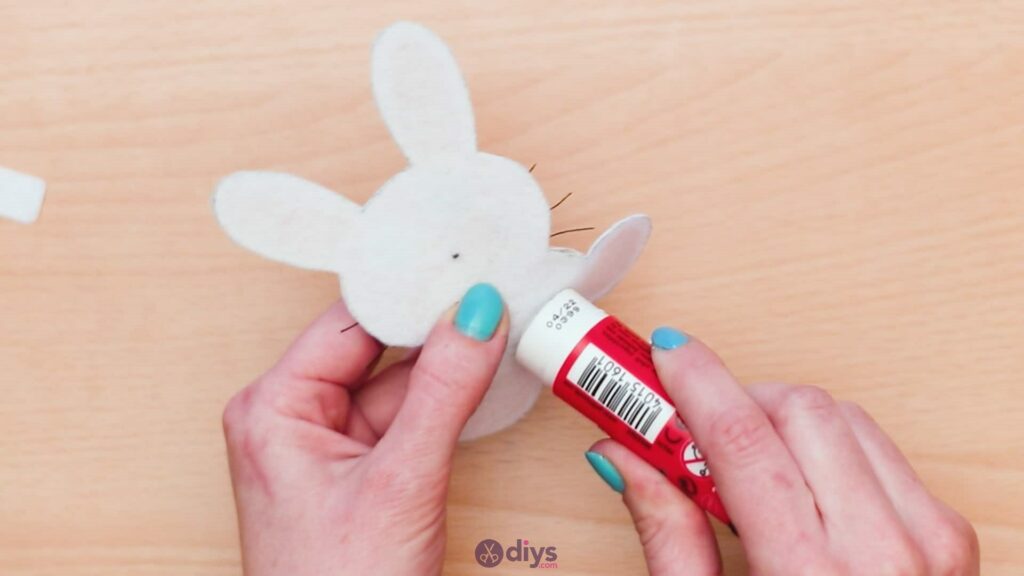
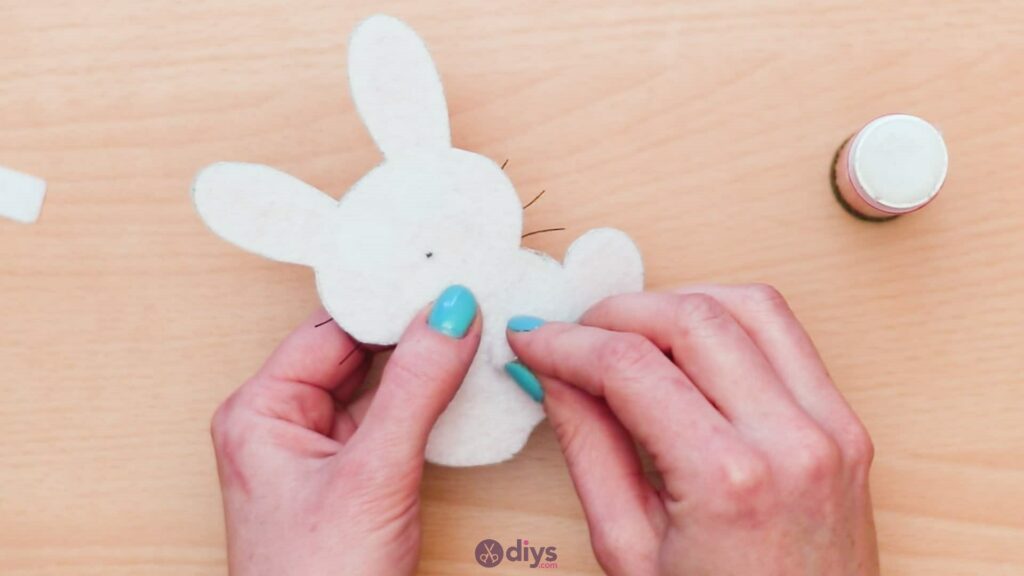
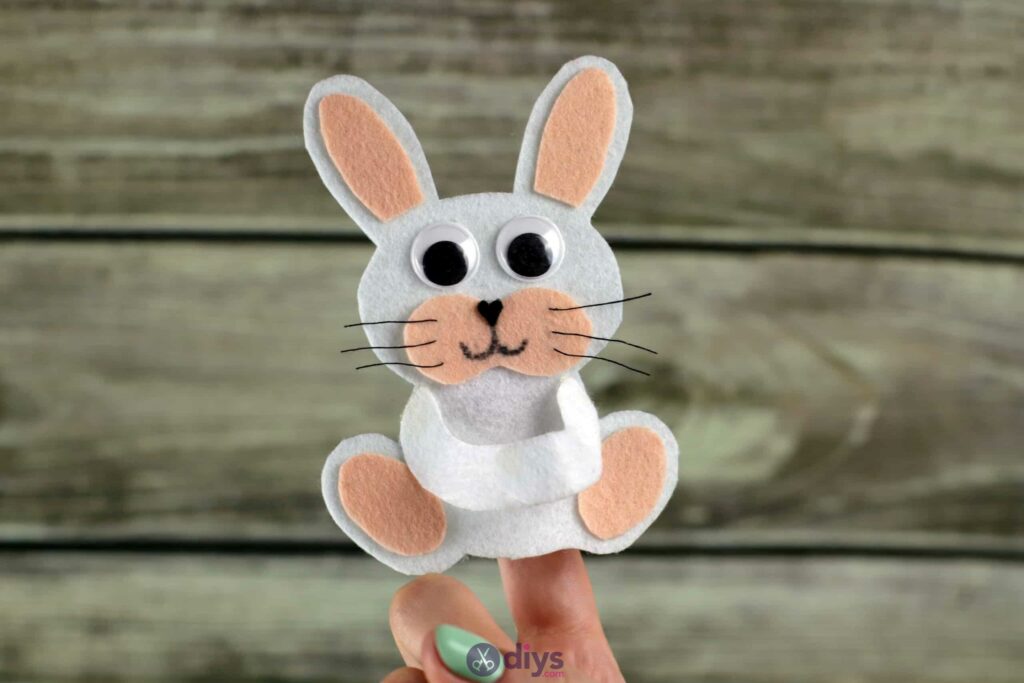
Now you’ll glue your bunny’s arms into place, but you’llonly stick them down at the shoulder,not all the way down. You need the lengths of the arms and the paws to be loose so you can create an open loop that will hold the lollipop around the stick when you slide it into the bunny’s grip. Apply glue at the top end of each arm and stick it down at the should on each side. Then apply glue to the underside of one arm’s free end, where the bunny’s paw would be, and stick it down on top of the other arm’s end at the paw. Your bunny is now ready to hold things.
Step 10: stick on the tail
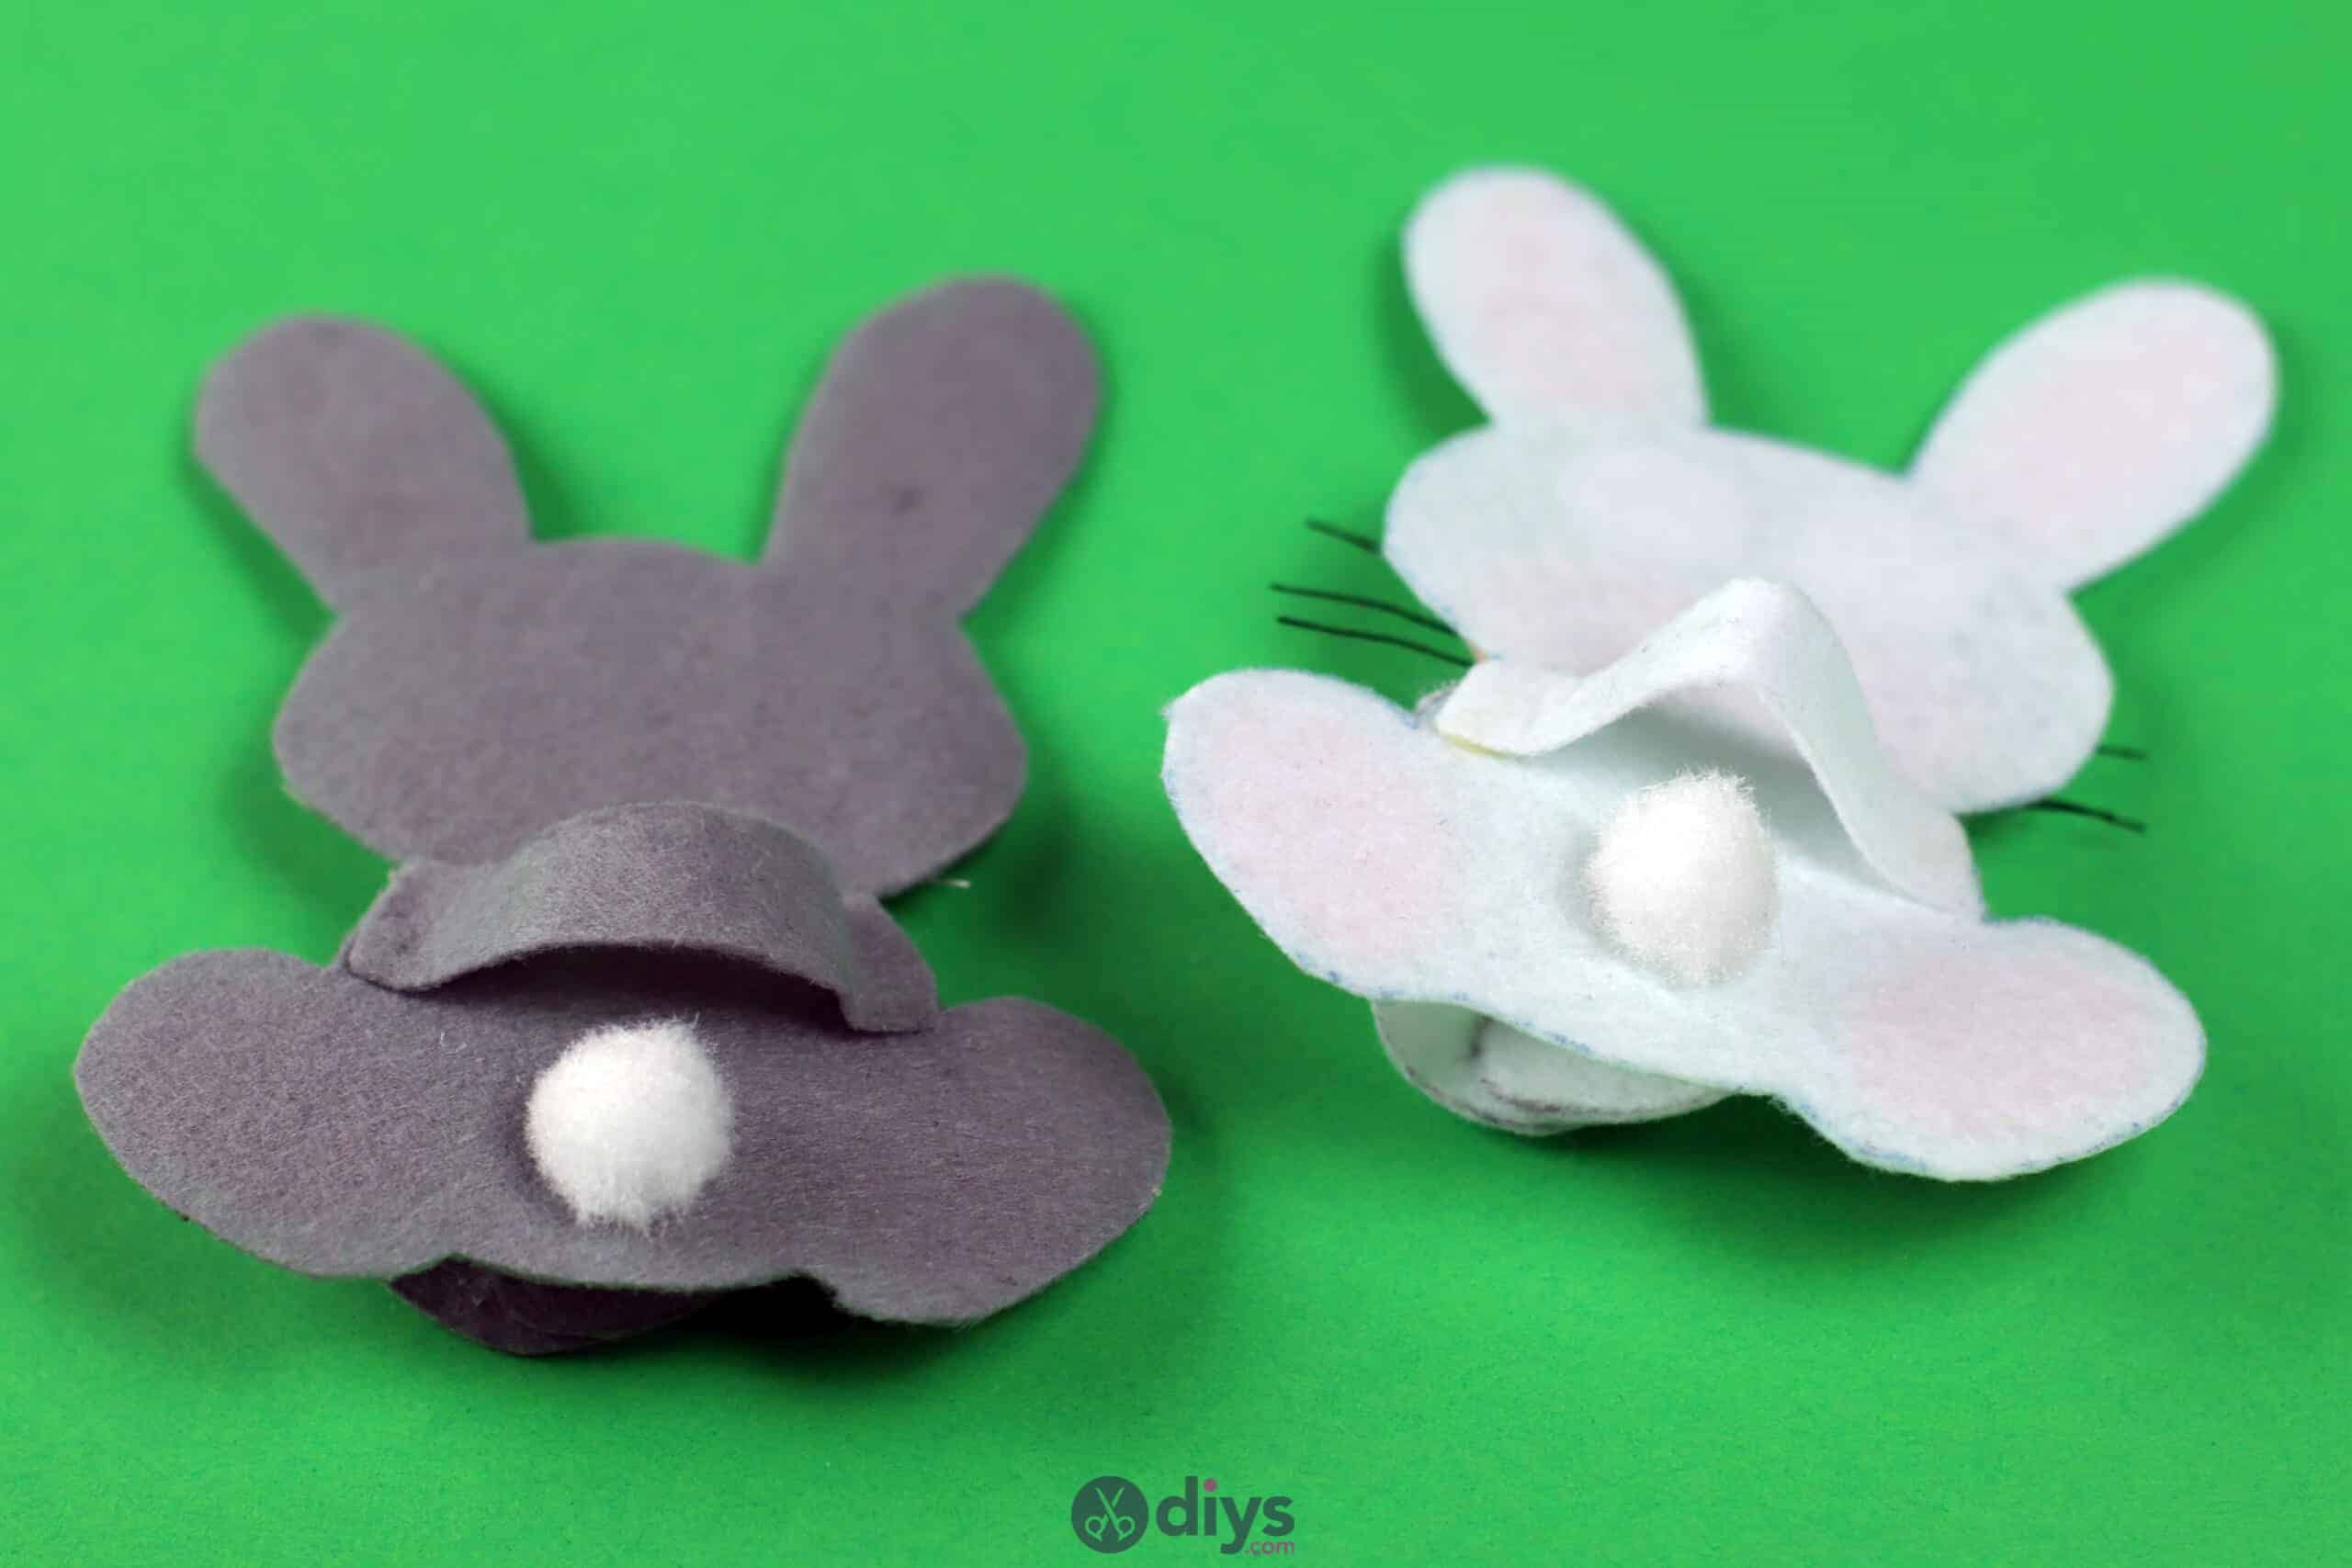
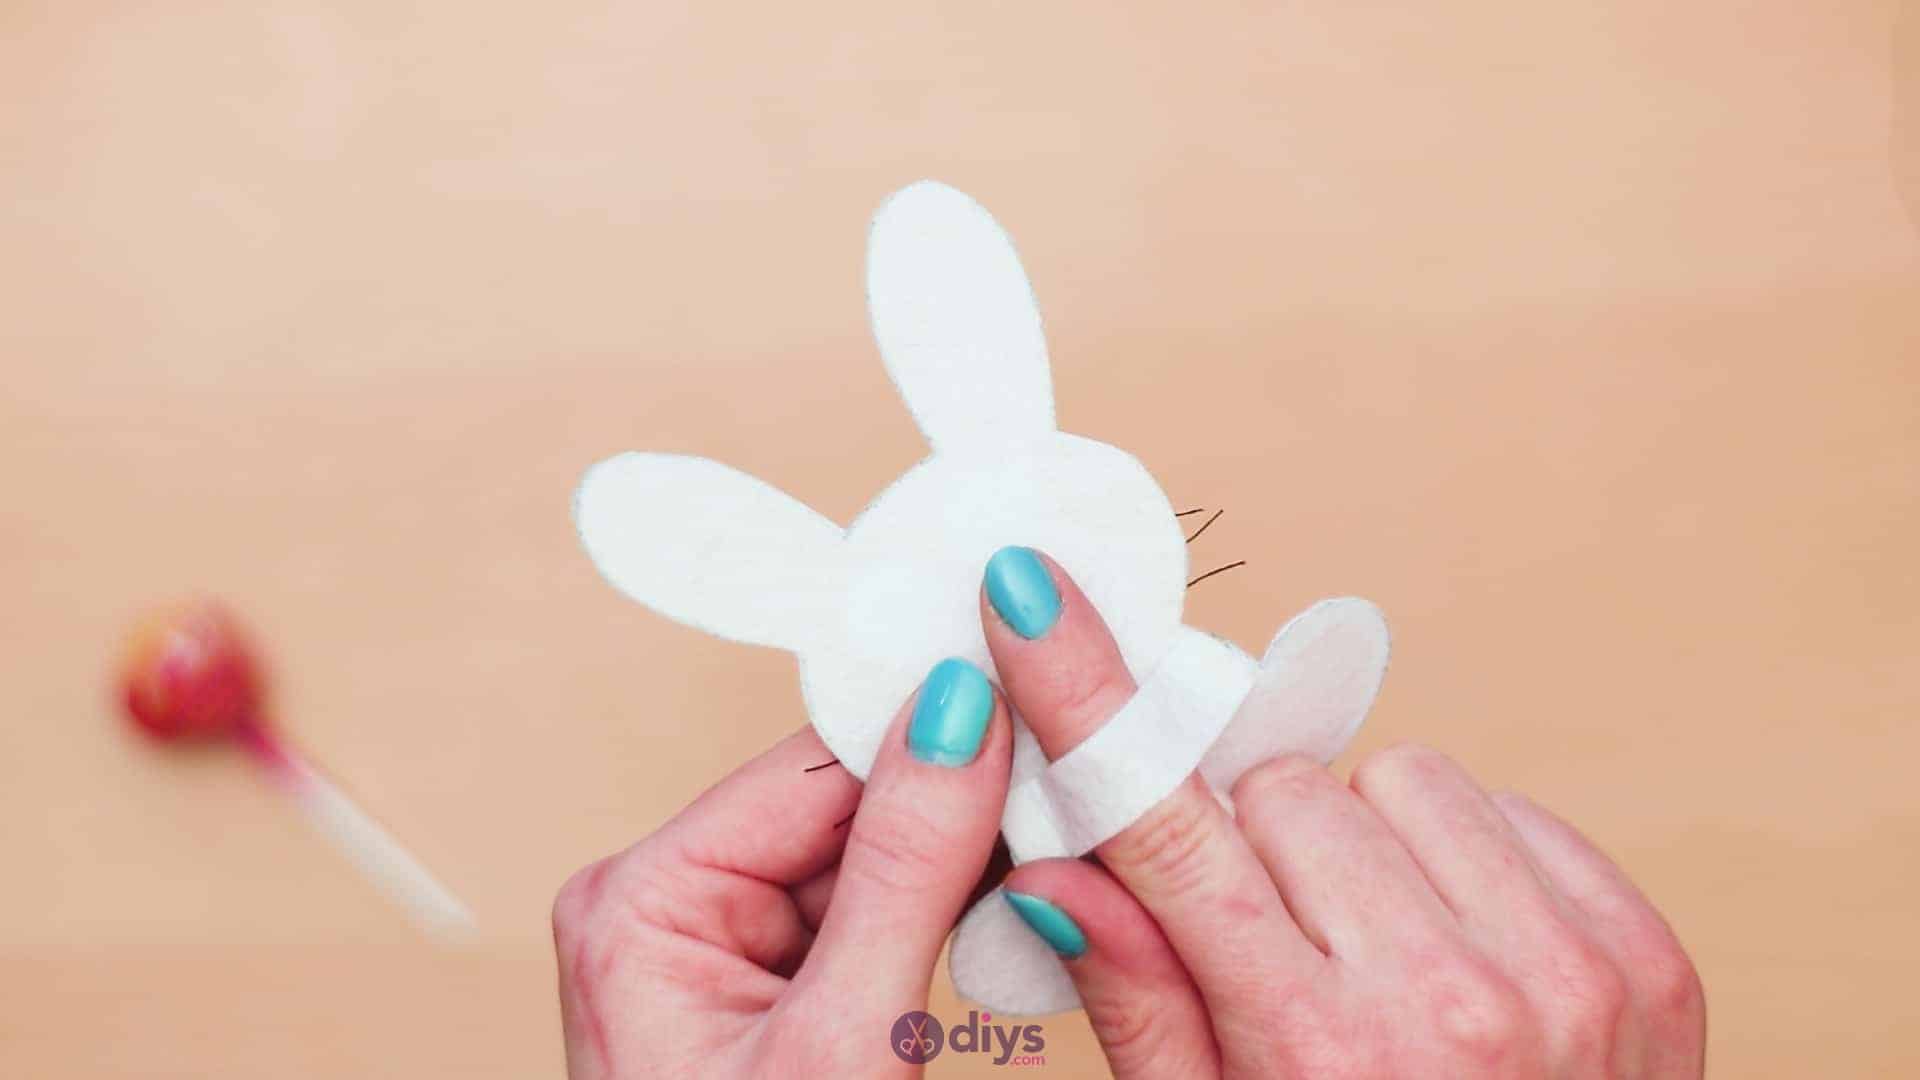
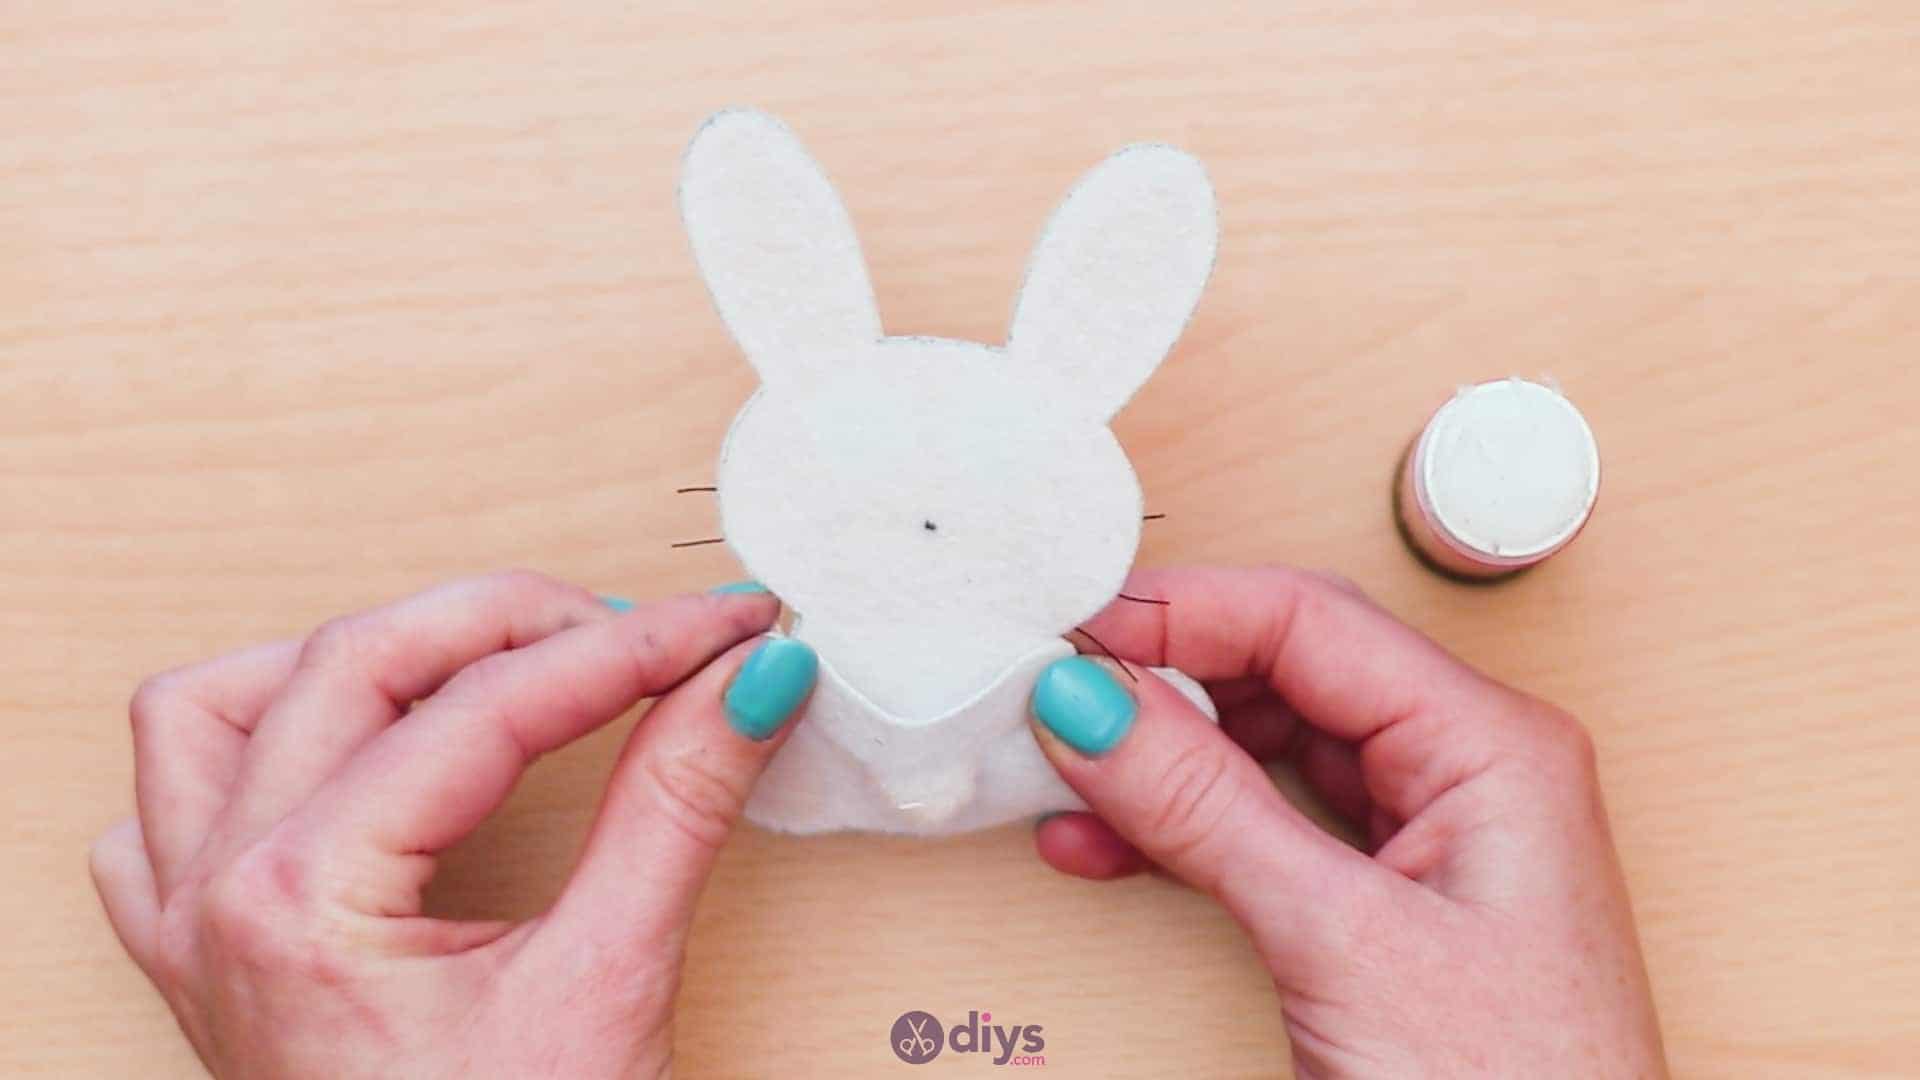
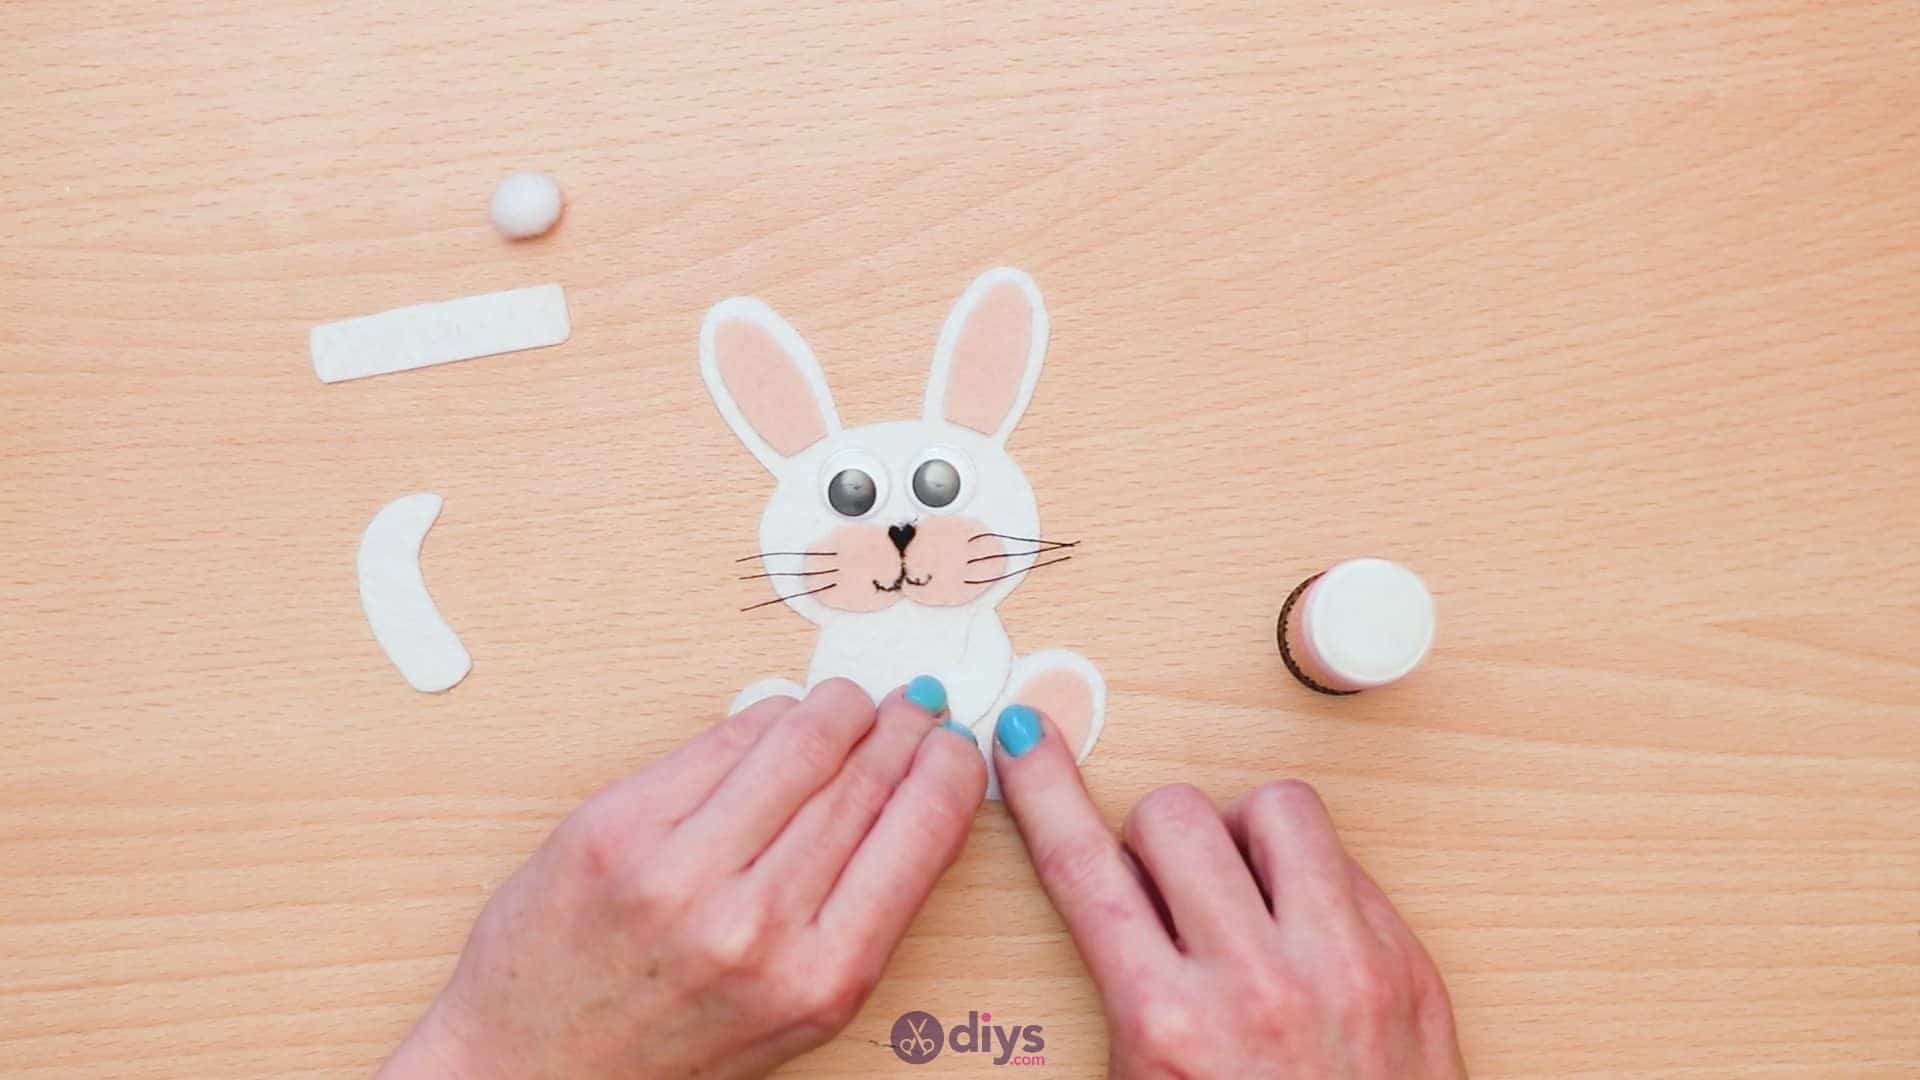
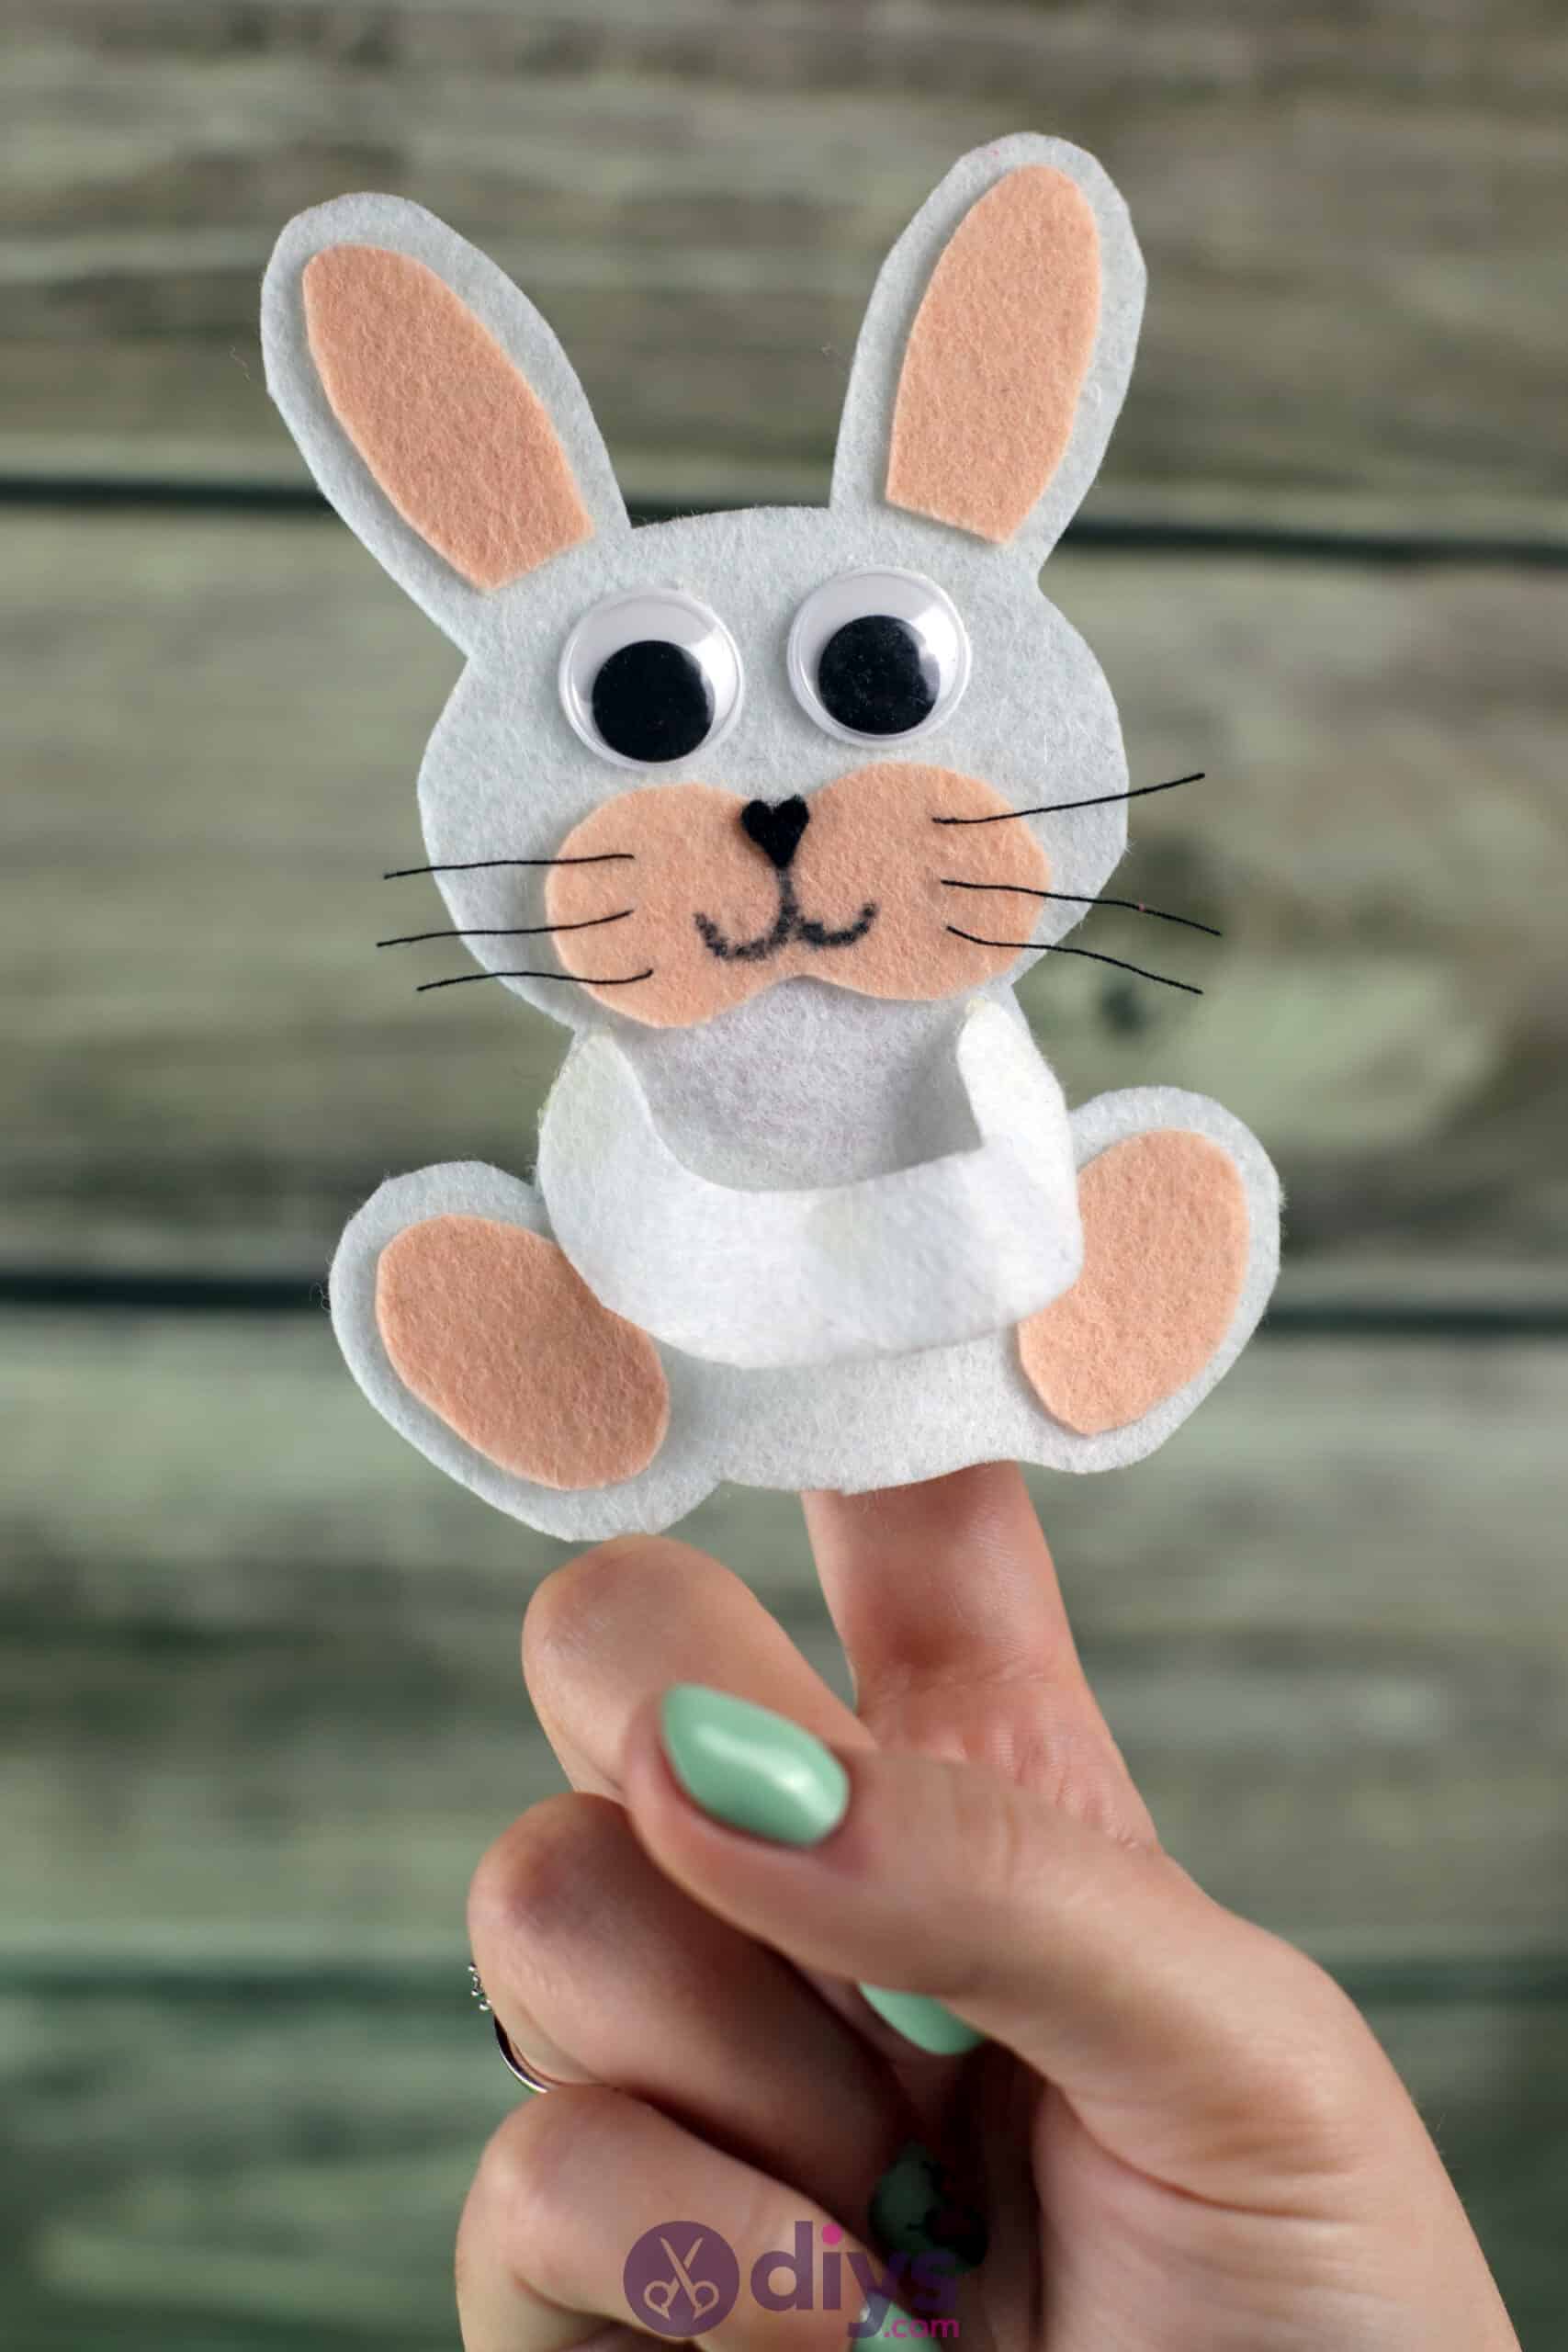
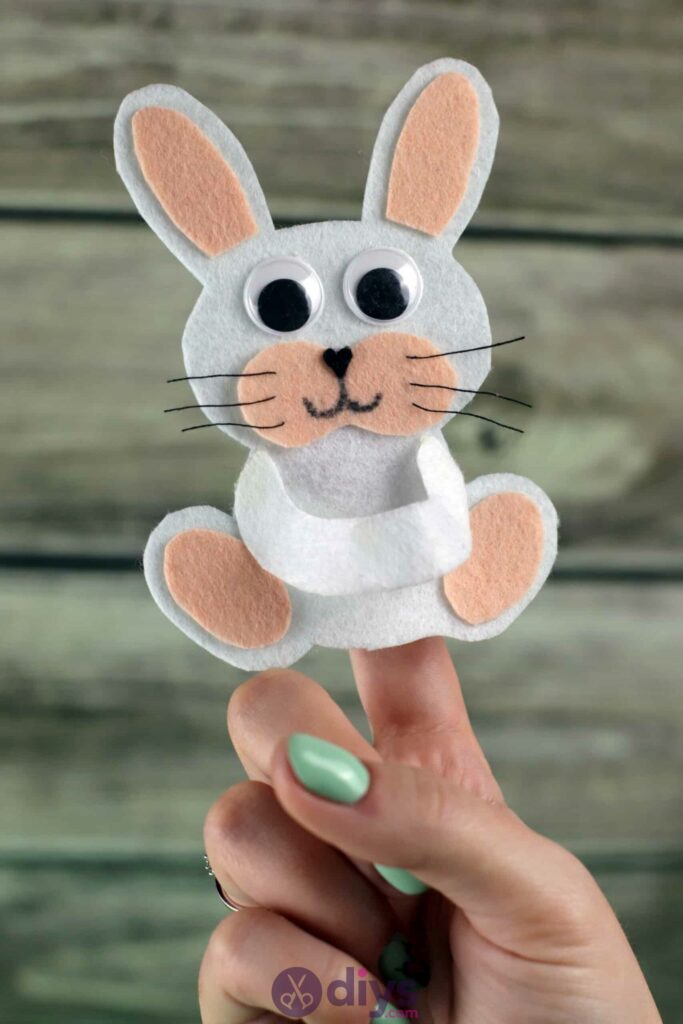
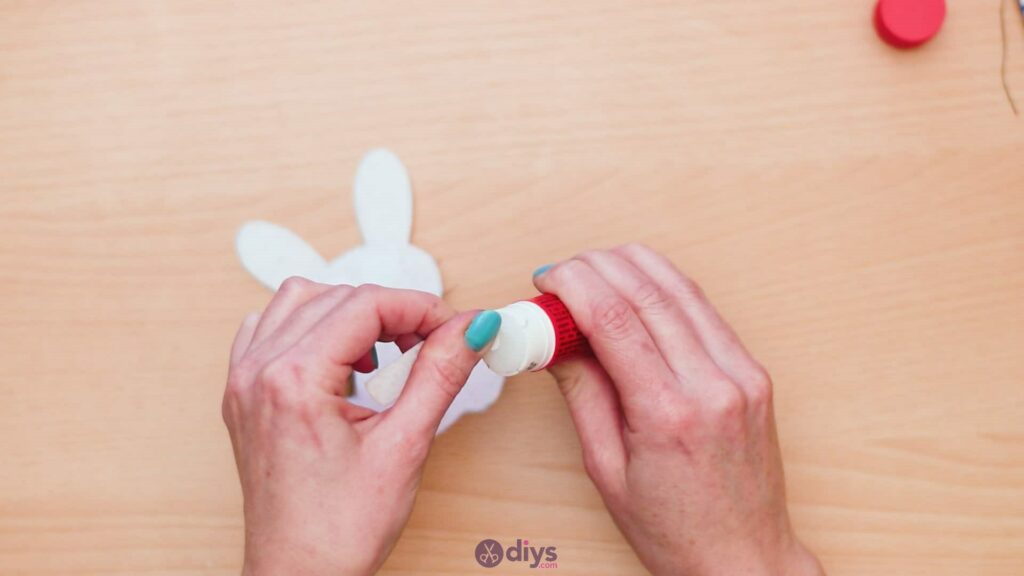
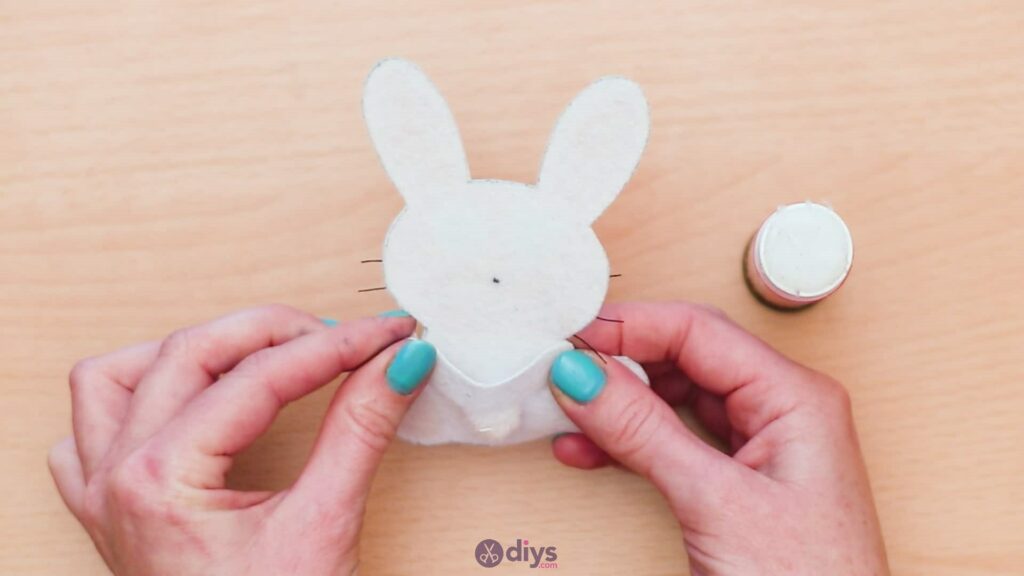
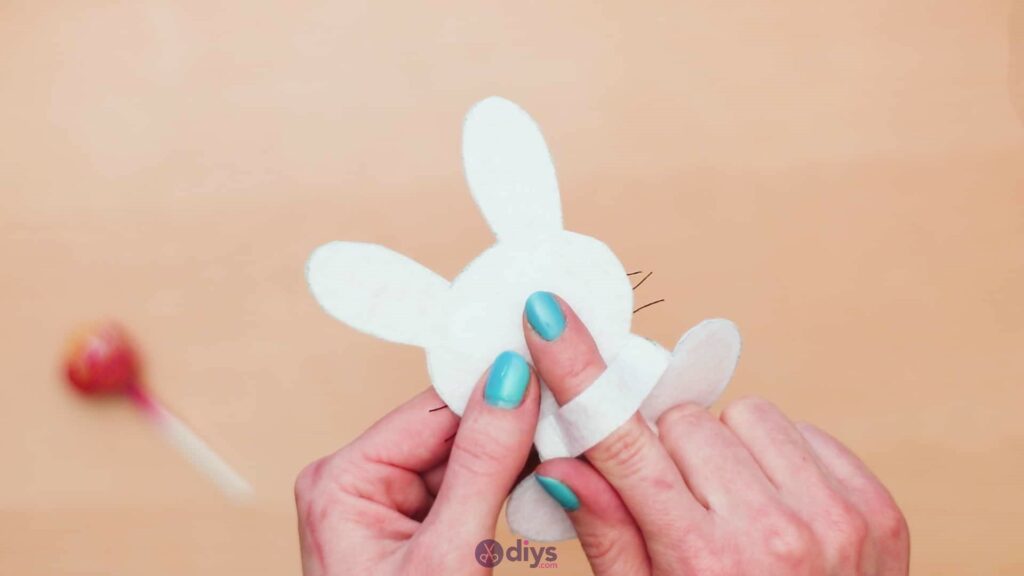
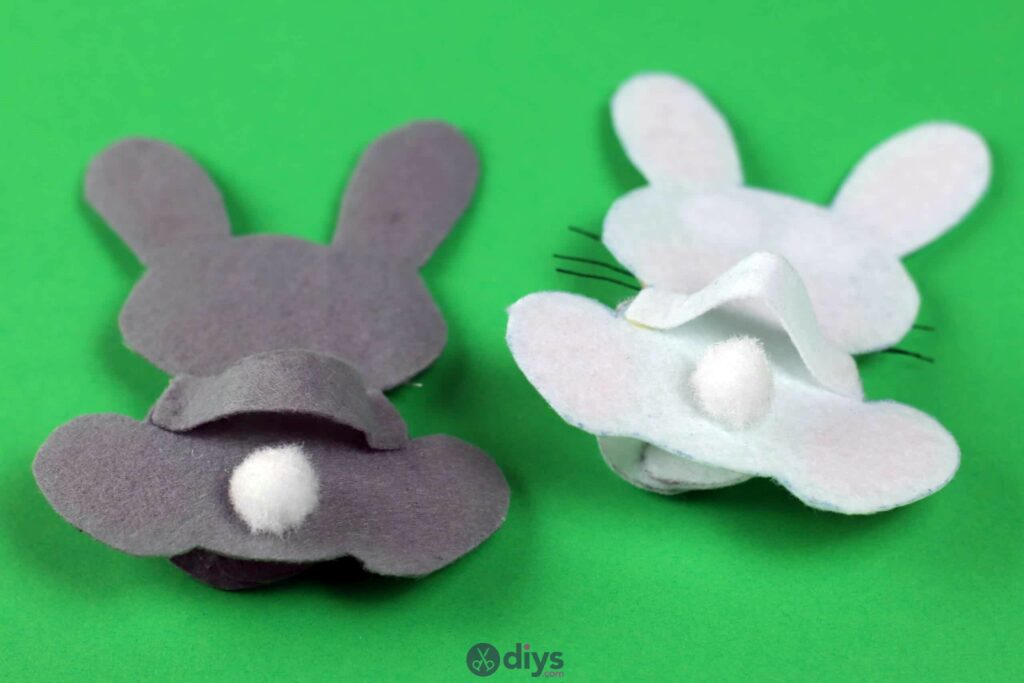
Turn your bunny over and stick the cotton tail on the back, in the centre halfway between the feet on the bottom half. Then apply glue to each end of the finger band and stick the ends down a little closer together than if you were going to place the band down horizontally and flat; this will help it stick up a little in order to leave room for a finger so that the bunny can be worn as a finger puppet.
Step 11: get poppin’
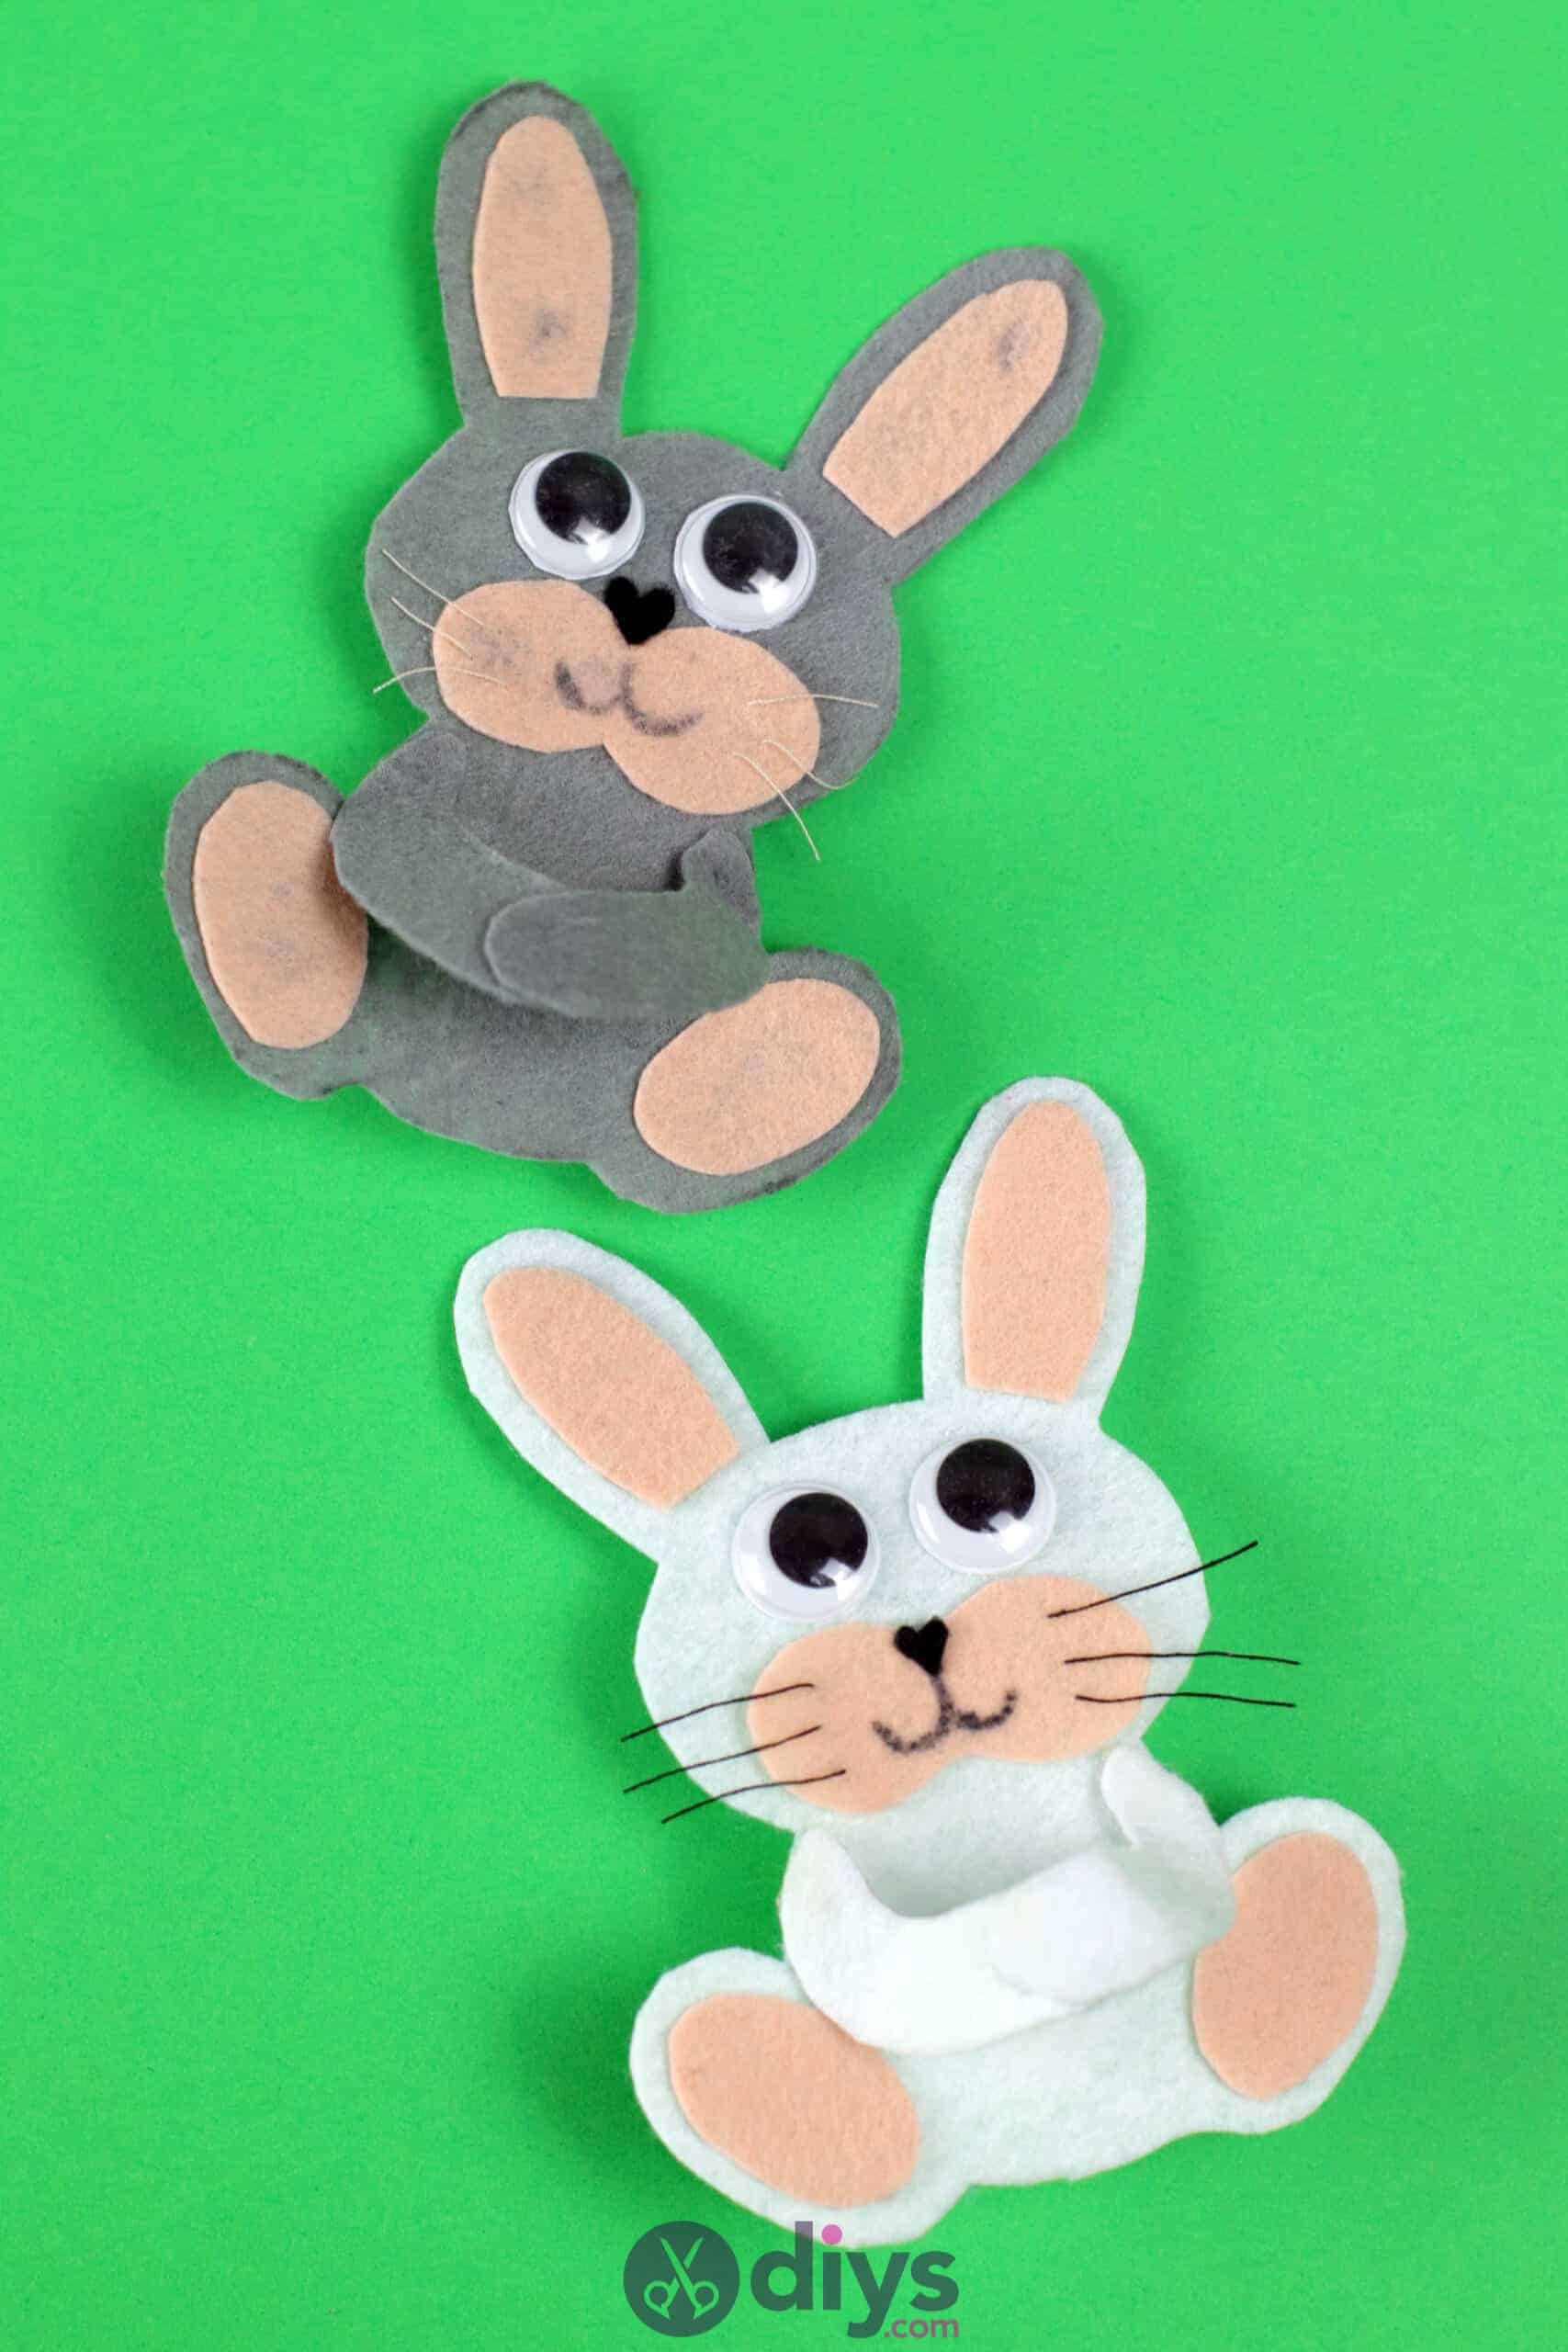
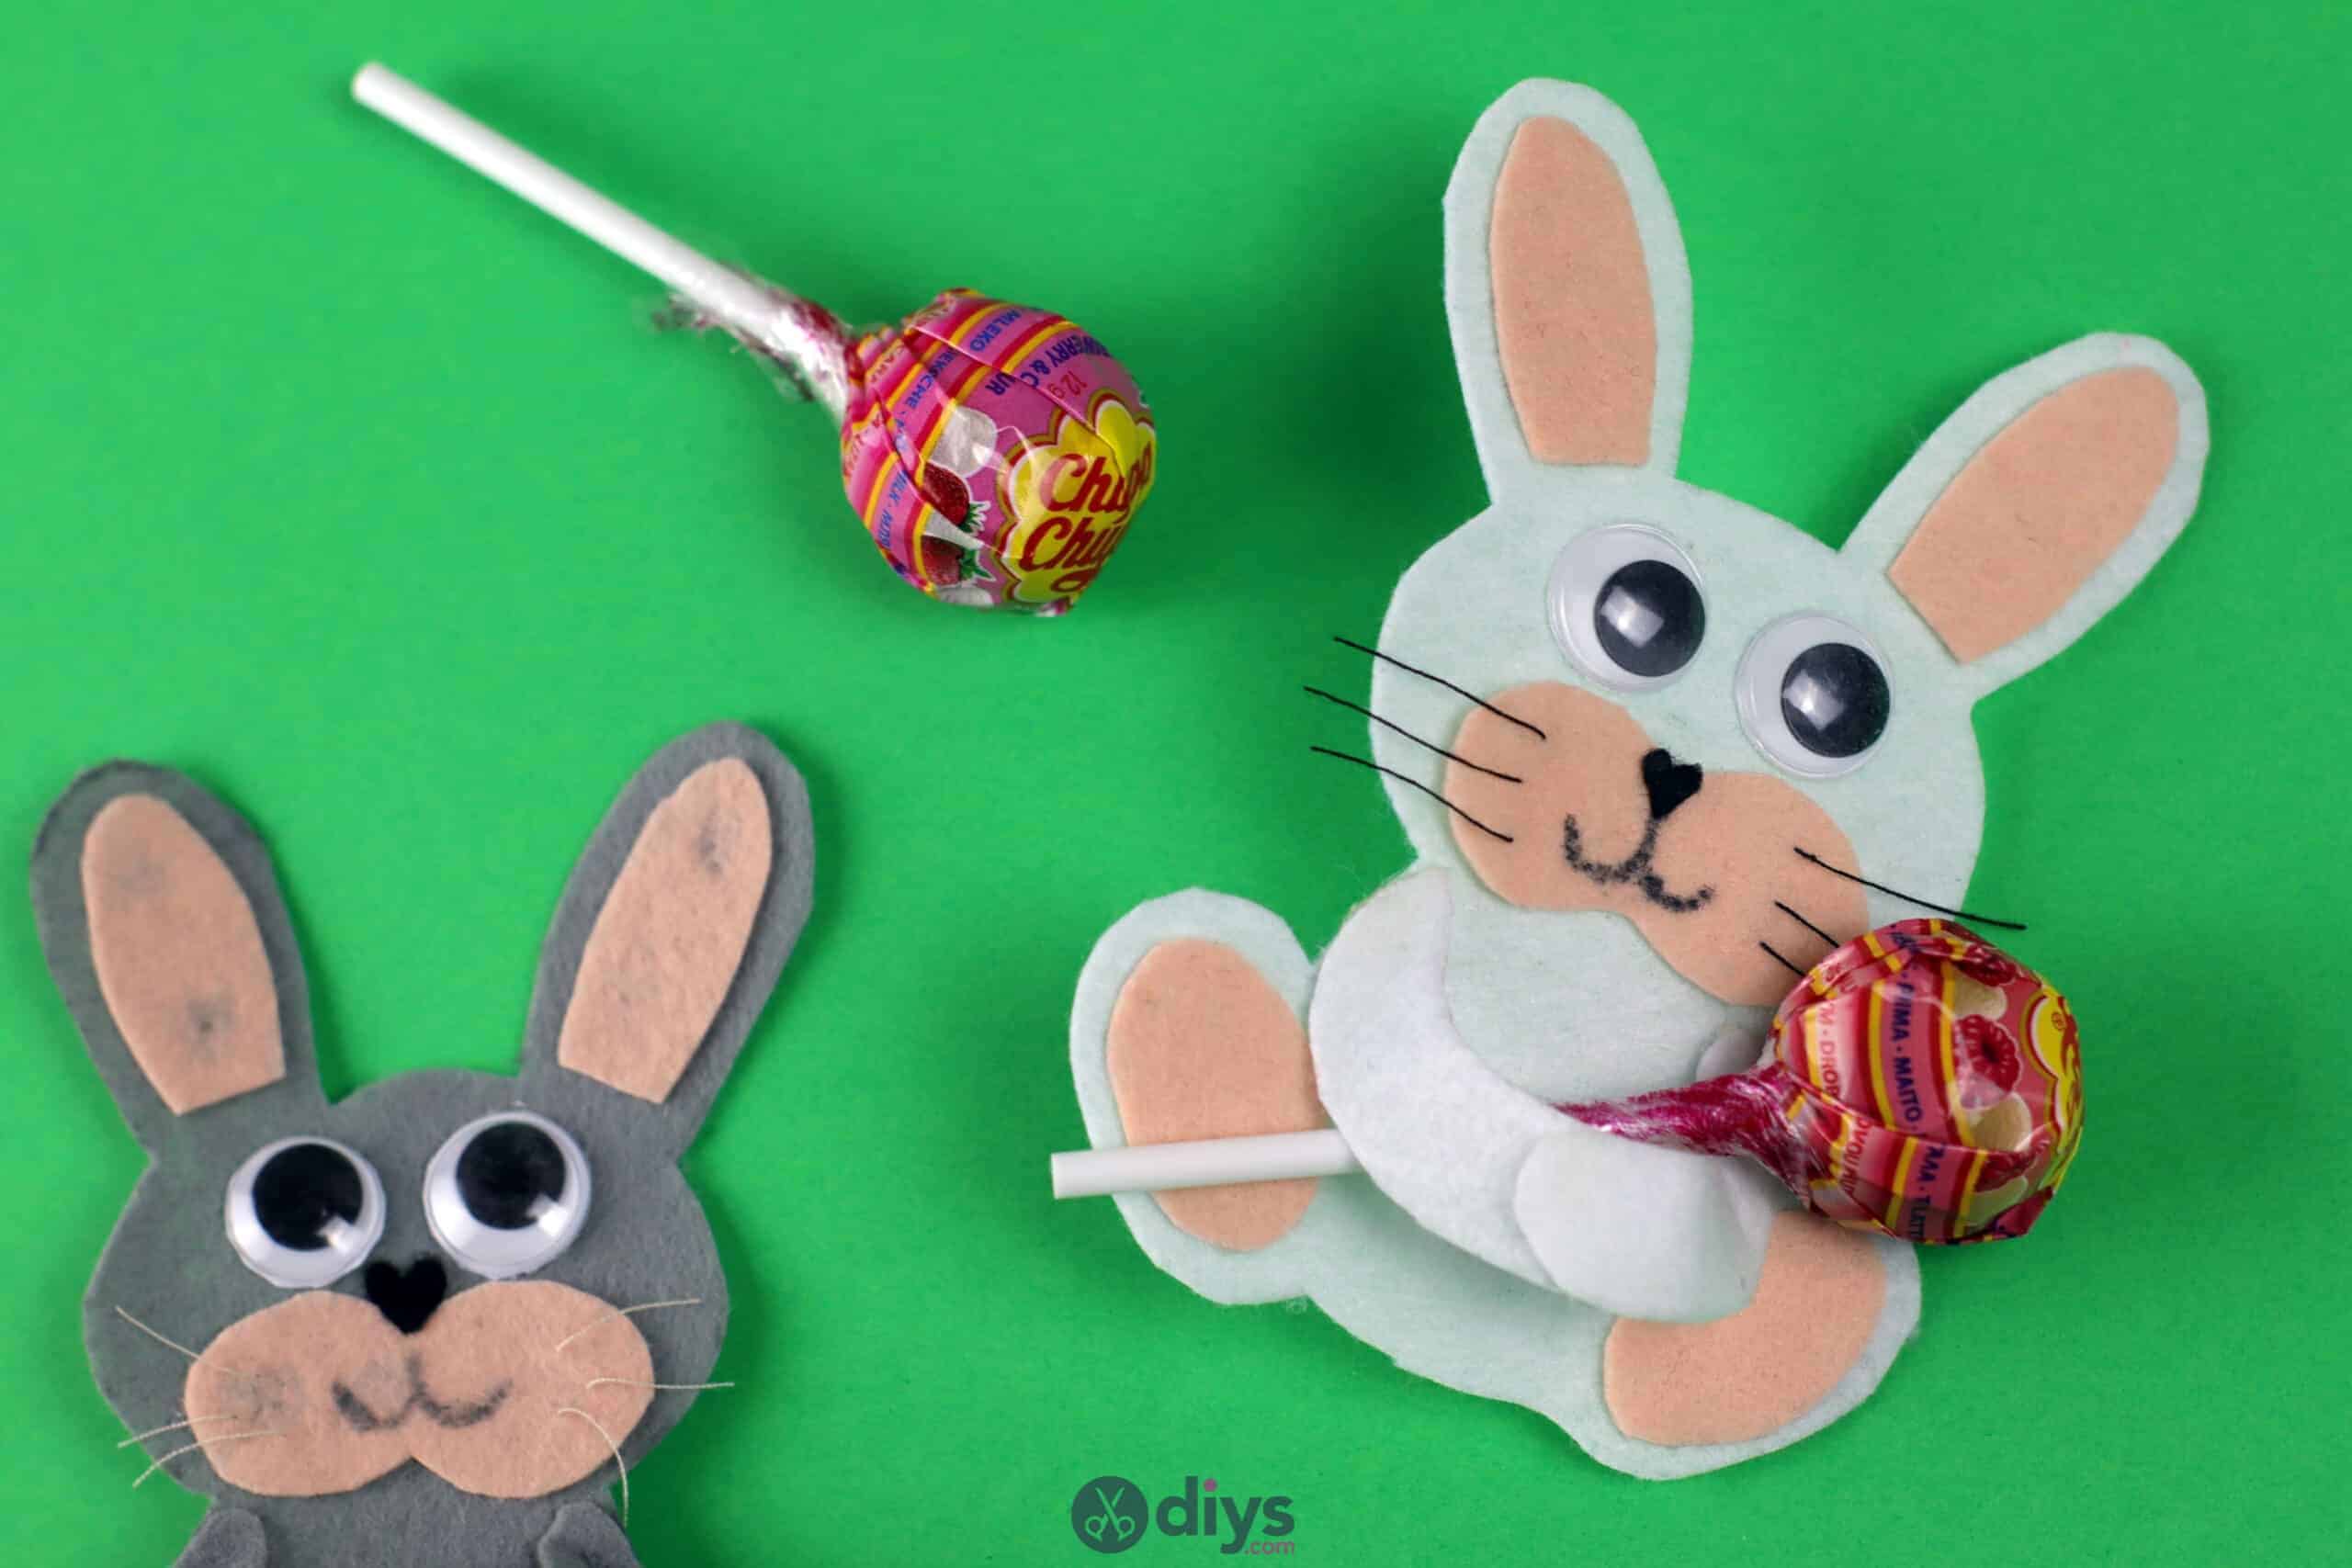
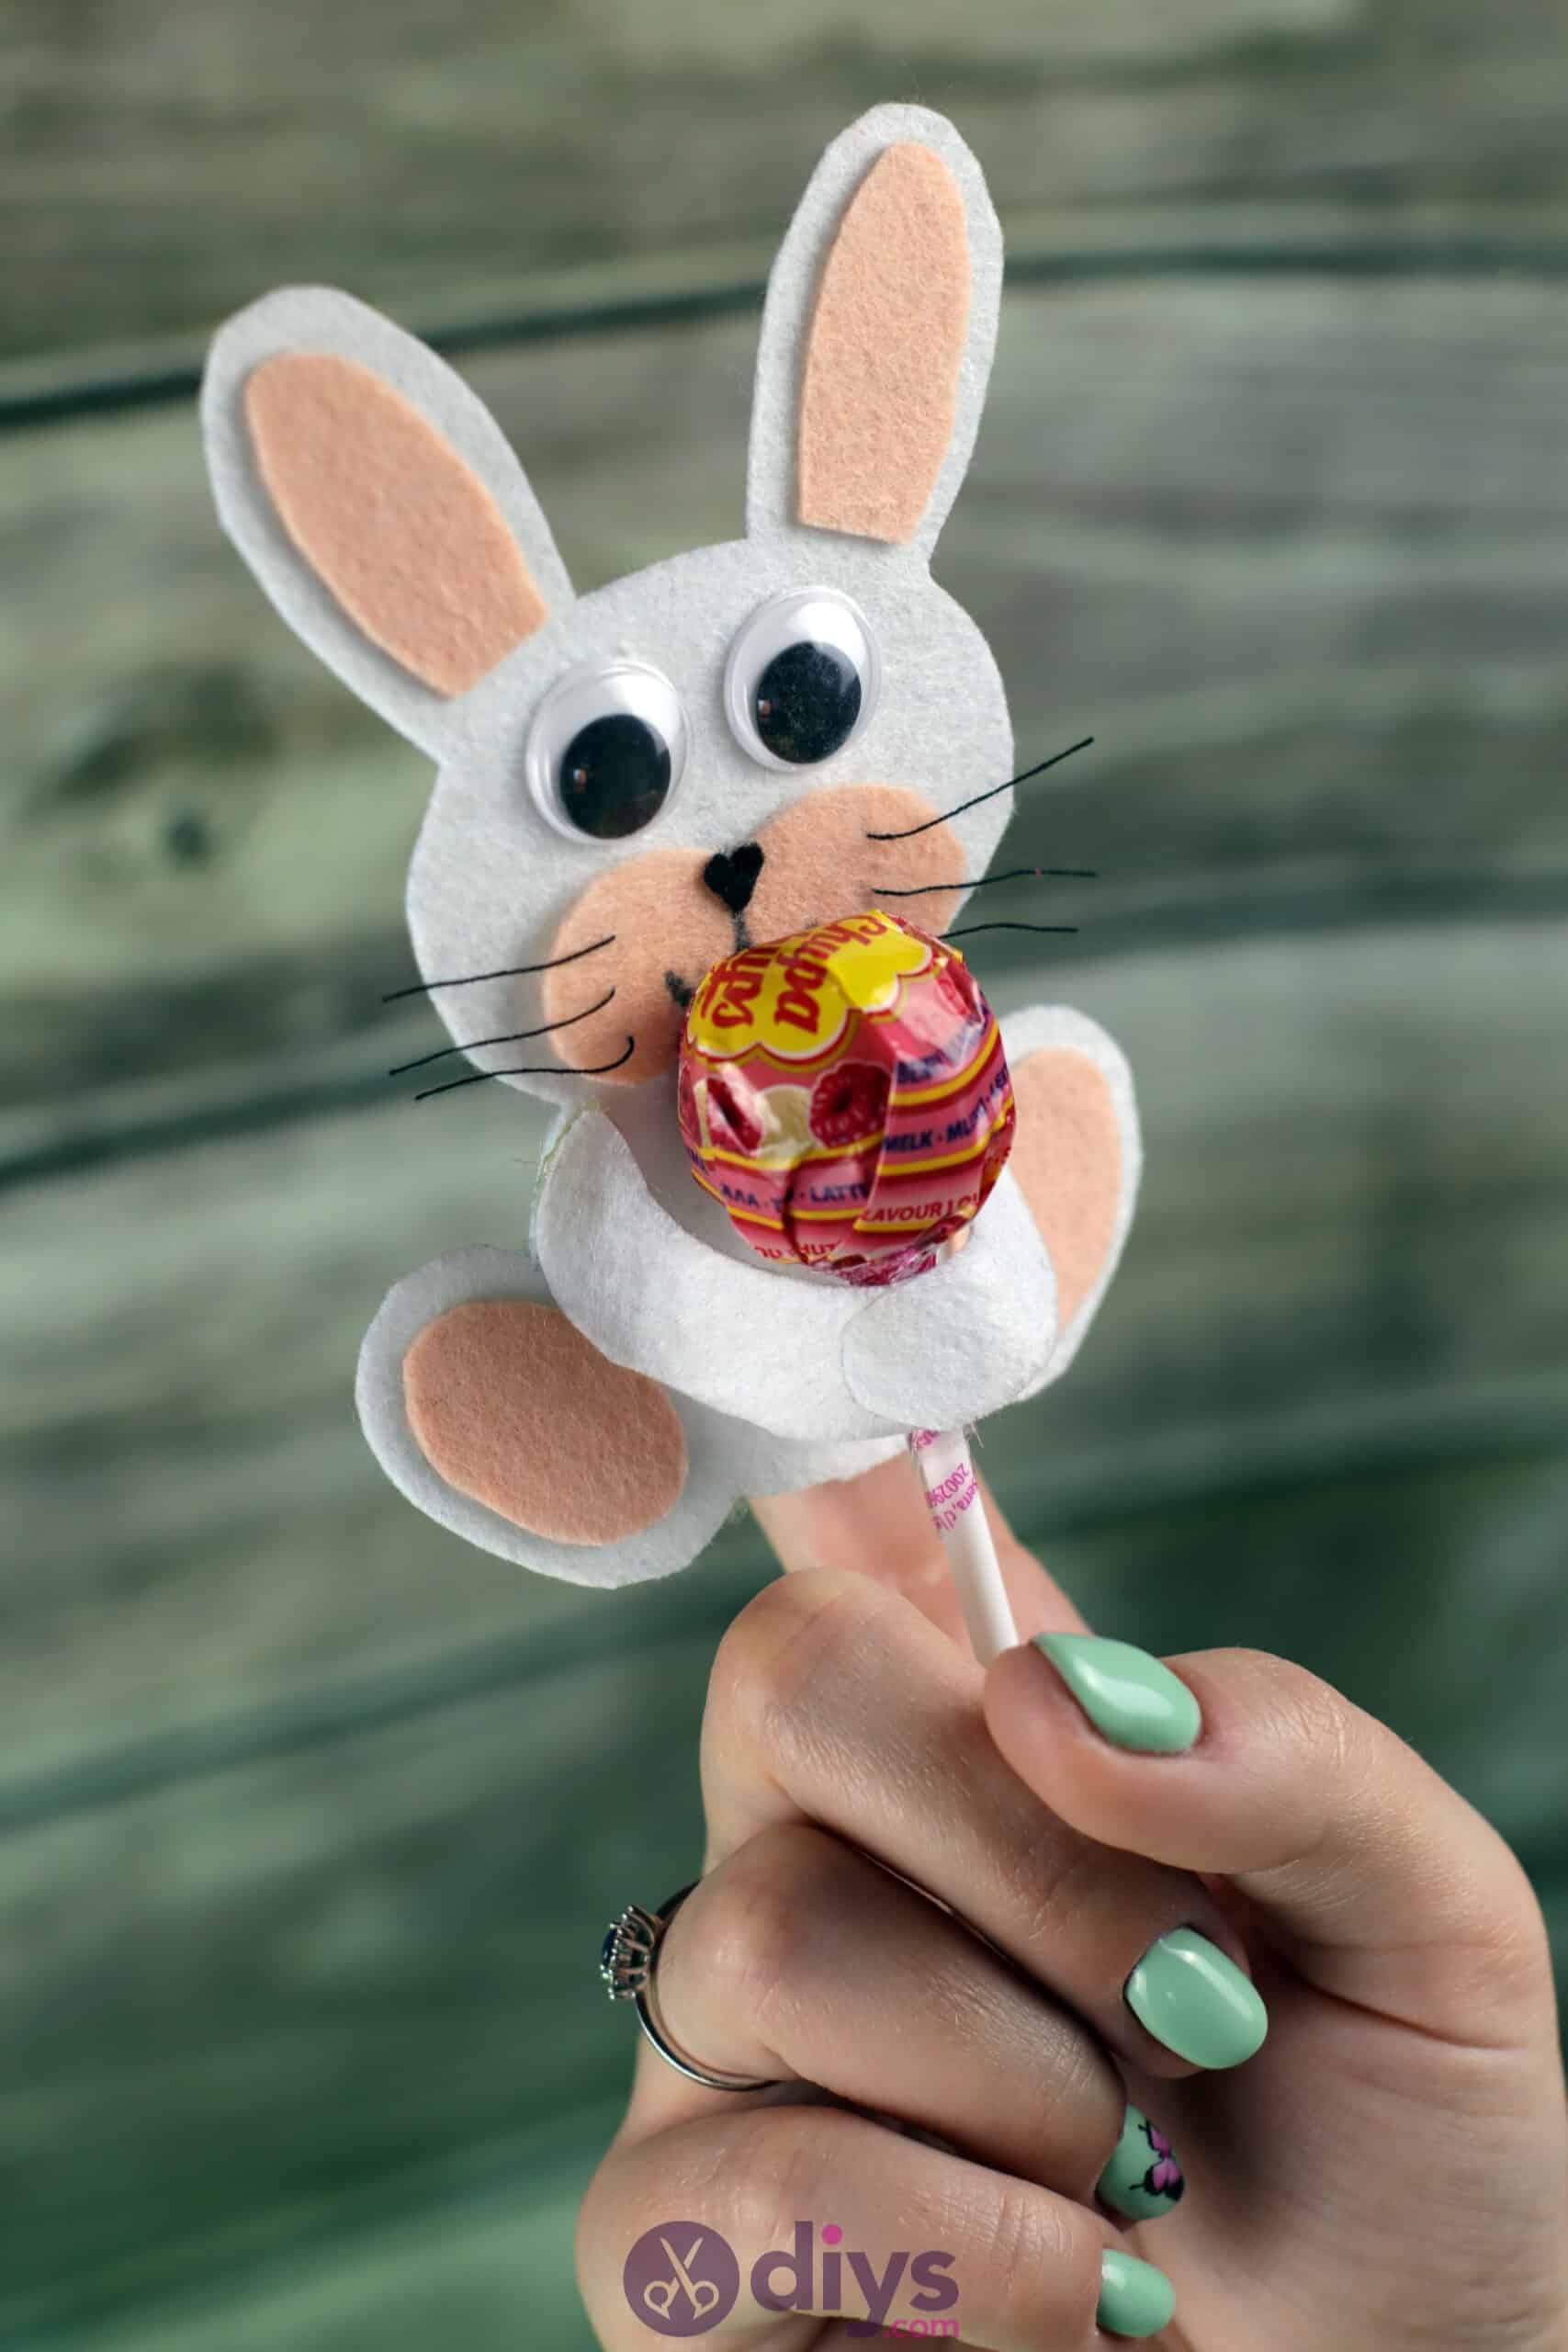
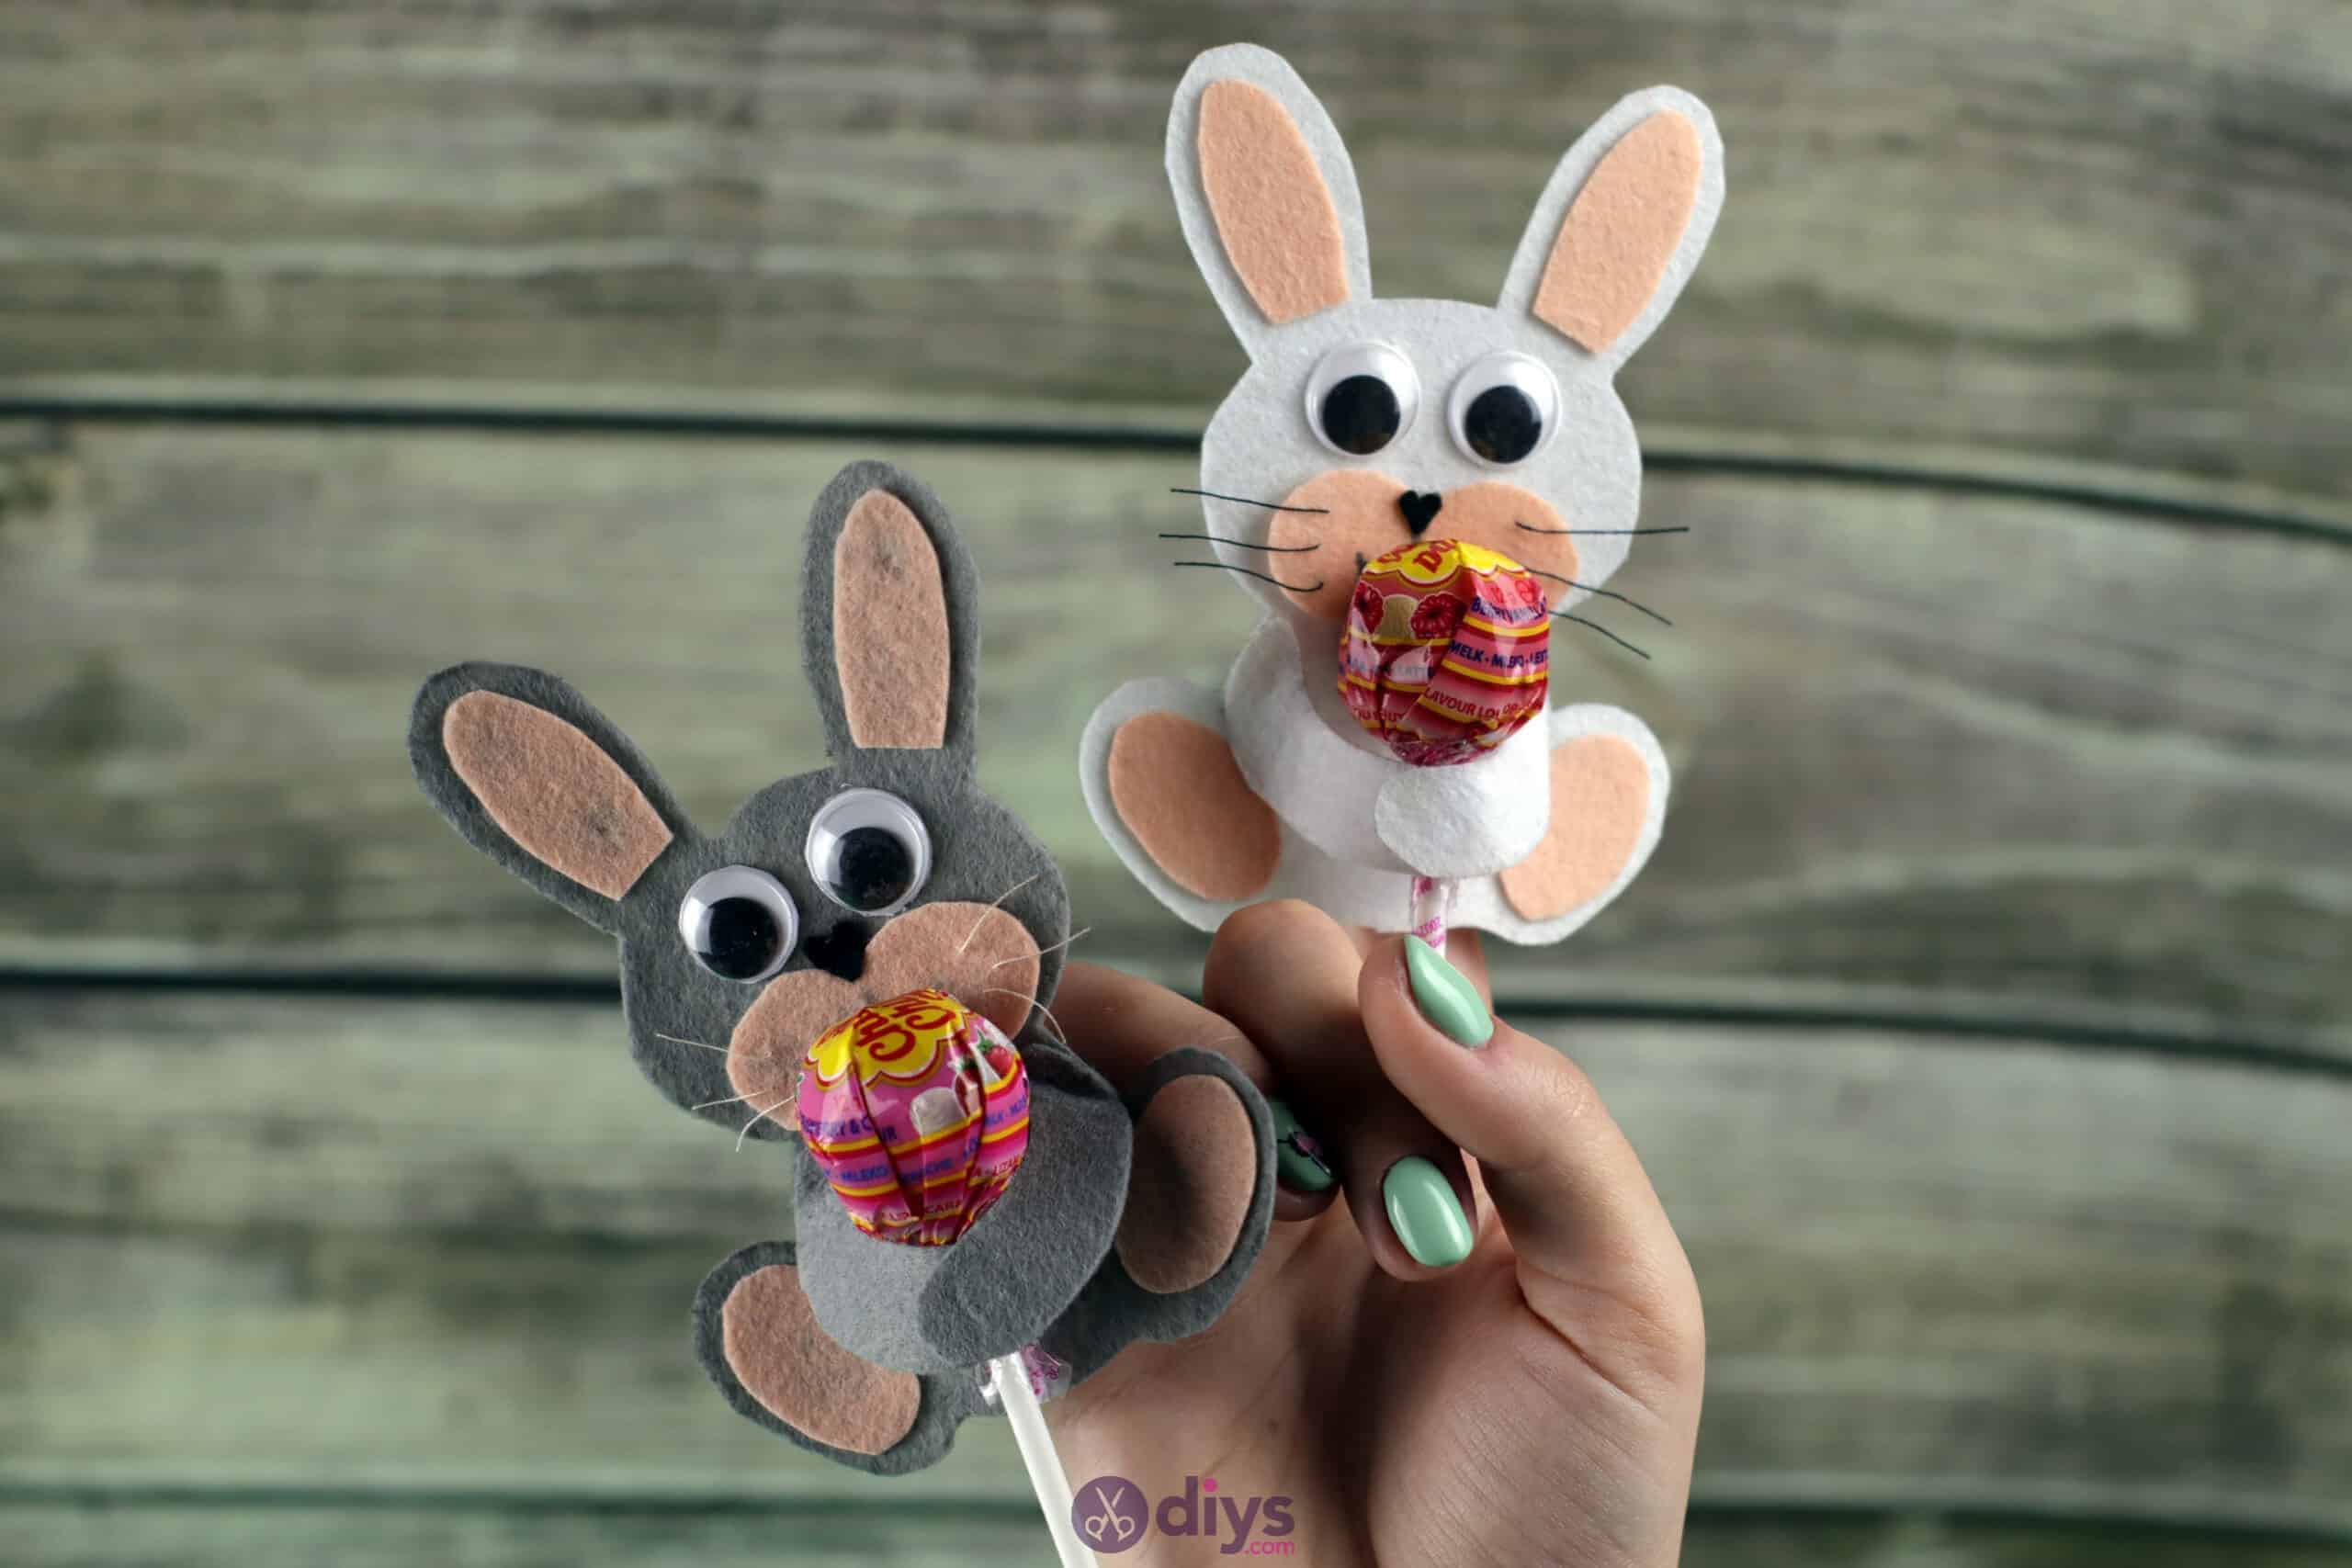
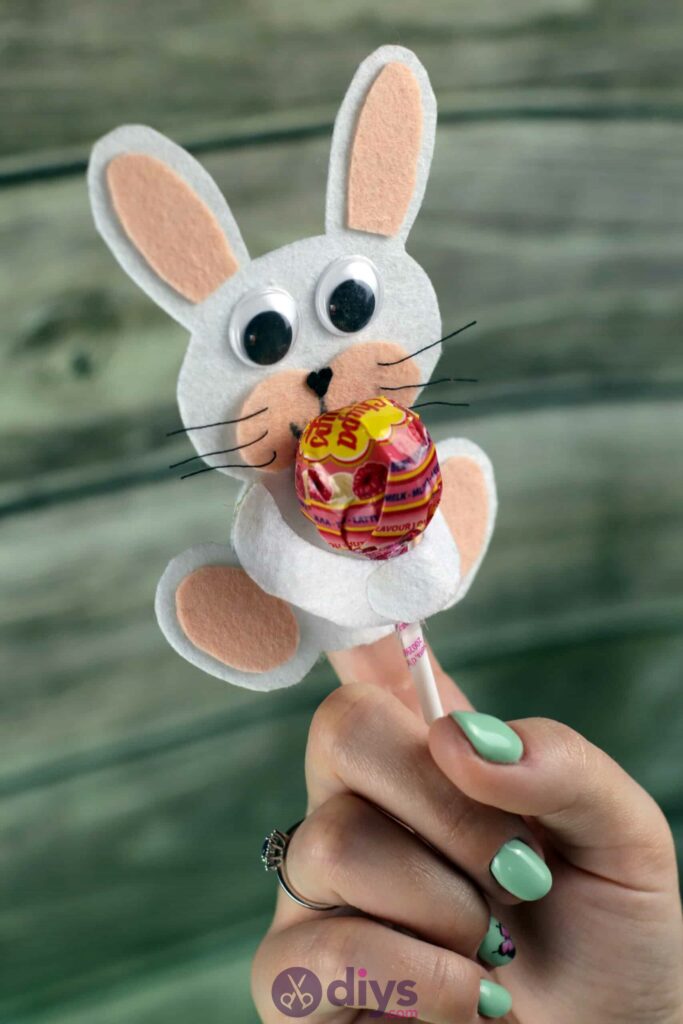
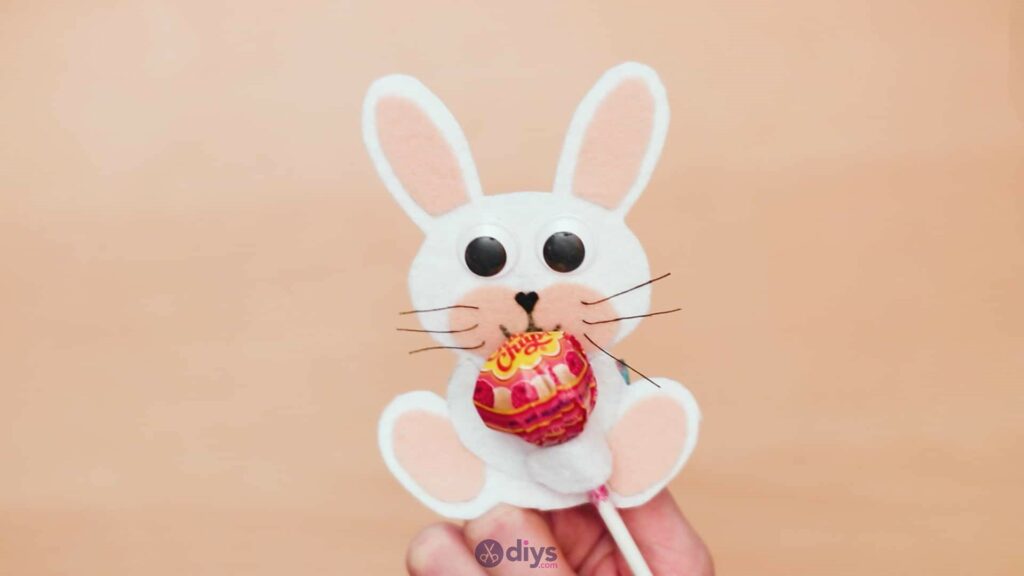
Slide a lollipop through the bunny’s hands!
That’s really all there is to it. In addition to being an adorable project in general, it’s also a great starter craft for young kids who have an interest in fabric crafts and sewing but don’t yet have experience with even threading a needle or doing simple hand stitching. Just in case you’d like to try this project out for yourself, here’s a fantastic tutorial video to help you!
