DIY Felt Card Holder – Make Yourself a Card Holder You’ll Love
When you receive a ton of business cards, you may want to have a way to store them all. Even better, it’s always good to have some of your own business cards on hand. So, why not create a felt card holder for yourself? This project is not the most conventional card holder in the world, but it’s a really cute project that may very well “call out” for you. Let’s learn how to make our own felt card holders!
Card holders can be pretty stuck-up if you think about it. Depending on what business you’re running or what job you have, you may not exactly fit in that description. So, a customized felt card holder may be the perfect addition to your desk! We just love how cute this is and want to make a few to gift them out to people, so let’s dive into things.
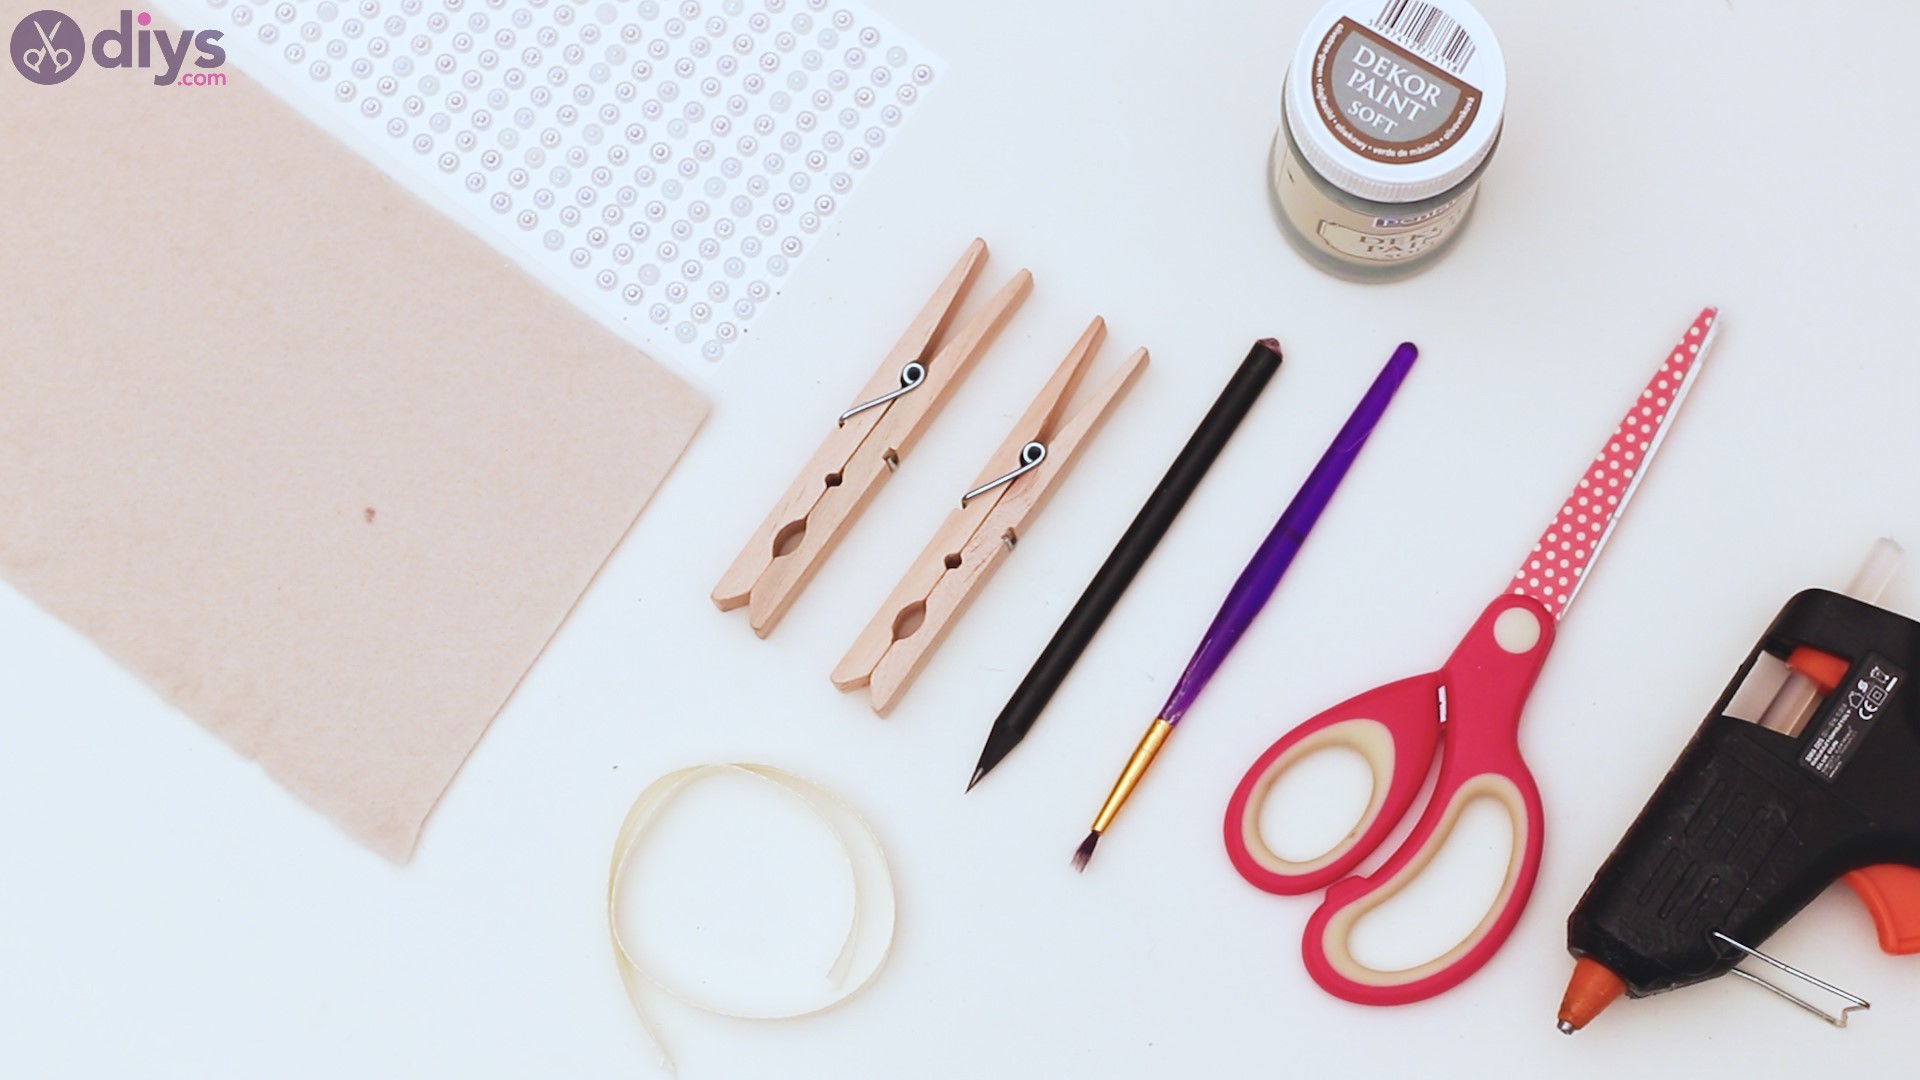
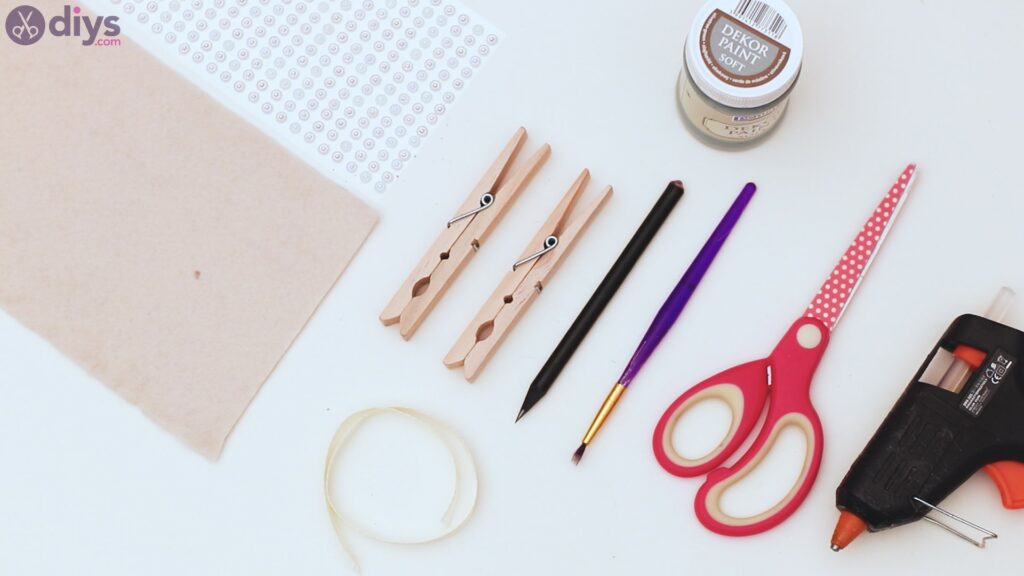
Materials for Felt Card Holder
- beige felt material
- decor beads
- two clothespins
- silk ribbon
- green acrylic paint
- paintbrush
- pencil
- scissors
- glue gun
Step 1: Prepare the felt
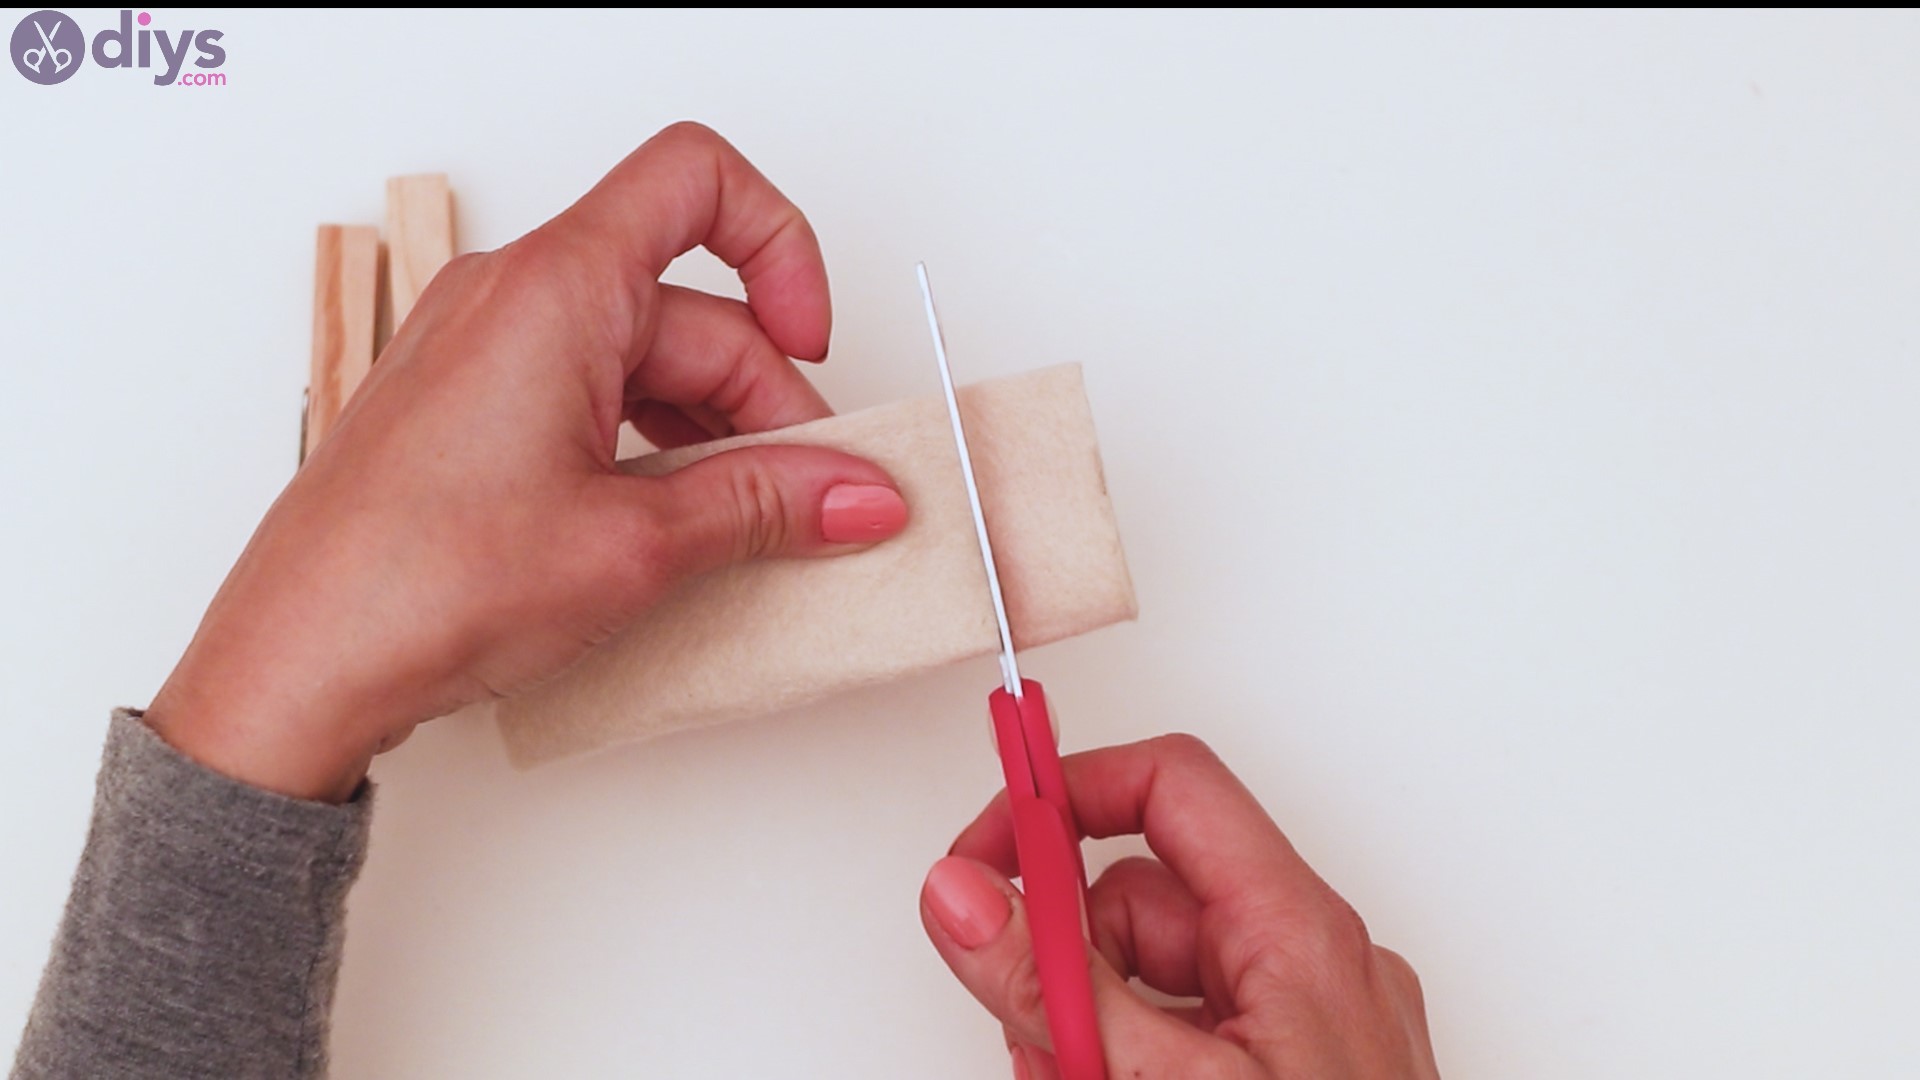
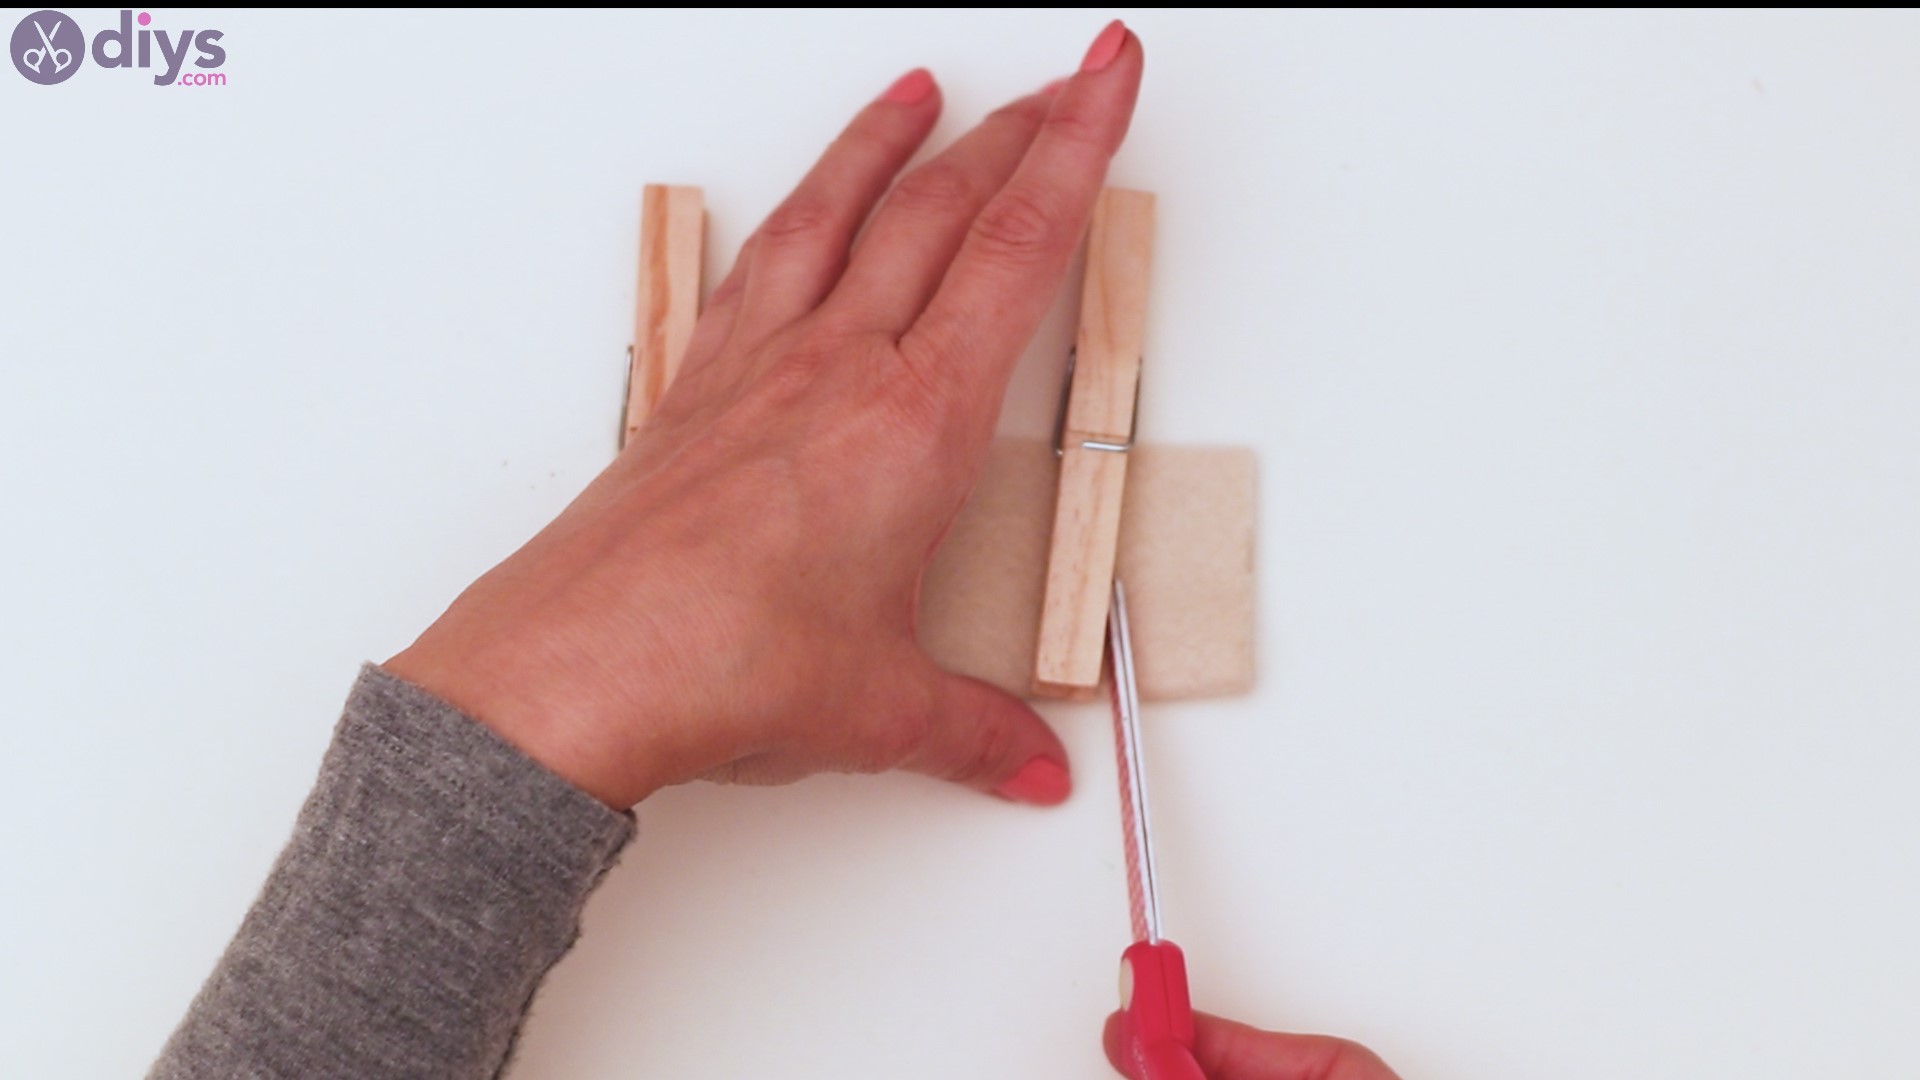
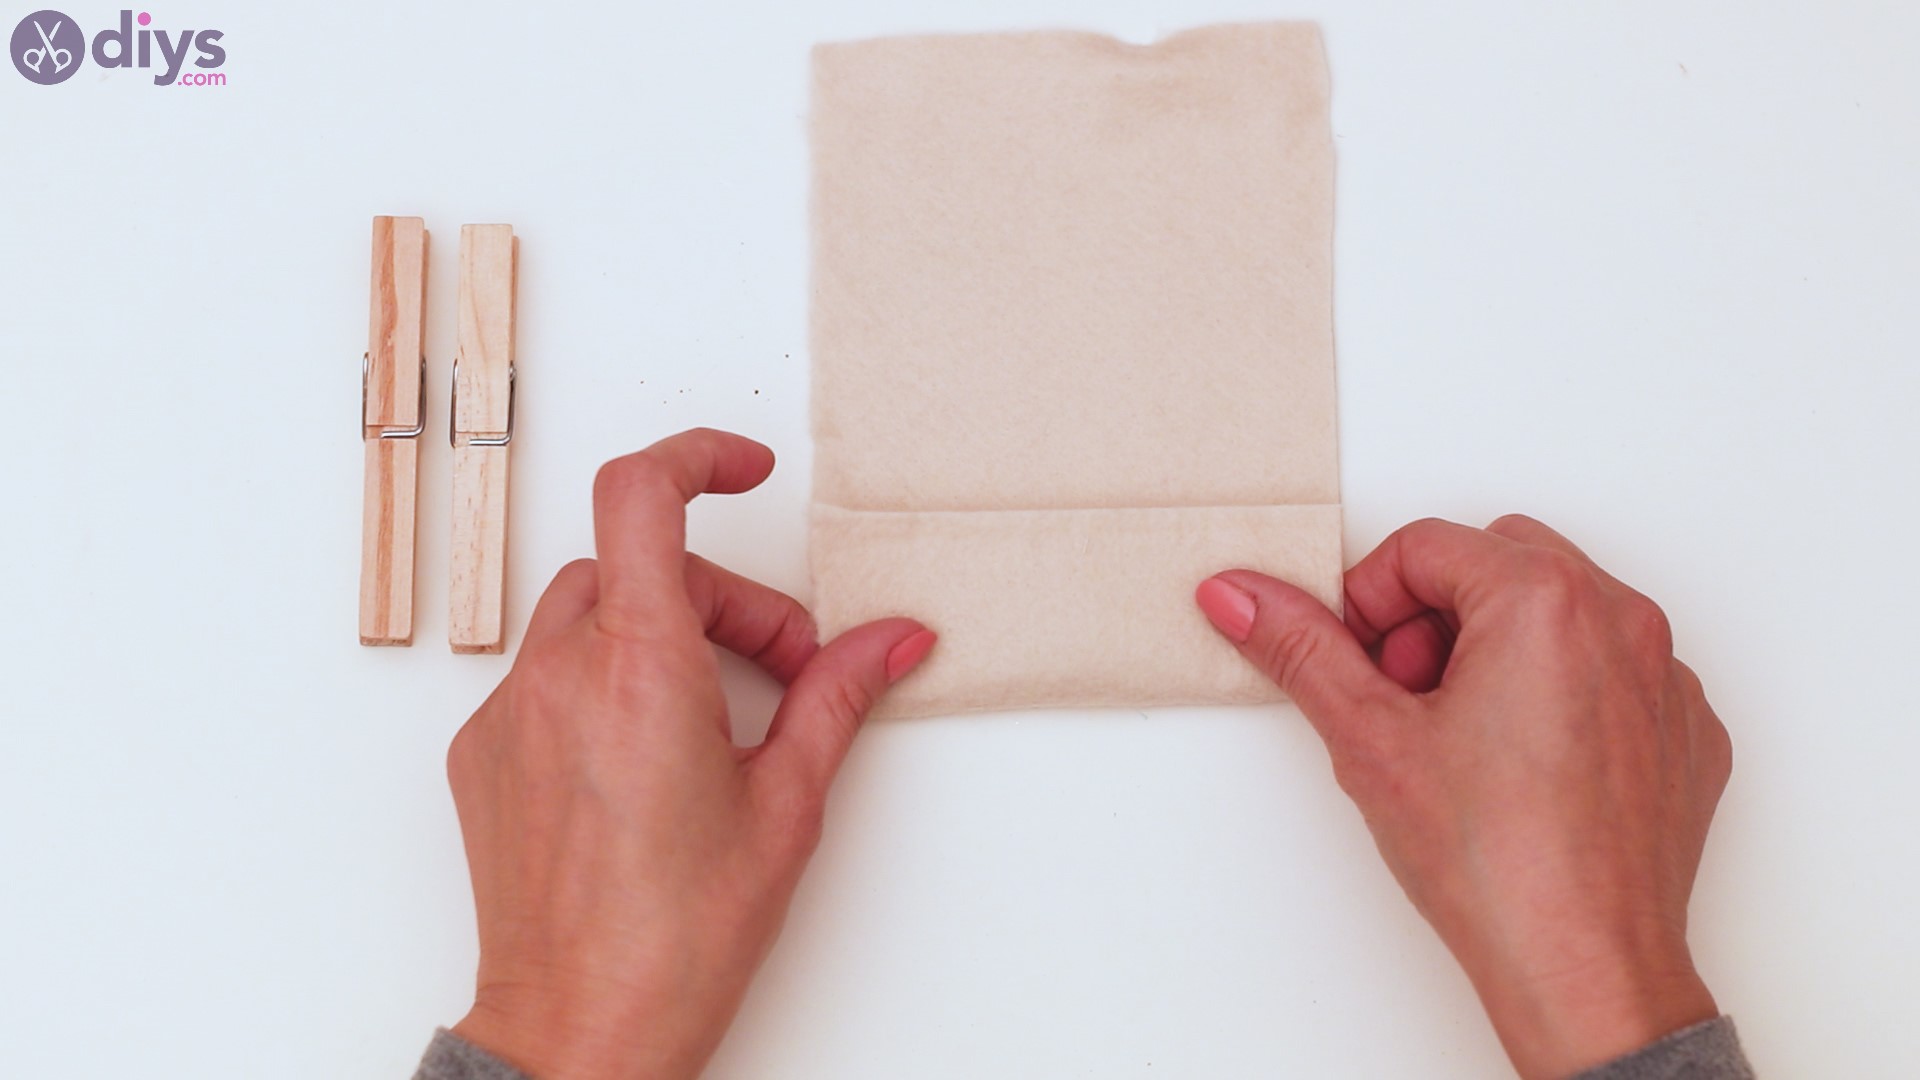
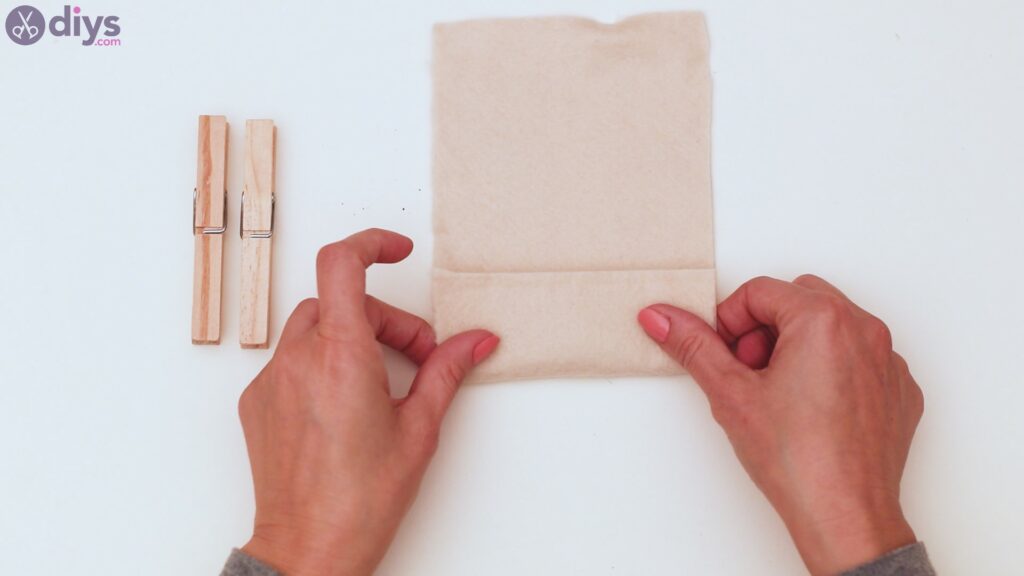
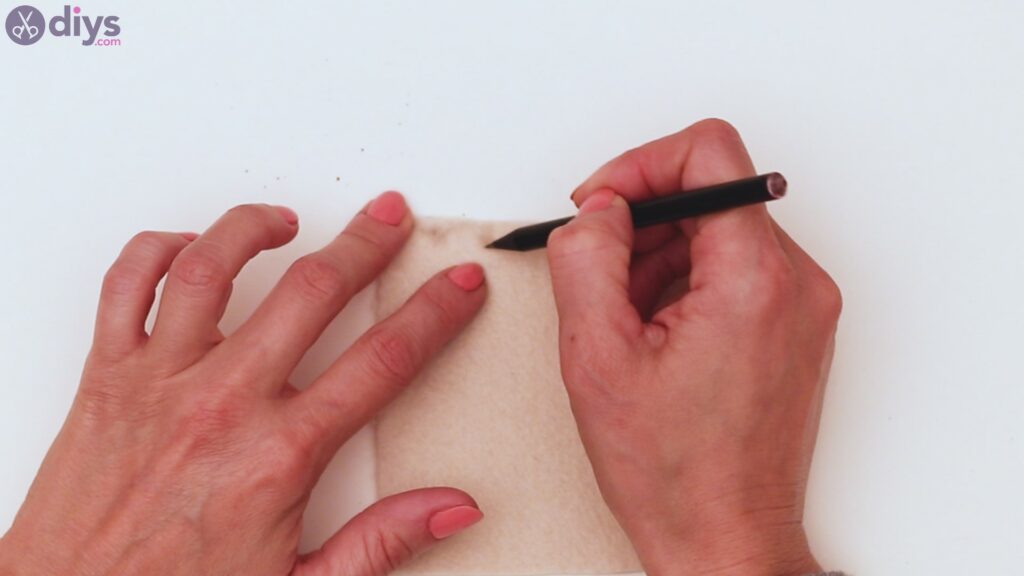
Get the piece of felt and fold it on one side. You want to make sure the clothespins you have can completely cover the felt pocket once you open them. So, measure out the felt fold with the help of your clothespins.
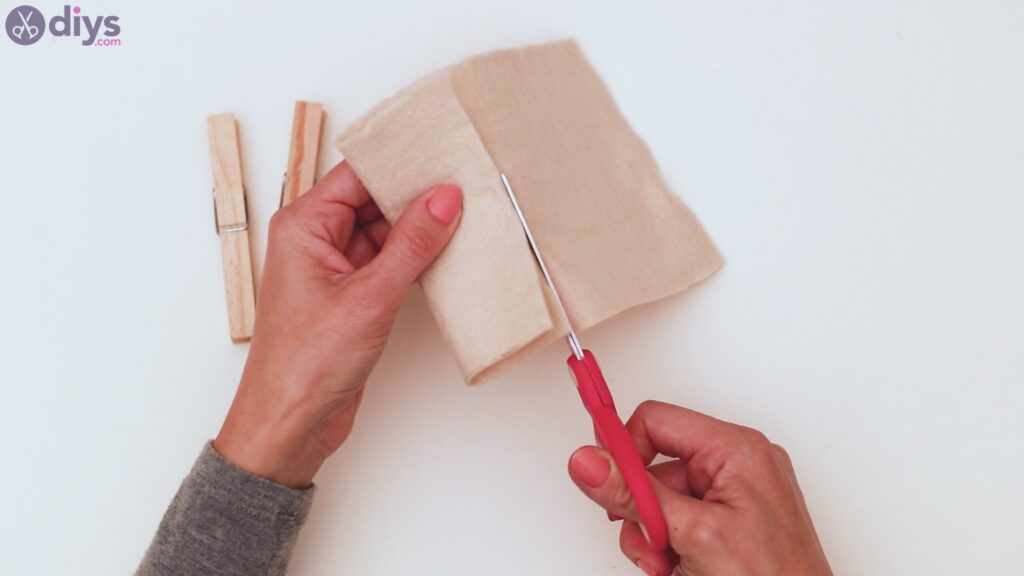
Get the scissors and cut the excess felt, making sure to follow the line perfectly.
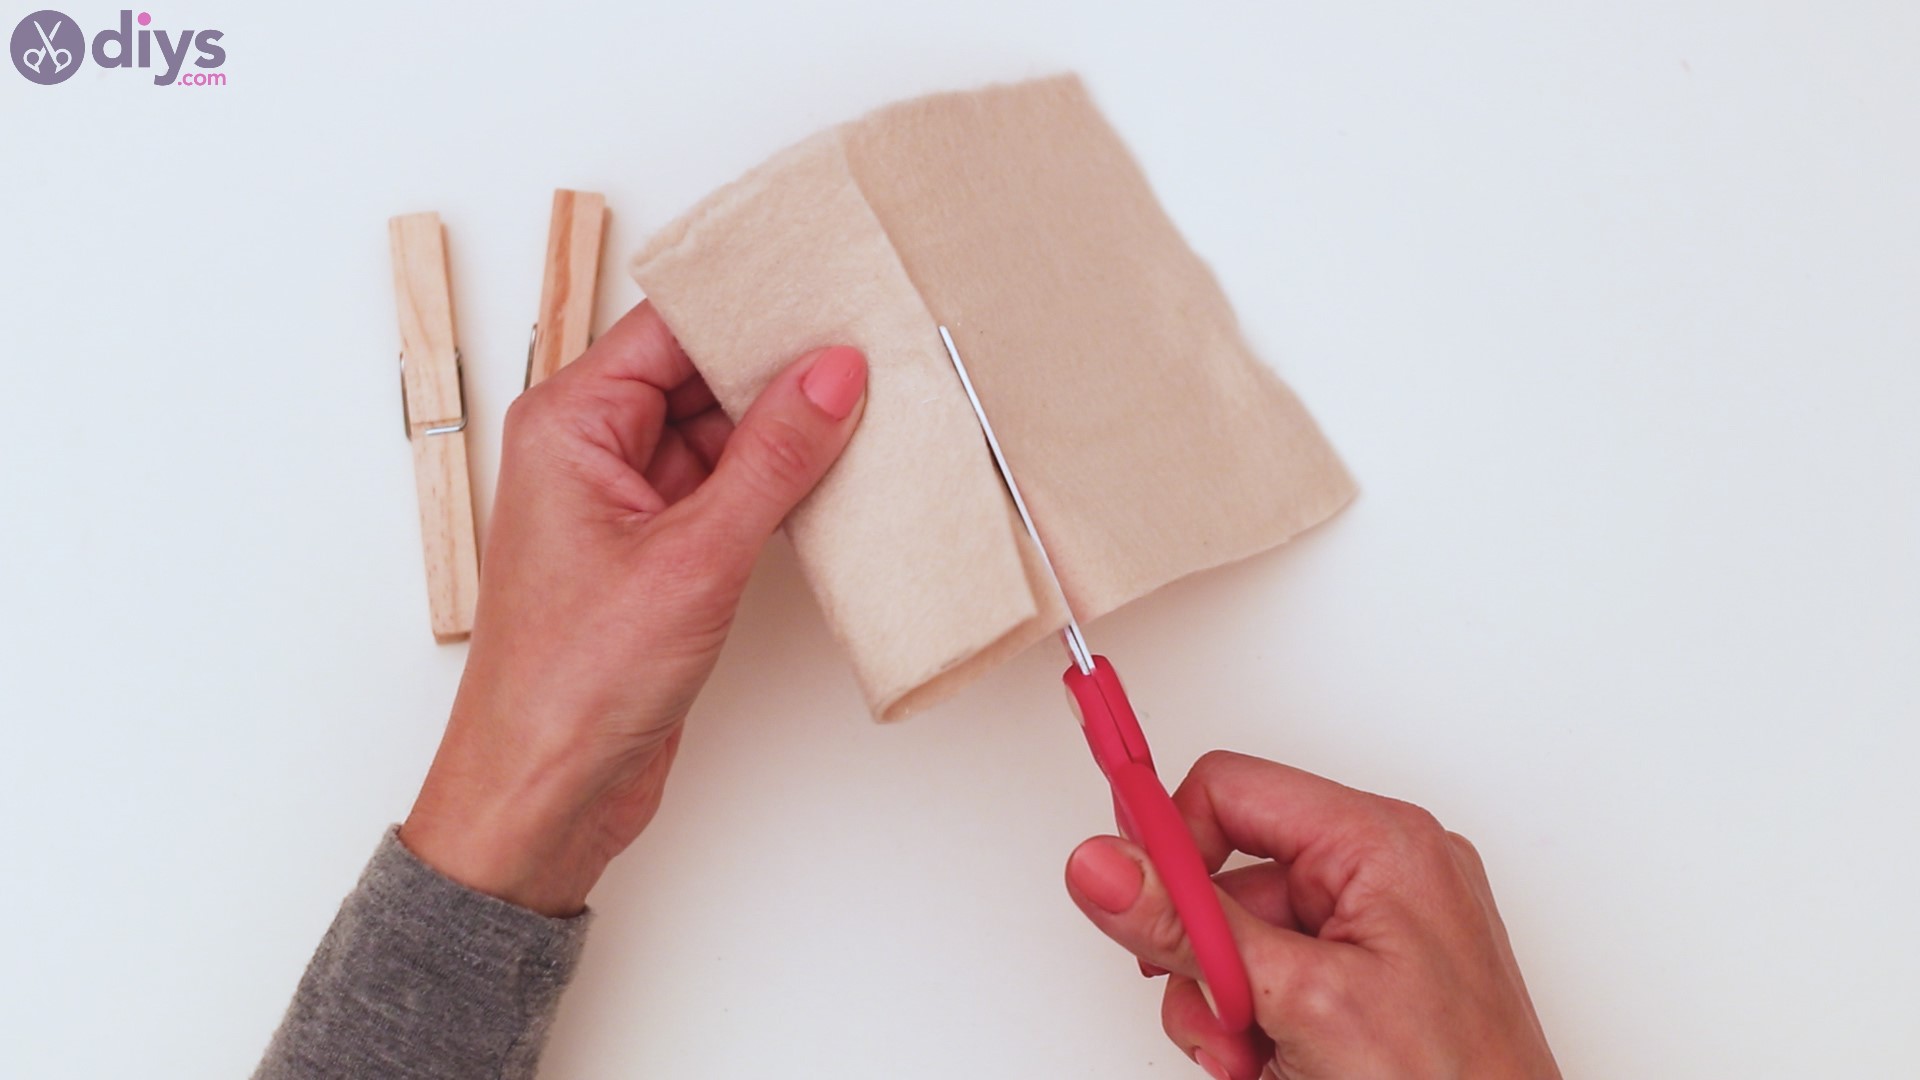
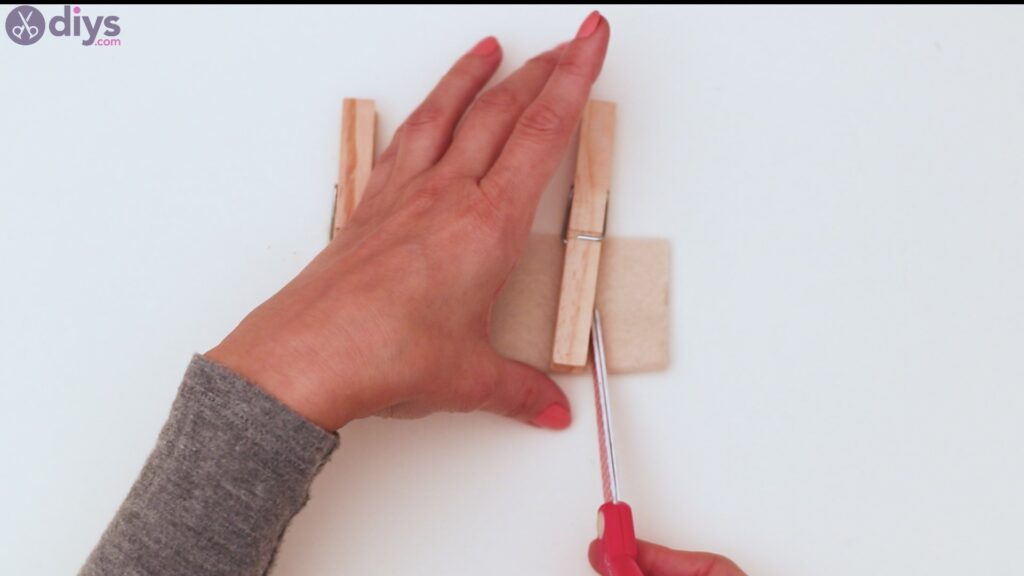
Place the clothespins on the felt and figure out just how wide you want the pocket to be and cut off any excess material.
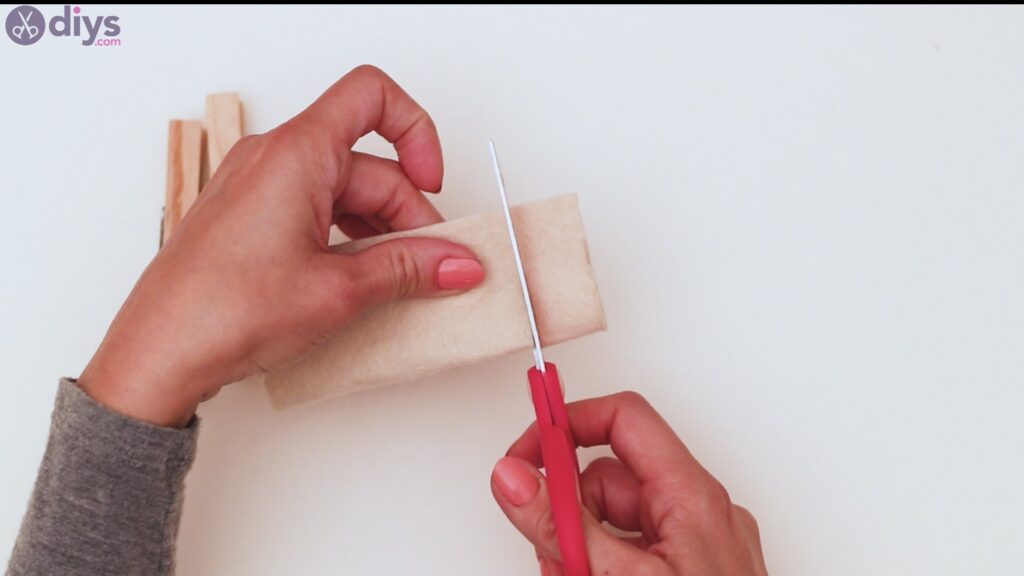
Make sure you go make the cut as straight as possible.
Step 2: Make some waves
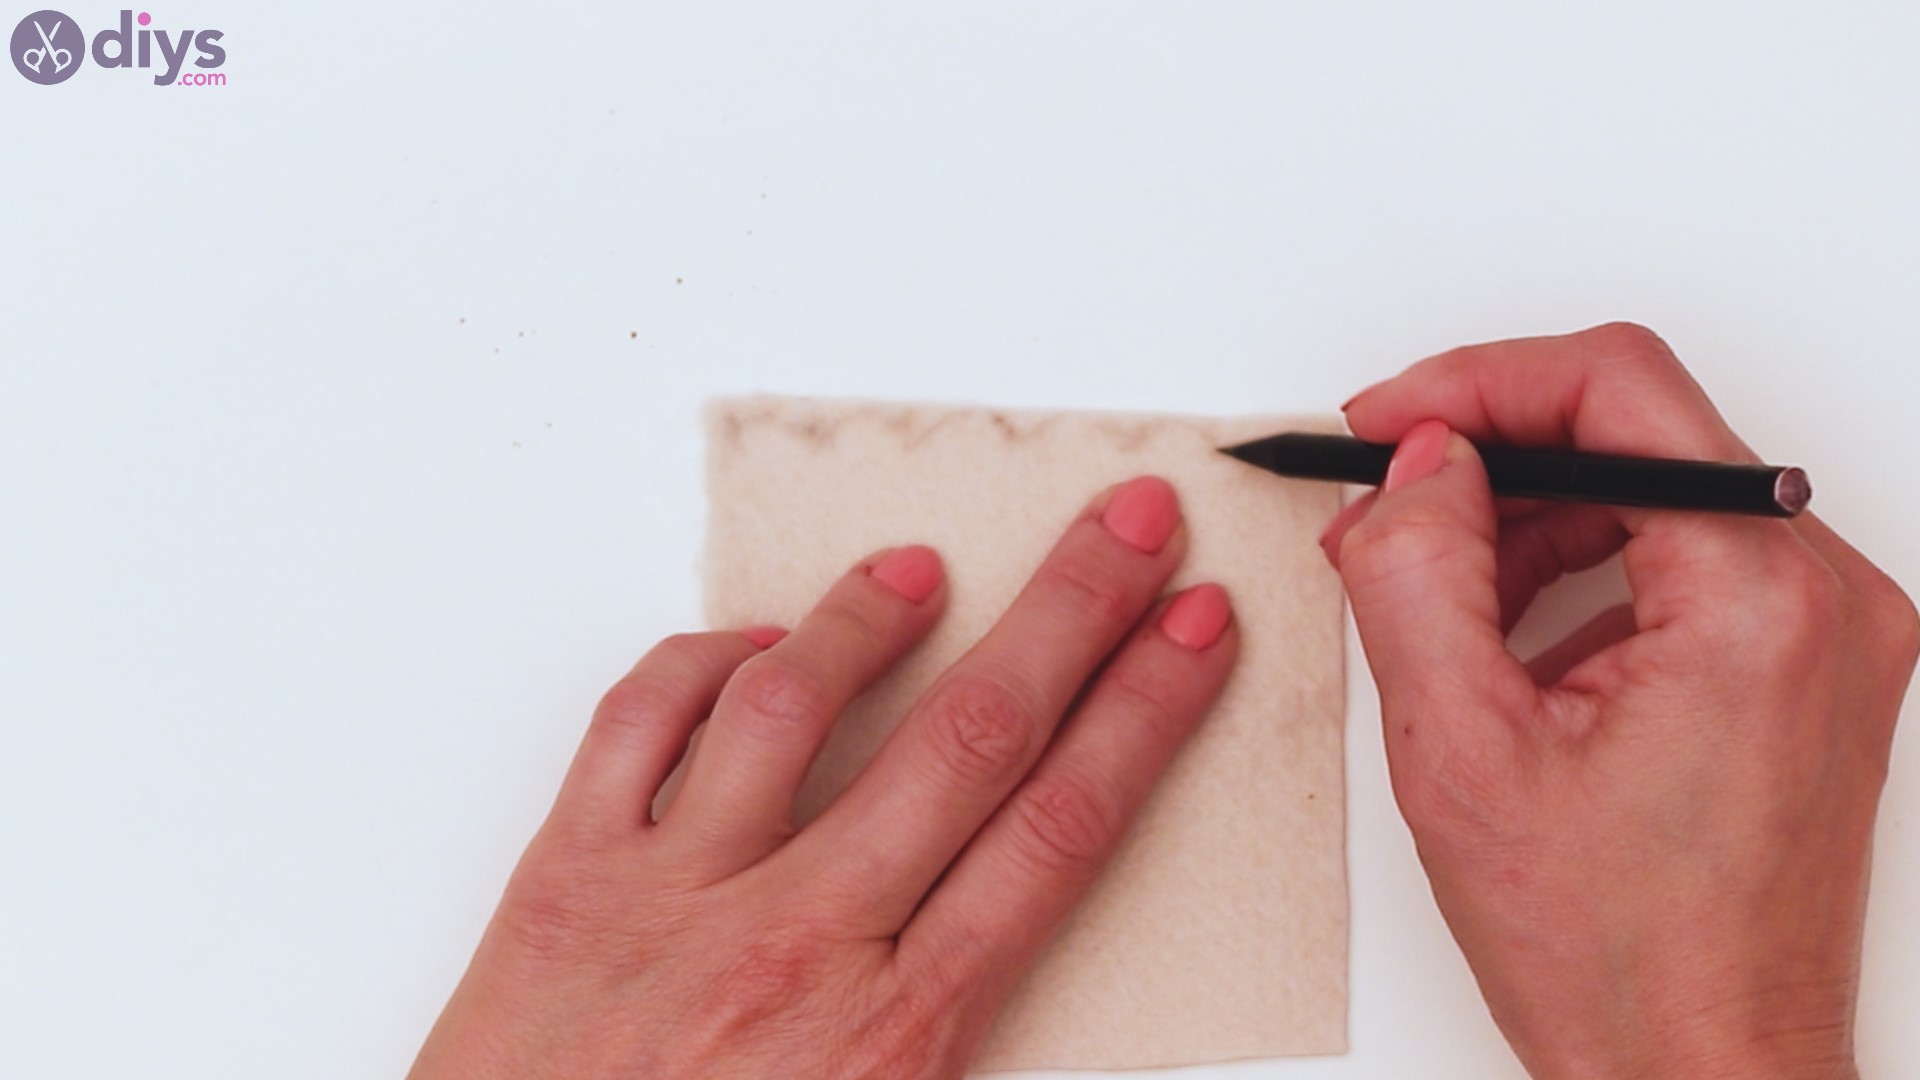
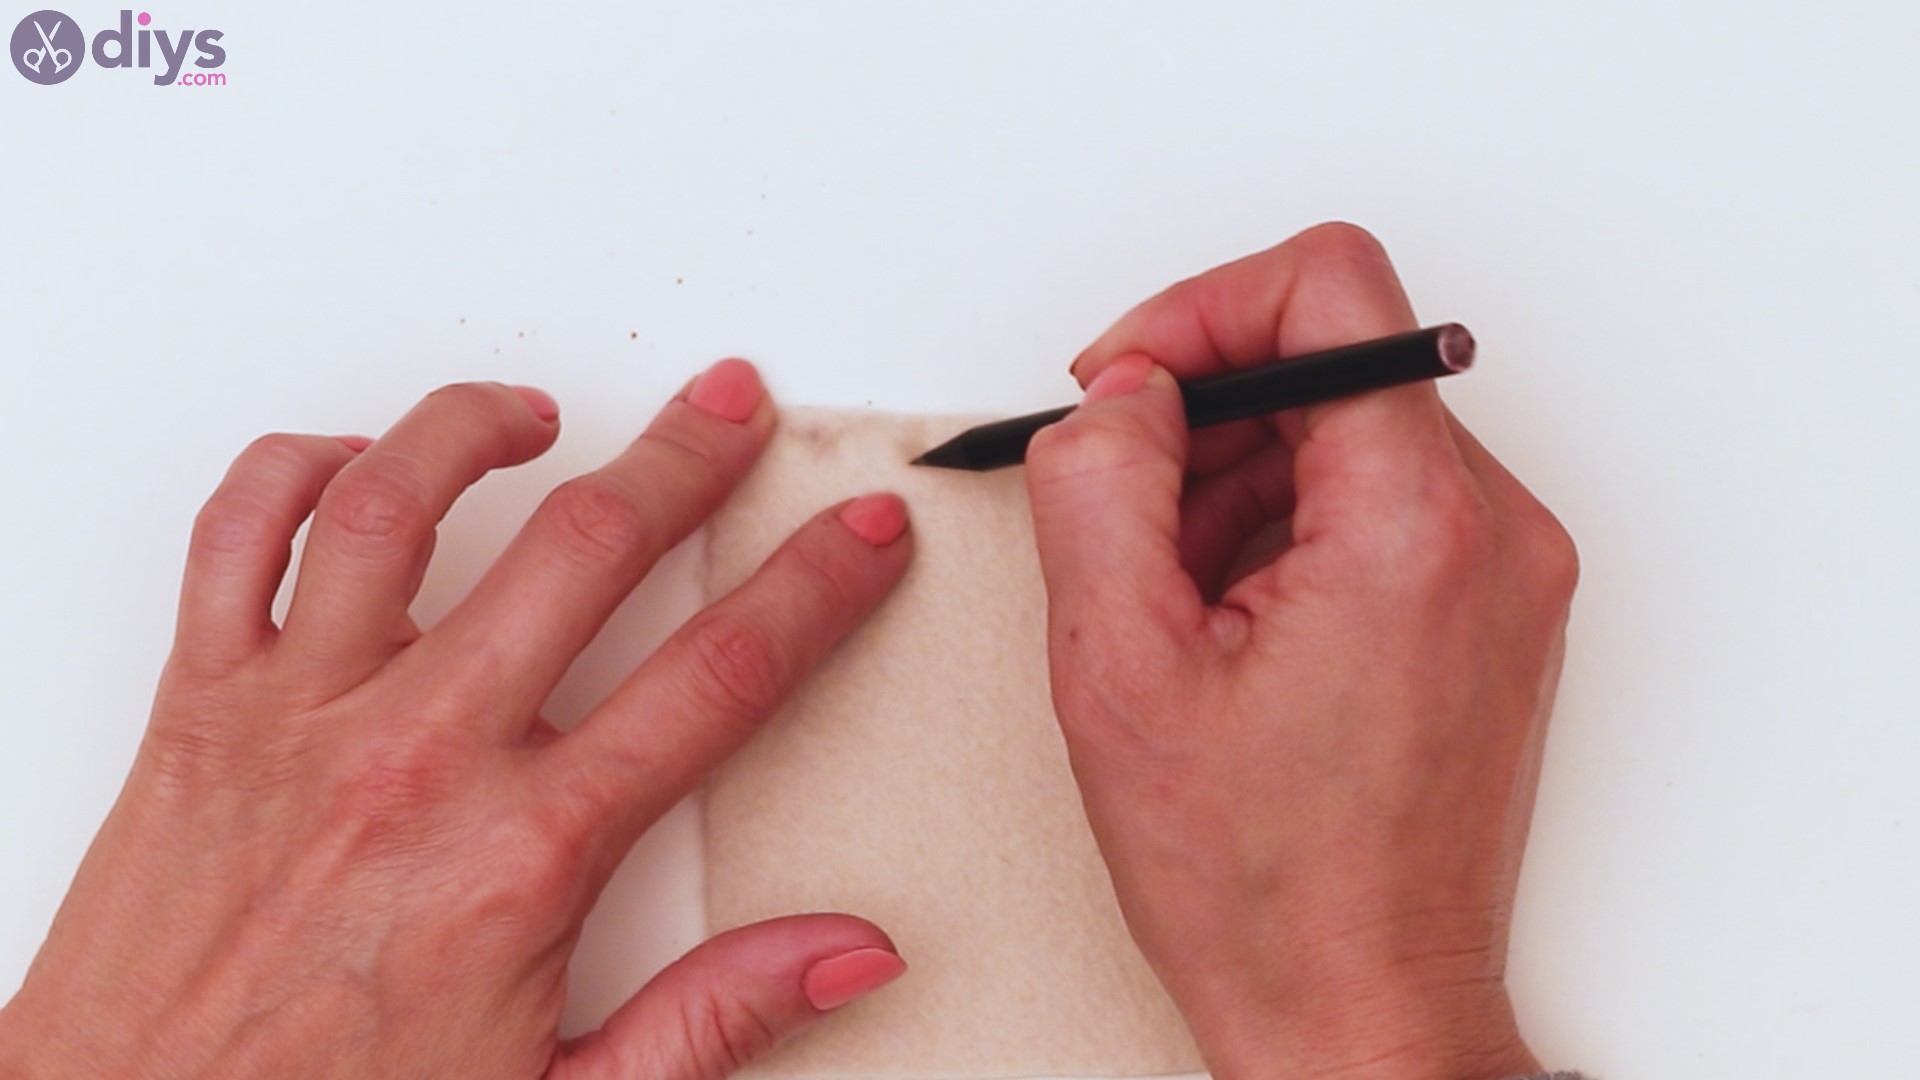
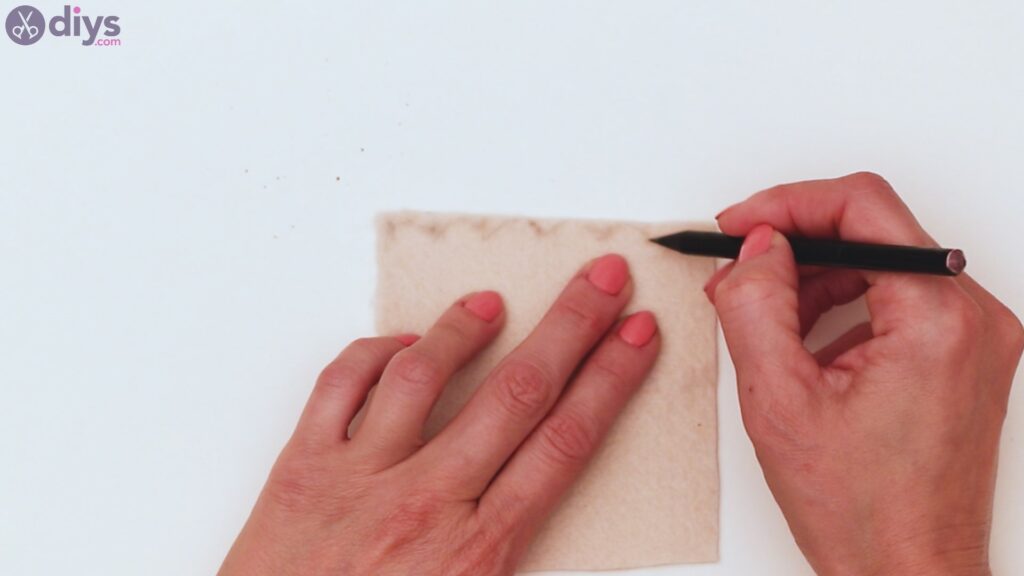
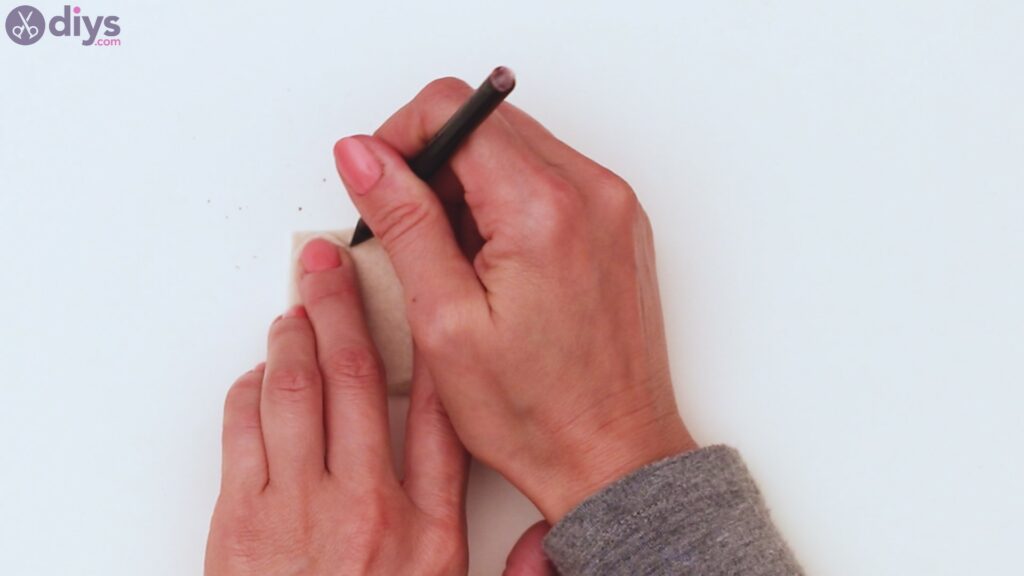
You want your felt card holder to have a bit of personality, so let’s get thepencil and draw some “waves” on the top area of the material.
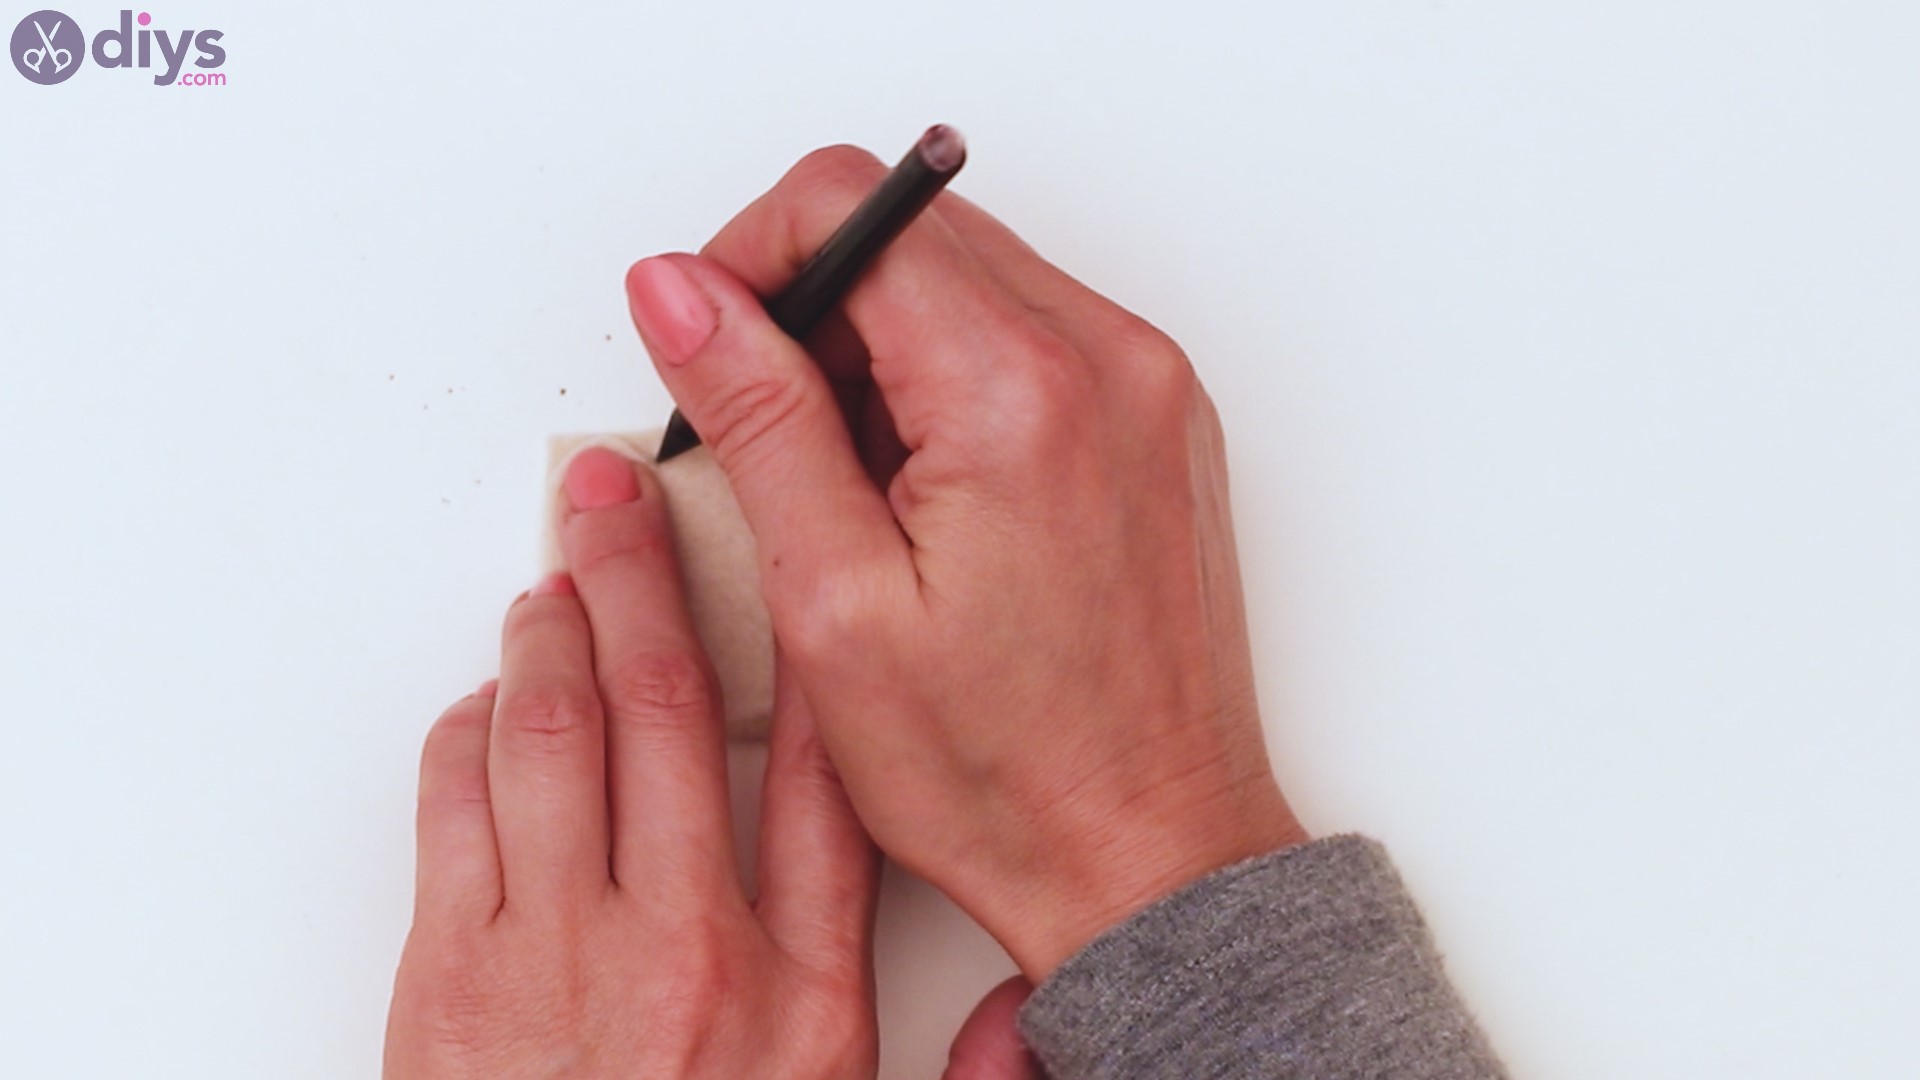
Flatten out the felt on the table, pick up your pencil and draw the semicircles right near the edge.
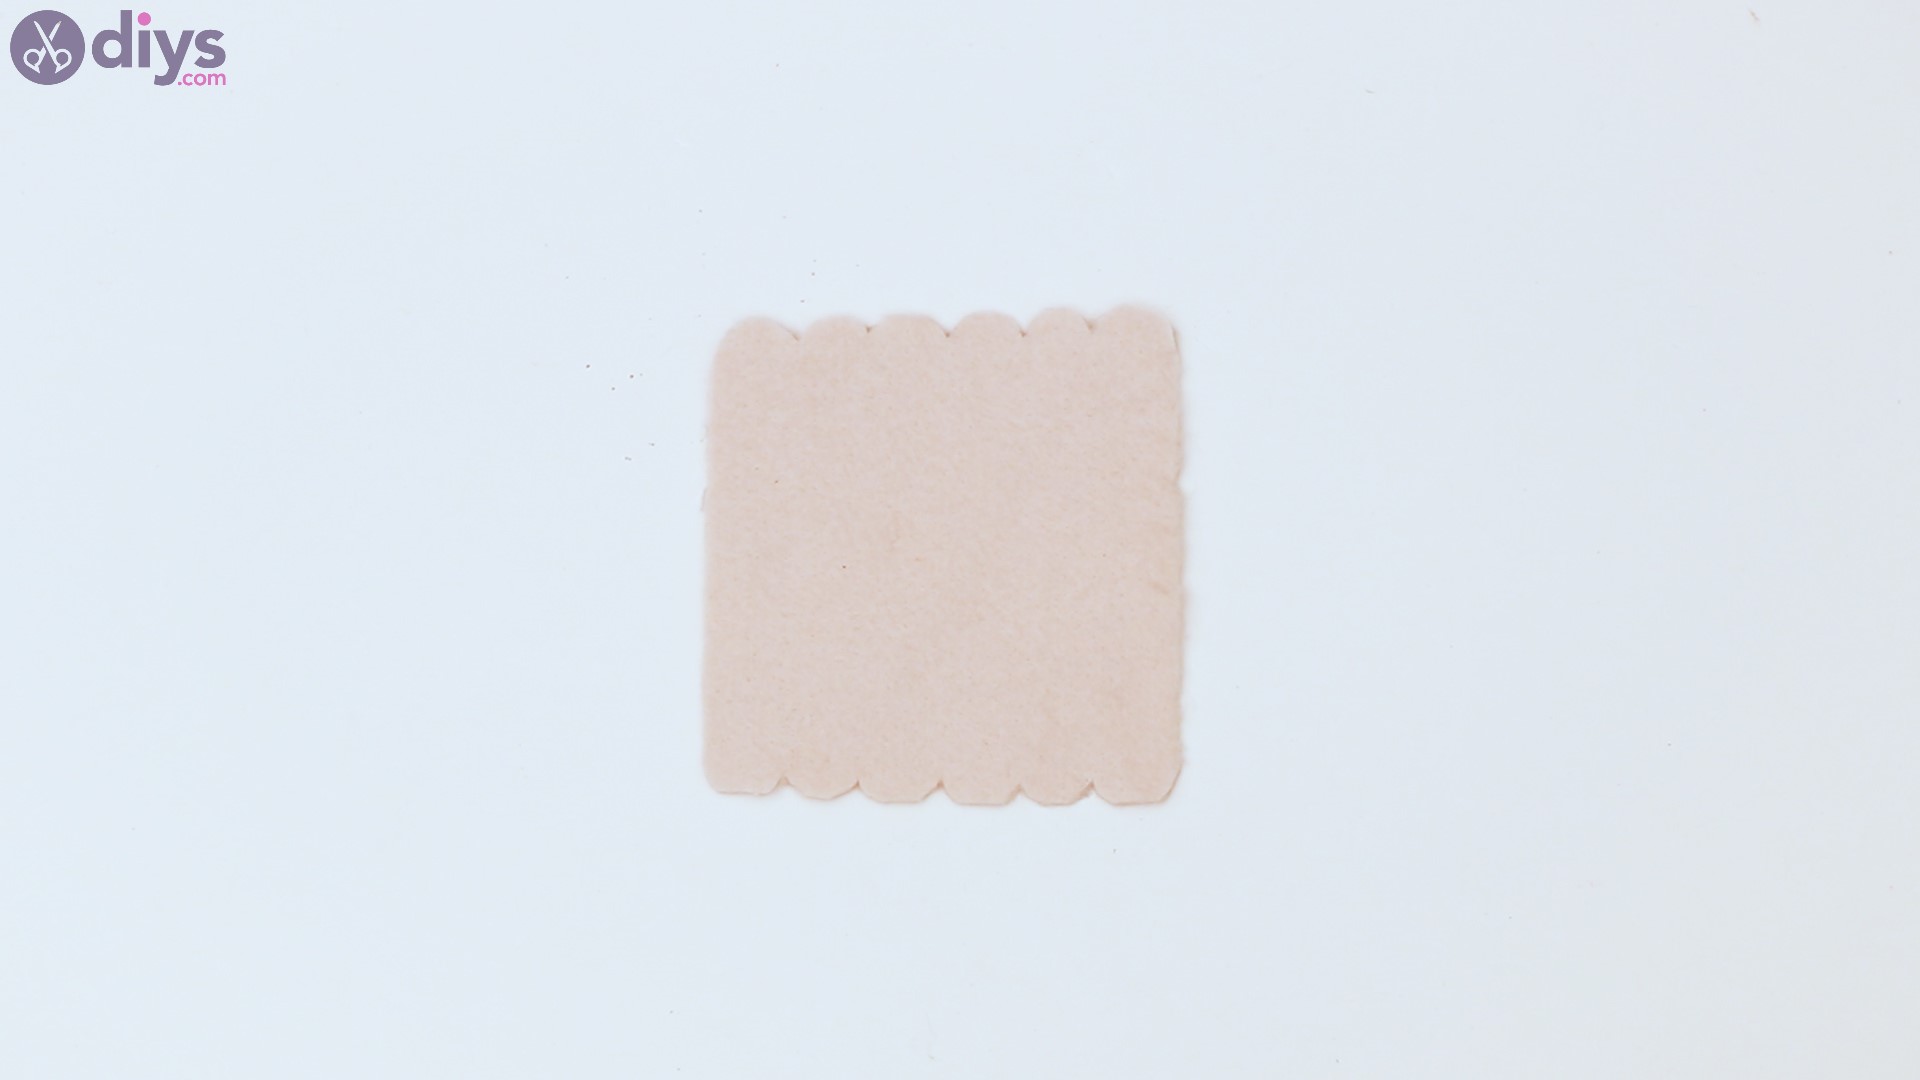
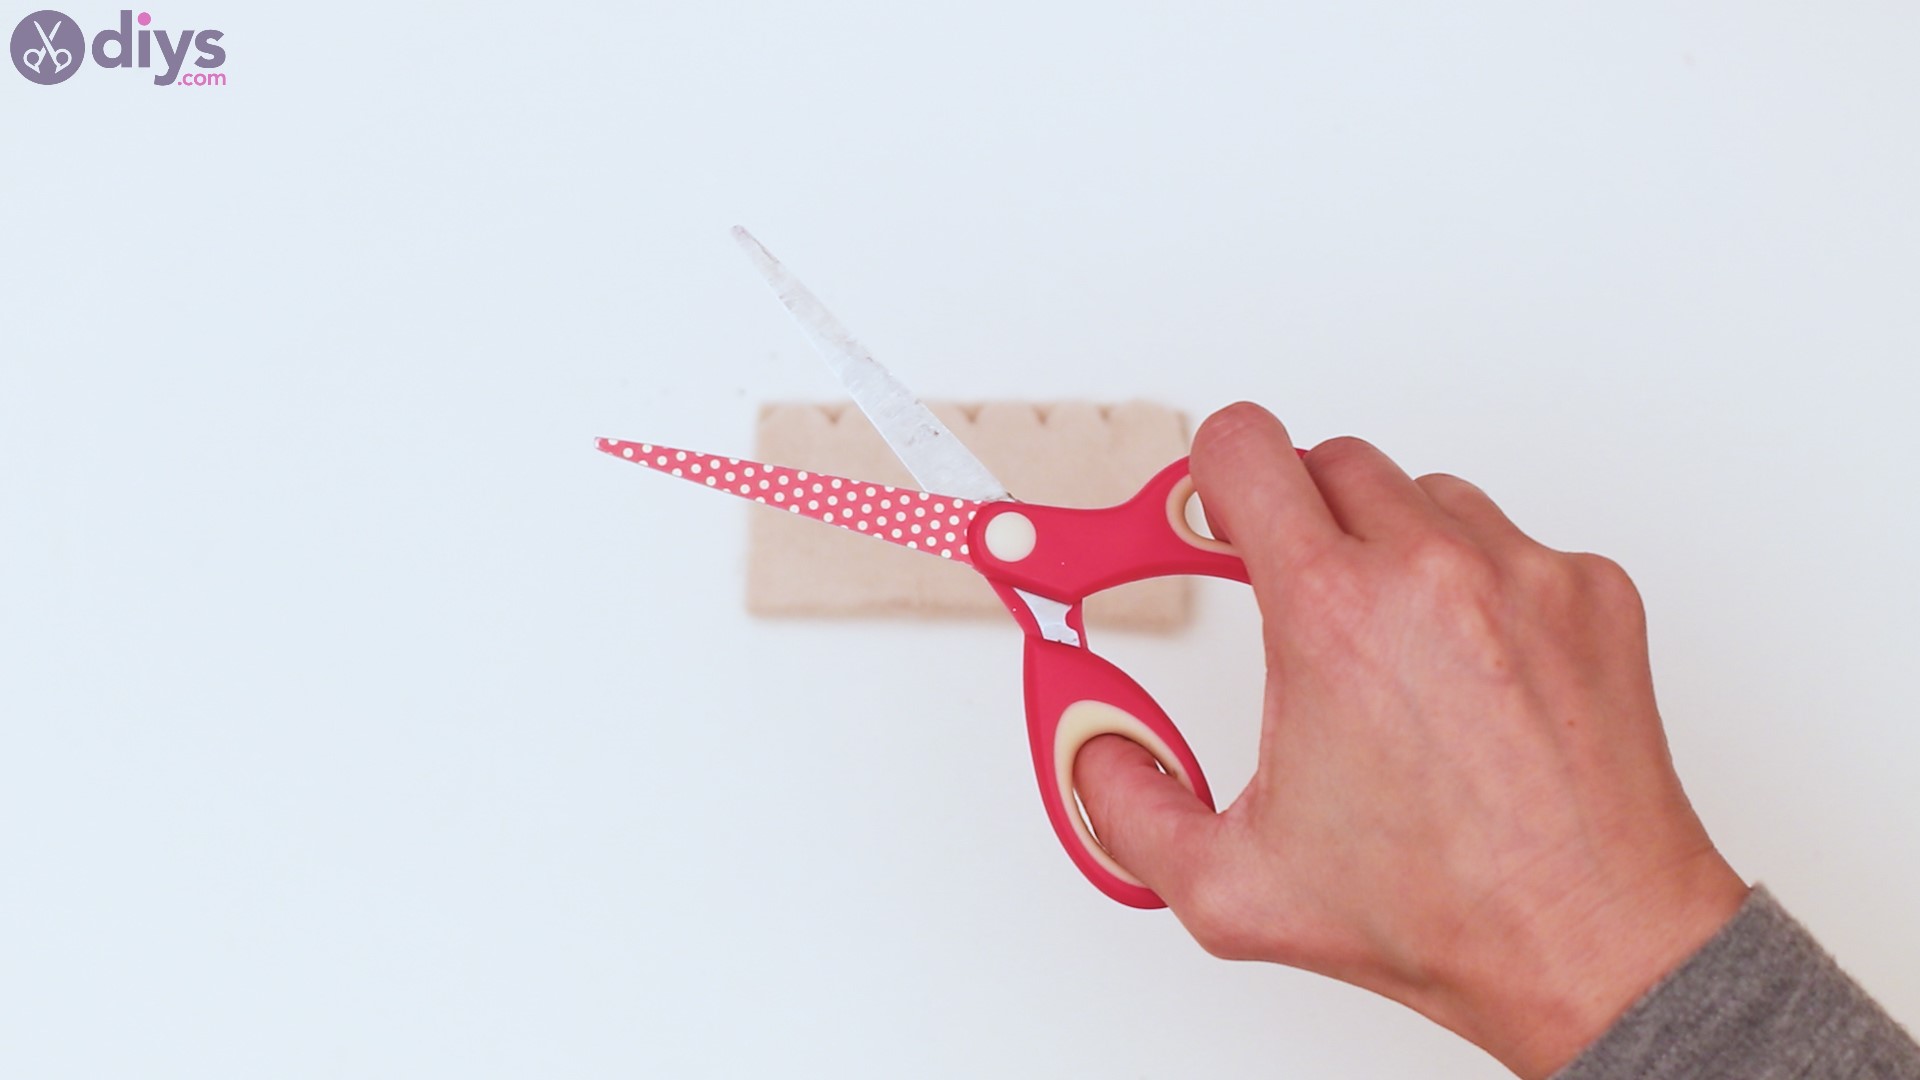
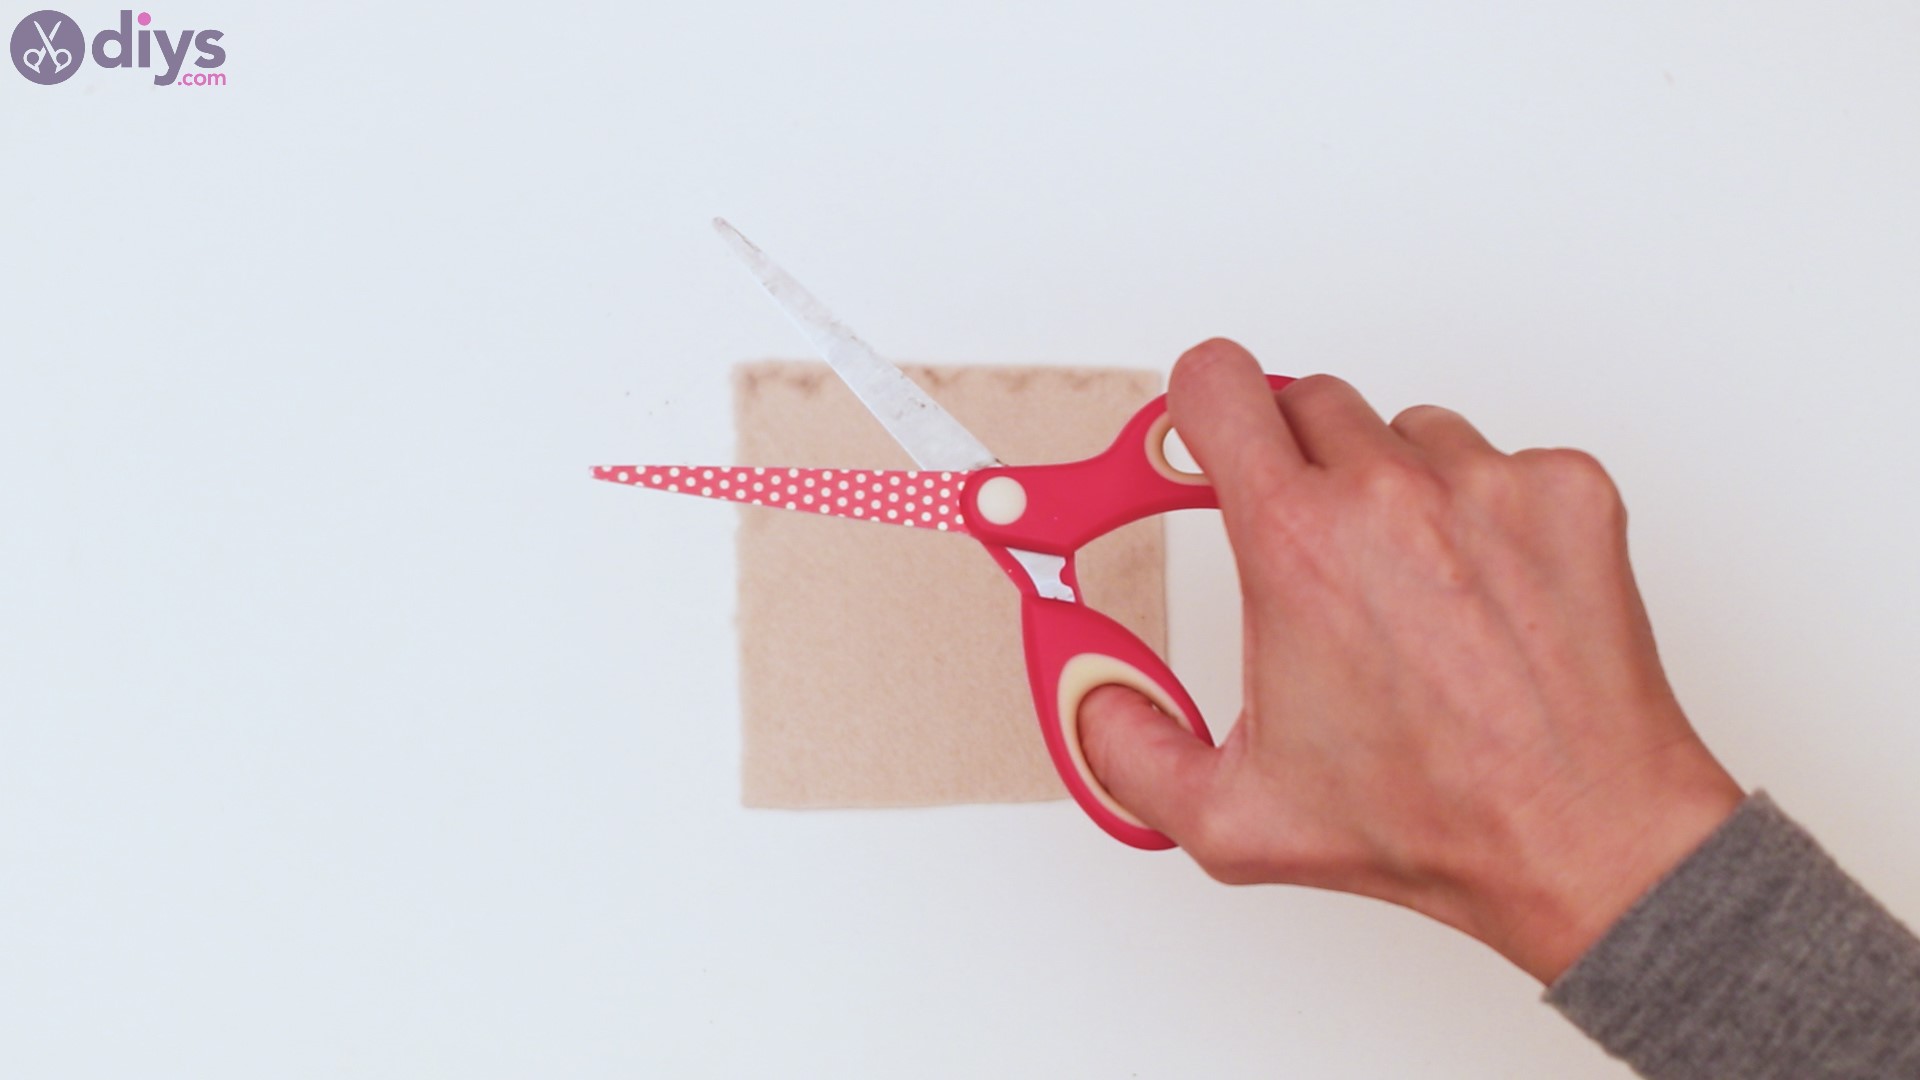
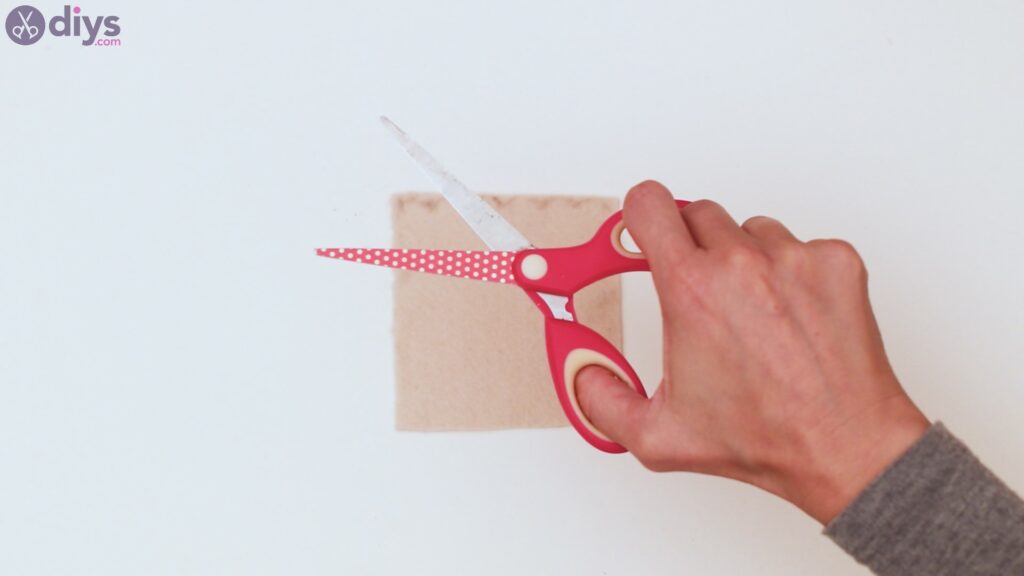
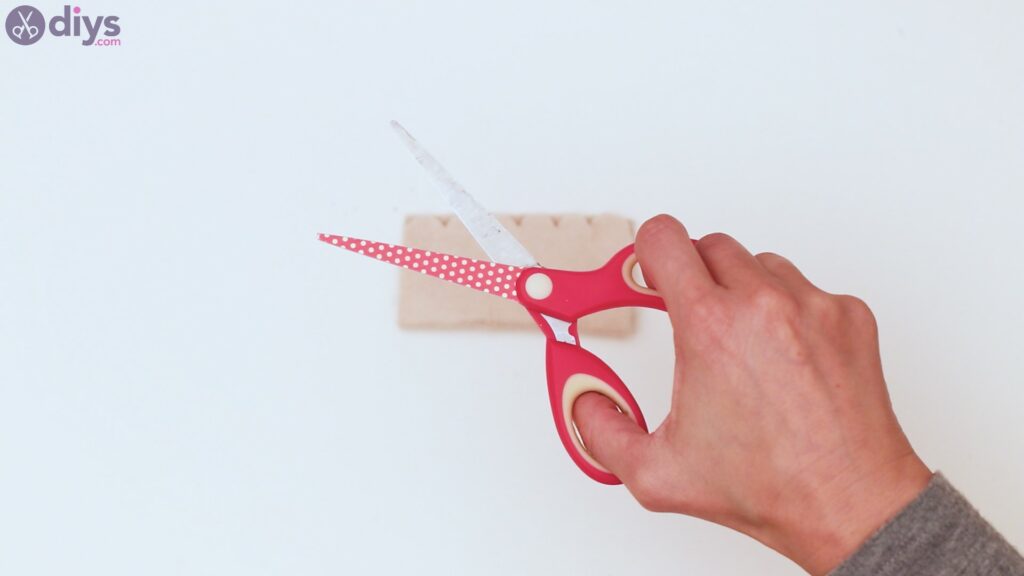
Get the scissors and carefully cut over the wavy model on the felt.
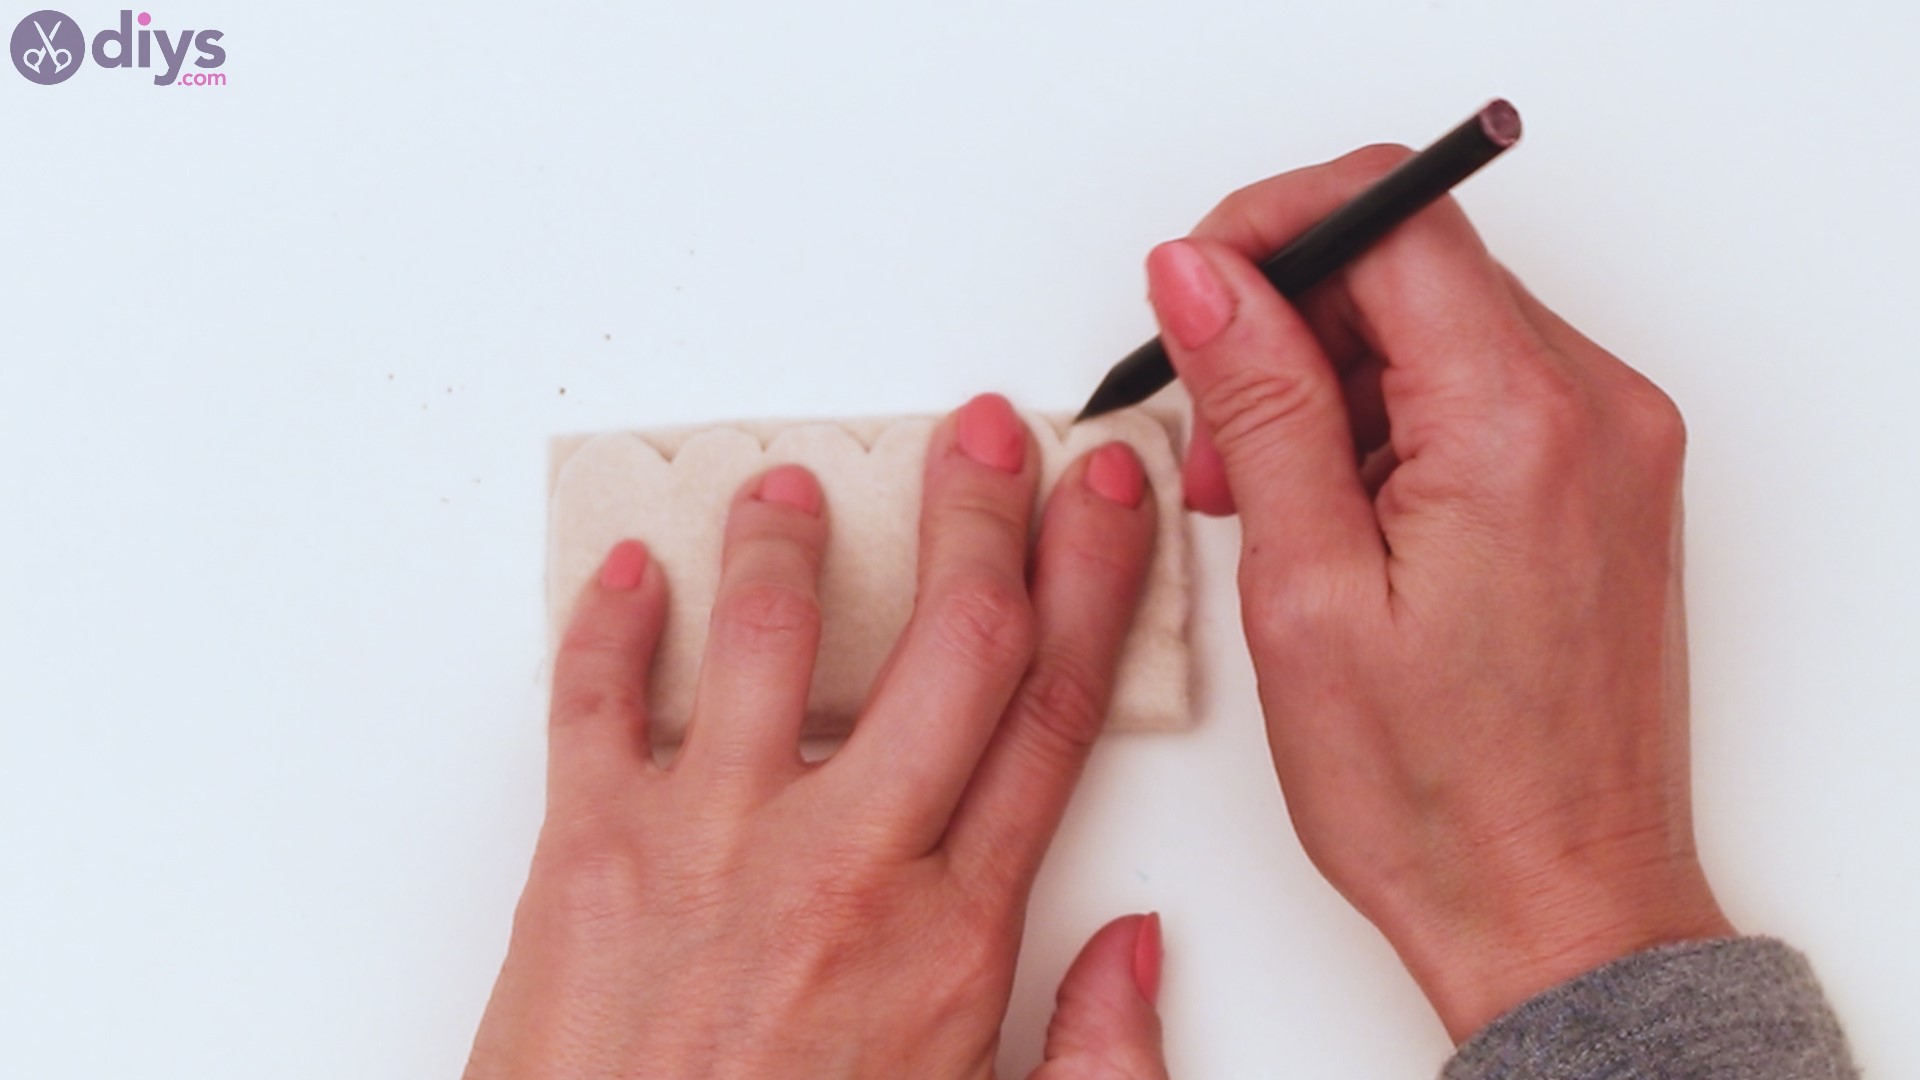
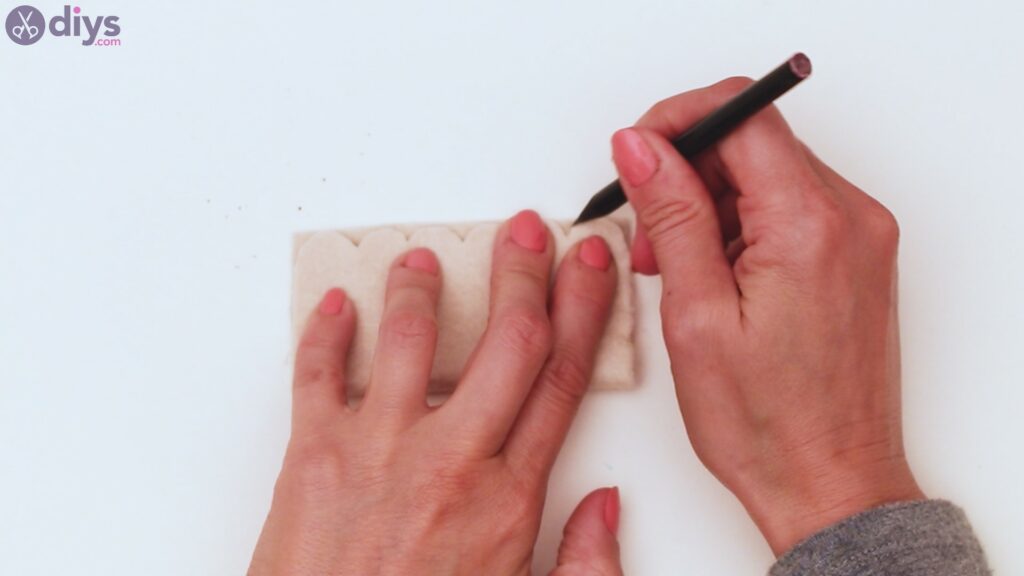
Once you’re done with the first part, fold the felt over and pick up the pencil once more. In the interest of making both sides the same, trace the already-cut felt area.
Make sure you press the felt sides one onto the other so you can follow the model exactly.
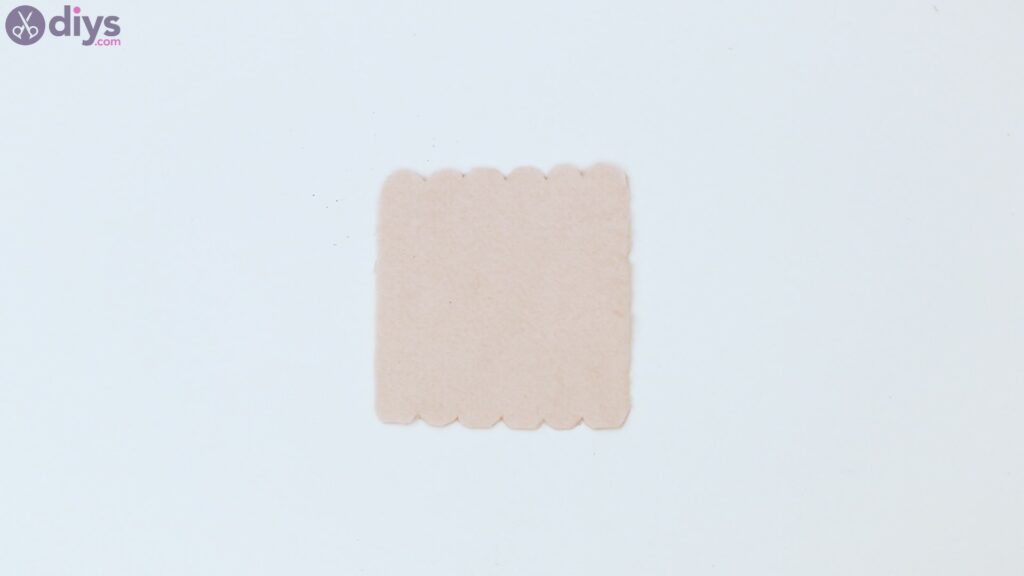
Once more, cut the wavy felt trim with your scissors. We know it’s a bit difficult to cut the felt like this, but if you go slow, you’ll do just fine.
There you have it! The felt is ready!
Step 3: Paint the clothespins
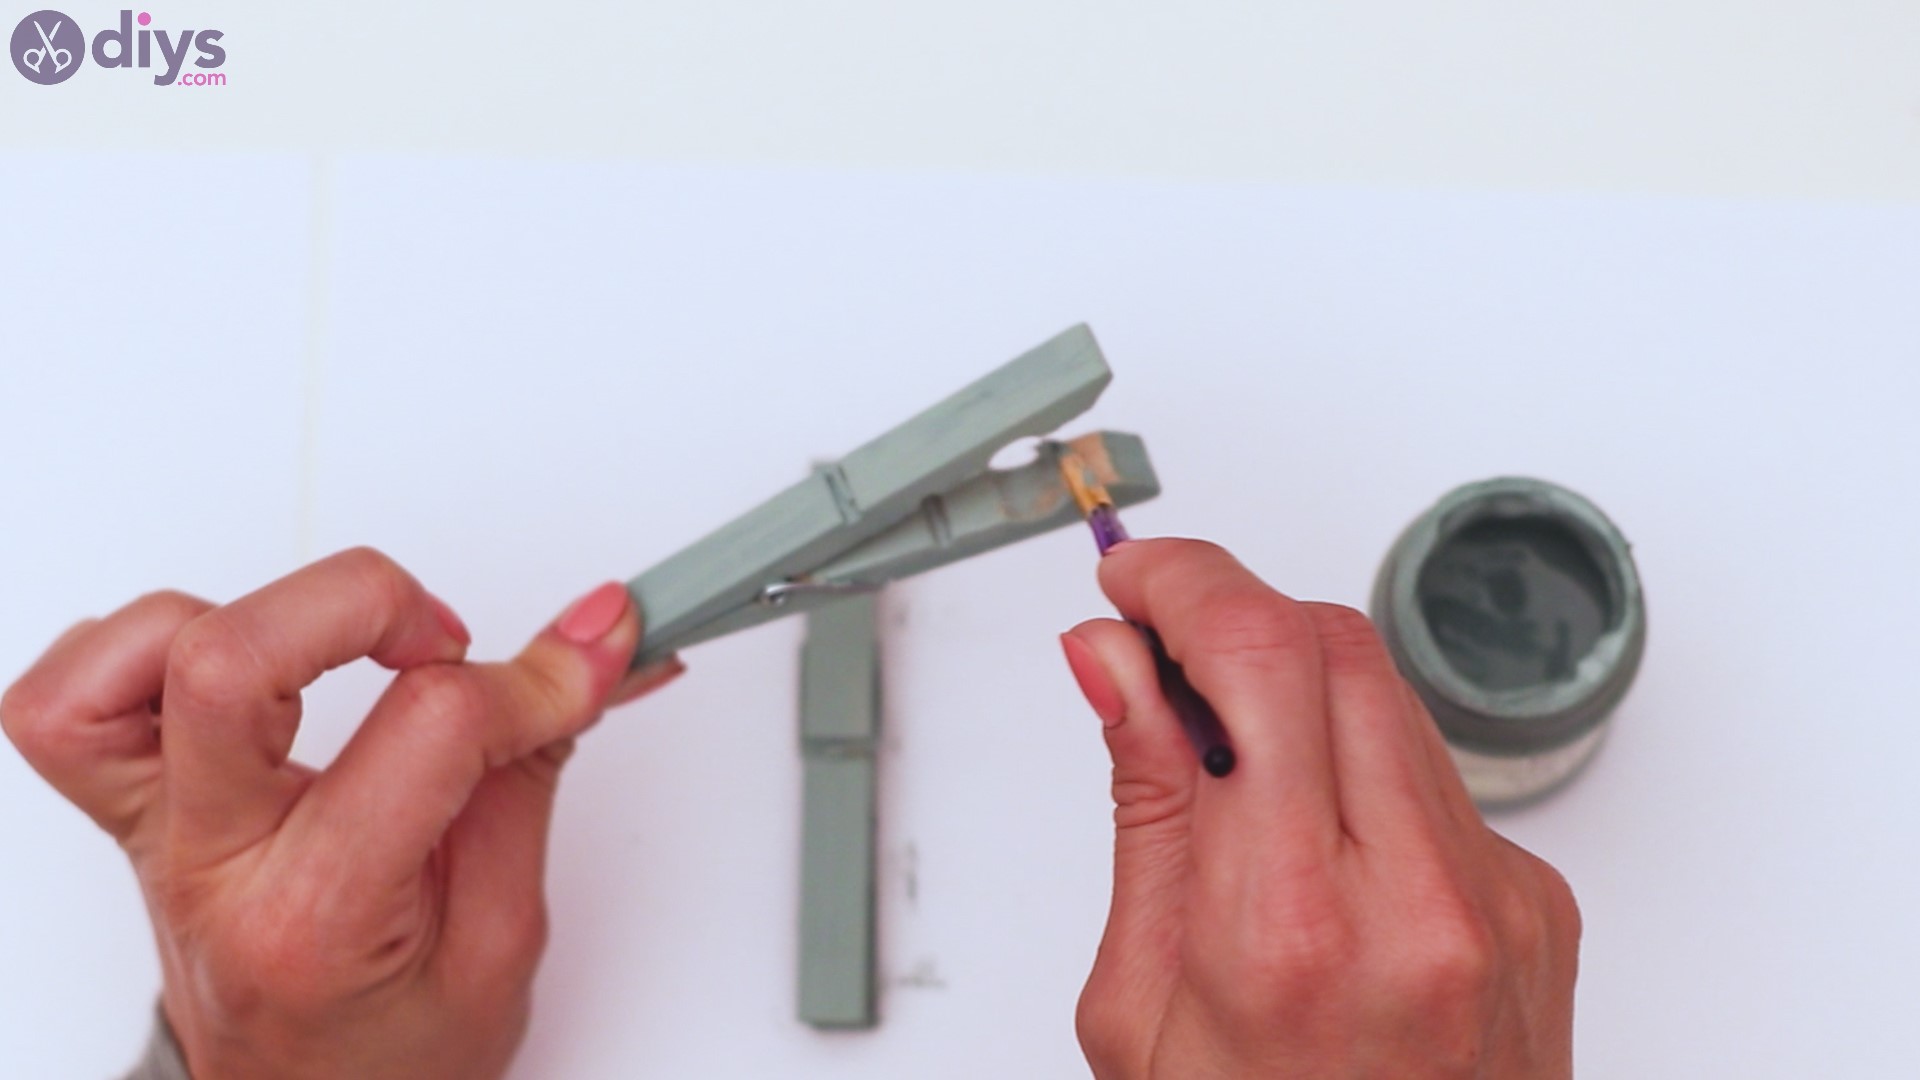
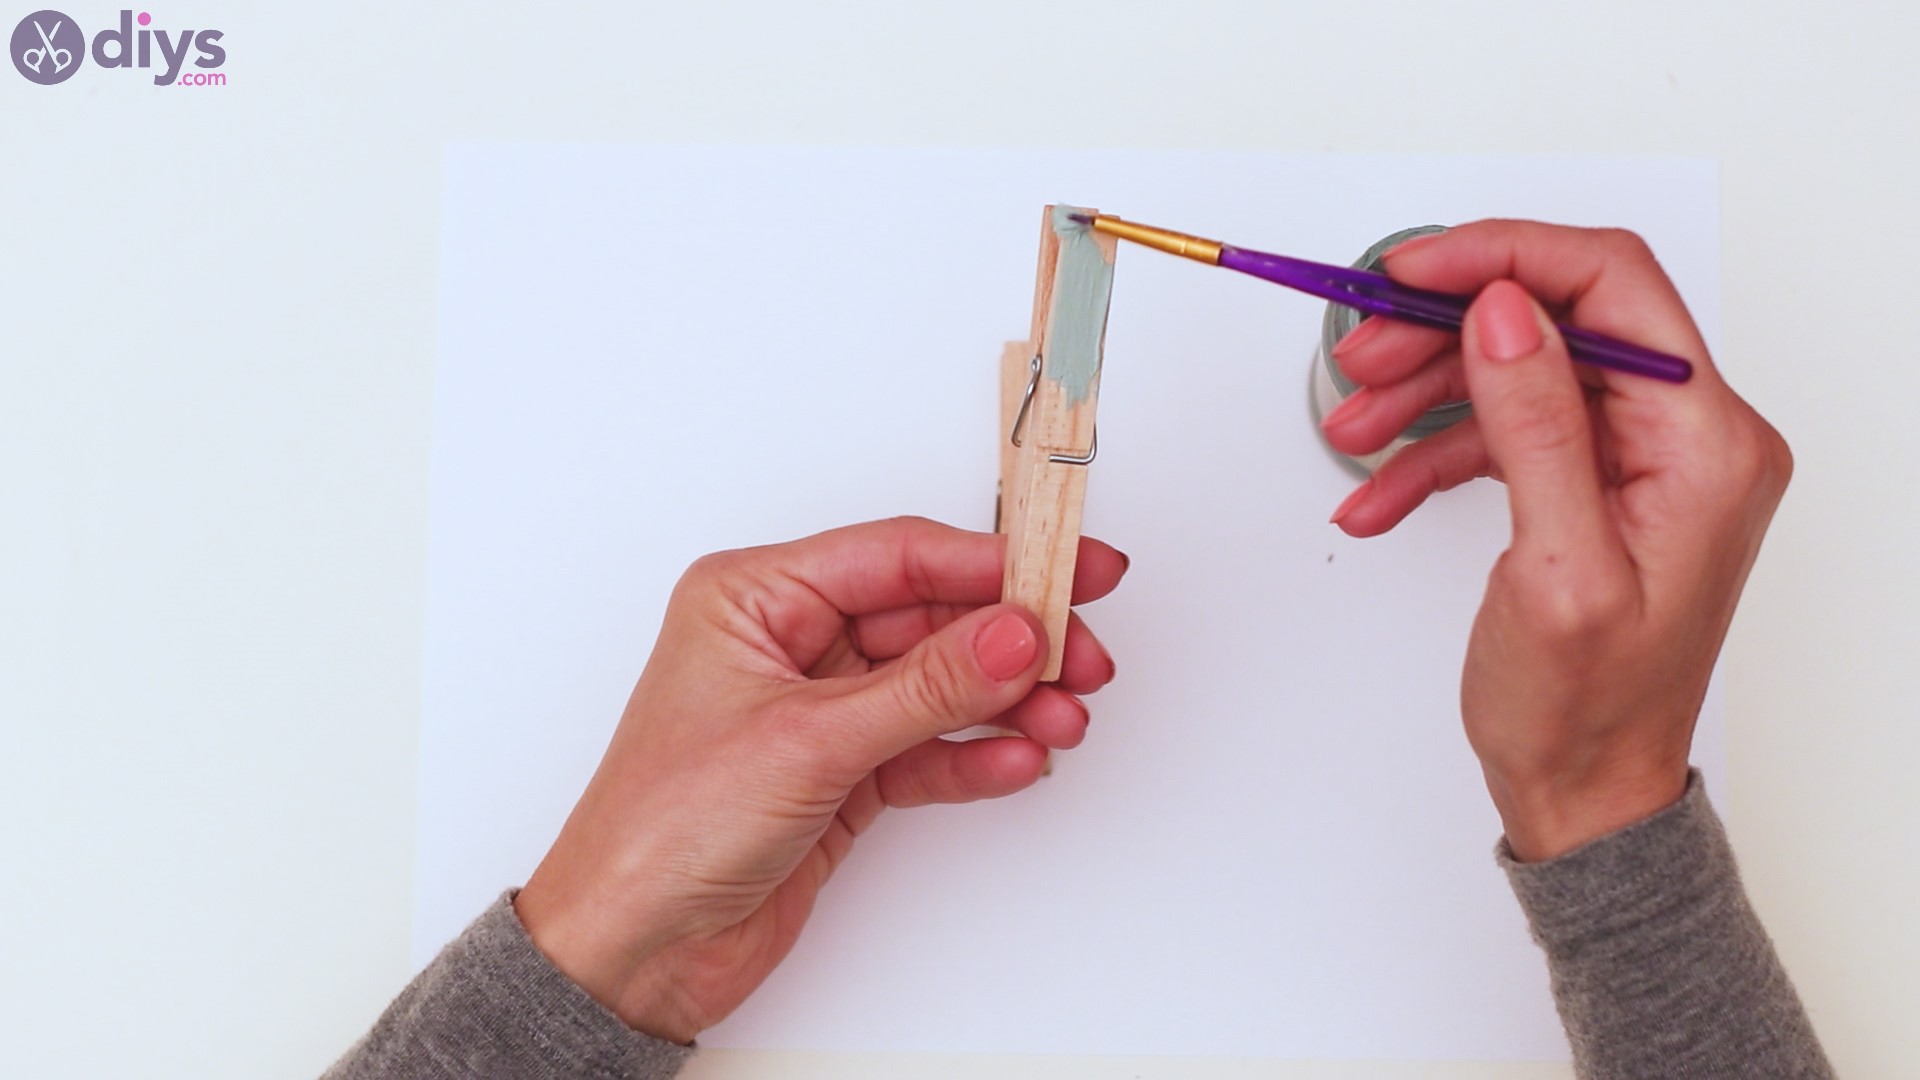
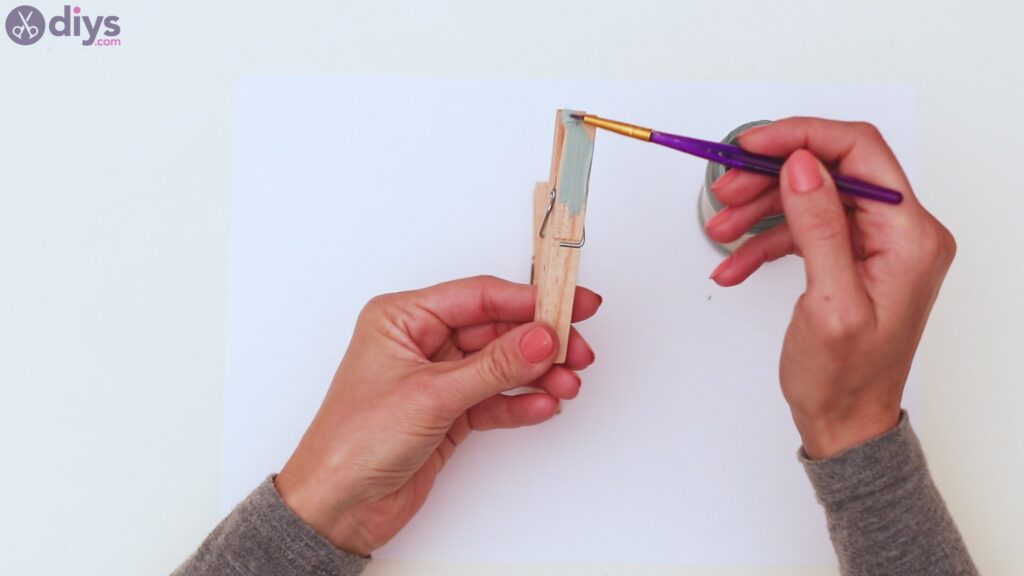
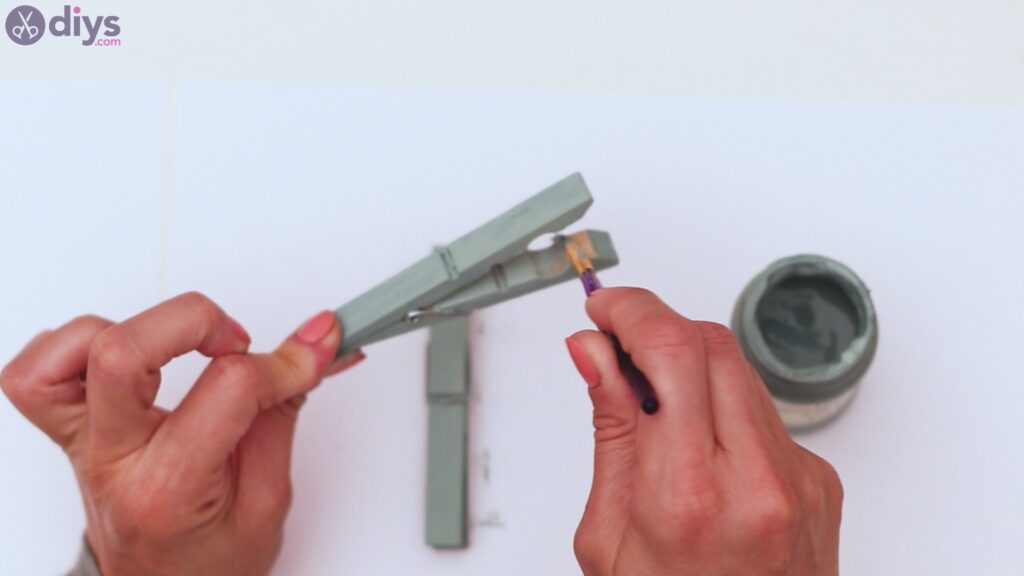
Next, we’re going to take the green acrylic paintand thepaintbrush and paint the clothespins.
You want to make sure you get the paint all over the clothespins, even on the inside, in the nooks and crannies. Make sure you also paint around the metal spring.
Step 4: Add some silk ribbons
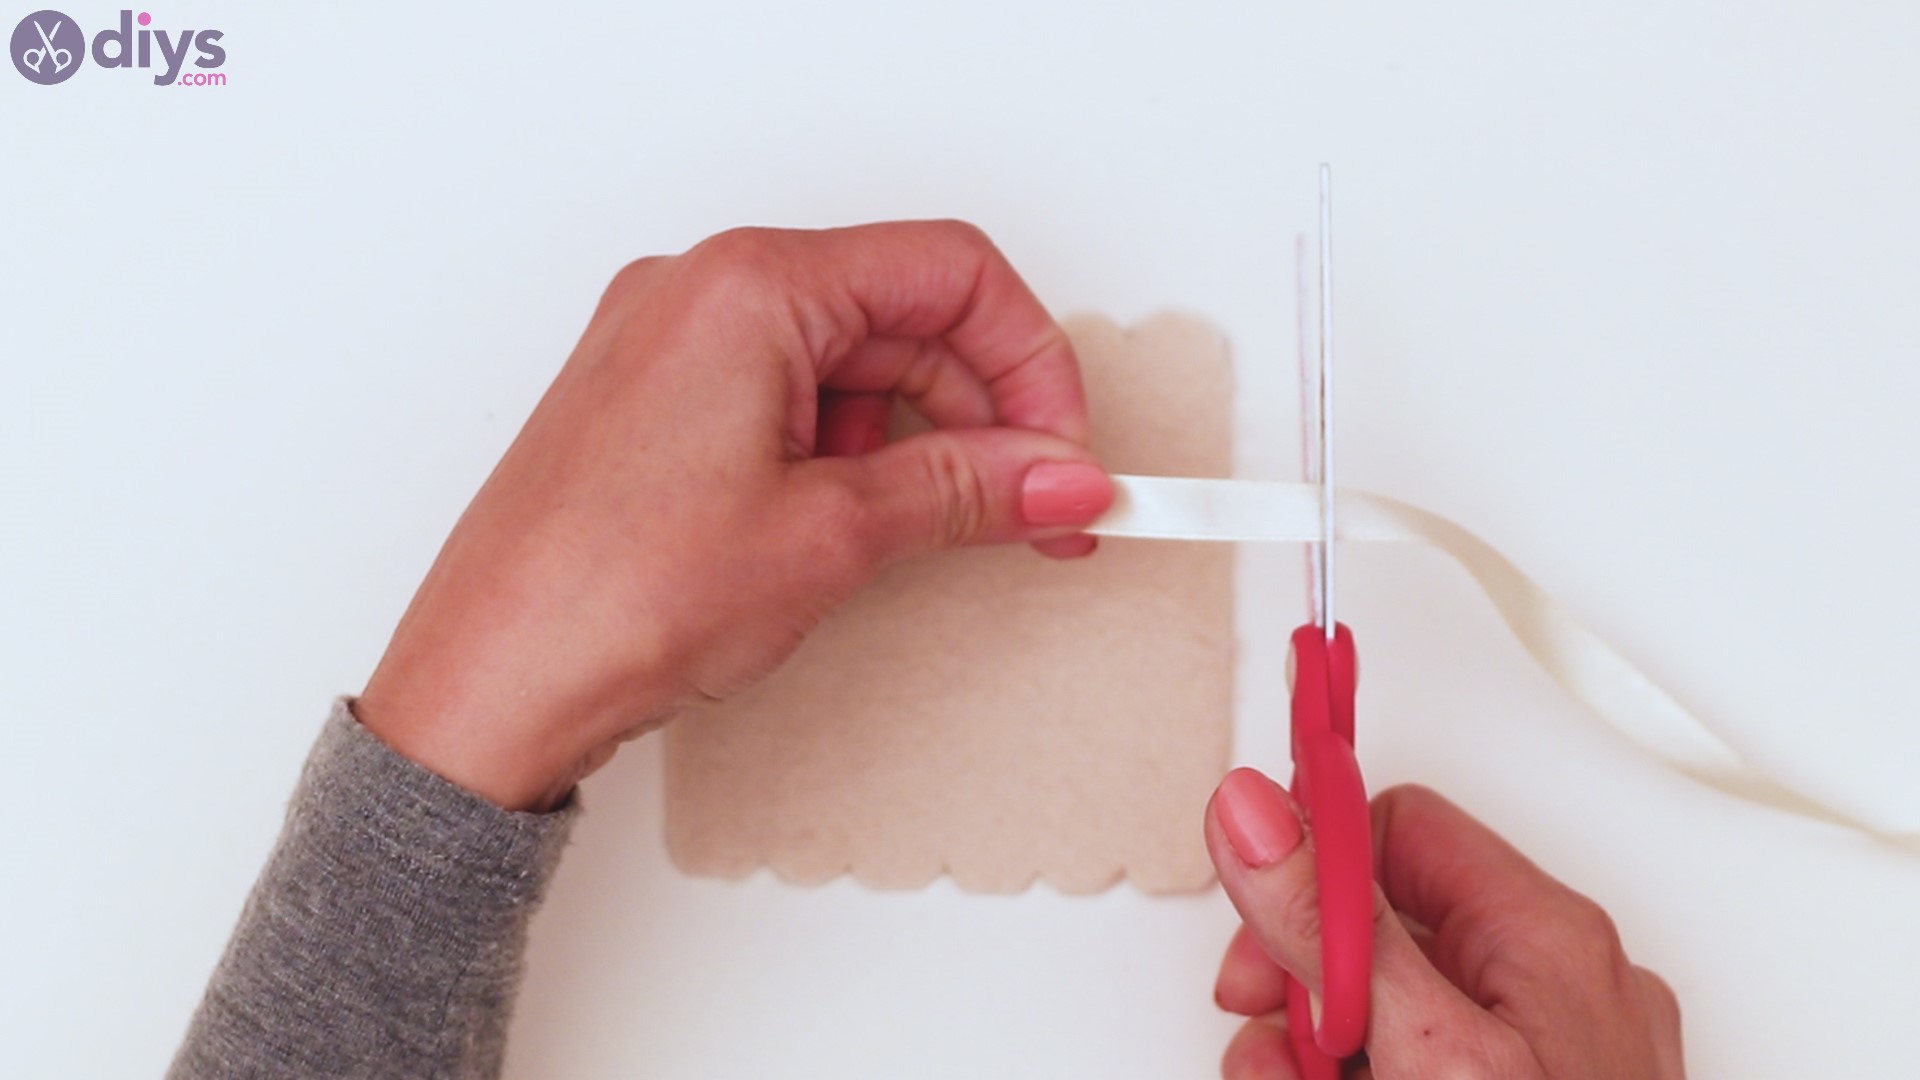
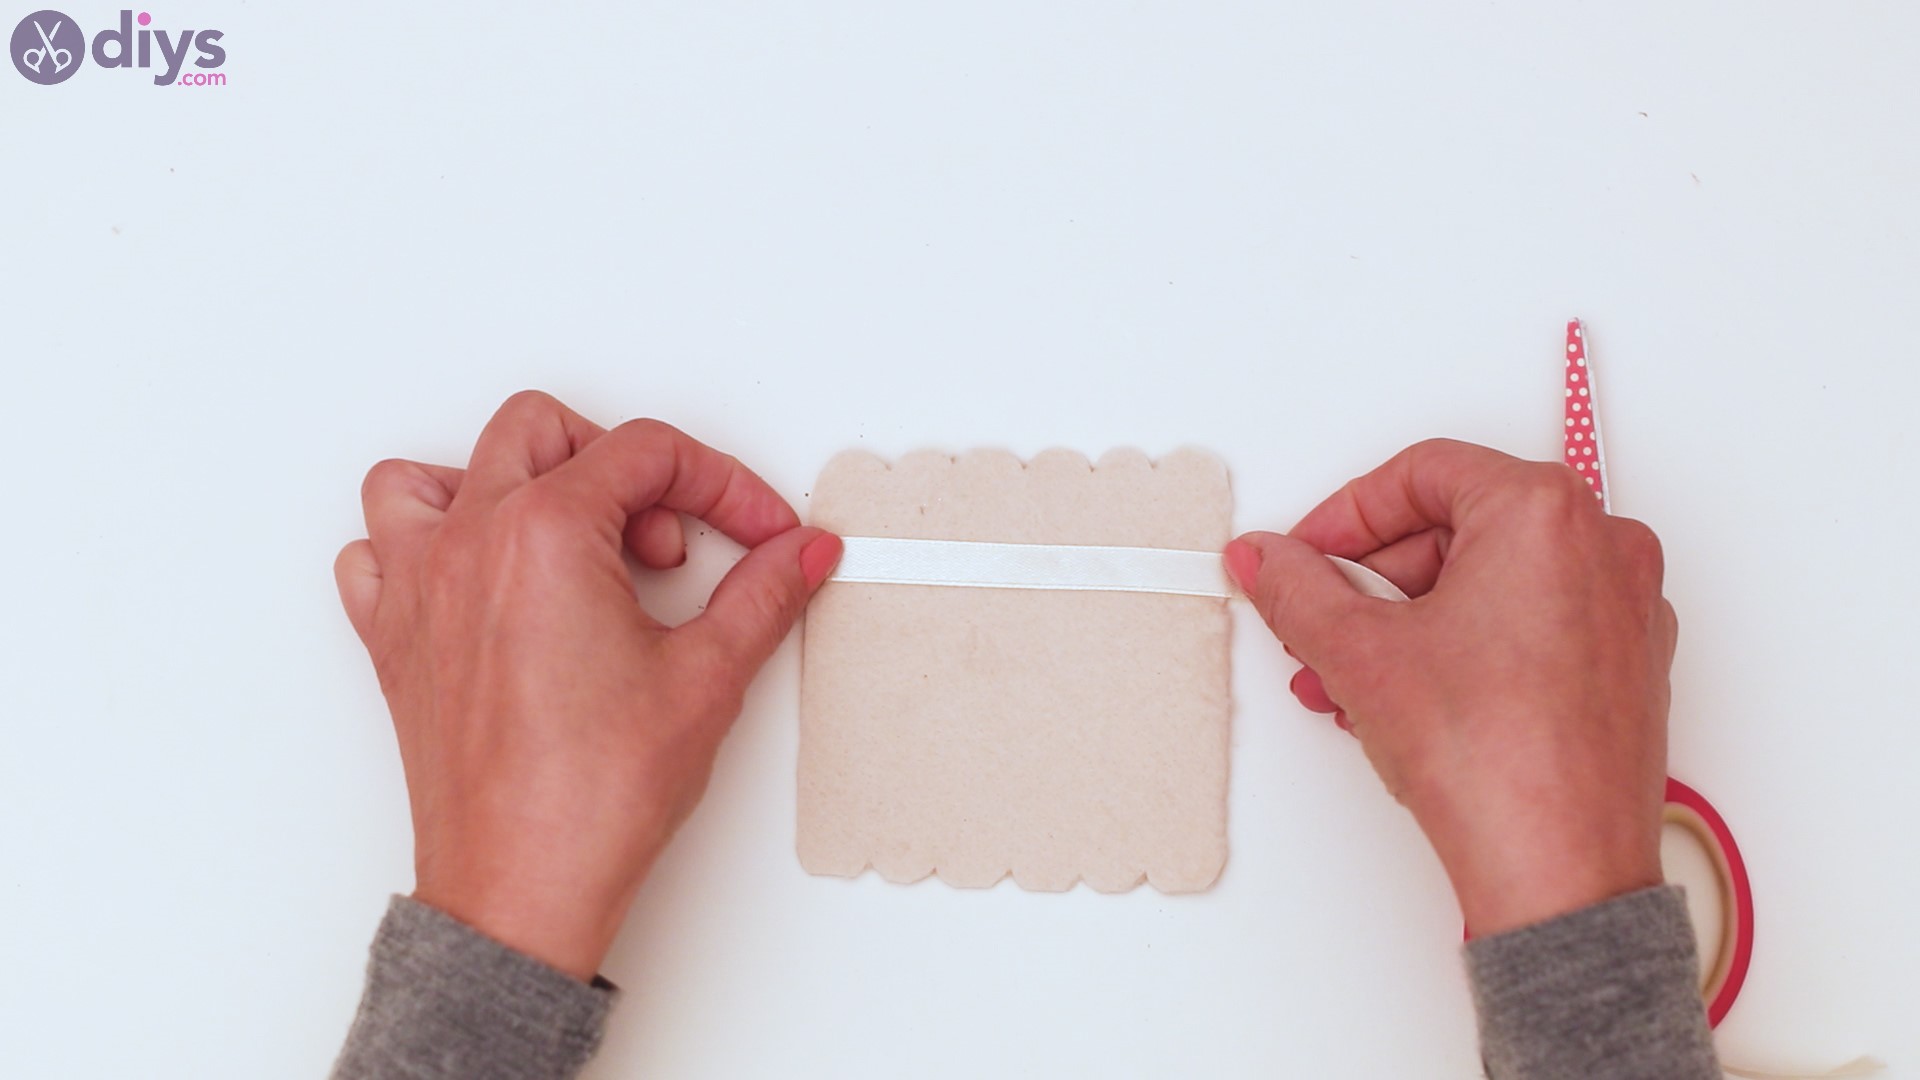
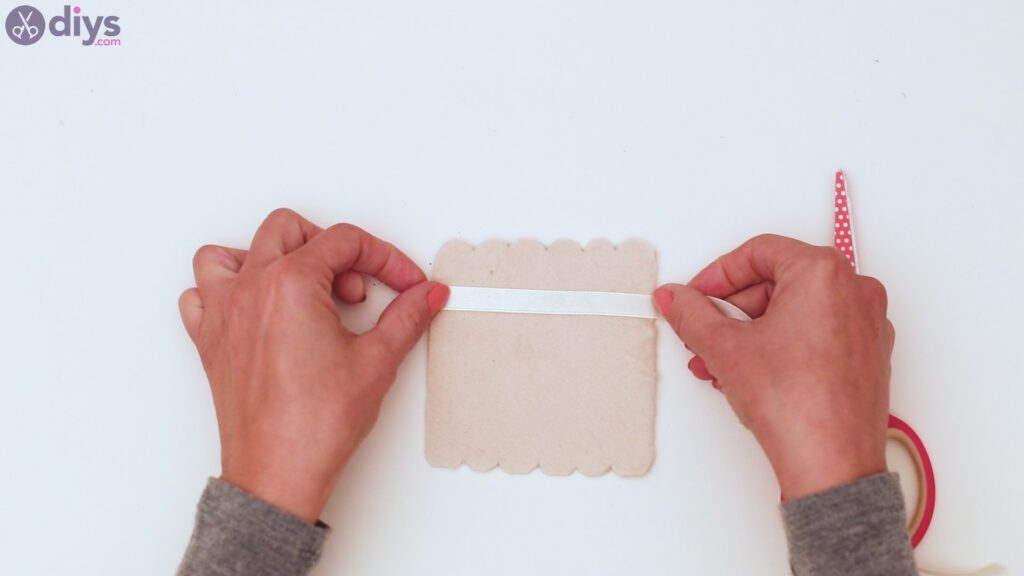
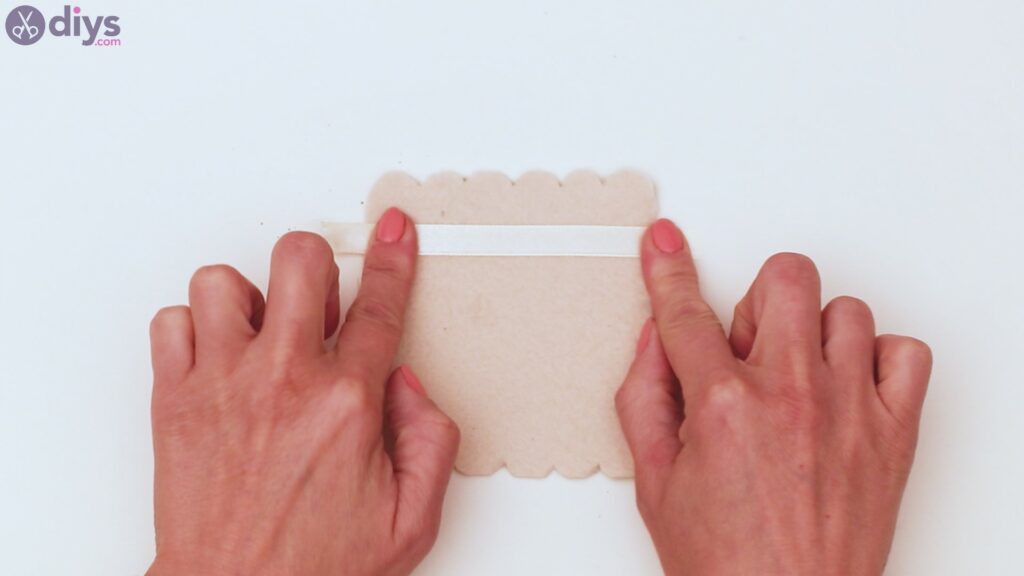
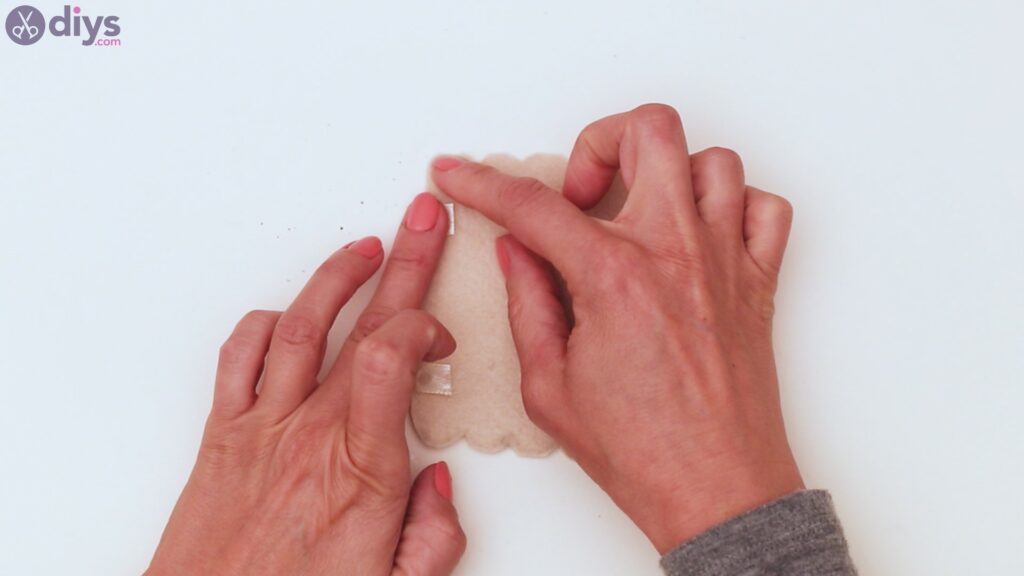
Next, we want to add some silk ribbons to the felt. Pick up the ribbon and measure it against the felt. You want to give it about half an inch on each side of the felt material.
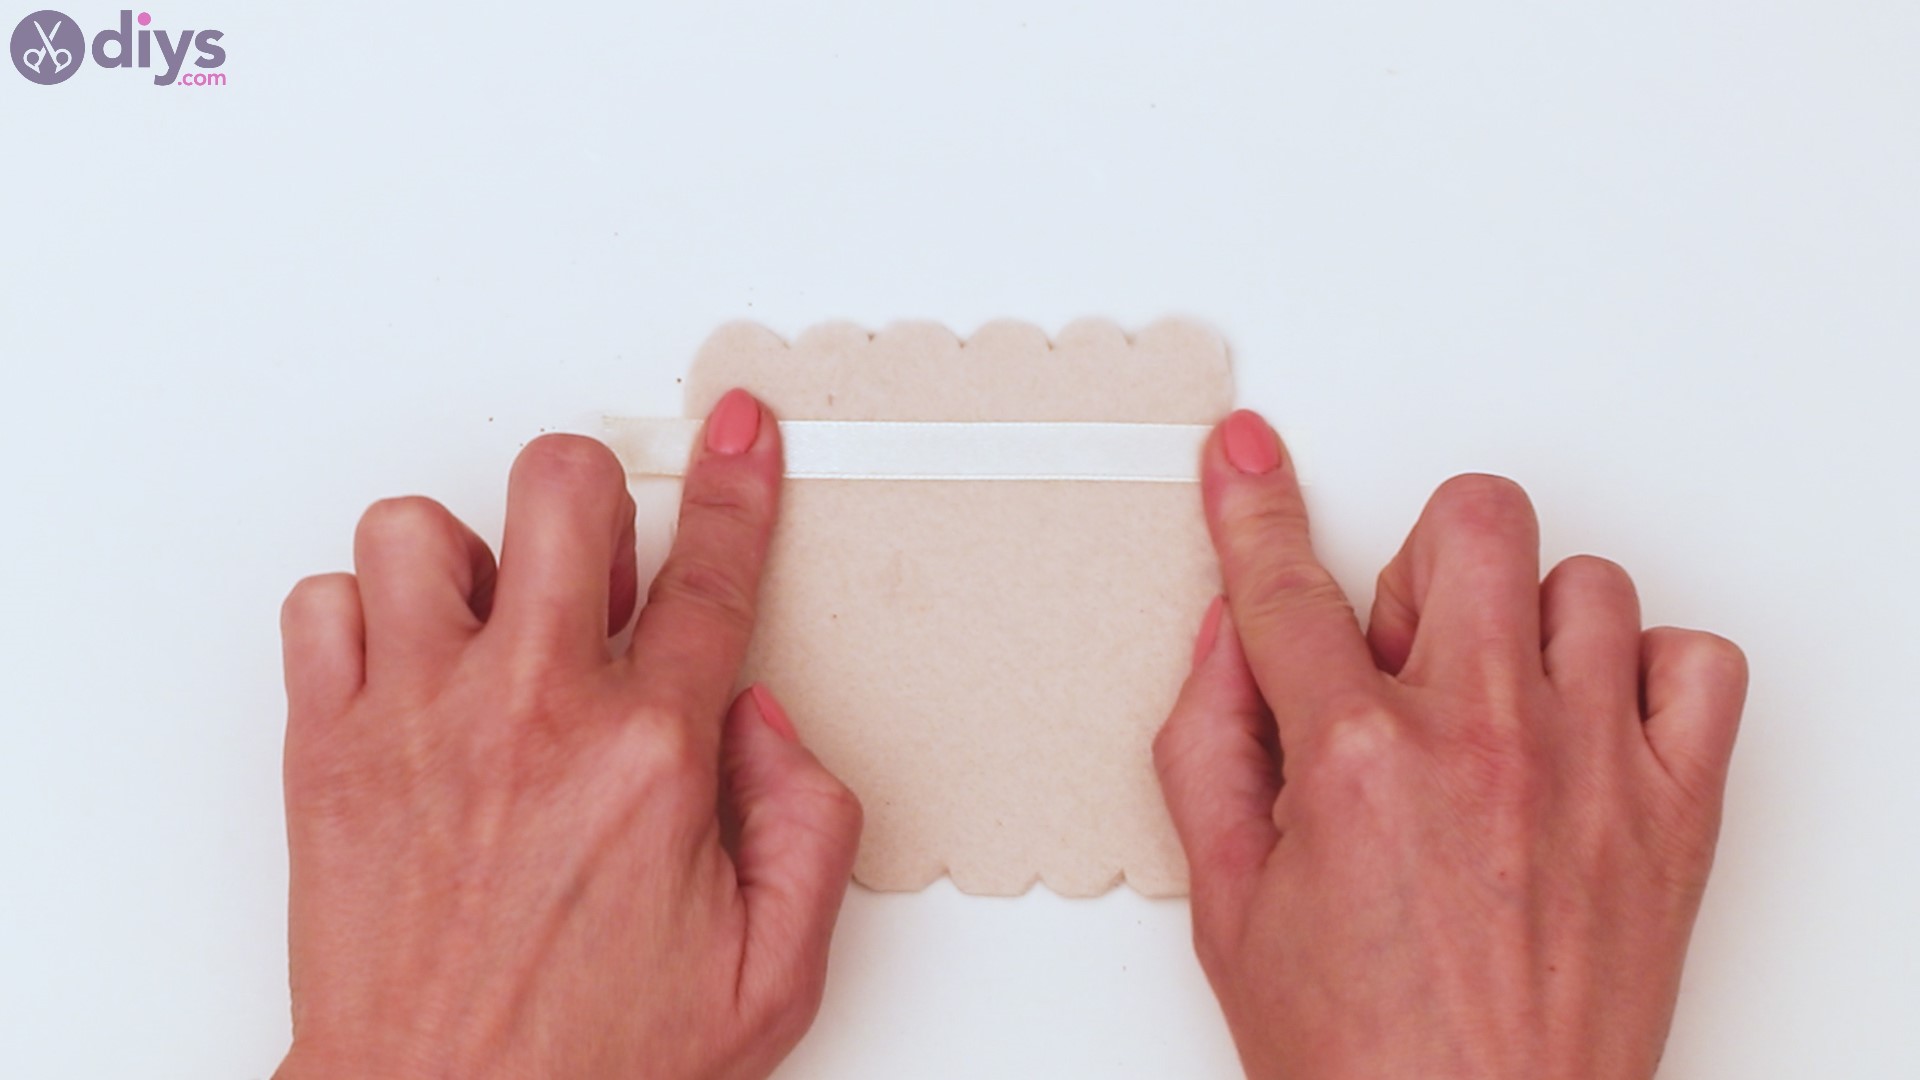
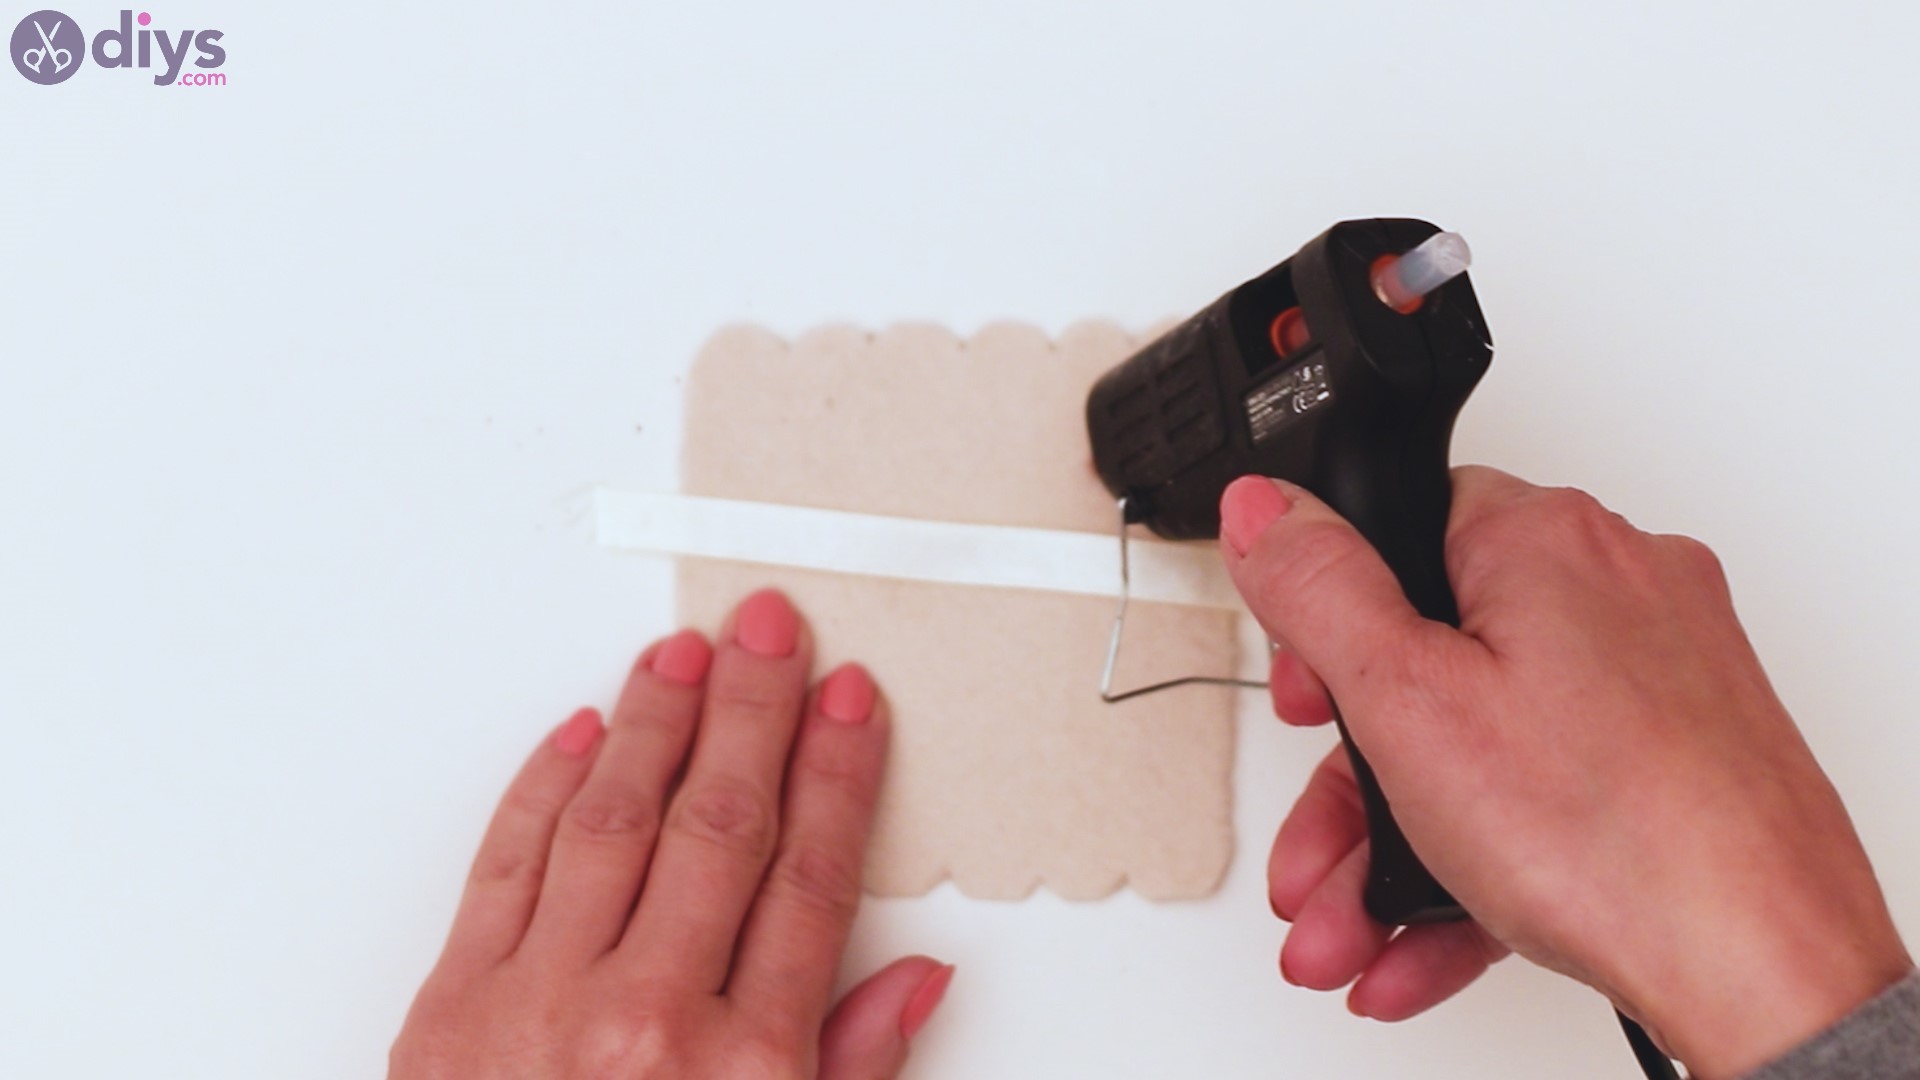
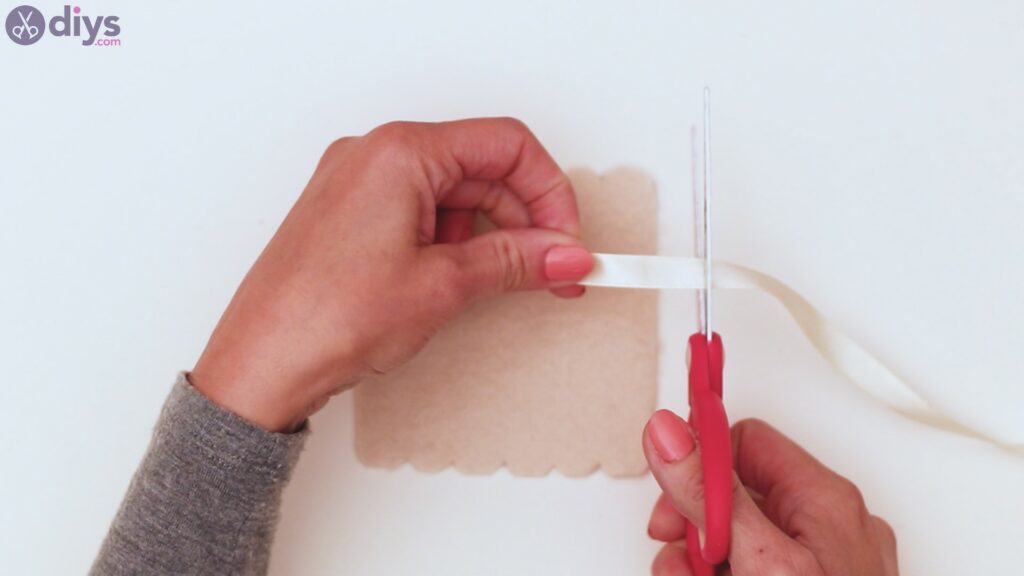
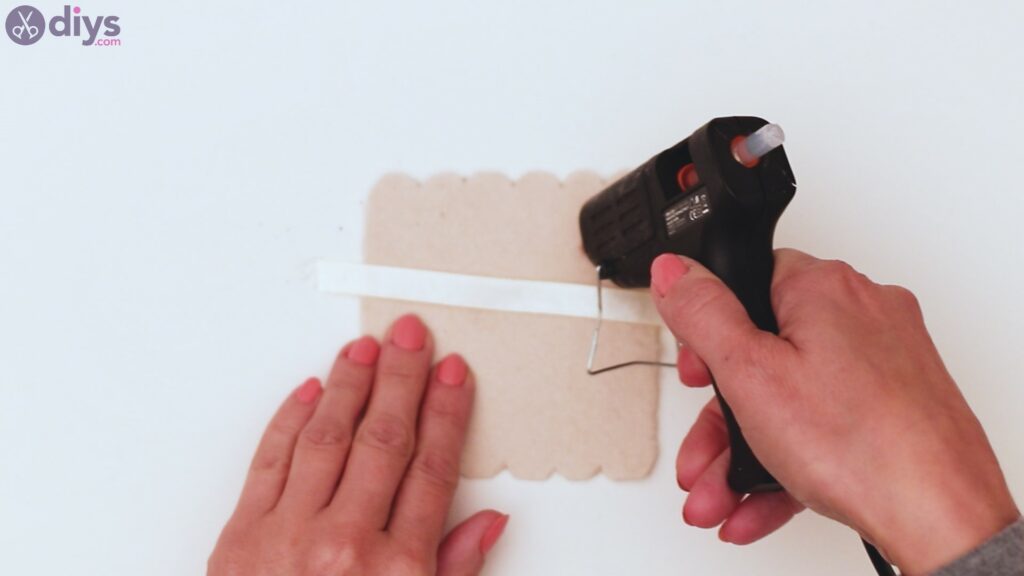
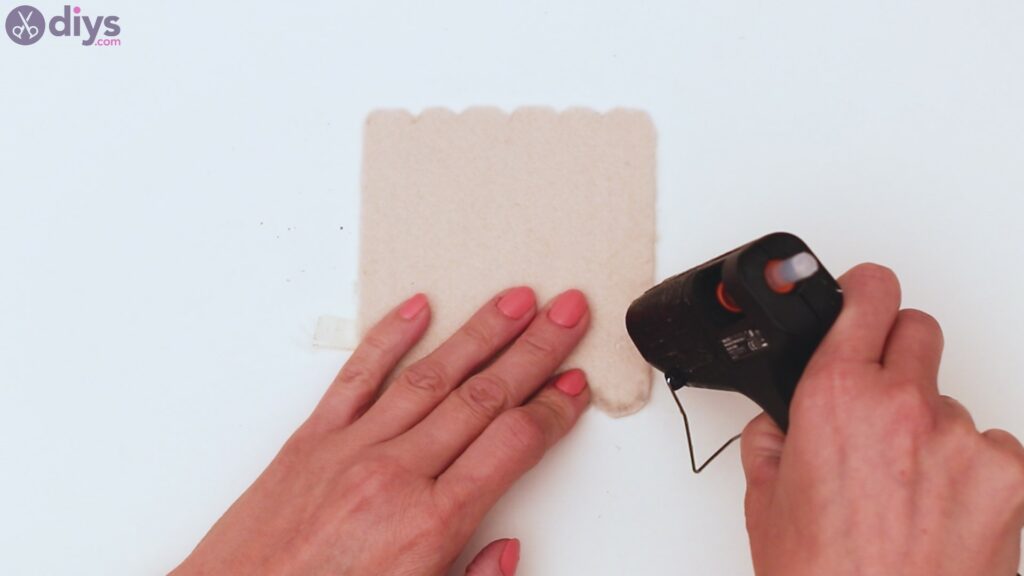
Cut the ribbon with yourscissorsand get the glue gun. About an inch under the edge of the felt, lay down a line of hot glue.
Gently and carefully place the silk ribbon over the hot glue line. Smooth down the material and make sure it’s as straight as possible.
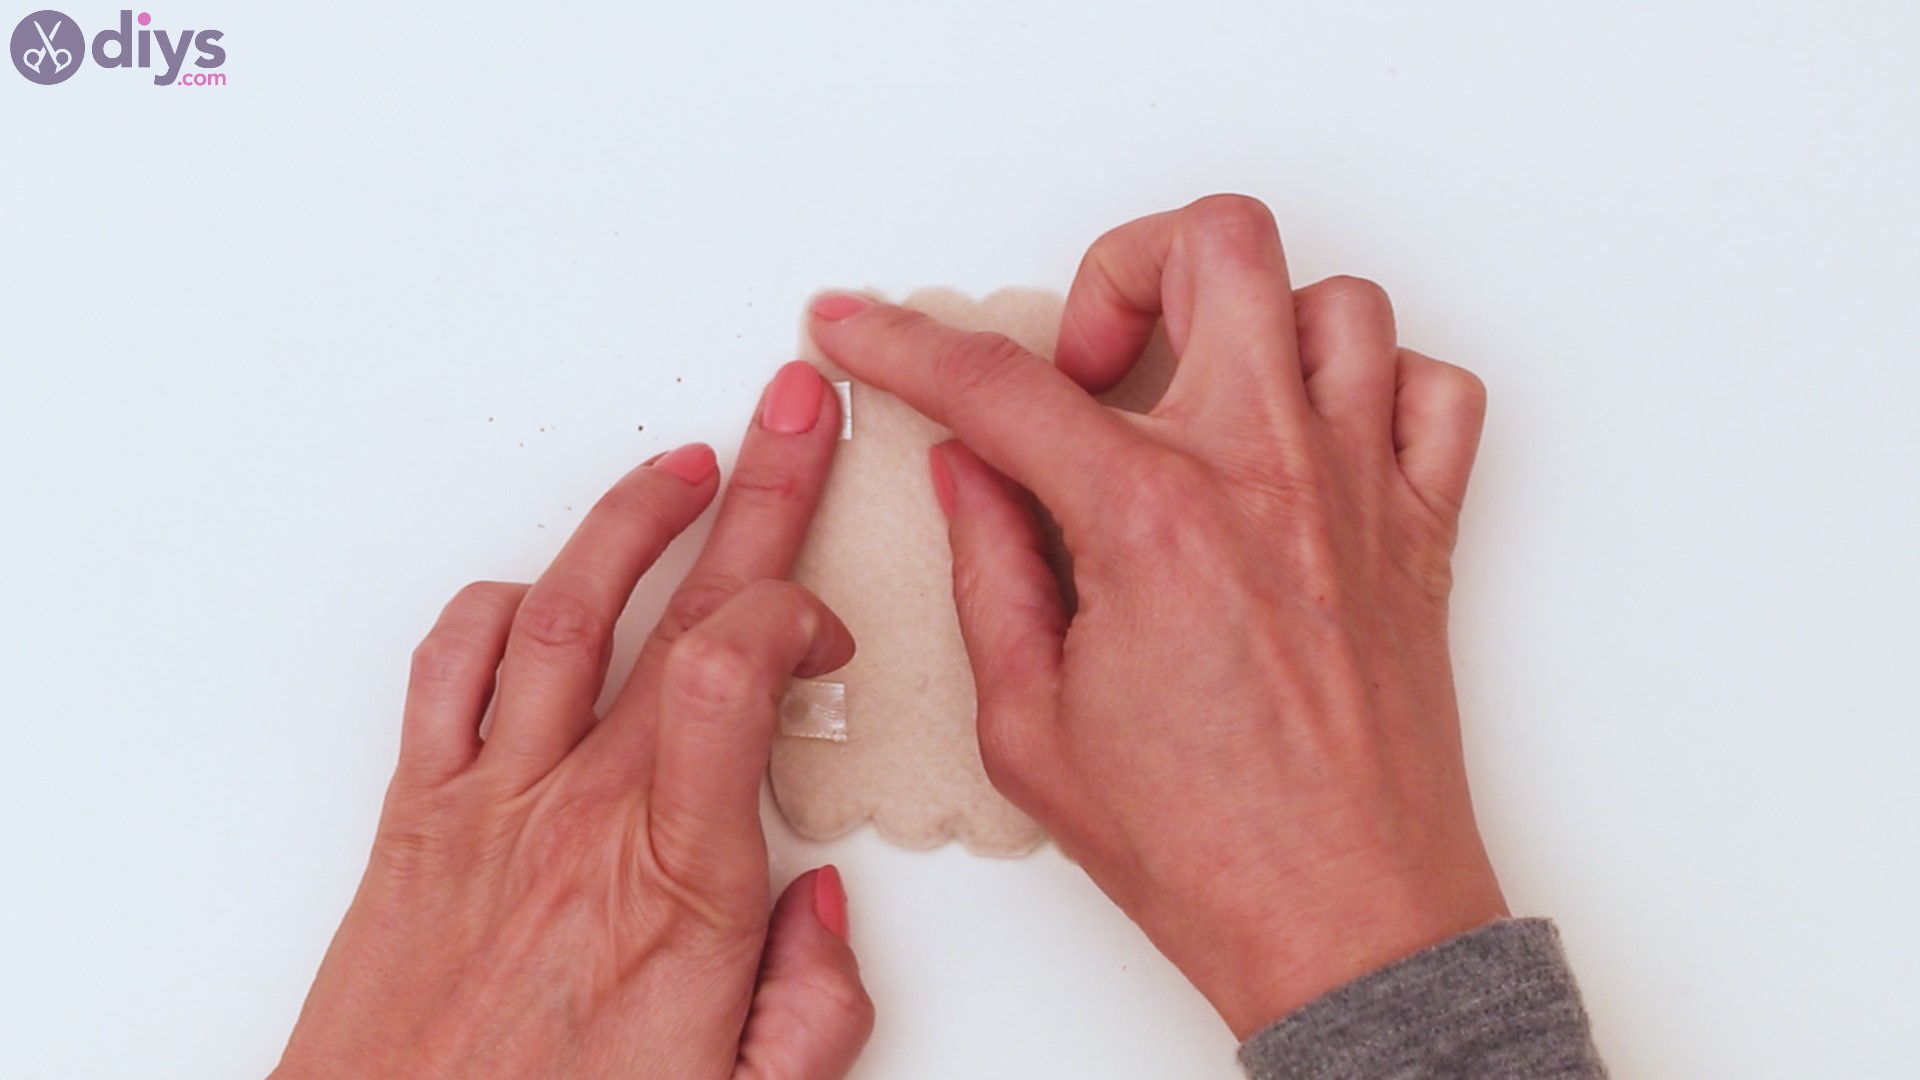
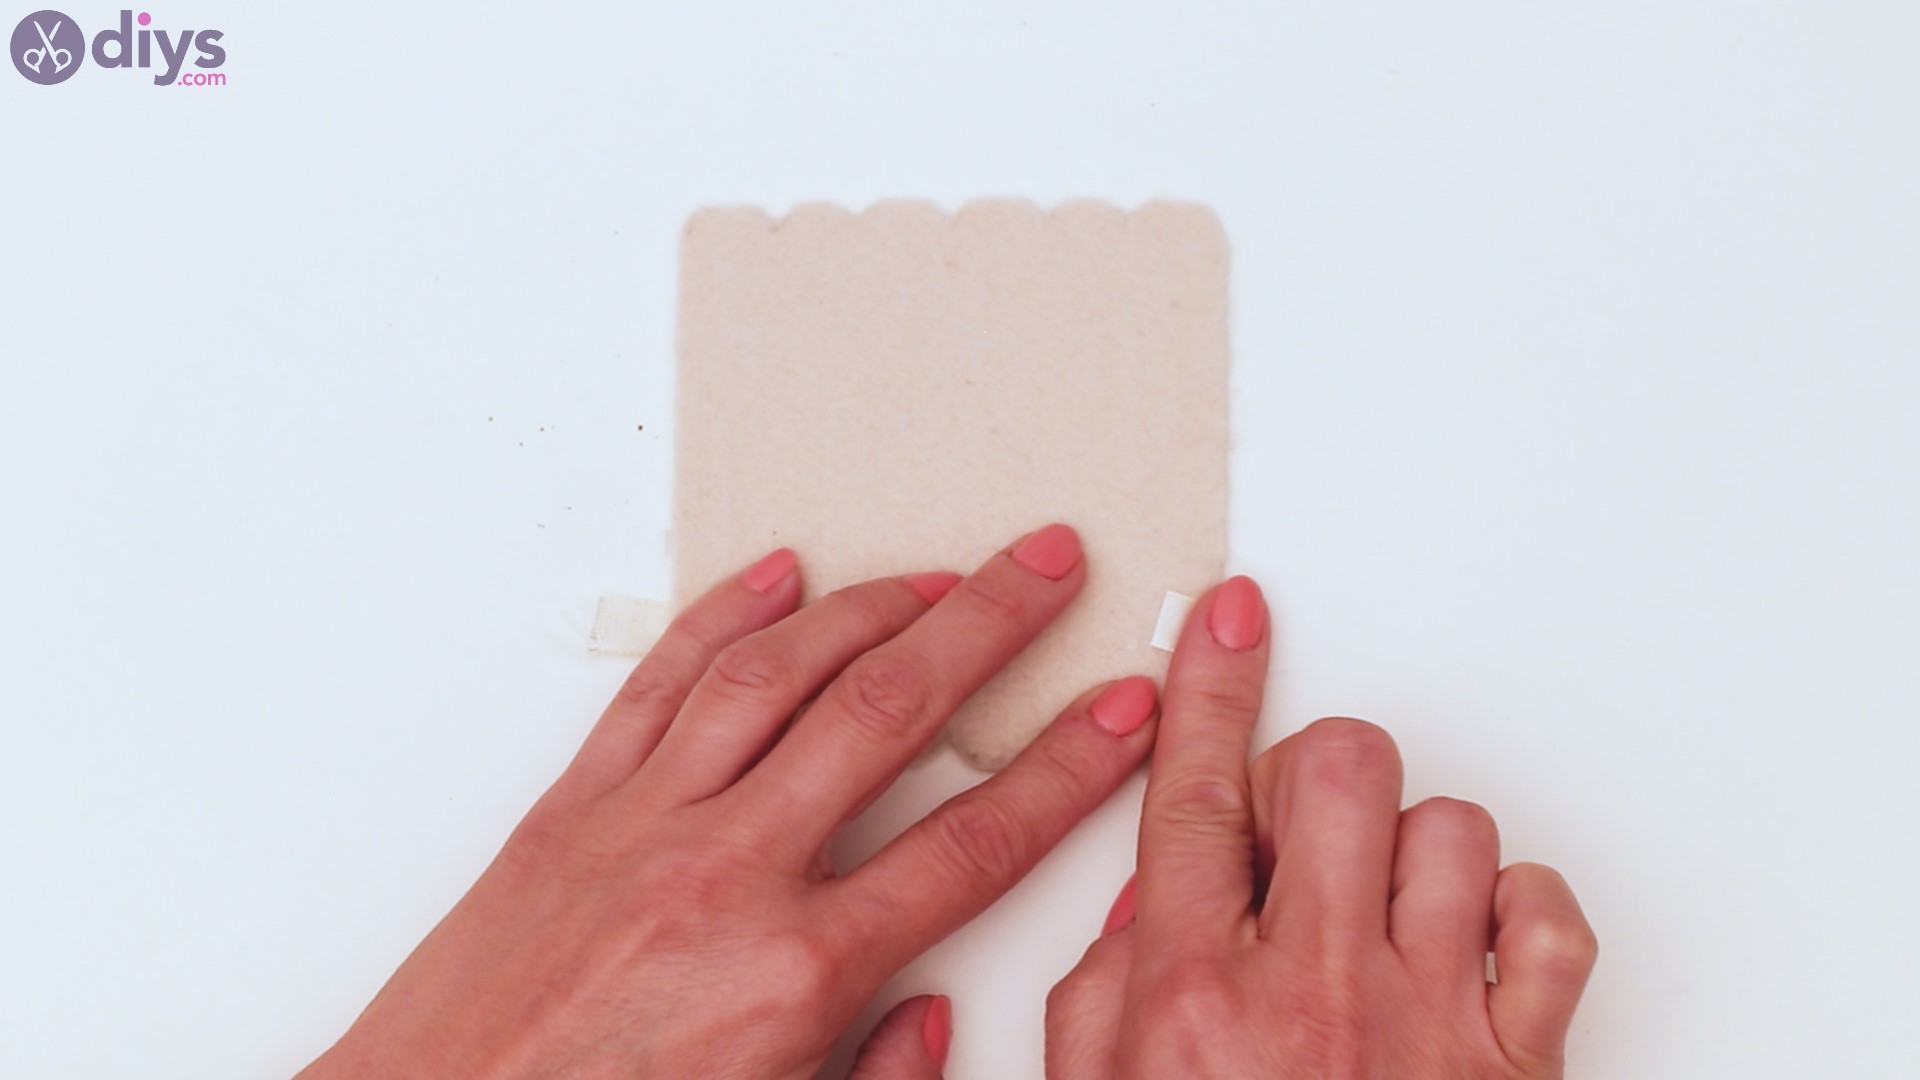
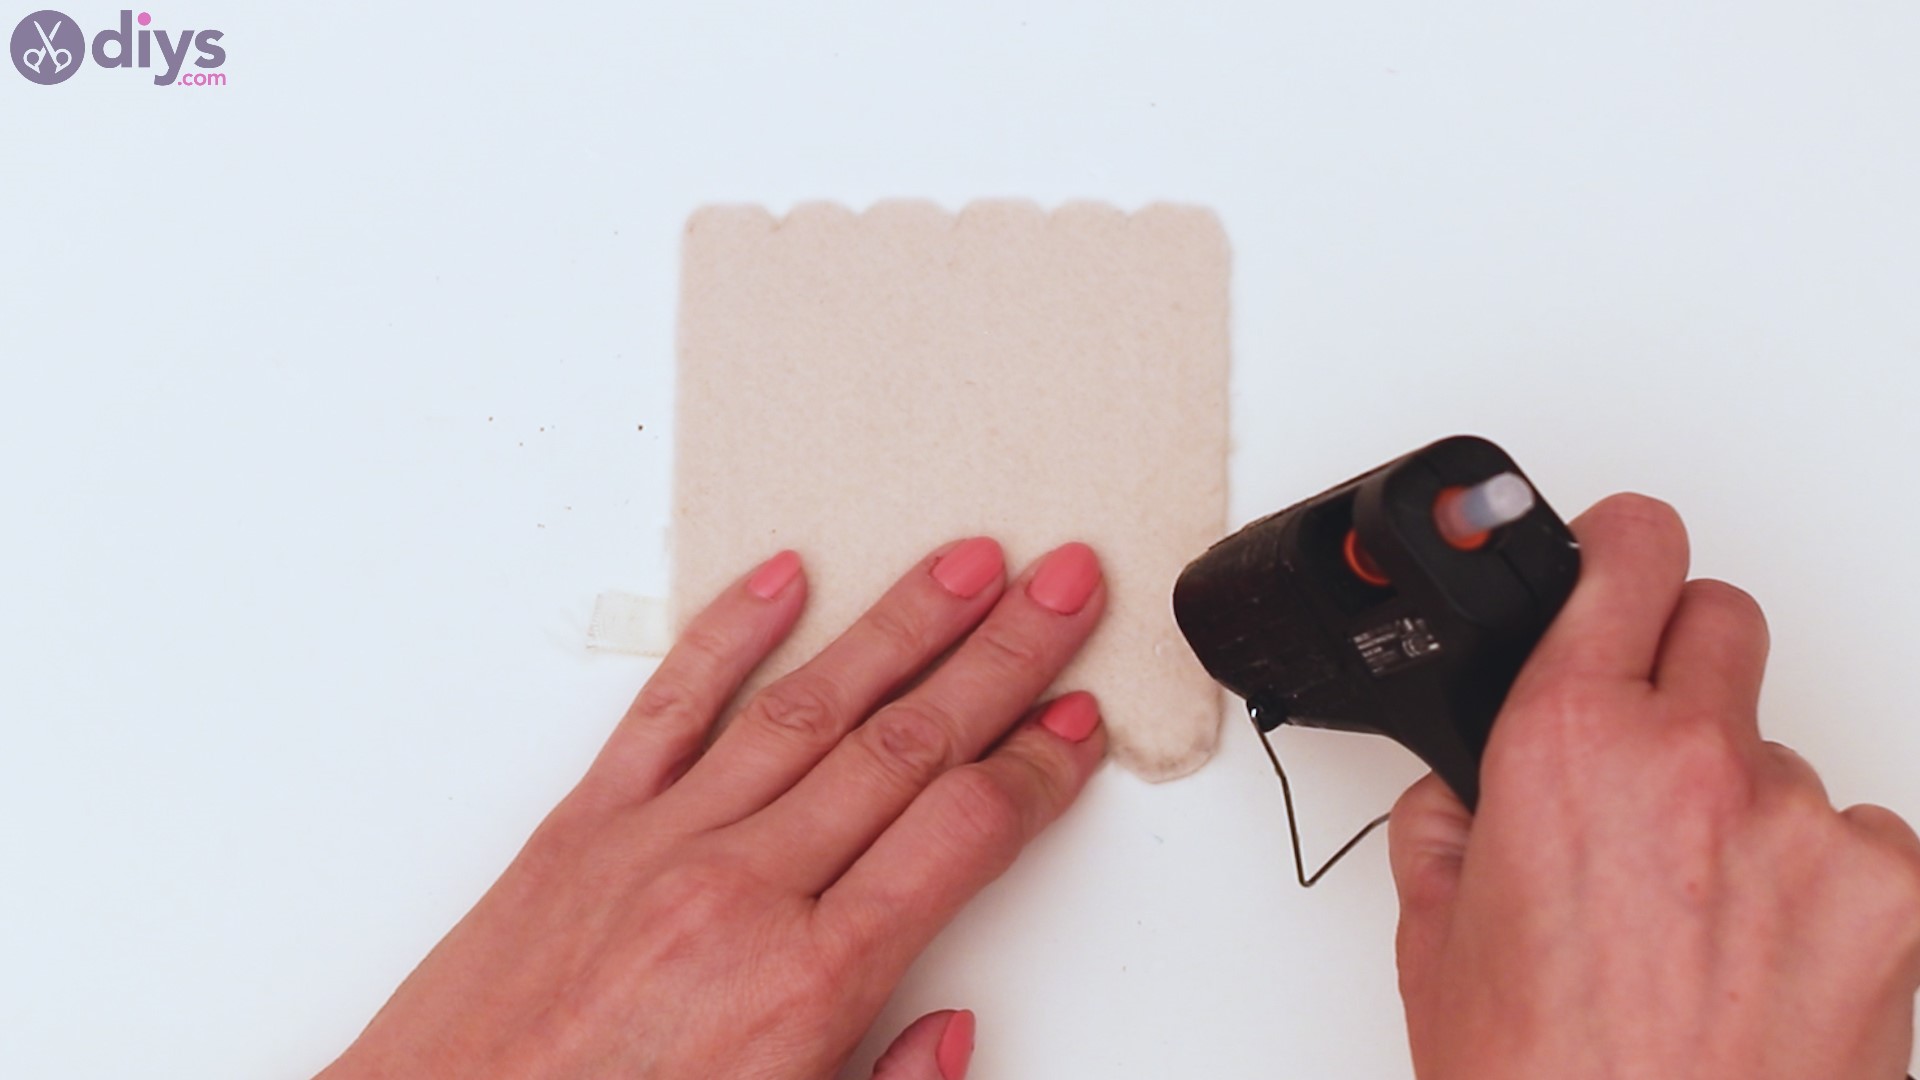
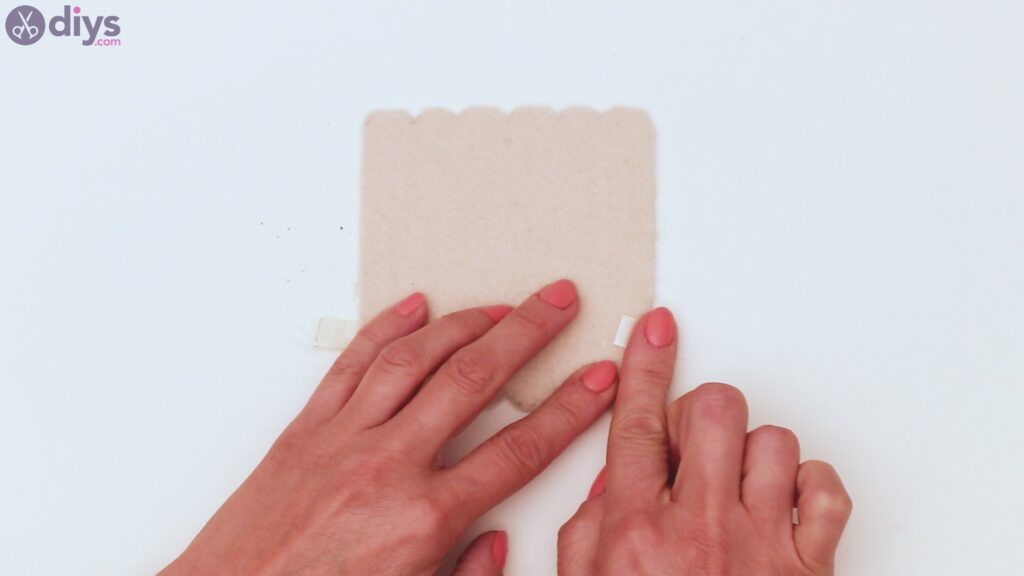
Turn the felt on the other side and add some more hot glue right on the edges, so you can fold the silk ribbon over that spot.
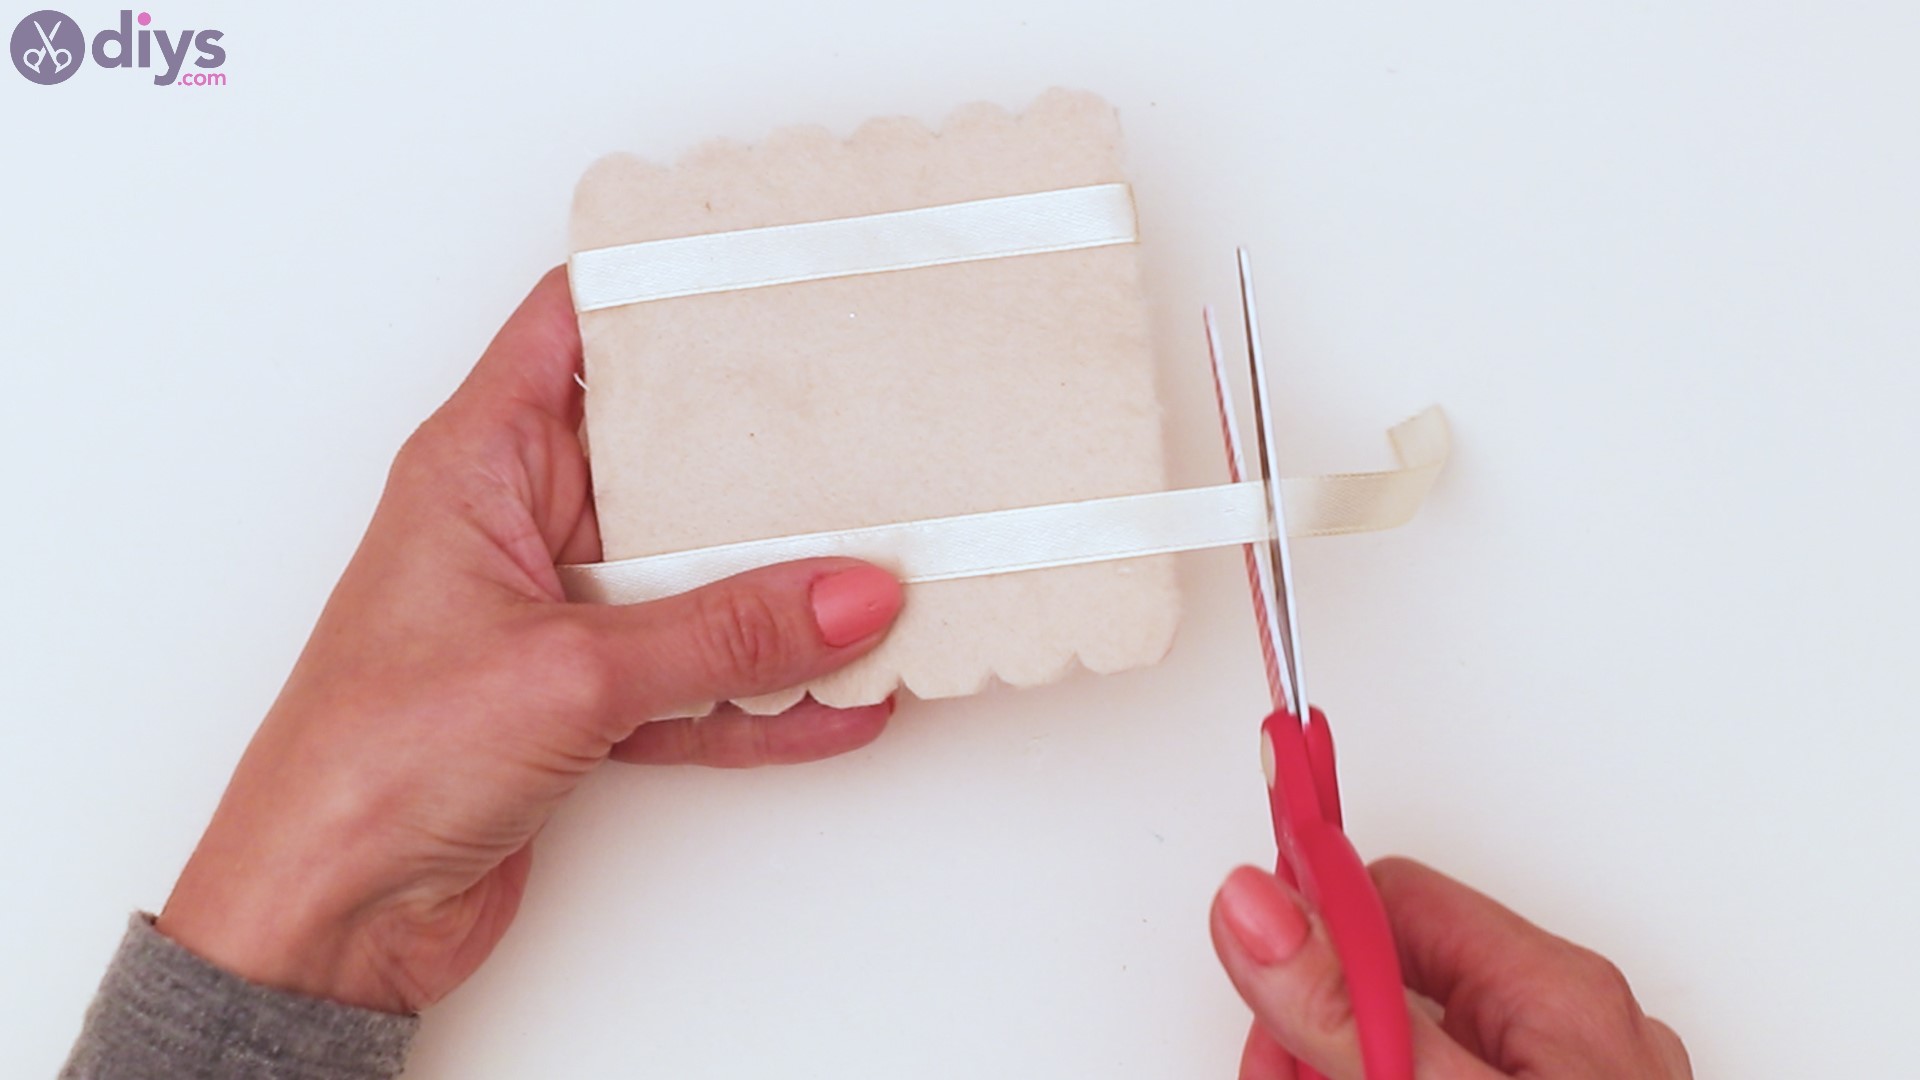
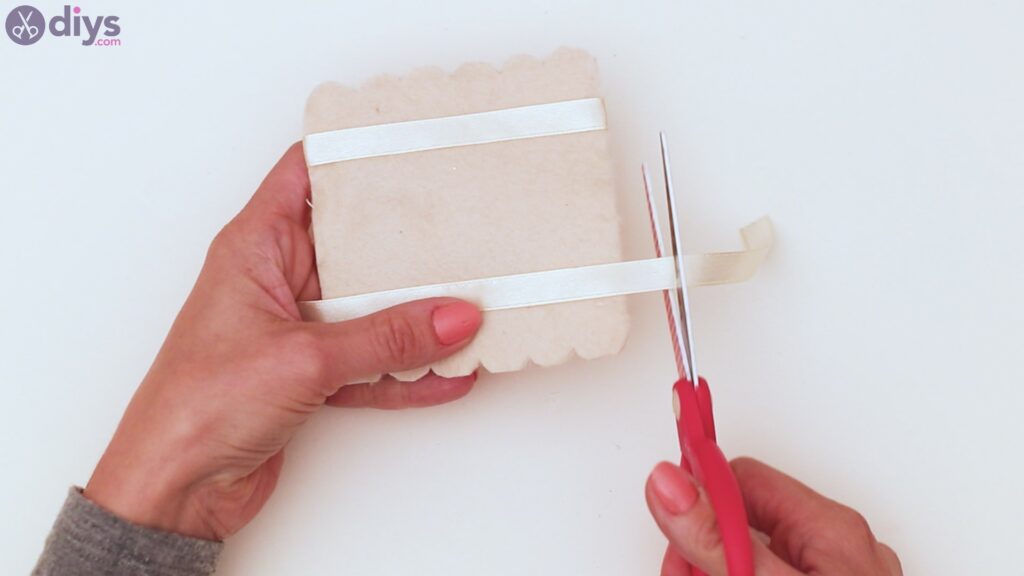
Measure out the rest of the silk ribbon and cut the excess with your scissors.
Glue the second piece of silk ribbon near the other end of the felt, mimicking the same process you’ve gone through with the first one. Also, make sure you add extra hot glue on the back of the felt, allowing the ribbon to fold nicely over the material.
Step 5: Add the decor beads
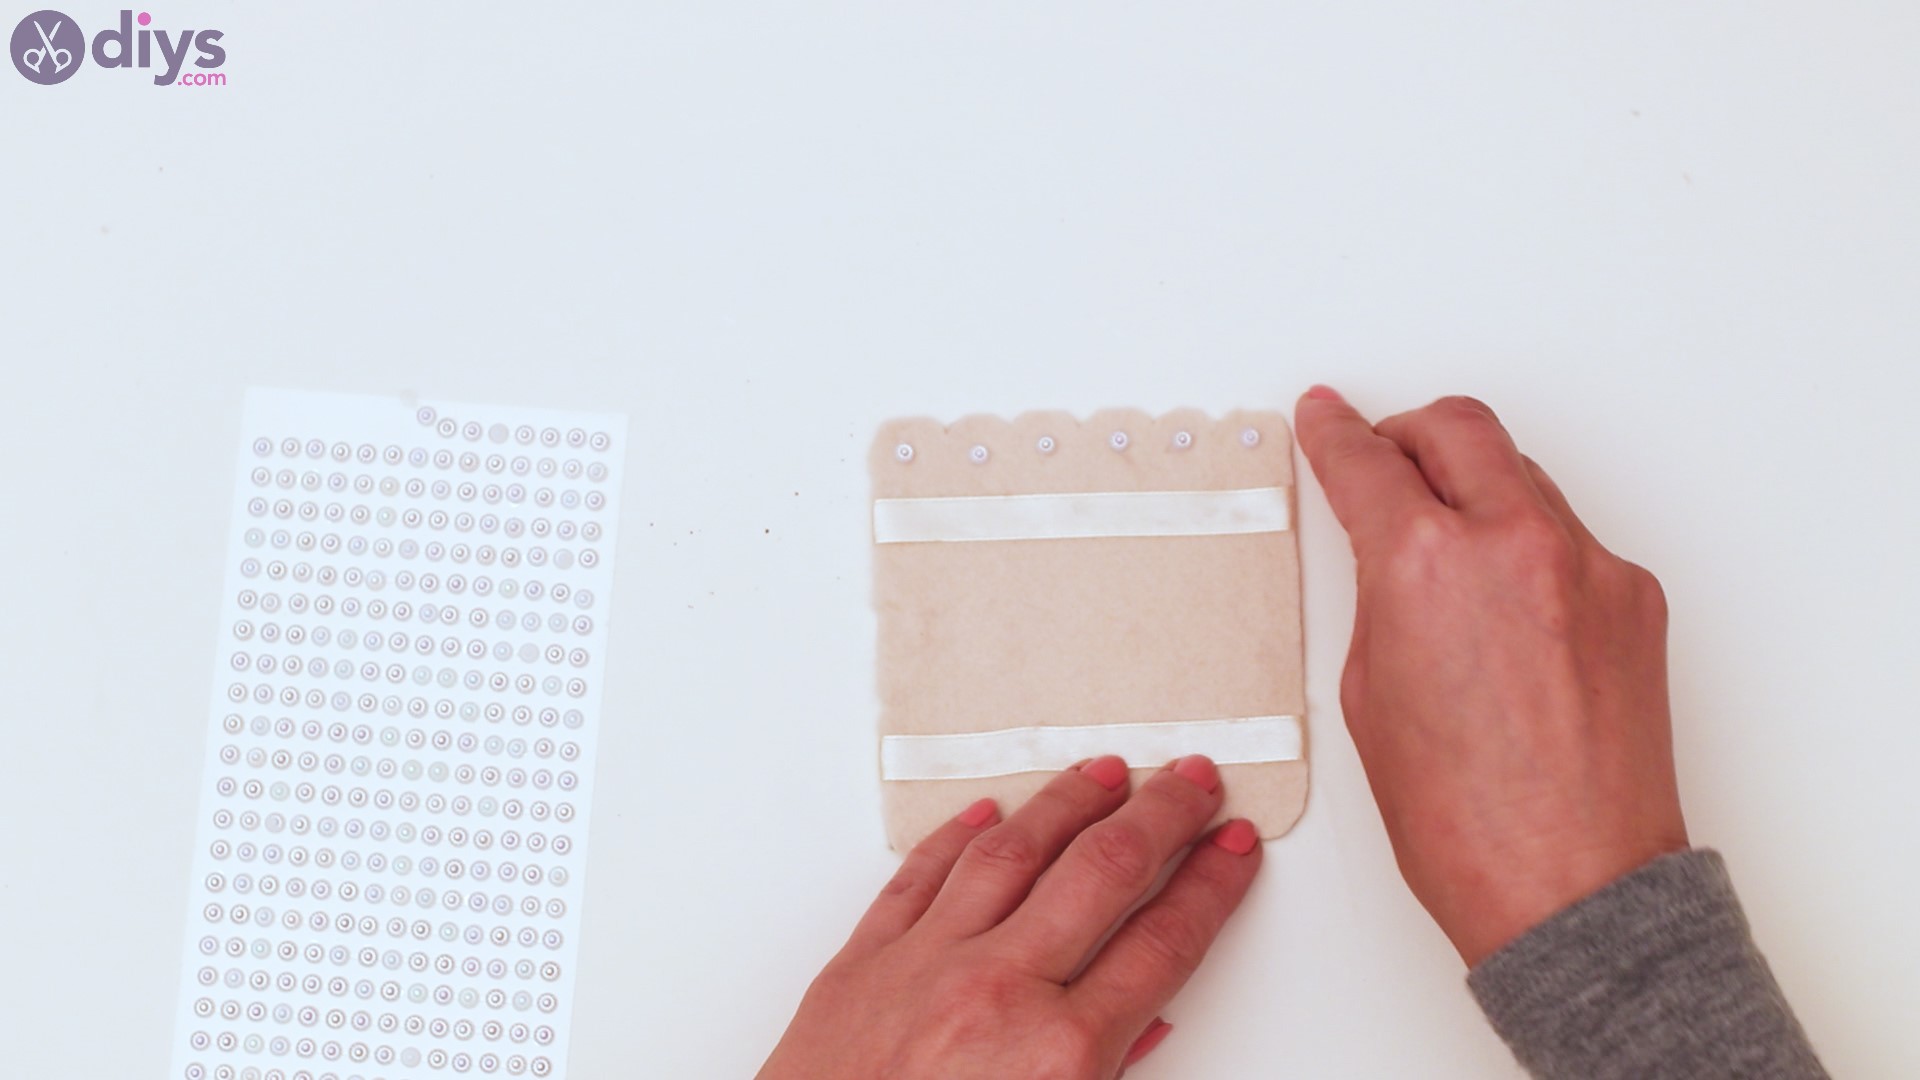
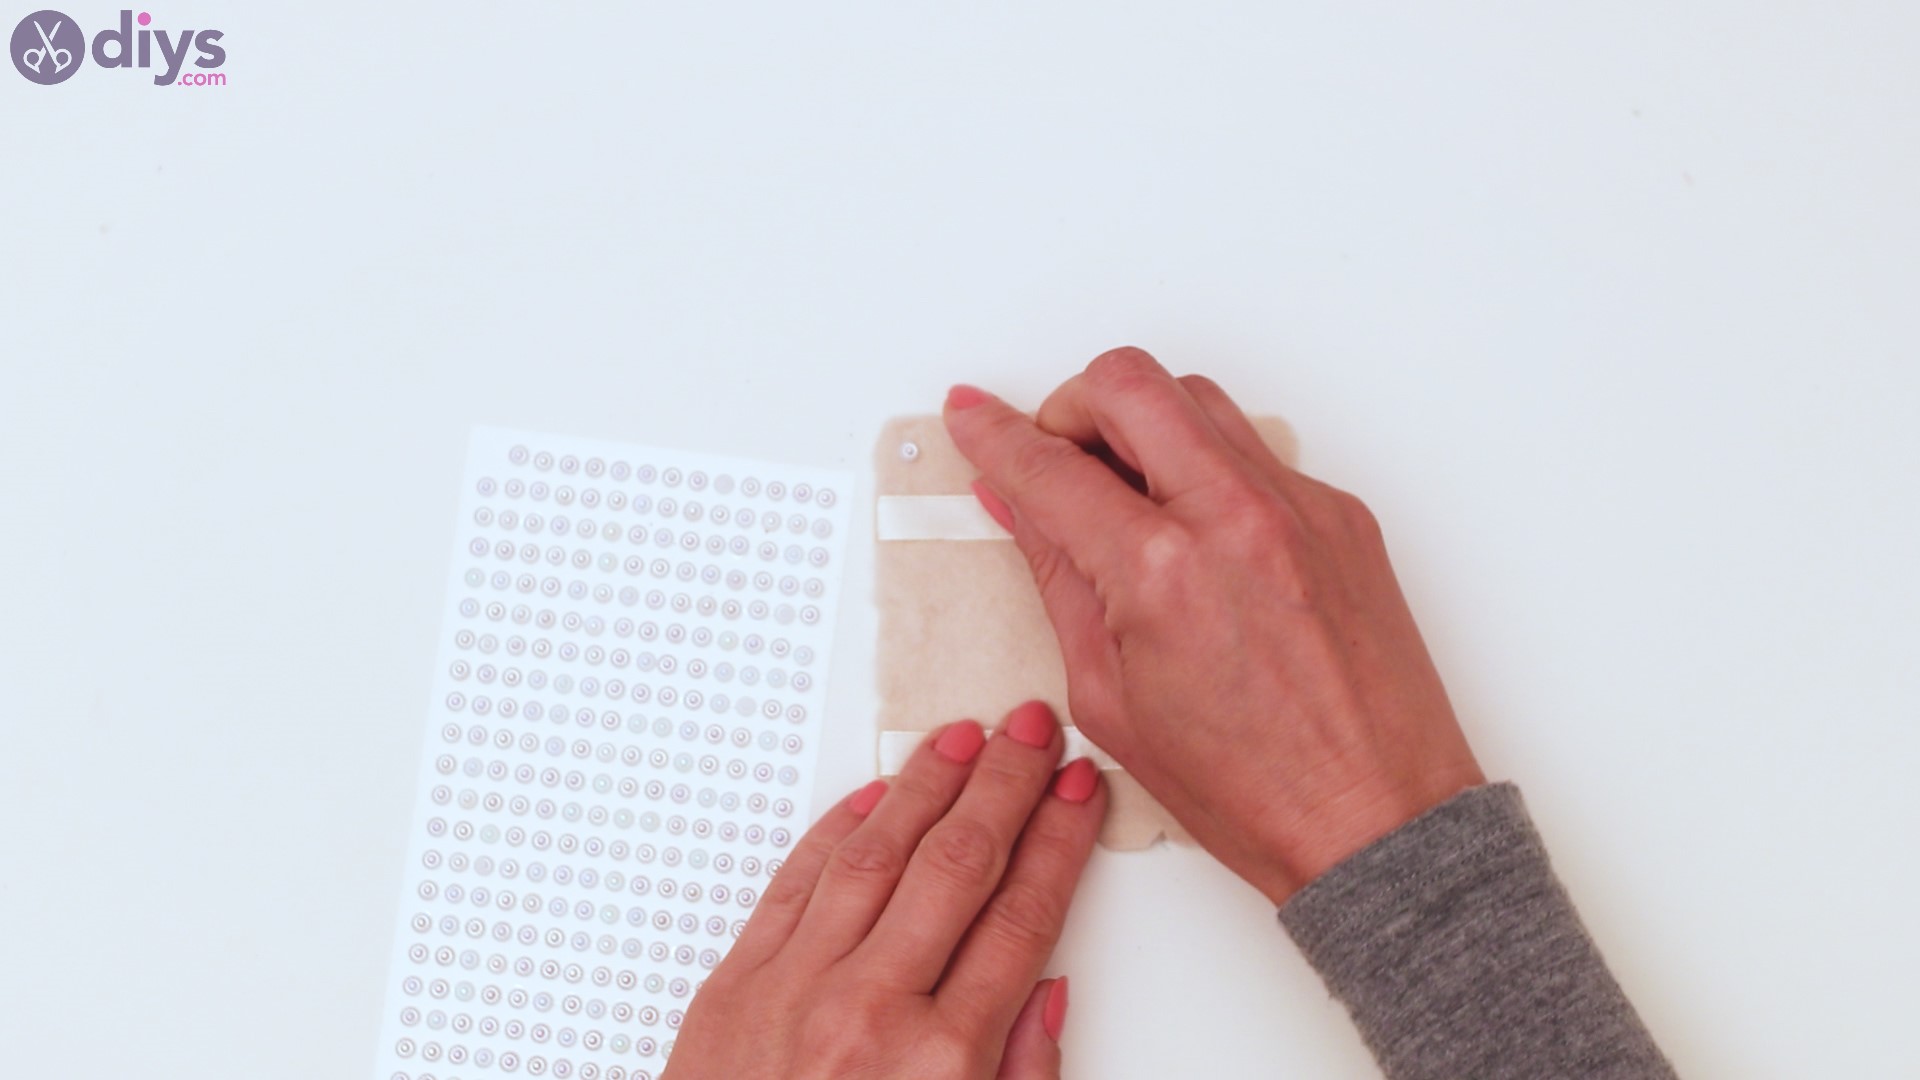
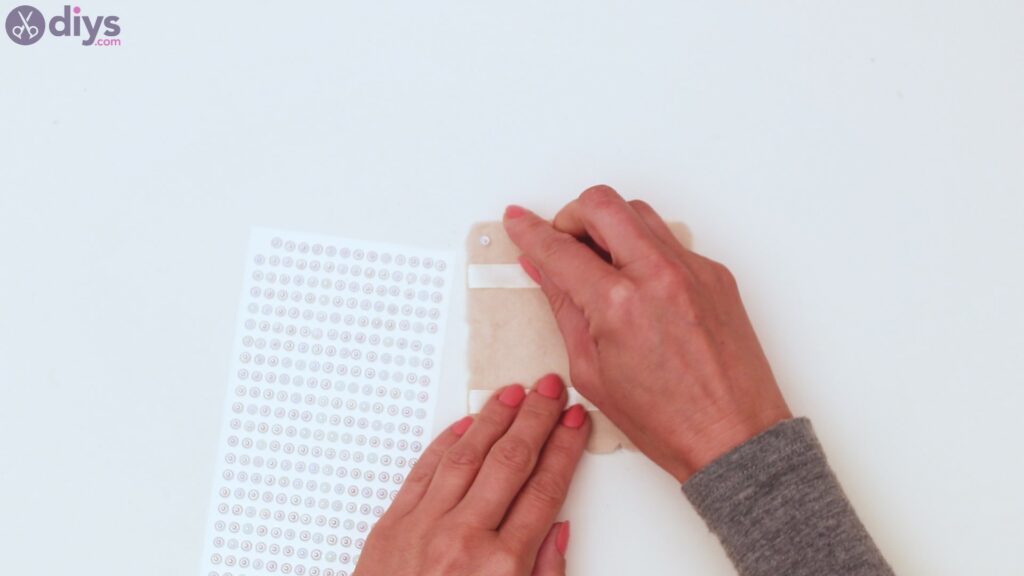
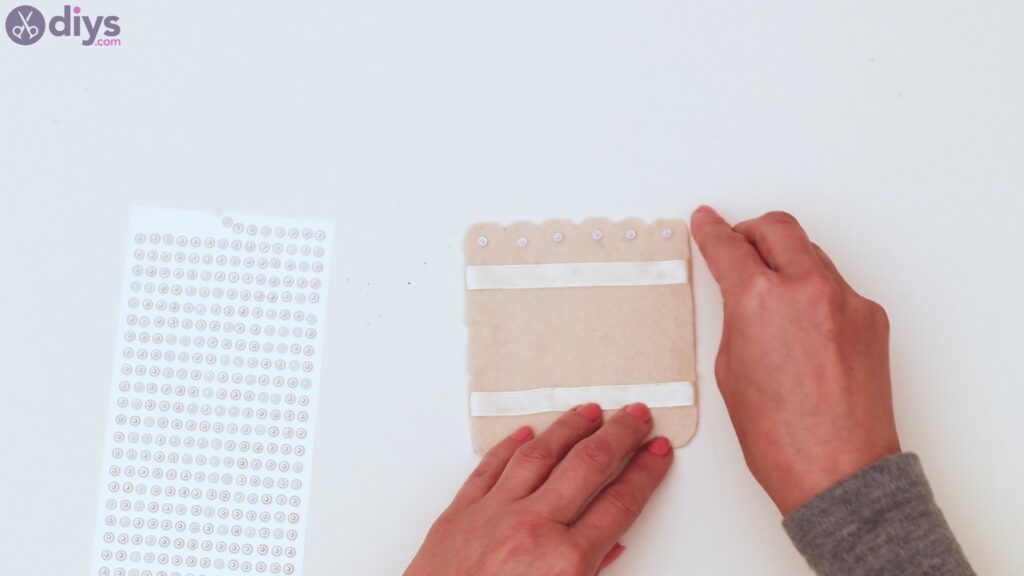
Next up, it’s time we decorate the felt. Pick up the decor beads and start adding them to the material. Our decor beads are sticky and placed on a plastic sheet, so we just had to pick them up and transfer them to the felt. Depending on what type of decor beads you have, you may need to use hot glue for this job too. If that’s the case, make sure you don’t use too much glue, especially since the beads are fairly small.
We chose to place one decor bead inside each “wave” we created with our scissors earlier. You’re only adding decor beads to one of the sides of the felt card holder, so you won’t need to many pieces.
Step 6: Put together your card holder
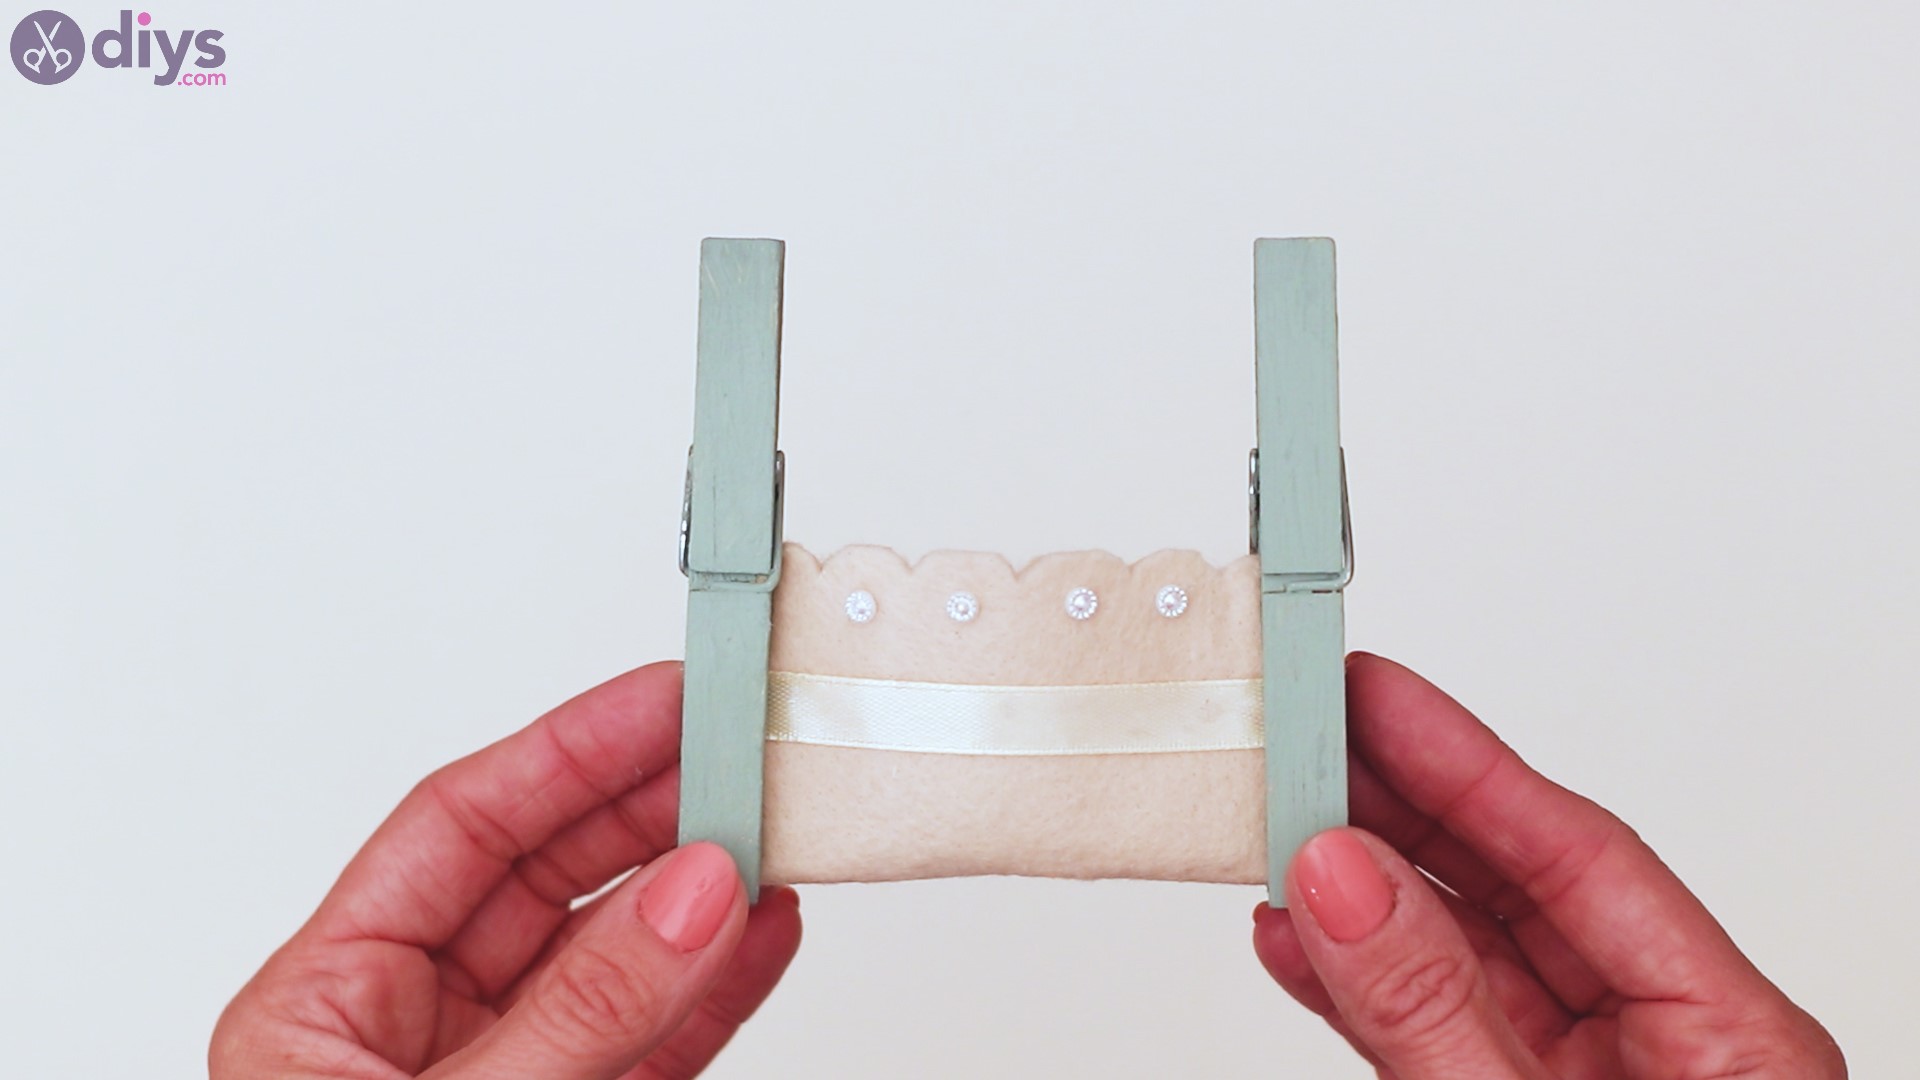
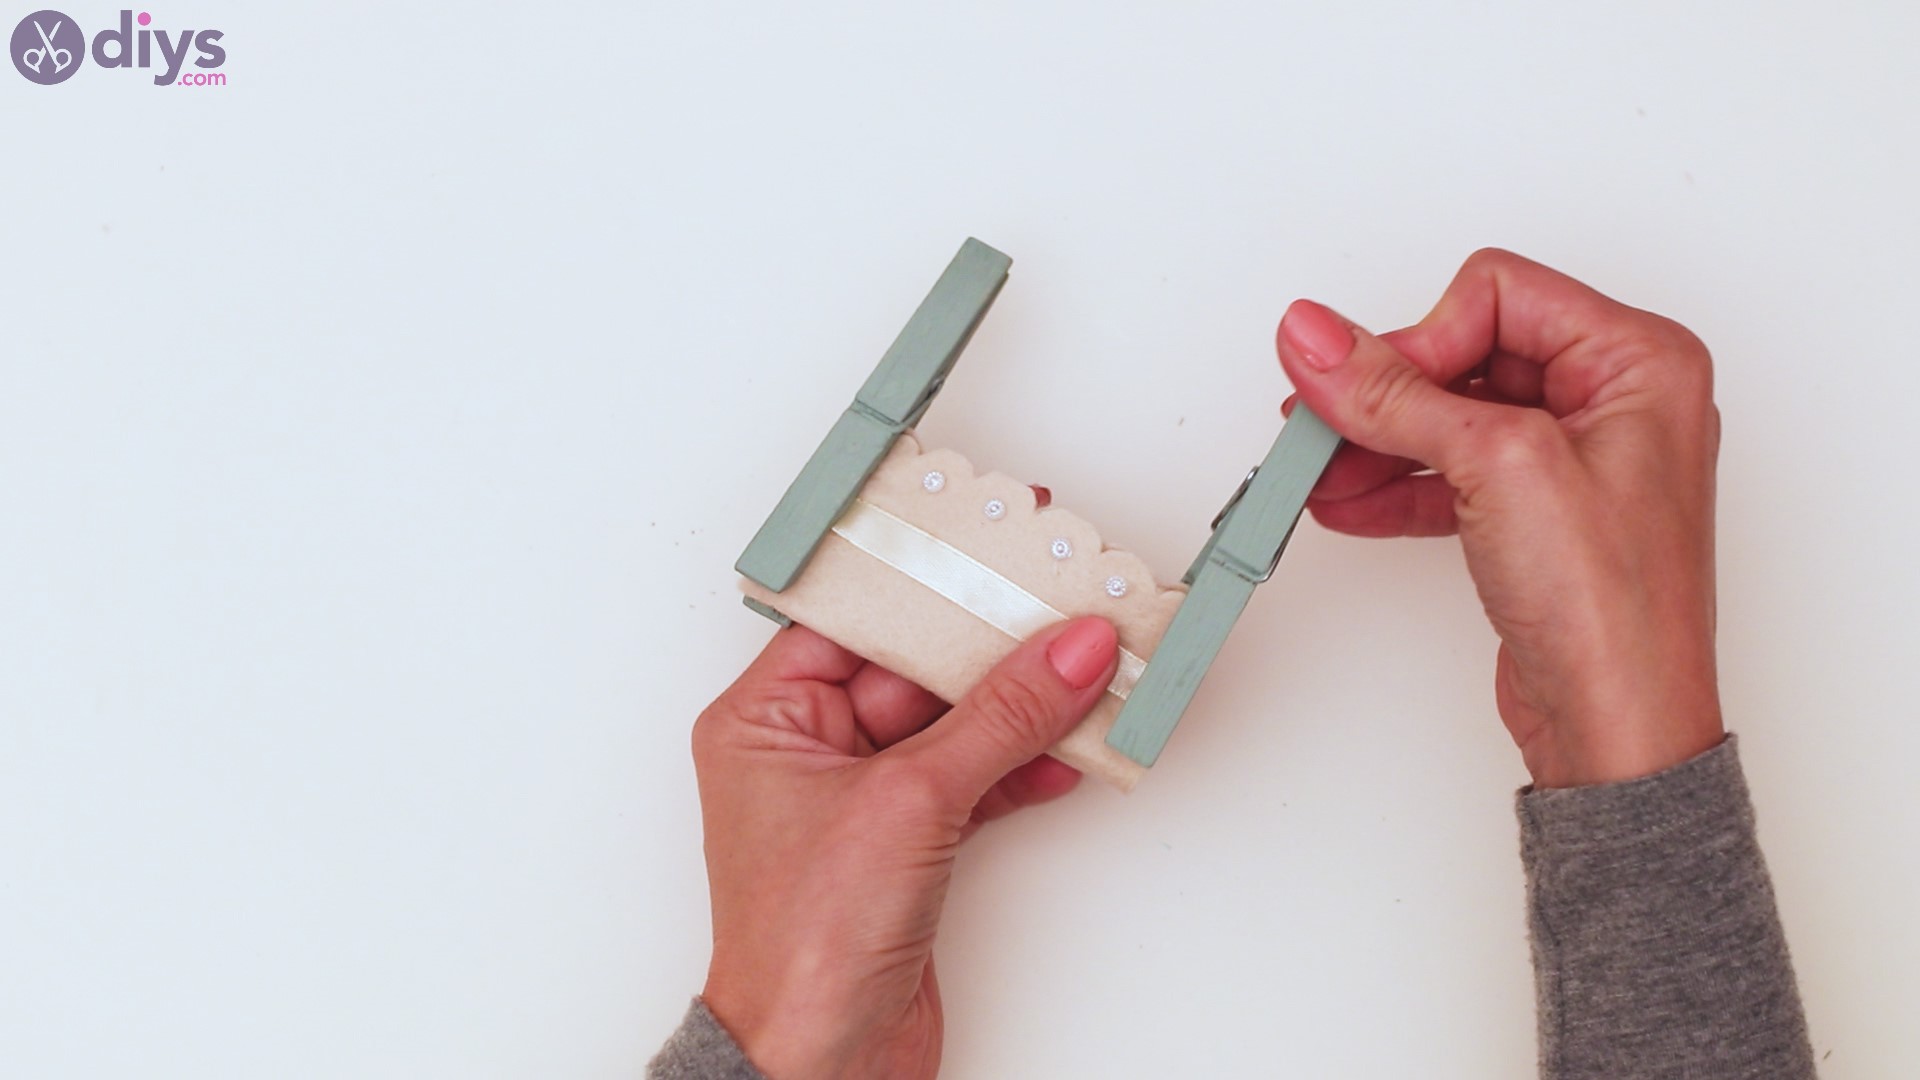
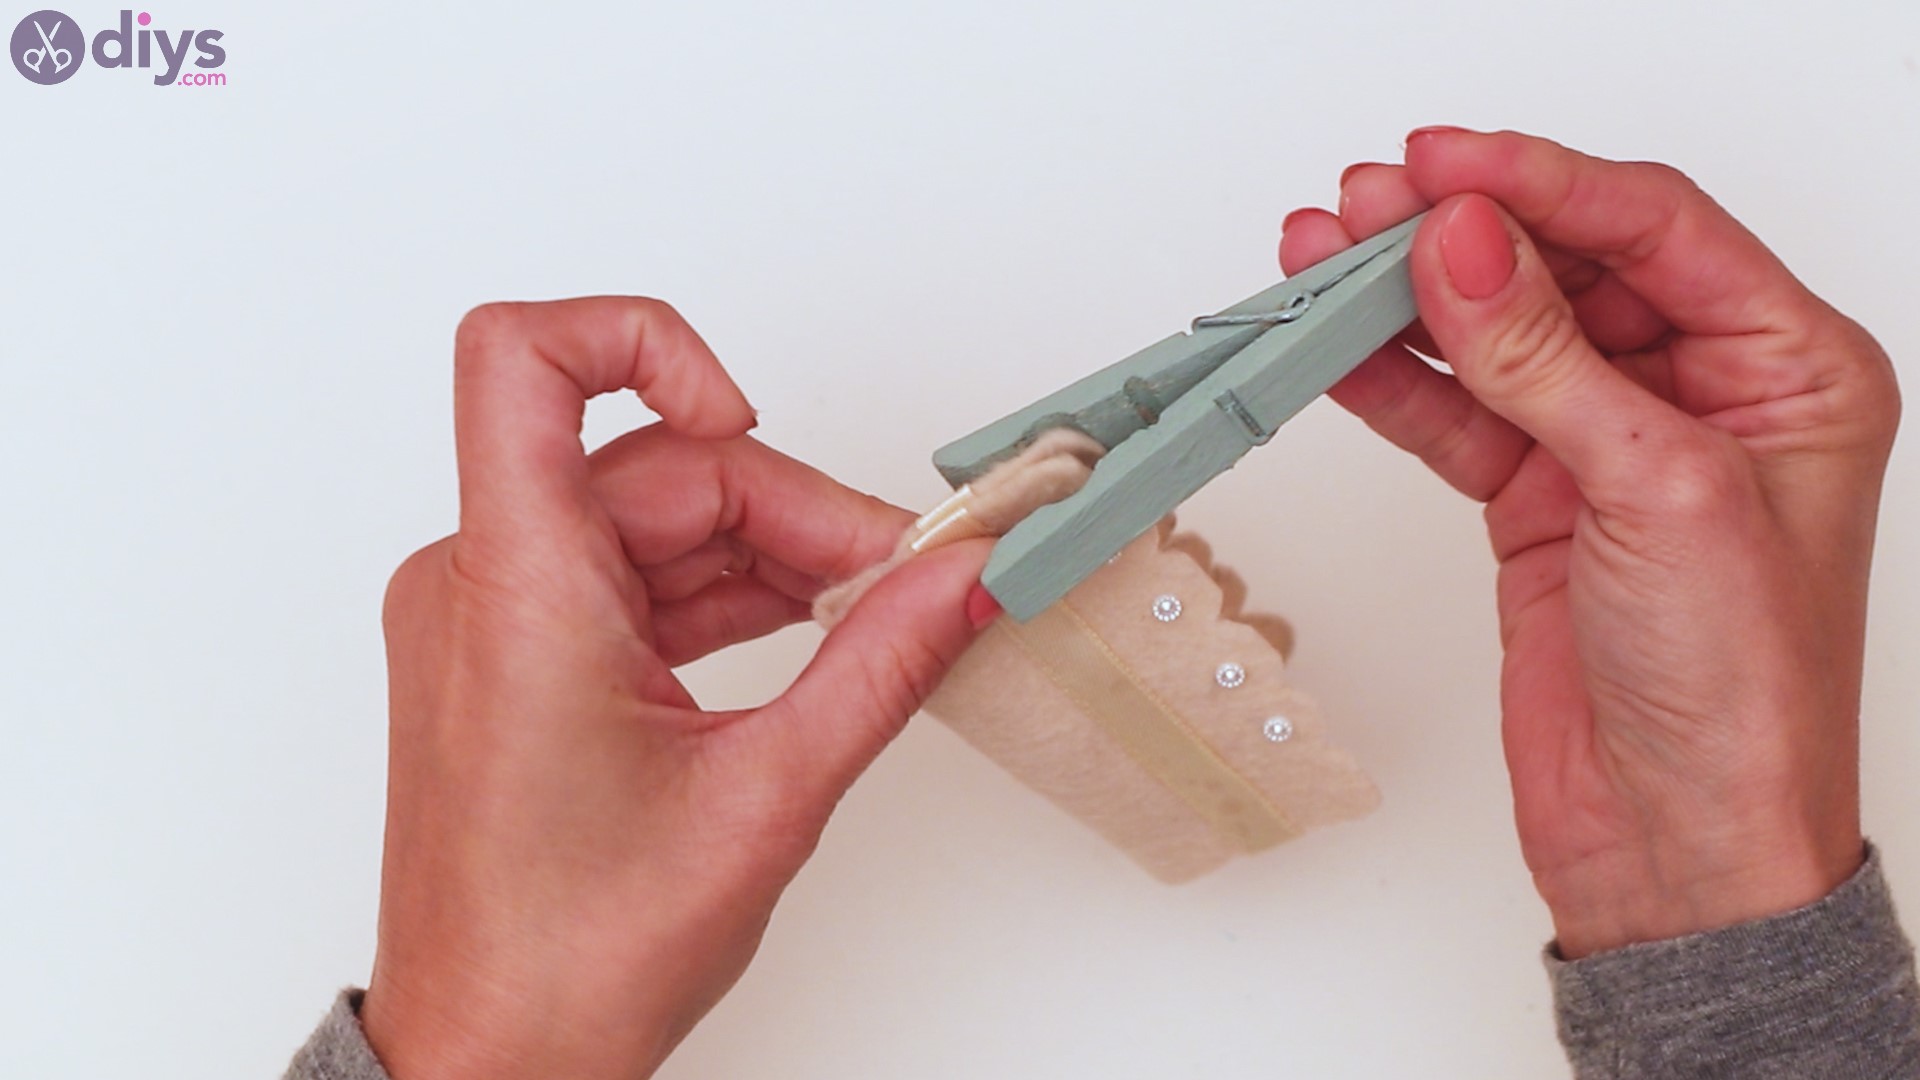
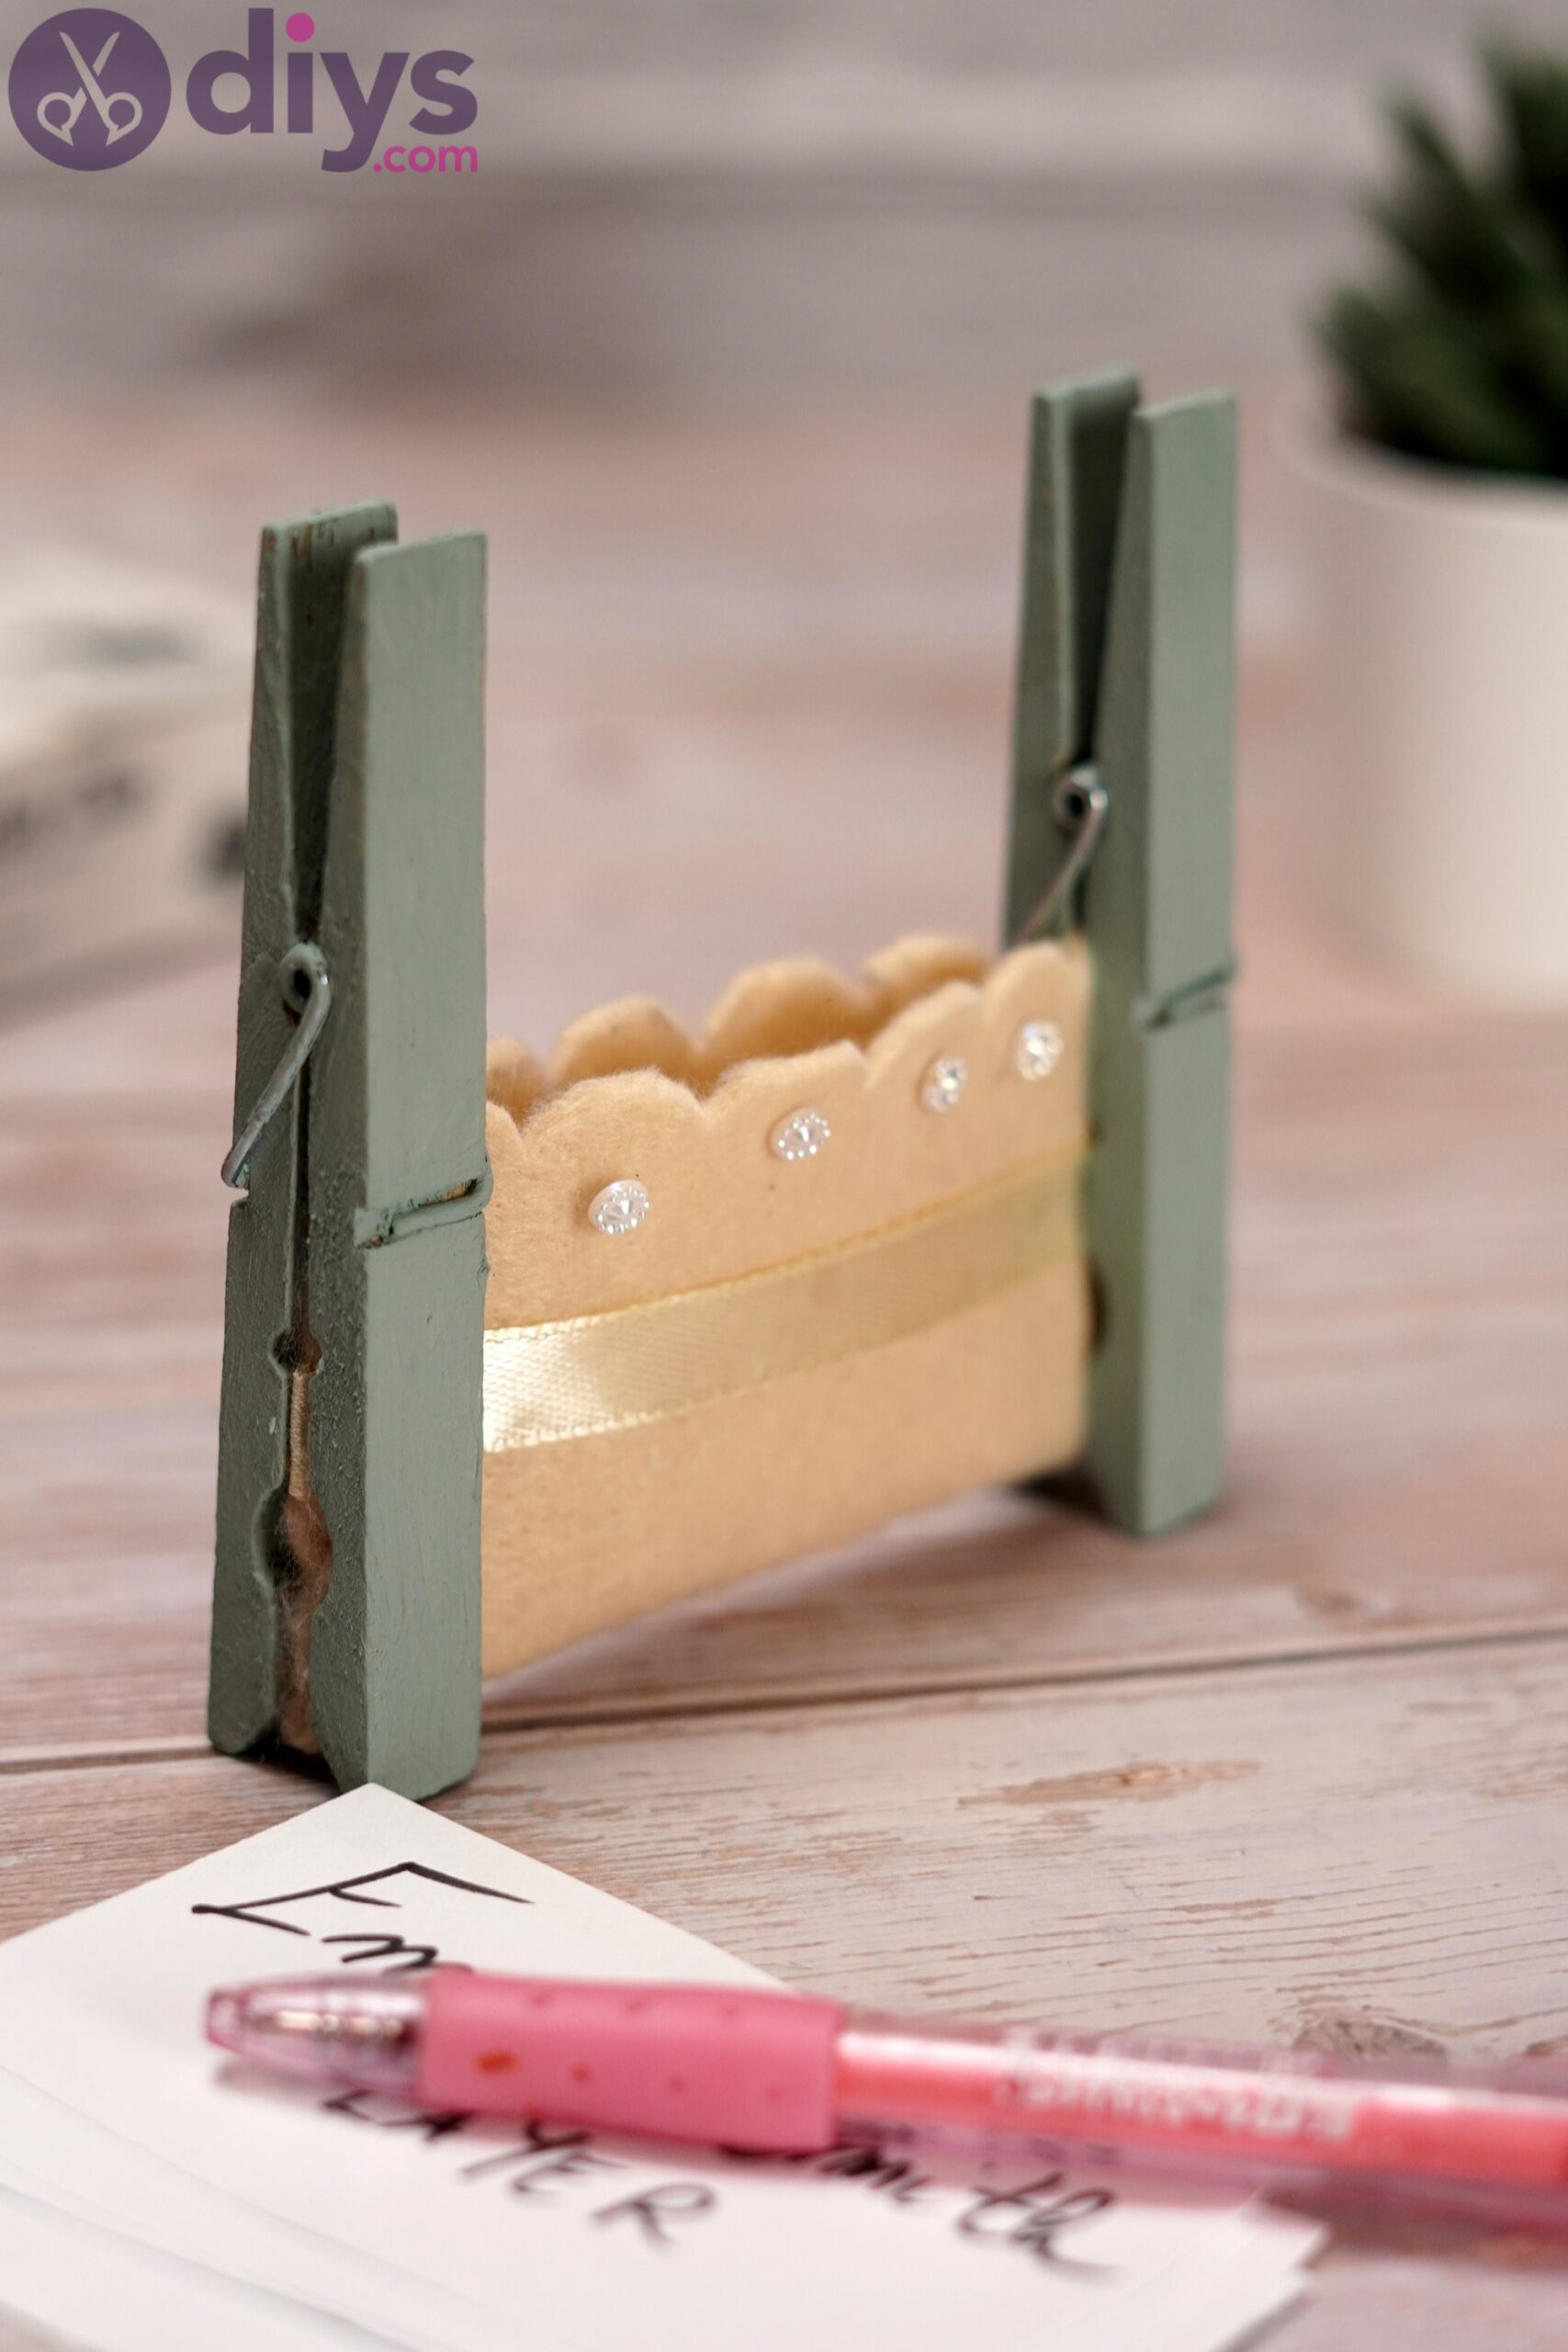
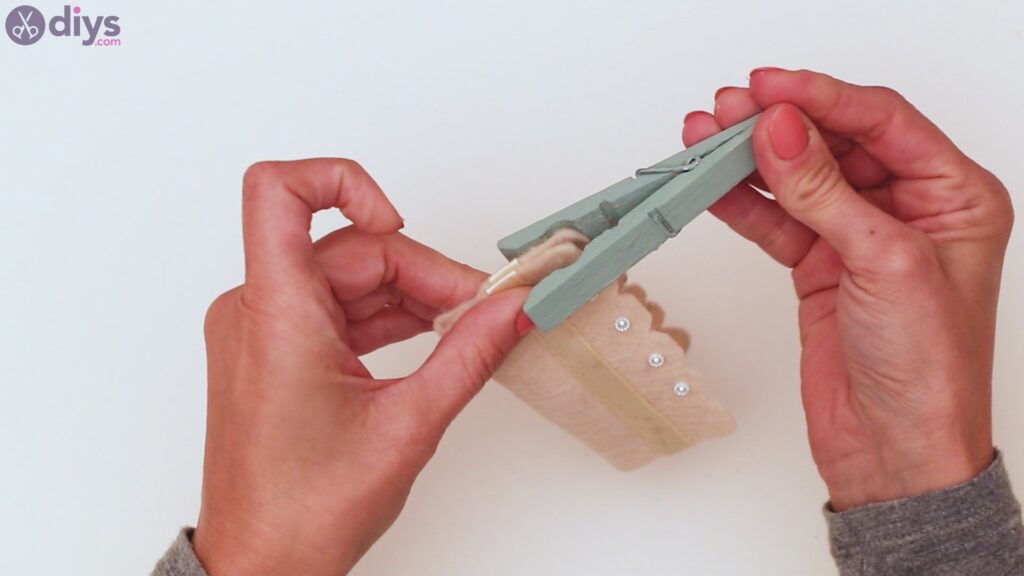
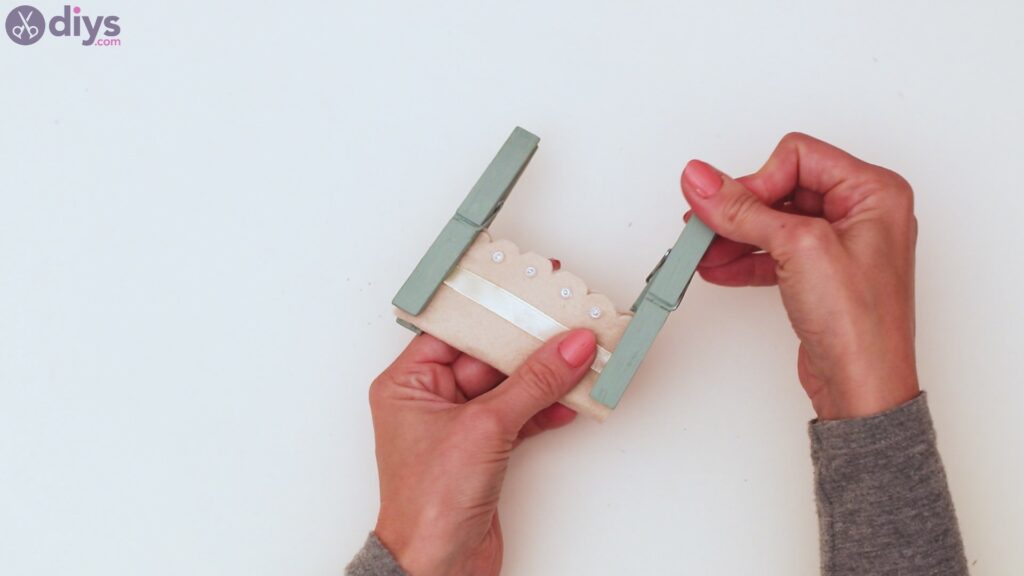
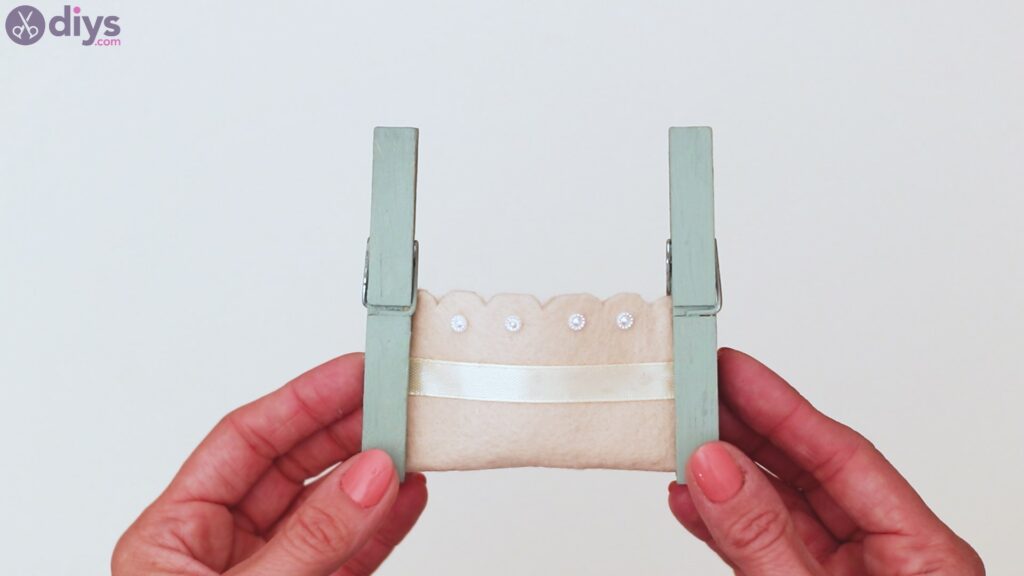
Now that the felt is ready and the paint on the clothespins has dried down, you can start putting together your card holder. This is super easy to do. So, fold the felt in two, making sure everything overlays nicely – the wavy trim and the silk ribbons. Pick up one of the clothespins, pinch it tightly and fit it over the very edge of the felt. You want the material to go as high as it can within the clothespin grip, as the goal is to have the card holder stand up on its own. This is only possible if it “sits” on the clothespin’s wood edges.
Repeat the process on the other side, making sure to fit the clothespin in the same way you did with the first one.
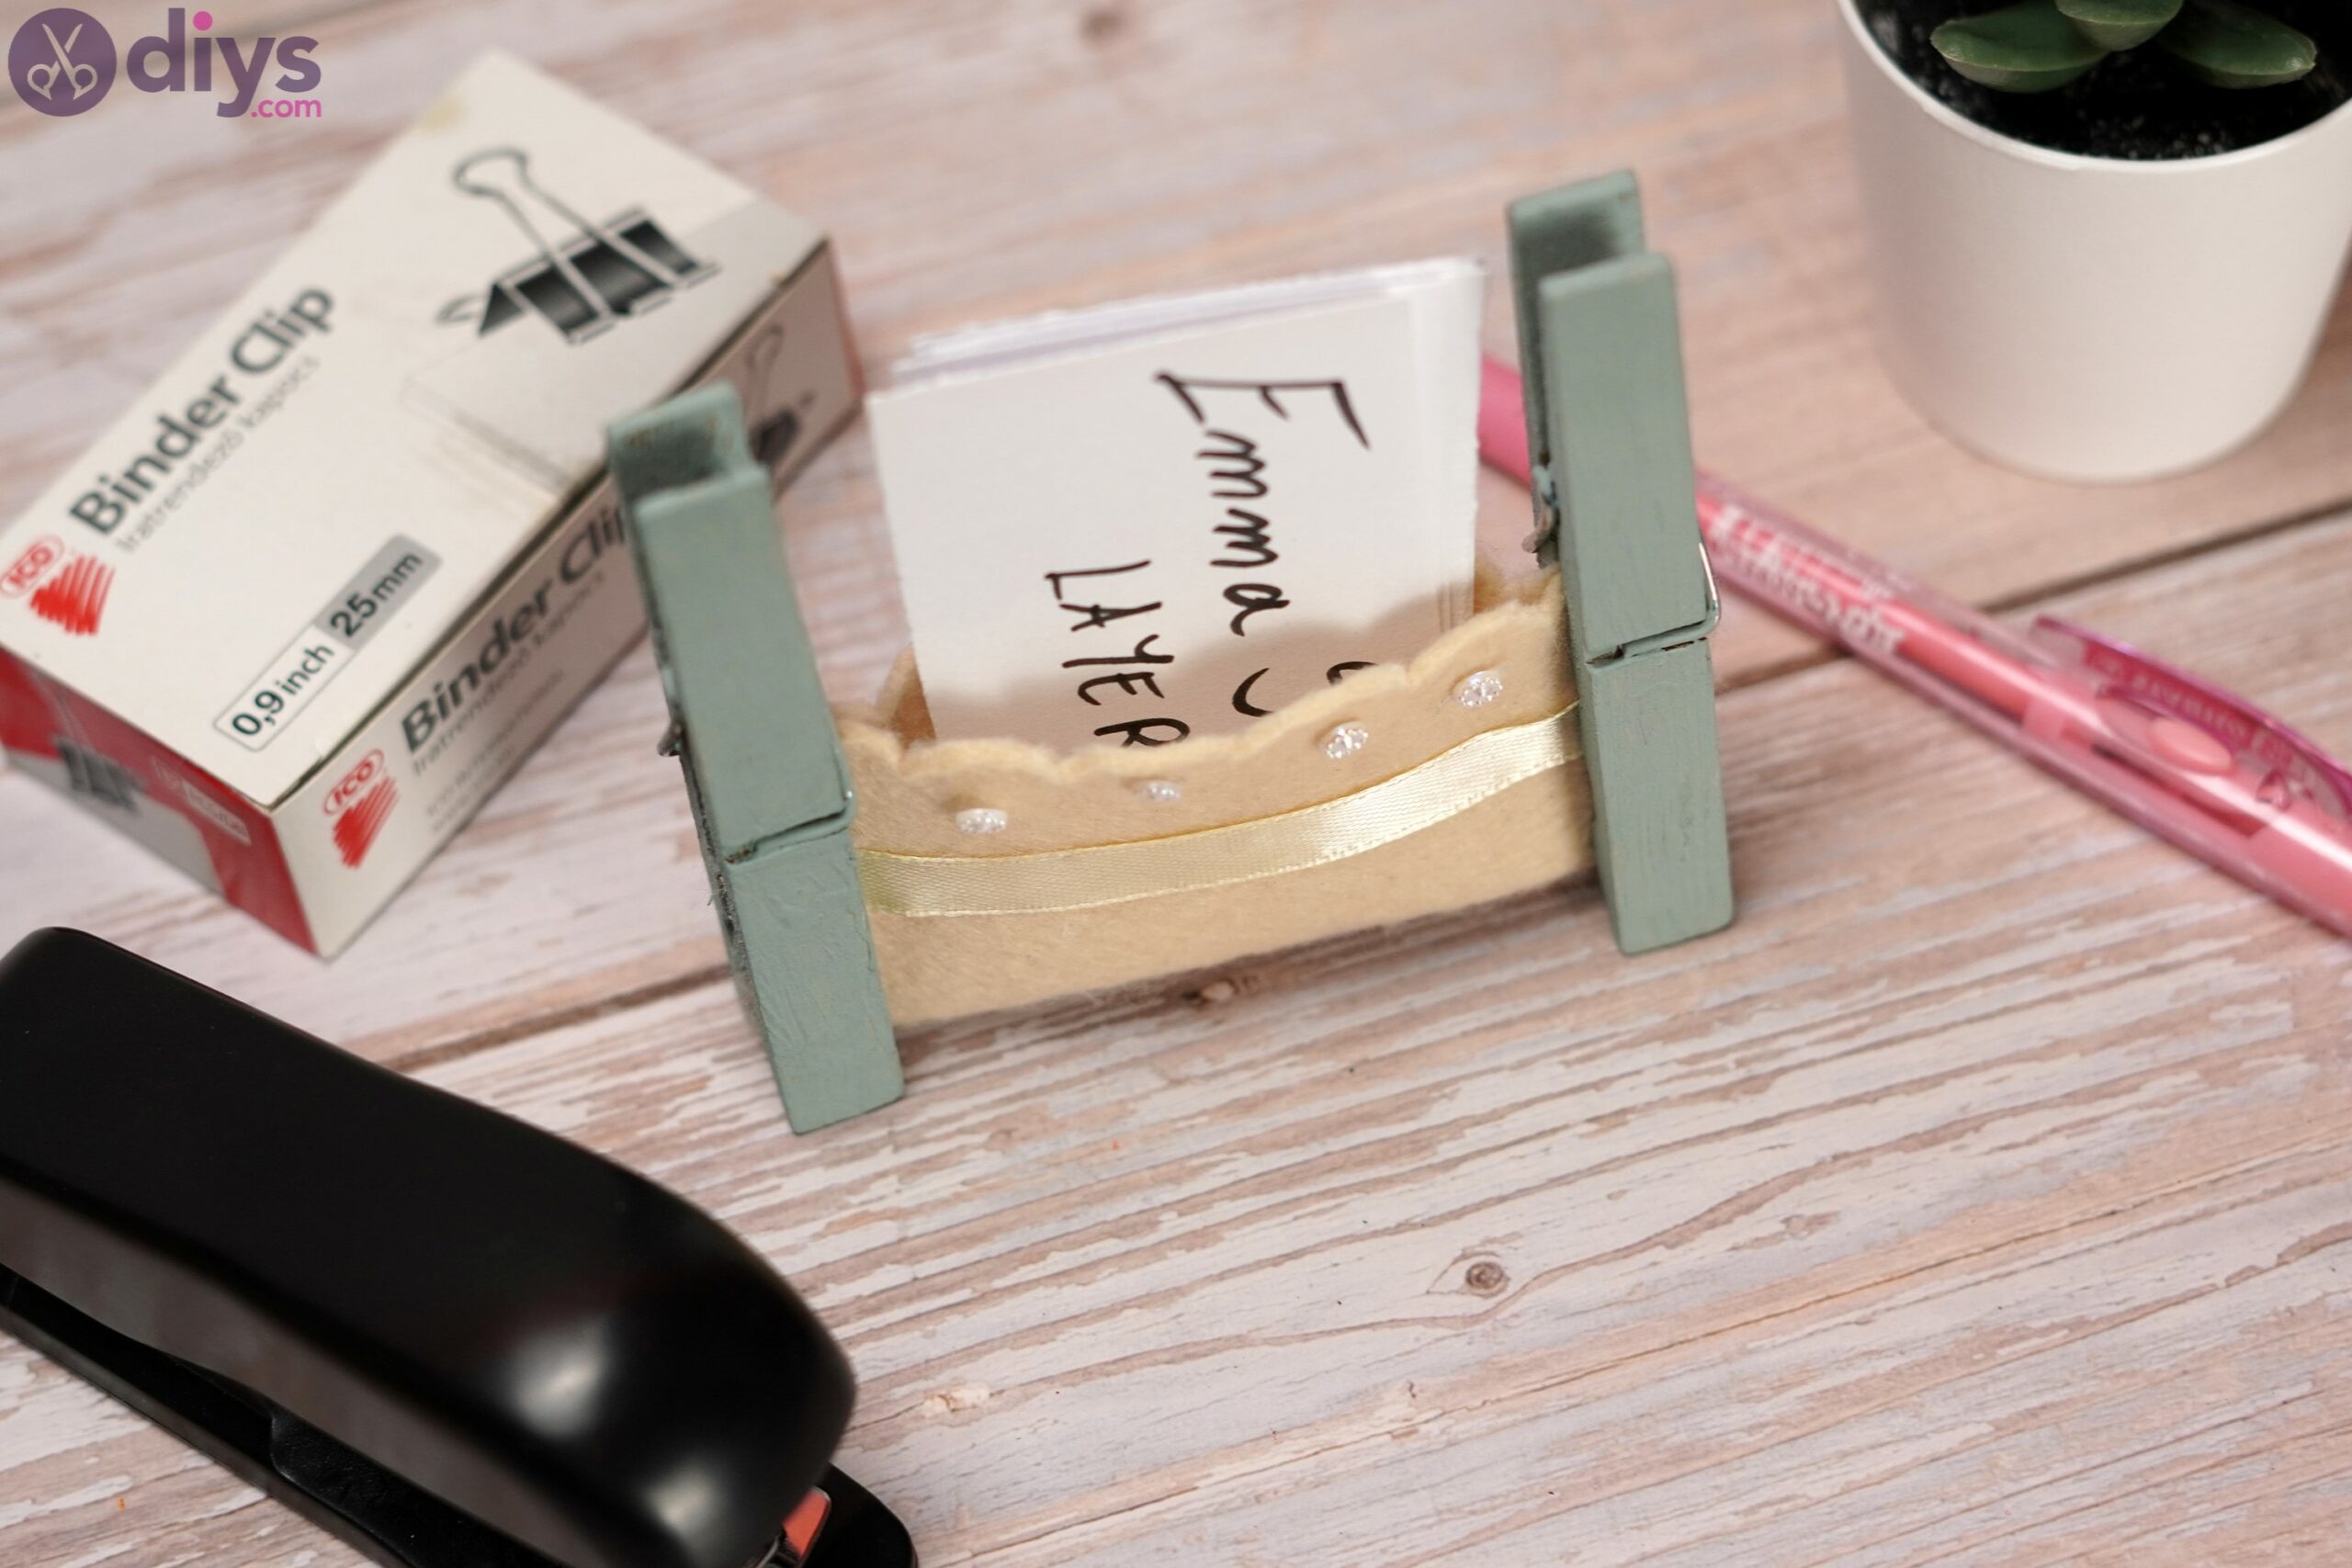
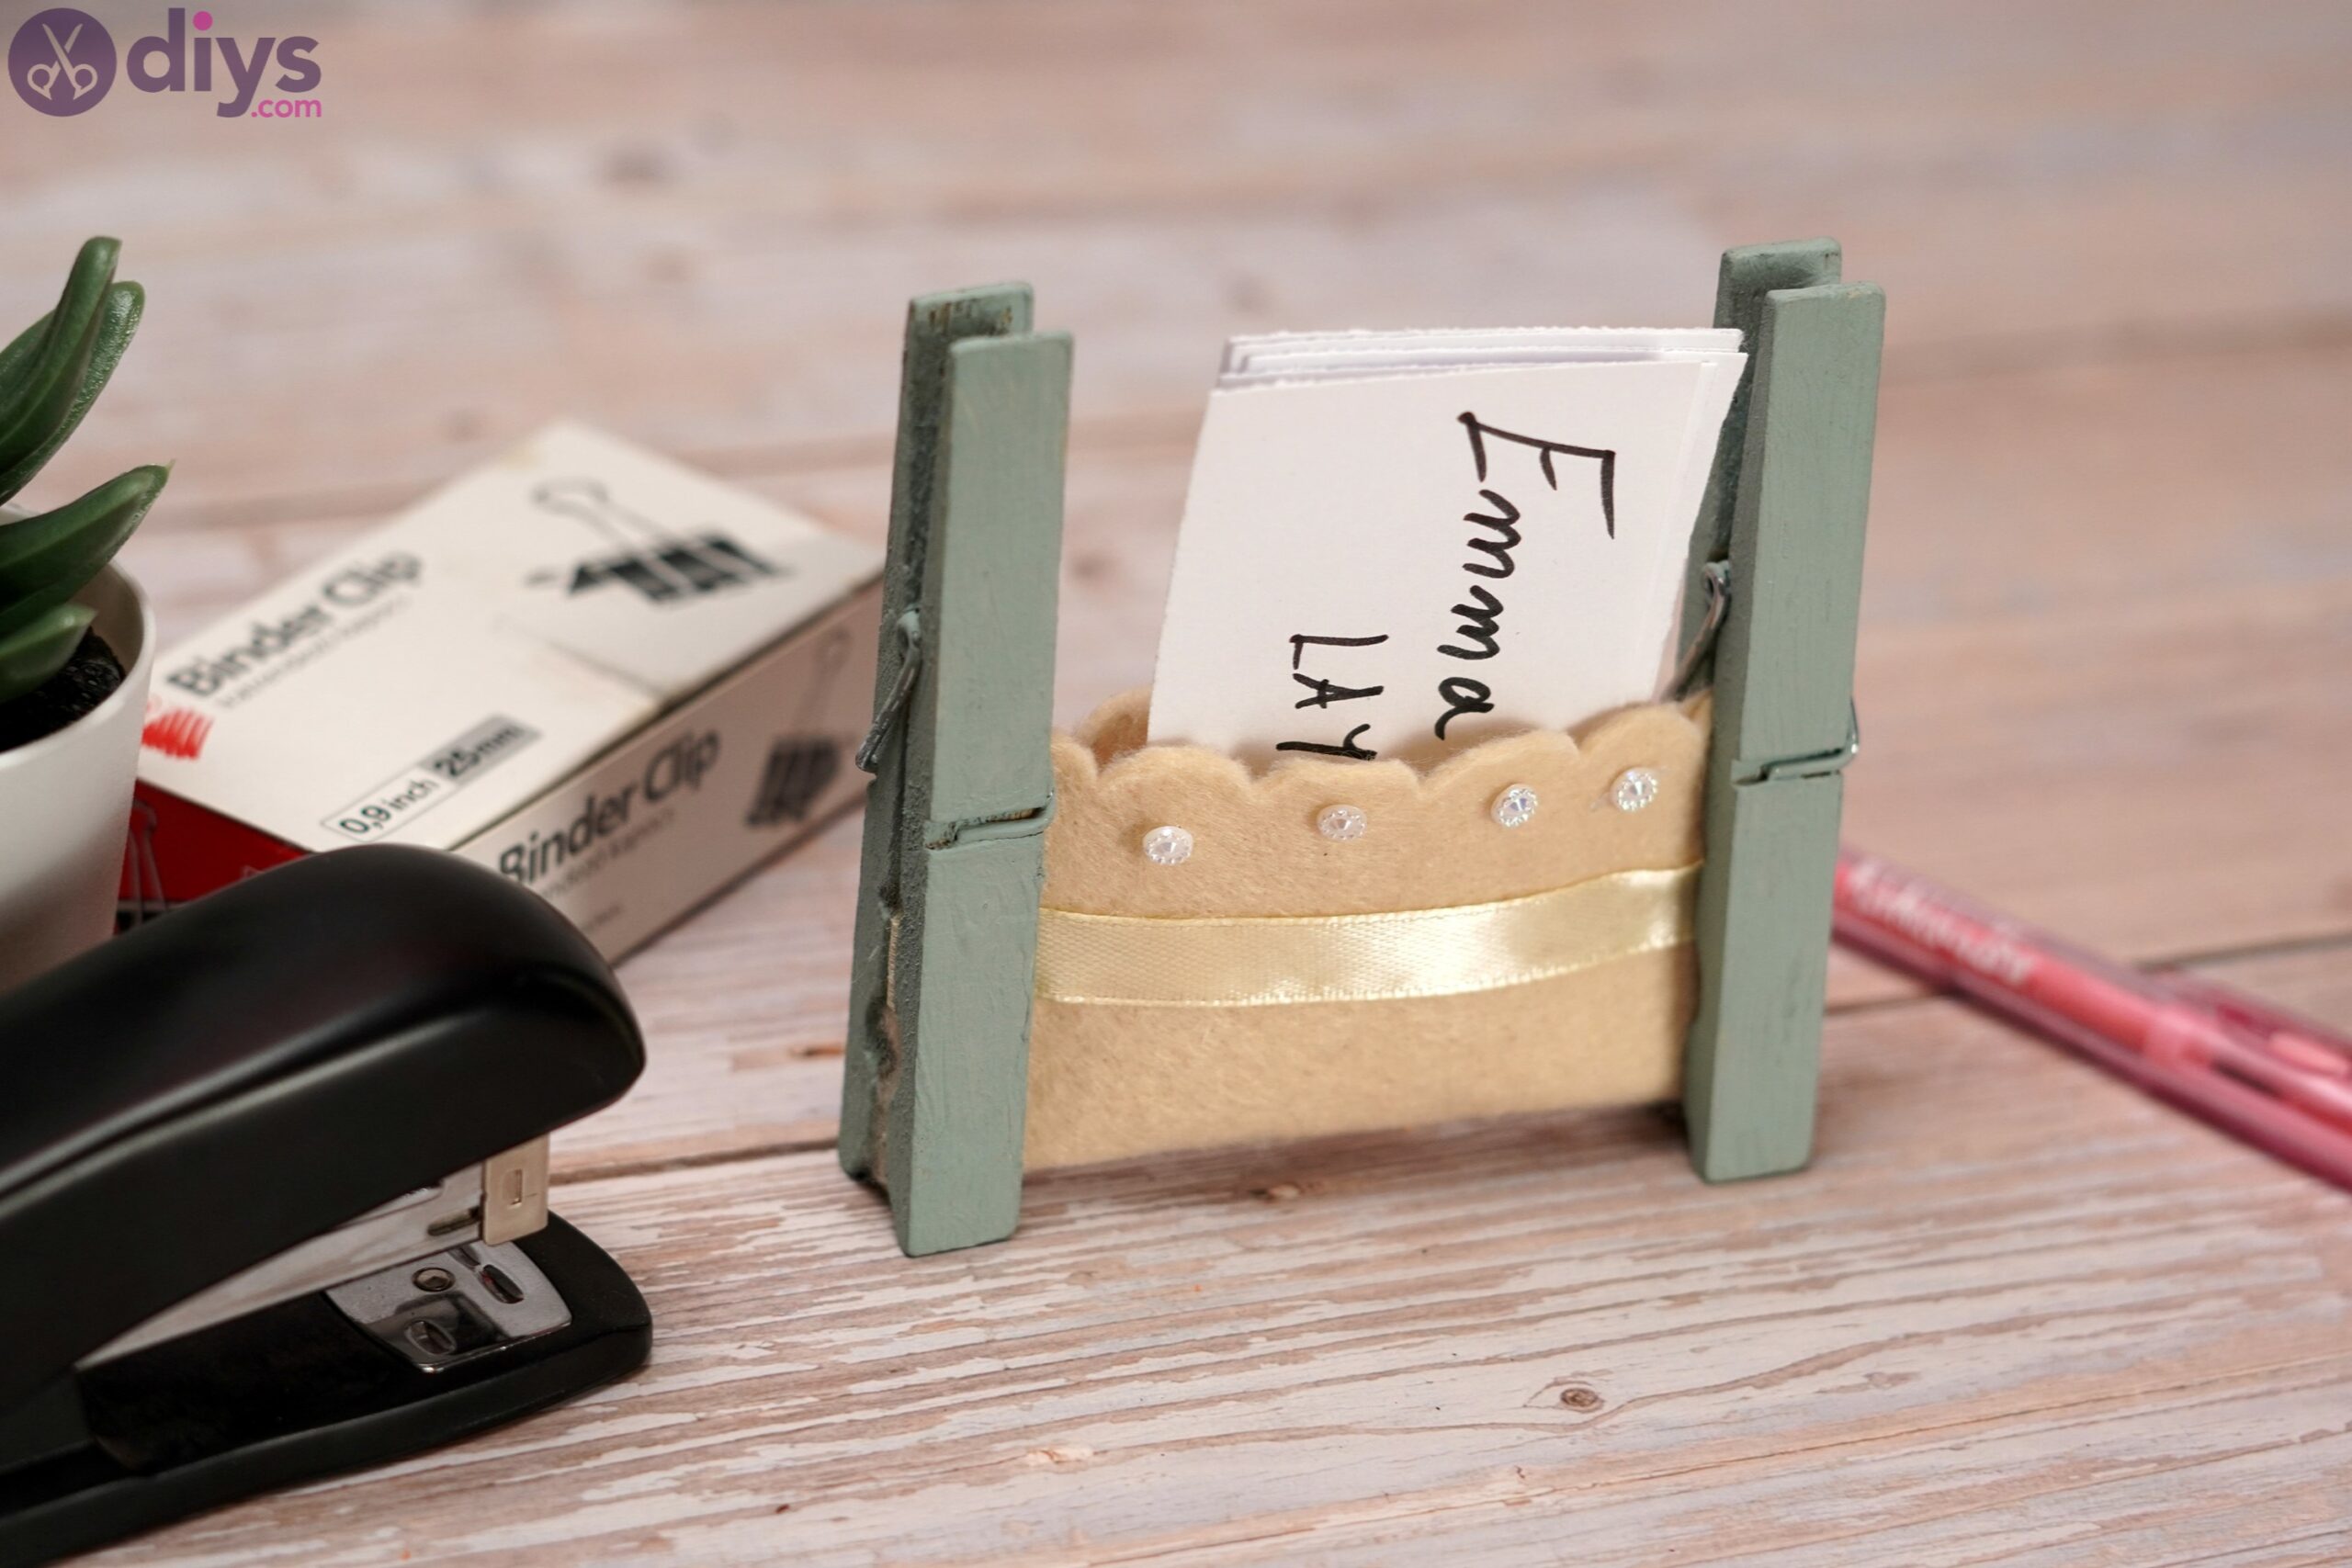
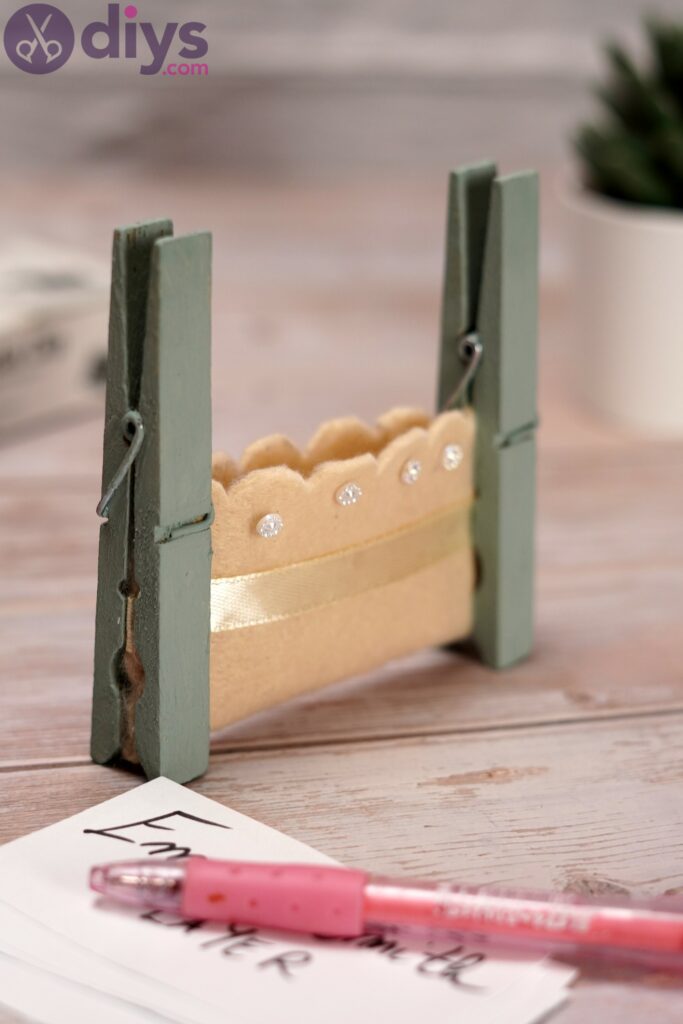
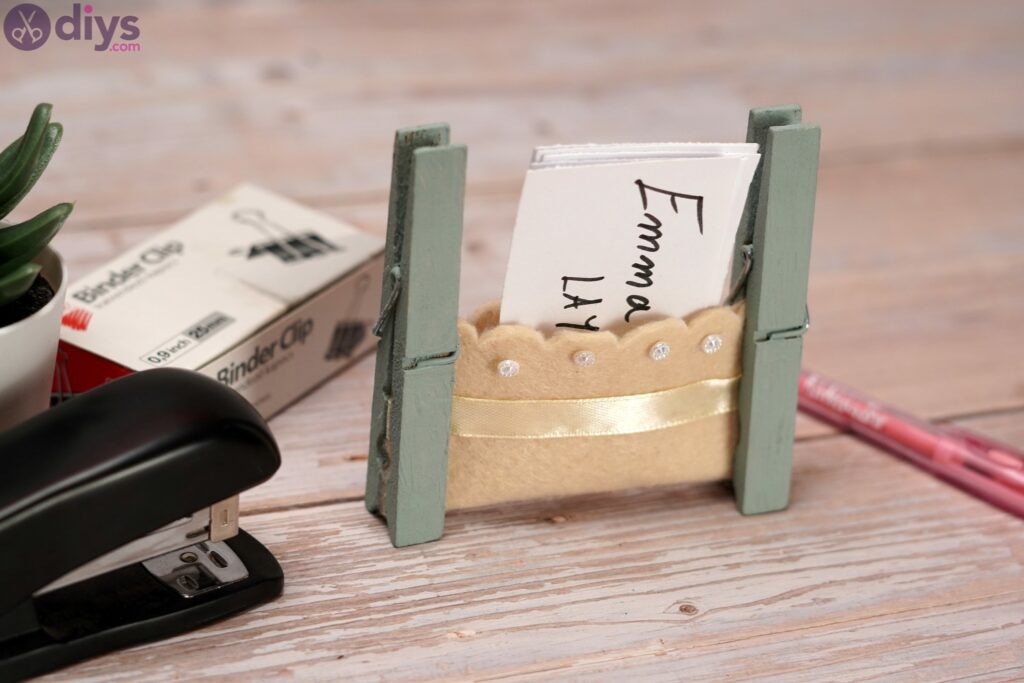
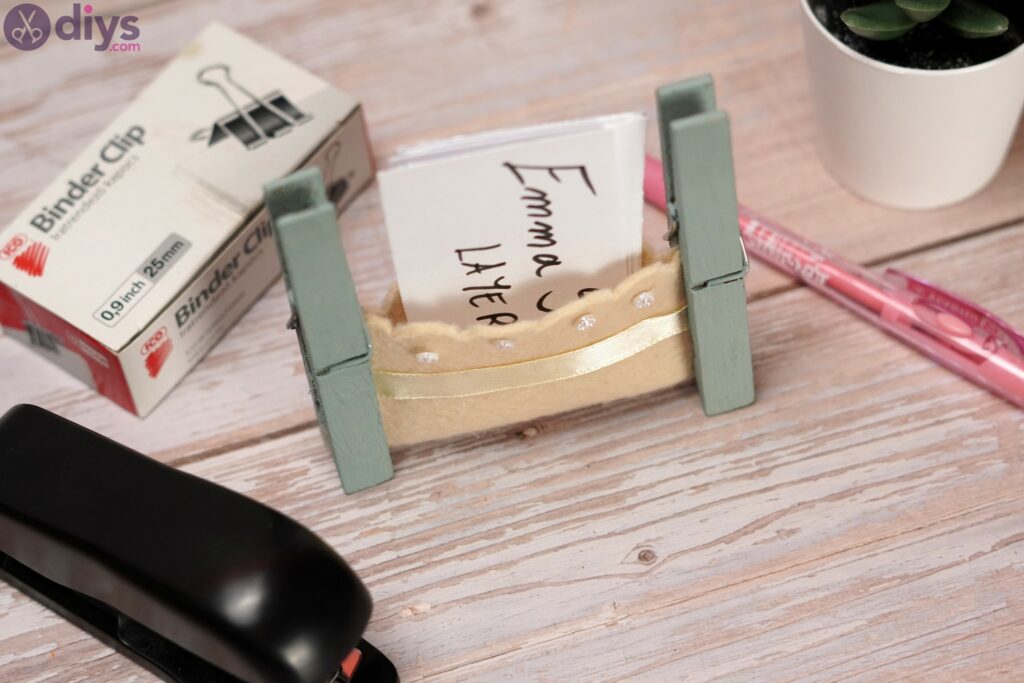
And there you have it! A really cute felt card holder is ready to go up on your desk! It’s such a beautiful thing that came out of your hands and we’re sure you’ll make a few more to gift to your friends. It’s going to be super useful to have as you get more and more cards and you need a place to keep them all.
We’d love to hear back from you so you can tell us what you think of this project. Also, it’s a DIY card holder that you can customize however you want – you can change the color of the felt, the shade of the silk ribbon, and the paint you use for the clothespins. You can even use different decor pieces if you want. Talking of which, we’d love to see how your creations turned out, so share some pics with us over social media!
