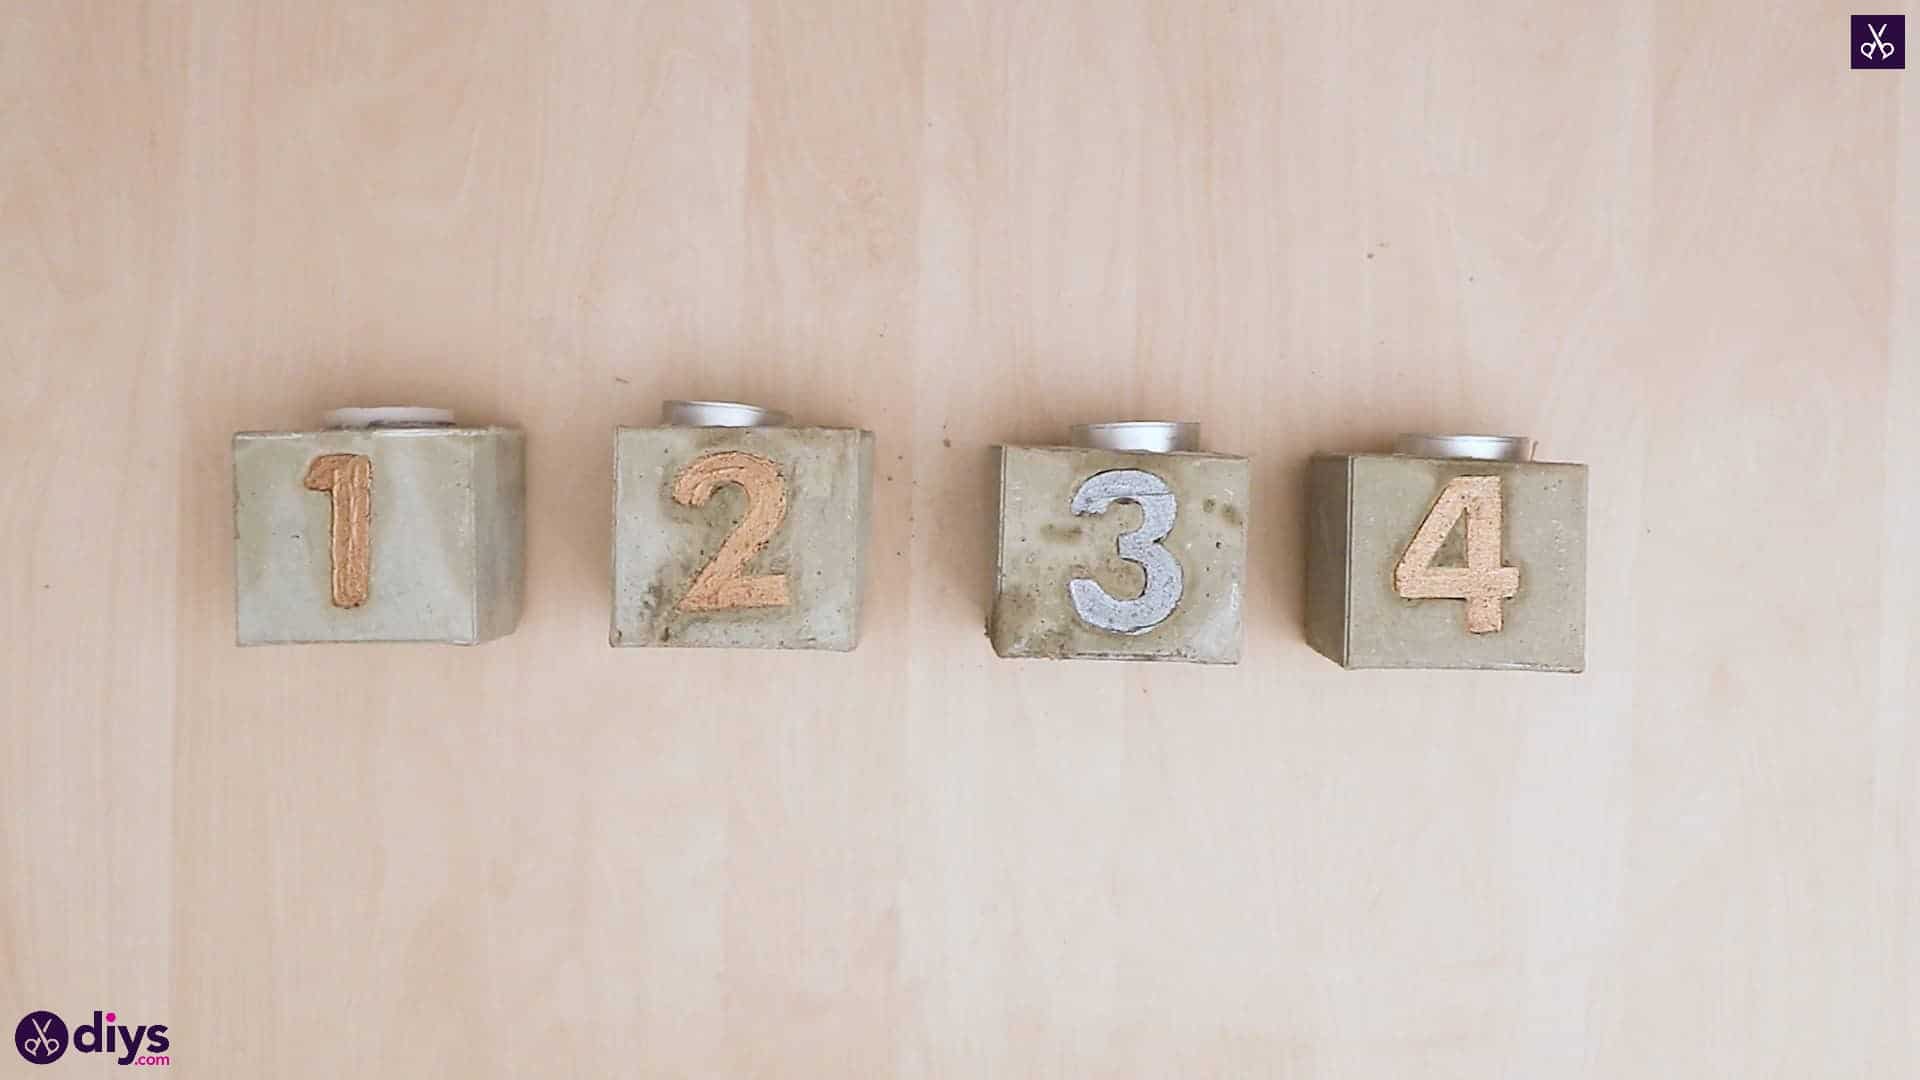
DIY Concrete Advent Candle Holders
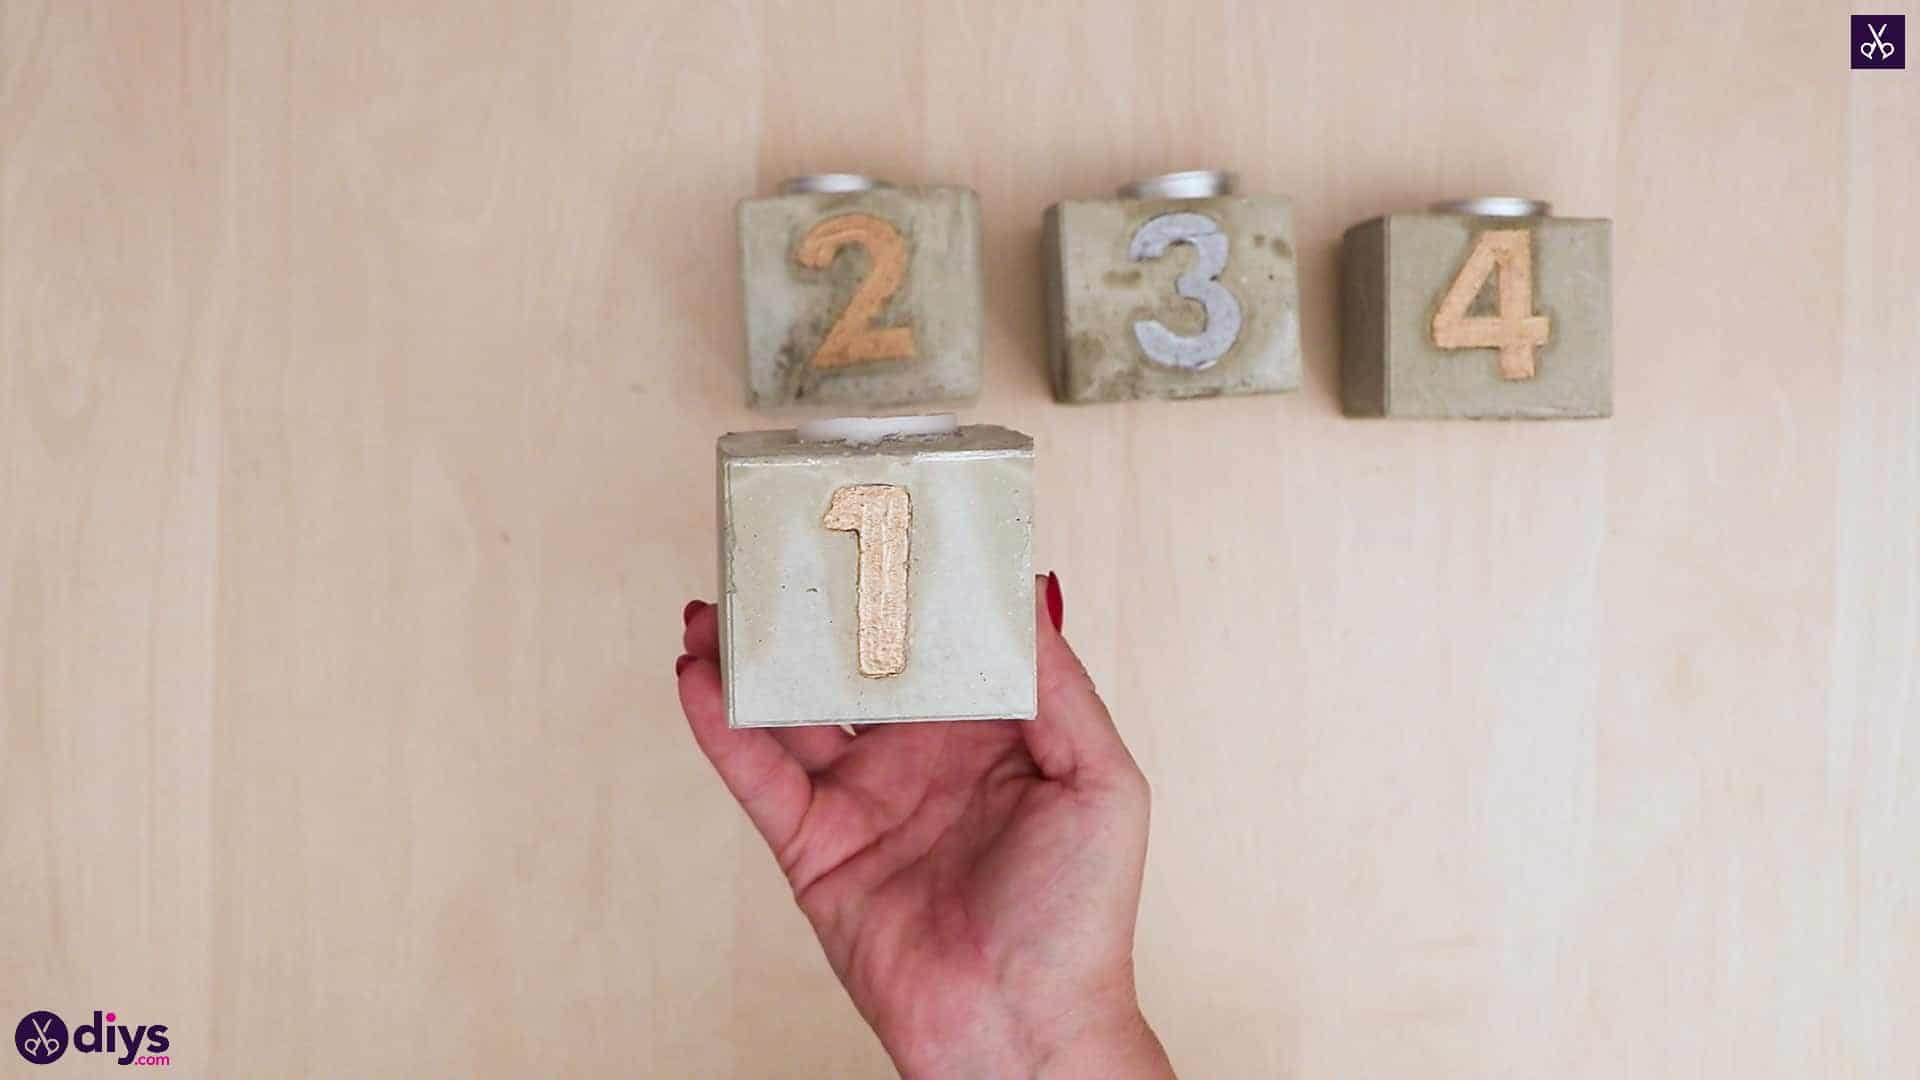
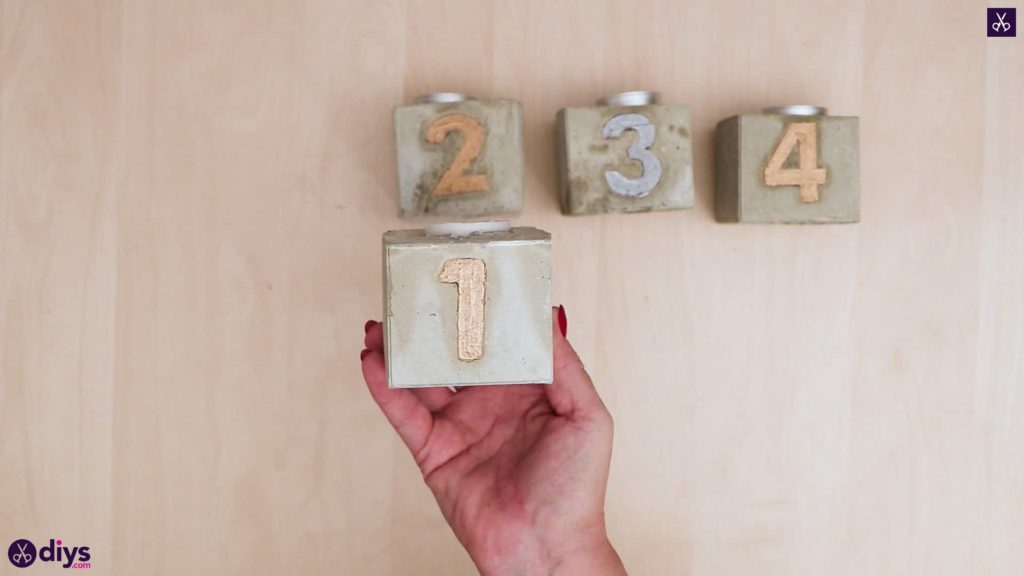
Since I’ve been so into creating things with DIY concrete lately, I decided to try a DIY concrete advent candle holder. I also decided to document the process so other people might be able to follow along step by step, which I was very glad I did when I realized how cute the final product was!
Check out these step by step instructions complete with photos! If you’d rather follow along with a video tutorial instead of written words, scroll to the bottom of this post to find just what you’re looking for.
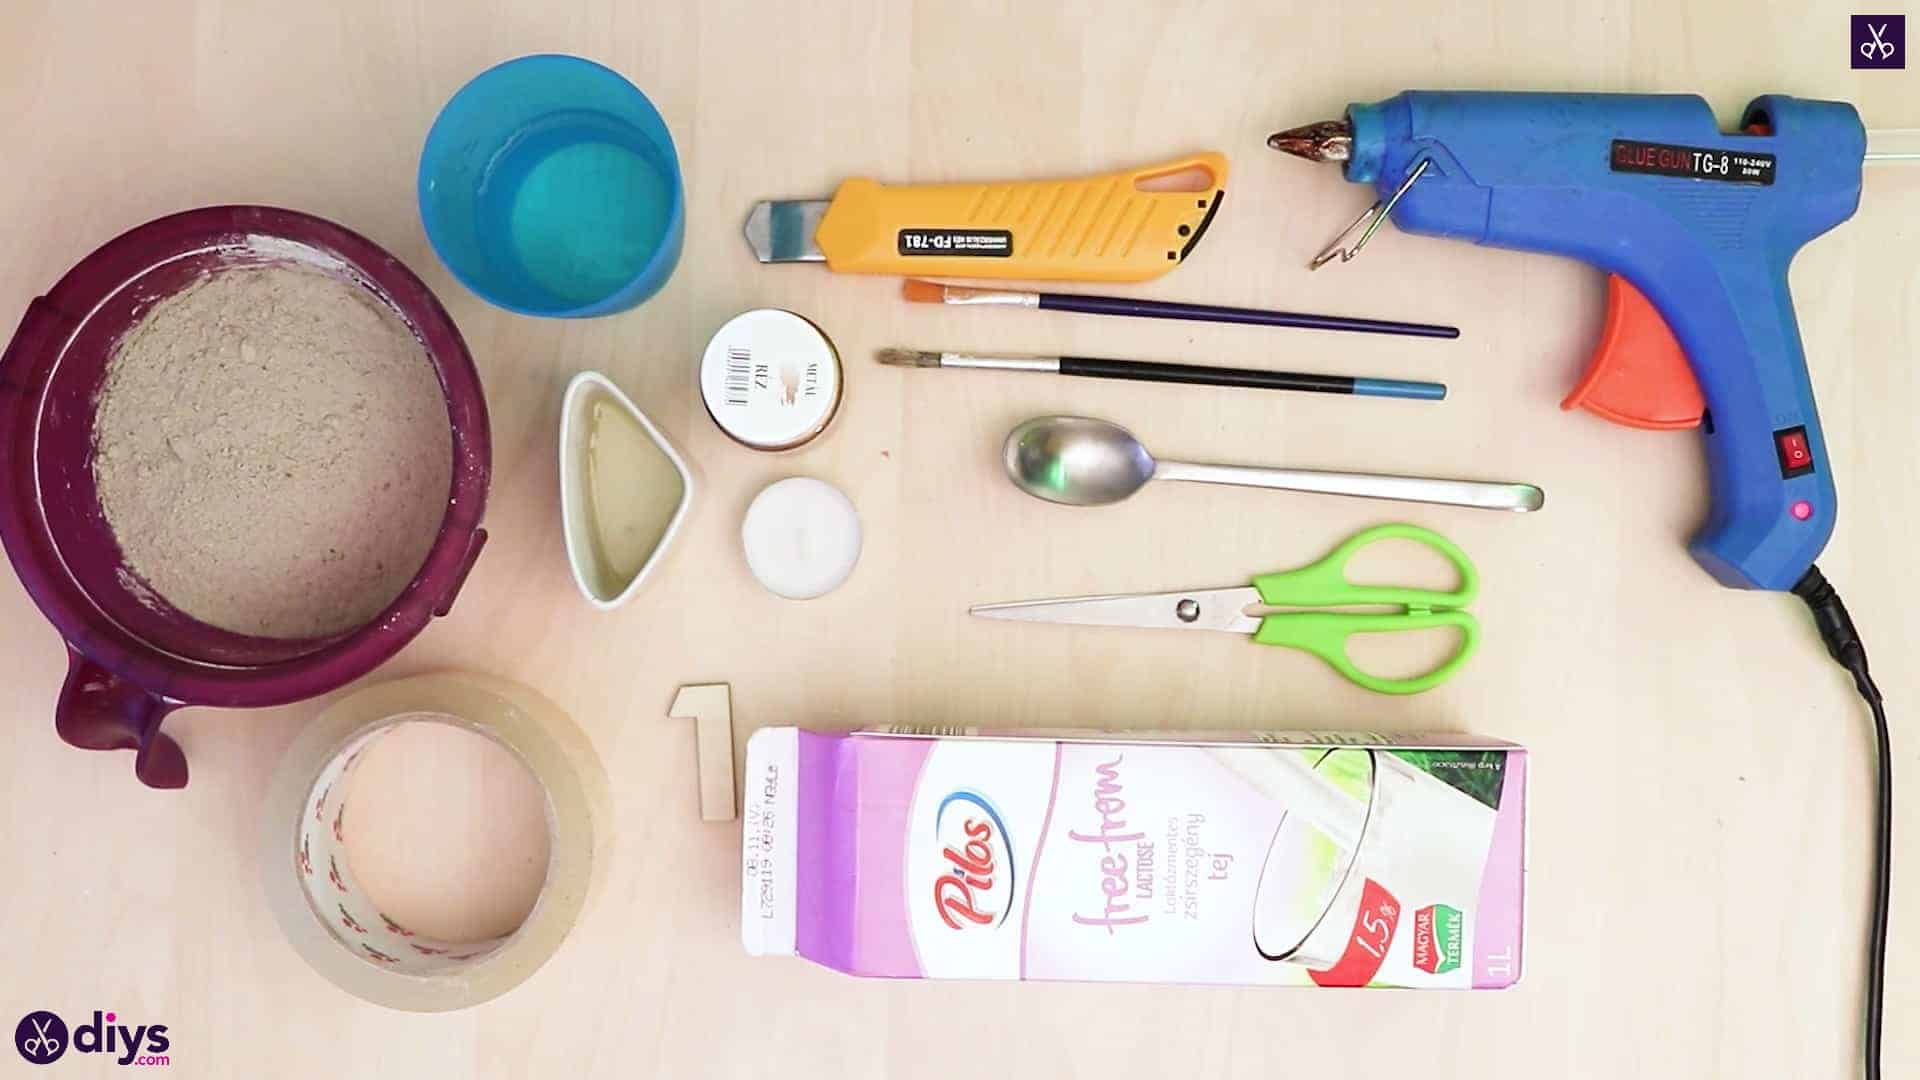
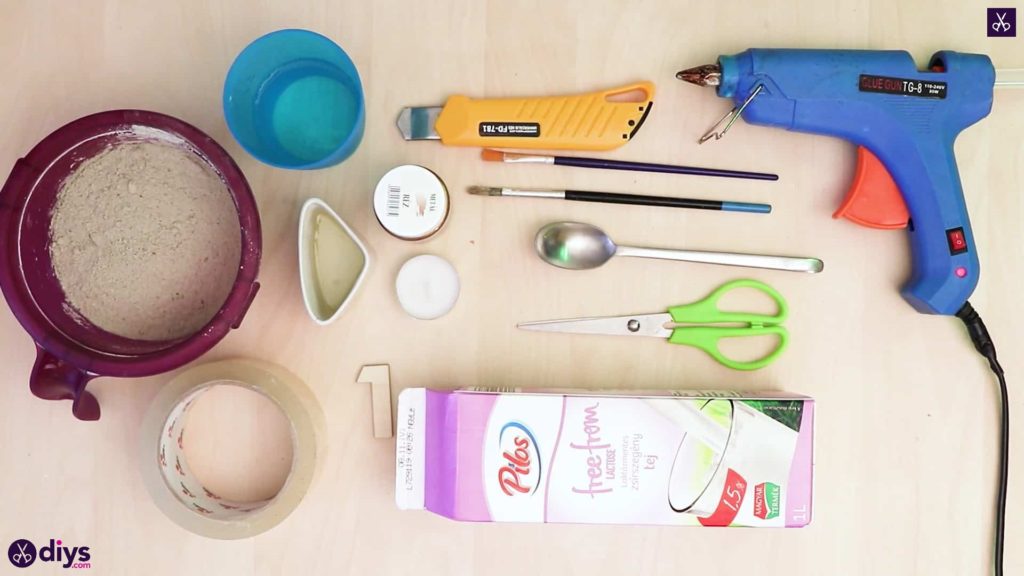
For this project, you’ll need:
- A spoon
- A plate
- DIY fine particle cement
- Water
- Scissors
- Hot glue
- Paint (preferably acrylic)
- A paintbrush
- A folding utility knife
- Tape
- A milk carton
- Oil
- Round candles
- Wooden numbers
Step 1: prep
Gather your materials!
Step 2: make the mold
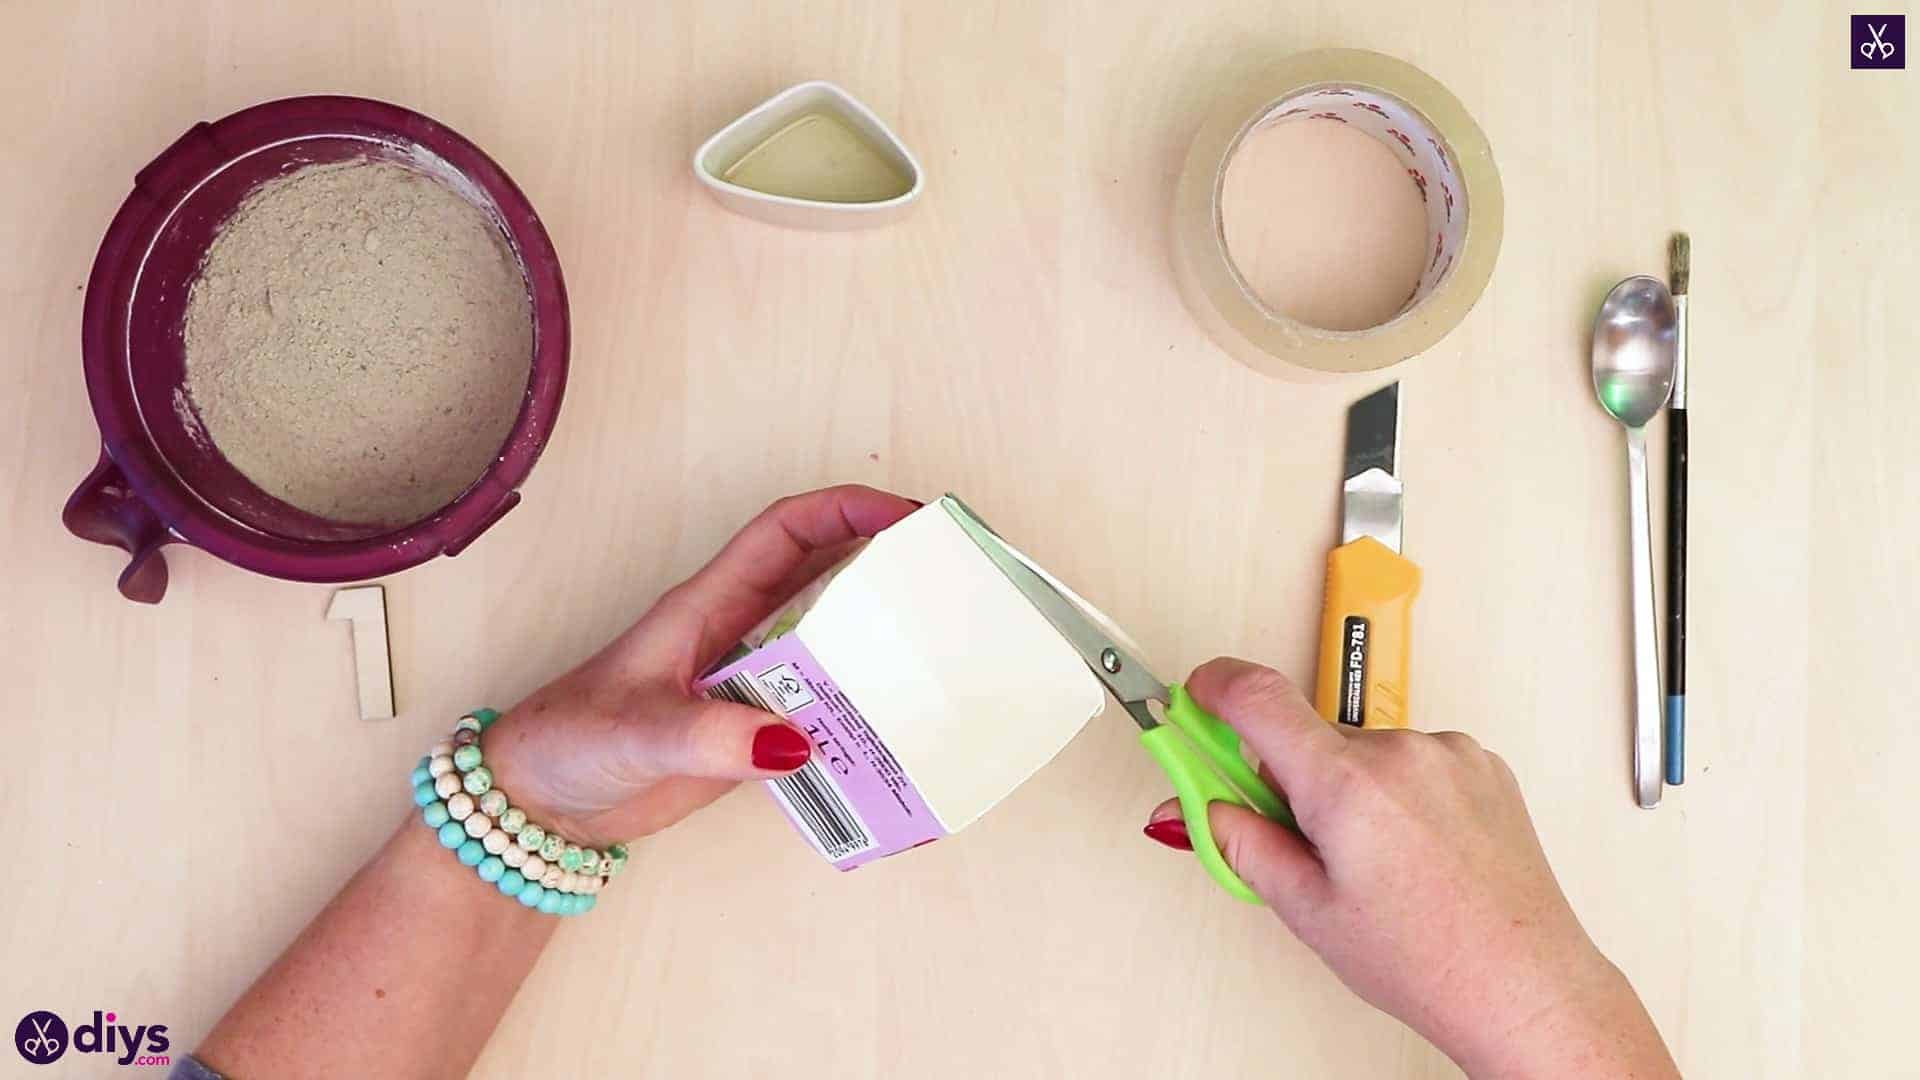
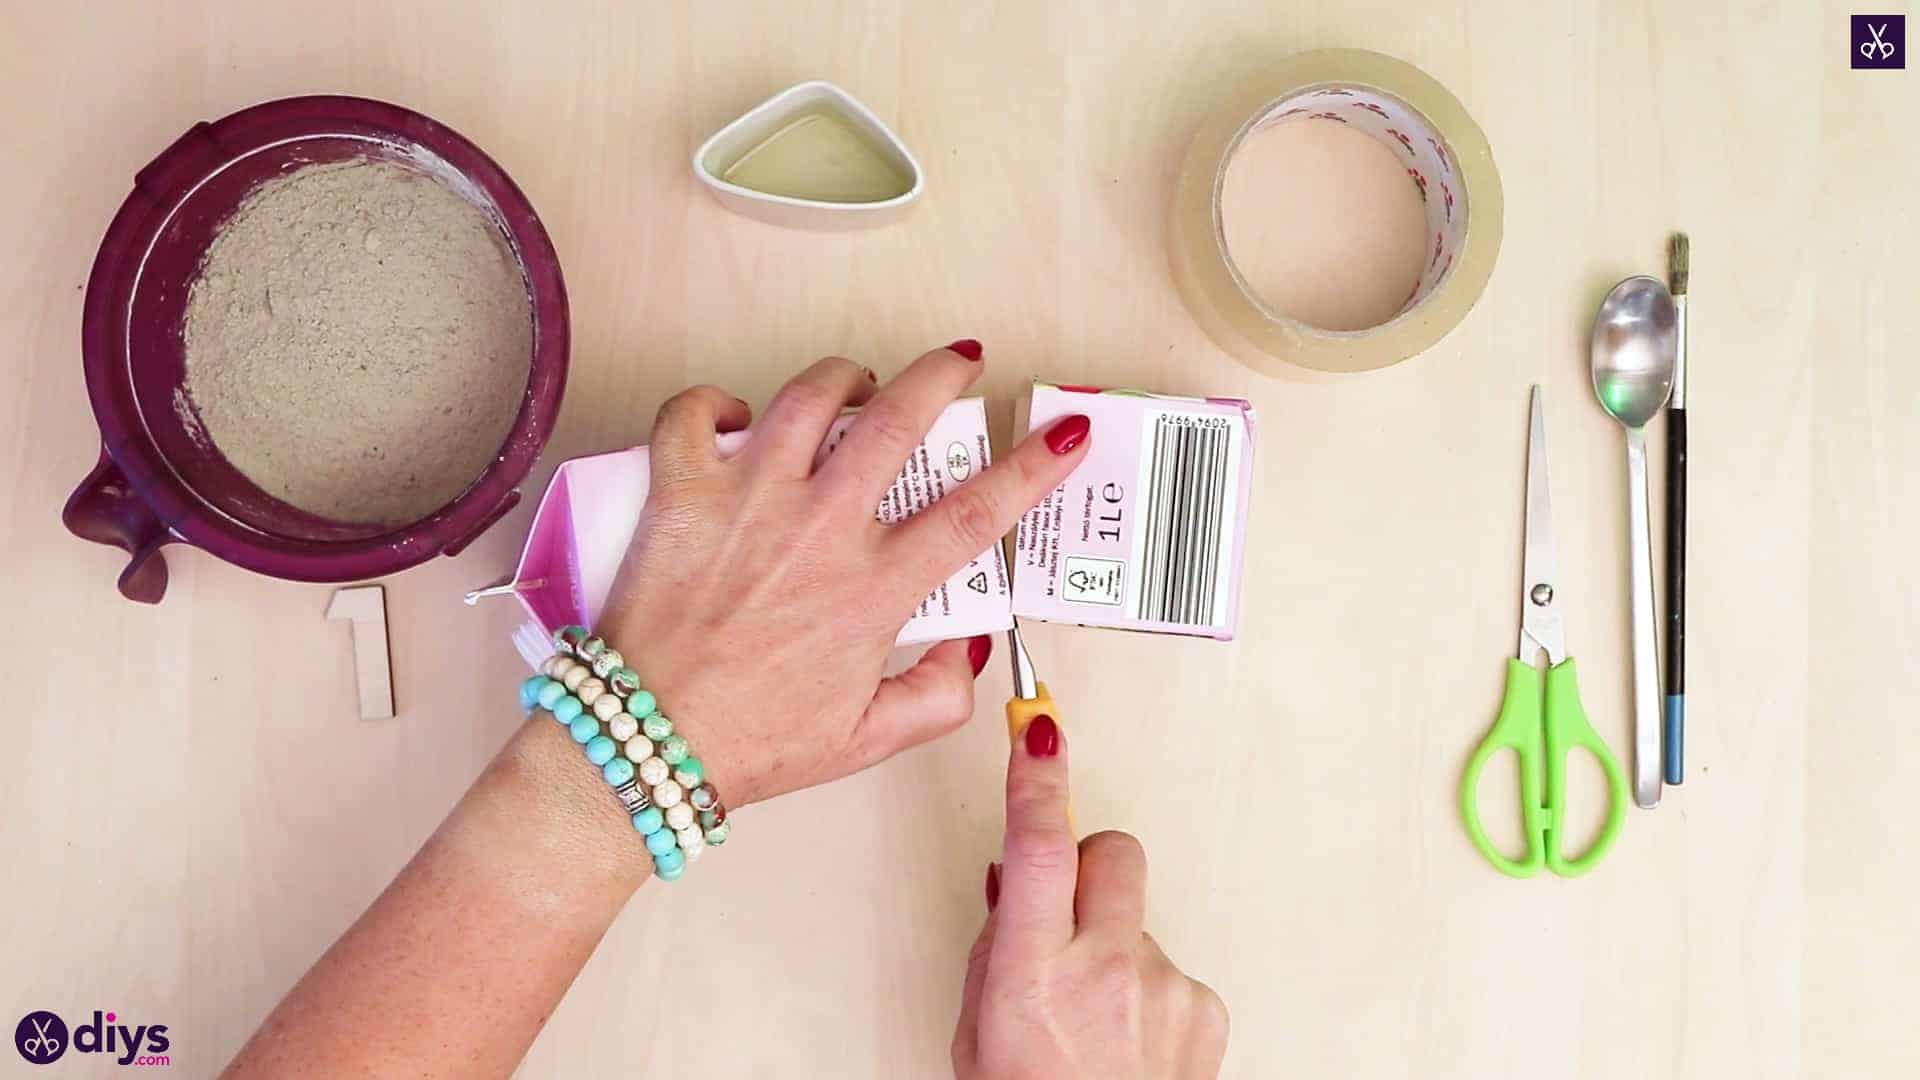
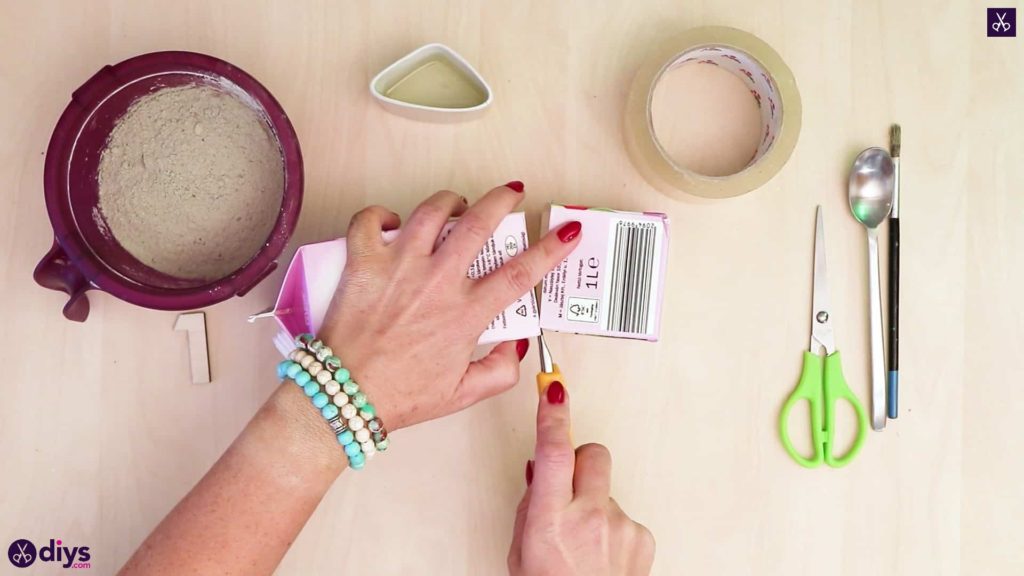
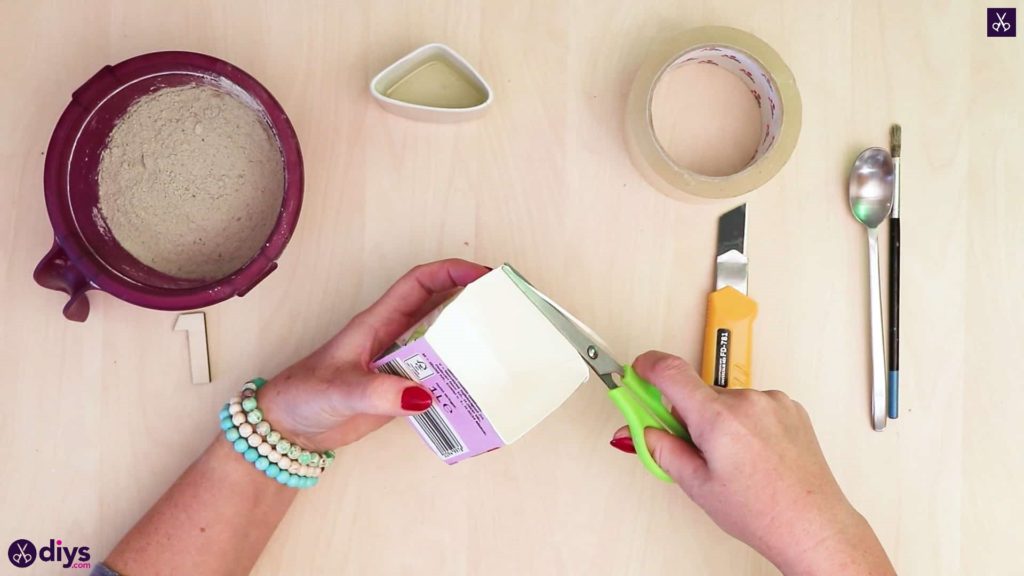
Use your utility knife to cut the top off your milk carton about two inches from the bottom, freeing a squared cup shape that’s open at the top. Use your scissors to trim the edges all the way around where you just cut to make them an even square shape.
Step 3: add the number
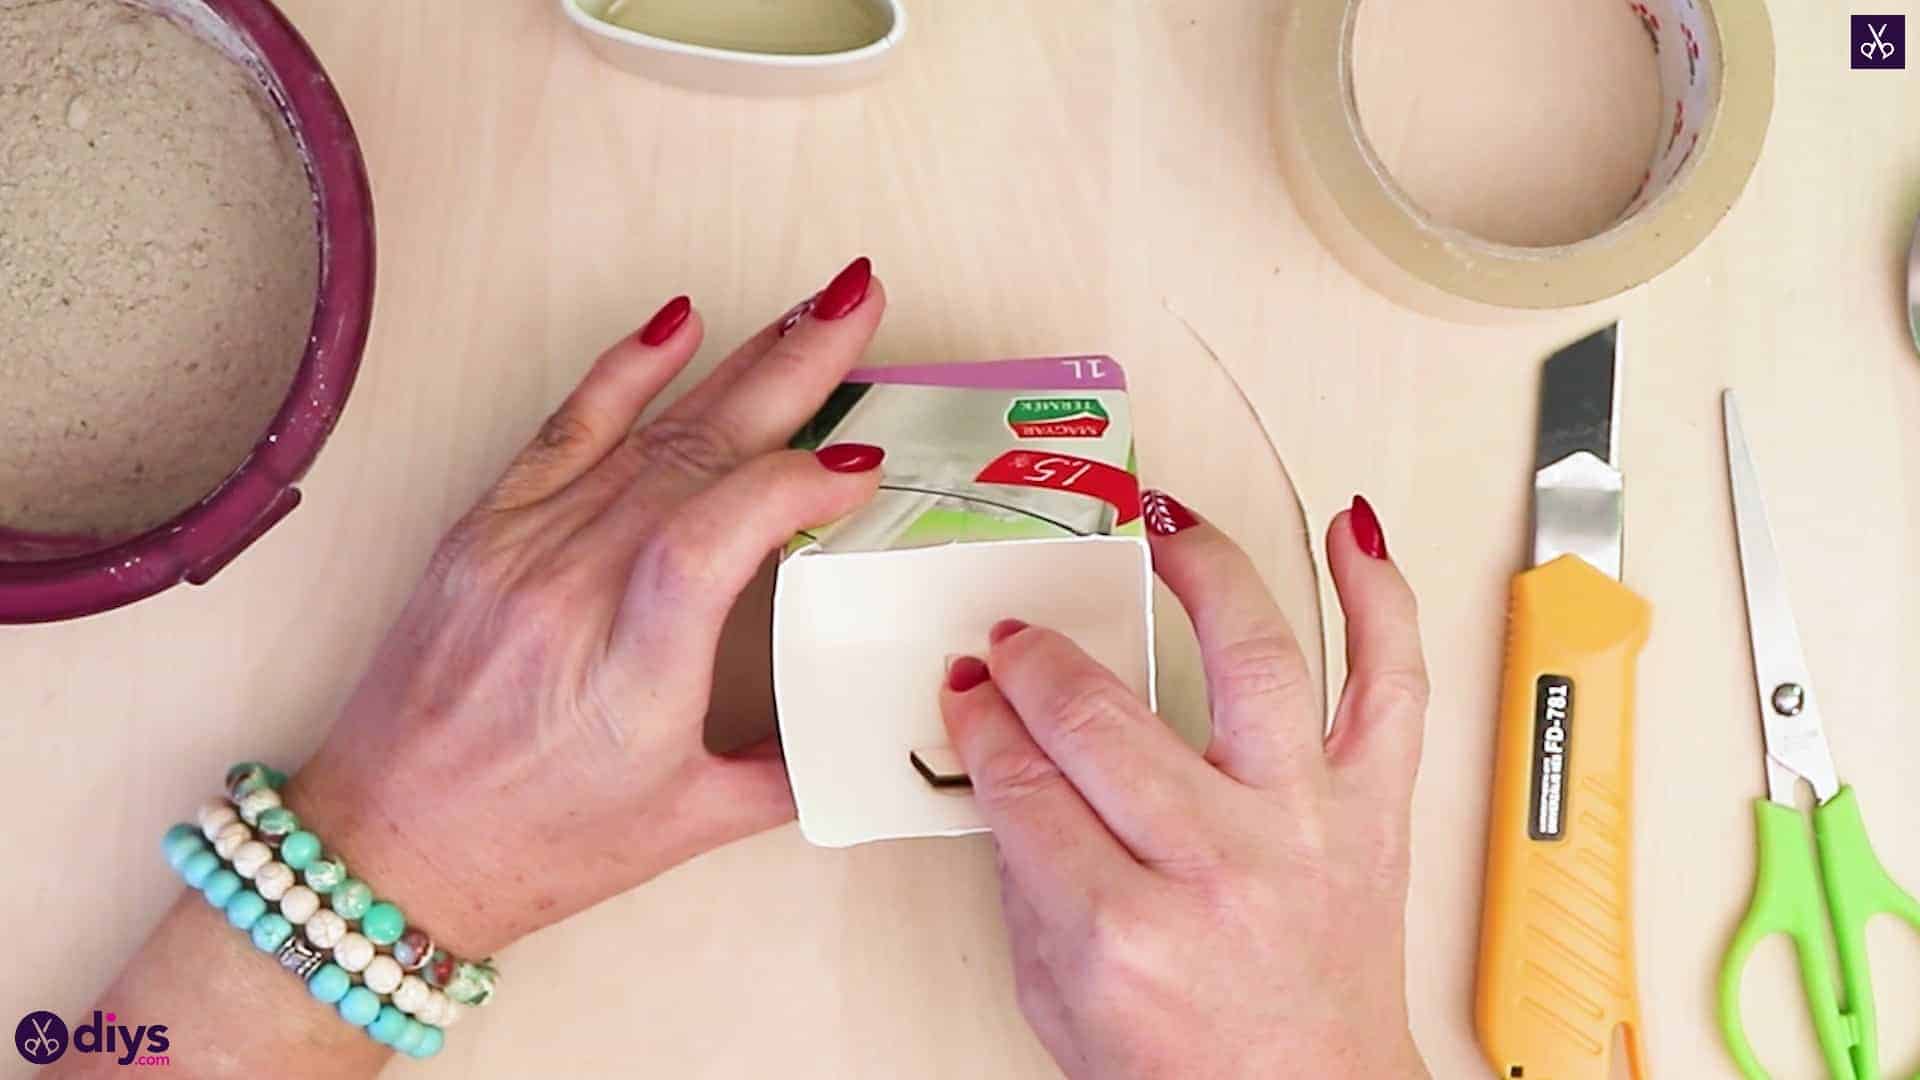
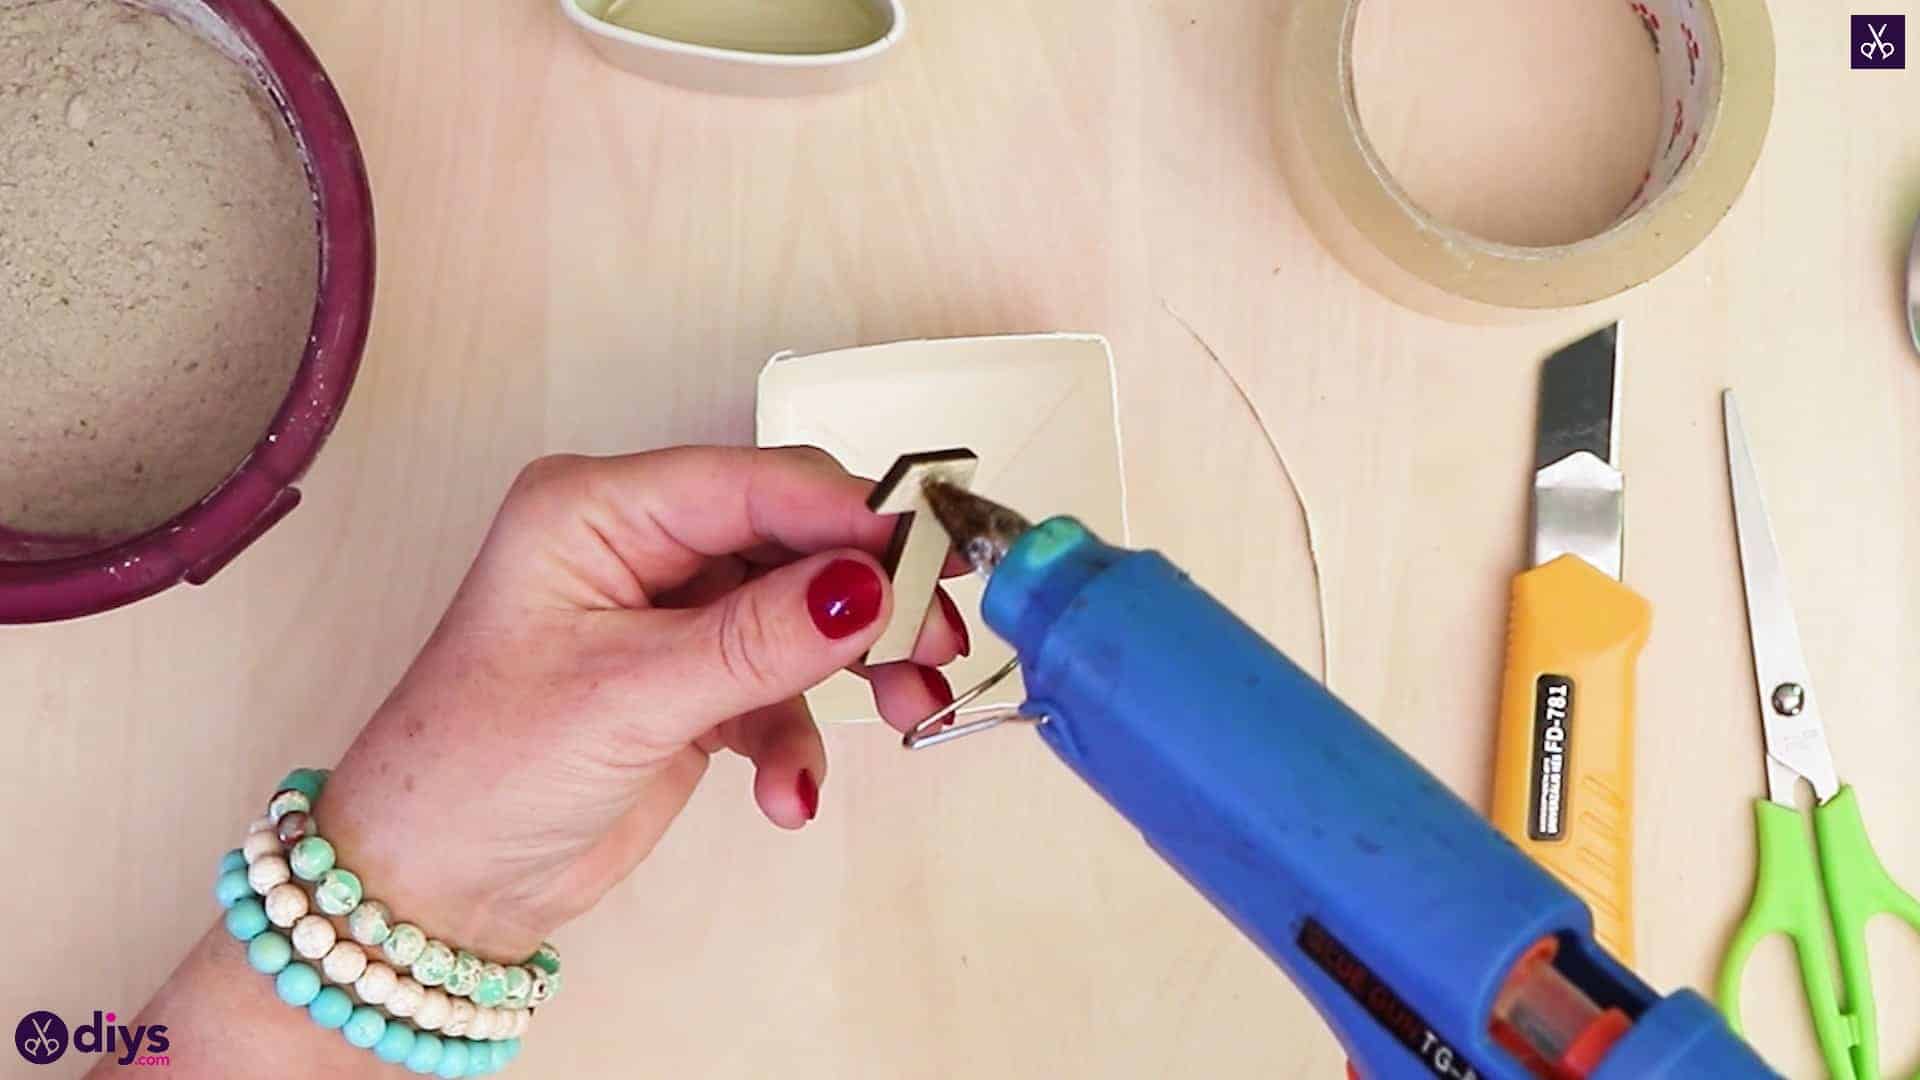
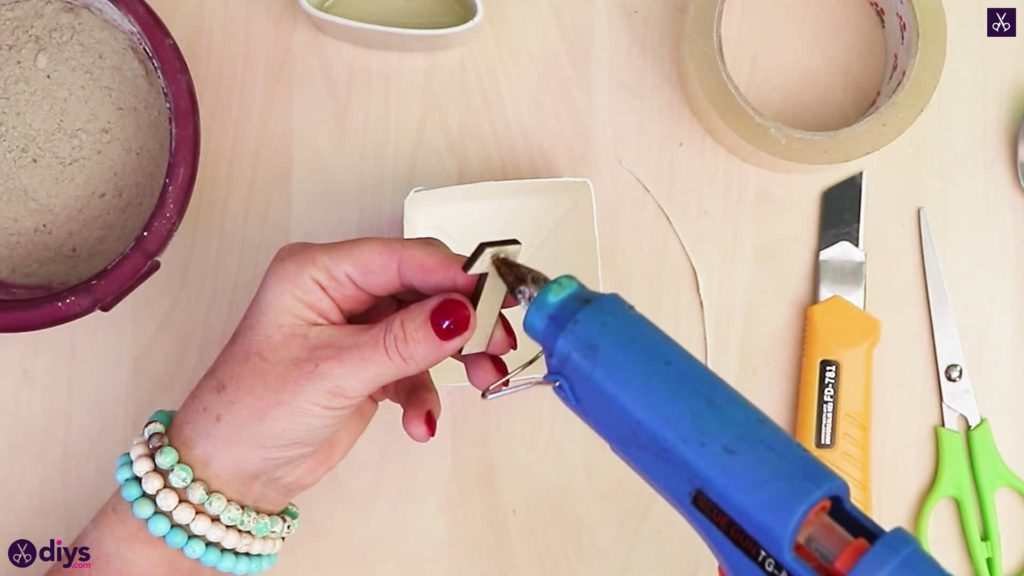
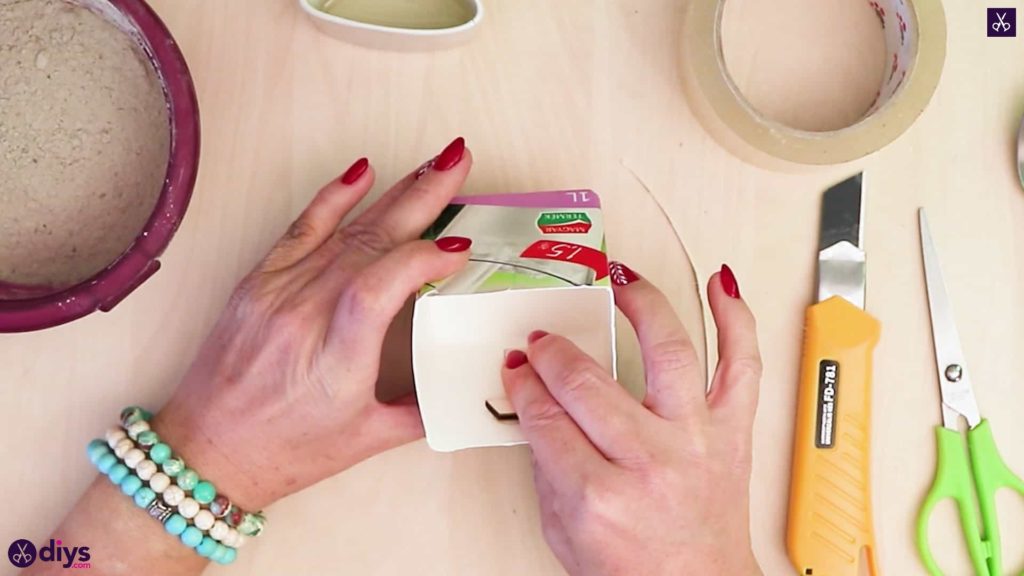
Apply hot glue to the front side of your wooden number, which would be the one facing you when you turn it so it faces the right direction the way it would be written. Stick it to the inside of your carton, central on one side. This will be the front of your candle holder.
Step 4: oil the inside
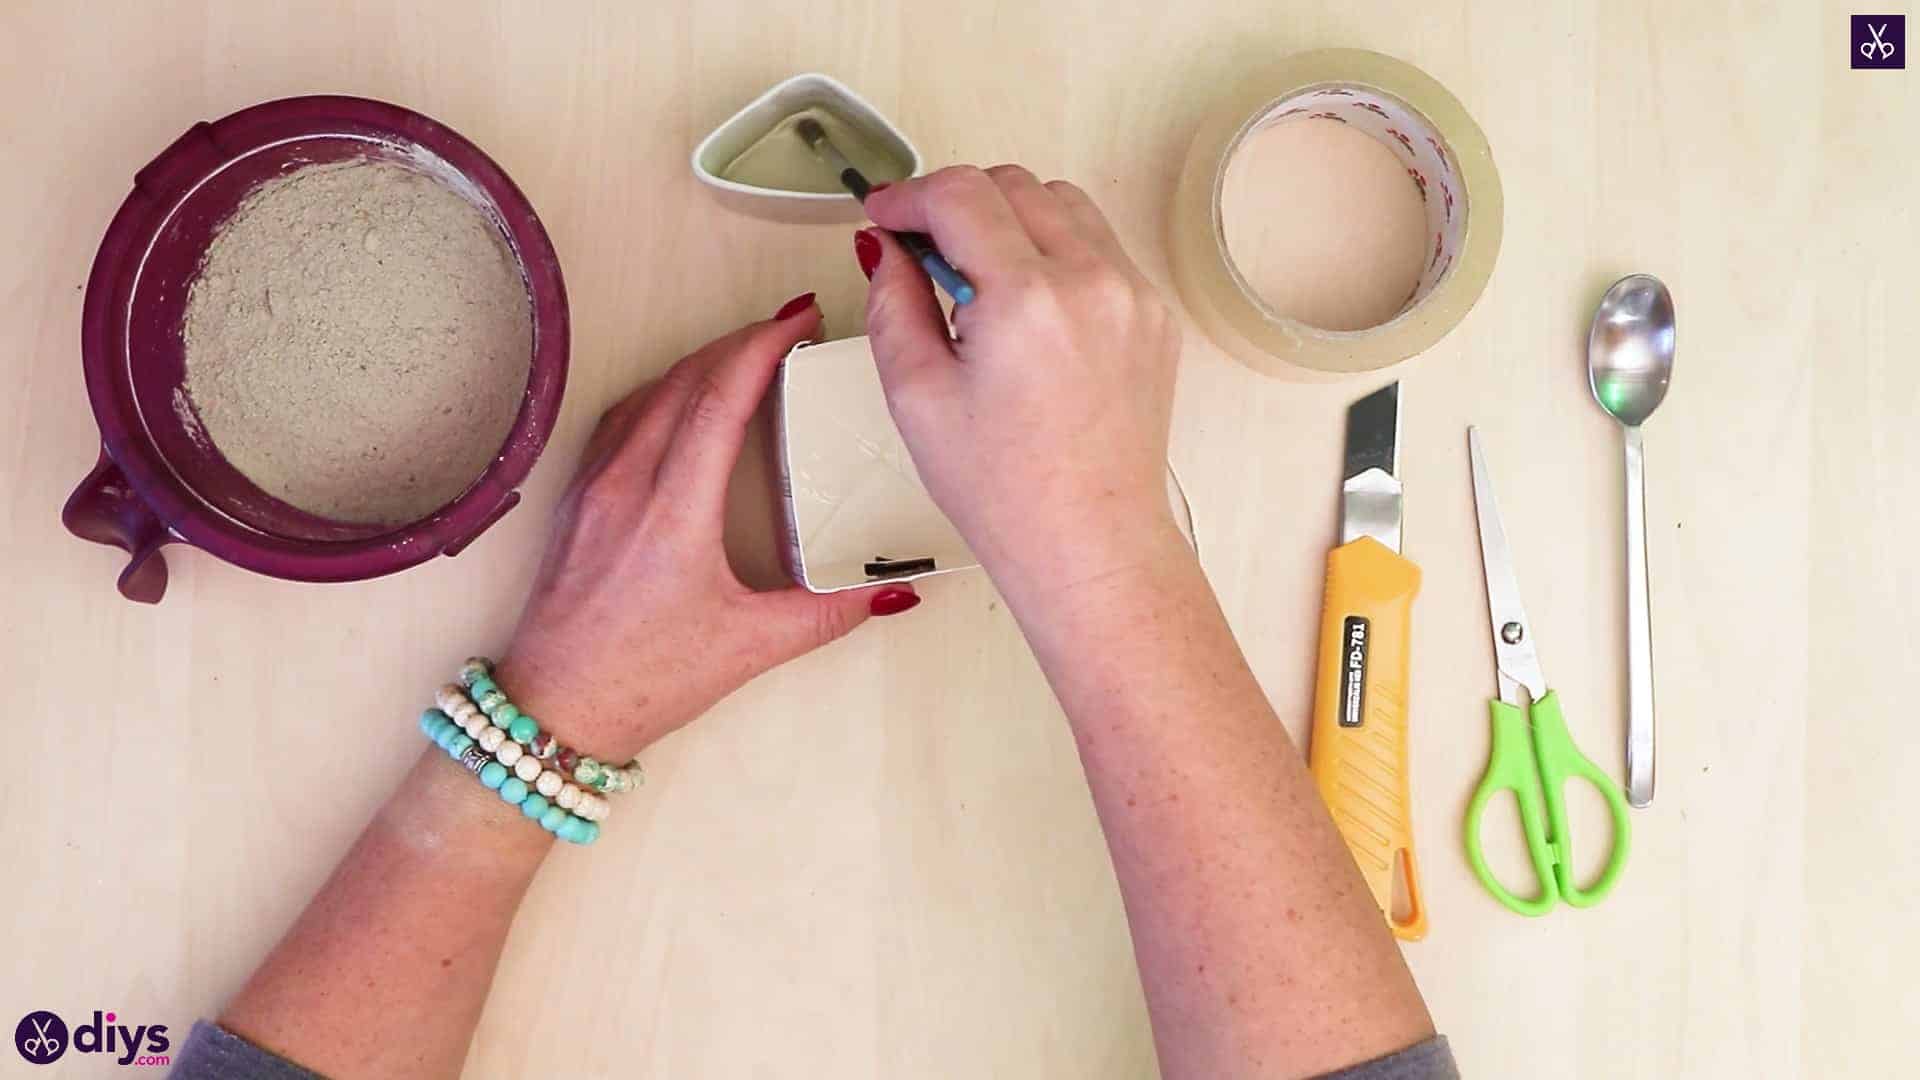
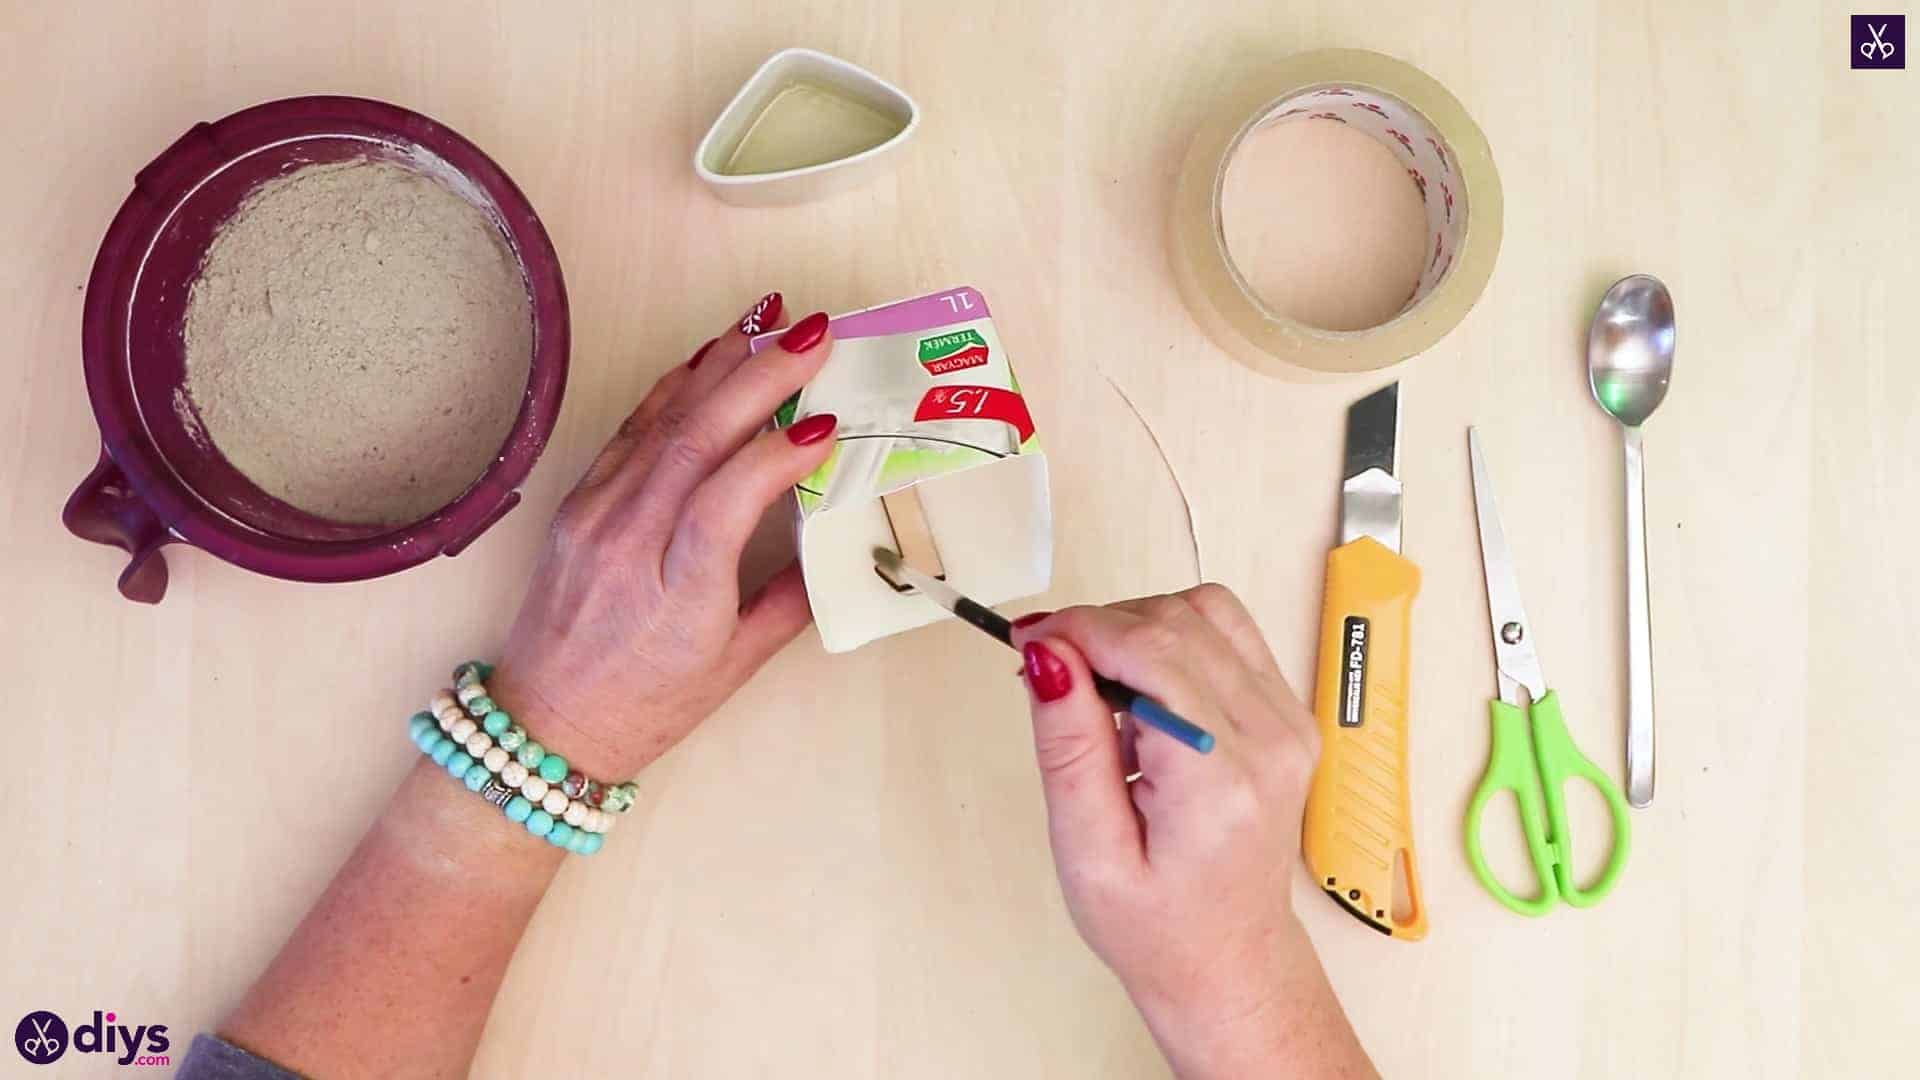
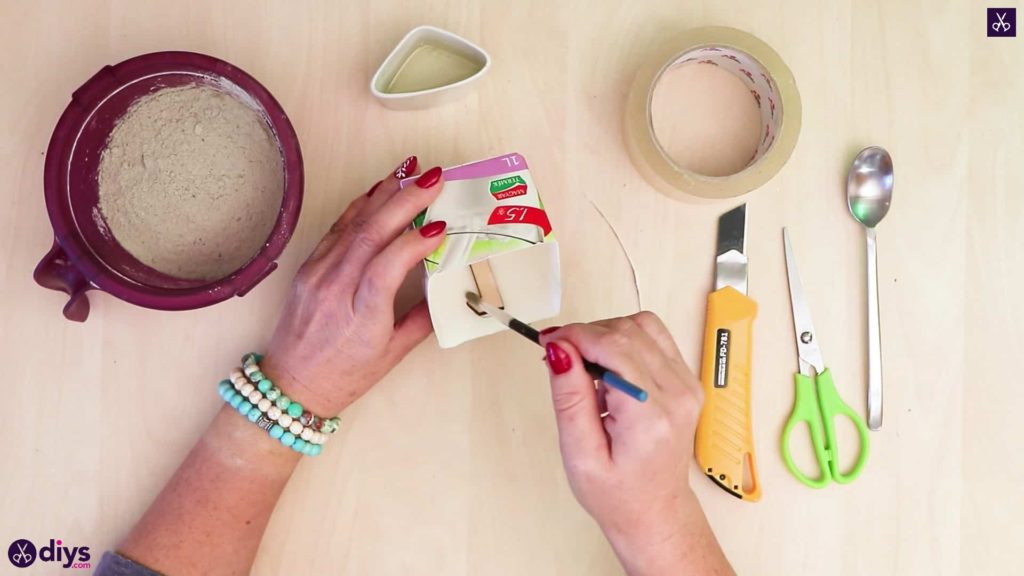
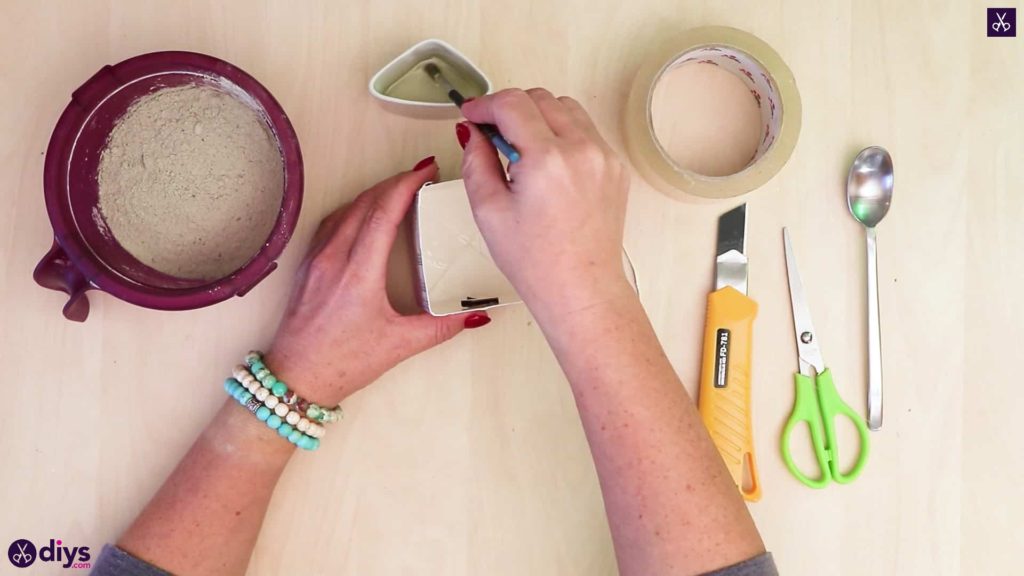
Use your paintbrush to apply oil all around the inside of your carton section, including on the back of the number you just stuck down. This will help you peel the pieces away once your base concrete shape has been formed.
Step 5: mix the concrete
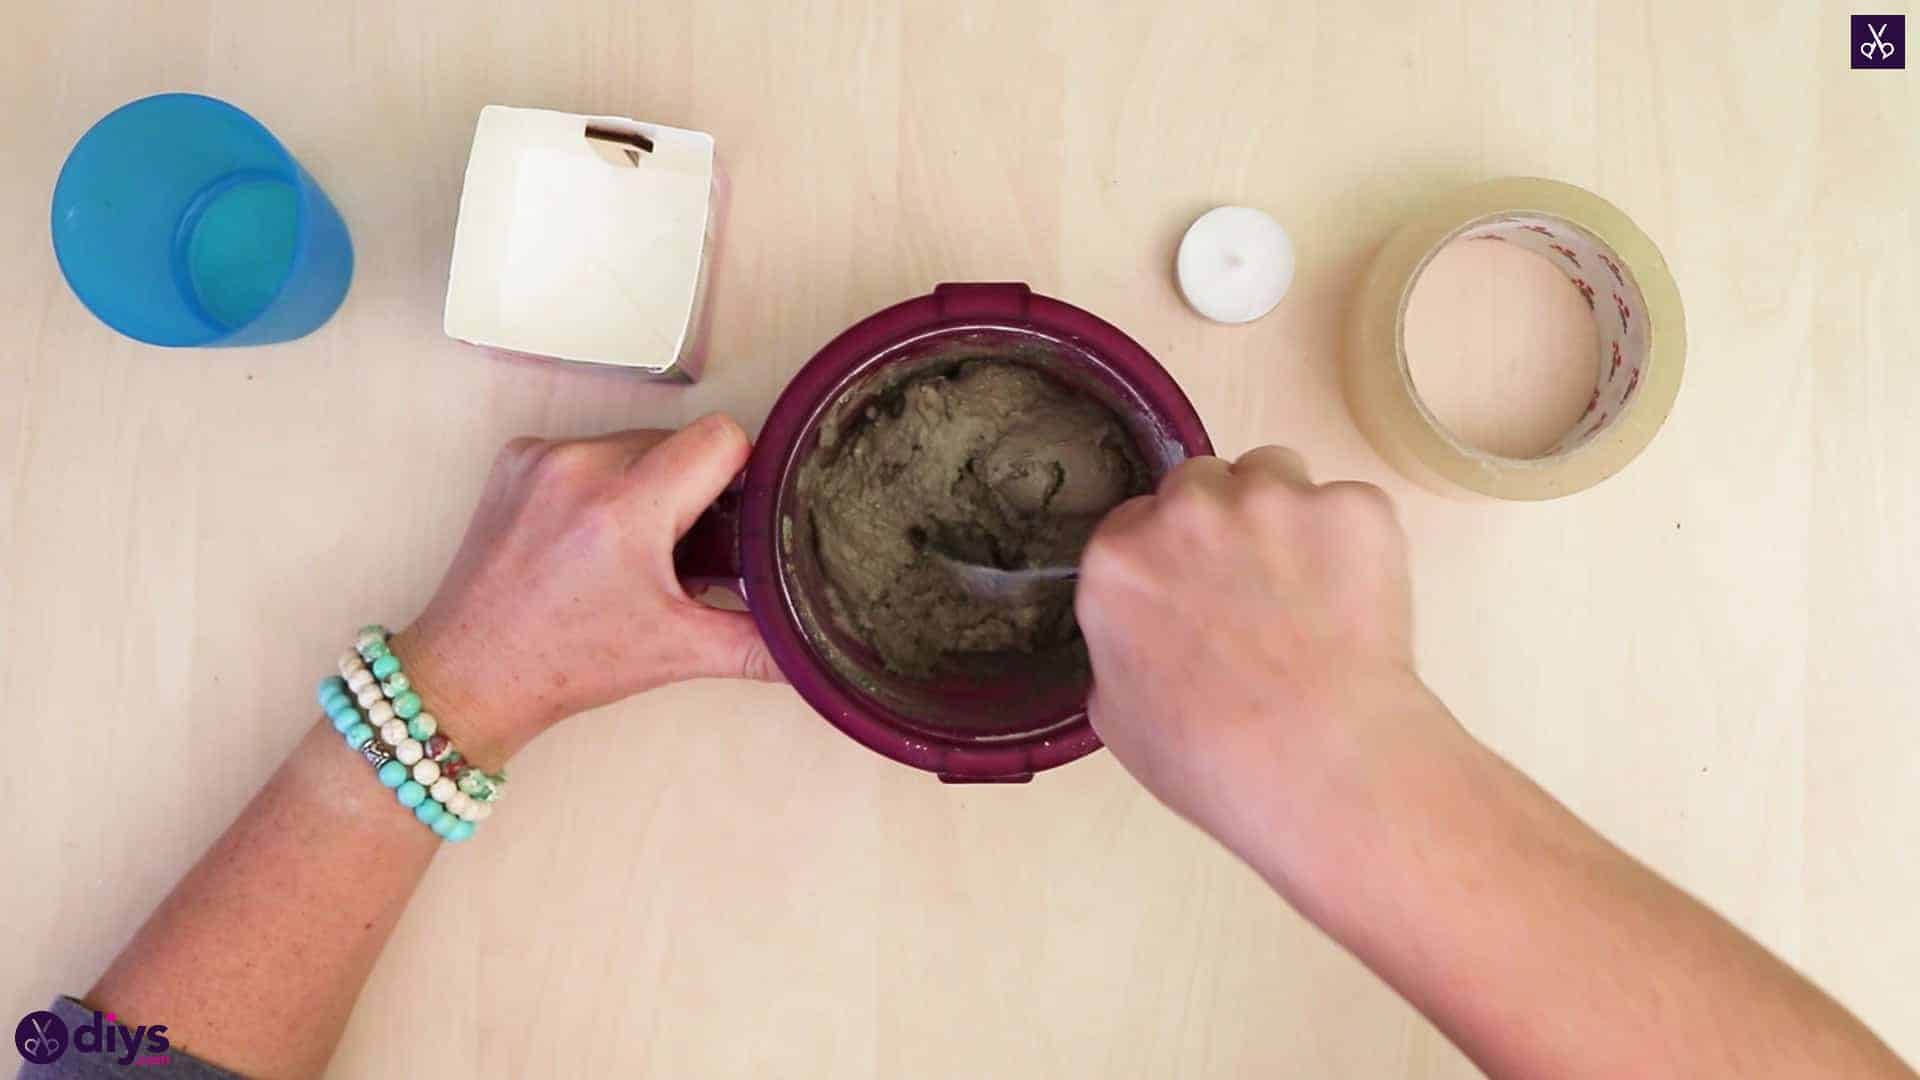
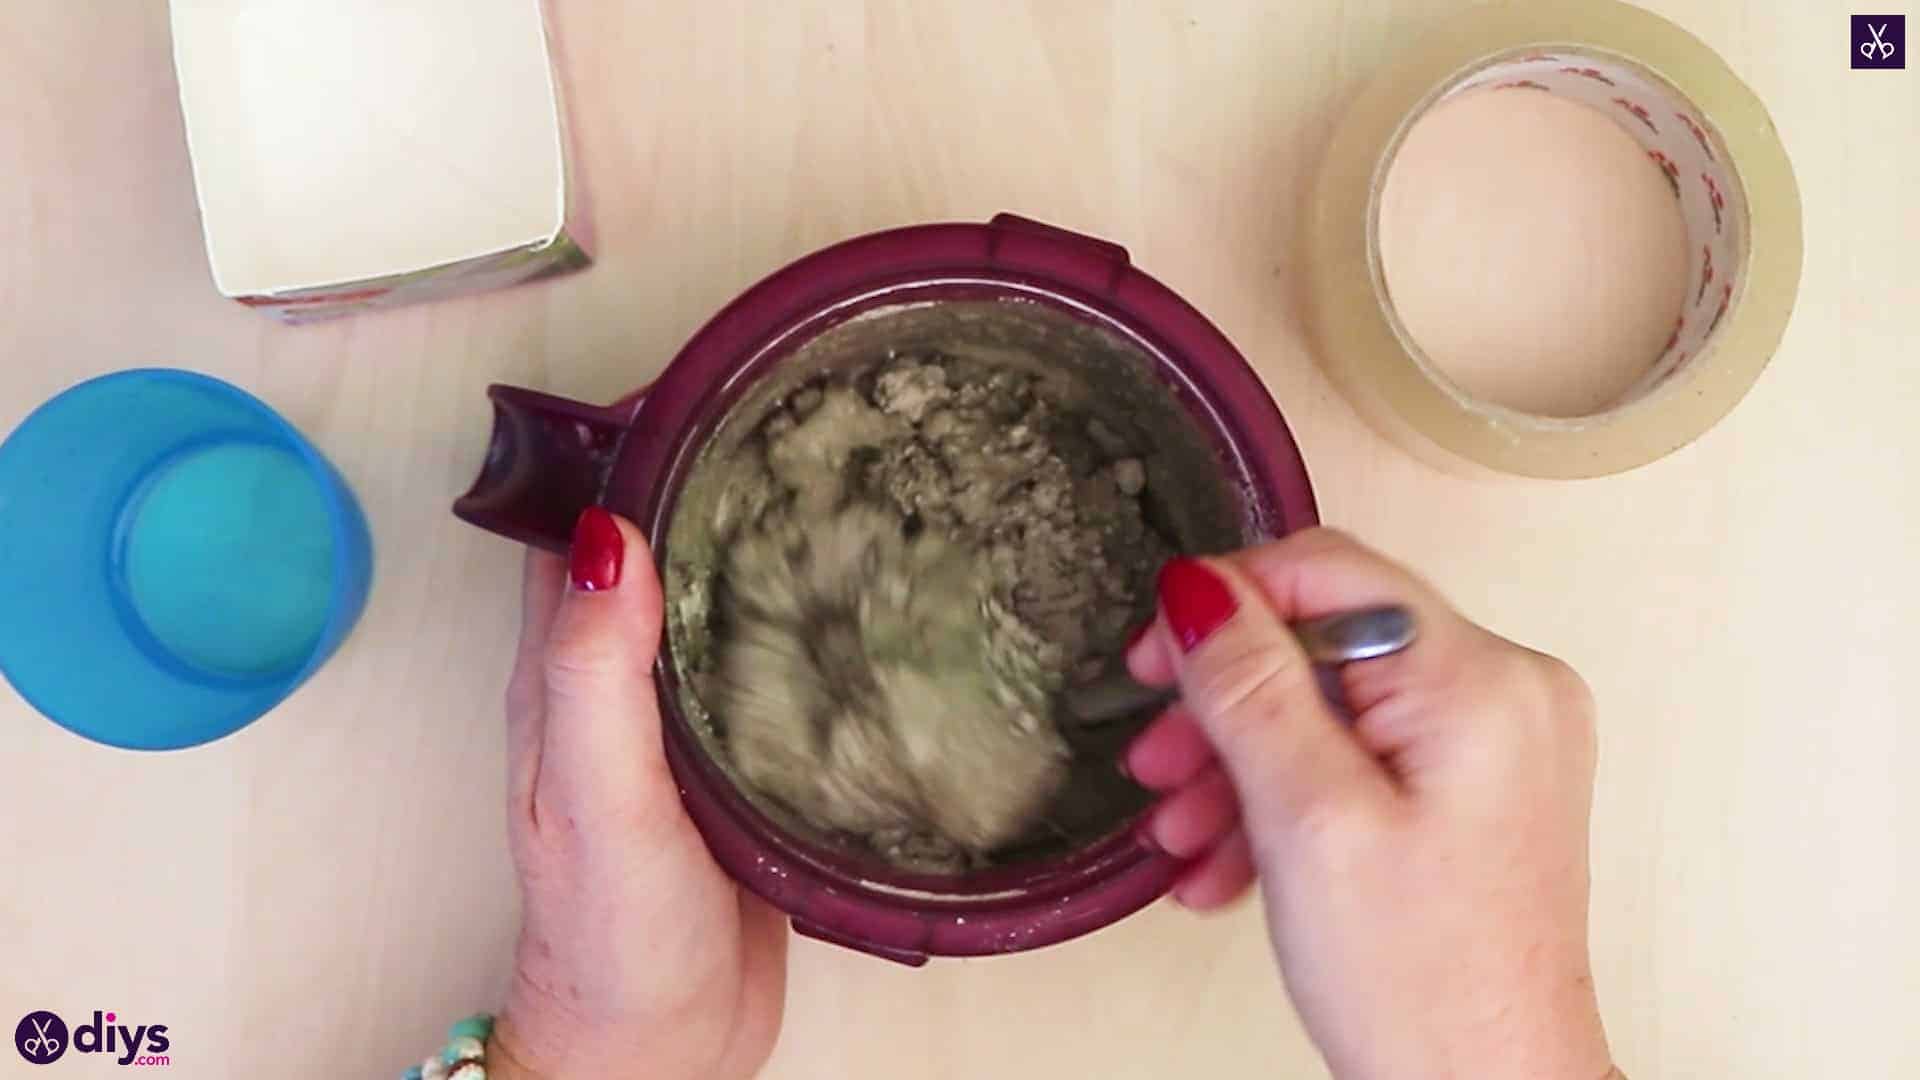
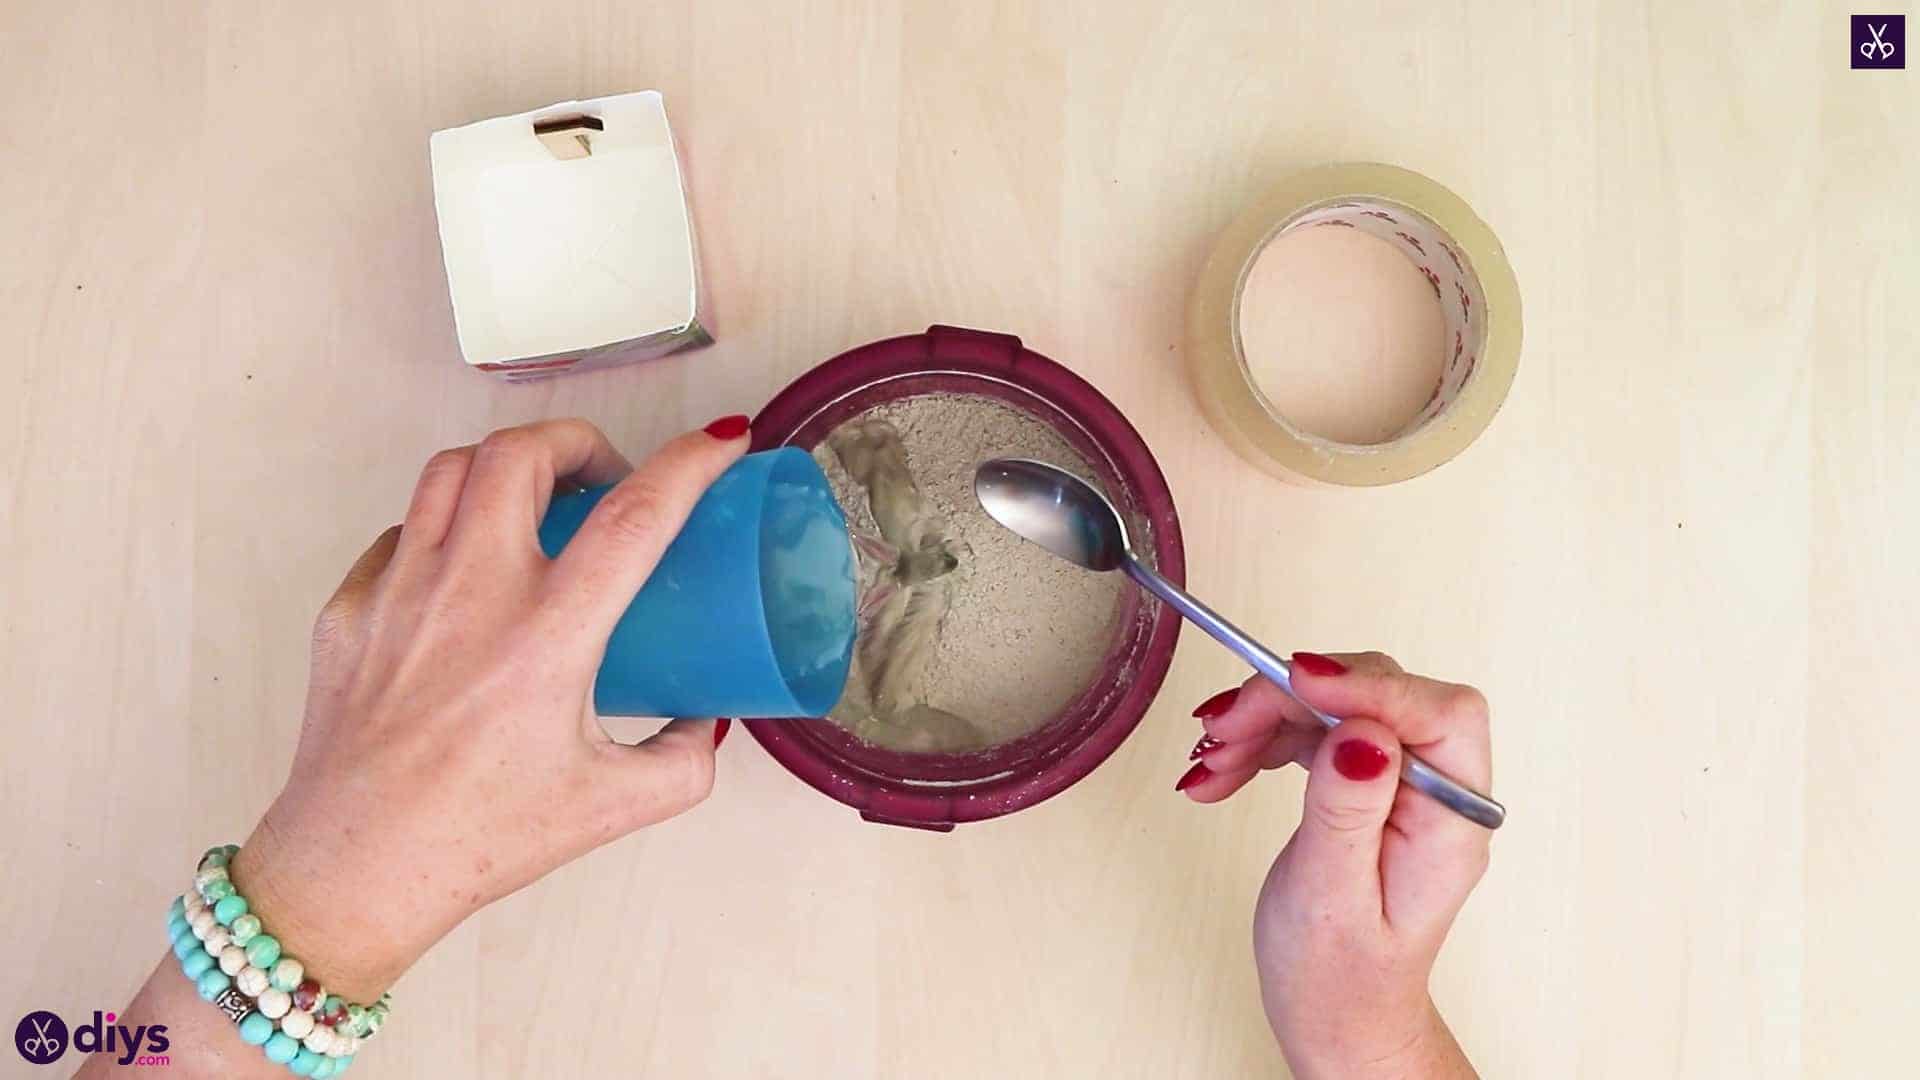
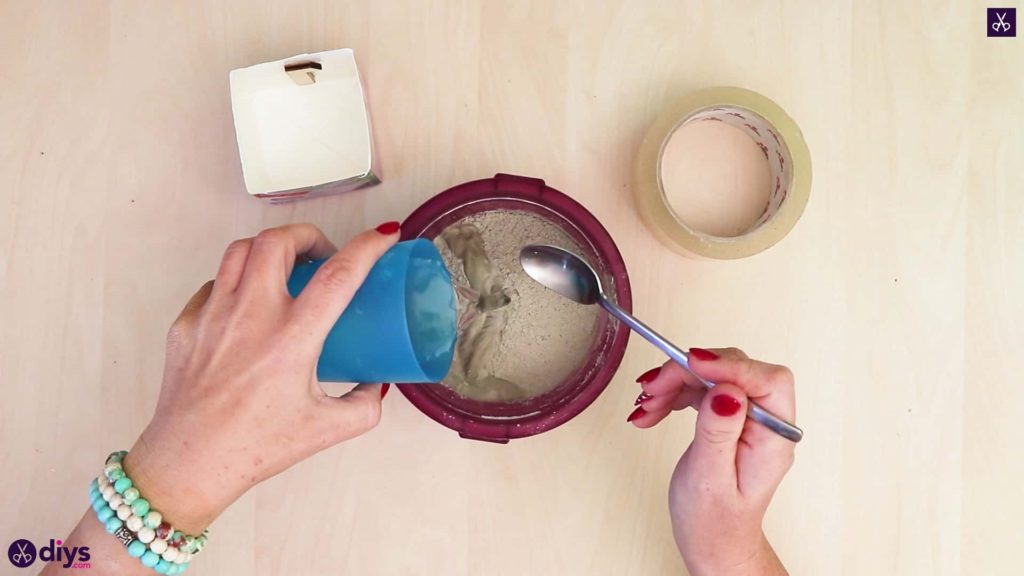
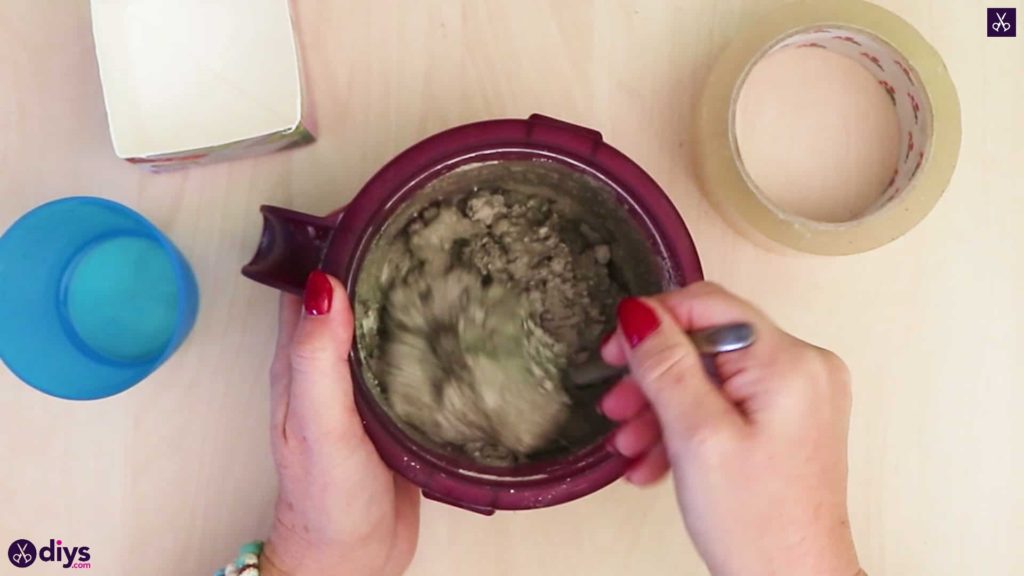
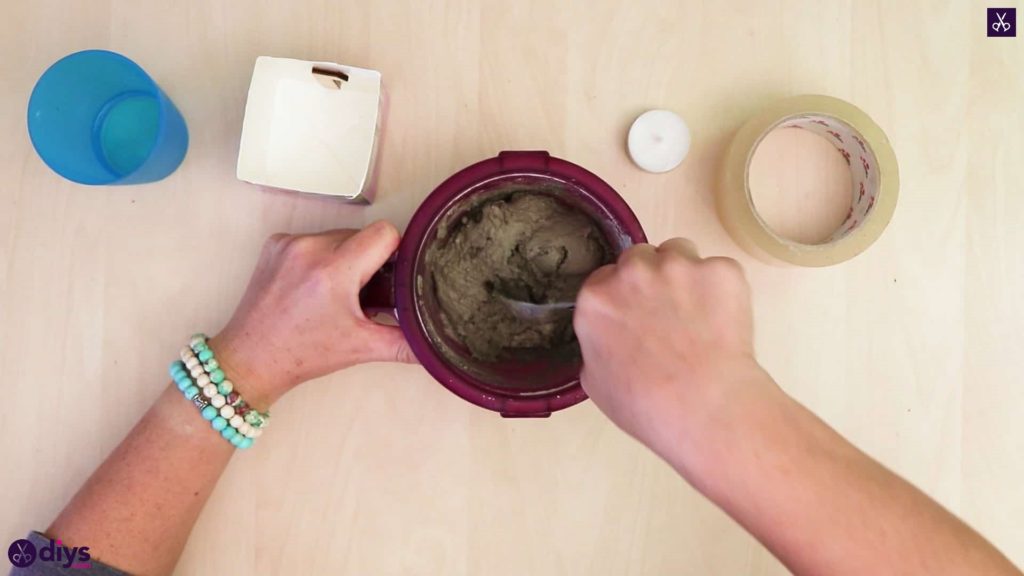
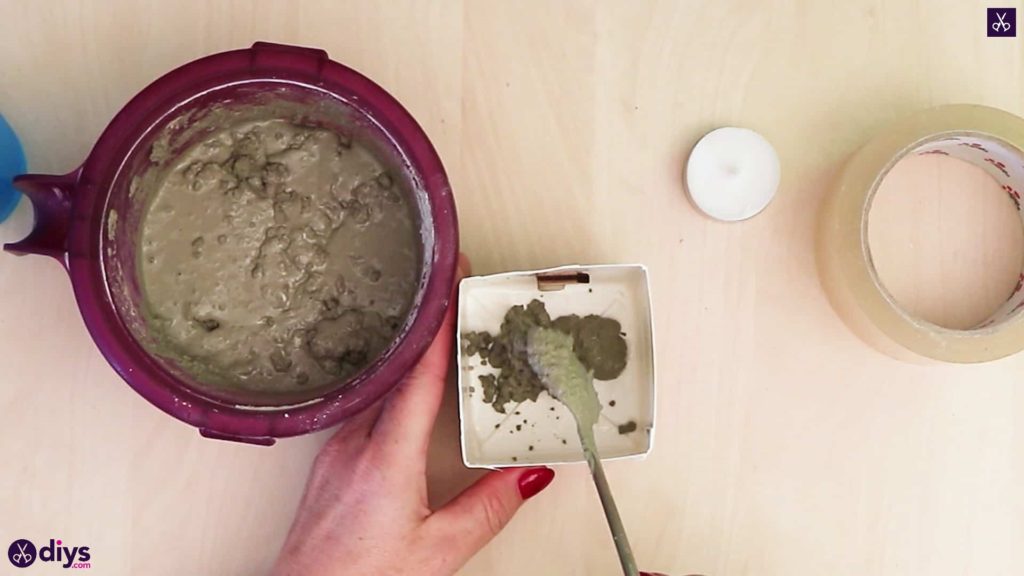
Pour water into your DIY concrete mix and stir it with your spoon until it’s the right consistency. Follow the instructions on the package to get the ratio of water to mix right, as it can vary from brand to brand.
Step 6: spoon into mold
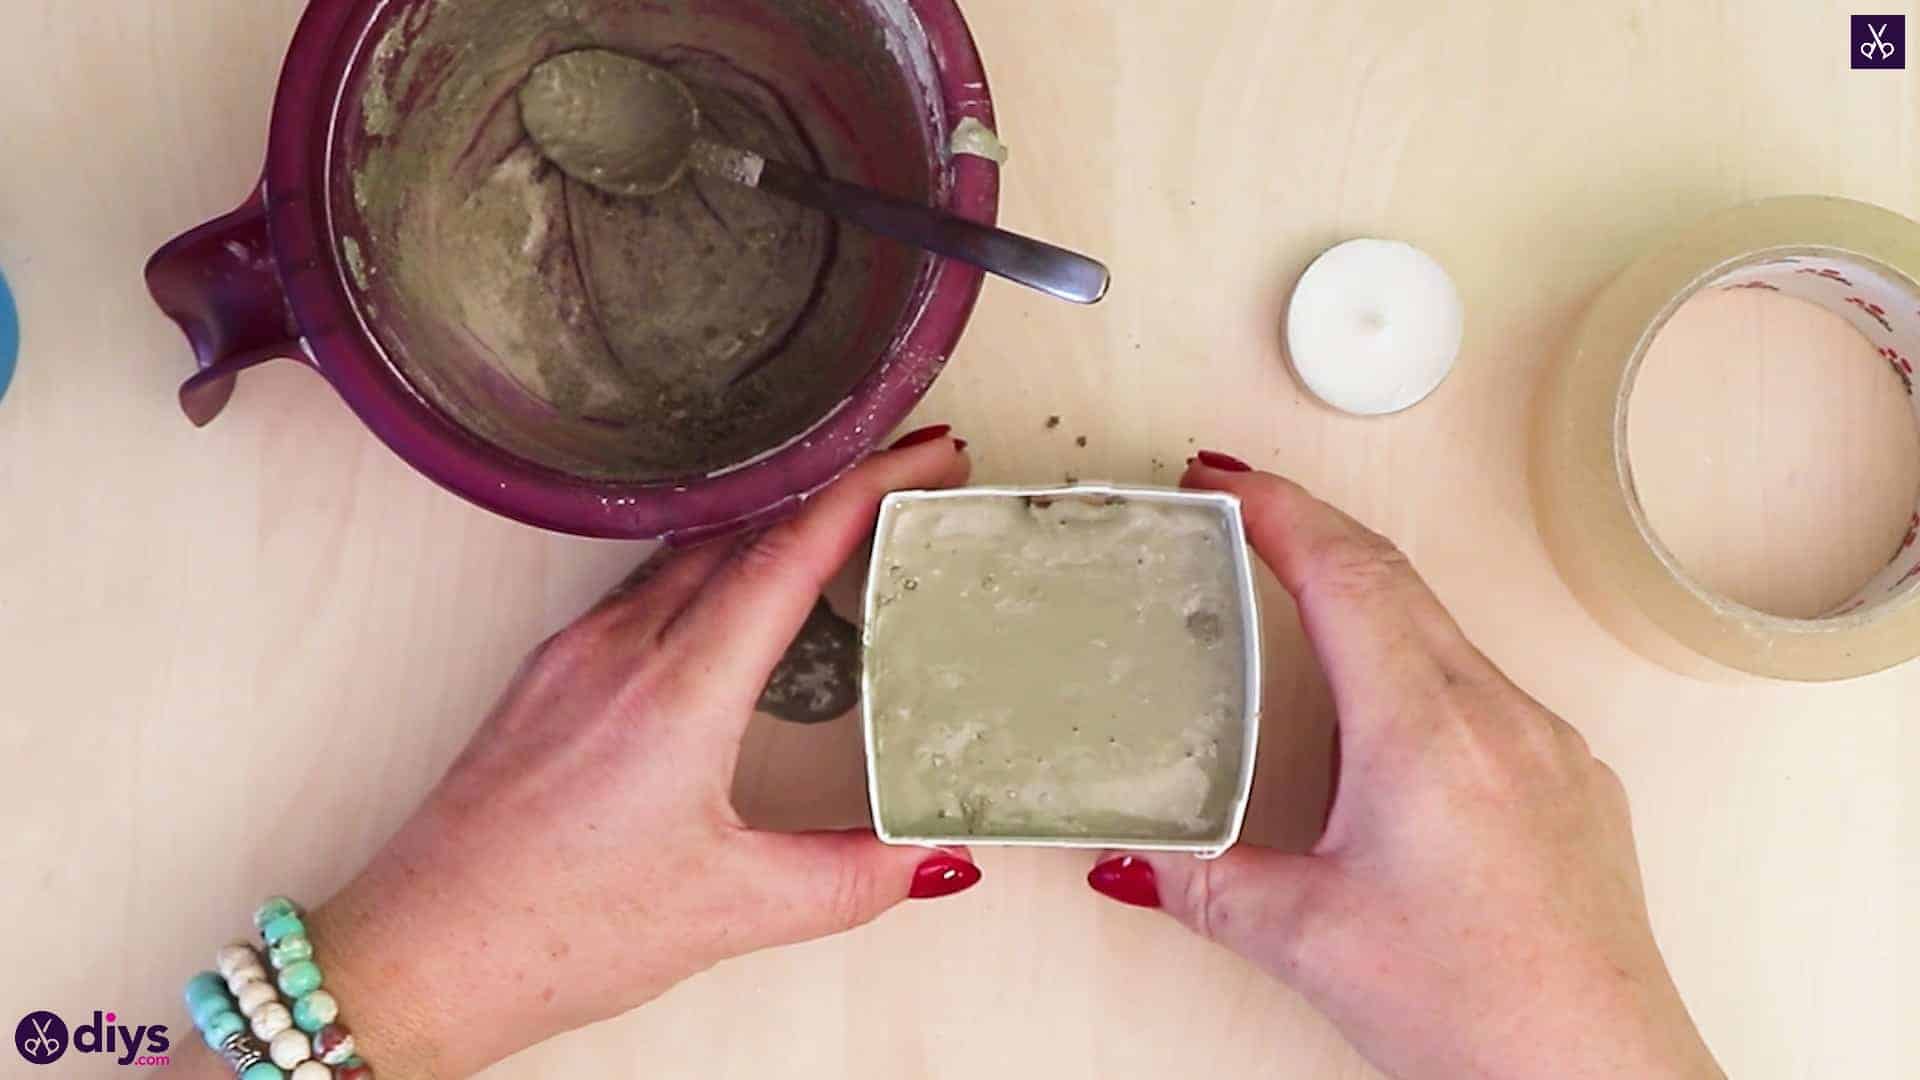
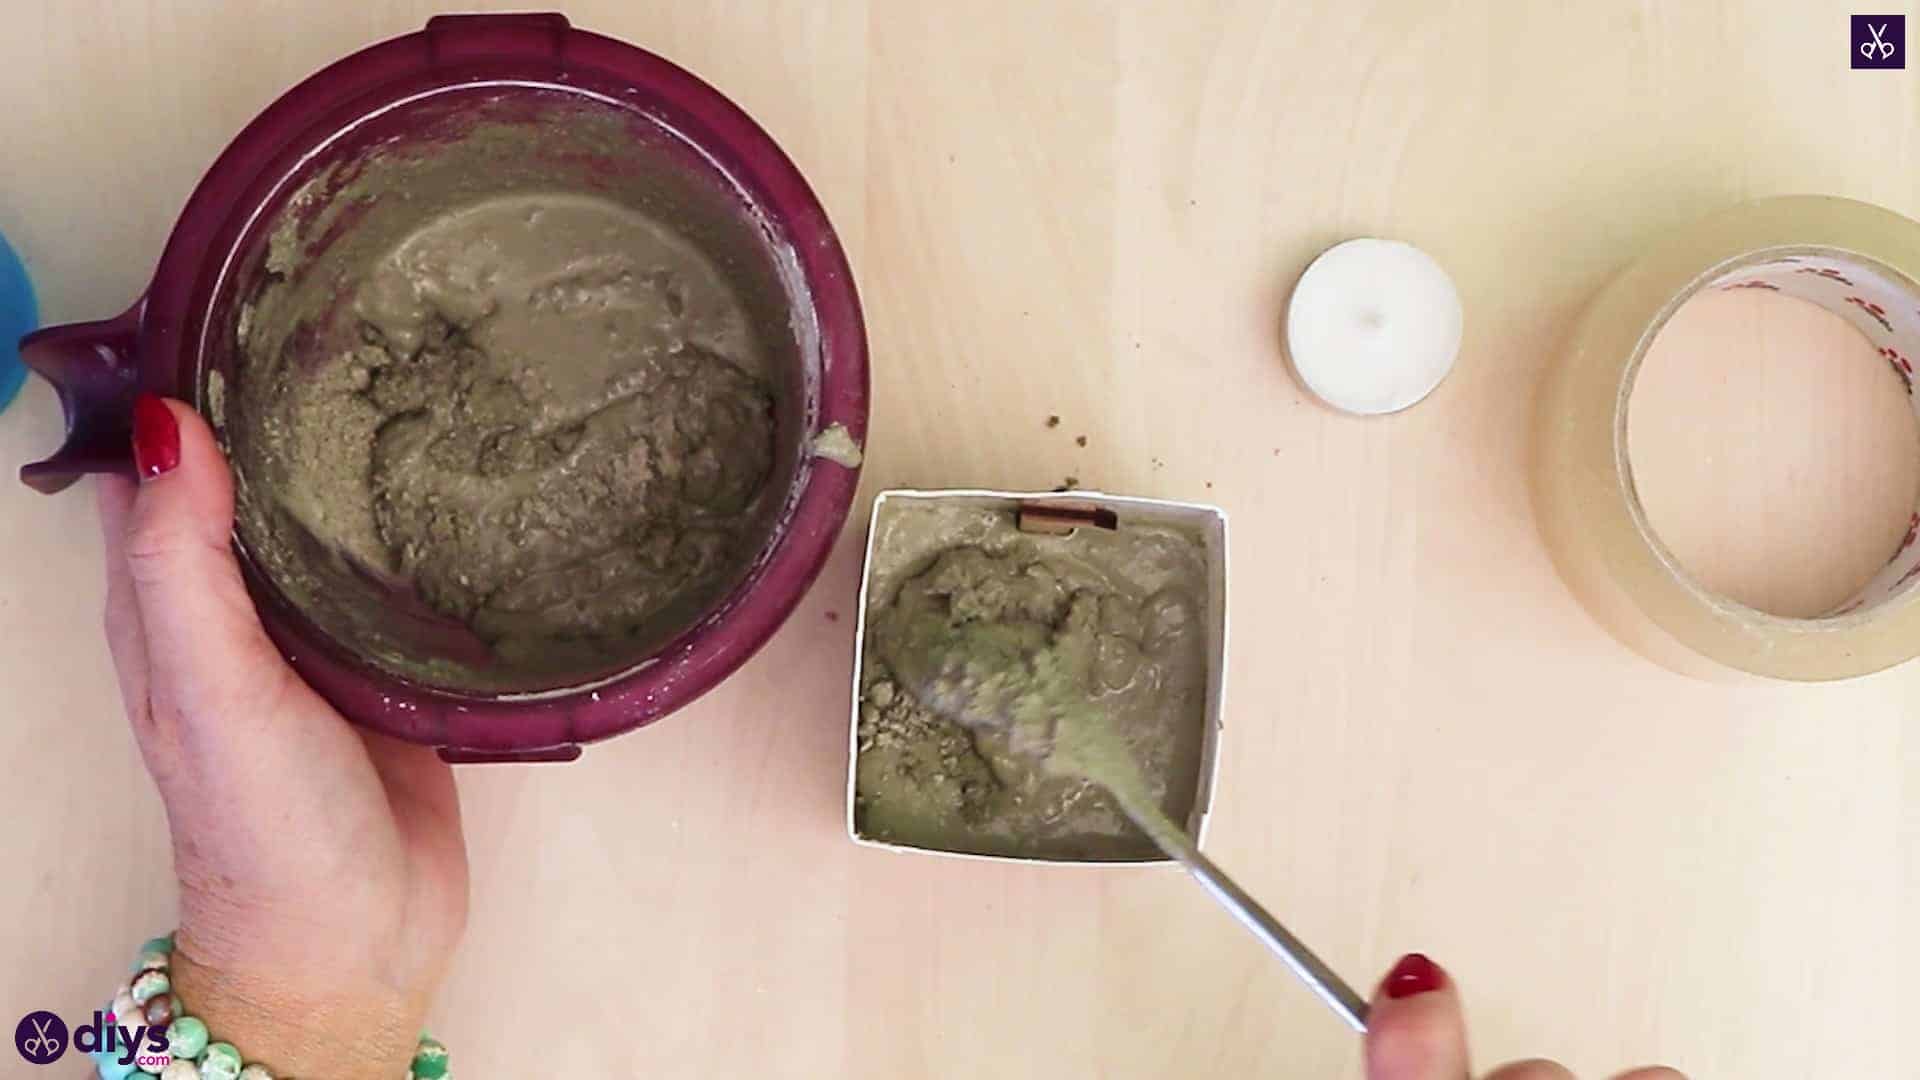
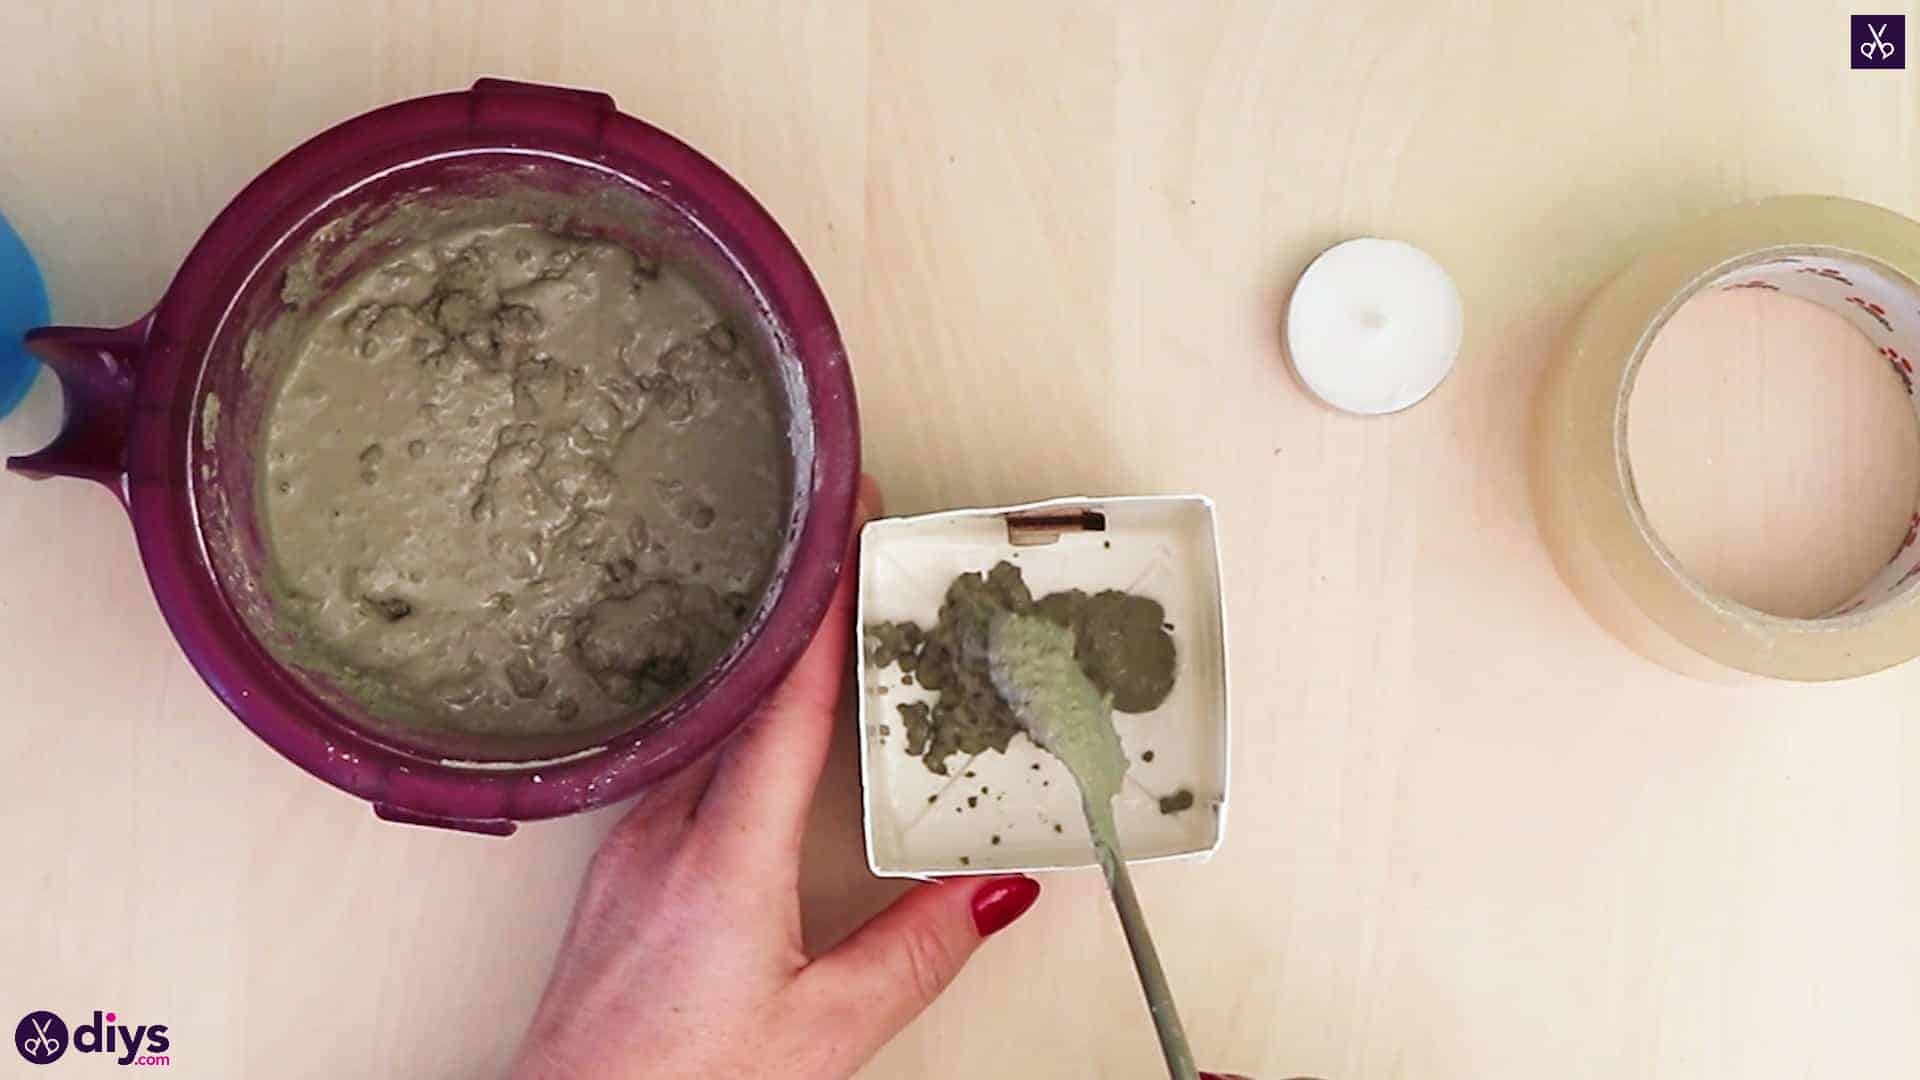
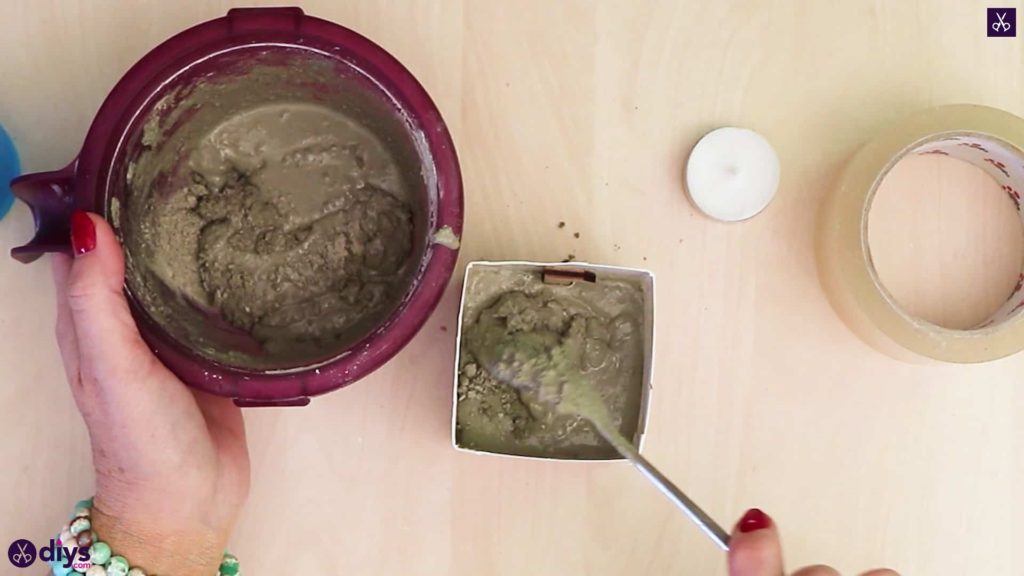
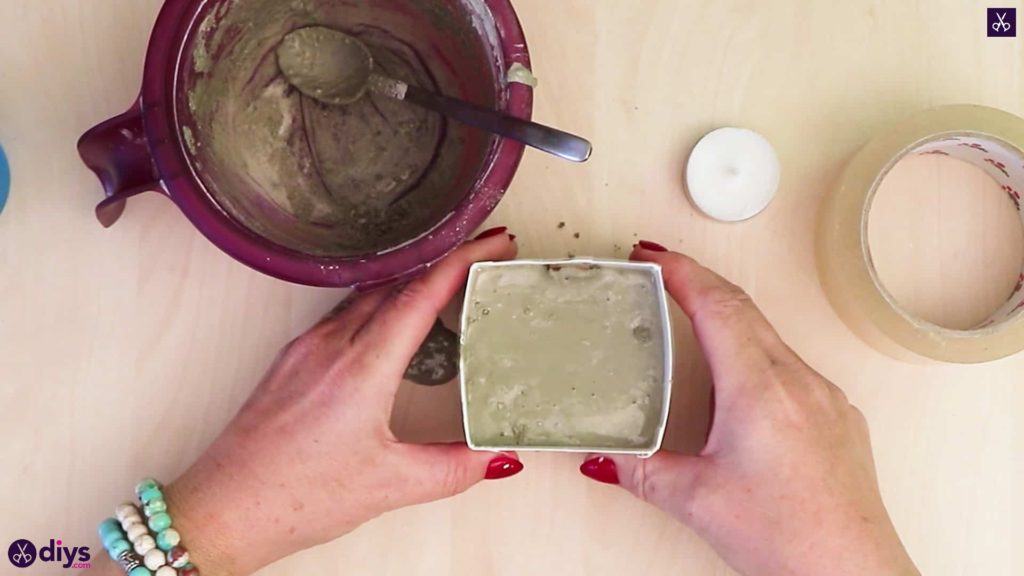
Use your spoon to fill your carton with concrete until it’s few centimetres from the top. Tap the bottom of the carton on the table top to smooth the wet mix nice and evenly across its top surface.
Step 7: press candle holder inside
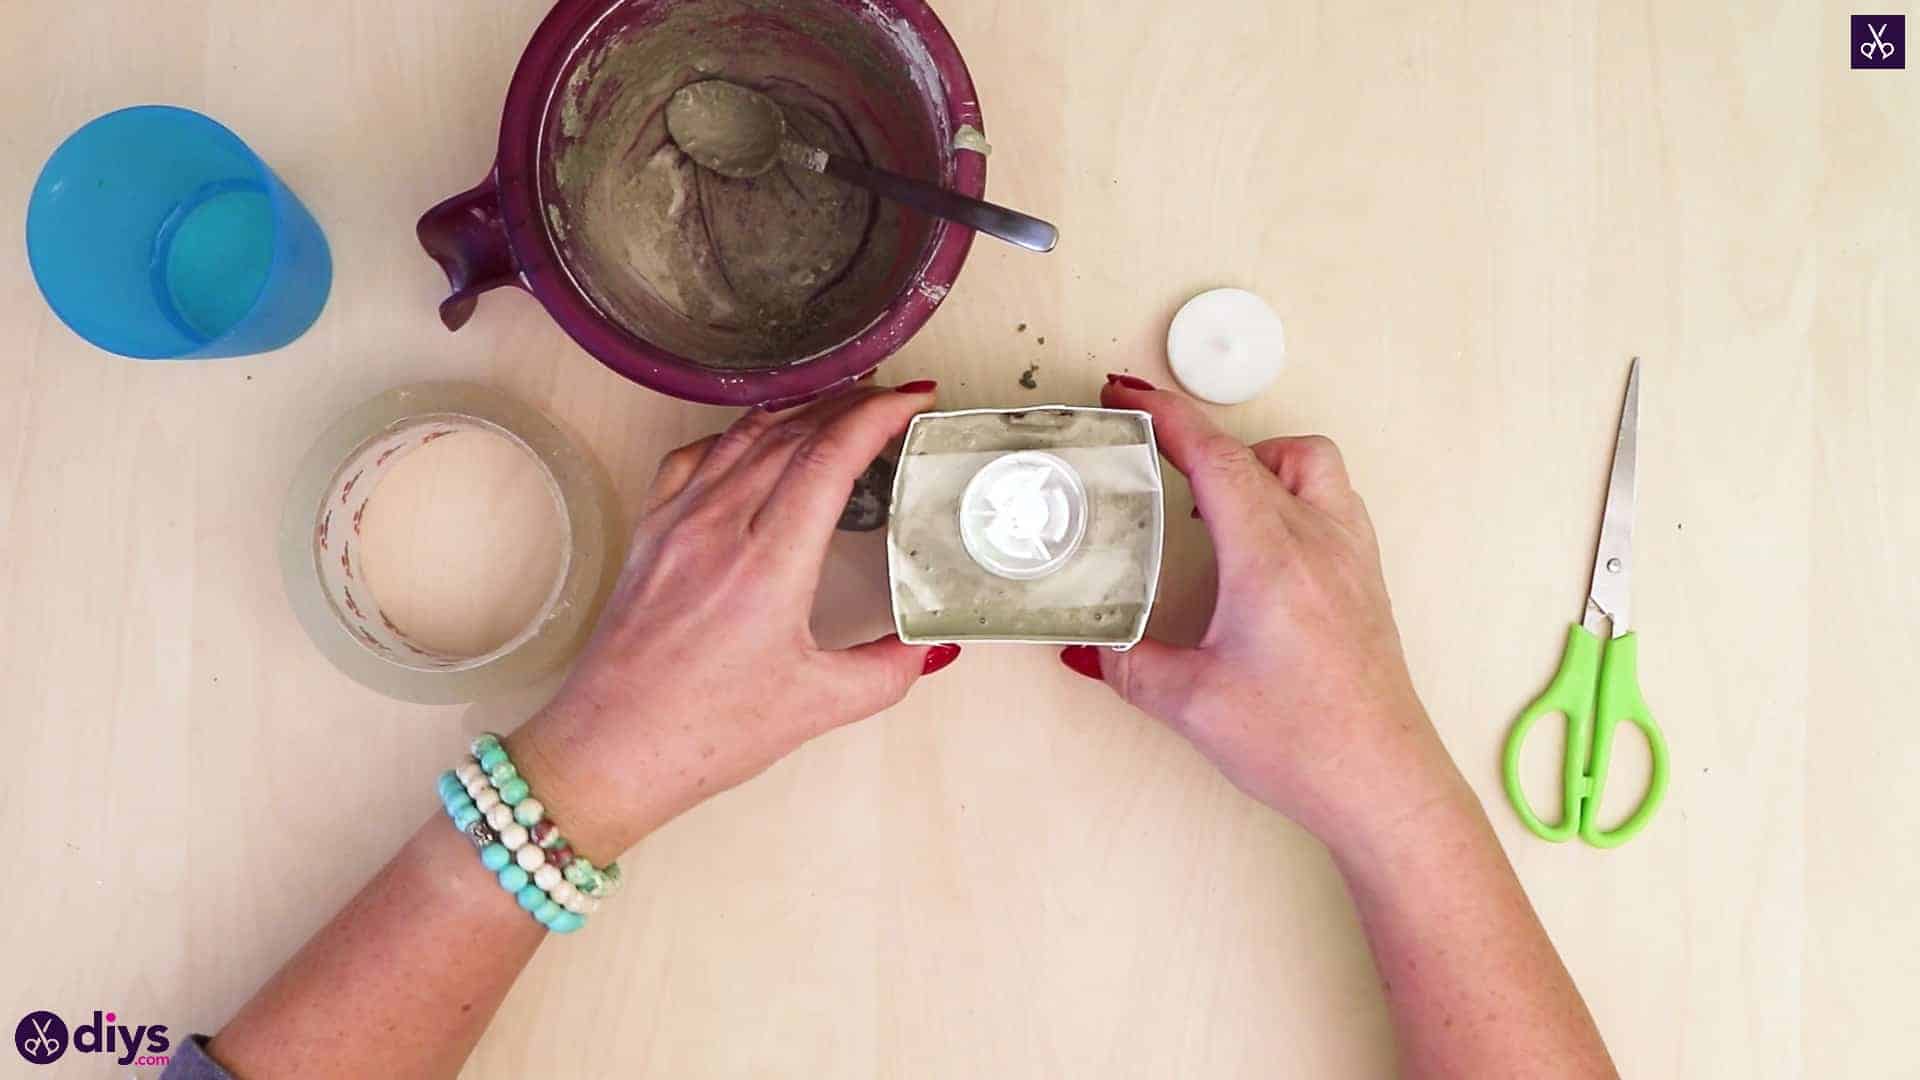
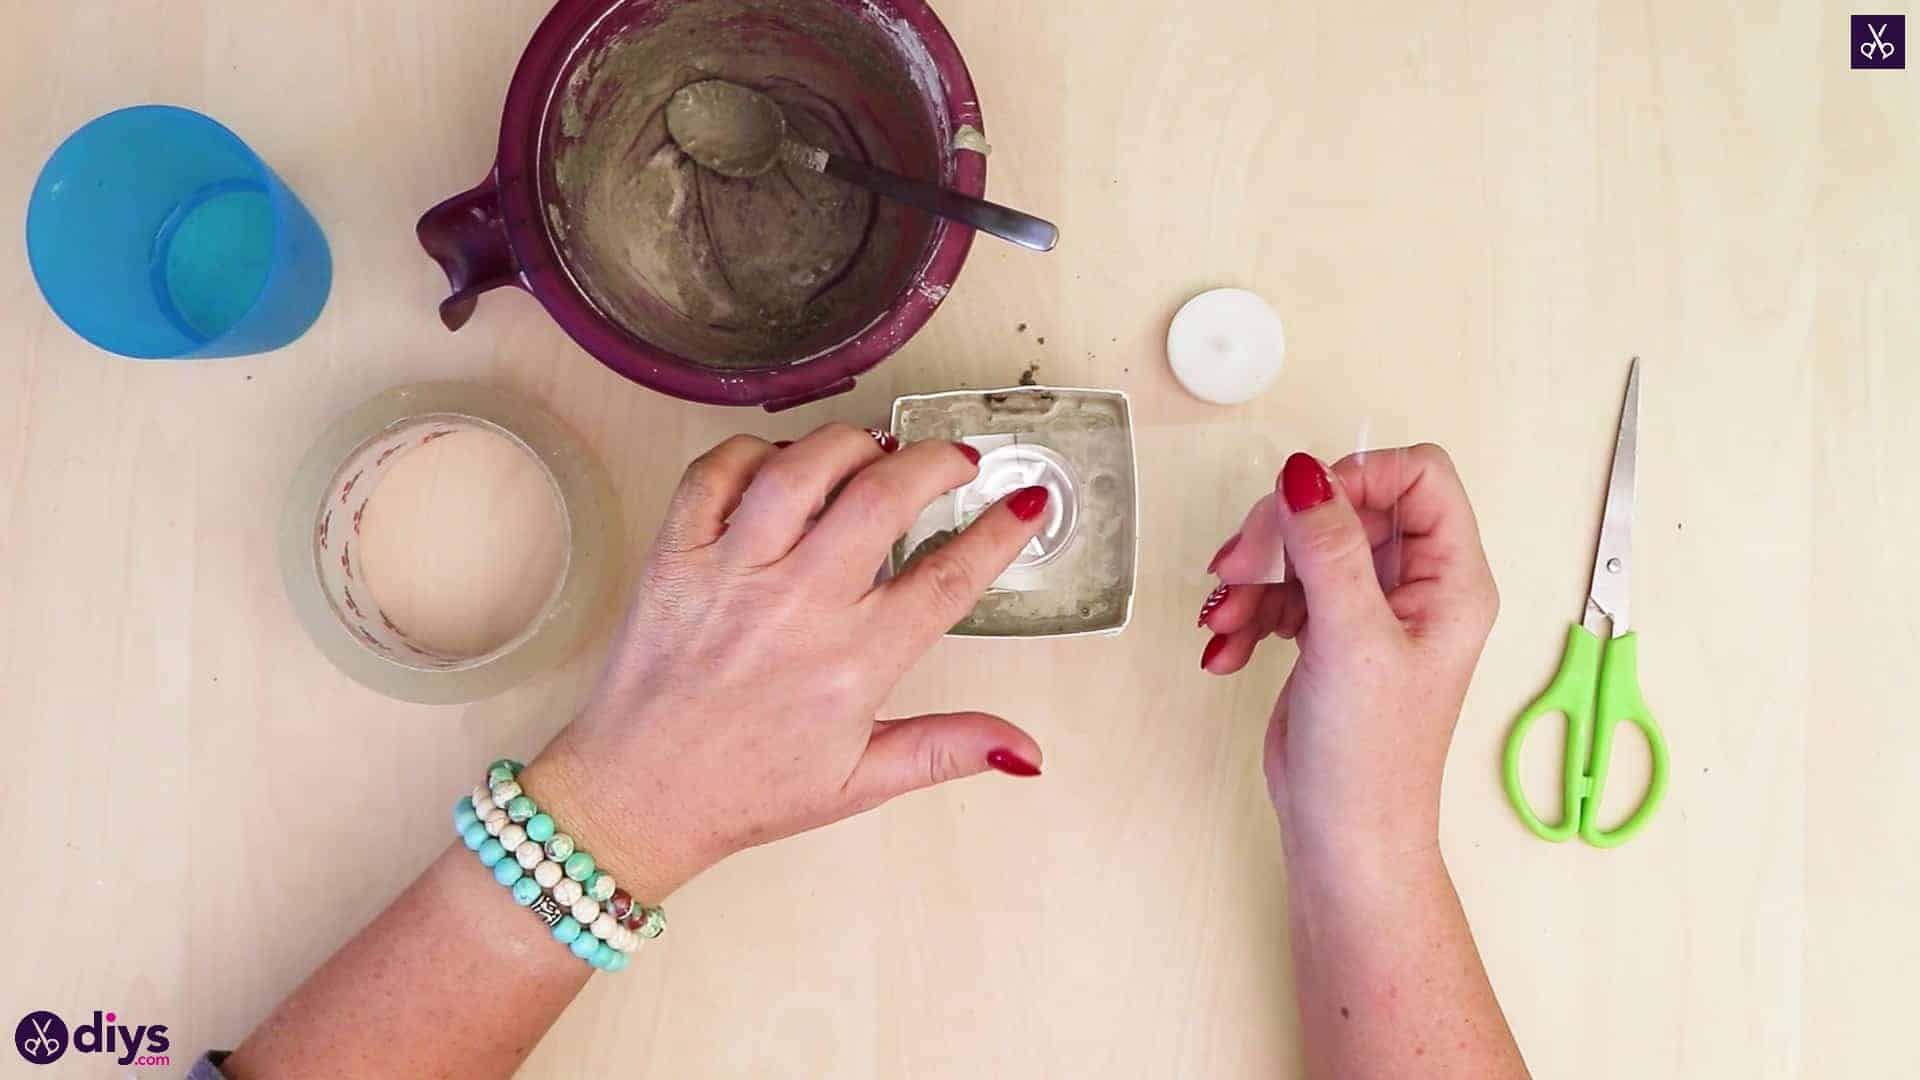
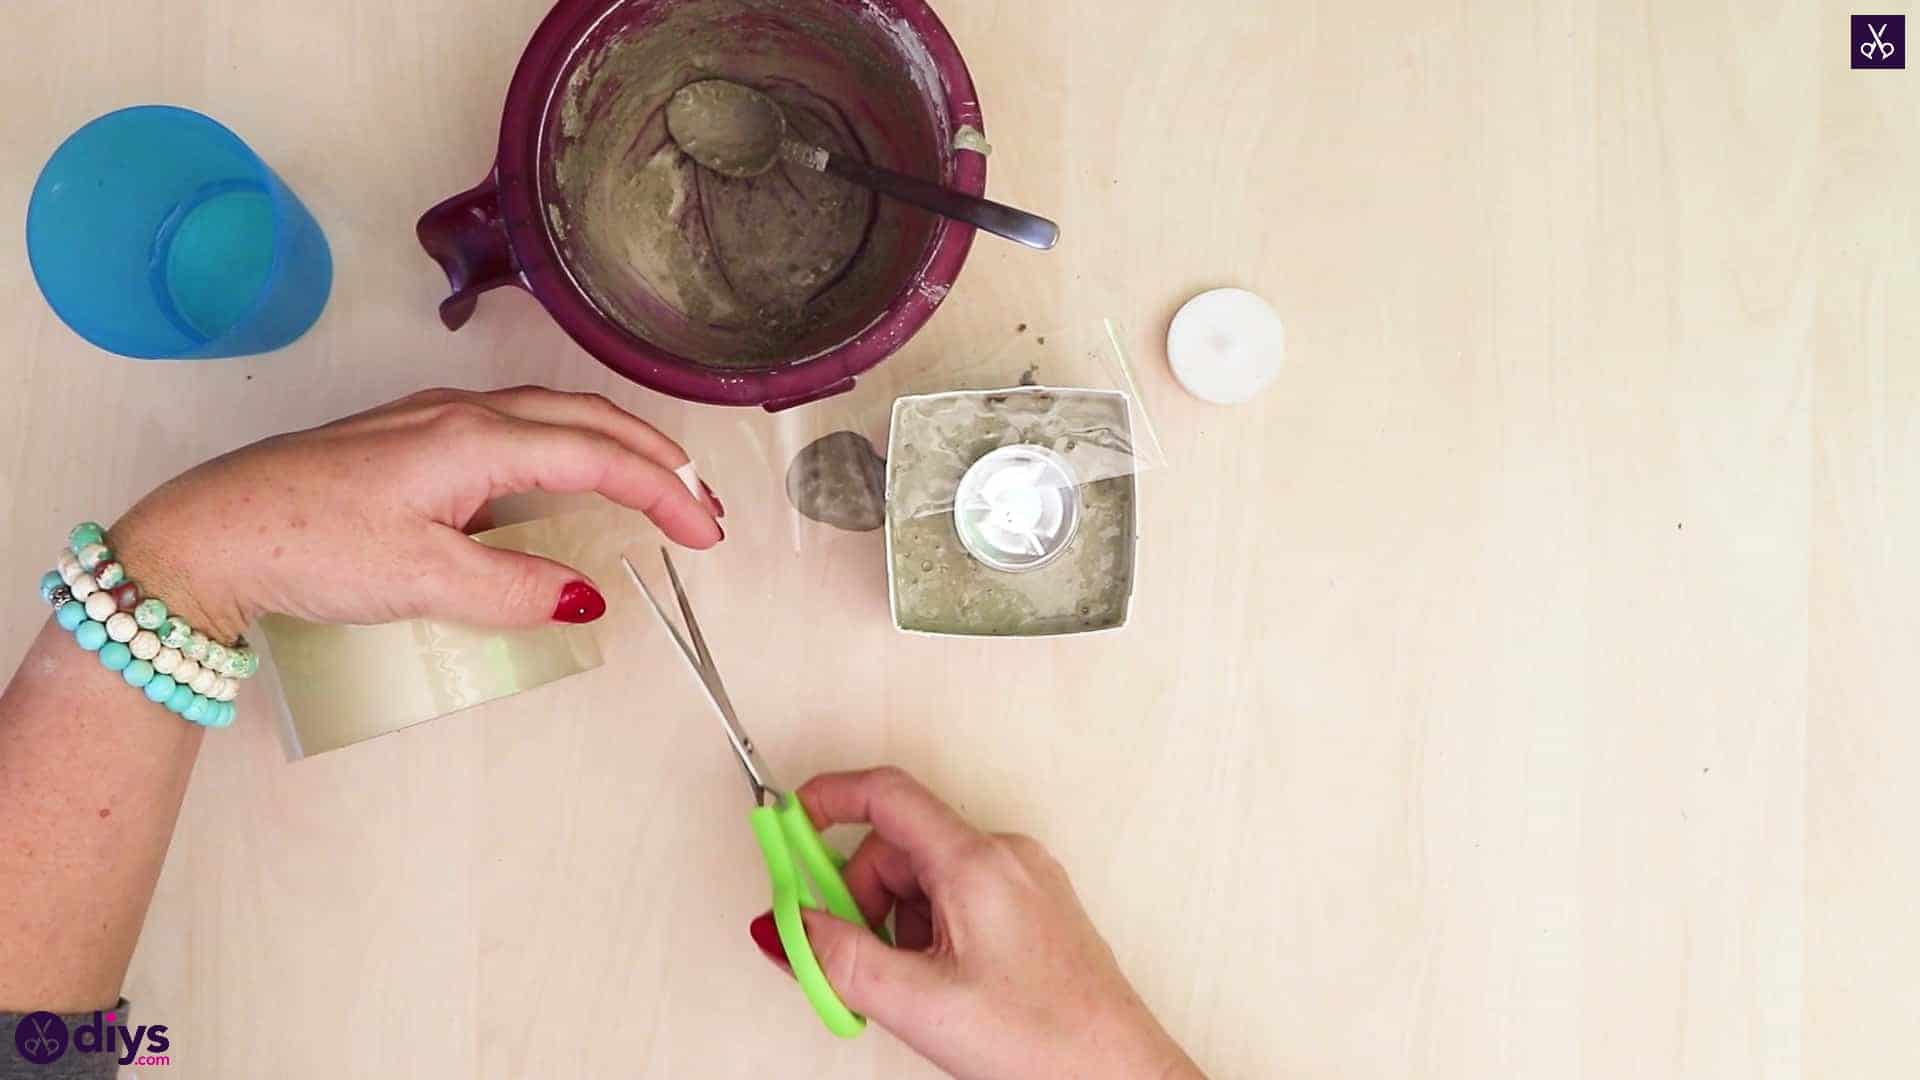
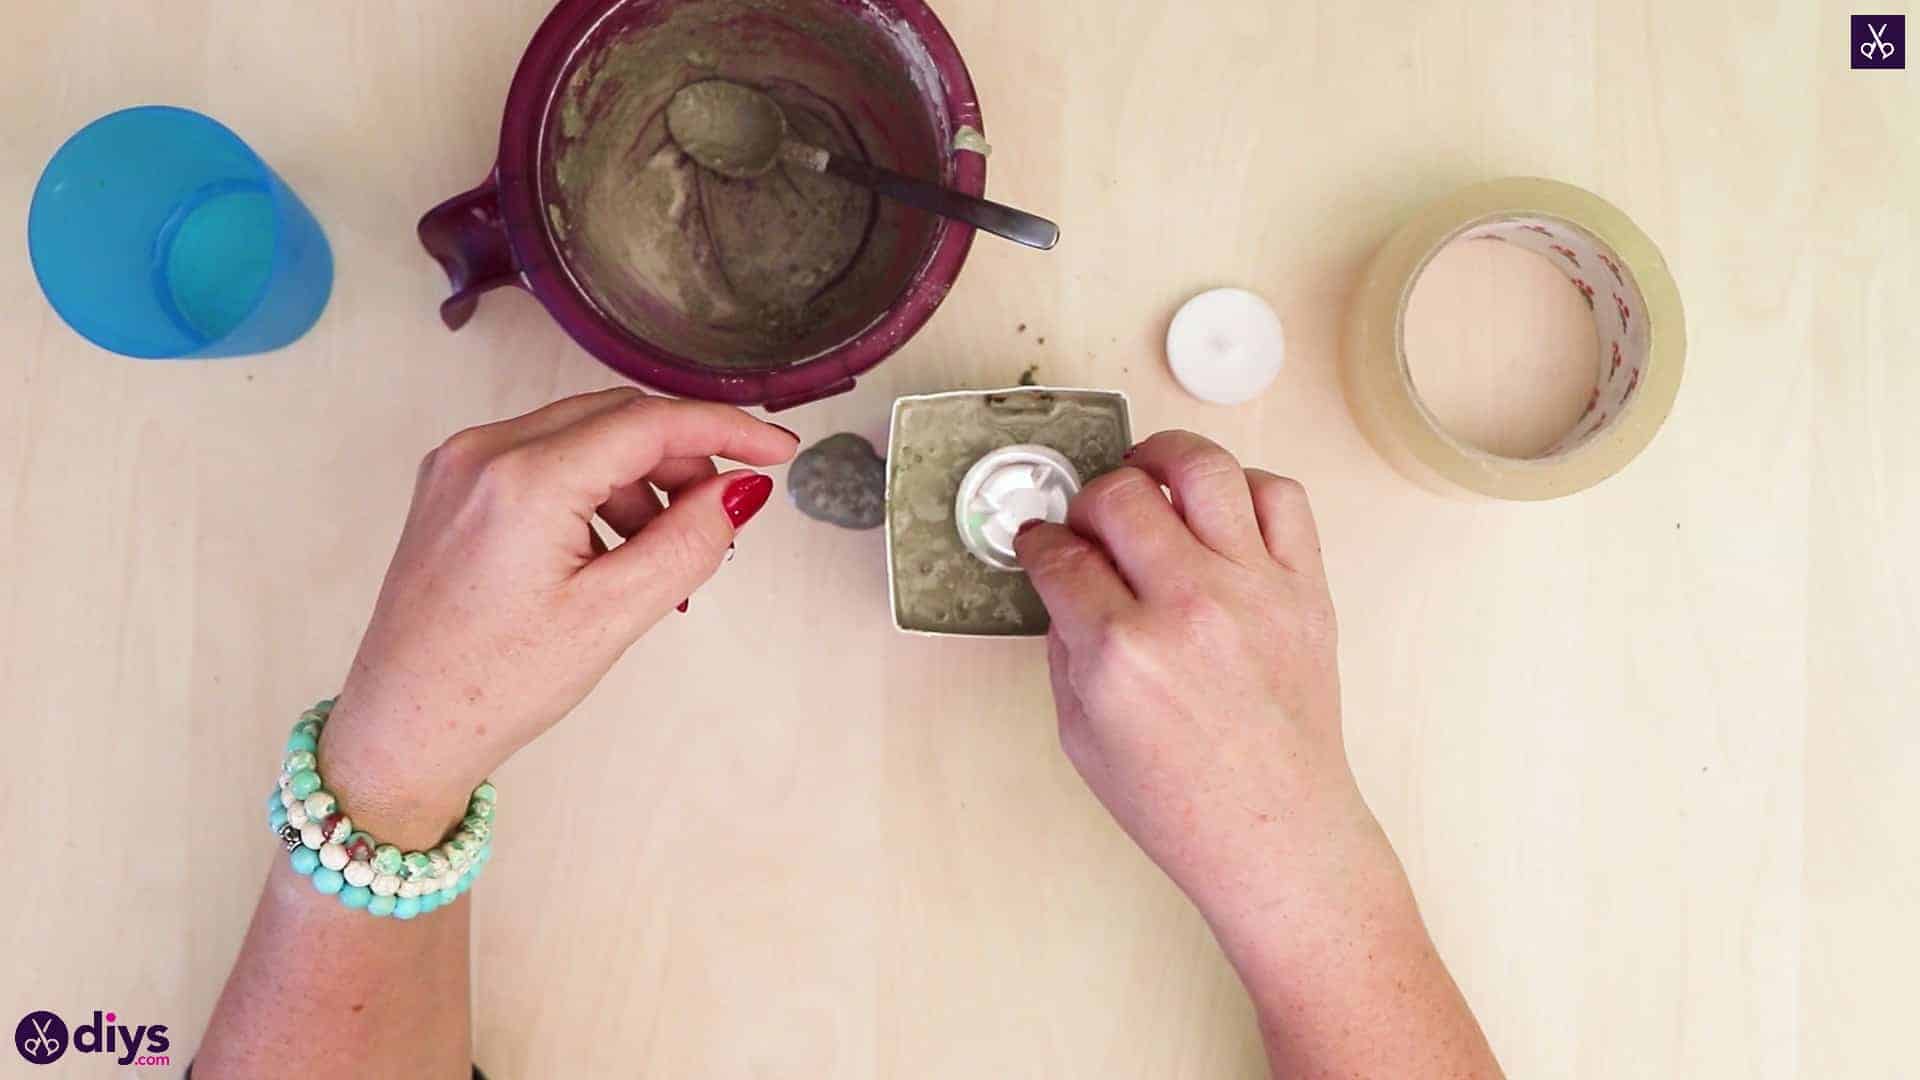
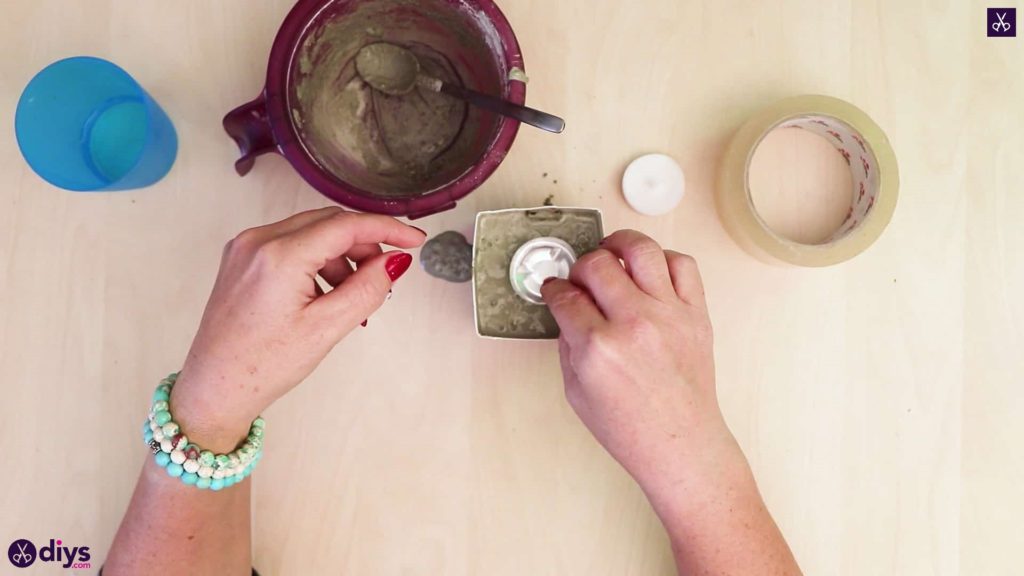
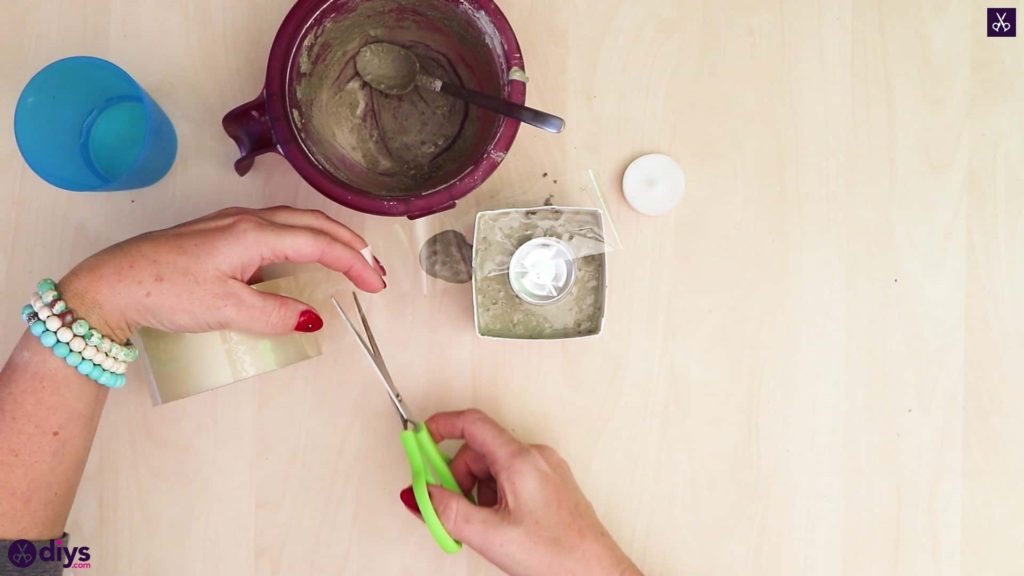
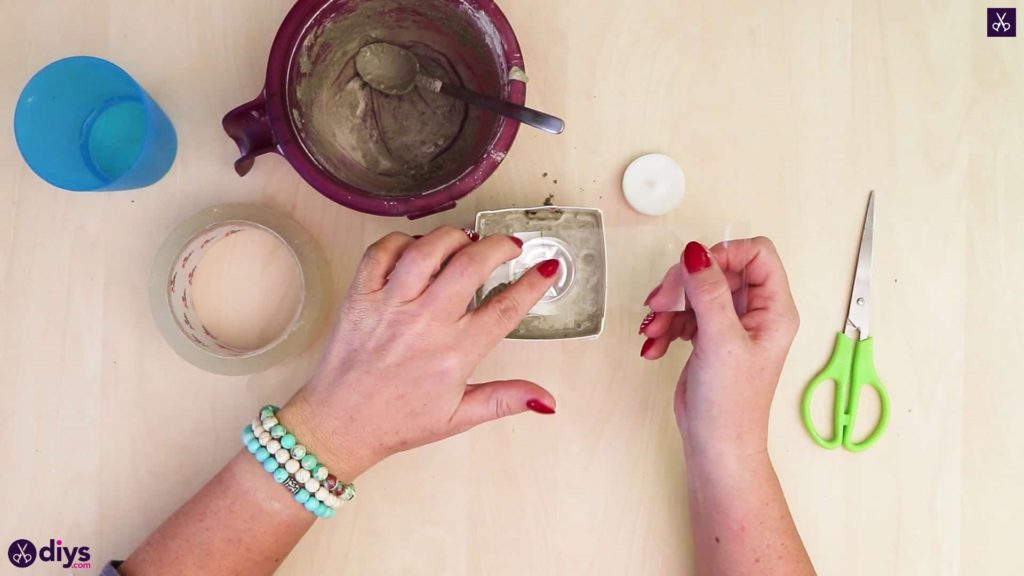
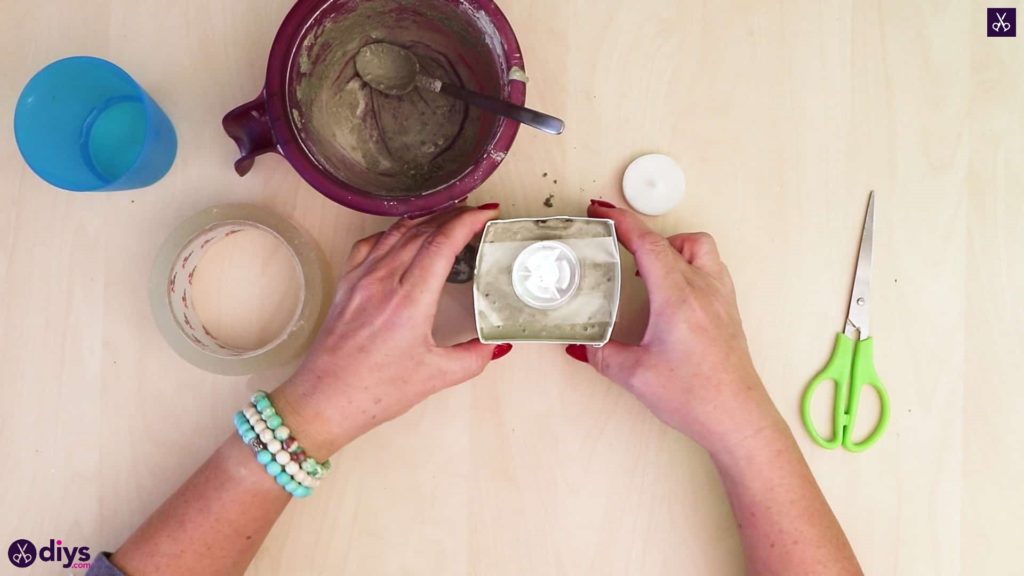
While the concrete is still wet, take your tea light candle out of its little metal holder and press the holder into the center of your wet concrete cube, so it nestles in the mix but doesn’t sink. Next, take a length of tape and stretch it across the top of your carton, from edge to edge, sticking it onto the top edges of the candle holder to keep it in place. Set the whole thing aside to dry.
Step 8: remove from mold
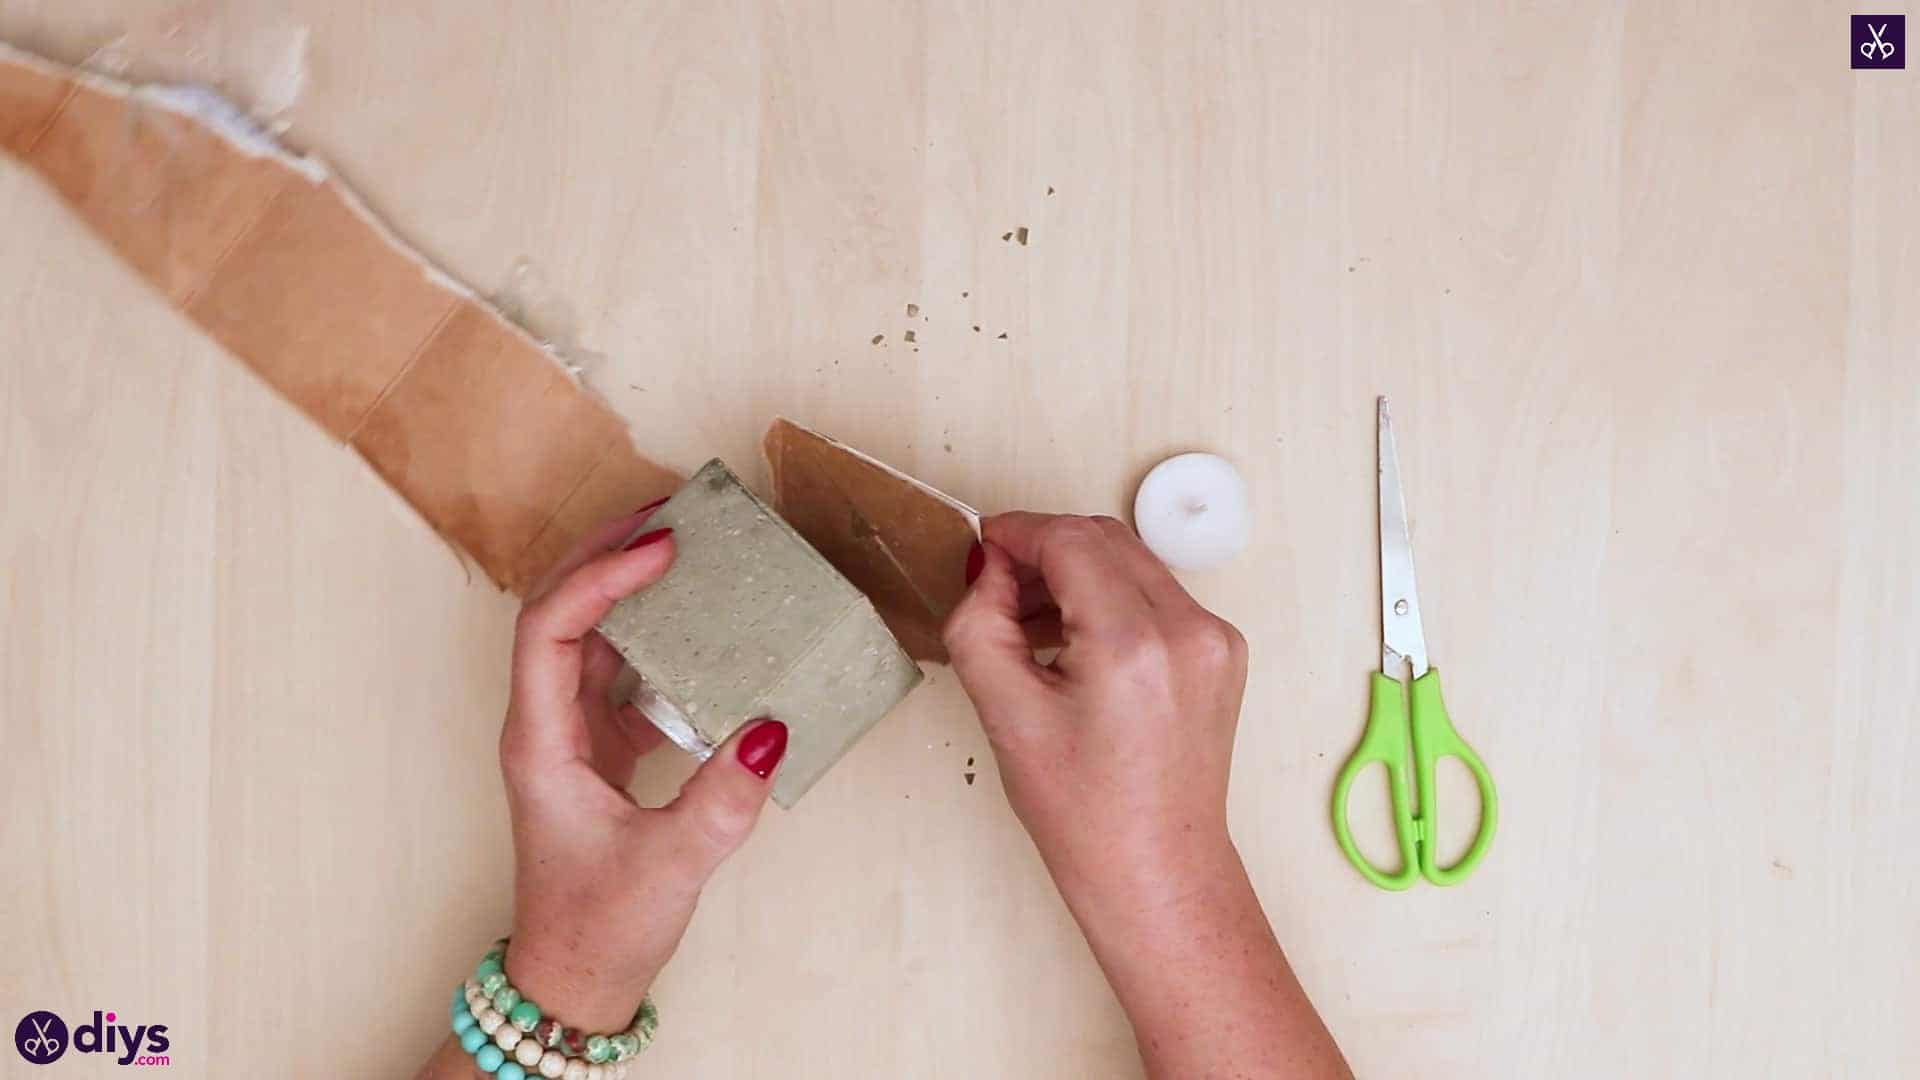
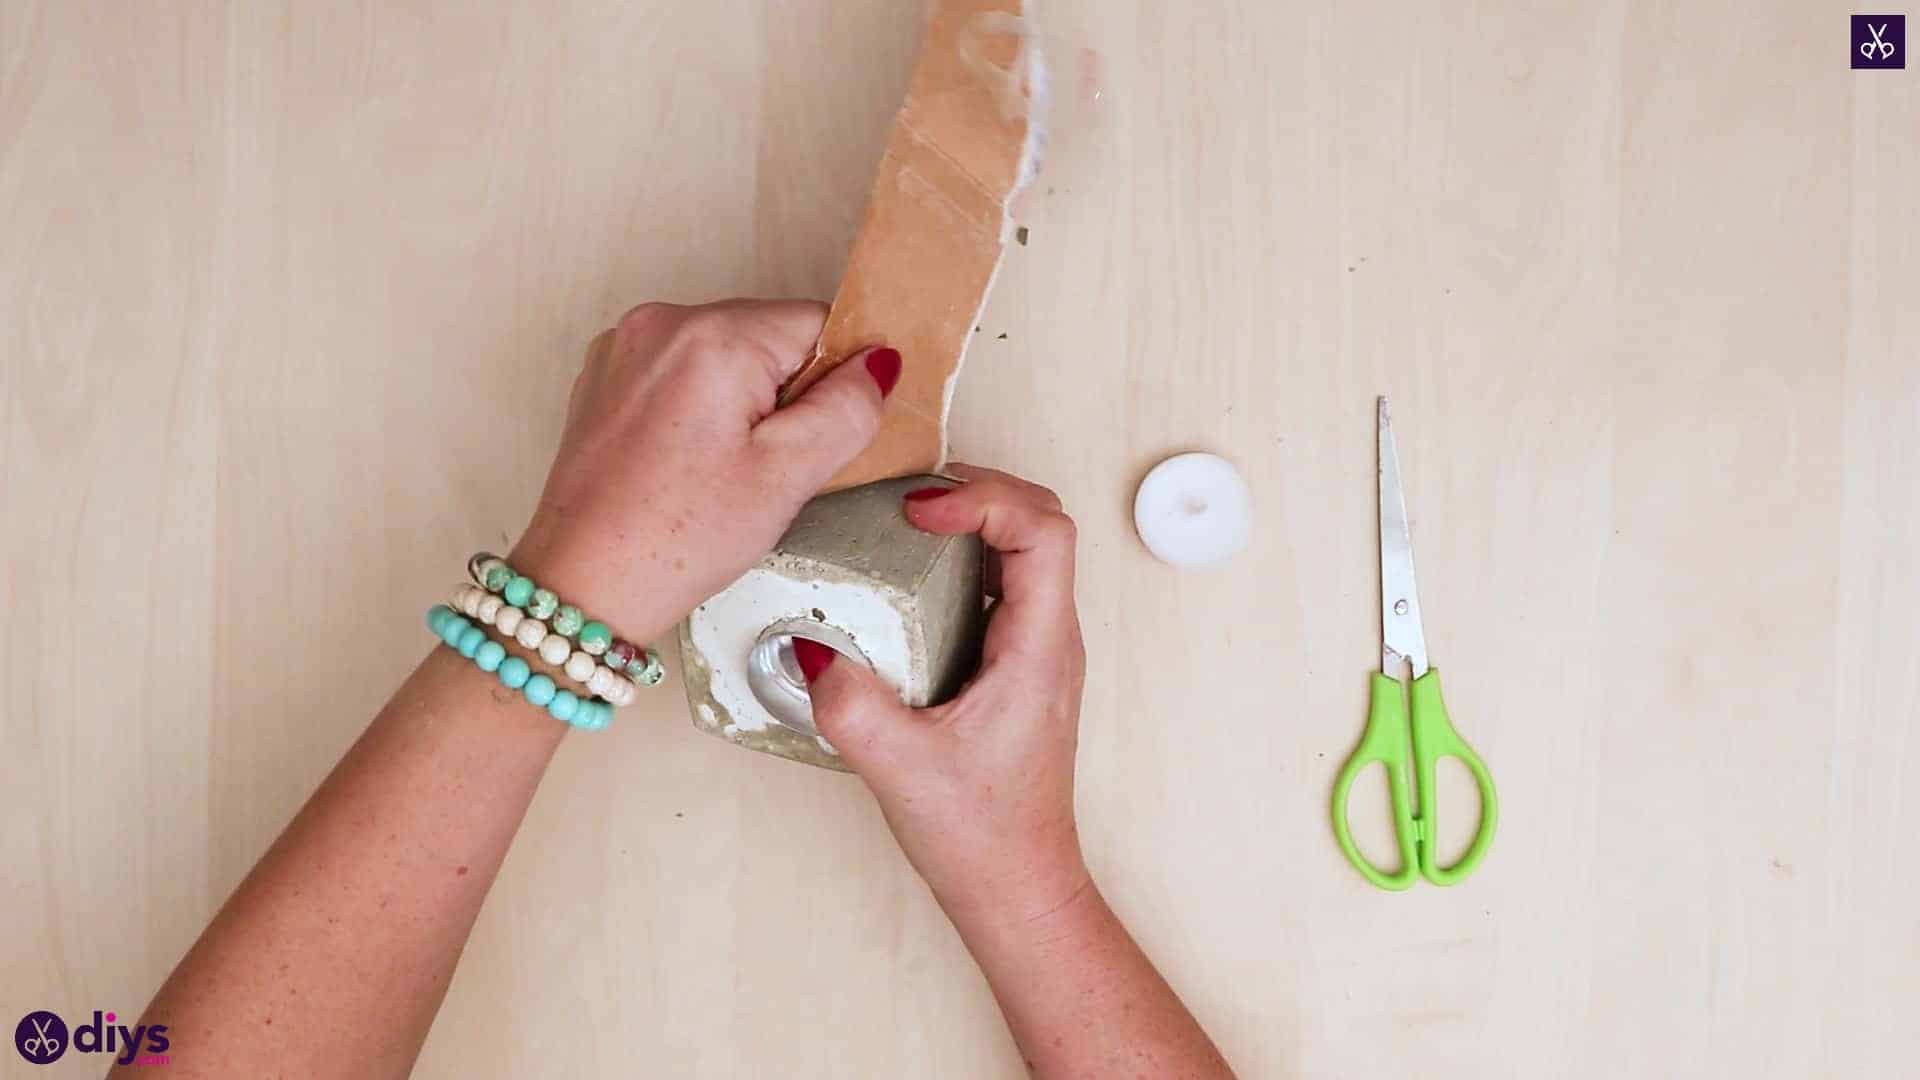
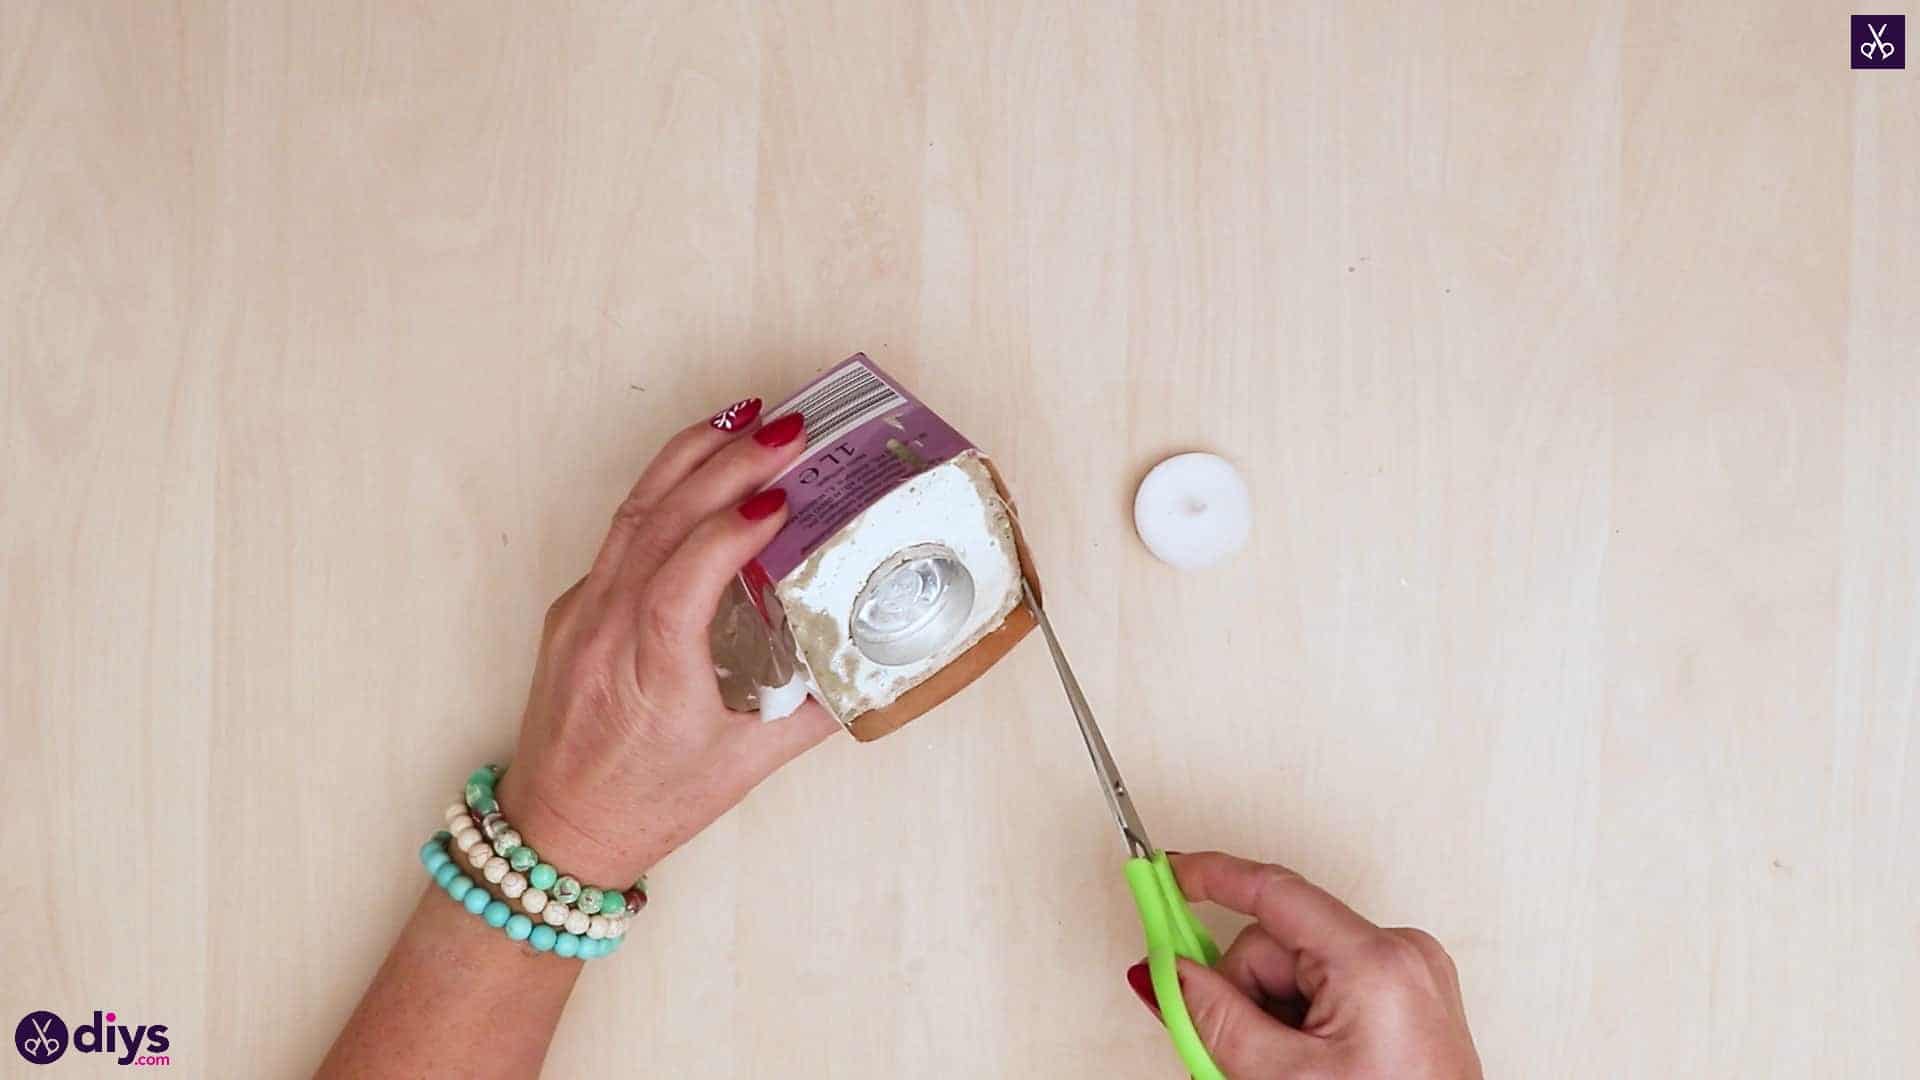
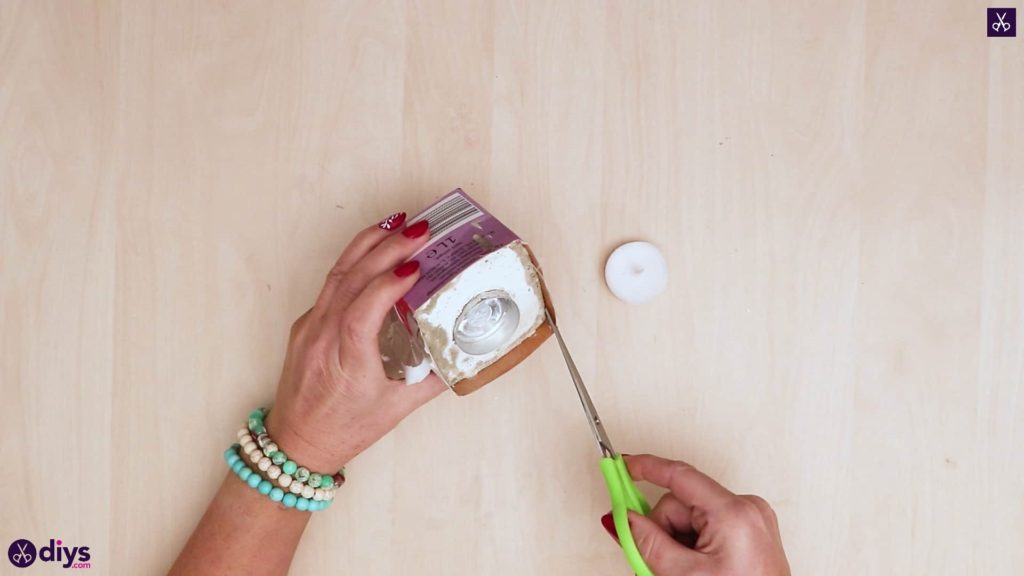
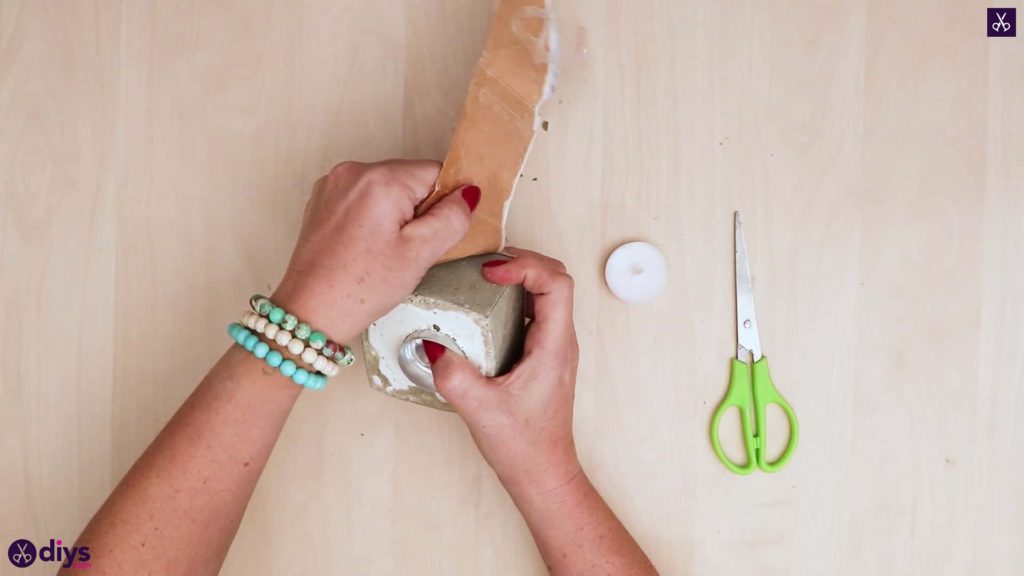
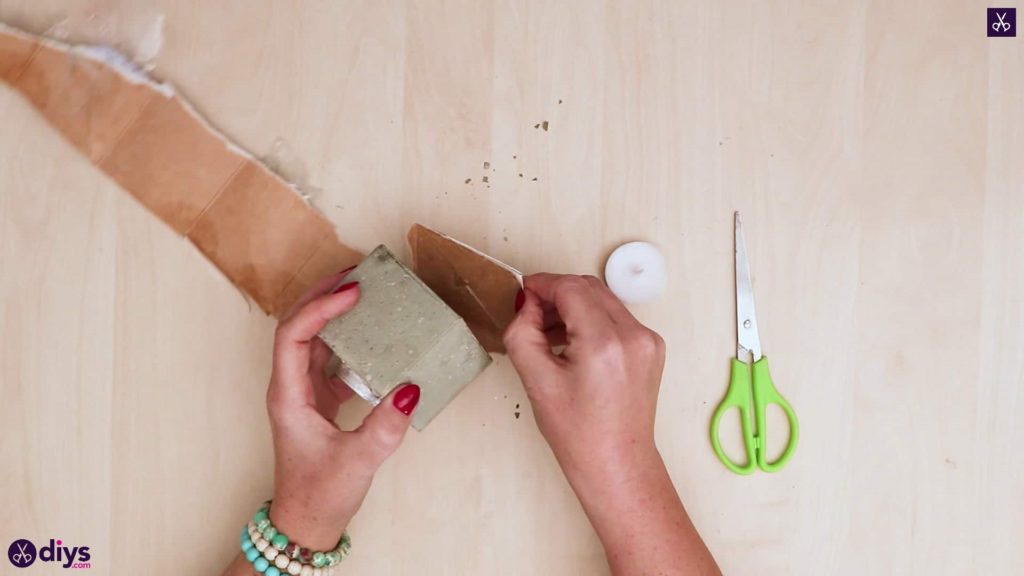
Once your concrete has dried thoroughly all the way through, make a cut with your scissors to start and pull the carton away from the newly formed concrete block. Tear the paper away from its surface until the candle holder is completely free. You’ll notice that the wooden number comes away from the concrete as well, leaving behind an indentation in its shape on the side of the cube.
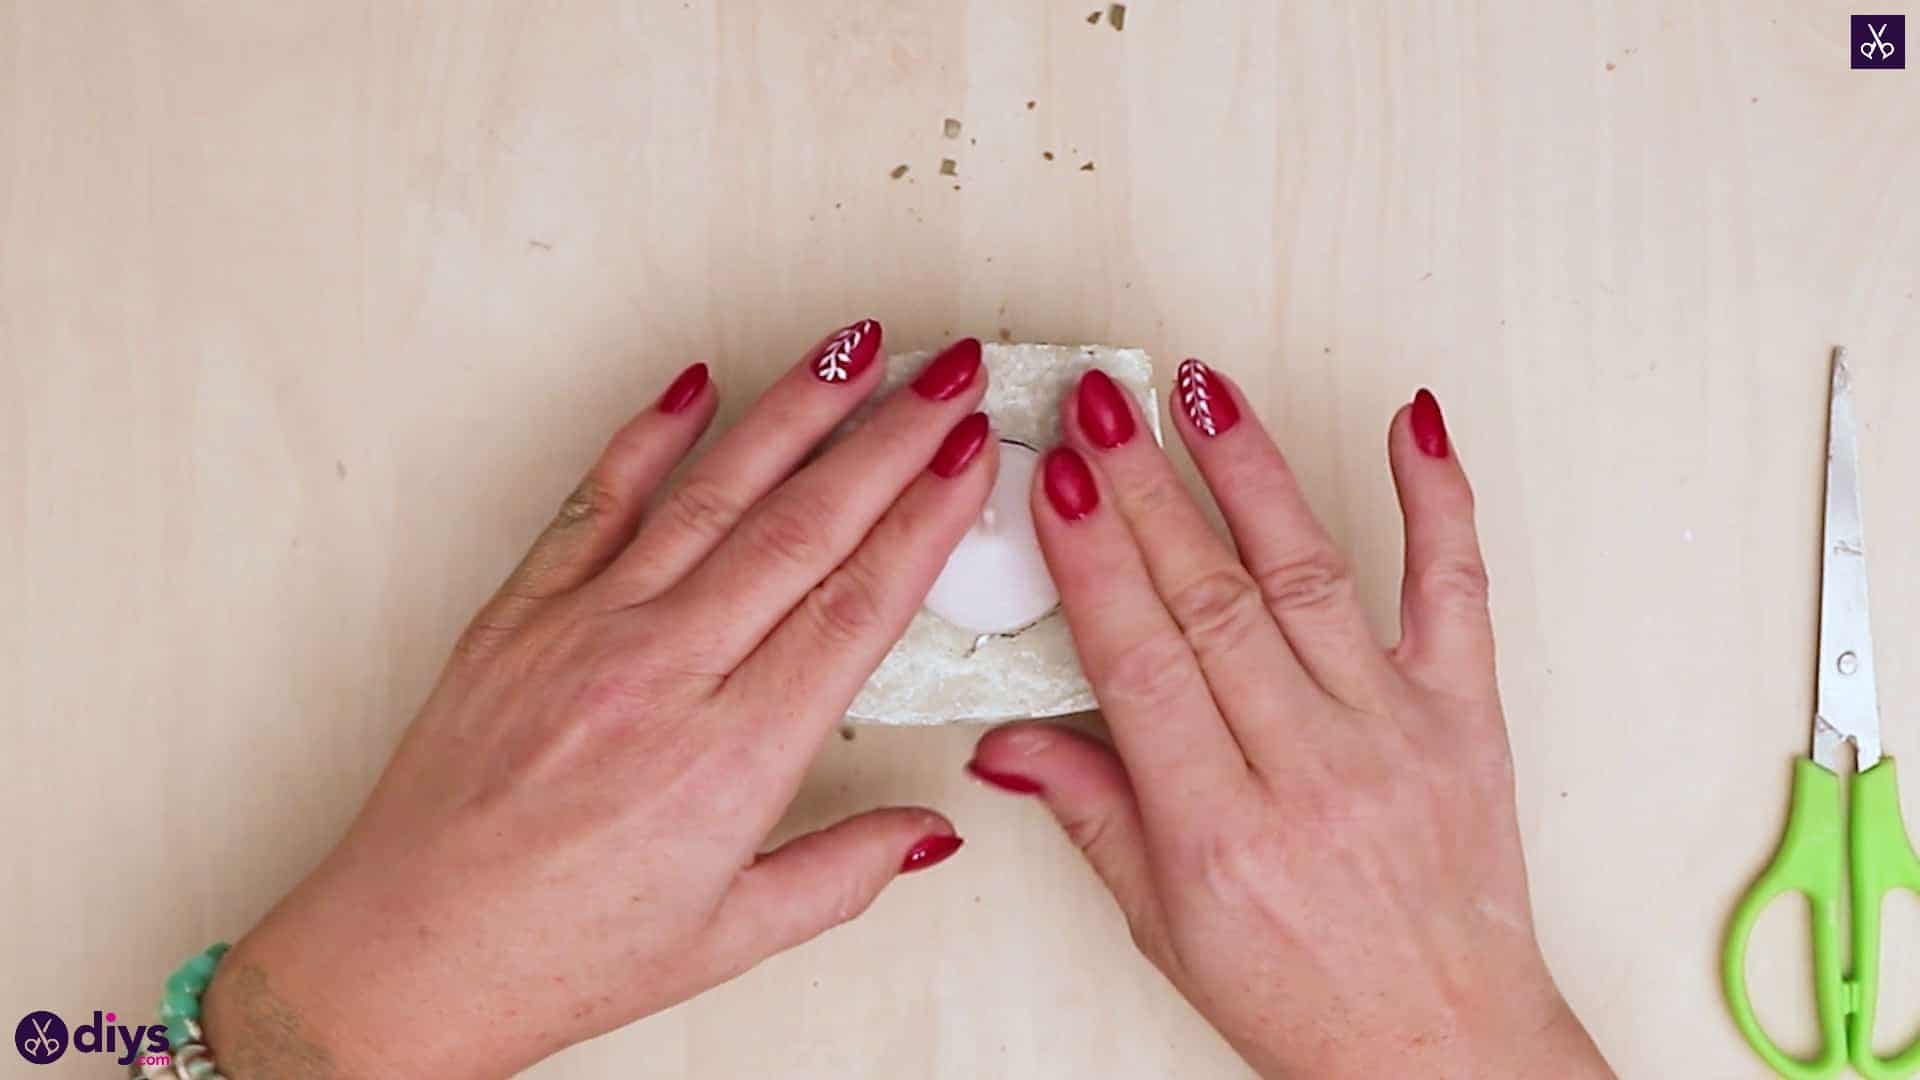
Step 9: put candle in
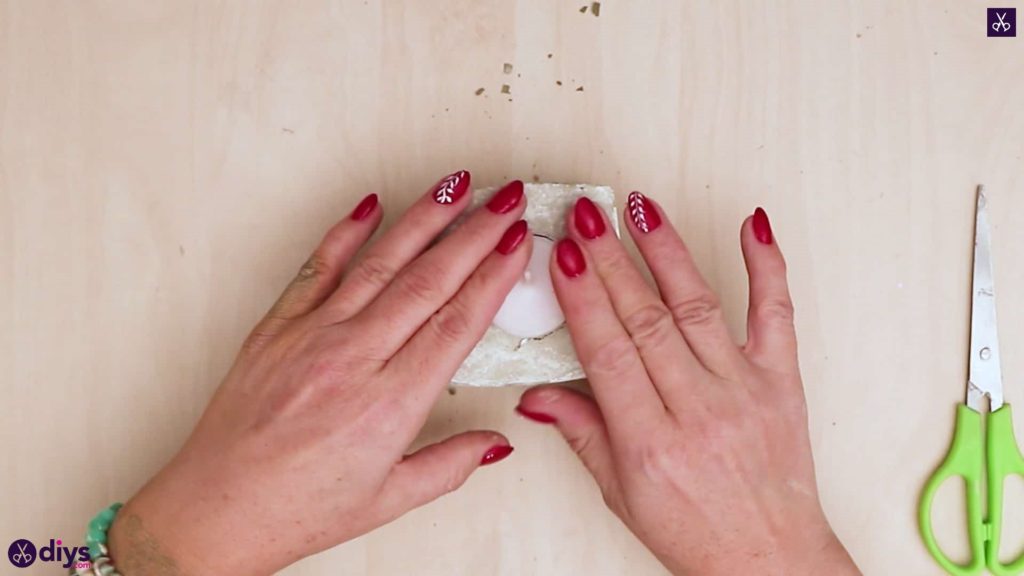
Press the candle back into place in its holder, which is now lodged in the center top of the concrete candle holder.
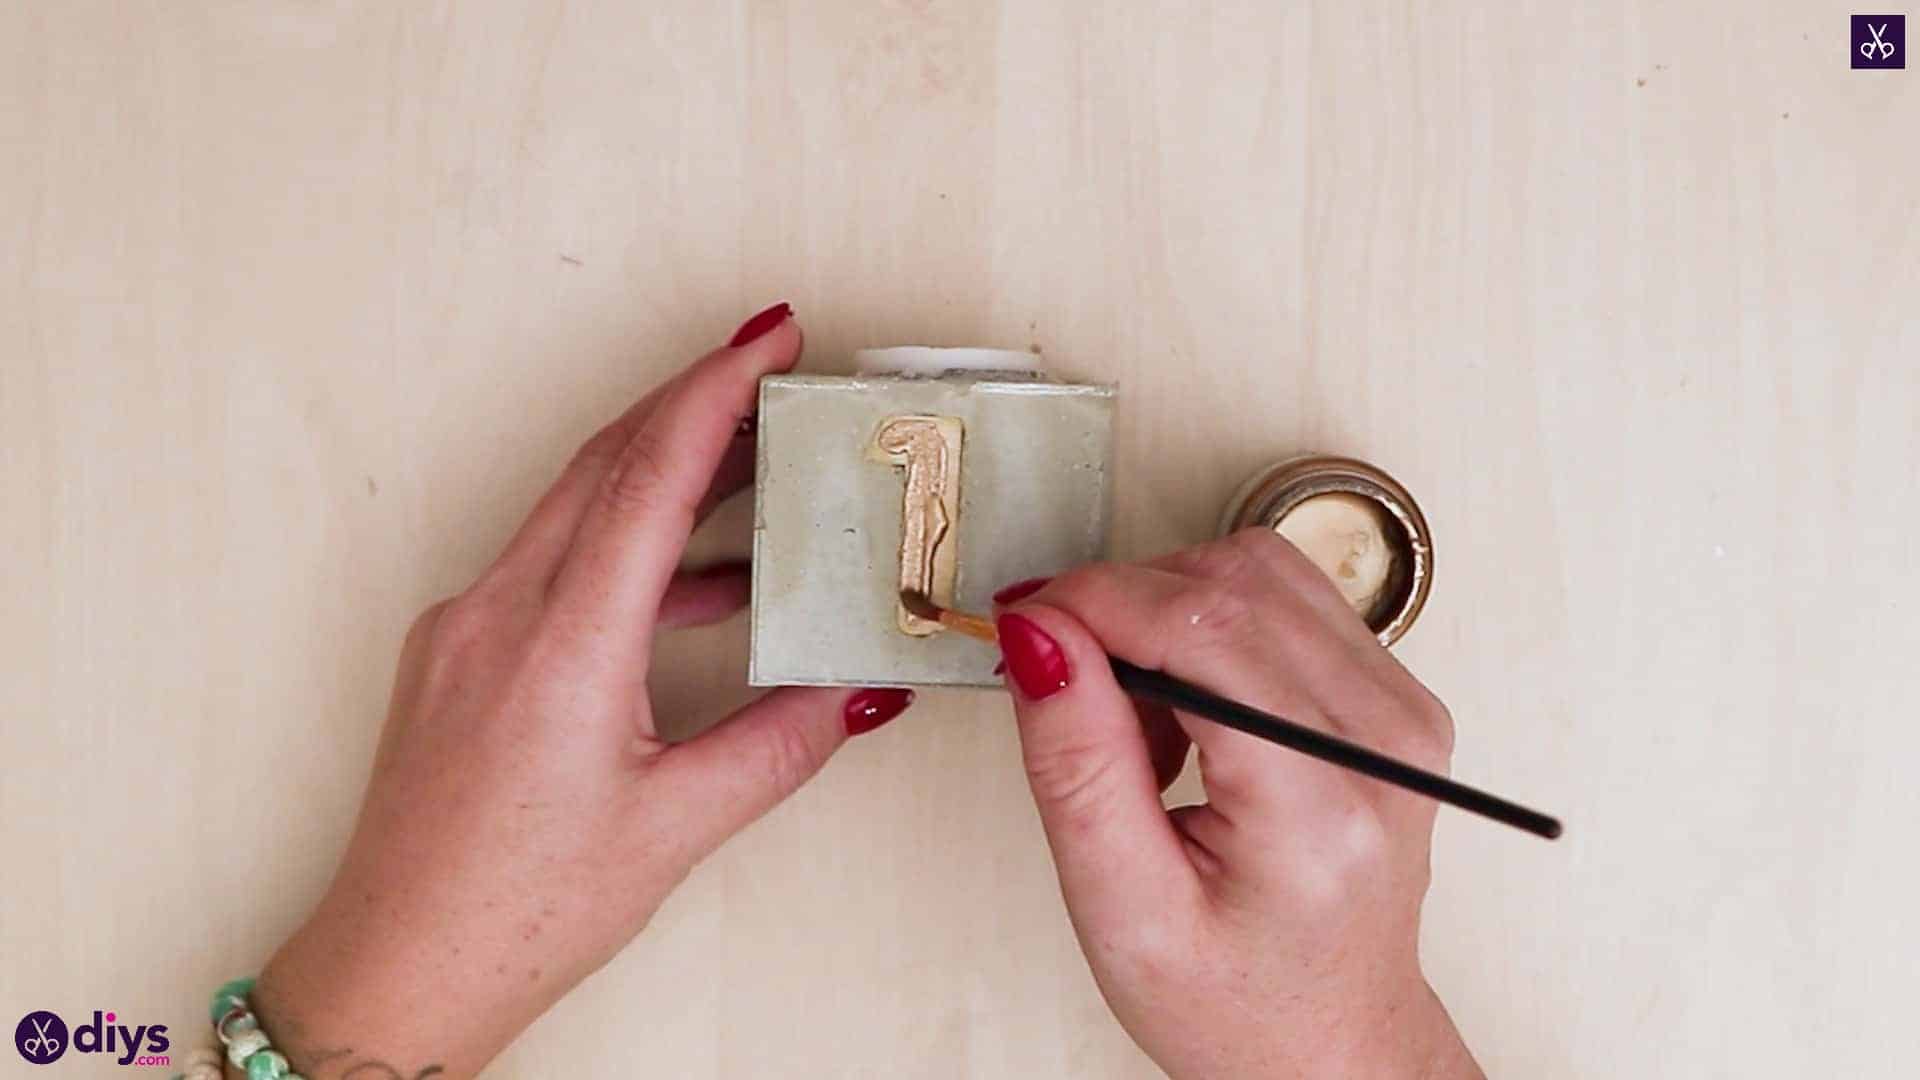
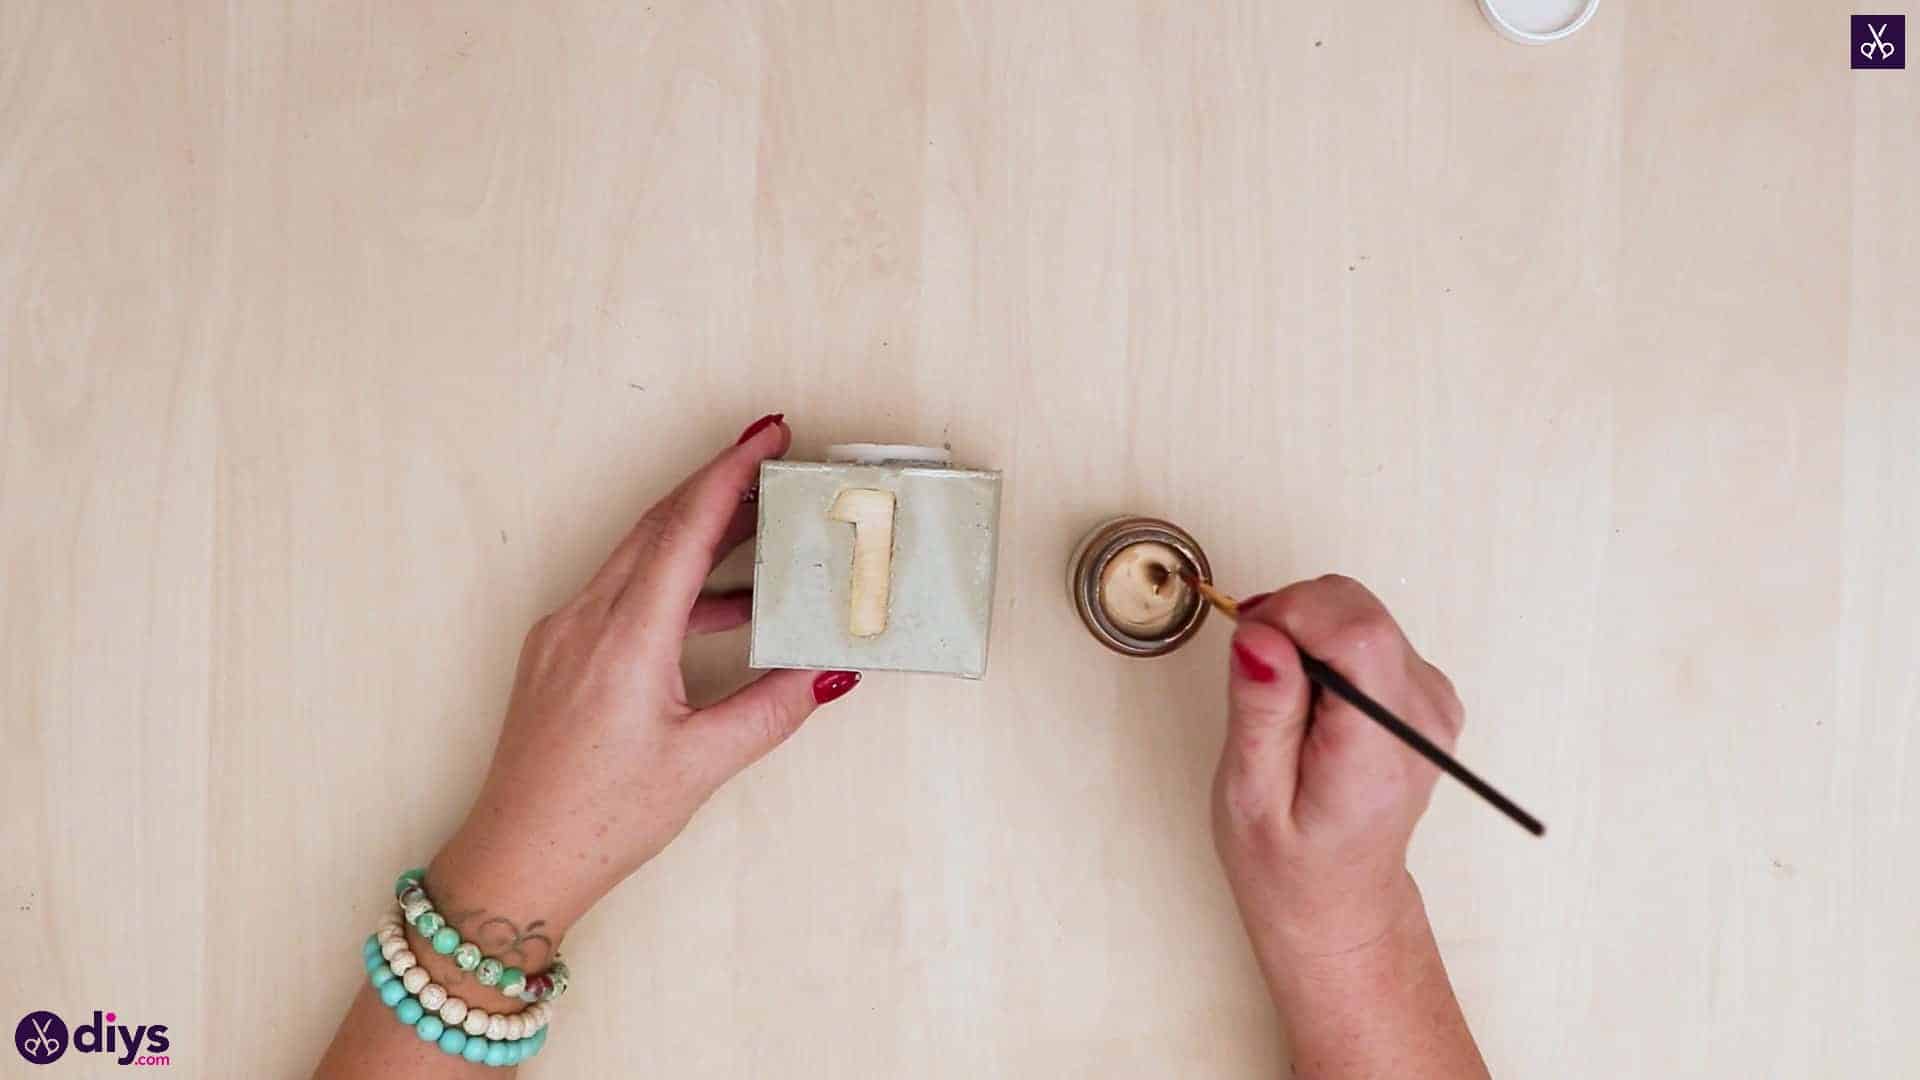
Step 10: paint
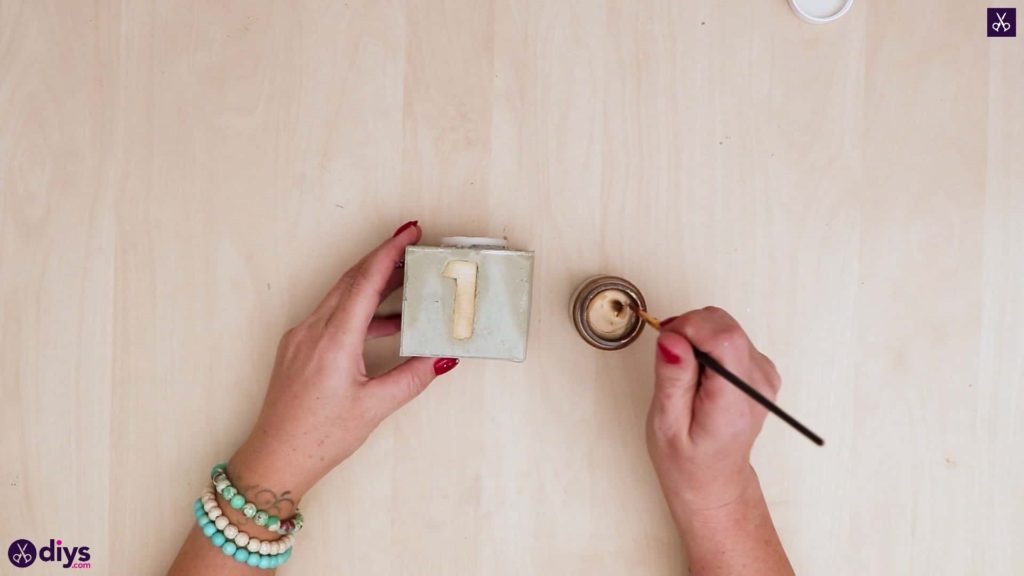
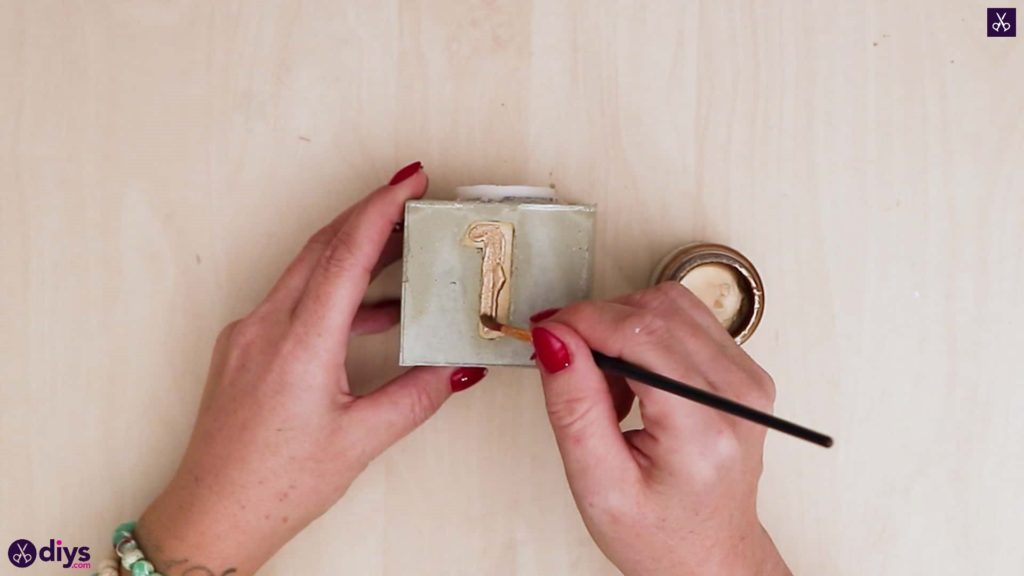
Use your paintbrush to paint the indented number shape whatever colour you please; I chose a metallic gold for the season!
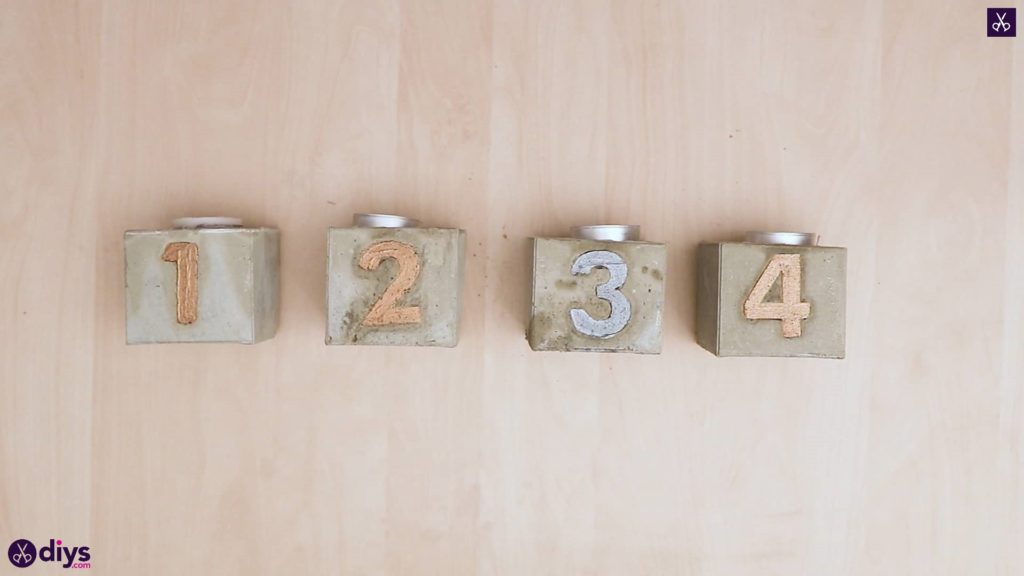
Repeat the entire process to make more advent candle holders but swap out the numbers for other numbers to make your countdown. Just in case you’d like to try this project out for yourself, here’s a fantastic tutorial video to help you!
