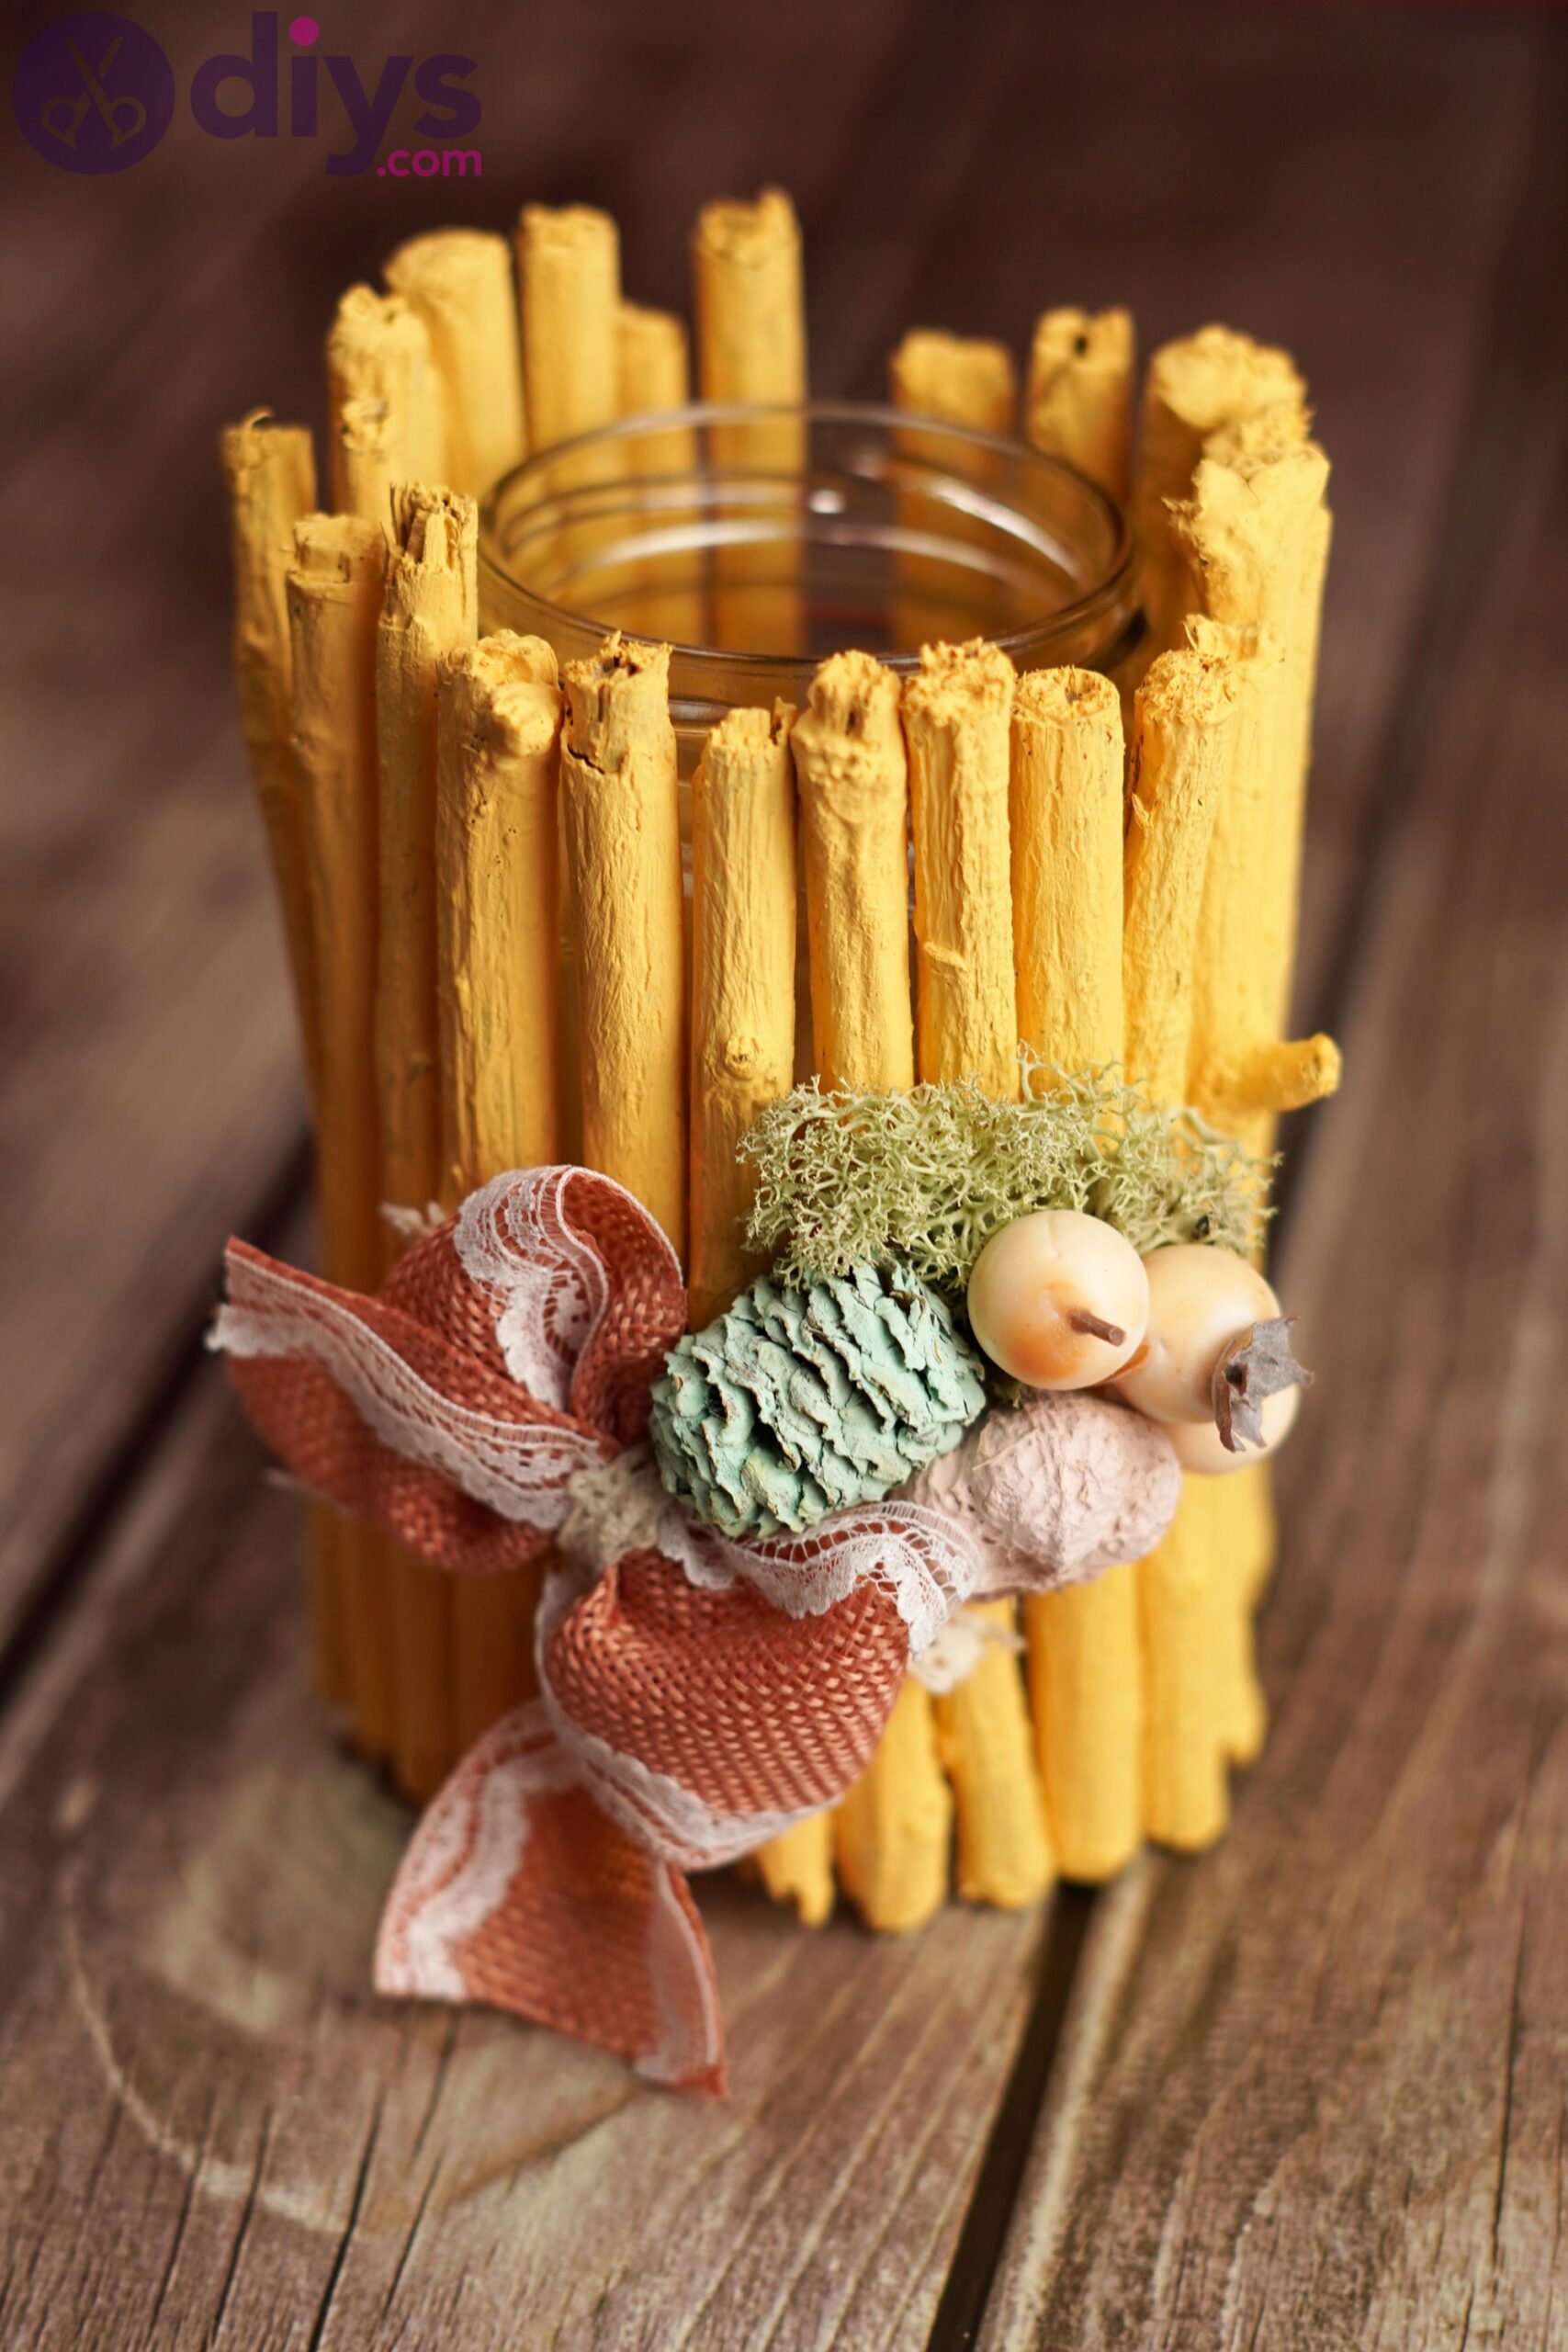
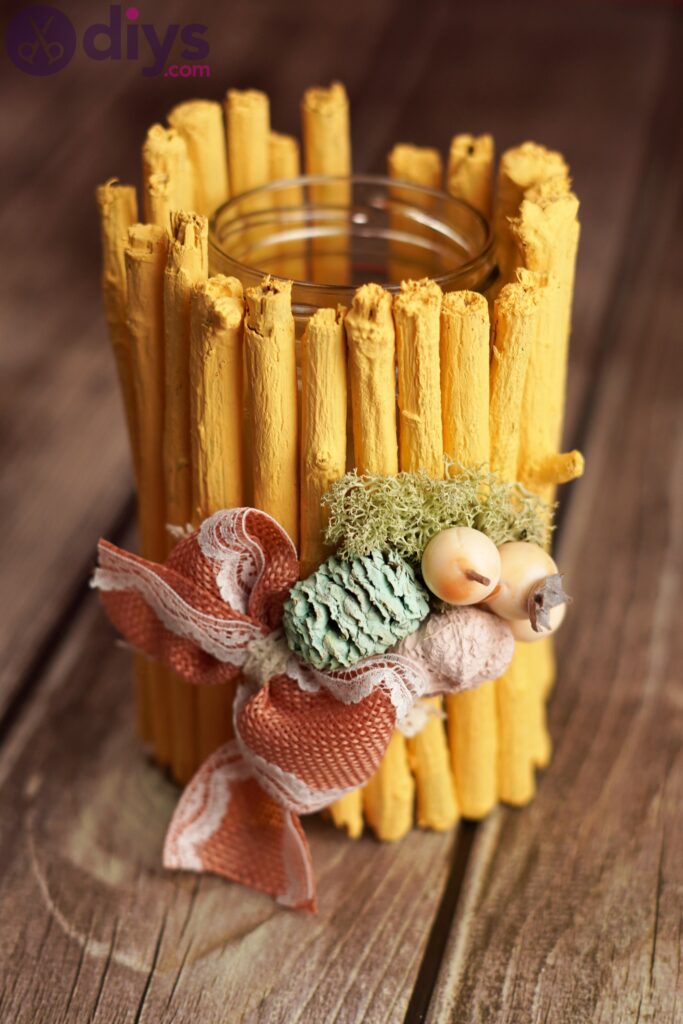
DIY Branch Vase – Make Your Own Nature-Inspired Vase
Vases are something that are super practical to have at home, but they’re not necessarily the most stylish things you can buy. Sure, there are some that are absolutely breathtaking, but they’ll cost an arm and a leg to buy, so why not create your own?
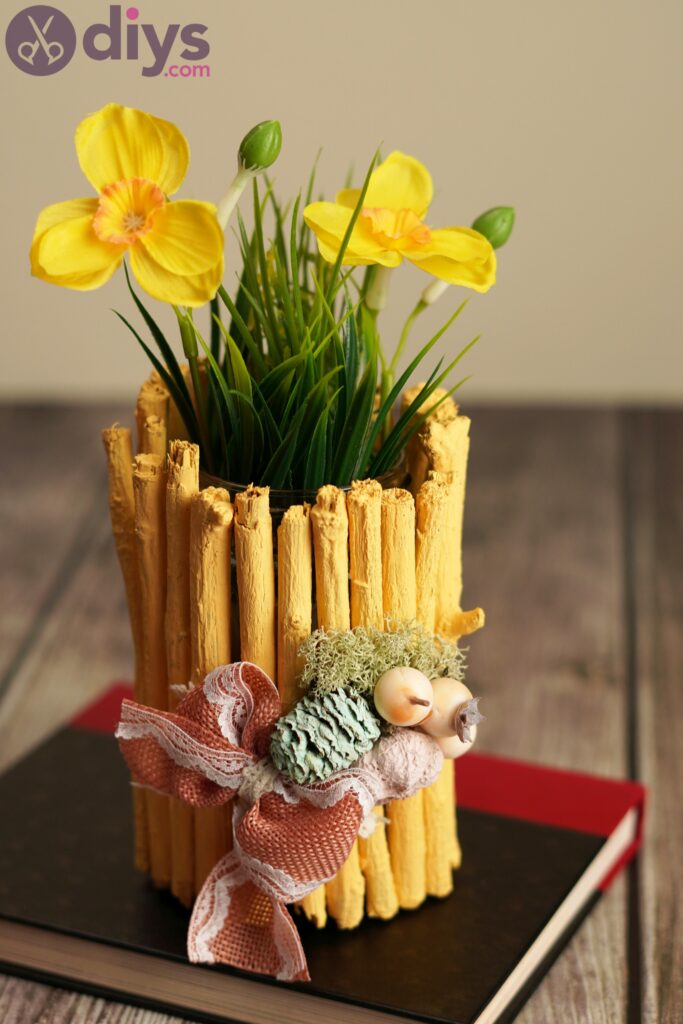
We love making things ourselves, and why not create a branch vase for all your summer flowers? It’s super easy to make and only requires a few materials that you probably have at home, so why not?!Our design is inspired by nature and will highlight all the bouquets you’re going to get or make yourself.
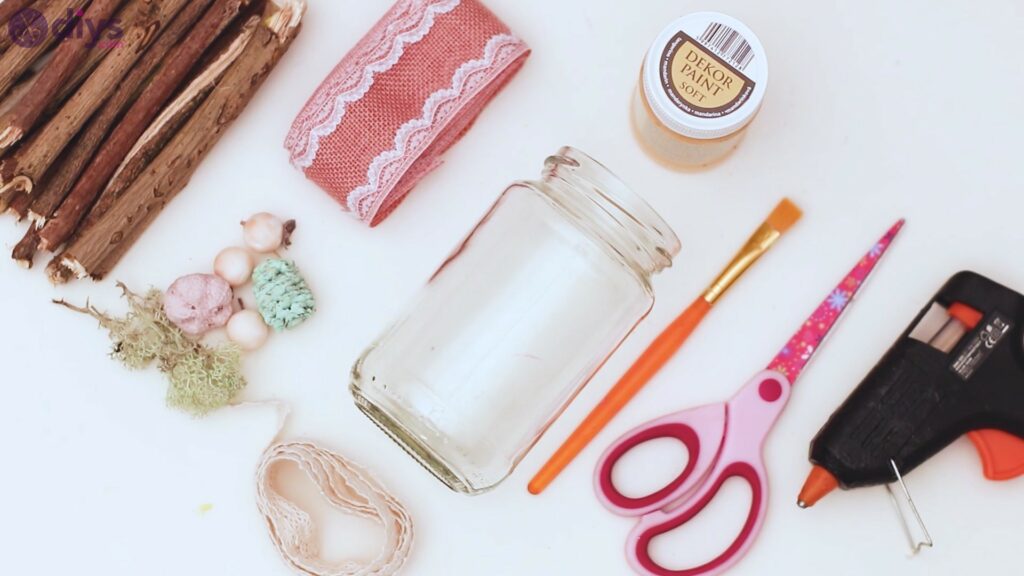
Materials for branch vase
- moss
- pinecones
- lace jute
- branches
- beige acrylic paint
- lace ribbon
- mason jar
- paintbrush
- scissors
- glue gun
How to make a branch vase
Before you even start making your branch vase, make sure you have all your materials on hand. You want to be able to create everything in one go, without running around trying to get one item or another. Now that you’ve reched the list of necessary things to get, we can go ahead and create our branch vase!
Step 1: Paint your branches
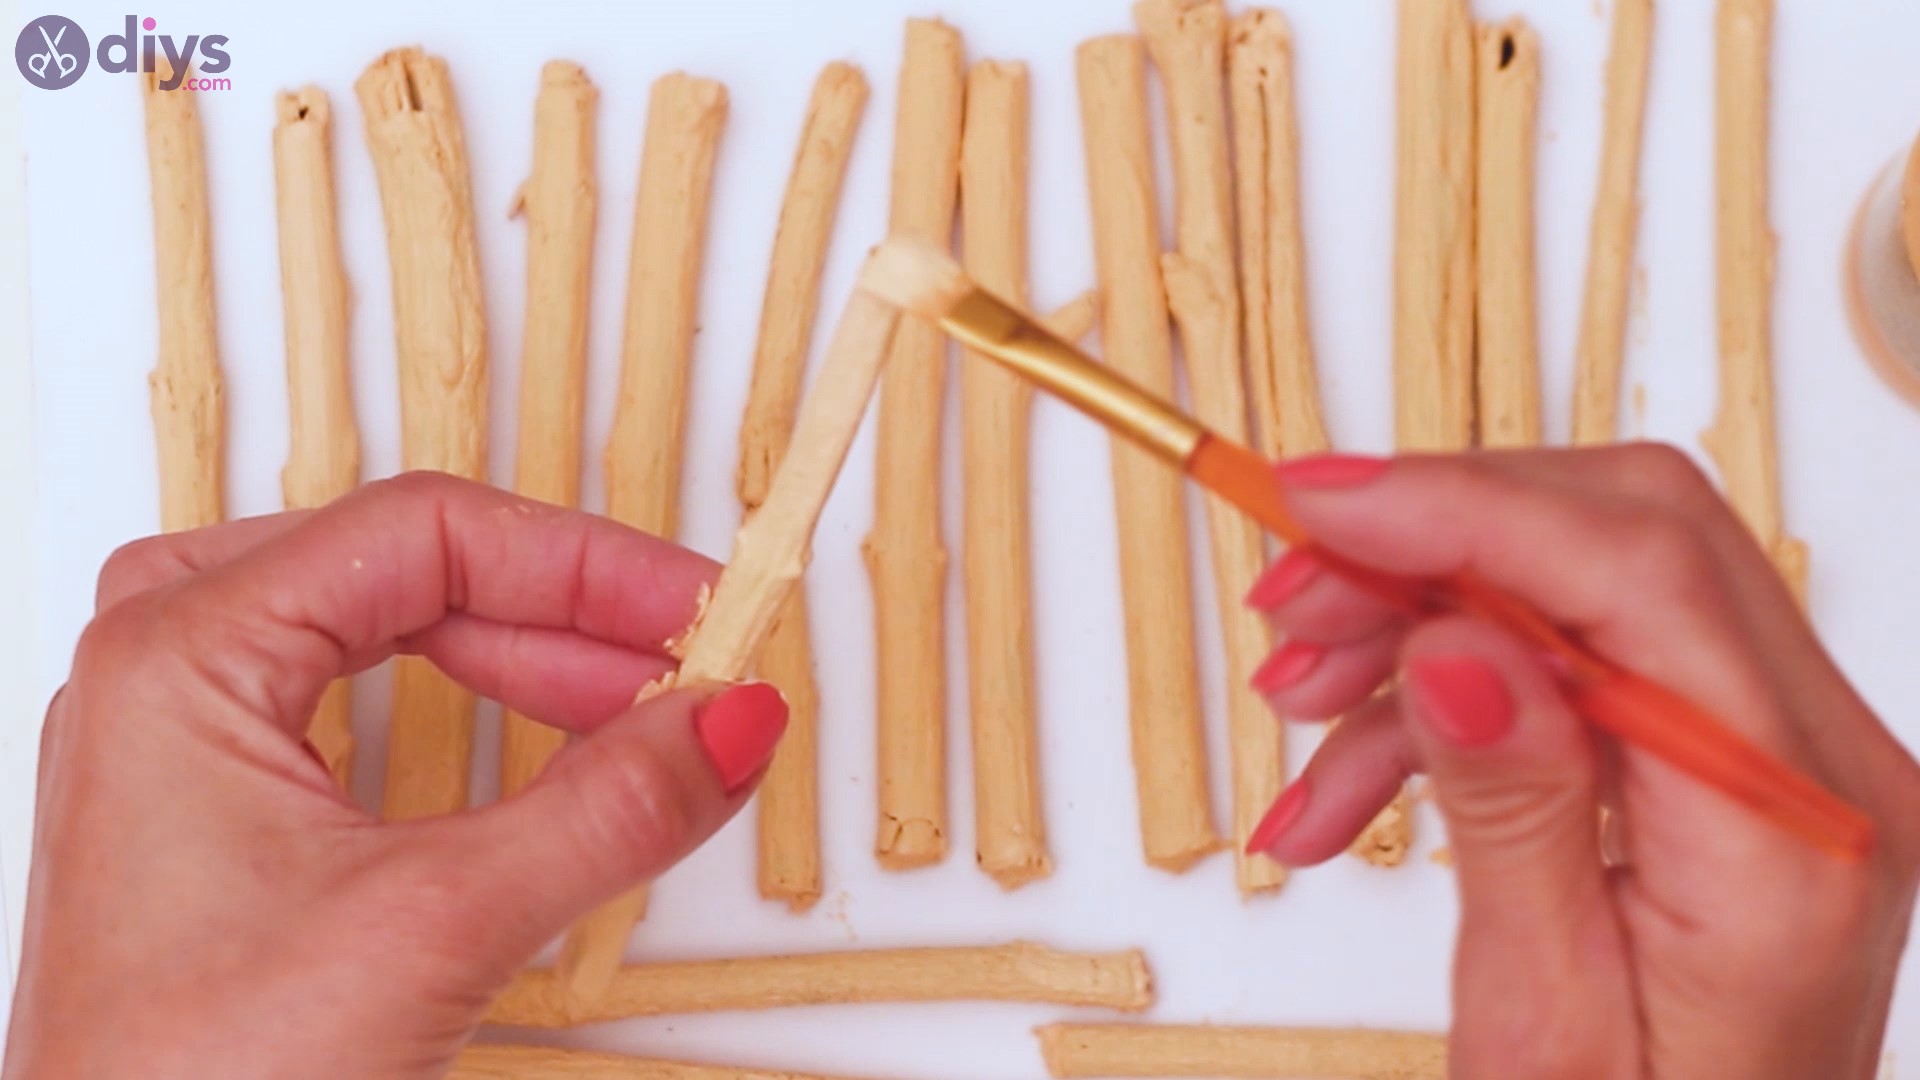
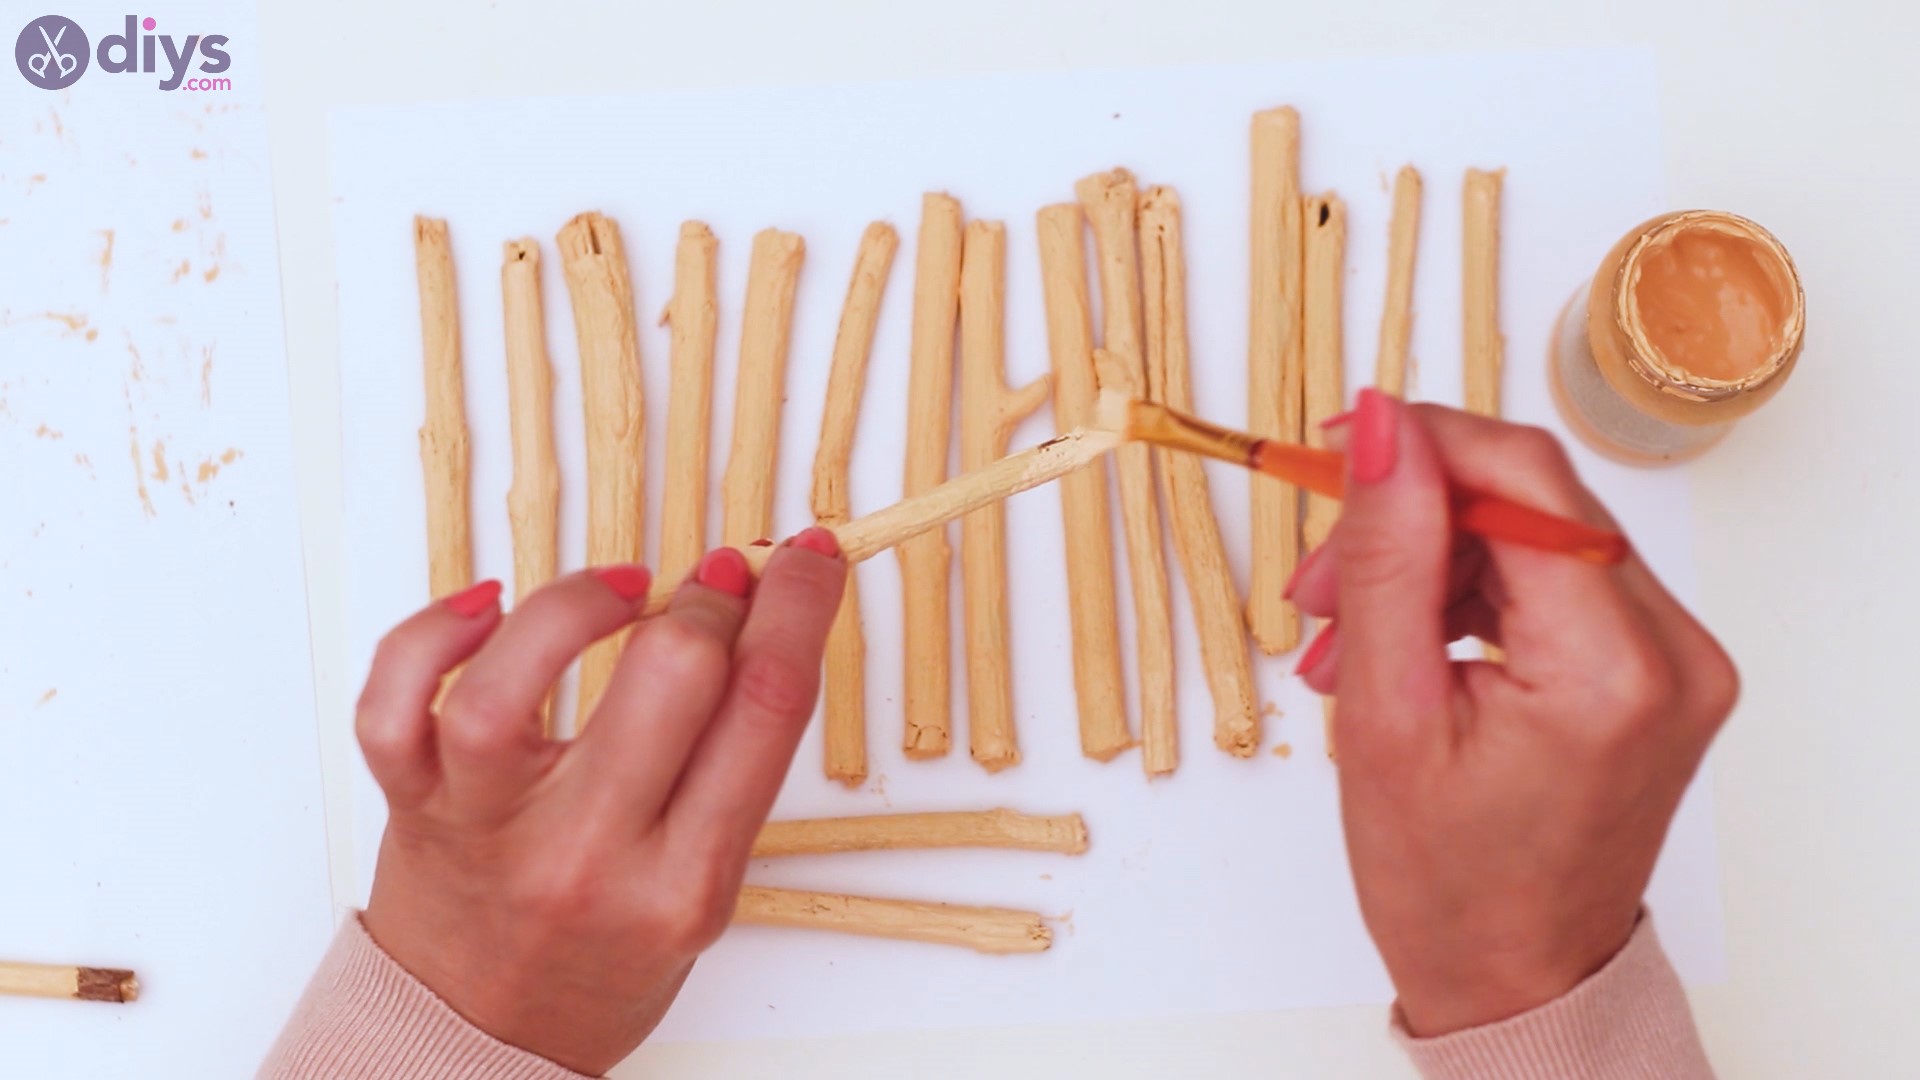
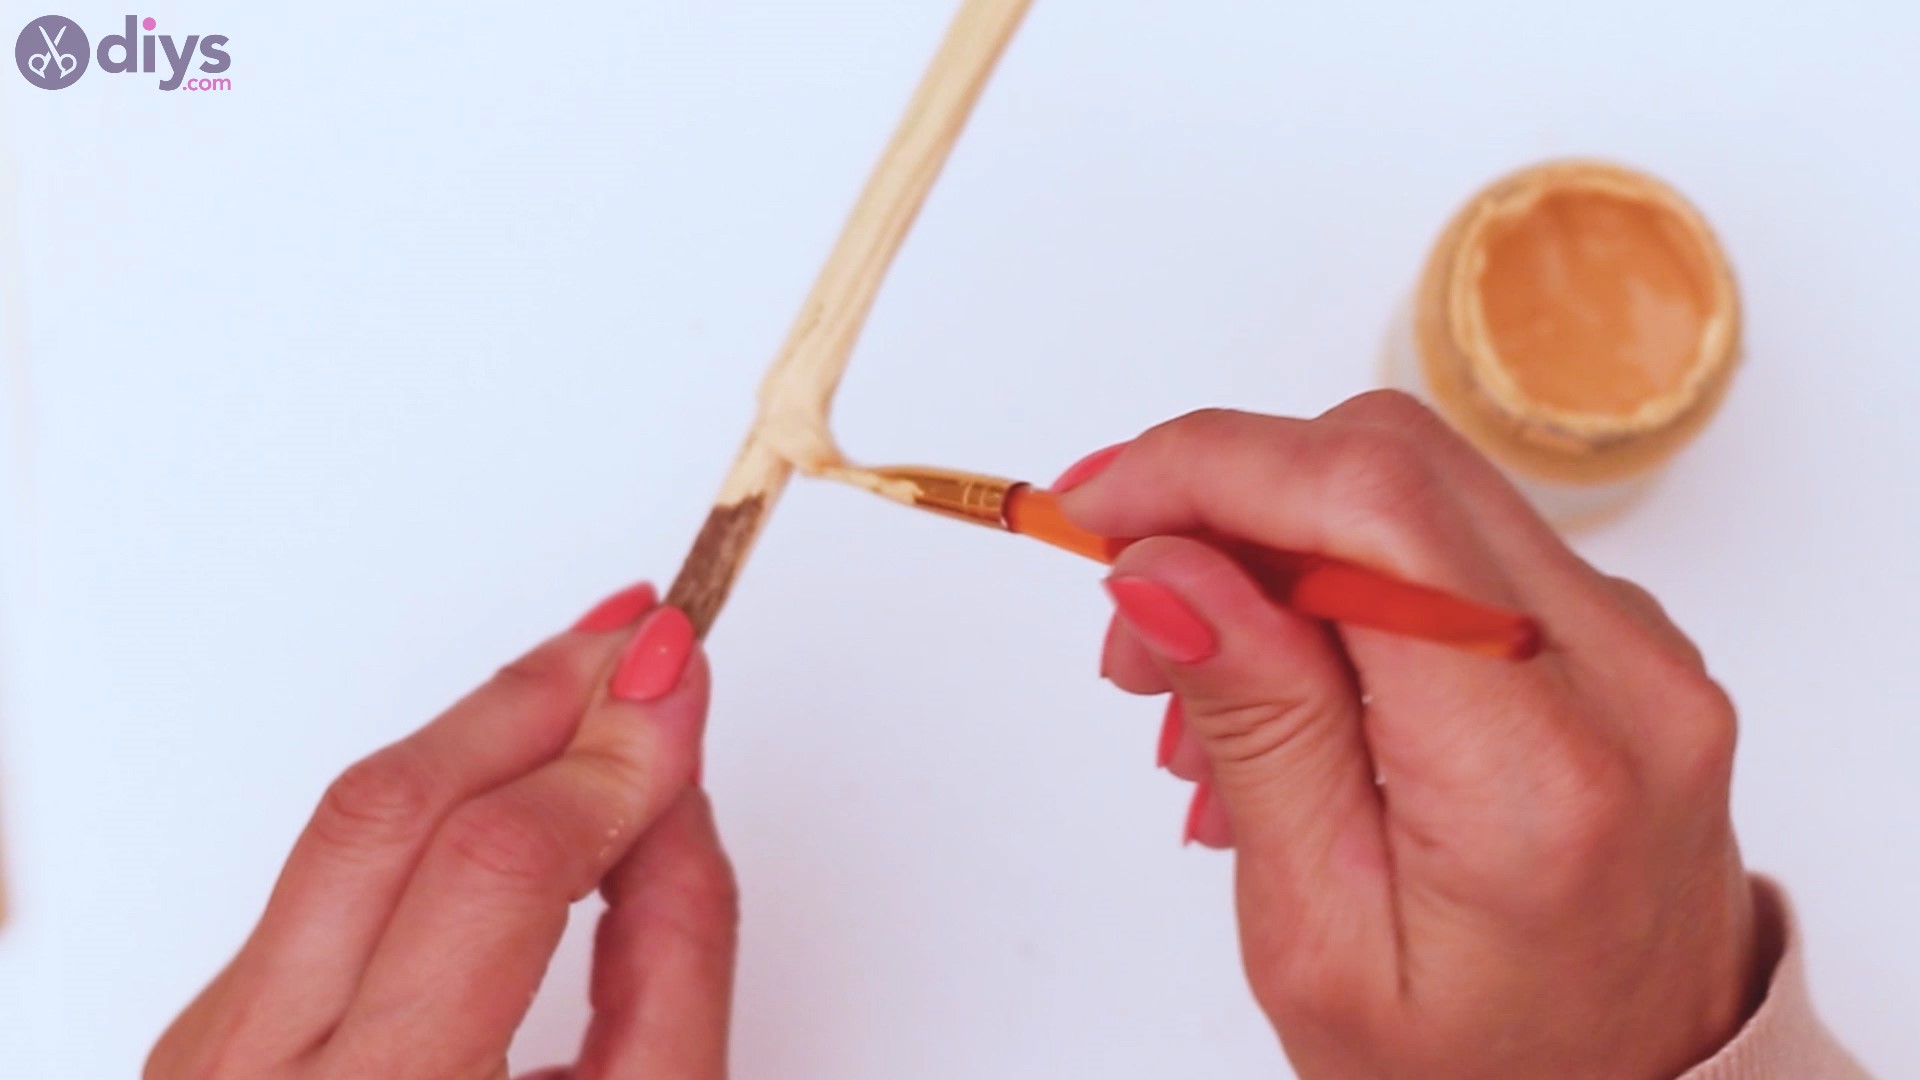
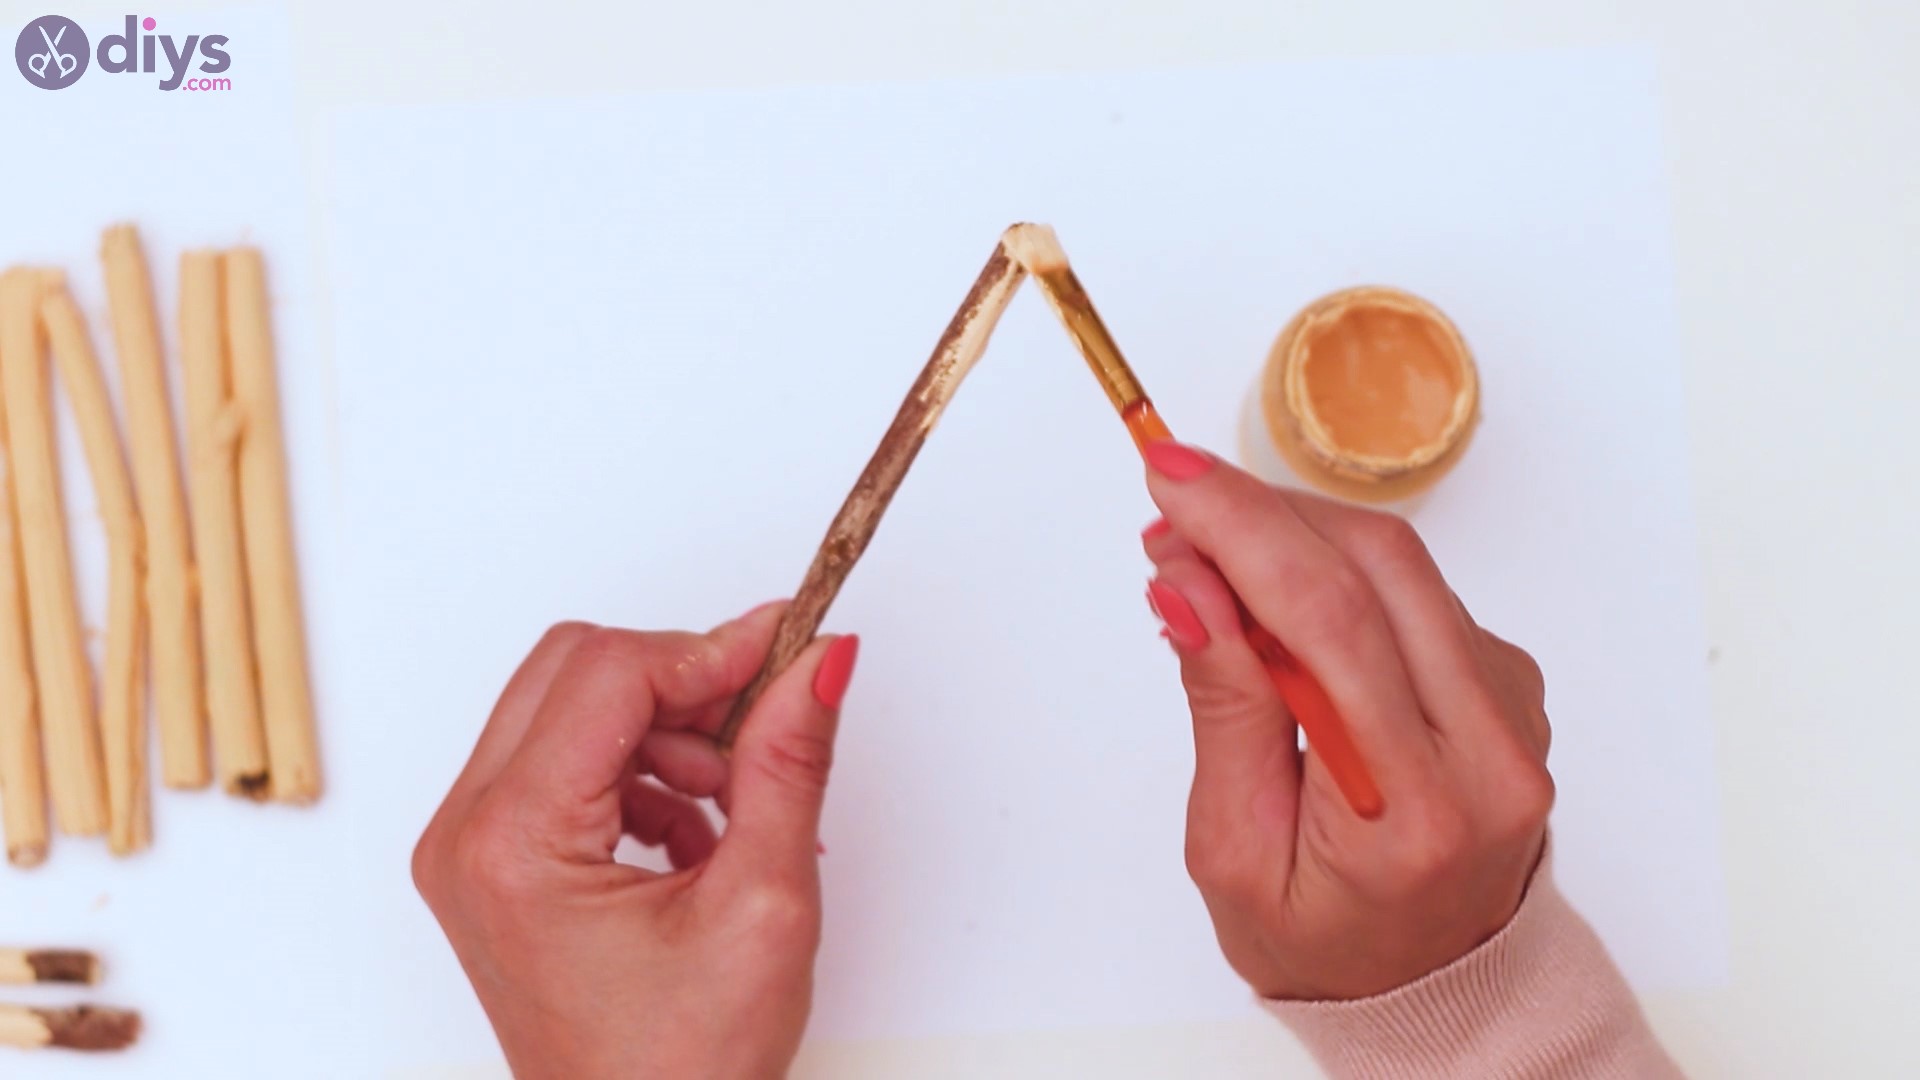
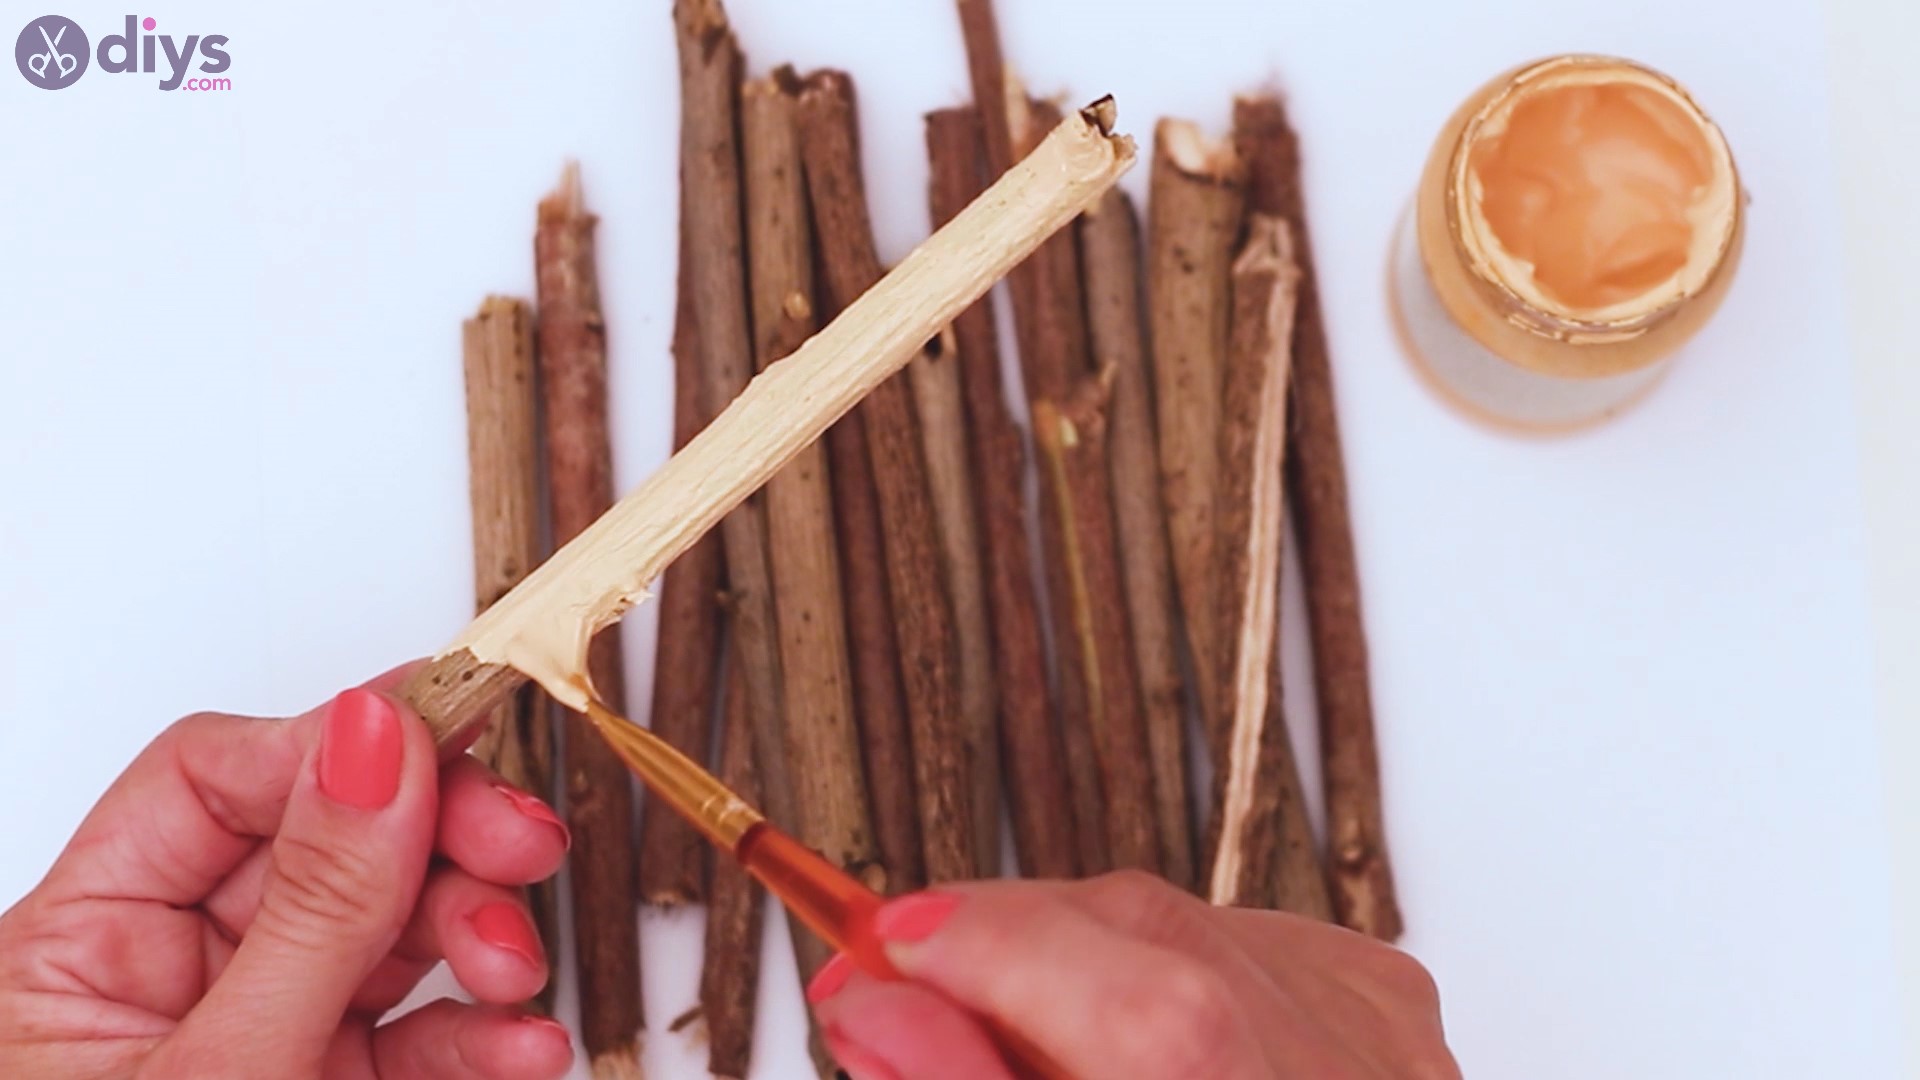
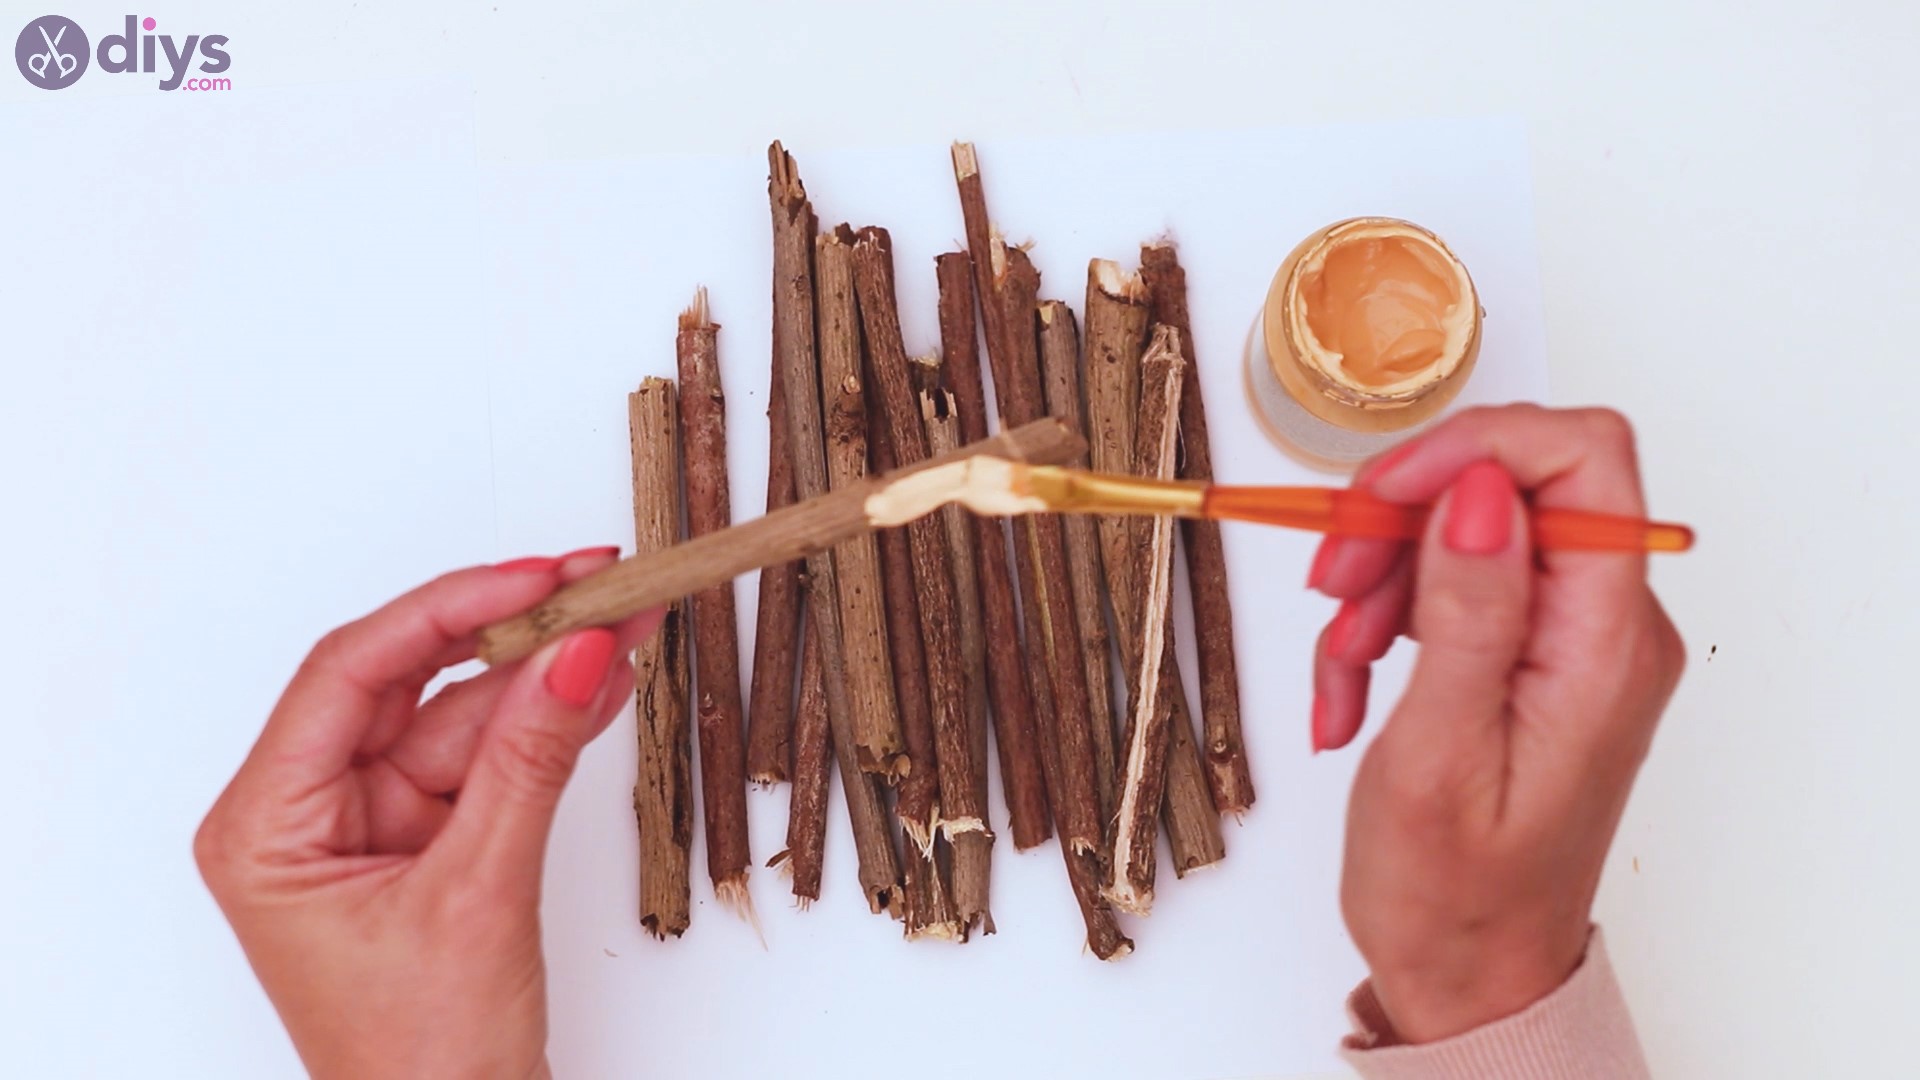
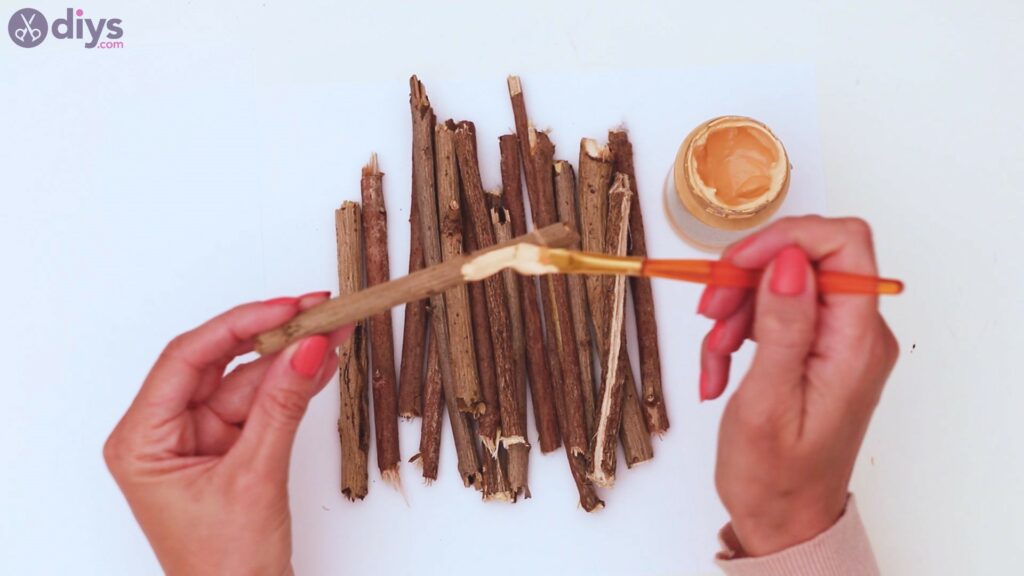
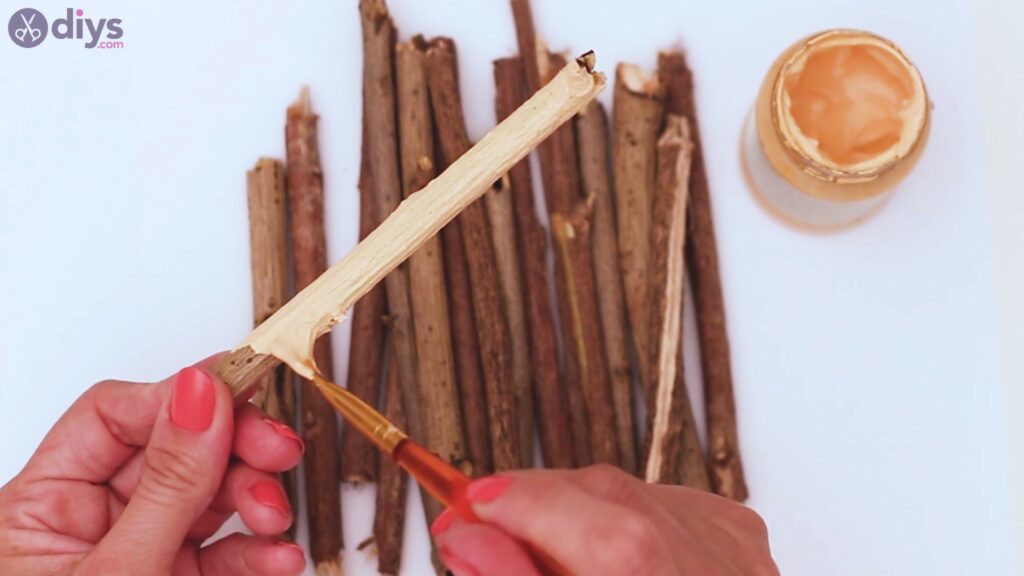
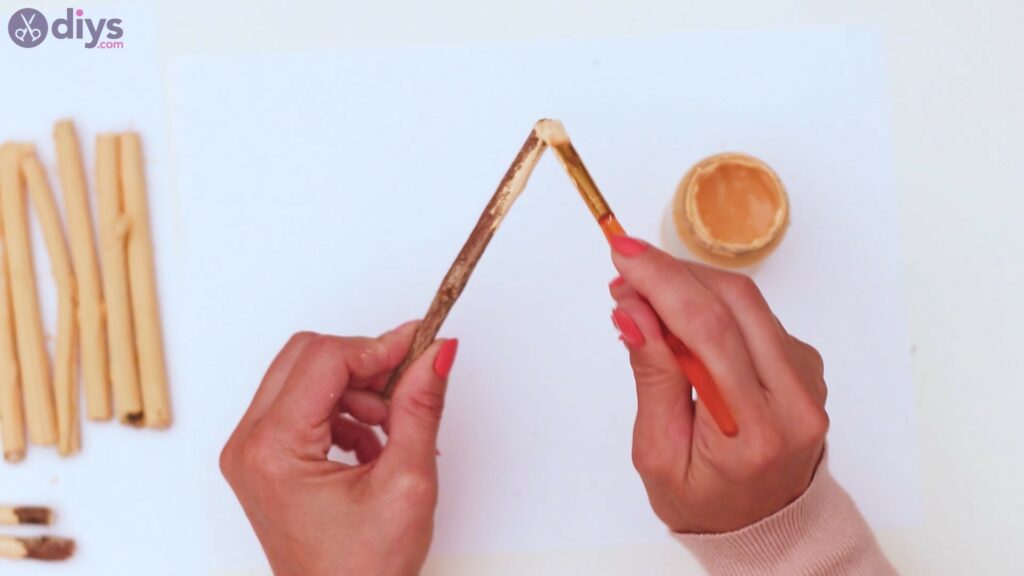
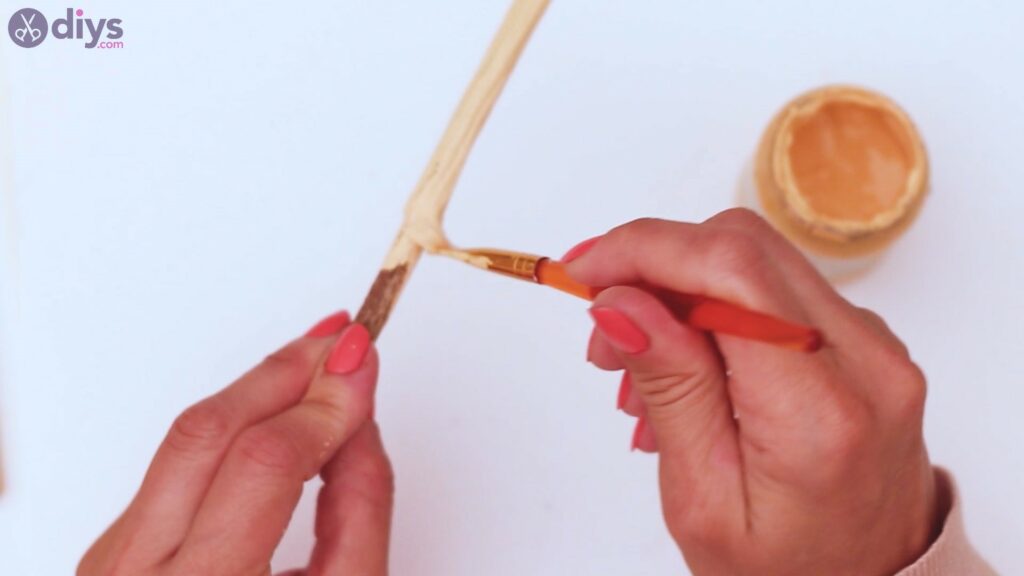
The first thing you need to do is to pick up yourbranches one by one and start painting them with thebeige acrylic paintand yourpaintbrush. Make sure you cover the branches on all sides.
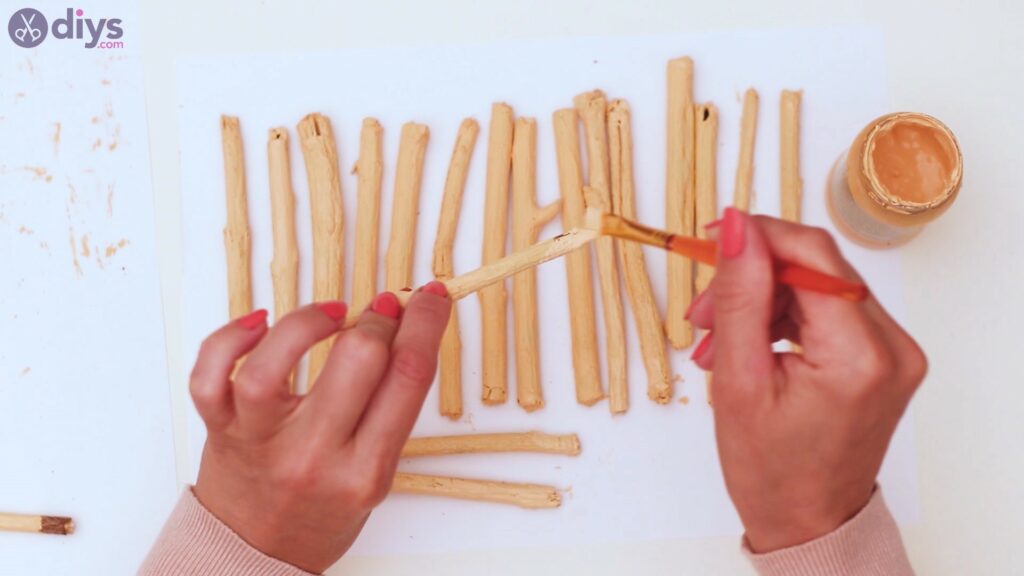
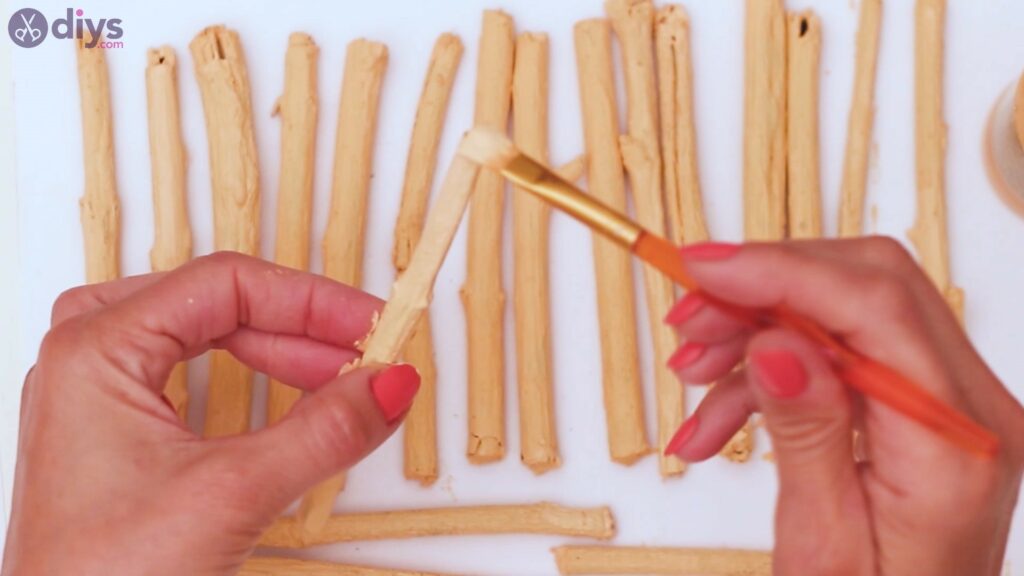
You should also paint the top and bottom of the sticks, the areas where you broke or cut the branch. Place the branch on a piece of paper and allow it to dry. Since we’re using acrylic paint, the whole thing shouldn’t take too long to dry.
Look how cute they all look painted! You can touch up any of the spots that you feel didn’t get enough paint the first time around once they’ve dried up a bit. In this way, you won’t get all the paint on your fingers instead!
Step 2: Glue the branches to the jar
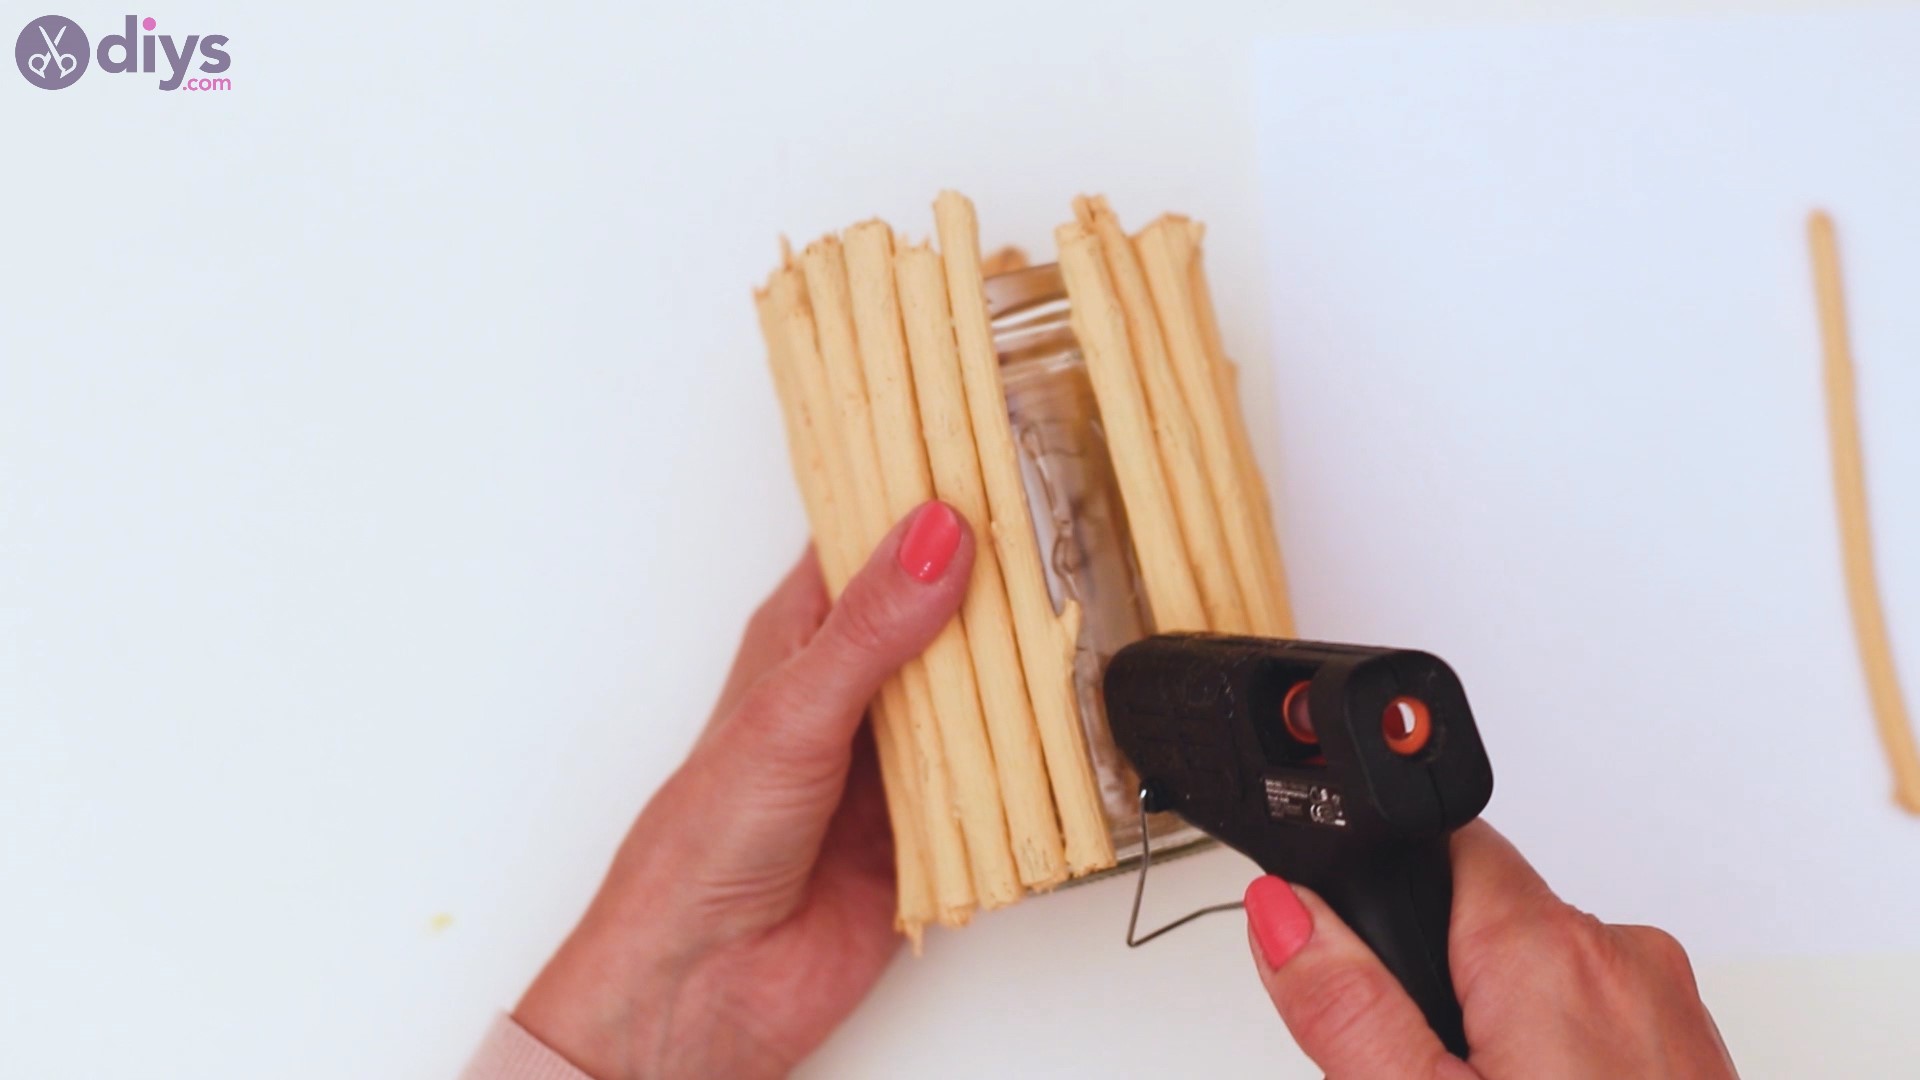
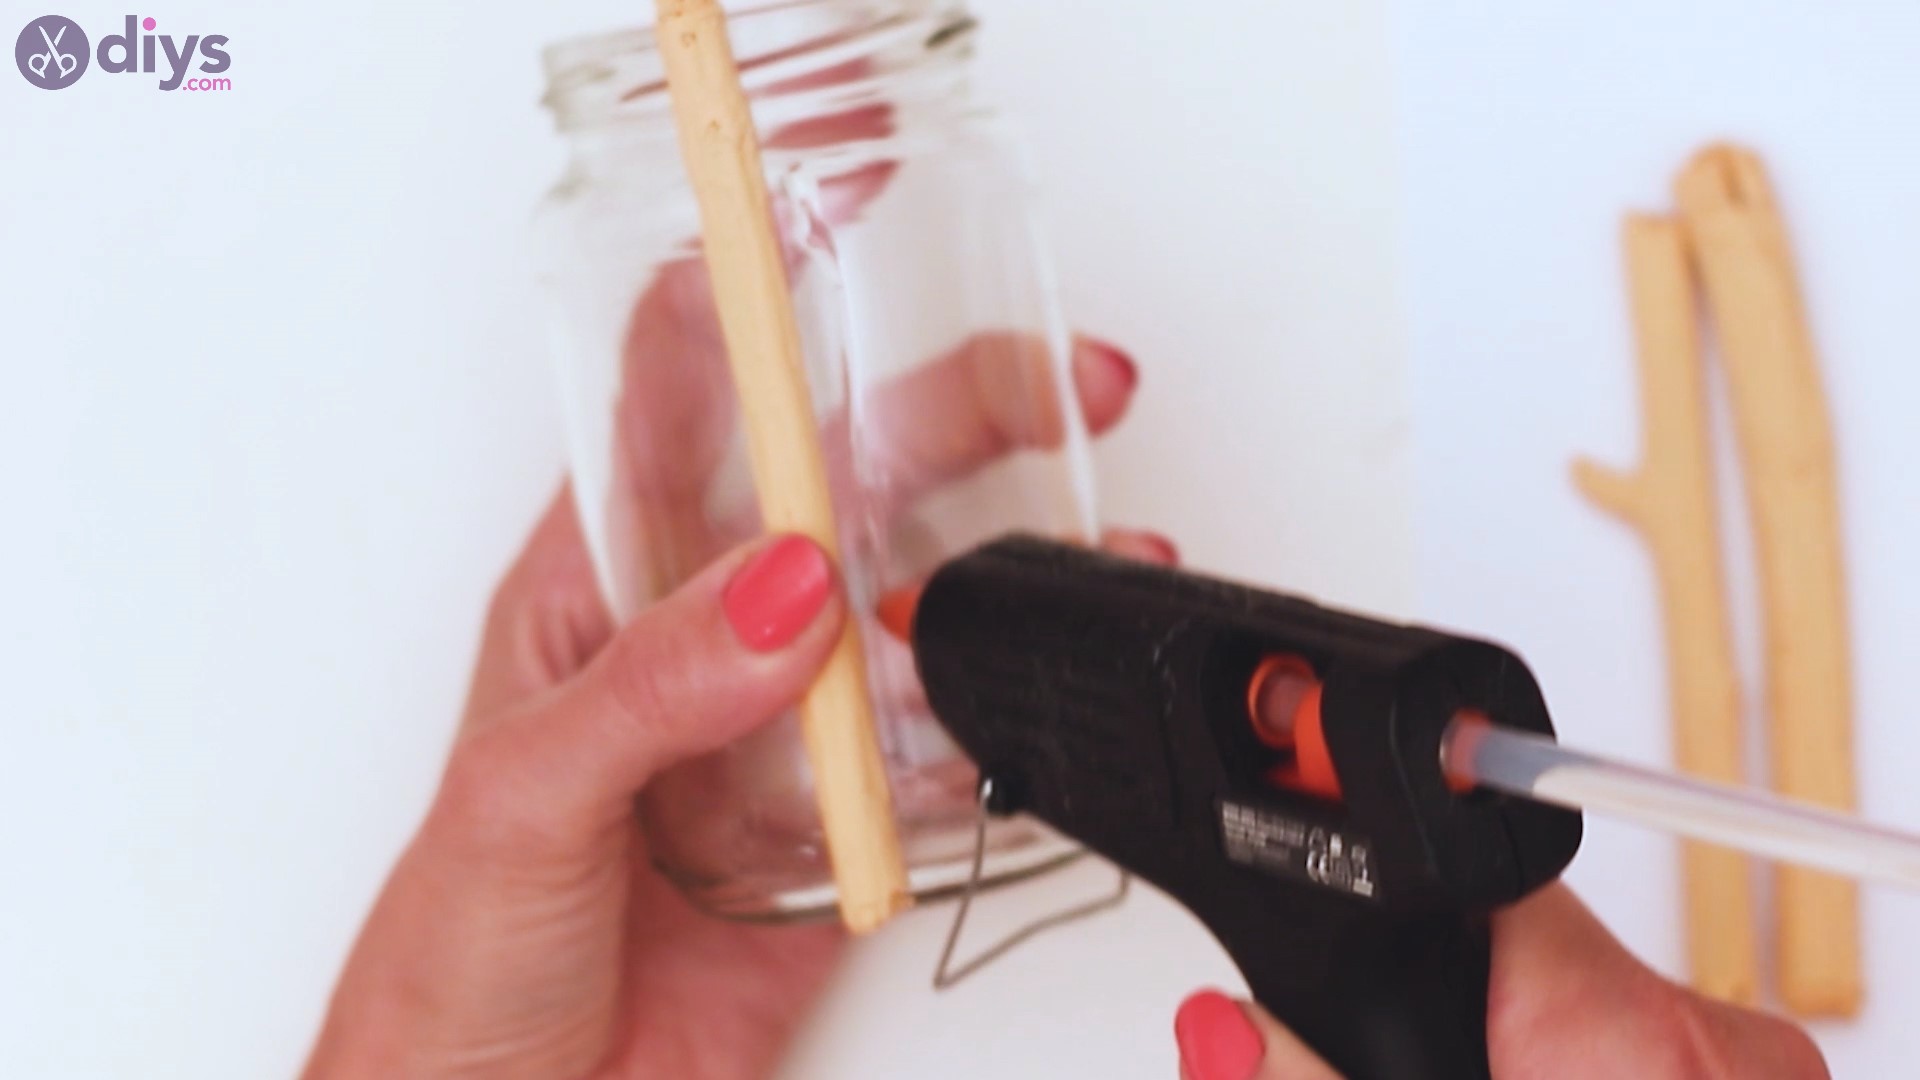
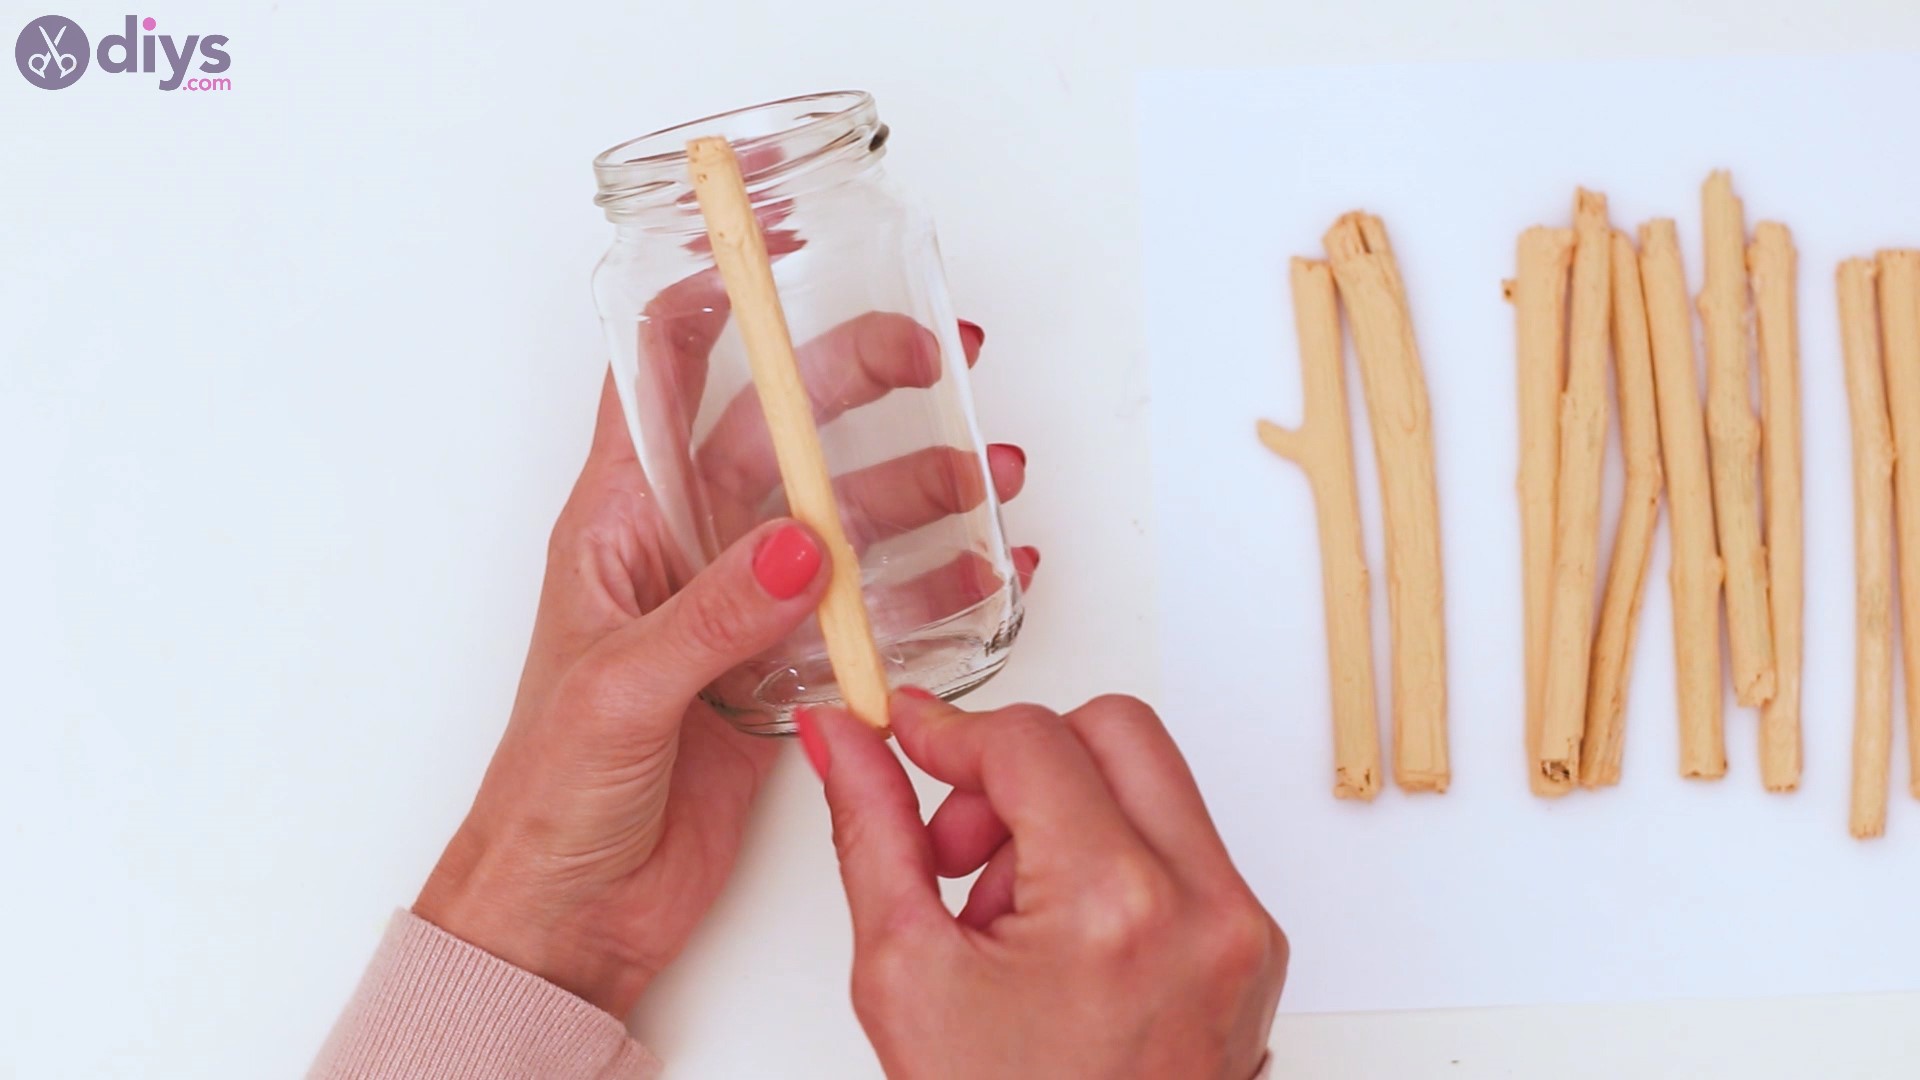
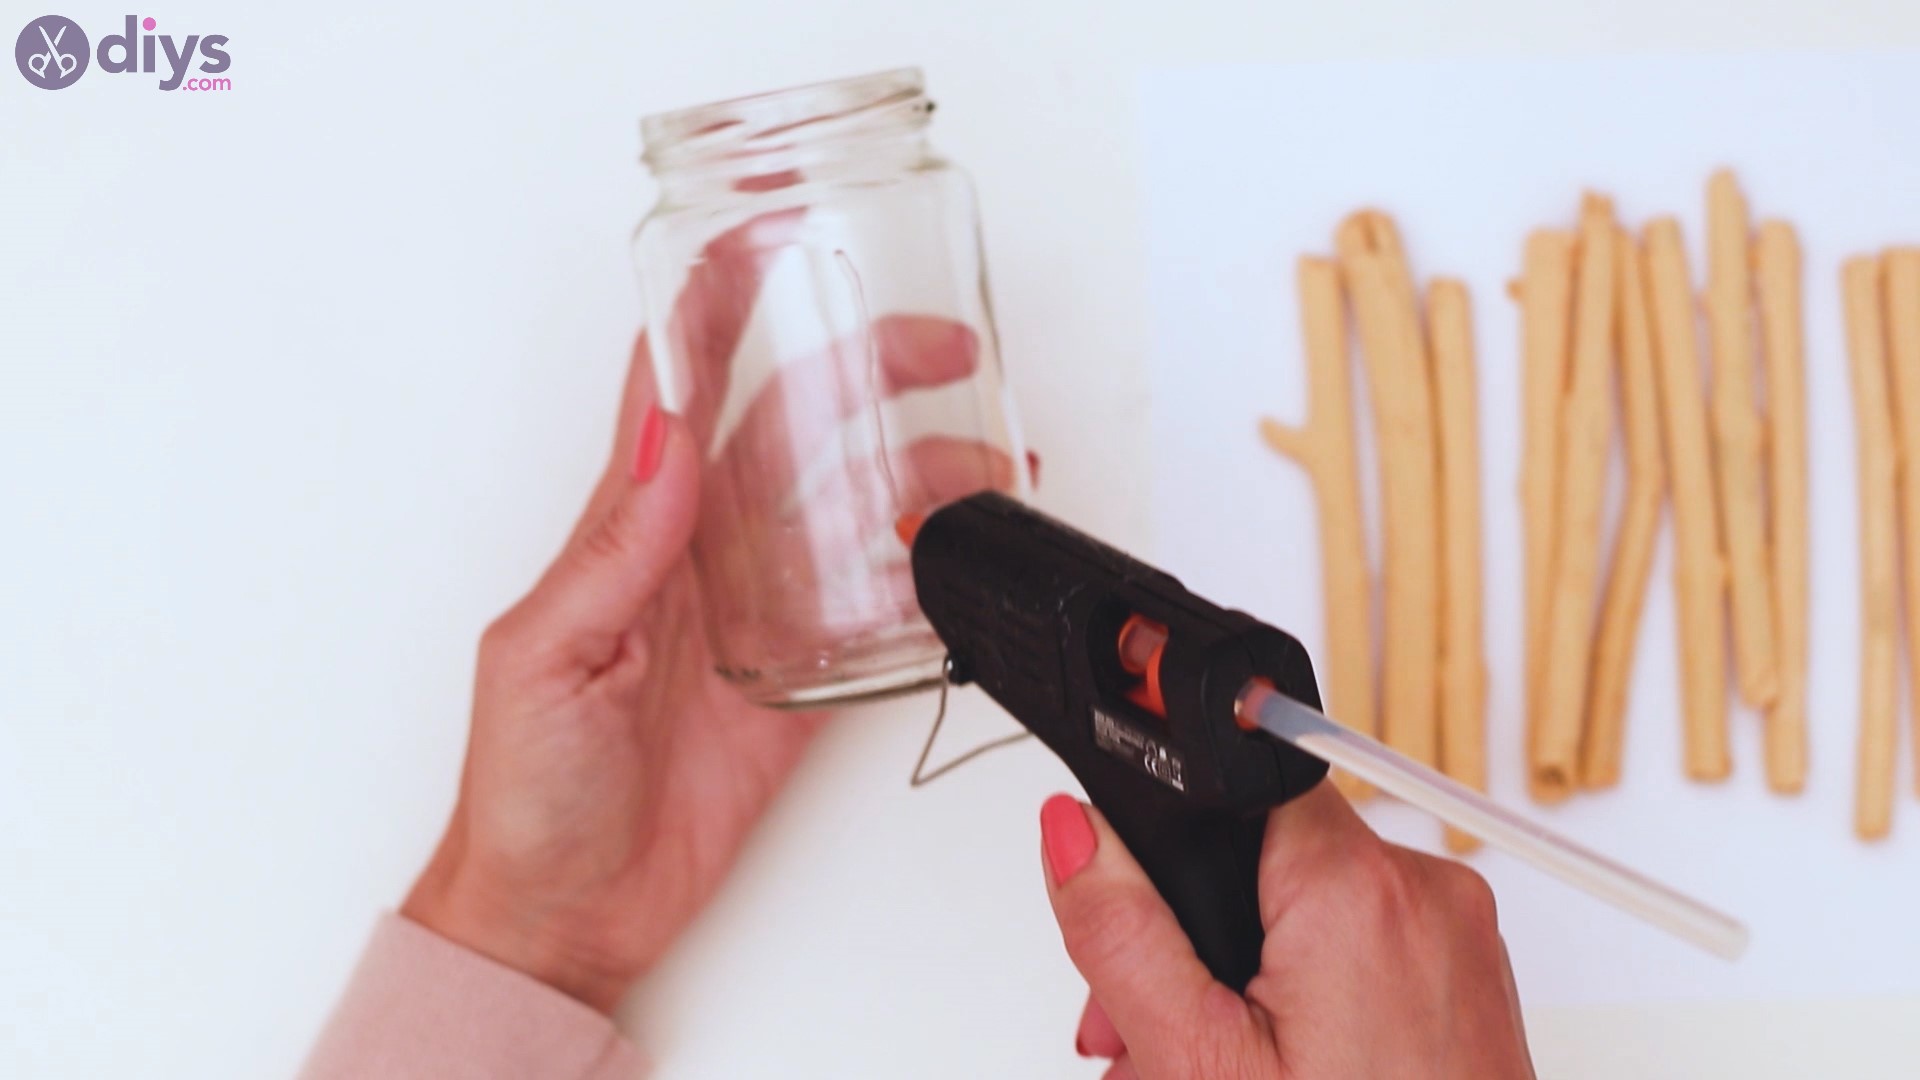
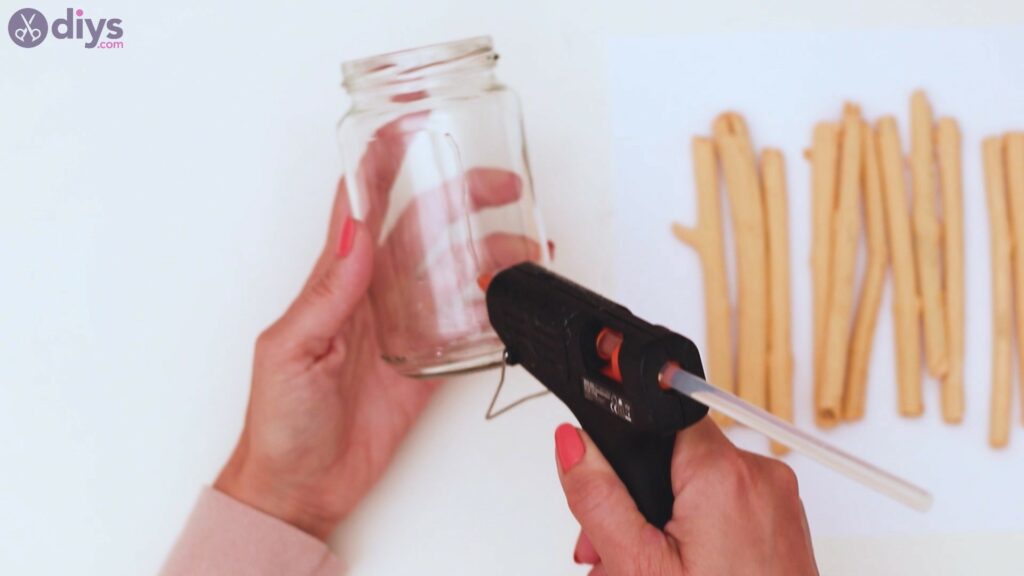
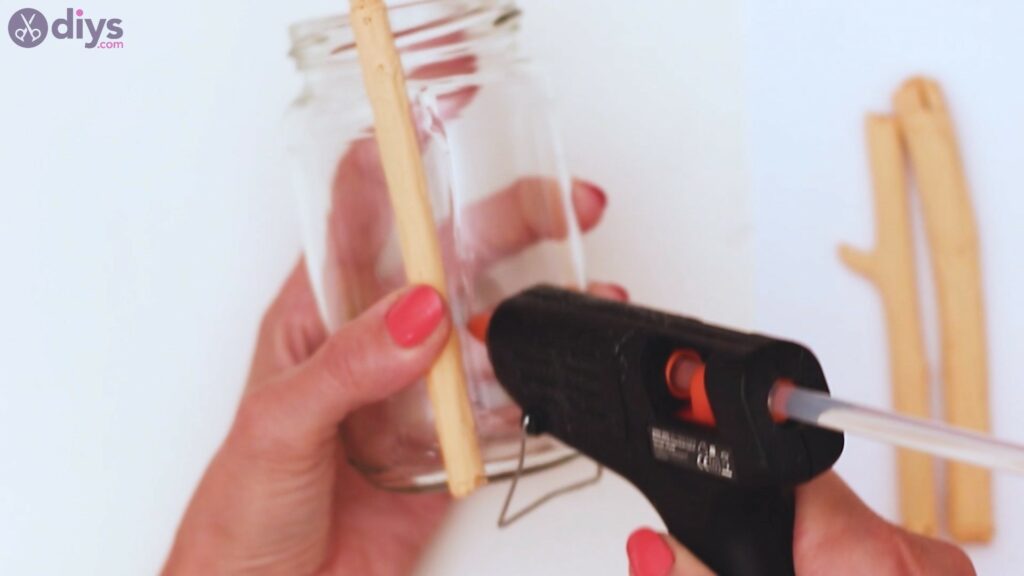
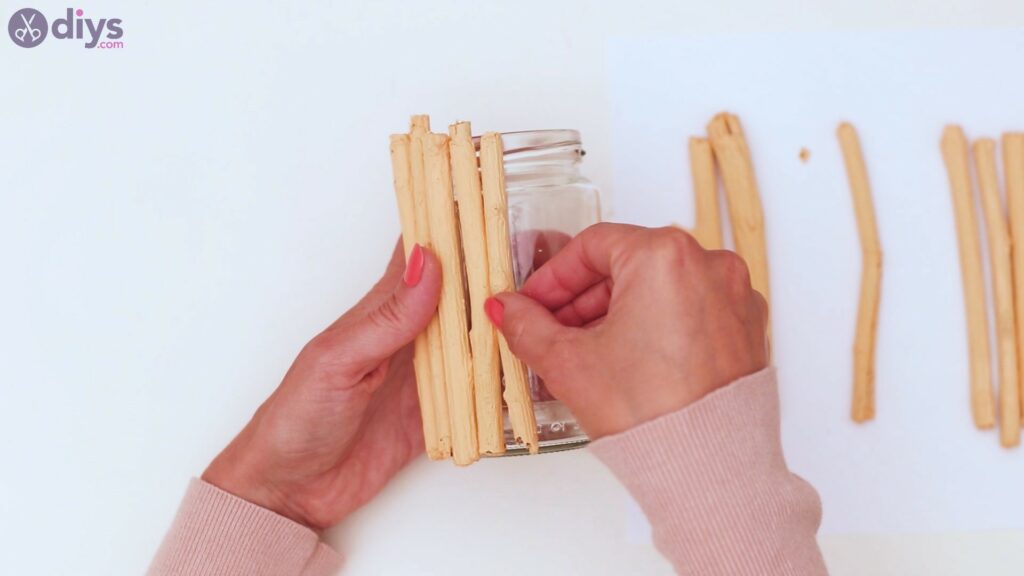
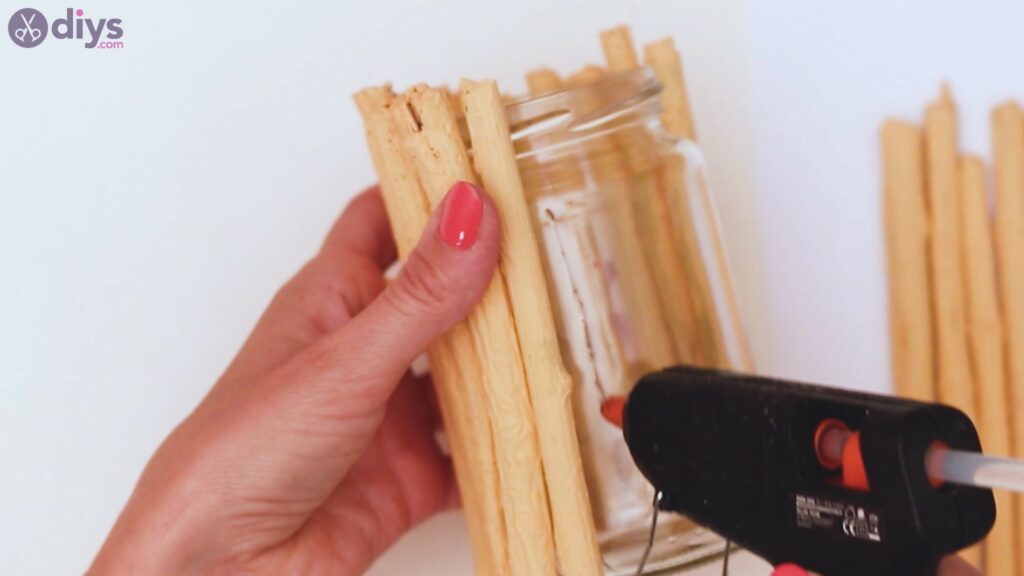
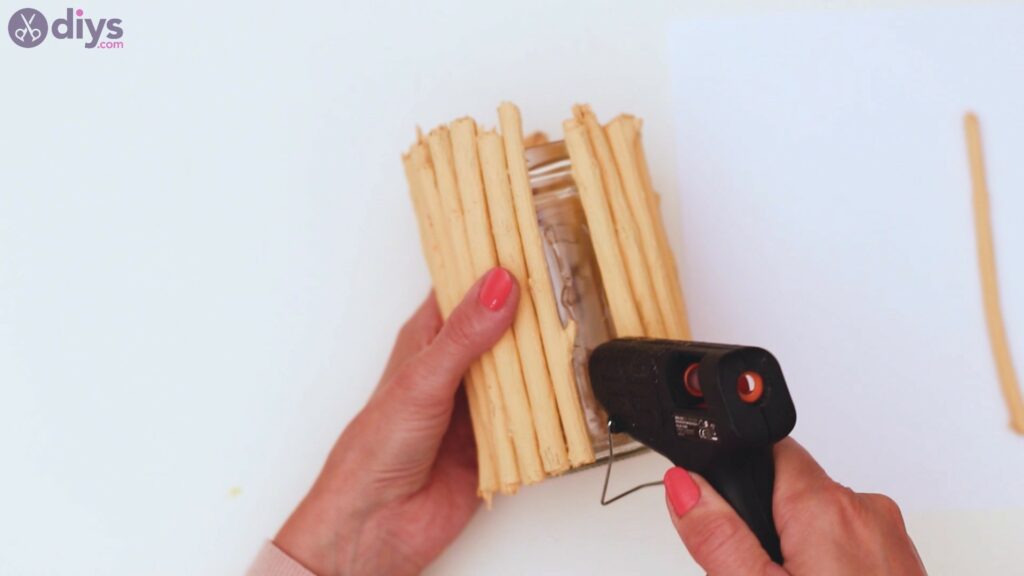
The next thing you need to do is to get the jar and your glue gun. Start adding streaks of hot glue to the glass and place the branches one by one.
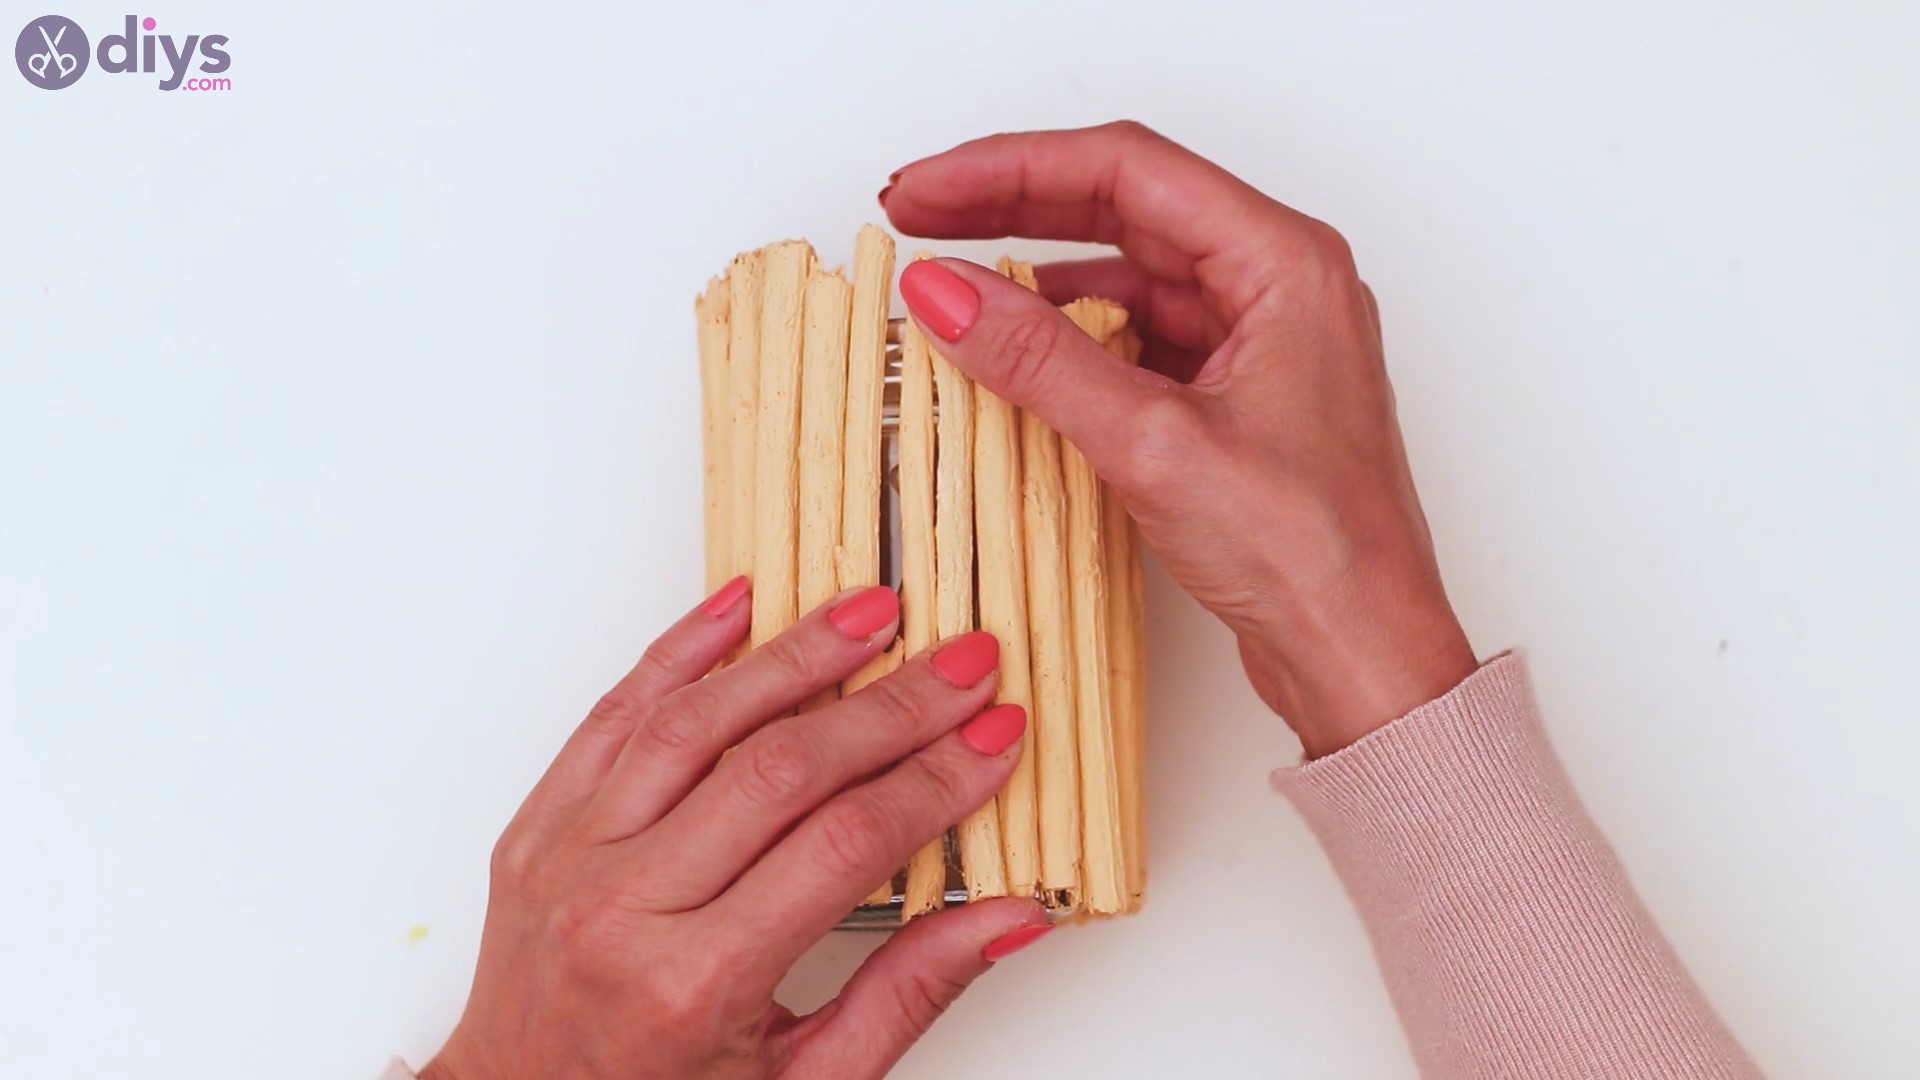
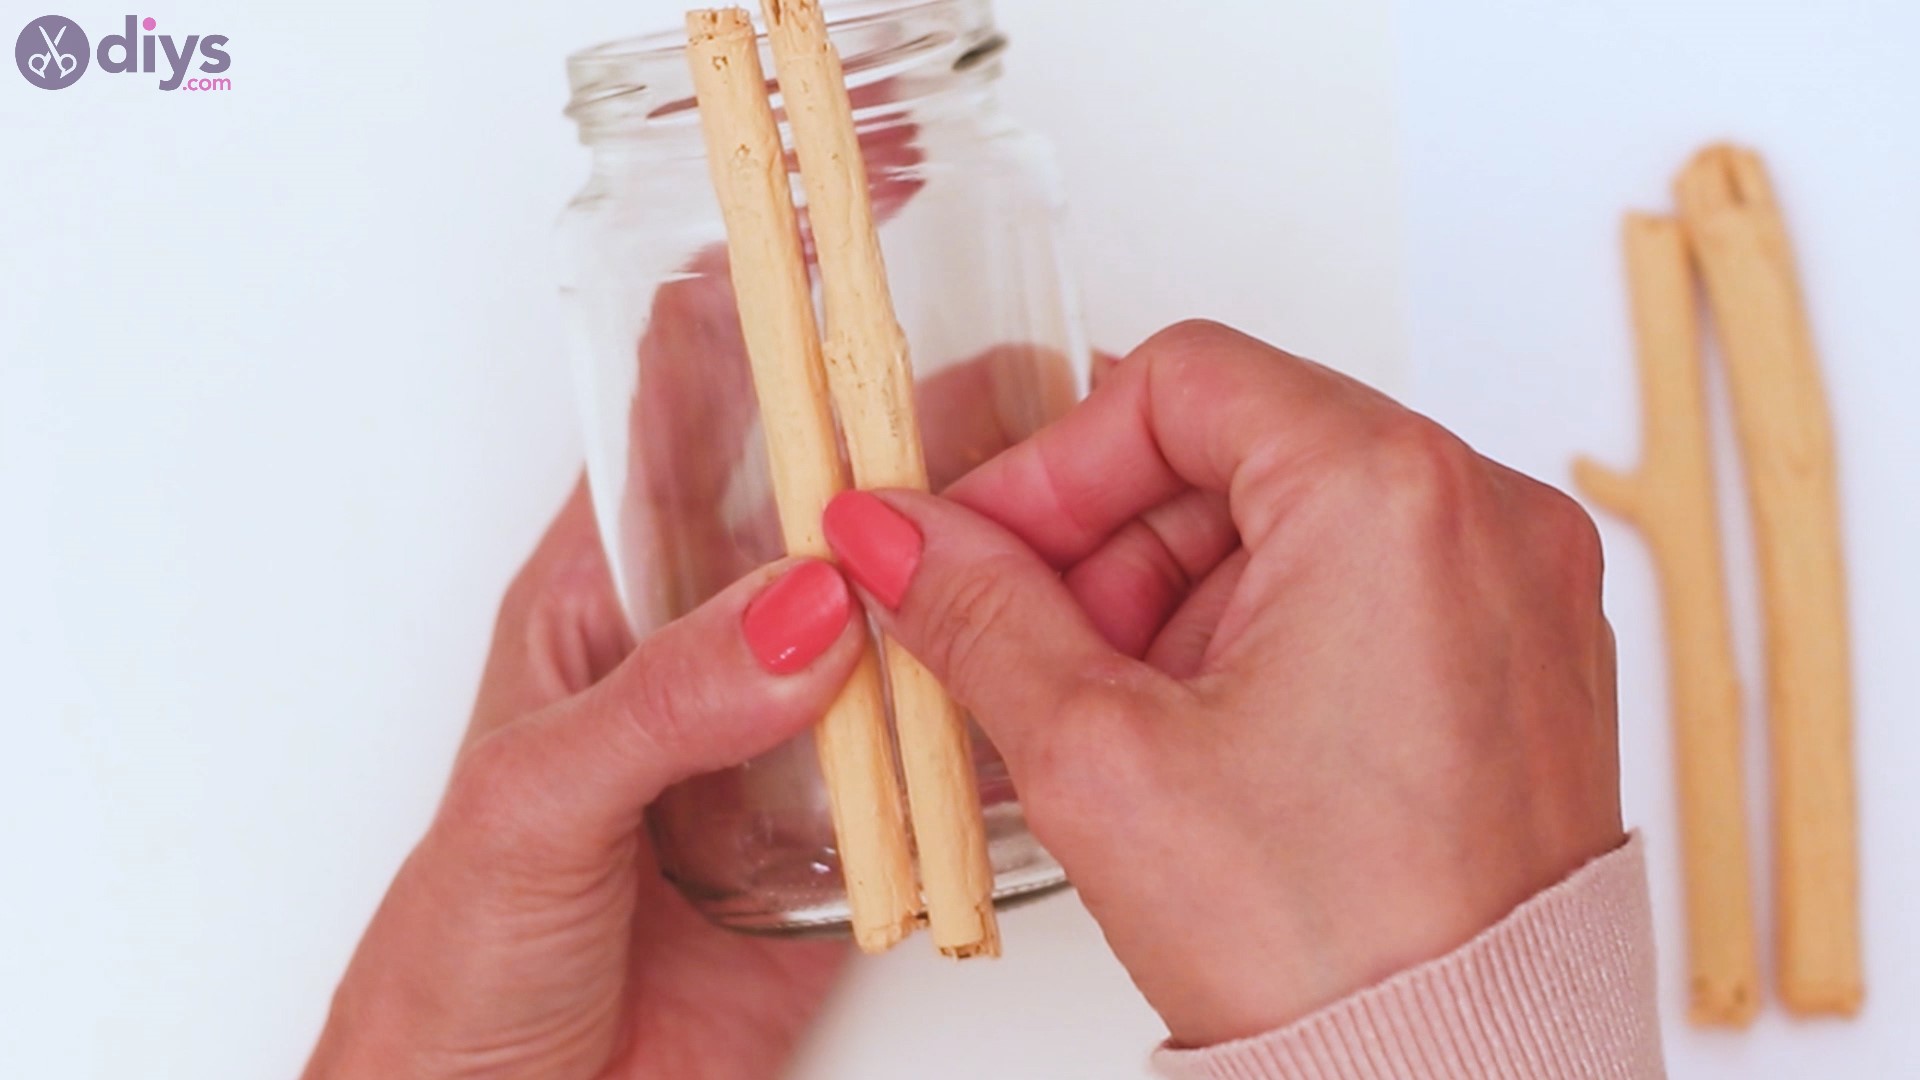
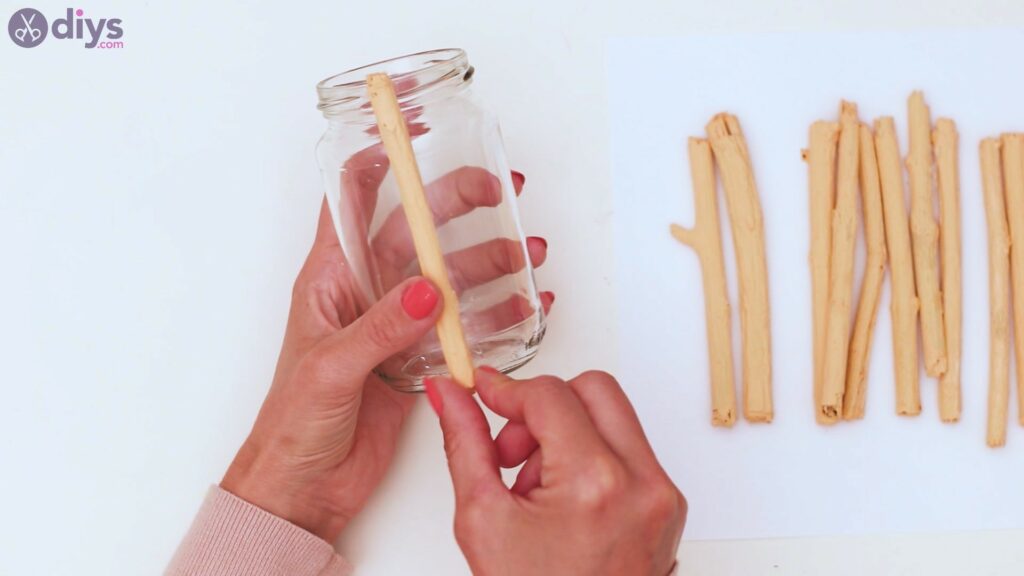
Press the branch into the hot glue for a few seconds so you can make sure it sets. Once the first one sets, you can add another streak of hot glue and add the next one.
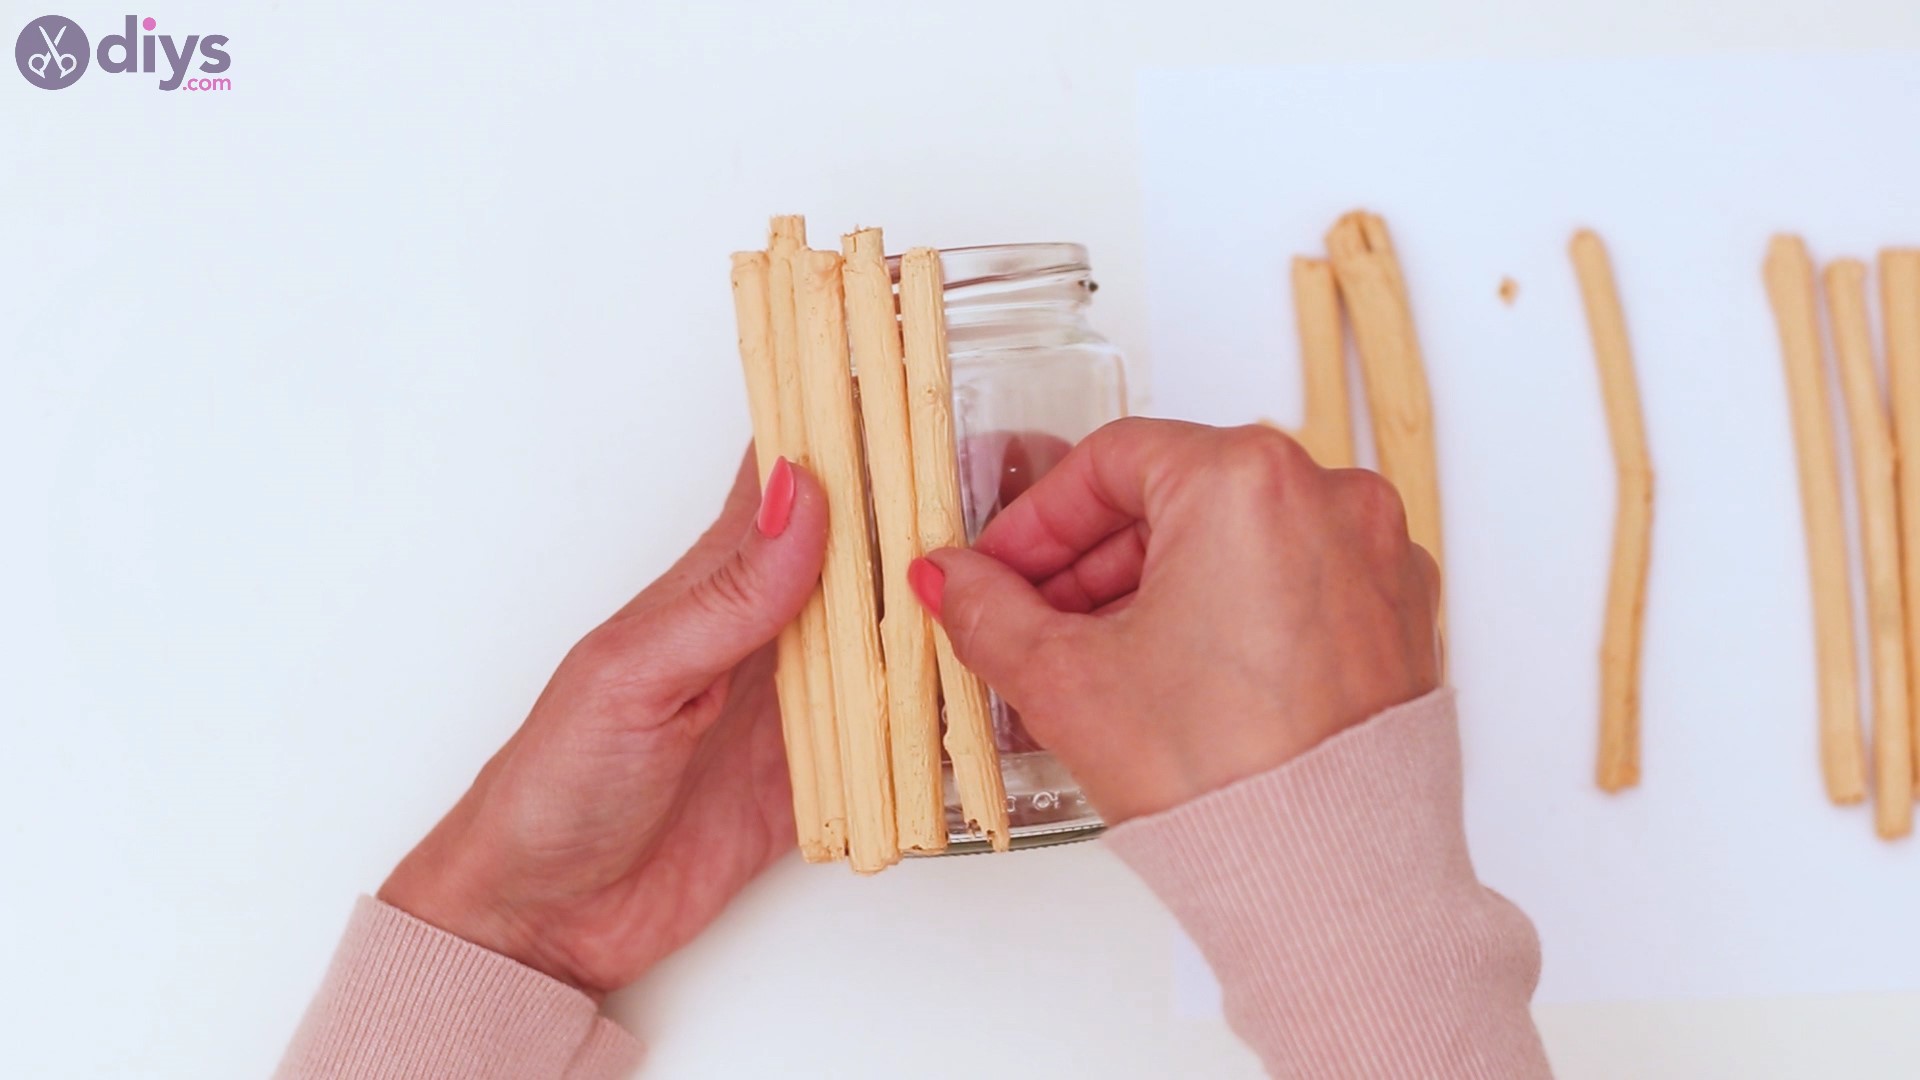
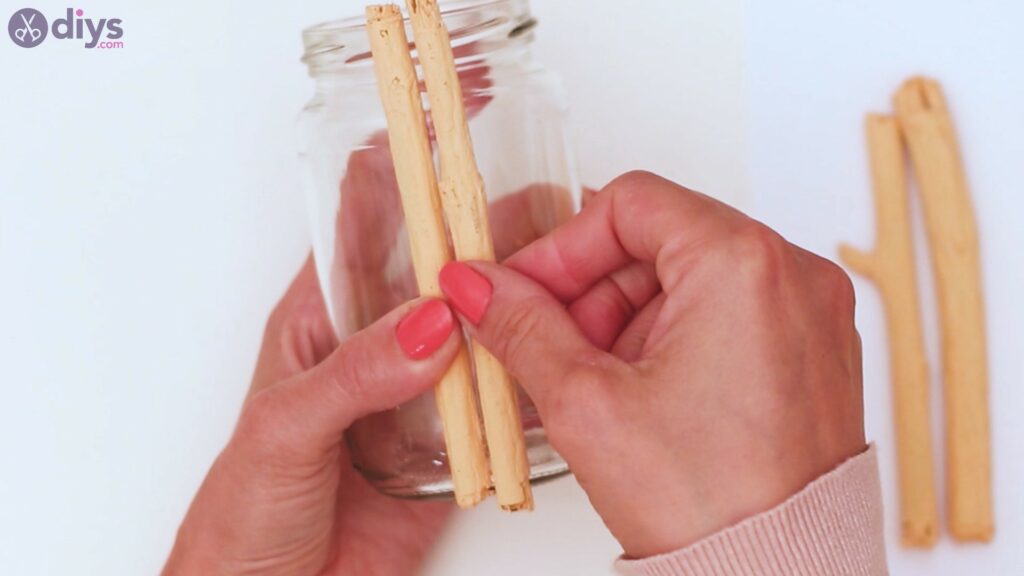
You want the branches to be close together, creating a wall of sorts. Also, you want to make sure the branches are just slightly taller than the jar.
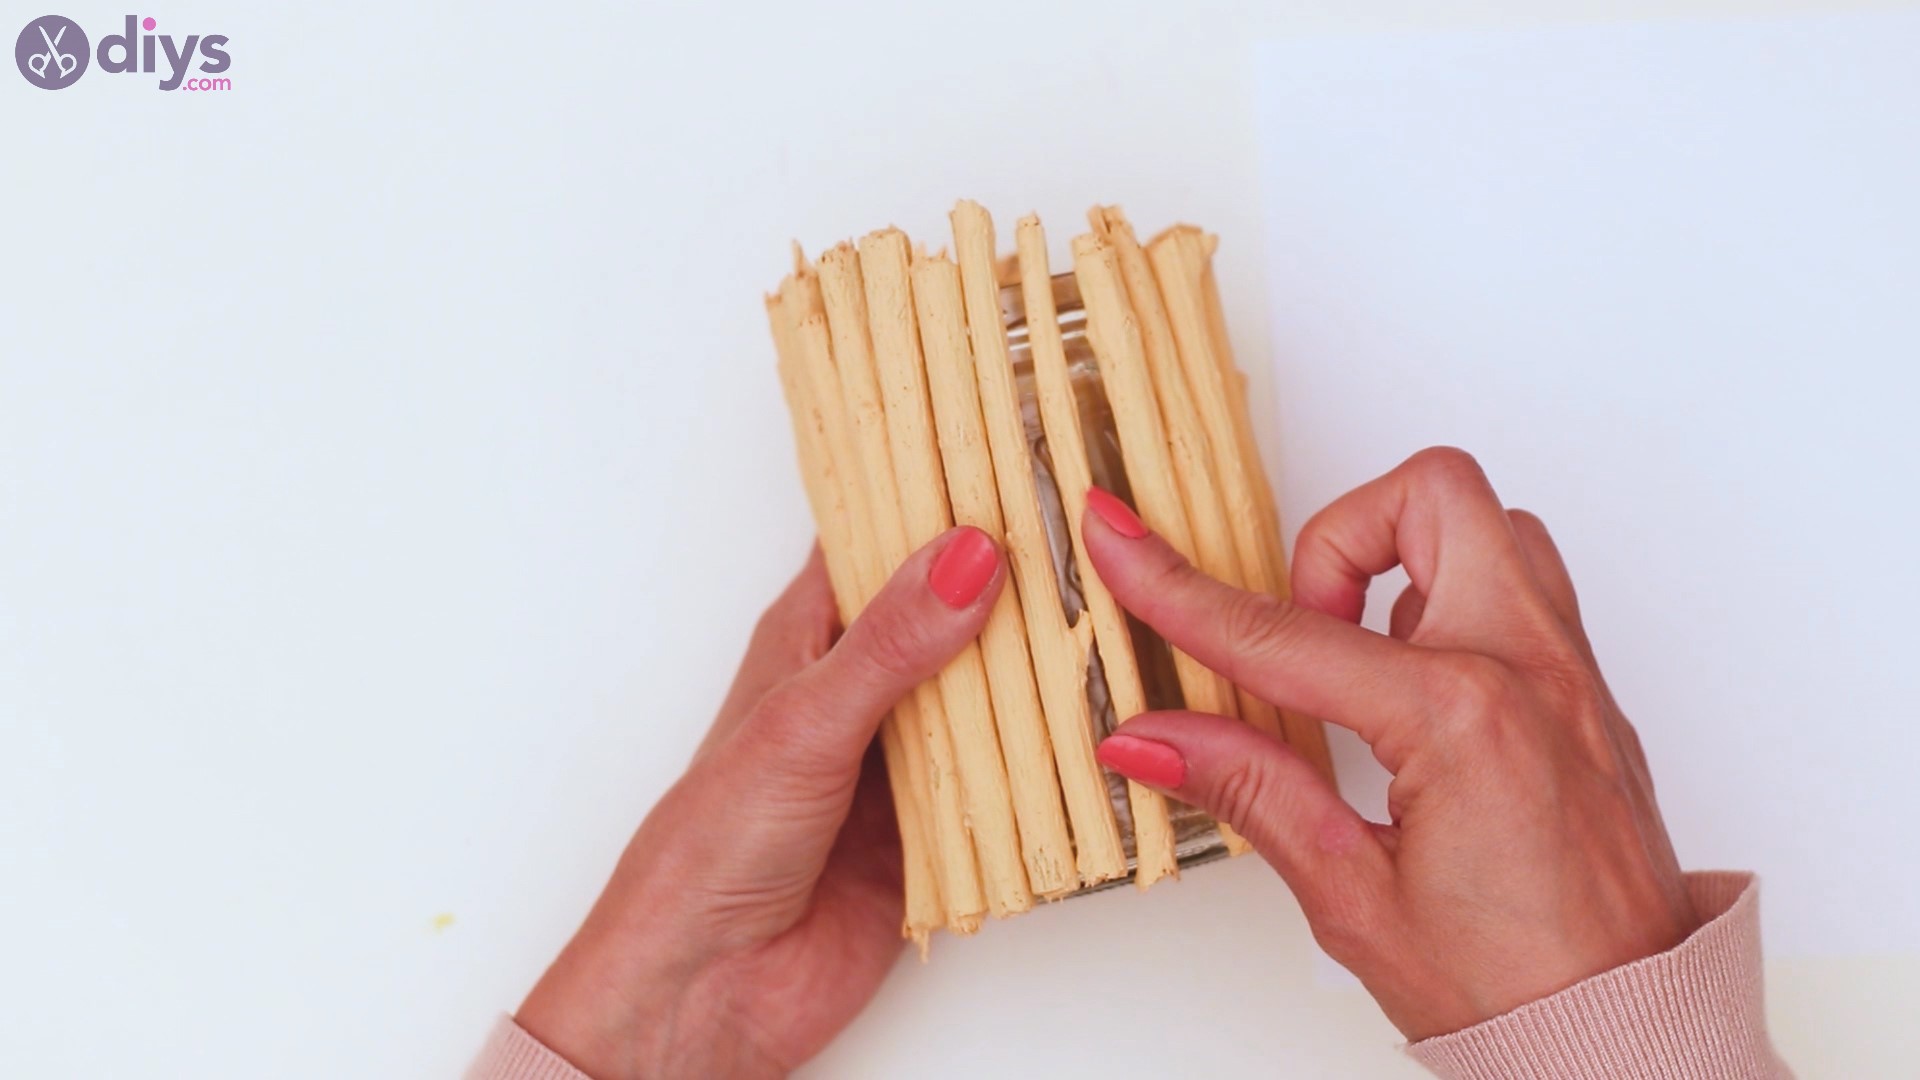
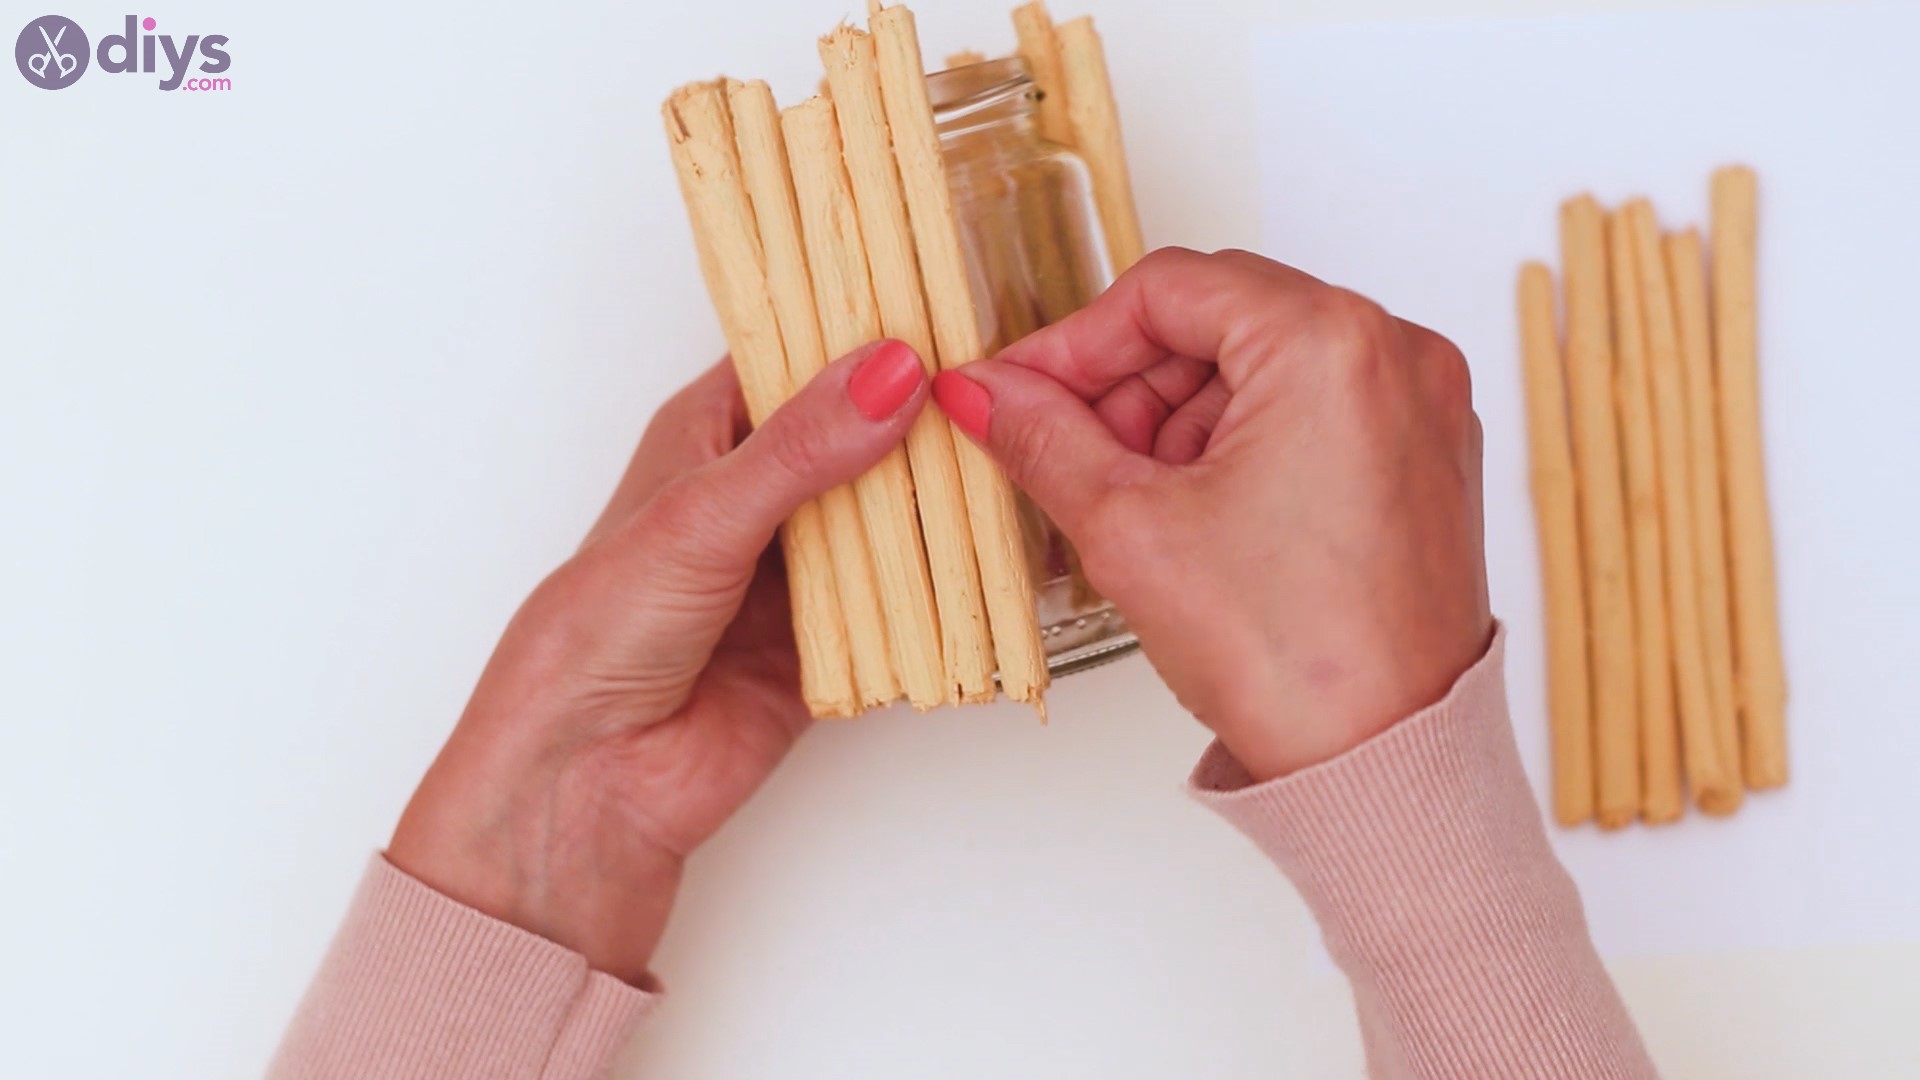
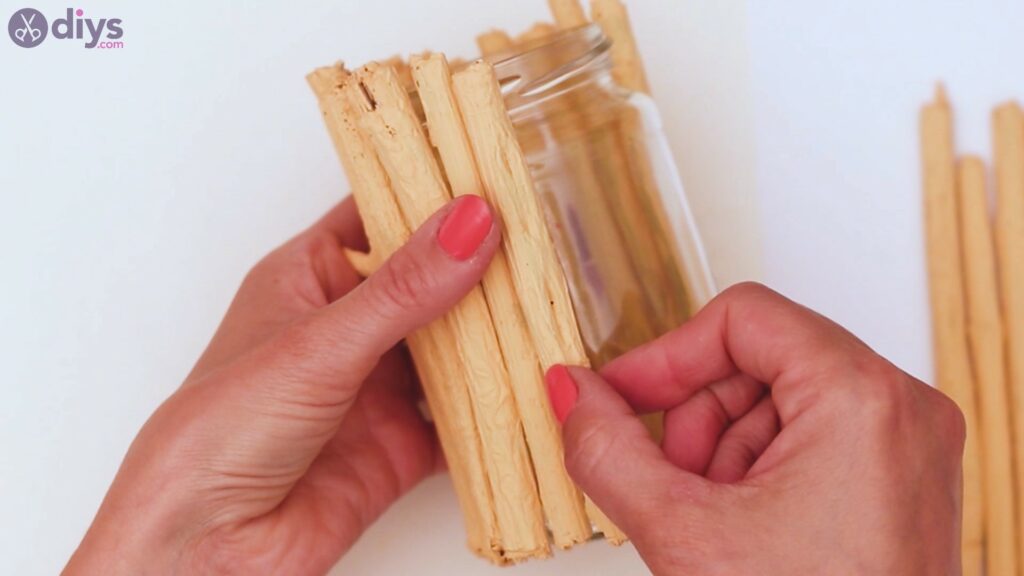
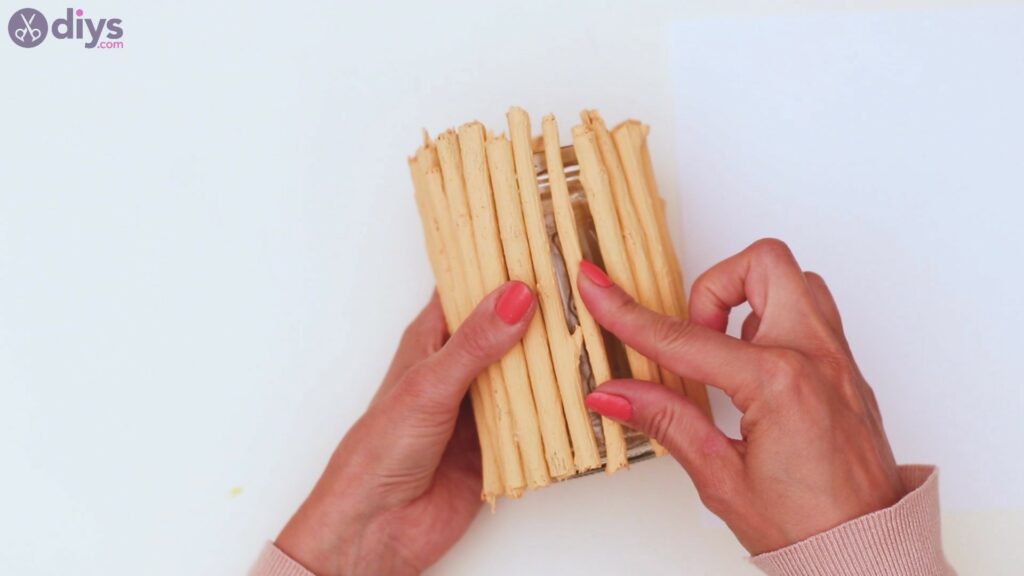
Keep going, adding in branches. It’s ok if they don’t line up perfectly due to their shape – it will give the whole creation a lot more charm.
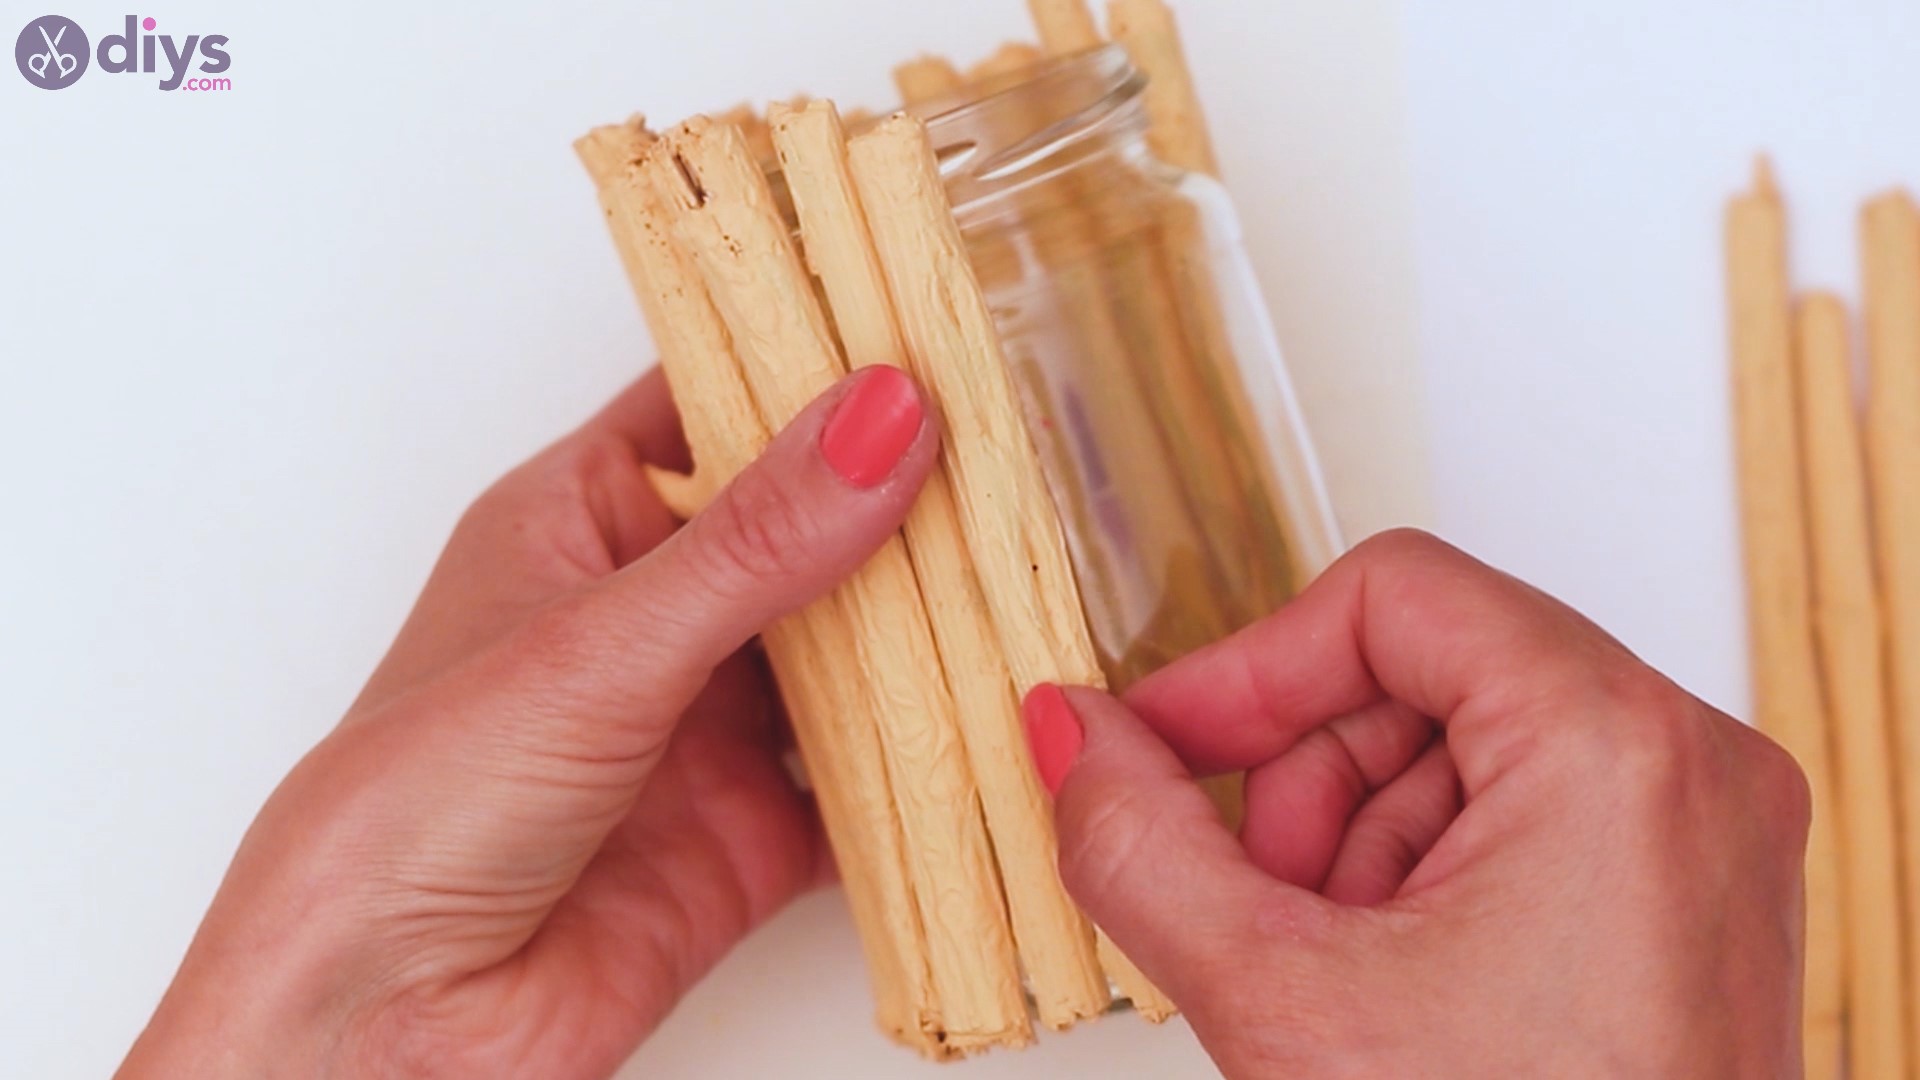
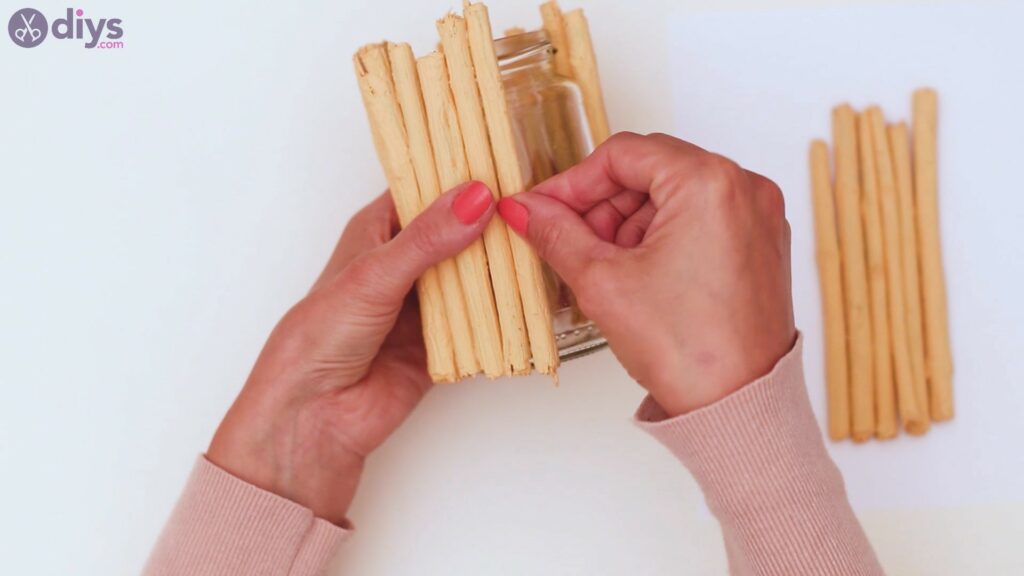
Keep going as you add the branches to the jar, encircling the future vase.
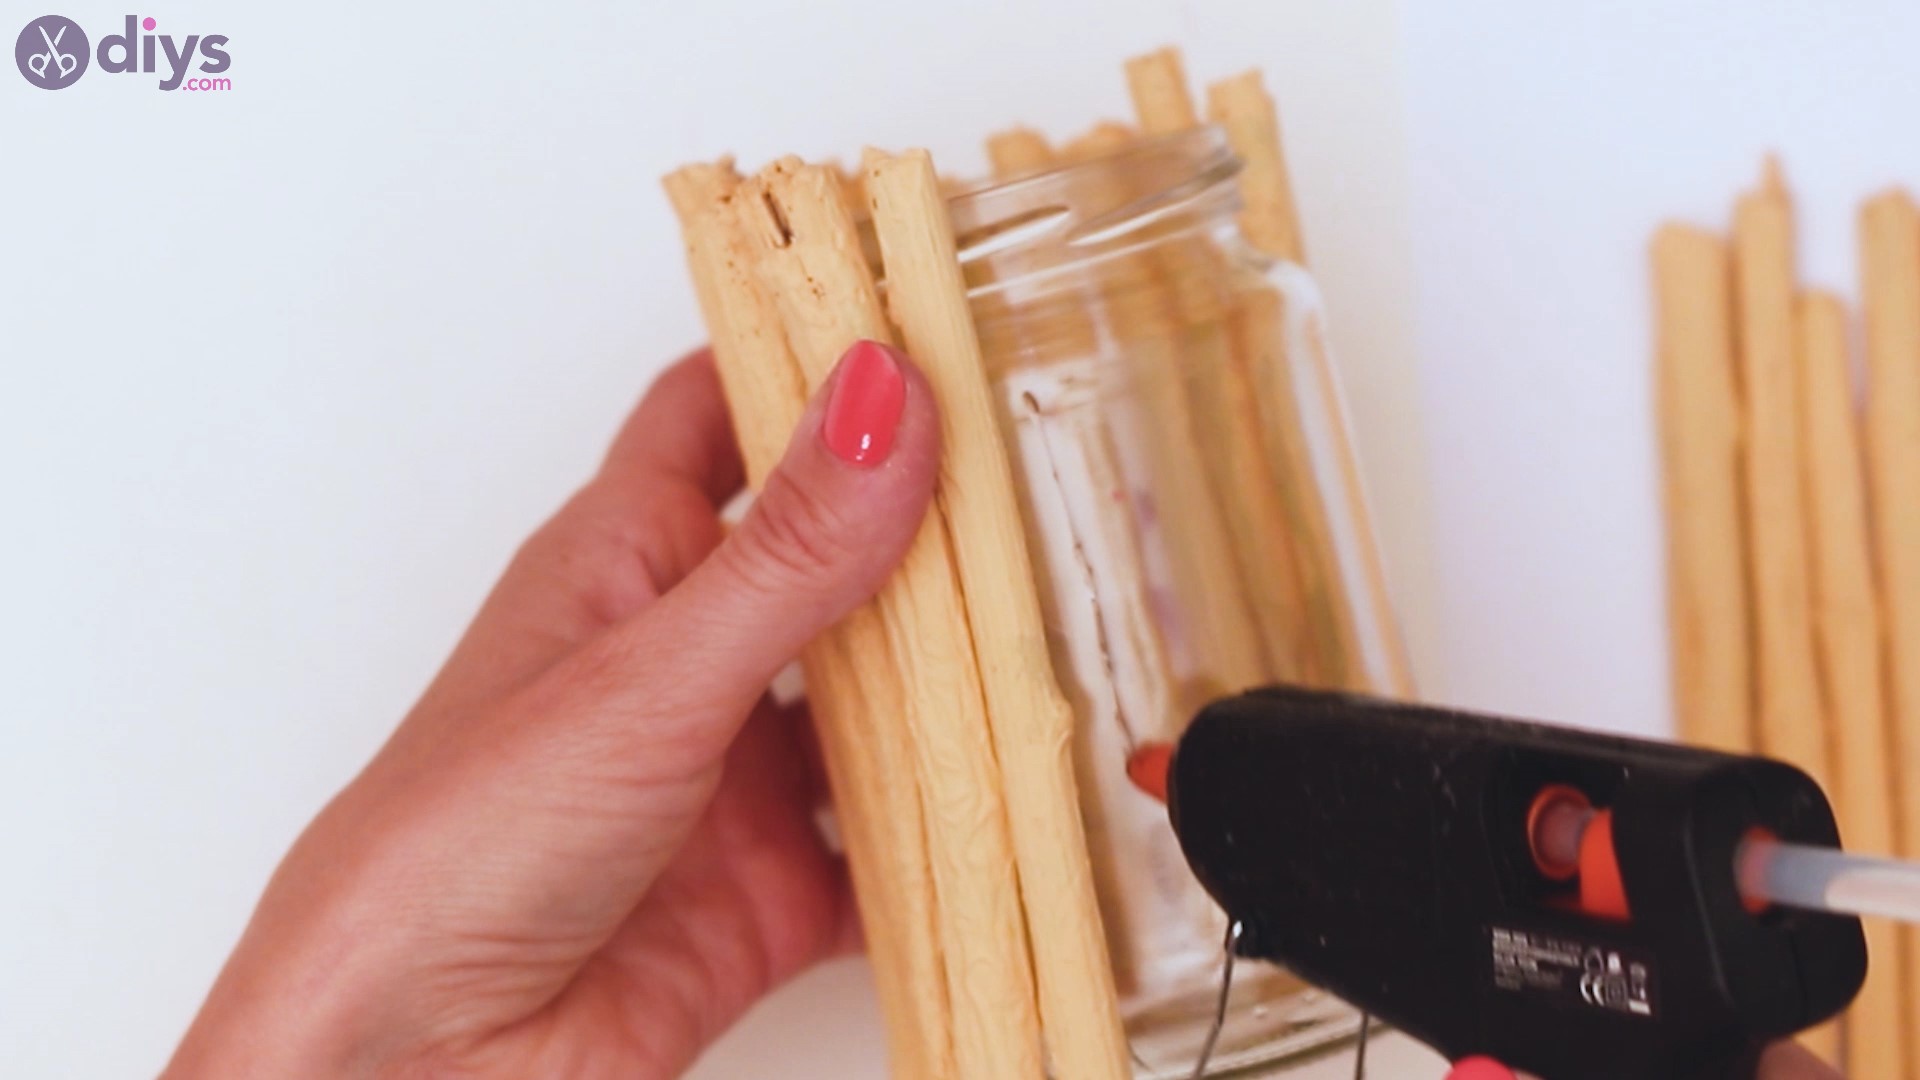
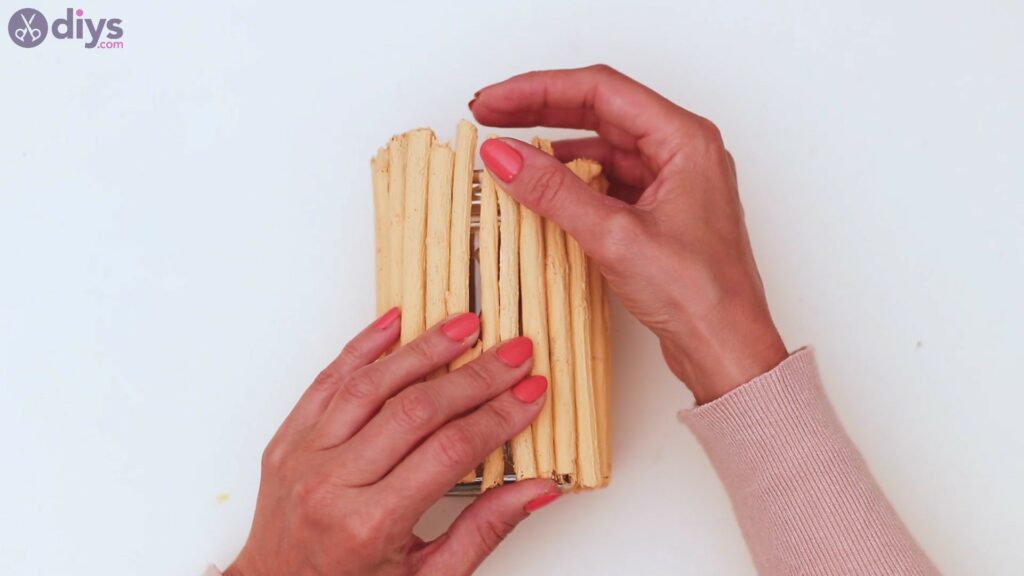
Just a few more left so you complete the design.
There you go! The design is now complete and all the branches have found their spot.
Step 3: Add the pinecones
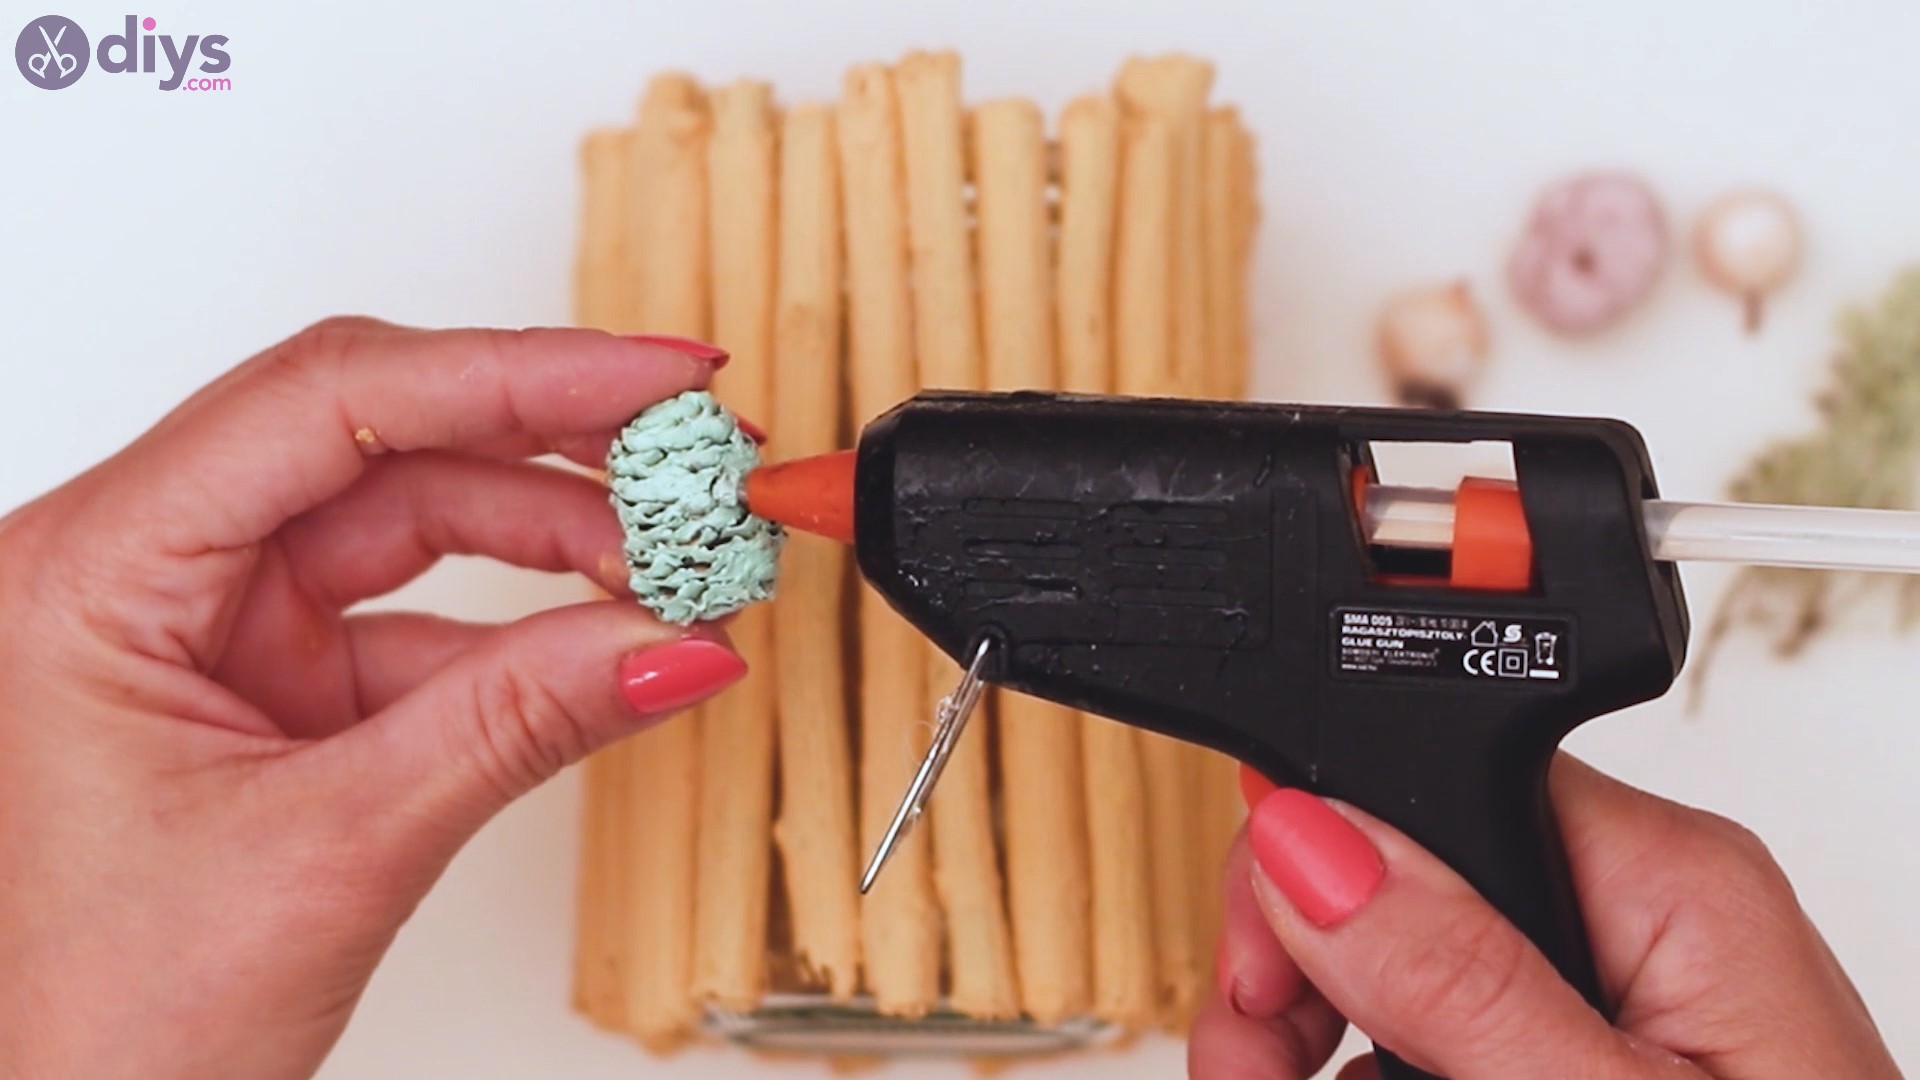
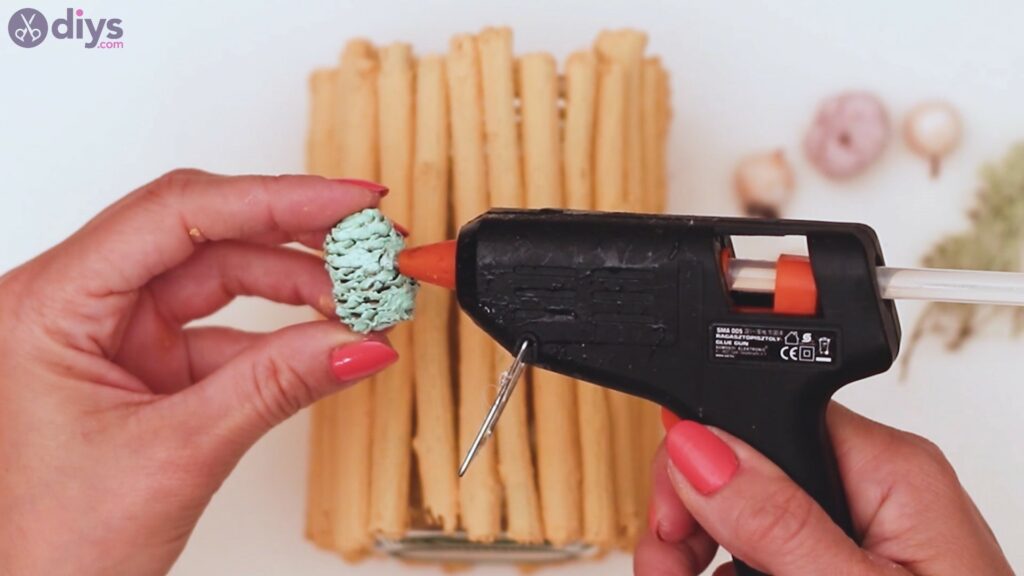
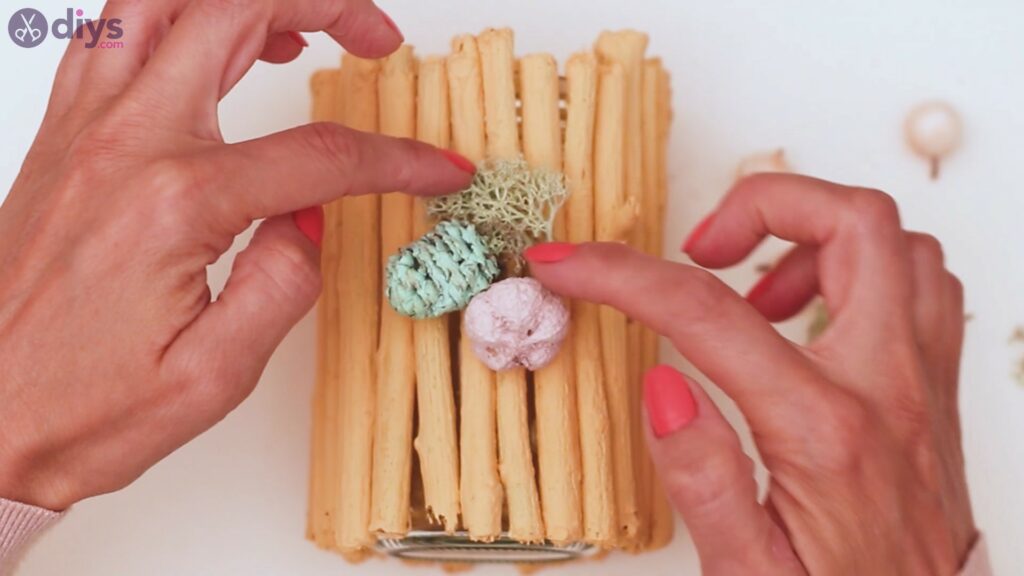
Our pinecones and artificial flowers are already colored in from a previous craft, but you can add them au-naturel or paint them up in advance. You want the accessories you add to be on the smaller side.
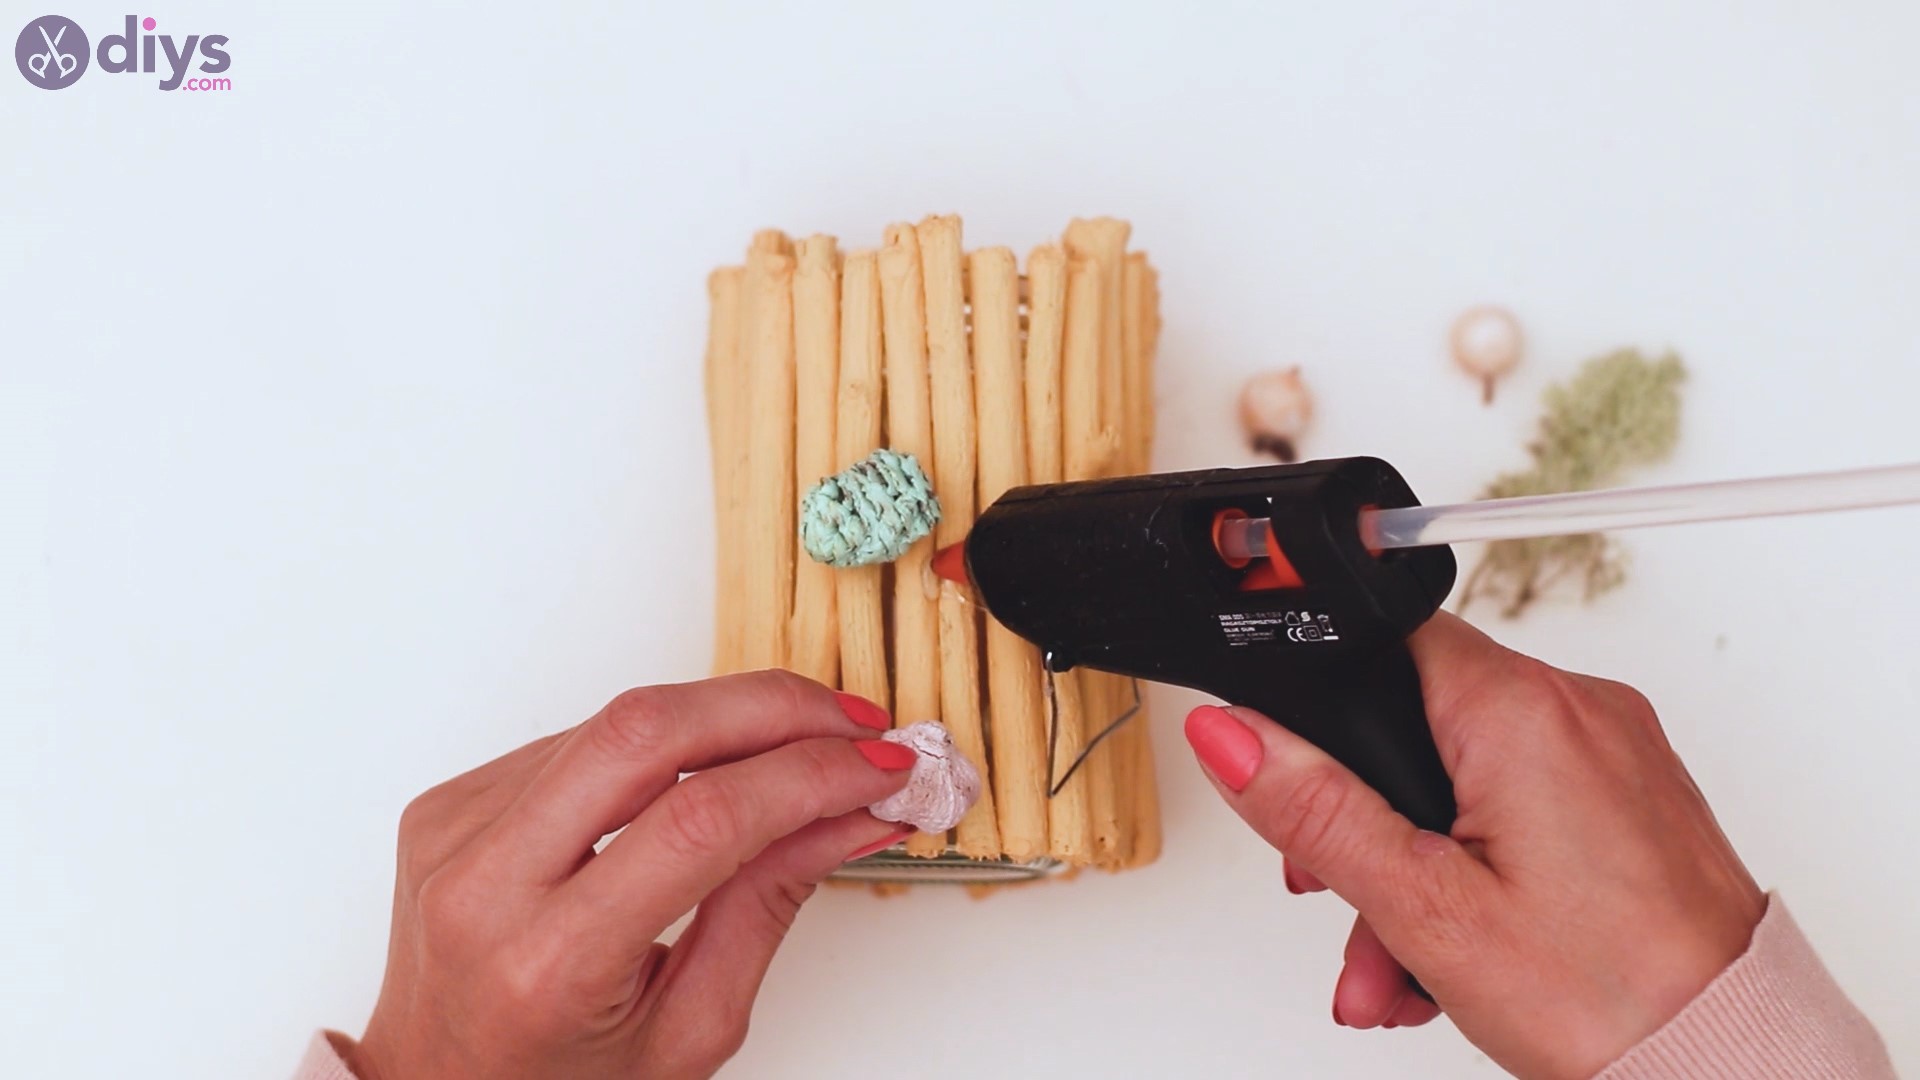
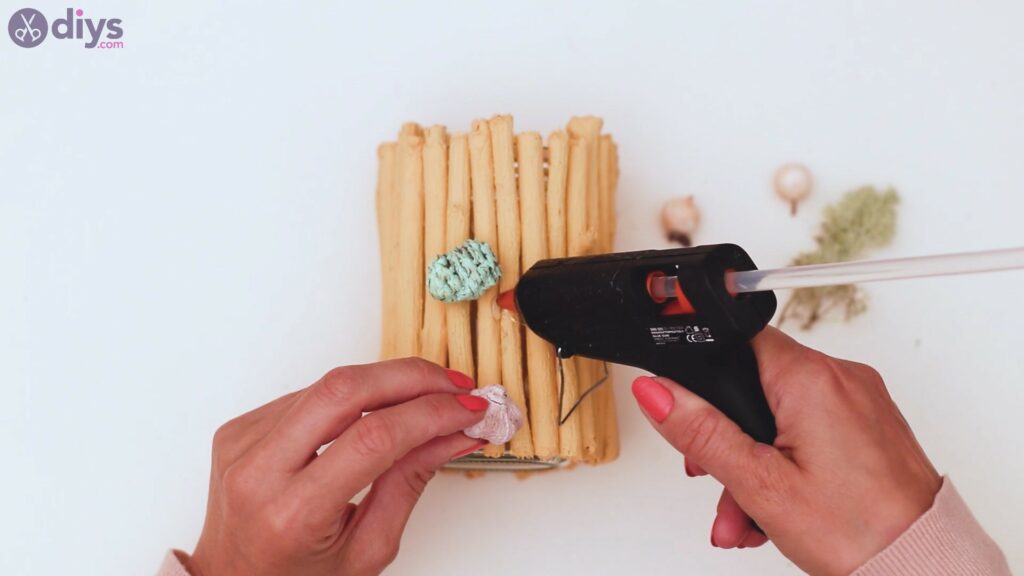
Add hot glue to the back of one of the pinecones and add it to the central area of the branches.
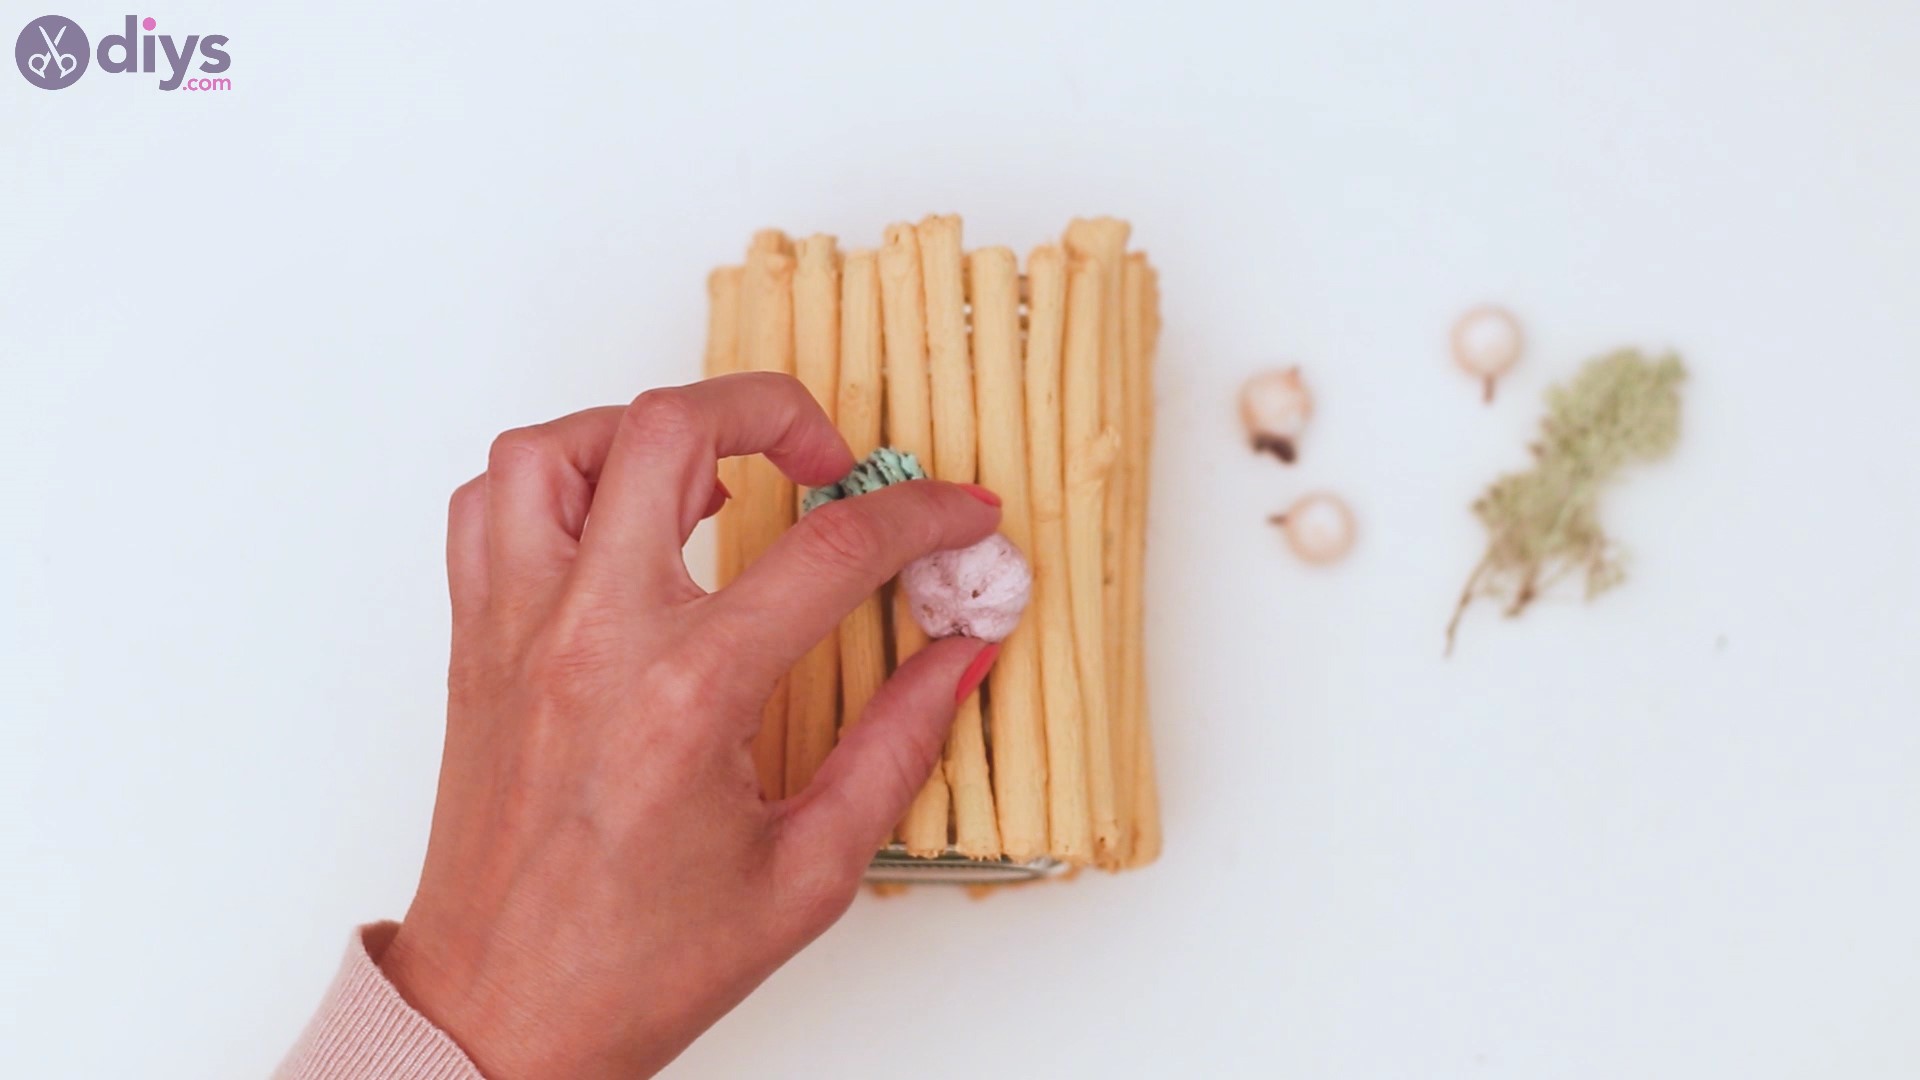
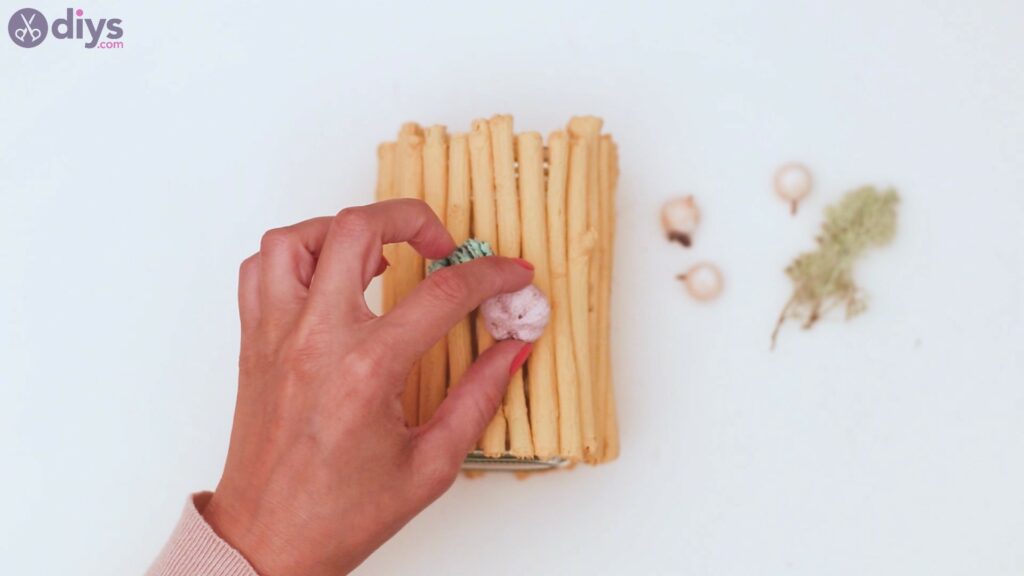
Then, you can add some more hot glue. You can do this to the back of the flower or directly to the branches – however you feel is better. We happened to have two branches that were close together, allowing us to safely place more hot glue.
Step 4: Add the moss
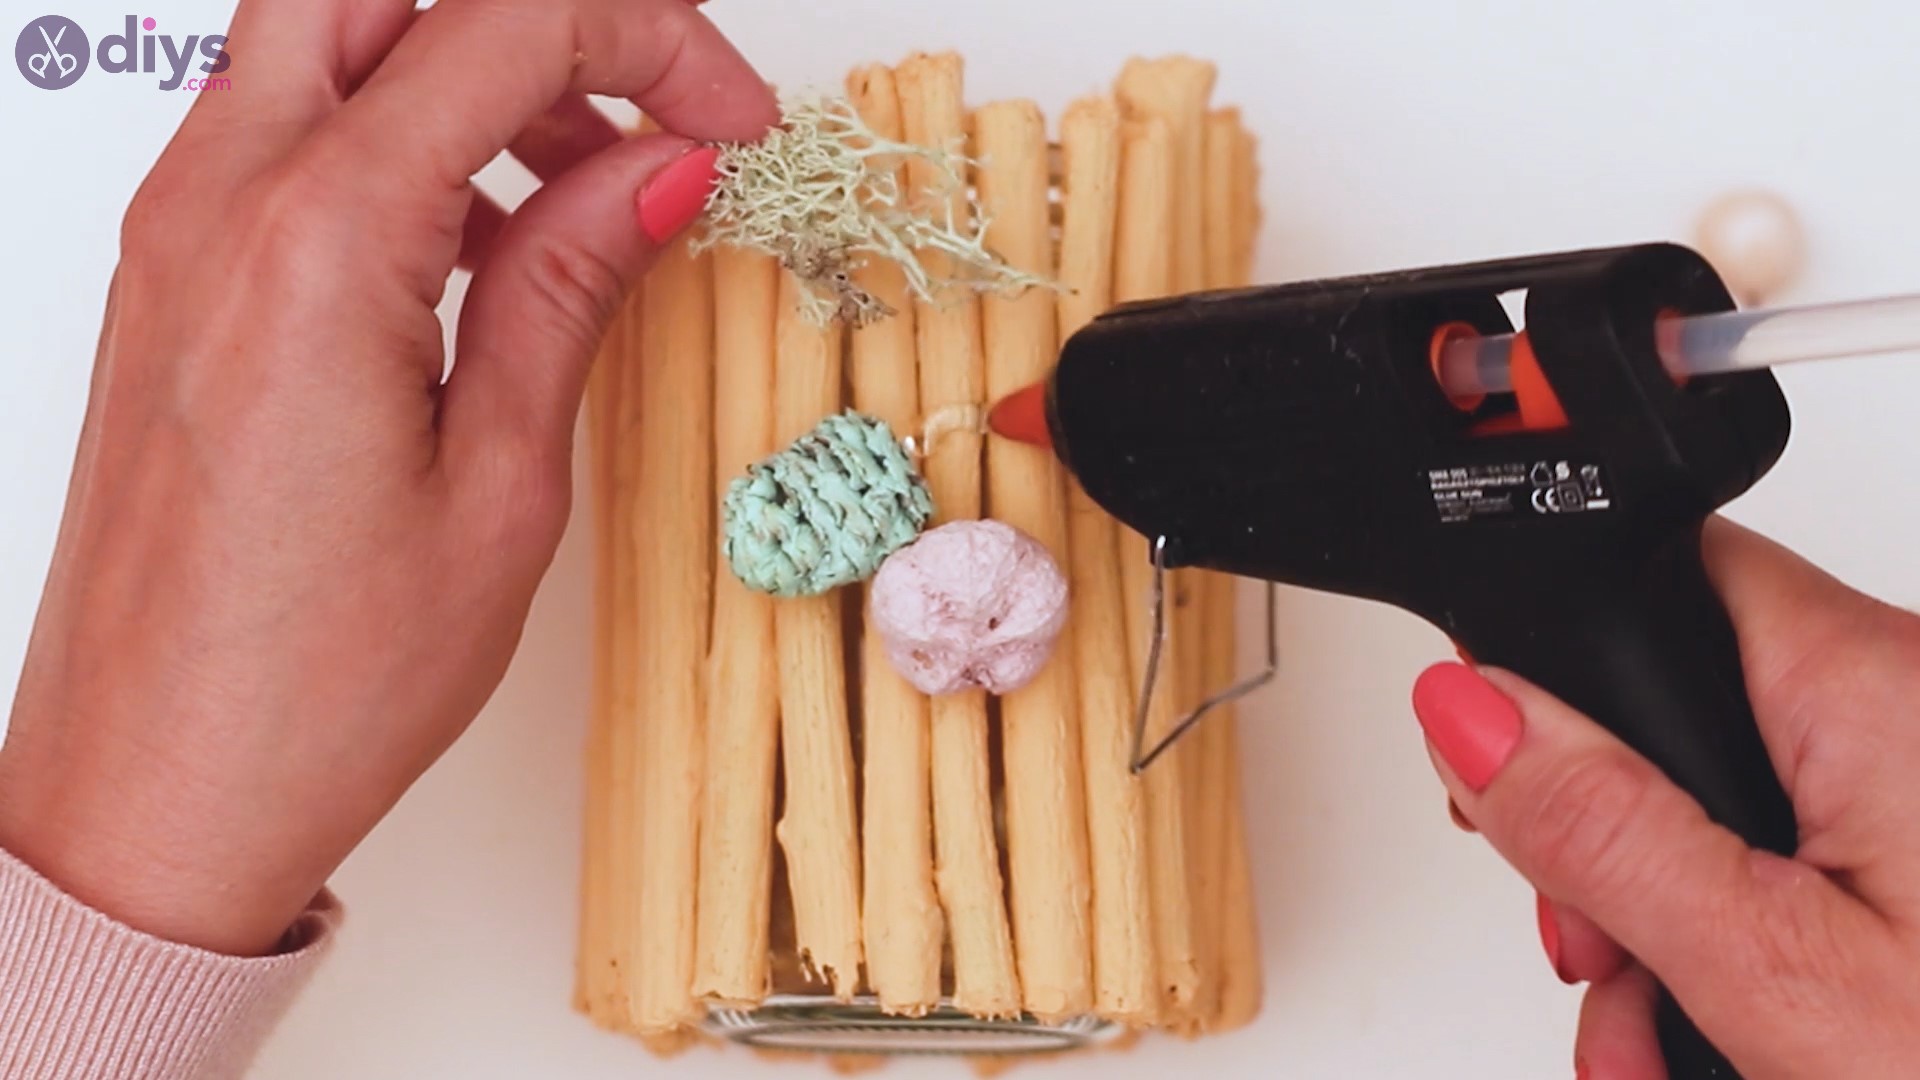
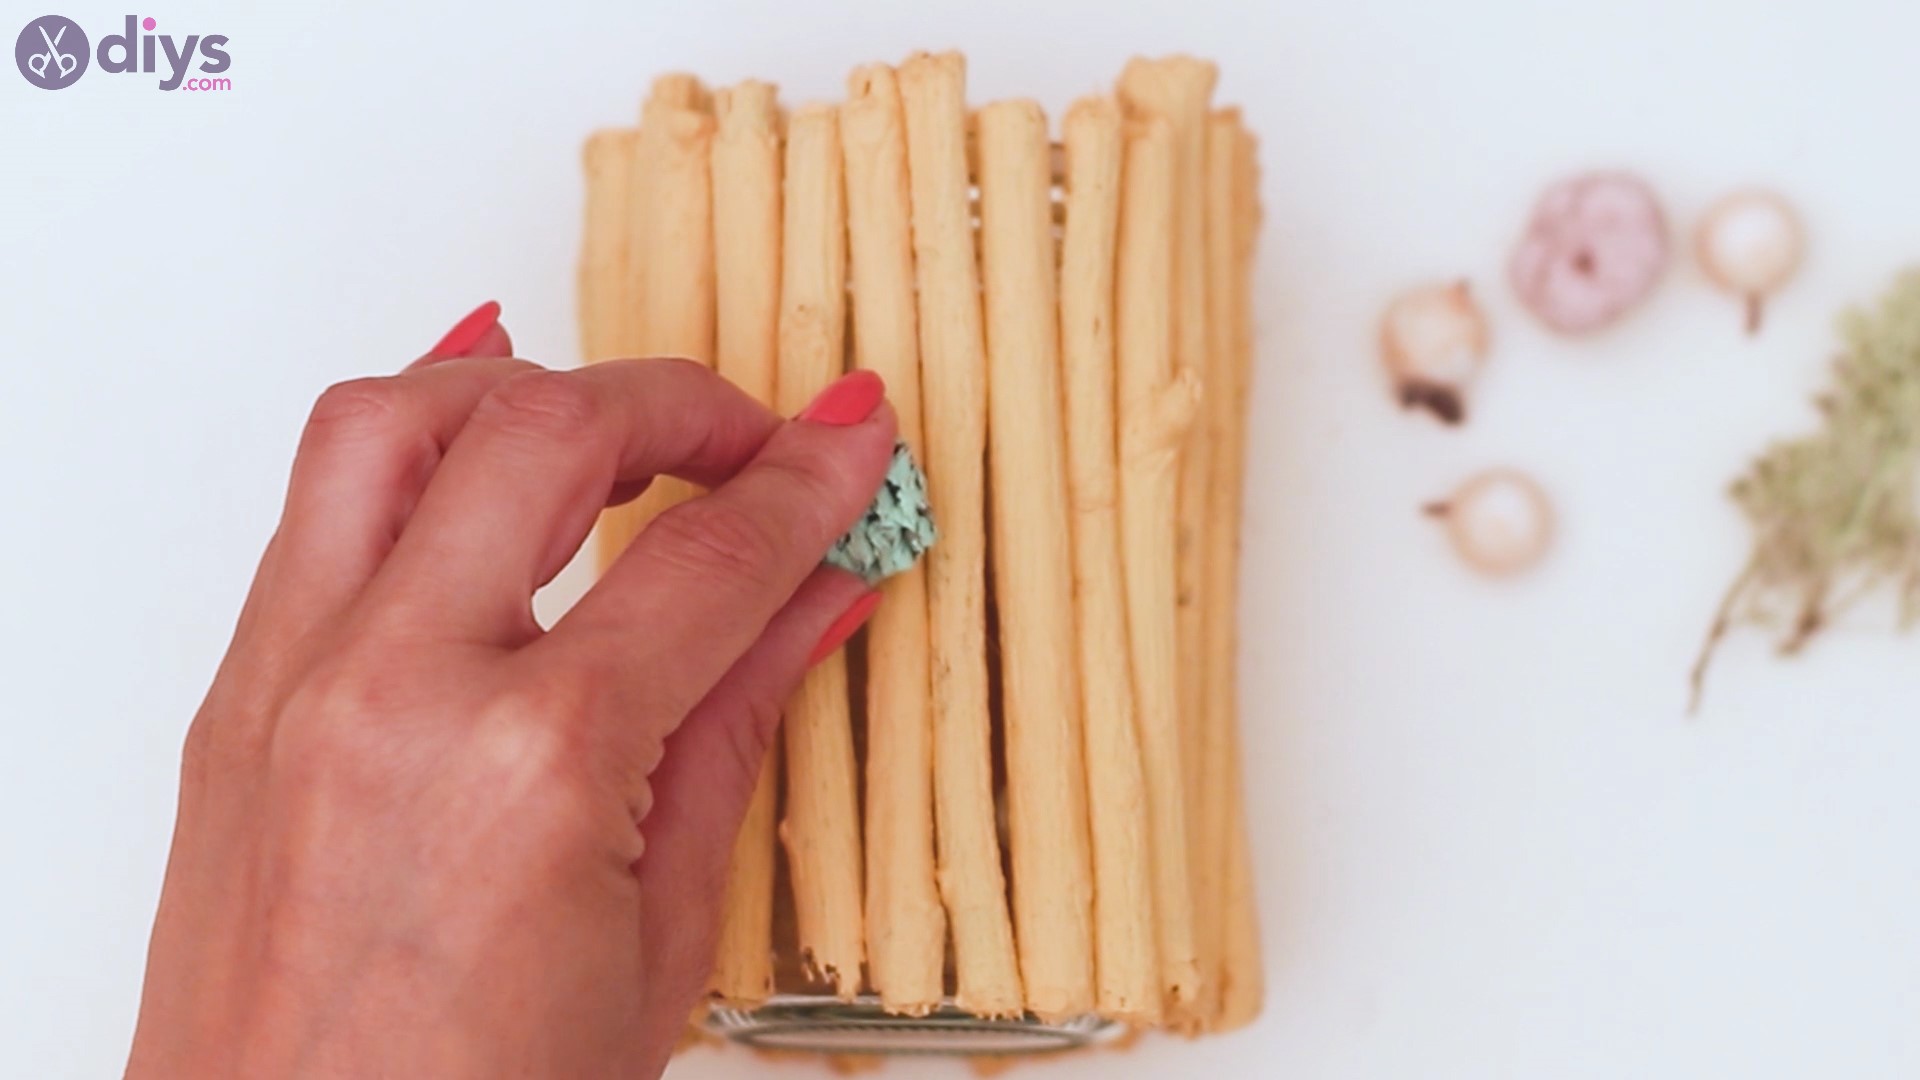
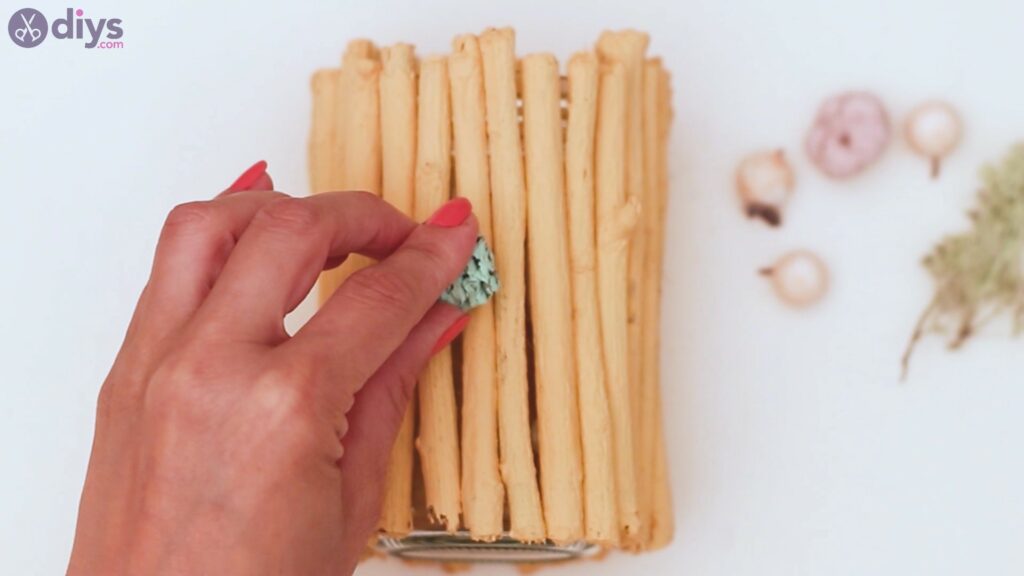
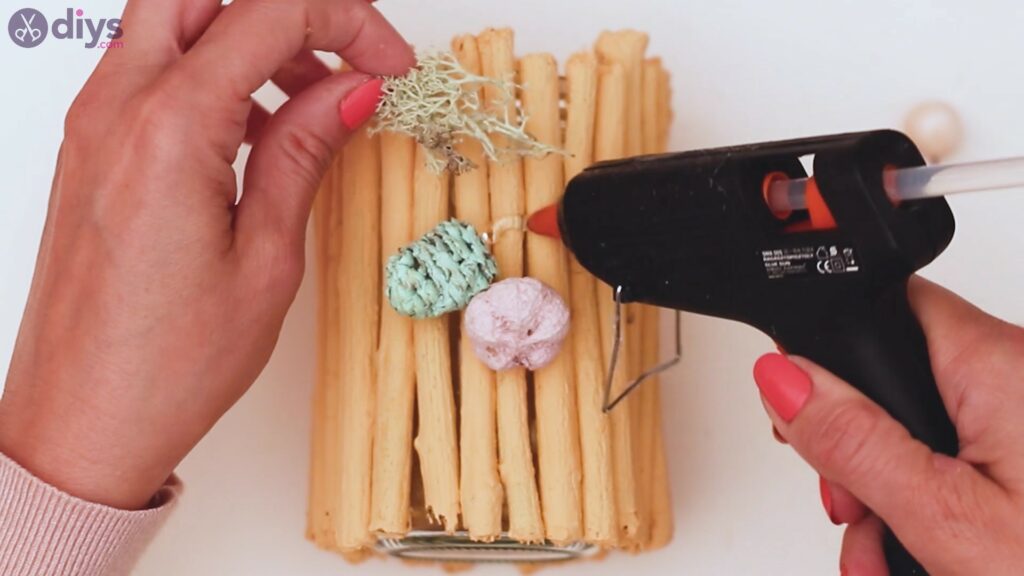
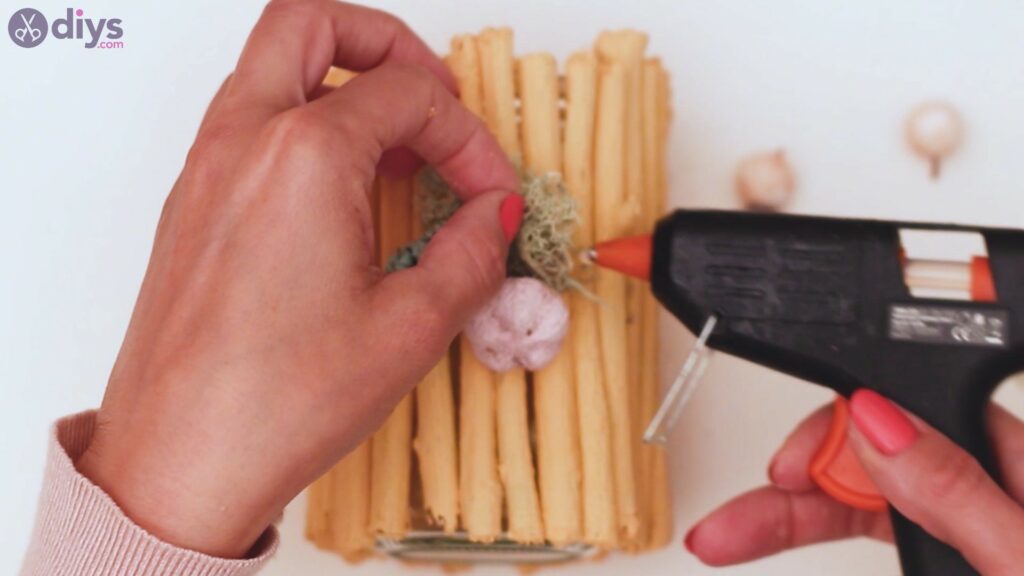
Next, you can add the moss to the design. Much like you did before, decide where you want to put it and add some hot glue to the area. When it comes to moss you really want to put the glue directly to the branches.
Neatly arrange the moss over the glue so it all sticks to the area.
Add more glue if necessary to make the moss maintain its position.
Step 5: Add more decor
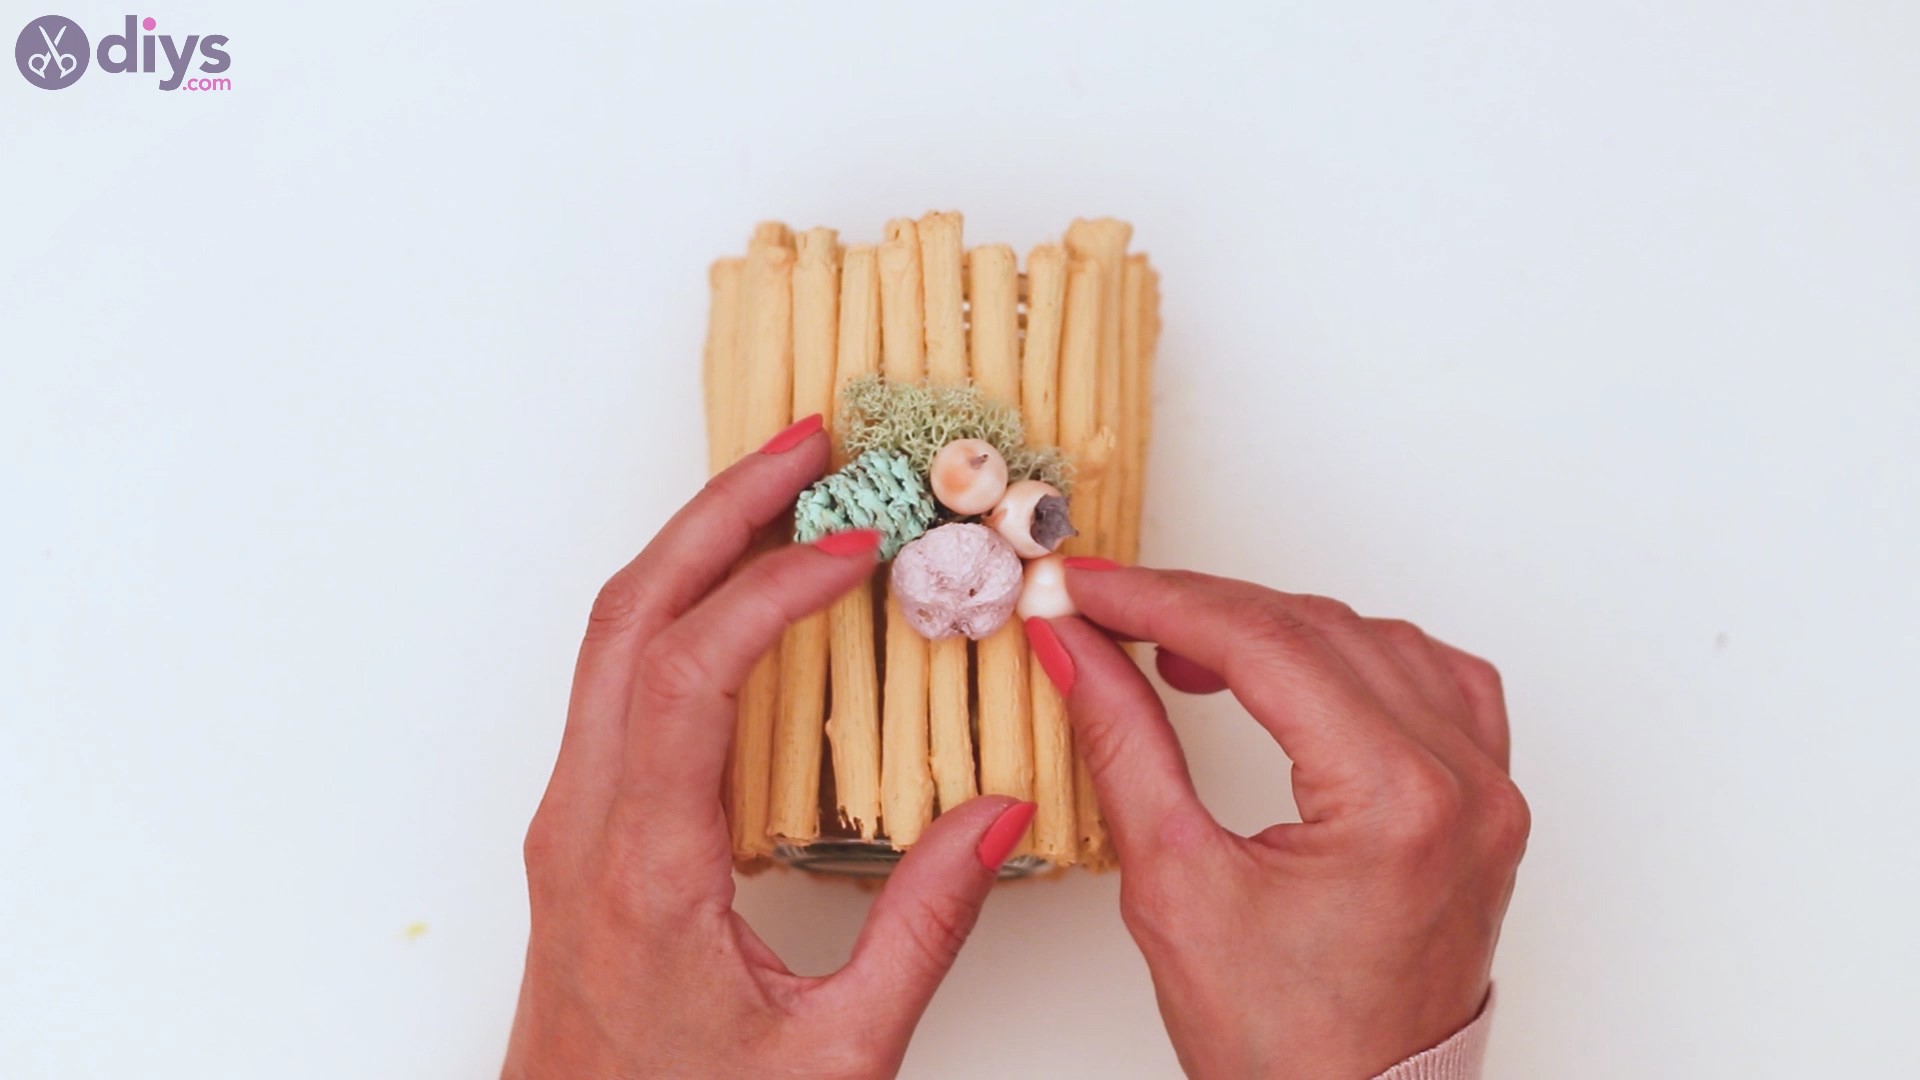
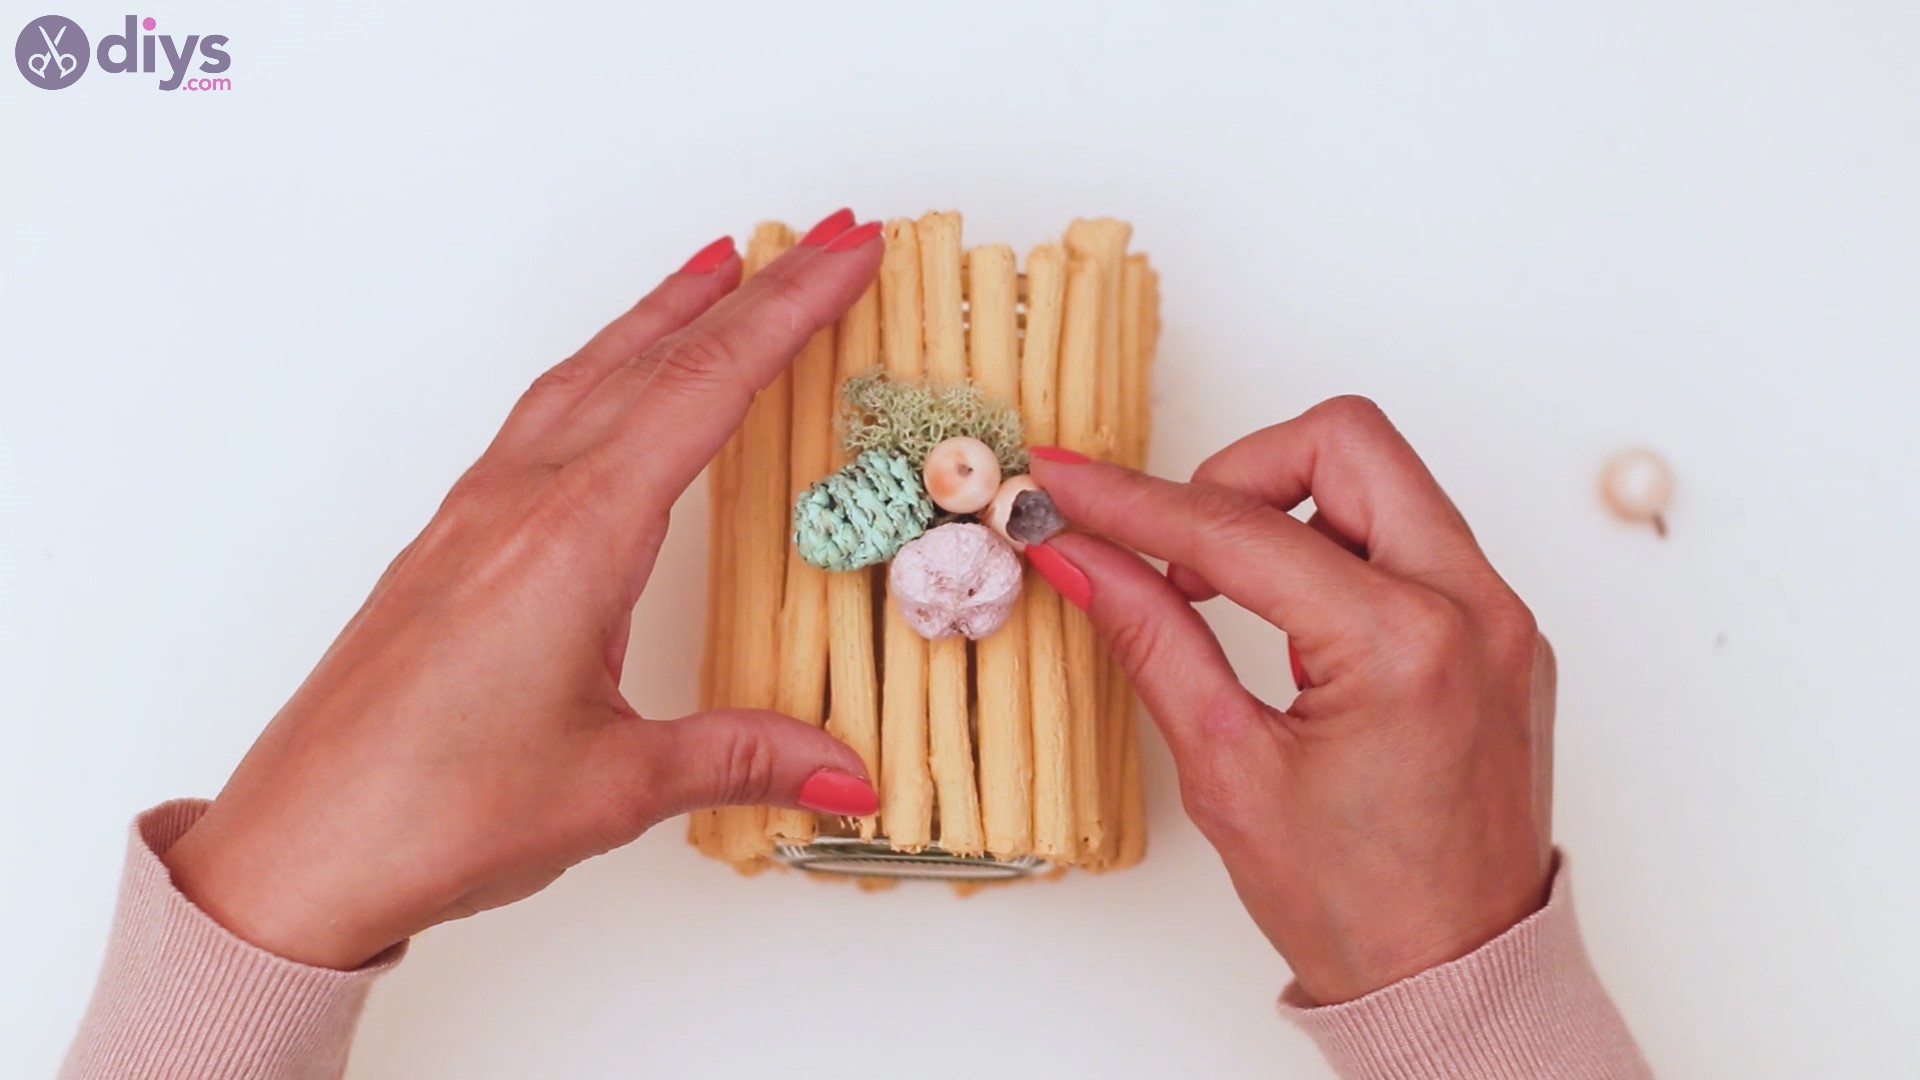
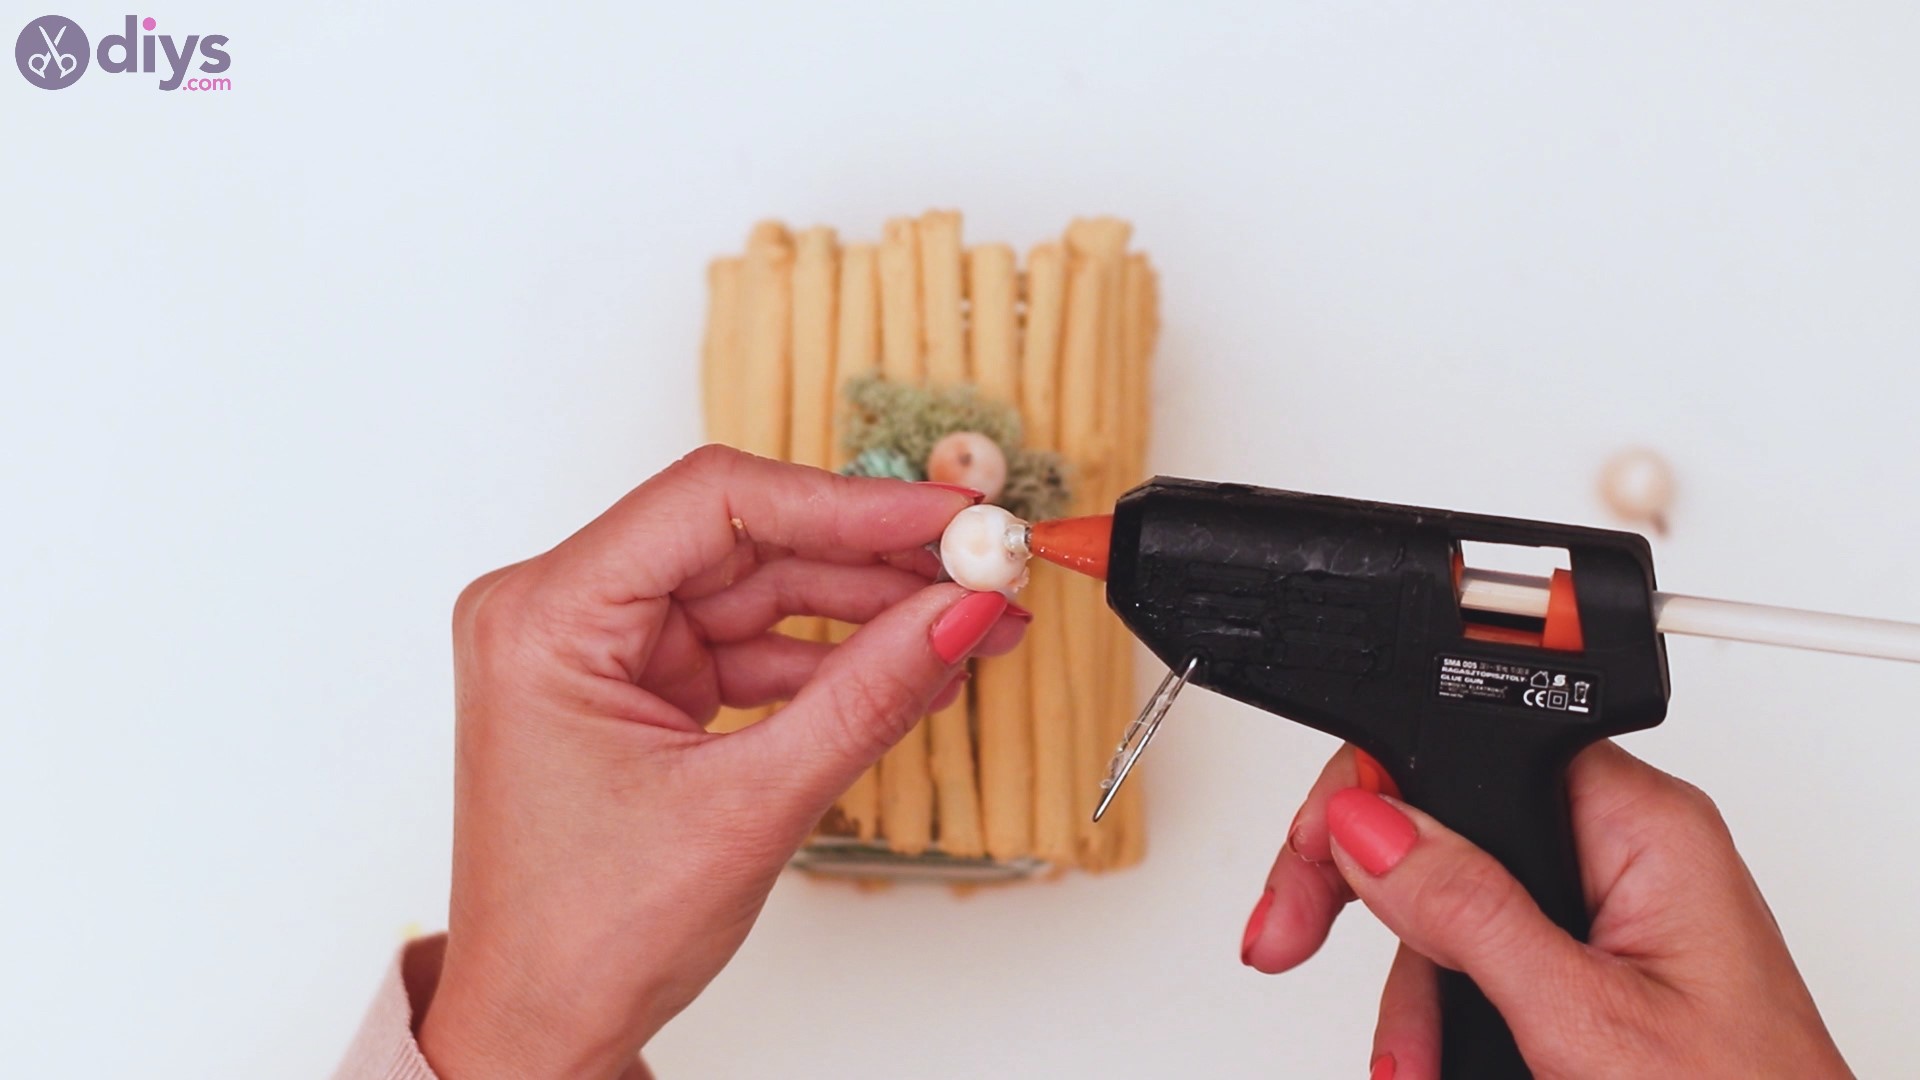
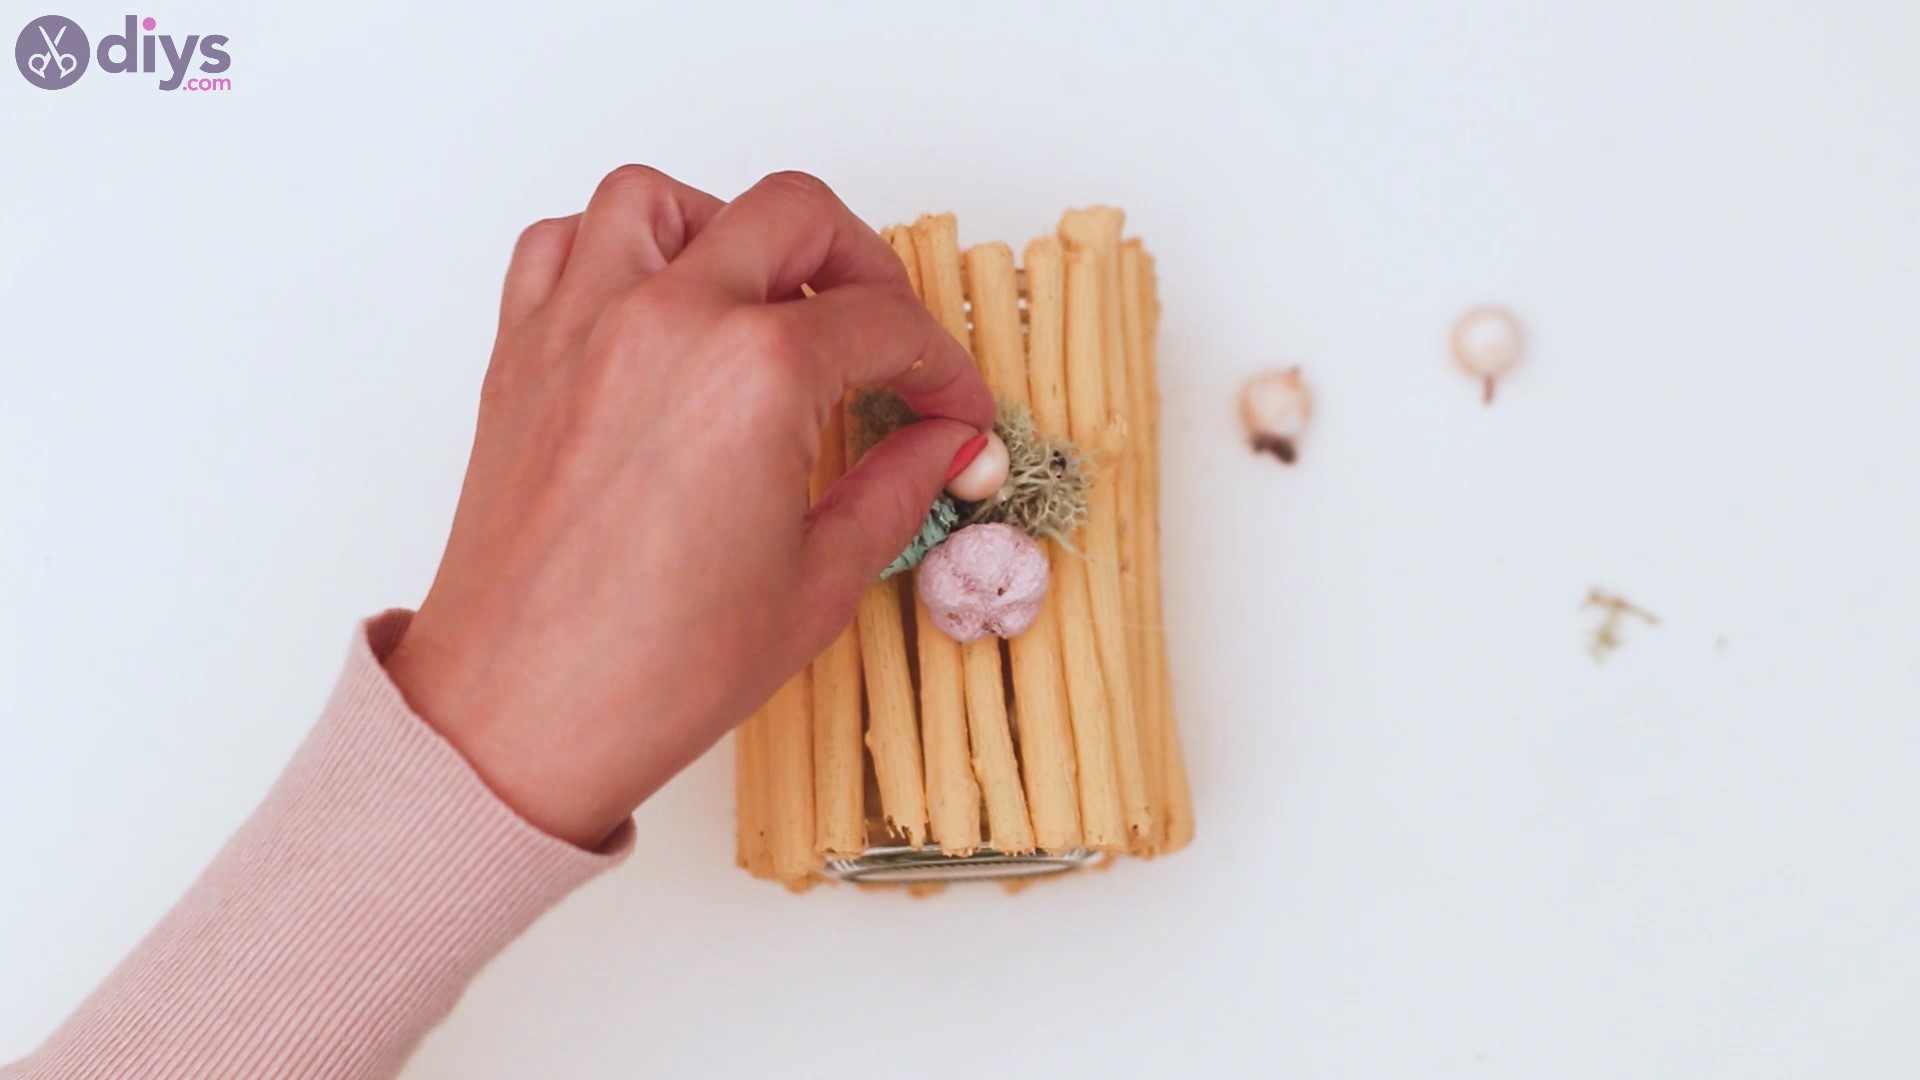
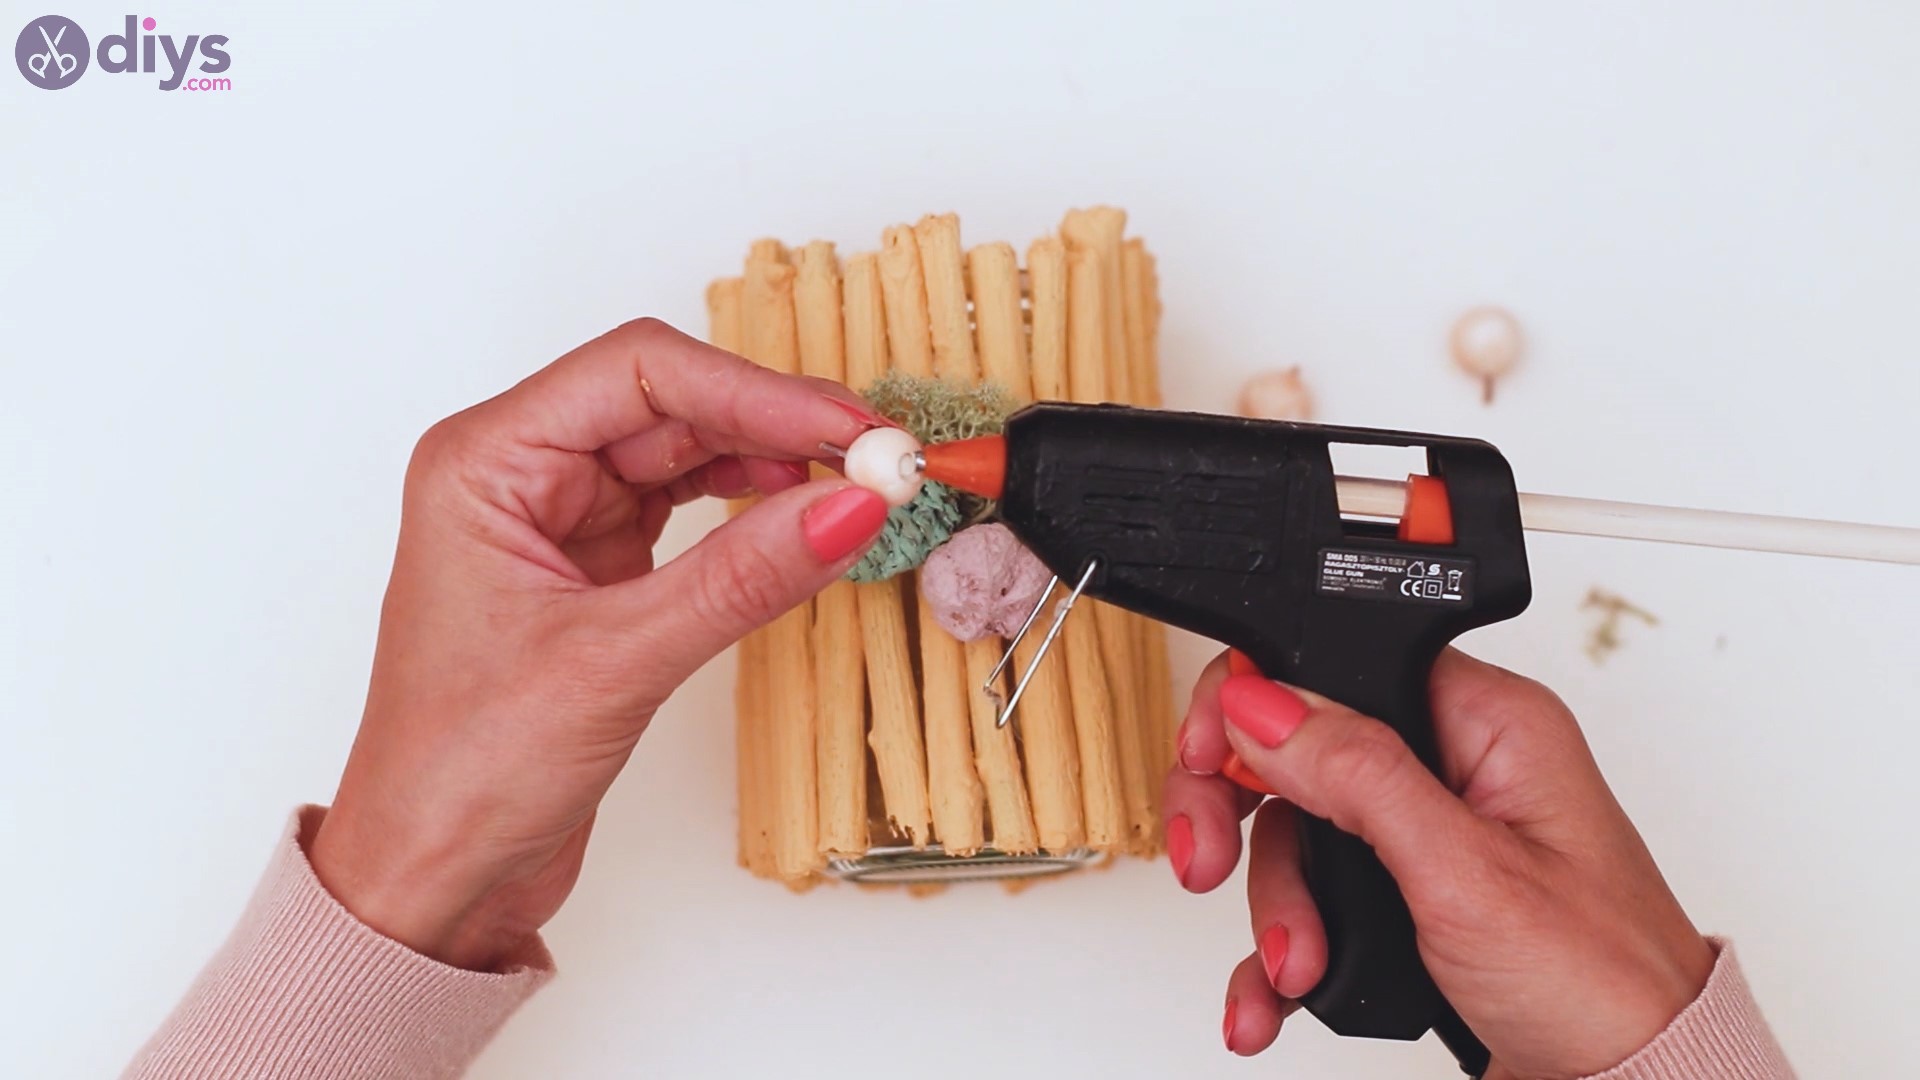
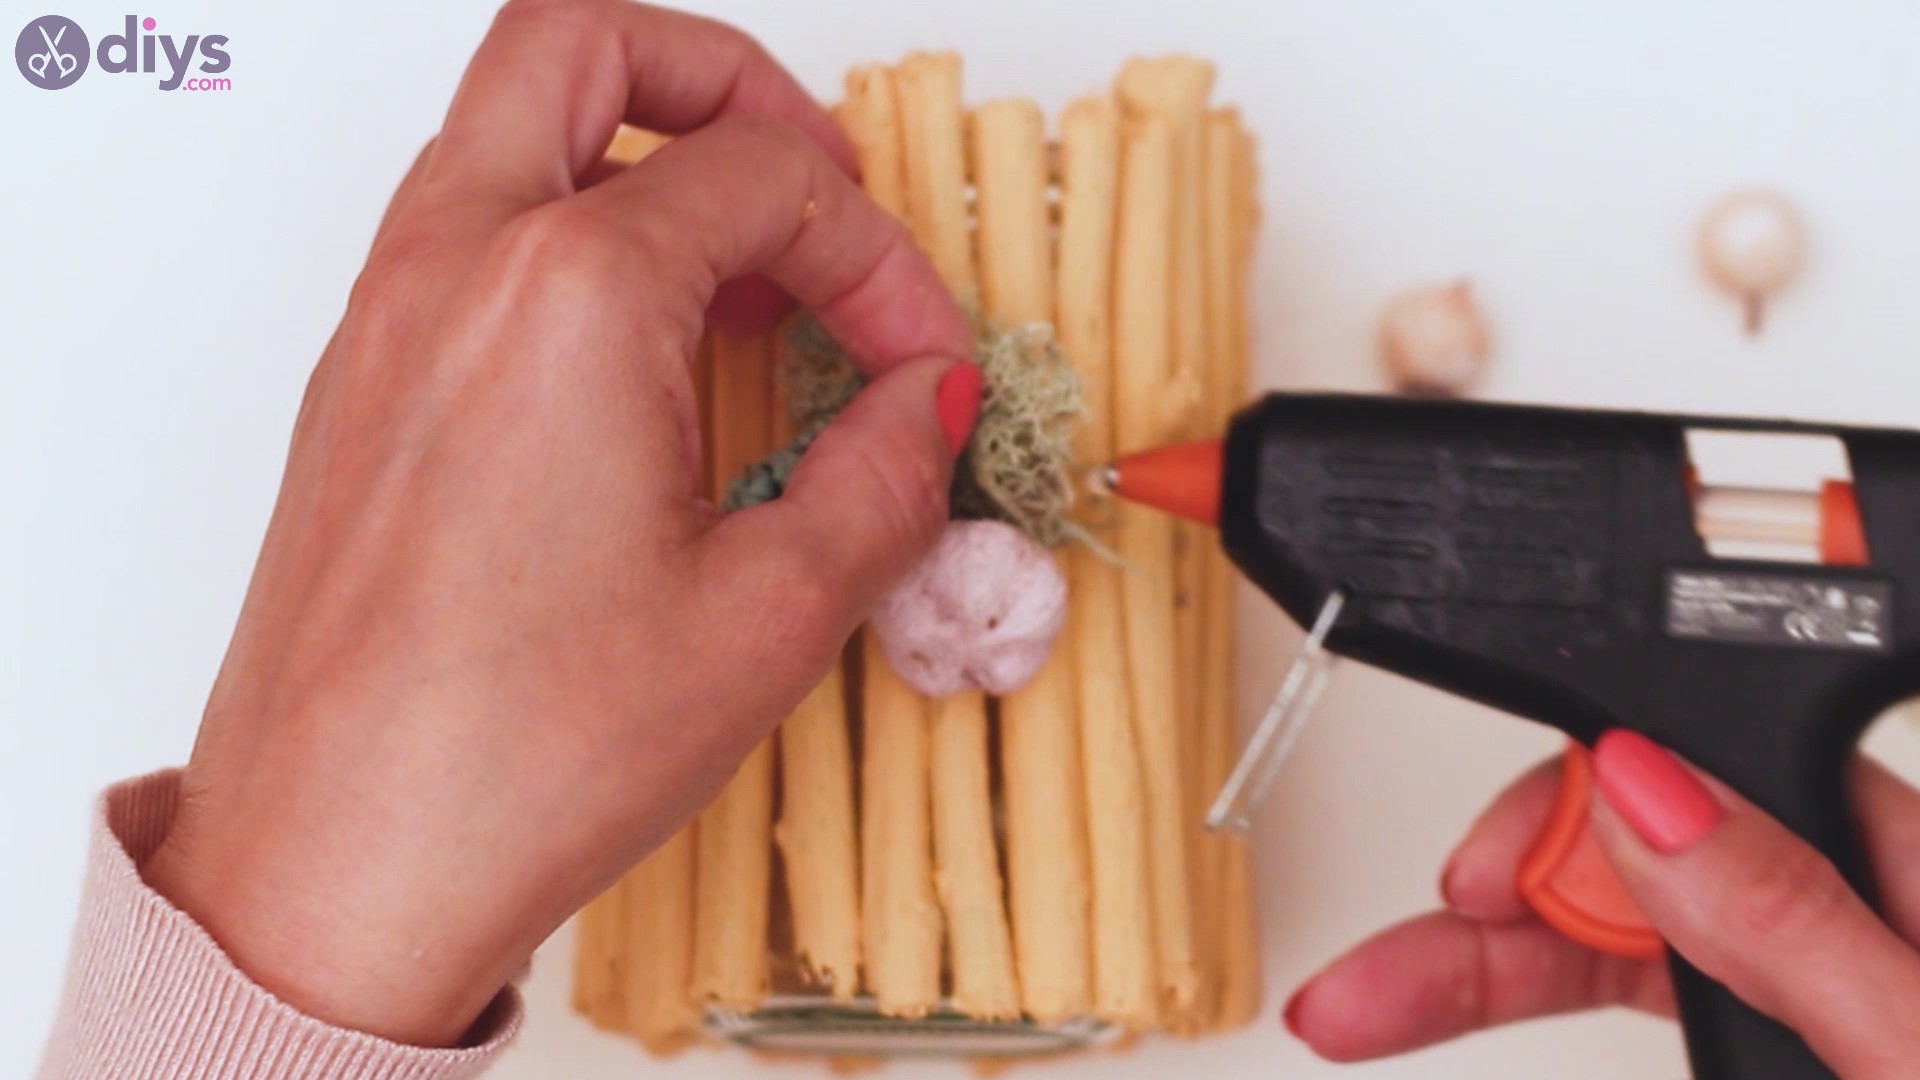
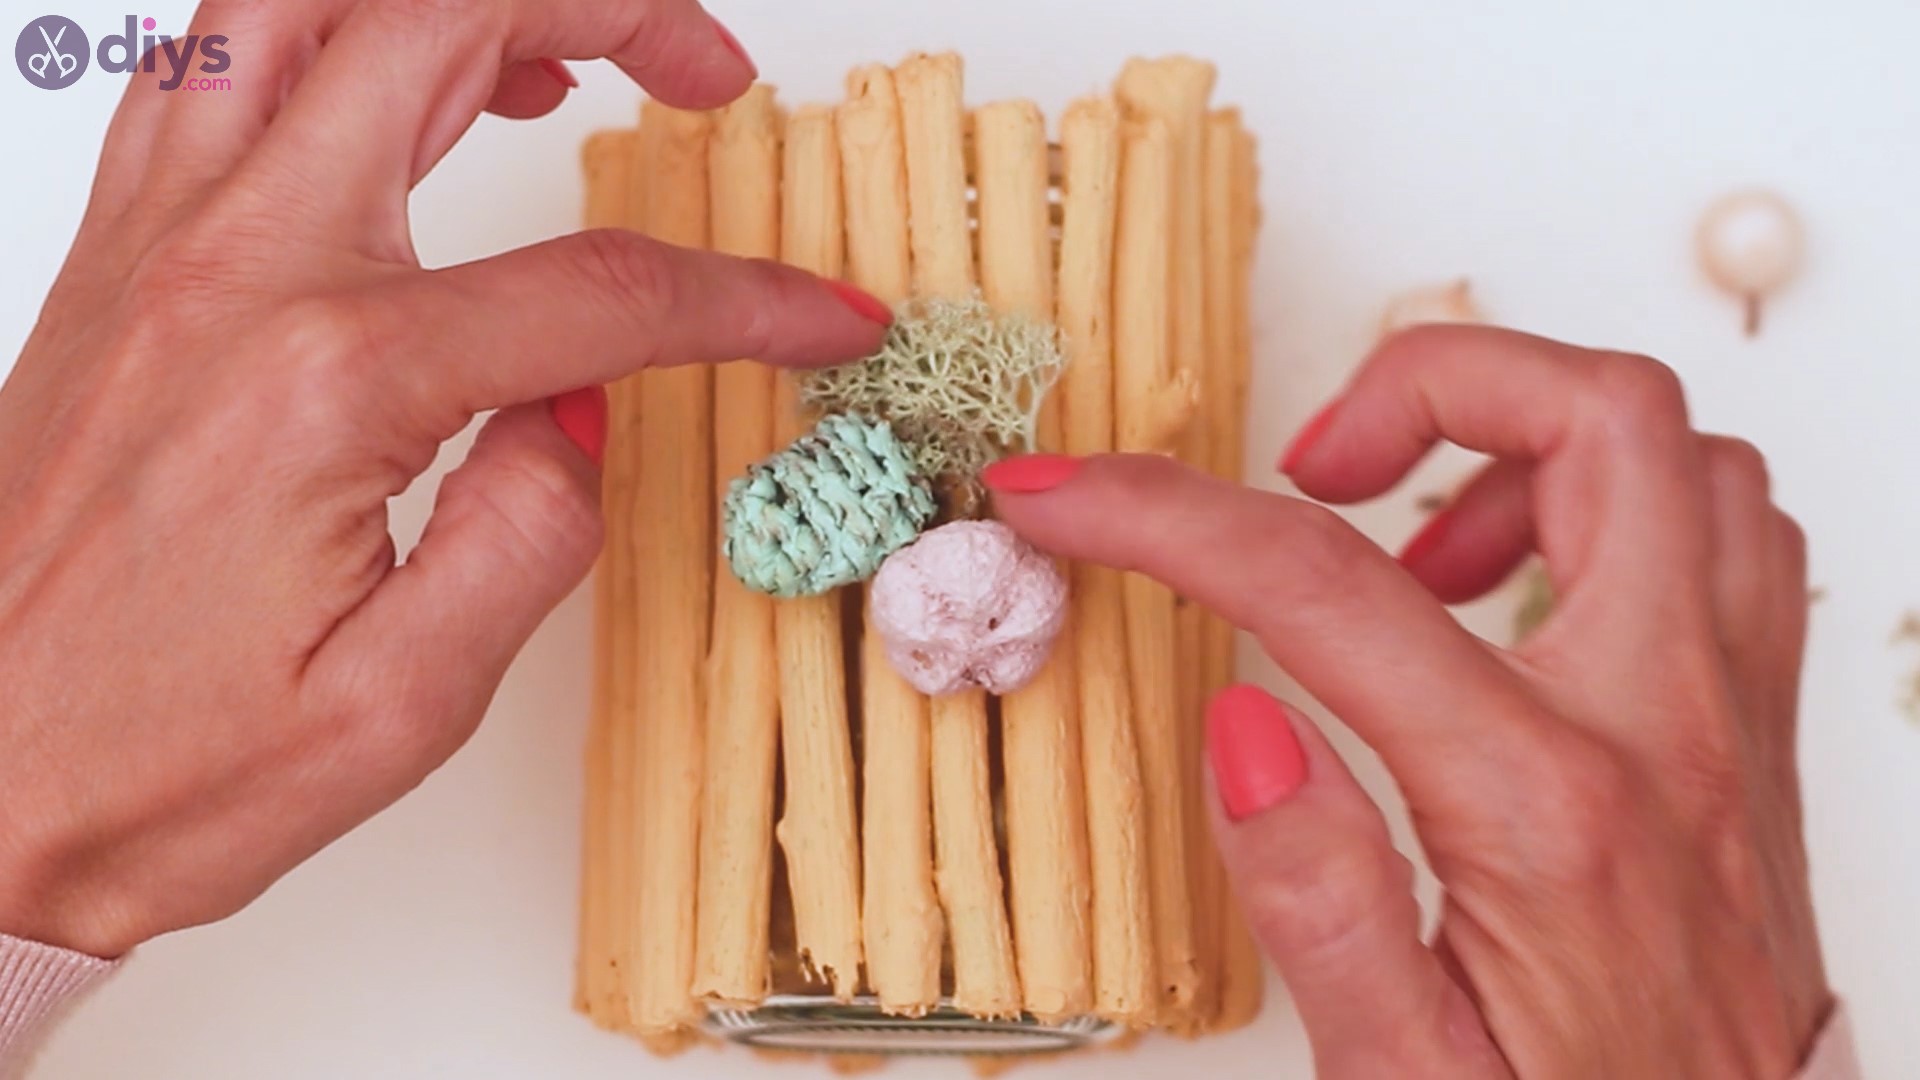
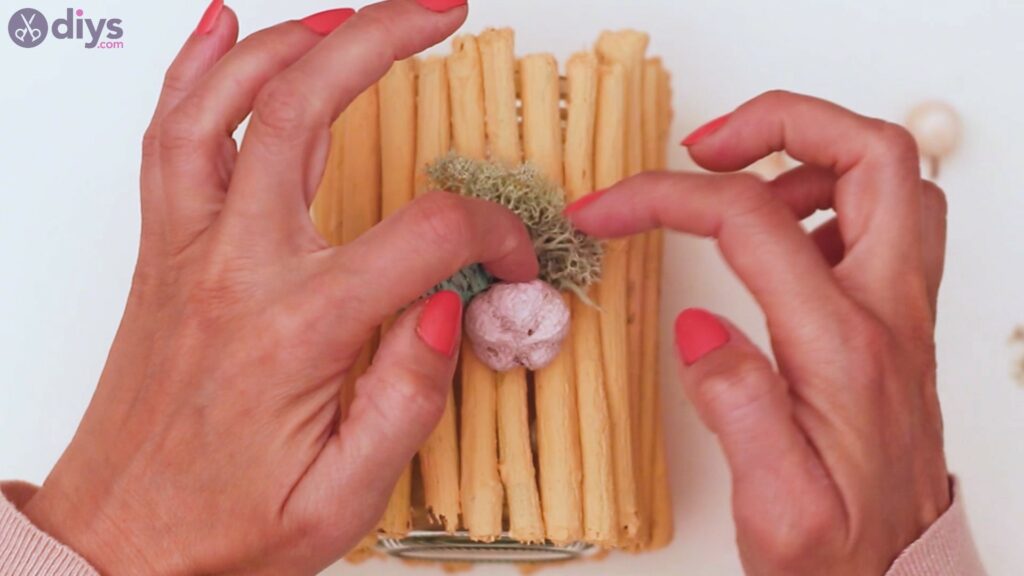
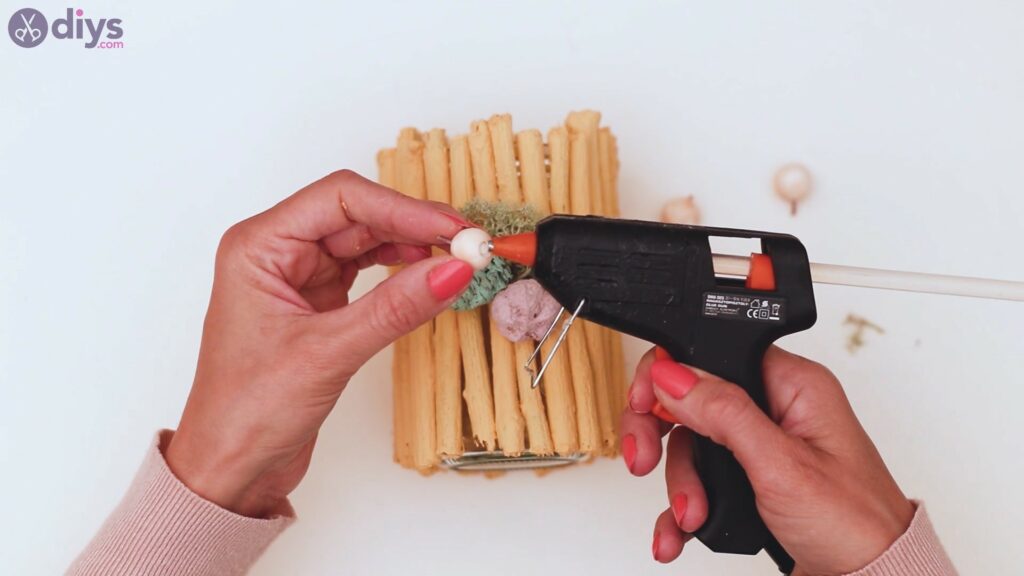
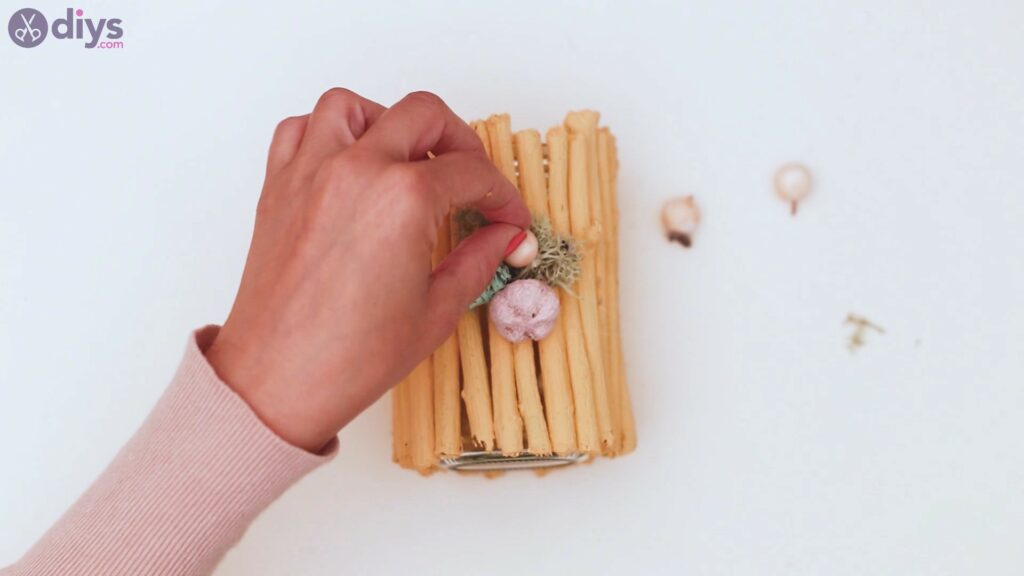
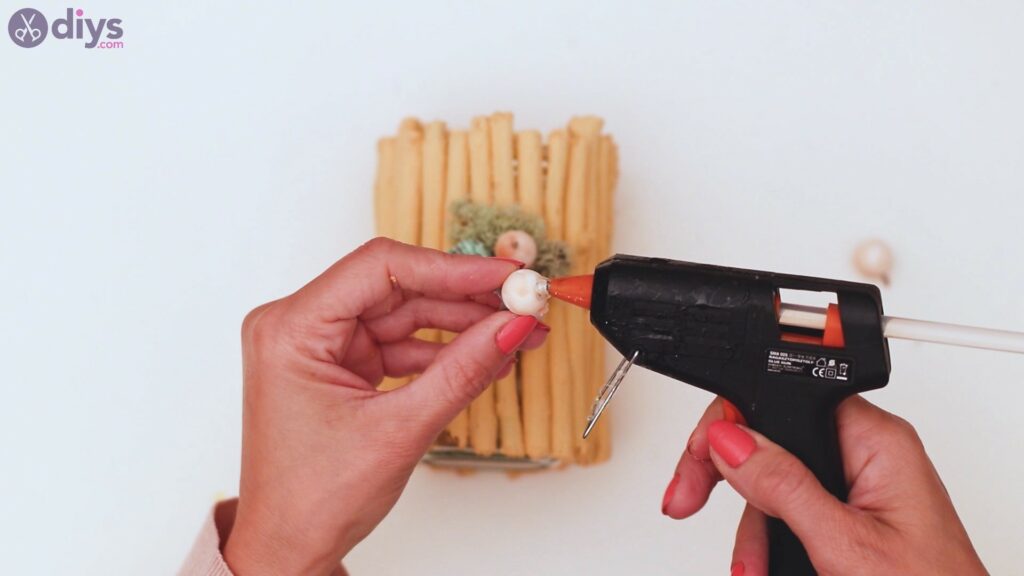
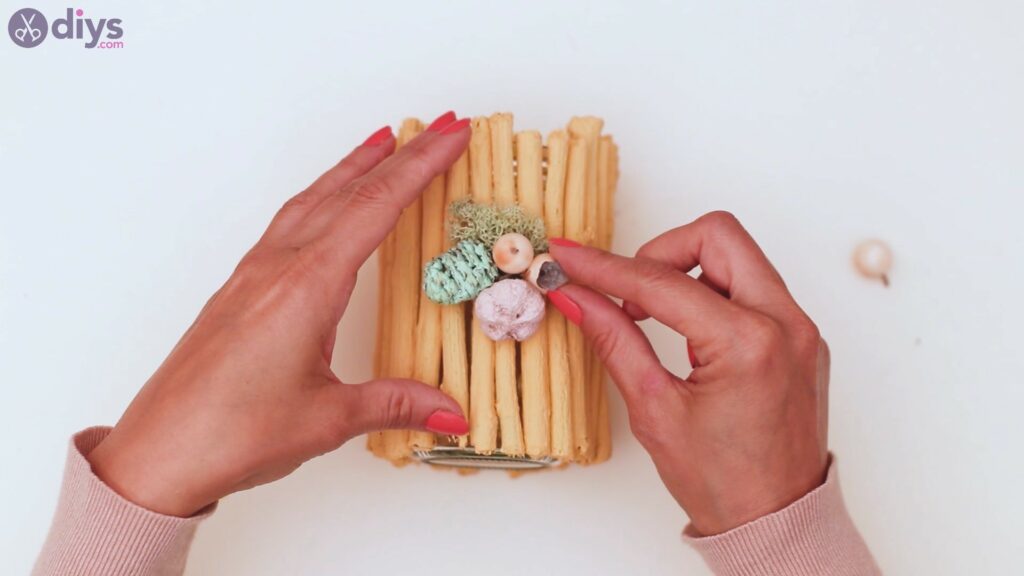
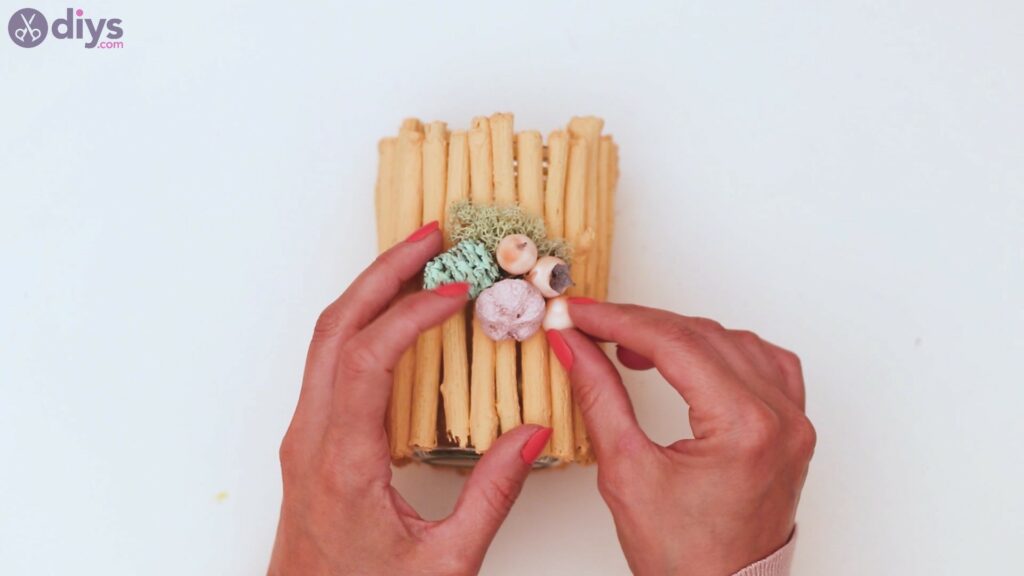
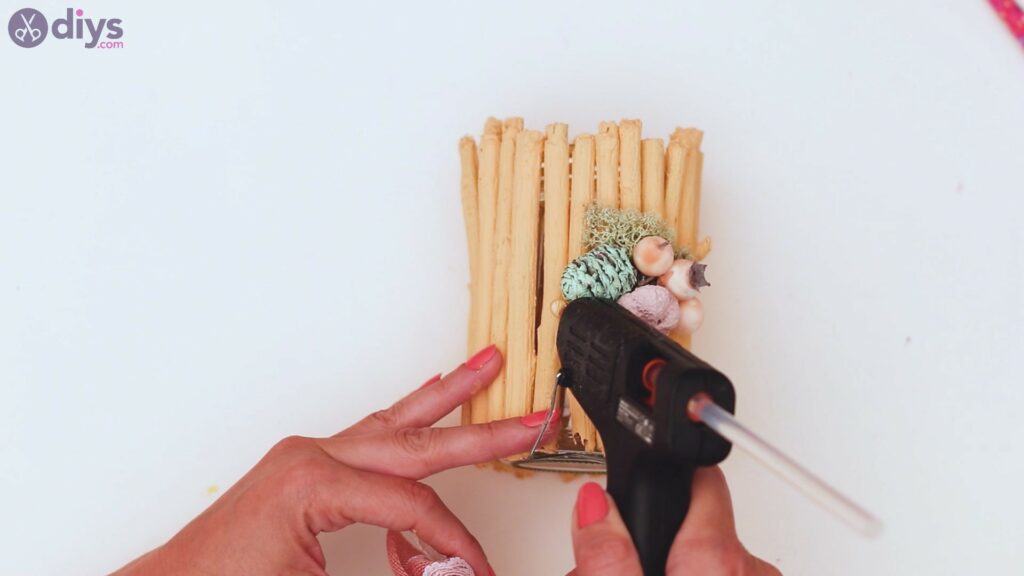
We also have some more decor pieces, artificial flowers. You can add these to the design by placing some hot glue to their back. We chose to put ours right next to the other flowers and pinecone.
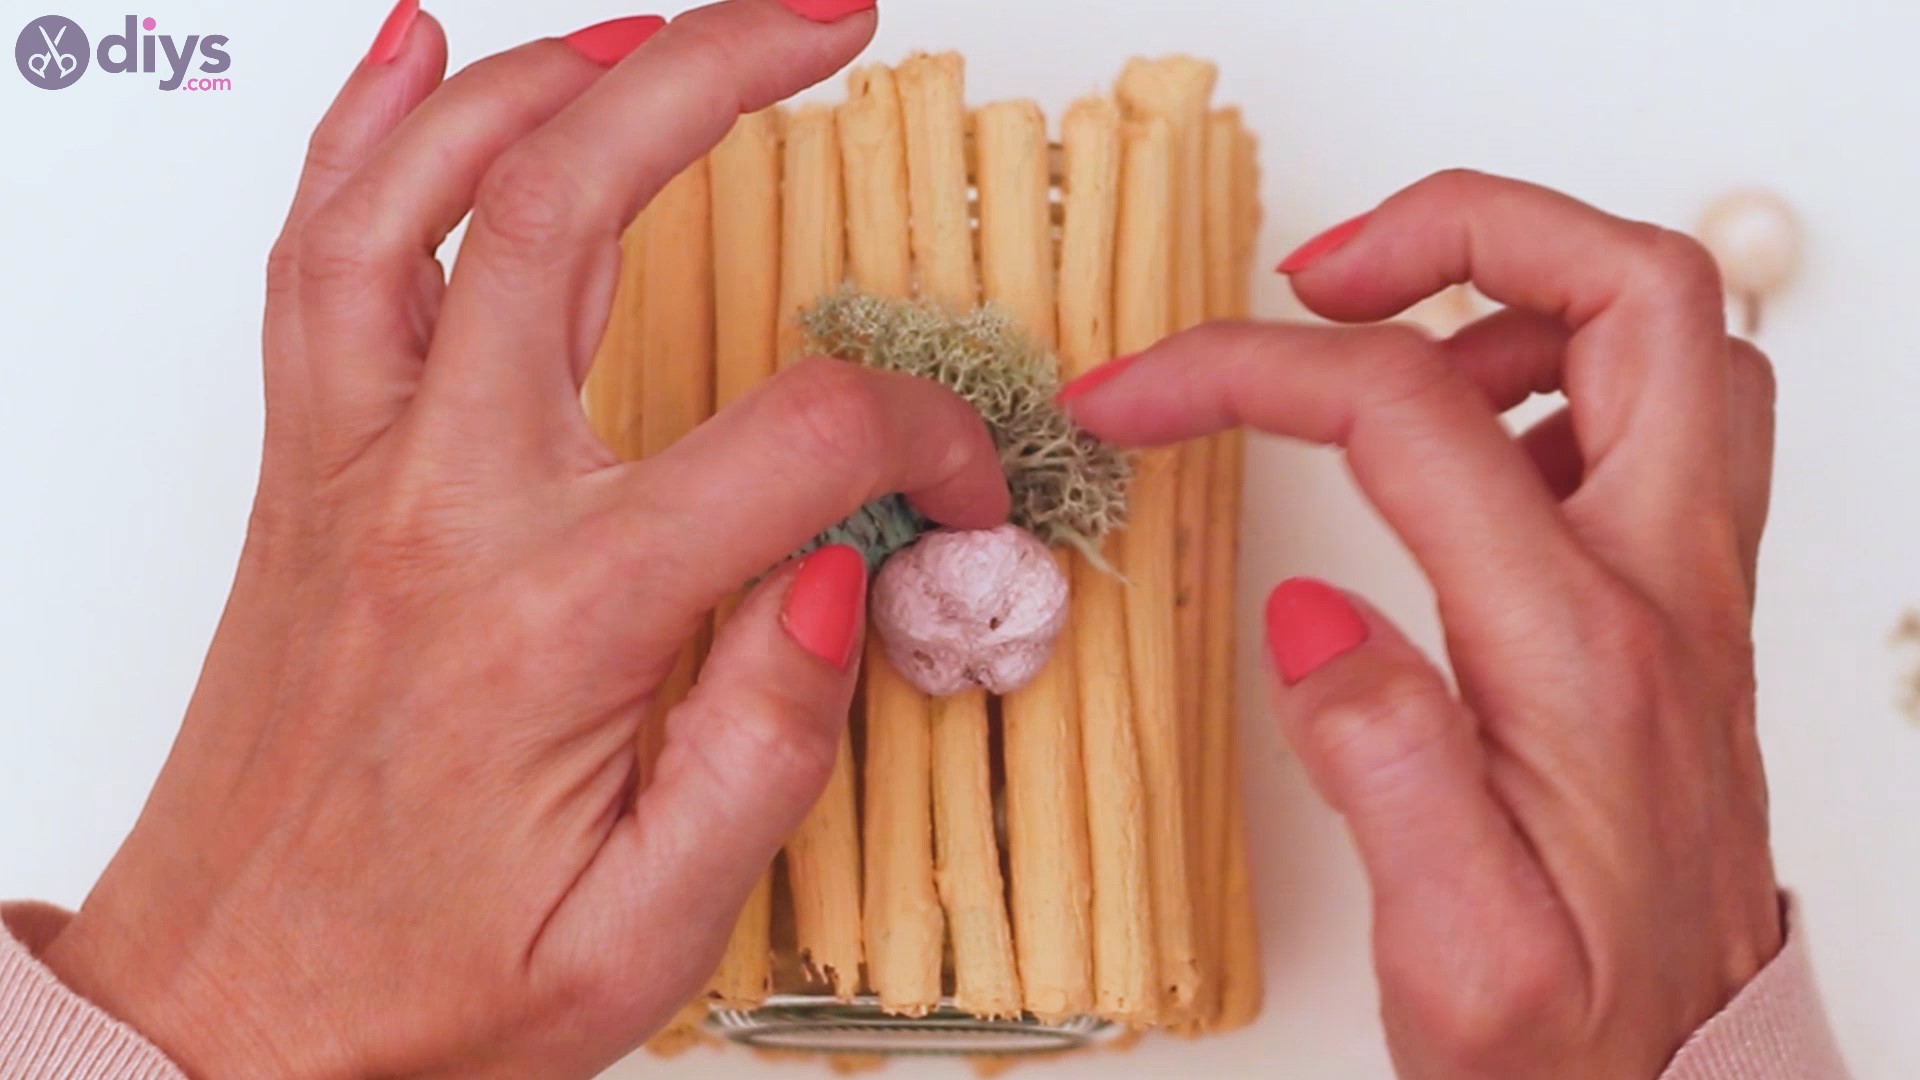
There you go! Add the second little flower to the same area! With a nice moss bedding, the bouquet looks beautiful!
Step 6: Add the bow
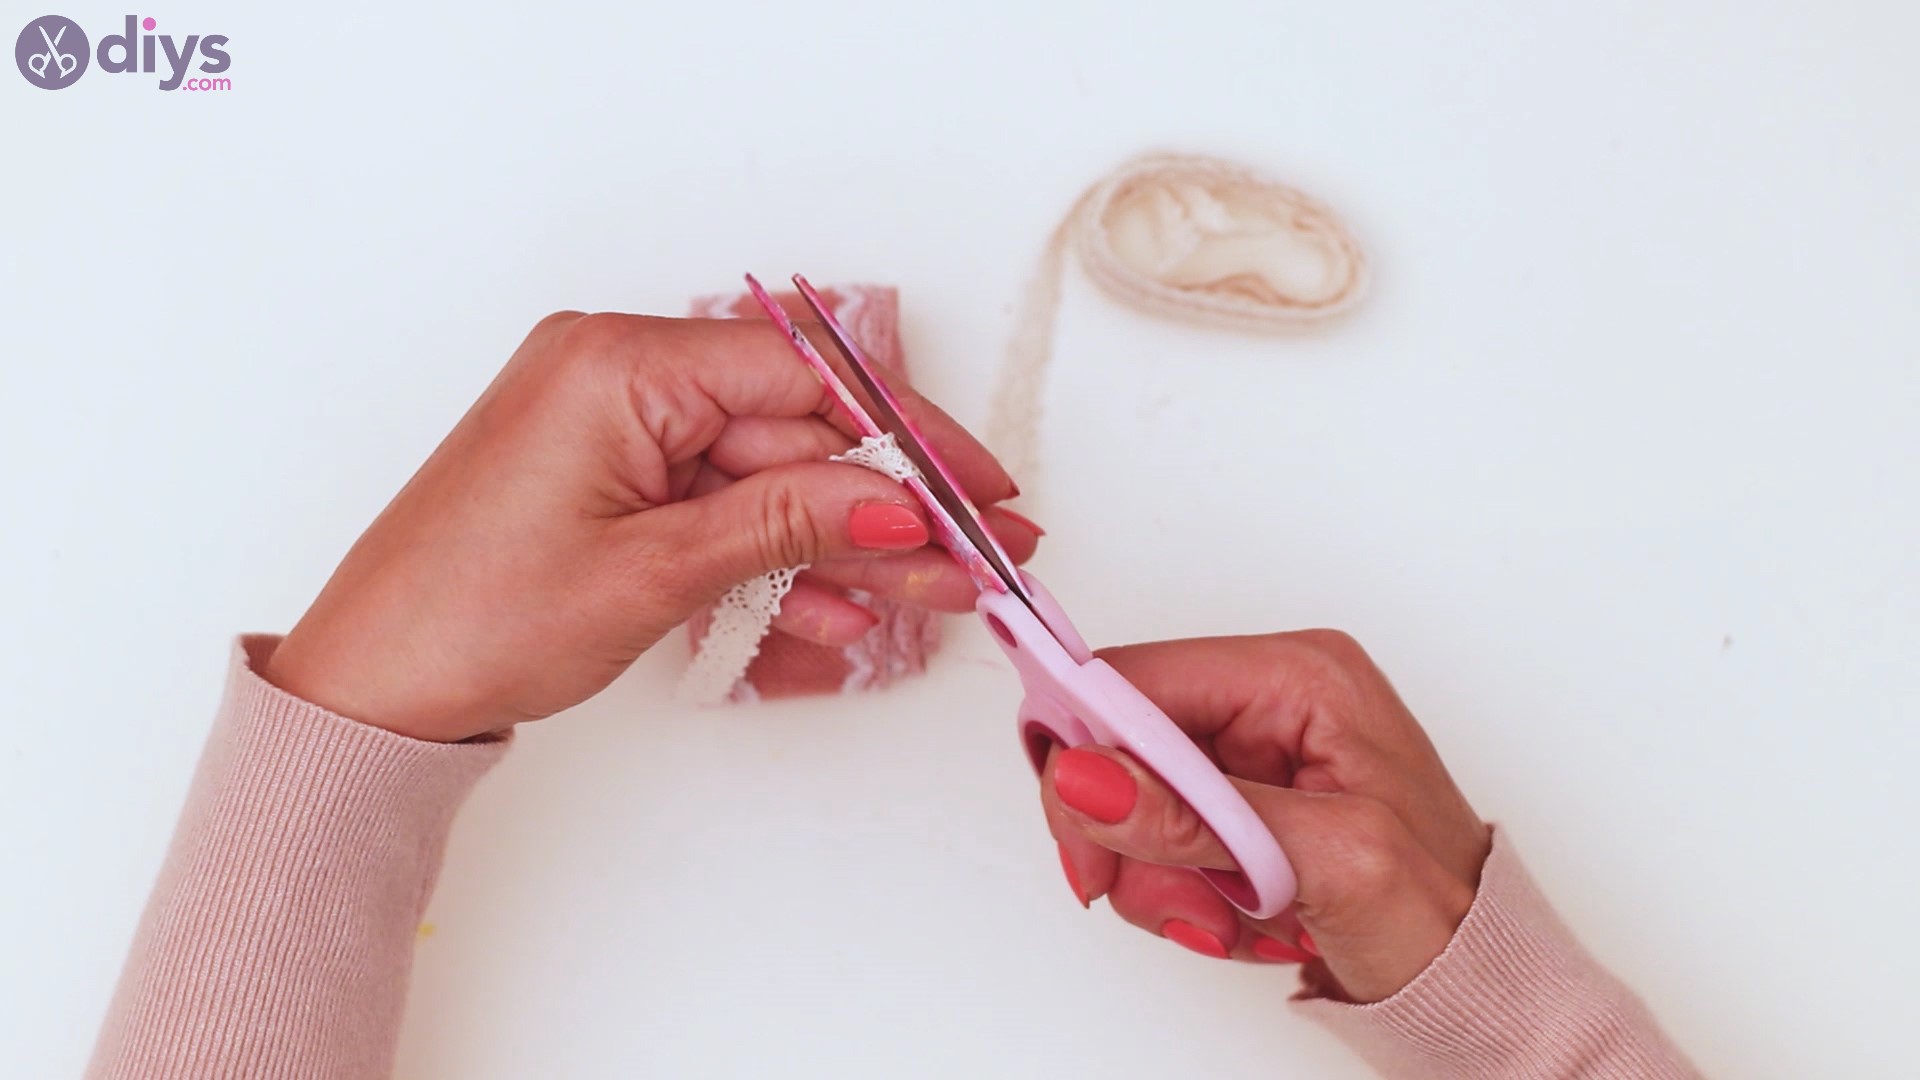
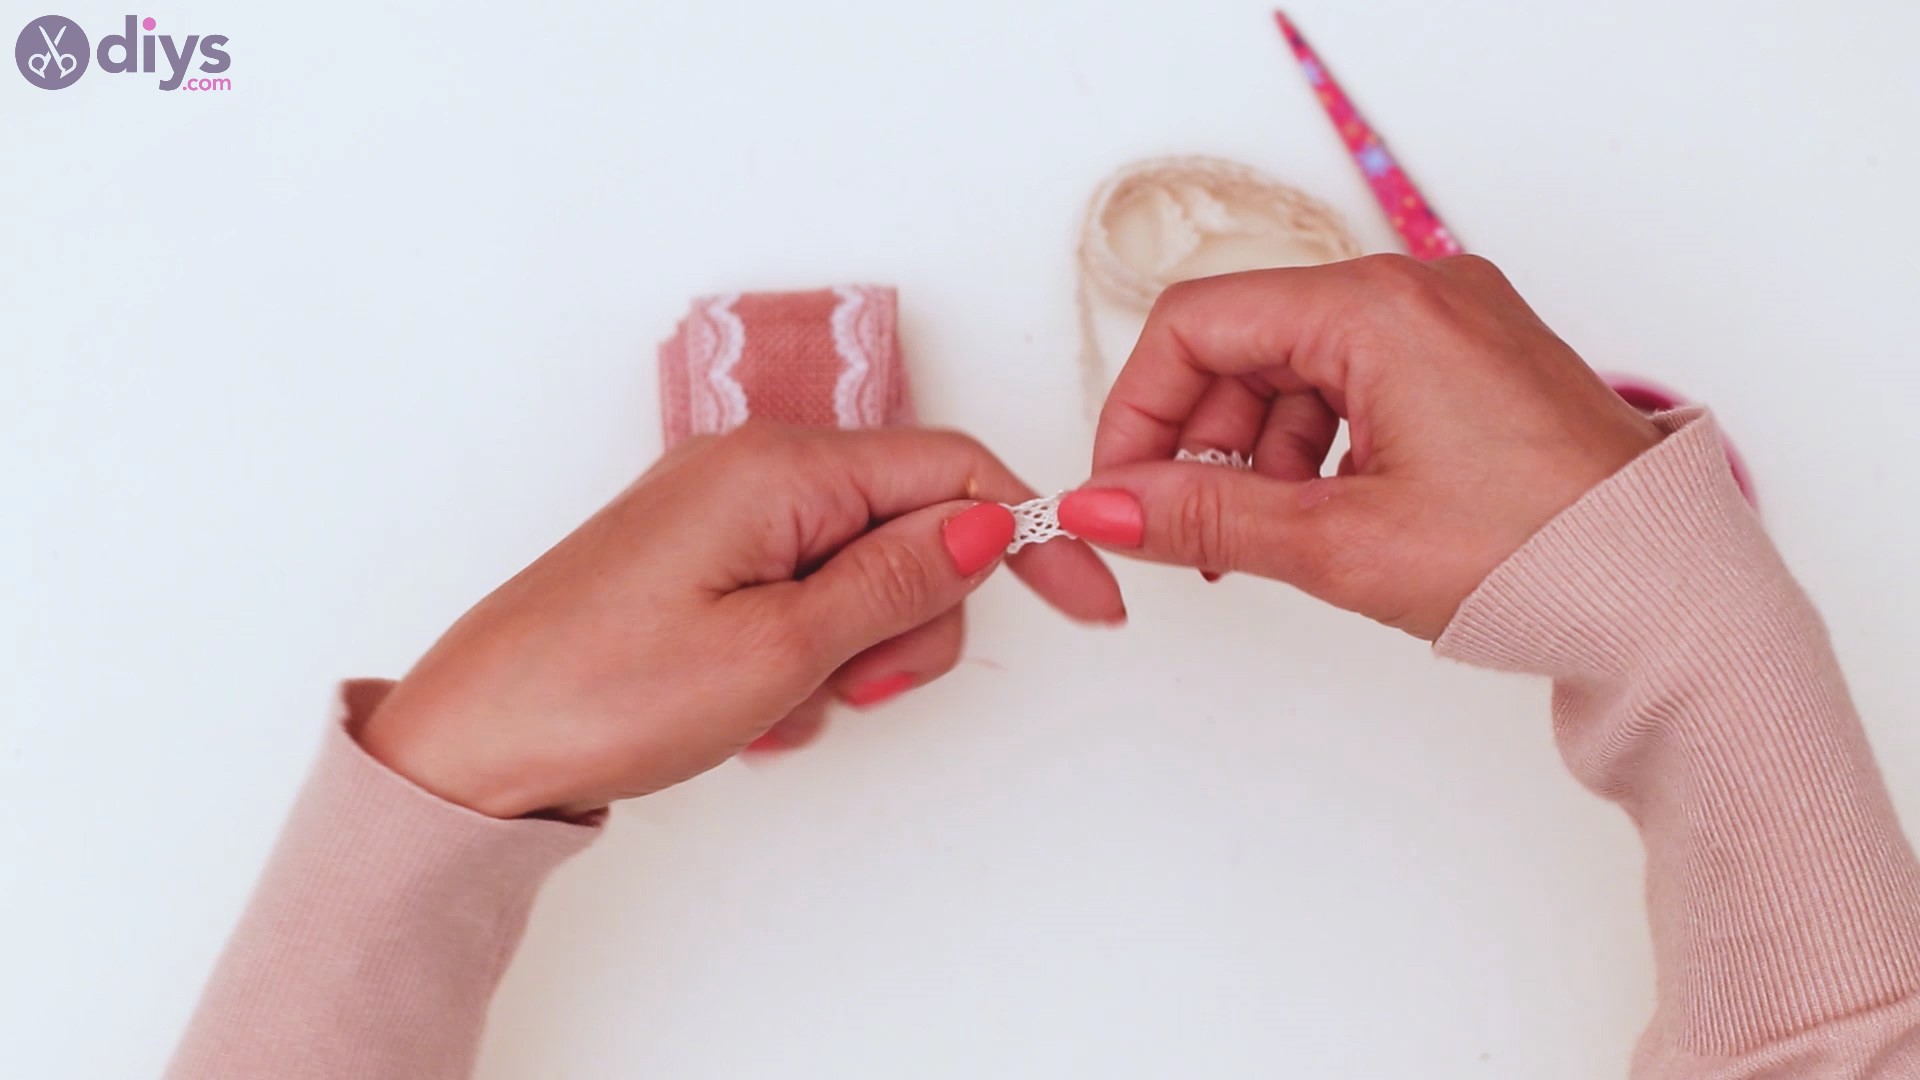
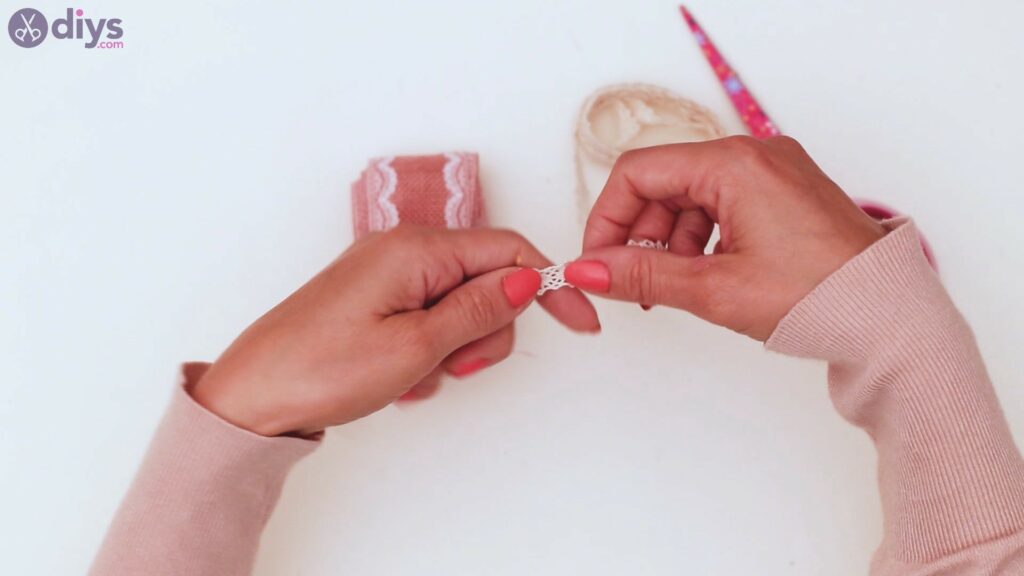
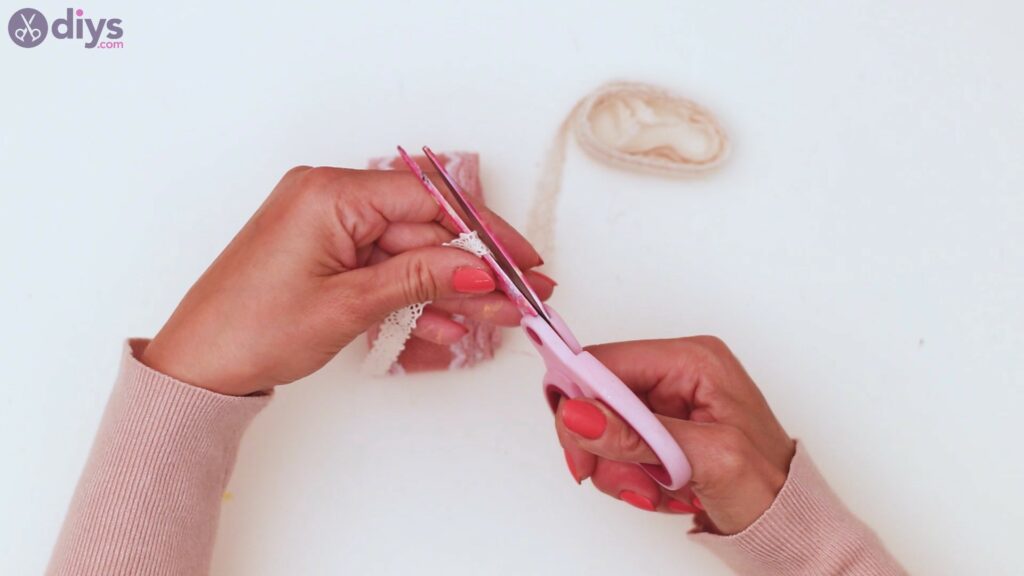
Next, we want to get the lace ribbon and cut a piece of it and set it aside.
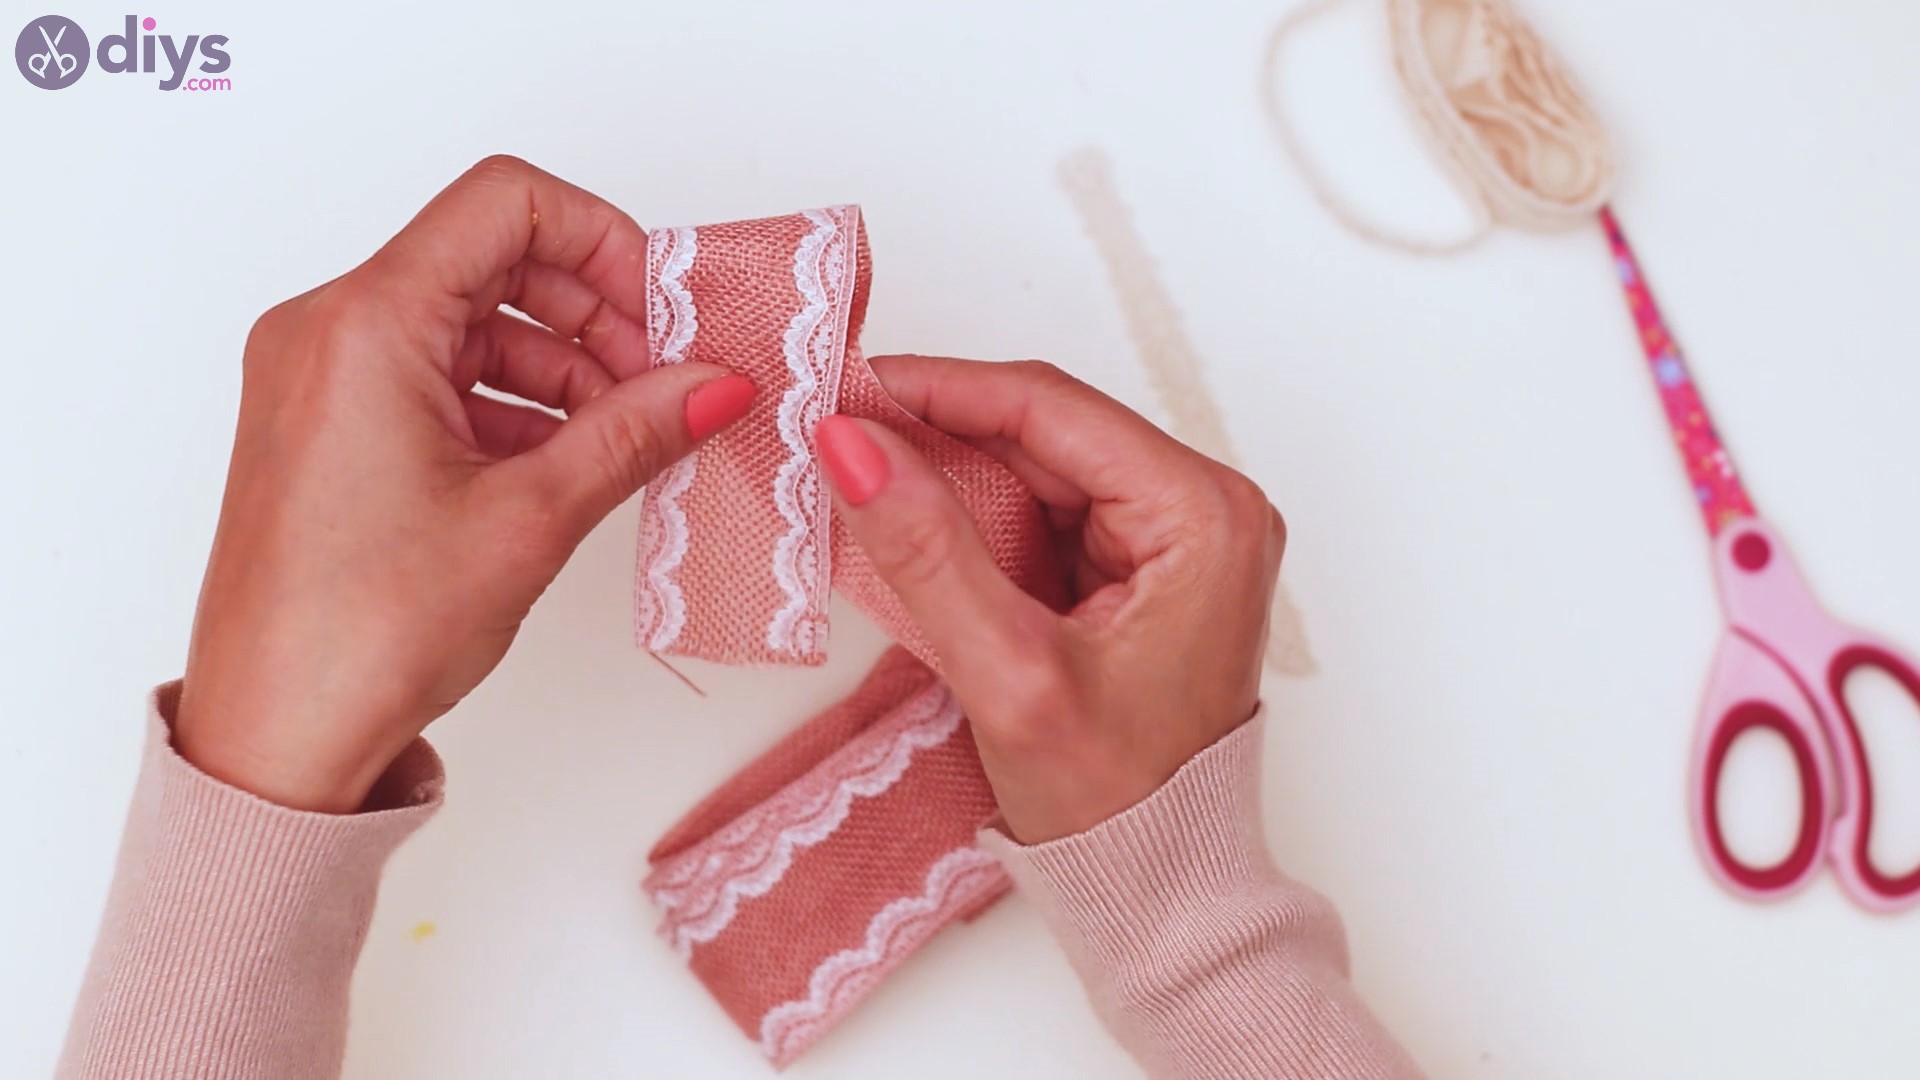
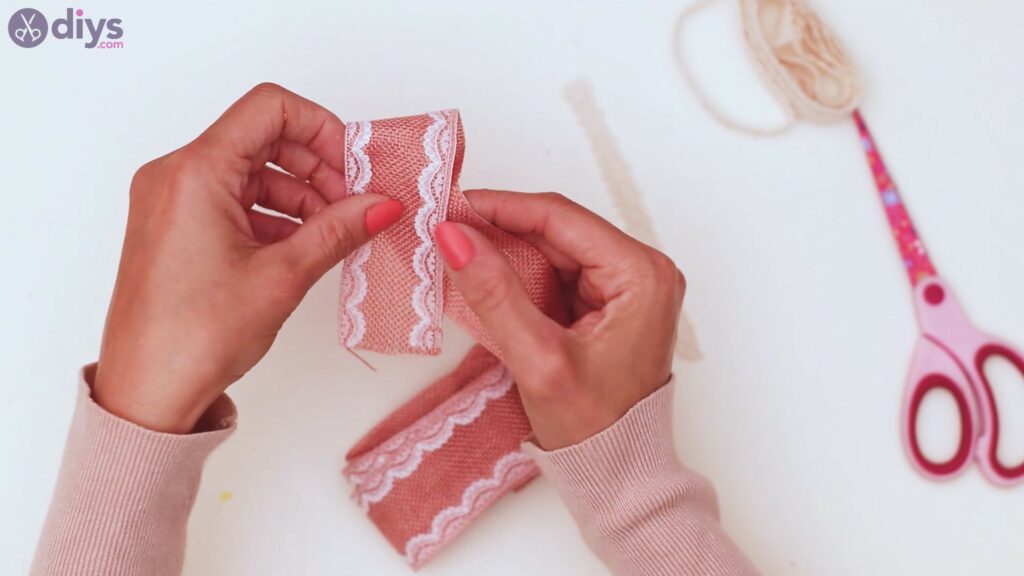
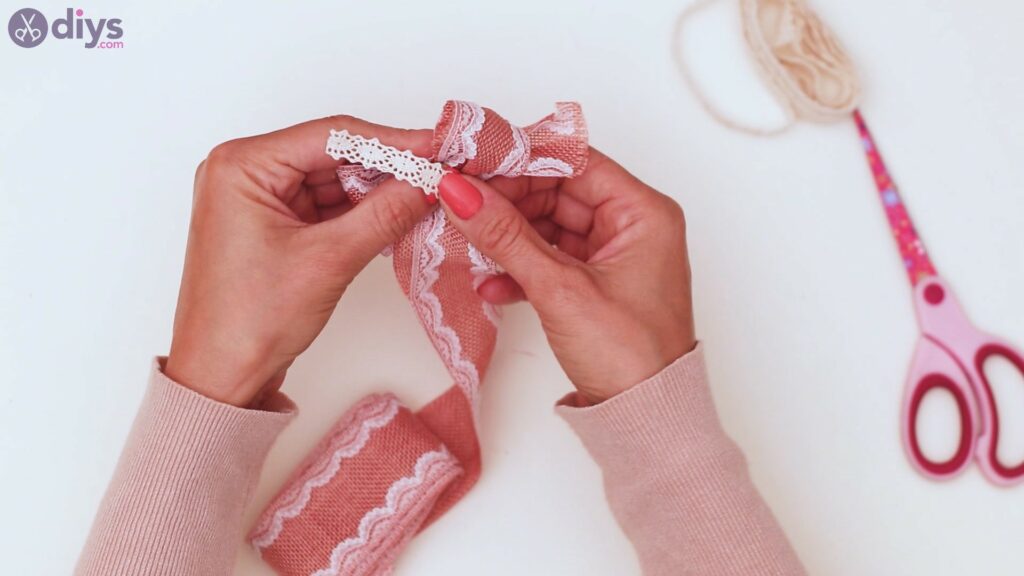
Get the lace jute and fold it in the shape of a bow. Fold the jute ribbon into two loops.
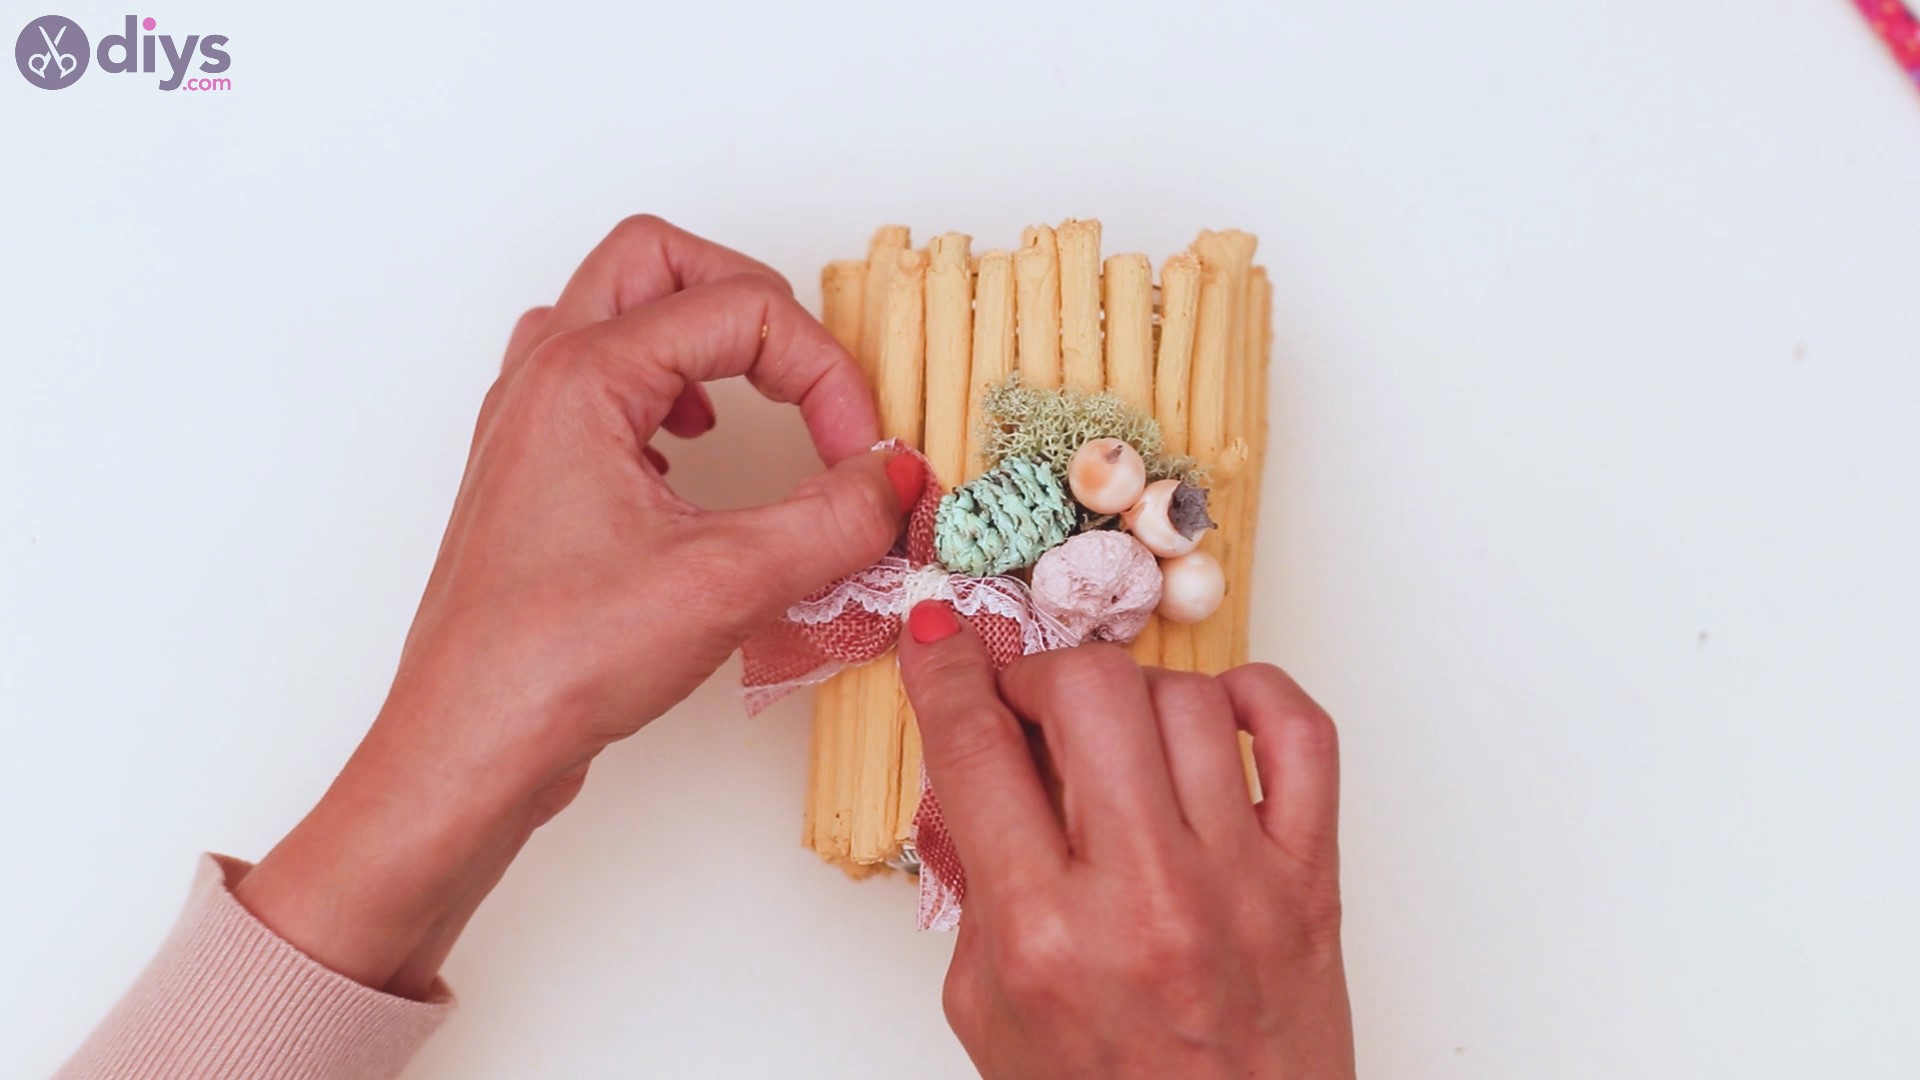
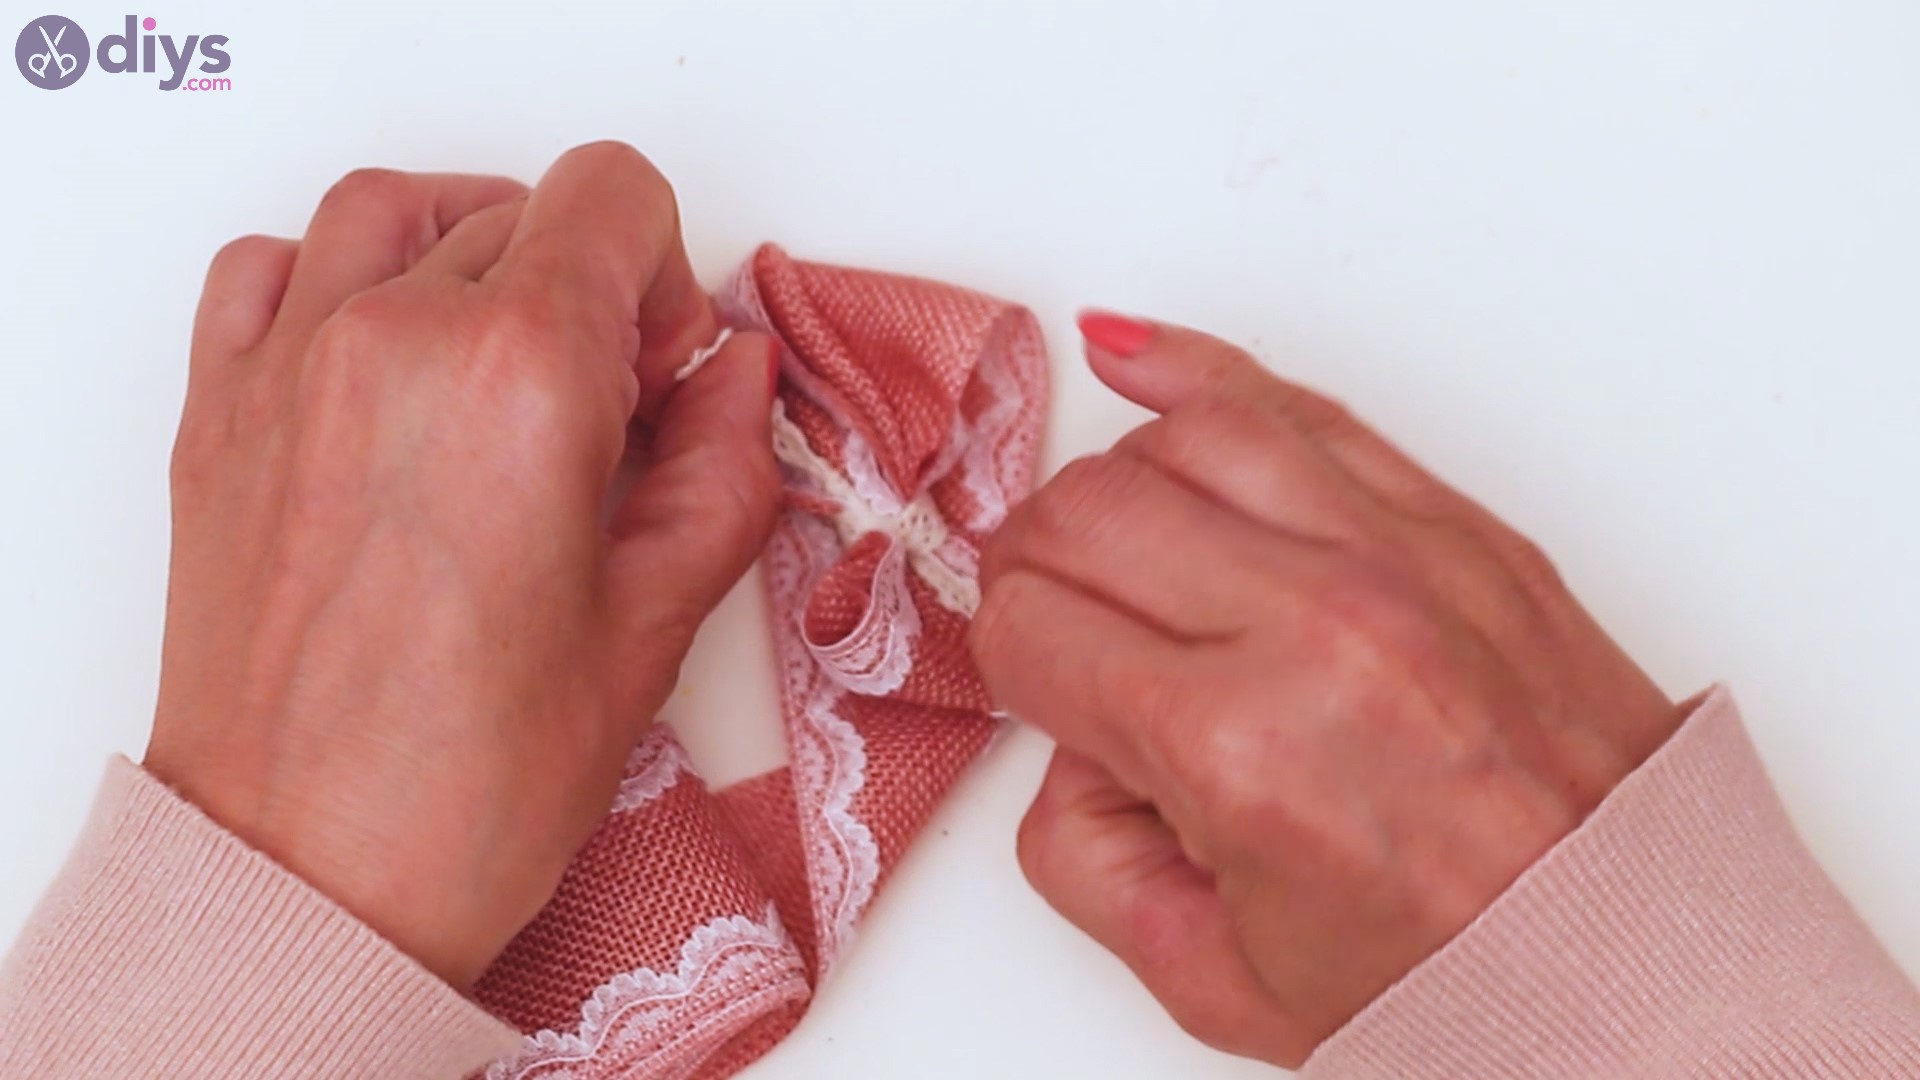
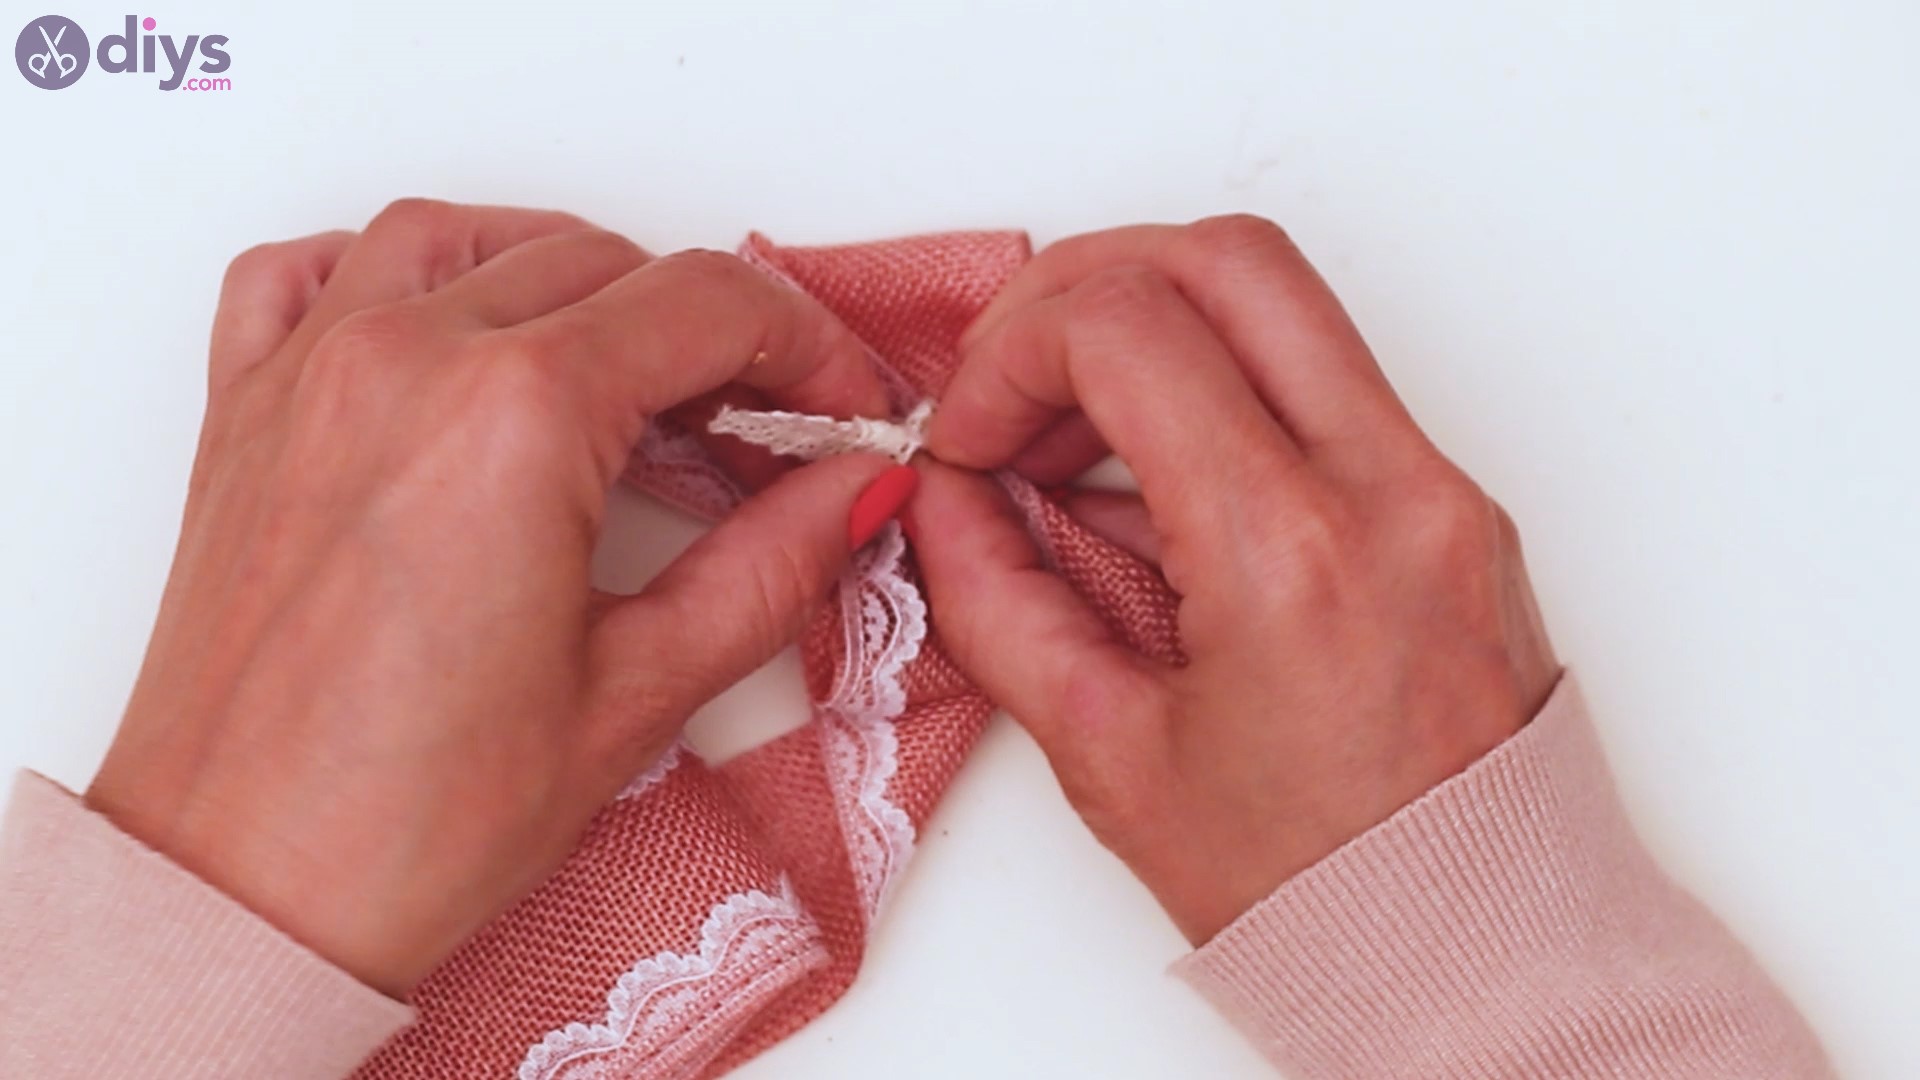
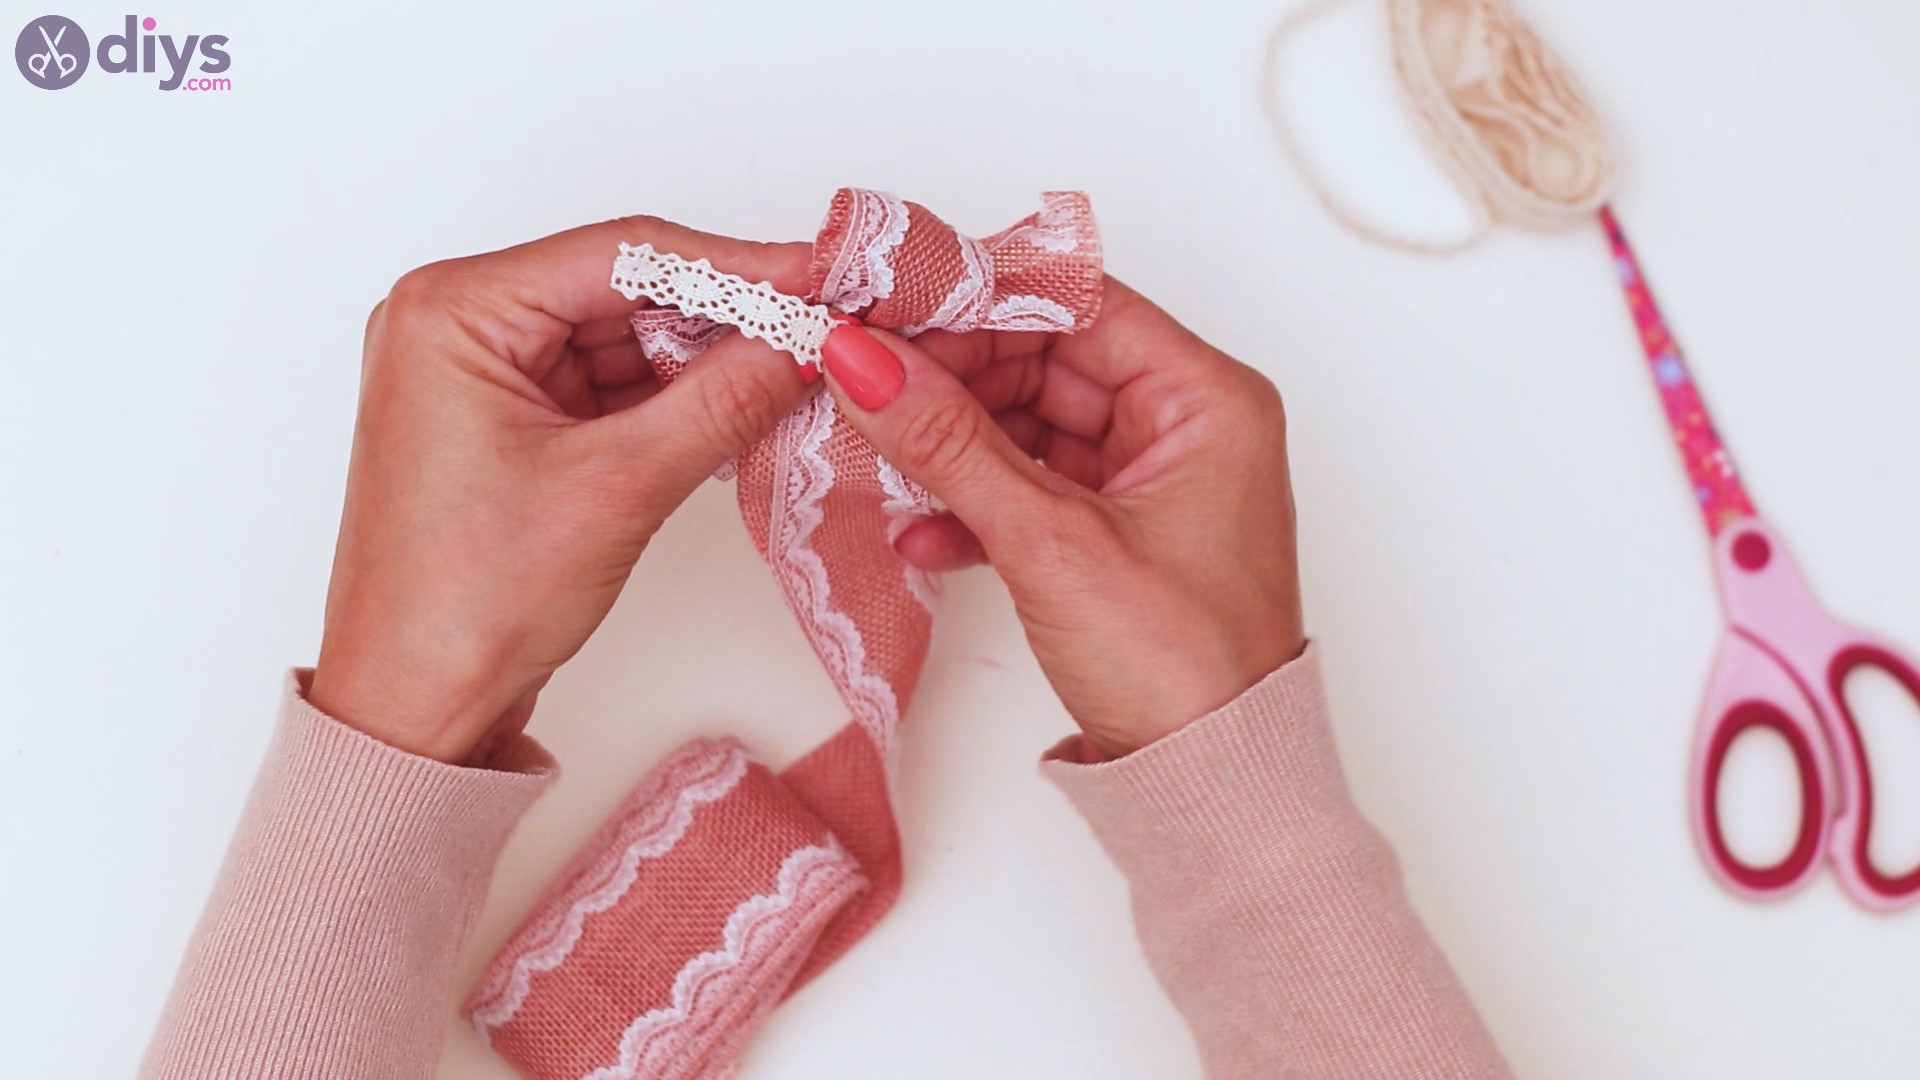
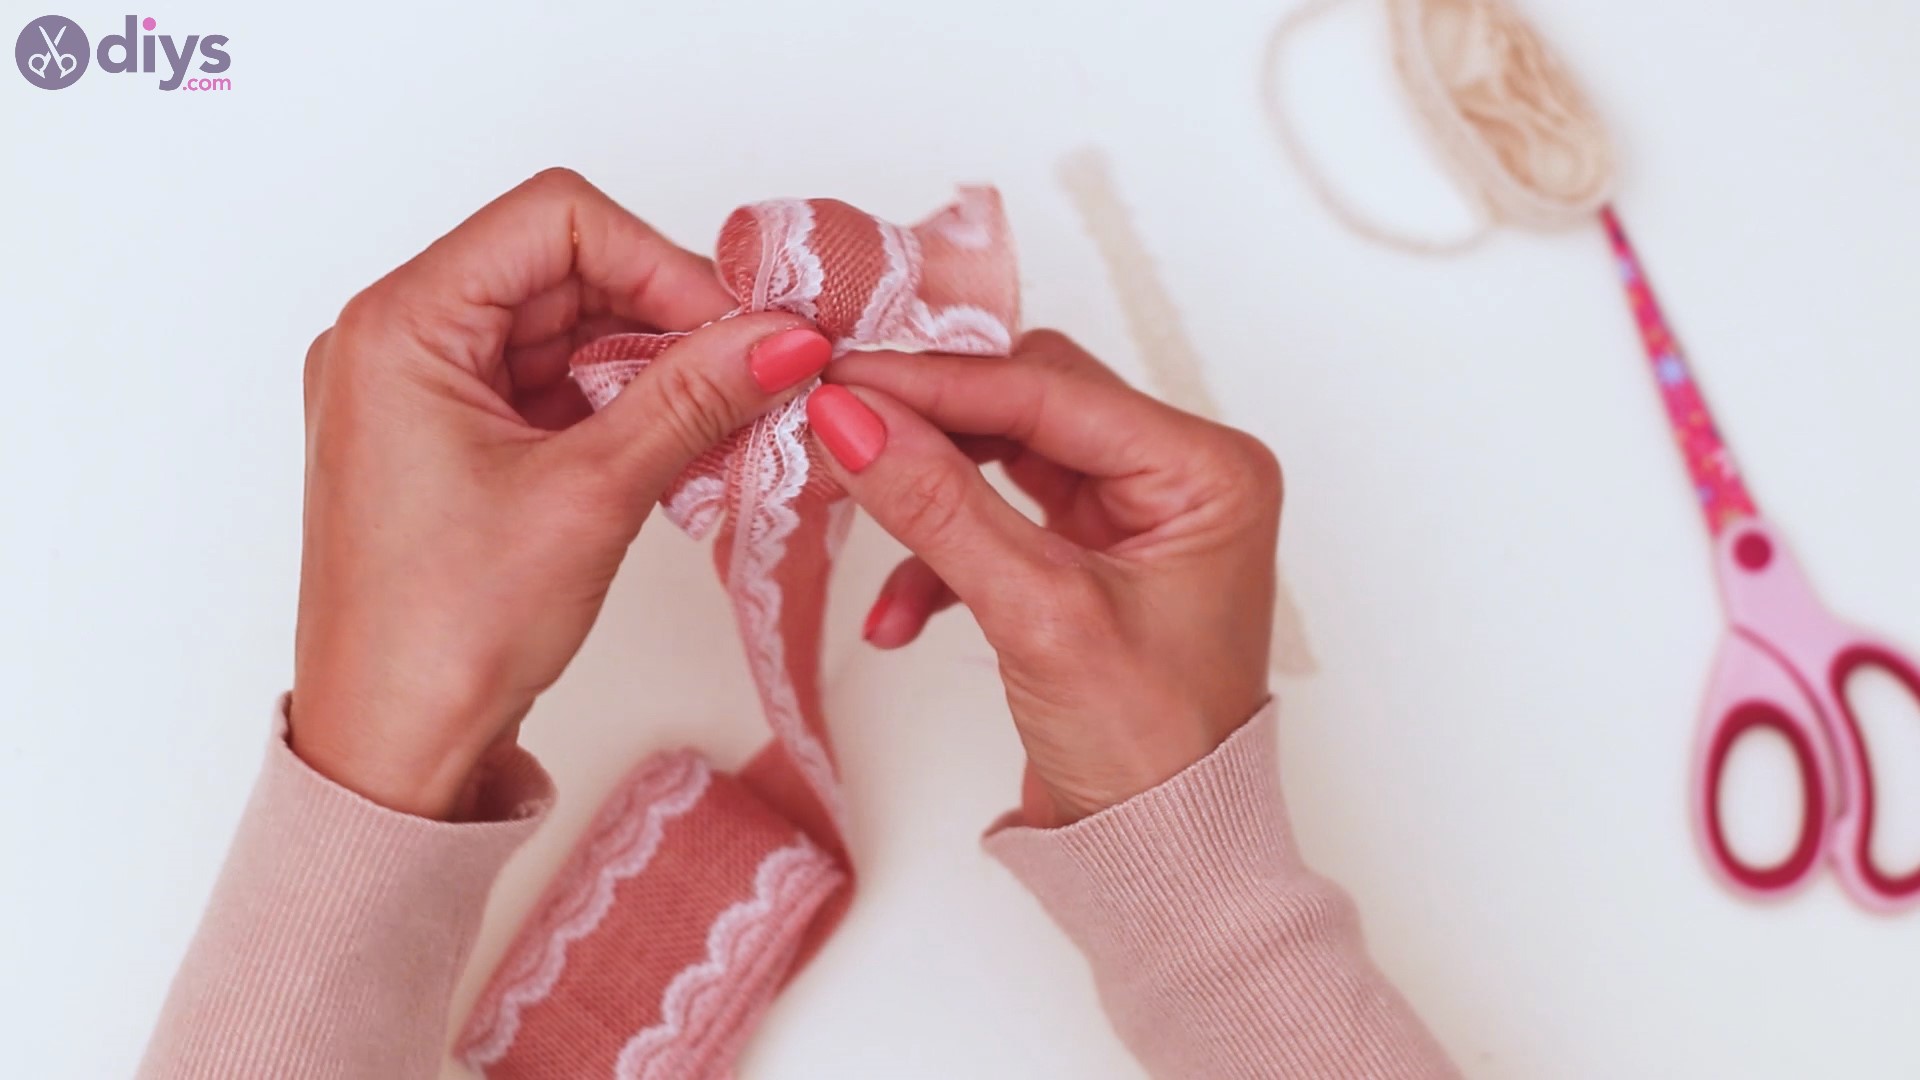
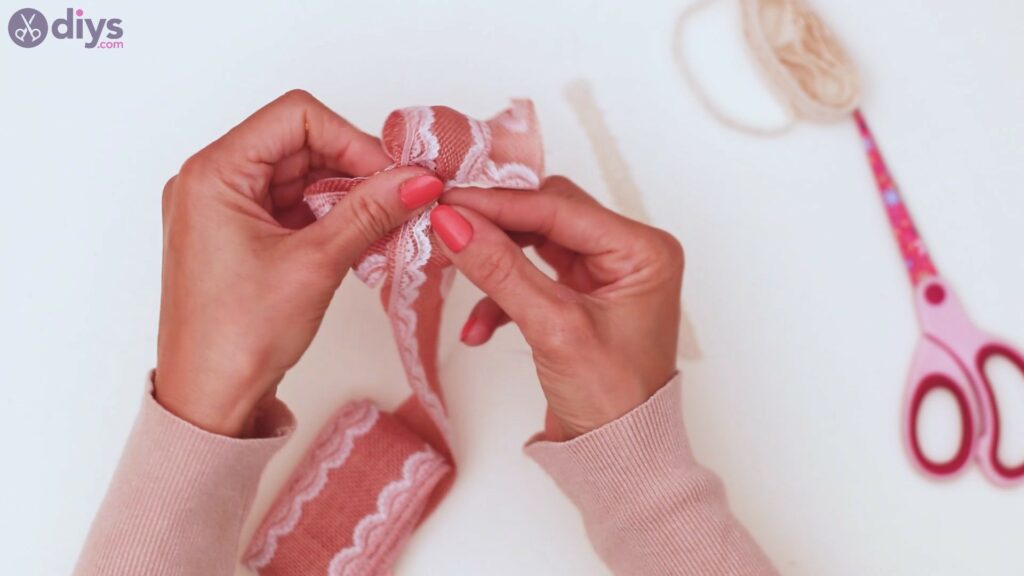
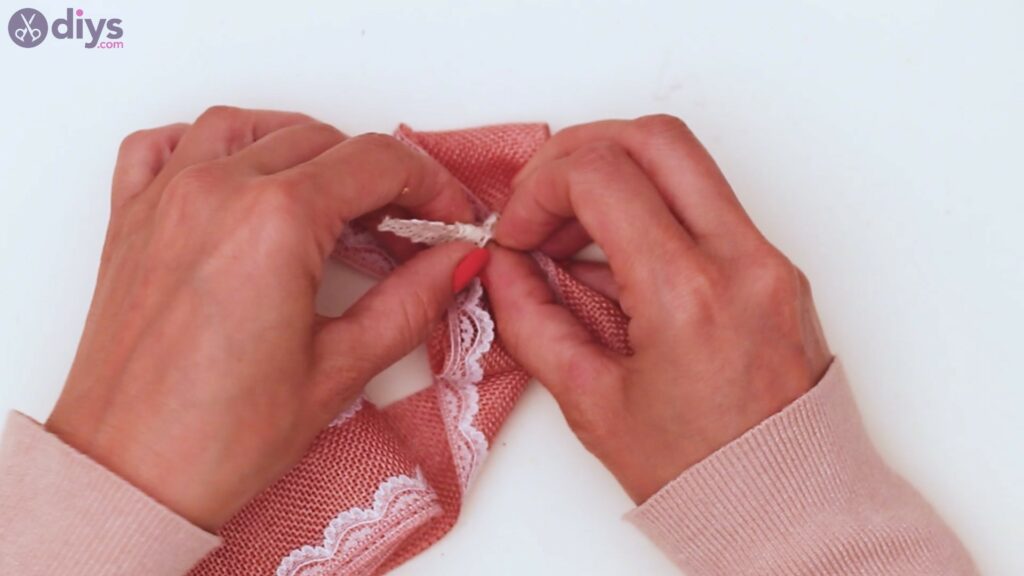
When you’ve created the shape you want, get the lace ribbon and tie it around the middle of the bow.
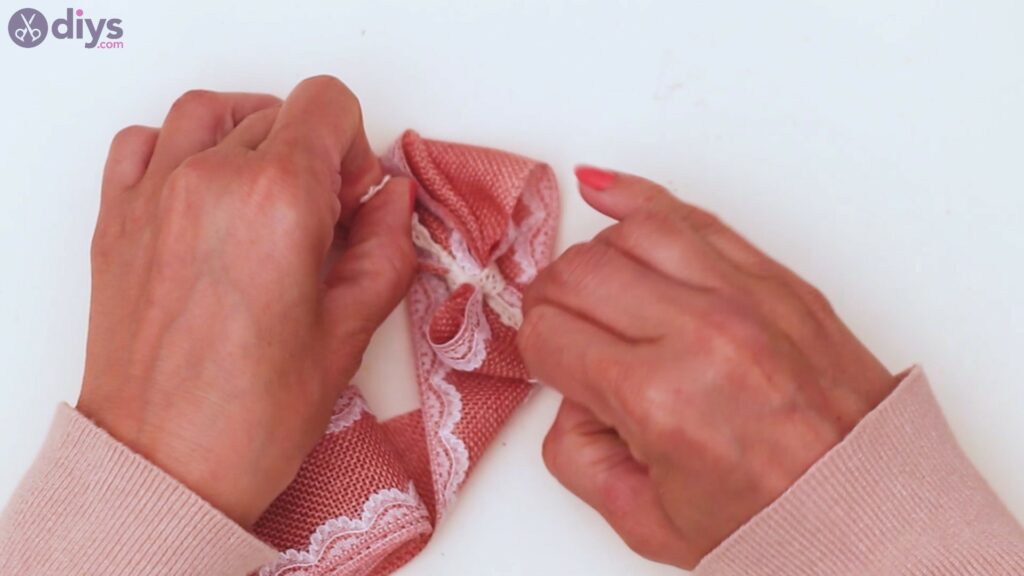
Tie the lace with a double knot on the back of the bow.
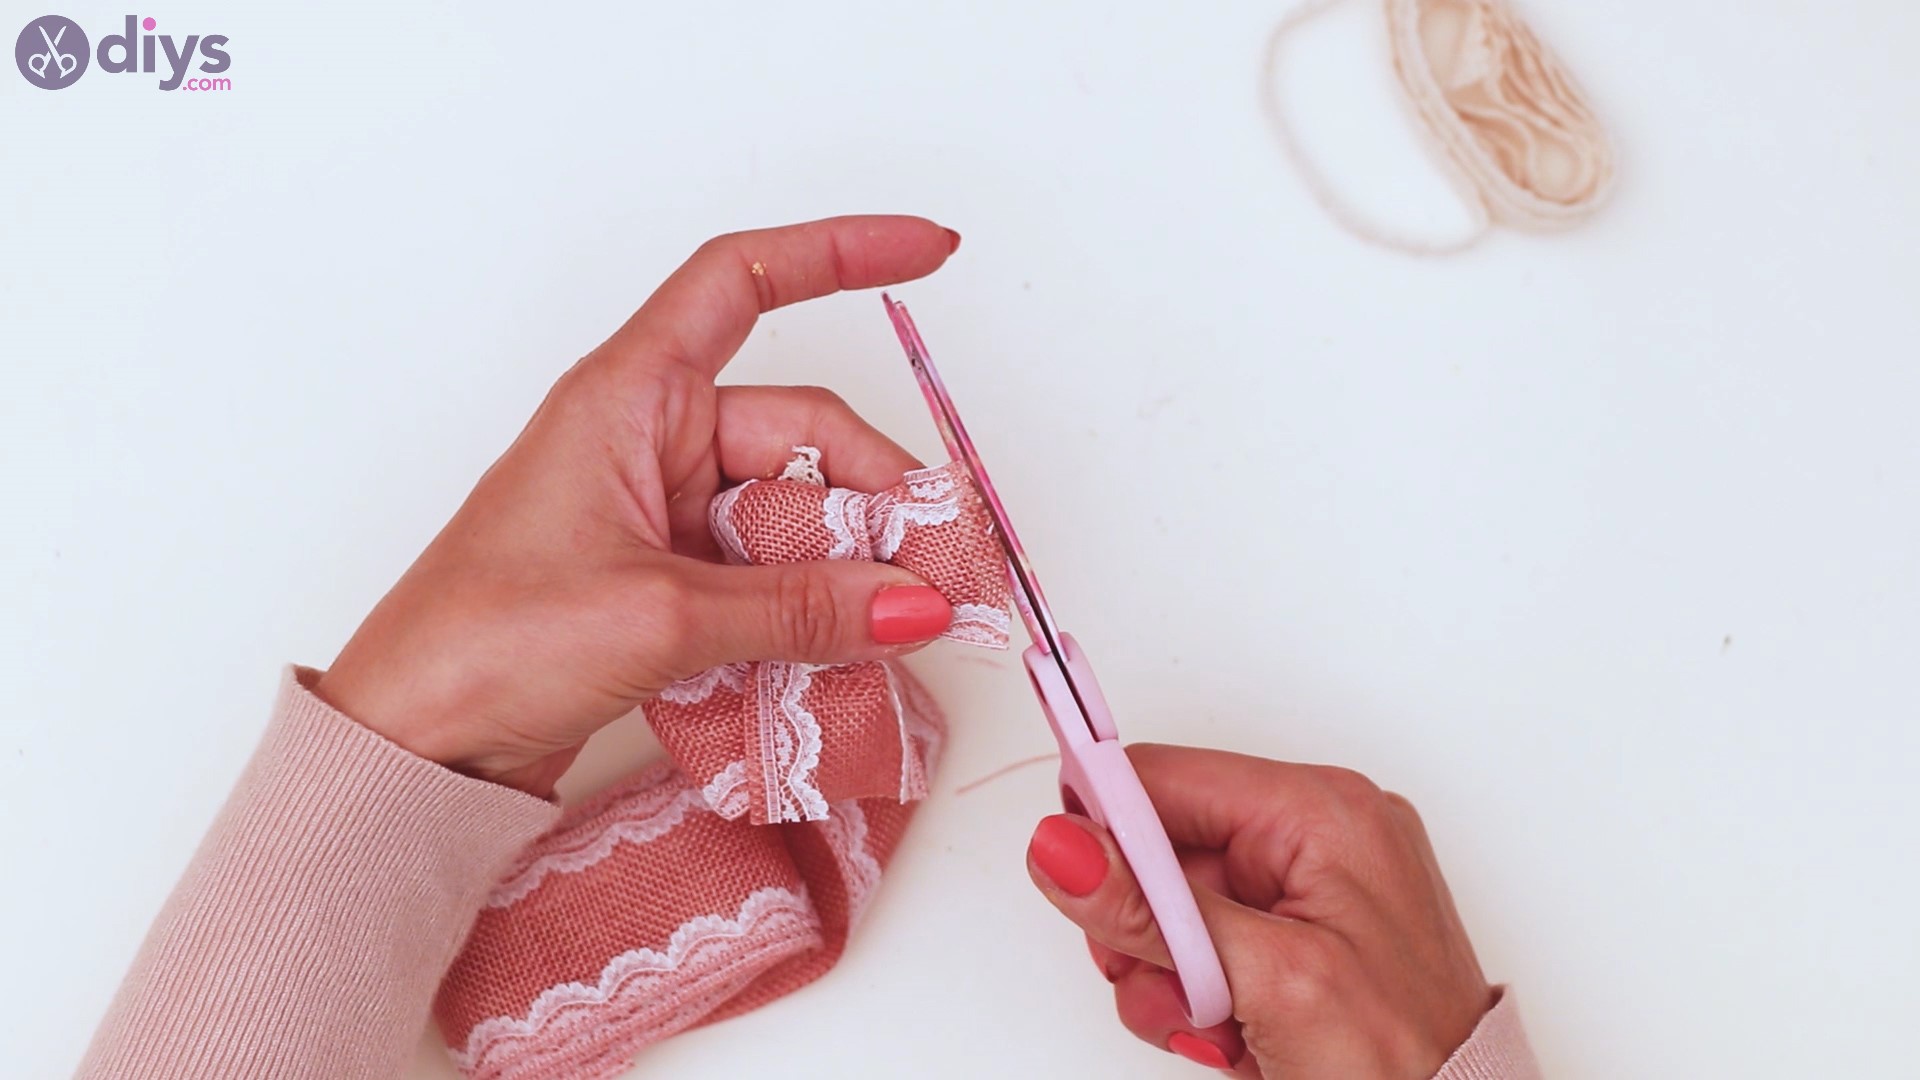
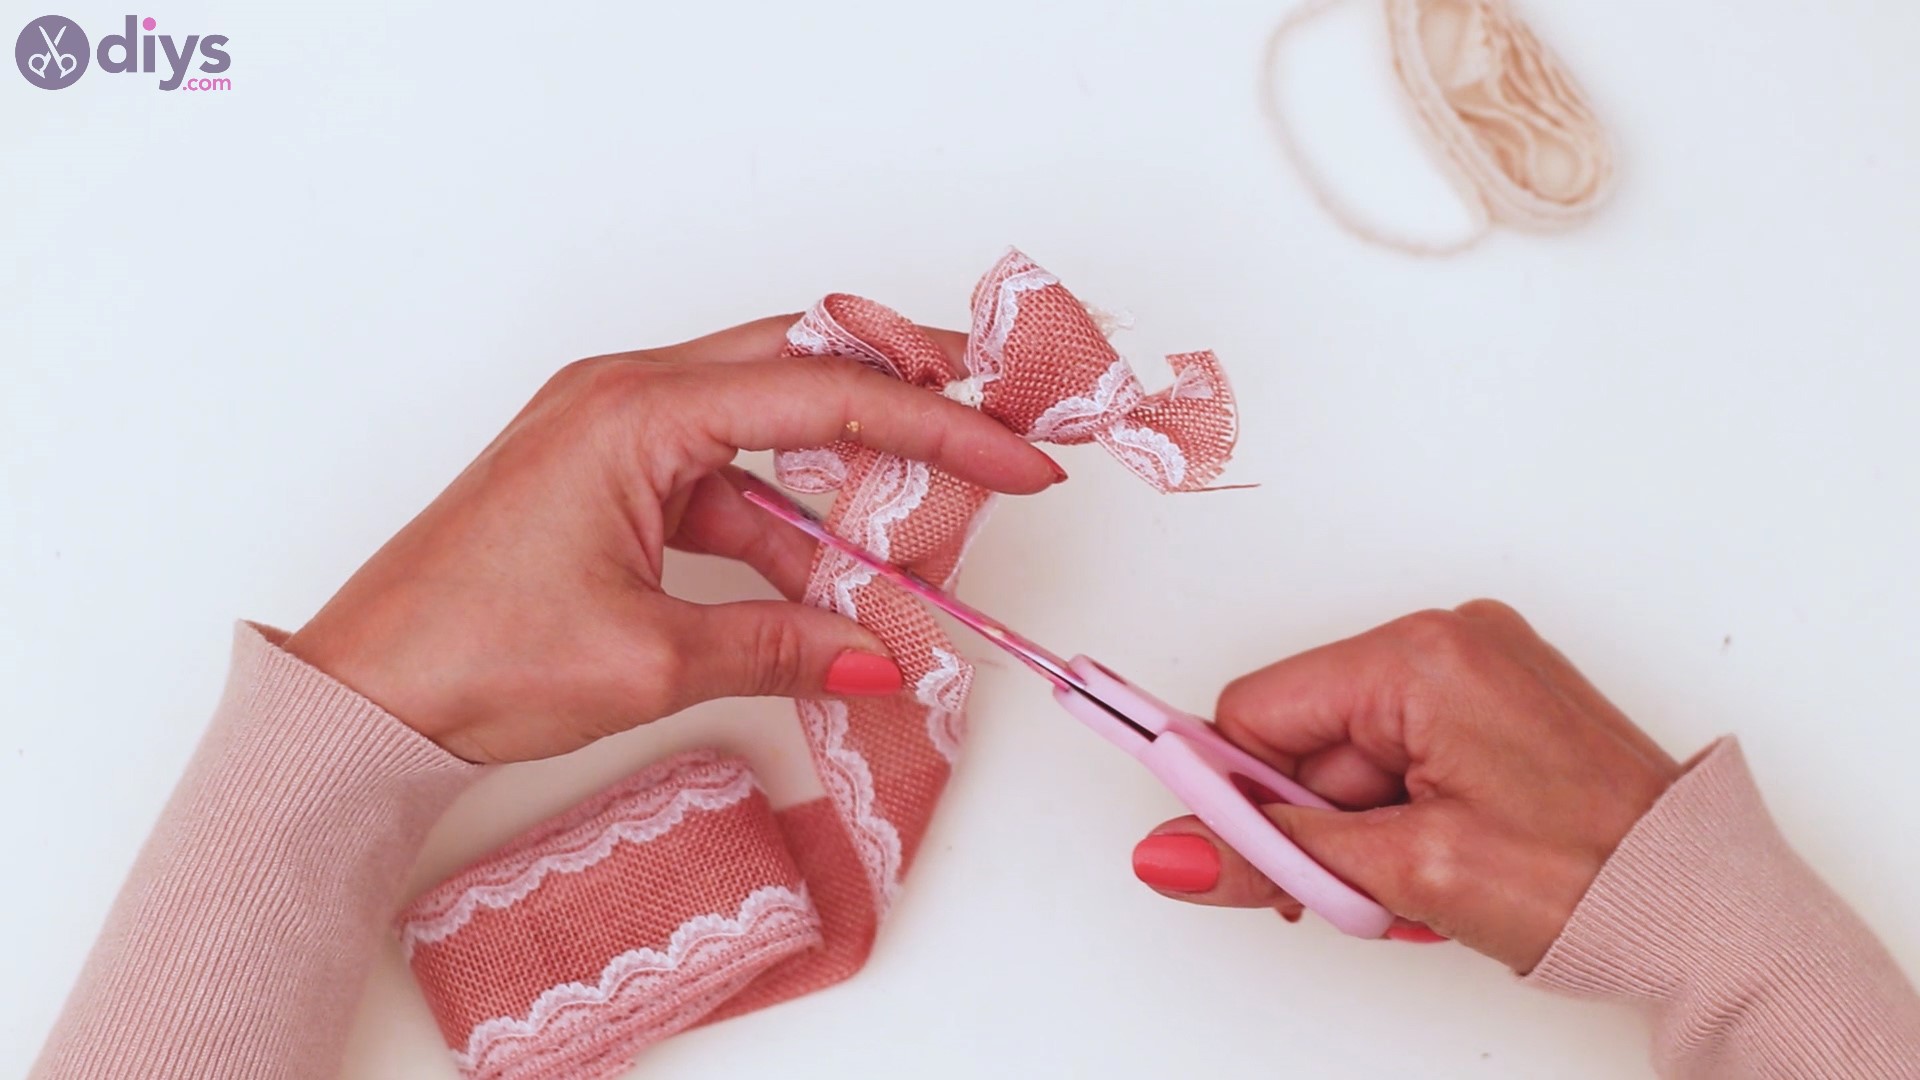
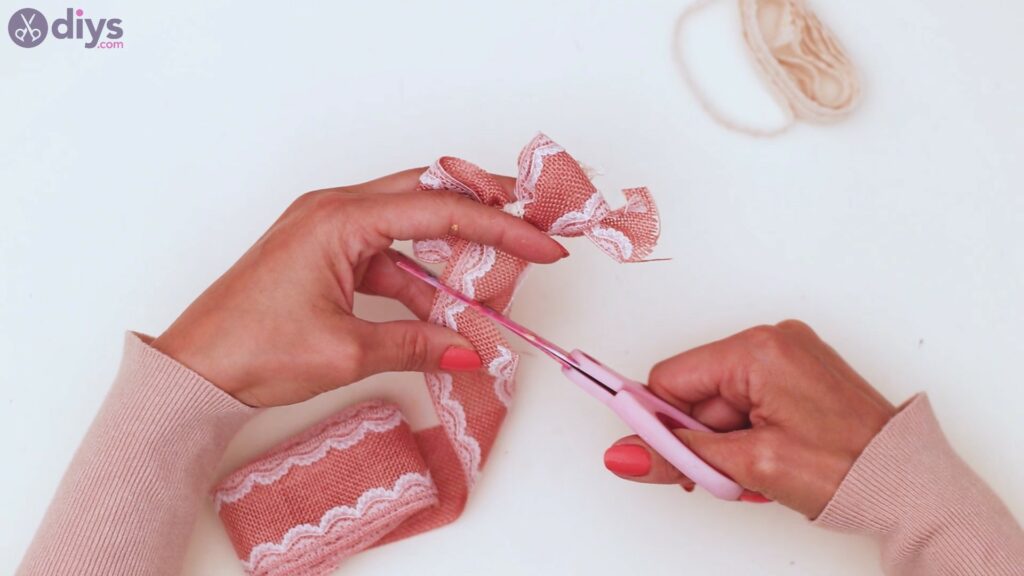
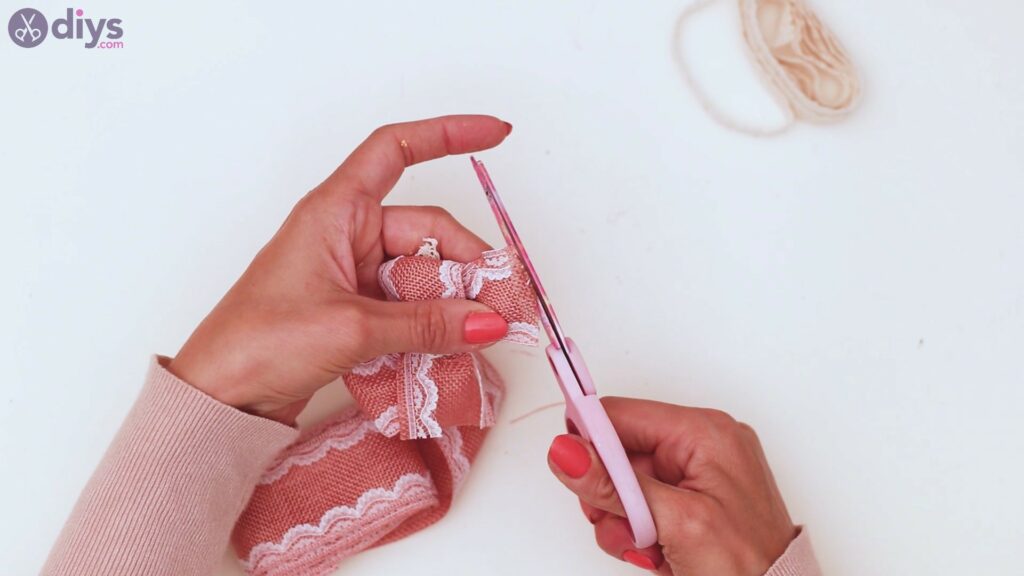
Get thescissors and trim the lace ribbon in the back, as well as the tails of the bow. Try to trim the material as straight as you can because the jute will fray out a bit.
Step 7: Place the bow on the vase
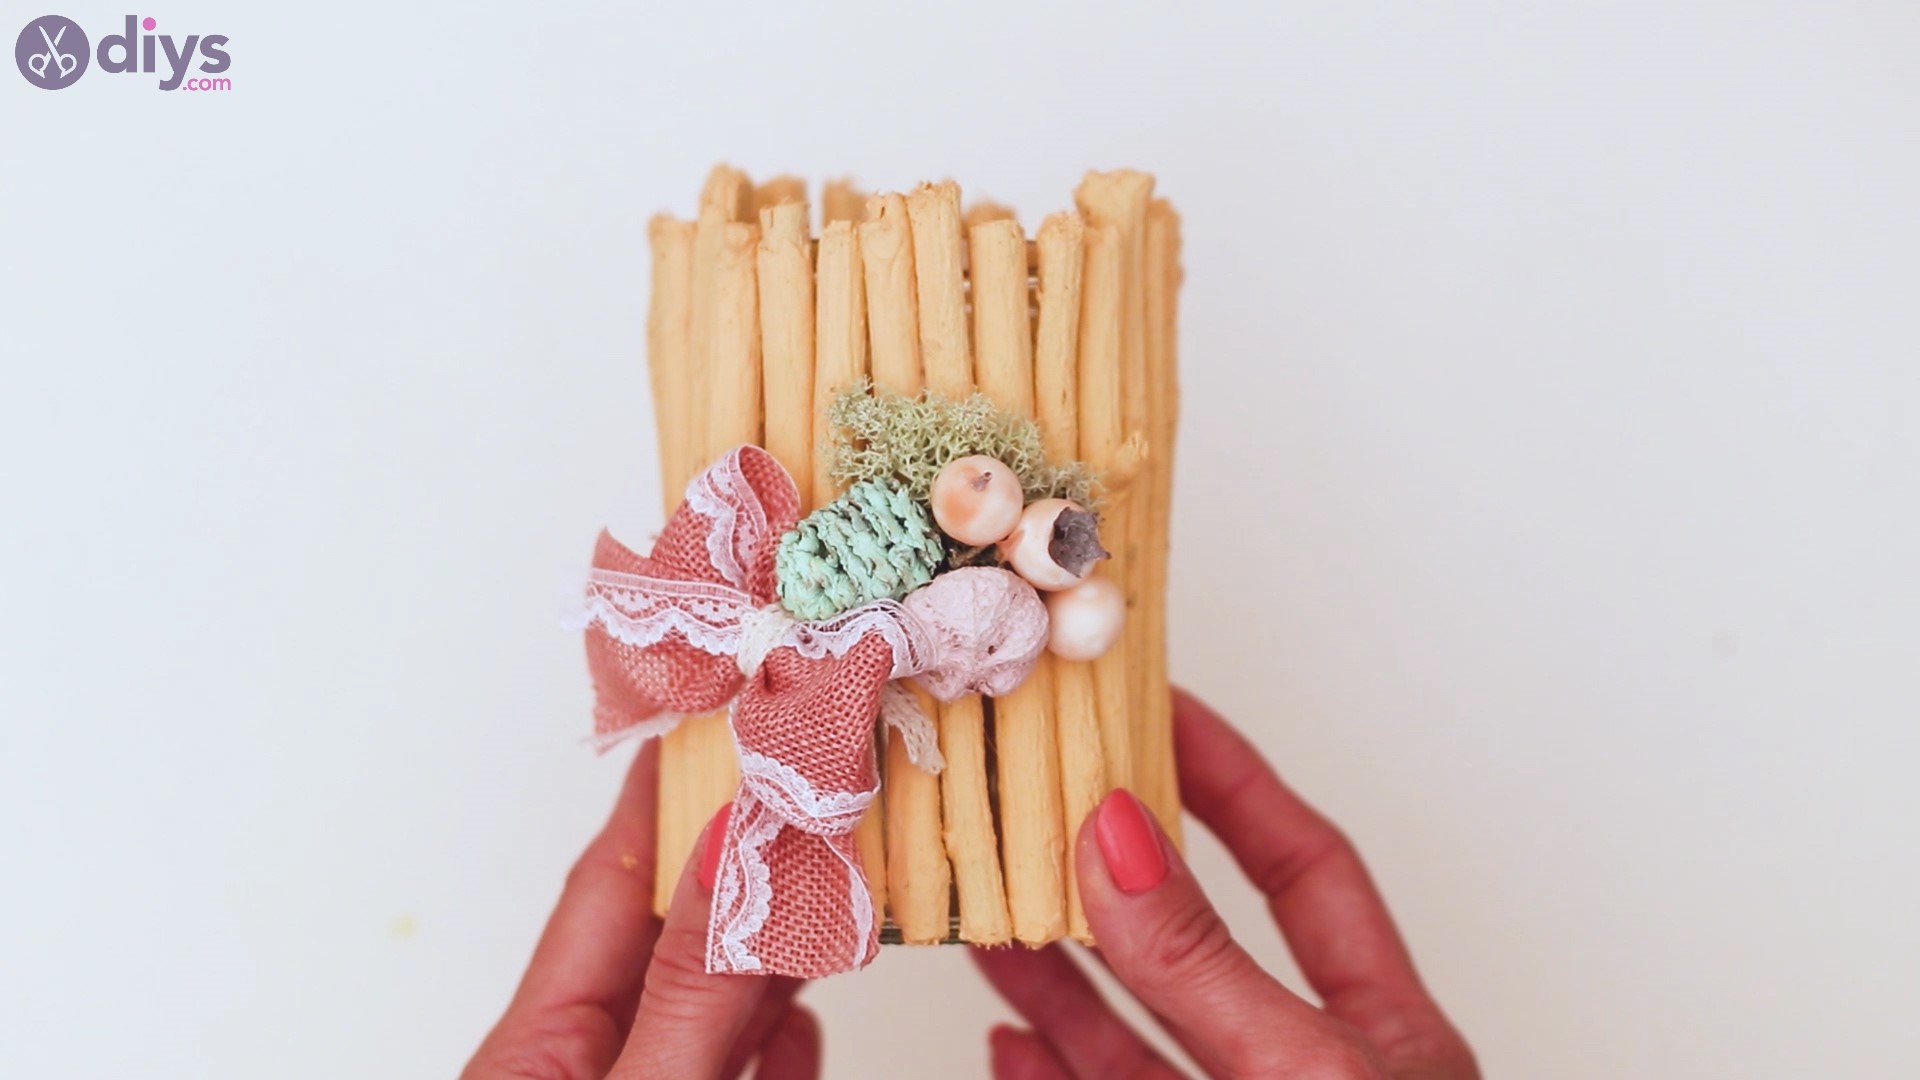
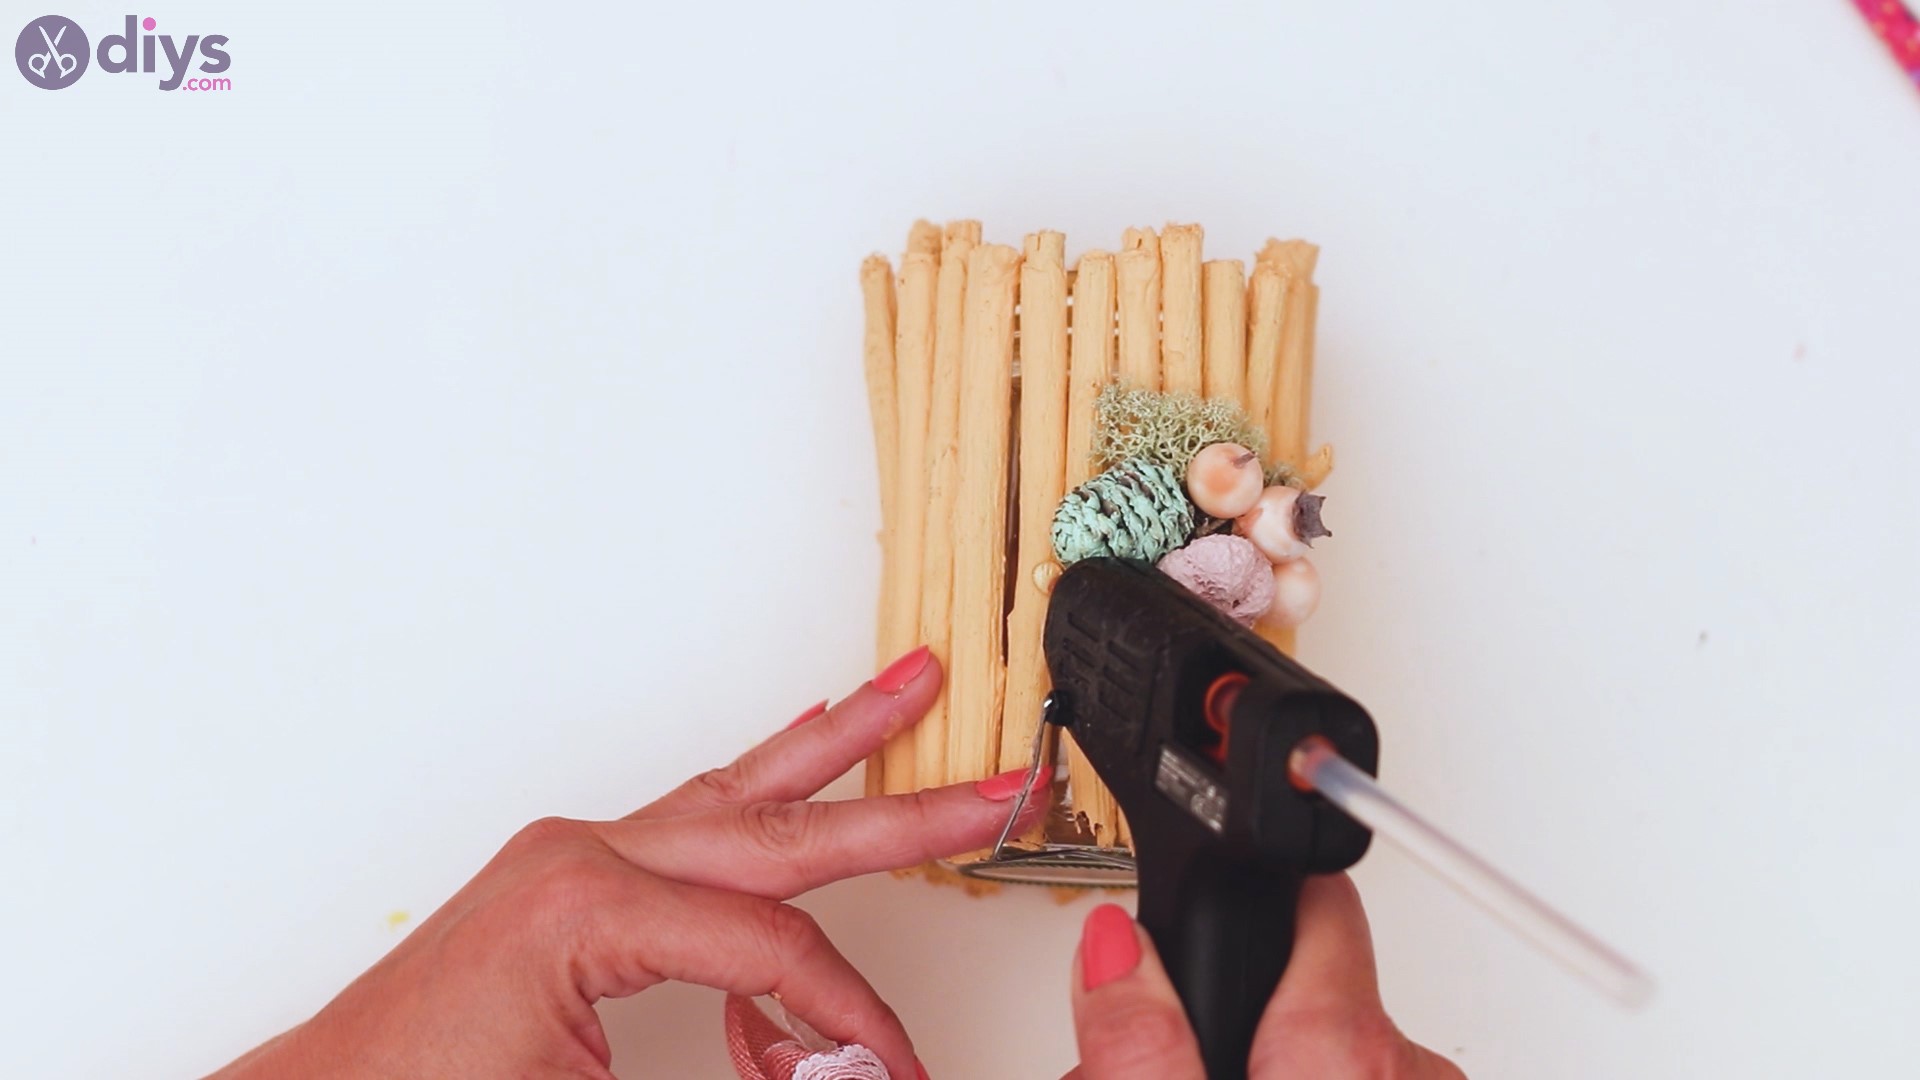
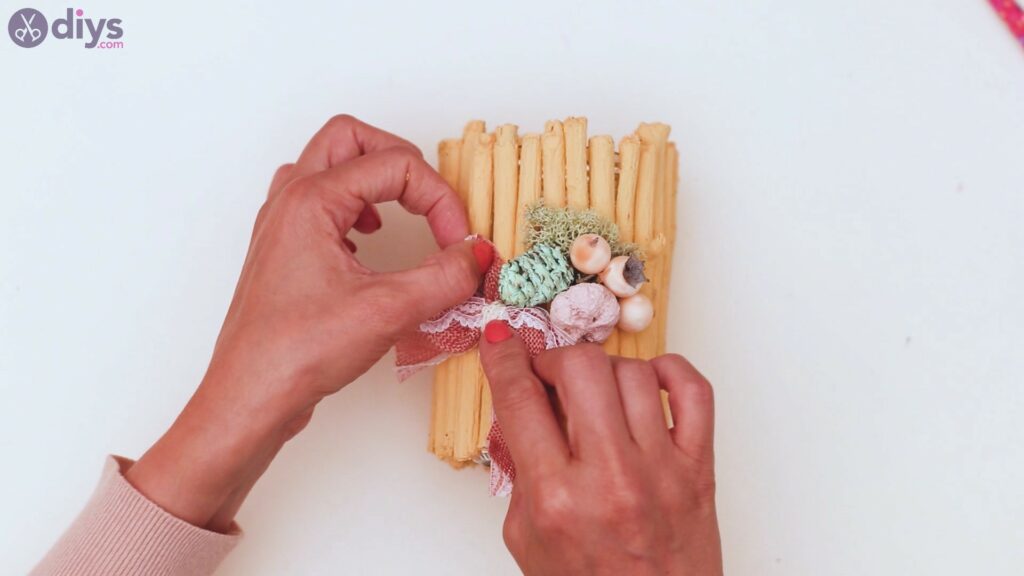
Get the glue gun and add some more hot glue near the arrangement you already put on the vase. Place the bow over the hot glue and keep it press for a few seconds.
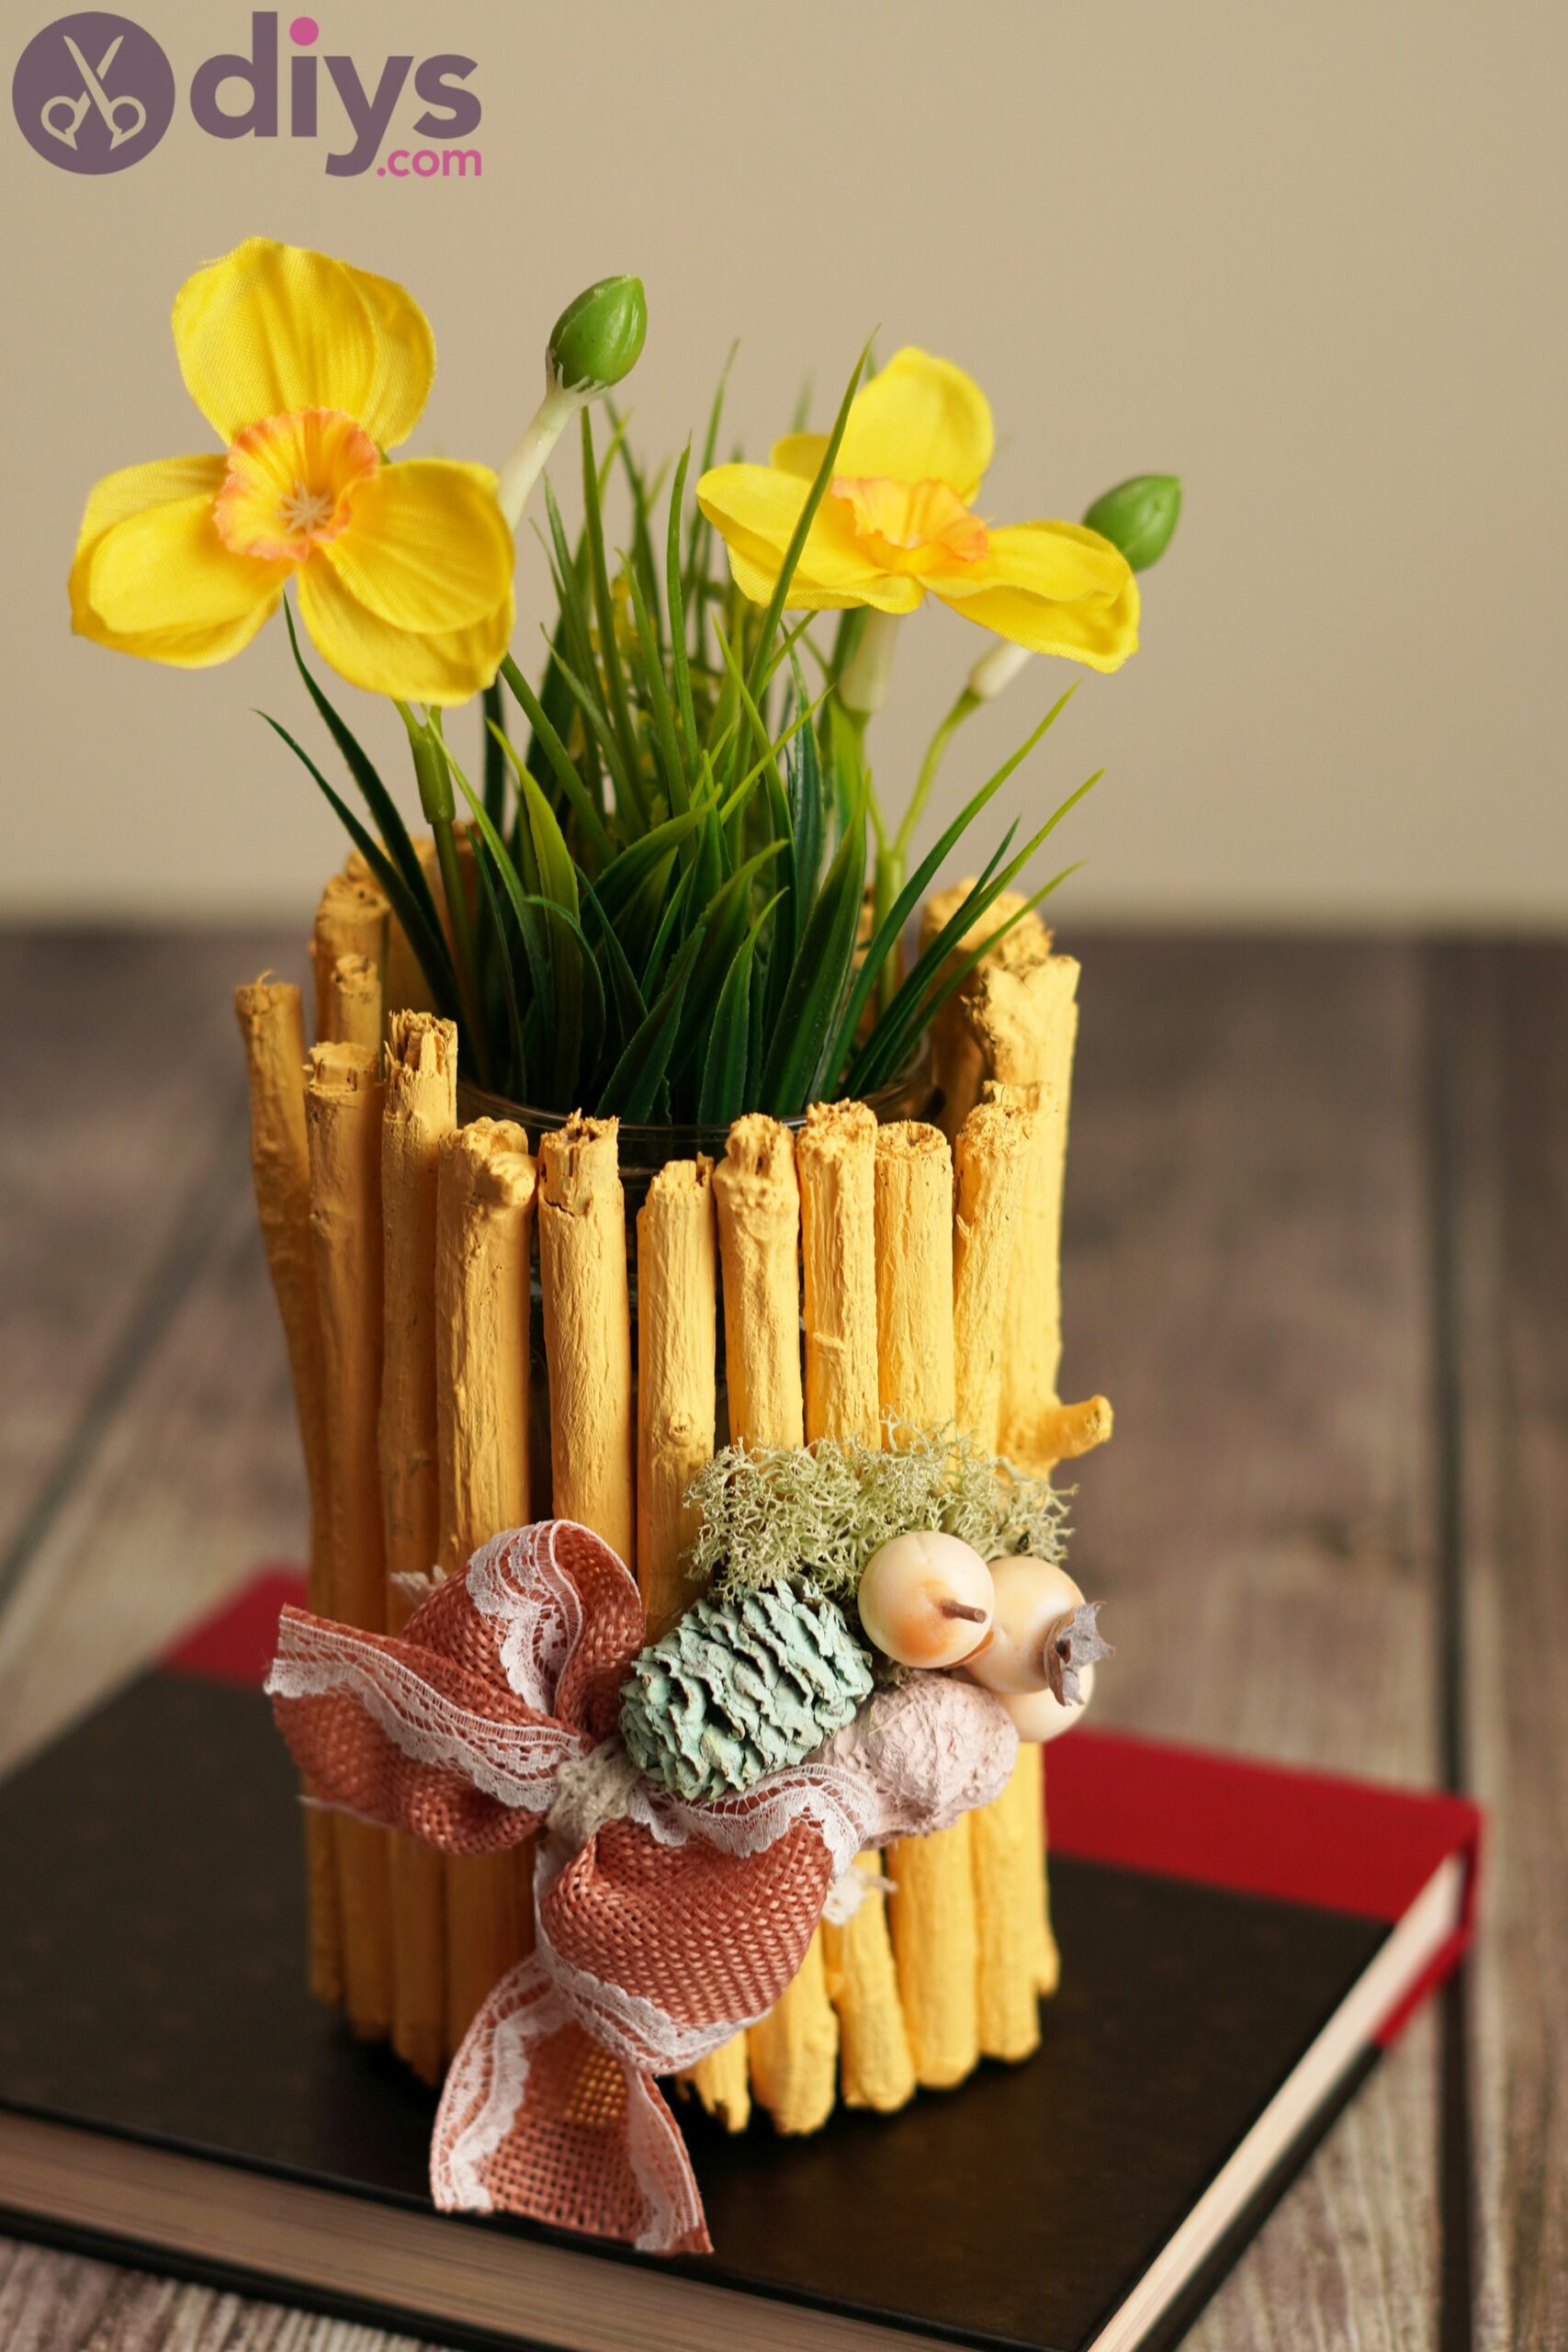
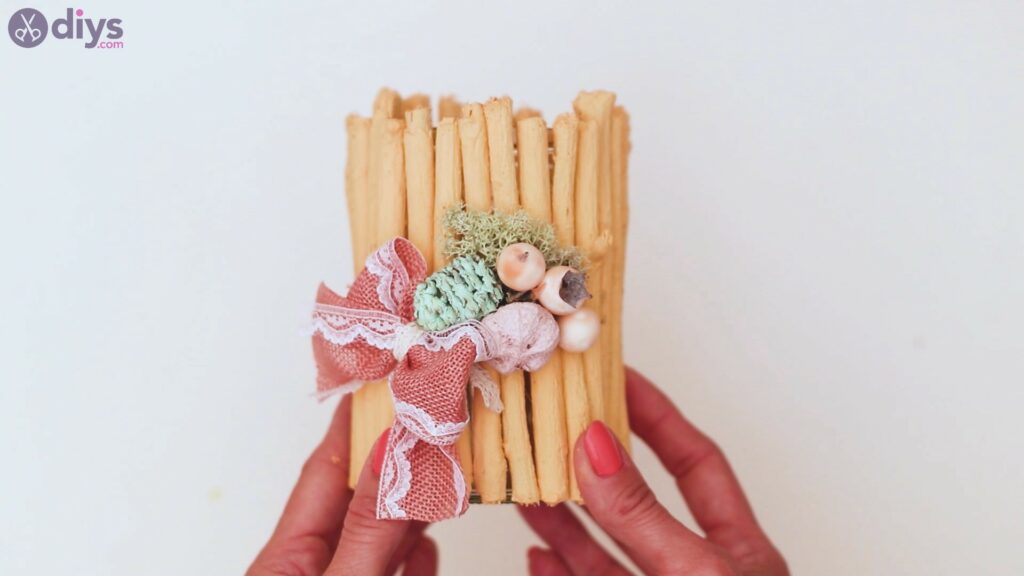
There you go! That’s it! This is such a beautiful design and will look wondeful every time you have flowers to display.
We would love to hear back from you so you can tell us how you like the design and what things you’d like to change. Drop us a note in the comments section below and tell us all about it.
Also, this design is obviously customizable and you can change the shade of paint you’re adding to the branches, add different type of accessories to the front, pick a different type of bow, and so on. Imagination is your only limit… and your craft supplies collection, of course.
So, send us pictures with your results over social media, as we’re super curious to see the results!
DIY
