3 Quick and Easy Ways to Beautifully Display Polaroid Photographs!
Do you like taking pictures? Do you have a Polaroid-type camera? Do you have a ton of great pictures that you have no idea how to display?
I had the same problem, until I saw some glittery clothes-pin style clips at the craft store. I immediately knew I needed to use them with my photographs! Below, I’ll show you 3 super simple ways to creatively decorate with your pictures. (These methods work for any kind of photo, not just Polaroid-style!)
A String Of Memories…
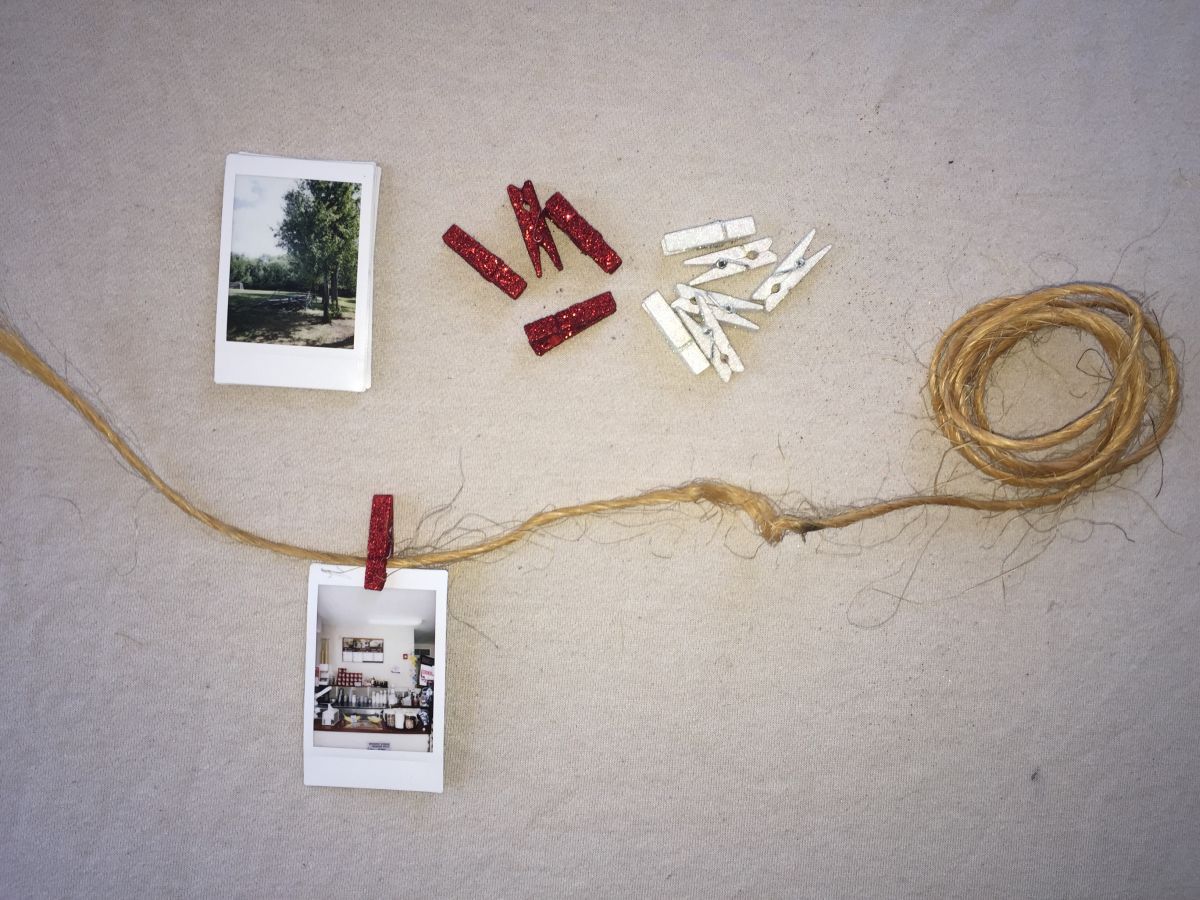
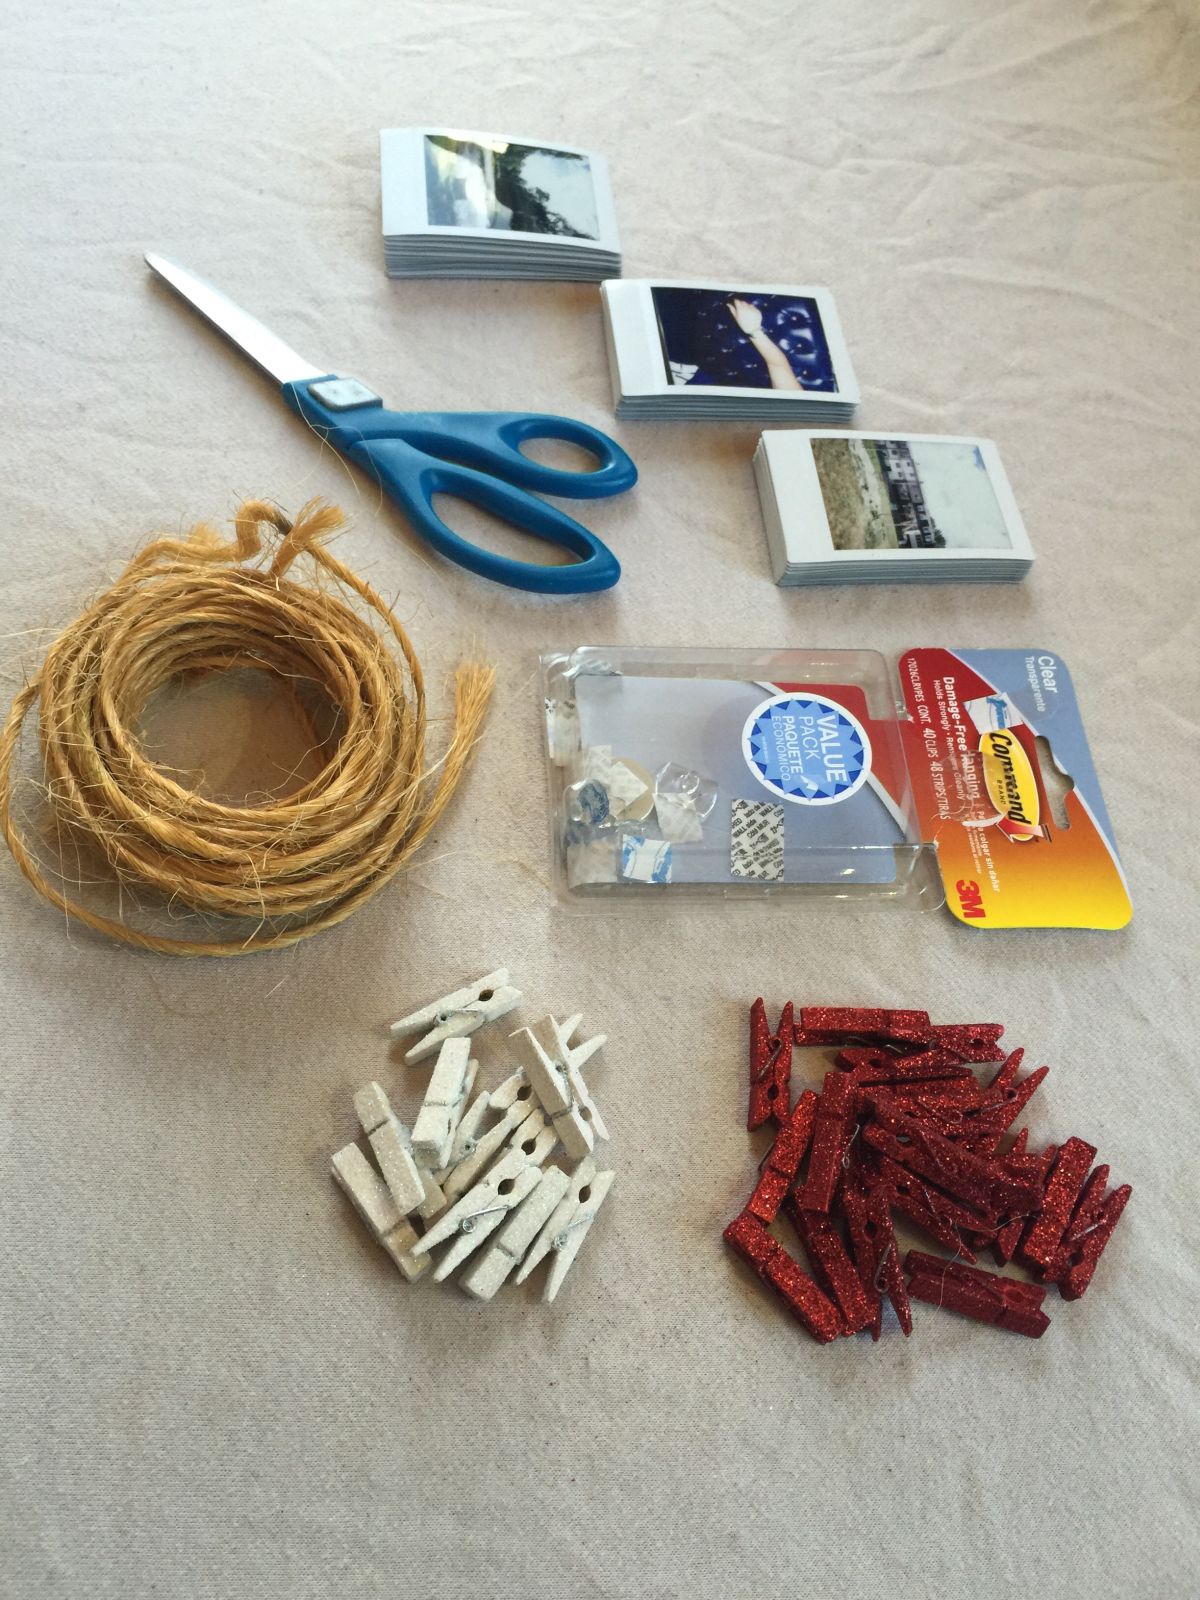
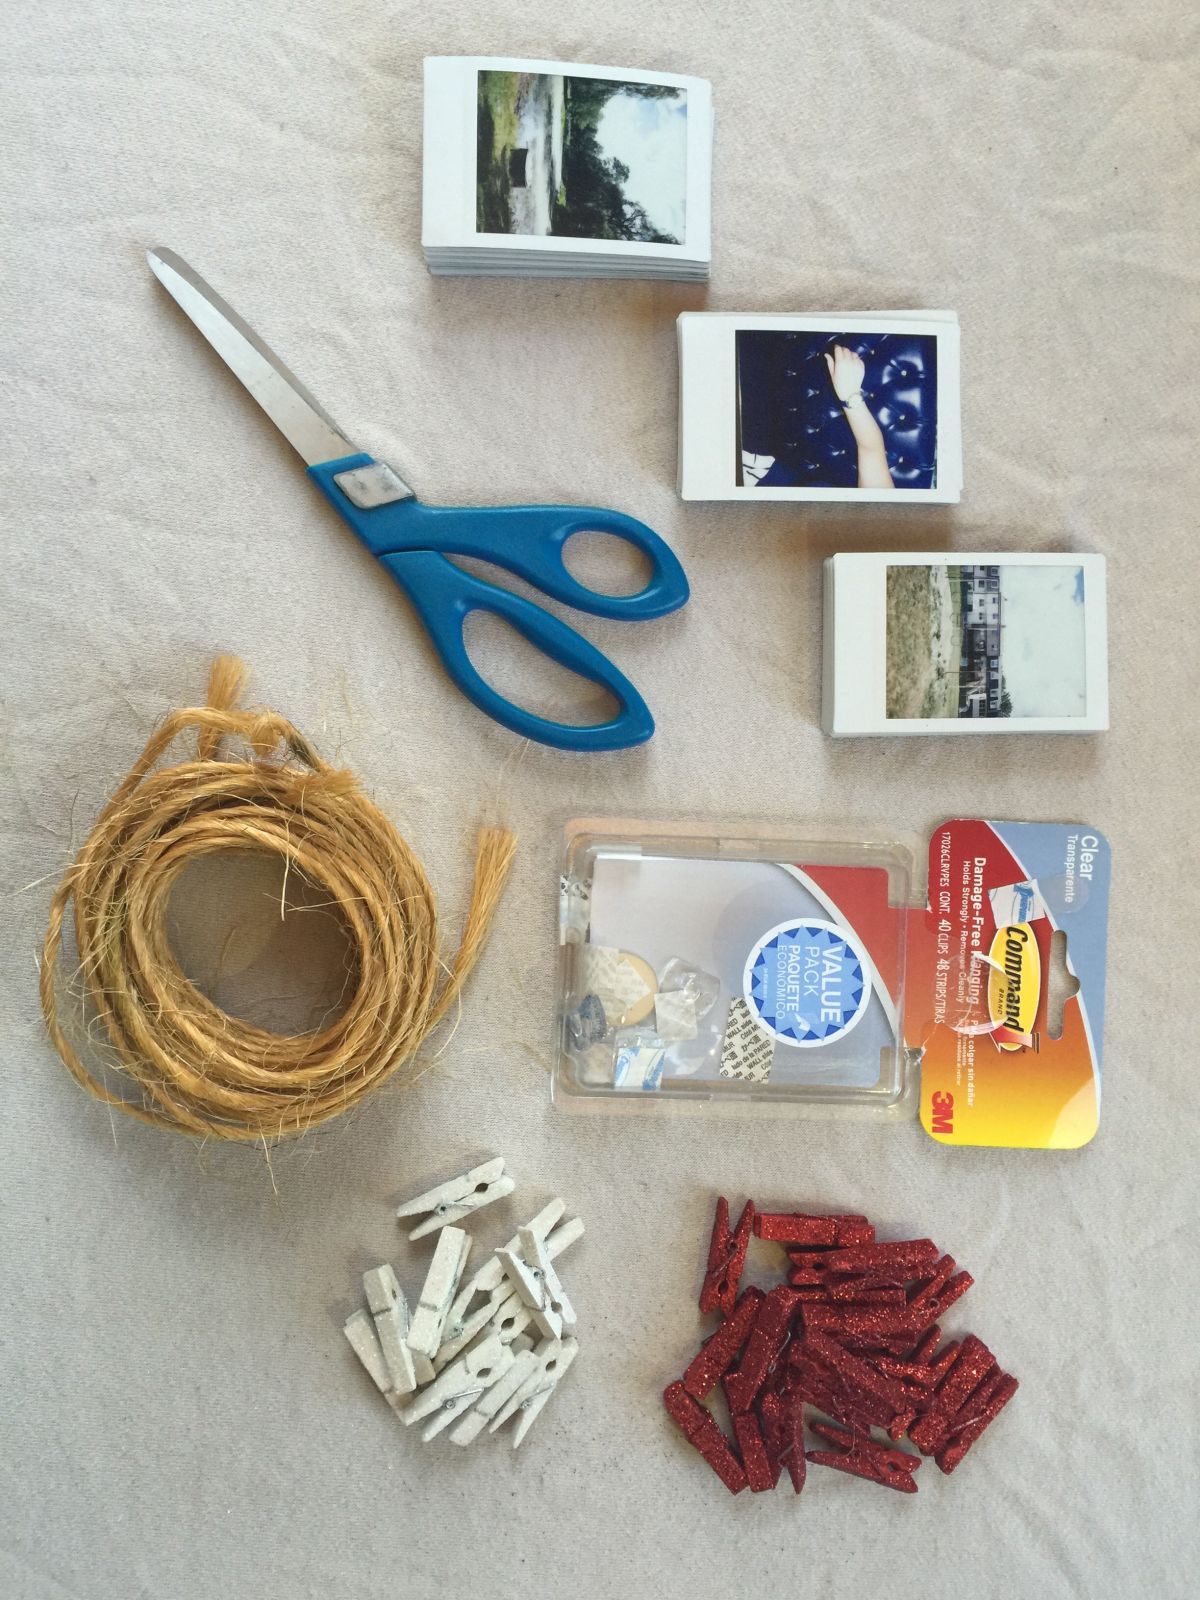
THINGS YOU WILL NEED:
- String
- Clips
- Scissors (optional)
- Hooks (optional)
- Photographs!
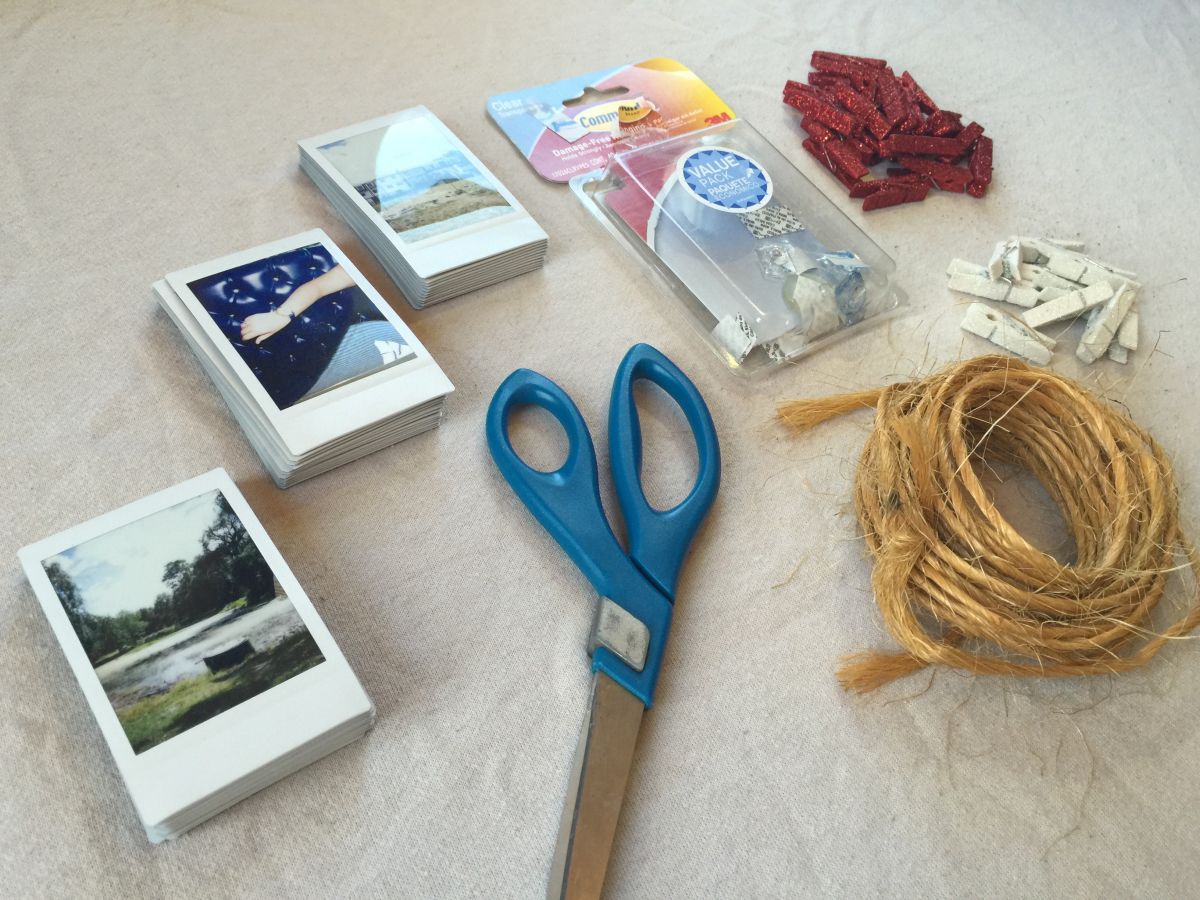
I’M USING:
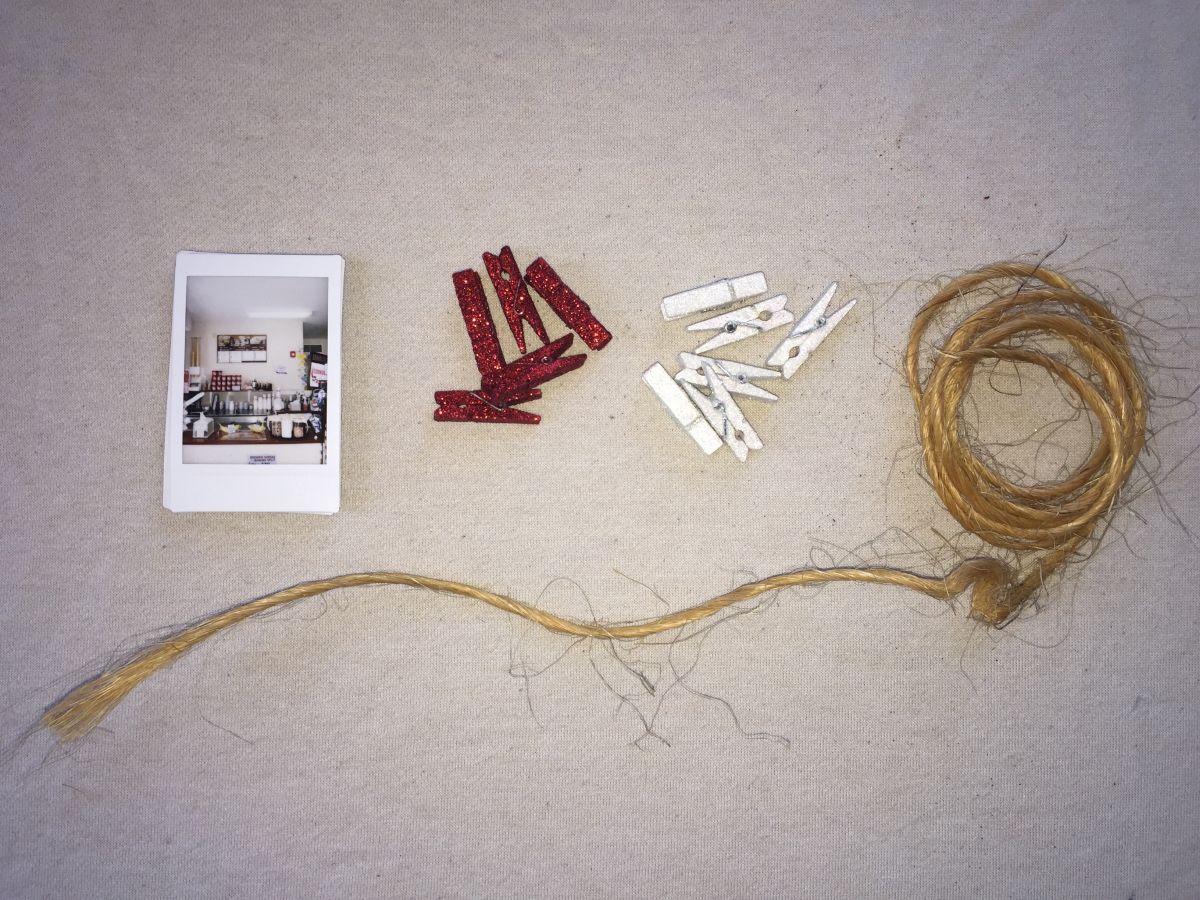
- Recycled Twine (from bringing home my Christmas tree!)
- Mini Glitter Clothes-Pins
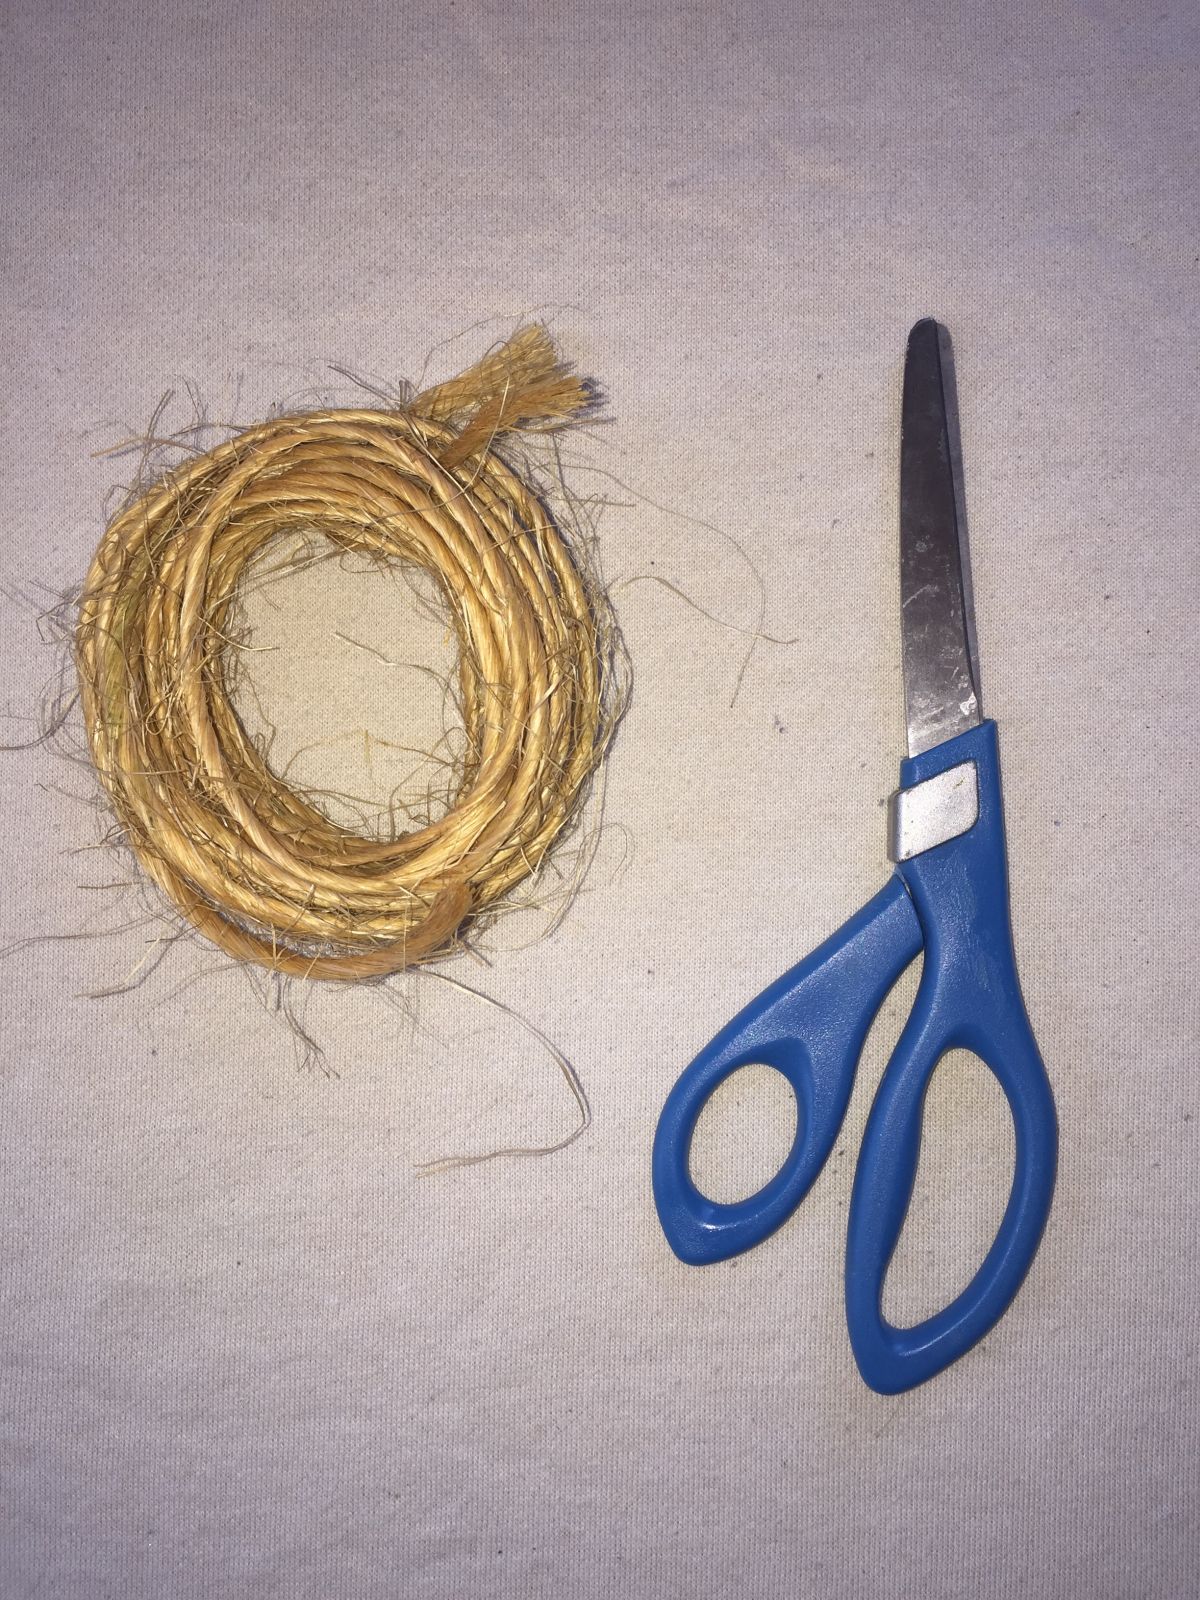
- Scissors
- Invisible Command Hooks
- Instax Mini Photograph
STEP ONE:
Cut your string! I like to use smaller length strands, so that I can create a scalloped or banner effect when hanging them together.
STEP TWO:
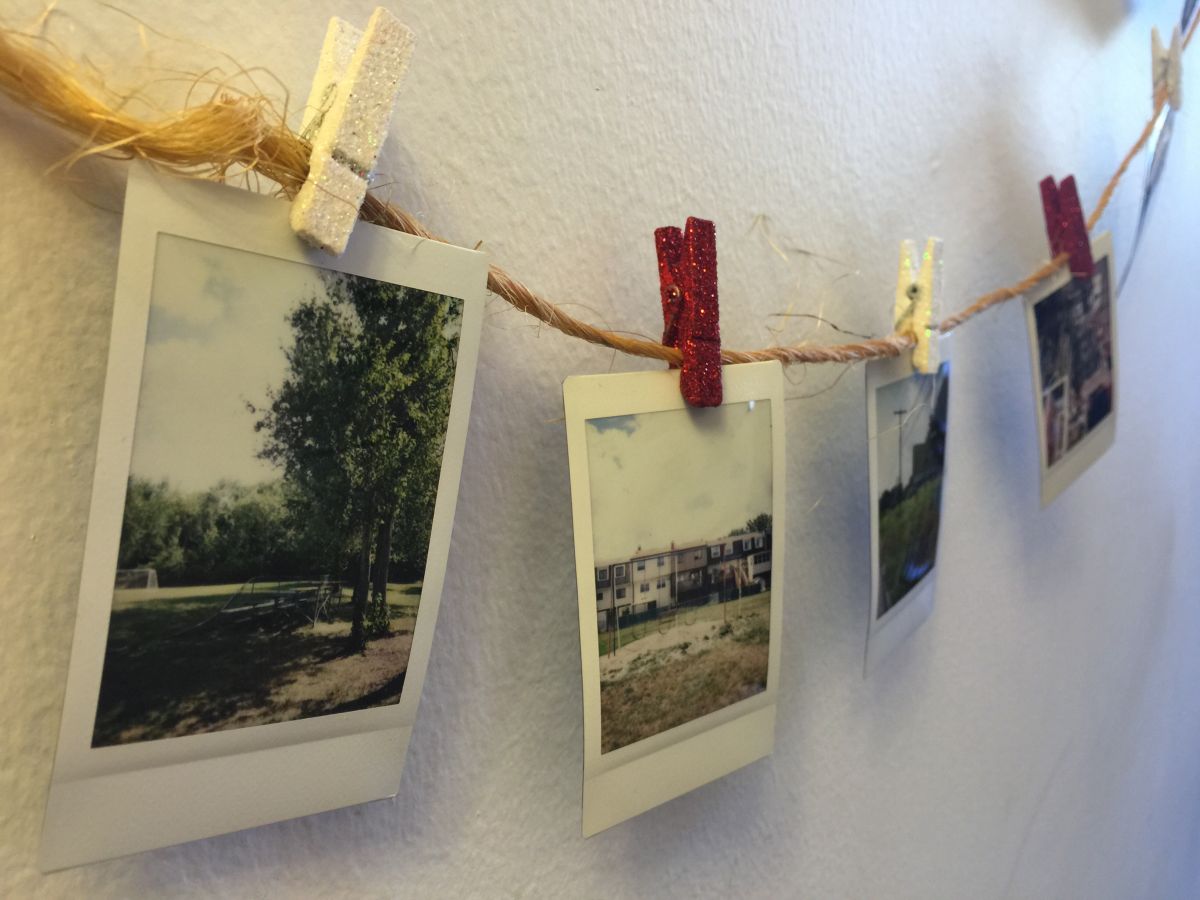
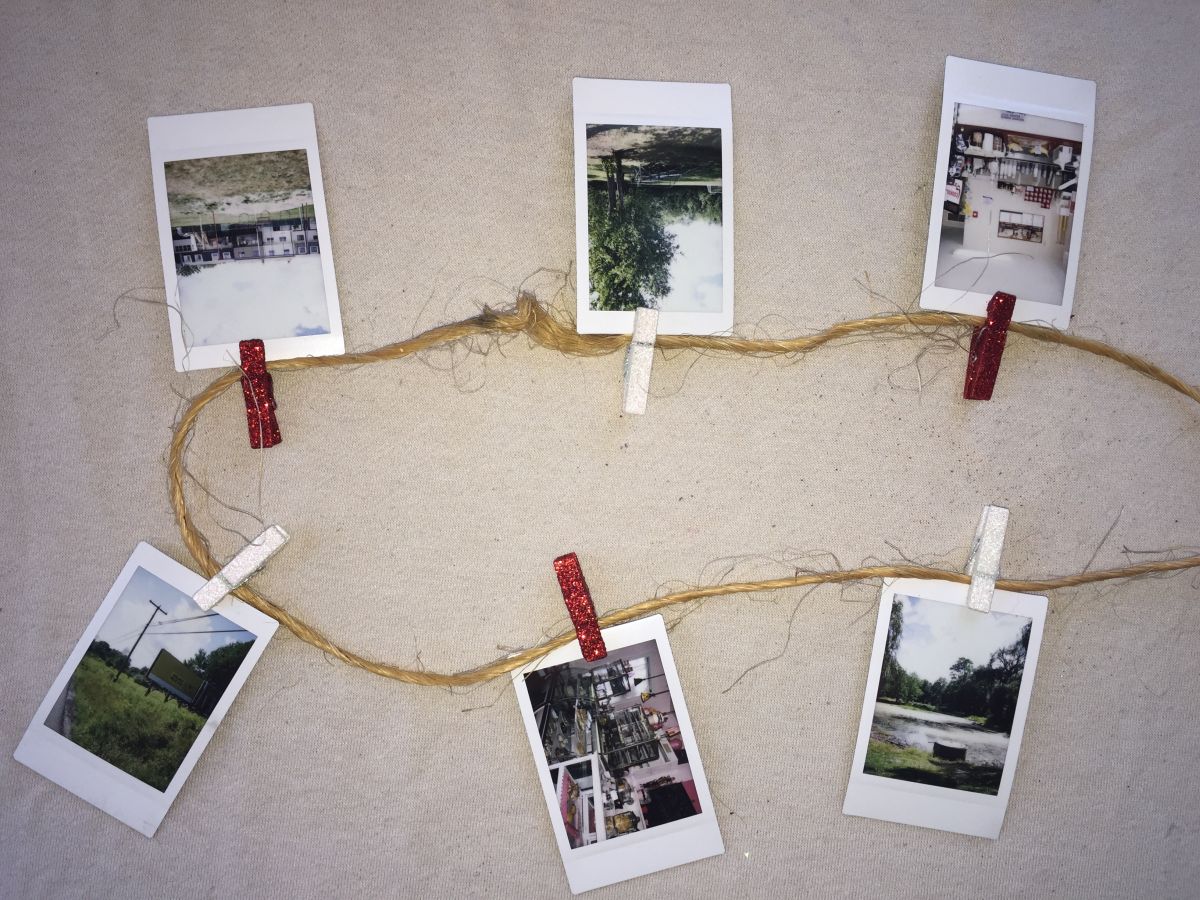
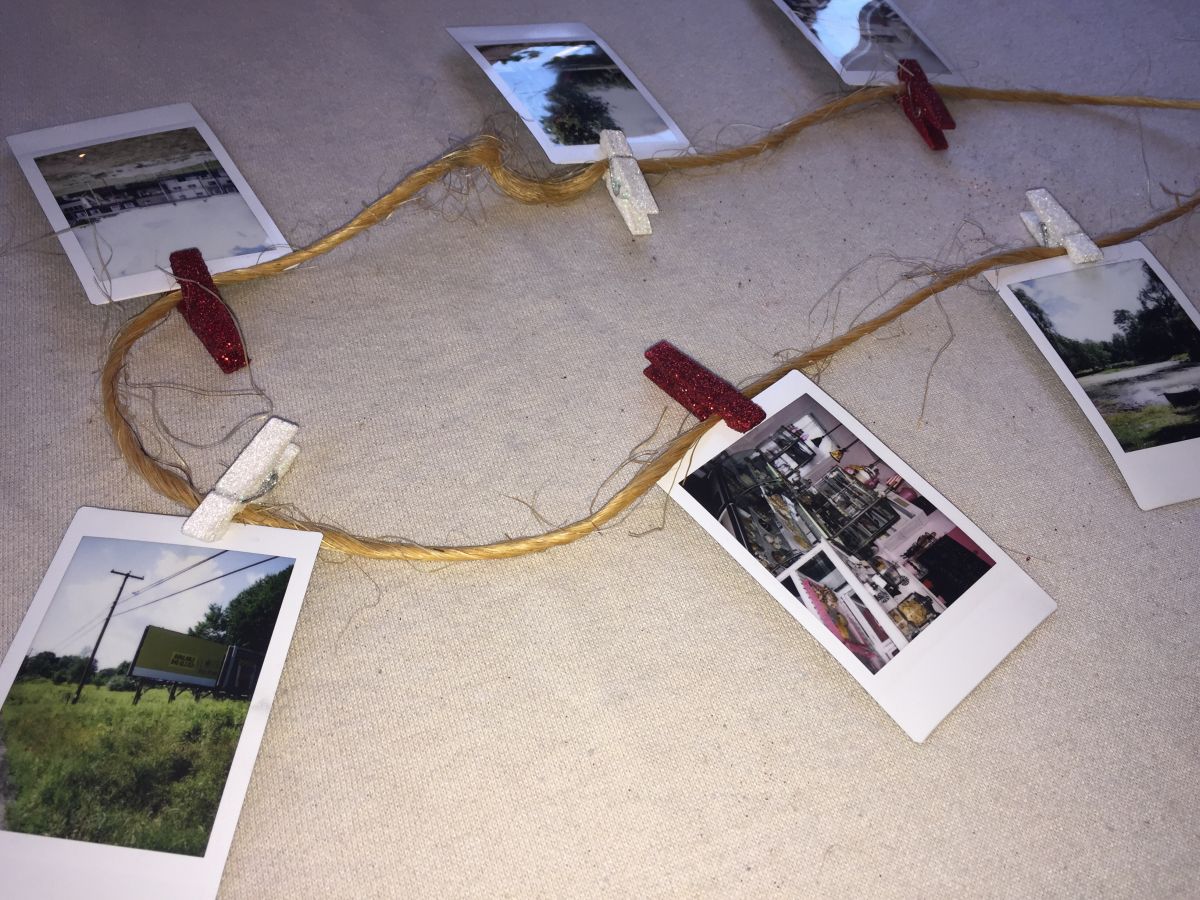
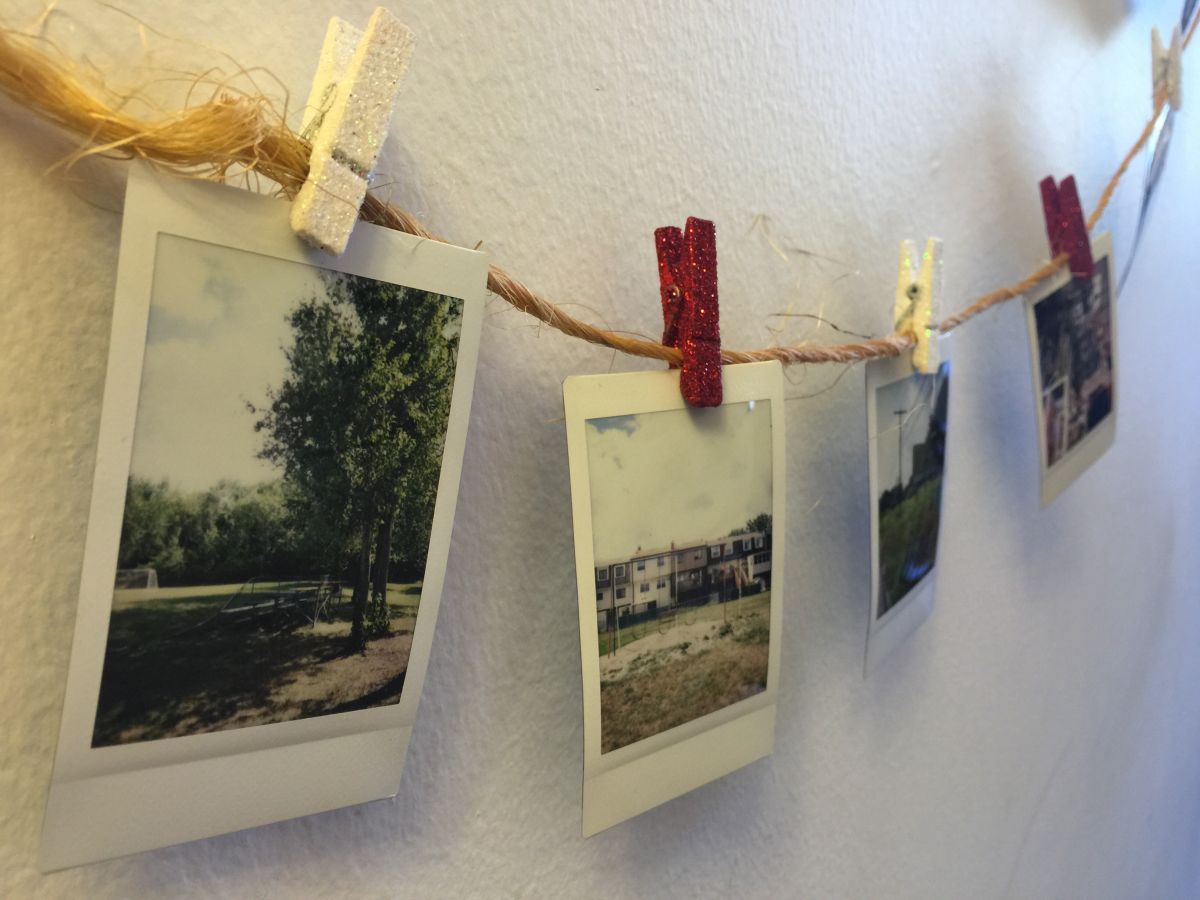
Grab the specific photos you want to put on each strand, and simply clip them on with the pins of your choosing! I have multiple colors, and for this strand I decided to alternate between white and red clips. Be creative!
STEP THREE:
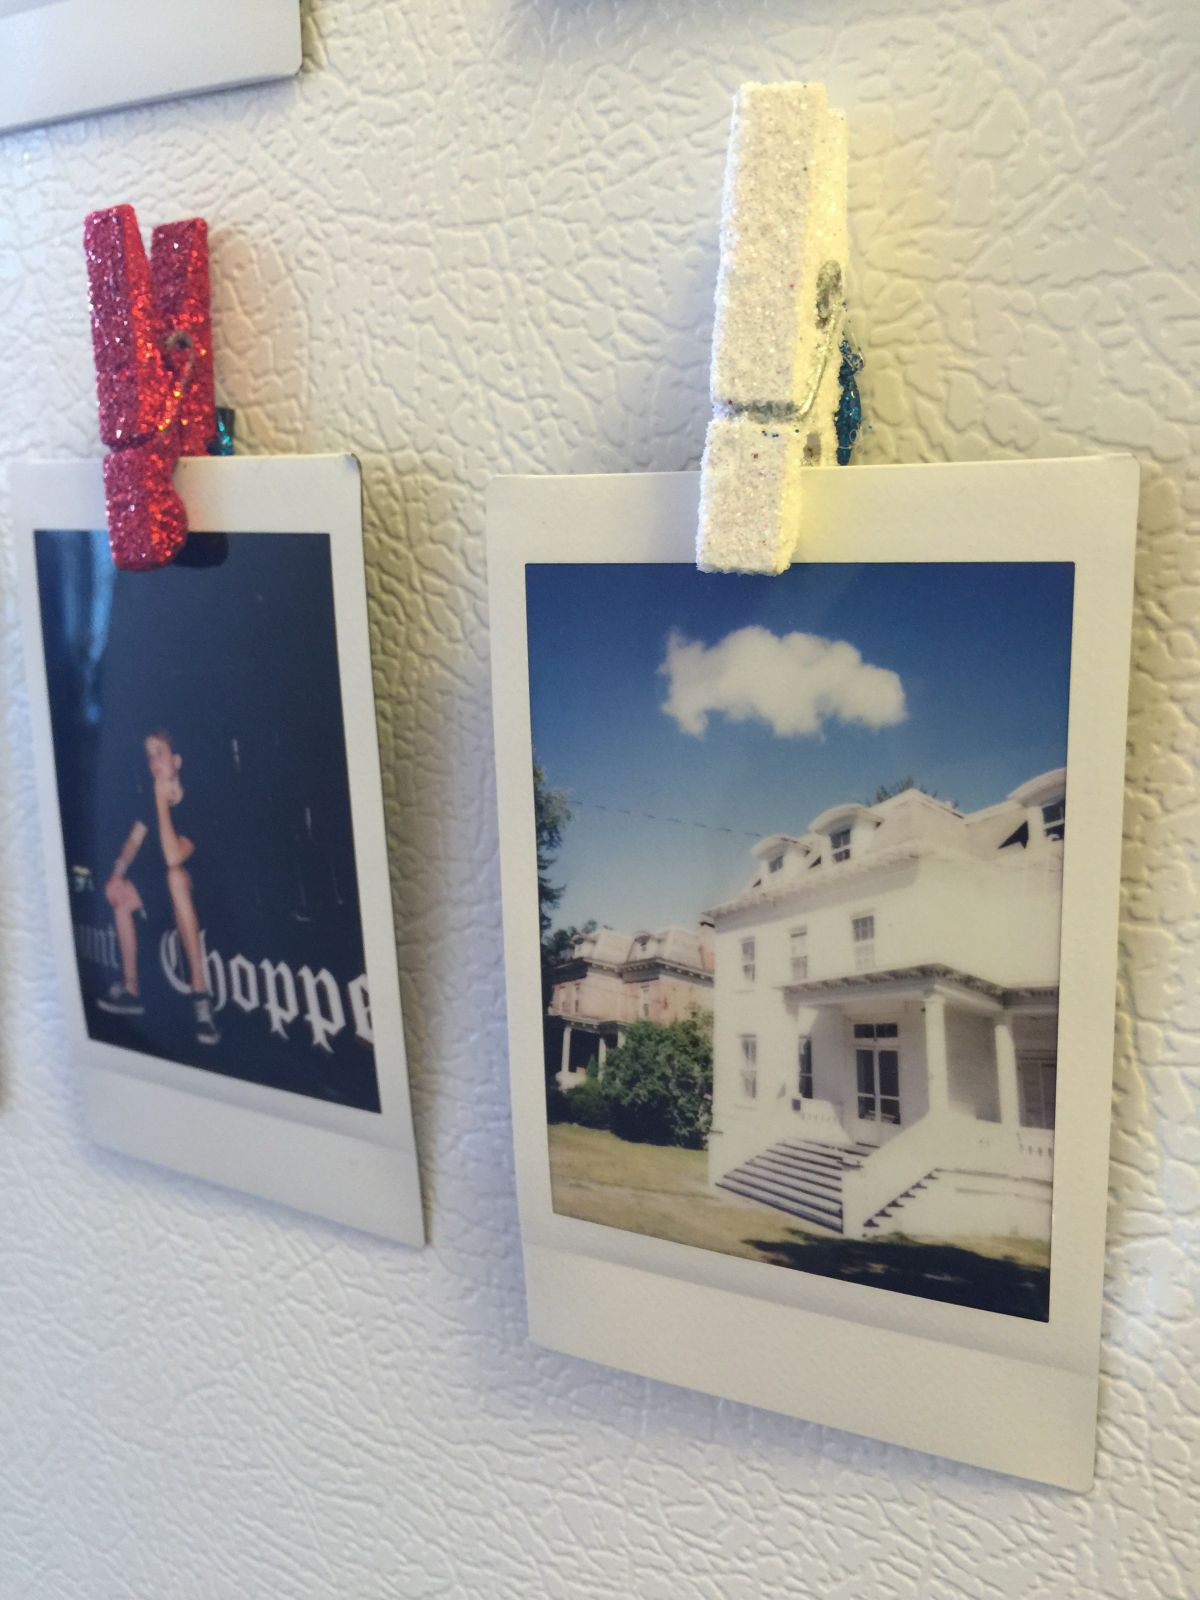
Hang them wherever and however you’d like! I put mine up in my little art studio using the Command Hooks mentioned earlier.
AND THAT’S IT!
The next two methods are very similar, and just as easy and fast as the first!
Clip Things Close To Your Heart…
THING YOU WILL NEED:
- Scissors
- Clips
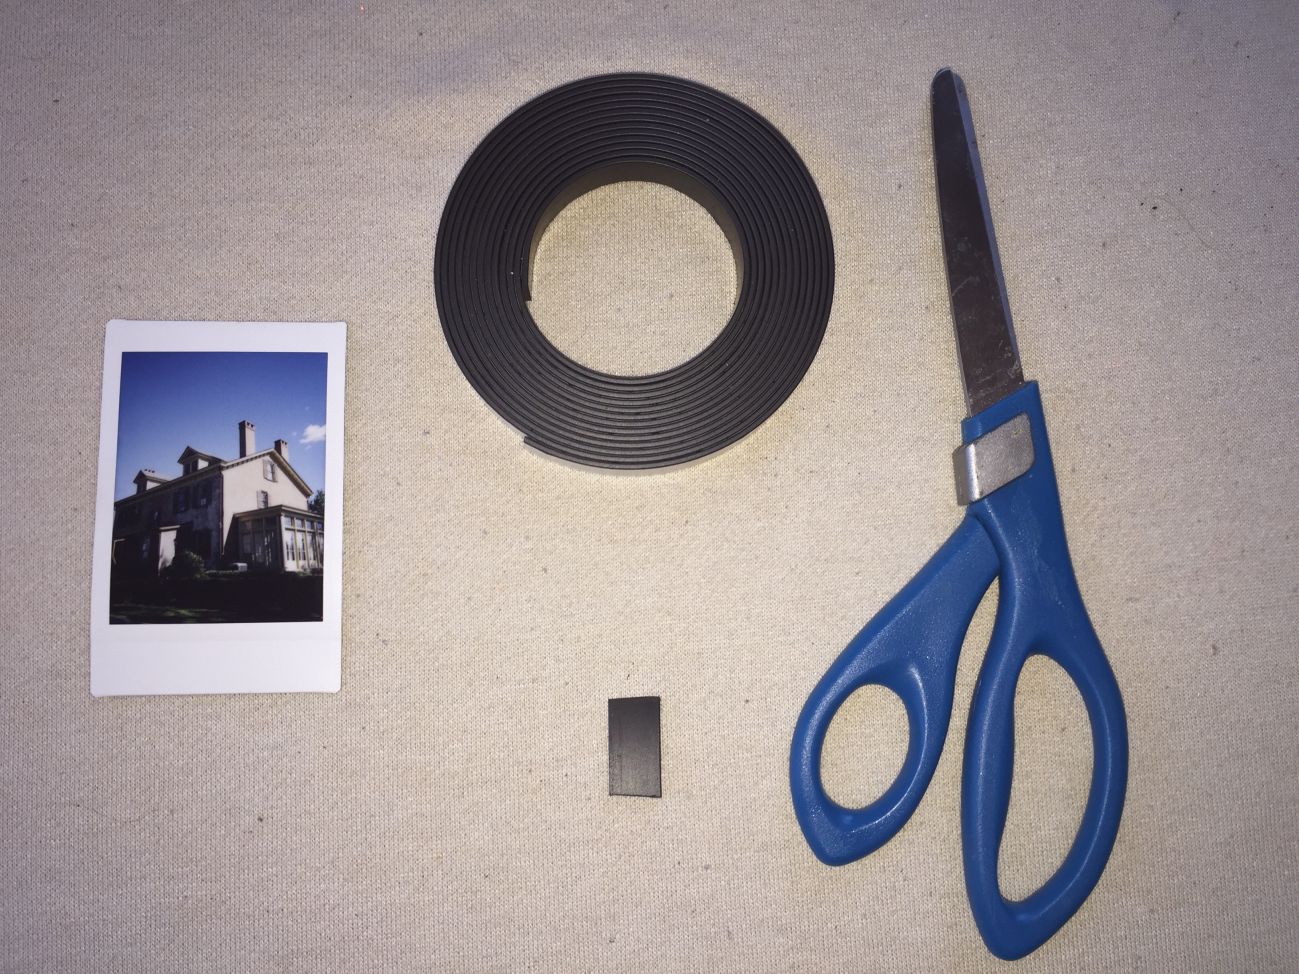
- Magnets
- Glue
- Photographs
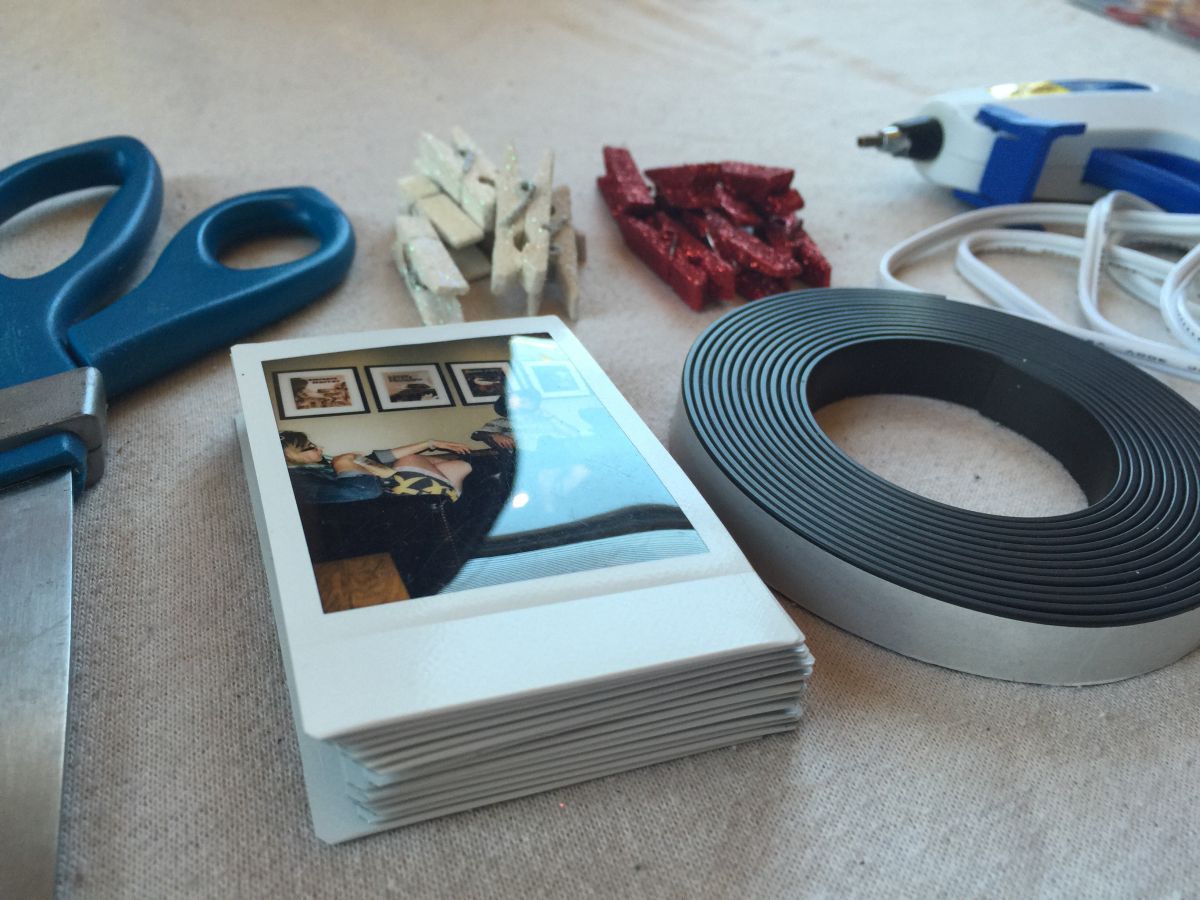
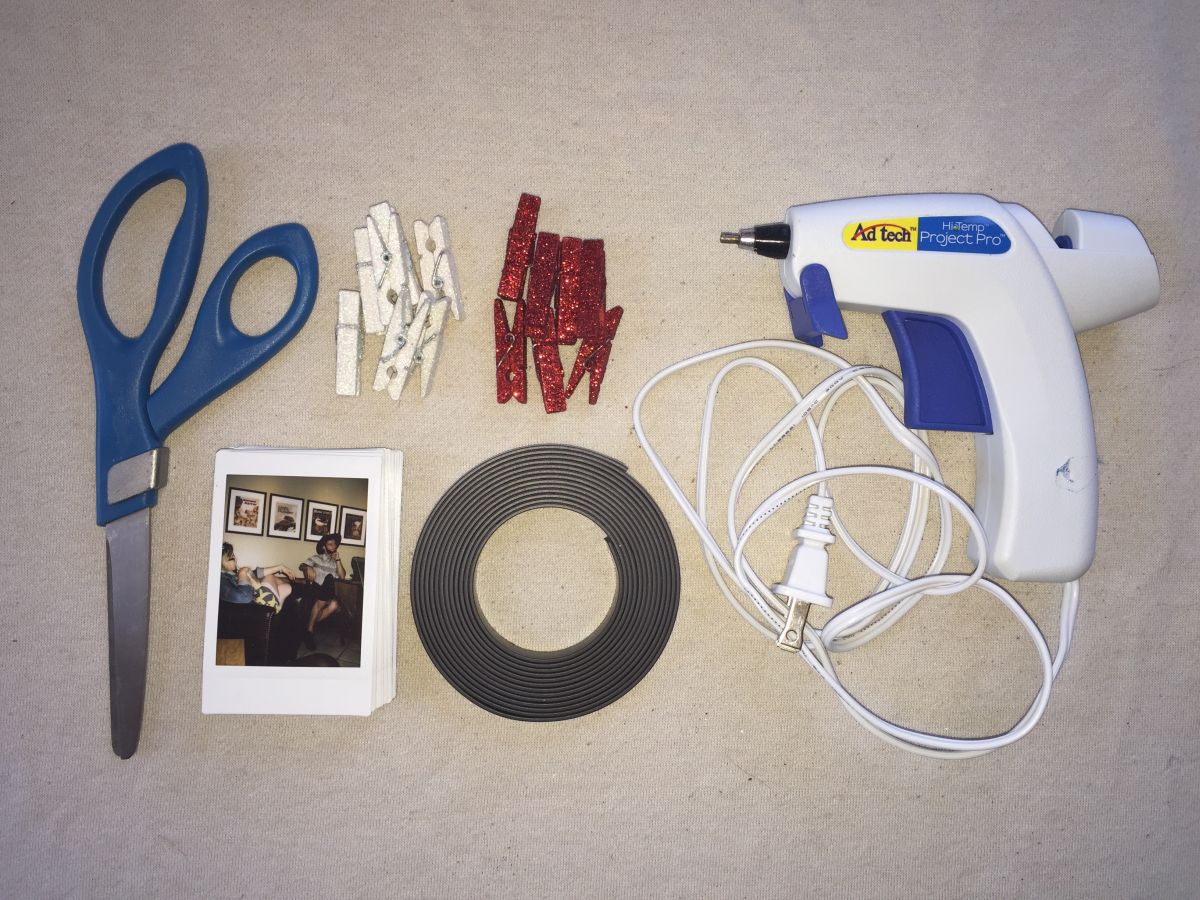
I’M USING:
- Scissors
- Mini Glitter Clothes-Pins
- Self-Adhesive Magnet Strips
- Hot Glue (with gun)
- Instax Mini Photographs
STEP ONE:
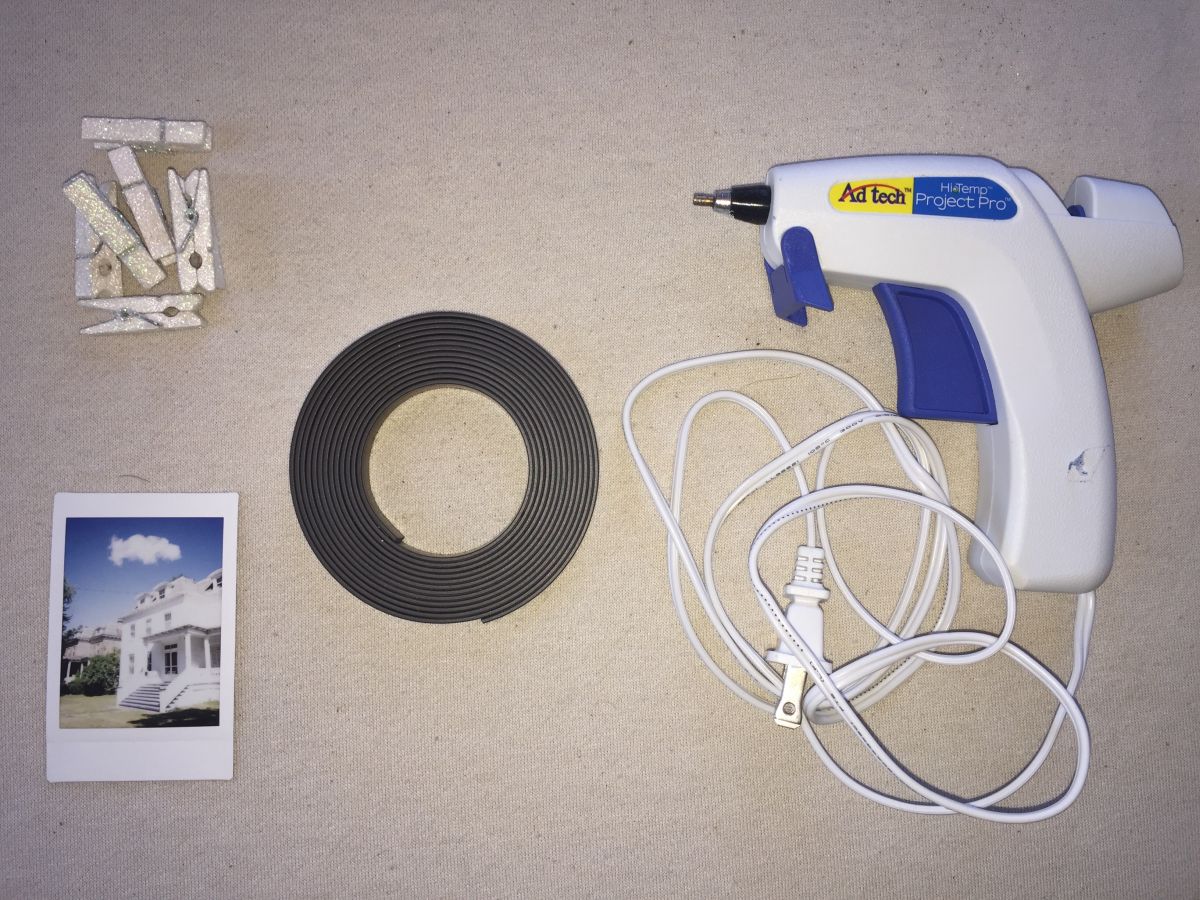
Grab your magnets, clips, and glue! The magnet strips shown here are self-adhesive, which we will take advantage of later, but because we’re putting them on these glittery clips, that won’t be enough. (I had quite a few frustrations with my first attempts, they kept breaking off and all of my pictures were falling down!)
STEP TWO:
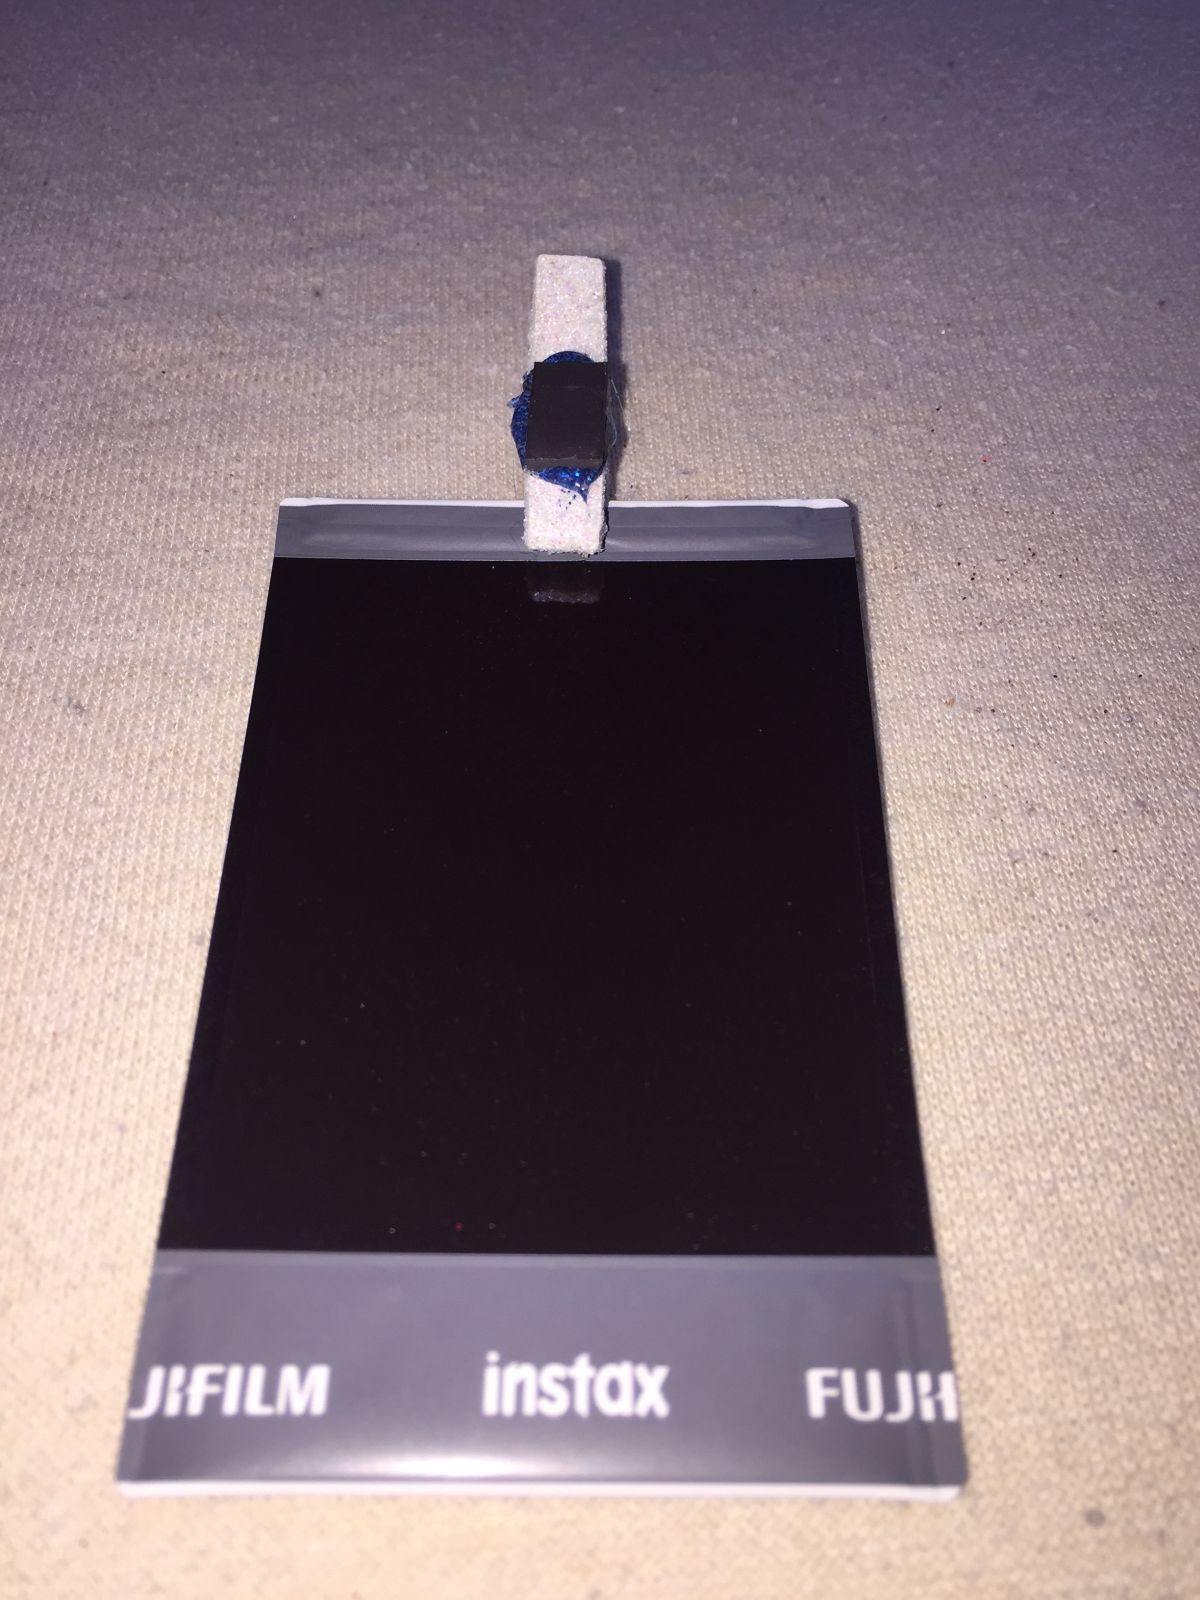
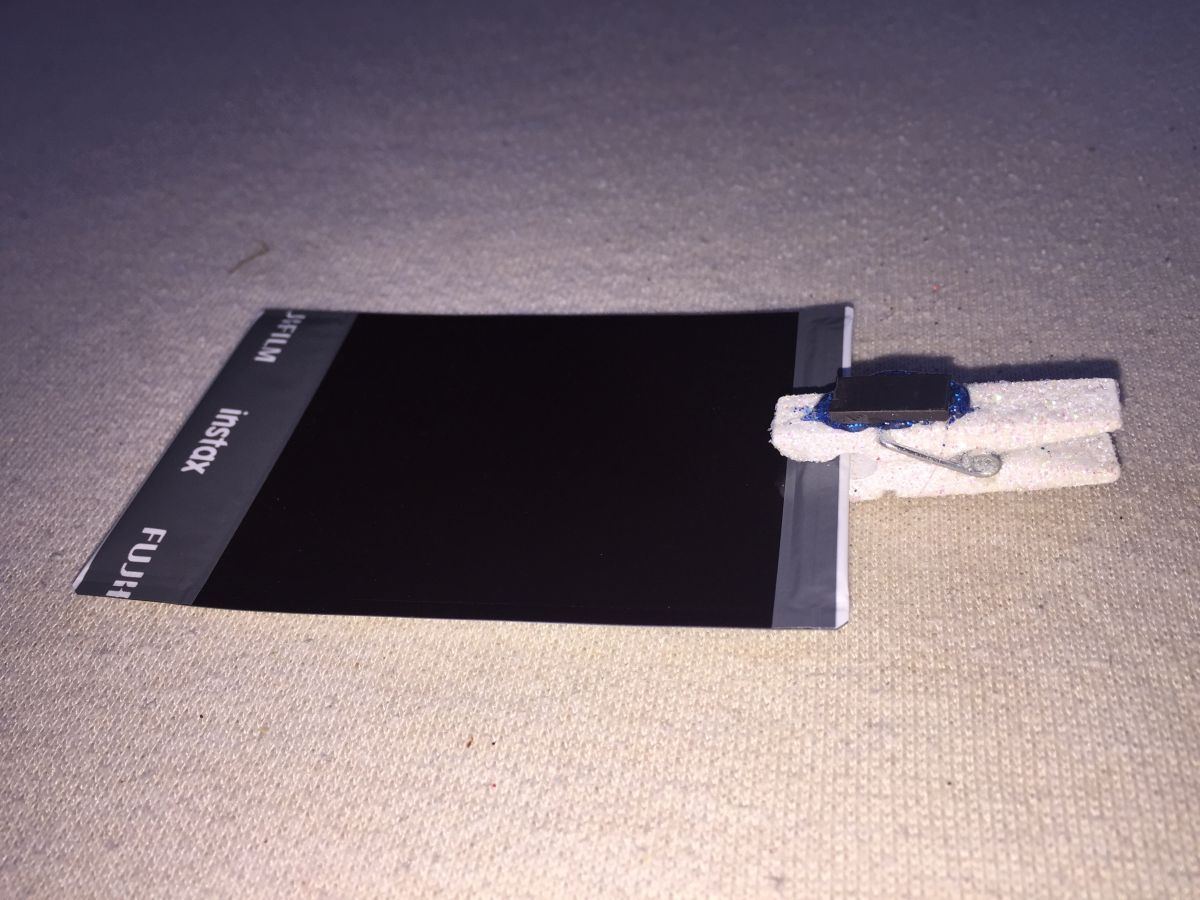
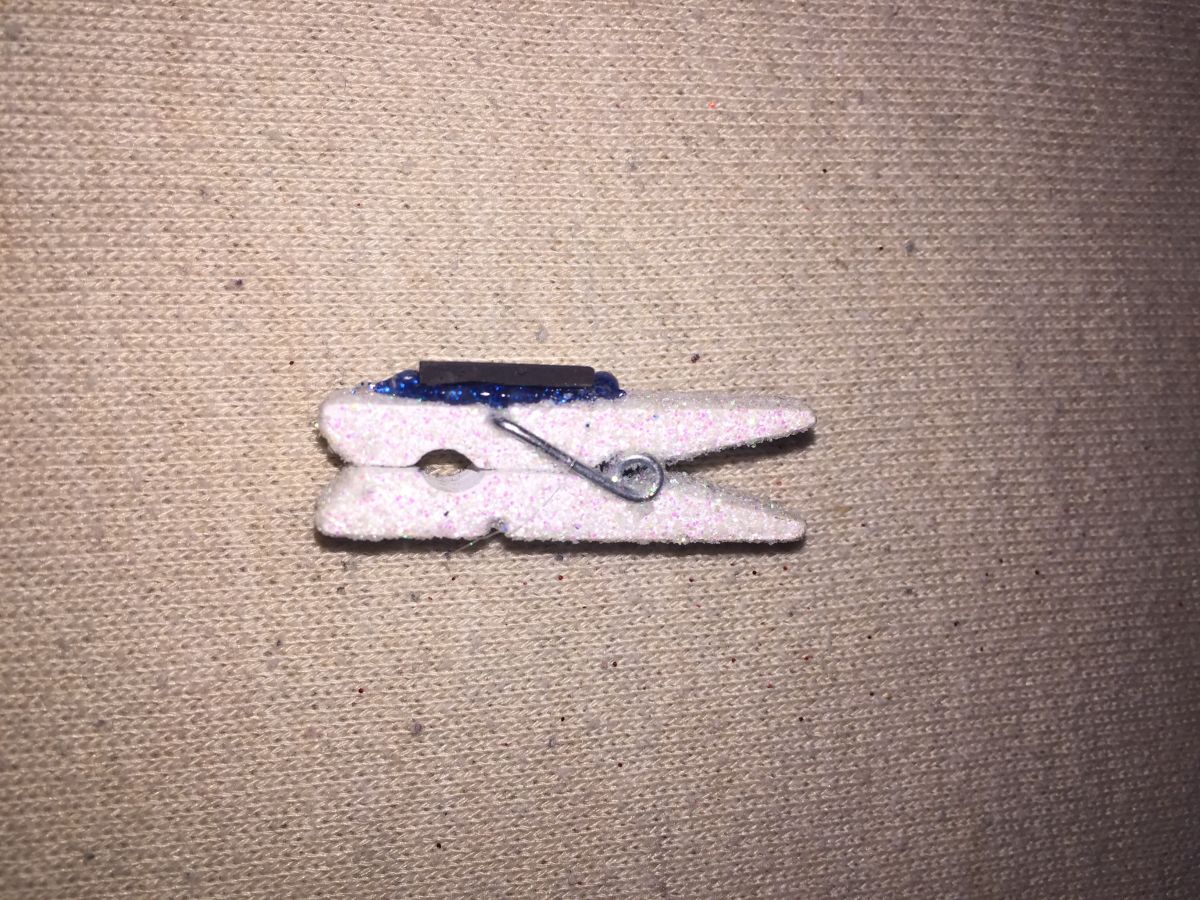
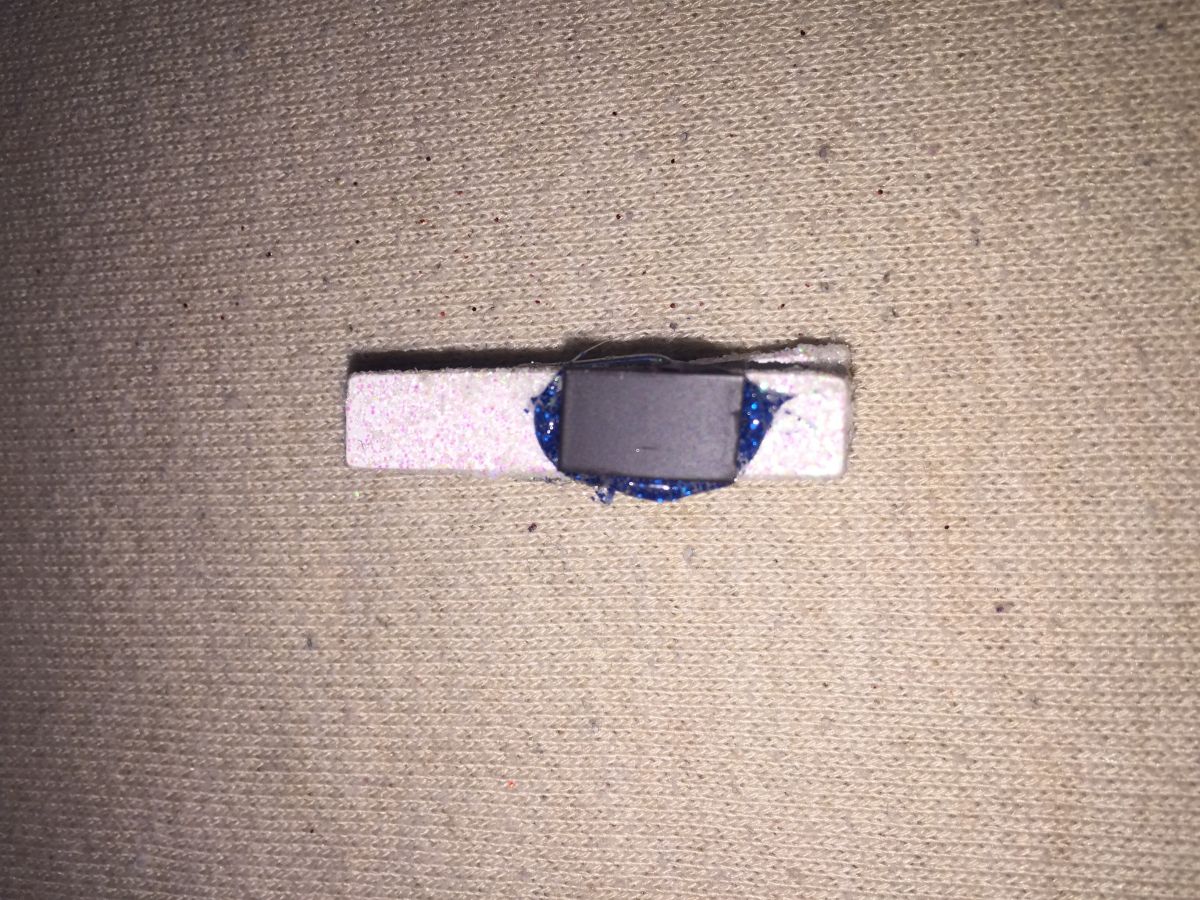
Cut a piece of the magnet strip to size, or if your magentas are pre-cut, simply glue it on to the back of your clip!
(Pro Tip: Make sure you’re placing your magnet where the metal clasp of the pin is. If it’s too high or low, the weight will drag the pin down once you try to hang it up.)
STEP THREE:
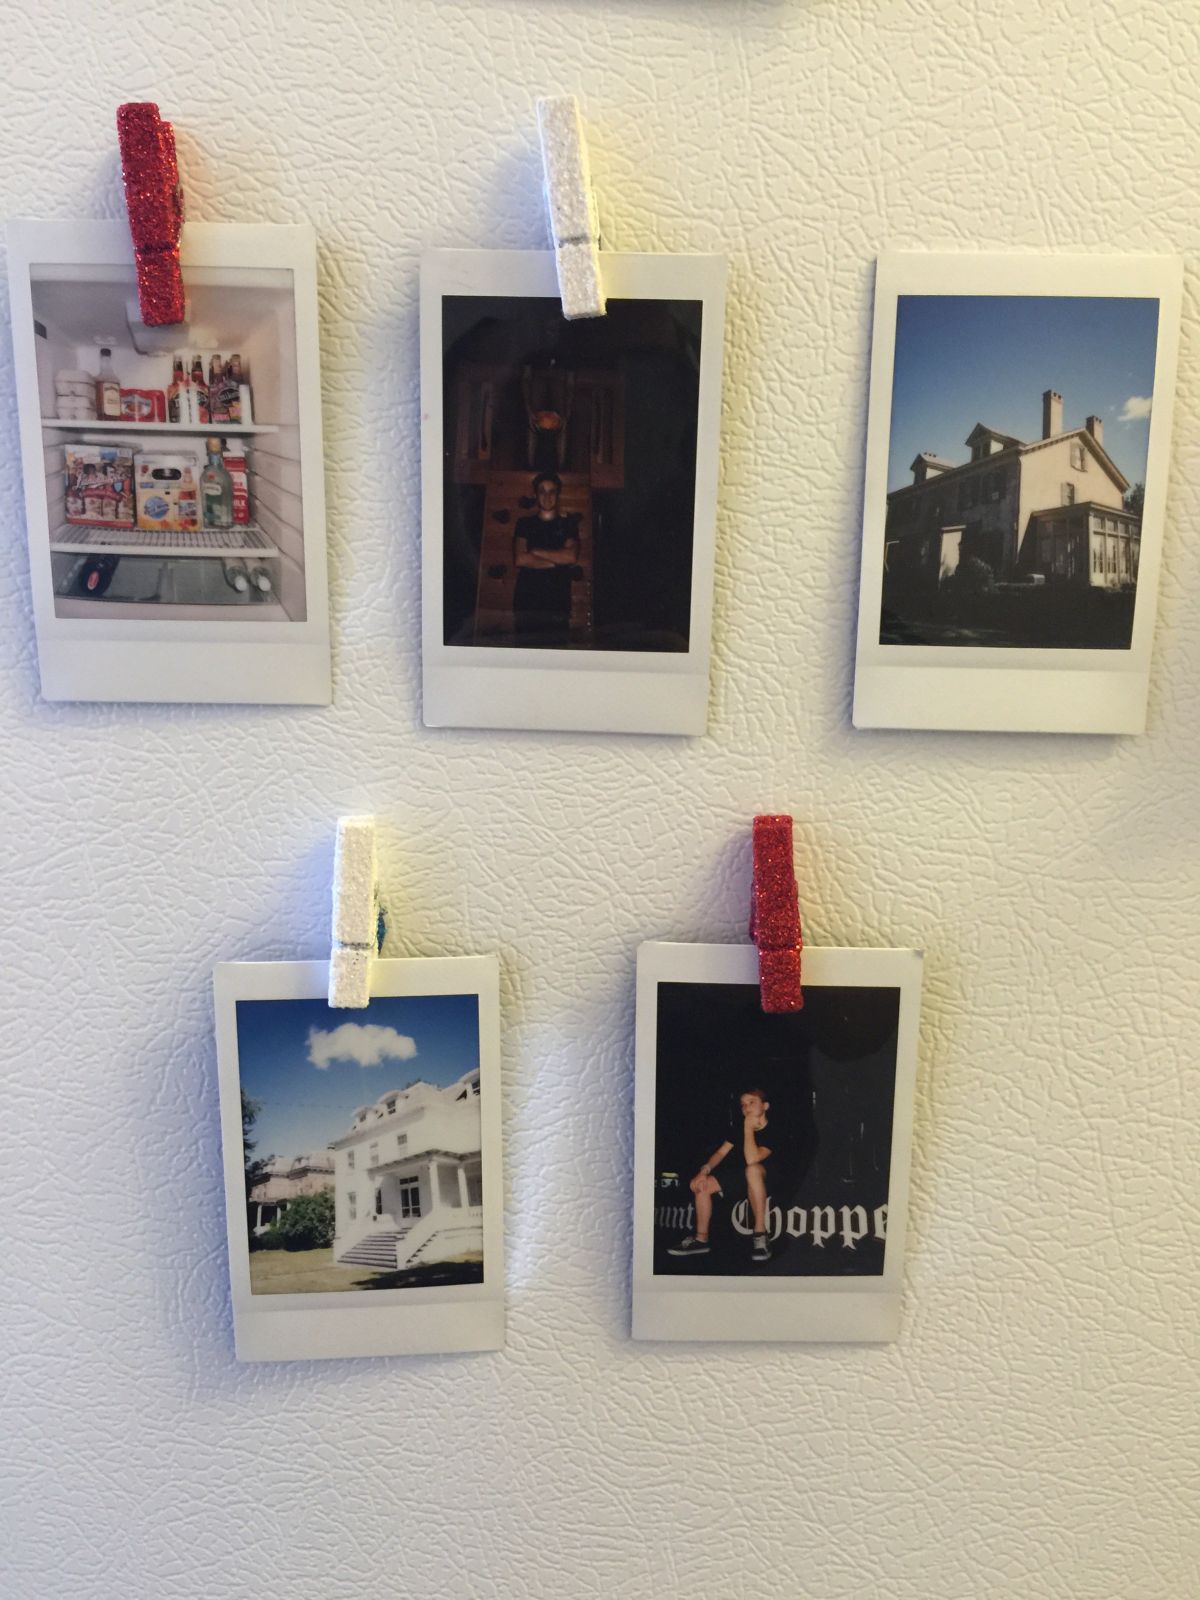
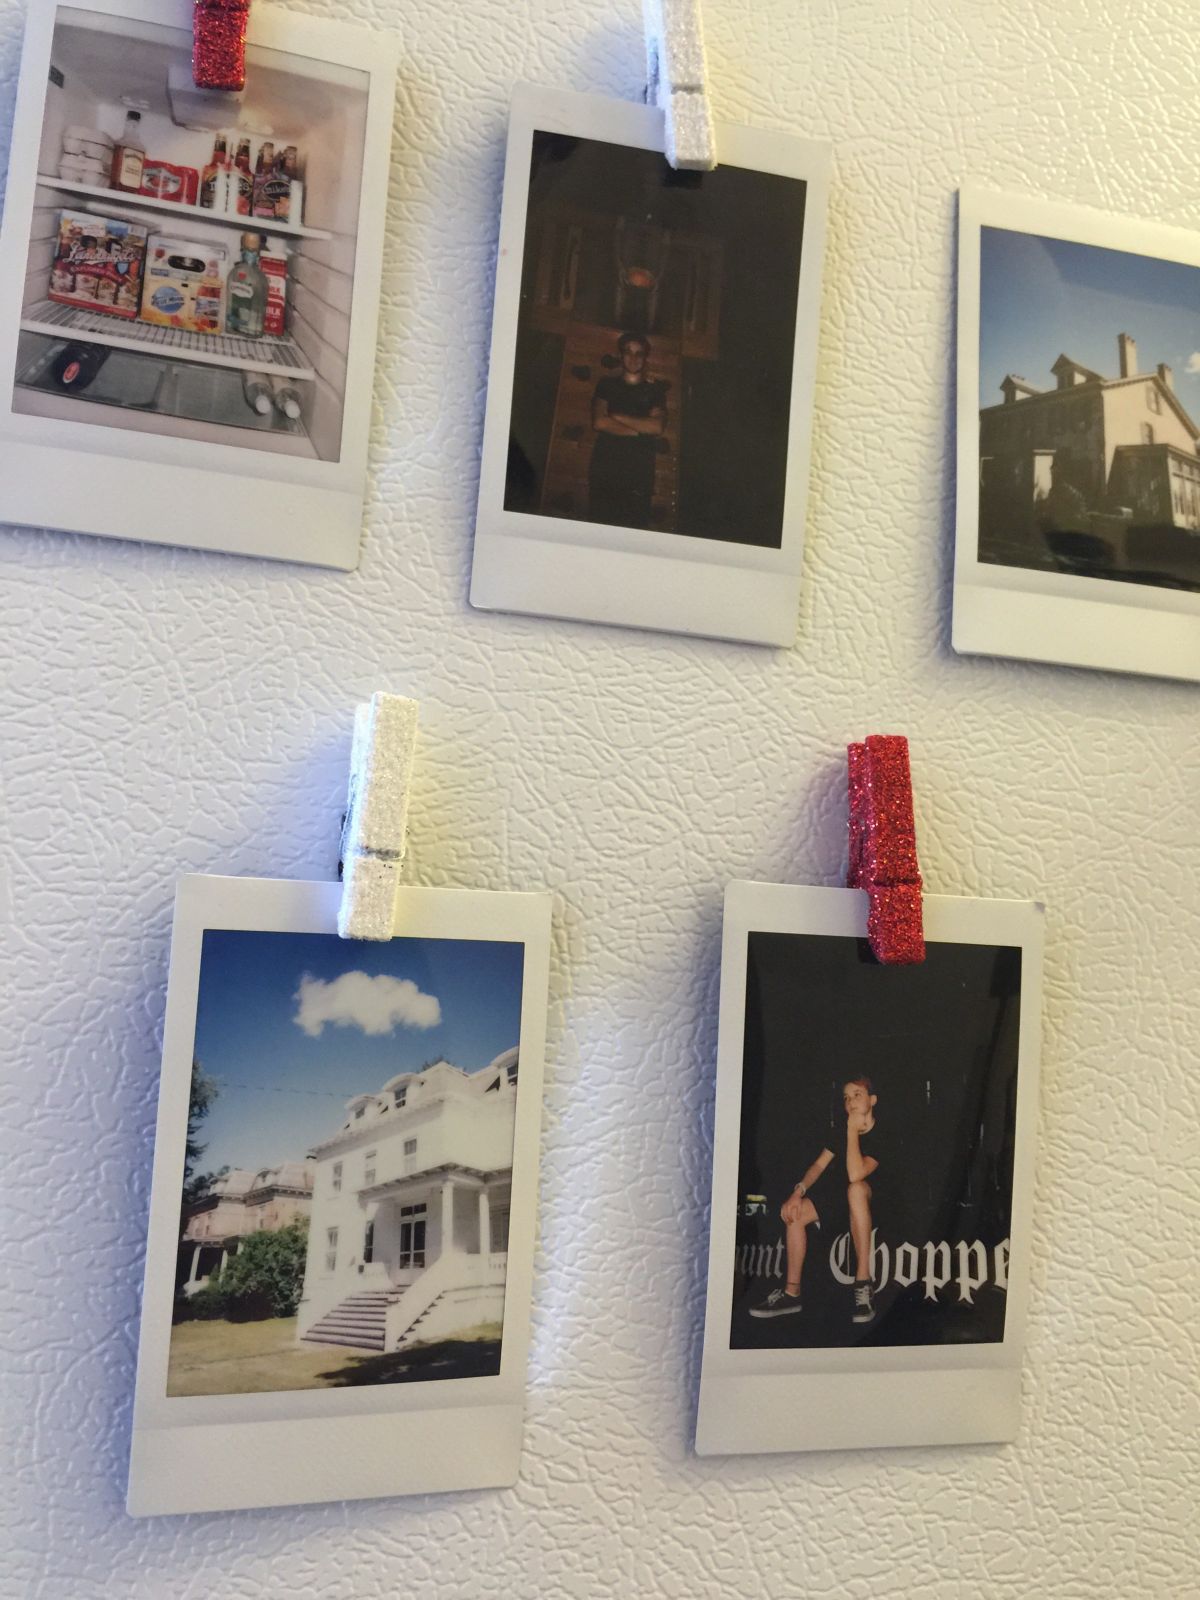
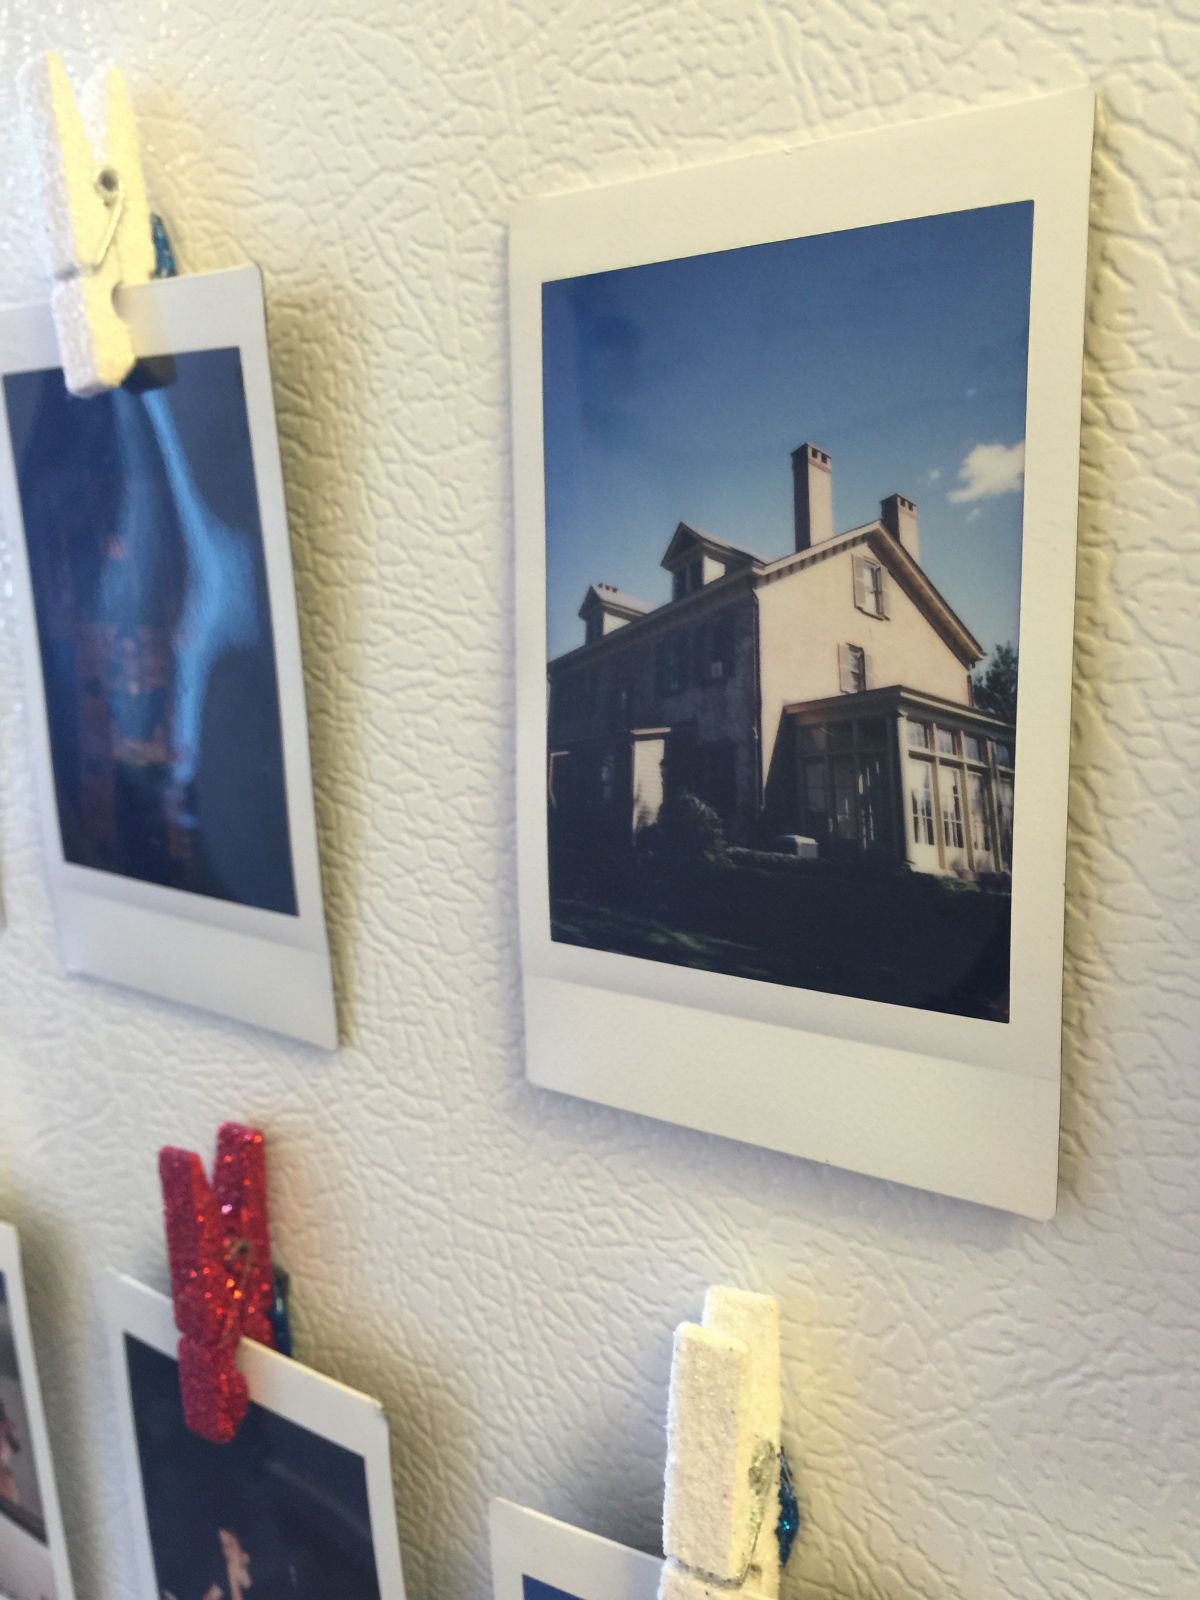
This step is literally so easy I wasn’t even sure I should mention it, but once your glue has dried, clip them onto the photos you’d like to hang, and put them up wherever you want!
AND THAT’S IT!
The last and final method is the easiest of them all.
Floating Photographs…
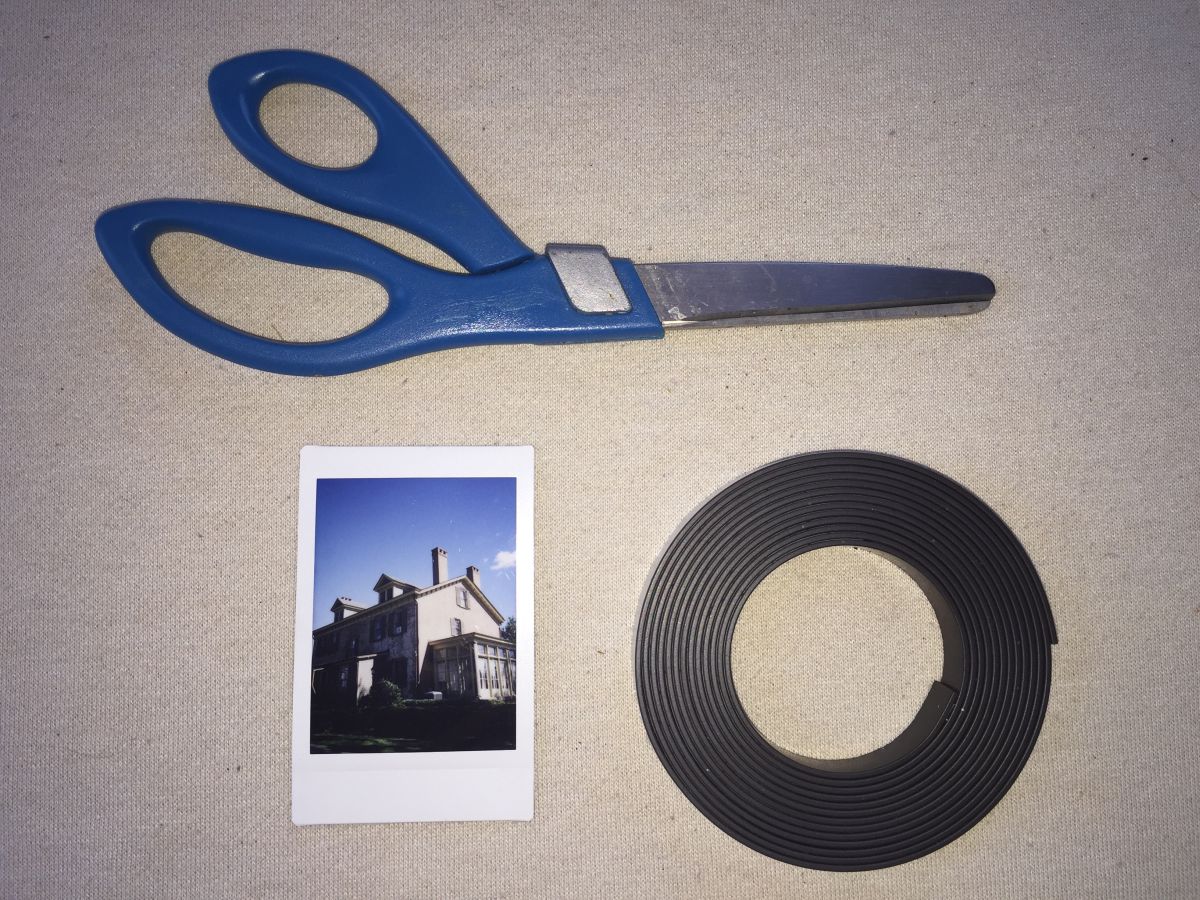
Grab the same materials you’ve already got out, but don’t worry about the pins/glue this time!
STEP ONE:
Cut a piece of your magnet, or not, if your magnets are pre-cut!
STEP TWO:
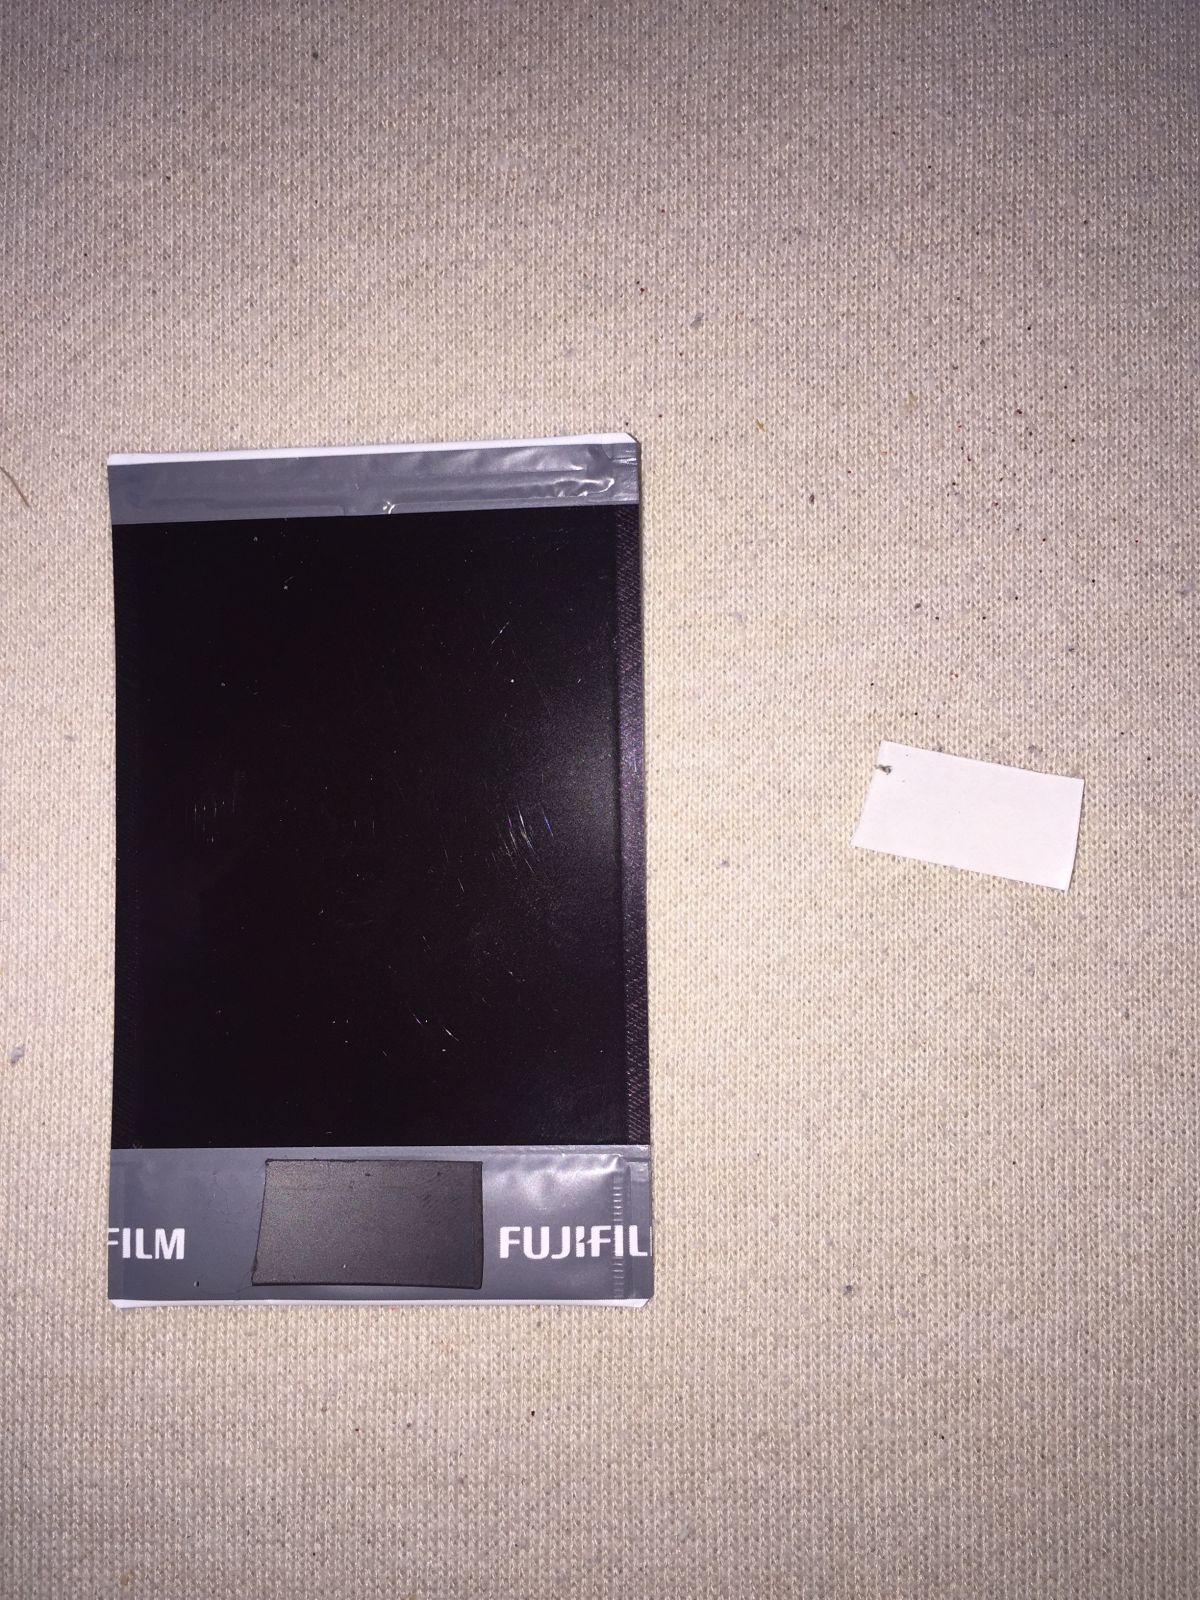
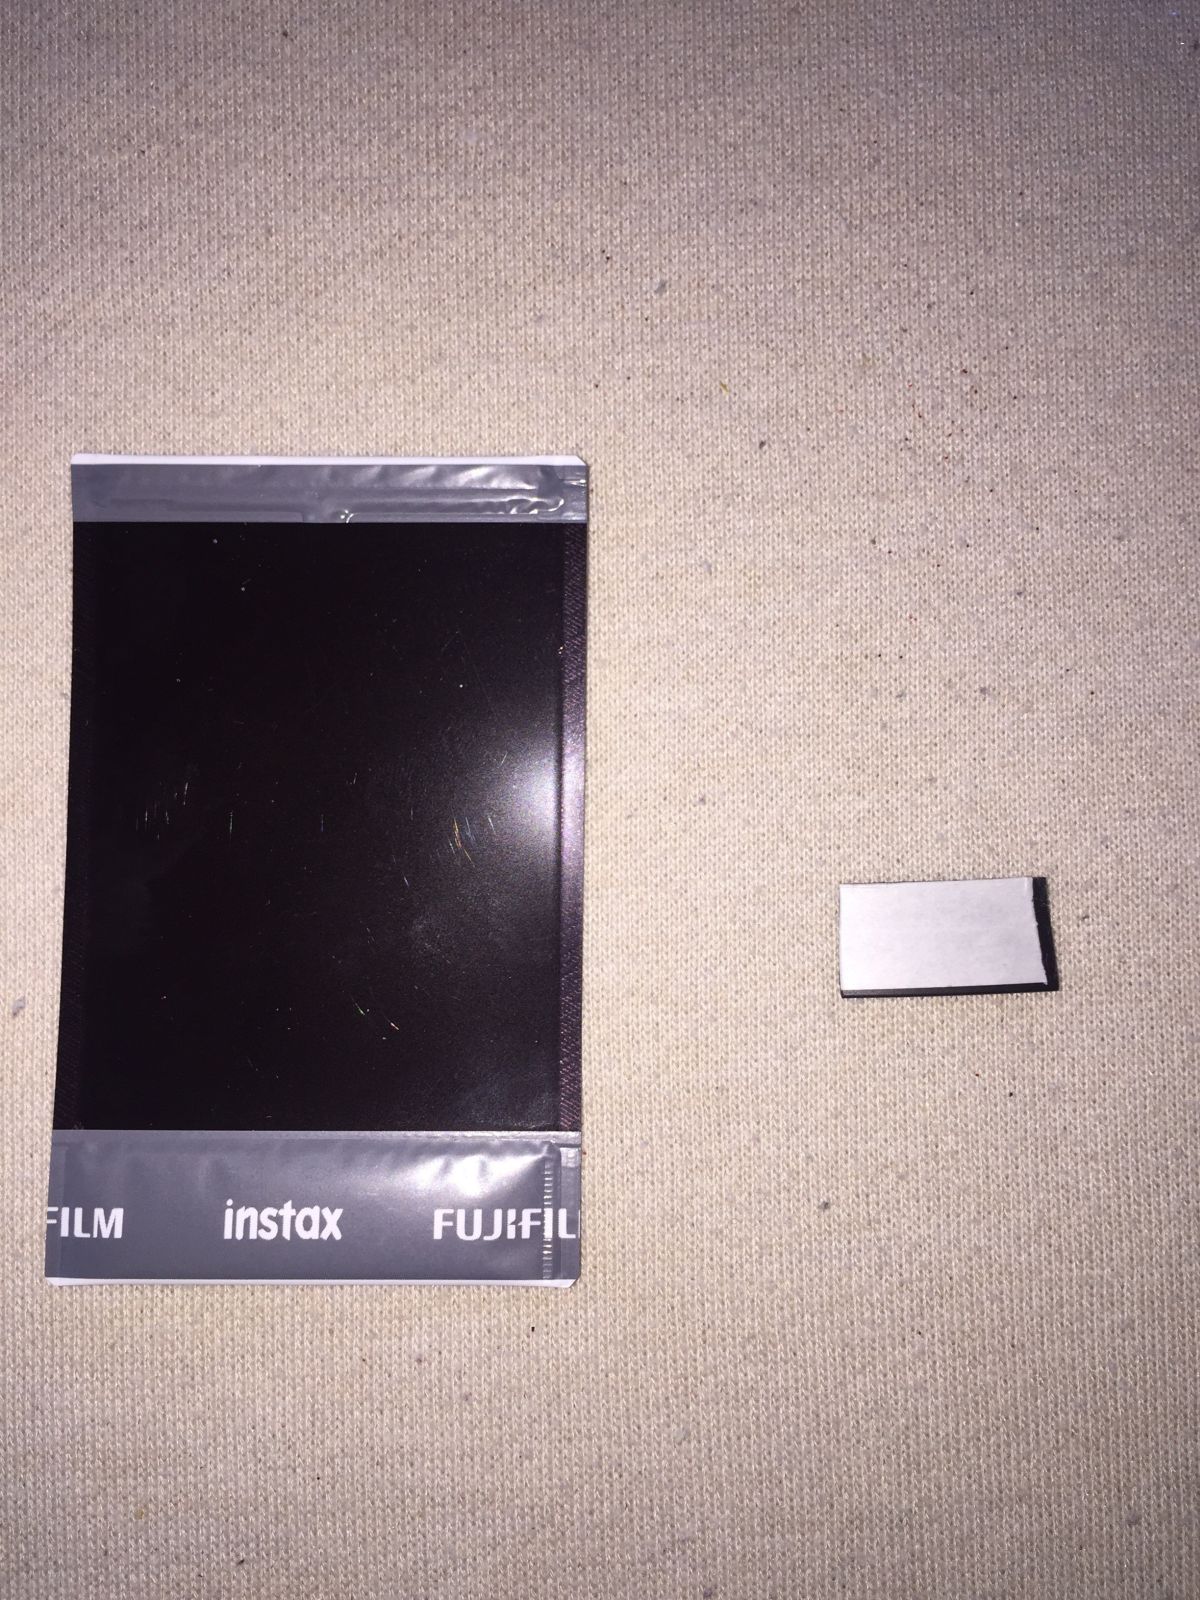
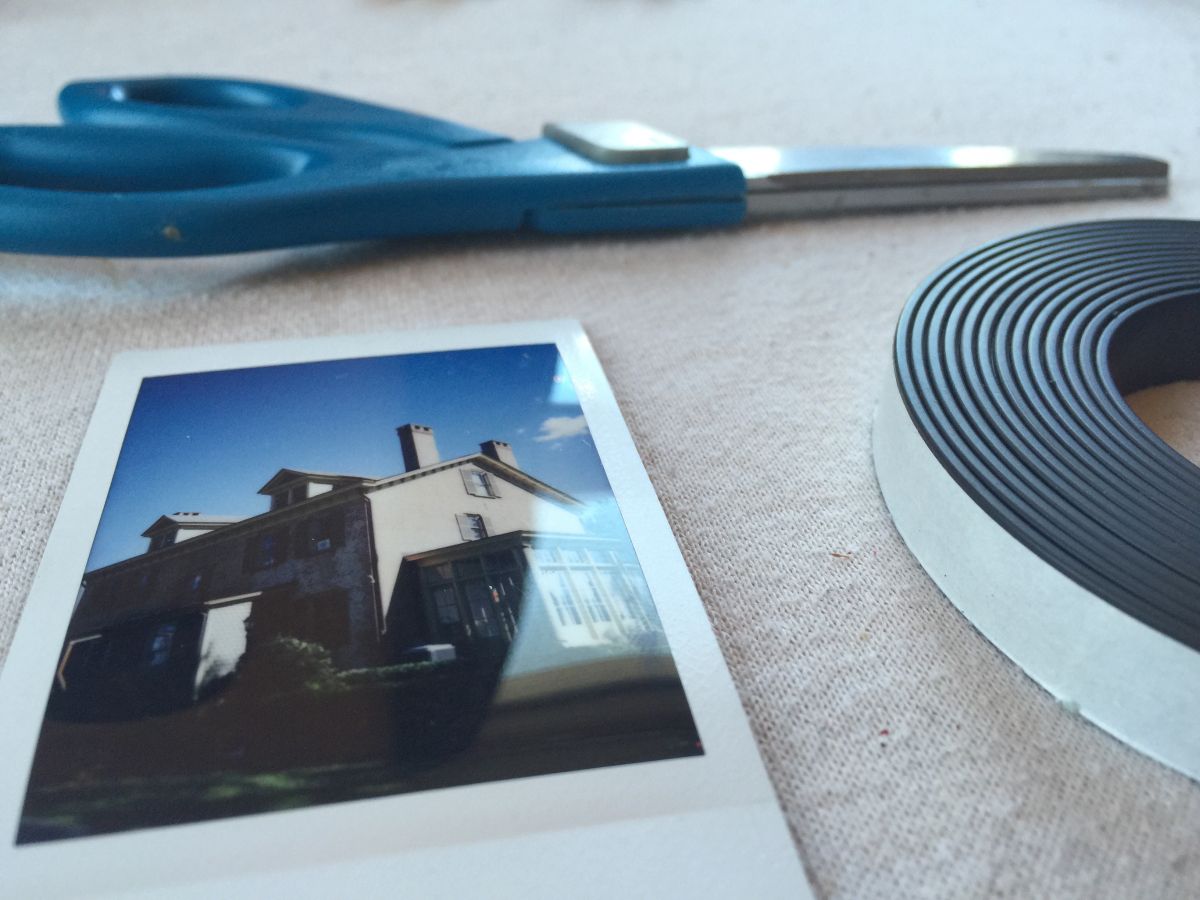
Remove the self-adhesive strip from the back of your magnet! Then, carefully apply it to the bottom of your photo, as shown, if it’s a Polaroid-style, or somewhere centered on the top portion for regular printed photographs!
(Note: This method only works with the sticker-type magnets, as using any other type of adhesive on the back of a photograph would ruin it!)
STEP THREE:
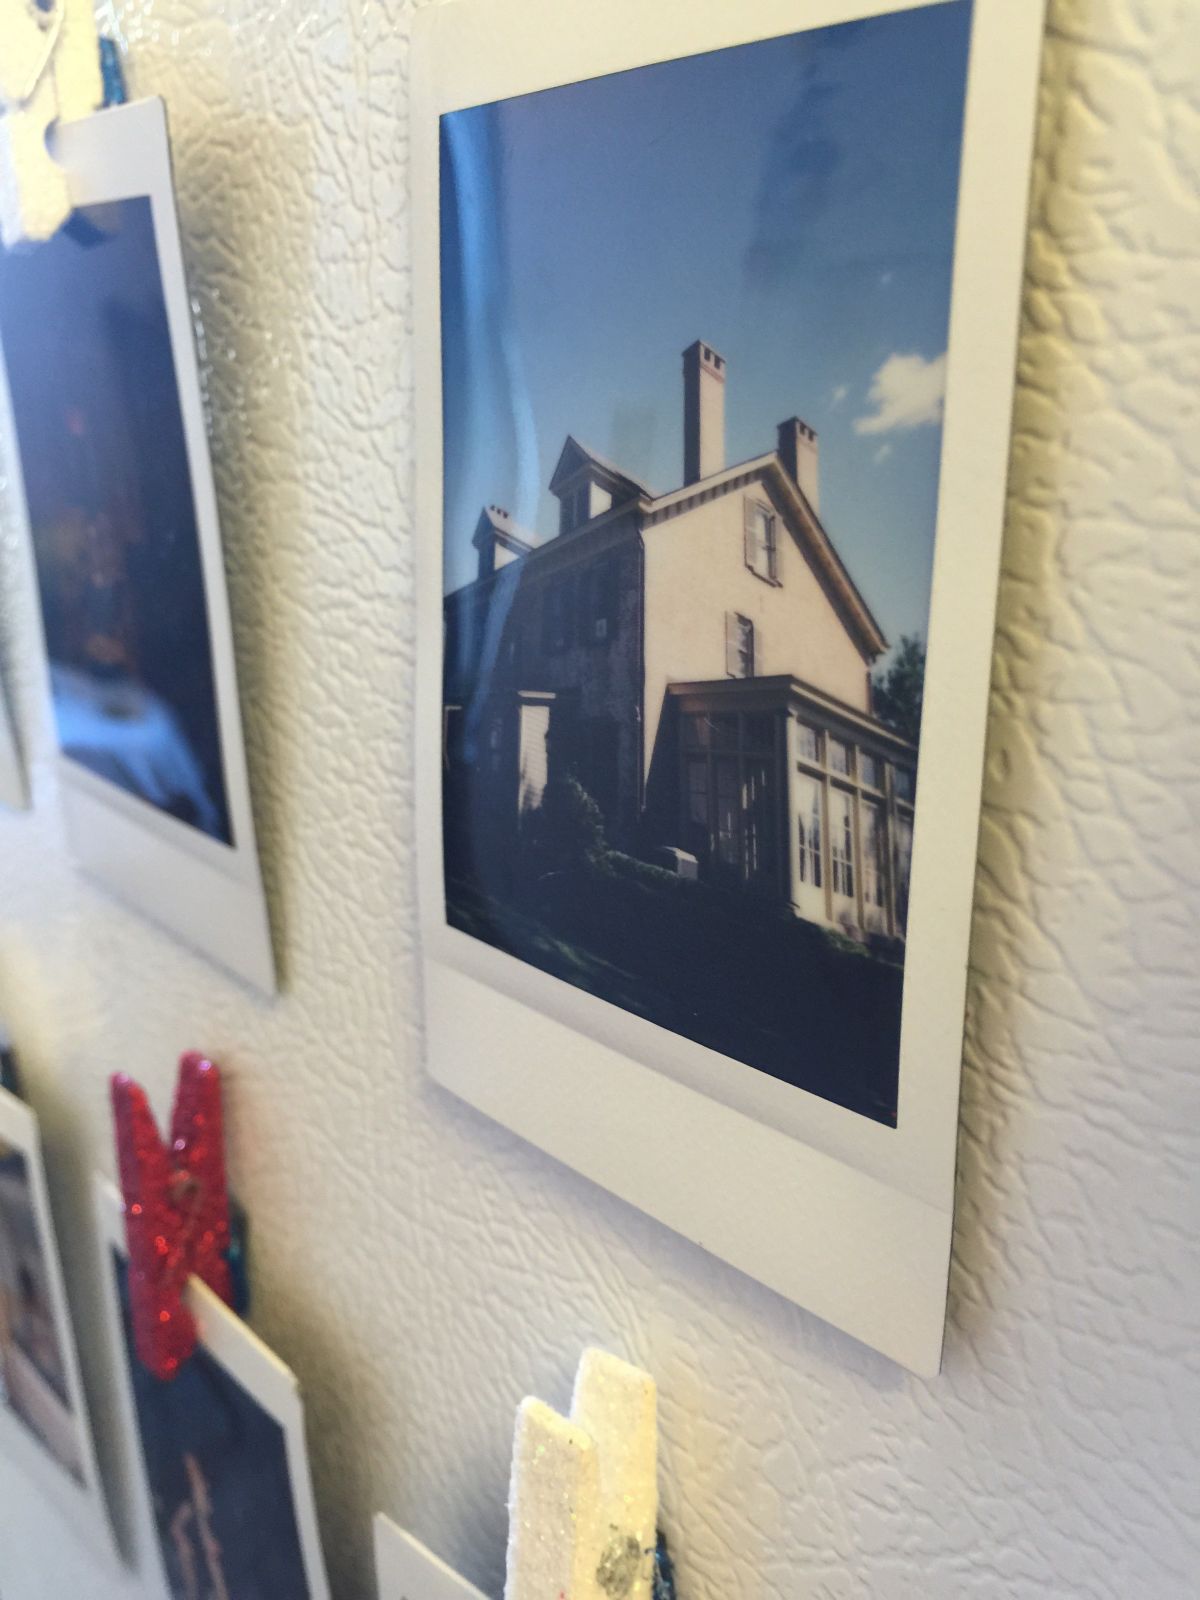
Hang up your “Floating Photographs” and enjoy!
AND THAT’S IT!
I hope you liked these fun little DIYs, and thank you for reading! If you recreate any of these projects, please don’t hesitate to share them with us!
