How to Make a Crepe Paper Flower
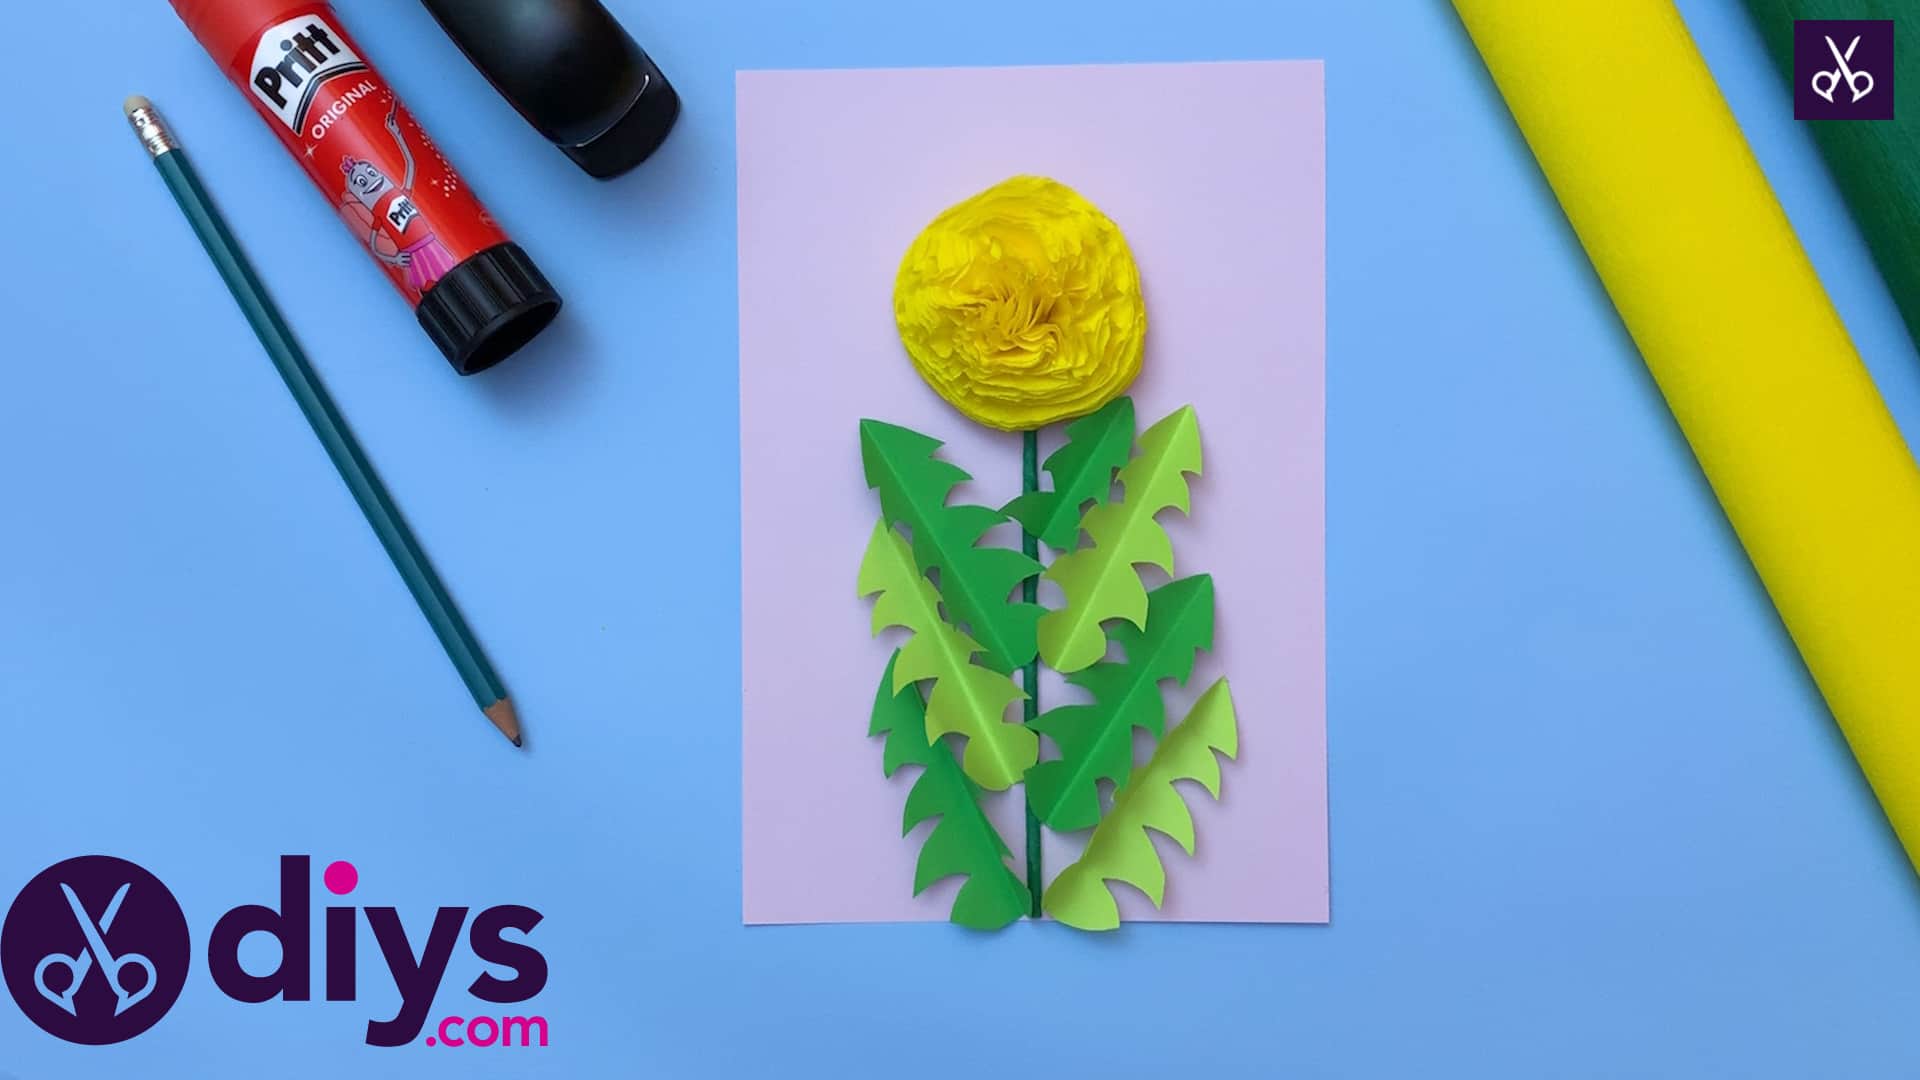
If you ask us, paper based cut and paste crafts are an absolute staple that just about every crafter we know feels like they’ll never get tired of. We’ve always been huge fans of working with crepe paper in particular because it can do so many cool things in terms of texture. That’s how we found ourselves making these adorable crepe paper flowers!
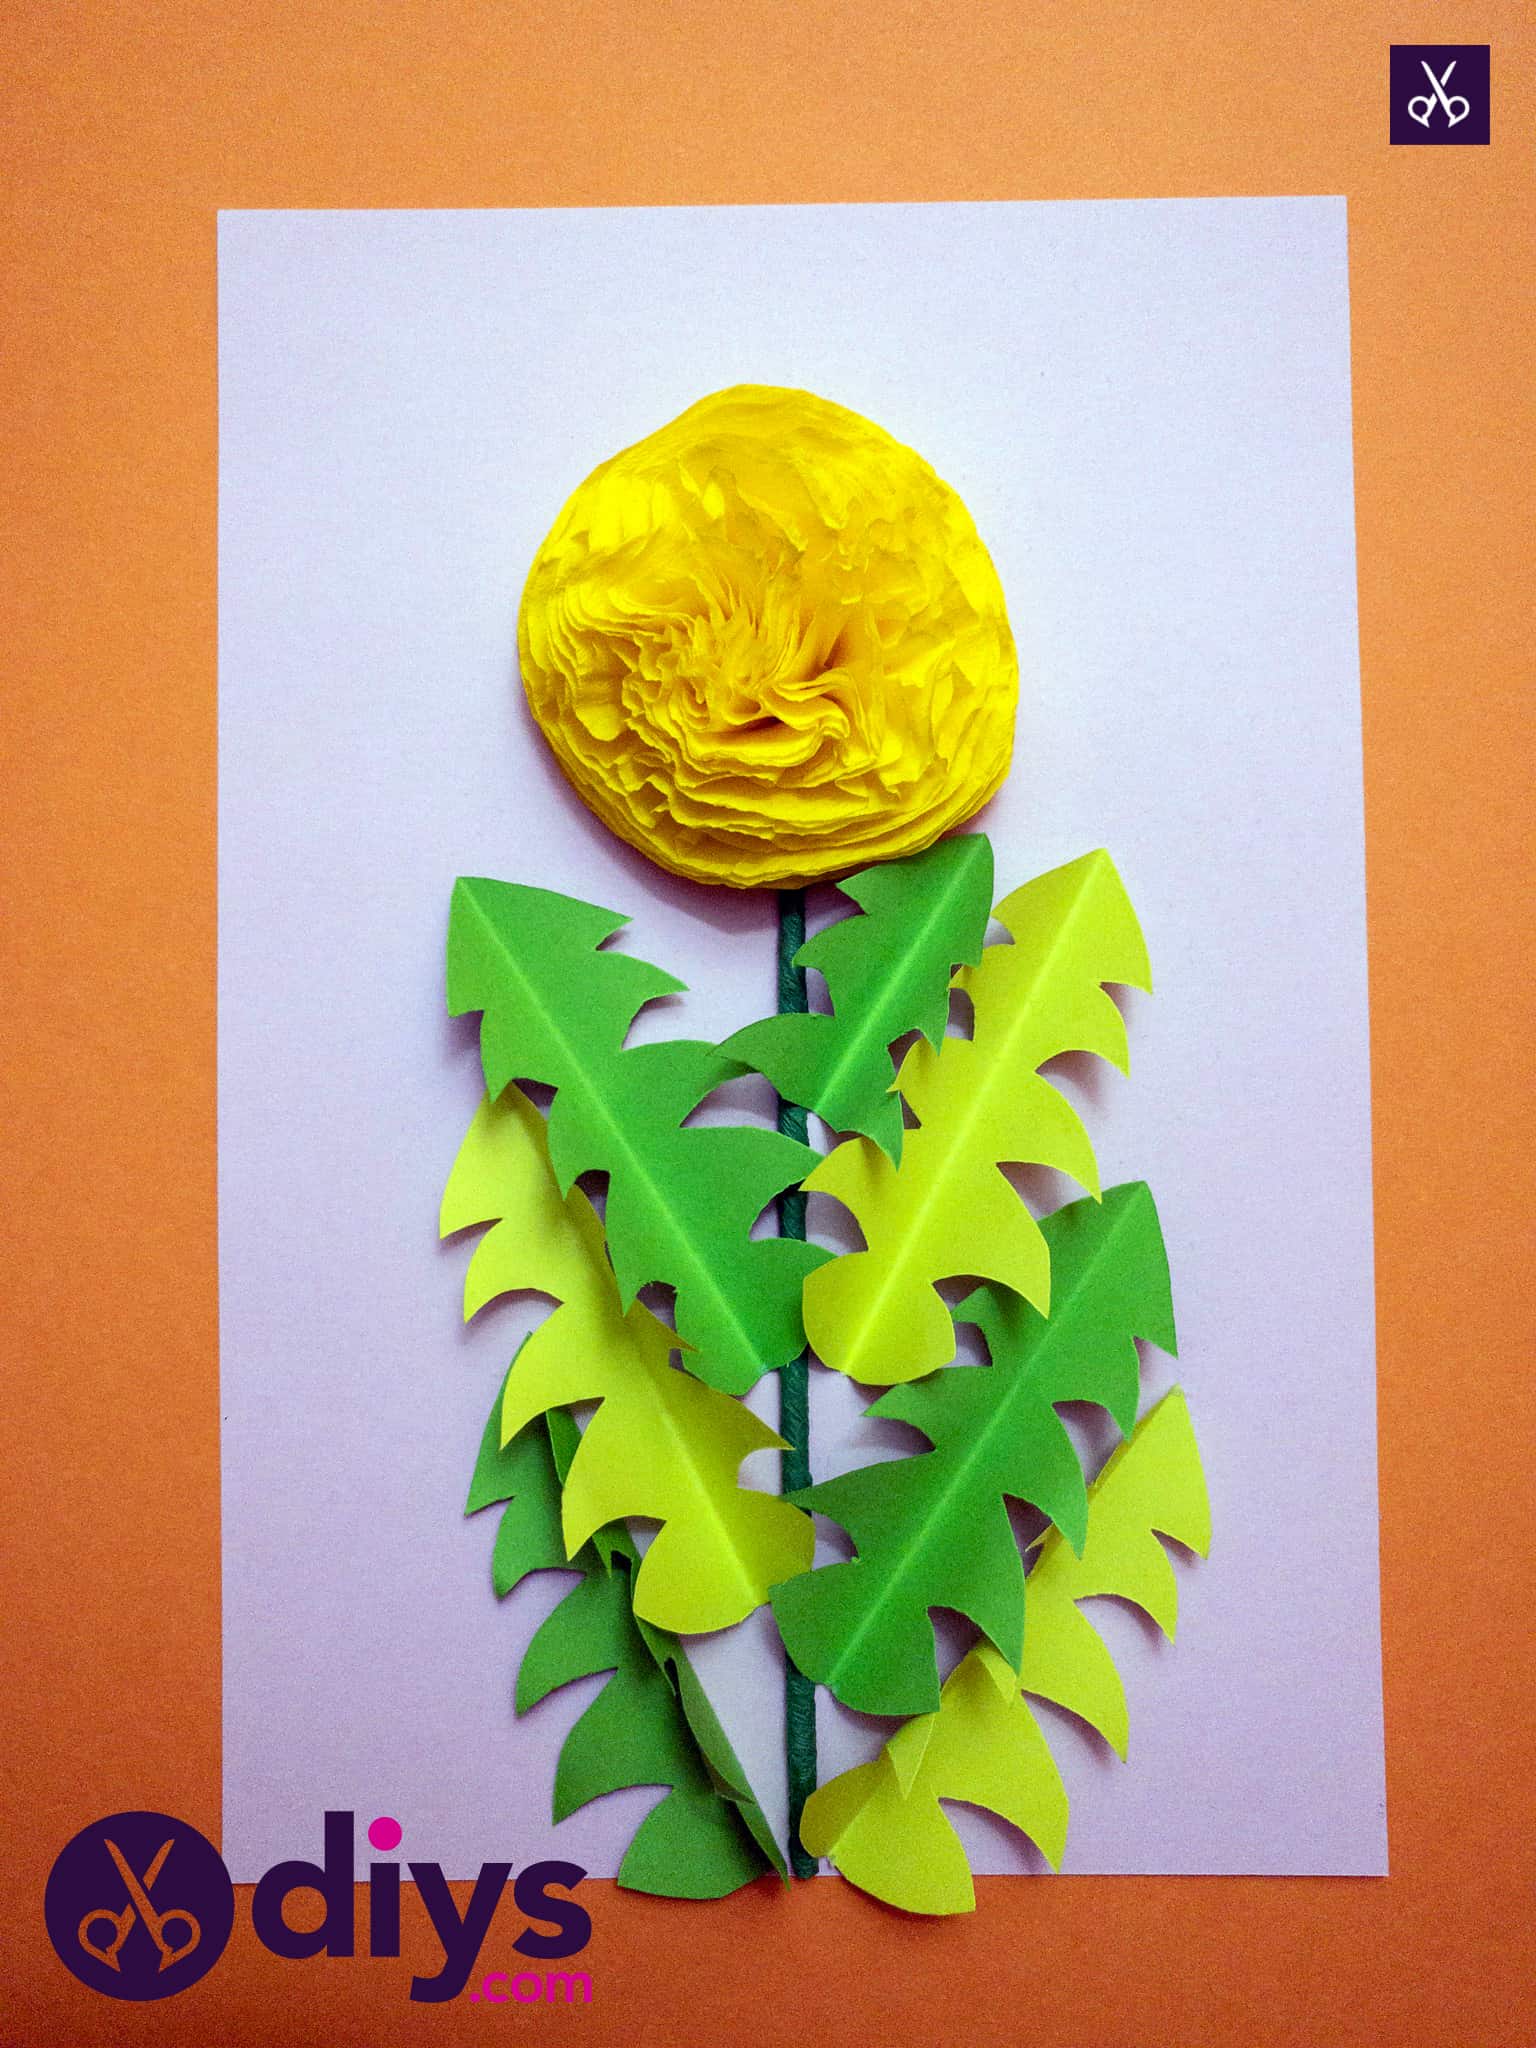
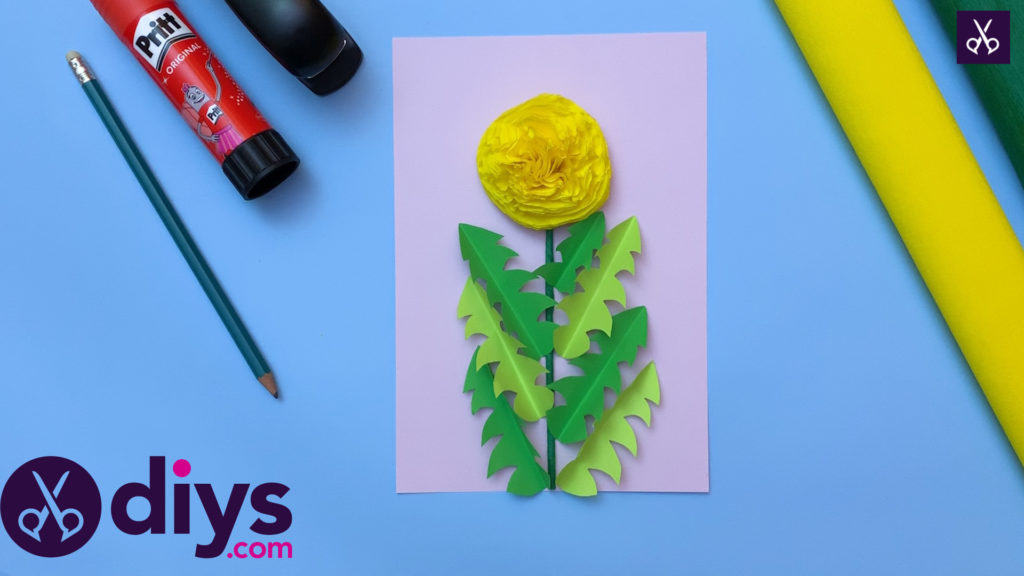
In this tutorial, we’ll teach you how to use regular, construction, and crepe paper to make a lovely dandelion that pops out from the page. You’ll also find a simple video tutorial at the end of the post, just in case you find those easier to learn from!
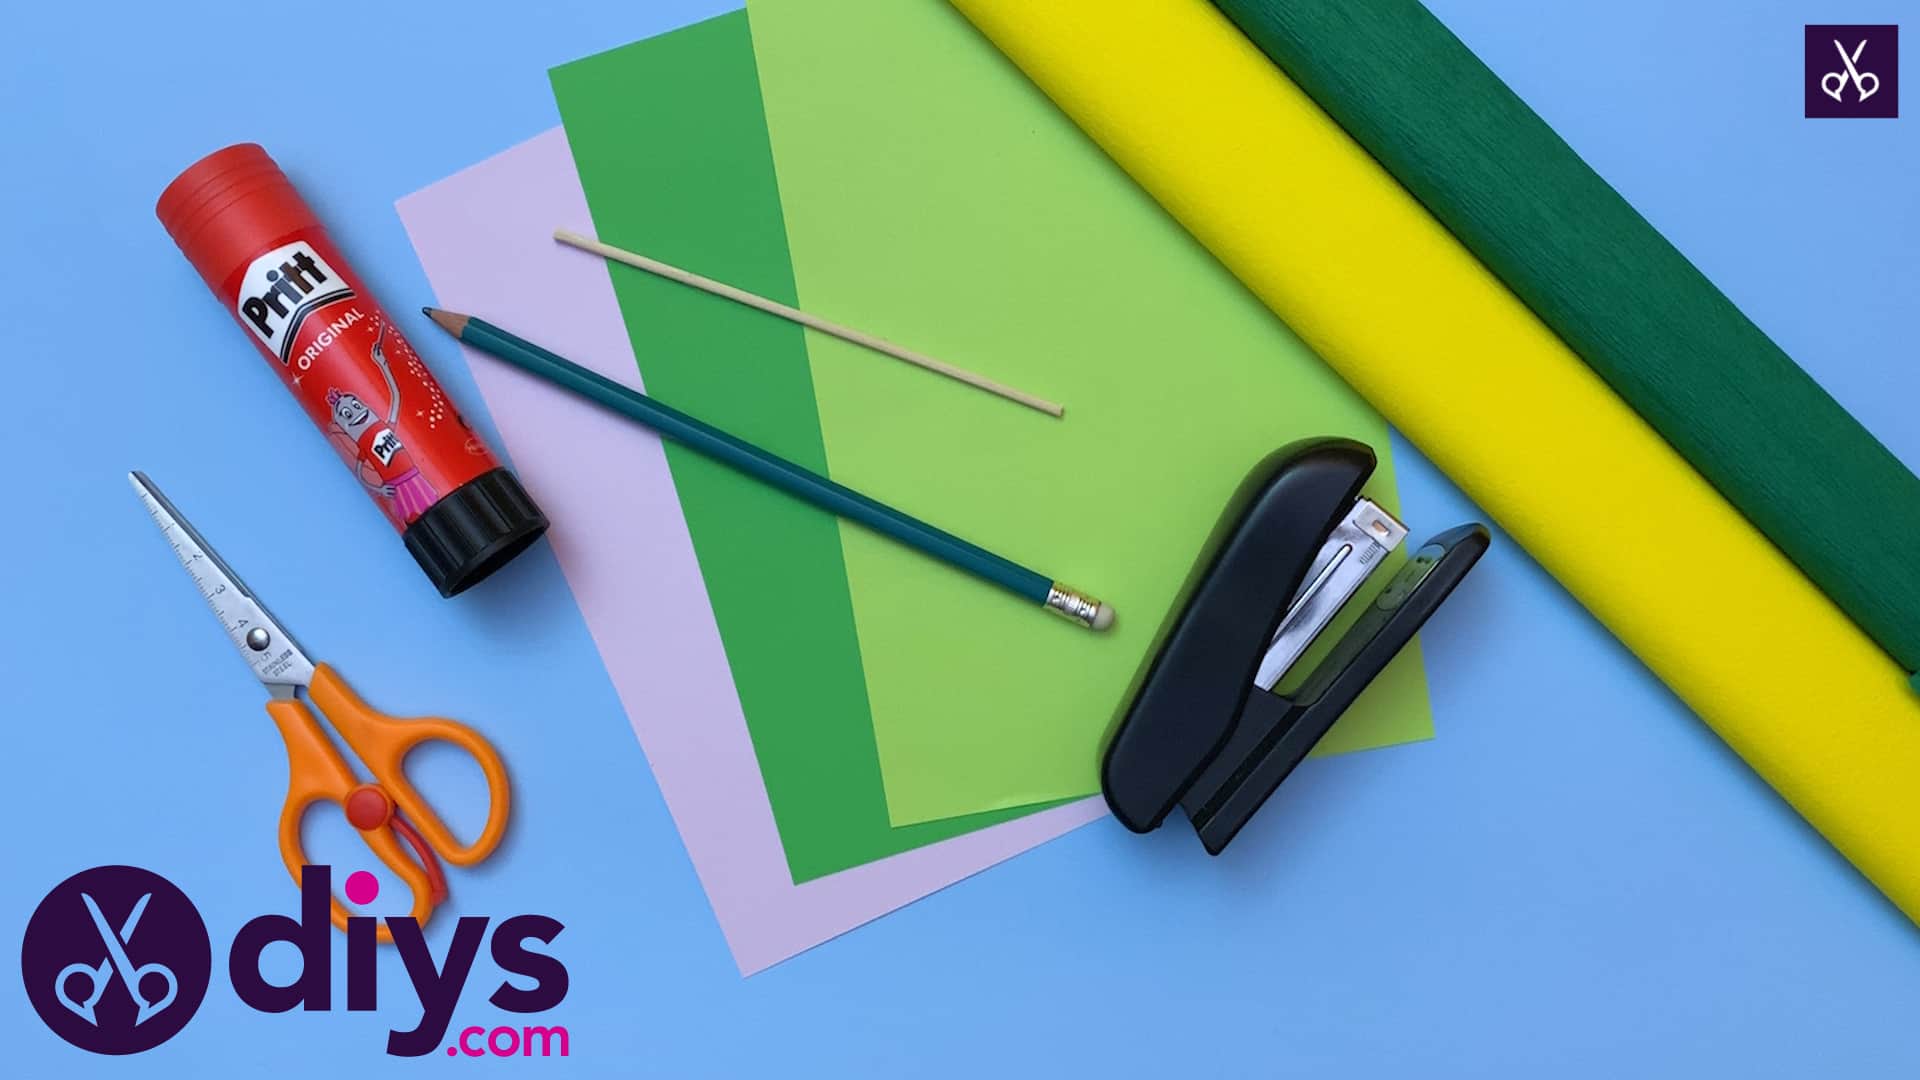
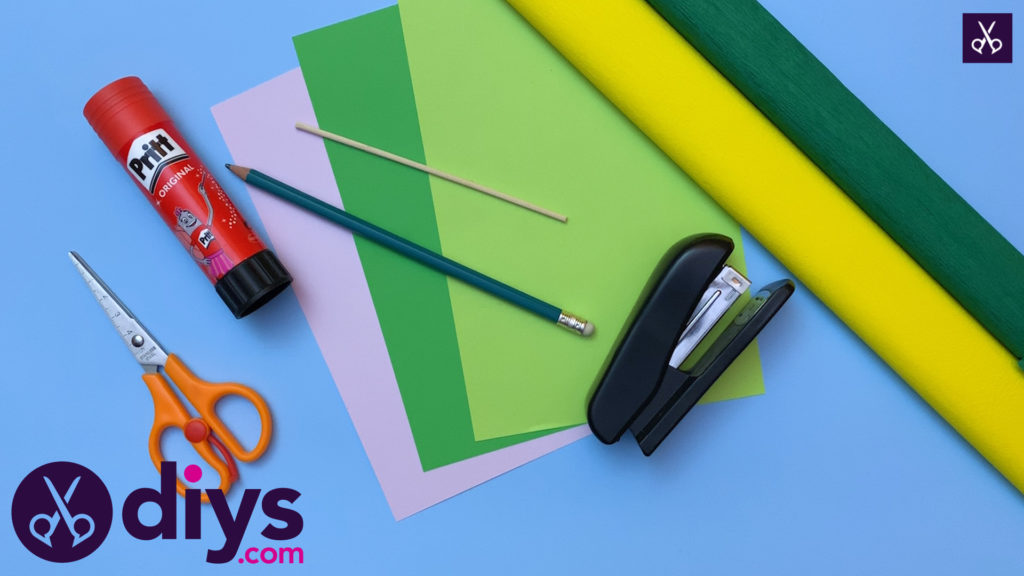
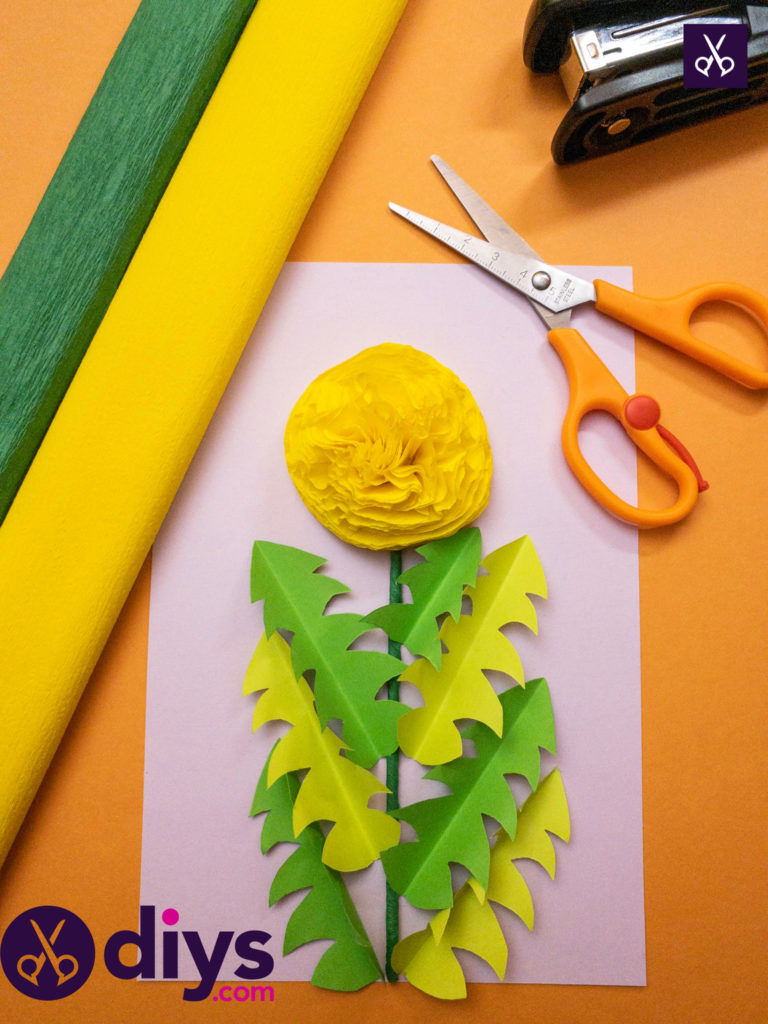
For this project, you’ll need:
- Green crepe paper
- Dark and light green construction paper
- Scissors
- Glue stick
- Wooden stick
- Pencil
- Stapler
Step 1: get ready
Gather all of your materials!
Step 2: cut yellow
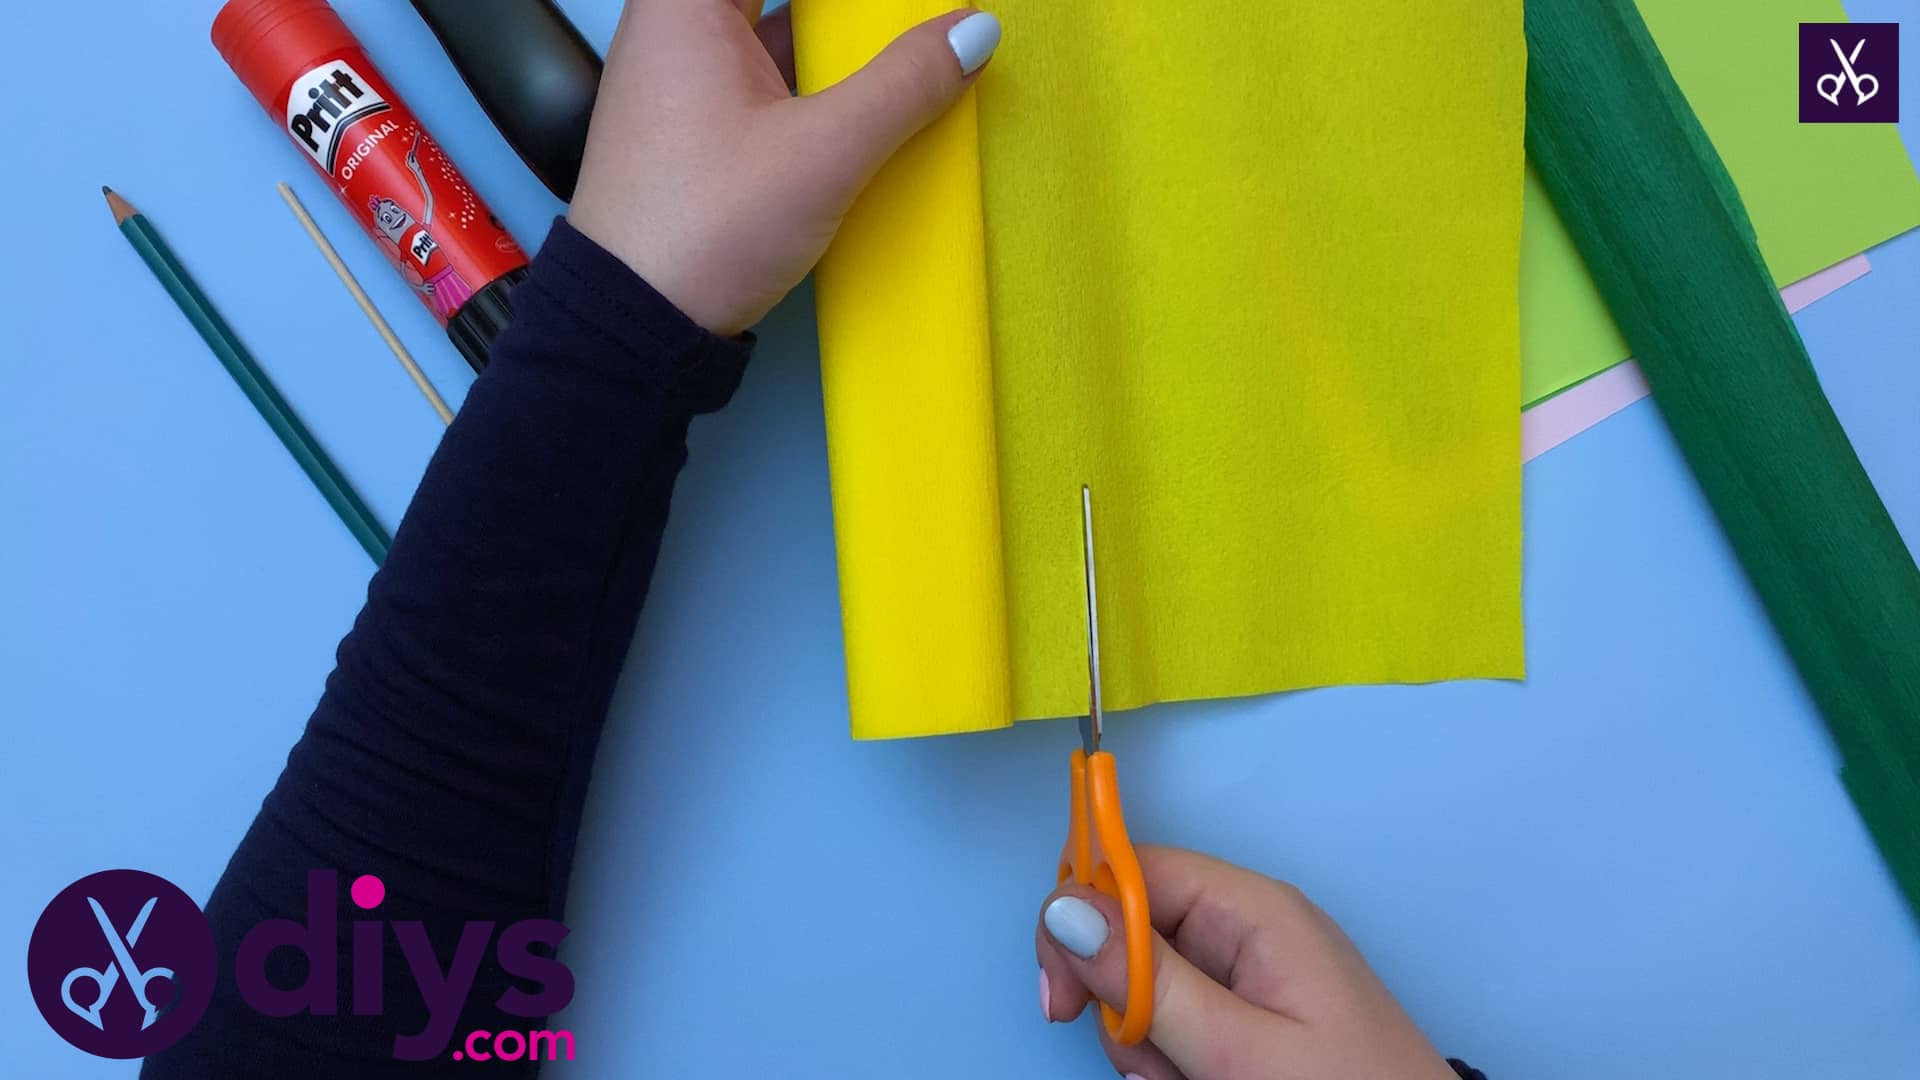
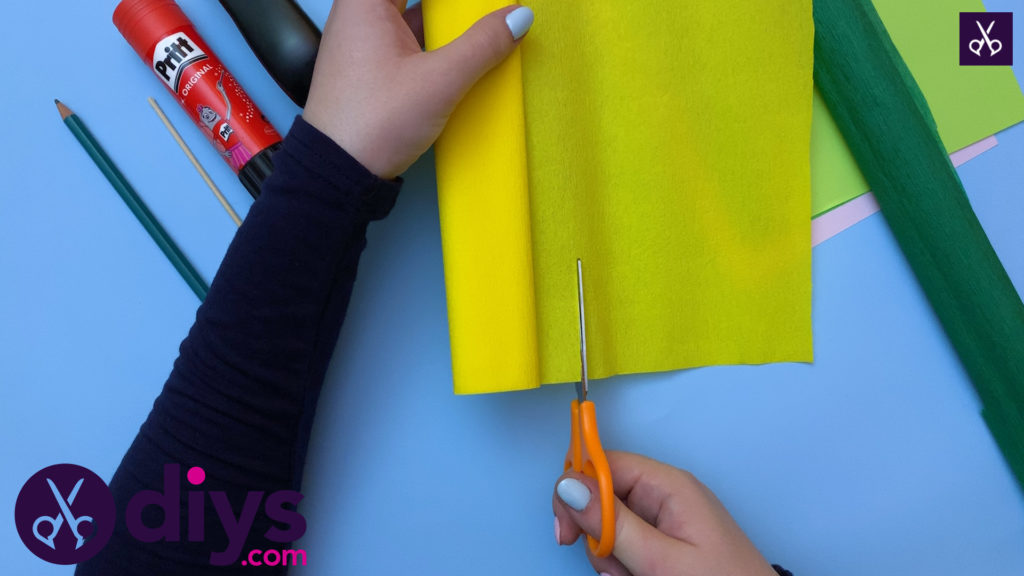
Cut a section, using the whole length, about three inches wide from your roll of yellow crepe paper.
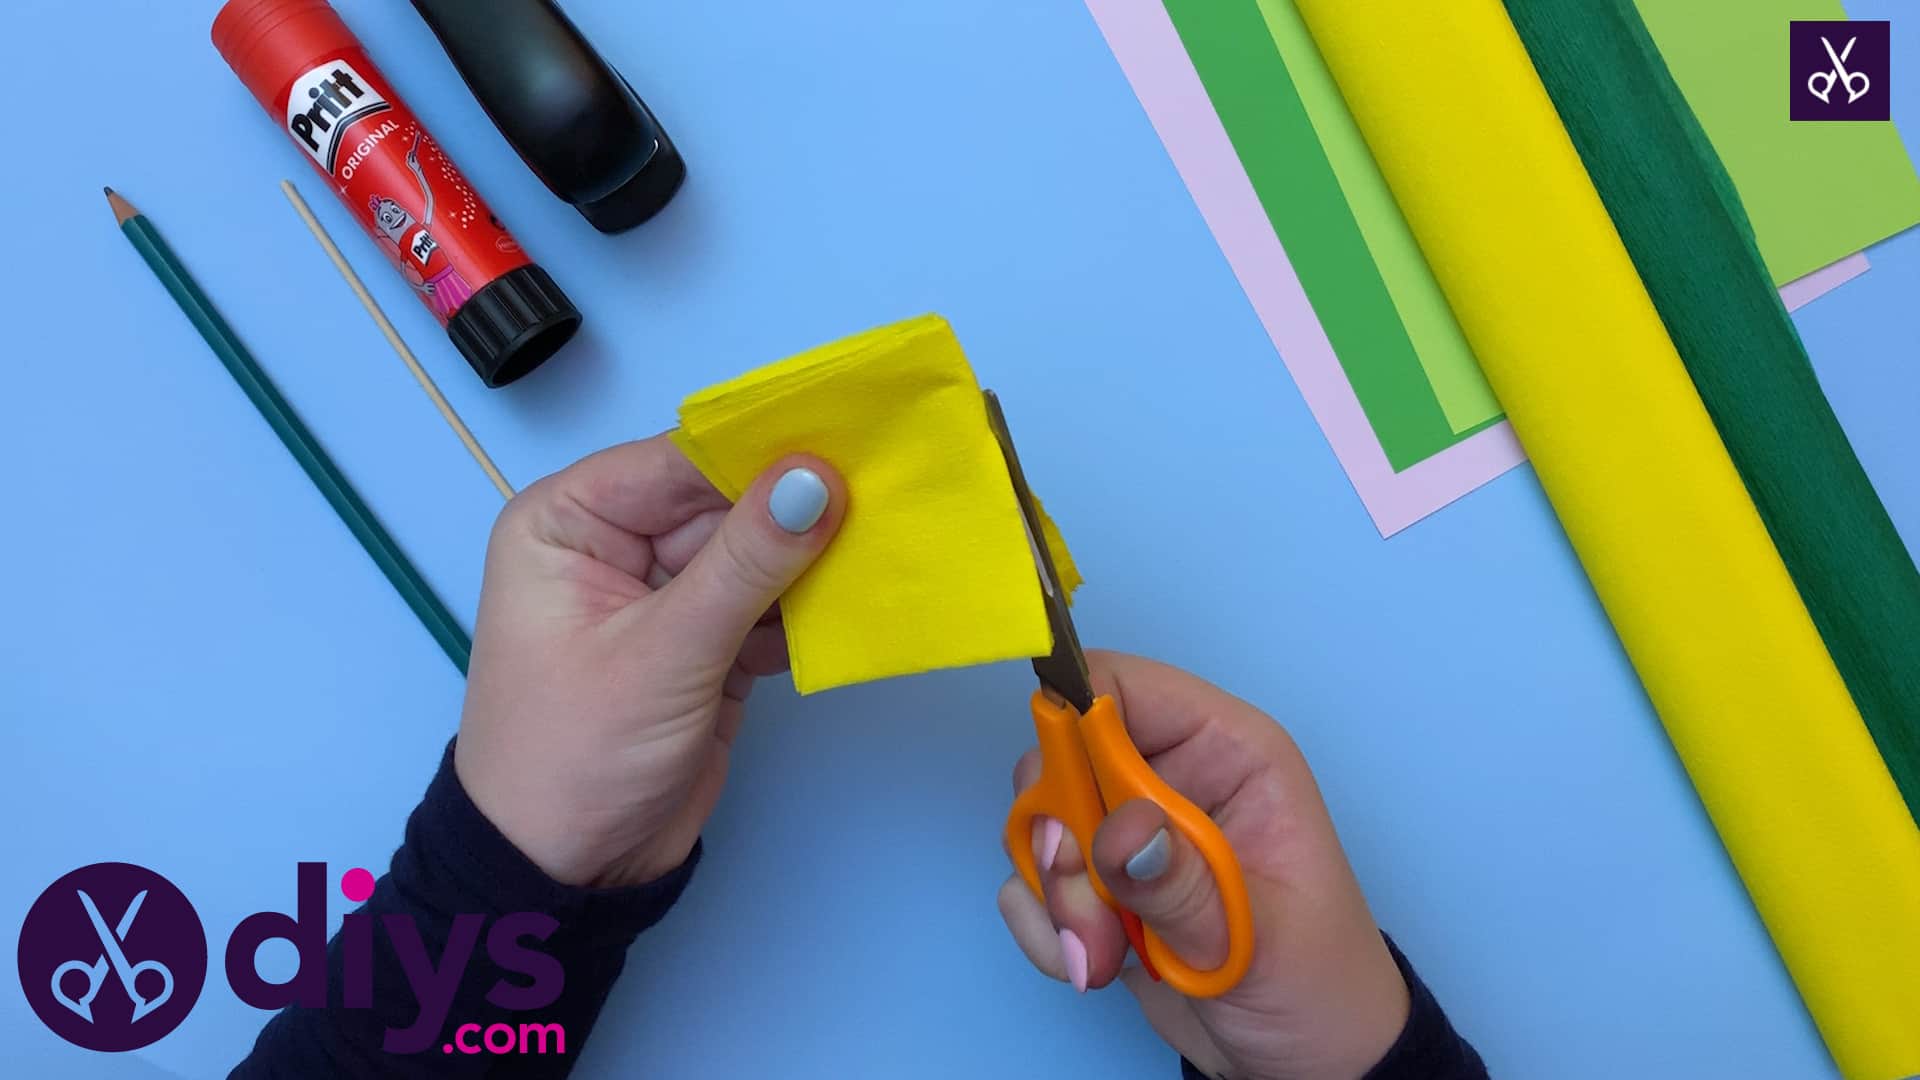
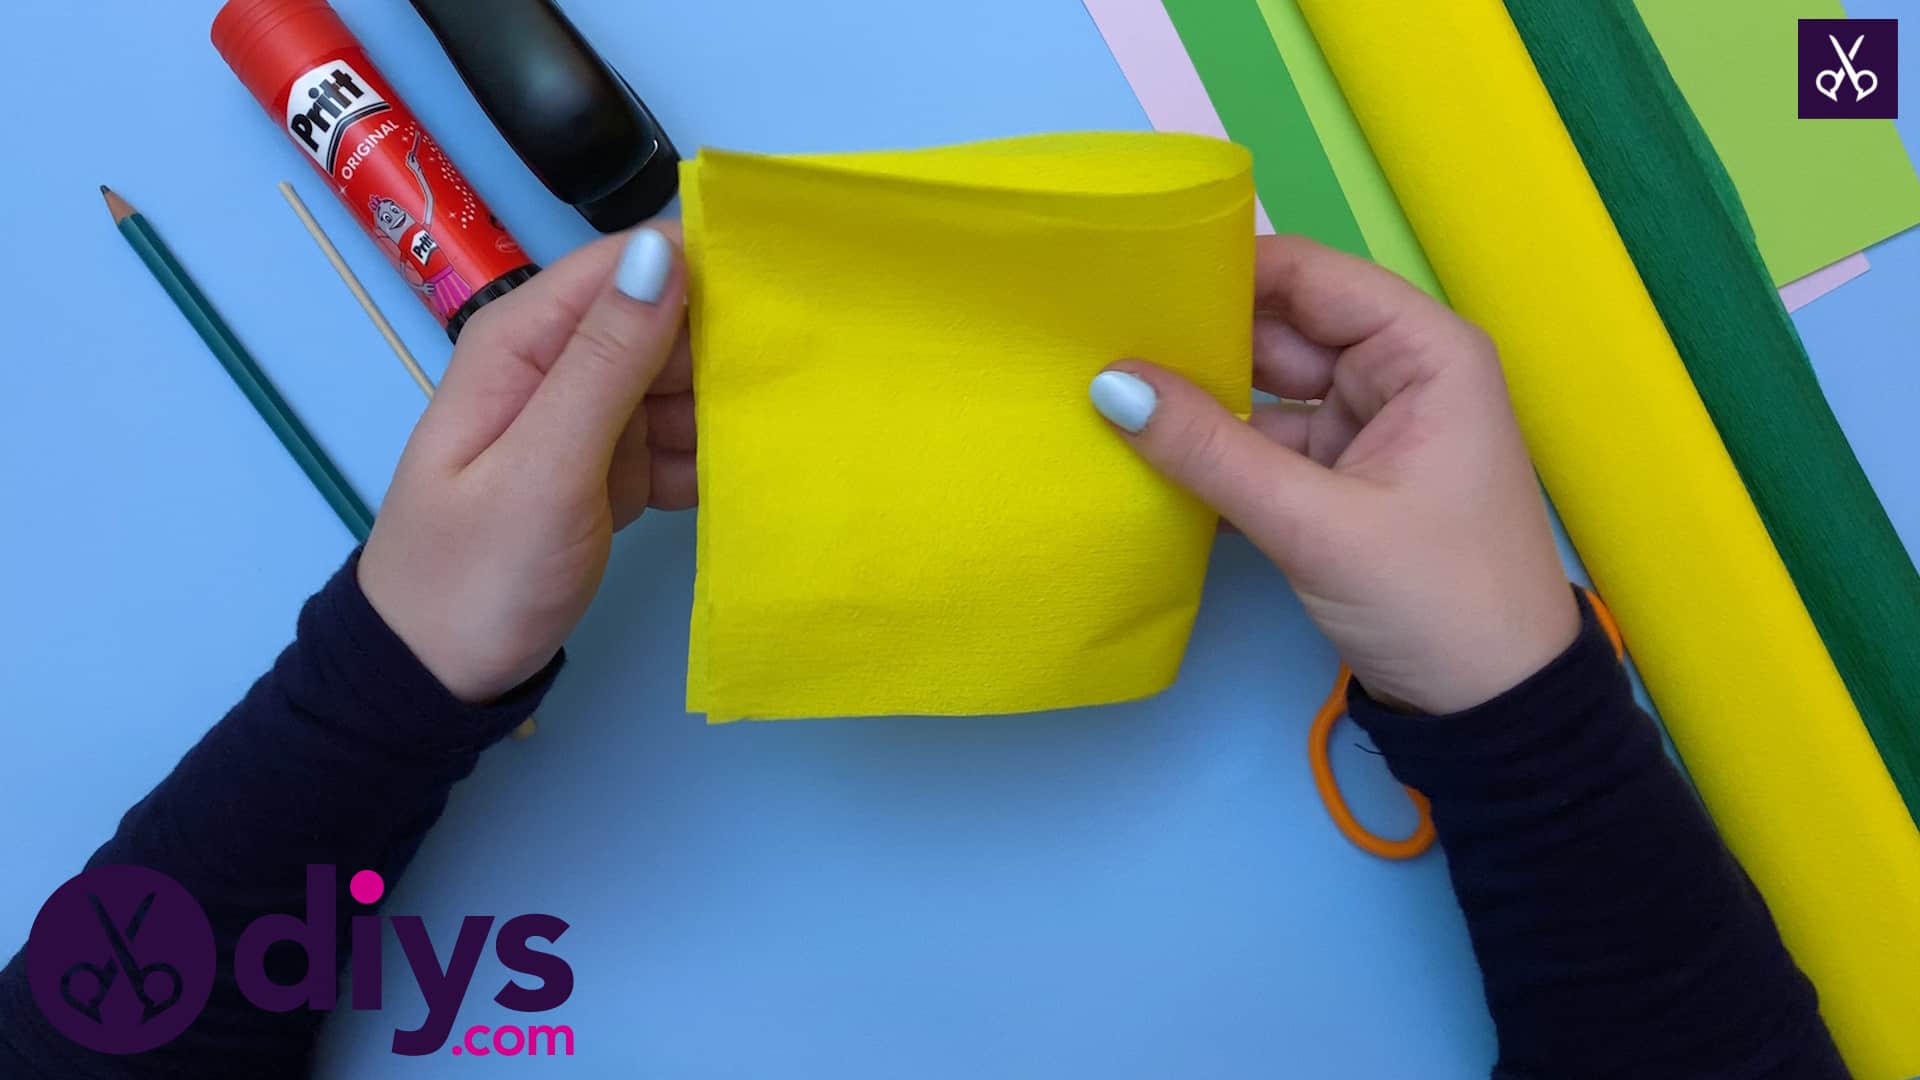
Step 3: fold
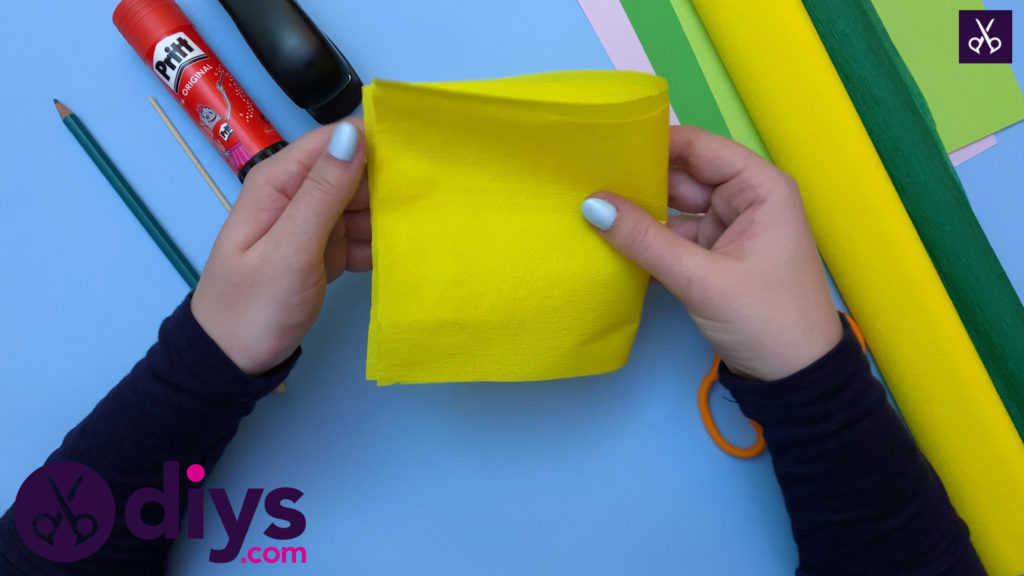
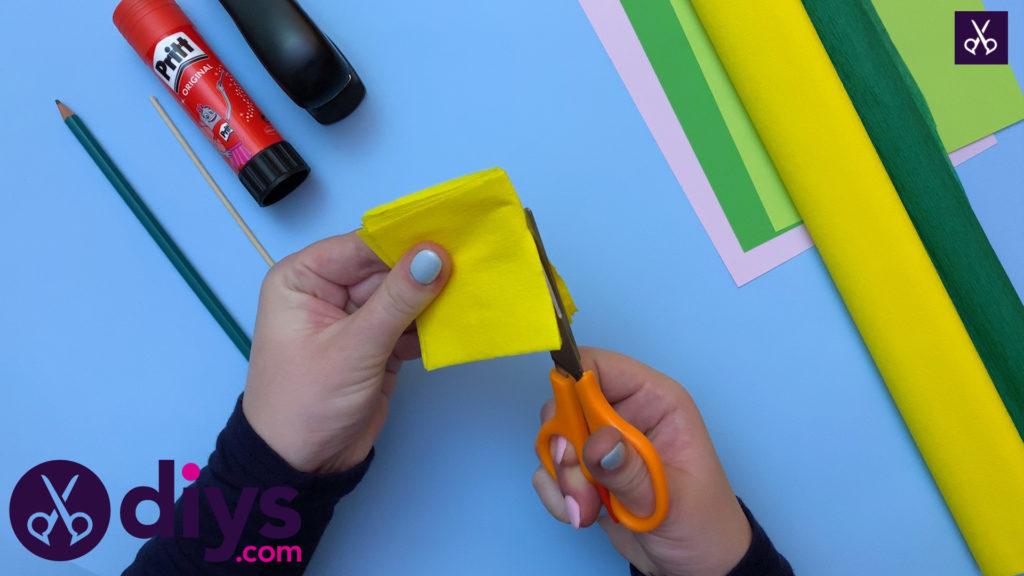
Fold the long piece of yellow crepe paper in half four times until you have a many-layered square. Cut the side that is folded and still attached all long the bend in the paper, creating separate layers all the way through the piece you’re holding.
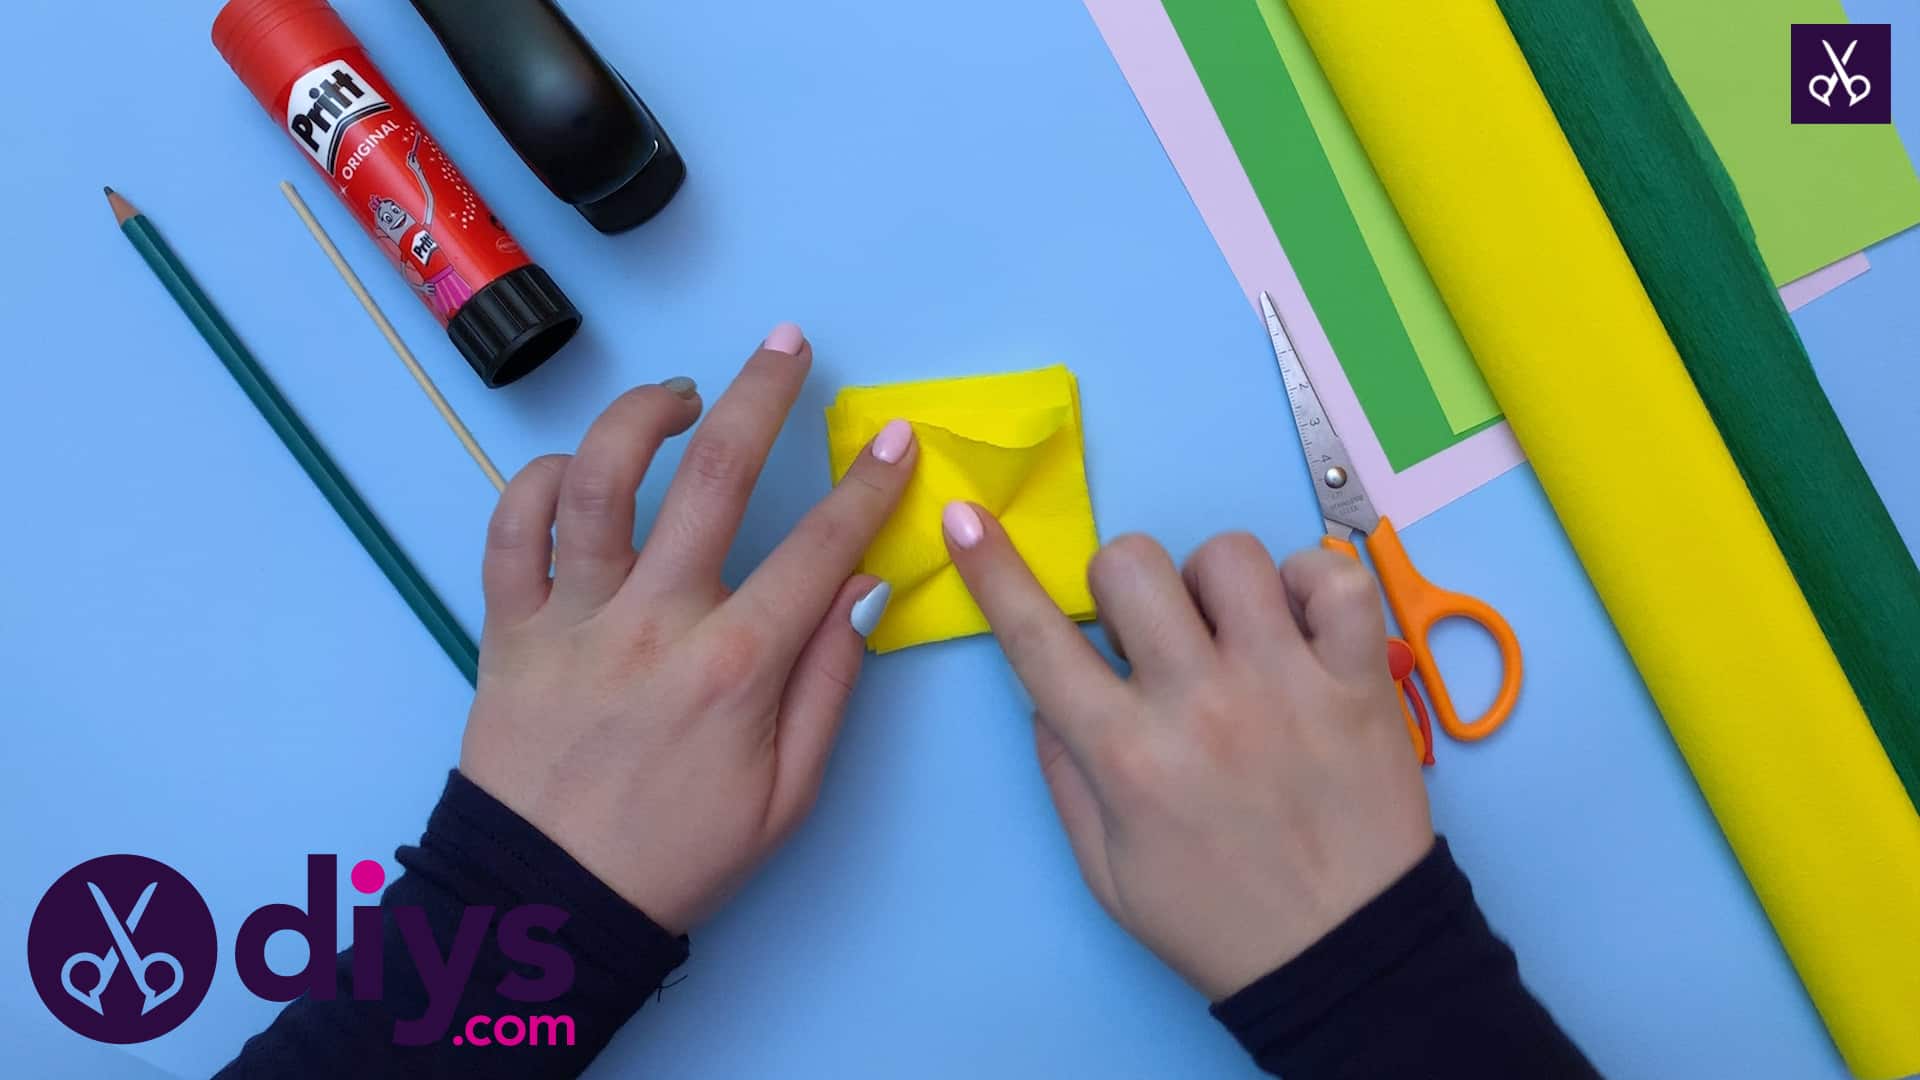
Step 4: Find the middle of your square
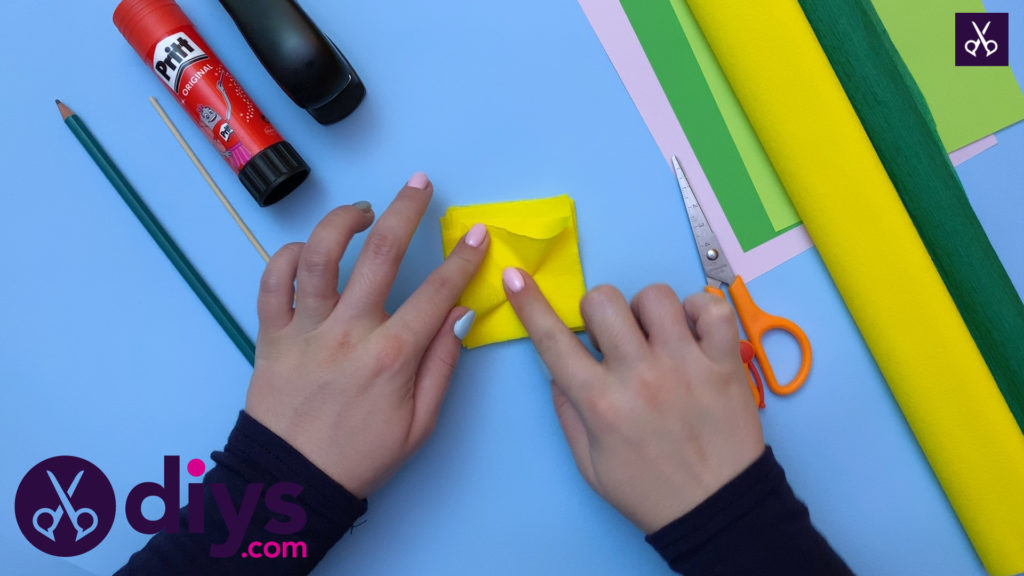
We did this by laying all the layers of the square down flat and folding the first one diagonally in half from corner to corner, first bottom to top on the right hand side and then on the left. This makes the mark of an X in the paper and the middle of that X, where the lines cross, is the center of your square.
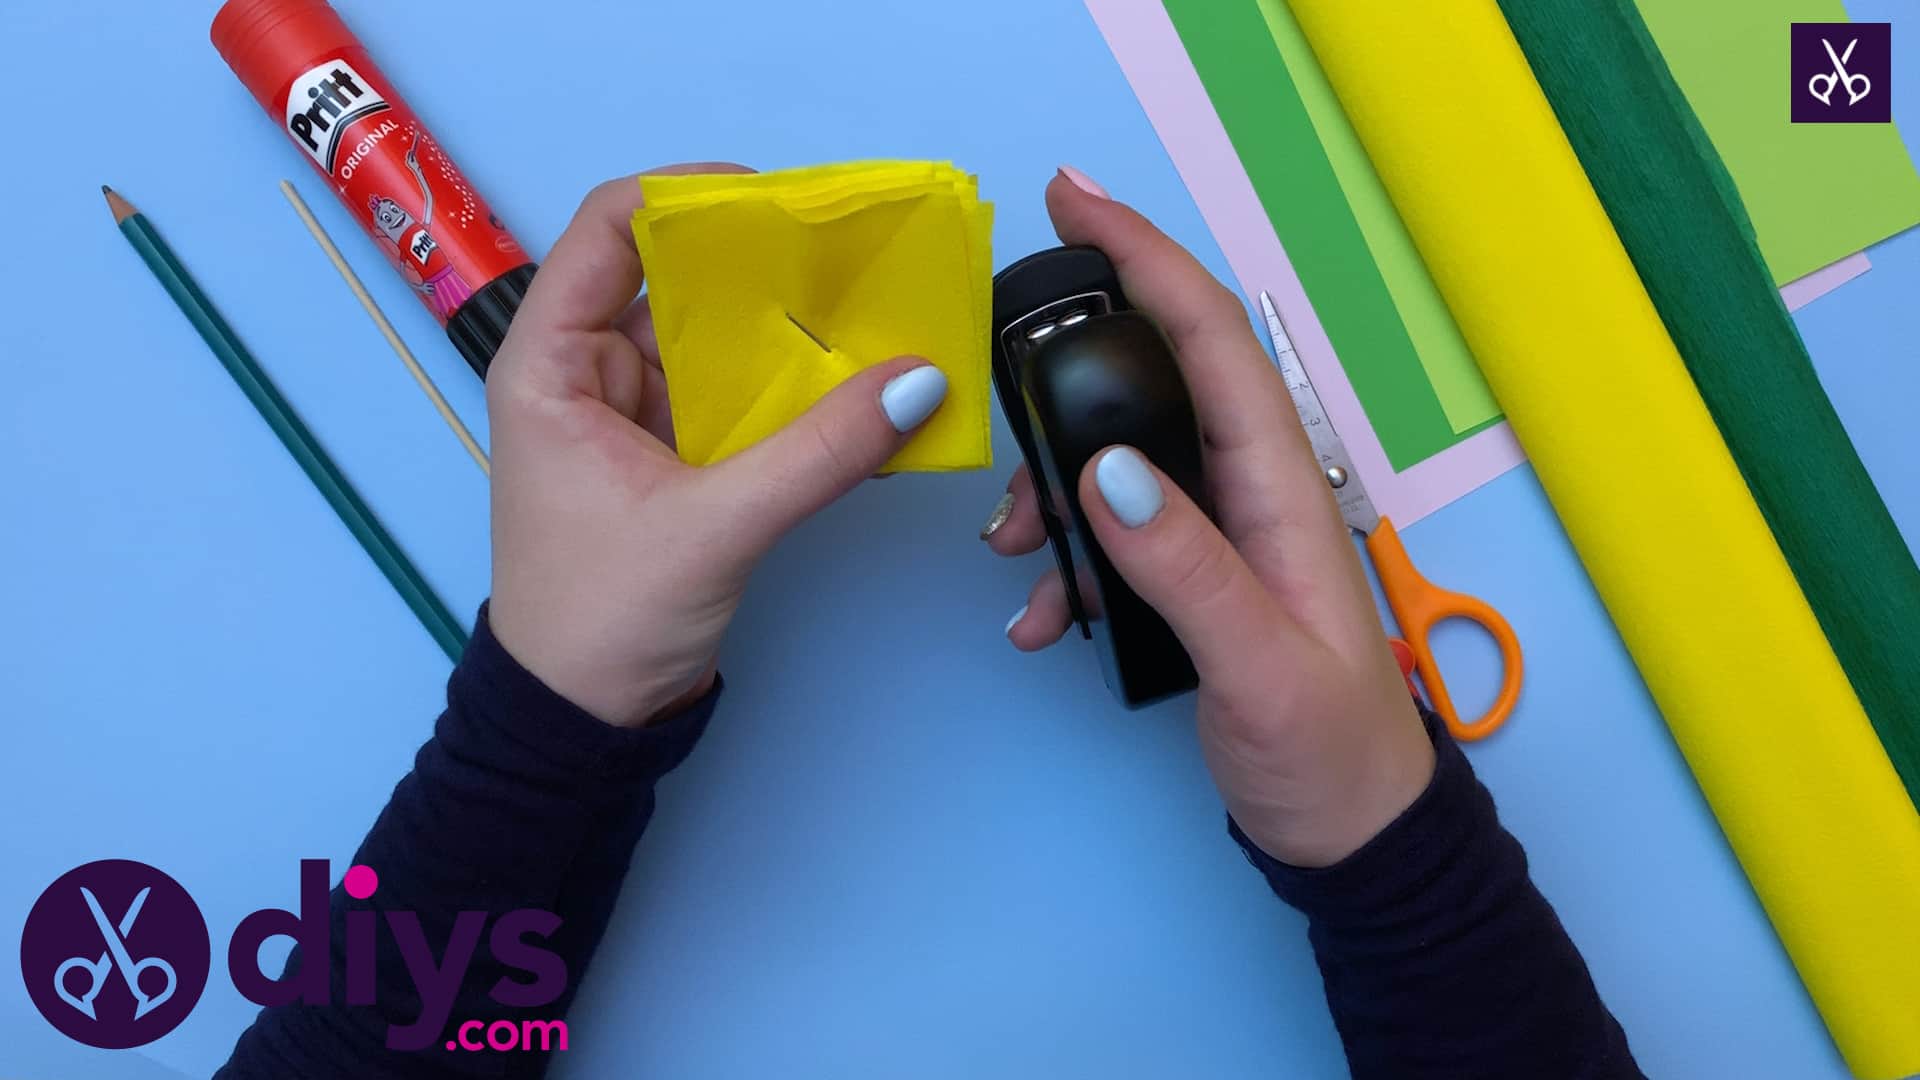
Step 5: staple
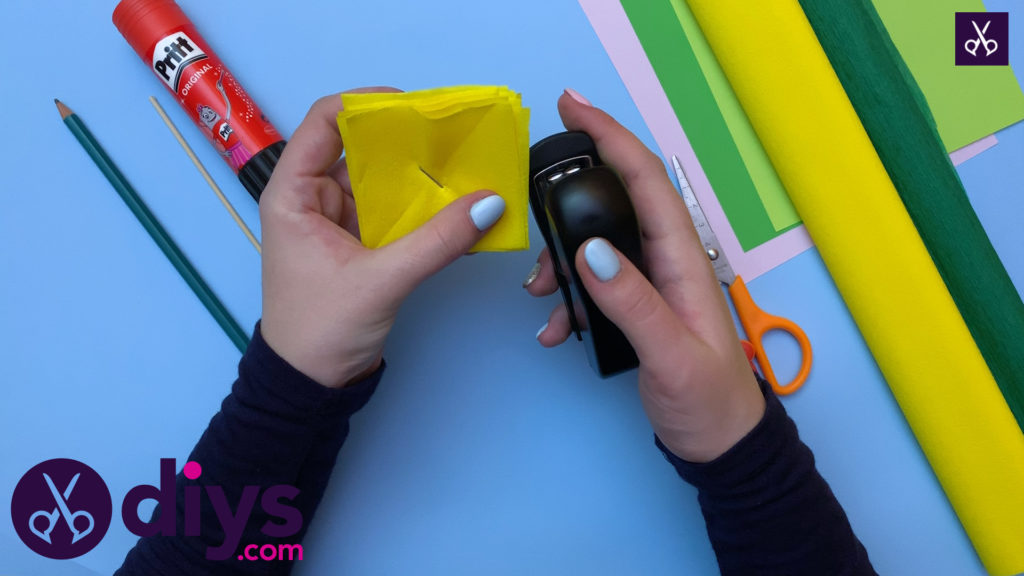
Staple all of your layers together in the center, where you found the cross section with your folding.
Step 6: cut into circle
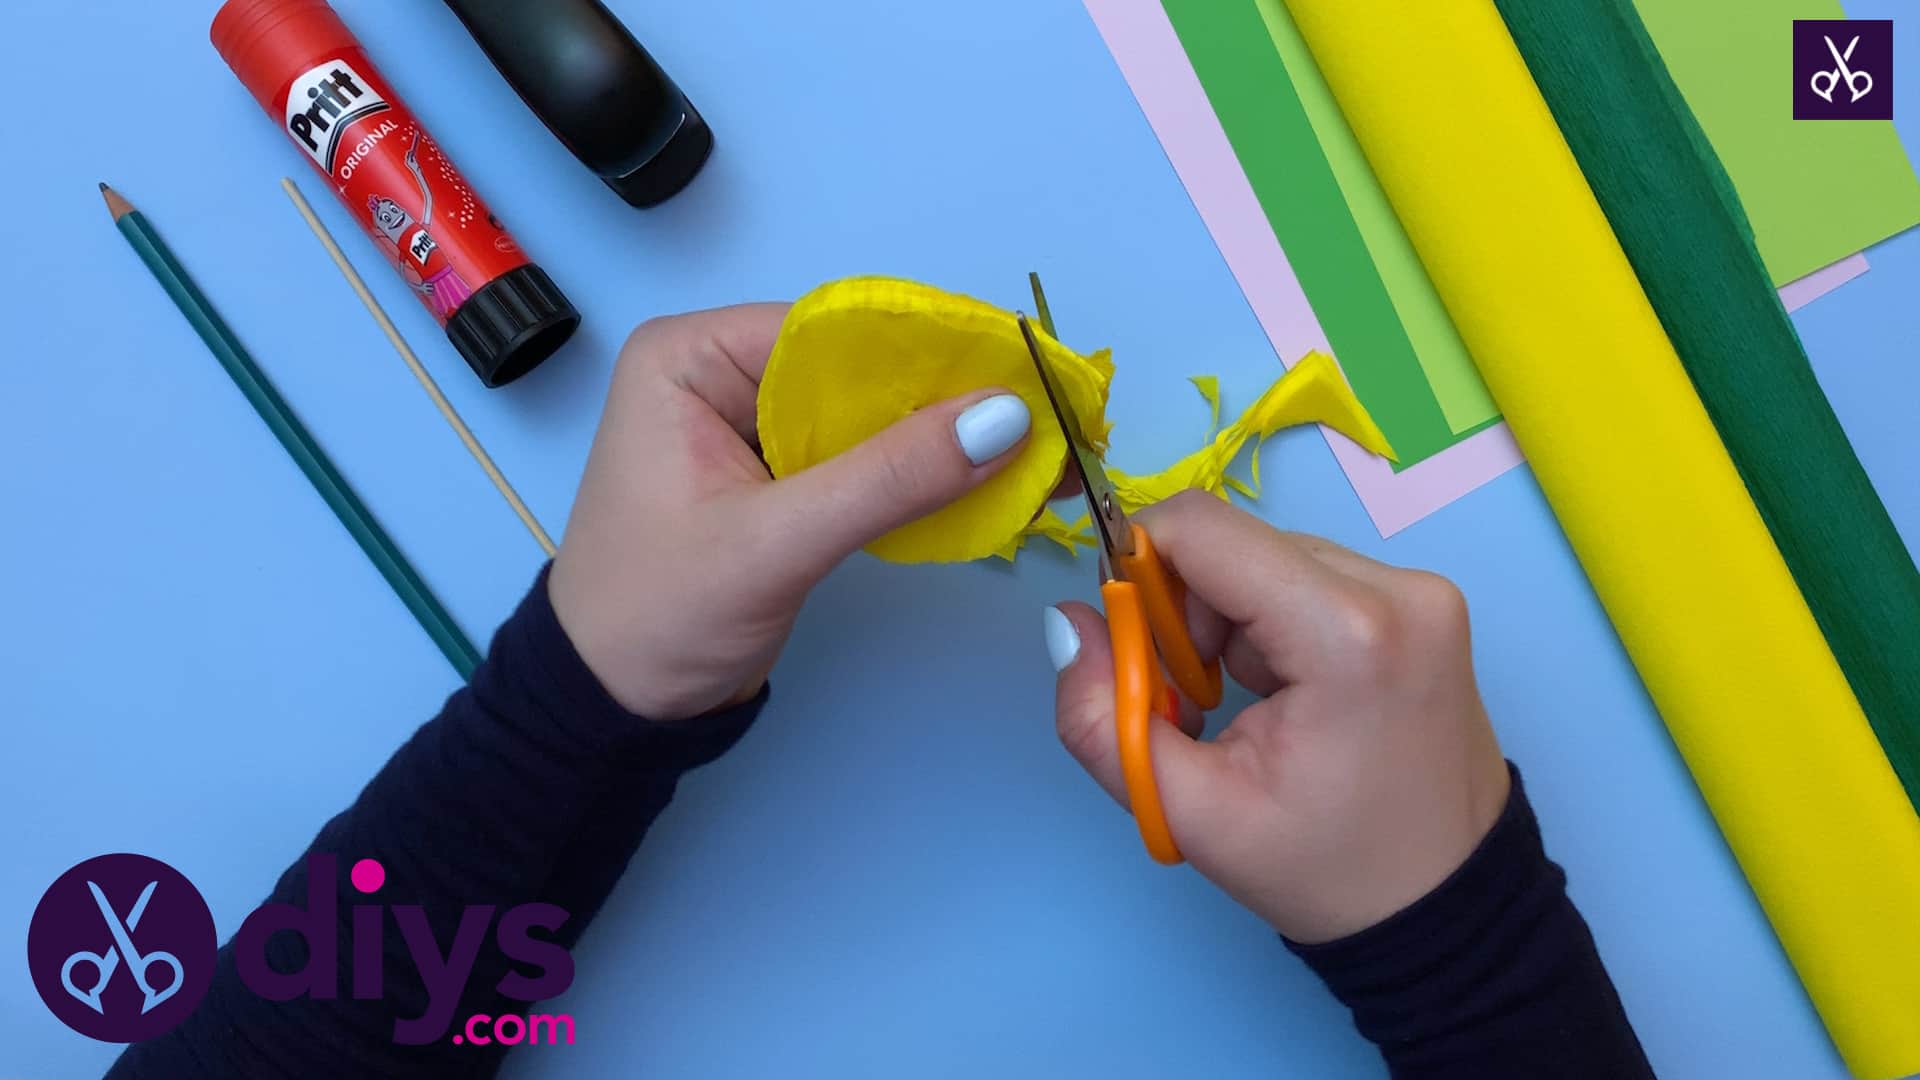
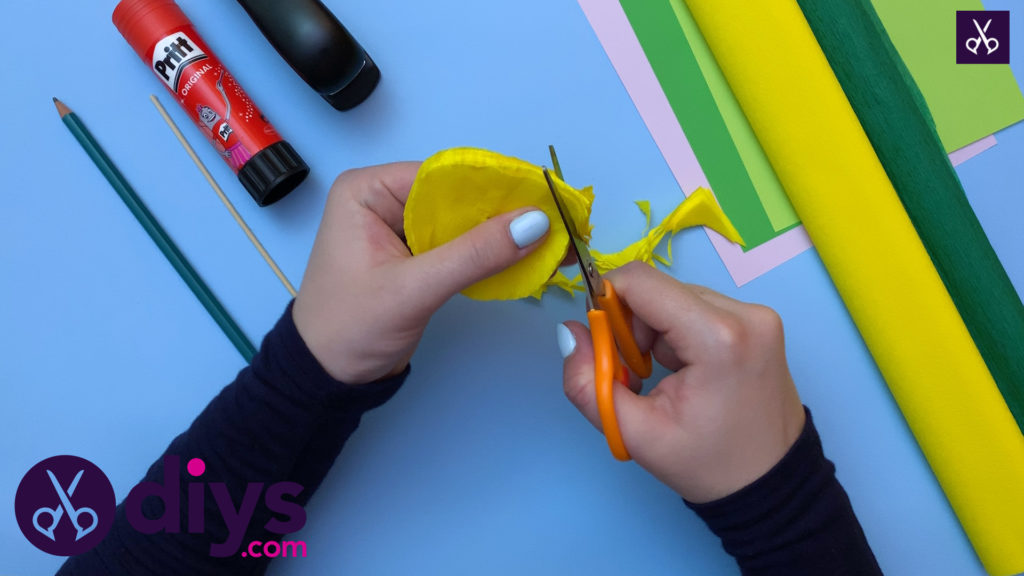
Cut all of the layers of your square into a circle, rounding off the straight edges and sharp corners.
Step 7: lift and crumple
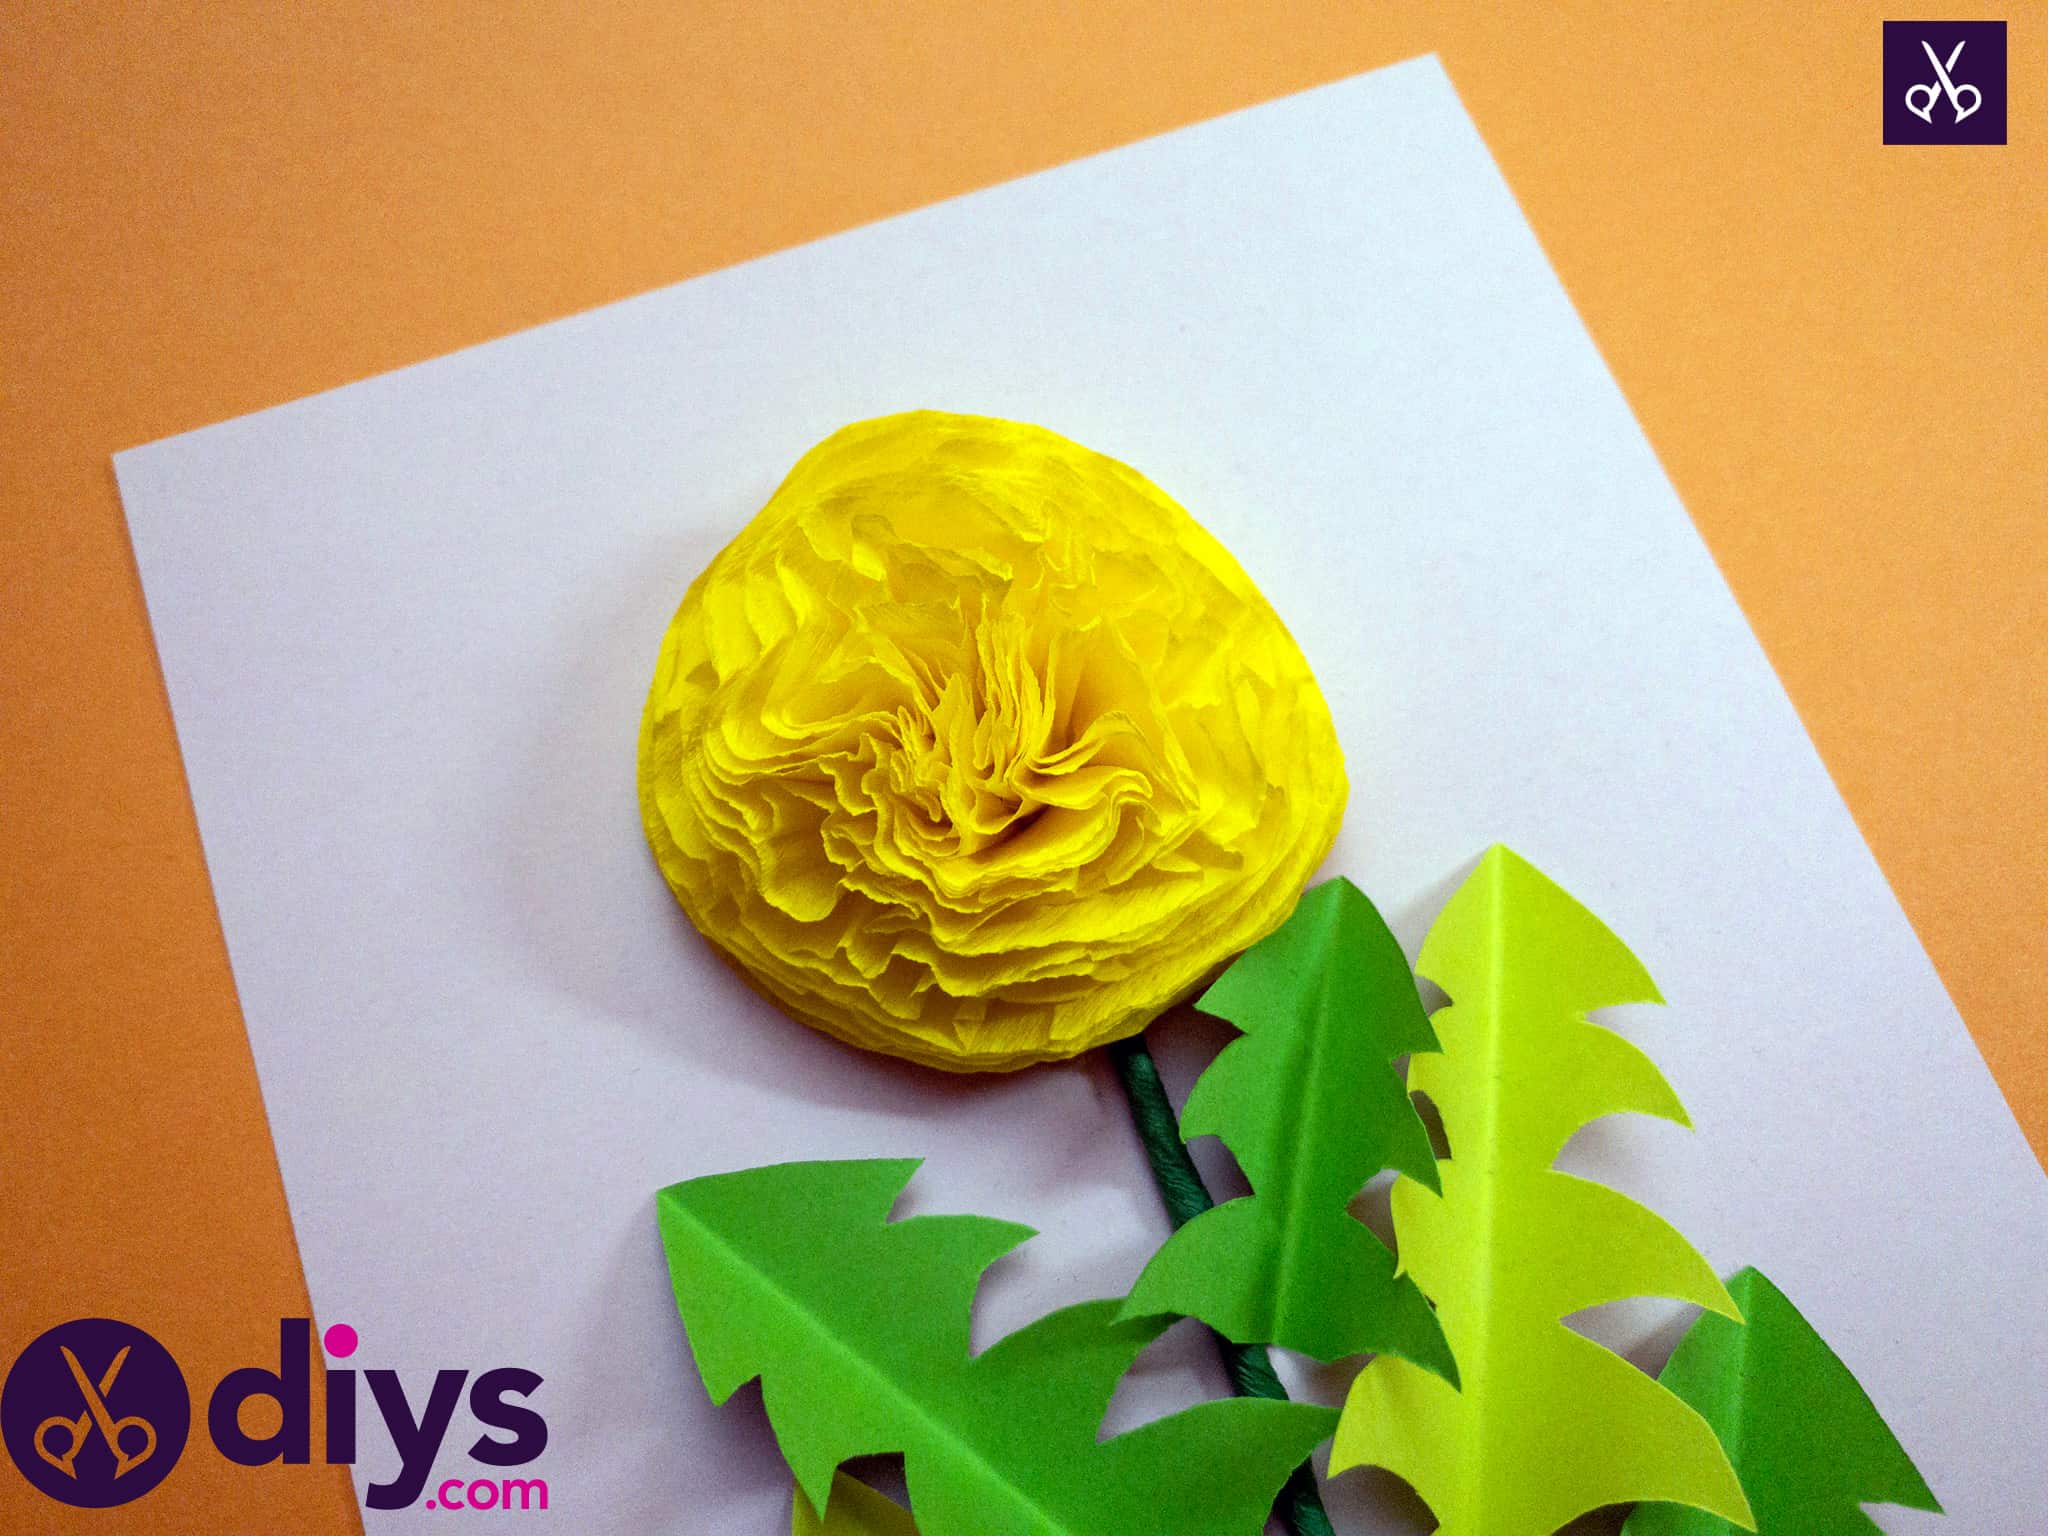
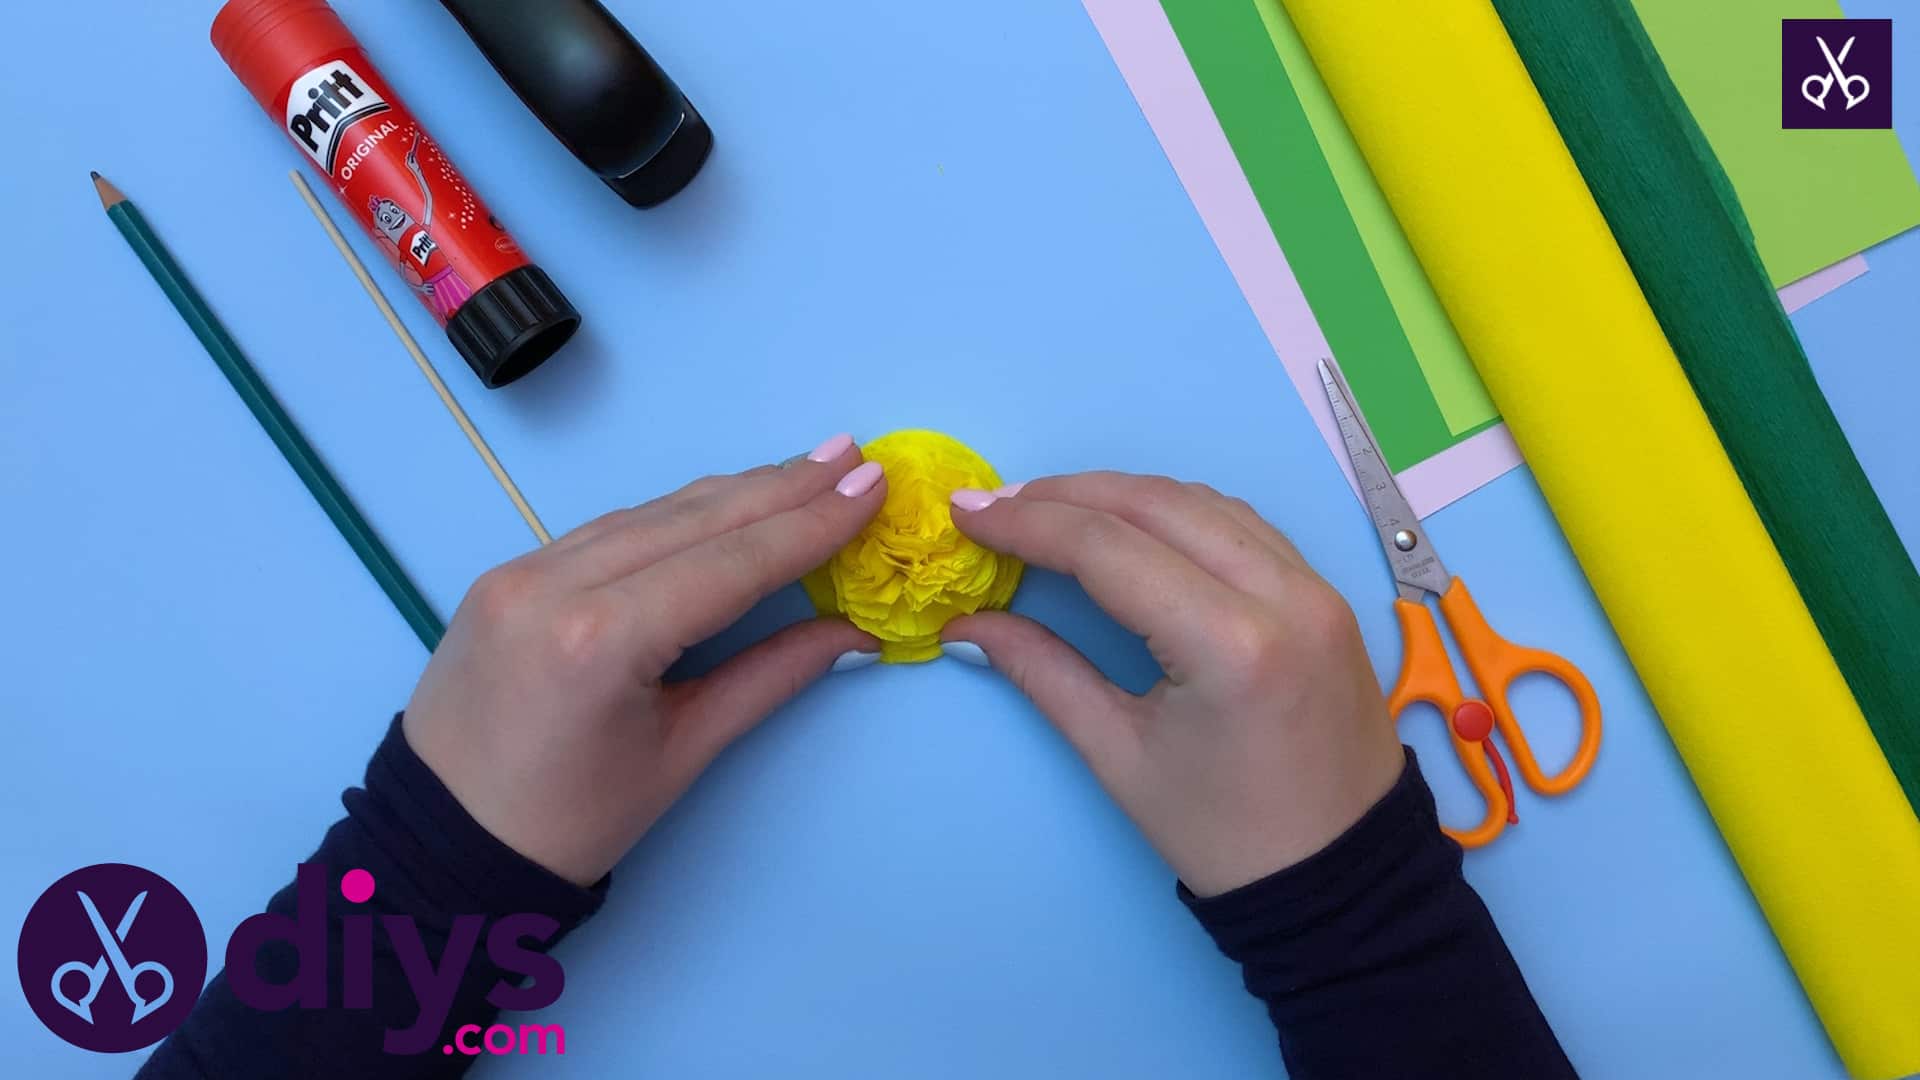
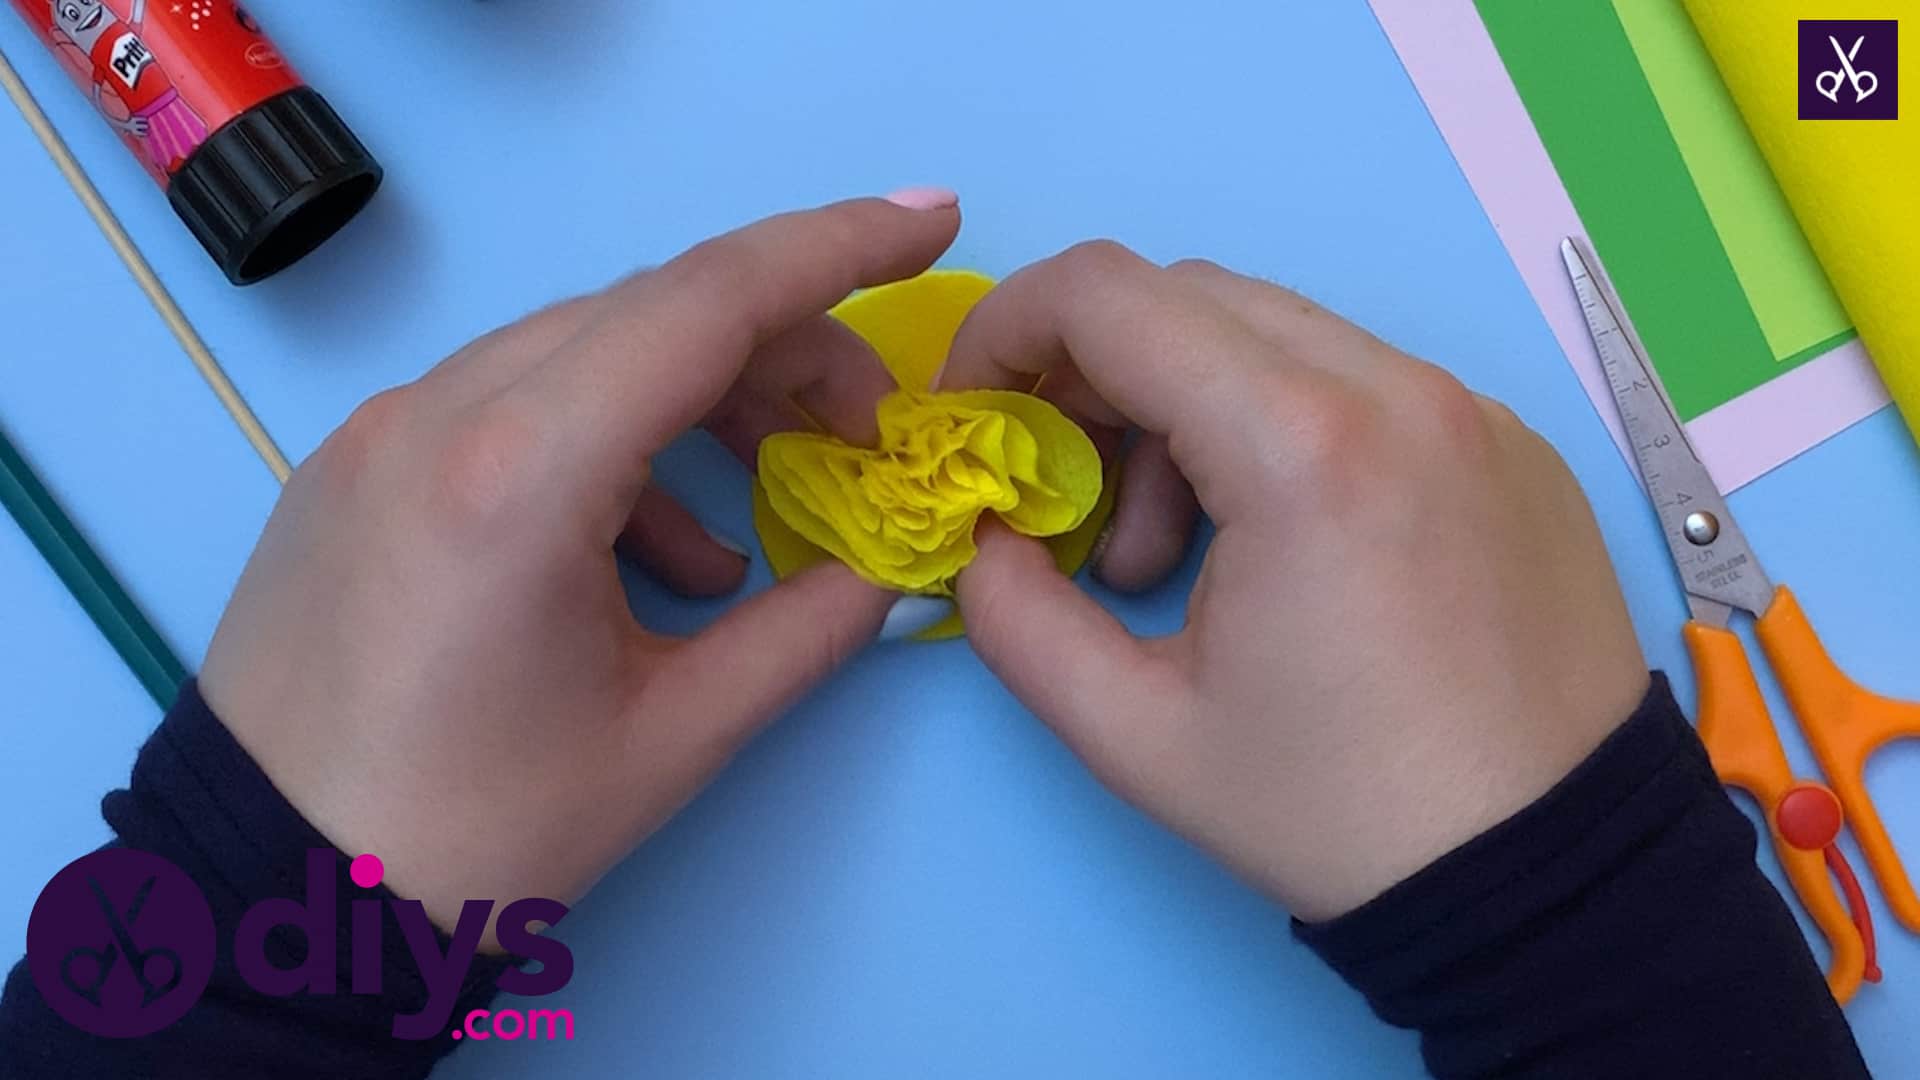
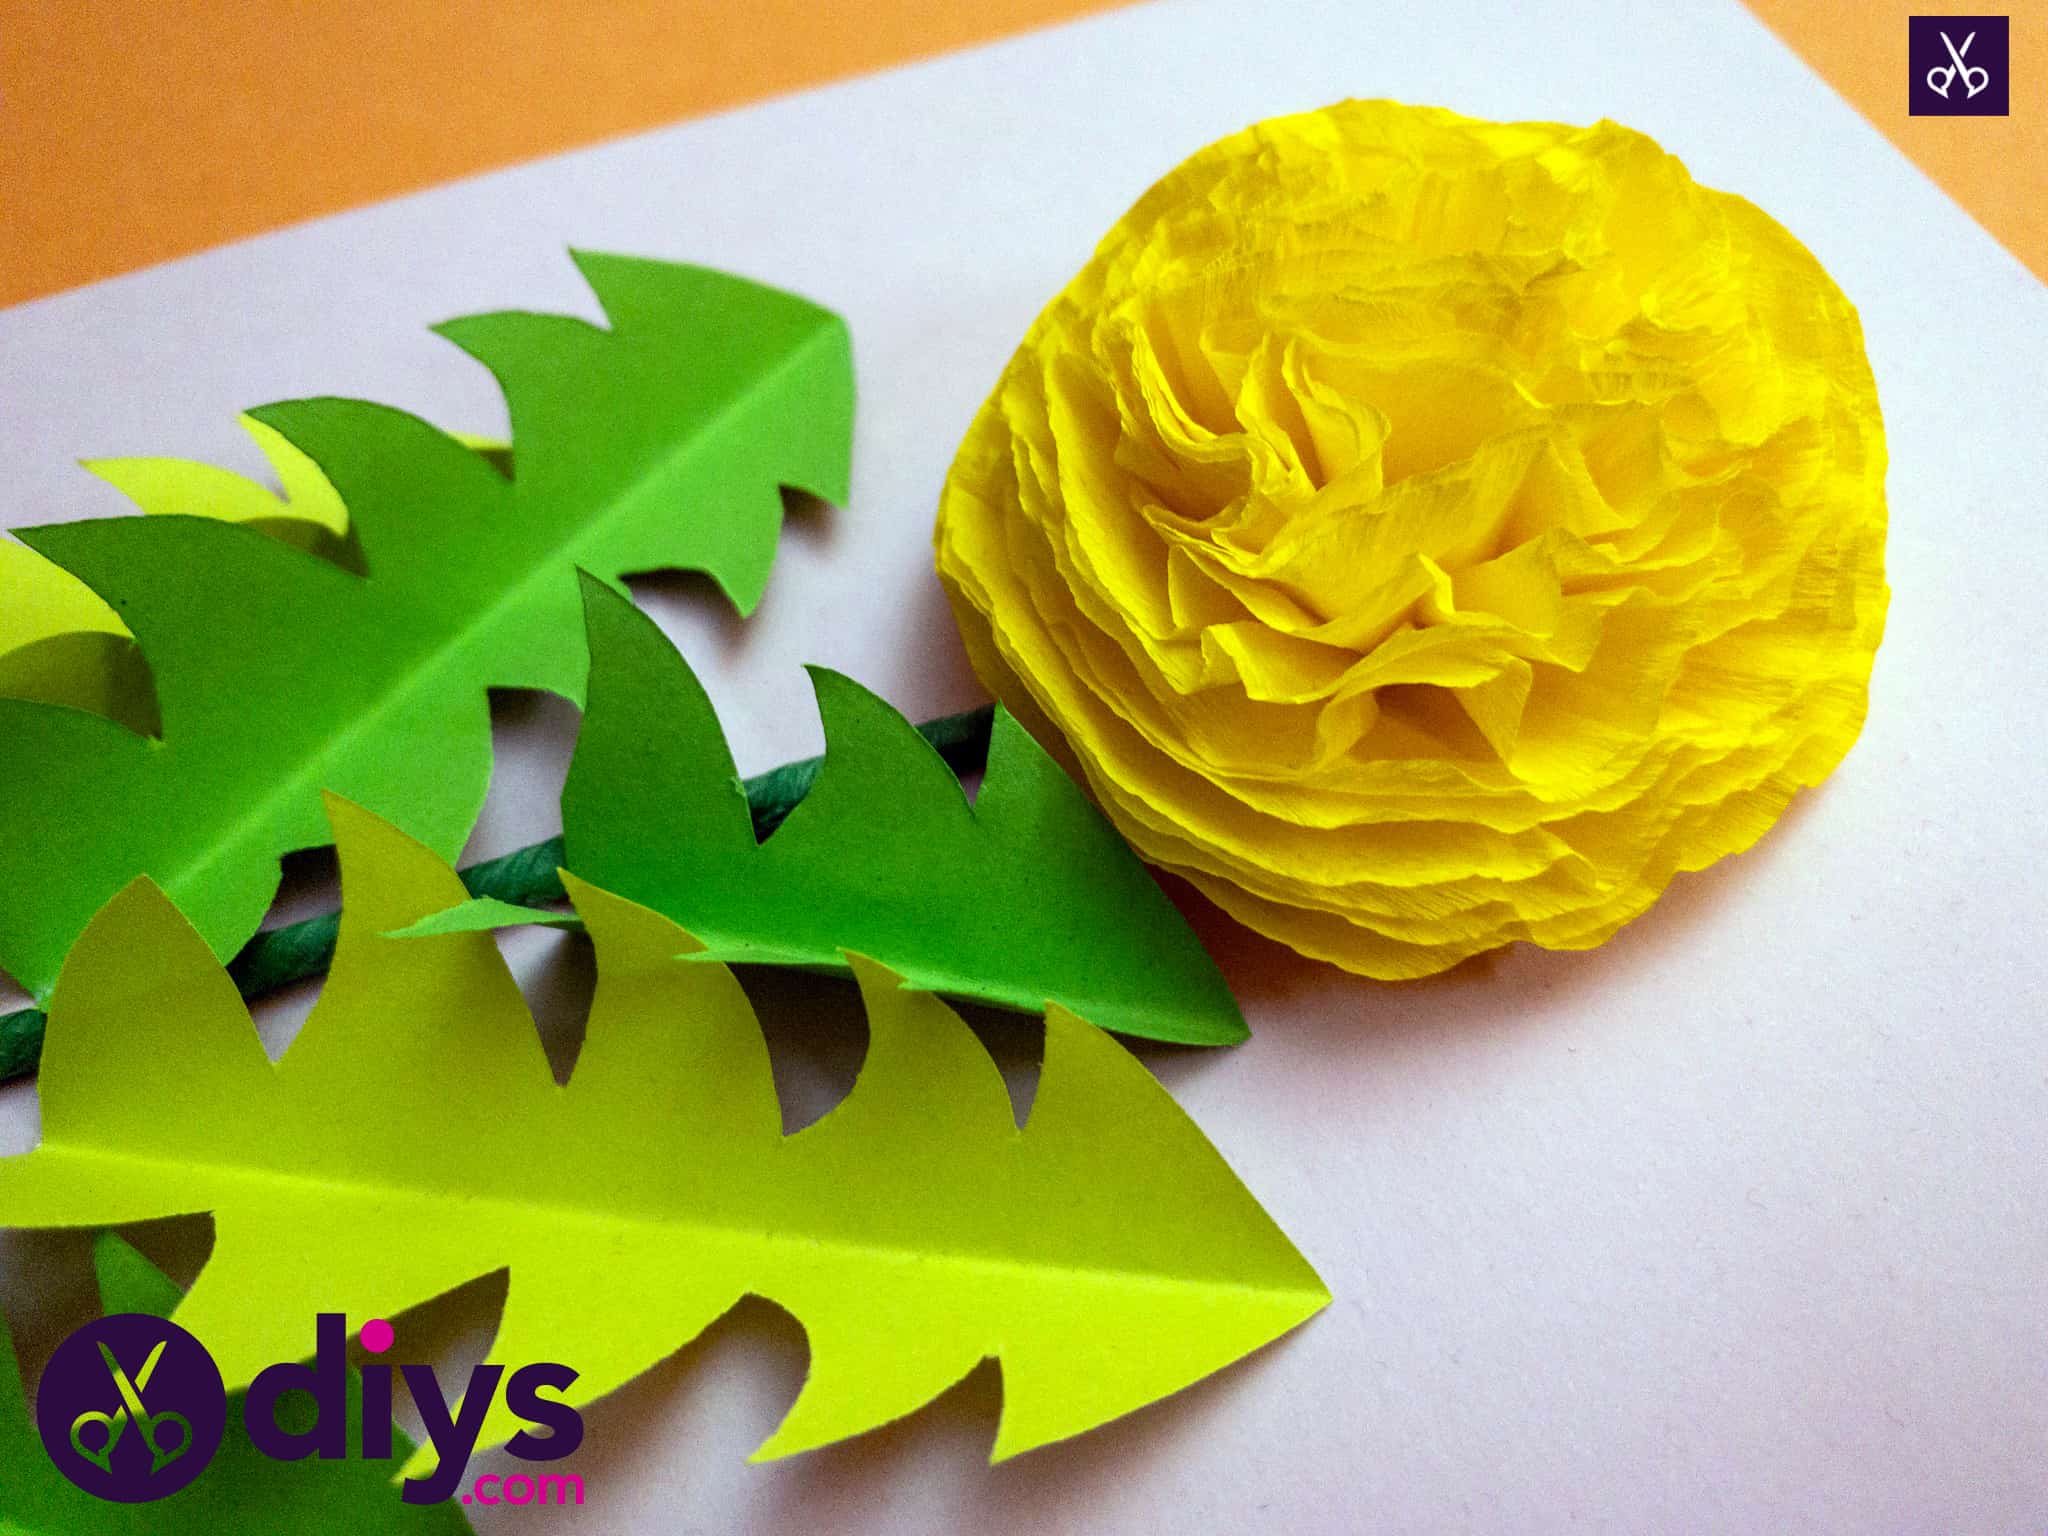
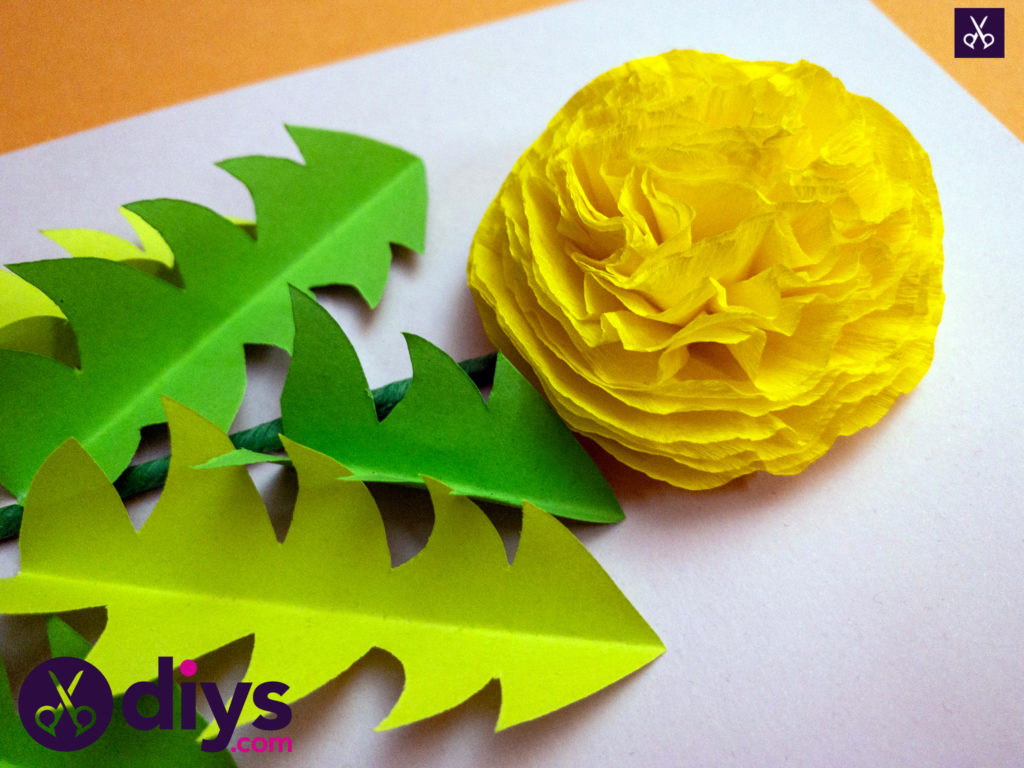
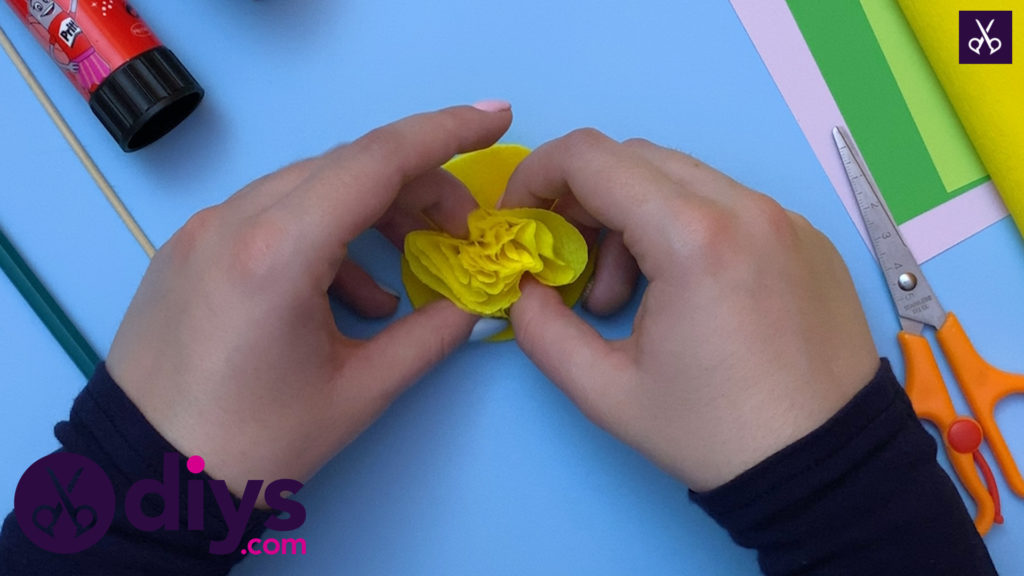
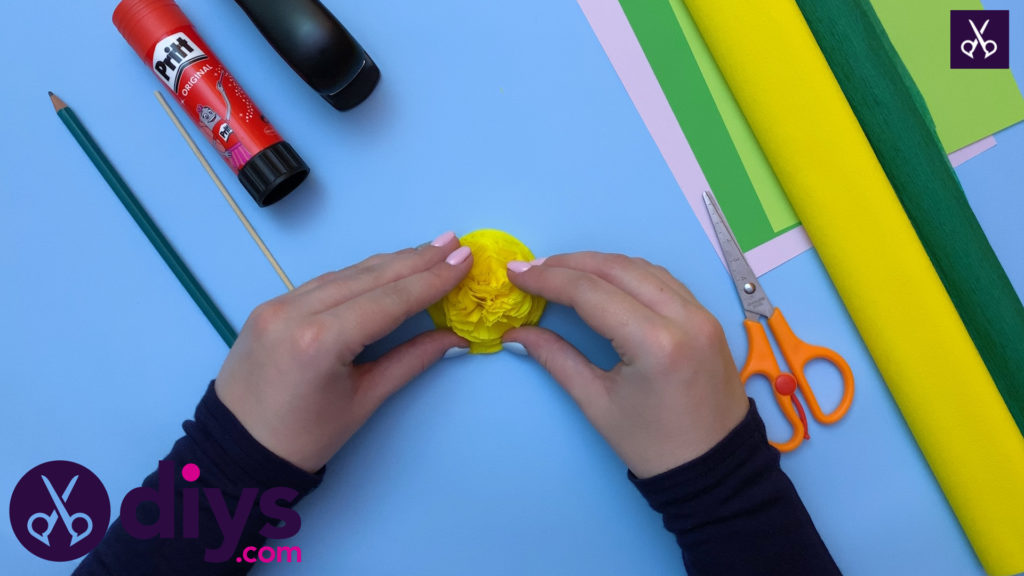
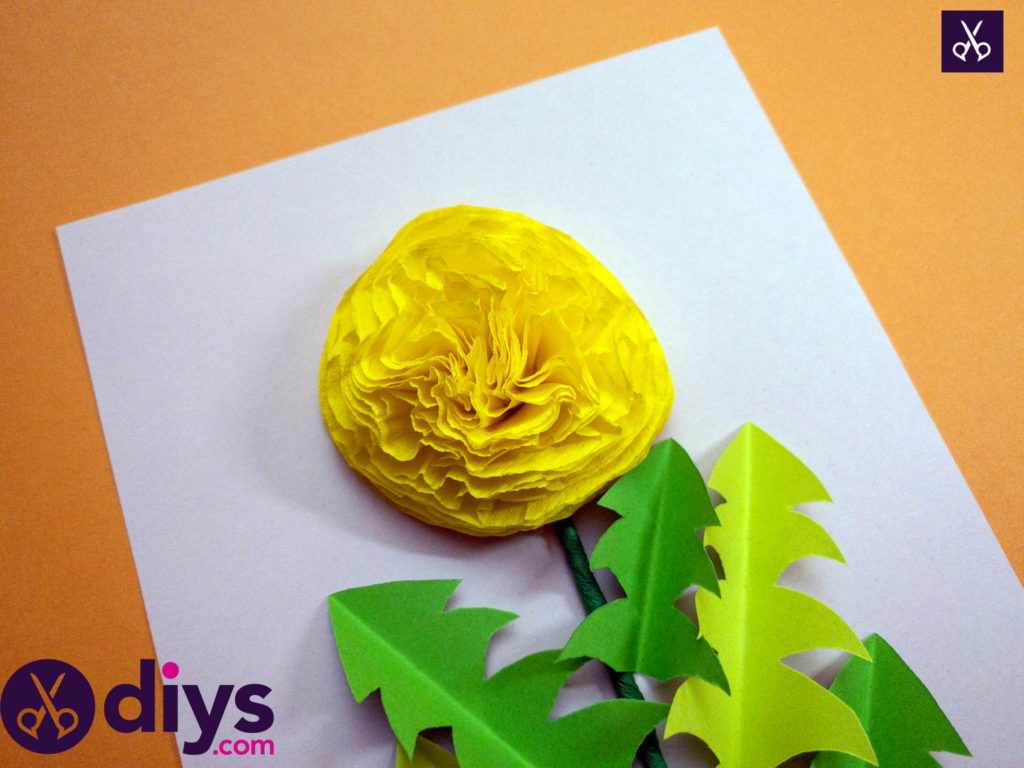
Starting with the top one, lift each layer and crumple it towards the center, adding volume and gathering them in the middle so the crepe paper stands up. Repeat this process with every single layer.
Step 8: make leaves
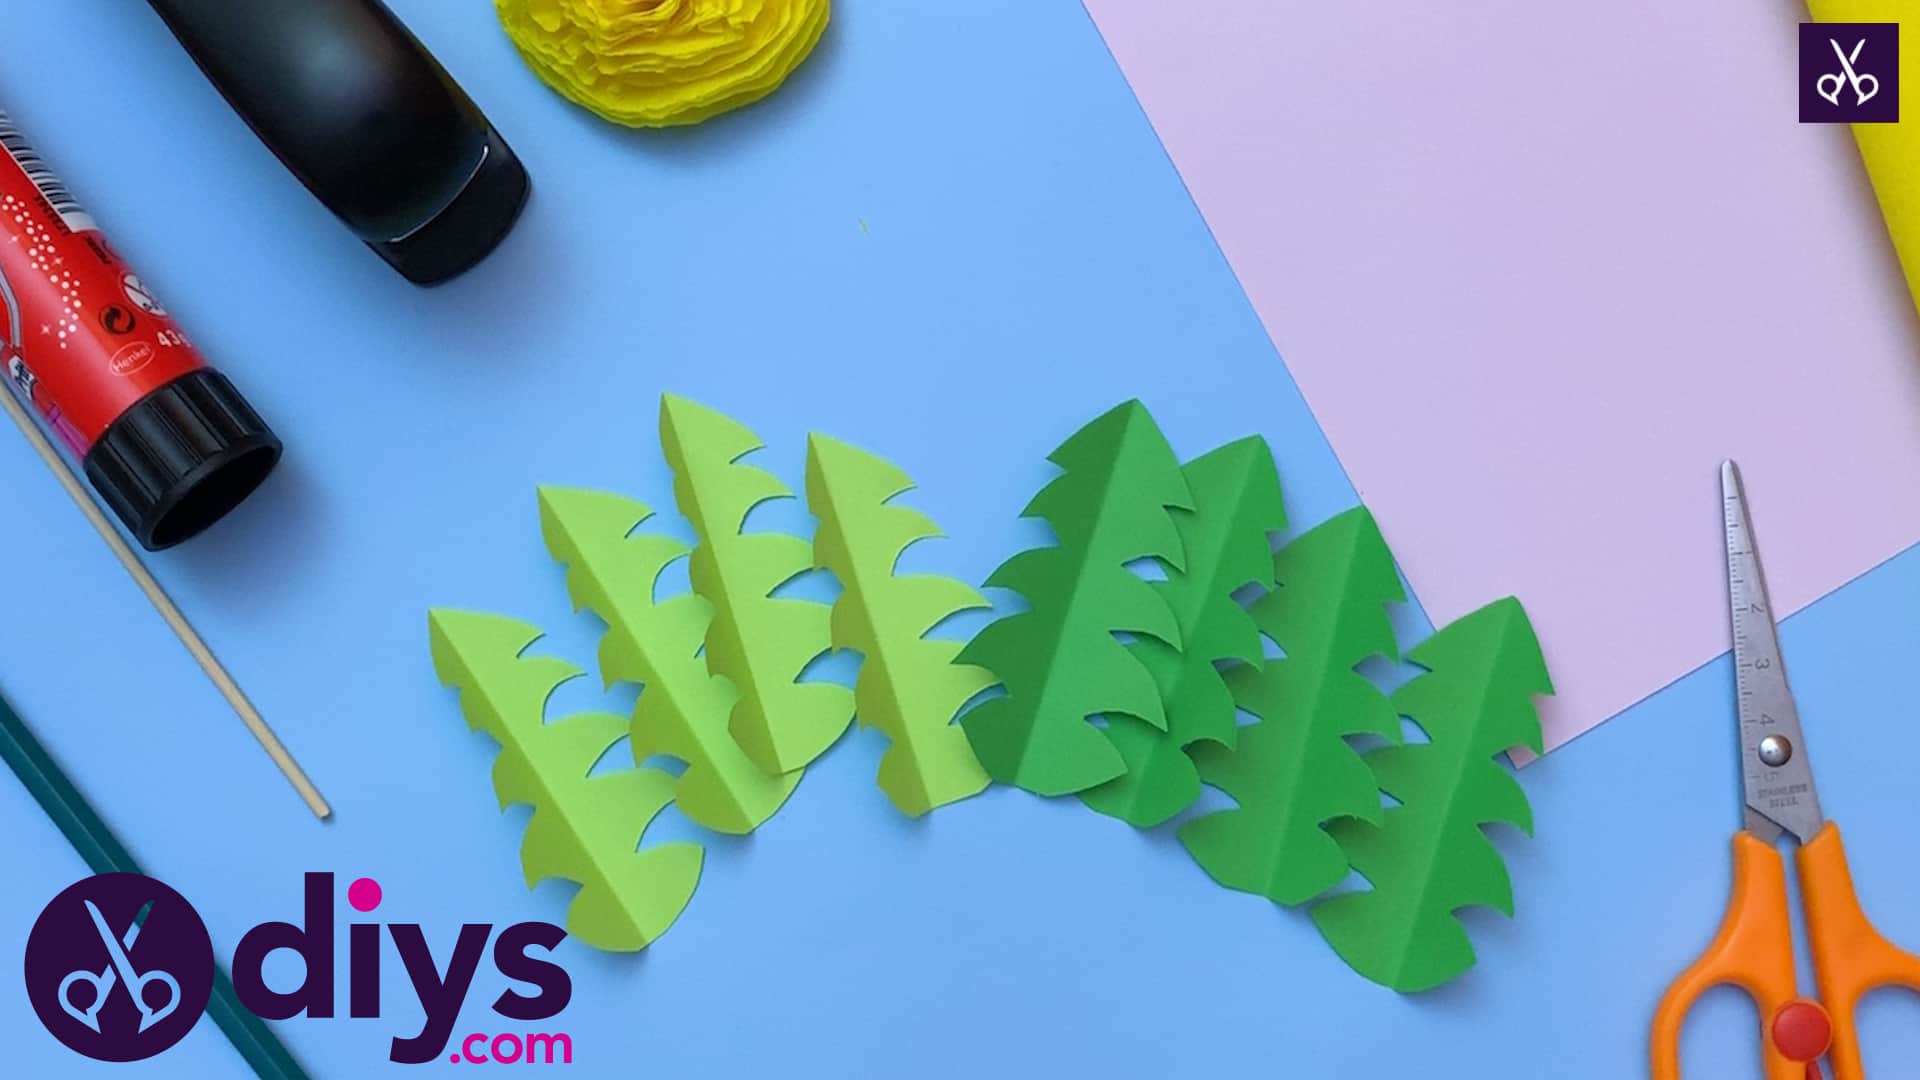
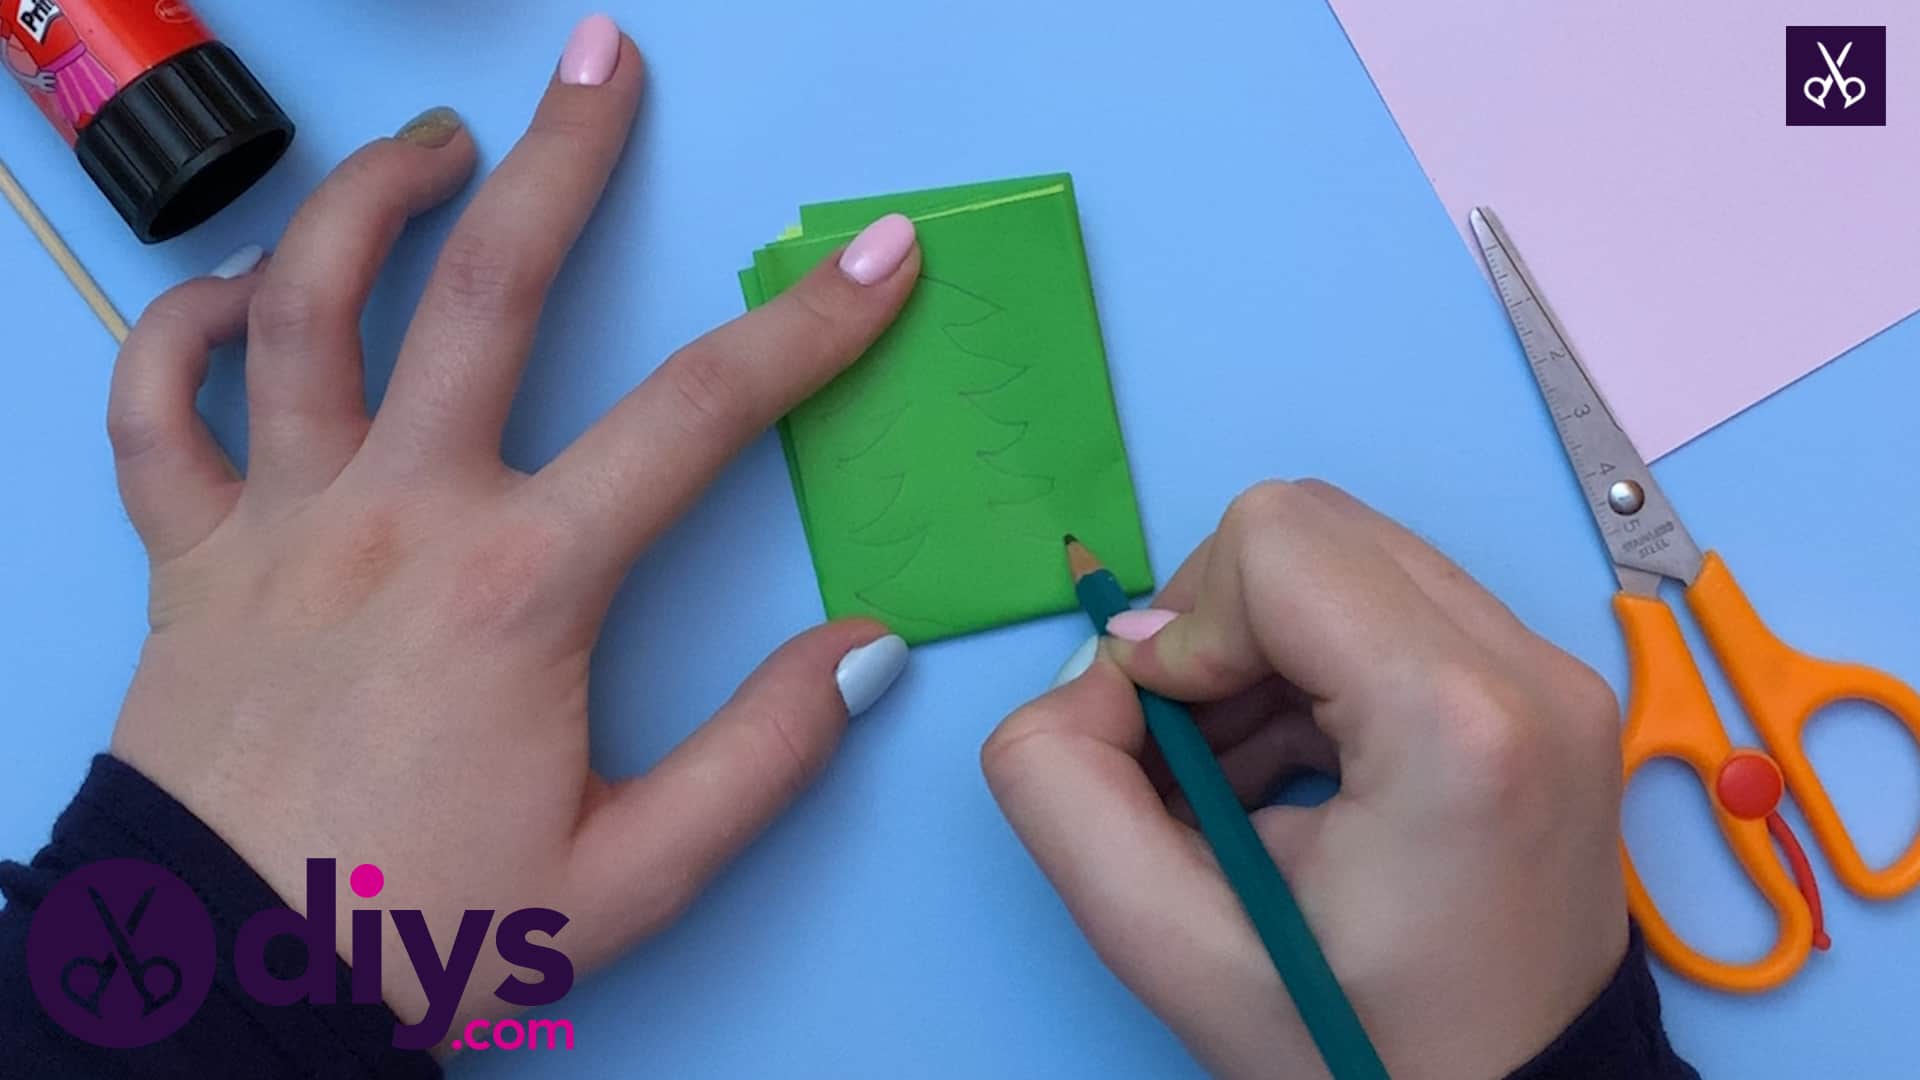
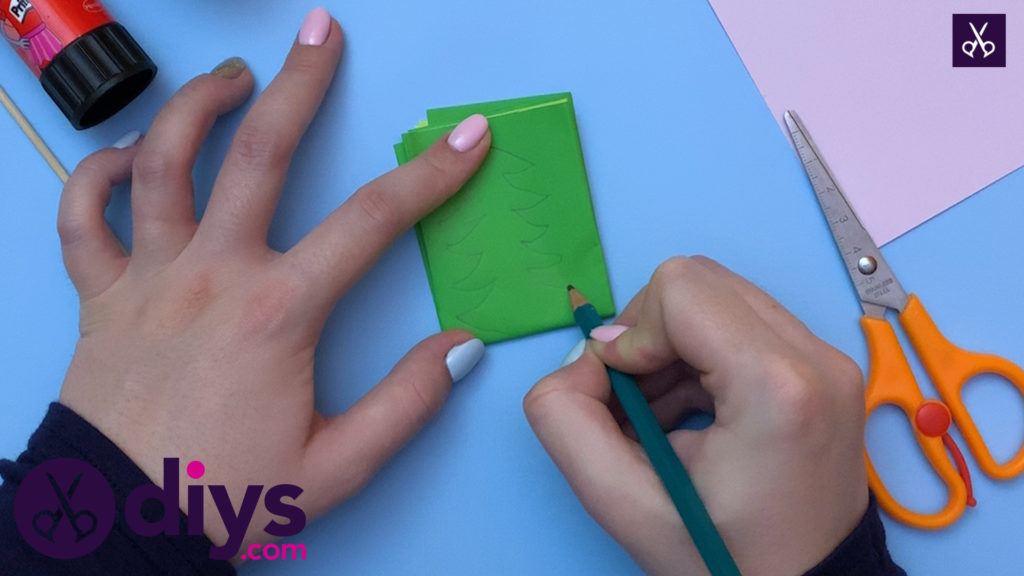
Cut and fold your green paper in the same way that you did with your yellow, but don’t worry about cutting along the folded side to make separate layers. Instead, draw the shape of a Christmas tree on the first layer. These will actually be your leaves sprouting from the flower’s stem, but the Christmas tree shape resembles the shape of a dandelion leaf very well.
Step 9: cut out
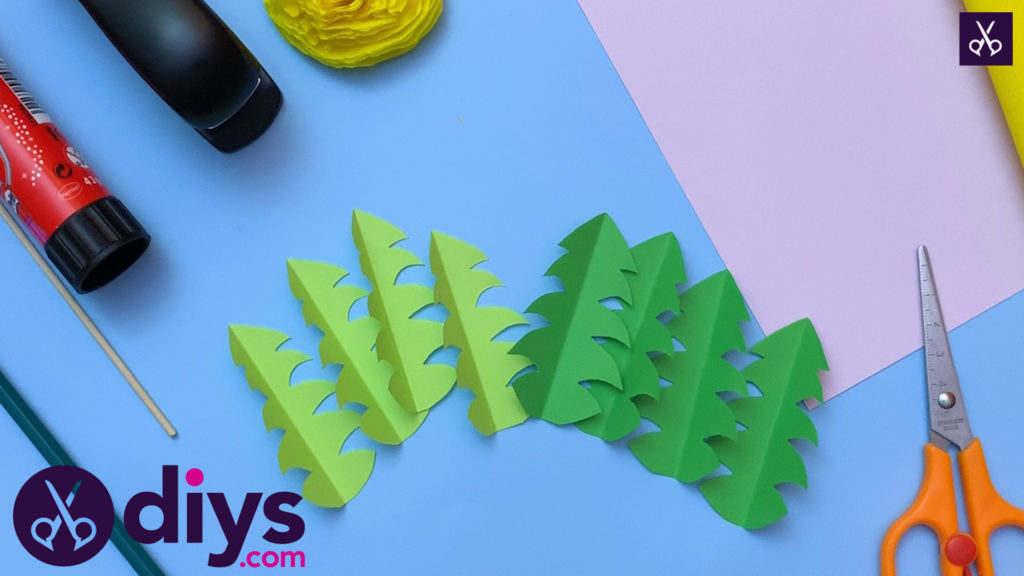
Cut out the Christmas tree shape you drew, making sure to cut throughall the layers of your folded piece. This gets you four leaves at once instead of one, meaning less work for you but more leaves! Repeat the entire leaf process using a lighter or darker shade of green paper to give yourself eight leaves in total.
Step 10: roll dark green paper
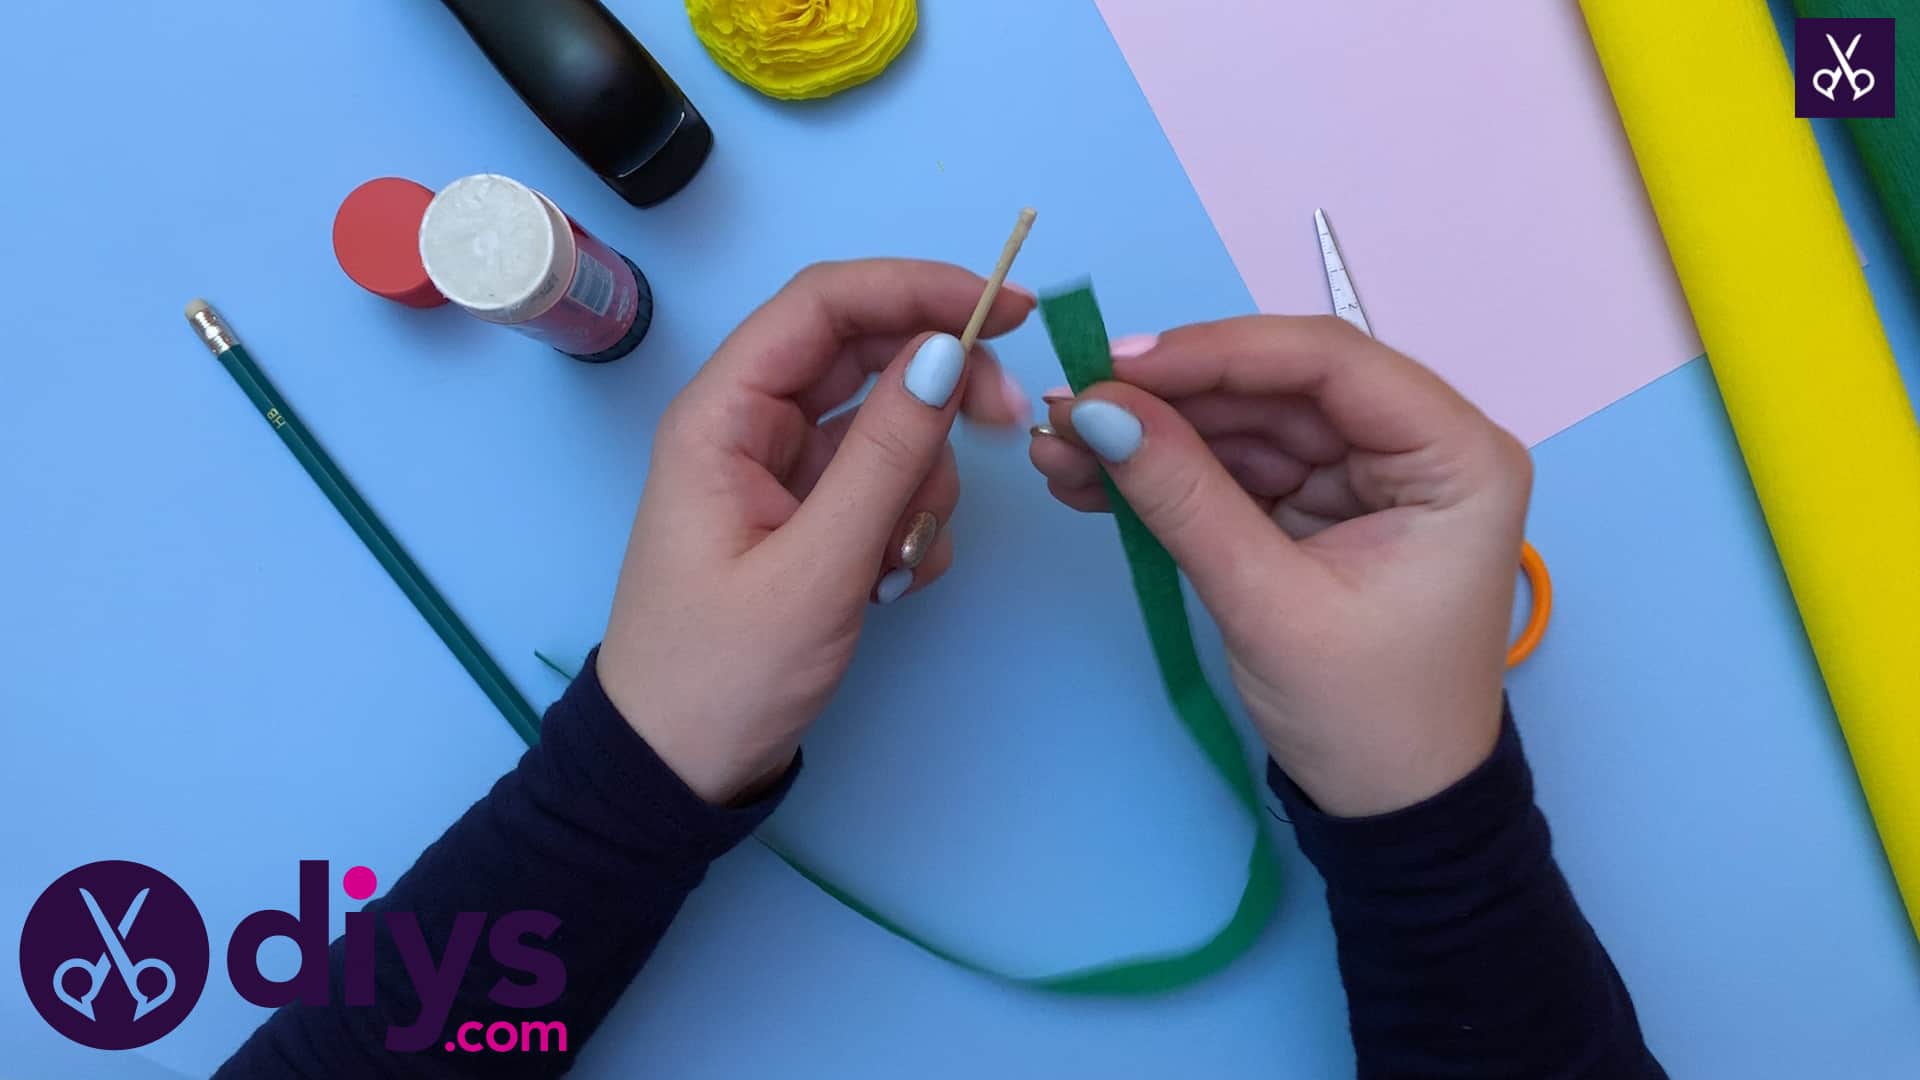
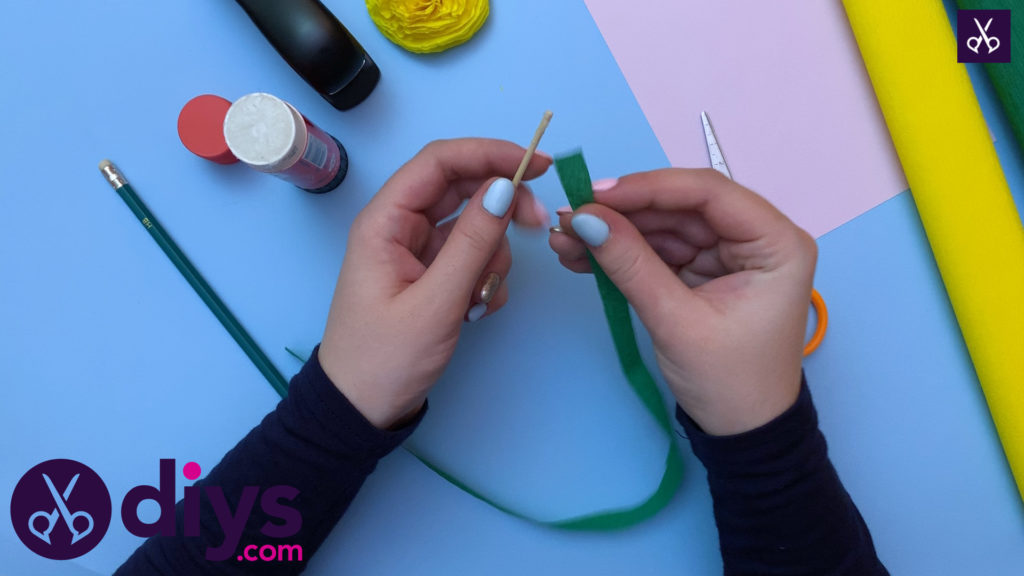
Cut a piece from your roll of darker green paper that is about half an inch wide but runs the whole length. Glue the end of the green strip to the very top of your wooden skewer and begin wrapping the paper around and around, moving the paper down a little with each wrap. Continue until the whole skewer is wrapped in green paper, gluing the end down when you’re done to keep it from unraveling.
Step 11: glue
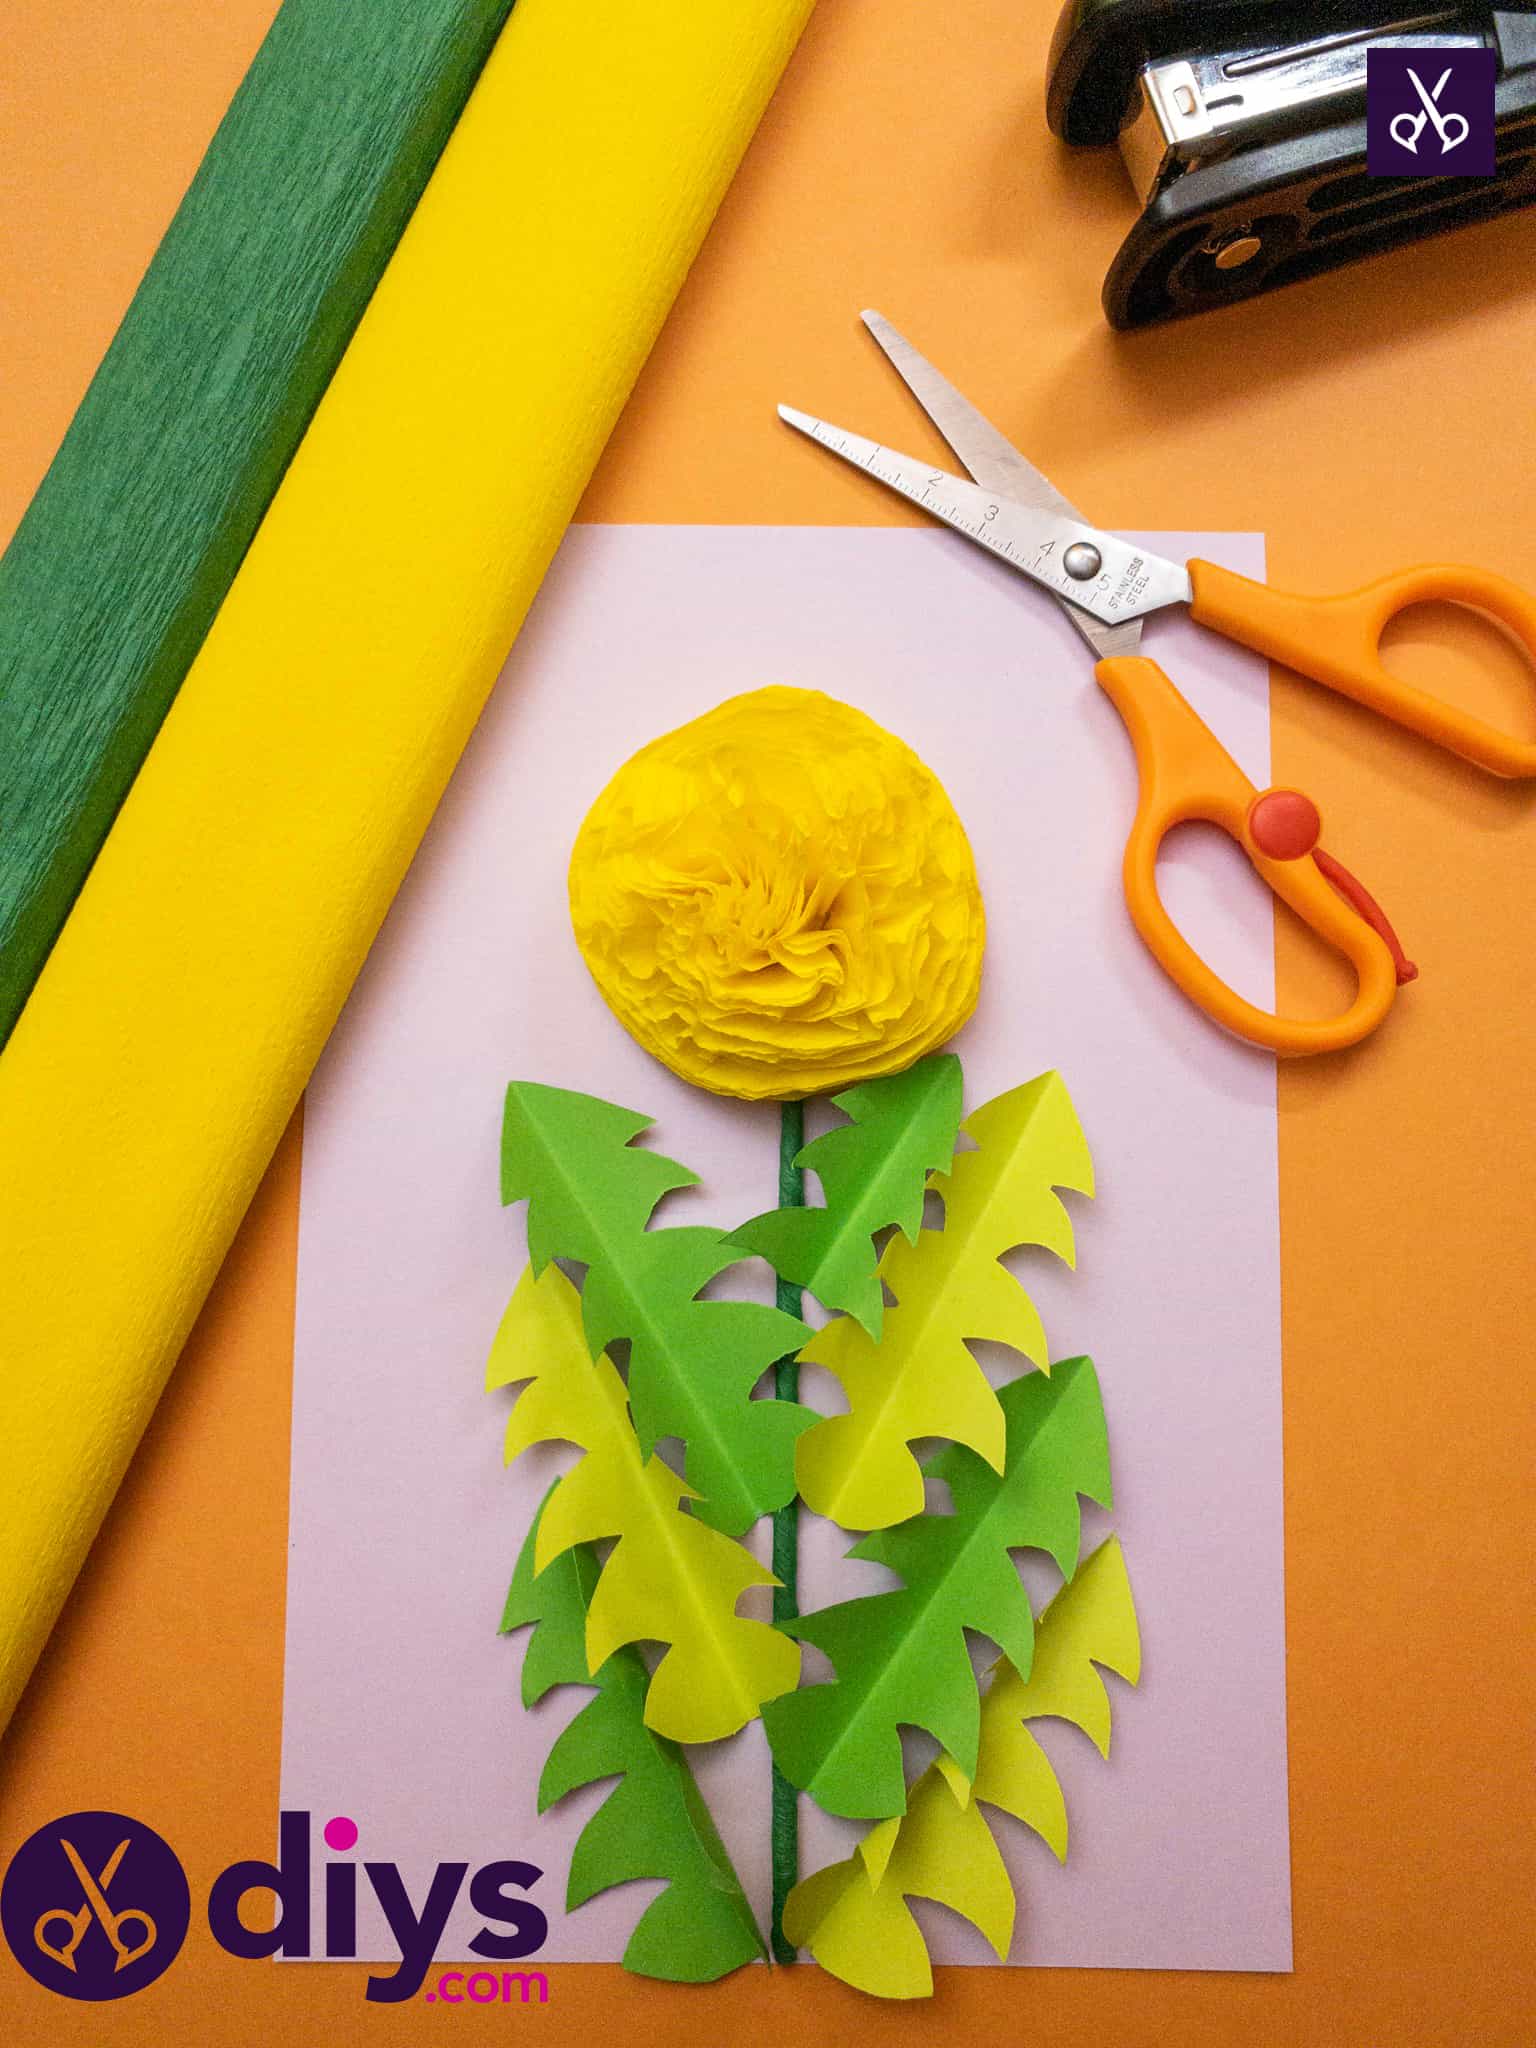
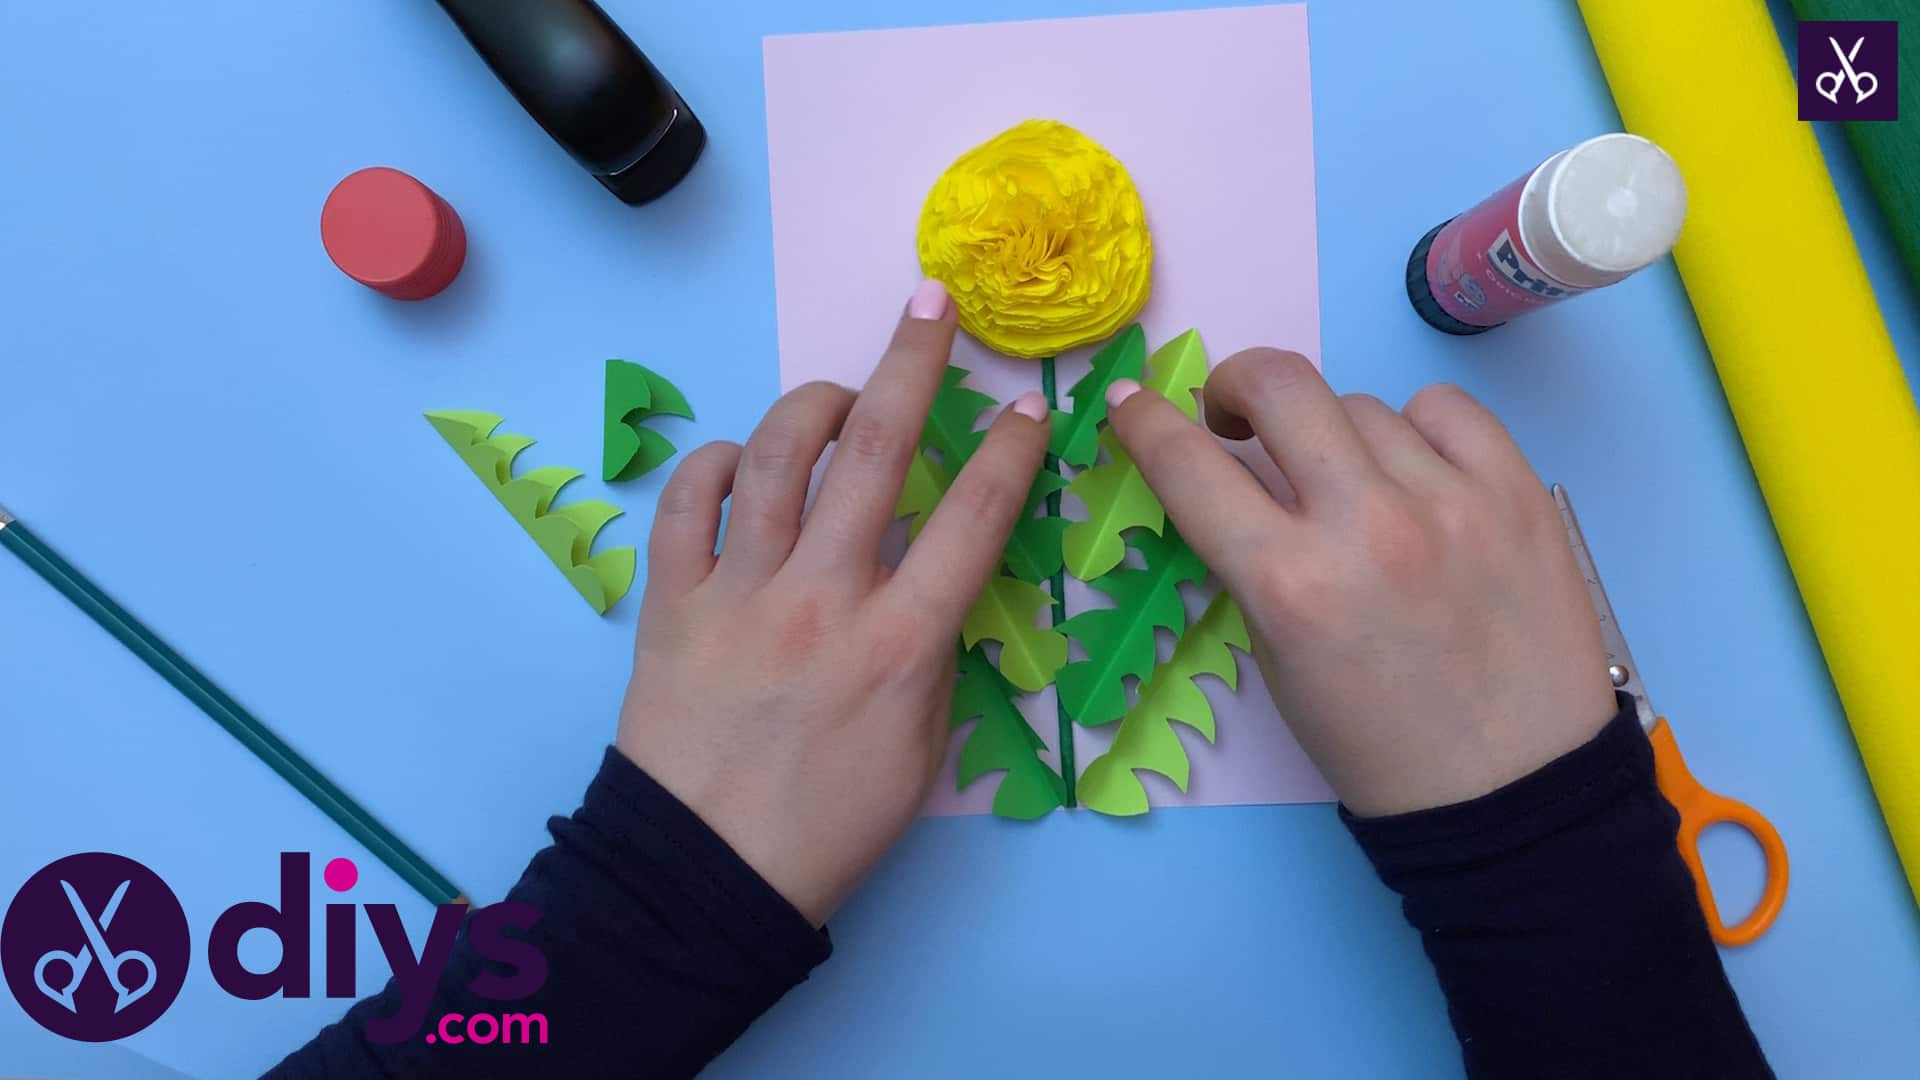
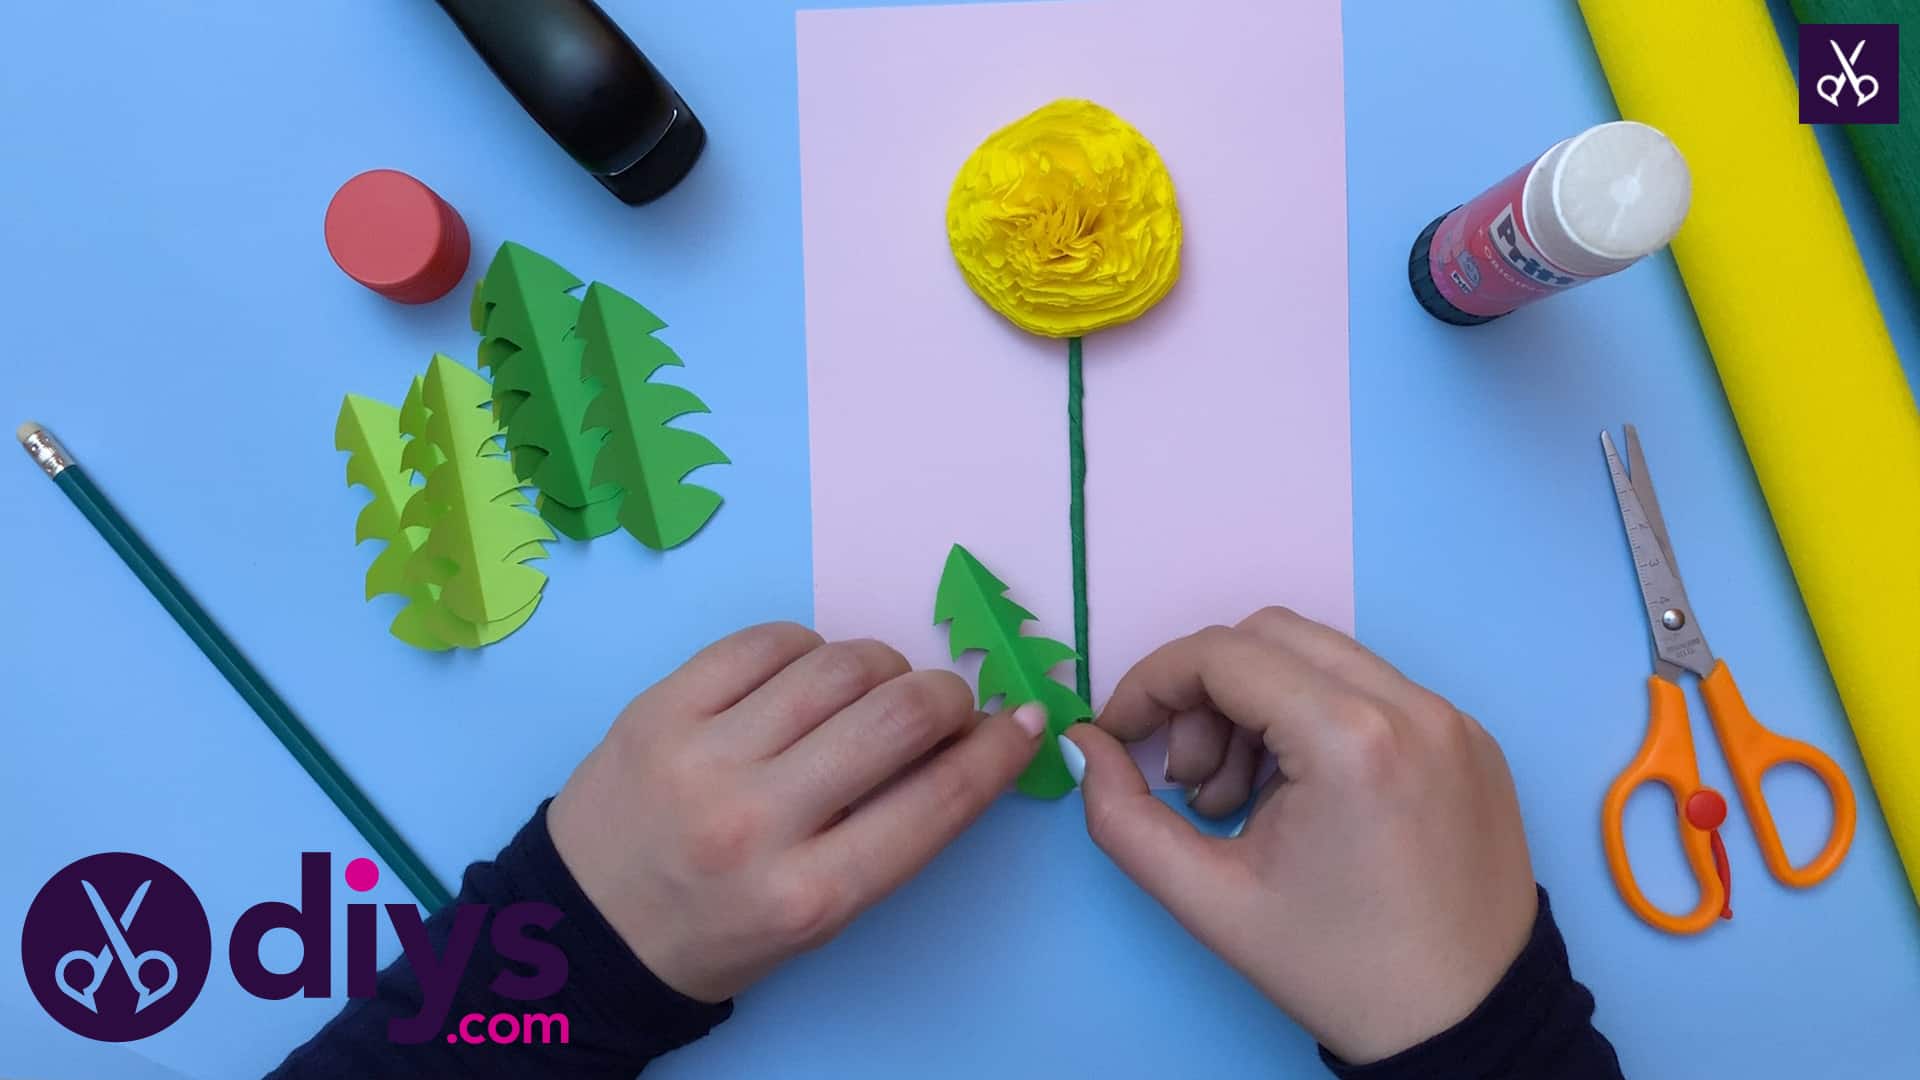
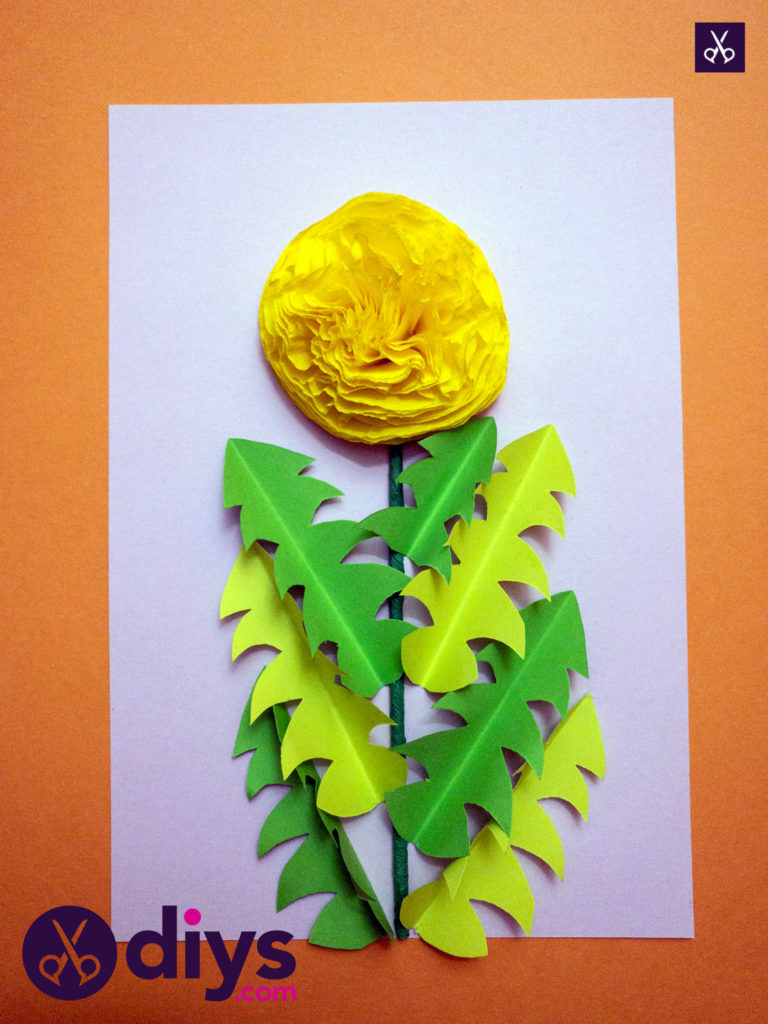
Glue all of your pieces to your backing page! We started with the stem, applying glue all along the length and pressing it into the page. Next, we glue the yellow flower on top of the skewer, putting the glue on the flattest part so that the gathered layers face upward.
Step 12: assemble
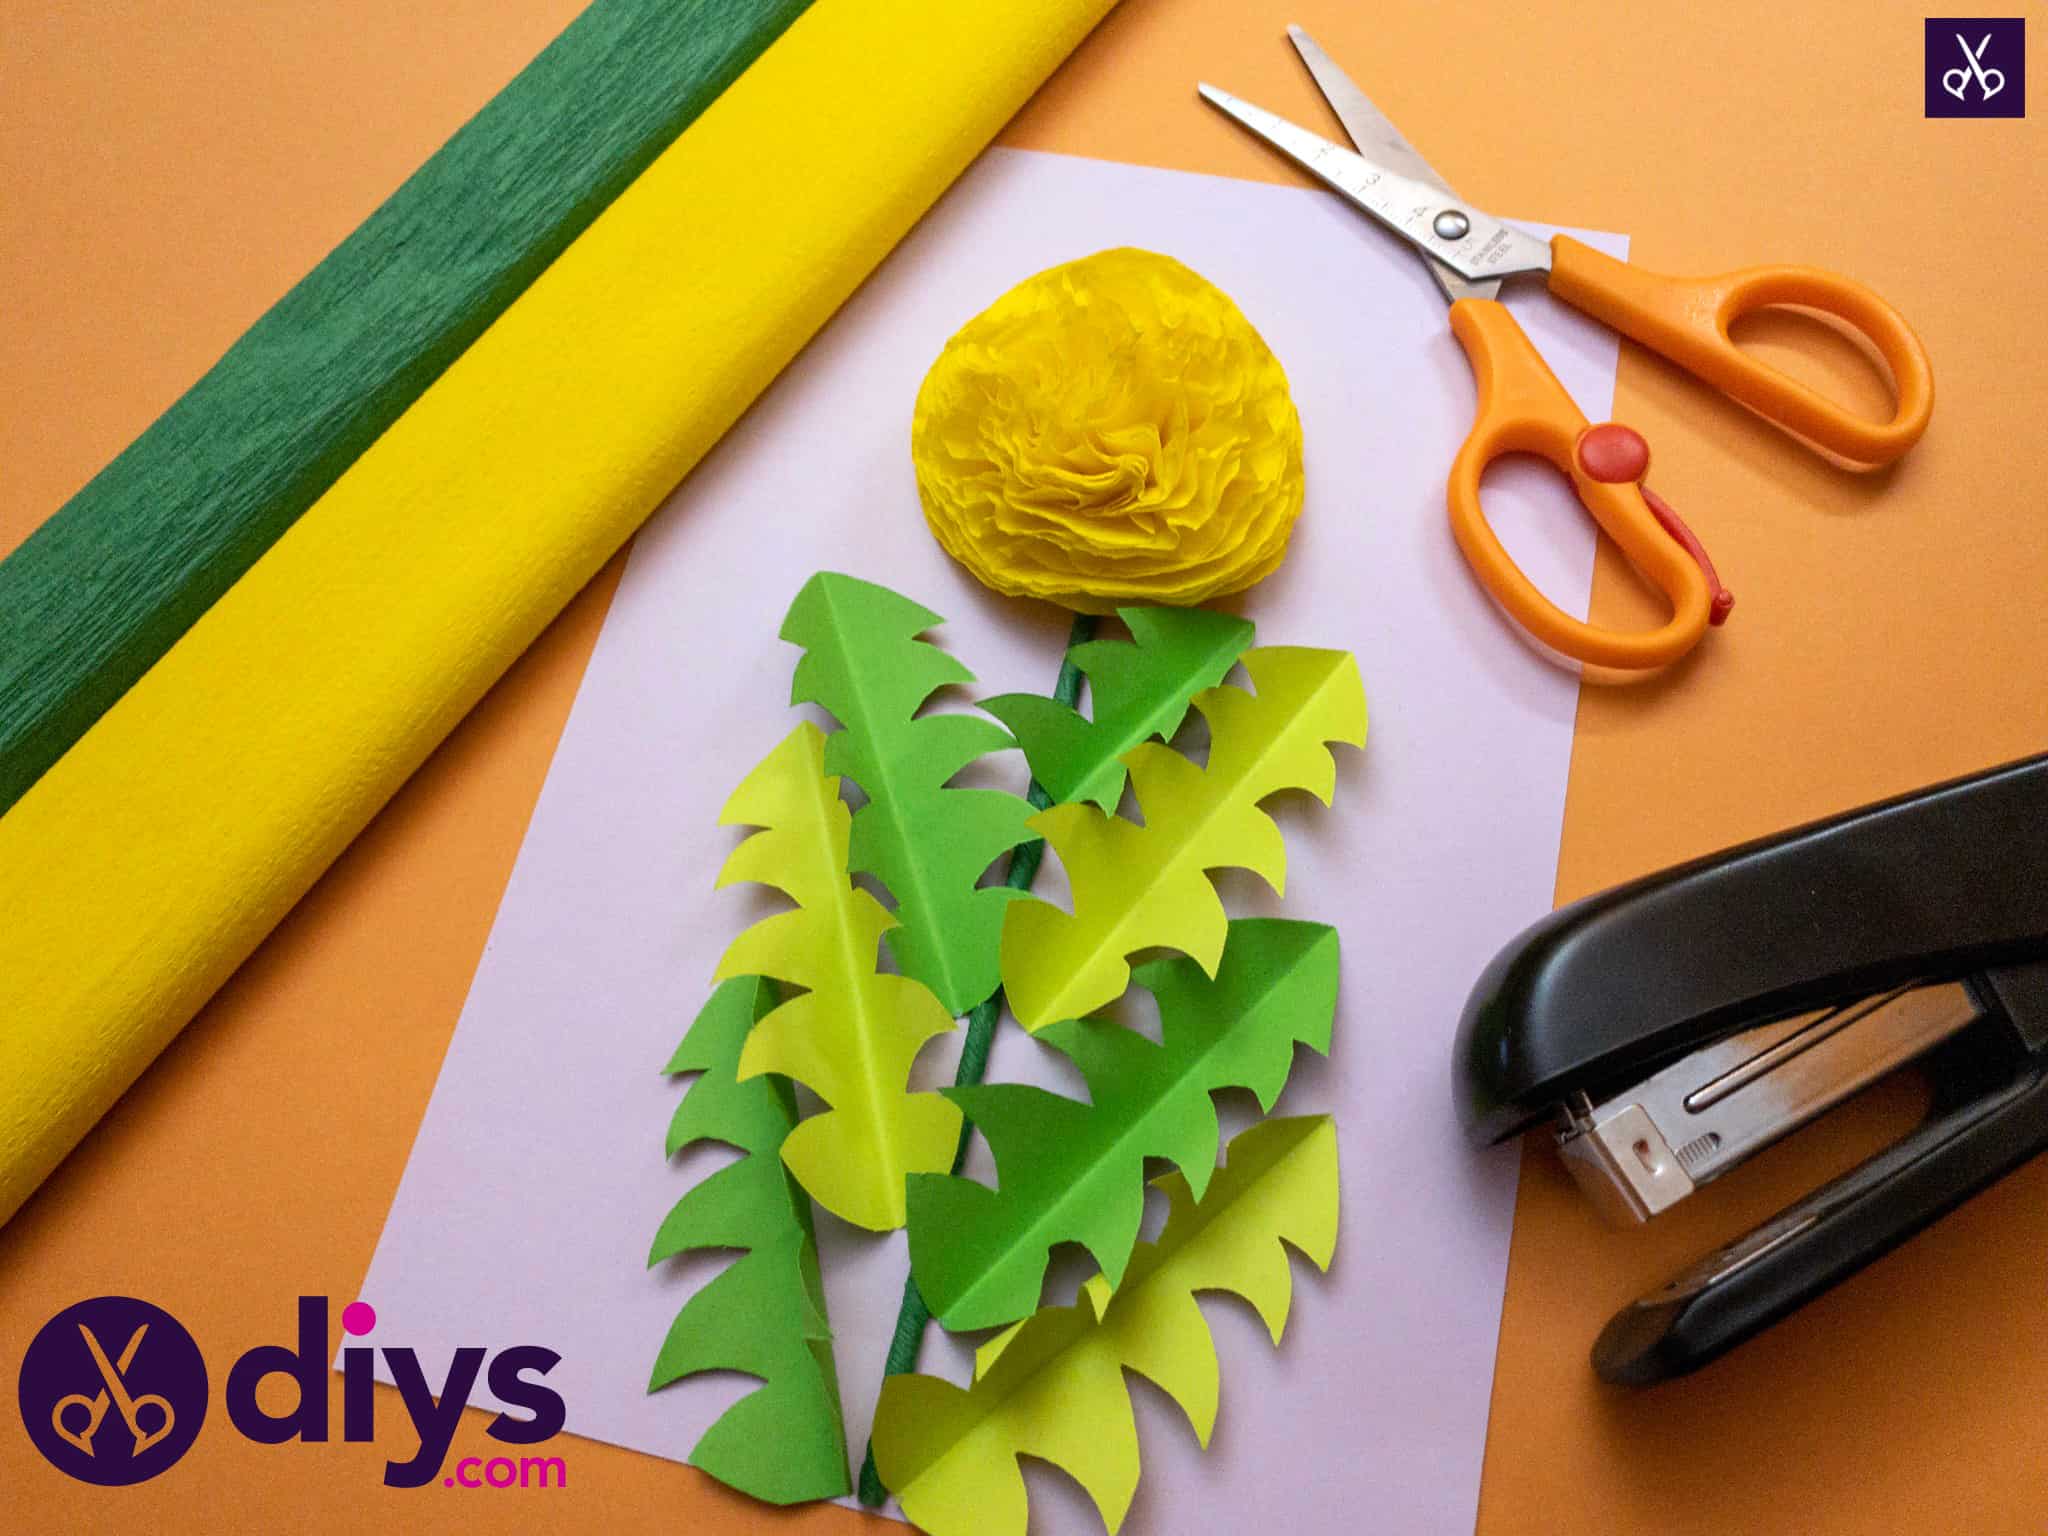
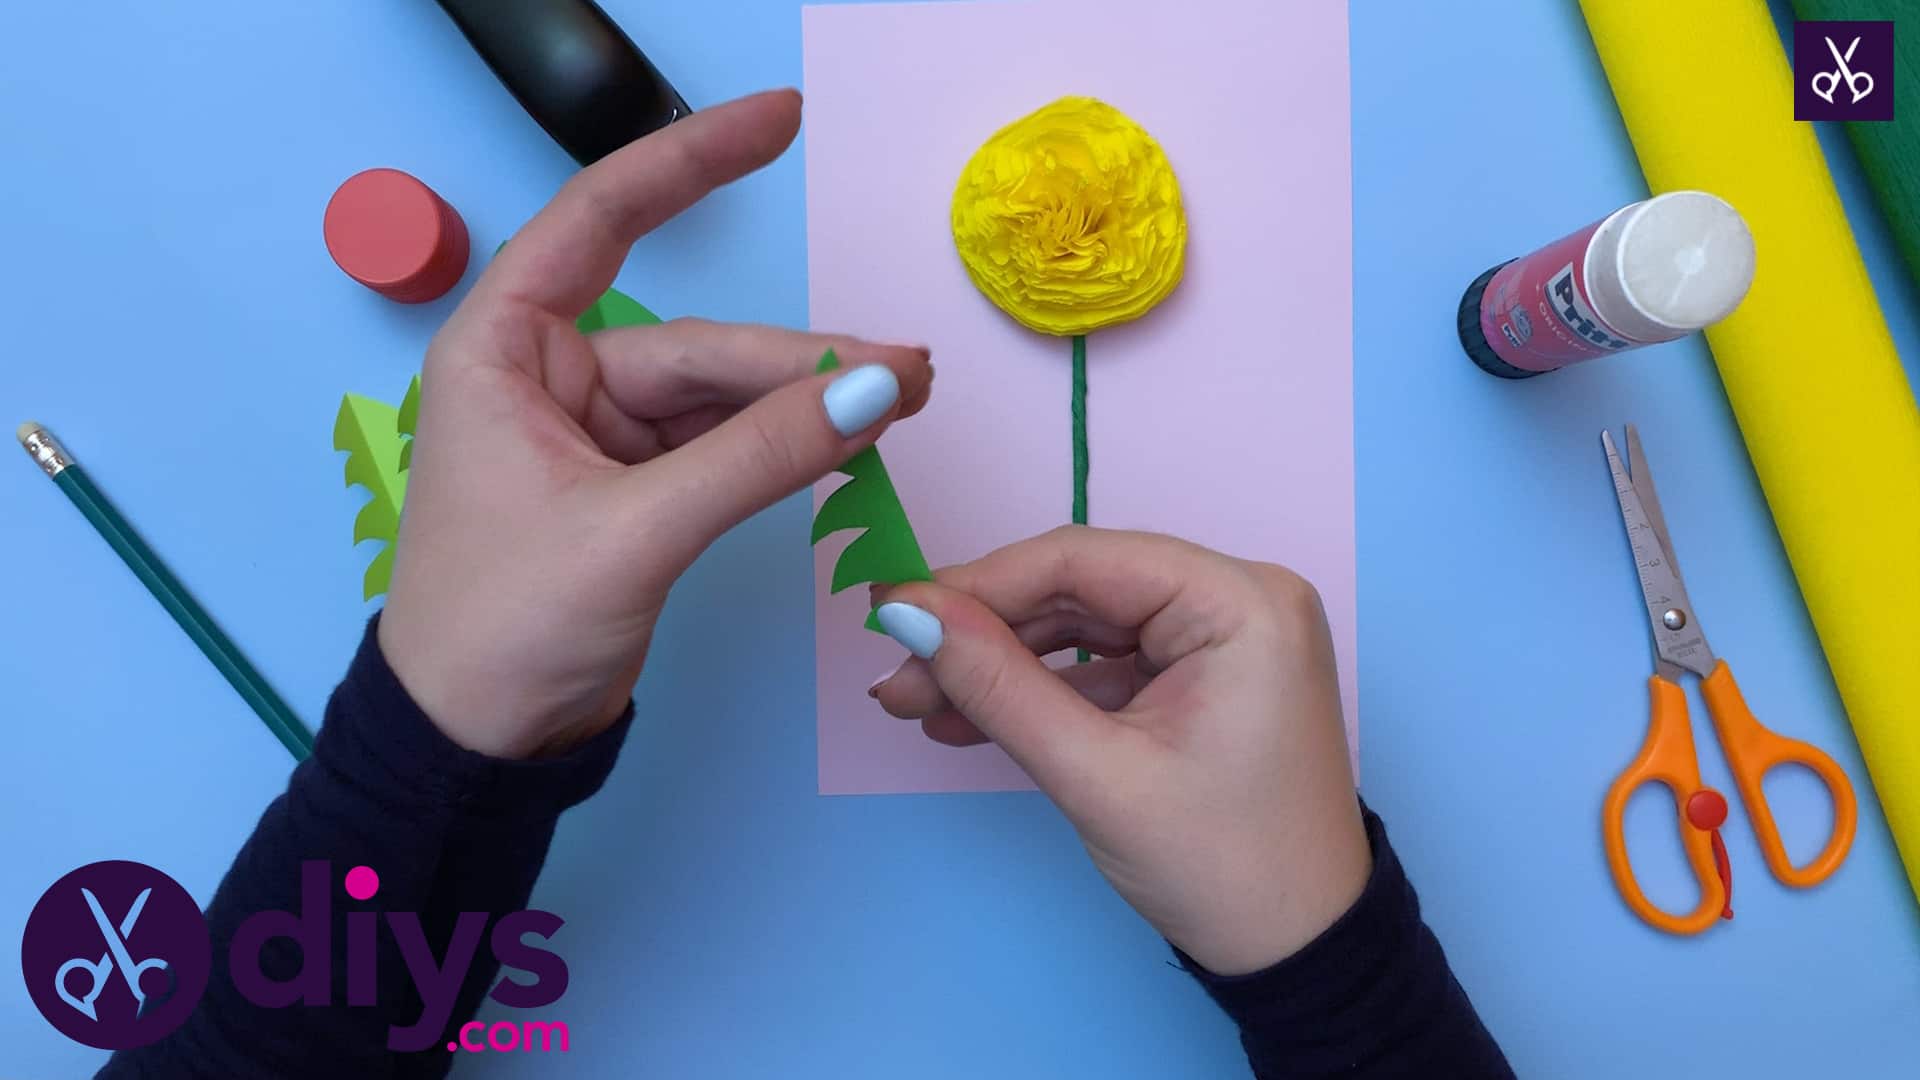
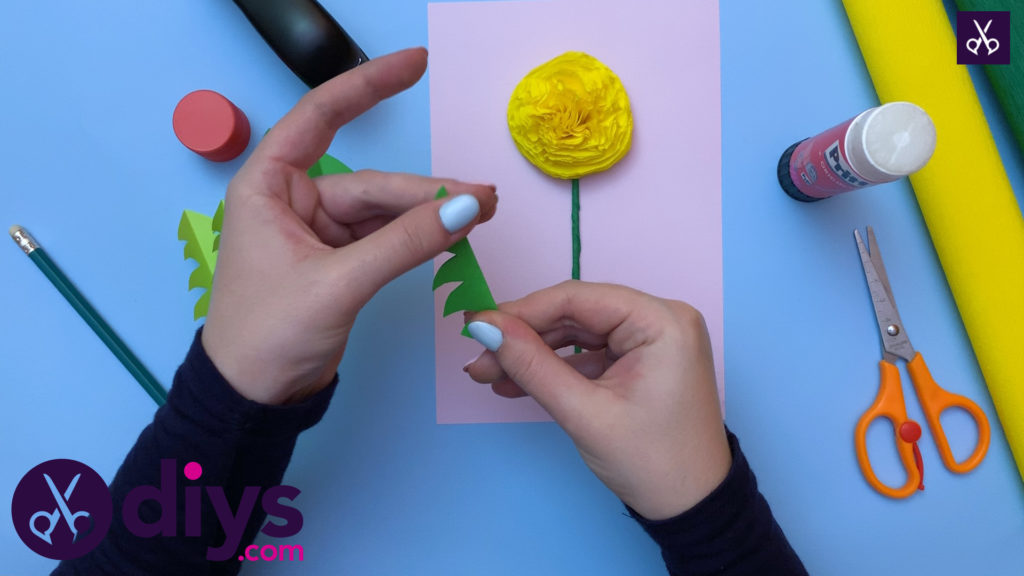
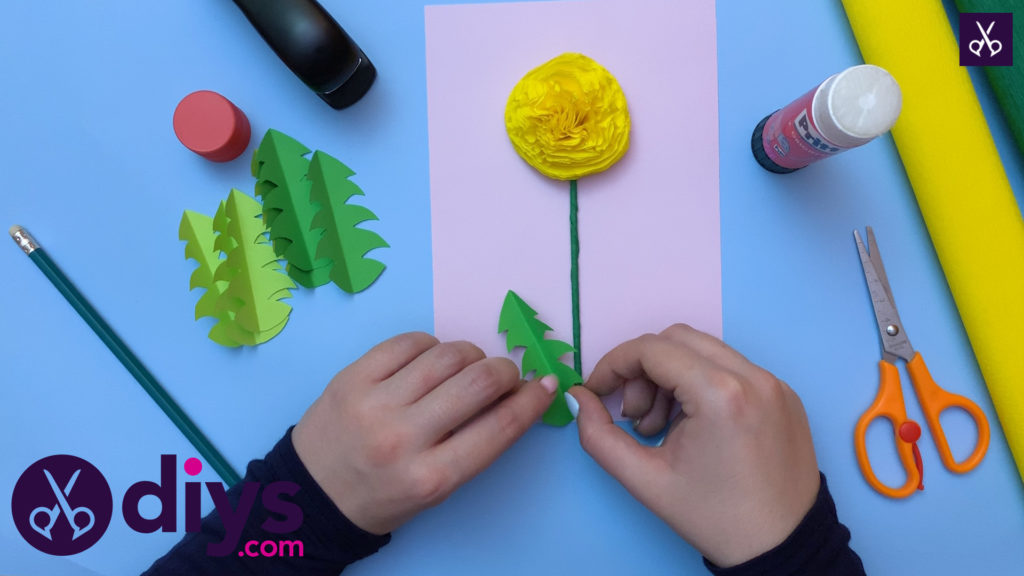
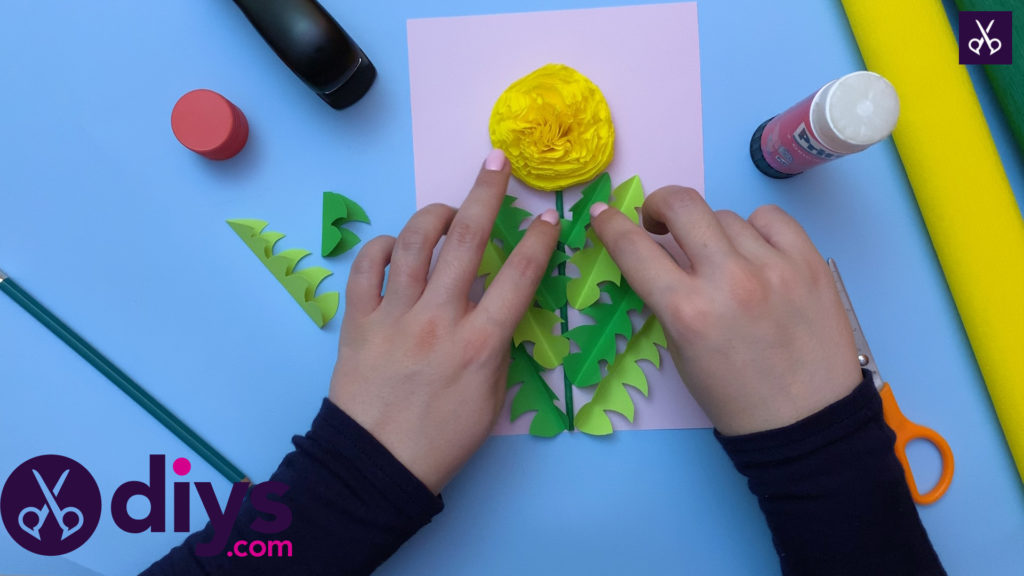
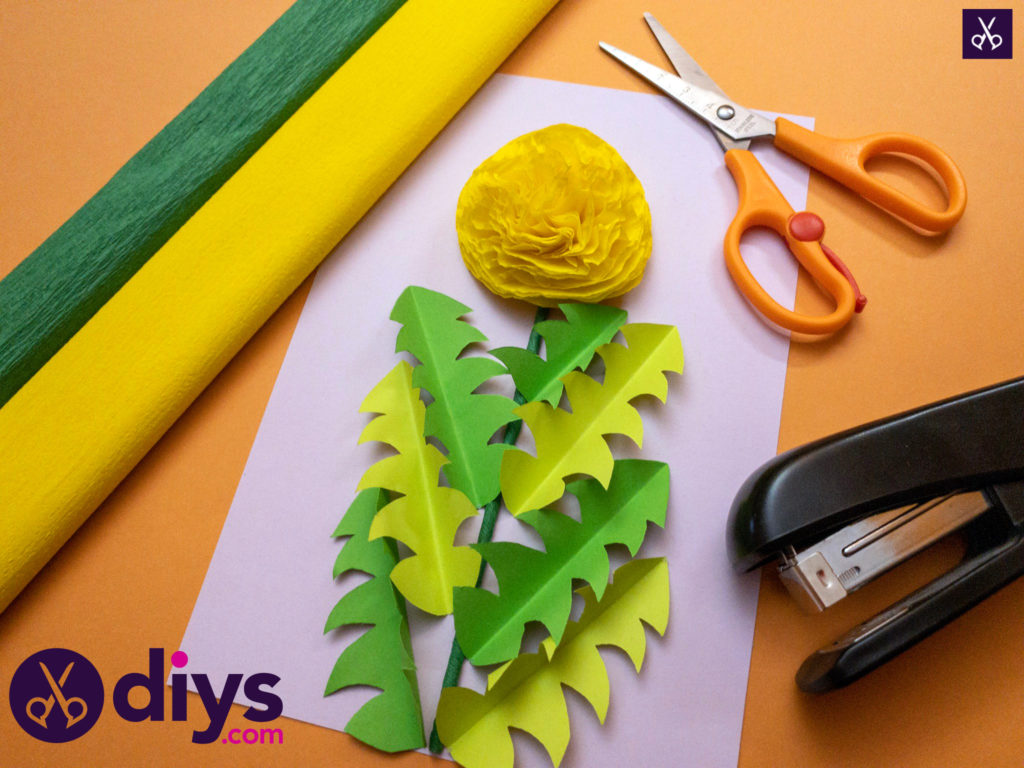
Fold each of your green leaves in half so they bounce up from the page. Apply glue down the folded back of each one and stick them at the base of the paper wrapped skewer. We opted to cut some of our leaves a little shorter and glue them in decreasing size upwards, like layers of leaves on a real plant.
You’re all finished! You now have a textured piece of floral art rather than just a 2D drawing or cut and paste job.
Find a full video tutorial for this awesome project here!
