DIY Cotton Flower Wreath – Make Your Own Gorgeous Cotton Flower Wreath
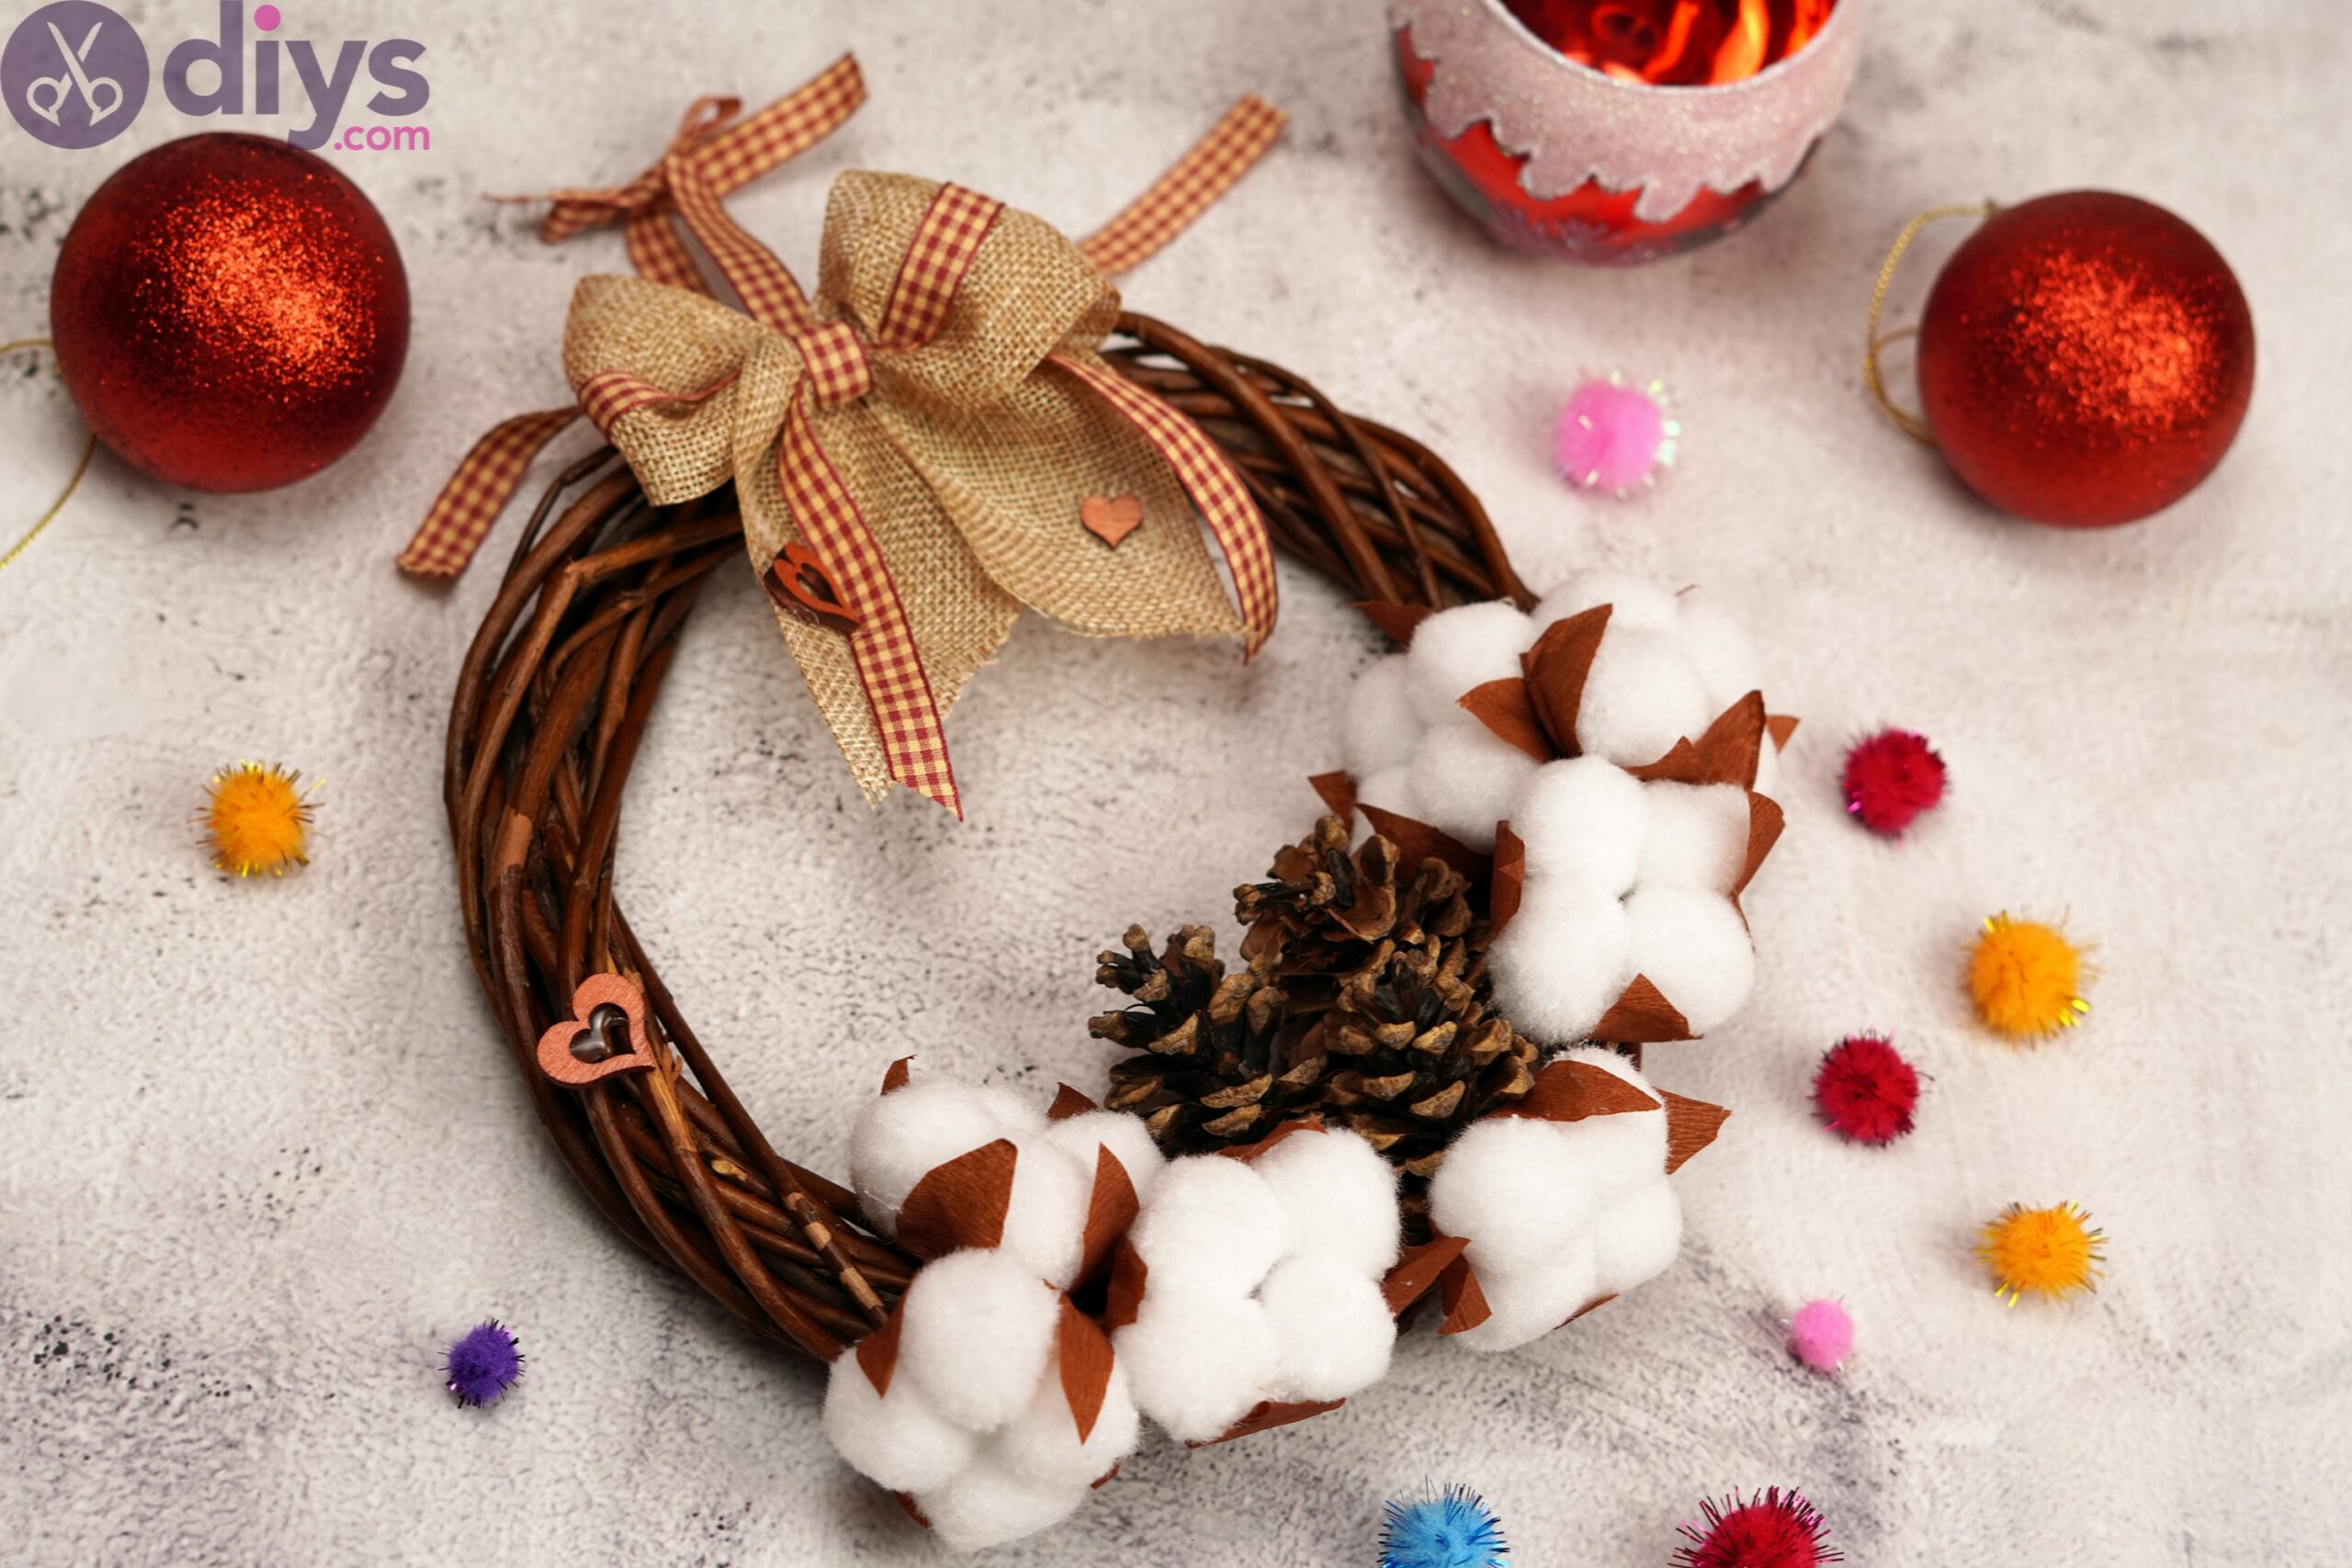
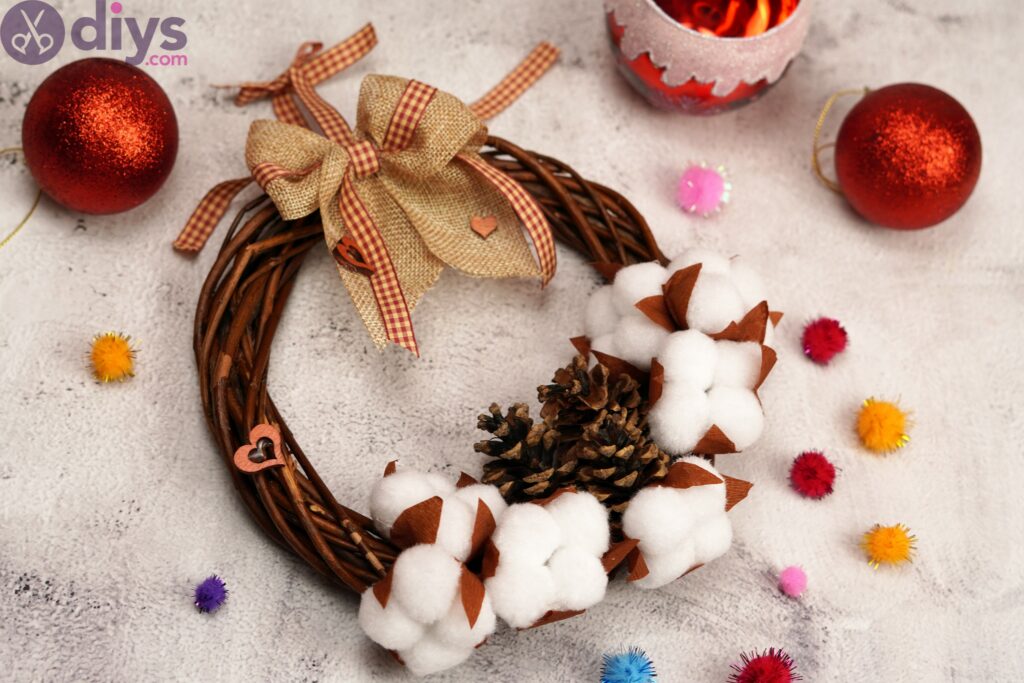
Wreaths are some of the most beautiful decorations you can make, whether you place them on your front door or on the wall in your home. Either way, this cotton flower wreath is absolutely gorgeous and we’re sure you want to know how to make one too.
We mean, just look at it! It’s straight out of a fairy tale – chic, dreamy, perfect. It’s also fairly easy to make if you have all the tools so we suggest you go digging through your craft baskets, buying everything you need beforehand, and gathering them all.
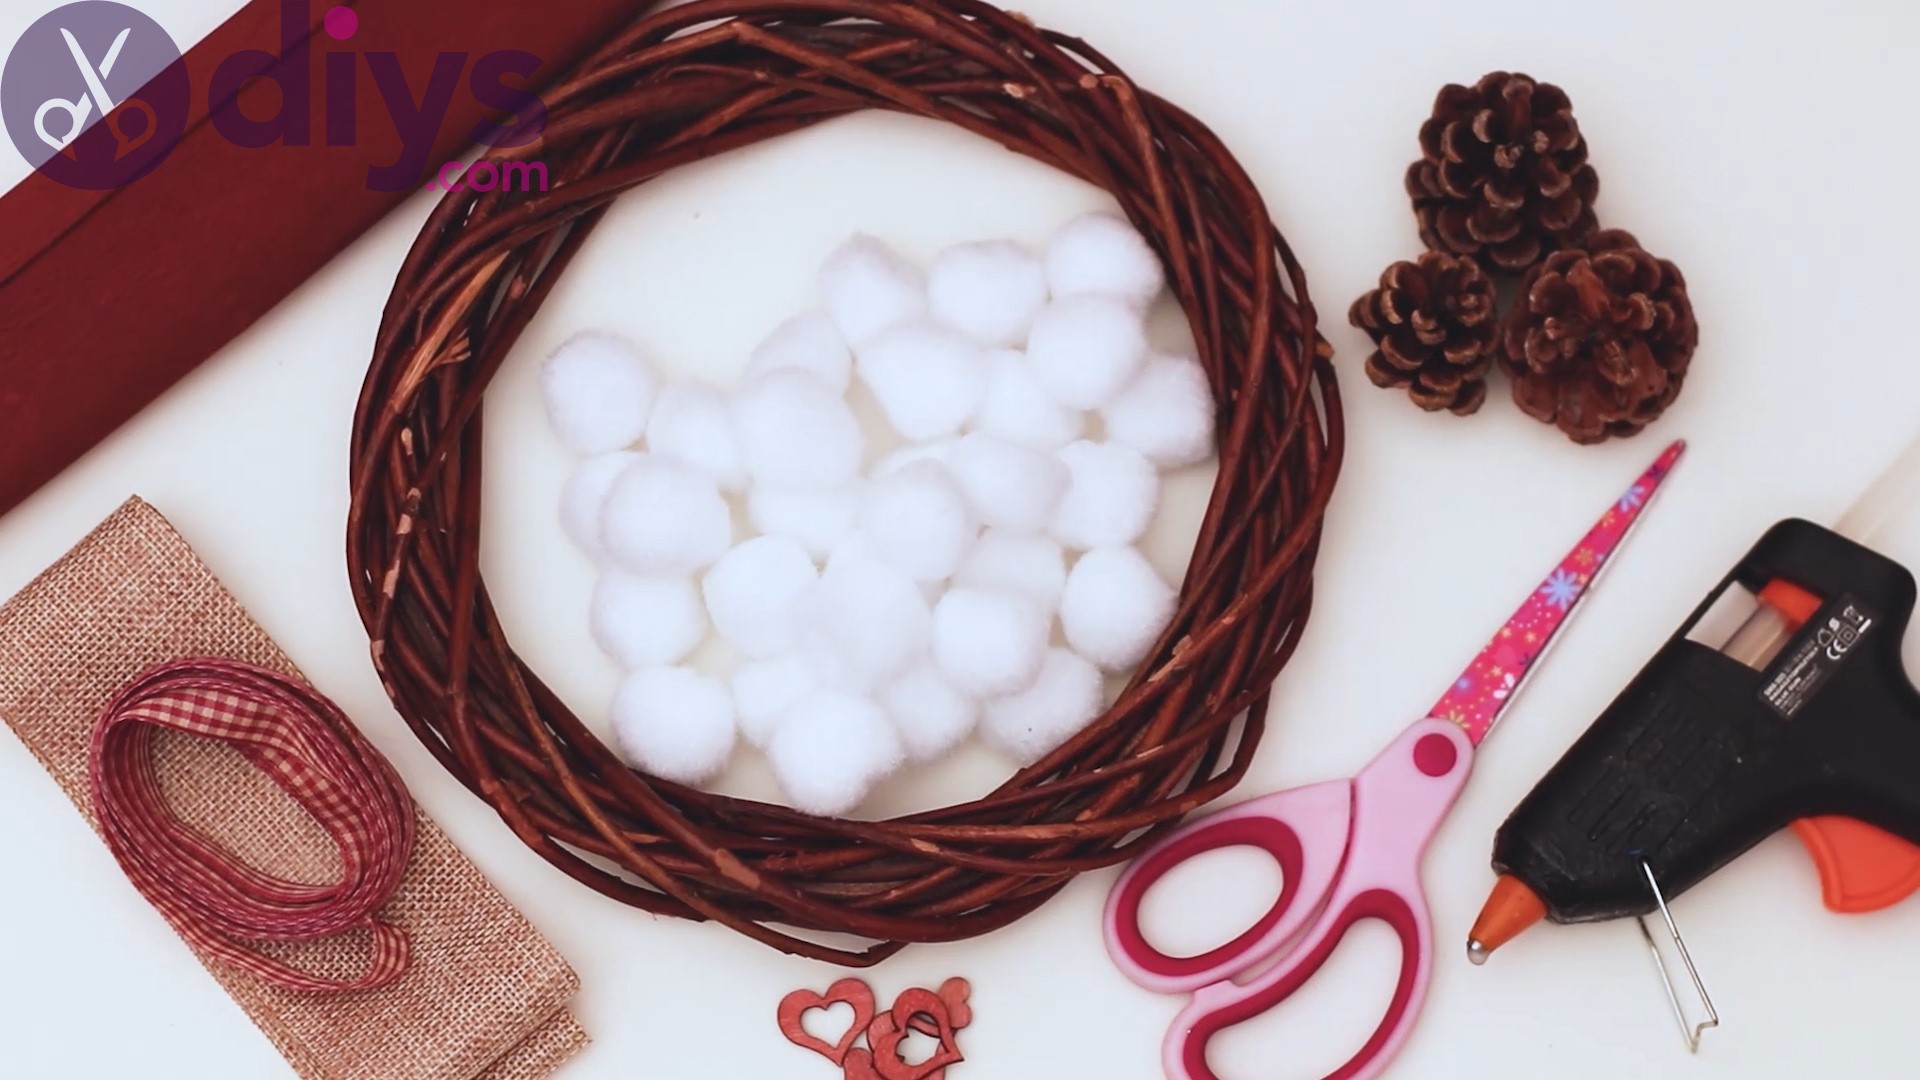
Materials for cotton flower wreath
- wreath base
- brown crepe paper
- silk ribbon
- jute ribbon
- small decor wood heart
- white pompoms
- pinecones
- scissors
- glue gun
How to make a cotton flower wreath
Before we go any further, please make sure that you have all the materials on hand so you can make your own beautiful cotton flower wreath. You really don’t want to go looking for various materials when you’re in the middle of putting this together!
Step 1: Cut come crepe leaves
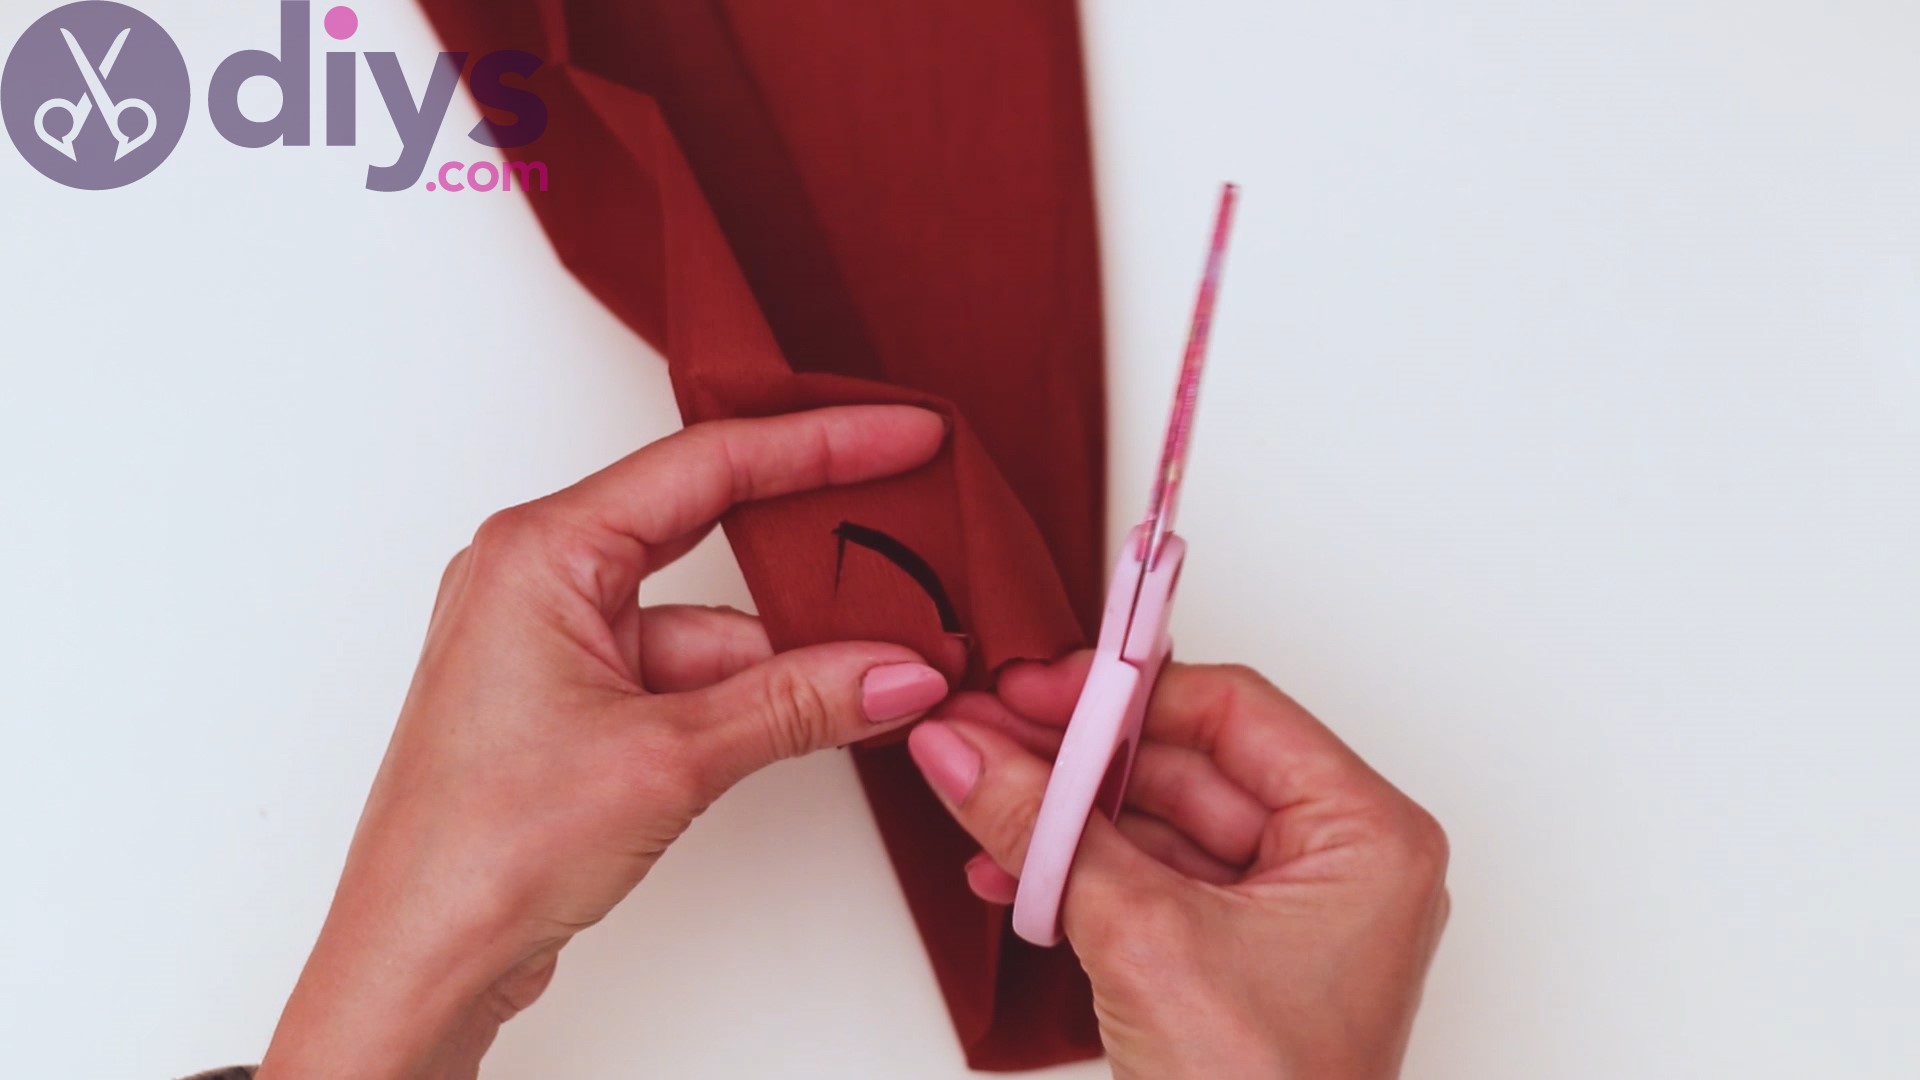
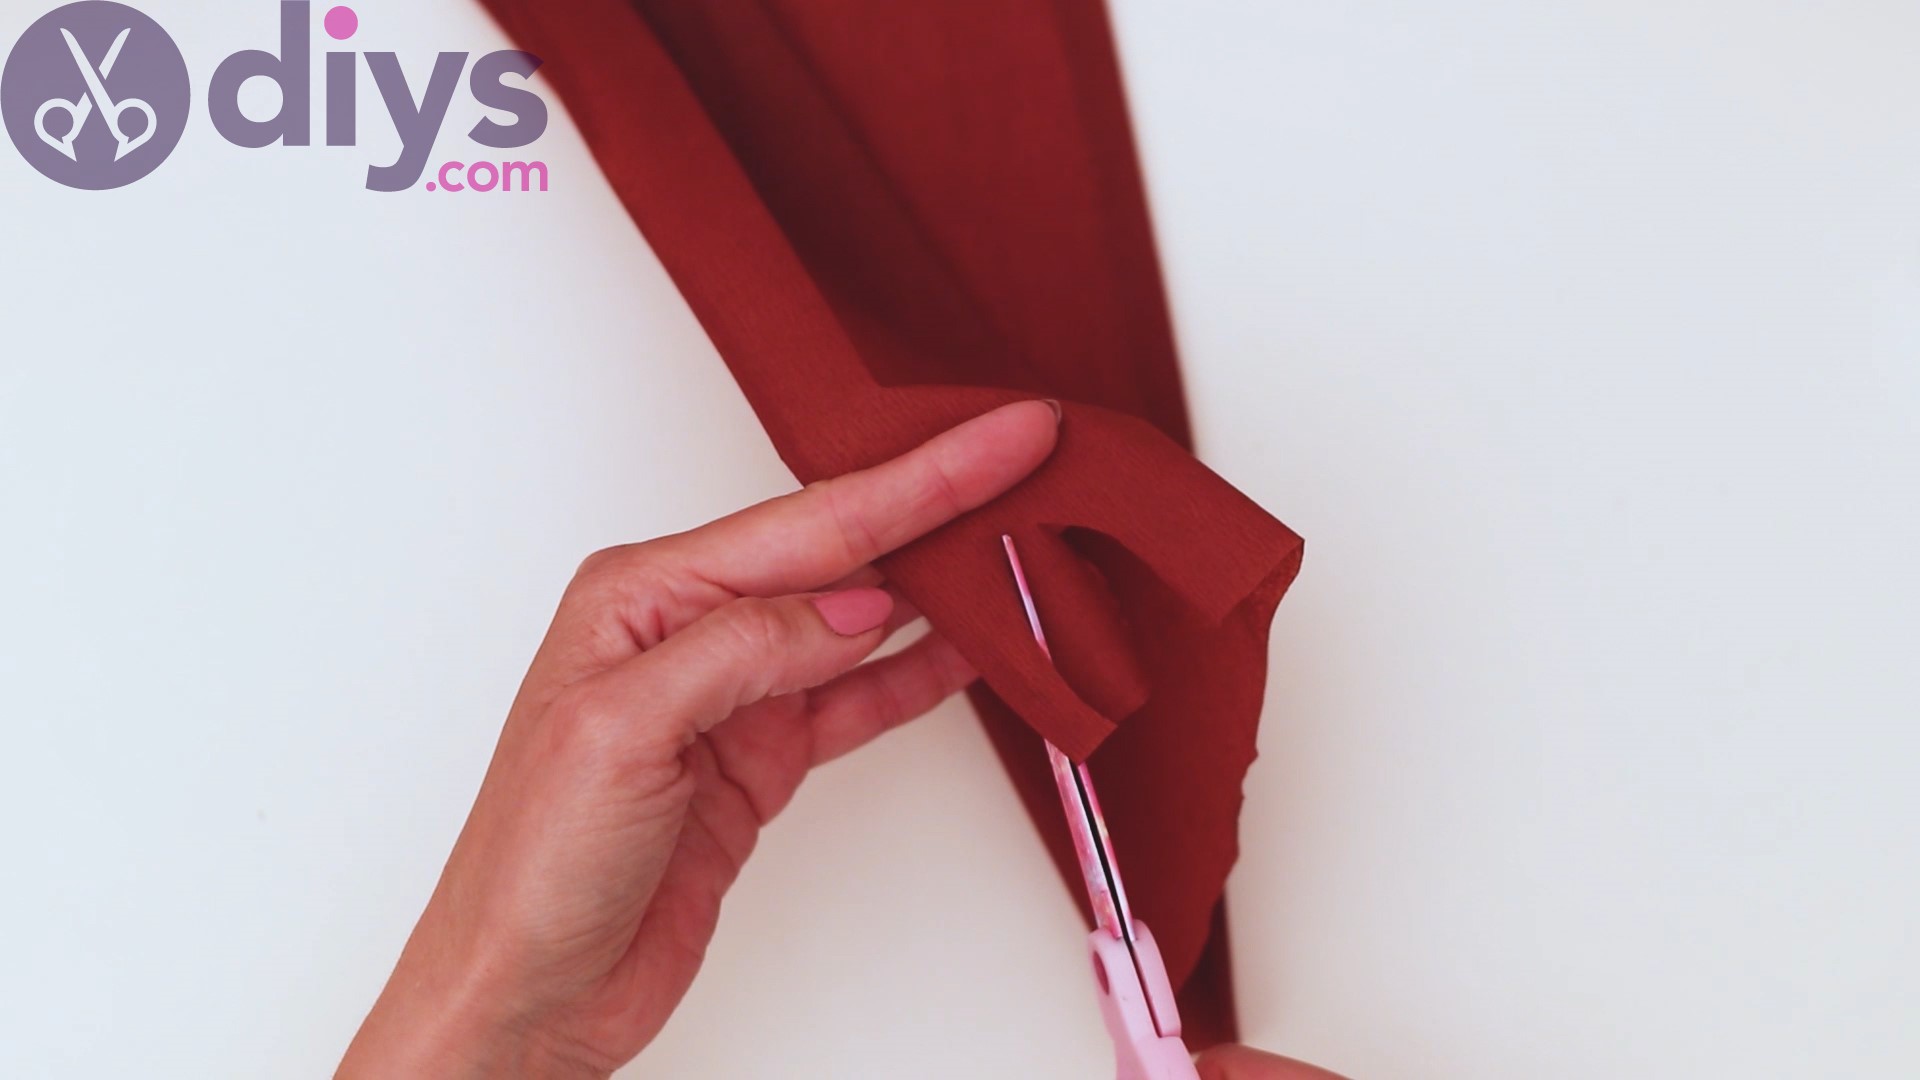
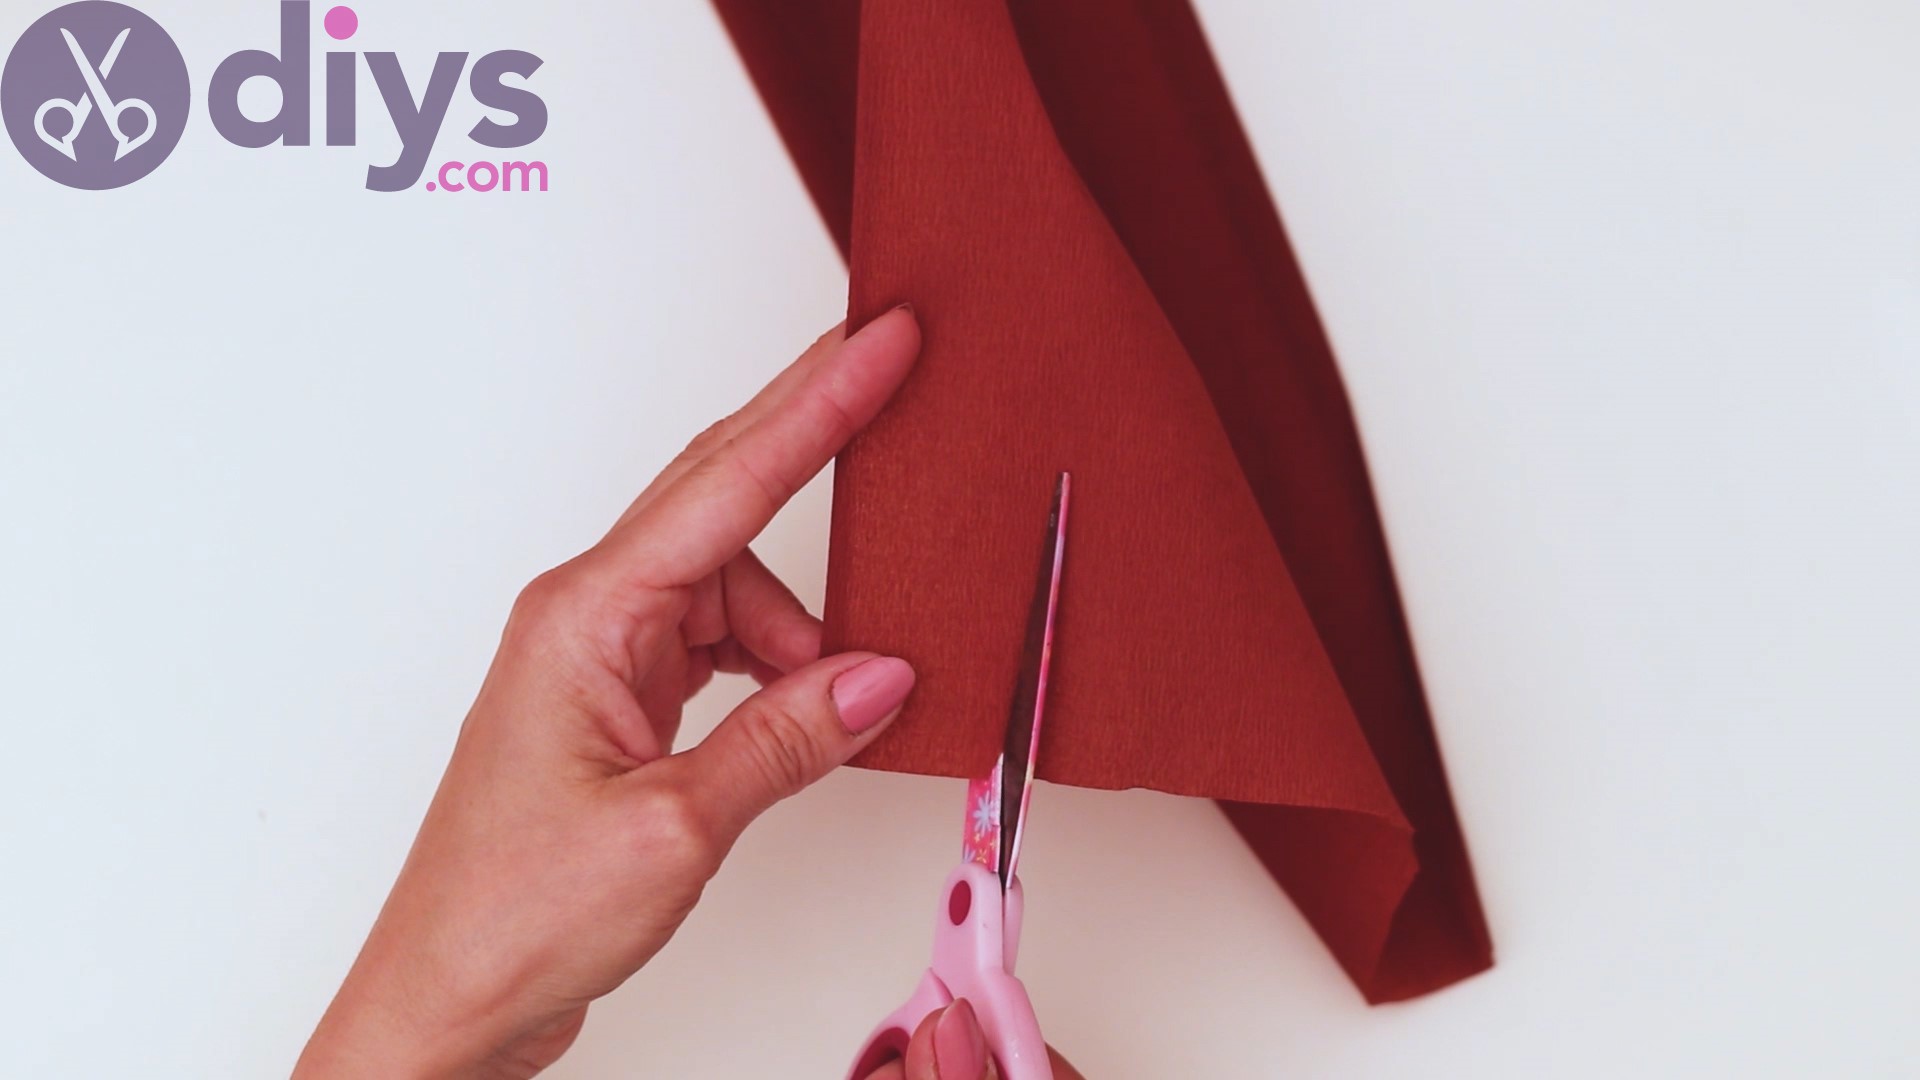
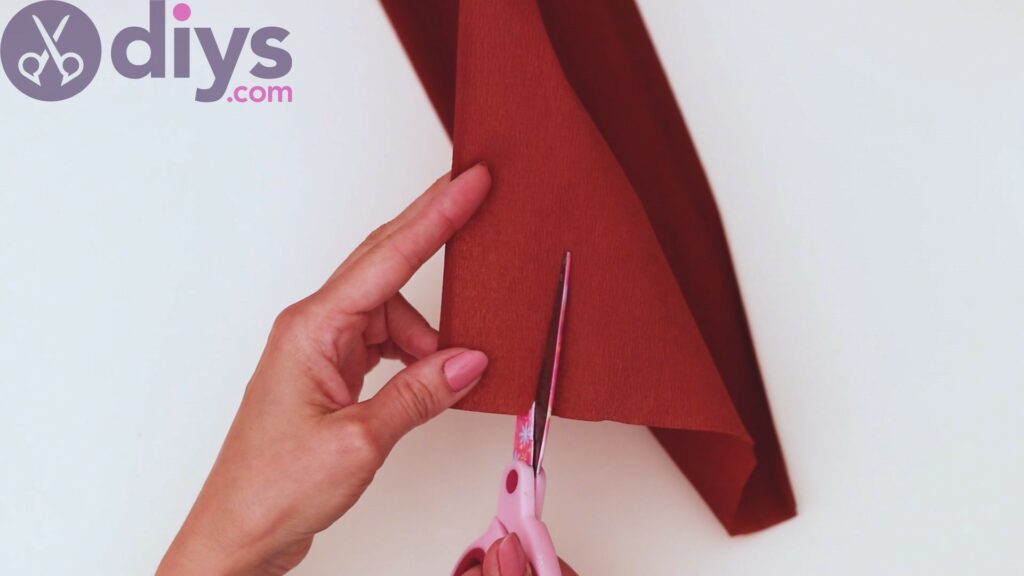
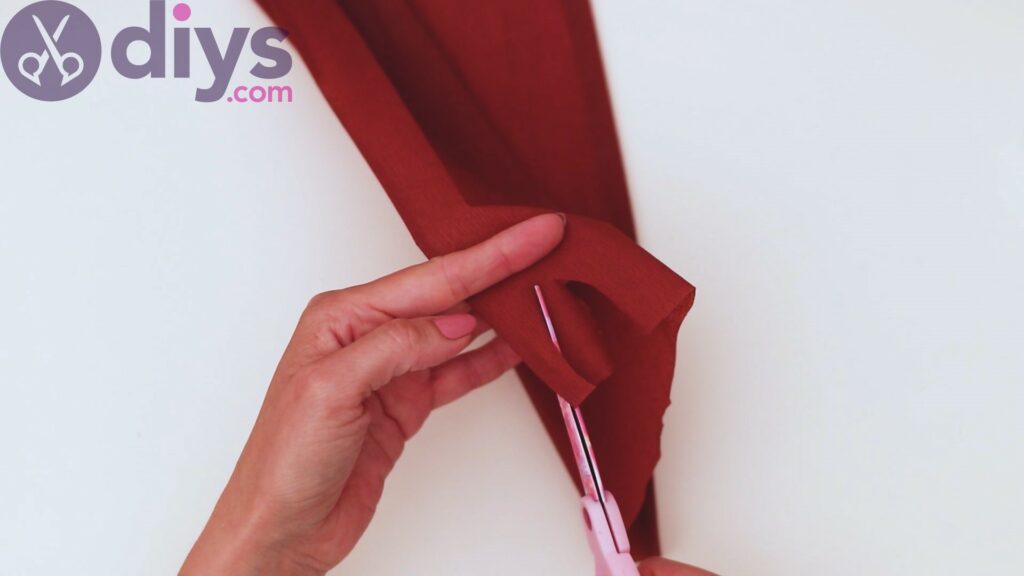
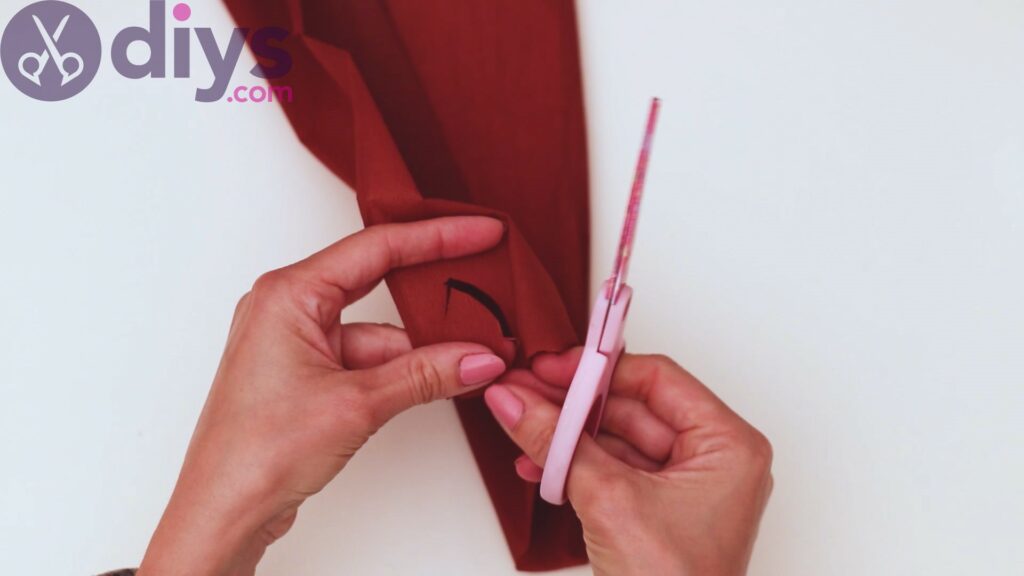
The first thing you need to do is to pick up the brown crepe paper and thescissors.Start cutting out leaf shapes from the material. Whether you cut out one by one or you fold the crepe paper and cut more in one go is up to you, although you may obtain more accuracy by cutting them individually.
Make sure they’re all pretty when you cut them out. You don’t want them to be too thin, as they’ll encircle the cotton flowers.
Step 2: Make cotton flowers
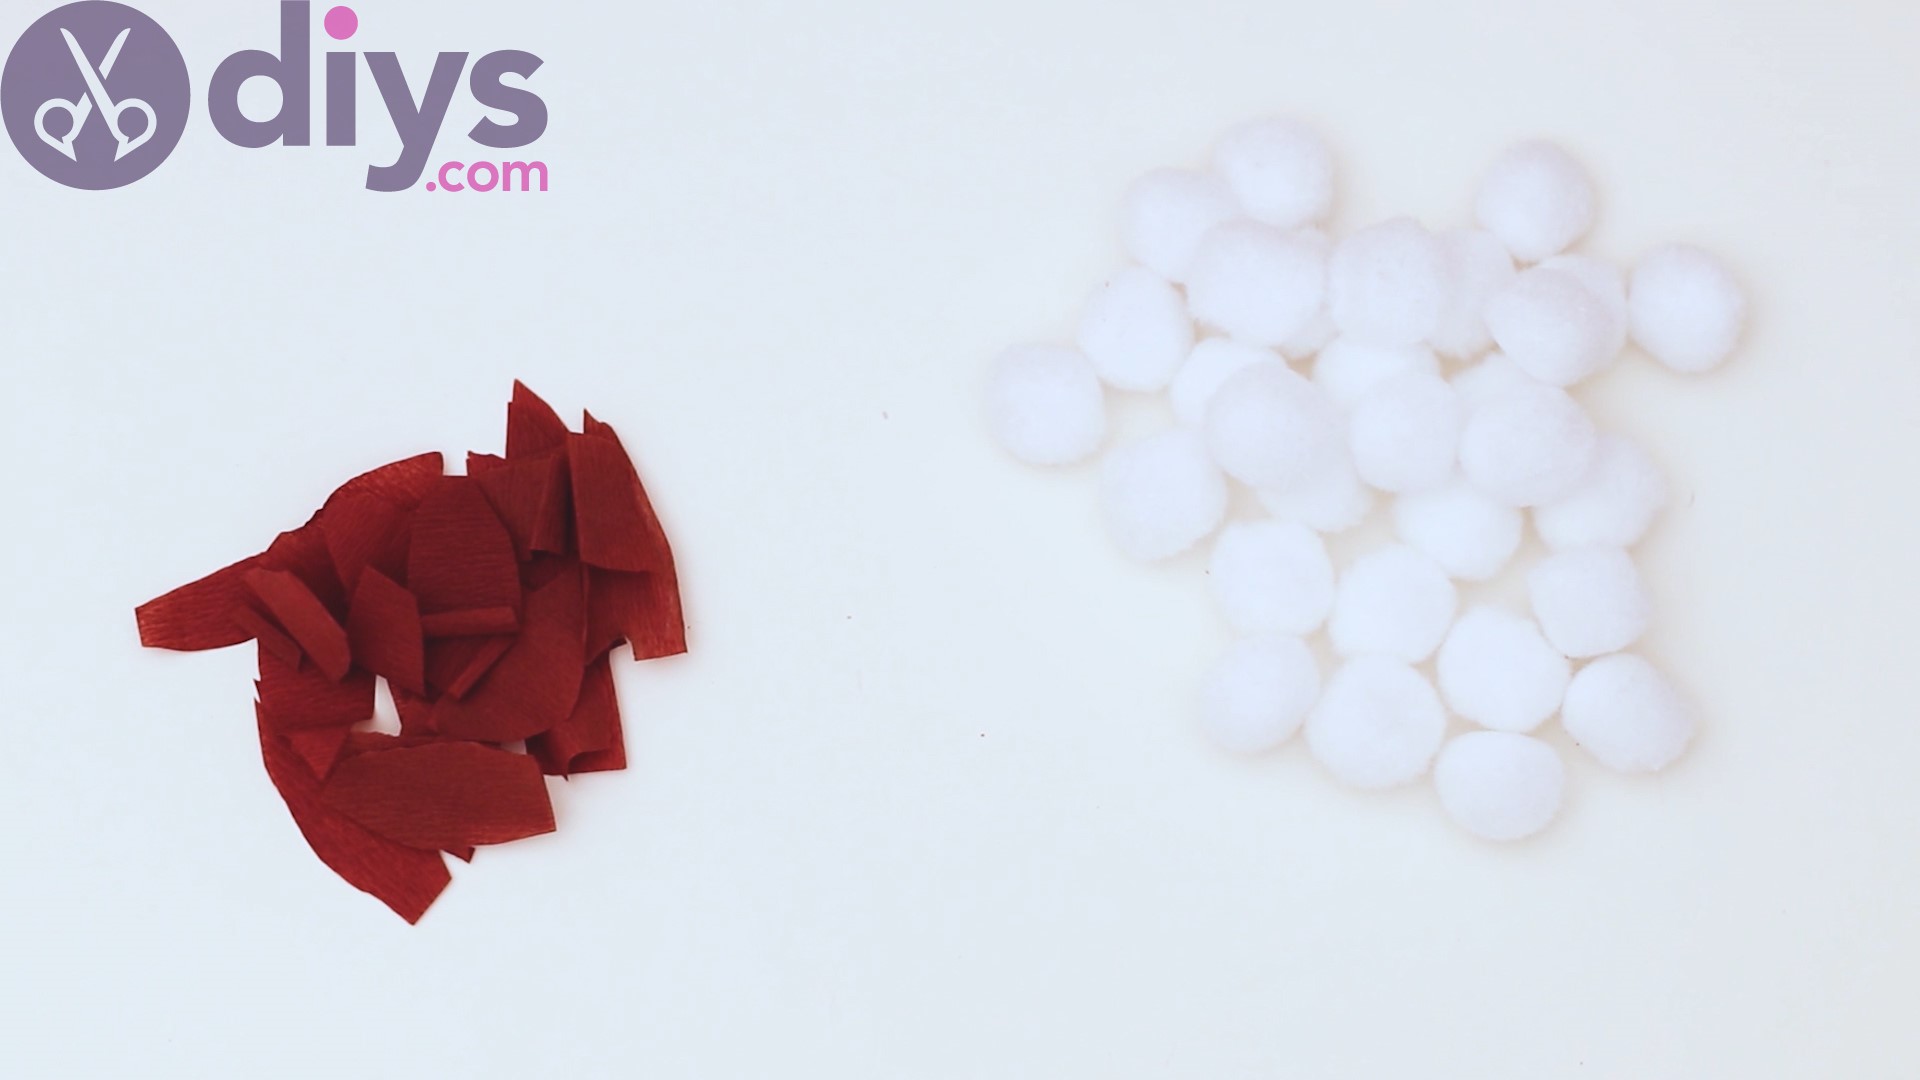
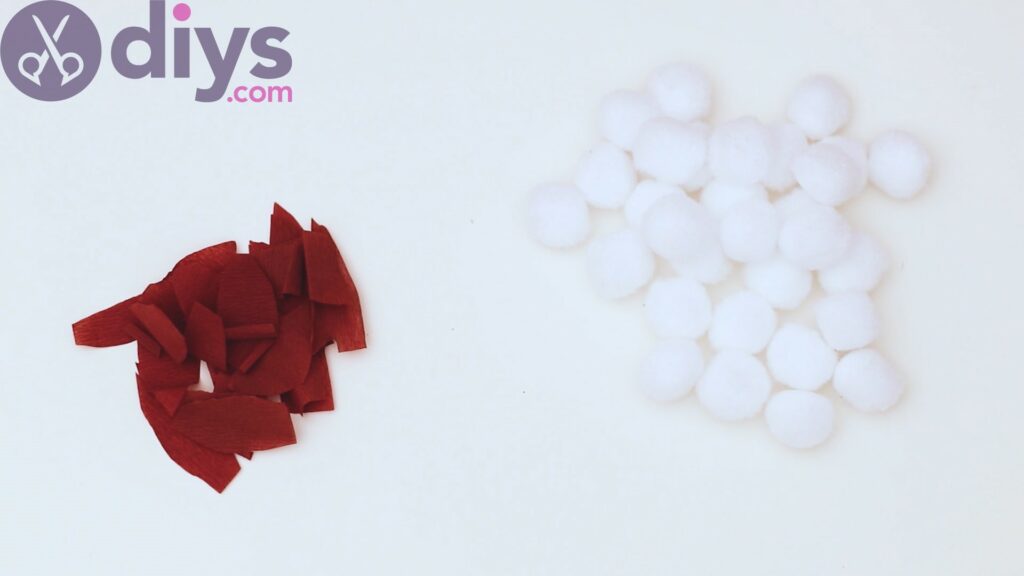
Cotton flowers are white and puffy and look adorable. So, let’s try to recreate that as best as possible. Get thewhite pompons and the crepe leaves you just cut.
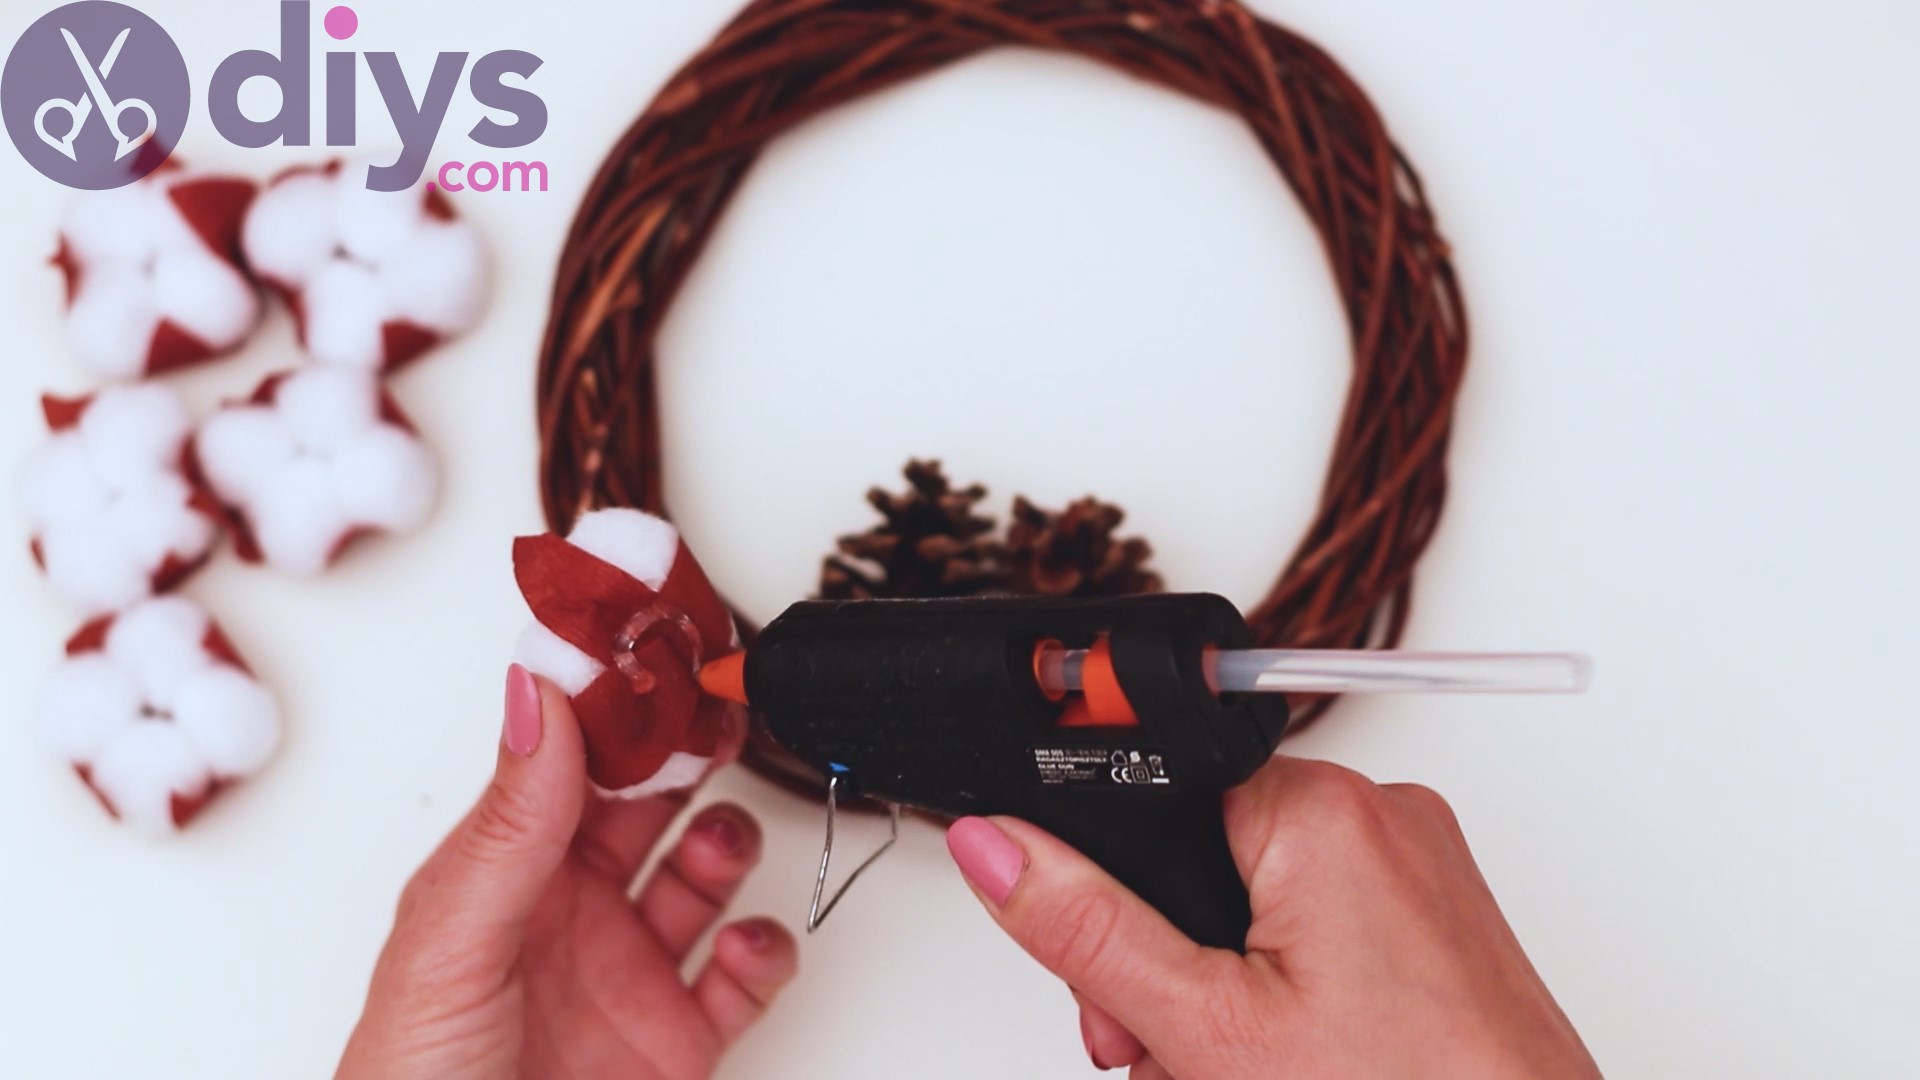
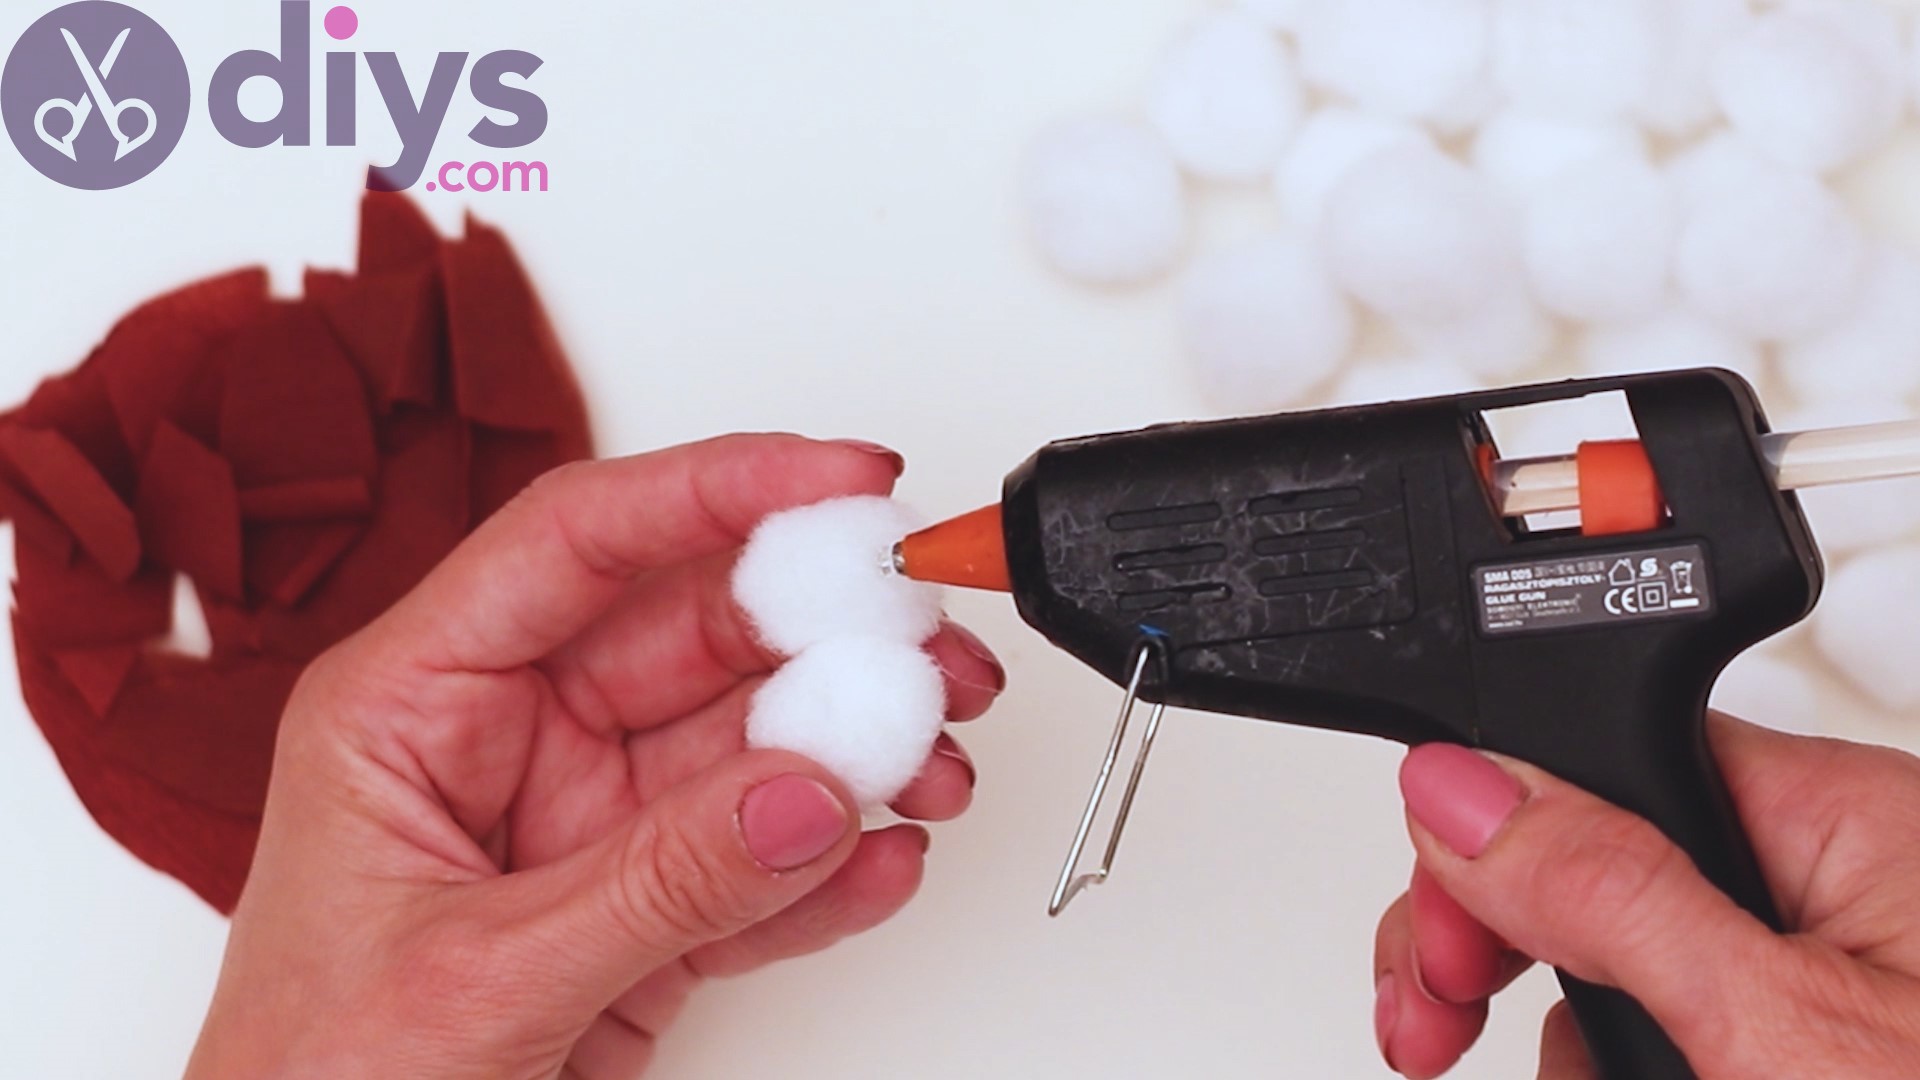
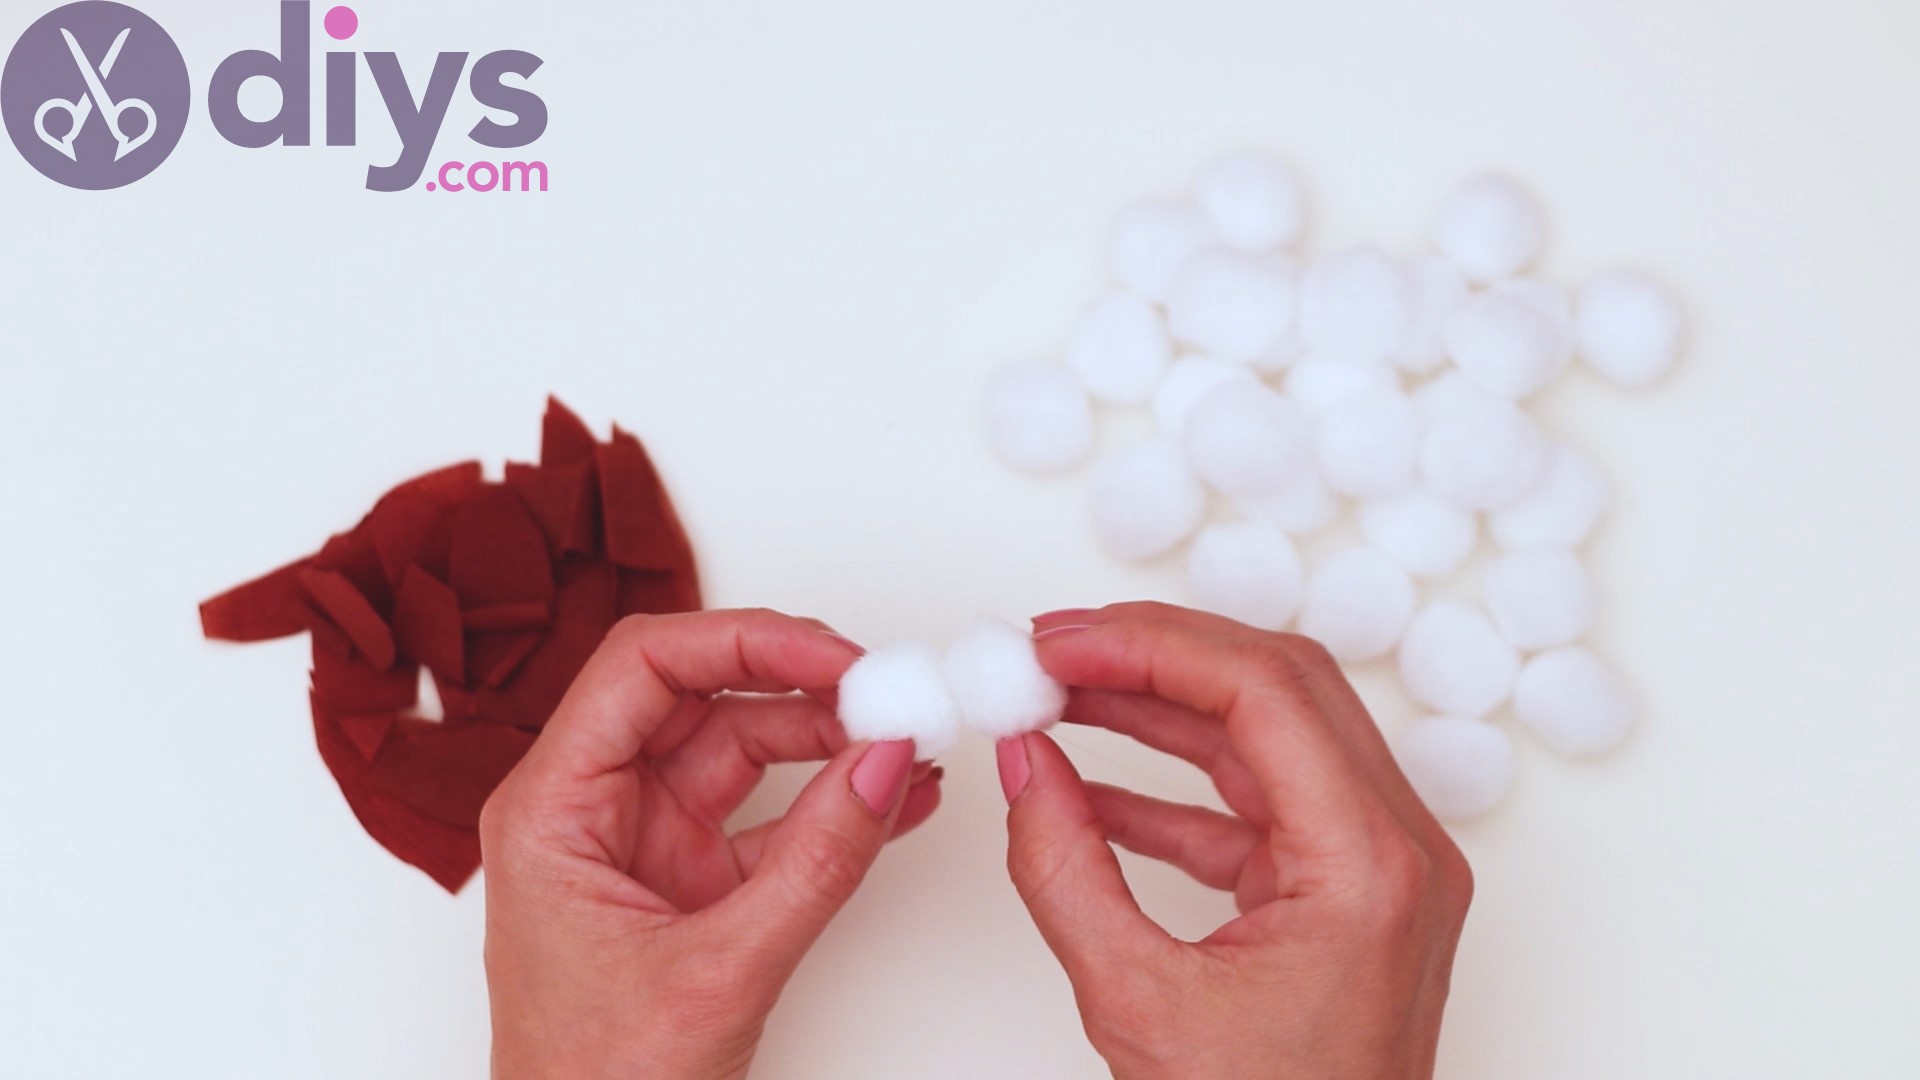
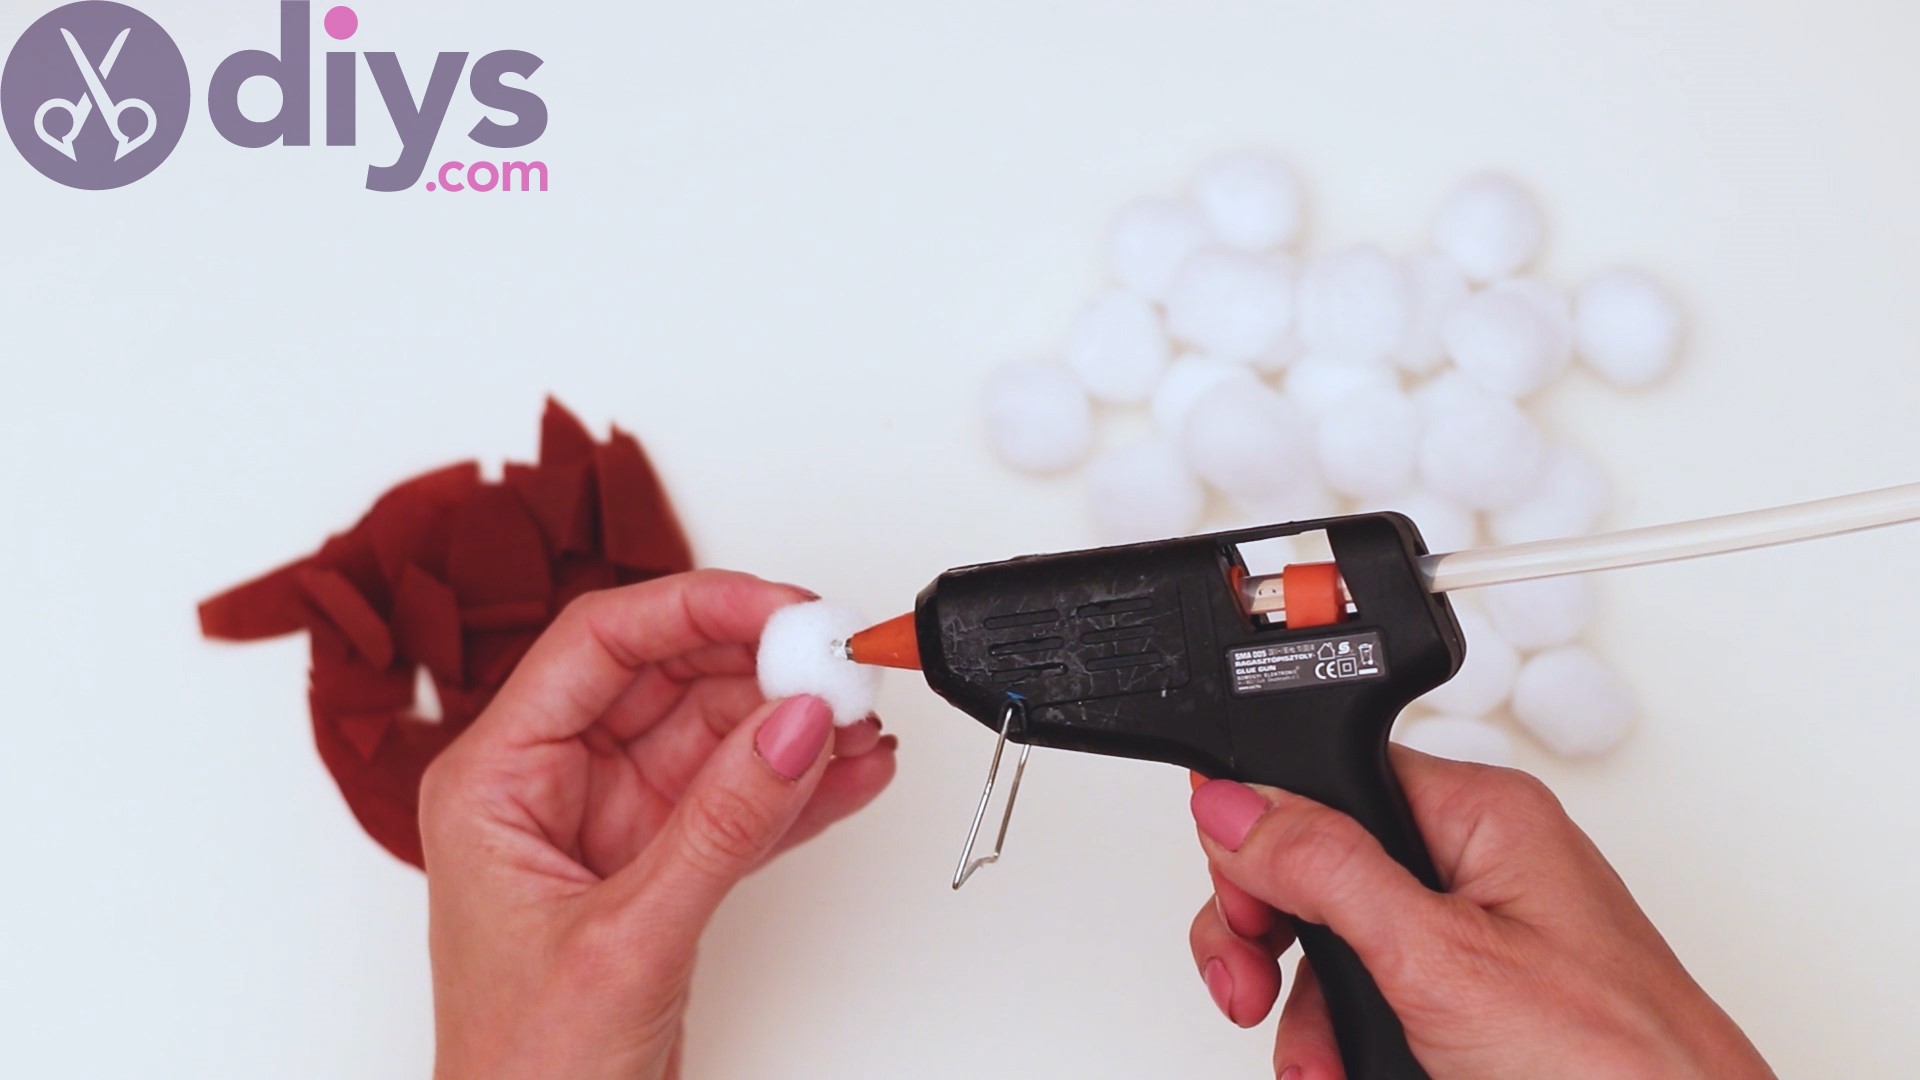
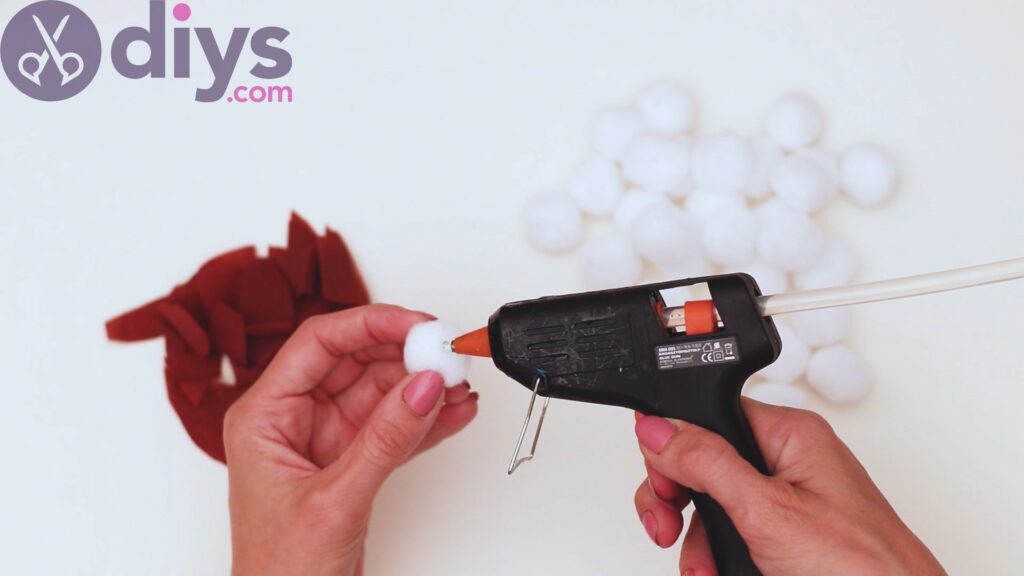
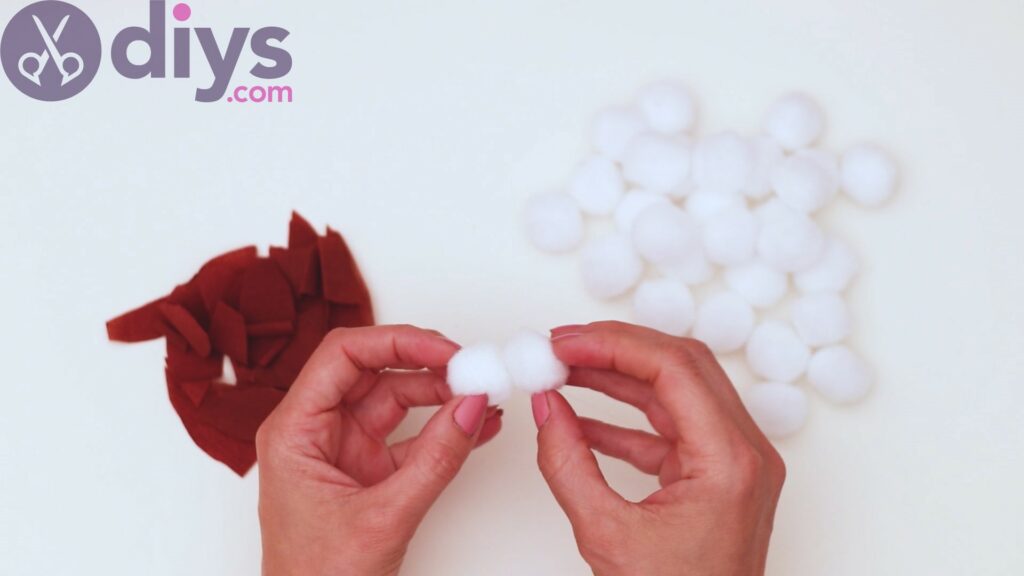
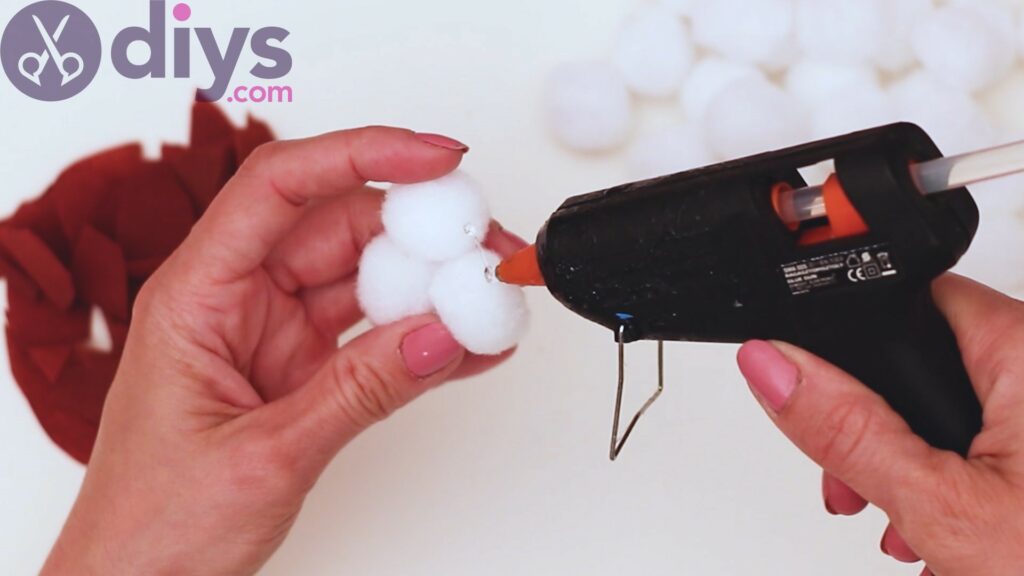
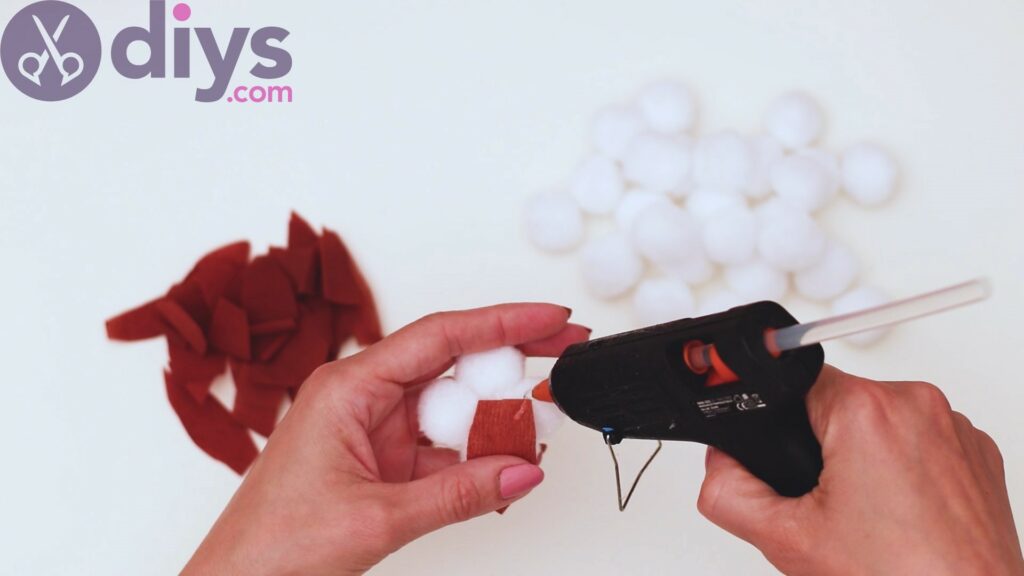
Pick up theglue gunand apply hot glue to the back of a pompon. Bring in a second pompon and glue them together.
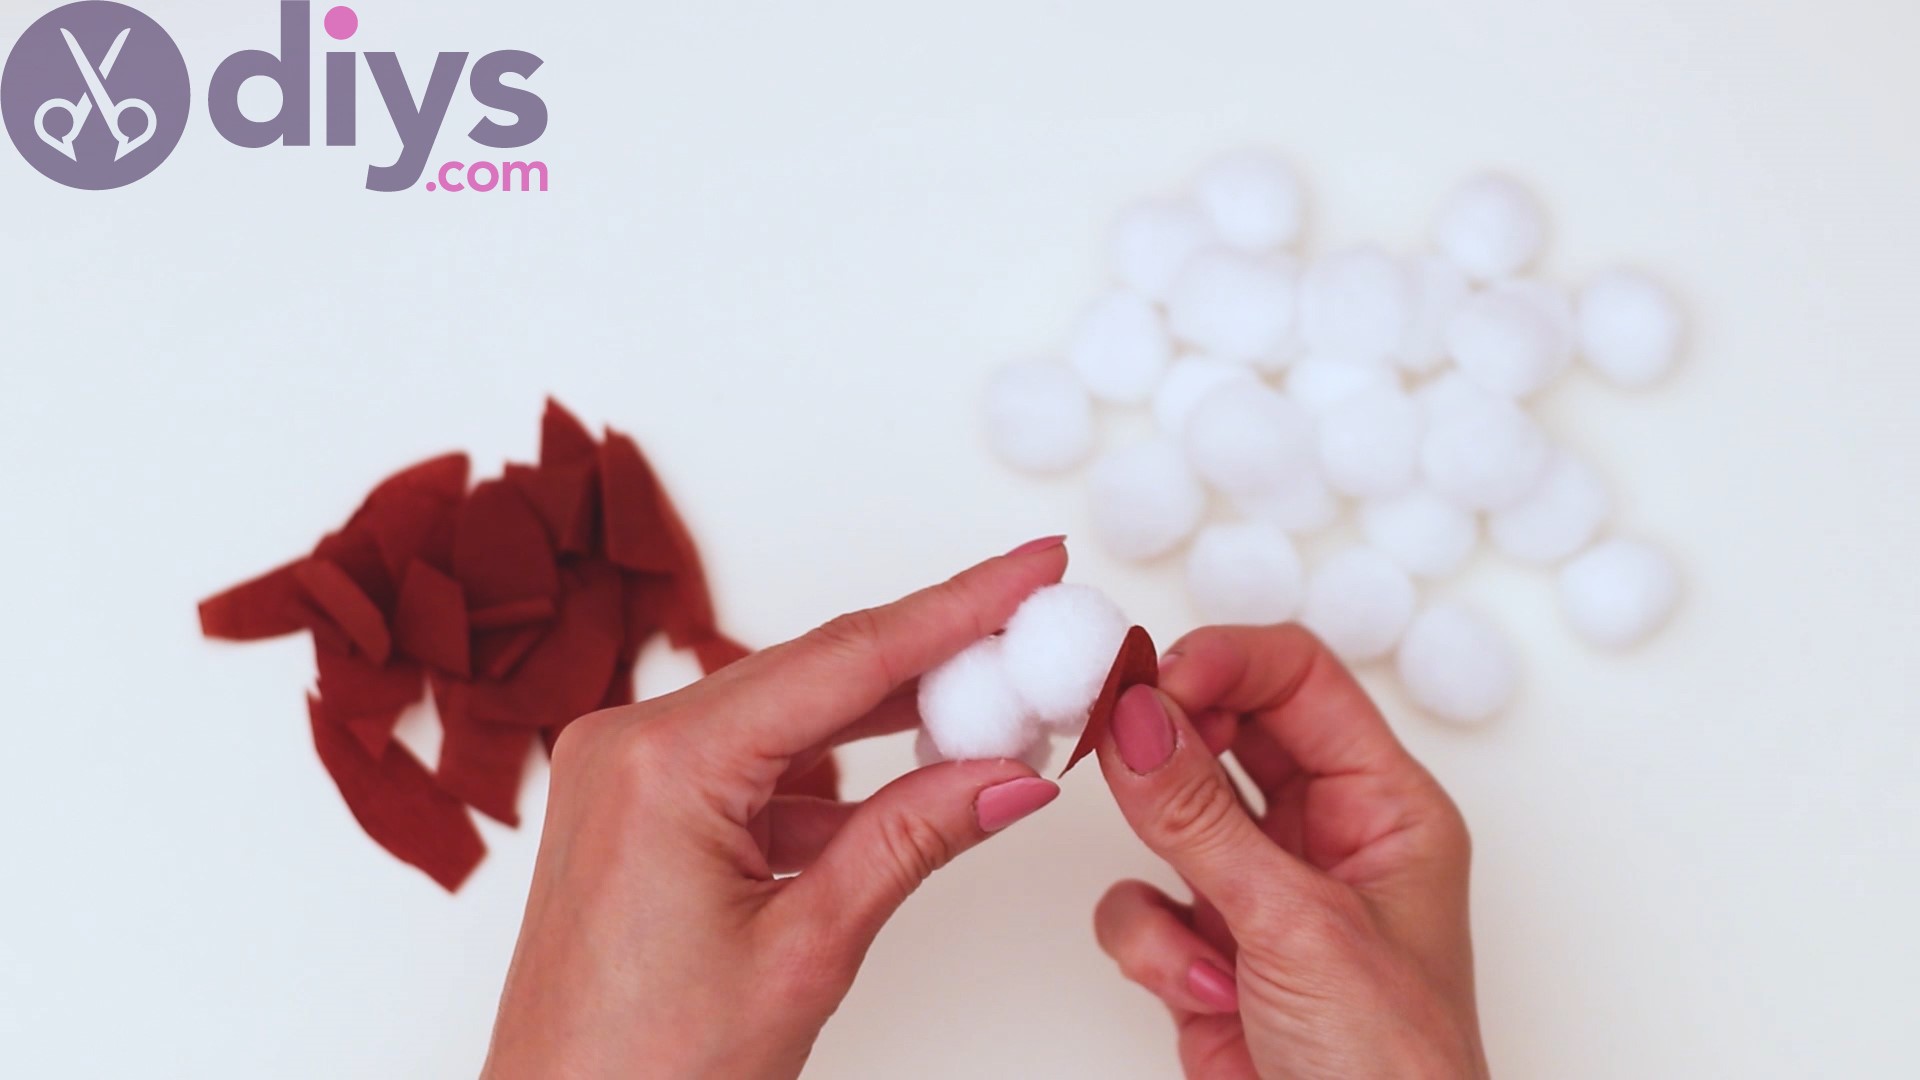
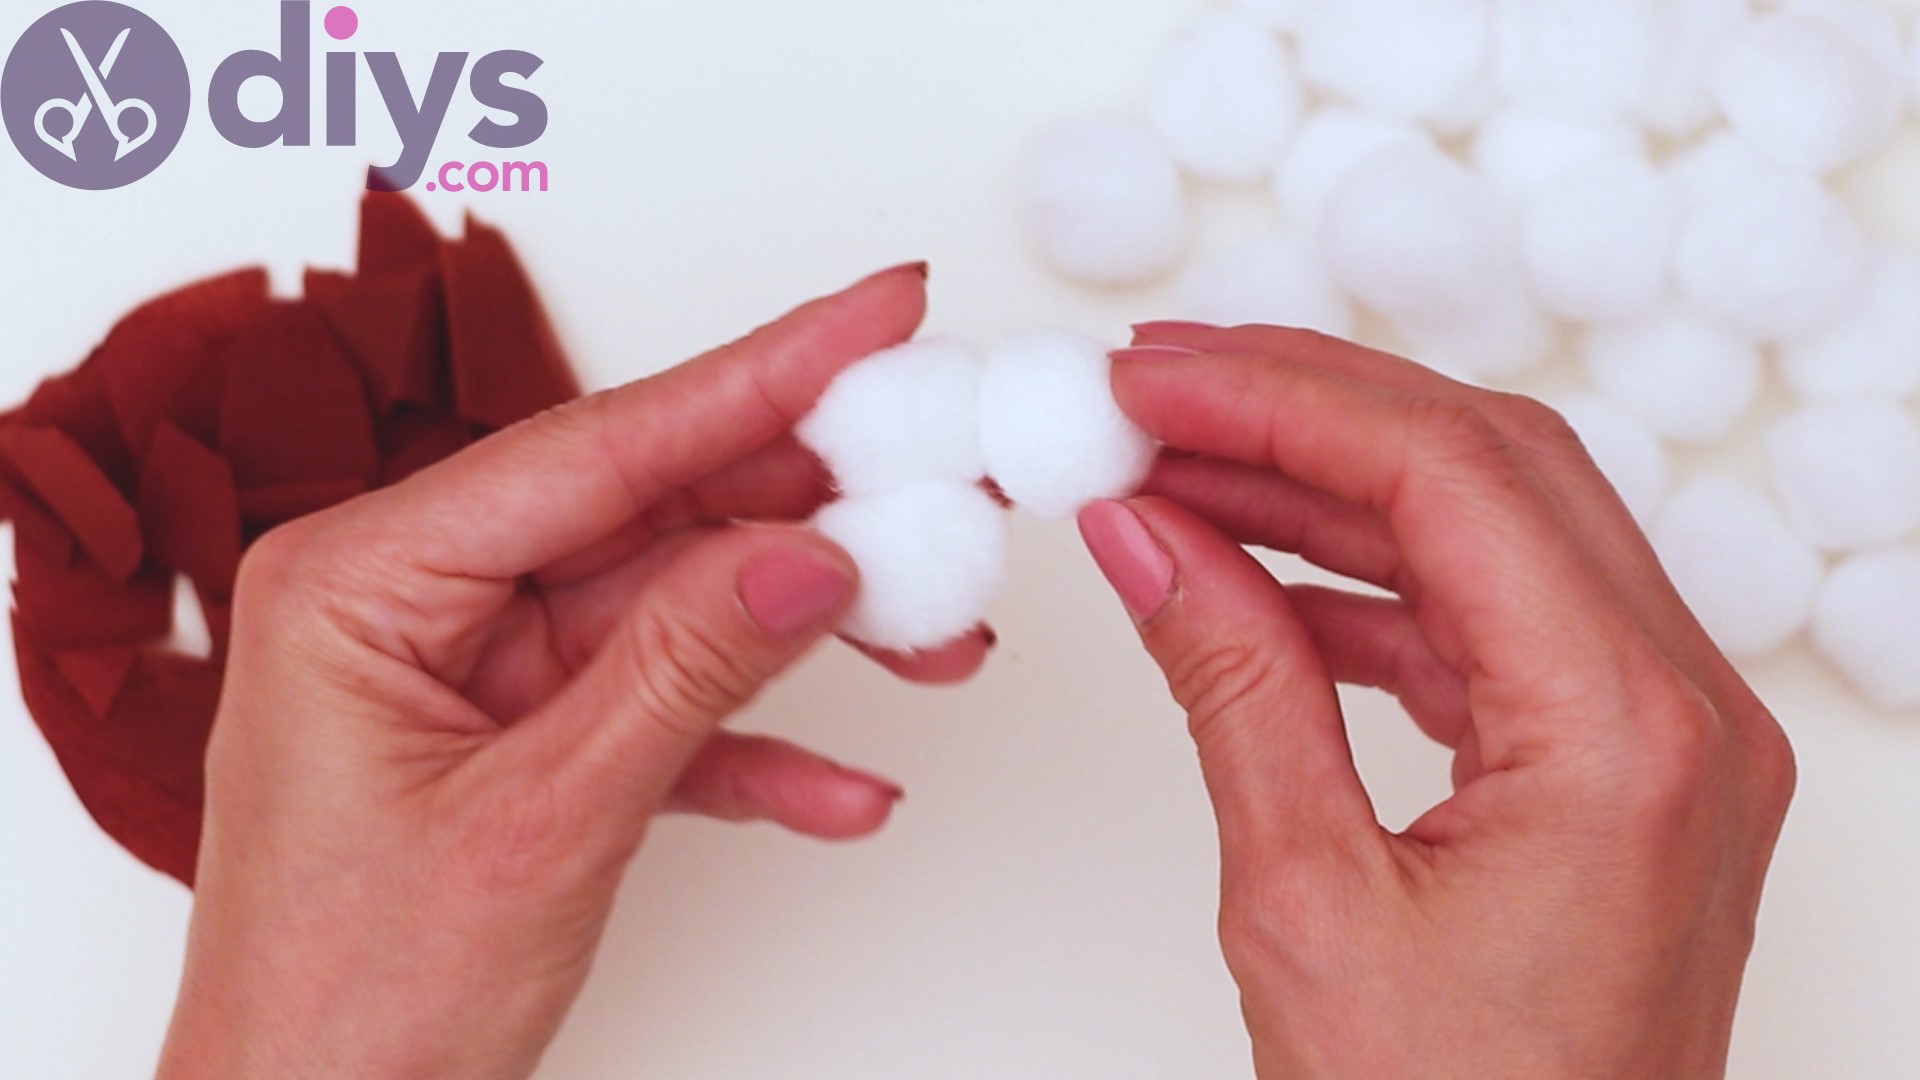
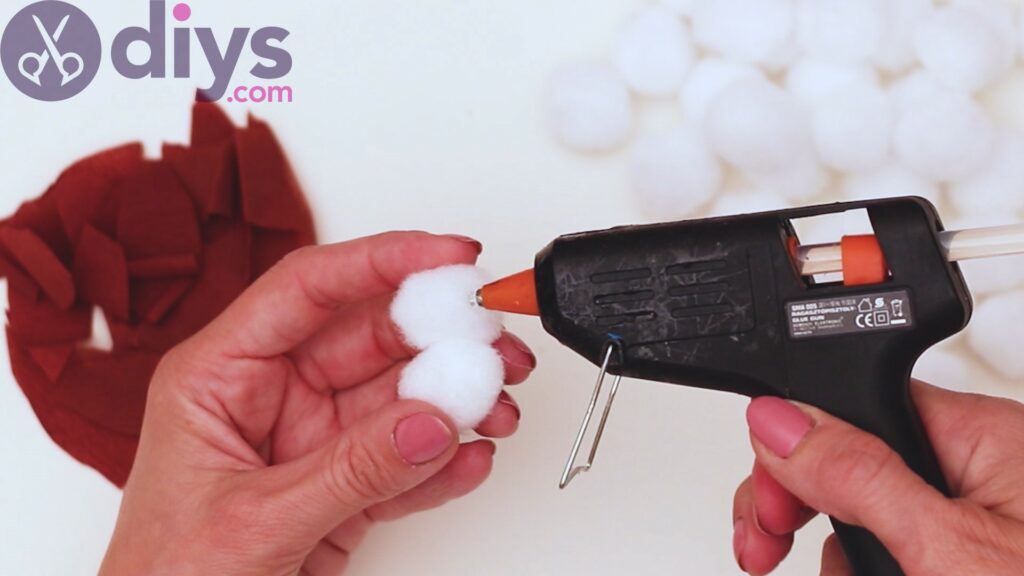
Then, add more hot glue to one the pompons and bring another, making sure to keep them close for a few seconds so the glue sets.
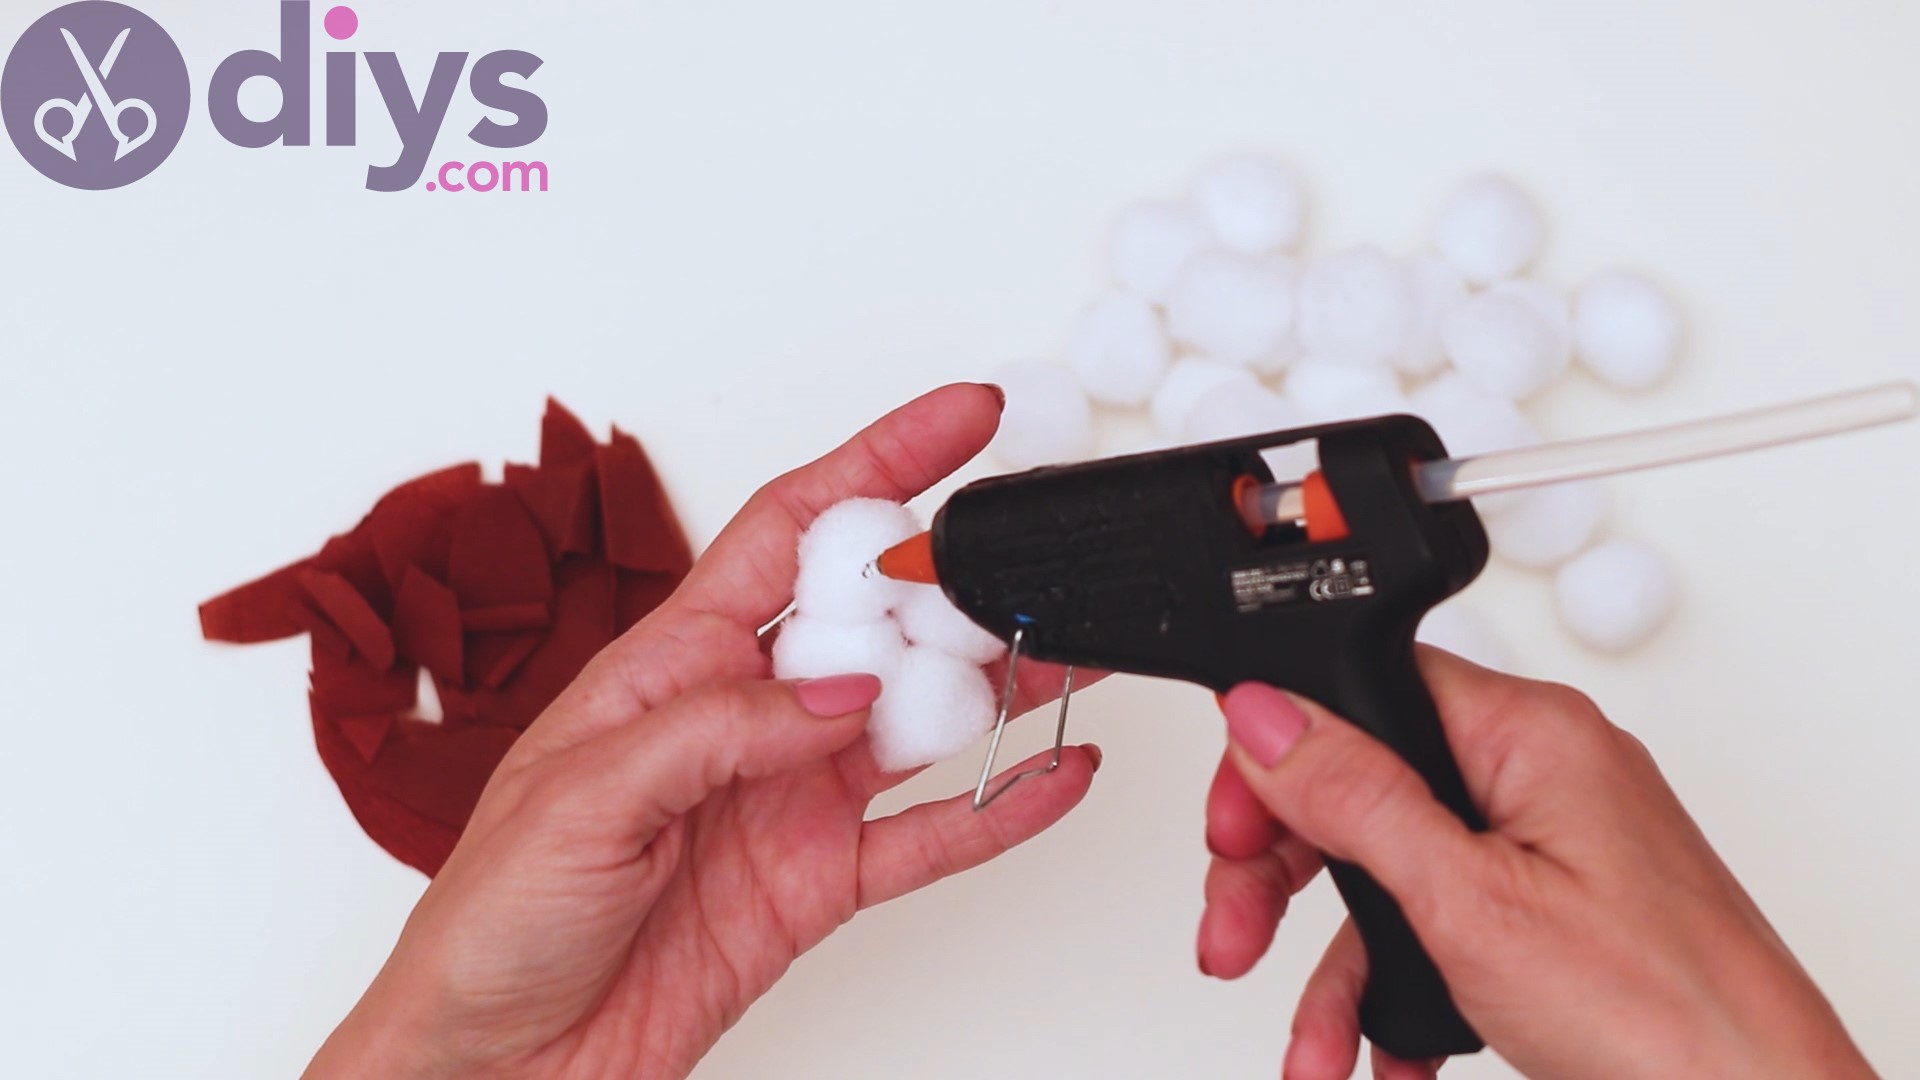
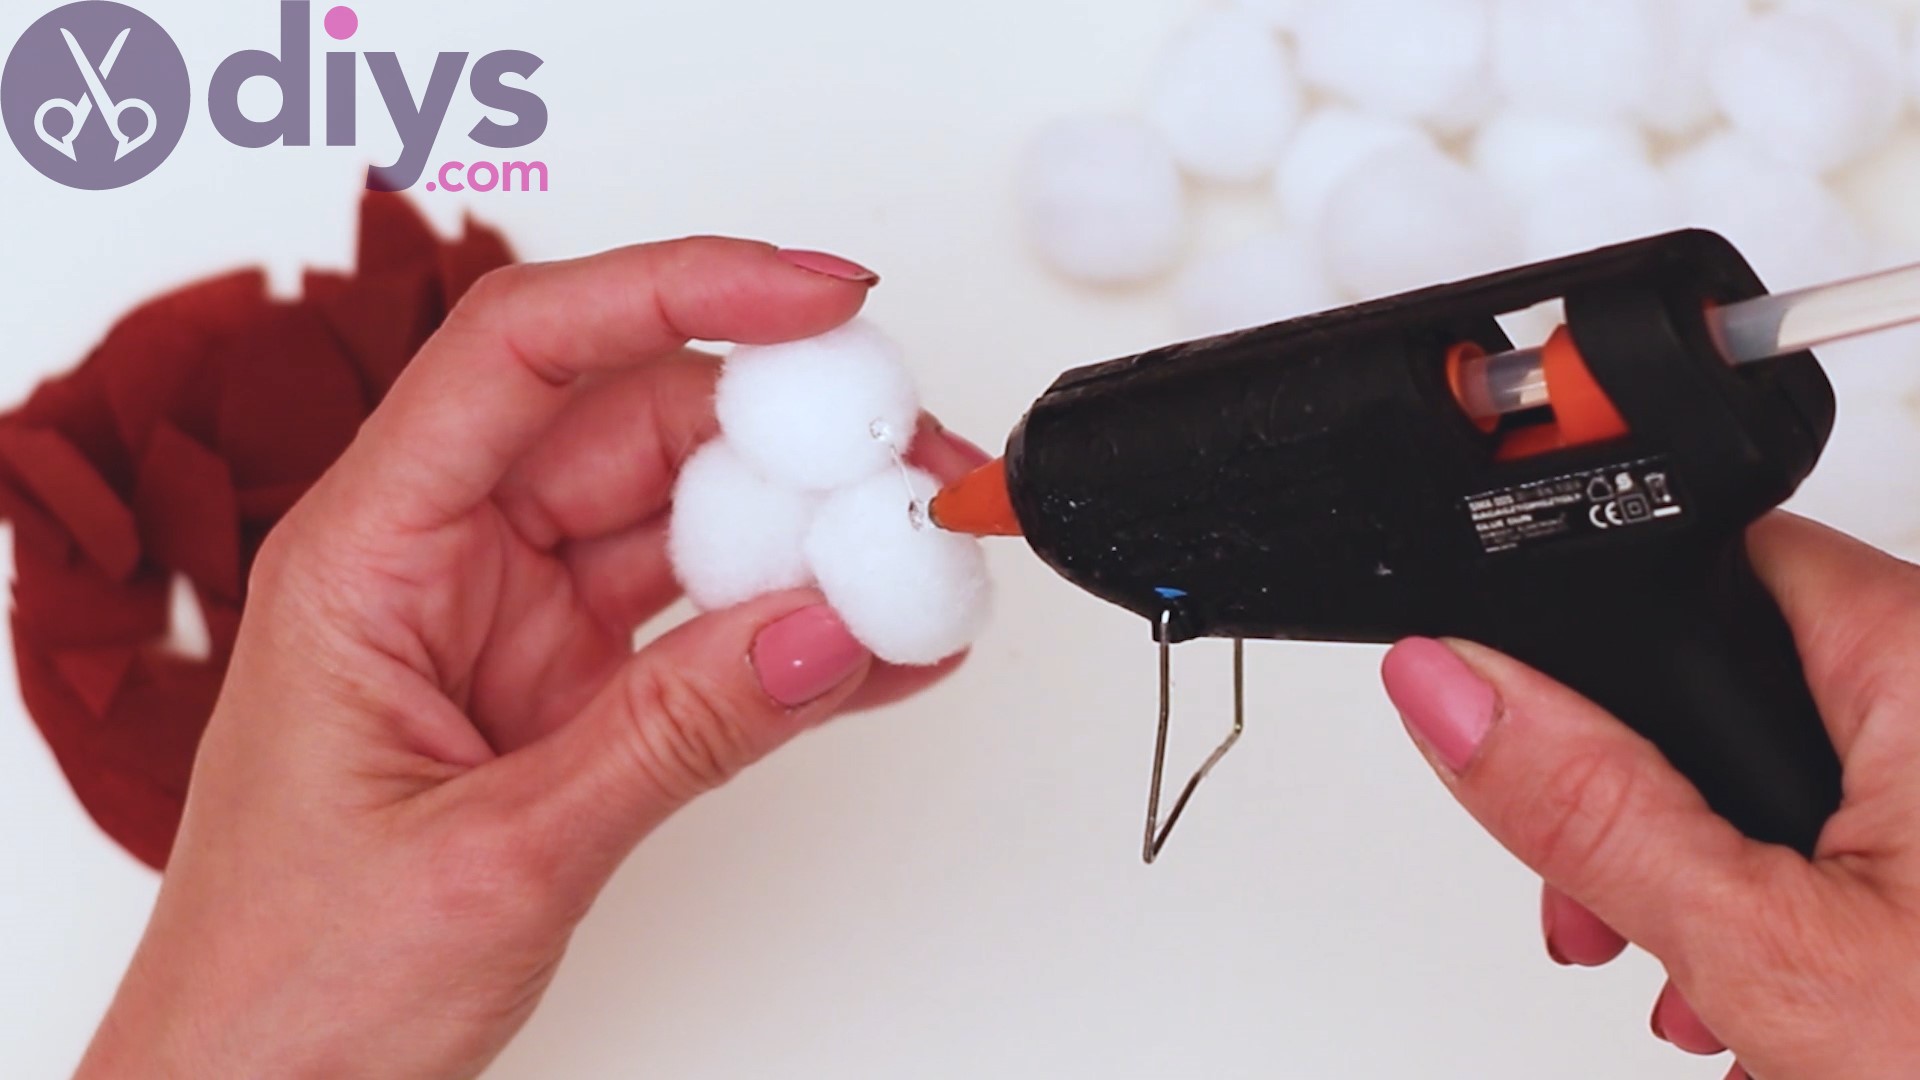
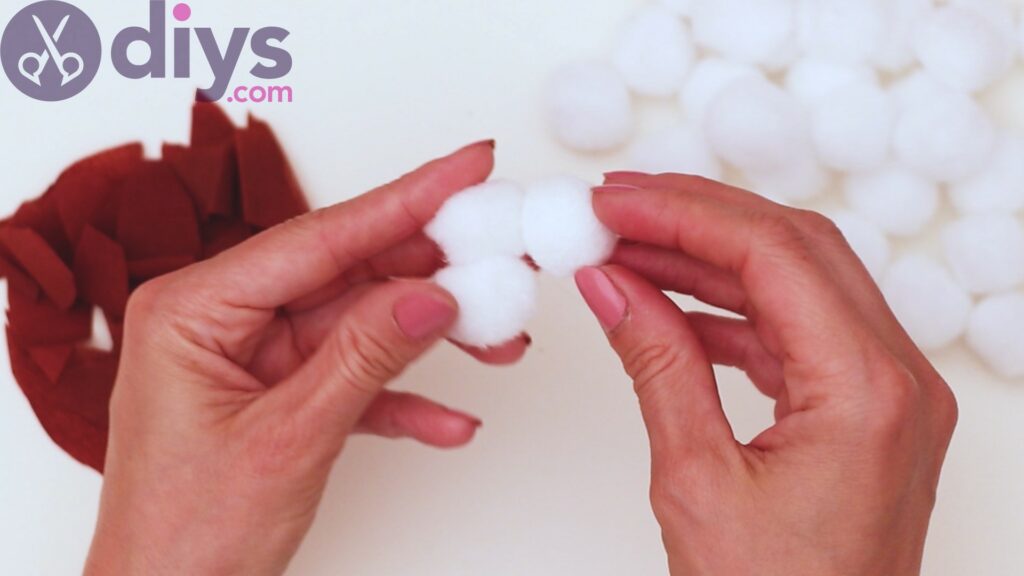
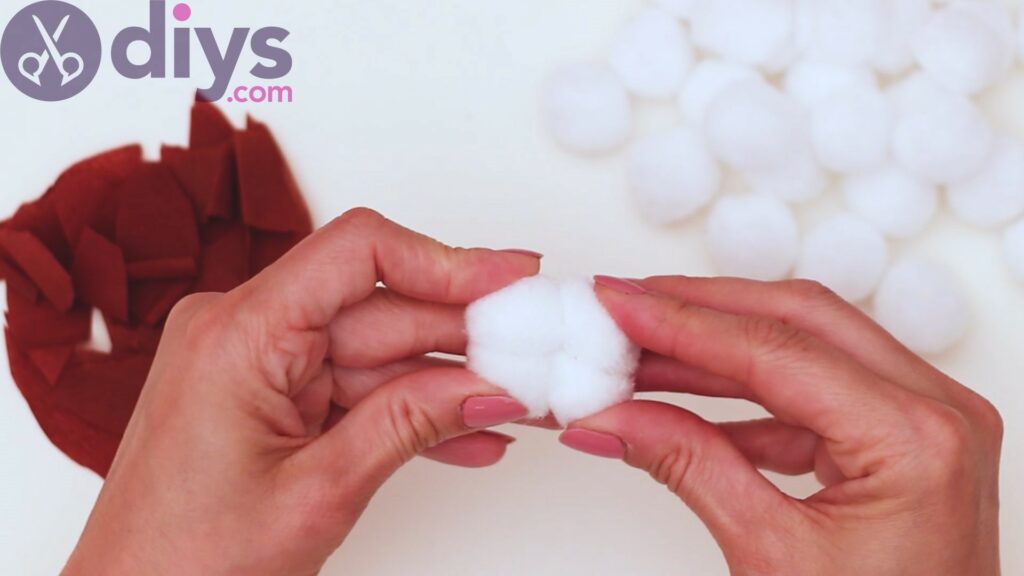
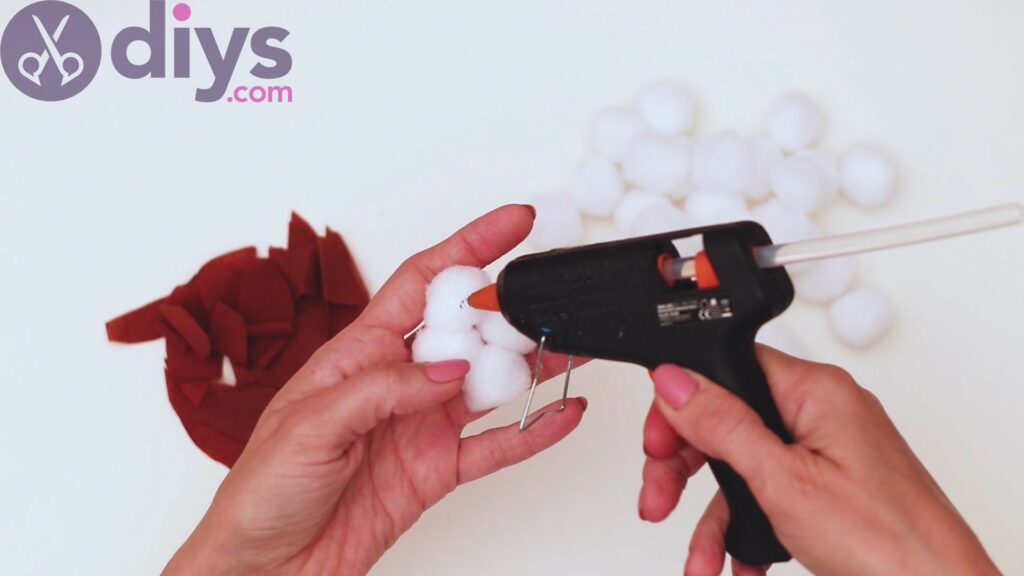
Then, add more hot glue on both pompons we added earlier and bring in a fourth one, gluing it to both of them.
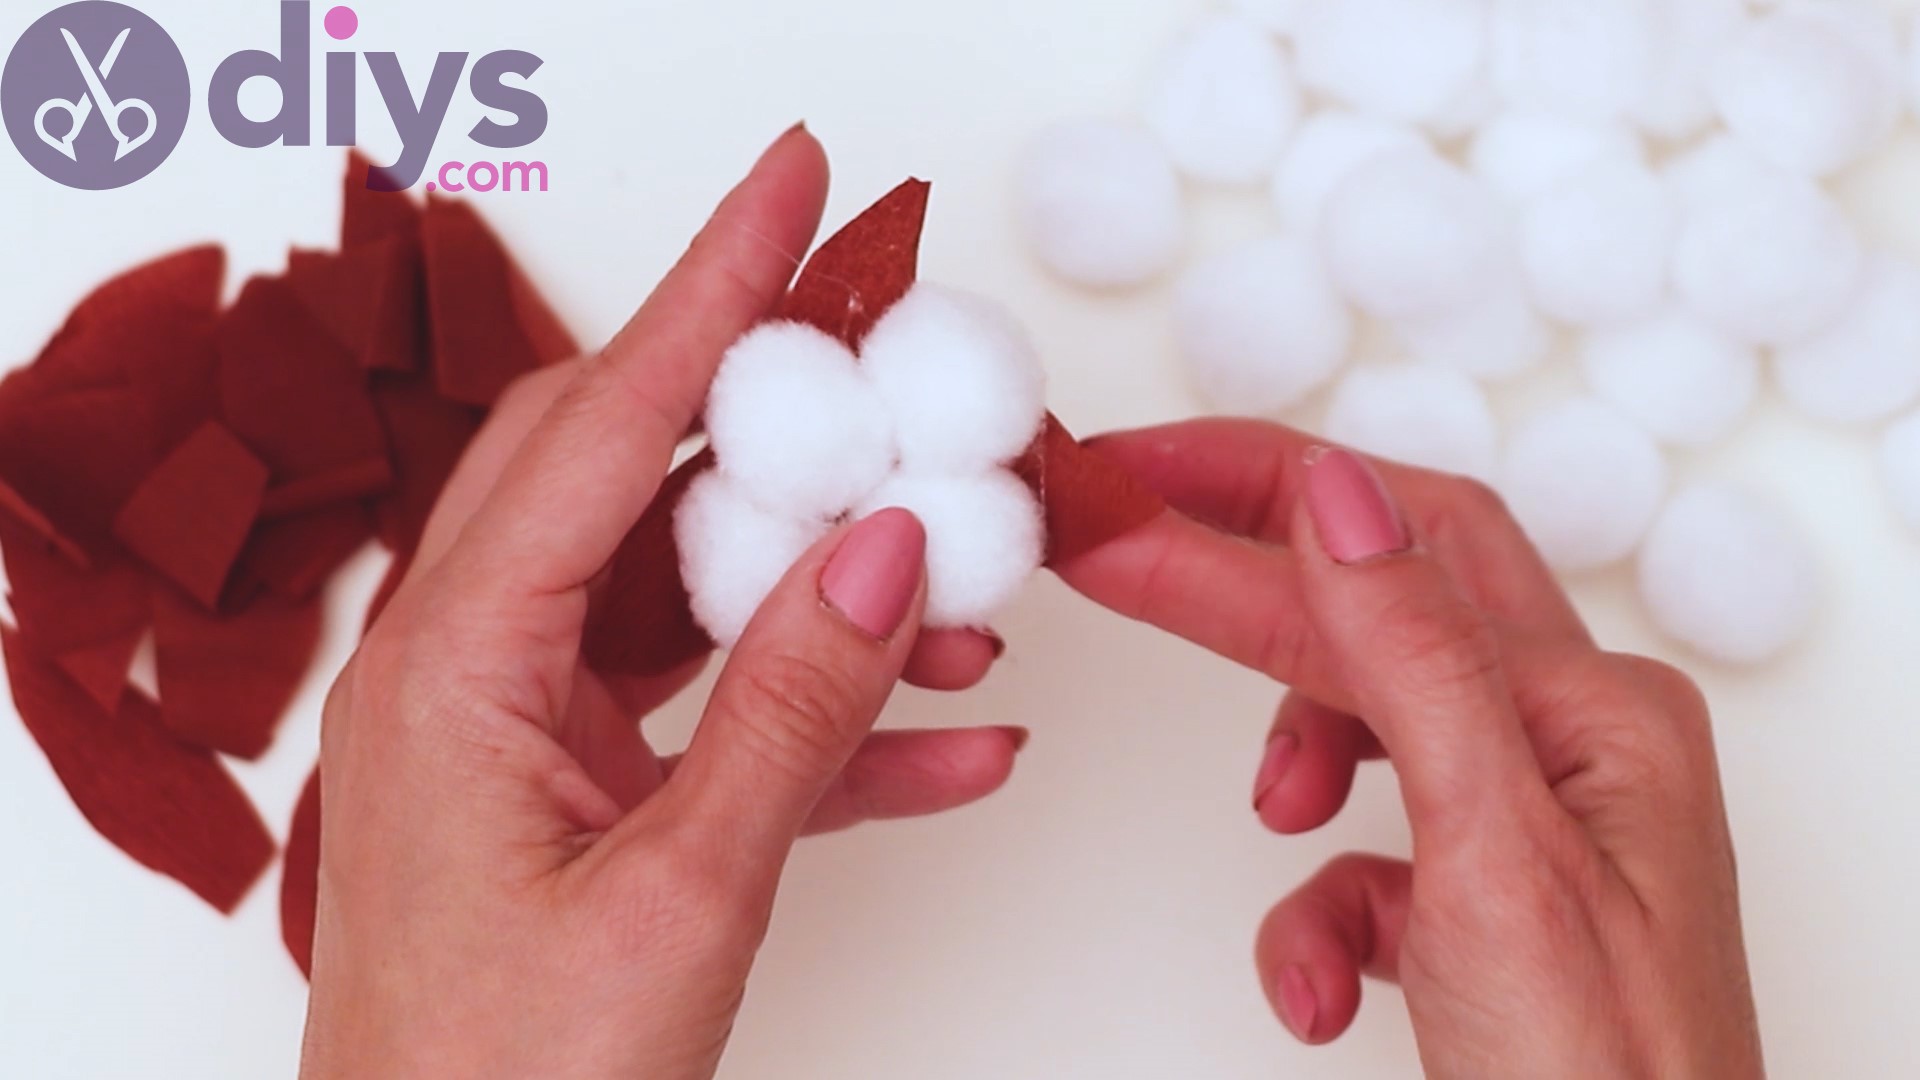
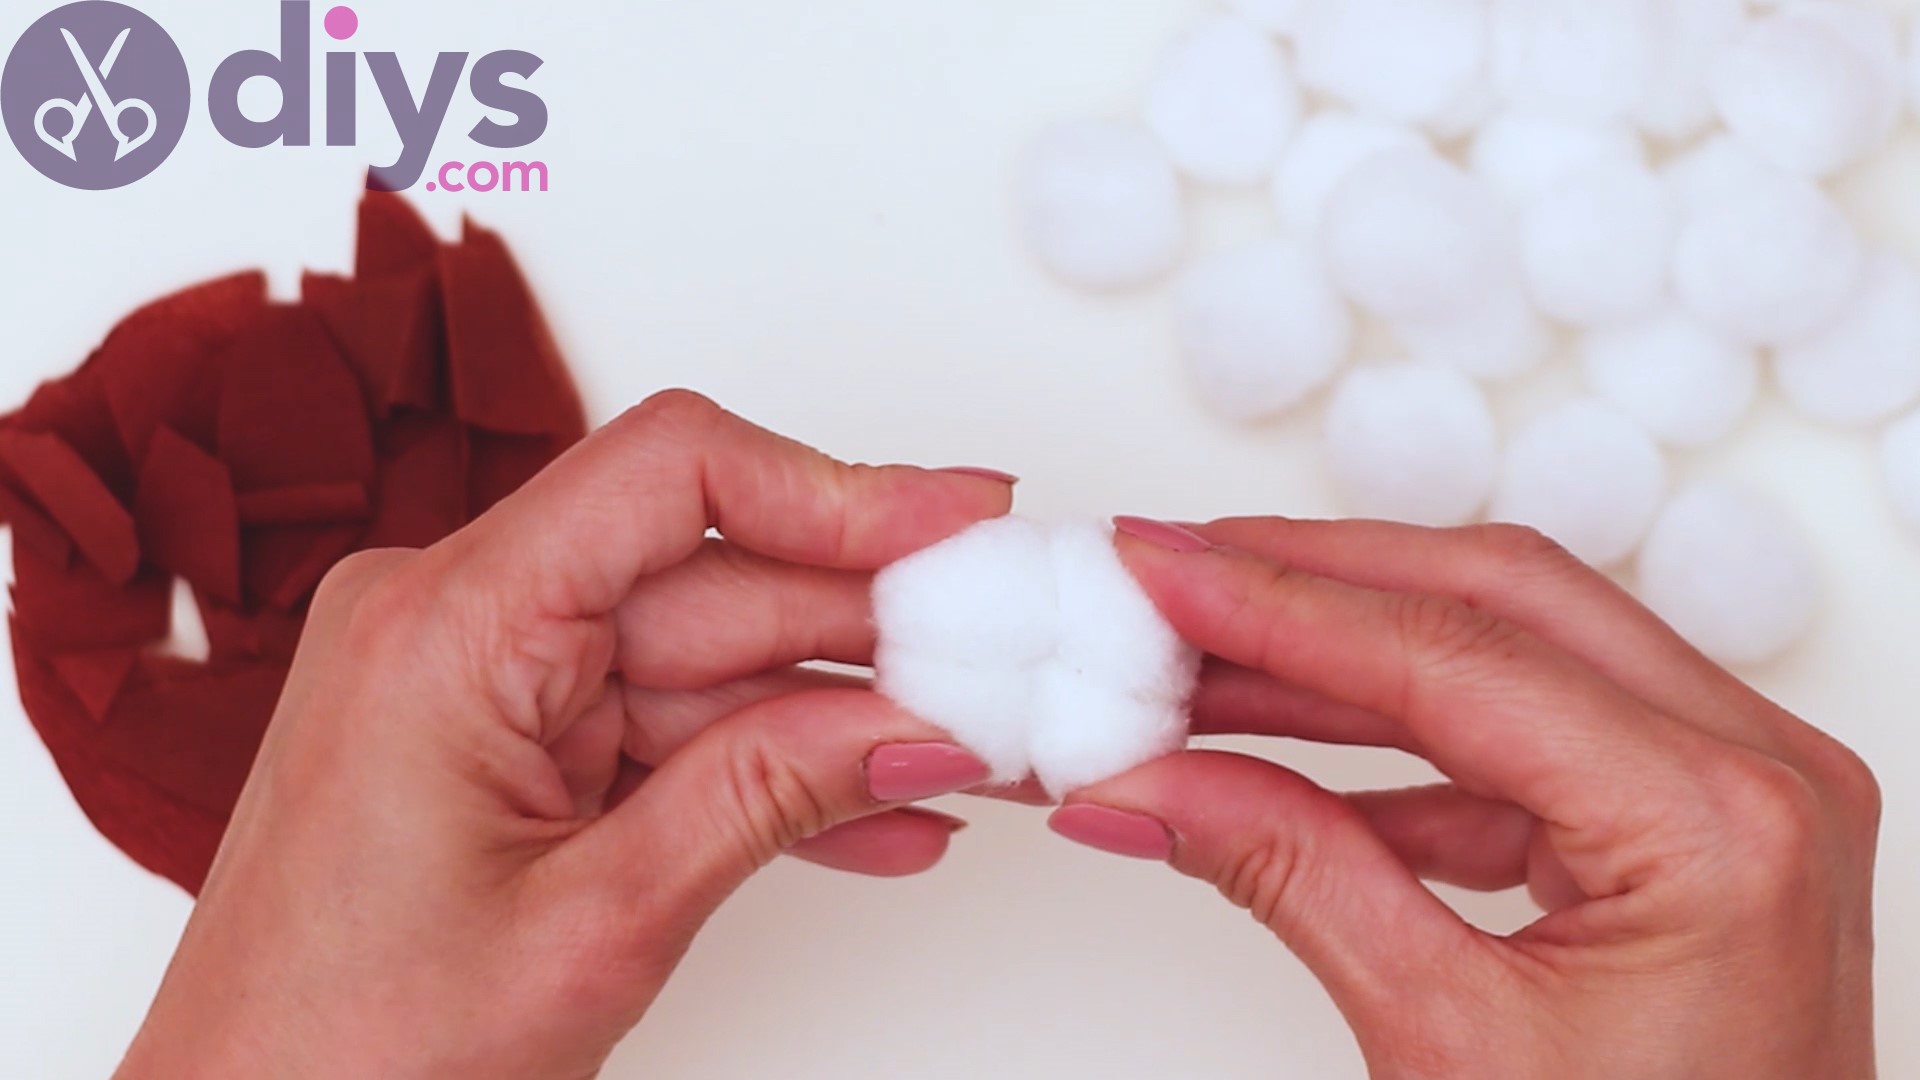
Squeeze the four pompons together, in the shape of a puffy cotton flower.
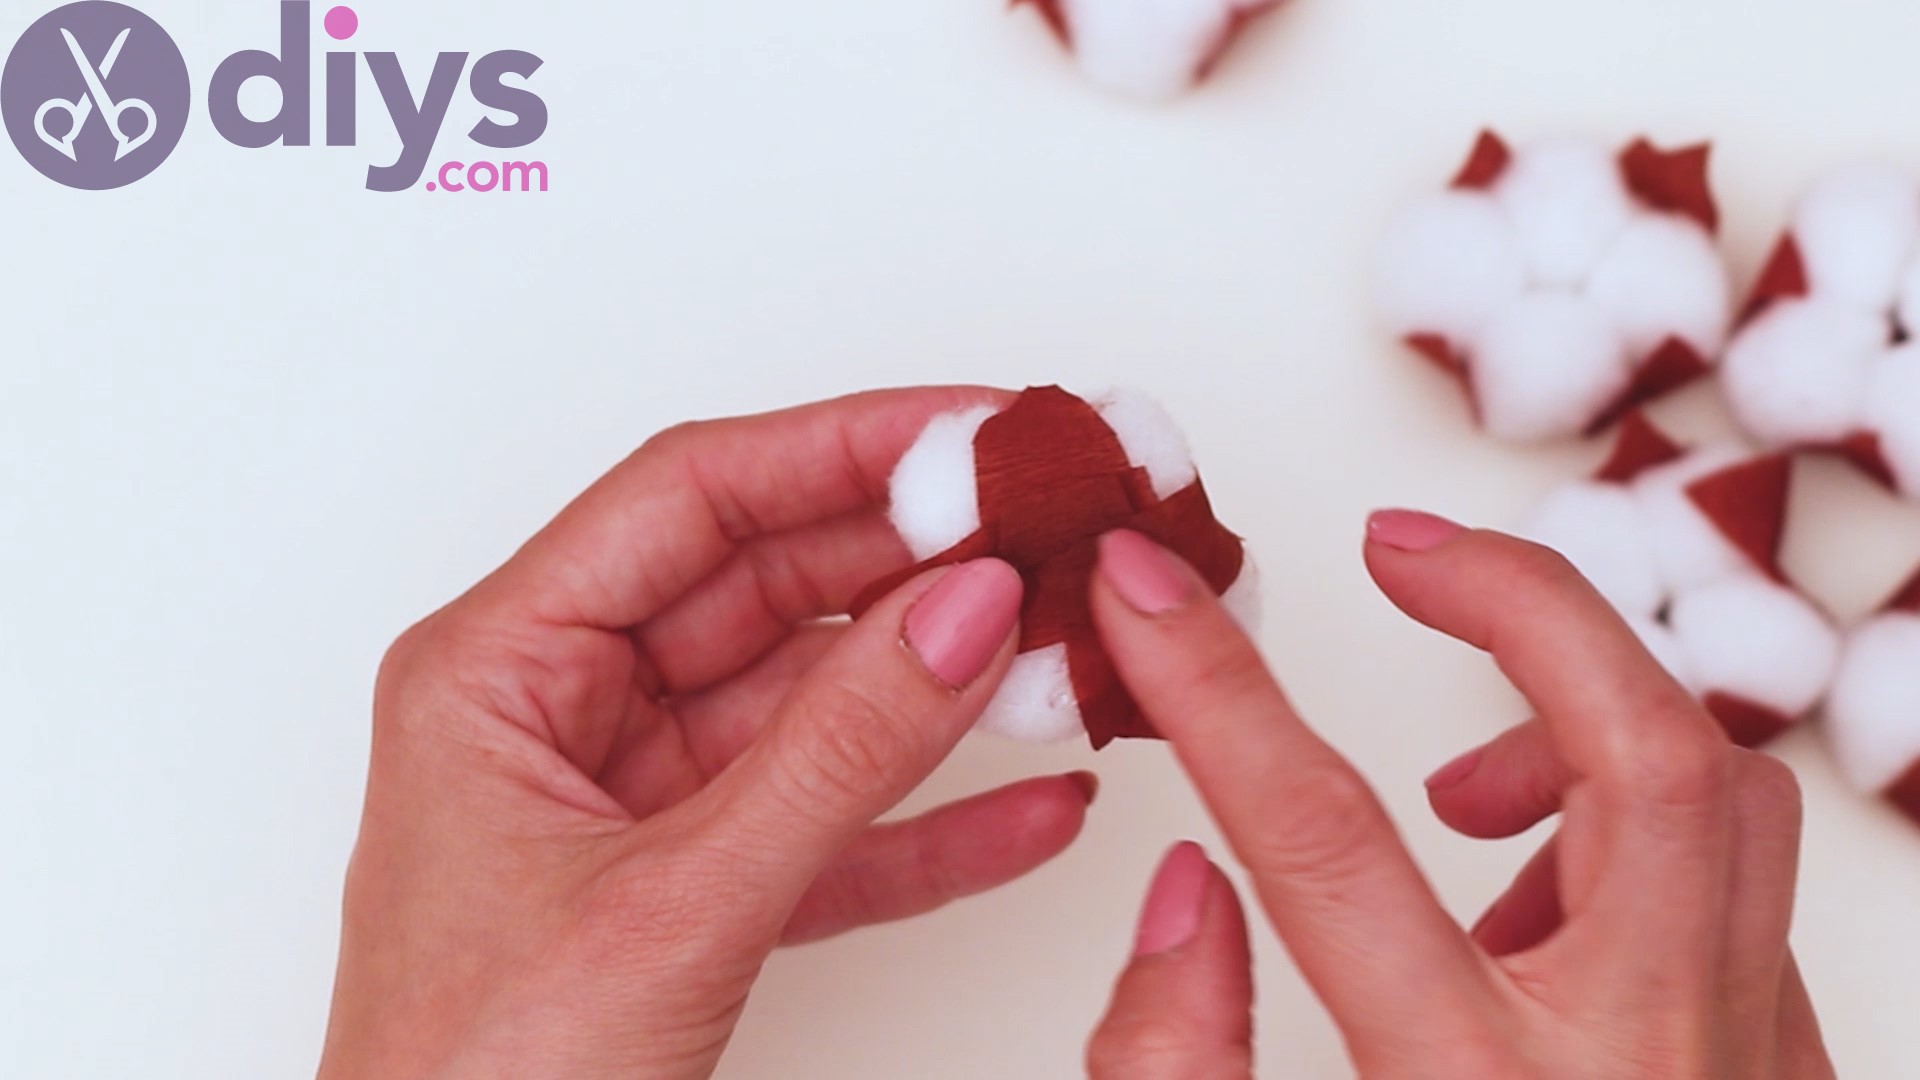
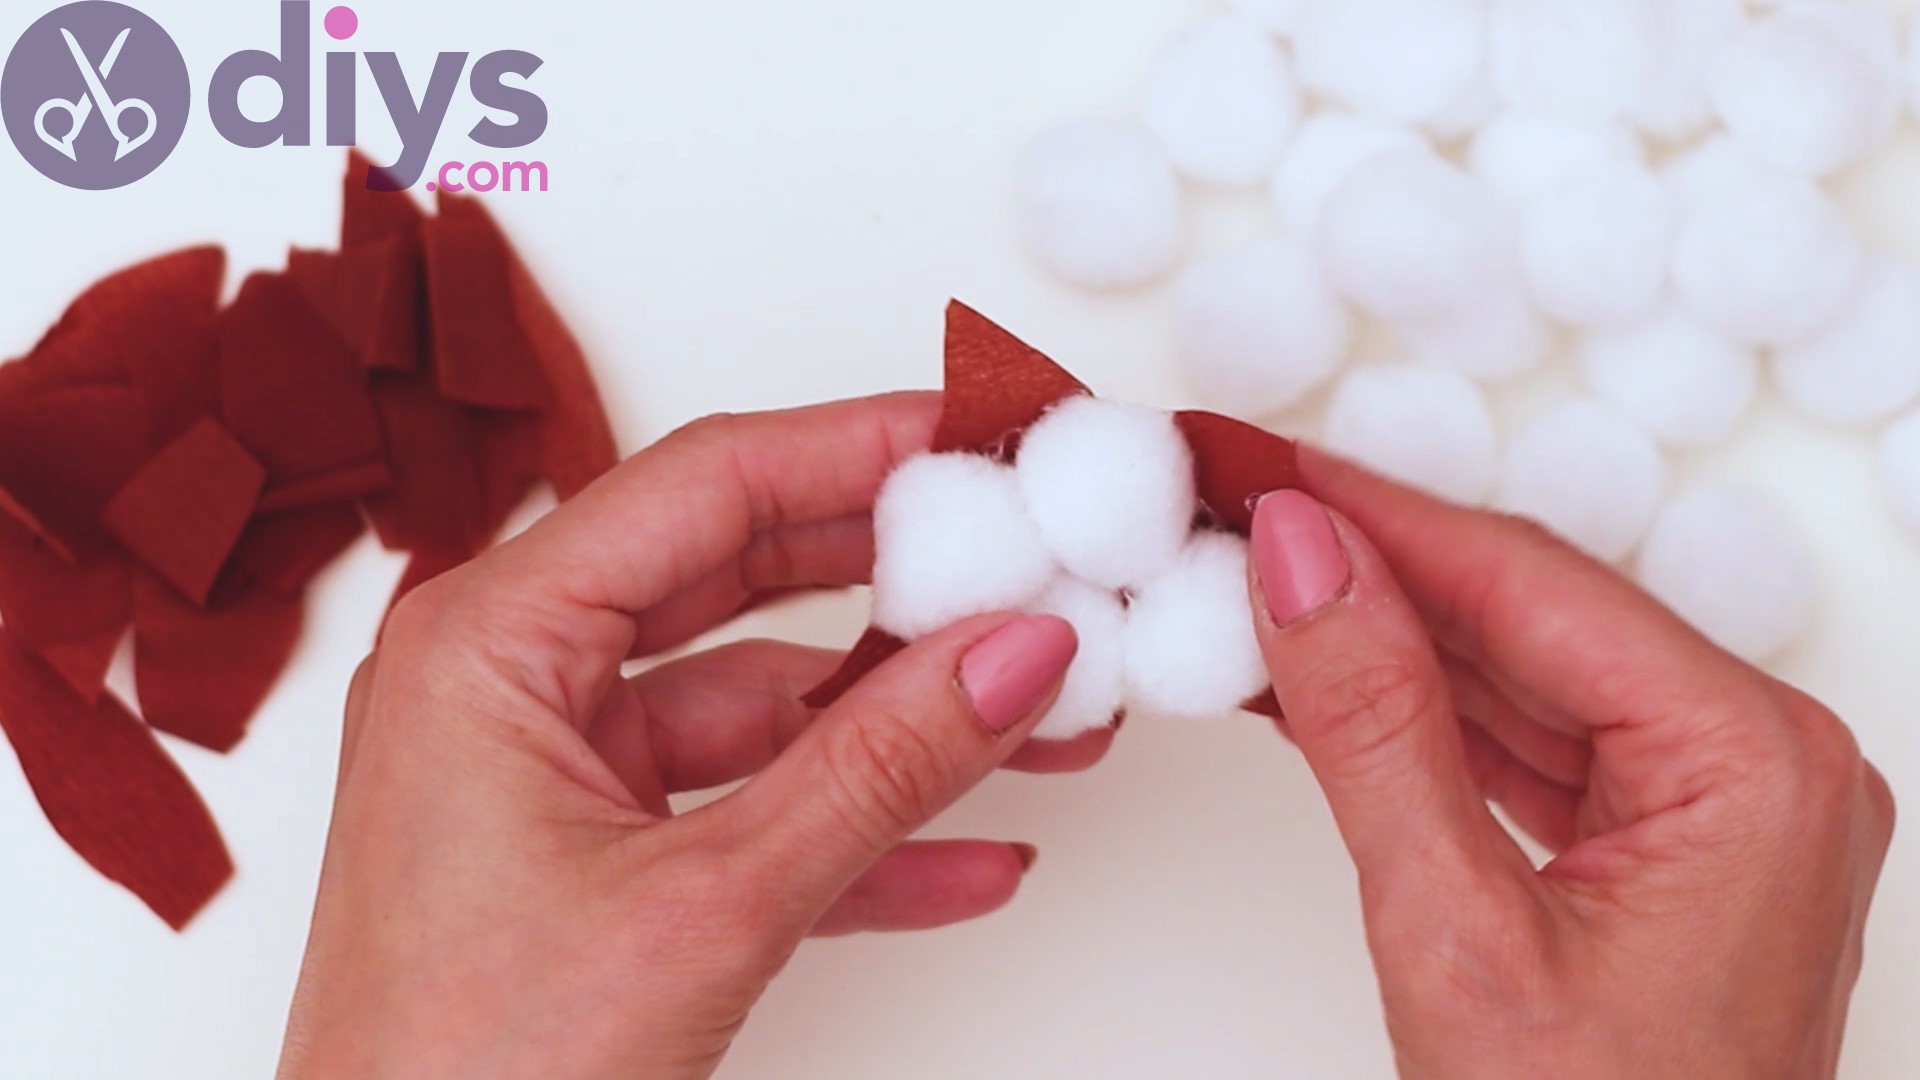
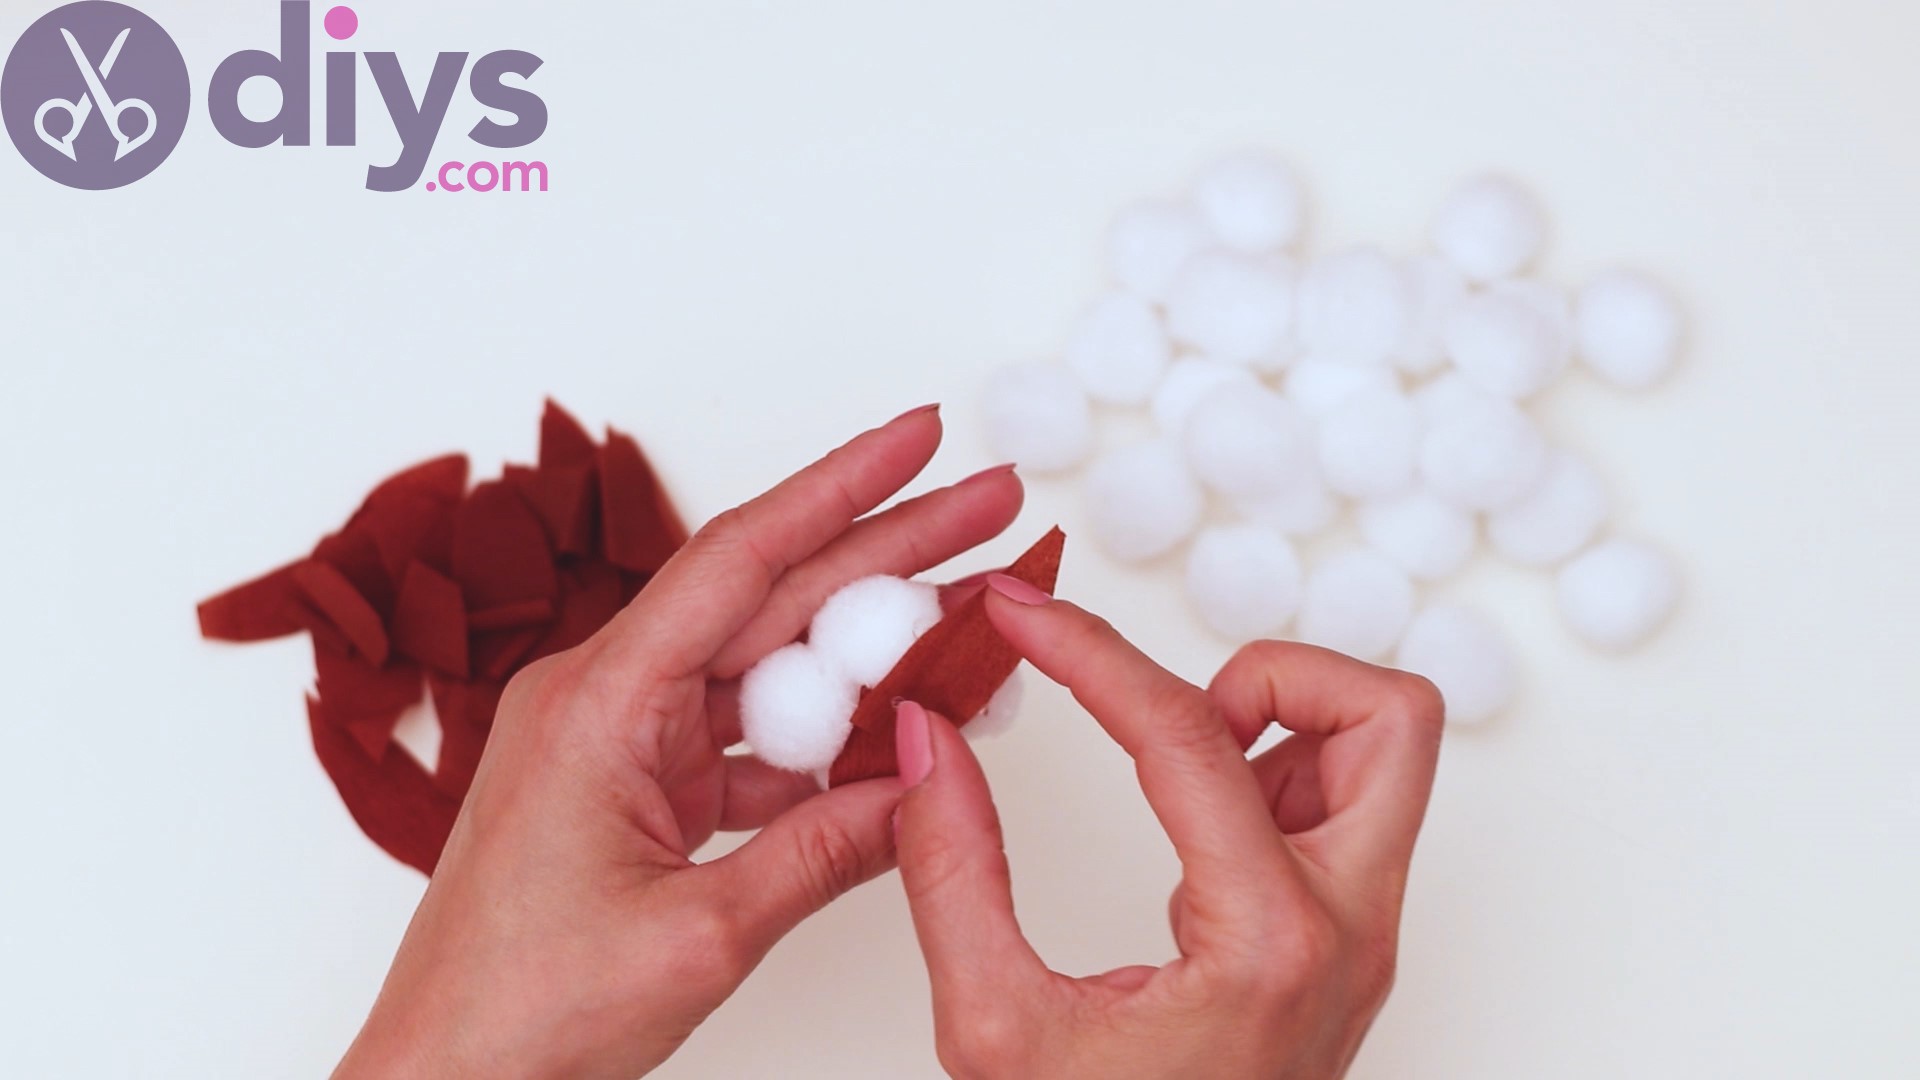
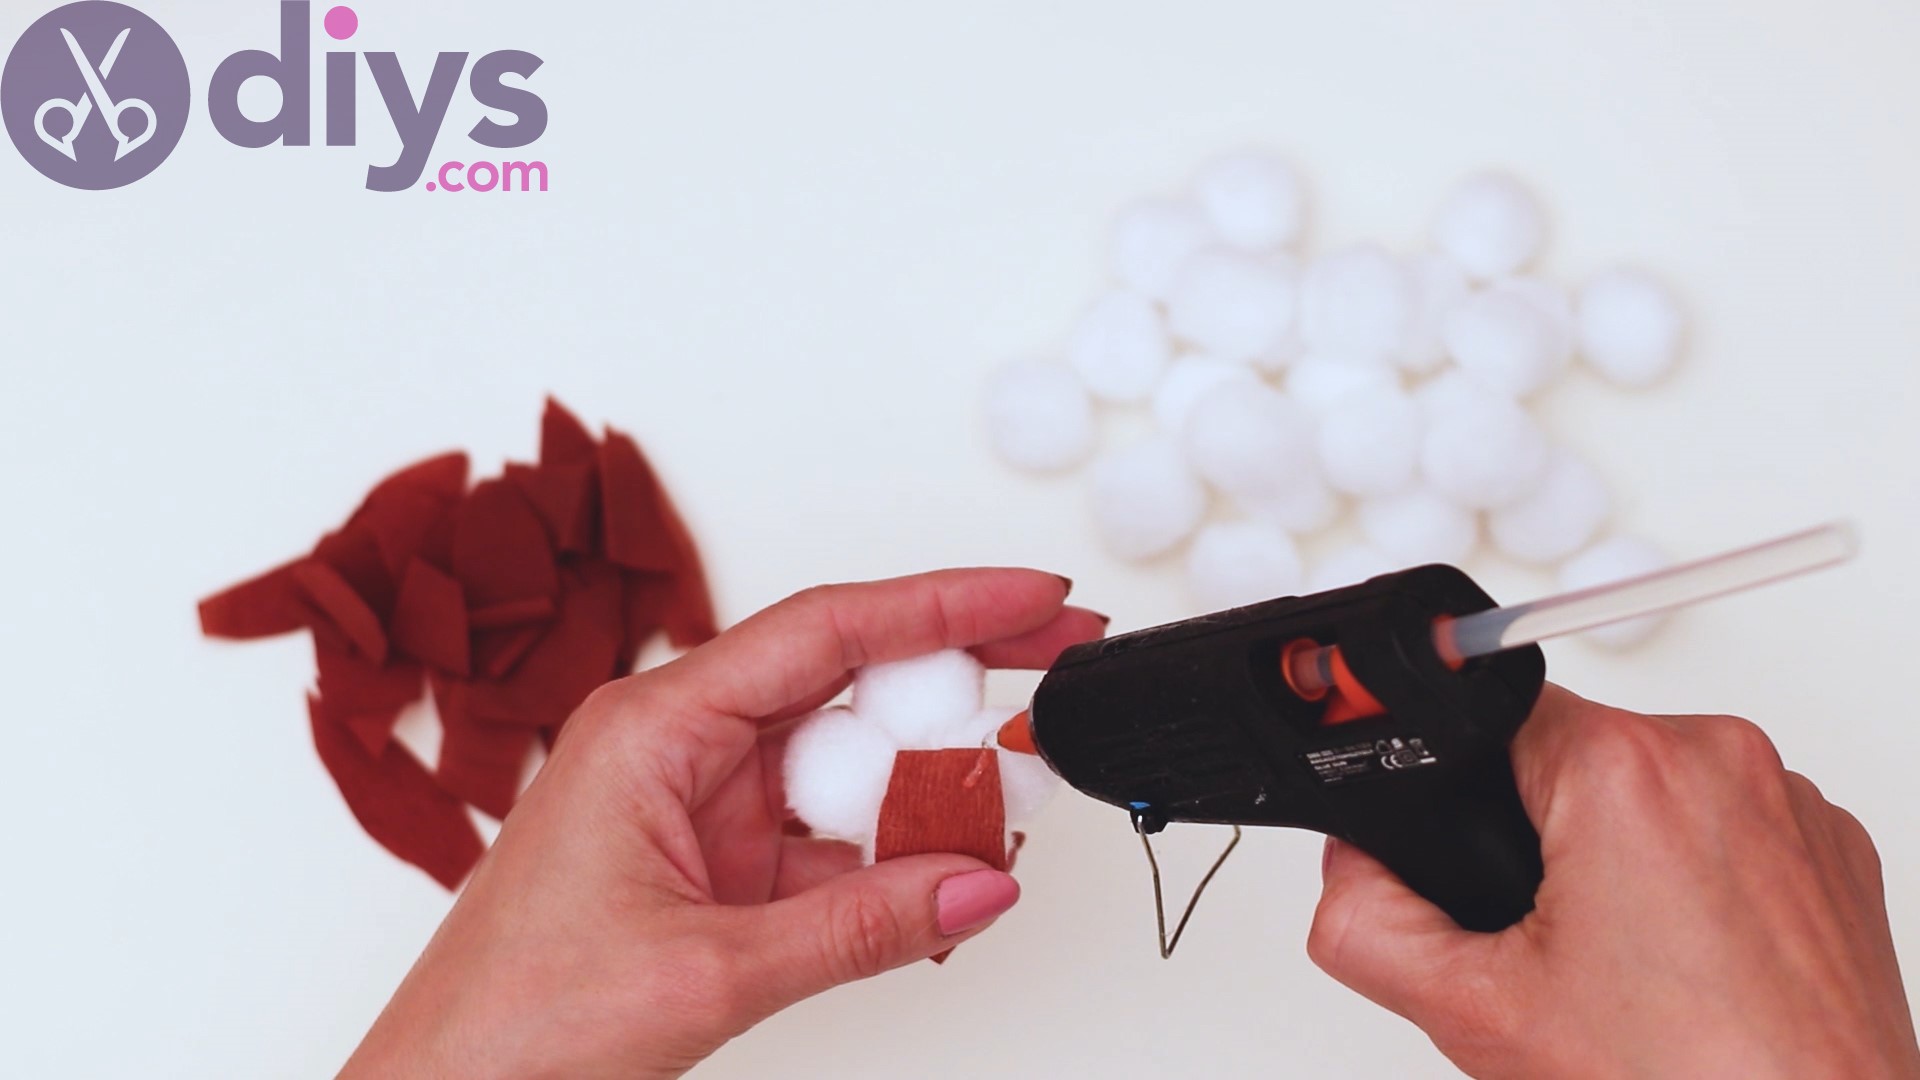
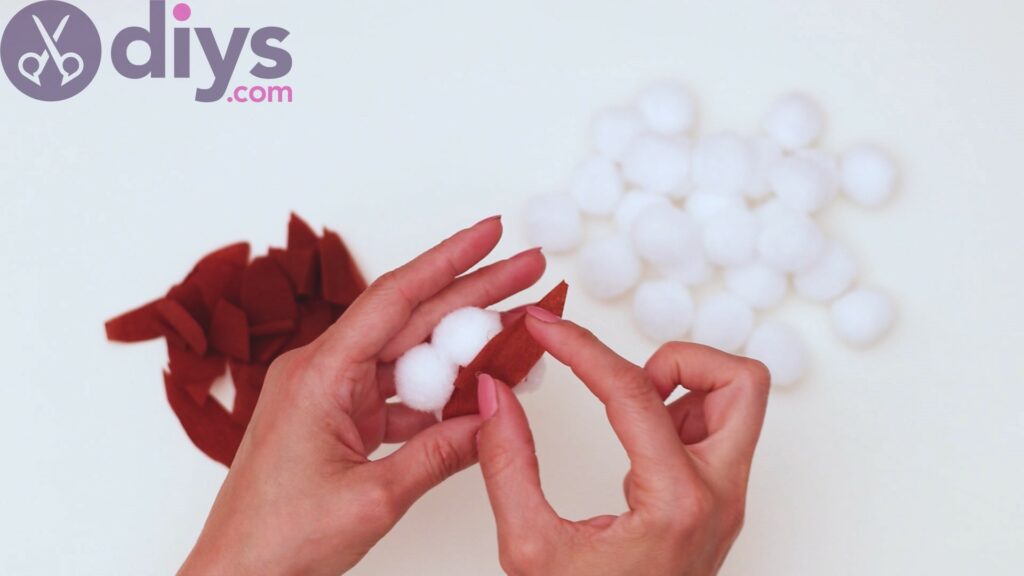
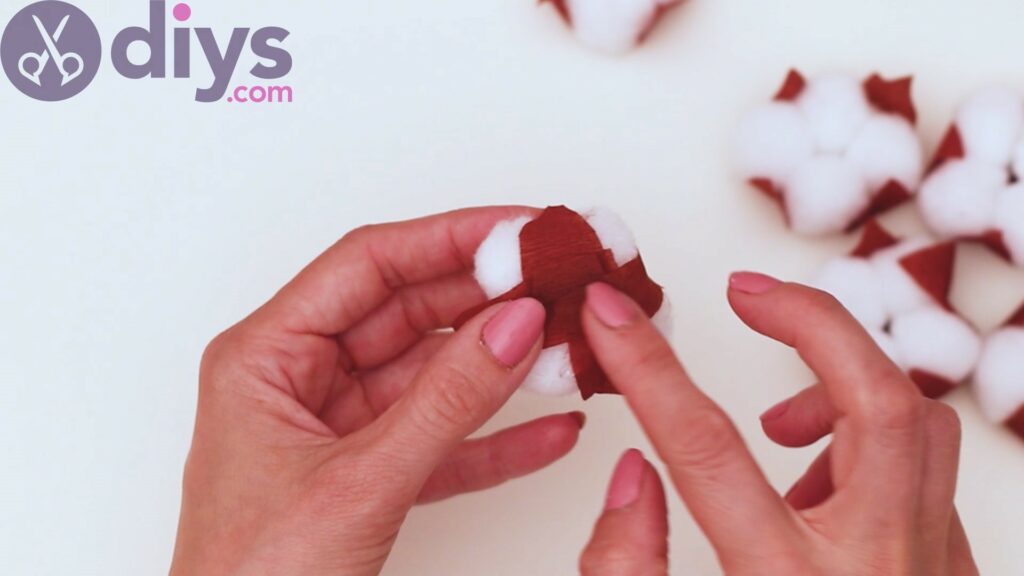
Then, add more hot glue to one of their sides and start bringing in the brown leaves.
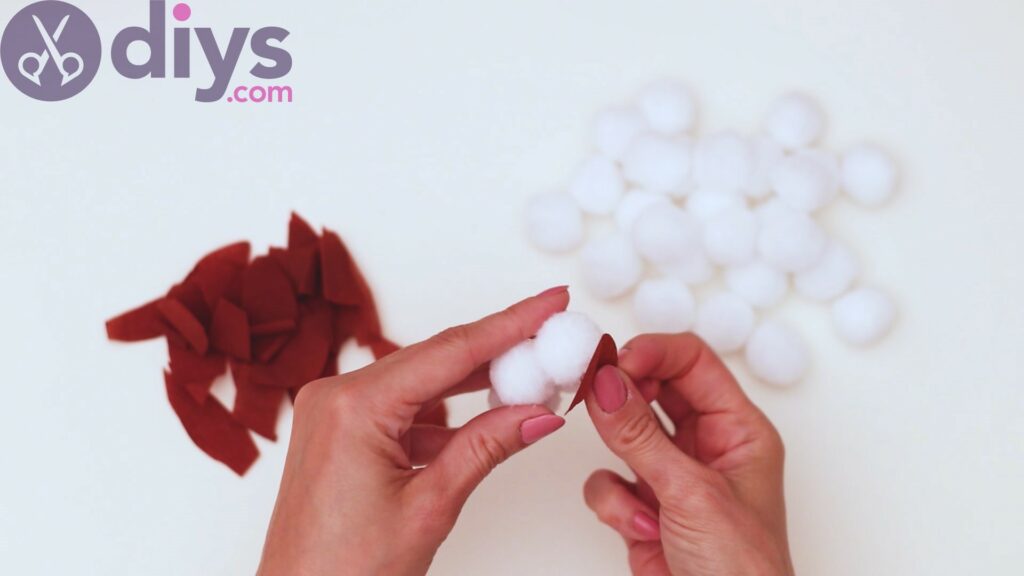
Apply the leaves starting with the center of the cotton flower, with the pointy end coming up from one side.
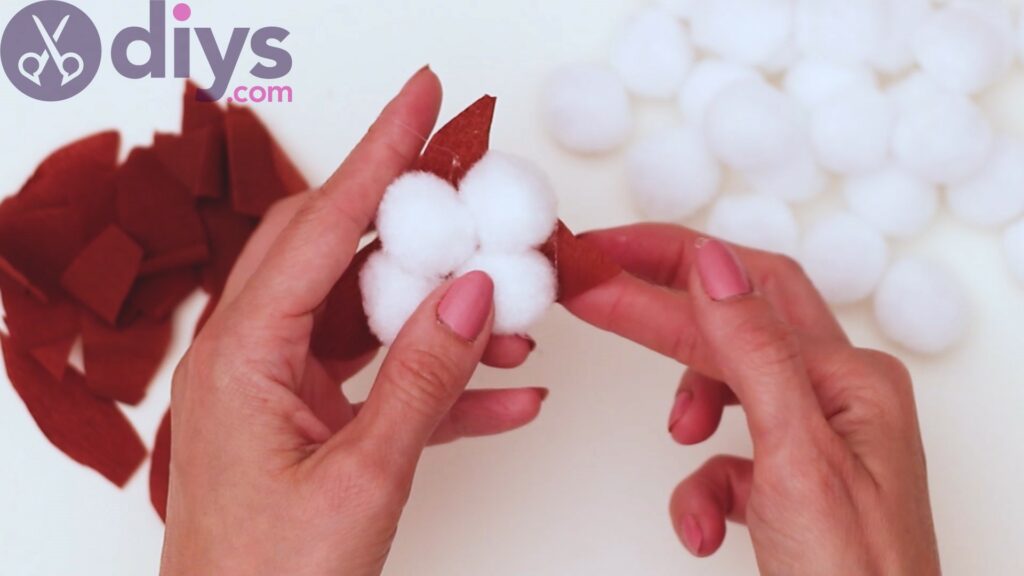
Repeat the process and add more leaves, performing a similar arrangement.
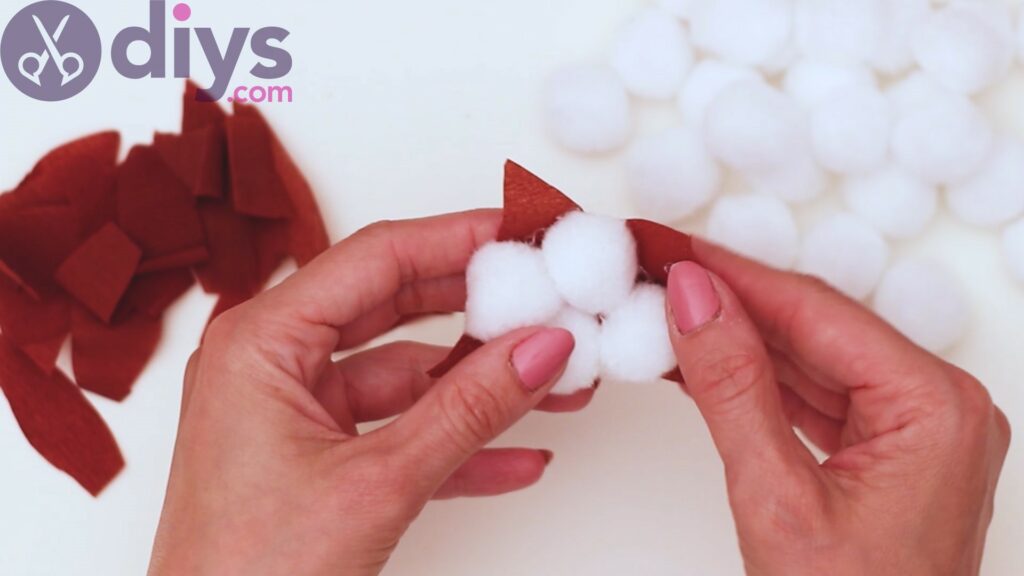
You’ll need to apply four of these leaves. Make sure they come up from underneath the cotton flower and add more hot glue if needed, so the crepe paper stays up.
Repeat the process as many times as needed. We created about six cotton flowers, but you can make however many you want to add.
Step 3: Add the pinecones
As you can see, our wreath base is made of twigs, but if you have a different base, that will work too. Of course, we just love how the natural elements work together here, mixing in the twig wreath with the pinecones and what will appear to be cotton flowers.
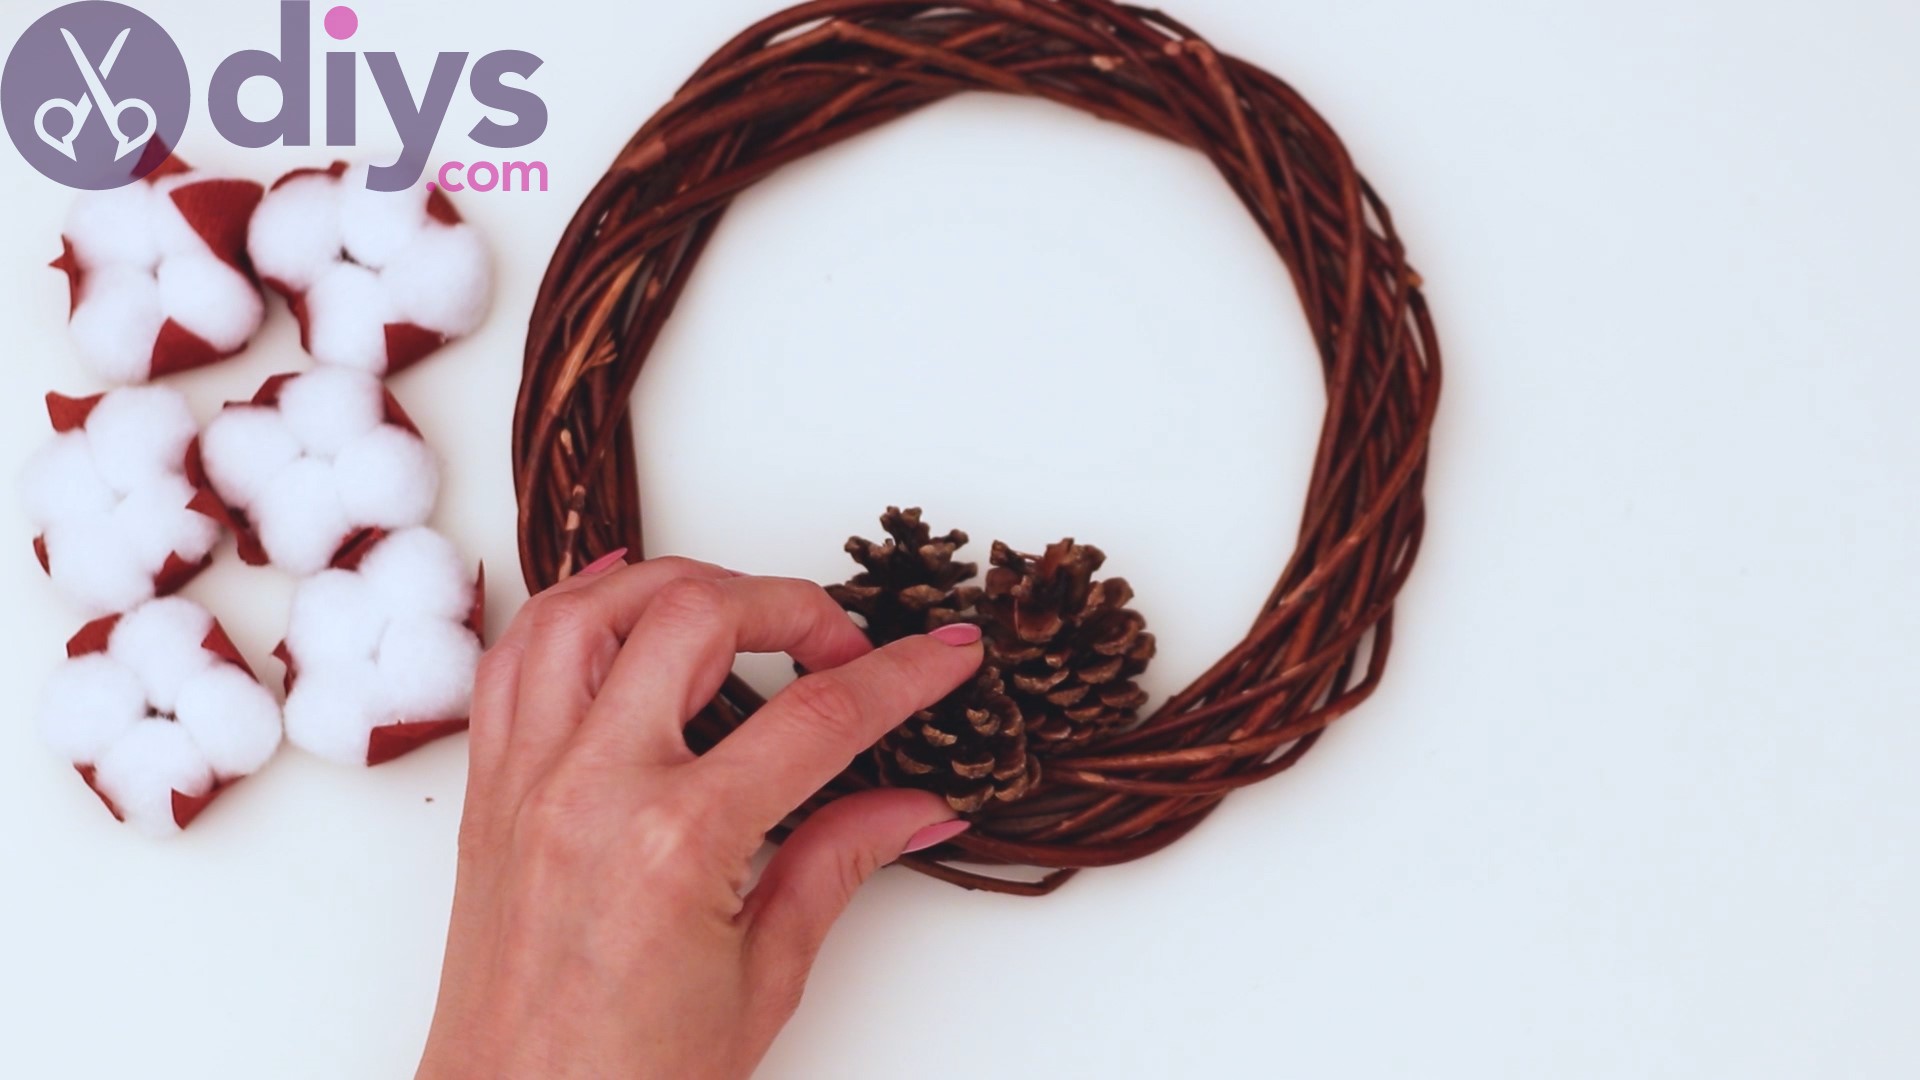
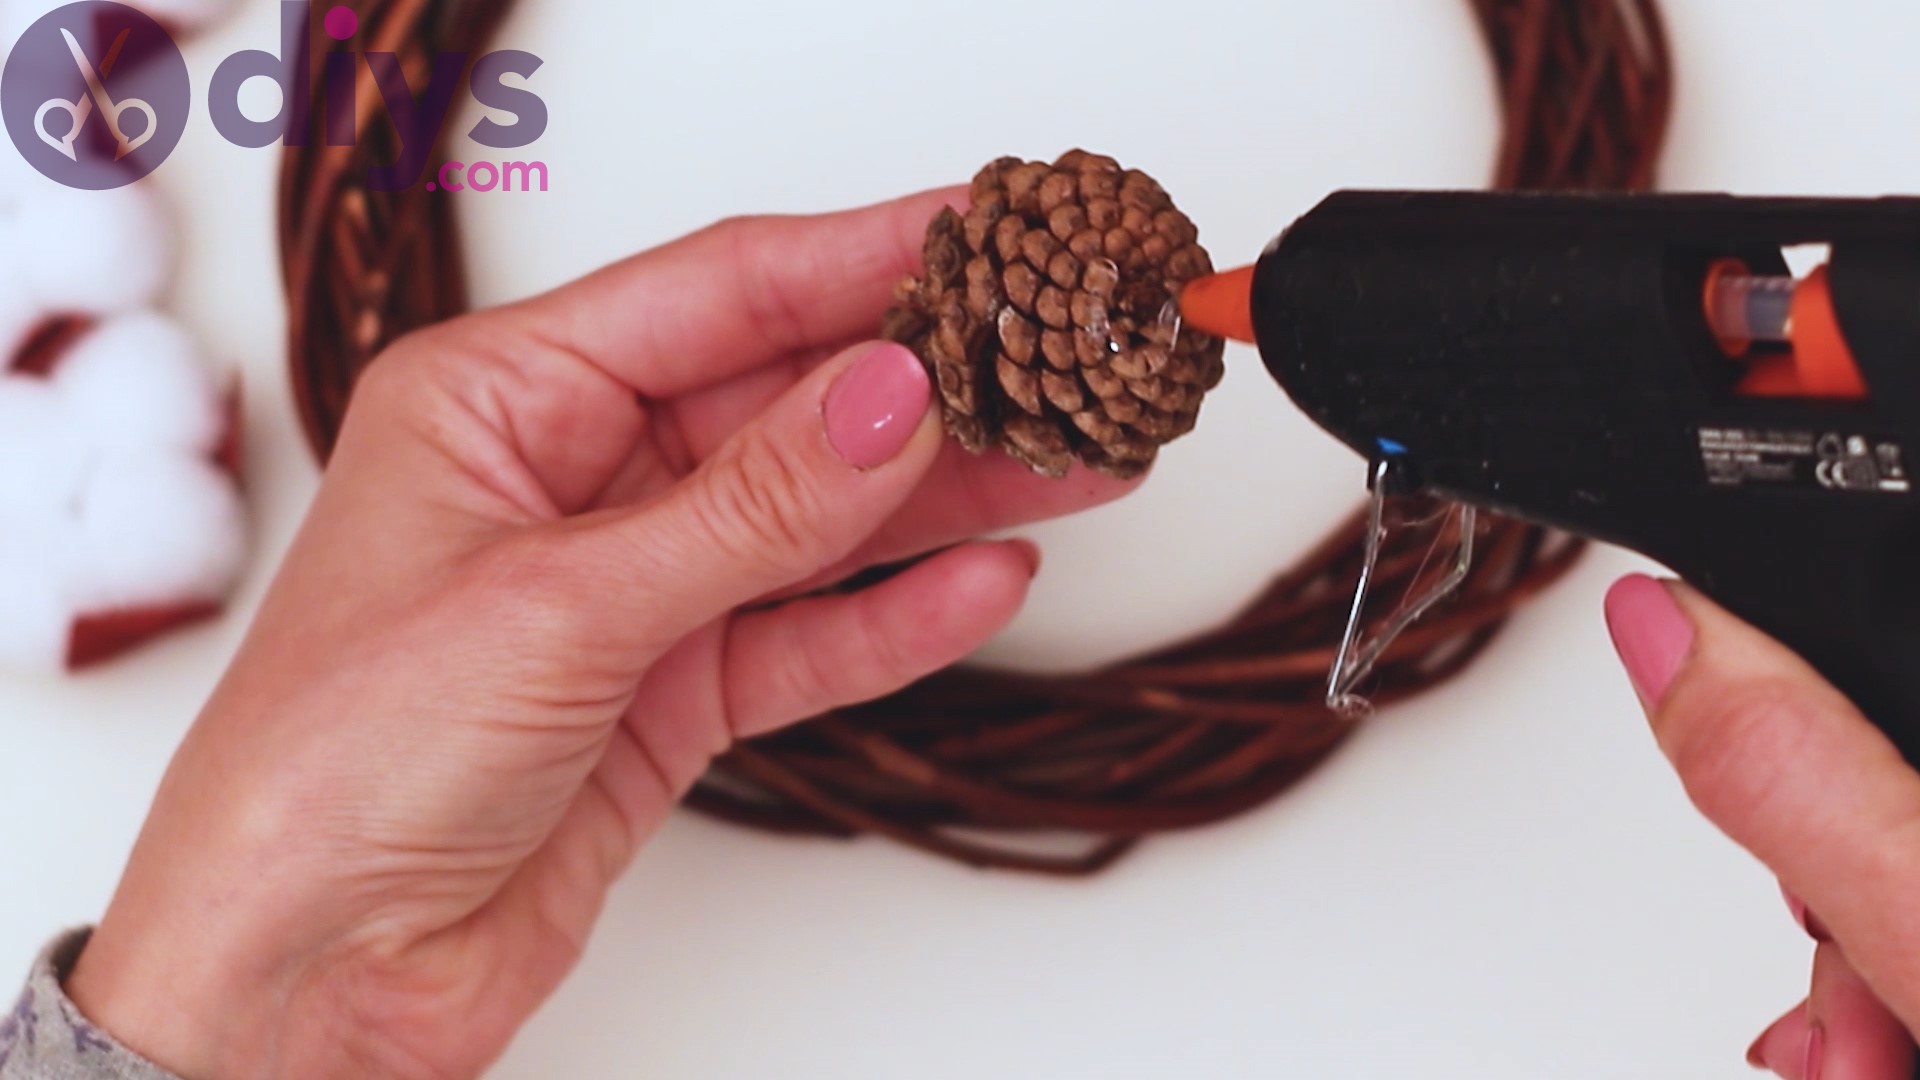
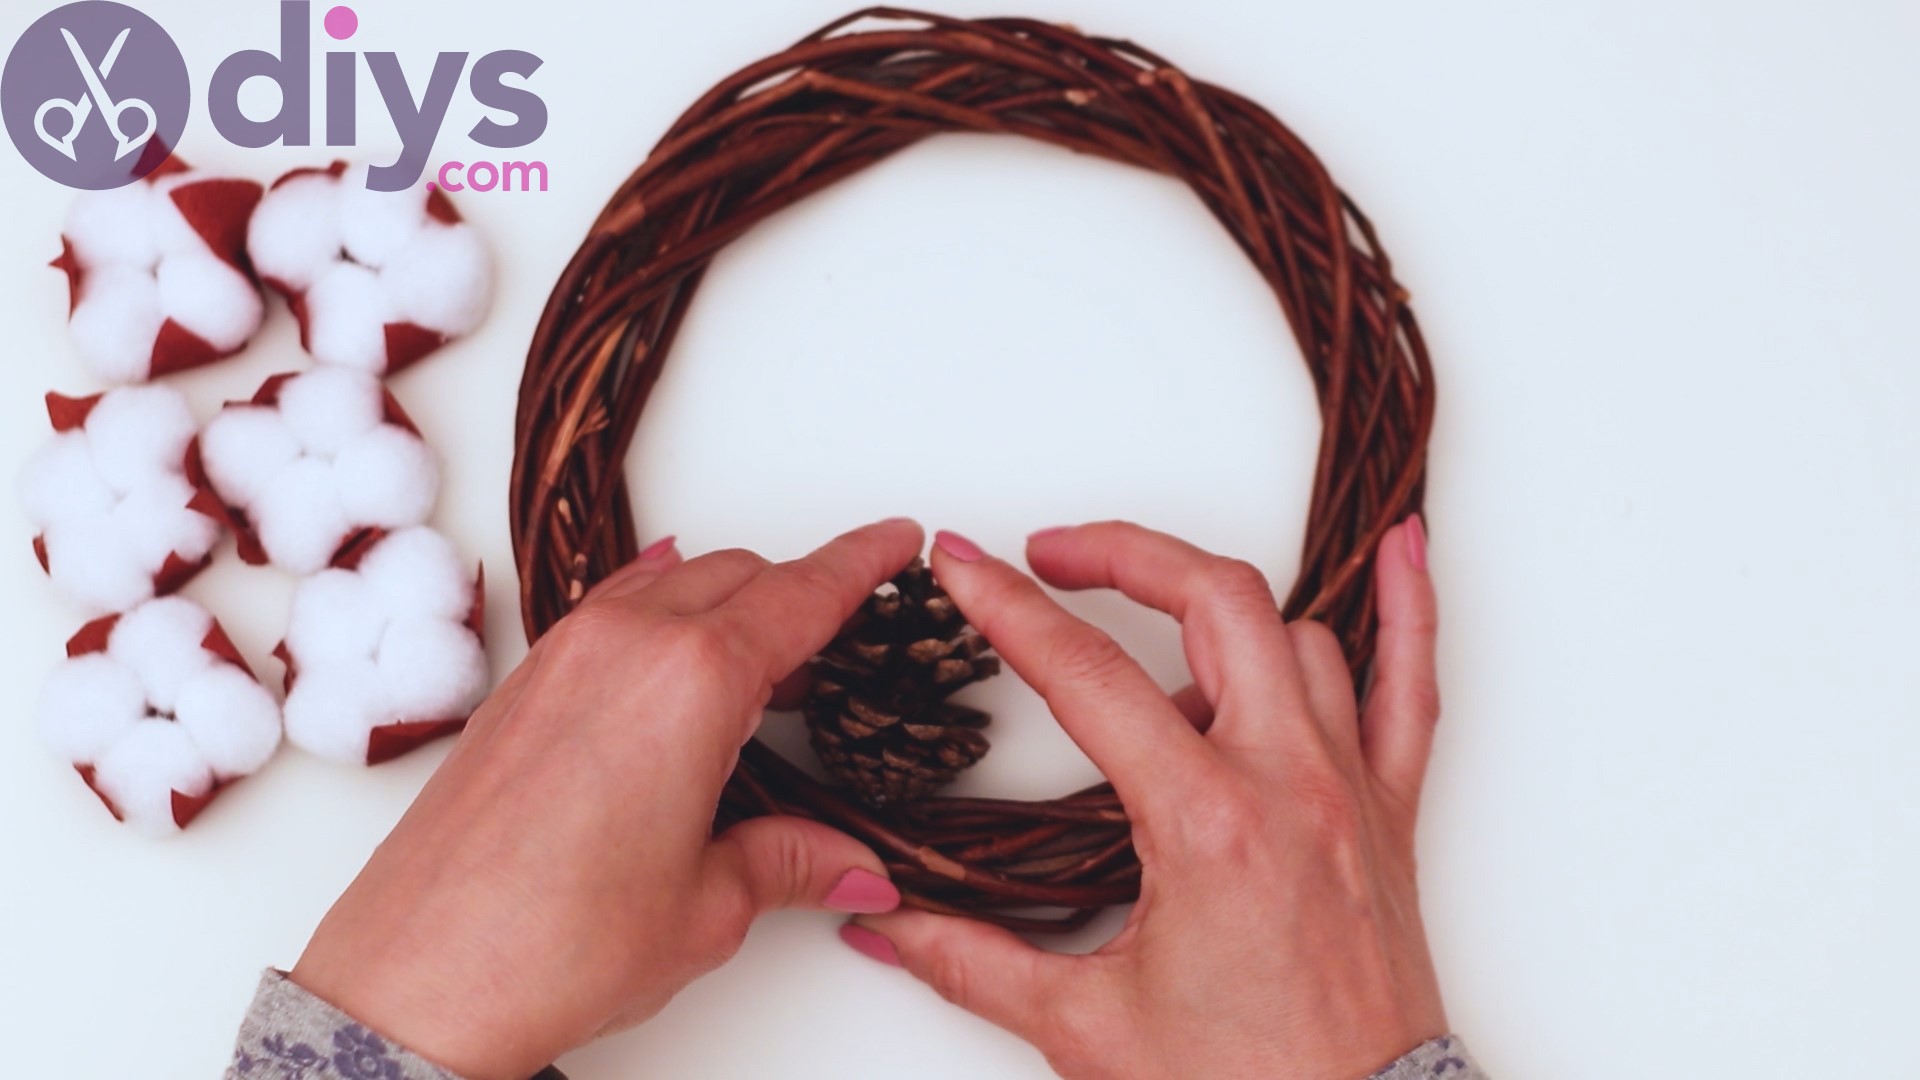
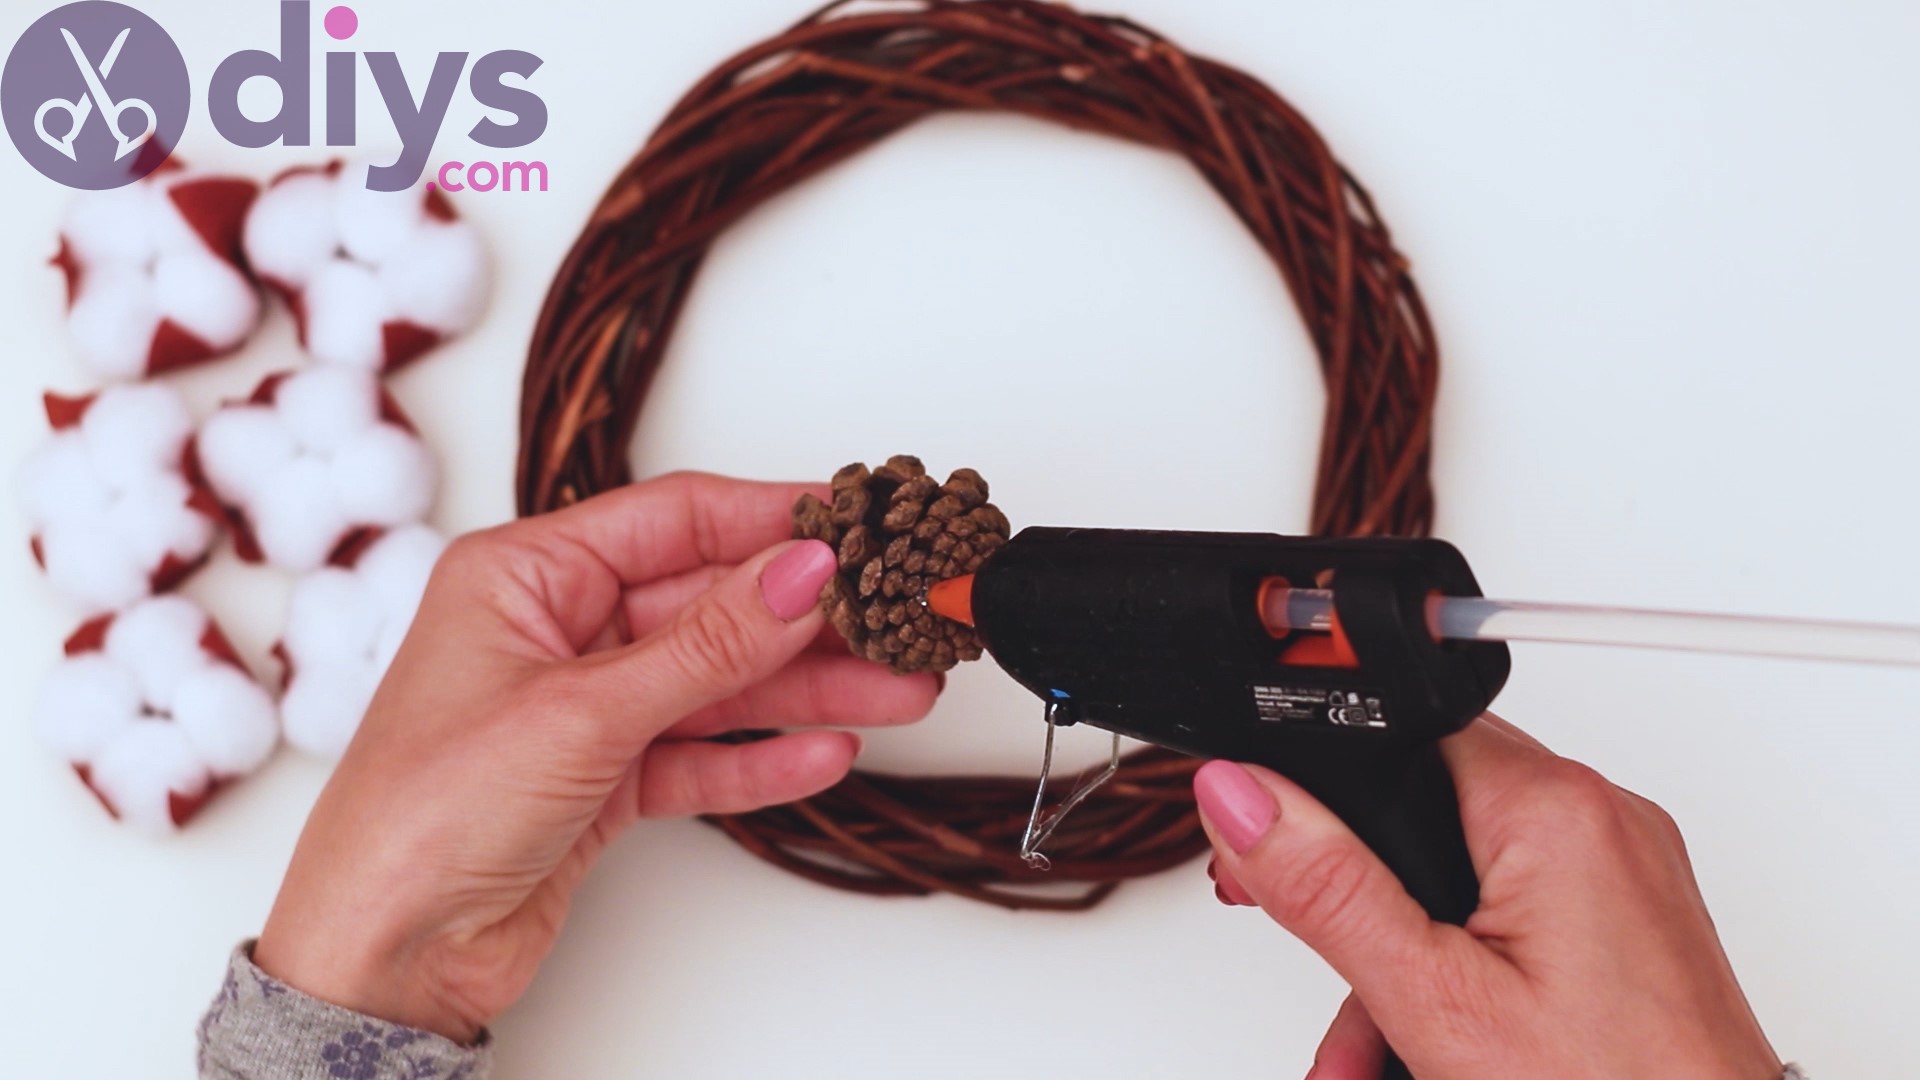
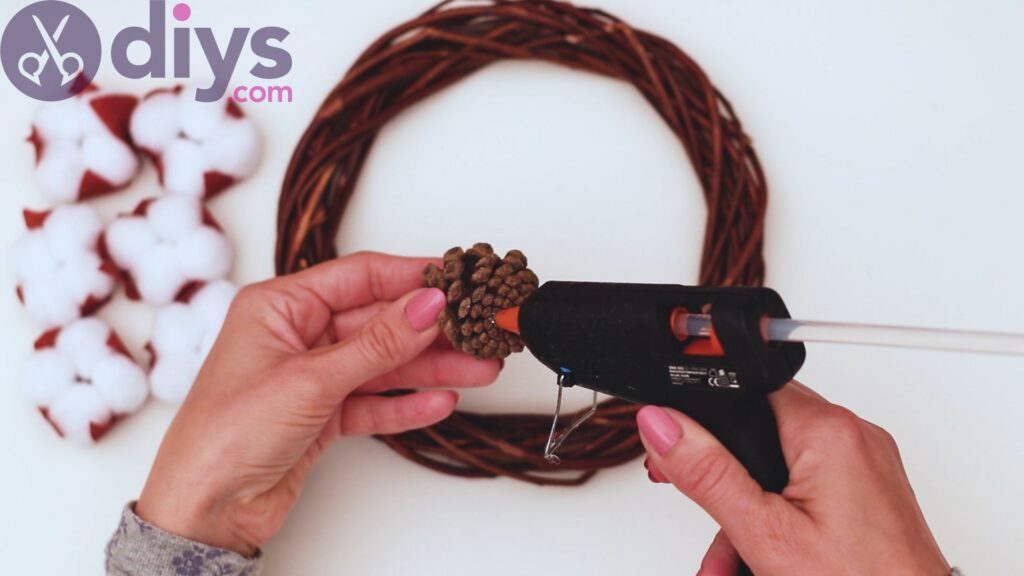
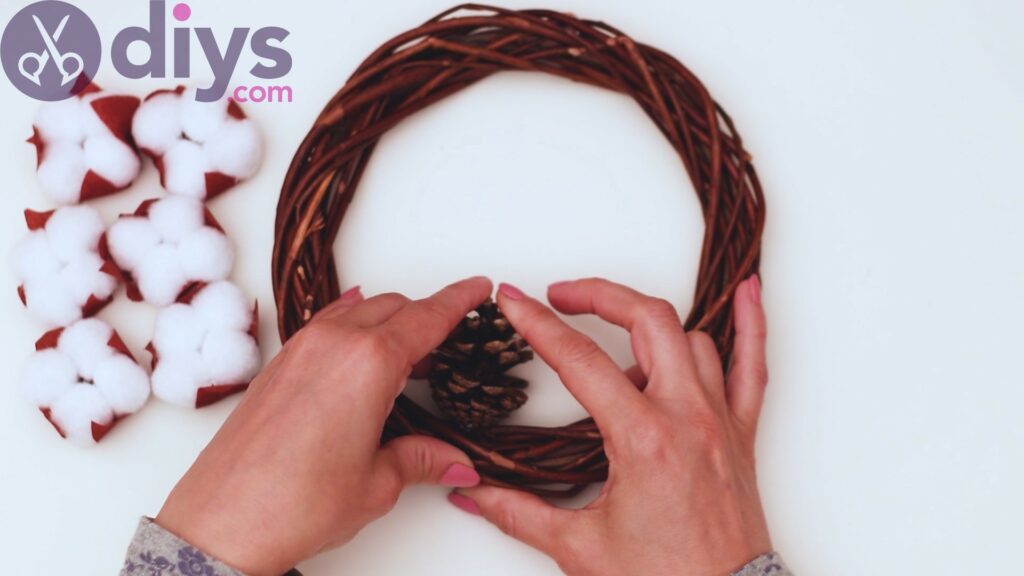
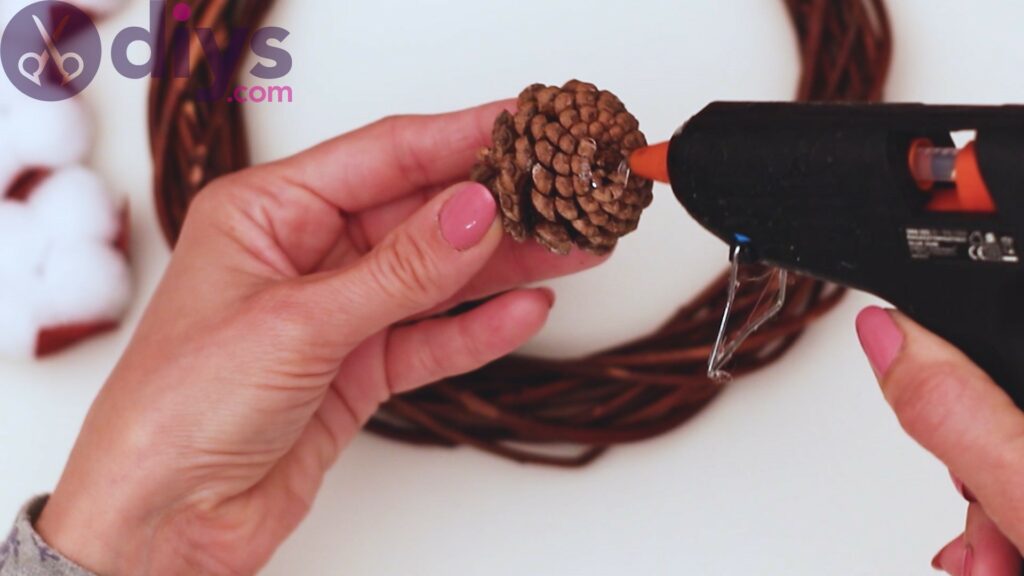
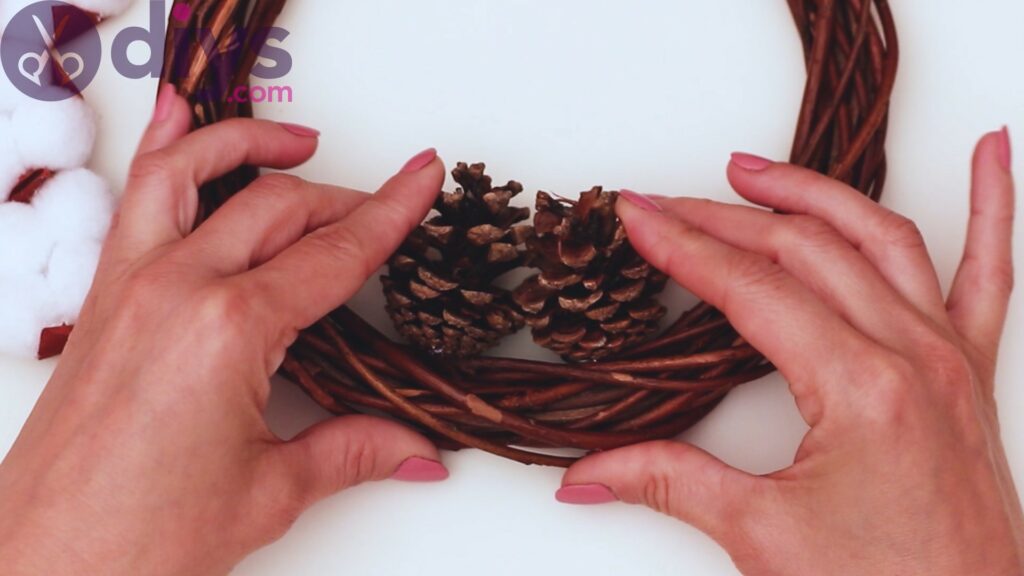
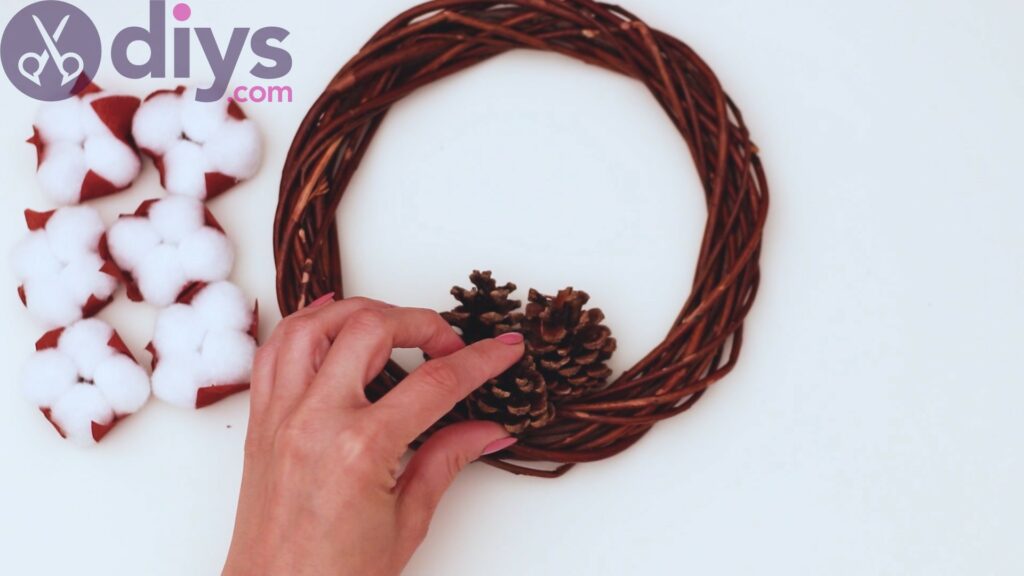
Either way, now you need to get the glue gun once more and apply hot glue to the back of one of the pinecones. Pick a spot on the wreath and place it there.
Make sure you hold it pressed for a few seconds so the hot glue sets. Since this is a bigger and heavier piece, you’ll need a little bit extra glue.
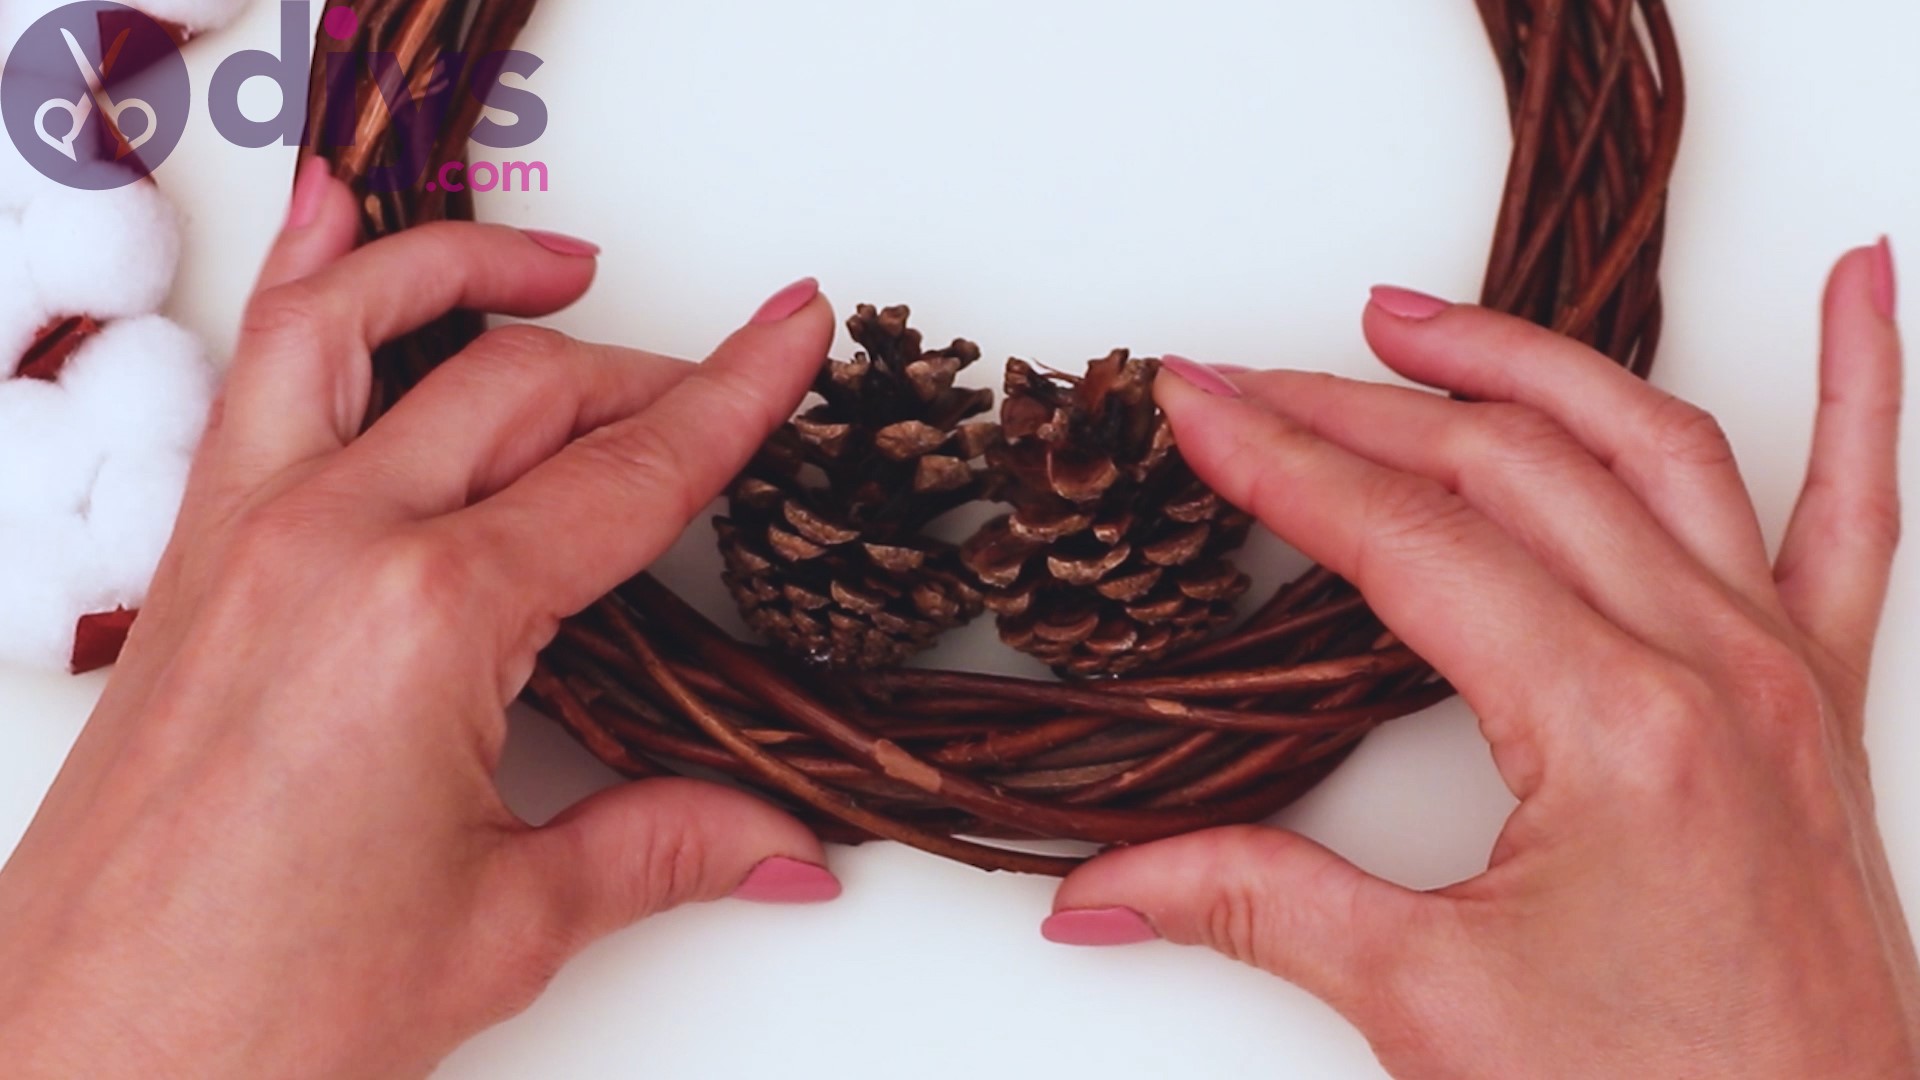
Add hot glue to another pinecone and place it on the wreath, near the first one.
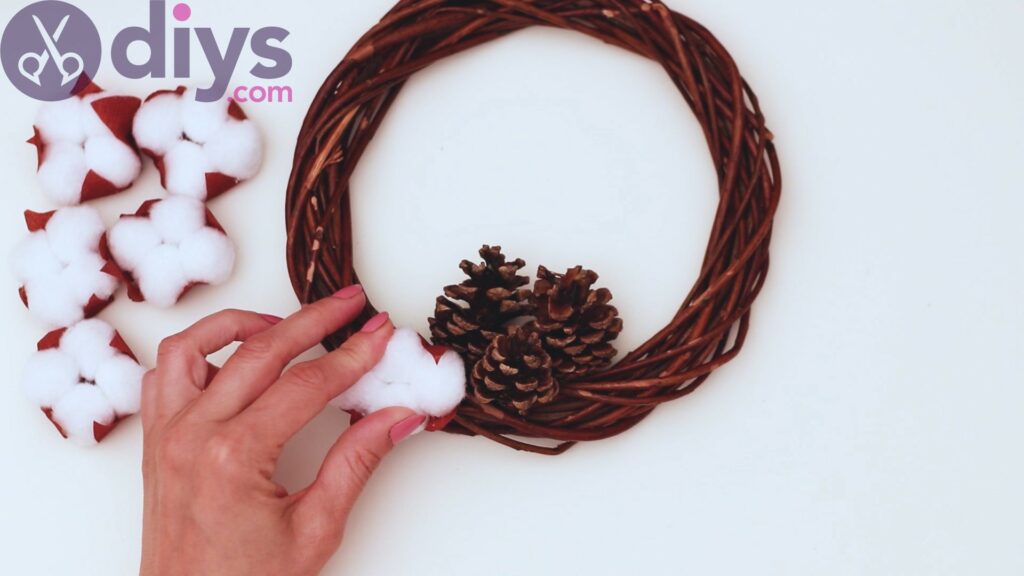
Pick a third, smaller pinecone and add it in front of the first two in the same manner.
Step 4: Add the cotton flowers
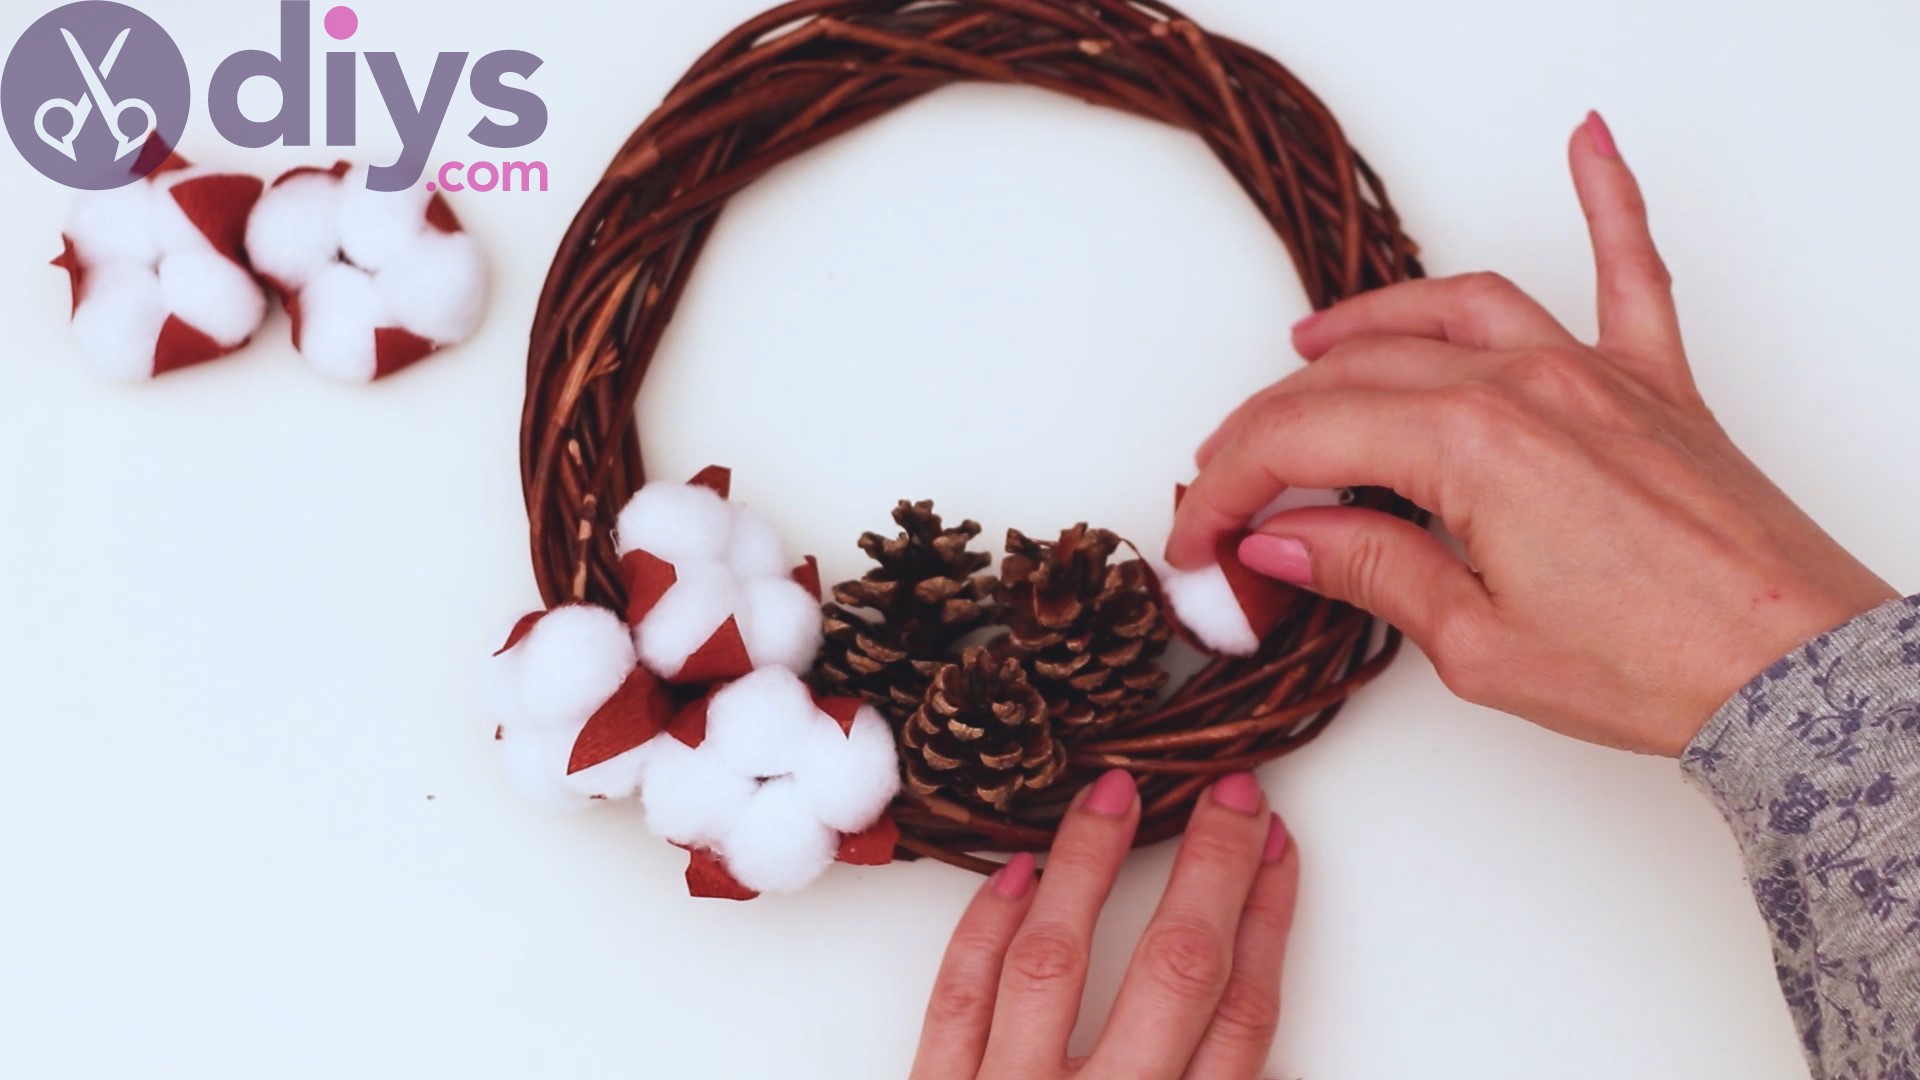
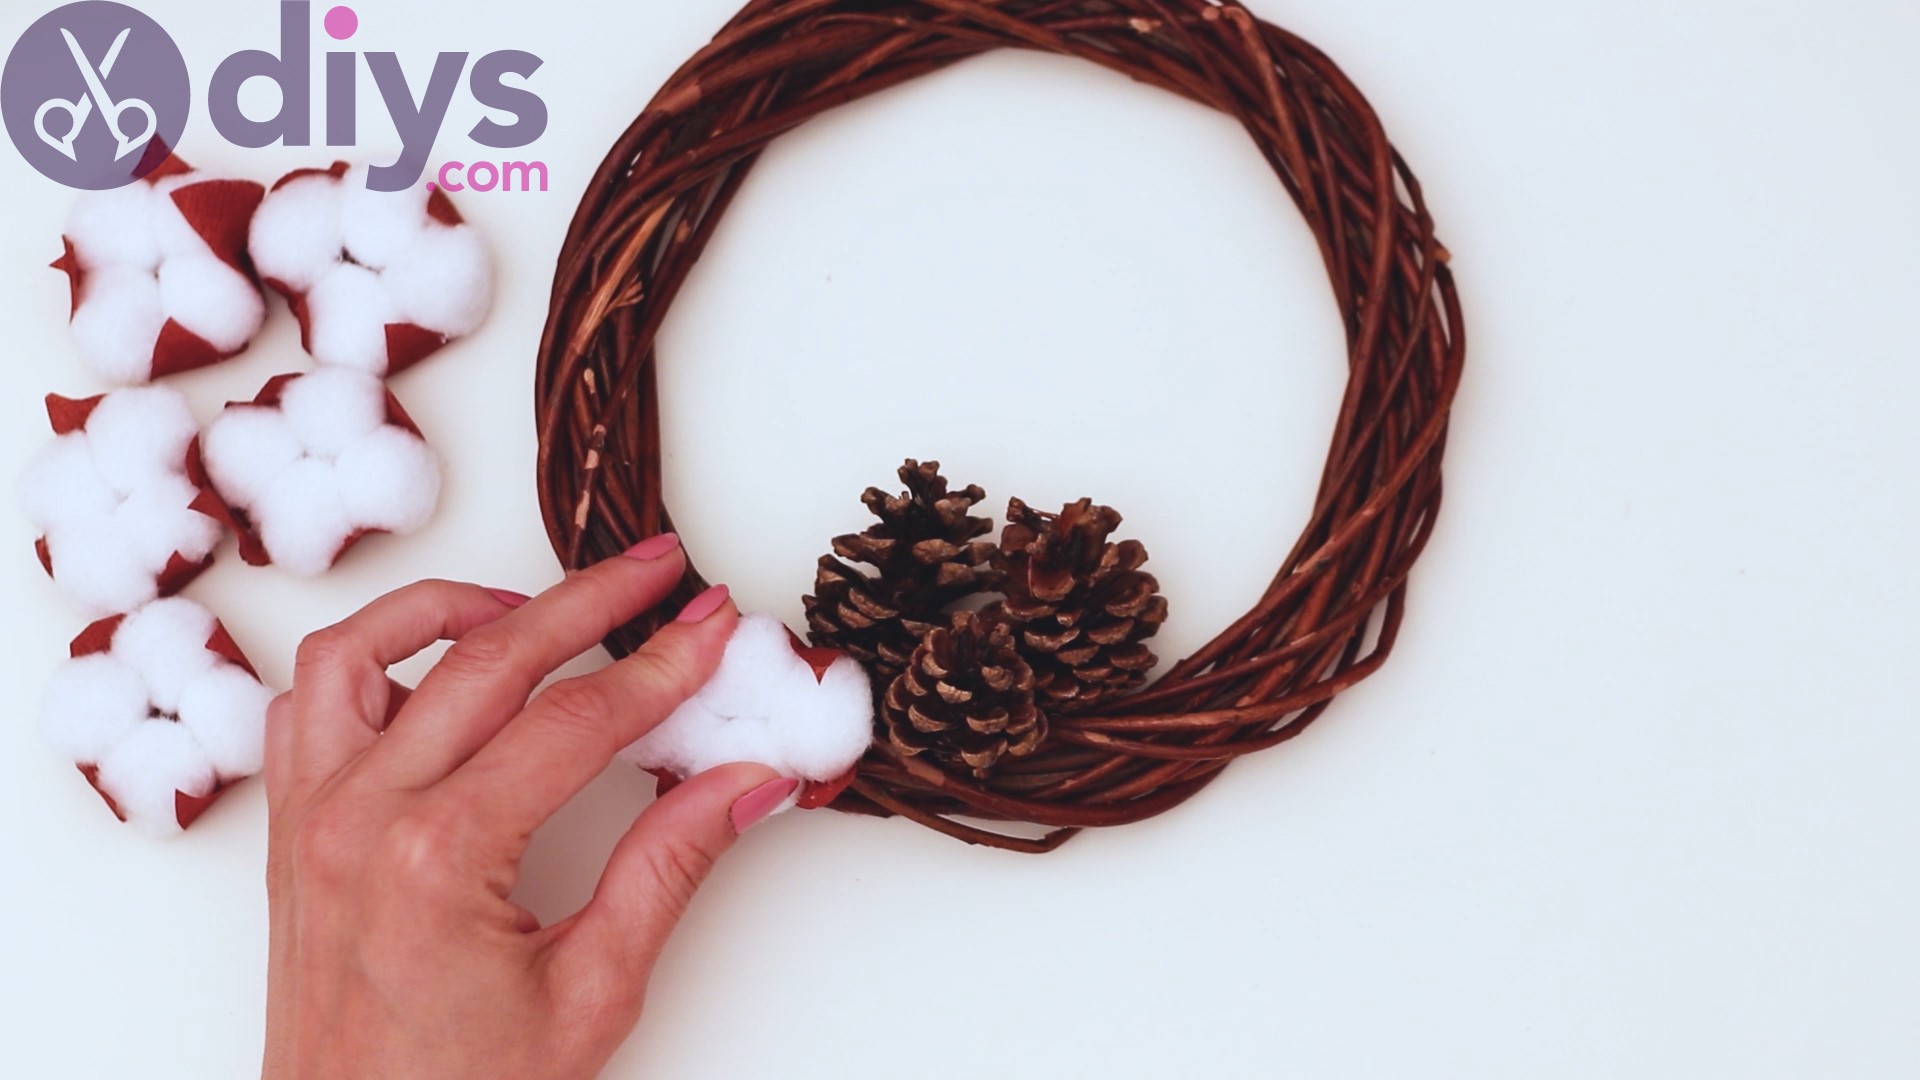
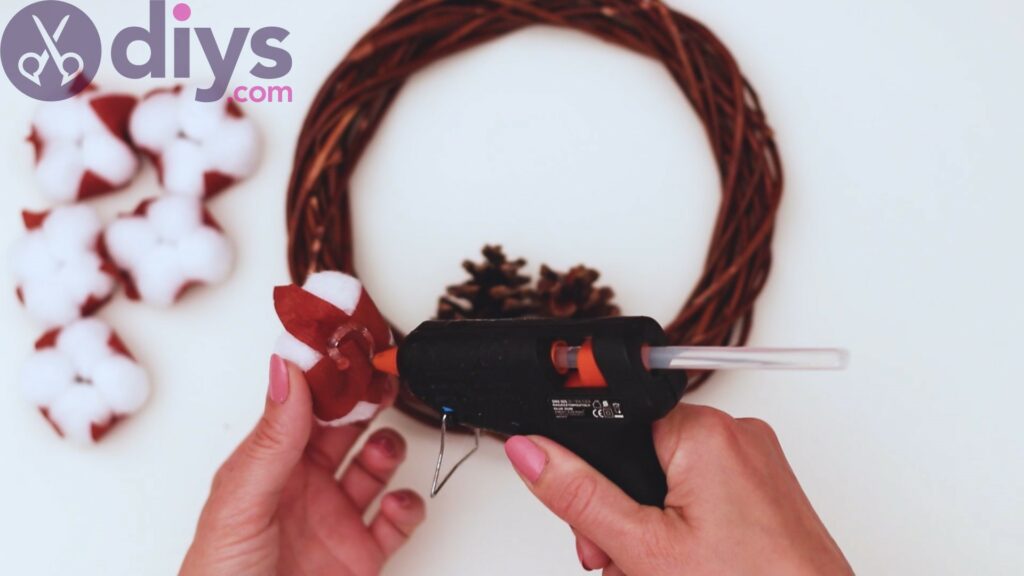
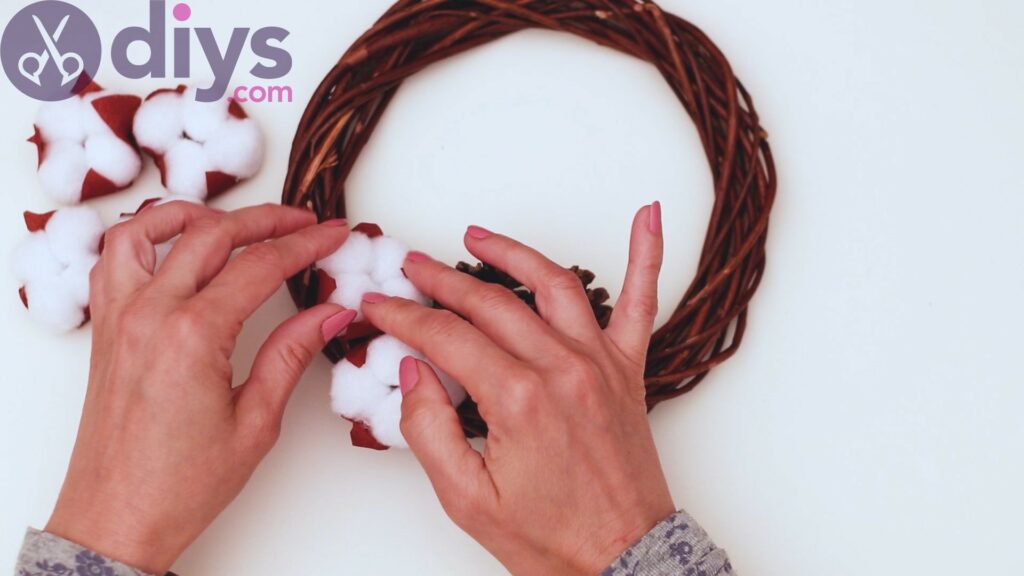
Now’s the perfect time to start adding the cotton flowers to the design. Pick one up and add a glob of hot glue to its back.
Find a place on the wreath and apply it there. Since the twig wreath is pretty irregular, you want to press it into the wood so the glue actually sticks to something.
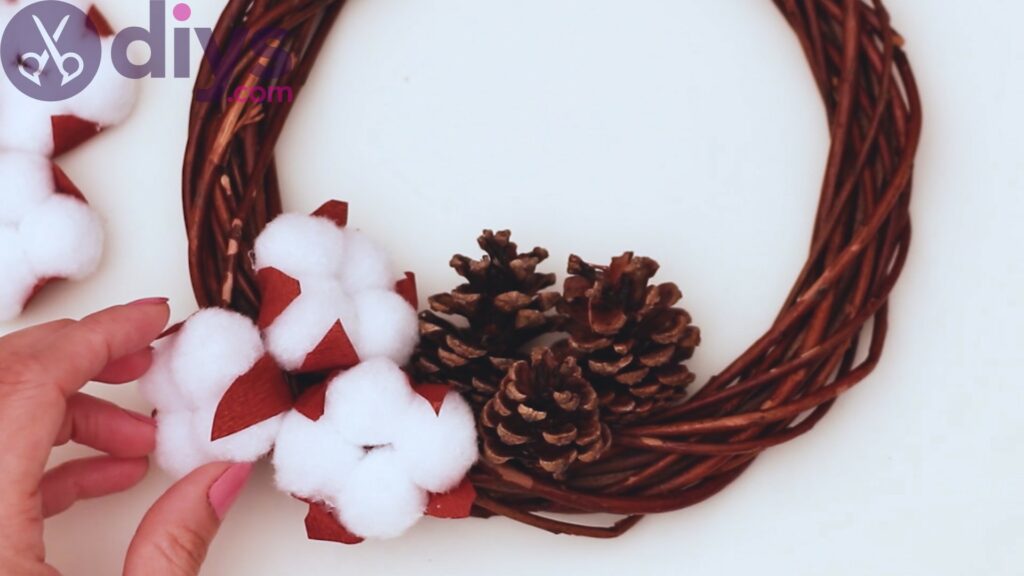
Add a second flower in the same manner, carefully placing it on the wreath.
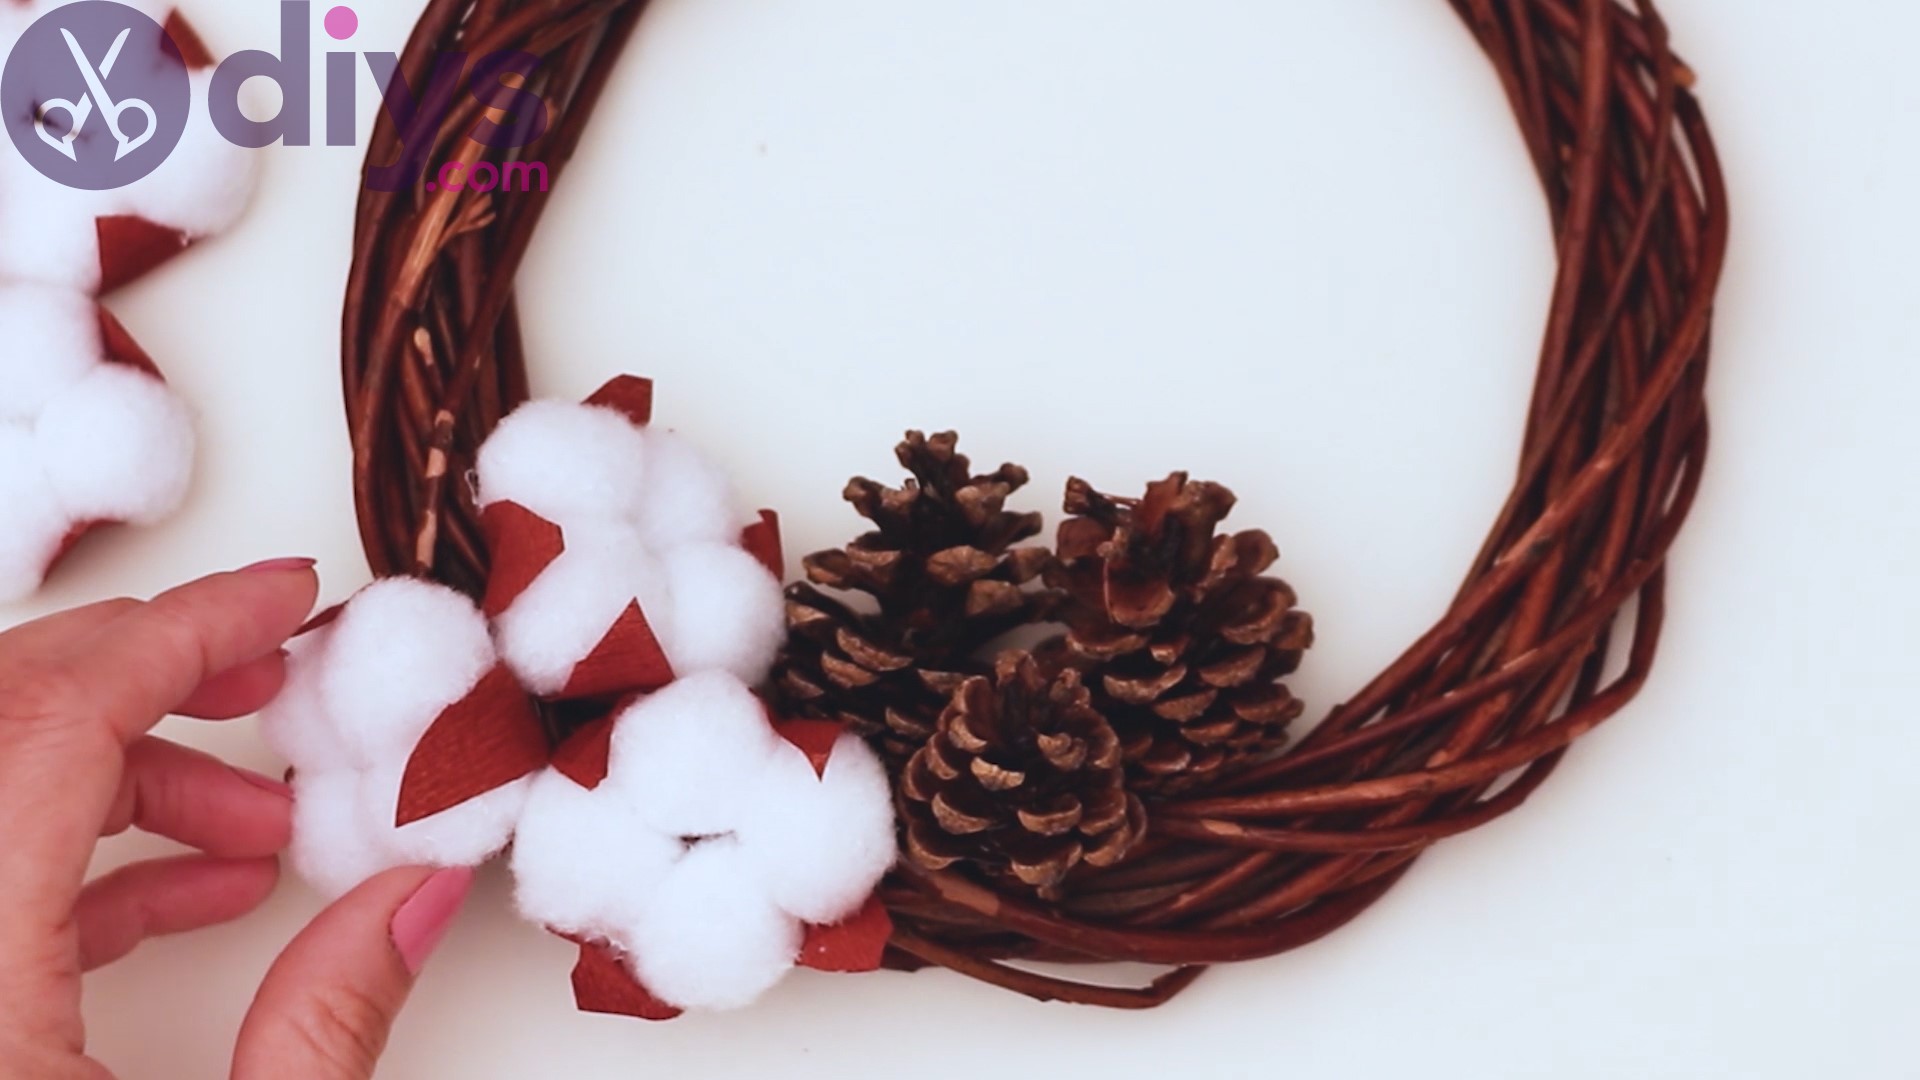
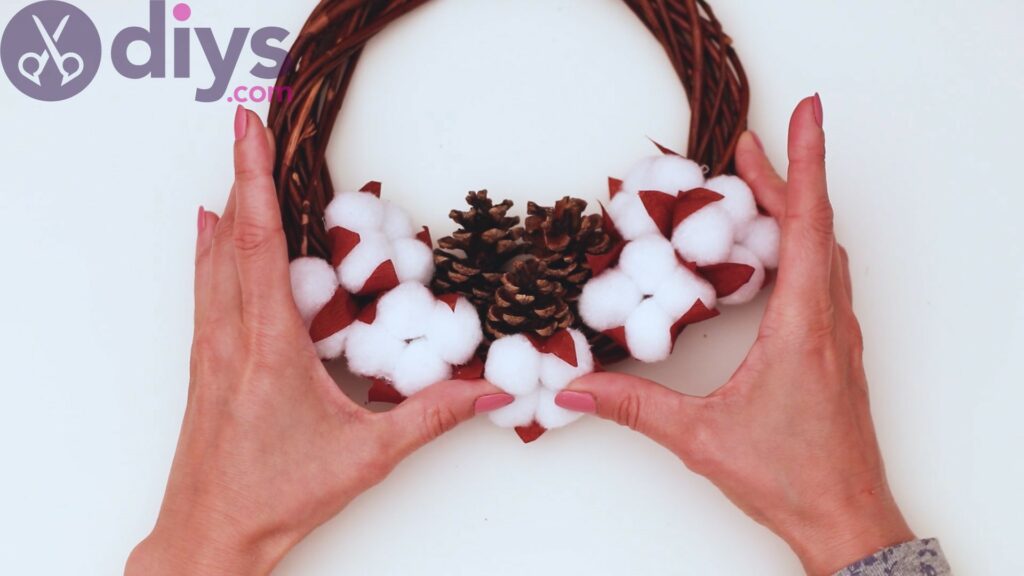
By adding a third flower here, it looks like a small bouquet!
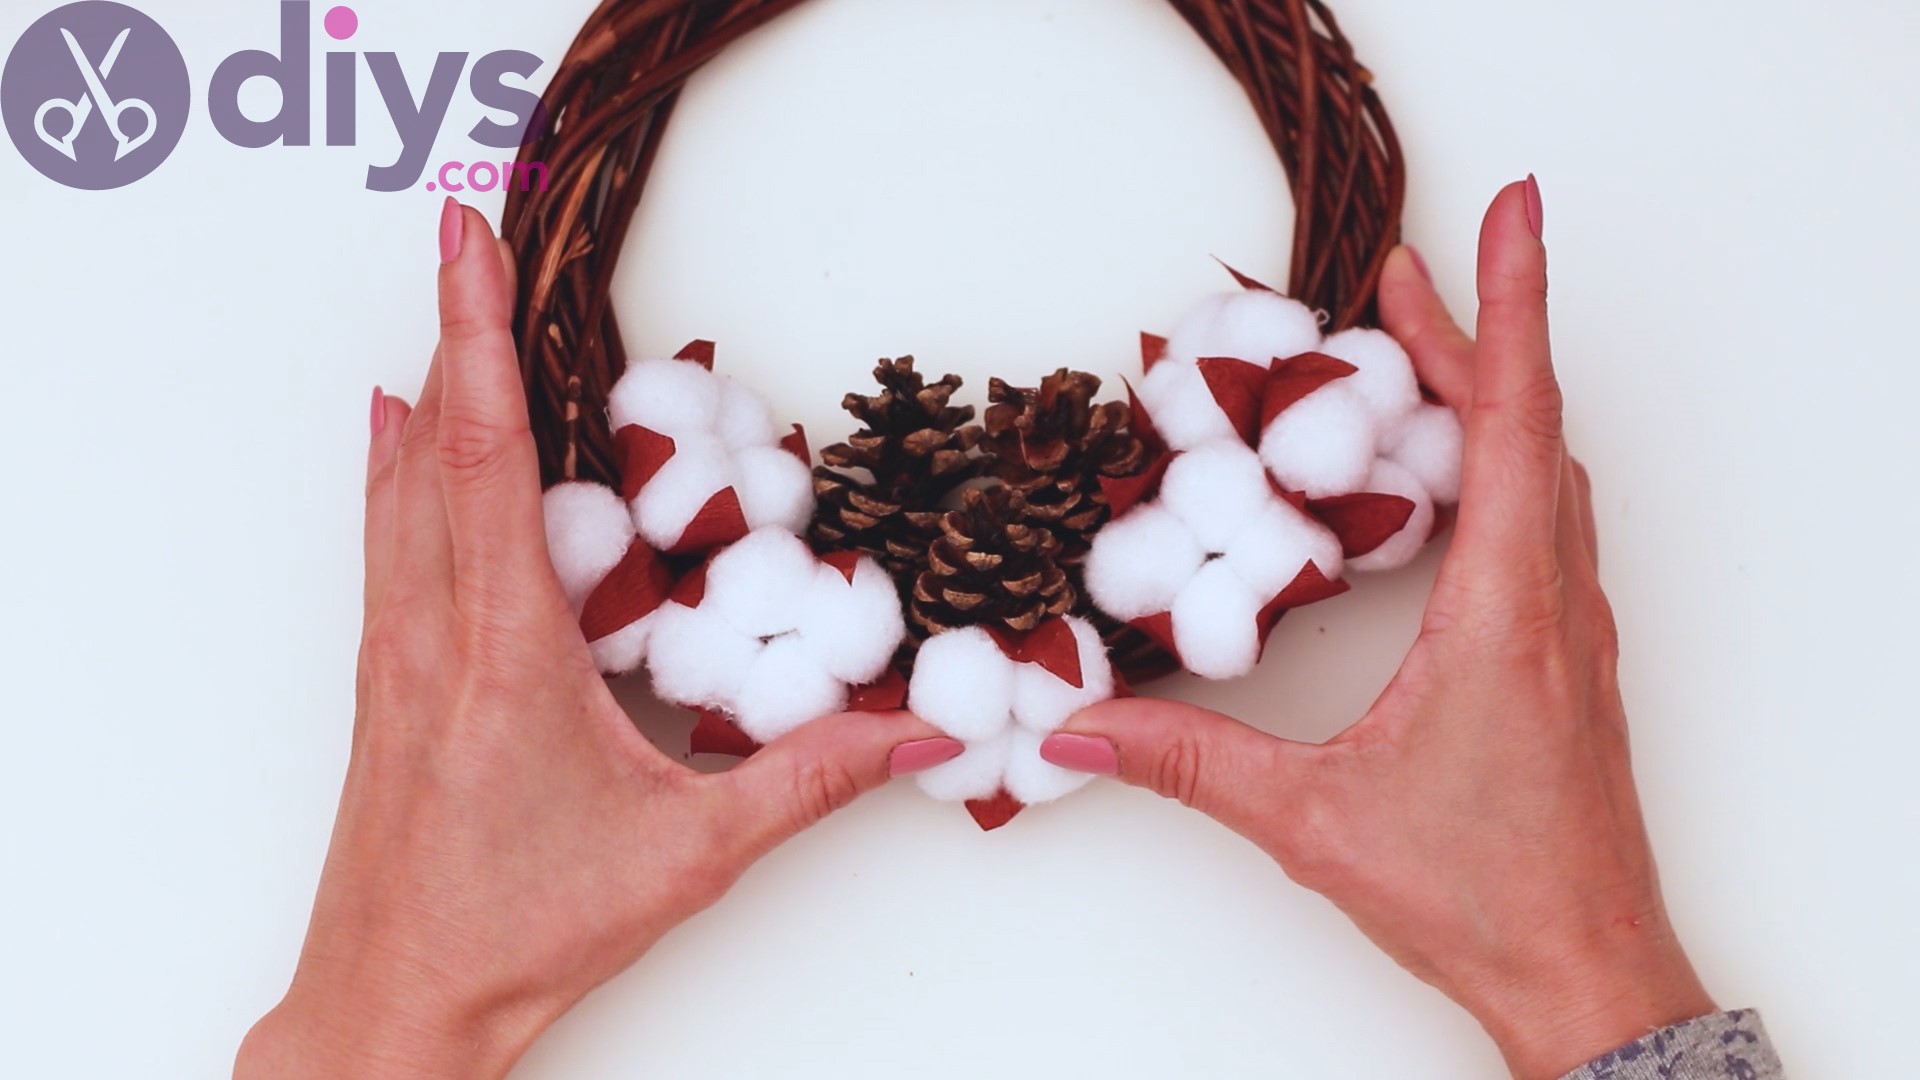
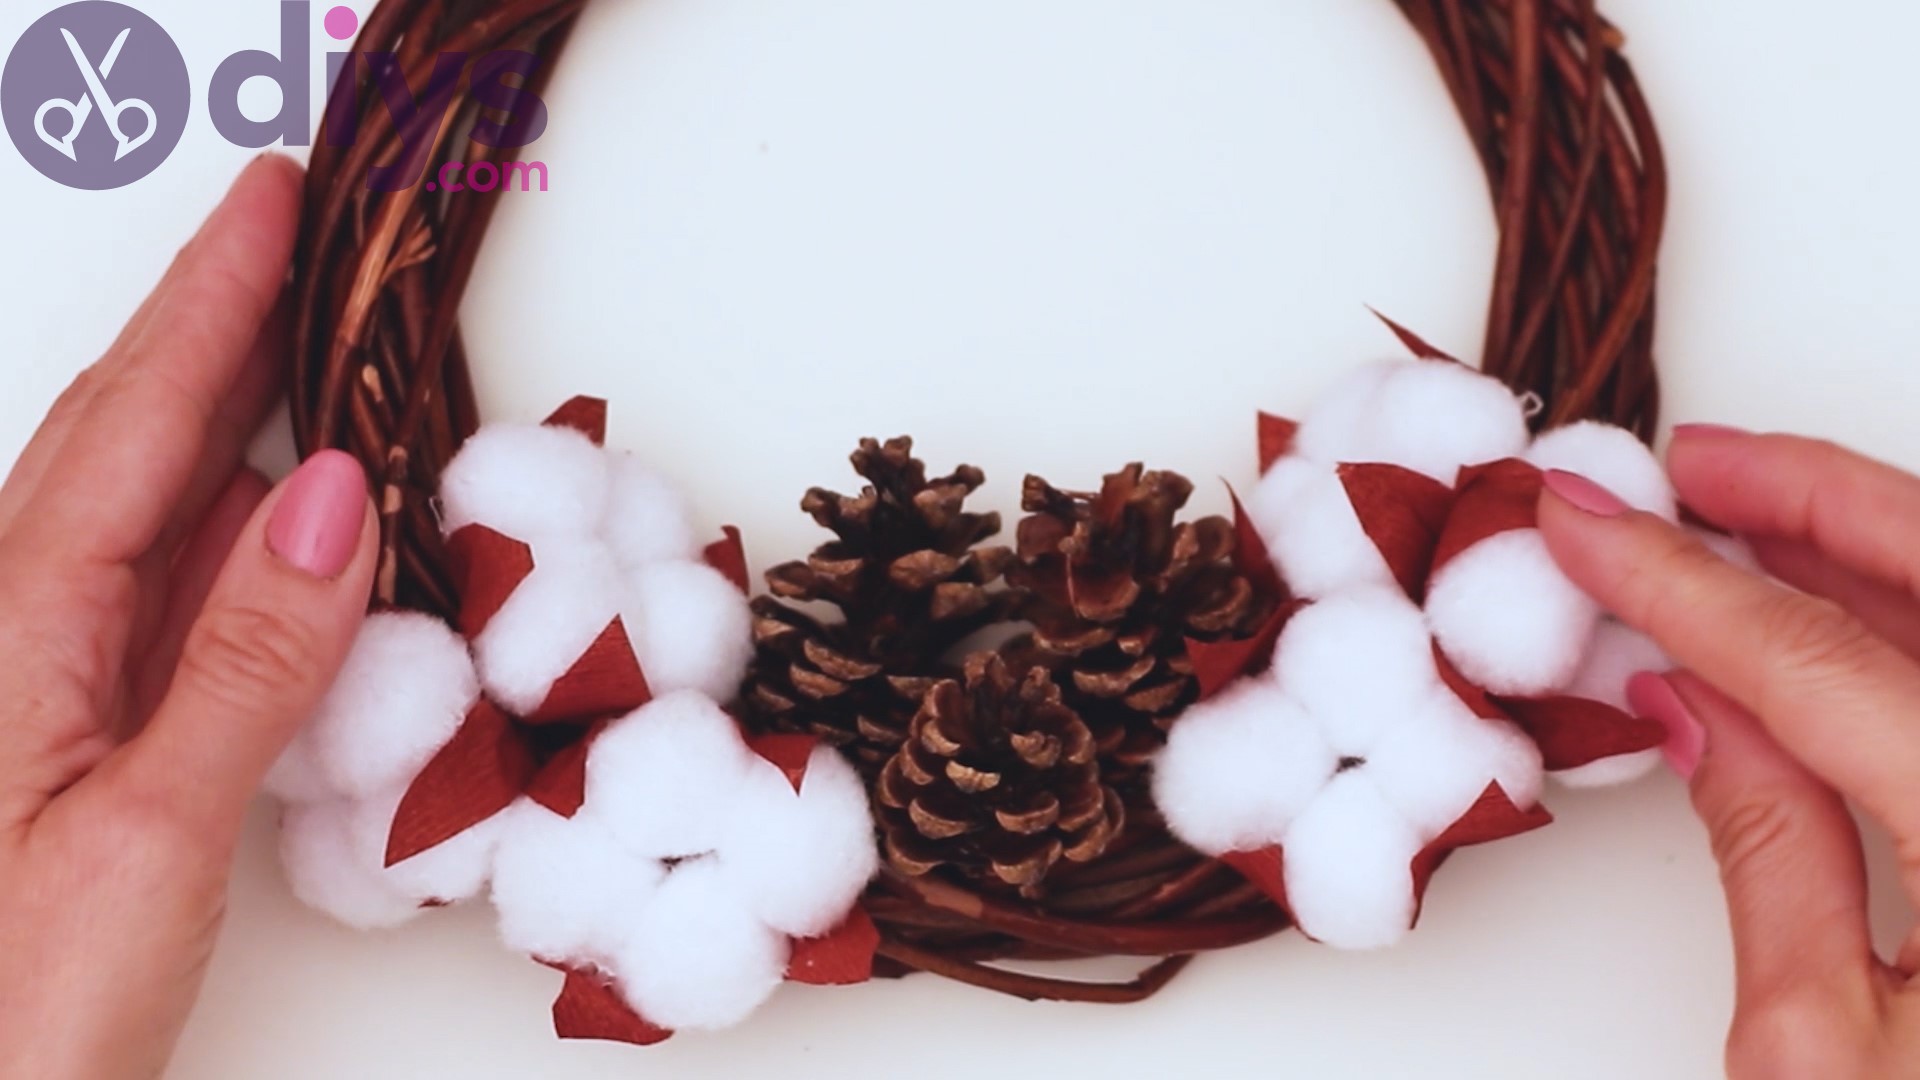
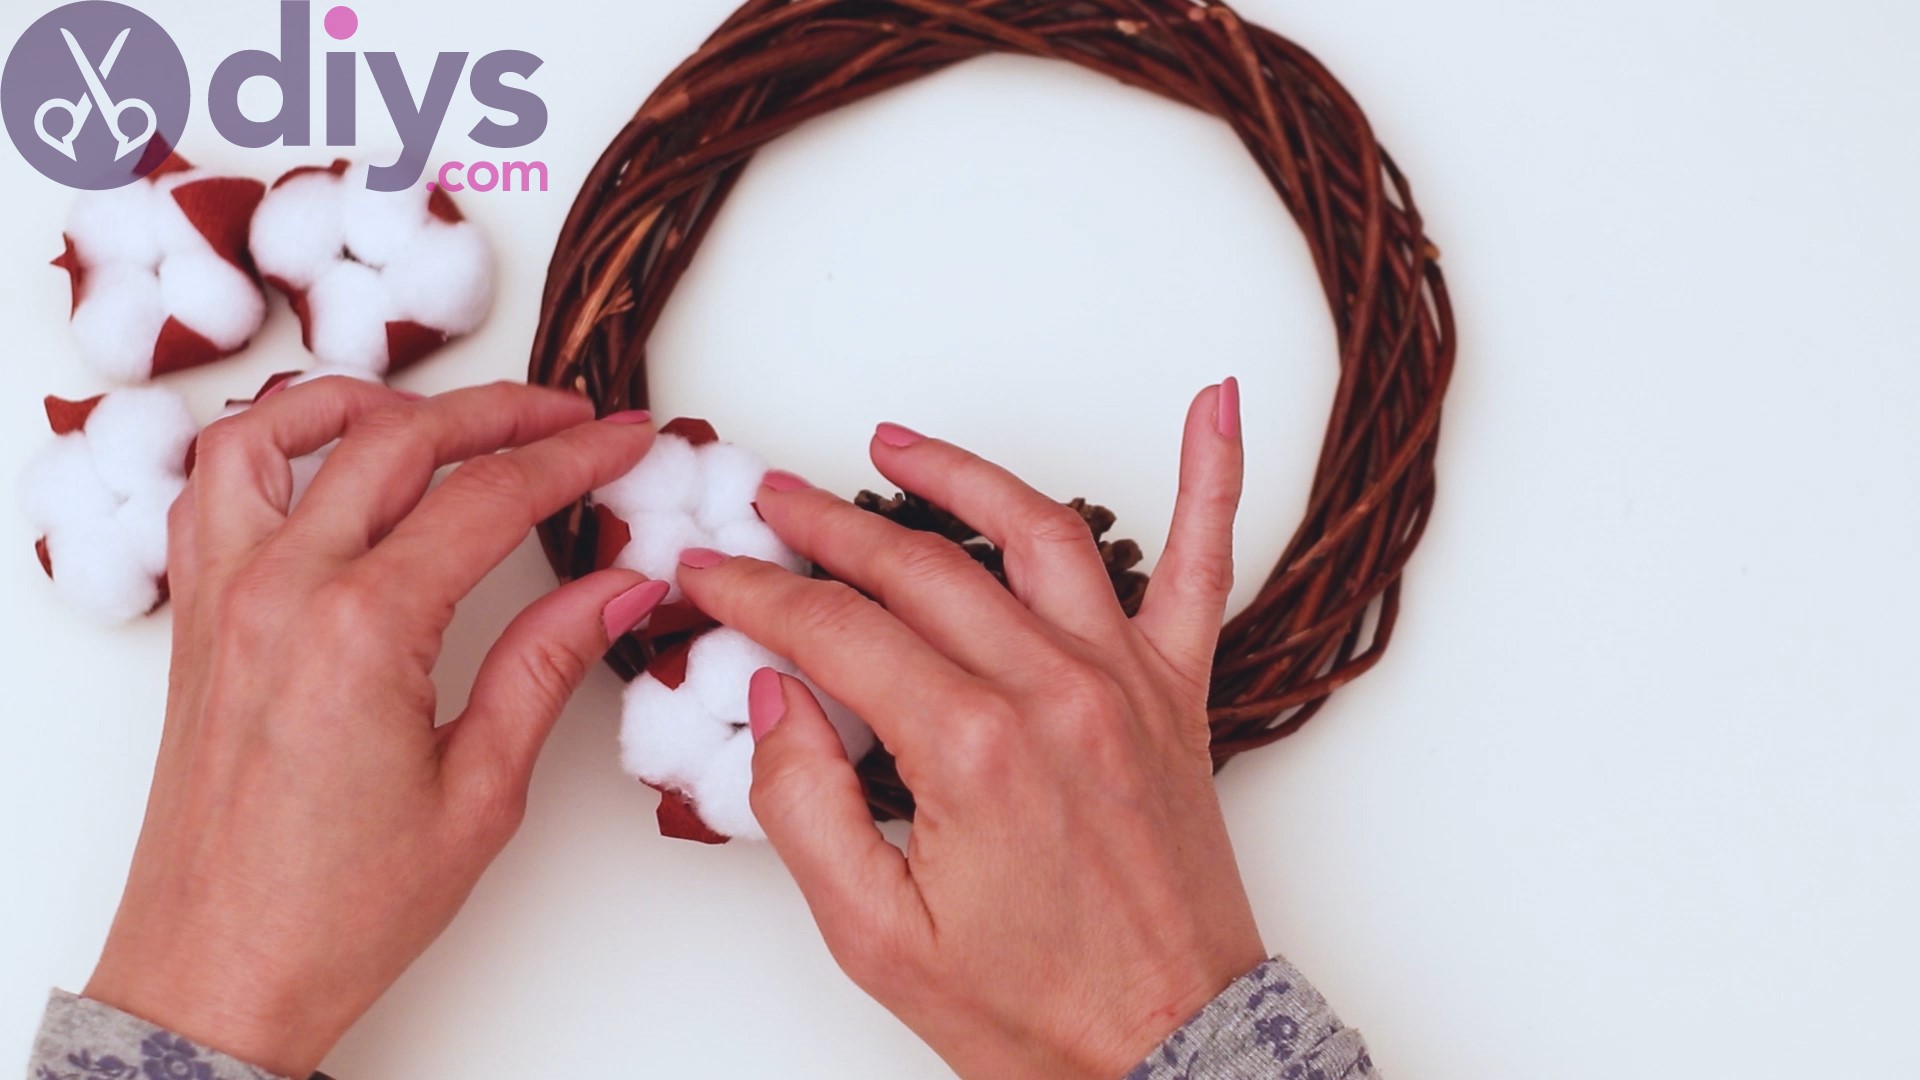
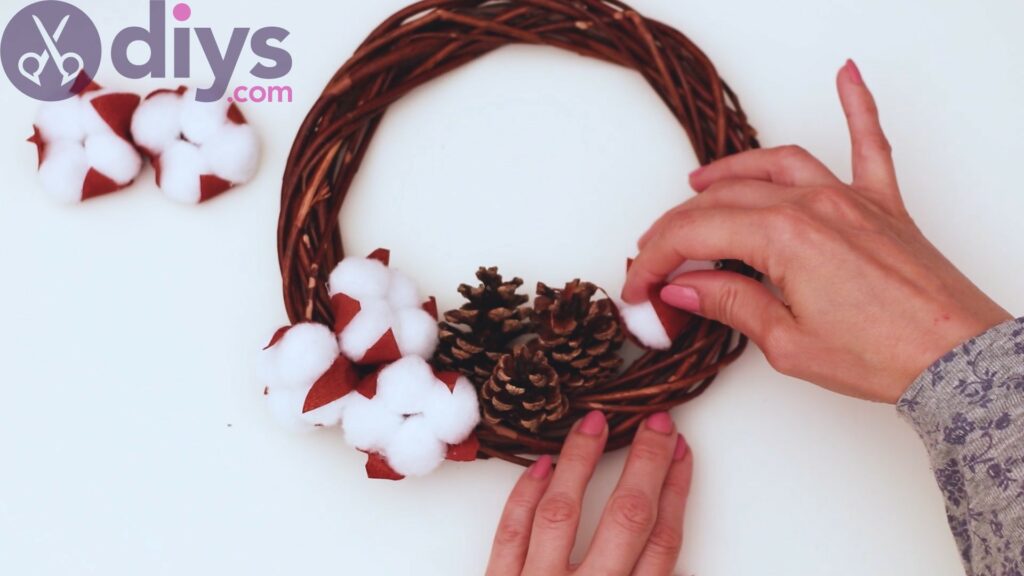
The other cotton flowers you have will work just fine on the other side of the pinecones.
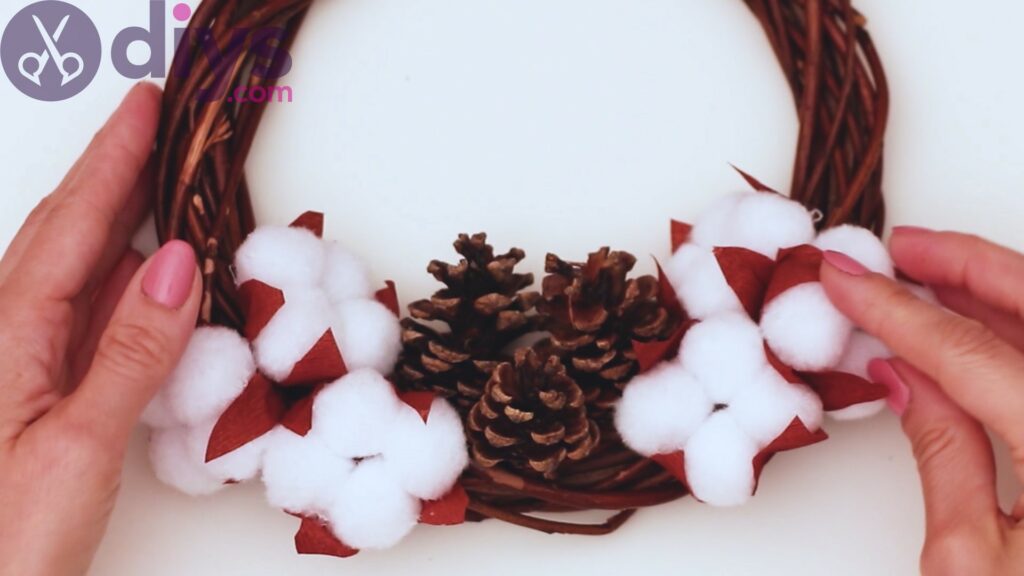
Make a bouquet of three cotton flowers here as well.
We made an extra one and added it near the pinecones, for a more balanced composition.
Step 5: Make a double bow
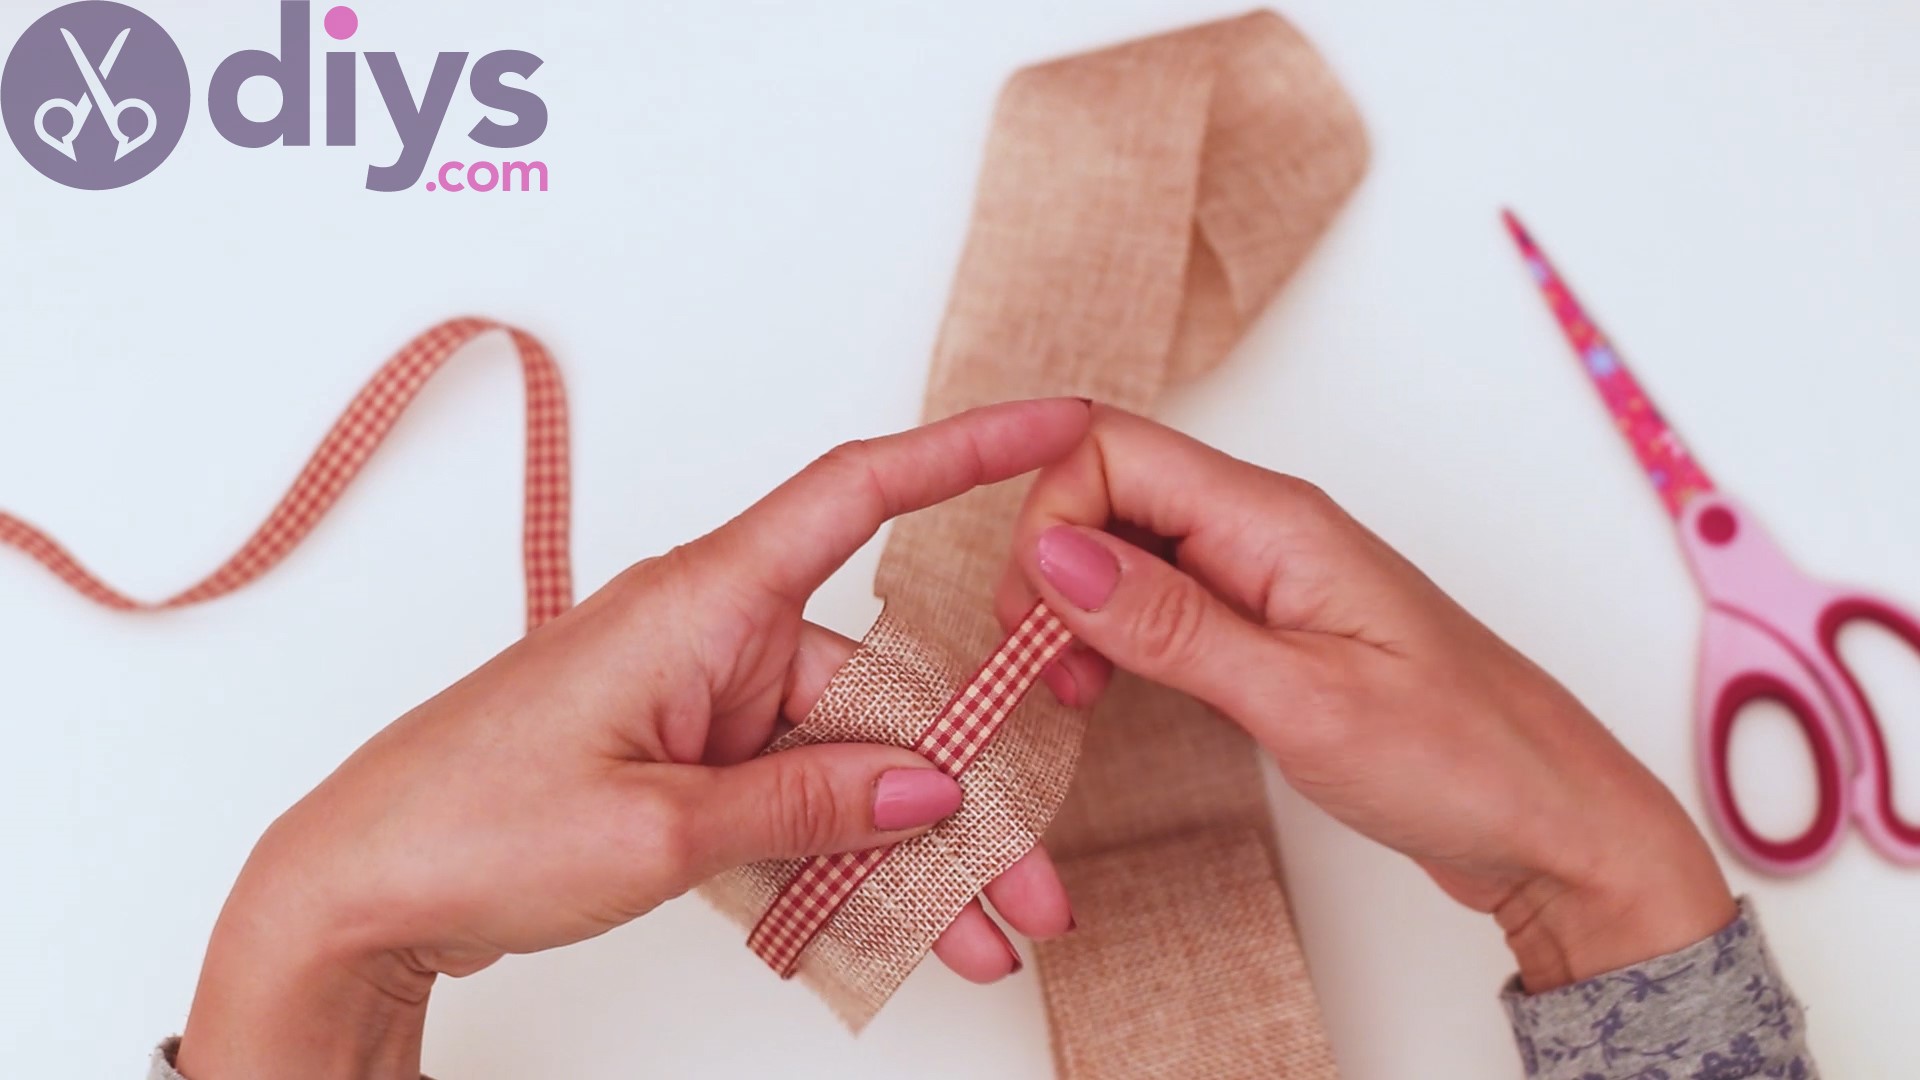
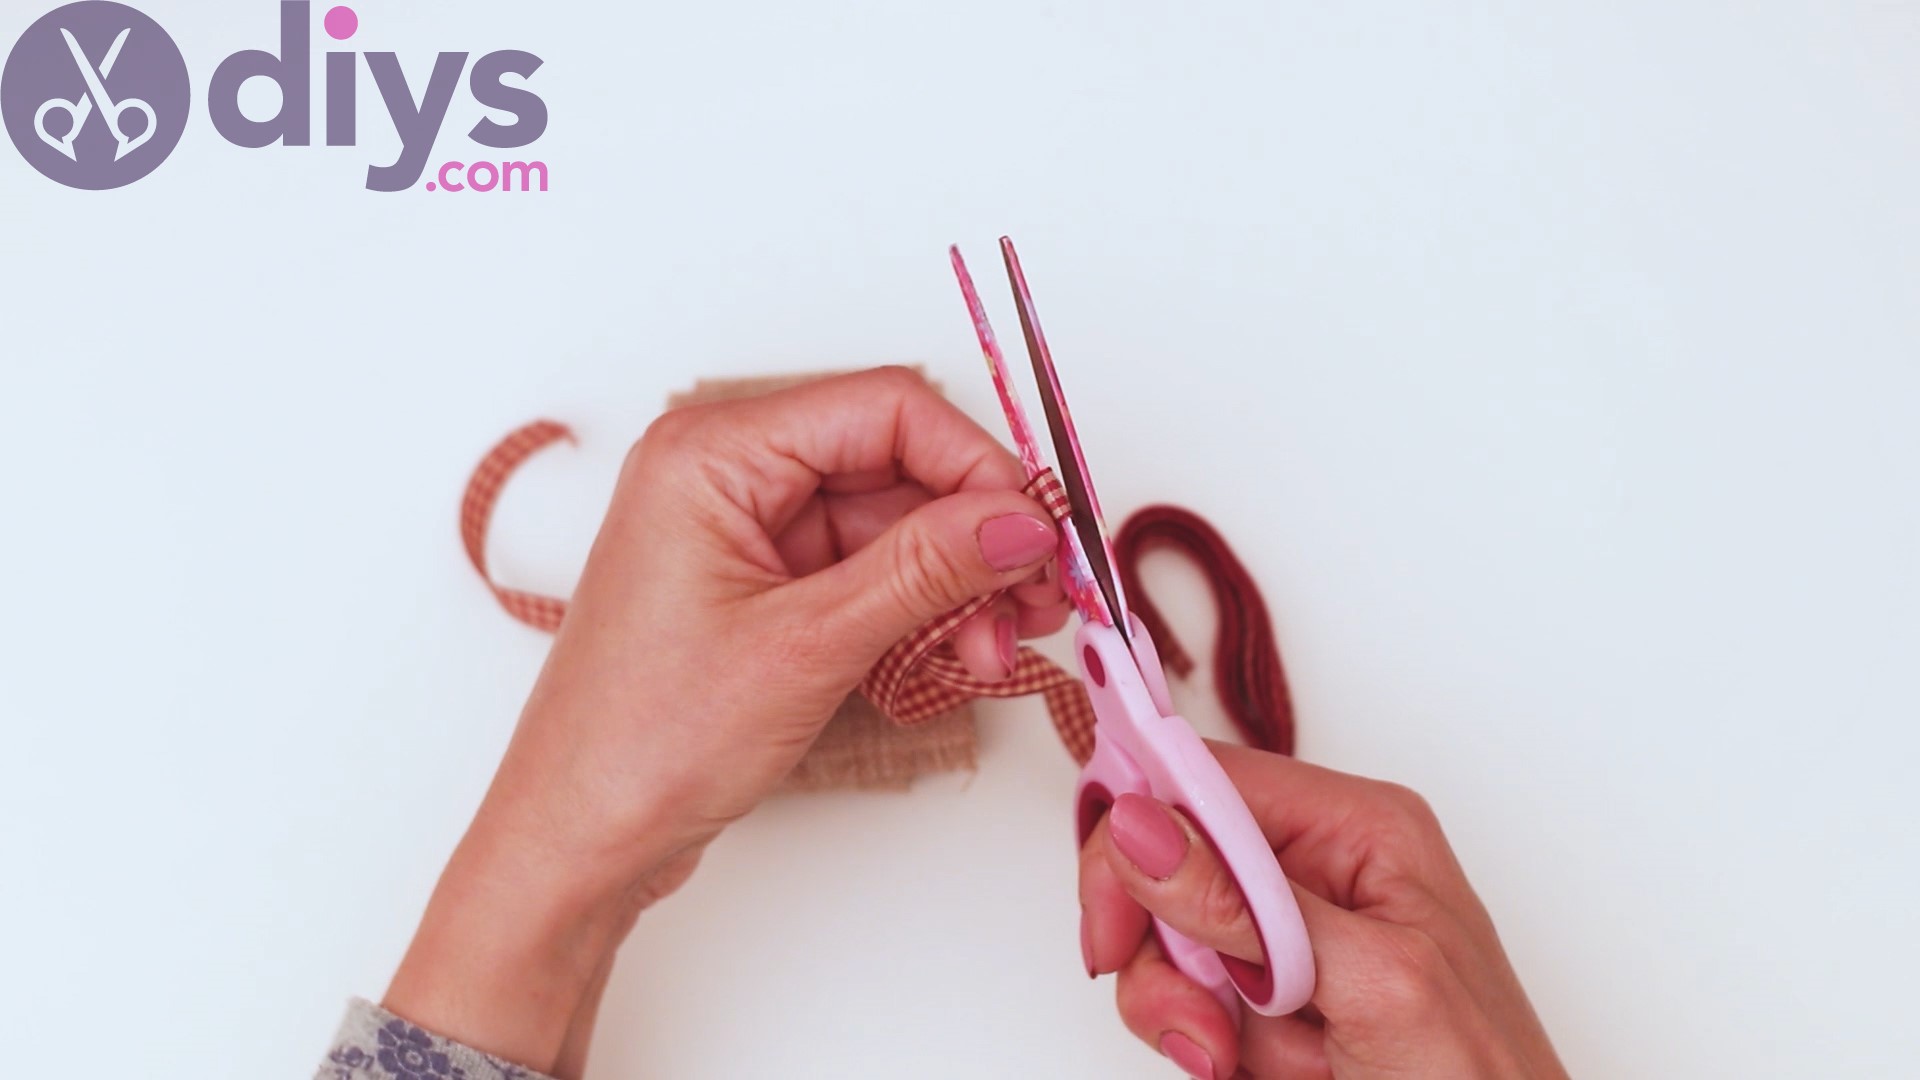
This is going to be a bit trickier than your usual bow, but we’re sure you’ll manage just fine. So, get the silk ribbon and cut two long pieces with your scissors.
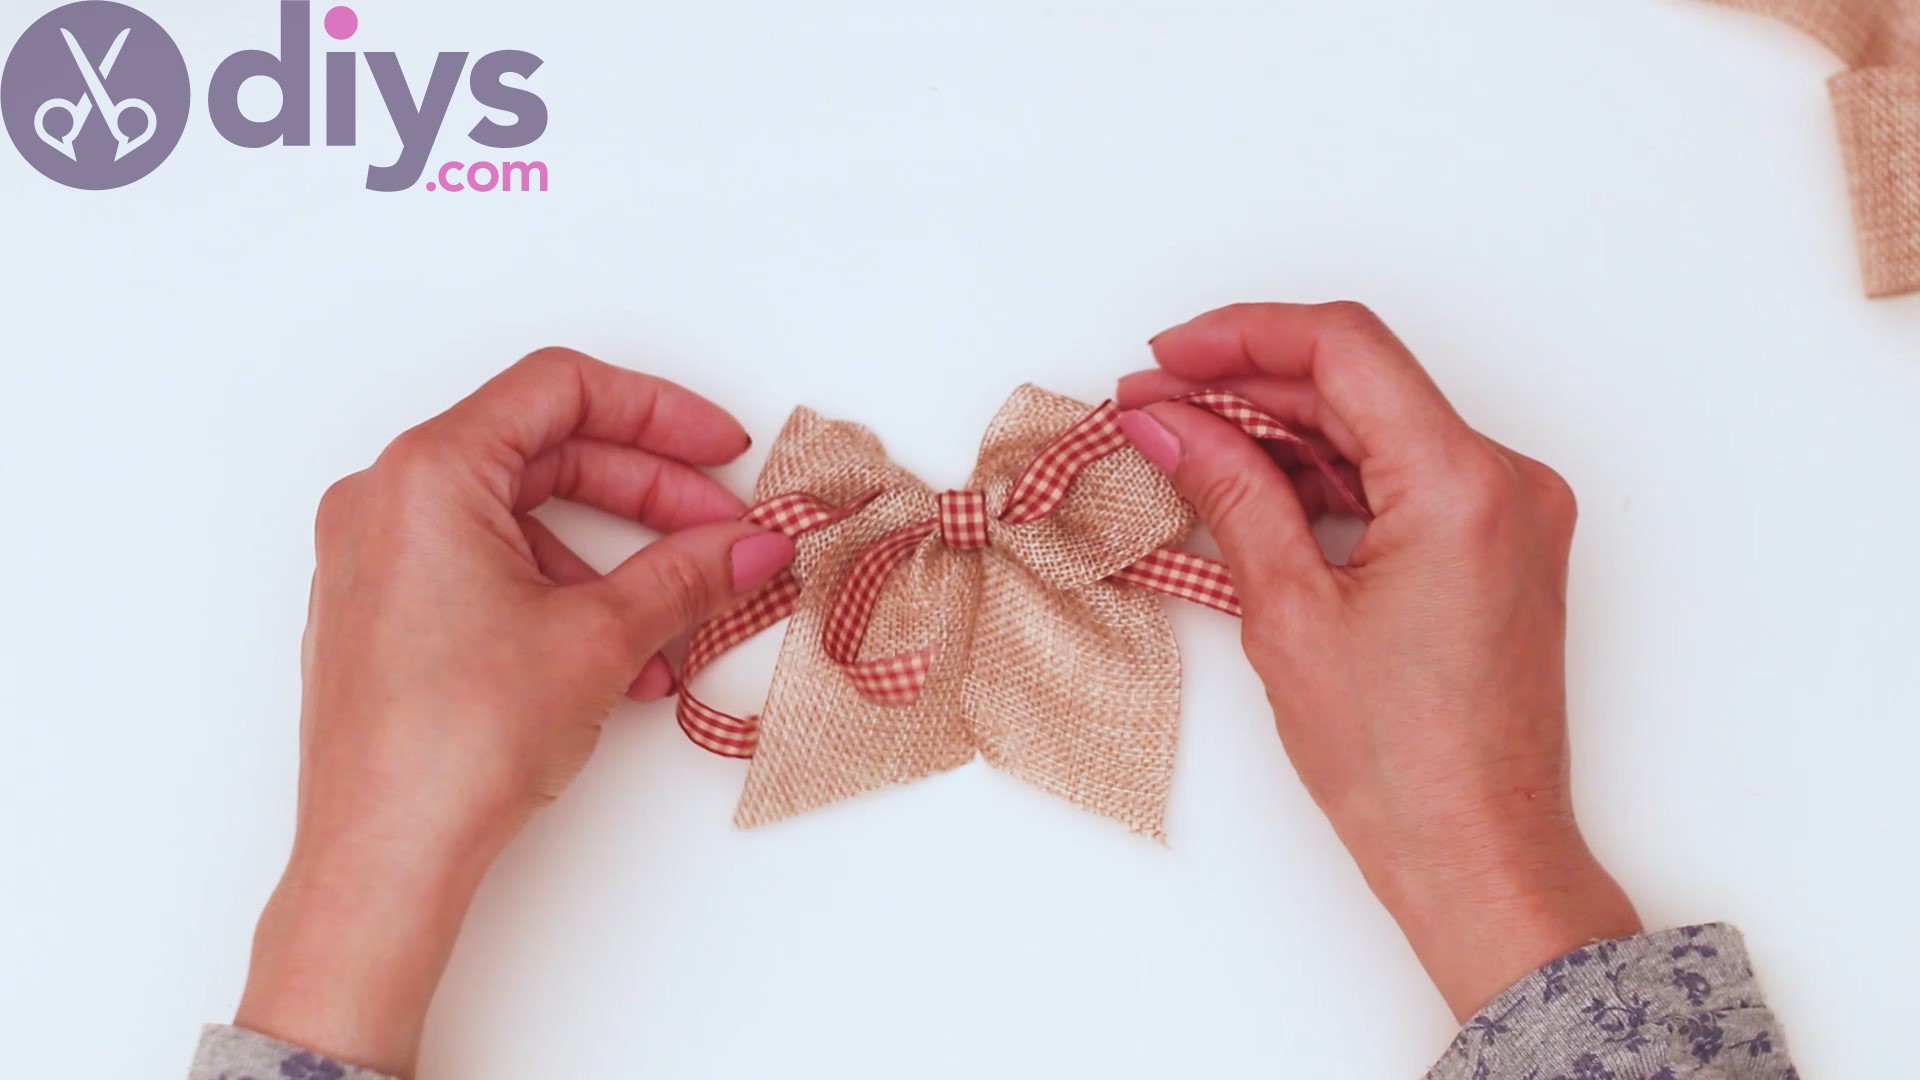
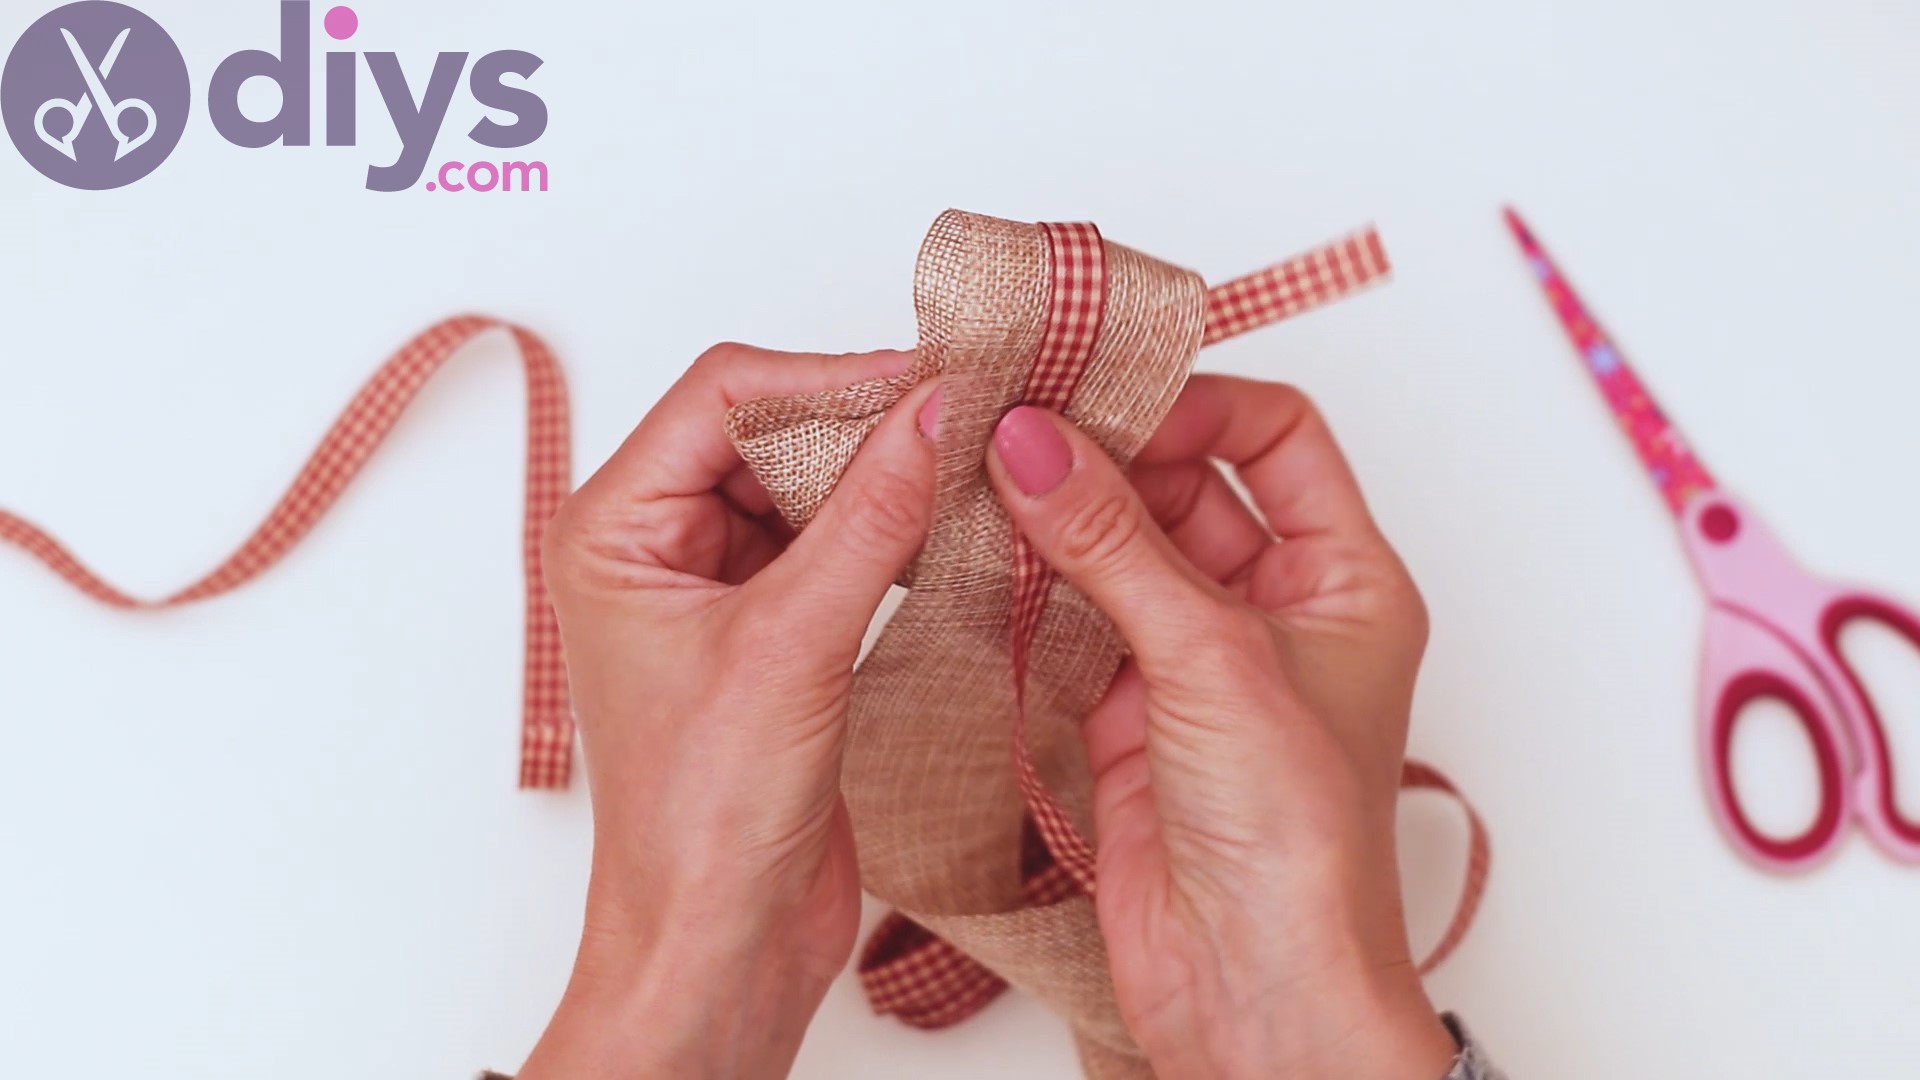
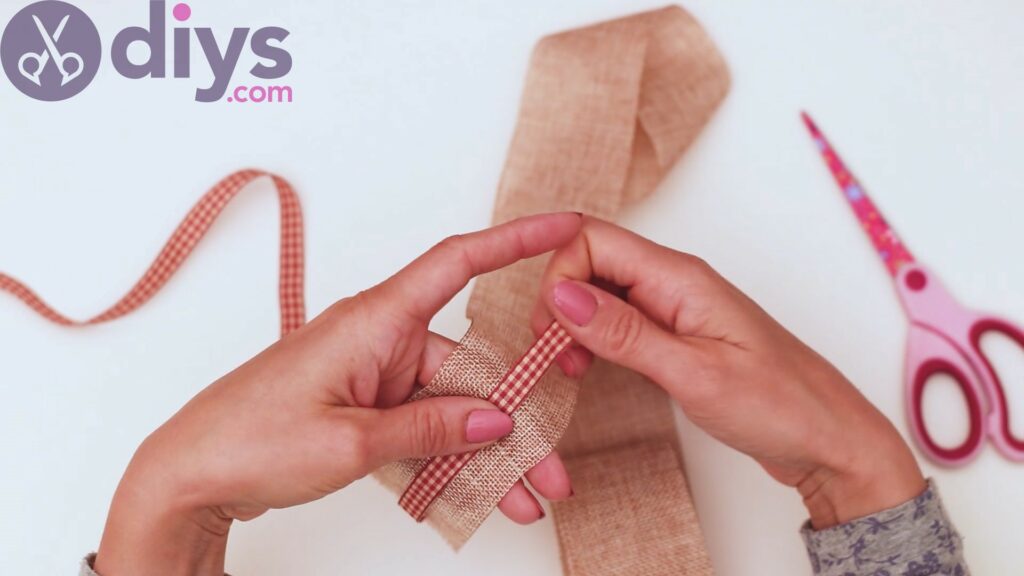
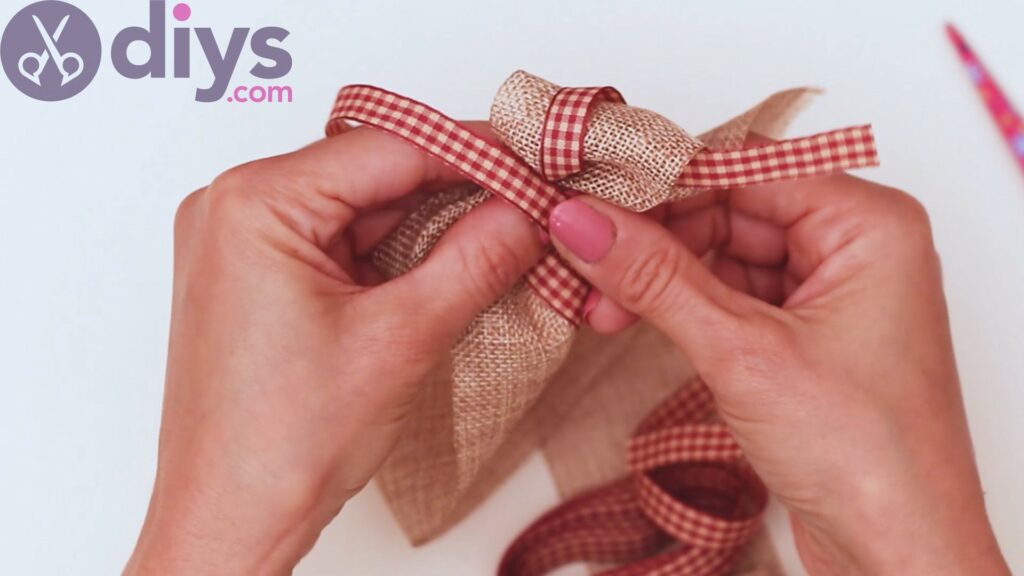
Arrange the widerjute ribbonand place the silk ribbon over it, right over the center of it.
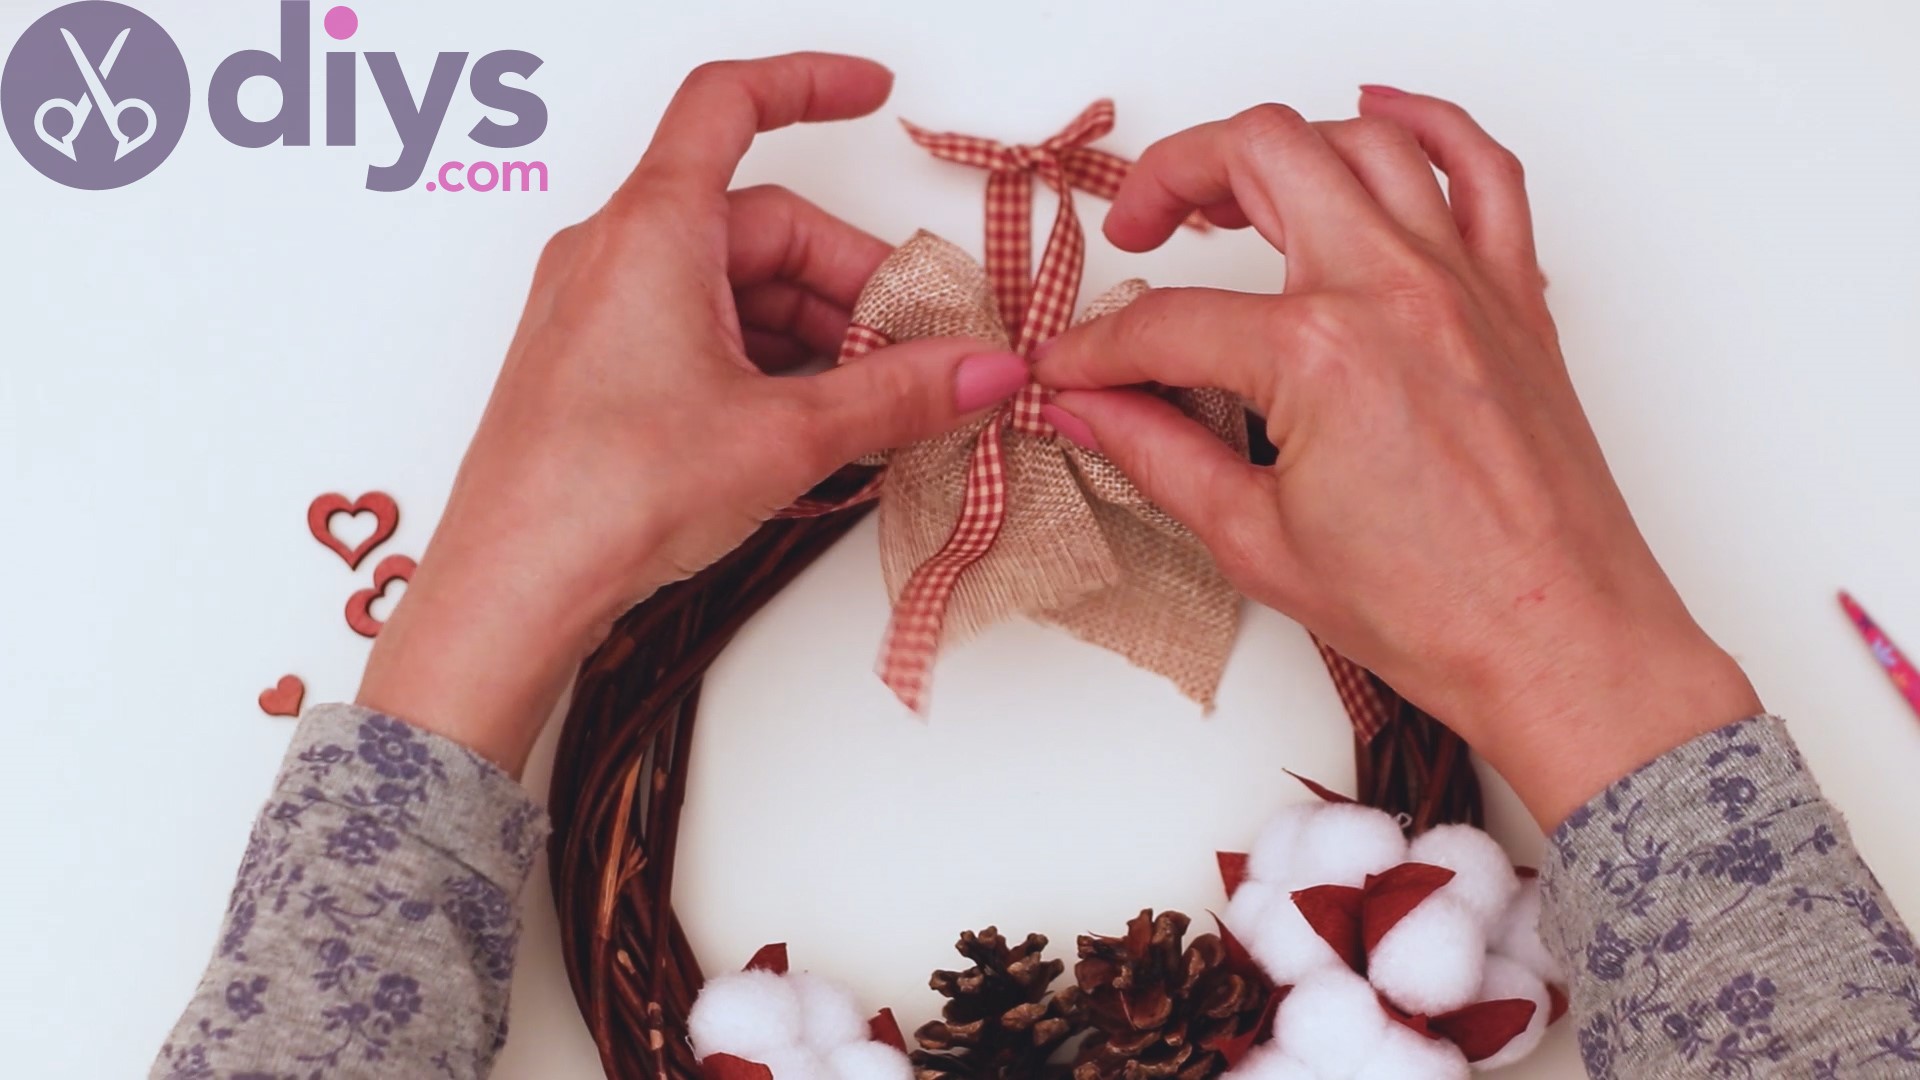
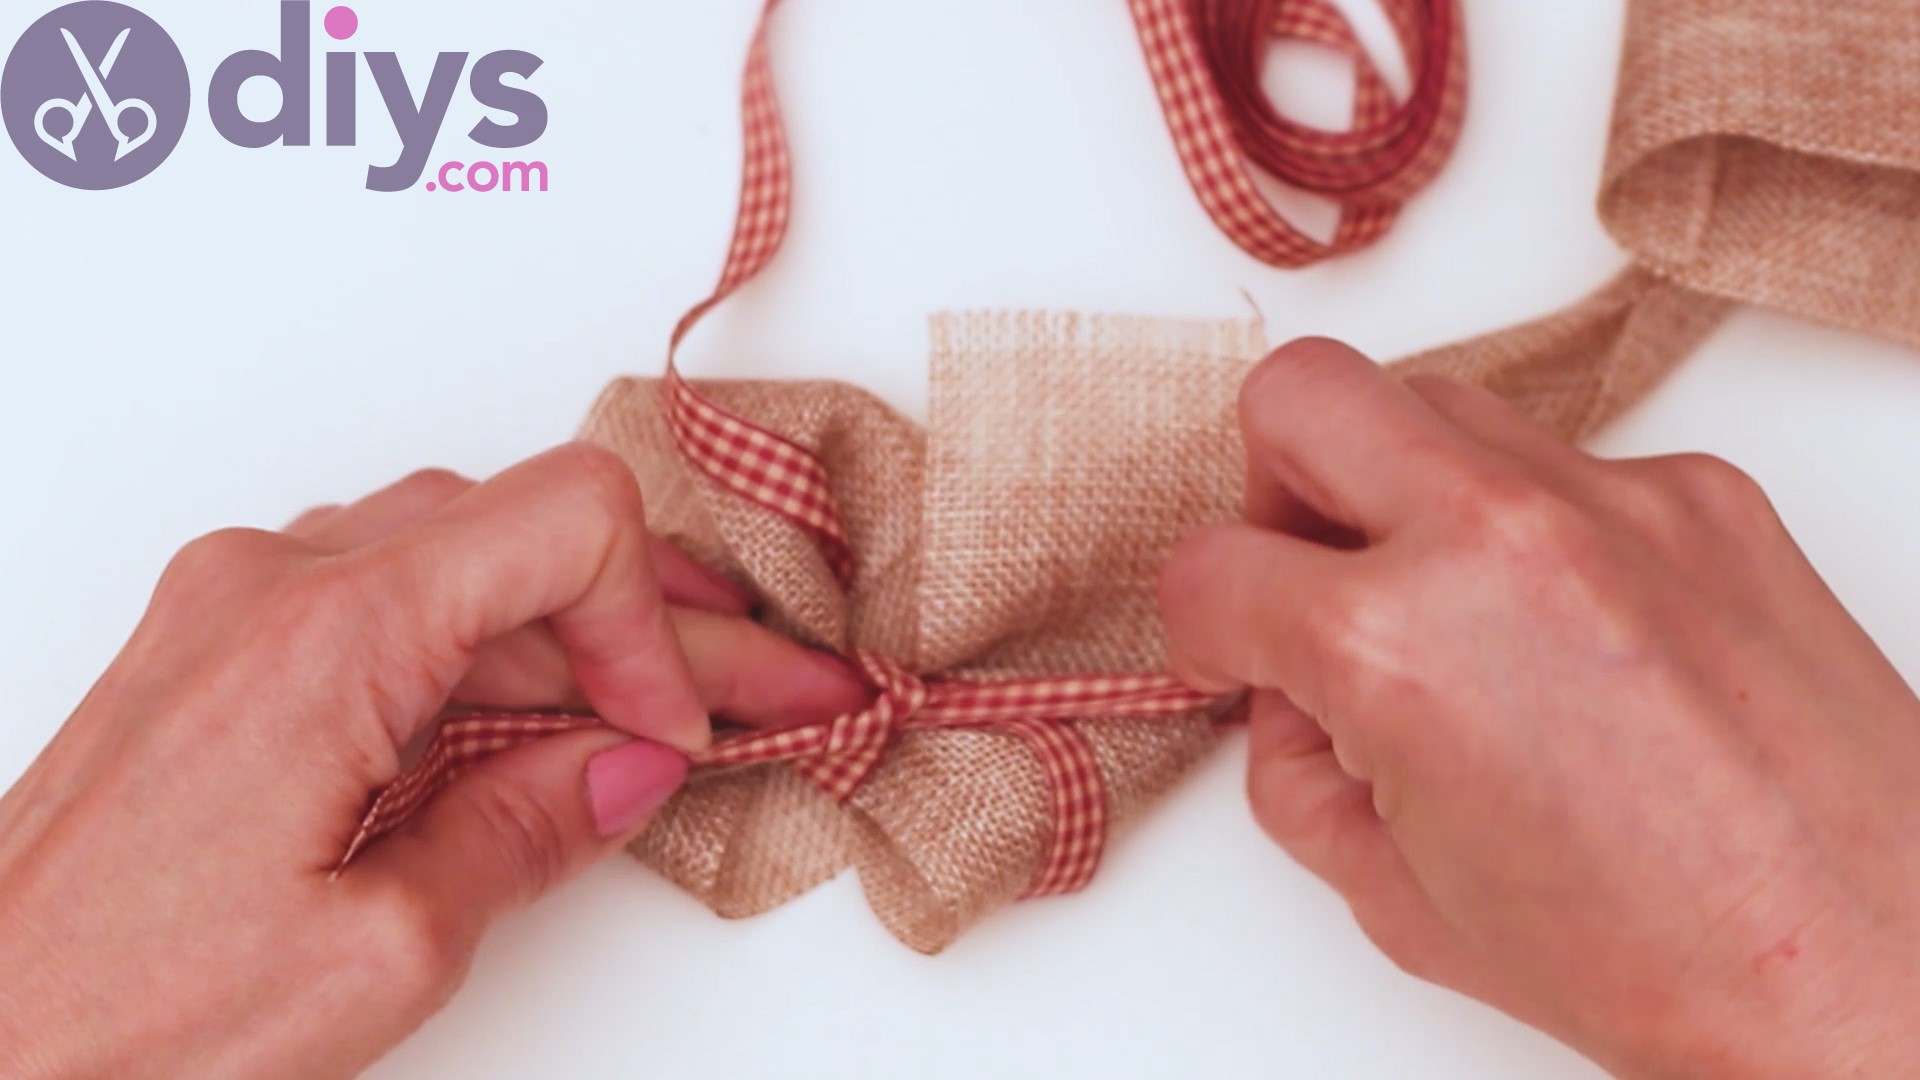
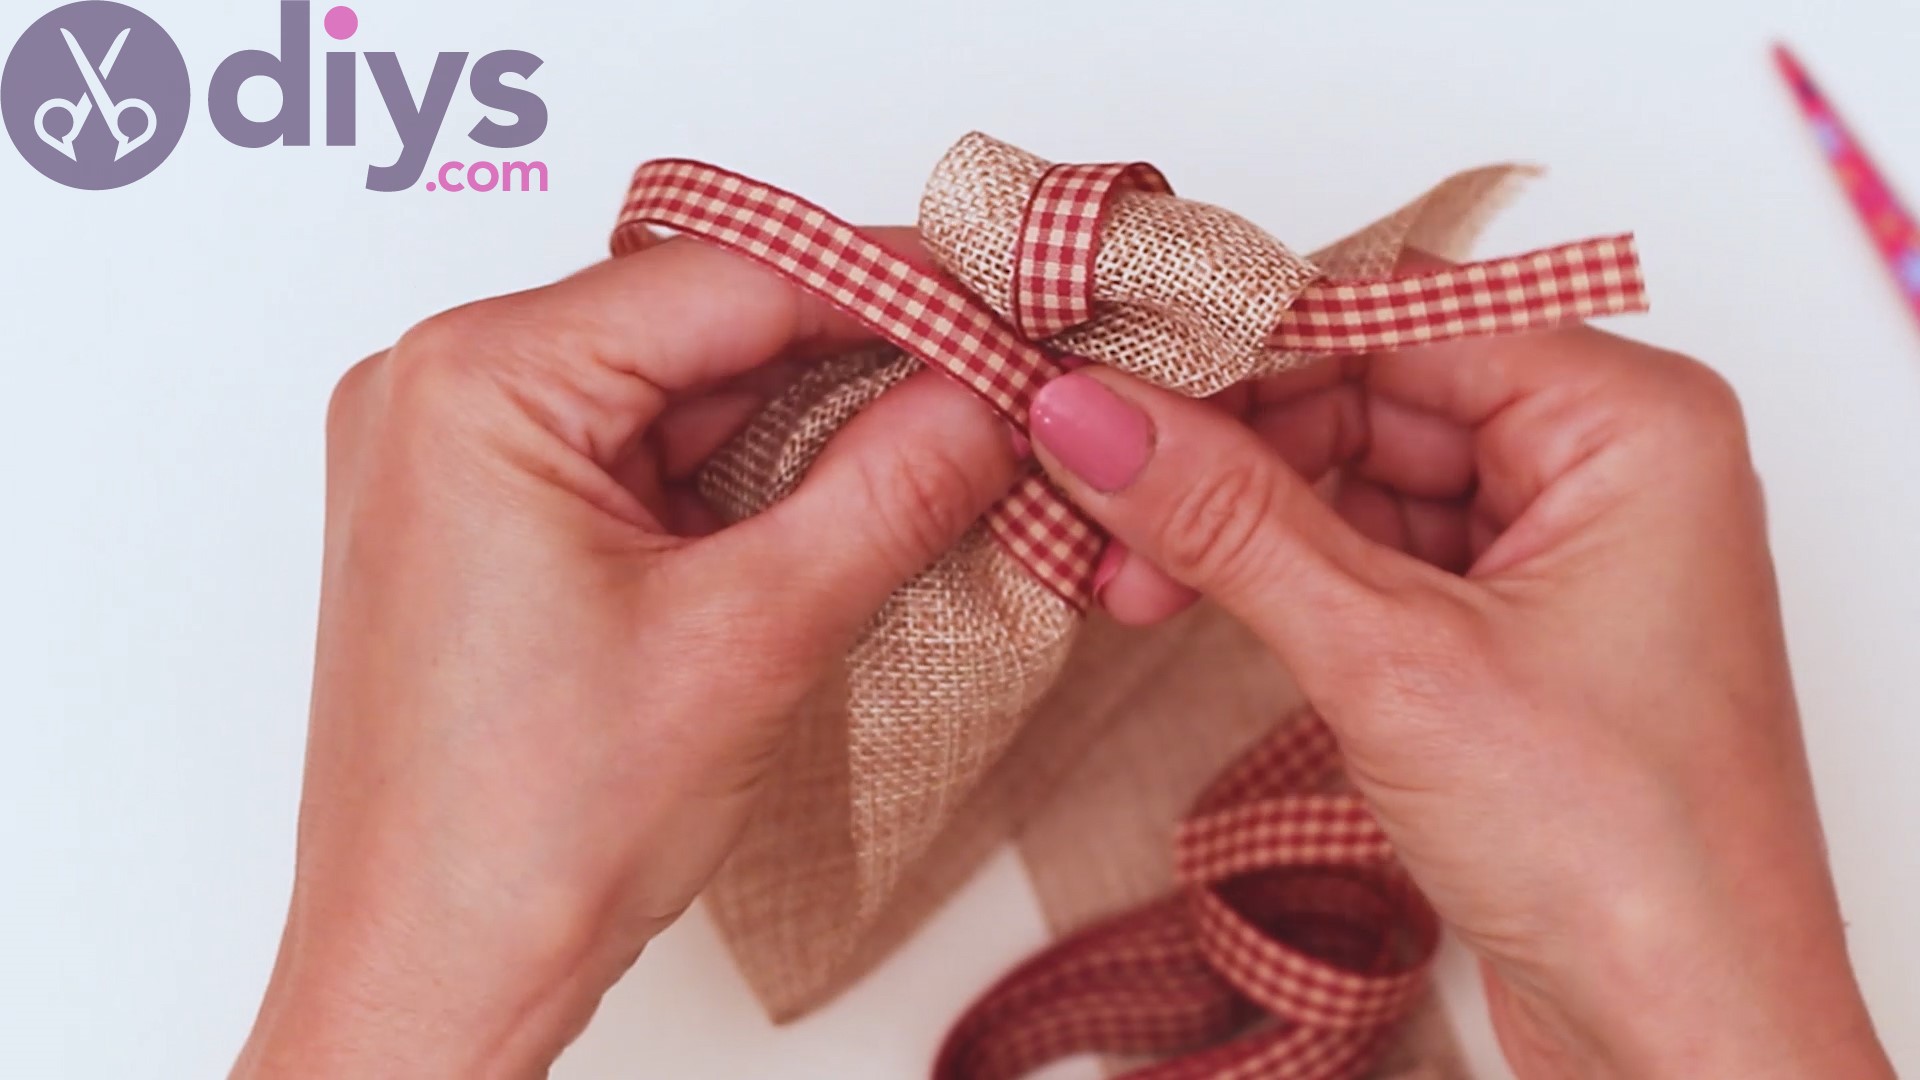
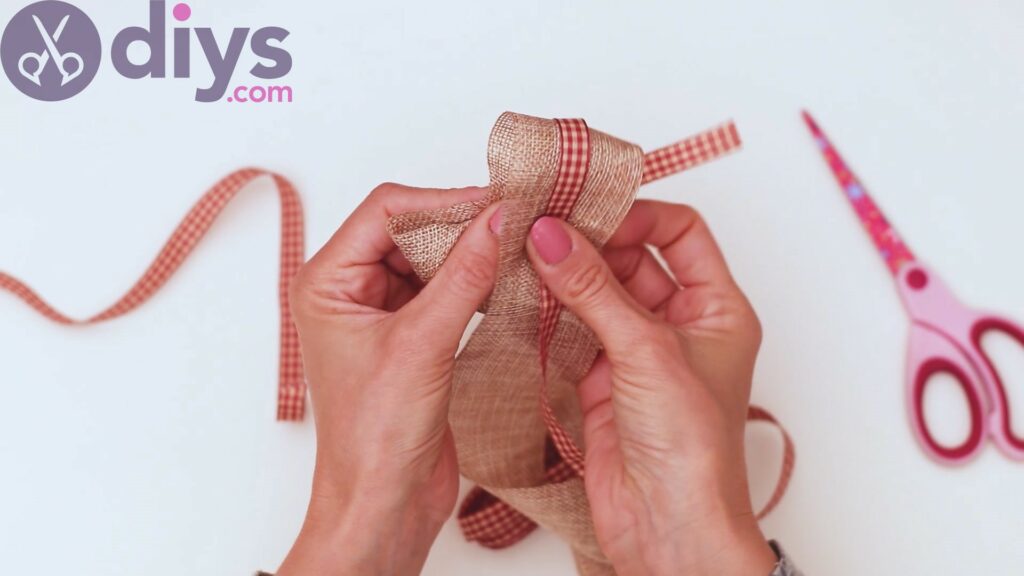
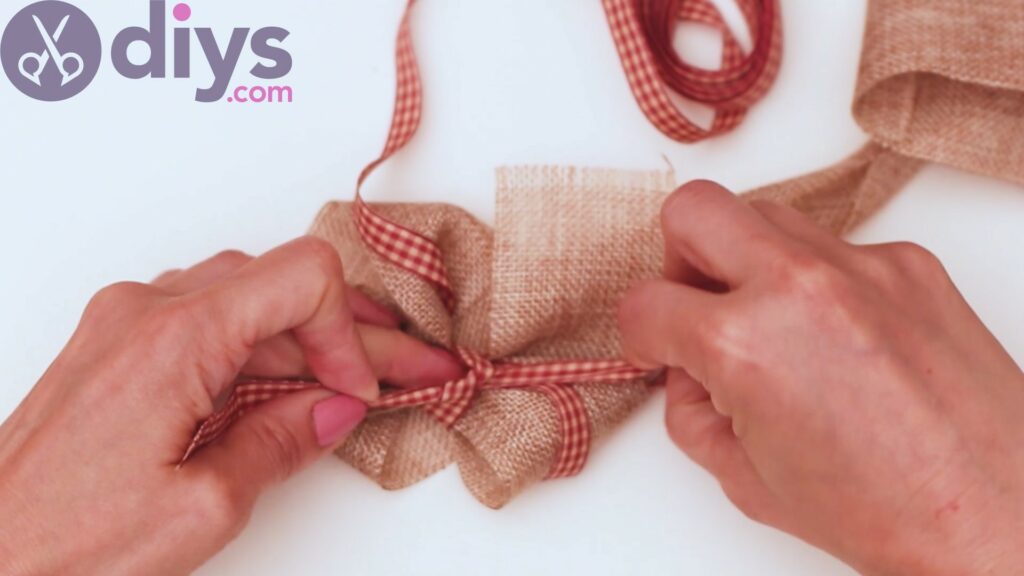
Arrange the jute and silk ribbons in the shape of a bow, making sure the loops are nicely placed. Get the second piece of silk ribbon and tie it around the middle of the bow you created.
Make sure you tie it behind the bow, doing a double knot to make sure it doesn’t unravel later on.
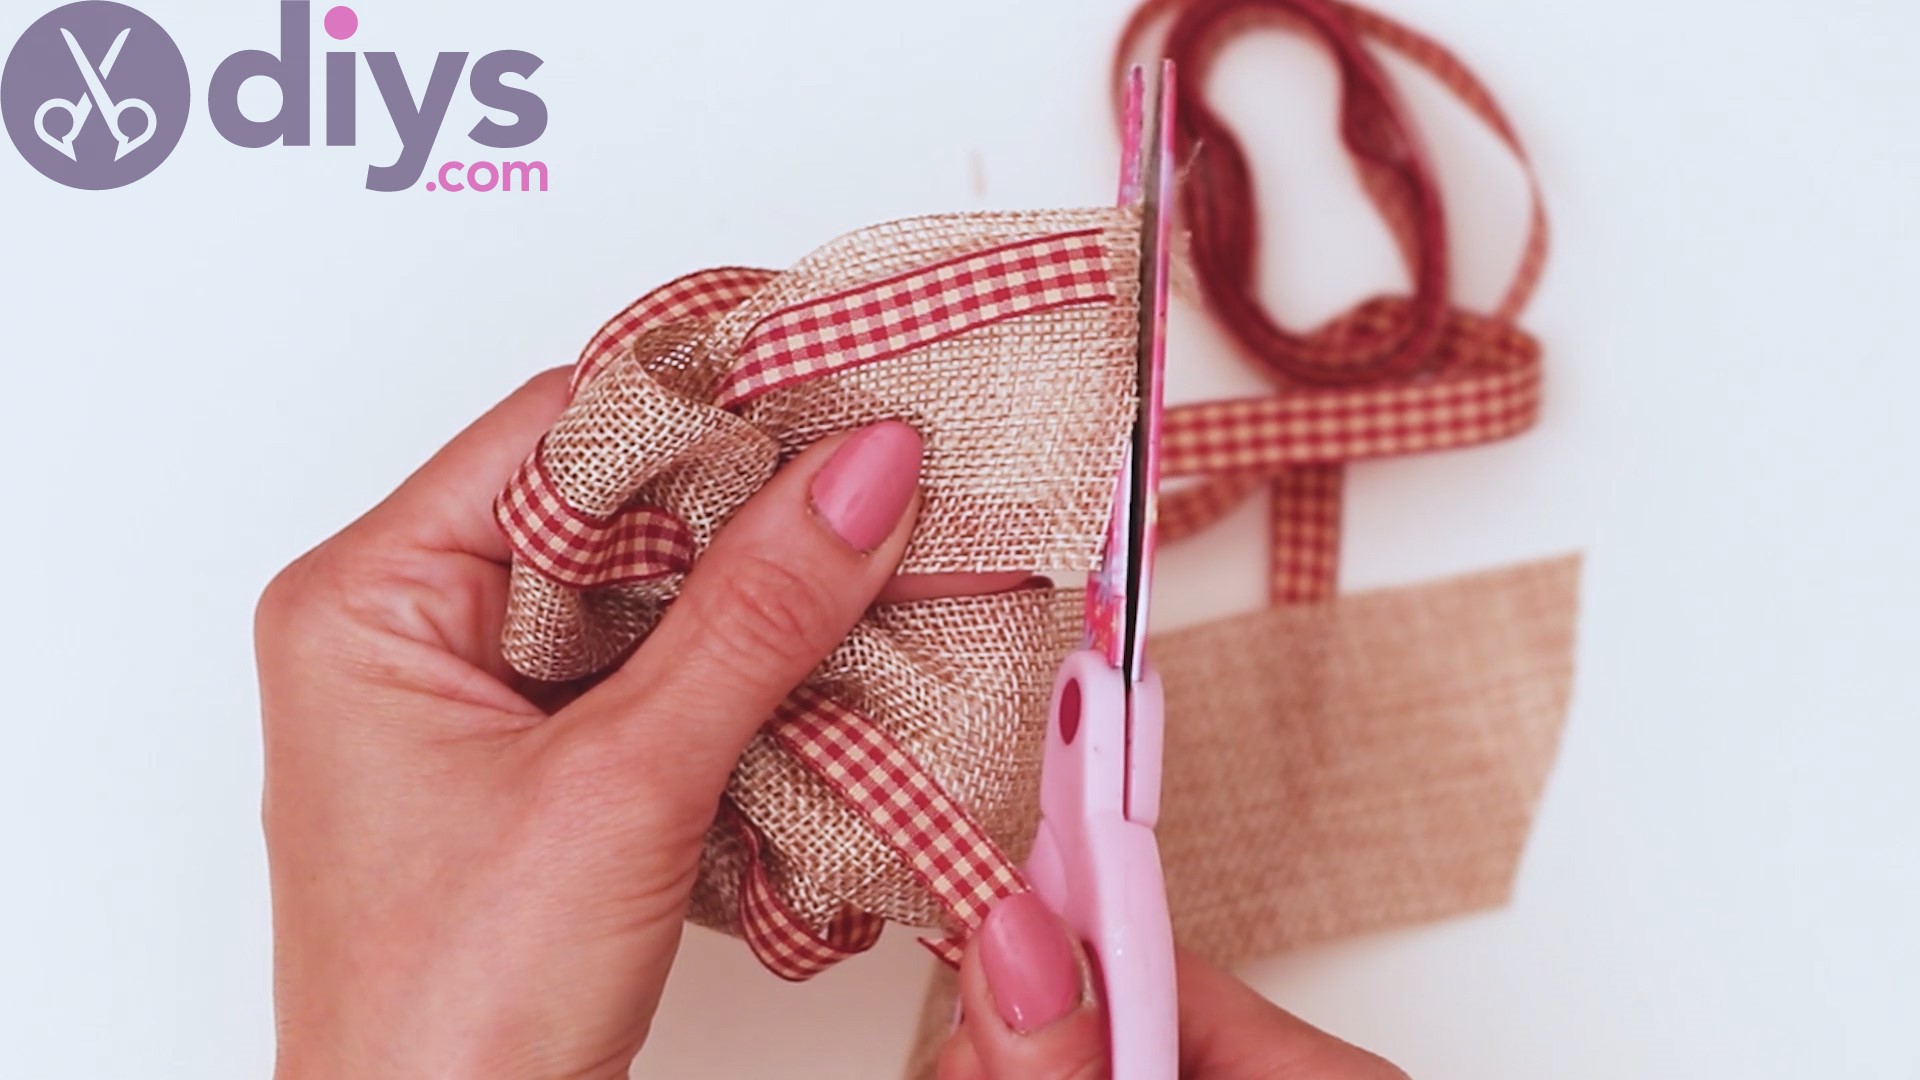
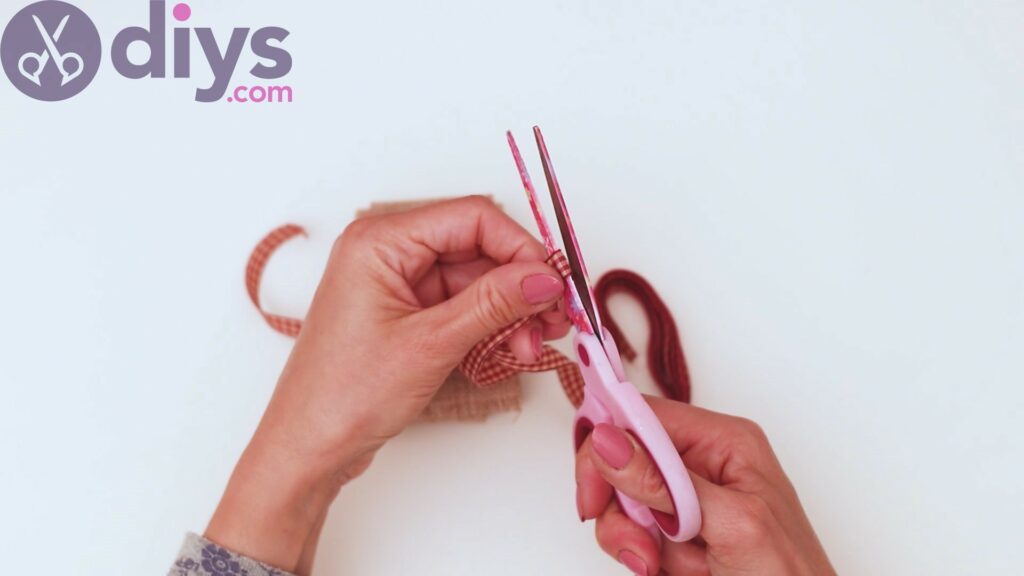
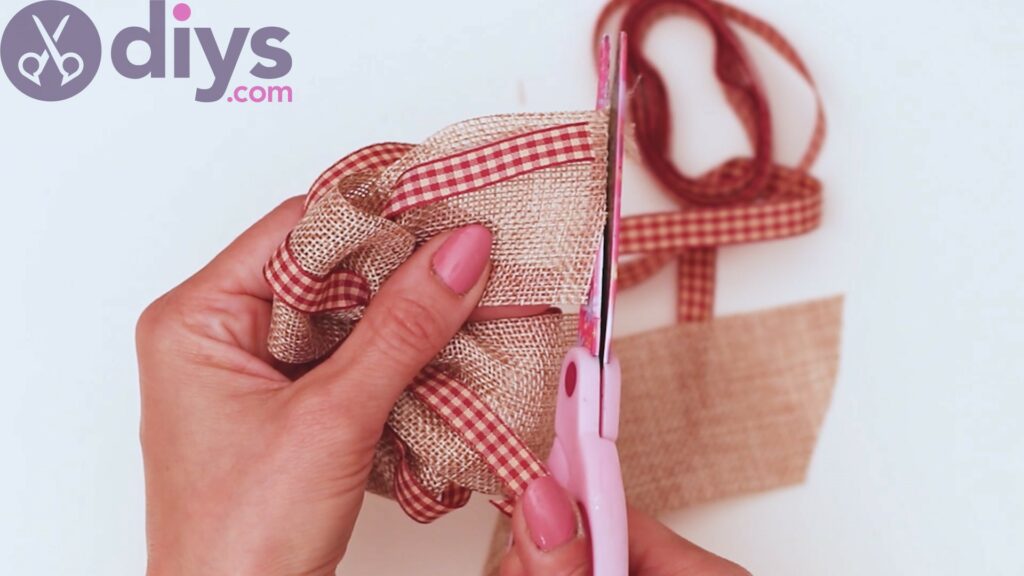
Trim the jute ribbon to make sure the sides are symmetrical. Also, jute has a tendency to unravel pretty quickly, so make sure you cut out any loose threads.
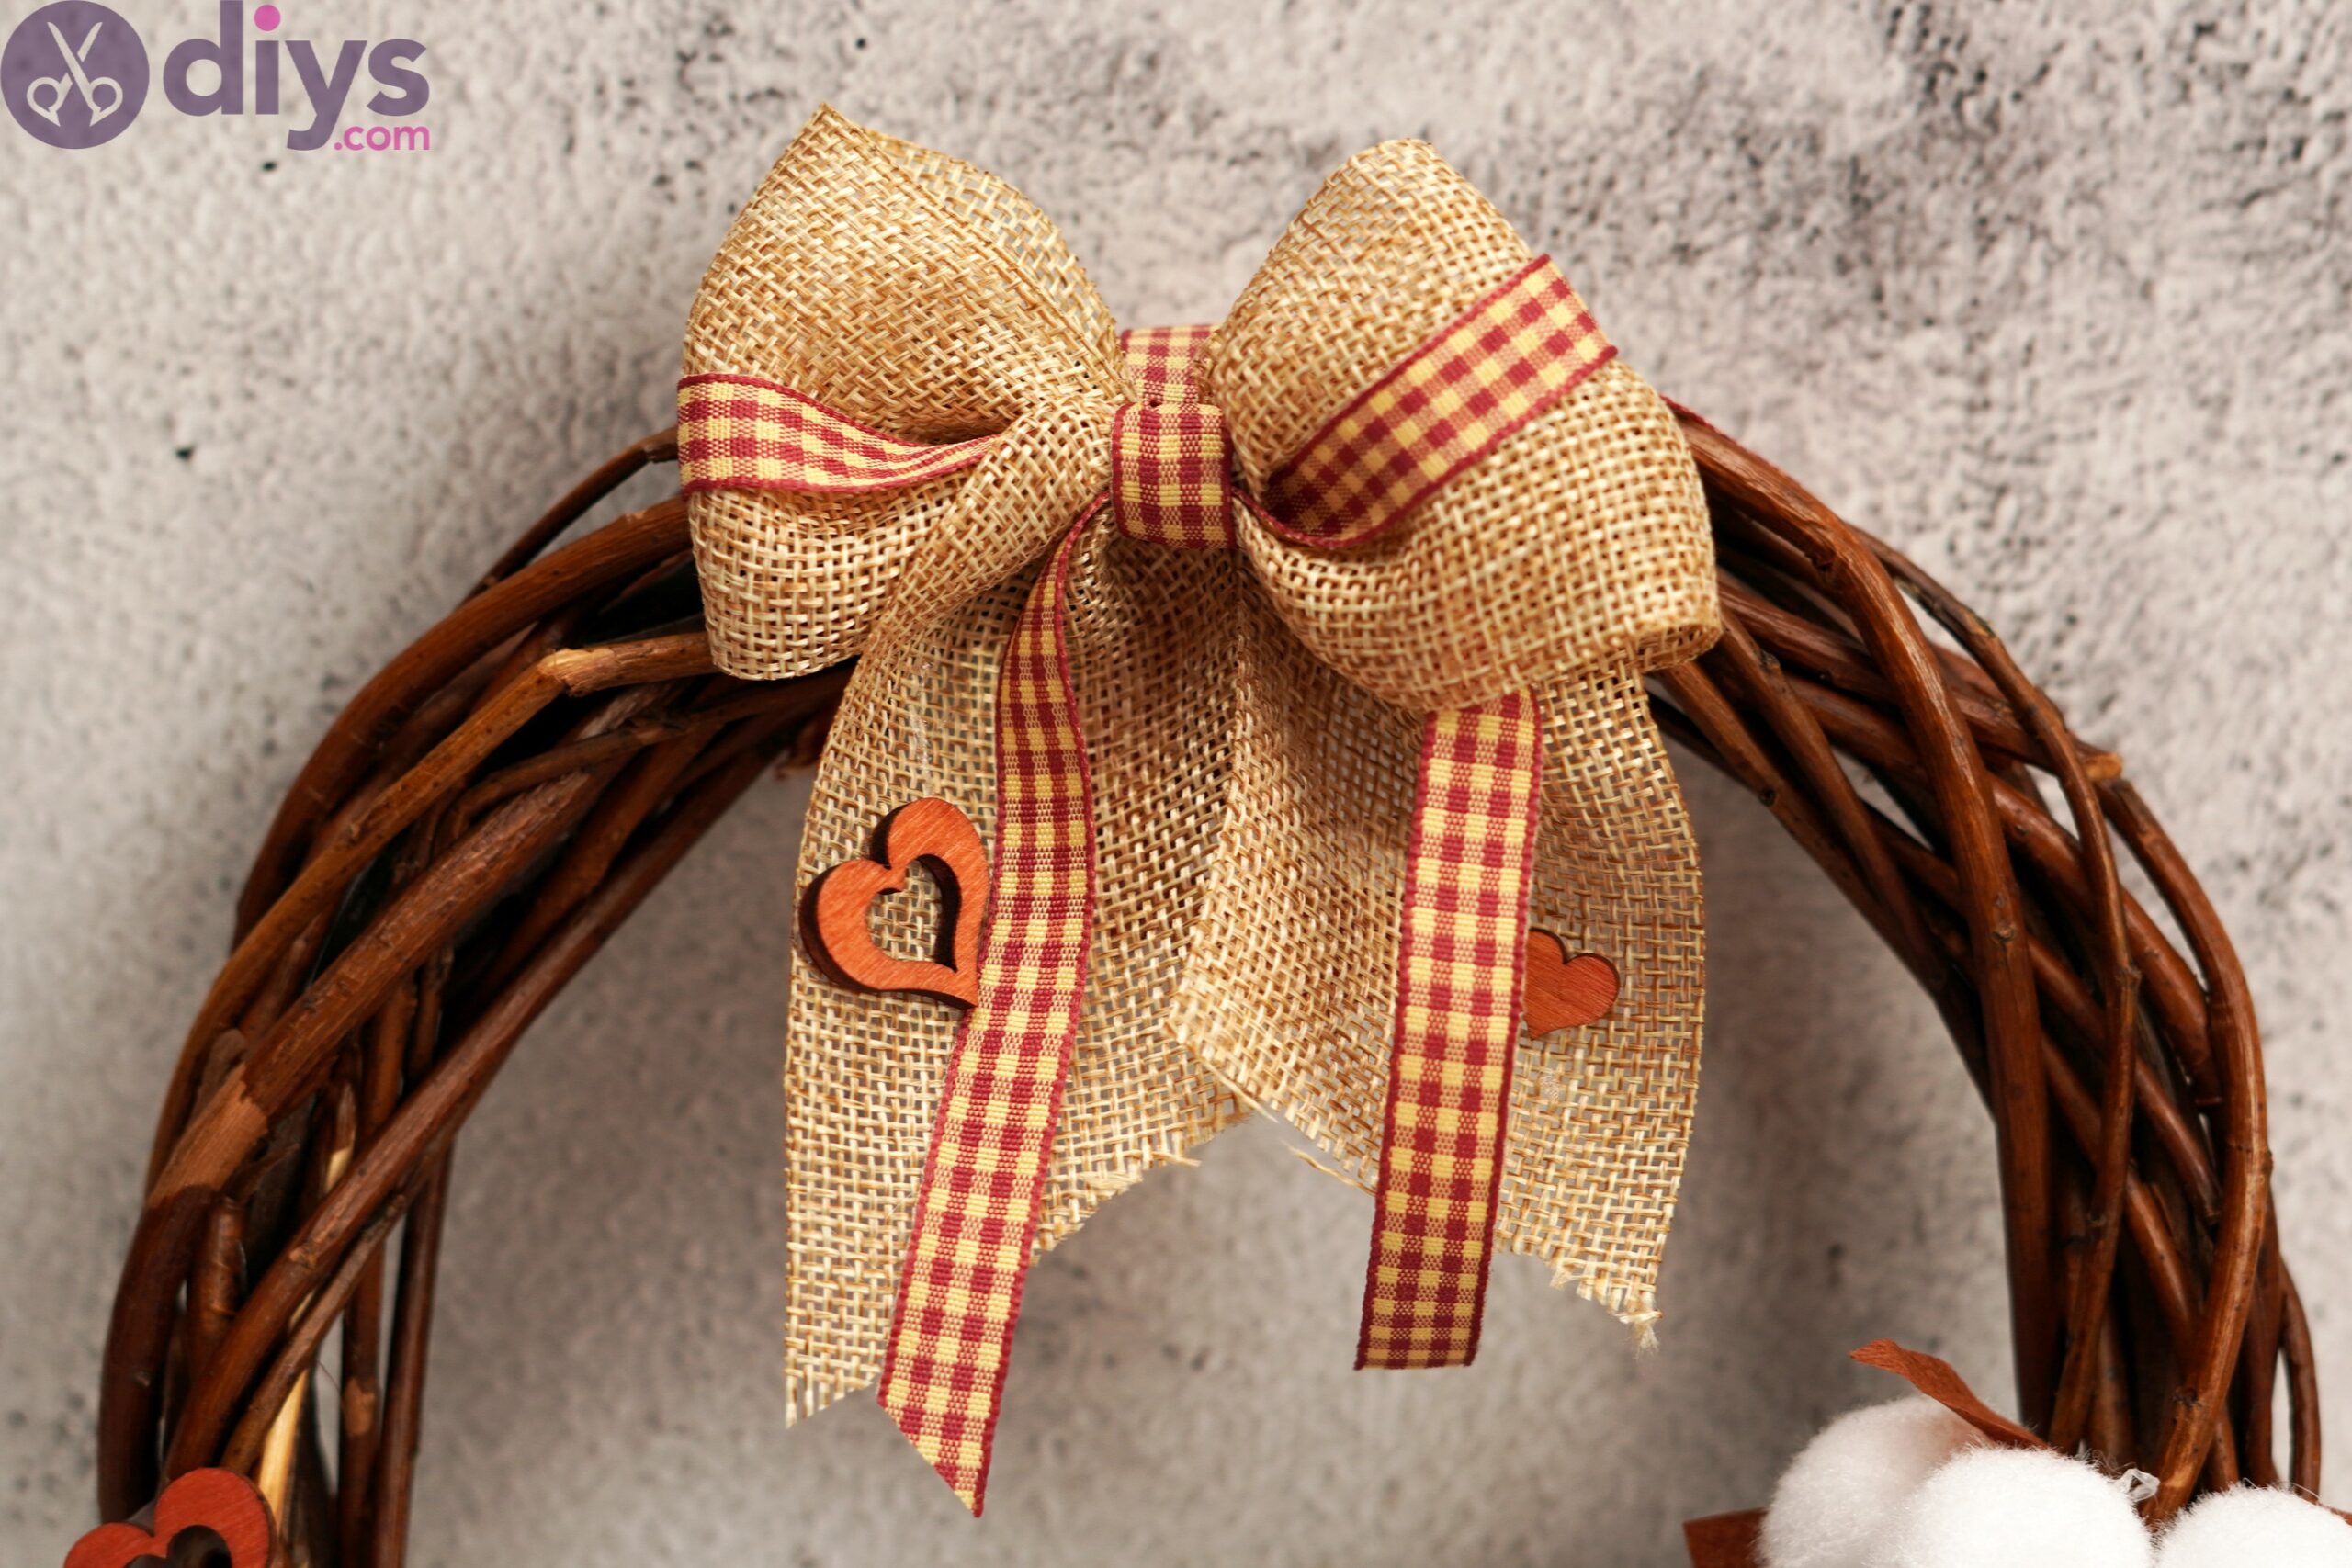
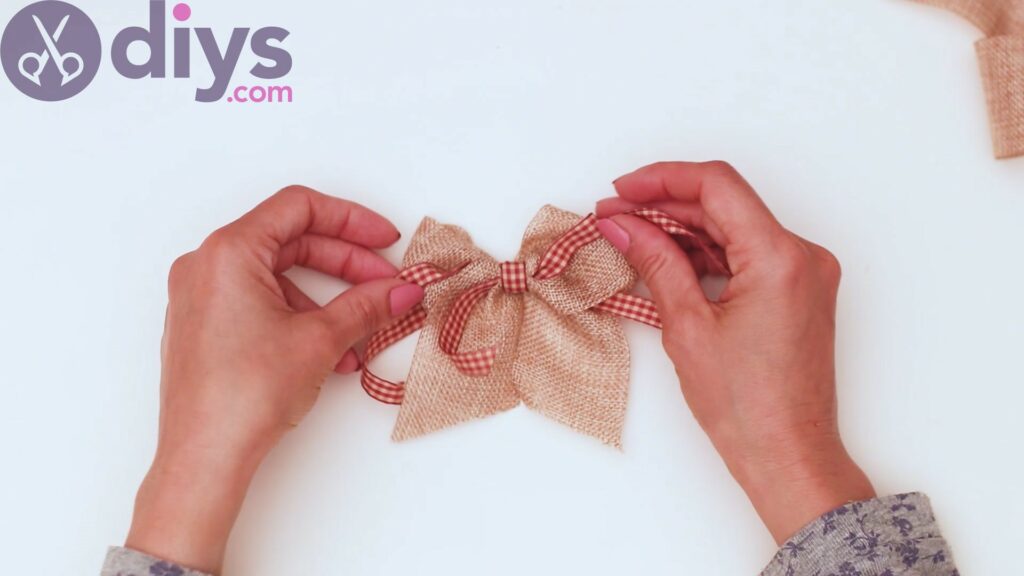
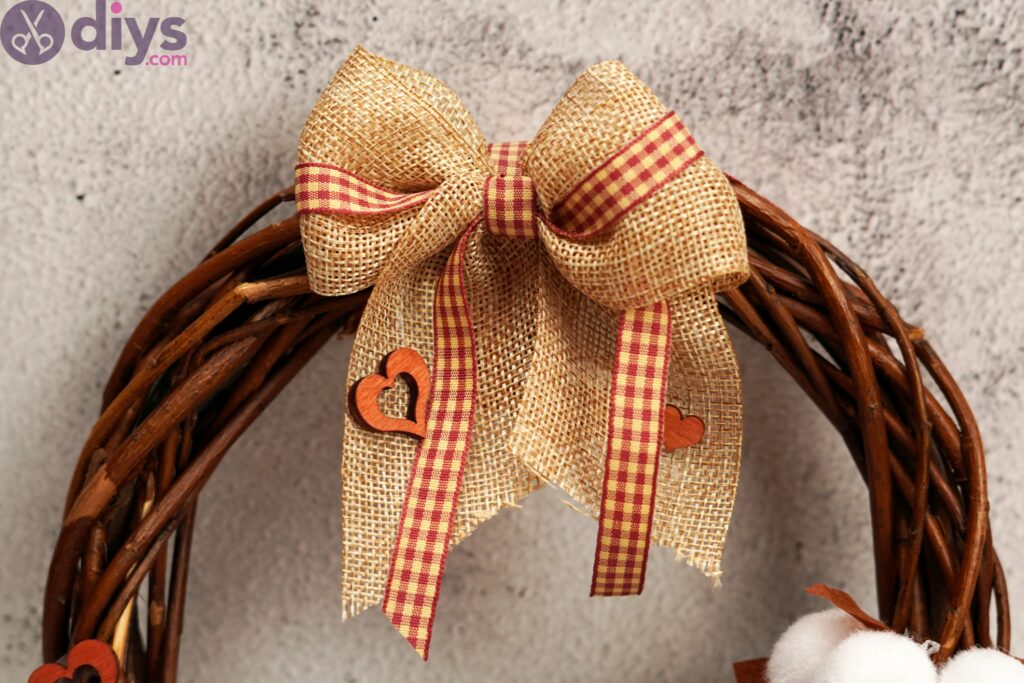
What a pretty bow we have now! The silk ribbon certainly makes it stand out.
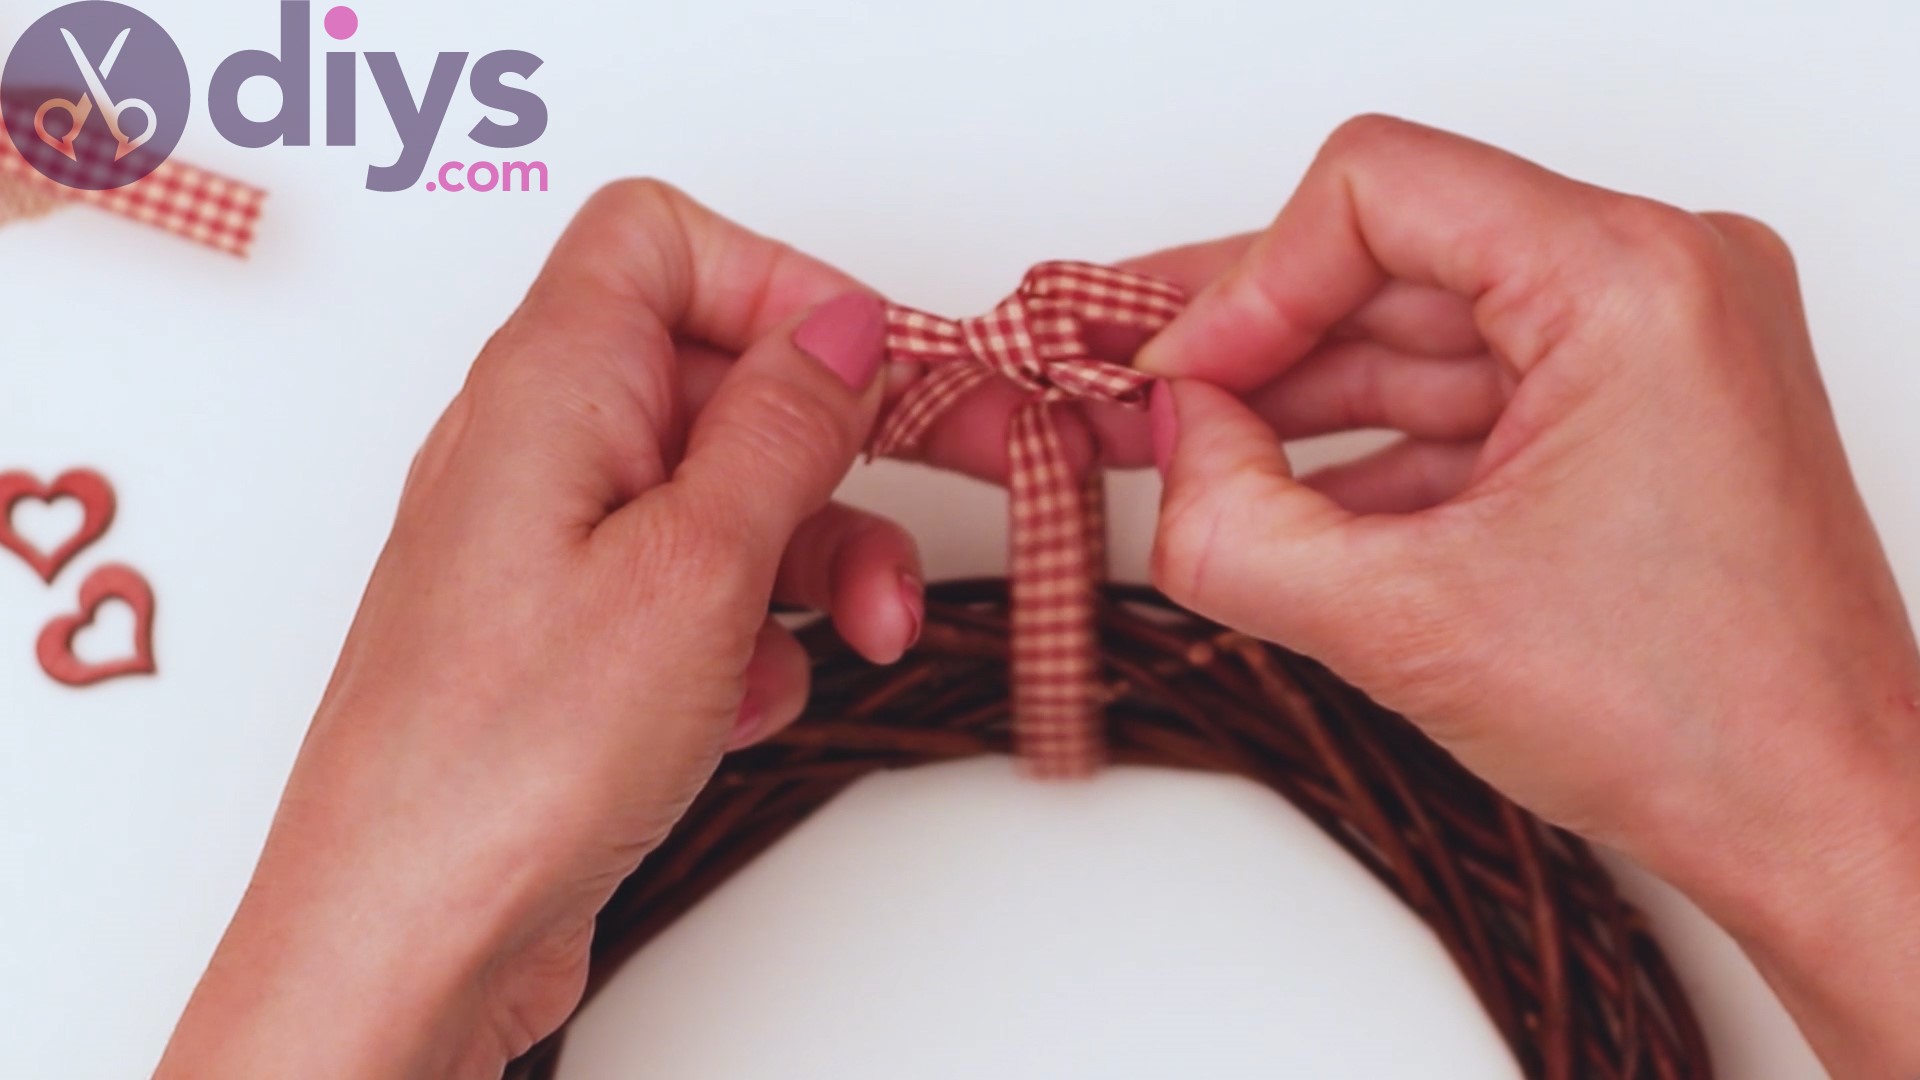
Step 6: Make a hanging loop
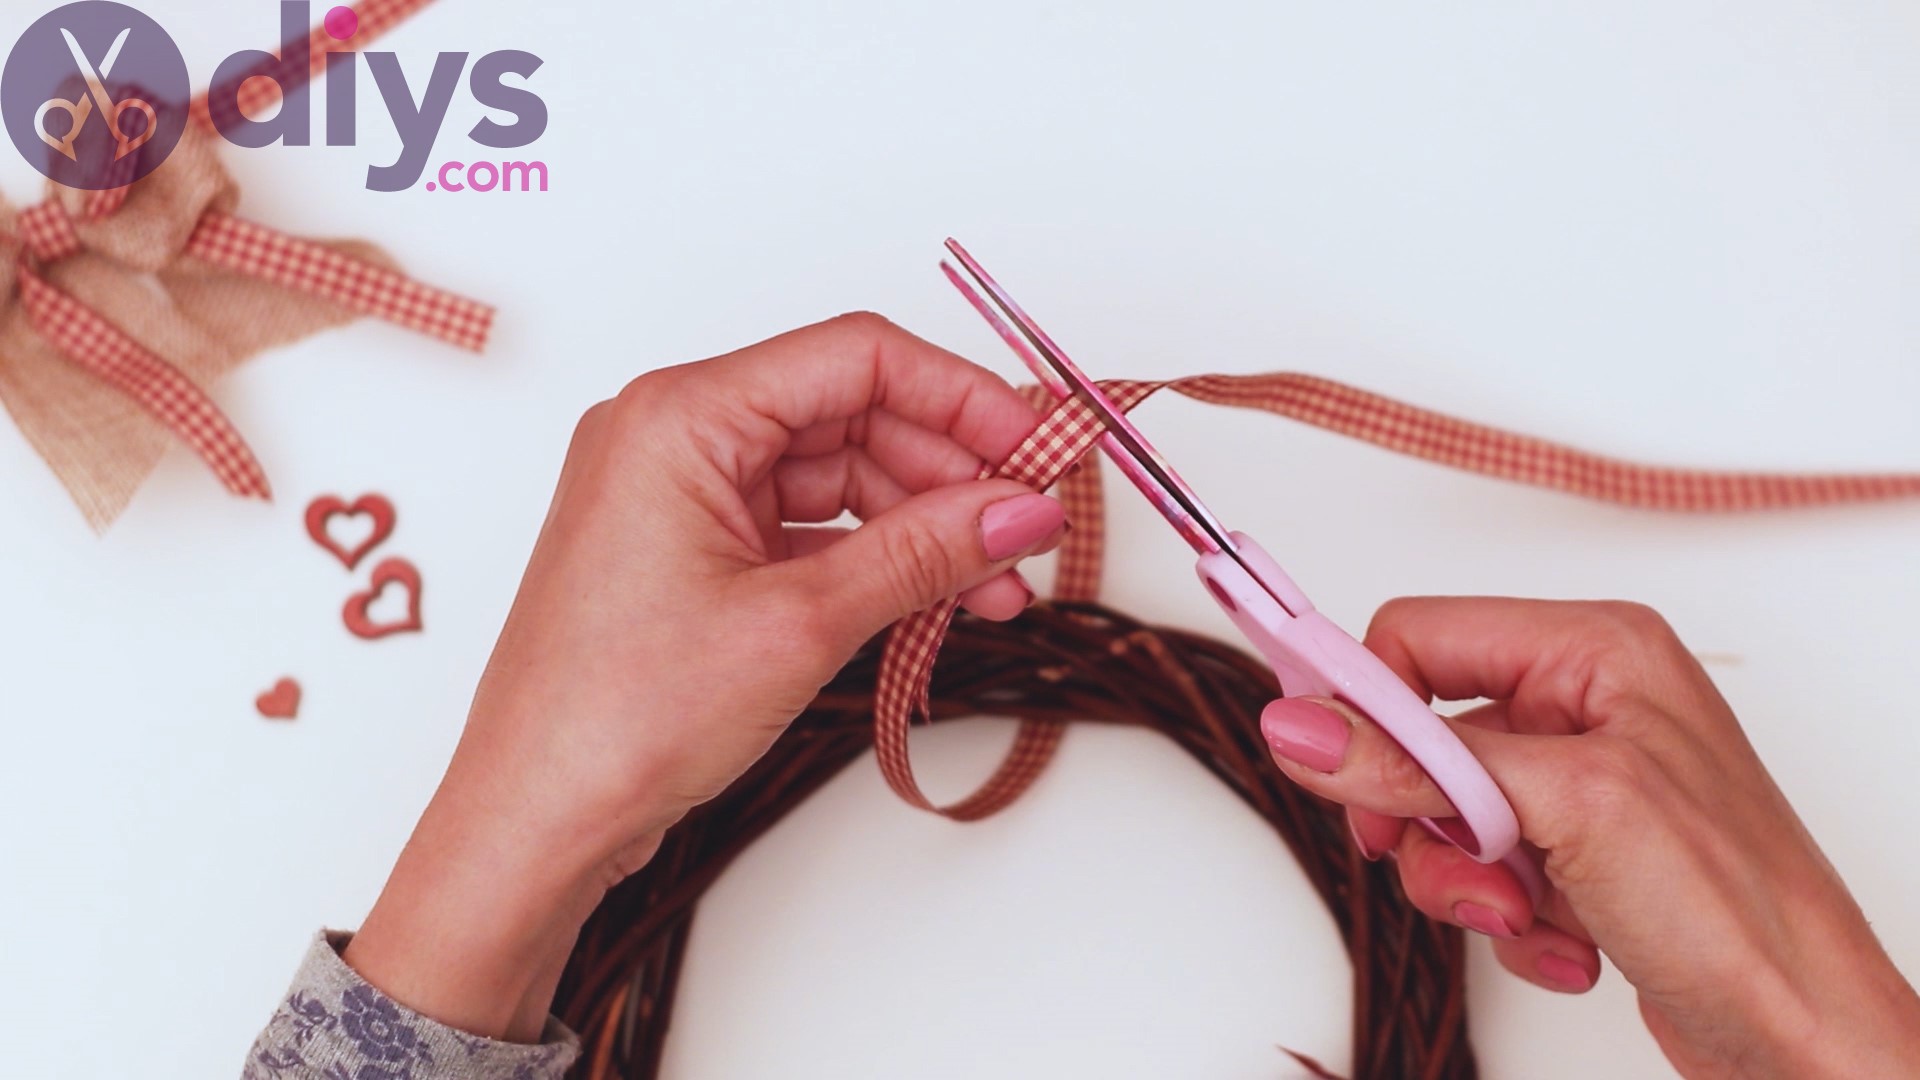
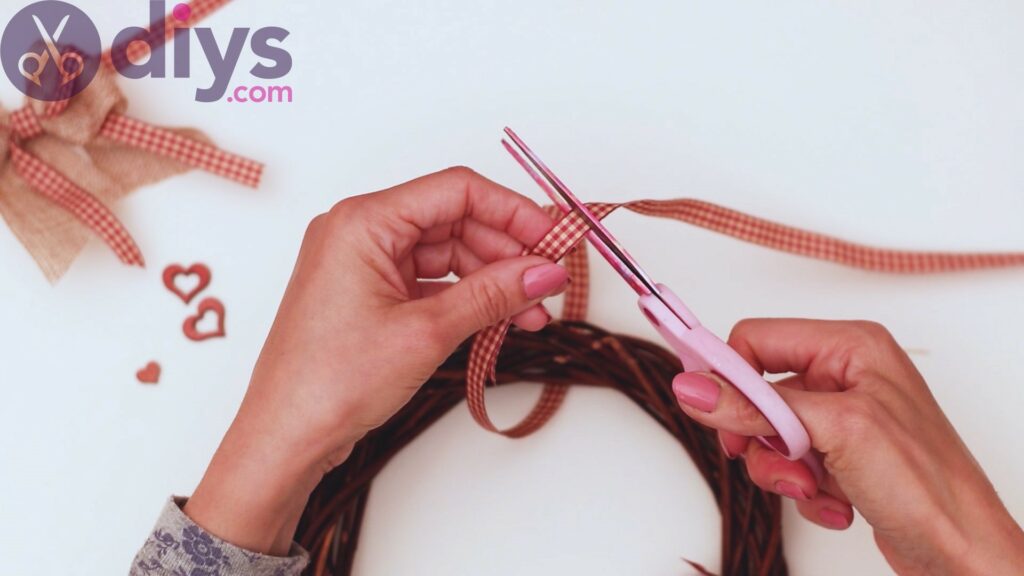
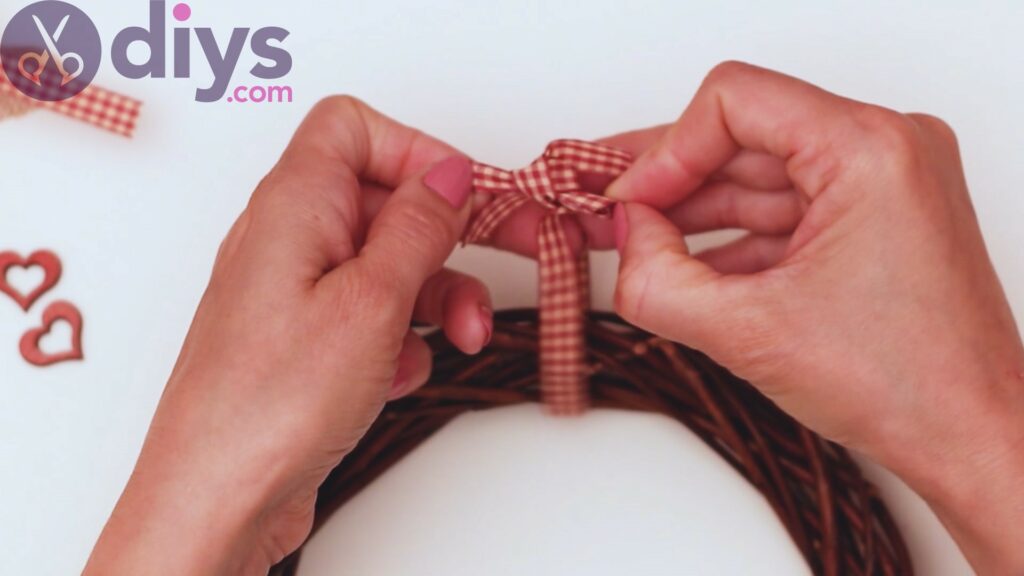
You’ll want to be able to hang this cotton flower wreath on your door or your wall, so let’s make sure you can hang it. Get the piece of silk ribbon and cut a good length.
Tie it in a pretty bow and make sure it has enough space to hang however much you need it to.
Step 7: Glue the bow
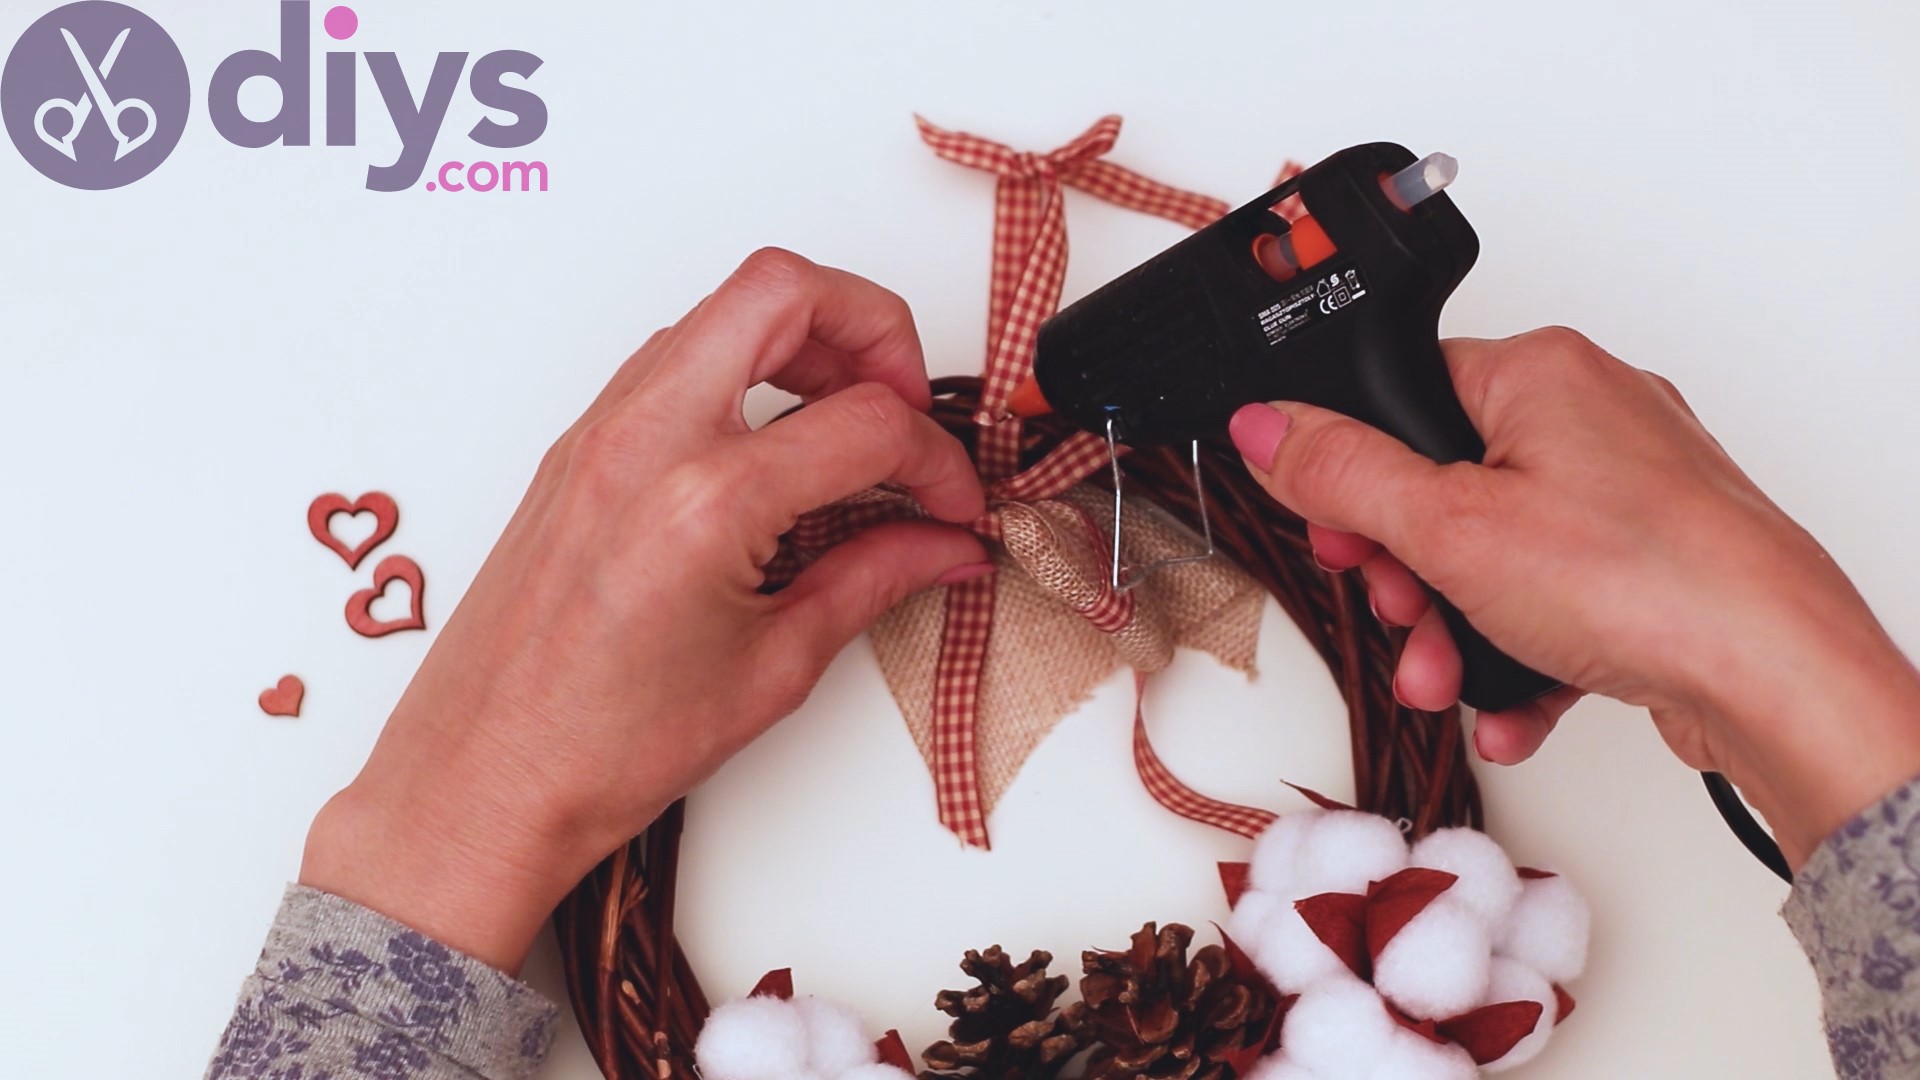
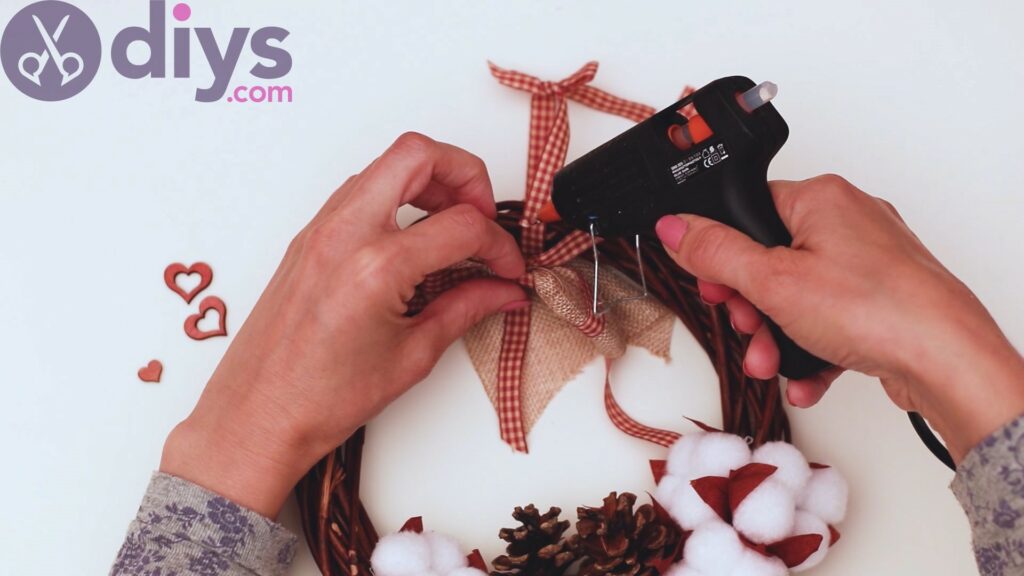
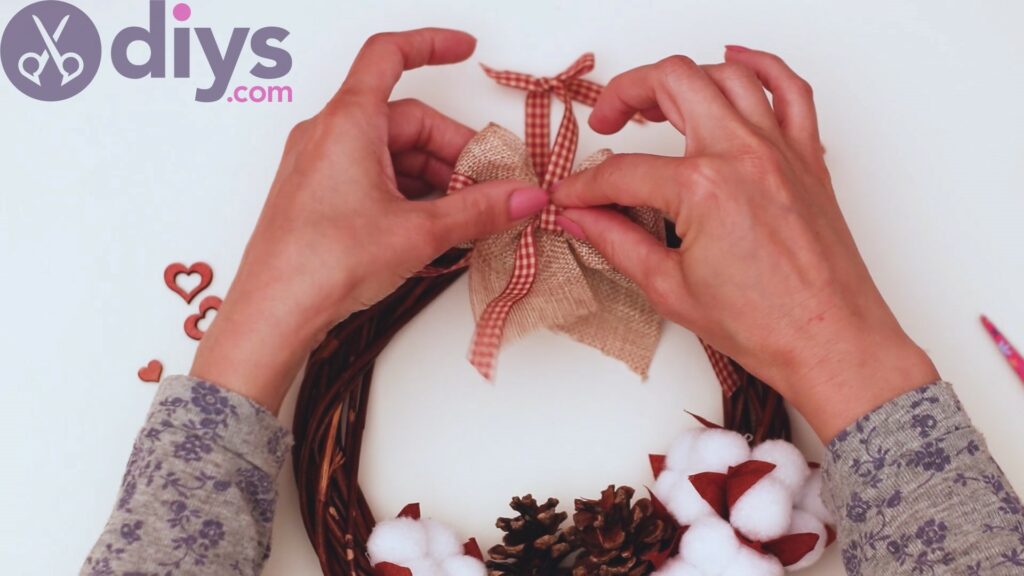
Make sure you know exactly what position the piece of ribbon you placed will have once you hang the wreath on your door. Get the glue gun and add a bunch of hot glue to the place on the ribbon that corresponds to the middle of the wreath.
Place the bow over the glue and make sure to maintain the pressure for a few seconds.
Step 8: Add the hearts
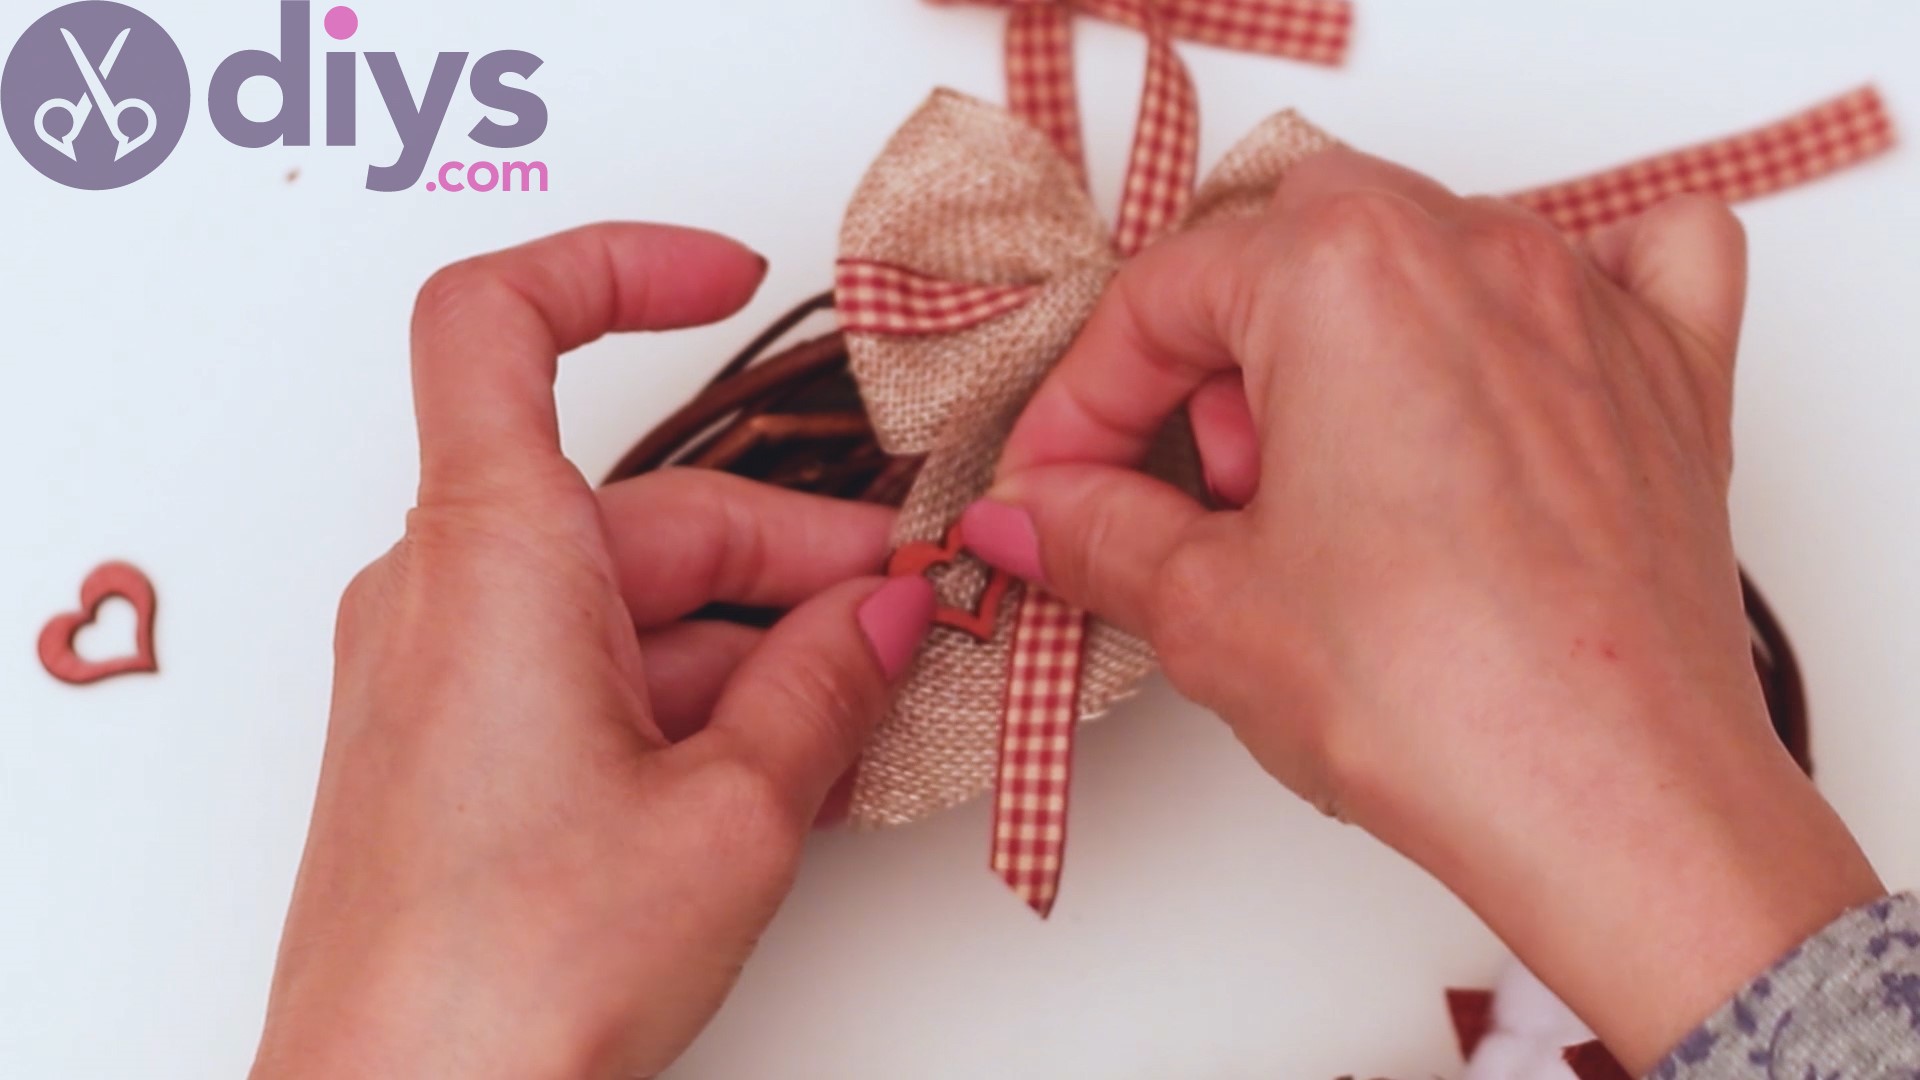
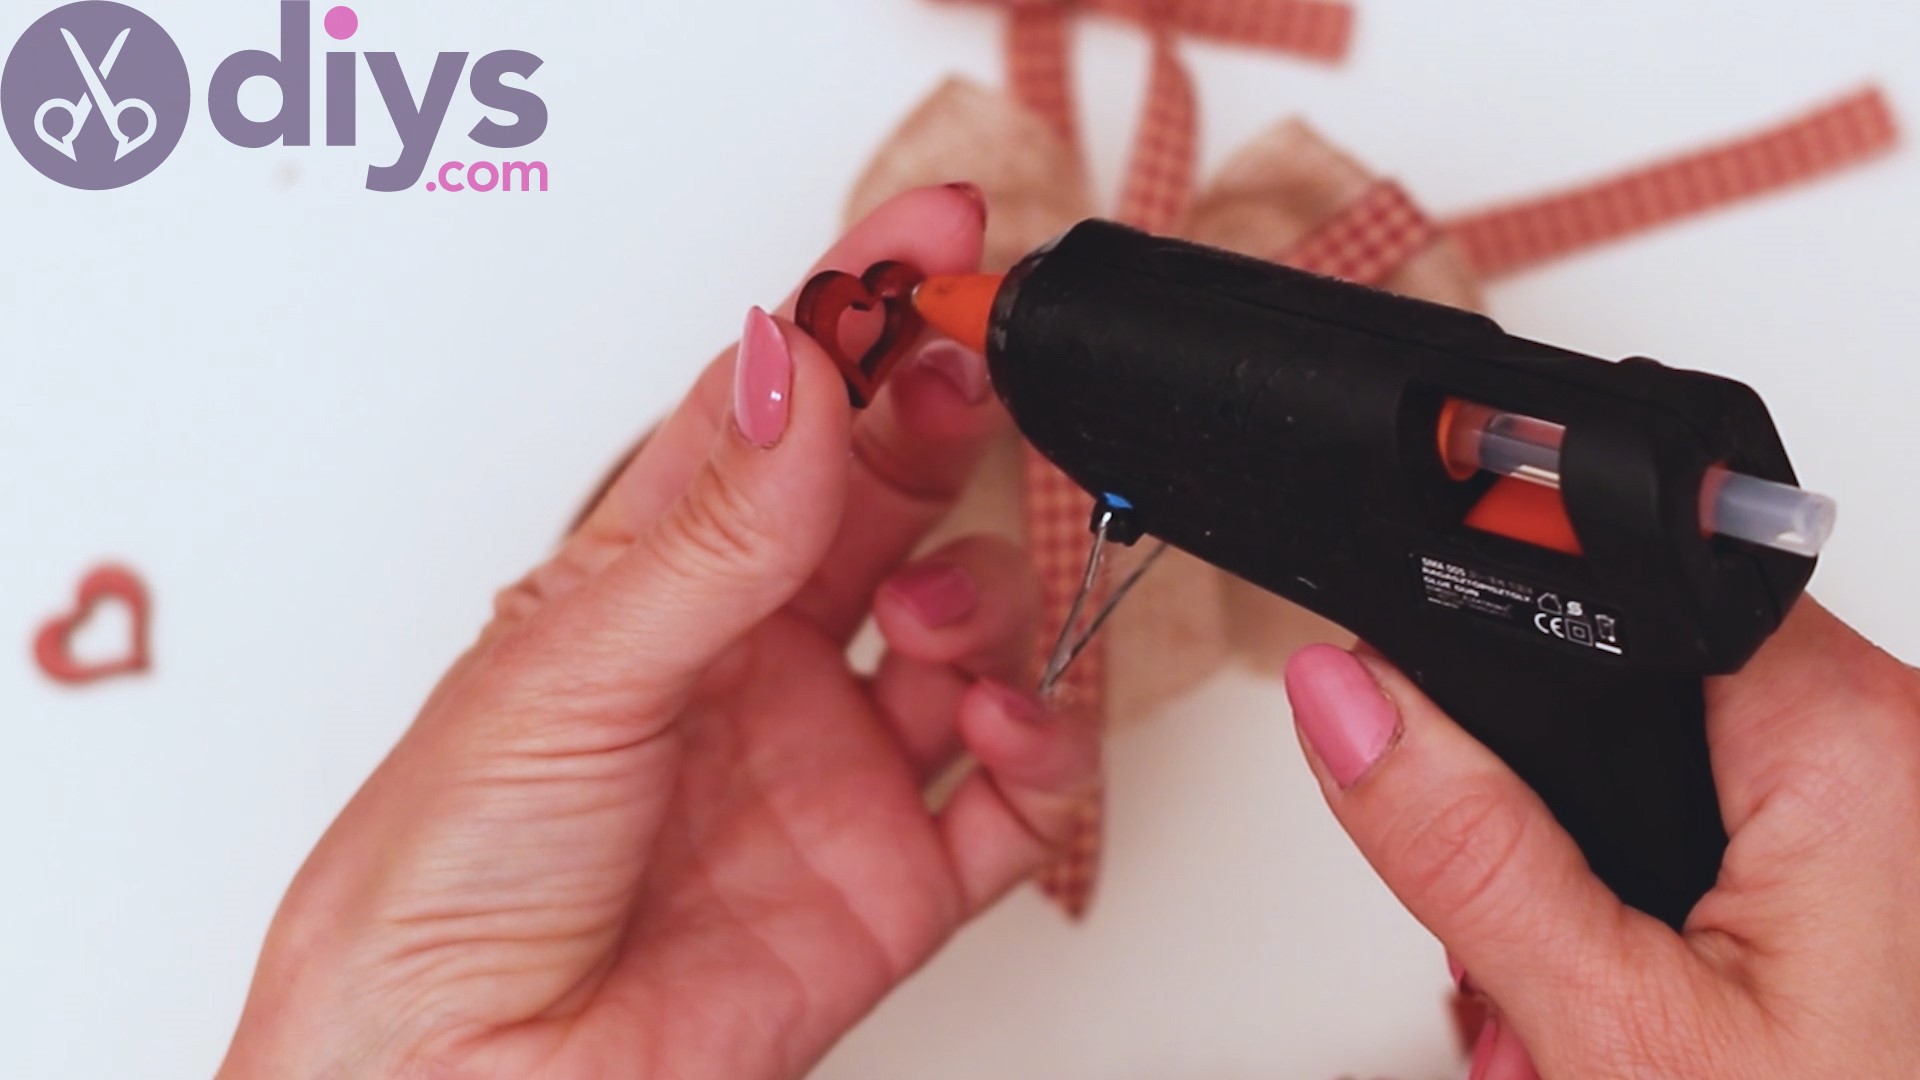
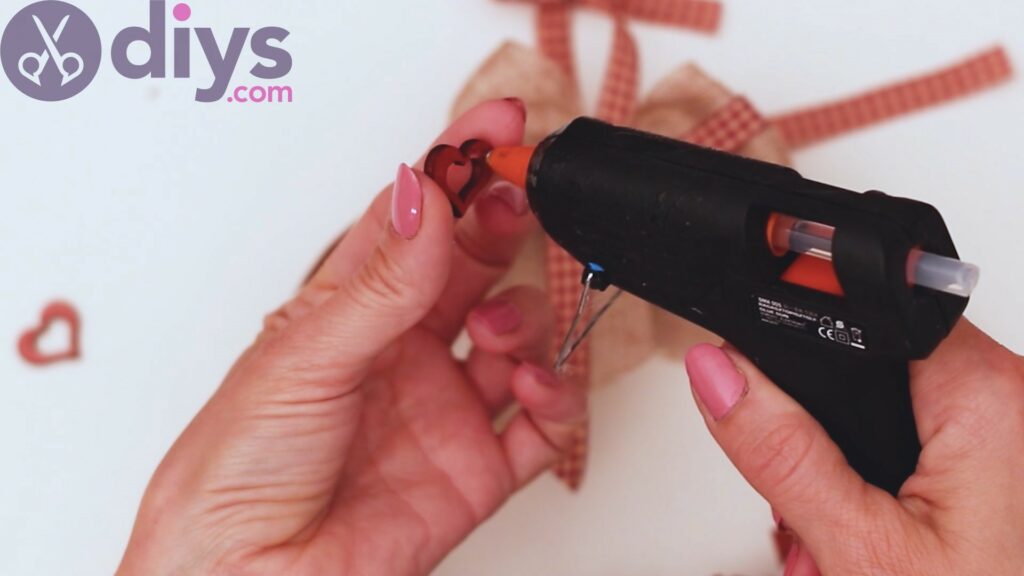
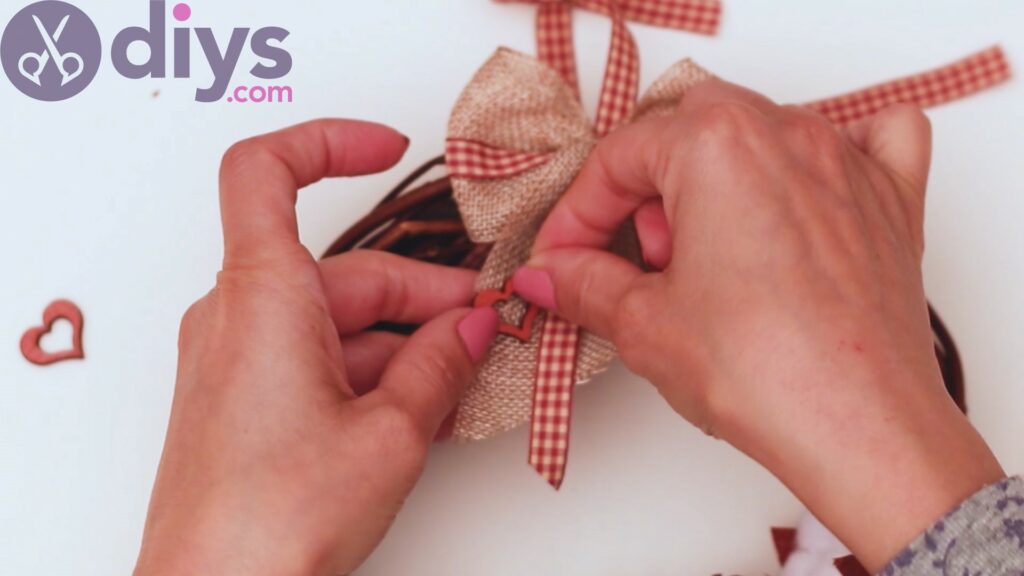
We still have some materials on our table – the small wooden hearts, so let’s find a place for them. Add some hot glue to the back of one of the hearts and place it on the ribbon of the bow we just put on the wreath.
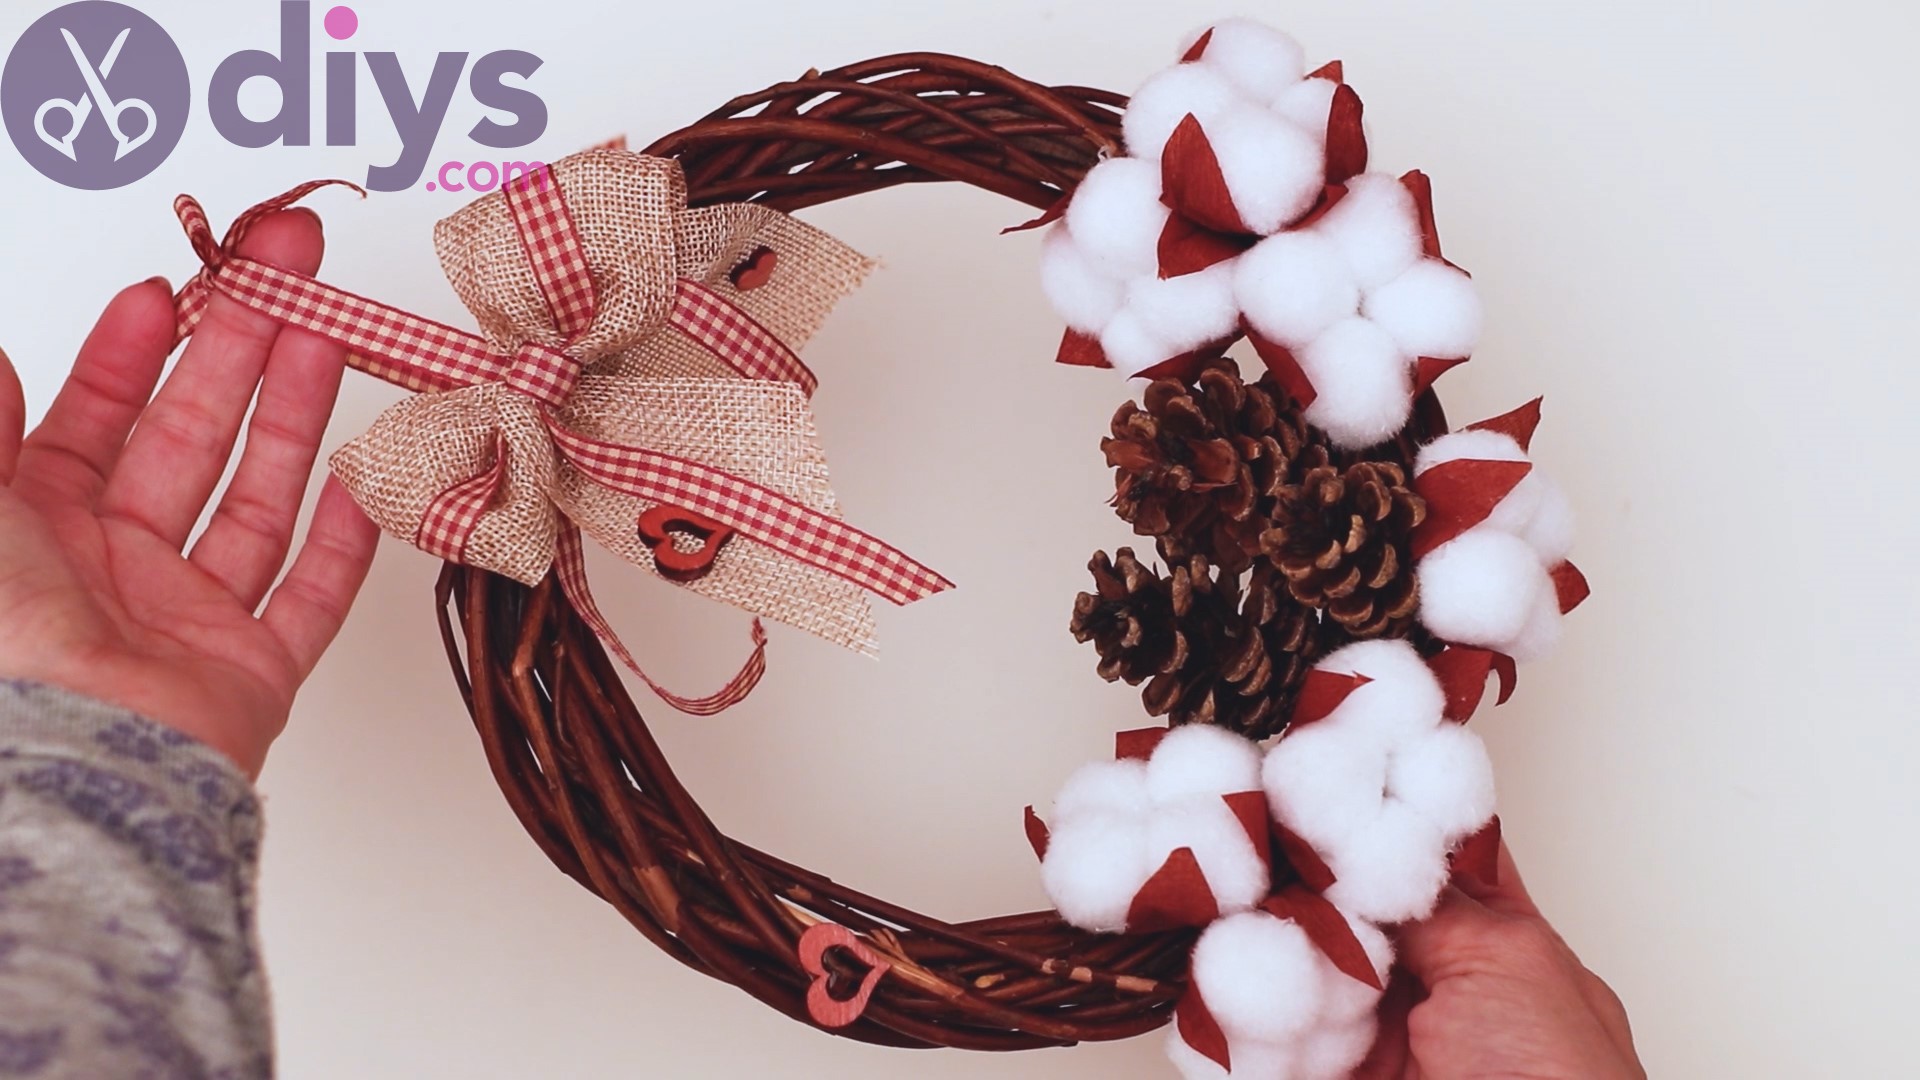
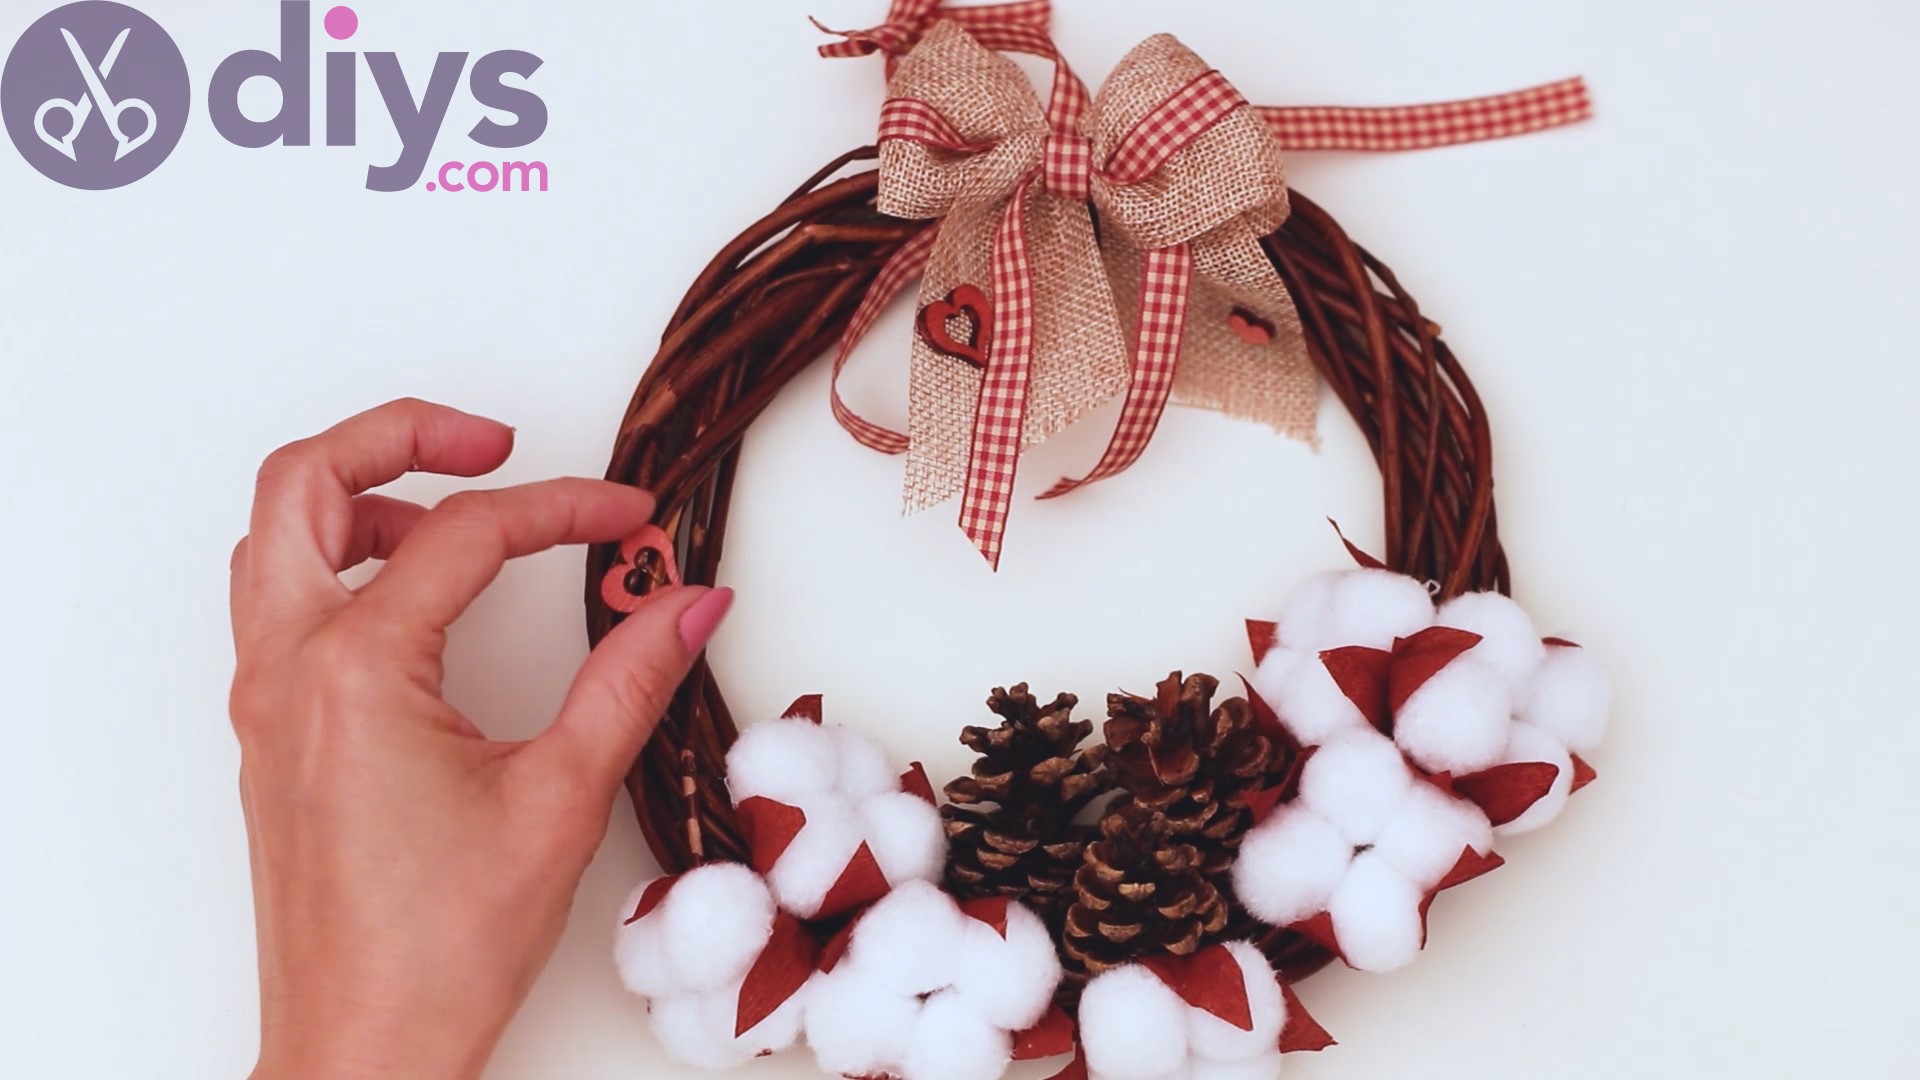
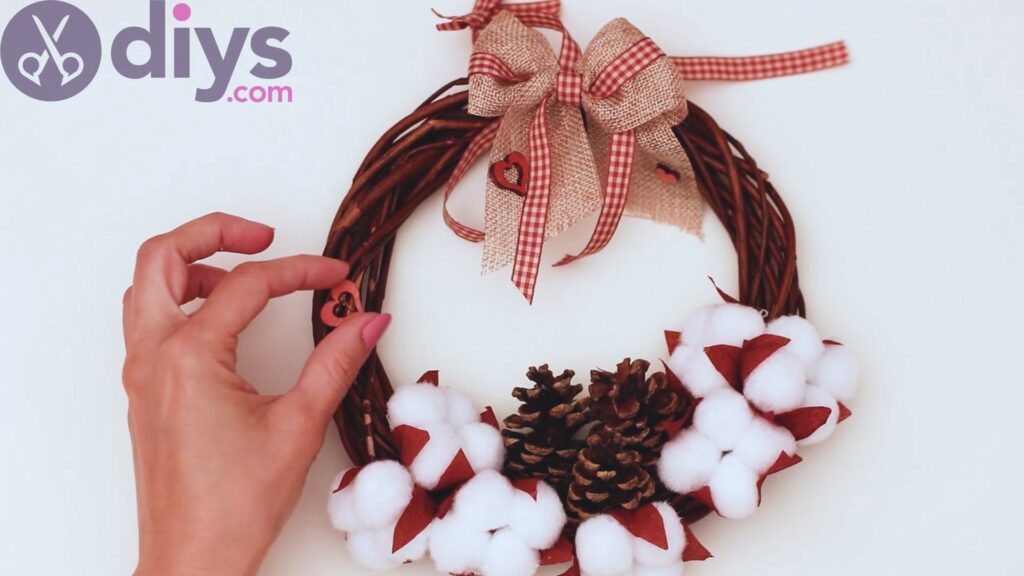
Repeat the process and add more hearts to the wreath – on the bow, on the wreath itself, as well.
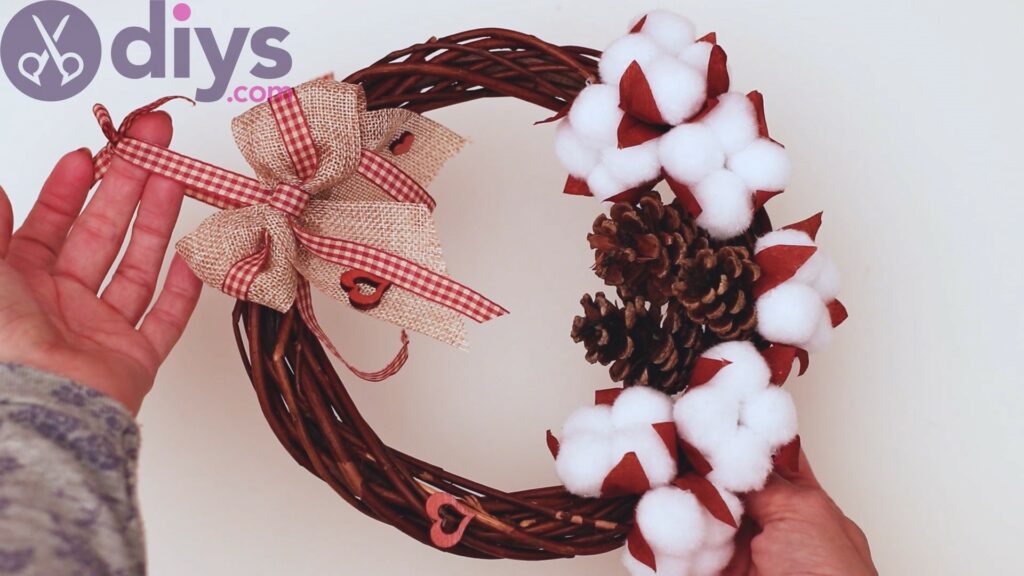
There we go! It’s a beautiful cotton flower wreath that’s going to be perfect for your next holidays!
There is some room to customize the design, particularly in the materials used for the bow, and the heart decorations. You can work with whatever you have at home, but we truly think this design works just fine.
Share your thoughts with us in the comments section below and drop us some photos over social media so we can see your results!
