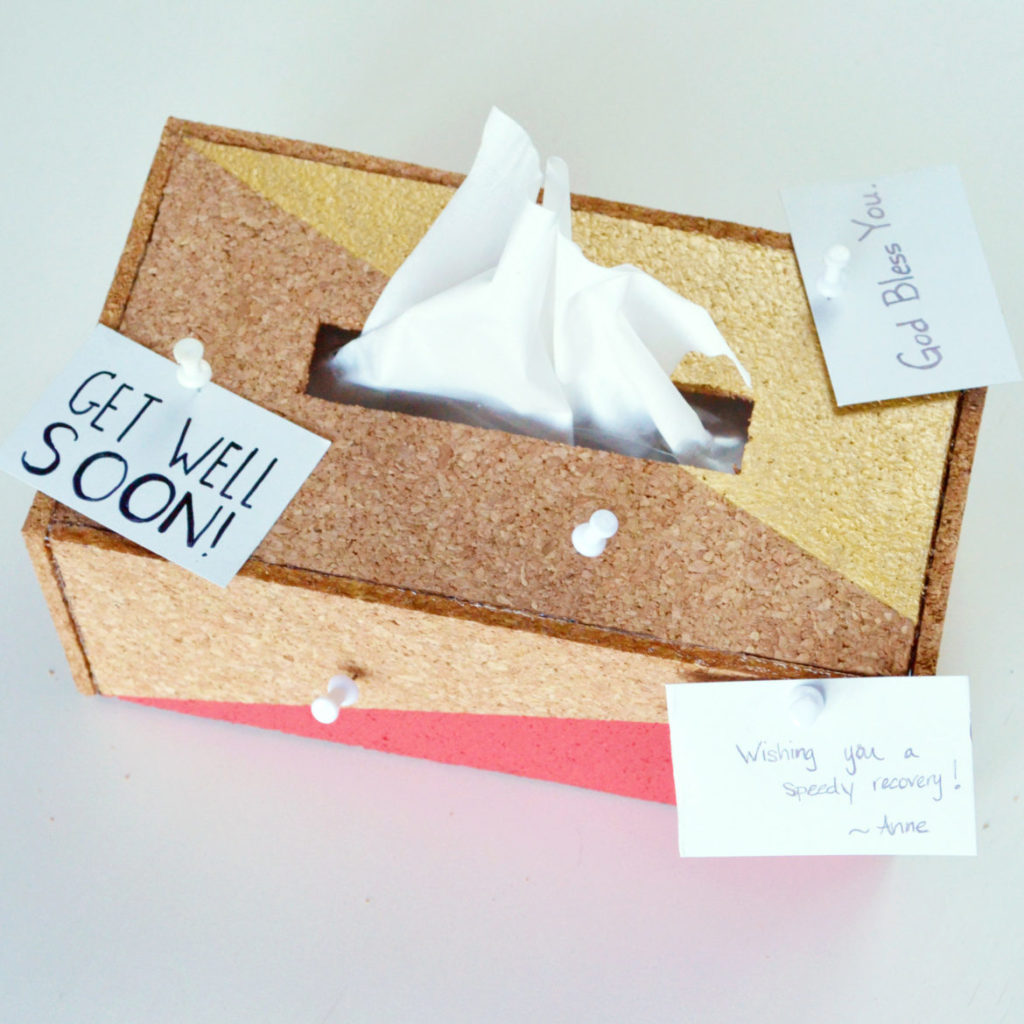
Cork Tissue Box Cover
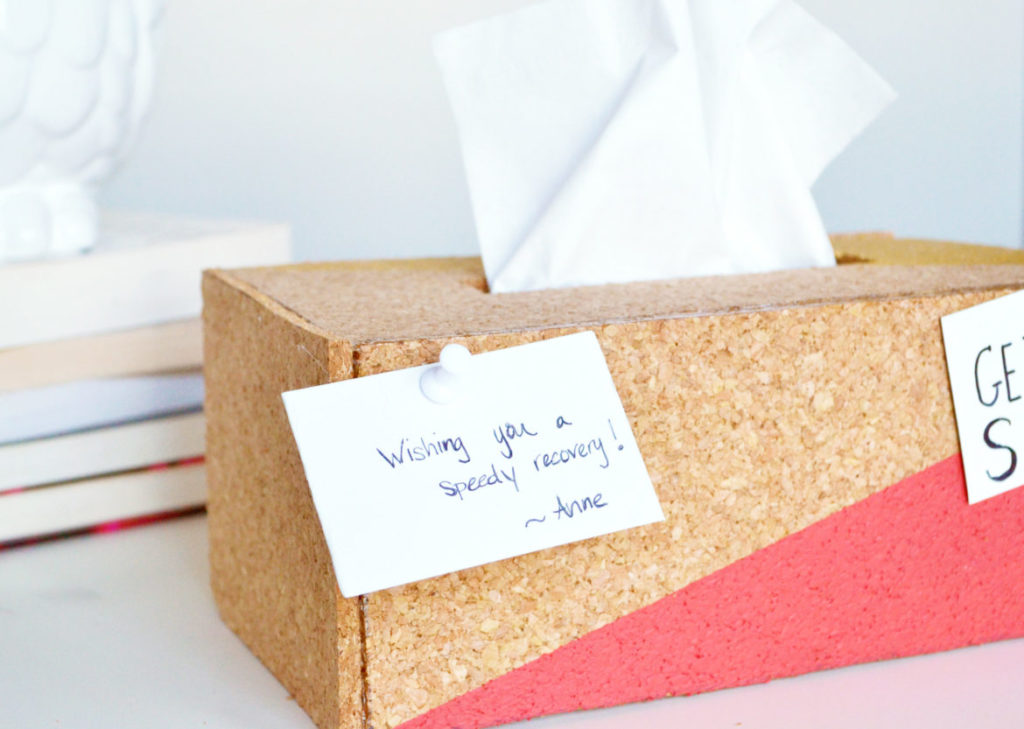
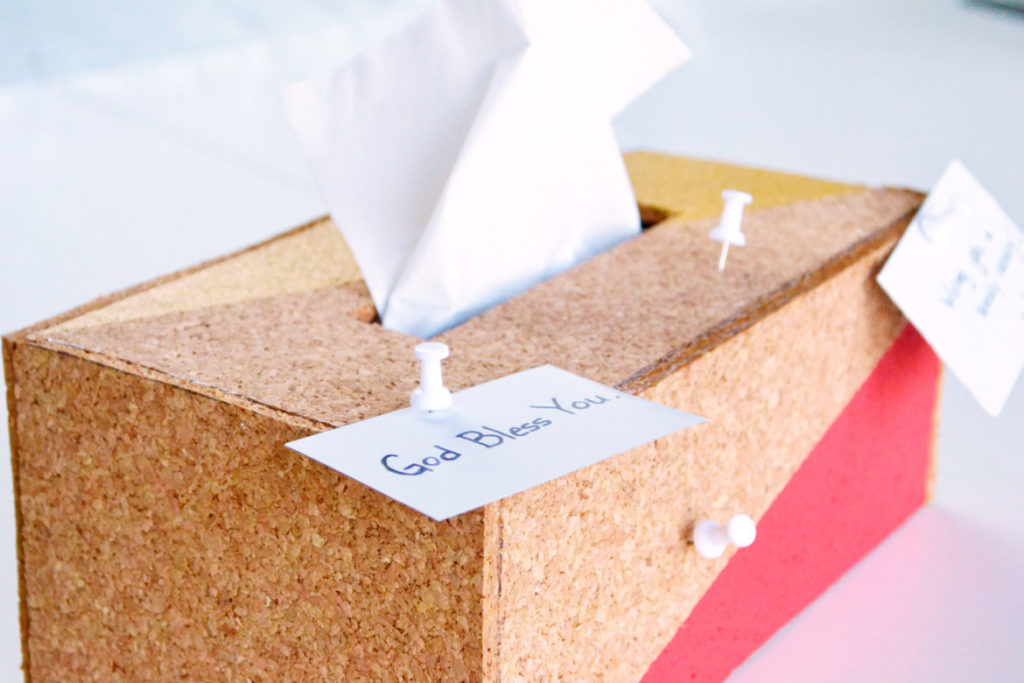
Hey crafters! It’s allergy season. No, that’s not quite an “exciting” thing, but I’m sure you’ve had a few friends so far that are sniffling, sneezing, and all the other not-so-great symptoms that come with Spring and Summer. So what a creative idea to make a tissue box cover, made of cork. Why cork? So family and friends can attach small “get well” greetings, for someone they care about. It’s an unconventional “get well” gift that’s sure to brighten up their day!
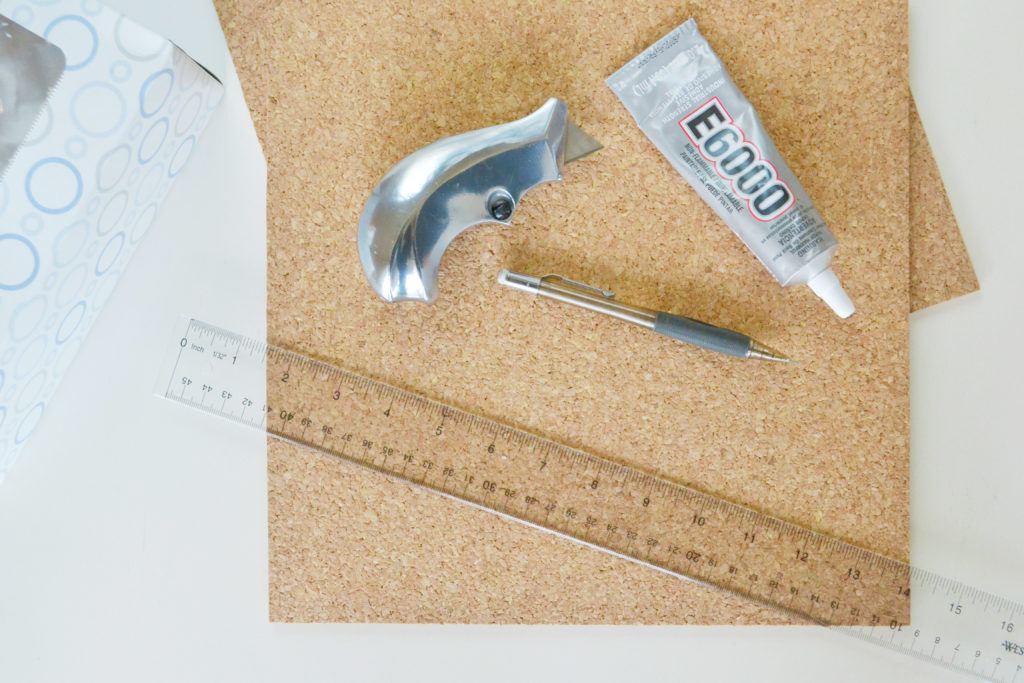
For this DIY, you’ll need:
- (2) 12×12 sheets of cork (1/4″ thick)
- Strong glue (E6000)
- Craft knife
- Ruler
- Marker
- Paint (optional)
- Painter’s tape (optional)
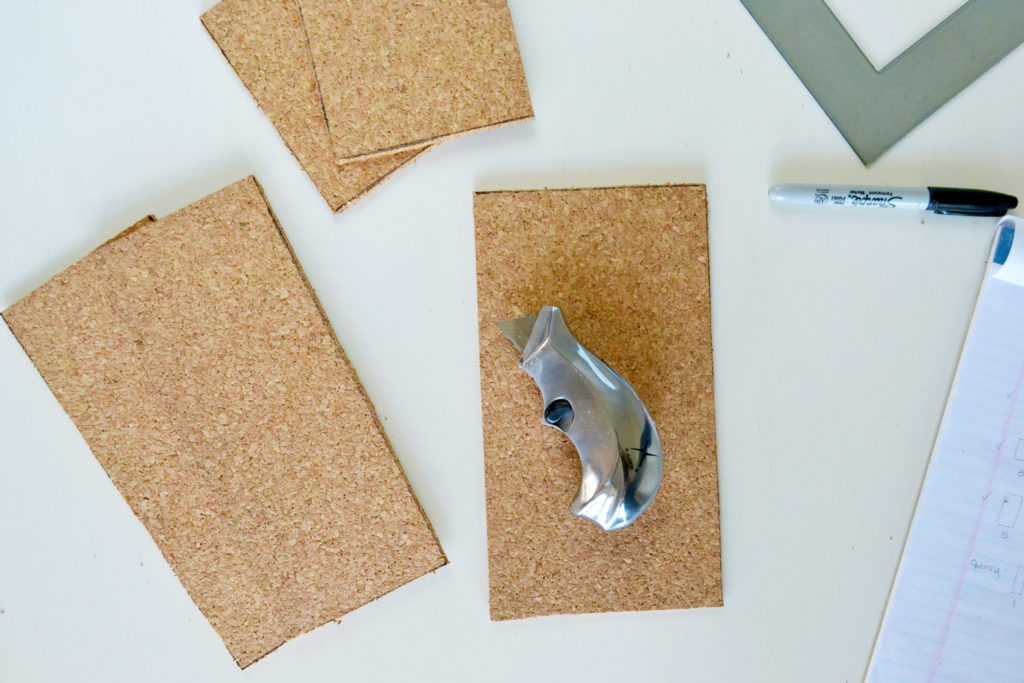
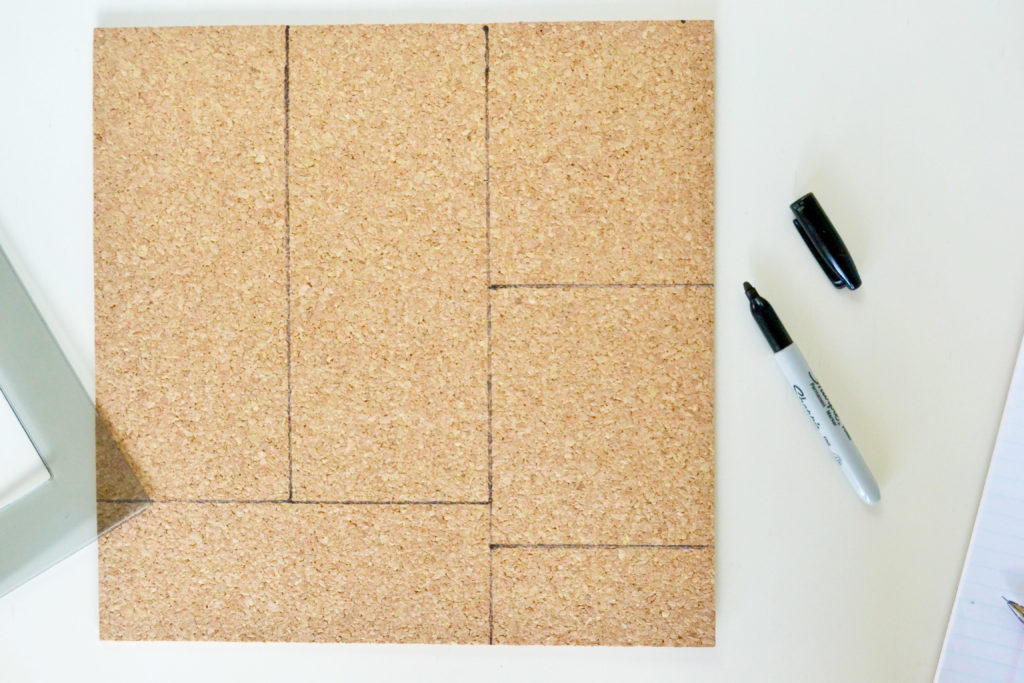
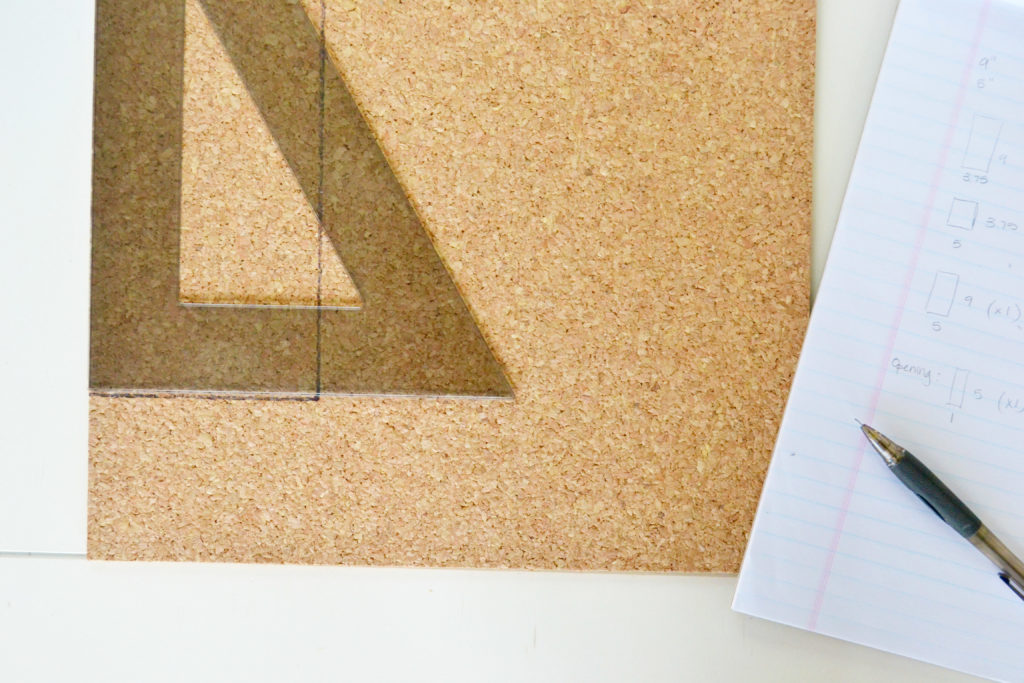
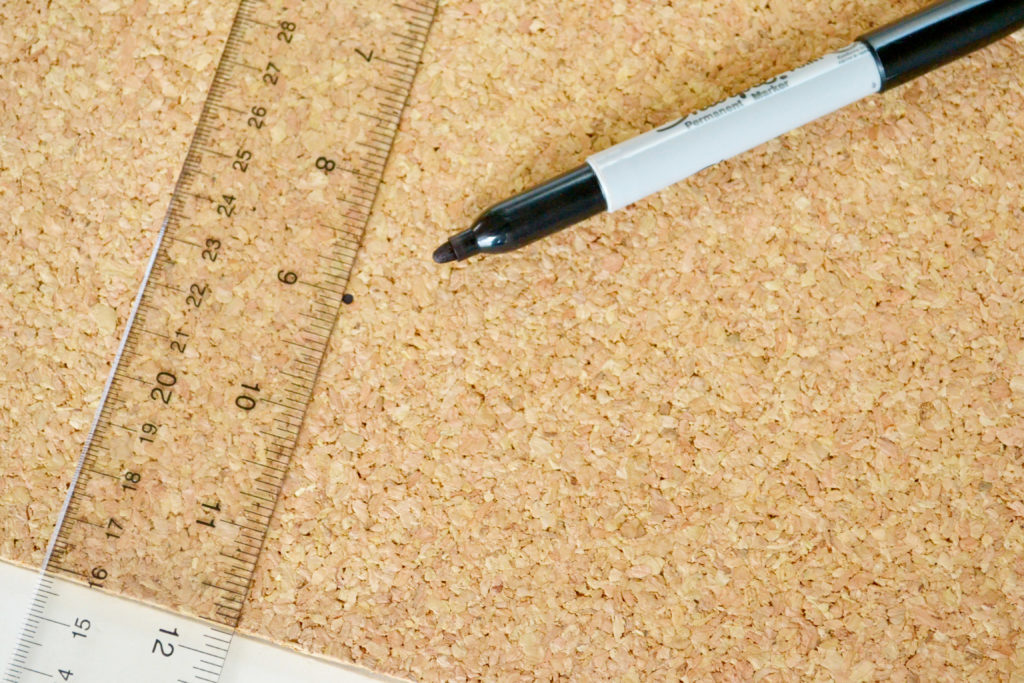
Essentially, you’re going to create pieces of cork that create a cover for the box. For a standard tissue box, you’ll need 5 pieces: two 4″ x 9″ pieces, two 4″ x 5″ pieces, and the top piece, which is 9″ x 3.75″. You may have to modify these measurements to fit your specific tissue box. Mark your measurements with a ruler before cutting to make sure everything is straight.
Use a box cutter to carefully cut each piece on the line.
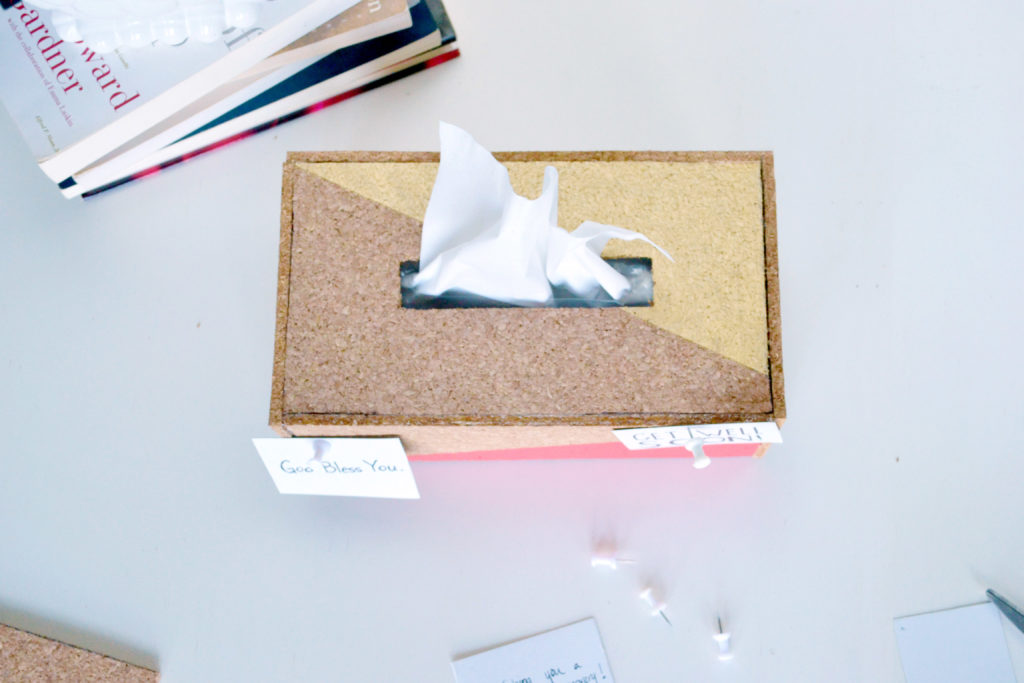
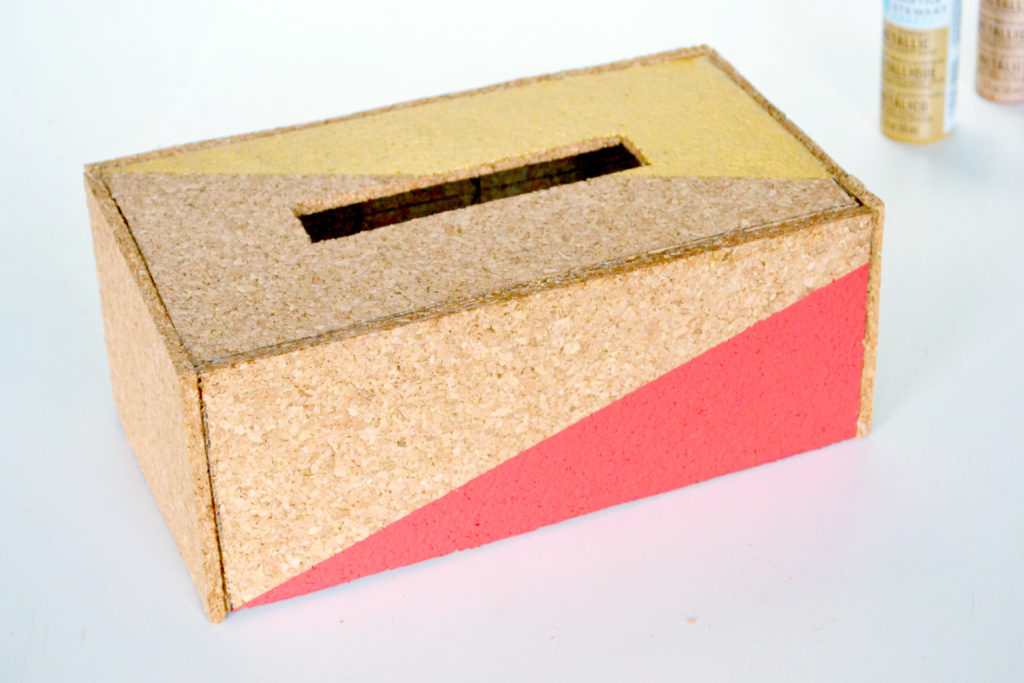
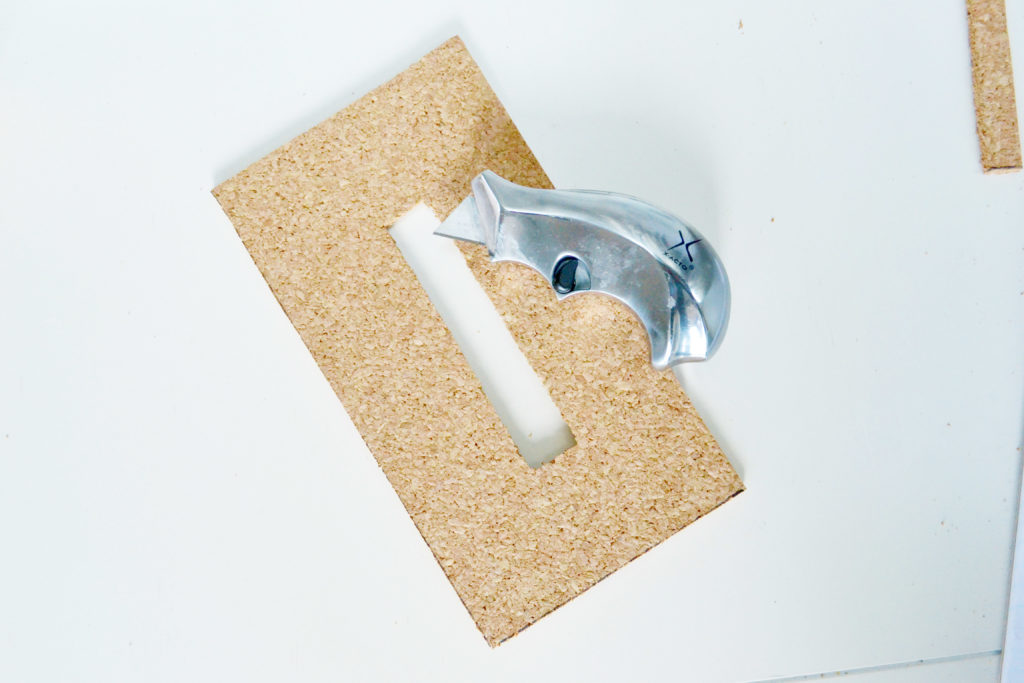
Then cut a 1″ x 5″ opening for the tissue to come through.
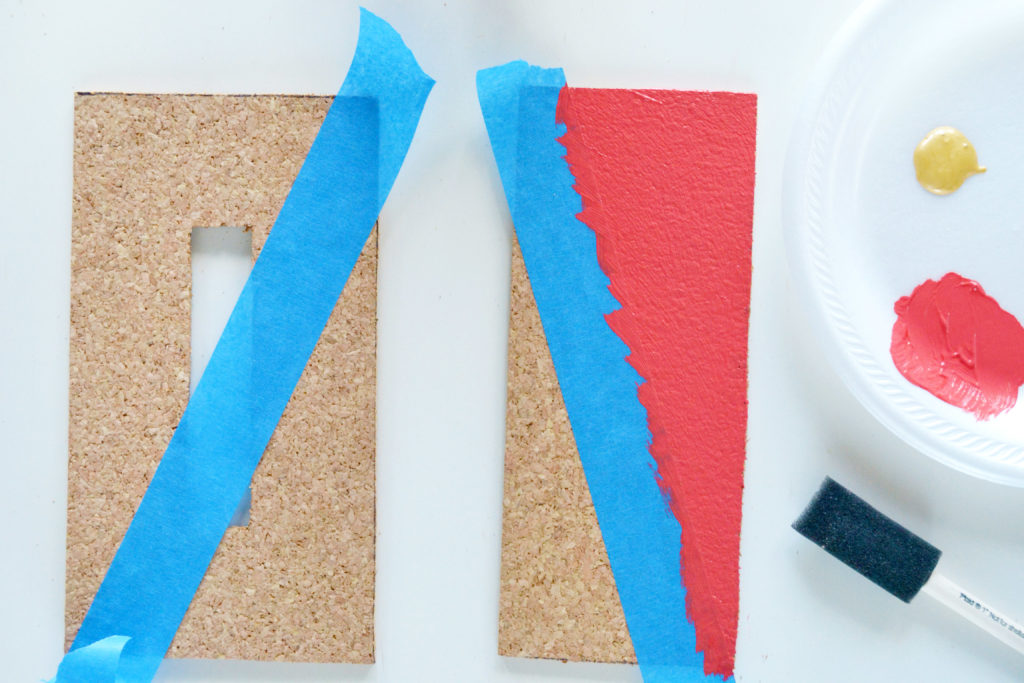
Here, I taped off a section and painted it with acrylic paint. Let it dry for about 15 minutes. Try any special patterns and colors you prefer.
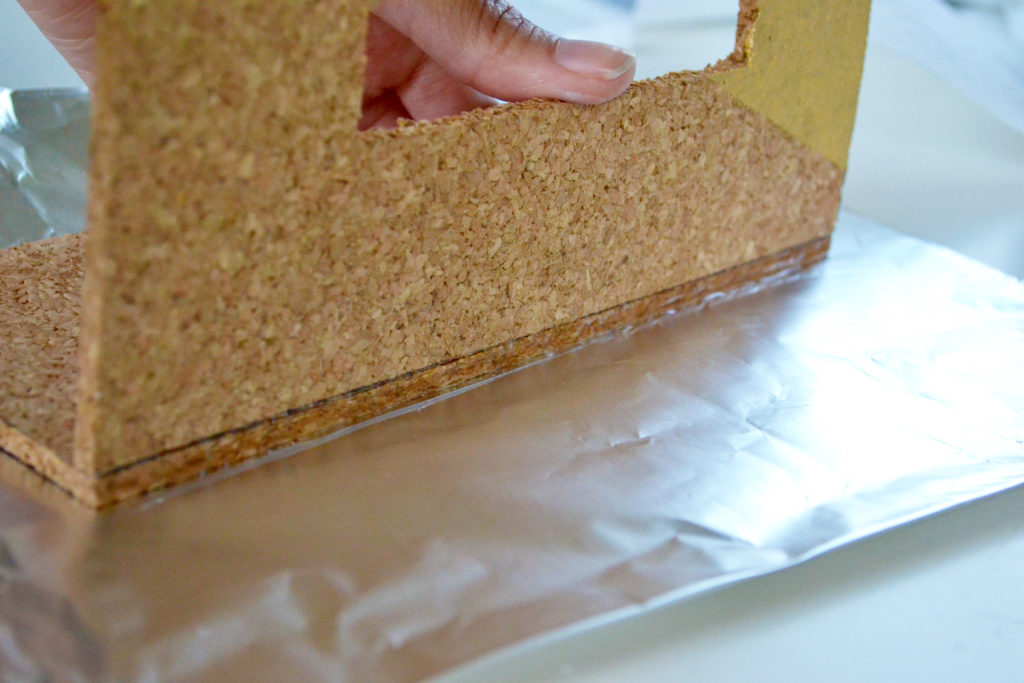
Glue the pieces together to form a box. Make sure you use a small amount of glue so it doesn’t bleed out on the sides. Hold each piece in place until it’s can stand on it’s own. As you put the pieces together, the box will become more secure.
Let the box dry for a few hours before using.
Tack small messages and greetings on it to finish! I hope you enjoyed this post! Let us know if you’ll try it in the comments!
