75 Cool Easter Egg Designs to Have Fun with Your Family
It’s time to gear up and craft Easter-themed decorations to beautify your home and entertain your kids. These cool Easter egg designs won’t be hard to make and will surely amaze everyone with their uniqueness.
All you need are some household items, minimal artistic skills, and a vivid imagination to decorate Easter eggs. And, best of all, the results will be well worth it.
Coolest Easter Egg Designs to Celebrate Spring
Keep reading our handpicked list of what we think are the coolest Easter eggs you can use for decor this spring:
1. Dinosaur – Cool Easter Egg Designs
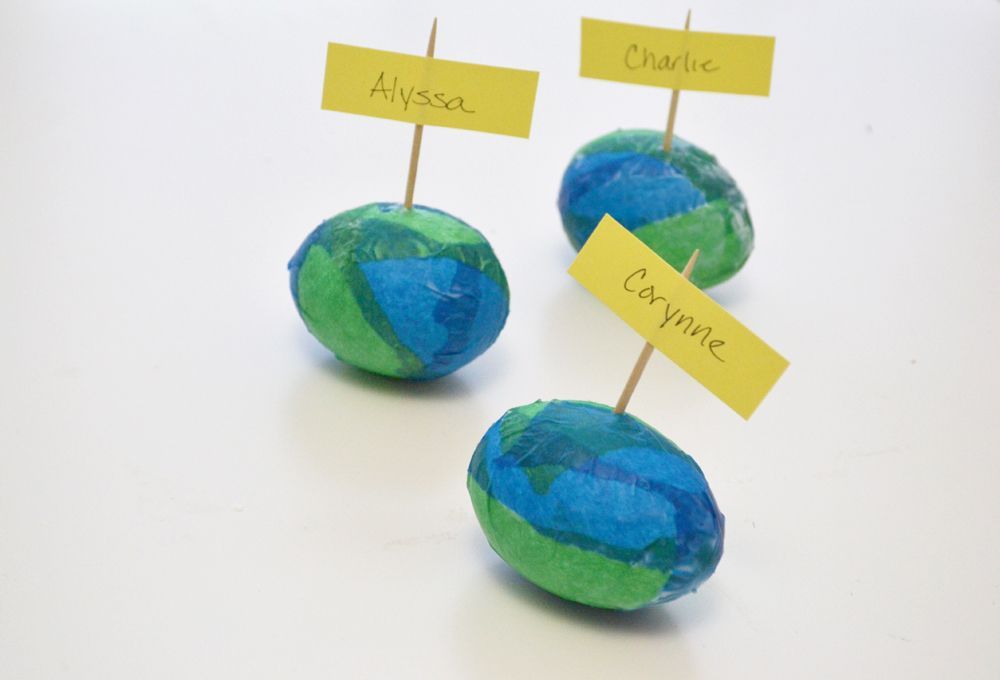
You can make regular chicken eggs look like dino eggs for Easter using this cool craft. It’s a perfect way to get your kids into the holiday spirit with a cute and easy-to-make Easter decoration.
When it comes to supplies, you will need tissue paper, a thumbtack, fresh eggs, toothpicks, mod podge, scissors, and cardstock.
Take a moment to learn how you can make these dinosaur Easter eggs using our detailed tutorial with pictures.
2. Concrete – Easter Egg Easy Designs
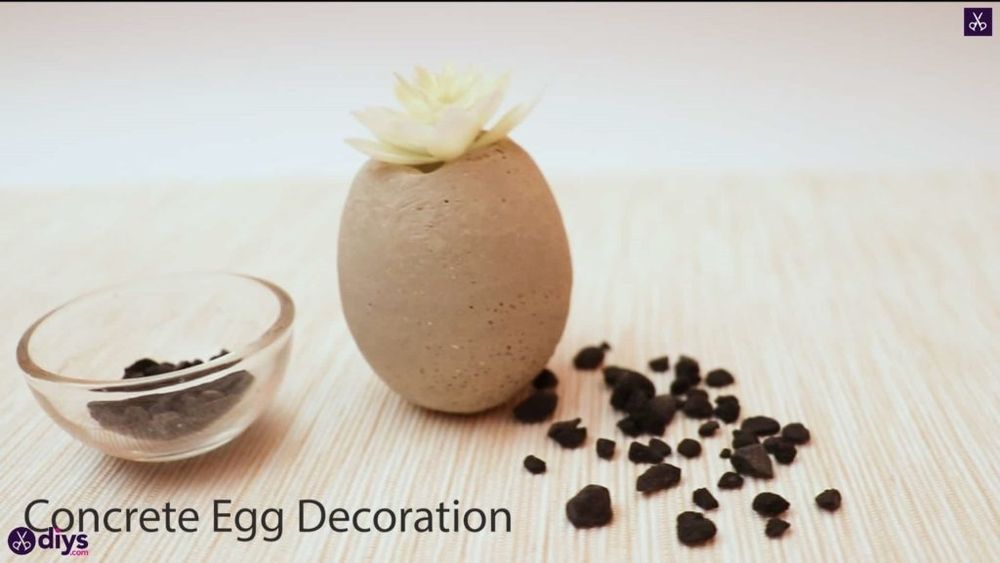
Using concrete is an awesome Easter egg decorating idea, especially since you can make it outside during nice spring weather. You can use these items as flower pots, bird feeders, decorations for the kids, or whatever best suits your creativity.
Add these items to your shopping list: water, a plate, fine-particle cement, a spoon, blown eggs, tape, an abrasive block, and scissors.
Discover more about making concrete egg decorations by following our step-by-step guide with images.
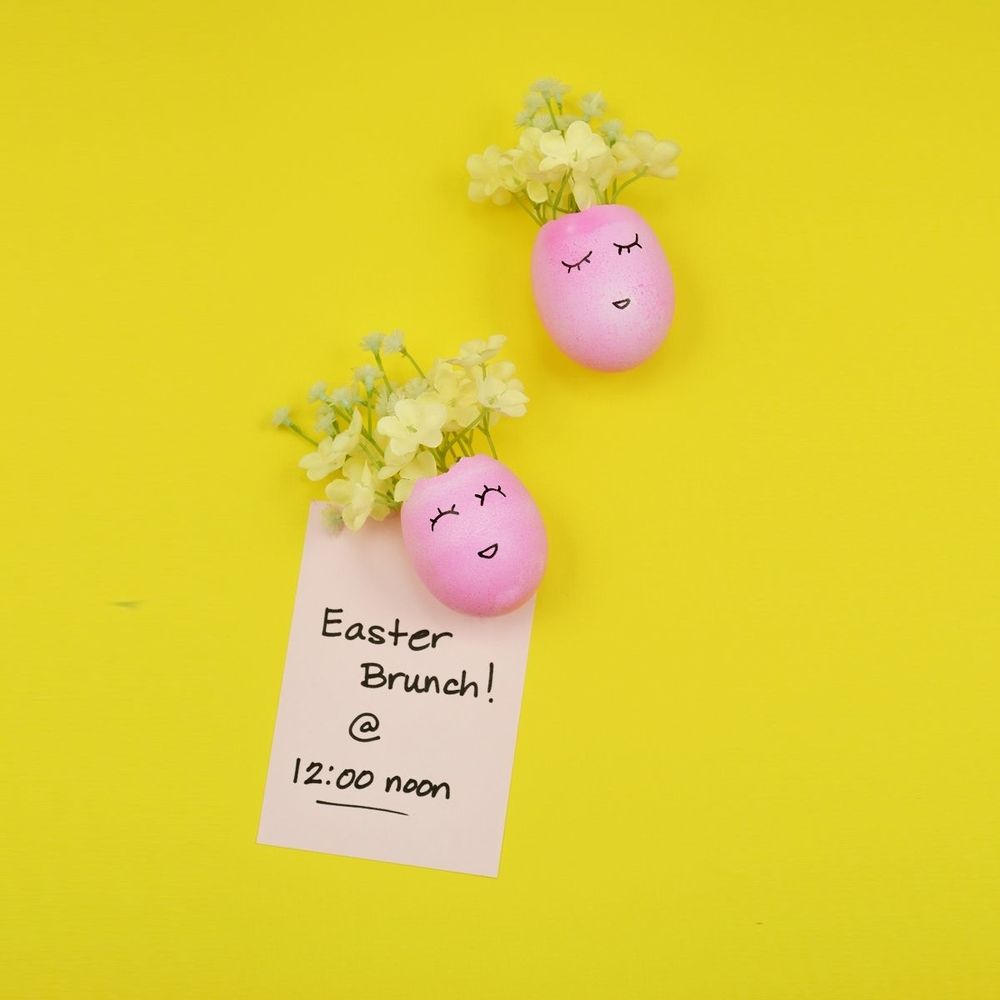
3. Fridge Magnets – Cute Easter Egg Designs
If you want to decorate your fridge for the festive season, these cute Easter egg magnets are just what you need.
They’re simple to make and can be a perfect gift for your mom or friends. Besides, it’s a great way to keep track of post-its.
To start working on this project, you will need a hot glue gun, a bowl, magnets, fresh or plastic eggs, food coloring, and water. It’s one of the best ways to use Easter eggs.
Check out our step-by-step tutorial with pictures to learn what you have to do to make these Easter egg magnet vases.
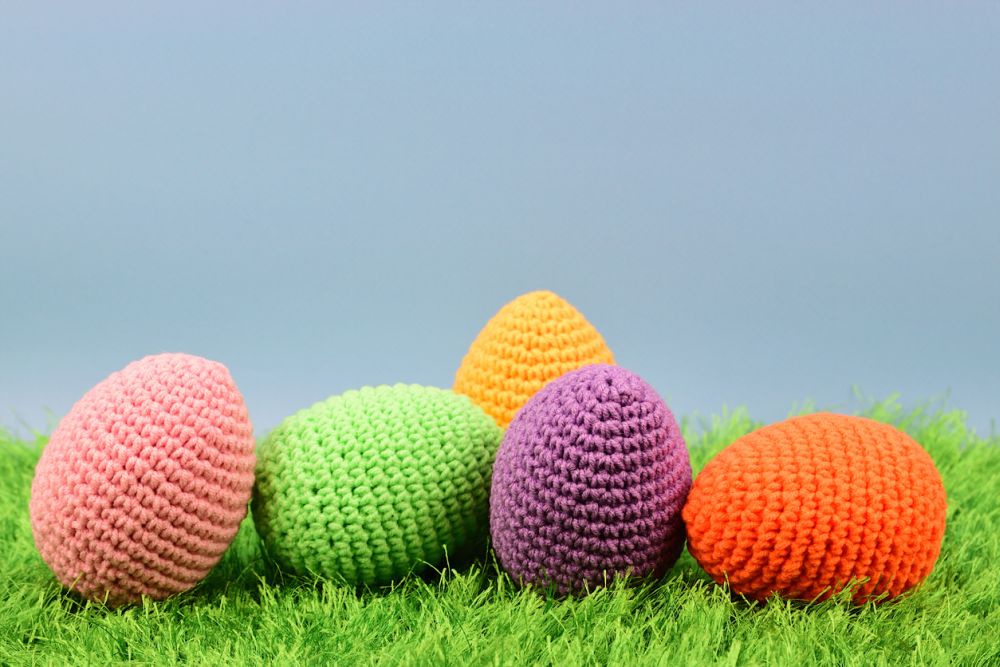
4. Crochet – Easy Designs for Easter Eggs
Crocheted Easter eggs are a truly unique item you can use for decorating your home’s interior.
It will be especially great to give them as a gift to your friends and family or make several items to use as table centerpieces for Easter dinner.
To make crocheted egg decorations, you will need colored yarn, a crochet hook, scissors, and a crocheting pattern. It’s one of the best ways to personalize Easter eggs.
It can be tricky to find a cool pattern, so feel free to explore our selection of the best Easter egg crocheting patterns to get inspired.
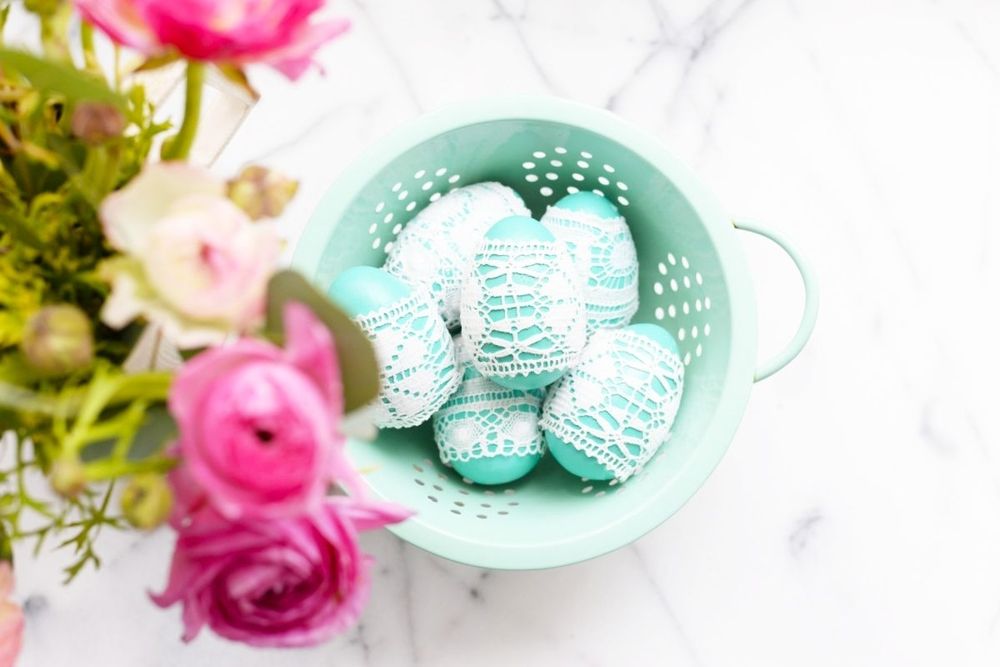
5. Wrapped in Lace -Easy Easter Egg Designs
Although lace-wrapped Easter eggs look challenging to make, you can try your hand at these cute decorations this spring. You cannot go wrong with a design that combines the beauty of lace with Easter eggs.
For this Easter egg idea, you need wooden eggs, an egg carton, sewing scissors, spray or acrylic paint in various colors, a foam brush, lace trim, a mod podge, and a clear polyurethane finish.
Head over to Homedit to get the complete instructions for making lace-wrapped Easter eggs.
6. Grass Leaves – Simple Easter Egg Designs
Easter eggs with grass leaves are the perfect way to spruce up your home’s interior, especially if you love greenery. You can paint the eggs in a variety of colors and make each room look unique.
Tools and supplies:
- Acrylic paint
- Fresh eggs with their shells on
- Popsicle sticks or wooden skewers
- A shallow dish with water
- Gloves to protect your hands from the paint
- Paper towels
Instructions:
- Start by painting your eggs in various colors.
- Allow the eggs to dry completely.
- Glue a popsicle stick or wooden skewer to the back of each egg.
- Dip the eggs in water and then roll them in grass leaves until they are coated.
- Allow the eggs to dry completely.
- Finish by spraying or brushing on a coat of clear polyurethane sealant to protect the finish.
- Congratulations, your Easter egg coloring project is now ready.
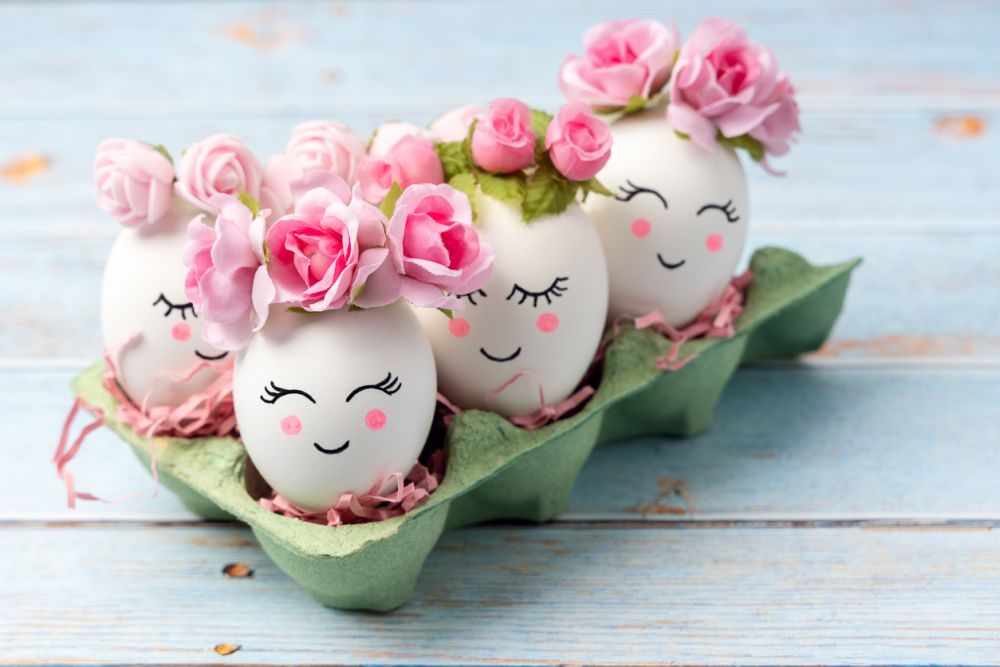
7. Sleepy Faces with Floral Wreaths – Funny Easter Egg Designs
When you’re looking for Easter decorations that will make your kids smile, these sleepy face eggs decorated with floral wreaths are the perfect solution. They look adorable and will make anyone who sees them happy.
Tools and supplies:
- Hard-boiled eggs
- Black and pink acrylic paints
- A thin paintbrush
- Empty egg carton
- Wire
- Floral tape
- Hot glue gun
- Fresh leaves or flowers
- Paper towels or a paper plate to protect your work surface from spills
- A small jar of water to dilute the paints as needed
Instructions:
- Start by bending the wire into a small circle. Twist the ends of the wire together to form a loop.
- Wrap the floral tape around the wire loop to form a wreath.
- Glue fresh leaves or flowers to the wreath.
- Cut off the top of the egg carton.
- Draw the sleepy faces on eggs using the thin paintbrush. Allow them to dry completely before continuing.
- Attach the floral wreaths to the top of the eggs using hot glue.
- Place the eggs in the egg carton.
We think this Easter bunny egg project would look fantastic as a centerpiece of the Easter table.
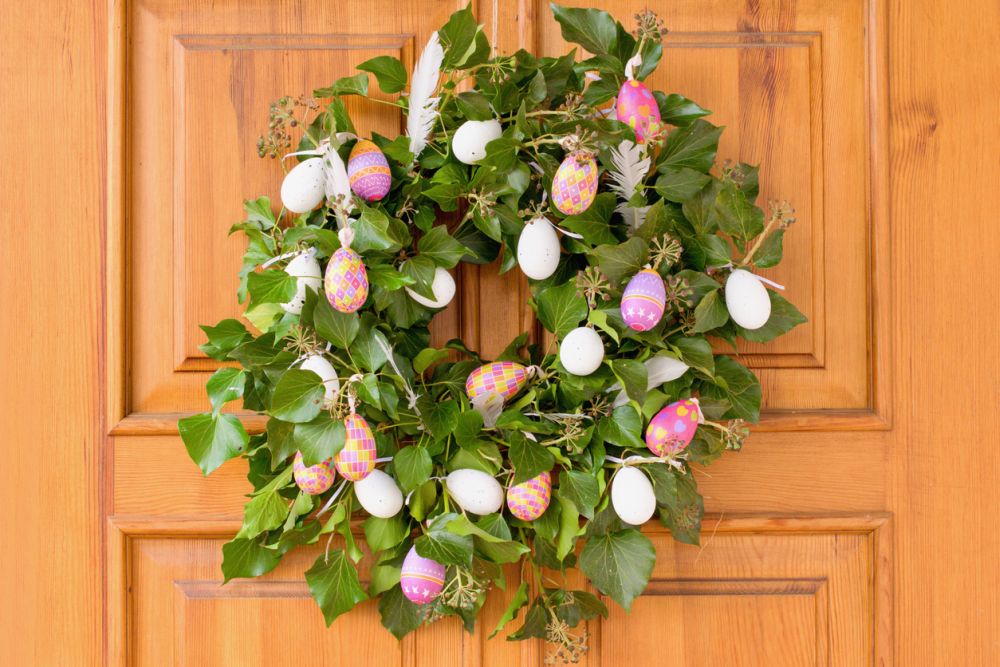
8. Wreath – Easter Egg Design Ideas
An Easter egg wreath is an easy way to spruce up the front door of your home or an empty wall. Besides, it’s simple to make, and the end product is simply adorable.
Tools and supplies:
- Wire wreath frame
- Florist wire
- Floral tape
- Florists’ picks or sturdy green stems of ivy or other greenery that can be glued into the wreath shape
- Spray adhesive
- Felt fabric
- Berry picker’s twine
- Jute or ribbon yarn fringe trim
- Paintbrush bristles cut off from a nylon brush head (optional)
- Wooden eggs dyed in various pastel colors
- Glue gun
- Clear sealant
Instructions:
- Start by spraying the wire wreath frame with spray adhesive and covering it with felt fabric. Let it dry completely before continuing.
- Cut out flowers of various sizes using floral tape as the base for each flower cluster.
- Gently pull off the paper towels or toilet tissue from your dyed eggs if you’re using them instead of real eggs (we suggest this option because real eggs will stick to the wet felt). Make sure they are really dry before you attach them to your Easter wreath.
- Glue the cut-out flowers onto berry picker’s twine in clusters, adding new ones every few inches until you have used up all of your flowers.
- Attach the berry picker’s twine to the wreath frame at various places by wrapping it around both sides of the frame until it is secure.
- Tie your dyed eggs with jute or ribbon yarn fringe trim, alternating colors.
- If you want to hang the banner on your door, use a glue gun to attach a wooden cut-out hanger (or “E” shape) made out of corrugated cardboard onto the backside of your wreath.
- Spray or brush on clear sealant all over your Easter egg wreath – front and back; this will help preserve it for several years.
Discover more ways to decorate Easter wreaths.
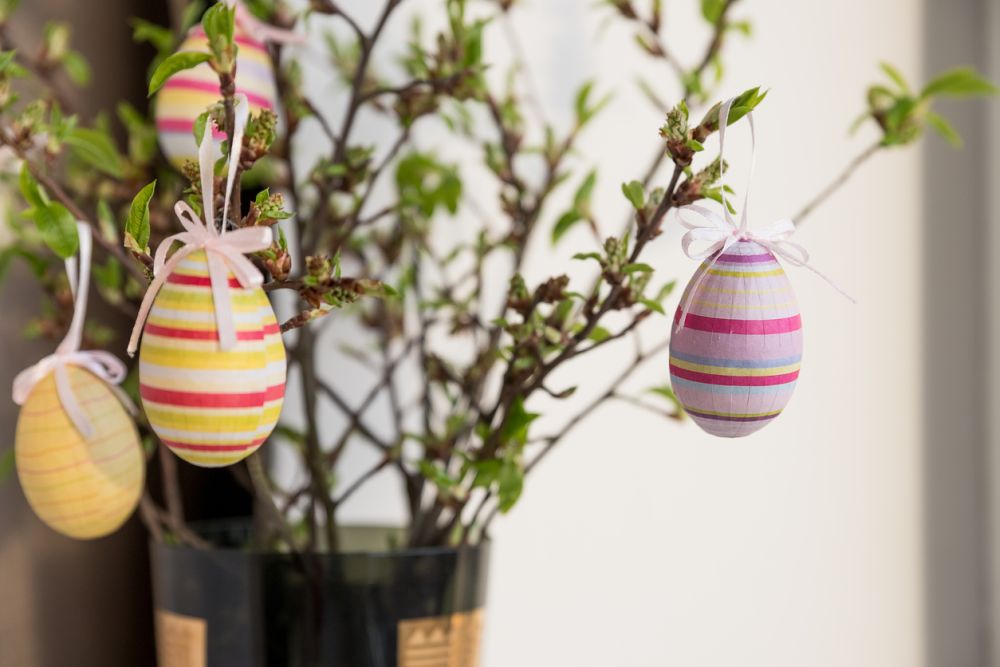
9. Paper Easter Egg Designs on Tree
An Easter egg tree is a fun and creative way to display your Easter decorations. It’s perfect for adding some color and whimsy to your home decor.
Tools and supplies:
- Decorated eggs
- Ribbon
- Floral wire
- Foam shapes
- Hot glue
- Styrofoam ball
- Paper tube covered in wrapping paper
- Scissors
- Paintbrush bristles cut off from a nylon brush head (optional)
- White craft glue
- Felt fabric
Instructions:
- Start by painting the top of the styrofoam ball with white craft glue using the paintbrush bristles.
- Sprinkle glitter on it while it’s still wet so that it sticks to the surface of the ball without clumps. Shake off the excess glitter before you continue.
- Cut a small triangle out of the felt fabric and attach a piece of string a few inches long on one side with hot glue.
- Attach a loop of ribbon at the other end, leaving some slack in between so there is enough room for an egg or two to be inserted inside.
- Slightly curl the paper tube covered in wrapping paper around the styrofoam ball. Use hot glue to secure it in place on one side, adding some curlicues of decorative ribbon on top to ensure that all ends are securely attached.
- Attach a few foam shapes with hot glue to the base of your tree trunk. Finally, insert decorated eggs into your fabric holder.
For more inspiration on decorating Easter trees, check out our complete guide.
10. Goodie Basket – Ideas for Easter Egg Designs
If you’re looking for a simple DIY Easter decoration, these little Easter egg baskets are ideal. They’re fun to make, and your kids will love helping out. You can even use them as an Easter egg hunt treasure box.
Tools and supplies:
- Decorated eggs
- Paper plate or fabric circle cut from felt
- Ribbon, jute, or raffia yarn fringe trim
- Painted pinecones
- Scissors
- Plastic spider rings (optional)
Instructions:
- Start by cutting a paper plate in half. Or, if you want to make the Easter egg hamper out of fabric, take a sewing needle and thread and sew the edges of the material together.
- Use the decorated eggs as templates to cut out holes for them in the paper plate with a pair of scissors. Make sure to leave some space (about 1/2 inch) between each hole so that there is room to fit all egg halves.
- If the pinecones aren’t already decorated, paint them with acrylic and let them dry. You can use different colors or patterns.
- Cut off an 18-inch strand of jute or raffia yarn fringe trim. Wrap the middle part of the strand around the center of your paper plate, just above the egg space.
- Secure it with a piece of double-sided tape wrapped in ribbon or jute for embellishment. Then, bring the two ends together and tie them into a bow at the bottom.
- Poke four holes through one side of your pinecone eggs using scissors. Thread ribbons or plastic spider rings onto them before tying the ribbon at the top to form basket handles.
For more inspiration, check out our list of handpicked Easter baskets.
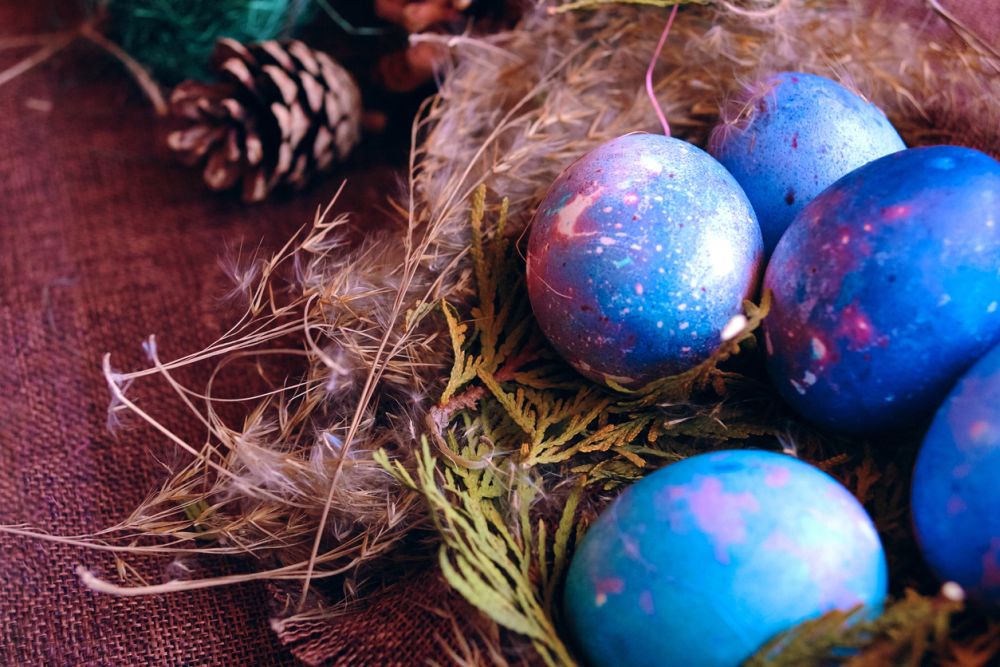
11. Galaxy – Easter Egg Painting Designs
If you wish to come up with something unique when it comes to the festive holiday, you can’t go wrong with galaxy Easter eggs.
They look like gems from another dimension. Needless to say, this is a fun way to decorate your Easter eggs, which will surely impress your friends and family.
Tools and supplies:
- Eggs
- White craft glue
- Turquoise, purple, blue acrylic paints
- Small paintbrush (or eyedropper)
- Vaseline or petroleum jelly
- An empty glass jar or plastic container with a lid
- A few cotton balls cut into smaller pieces
- Hot water and soap
- Paper or aluminum foil
Instructions:
- Start by painting your Easter eggs a turquoise-purple color. Use the paintbrush to do this, adding as many layers as you’d like until you achieve the preferred color depth. Allow the eggs plenty of time to completely dry.
- Use vaseline or petroleum jelly to paint a thin layer on half of each egg. Remember to cover all parts except for the top-third section of the egg. Allow this to dry completely before cleaning any vaseline or petroleum jelly from your fingers with hot water and soap.
- Next, dip only the top part of the egg into white craft glue. Gently jiggle it around until you obtain an even coat on the wet surface, then set it down on a piece of paper or aluminum foil to dry.
- Make sure the egg is completely dry before dabbing it with petroleum jelly again and using a cotton ball to wipe away as much as you can. This will make the finished product look more like an actual galaxy.
- Let the galaxy Easter eggs dry completely once you’re satisfied, and enjoy your glowing galactic treats.
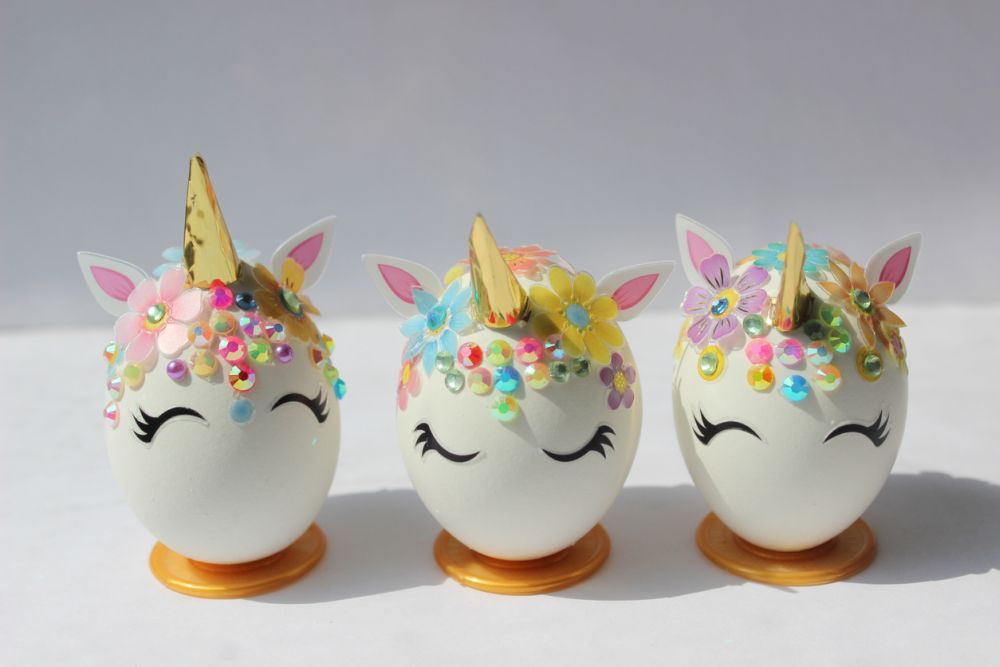
12. Unicorns – Easter Egg Decorating Designs
Elegant and whimsical at the same time, unicorn Easter eggs will surely charm everyone who sees them.
Your kids are sure to love this bright idea. Besides, decorating eggs as unicorns isn’t a complicated task, as you’ll soon find out.
Tools and supplies:
- Plastic eggs or cups
- Craft knife
- Washi tape in various colors and patterns
- Adhesive tape
- Double-sided foam tape or two different kinds of paper tape (e.g., regular adhesive tape vs. washi tape)
Instructions:
- Start by cutting your plastic egg or cup to obtain a flat surface on all sides. You may need to use a craft knife for this.
- Next, cover the plastic with colorful washi tape to create a pattern or design that you like. Make sure to leave some space at the top of the egg where you will be able to fit all pieces together.
- Do this twice using two types of tape, like regular adhesive tape and washi tape. You can make designs in different colors or patterns if you want, but make sure they are cohesive enough so that your creations look well-matched when combined later.
- Once your eggs are decorated to your satisfaction, cut them carefully along their sides with scissors while trying to minimize the damage on the decorative surface. Don’t worry about scuff marks; these actually add to the result.
- After cutting, fit the tape halves together to create a completed egg that looks like it only has one piece.
- Grab double-sided foam or paper tape (or anything else that will adhere well to both surfaces) and attach your pieces securely to each other. You may need to use a craft knife or scissors again here if the adhesive doesn’t work just right. Once this is complete, enjoy your unicorn Easter eggs.
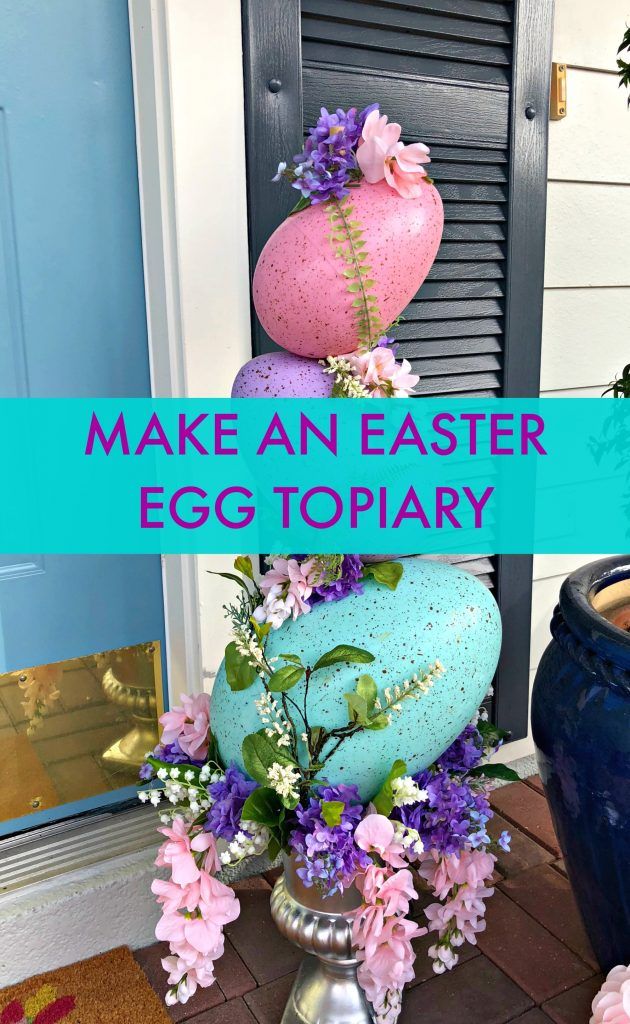
13. Giant Topiary – Painting Easter Egg Designs
If you’re looking for outdoor Easter decoration ideas, you can’t go wrong with a giant Easter egg topiary. It’s a playful way to decorate your front porch or garden, which will surely surprise everyone who sees it.
To start working on this project, you need a block of styrofoam, dowels, large Easter eggs, moss, a flowerpot that can sustain the big Easter eggs, and artificial flowers and greenery.
Visit Celebrate and Decorate to find out everything you need to know about making this giant Easter egg topiary.
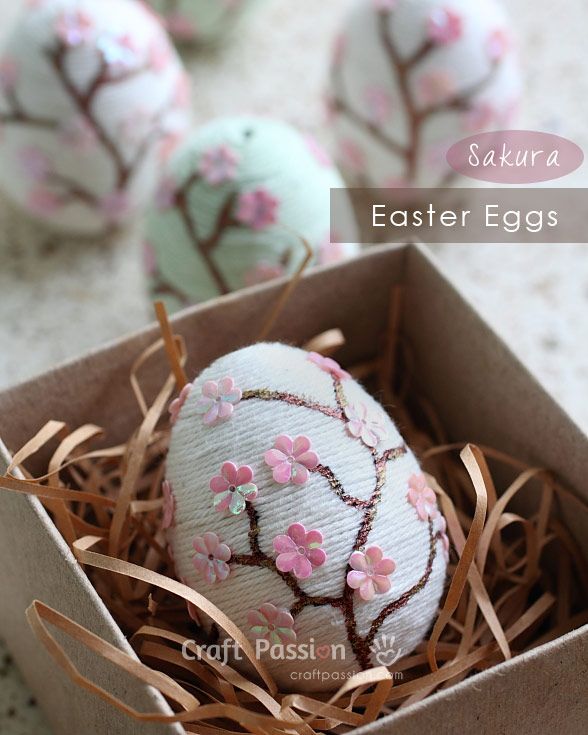
14. Sakura Plastic Easter Eggs
Sakura is a type of cherry blossom tree that is native to East Asia. The flowers are often very colorful and delicate, and they have been a popular symbol of springtime for centuries. So we can’t think of a better way to decorate plastic Easter eggs.
To work on this project, you will need plastic eggs, pink flower sequins, yarn, clear all-purpose adhesive, a marker pen, a fine-tip brush, acrylic paints (gold, metallic bronze), sharp-point tweezers, water, and newspaper.
Head over to Craft Passion for the complete instructions on making these gorgeous Sakura eggs.
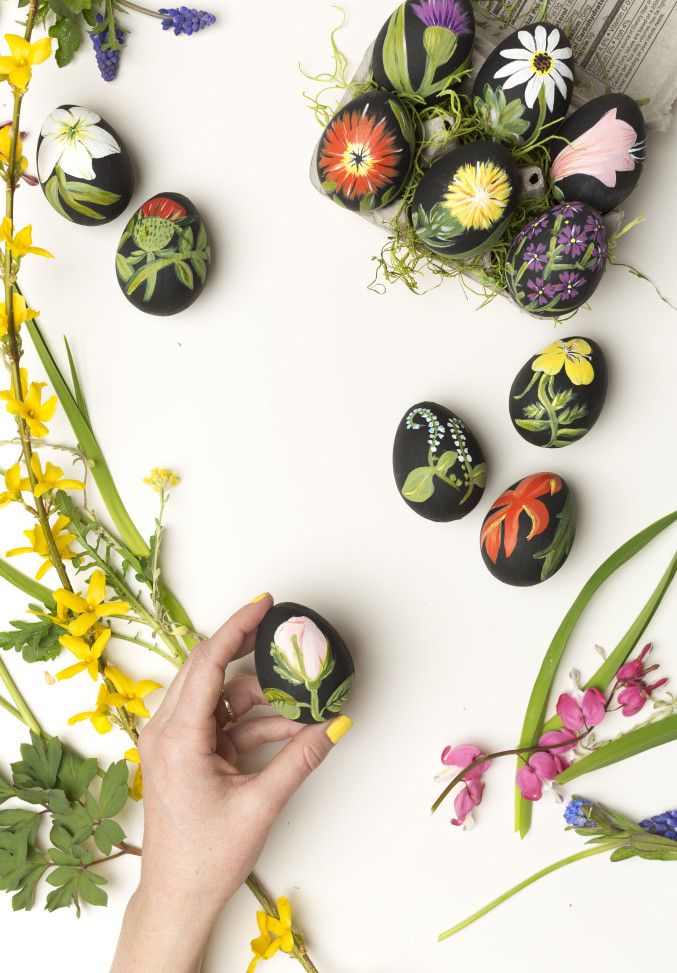
15. Botanical Print – Designs for Painting Easter Eggs
This idea takes a decorating project that has been done countless times and gives it a whole new dimension by using botanical prints. There’s no denying how impressive it looks and how it takes Easter egg designs to a whole other level.
If you want to work on this project, you’ll need acrylic paint, paintbrushes, paper maché eggs, an egg carton, and decorative moss.
The House that Lars Built has all the answers when it comes to this exquisite project, so be sure to check it out.
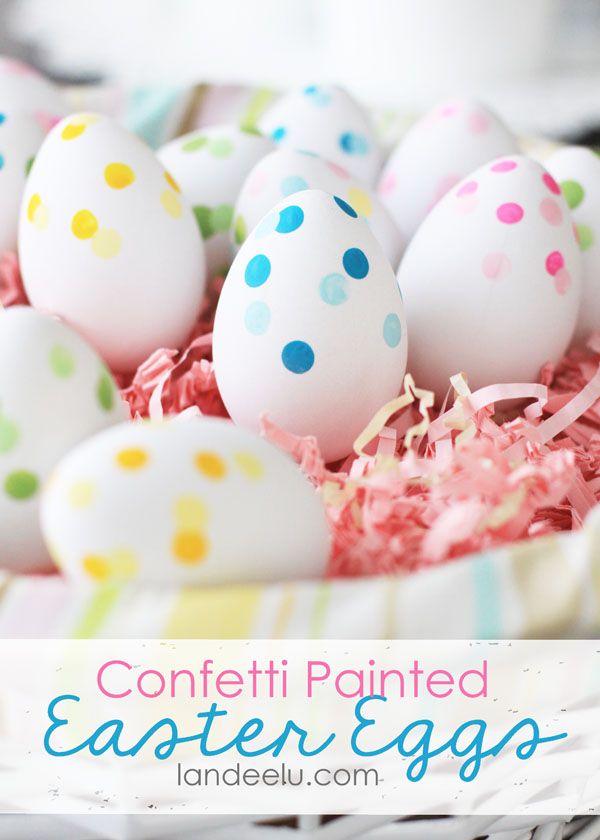
16. Confetti Easter Egg Decorations
If you’re looking for Easter egg decoration ideas that stand out, you’ve just found the perfect project: confetti-painted eggs. They look spectacular and can also be used as gifts.
It’s an elementary project that requires only four supplies: hard-boiled or plastic eggs, craft paint in your favorite colors, a pencil, and an eraser.
Visit Landeelu to learn more about making these fantastic confetti Easter eggs.
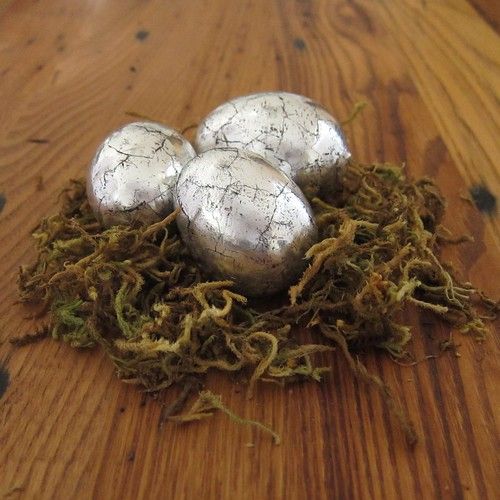
17. Antiqued Silver Luxury Easter Eggs
These antiqued silver Easter eggs are so beautiful that they could easily become jewelry. And who said you can’t wear your Easter decorations?
To work on this project, mind the following tools and supplies: a small paintbrush, a knitting needle or chopstick, paper towels, plastic, paper maché or wooden eggs, tin foil, black acrylic paint, and tacky glue.
Head over to Just Crafty Enough to learn more about making these luxury Easter eggs.
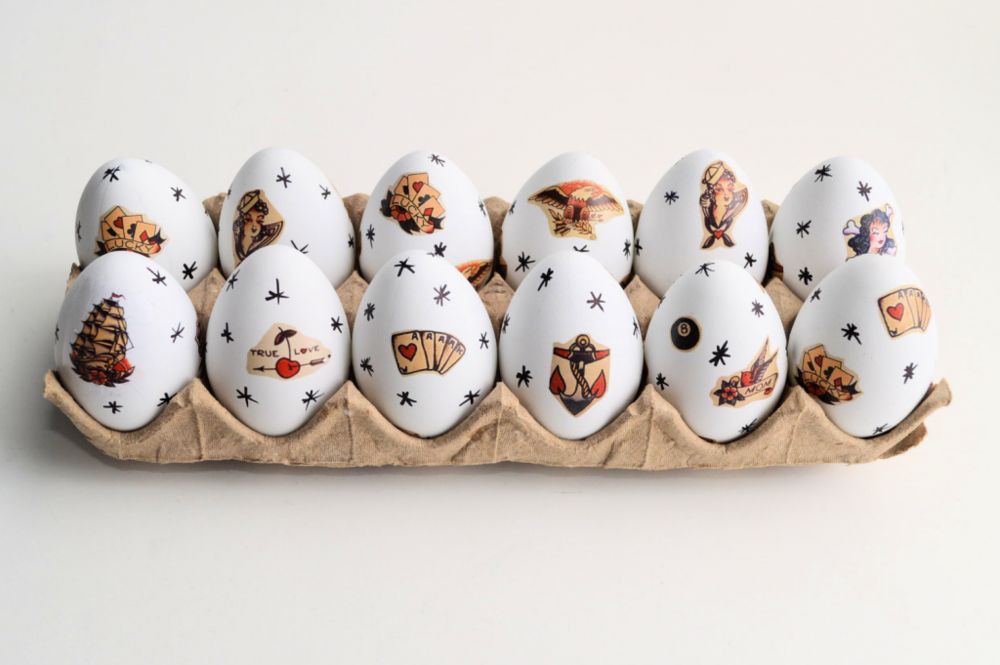
18. Sailor Tattoo – Easter Eggs for Kids
Kids are fascinated with sailor tattoos, so you can take advantage when preparing Easter eggs. It’s a simple craft that requires just a few tools and supplies, and which will make the young ones happy.
For this project, you need faux eggs, cloth or a towel, an inkjet printer, scissors, printable temporary tattoo paper, a black permanent marker, and water.
Check out Wild Amor to get the full instructions for making these quirky Easter eggs for kids.
19. 3D Printable Easter Egg Designs
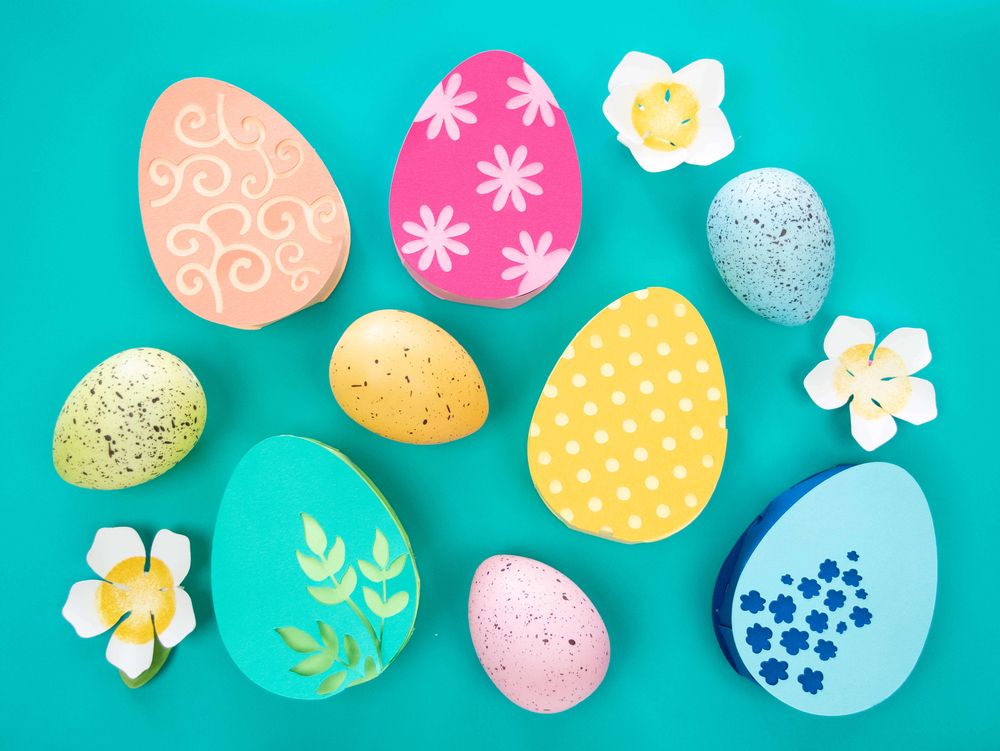
If you’re looking for Easter egg printables, you should check out these 3D paper eggs. They’re super-colorful, fun, and easy to make when you have all the right tools.
To start working on this craft project, you need a cutting machine (like Cricut Maker), cardstock, clear photo runner tape, and a glue gun. It would also help to use candy, confetti, or other small toys.
You will also need the template for the 3D Easter eggs, which you can download from Abbi Kirsten Collections for free.
Make sure to check out the rest of the article for all the necessary instructions; there’s also a video guide you can watch.
20. Celebrity Easter Egg Designs Printable Template
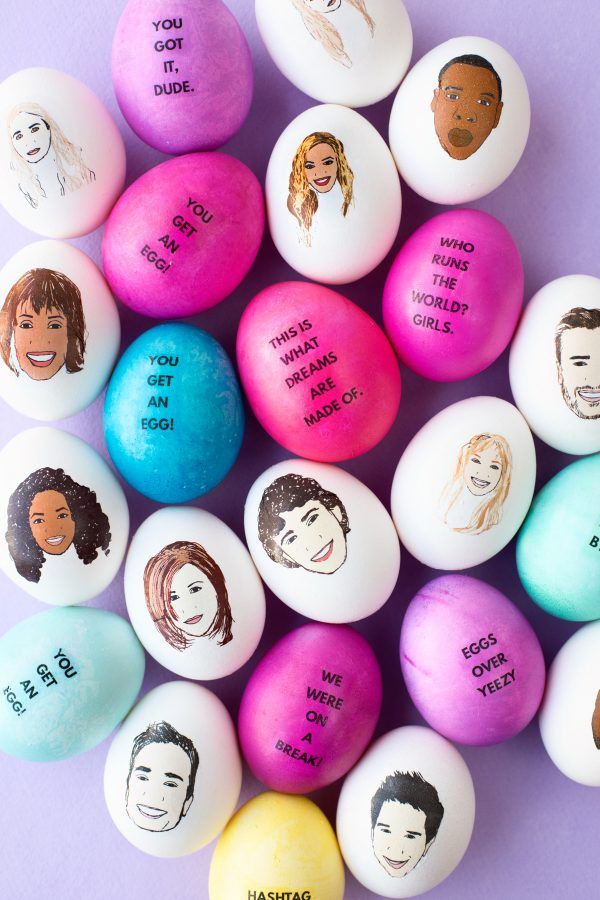
Here’s a cool Easter egg craft that we think you’ll love: celebrity faces and quotes. You can’t go wrong when using these Easter egg printable templates because there are so many different options to choose from.
To prepare for this project, you will need hard-boiled or hollowed-out Jumbo white eggs, food coloring, vinegar, hot water, tattoo paper, cups or bowls, and paper towels.
You can download the celebrity printable from Studio DIY for free as well as check out all the necessary instructions for this fun project.
21. Book Page Plastic Easter Eggs
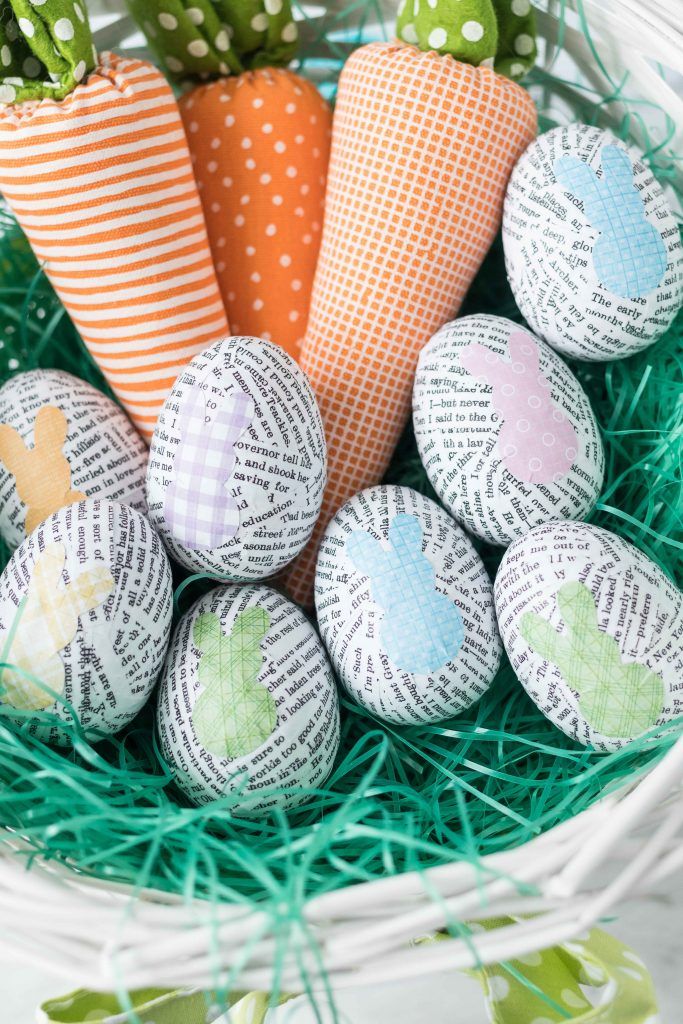
If you have an old book lying around and don’t mind tearing it to pieces, you can transform it into beautiful decorations using plastic Easter eggs. It’s actually an excellent gift idea for your bookworm friends.
When it comes to tools and supplies, you need plastic Easter eggs, old book pages, a bunny template, acrylic spray, cardboard, and scrapbook paper in various patterns and pastel colors. Furthermore, you need a paper cutter, tacky glue, mod podge, a small foam brush, and scissors.
Check out the tutorial provided by Rose Clearfield to find out how you can make these plastic Easter eggs with minimum effort.
22. Moss-Covered Easter Egg Decorations
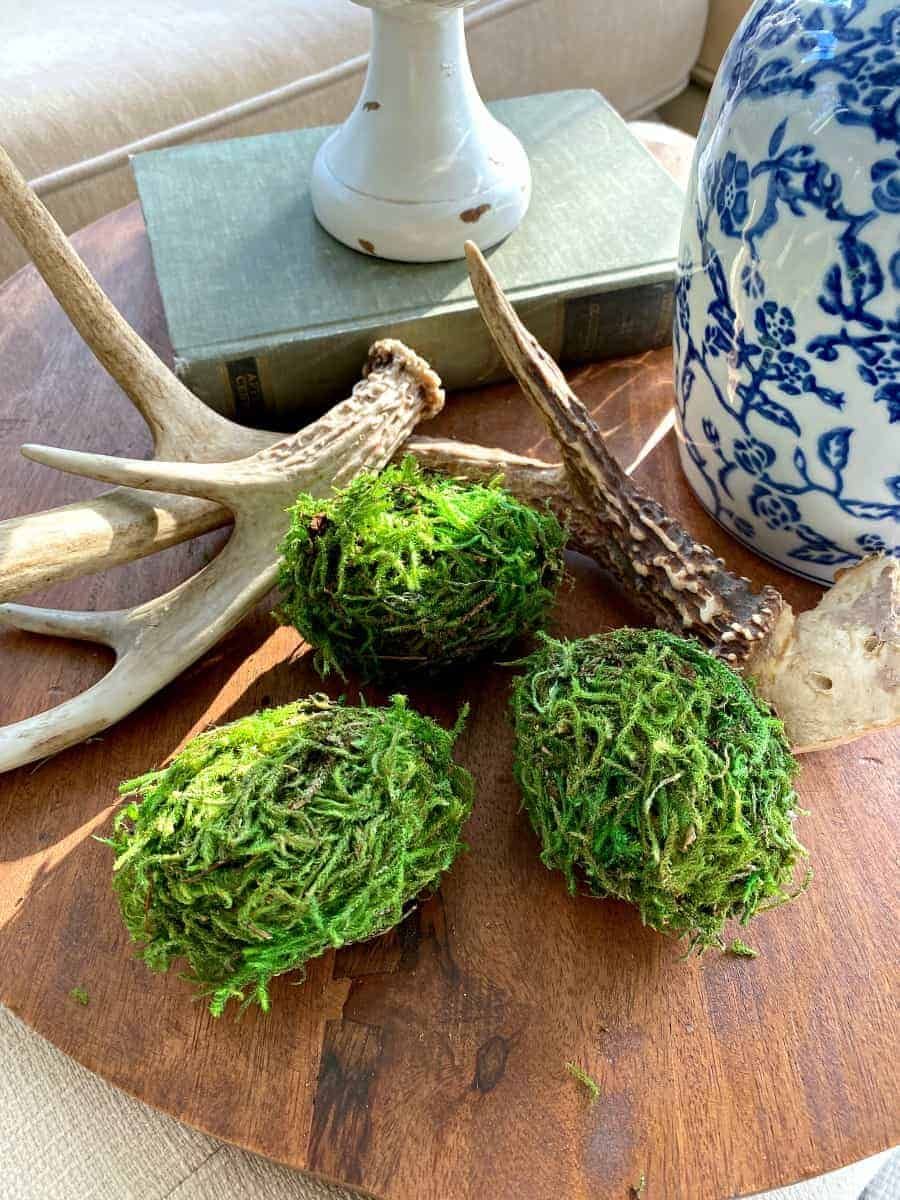
If you’re having trouble coming up with Easter egg decoration ideas, here’s something unexpected: moss-covered Easter eggs that will look almost as good as real ones.
All you need to work on this project are paper maché eggs, moss, tacky glue, and a pair of scissors. The only problem is that you’re bound to make a bit of a mess when crafting moss-covered Easter eggs, so it’s wise to take this activity outside.
The instructions are elementary, as you can see for yourself by checking out the intuitive tutorial provided by Chatfield Court.
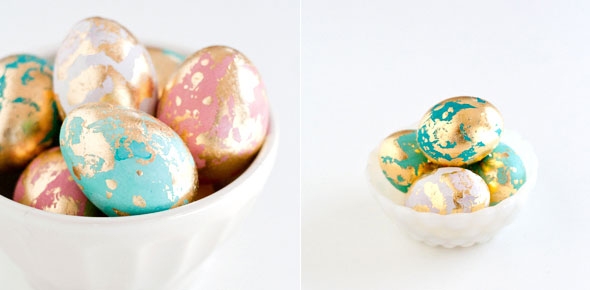
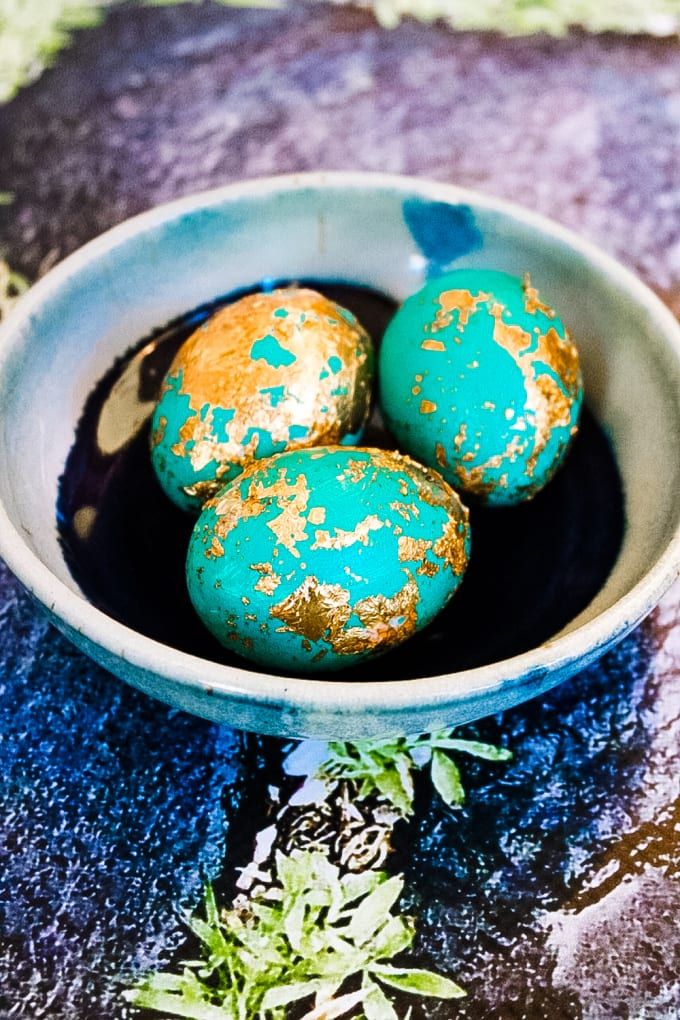
23. Gold Leaf Easter Egg Designs
Embellishing Easter eggs with turquoise paint and gold leaves is as classy as it gets. Besides, it’s not too complicated to pull off, making it an ideal craft activity for all skill levels.
Get started by adding the following tools and supplies to your shopping list: white hard-boiled eggs, acrylic paint, gold leaves or foil flakes, a foam brush, and mod podge.
Juggling Act Mama has prepared a wonderful tutorial for you to follow, so be sure to check it out and learn more about this beautiful Easter egg design.
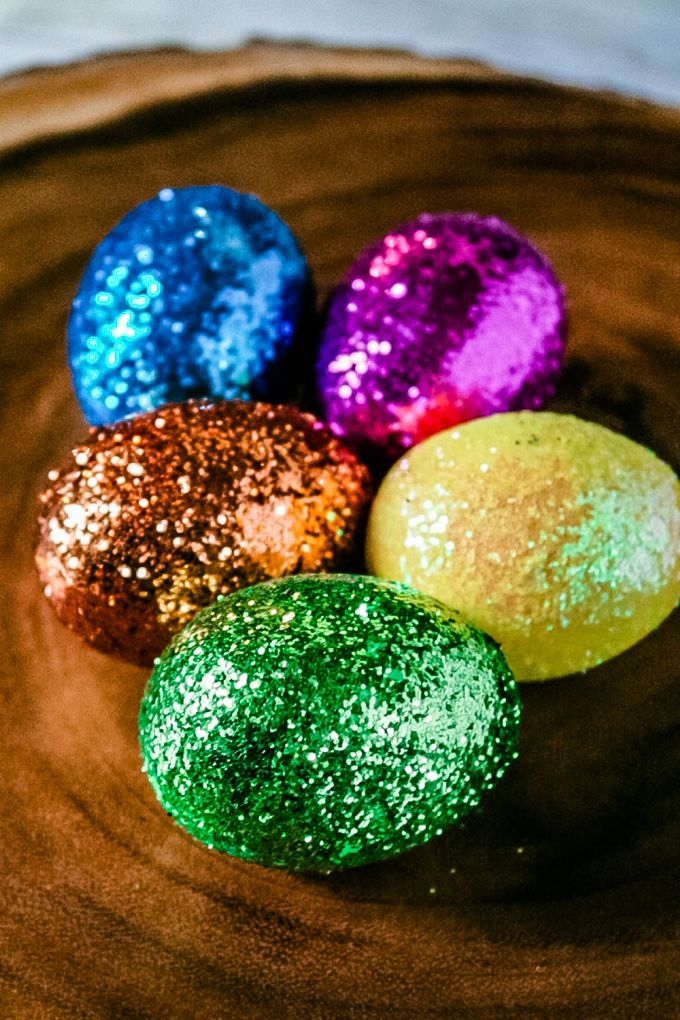
24. Disco Glitter – Easter Egg Coloring Ideas
If you like the idea of adopting the disco theme for your Easter party, then you definitely need to craft a batch of glitter eggs. They’re absolutely fabulous and pretty easy to make.
To start working on this project, you need white hard-boiled eggs, a brush, acrylic paint, glitter, mod podge or white Elmer’s glue, and plastic cups.
Head over to Juggling Act Mama to get the complete instructions for this Easter egg coloring idea.
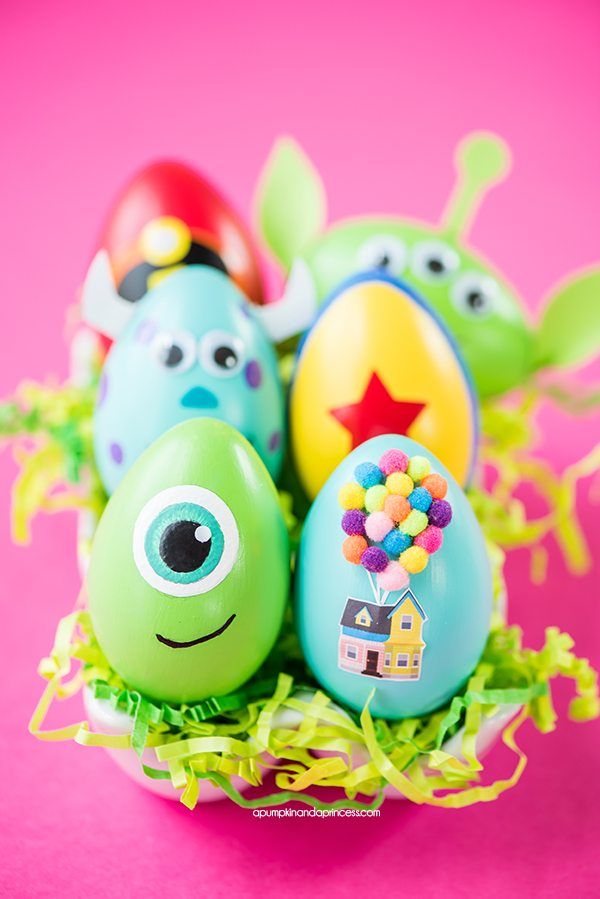
25. Disney Pixar Easter Egg Hunt Ideas
If you’re putting together an Easter egg hunt for kids and are looking for a unique idea that will improve their adventure, you can’t go wrong with Disney Pixar eggs.
With the help of a cutting machine like Silhouette Cameo or Cricut Maker and standard craft Easter eggs, you can recreate popular characters from Up, Toy Story, The Incredibles, and others.
Visit A Pumpkin and a Princess to discover the exact supplies, tools, and instructions you need to craft these wonderful characters. It’s an excellent Easter egg hunt idea.
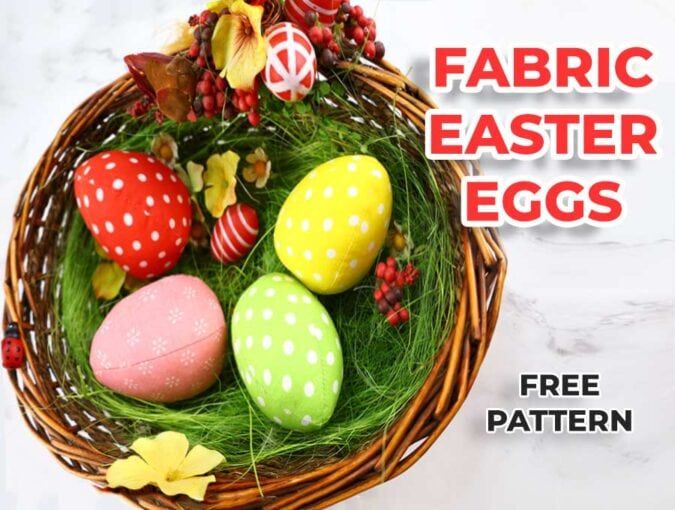
26. Cheap Easter Eggs made from Fabric
If you’re having trouble thinking of original Easter egg decorating ideas for kids, try using fabric. It’s a versatile and inexpensive option – one of the best ways to create cheap Easter eggs.
For this project, you need several pieces of cotton fabric, matching thread, scissors, a sewing pattern, polyester stuffing, pins, a sewing machine, an iron, and an ironing board.
You can download the sewing pattern from Hello Sewing and read the in-depth instructions for making these cheap Easter eggs. There’s also a video guide available, so be sure to check it out.
27. Pointillism
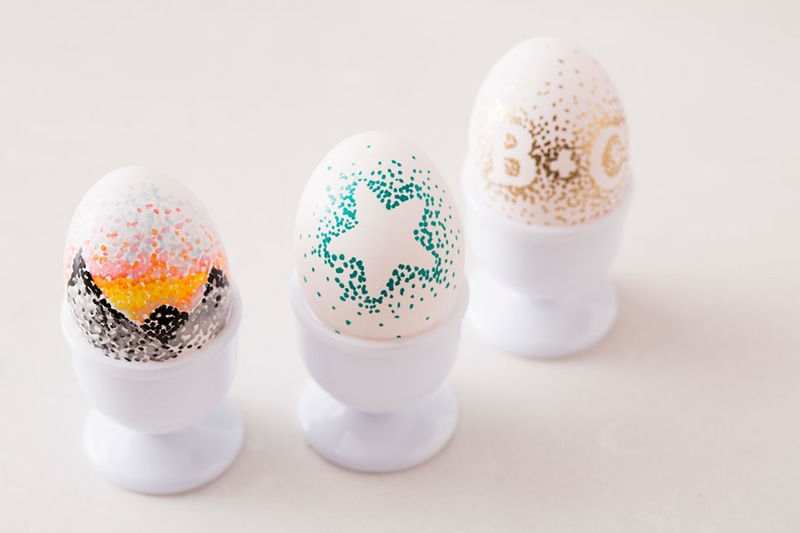
Brit + Co gets us started with some extra artsy Easter eggs to get inspired by. The kiddos can get really creative with this one, and it’s an excellent way to make artwork.
28. Floral
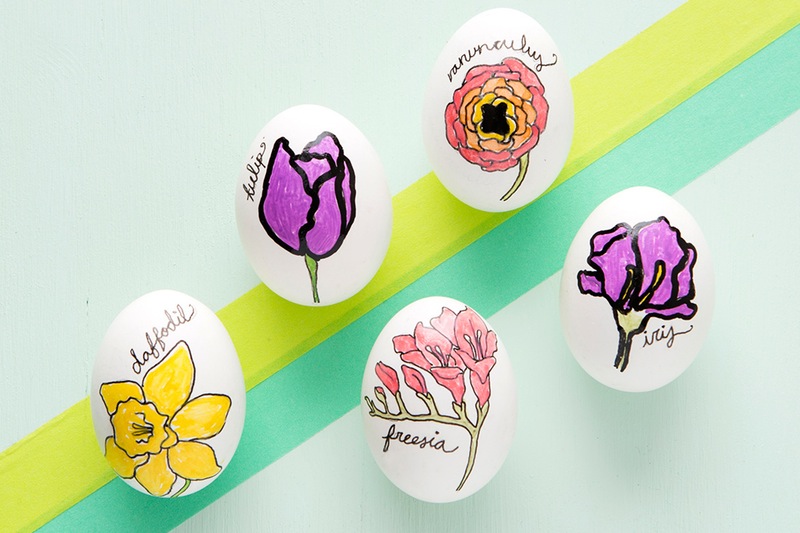
We were also inspired by these gorgeousBrit + Co floral eggs. They’re perfect to ring in the season with and top off the family’s Easter basket.
29. Ice Cream Cone – Painted Easter Egg Designs
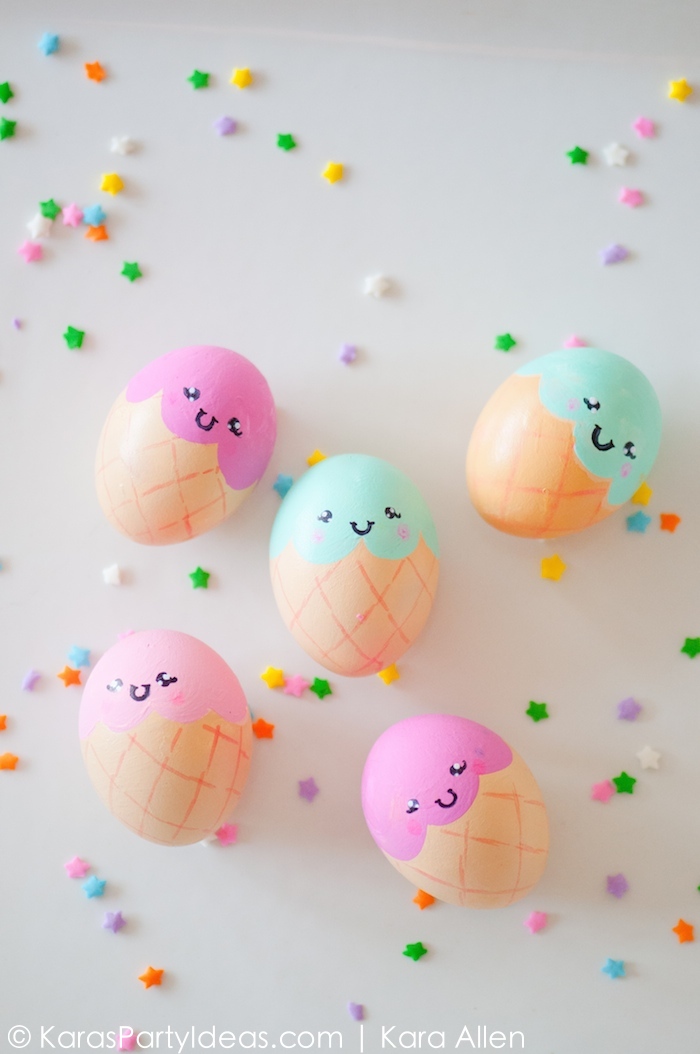
I scream. You scream. We all scream for ice cream. Check out how to recreate these adorable little cones over atKara’s Party Ideas.
30. Golden Speckles – Classic Easter Egg Designs
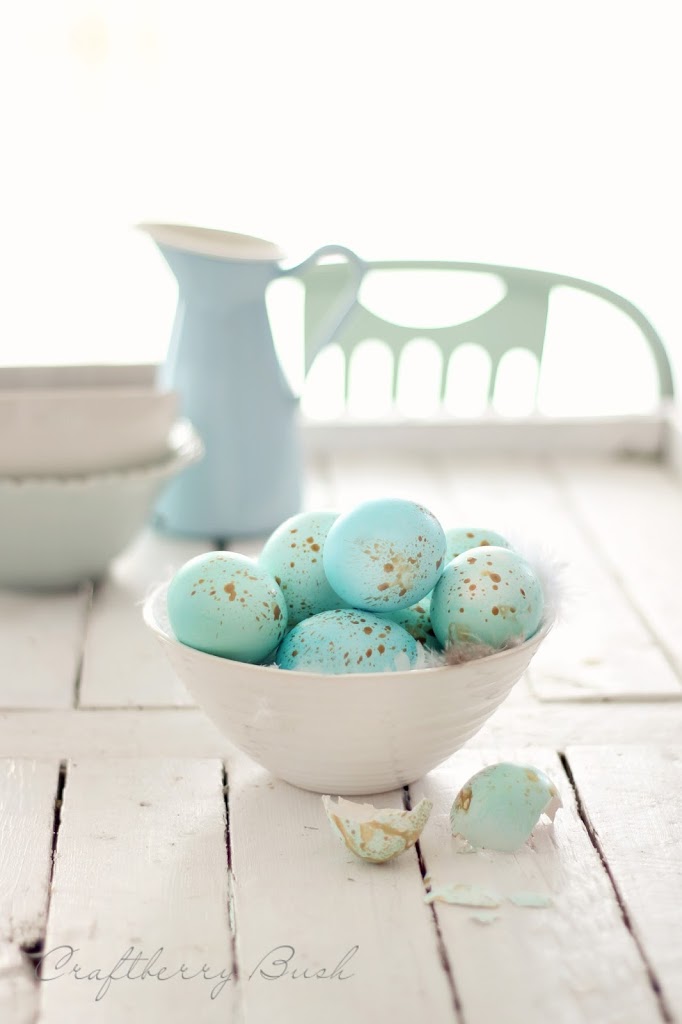
These beautiful robin eggs with golden speckles can be found over at Craftberry Bush. Follow the link and check out the tutorial.
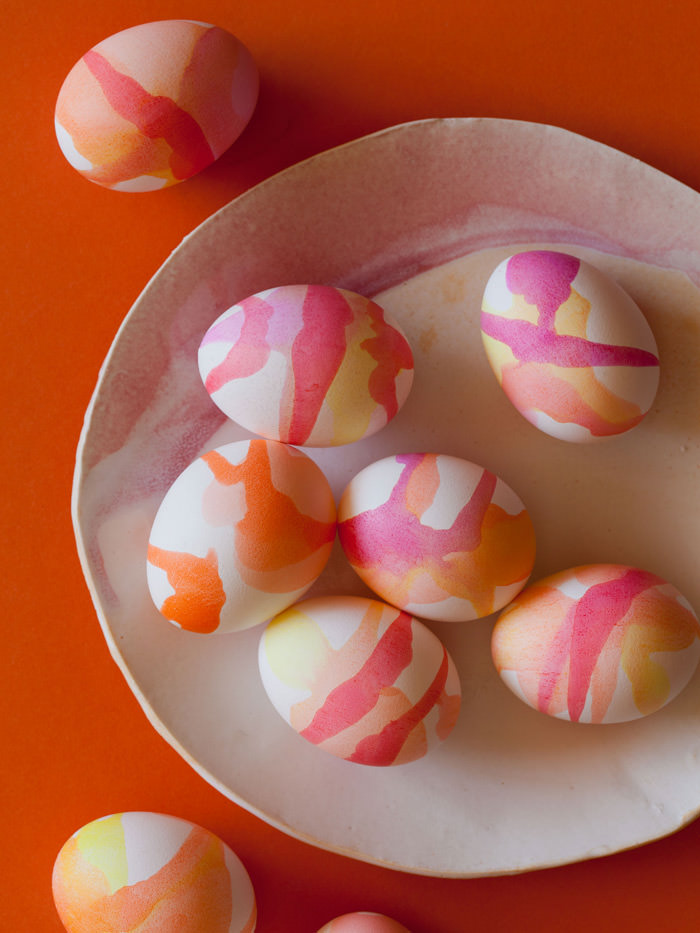
31. Watercolor – Easter Egg Dyeing Designs
Spoon Fork Bacon made some gorgeous watercolor eggs that we’re swooning over. And imagine all the possible color combinations.
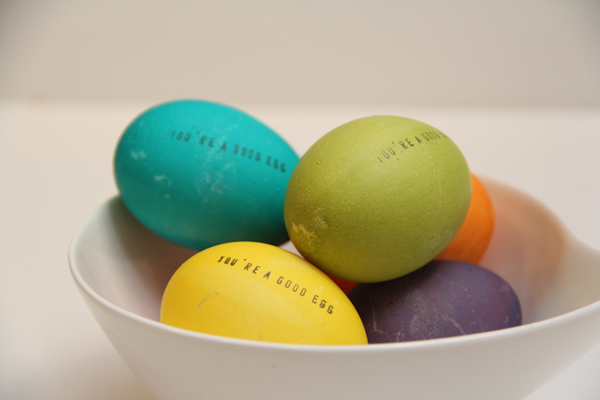
32. Stamped – Cool Egg Designs for Easter
You could even stamp your classic, colored Easter eggs with fun phrases. Find out how at Lovely Indeed.
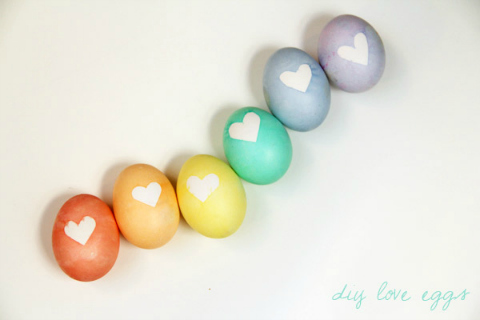
33. Hearts – Creative Easter Egg Designs
The Sweetest Occasion made loving eggs that can become the perfect little present from the Easter bunny. A bit of color and some hearts can go a long way.
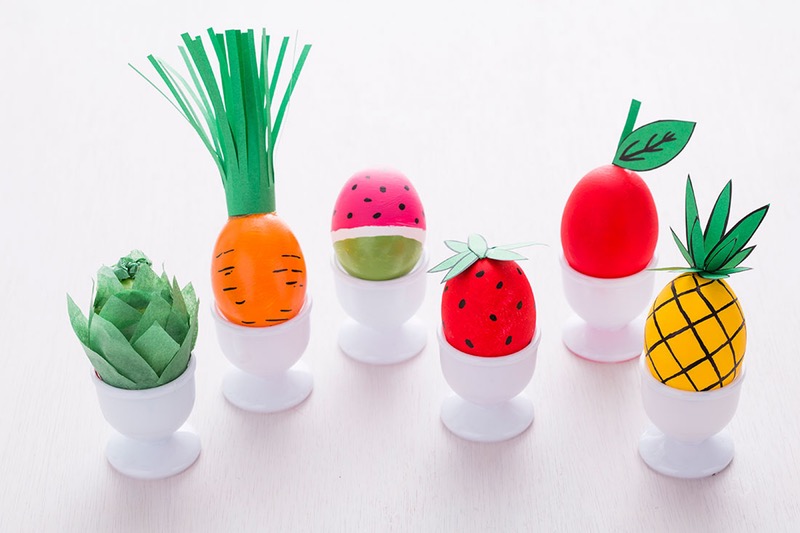
34. Fruits & Veggies – Easter Egg Design
Brit + Co turned some eggs into fruit and veggies. Grab some supplies and transform your own into favorite bites.
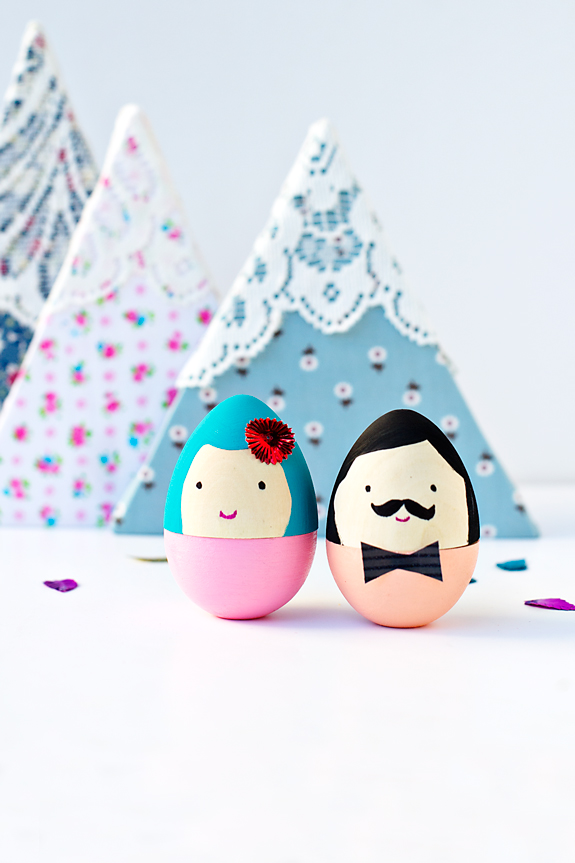
35. Mr. & Mrs. – Best Easter Egg Designs
These Mr. and Mrs. eggs fromSay Yesare just too darn adorable. Fashion a pair after you and your beau or even your favorite celebrity couple.
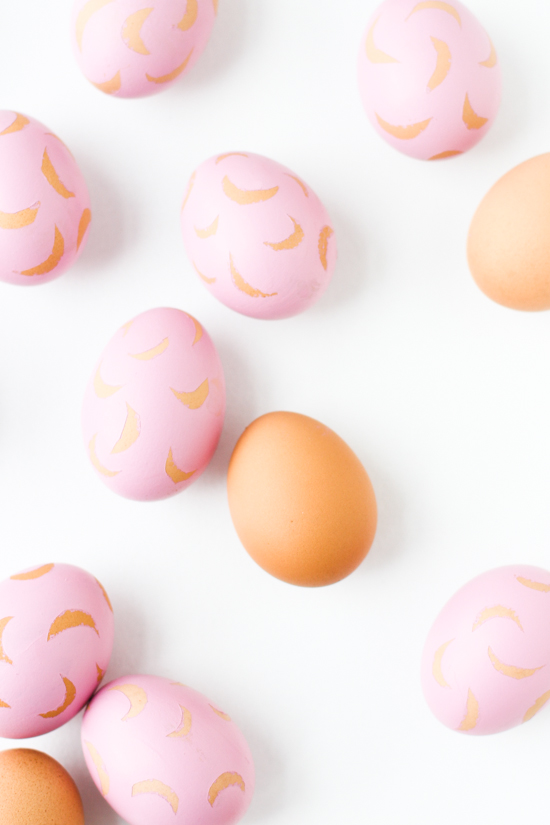
36. Crescent Moon – Cute and Easy Easter Egg Designs
These simple crescent moons are quite pretty, don’t you think? Grab all the details by visitingPaper and Stitchnow.
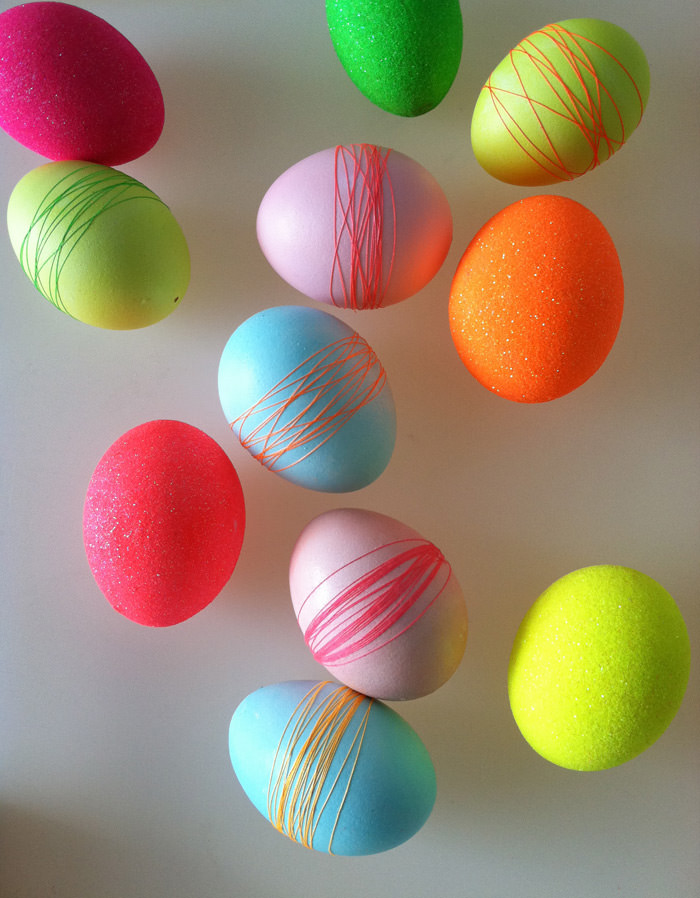
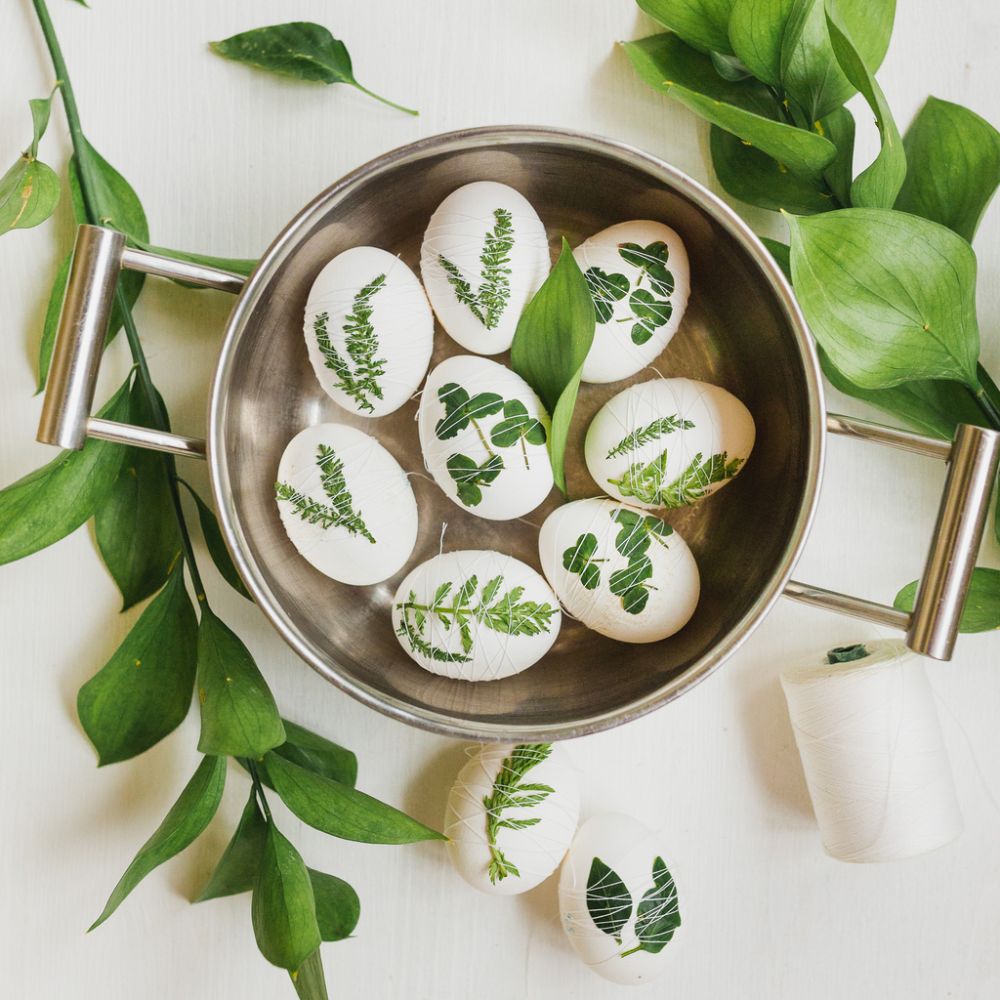
37. Threaded – Easter Egg Simple Designs
Even a bit of string can make a difference. Check out Martha Stewart to see how texture can jazz up your eggs this year.
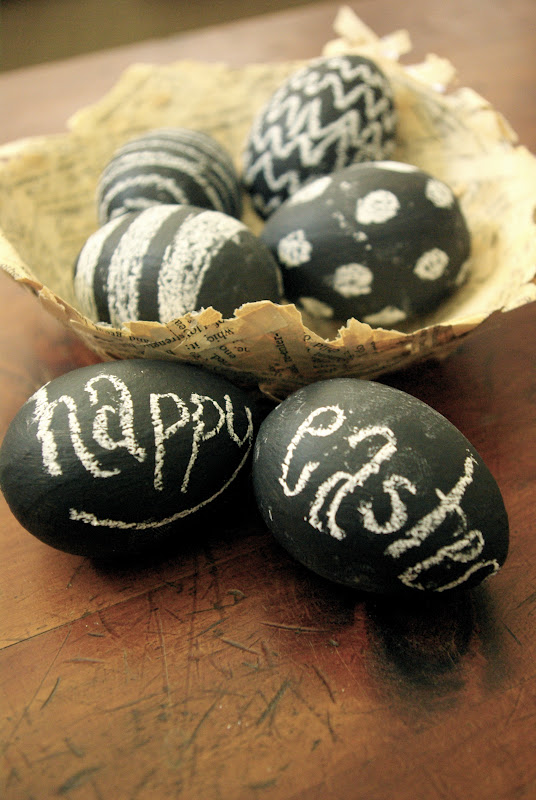
38. Chalkboard – Easy and Cool Easter Egg Designs
Why not turn your Easter eggs into mini chalkboards?Oleander + Palmshows off this unique idea and how easy it is to do it.
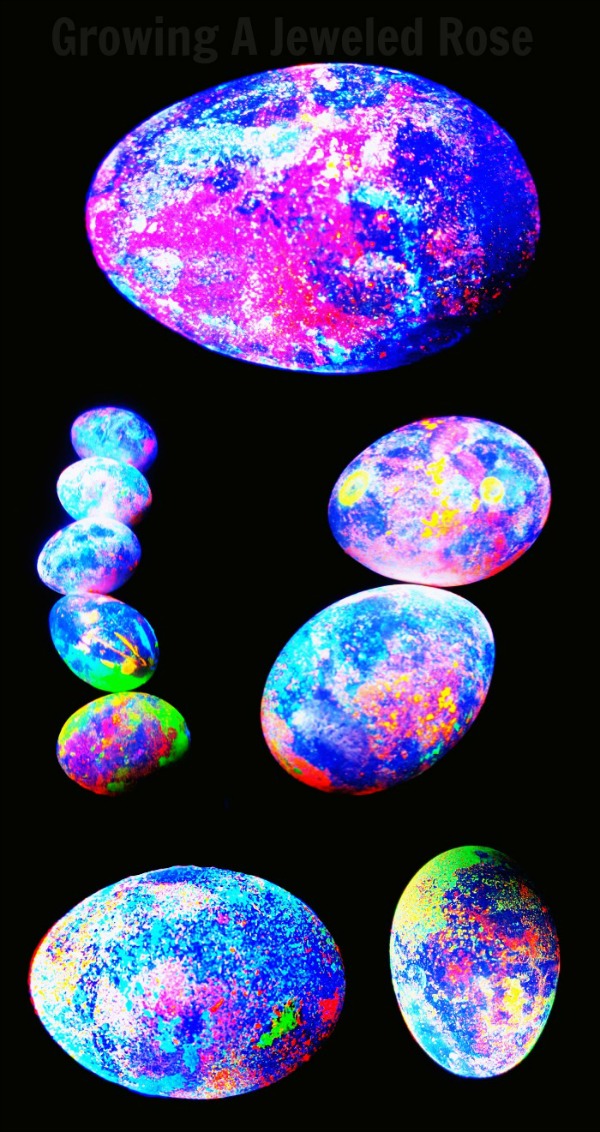
39. Glow in the Dark
Growing A Jeweled Rosetook Easter eggs one step further with these gorgeous glow-in-the-dark eggs. There’s no way the kiddos won’t want to get involved in thisfun project.
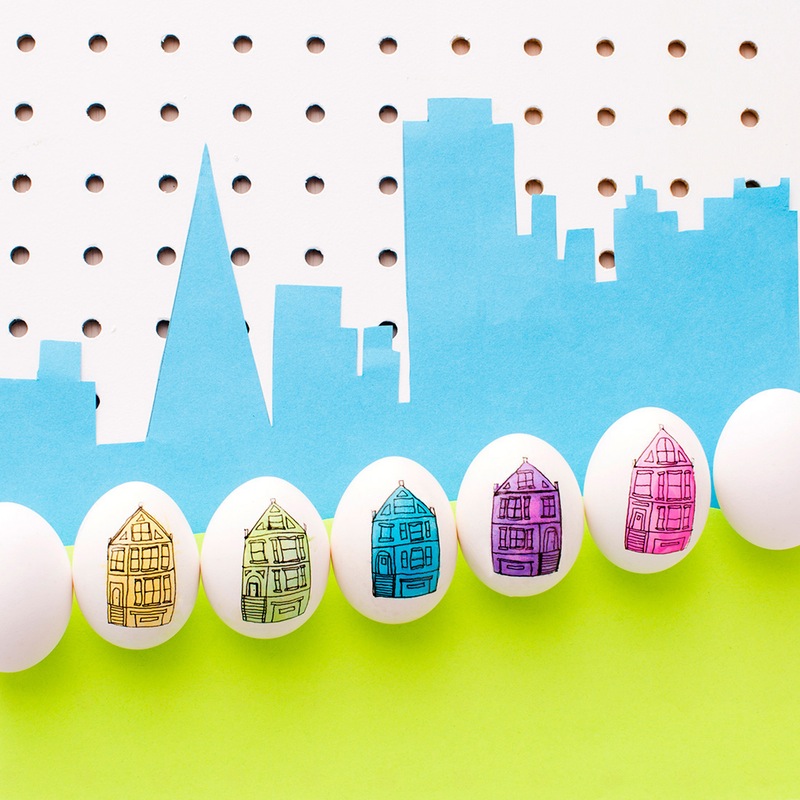
40. San Fran Inspired
How about a set of eggs inspired by your favorite city? These San Fran decorated bits from Brit + Cosure gave us a lot of great ideas.
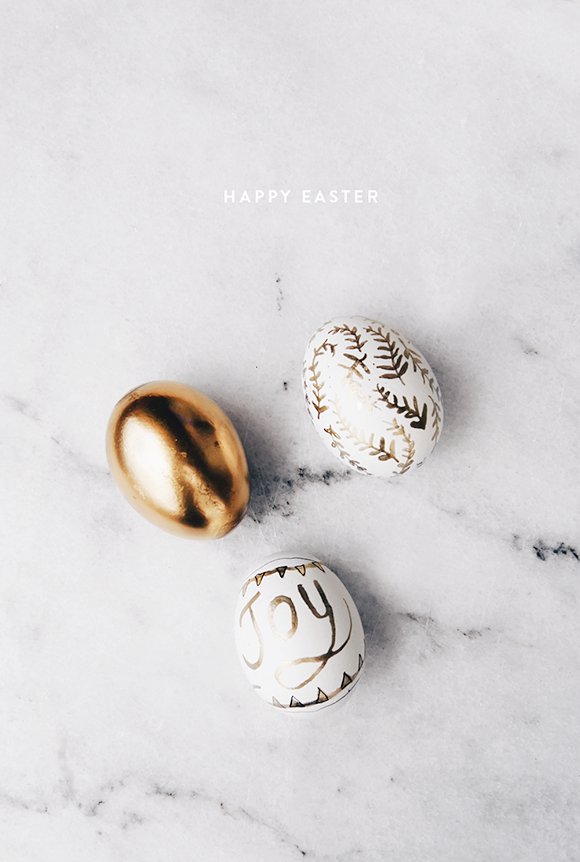
41. Gilded
Cocorrina used some gold in her designs, and we’re in love. You can personalize the eggs and get extra creative with this idea.
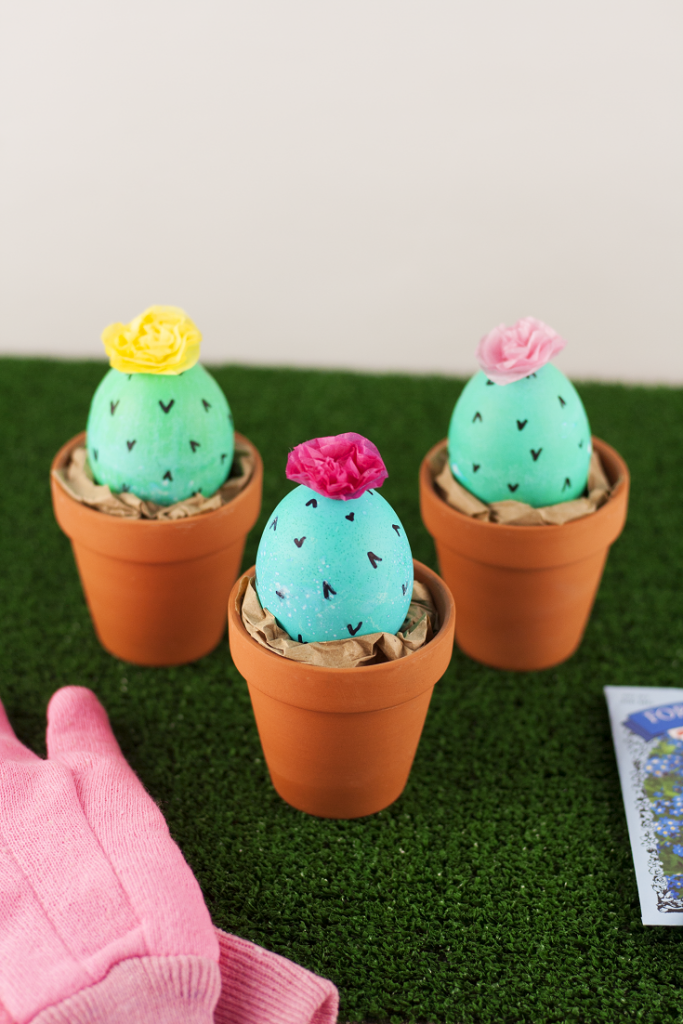
42. Cactus Easter Egg Design
How about turning your Easter eggs into cool cacti? Check out The Glitter in My Tea for the easy details.
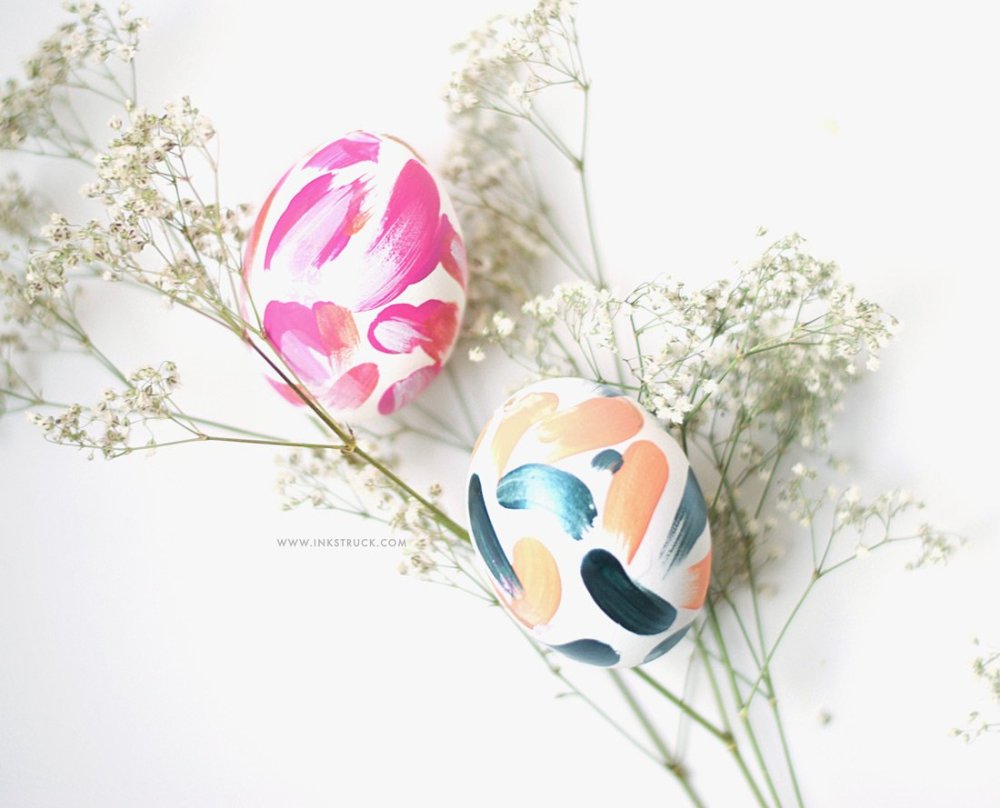
43. Abstract
We’re swooning over these pretty abstract eggs too. Bring your artistic nature to life with some help fromInkstruck Studio.
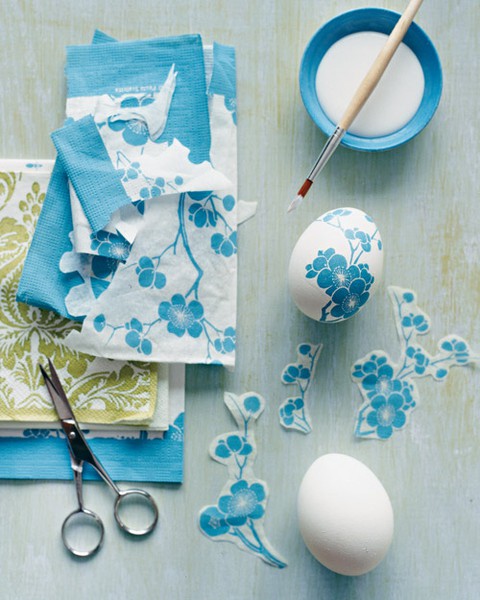
44. Tissue Paper
Say Yesused tissue paper to make their Easter eggs extra special. Hop on over to the blog and check out the tutorial.
45. Emojis
How about getting inspired by your texting keyboard? Turn your eggs into your favorite emojis likeStudio DIY.
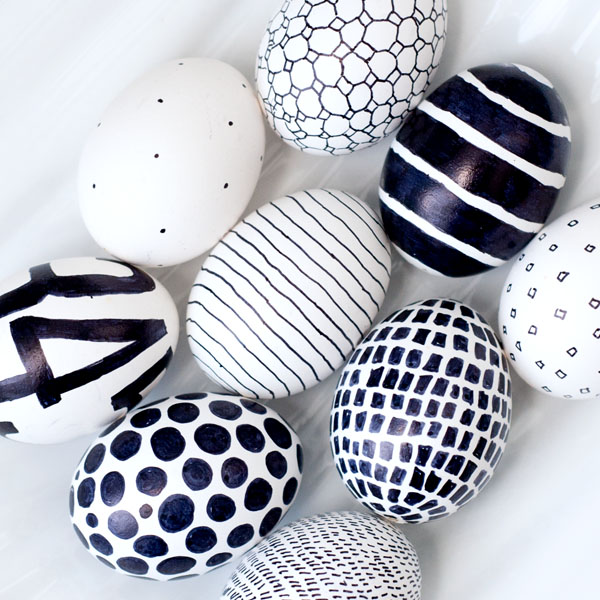
46. Black and White
Obviously Sweet shows off some pretty and simple black and white designs. Sharpies or paint – whatever you have – can get the job done.
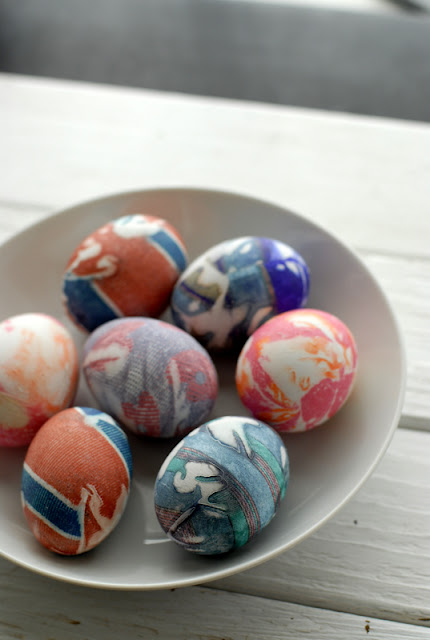
47. Silk
Have you ever heard of silk dye? You can make these gorgeous designs with a bit of direction. Find out more at Boulder Lovacore.
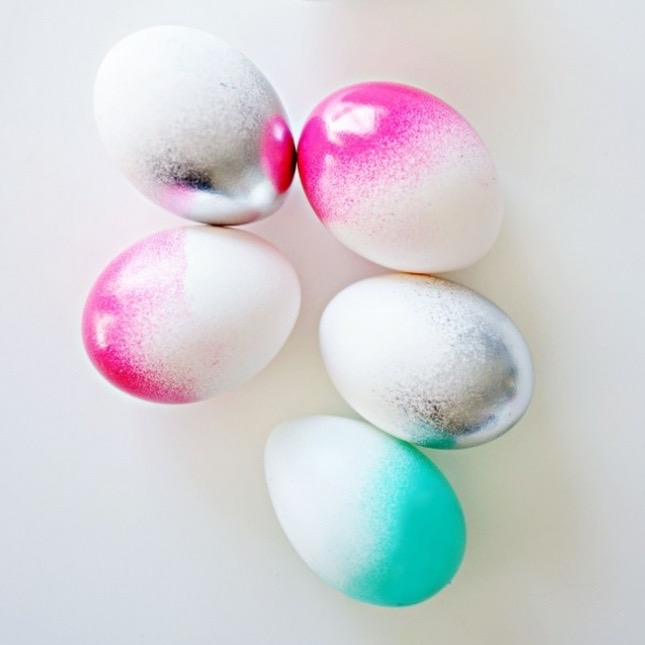
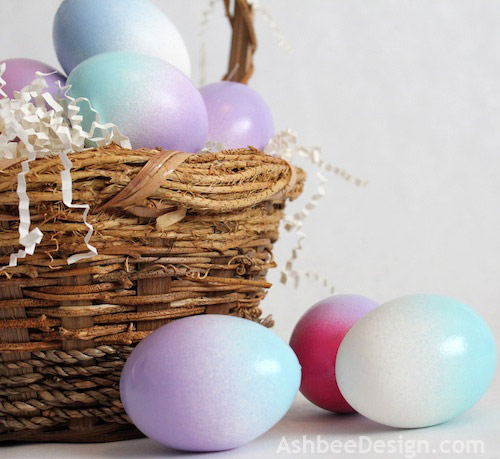
48. Ombre
Ashlee Design teaches us how to take the trendy ombre trend and put it to good use in our Easter prep.
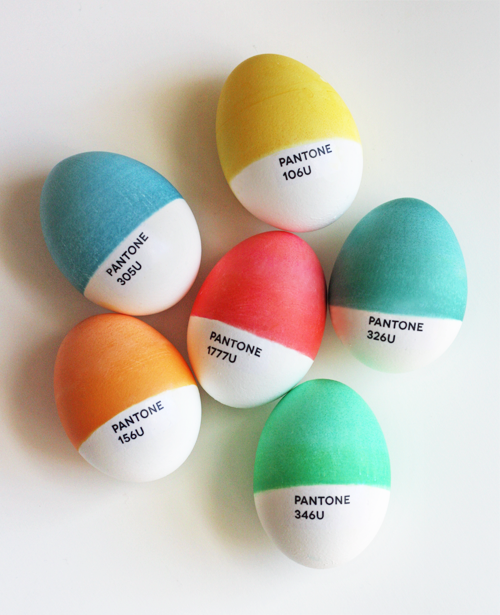
49. Pantone
We’re loving this innovative idea. VisitHow About Orange and learn how to use Pantone picks as inspiration.
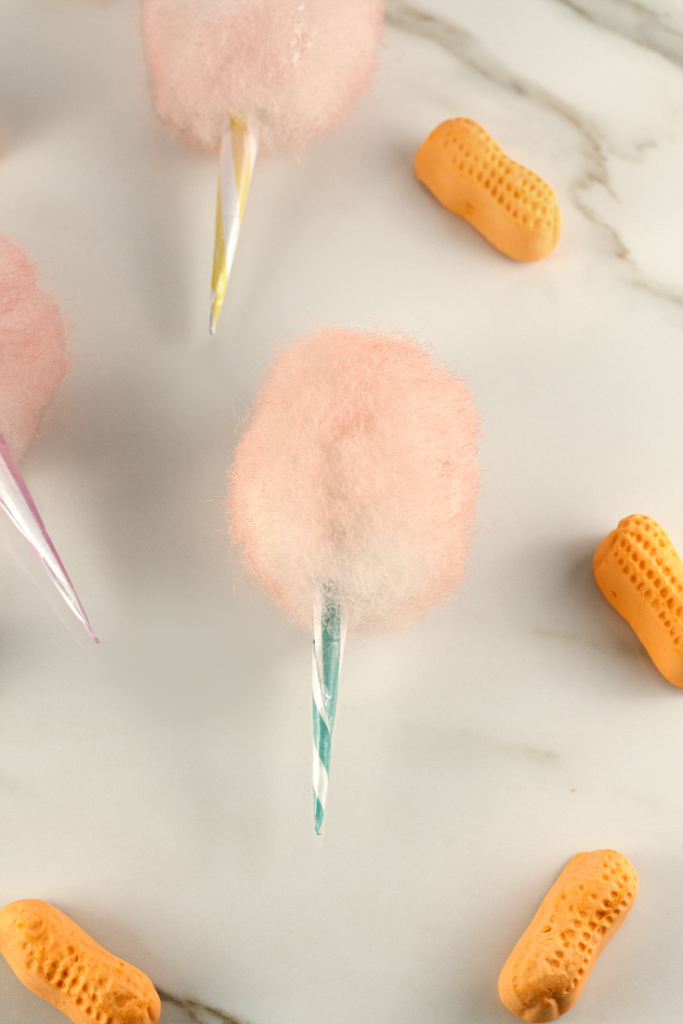
50. Cotton Candy
The Glitter in My Teais making us swoon again with these cotton candy cuties. Fill up your Easter baskets will these puffs of pink.
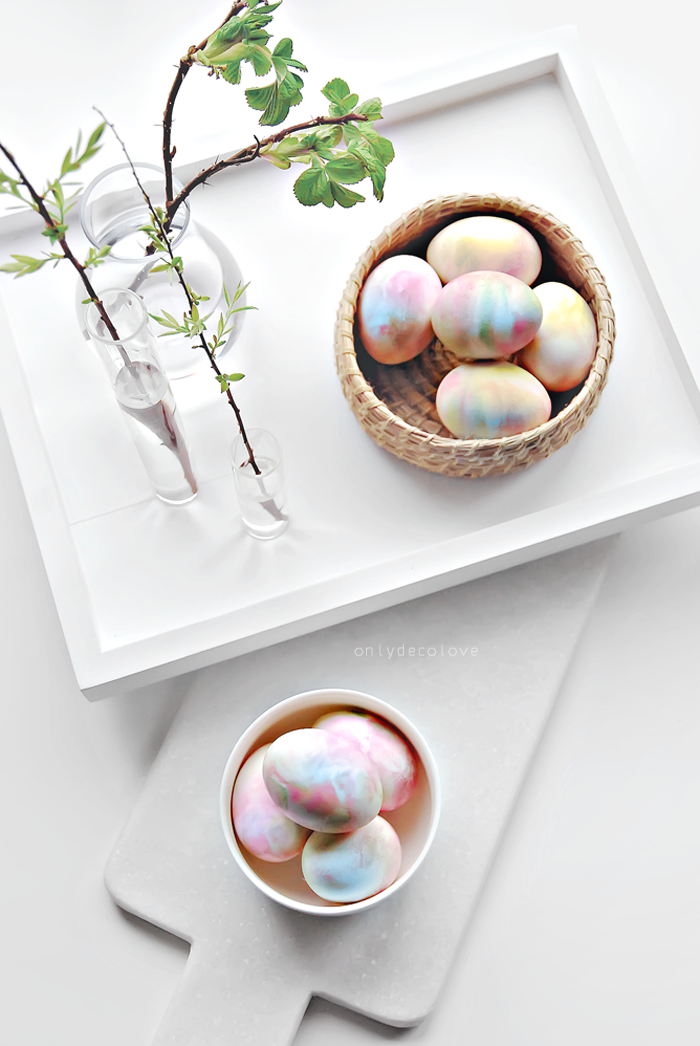
51. Whipped Cream
You can even use whipped cream to dye your Easter eggs. Learn how from Only Deco Love.
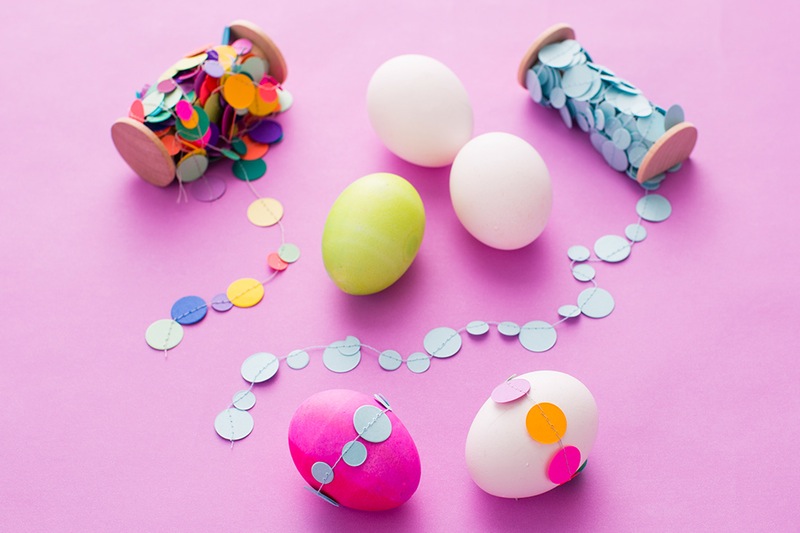
52. Paper Garland
Brit + Co knows how to inspire us in all the right ways. And this time it’s simple since you can use paper garland to decorate and simplify the project.
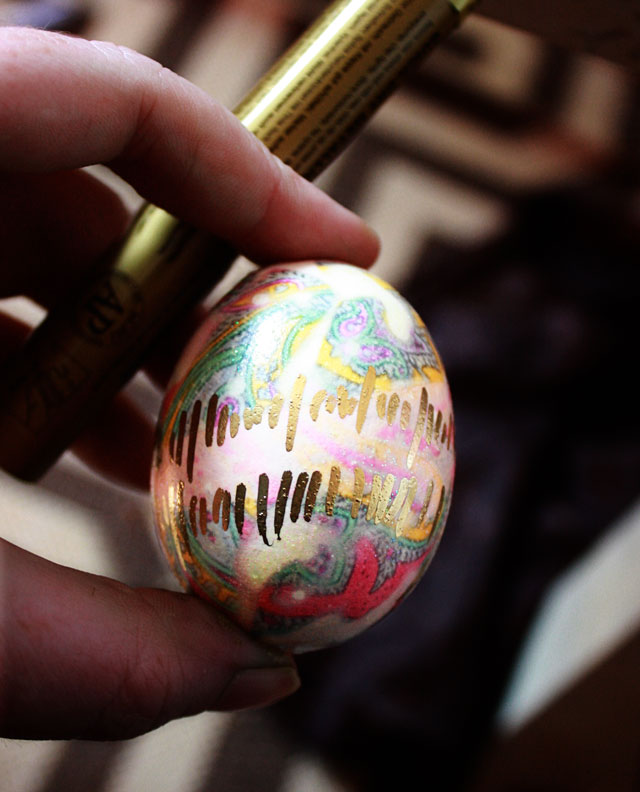
53. Golden Seismograph
Aunt Peaches poured plenty of creativity into this Easter egg design. These golden seismographs are gorgeous.
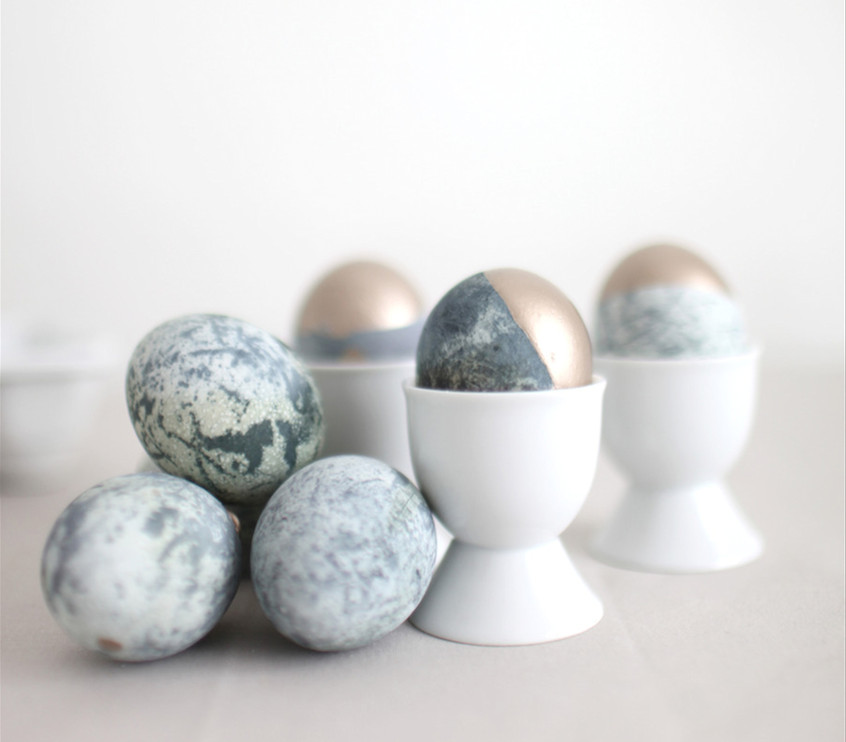
54. Marbled
Lonny made marbled eggs that you definitely need to try. And we’re loving how some are dipped in a bit of gold paint.
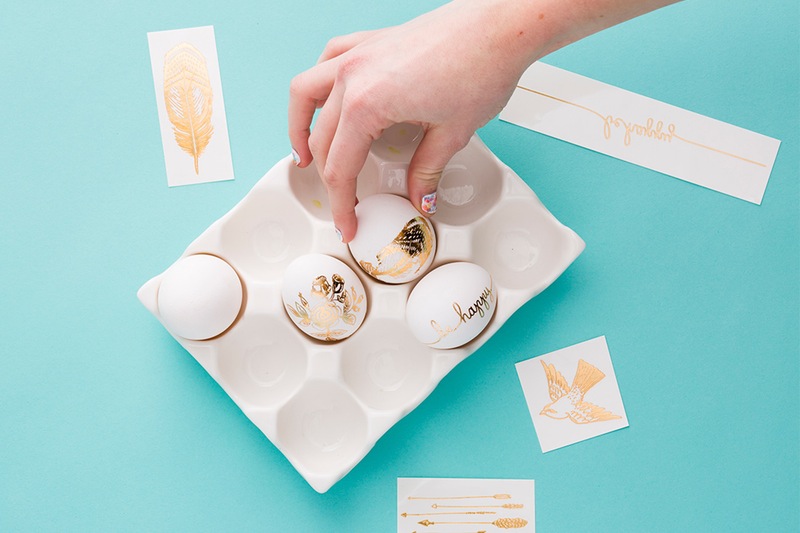
55. Tattoos
Did you know that you can use temporary tattoos to get your Easter egg decorating done? Thanks for another great idea, Brit + Co.
56. Naturally Dyed
Brit + Co used the likes of carrots and cabbage to do their Easter egg dyeing. Hop on over and check out the innovative guide now.
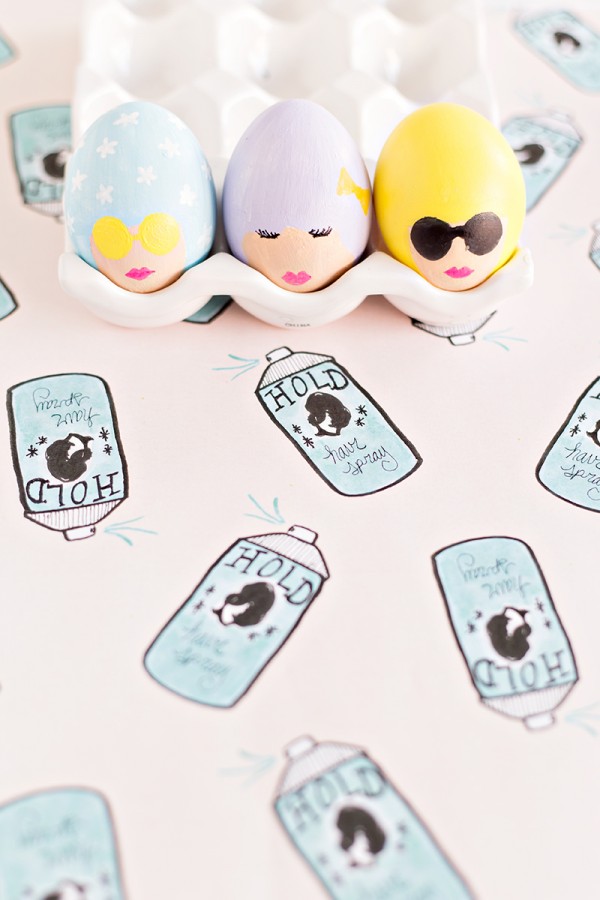
57. Bouffant
Studio DIYalways has the most charming and unique of ideas. Your eggs can be transformed into mini bouffants.
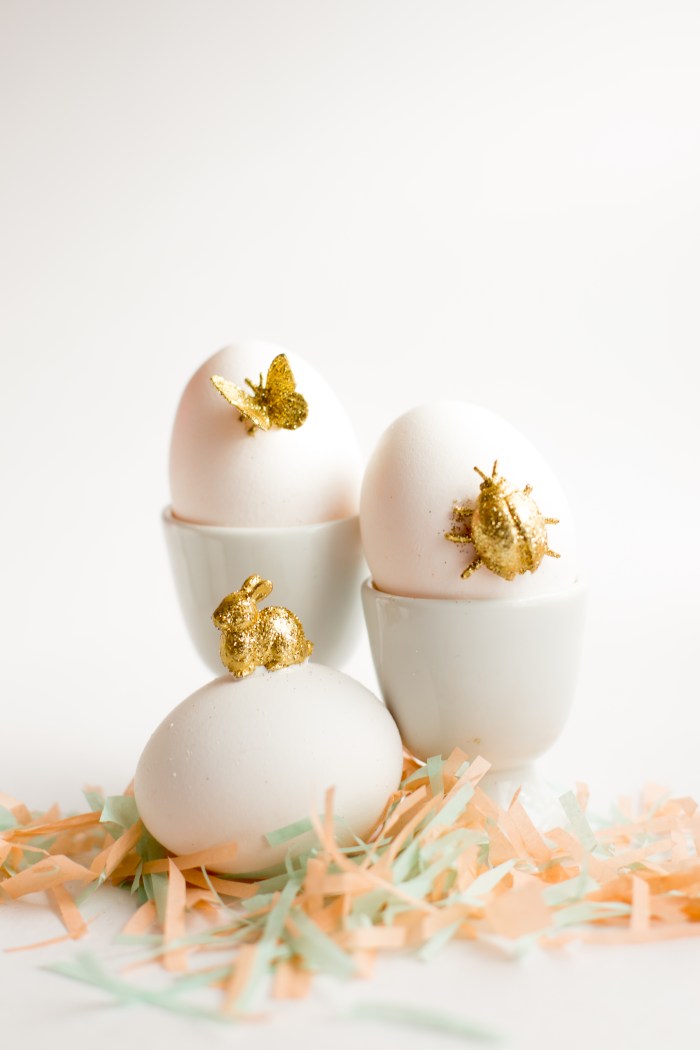
58. Gold Animals
Flax & Twine added fun extra bits to make a unique design. Golden, glittering animals make for a festive, springtime feel.
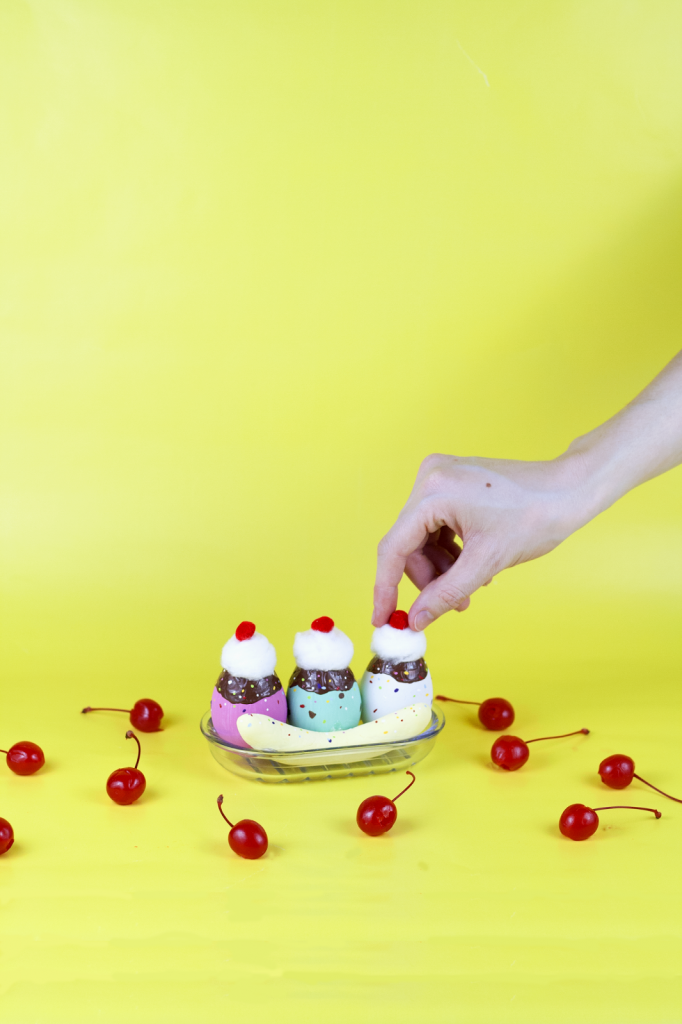
59. Banna Split
If you’ve got a sweet tooth, visit The Glitter in My Tea one more time. They’ll teach you how to whip up a creative banana split.
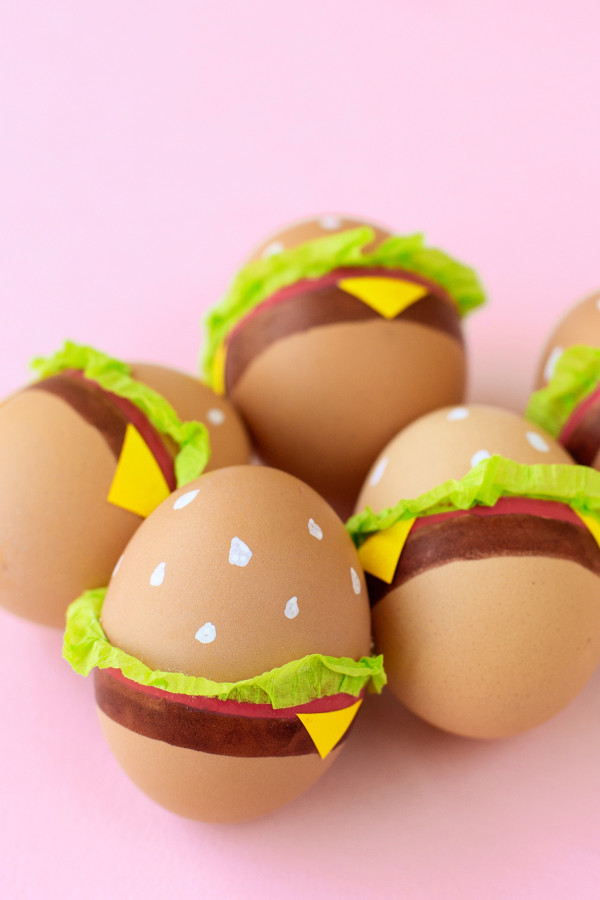
60. Cheeseburgers
Studio DIYmade cheeseburgers. You’ll have some much fun making these cuties come to life.
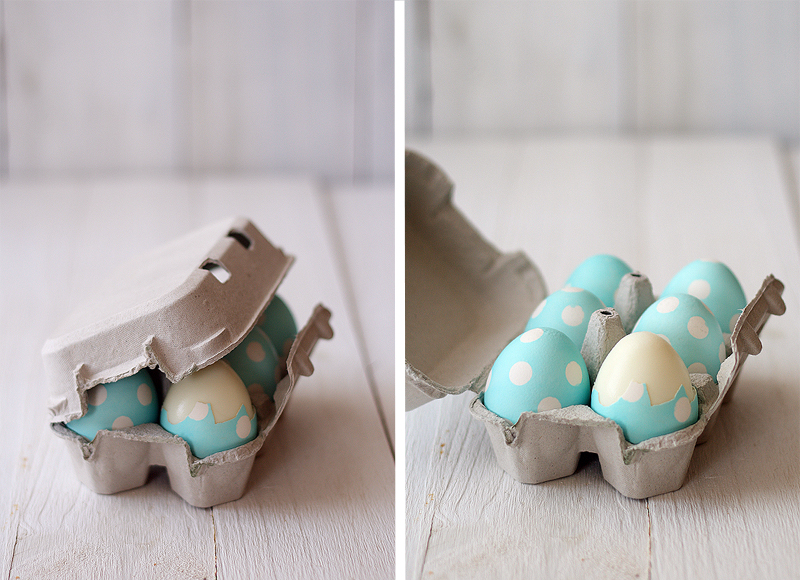
61. Polka Dots
Of course, polka dots will always be an easy, classic way to decorate. The kids will love this pattern, too, because you can make it happen in so many different and simple ways. Visit La Receta de la Felicidad for more details.
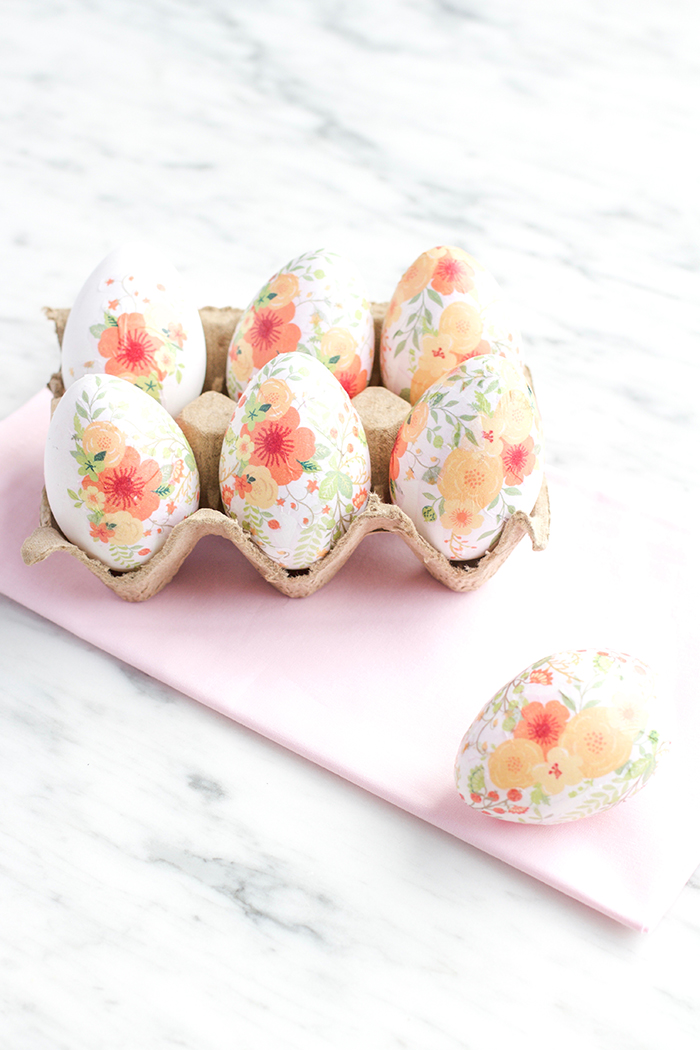
62. Decoupage
Dizzy Maiden put their decoupage skills to the test. Do something innovative and unexpected this year for Easter.
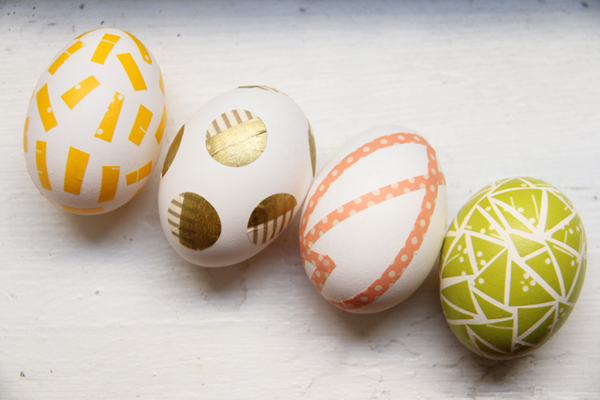
63. Washi Tape
Lovely Indeedtook one of the most obvious of material choices and put it to good use. Washi tape will always work in a pinch.
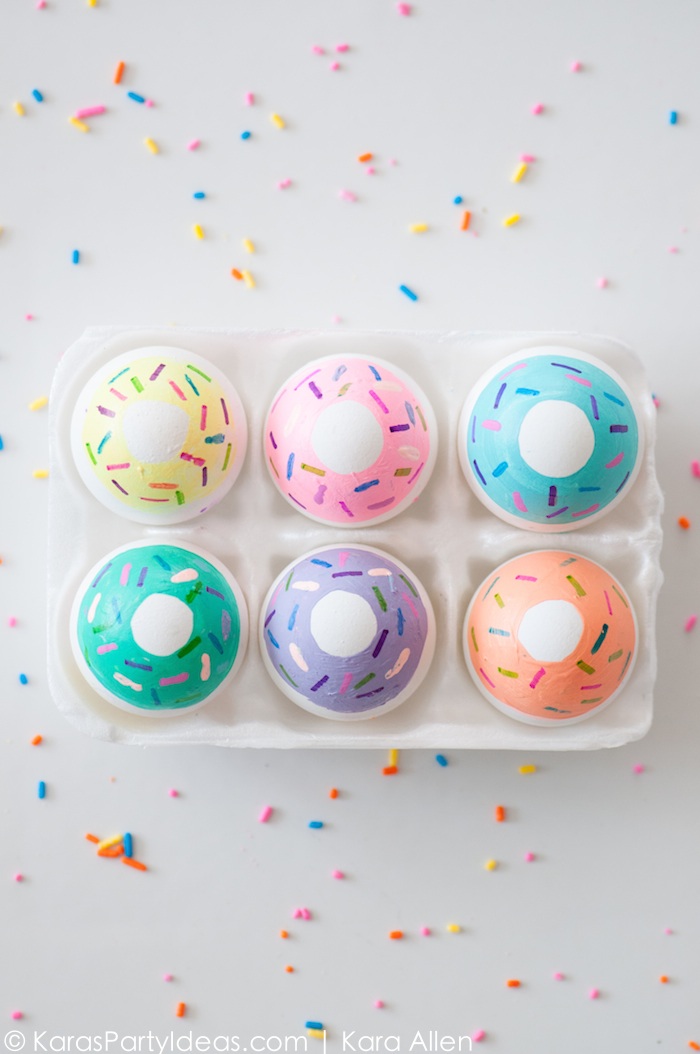
64. Donuts
Kara’s Party Ideas turned her eggs into something deliciously sweet again. This time, there are donuts for everyone.
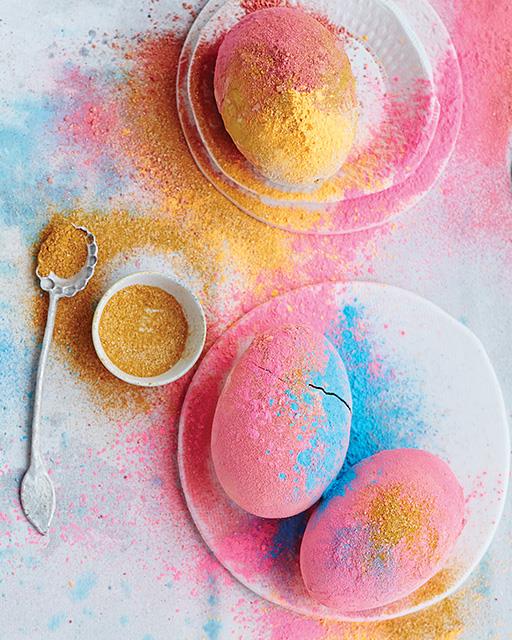
65. Colored Powder
Sweet Paul Magazineshowed off this colored powder project that we’re really interested in trying. Check it out for yourself and let us know how it goes.
66. Ombre Glitter
Brit + Co serves us another ombre delight. But this time it’s a bit different than its predecessor since glitter is involved.
67. Golden Marbled
If you want to take the marbled look up a notch, you may want to add some metallic to the design. And gold is always our friend. Visit Craftuts for more info.
68. Colorblocked
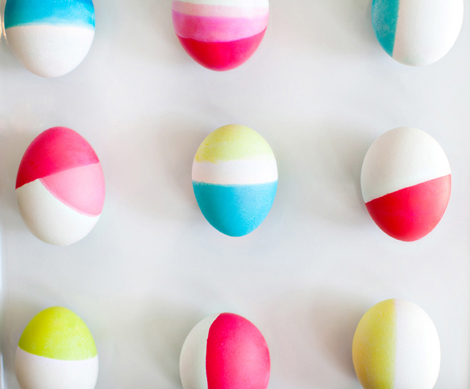
Oh Joy used the simple notion of color blocking in this Easter egg design. We love the simplicity and crisp finished product.
69. Cement
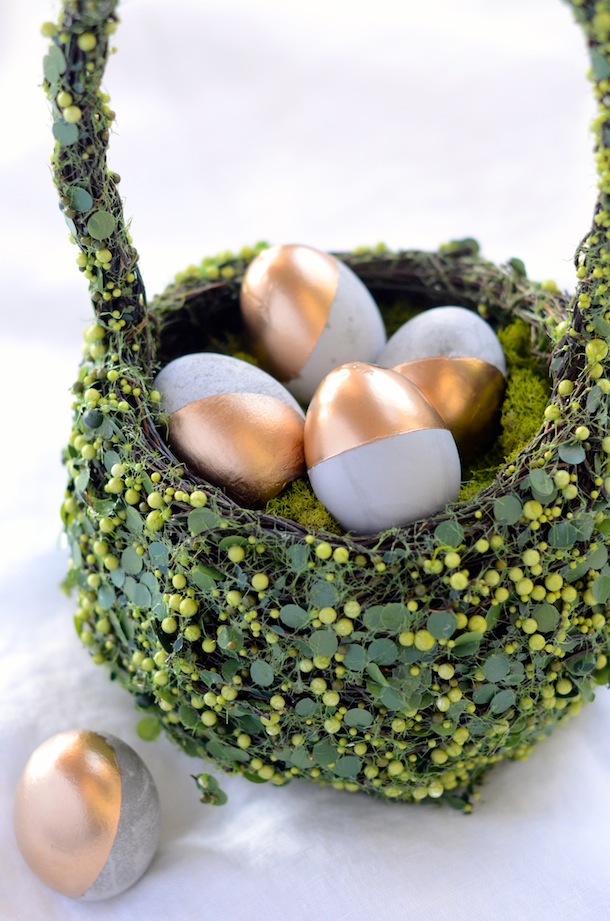
Camille Styles shows off her cement eggs. If you’re looking for awesome decor ideas, this is the project to peek at, especially when it comes to outside decorations.
70. Painterly Pastel
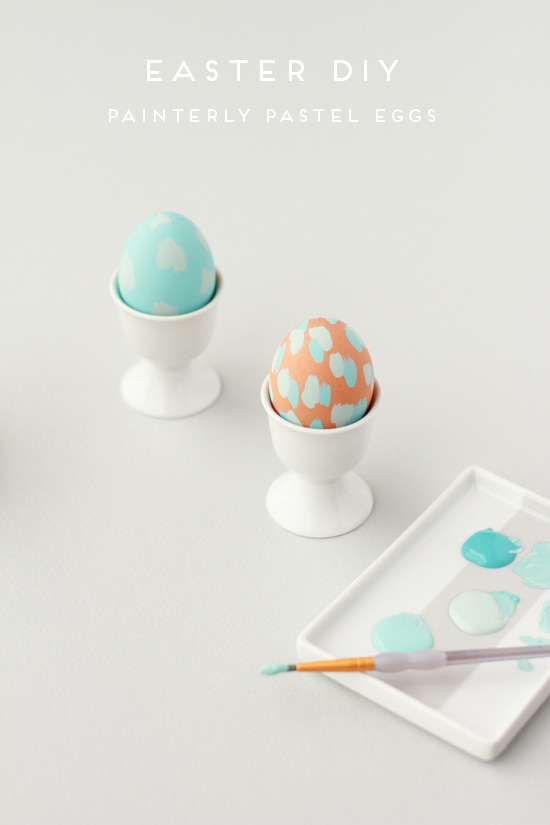
Paper and Stitchgot the paintbrushes out. Hop on over and take a peek at the inspiration.
71. Typography
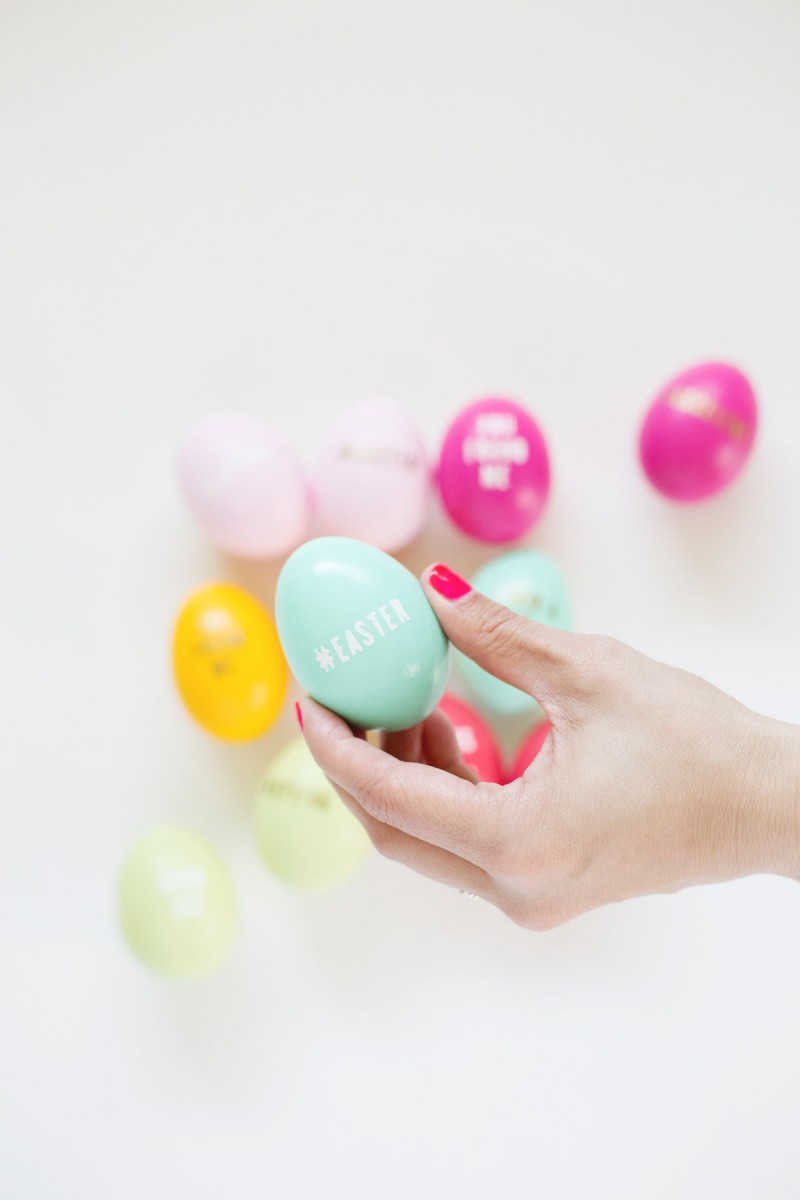
Here’s another fun project that involves words. Add some personalization to the design with the help of Lovely Indeed.
72. Indigo
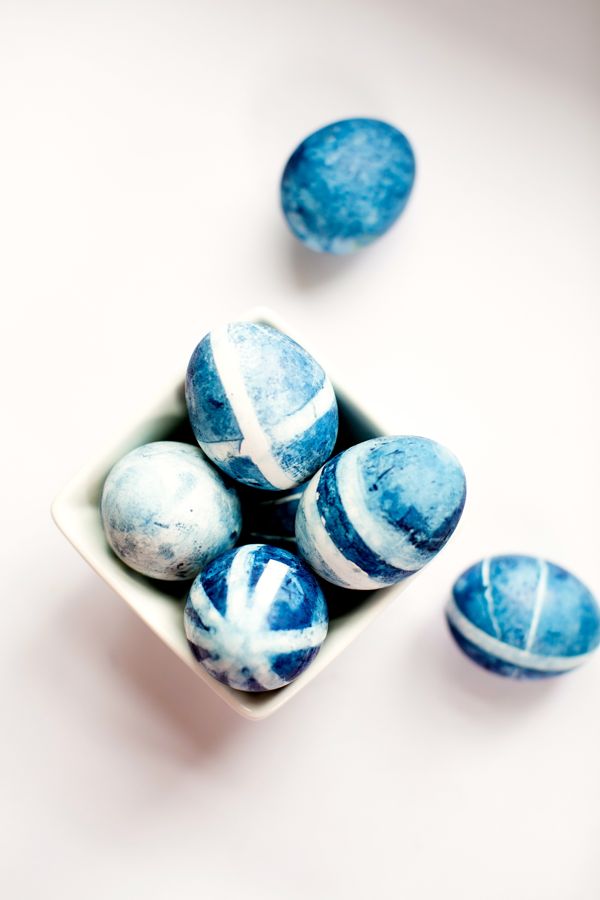
Indigo dye can be absolutely stunning. And now you have a chance to learn how to bring that beauty to your Easter eggs. Head over to Tuts+ to find out more.
73. Swan and Flamingo
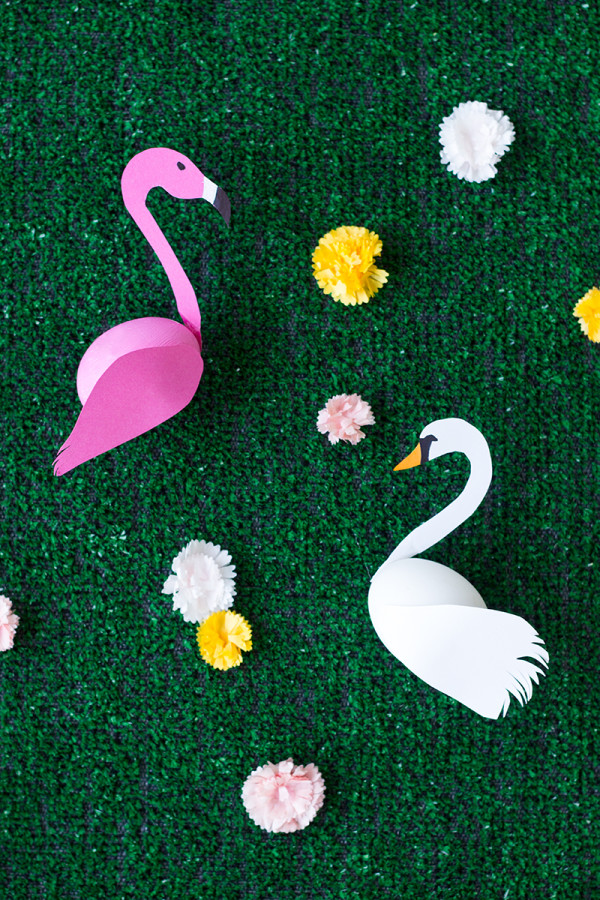
Studio DIYturned their eggs into swans and flamingos. These cuties are seasonally sweet and will definitely spruce up the Easter baskets.
74. Calligraphy
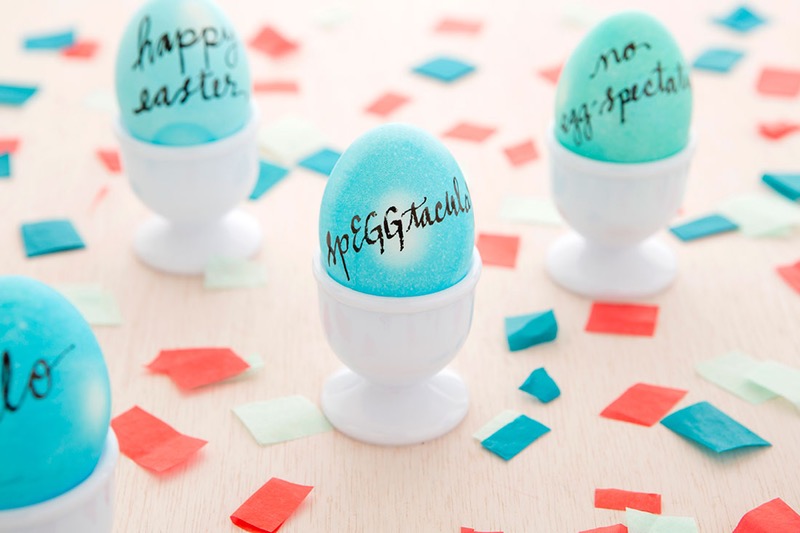
Brit + Coputs your calligraphy skills to the test. Learn how to personalize everyone’s basket with this tutorial.
75. Shaving Cream
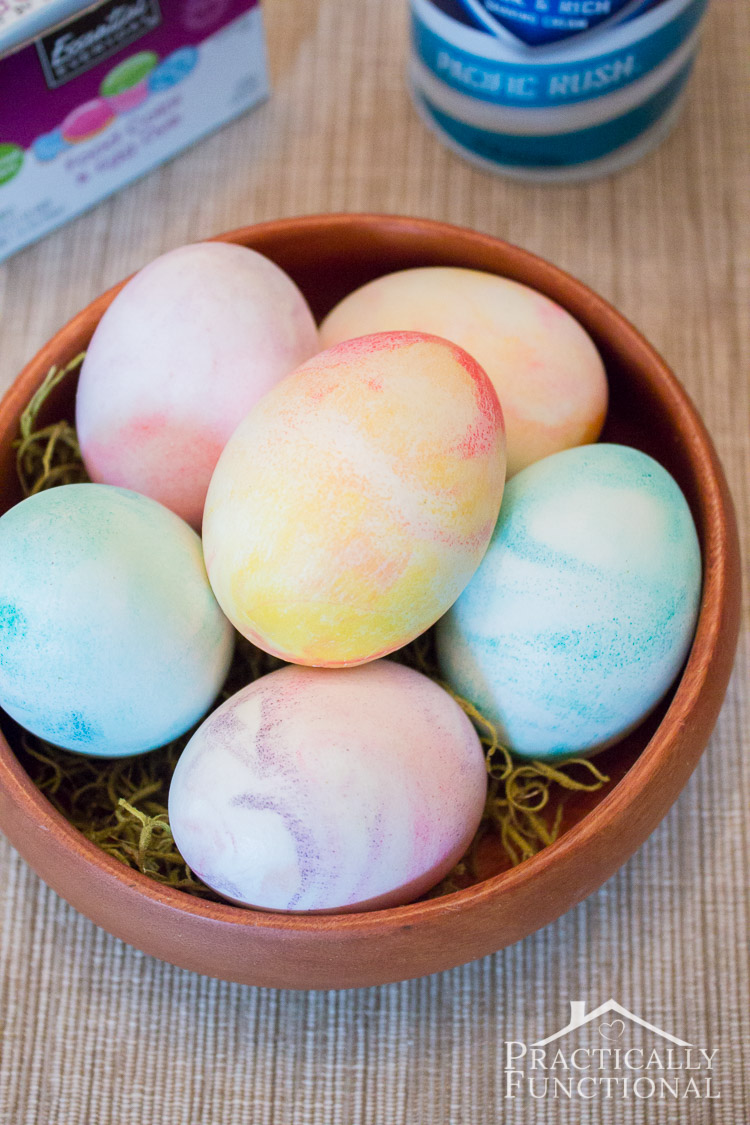
And finally, visitPractically Functionalto learn how to dye your eggs with shaving cream. Have so much fun creating your springtime colors.
Final Thoughts on Cool Easter Egg Designs
Easter egg crafts are a rich-colored and fun way to decorate your home or give as gifts. It’s also a wonderful holiday for families and kids, so nothing is stopping you from embracing the tradition and working on craft projects.
We hope we’ve inspired you to prepare some impressive decorations this year, whether you’re doing them with the kids or on your own.
Try out these cool Easter egg designs and let us know how it goes by dropping us a comment in the dedicated section below.
