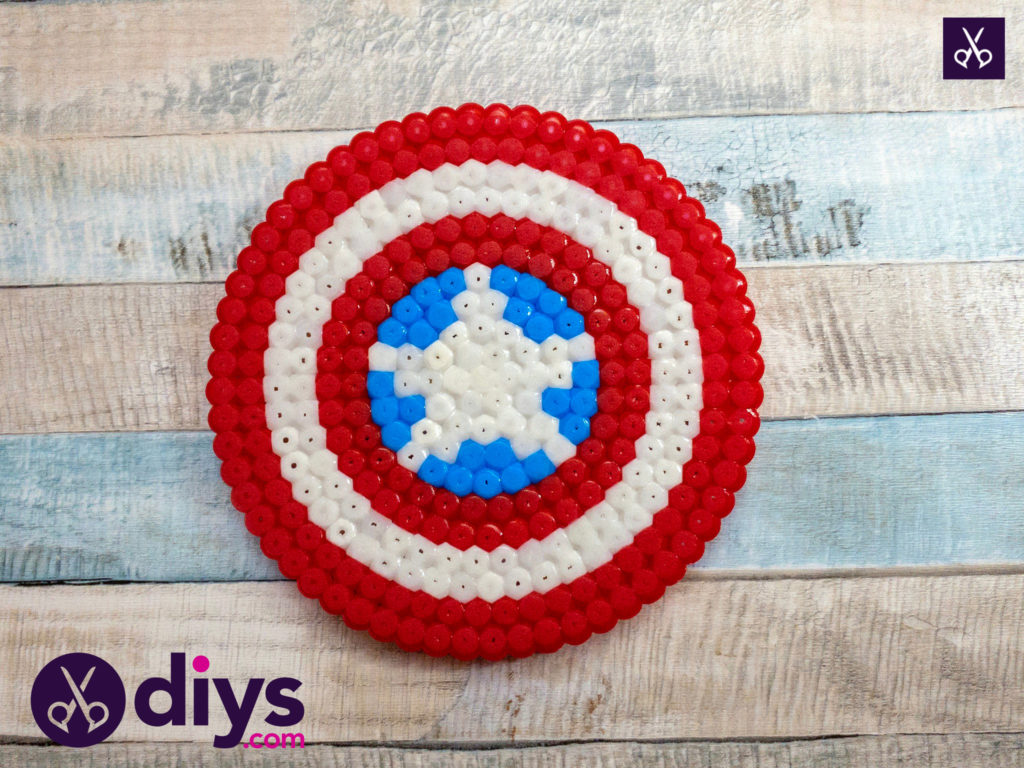
How to Make A Cool Captain America Freezer Magnet
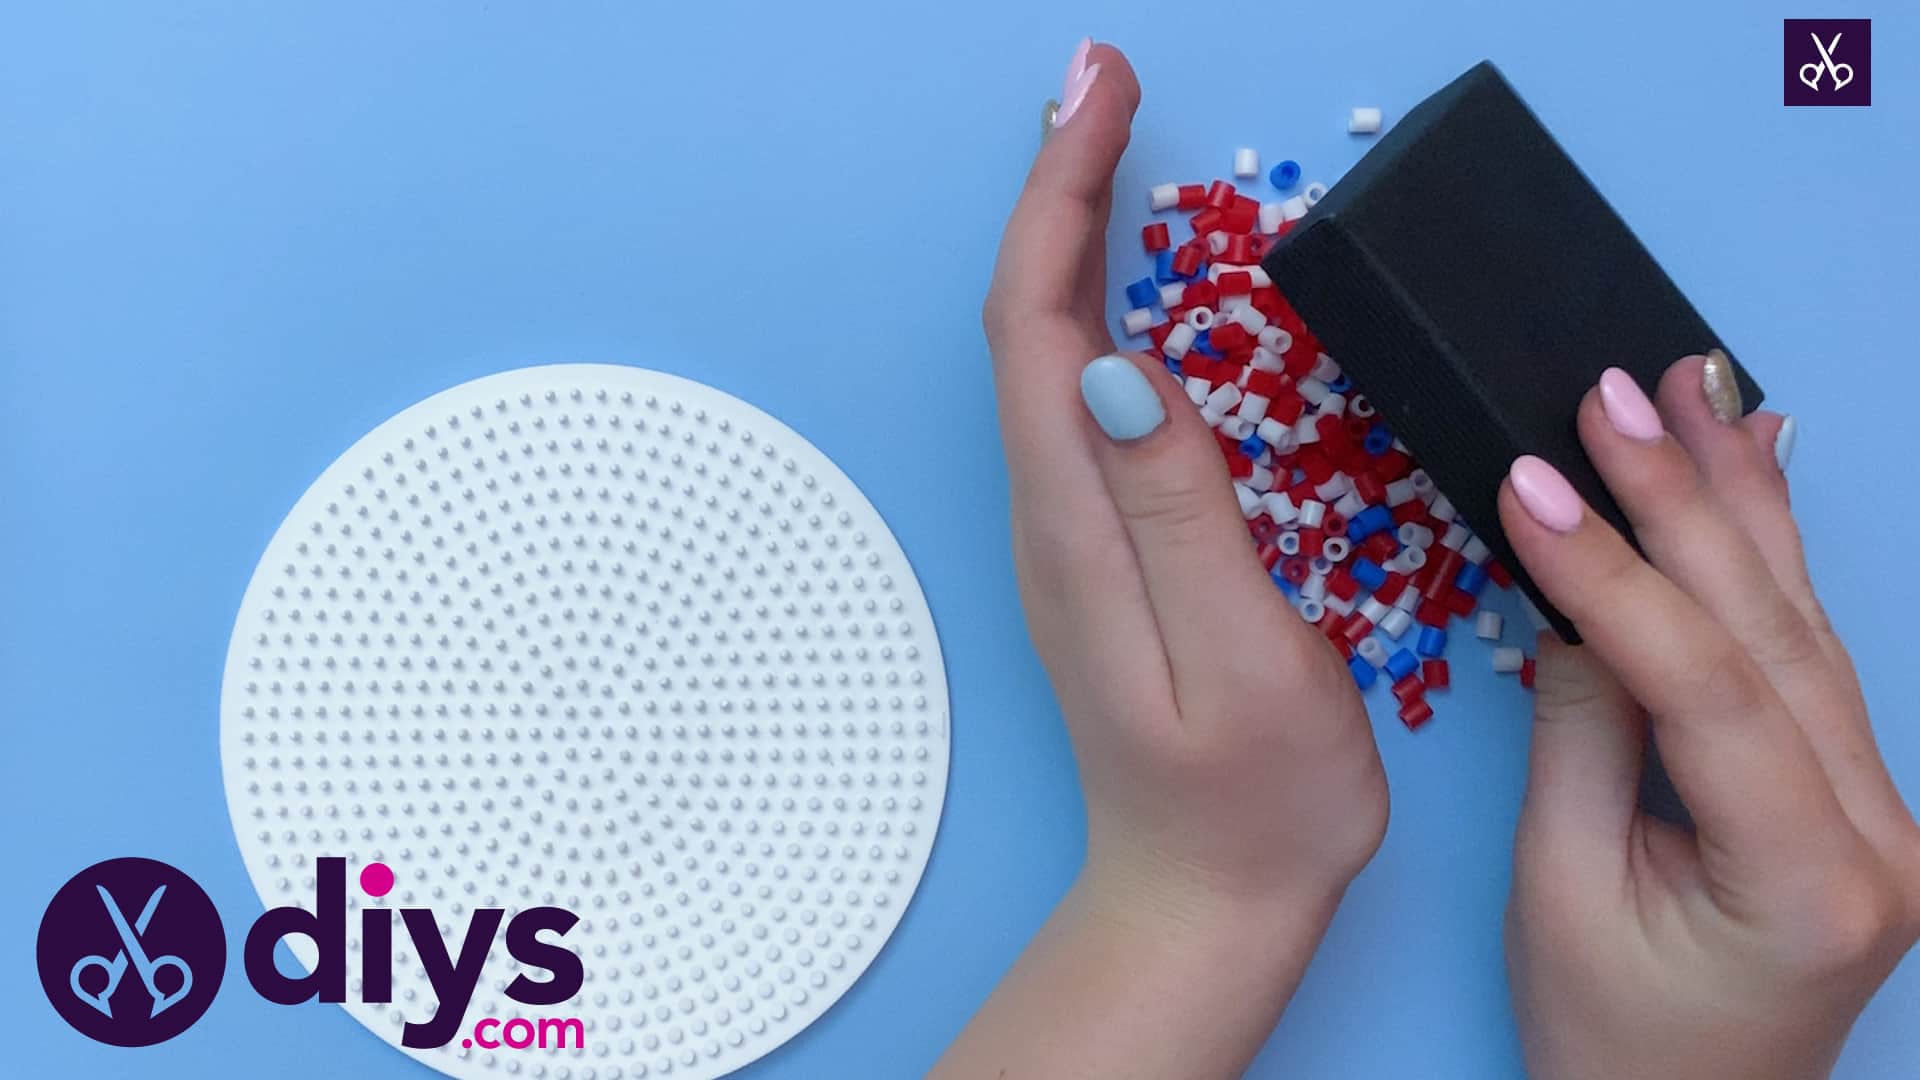
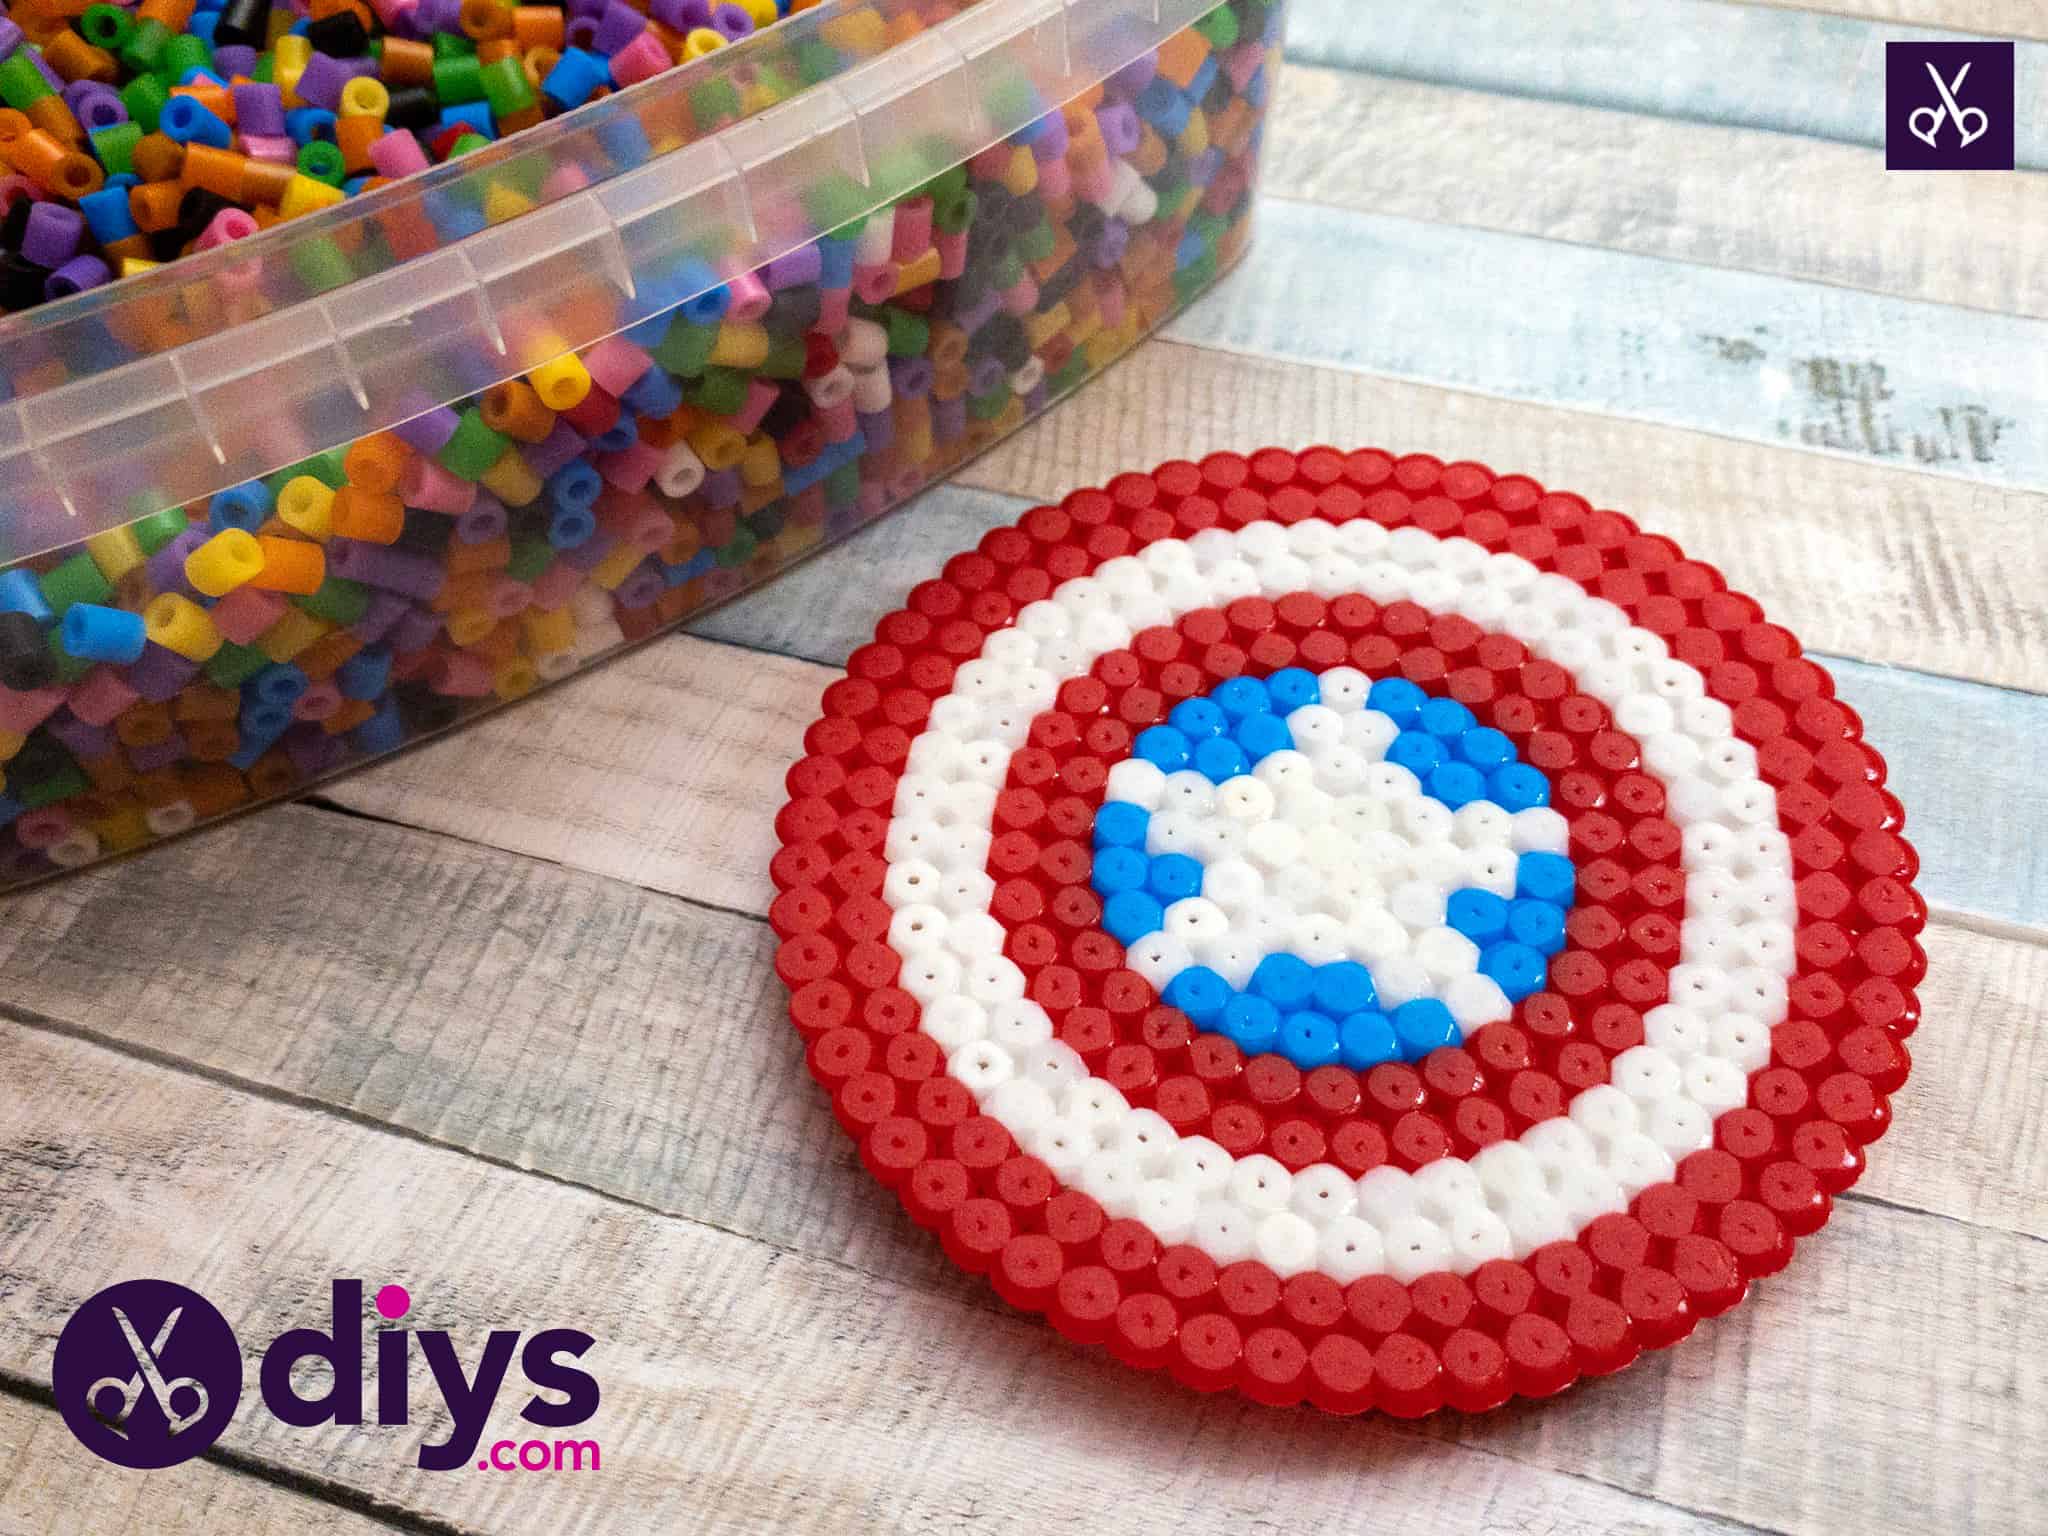
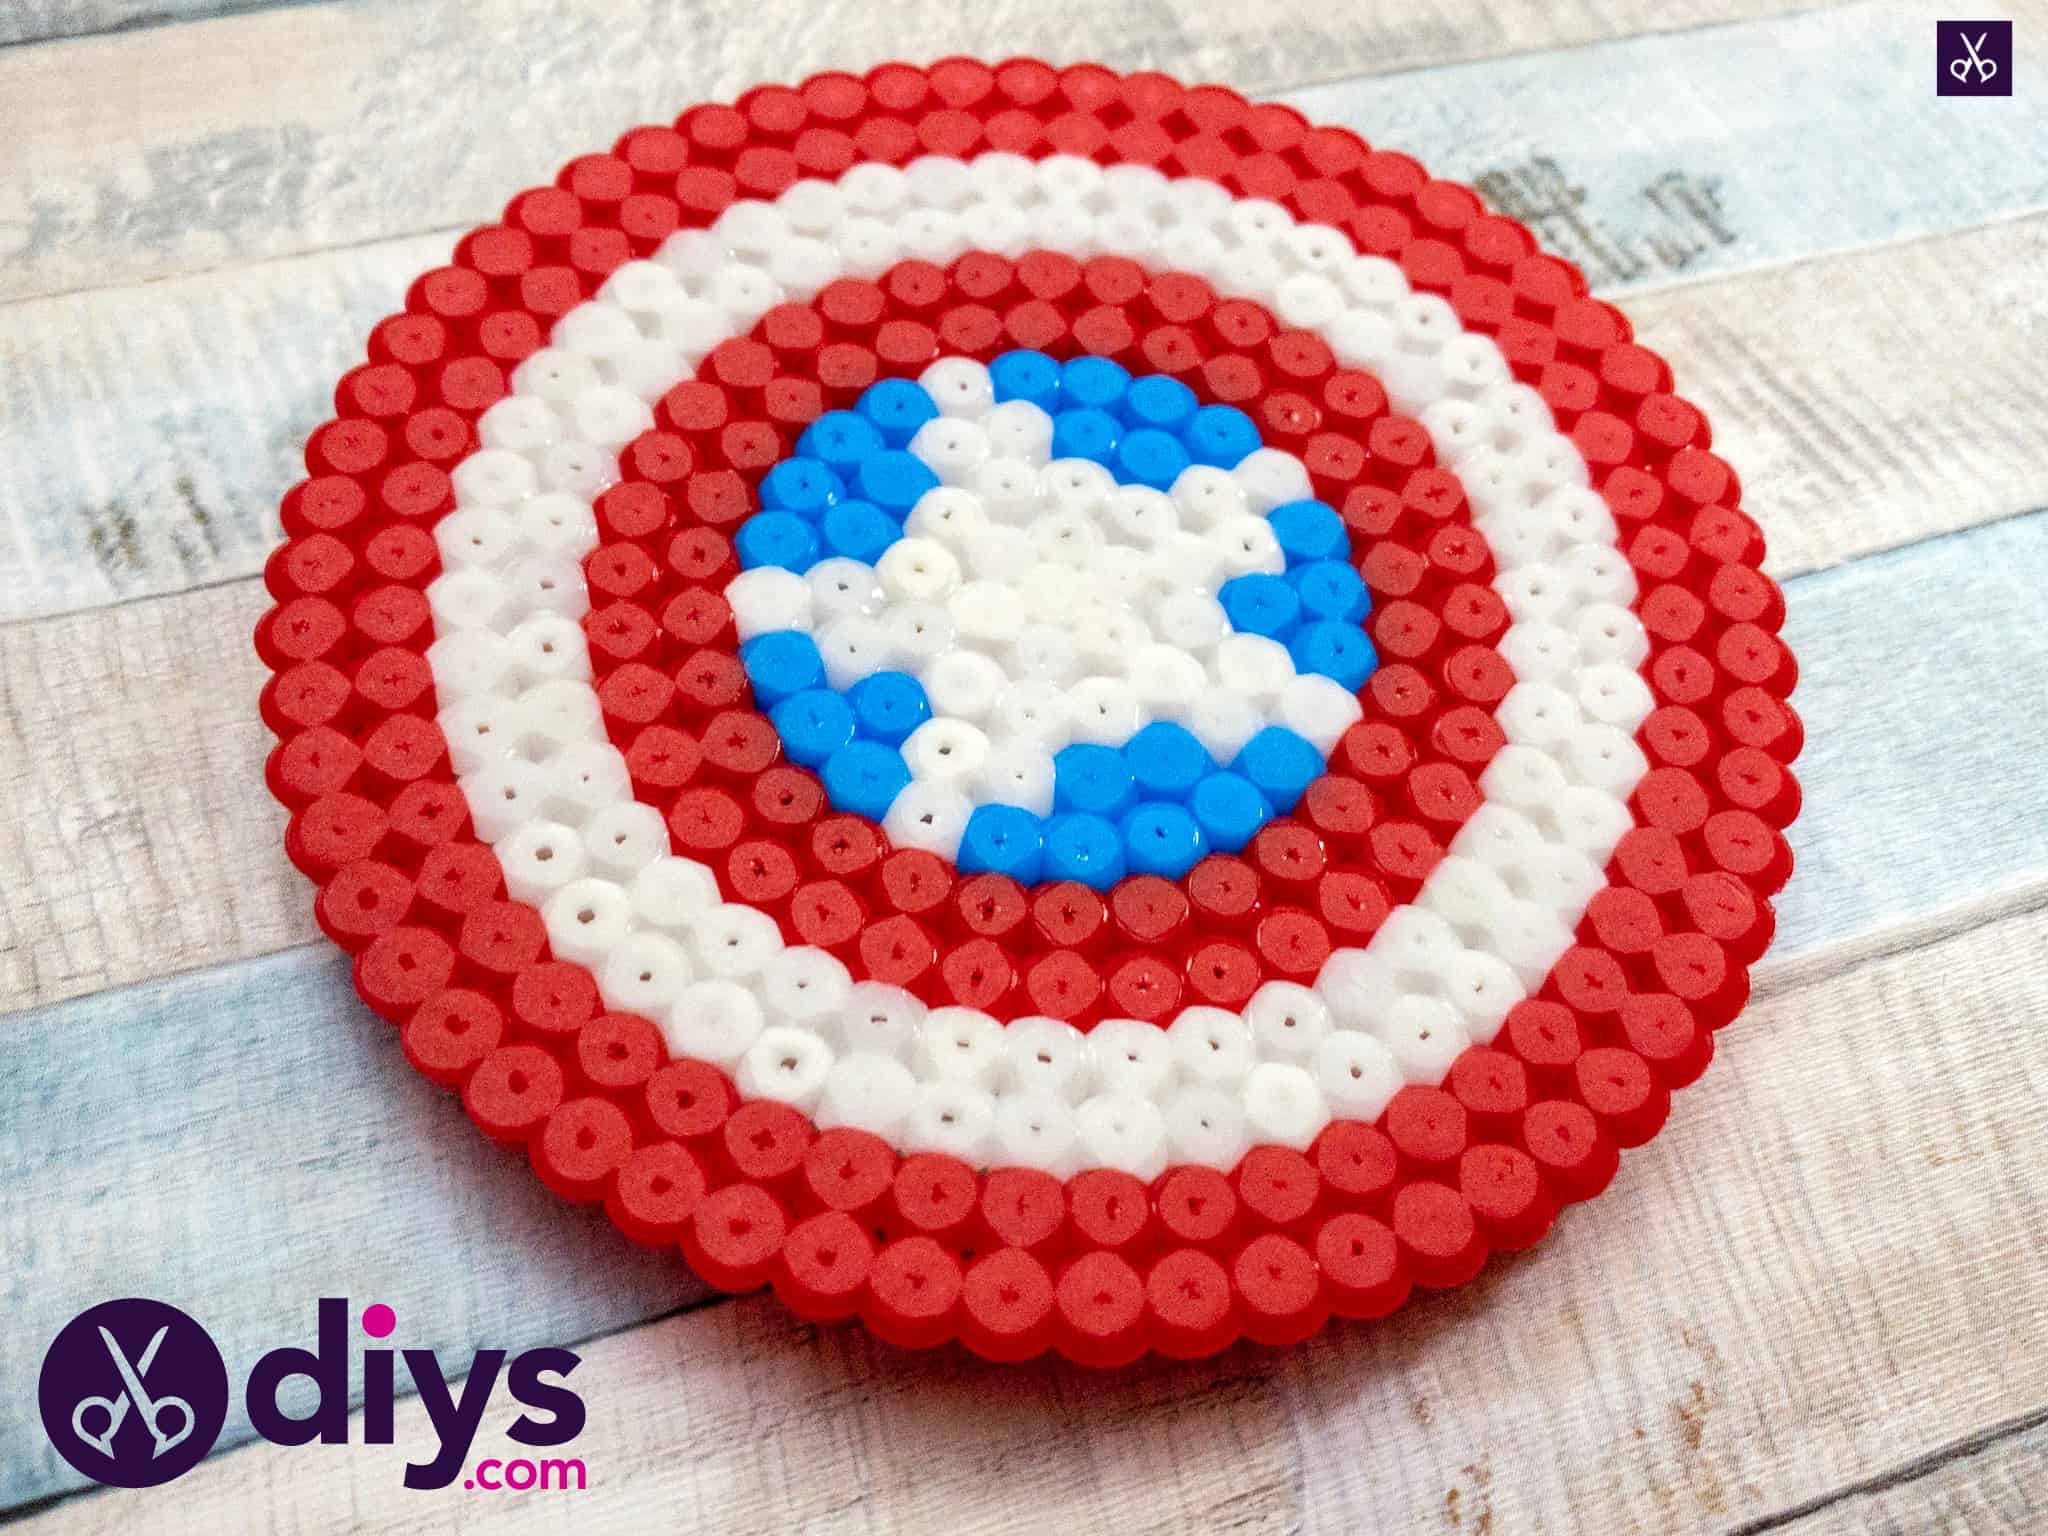
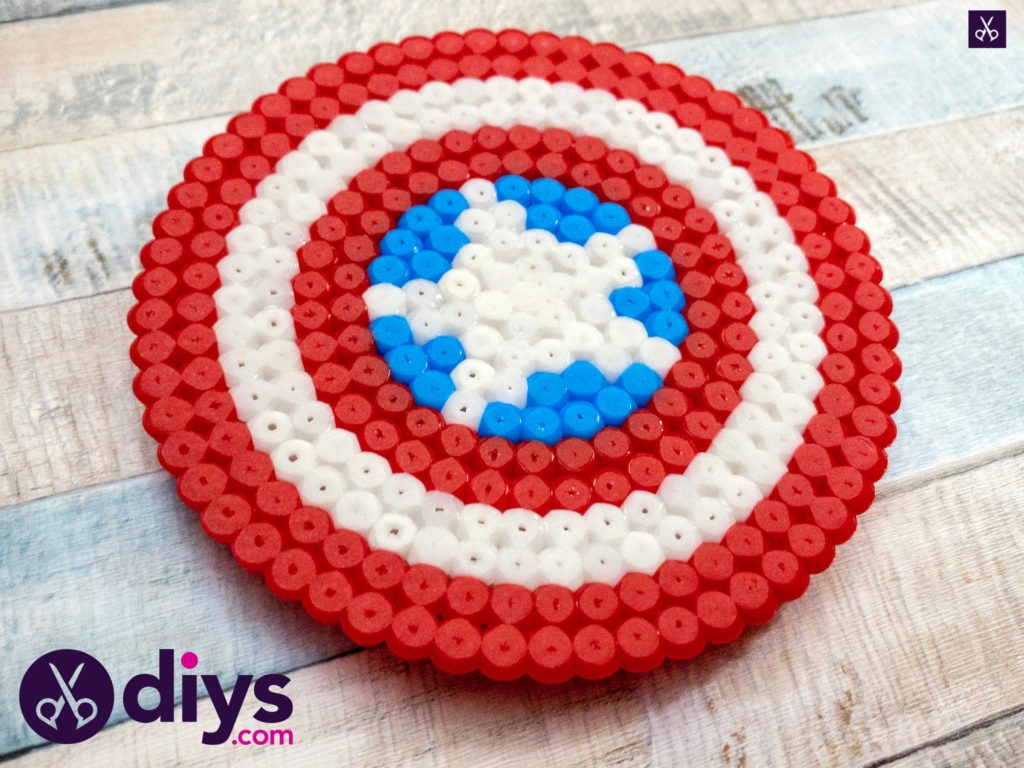
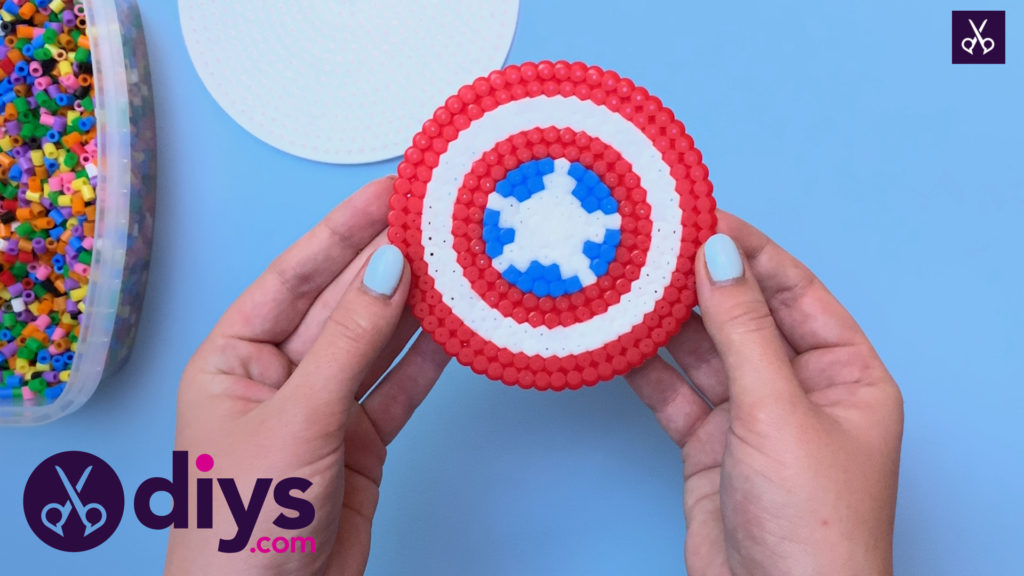
If you’ve never made perler bead crafts before, then we’re sorry to tell you that you’ve been missing out on something very awesome indeed! Particularly if you’re a big fan of superhero movies, we have a feeling this awesomeCaptain America themed DIY freezer magnet might be right up your alley.
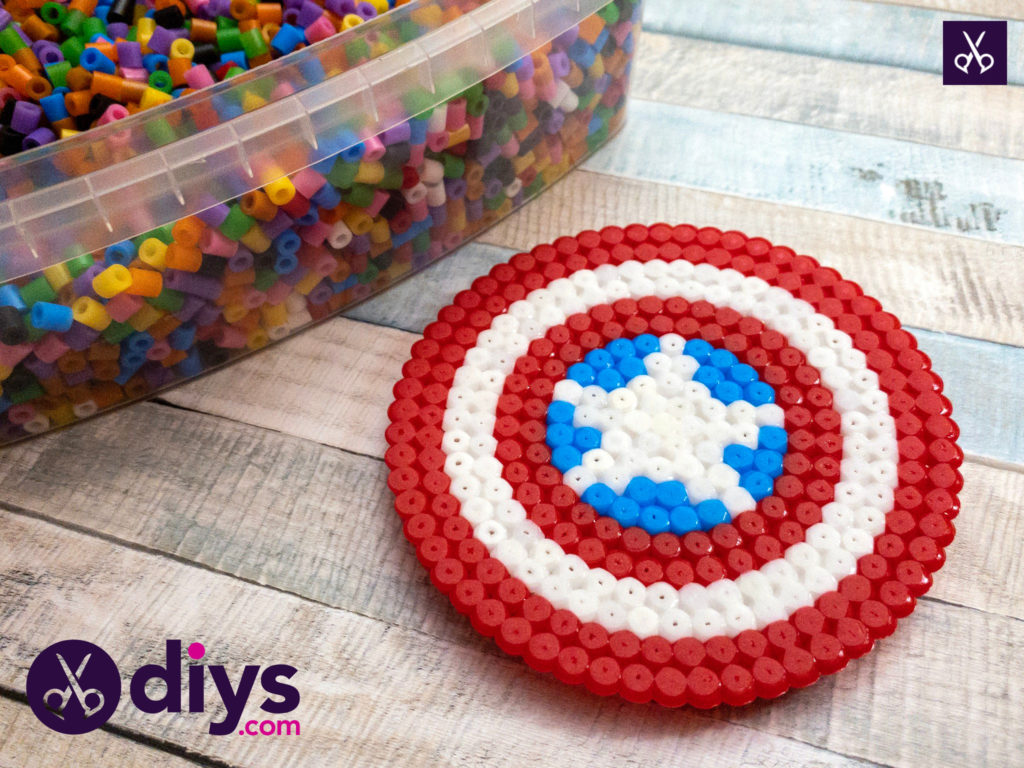
In this tutorial, we’ll show you how to make it happen from scratch using perler beads in red, white, and blue, arrange to look just like Captain America’s iconic shield! You’ll also find a detailed video tutorial at the end of this post to help you out along the way as well.
For this project, you’ll need:
- Round shaped template
- 124 white beads
- 180 red beads
- 24 blue beads
- Iron
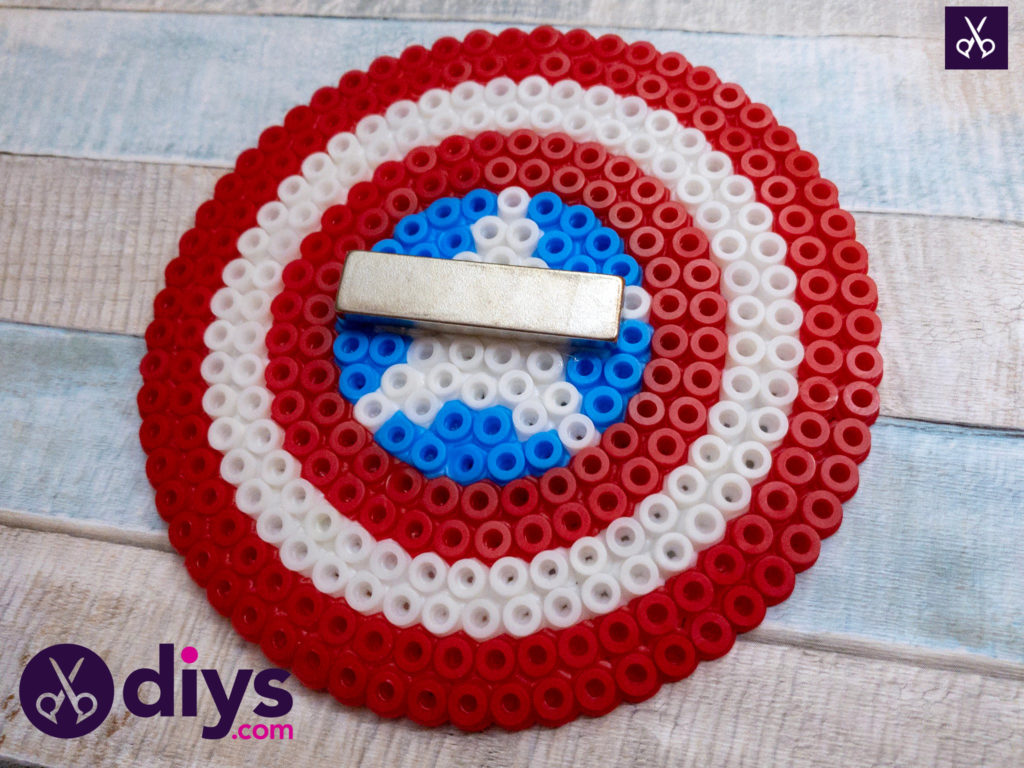
- WAx paper
- Magnet
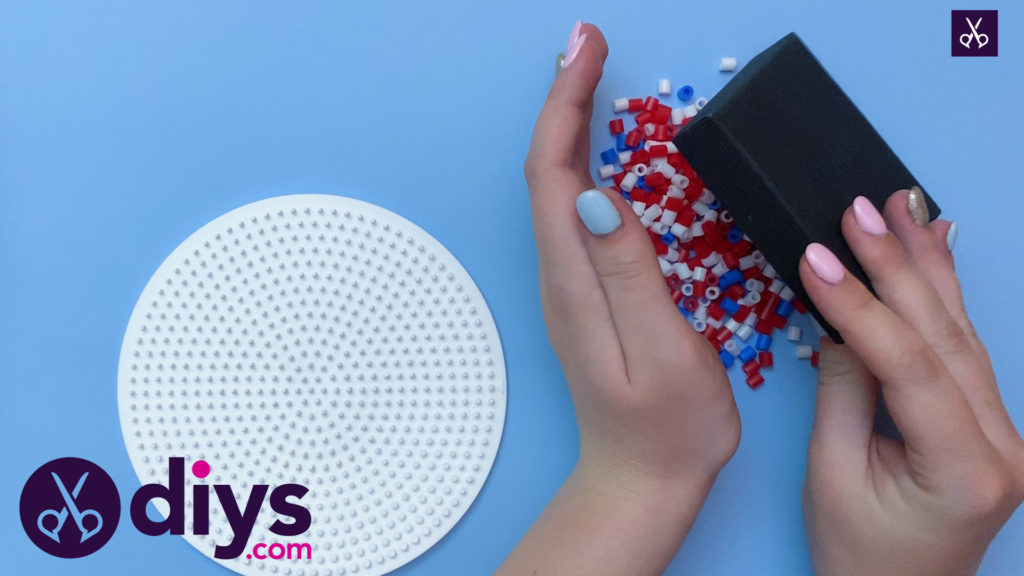
Step 1: Gather your materials!
Our counts of how many beads you’ll need in each colour are based on the size of circular beading base we used. You could easily make yours bigger or smaller, but you’ll have to adjust your bead counts accordingly!
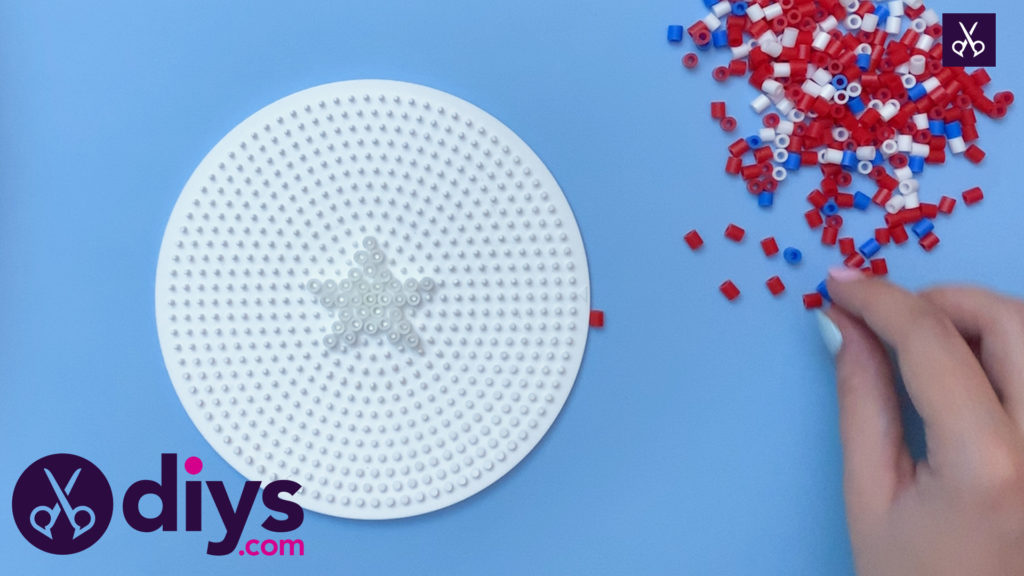
Step 2: create the star
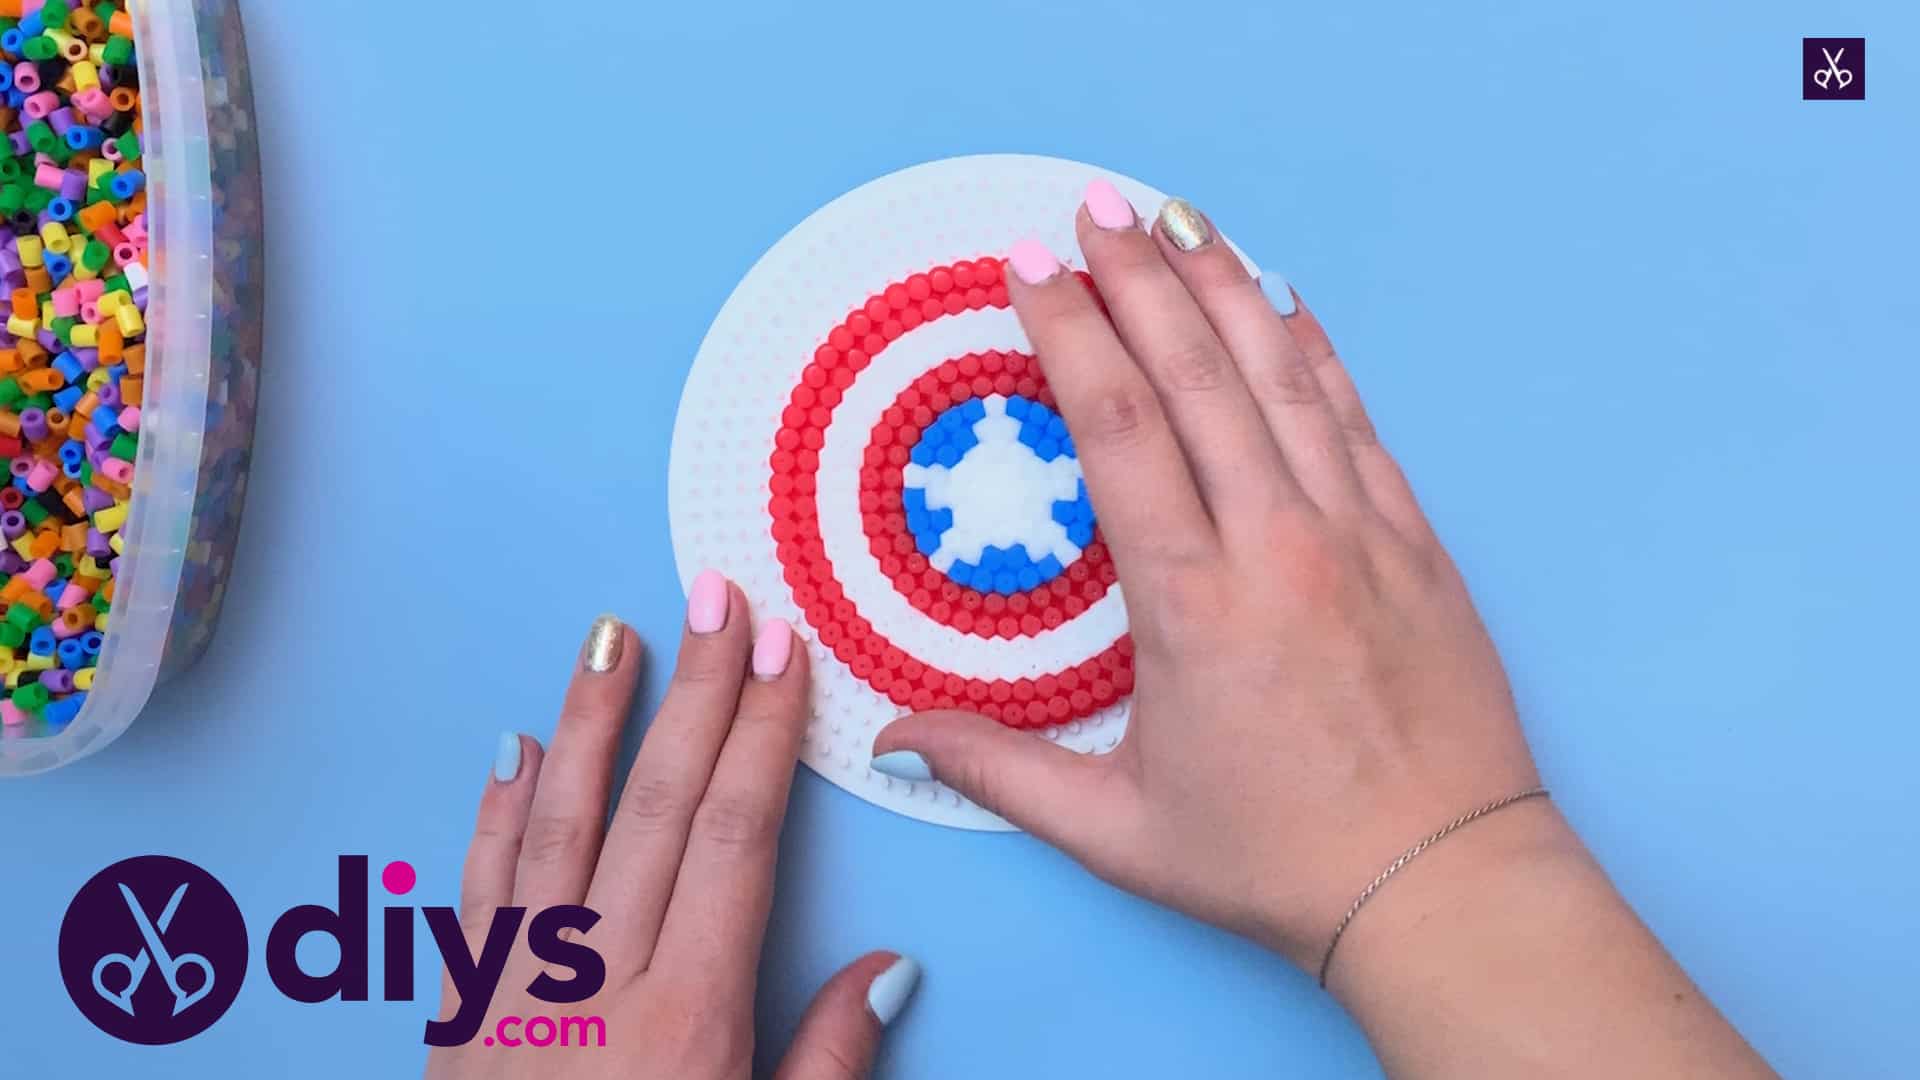
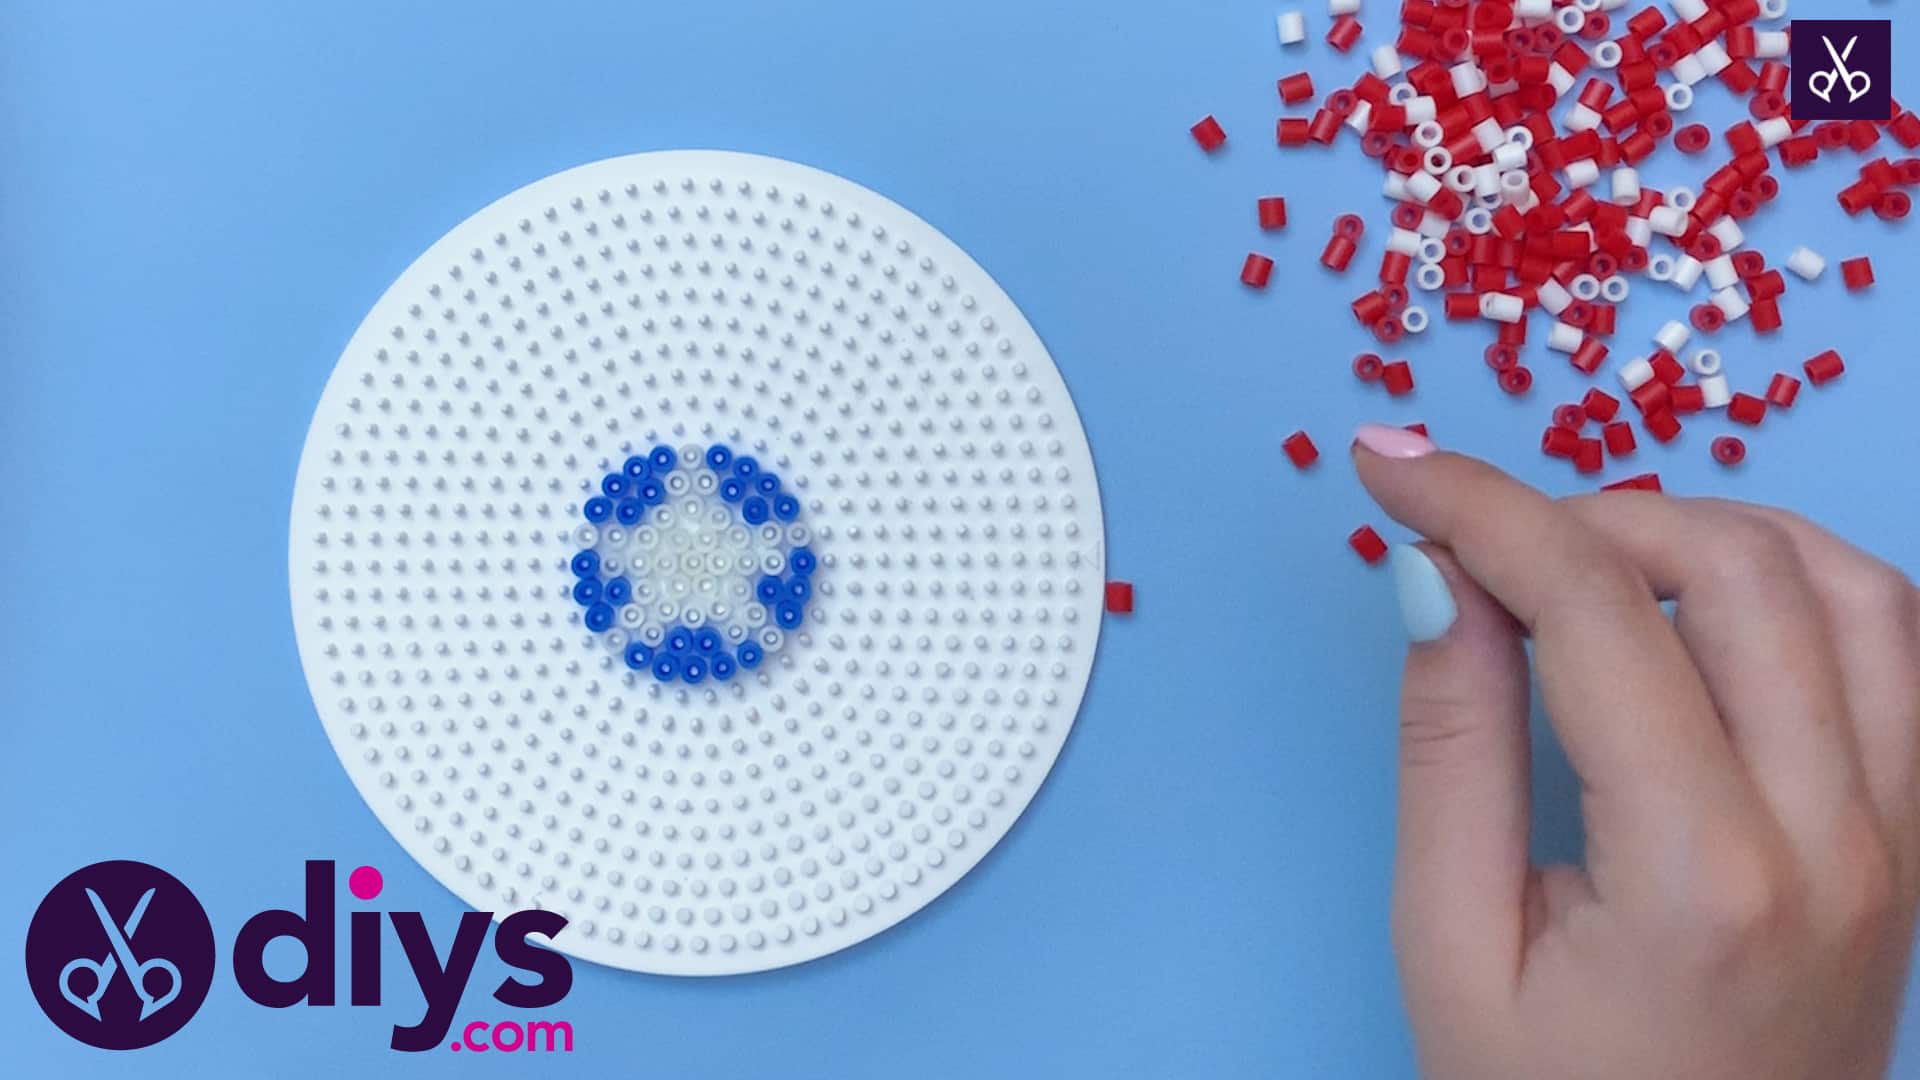
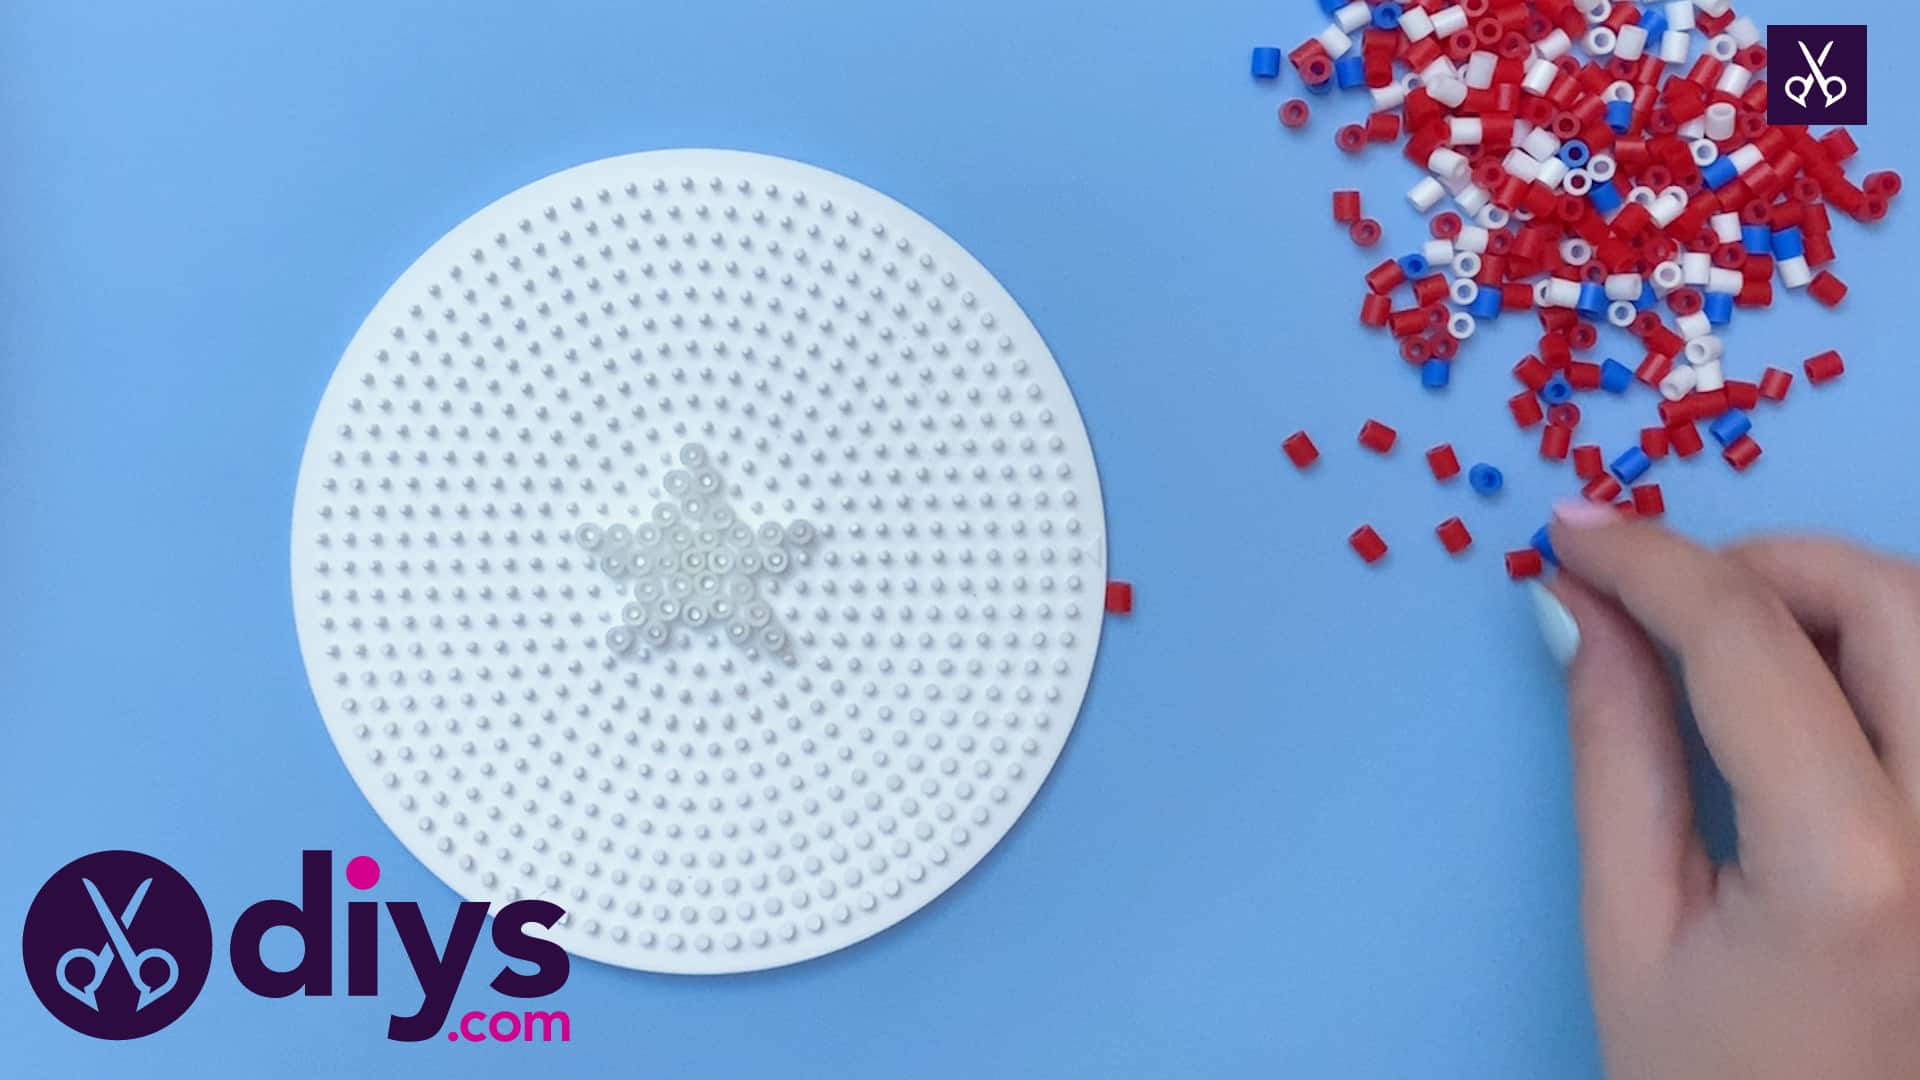
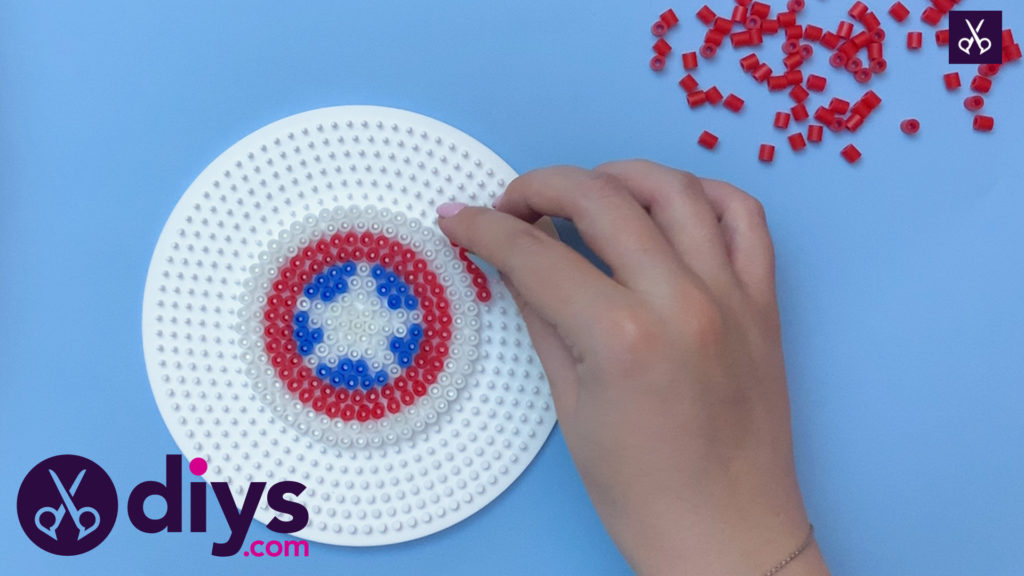
Create your white star in the middle of the circle! We started at the center of the base, using that as the center pointe of our star, and worked our way outward until we got the right shape, with four beads across the very middle and eight beads across the longest parts of the star from point to point.
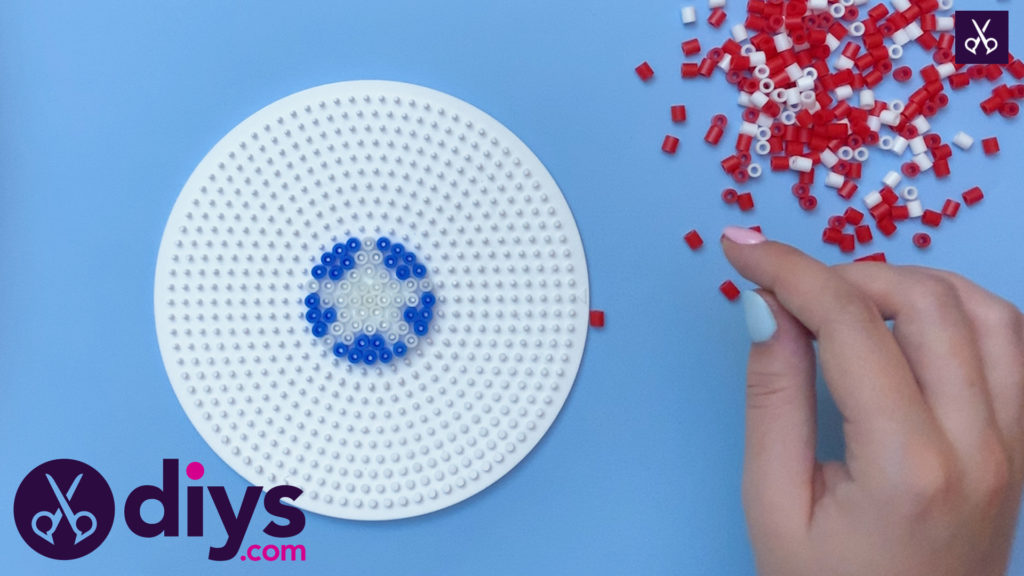
Step 3: fill in other colors
Fill the spaces in between each white point of your star with blue beads. If you’re working with the same size and dimensions as us, you’ll have six beads in the two tops spaces and the space at the bottom, and four beads in the smaller side spaces.
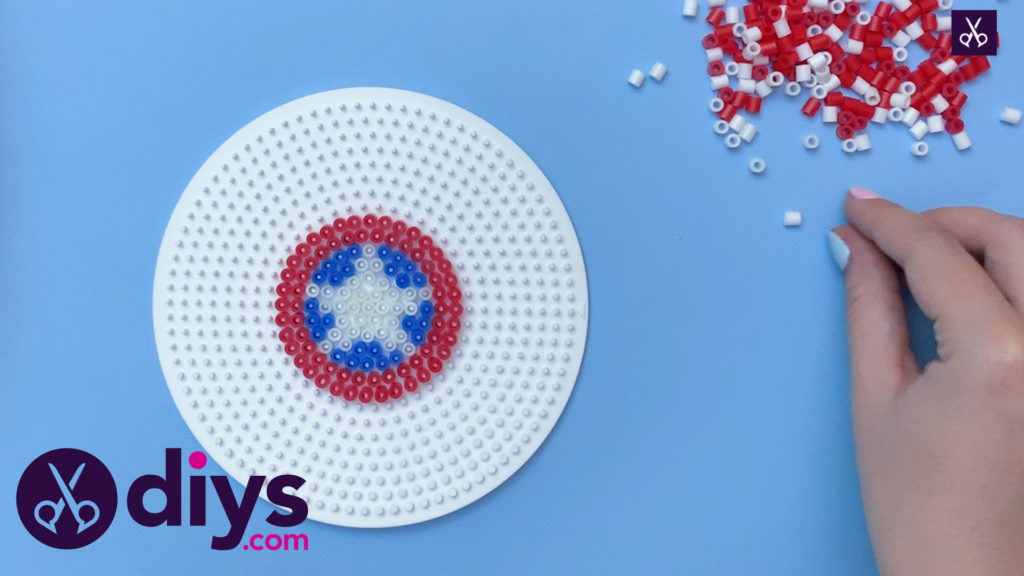
Step 4: red beads
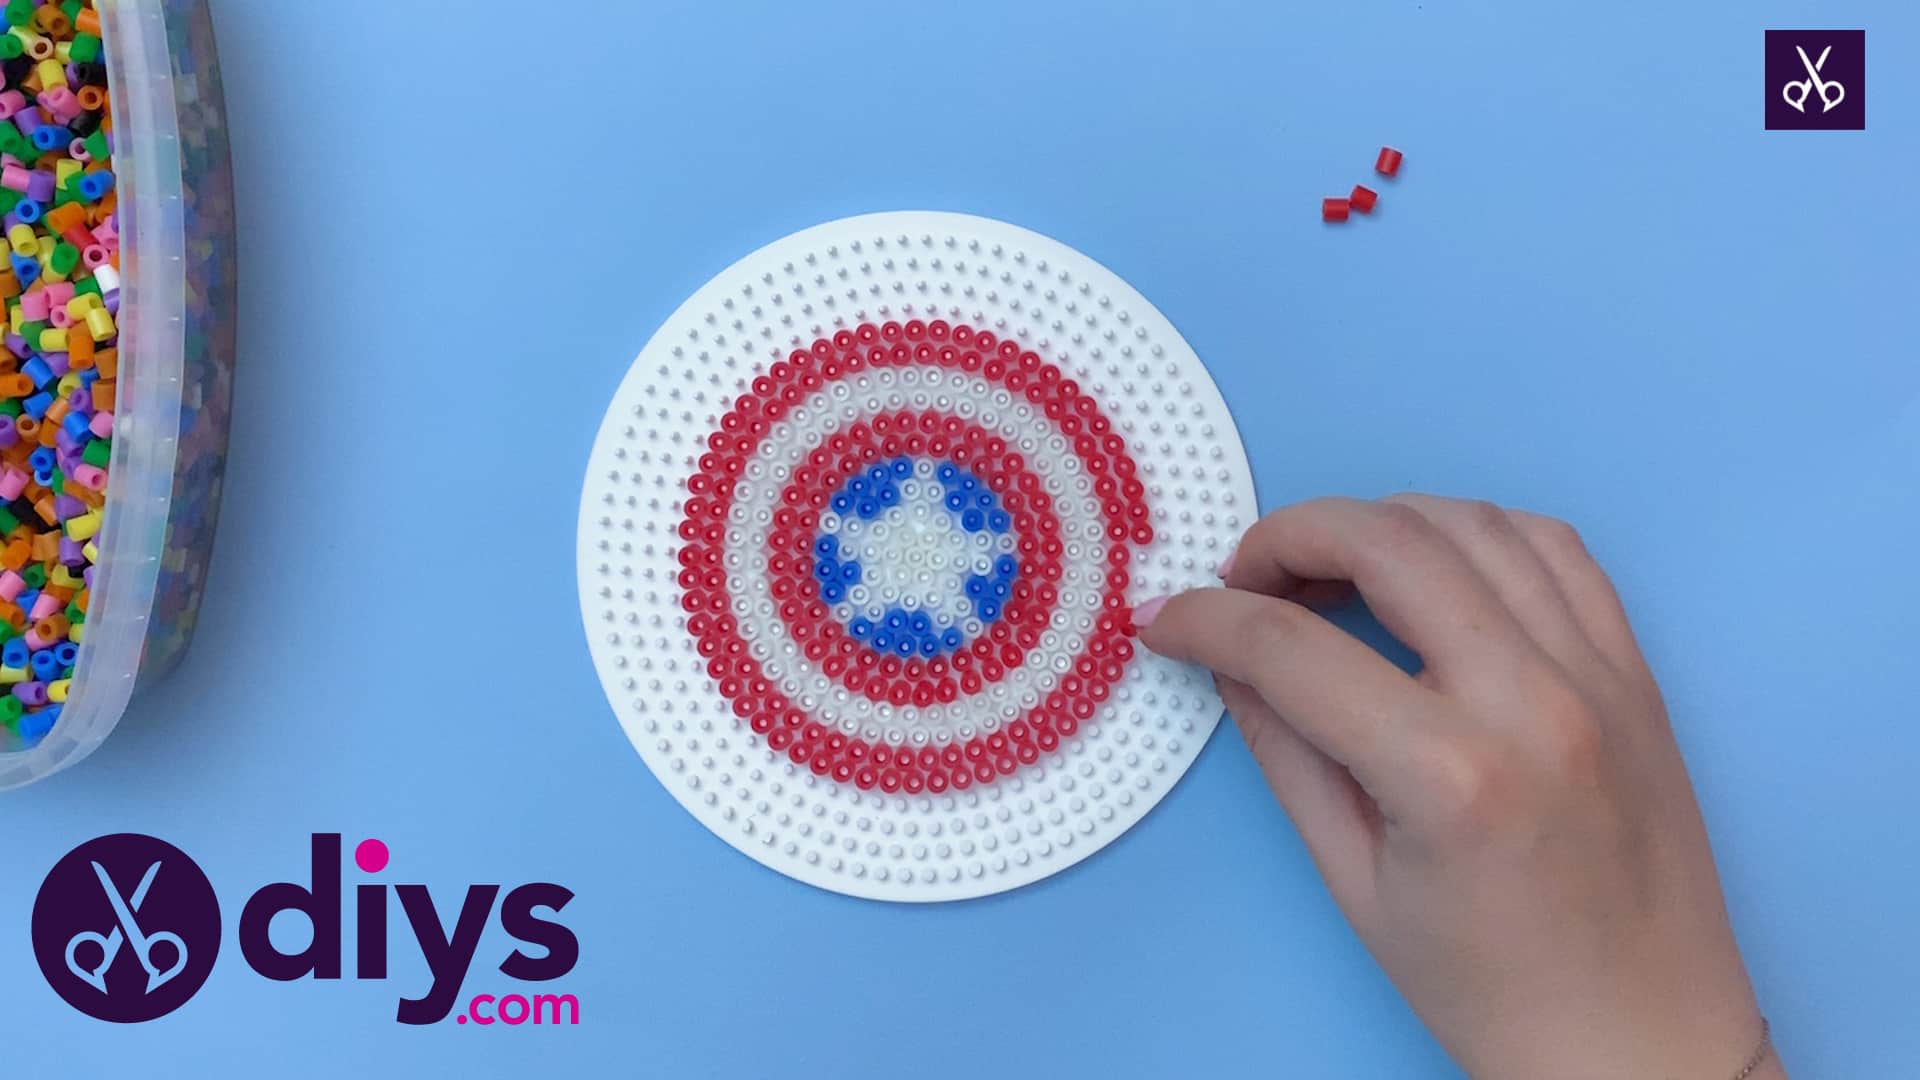
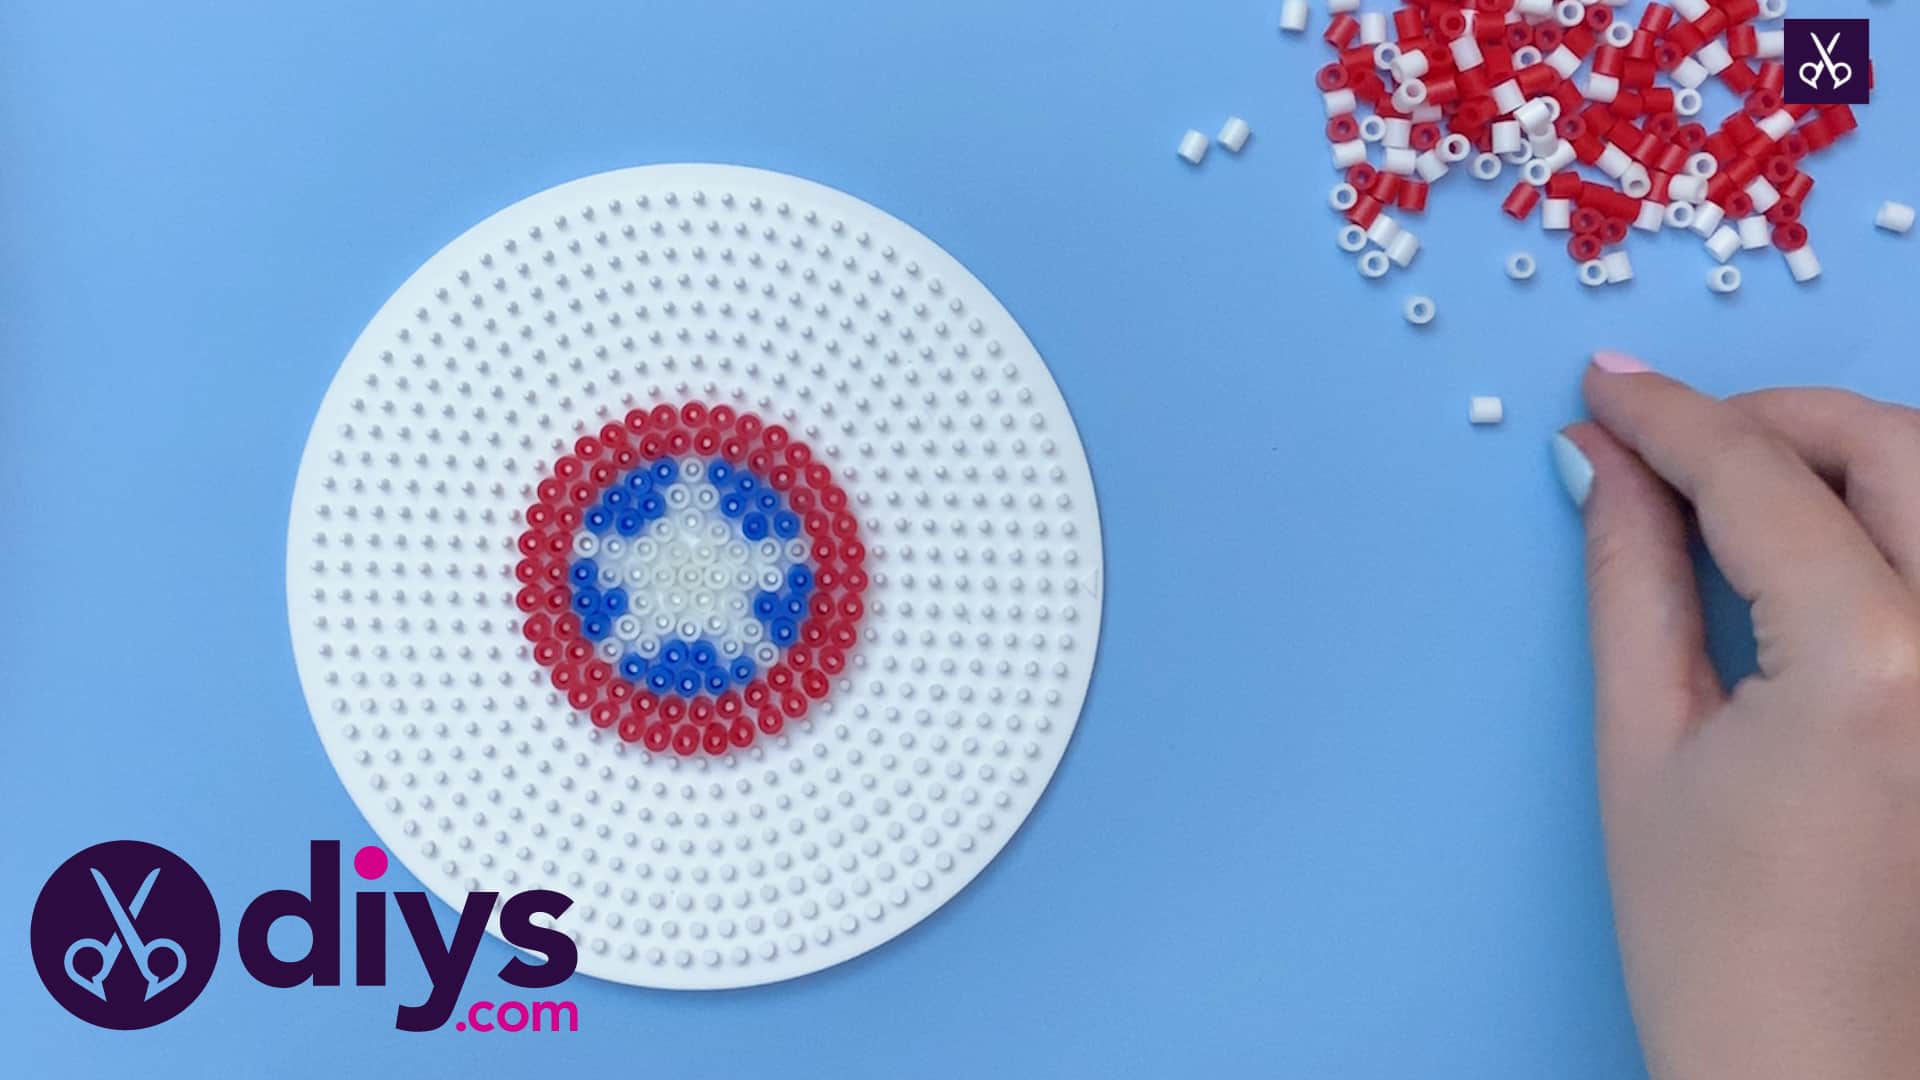
Create a double row of red beads in a circle all the way around your star and your blue beads.
Step 5: repeat
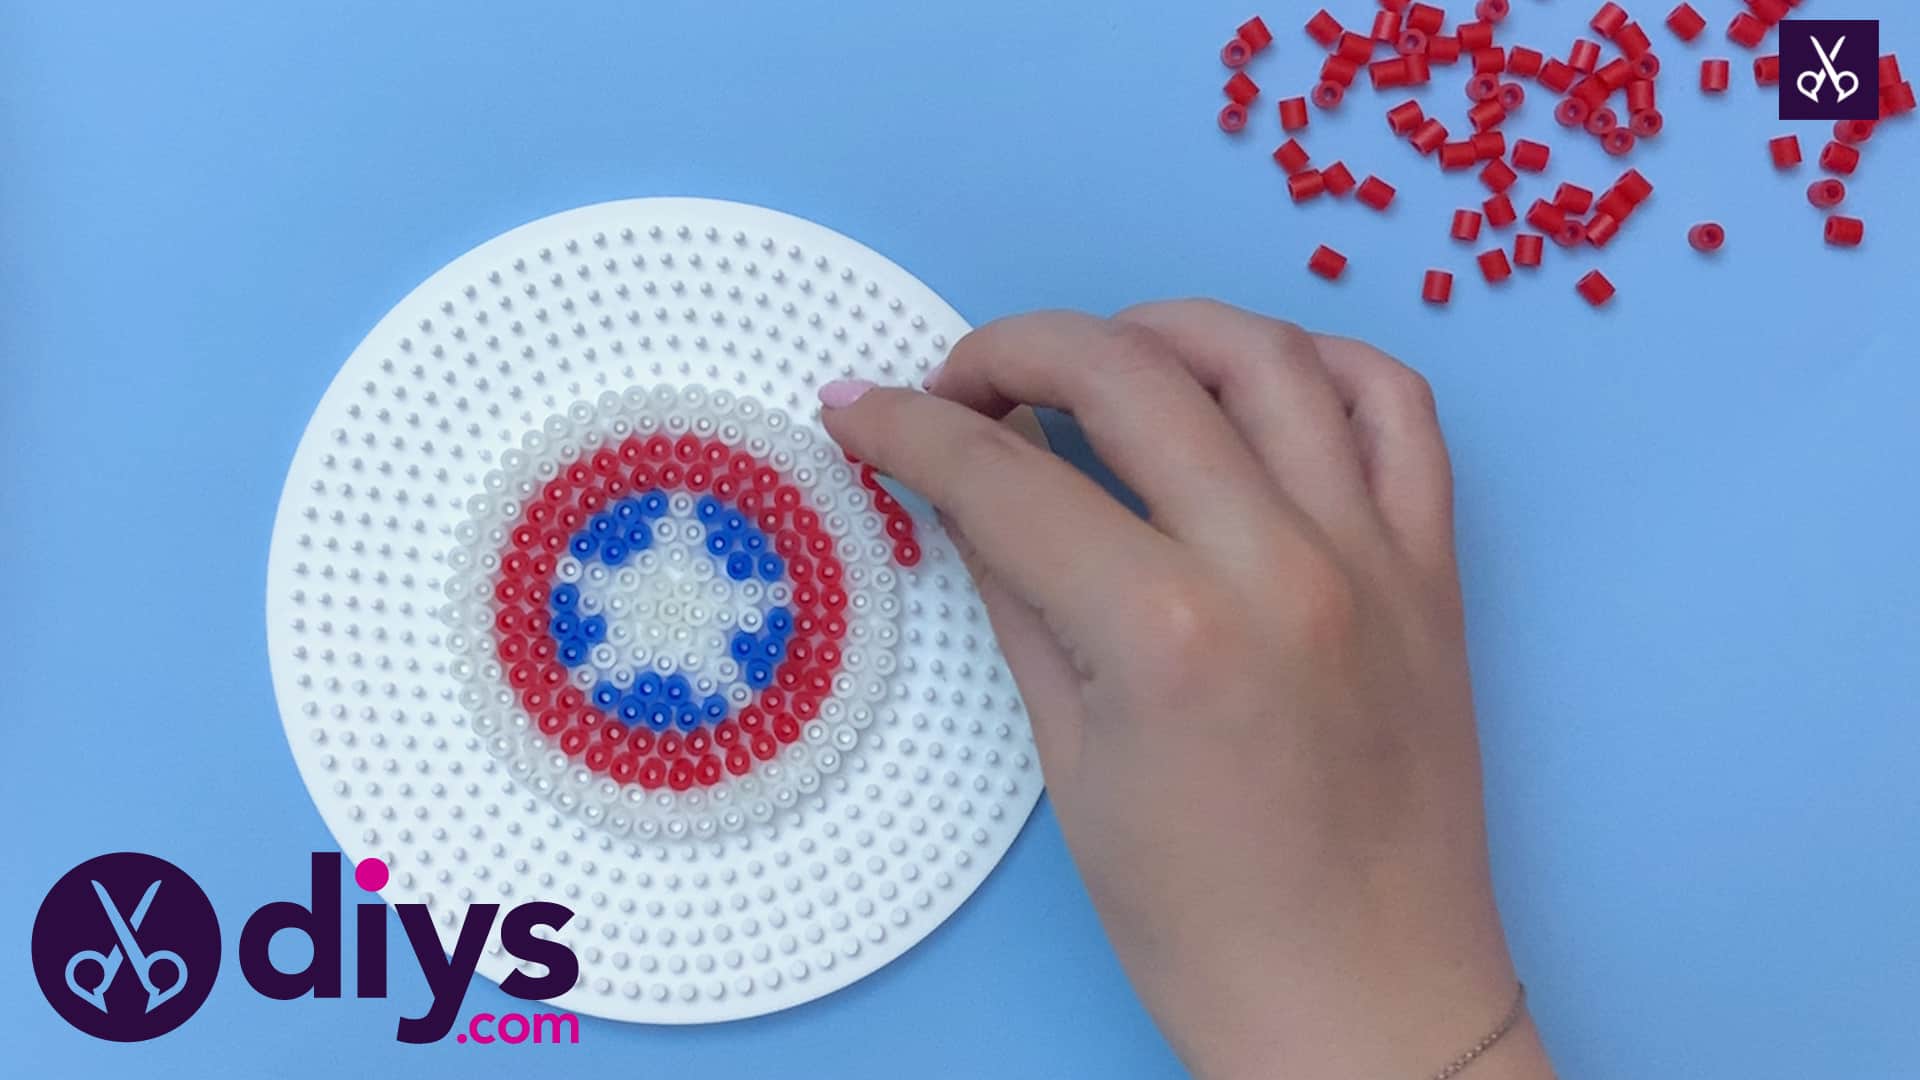
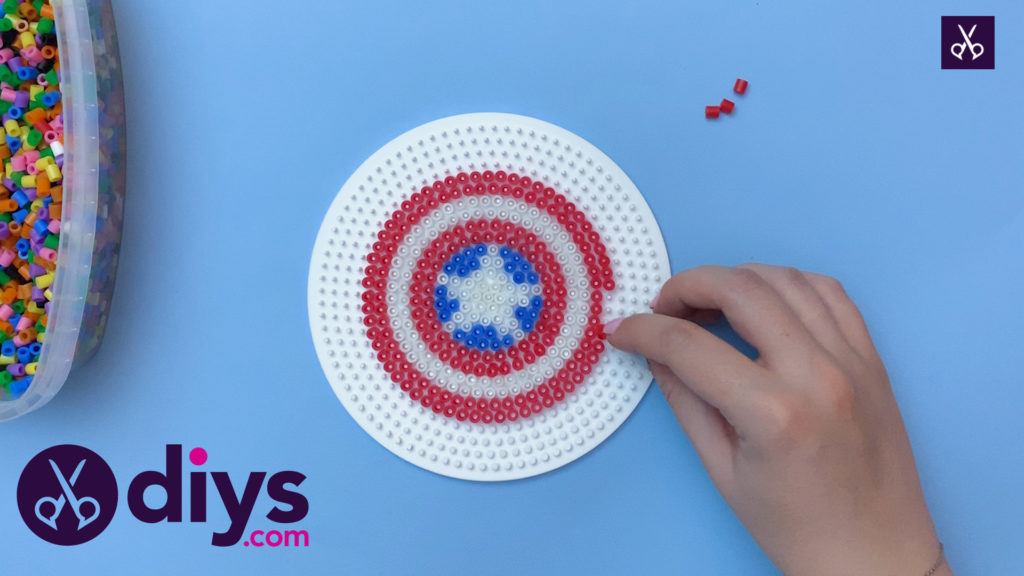
Repeat the circular double row process around your red beads, this time using white beads. You’ll see your circles getting larger as you work your way outwards.
Step 6: continue rows
Add one more more double row of red beads all around your white layer to complete the circle. This red ring will form the edge of your magnet shield.
Step 7: iron
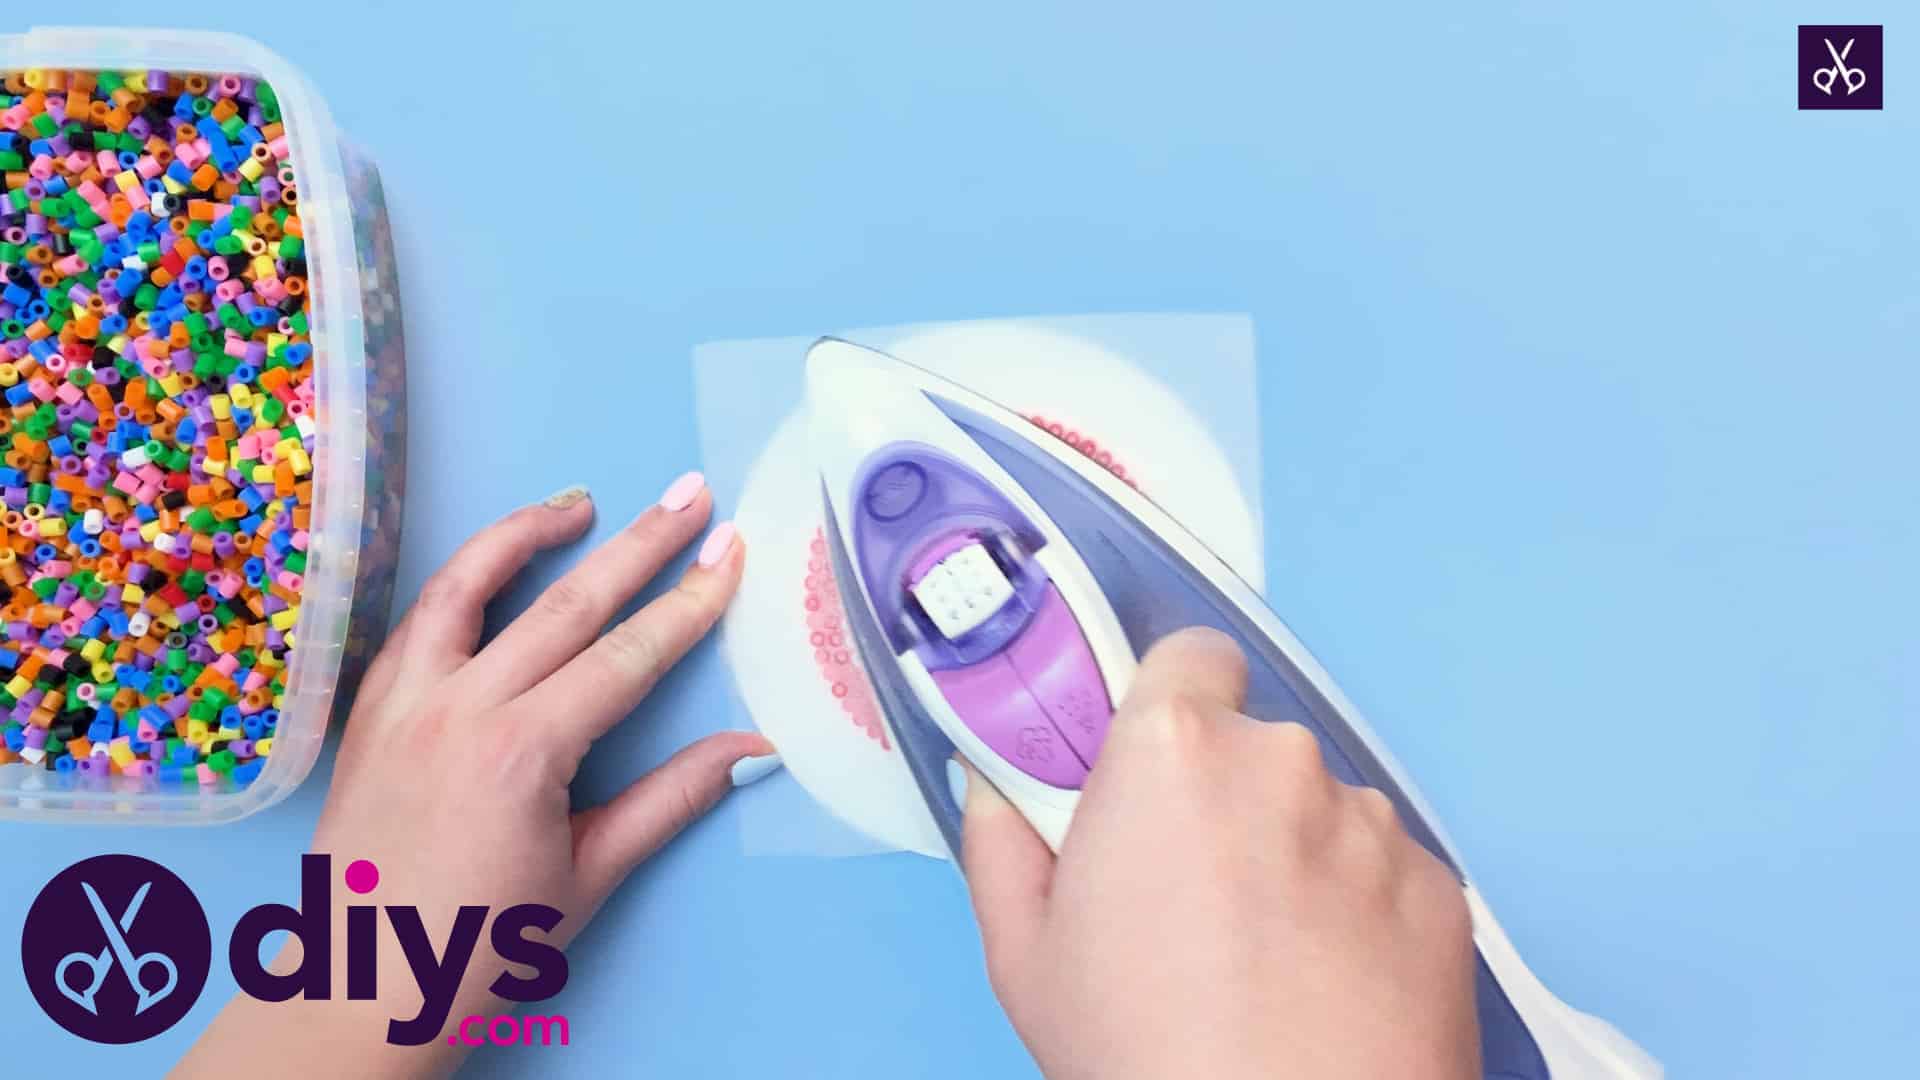
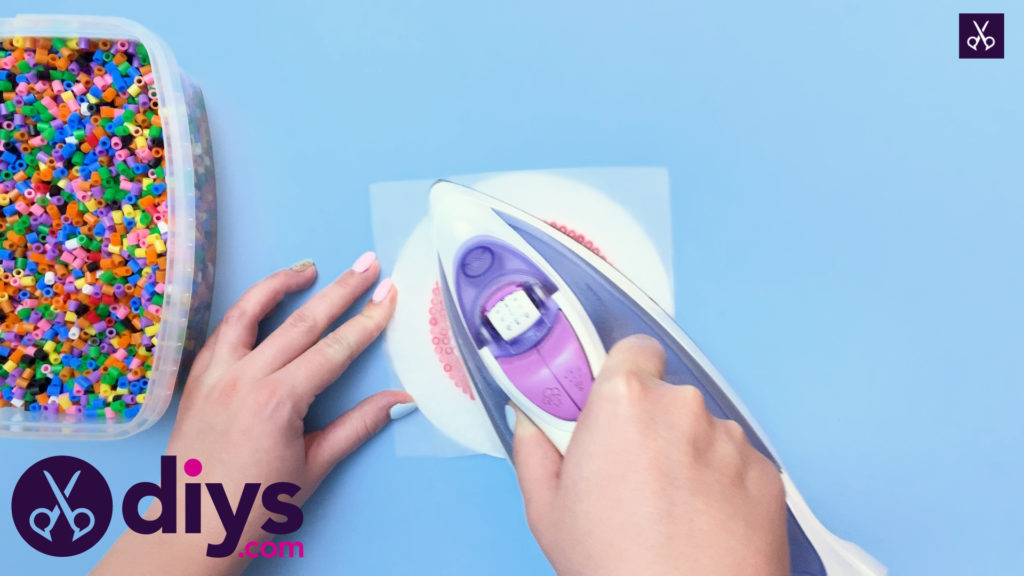
Cut a piece of wax paper large enough to cover the entire width of your beads. Heat your clothing iron and, on a medium setting, smooth it over top of your wax paper along the surface of the beads to carefully melt them together.
Step 8: let cool
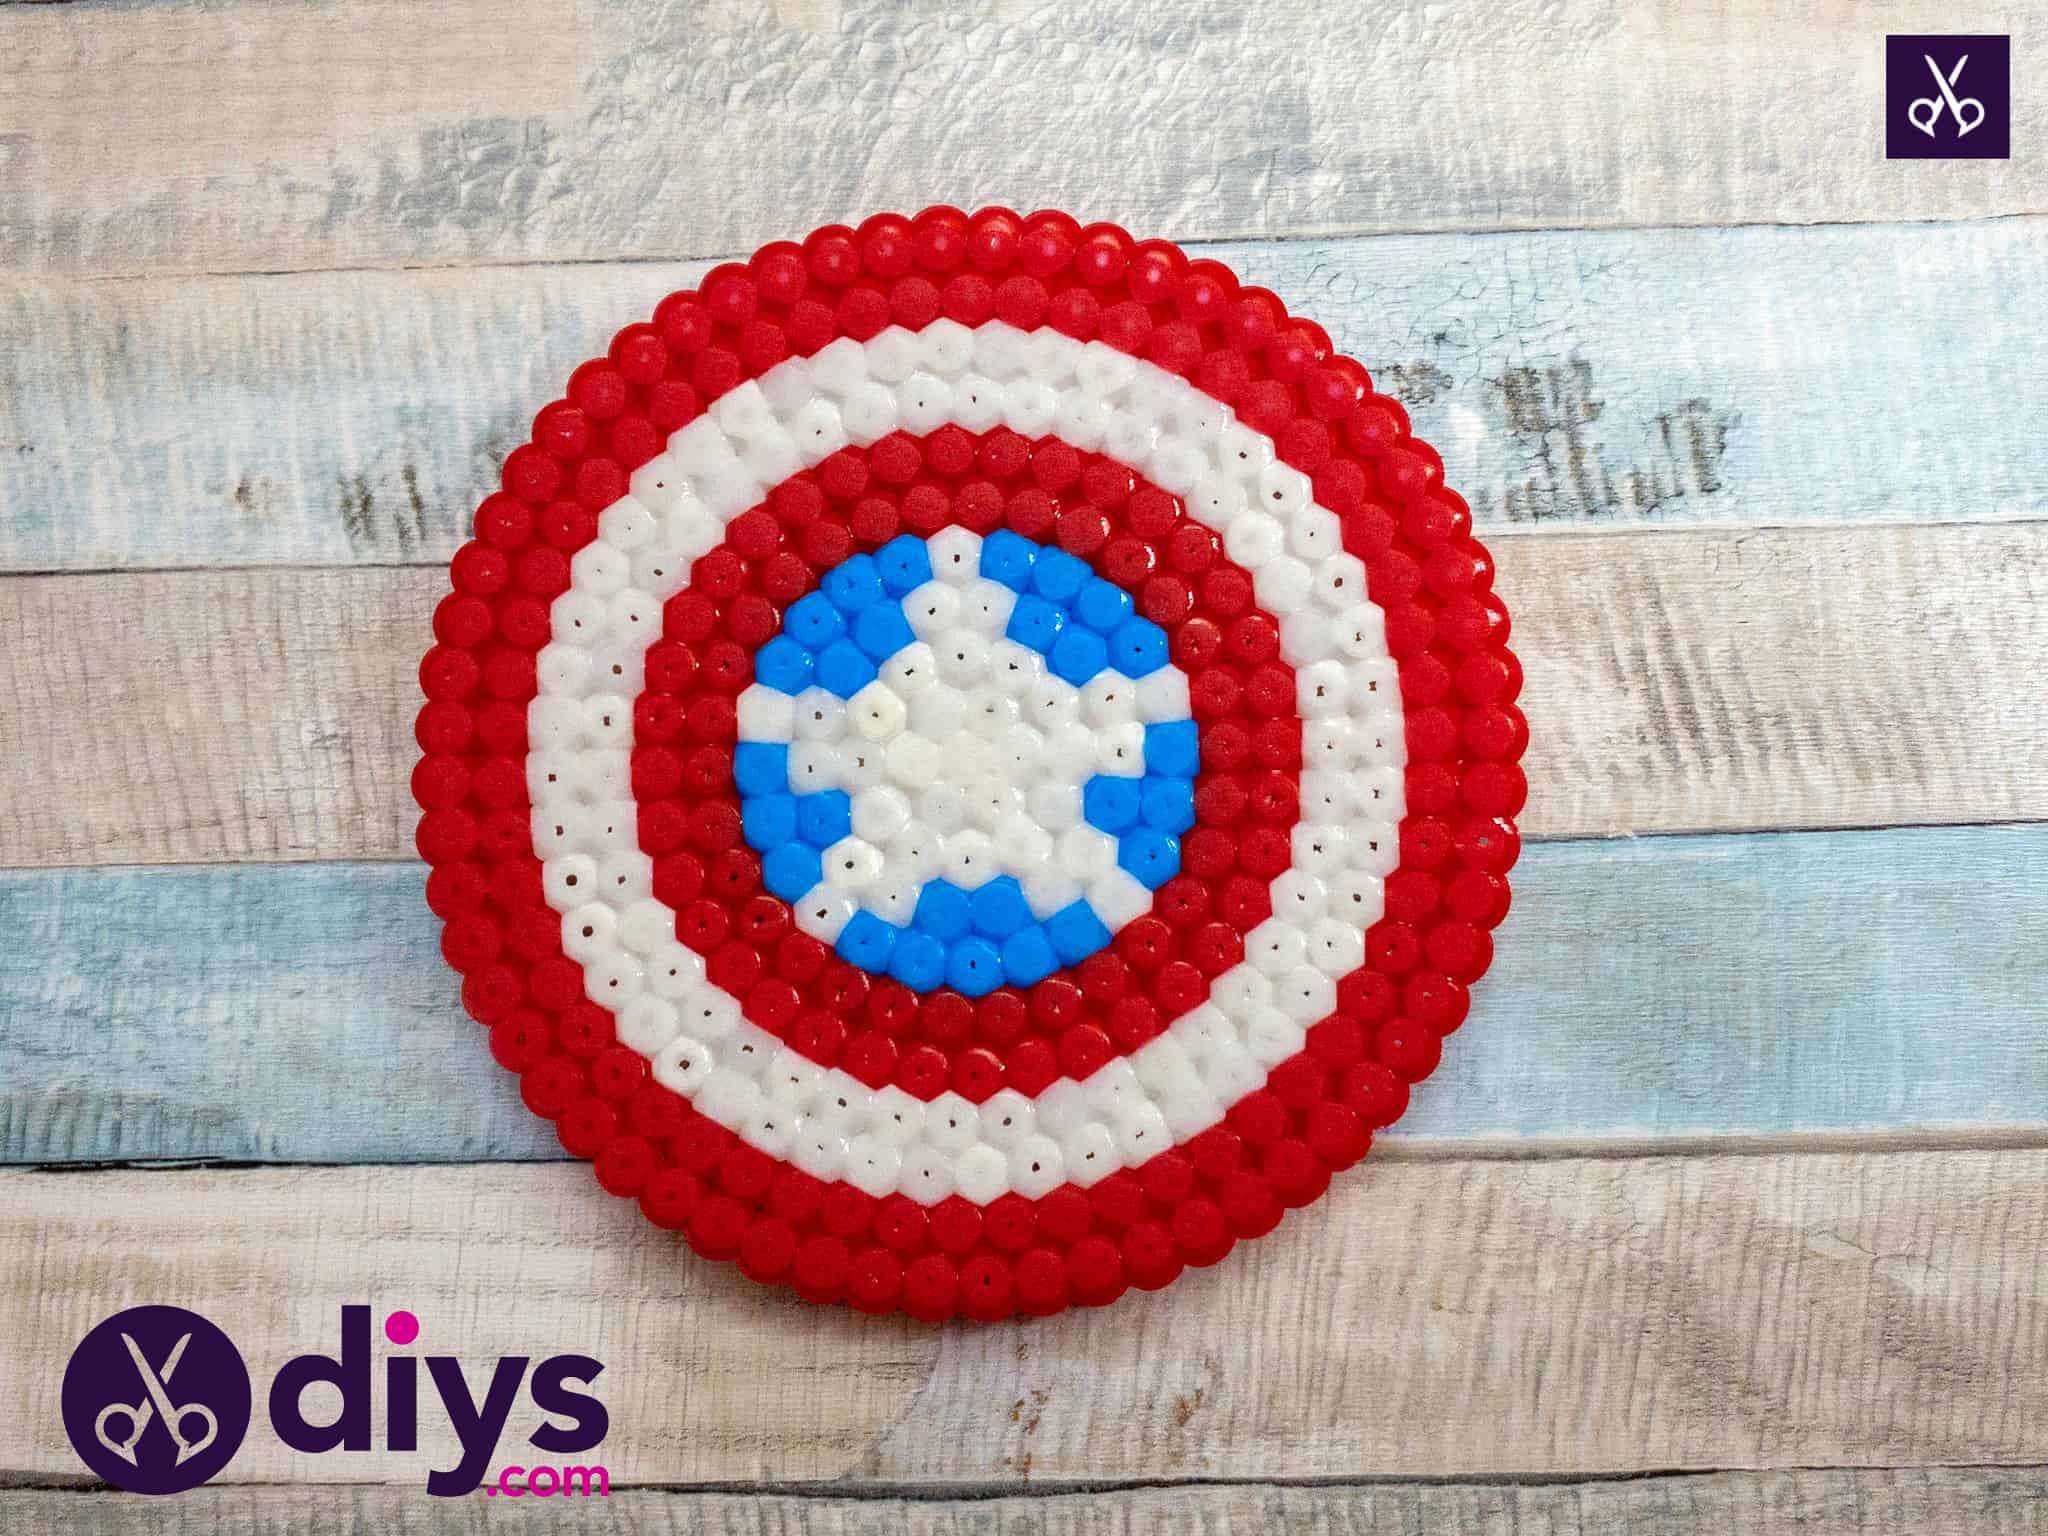
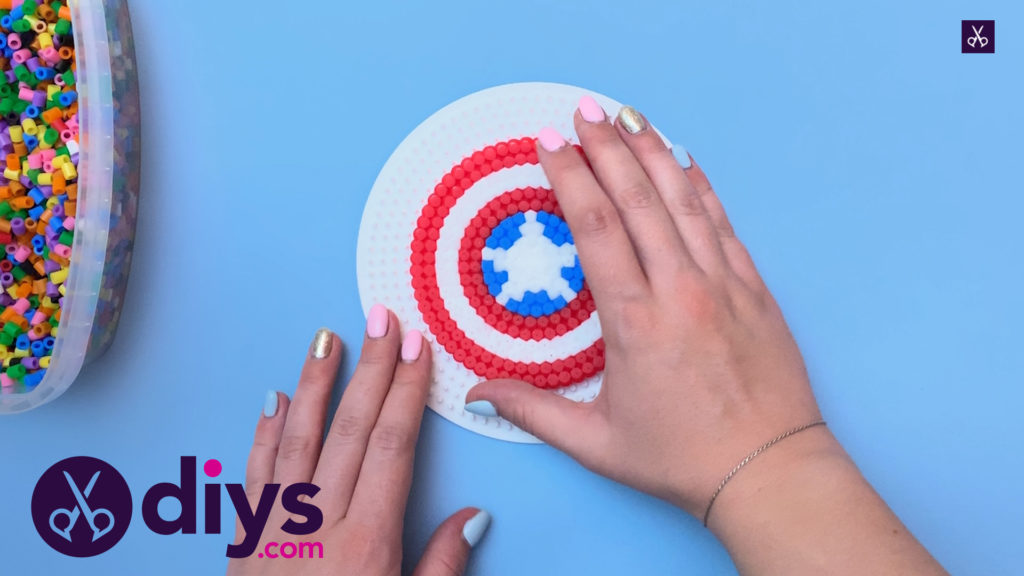
When your beads have formed a full, smooth top layer under the iron, turn the iron off and remove the wax paper. Let your piece cool entirely and then carefully lift if off the beading base.
Step 9: glue magnet
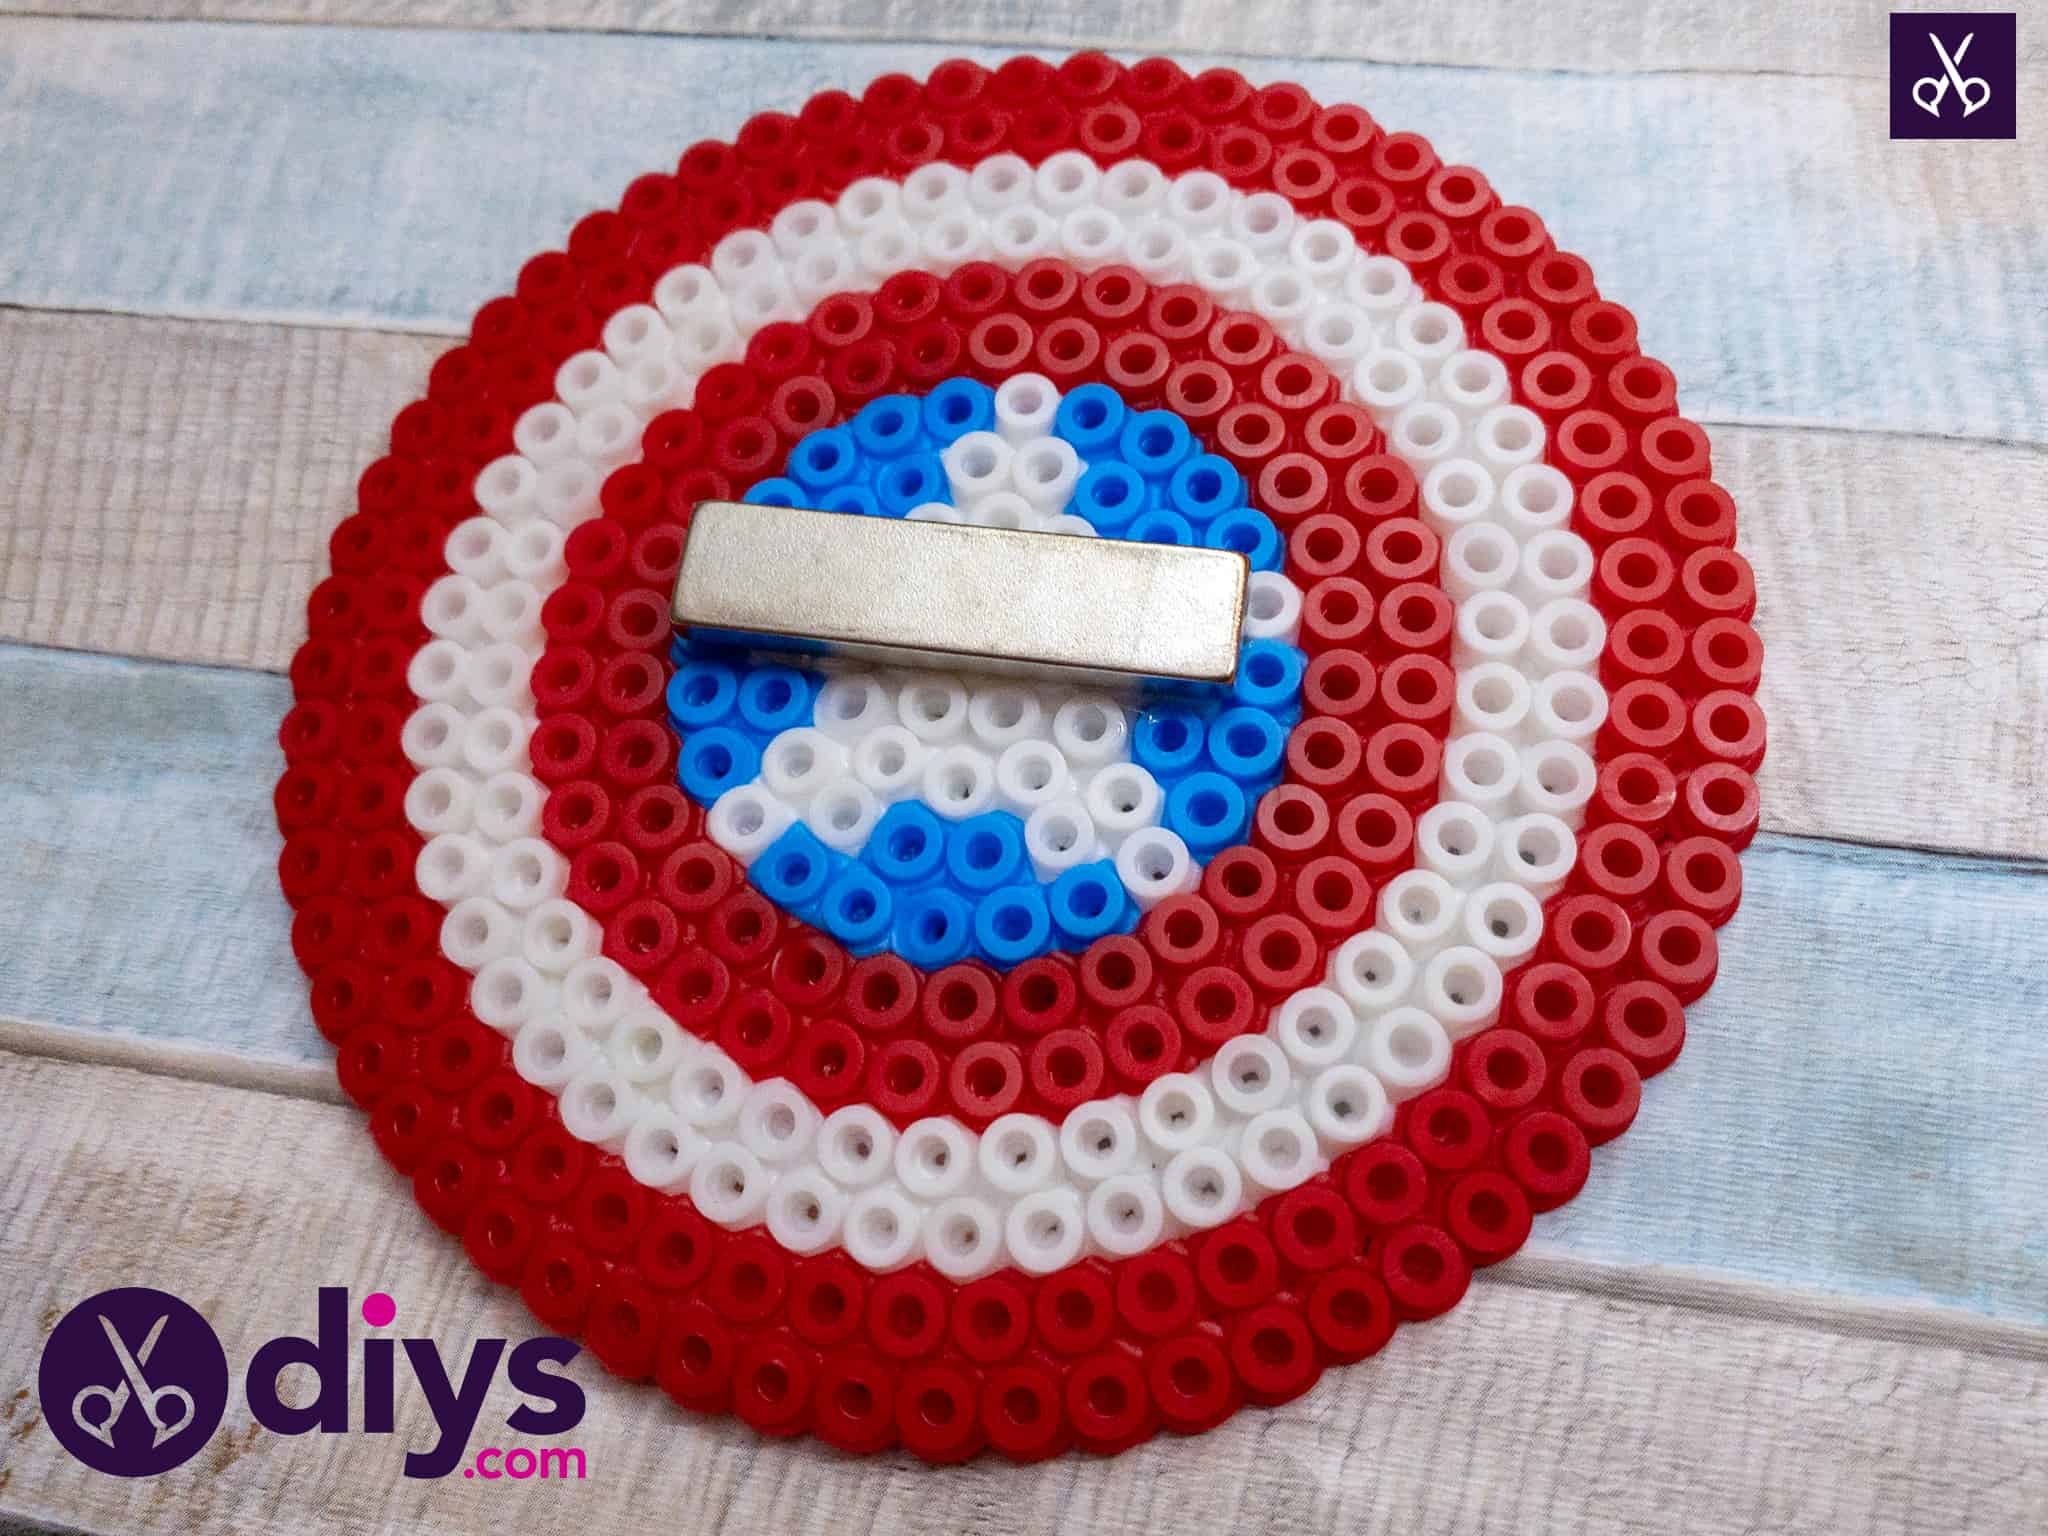
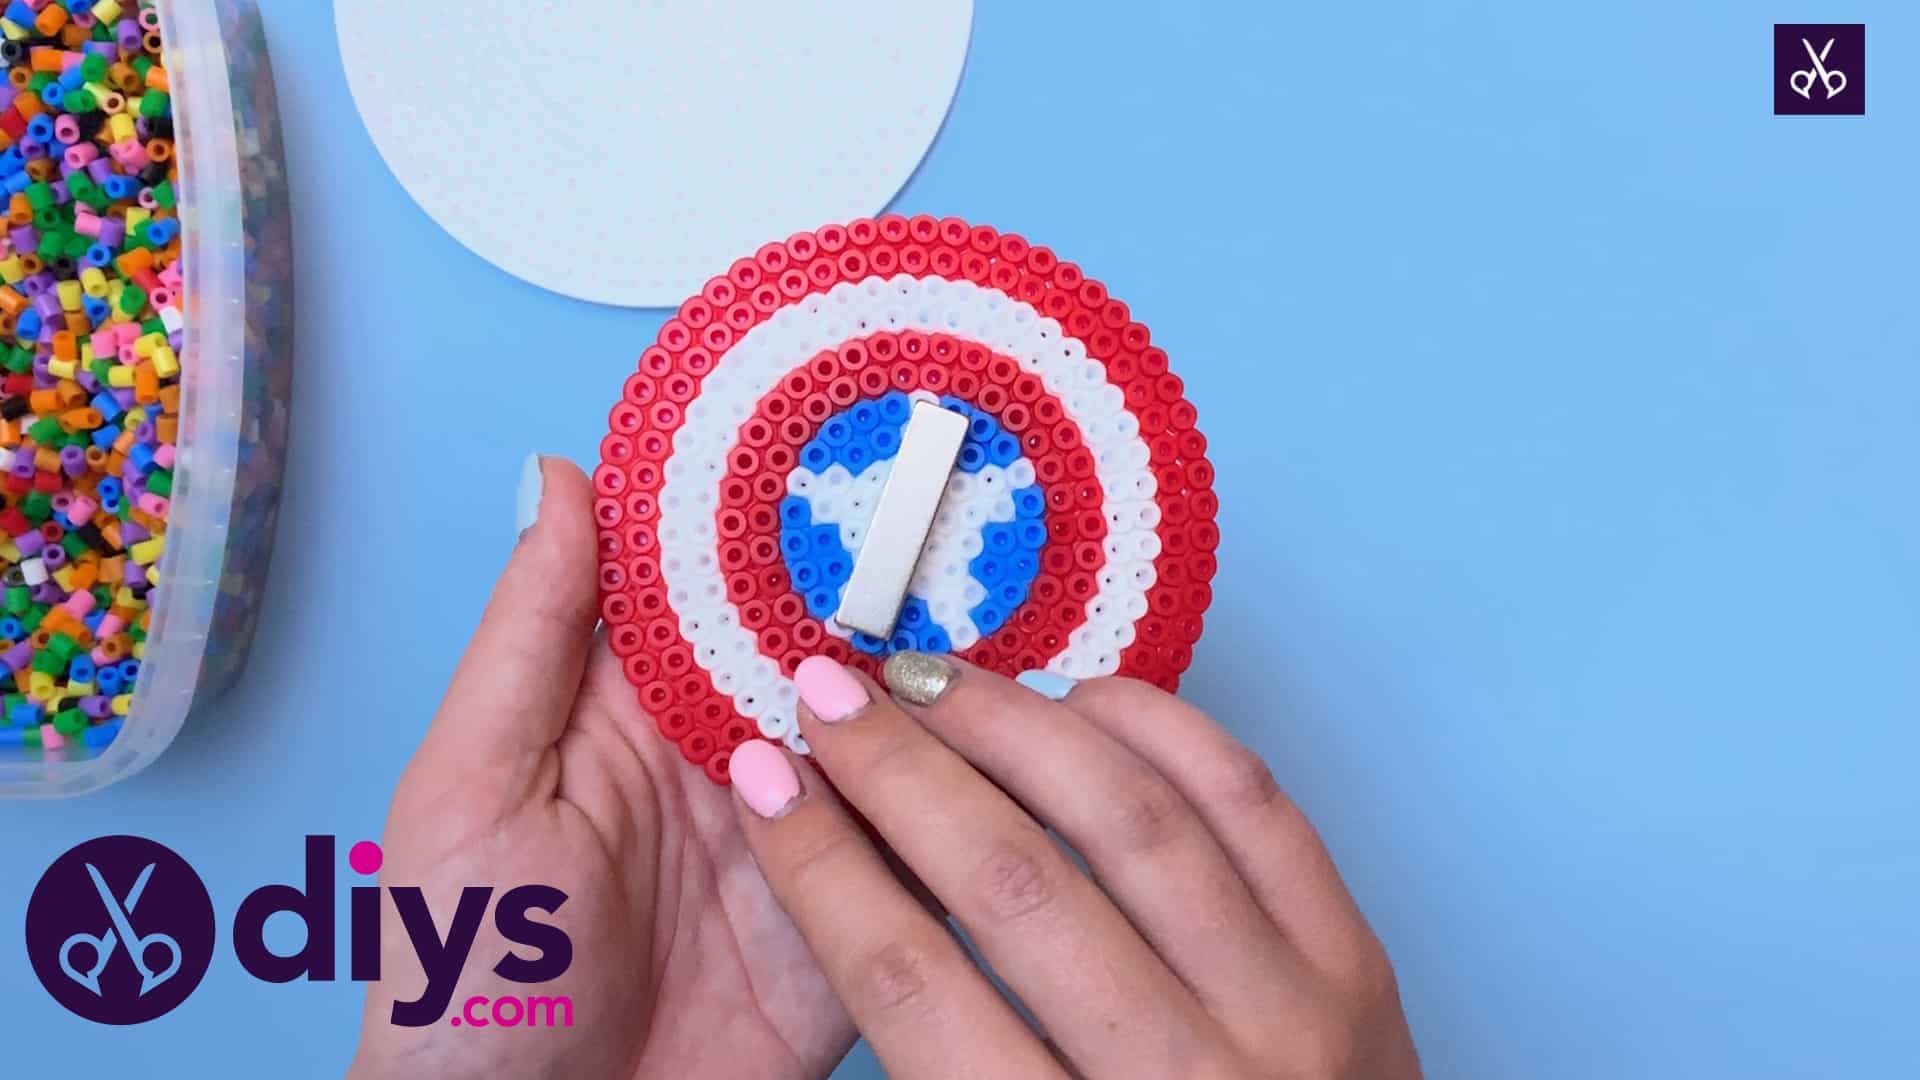
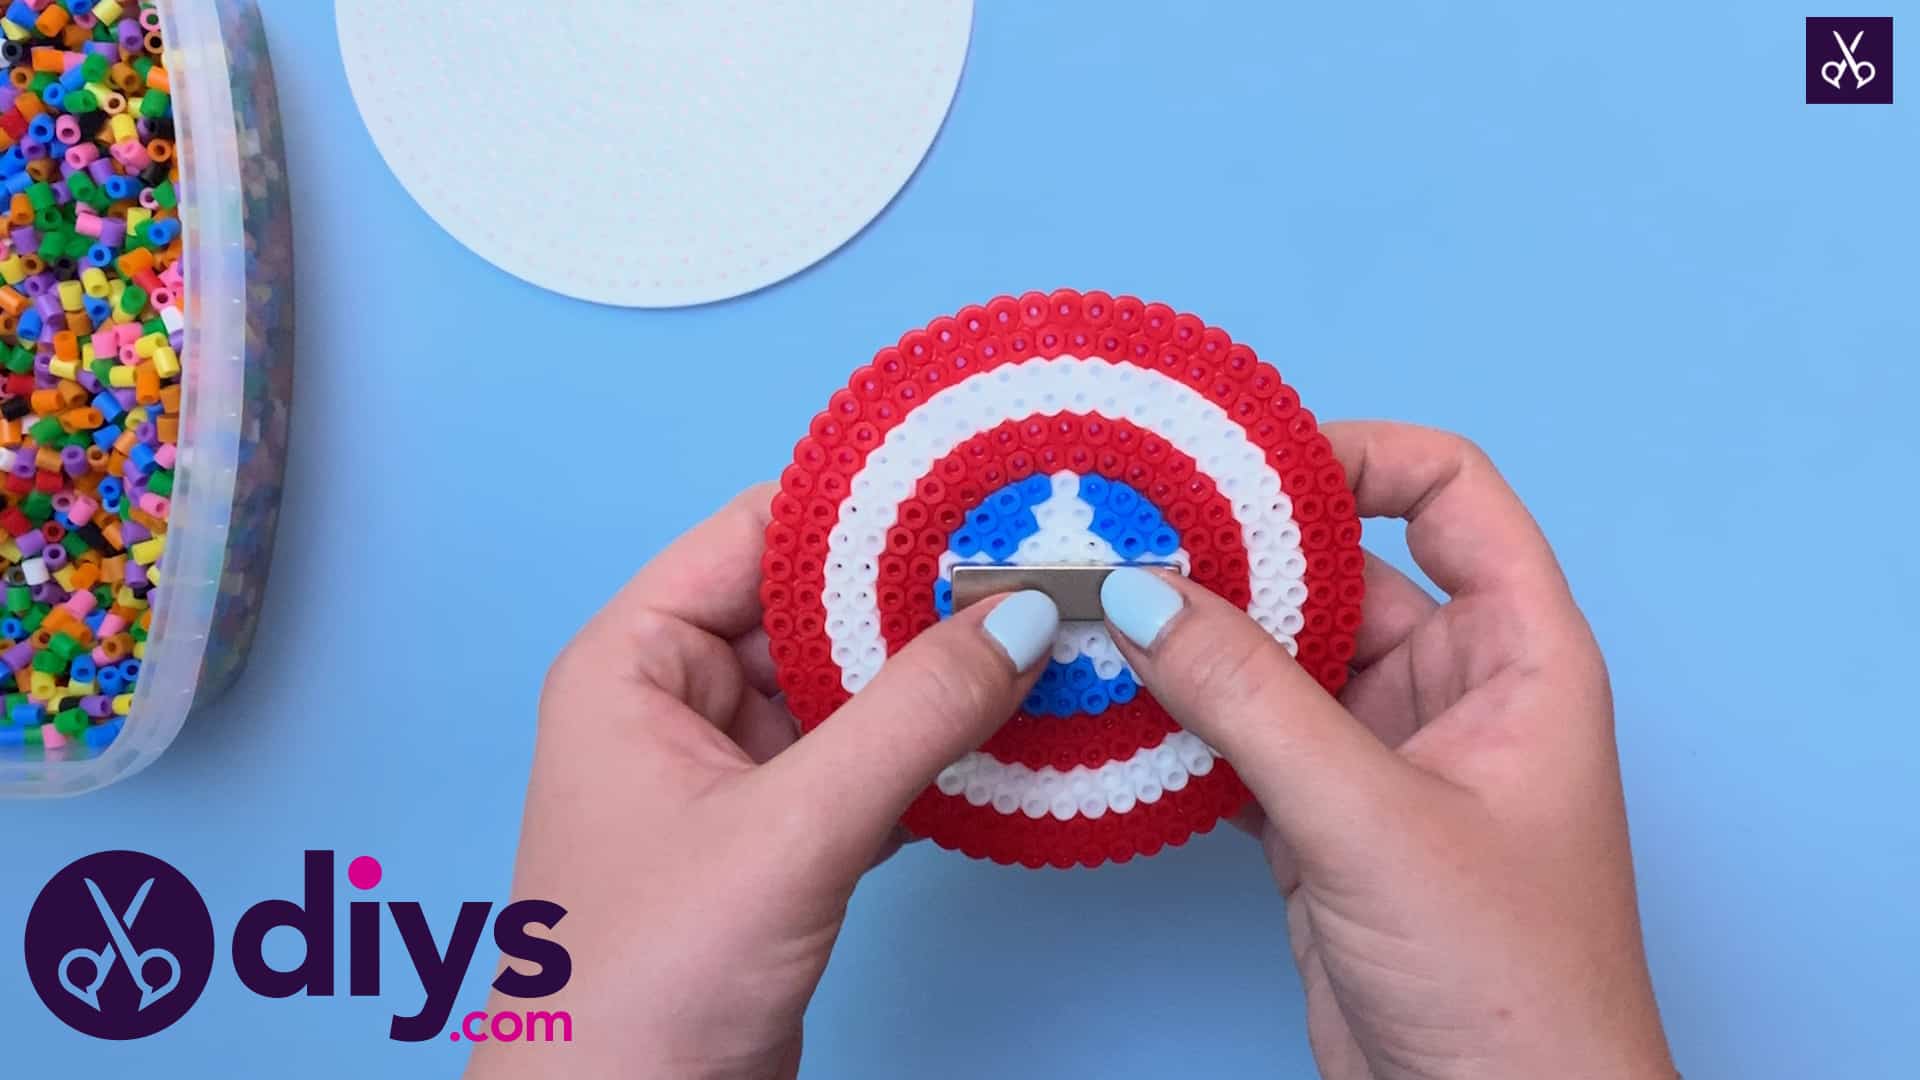
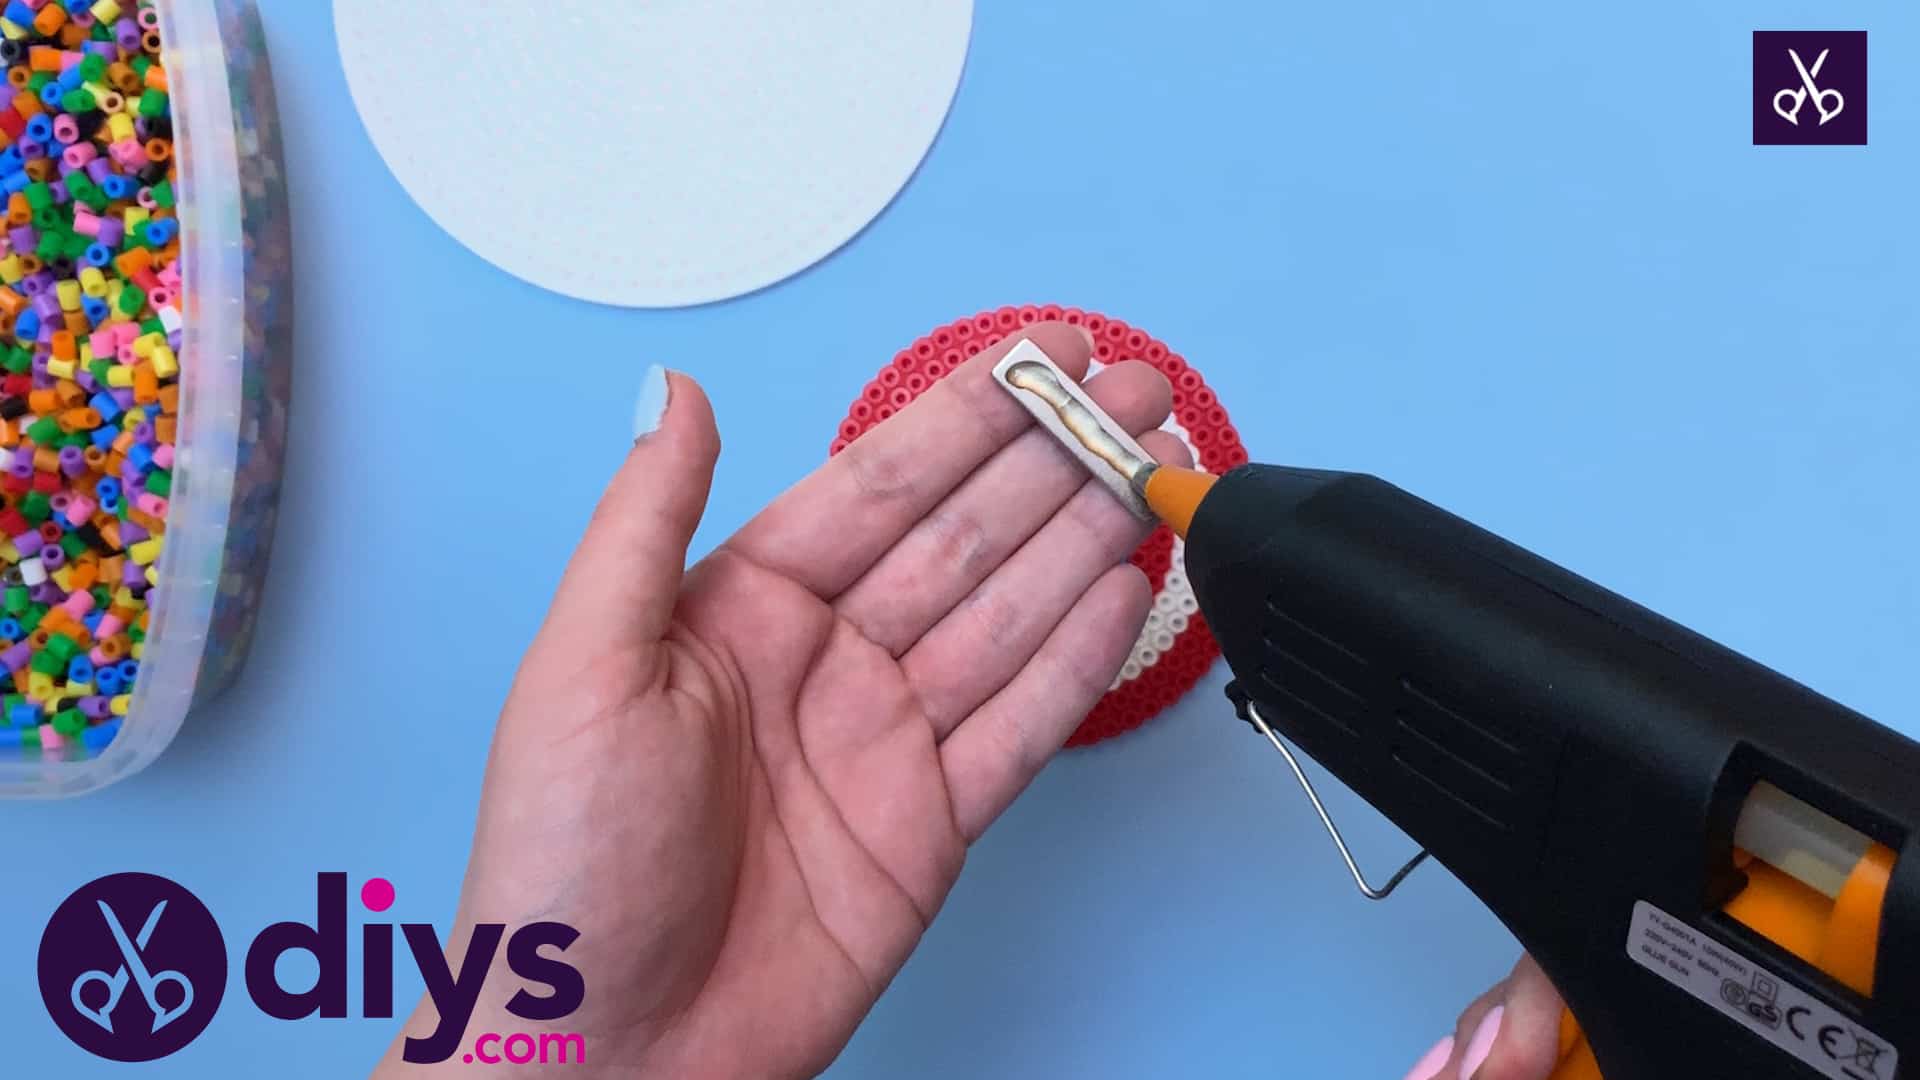
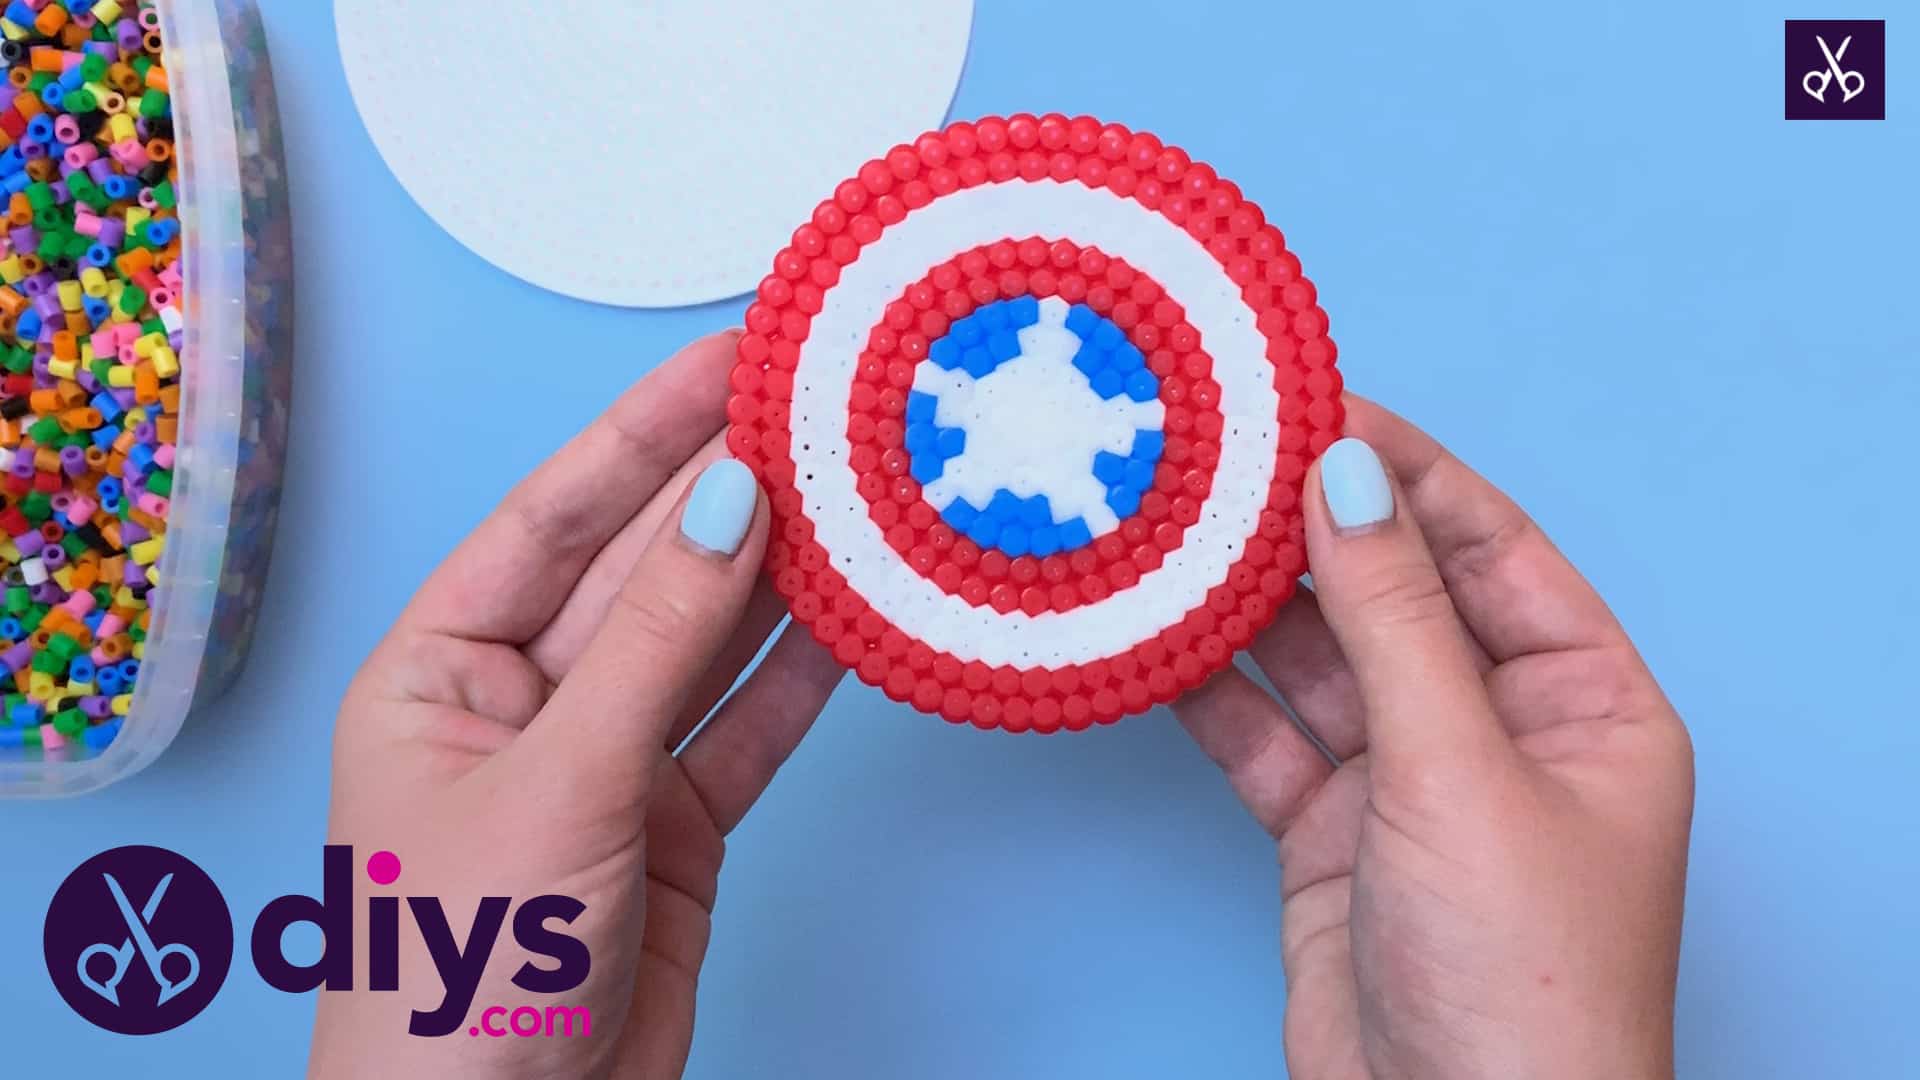
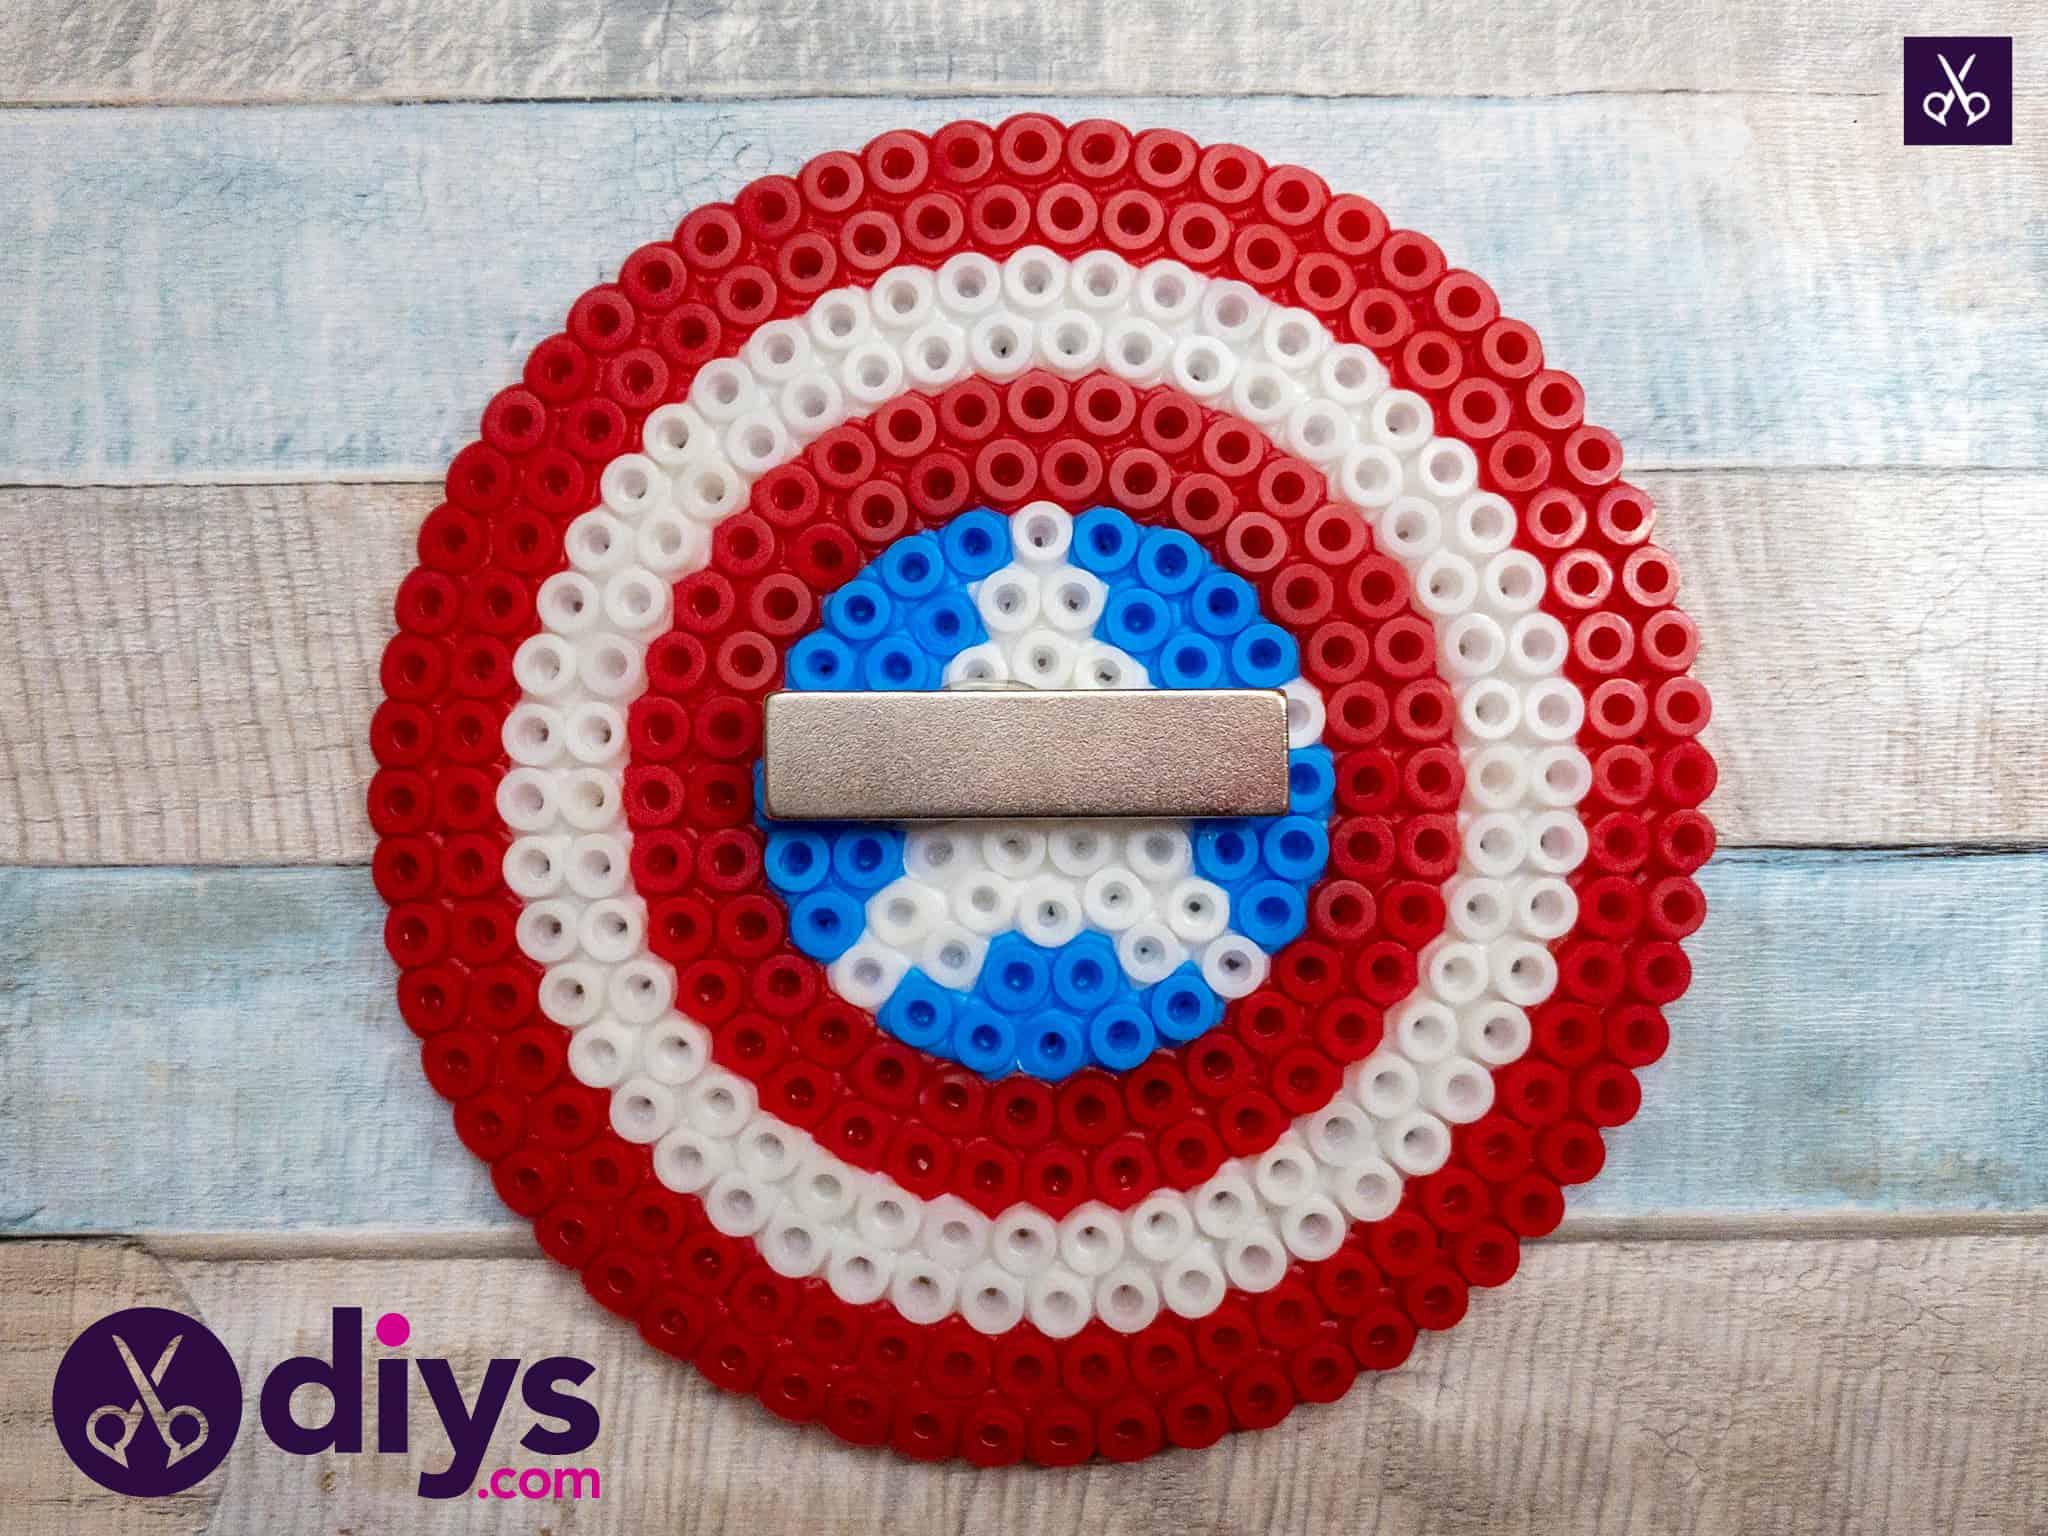
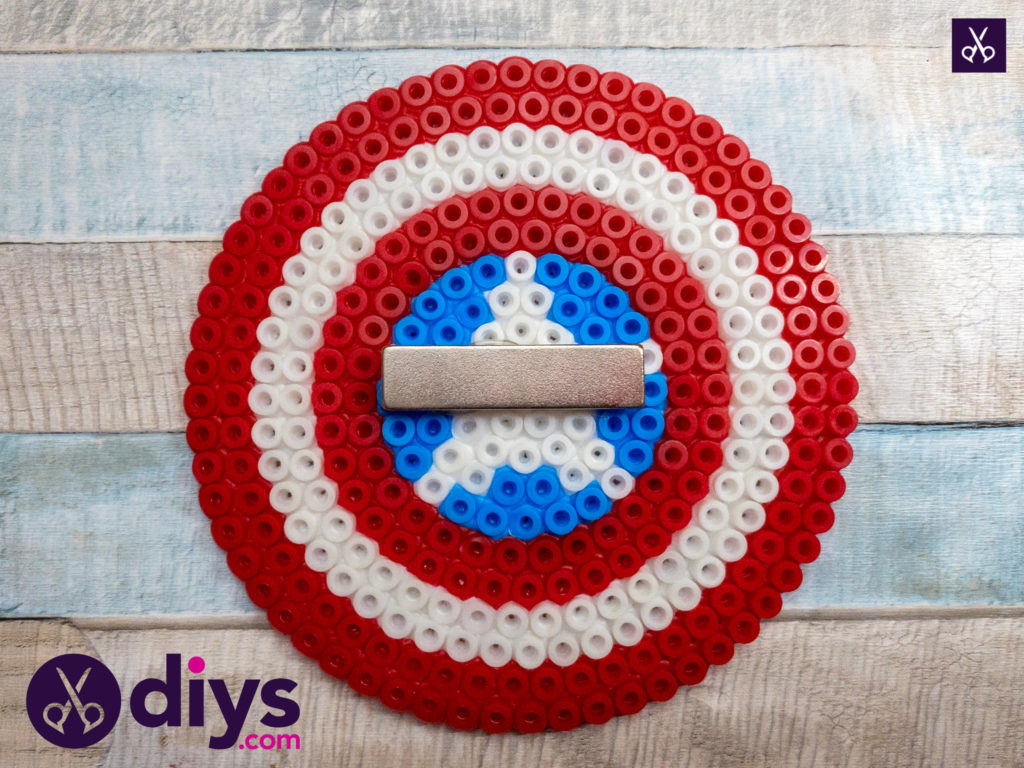
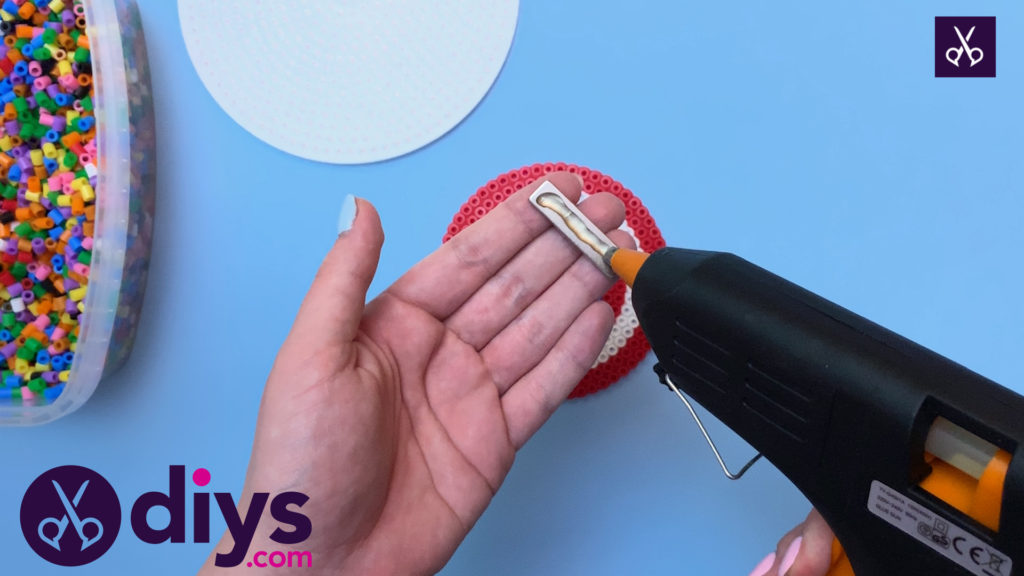
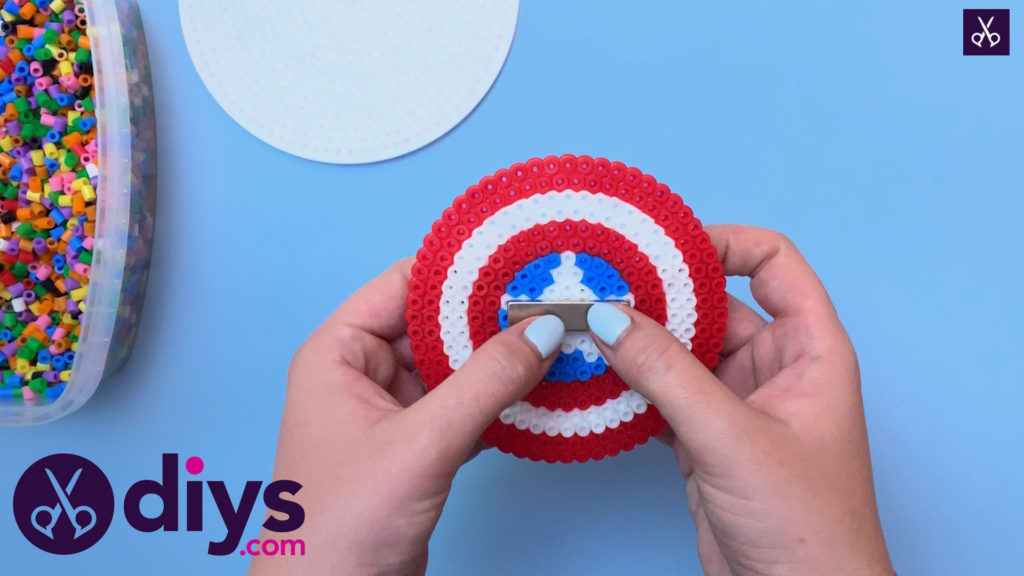
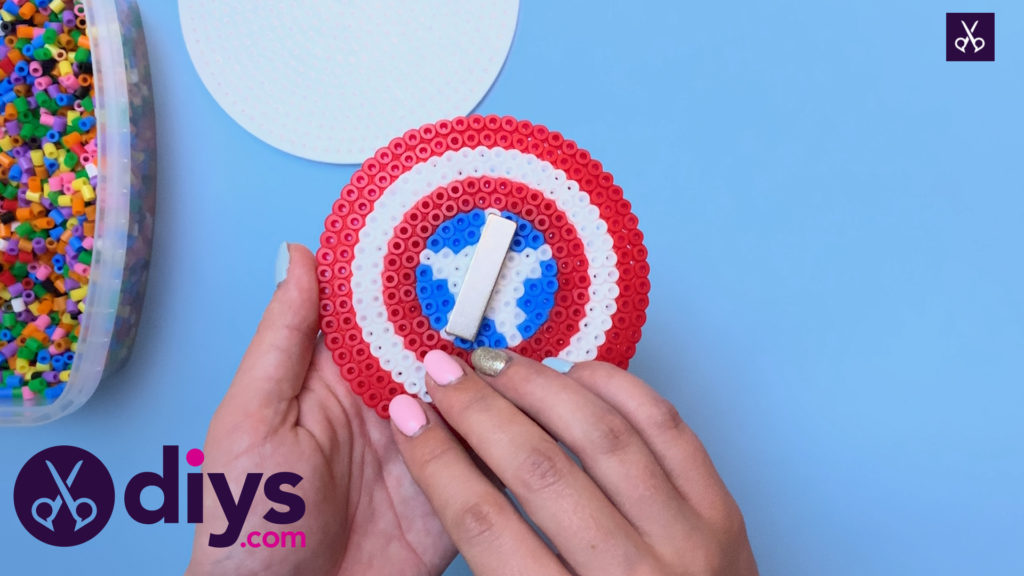
Heat your glue gun and then apply hot glue on one side of your magnet. Carefully press it into the middle of your shield’s surface on whichever side you’d like to use as the back. We chose to have the smoothly melted side as our front, letting the circular side of the beads that still look separated (i.e. the side we didnot apply the hot iron to) be the back.
YourCaptain America magnet is finished! Pop in on the fridge like decor or us it to keep reminders or your kids’ art there for all to see.
Find a full video tutorial for this awesome project here!
