DIY Cookie Packaging – The Best Gift For This Season
If you love to bake, then you probably also love to give cookies and other baked goods to friends as gifts. But it’s hard to find a way to wrap them that looks pretty. So today I wanted to share these simple DIY cookie wrappers with you. They are easy to make and totally customizable.
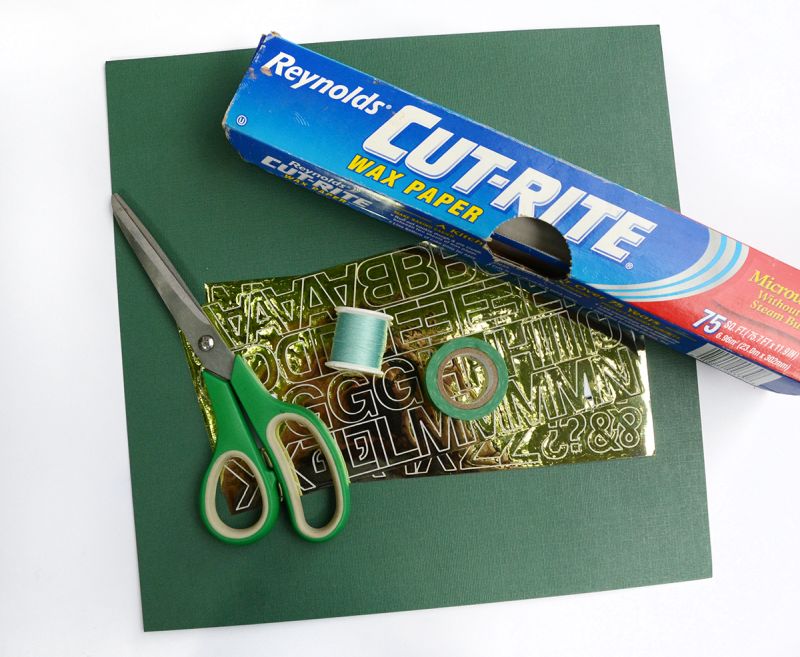
Here’s what you’ll need for this easy Cookie Packaging:
- Thick double-sided craft paper in a pretty color
- Wax paper
- Adhesive metallic letters
- Washi tape
- Scissors
- Thread
- Sewing machine (not pictured)
How to make the Cookie Packaging:
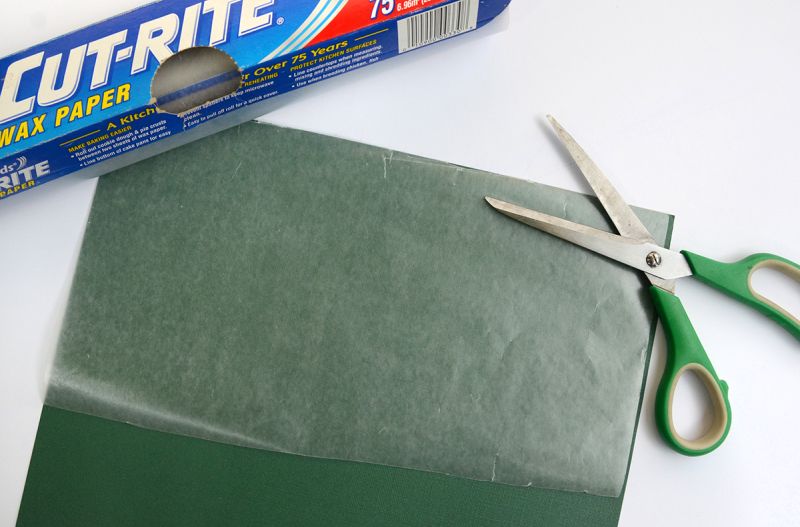
Begin by cutting a piece of wax paper that is approximately 12×6 inches.
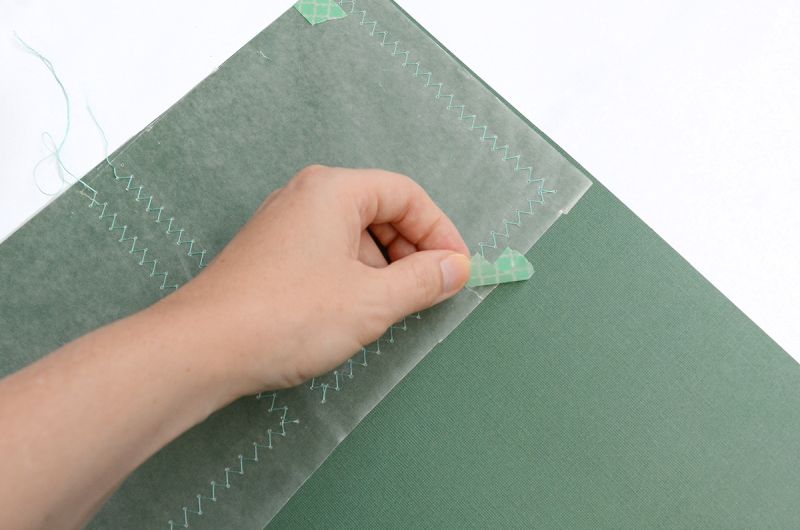
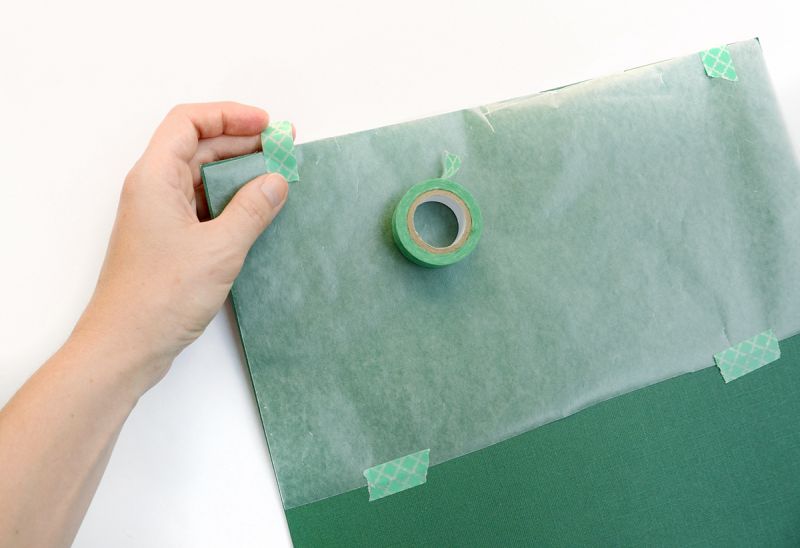
Tape it to the top of the colored paper as shown above. Washi tape works best because it will not ruin the paper when you remove it later.
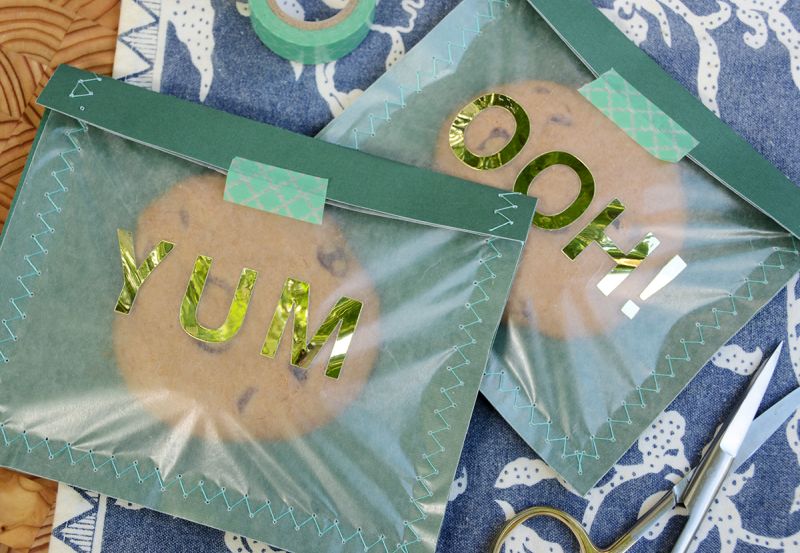
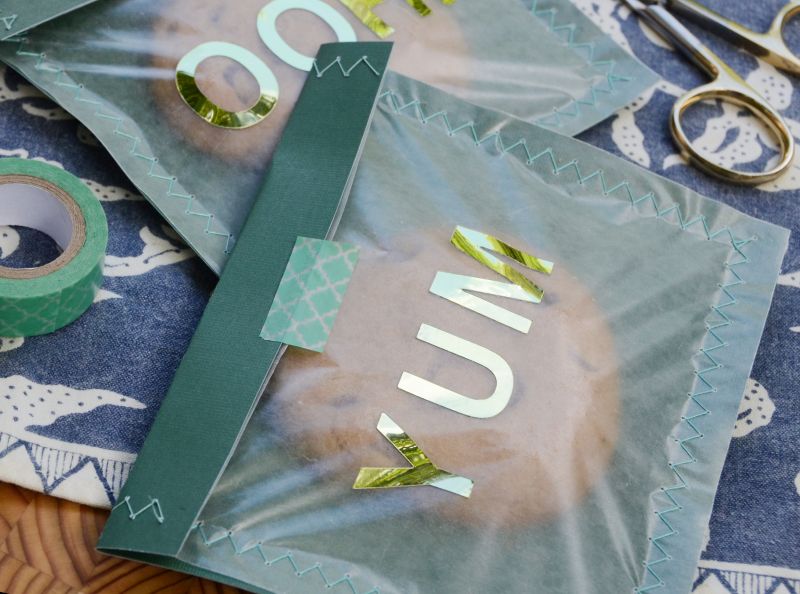
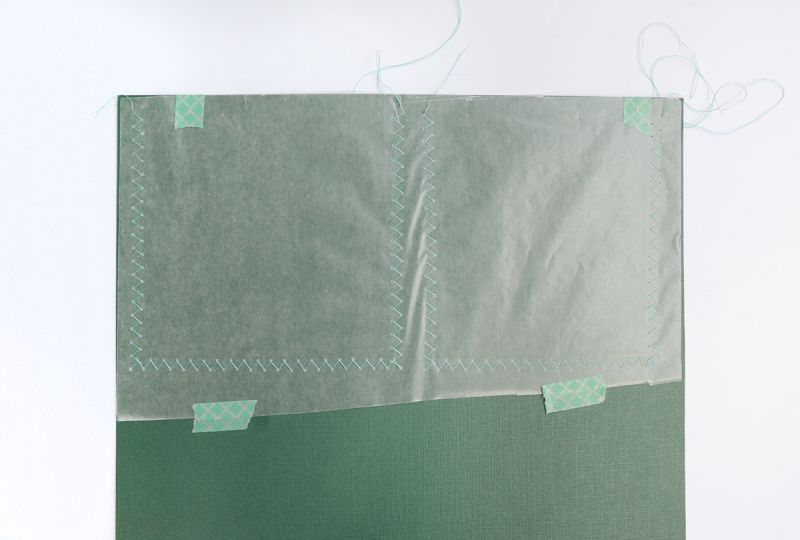
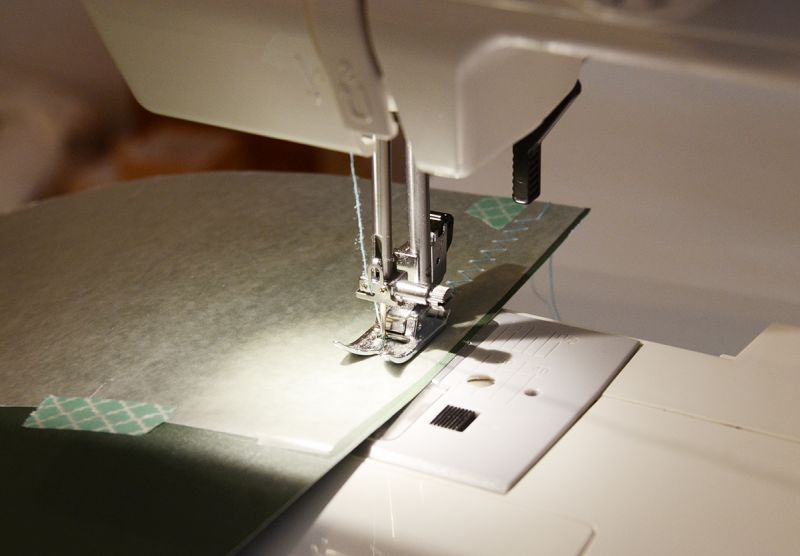
Now, sew a square shape that is about an inch wider and taller than the cookie you’ll be inserting later. Use a large zig zag stitch in a contrasting thread color. Leave about a quarter of an inch outside of the seam, and only sew three sides.
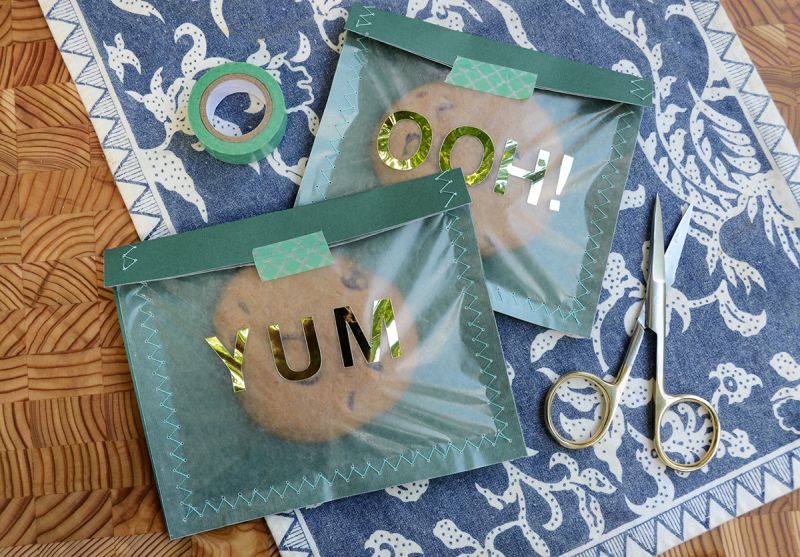
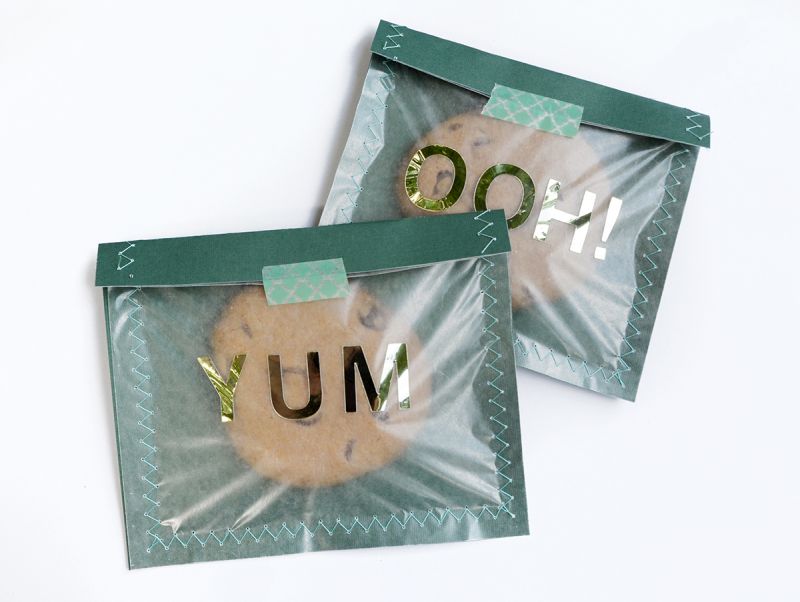
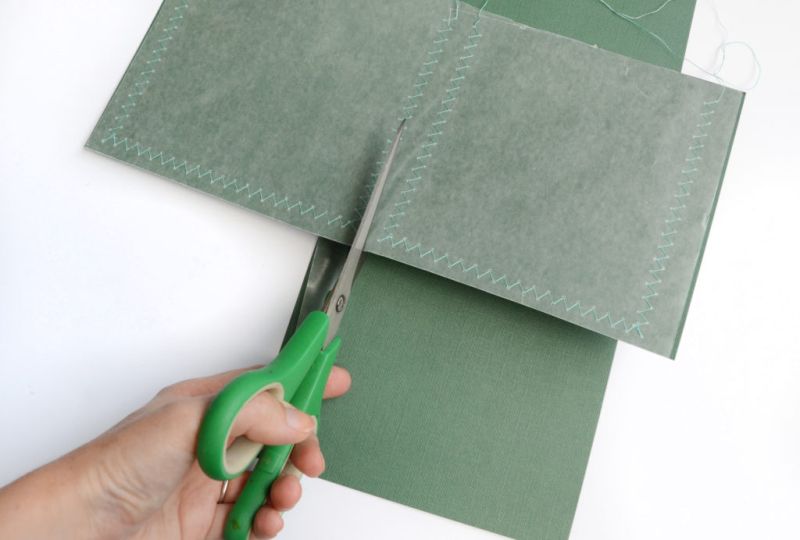
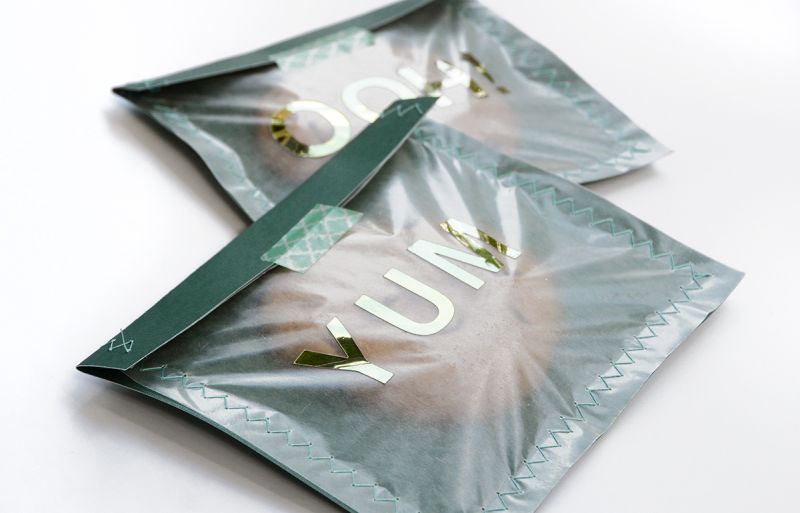
If you’re making two wrappers, they should look similar to the photo above.
Remove the tape gently and discard it.
Trim around the edges so they look neat and even. Cut off the thread tails as well.
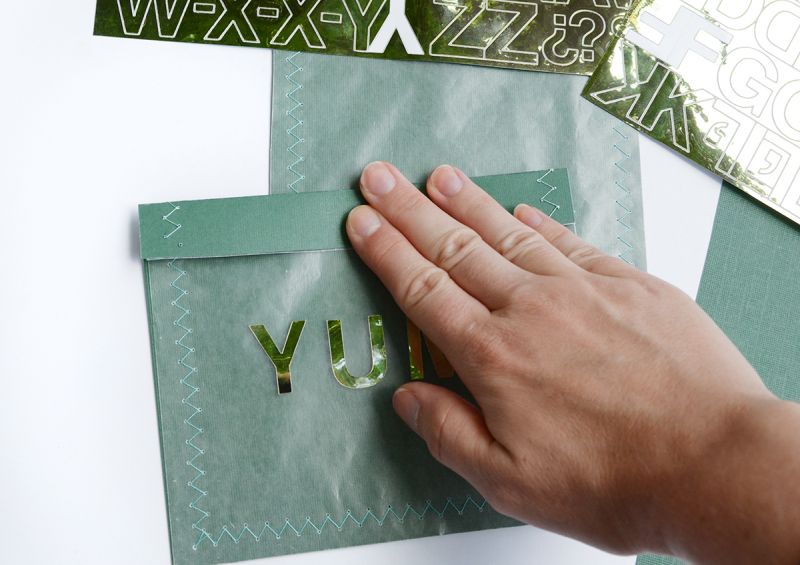
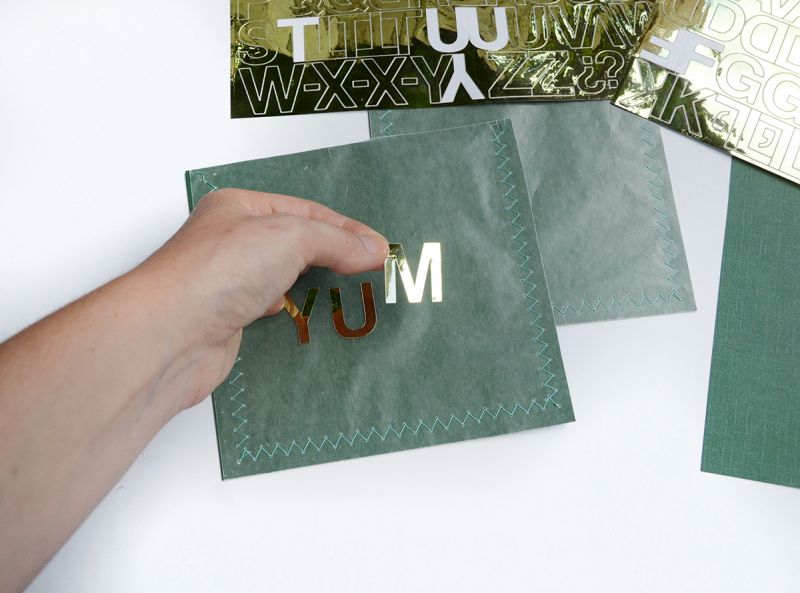
Now decide what words you’ll put on the front of your wrappers. I chose “yum” and “ooh!” but you could try words like”mmm” or “wow” too. Center them on the wax paper.
The last step is to fold over the top of the wrapper. That way, you can easily re-fold it once you’ve inserted the cookie. And that’s it! Seal it with another piece of washi tape for some extra color.
The great thing about this project is that you can customize it completely. If you’re making them during the holidays, you might try red thread. Or a red, white and blue theme would be great for the 4th of July or Memorial Day!
These make great teacher gifts as well, or delicious little gift toppers on birthday presents.
And I can’t even tell you how easy they are to make….. you’ll just have to try making them yourself! Happy crafting!
