DIY Concrete Heart Candle Holder
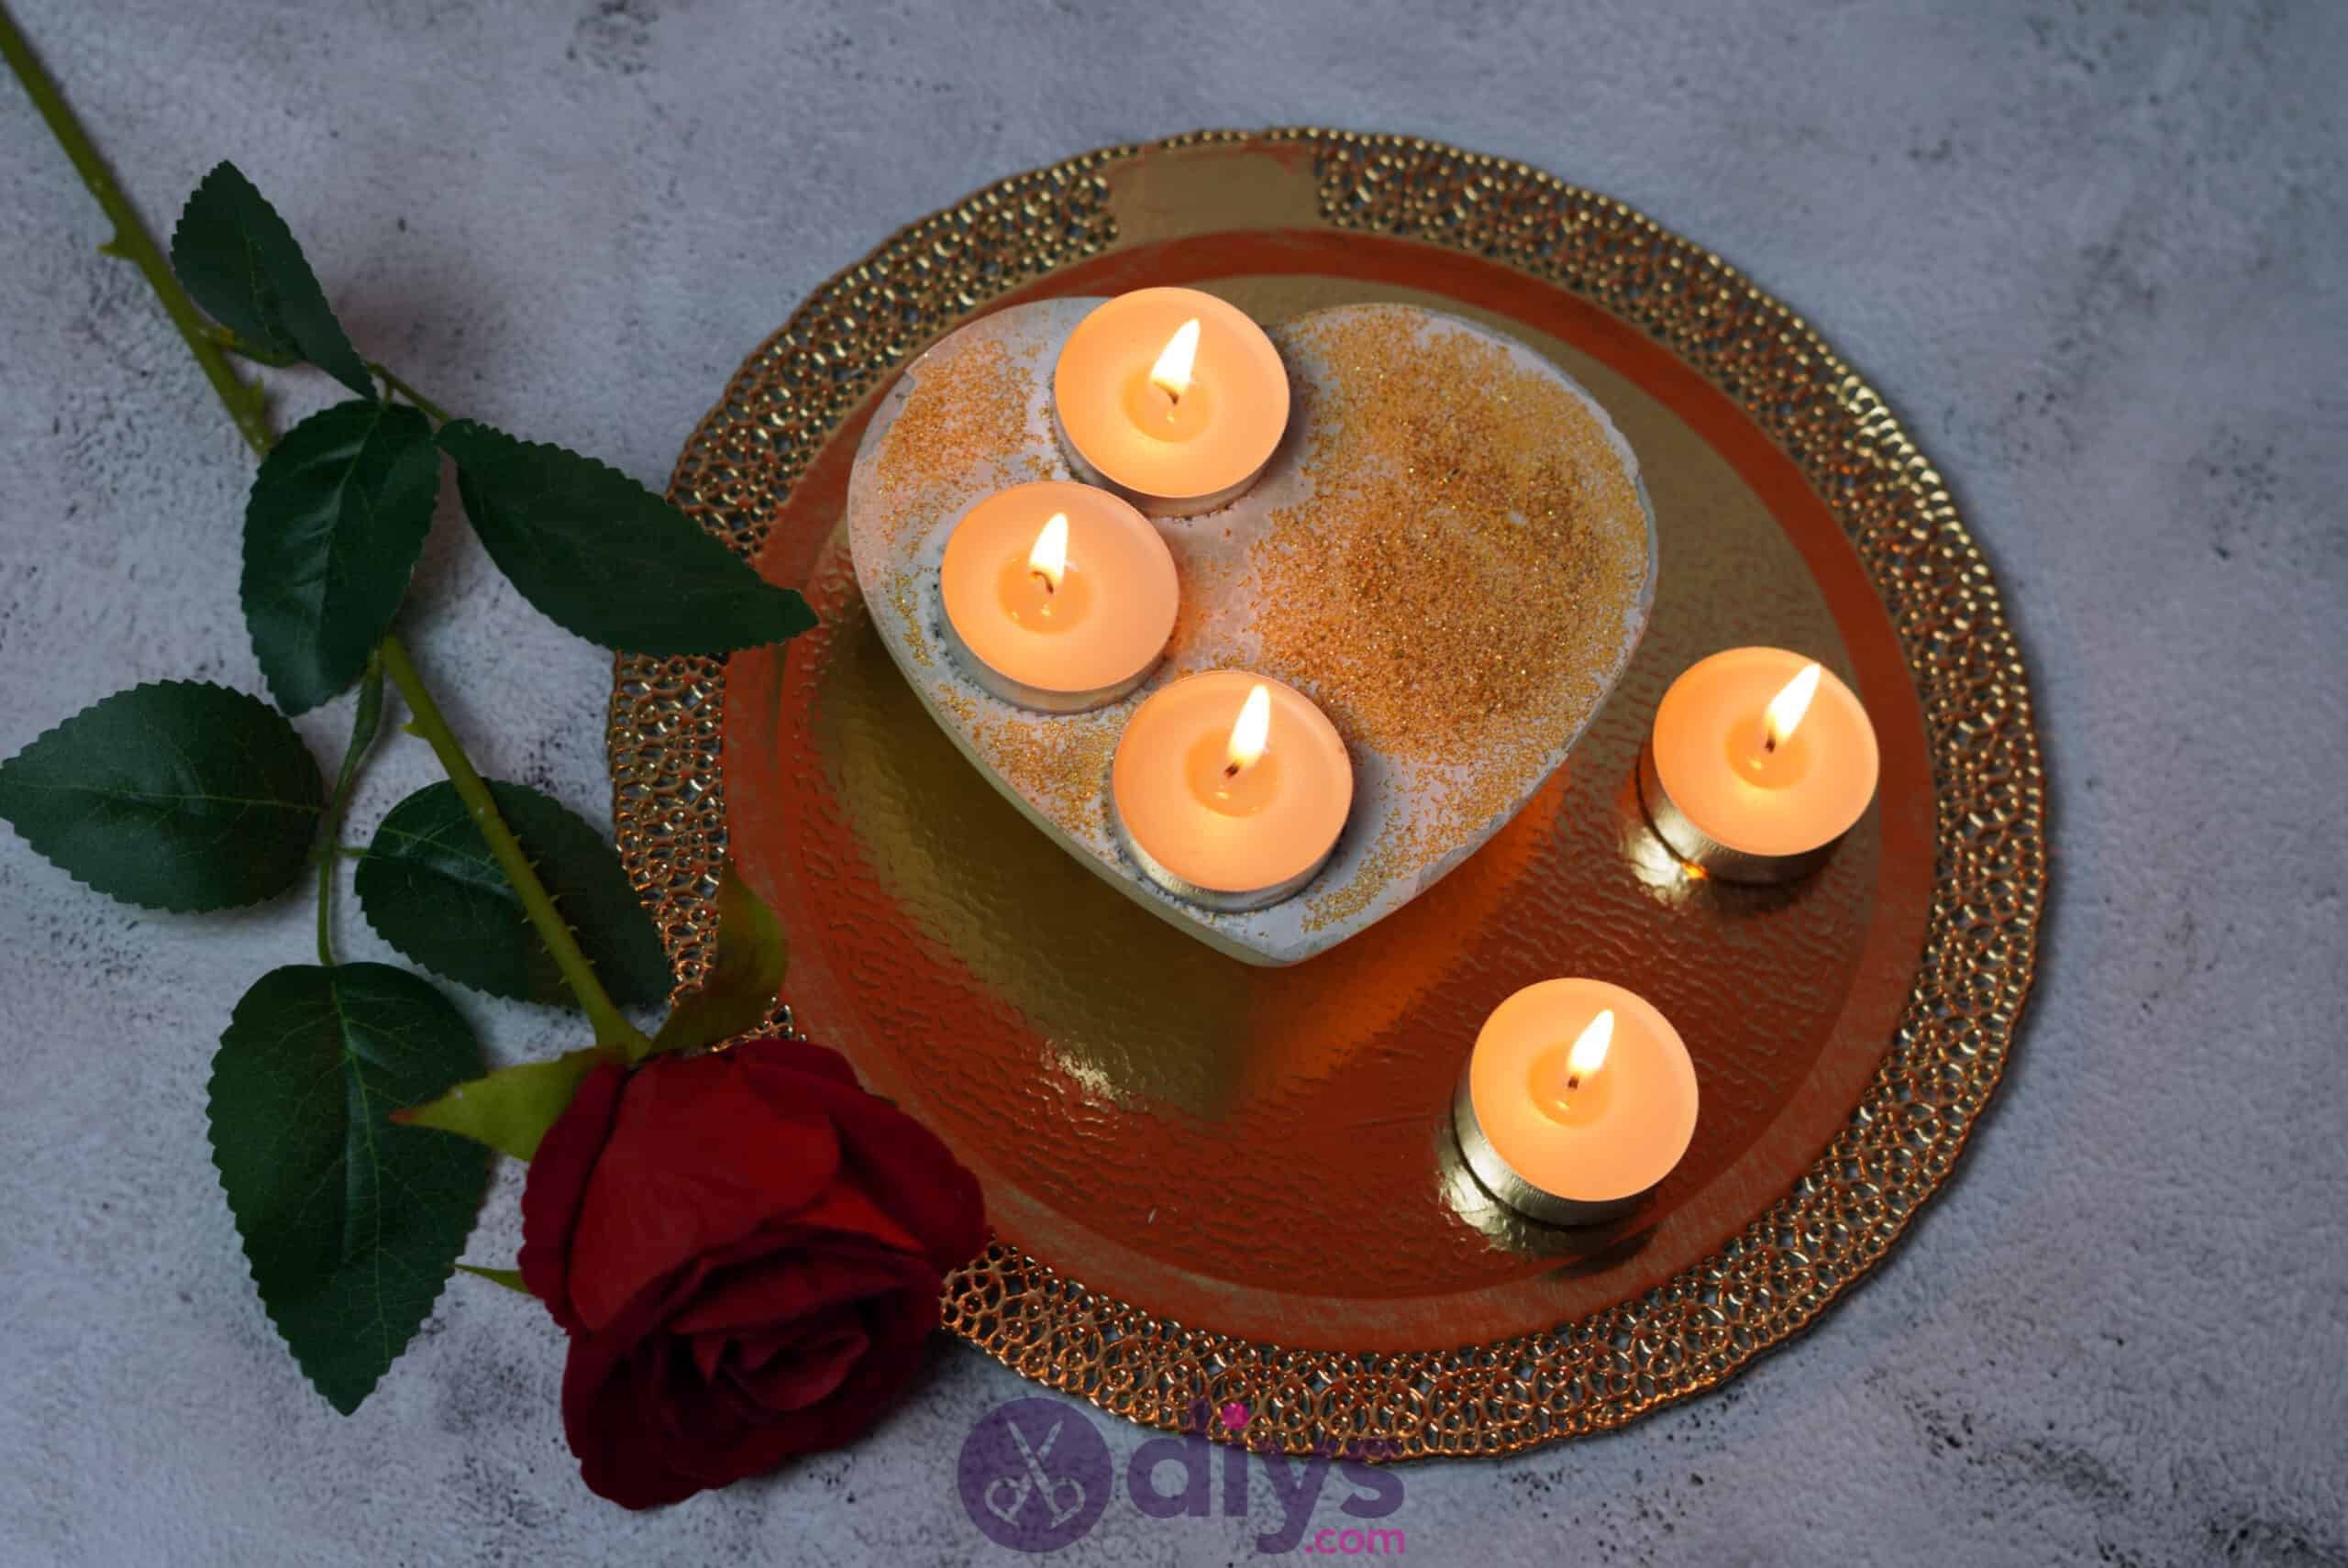
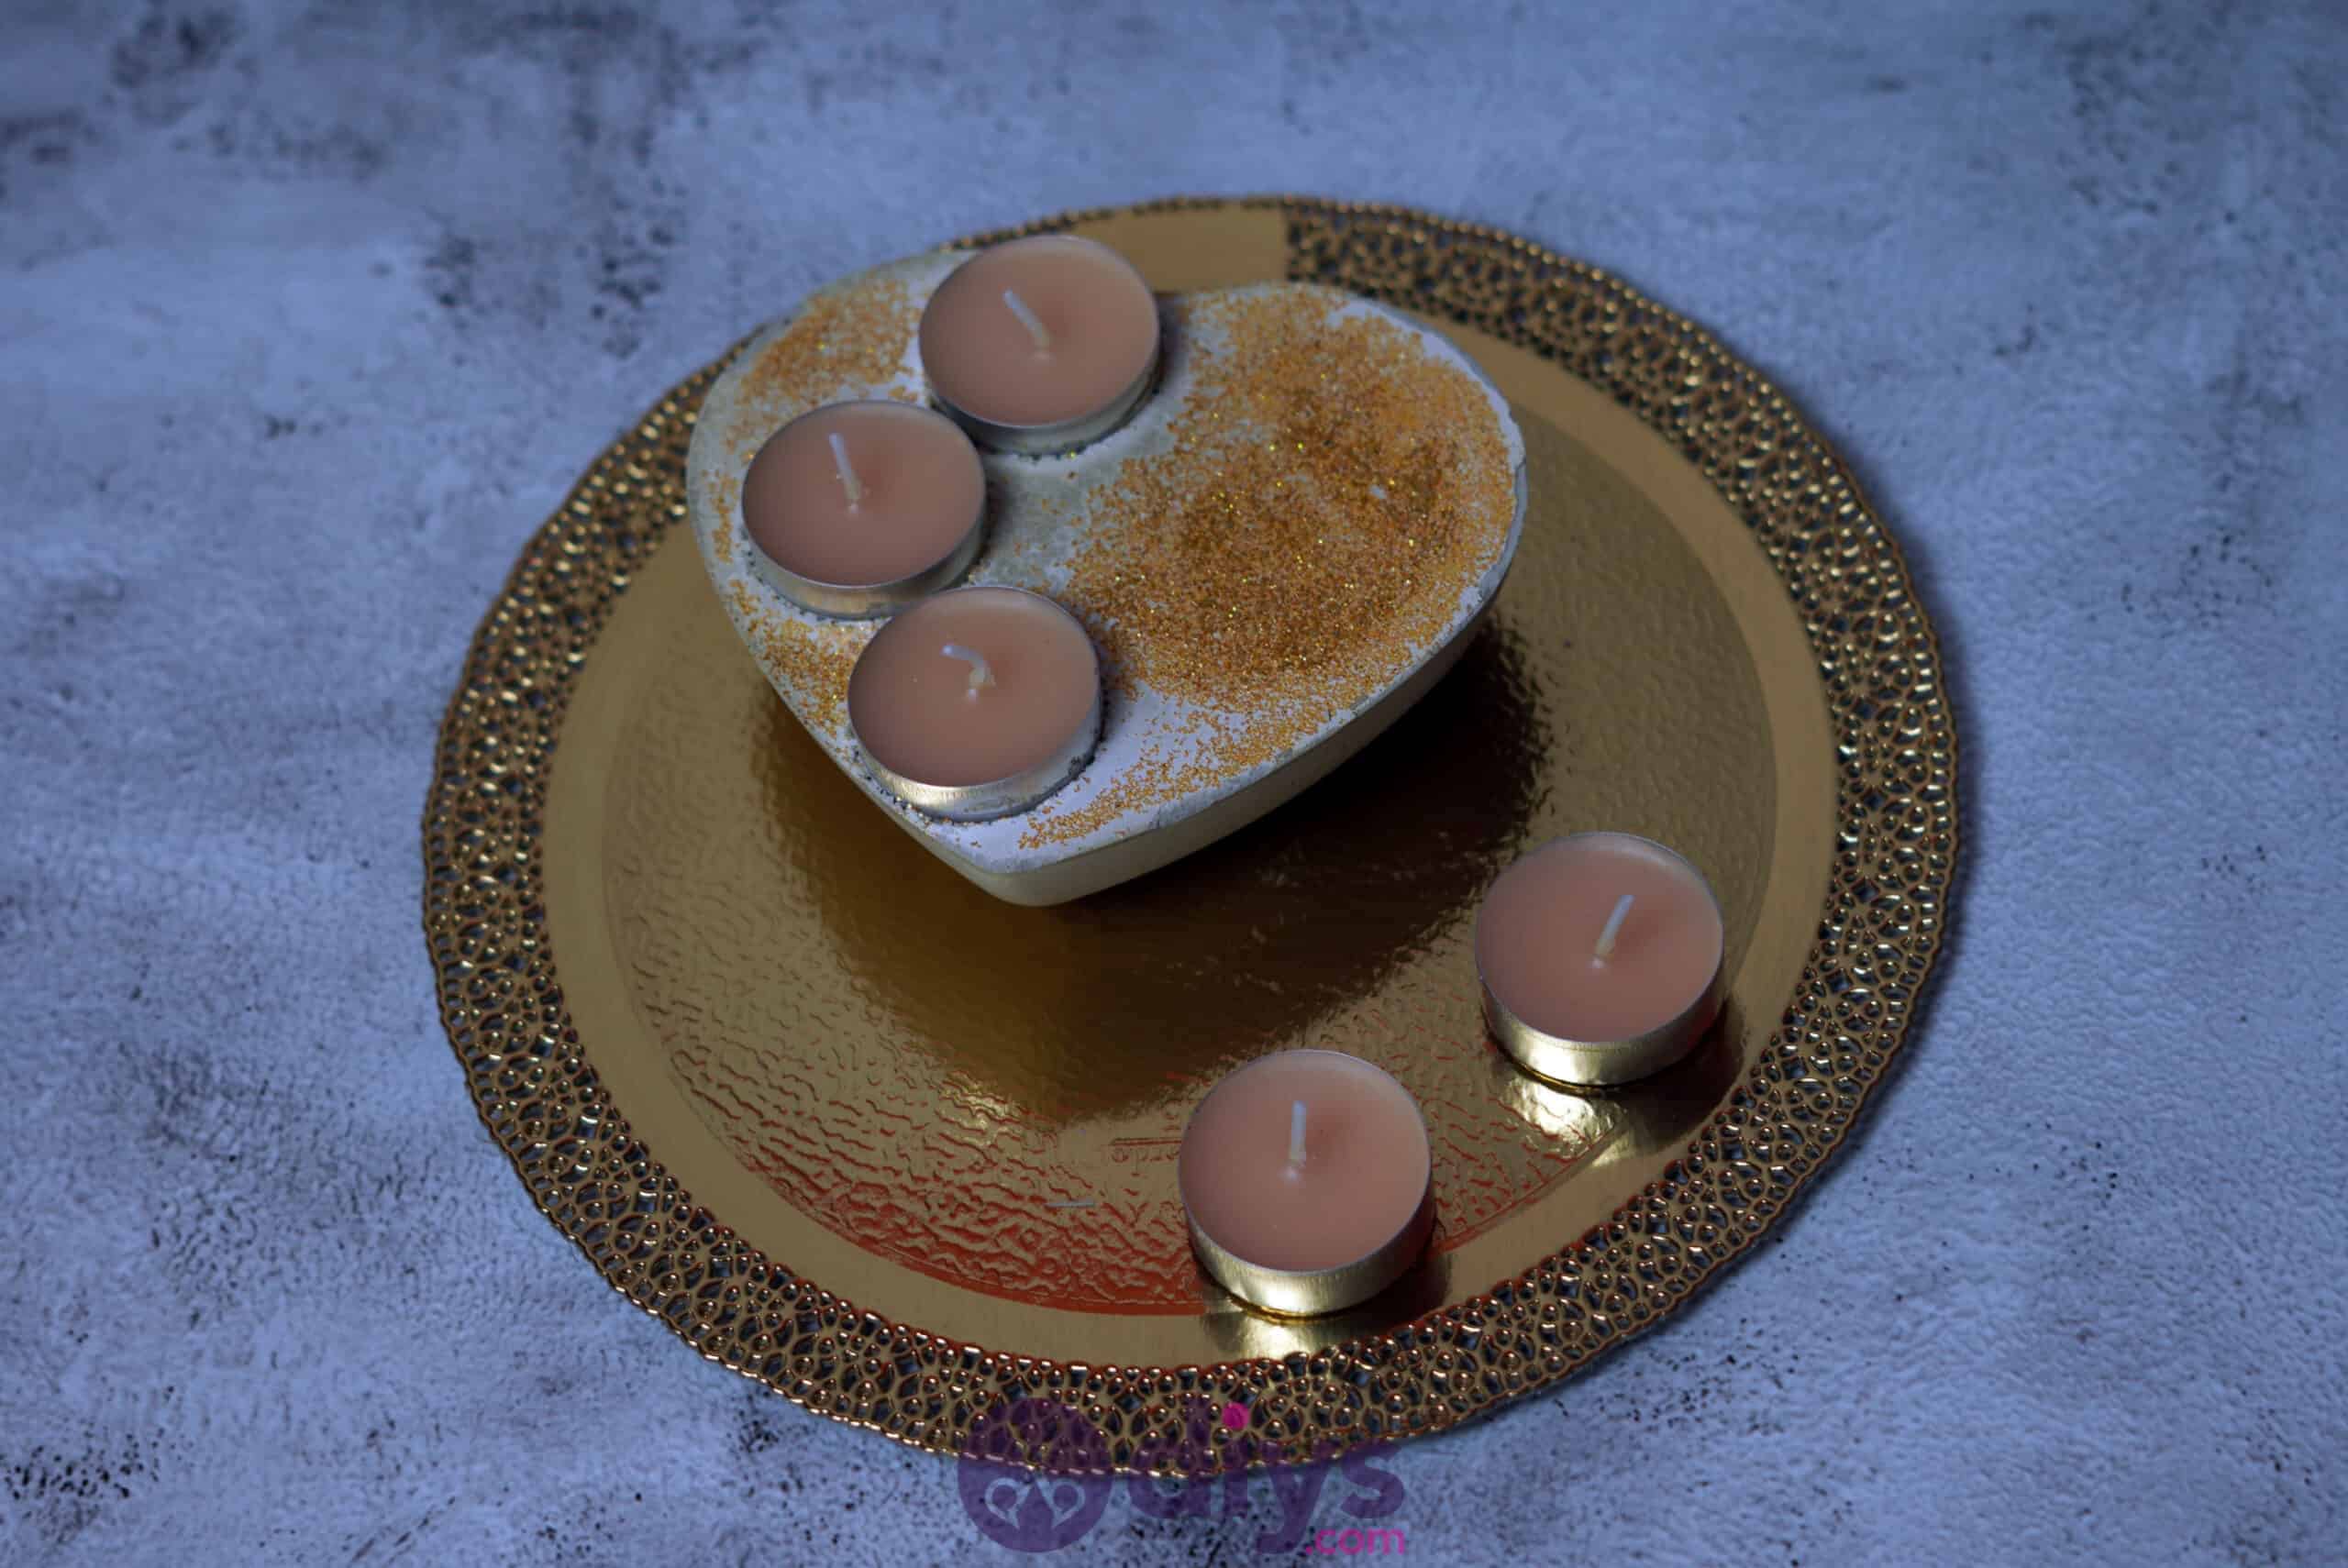
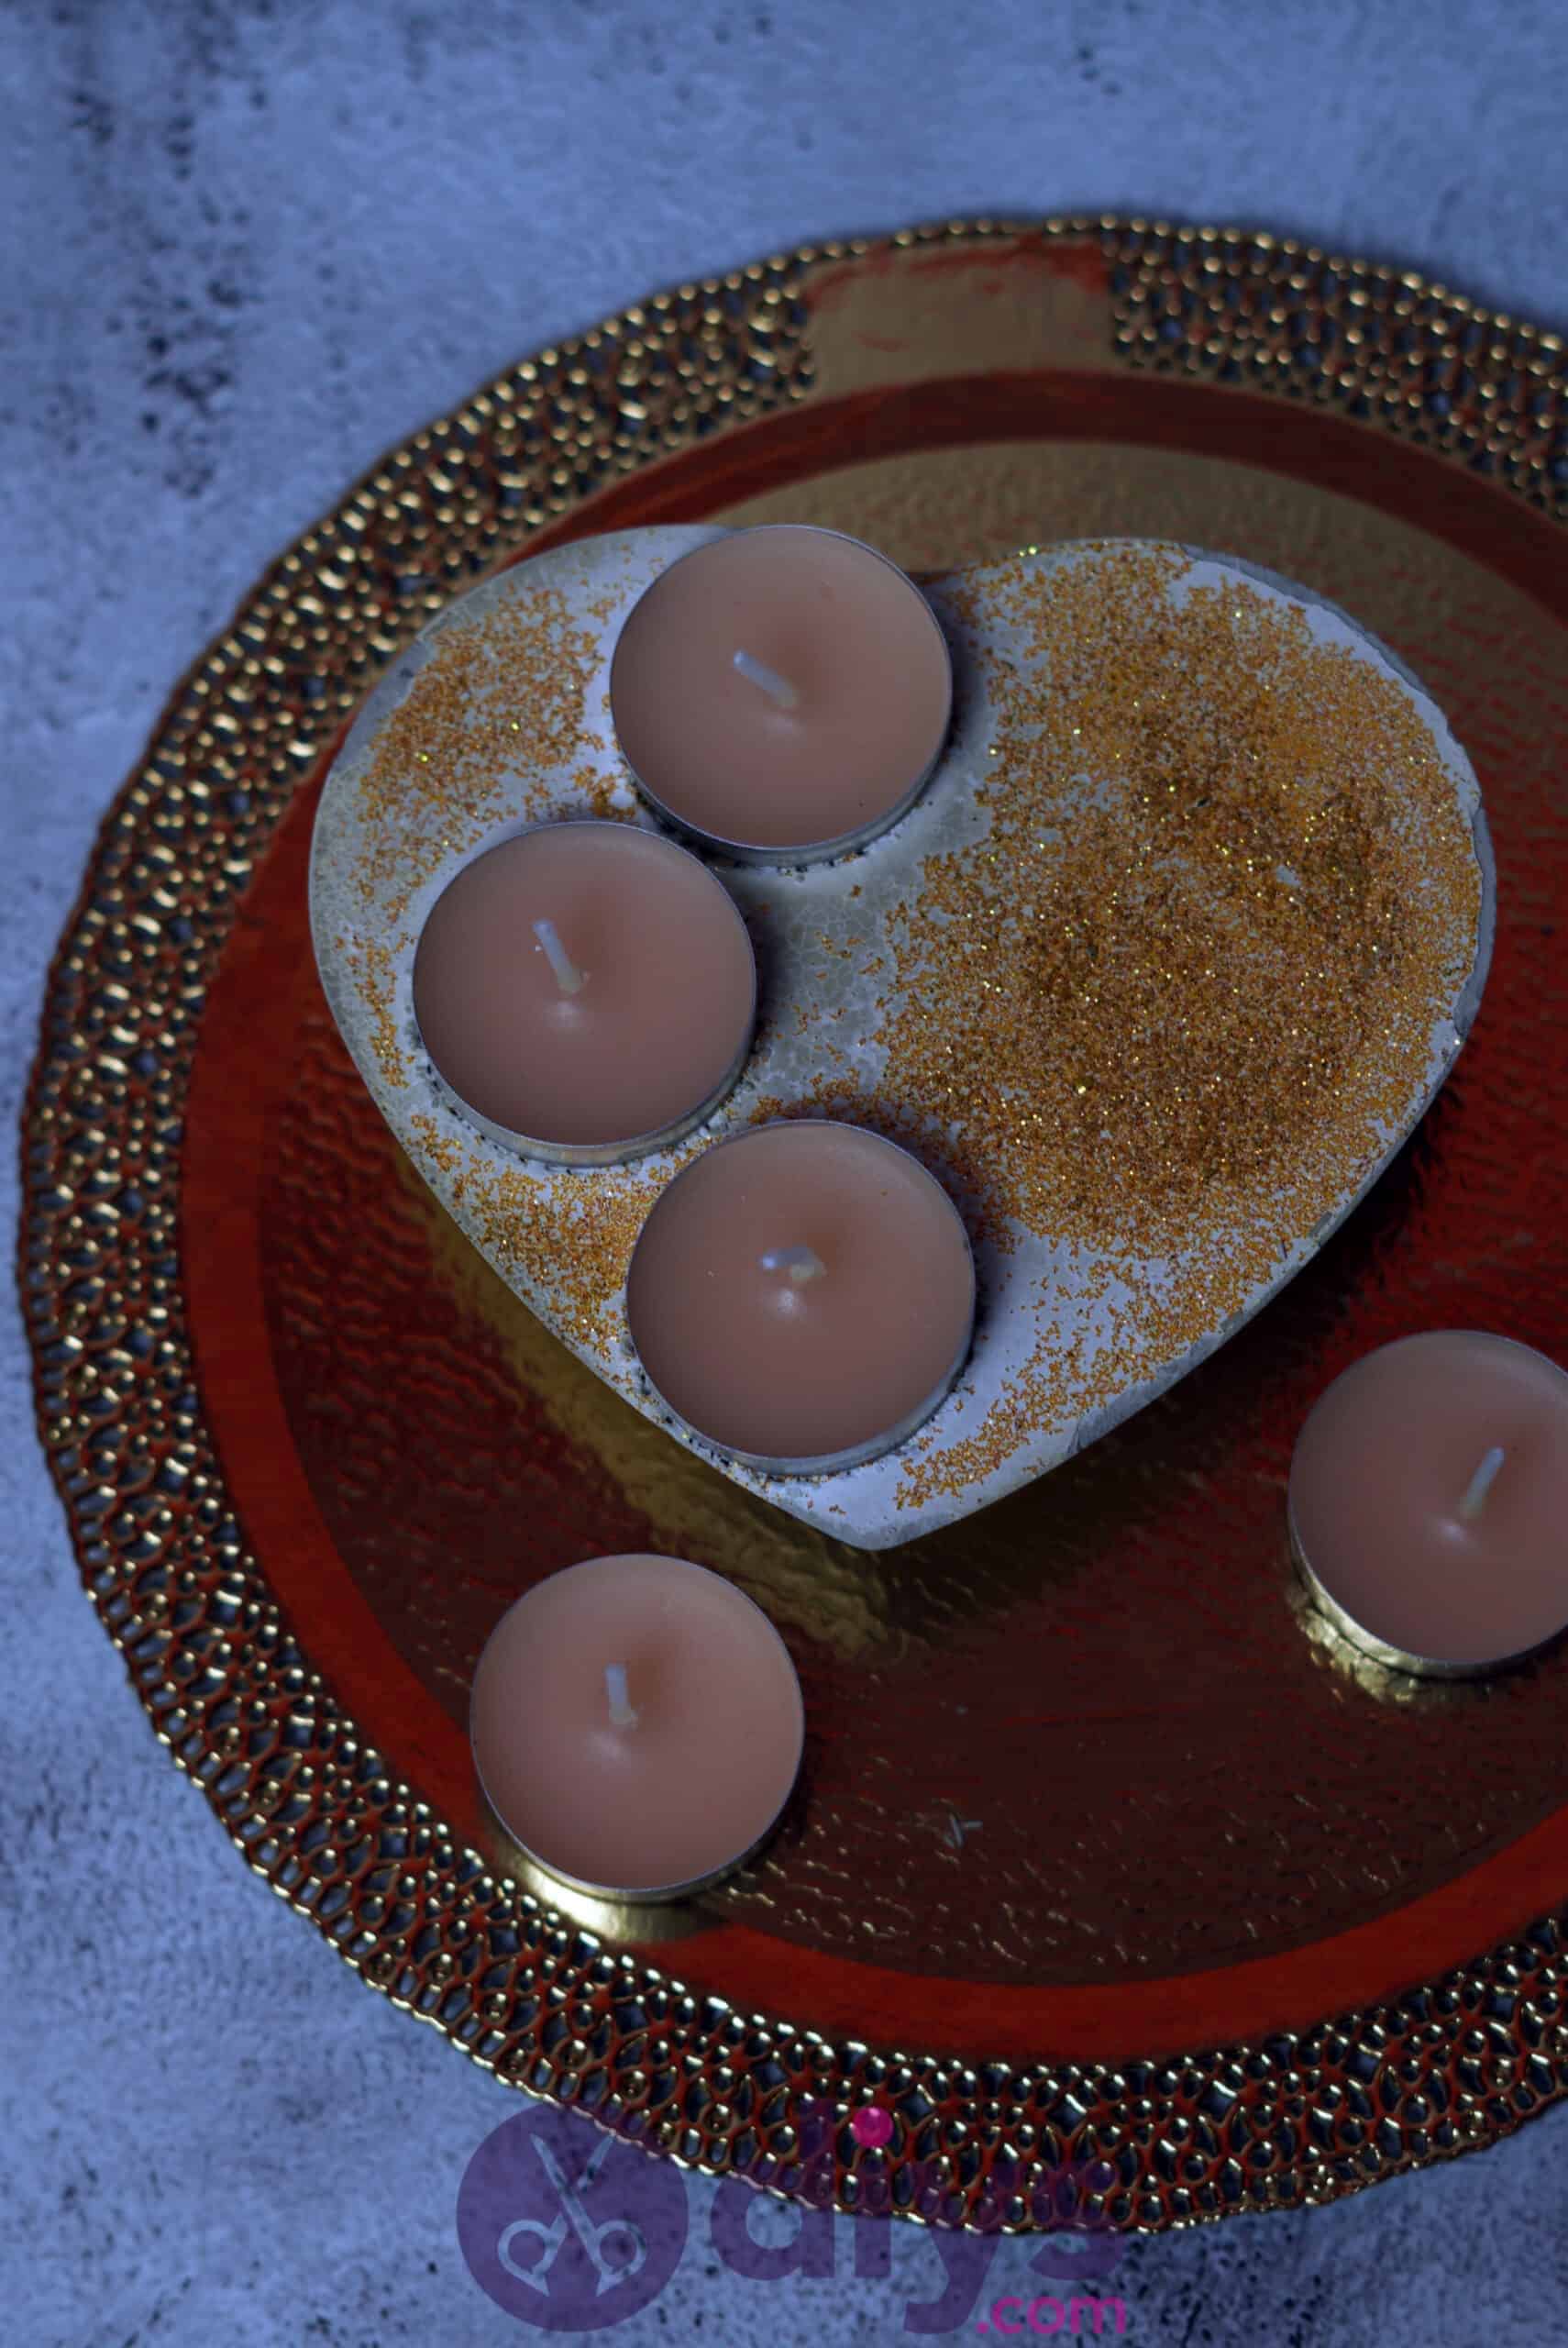
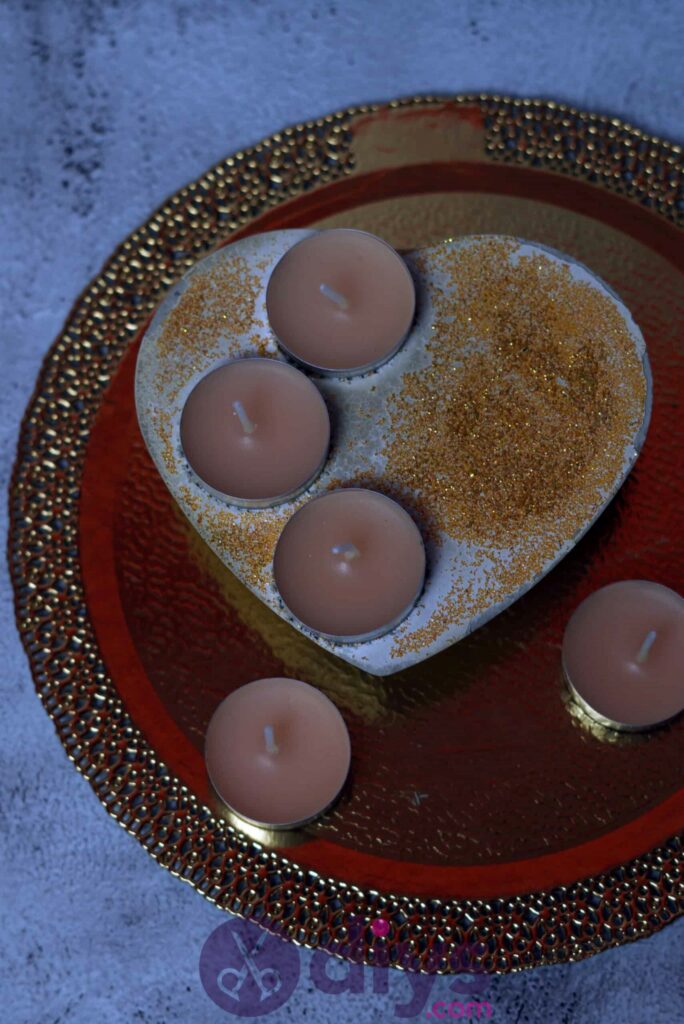
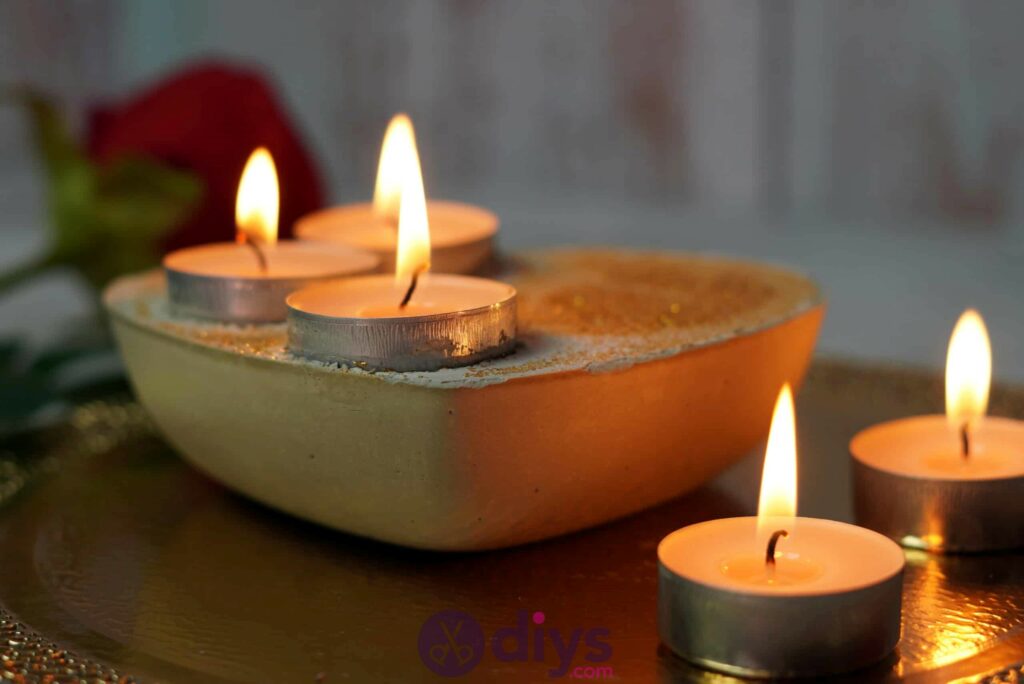
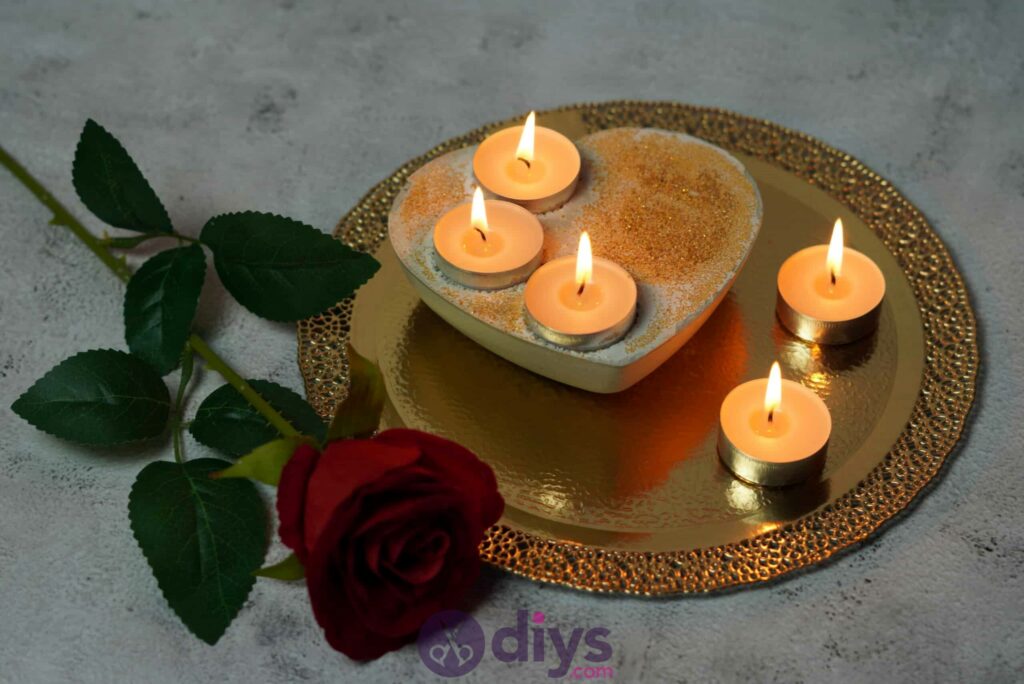
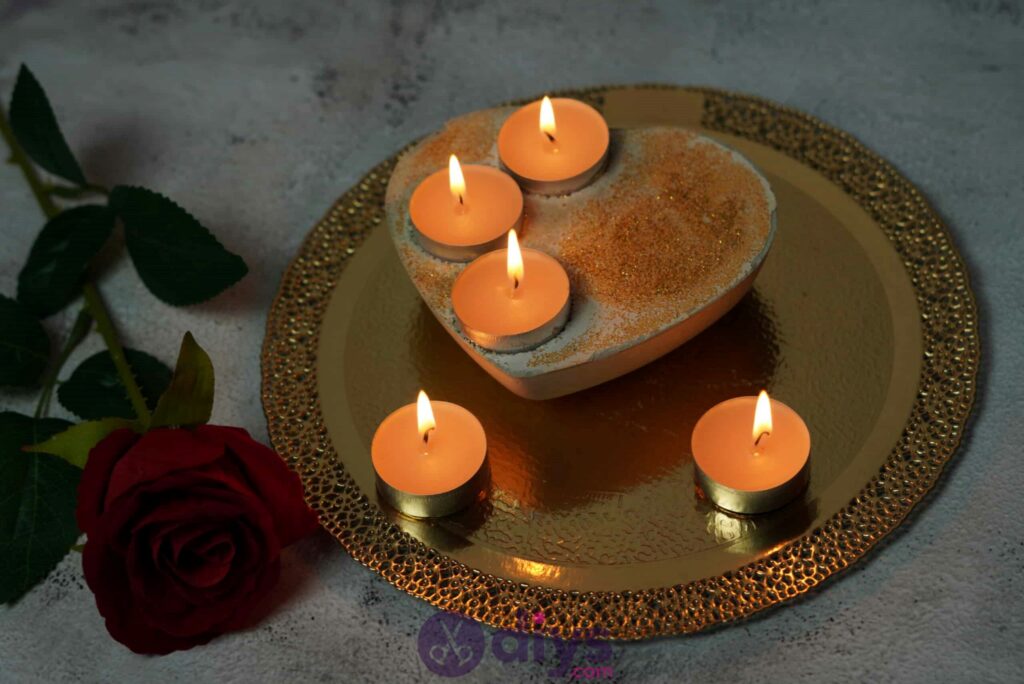
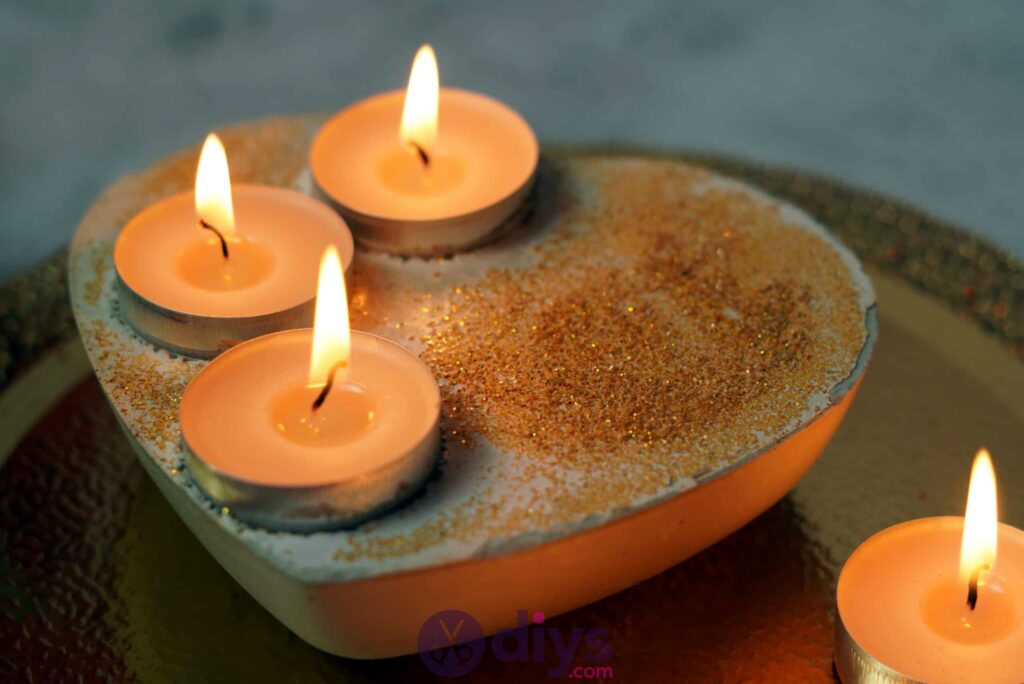
Learn how to make this beautiful DIY concrete heart candle holder with our super easy step by step tutorial! Prefect for Valentine’s Day decor or as a gift for someone you love.
You’ll be addicted to making this one when you’re done! If you’d like to see the written version of my instructions, complete with pictures, check it out below. If you’re more of a video tutorial person, scroll to the bottom to find exactly what you’re looking for!
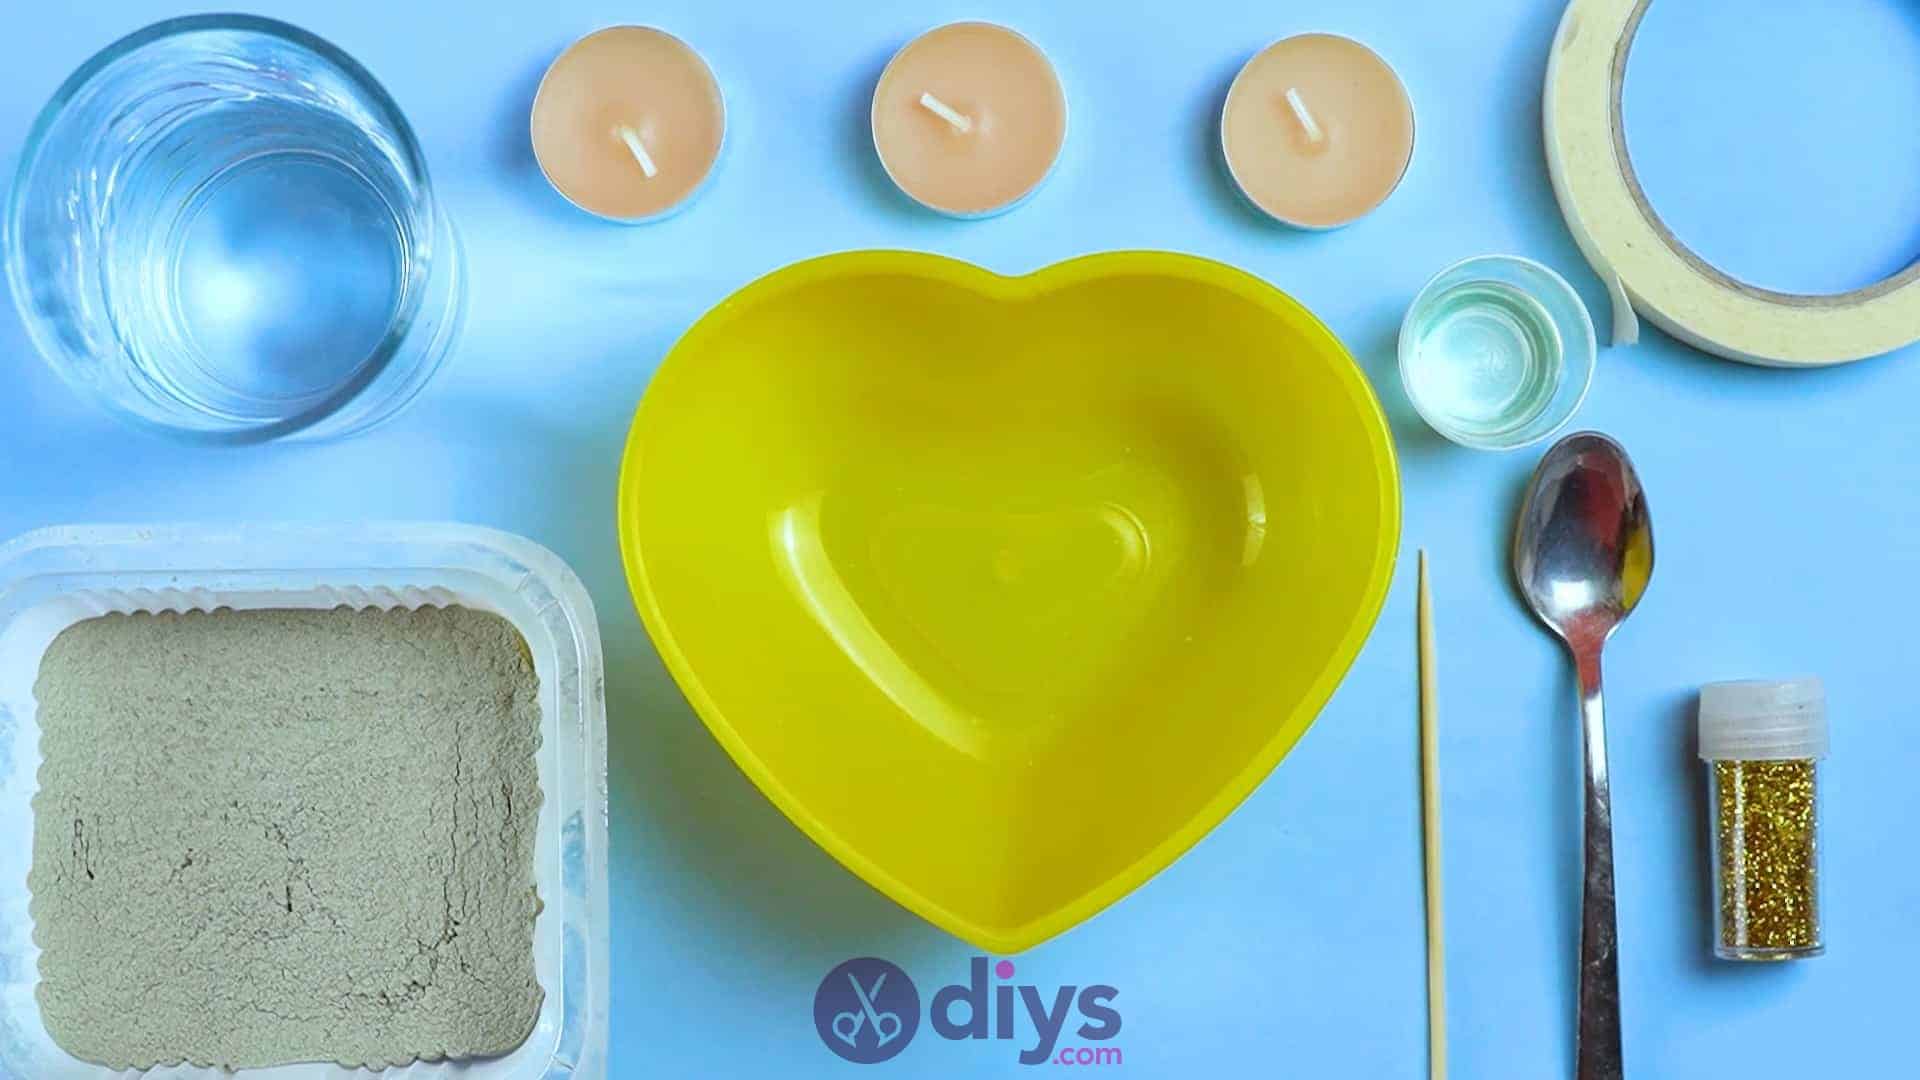
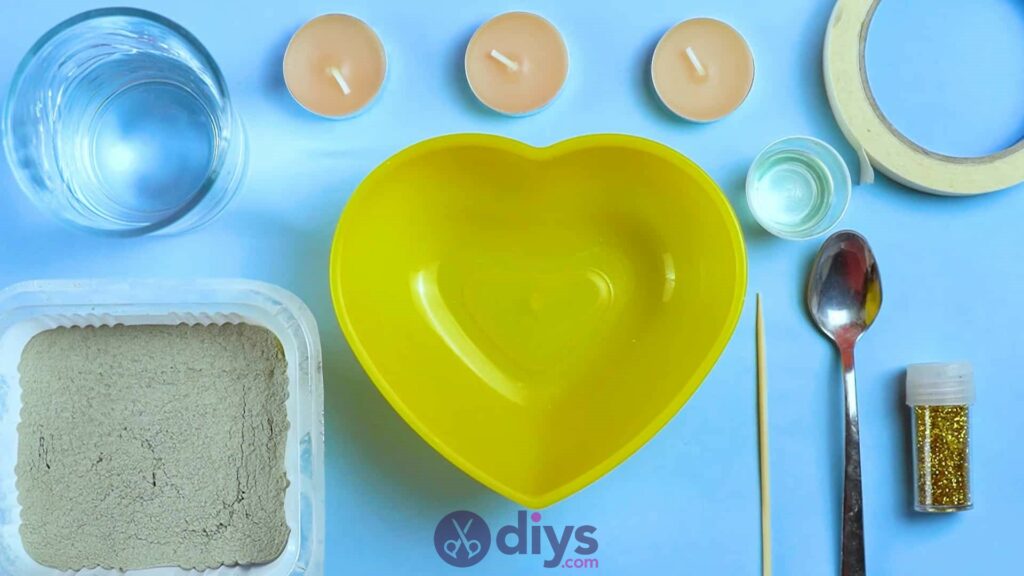
For this project, you’ll need:
- Fine particle cement
- Water
- Plate
- Spoon
- Tape
- Oil
- Heart shaped plastic bowl
- Glitter
- Wooden stick
- Candle
Step 1: Gather your materials!
Make sure you check your item list and get everything together first.
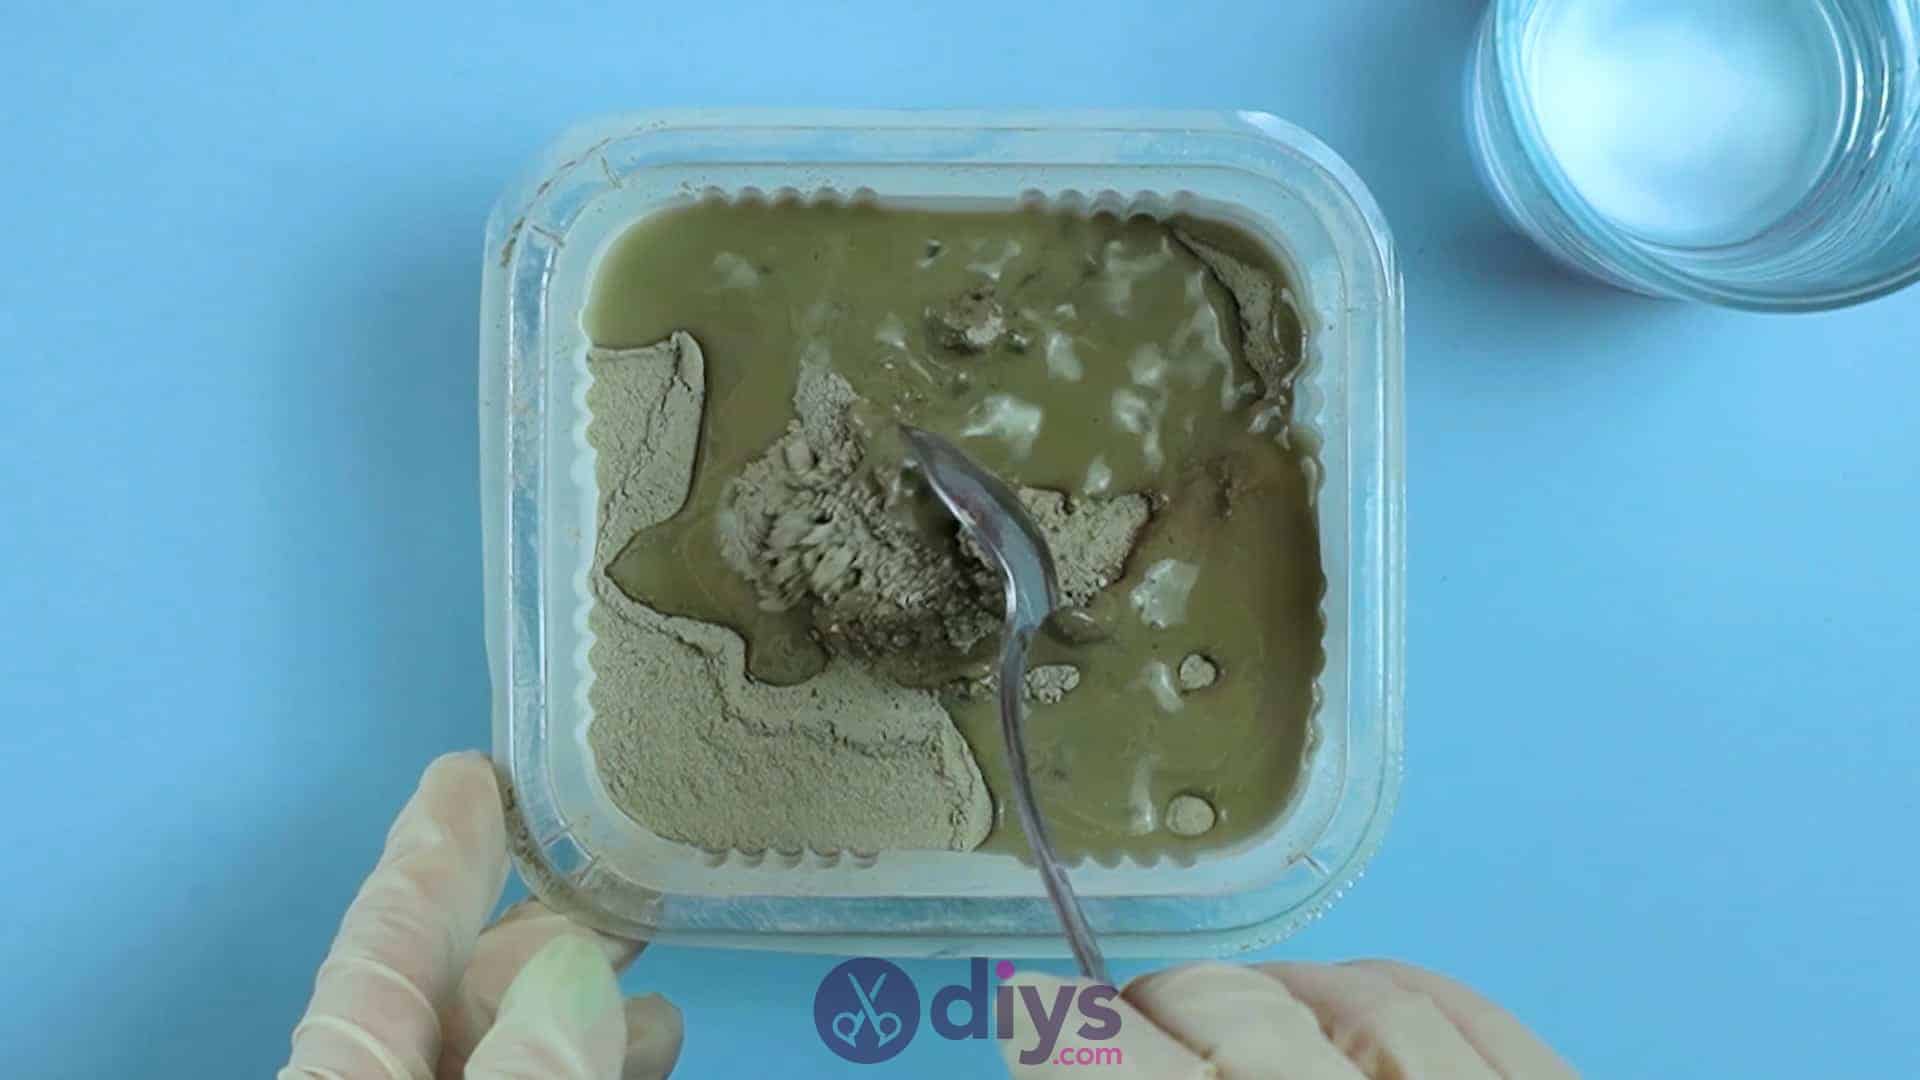
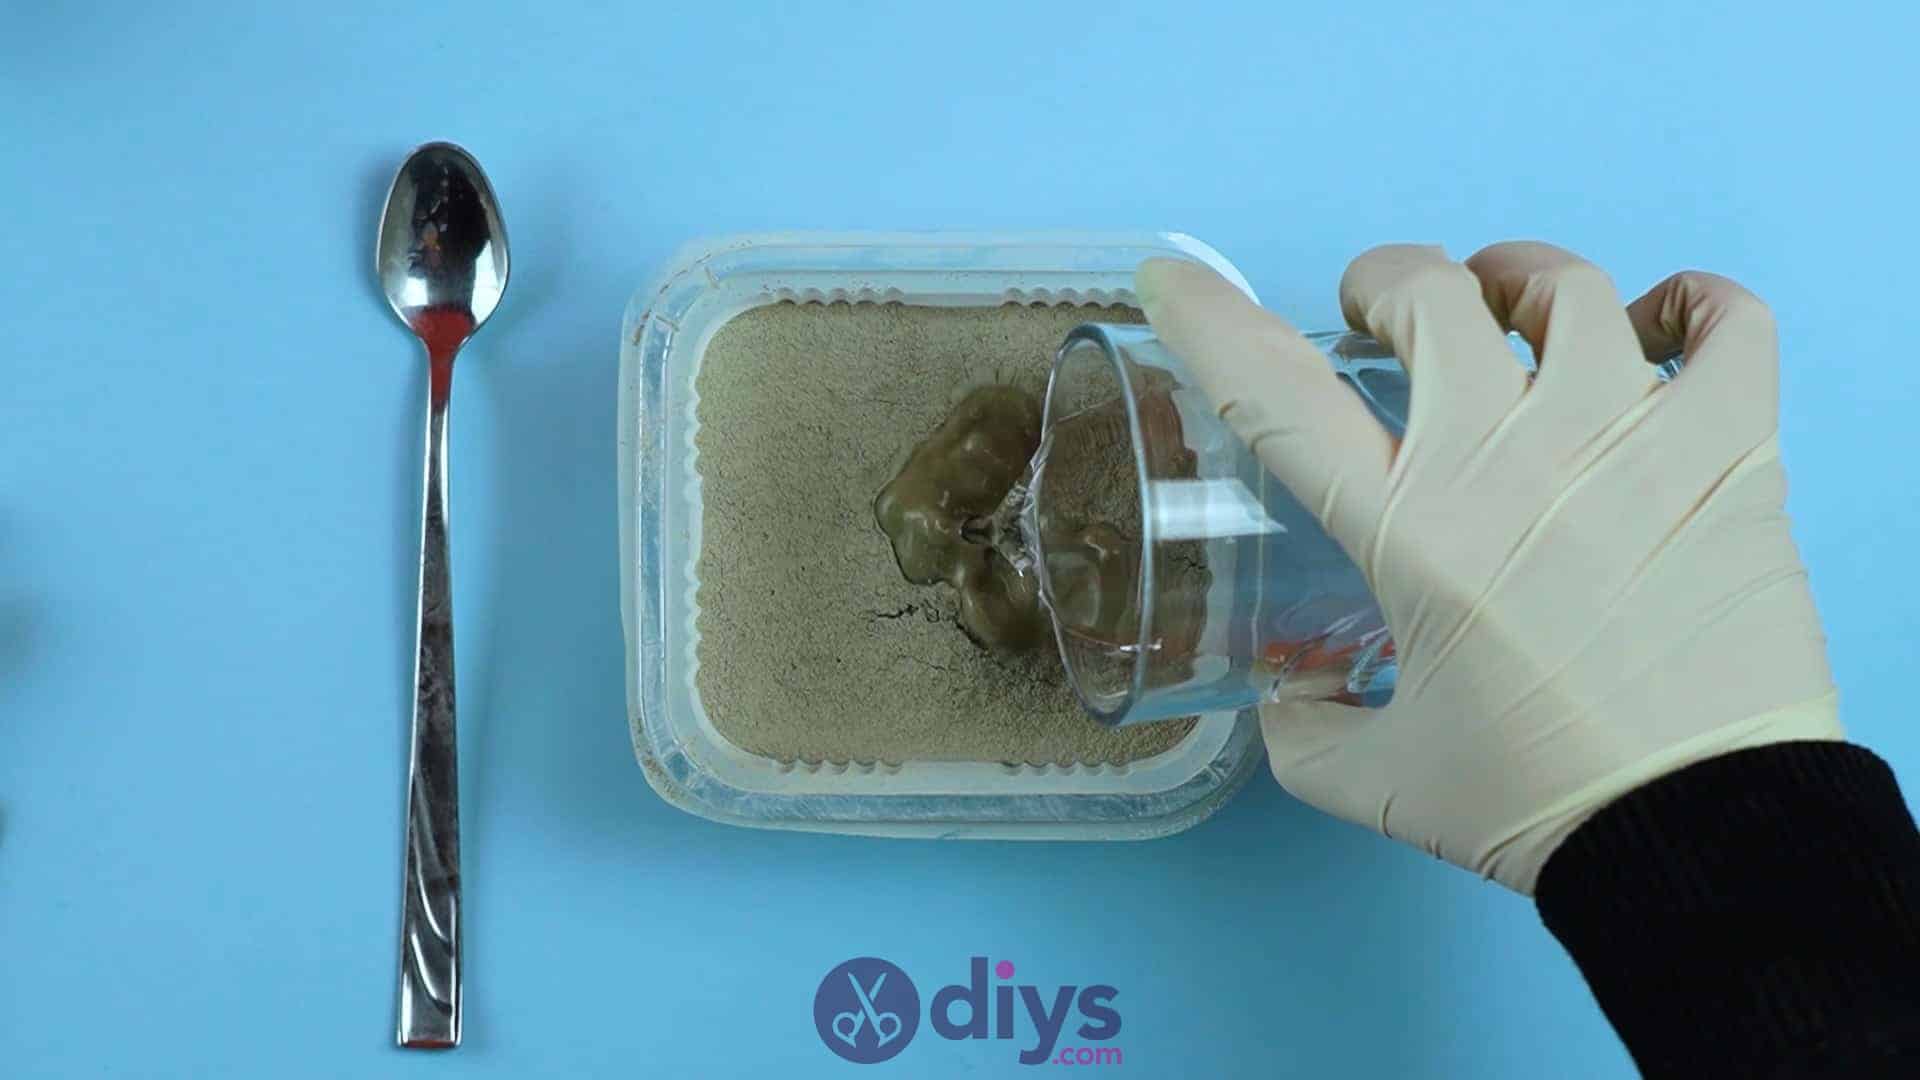
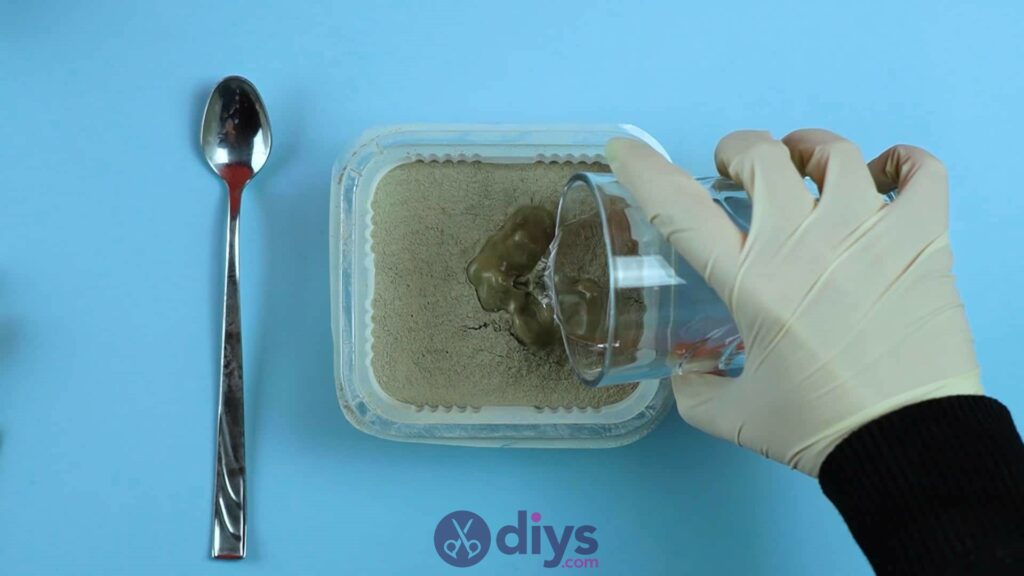
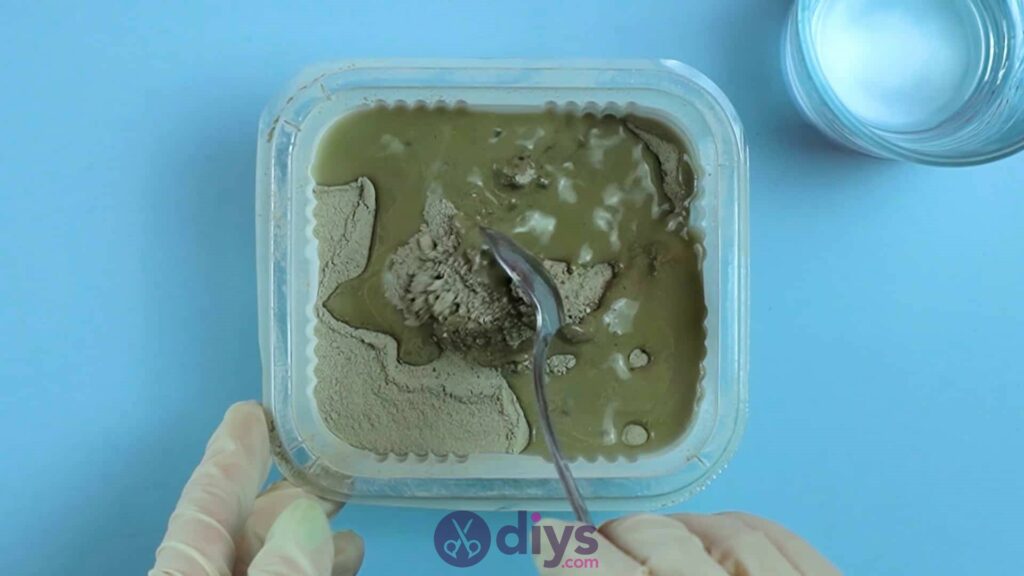
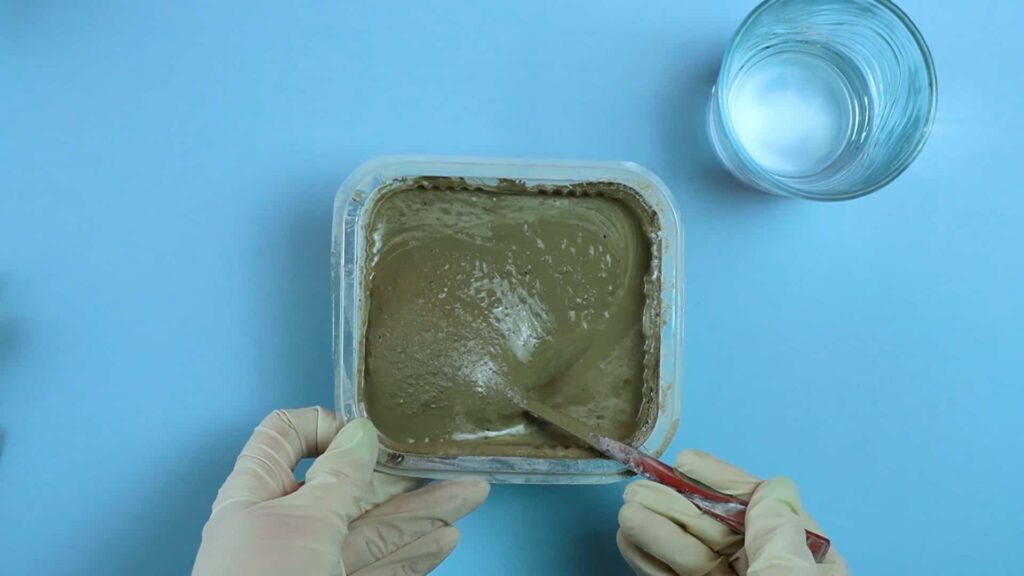
Step 2: mix the cement
In a disposable plastic container (or one that you’ve saved specifically for crafting rather than eating from), put your DIY cement powdered mix and water. Use your spoon to stir them together until the consistency is right and the mixture is free of clumps. Read the instructions on the package of the mix you bought to get the precise ratio of powdered mix to water, as it can vary from brand to brand.
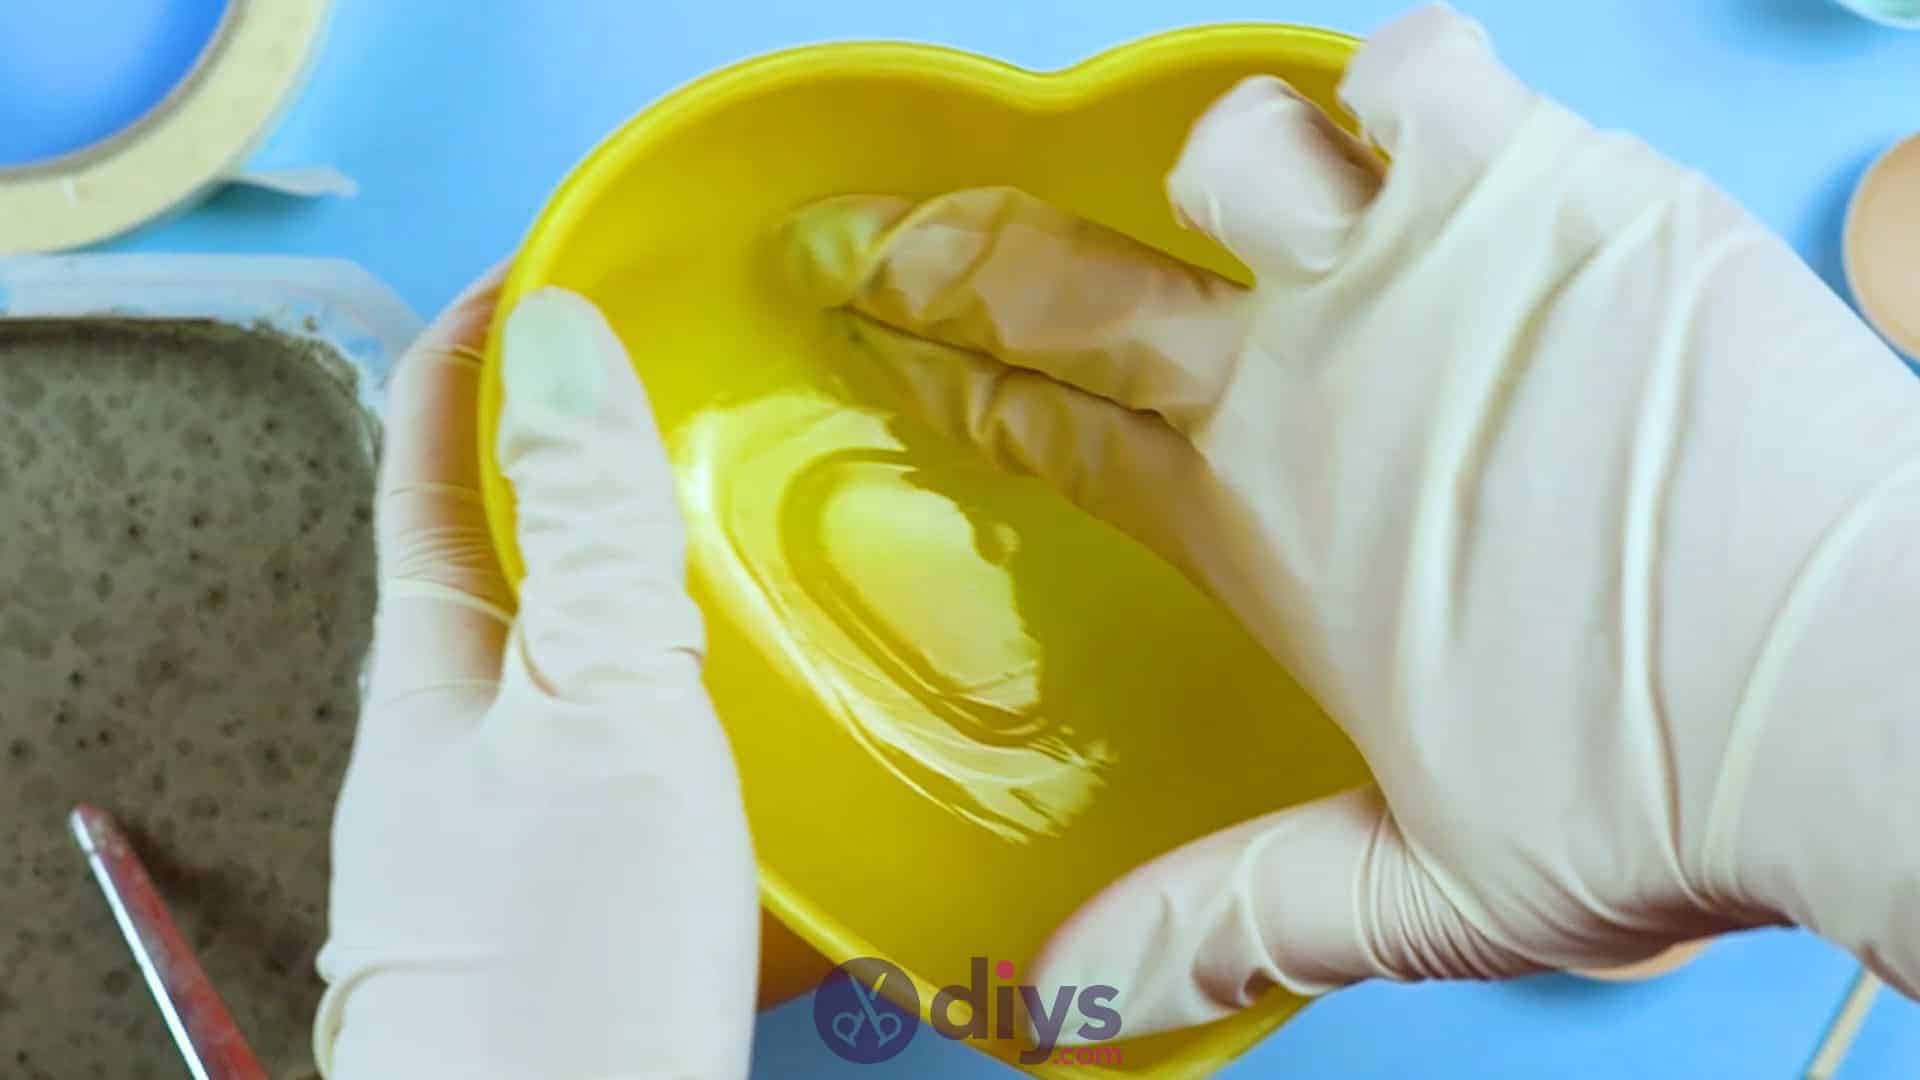
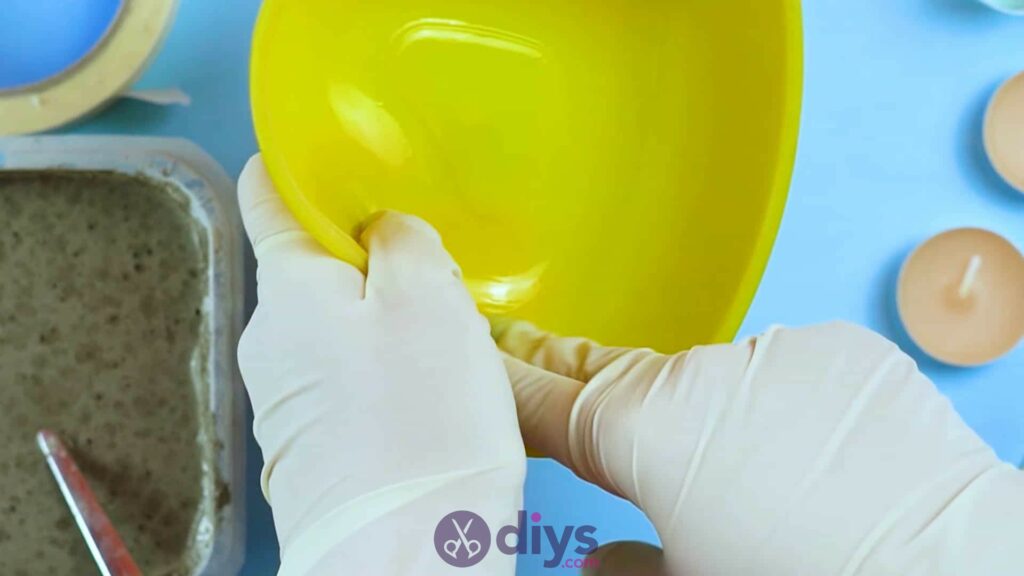
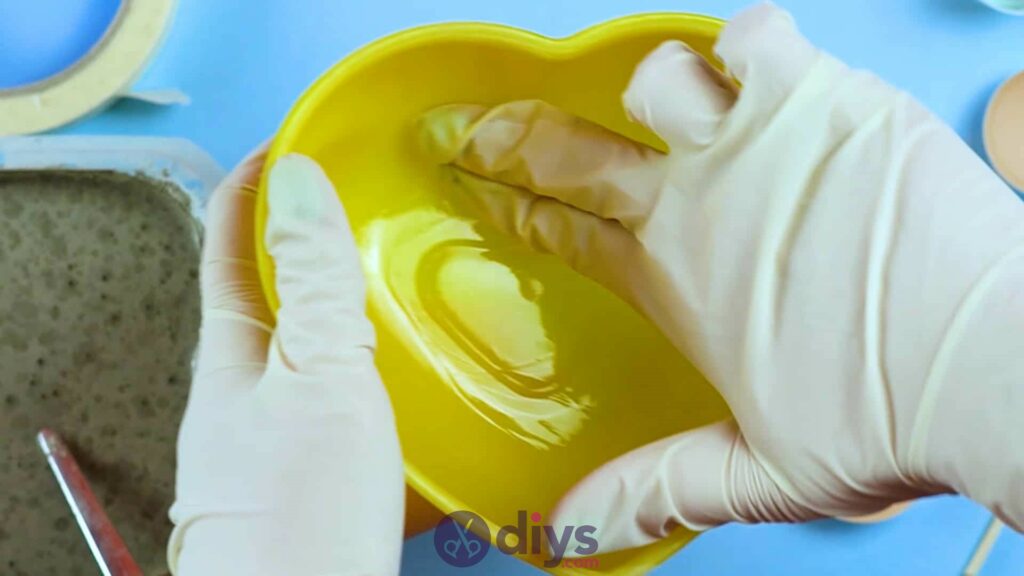
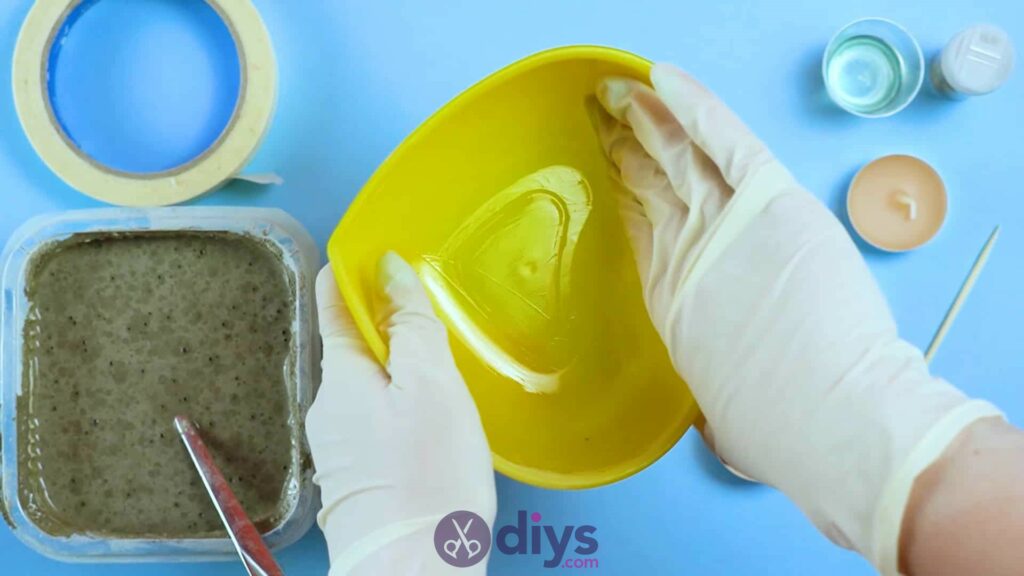
Step 3: oil the inside
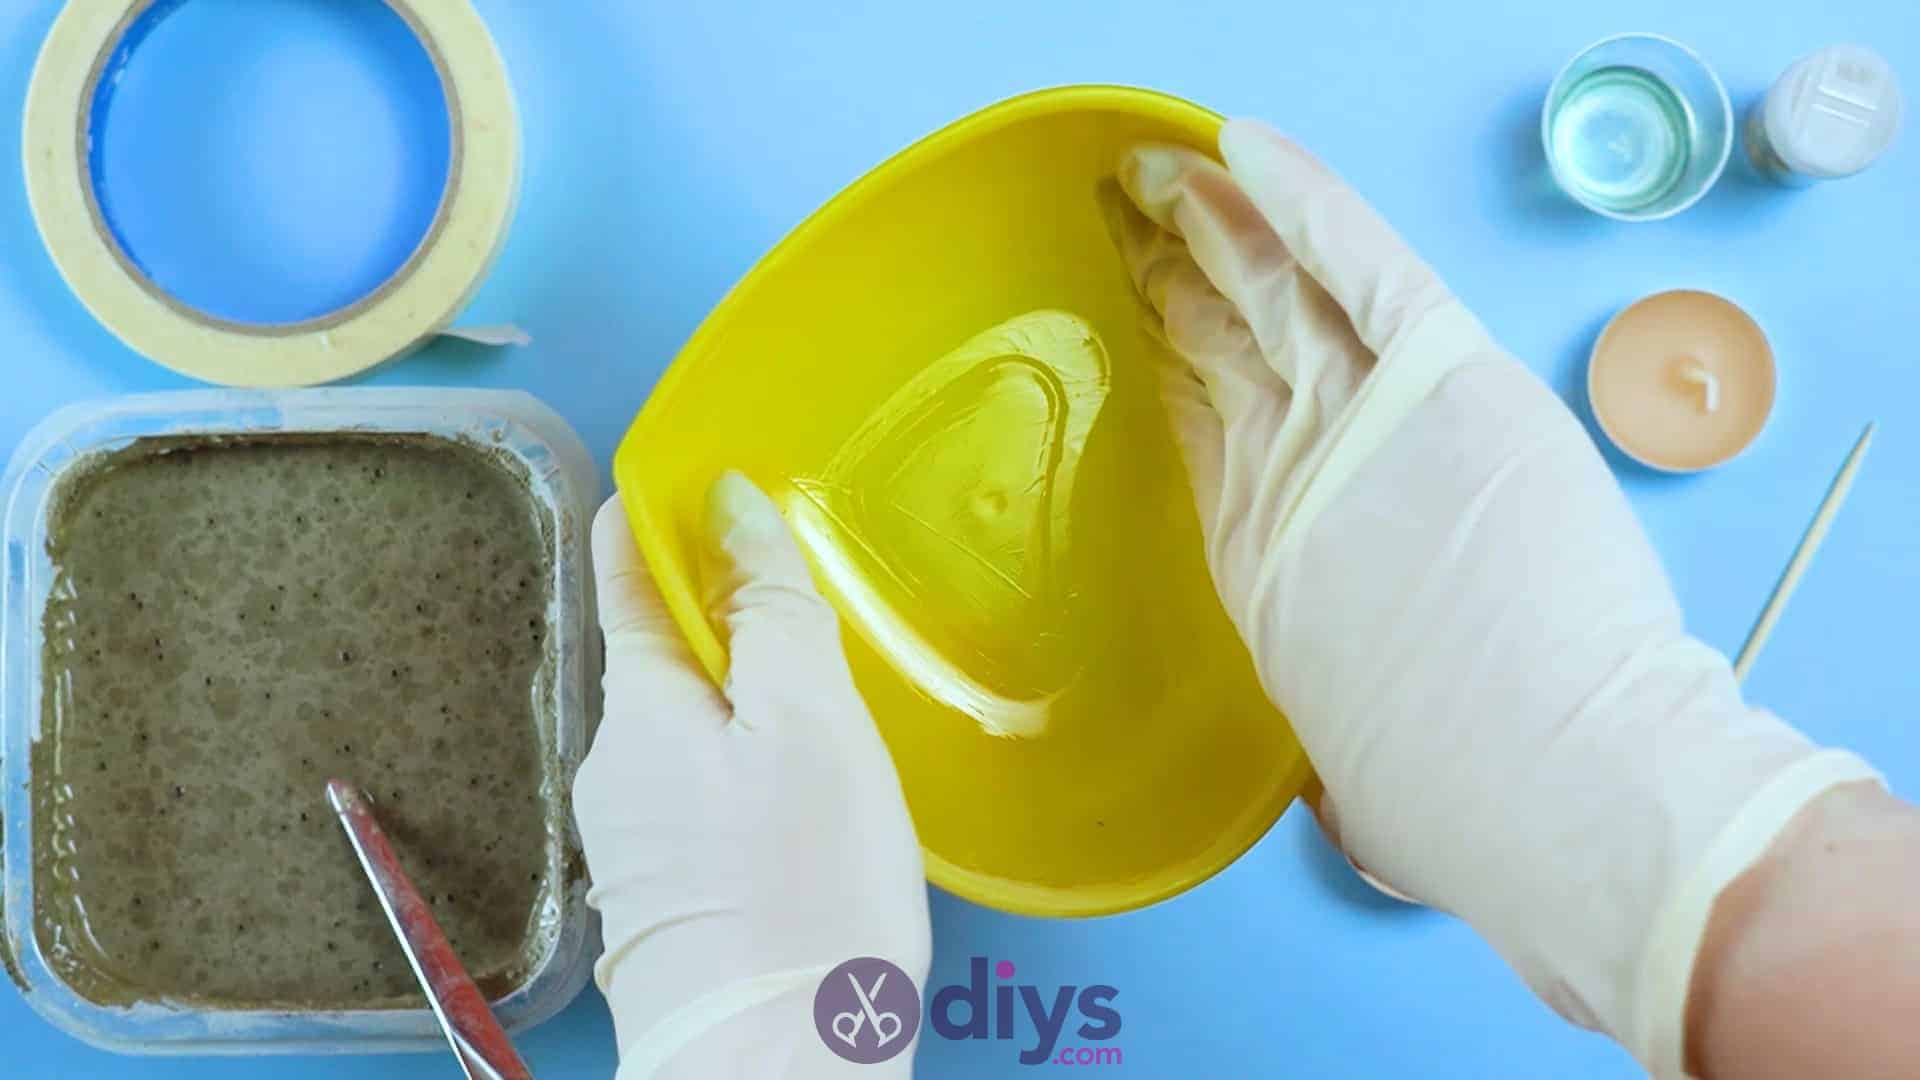
Cover the entire inside surface of your heart-shaped bowl, including all across the bottom and all up the sides, in oil. Any kind of cooking oil (like canola, olive, or vegetable) will do fine. I just used my finger because I have sensitive skin, so I wear gloves any time I work with DIY concrete anyways; while most crafting types are not actually abrasive enough to really hurt your skin, I get dry and irritated very easily. You might use a paintbrush if you prefer.
Step 4: pour the cement
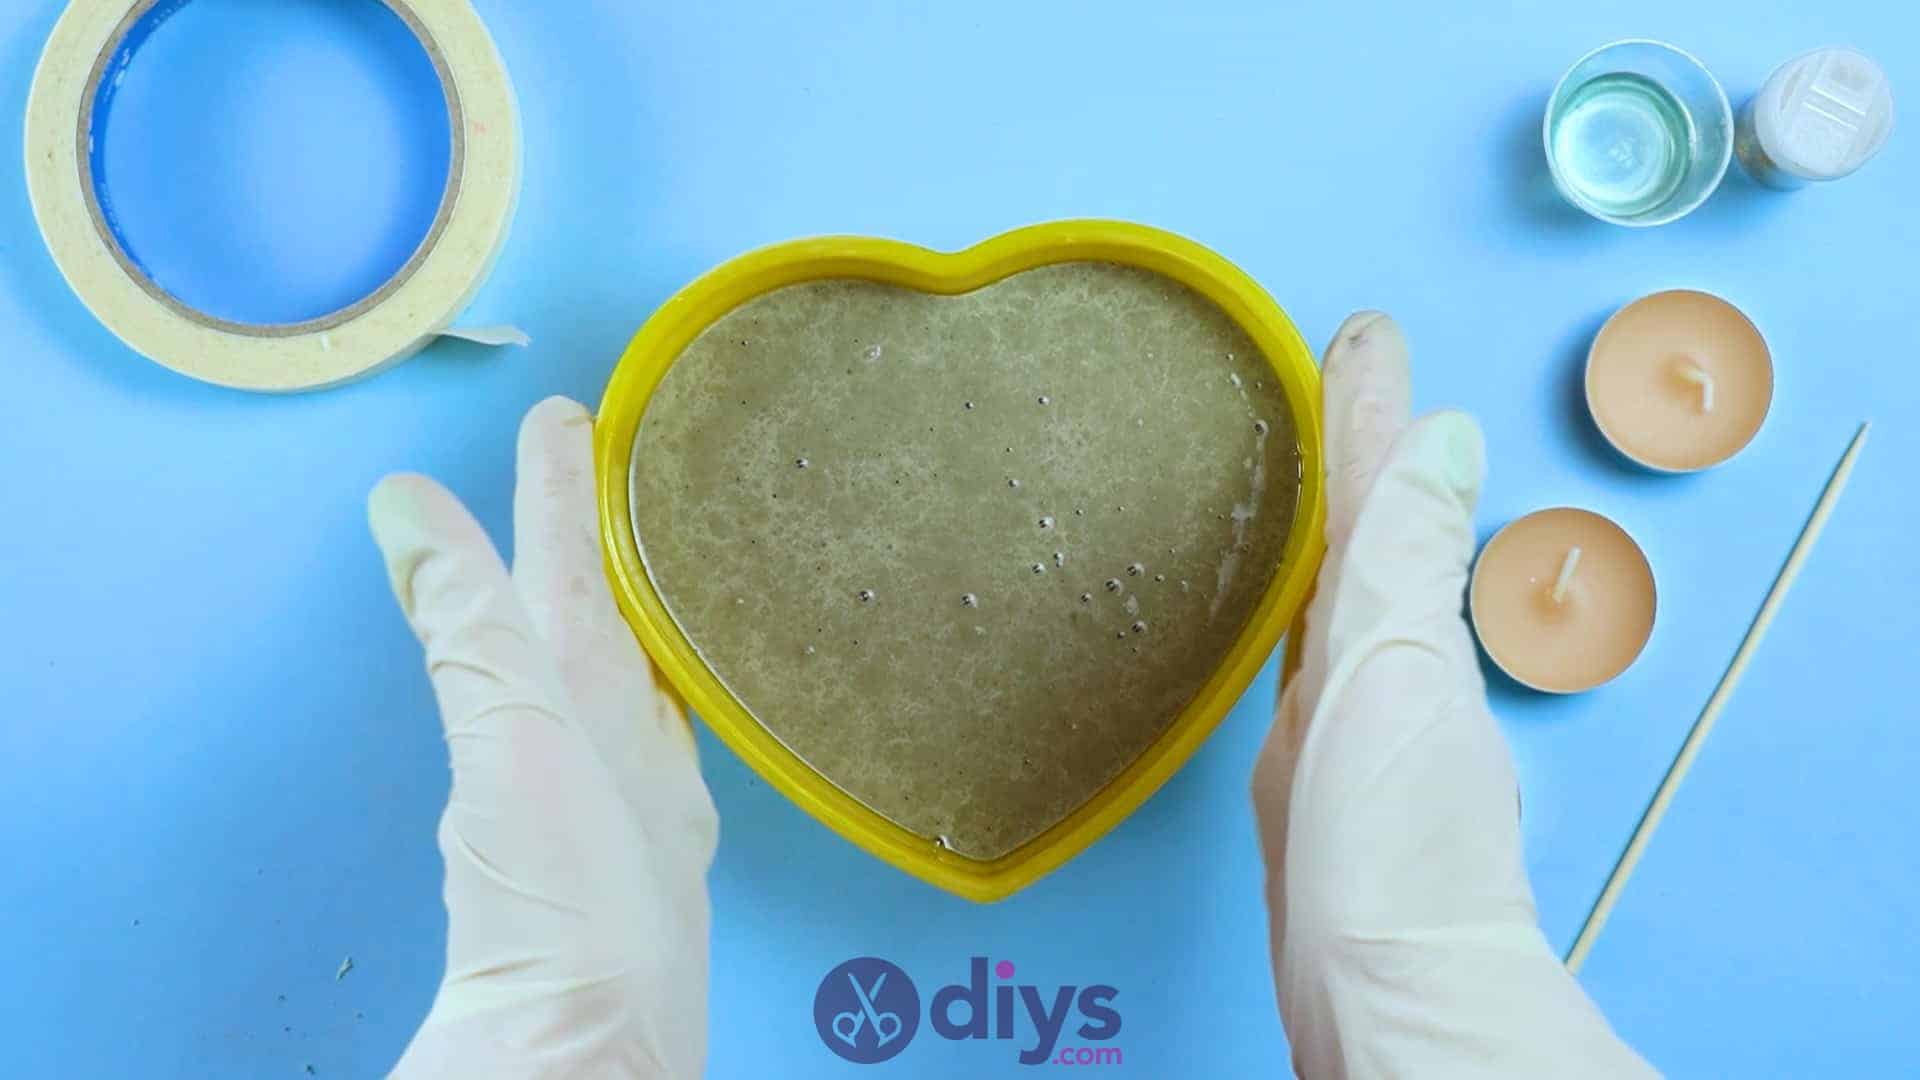
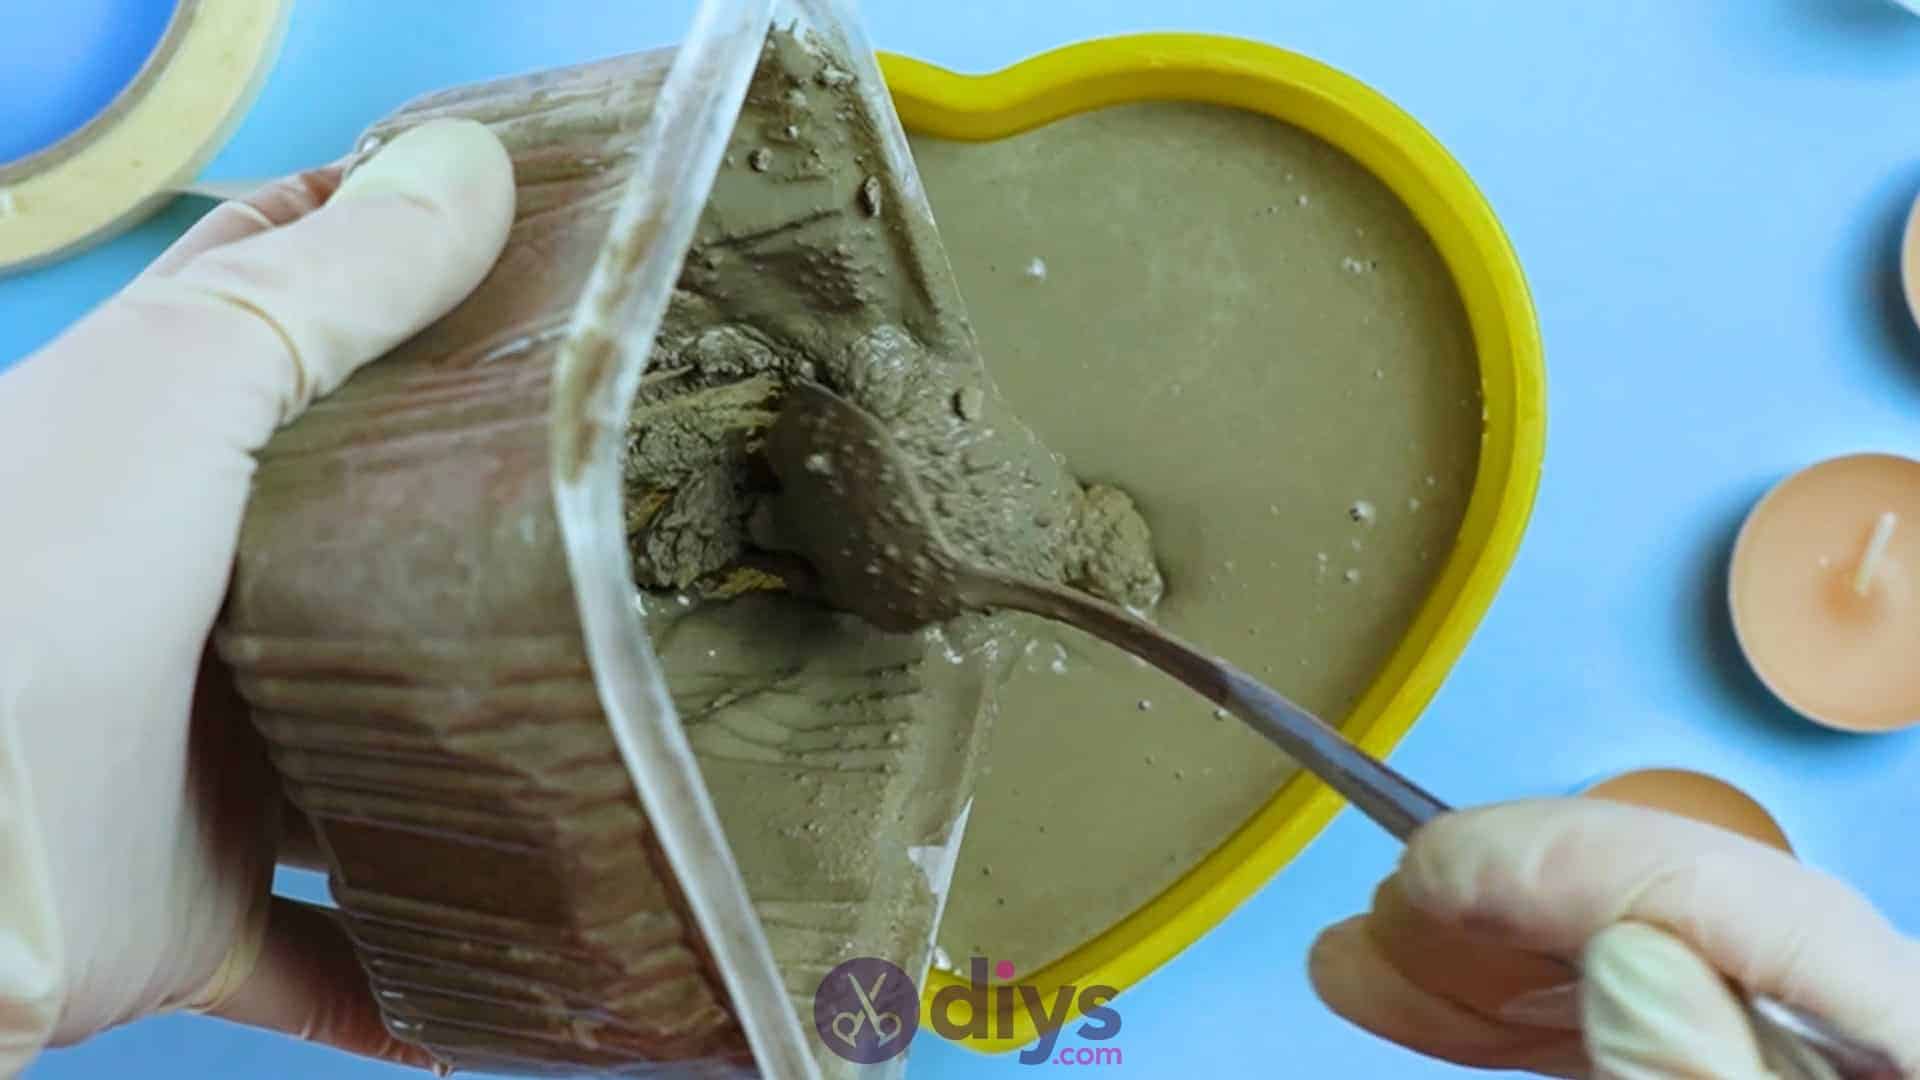
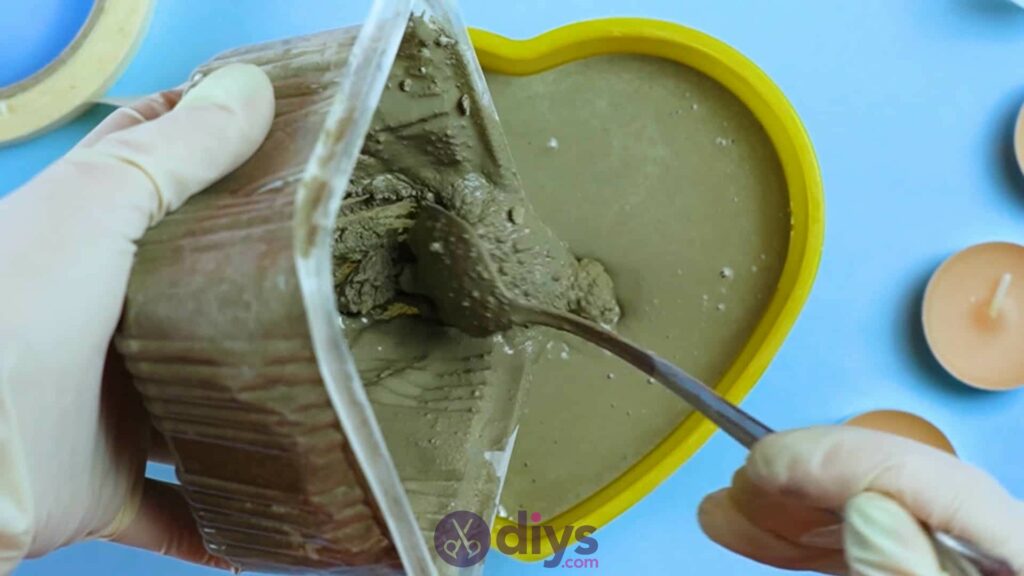
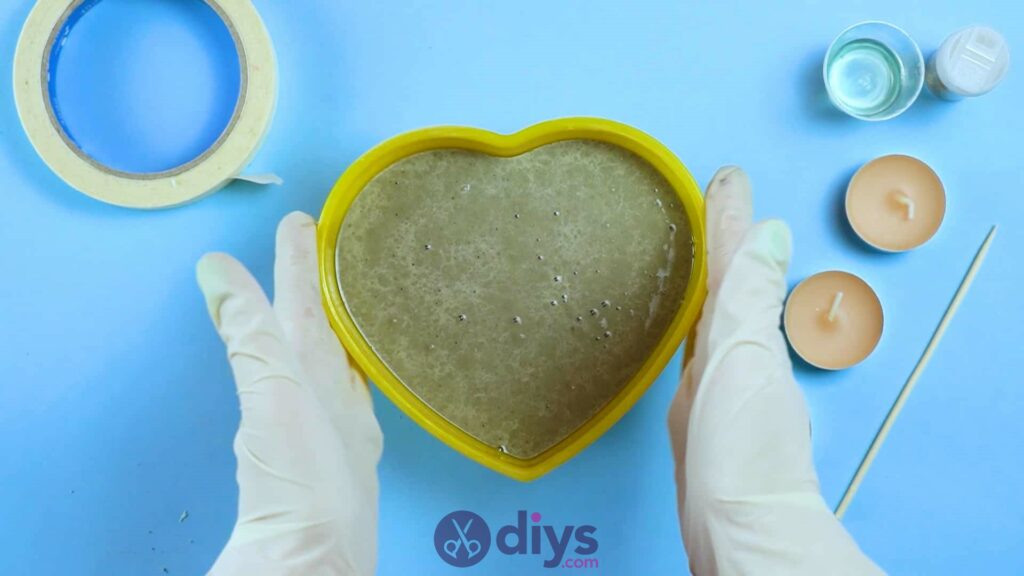
Once you’ve coated the entire inside of your heart-shaped bowl with oil, pour your wet concrete mix into it. Fill it with a layer about two inches deep (you can do more or less, but I wanted my piece to be quite shallow and low to the tabletop). When you’re happy with how filled your bowl is, use your spoon to smooth the surface or lightly tap the bottom of the bowl on your work surface to even it out and get rid of any air bubbles.
Step 5: place the candles
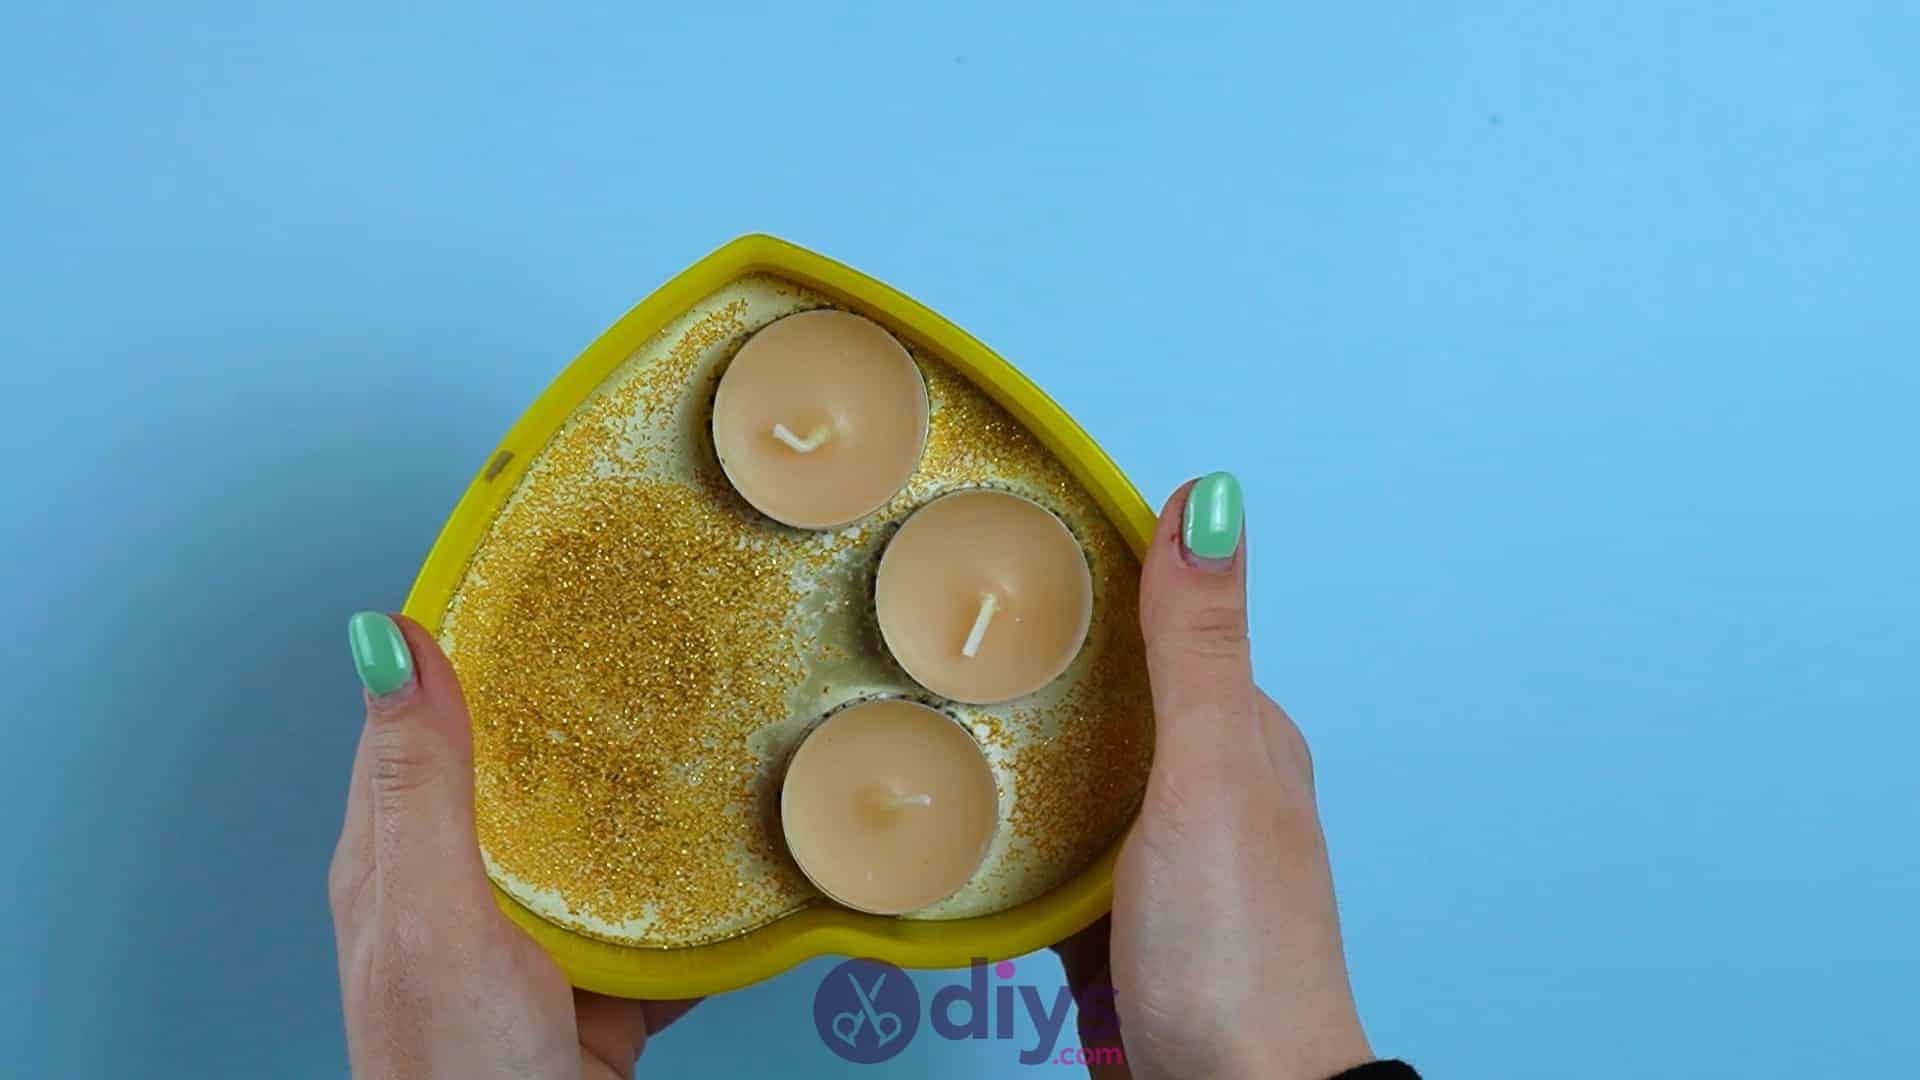
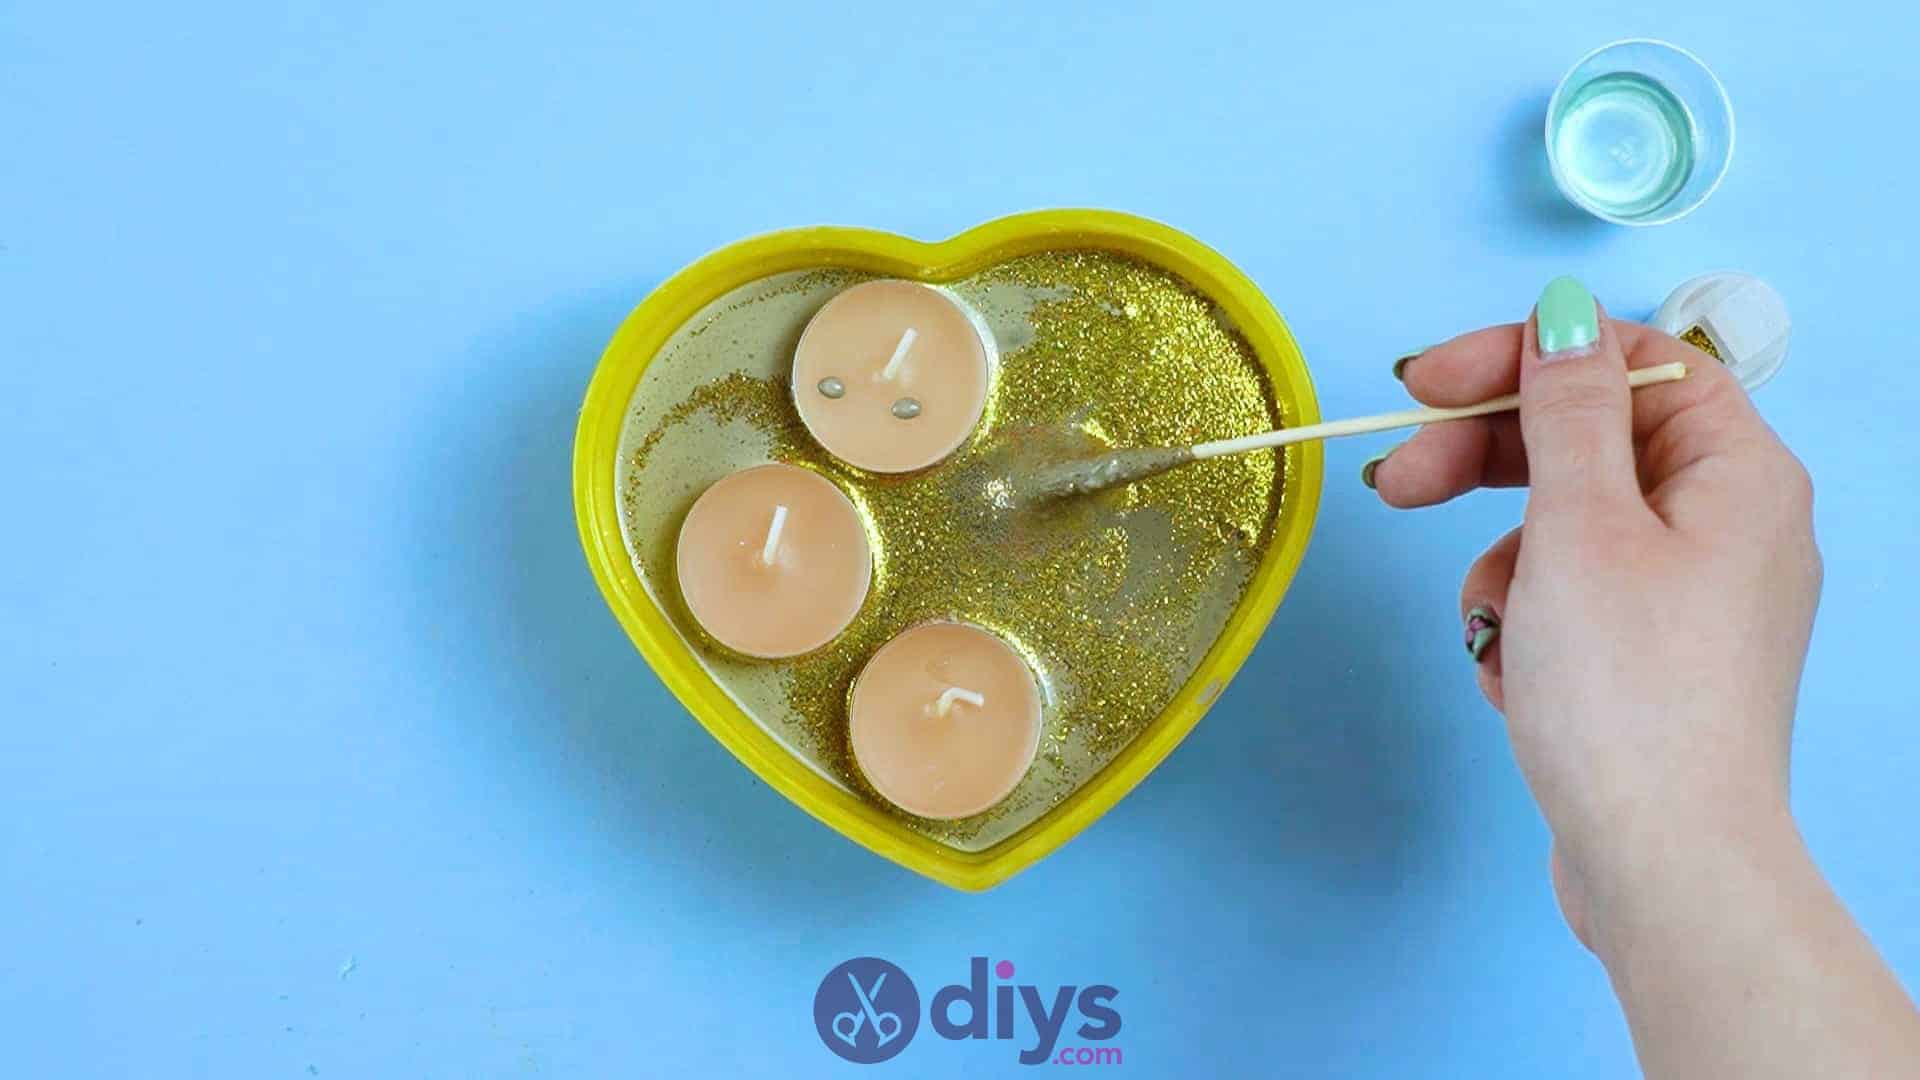
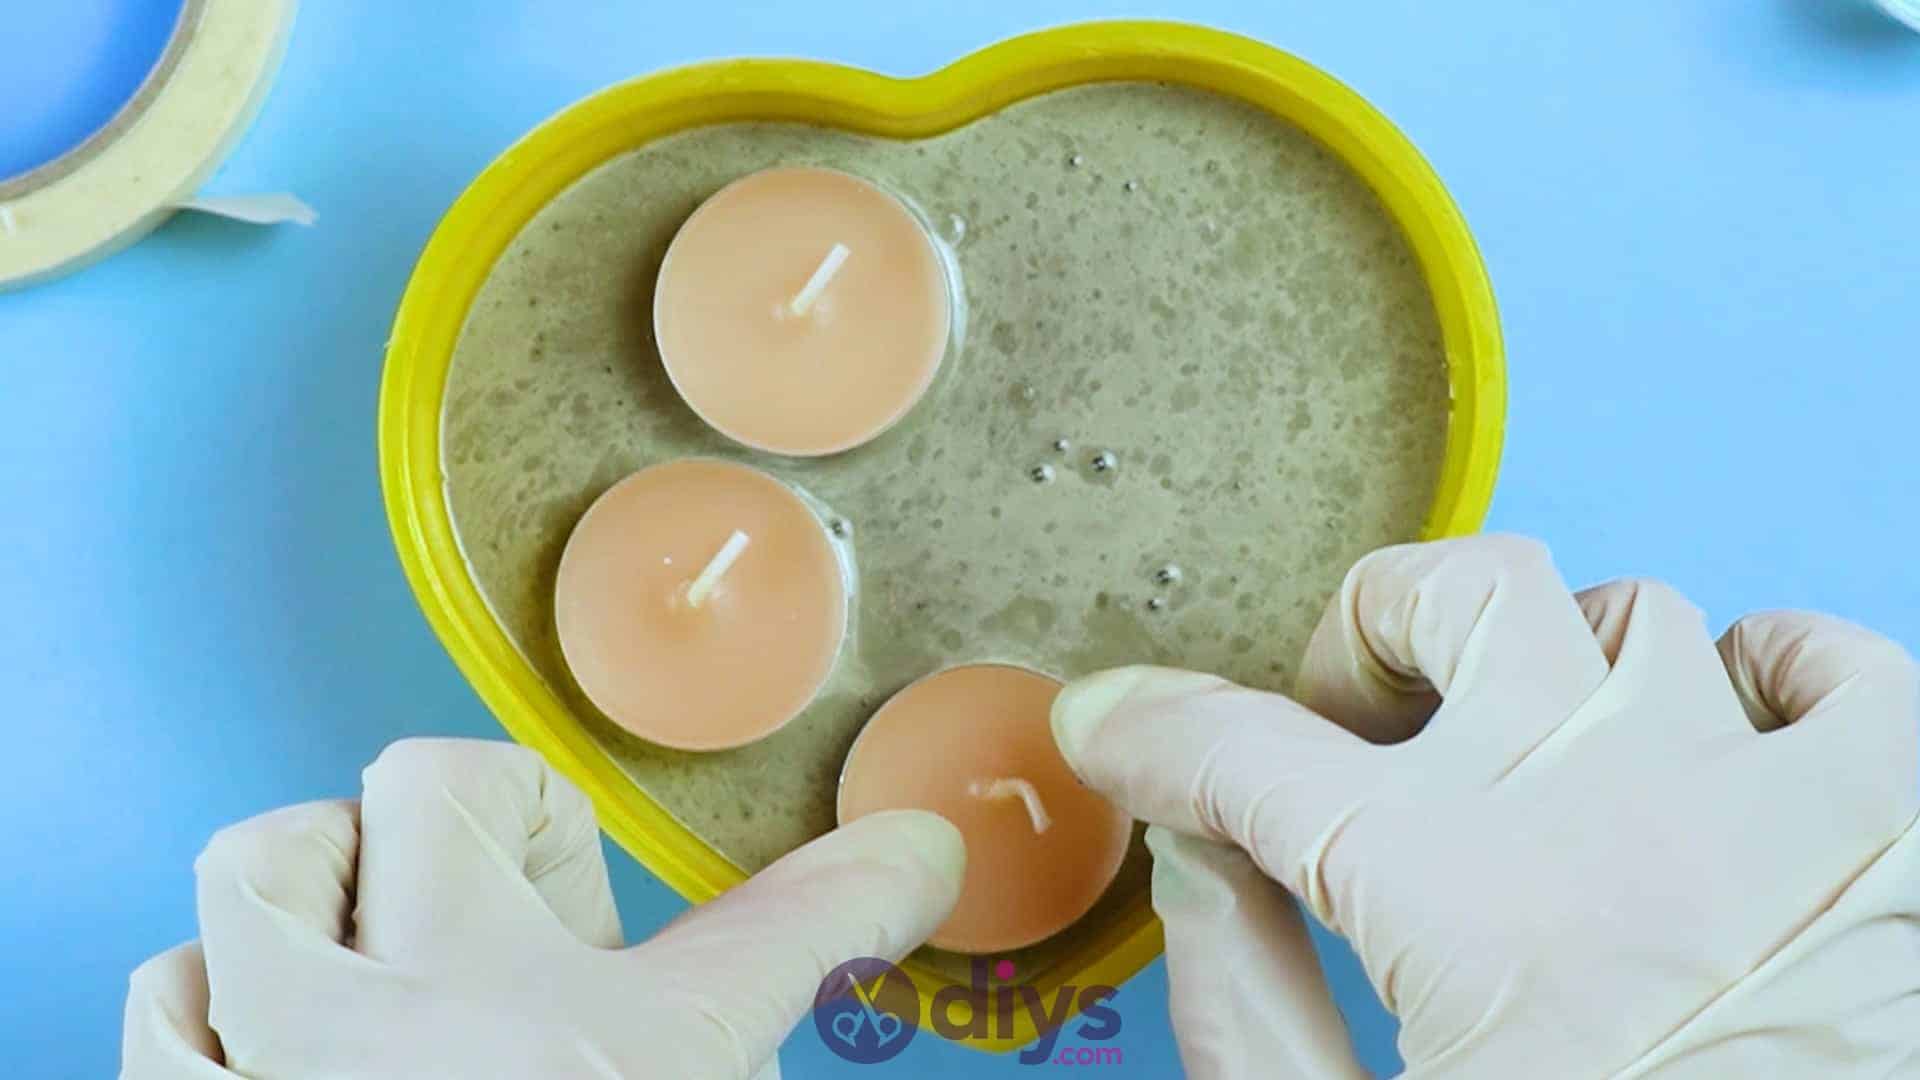
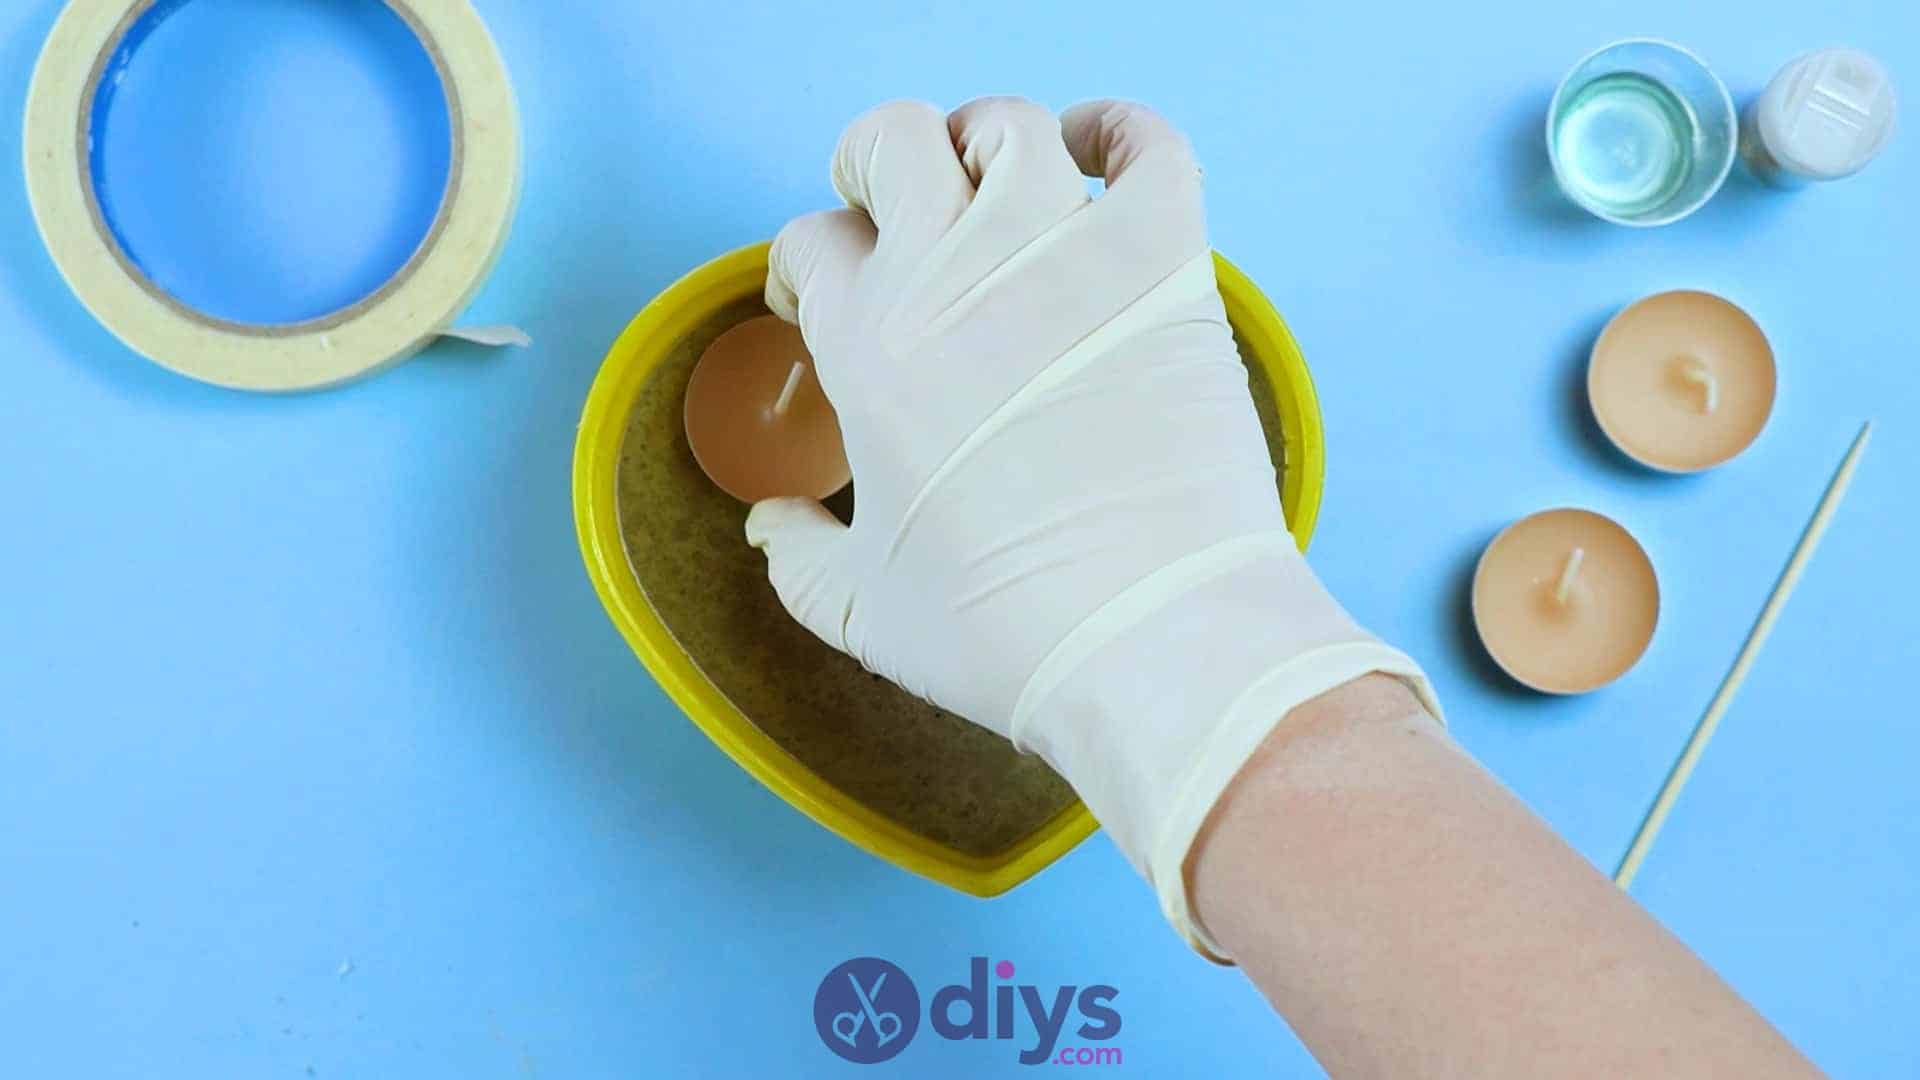
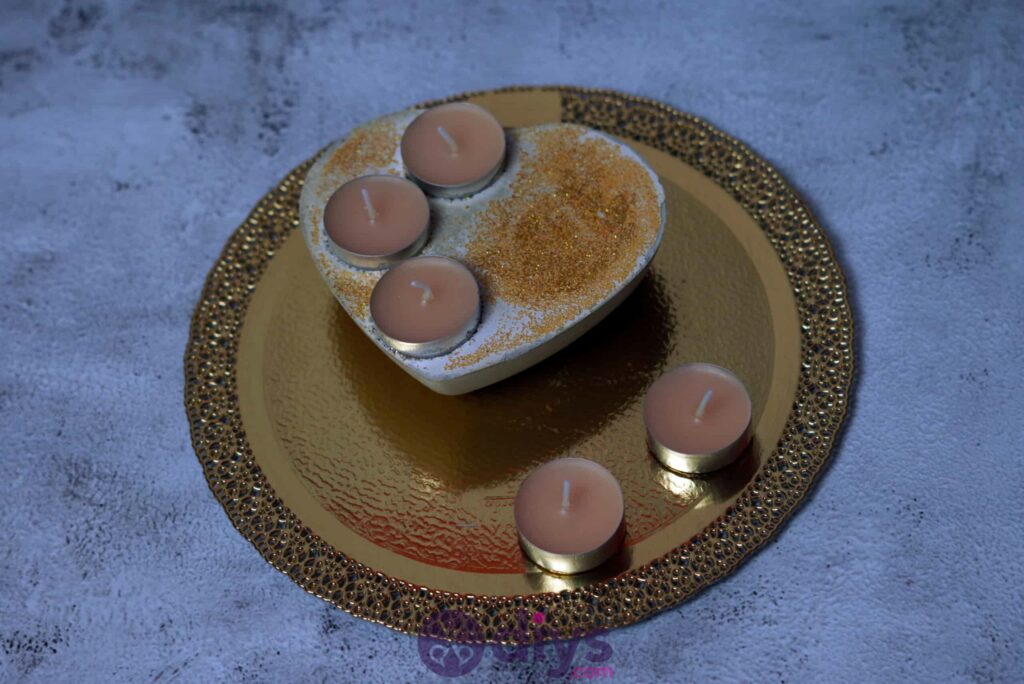
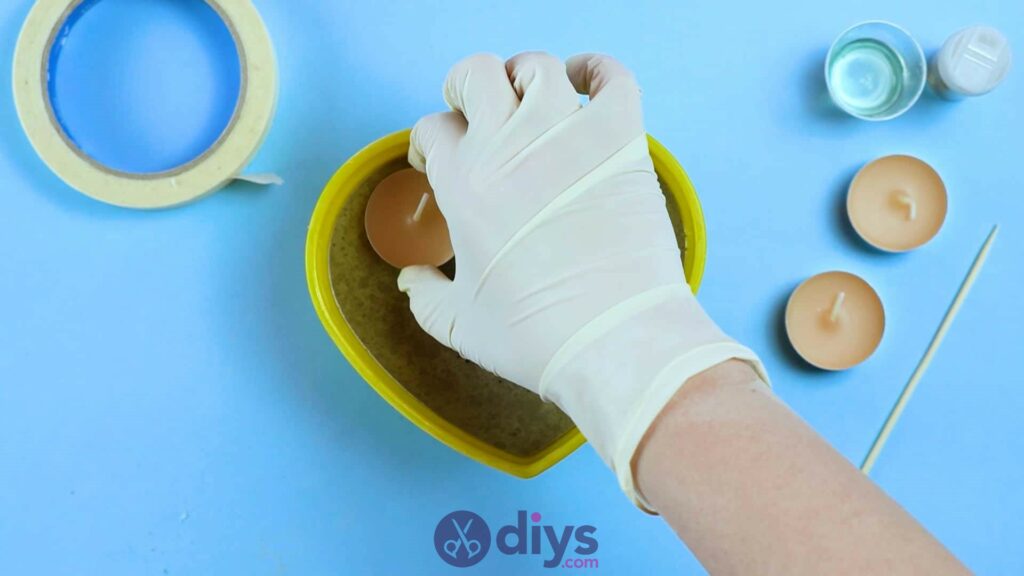
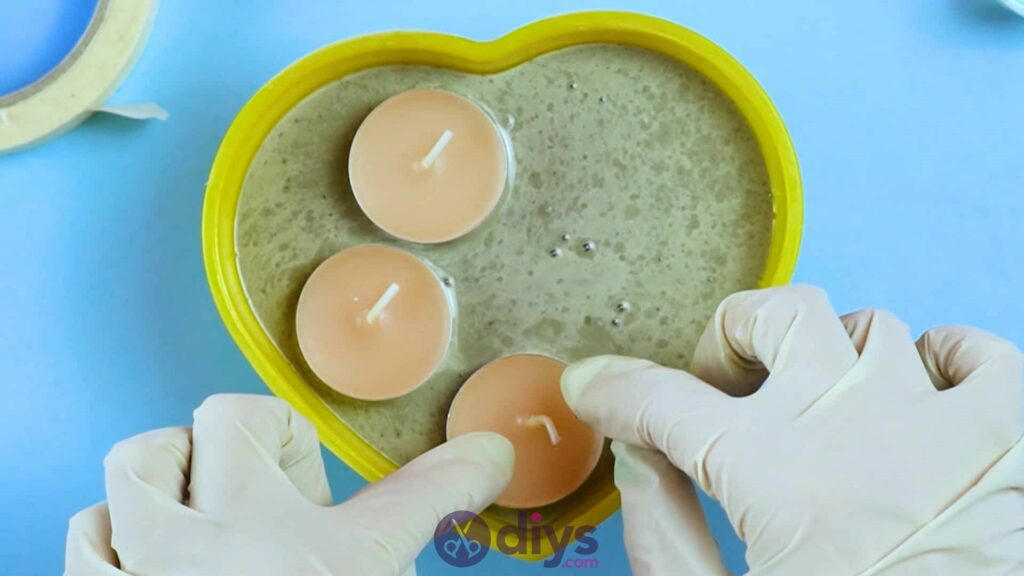
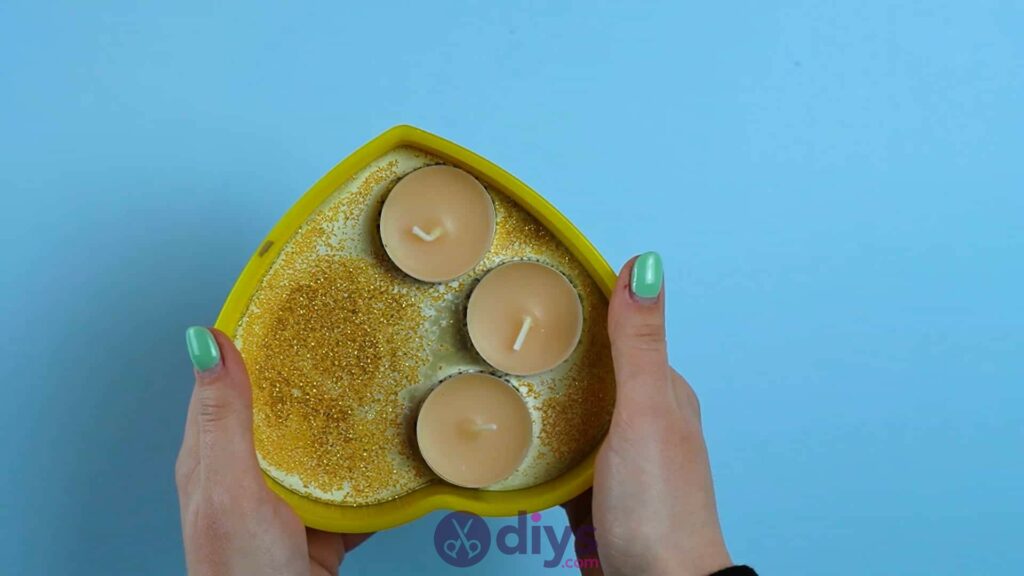
I wanted my piece to have three candle wicks, so I used three tea light candles. Lightly place them into your concrete mix so they stay at the surface, sinking only slightly into the wet mixture. The mix is thick and viscous enough that they won’t sink down any deeper if you’re gentle and don’t push them. I made sure to put them in well enough that they’d actually dry into the mix and become a solid part of the candle holder, but not so much that any concrete mix spilled over the edge onto the actual candle. Arrange them so they curve around one side of your heart; I chose to arc my three candles on the left and leave the right side for other details.
Step 6: glitter
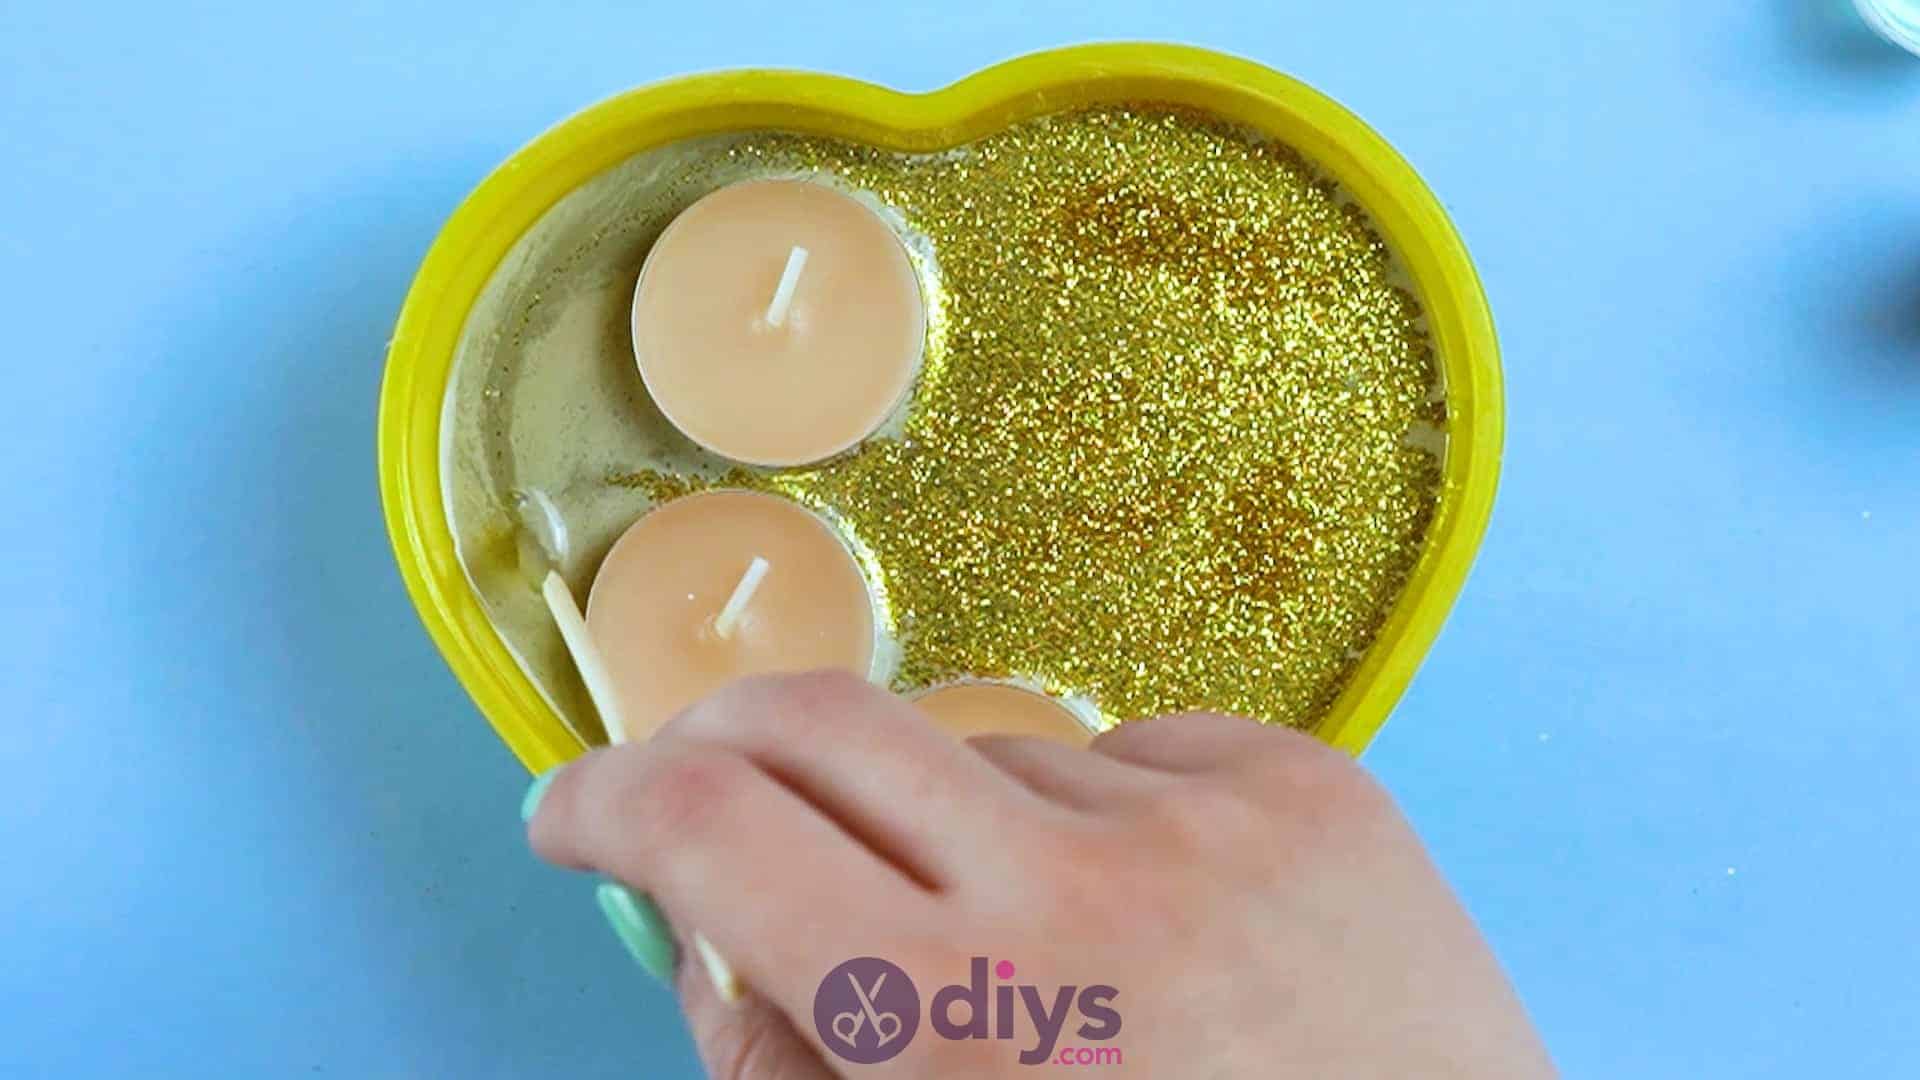
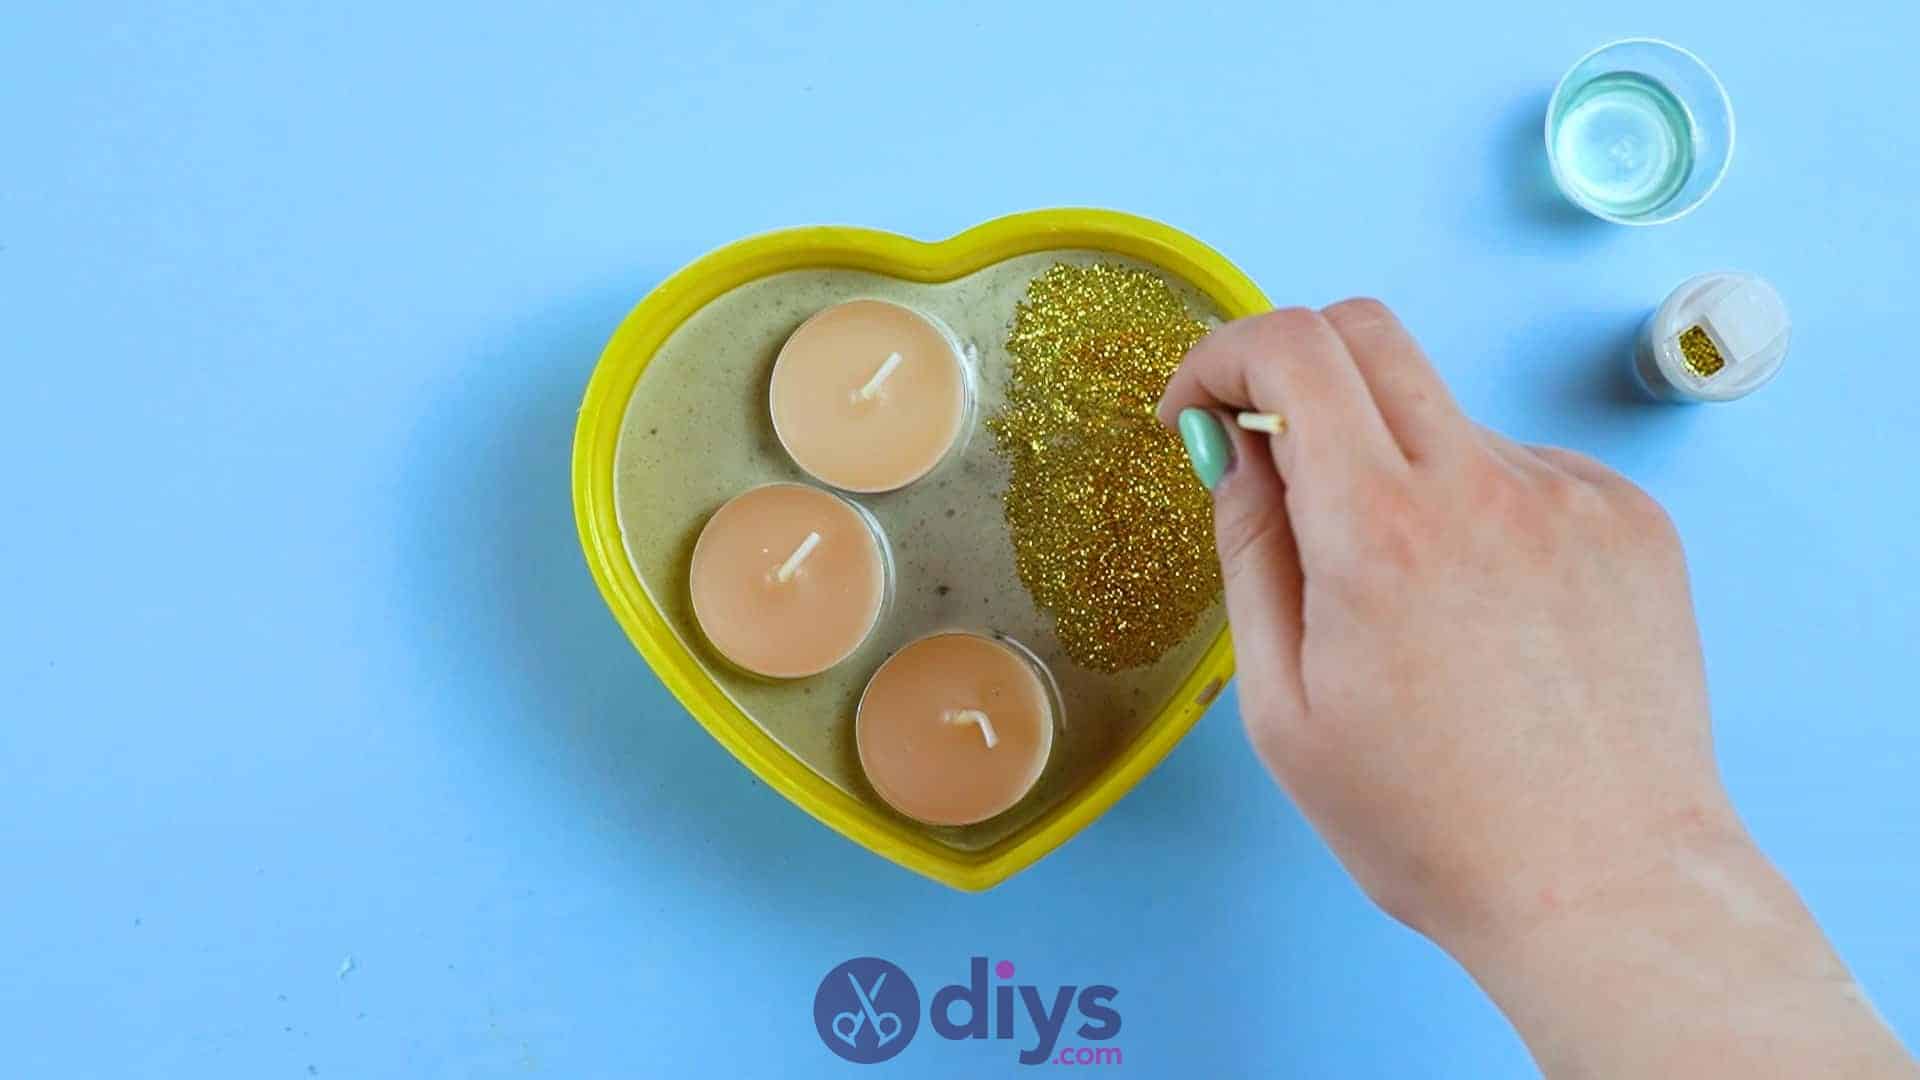
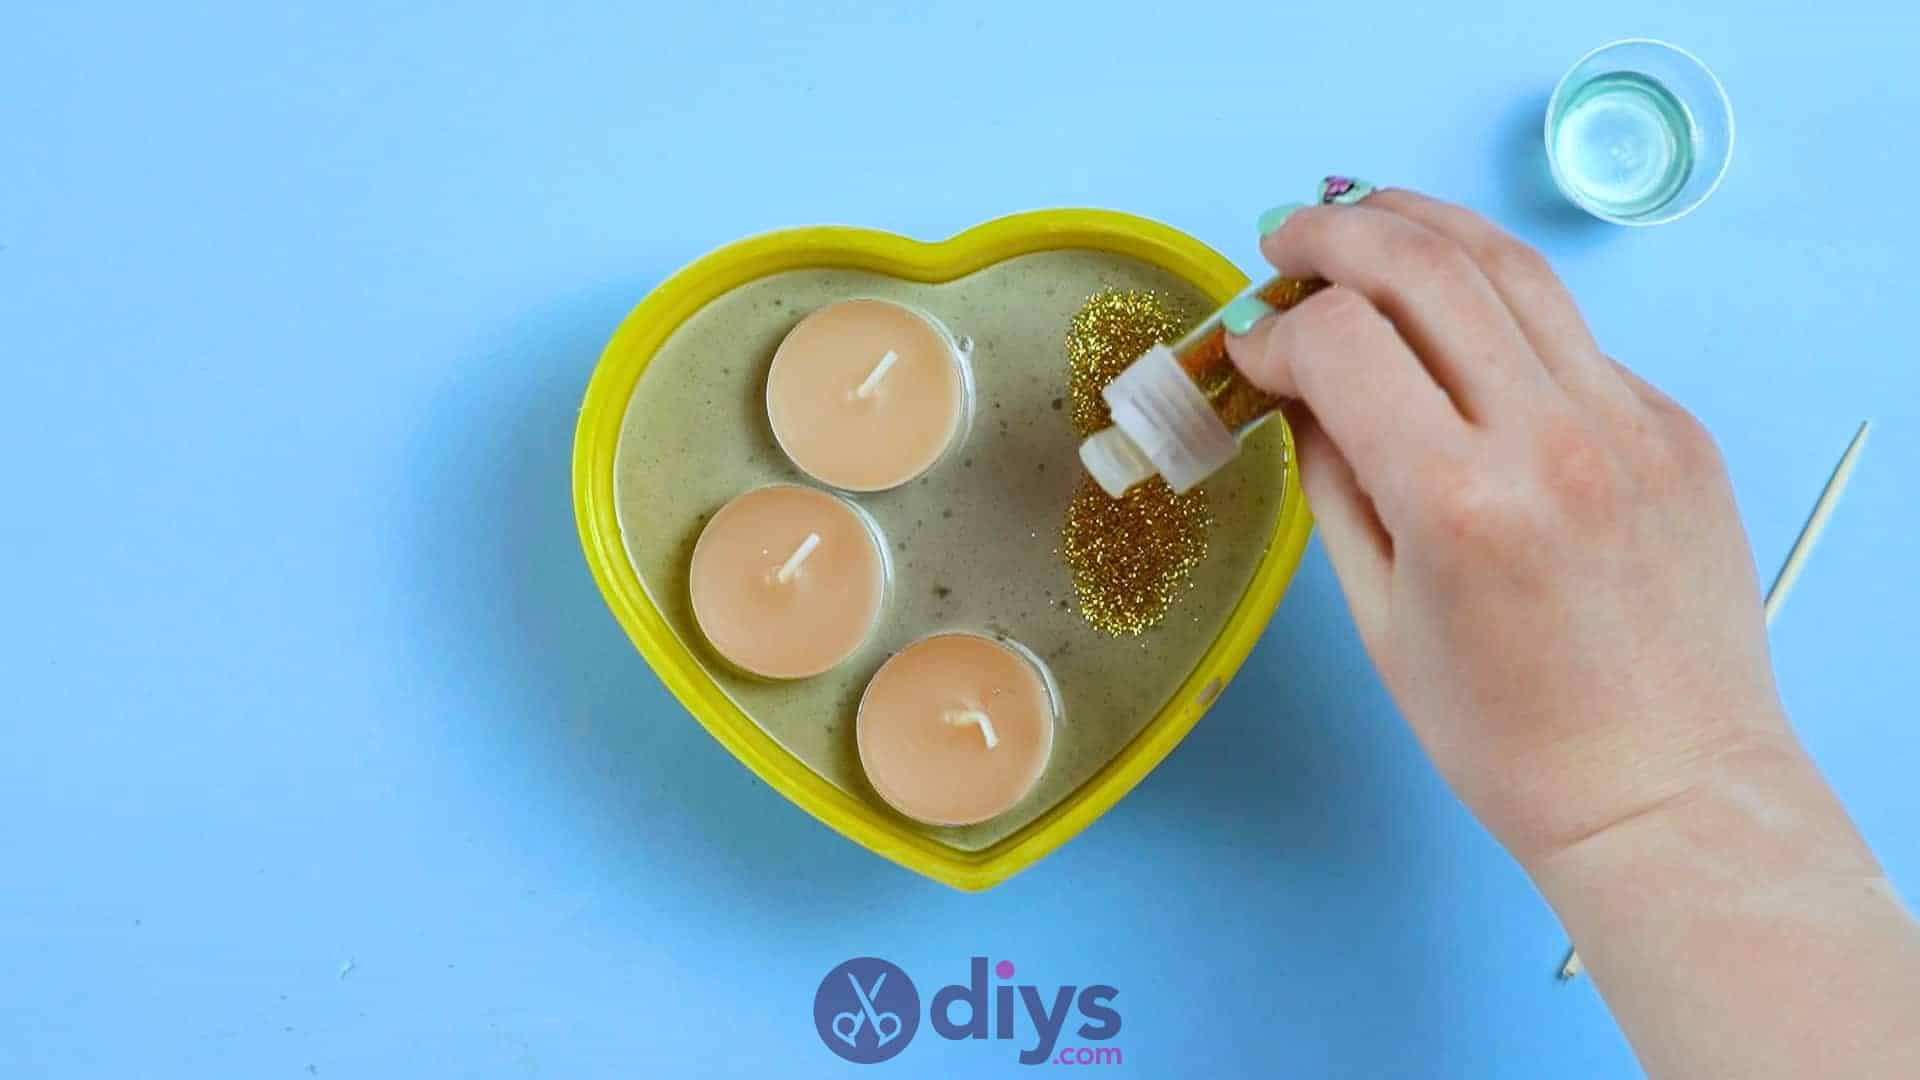
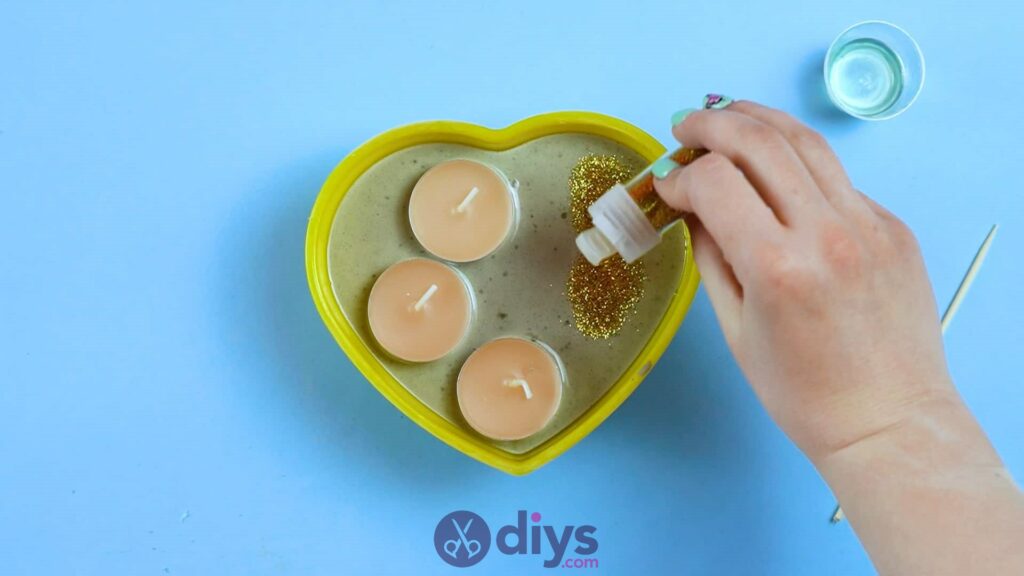
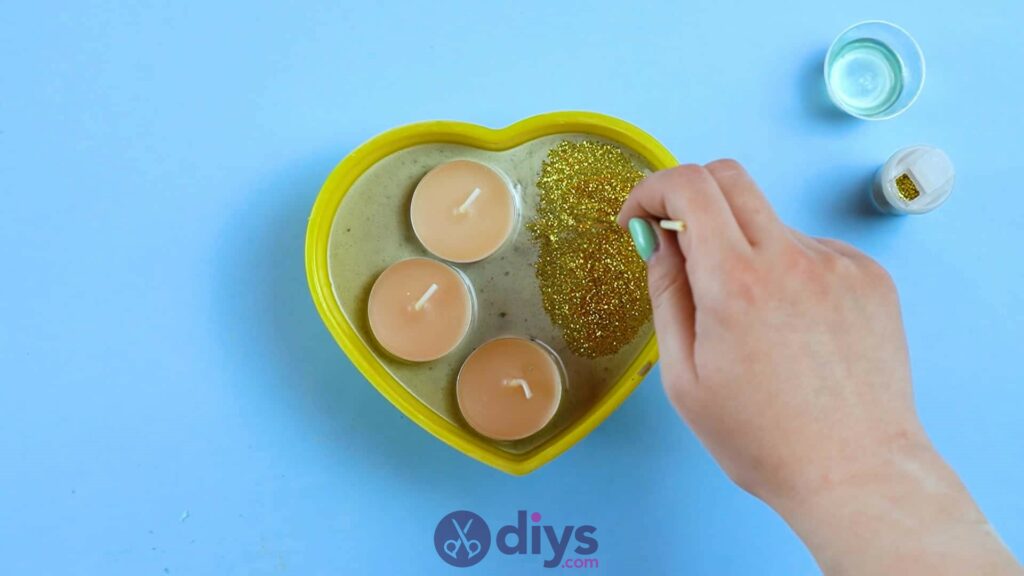
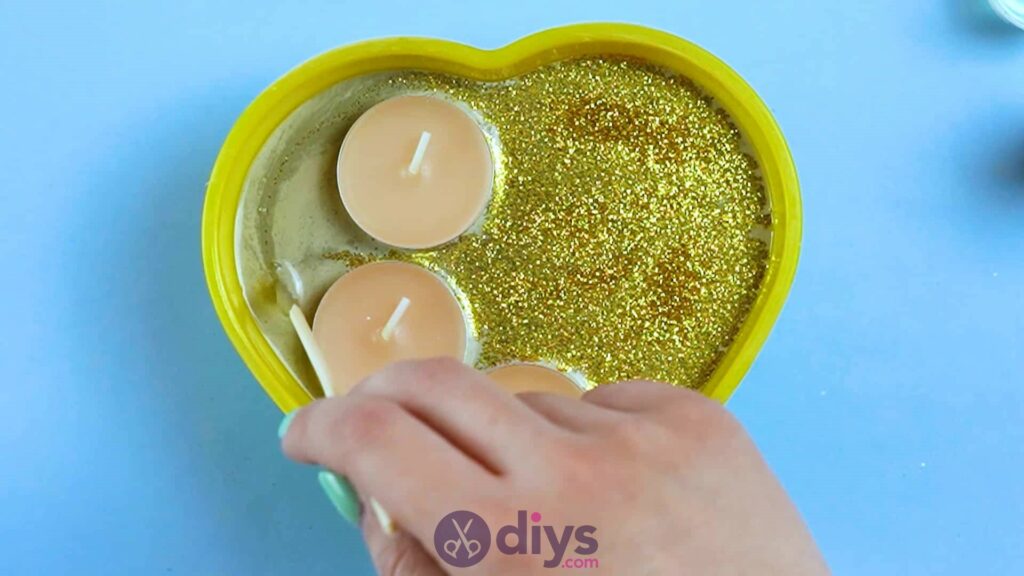
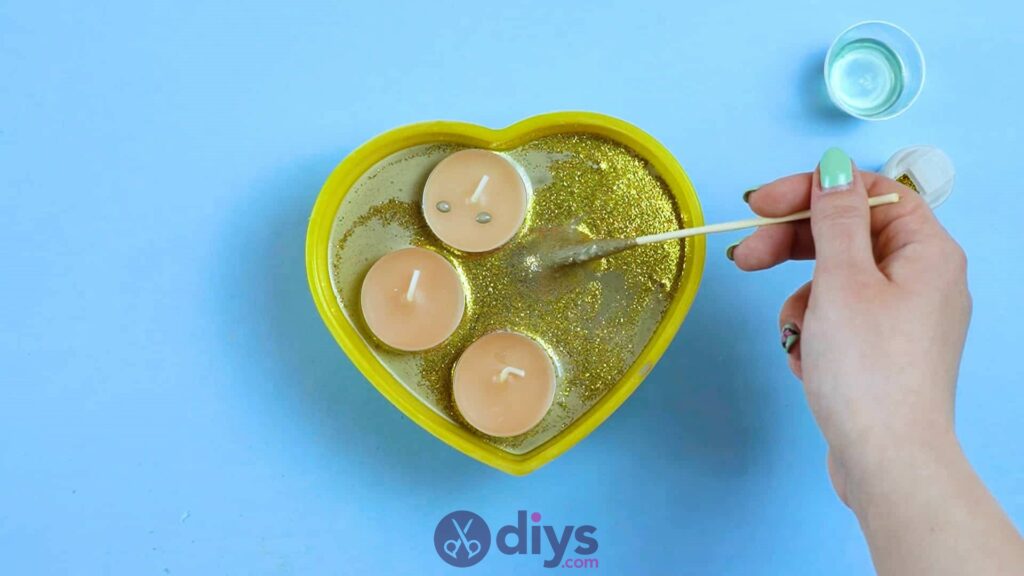
Pour glitter onto the other side of the heart, across from where you put the candles. You can sprinkle it lightly all over or concentrate it here and then use your wooden skewer as a stir stick to spread it around the heart from there. I chose the latter technique. Pour as much glitter as you please into the concrete mix and then gently use your stick to trail it through other parts of the surface, between the candles, and however you please. When you’re happy with what you see, leave the whole piece to dry.
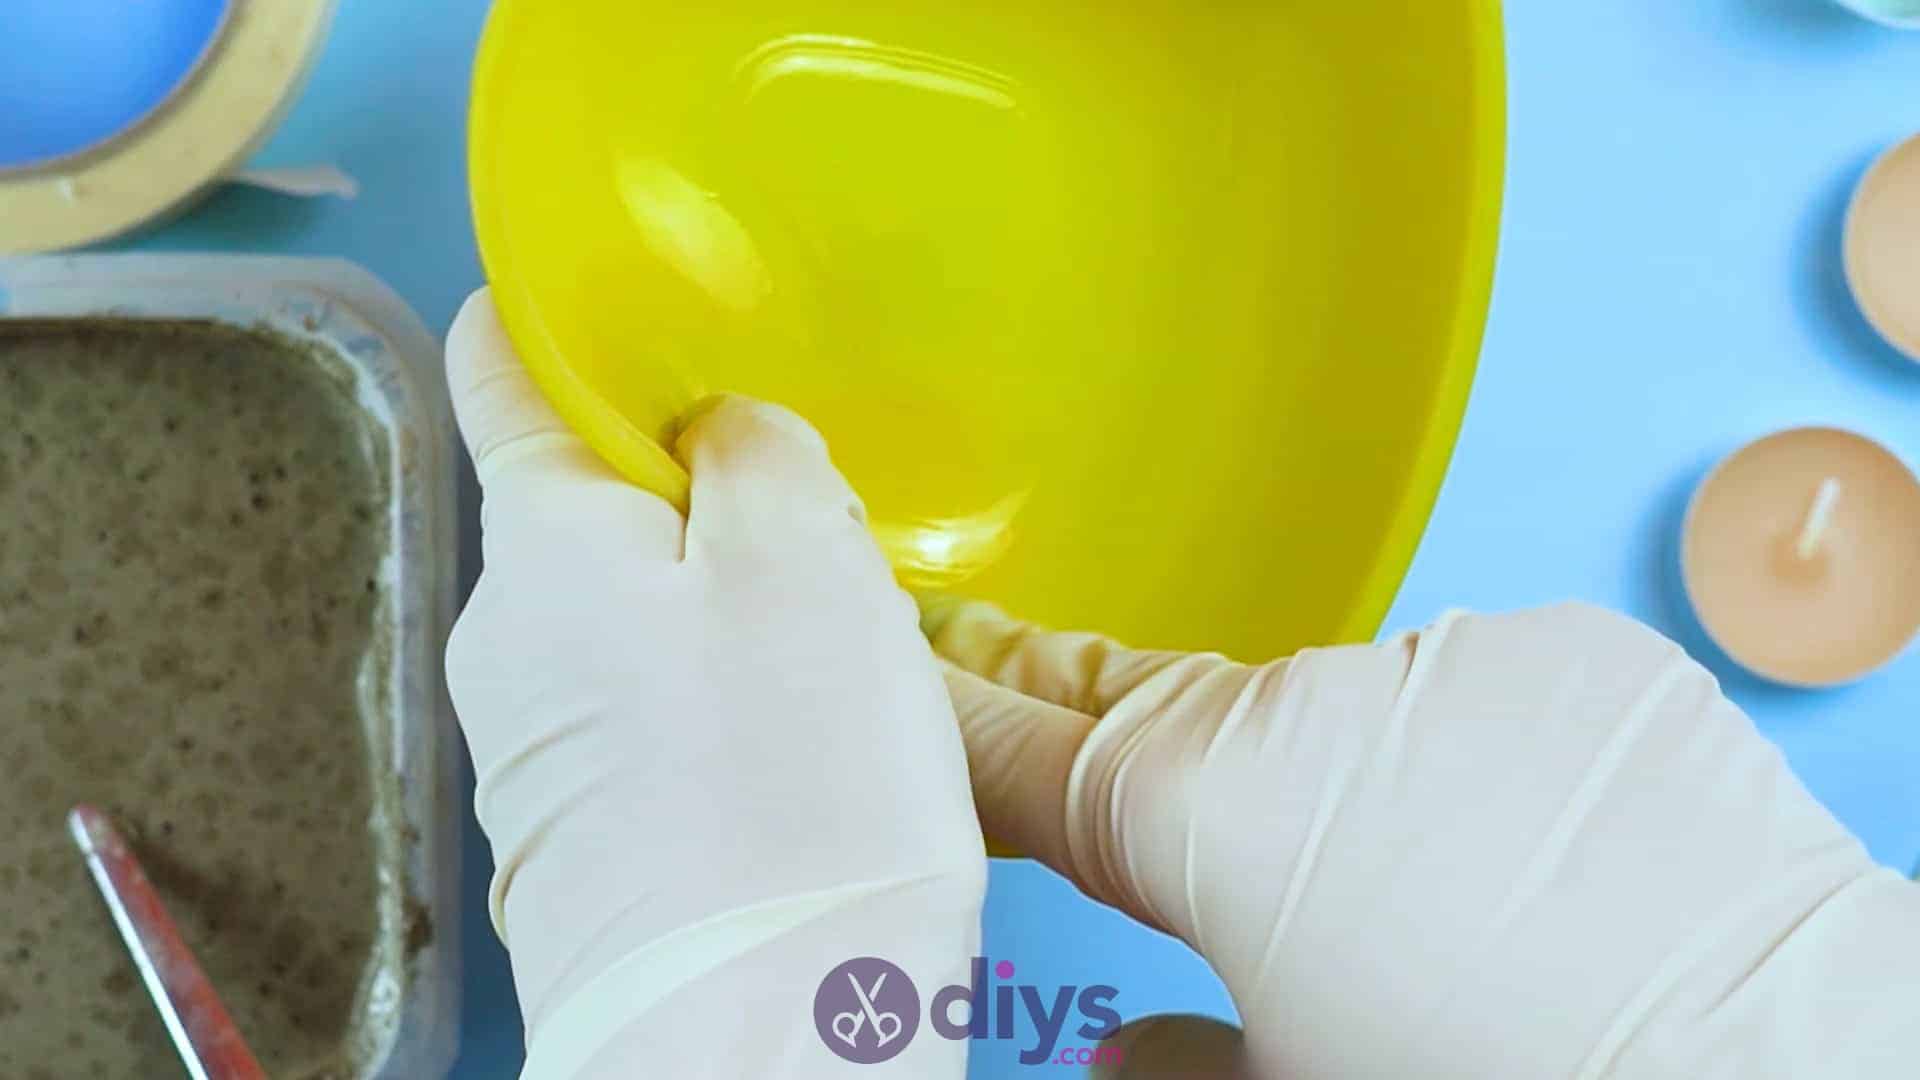
Step 7: remove from mould
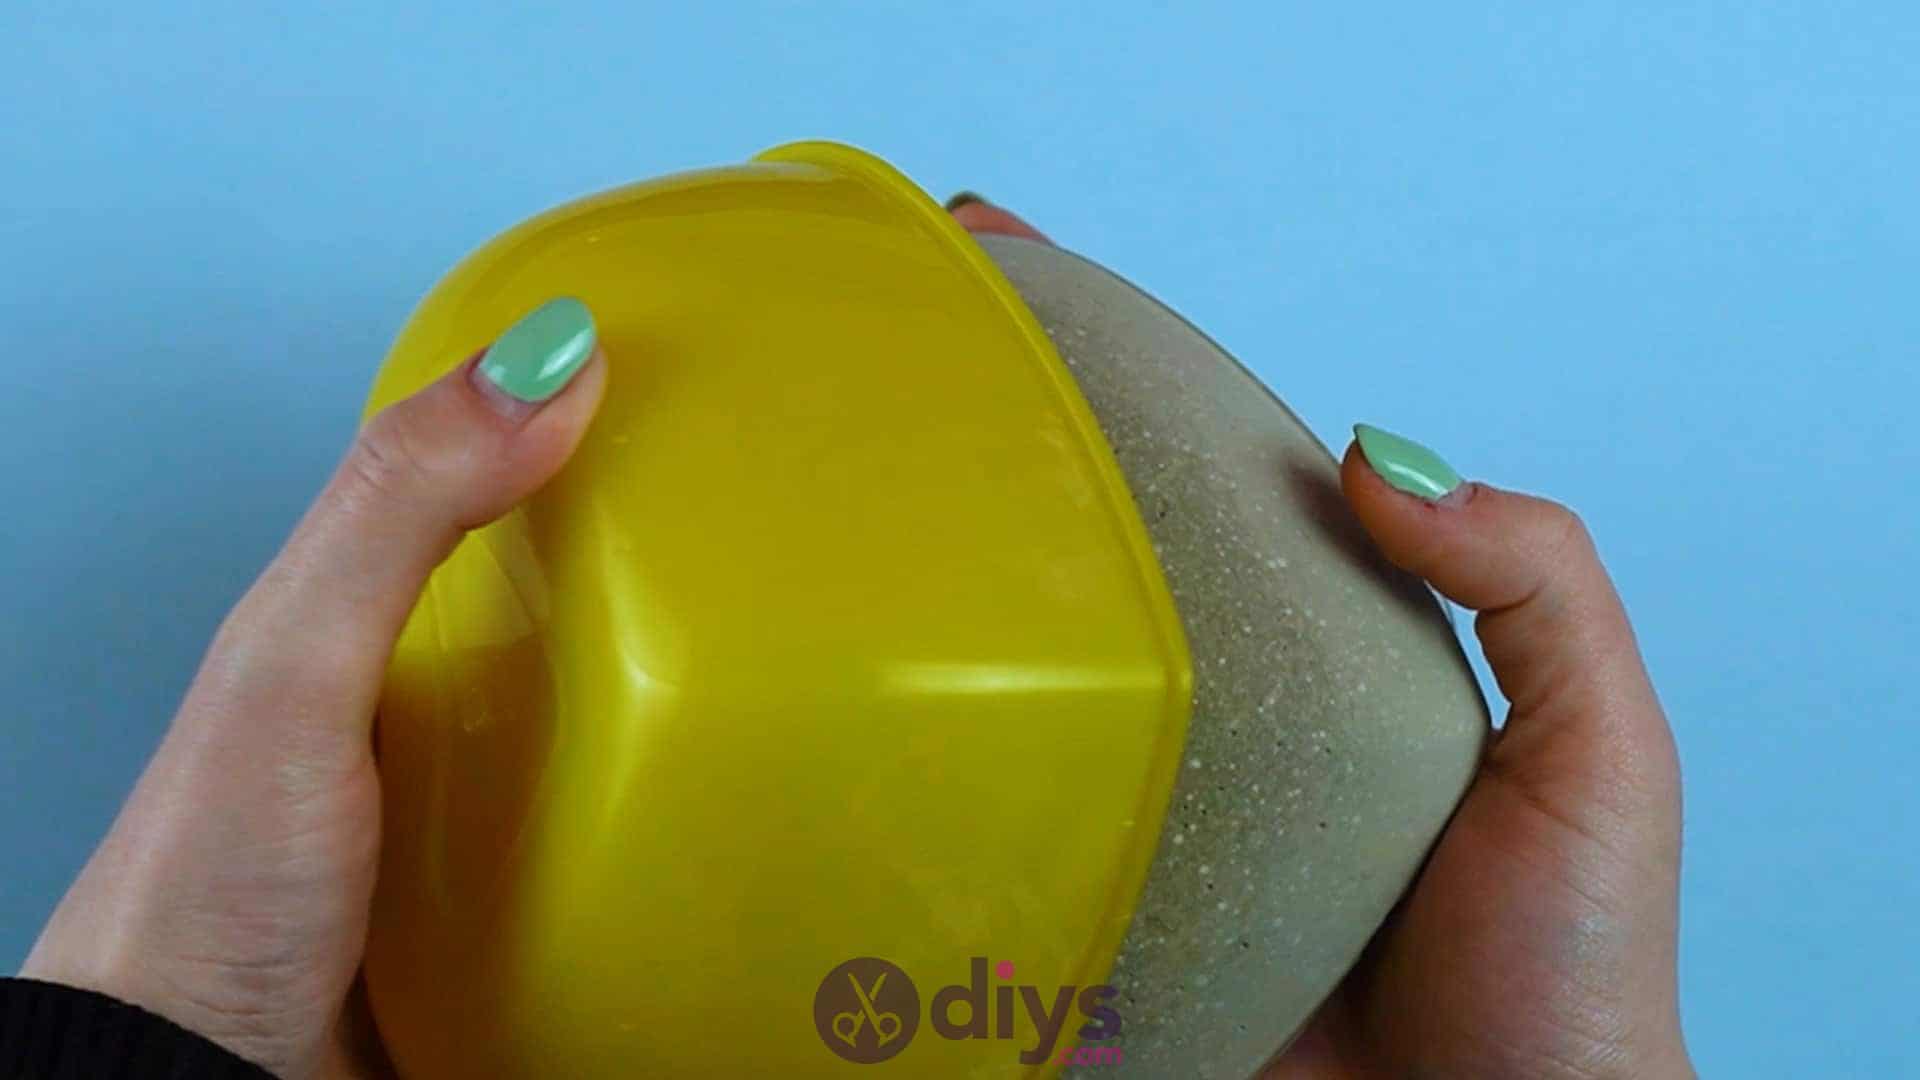
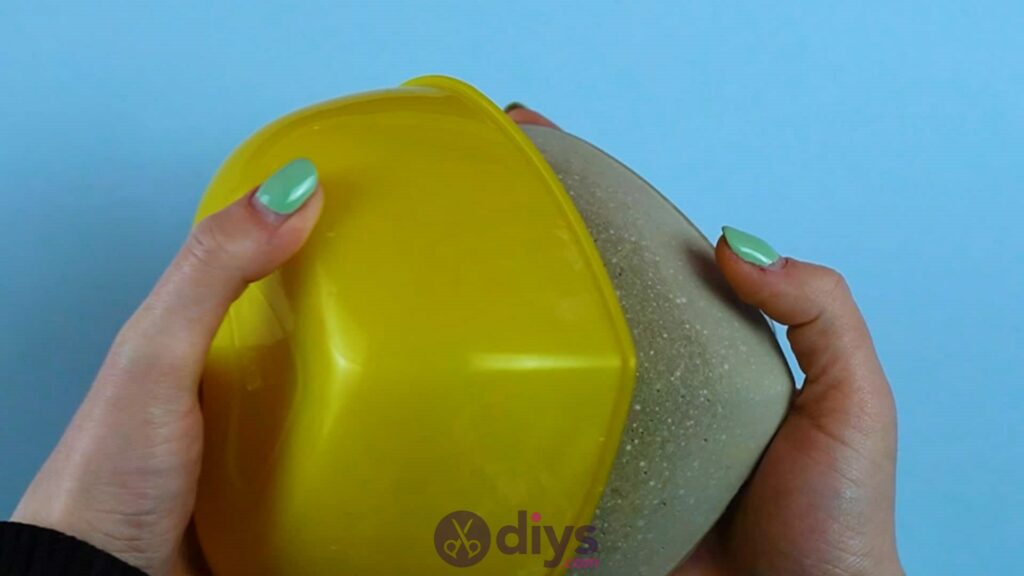
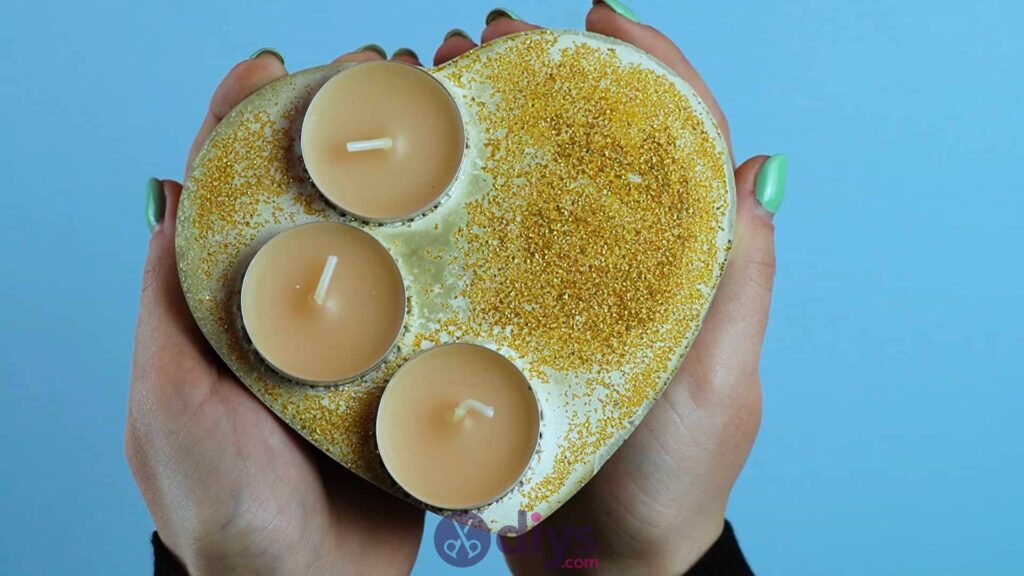
When your concrete mix has dried thoroughly and all the way through, free it from the bowl. I did this by bending the edges back from the dried concrete suddenly until it loosened and I could just tip it out. This should be fairly easy thanks to the way the layer of oil you applied to the inside of the bowl earlier will have prevented the concrete from sticking to the plastic as it dried.
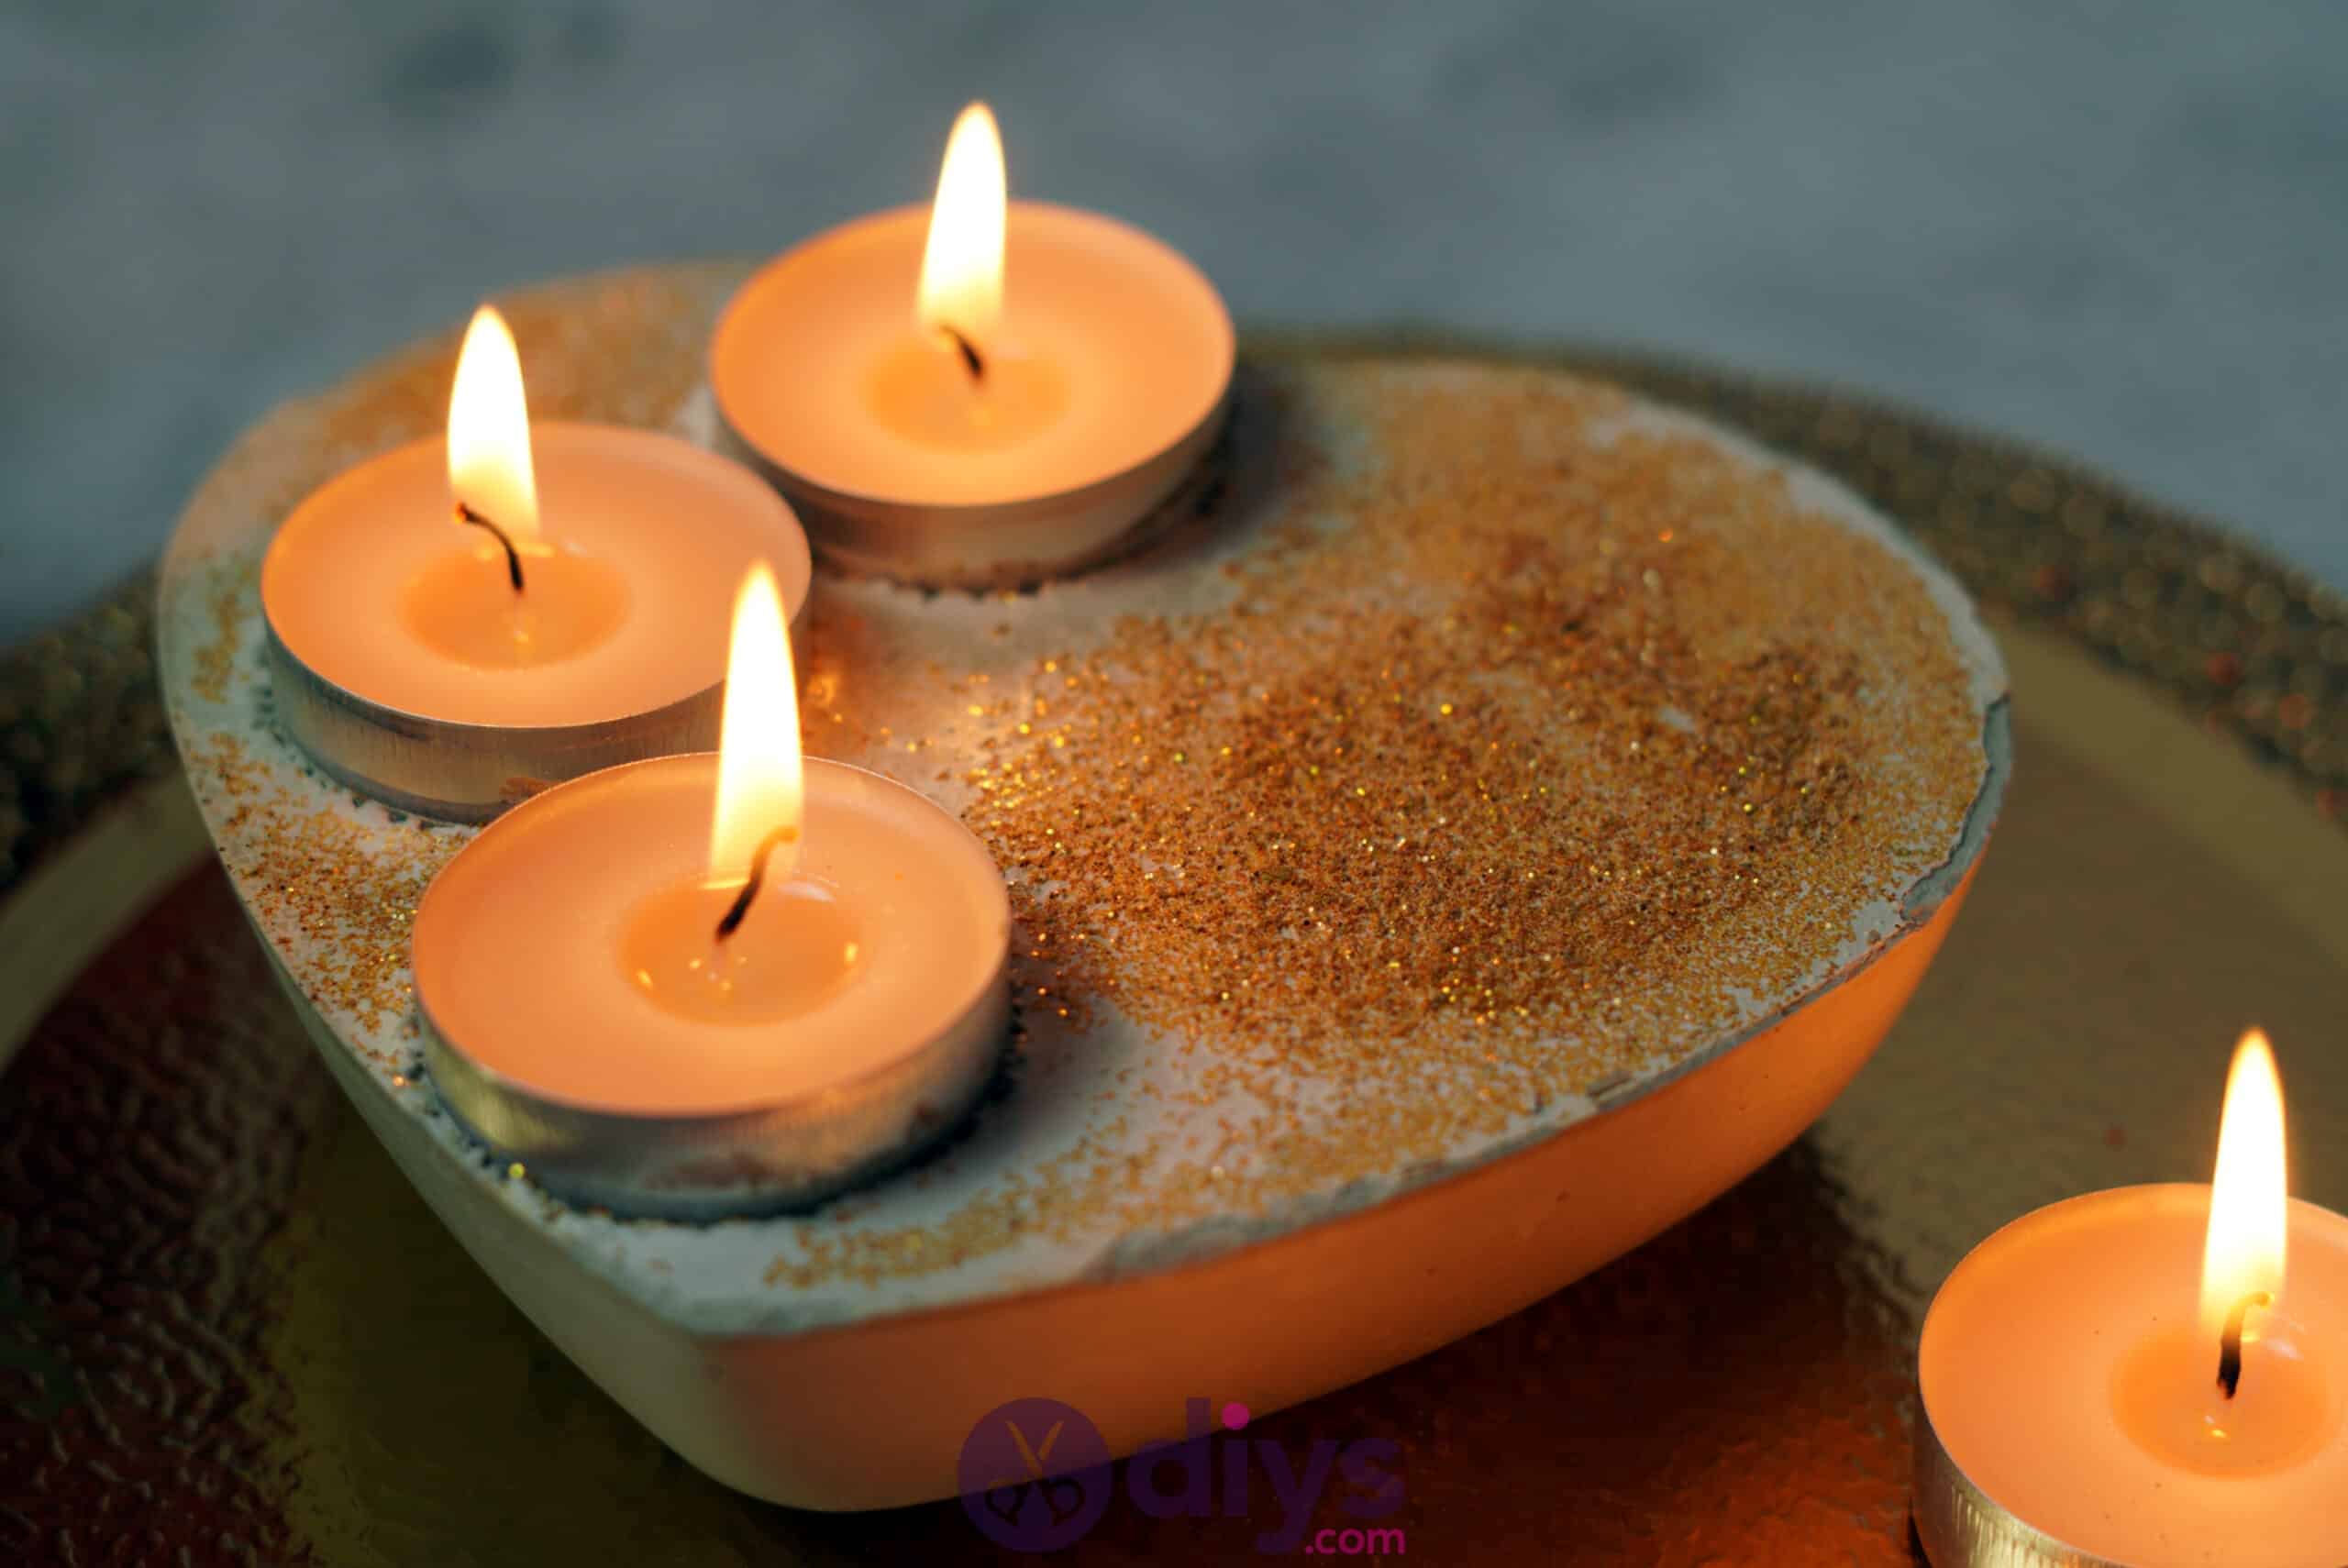
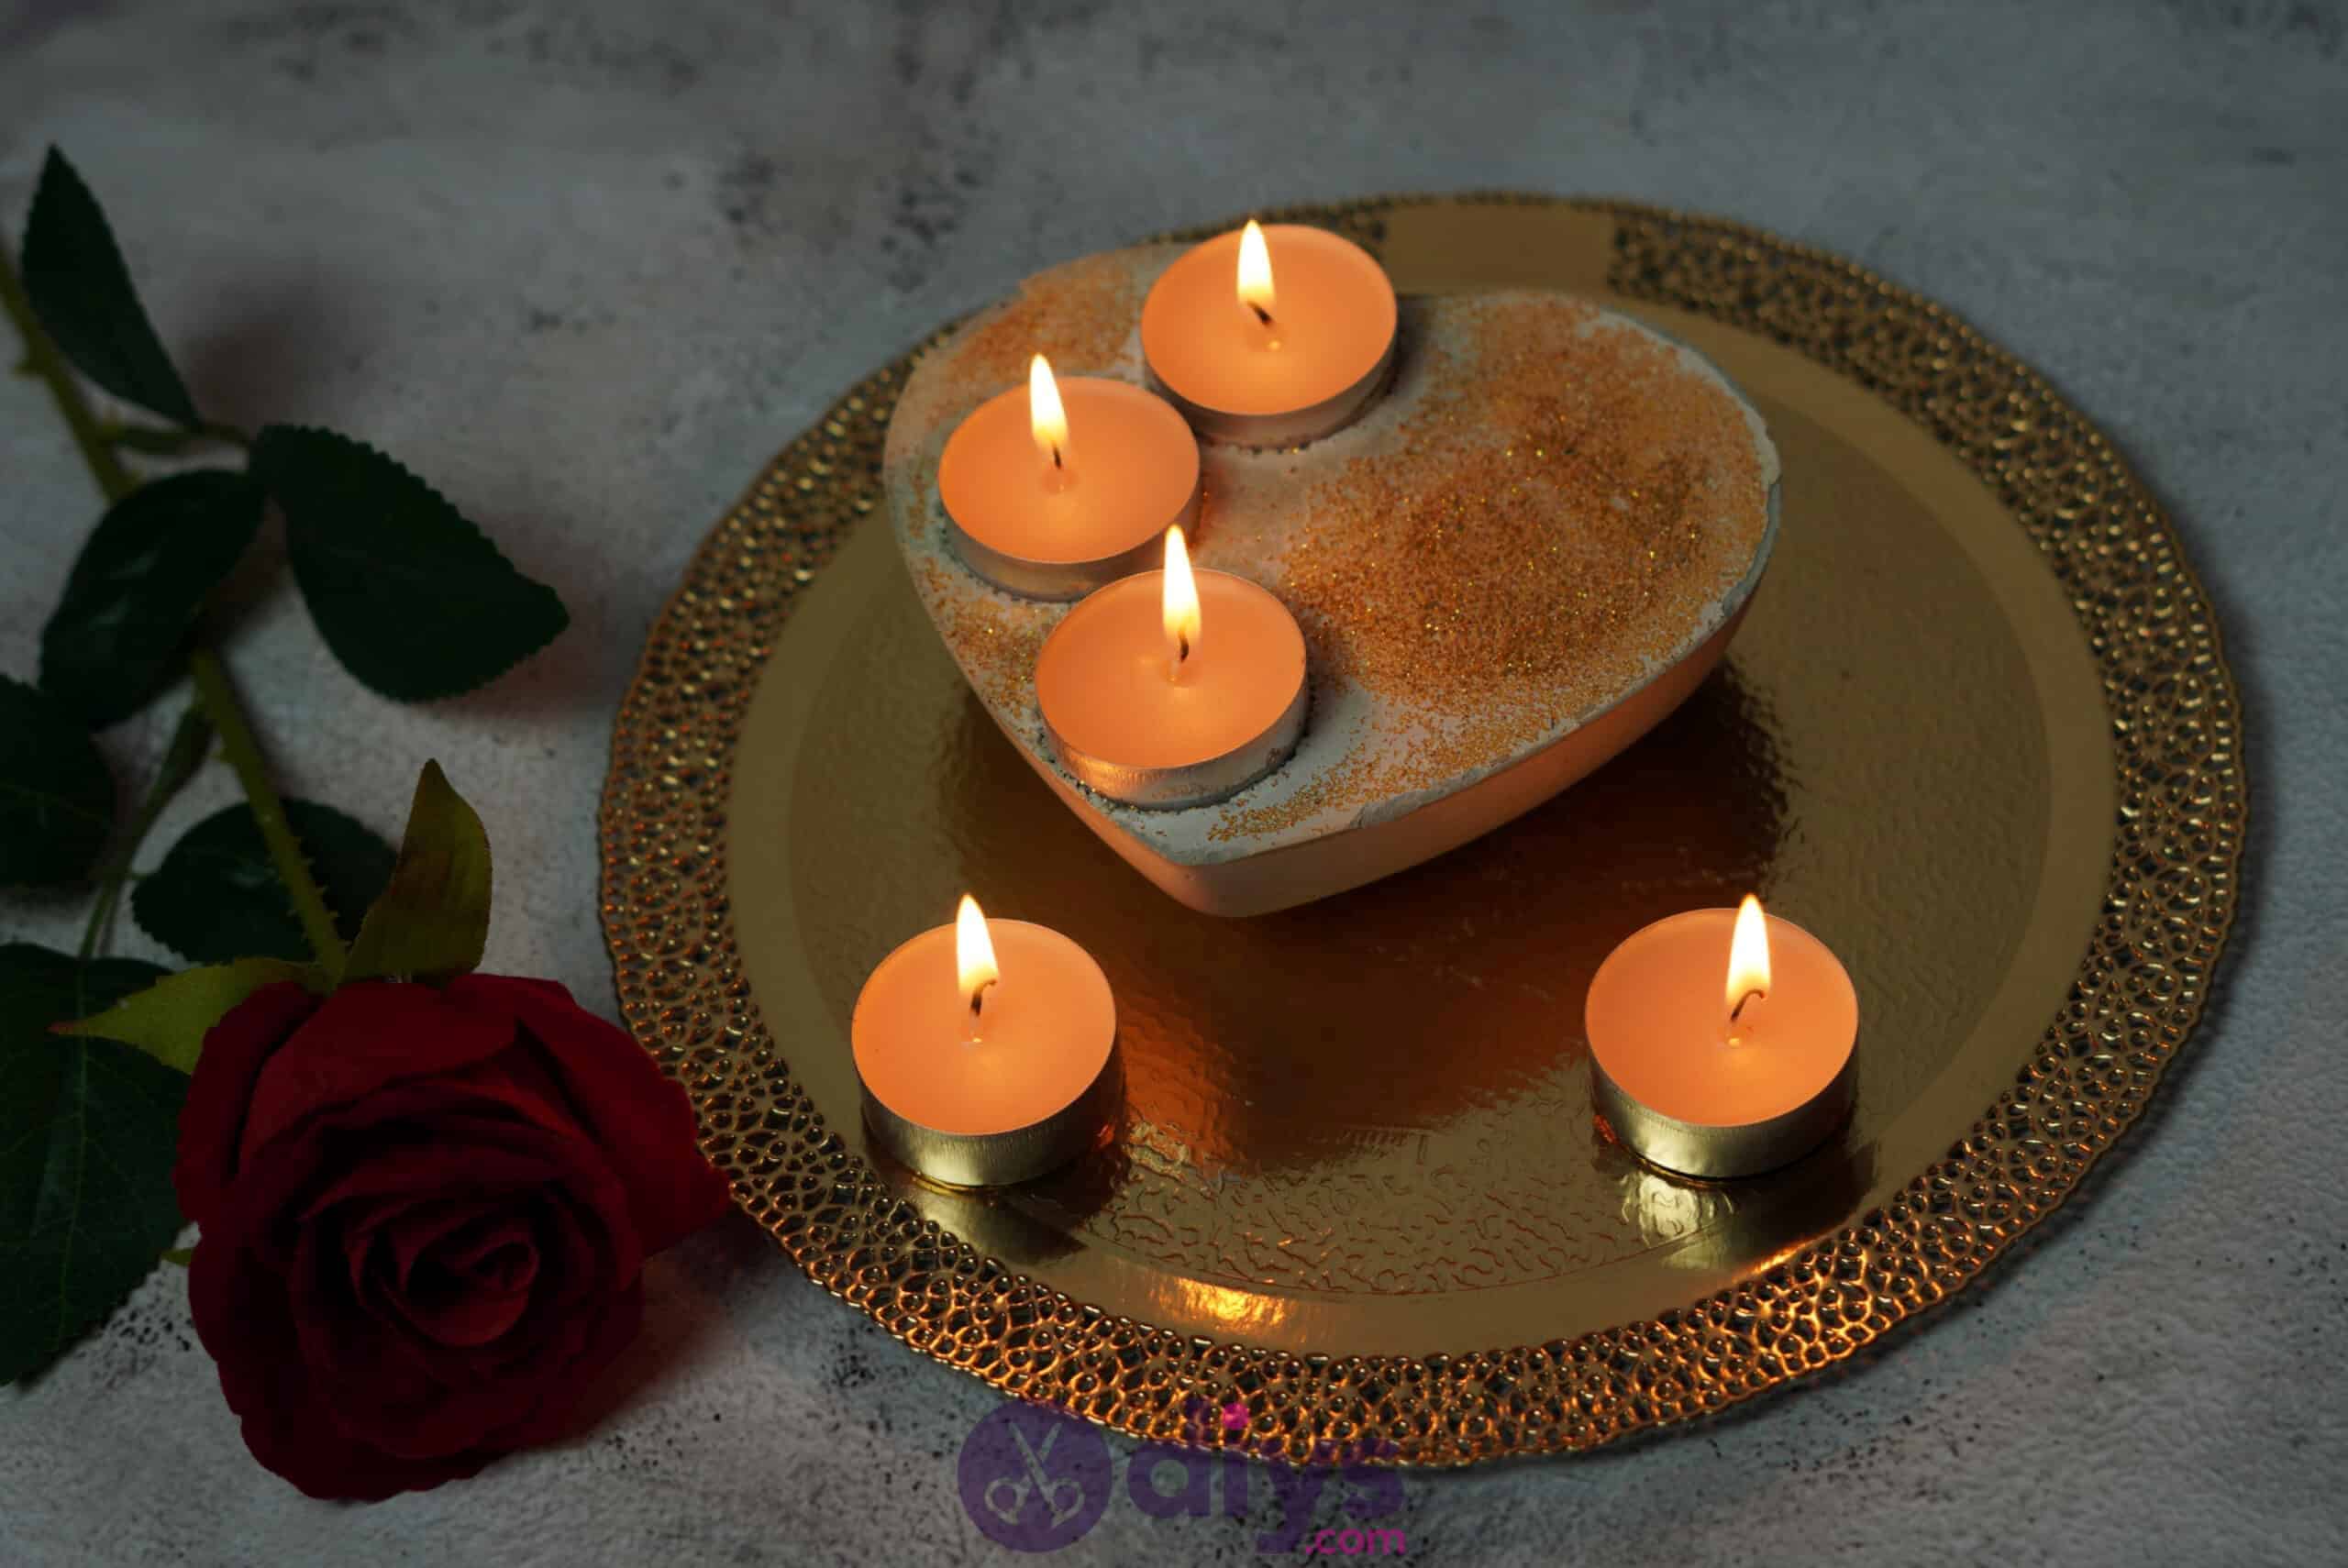
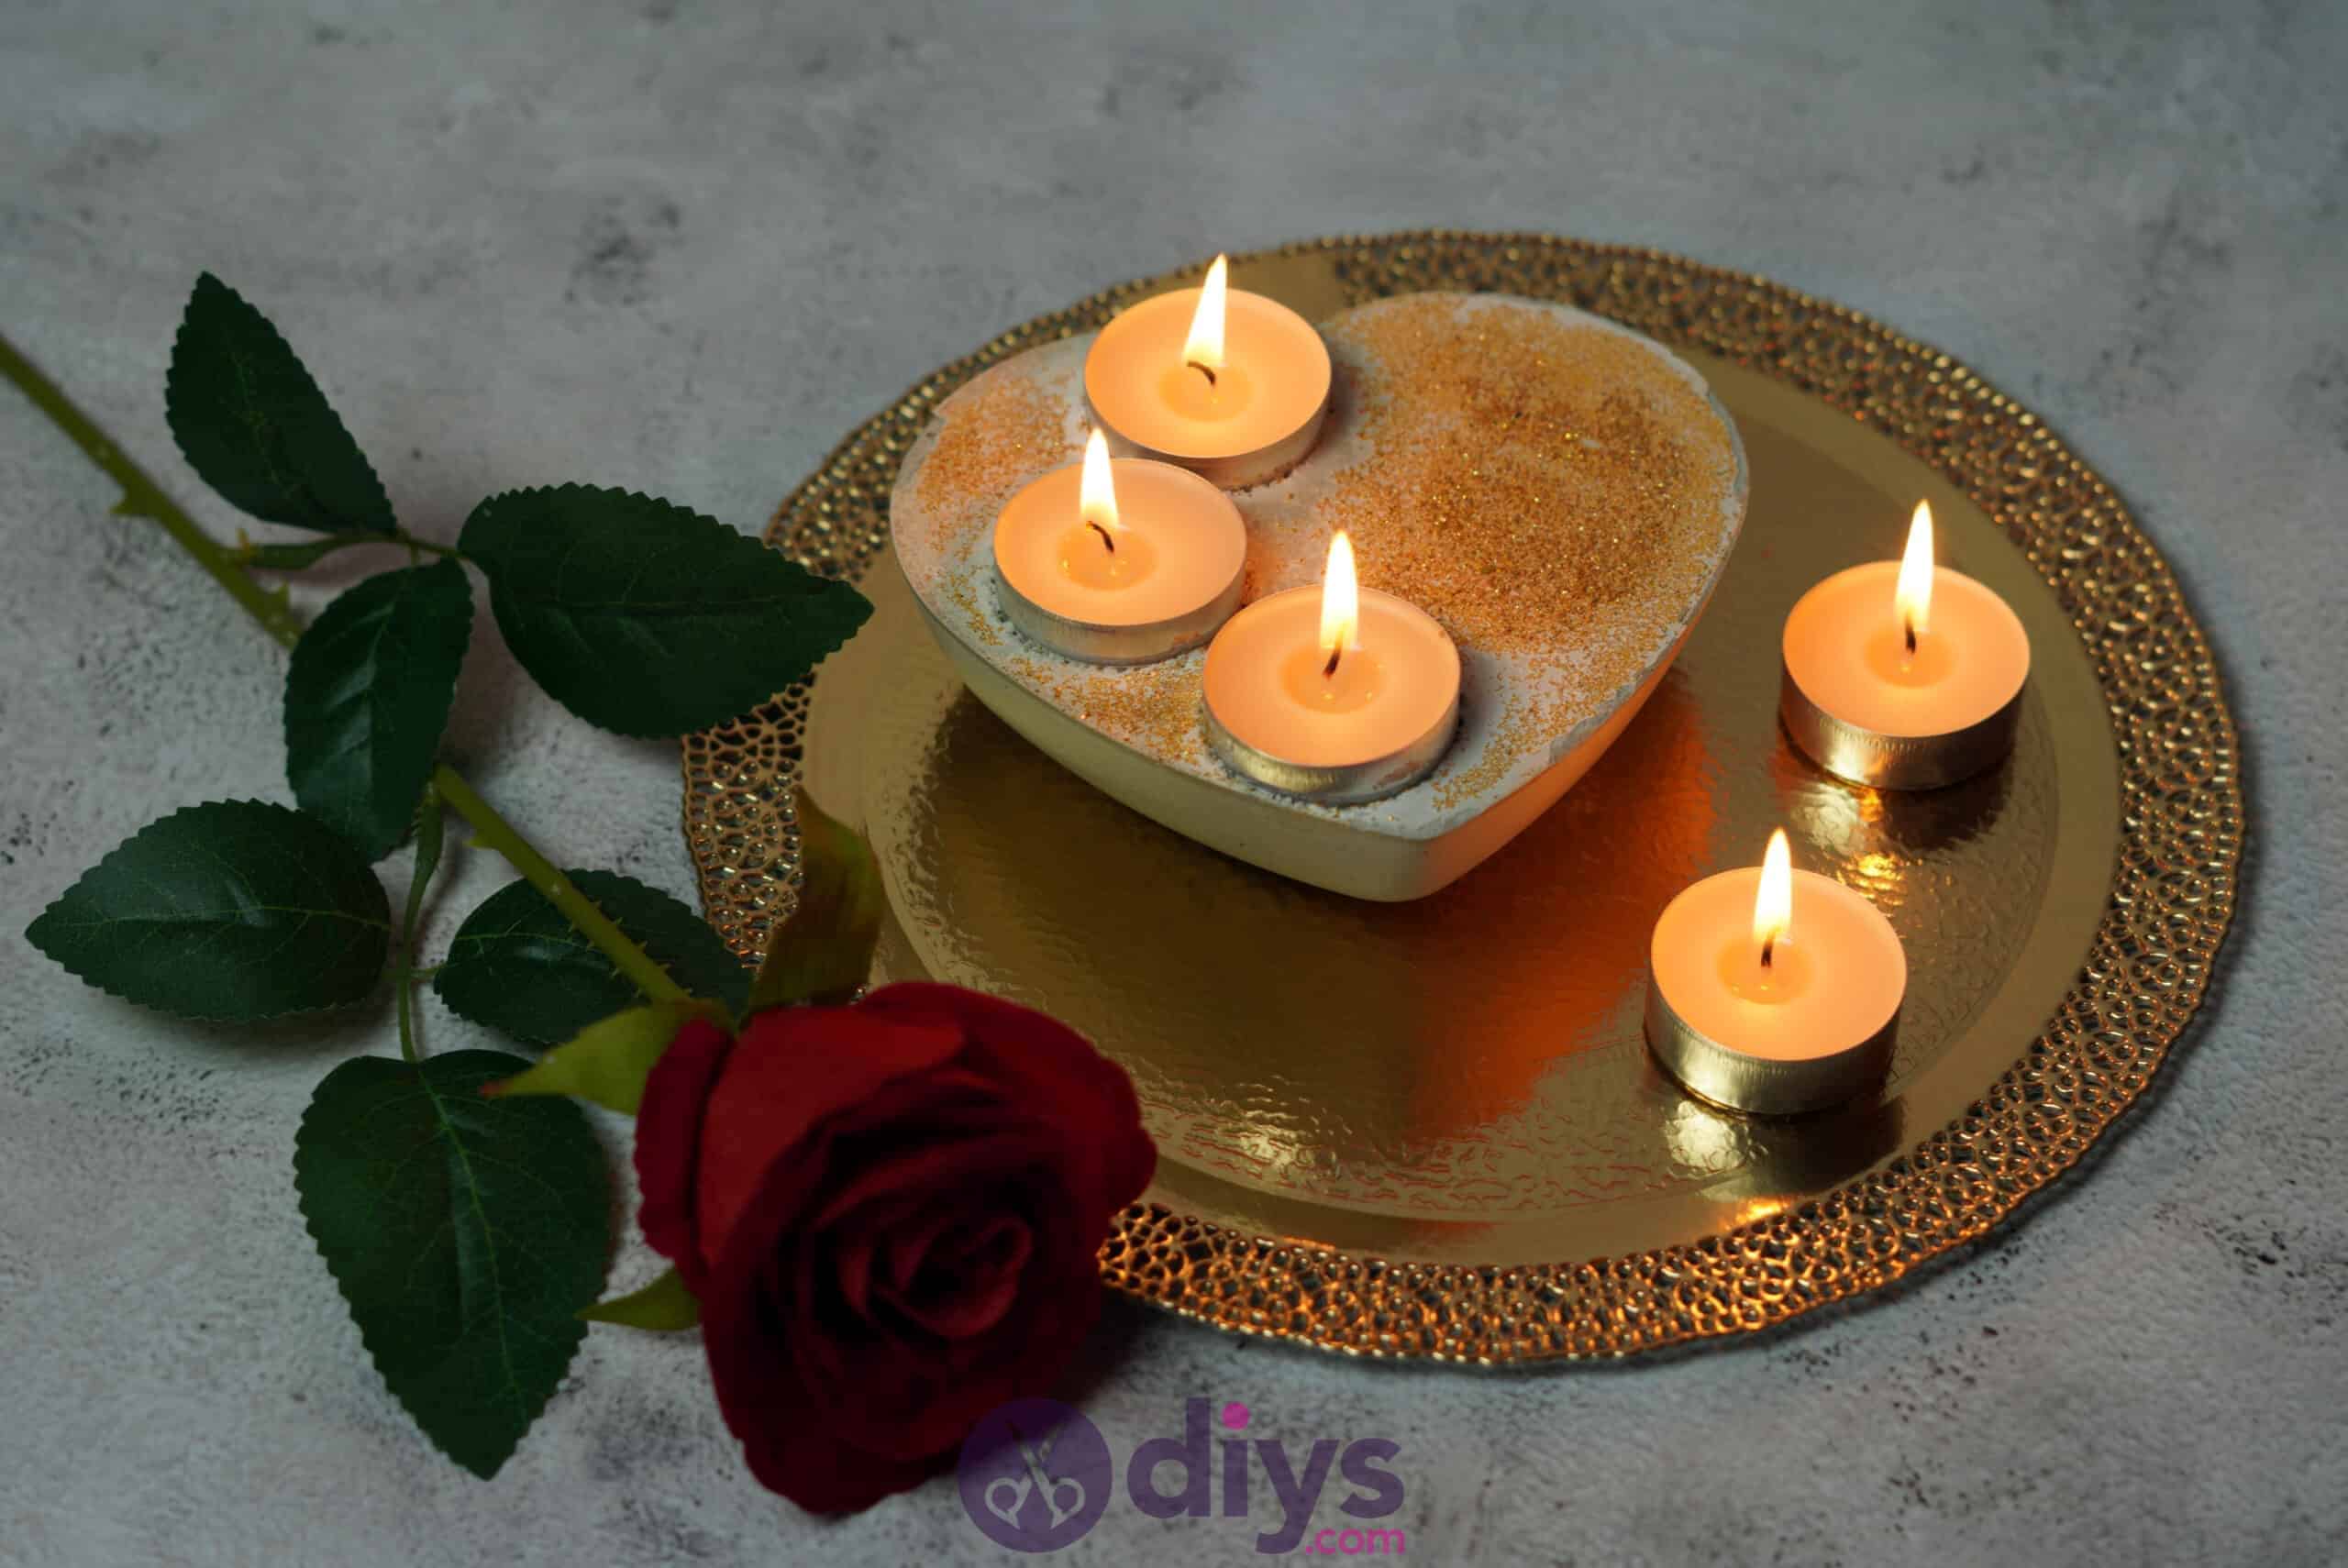
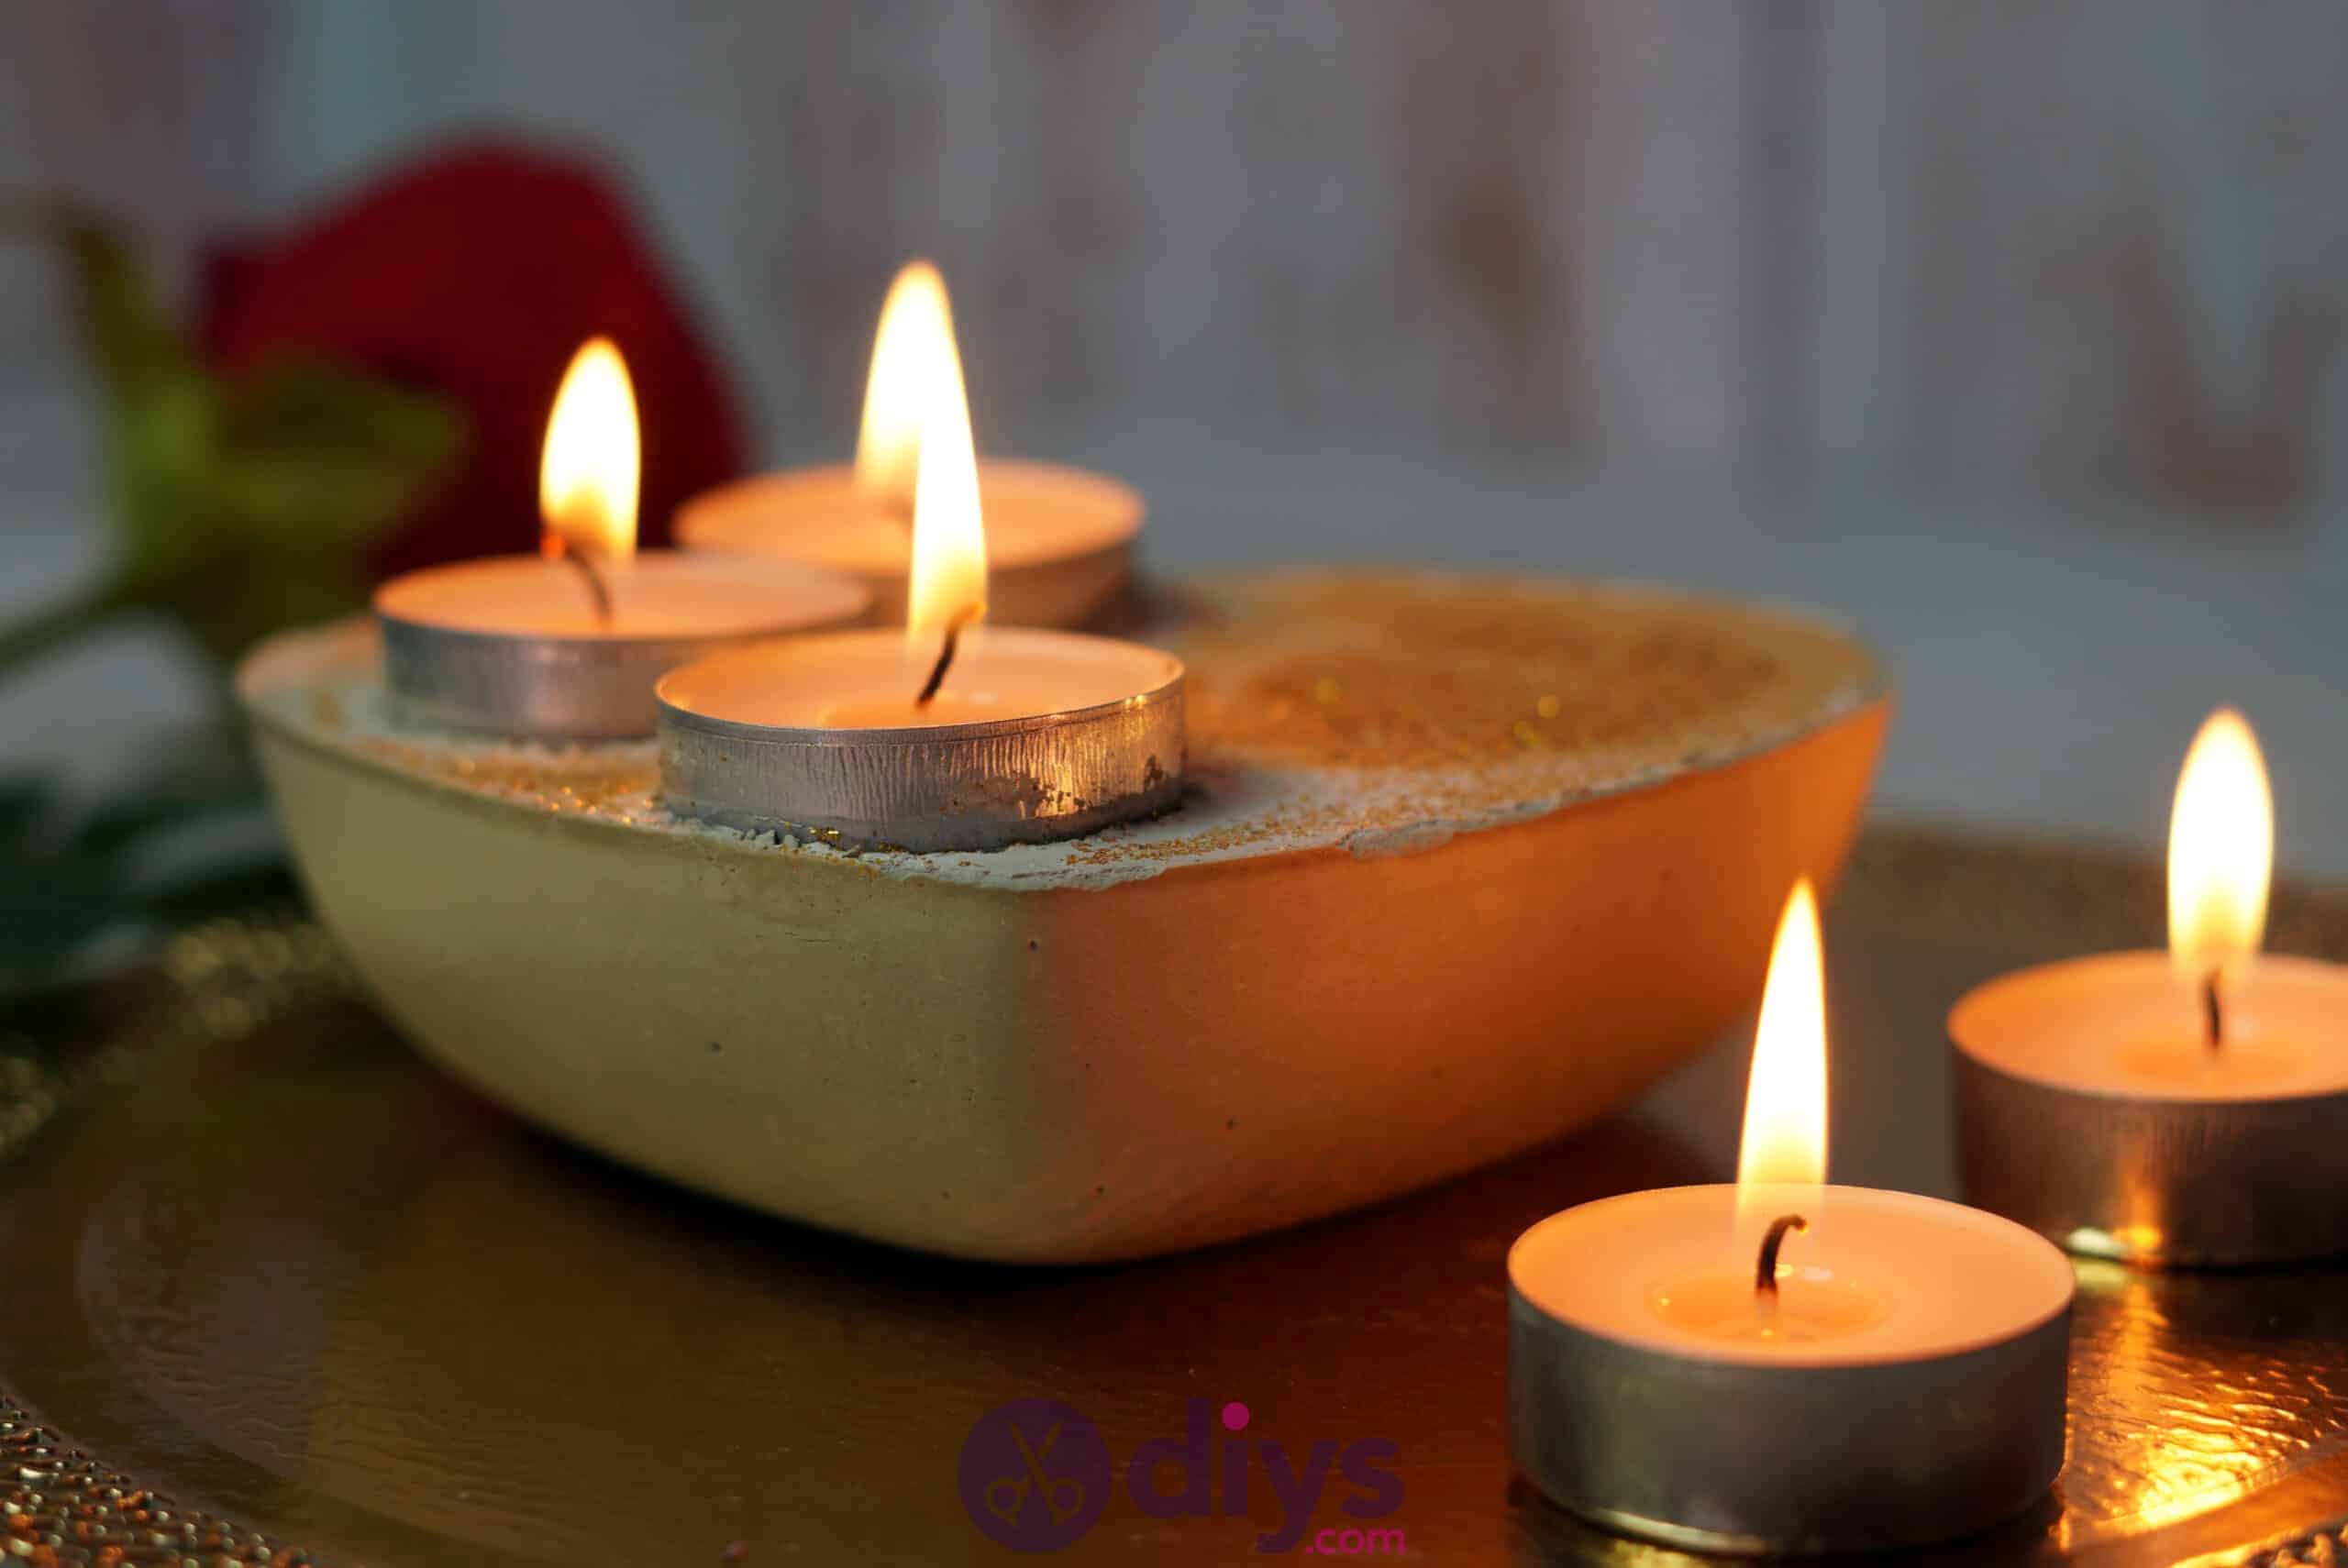
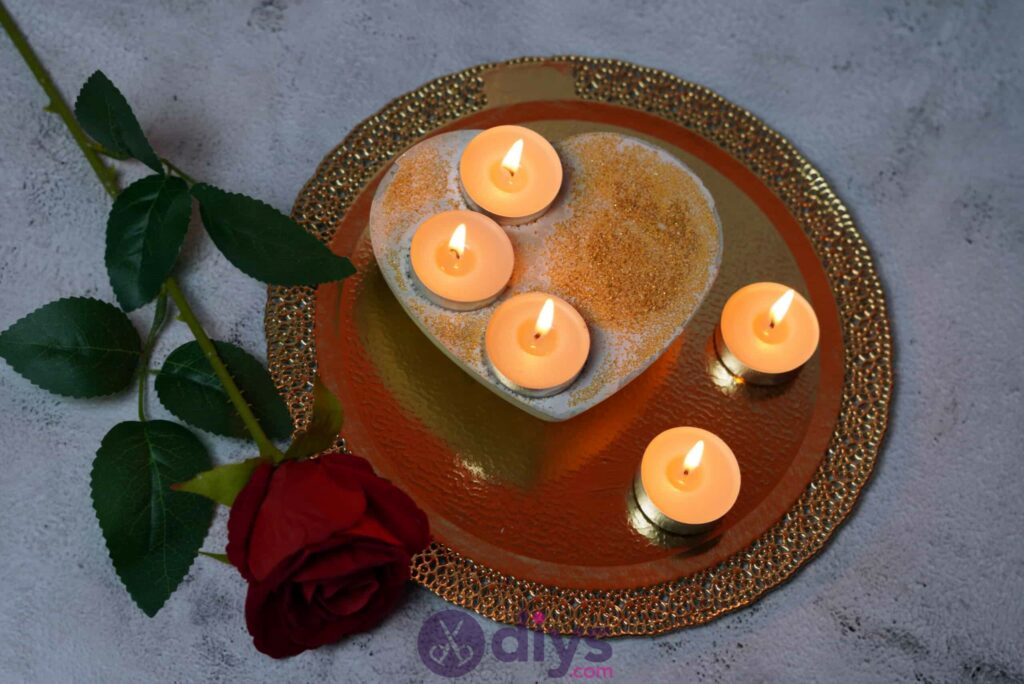
You’re all finished! Choose a spot for your new candle holder and light your candles. Of course, you can feel free to get creative with colours and how you choose to embellish your candle holder, but if you’d like to at least see these basic techniques in action, check out this video tutorial.
