How to Create Garden Gnomes With Concrete
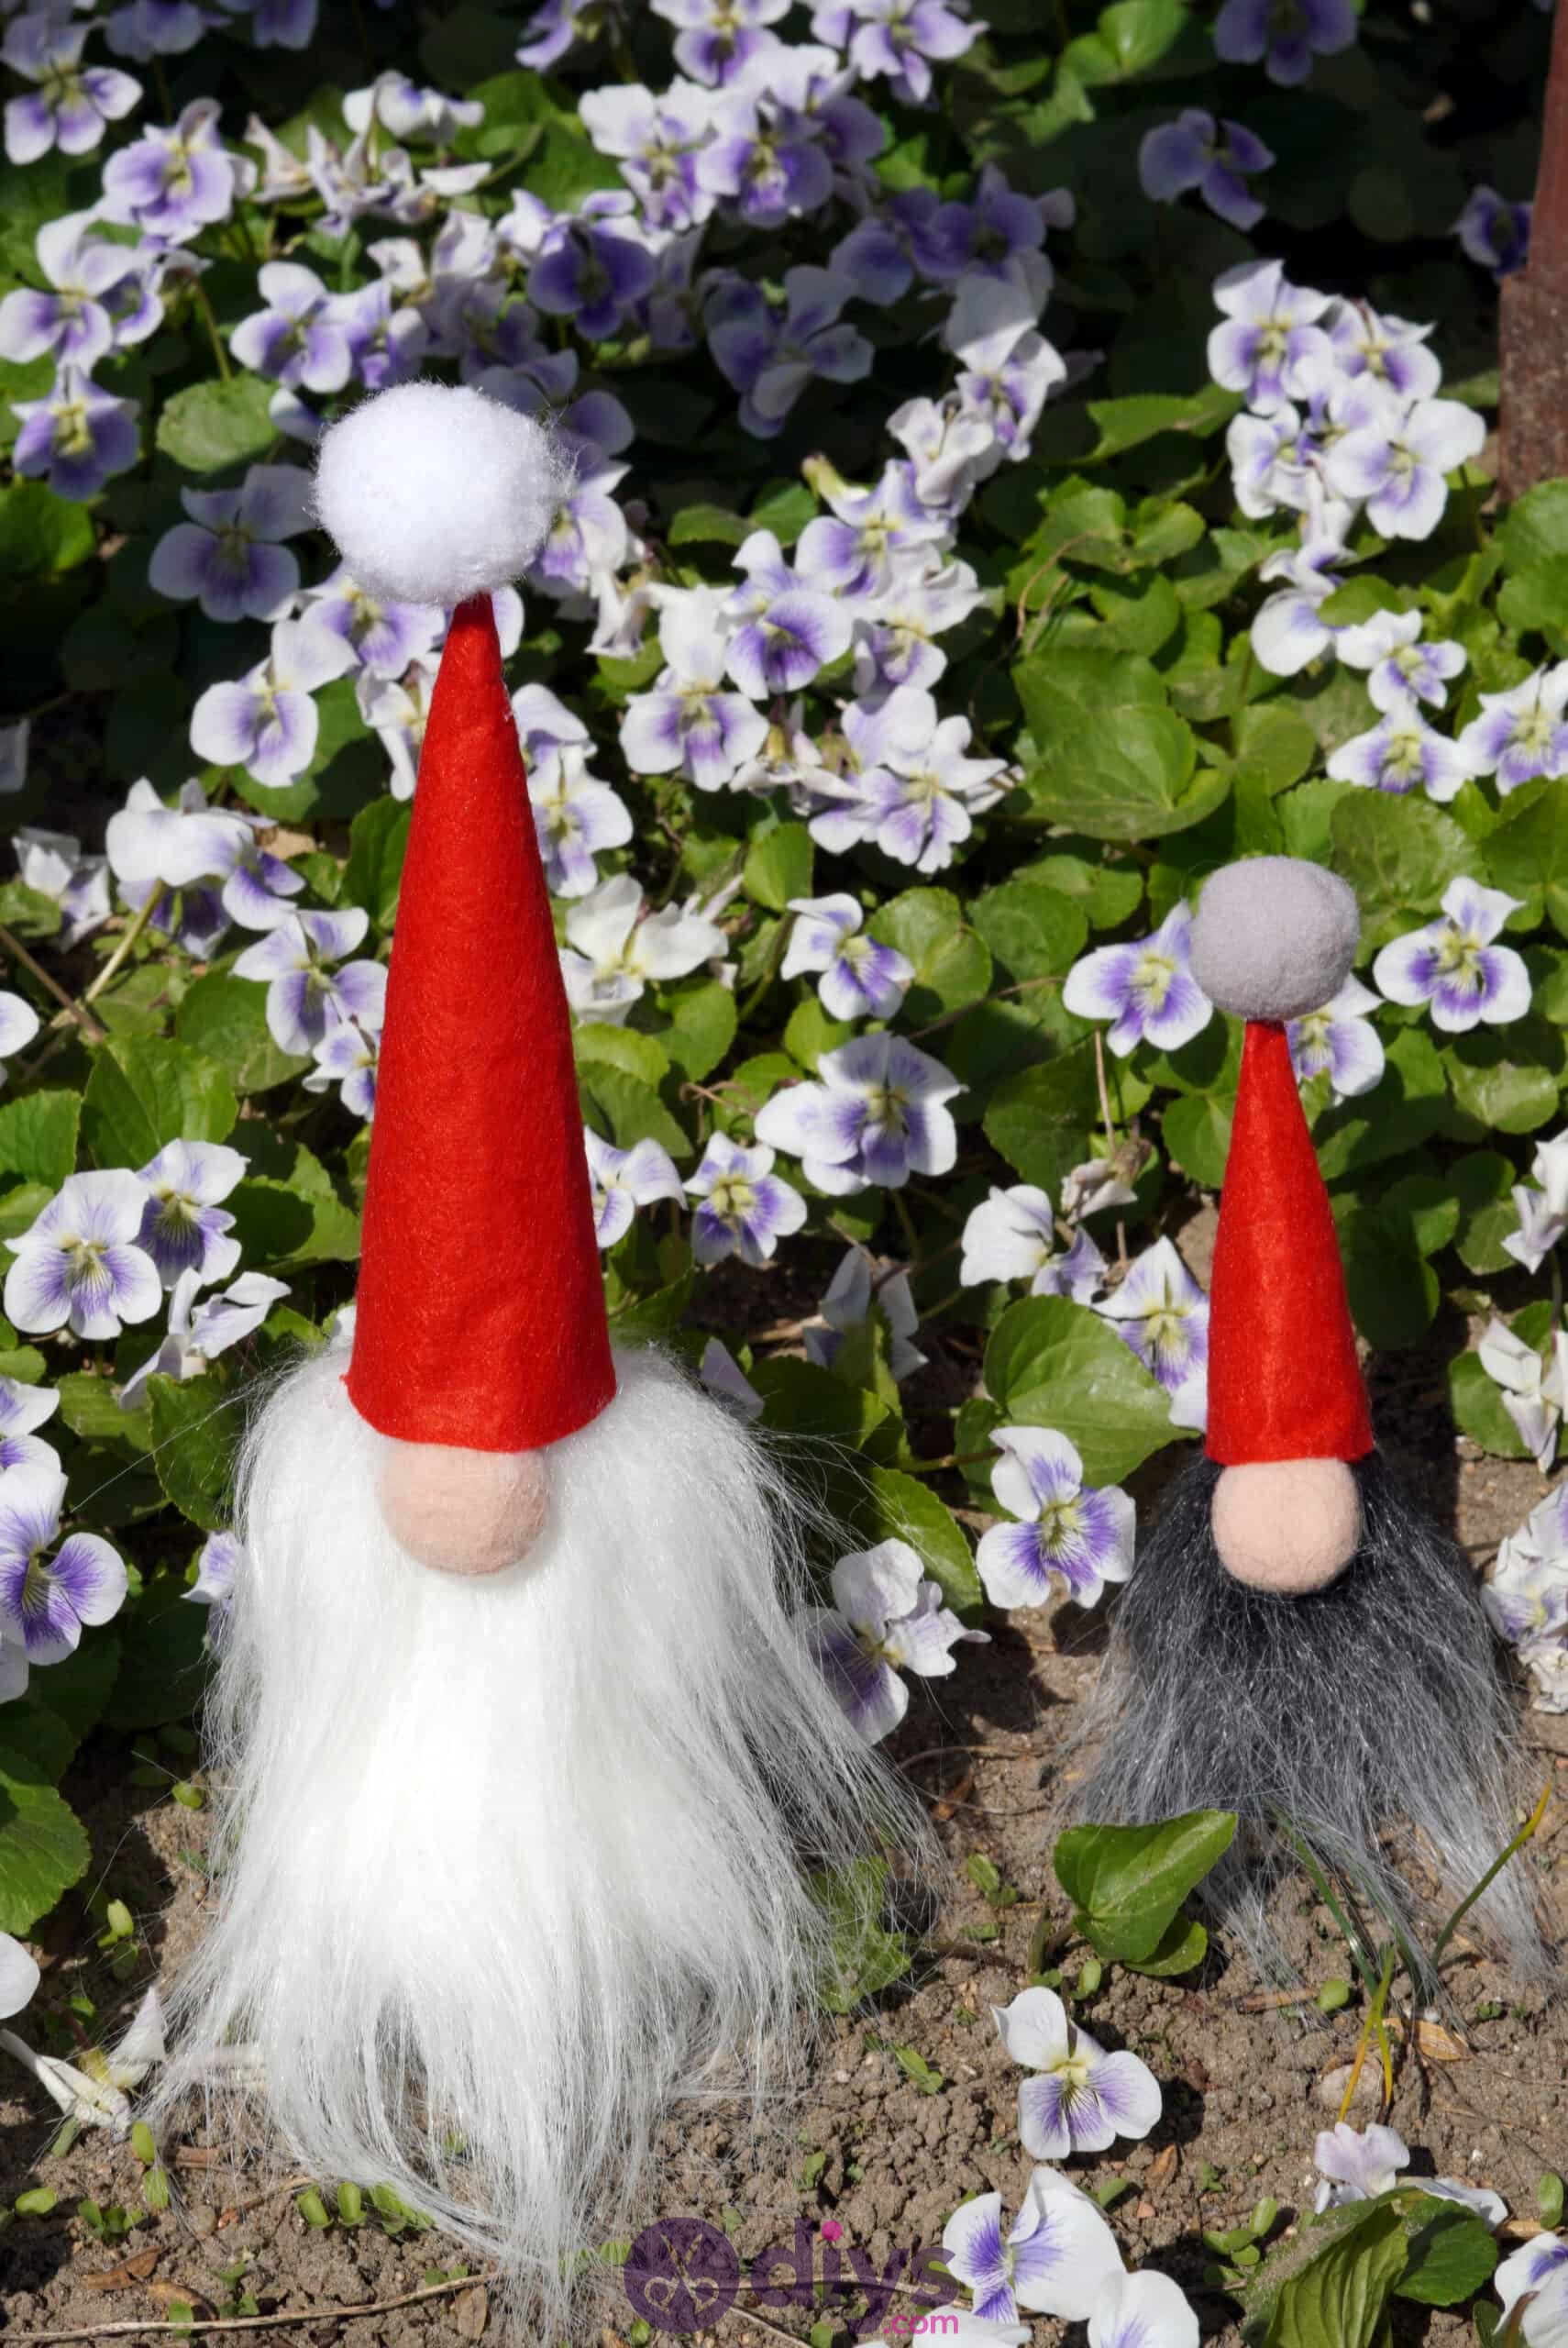
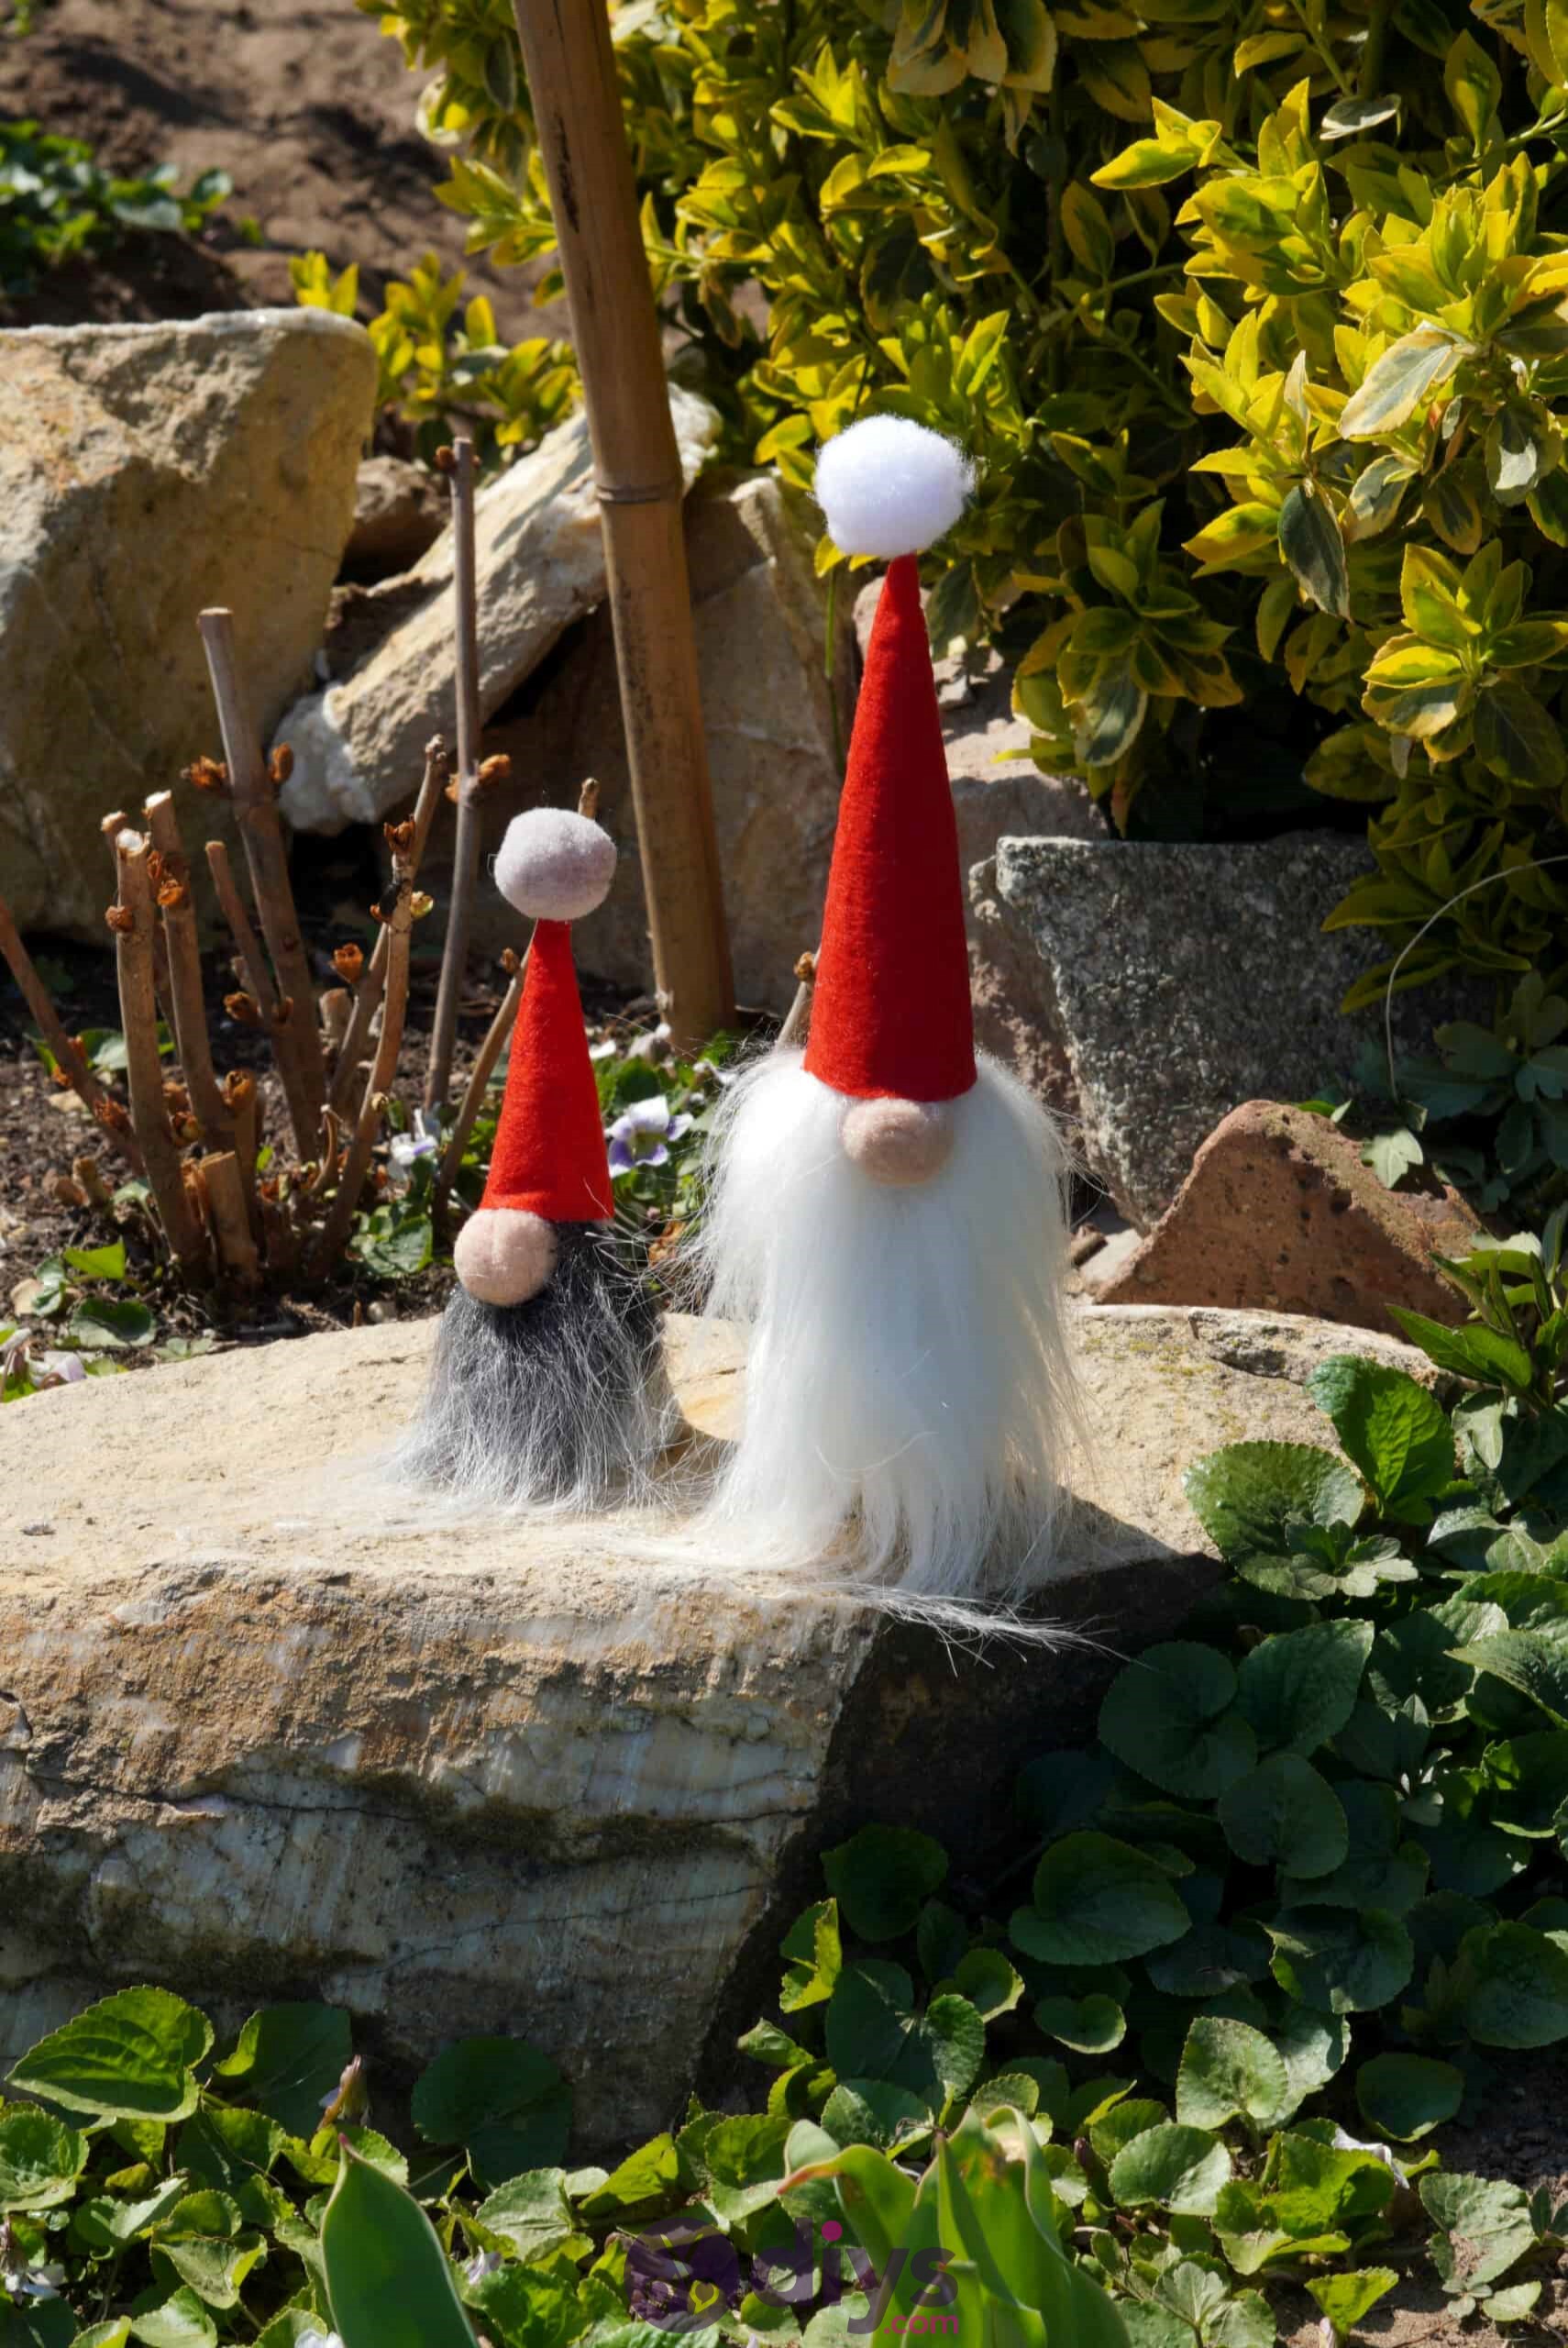
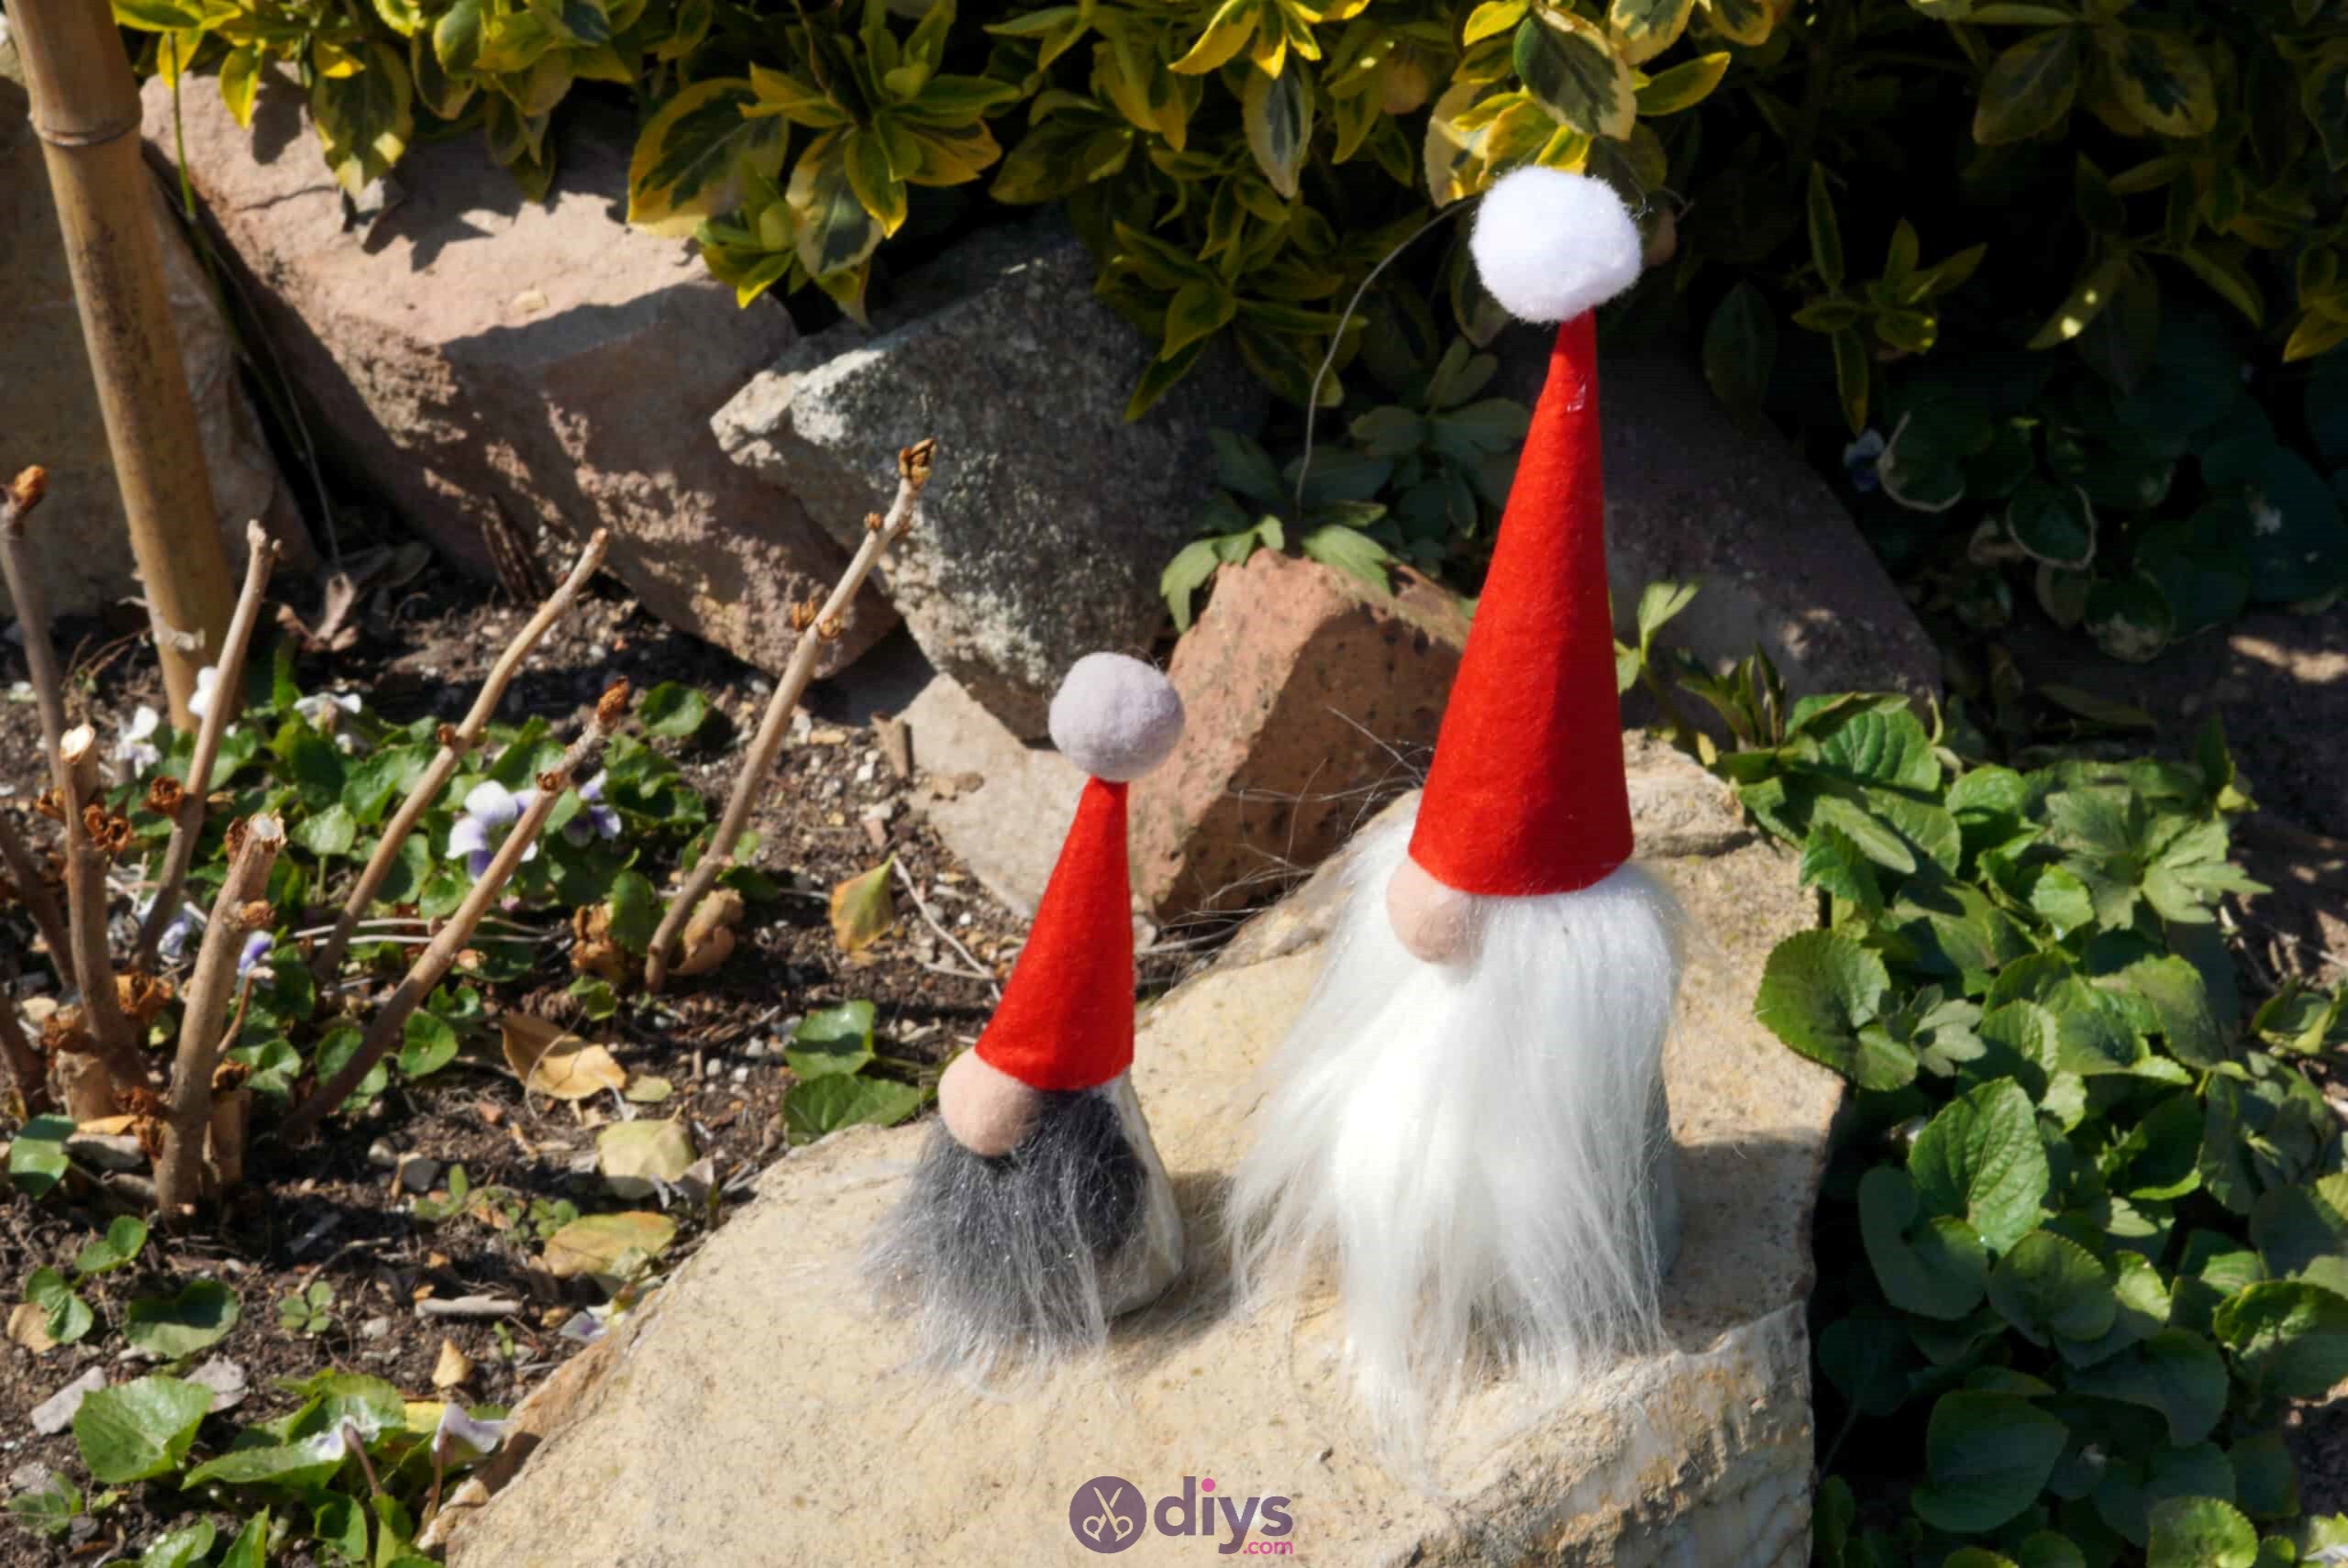
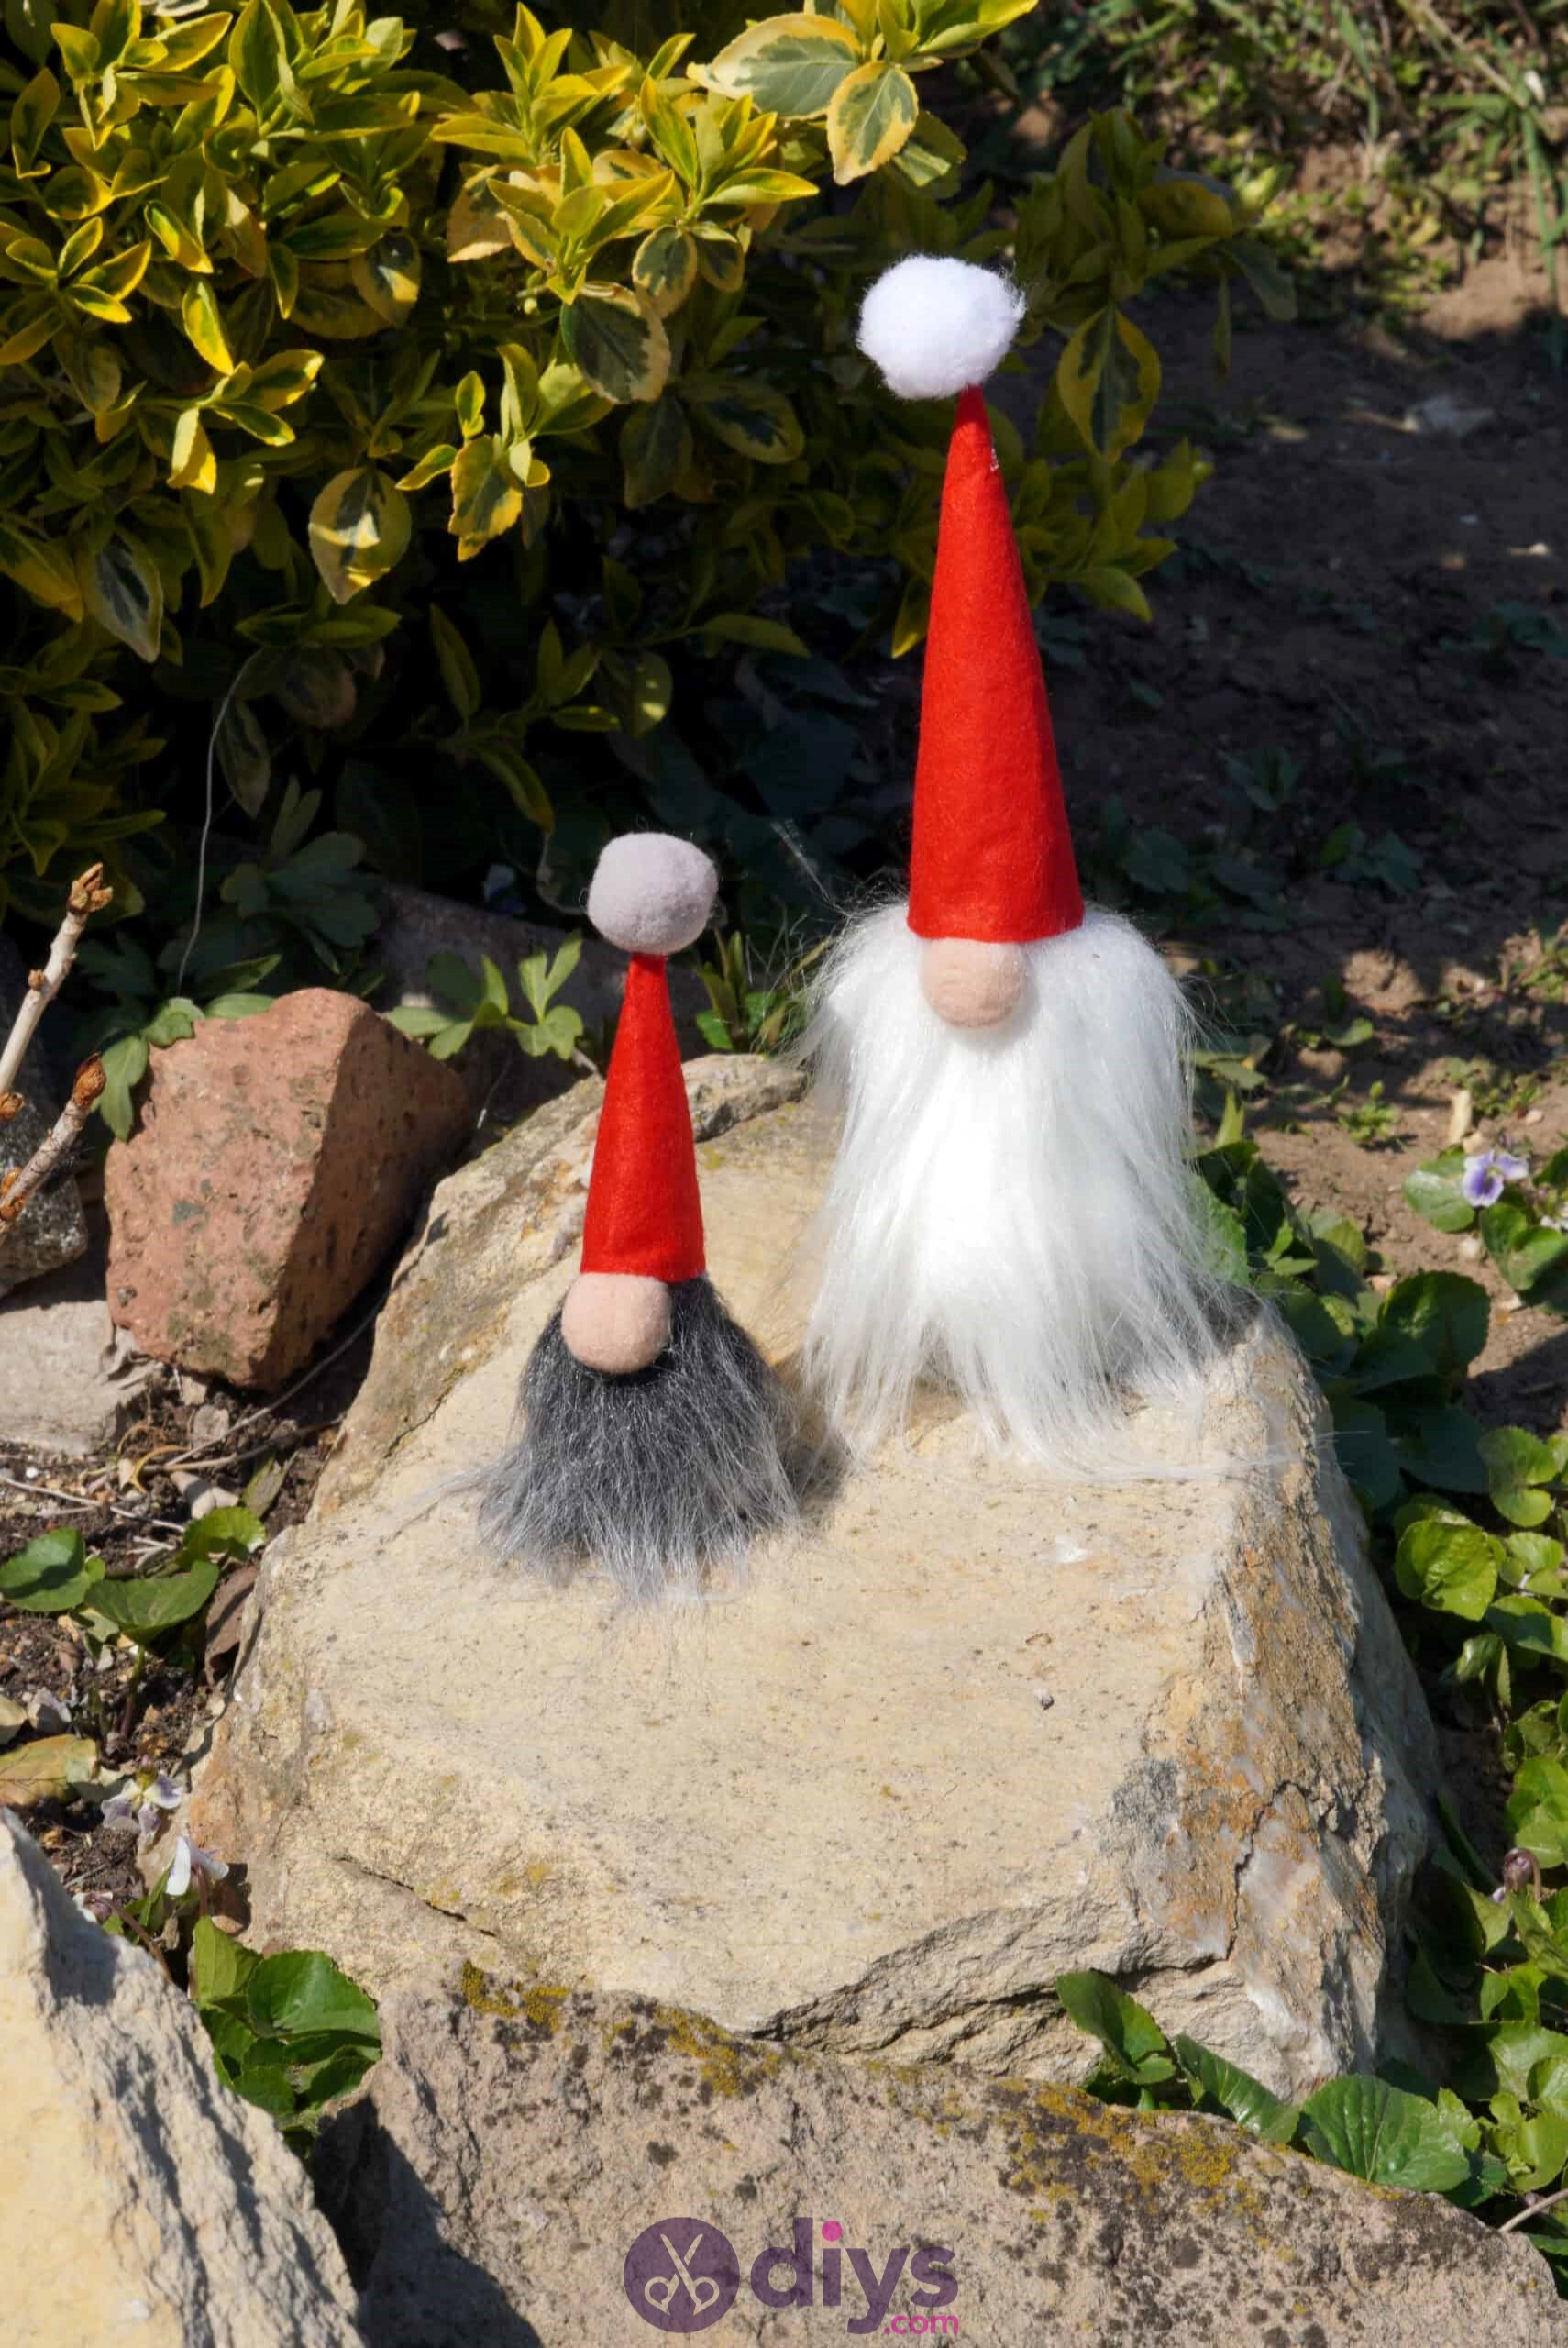
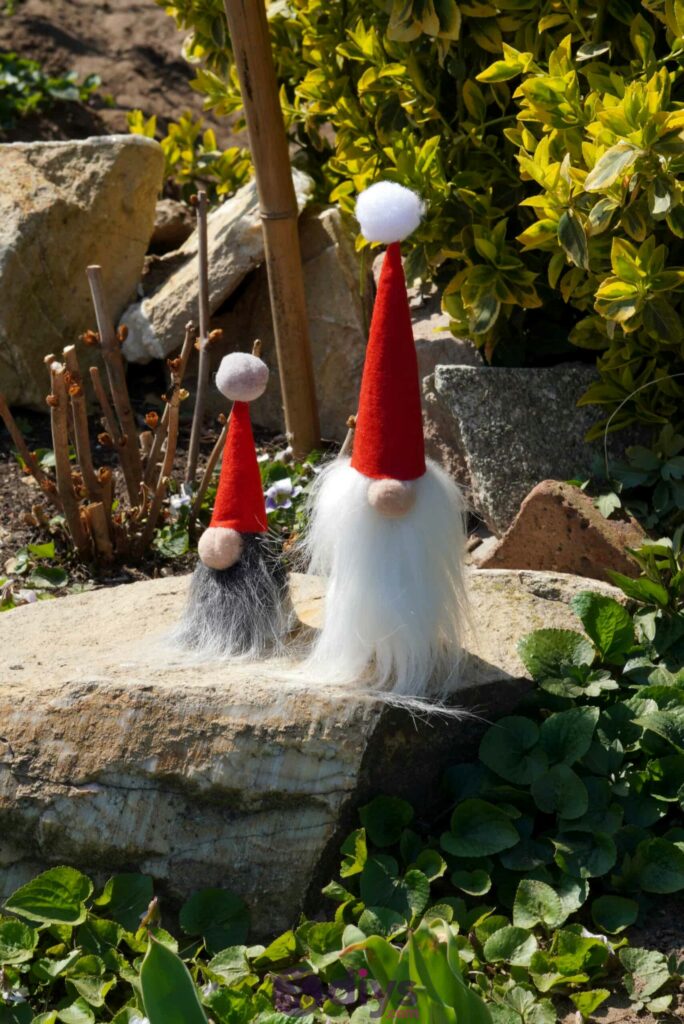
Looking for some cute lawn ornaments for your garden but don’t want to spring for the expensive ones at your local store? Then give this DIY garden gnome project we did with concrete! It’s super easy, especially with this step by step tutorial.
Concrete is actually a great craft tool and can be used for so many things. These DIY garden gnomes were so much fun to make and will last for years to come. Check out the written instructions (complete with photos) below or keep scrolling all the way to the bottom of this post if you’d prefer to see a video tutorial instead.
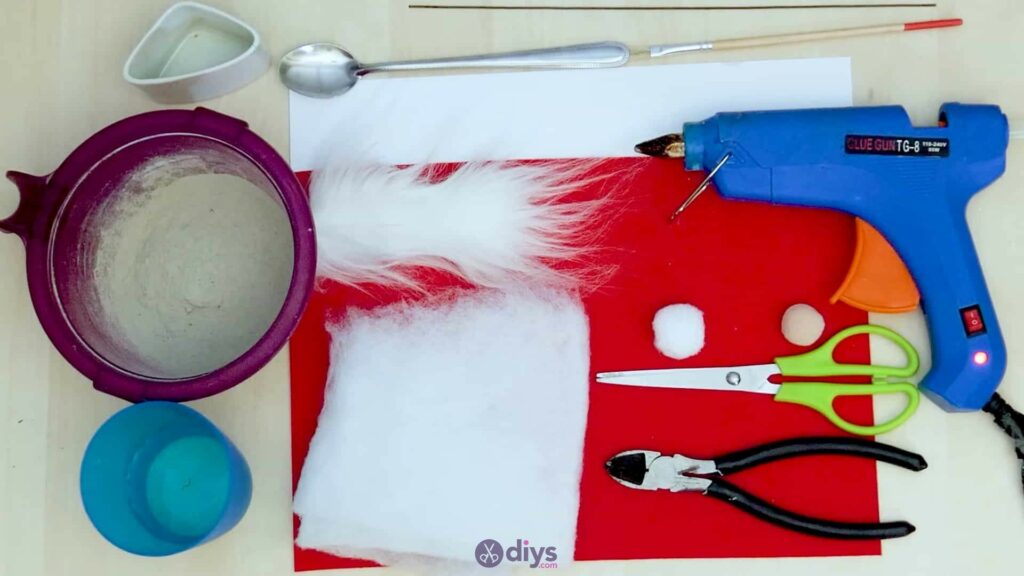
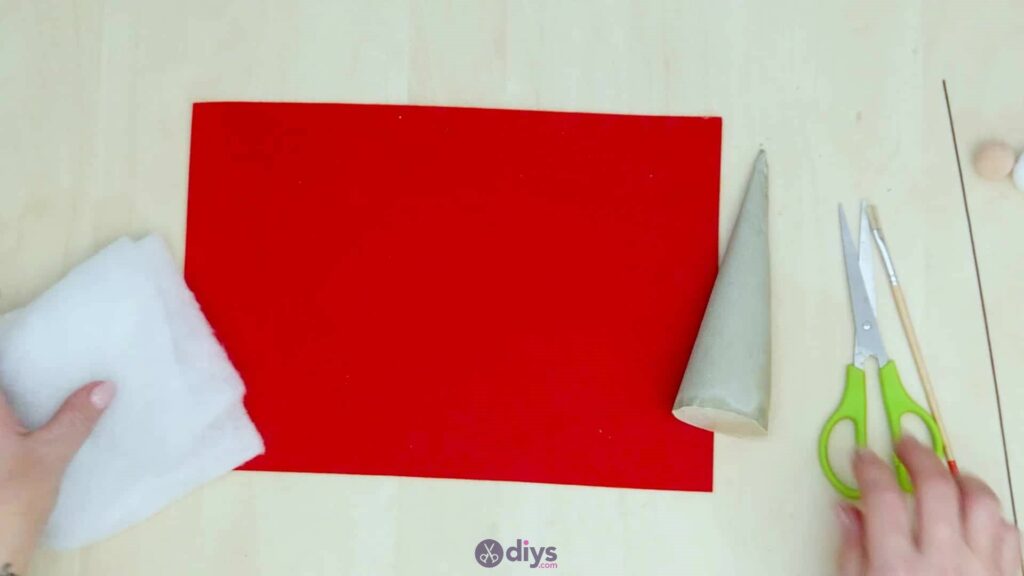
For this project, you’ll need:
- Fine particle cement mix
- Water
- Plate
- Spoon
- Tape
- Oil
- Hot glue
- Scissors
- Felt
- Pillow stuffing
- Wire
- Pom pom
- Faux fur
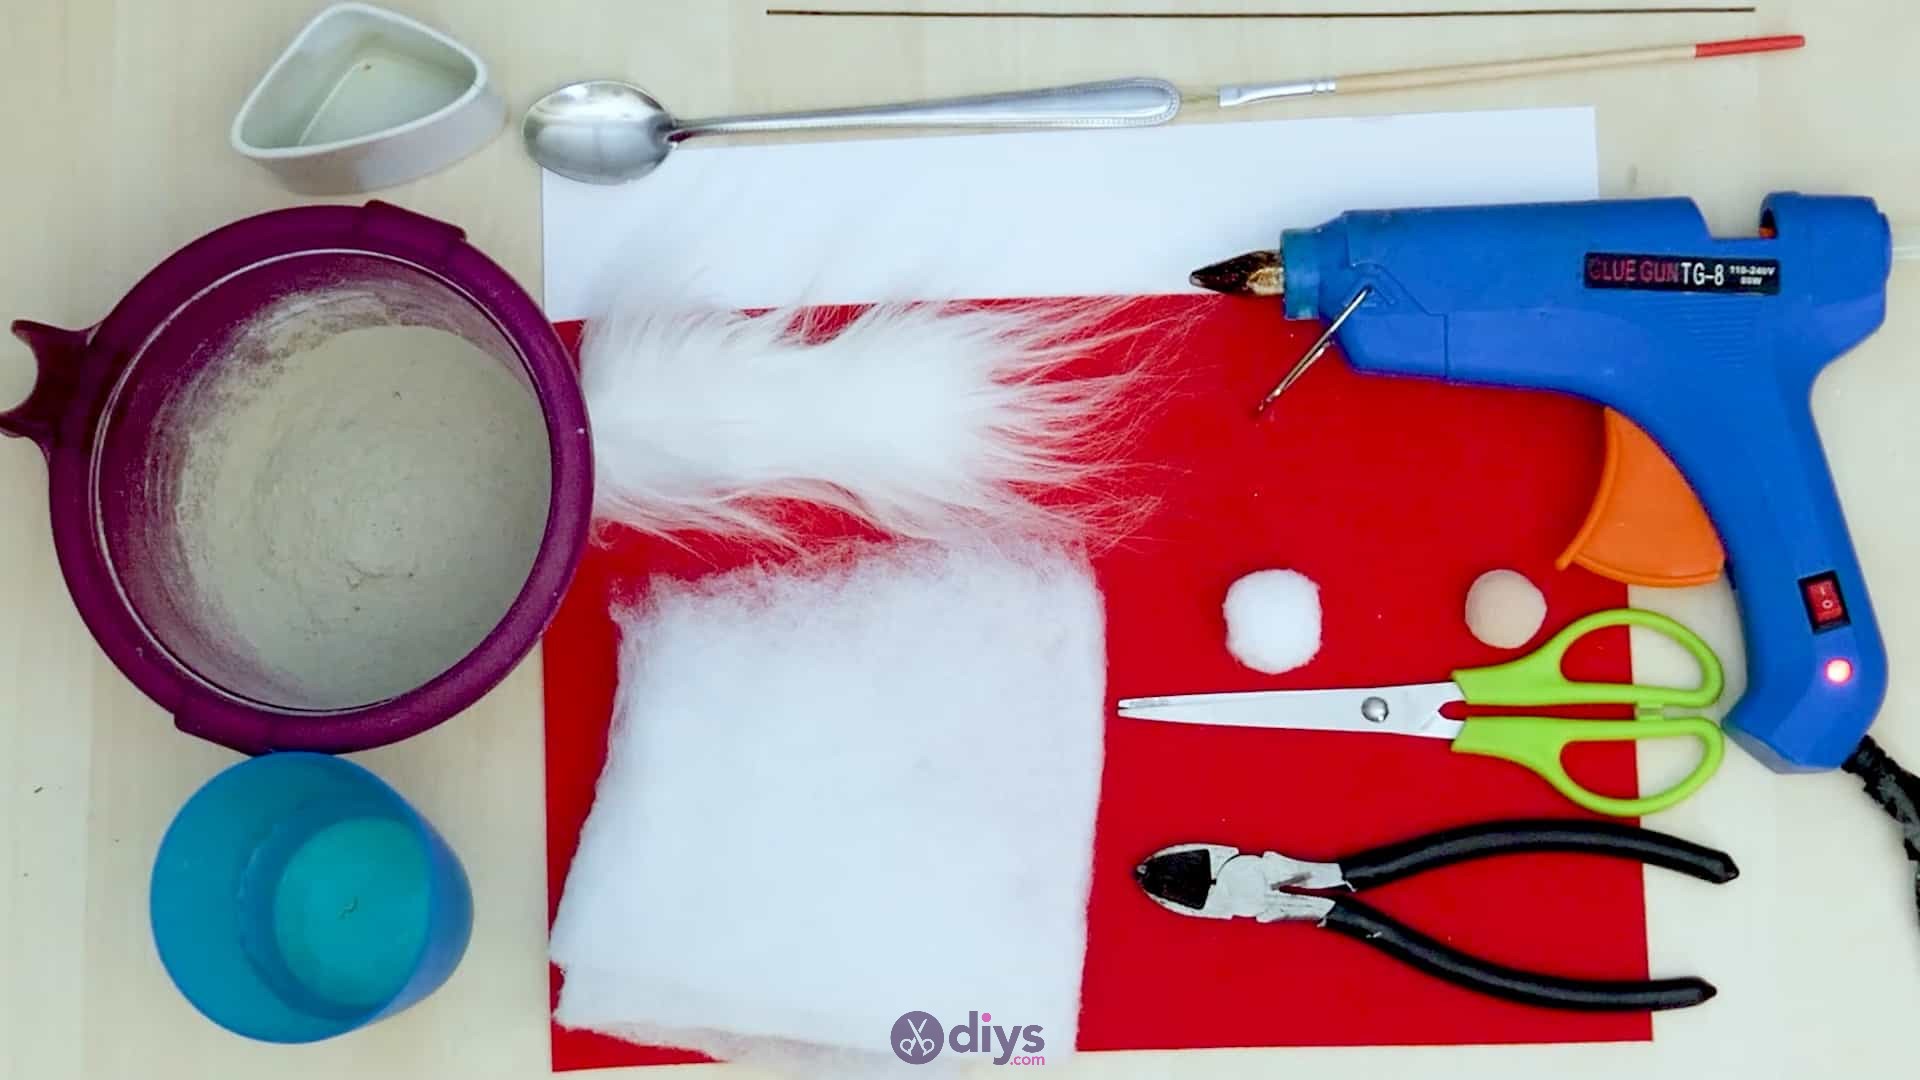
Step 1: Gather your materials!
As with any DIY project, it’s important to check your list and make sure you’ve gathered all the materials before you begin.
Step 2: Mix the concrete
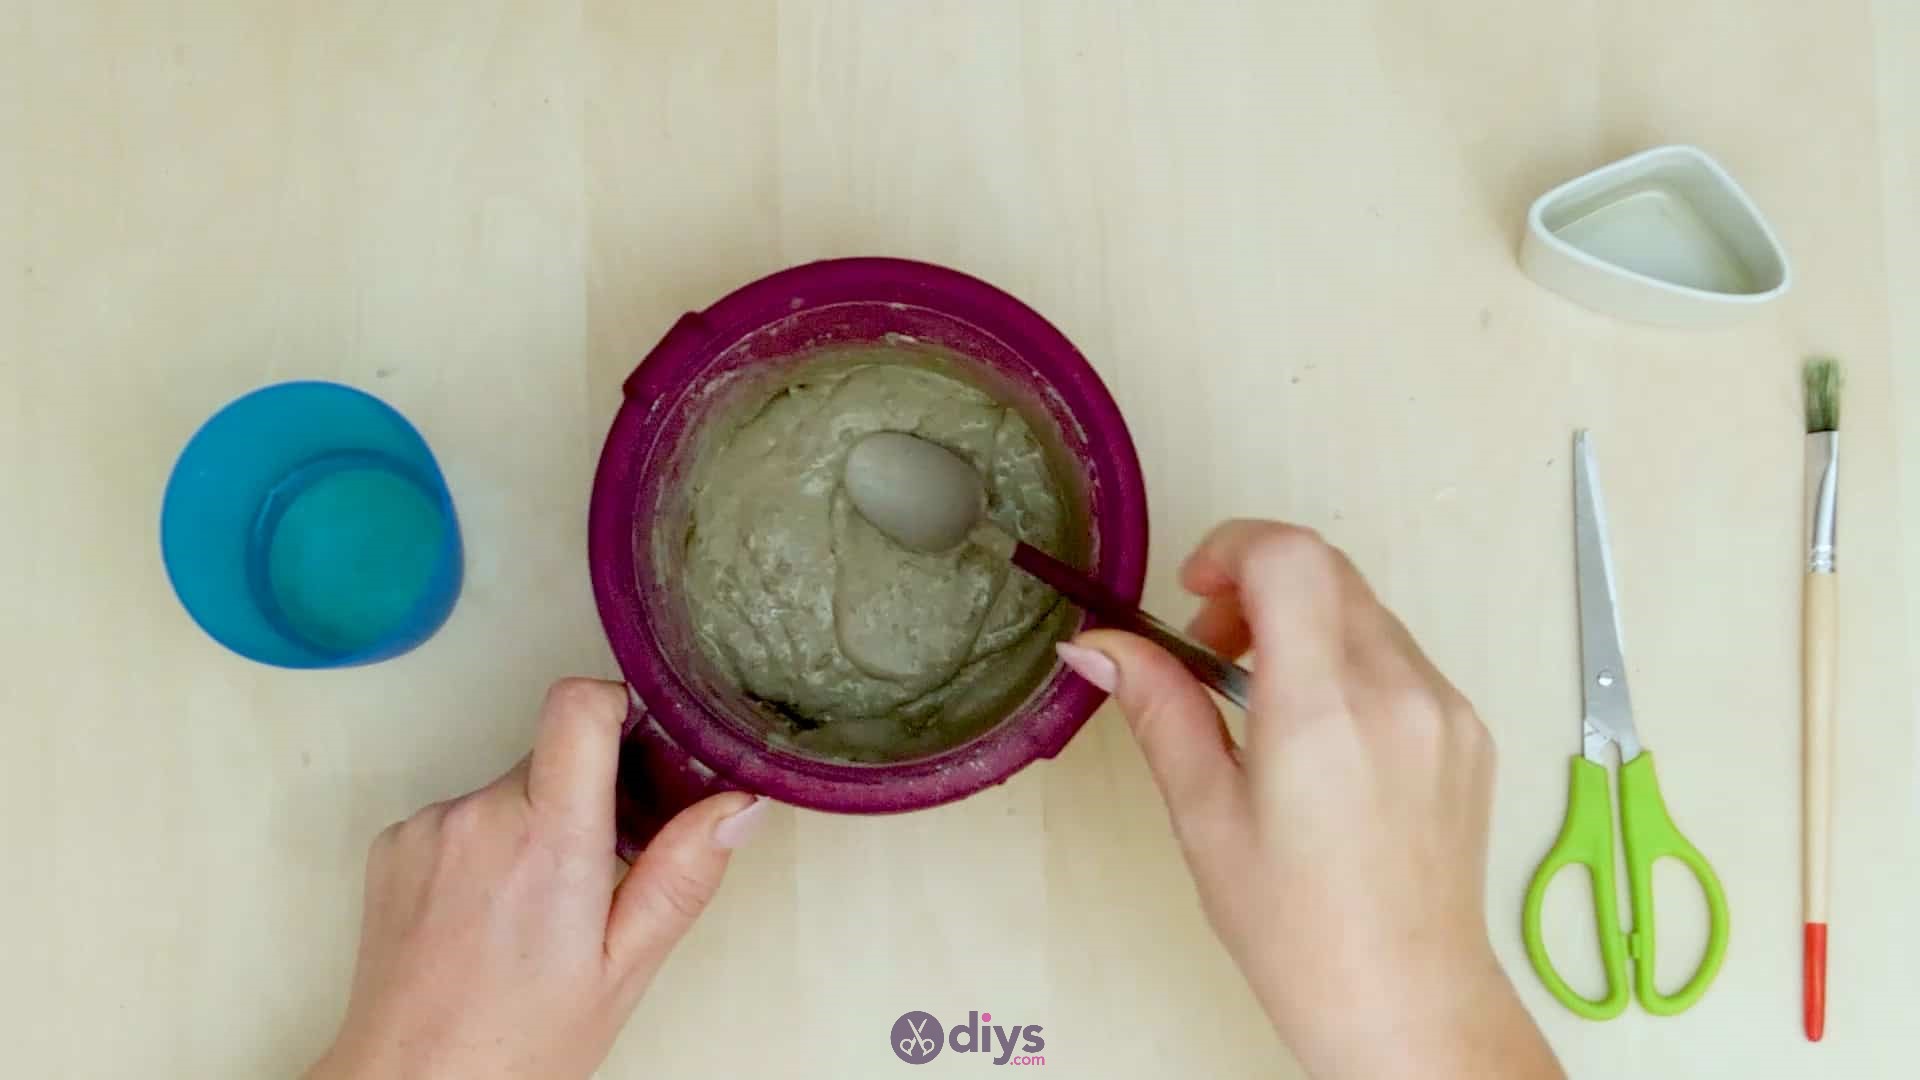
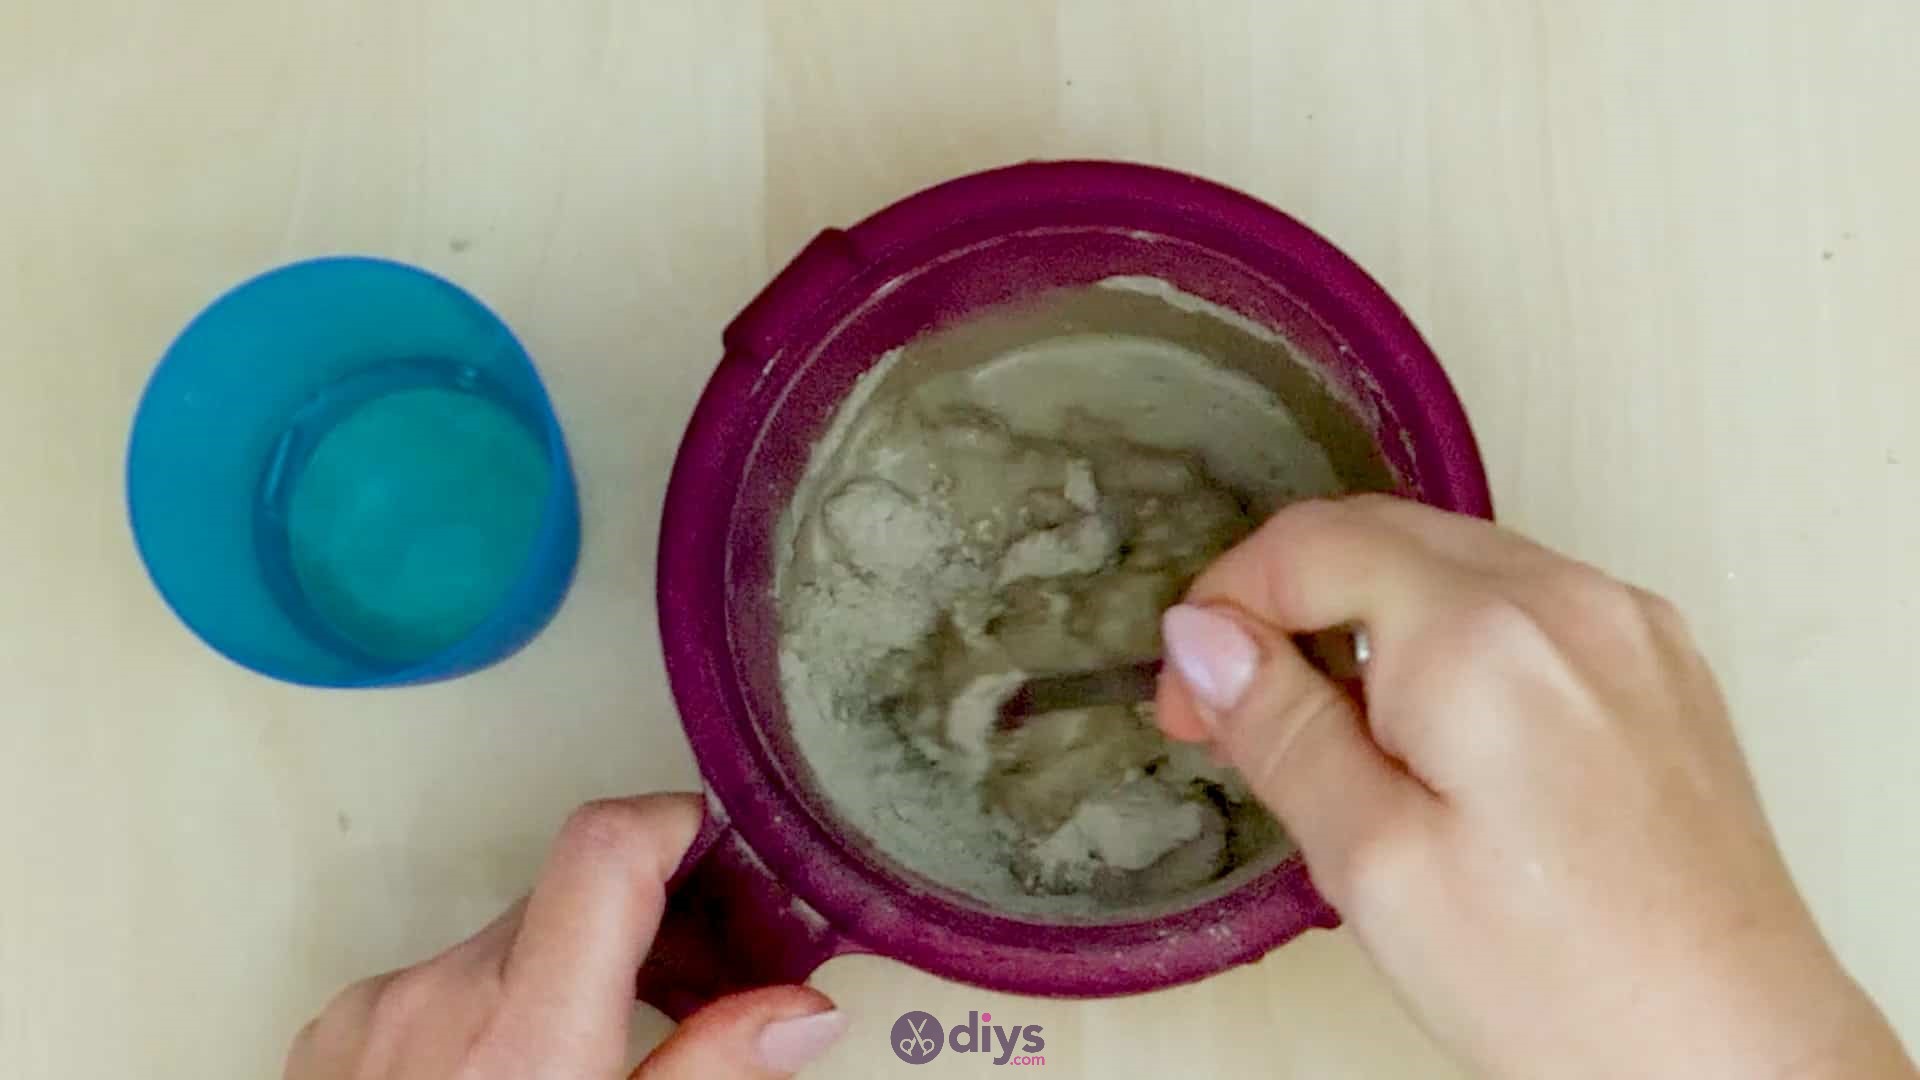
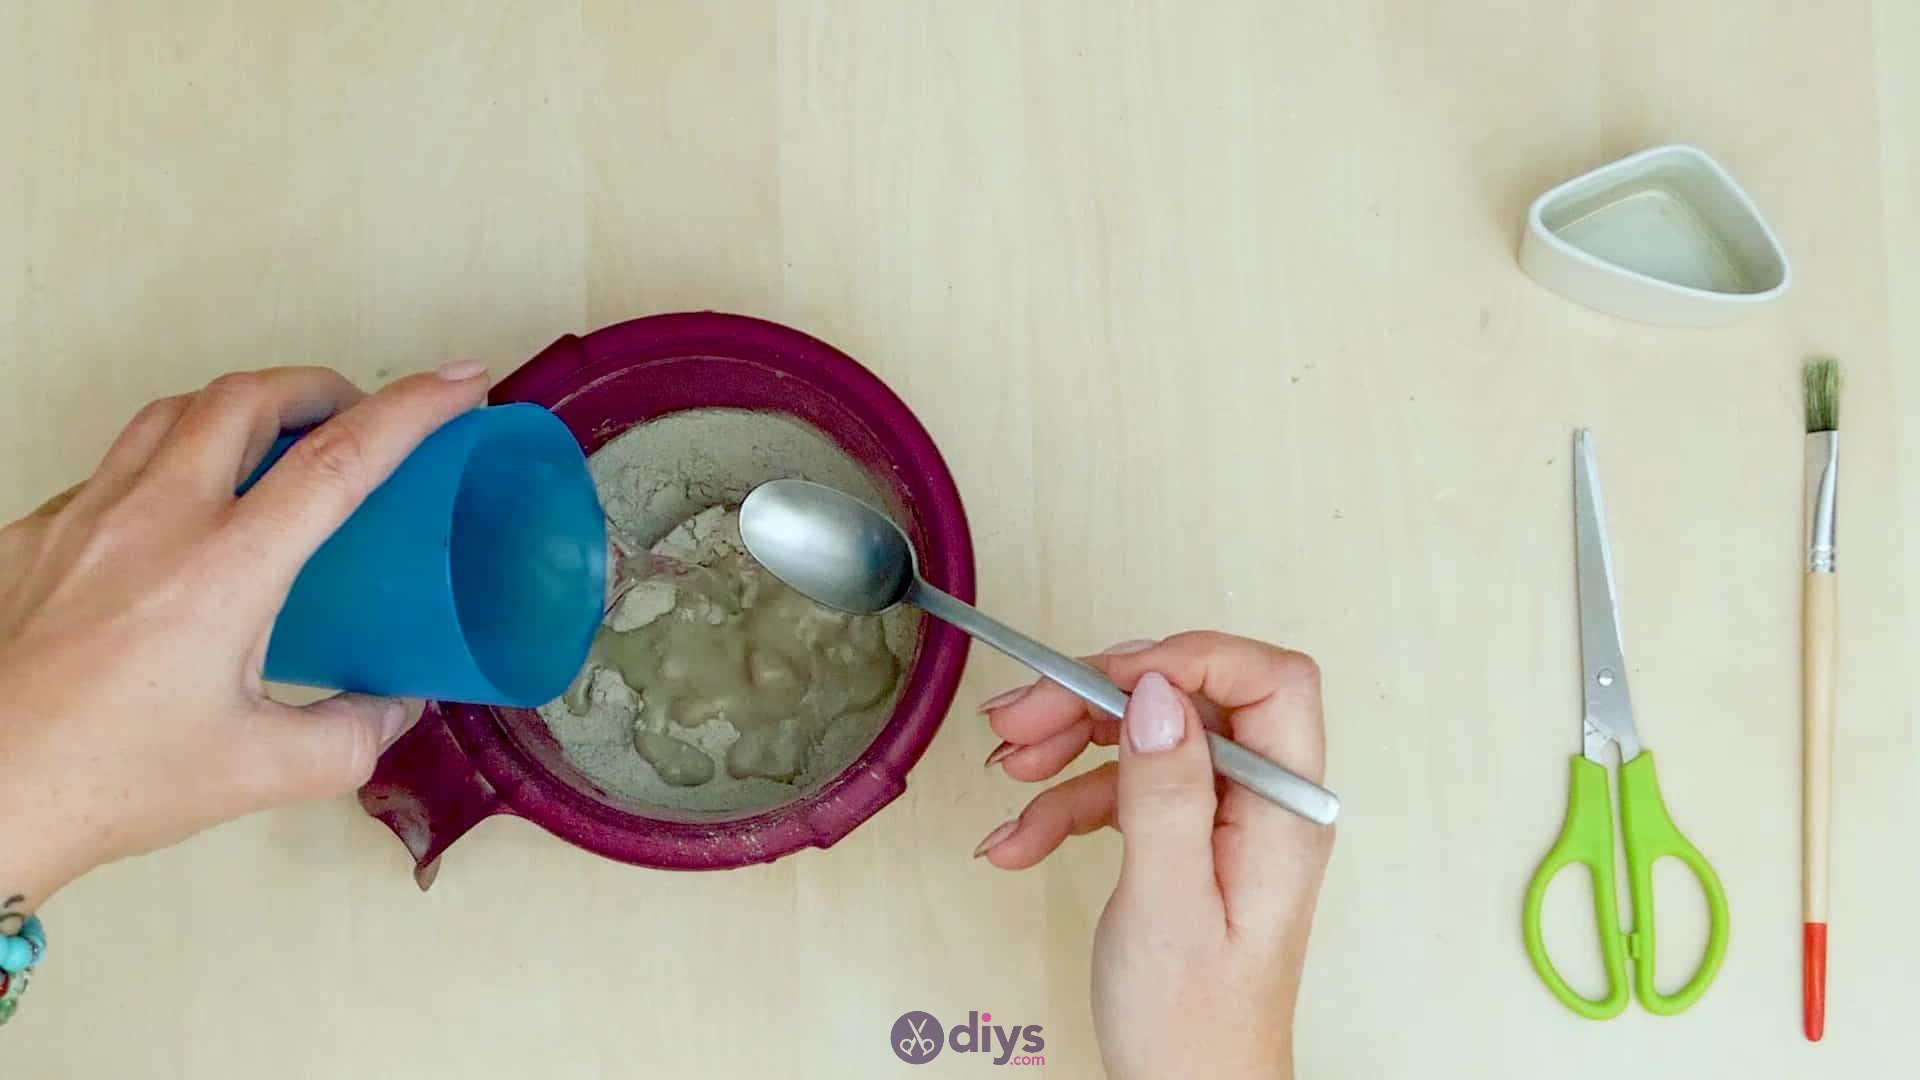
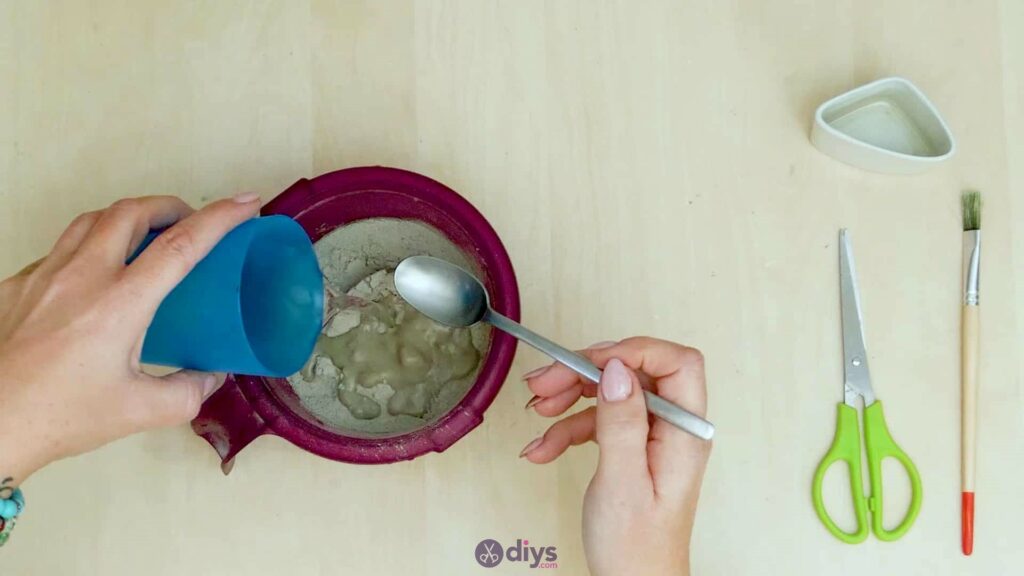
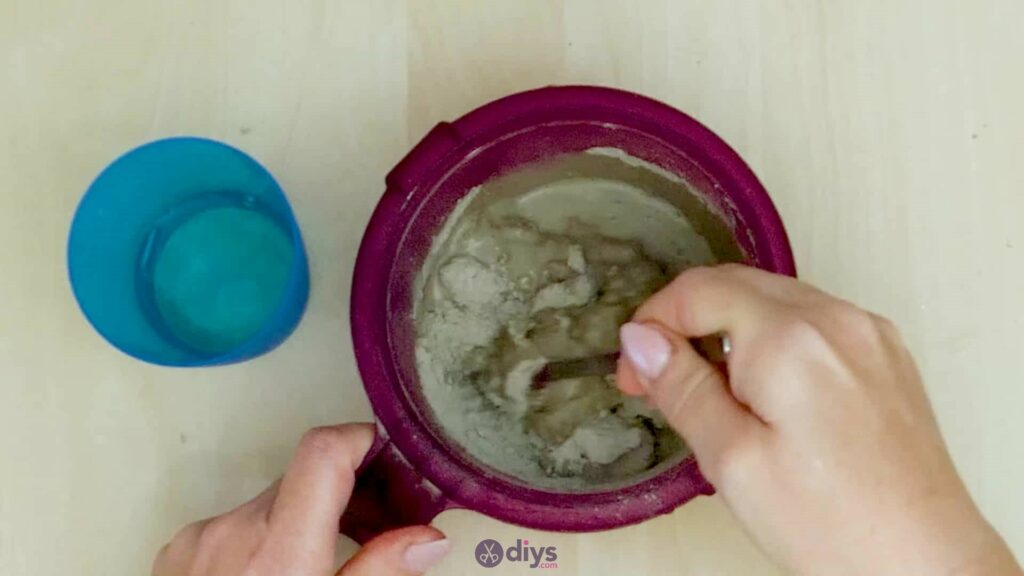
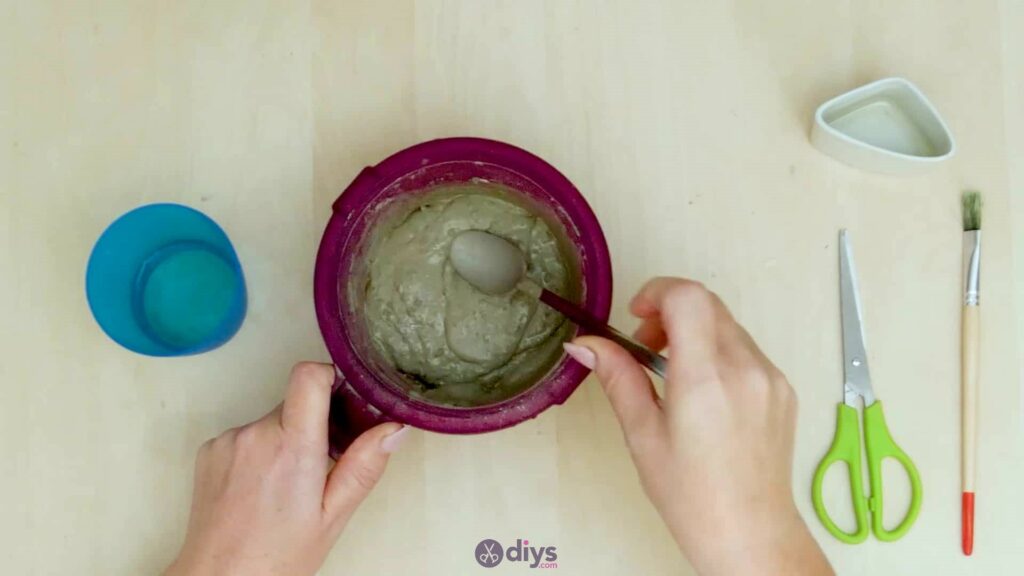
Put your DIY fine particle concrete mix into a plastic container and pour in water. Use your spoon to stir it all together until the consistency is correct and the mixture is free of clumps. Make sure to check the instructions on your packaging to get the proper ratio of water to powdered mix, since this can vary depending on what brand you buy. Set this aside for a moment; don’t worry, it doesn’t dry quickly enough to have started hardening before you’ve completed a couple more steps.
Step 3: form the mold
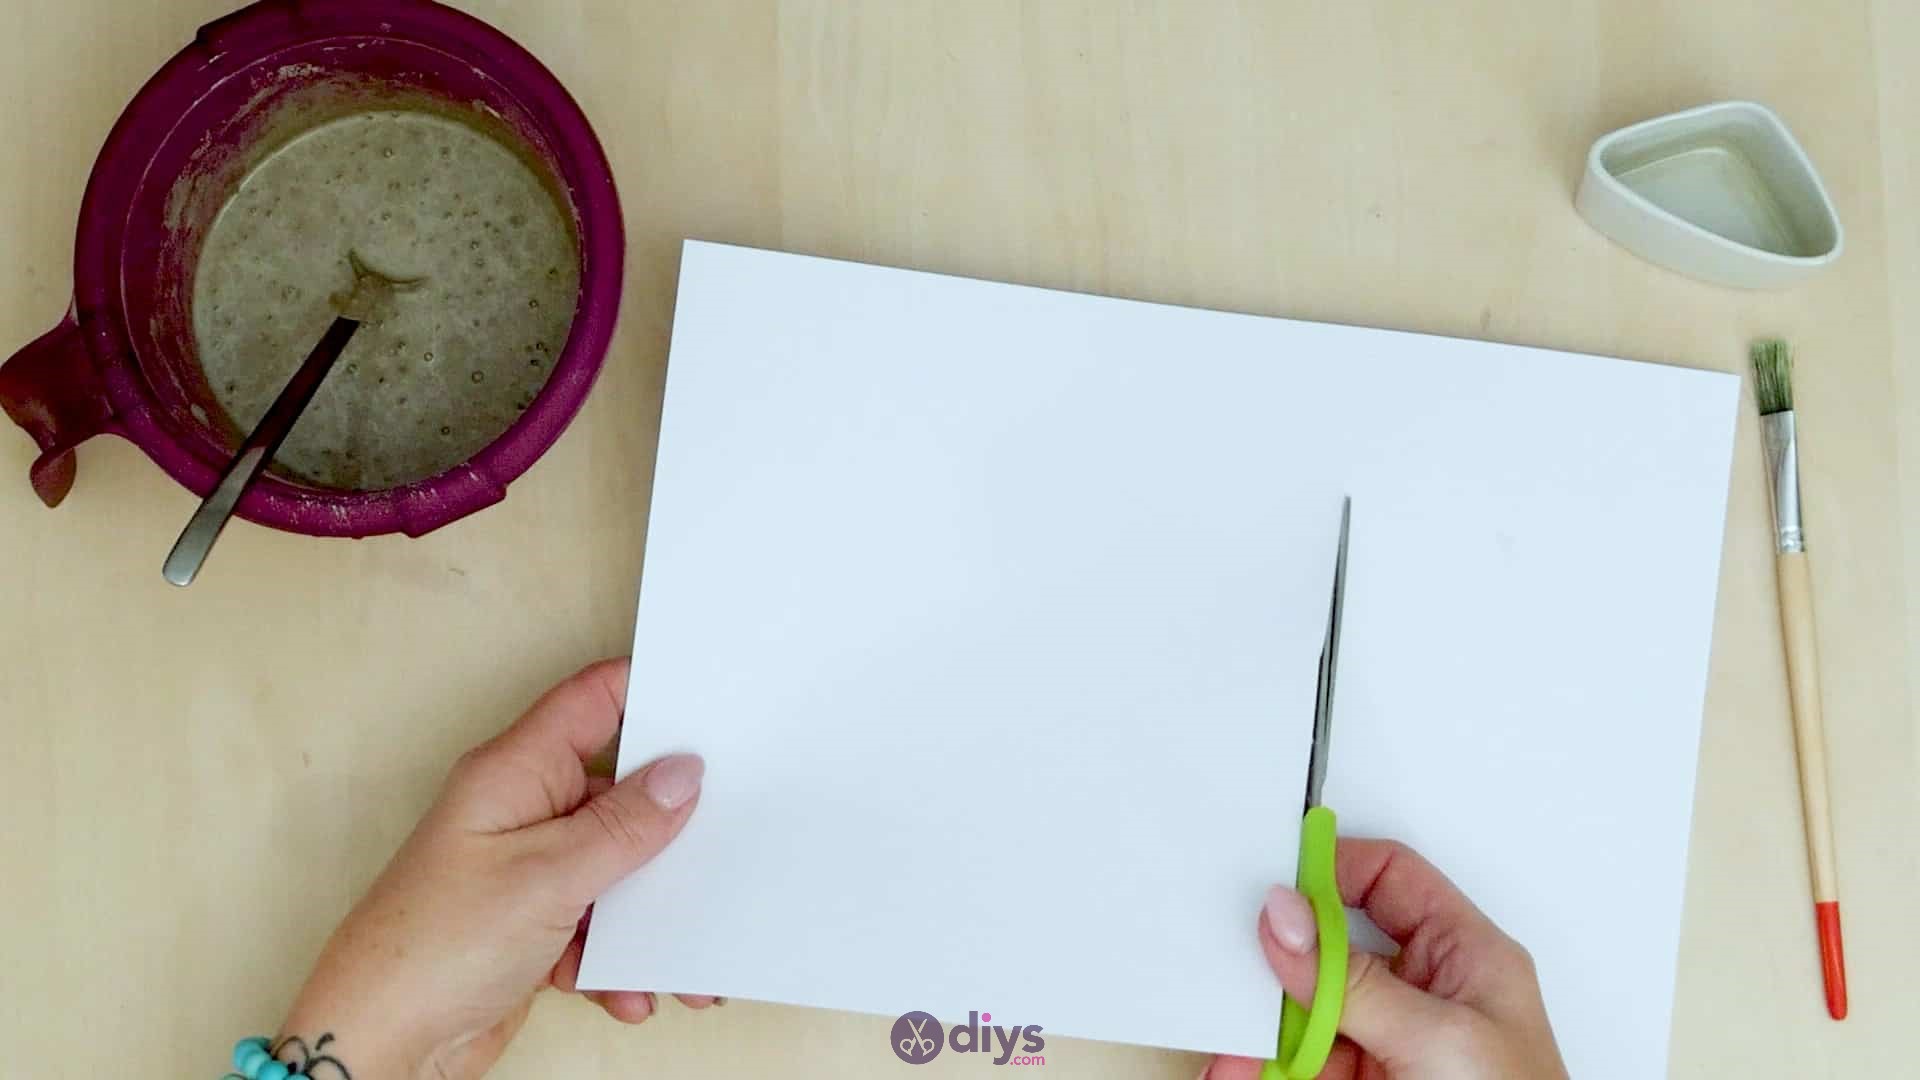
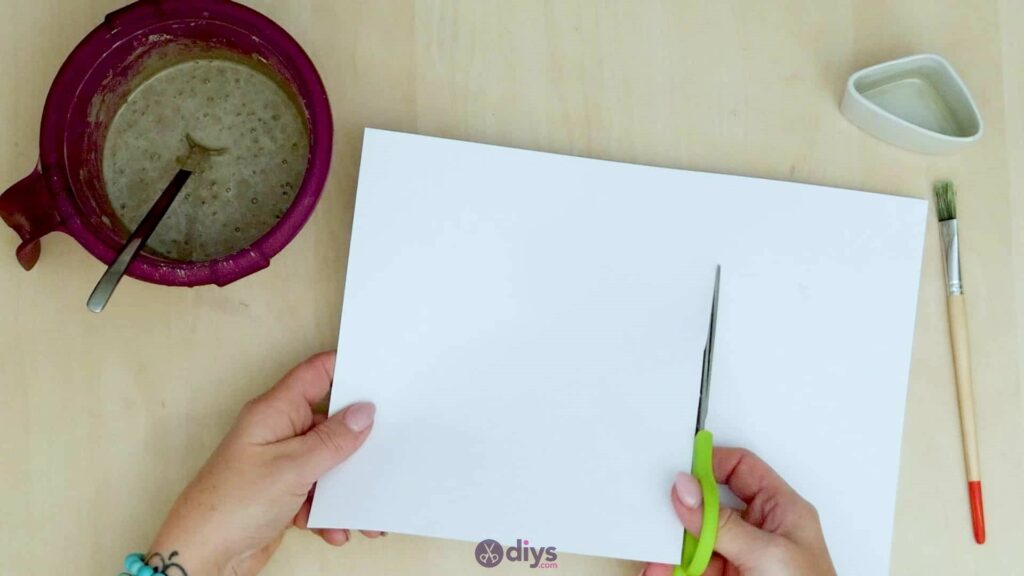
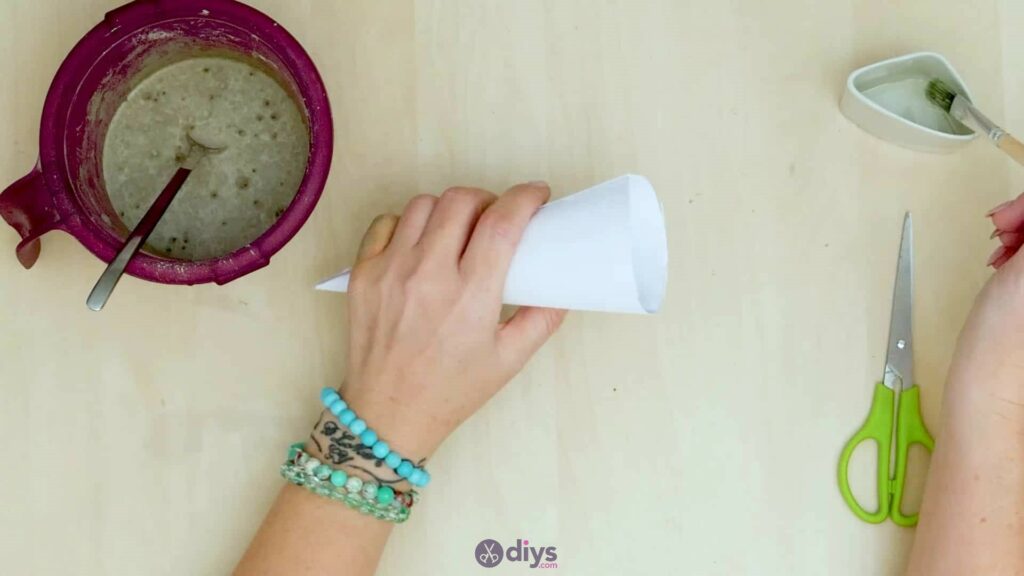
Make yourself a paper cone to mould your concrete mix in. The base of your gnome, which his beard, nose, and hat will sit on, is a concrete cone that you’ll embellish later. For now, turn your piece of paper horizontally, so that it sits landscape-wise, with its two shorter edges on the sides and its longer edges along the top and bottom.
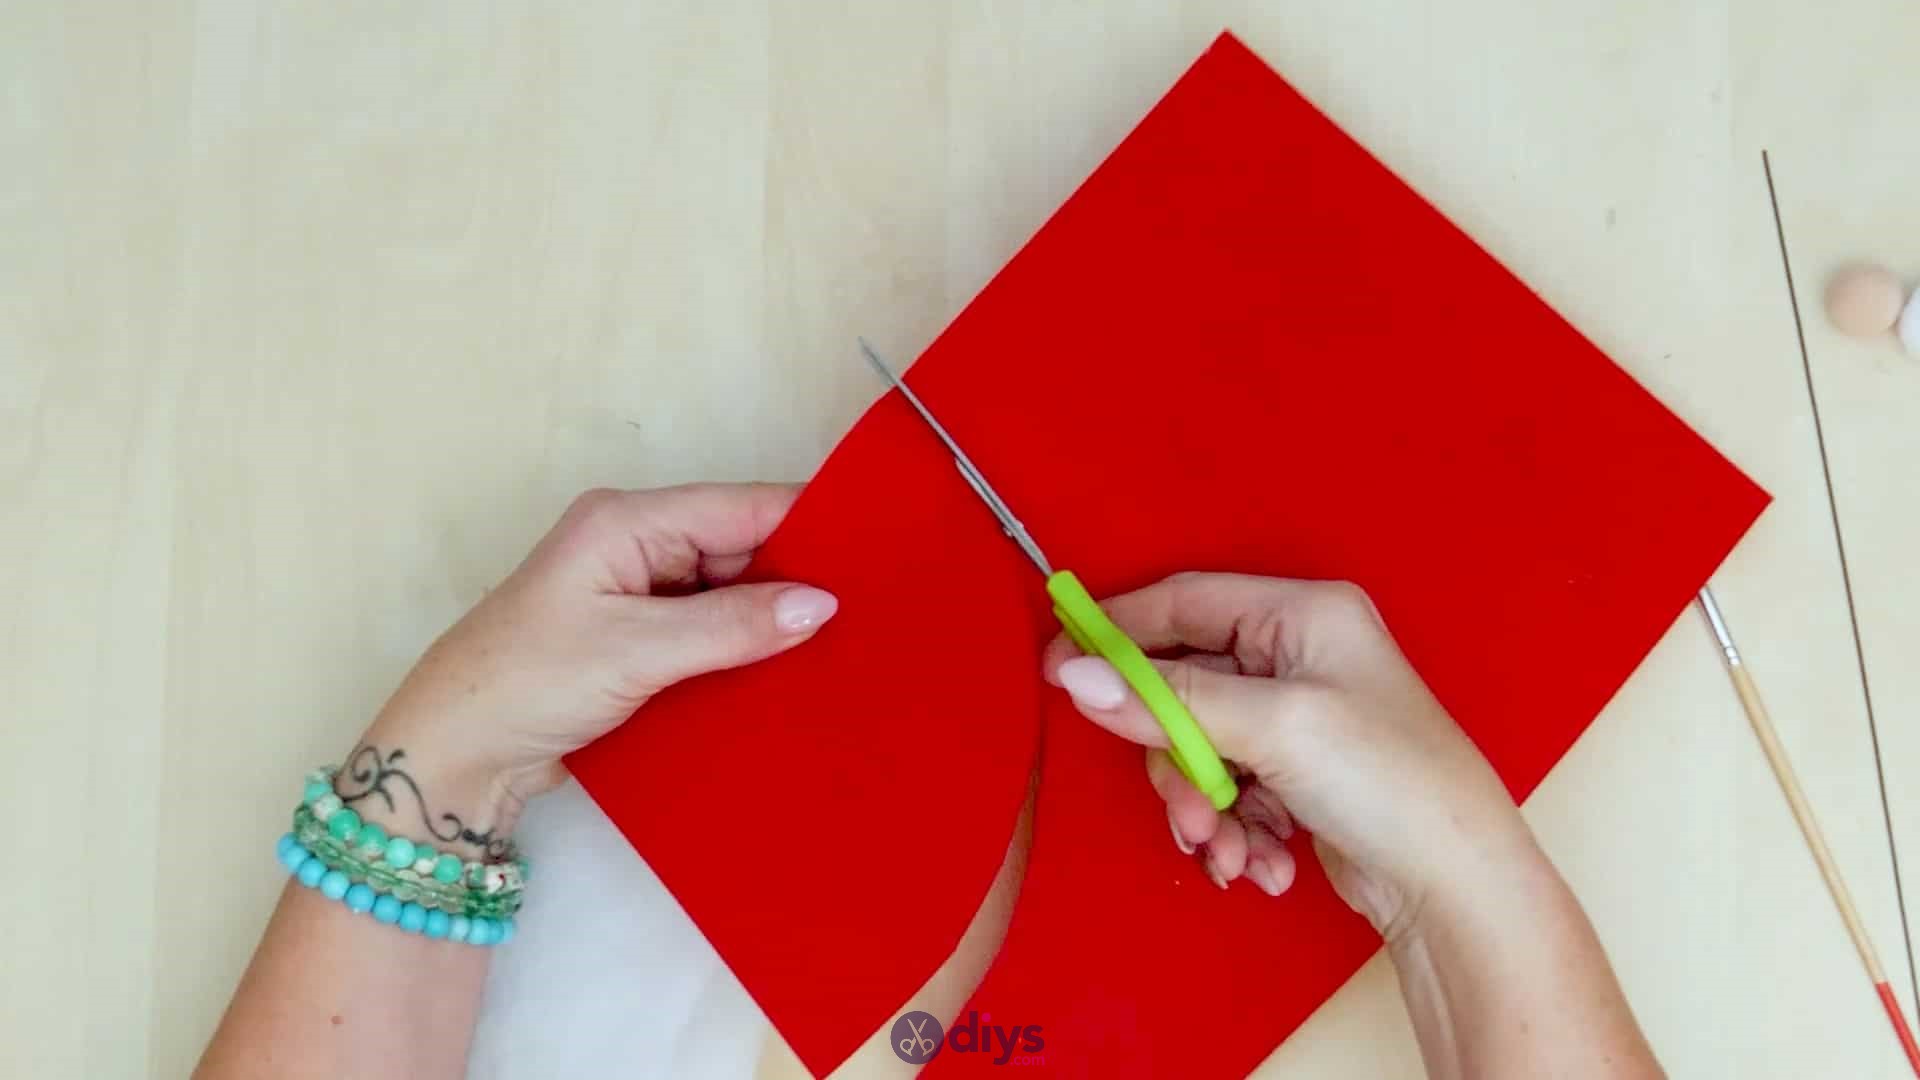
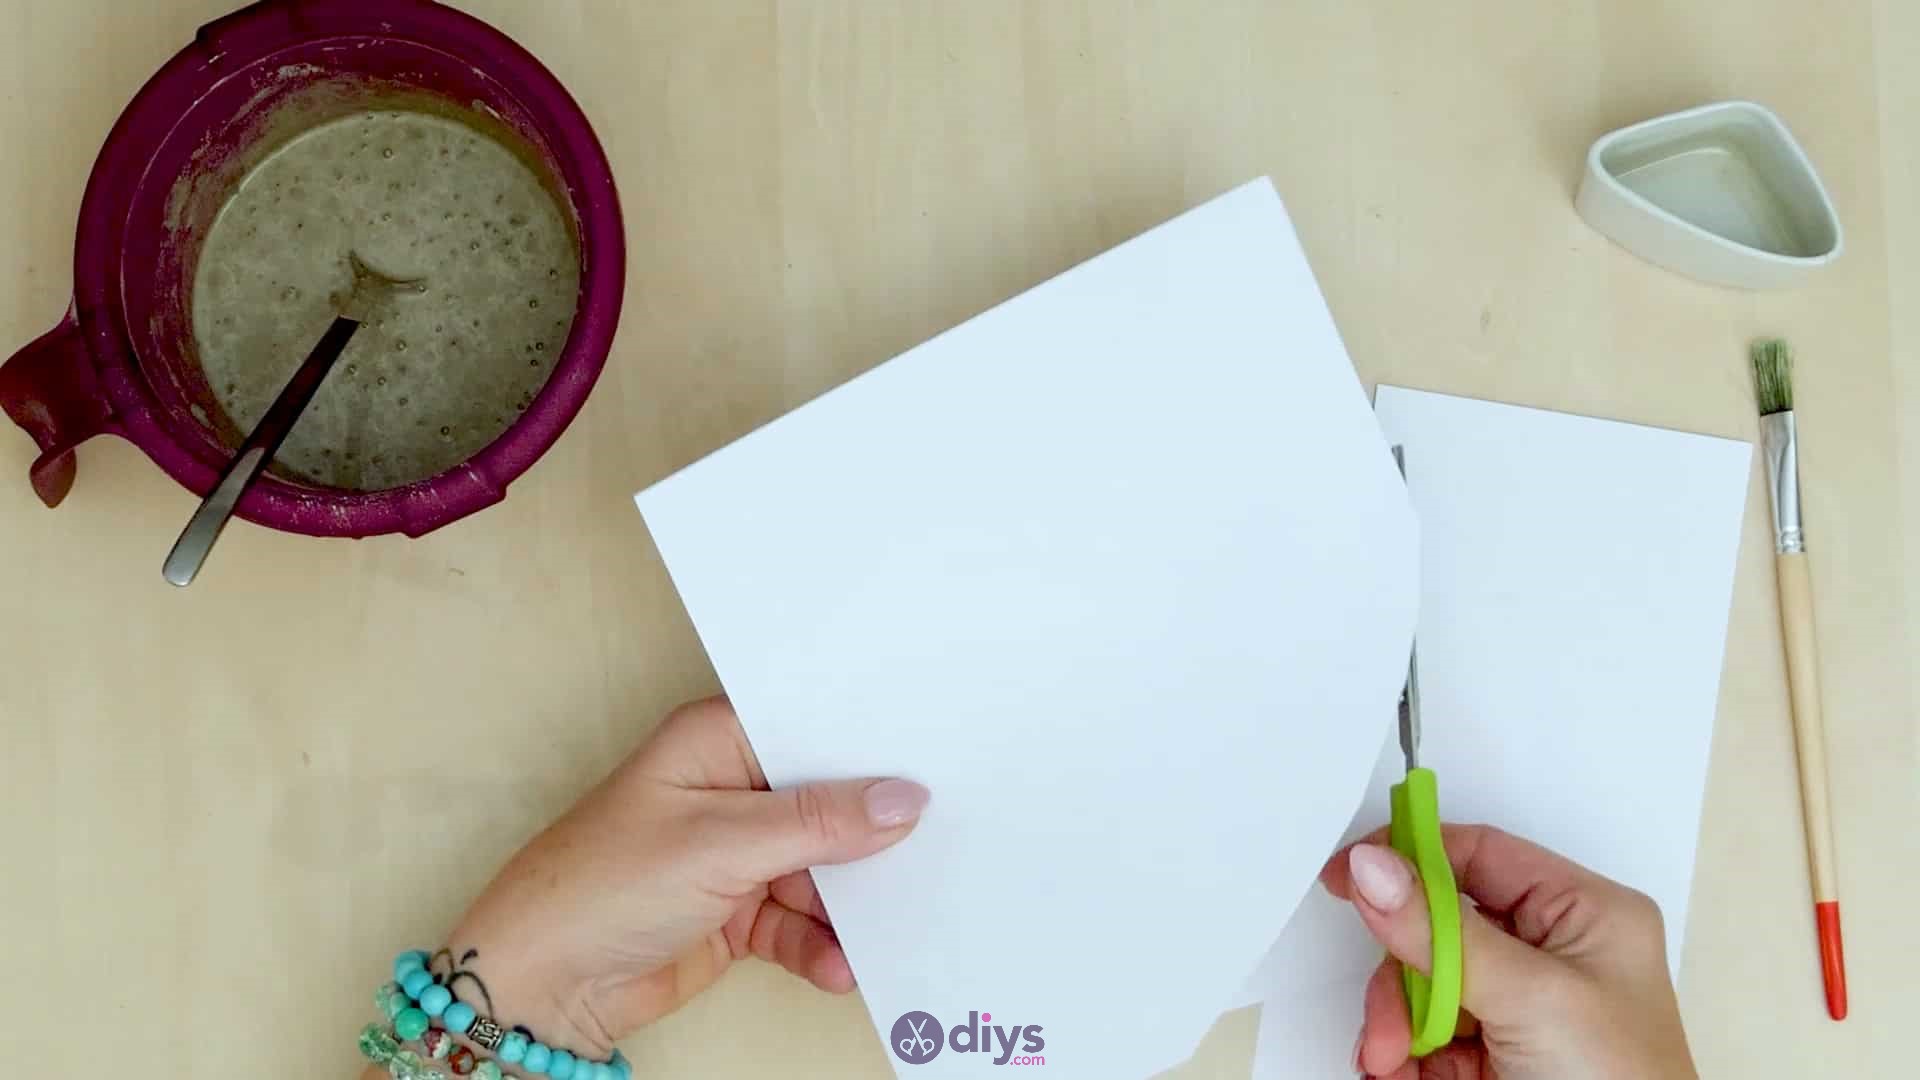
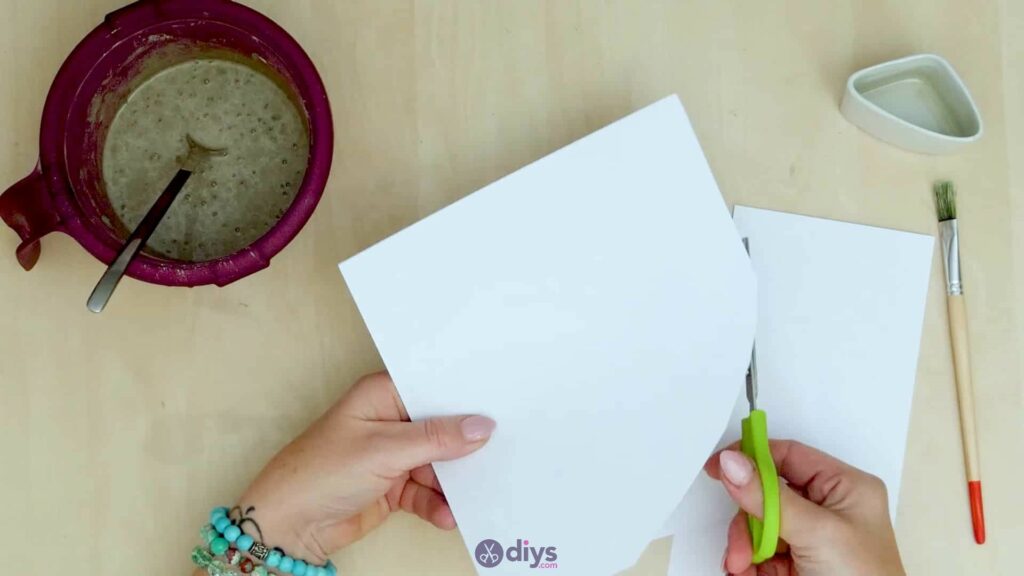
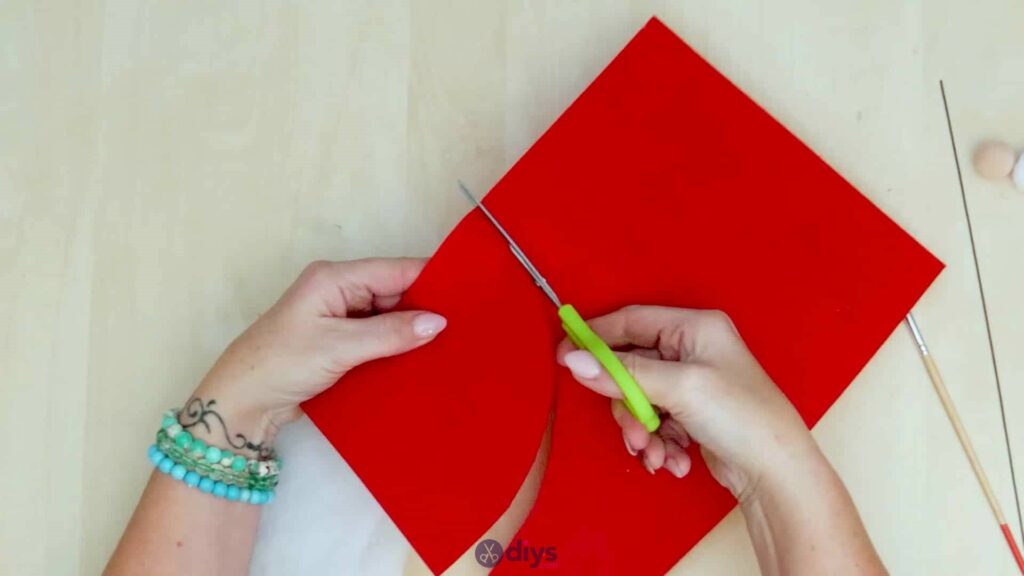
Cut your paper into a square shape by marking out where on the bottom edge is an equal length to your left side and cutting off any excess beyond that. Then turn your new paper square so that the bottom left corner becomes the bottom point in a diamond shape, with the other corners becoming points at the top and both sides. Cut a curving arc shape from the bottom point to the top point, rounding off the righthand point (what used to be the bottom right corner) in the process.
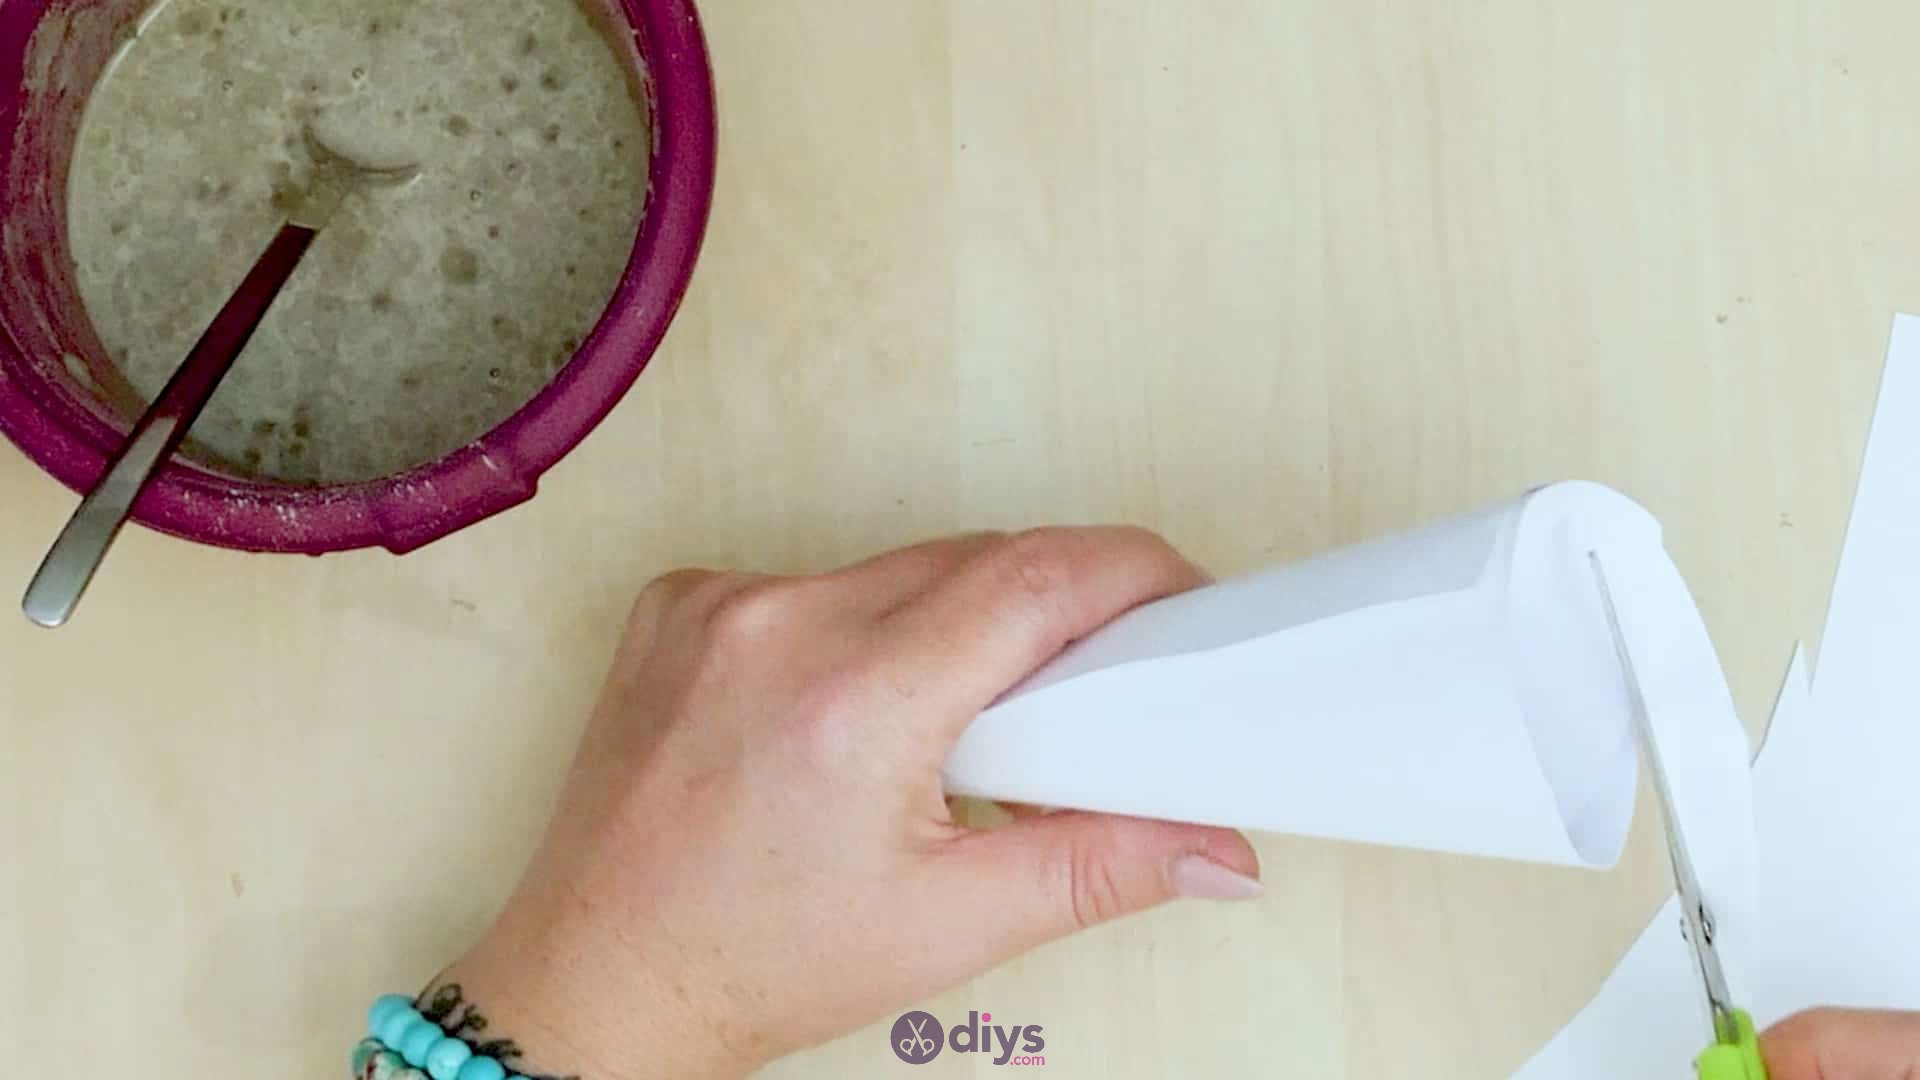
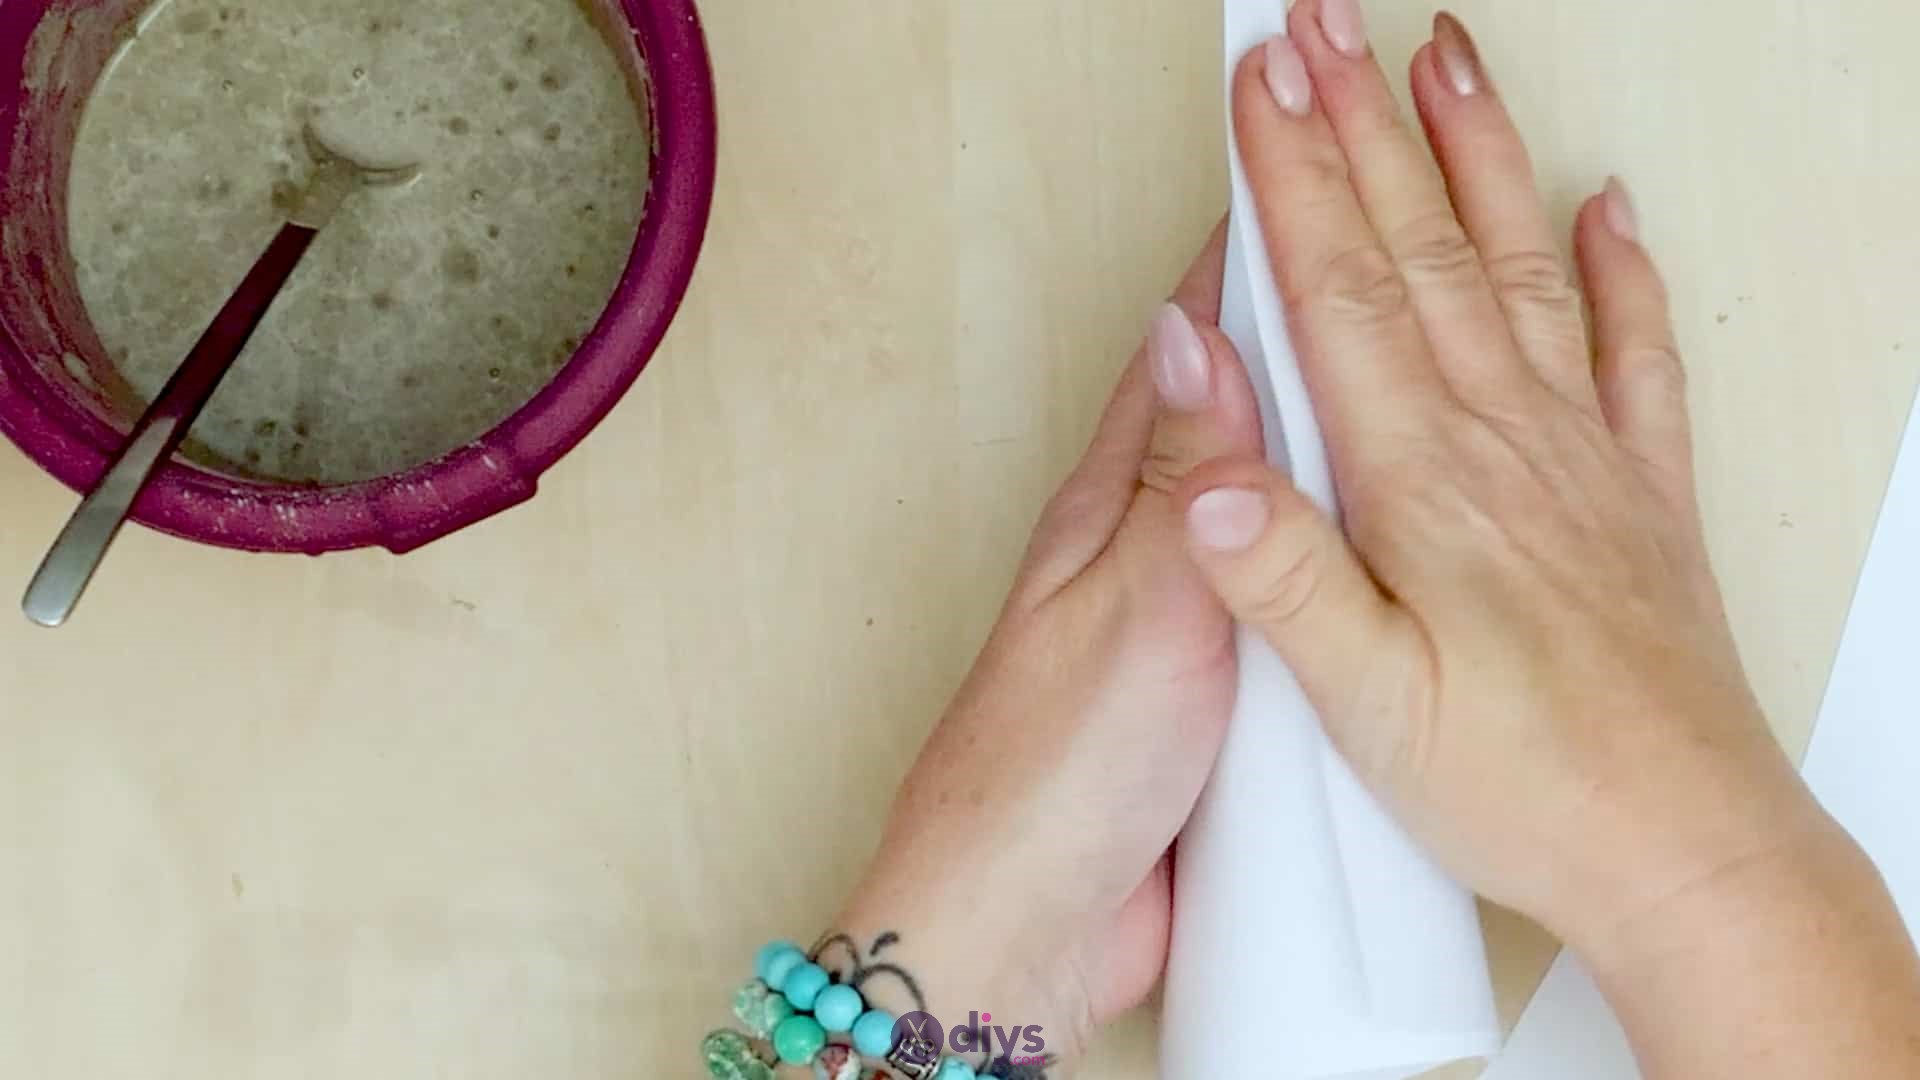
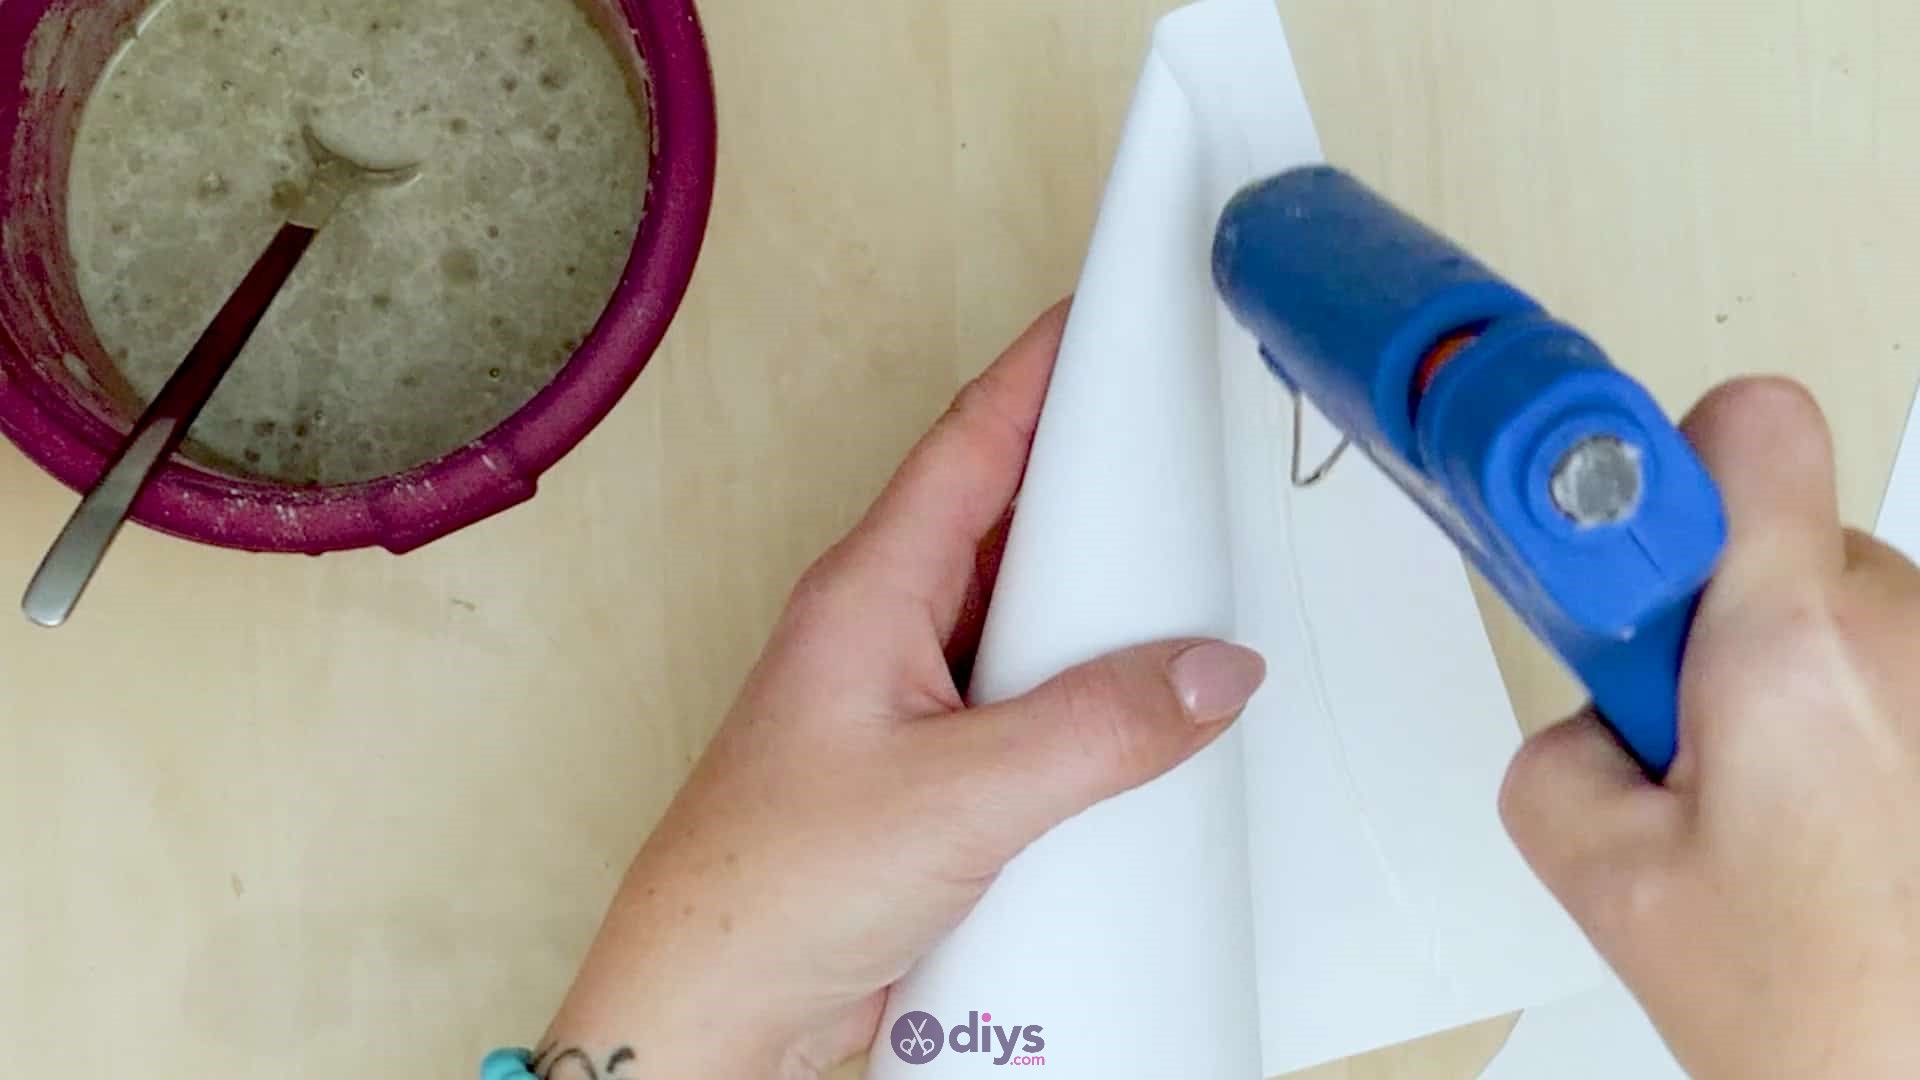
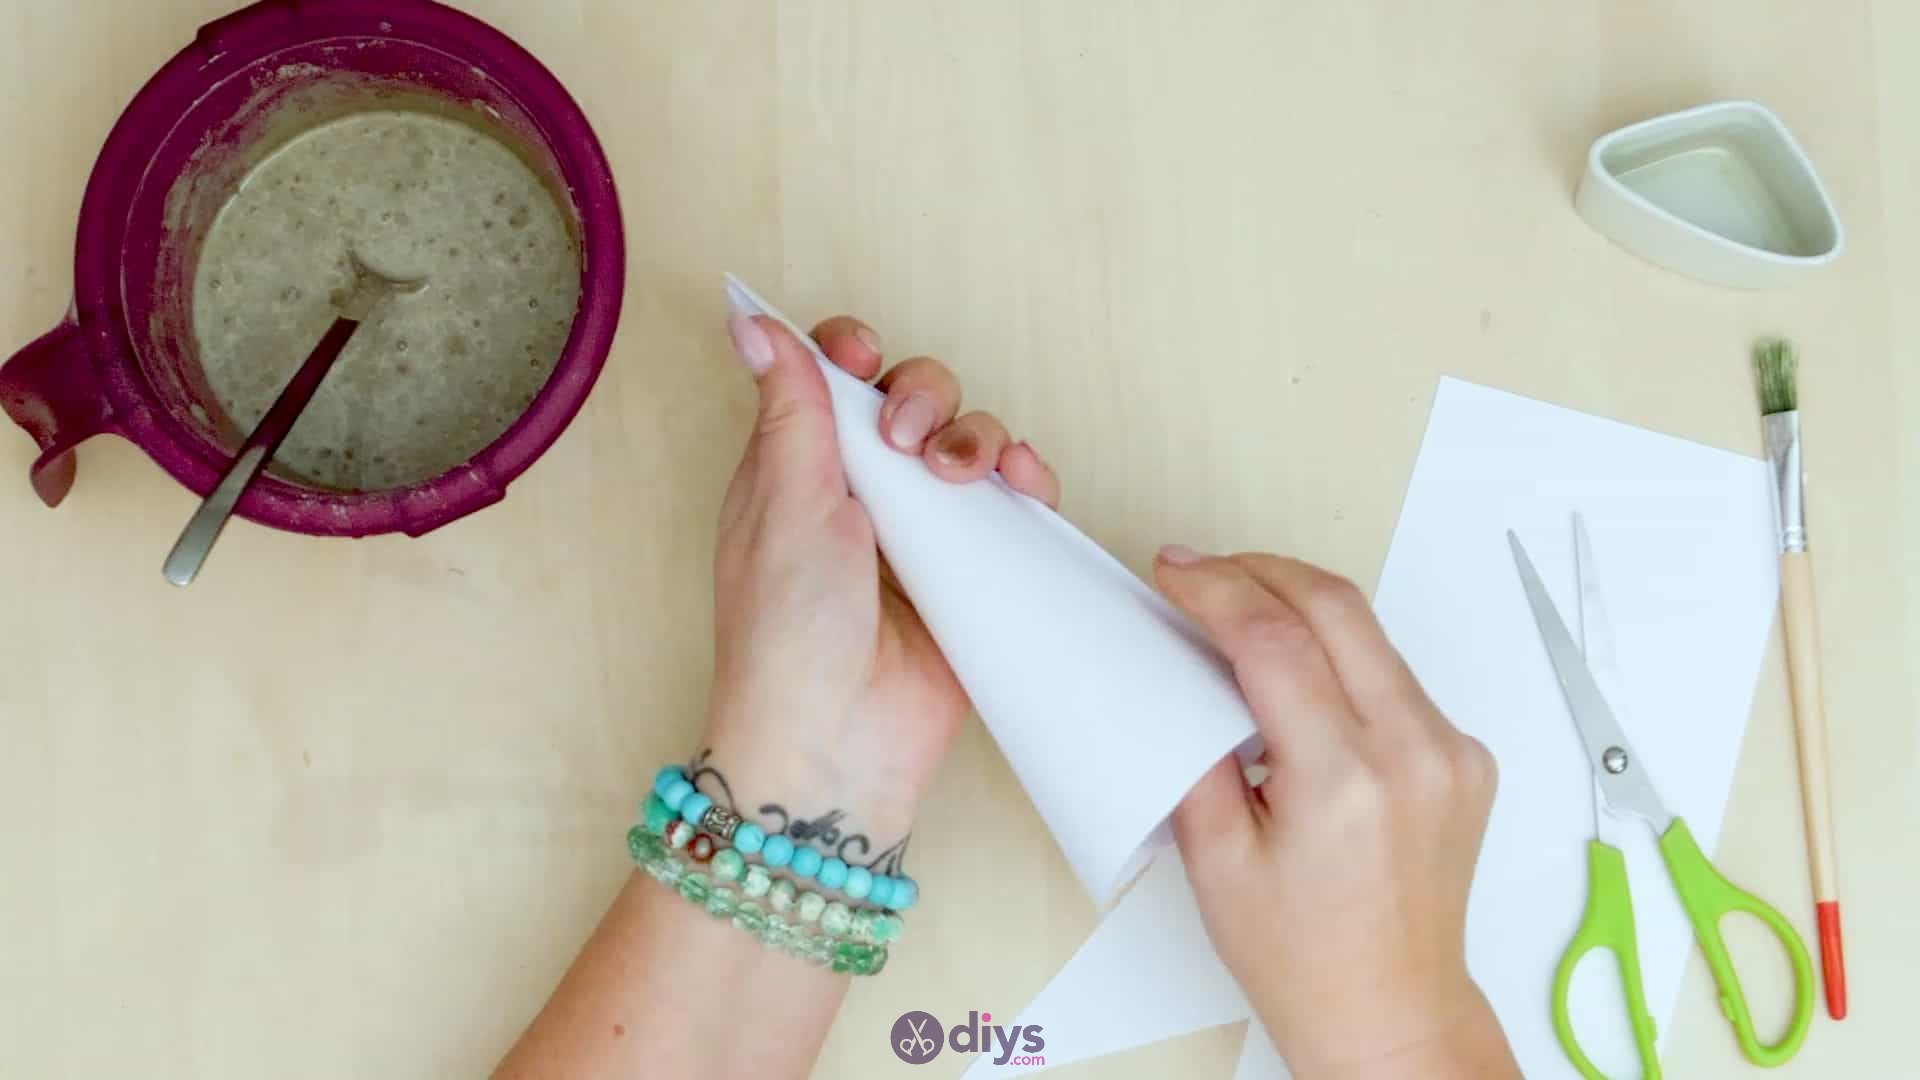
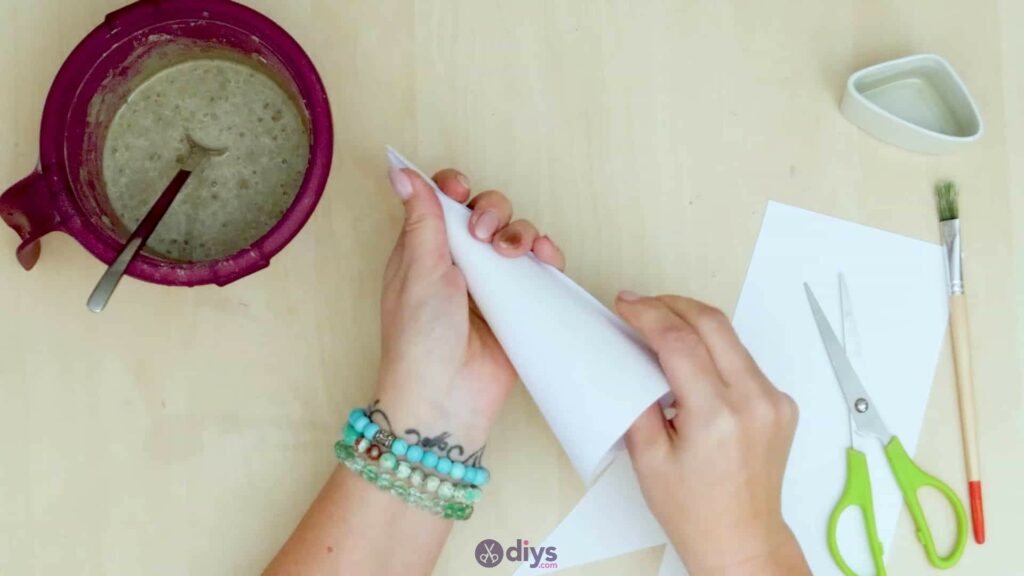
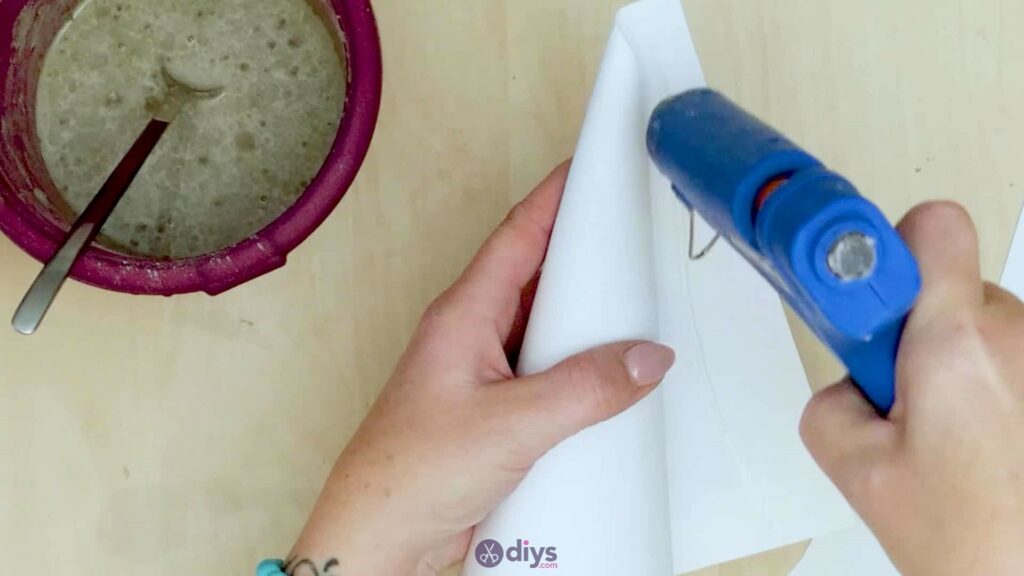
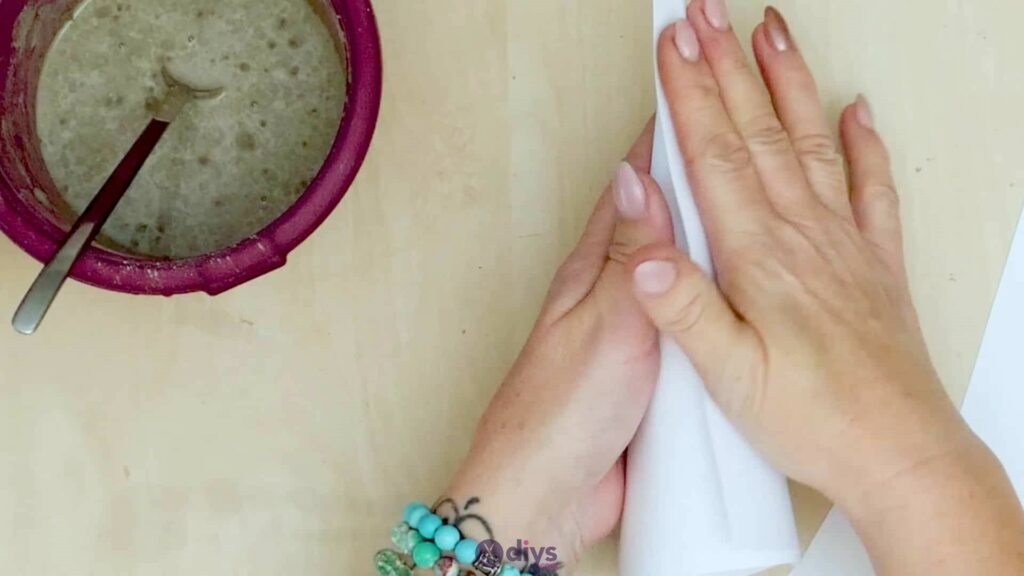
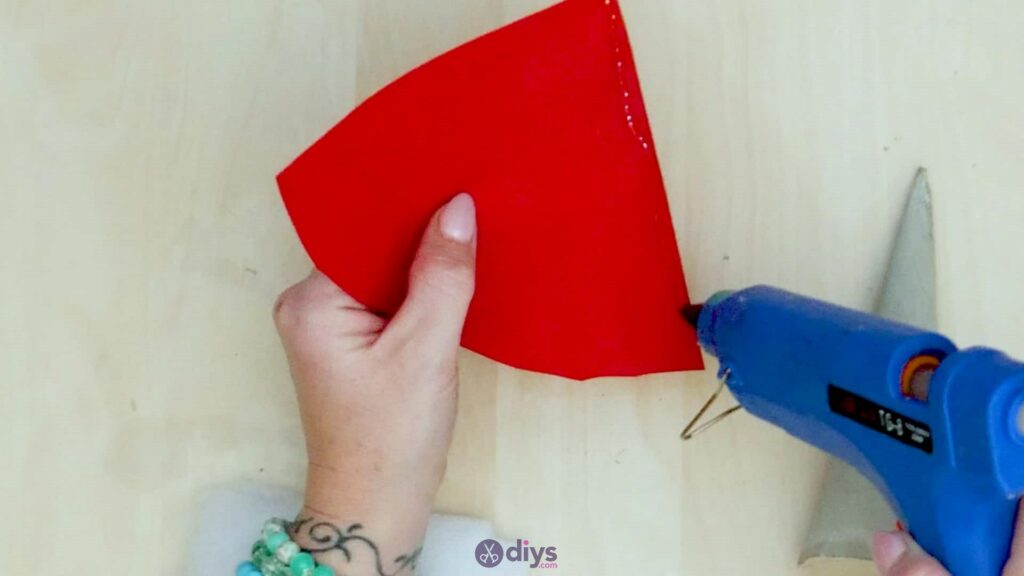
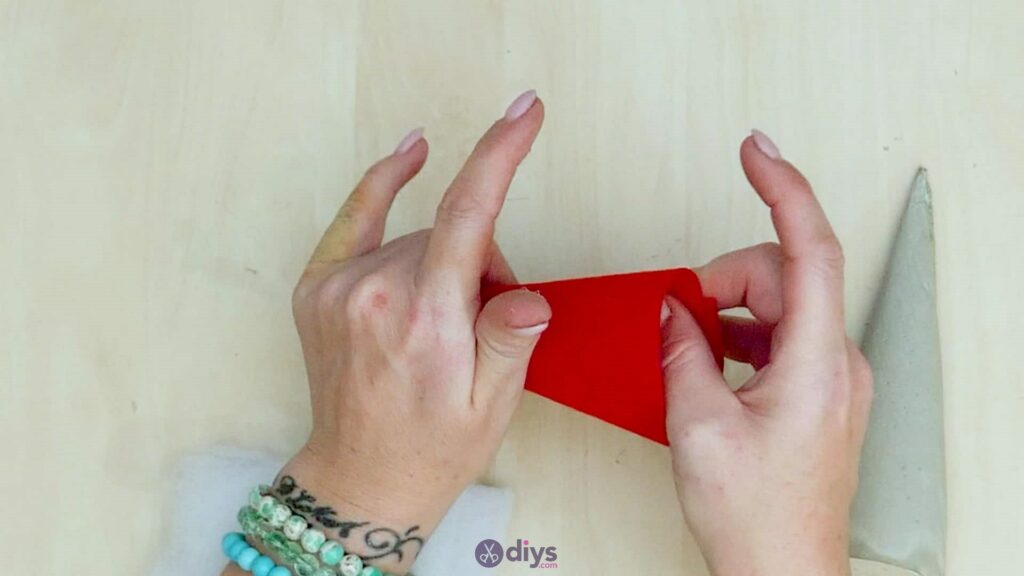
Now curl the bottom point up, over, and inwards on itself, rolling that edge towards the edge opposite so that the point on the lefthand side becomes the point tip of a cone. Feel free to loosen or tighten how you’re rolling to get a decent sized circular opening opposite the point, with a gentle taper towards the tip. When you’re happy with the shape and size of your cone, hold the bottom in place at the opening so it doesn’t uncurl and use one hand to apply hot glue all along the loose edge you just rolled towards, sticking it down where it meets the rest of the paper in the cone.
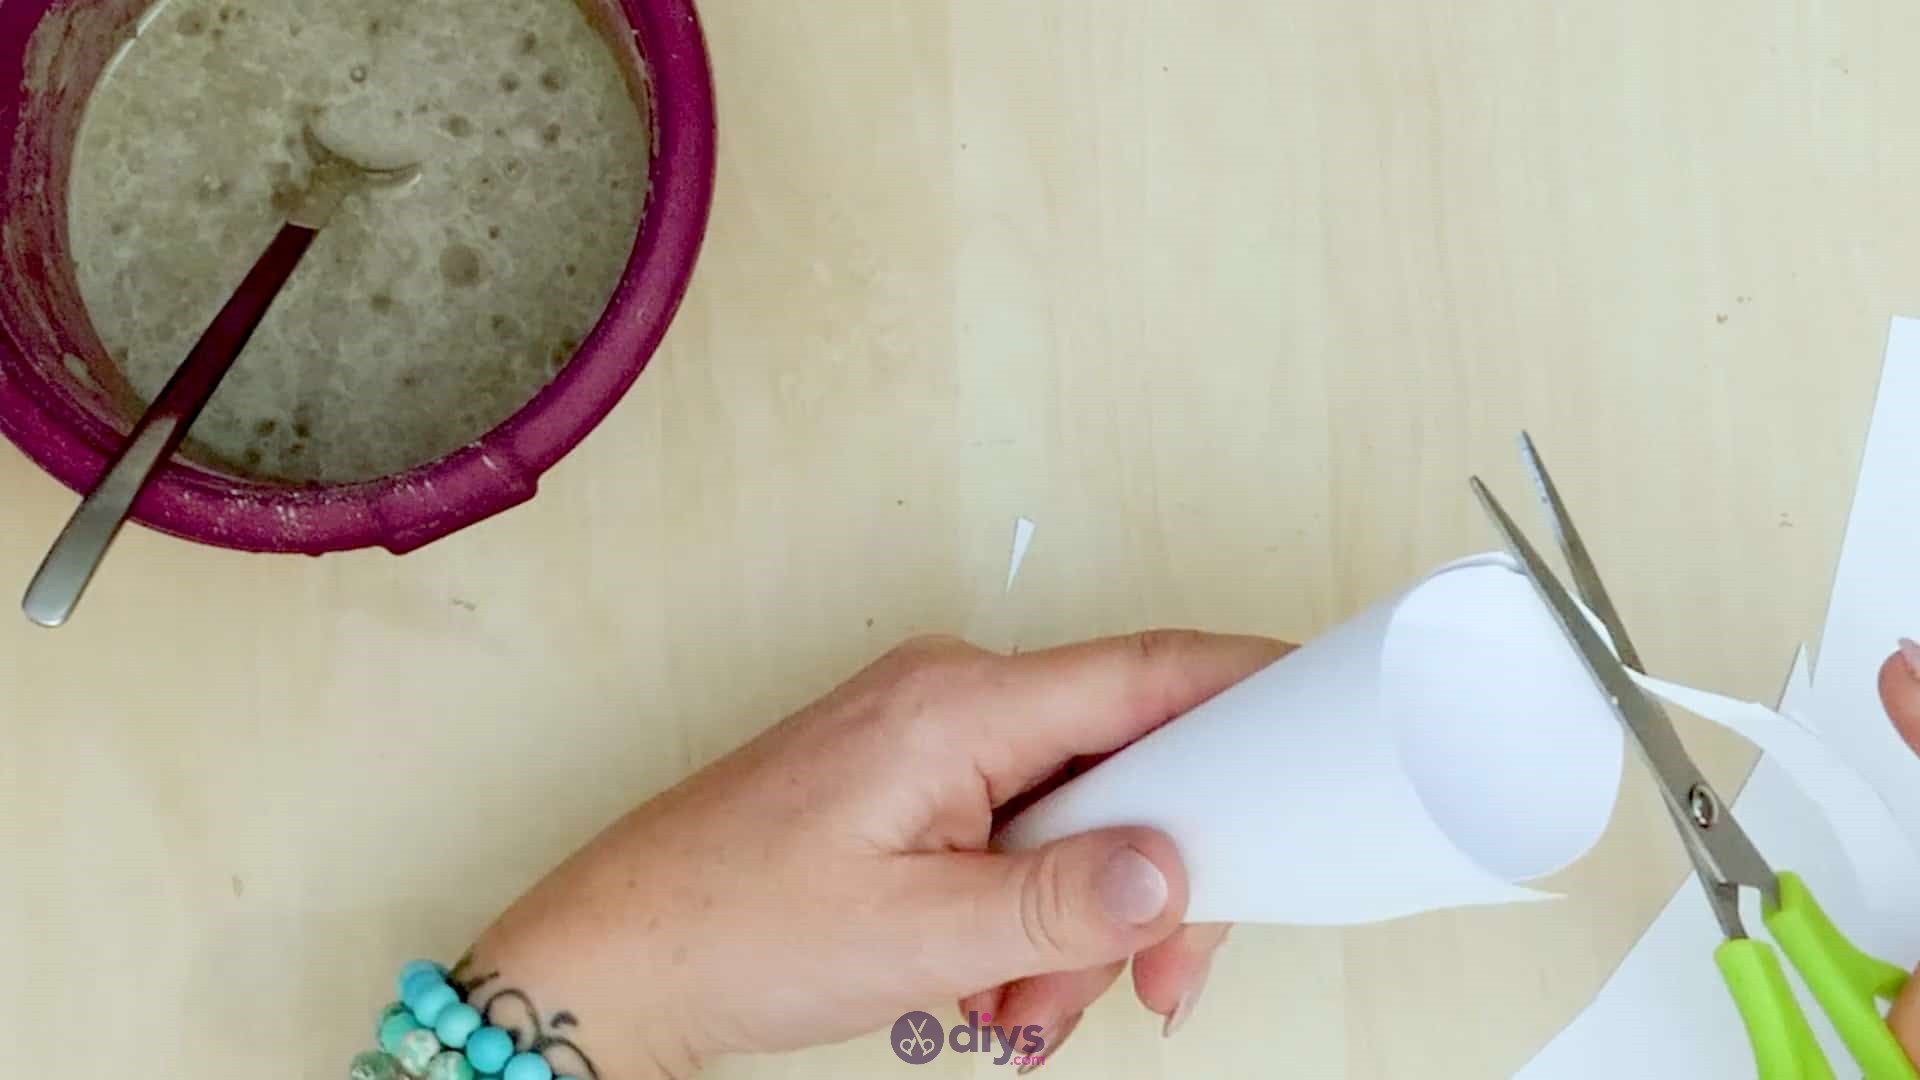
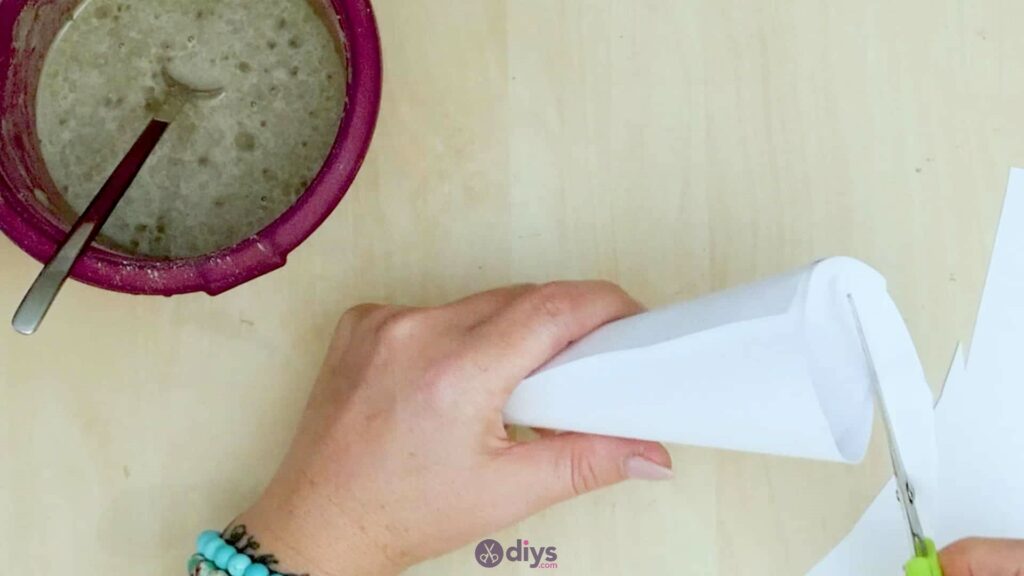
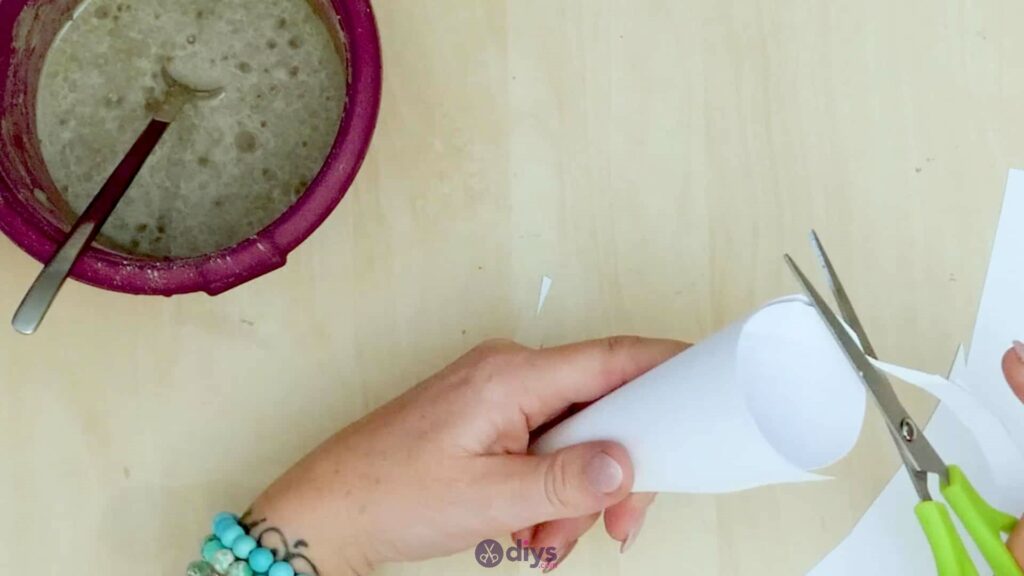
You’ve officially made a cone-shaped paper mould. If you need to, use your scissors to trim around the circular opening in order to make it neater and more even. The way the layers of paper curl around themselves makes it thick enough to hold the wet mixture until it dries.
Step 4: grease the inside
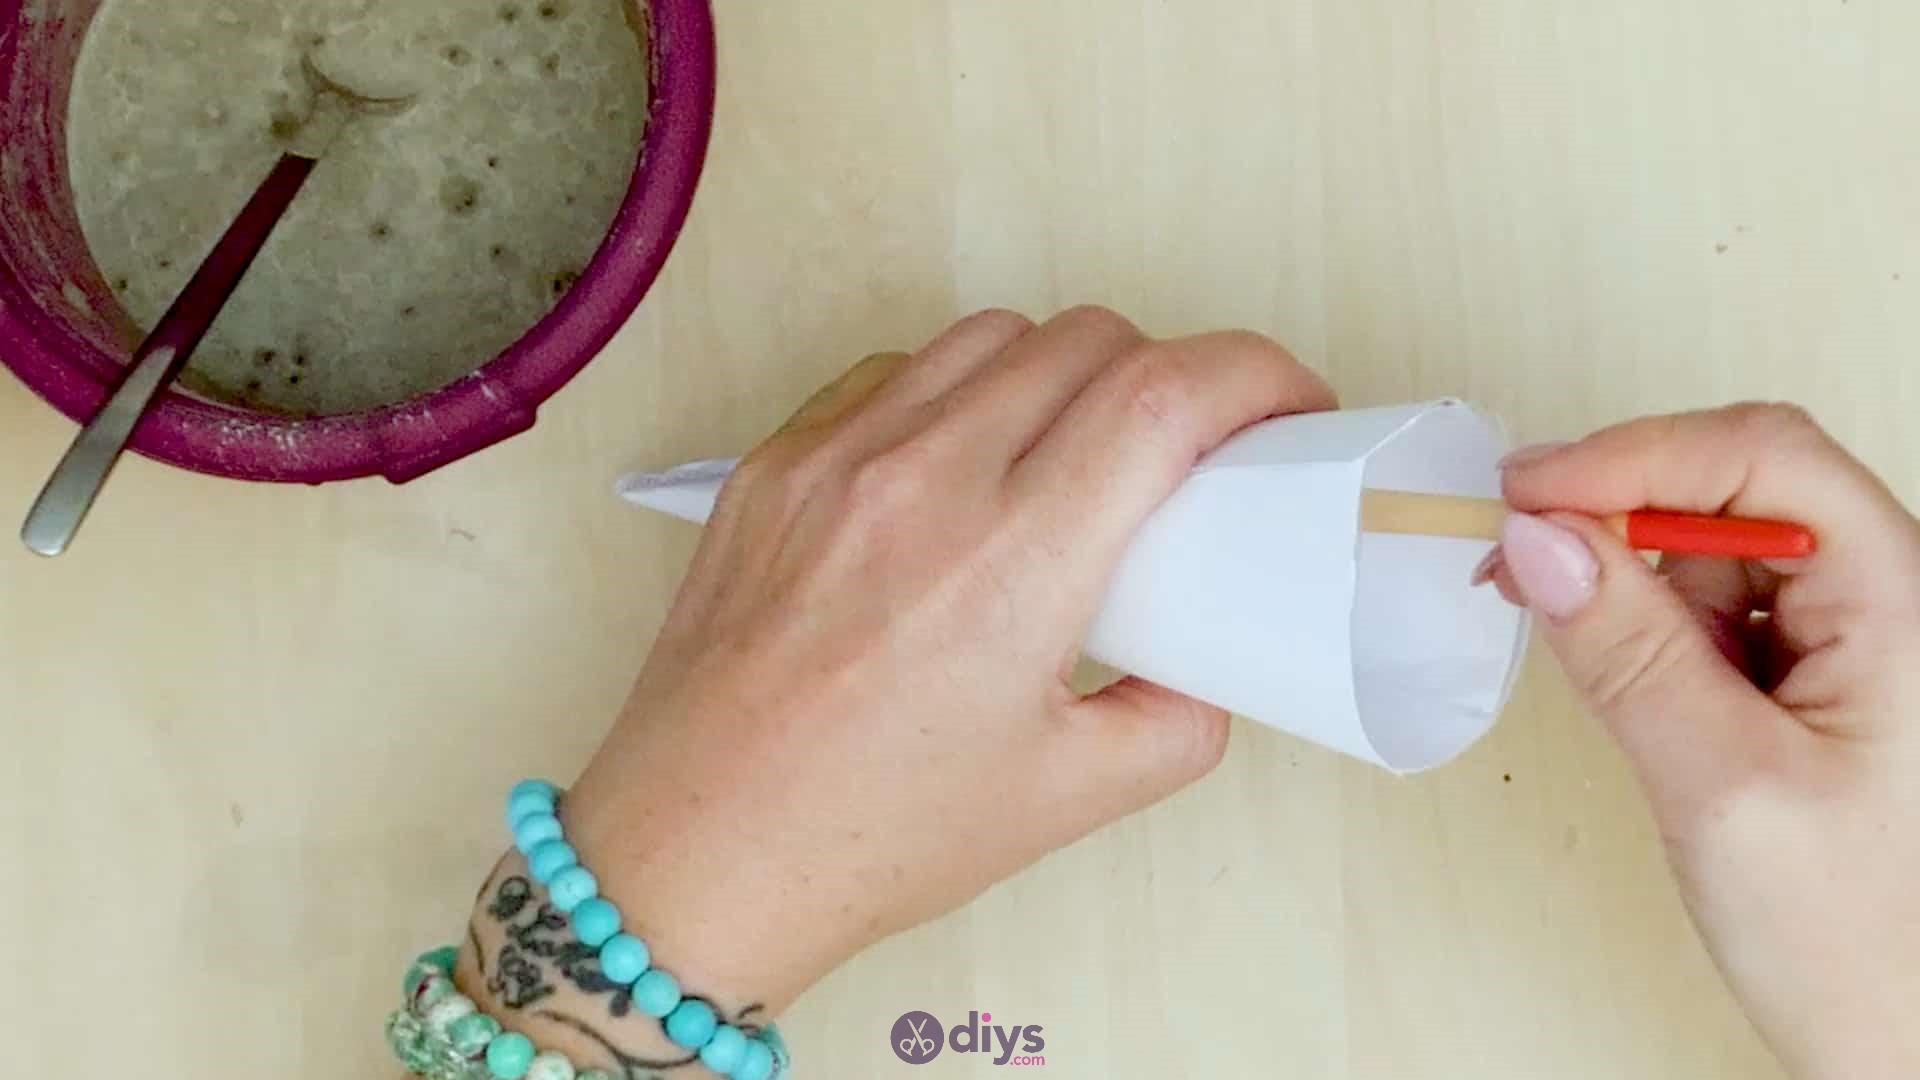
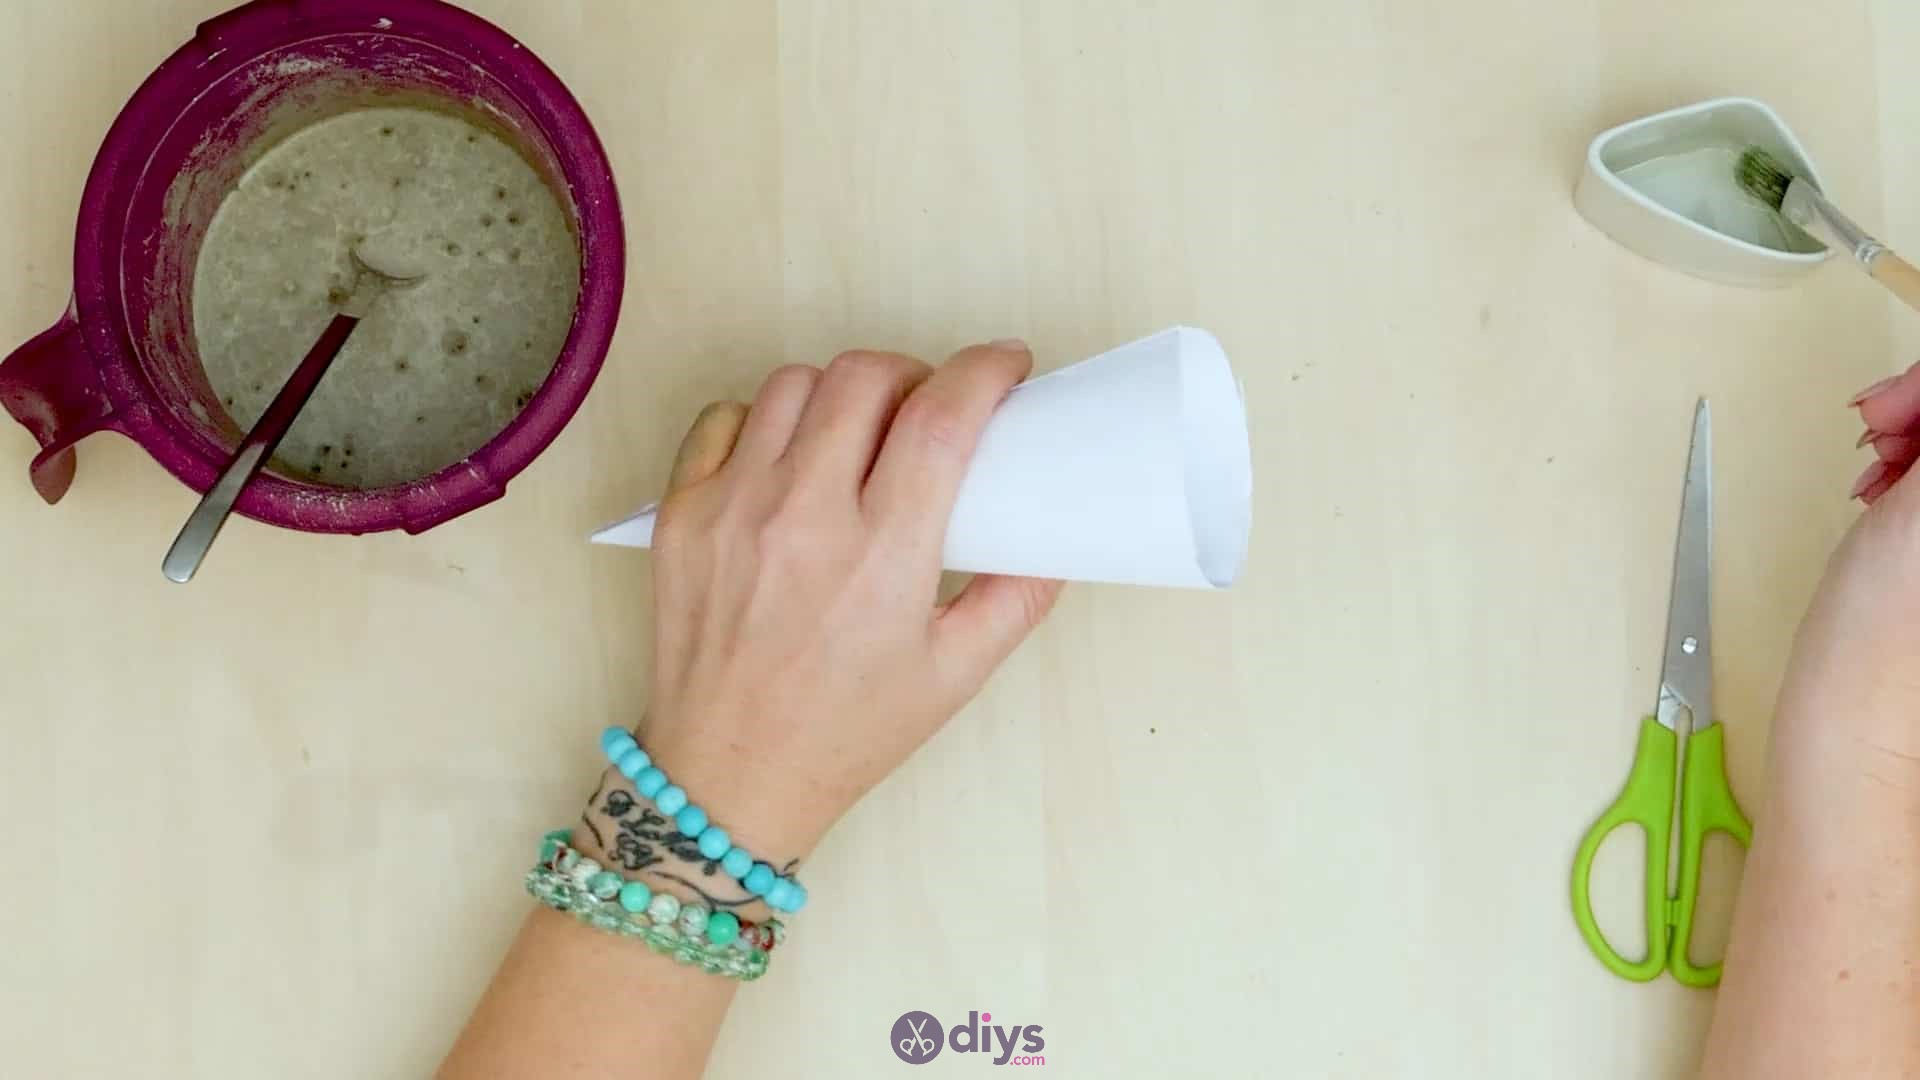
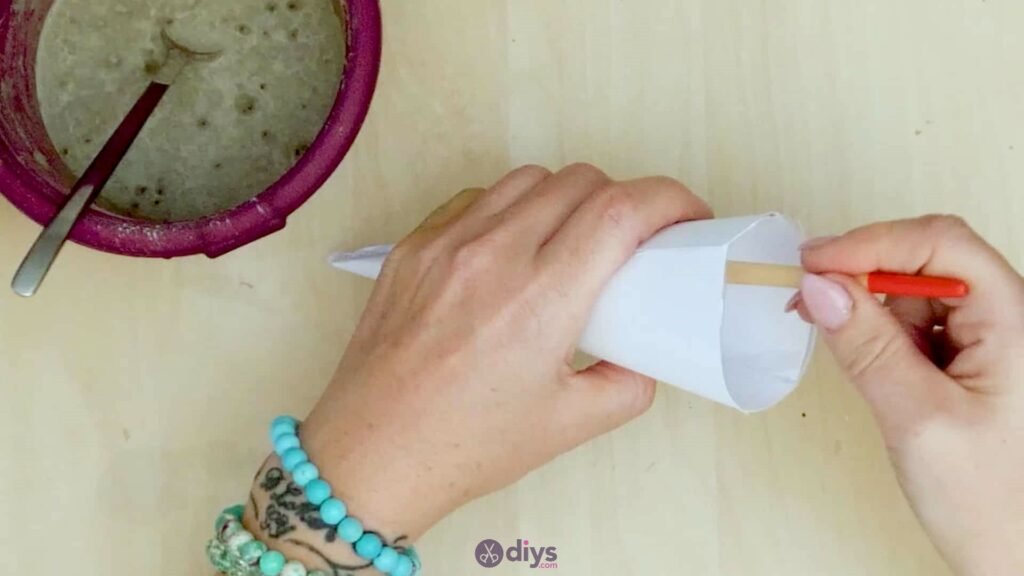
Use a paintbrush to coat the entire inside of your paper cone with oil (any kind of cooking oil- like canola, vegetable, or olive oil- will do). Use enough to see a different in the paper’s look but not so much that you oversaturate it and make it soggy enough to soak all the way through and compromise your shape. Applying a thin coating of oil will make the concrete mixture stick to the paper less as it dries, which in turn makes the paper easier to ear off later when your shape is done.
Step 5: fill the cone
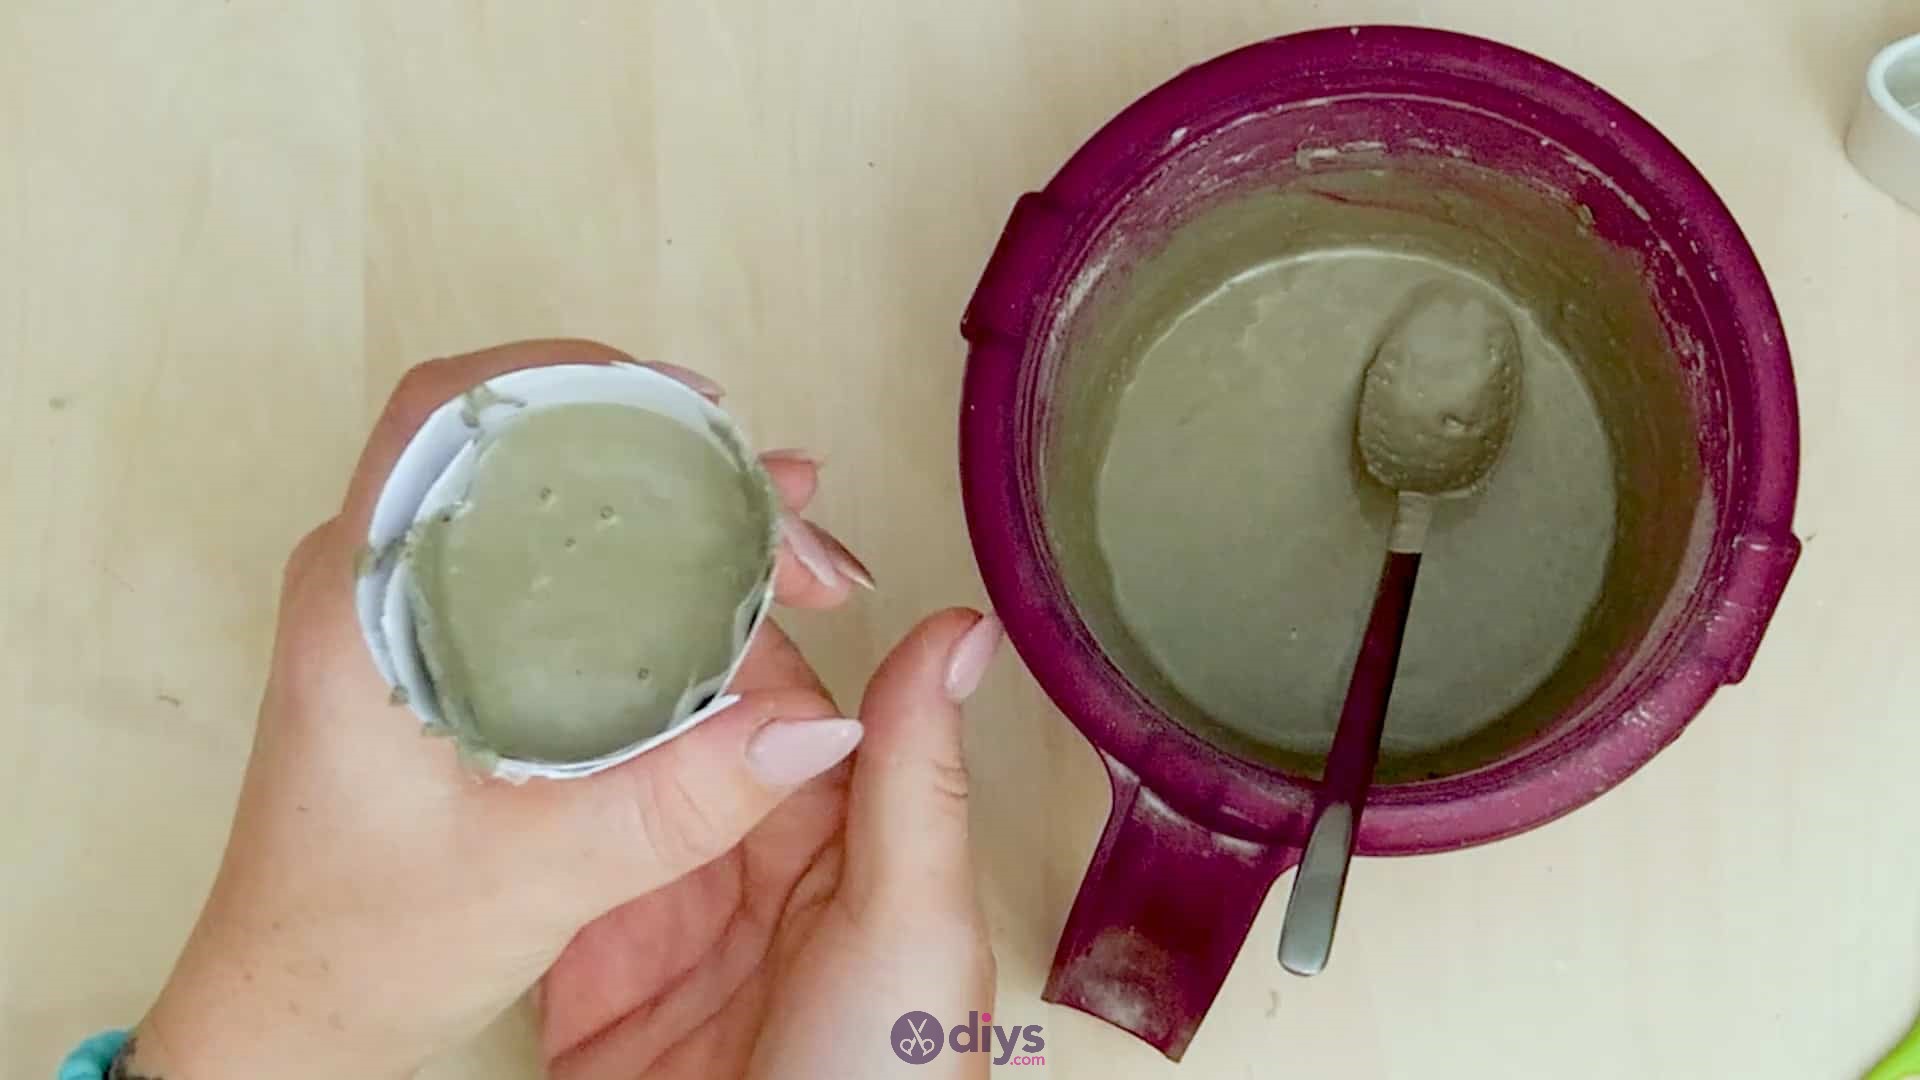
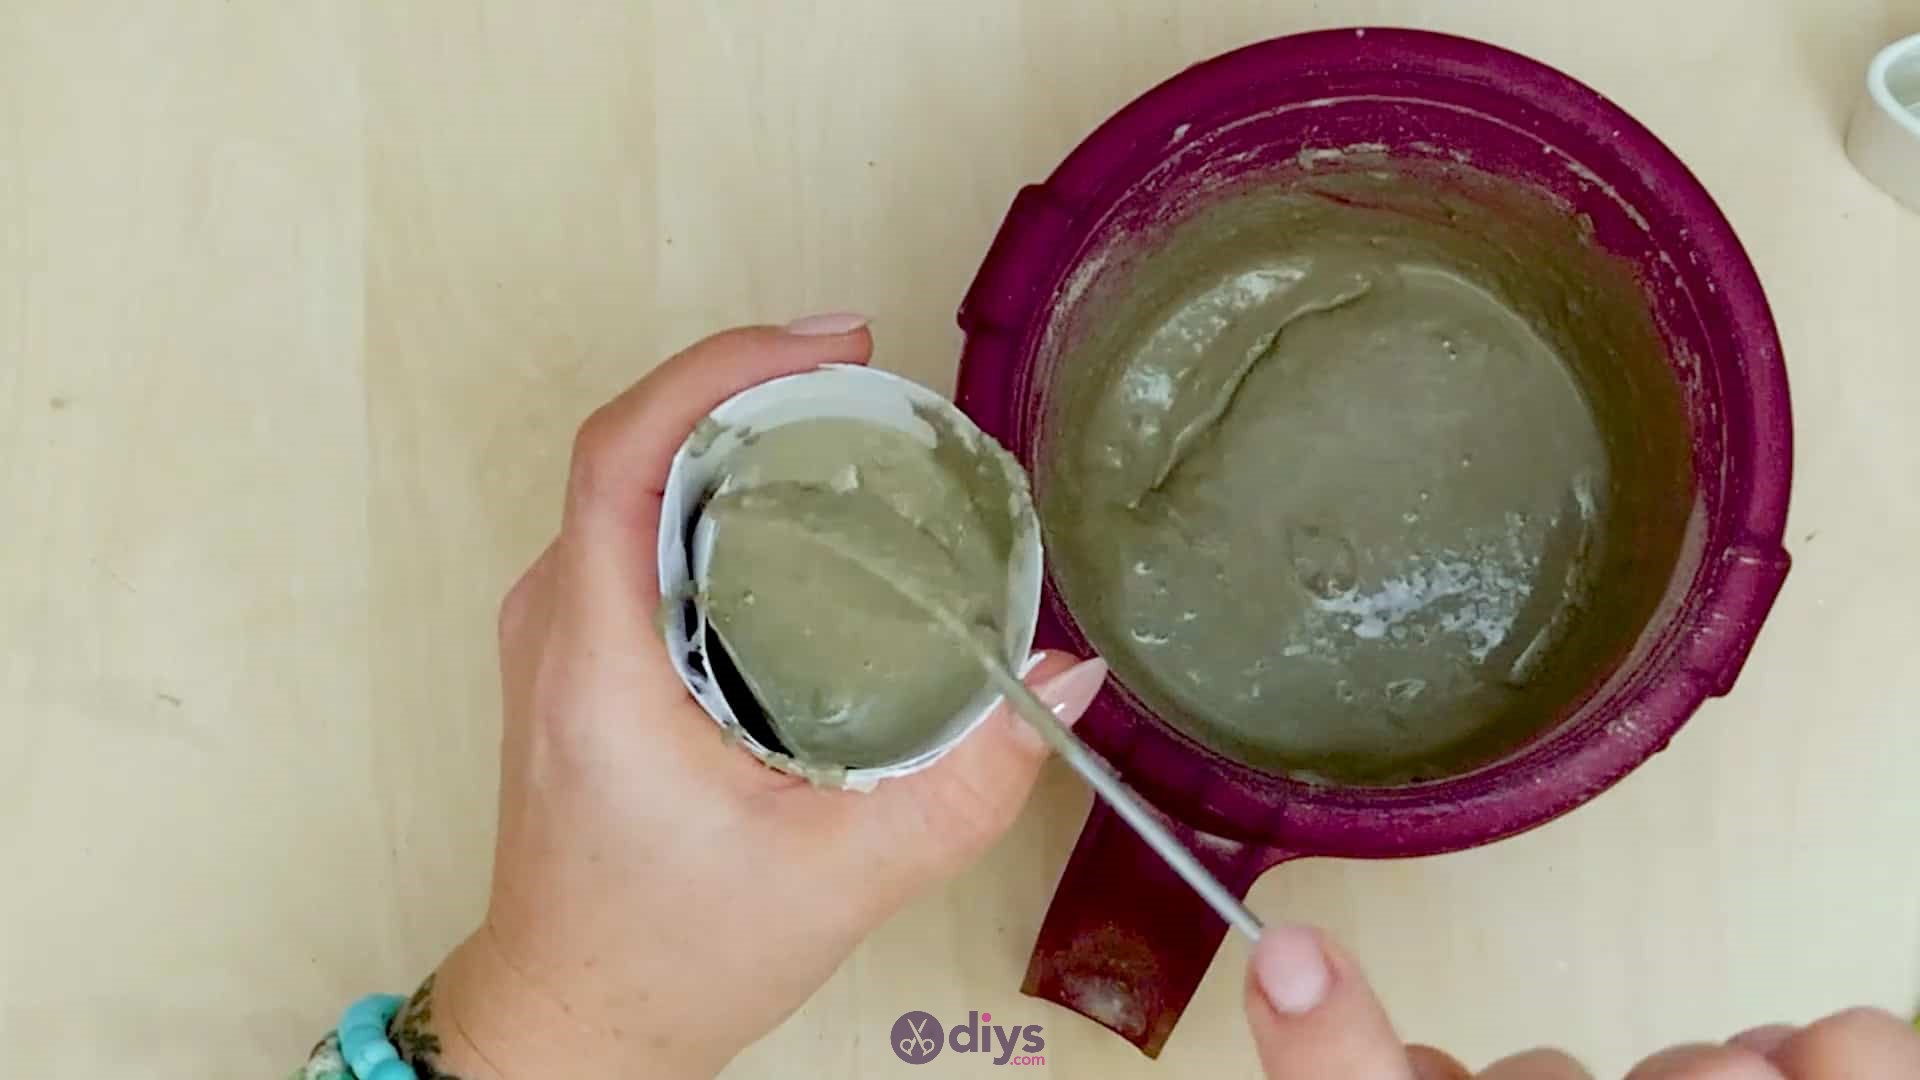
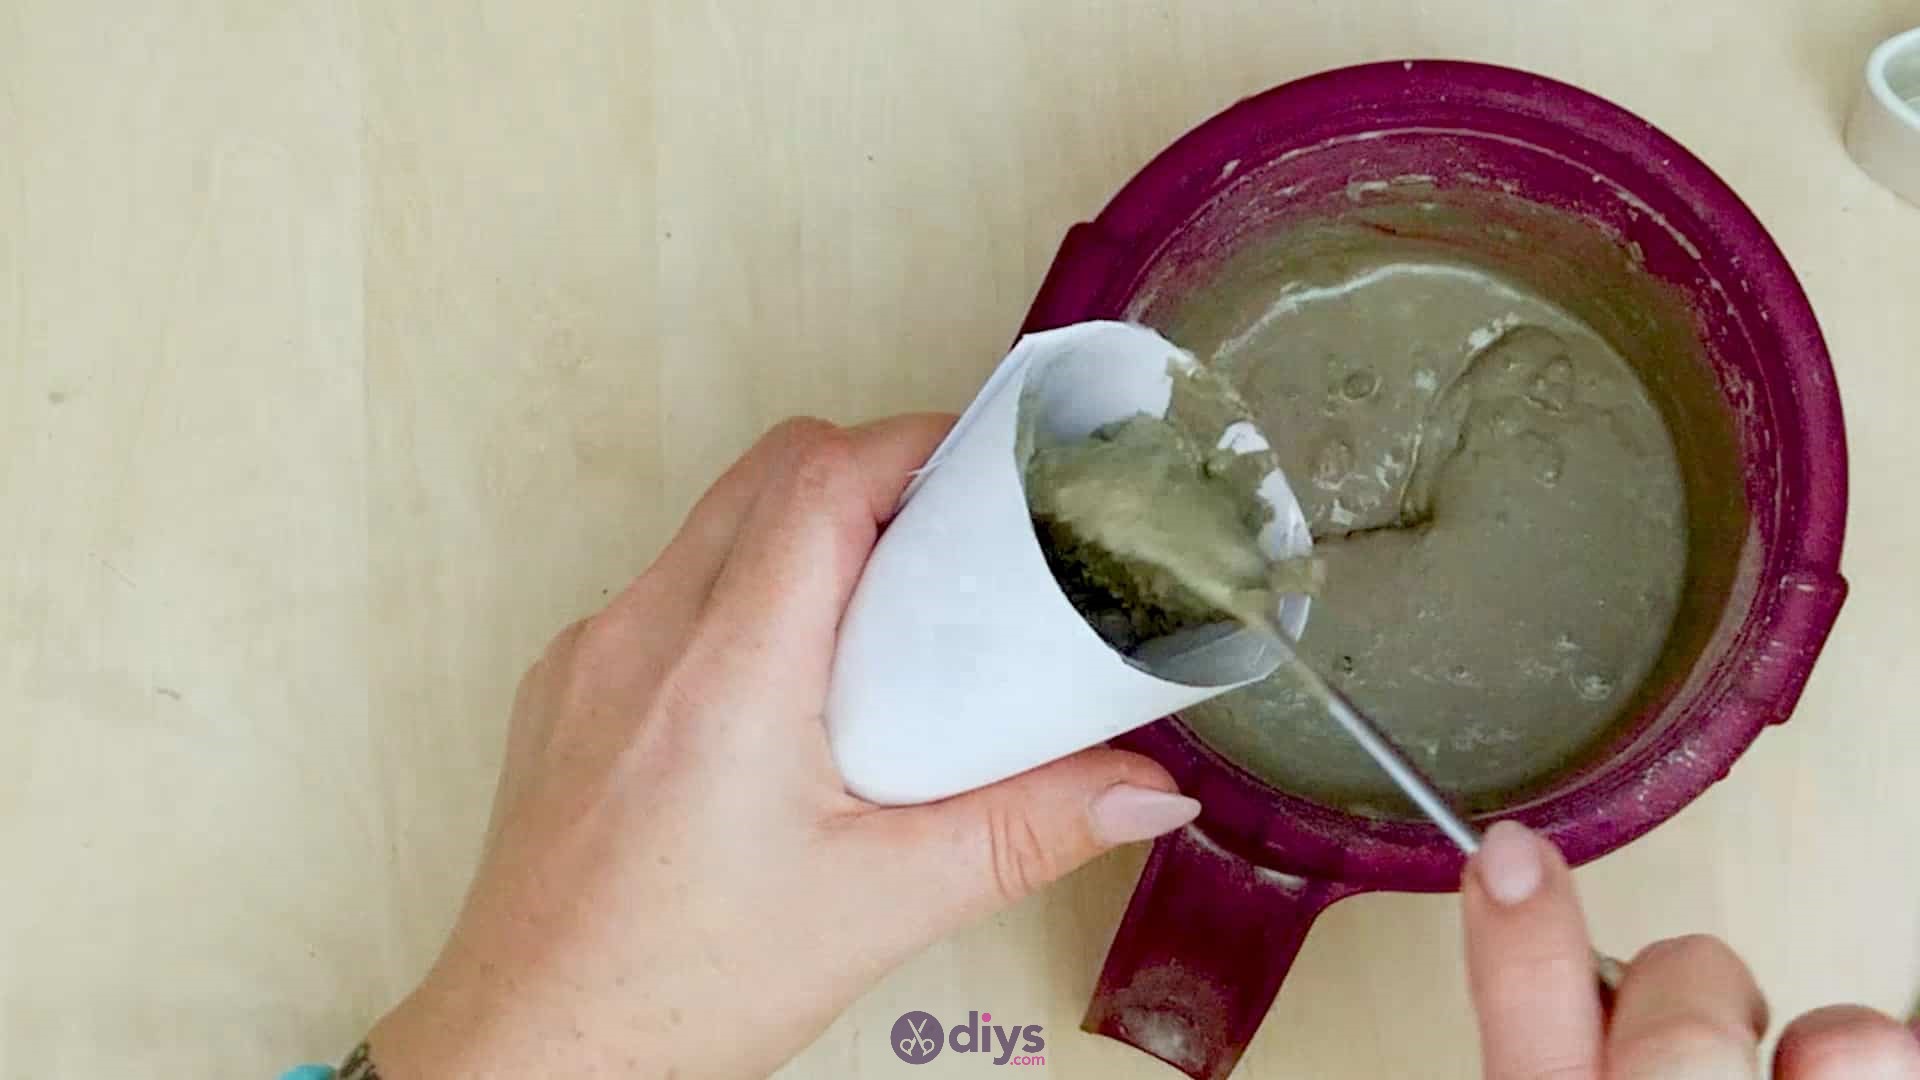
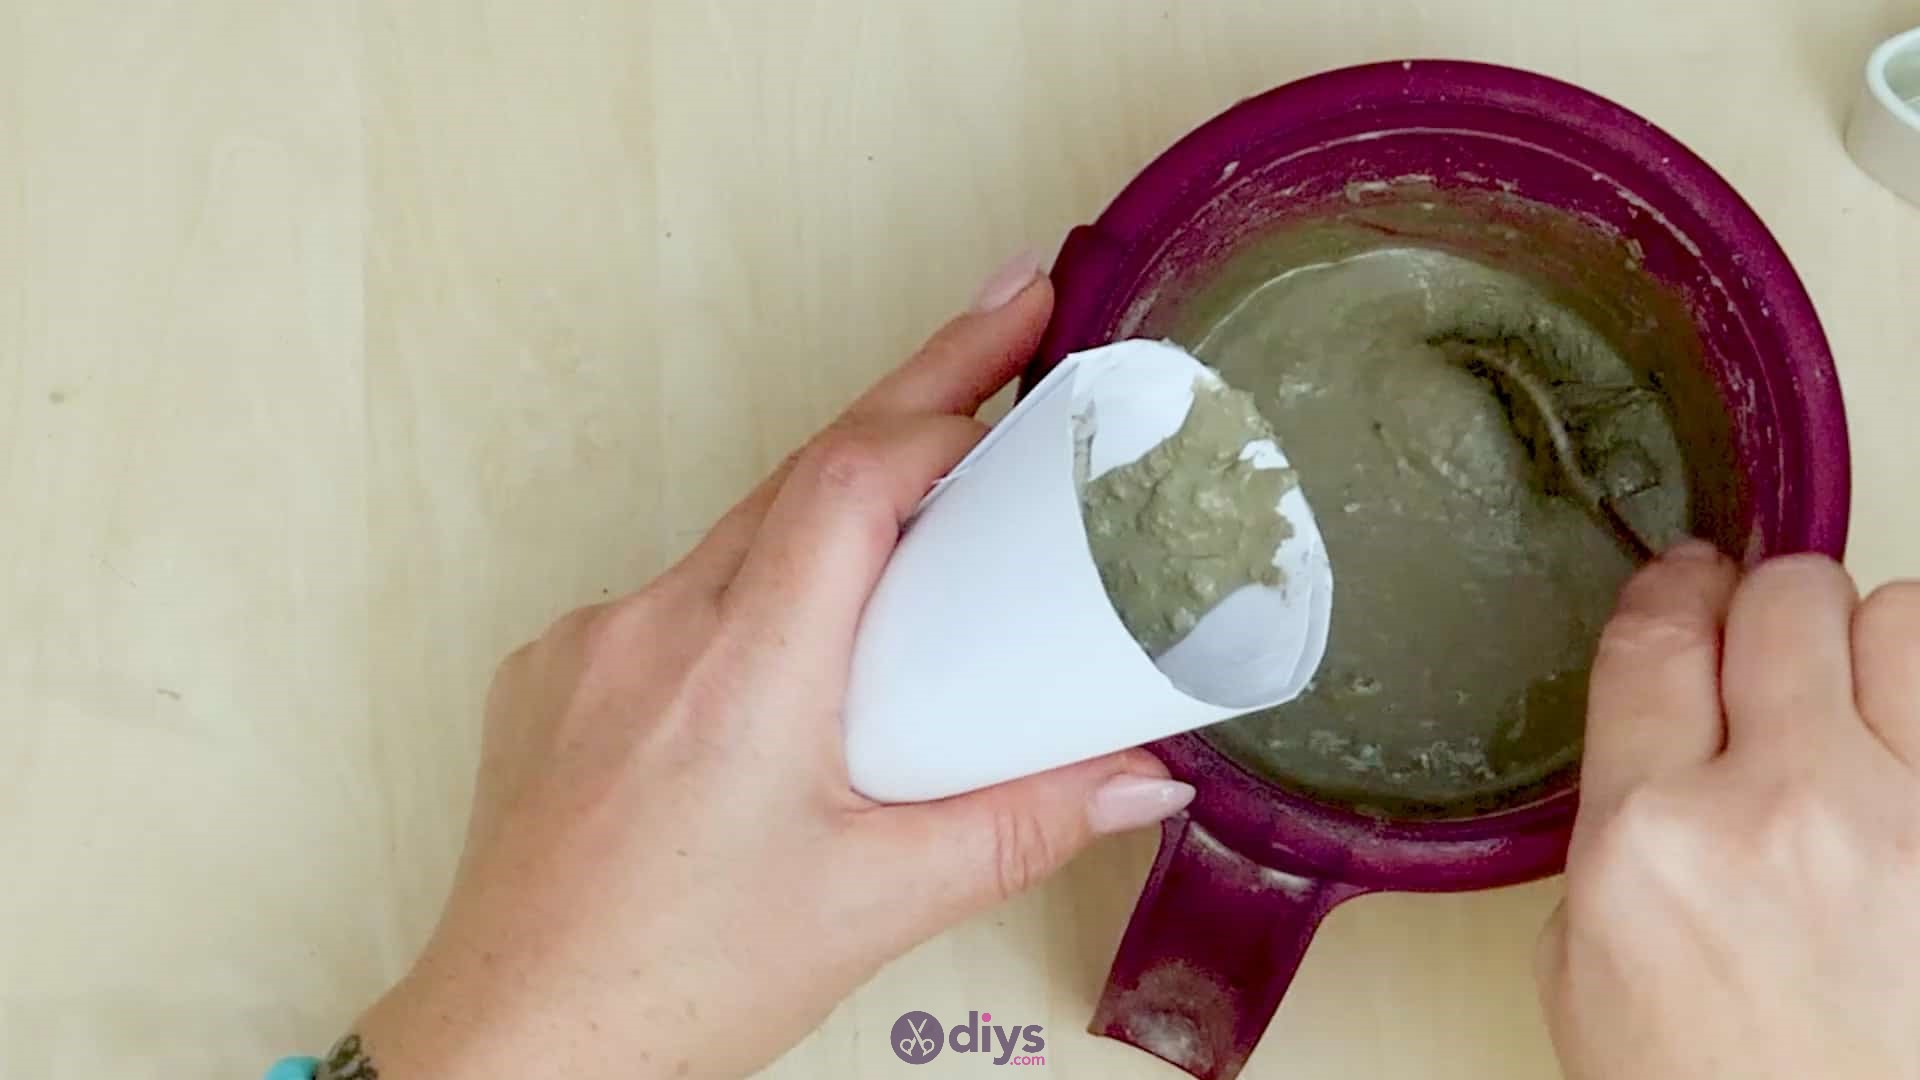
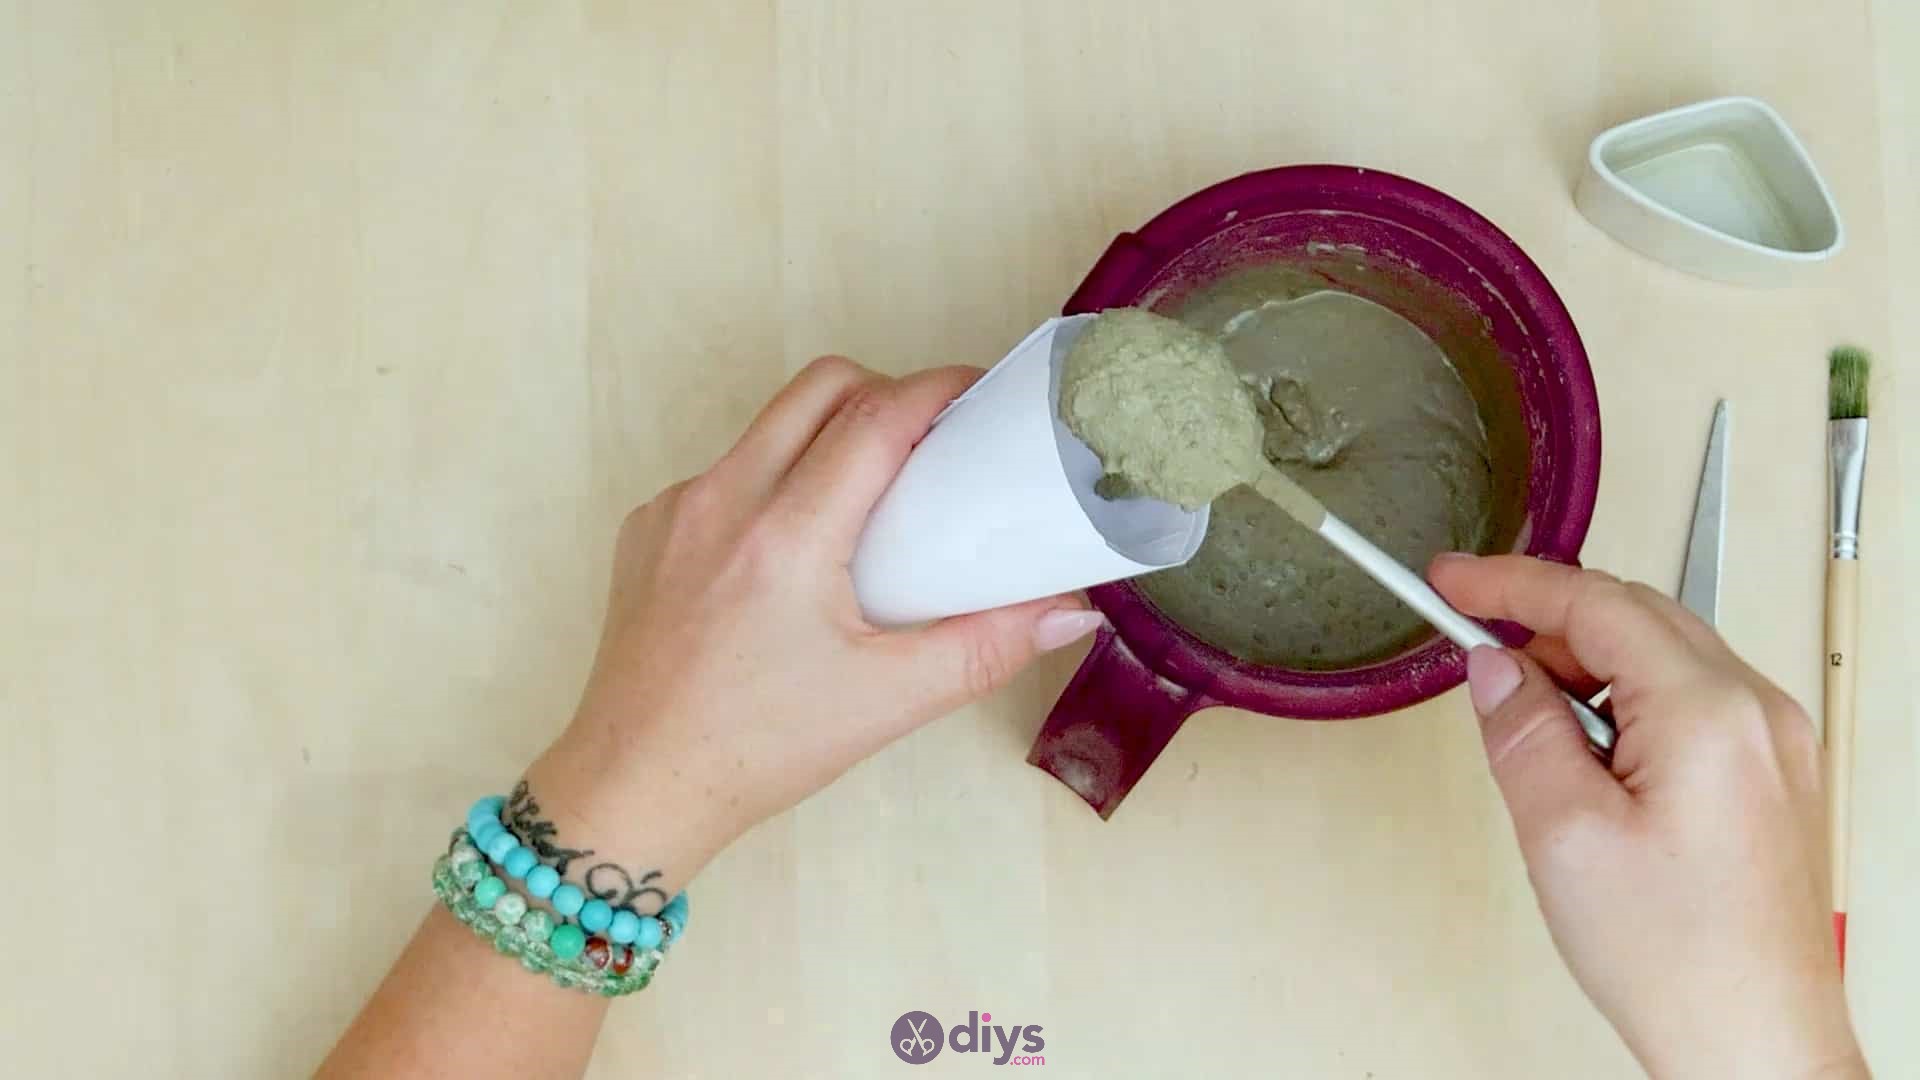
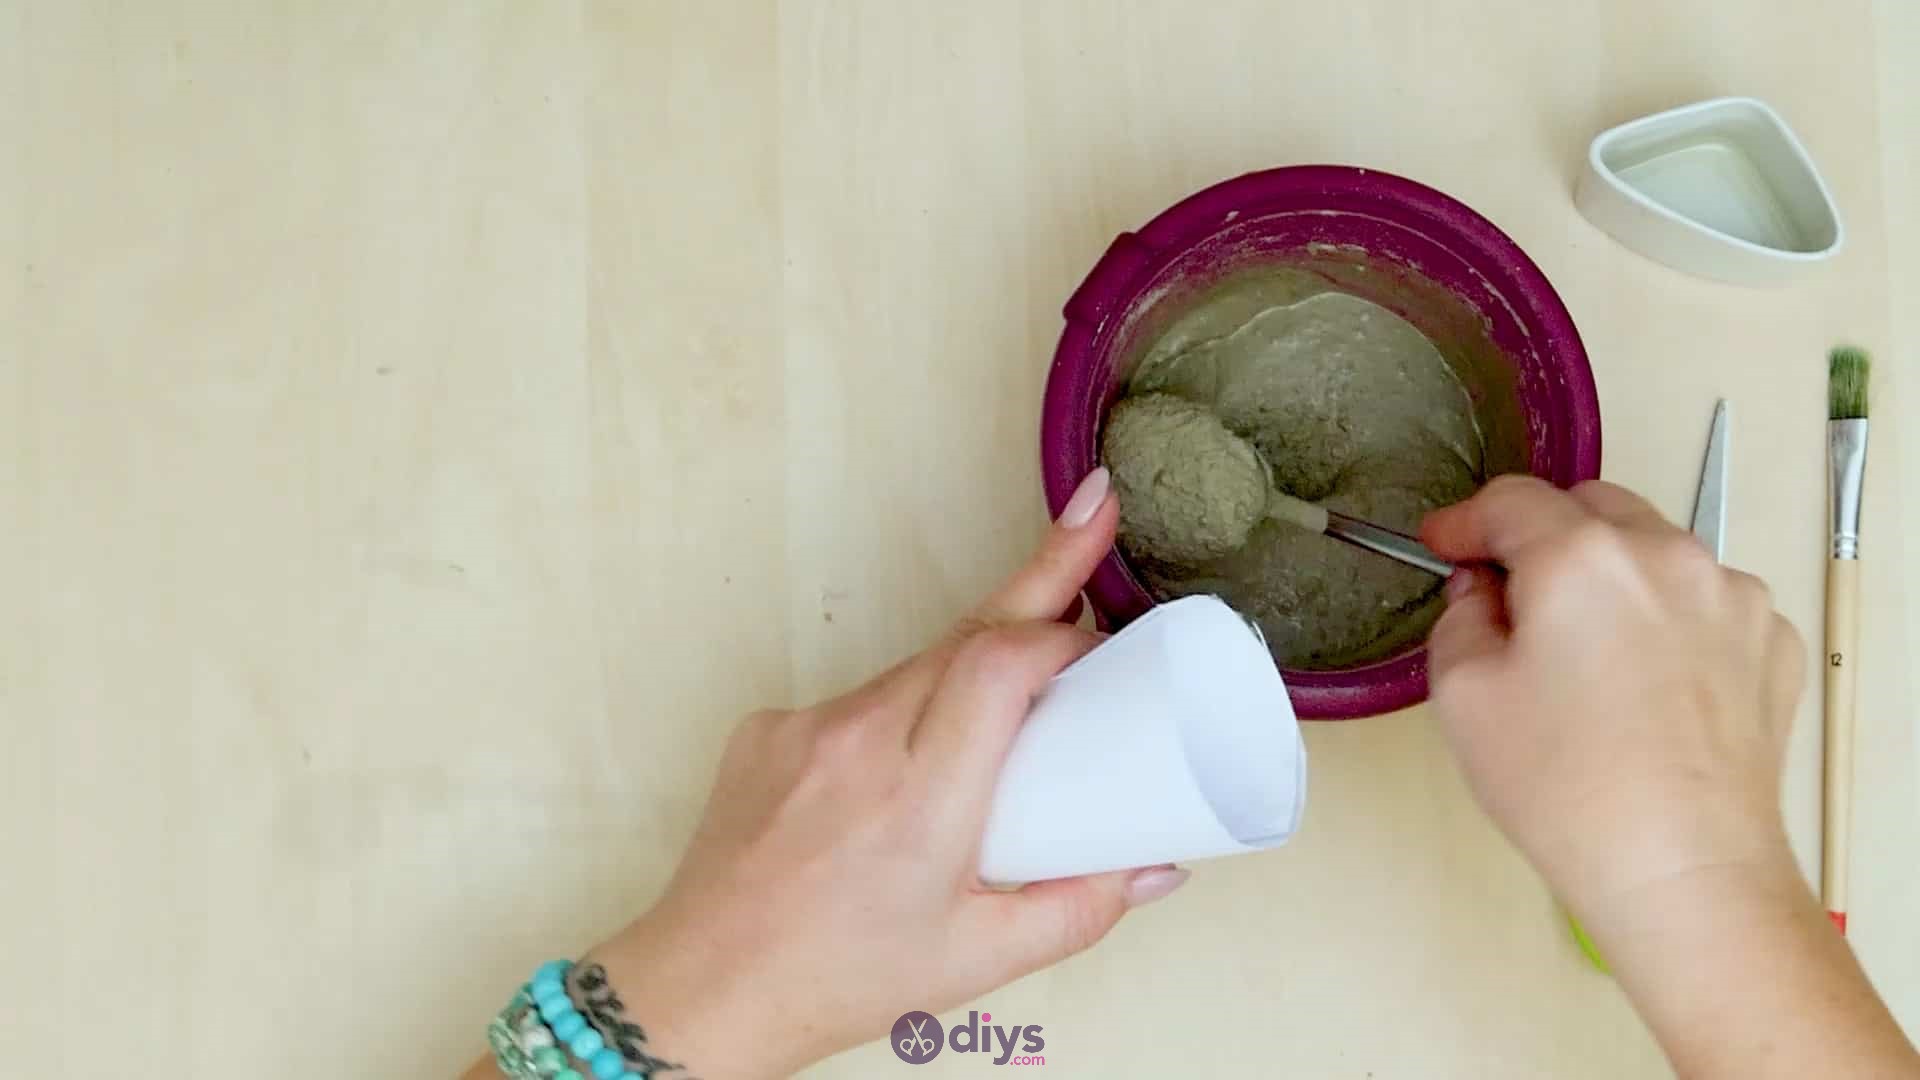
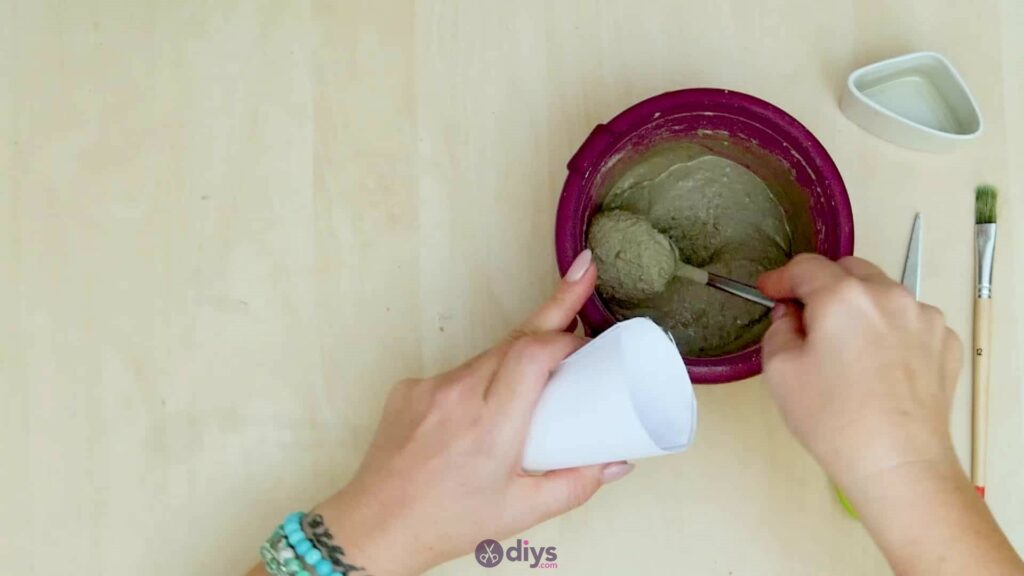
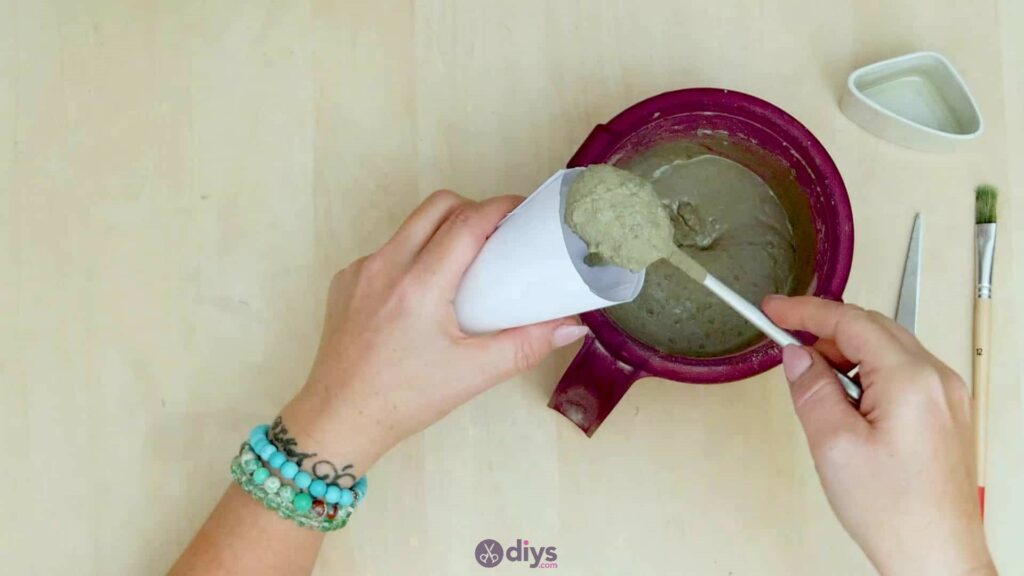
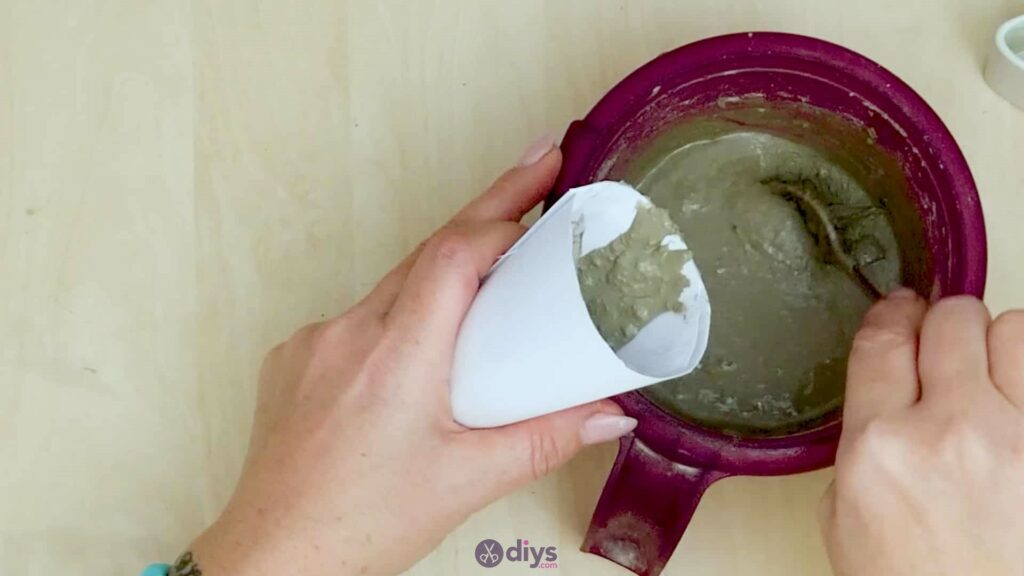
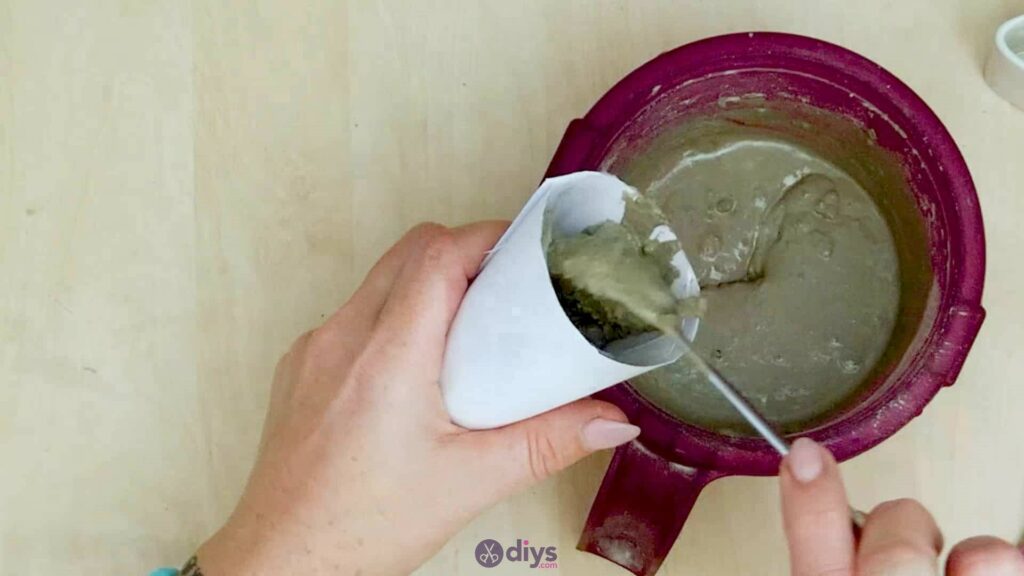
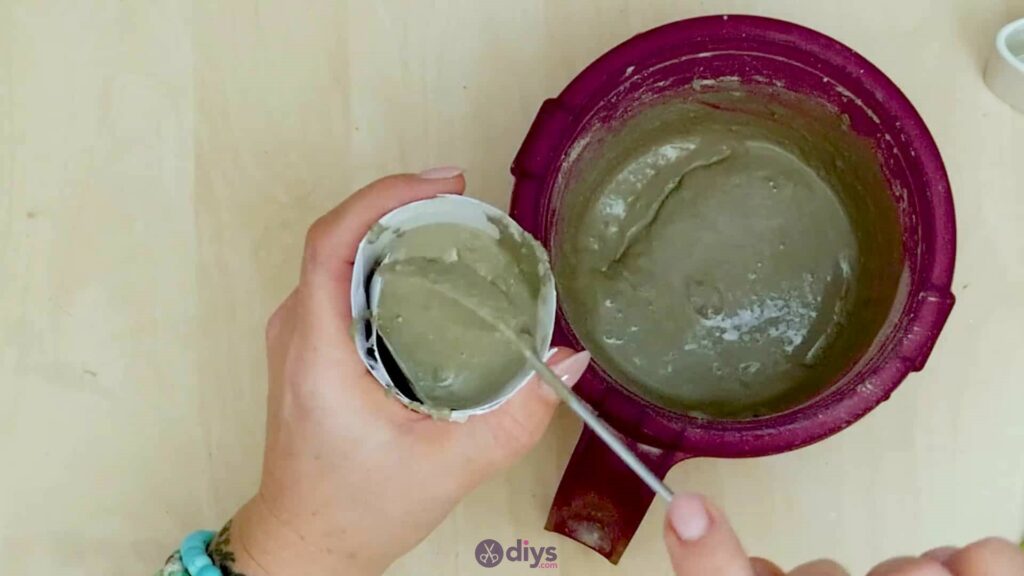
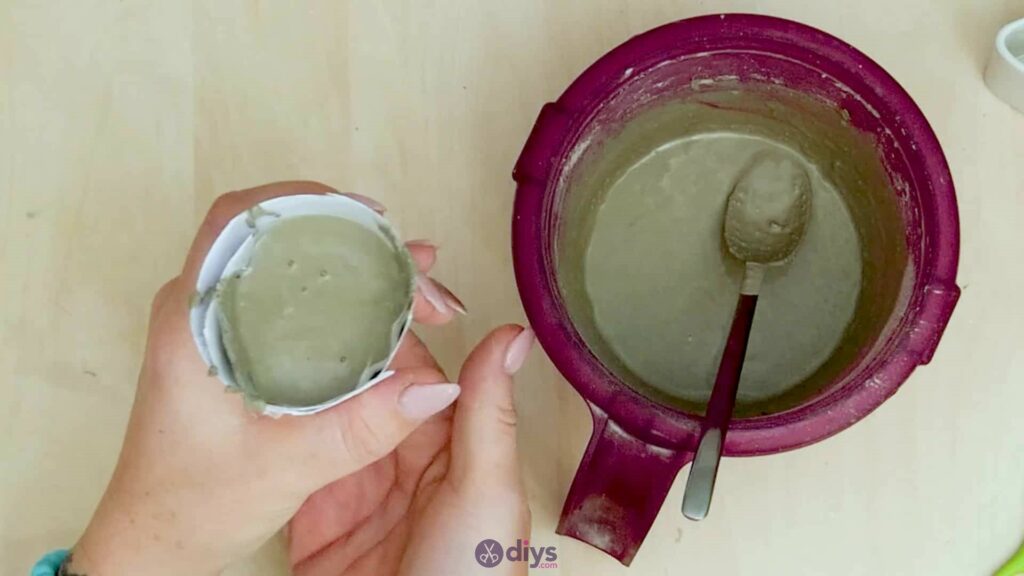
Use your spoon to carefully fill your paper cone with wet concrete mix. You want to fill italmost to the top but still leave enough of a paper edge that the mixture won’t overflow. Once you’re happy with how filled your cone is, use the spoon to smooth the surface or gently tap the sides of the paper cone to even it out and get rid of air bubbles. You want this surface to be nice and flat because this will eventually be the bottom that your gnome sits on; the more smooth and even it is, the steadier your gnome will sit. When your surface is satisfactory, set the whole cone aside to dry, leaning it carefully somewhere solid (I leaned mine in the dish rack where I knew it wouldn’t be touched or moved that afternoon).
Step 6: open your concrete cone
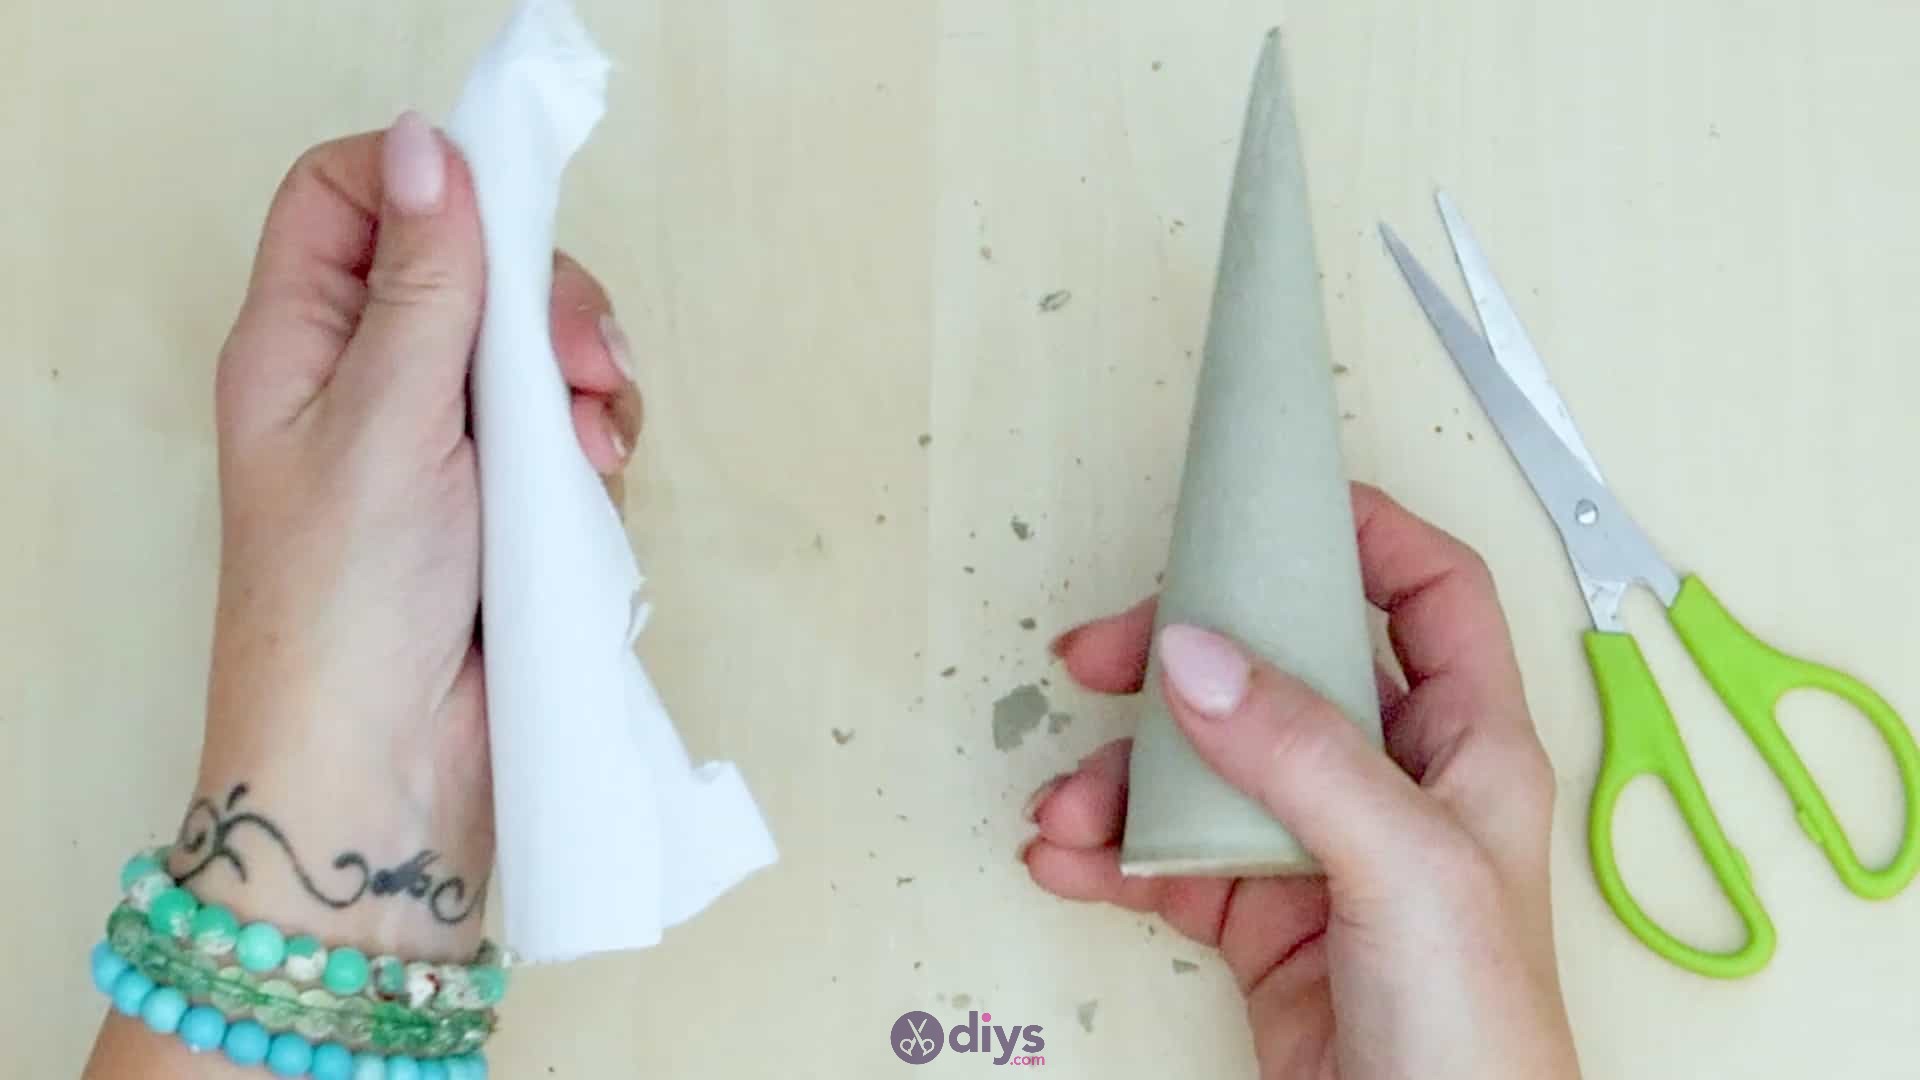
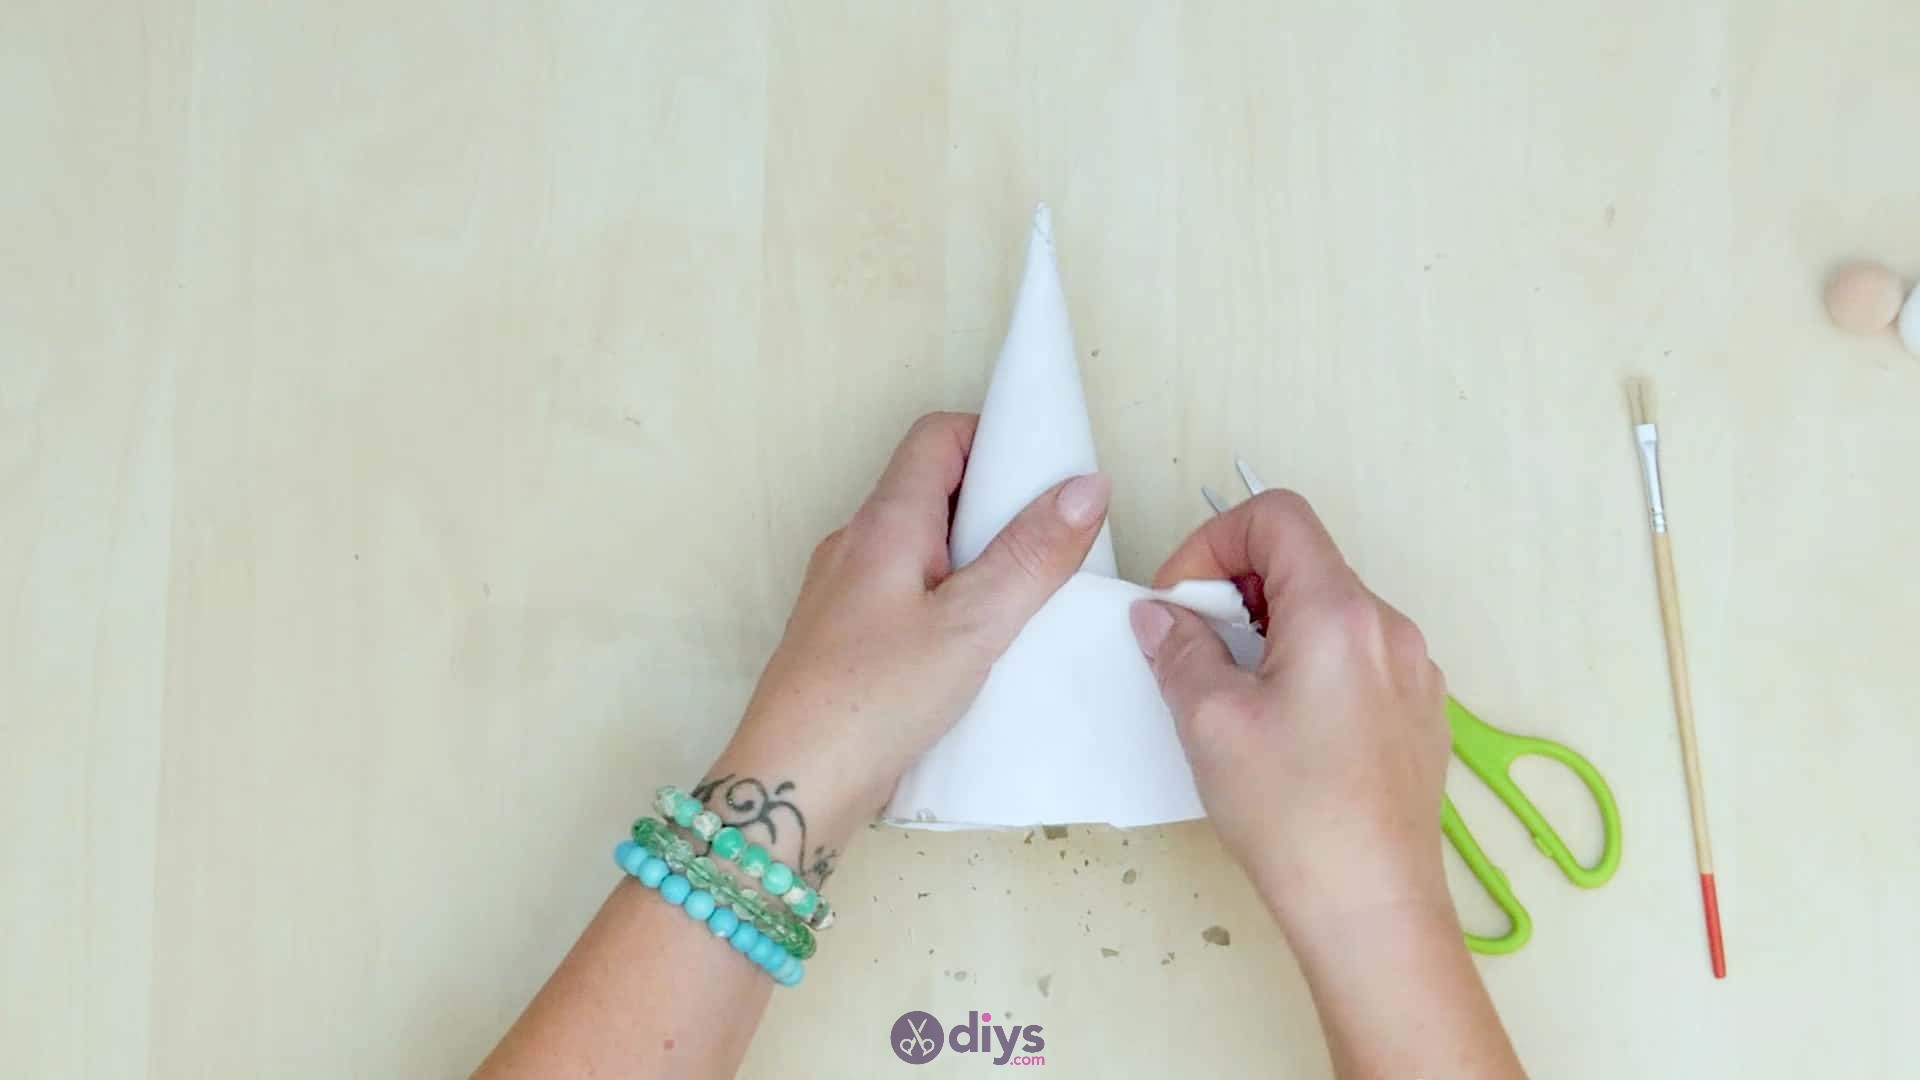
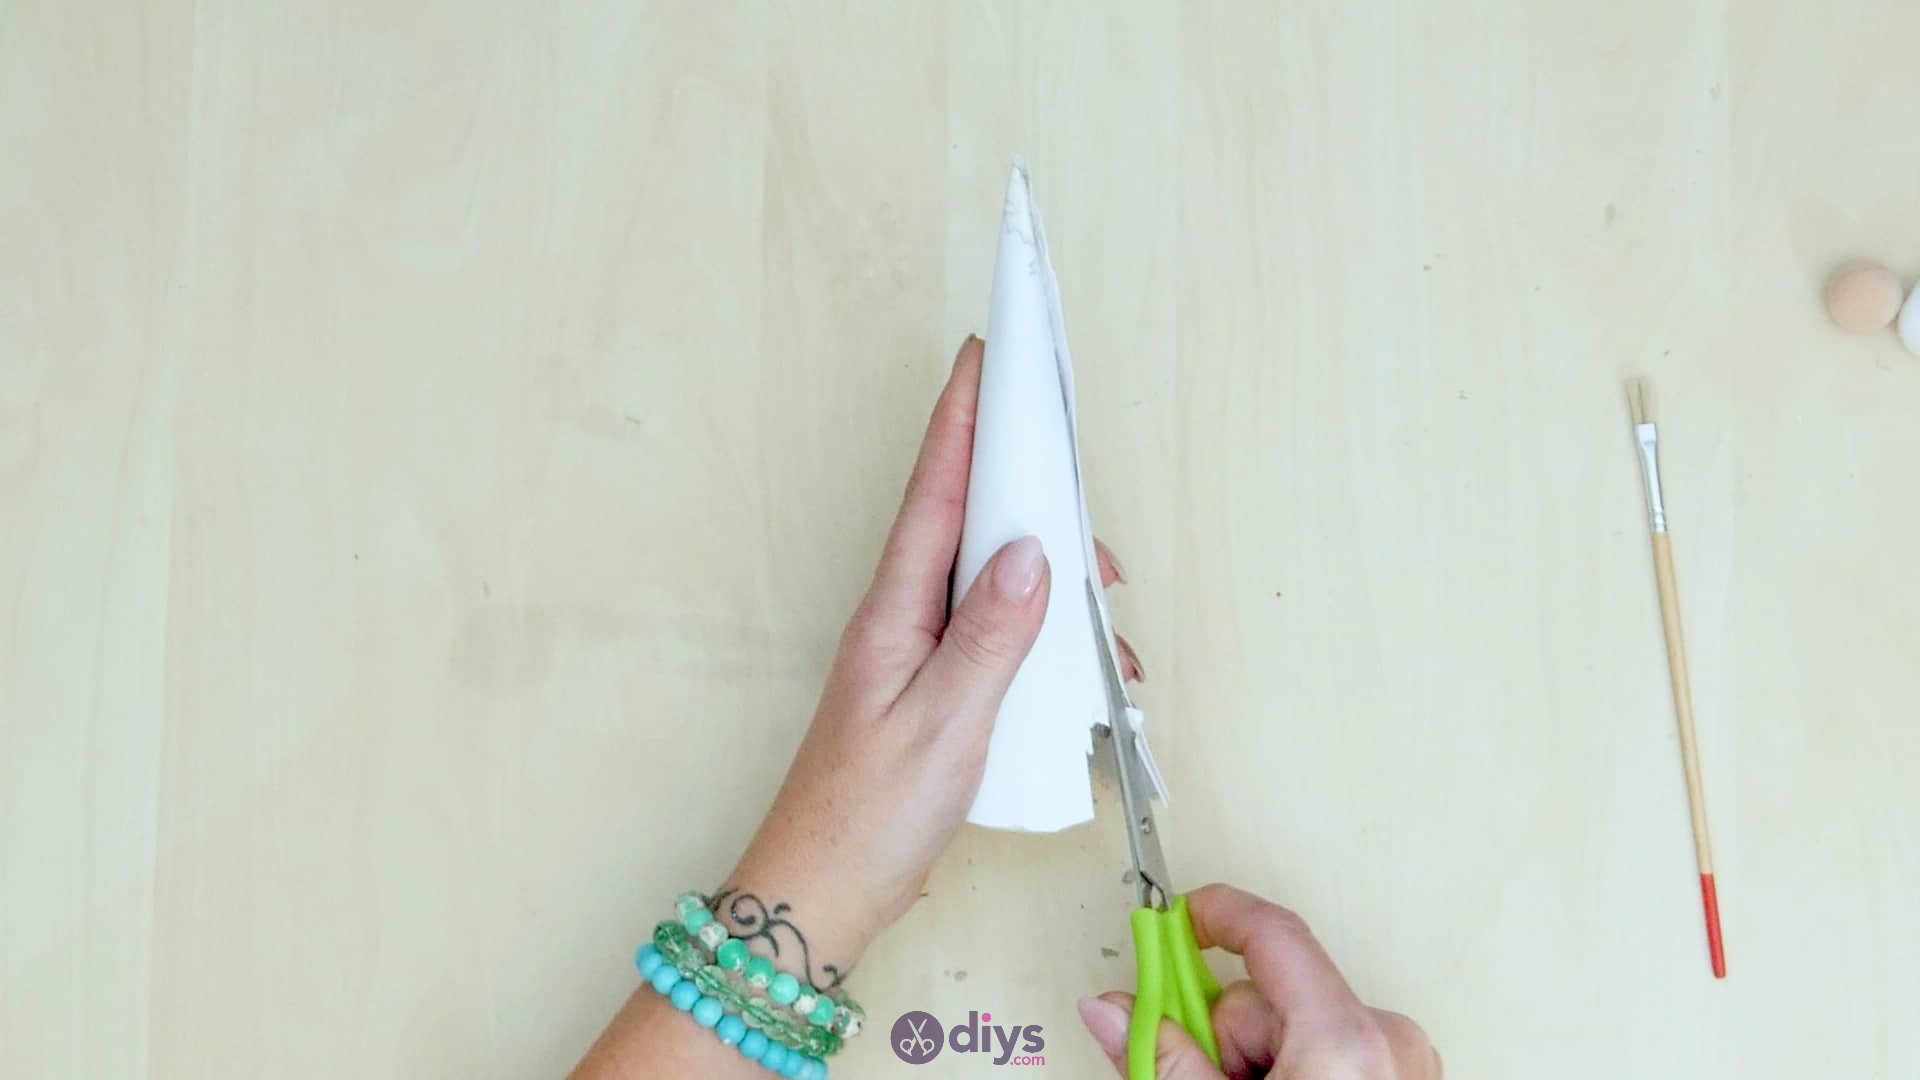
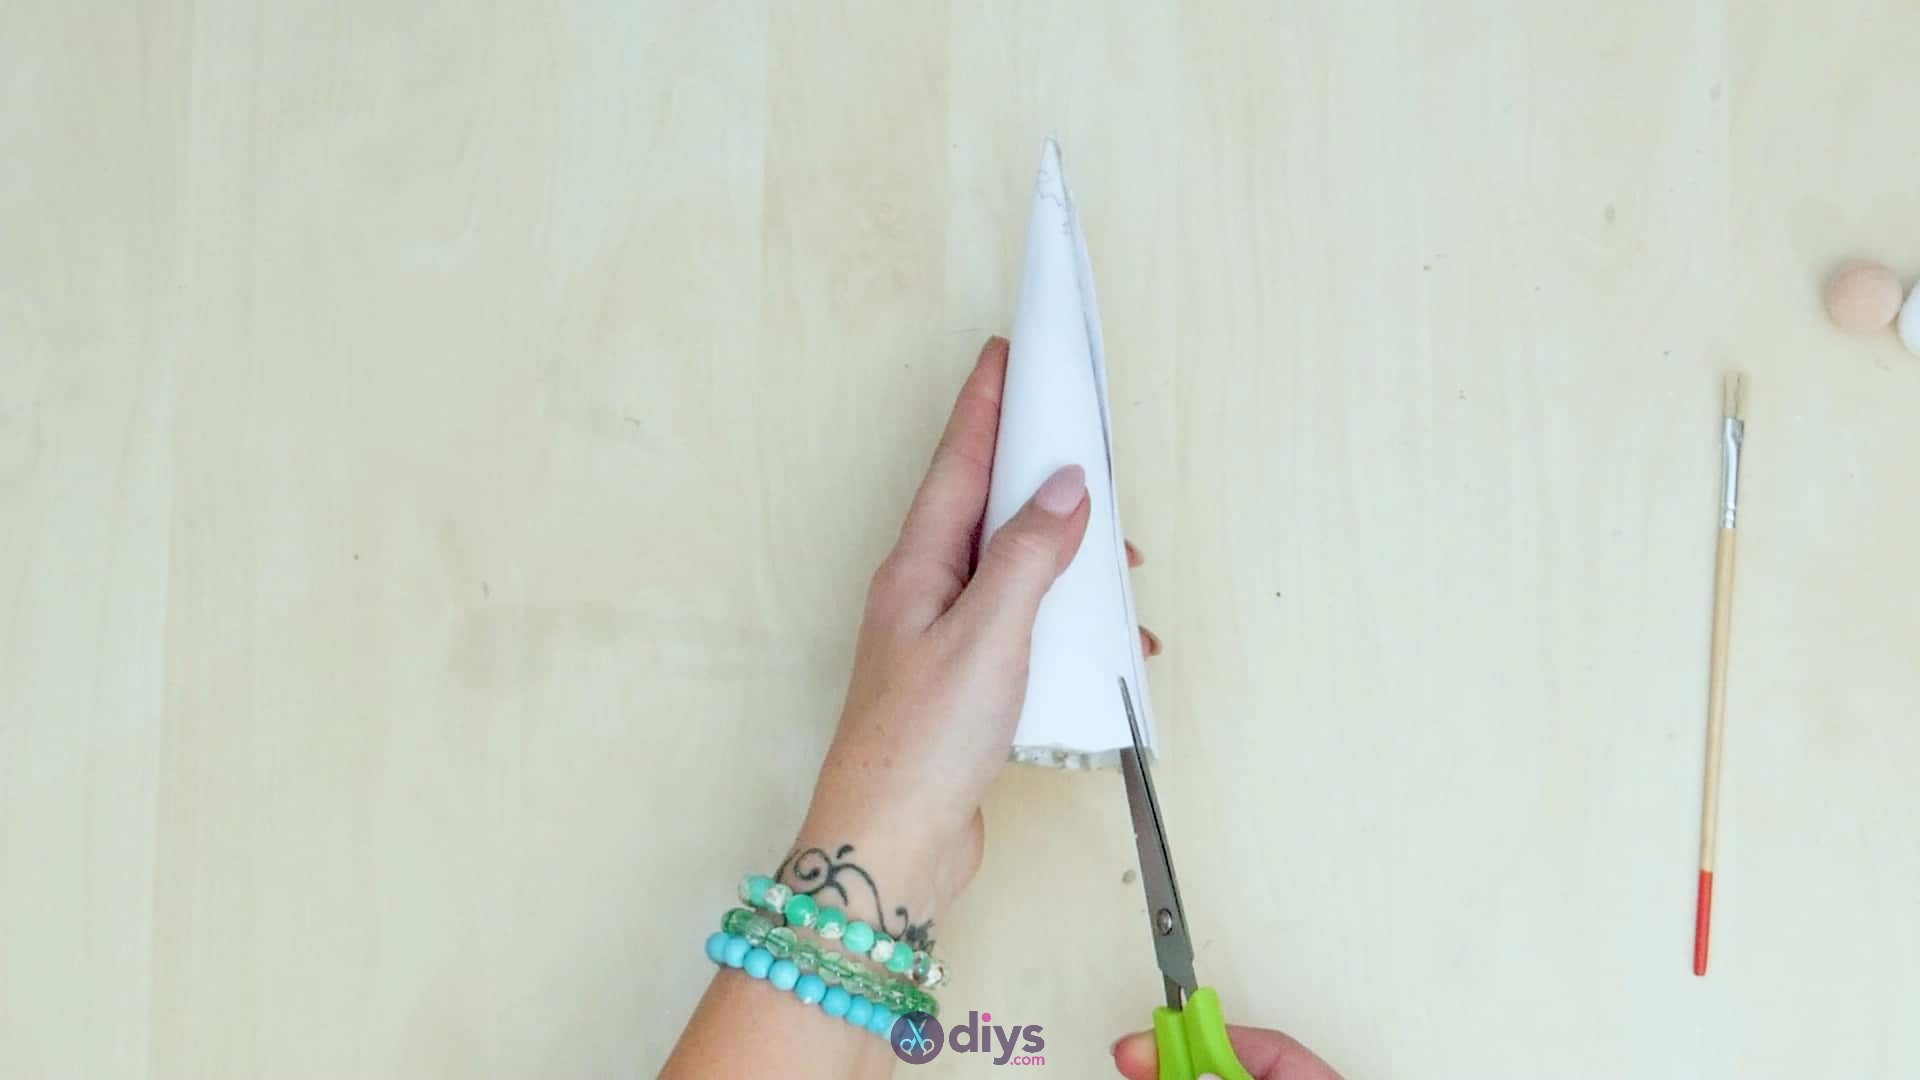
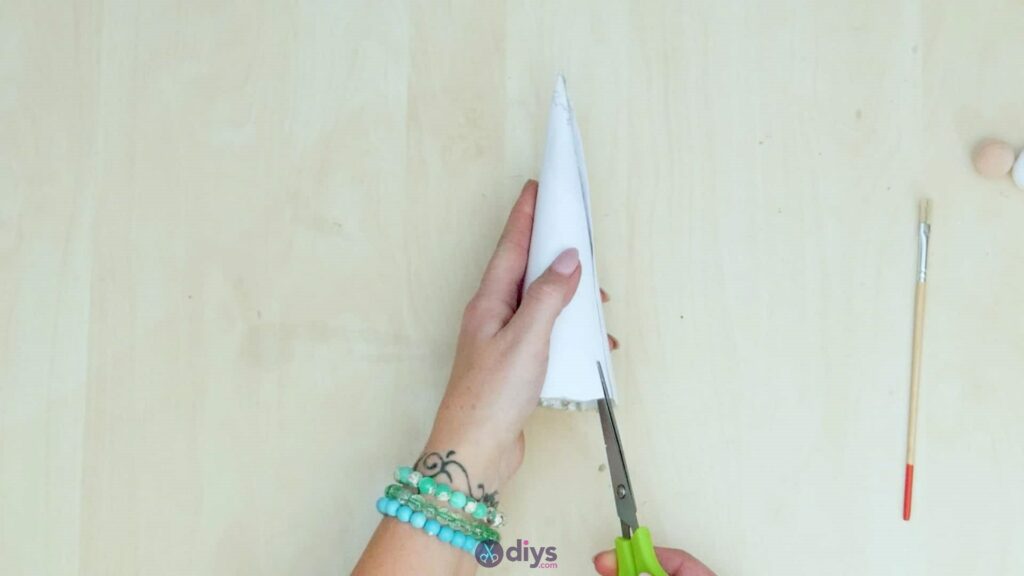
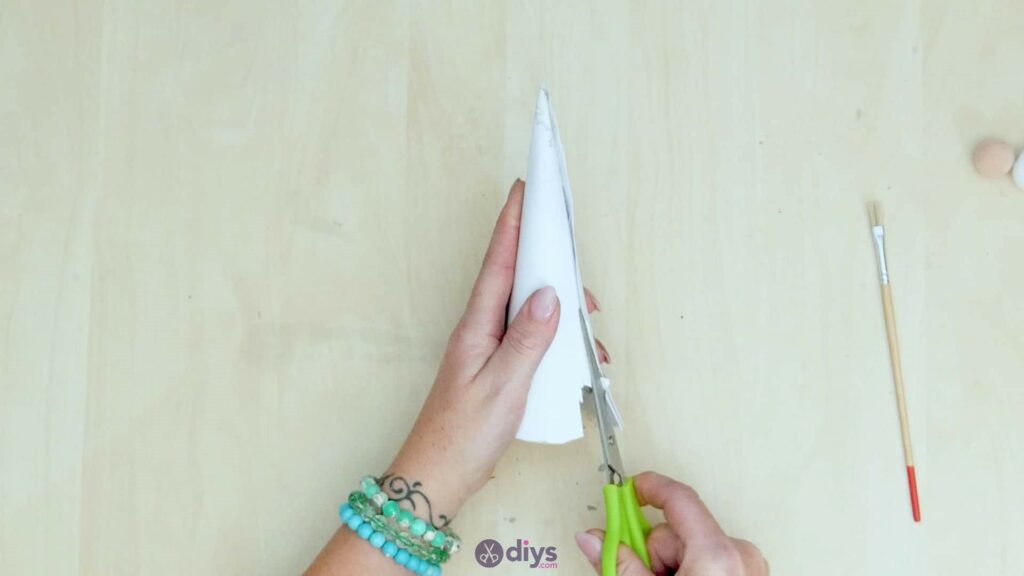
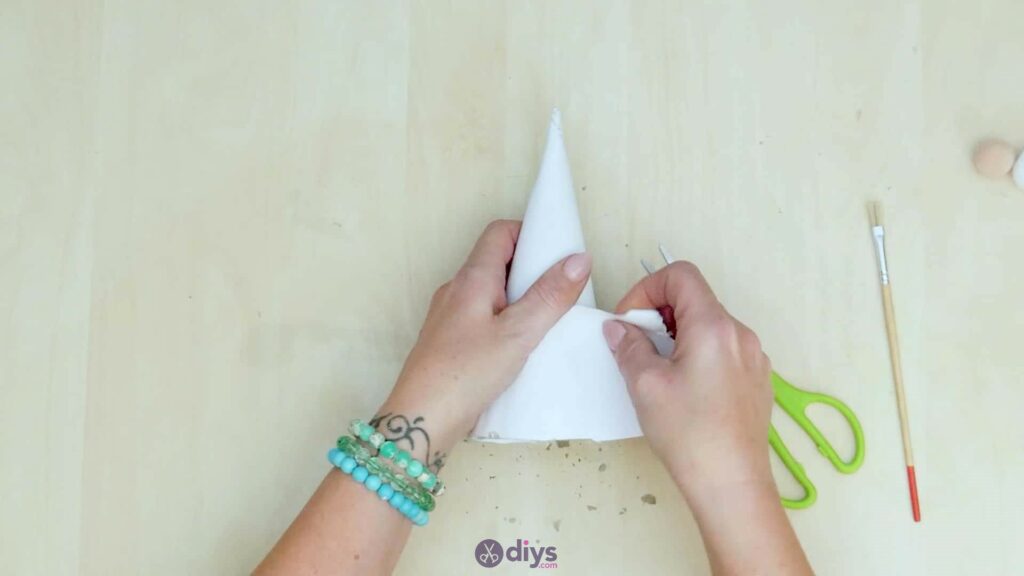
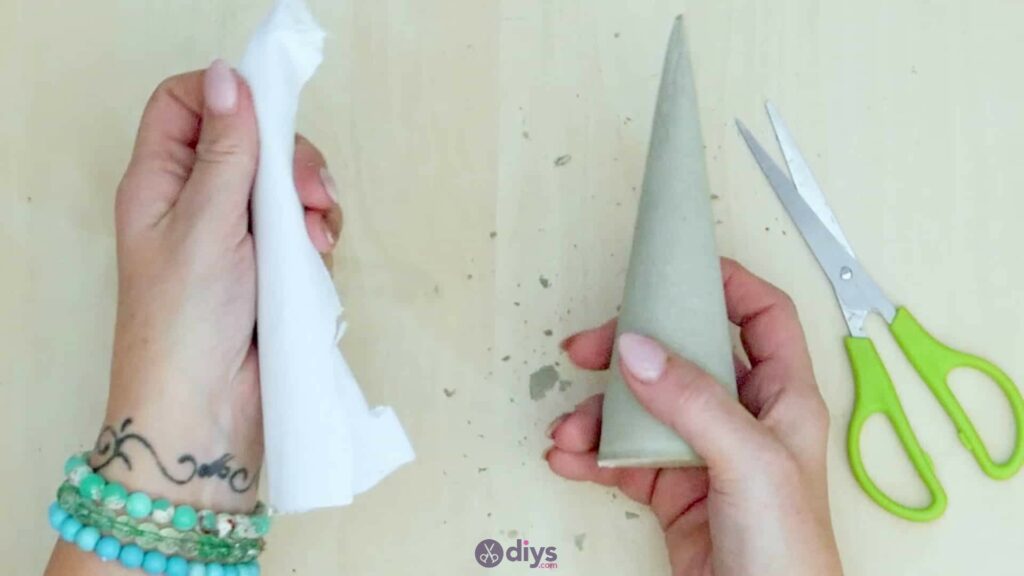
Once your concrete cone has thoroughly dried all the way through, use your scissors to make a cut in the open end of the paper. From there, peel the paper back and off the cone; it should come away quite easily and neatly, with very little left behind, thanks to the oil you applied inside the paper cone earlier. If you do see any paper bits left on the concrete cone or you feel some rough patches you’d like to get rid of, use a piece of sandpaper or an abrasive block to sand the cone’s entire surface.
Step 7: making the hat
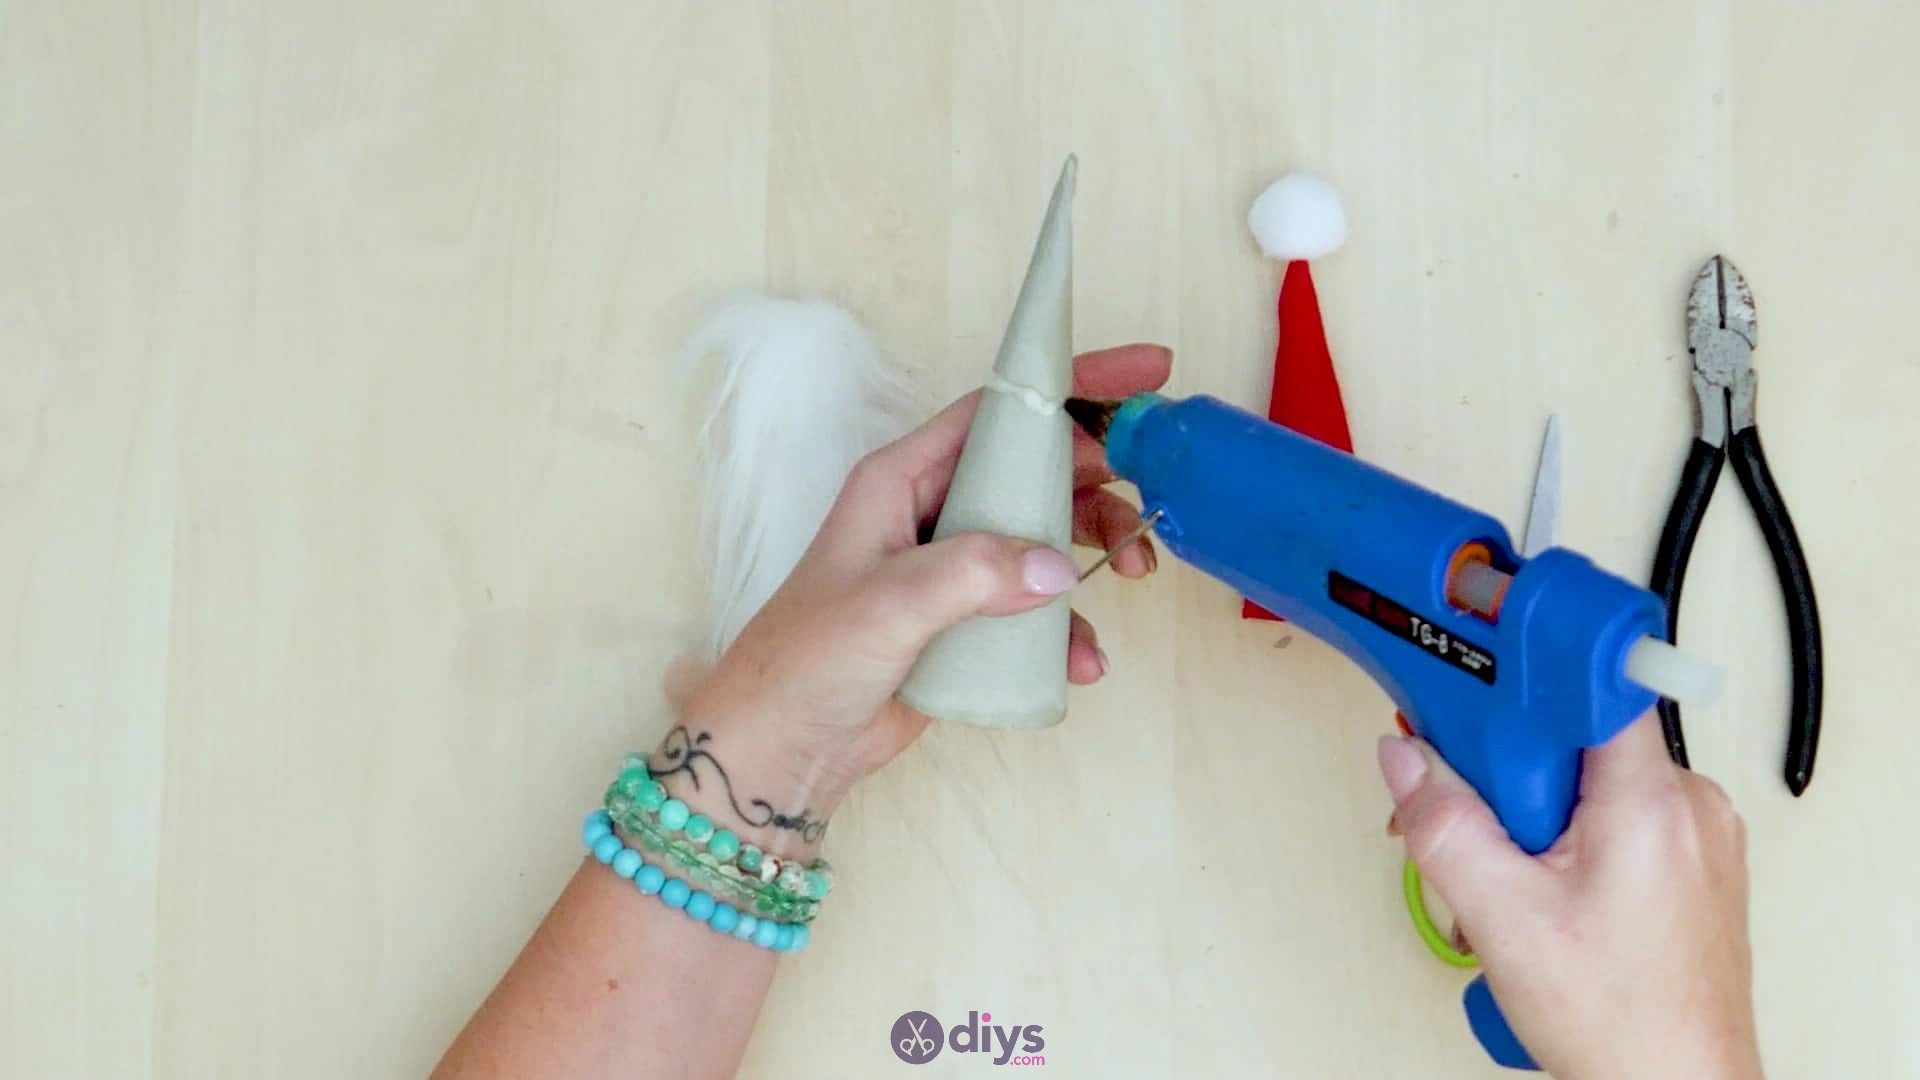
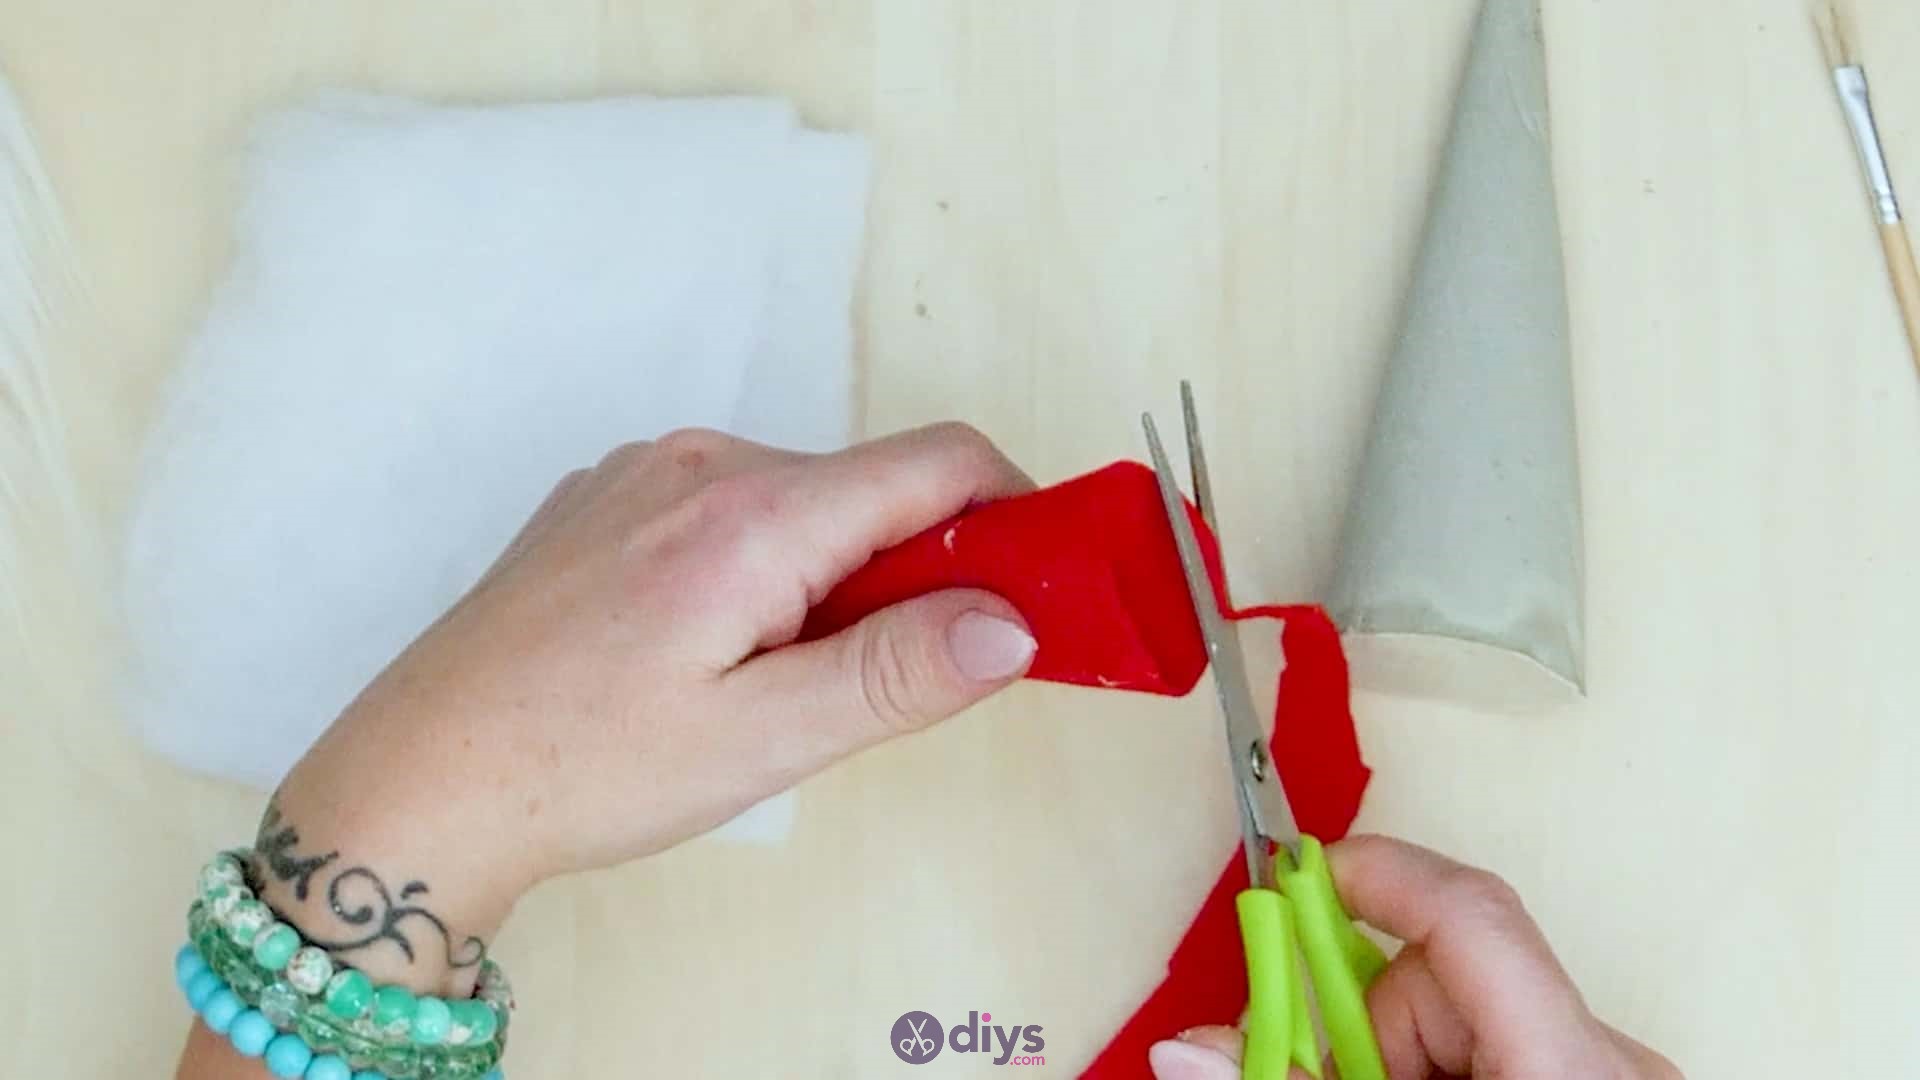
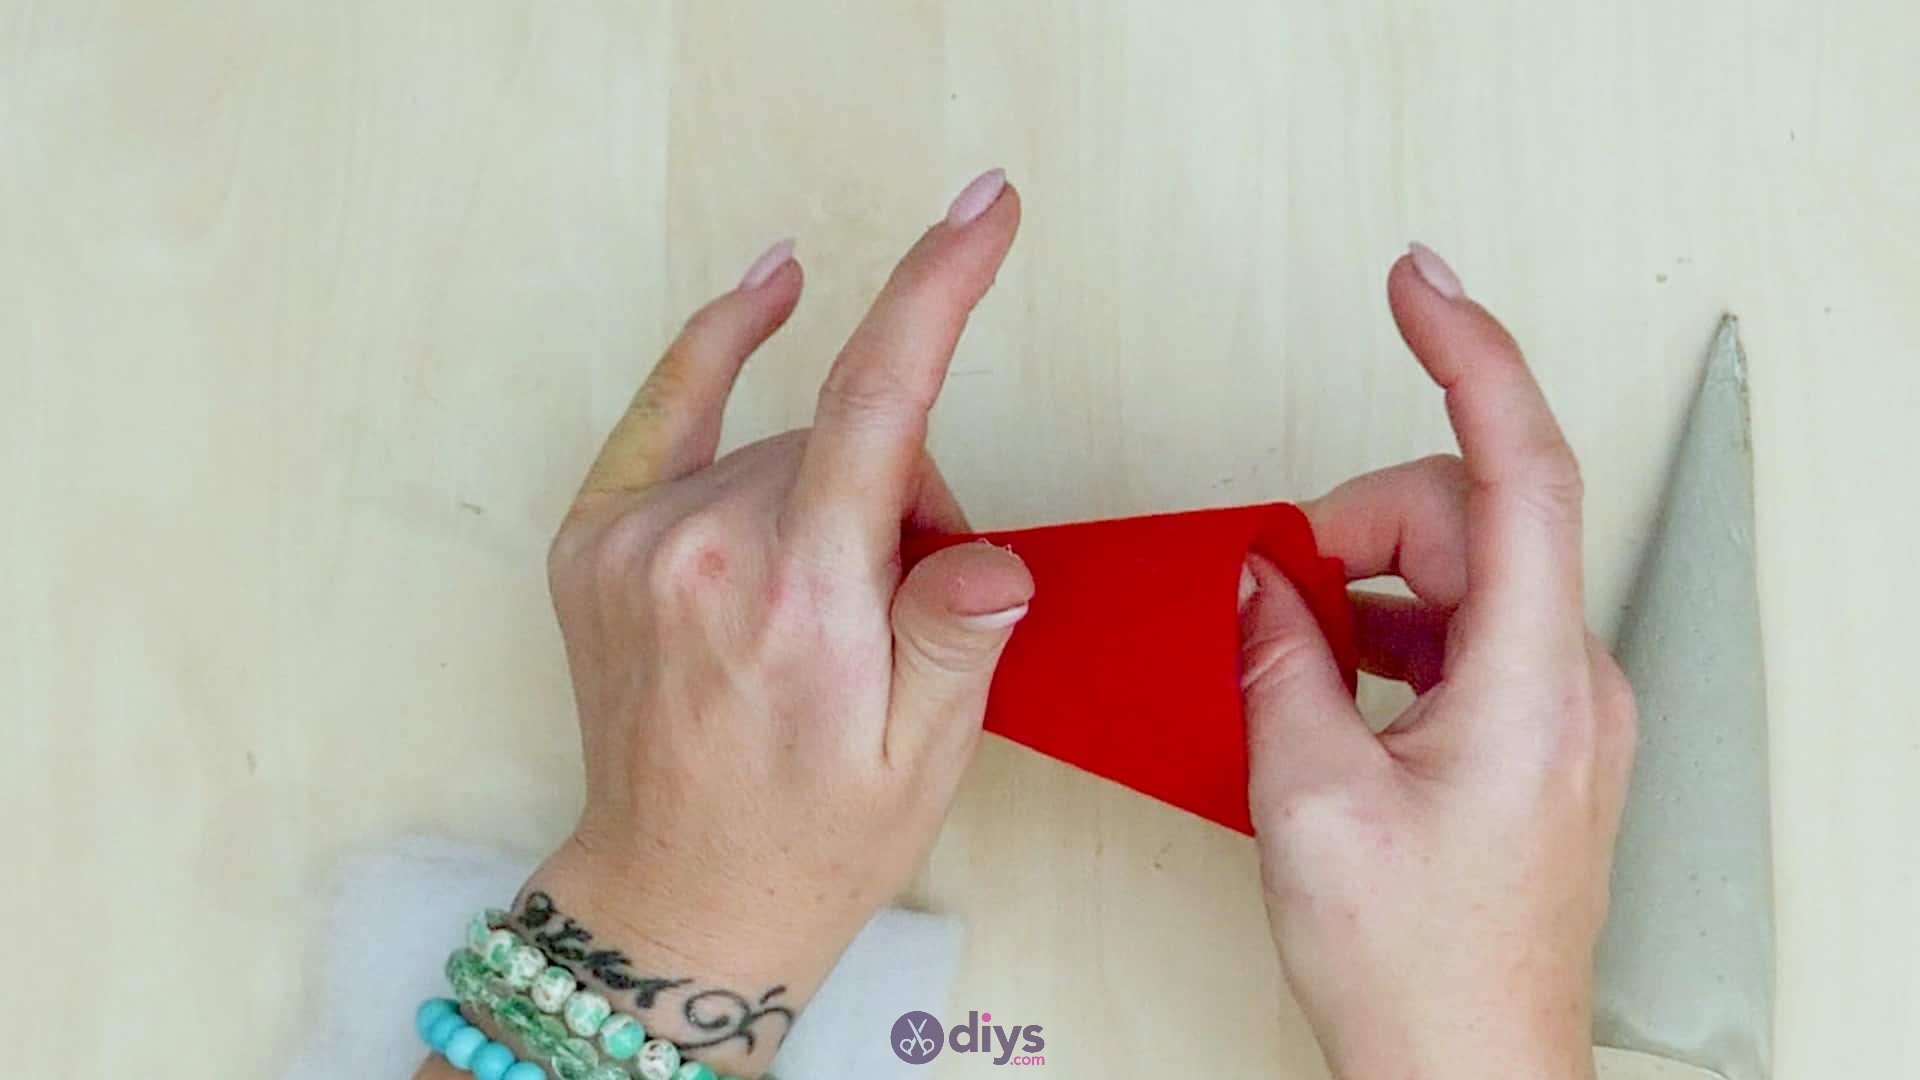
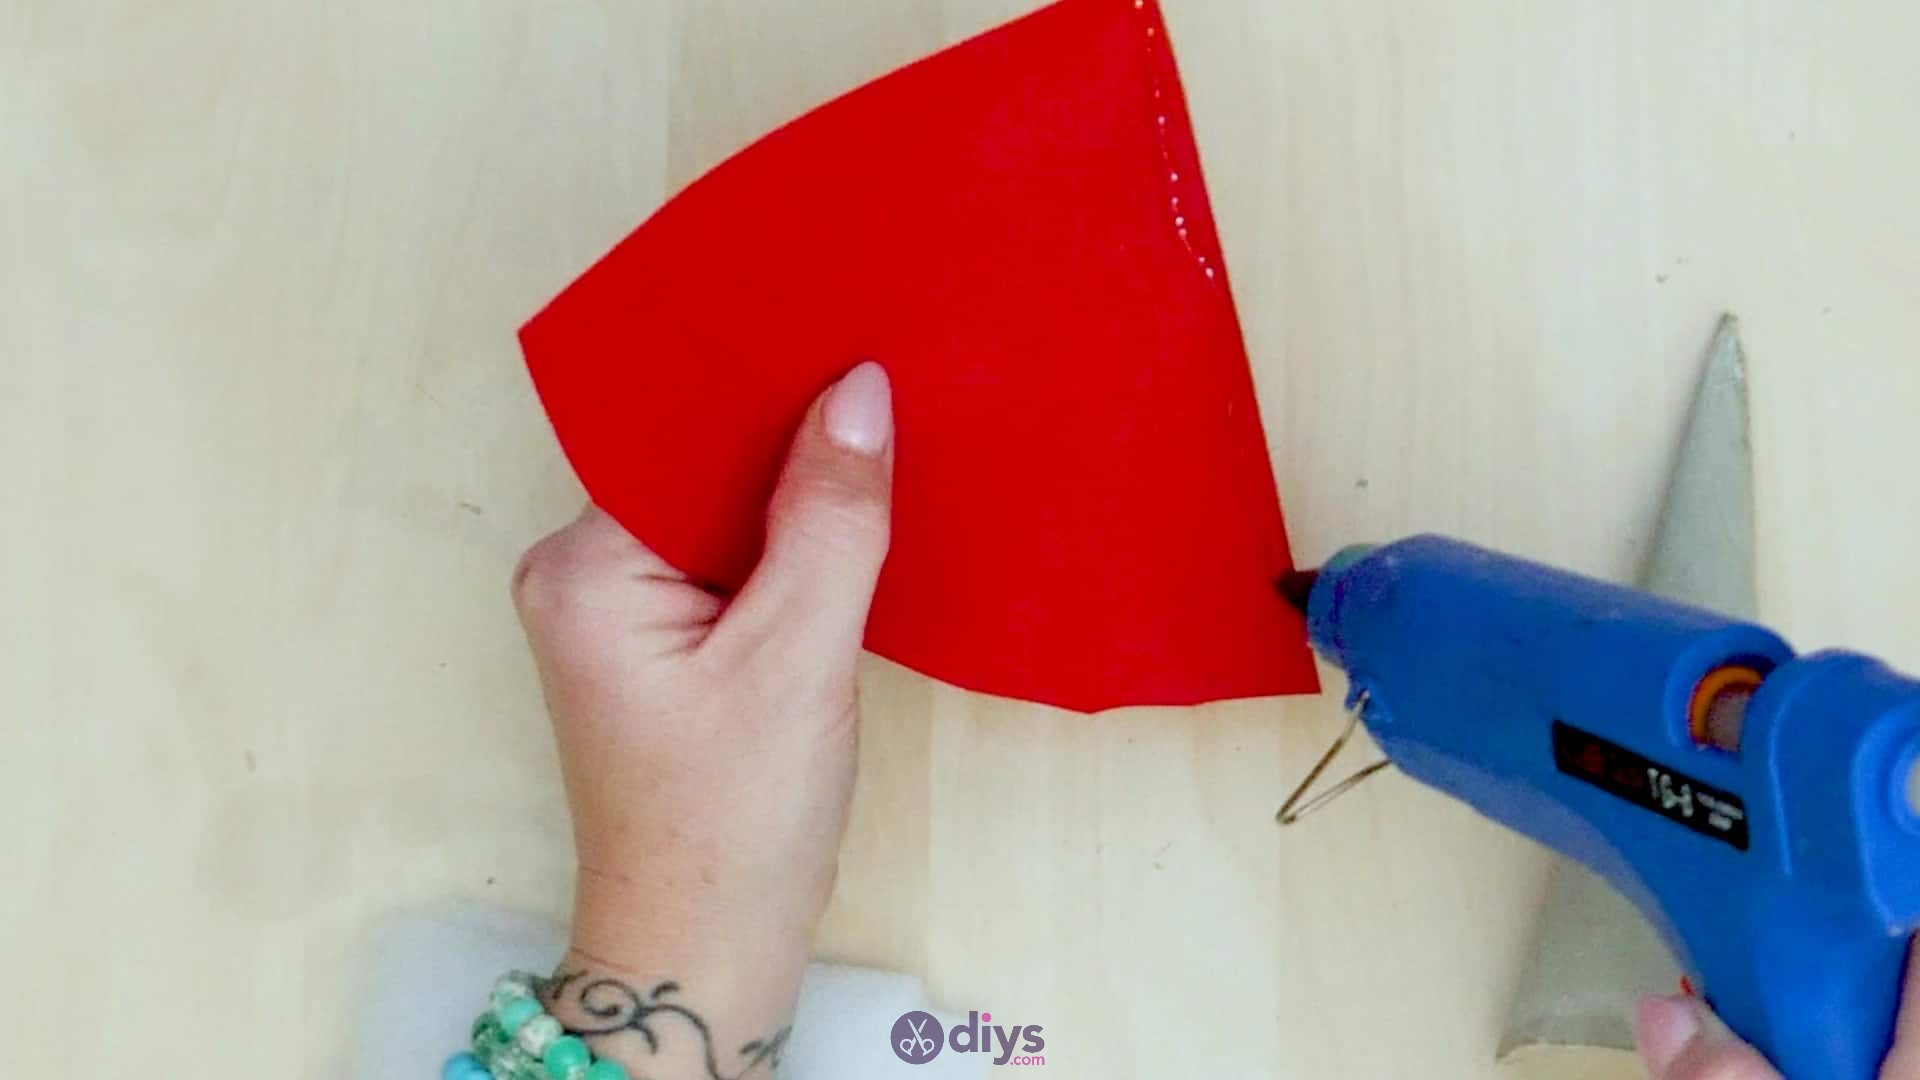
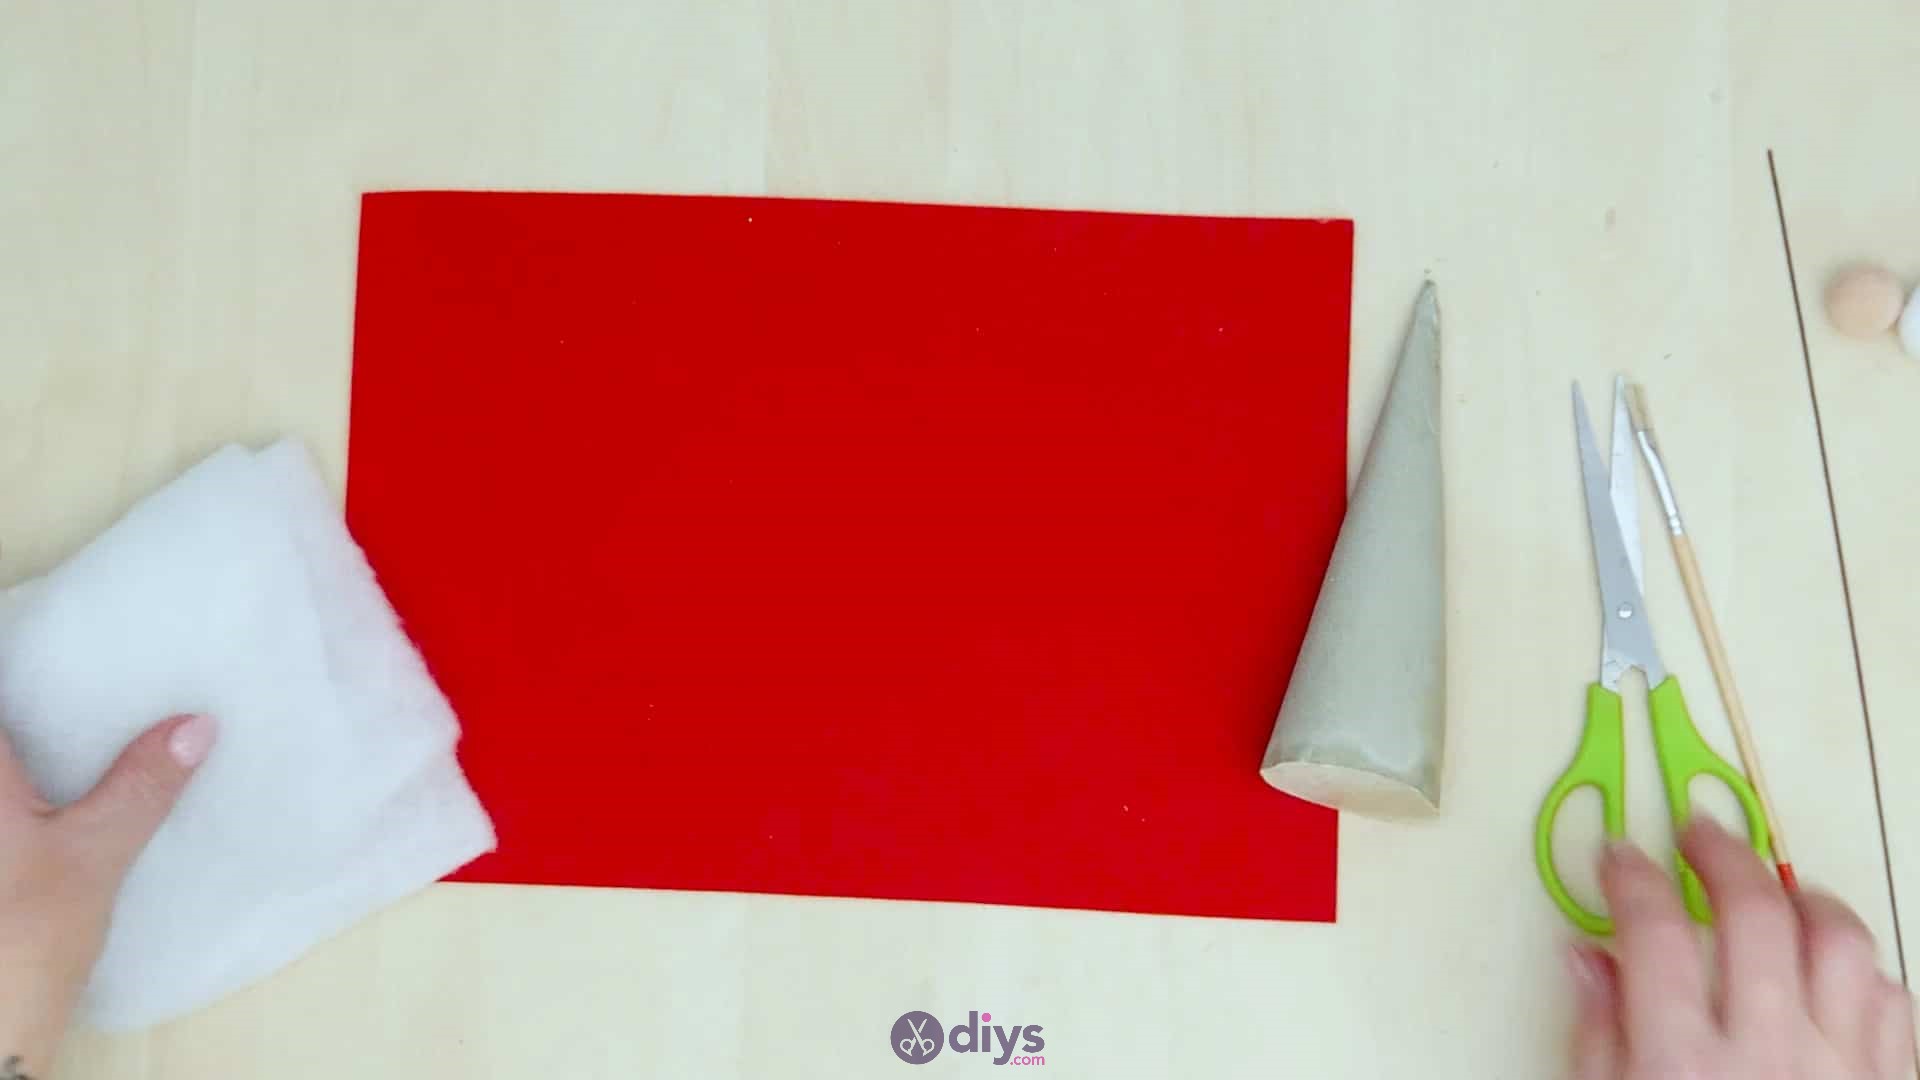
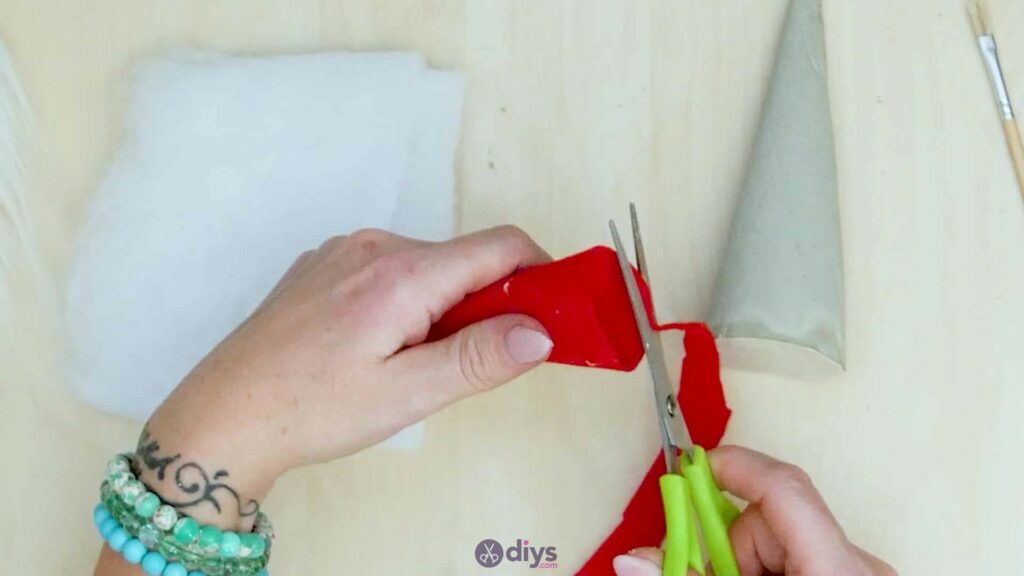
Using the same shapes and techniques as you did when you made your paper cone earlier, make a cone shape from one corner of your piece of red felt. This time, however, you’ll make it a little smaller than your original cone; you’re going to use this piece to cover the top of your concrete cone like a gnome’s hat but you only want it to cover the shape until about halfway down. Curl your curved piece in the same way, test it over the tip of your concrete cone to make sure it’s a good fit (tighten or loosen it accordingly), and then use your hot glue gun to stick your outer edge down. Use your scissors to trim the circular opening at the bottom just like before, so the edge is nice and even. Set the hat aside for a moment.
Step 8: fill the hat
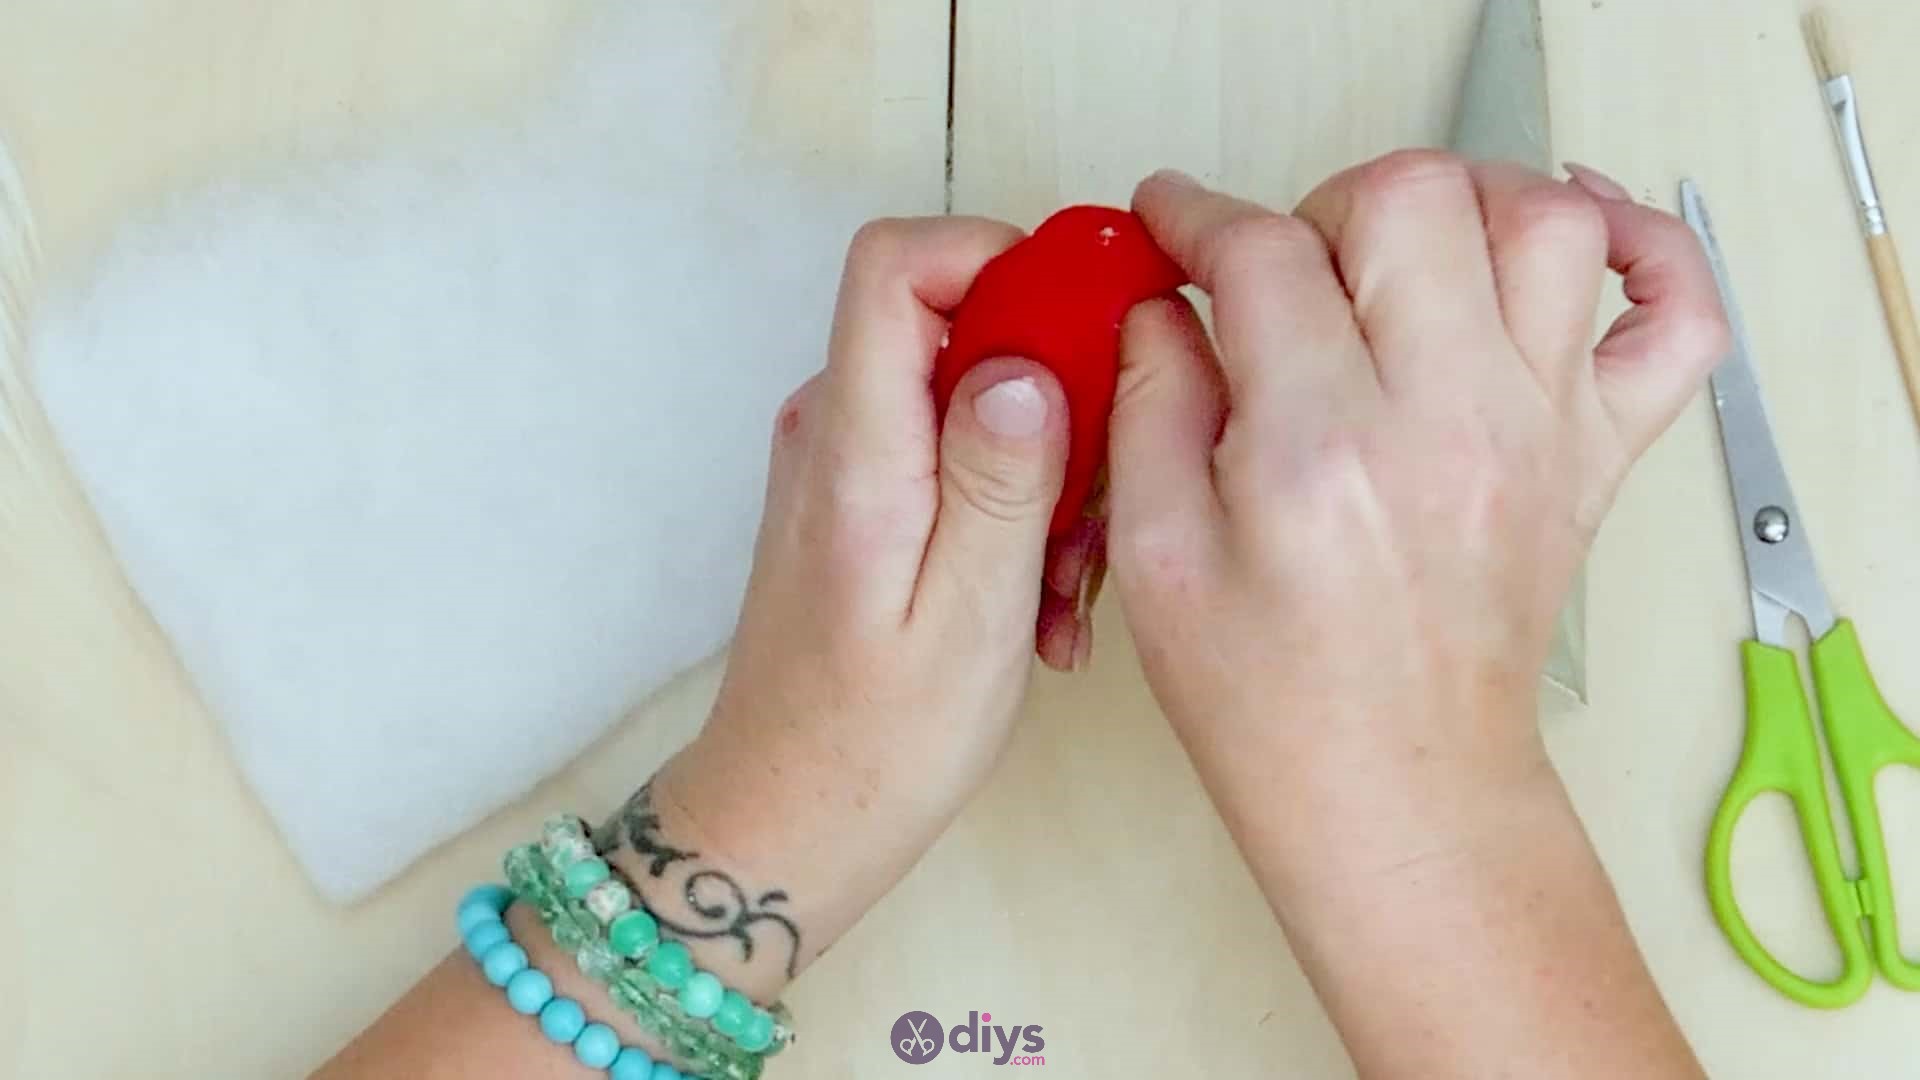
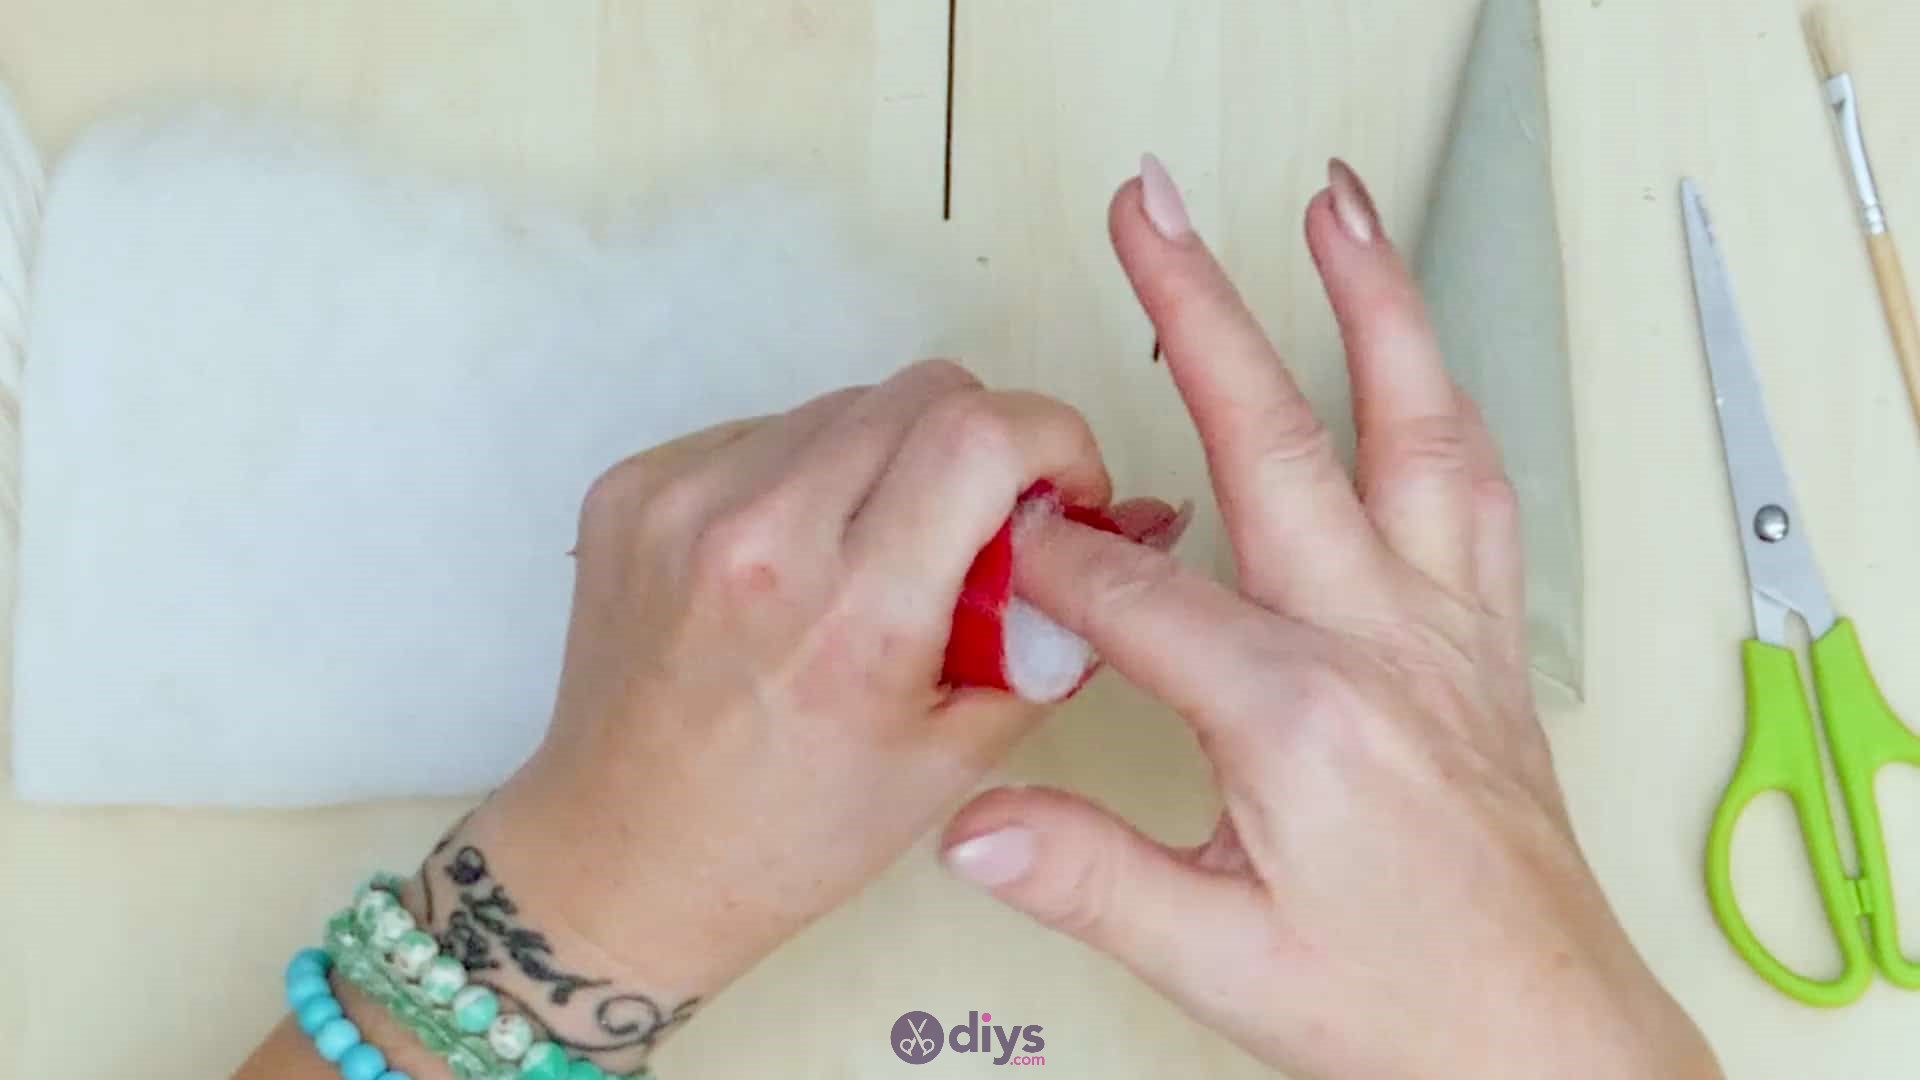
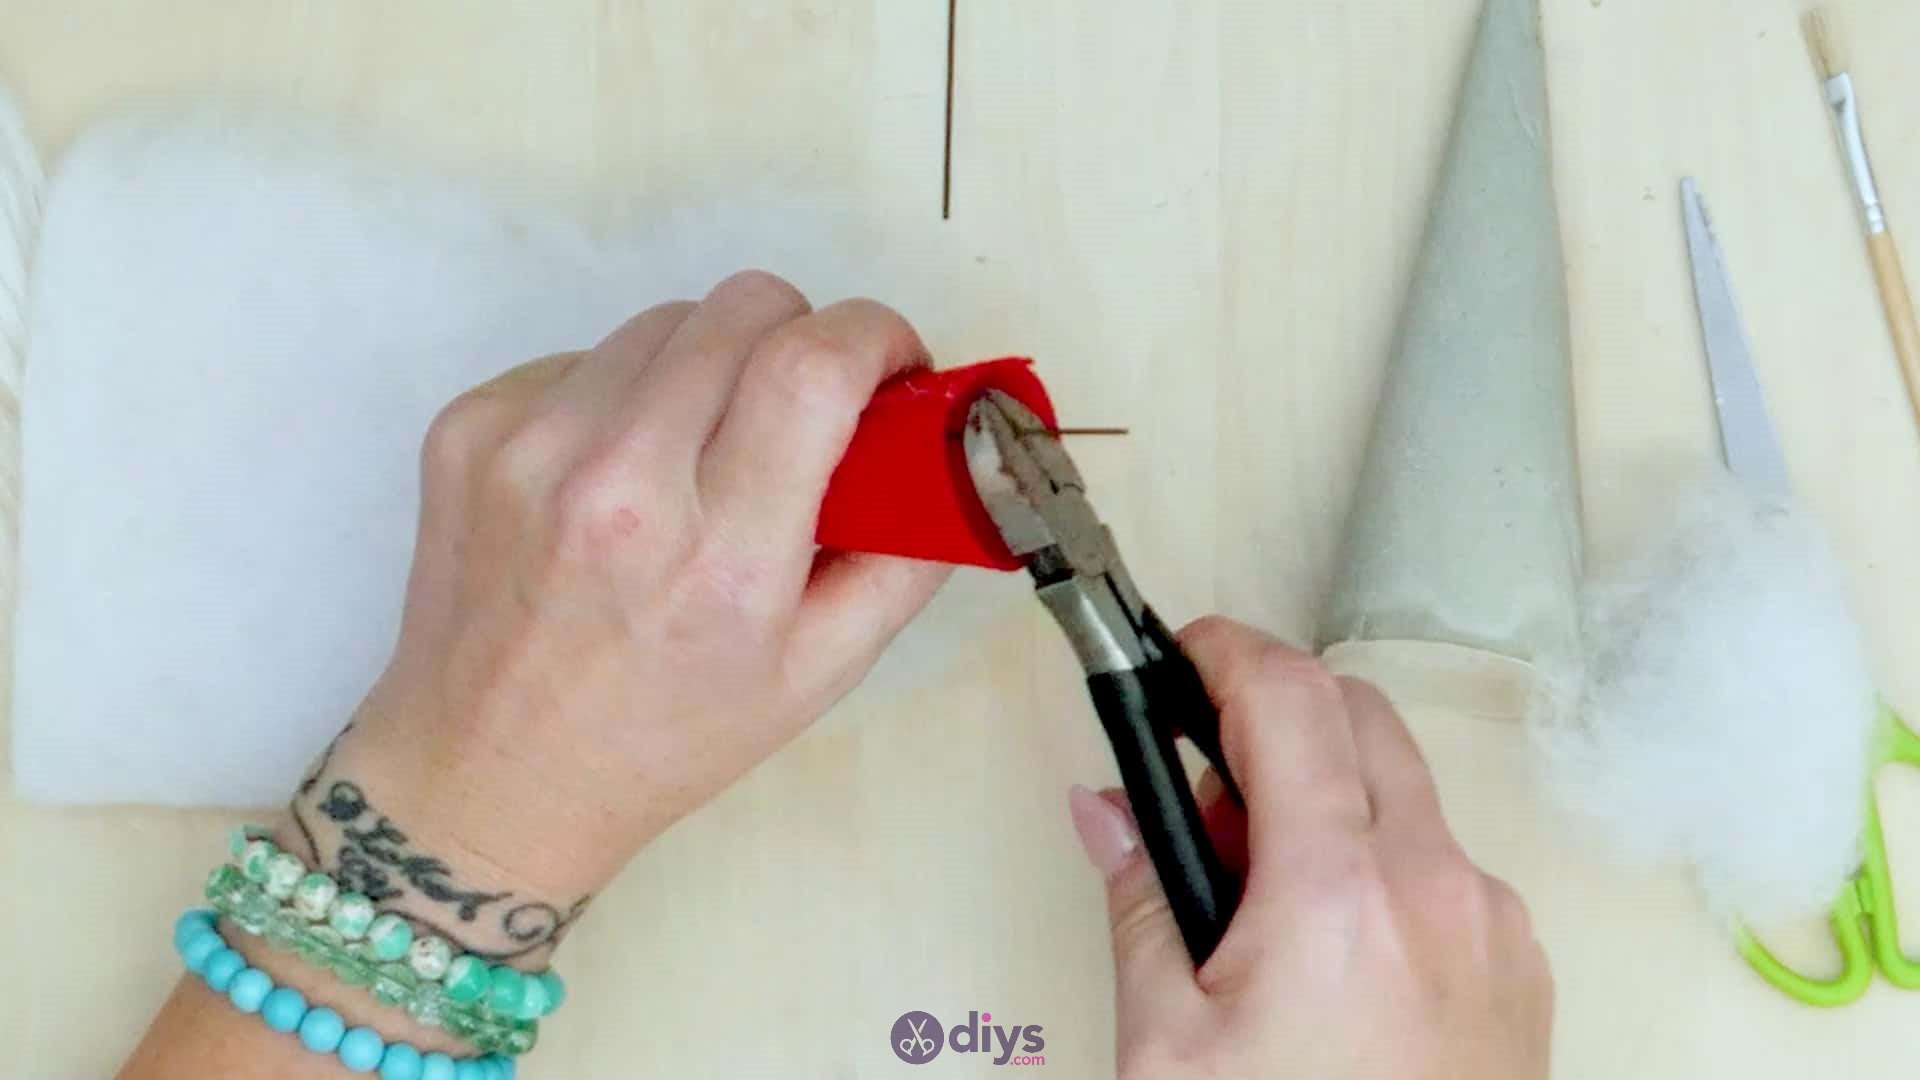
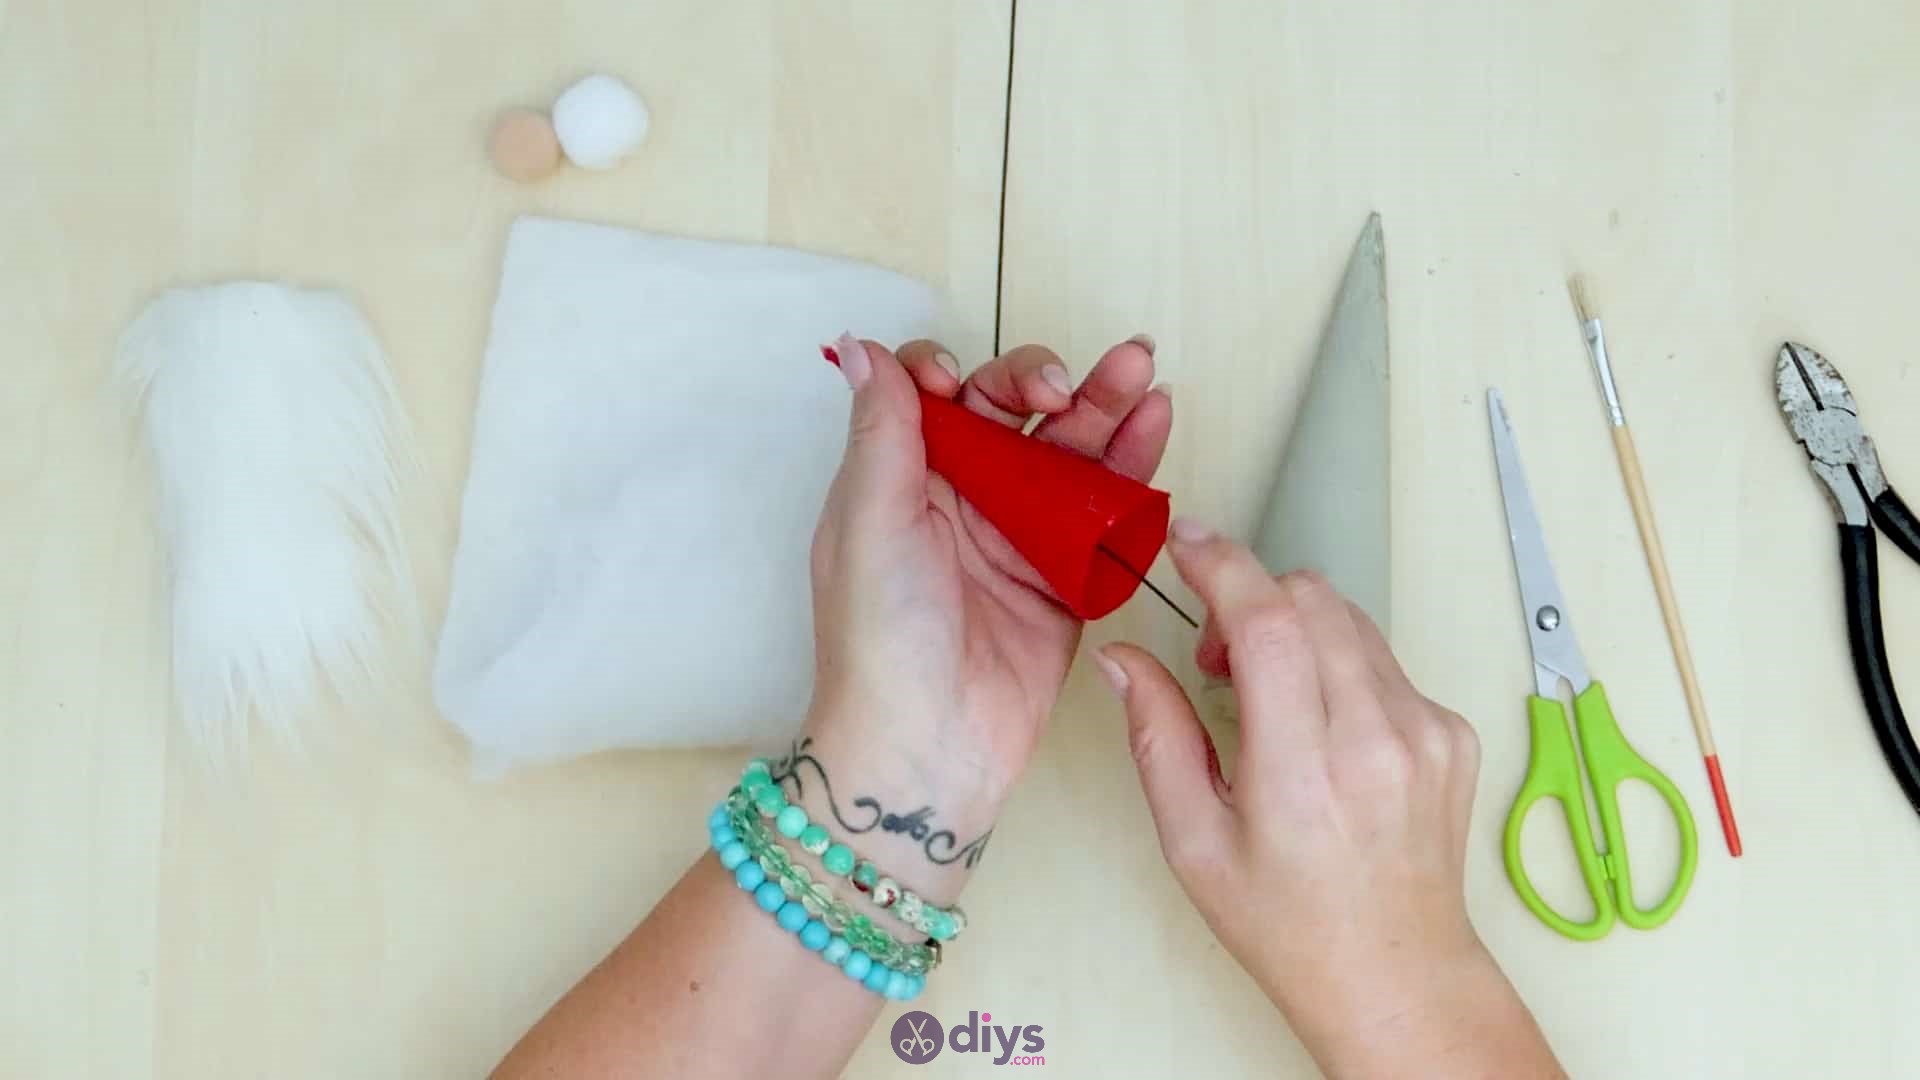
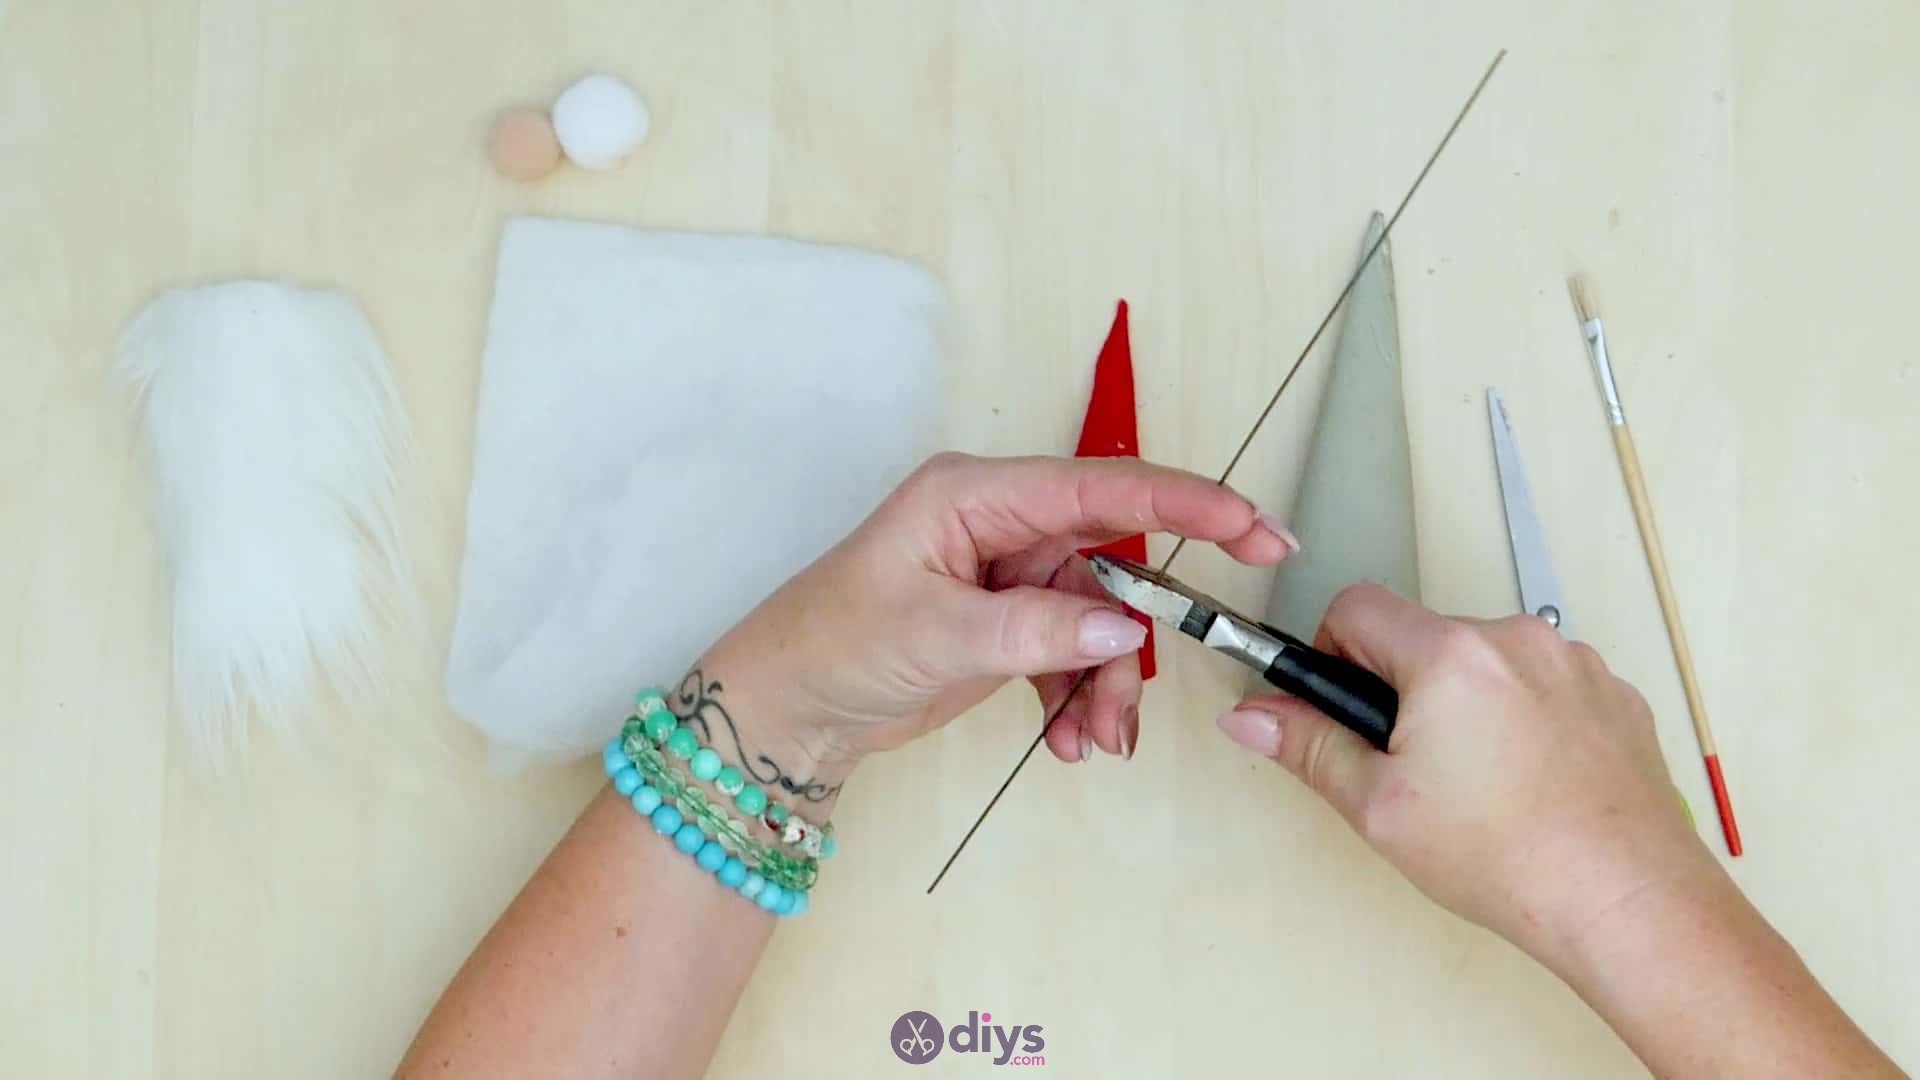
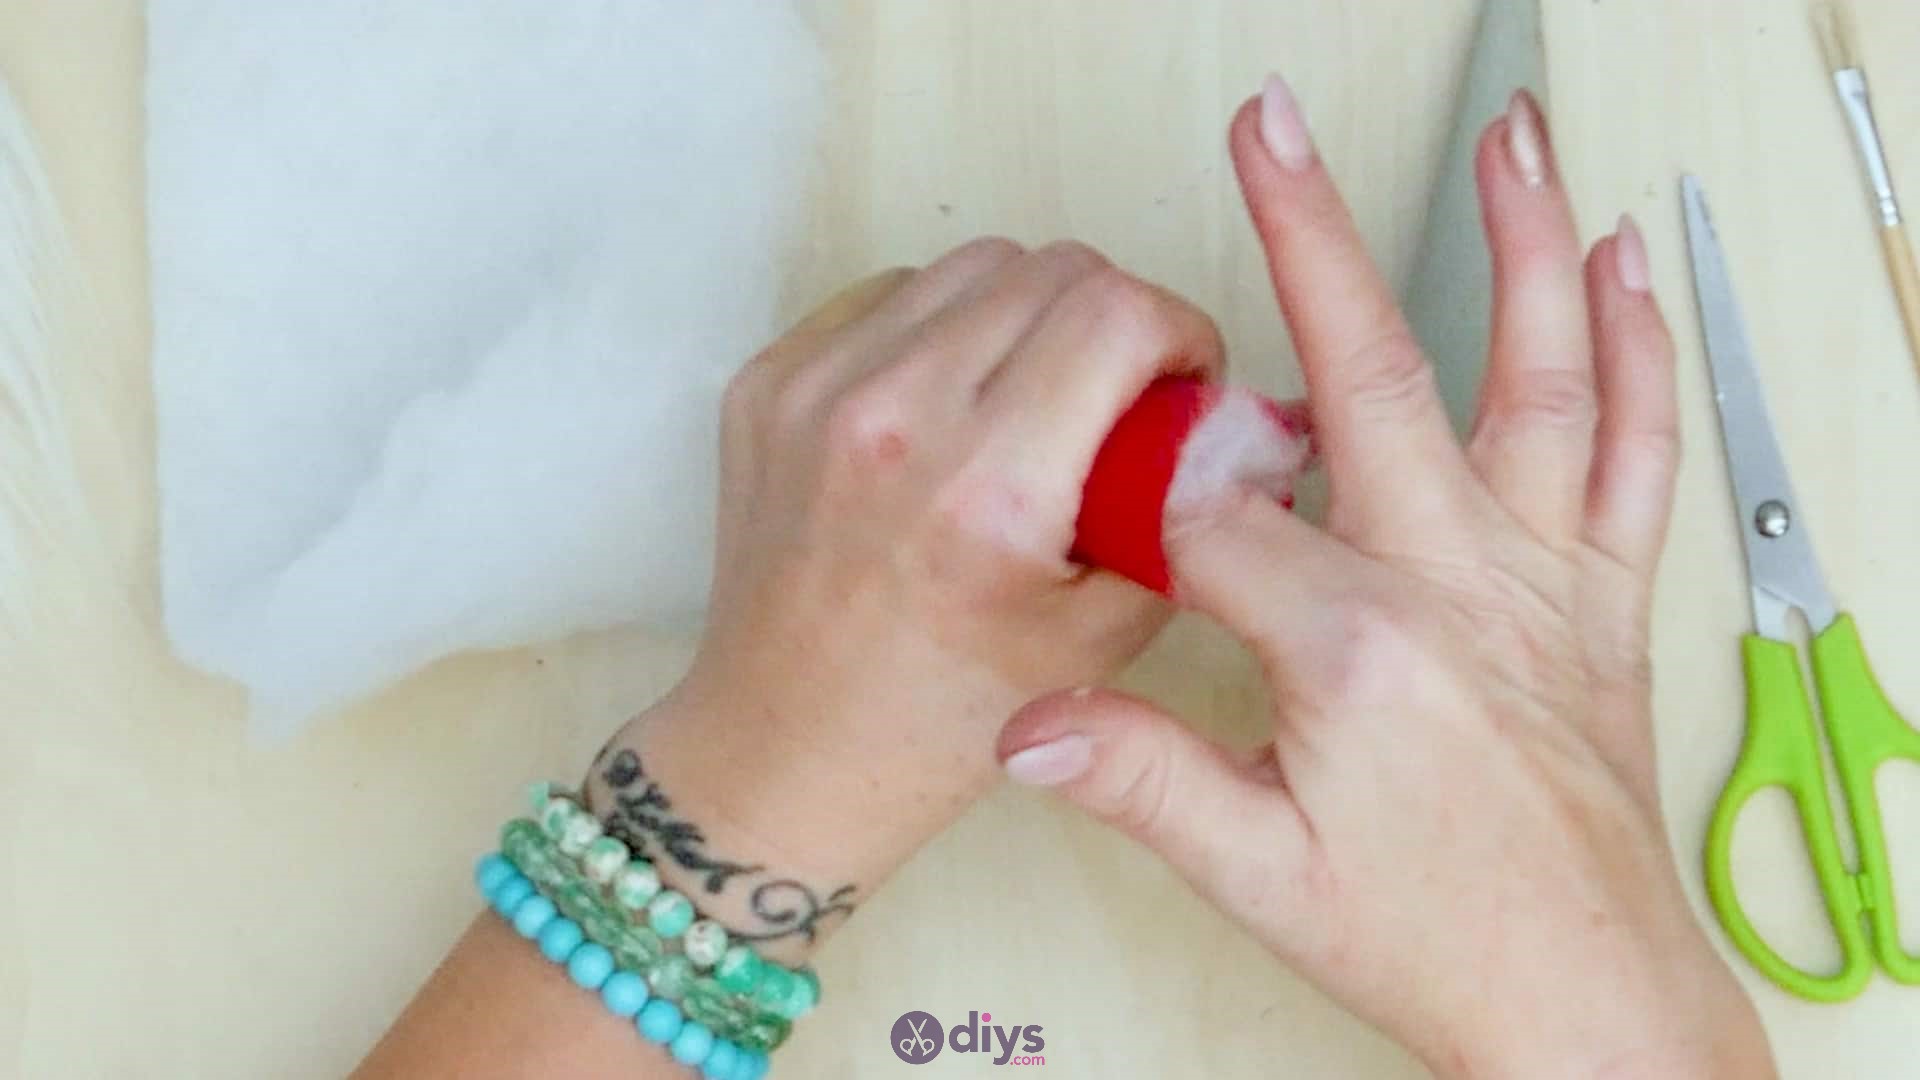
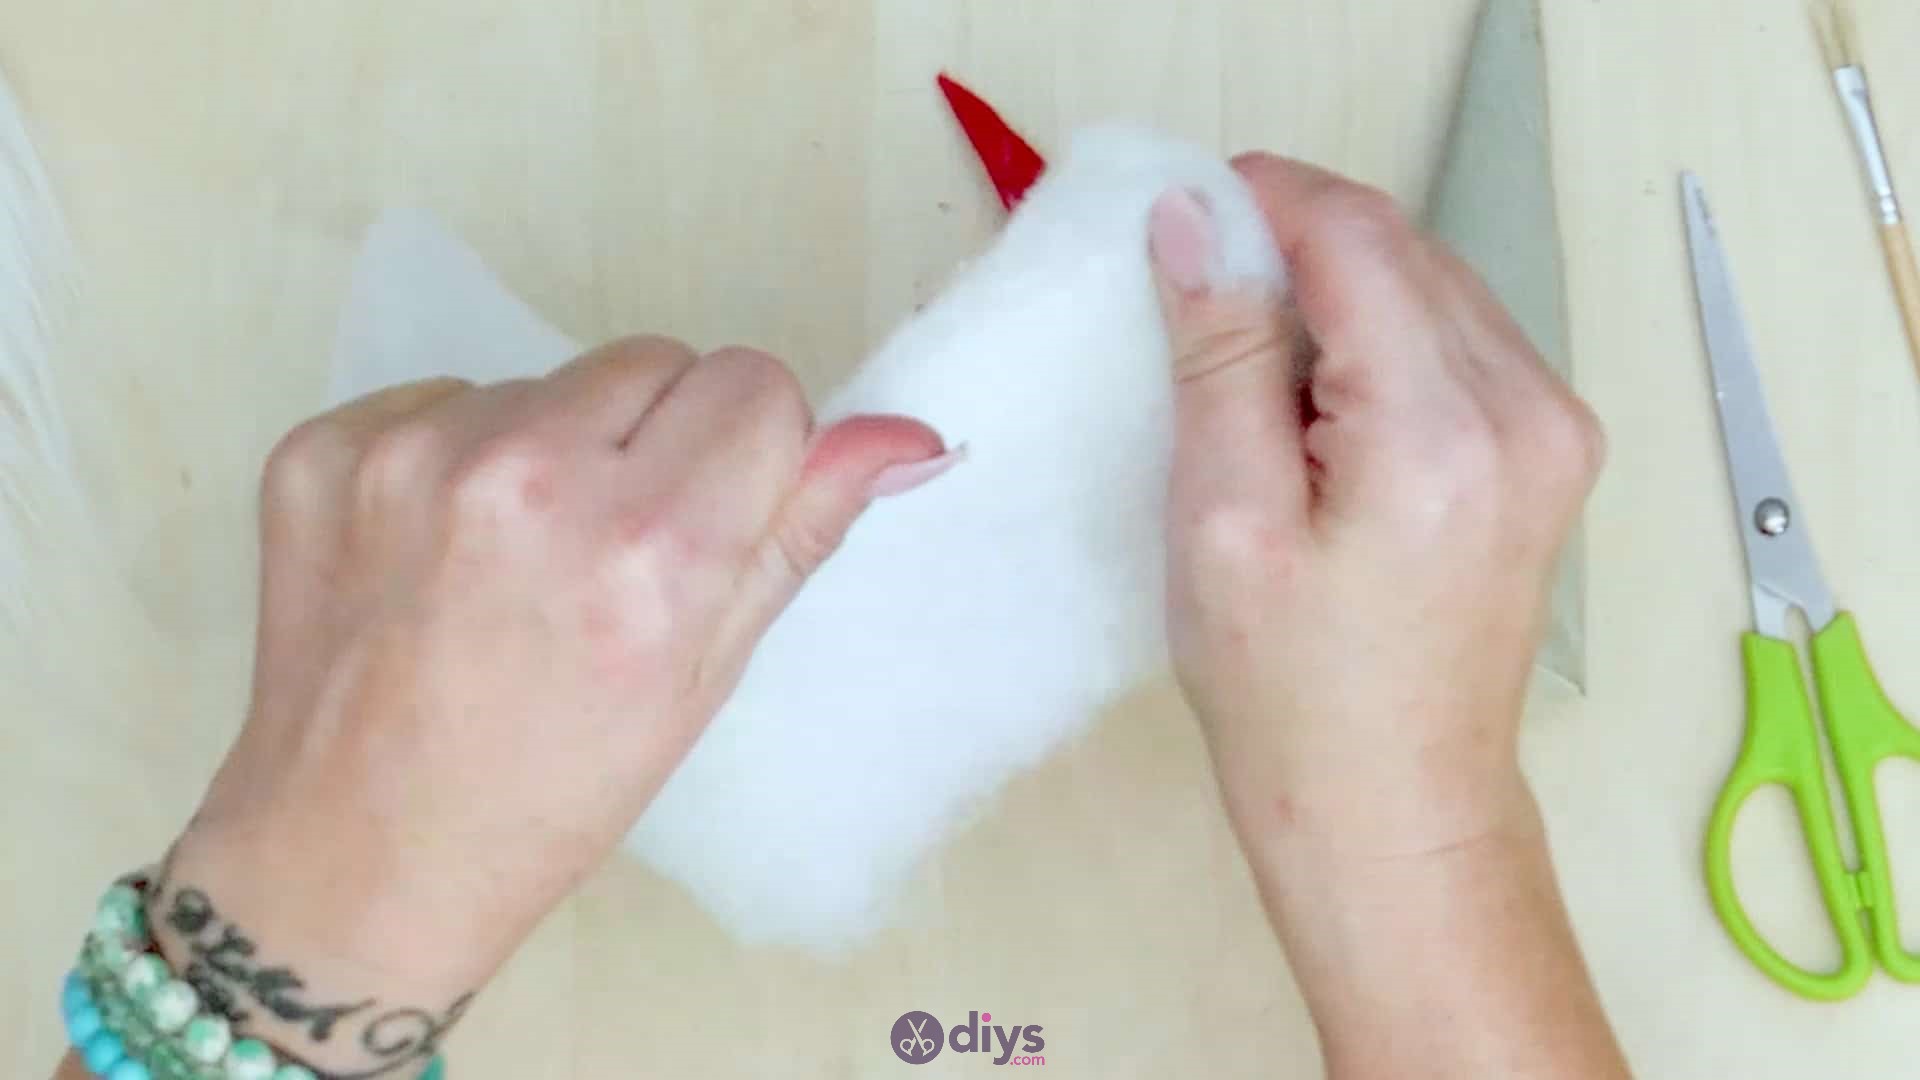
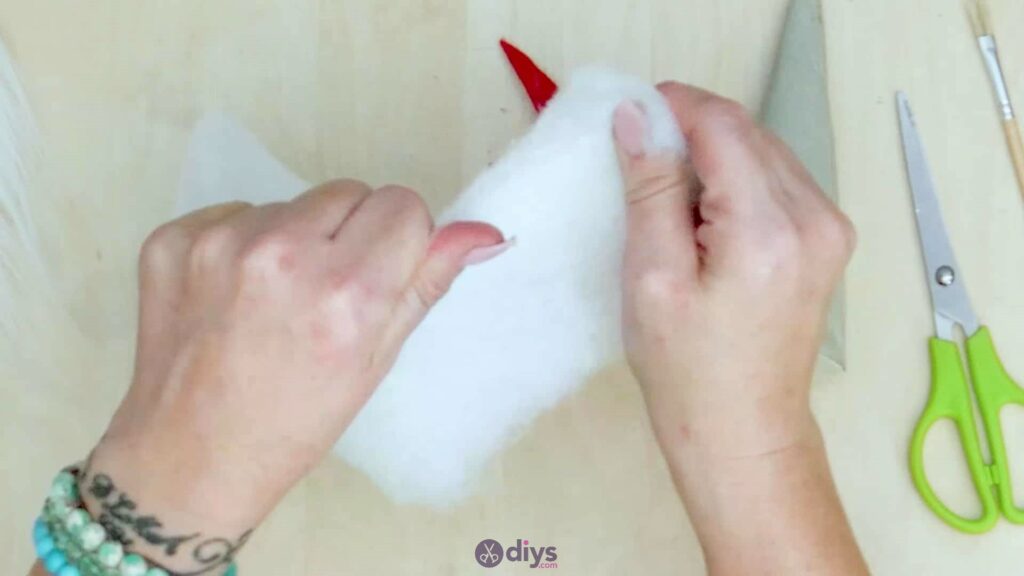
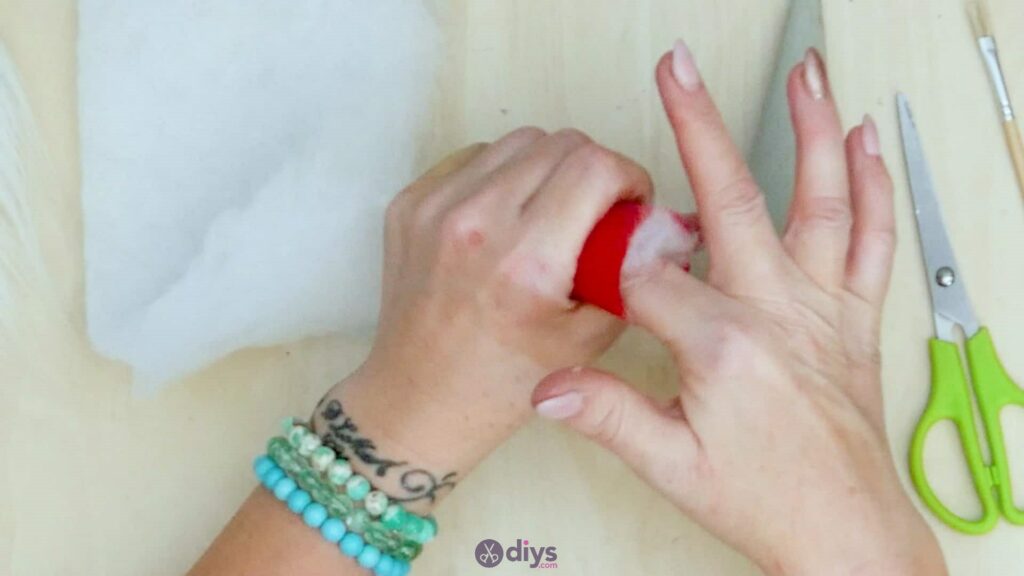
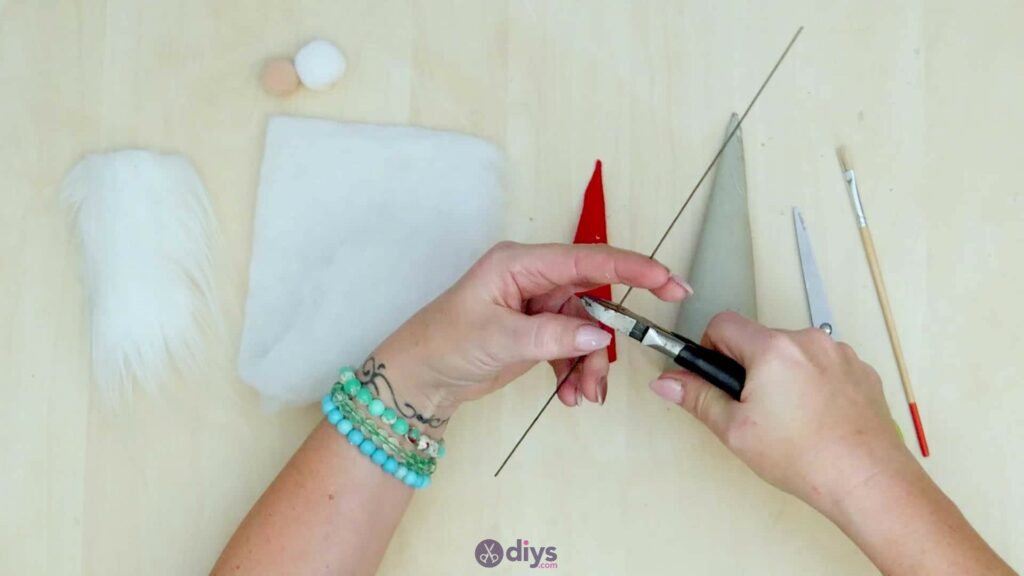
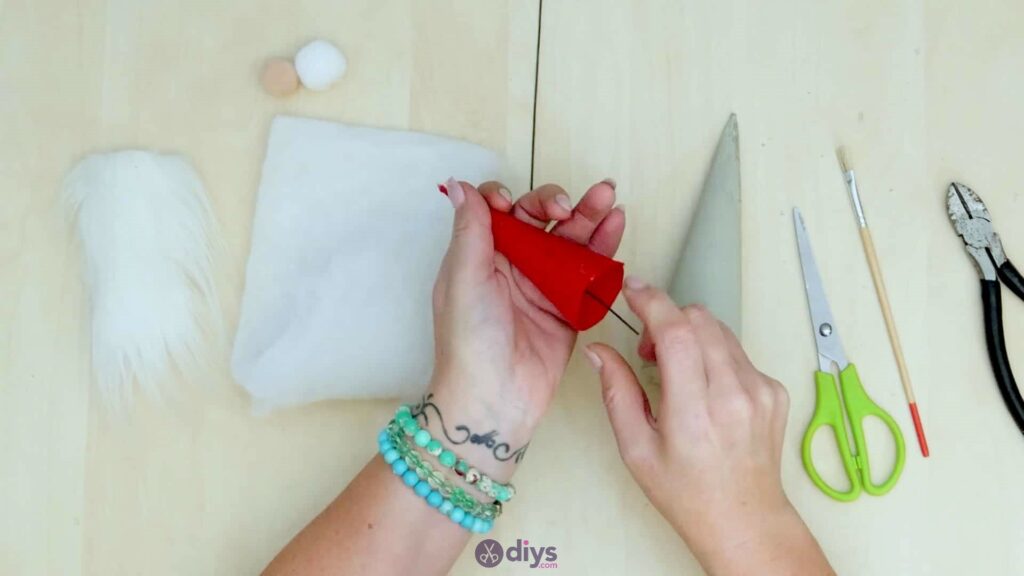
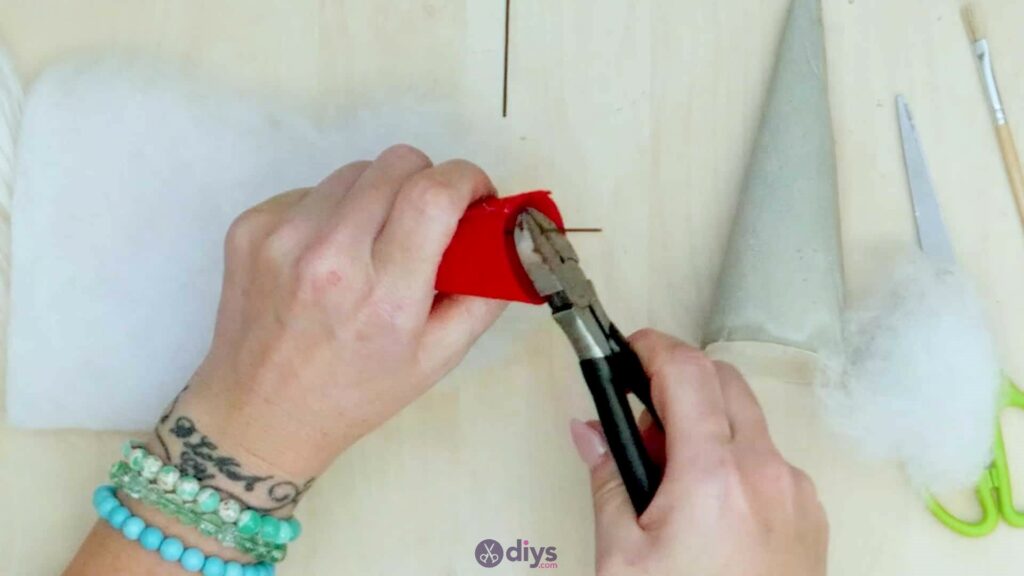
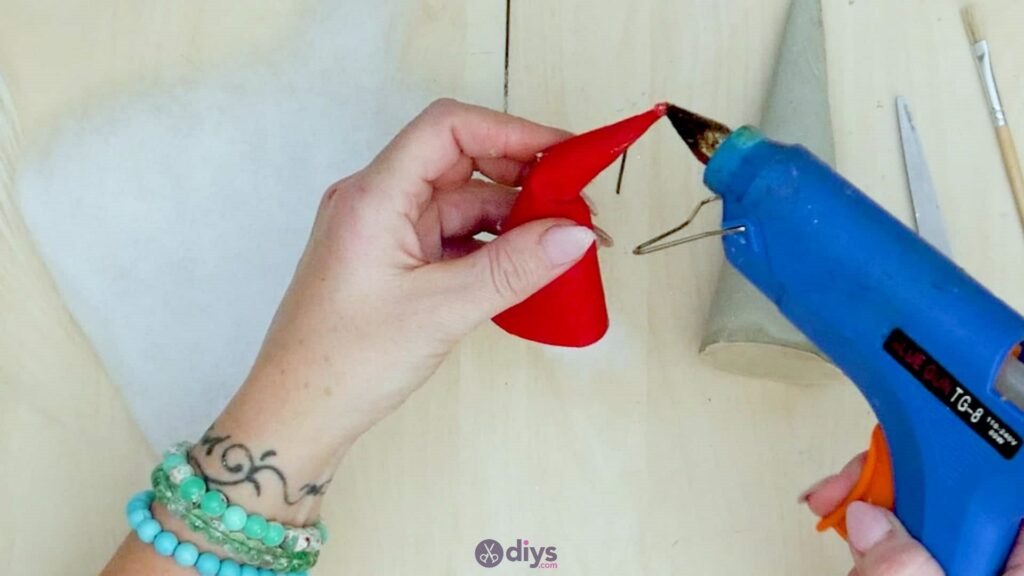
Pull apart some of your pillow fluff or stuffing and loosen it so it’s soft. Use it to fill the inside of your red felt cone hat, but only fill it about halfway. Next, use your wire cutters to cut a piece of your crafting wire that’s about the length of your red hair. Insert one end of the wire up inside the hat to the tip, making sure it doesn’t actually point out the top.
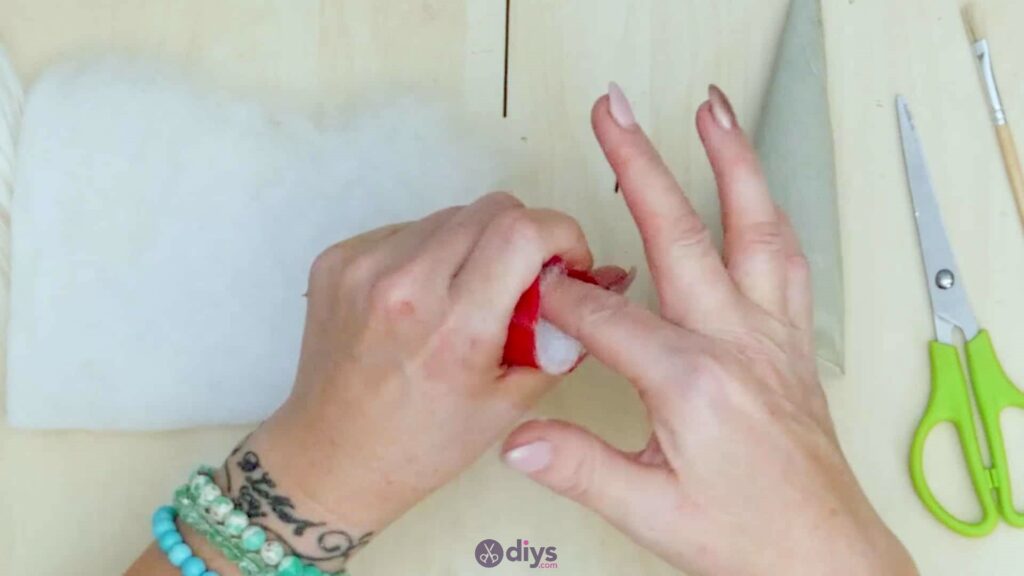
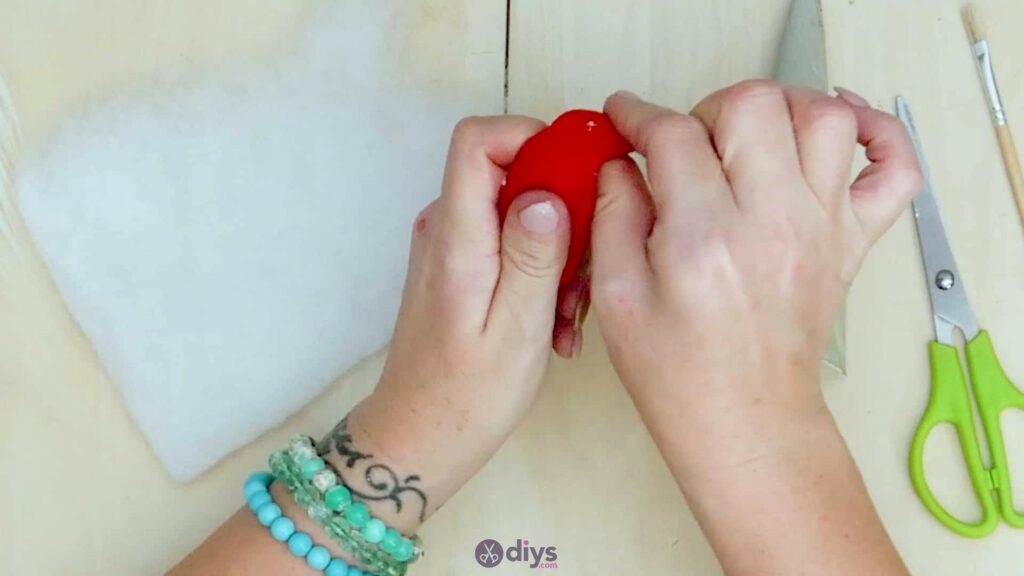
Then use the wire cutters to trim it a little shorter than the hat, so the bottom end doesn’t actually poke out the opening. Take a bit more pillow fluff and cover the end of the wire to fill the rest of the hat. Make sure you’re packing it loosely and not making the hat very dense or overly full; you just want enough stuffing to help the hat keep its shape.
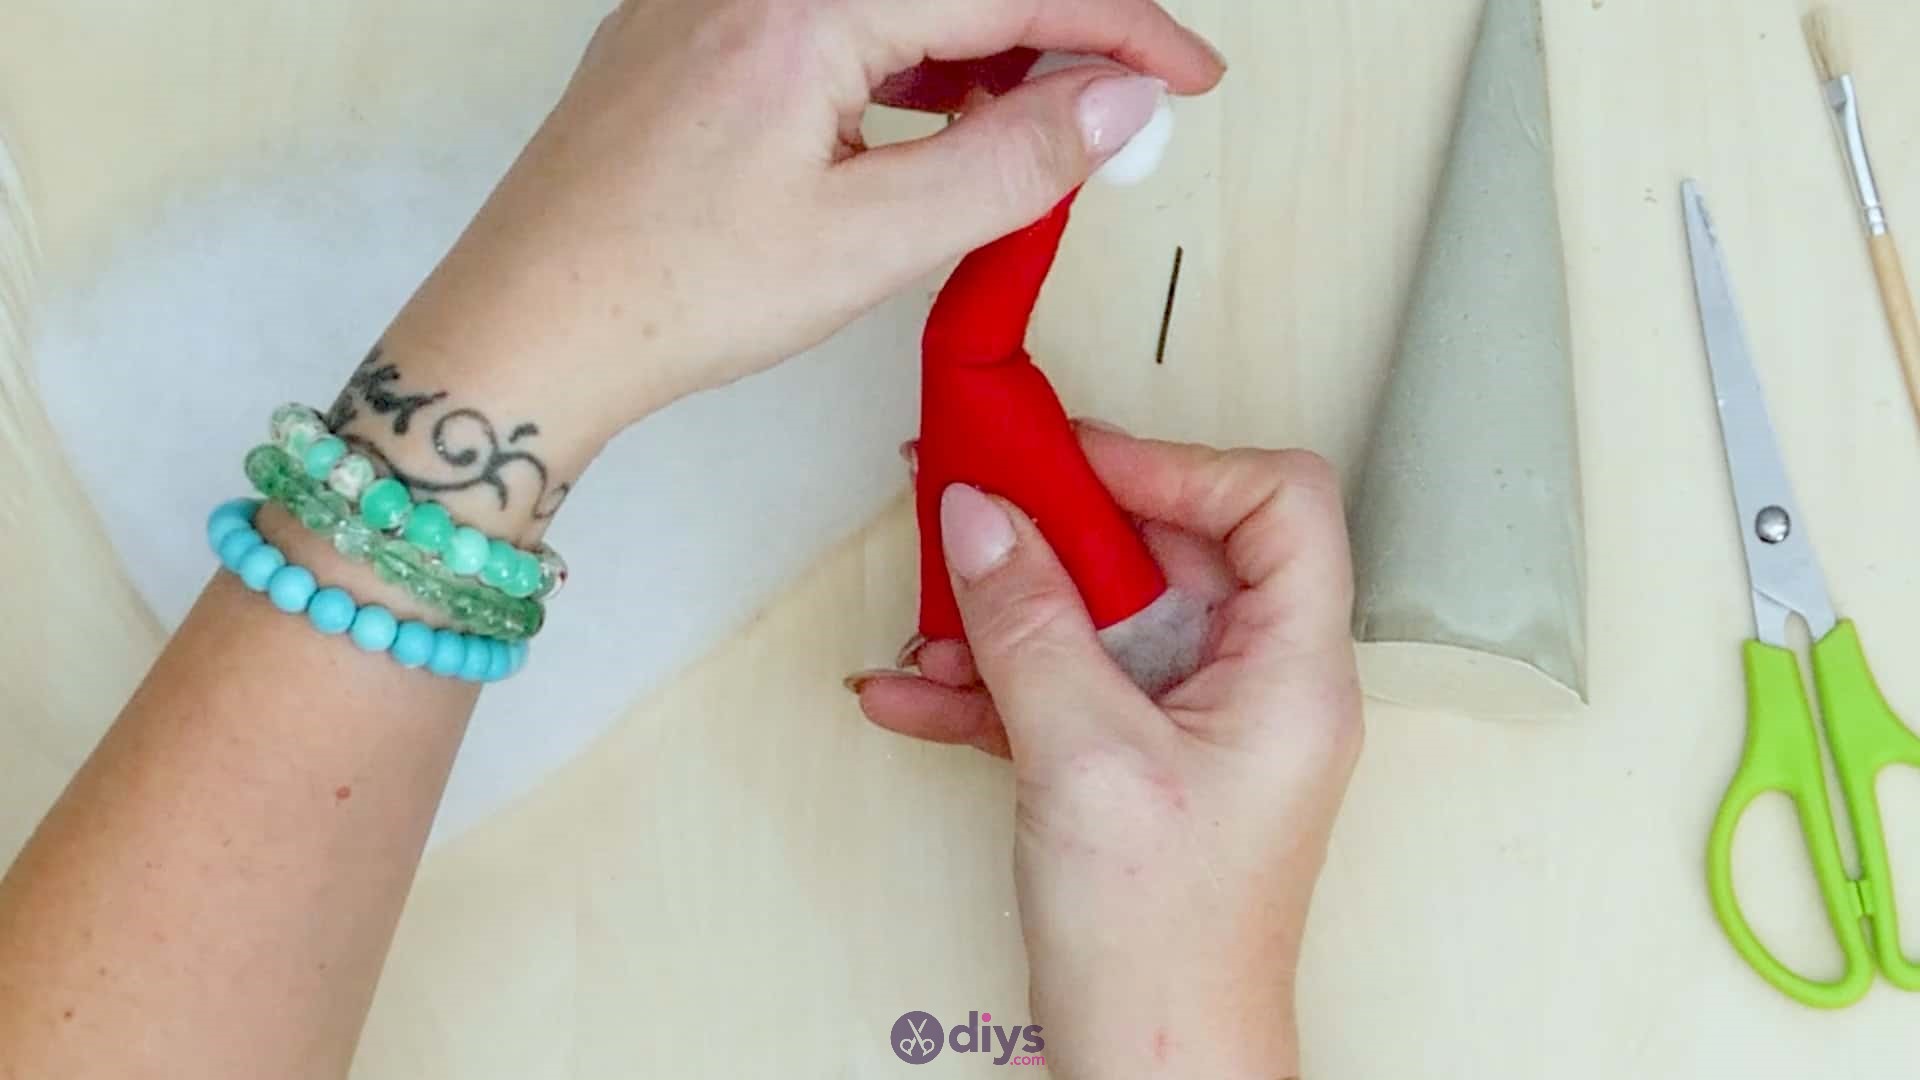
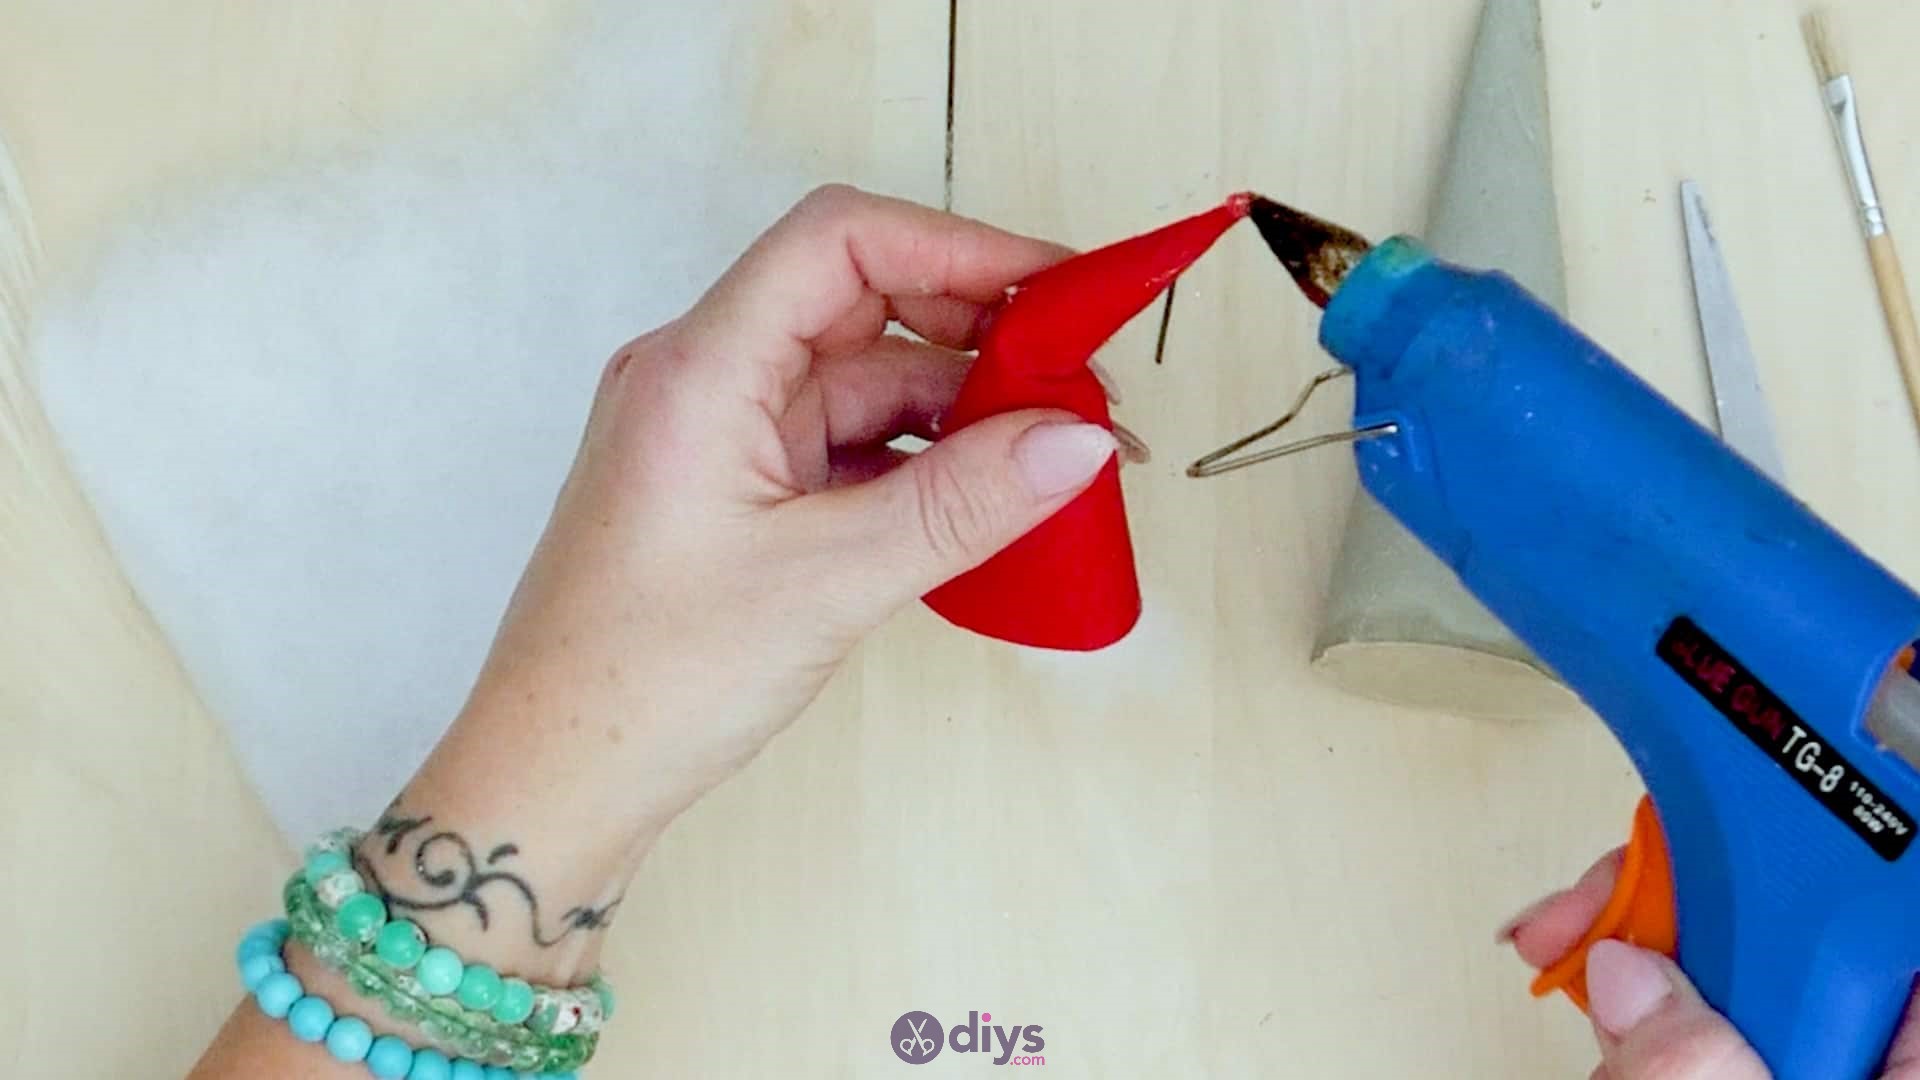
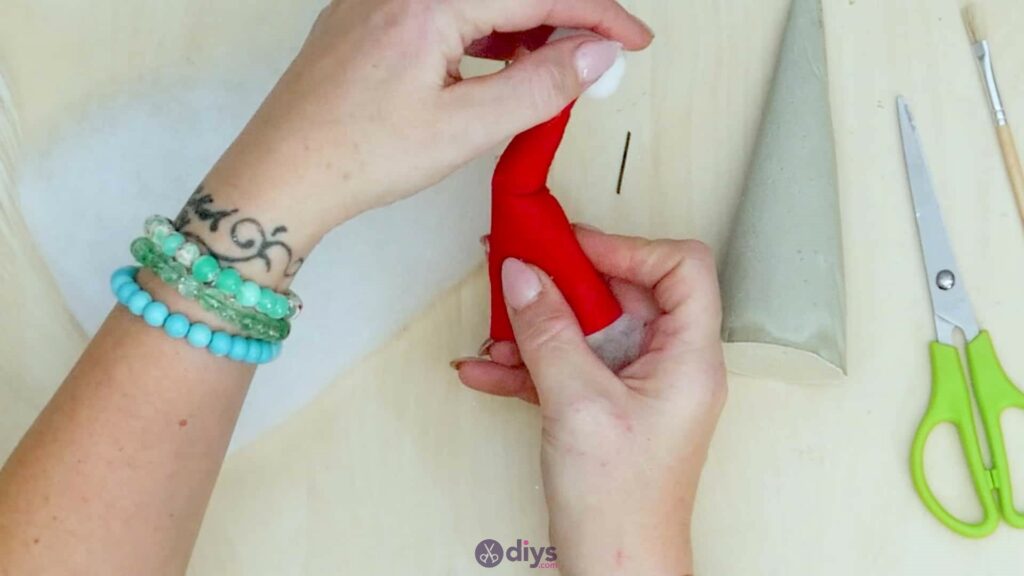
If you want to add a bit of extra jaunty character to your gnome, bend the wire a touch just below the hat’s tip, like it’s leaned over a little. Apply some hot glue on the tip of the hat and stick down a small white crafting pom pom to finished the look. Set the hat aside for a moment.
Step 9: position and glue the beard
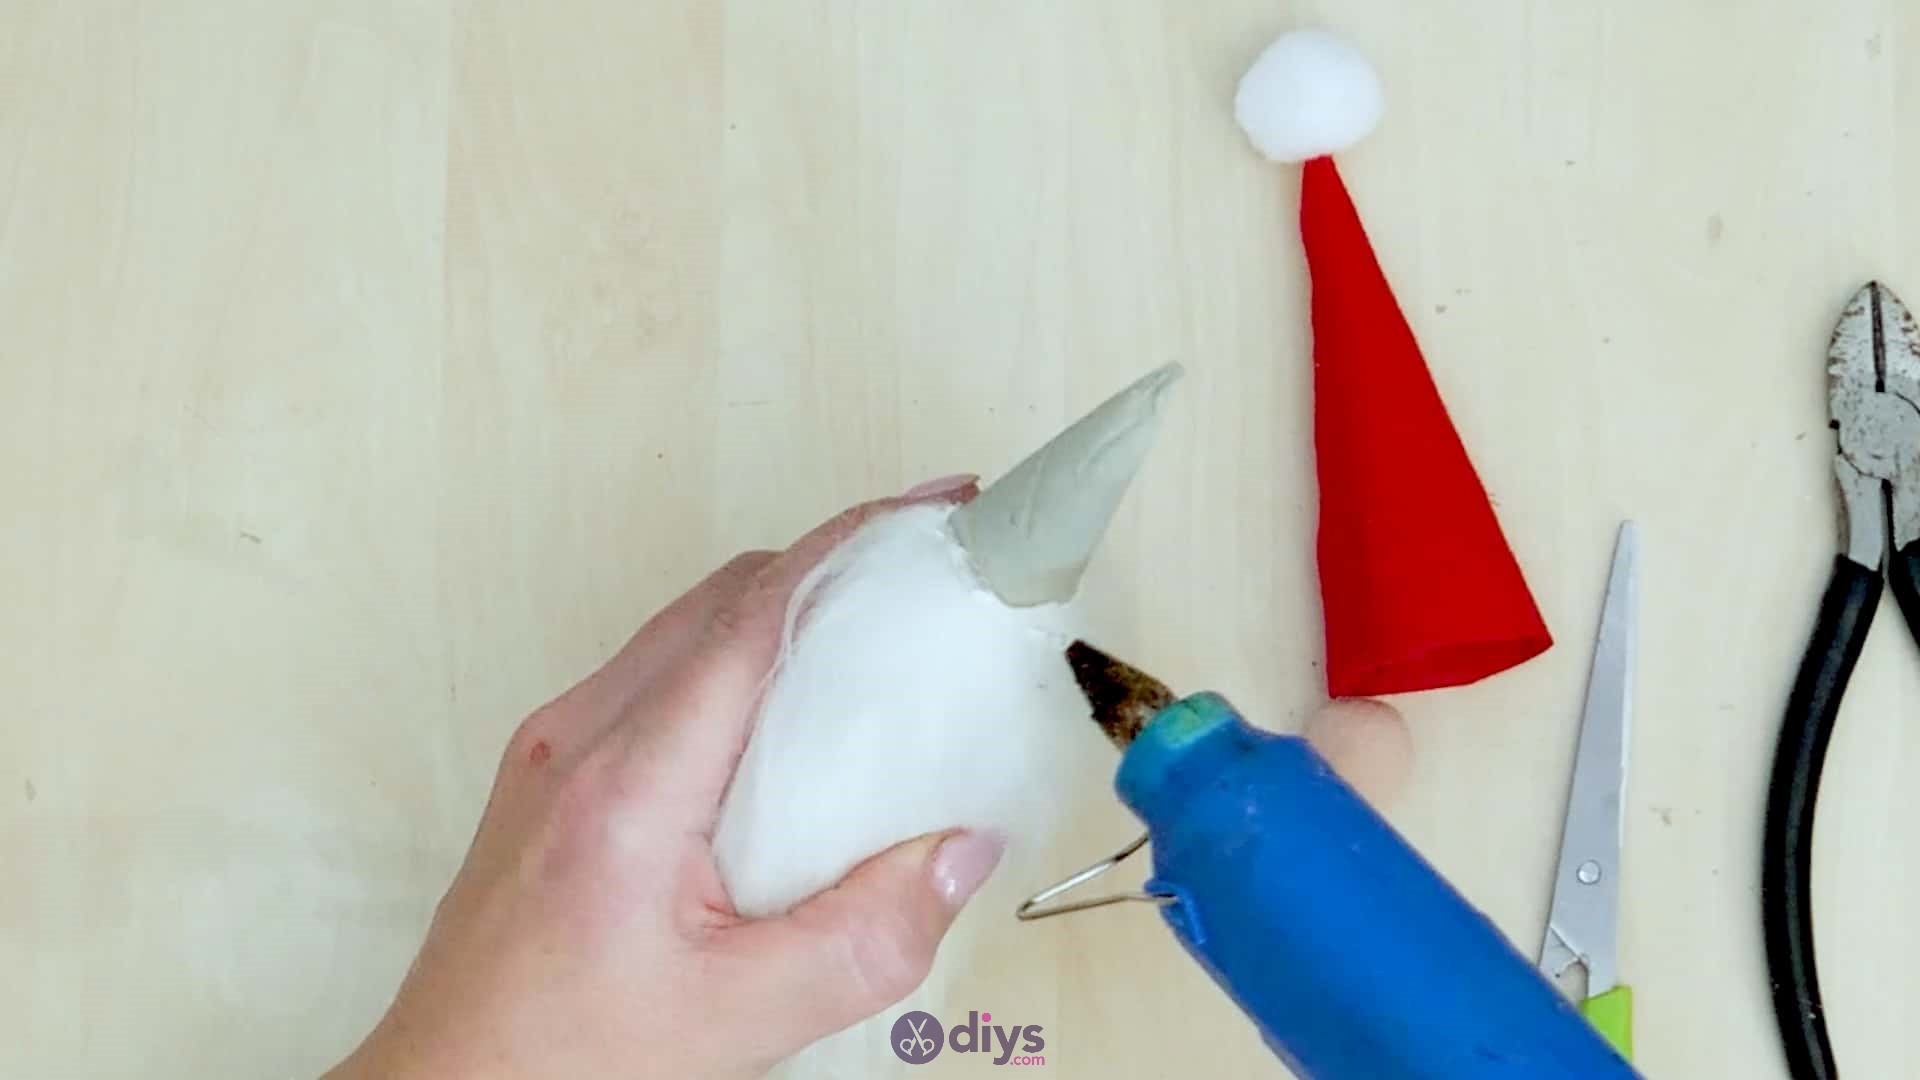
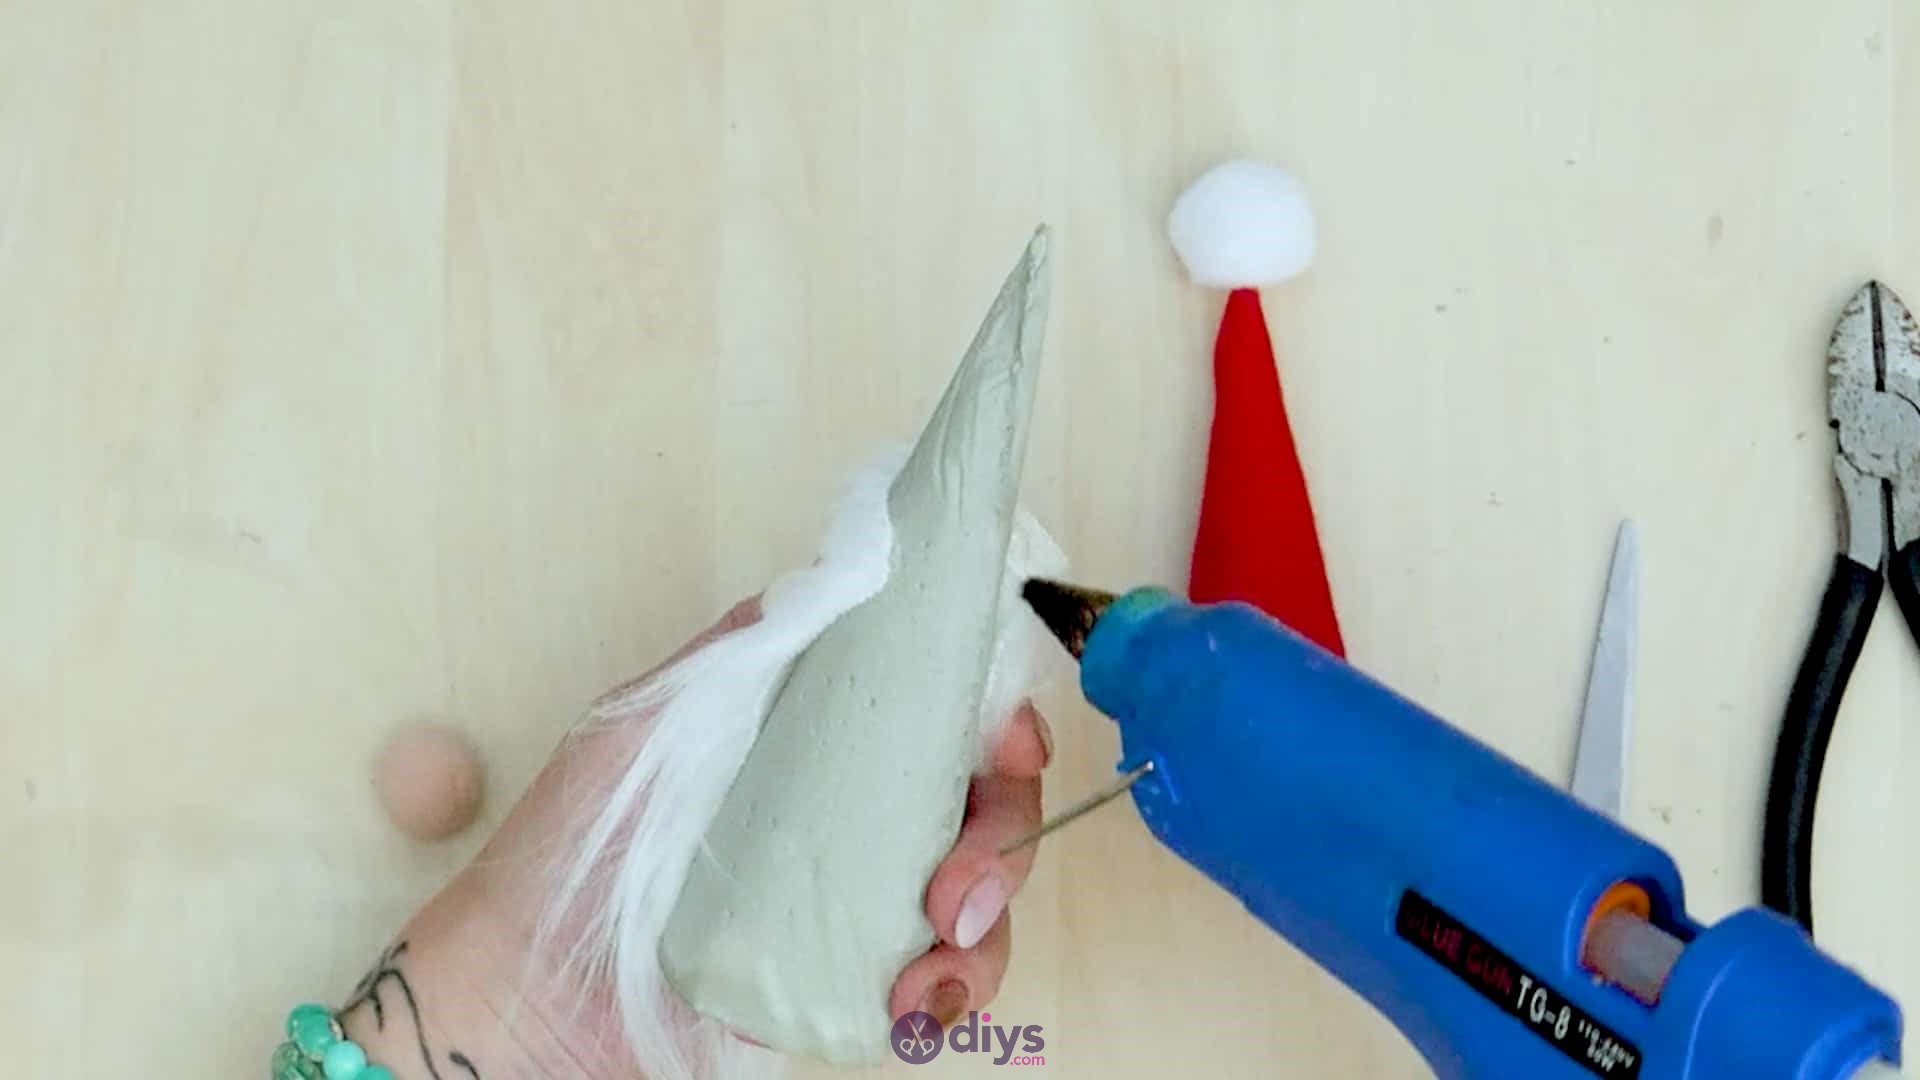
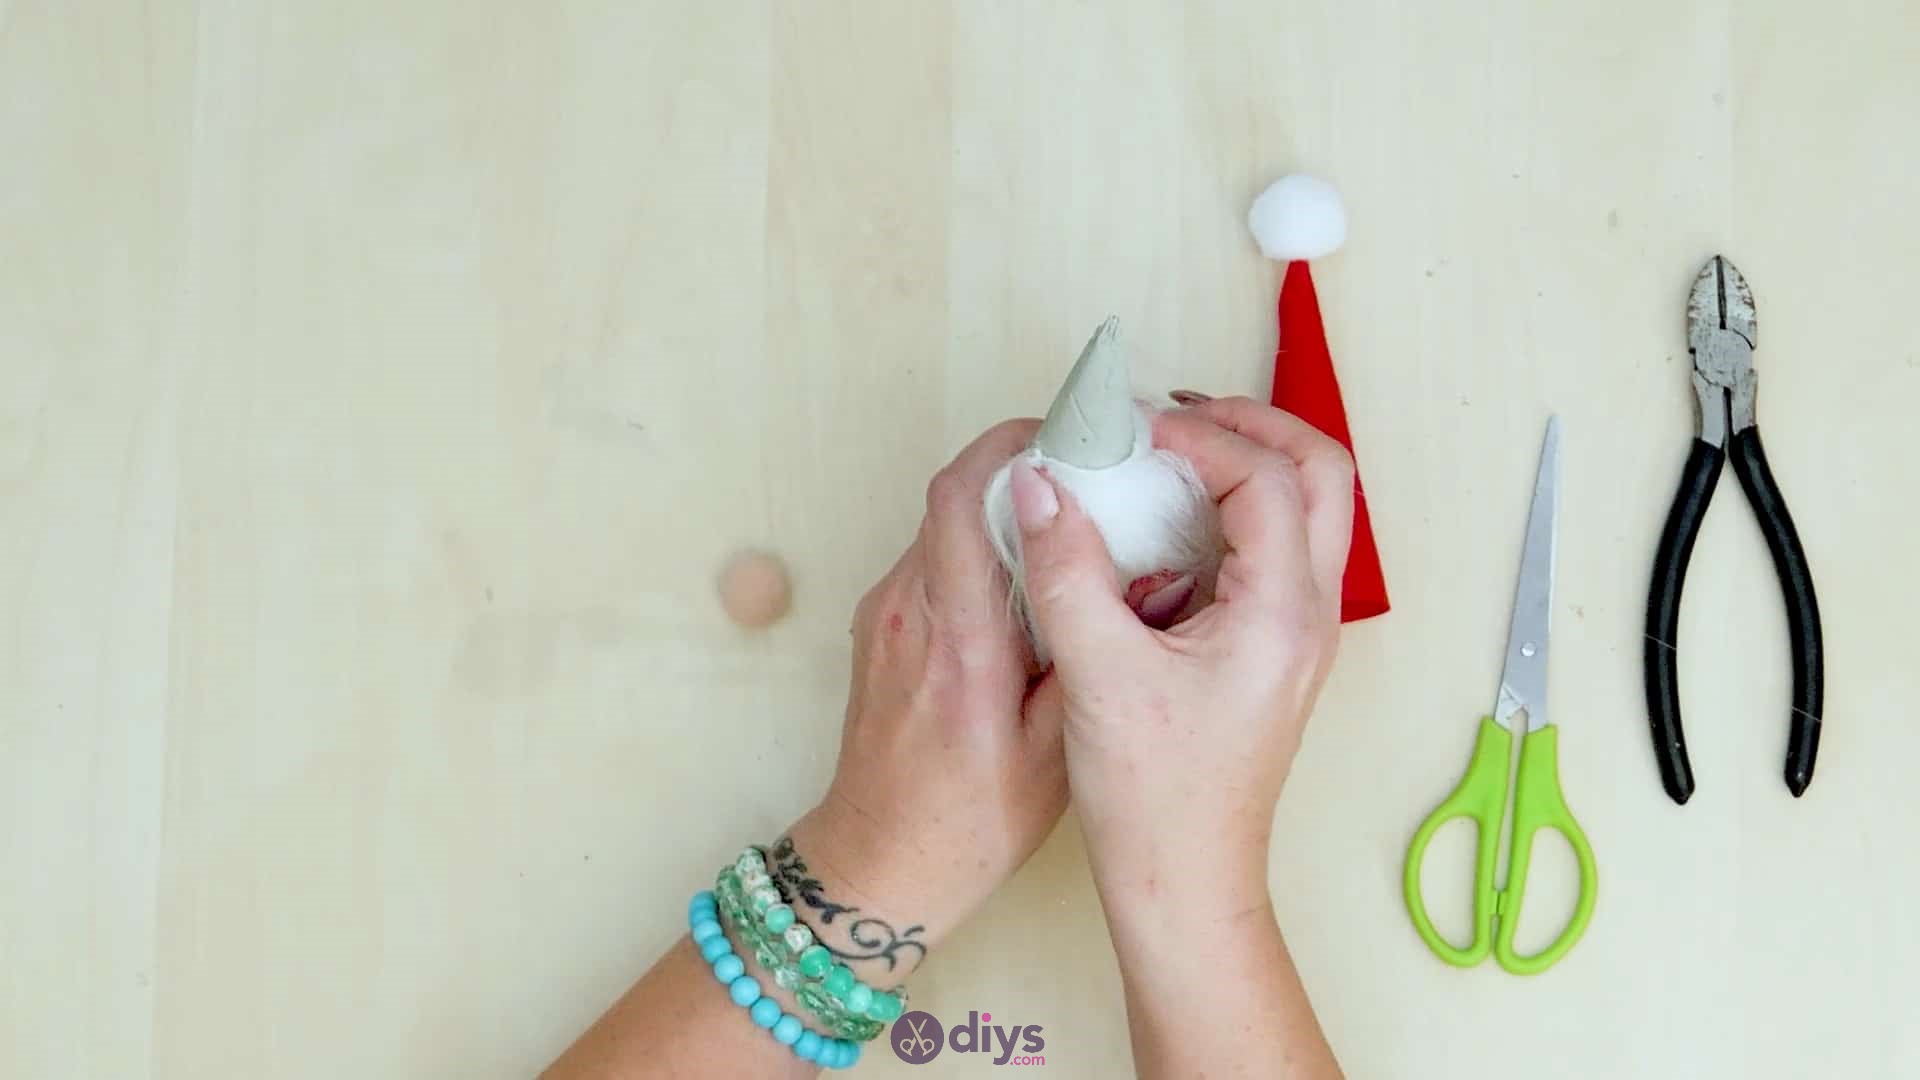
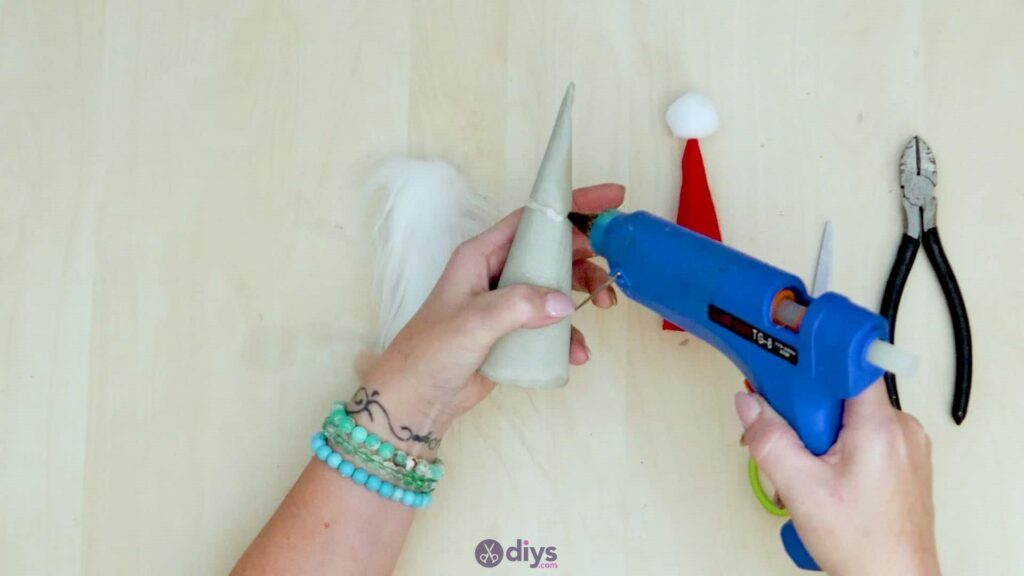
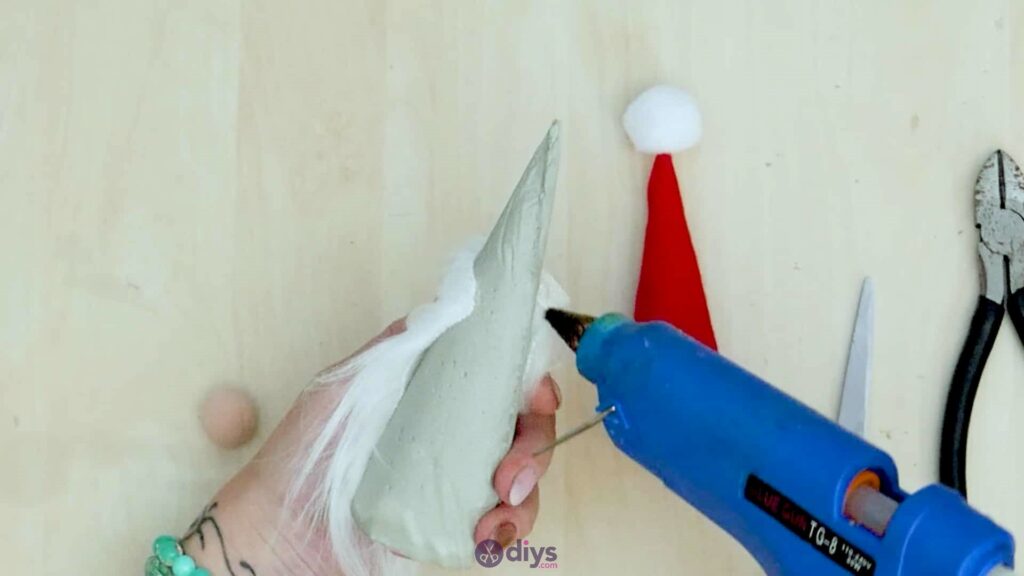
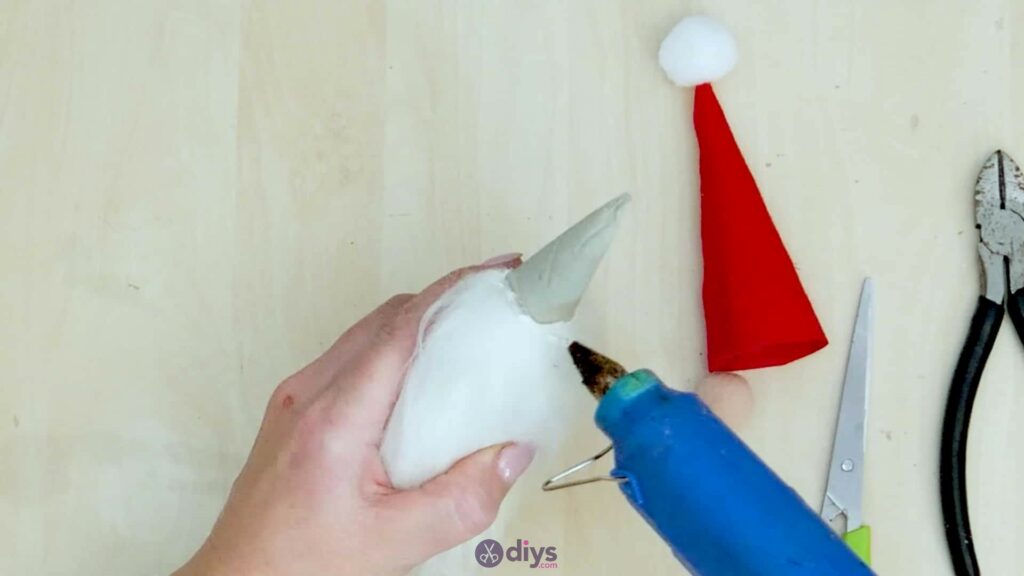
Pick up your concrete cone and determine where you’d like the edge of your red hat to sit. Slightly above that, apply a ring of glue around the cone. Take your piece of faux fur, cut to and wrap its edge around the cone so it sticks into the ring of glue. Cut off any excess in the width or length of the pieces if you need to. This will be your gnome’s long, shaggy beard.
Step 10: position and glue the hat
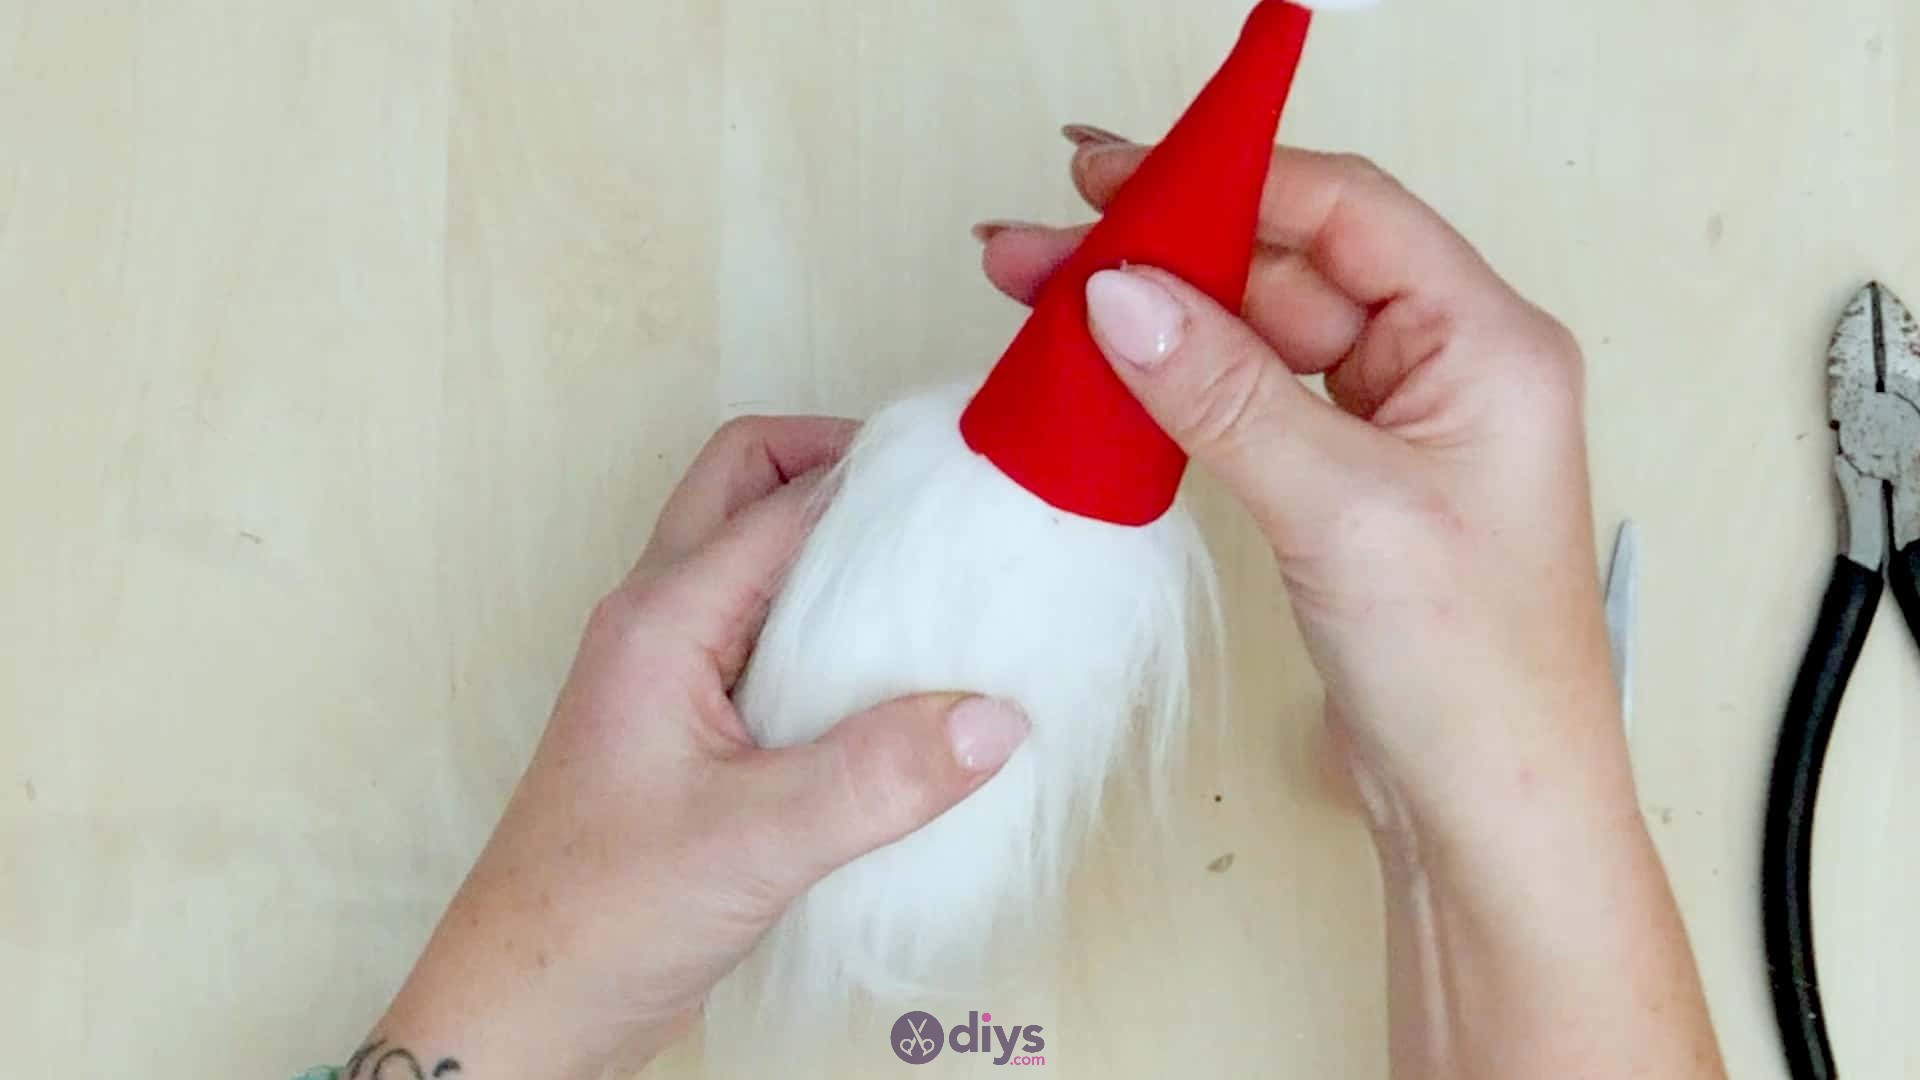
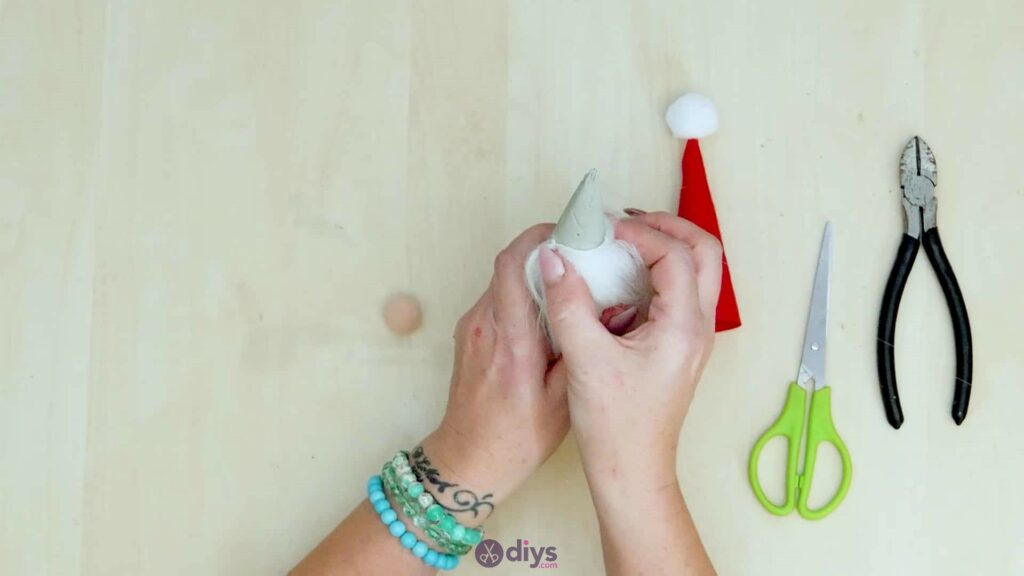
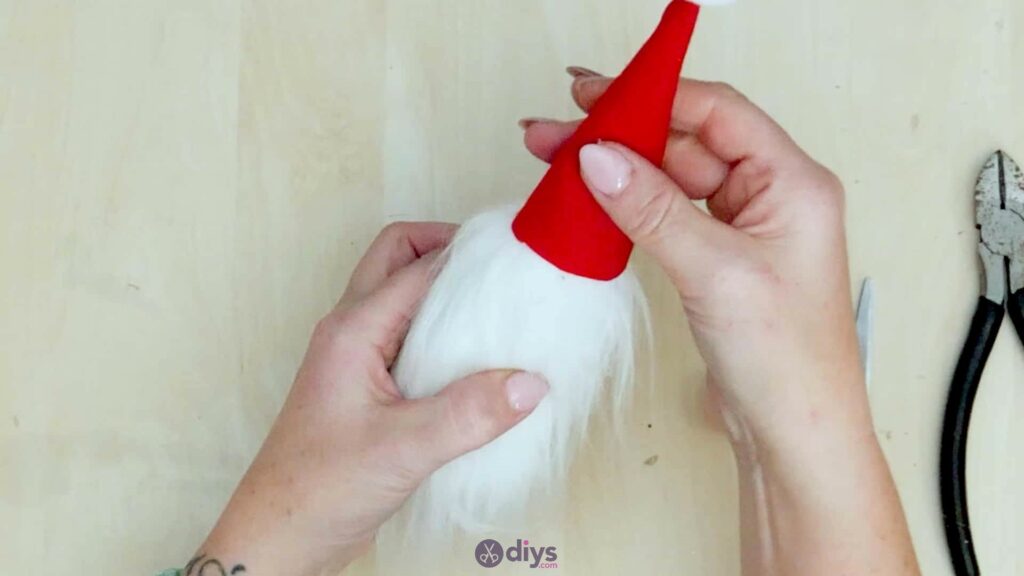
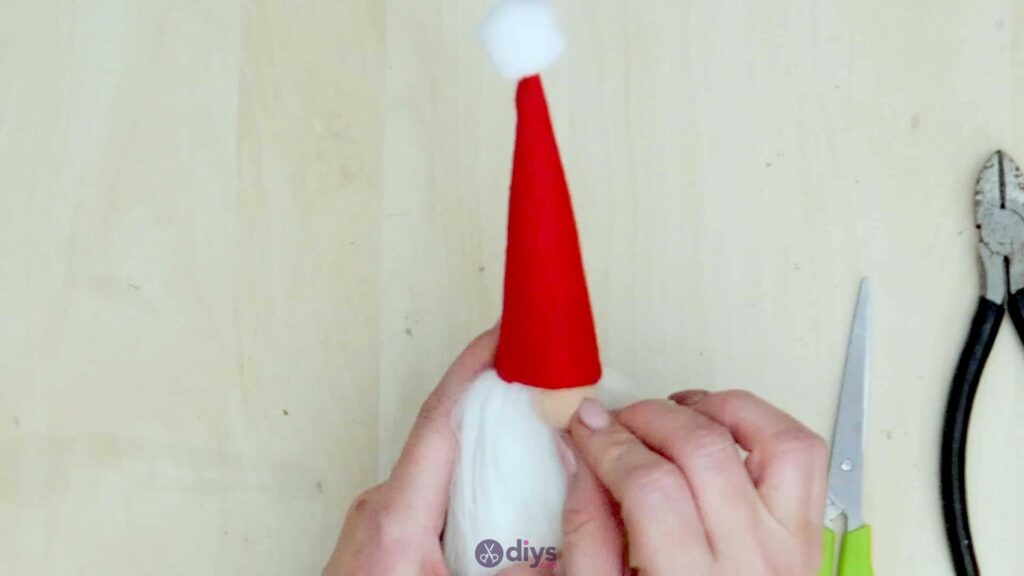
Over the faux fur, around its top edge where you glued it to the concrete cone, apply more hot glue. Fit your red cone hat over the tip of the concrete shape and stick its edge down there in the glue so that the red overlaps the edge of the beard, hiding it, and the glue sticks a little higher up on the hat’s inside.
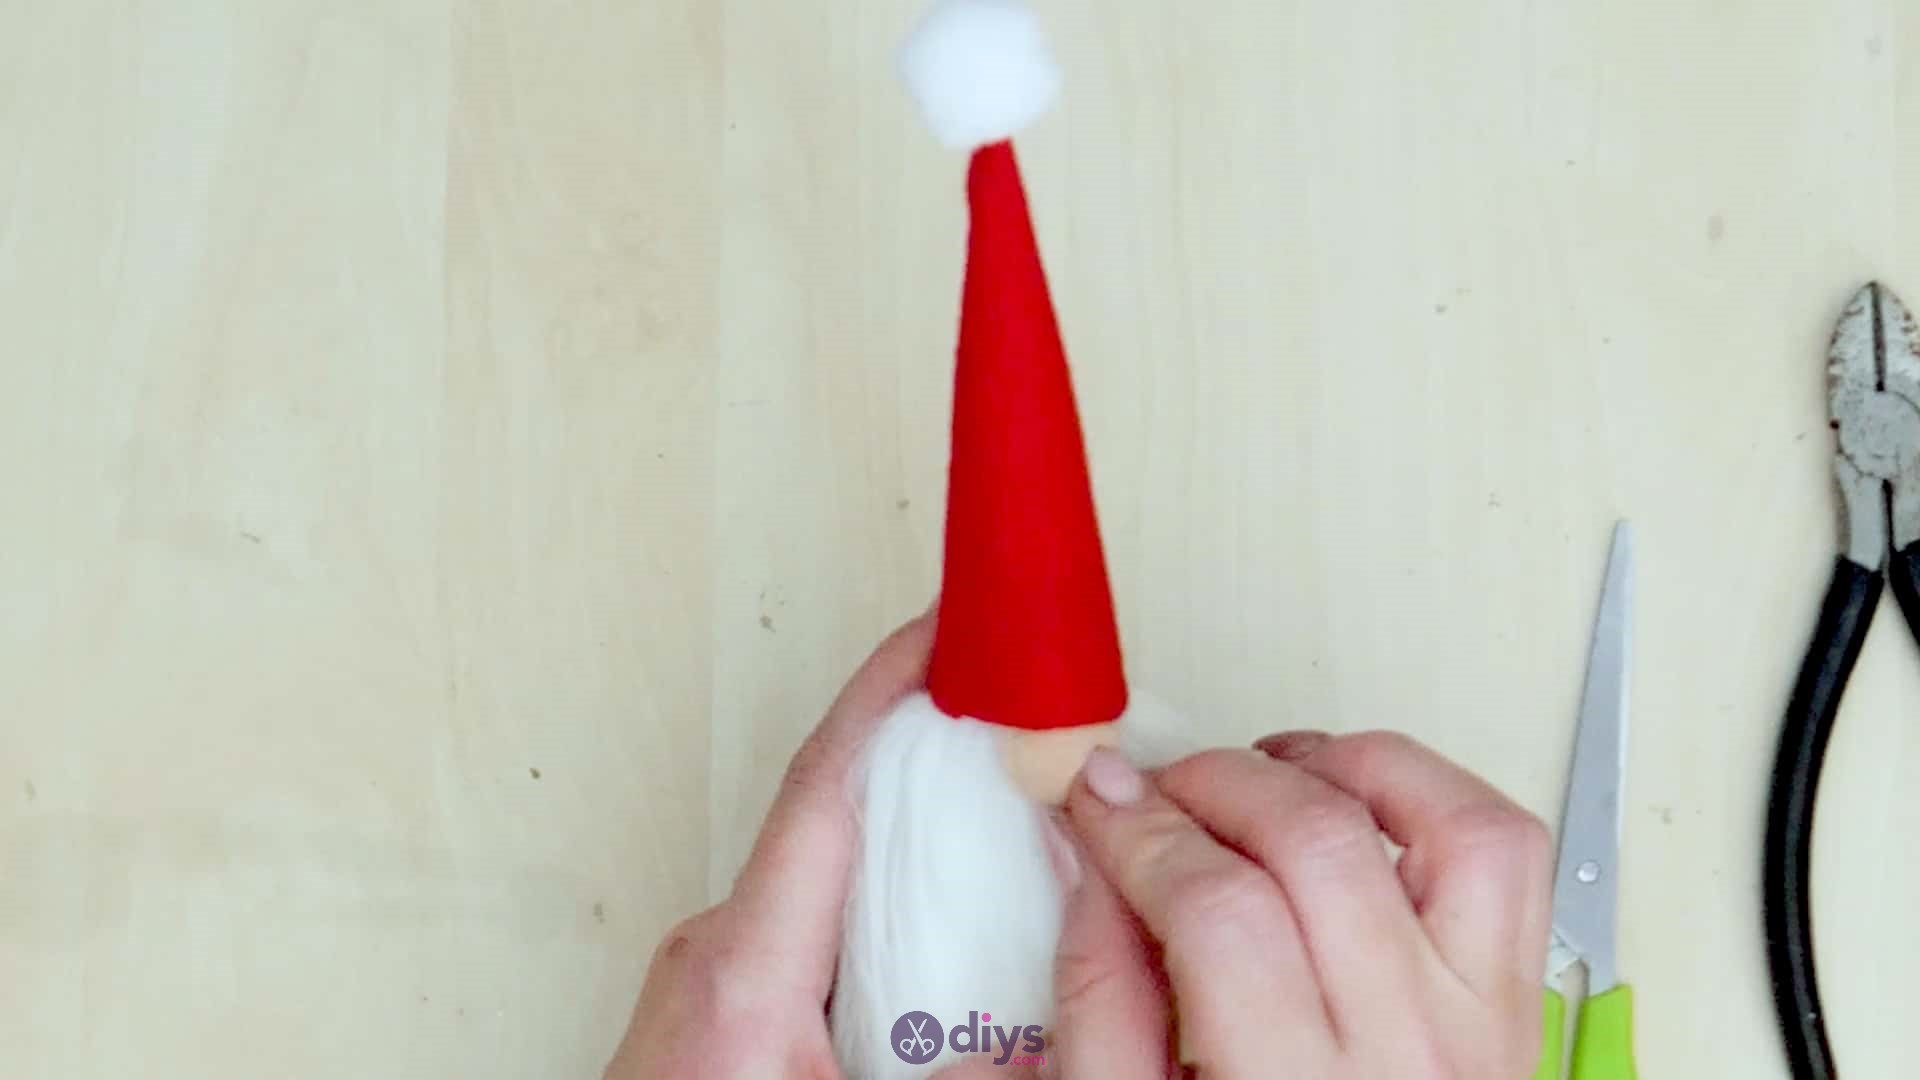
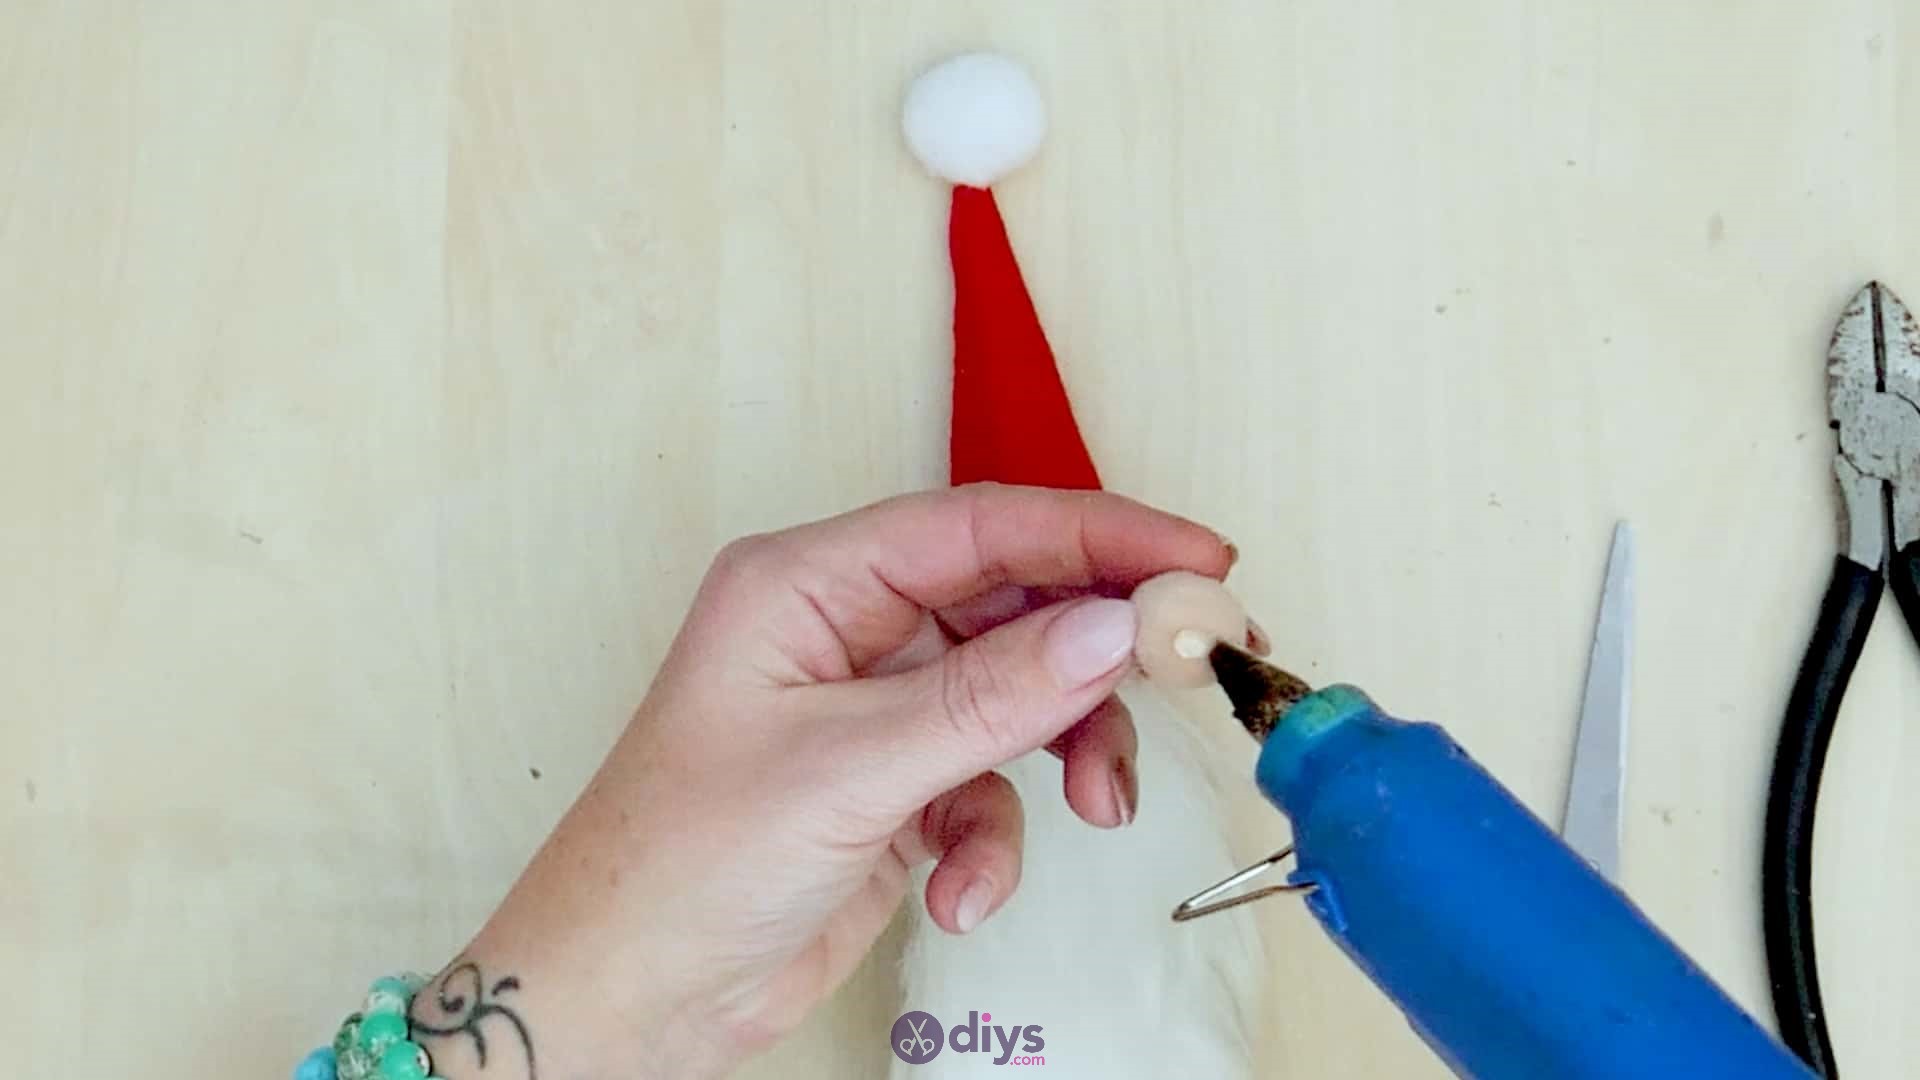
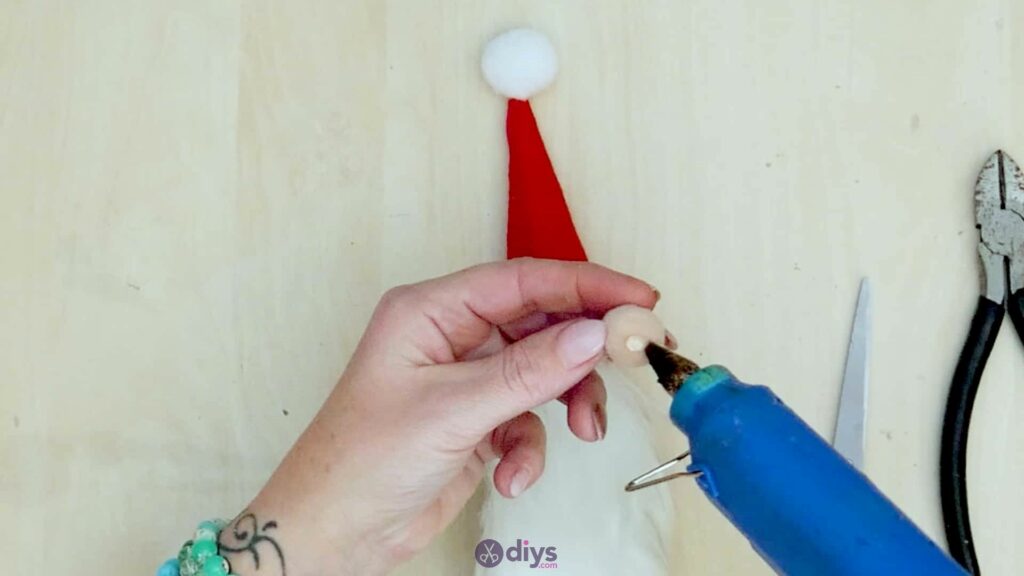
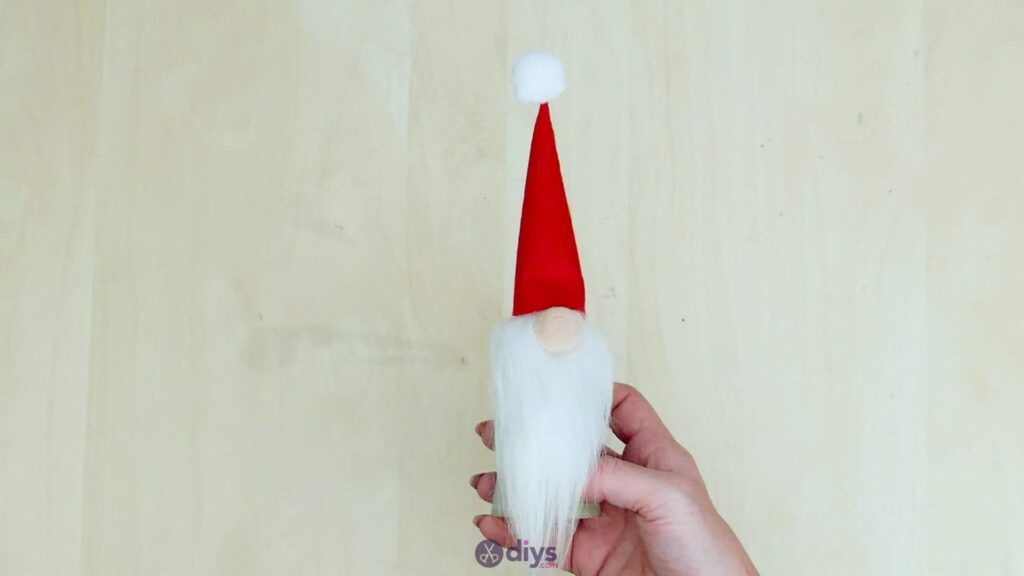
You’ll see that this leaves you a little bit of loose edge on the hat. Now, take a medium sized, nude coloured crafting pom pom and apply glue on one side. Fit the pom pom up under the edge of the hat on whichever spot in the beard you’d like the front of your gnome to be, sticking it down so it’s partially covered by the edge of the hat. This is your gnome’s big nose sticking out from underneath his hat’s brim.
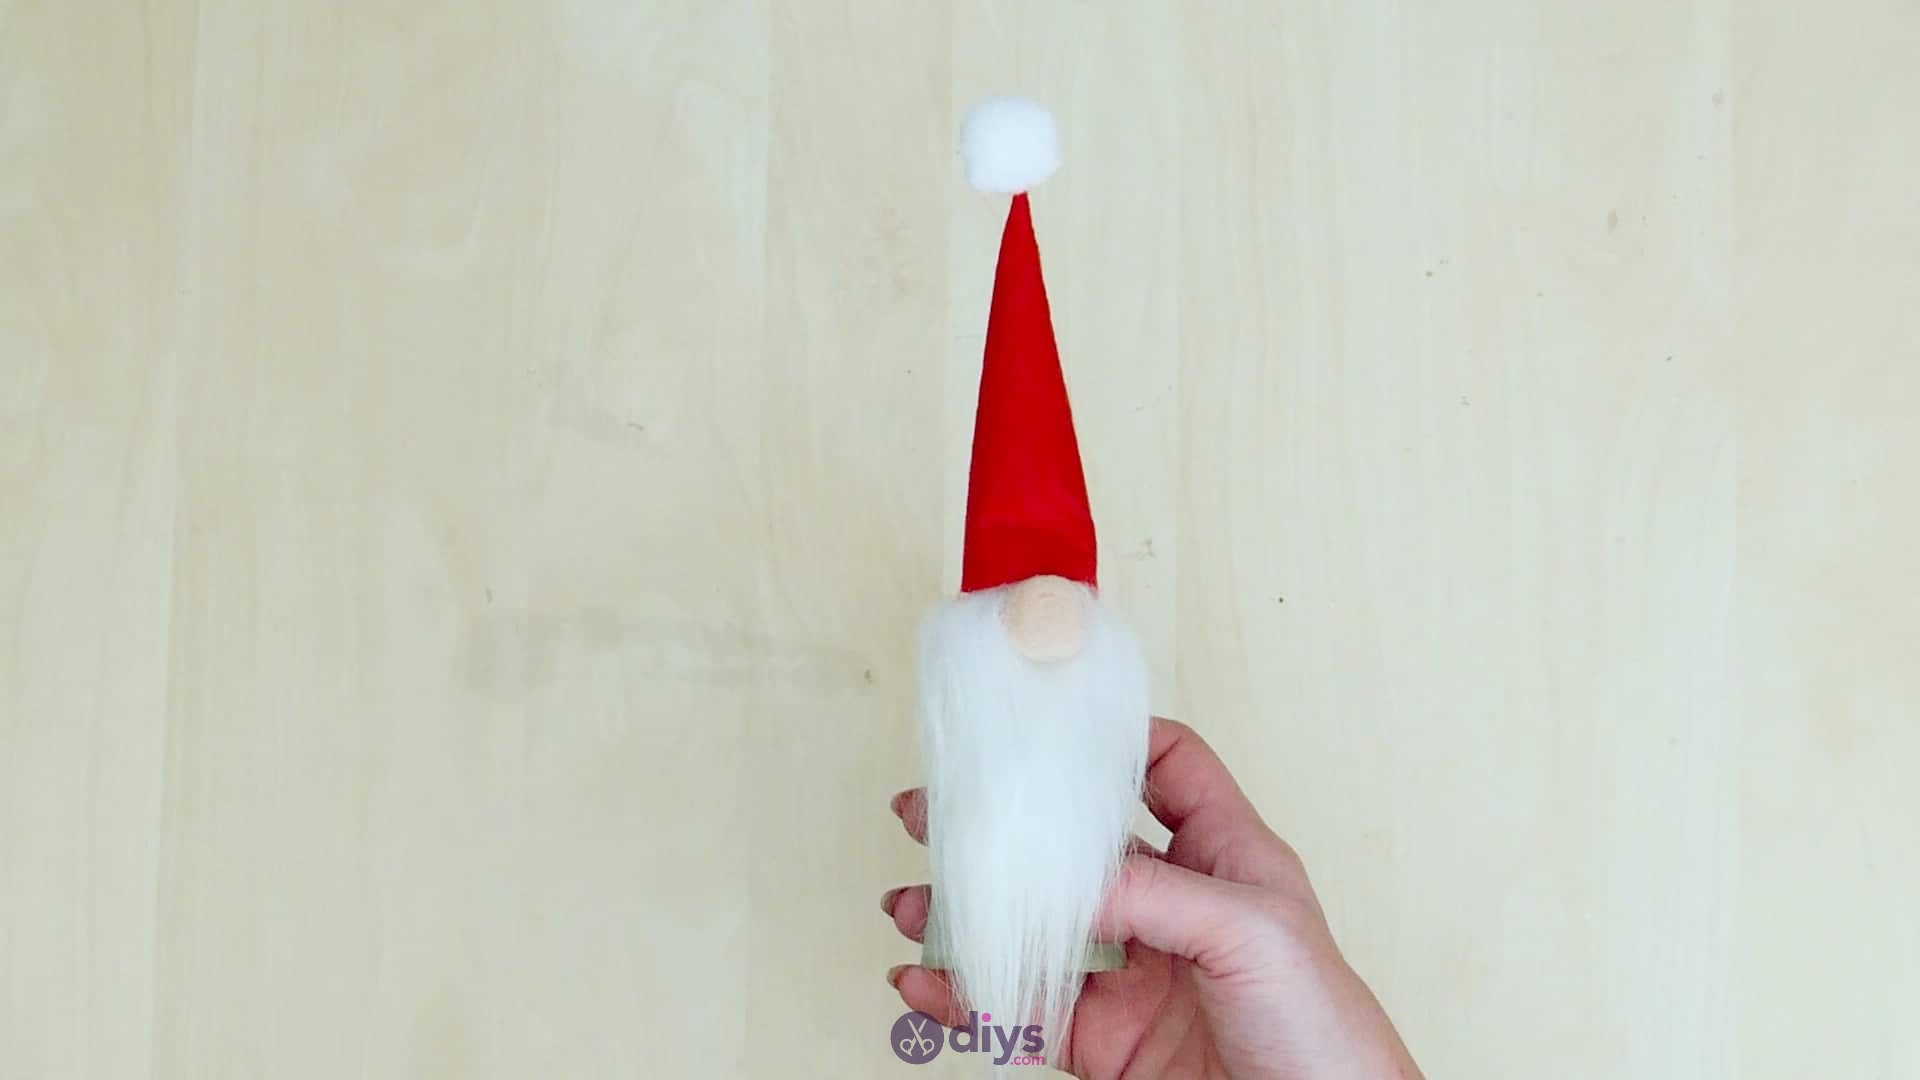
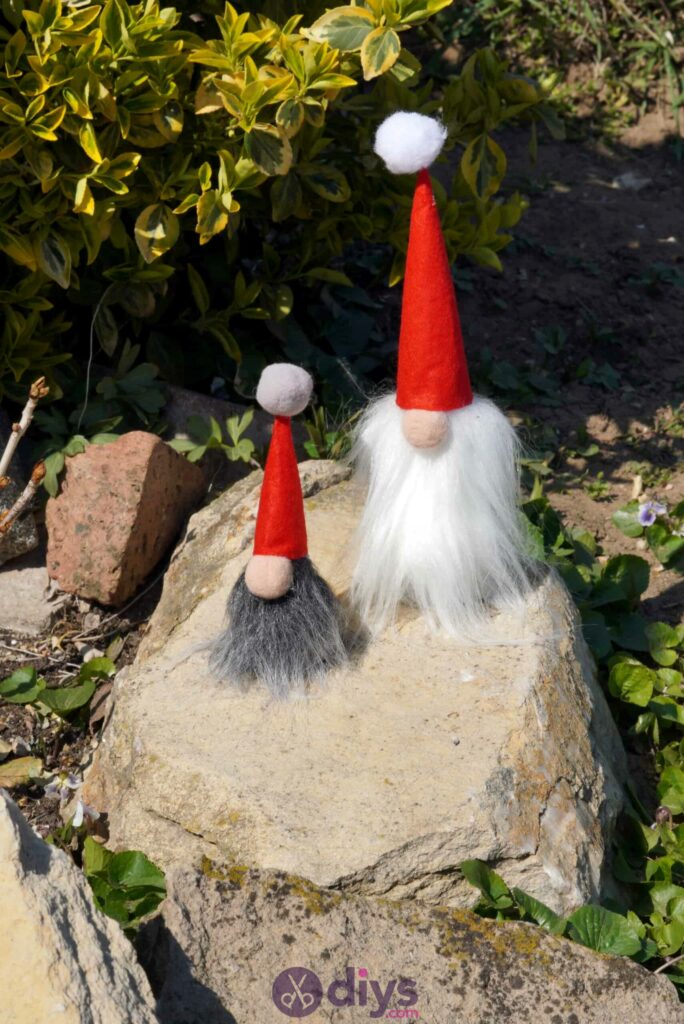
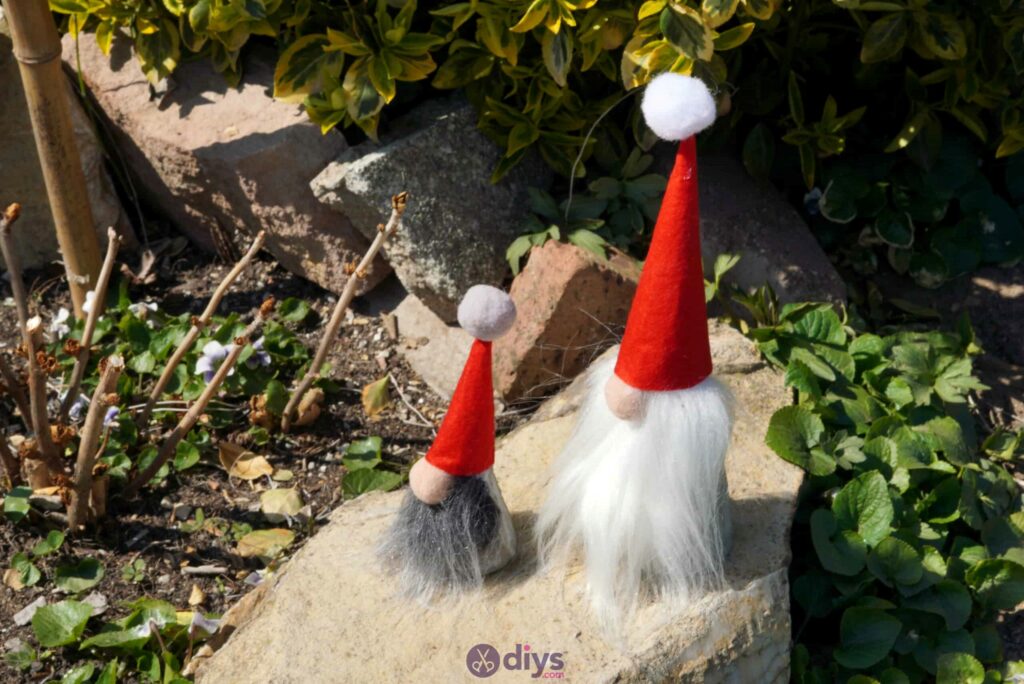
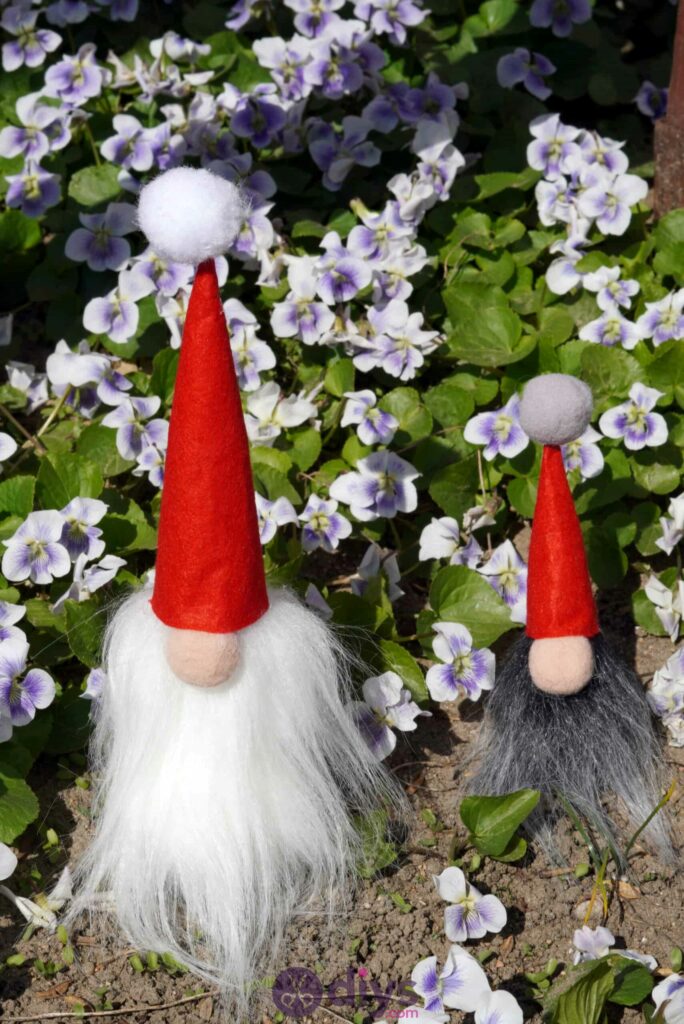
Your wise little gnome is all finished! Of course, you can always feel free to play with colours and embellishments however you please and simply use the steps that I outlined here as a basic guideline. Just in case you’d like to try this project out for yourself, here’s the promised video tutorial!
