DIY Concrete Flower Stand
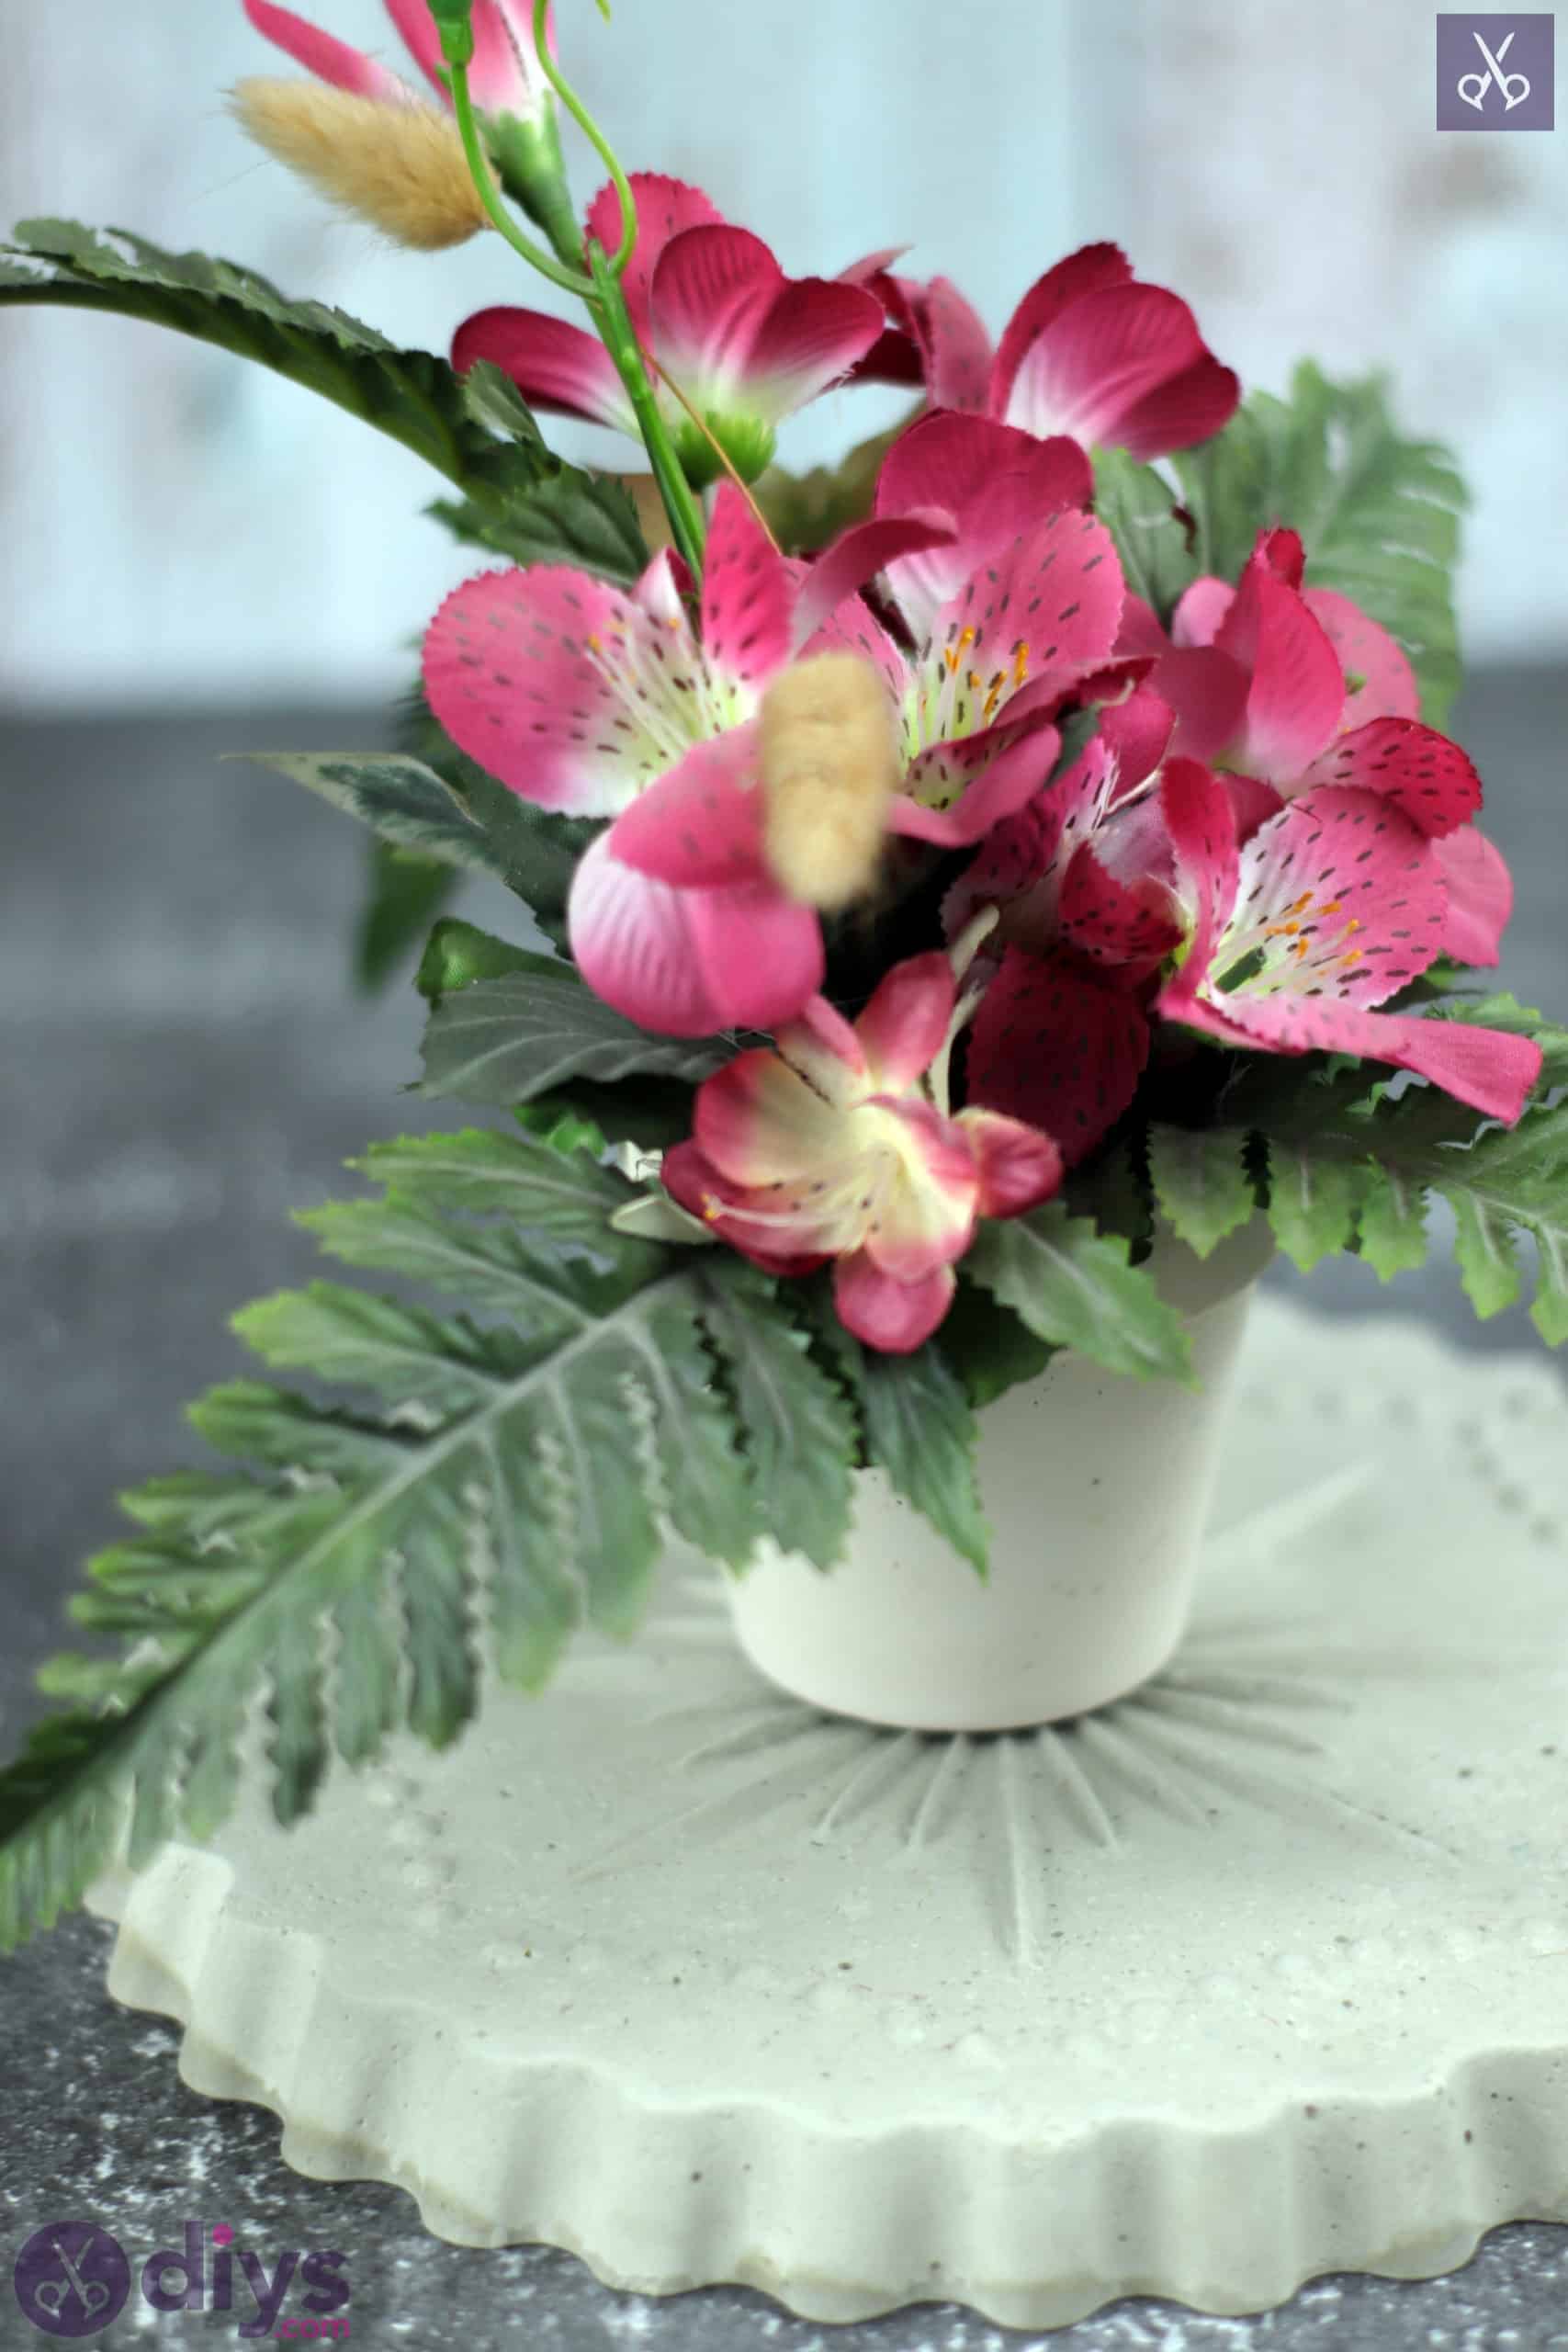
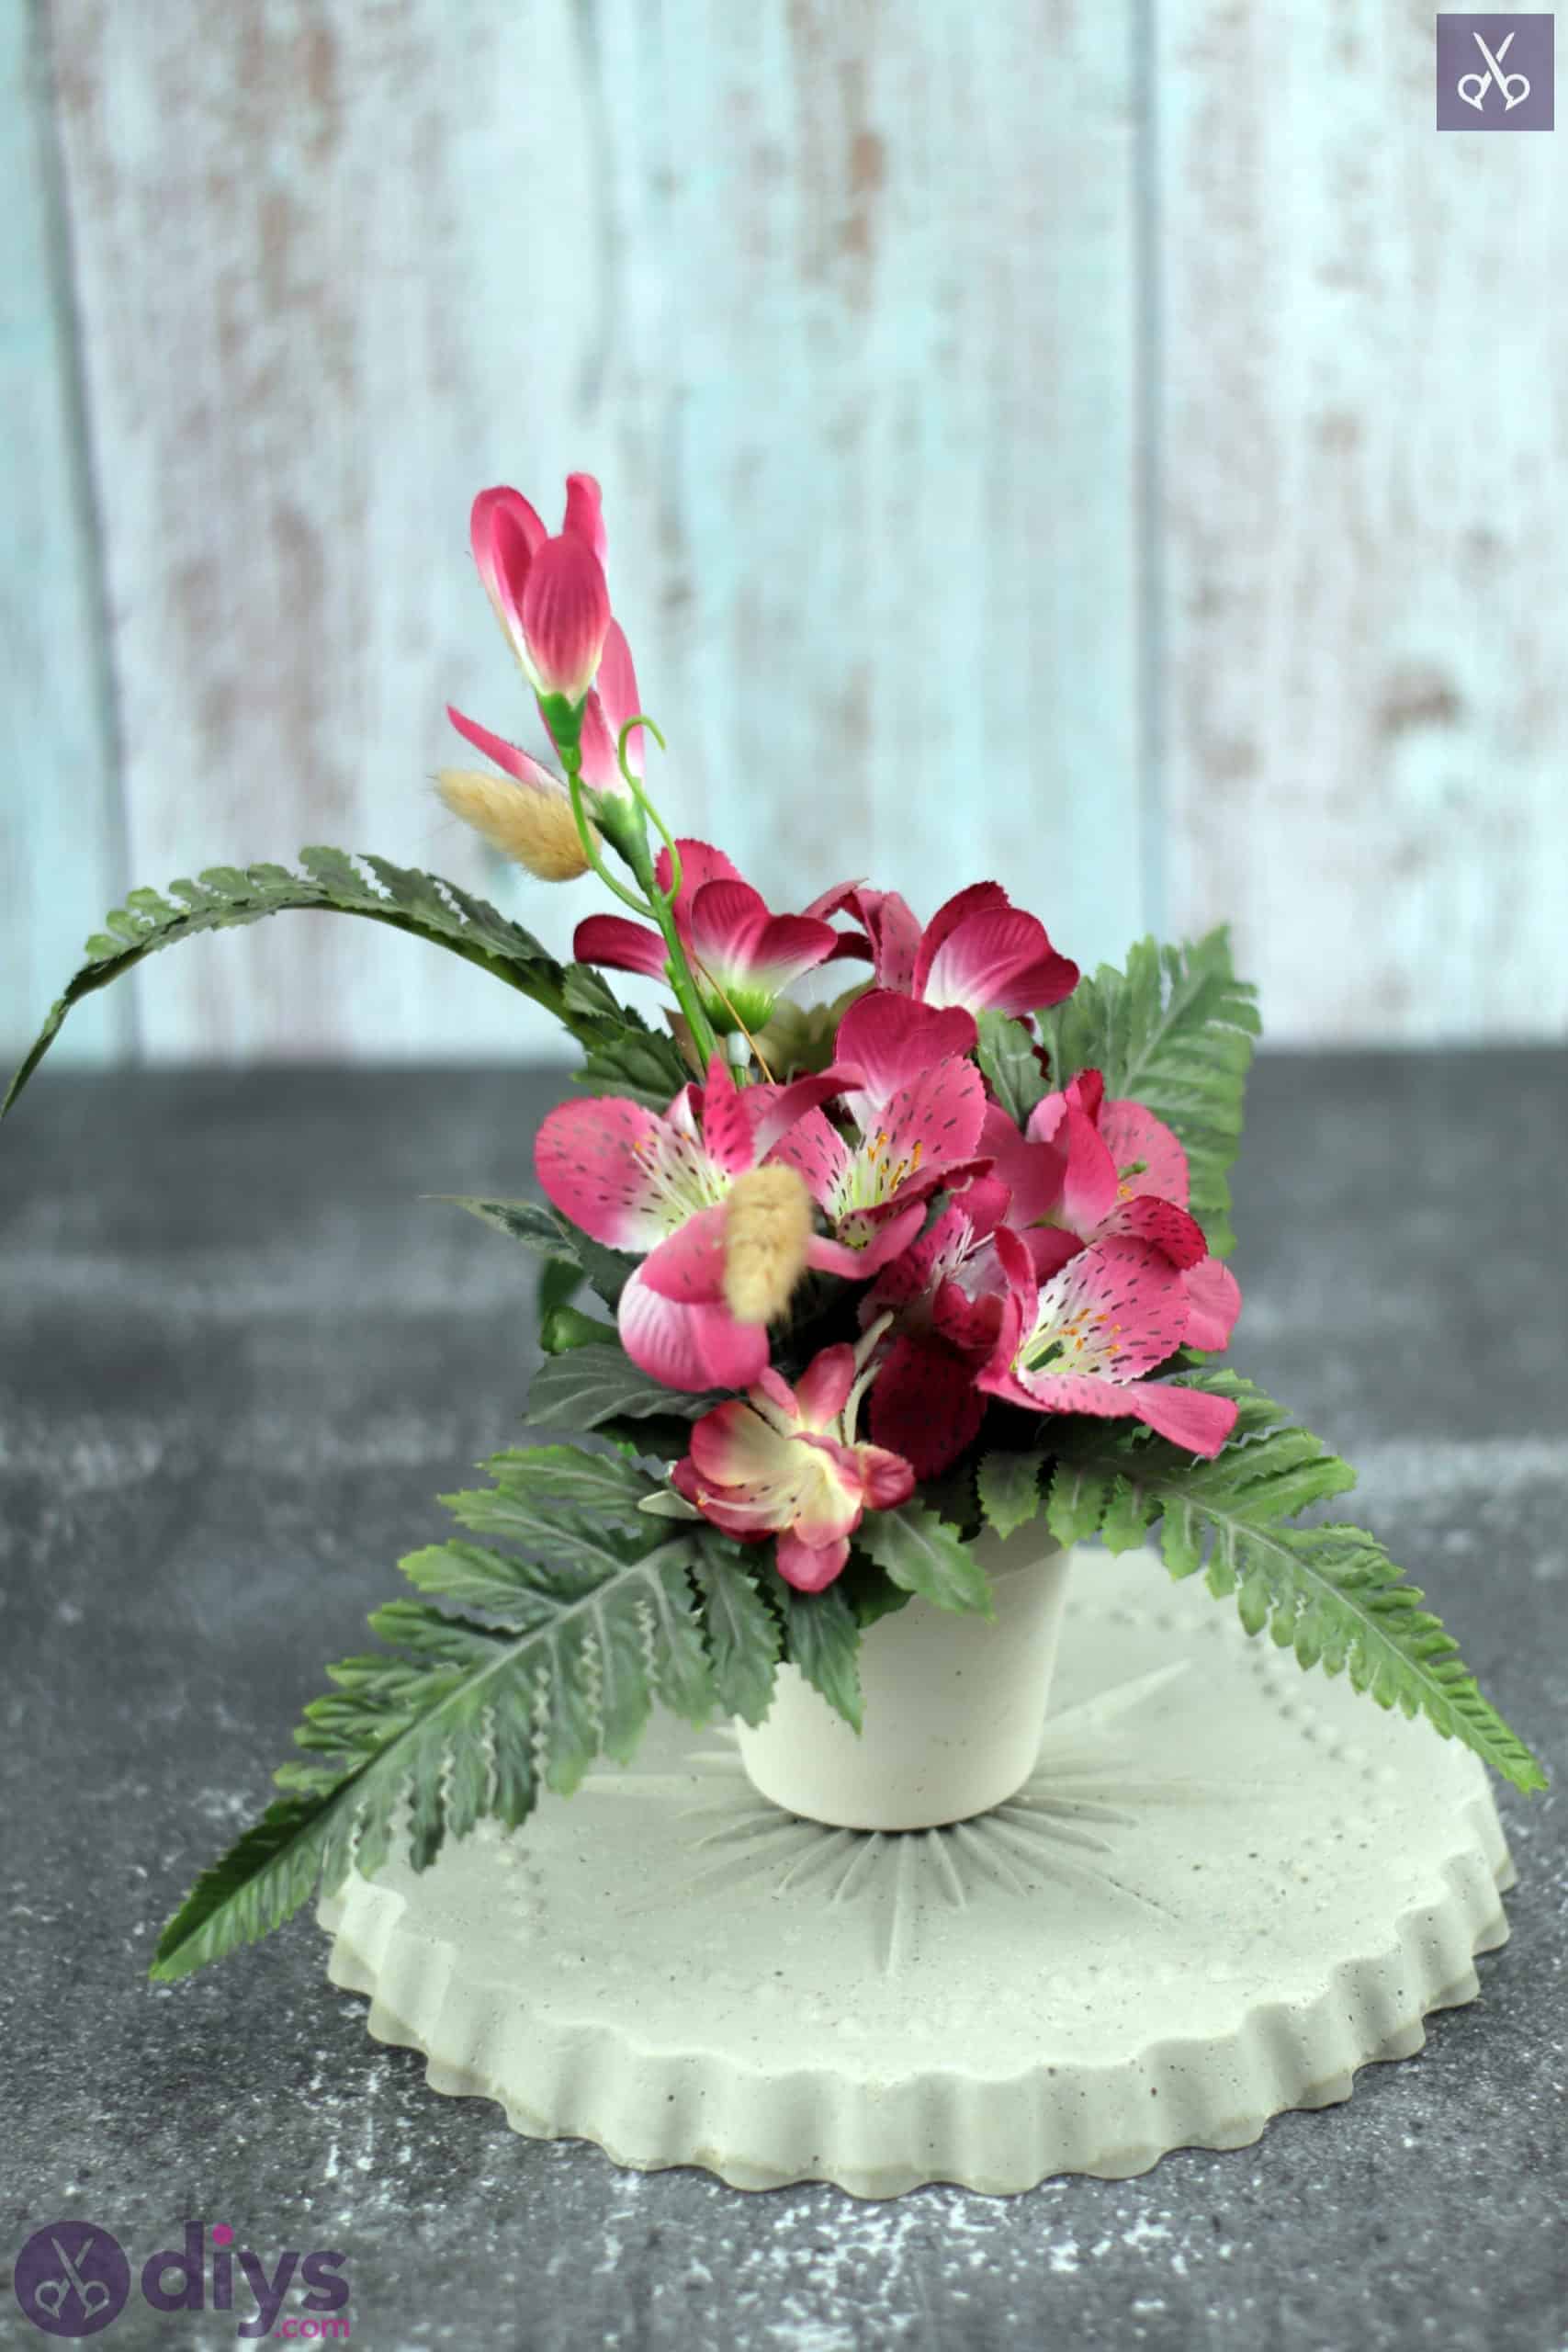
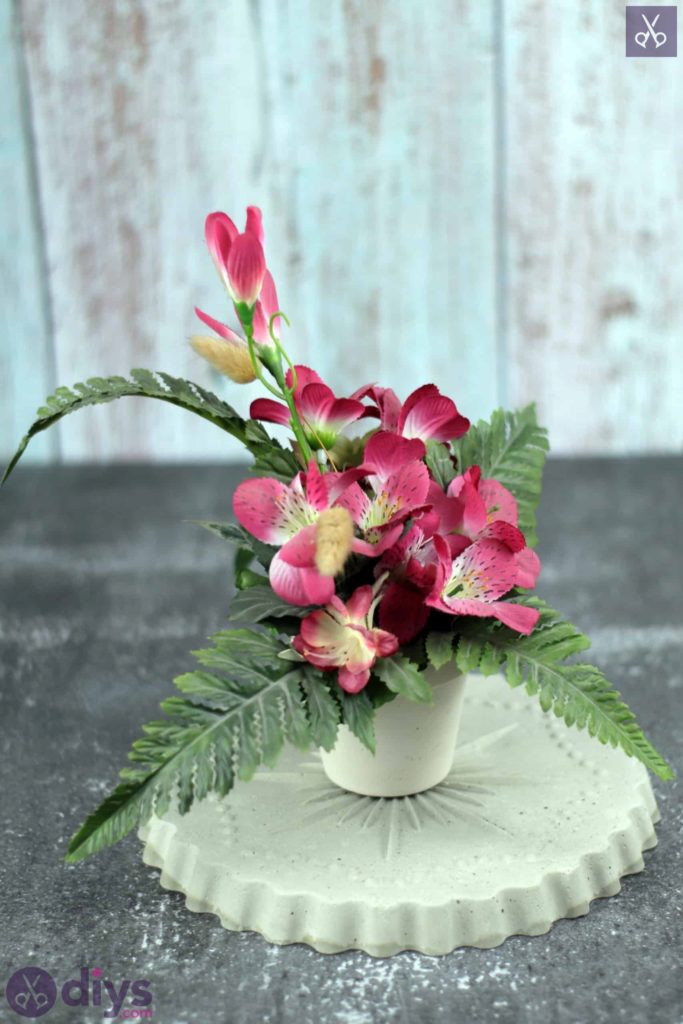
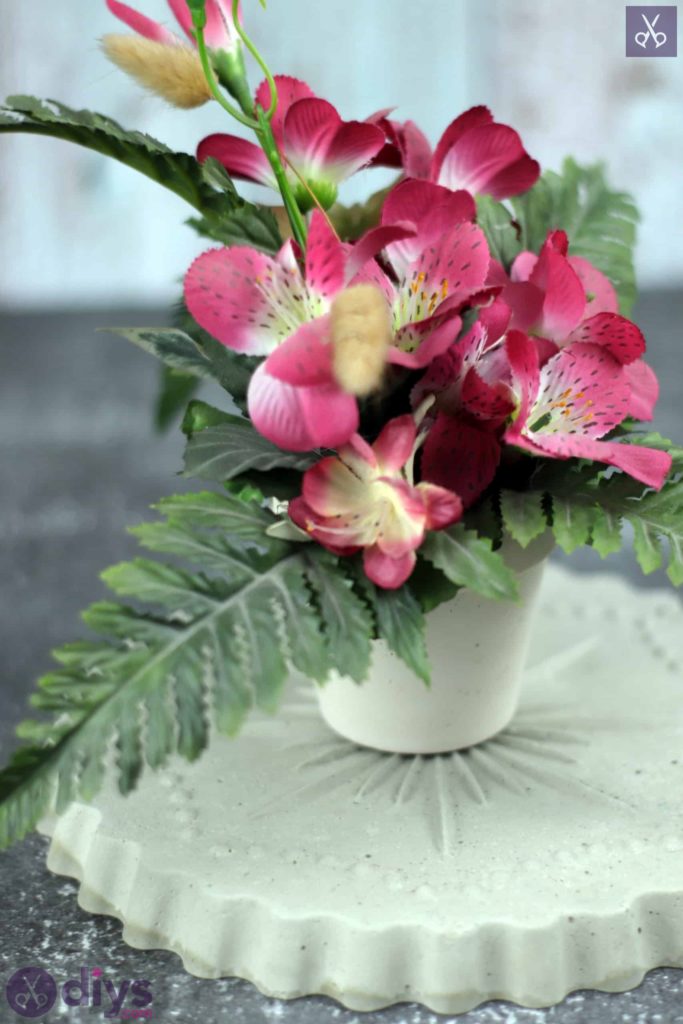
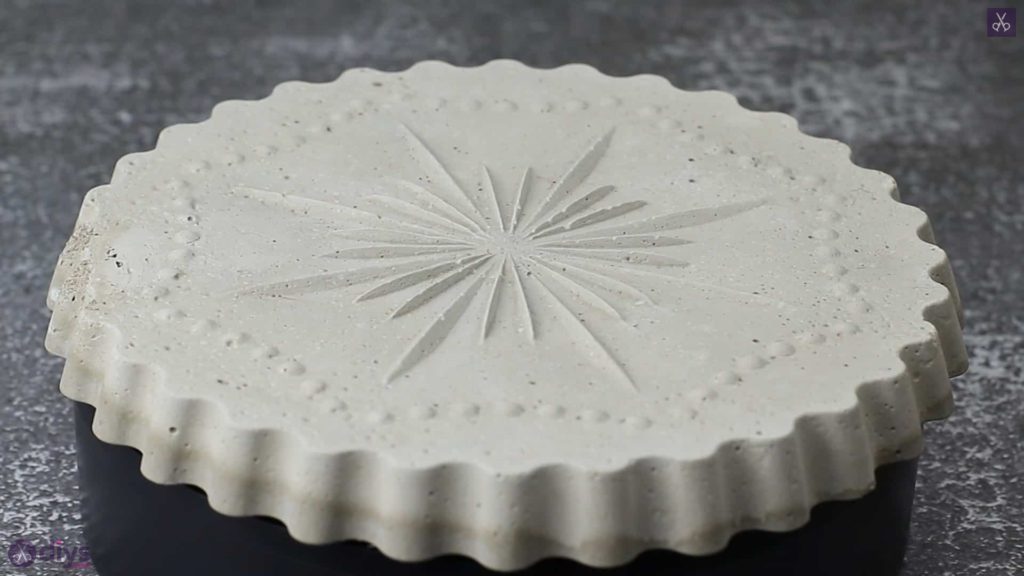
My home decor based loved for exposed concrete and cement has lead to a total DIY cement crafts obsession lately and, since I’m also the kind of person whoalways has flowers on display, it was only a matter of time before I found a way to combine all of these things together into some kind of crafty yet practical piece. That’s how this concrete flower stand came about!
As usual, I decided to document the steps I took in making this project as I went, which turned out to be a wise decision because I ended up so pleased with my finished results. Check out these step by step instructions complete with photos! If you’d rather follow along with a video tutorial instead of written words, scroll to the bottom of this post to find just what you’re looking for.
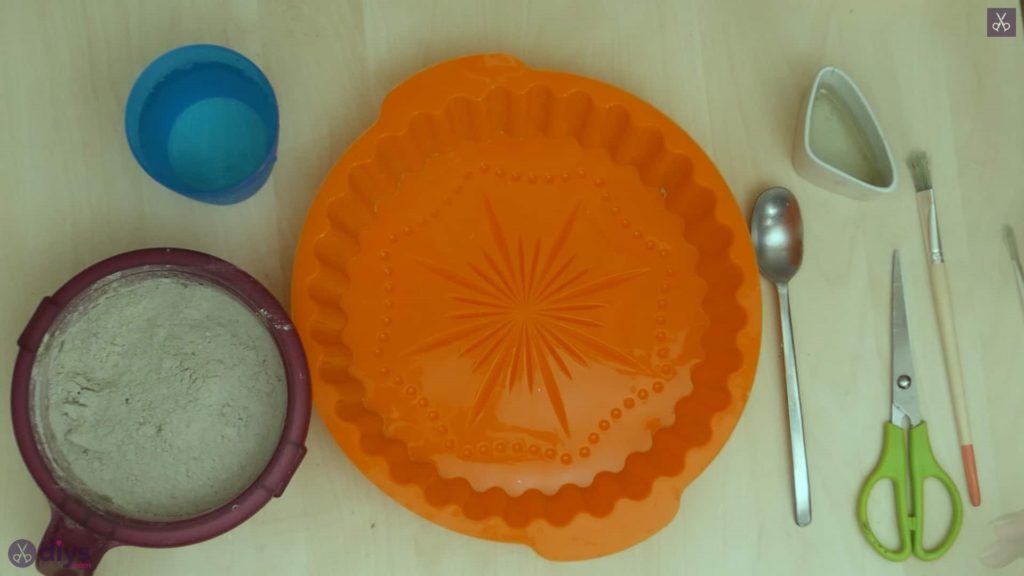
For this project, you’ll need:
- DIY fine particle cement
- Water
- Scissors
- A Paintbrush
- A spoon
- Oil
- A silicone form
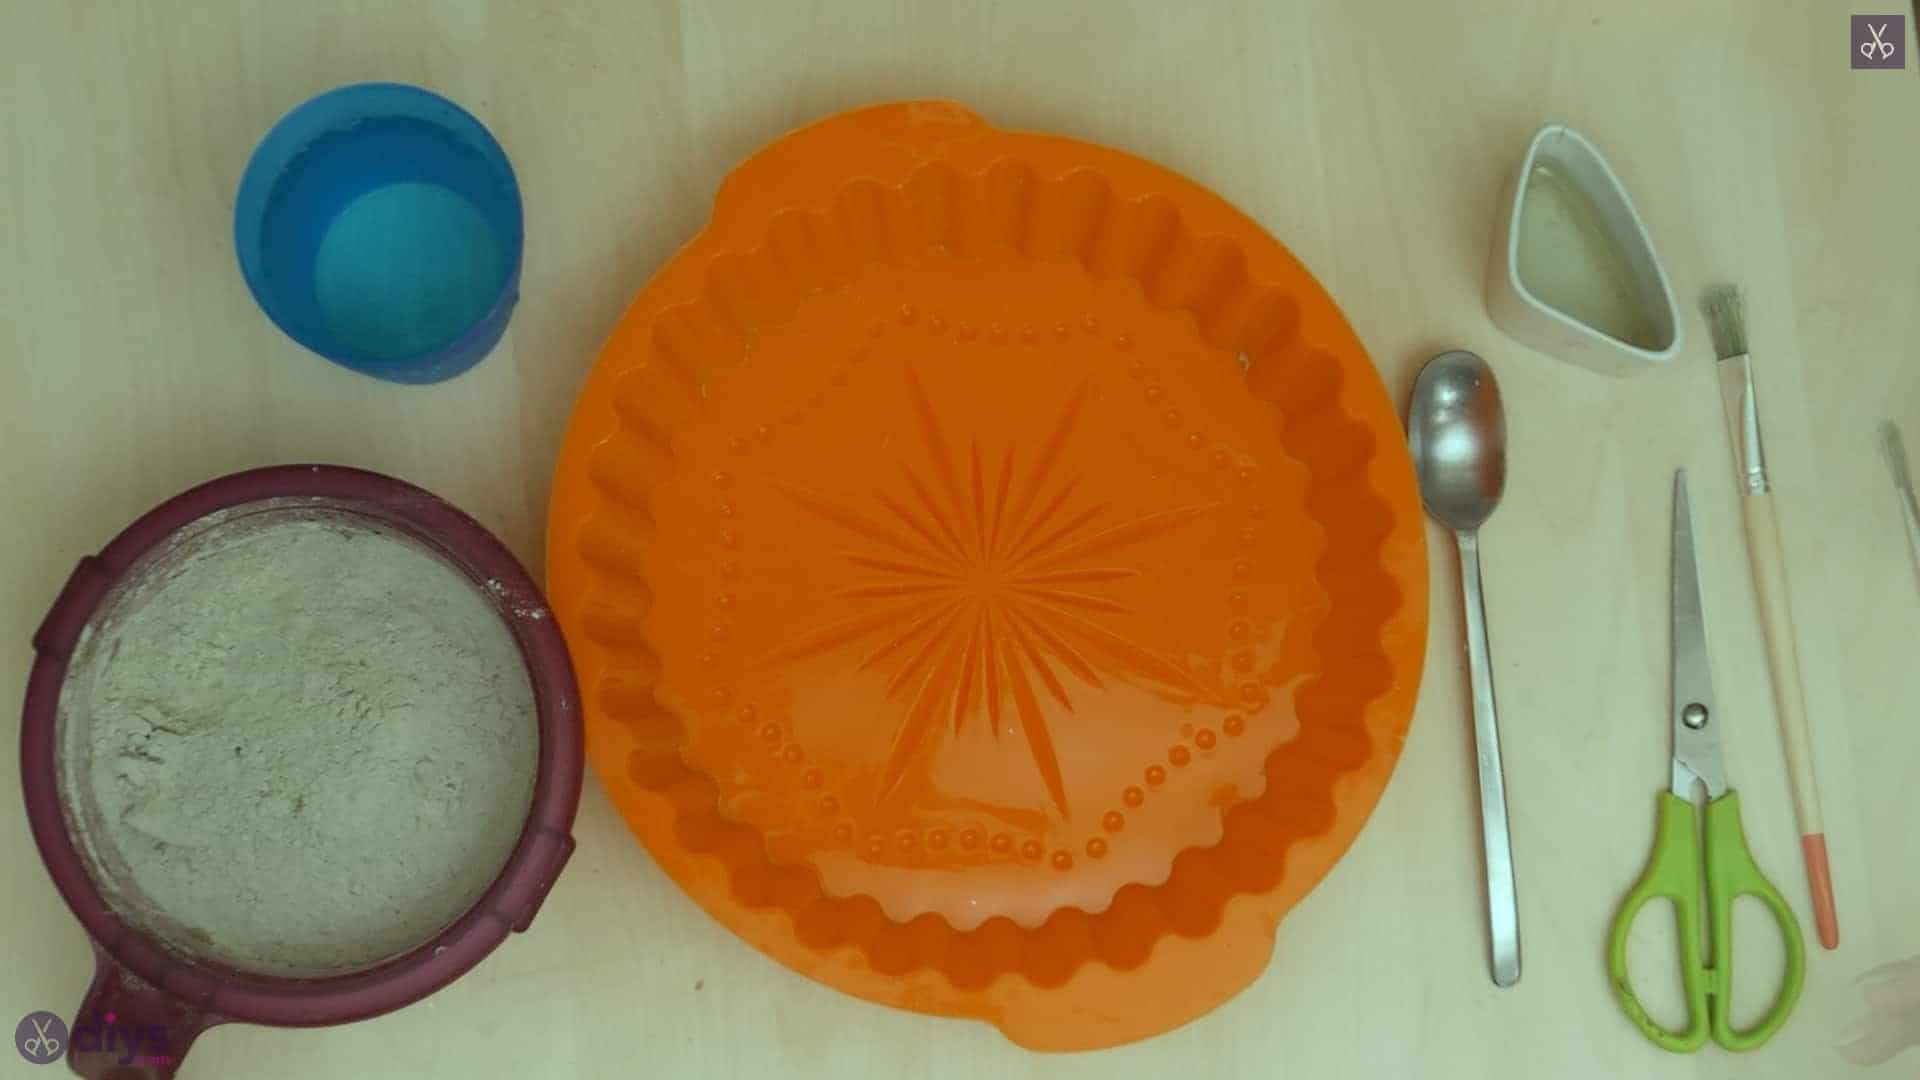
Step 1: Gather your materials!
Go over your list and get everything you need first.
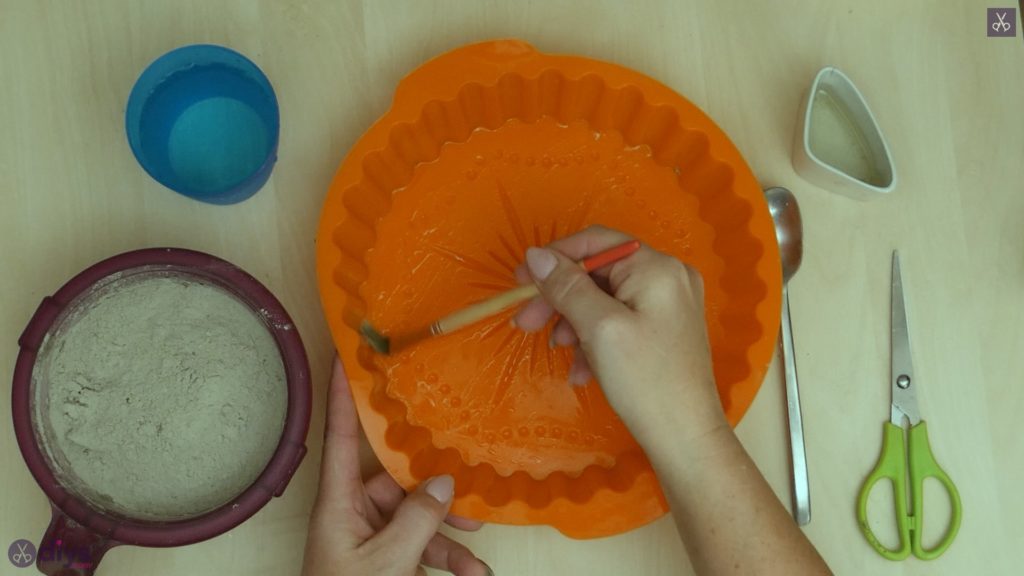
Step 2: oil the molds
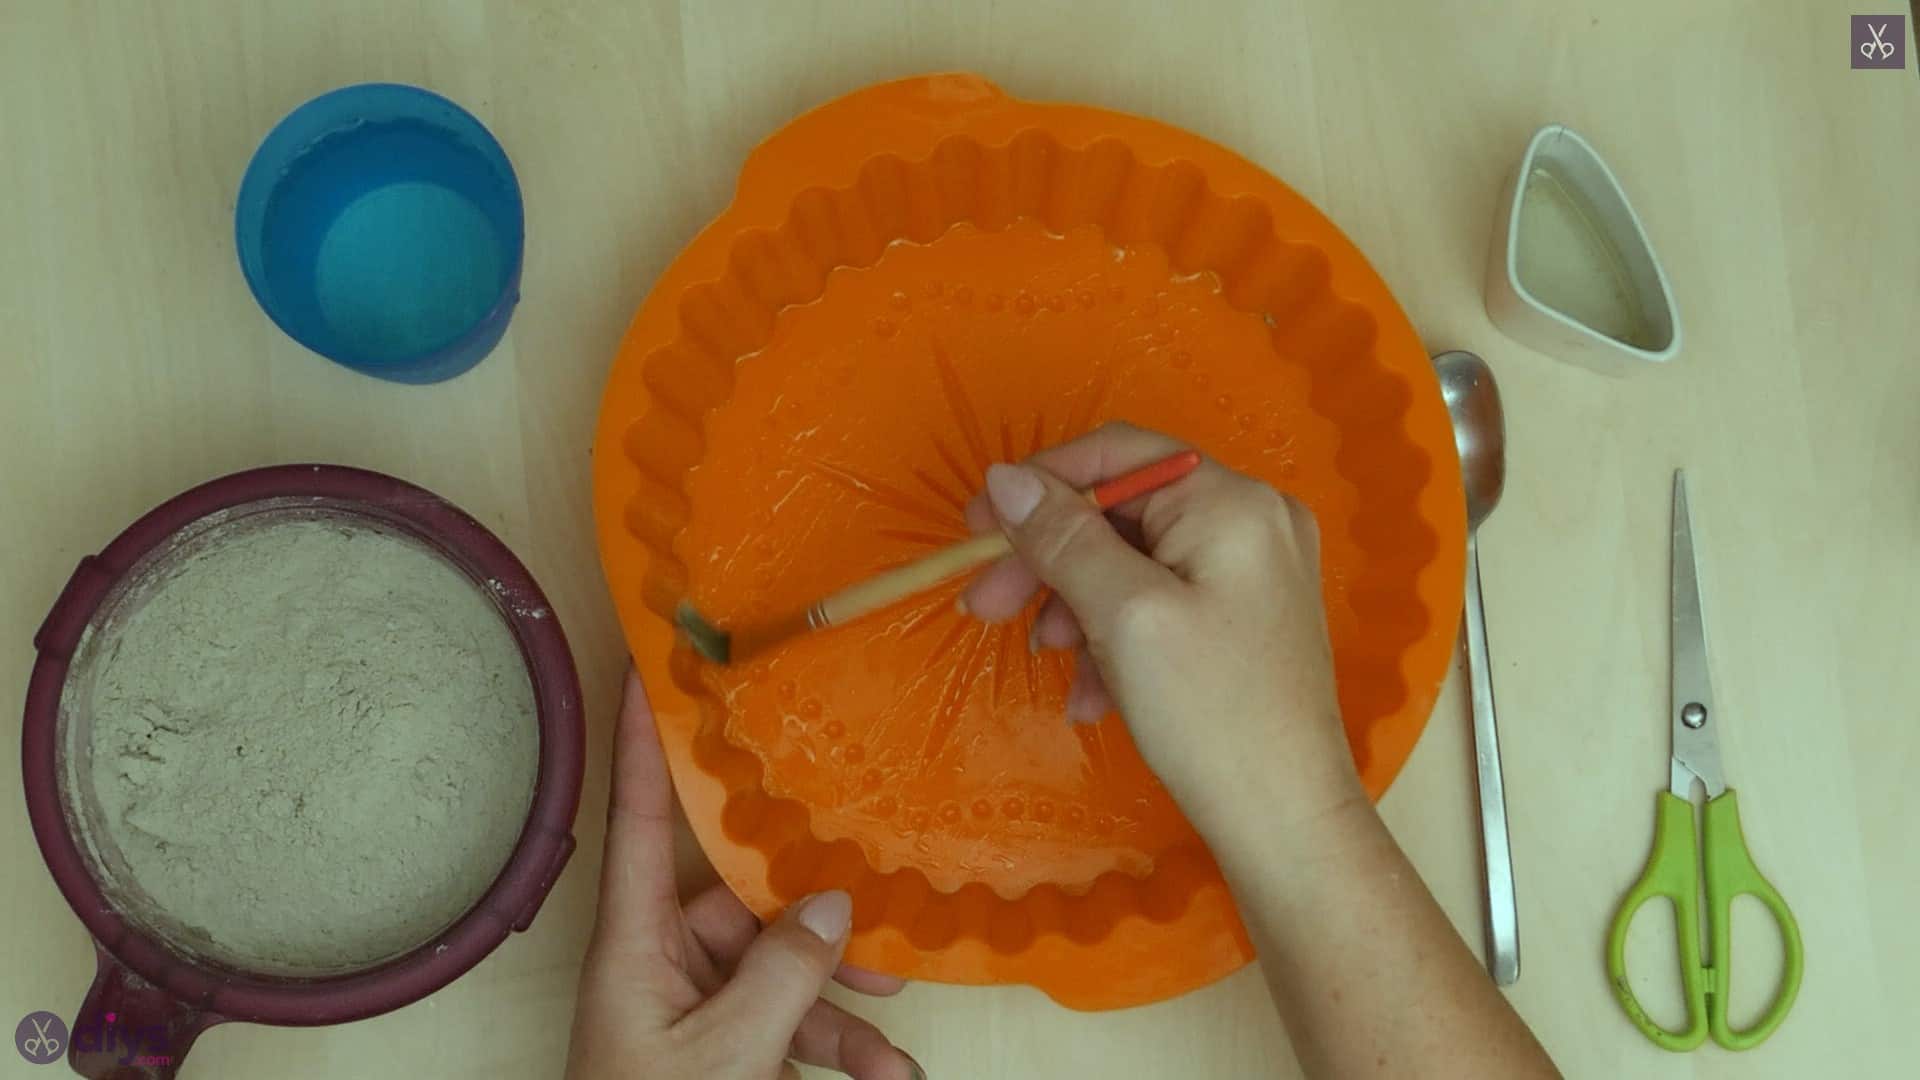
Use your paintbrush to coat the entire inner surface of your silicone form with oil, all across the bottom and up the sides. This will stop the DIY cement from sticking to the form as the mixture dries and make it easier to remove your final piece later.
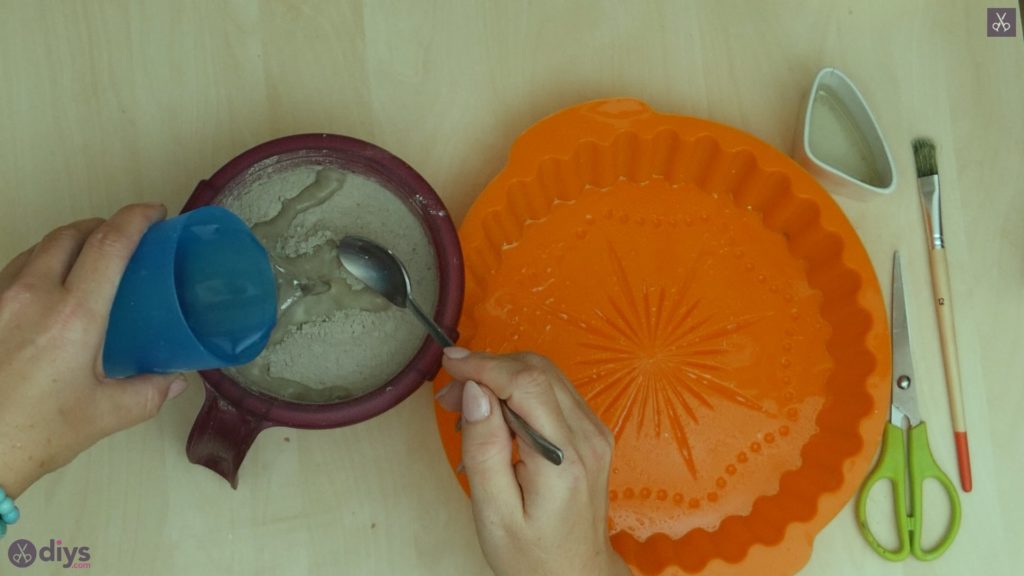
Step 3: mix the concrete
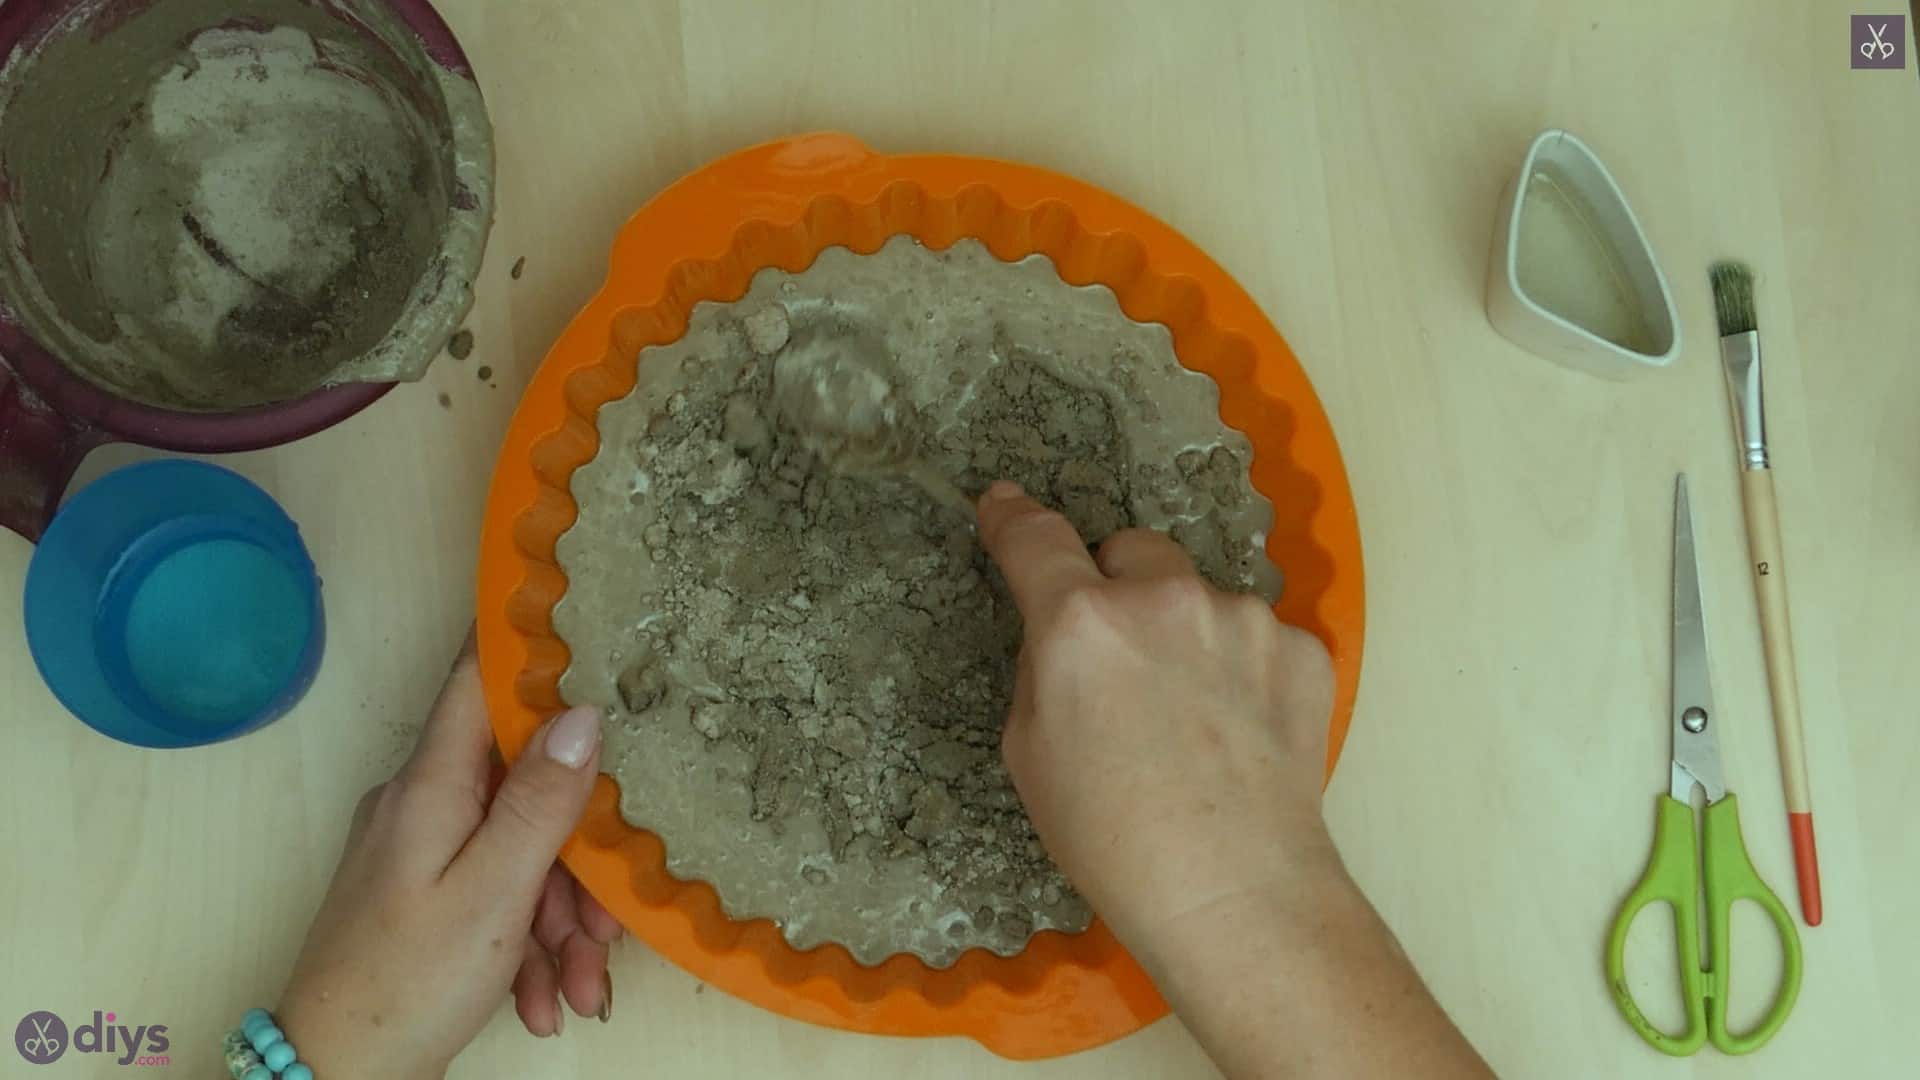
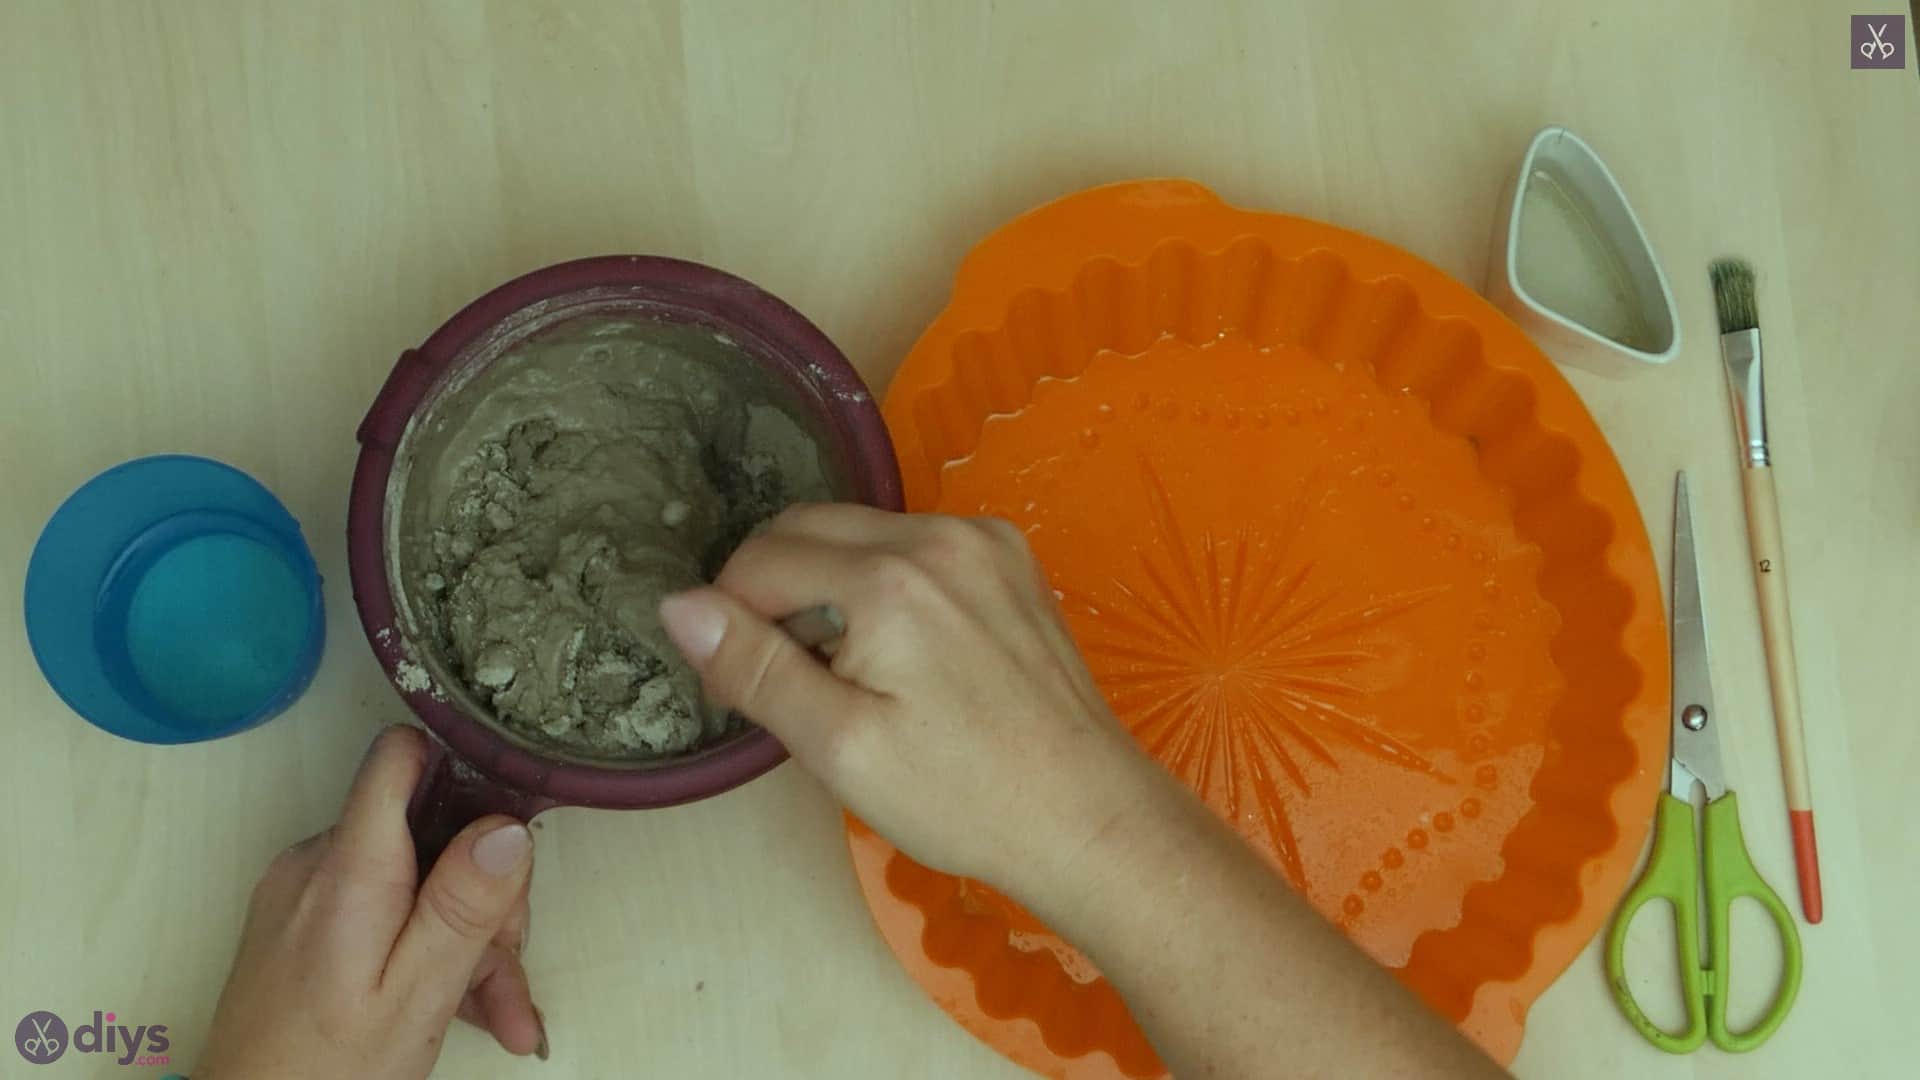
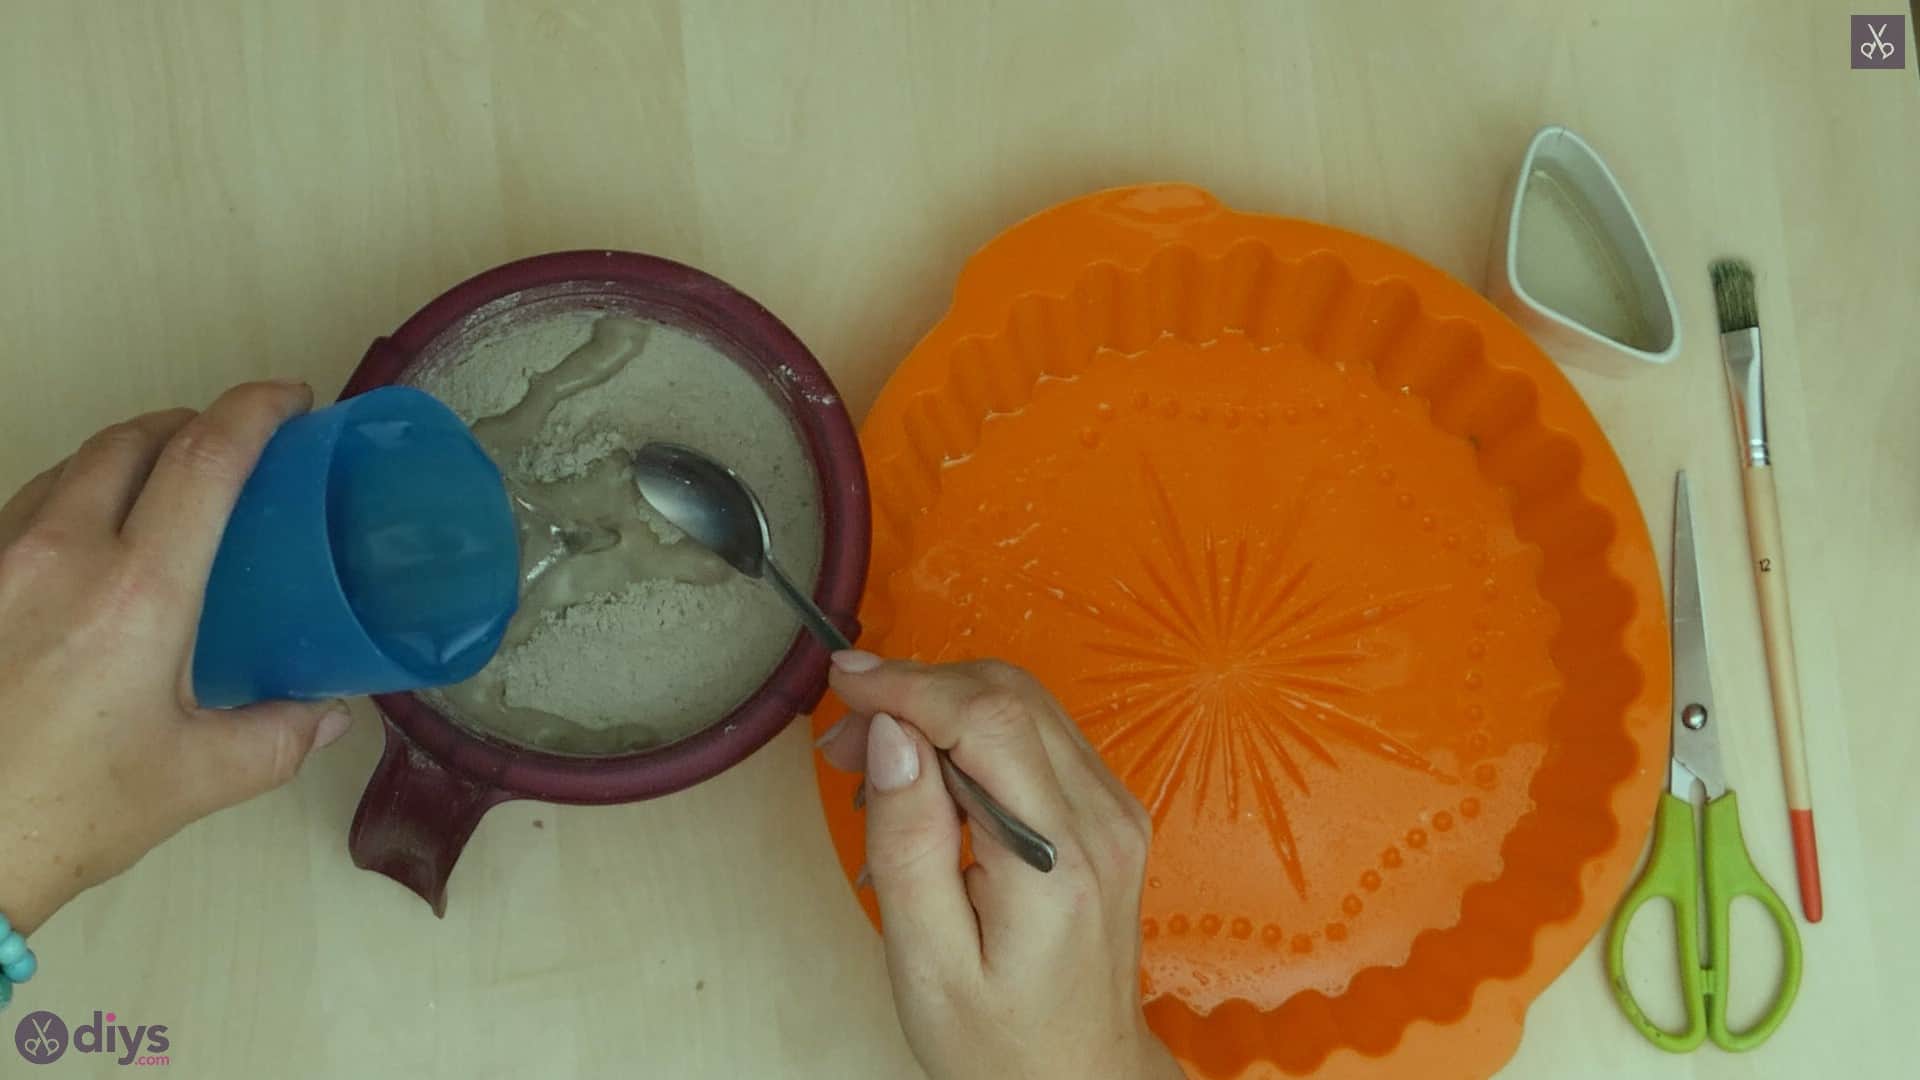
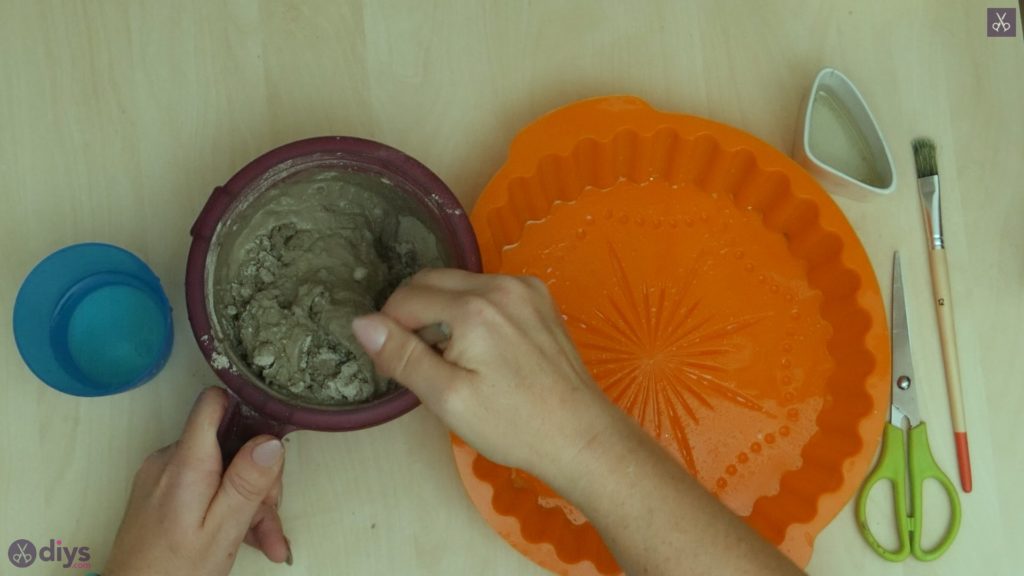
Add water to your DIY fine particle cement mix and stir it with your spoon until it’s free of clumps and you have the right consistency! Follow the instructions on the back of your package to get the specific ratio of water to cement mix right, as it can vary from brand to brand.
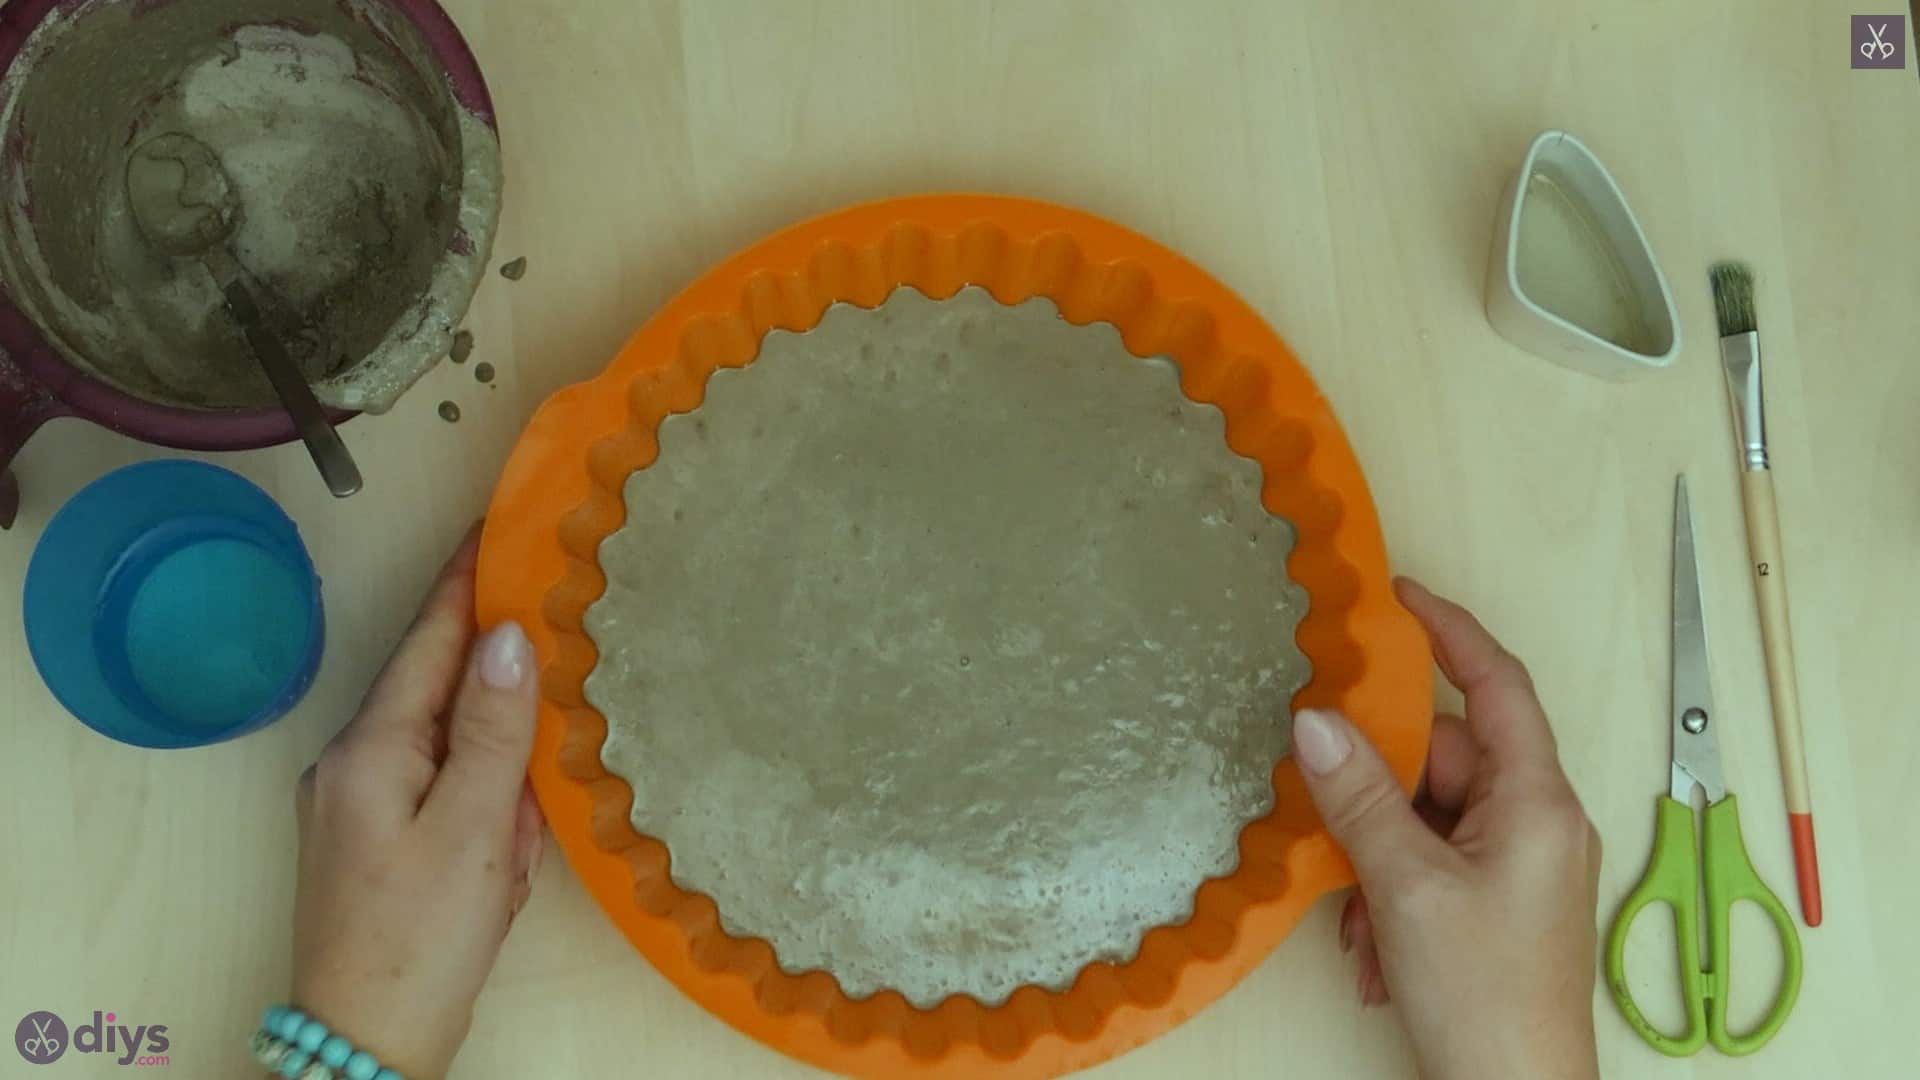
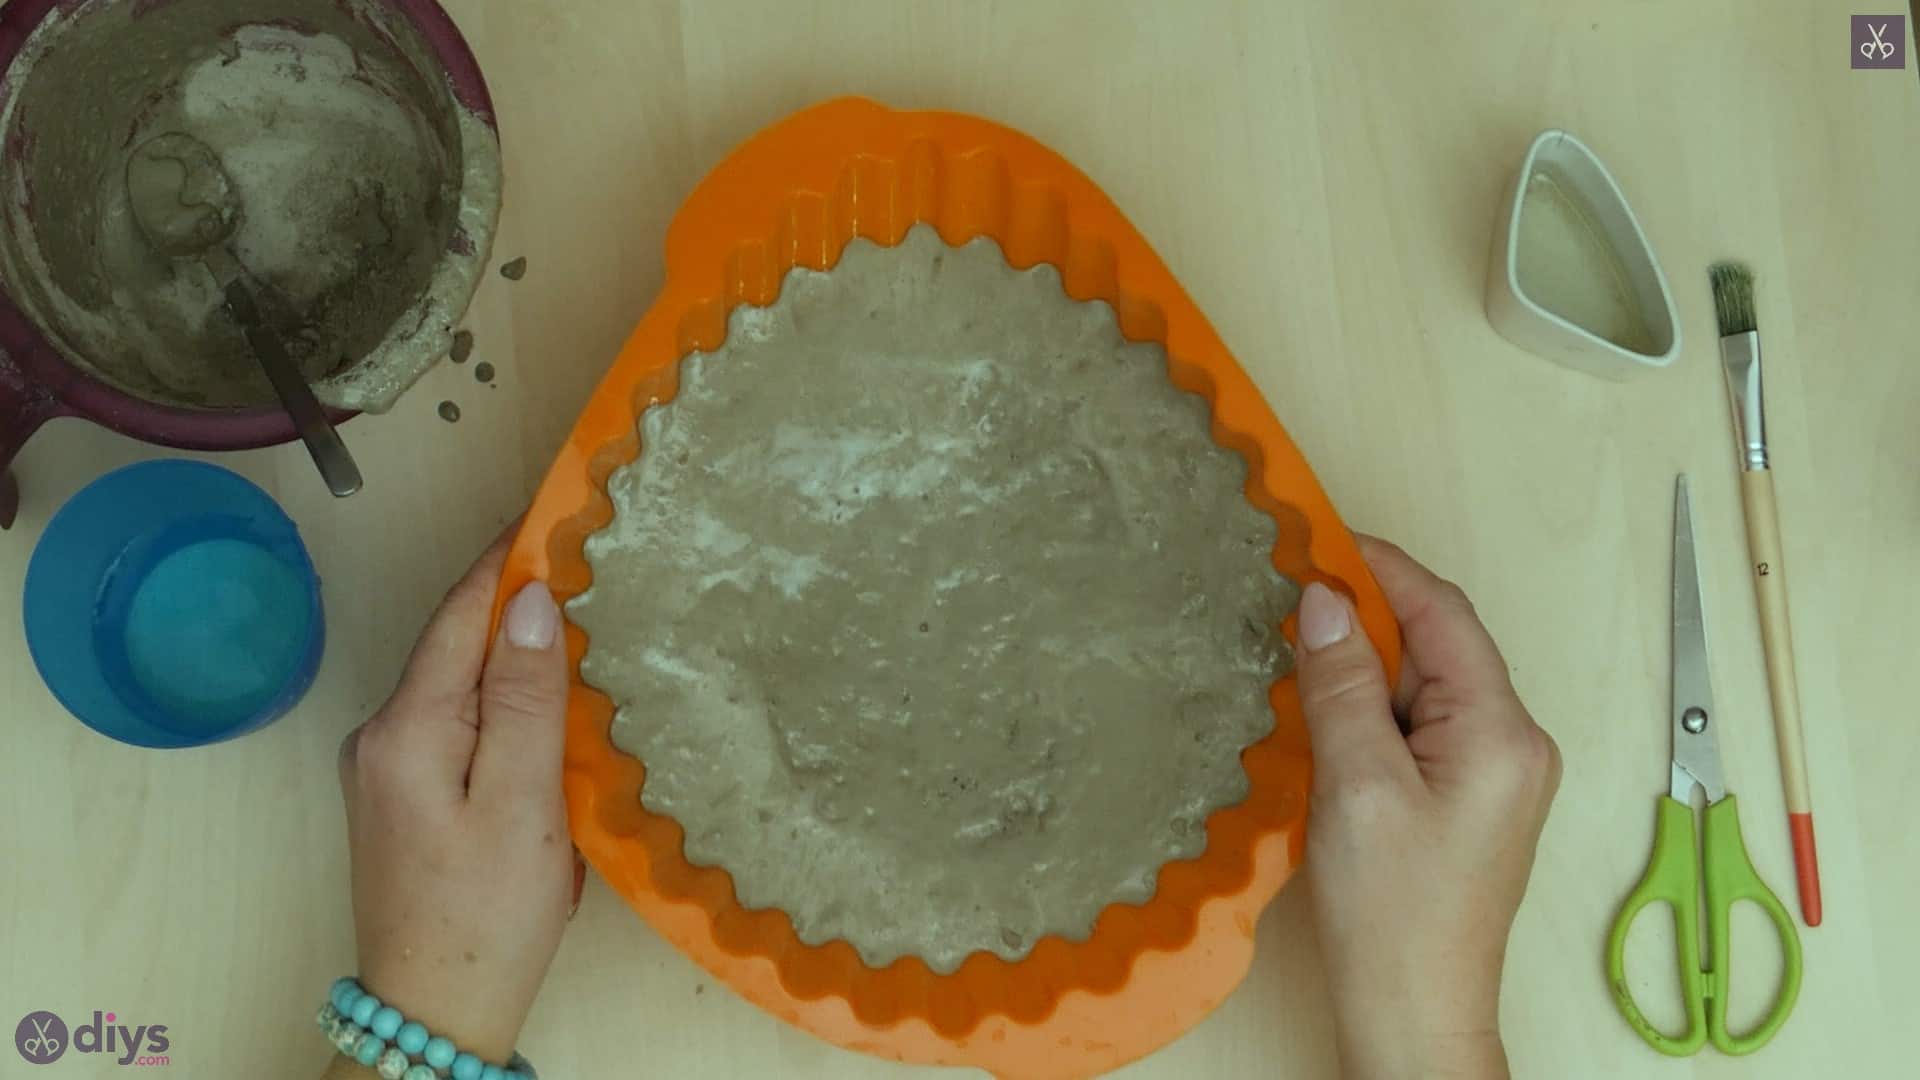
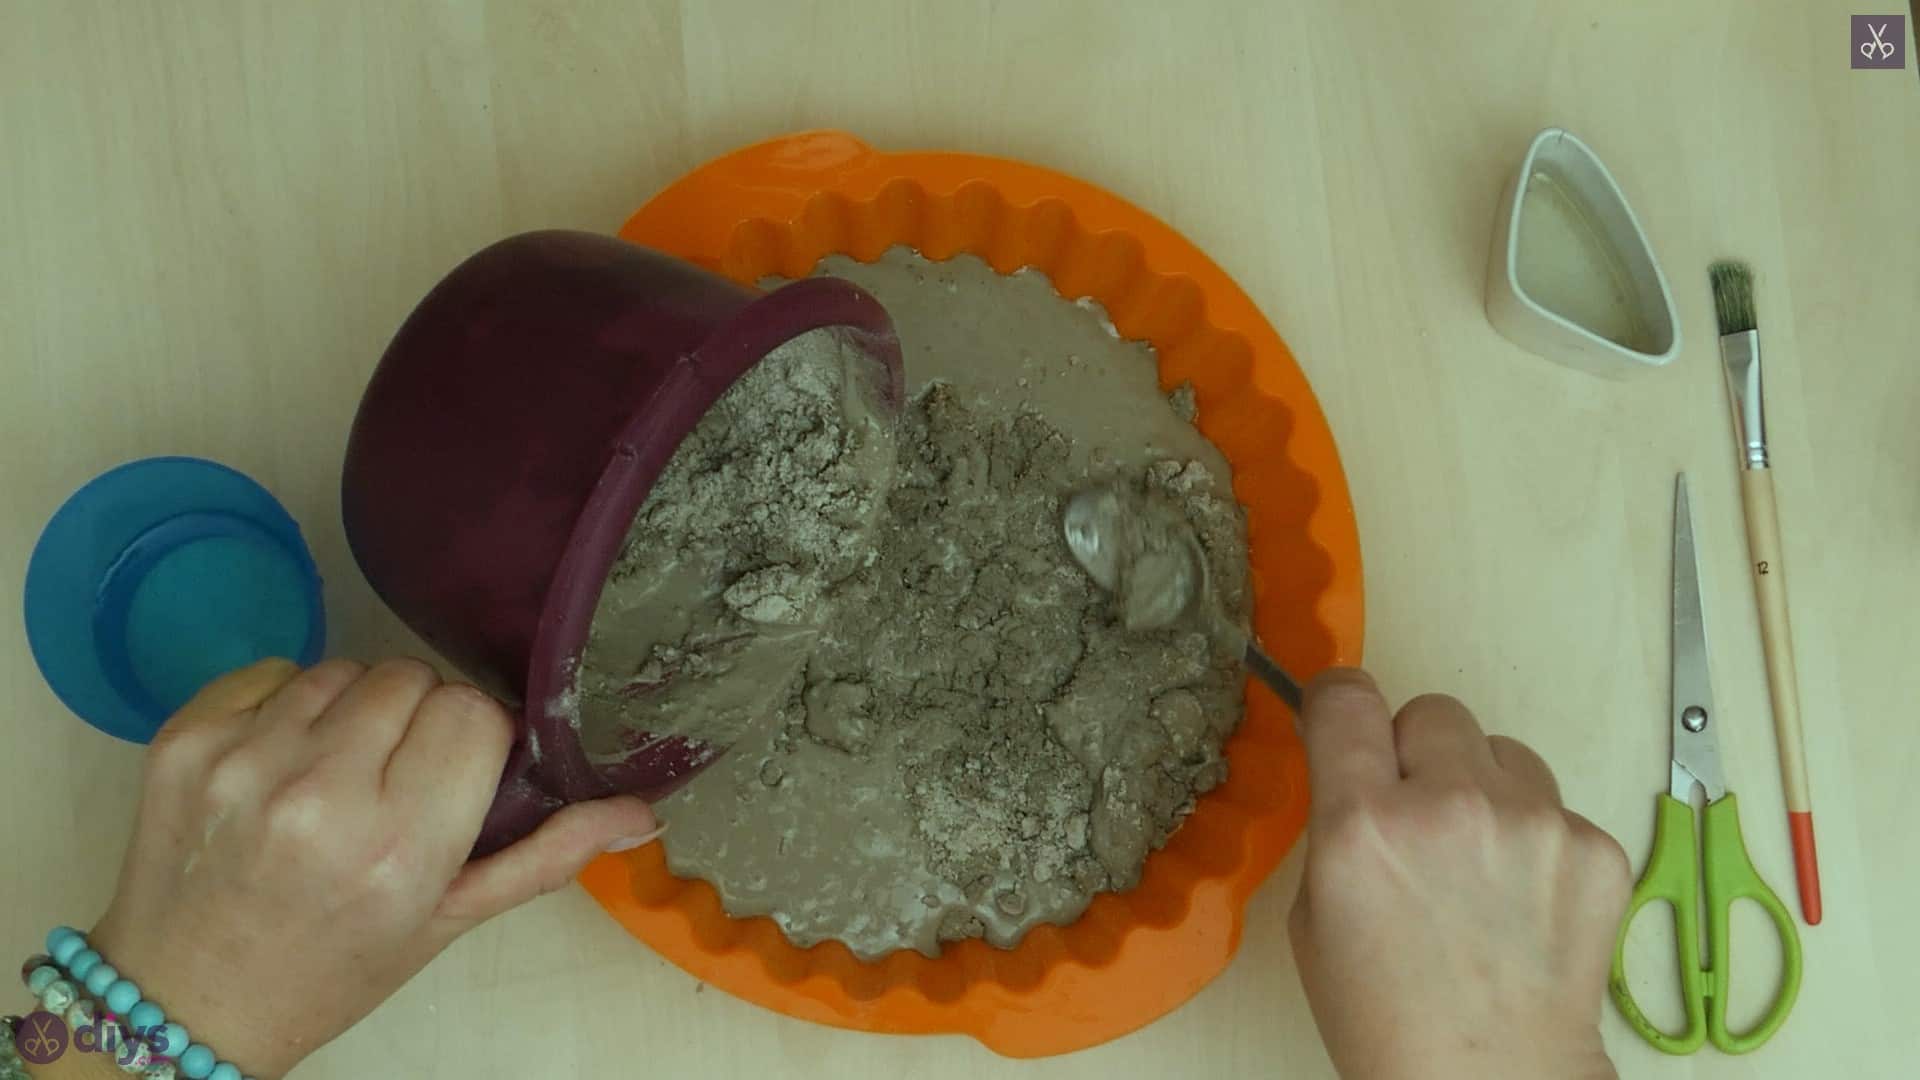
Step 4: pour the concrete
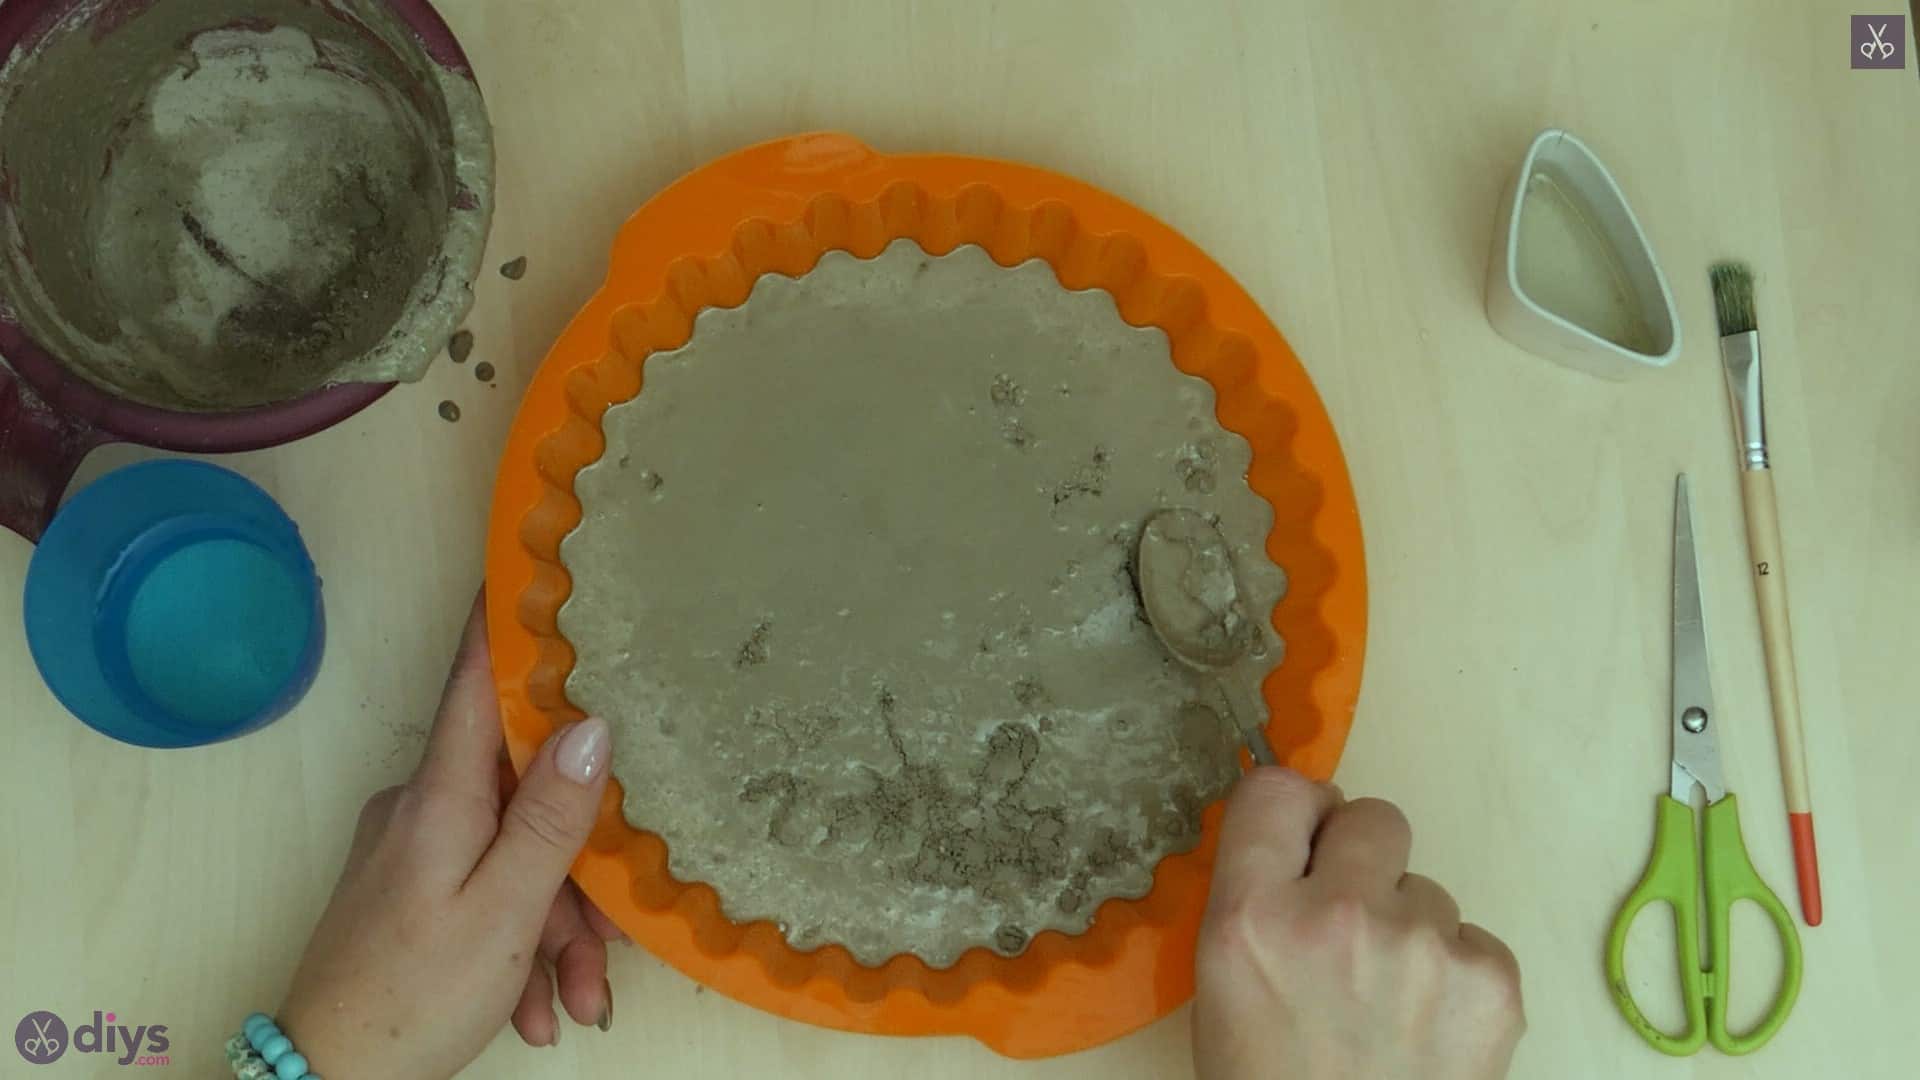
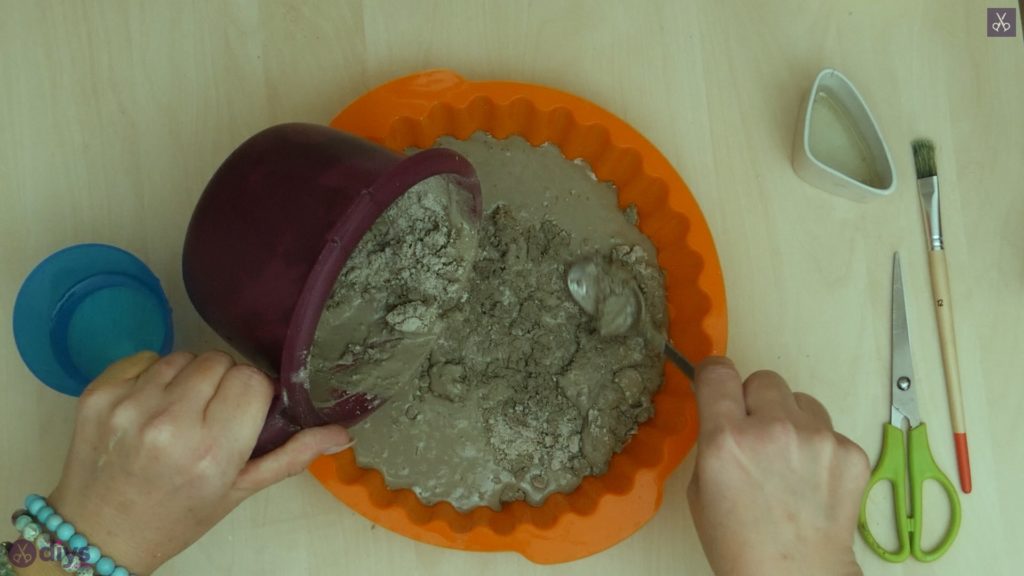
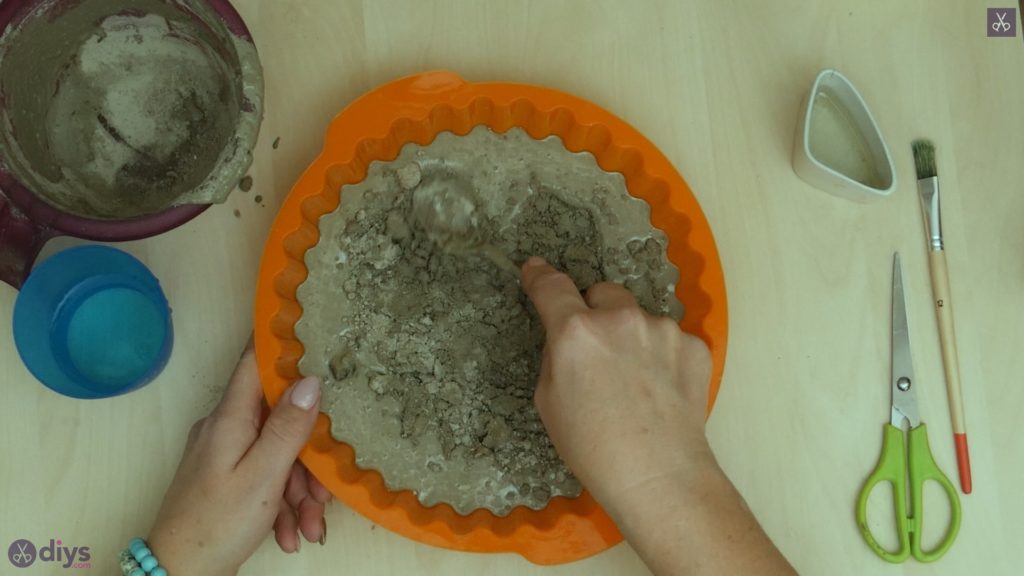
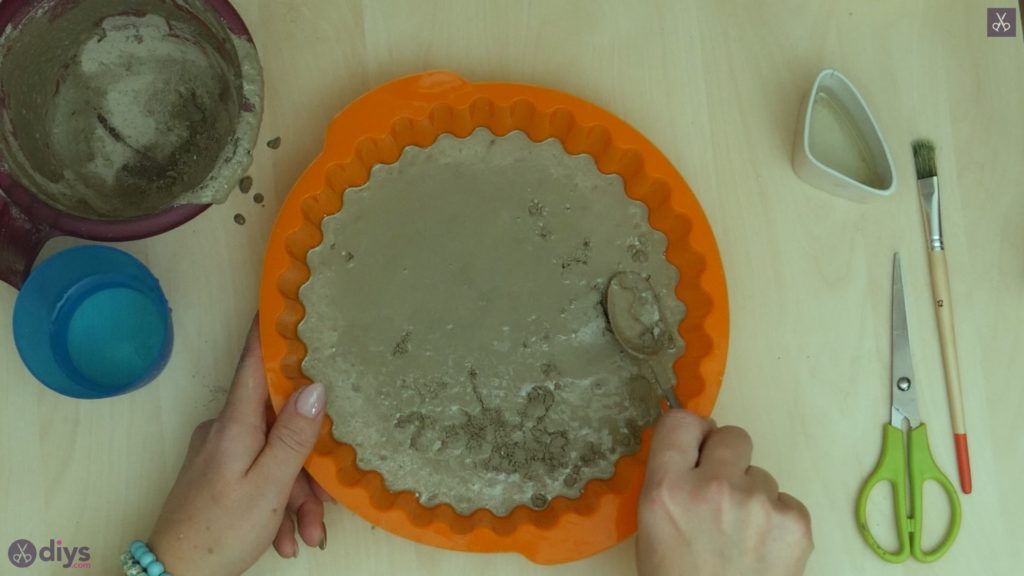
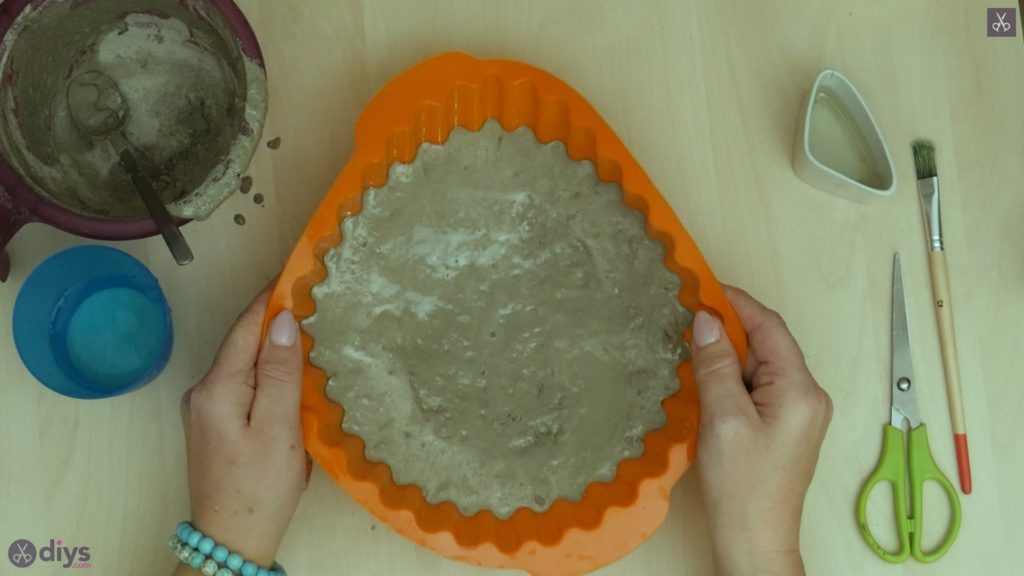
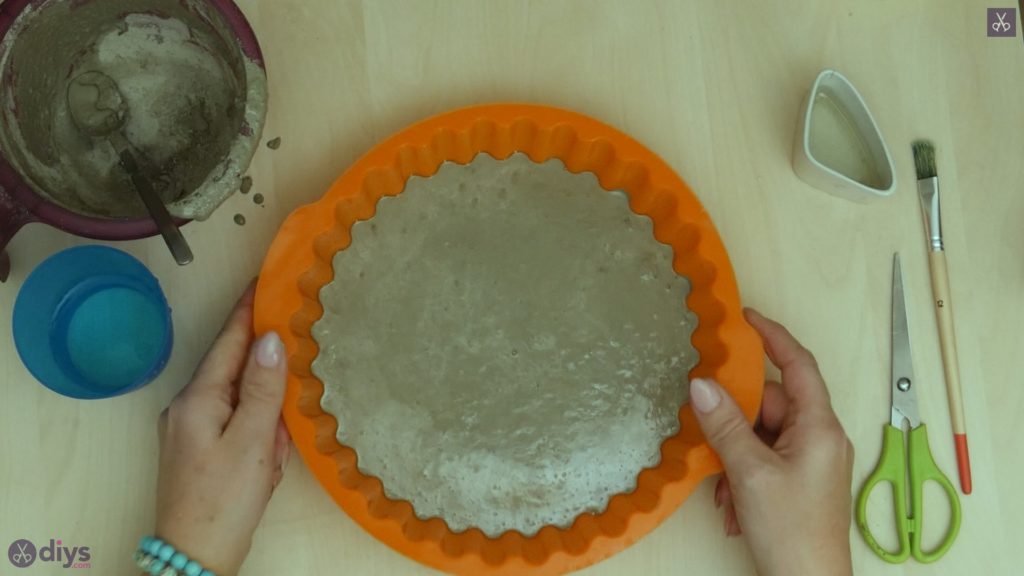
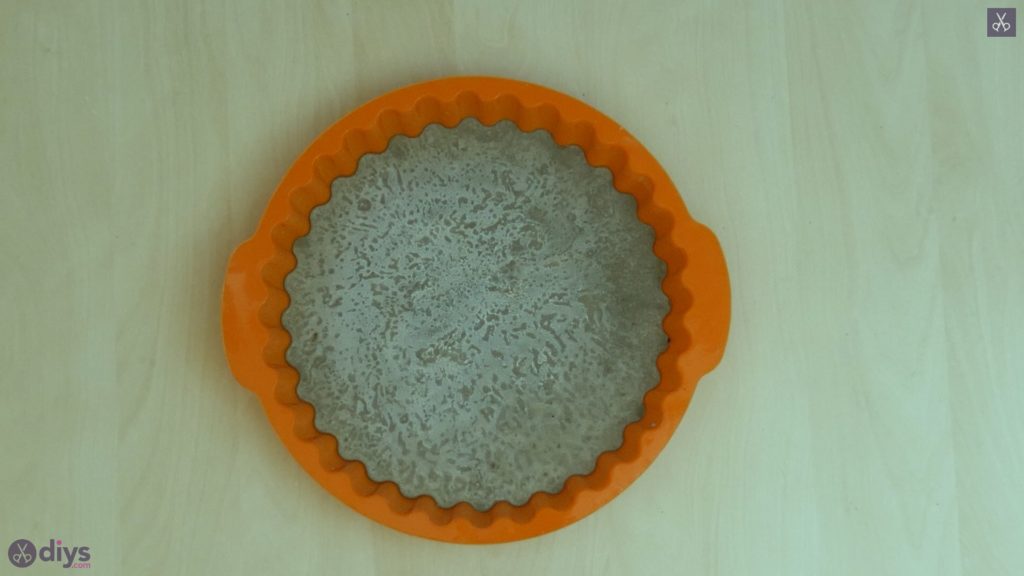
Pour your wet mixed cement into your silicone form! Once it’s all in (or you’ve filled the form to the desired volume), use your spoon to smooth the surface and even out the level of the mix. You can also even it out and get rid of air bubbles and clumps by picking the form up by its edges and lightly tapping its bottom on the tabletop. Set the entire think aside to dry.
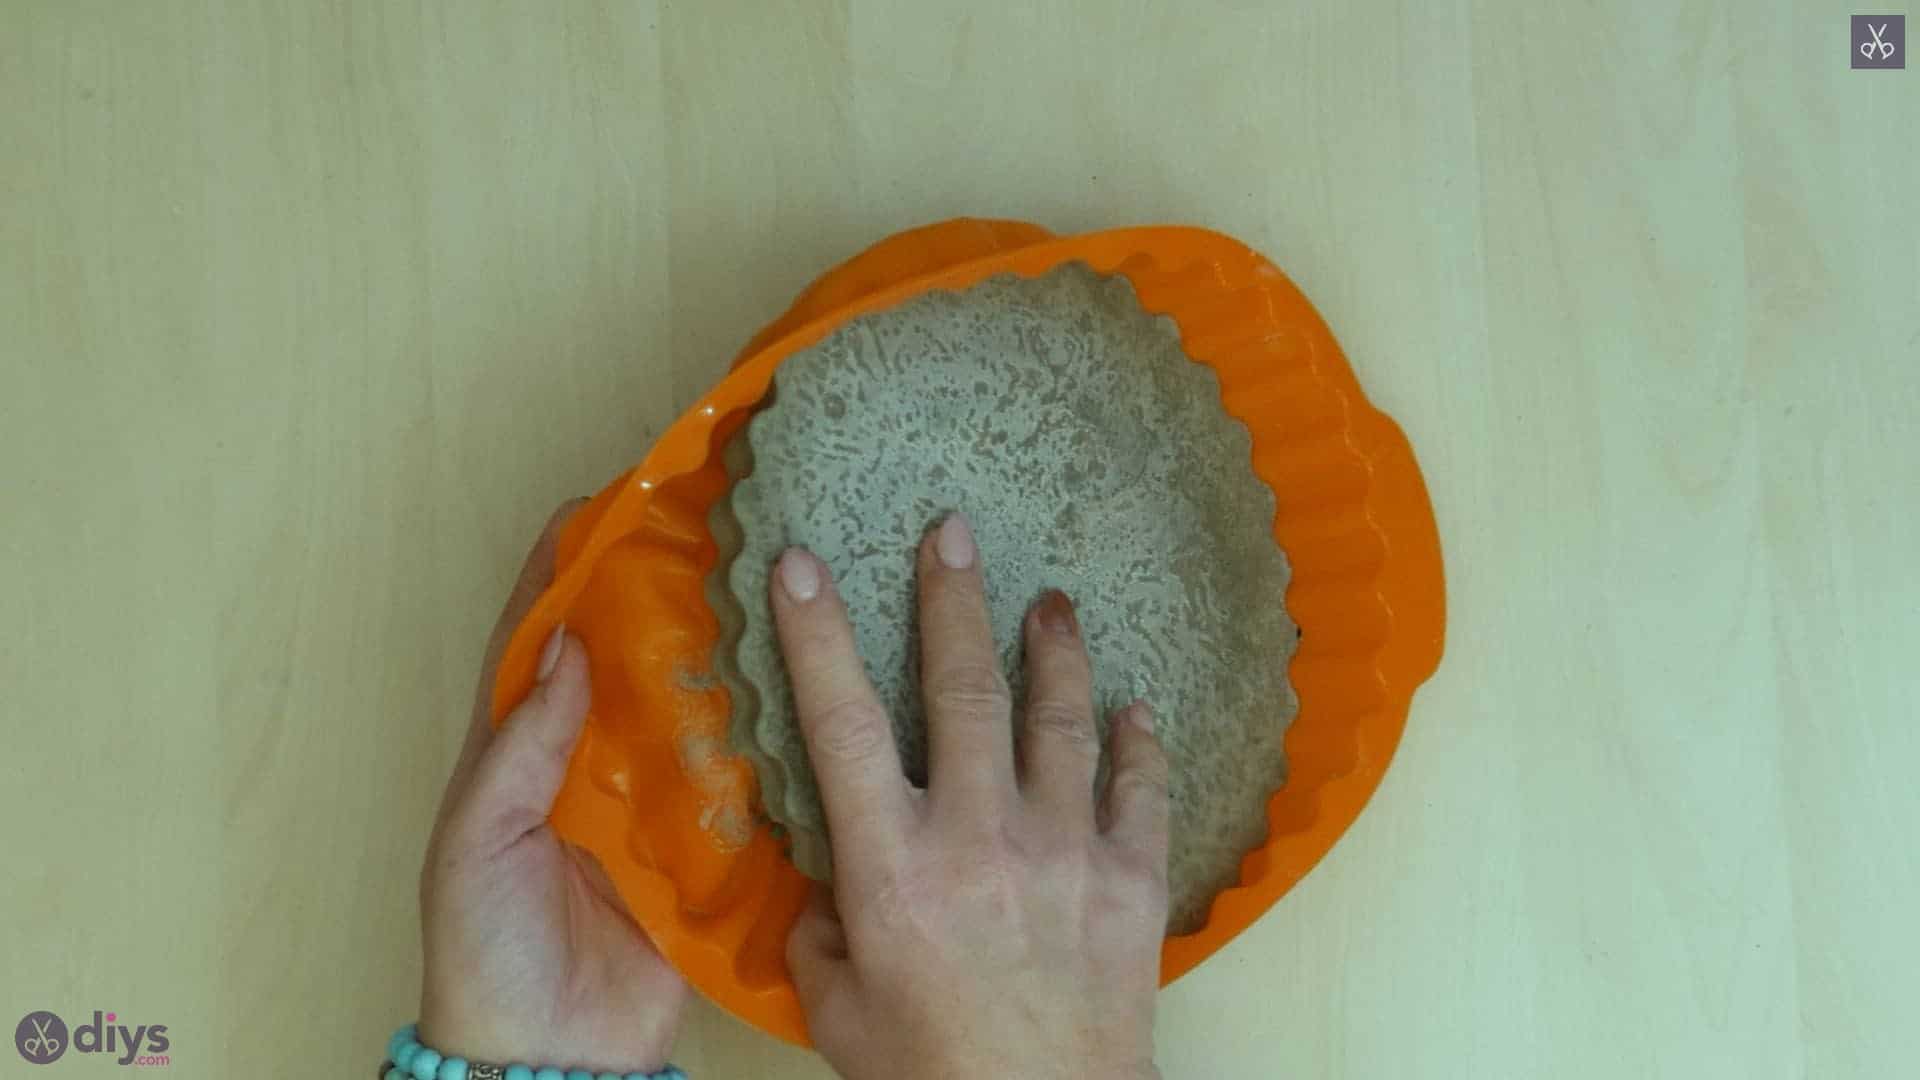
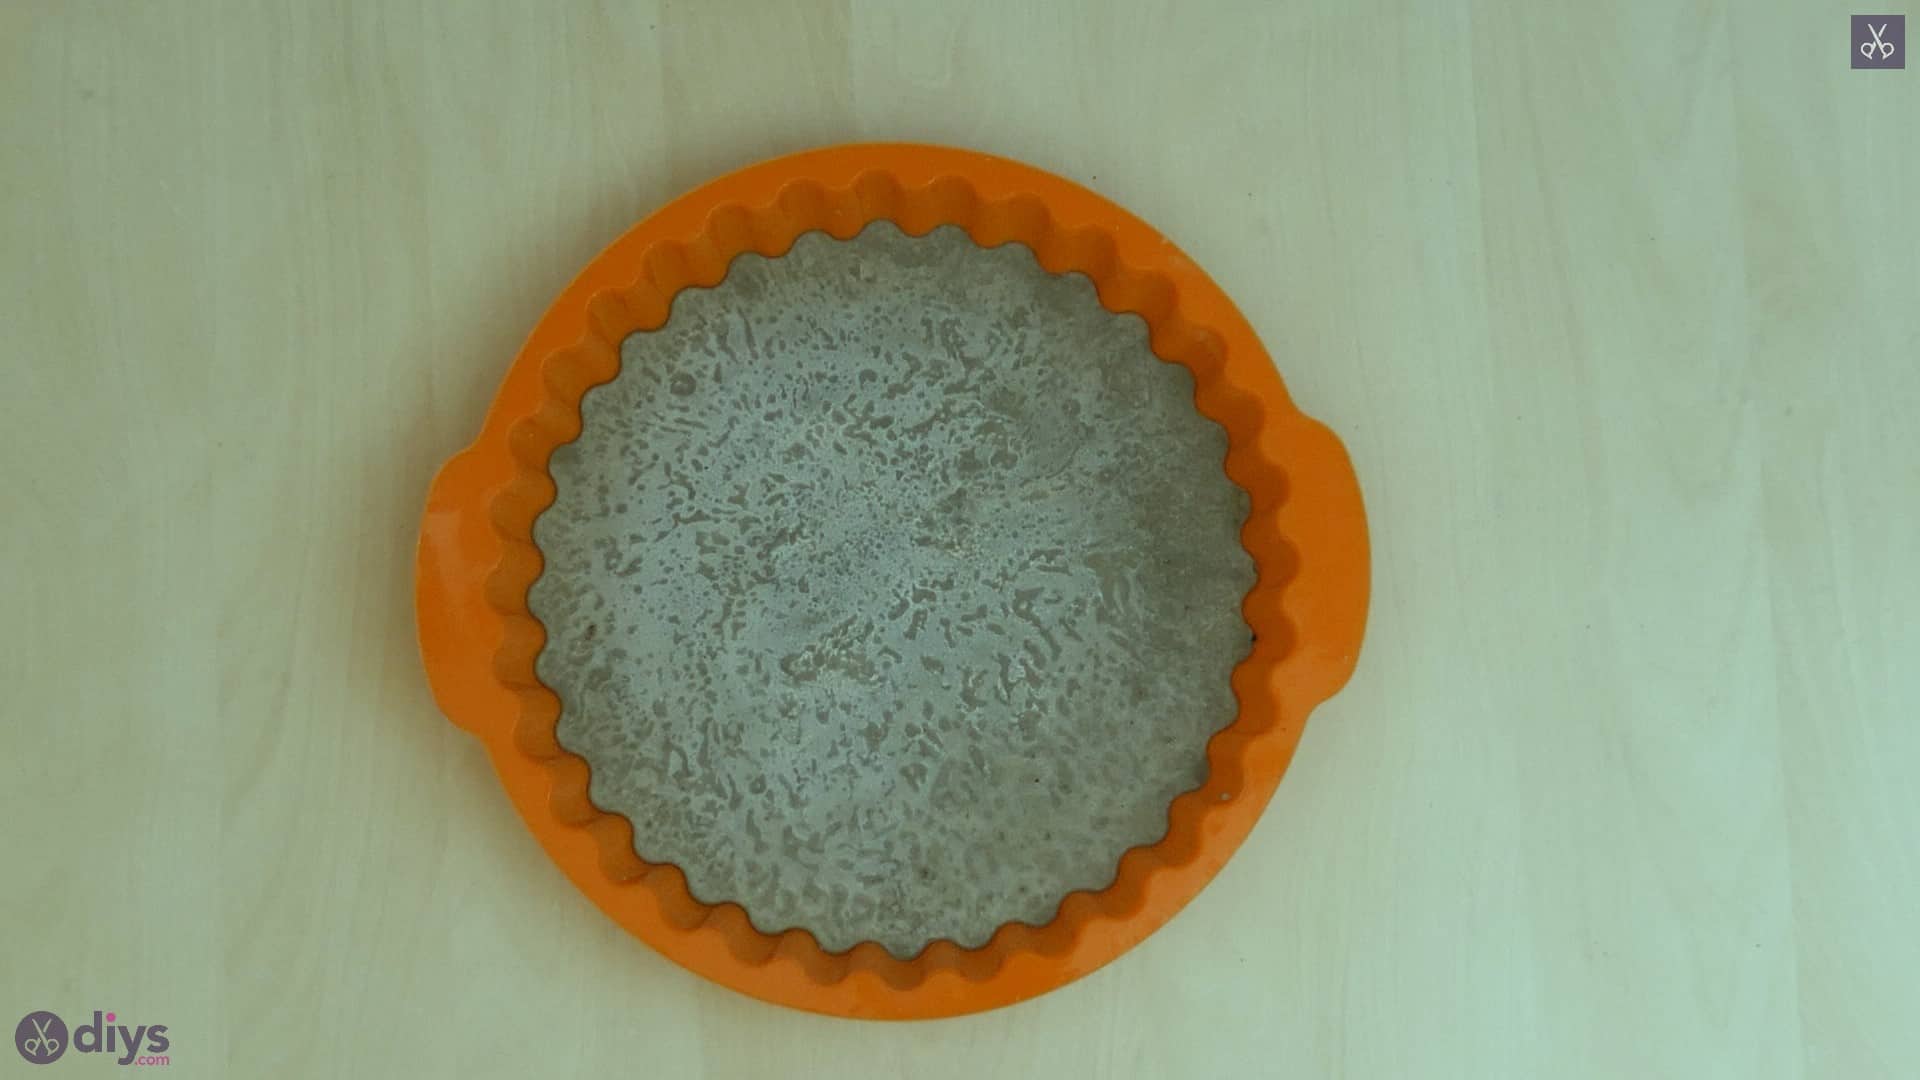
Step 5: remove from mold
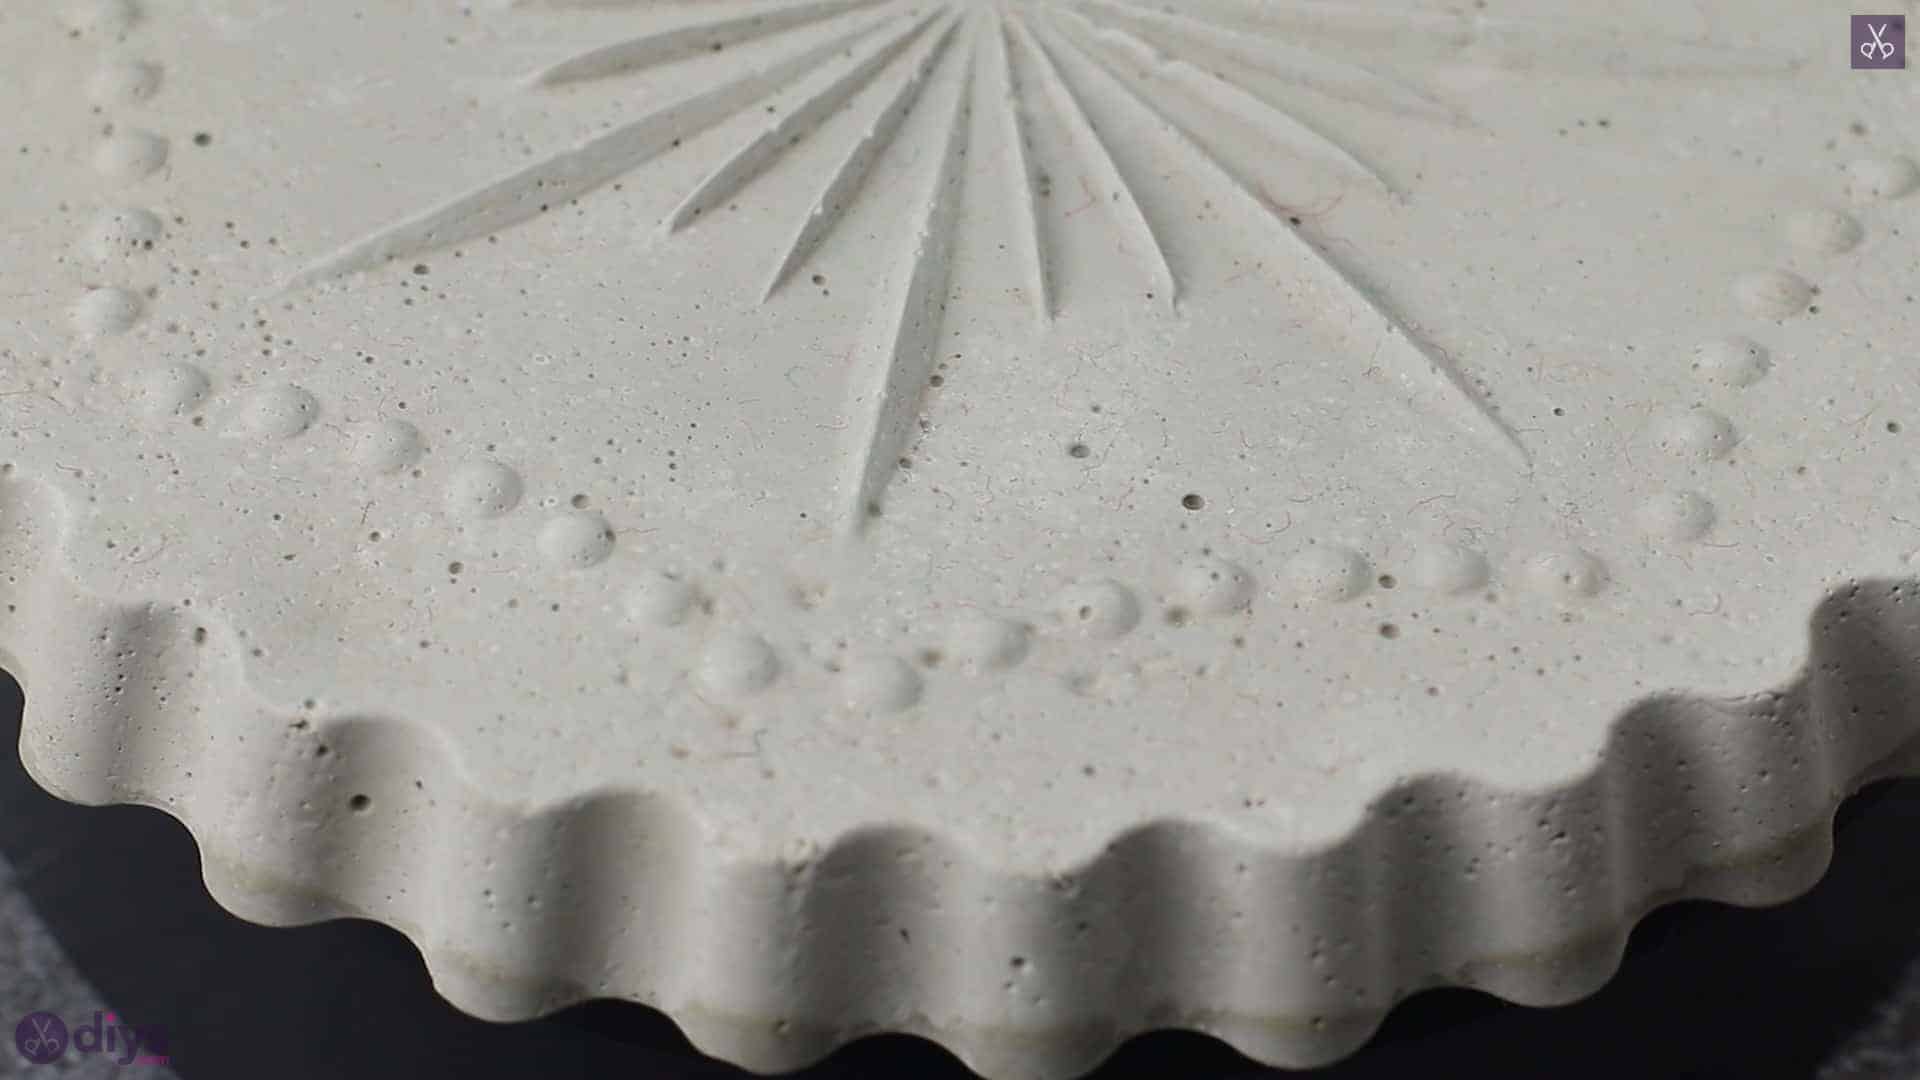
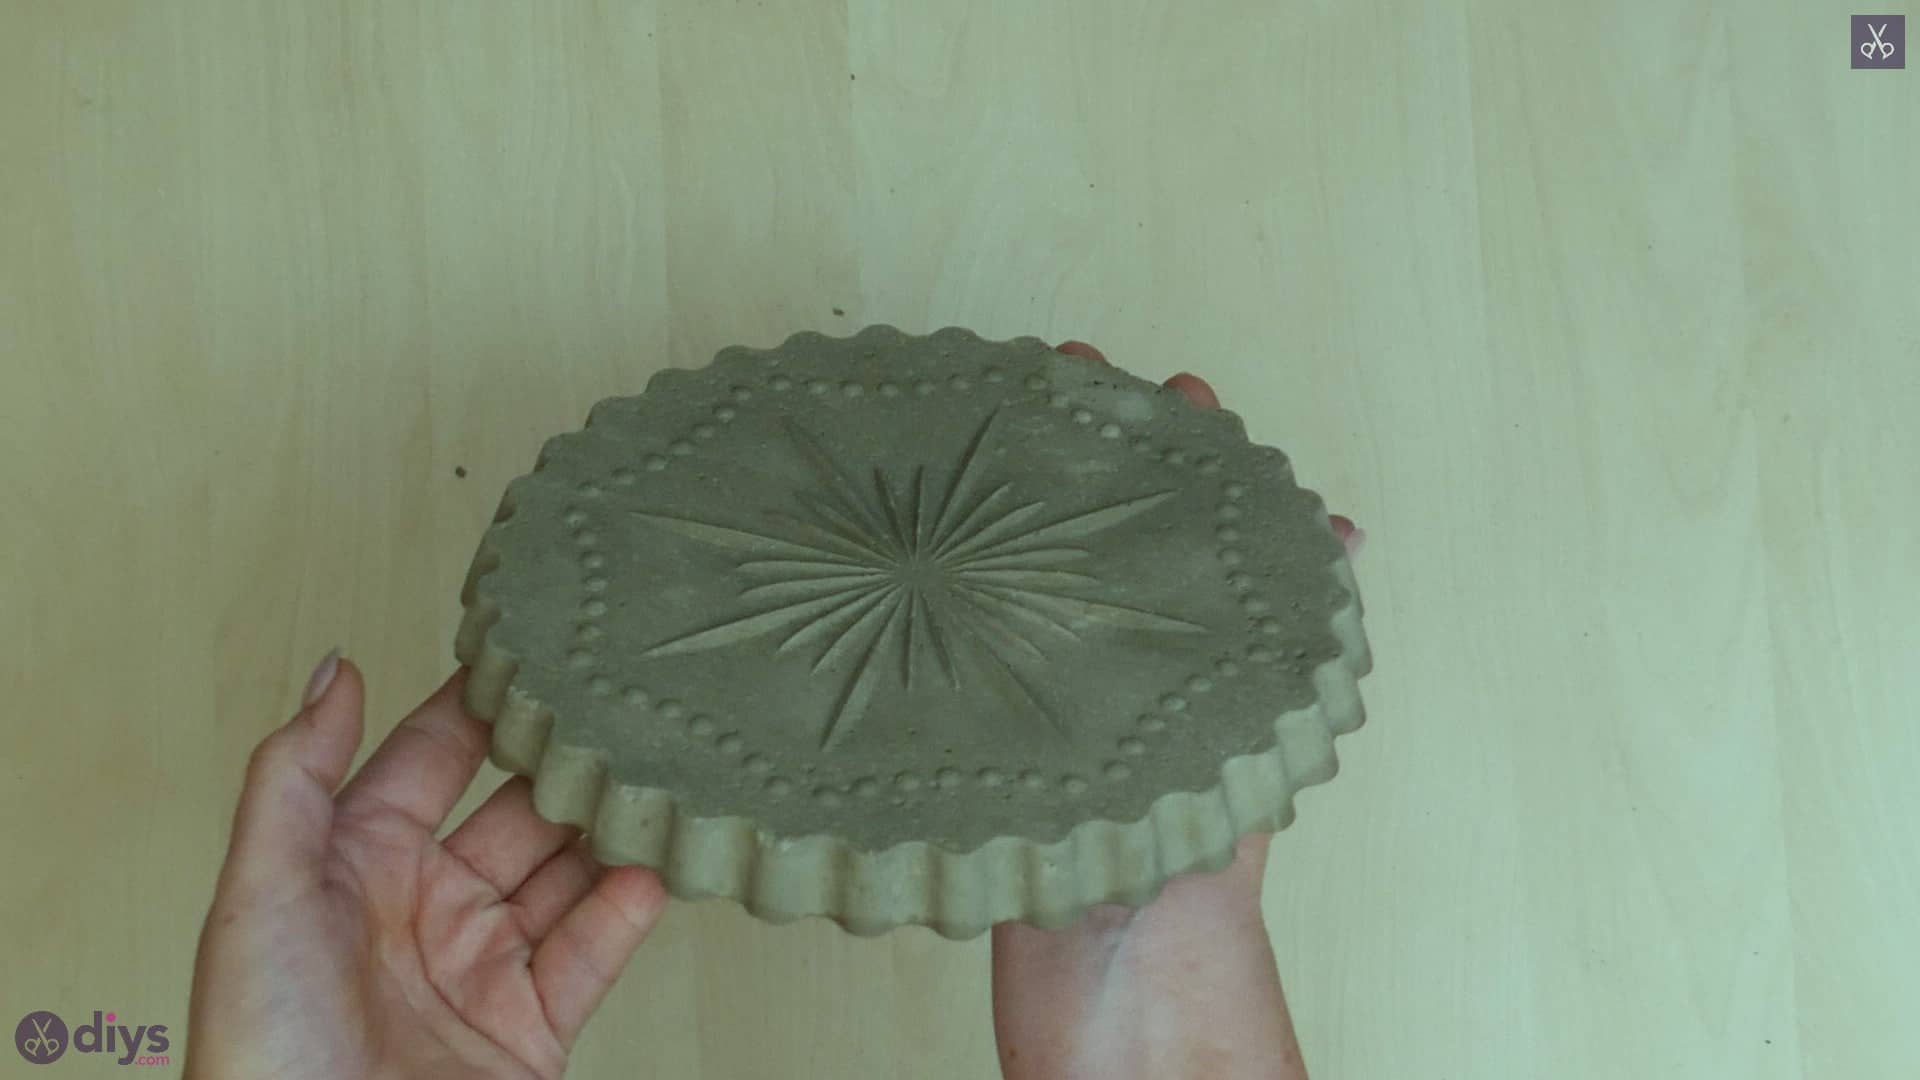
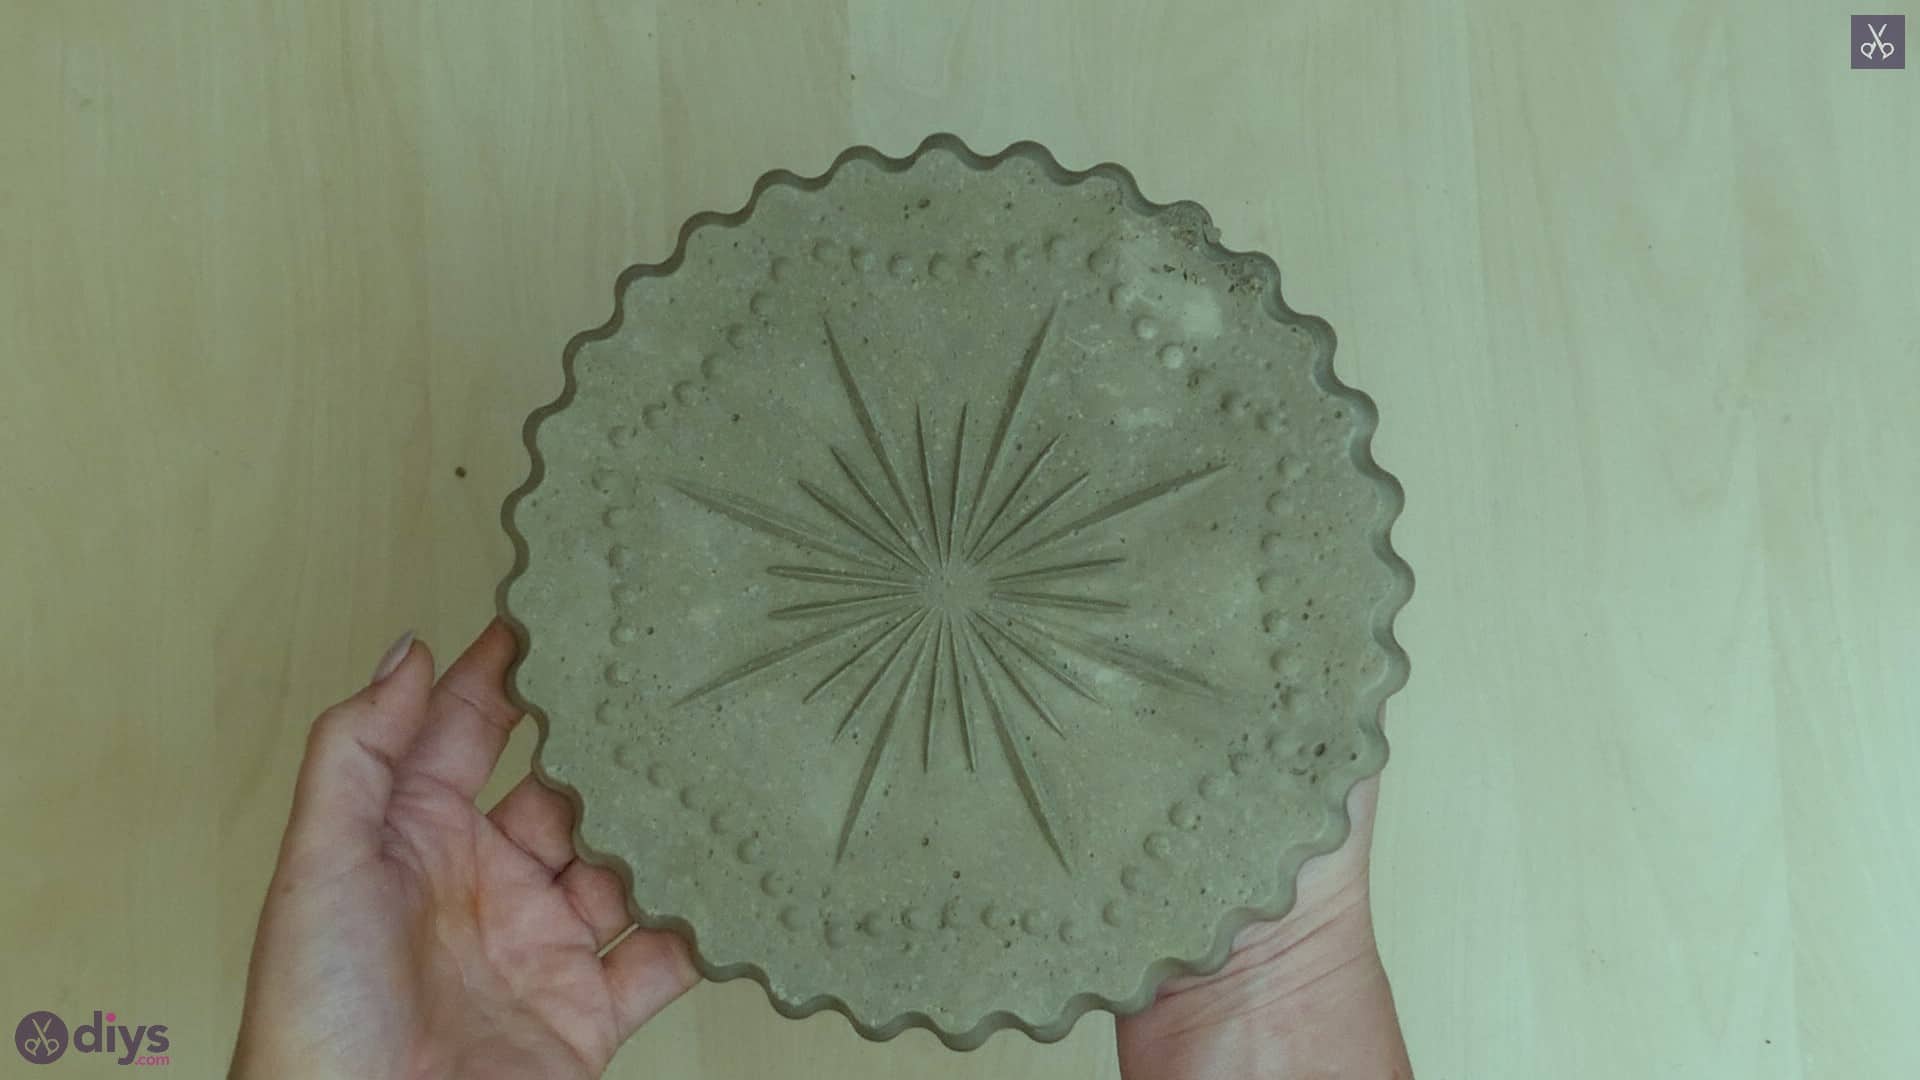
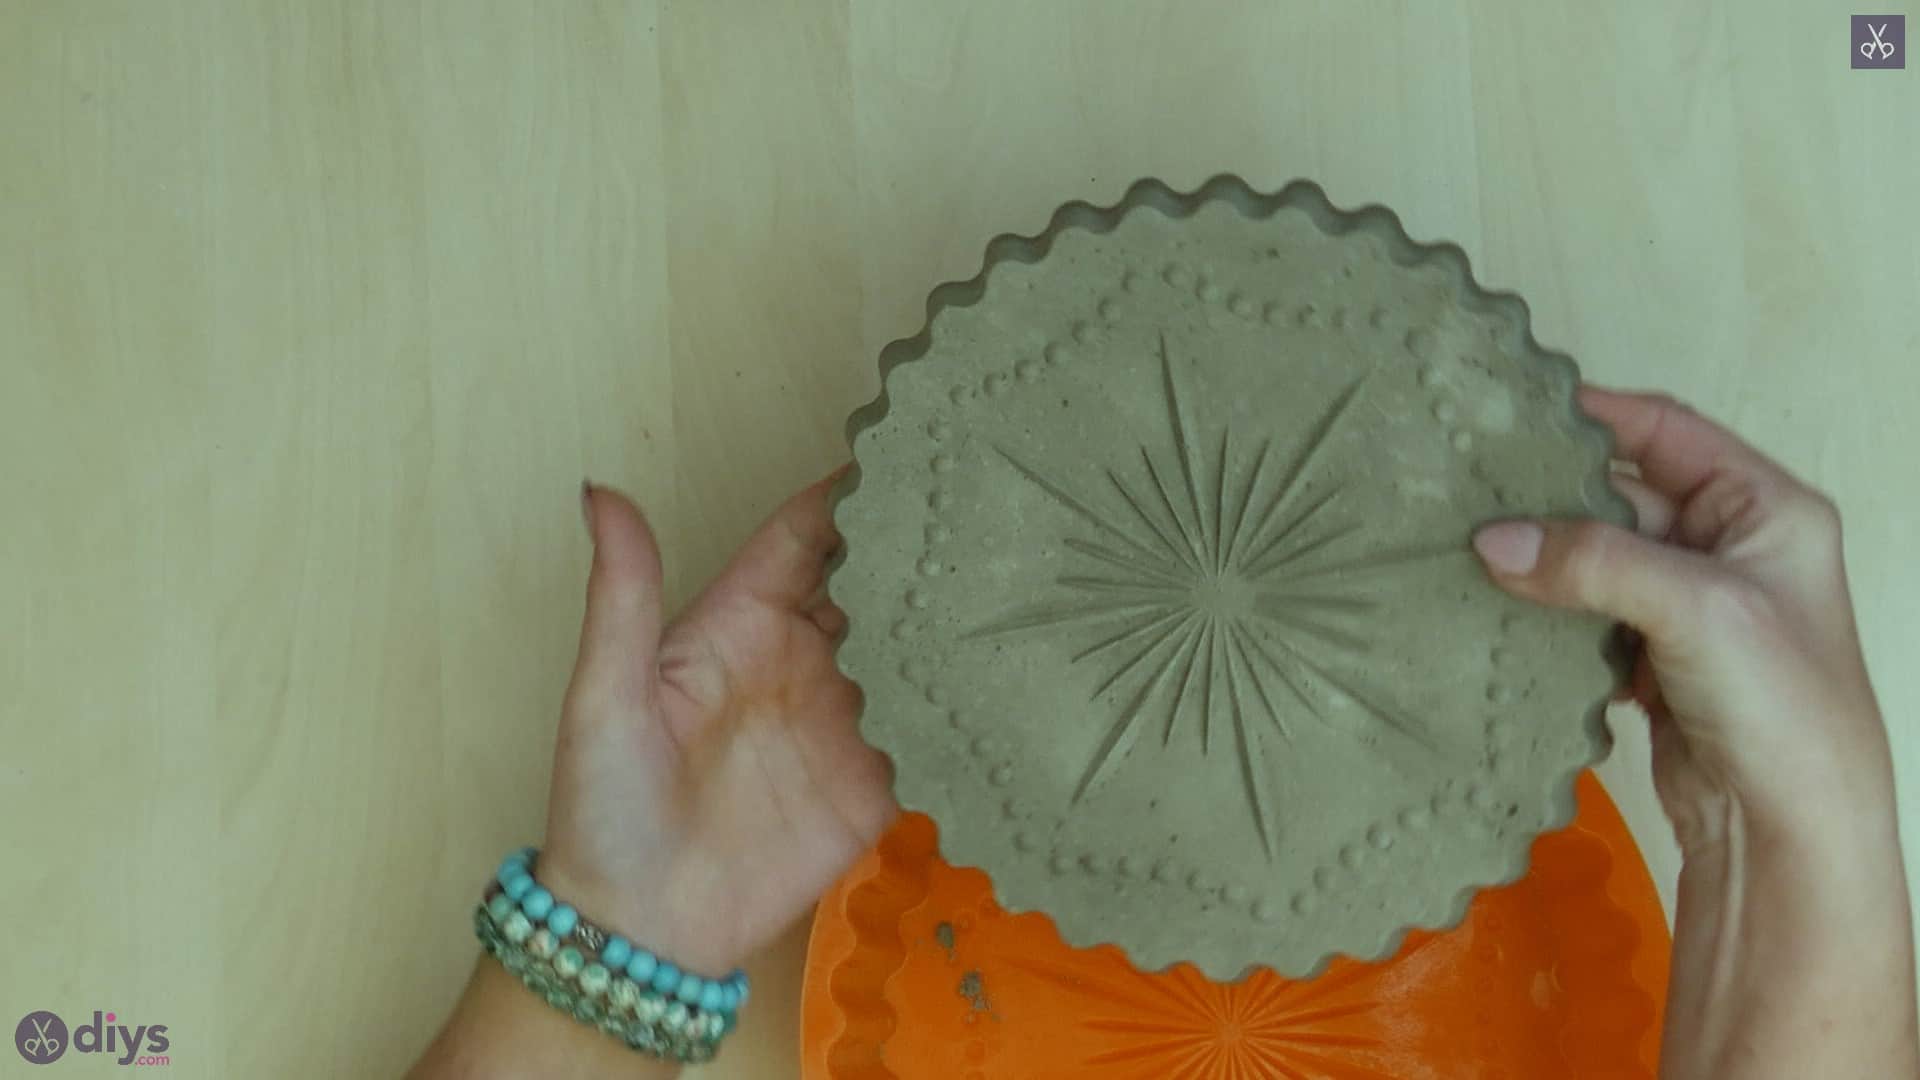
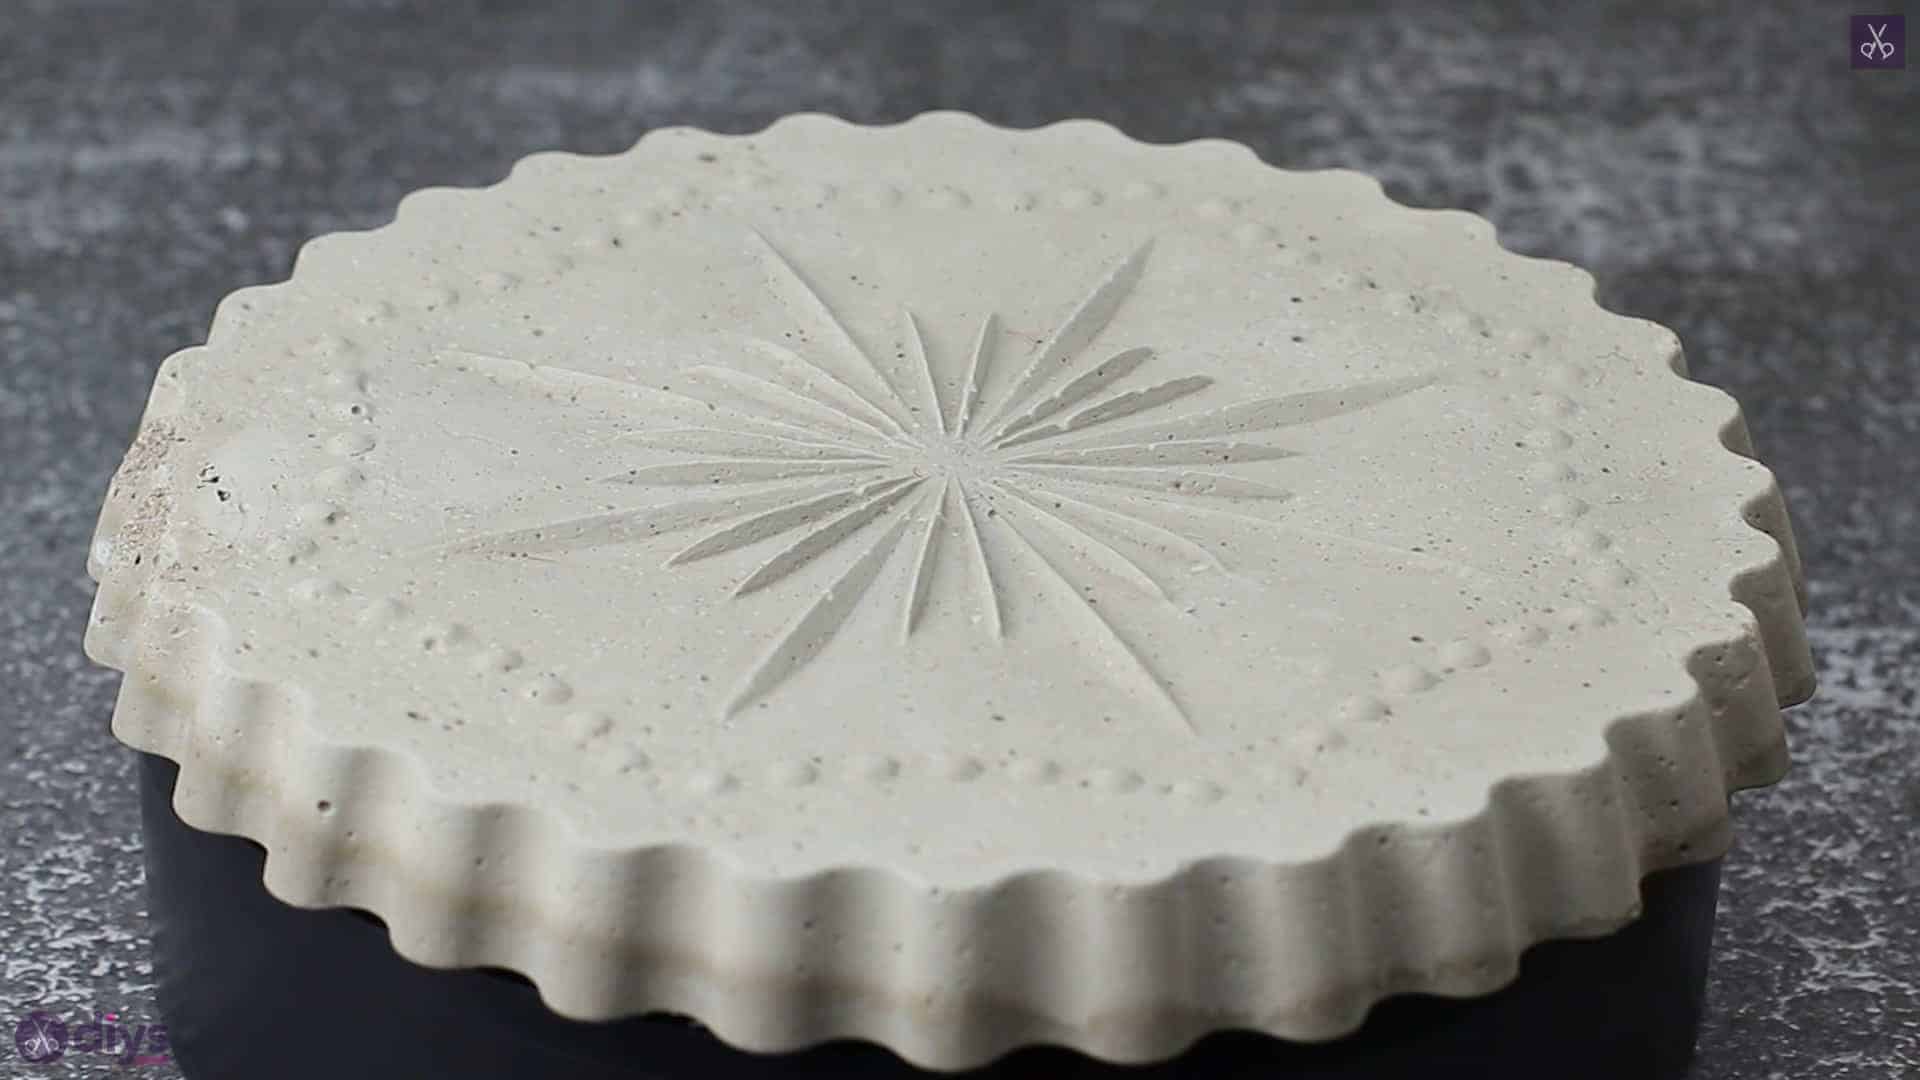
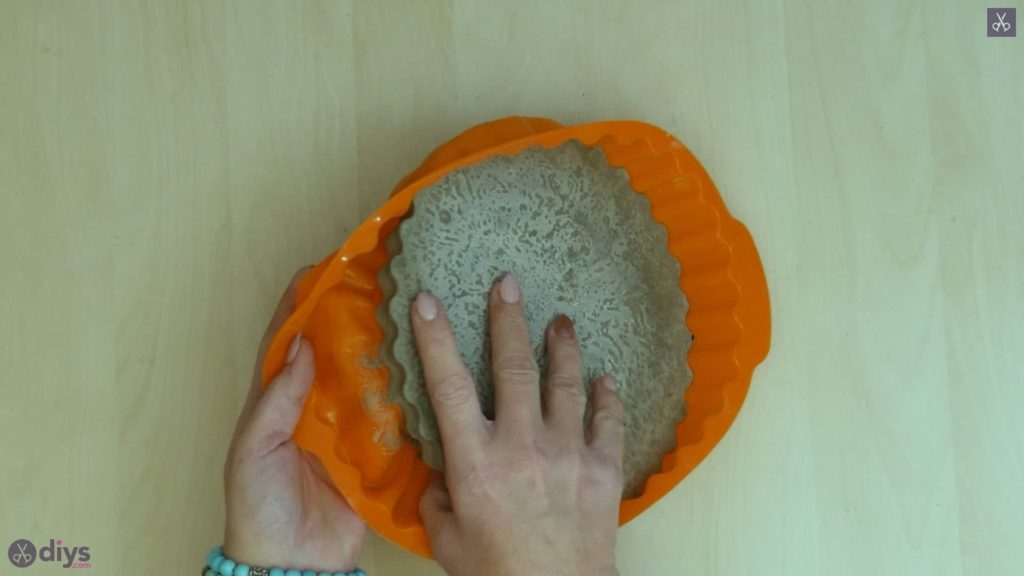
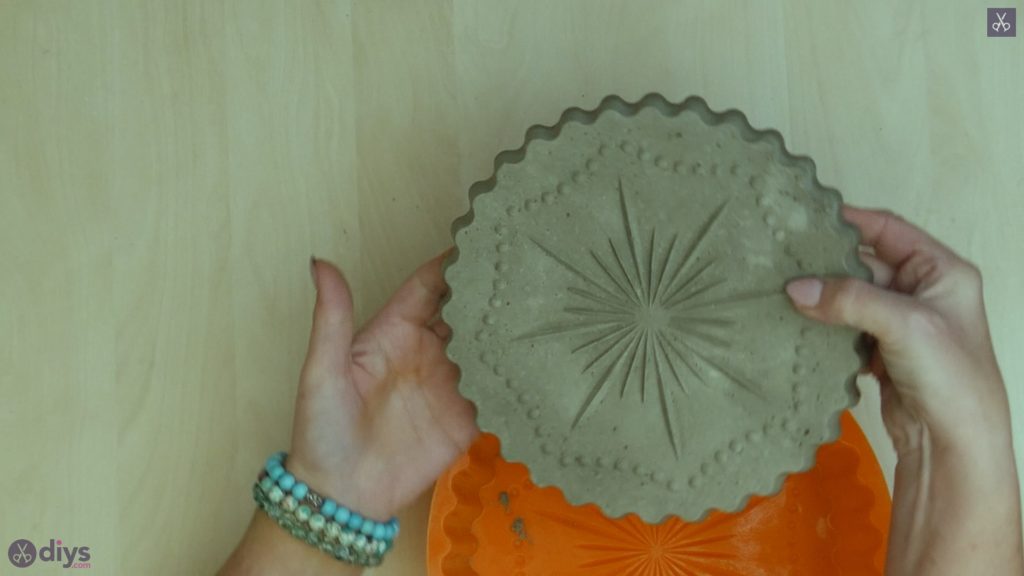
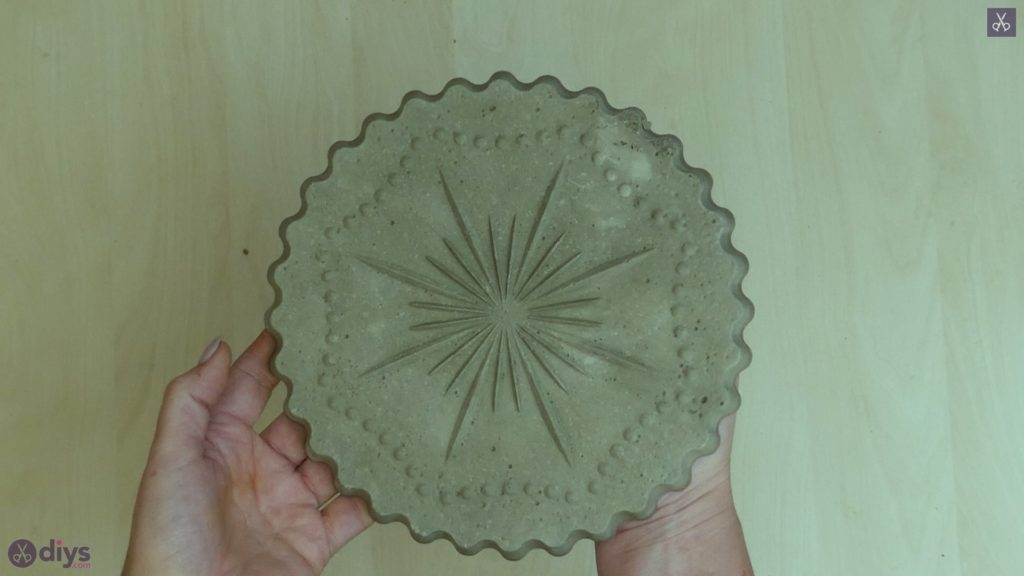
Once the cement in your silicone form has dried thoroughly all the way through, remove the finished product! This shouldn’t be too hard thanks to the flexibility of the form and the oil that you applied earlier keeping the cement from sticking to the sides.
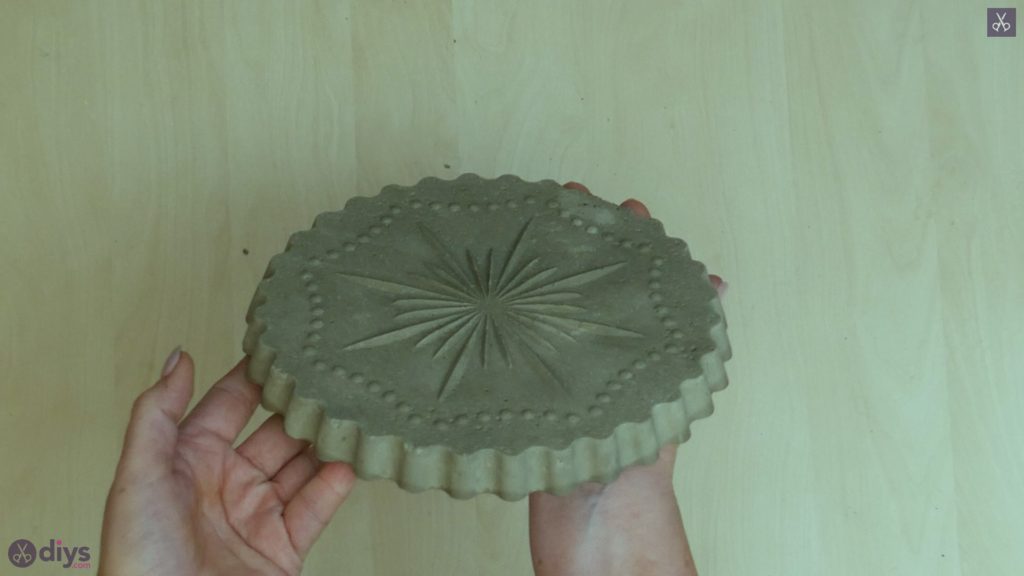
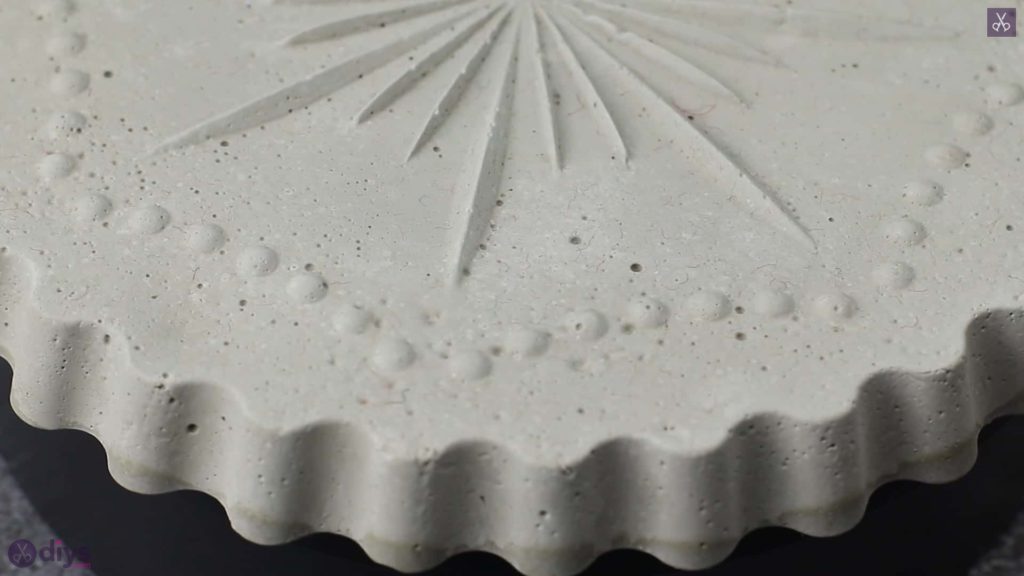
You’re all finished! Place the stand down where you want your flowers to sit and pop the vase or pot right on top. You could even feel free to paint it if you like the idea of adding some colour! Just in case you’d like to try this project out for yourself, here’s a fantastic tutorial video to help you!
Where did you find that silicone mold? I’m having a hard time finding ones that are similar to the size that was used with some sort of design. Thanks for your time and help! I love that this is something simple that can jazz up my plants.