How to Make a Comfy Pet Bed From an Old Shirt
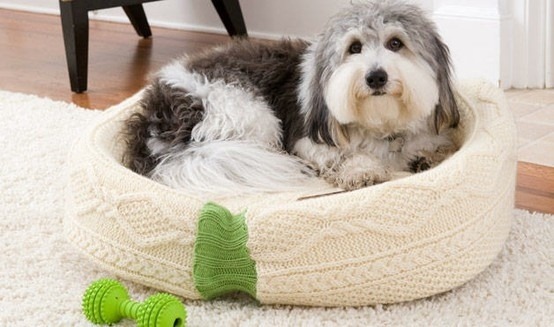
Any project that lets you spoil your pets and upcycle old things at the same time is a great project indeed! If your pets are anything like ours, they probably snub the beds you buy them from the store and prefer to lay on your belongings instead. Embrace this habit by combining the two things!
Here’s an easy step-by-step tutorial of how you can make a comfy pet bed out of an old sweater.
You’ll need:
- An old sweater or sweatshirt
- Sewing pins.
- Polyester or cotton stuffing.
- A pillow (flatter pillows work better than very bulky ones).
- Scissors.
- A needle and thread (choose a color that matches your sweater if you want the threads to blend in, or a color that stands out against the sweater if you’d like some contrast).
Step 1:
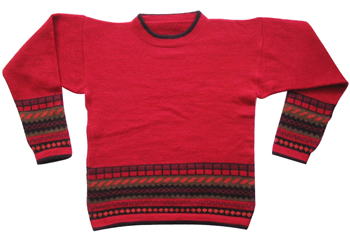
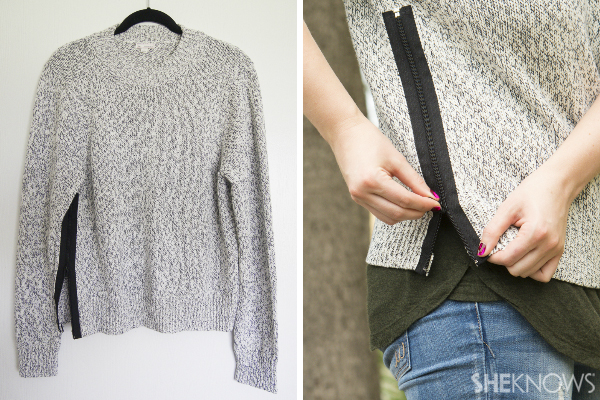
Choose an old sweater. Make sure it doesn’t have any large holes, or your stuffing might escape later, especially if your pet sleeps in the finished bed often. Think about the size of your pet. A small women’s sweatshirt might work well for a cat, but you’ll need a bigger garment for a larger dog.(Photo source: She Knows)
Step 2 and 3:
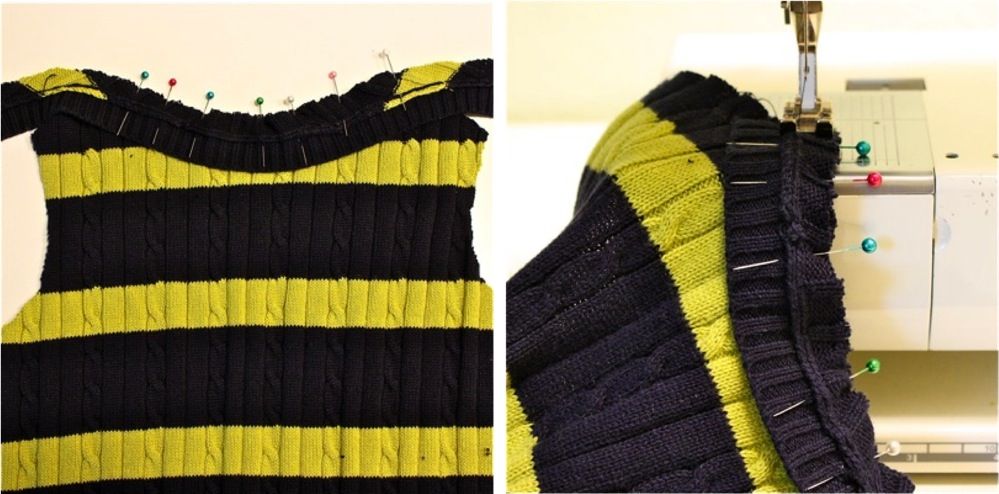
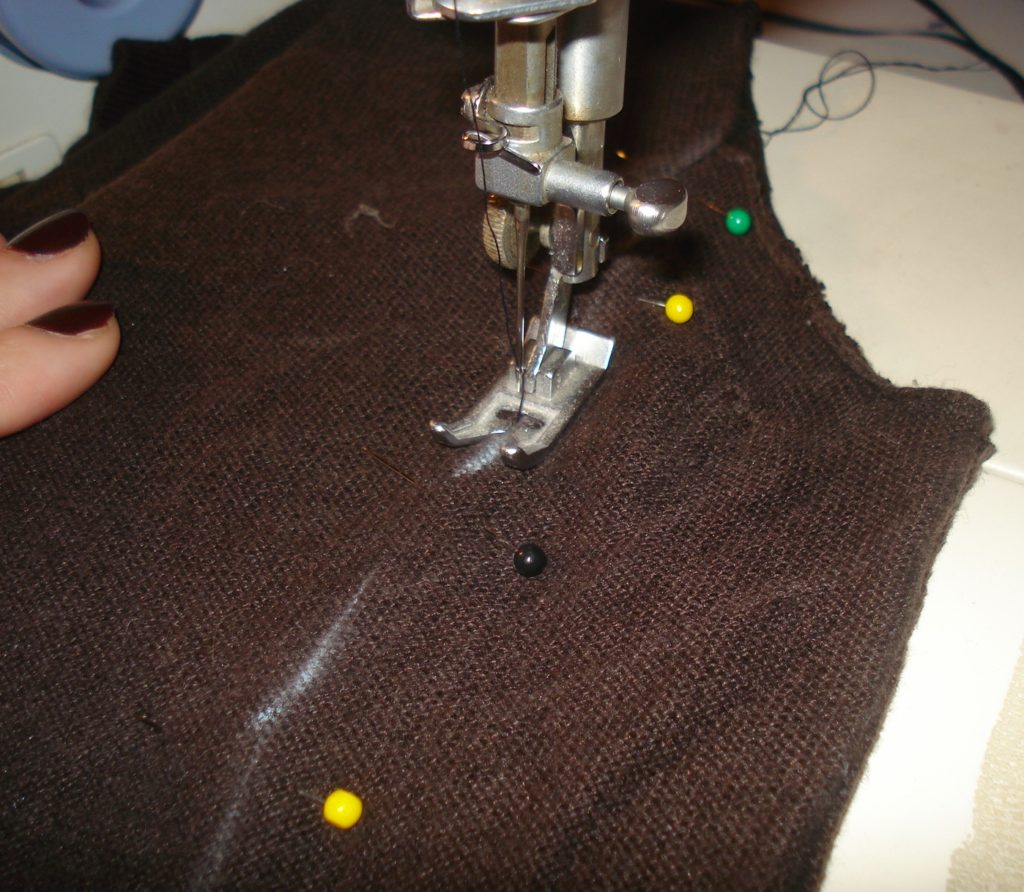
Using your sewing pins, pin the front and back of the sweater together along the neckline to mark out where you’ll sew the hole in the top of the sweater closed. Make sure you leave enough of an edge that your stuffing won’t burst through the next hole when you fill the bed.
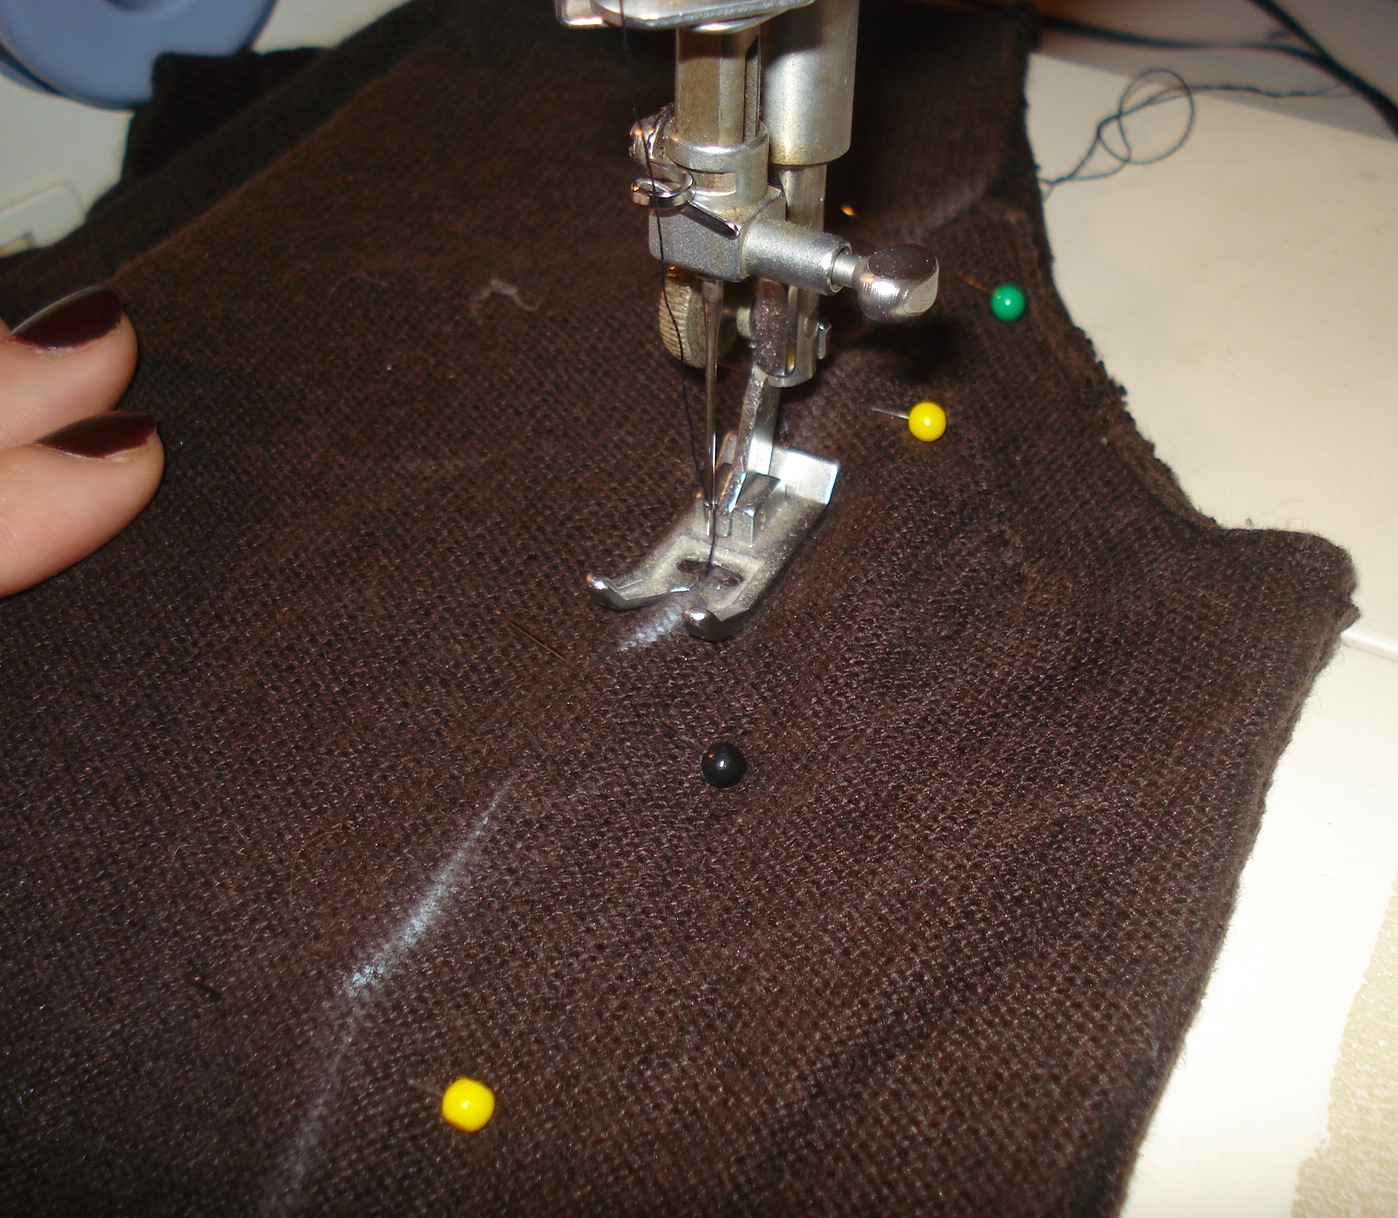
Carefully sew along where you’ve pinned the neckline. If you’re hand sewing, keep your stitches as straight as even as possible. If you’re using a sewing machine, be careful not to hit any pins. Breaking a needle is never fun!(Photo source: Dana Made it)
Step 4:
Lay the sweater flat on its back and spread the arms out to the sides. Flatten out any wrinkles so the front and back of the sweater lay smooth and even.
Step 5:
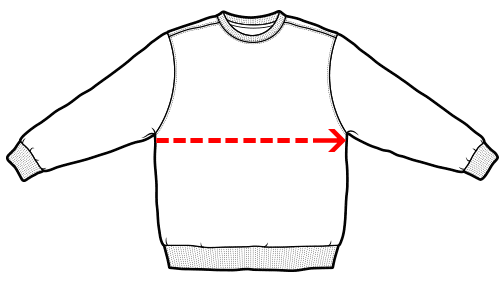
Using your pins, mark a line straight across the sweater from the left under arm to the right under arm.(Photo source: The Sweater Store)
Step 6:
Following your line of pins (you can also sketch a faint line with a fabric pencil if it helps you keep your sewing straight), sew across the sweater from one under arm to the other.(Photo source: Fitz Fabulous)
Step 7:
Starting on one side and filling towards the other, stuff the sleeves all the way across. You should be able to fill them through the top of the sweater and the section you just sewed off, like a tube. Fill the sleeves with enough stuffing to be comfortable, but not so much that your stitches at the neck and across the chest are stretching and bursting.(Photo source: iCreative Ideas)
Step 8:
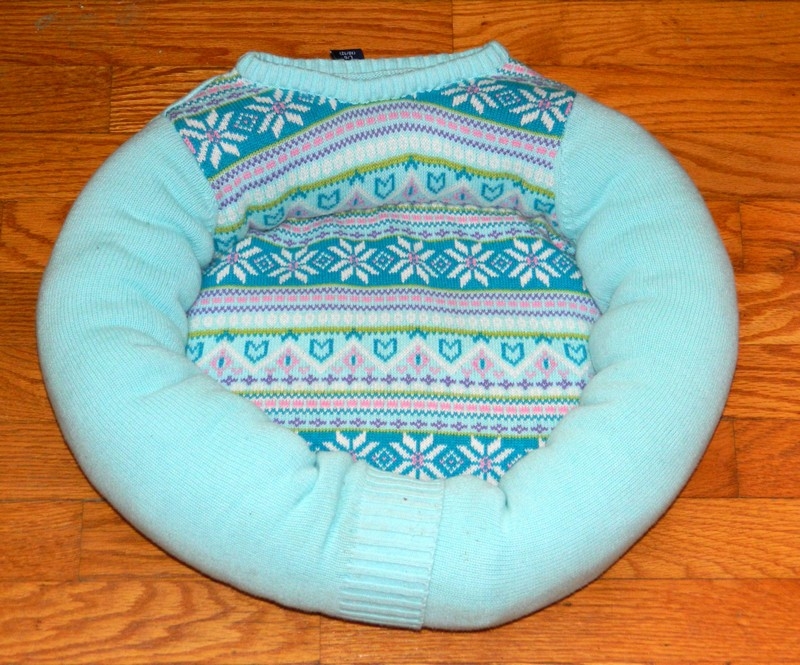
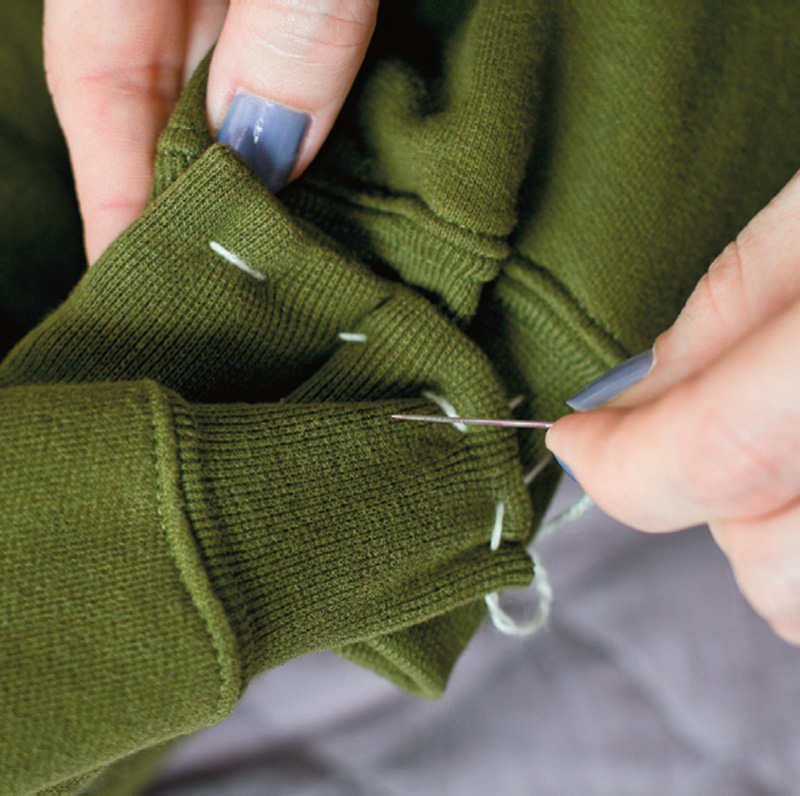
Tuck the sleeves into each other or overlap them together, depending on which look you like best. Pin them into place and sew them together so the stuffing stays inside. Your sleeves should now make a circular shape, like the sweater is hugging someone.(Photo source: Handimania).
Step 9:
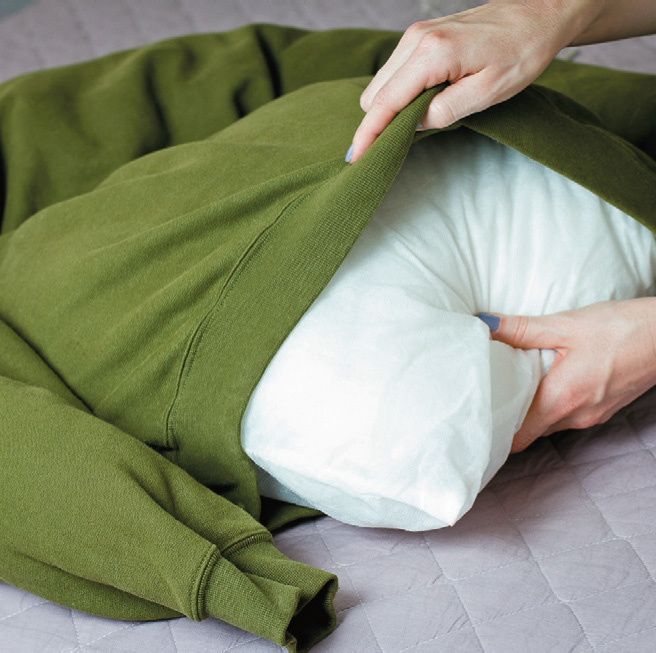
Slide the pillow into the main body of the sweater from the bottom. Make sure it fits well enough that you can pull the bottom hems of the sweater over it to touch.(Photo source: 1m How To)
Step 10:
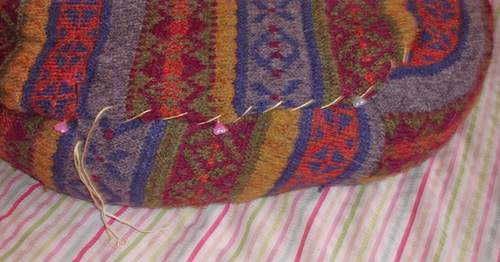
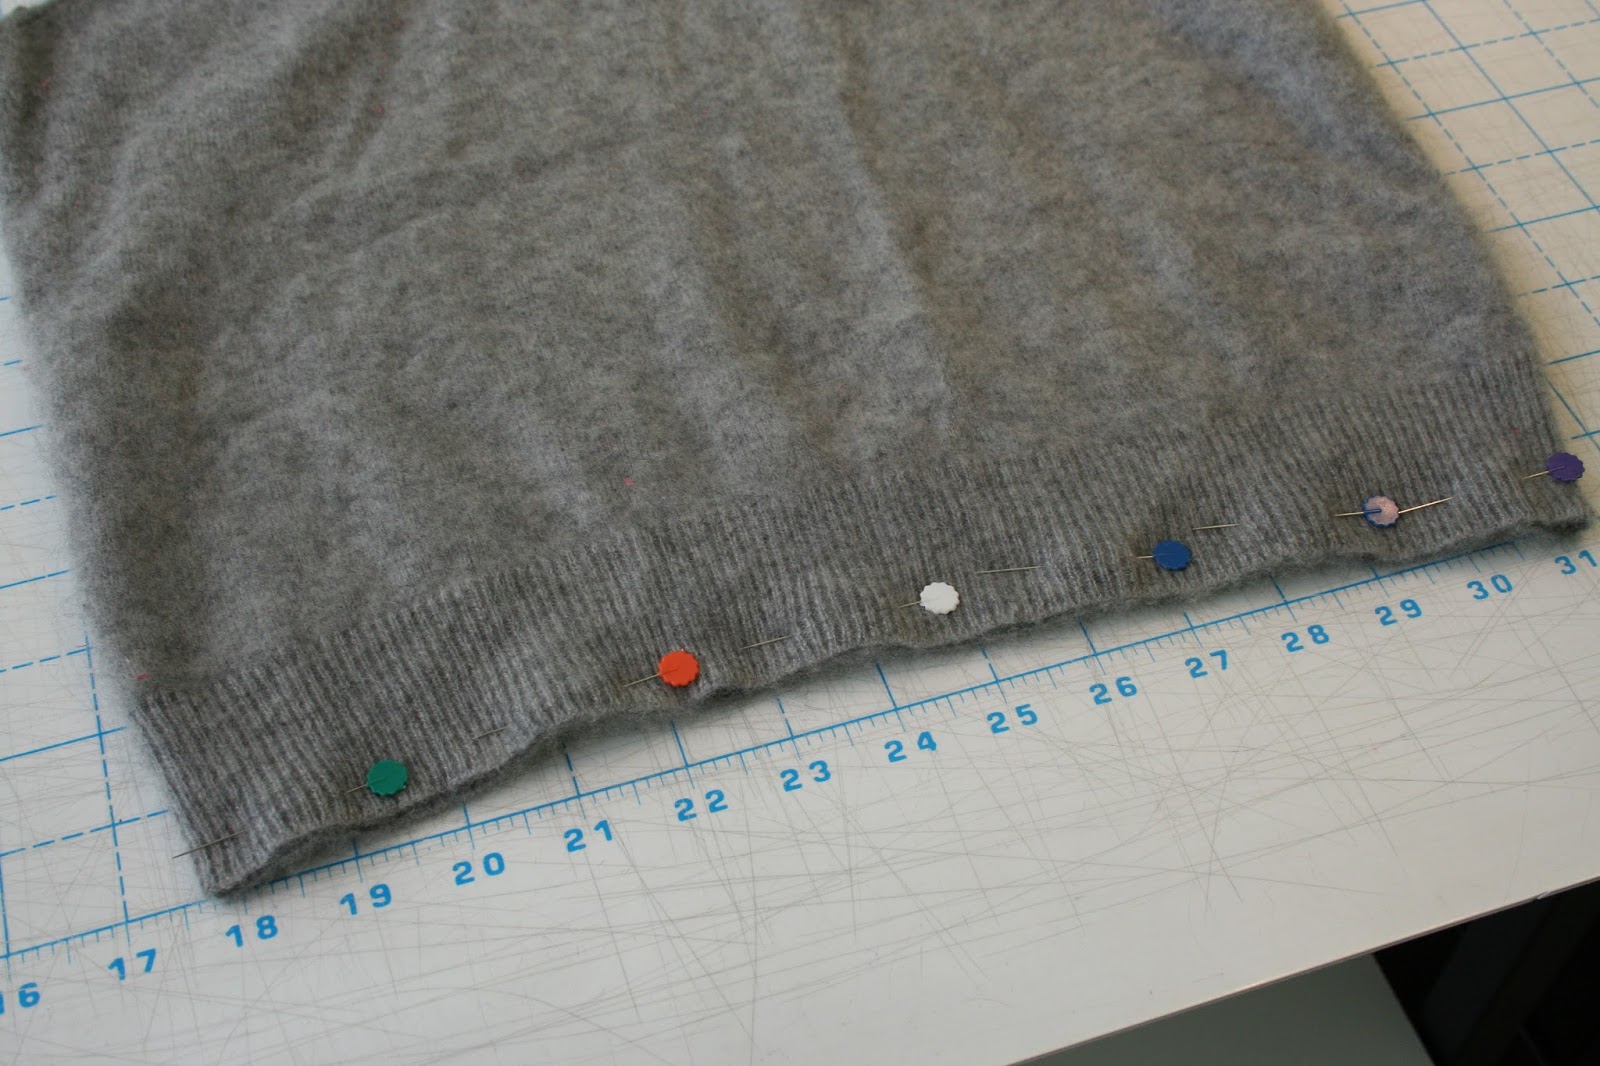
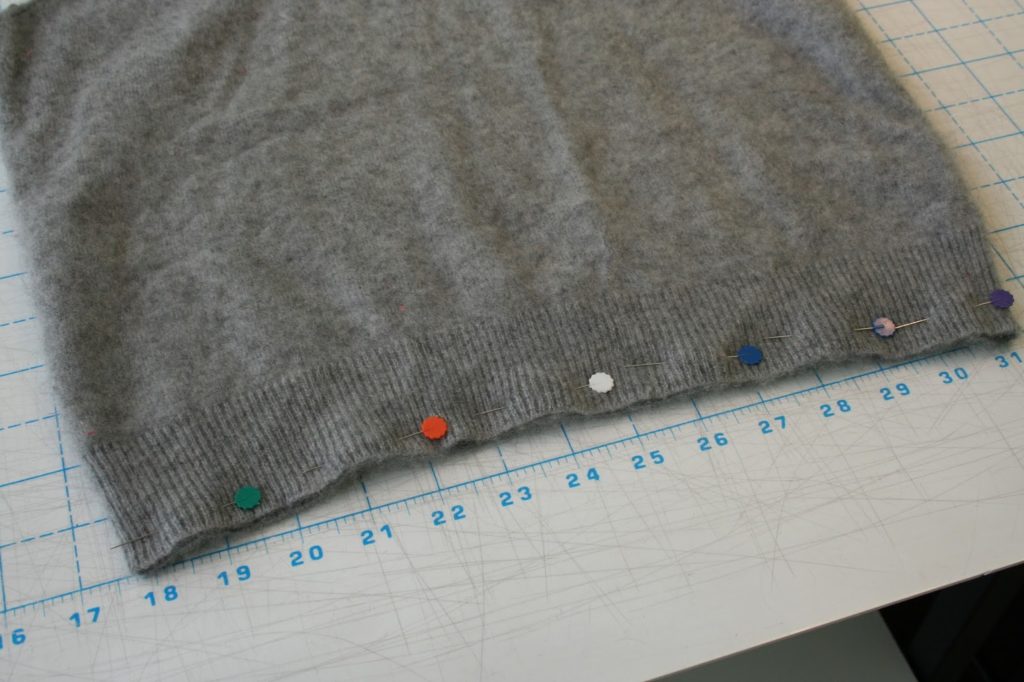
Pin all the way along the bottom of the sweater to close it completely over the pillow.(Photo source: Expertly Dyed)
Step 11:
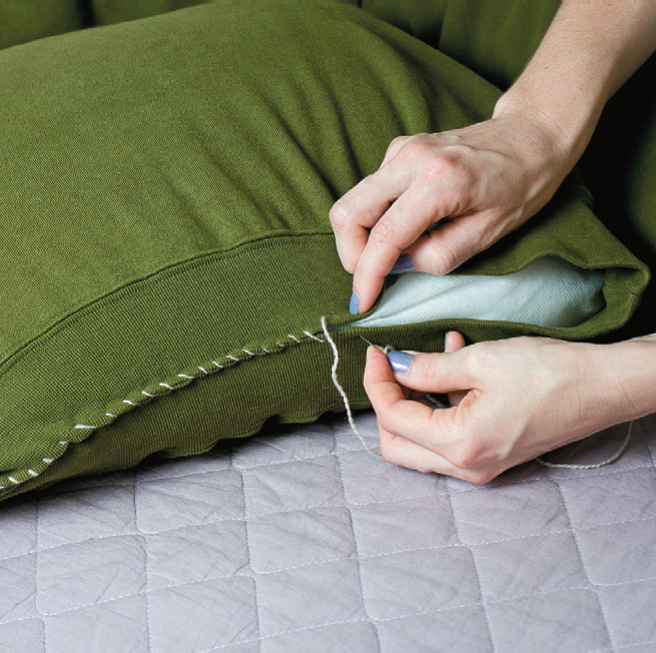
Sew the bottom of the sweater shut all the way across, closing it over the pillow.(Photo source: Handimania)
Step 12:
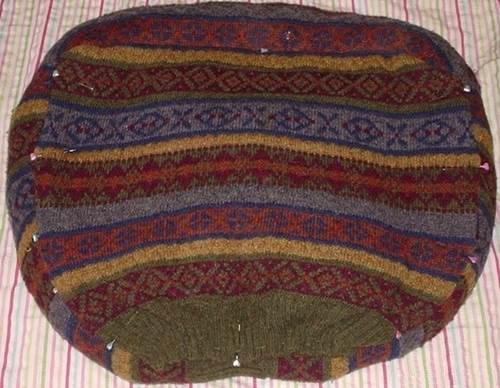
Flip the bed upside down and use your pins to secure the edges of the base (the part that holds the pillow) to the sleeves. Attaching these will stop your pet from sliding between the two when he settles into the bed!
Step 13:
Sew along the edge where you pinned the base, attaching it to the sleeves all the way around. The bed will take on a circular shape with a distinct middle and a comfy edge provided by the stuffed sleeves.
Step 14:
Find a place in your house to put the bed! Maybe your cat would like to lie in the sun, or perhaps your dog would like to sleep by the foot of your bed.(Photo source: The Owner Builder Network)
Step 15:
Enjoy seeing your pet lounge in their new bed!
