How to Clean Your Favourite Halloween Wig
It’s officially autumn now and we don’t know about you, but there’s definitely one important thing we just can’t stop thinking about the second we realized fall has come: Halloween! Maybe we’re weird, but we’ve had our Halloween costumes planned since July. If you’re the same way, then all that’s left to do once you’ve got your idea is to put the pieces together! Does your outfit involve a wig, though? We’d hate to see a messy, matted wig take away from the rest of your awesomely handmade outfit on the big night. Avoid that by brushing, washing, and revamping your favourite Halloween wig so it’s sparkly, bouncing, and ready to wear by your annual Halloween party!
Synthetic hair tangles easily, so check out our step by step guide to wig washing. It will help you restore the strands without making them knot even further!
Step 1
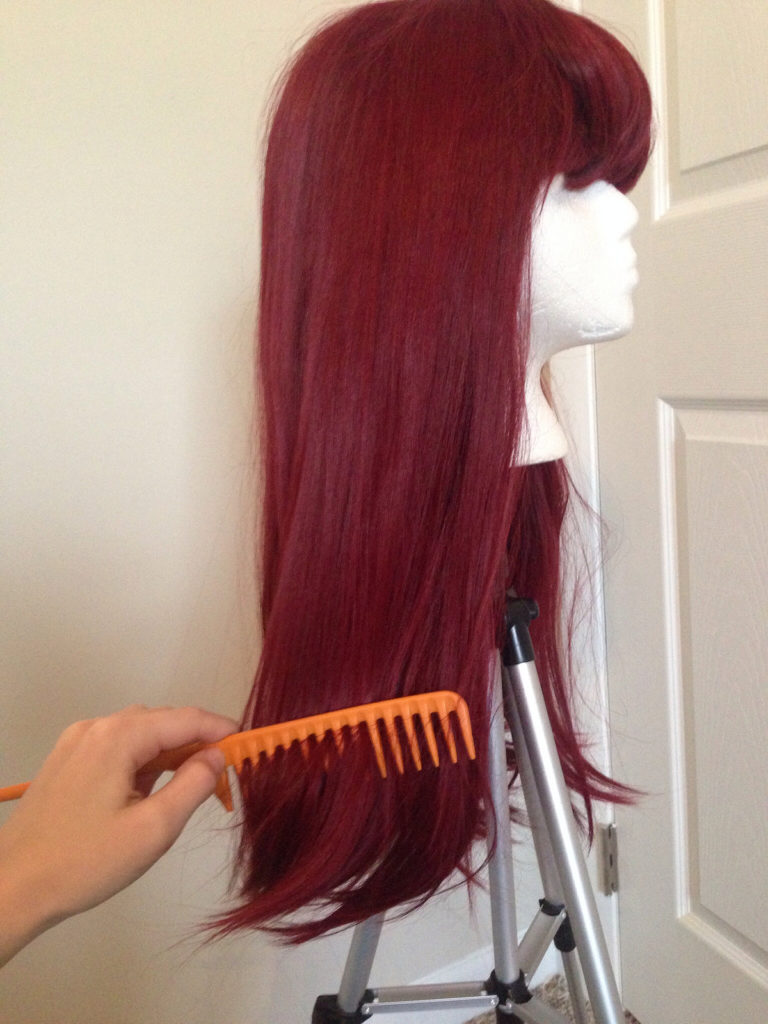
Give the wig a thorough brush through before you wash it. A paddle brush with plastic bristles and a plastic backing pad is best because it will help reduce static. Always brush your wigs bottom to top in downward strokes. Start with the ends, brushing a few inches until they’re smooth, then move up a few inches and repeat the process all the way through. If the wig snags, don’t pull too hard or you’ll dislodge too many hairs from the cap! Hold the strands about an inch above the patch that you’re brushing and work at the tangle starting at the bottom of the knot and detangling it upwards until you can brush the section out. This initial brush is just to get things as neat as possible before you start, so it’s okay if you can’t smoothly brush the whole wig from top to bottom at this point.
Step 2
Have you ever used lemon Pledge spray to dust and shine your wooden furniture or floors? Well, believe it or not, it’s also a great product when it comes to brushing wigs! The agents in Pledge that give wood a protective layer help synthetic wig fibers stay smooth, letting them detangle easier when you brush the wig. Spray the whole wig lightly with Pledge. Try not to douse it so the wig is wet; you’re simply misting a bit on to loosen up knots.
Step 3
Brush the wig again, more thoroughly this time. All of this brushing really is important- if your wig is badly knotted when you get it wet, those knots will cling even worse and you’ll have more trouble getting them out later. Mist it with Pledge as needed, without soaking the hairs. Ideally, you should be able to brush the wig smoothly and quite easily from roots to ends by the time you’re done, but a very old or cheap wig might hang onto a couple snags. This is okay as long as they’re small. Remember to be gentle or your wig will loose a lot of hair!
Step 4
Fill your bath rub, a wash tub, or your sink with cold water. Don’t use hot water, or some synthetic wigs will leak colour and fade. Cold water is also better for keeping the hair fibers from knitting as they rub together in the water.
Step 5
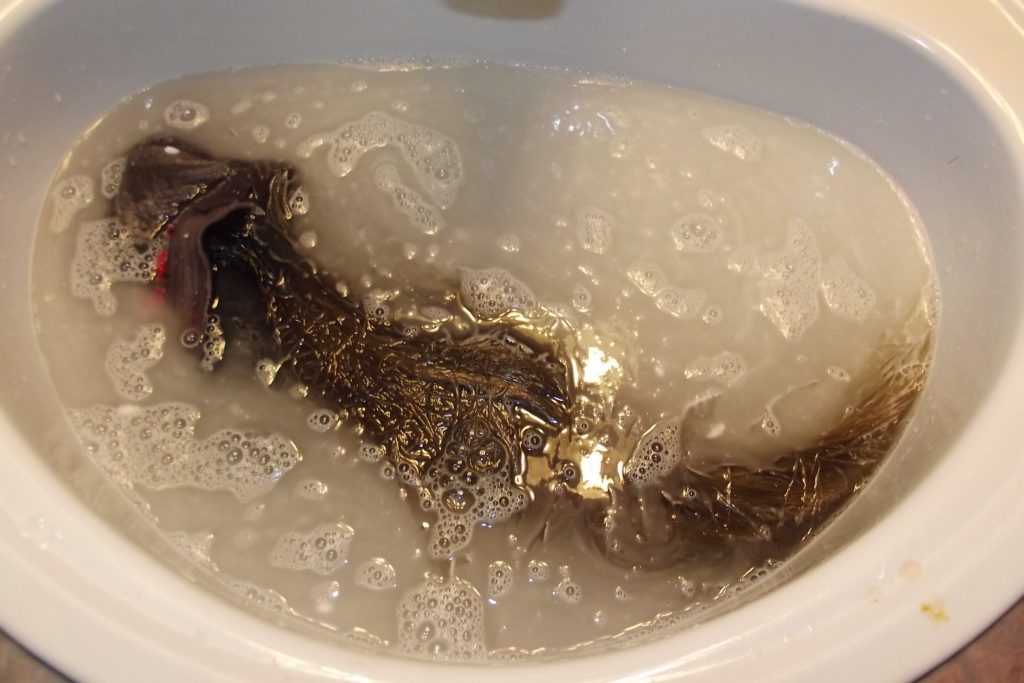
Add cap full of fabric softener. You can use whatever softener you use in your laundry. Fabric softener will basically do the same thing to your wig hairs as it does to your clothes- keep them smooth! It’s better for cleaning wigs than shampoo or soap because, even though it still cleans and lathers the hairs, it does so without getting too sudsy and saturating them with bubbles that are hard to wash out. It also works on the synthetic fibers the way a conditioner works on your hair. It’s also a bonus that your wig will smell like fresh laundry after! If you don’t have fabric softener, you can use regular hair conditioner, but it’s not quite as strong a formula and won’t detangle quite as well. Add the softener and mix it into the cold water well.
Step 6
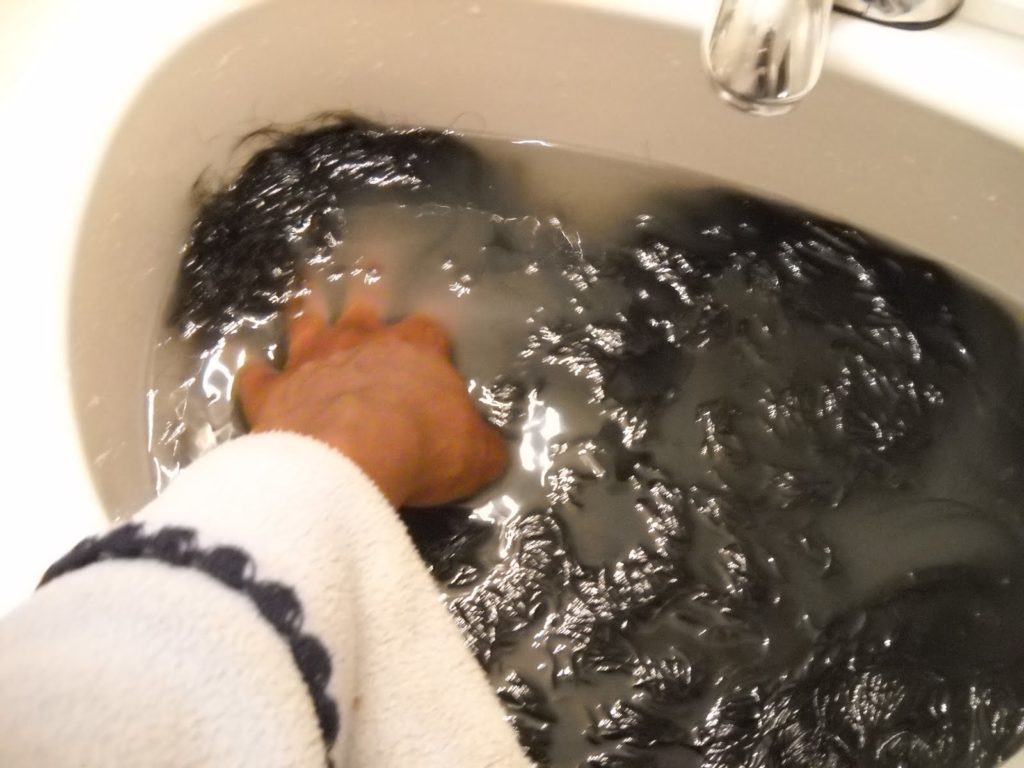
Submerge your wig completely in the water. You want the entire cap, roots, stands, and ends to be wet through. Place it in the water slowly to avoid extra tangling and press it lightly down below the surface.
Step 7
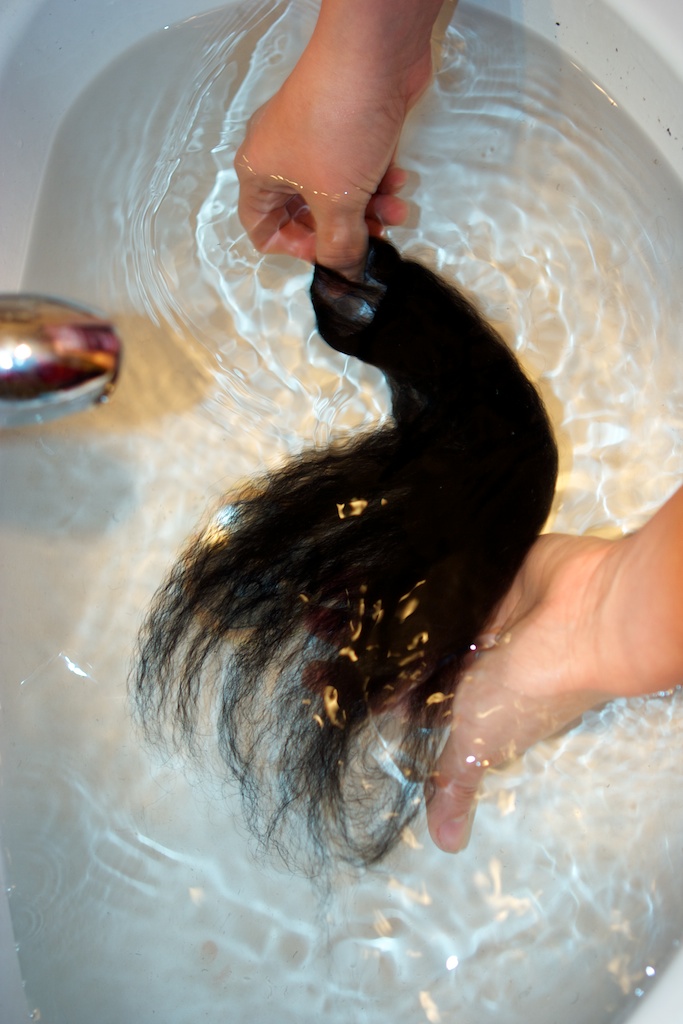
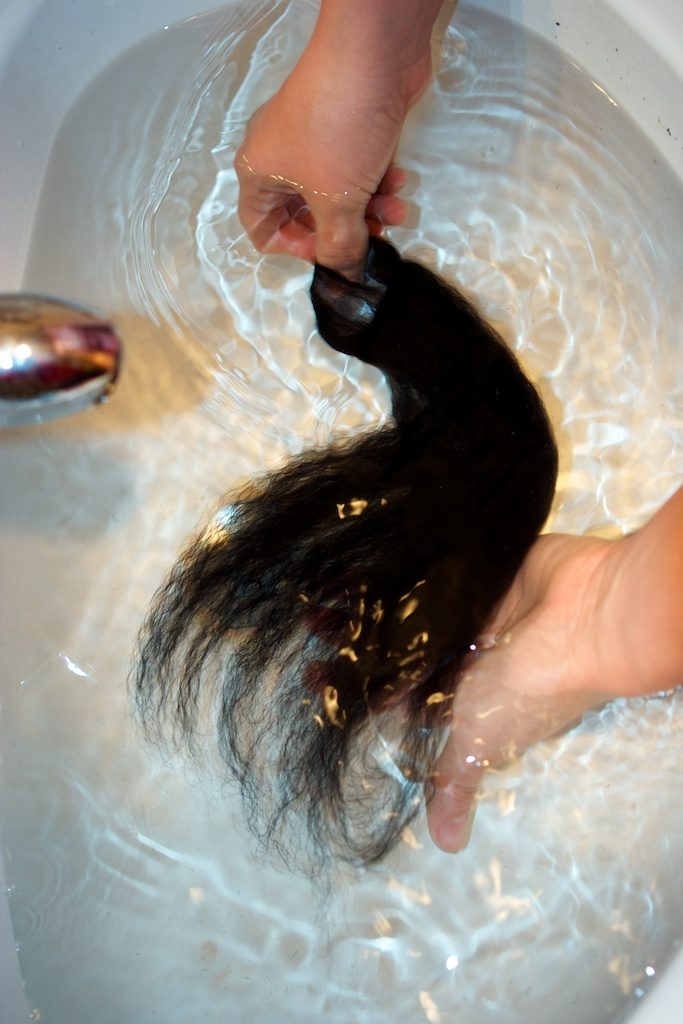
Carefully swirl the wig through the water. Do not rub or scrub the wig, or the hairs will tangle badly. Hold the wig at the top near the roots and swirl it smoothly through the water, leading with the cap so that the hair trails behind. This will still create suds and get the soap to travel between the strands and through the hair, but without rubbing them together and causing knots.
Step 8
Fully submerge your wig in the water once more and lets it soak for 20 minutes or so. This will make sure that each strand is thoroughly wet and cleaned with softener. It’ll also help lift out any excess product (like hairspray) or makeup that might have gotten on the wig last time you wore it.
Step 9
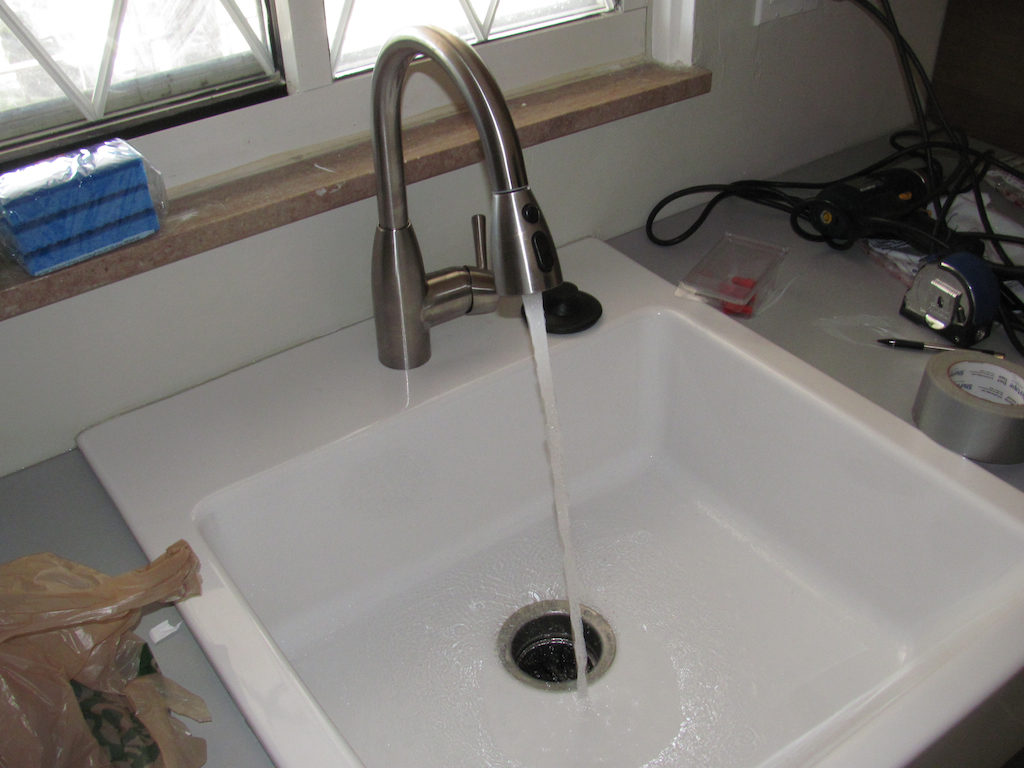
Lift the wig carefully out of the sink or tub and drain the dirty water. Consider putting some towels down if you’re working in a small space, because synthetic wigs hold water well and it will drip. Use the cold water tap or your shower head to rinse the wig carefully, aiming down the hairs from the cap, until all the softener is out and the water running out of the wig is clear, without soap in it.
(Photo source: Let’s Be Mermaids)
Step 10
hold the wig up so its entire length hangs down and squeeze it gently from top to bottom to ring out excess water. Don’t rub the hairs or shake it around. Next, lay the wig on a thick towel and use the edge or another towel to remove more water. Pat it gently all the way down. Do not rub the hairs like you might with your own hair, or the fibers will tangle badly. The wig will still hold a lot of water, but squeeze out what you can so it will make less mess when you hang it up to dry.
(Photo source: Aquilla’s Cubby Hole)
Step 11
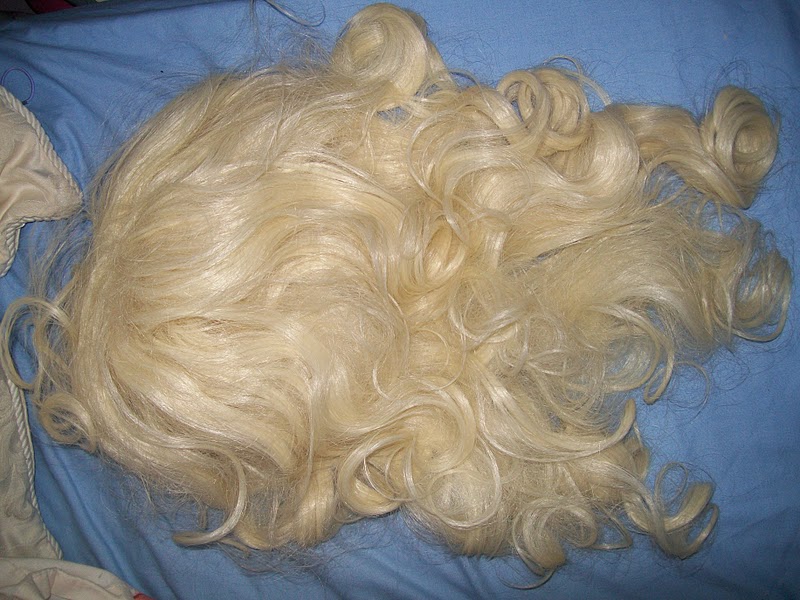
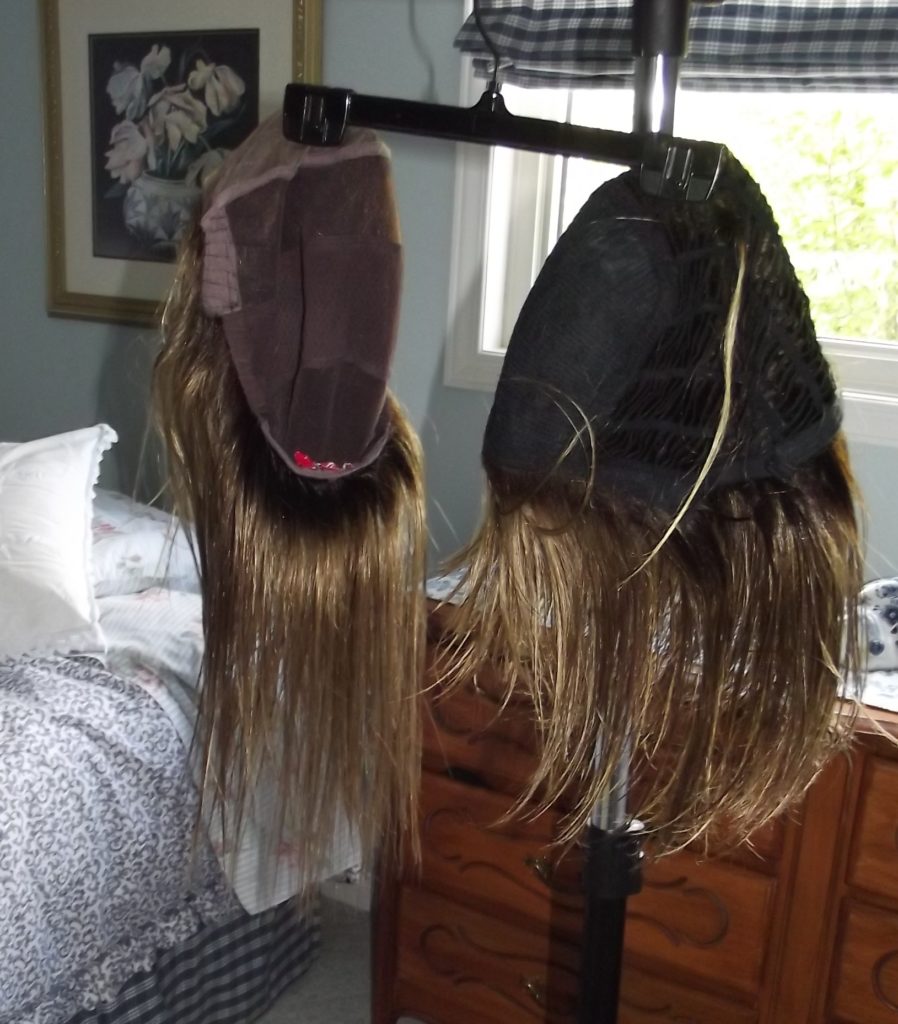
Hang the wig up to dry. Try to hang it by its elastics or cap rather than the hair itself, or the weight of the wet wig will pull hairs out. Consider hanging it above a towel or the bath rub to catch water, because it might still drip. Do not try to brush the wig while it’s still wet! The synthetic fibers will stick together and clumps of hair will pull out on the brush.
Step 12
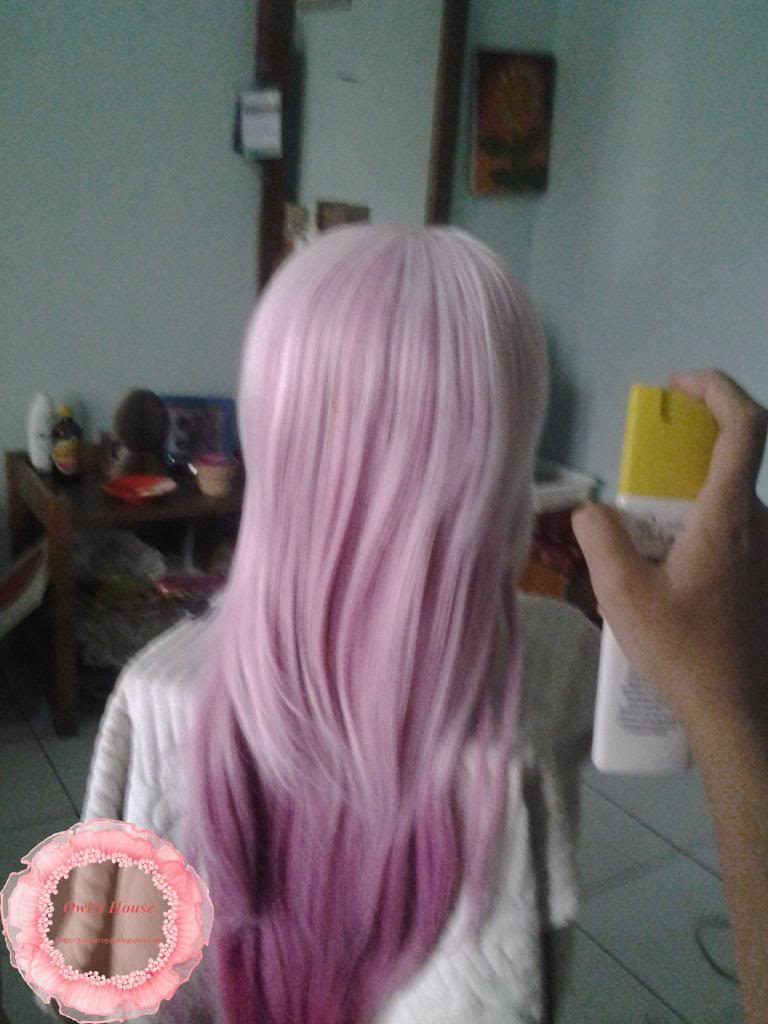
When the wig is completely dry all the way through, with no damp spots, give it a careful preliminary brush from ends to roots. Like you did before, mist it with Pledge to help detangle any spots that got knotted in washing and drying, then carefully comb them out from the bottom of the knot.
Found on Owl’s House
Step 13
Working in layers, brush the entire wig through. Remember to start at the bottom near the ends and work your way up. This means that, the higher you go working out the knots all the way around, the easier it is for your brush to travel downward, rather than snagging on knots below and tangling even worse as you work the brush through the hair. By the end of the process, you should be able to pass the brush smoothly through the wig from top to bottom without any major snags.
Step 14
Now it’s time to get styling! With simple synthetic wigs, you might not have to do much. The synthetic fibers of the hair have style memory because they are actually created in that shape rather than simply being styled and sprayed that way by the manufacturer like more expensive human hair wigs are. This means that, when your wig dries, it should bounce back to the style it was originally. Straight wigs will dry straight and curly wigs will dry curly. Sometimes, however, it’s nice to amp up the style a little and make sure it looks really good! Pin your wig onto a wig head and prepare to style.
To make your straight wigs extra straight and smooth, carefully steam them with a simple clothing steamer. Pin the hair up and take it down in layers, separating sections to work with the way you would when you straighten your own hair. Hold the section taught by the ends and steam all the way down the strands from top to bottom, keeping tension the whole time so that the fibers actually stay straight. Hold the strand taught until it cools, which should only take about a minute. Work your way through the whole wig, starting from the bottom underneath and moving to the outside layers near the roots. Brush the wig out smooth and mist it lightly with some hairspray to help it stay that straight.
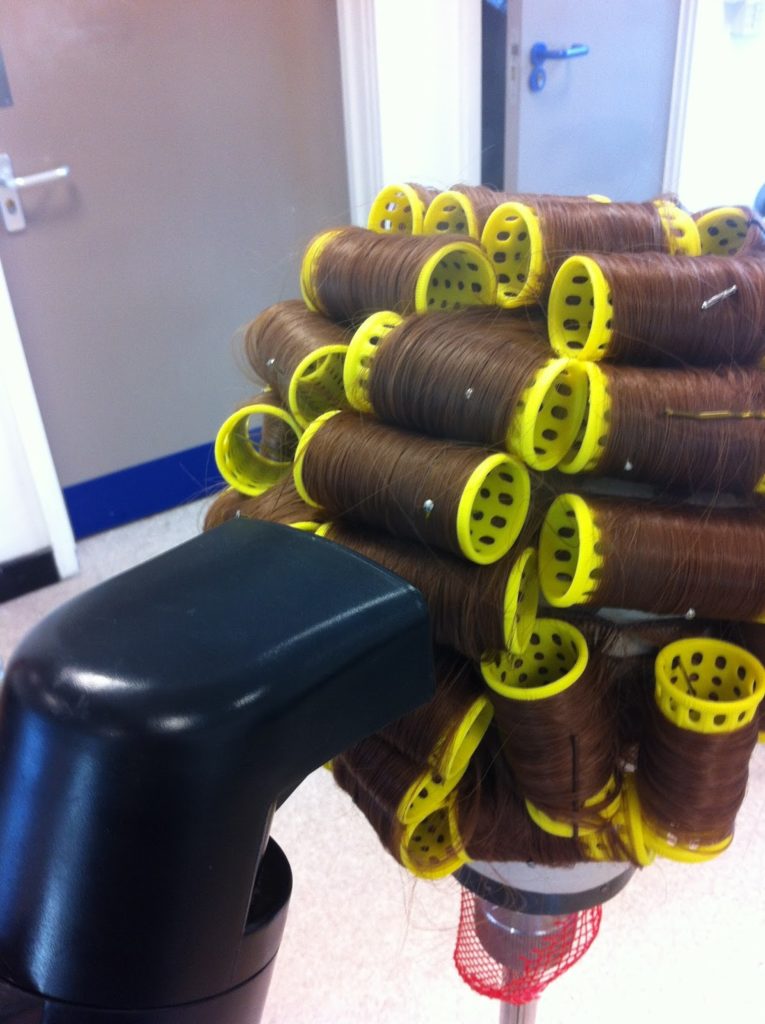
If your wig was curly, amp up its volume using hot rollers! Work in layers the same way you would if you were straightening it. You’ll actually use the same steaming technique, but instead of holding the hair taught and letting it cool straight, place a hot roller in the section as soon as you’ve steamed it, while it’s still warm. Work your way through the whole wig just like above until all the hair is rolled. Steam all over the wig to give the strands some extra heat for extra curl hold as they cool. Let is sit until the hair and the rollers have completely cooled all the way through, then carefully remove each roller starting at the bottom back and working your way up. Carefully brush your fingers through the curls to loosen them (unless your goal is tight ringlets, in which case leave them). Mist some hairspray across the curls, and voila!
Step 15
Pull your natural hair back, slip a wig cap over it to keep your fly-aways under control, and pop on your wig! Brush and adjust it as you see fit until you feel fabulous. You’re ready for Halloween!
(Photo source: Peach Milky Tea)
Do you know someone who loves to go all out for Halloween, changing even their hair colour just for the night? Maybe you know someone who just likes to wear wigs for fun sometimes! Share this post with them to help them make sure that their wigs look their absolute best, no matter where they’re wearing them.


