How to Clean Your Cricut Mat [Step-by-Step Guide]
Getting into crafting things at home can be a lot of fun. However, it’s also easy to forget that you should also put it through some maintenance from time to time whenever you use a new machine.
For example, Cricut machine users should think about more than just changing the blades when they get dull since the mats also deserve attention as well since they cannot work without them.
Thankfully enough, home crafters are plenty, and solutions on how to clean your Cricut mats are available everywhere, and that is why we’ve decided to compile them all together in this neat little guide so that you can spend less time doing maintenance and more time creating amazing homemade objects for friends and family.
What Is a Cricut Mat?
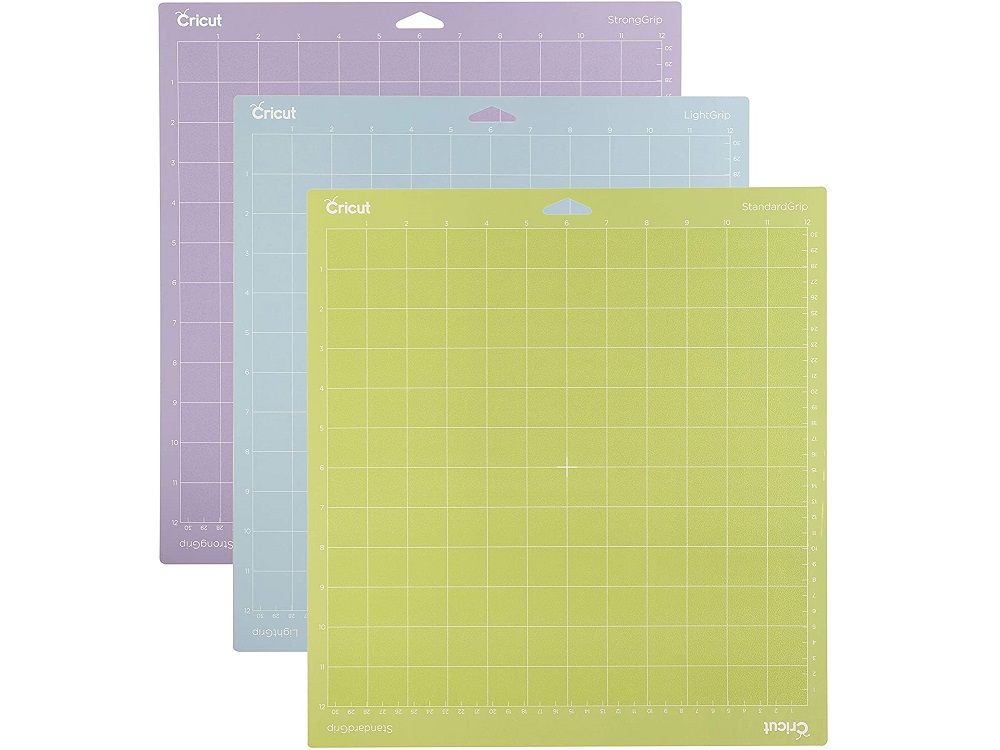
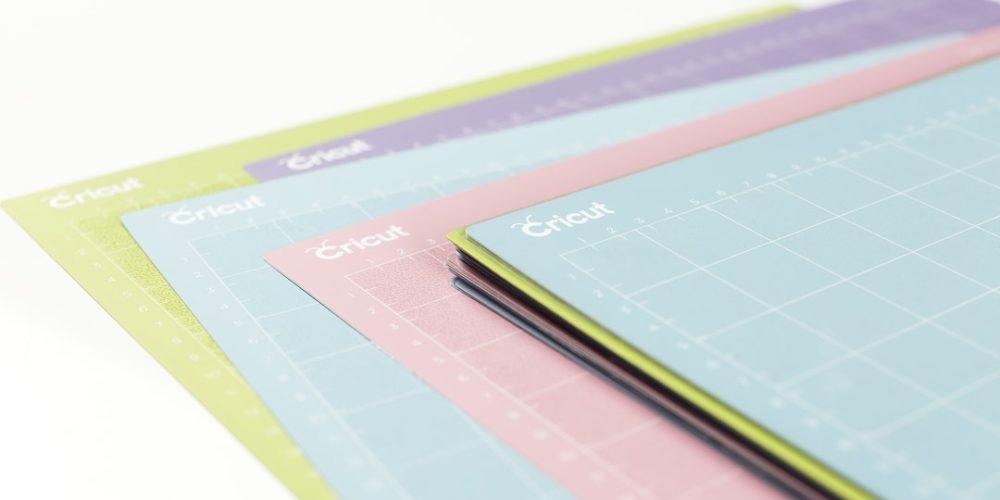
For those of you that haven’t bought a Cricut machine yet, but are thinking of getting one, a Cricut mat is basically a sticky cutting mat where you place the materials that you are about to start cutting using the Cricut machine.
For those of you that have ever seen a sewing machine, imagine that the mat is basically your hands keeping the fabric in place while the machine punches in the holes.
Well, given that the Cricut mat is a naturally sticky surface, it starts losing its stickiness, and it can also become quite dirty over extended periods of use, so a little bit of cleaning can go a long way.
While mats can be bought separately, it’s the type of consumable that can rack up quite a bill when you draw the line, especially if you’re the kind of person that uses the Cricut machine intensively, so knowing how to clean it can save you a lot of money in the long run.
Note: Cricut Mats are still considered consumables, and they will eventually wear out for good no matter how often you clean them, so keep that in mind and always be prepared to buy extras at one point or another.
How Often Do I Need to Clean My Cricut Cutting Mat?
Cricut mats come in 4 different levels of adhesiveness and, on average, they are meant to last somewhere between 40 to 50 uses before they start to wear out for good, and as far as cleaning goes, depending on what materials you cut, you’ll need to clean them once every 2 to 4 uses to maintain optimal grip and cleanliness.
Of course, this is just an average number since the materials that you’ll be using on your Cricut machine can also determine how often it will need cleaning.
For example, using materials and fabric that leave a lot of debris behind, such as felt or denim, means you’ll need to clean the mats a lot more often.
While it may sound like there are too many variables involved in terms of how often you’ll need to clean your mats, there is one way to figure out when it definitely needs some cleaning: Check whether it is still sticky enough to get the job done right.
What Do I Need to Clean My Cricut Mats?
One great thing about Cricut mats is that they are very low-maintenance, and you don’t need any dedicated tool to clean and make them sticky again.
That being said, more than half of the materials that you need are most likely already in your house:
- Lint Roller
- Regular dish soap
- Cricut Scraper tool
- Alcohol-free wet-wipes
- Dish brush, cloth, or sponge
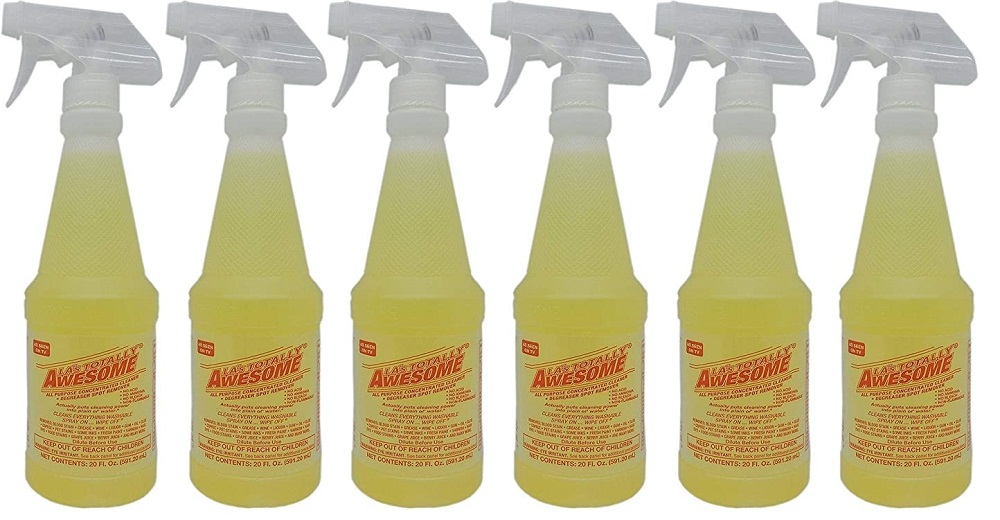
- LA’s Awesome cleaning spray
How Do I Clean My Cricut Cutting Mats?
As we mentioned earlier, Cricut has 4 different types of cutting mats, and because they have different construction and build, the cleaning solutions that work on one mat may not be enough for (or may even damage) another.
Because of that, we’ve divided the cleaning solutions based on how thorough the cleaning methods are, as some of them are considered gentle in terms of approach, while others can be considered deep-cleaning methods.
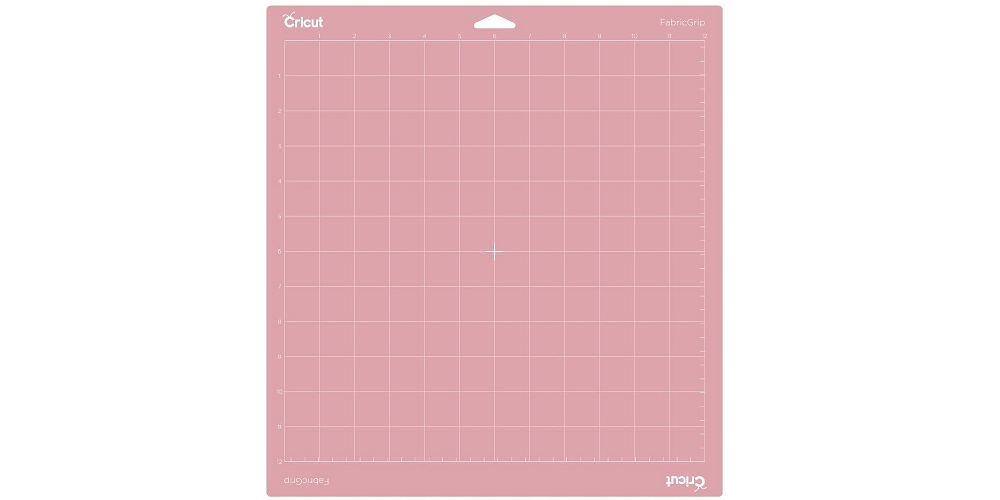
However, keep in mind that the solutions listed below will only work on the blue LightGrip mat, the green StandardGrip mat, and the purple StrongGrip mat, but not on the Pink FabricGrip mat since its adhesive is a bit different and will require a different cleaning approach.
Light Cleaning Methods for Your Cricut Cutting Mat
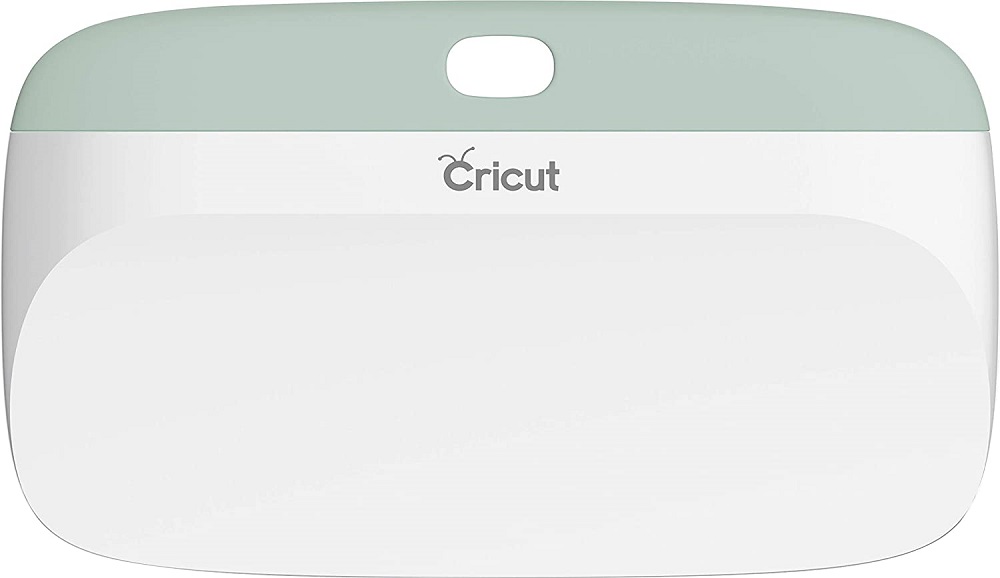
Use a Scraper Tool
Cricut is perfectly aware that the users that buy their products not only like creating things at home, they also prefer to clean, repair, and perform maintenance at home as well.
That’s why they also have a dedicated Cricut Scraper tool, and you can use it to clean large areas and apply the material to larger surfaces with ease, making it ideal for working with vinyl and cleaning your cutting mats and other surfaces.
To use the Cricut Scraper, pull the edge of the scraper tool over the surface of your mat, and it should remove all the small pieces of debris, dust, or whatever it is that is making your mat dirty.
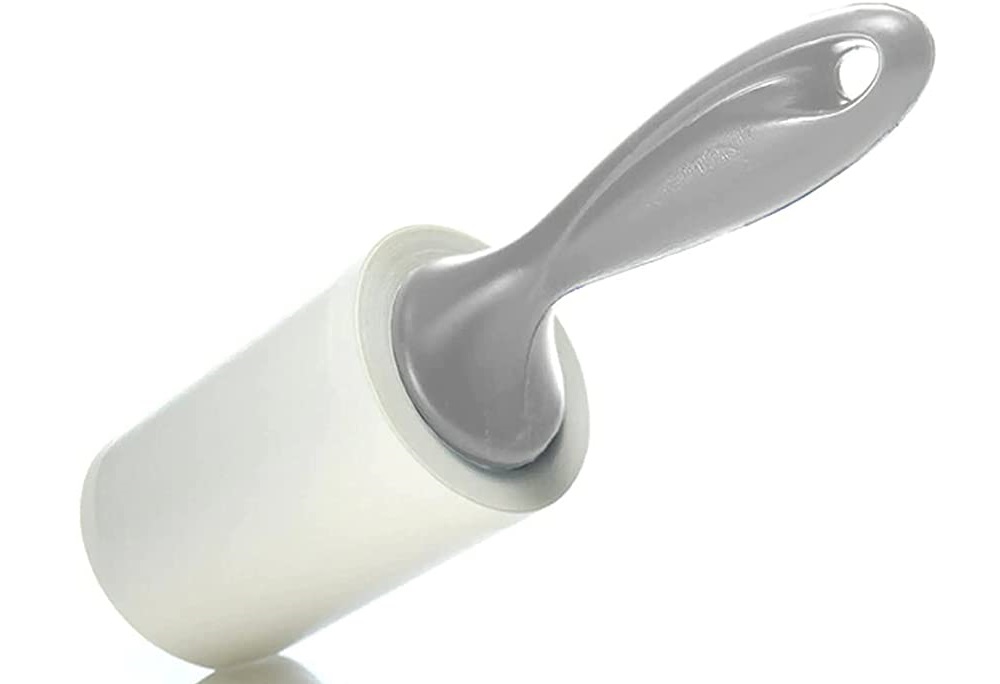
Use a Lint Roller
The lint roller is basically a cutting mat, only stickier, and that’s basically the principle behind using it for cleaning. Simply roll it over the cleaning mat as if it were an old coat, and all debris should be removed without further issues.
However, keep in mind that if you want to use this method, you should make sure that the lint roller you’re using has a stronger grip than the mat itself.
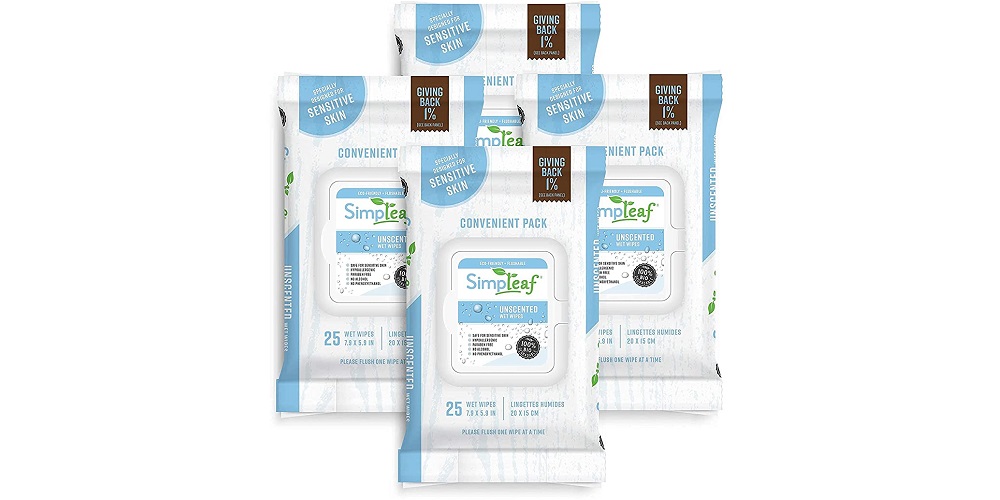
Use Wet Wipes
Whenever there’s something in your house that needs cleaning, wet wipes are the way to go, and the same can be said about cleaning Cricut mats too. One great thing about using wet wipes is that they are readily available since they are very cheap (even the jumbo-sized packages), and you can buy them from pretty much any shop.
To use wet wipes, gently clean the surface of the mat since rubbing it in will damage the adhesive. More so, try to look for alcohol-free wet wipes as well, since they tend to damage the adhesive even less.
One thing you should remember about using wet wipes is that you need to leave the mat to dry off naturally before you use it again since it will now be wet from whatever moisture the wet wipes had in them. Once you see that the mat is dry and sticky again, you can place it back in your Cricut machine and get back to crafting.
Medium Cleaning Methodsfor Your Cricut Cutting Mat
Use Soap and Water
Sometimes the grime and dust can be really deep, and you may be dealing with a mat that has a stronger grip than the average lint roller, so your next best solution is to simply take the mat and wash it with warm water and soap.
Here’s how to clean the Cricut mat with warm water and soap:
- Use the Cricut Scraper tool to remove excess dirt.
- Lay the mat on a flat surface.
- Get a dishcloth, soft dish brush, or a sponge.
- Clean the surface of the mat using circular motions using warm water and regular dish soap.
- Let the mat dry
Note: Do not use soap that contains oils, like the ones used for washing your hands or face, just use regular dish soap.
Heavy Cleaning Methods for Your Cricut Cutting Mat
Mats can end up really dirty (try cleaning them more often), and when lint rollers, wet wipes, or even water and soap don’t cut it, you’ll need to use some professional cleaning products.
However, don’t be scared by the word professional, since we’re not talking about some expensive spray created by Cricut specifically for this job.
Use LA’s Totally Awesome Spray
This product is not of Cricut’s own making, so don’t be afraid about having to buy a cleaning product to perform just one job. The LA’s Totally Awesome Spray is affordable, and you can get it at any dollar store or even online.
Warning: Online reviews about using this product on Cricut mats are mixed, so use the following method at your own risk.
Here’s how to clean the Cricut mat with LA’s Totally Awesome Spray:
- Spray the surface of the mat with the cleaning spray.
- Let it sit for 5-10 minutes while the product dislodges the debris and dirt.
- Gently clean the surface of the mat with a sponge, cloth, or wipe.
- Applying too much pressure might destroy the mat’s adhesive surface!
- Rinse the mat with warm water.
- Let the mat dry.
How Do I Clean the Pink FabricGrip Mat?
As mentioned earlier, cleaning the pink FabricGrip mat is a whole different story, mostly because it has a different type of adhesive that is designed to stick to fabric, making it particularly delicate.
Because of that, any solution that involves scraping or rubbing something on the mat is completely out of the question, no matter how lighthanded you are.
Thus, the only real way to clean the surface of a FabricGrip mat is to simply use a pair of tweezers and start picking off the pieces of the debris one by one. This process may seem like a real headache, but if you don’t have the money to change the mats all that often, it can save you a few dollars.
Special Mention: How Do I Clean the Felt from a Cricut Mat?
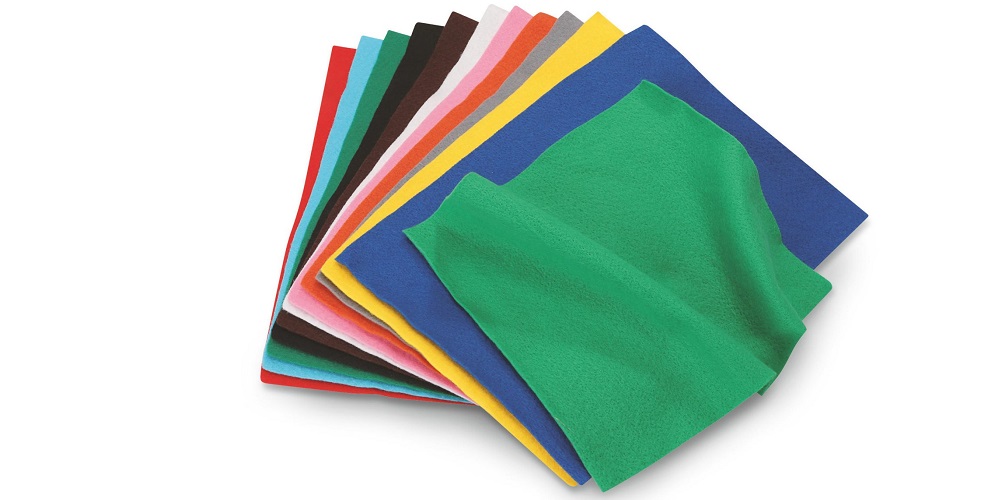
Keeping your Cricut mat clean and sticky is why you started reading this article, but if you’ve ever gone and tried working with different materials other than paper and cardboard, you’ll know just how much of a pain felt can be in terms of the debris it leaves behind.
They are too small and too fine to be cleaned using any of the methods mentioned above, making felt removal practically impossible.
One workaround would be to cover the mat with freezer paper, and it will keep the felt in place while the Cricut machine cuts, while also preventing any felt from coming in direct contact with the mat.
More so, if you don’t plan on buying spare mats any time soon, you’re better off just using an older StardardGrip or FabricGrip mat, and keep them only for felt projects.
How Do I Make My Cricut Mat Sticky Again?
Throughout our solutions, we emphasized the importance of being gentle when you clean the Cricut mats because it’s very easy to rub a bit too hard and destroy the layer of adhesive that covers them.
Besides, the entire purpose of cleaning the mat is to remove the debris not so that it looks clean but so that it can become sticky again.
There are a few things you can try to make the mats sticky again, and we will show you several ways to do so.
Warning: Be careful with these methods since any excess glue can end up jamming your Cricut machine and void your warranty! If you don’t feel like the risk is worth taking, go ahead and buy new mats instead.
Here’s how to make your Cricut mat sticky again:
- Use any of the methods above to clean the mat of excess debris.
- Use the Cricut scraper, wet wipes, lint roller, water, and soap, etc.
- Let the mat dry.
- Cover the edges of the mat with tape.
- The adhesive is not on the entire surface of the mat
- The edges are where the rollers touch the cutting mat.
- Apply the new adhesive according to whatever instruction it may have.
- One adhesive many users have been recommending is Spray n Bond Basting Adhesive.
- Let the adhesive dry.
Other adhesives that users have been recommending are:
How Do I Keep My Cricut Mats Clean?
Now that you’ve learned how to clean your Cricut mat and how to make it sticky again, it’s time to learn how to keep them that way for as much time as possible.
Here’s how to keep Cricut mats clean for as long as possible:
- Clean the mats regularly with either the Cricut scraper or a lint roller.
- Any flat plastic object will do, so if you have an old credit card lying around, it will do just fine.
- All you need to do is run the edge of the card over your mat to release the debris.
- Always use the plastic protector sheet.
- Cricut mats have a thin plastic protective sheet that you should always use between projects.
- Simply place the sheet over the mat, and all dust particles from the atmosphere will settle on the sheet rather than the mat itself.
- The plastic sheet is also easy to clean since it is a flat and shiny surface, so cleaning it will be easy with things like wet wipes.
- Always use material-appropriate mats.
- There are 4 different types of Cricut mats for a reason, and this can also affect the way you will need to clean them afterward.
- For example, using felt on the StrongGrip mat will be a nightmare to clean and restick.
Note: Cricut mats are consumable materials by nature, so the solutions mentioned both above and below will only prolong their life, not make them last forever.
FAQ: More Information About Cleaning Cricut Mats
Can you clean Cricut cutting mats?
Yes, you can. While Cricut cutting mats are not meant to last forever (40-50 uses), they can be cleaned to prolong their life and functionality a bit beyond that. For example, a Cricut cutting mat doesn’t get damaged per se, but it becomes unusable once it is no longer sticky.
How do I clean my Cricut mat with baby wipes?
Simply wipe the surface of the Cricut cutting mat with baby wipes using circular motions. Depending on the amount of dirt on the mat, you may need to use 2 or even 3 wipes to remove everything.
However, keep in mind that you need to wipe the mat gently to not destroy the layer of adhesive, and also make sure to use alcohol-free wipes as well.
How do I clean Cricut mats with Dawn?
Dawn is a popular brand of dish soap, and it can also be used to clean Cricut cutting mats. All you need to do is place the cutting mat on a flat surface and then gently wipe the surface using a cloth, brush, or sponge that has been dipped in a mix of Dawn and warm water.
Can I make a Cricut mat sticky again?
Yes, you can. However, the tricky part is knowing which adhesive to use and how much of it to use, since it is very easy to use the wrong type or use too much, and this may end up clogging up your entire Cricut machine.
That is while you need to pay extra attention to what products you use, and also keep in mind that you mustn’t put adhesive on the entire surface of the mat since the edges must not be sticky at all.
Can I wash my Cricut mat?
Yes, you can. The only thing that you need to keep in mind when washing your Cricut cutting mat is that you need to wipe it very gently using a mix of dish soap and water, and also make sure that the dish soap that you are using does not contain any oils.
How to Clean a Cricut Cutting Mat: Conclusion
As you can see, there are plenty of methods that one can use to clean up a Cricut cutting mat, one more efficient than the other.
The great thing about all of these methods is that they require materials that are most likely already in your home, and you don’t need any special training to clean them either.
Just remember that your priority is to clean the mat to make it sticky again, so be gentle when wiping them, and if you do manage to remove the adhesive layer, know what to use as a replacement and in what quantity.
We hope that you found this guide to be useful and that you can now go back to crafting cute things at home using your Cricut cutting machine.
Let us know what other things you’d like to learn about the Cricut cutting machines by leaving your feedback in the comments section below, and we’ll gladly create an article like the one above for you to enjoy.
