Make Your Own Fun Clay Tablespoons
Now this is what I call crafting! Having the ability to create your very own objects, just as you want them, and using them in everyday life: how fun is the life of a diyer? Today I’m going to show you how to make your own tablespoons! These days we’re totally used to metallic cutlery and white pottery kitchen accessories are considered more of a premium target, or at least for use in special occasions and unique events. With this tutorial we’re going to make fine china looking spoons with a handmade twist and lots of money saved! Also, you get to choose how to decorate them and can surely decide to pair them with your kitchen or any other tableware ensamble your already have at home. Supplies are super basic and pretty much improvised, follow on and you’ll be astonished how fool proof this tutorial is! And be aware: it’s very addictive!
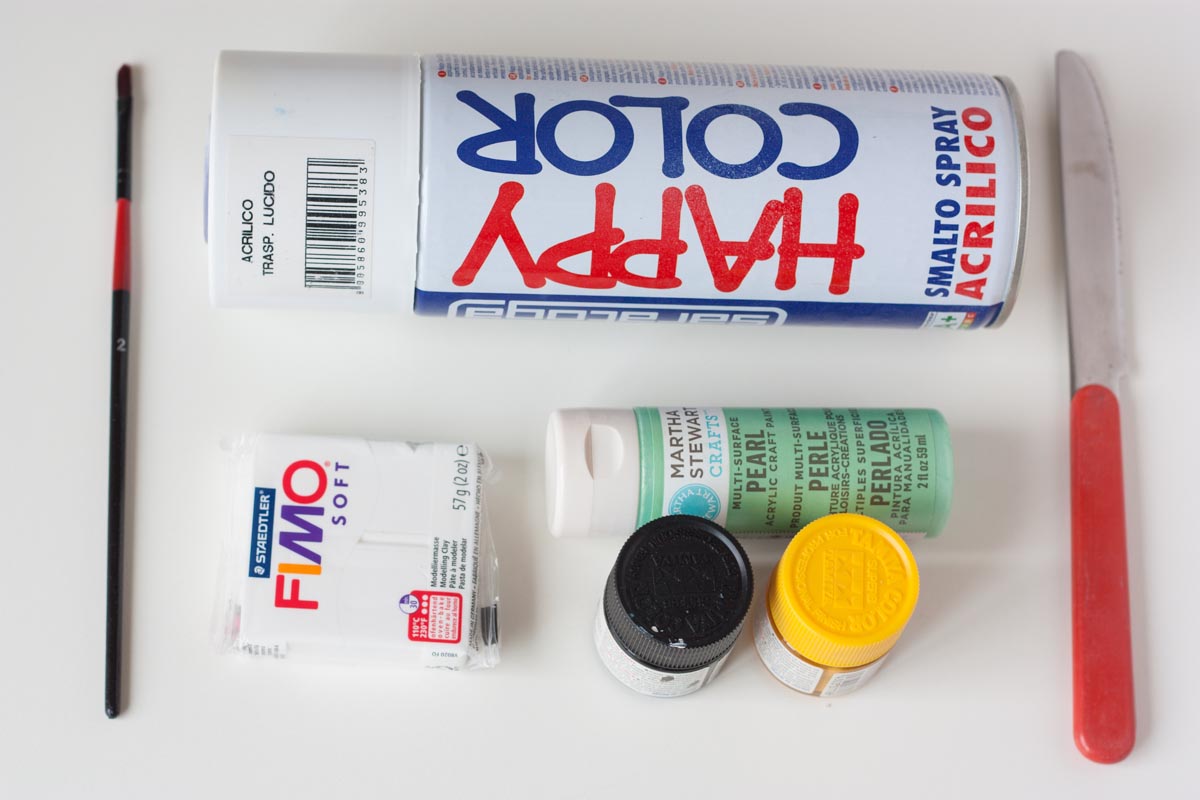
Here’s what you’ll need:
- oven hardening clay
- cutter or knife
- tablespoon or something with a small round shape
- brush and paint
- transaprent spray top coat
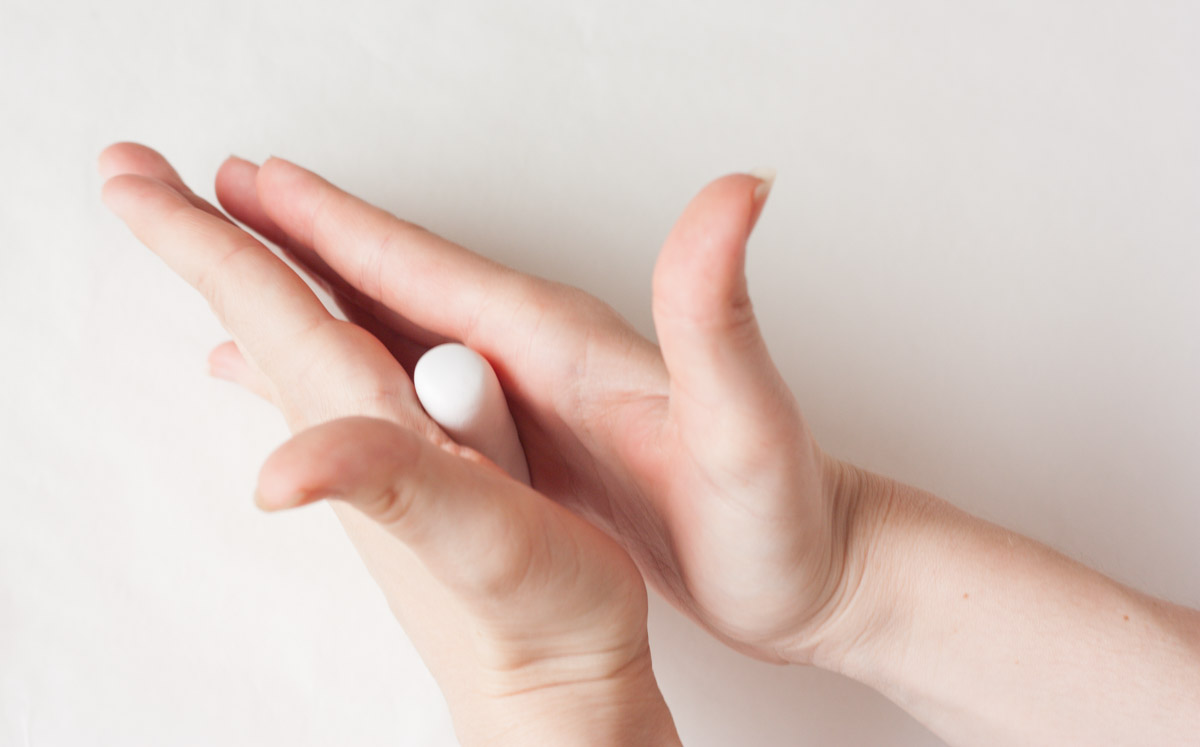
Start by working clay in your hand. I used 1/5 of the square you see in the supplies picture. Make a ball and then starting rolling it into a sausage shape moving your hands like shown in the picture. Try to make it evenly thick.
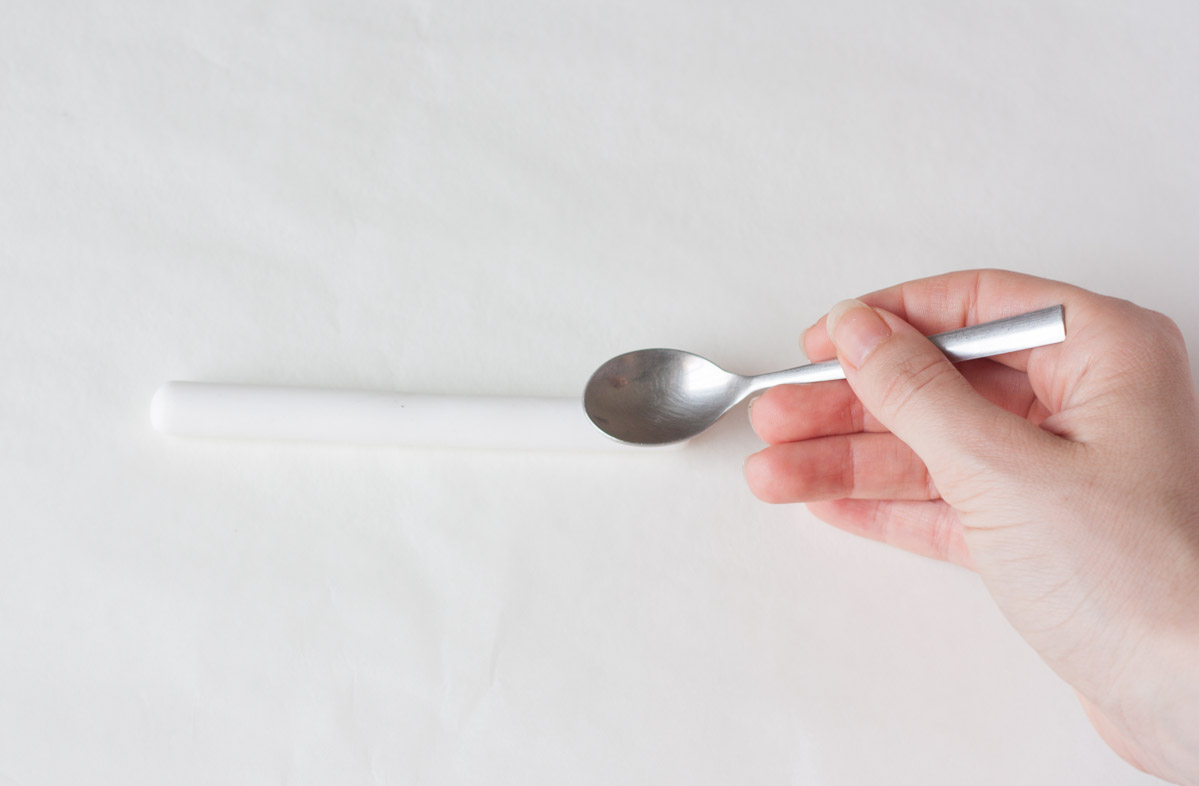
Now grab a tablespoon or any other rounded shape object, but remember to choose one with a smooth surface. Press it against one end of your sausage clay making the spoon’s shape. Go ahead and adjust it with your fingers if it’s irregular. Remember that what you see is what you get, so if the shape that came out looks weird to you, go back to step one and give it another try. I did this some times before I mastered the technique!
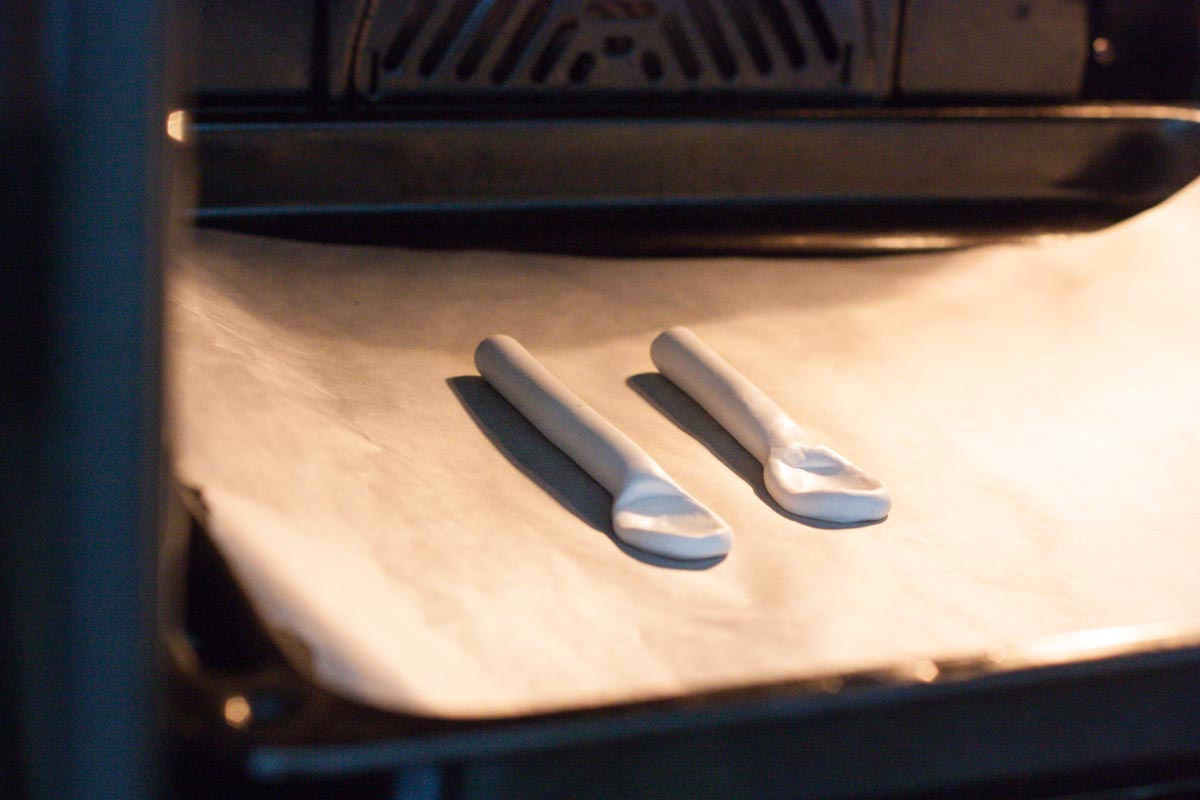
Place on top of baking sheet and oven cook for 30 mins at 110°C (this depends on the clay’s manifacturer instructions, check yours).
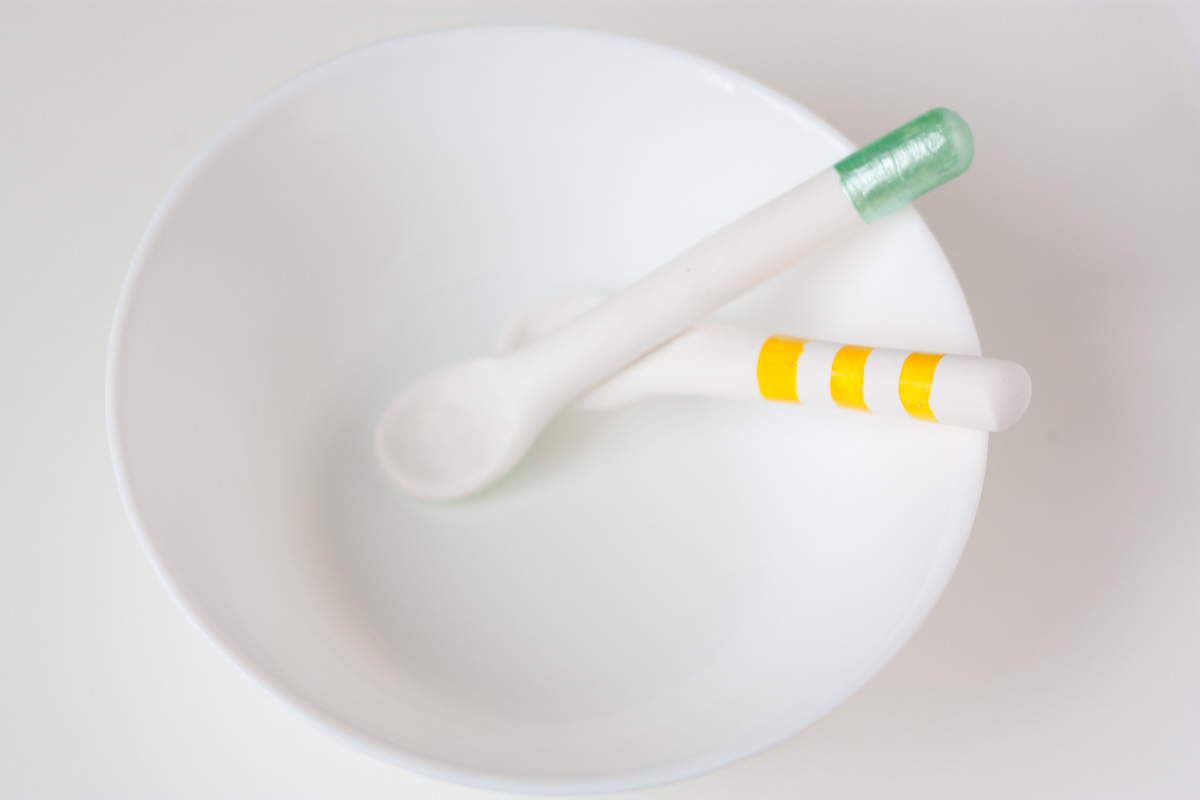
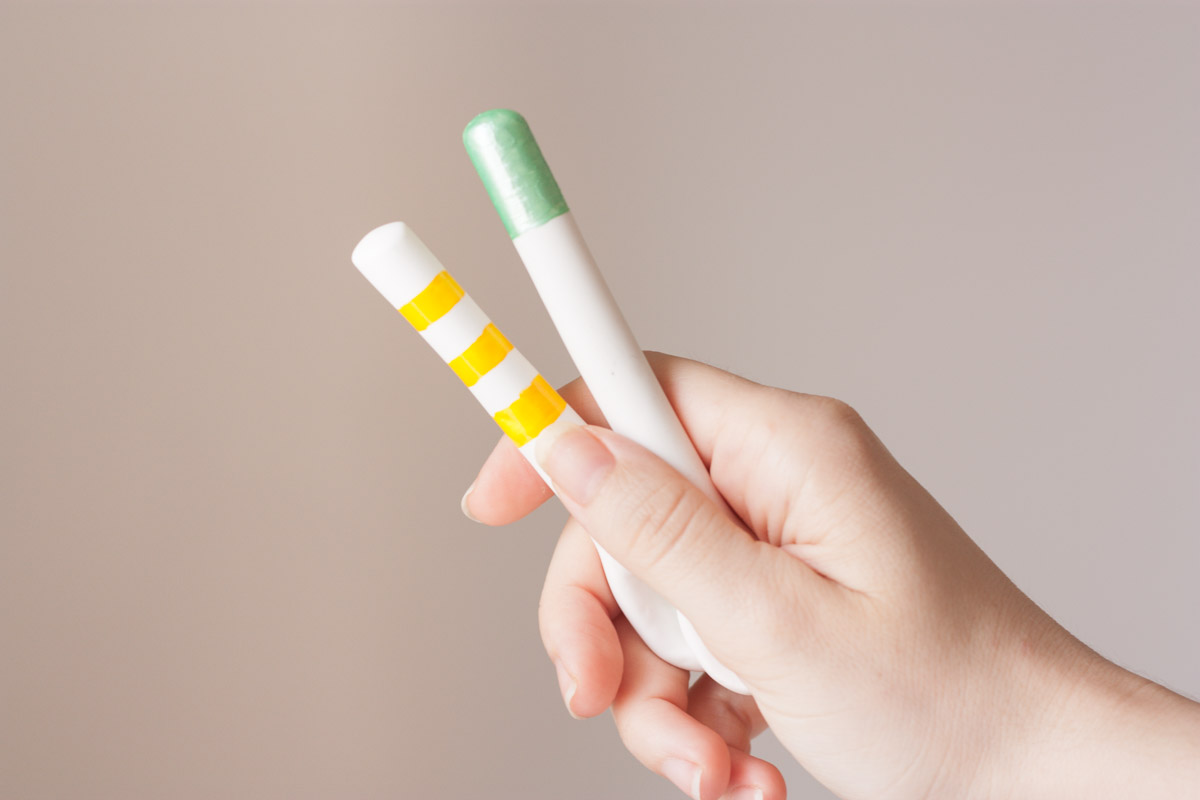
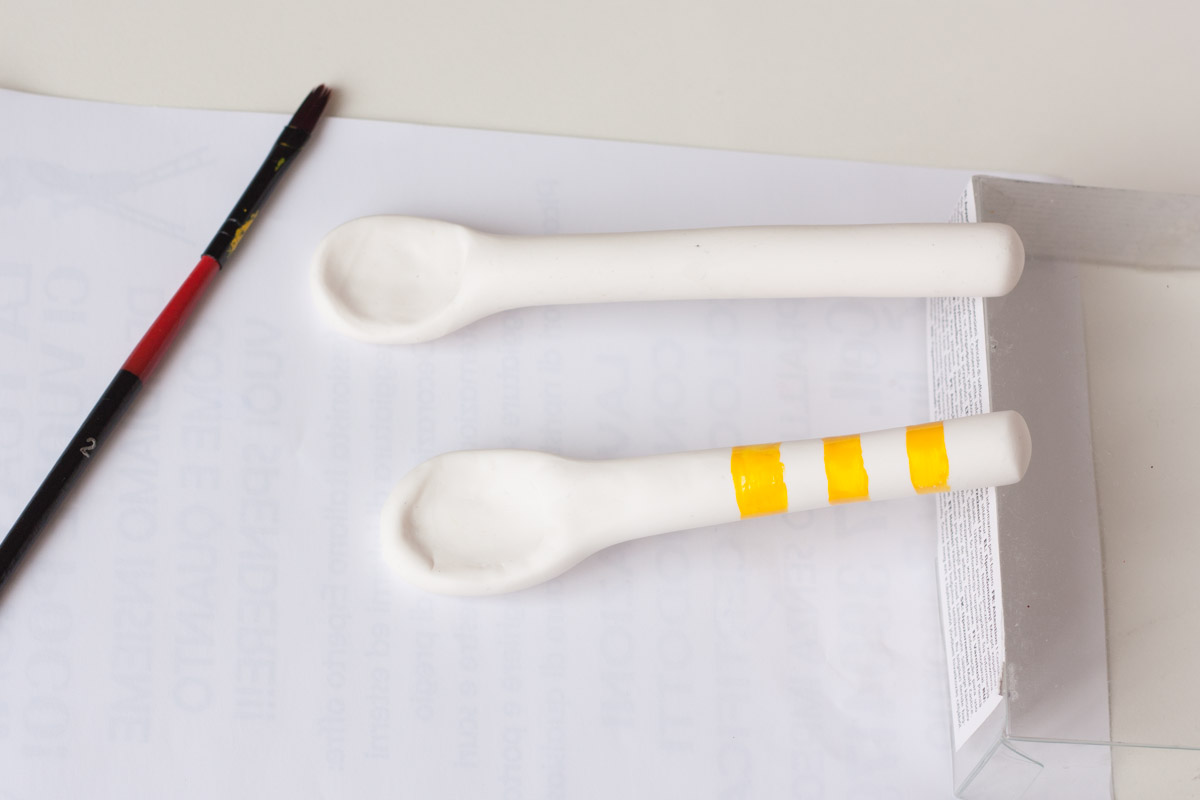
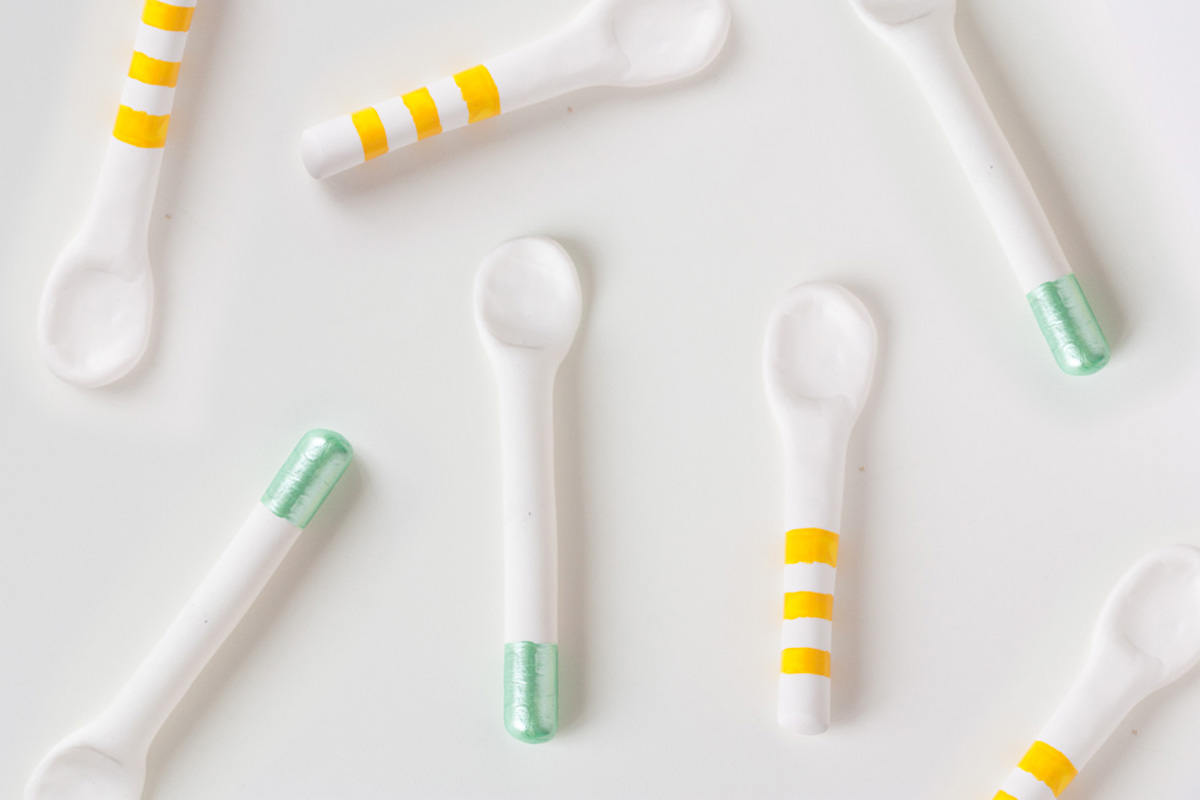
Let it cool down at room temperature and paint as you wish! I went for yellow striped pattern on some spoons and mint dipped on other ones. Remember to add a final top coat at the end of everything so that they become water resistant.
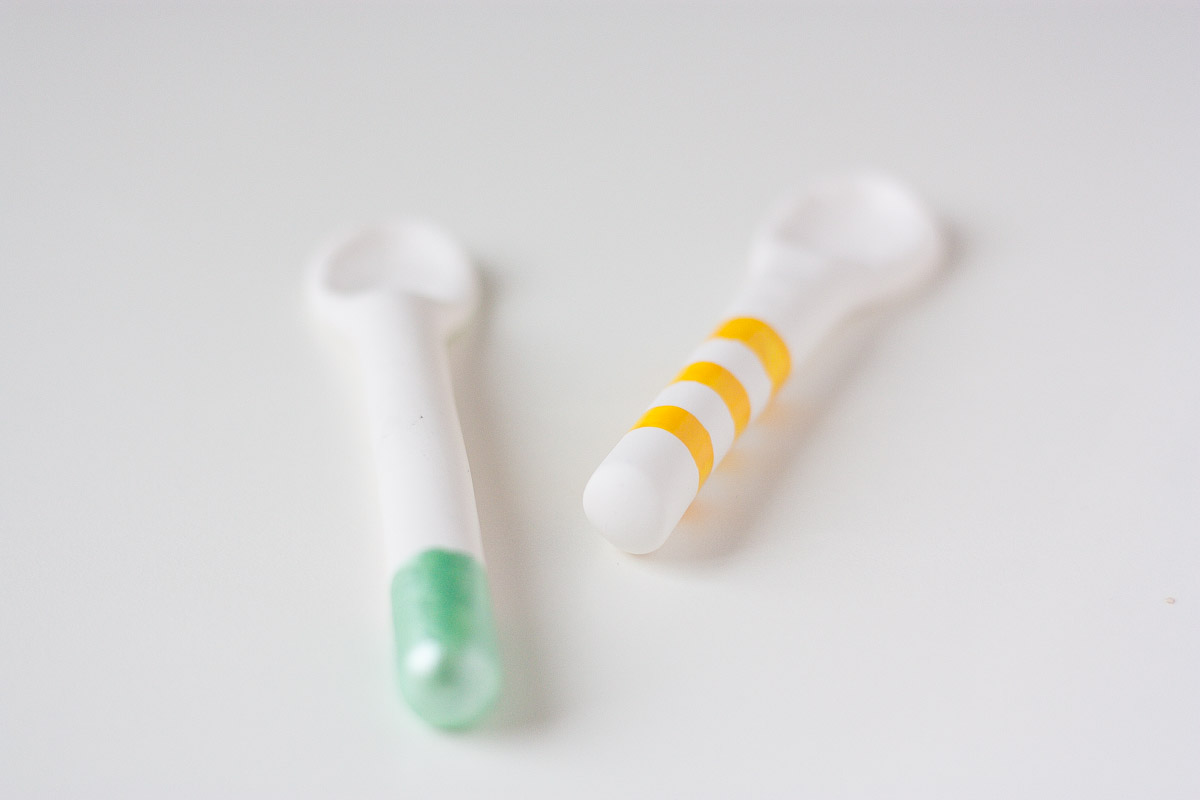
We’ve finished! I tested them out a few days and I must admit they feel a little weird under your lips for two reasons: the first is that they are generally thicker than metallic spoons and we’re not used to it; secondly because classic spoons have a rounded back, whilst these have a flat back (because we pressed them down on the surface) and also this feels a little weird in your mouth. Besides weirdness feelings, they work perfectly well for stirring and look how cute they are!
Polymer clay should never be used with food or for eating!