DIY Charm Leather Choker Necklace – Step By Step Guide for Beginners
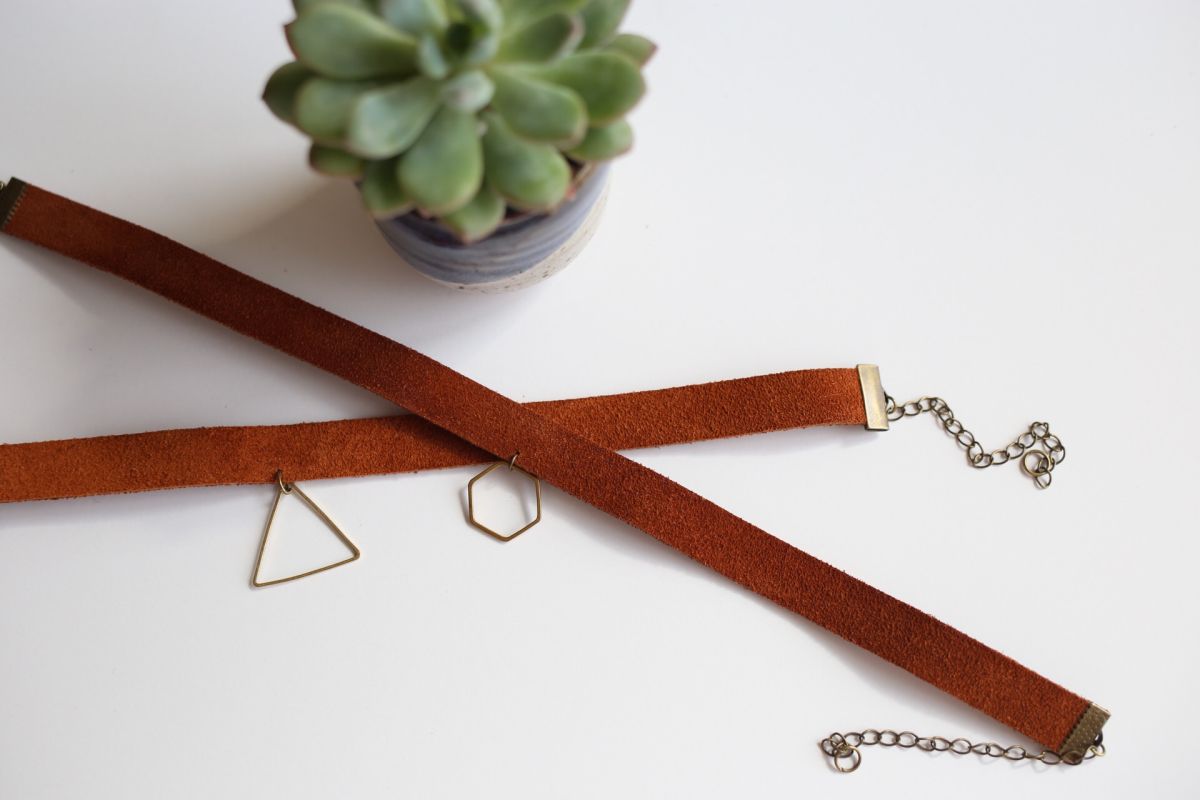
The 90’s fashion is back in style and chokers are popular jewelry piece to wear around your neck these days. Learn how to make a beautiful leather choker necklace without dropping a lot of money. You can finish this in 10 minutes– YES it only takes 10 minutes!
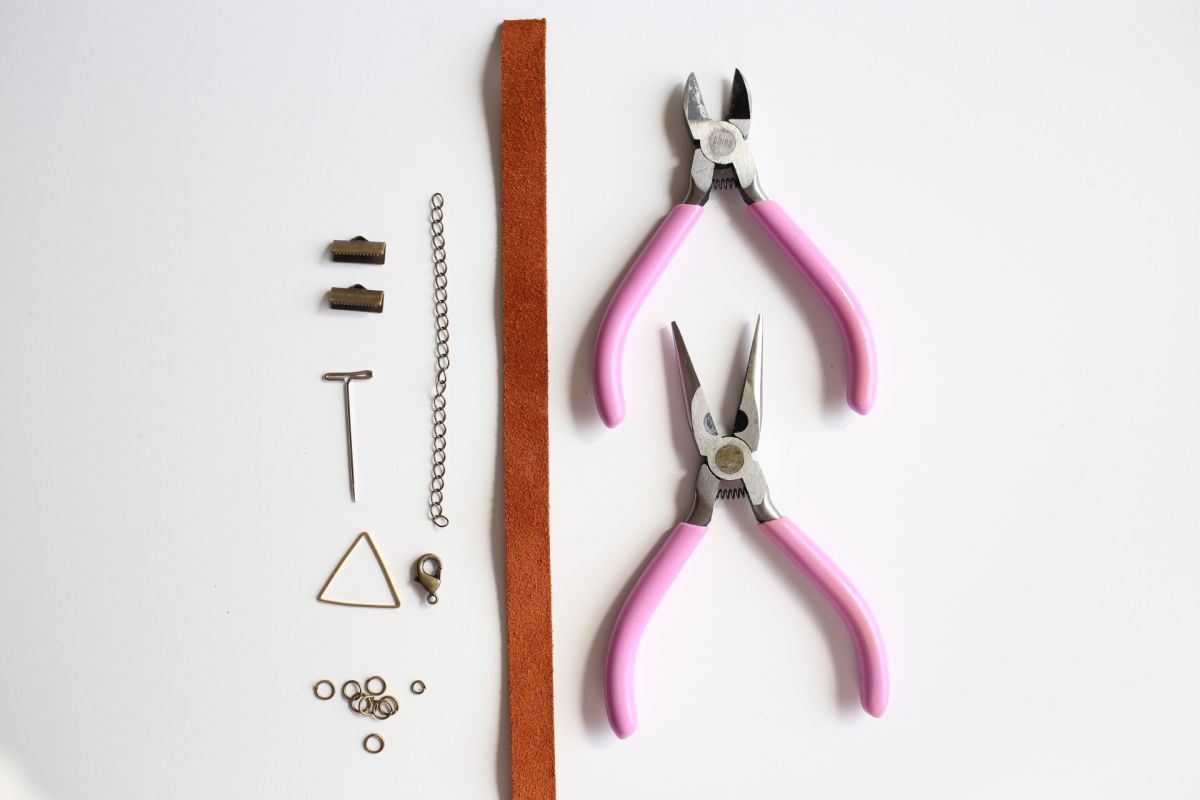
Materials you need to craft a leather choker necklace:
- Leather strip
- Scissors
- Jewelry pliers and cutter
- Jewelry charm
- Jump rings
- Clasp
- Chain extender
- Ribbon clamps
- Pin or Needle
Step 1: cut a leather strip
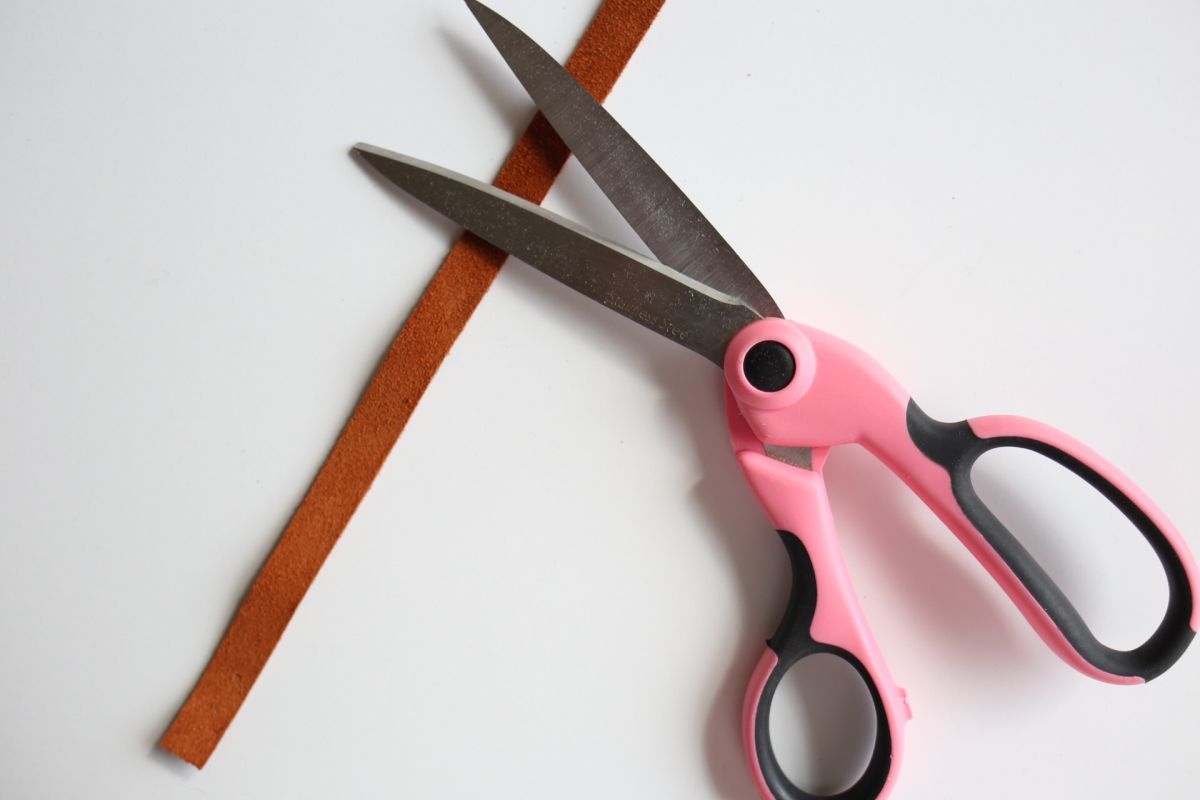
Take the leather strip and measure it around your neck- before you cut you want the strip to be an inch and a half shorter than your actual neck measurement
Step 2: add ribbon clamp
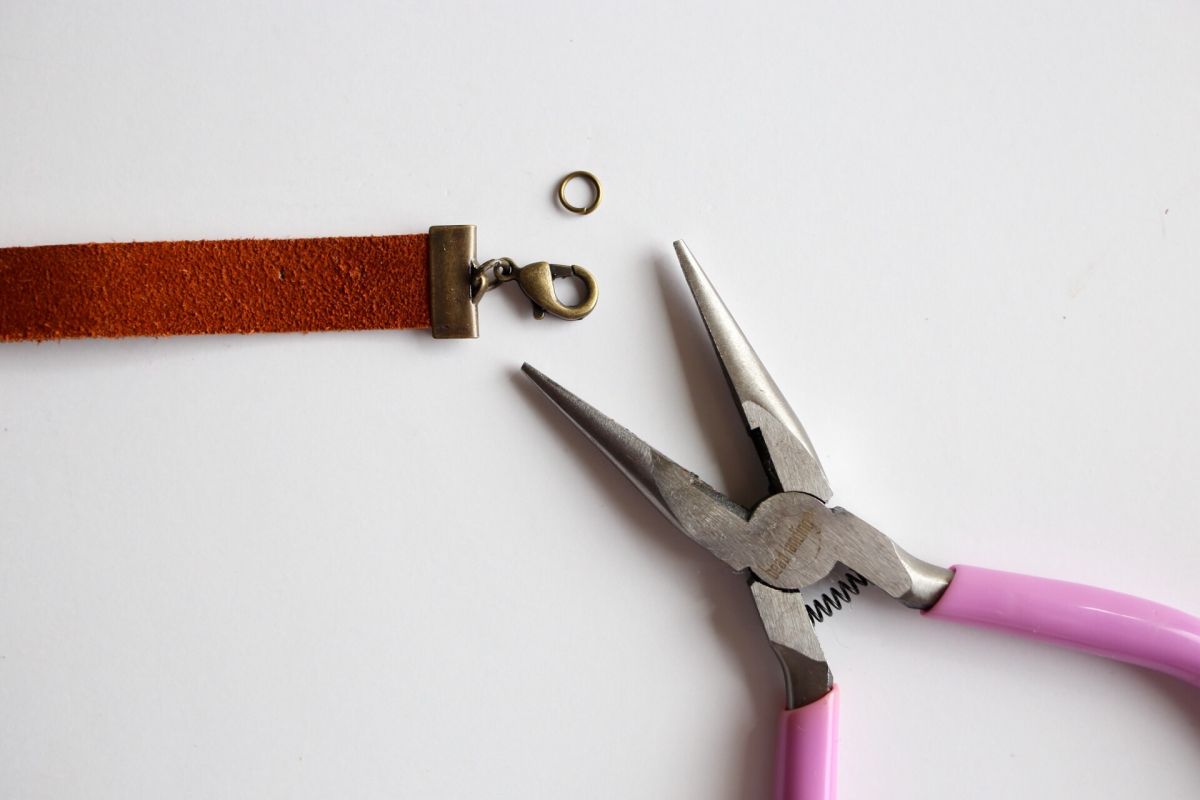
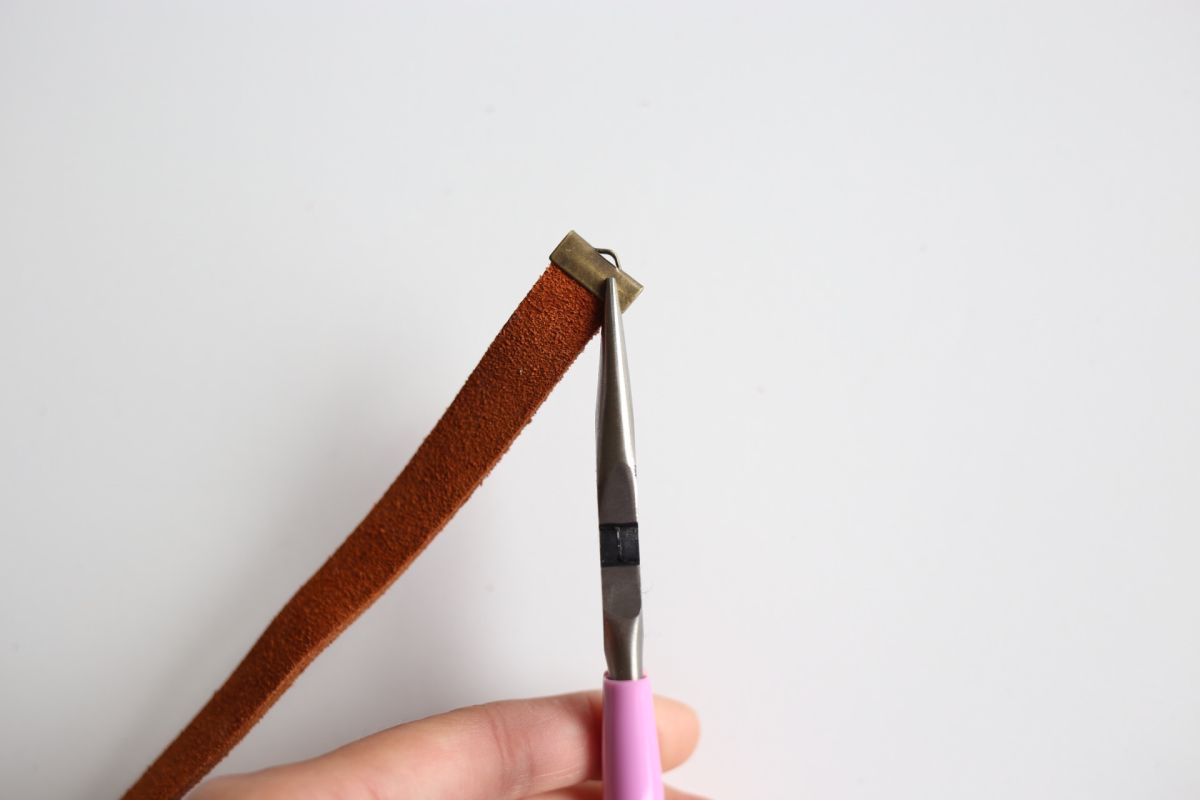
Once you have cut the leather strip, take a ribbon clamp and use the pliers to close the clamp on one end of the strip. Make sure the ribbon clamp is secure by pressing hard on the edges. Do the same on the opposite side.
Step 3: complete with chain
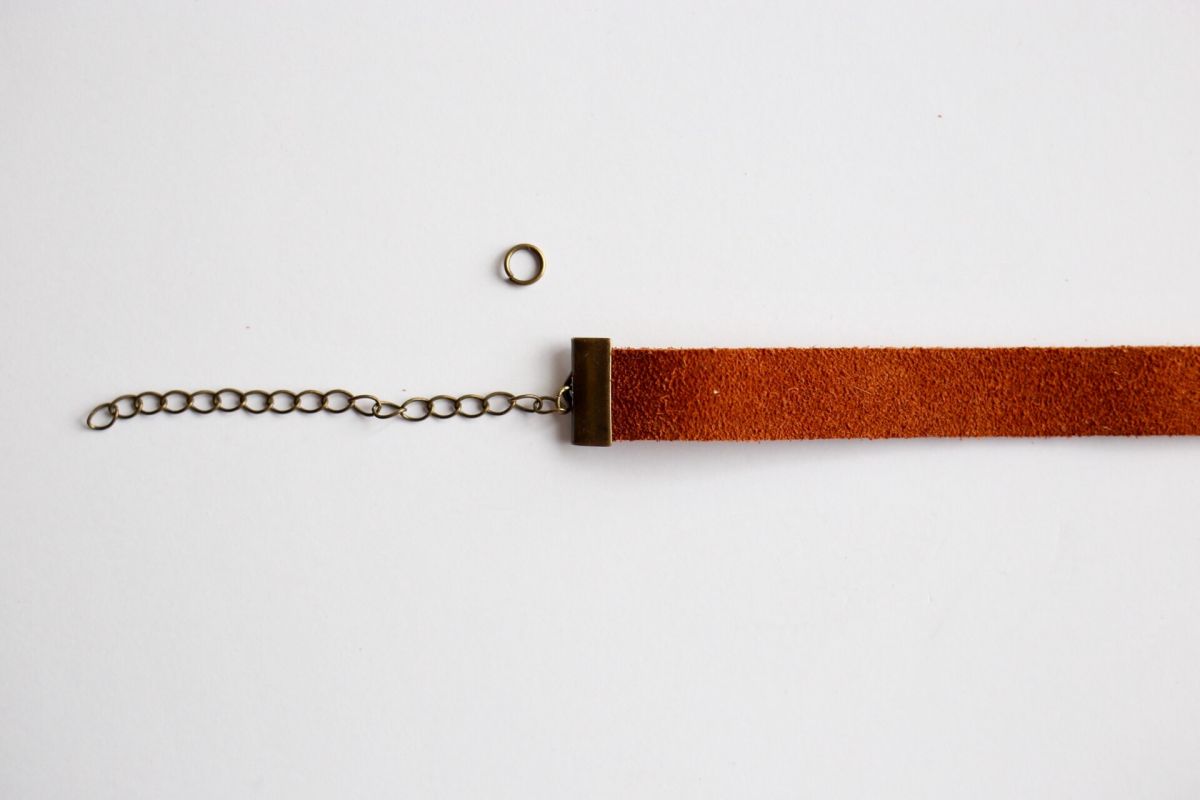
Measure and cut 3 inches of the chain extender. Use a jump ring to link the end of the ribbon clamp with the chain extender. Ensure the jump ring is closed and secure with your jewelry pliers.
Step 4: add opposite clasp
On the opposite side of the of the strip, take a jump ring and link the clasp with the end of the ribbon clamp.
Step 5: a hole in the middle
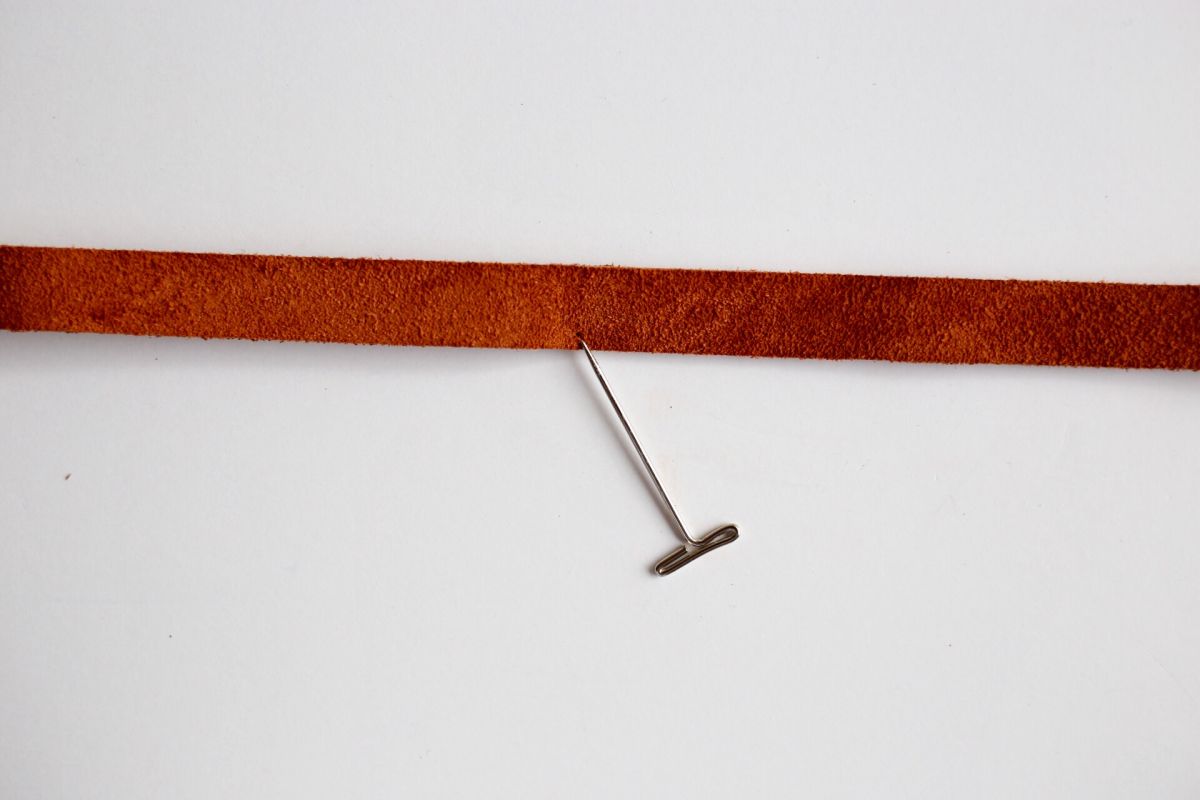
Find the middle of the leather strip and take a pin or needle and create a hole at the bottom. Creating a hole with the leather material might take a couple twists with the pin.
Step 6: add a geometric charm
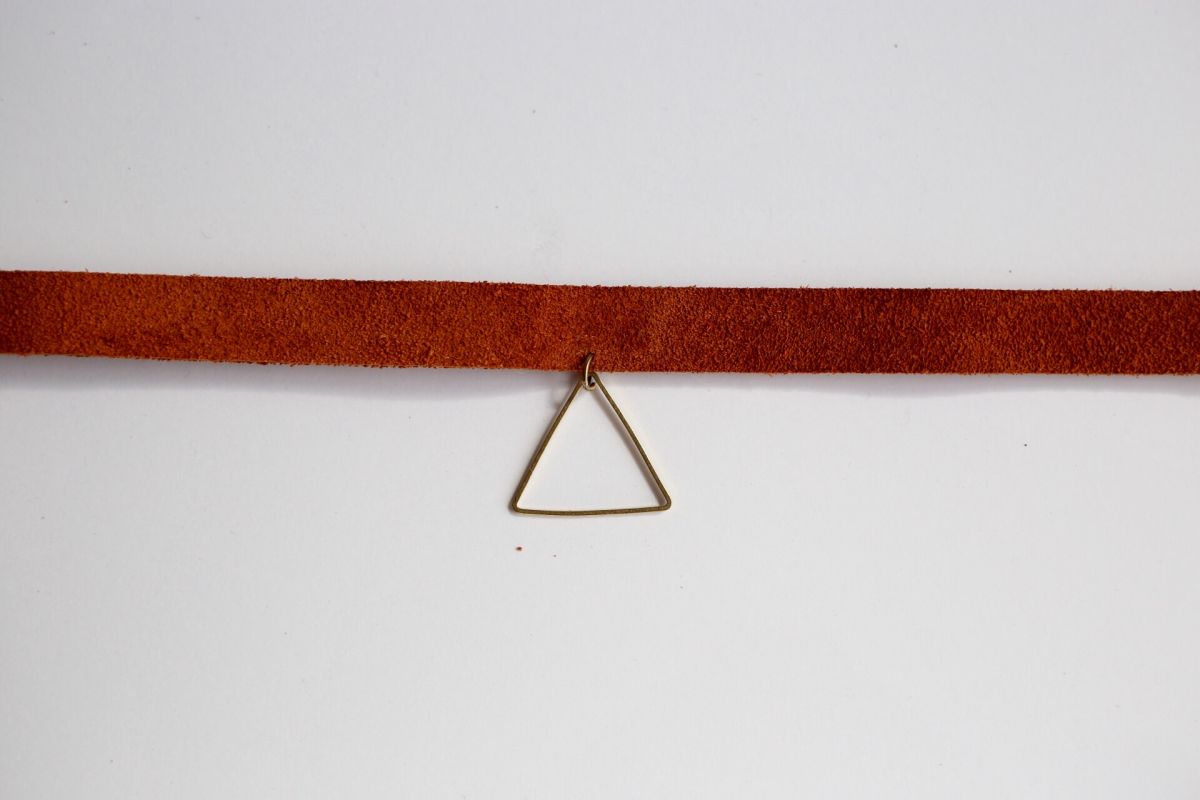
Now take another jump ring and put it through the hole, and while the jump rings is still open, take your charm and place it inside the jump ring and close the jump ring with your pliers.
Conclusion
Once you got everything secure, try on your handmade choker. Now you got yourself a perfect piece to wear with your spring and summer outfits. Hope you guys enjoyed this project. Happy crafting!
