Century Plant Care – How To Grow And Care For The Agave Succulent
You don’t have to be passionate about bioenergy or tequila to love agave. The succulent species is as old as the mountains and has ingratiated itself in different cultures from the Greeks to Mayans. The leathery leaves and natural rosette designs are hard to miss whenever you go trekking down an arid trail.
And despite their reputation as hardy plants used to the harsh conditions of deserts and semi-arid regions, agave species also grow in the tropics of South America. Talk about a succulent for all regions. In urban settings, agave fits well as a garden as well as a house plant. The outlandish appearance of some species makes it ideal for rock gardens and other exotic landscapes. Read on to find out how to grow agave in your garden or balcony and how to take care of this thorny plant.
All about Agave
Agave or century plant as it’s sometimes called, is a member of the Asparagaceae family. With over 200 species and counting (more species are kept being added to the family), you will have lots of options to choose from.
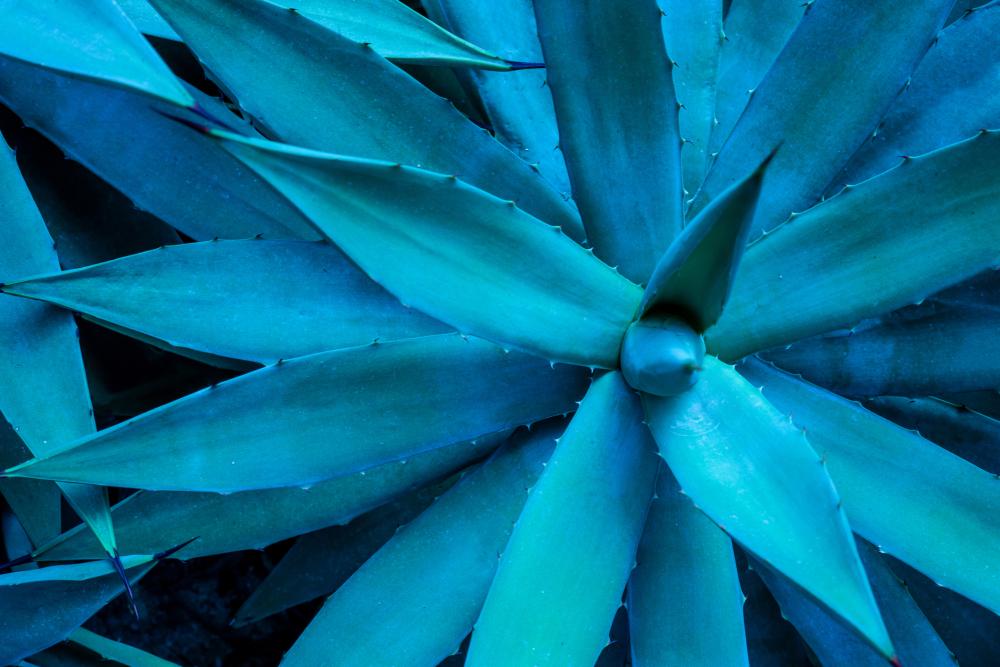
For a popular ornamental plant, agave sure knows how to keep intruders at arm’s length. That’s because the edges of the leathery and meaty leaves are armed with lines of sharp thorns. But like many ornamental houseplants, agave adapts the famous policy of “look but don’t touch.”
It takes the plant years to mature and start flowers. During this time, it grows to extreme heights and spreads itself far and wide. Some agave species grow to 20 feet tall and 10 feet across. Others are more conservative and won’t reach a foot high and even less than a foot in diameter. But all rules get broken during the flowering season. The mature agave will grow a tall mast out of the center of the rosette that can tower over 40 feet high. Atop this mast, green, white, or yellow flowers open up and invite pollinators from far and wide.
Once pollinated, fruits develop and replace the fading flowers. After maturity, the rosette below starts to shrivel and dies. But not before suckers grow out of the base of the rosette and start developing as new and identical agaves. The life cycle of the agave spans over a period of many years and is an ideal plant for designing an outlandish landscape or adding an ambiance of subdued merriment to your home.
Agave Varieties
As much as you’d like to grow that agave that you see on your neighbor’s kitchen window sill, you don’t want to have an identical plant. Otherwise, your neighbor would think you’re copying them. Instead, you’d want a “better” agave. Welcome to the world of agave, where you’re spoilt for choices and varieties.
- Foxtail Agave (Agave attenuata): Named after its long and symmetrical leaves that widen in the middle and taper off at the end like a fox’s tail. The rosette has lush green leaves which have smooth edges without the usual thorns agaves are famous for. A cone in the middle of the rosette gives the design an elegant finish.
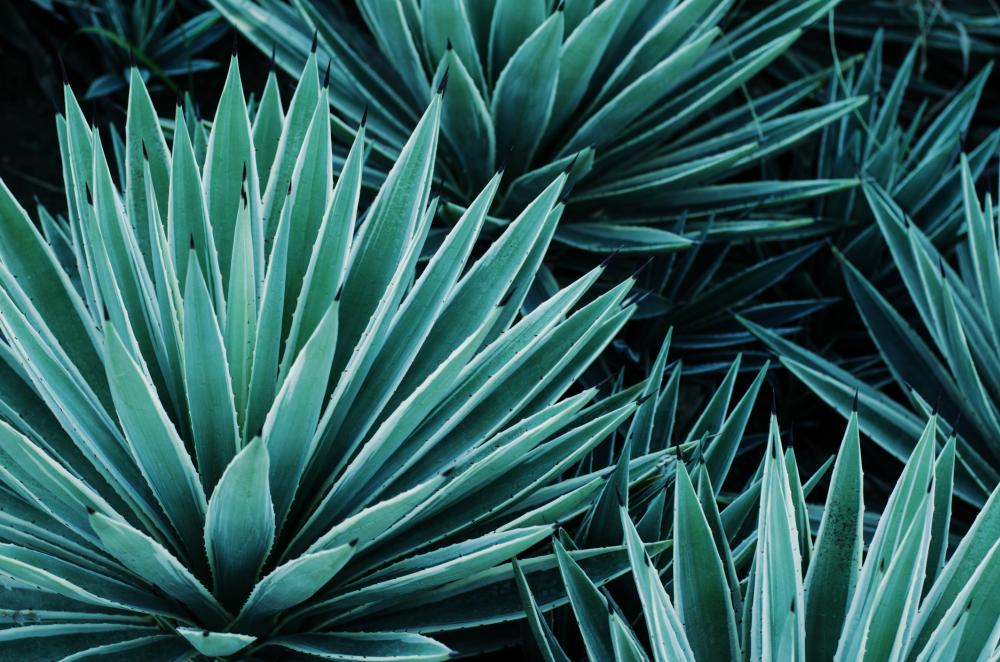
- Caribbean Agave (Agave angustifolia): With long slender leaves and a bushy appearance, this agave looks like a porcupine in a state of self-fence. The green leaves are outlined with thick creamy lines and lack thorns along the edges. The ball of agave grows to 2 feet tall and the same in diameter. As for the flower spike, it reaches 10 feet easily.
- Blue Agave (Agave tequilana): The botanical name tells you all you need to know about the blue agave. This is the plant used to distill tequila. But even if you don’t like tequila, you’ll still love the green-blue leaves which grow to 7 feet tall and the bright yellow flowers.
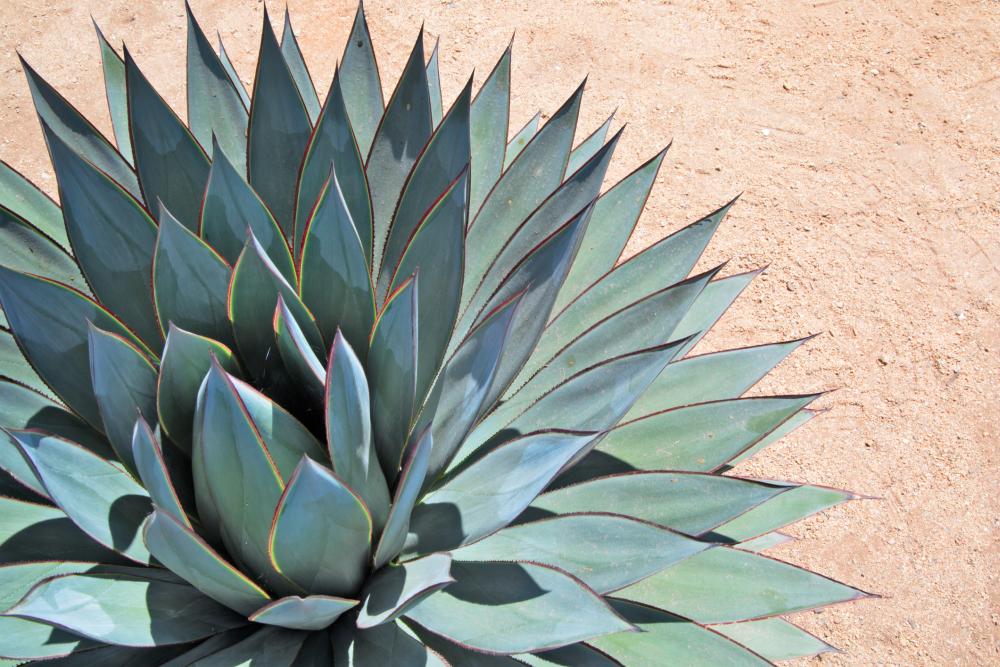
- American Century Agave (Agave americana): It doesn’t take this agave a whole century to mature and start flowering, but if you start it at home from seeds, it sure will feel like it. With blue-green leaves with thick creamy outlines, this is a showy plant that deserves to be the centerpiece in your exotic garden.
Pros and Cons of Agave
A lot can be said for agave as a houseplant. And a lot can be said against it. Having a sunny disposition, I don’t like to talk ill about a plant. Still, I feel obligated to mention the pros and cons of agave here so that you walk into this with your eyes wide open.
- Pros: The good points in favor of agave are numerous. The succulent plant adds drama, unusual colors, and intriguing textures to your garden. It’s hardy and doesn’t complain about the type of soil, feeding, or other growing conditions. It’s drought-tolerant and won’t show signs of stress if you forget to water it for weeks on end.
- Cons: The most obvious disadvantage of agave is right there on the edges of the leaves. The thorns are a perpetual peril for children and innocent pets. It prefers warm zones between 8 and 10 and will not tolerate cold spells. Finally, the center of the rosette is the agave’s Achilles heel. Debris or water drops in the center would cause the whole plant to rot.
How to Grow Agave
There are many ways to grow agave. But one method that you should avoid is to try to start the succulent from seeds. Agaves are known for their long life cycle, most of which they spend developing and maturing. So to avoid unnecessary waiting, you should buy a small agave from the local nursery and transplant it to your garden or in a container. Here’s how you grow agave in easy steps.
- Drainage is the name of the game for agave growing. The succulent only thrives in sandy soil that drains the water as fast as you pour it in. Loamy and clay soils are to be amended with copious amounts of gritty sand. Then build raised beds to improve the drainage even further.
- If you’re growing agave in a container, use a terra cotta container with large drainage holes in the bottom. Then fill the container with a commercial cactus potting mix.
- Choose a sunny spot that gets at least 8 hours of full sun every day during the spring and summer. Not enough sun would stunt the growth of the agave.
- Break the surface of the soil to a depth of 12 inches and let it settle under the sun for about a week. This solarization of the soil eliminates any pathogens lurking under the surface.
- Mix organic materials and bone meal into the soil to improve aeration and drainage.
- Dig a hole in the bed a little deeper than the root ball of the agave and double its width.
- Ease the agave sapling out of the pot it came in and inspect the root system. Ruffle and the roots and trim off any damaged ends.
- Place the agave in the hole and spread its roots to fill up the bottom of the hole. Backfill the hole and firm the soil to push out air pockets.
- Water, the bed, immediately to get the soil moist and help it settle.
Agave Care
Most succulents require little care, and because of their natural moisture reserves, they’re more tolerant to drought than other plants. Agave is no different in this respect. But just because it’s a forgiving plant, it doesn’t mean you should put it through stress because of inadequate light, irregular watering, or poor soil.
Soil
The only soil type that works well with agave is sandy soil. Even loamy soil has more silt than the roots of the agave can handle. Loose sandy soil grains allow the roots to spread out without much resistance. If the garden has clay or loamy soil, amend it with gritty sand and perlite to achieve the right texture. Make sure you keep the pH levels between 6.6 and 6.8. Neutral and alkaline soil will damage the roots of the plant and stunt its growth. So the sweet spot is about 6.6, which is slightly acidic. Use lime to increase the acidity in the soil. To raise the pH level by a half-point, you’ll need to add 12 ounces of lime to the soil.
Light
For a plant that thrives in the desert and tropical regions, agave is used to direct sun exposure during the spring and summer. Sunlight is crucial for the health and growth of the succulent, and sun deprivation can slow down its growth rate. Choose a spot in the garden facing the west or south to get as many hours of sunlight as possible. If you’re growing agave in a container, place it on a window sill also facing the west or south. There’s no need to filter the light with a curtain or shade.
Water
Agave is a thirsty plant that is to be expected from a succulent. For the first 2 years of the plant’s life, you’ll need to give it one inch of water (11.4 liters) every week. Keep that pattern throughout the spring, summer, and fall of each year. Avoid sprinkling water on the rosette since that leads to crown rot. Aim the water at the roots and give the soil a good soaking. Since the soil is sandy and well-drained, the water will drain quickly. Once the plant enters its third year, its root system reaches its full development, and the agave becomes less dependent on the water that comes from above ground.
Fertilizer
In general, agave doesn’t need much fertilizer. Apart from the organic materials you add to the soil before planting the succulent, your fertilizing duties will be at a minimum. Side dress the ornamental plant with organic compost in the early spring during the first two years of its life. Organic compost doesn’t burn the roots and doesn’t trigger a fast growth spurt that could stress out the easy-going succulent. If you’re growing this succulent in a container, then fertilize the soil every time you repot the plant.
Pests and Diseases
You should watch out for mealybugs and scales since they can penetrate the thick skin of the leaves and suck the sap. But the real agave bane is the snout weevil. The insect is so destructive that once the succulent is infested, there’s no treatment that could save it. Spray the plant with neem oil or rub the rosette with rubbing alcohol to get rid of scales and mealybugs. As for snout weevils, you should dig out the plant and burn it to prevent the pests from infecting other plants.
As a hardy plant, the century plant has a high resistance to most diseases that infect other plants in your garden. However, high humidity in the air and wet soil can cause bacterial and fungal infections. So make sure the plant has good air circulation around it and don’t overwater the soil. If the leaves wither or turn yellow, that could be a symptom of root rot. Dig out the plant and inspect the roots. Trim off rotted roots and repot the plant using fresh soil. Most fungal infections can be treated with commercial fungicides available in the market.


