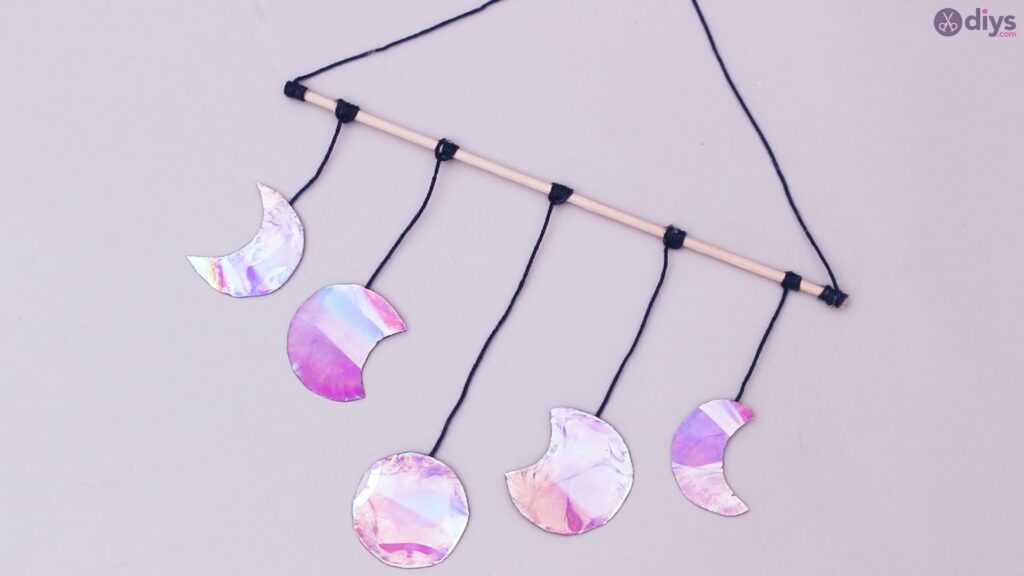
Lunar Eclipse CD Wall Hanging
CDs have a habit of going bad after the while but, to us DIY enthusiasts, it’s just another object that can serve as raw material for some really cool projects. Instead of throwing away old CDs and DVDs, how about we repurpose them and show you how to make some really awesome wall hanging art?
Materials you’ll need for CD Wall Hanging:
- CDs
- Paper
- Pencil
- Black marker
- Scissors
- Wood sticks
- Yarn
- Glue gun
How to make the CD Wall Hanging:
Step 1: Creating the Templates
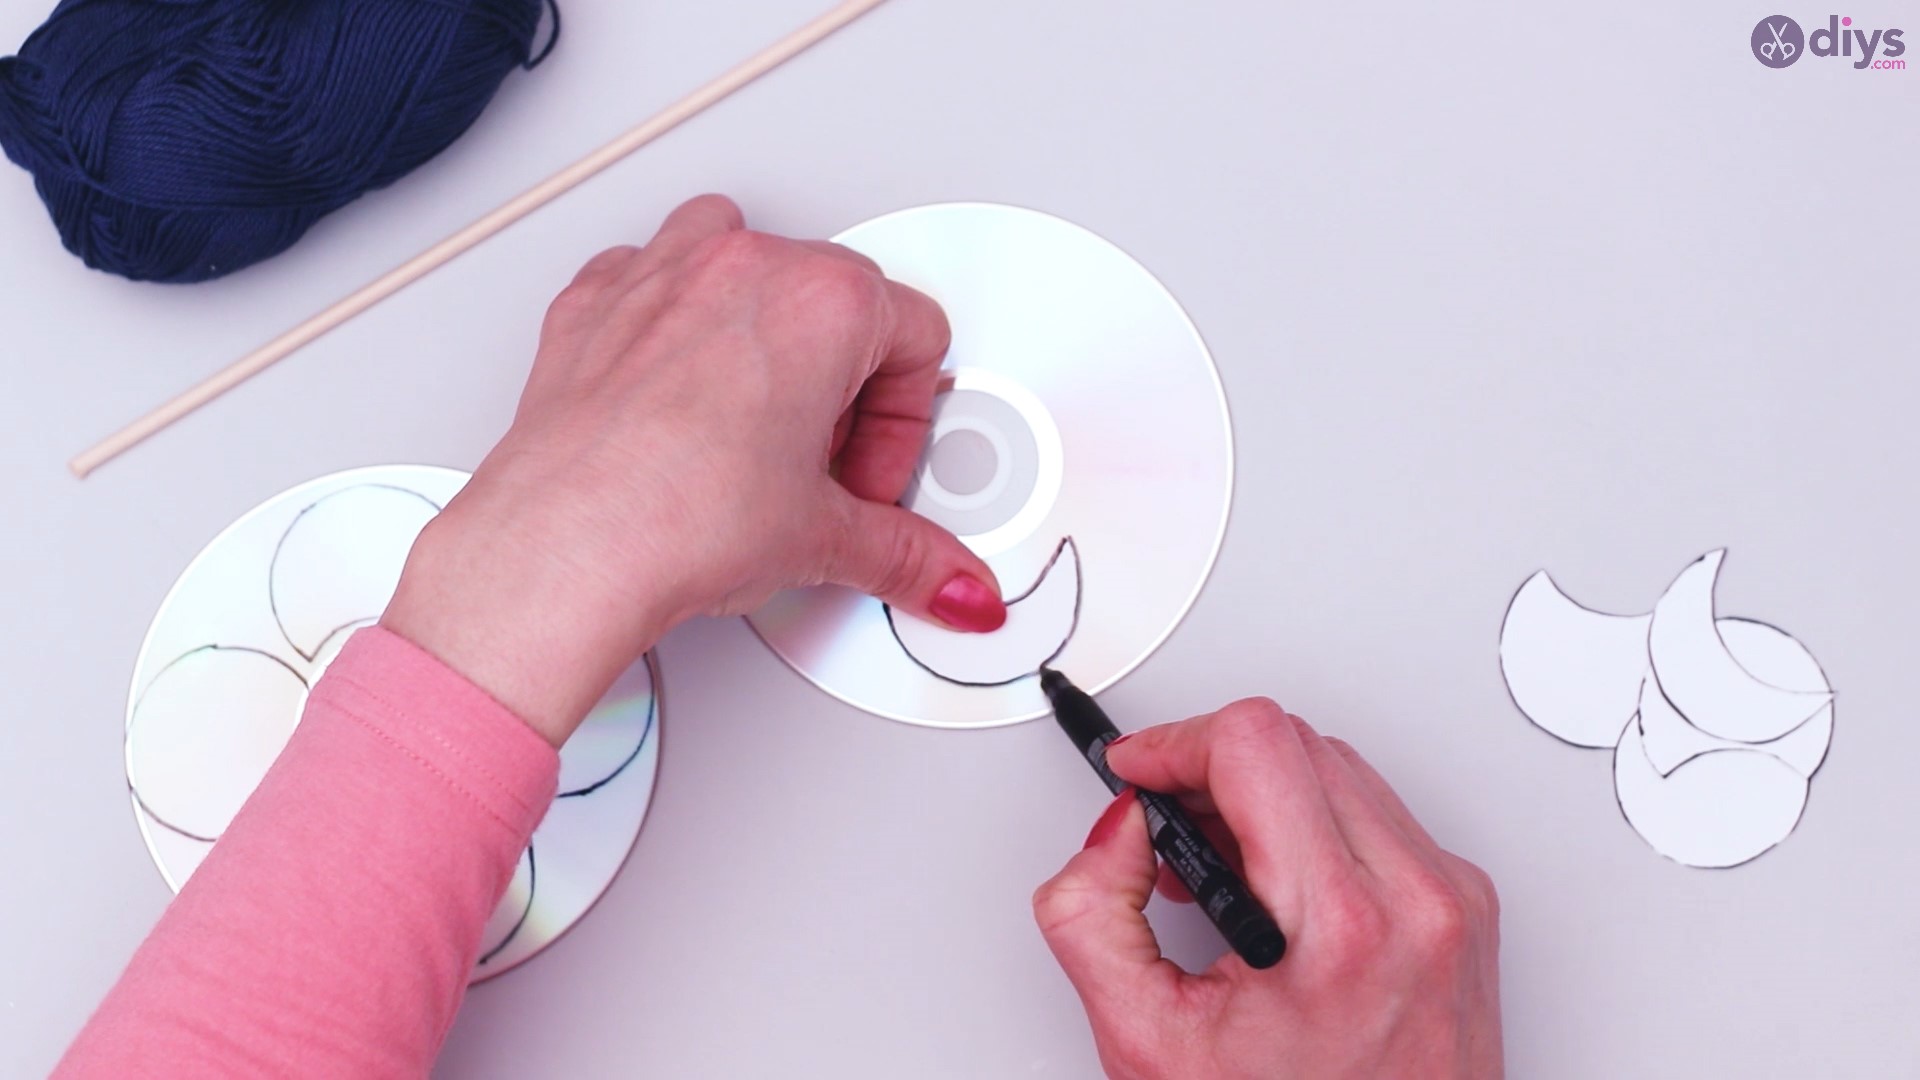
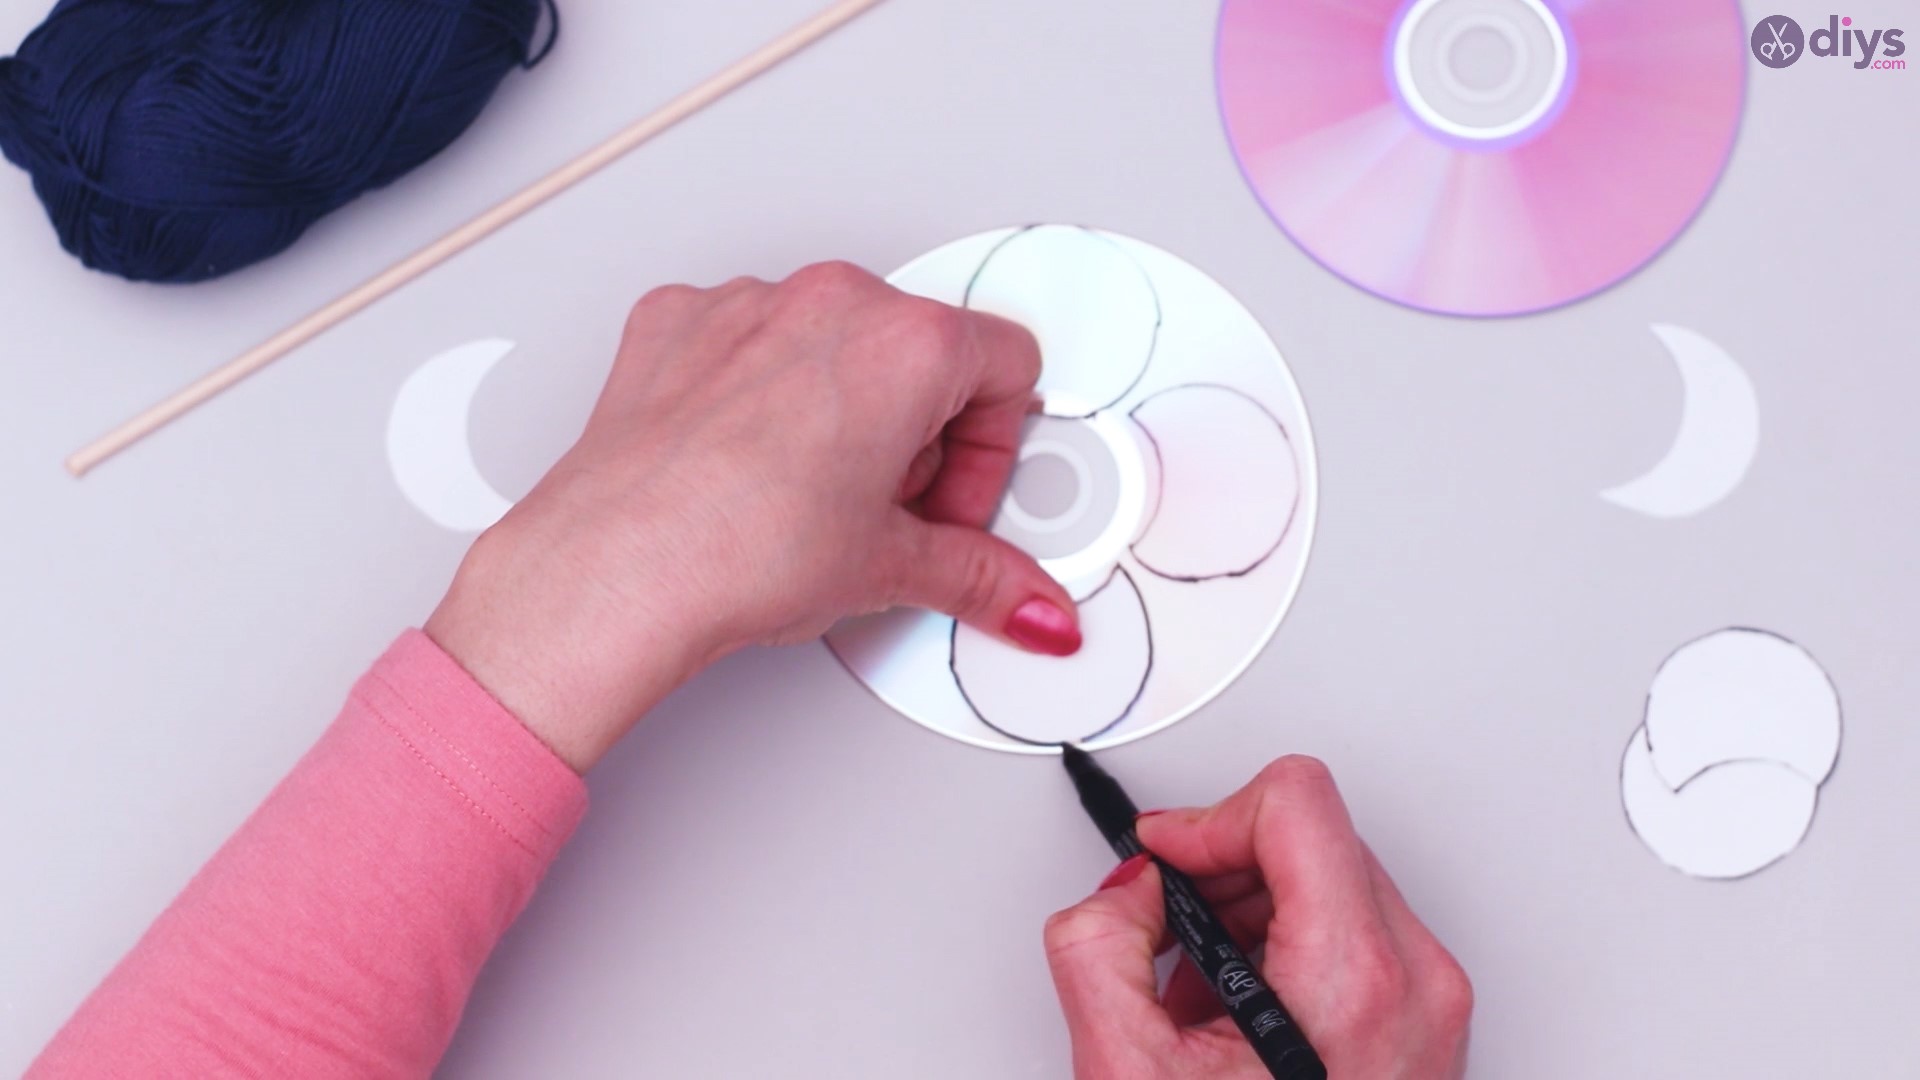
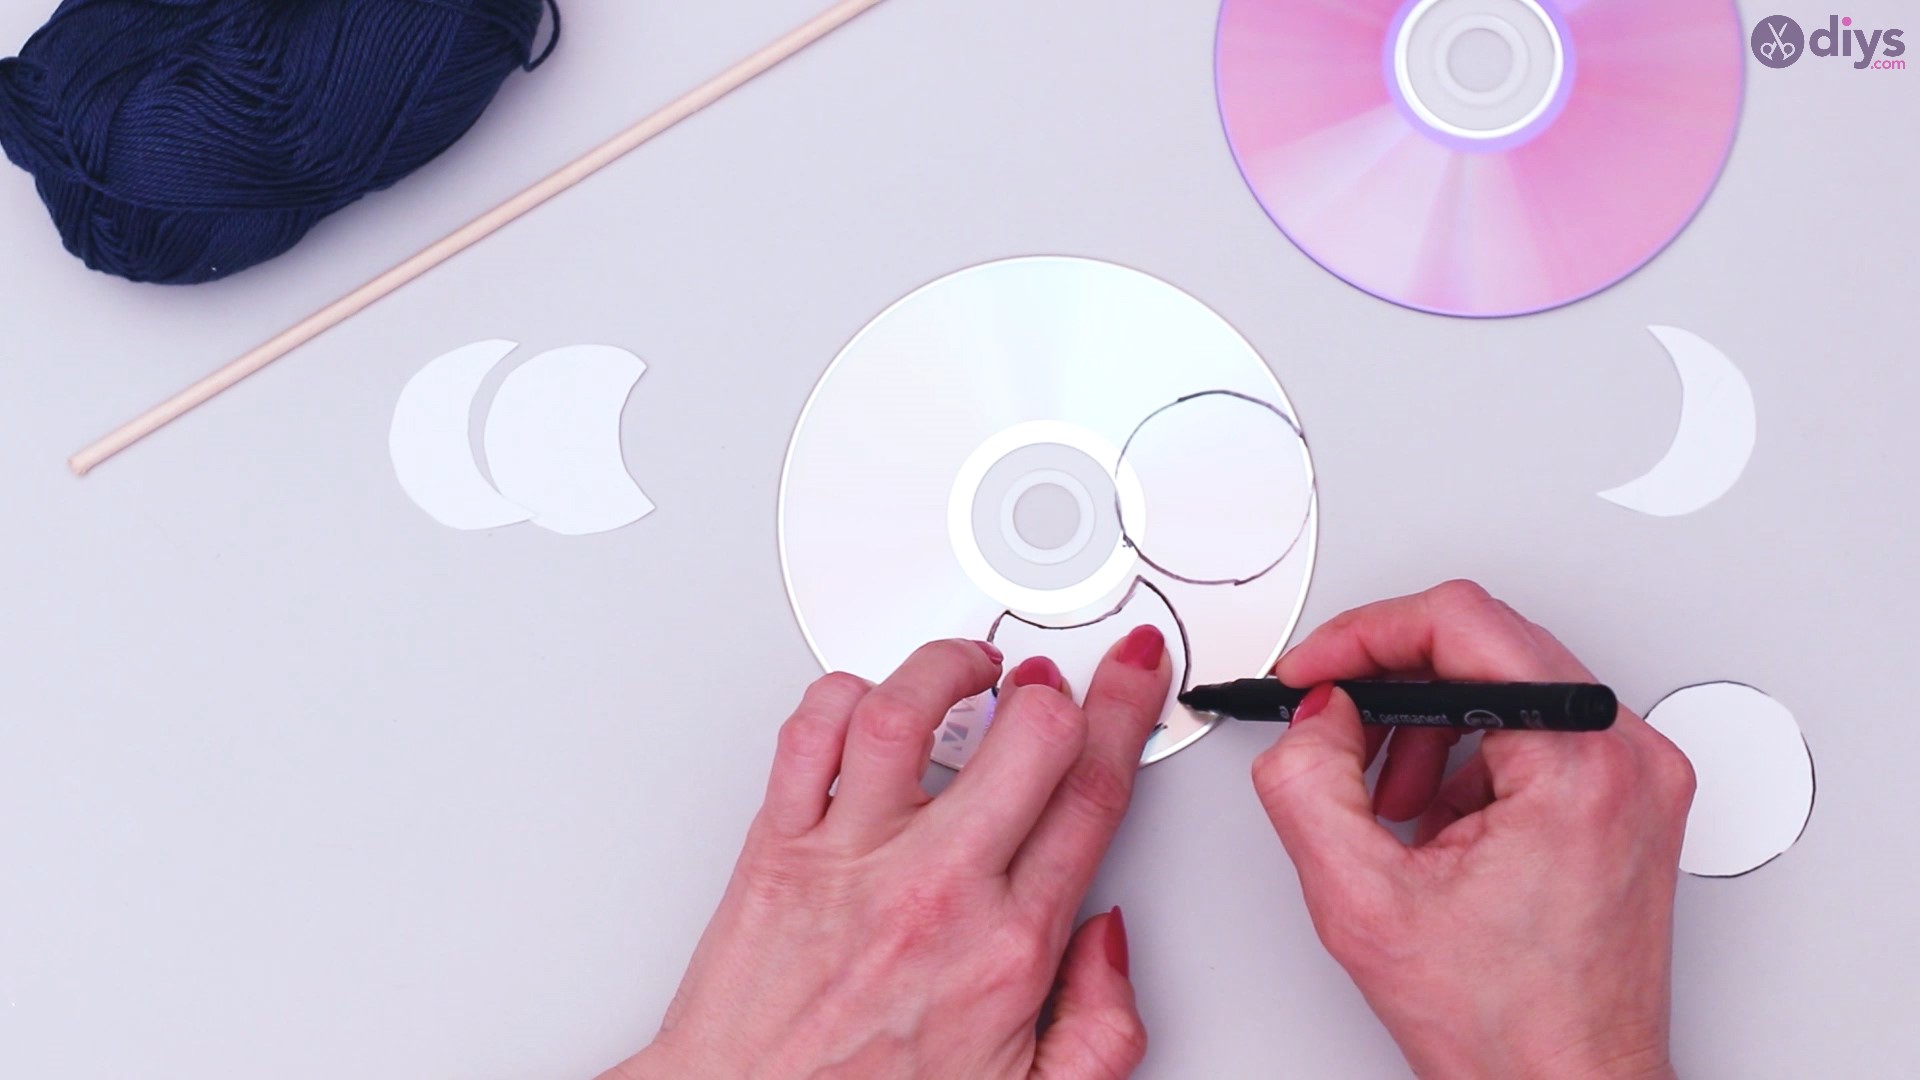
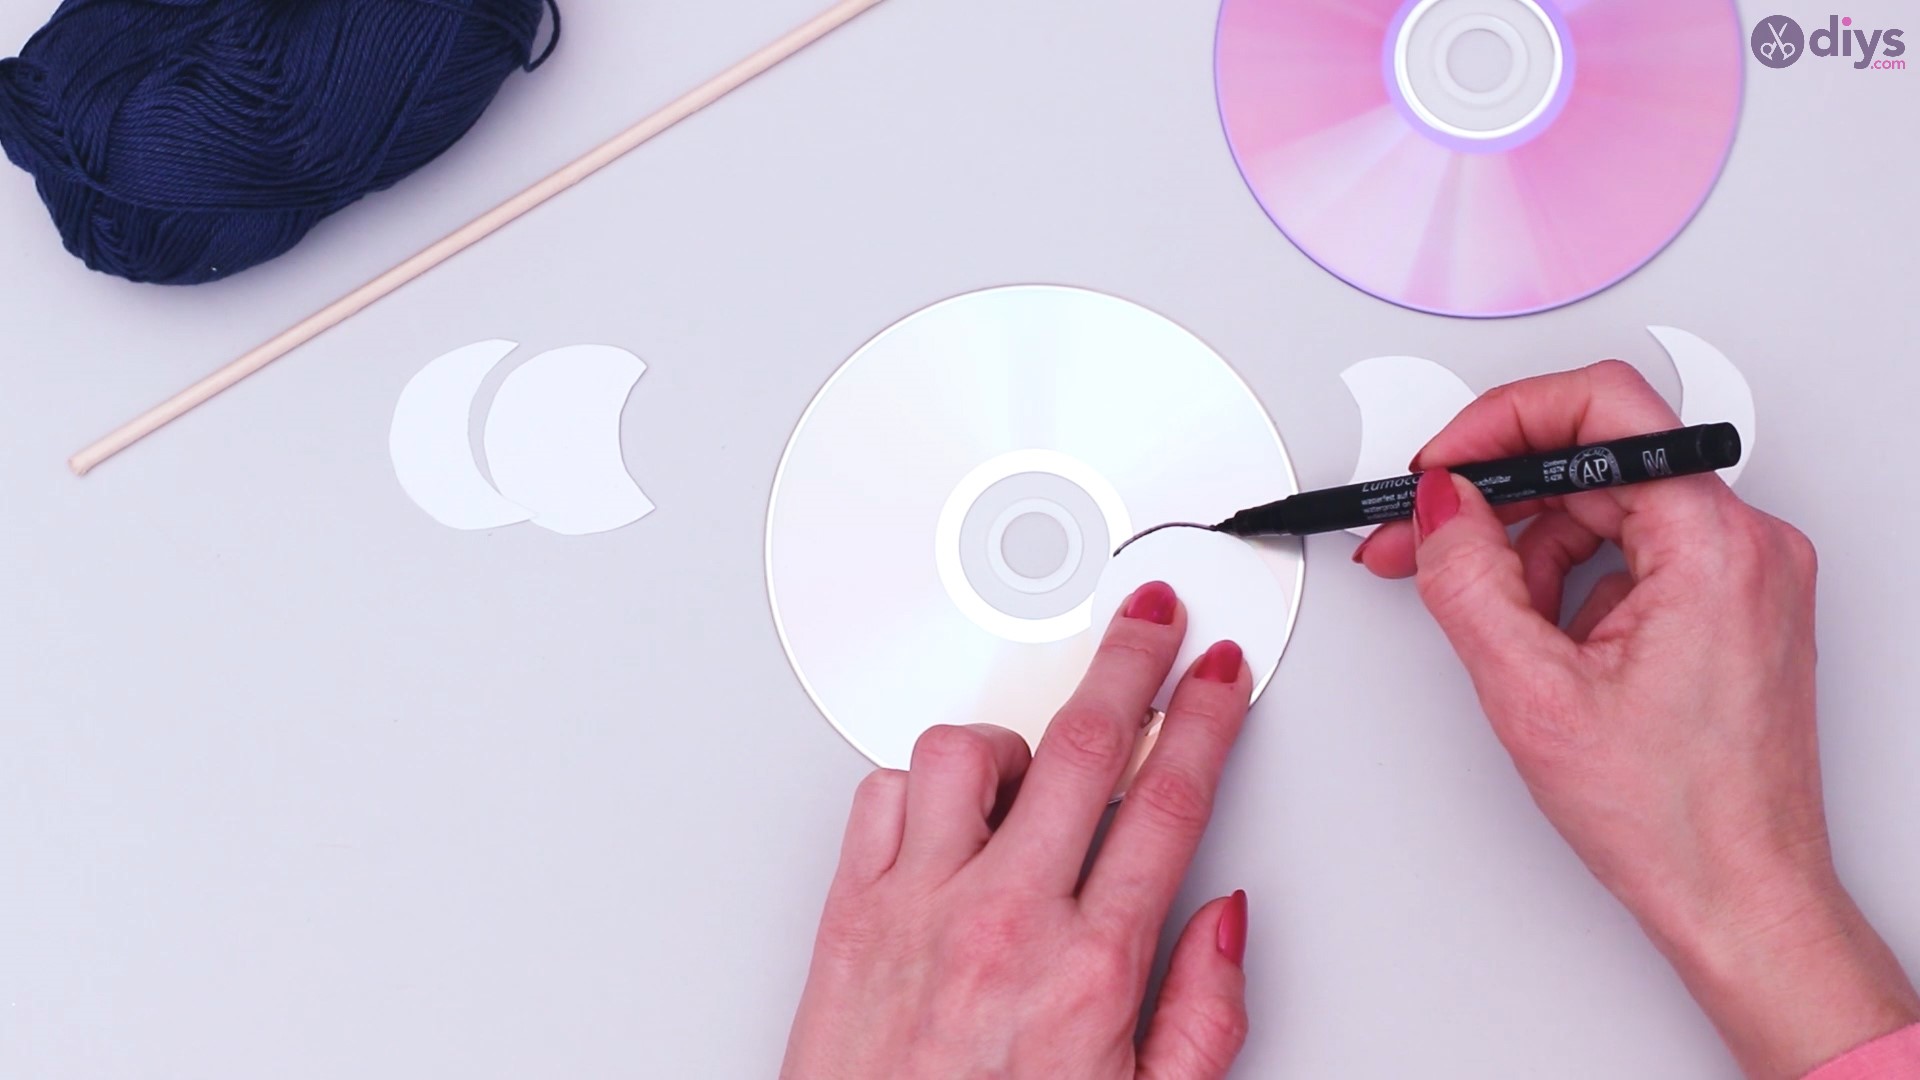
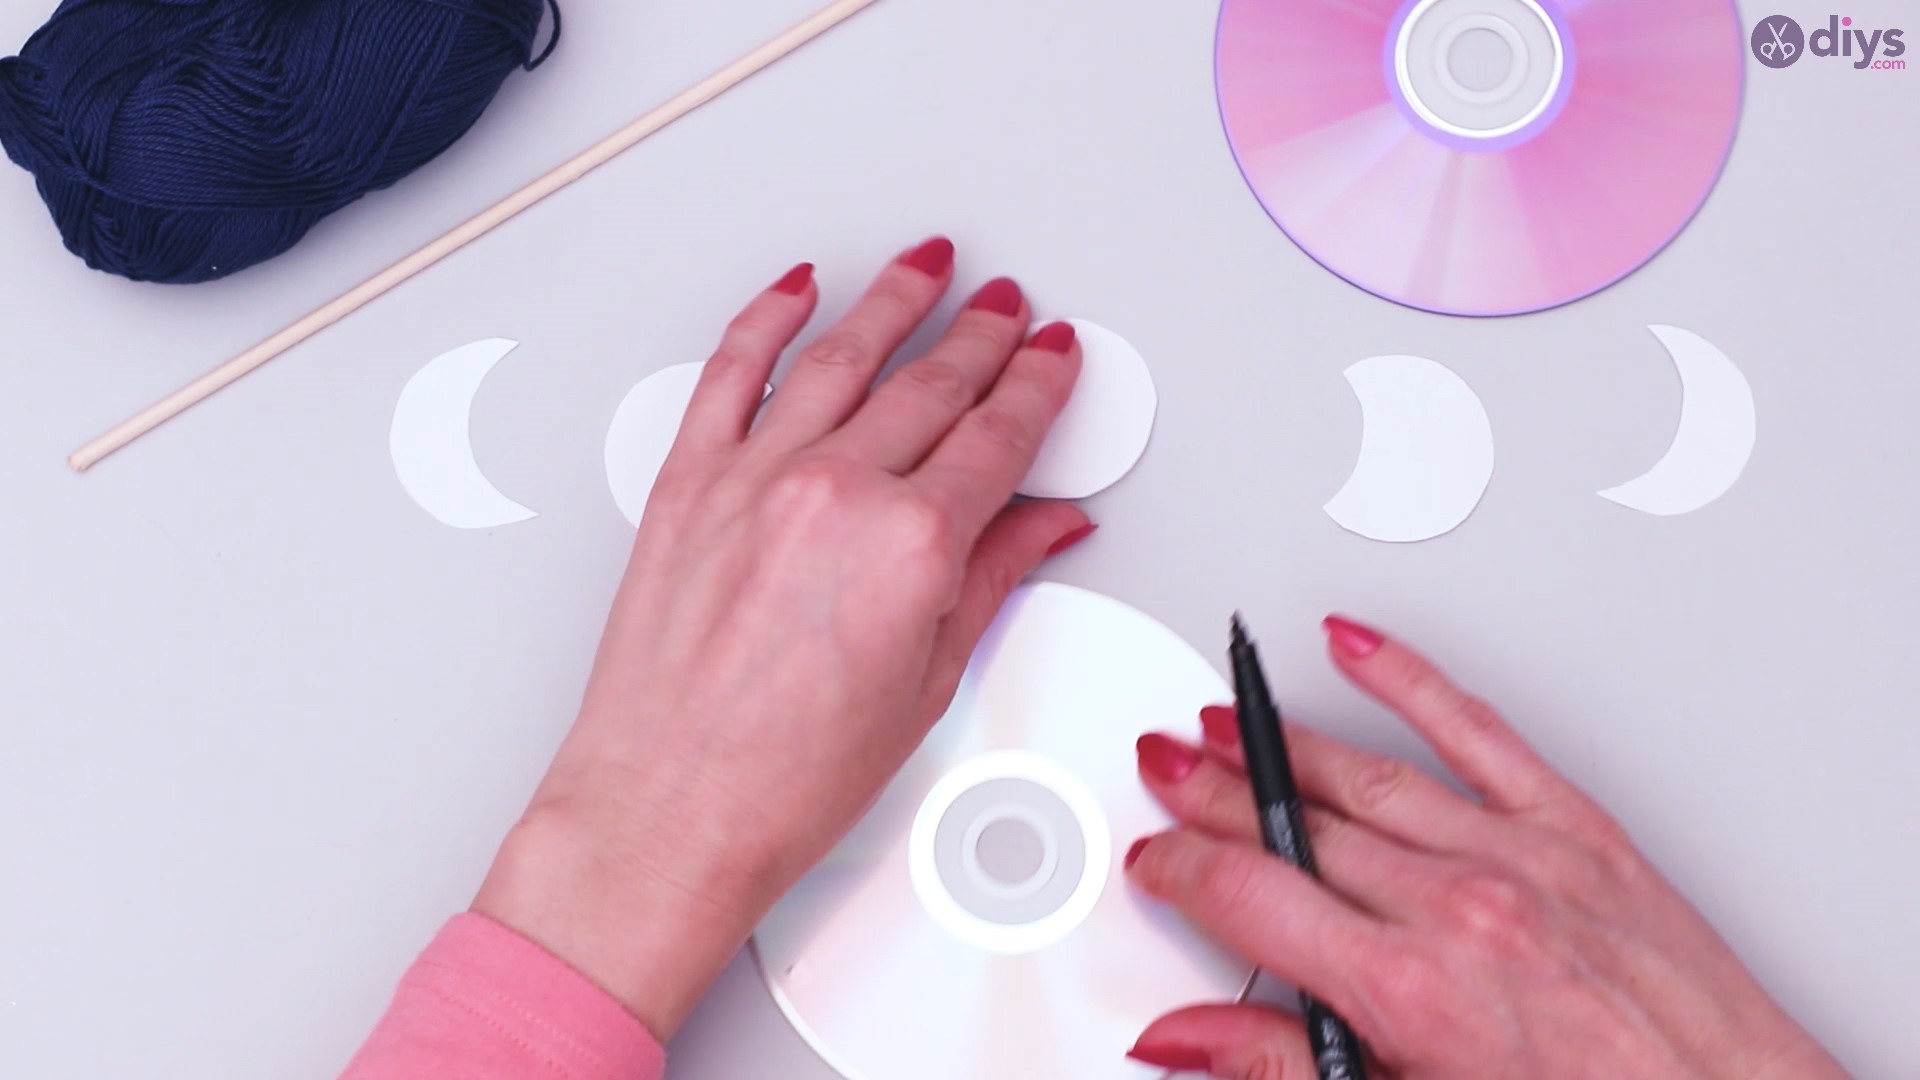
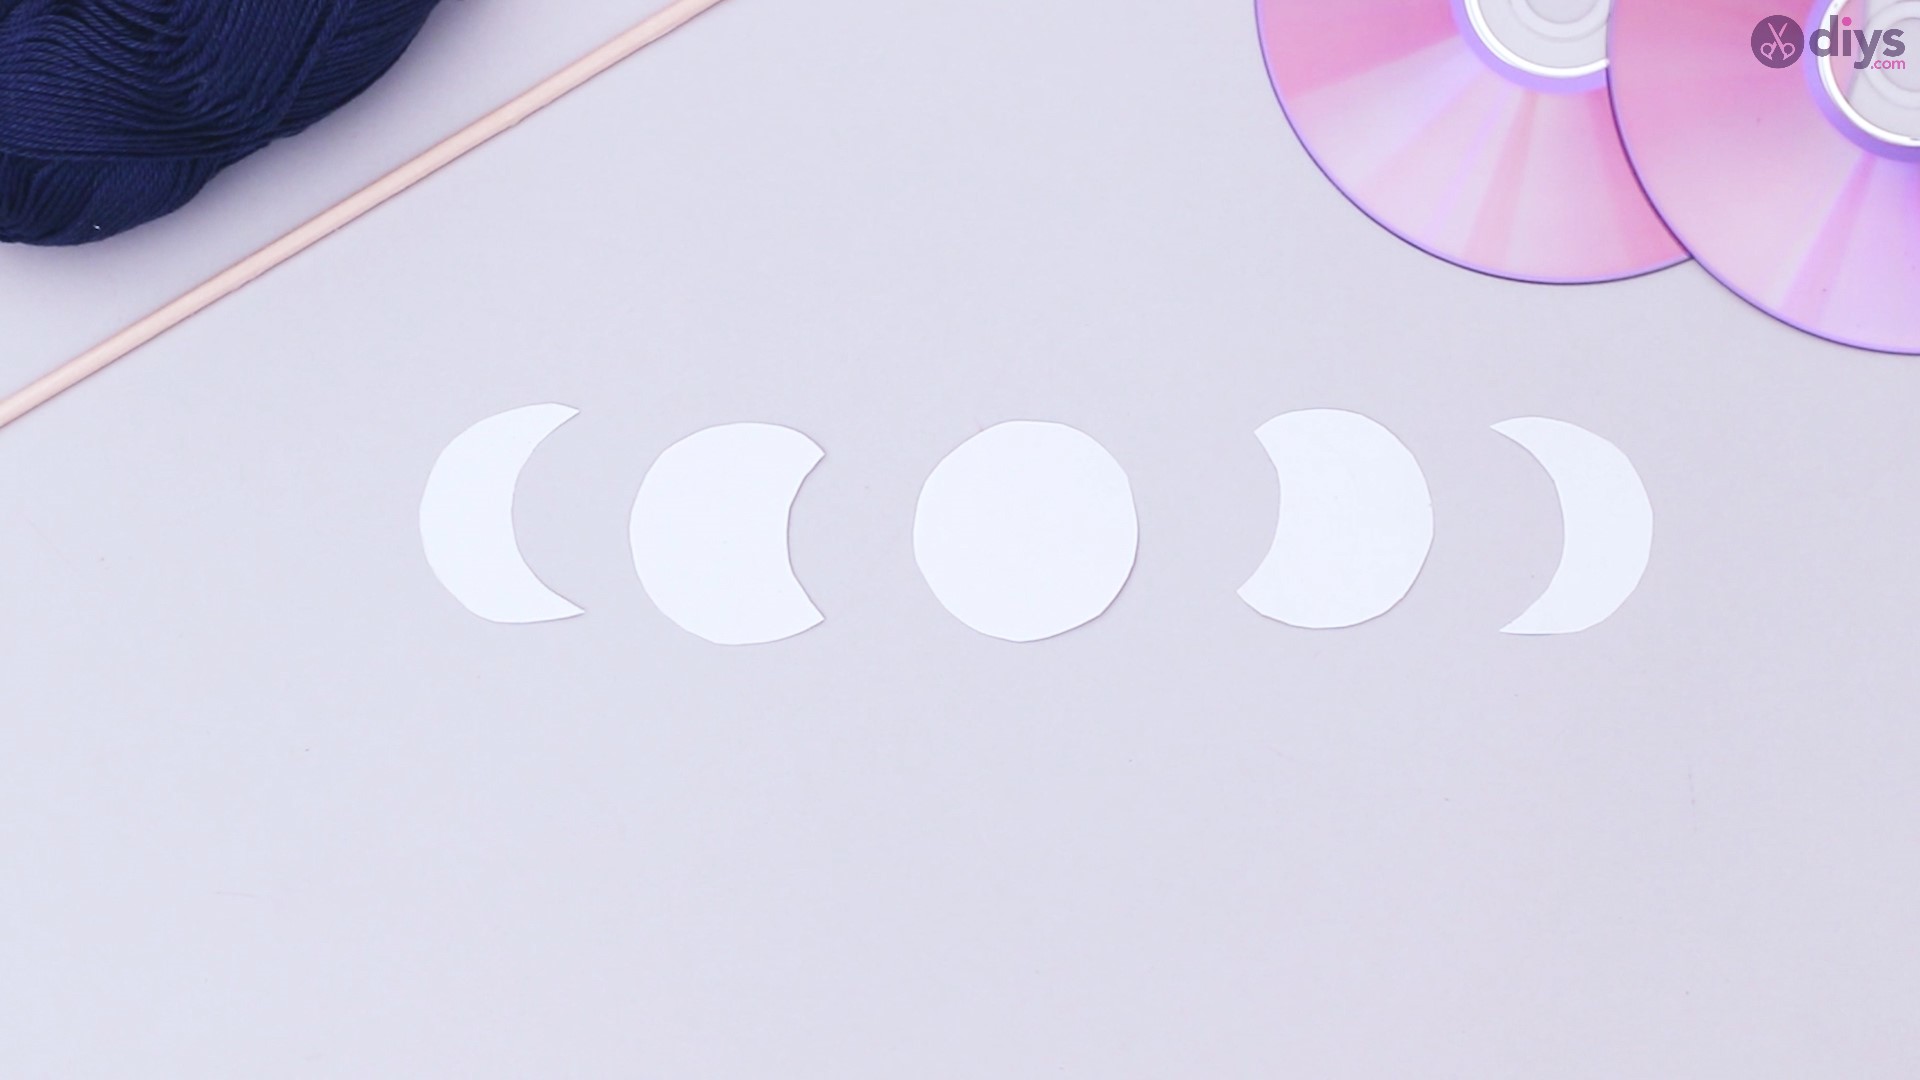
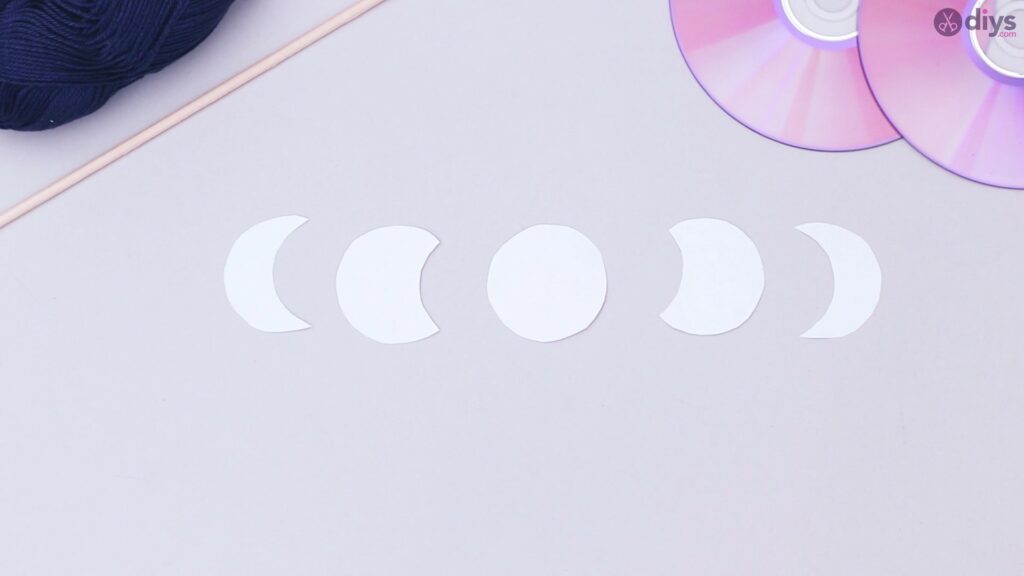
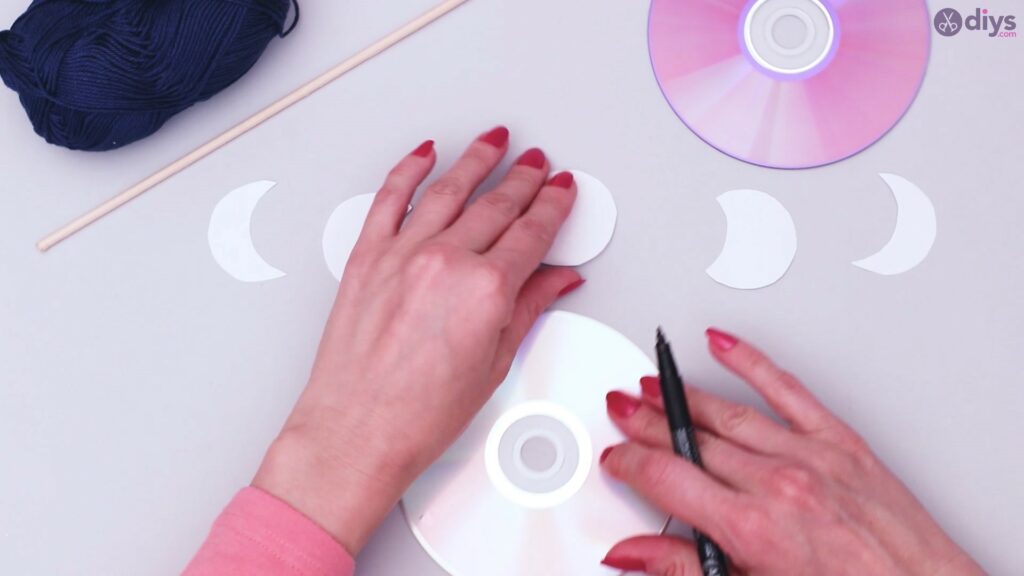
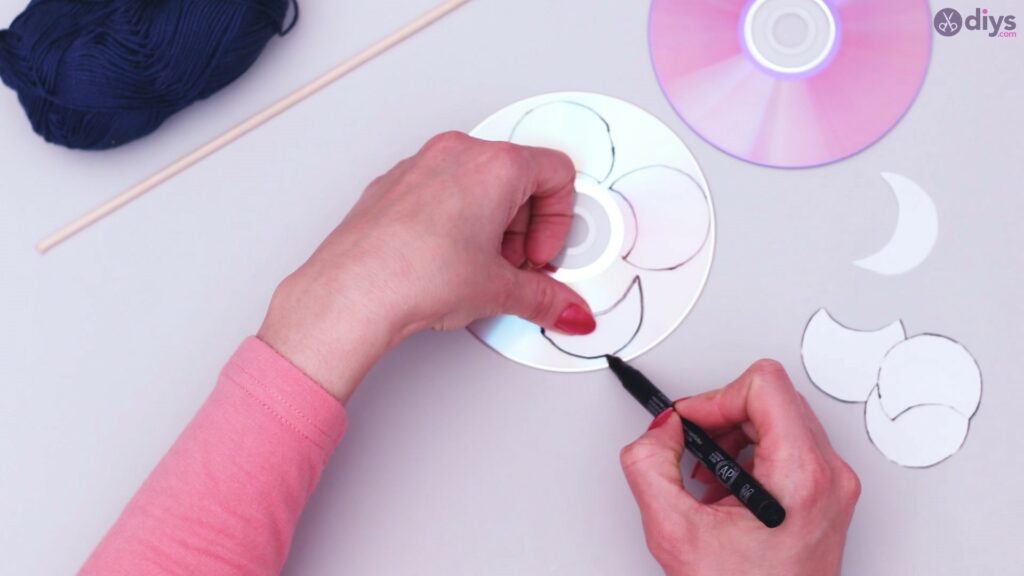
The idea of the project is to cut out lunar-shaped symbols from the CDs, so that means that we’ll need some templates so we don’t proceed to cutting without an outline. Start off by cutting the paper in five shapes that represent five stages of the moon.
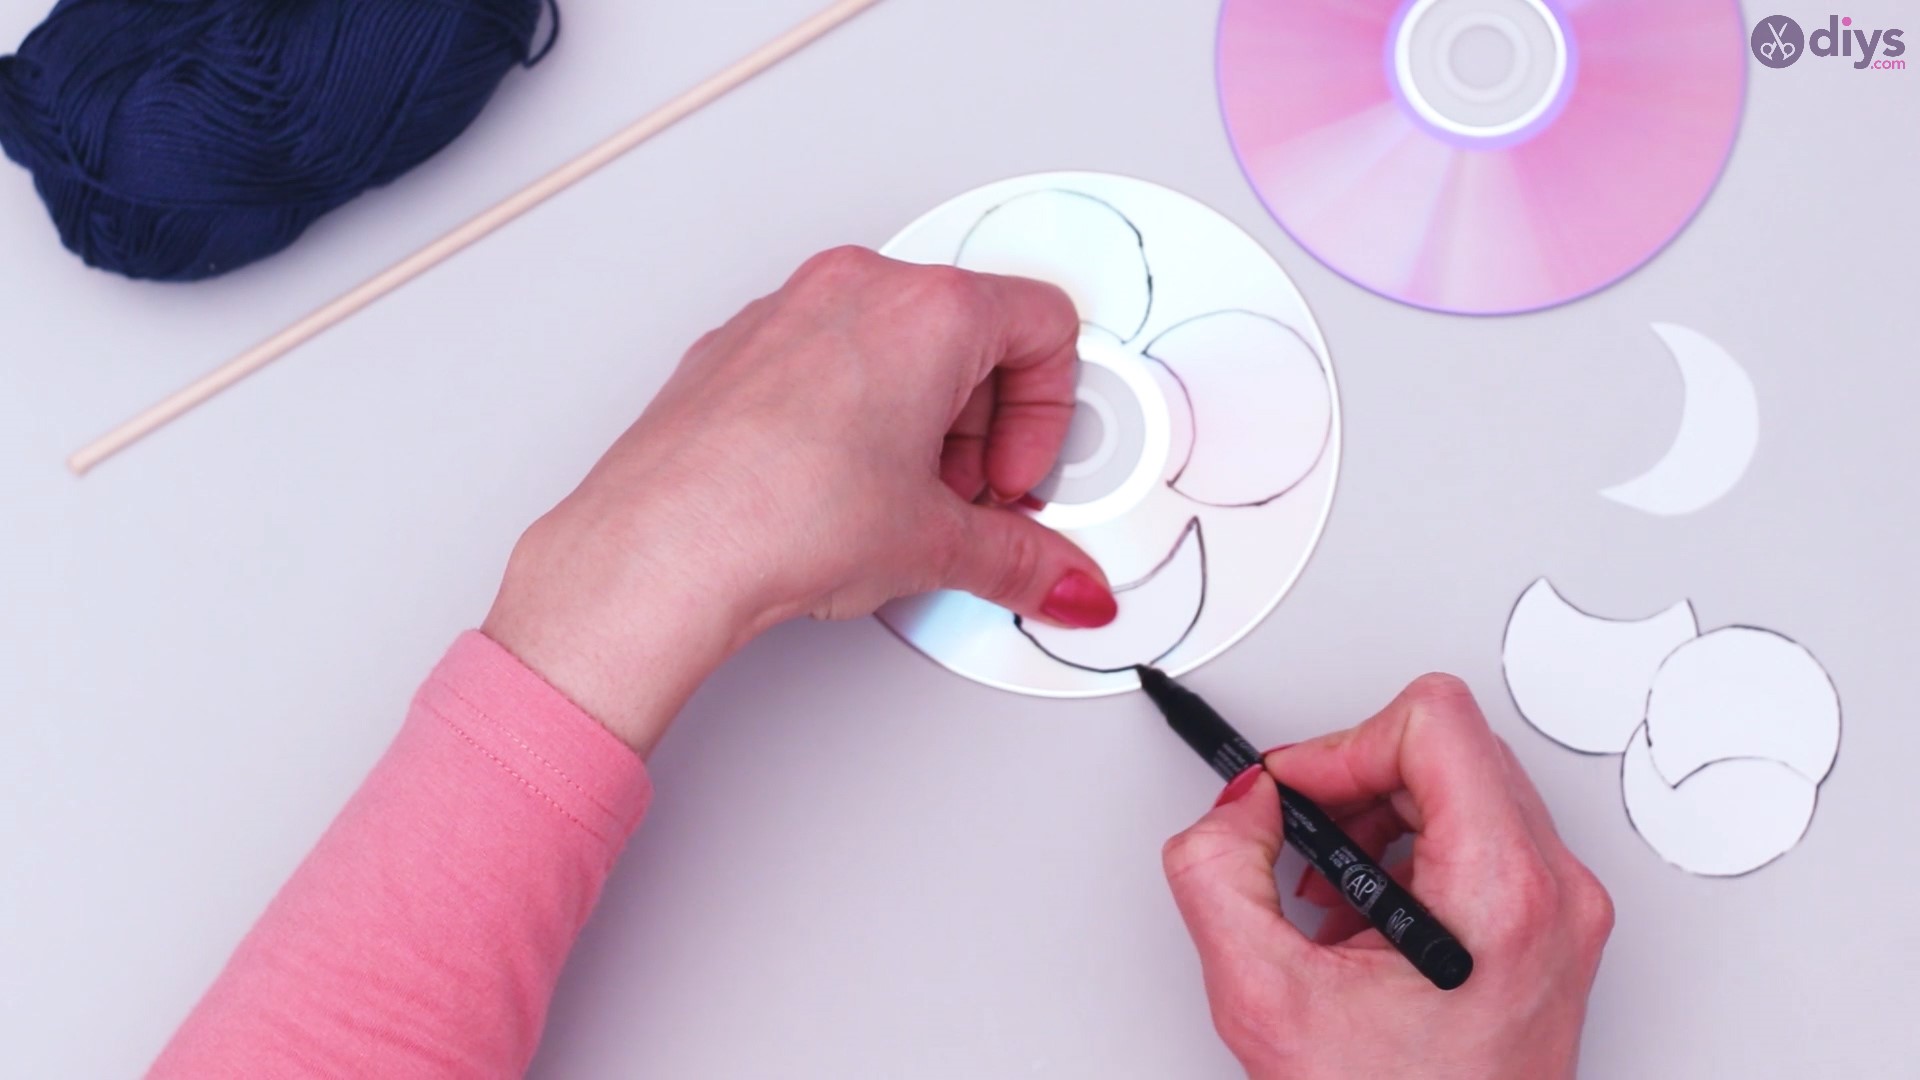
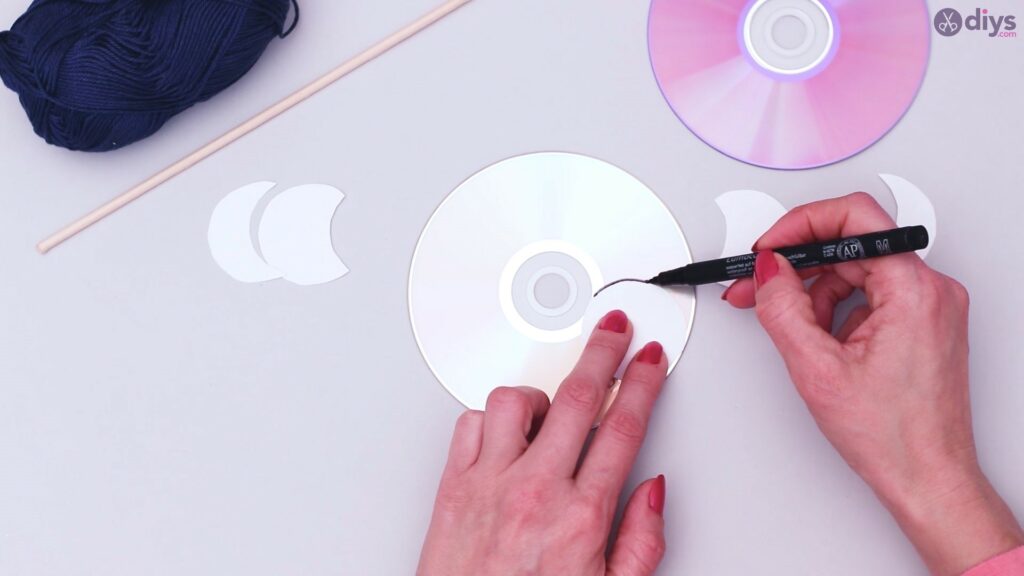
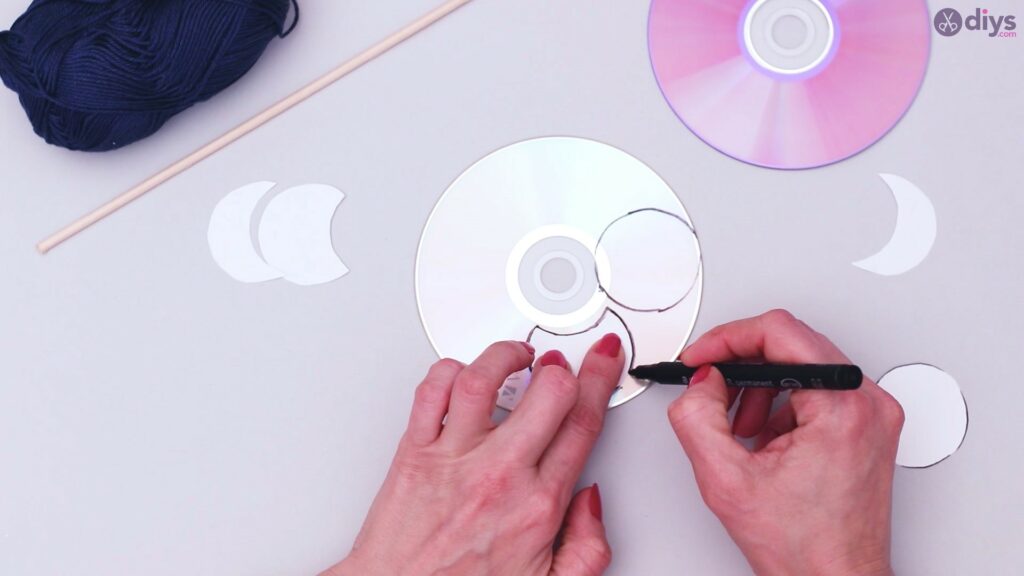
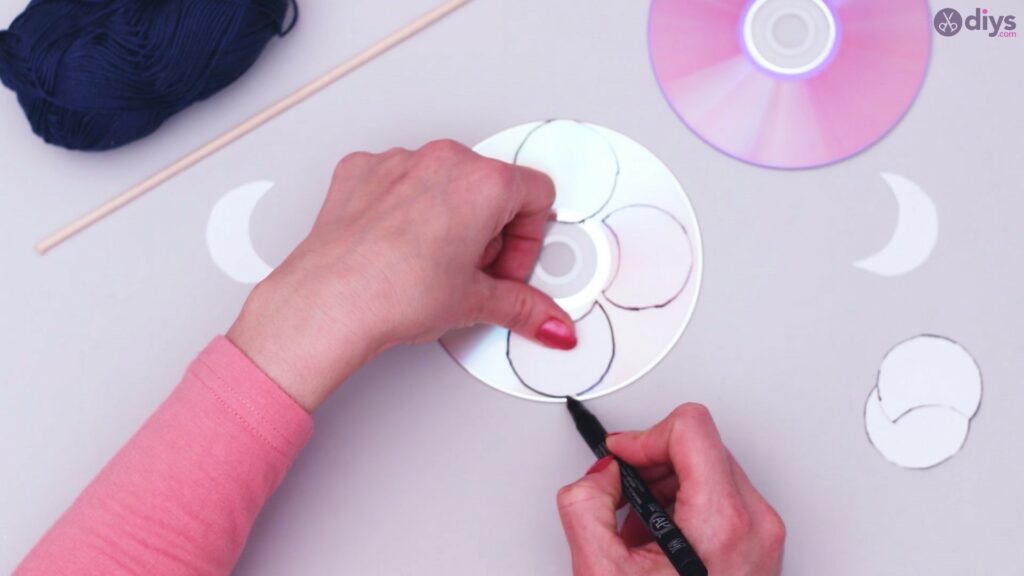
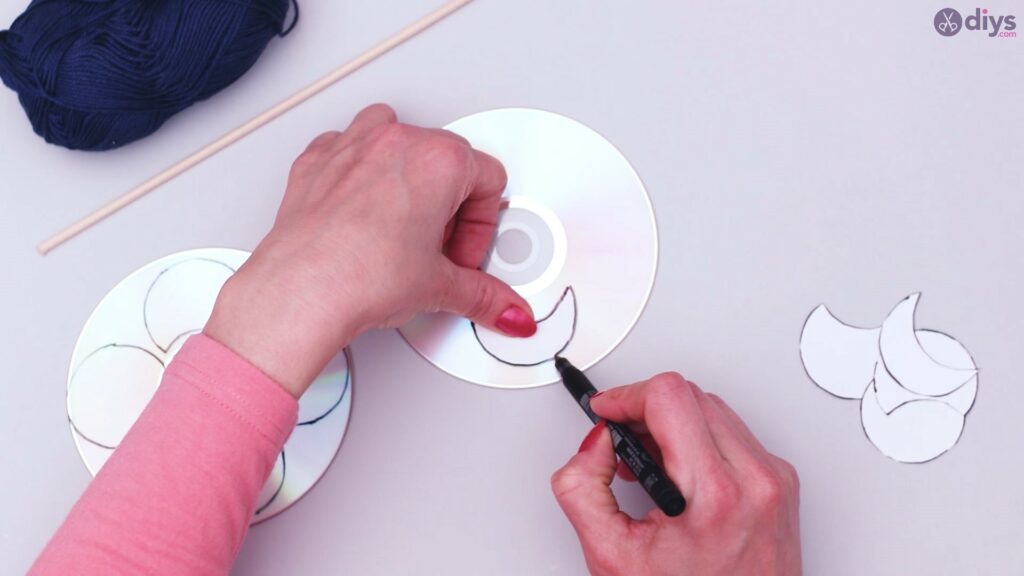
When you’re done, place each of the shapes on top of the CD and start drawing the outlines using your black marker. You can use one CD for multiple shapes, since they will be pretty small.
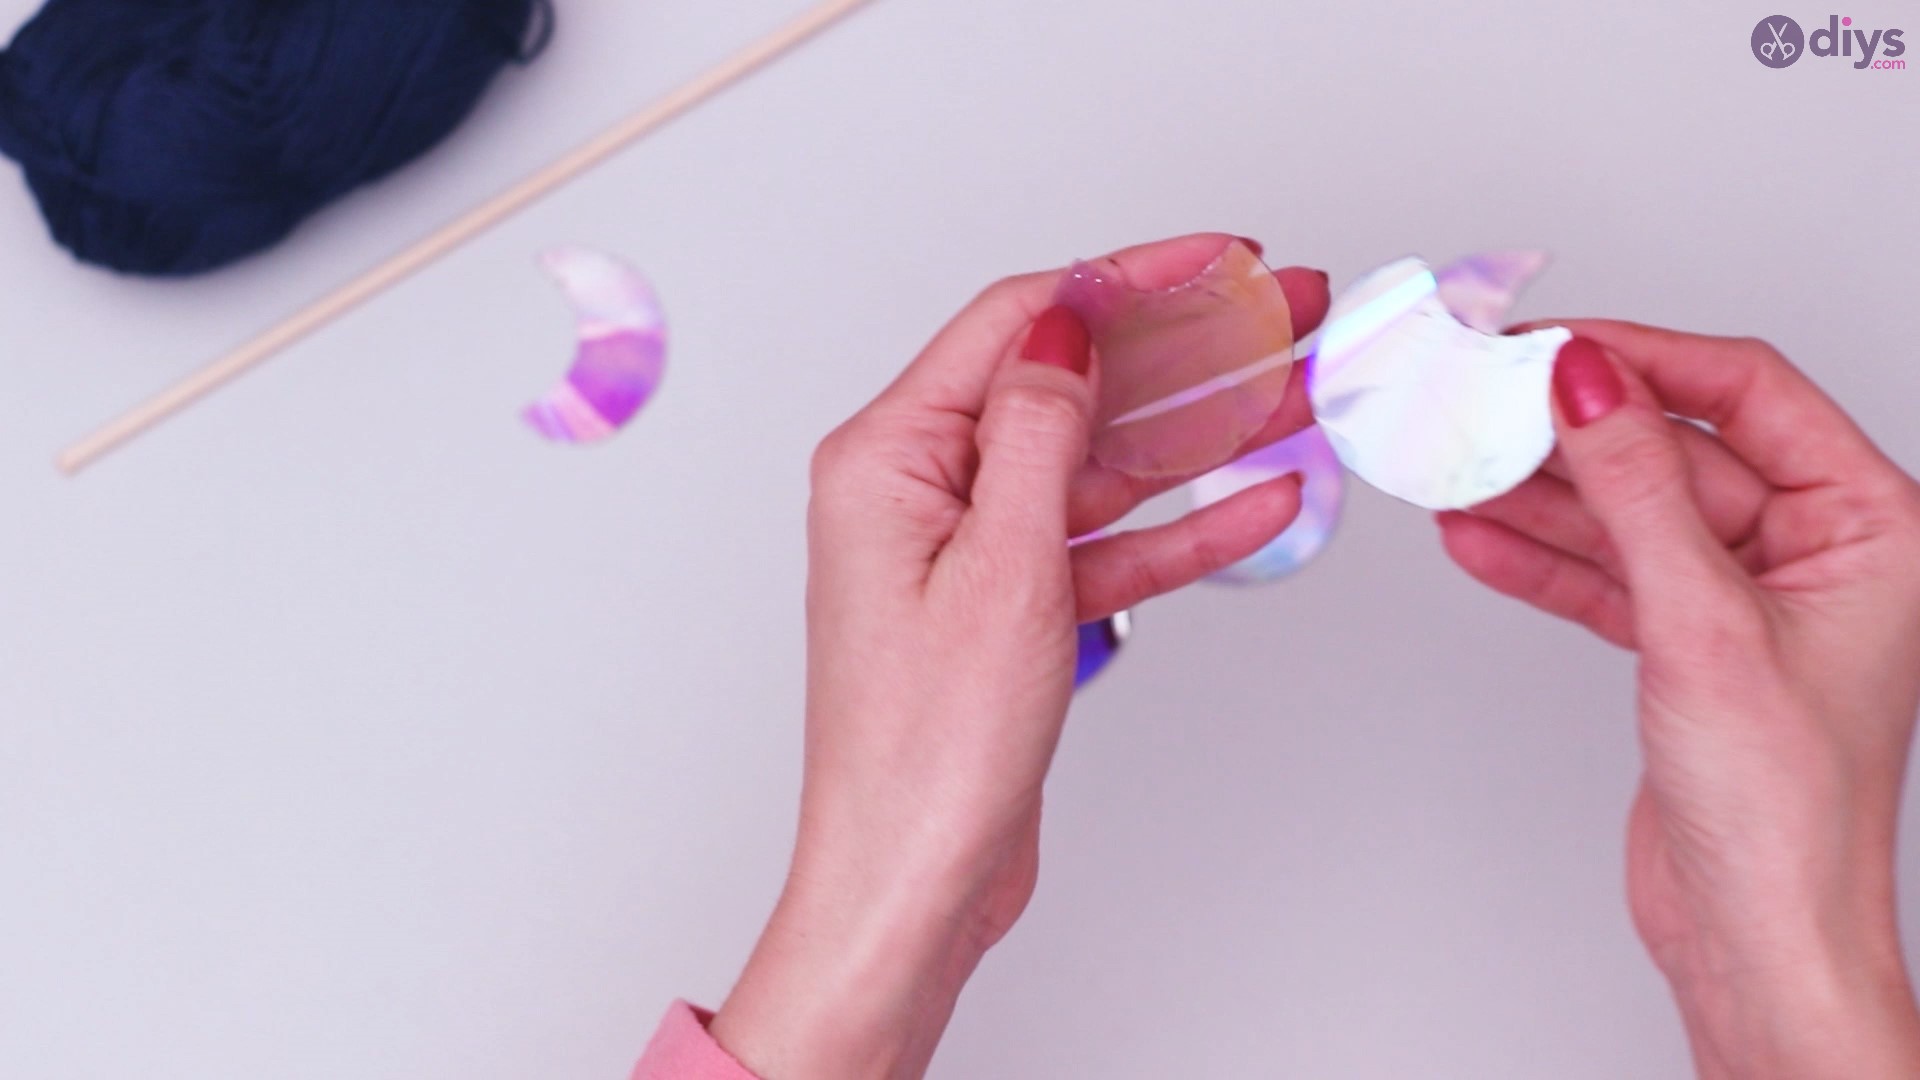
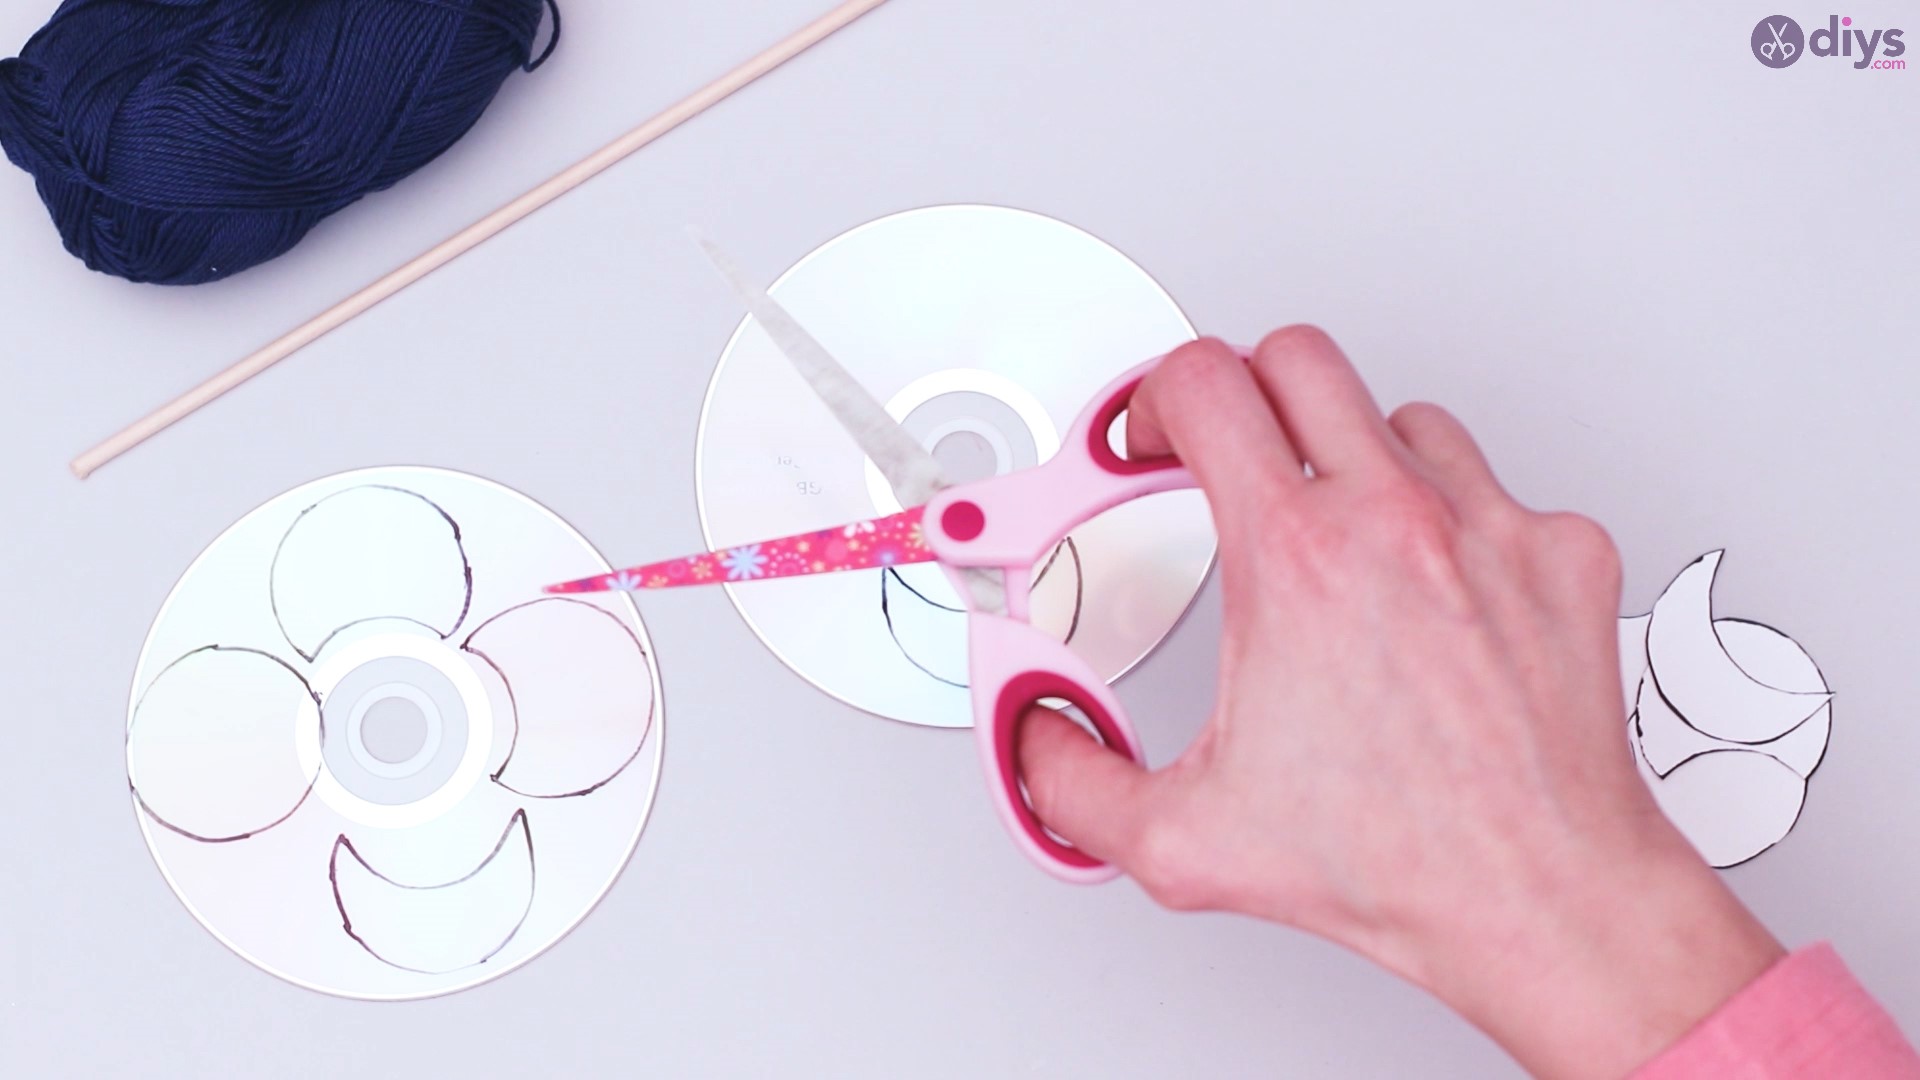
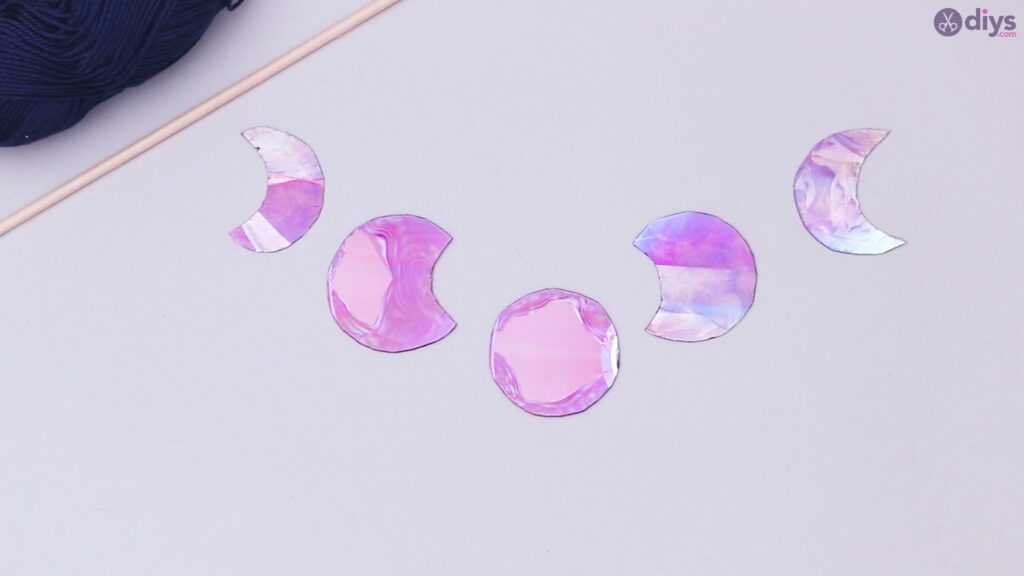
When you’ve drawn all the outlines, grab your scissors and start cutting the CDs.
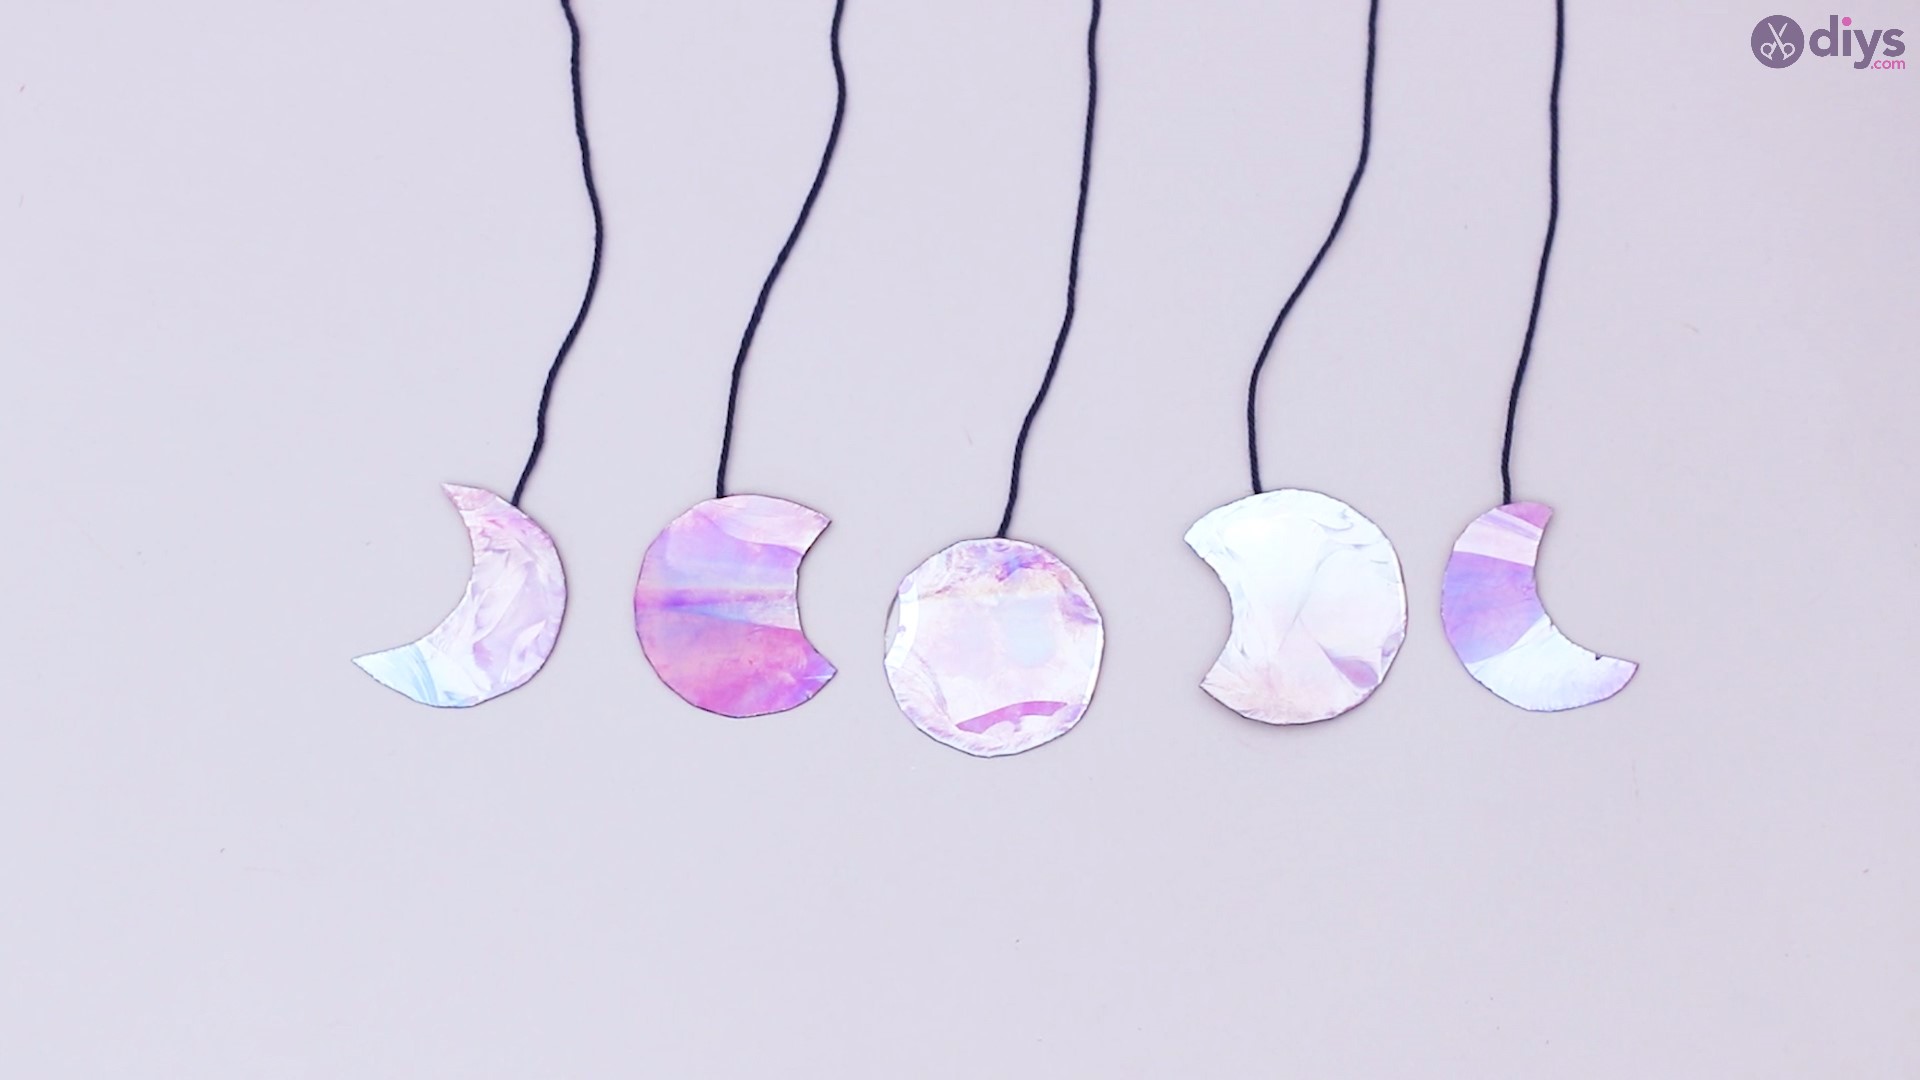
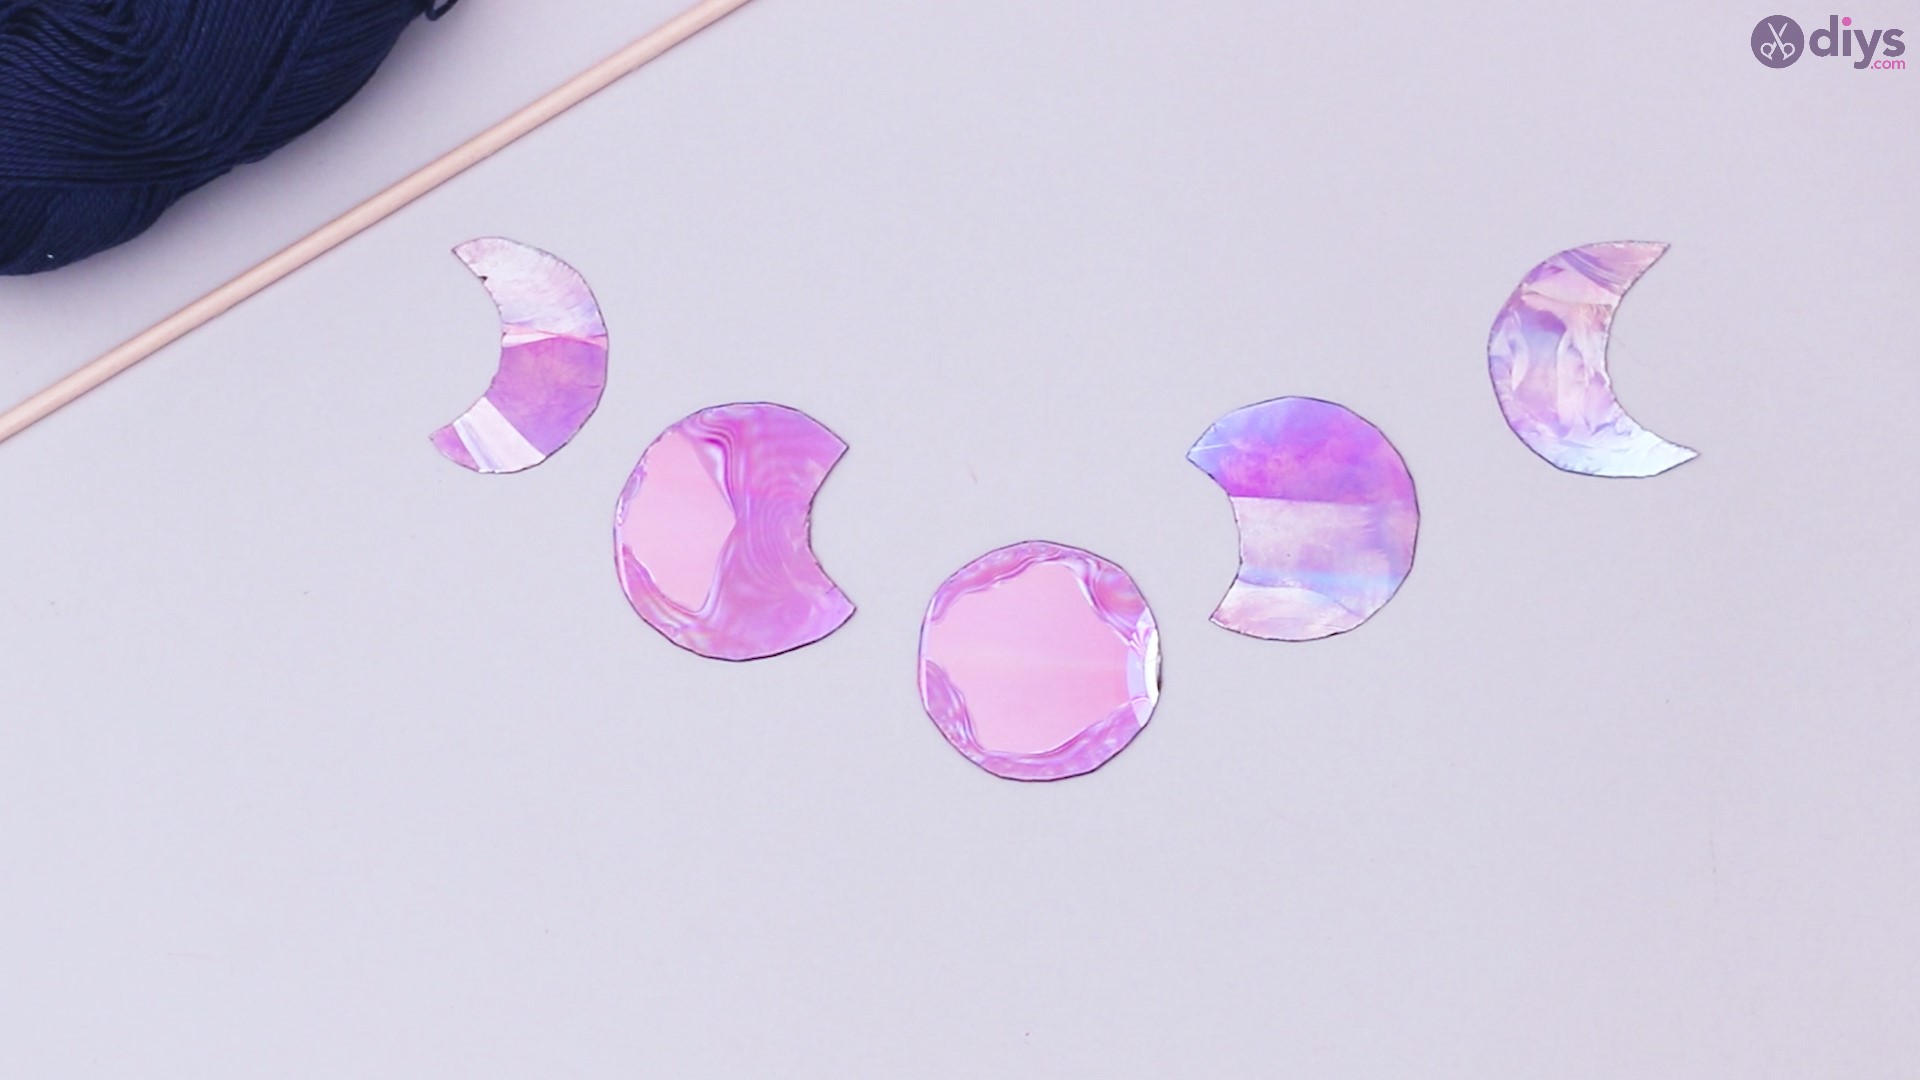
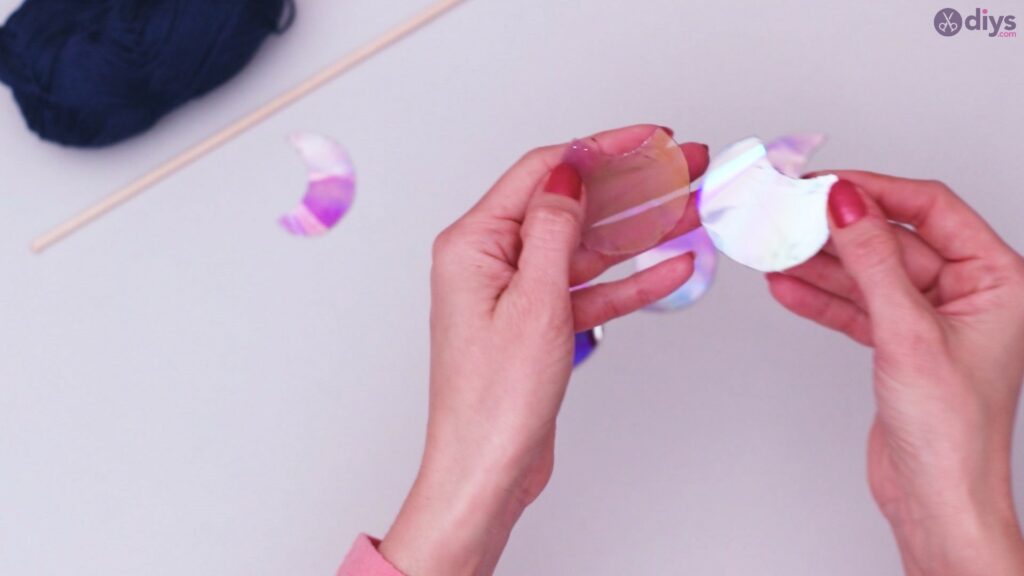
You should end up having five shapes that look like this:
Step 2: Gluing the String
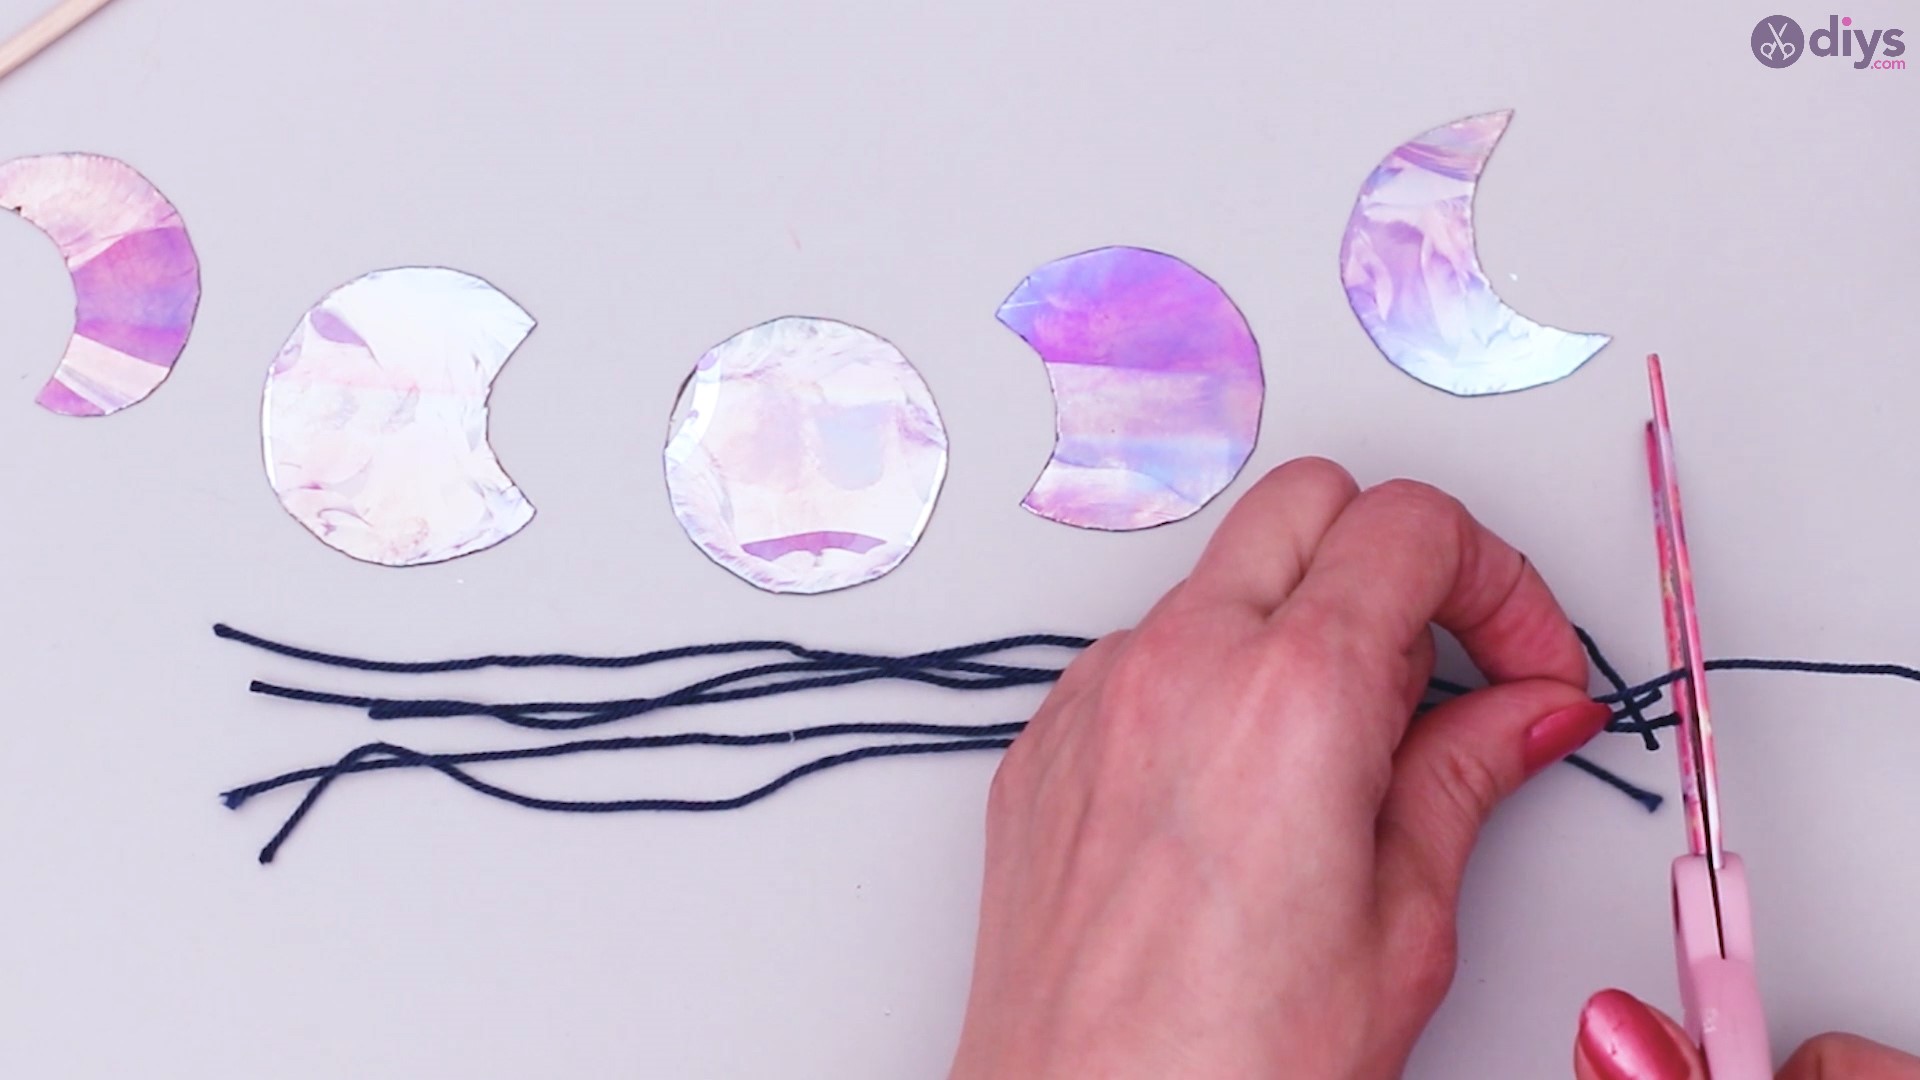
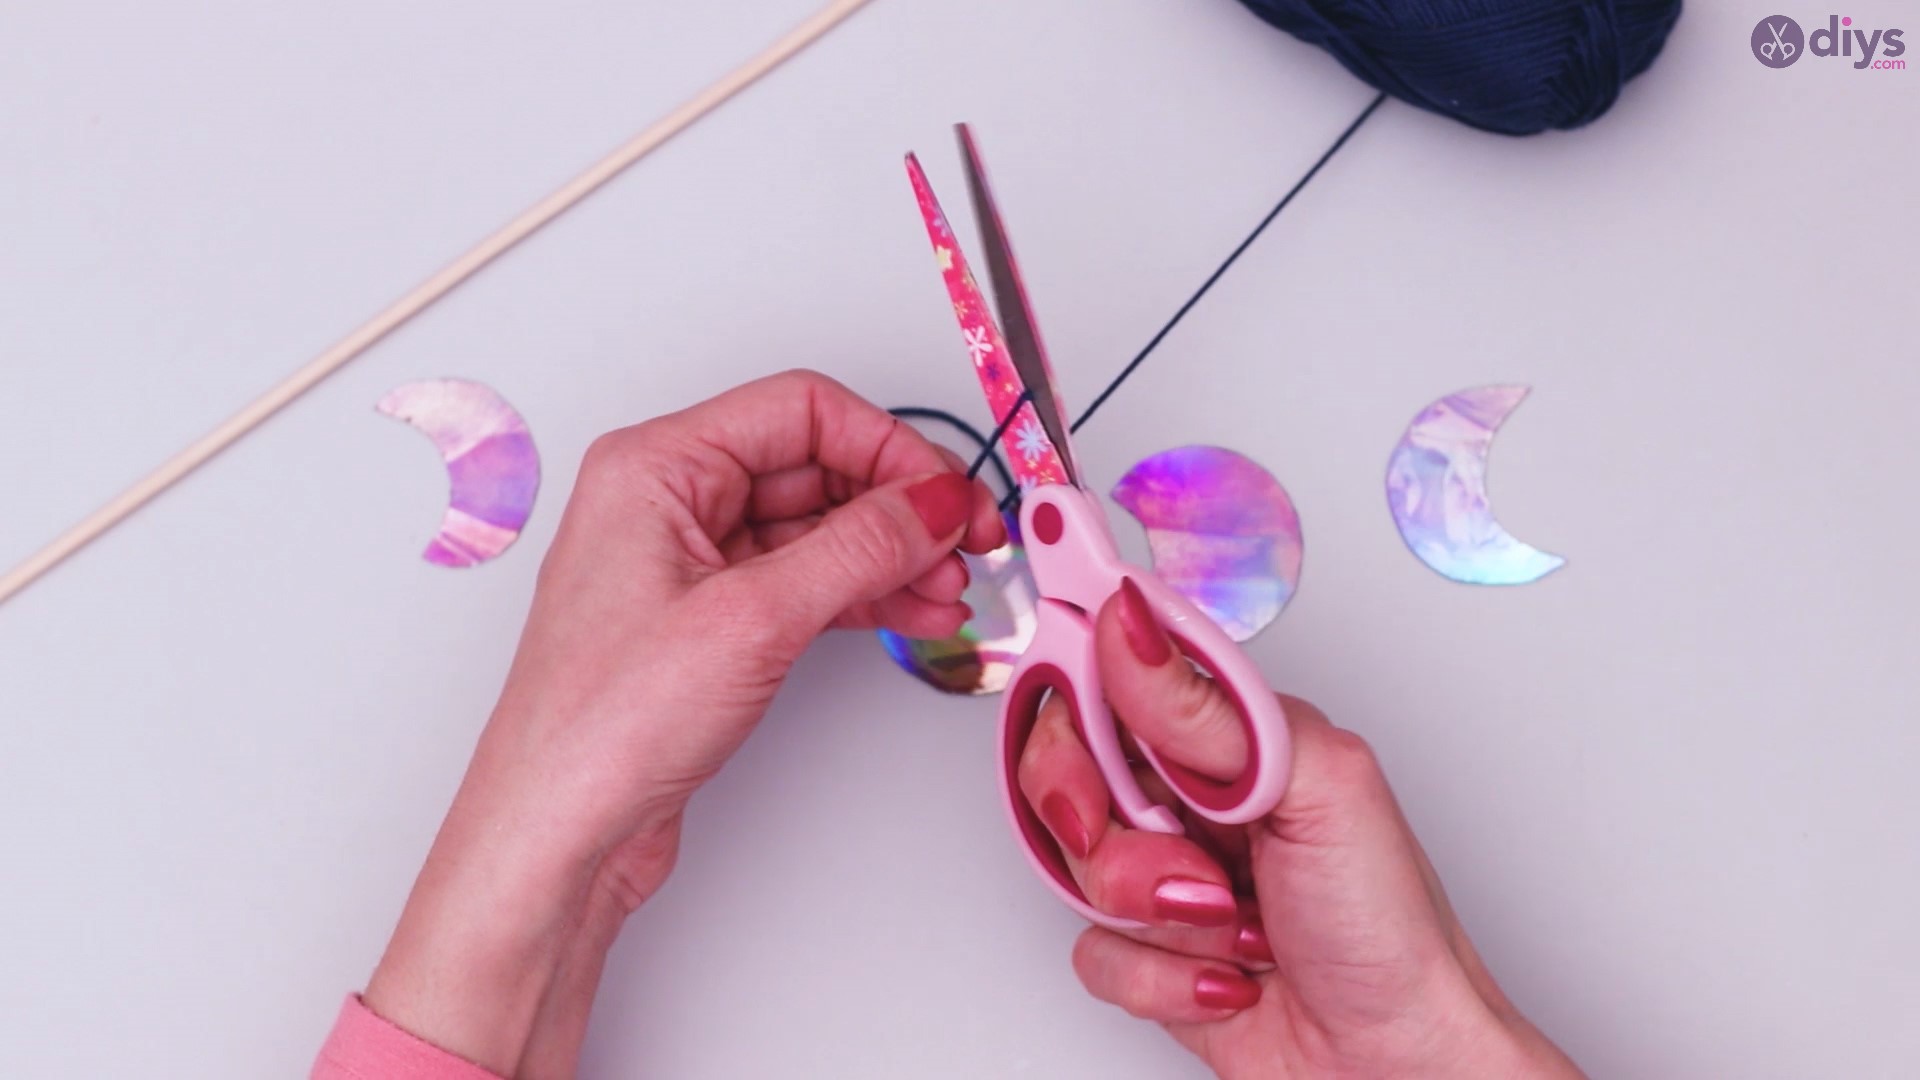
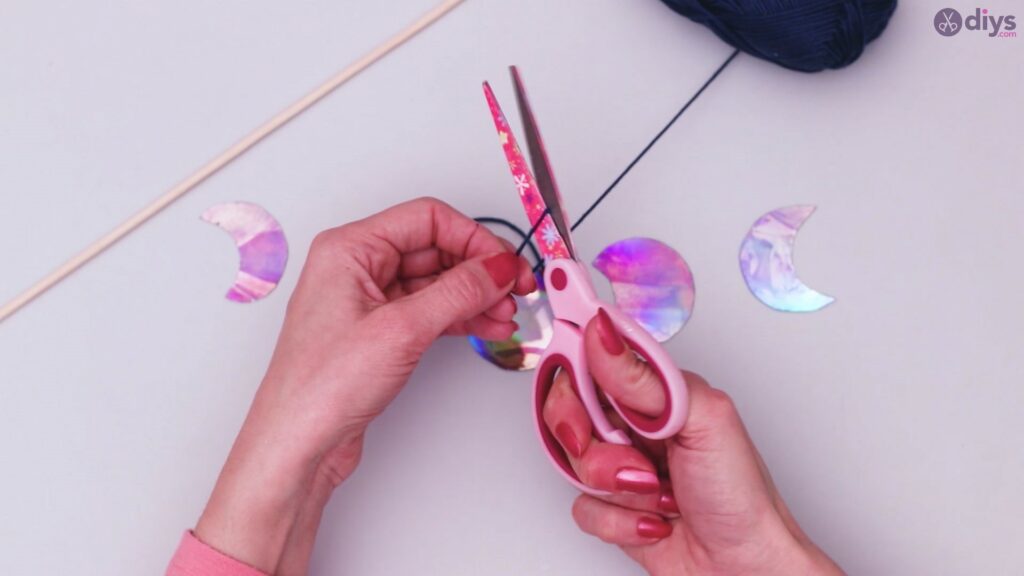
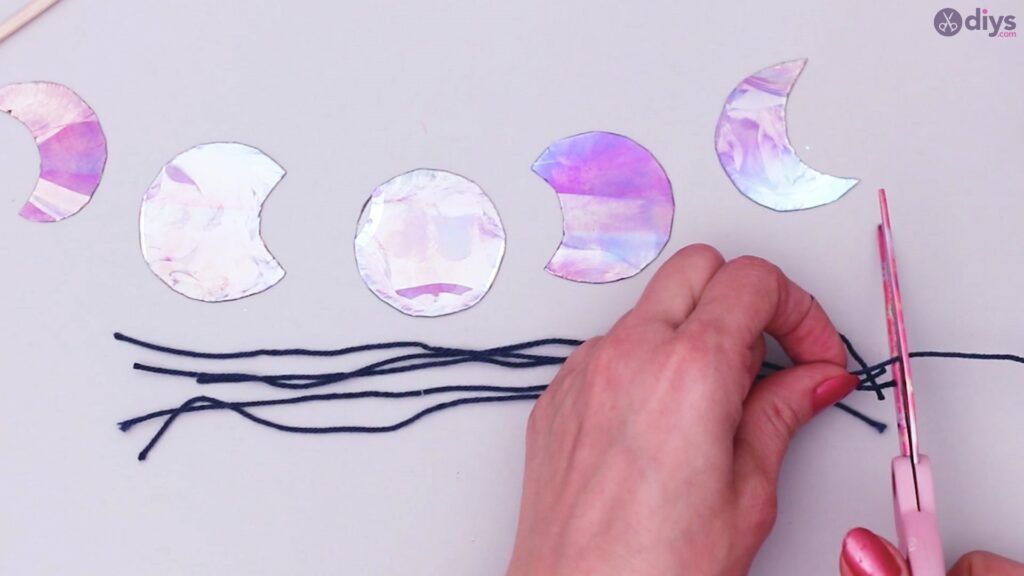
Now it’s time to cut the black strings of yarn that you’ll be using further on. You need to cut five pieces of yarn of identical length
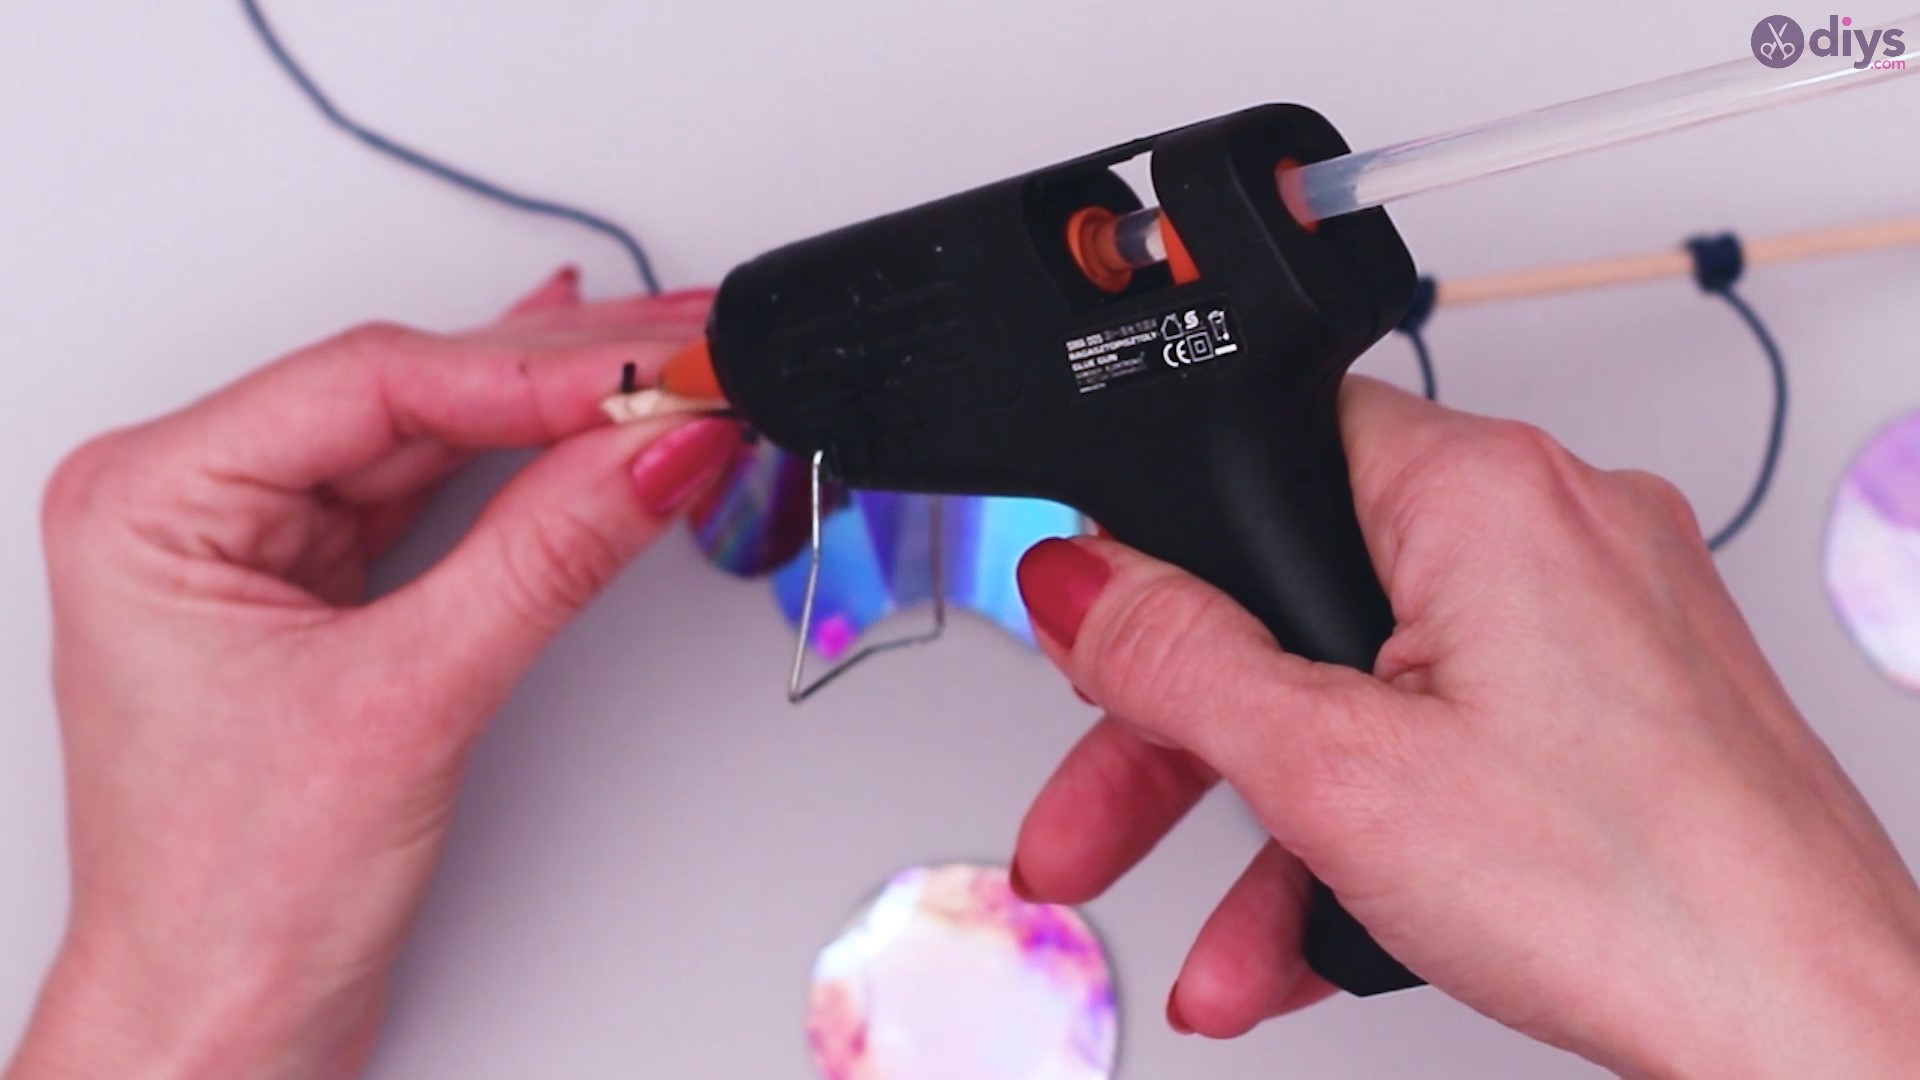
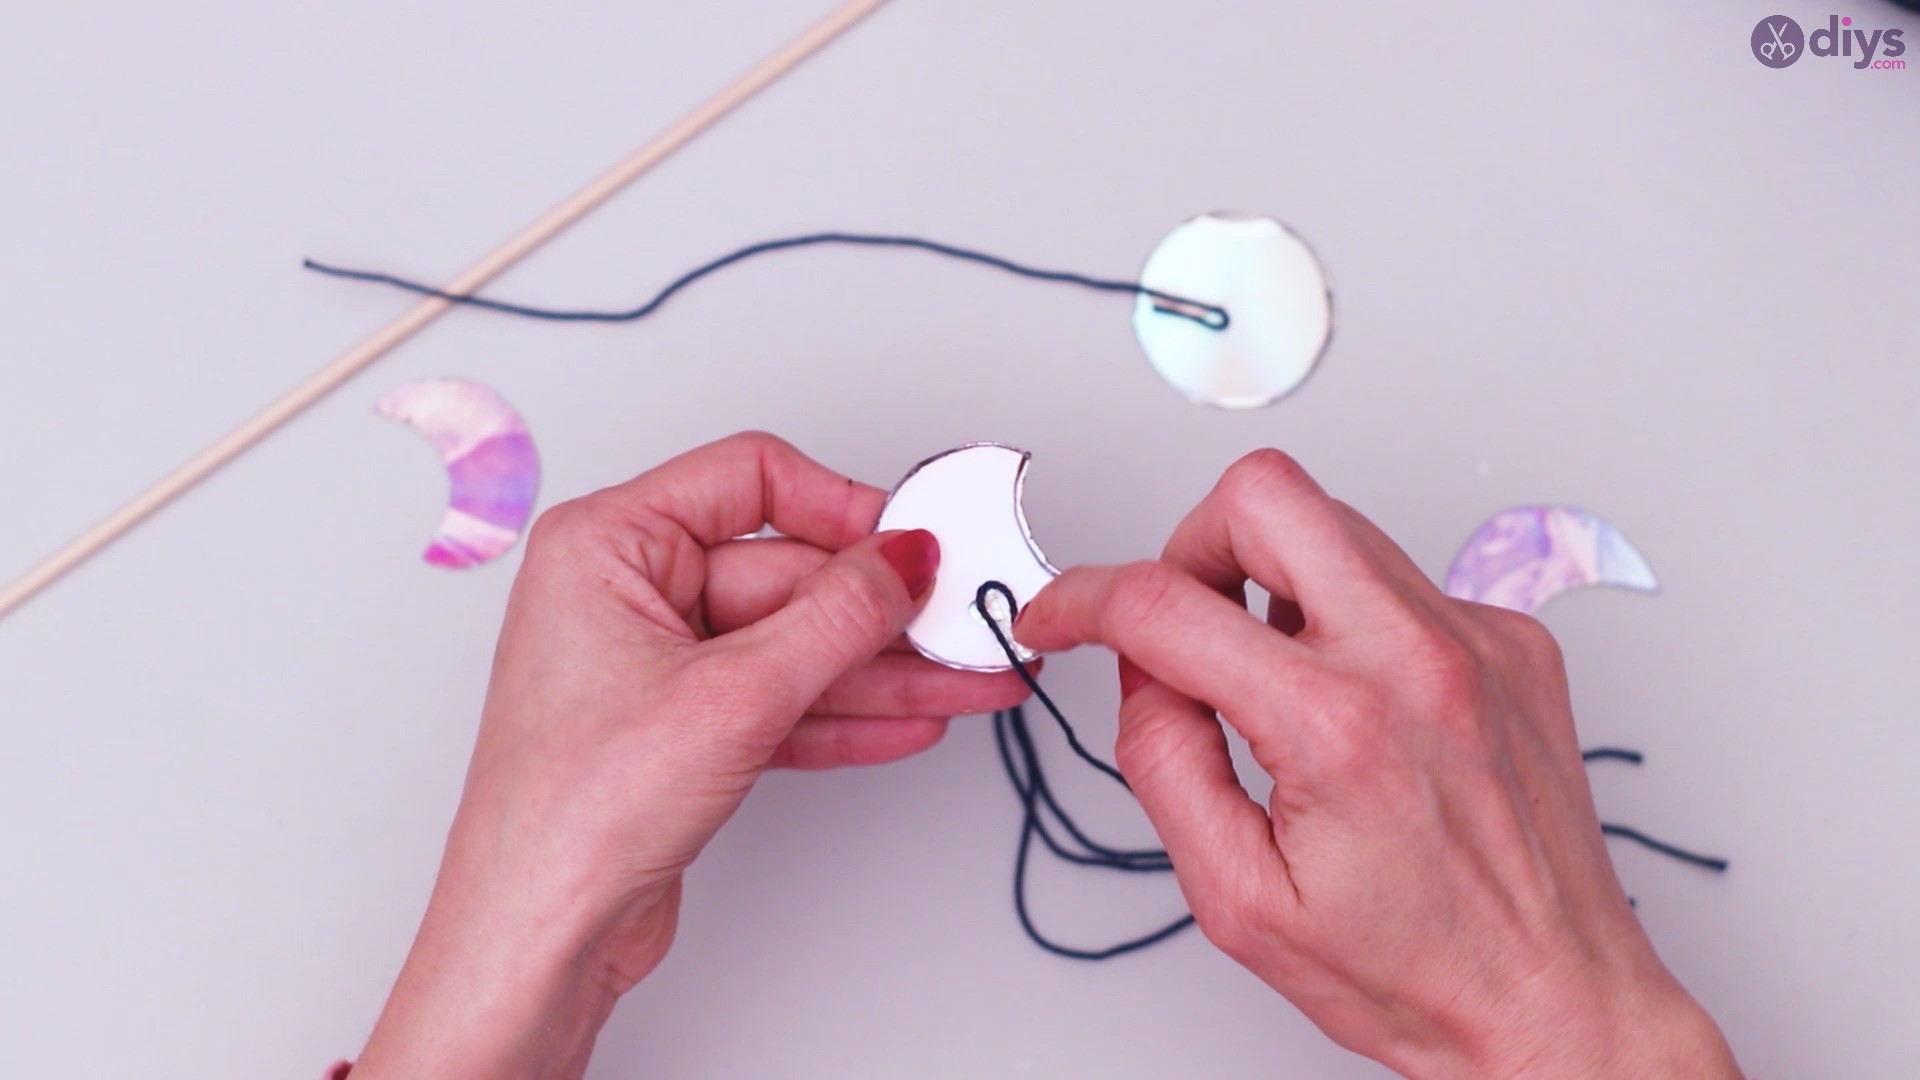
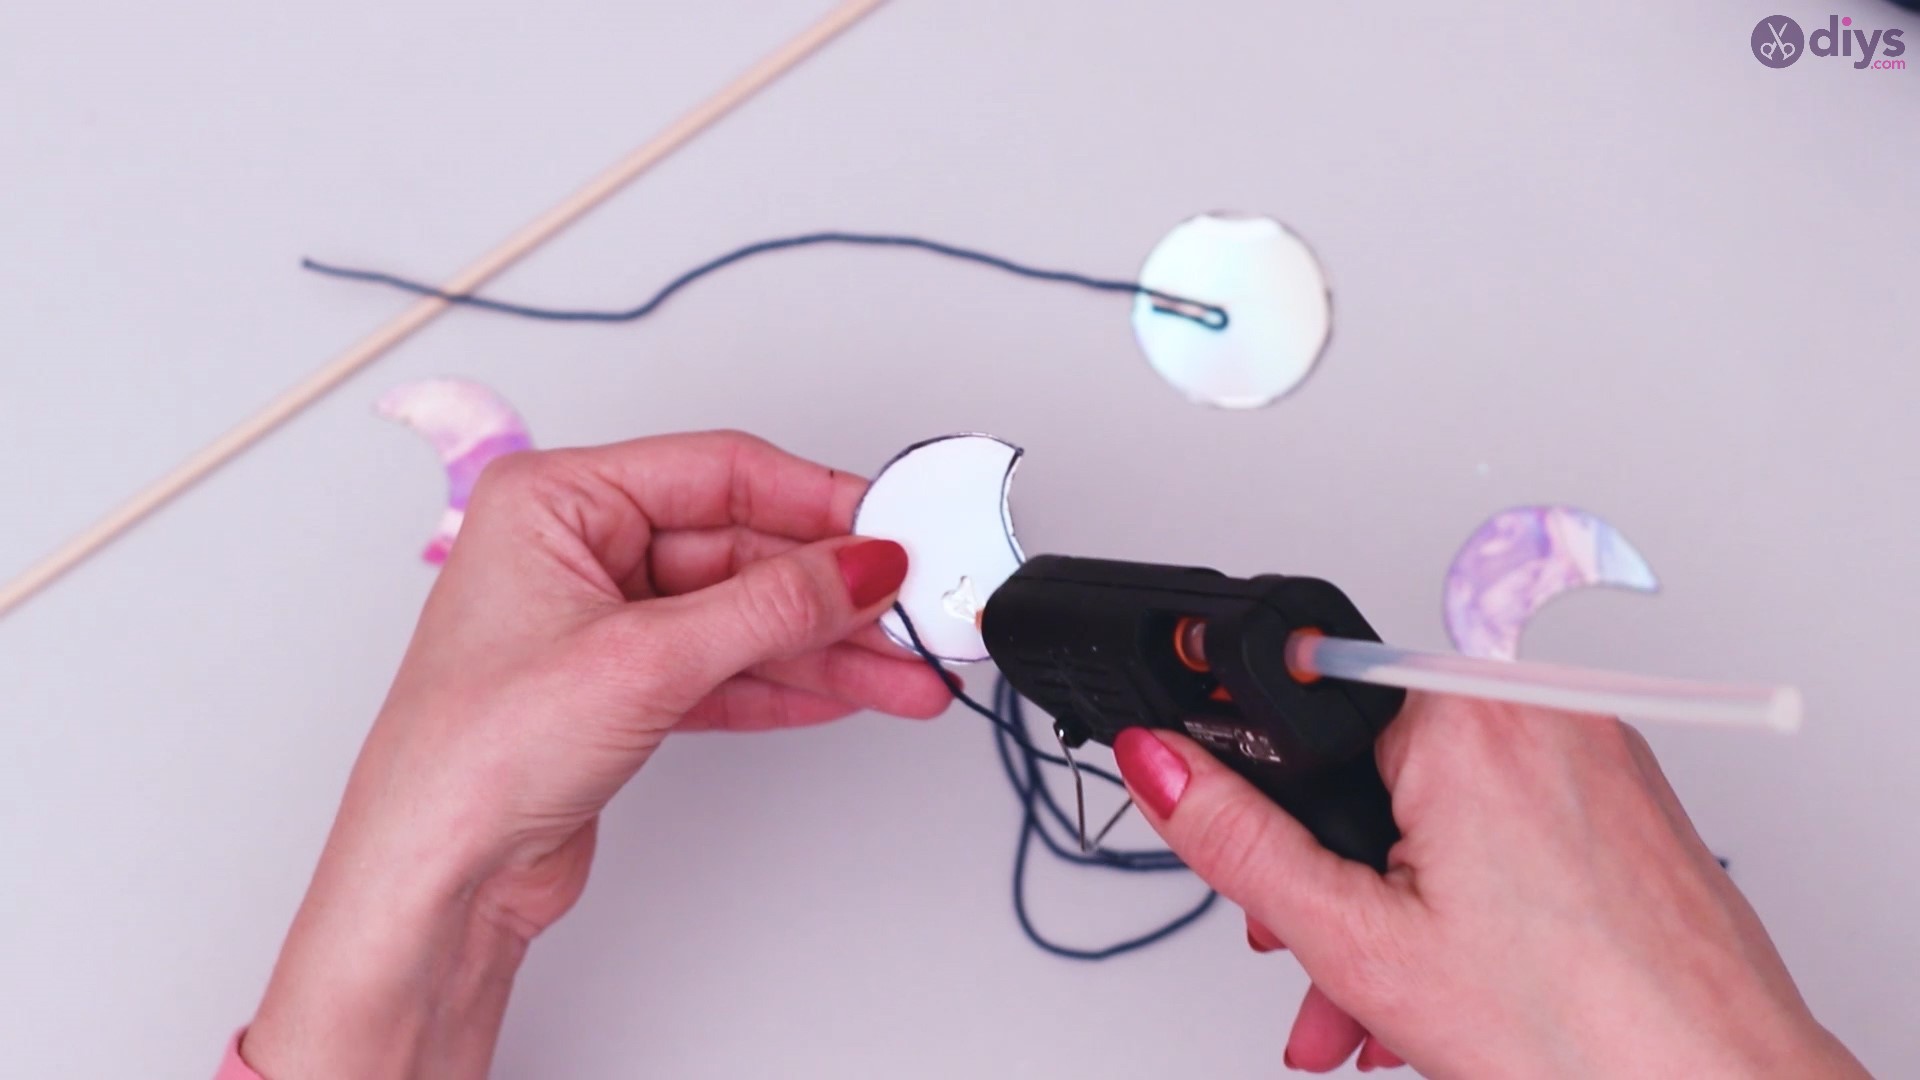
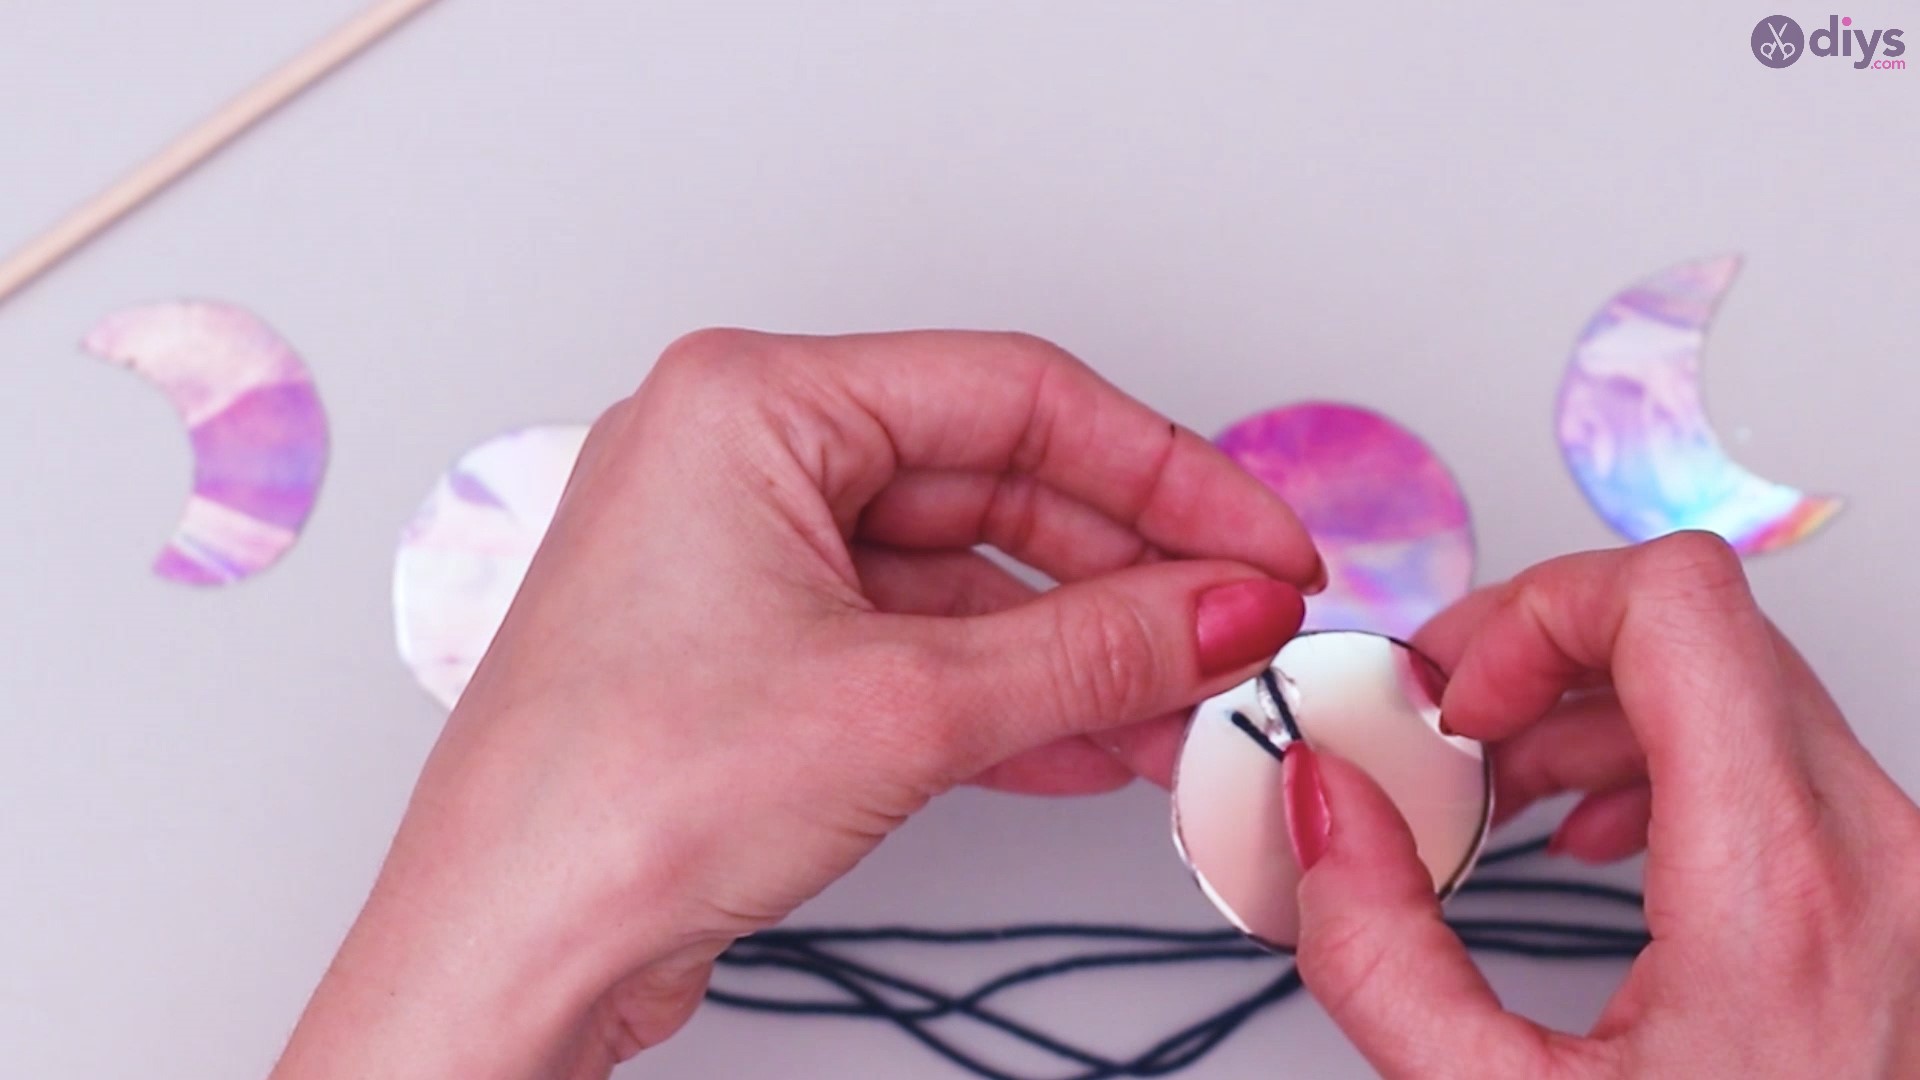
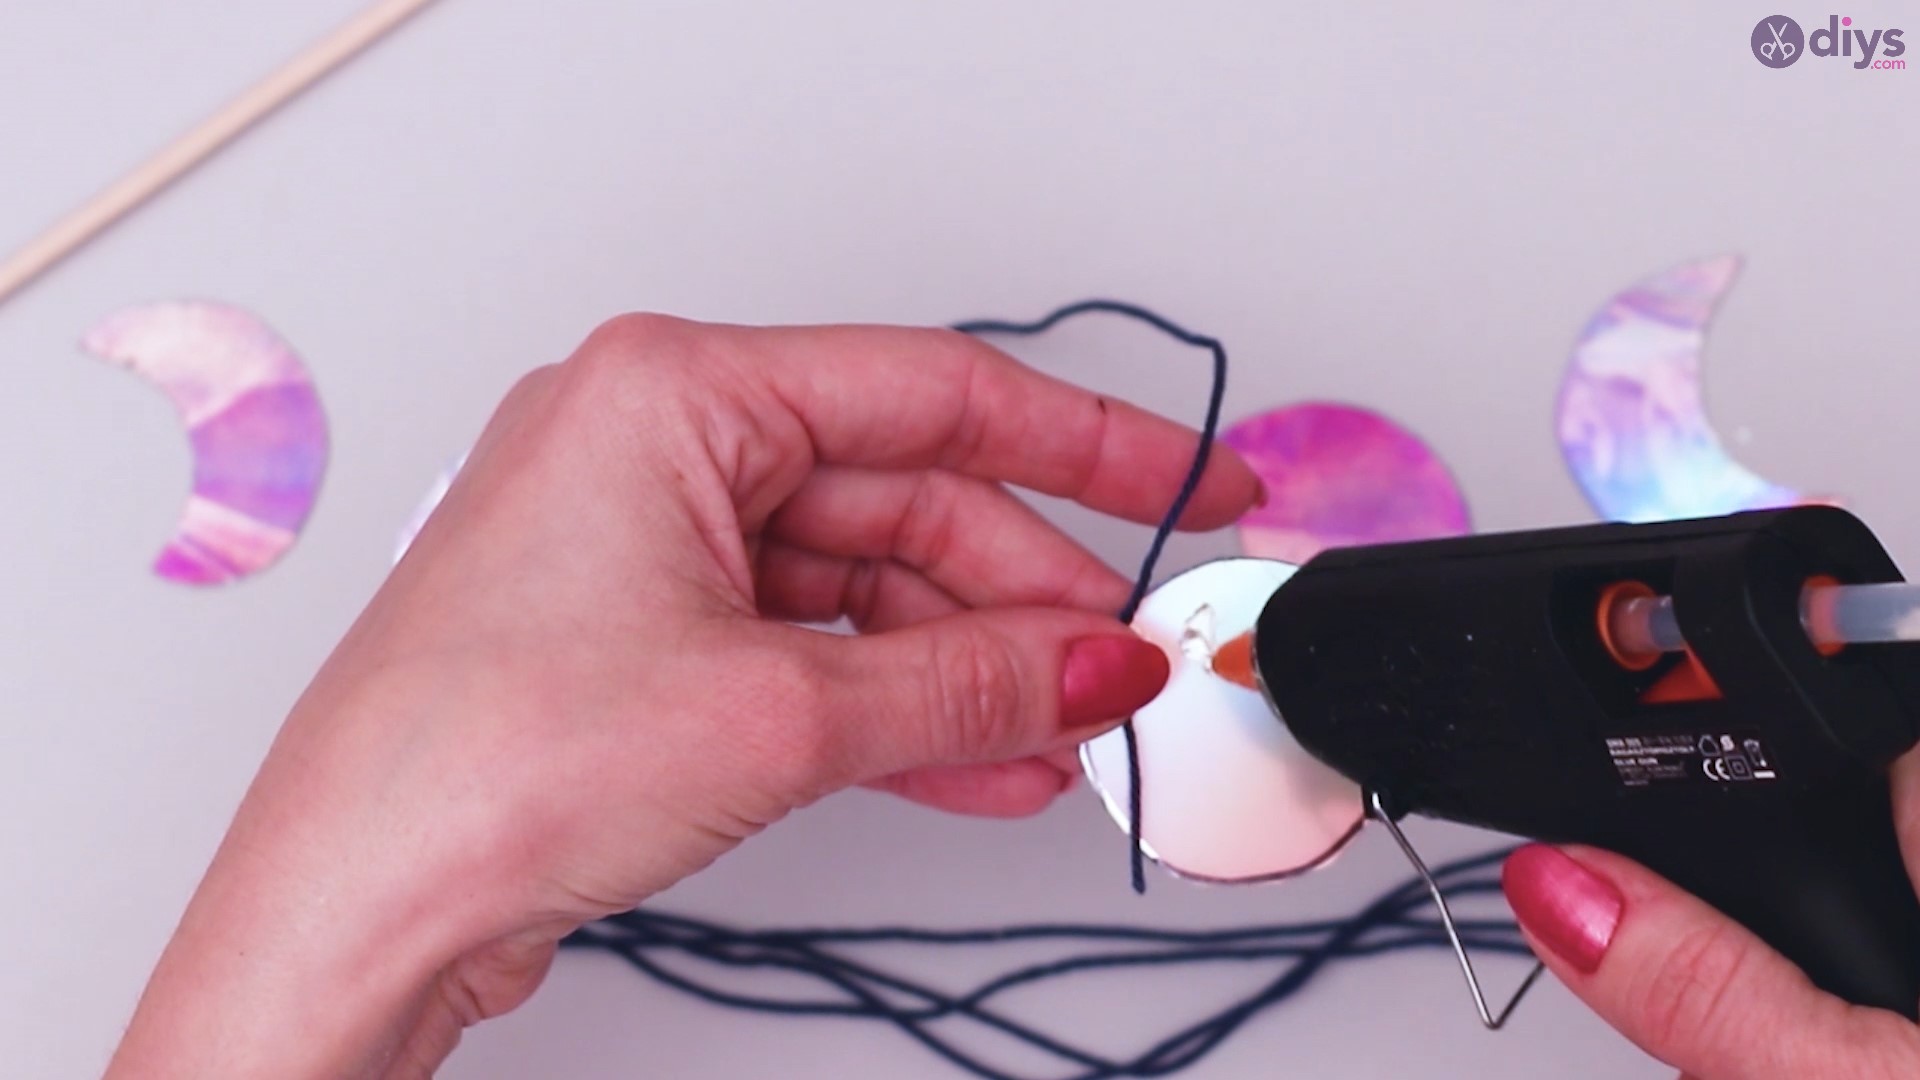
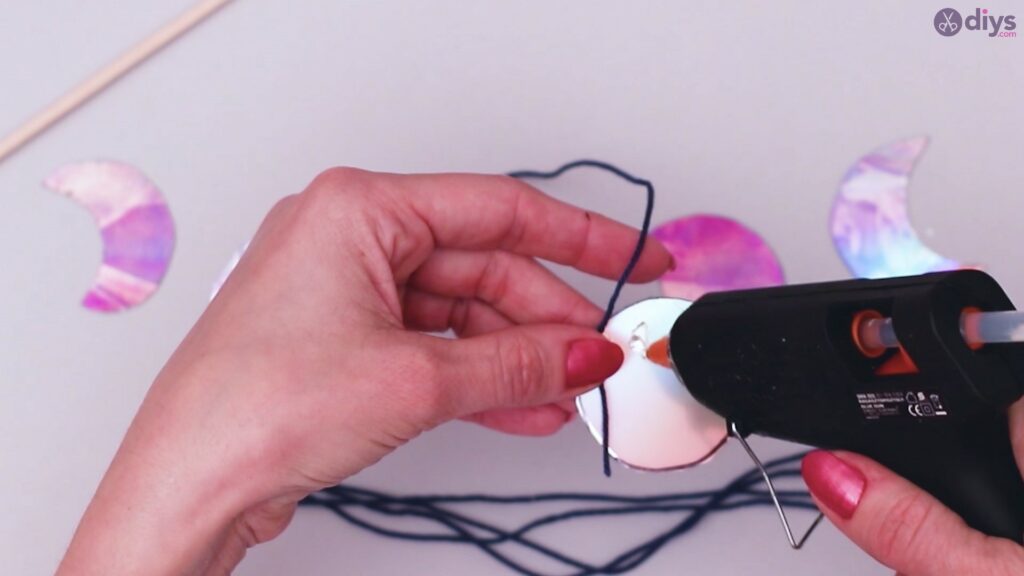
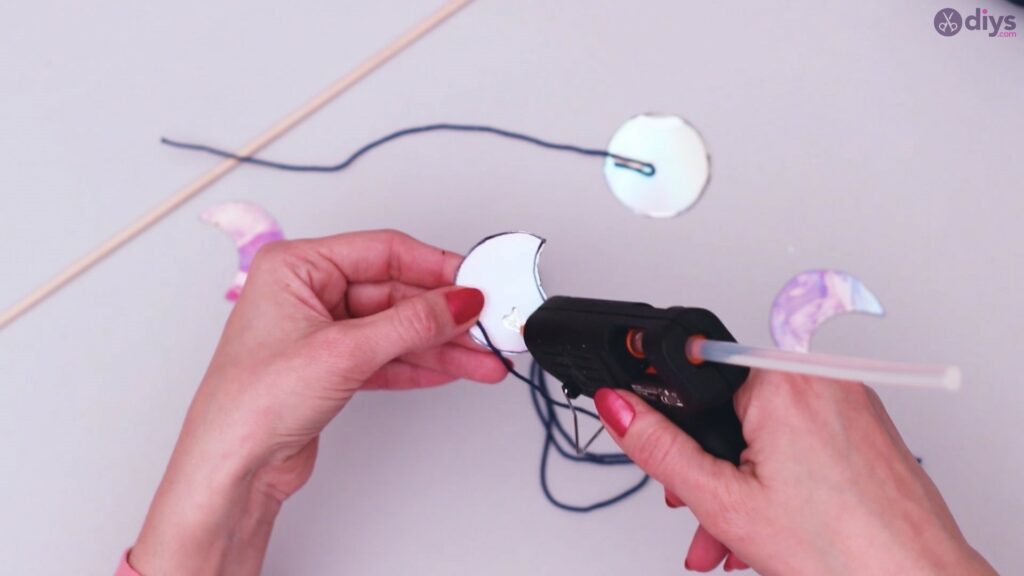
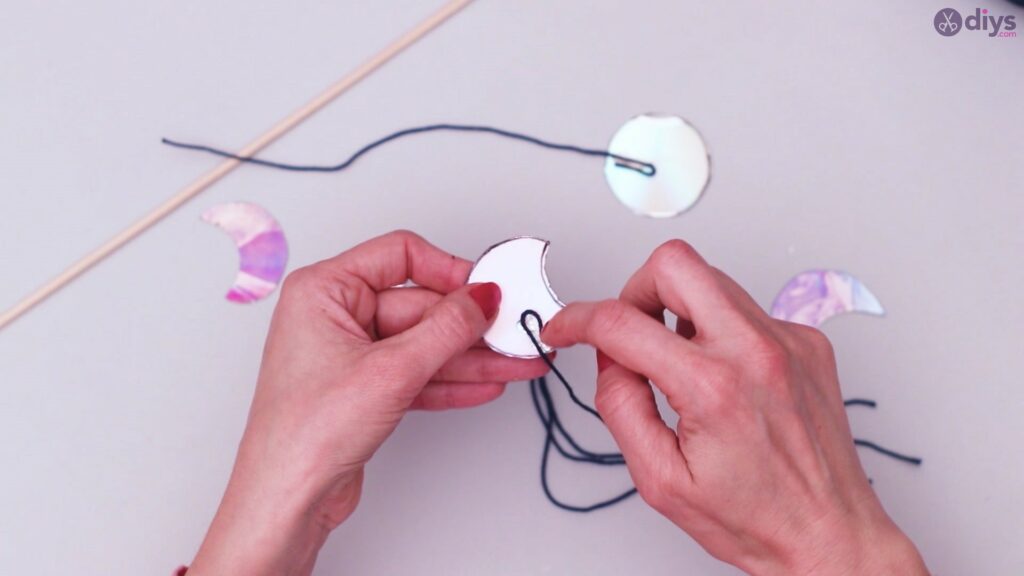
Moving on, use your glue gun to glue the pieces of string, one to each CD piece that’s shaped like the moon.
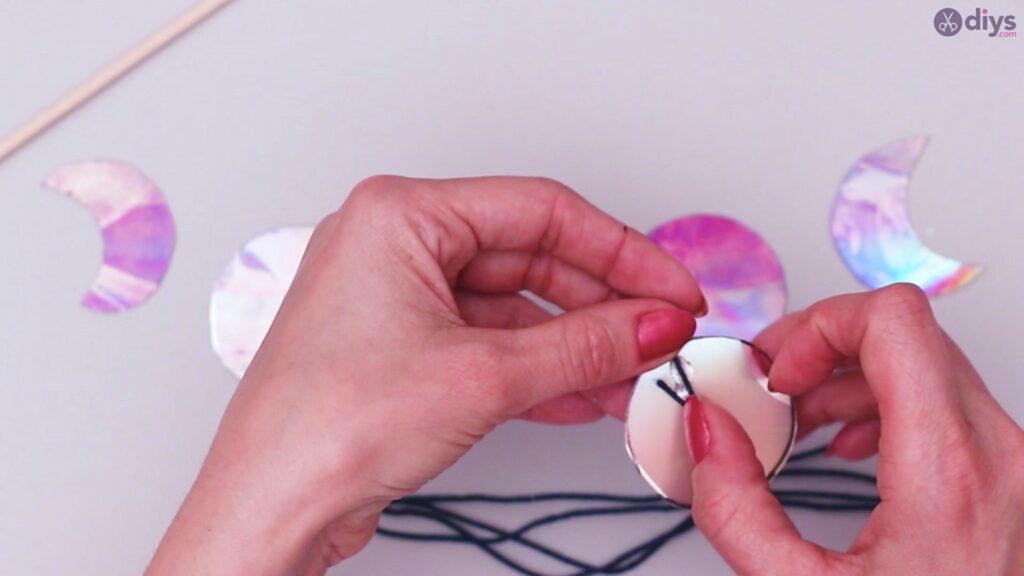
Apply gentle pressure to make sure that each of the string ends is glued to the shape.
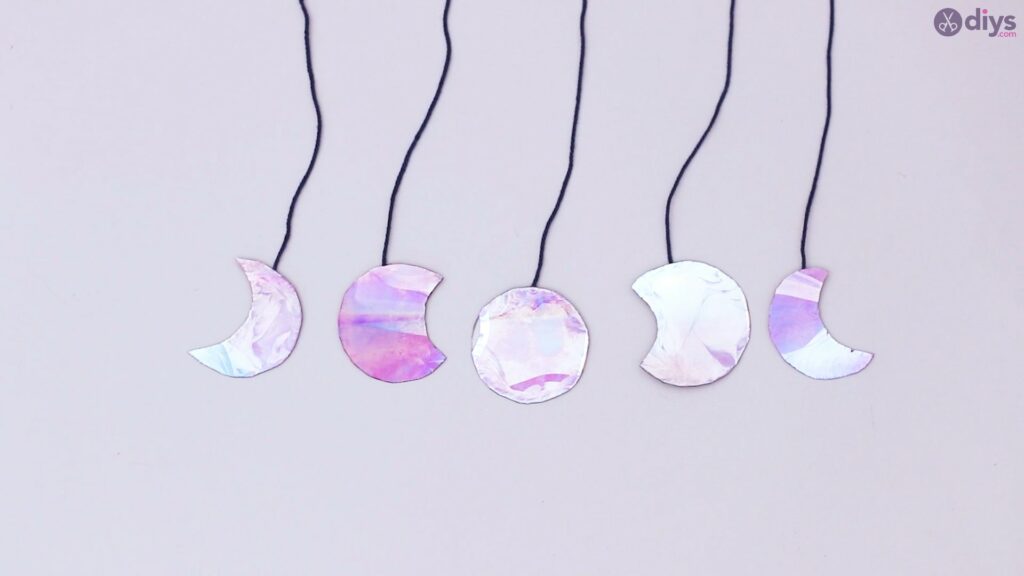
In the end, all your CD pieces with string attached should look like this:
Step 3: Attaching the Wood
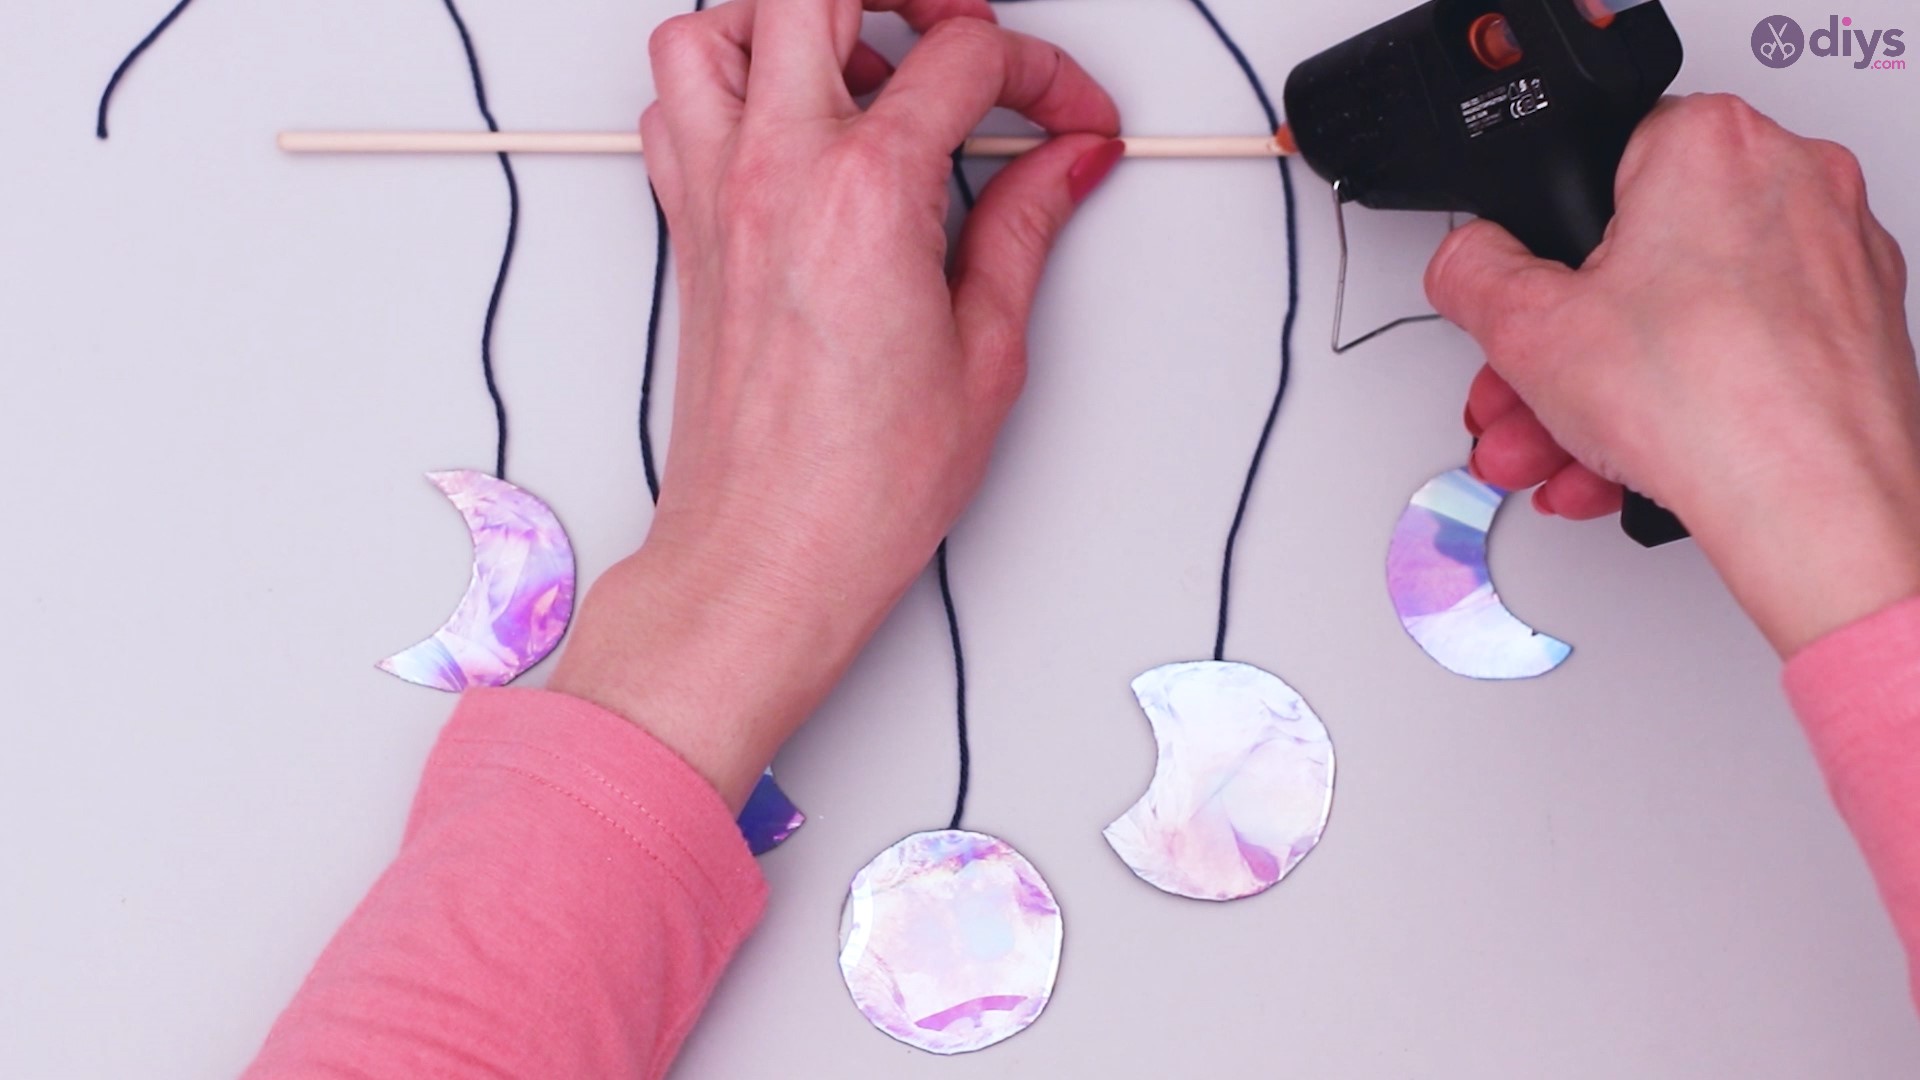
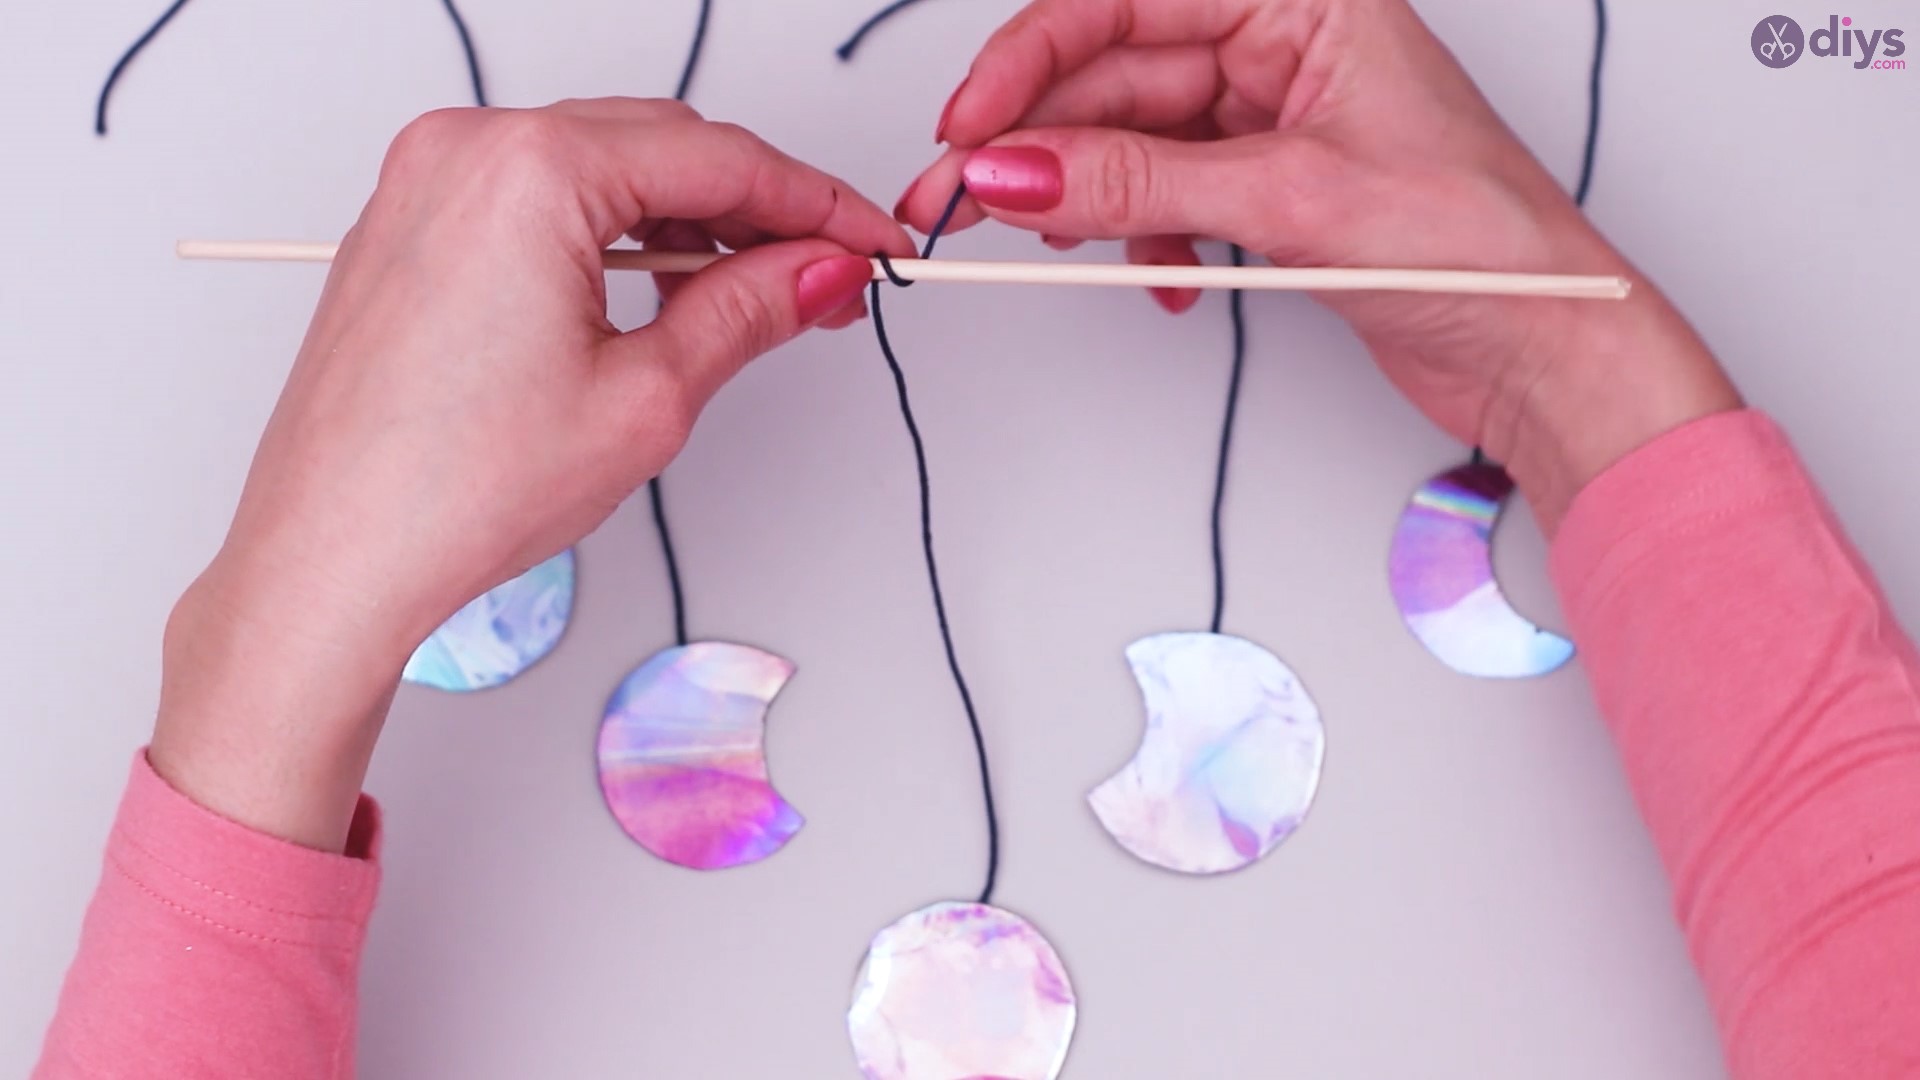
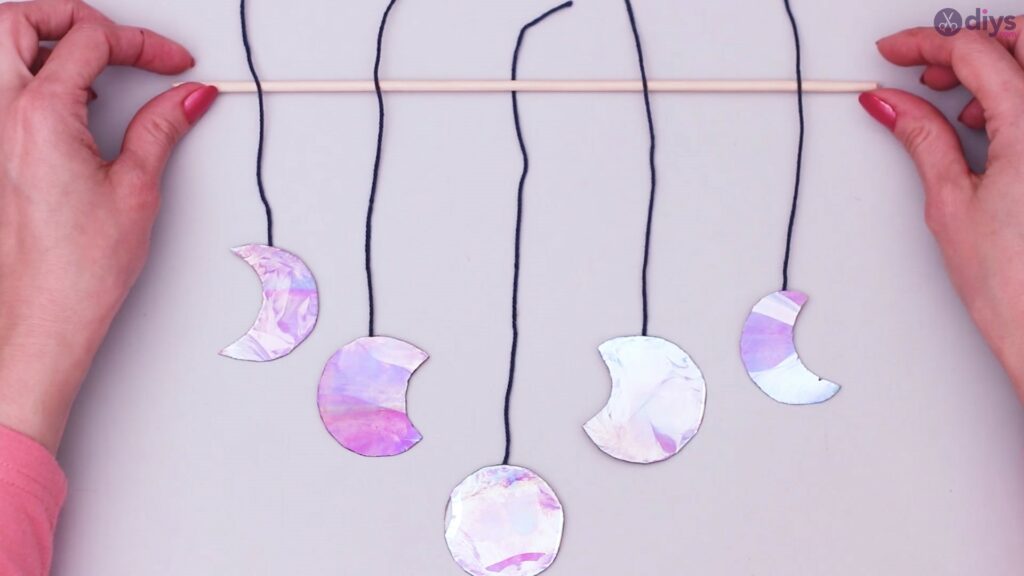
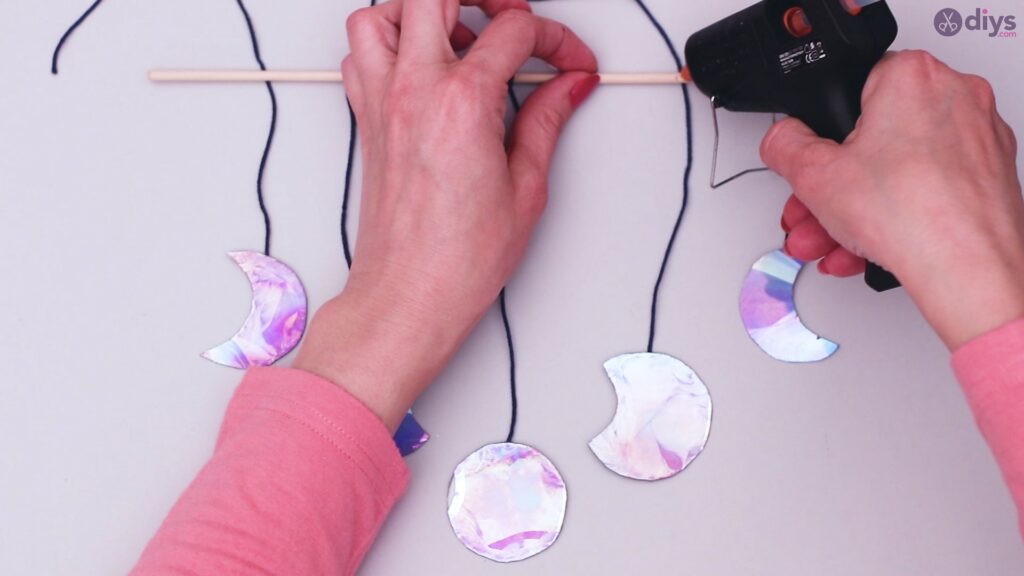
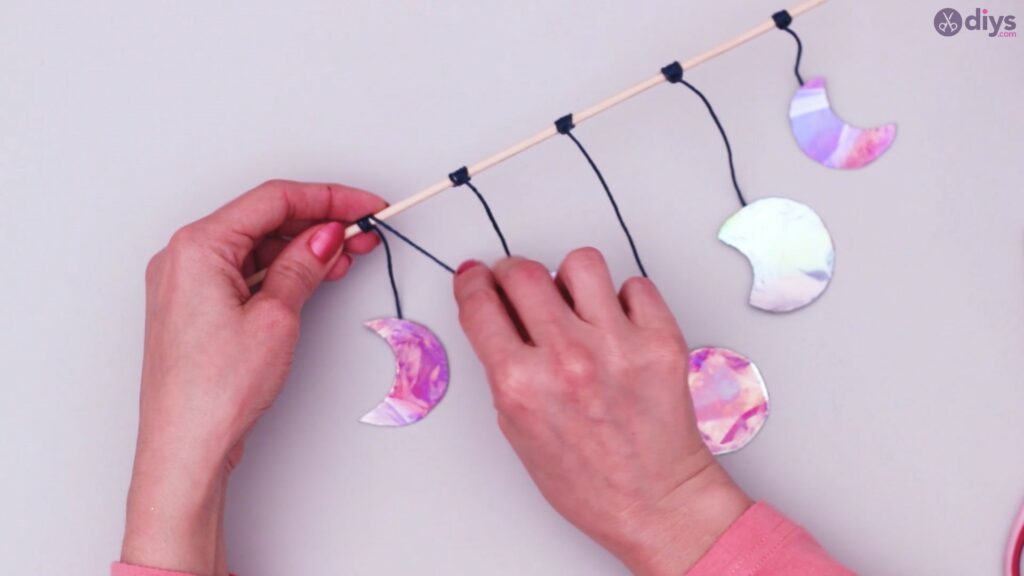
Next up, you’re going to have to use the wooden stick to make a support for all the moon-shaped CD pieces. You are going to place the strings as to have the pieces create a V shape, like in the following image:
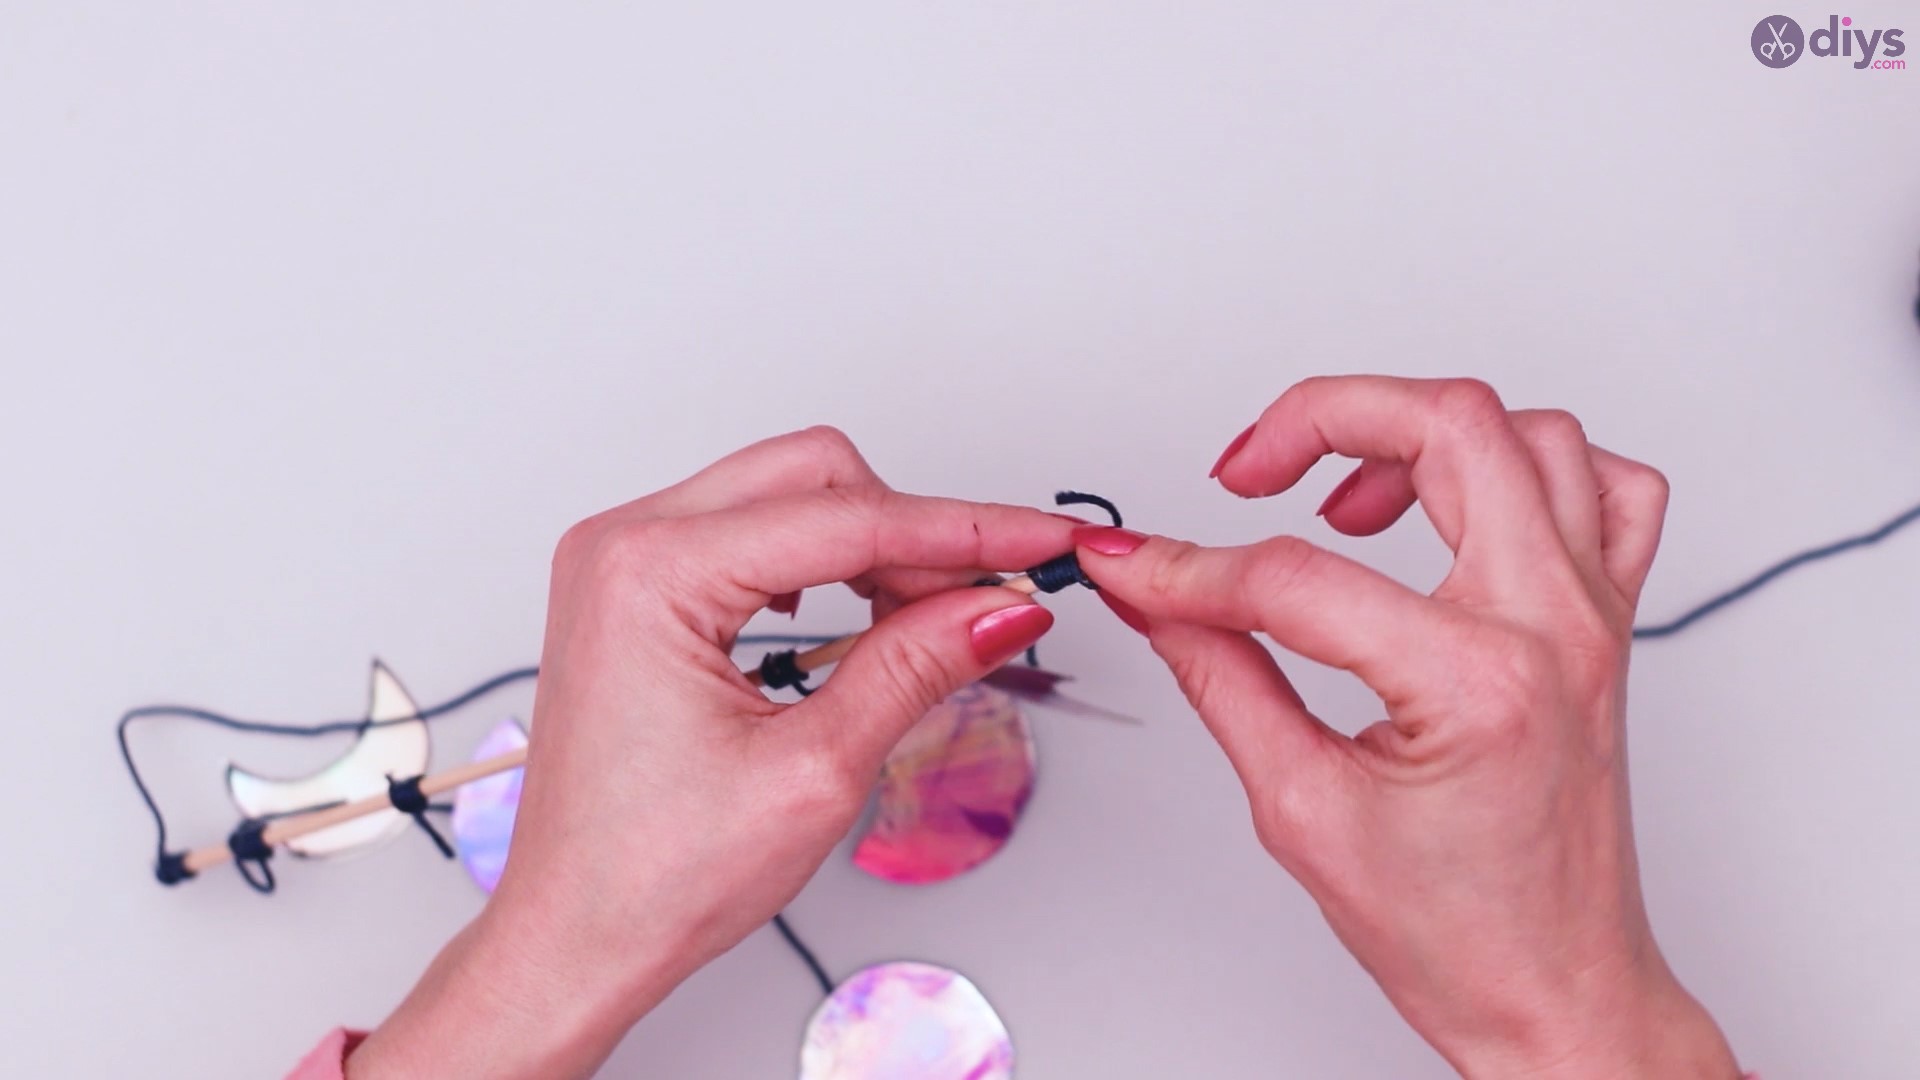
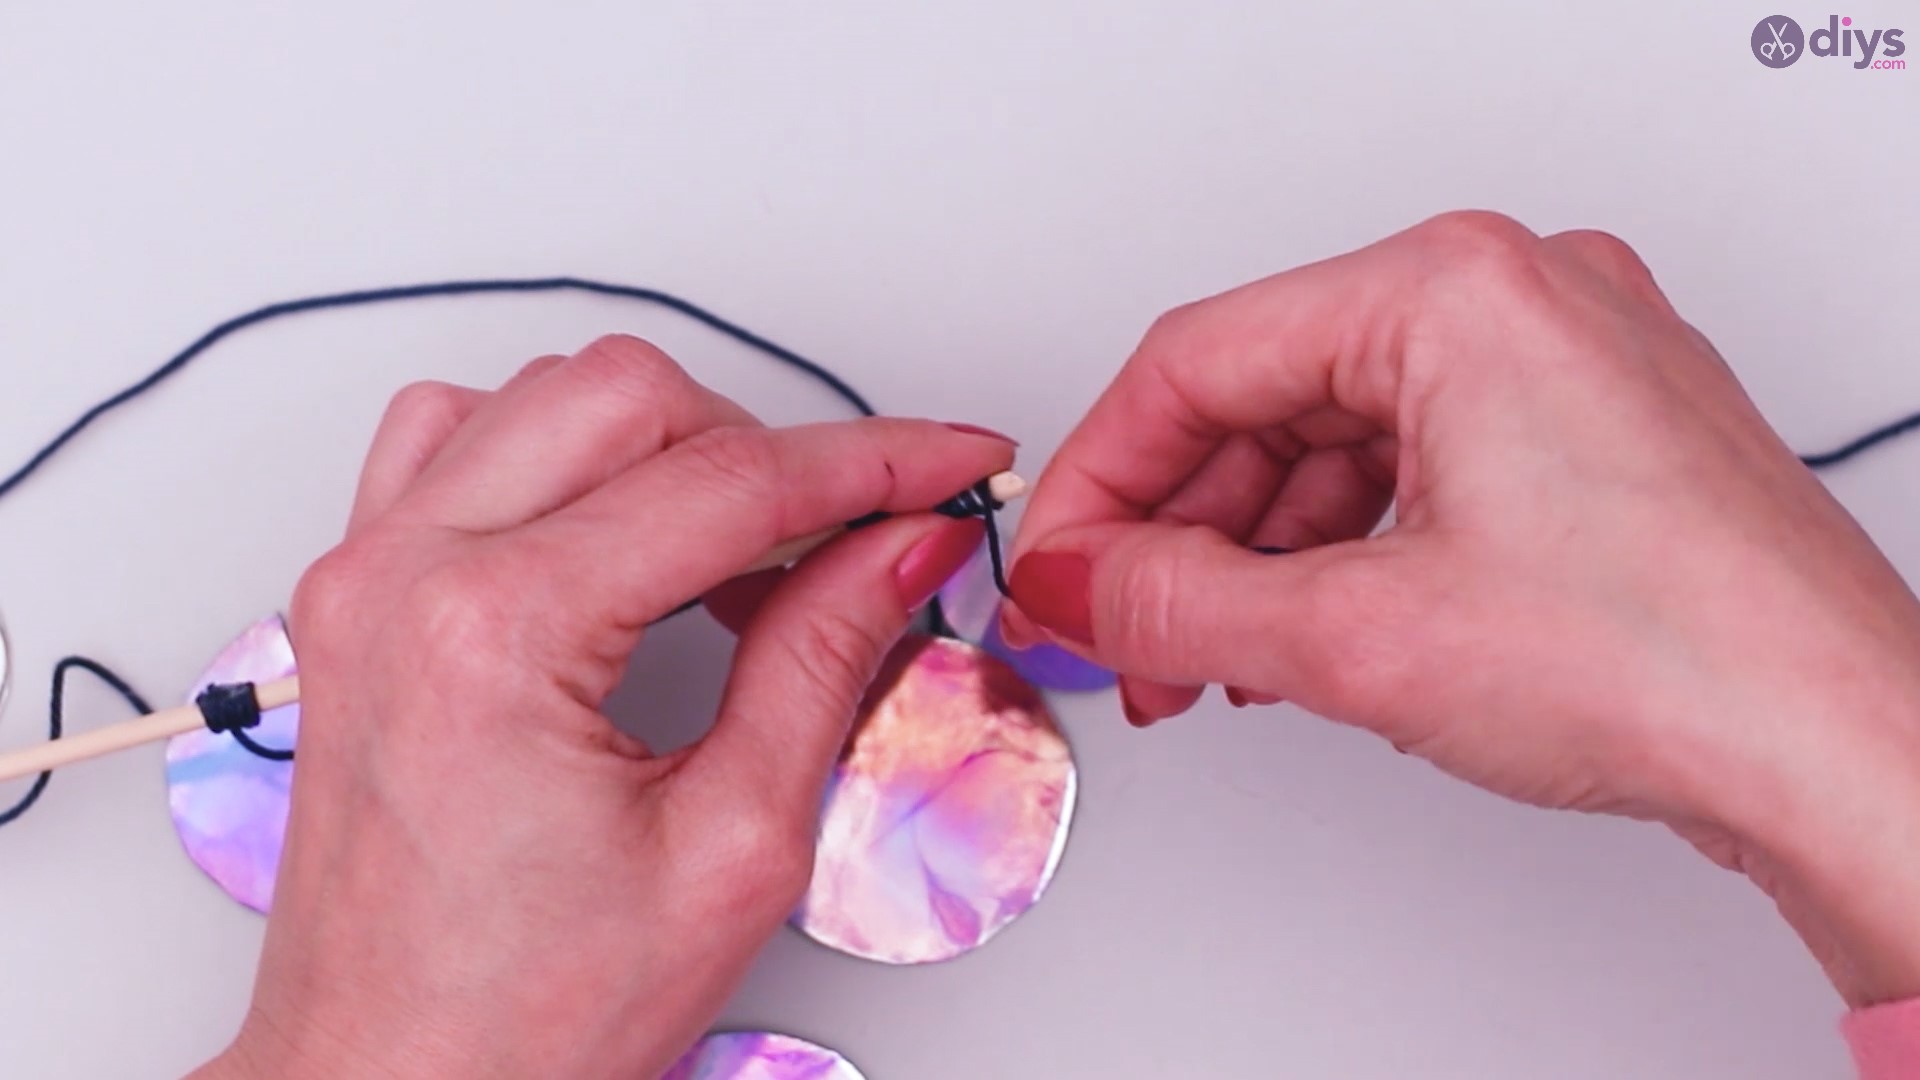
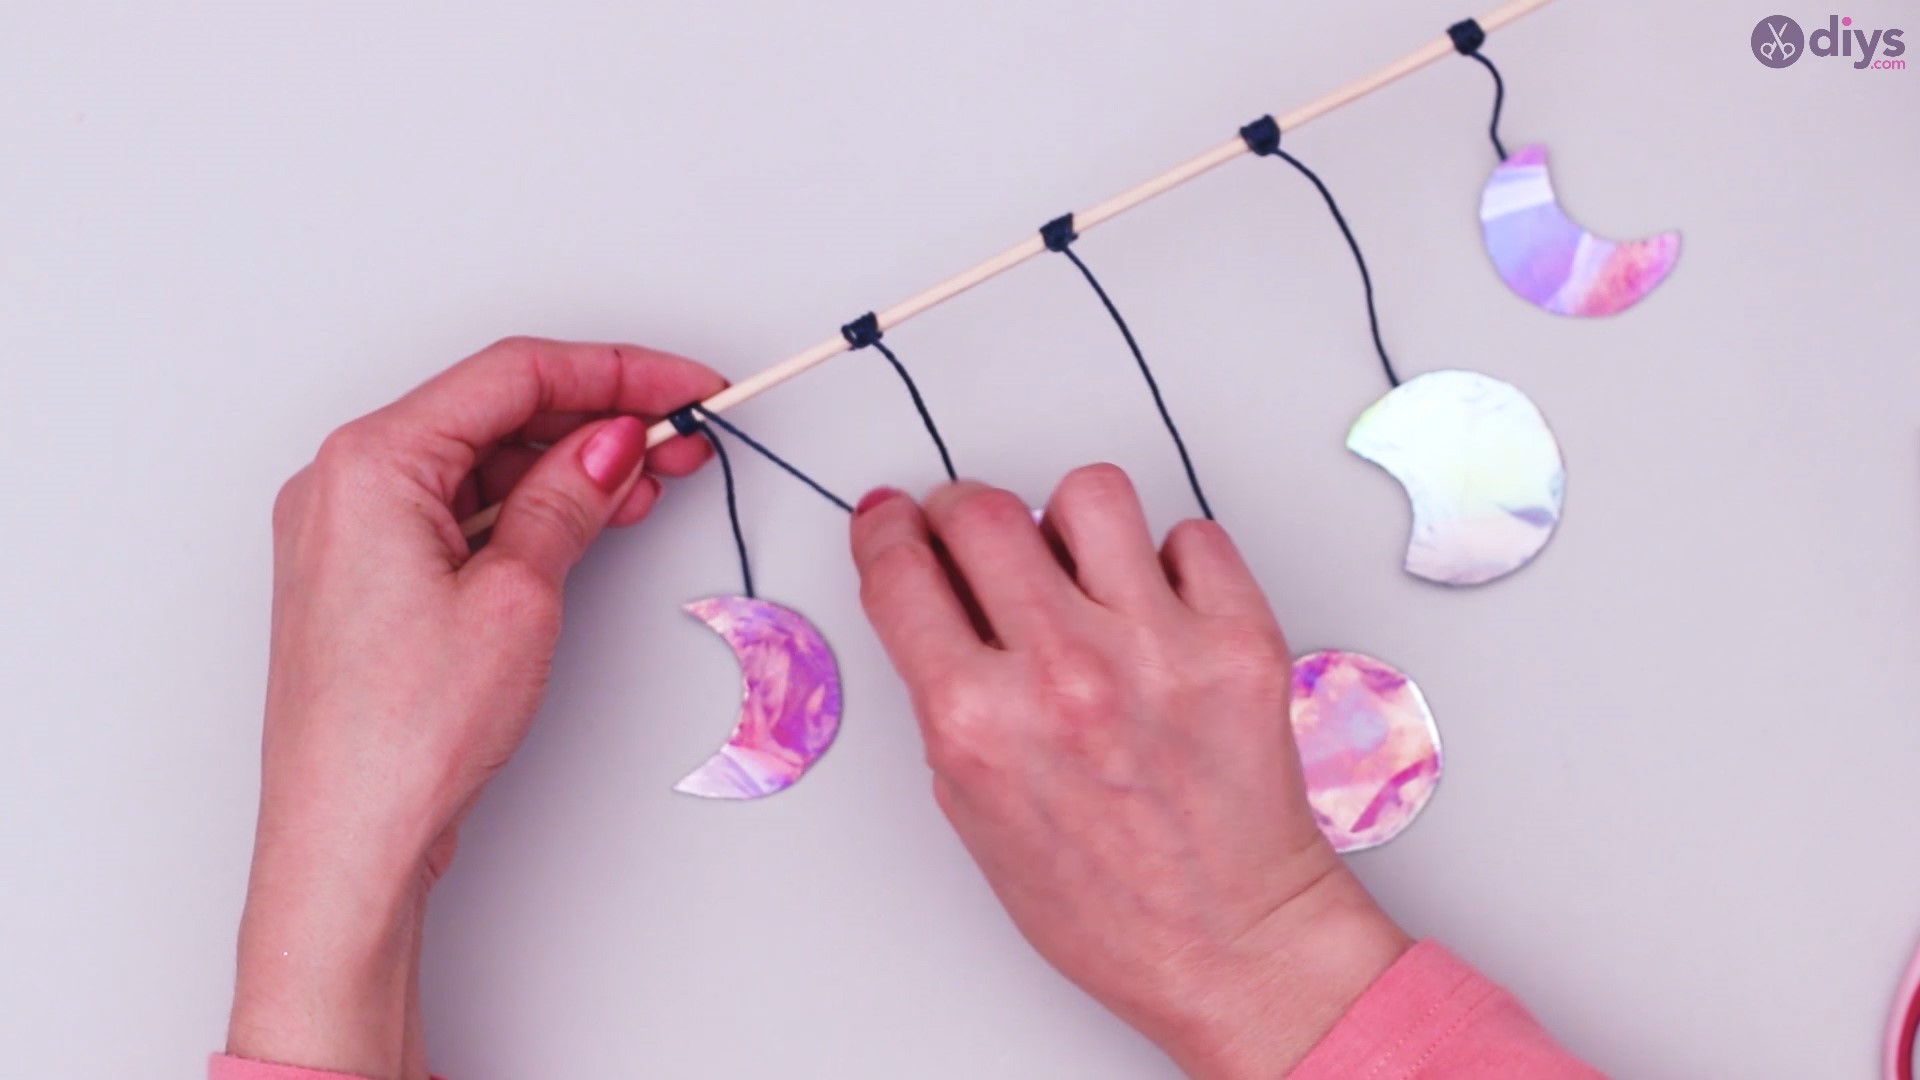
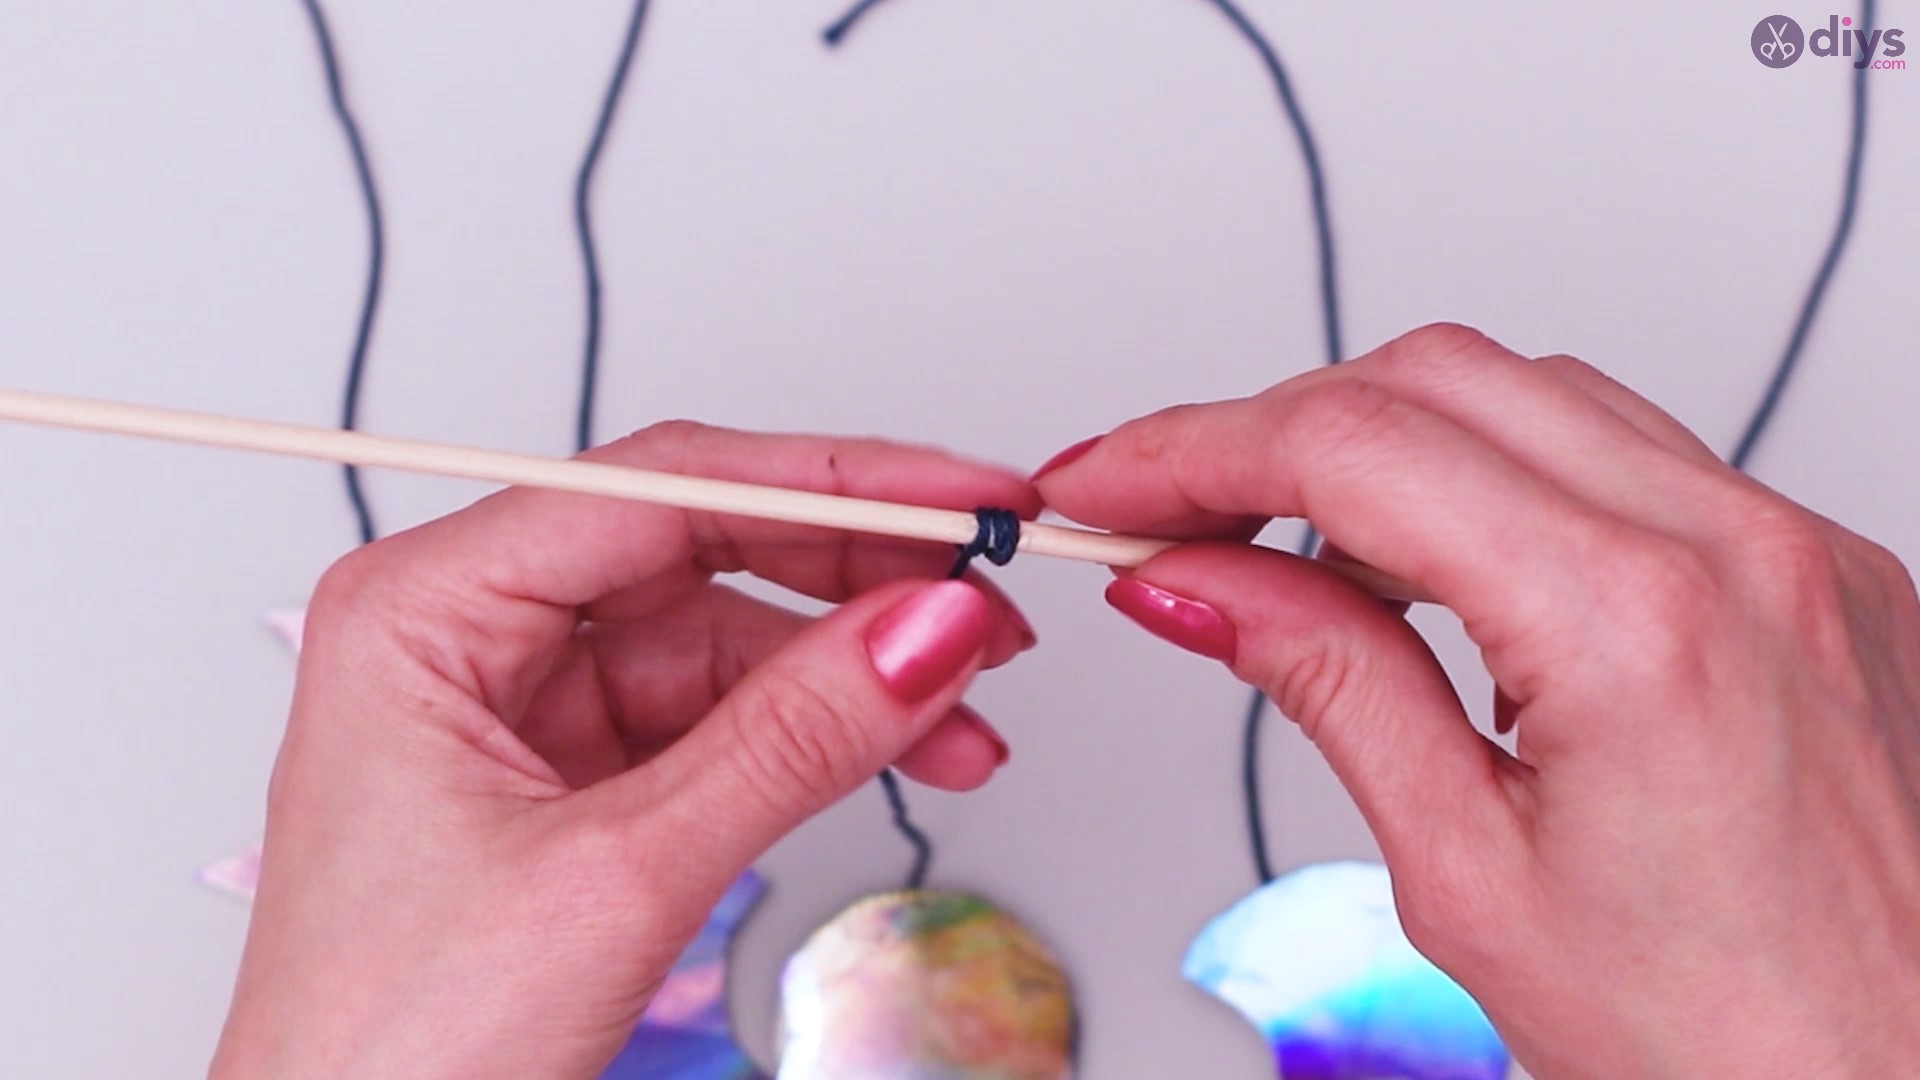
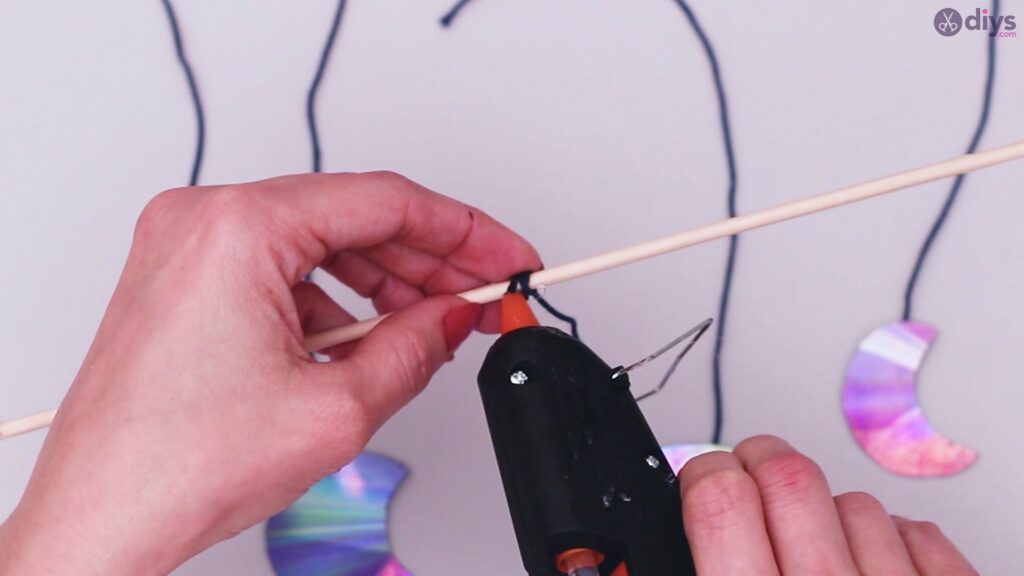
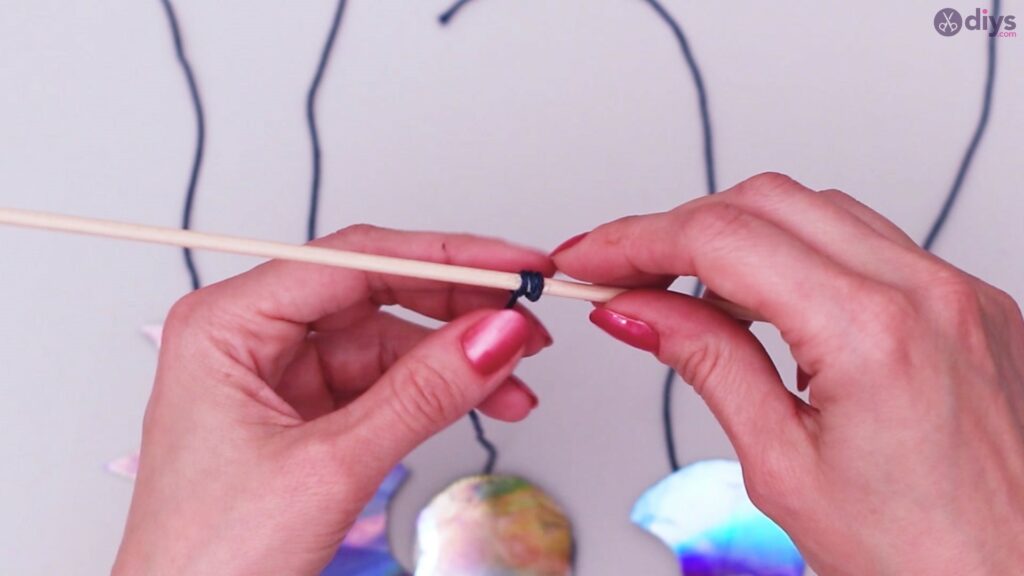
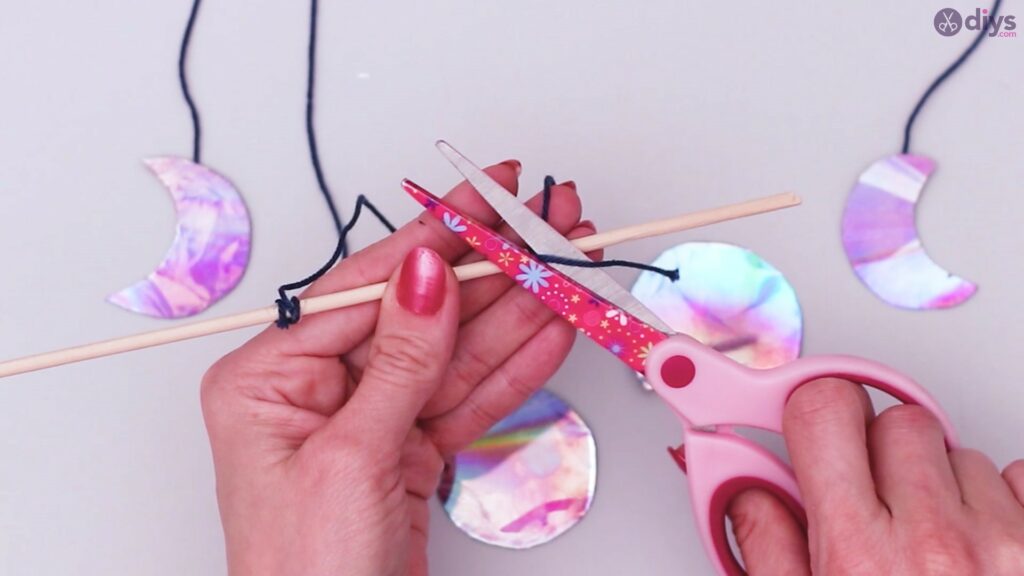
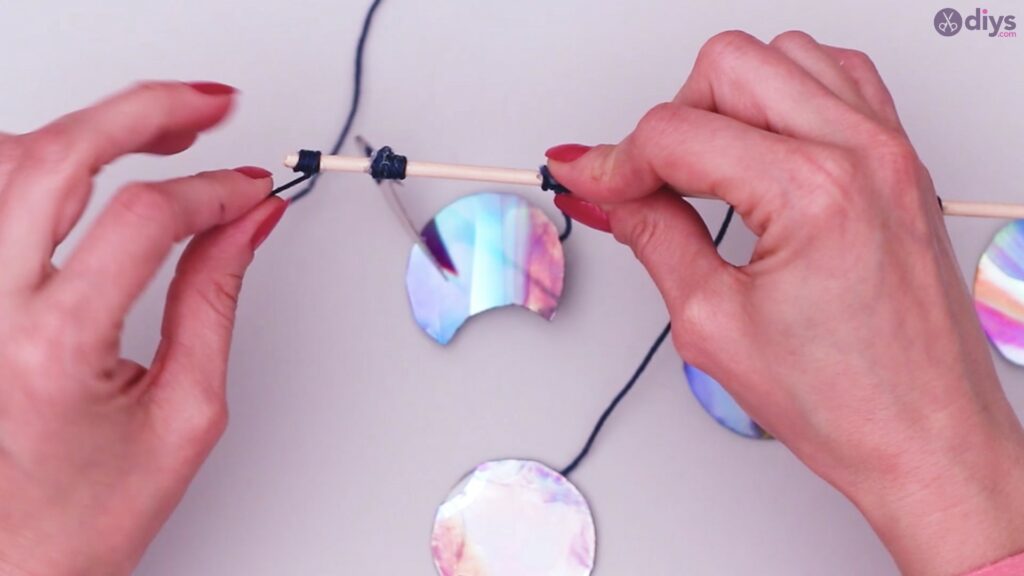
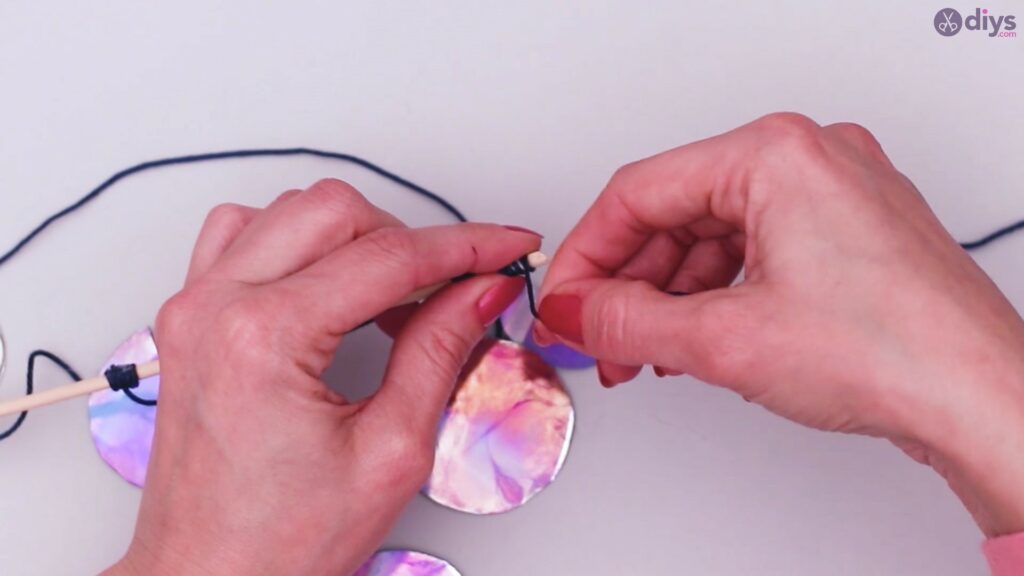
When you’re done, start wrapping the string around your wooden stick, making sure that the V shape of your CD pieces remains the same.
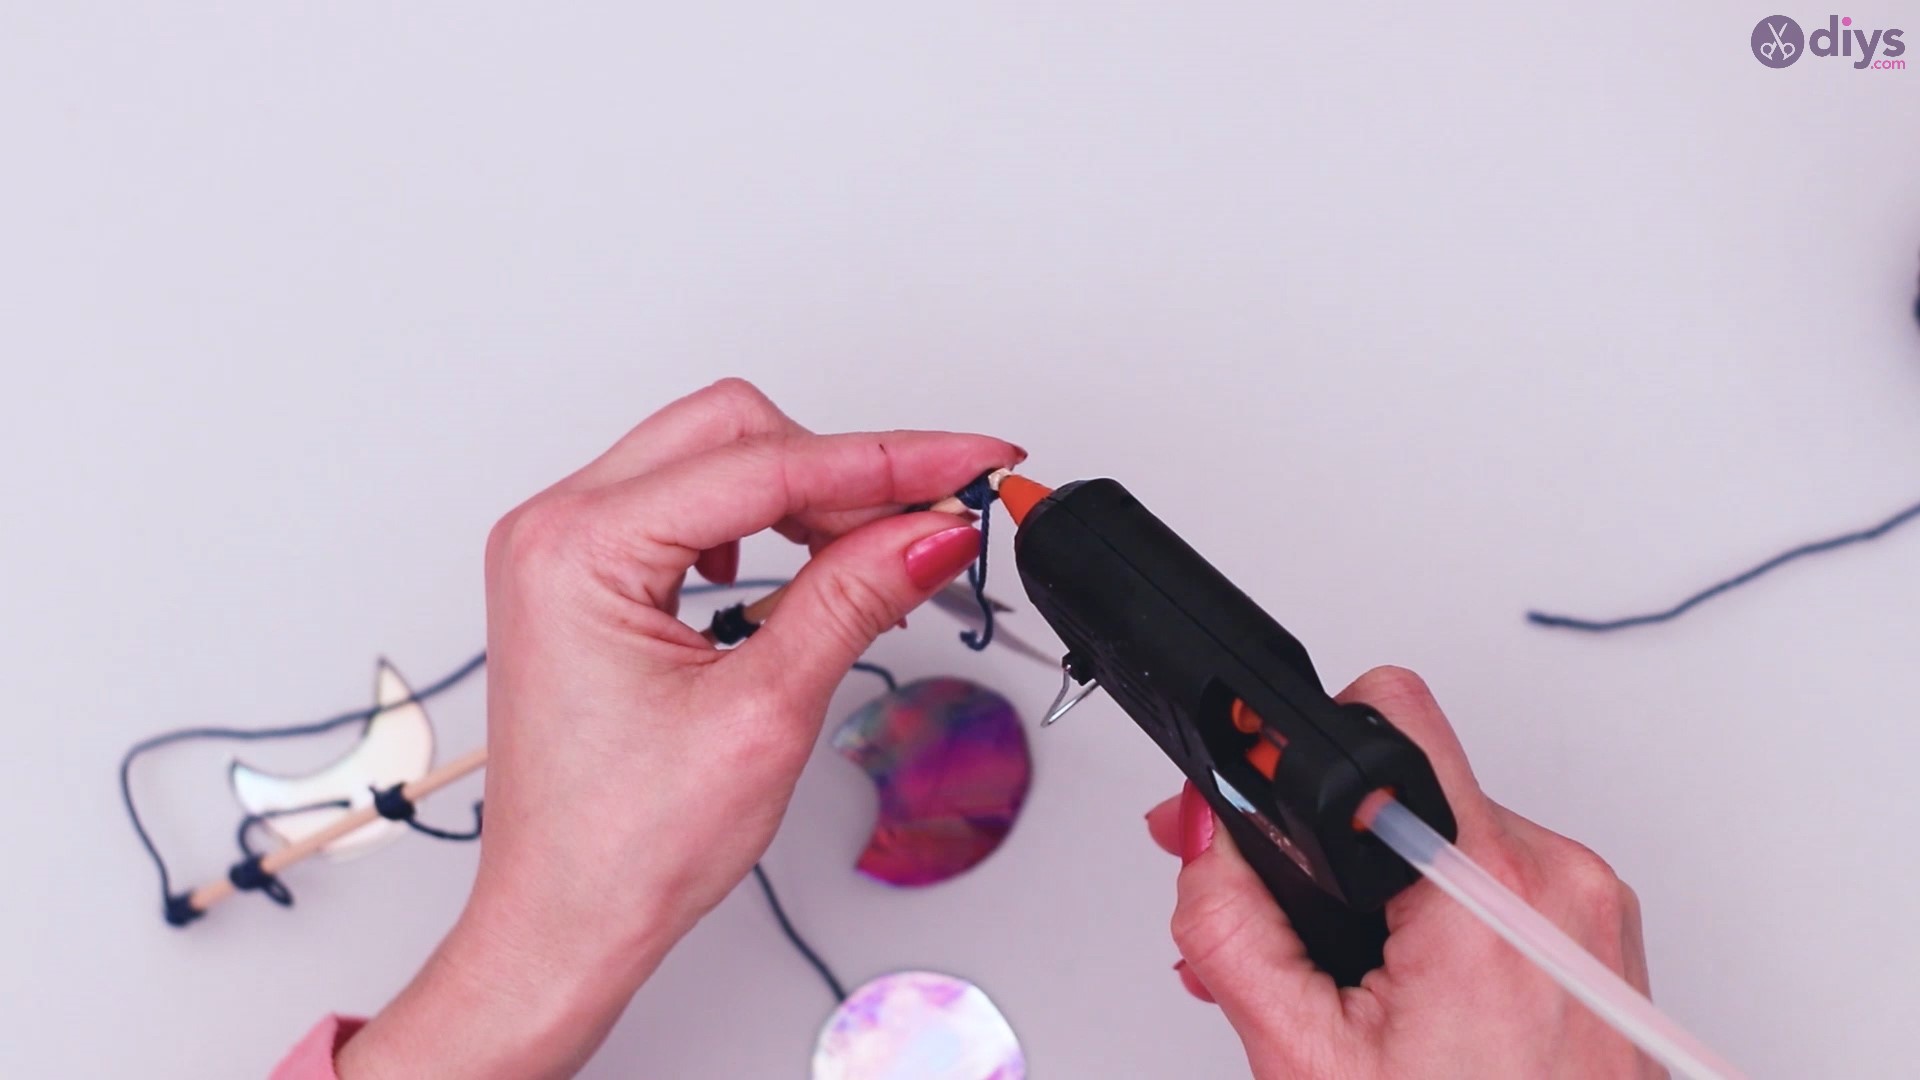
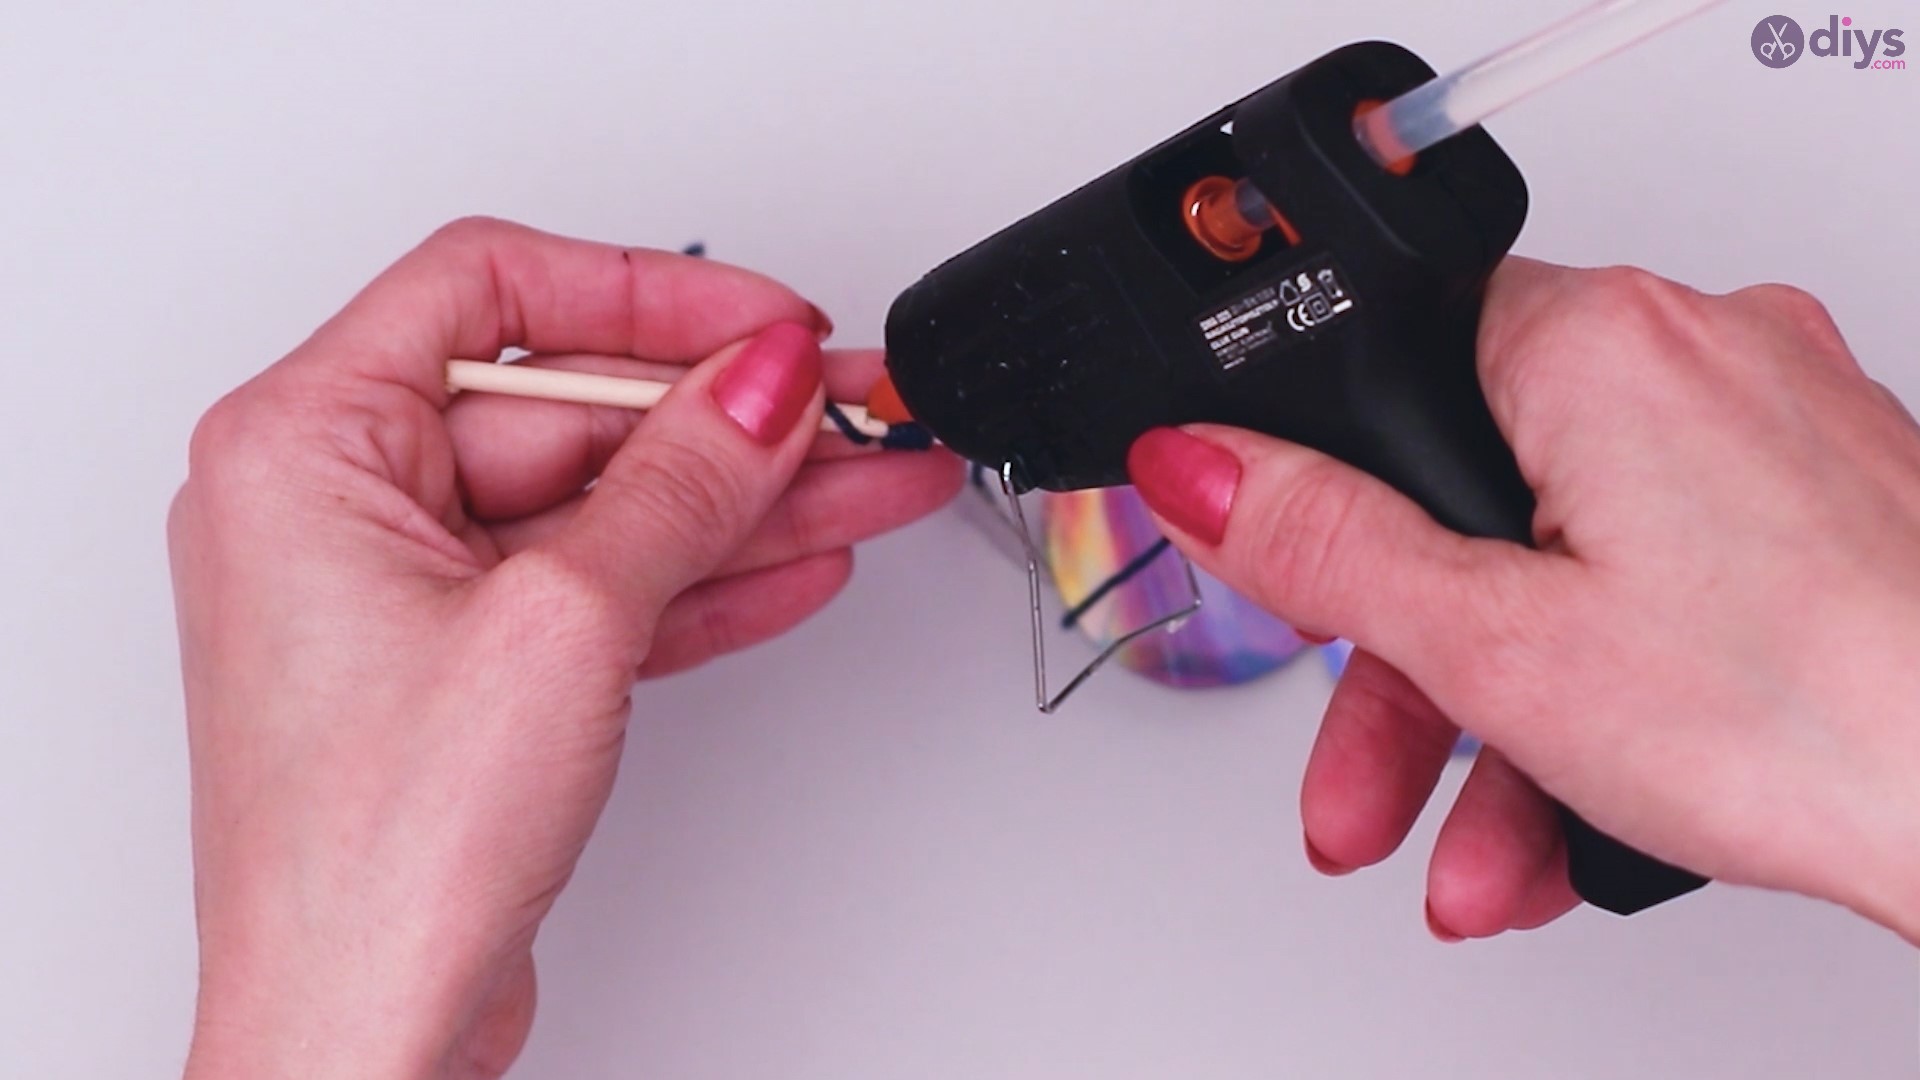
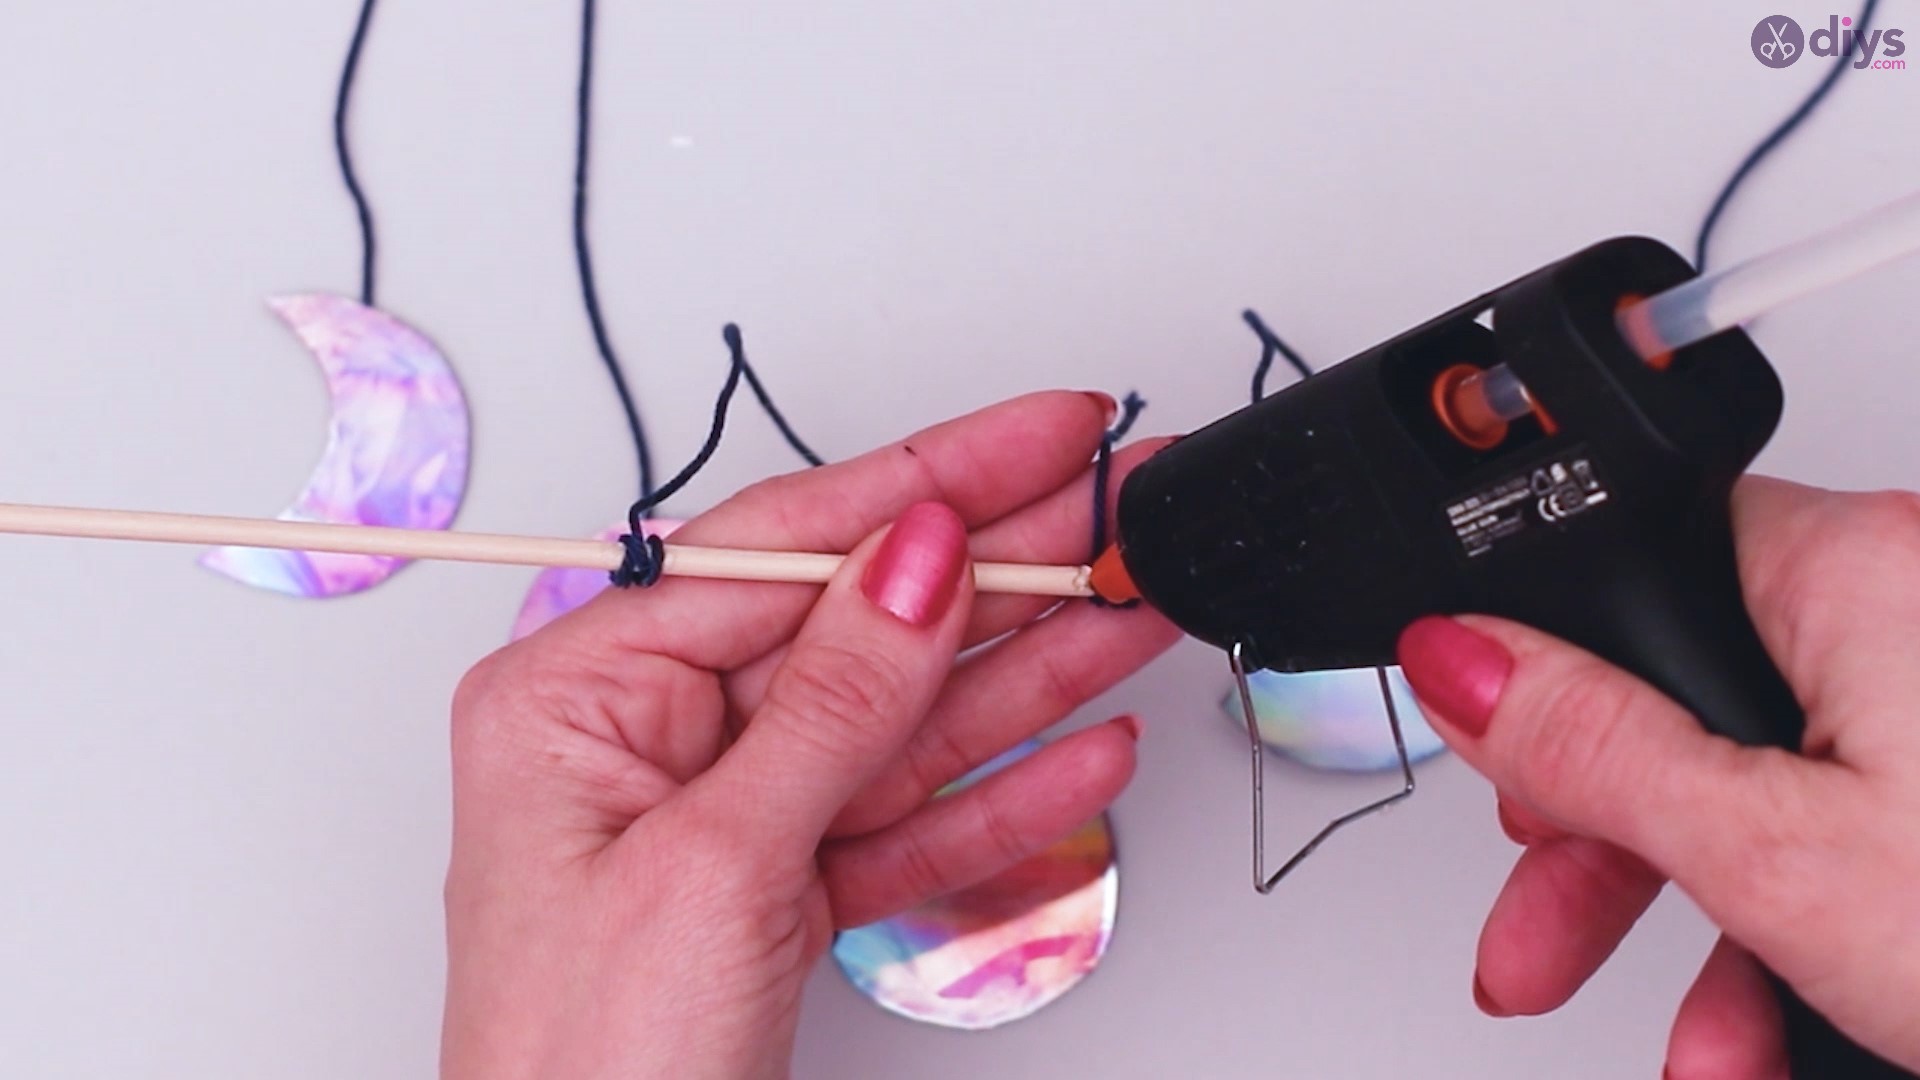
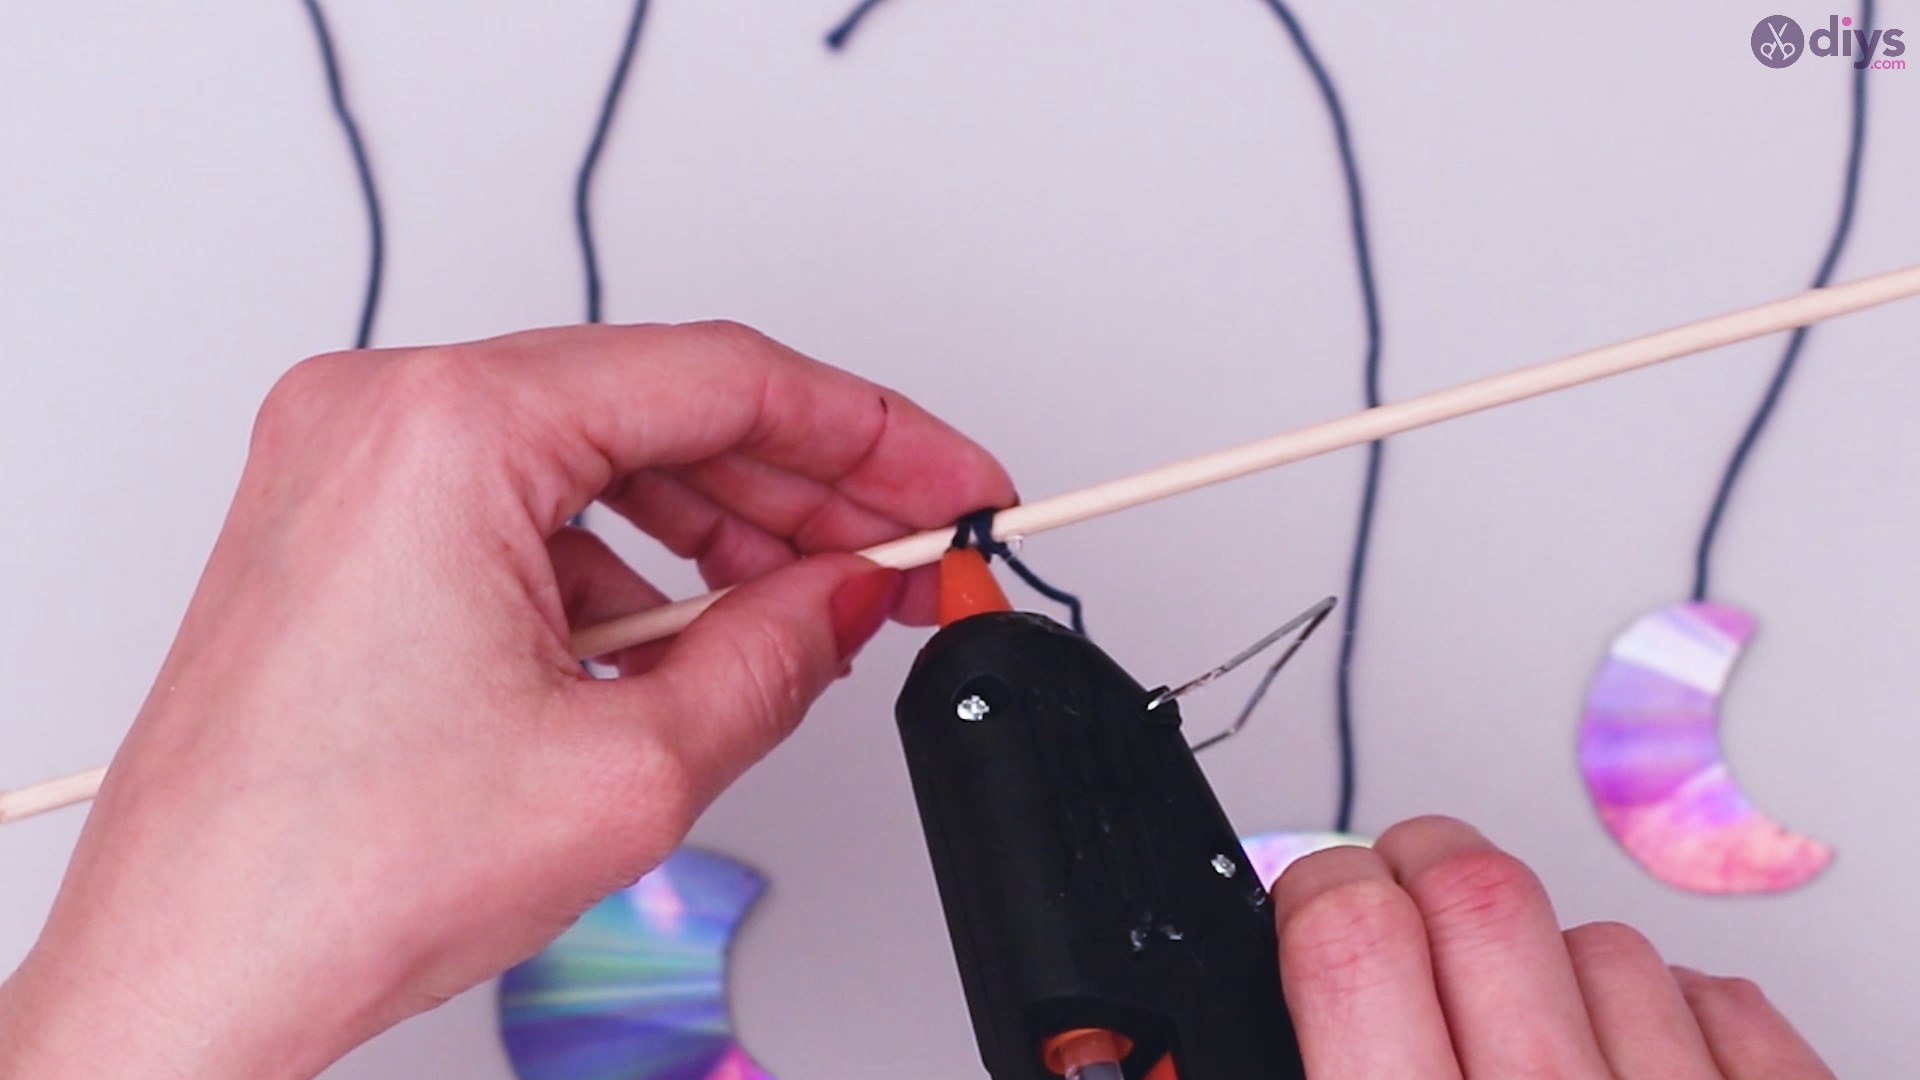
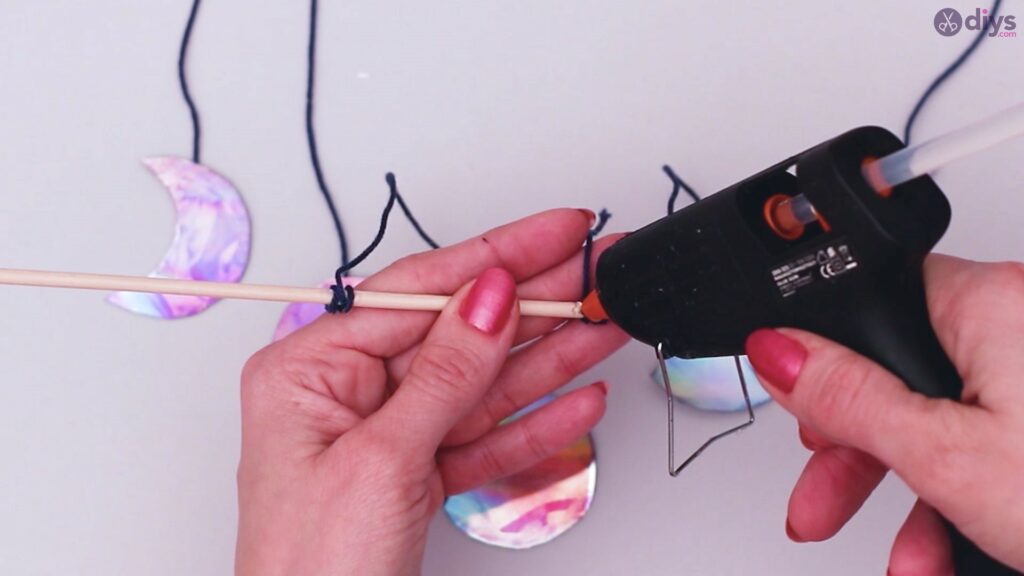
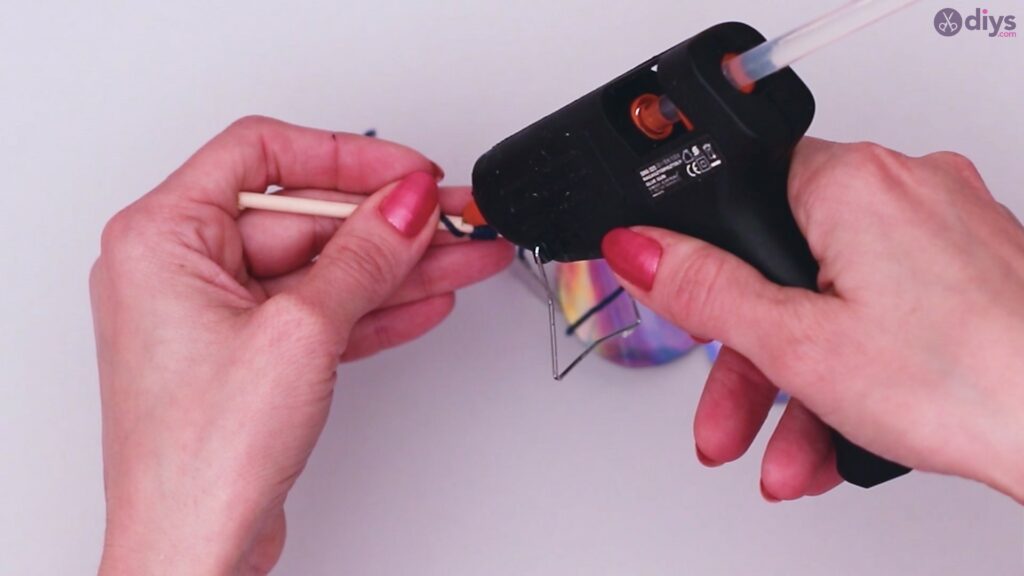
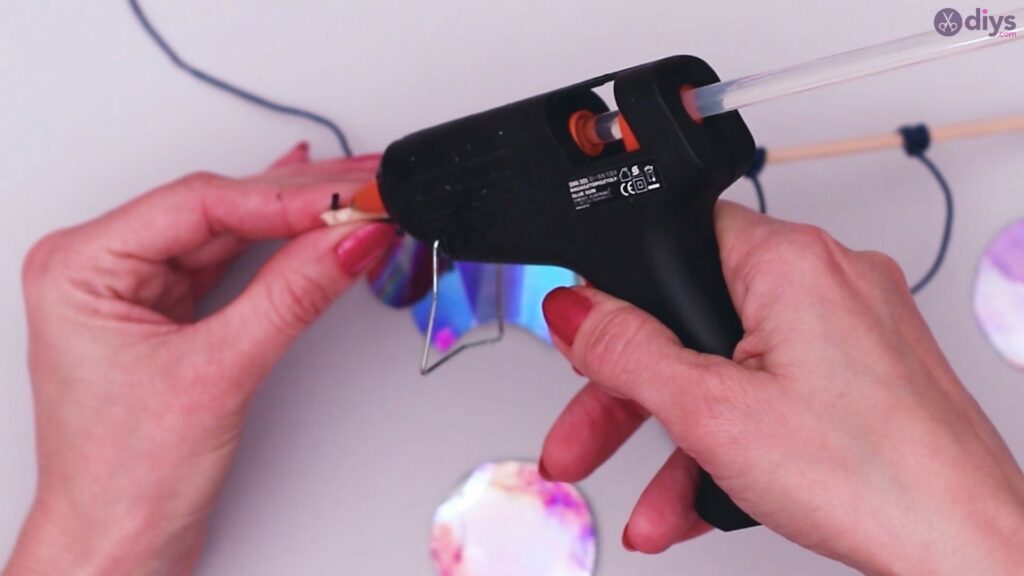
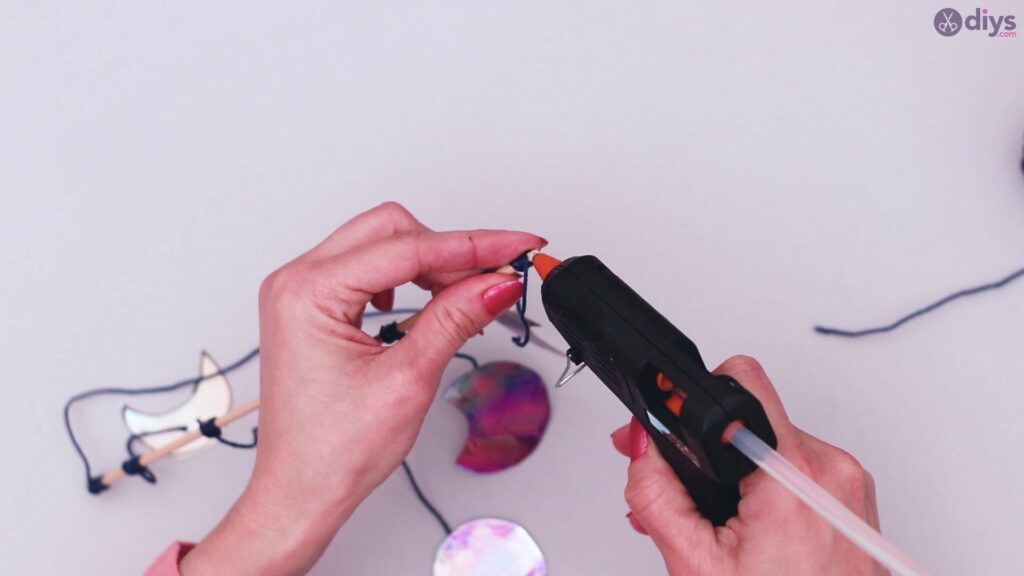
To make sure that the string doesn’t come undone, use your glue gun and add a drop of glue in the spot where you wrapped the yarn around the wooden stick.
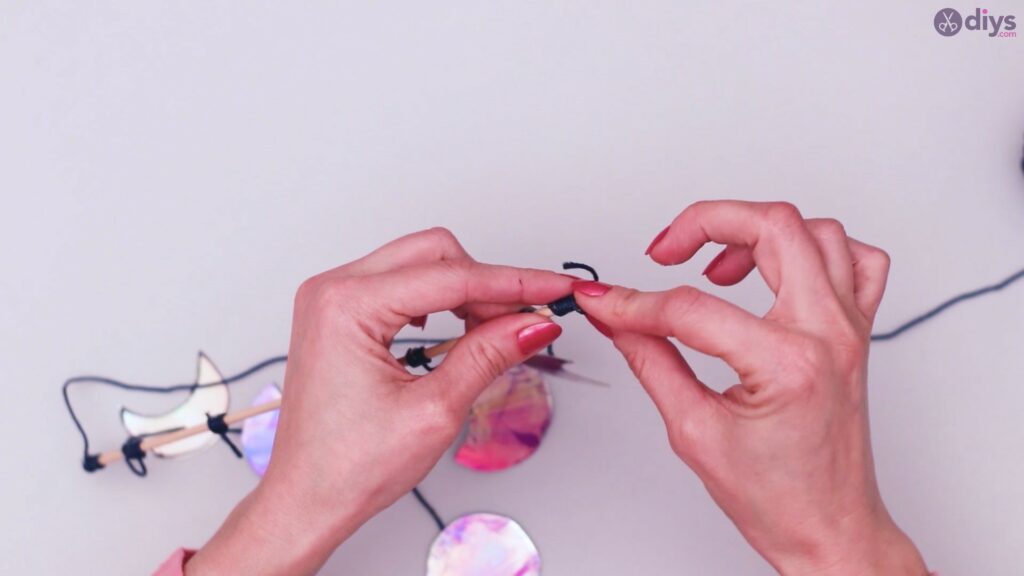
Repeat the process for each of the strings, making sure you add a bit of glue every time.
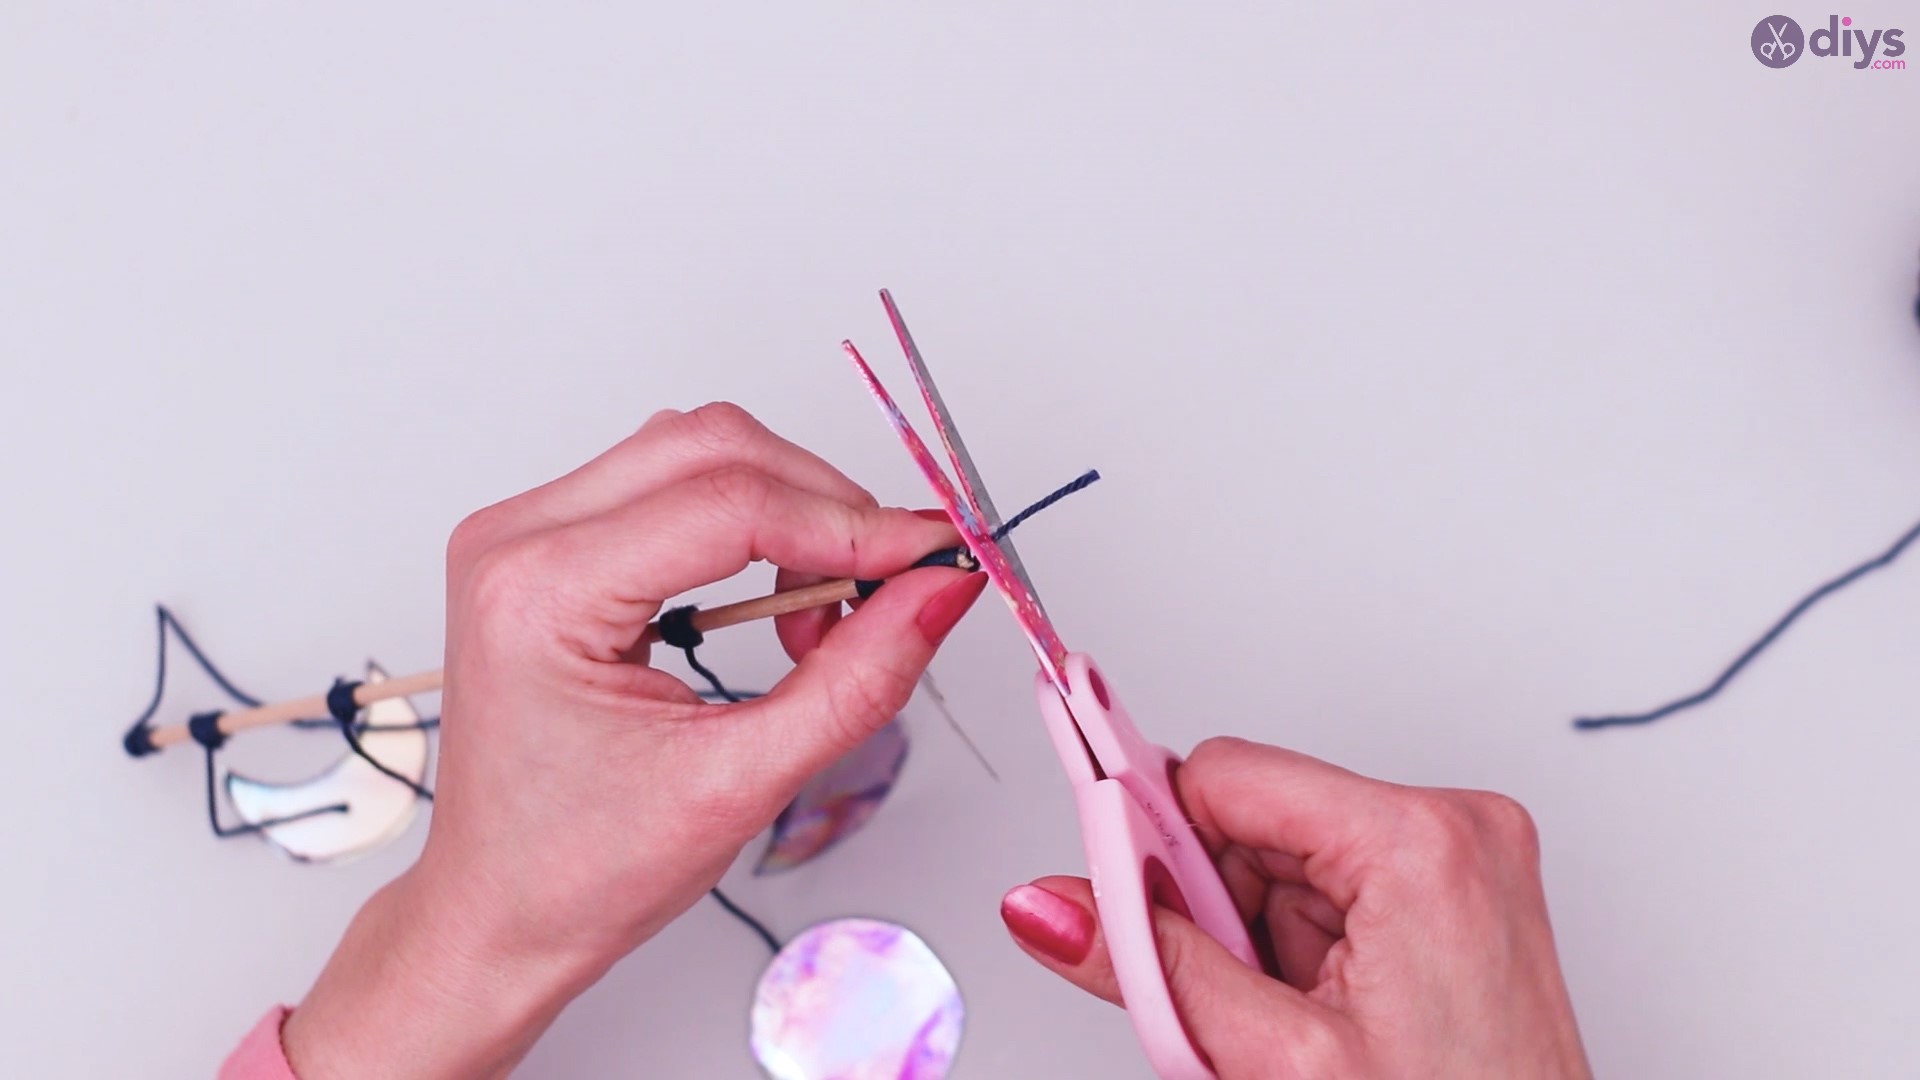
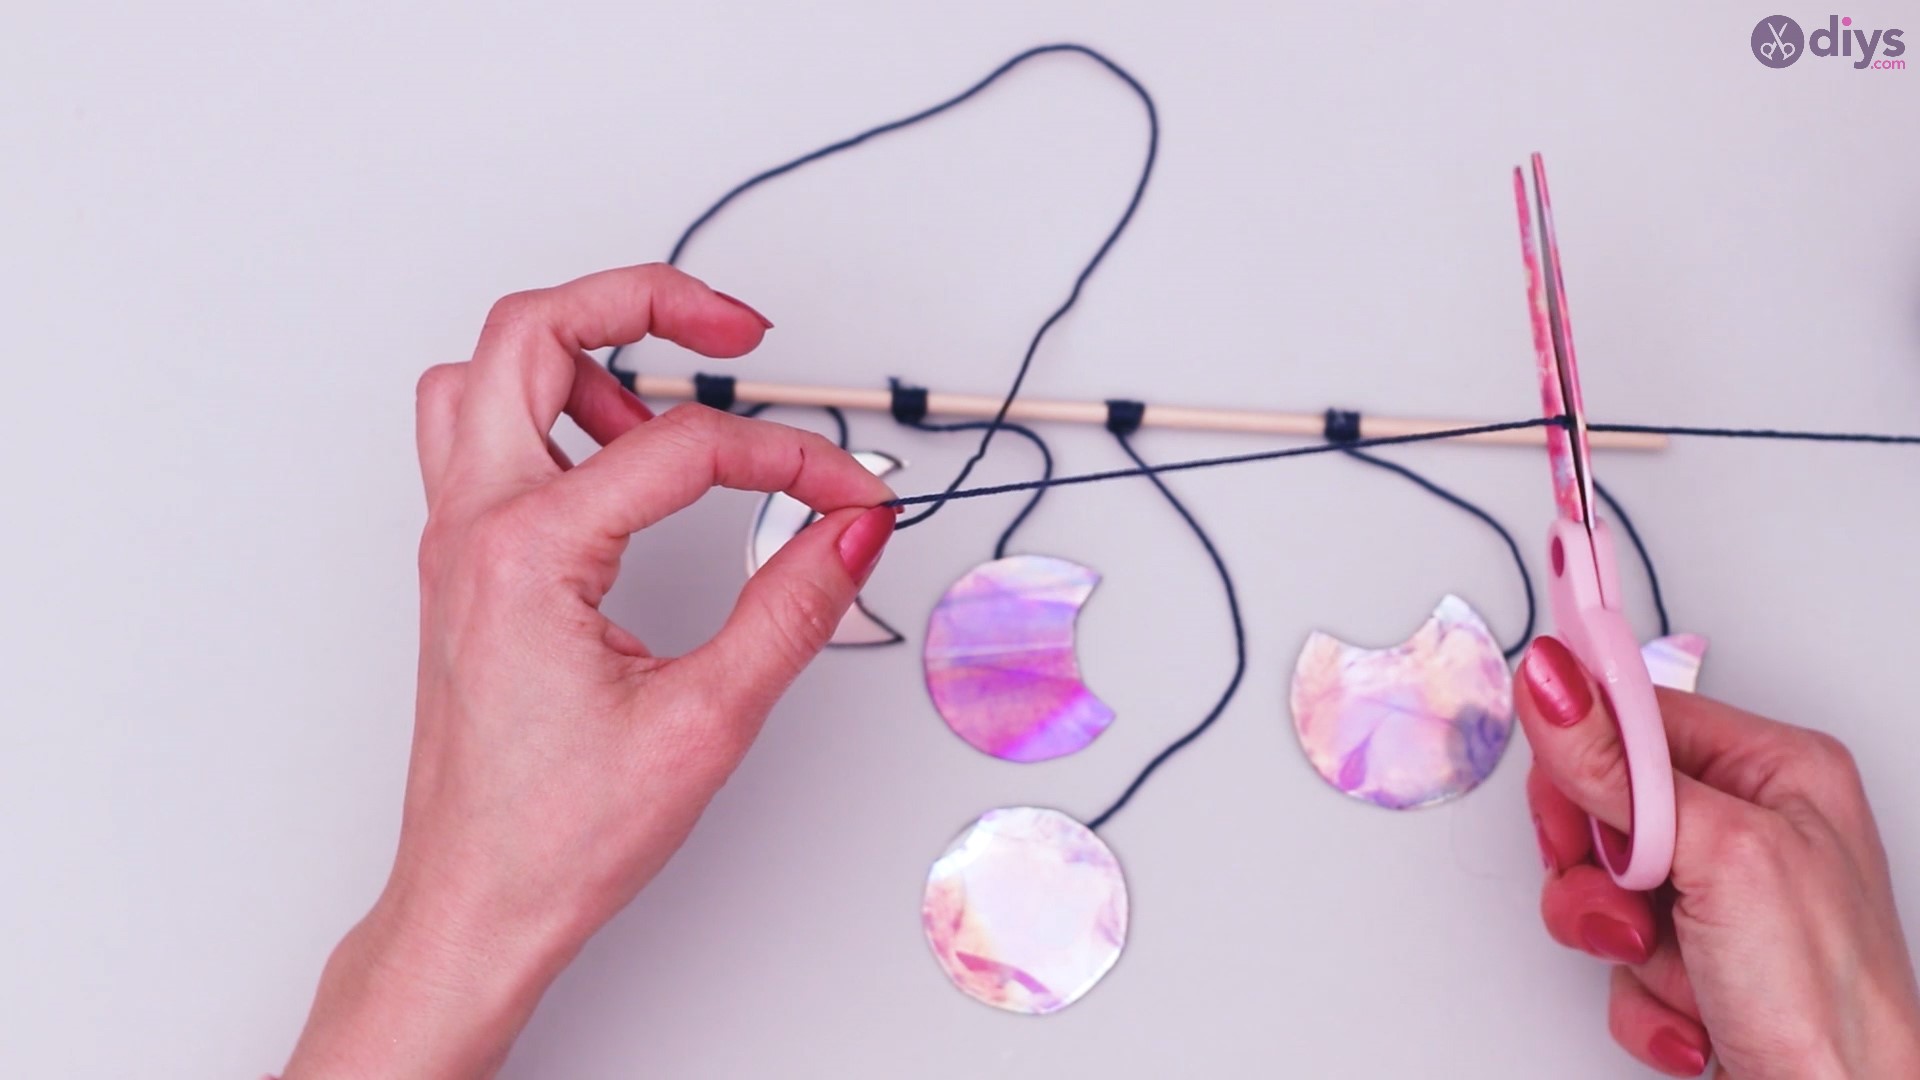
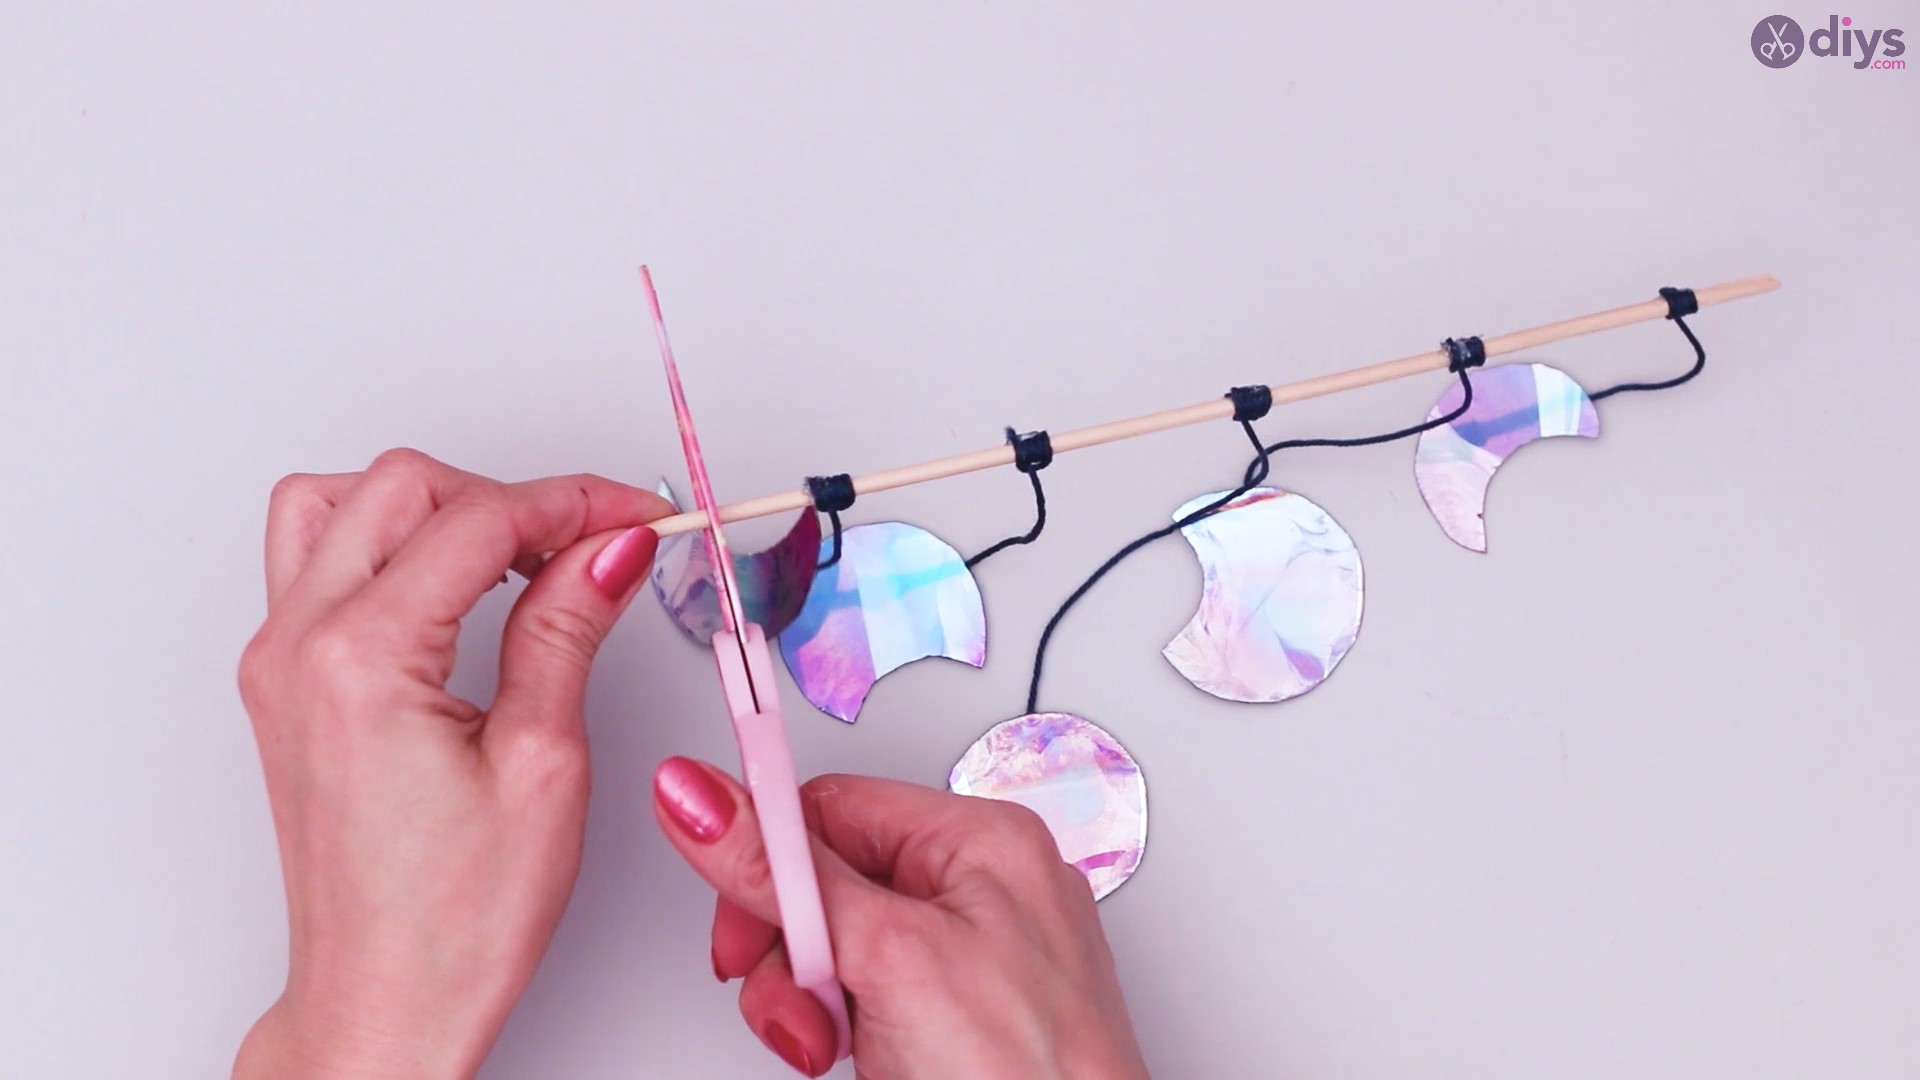
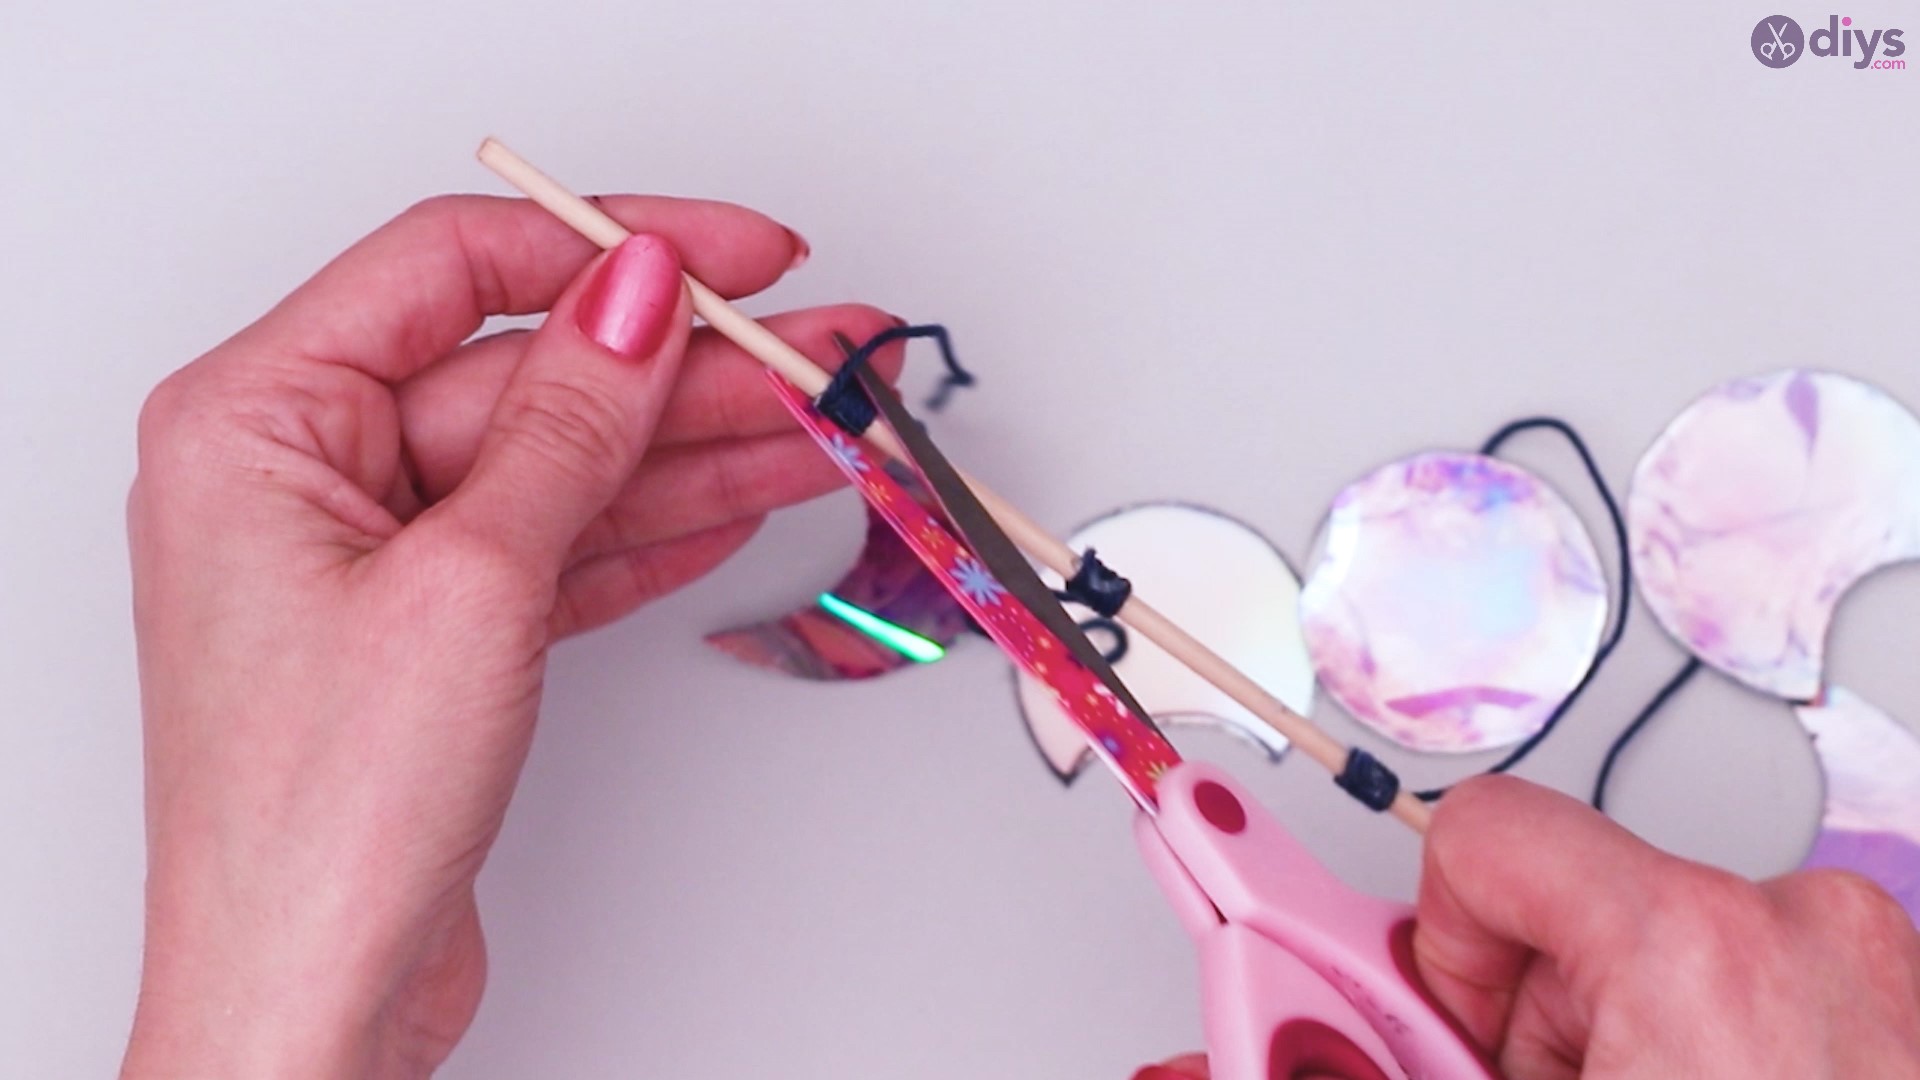
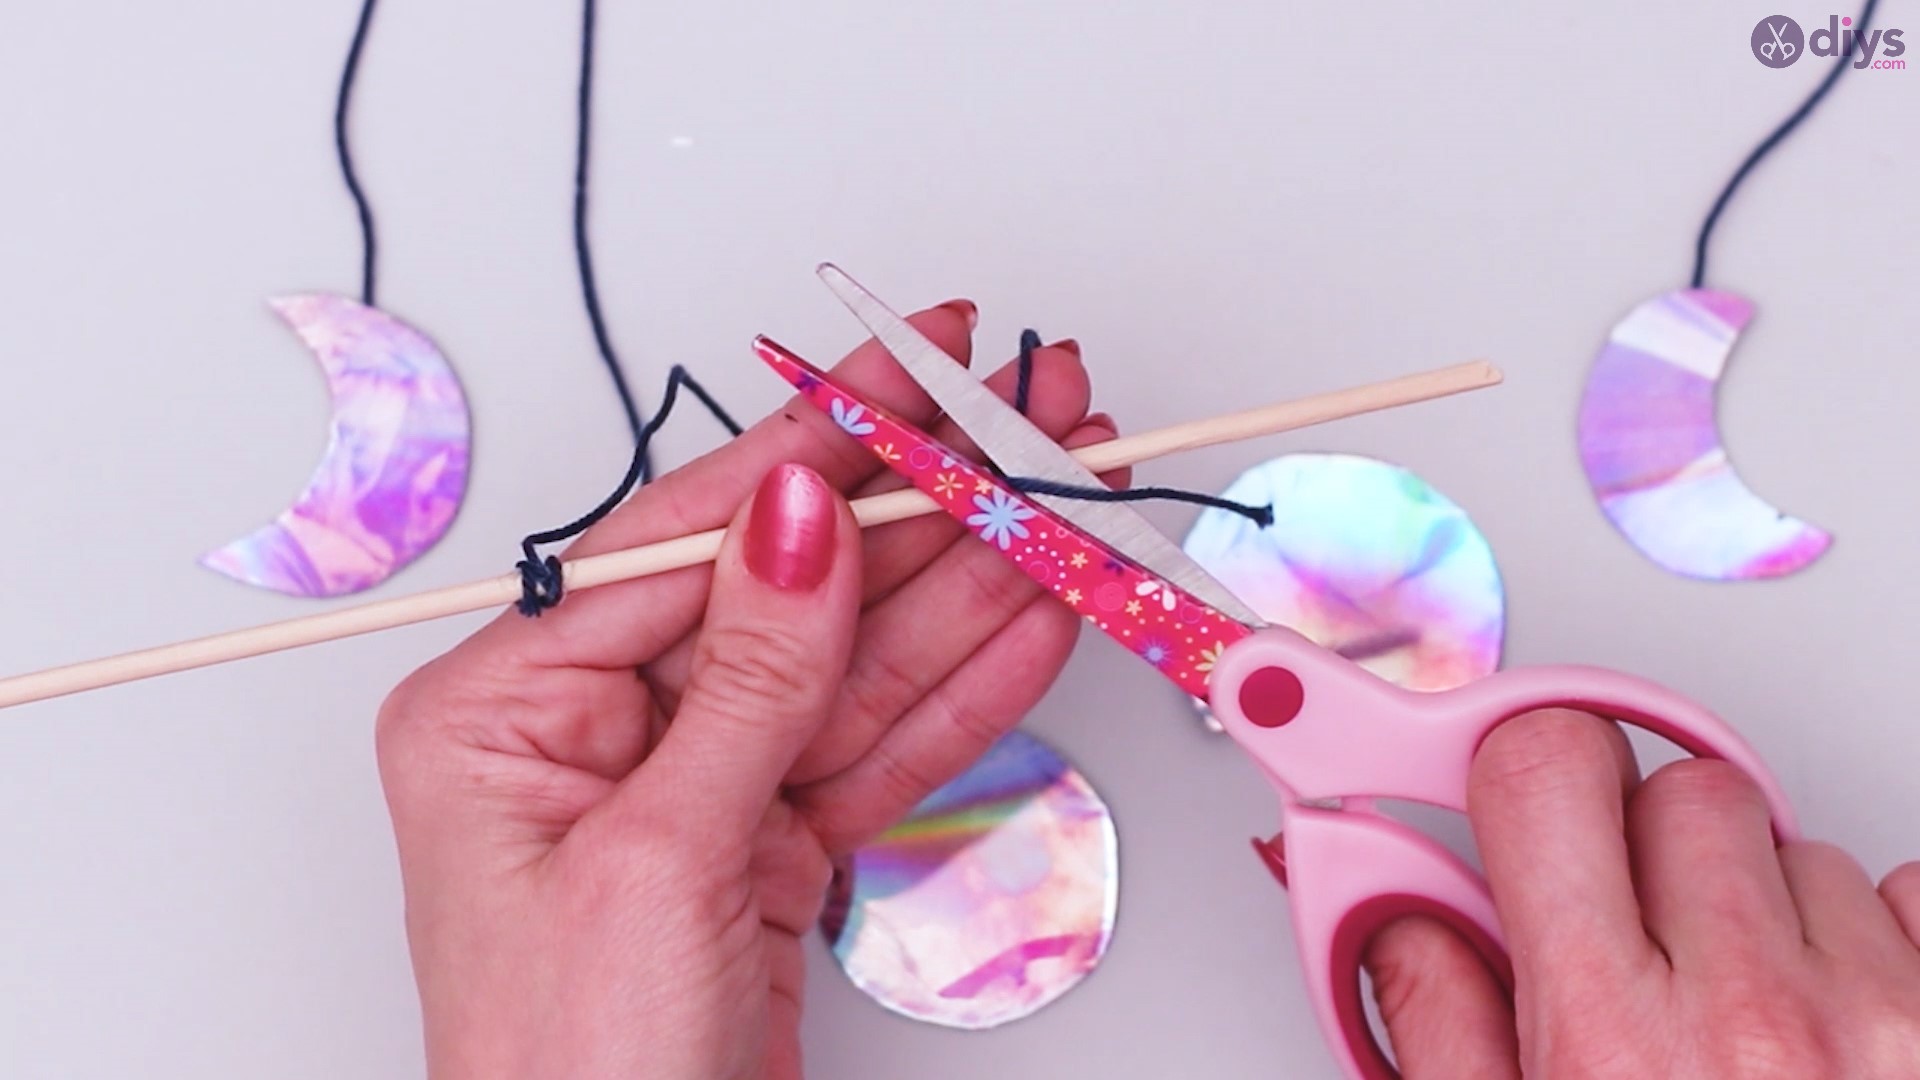
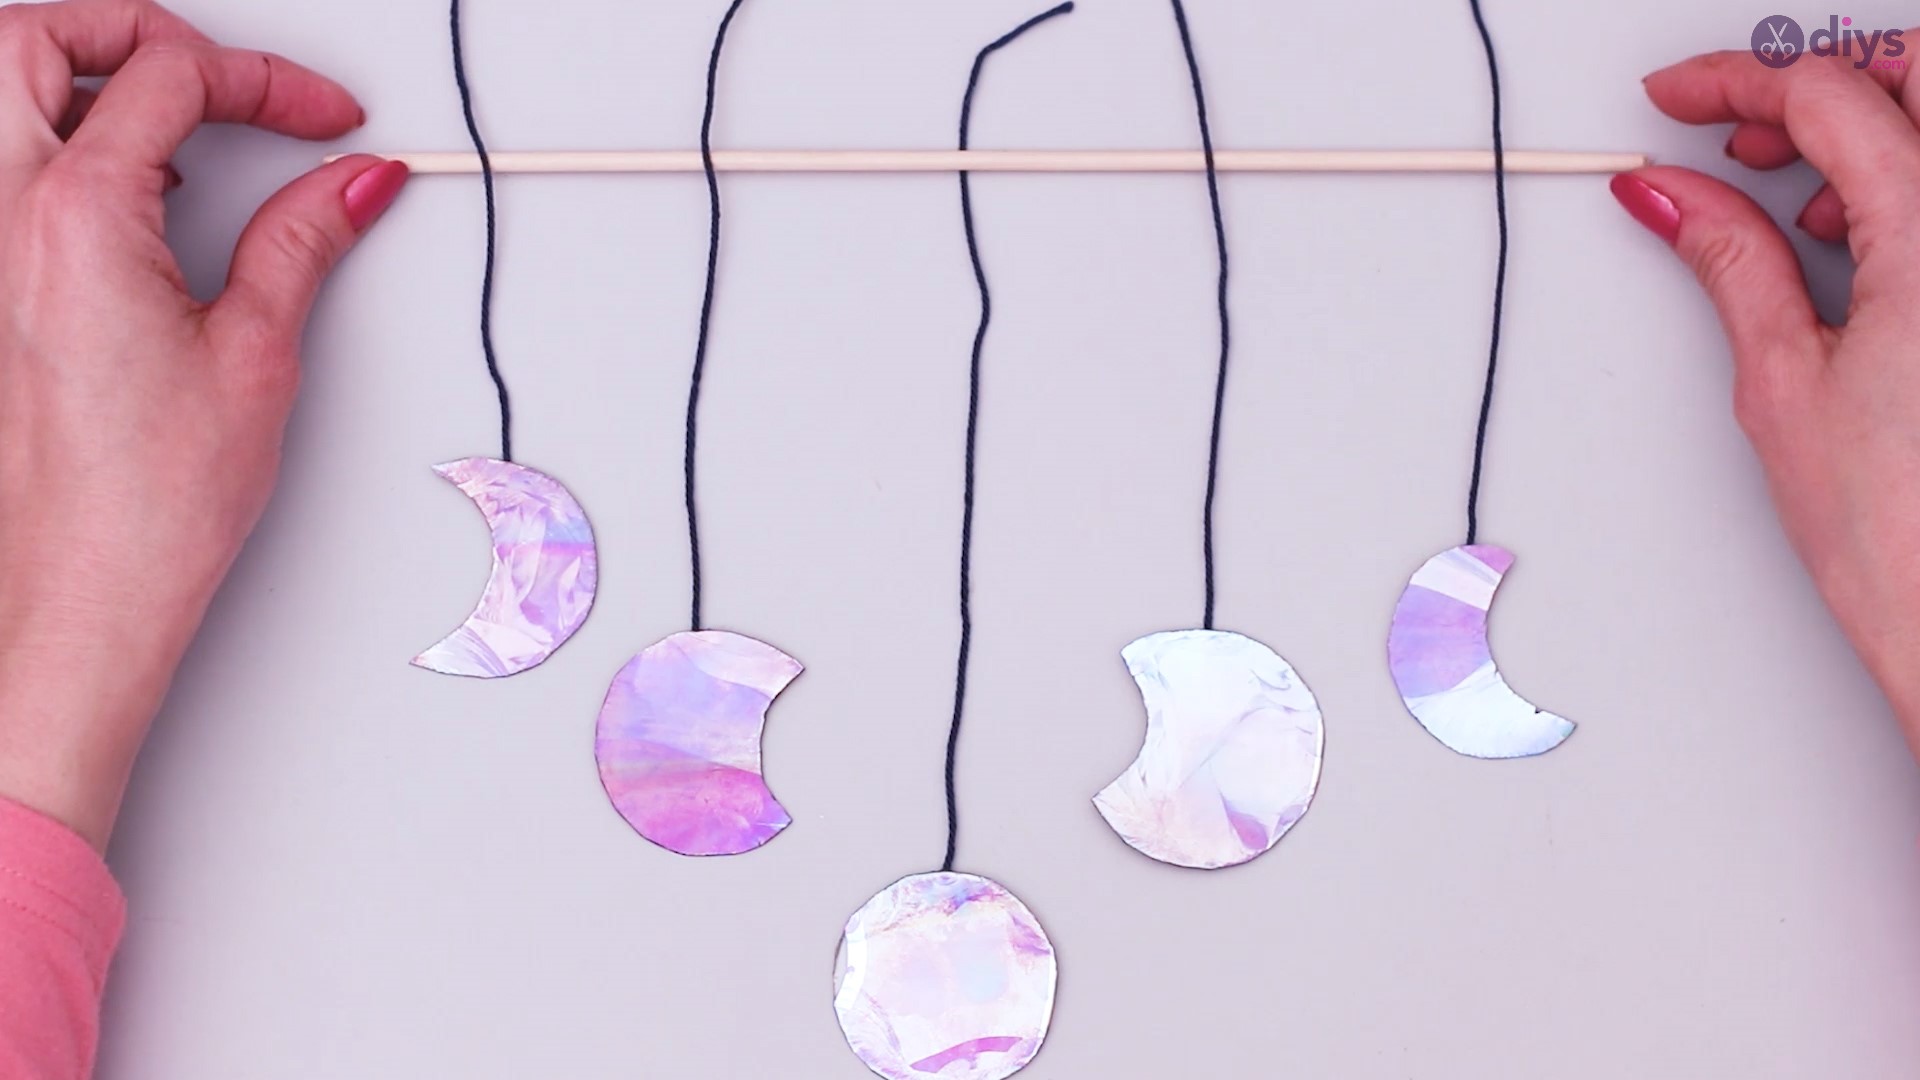
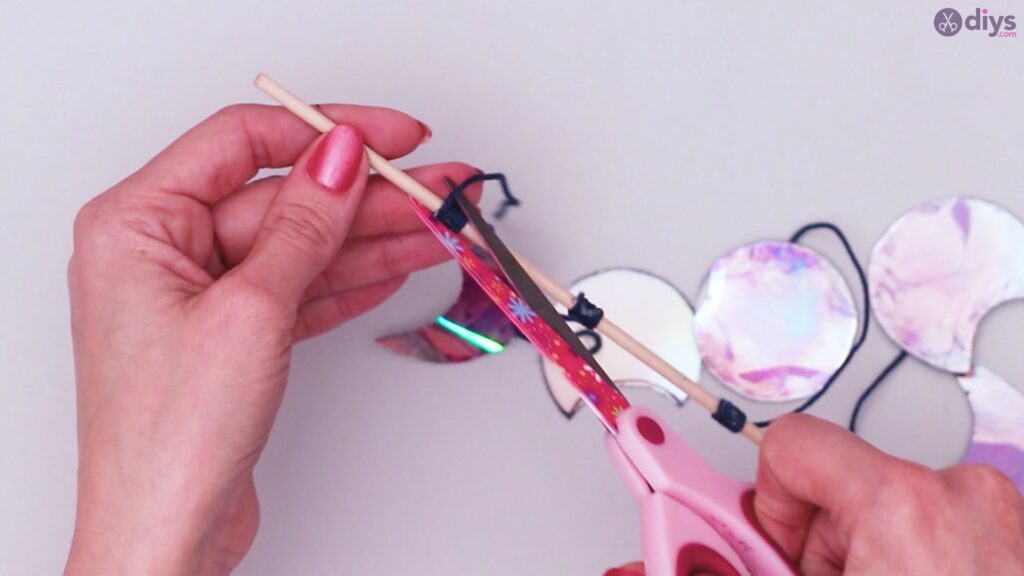
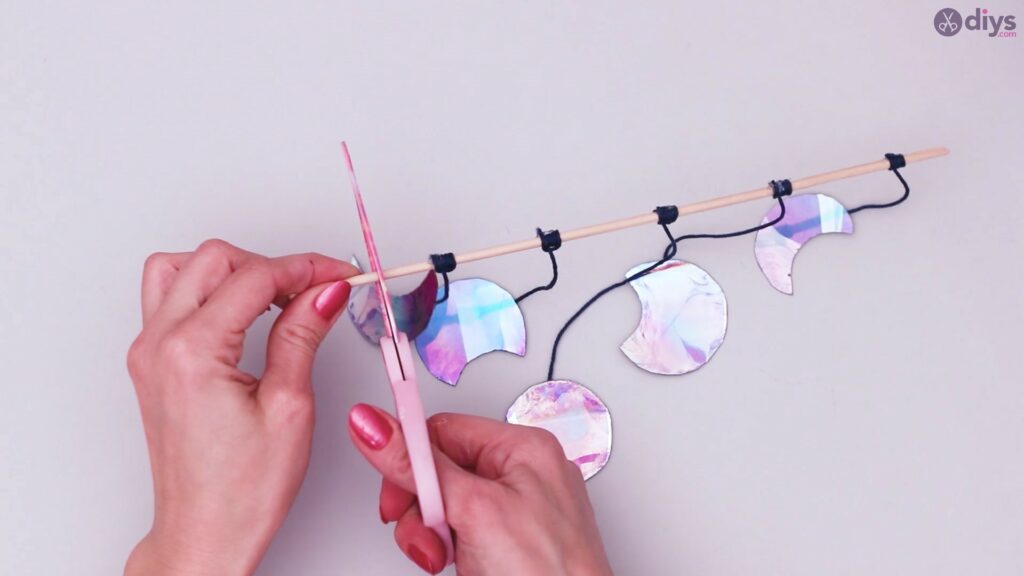
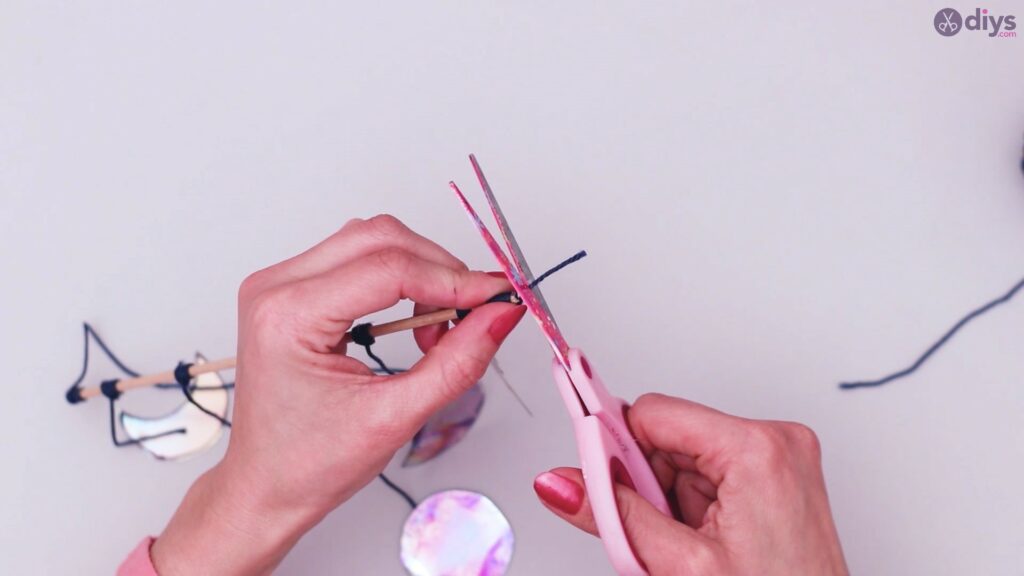
When that’s done, use your scissors to cut the remainder of the string.
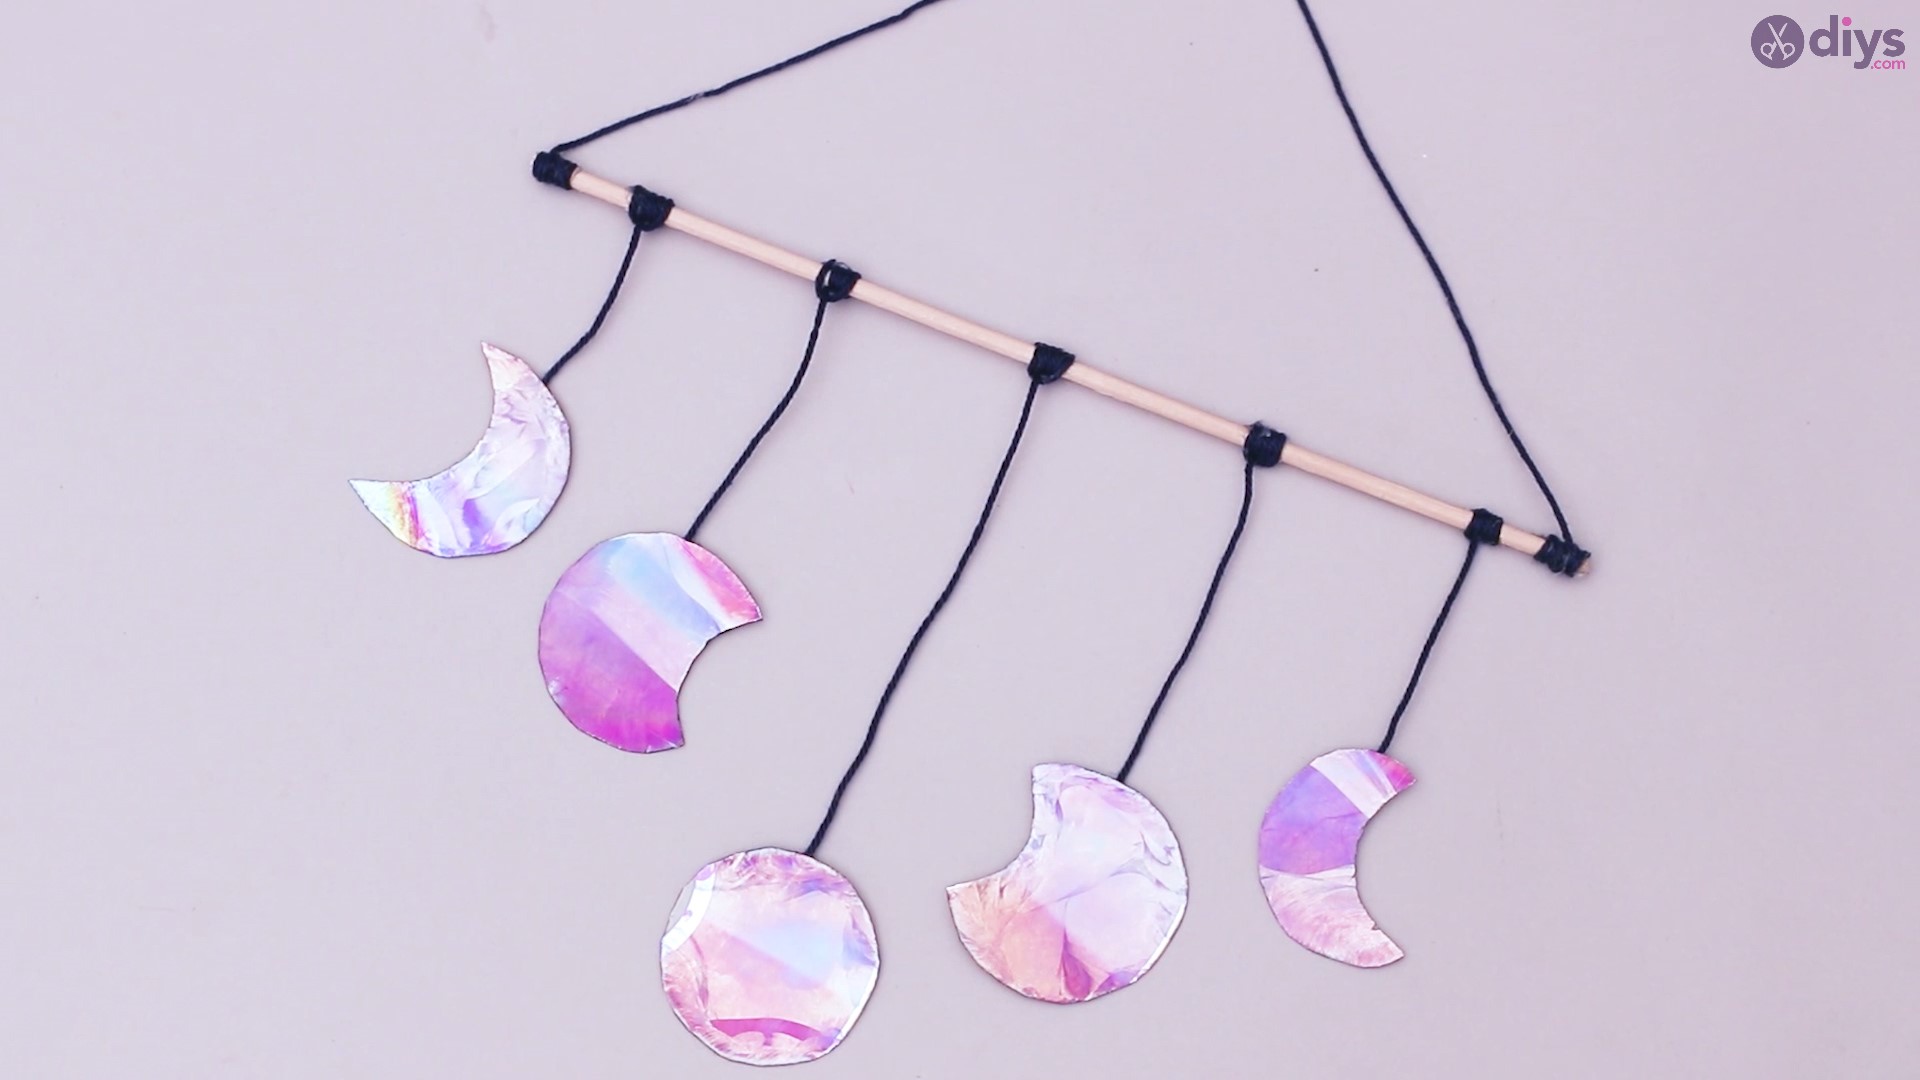
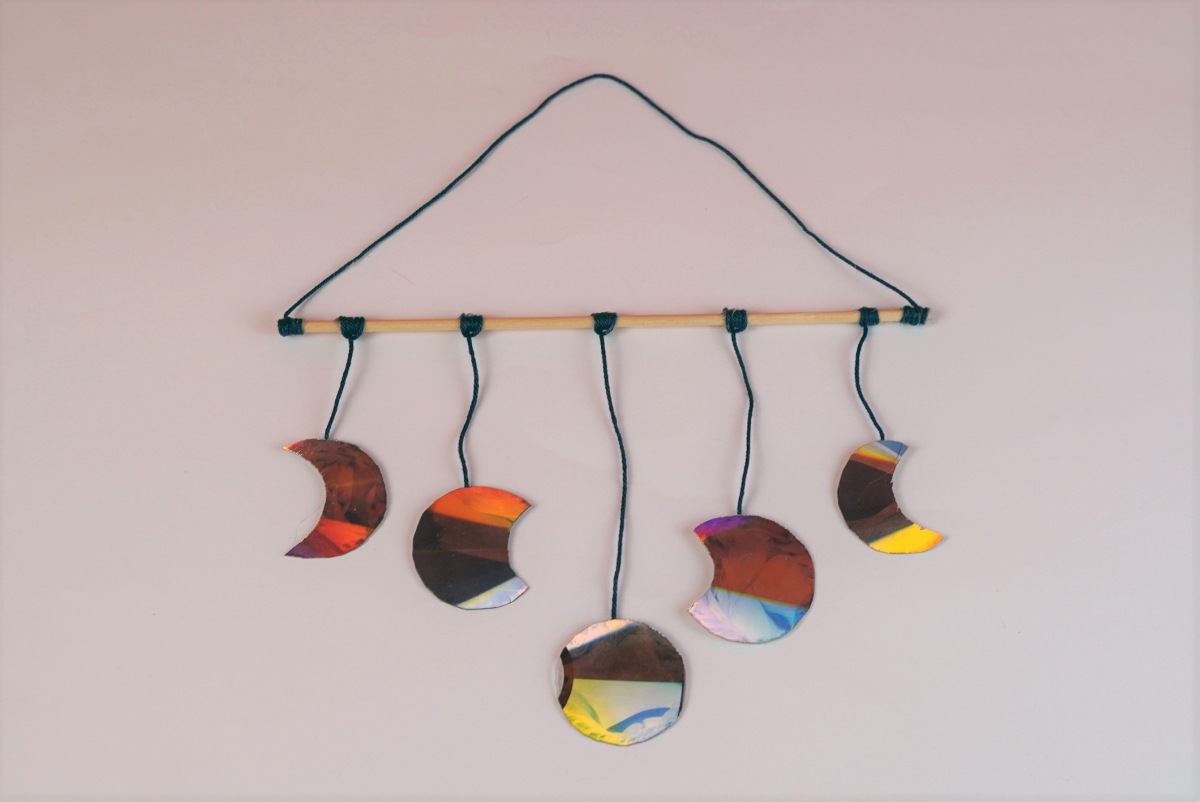
In the end, you should be left with something like this:
Step 4: Gluing the Hanging String
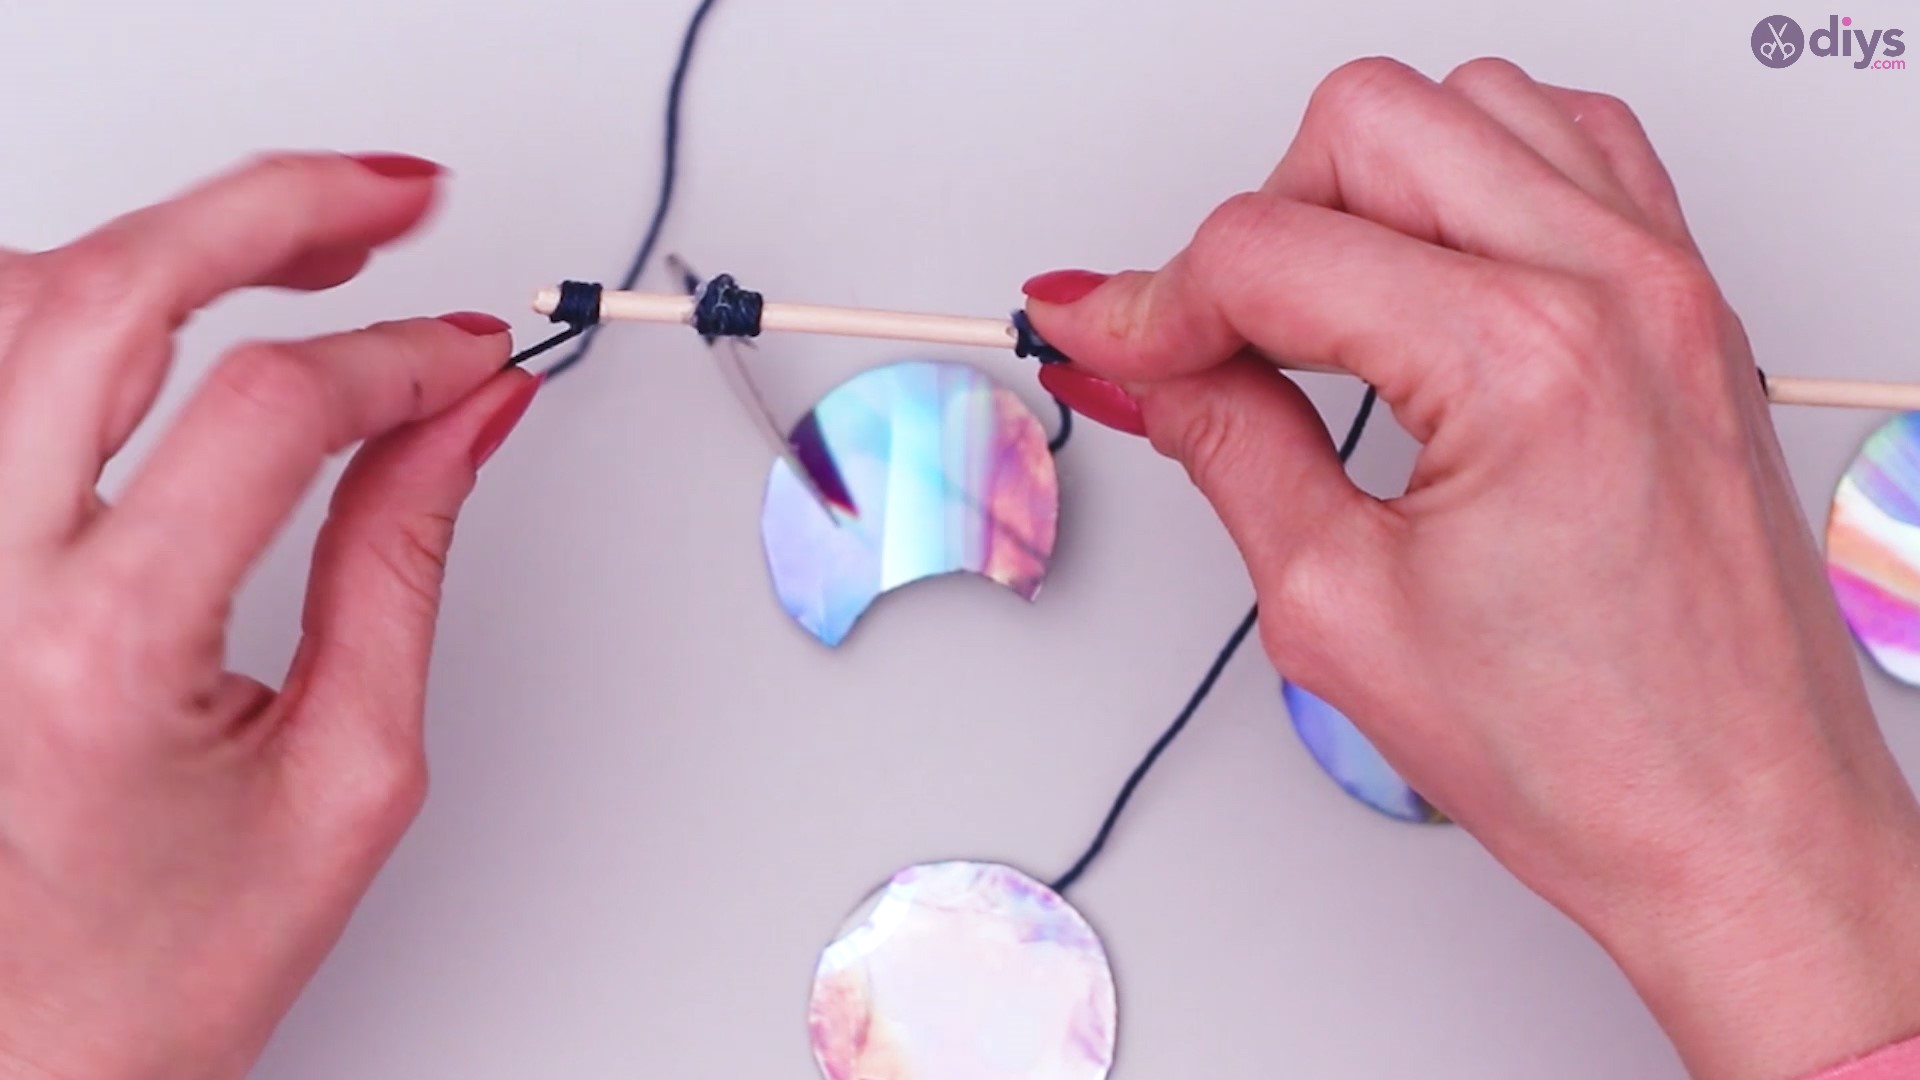
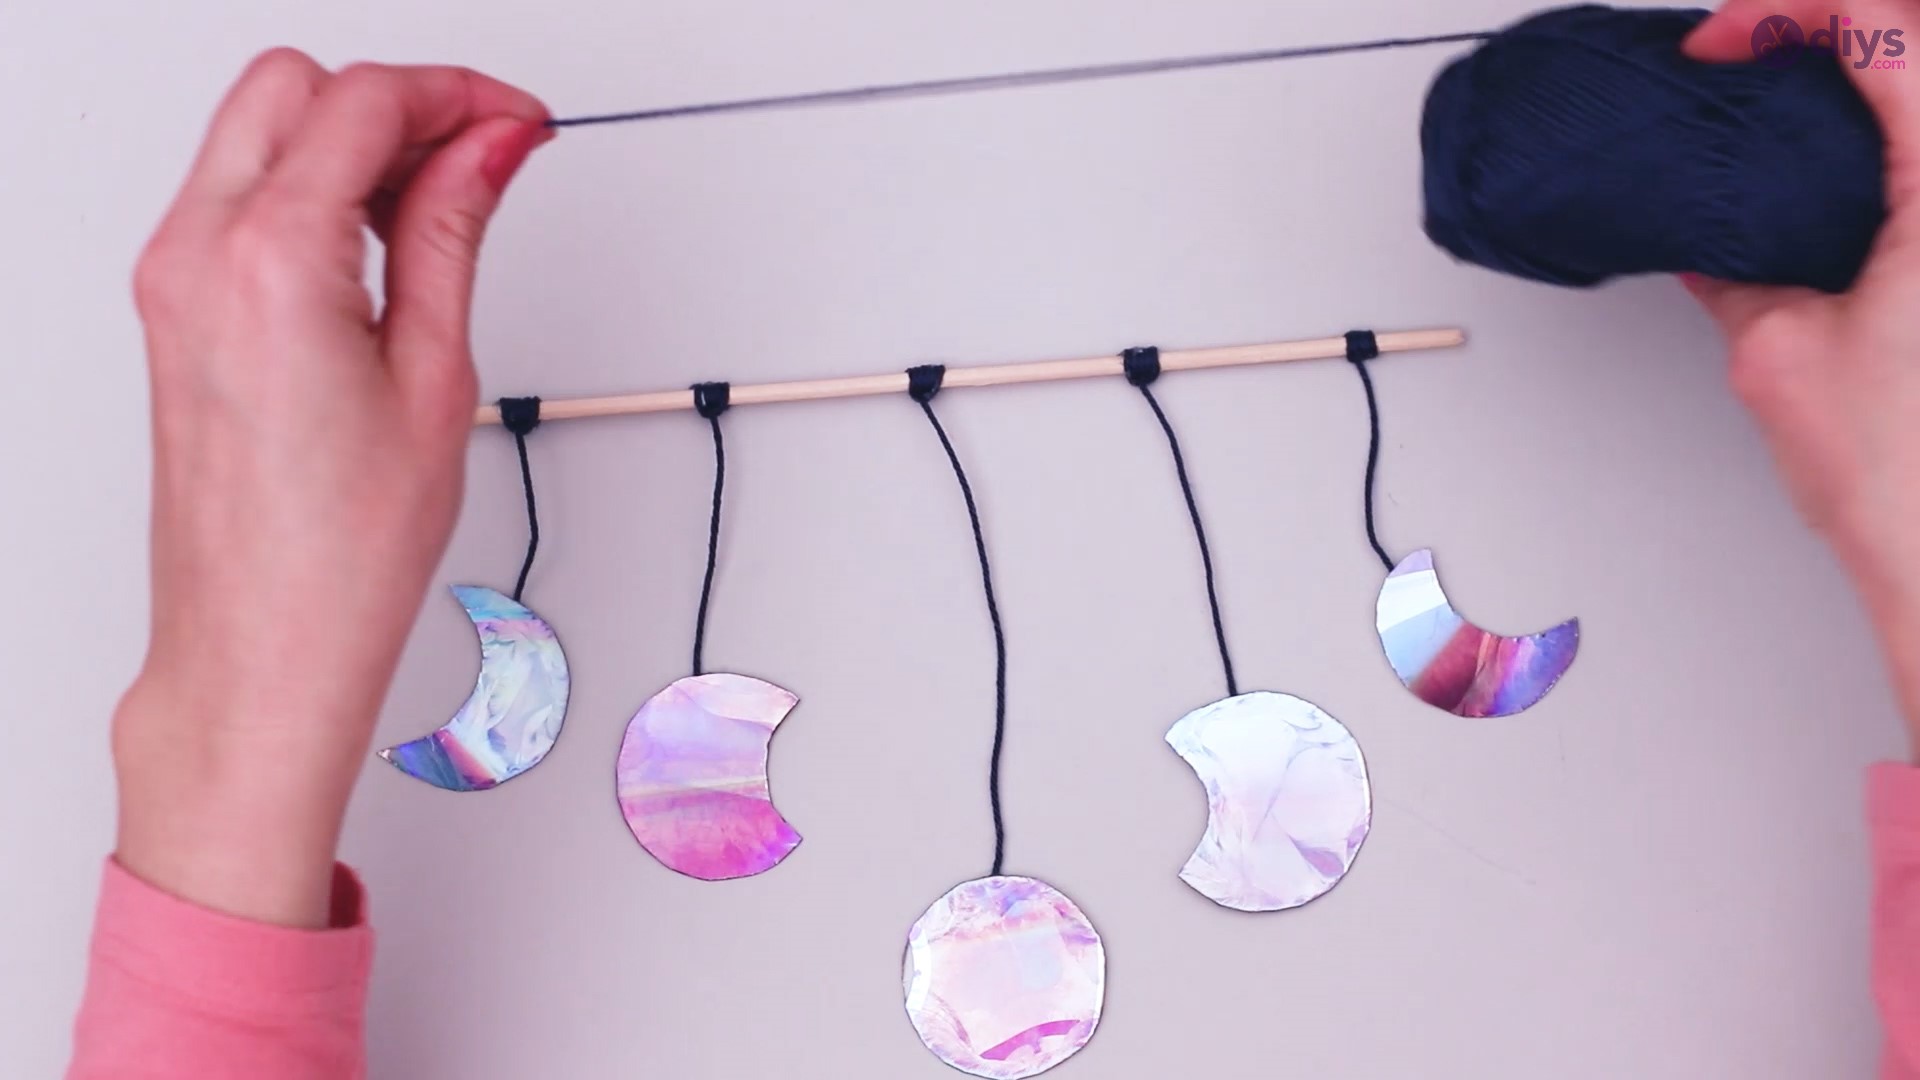
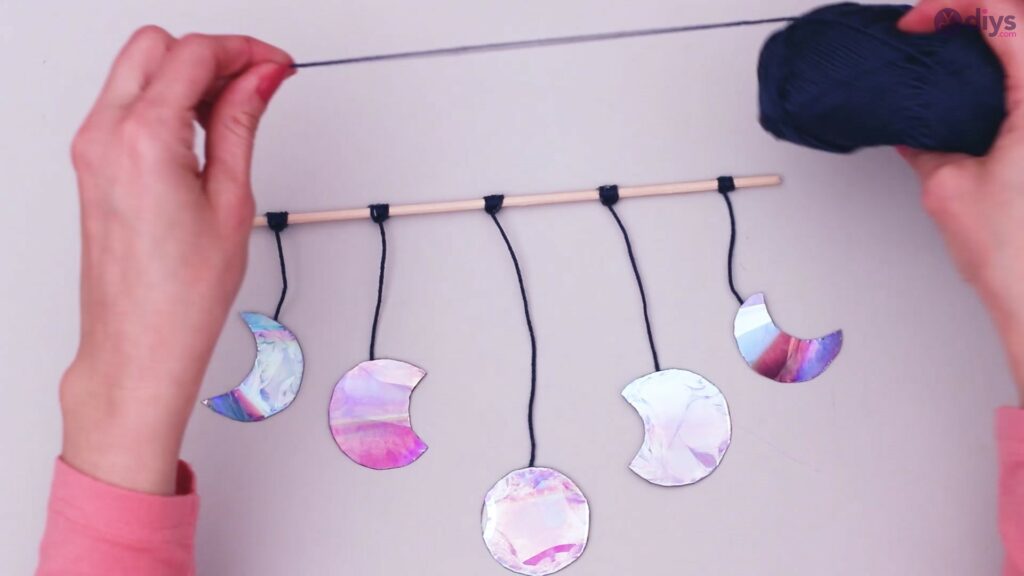
Now we need to make a hanging mechanism for your lunar eclipse CD wall hanging art. Grab a longer piece of black yarn and wrap one end around one of the ends of your wooden stick.
Repeat the procedure with the other end of the string, which will be wrapped around the other end of the wooden stick.
Use your glue gun to make sure that yarn sticks in place and doesn’t come undone.
If there are any loose string ends, use your scissors to cut them.
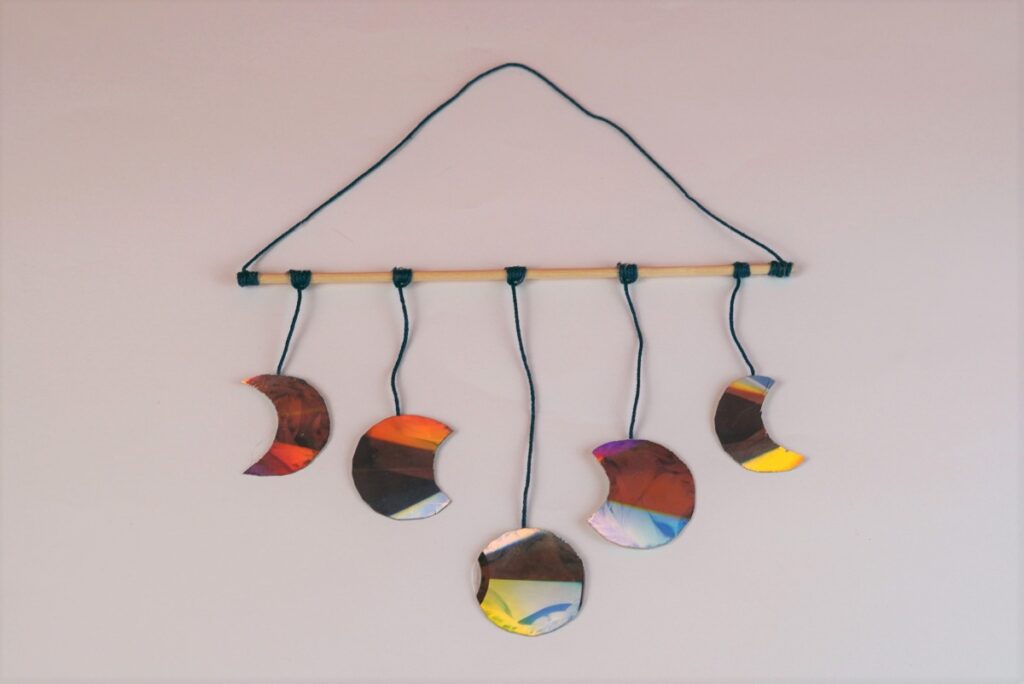
Your end project should look something like this:
Congrats, you’ve repurposed old CDs and turned them into beautiful wall hanging art instead of throwing them away. Not only does that reduce waste, but it creates a unique DIY piece that adds a drop of color and originality wherever it’s placed. Feel free to experiment with different types of CD or string colors.
