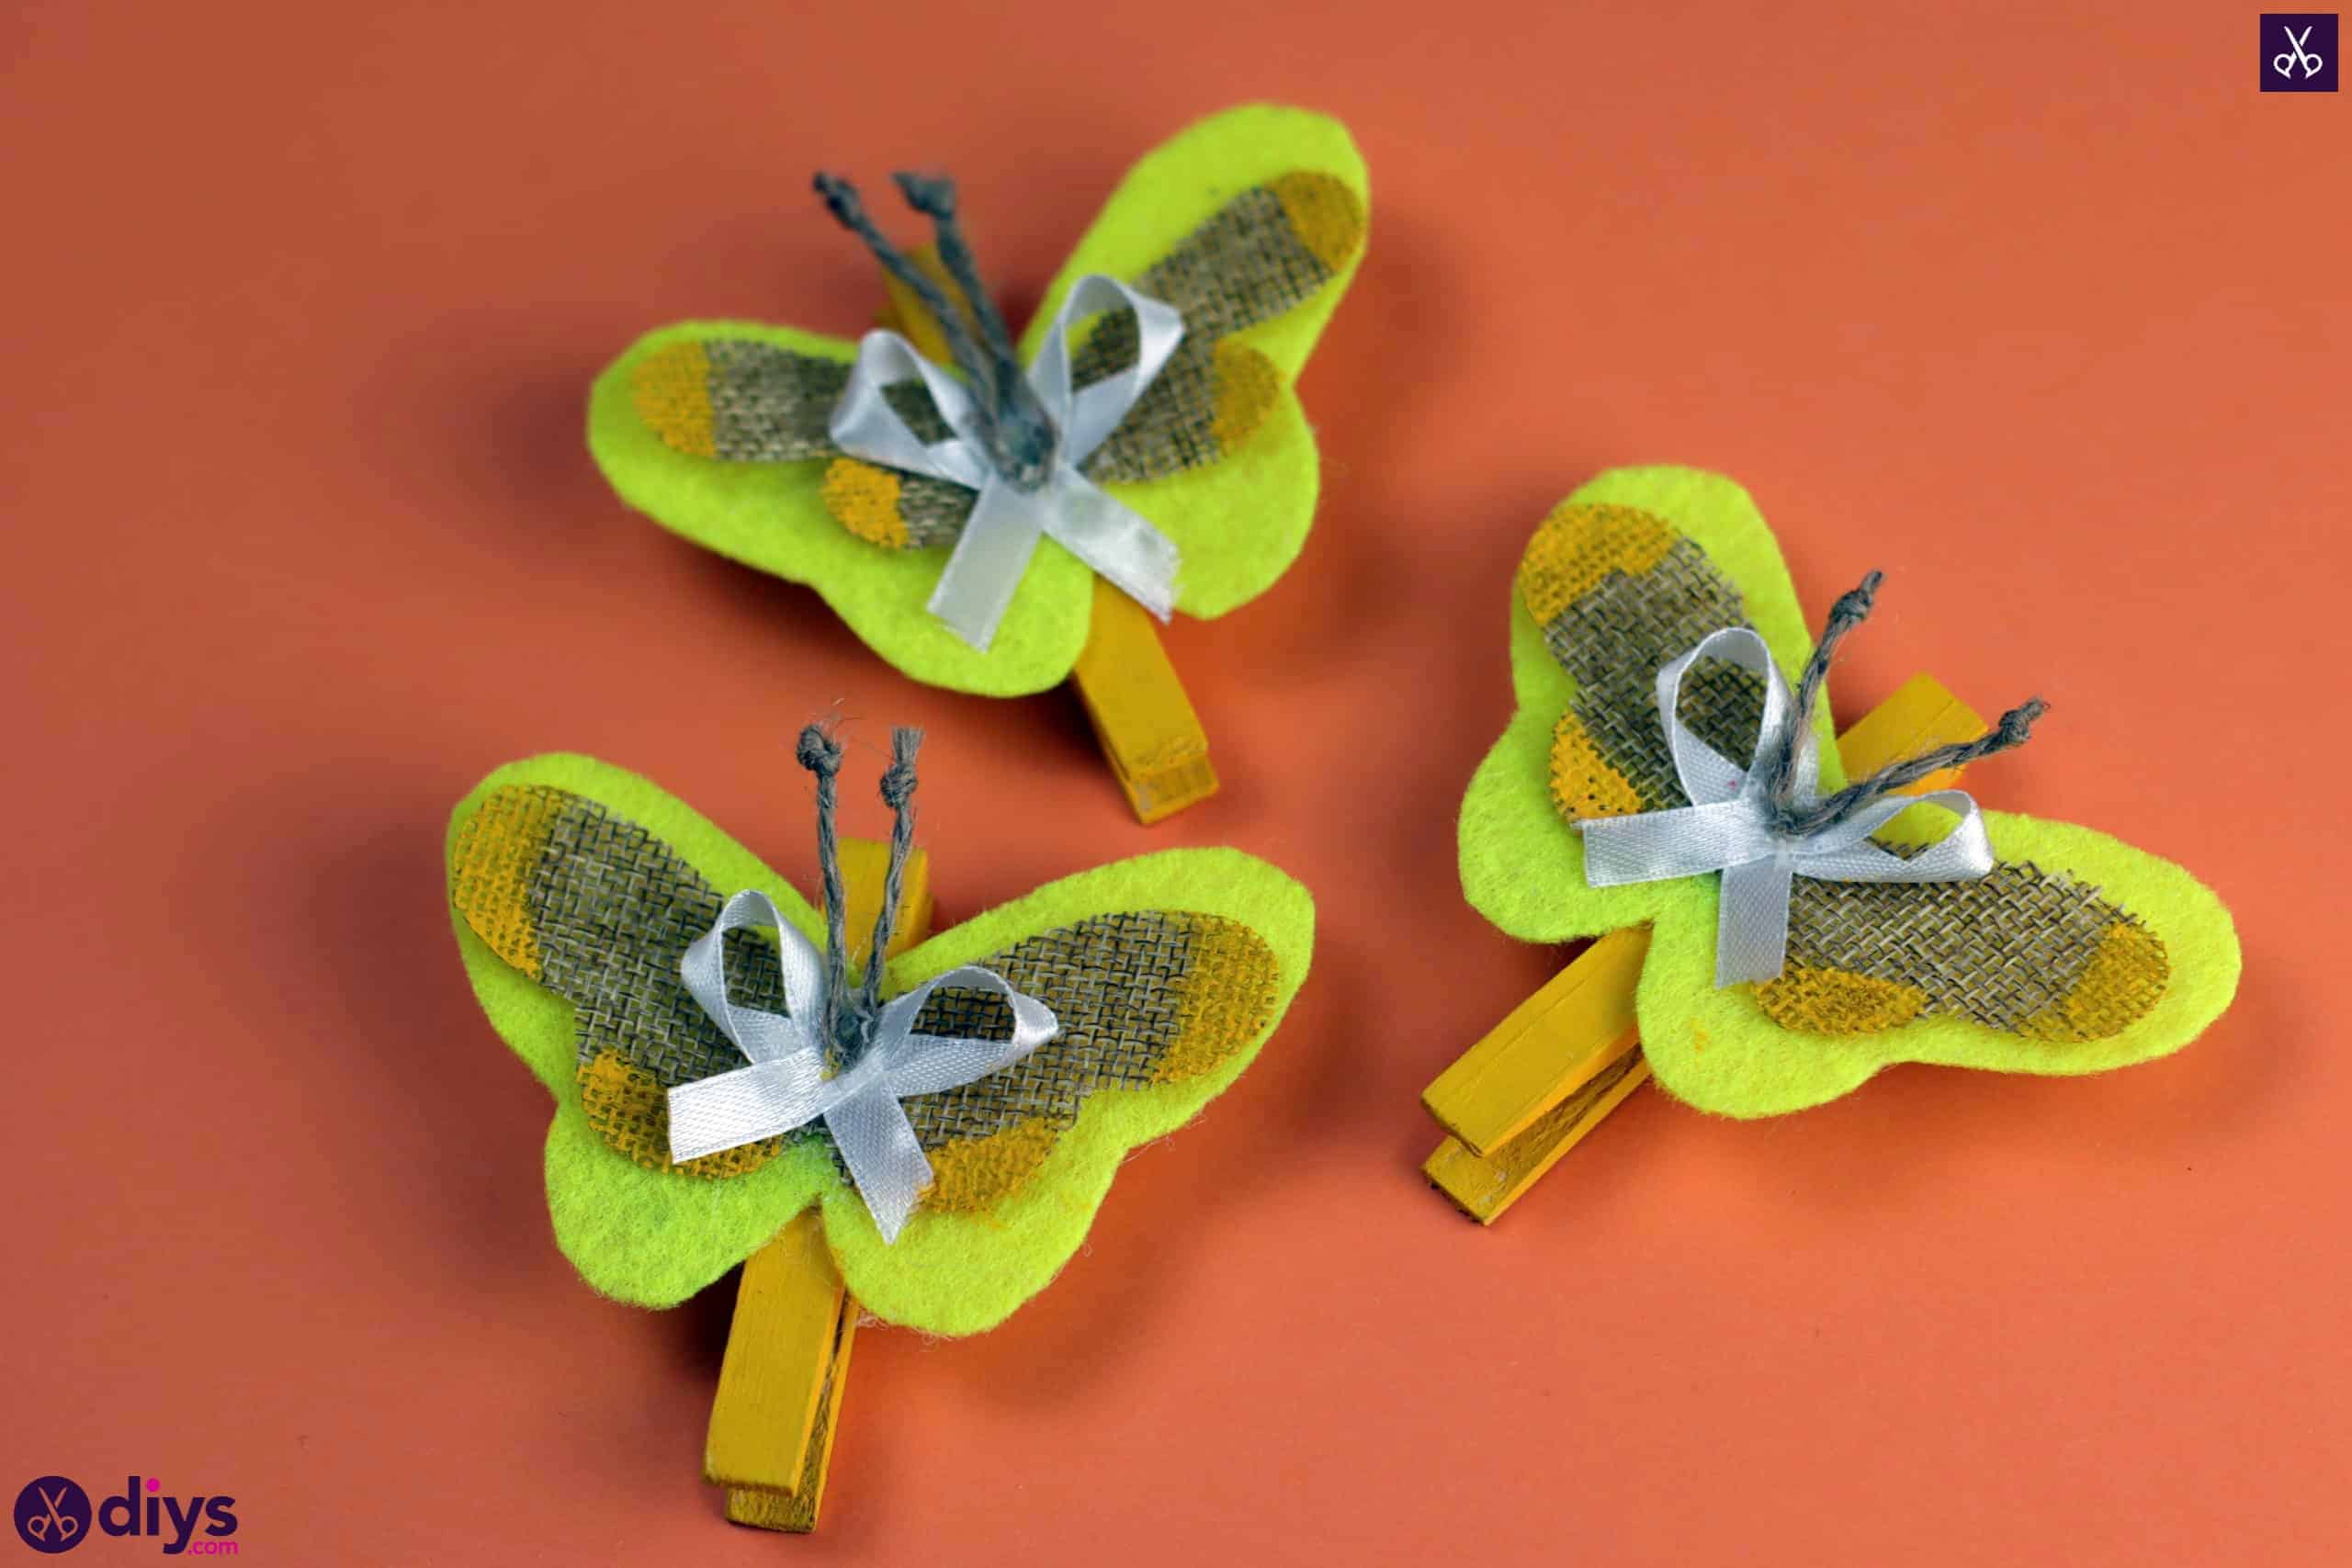
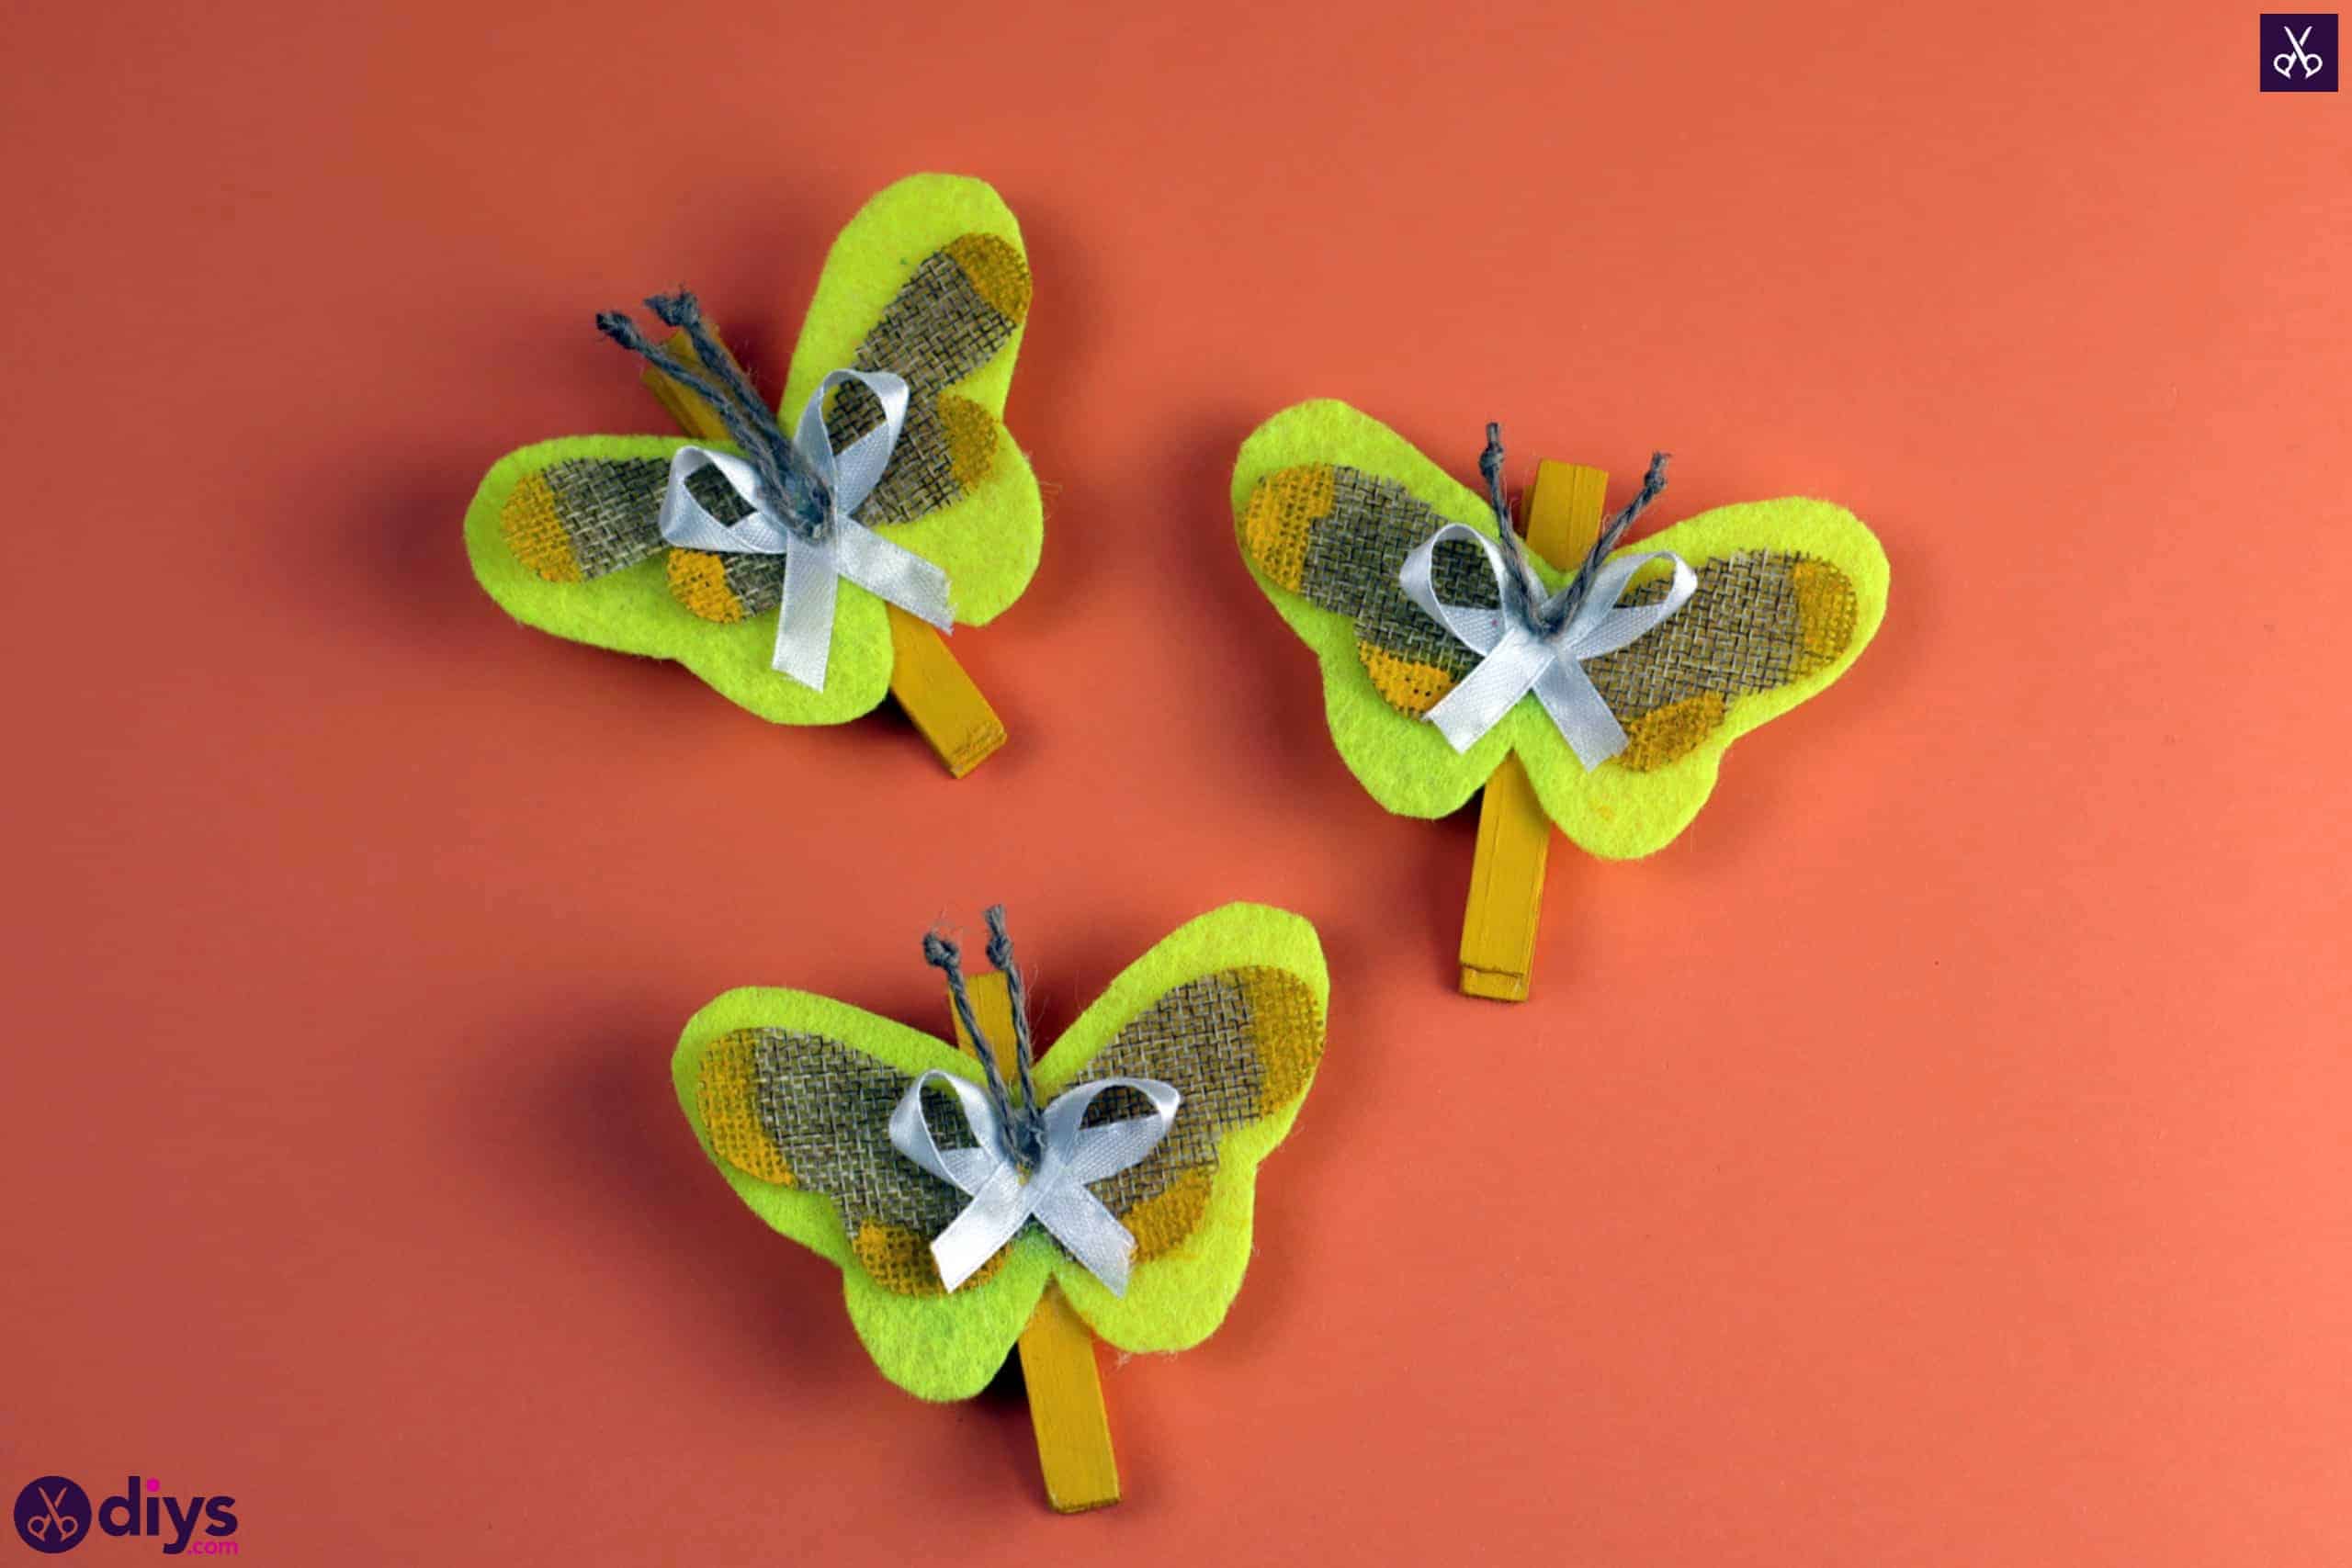
How To Craft A Butterfly from A Clothespin – Simple Recycling Idea
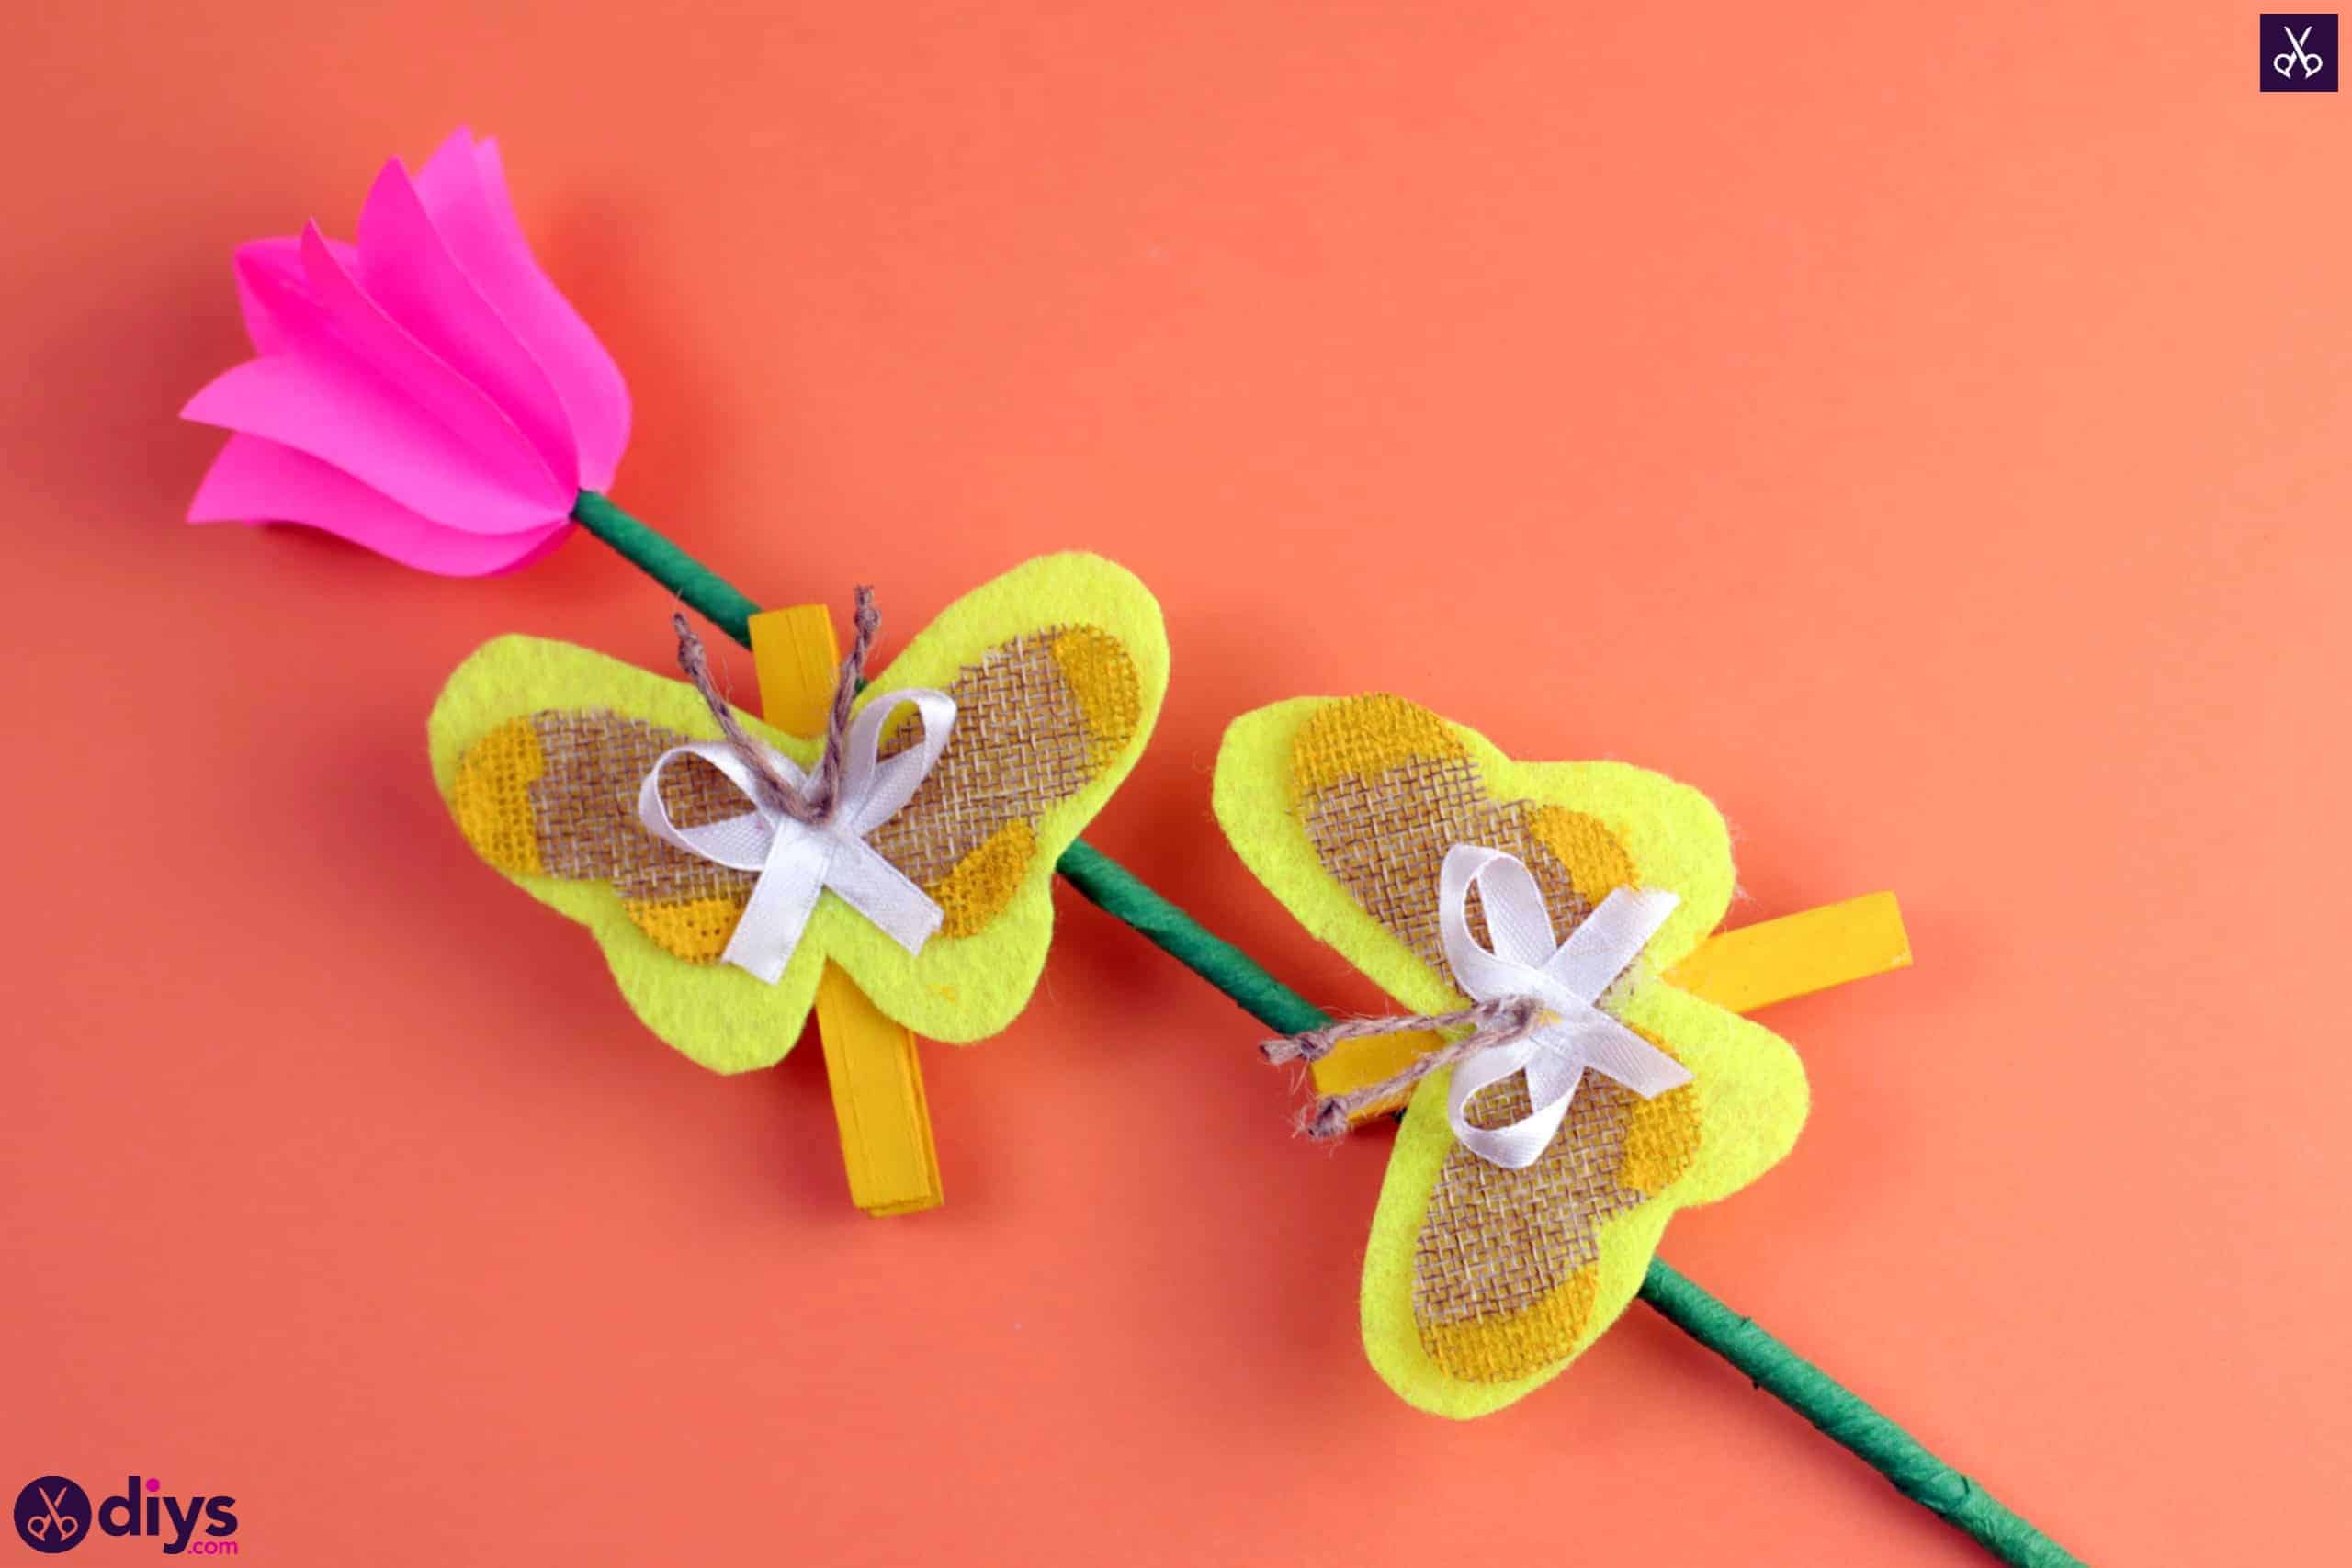
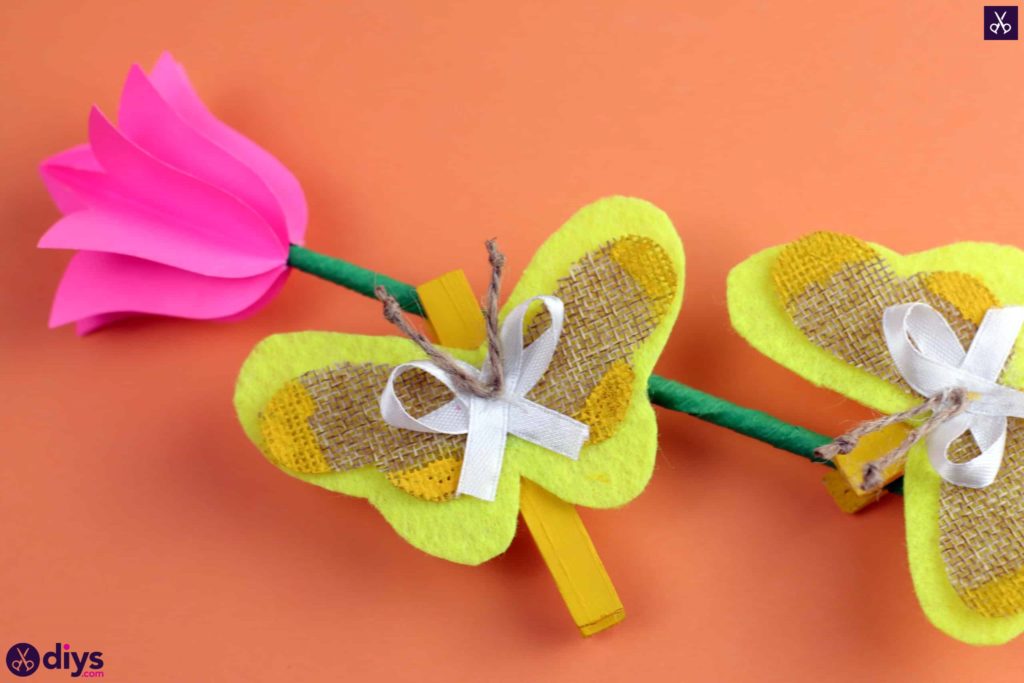
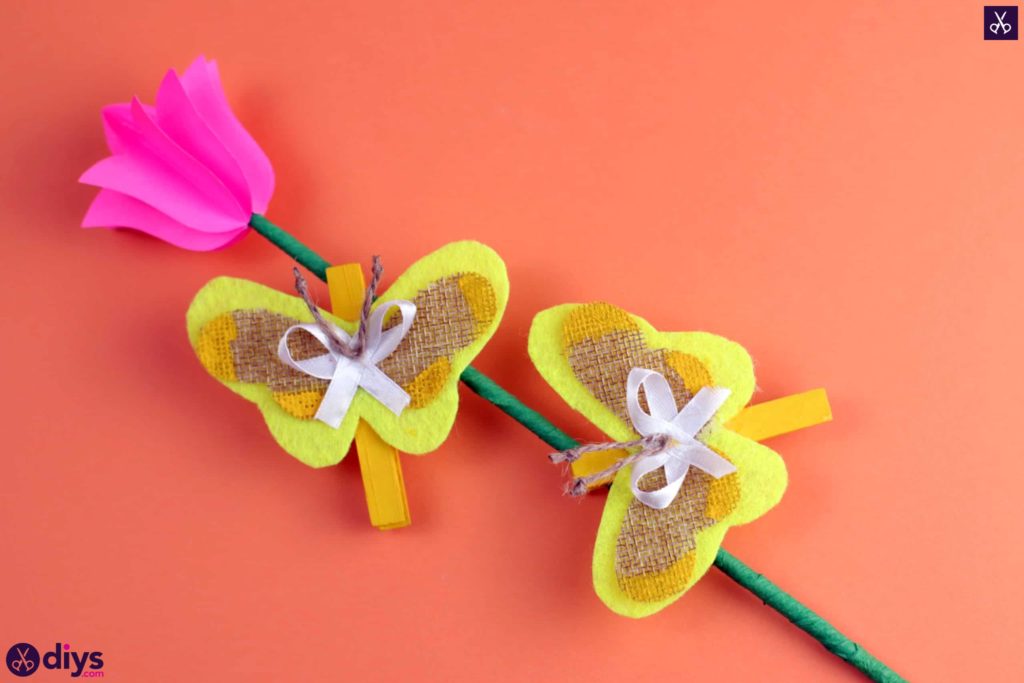
I recently found a huge pack of spare clothespin in the basement that I don’t really need, so I decided to try and come up with ways to help my kids transform them into funny little toys or decorative things to play with or put around their playroom. That’s how we found ourselves making these clothespin butterflies together!
Check out these step by step instructions complete with photos! If you’d rather follow along with a video tutorial instead of written words, scroll to the bottom of this post to find just what you’re looking for.
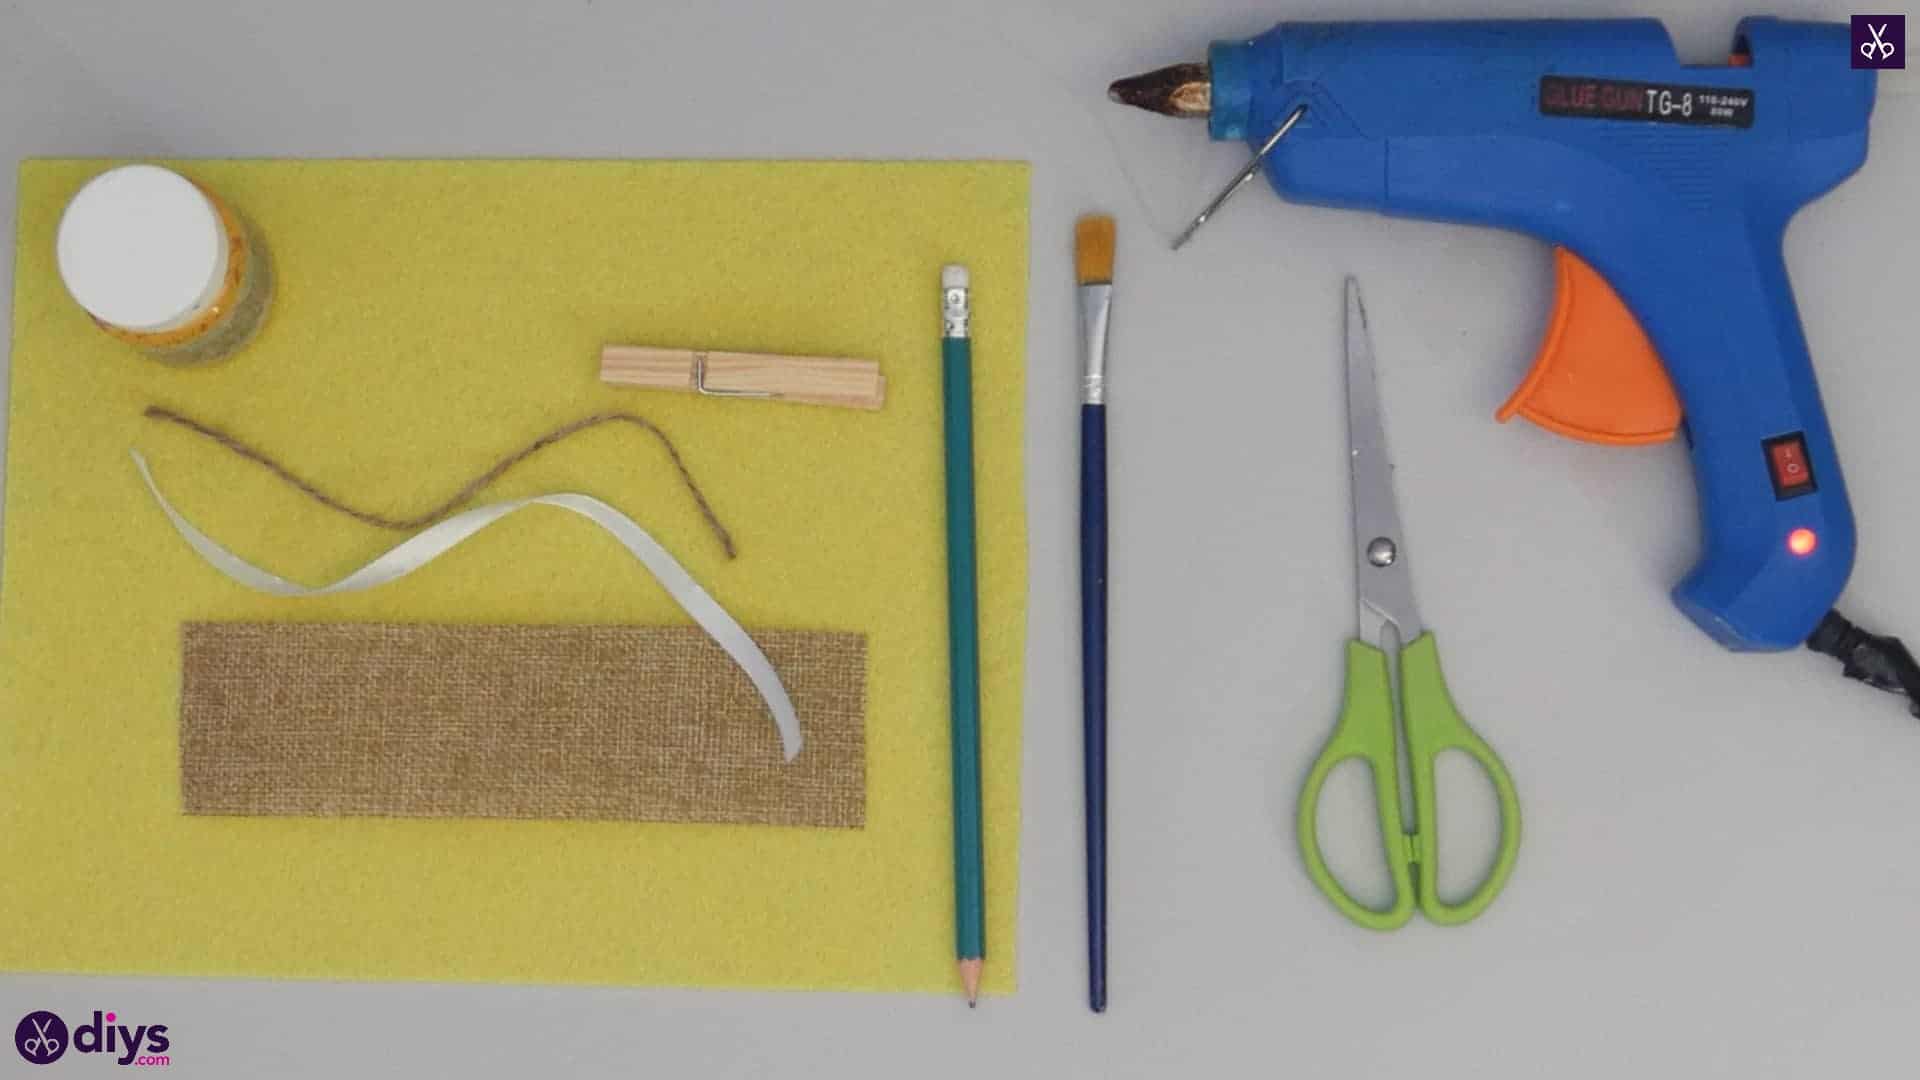
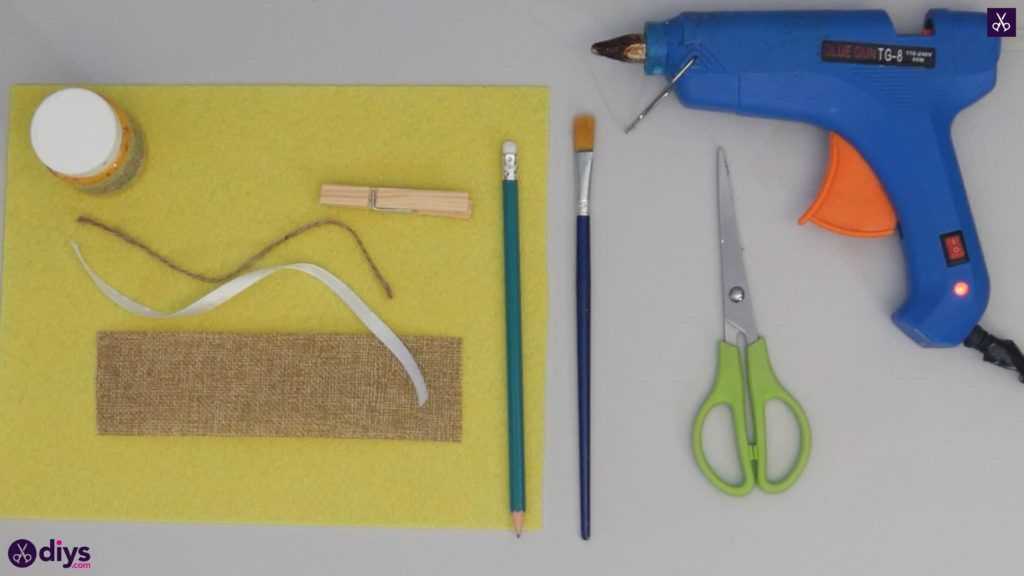
For this project, you’ll need:
- Clothespins
- Yellow paint
- A paintbrush
- Yellow felt
- Scissors
- Ribbon
- Jute twine
- Burlap
Step 1: Gather your materials!
Make sure you have everything you need before you start crafting.
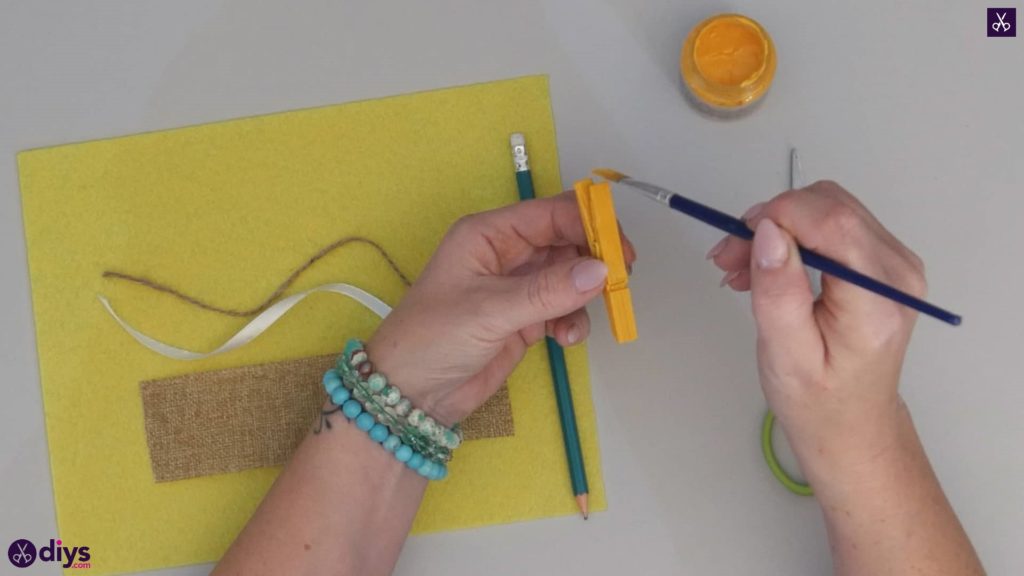
Step 2: paint
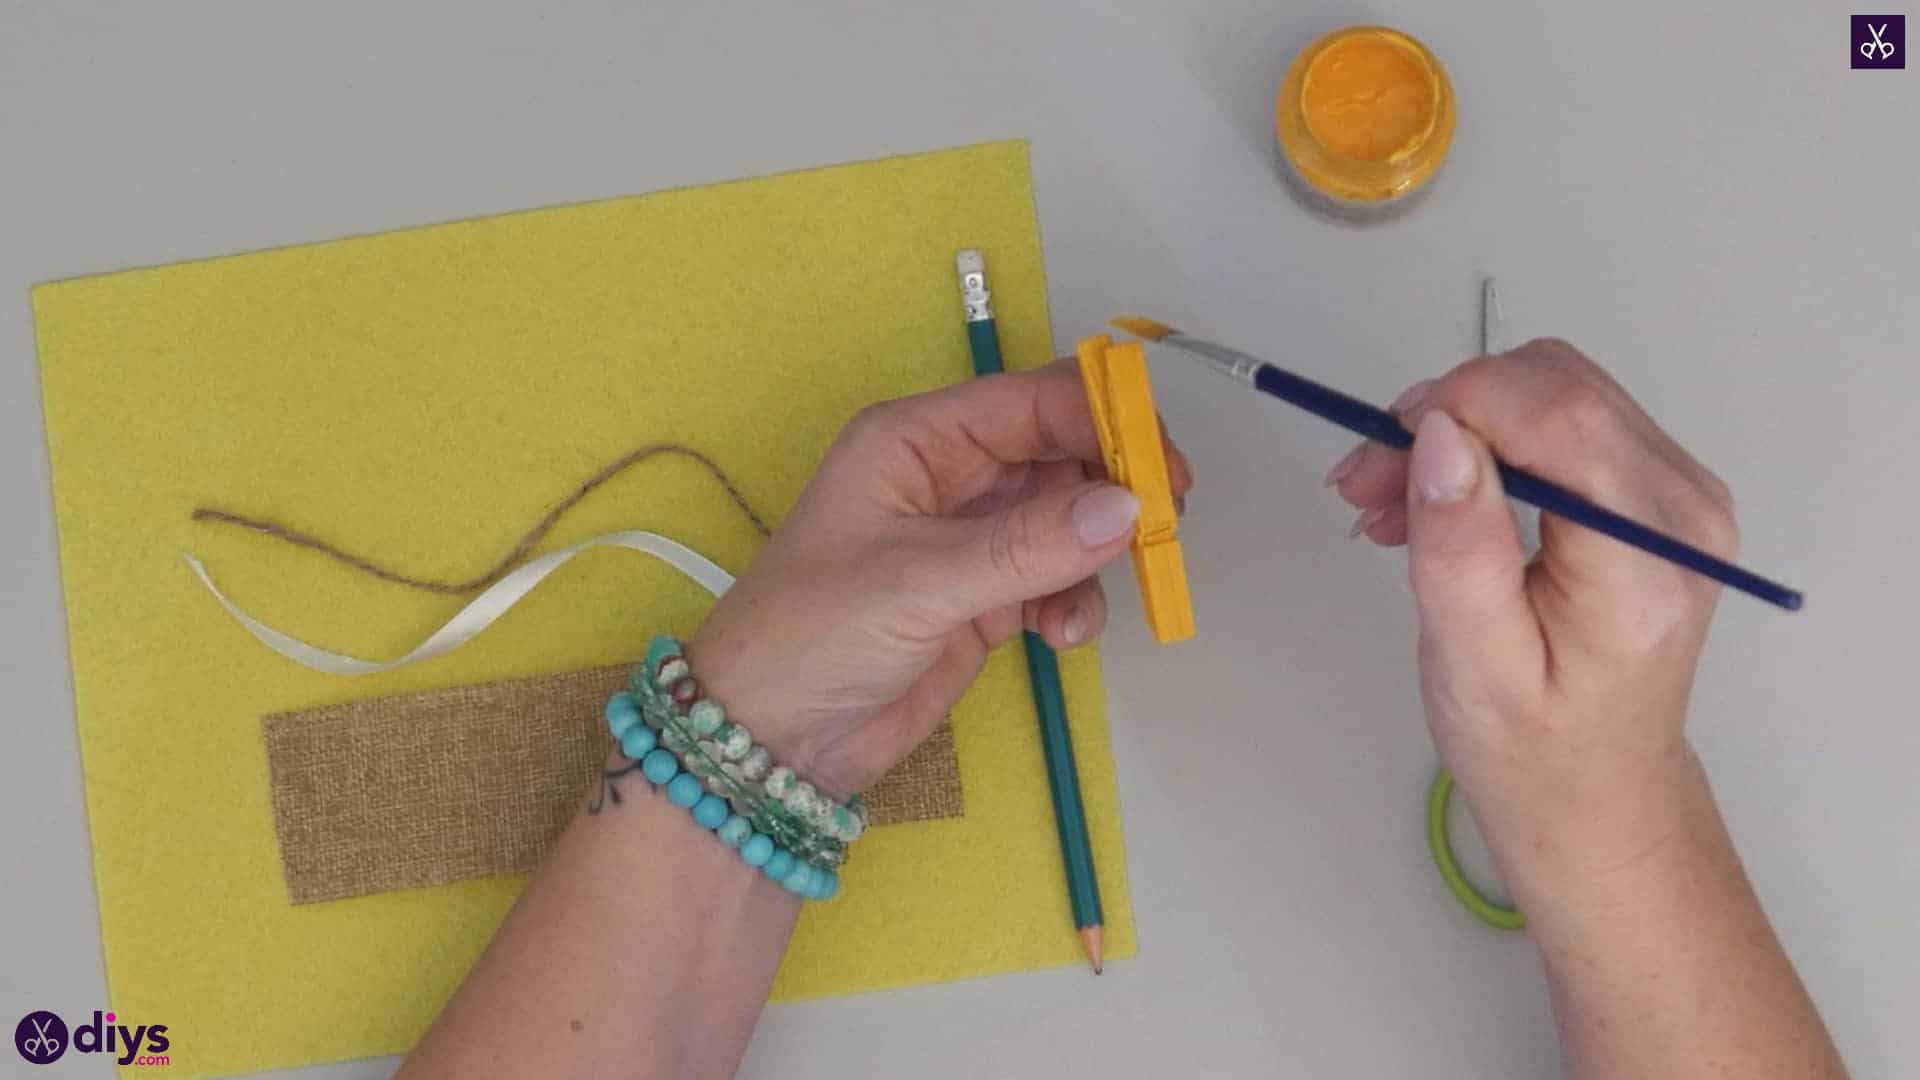
Paint your clothespin entirely yellow on all its sides, all the way around its surface. Set it aside to dry entirely while you make your butterfly pieces.
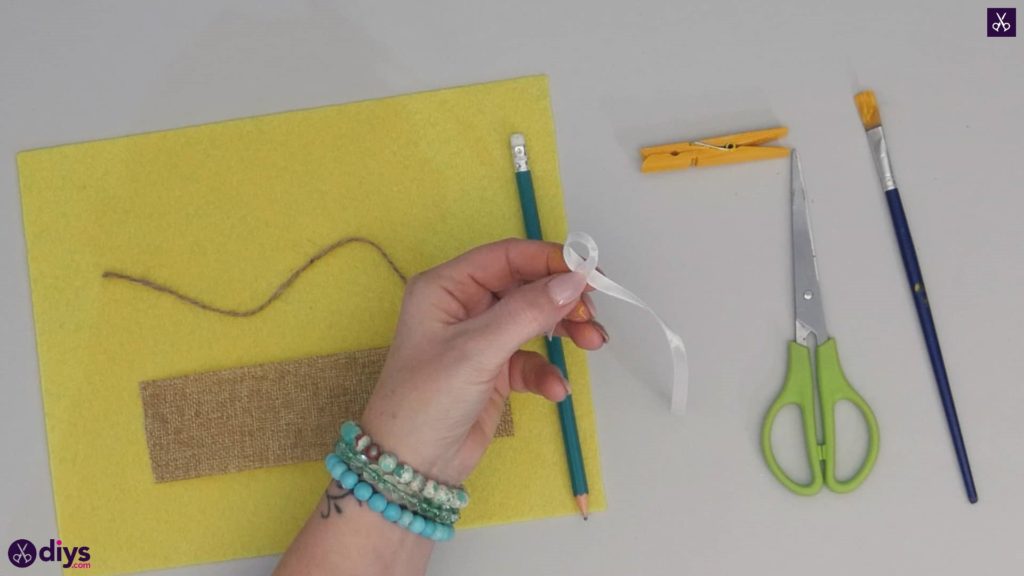
Step 3: make a bow
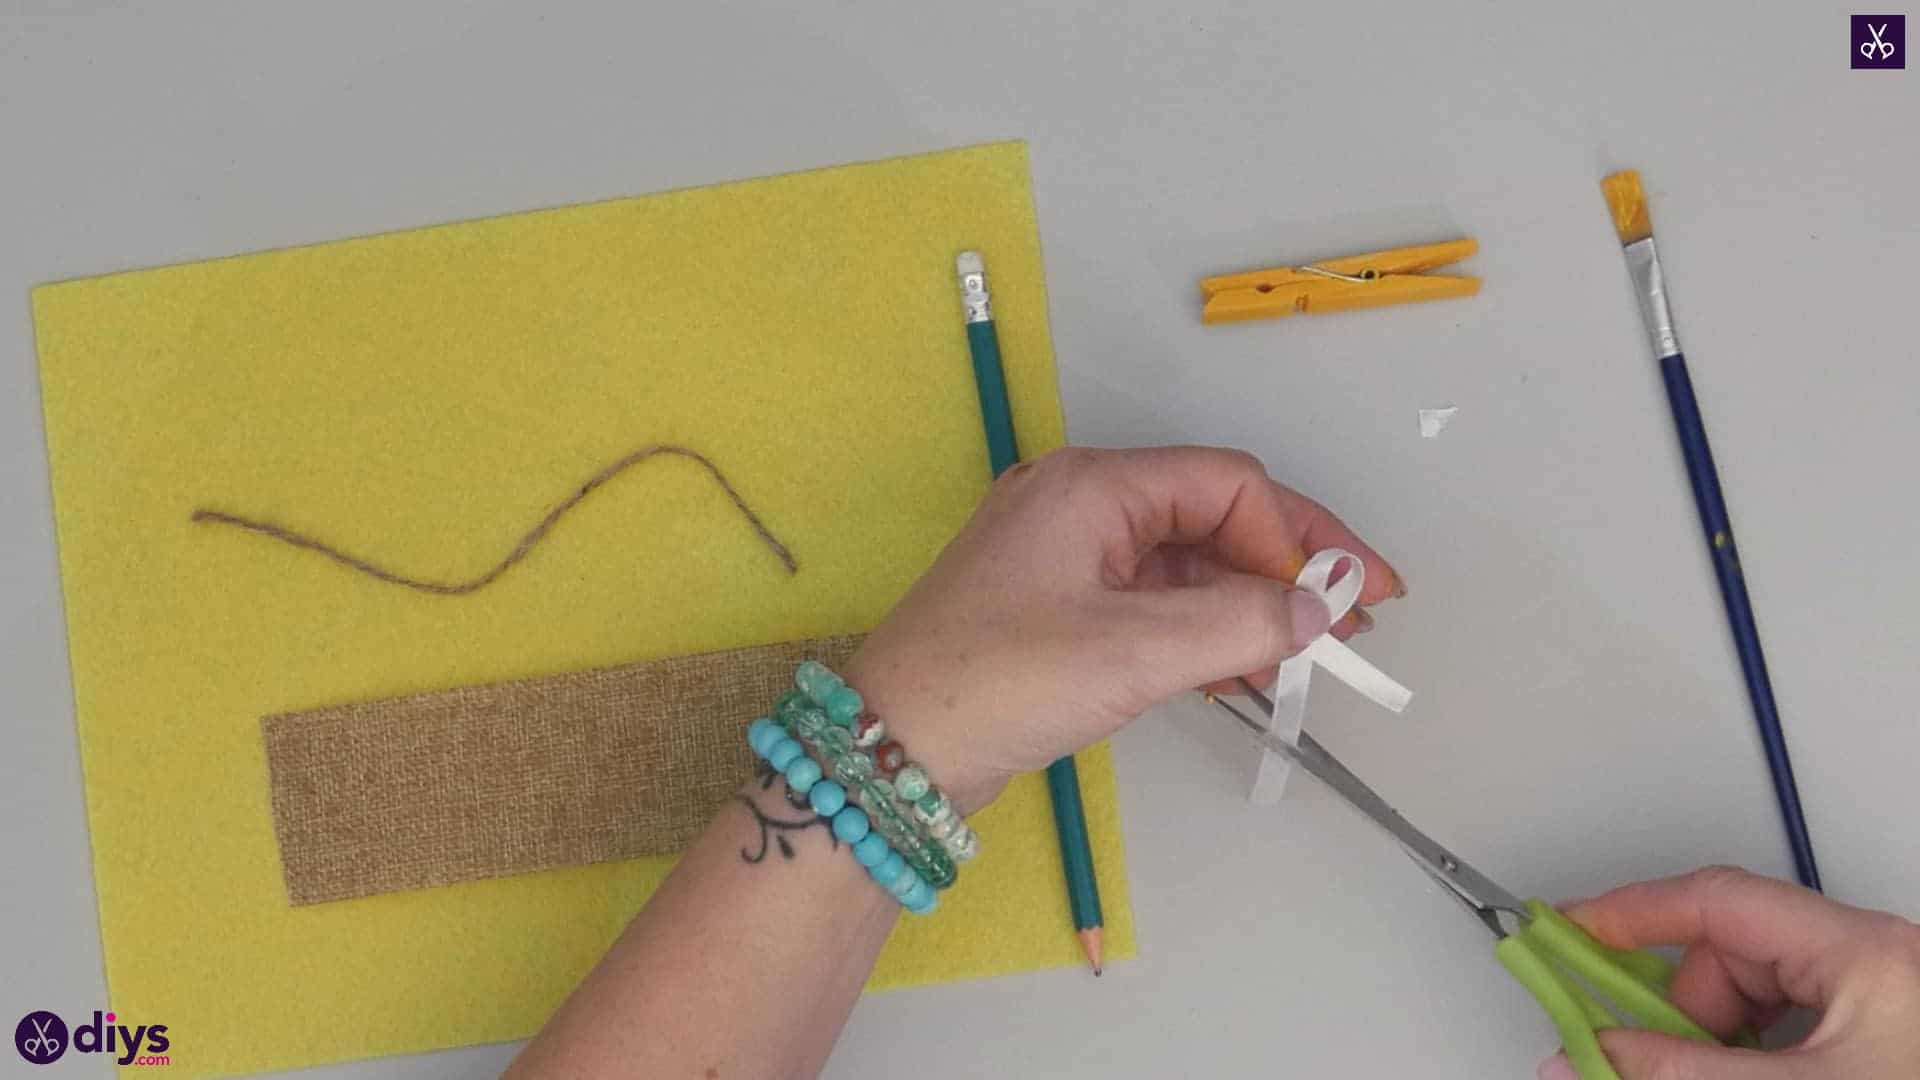
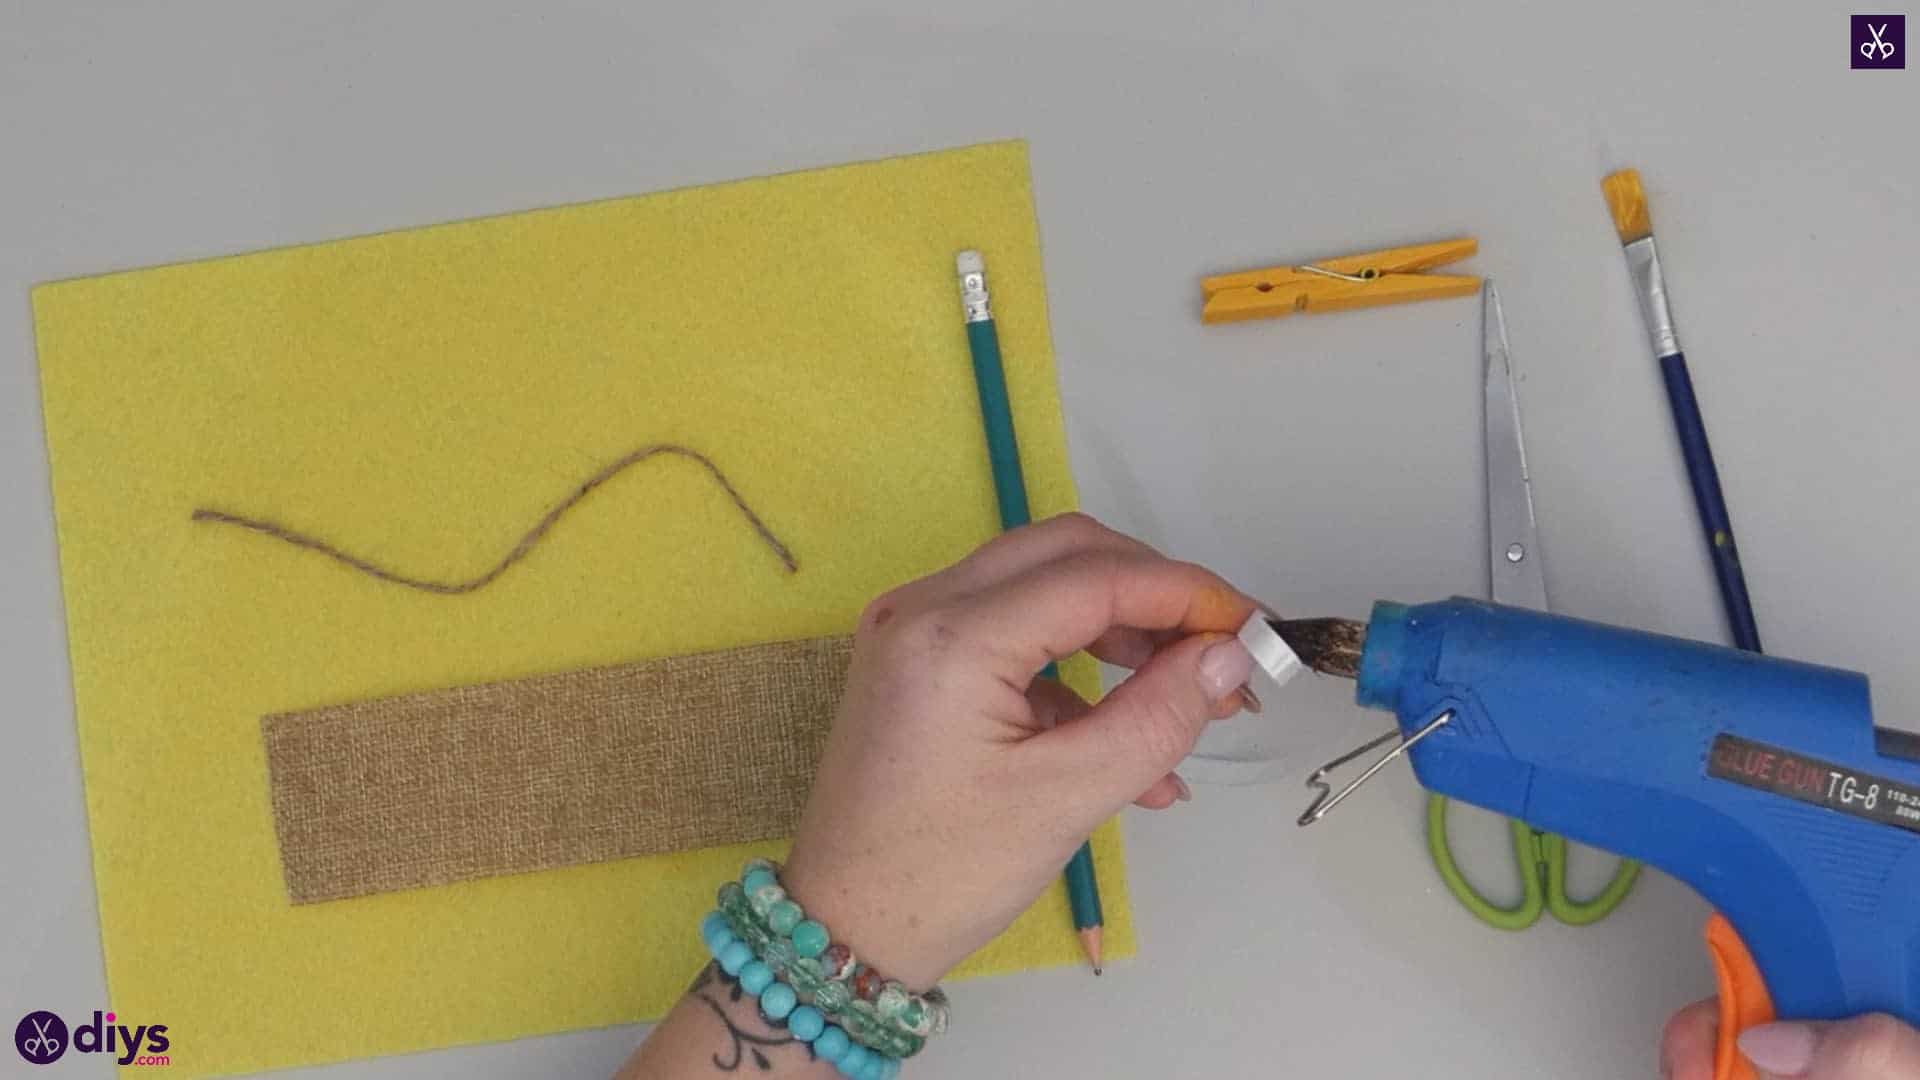
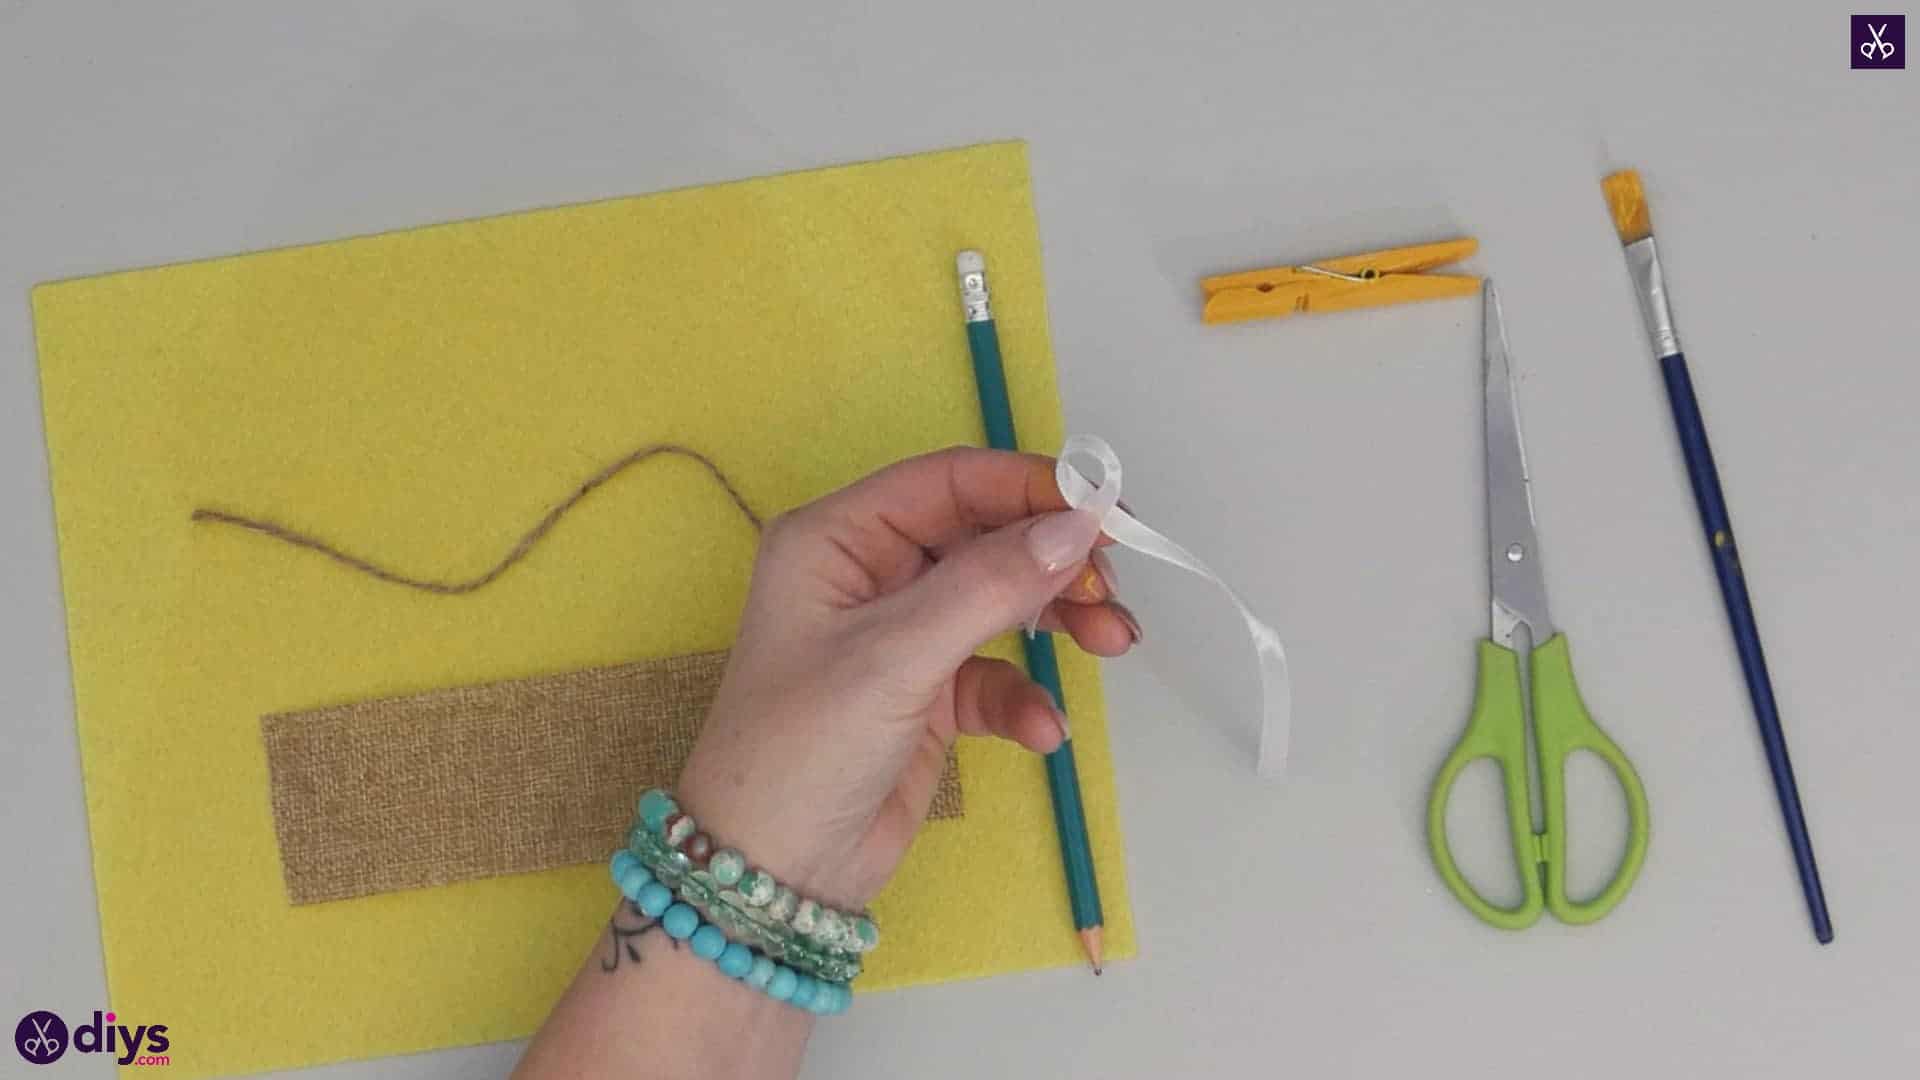
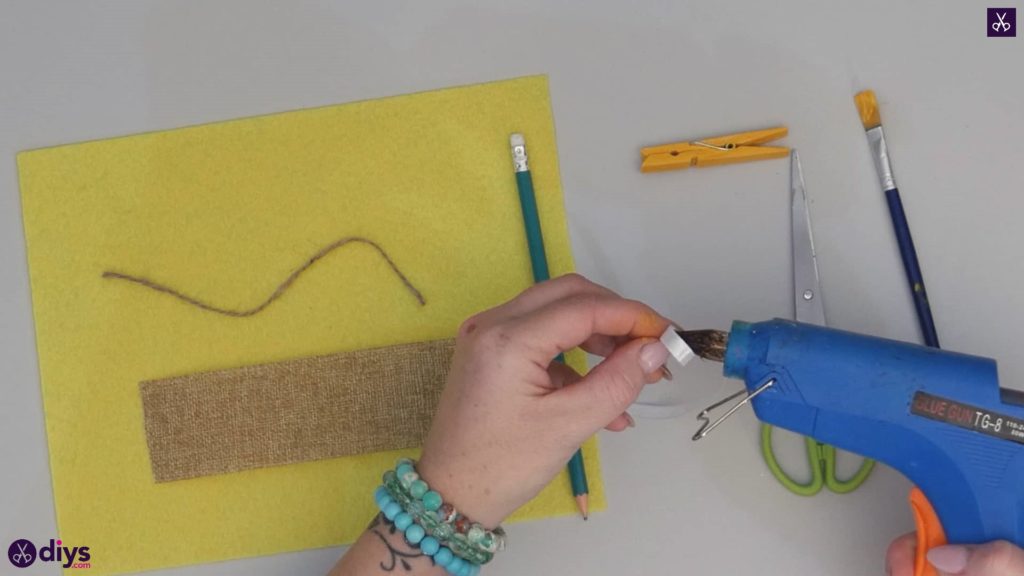
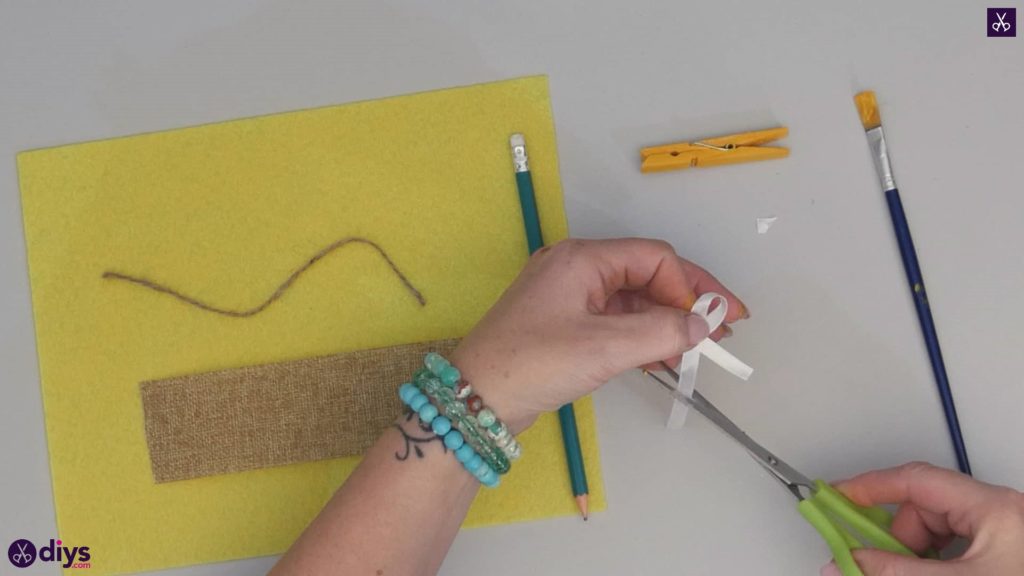
Use your white ribbon to make a little bow! Bring one side curling in towards the main strip of the other to make a loop, crossing it over itself where it meets. Apply a dot of glue in that crossing spot and stick the piece down so the loop is anchored in place. Repeat the looping process on the other side, letting it cross in that same central spot again. Glue that piece on top of the first in the opposite direction or angle. Trim the ends so they’re even; I trimmed mine on a slight angle to stop them from fraying. You now have a finish bow! Set it aside with your clothespin for the moment.
Step 4: make the antennae
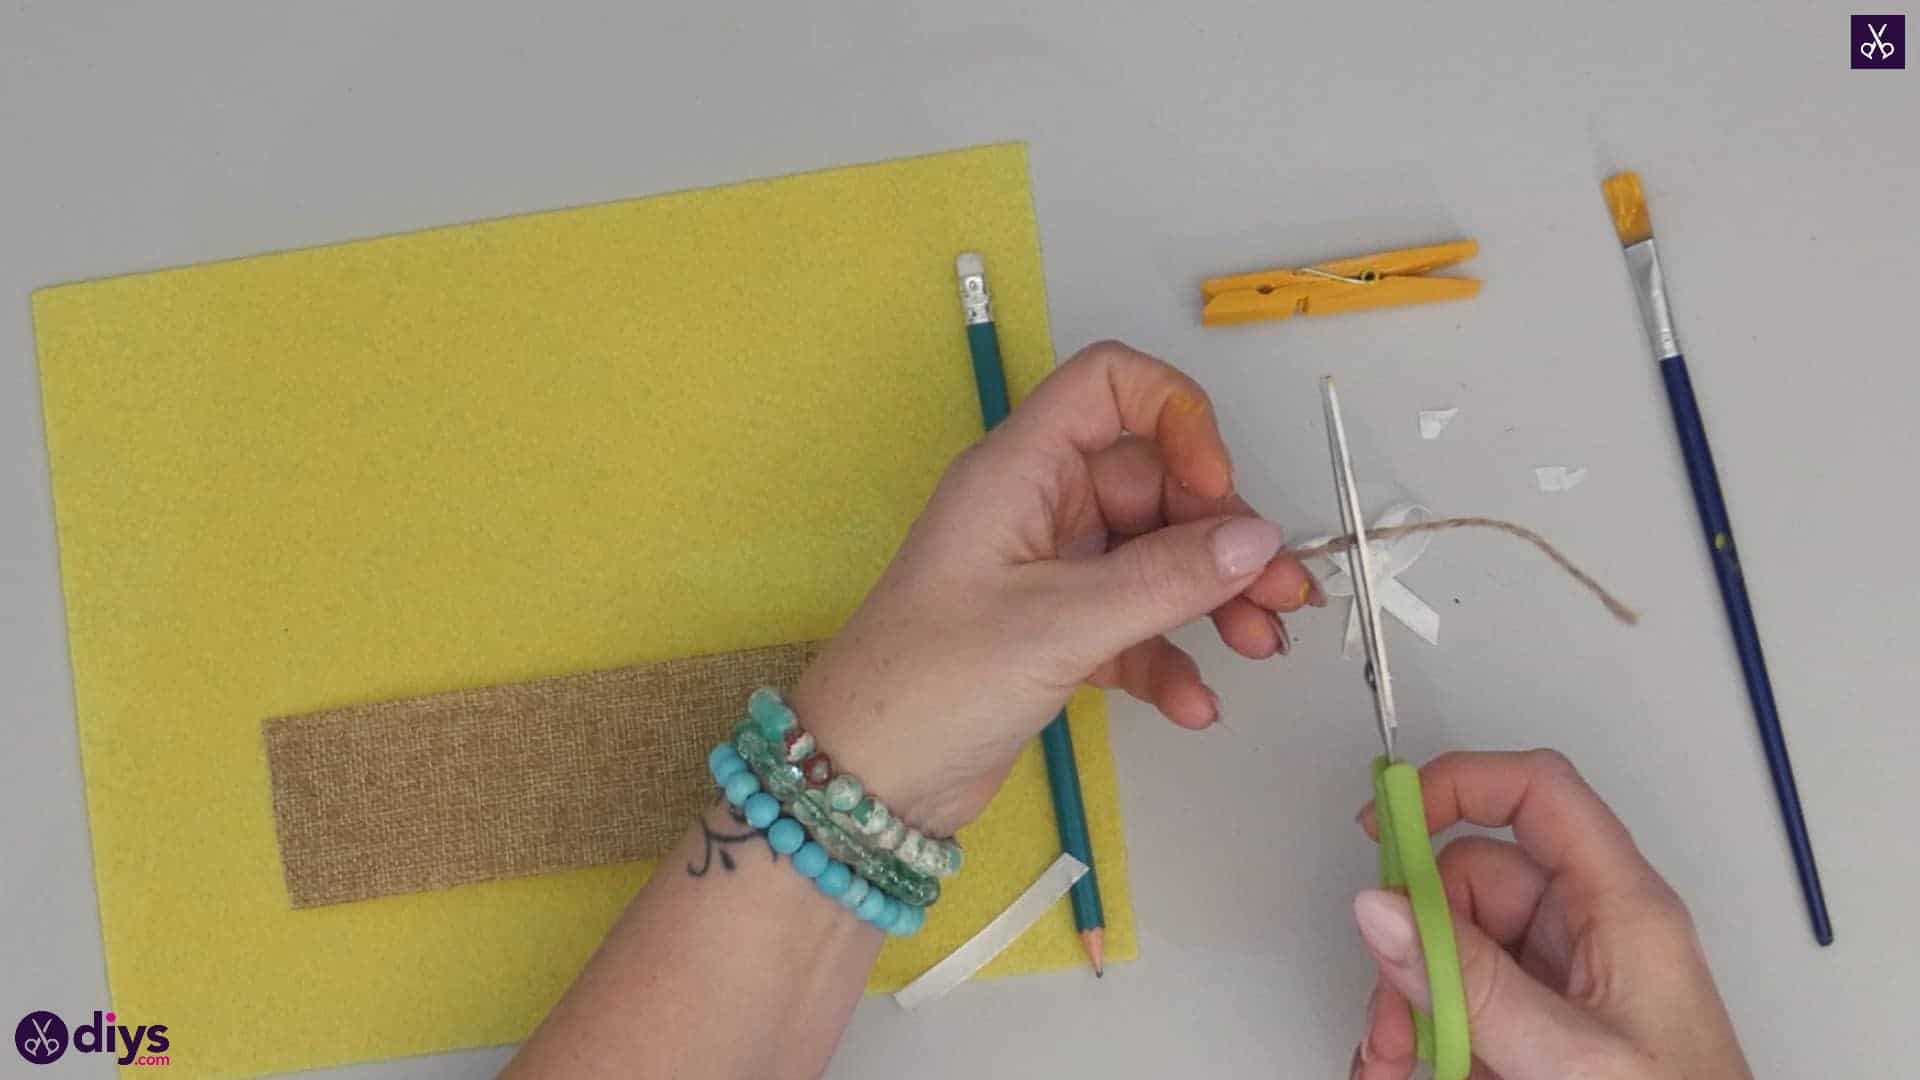
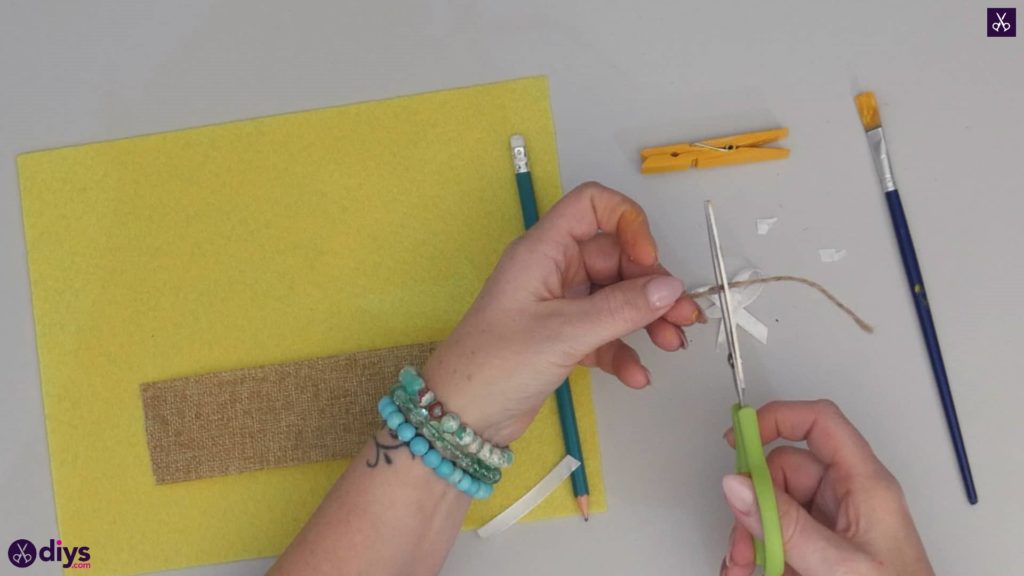
Cut a piece of jute twine about two inches long and tie a small knot in each end of the piece. You’ll use this to make your butterfly’s antennae later on but you can set it aside for now.
Step 5: the wings
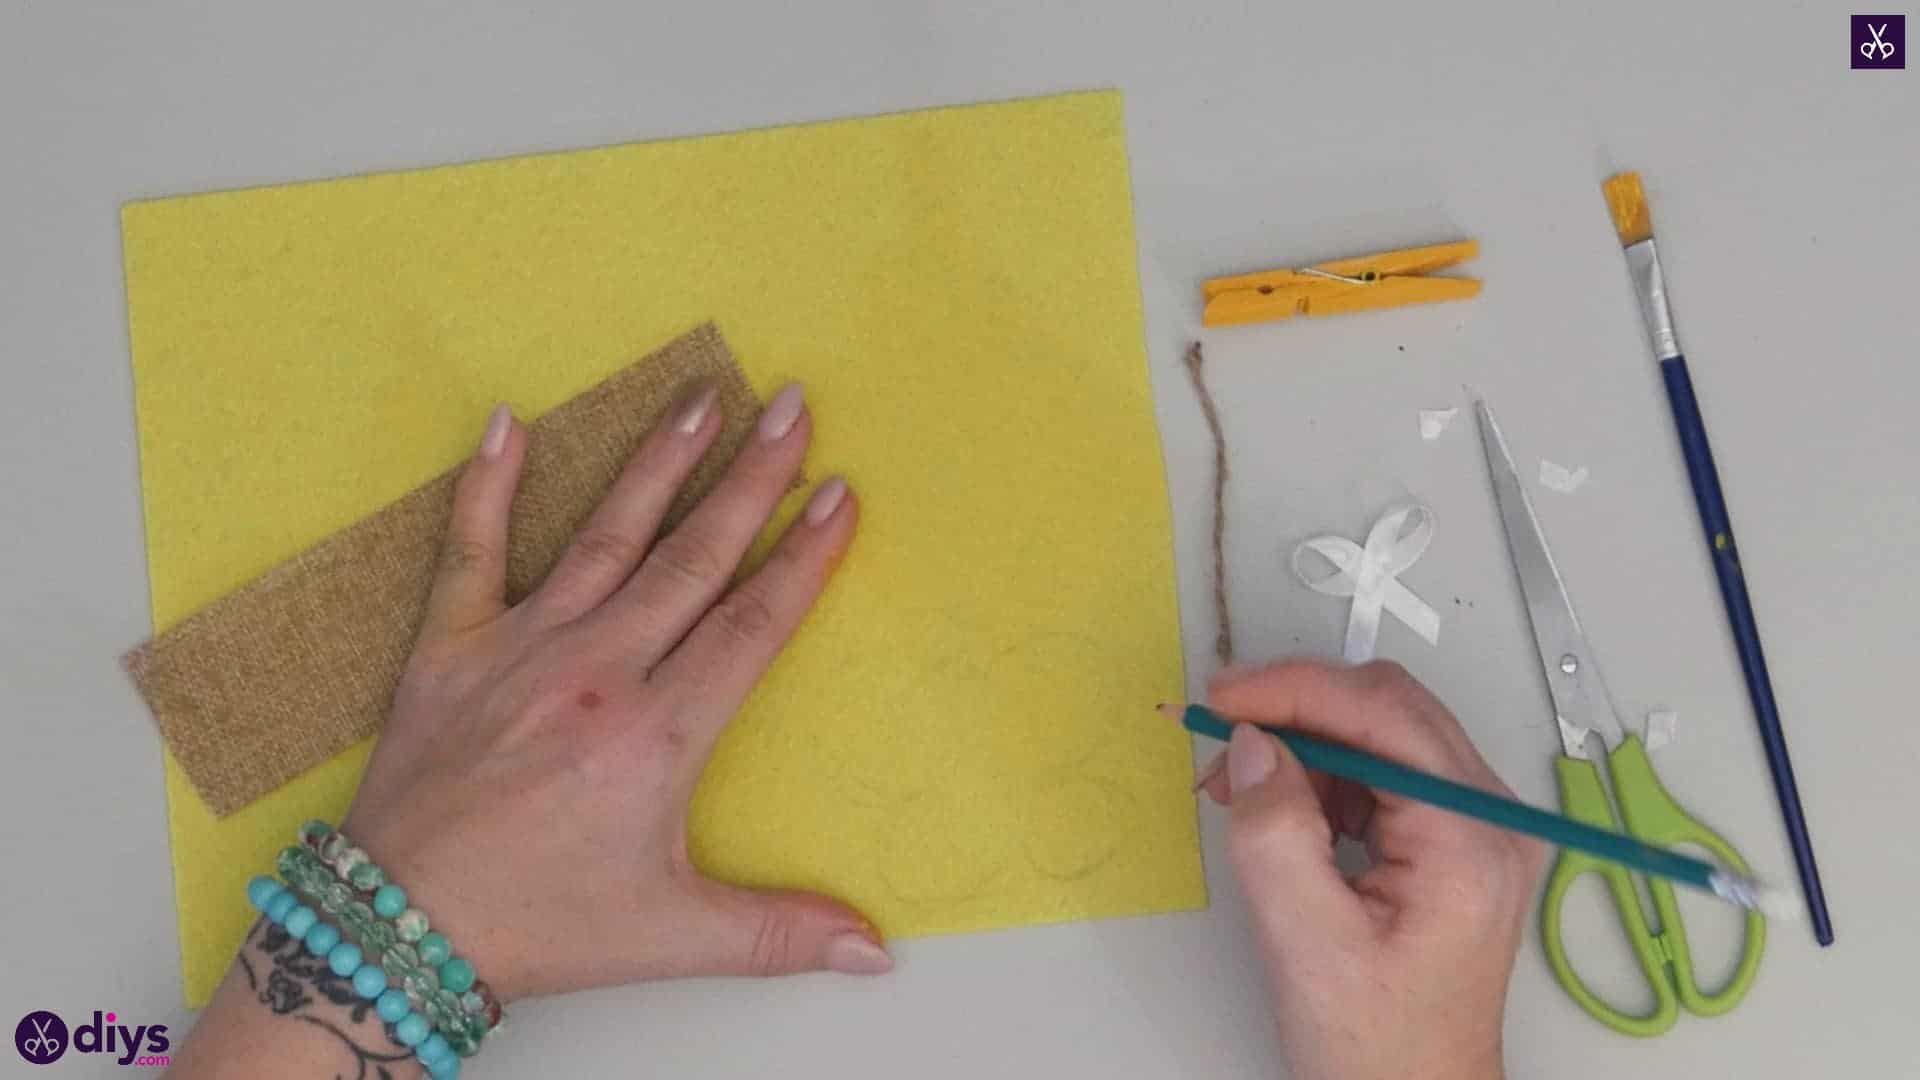
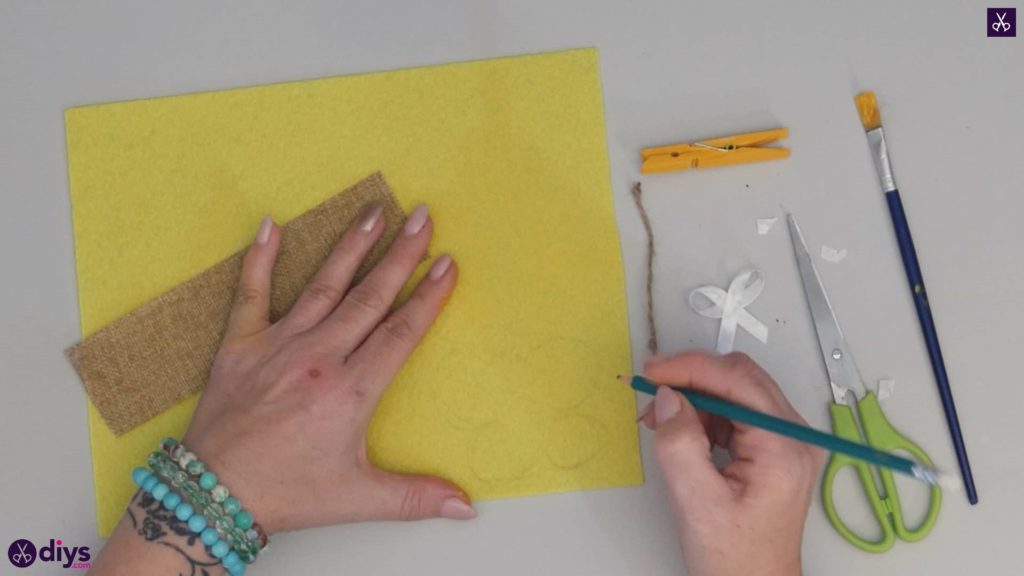
Use your pencil to draw the outline shape of a pair of butterfly wings on your yellow felt. I made sure to make the rounded tops of my wings a little larger and longer than the slightly smaller rounded bottoms, like the shape you’re probably used to seeing in toys and cartoons whenever butterflies are depicted. Cut the shape out. This piece will make up the base of your butterfly’s wings!
Step 6: more wings
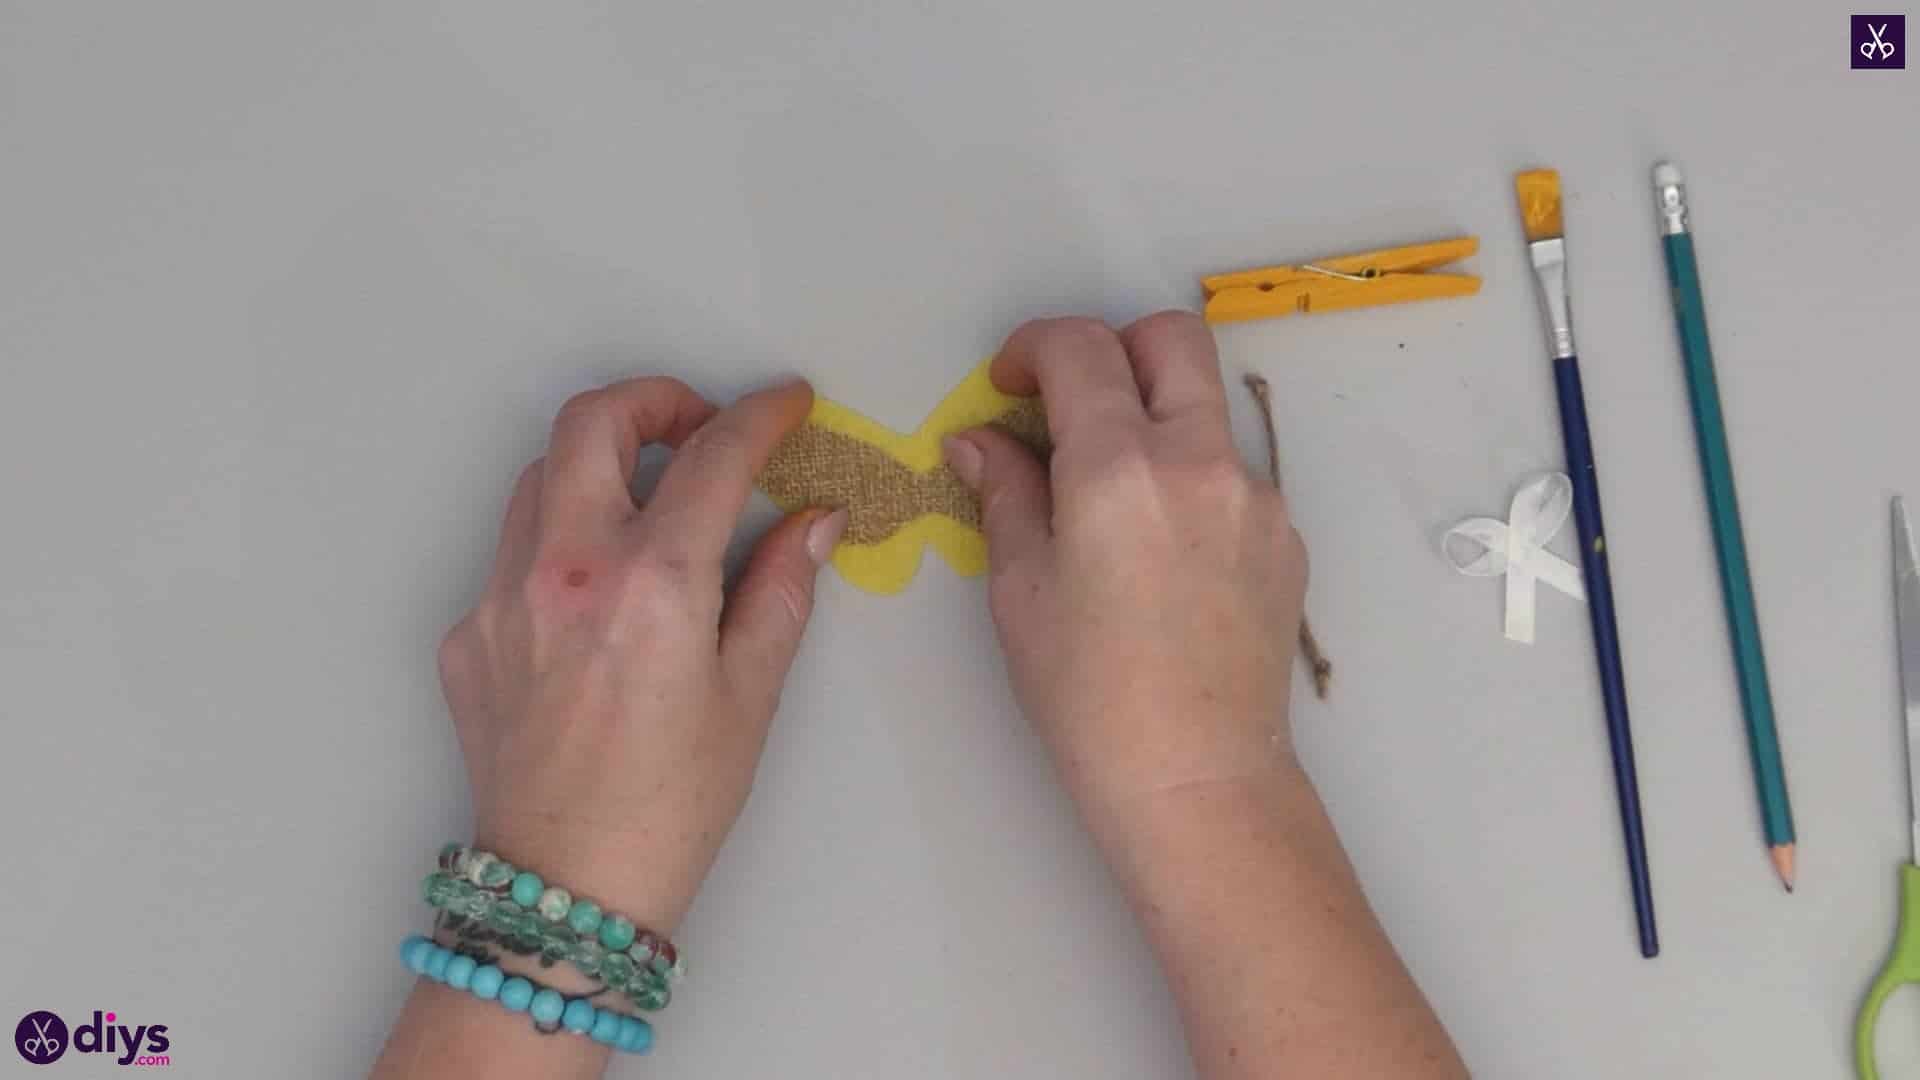
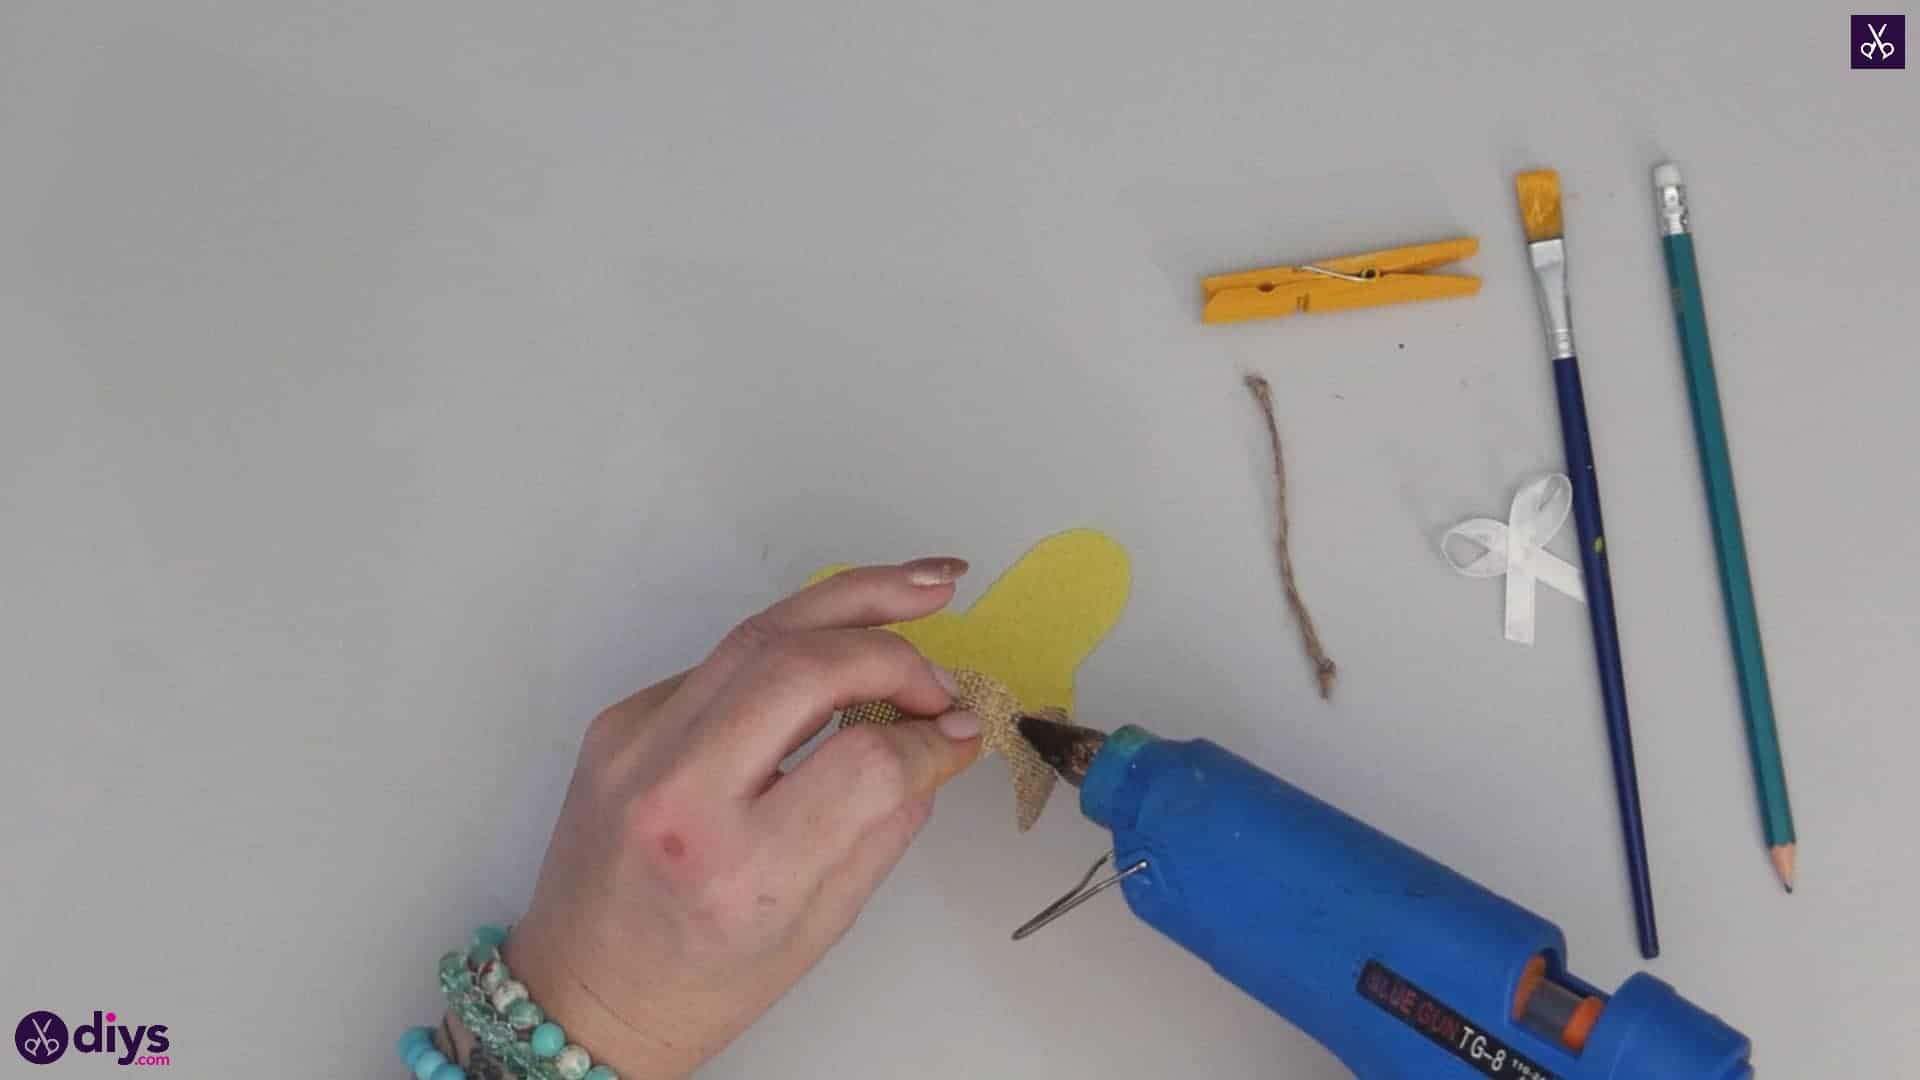
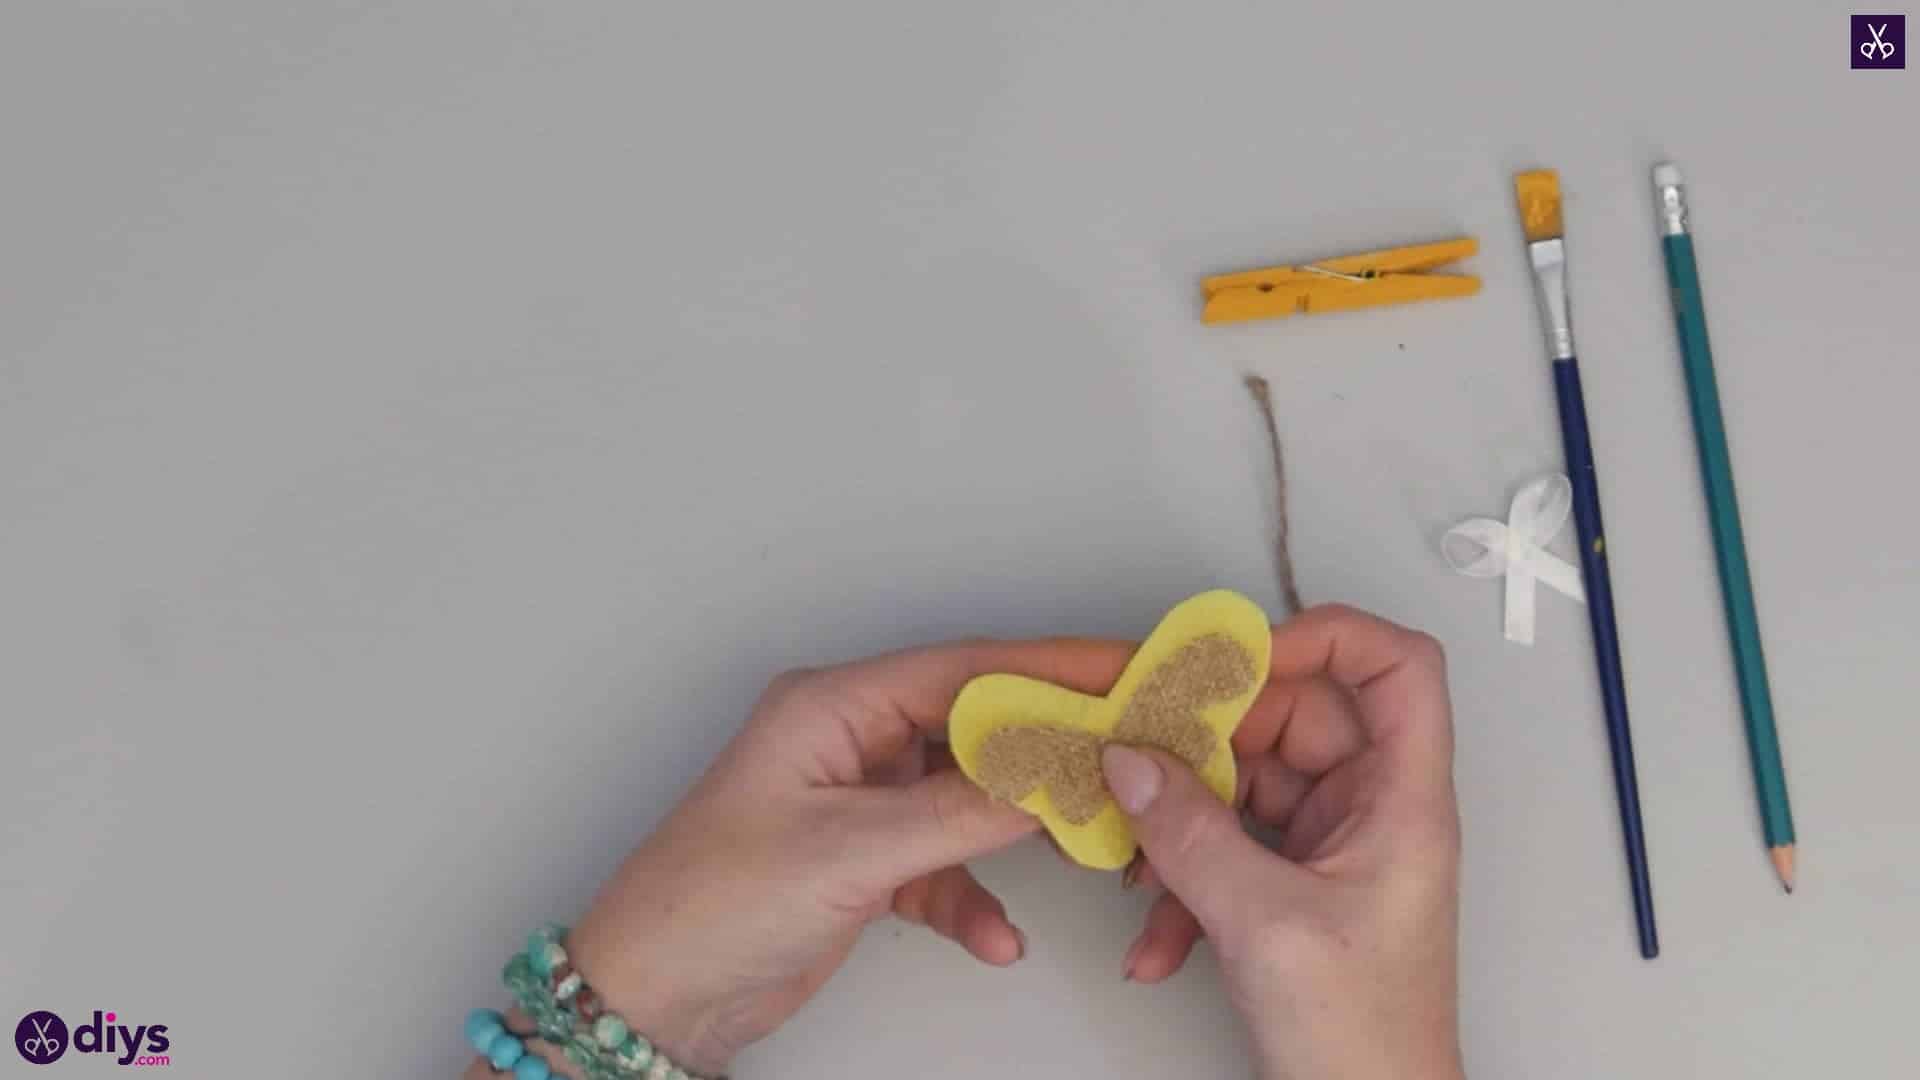
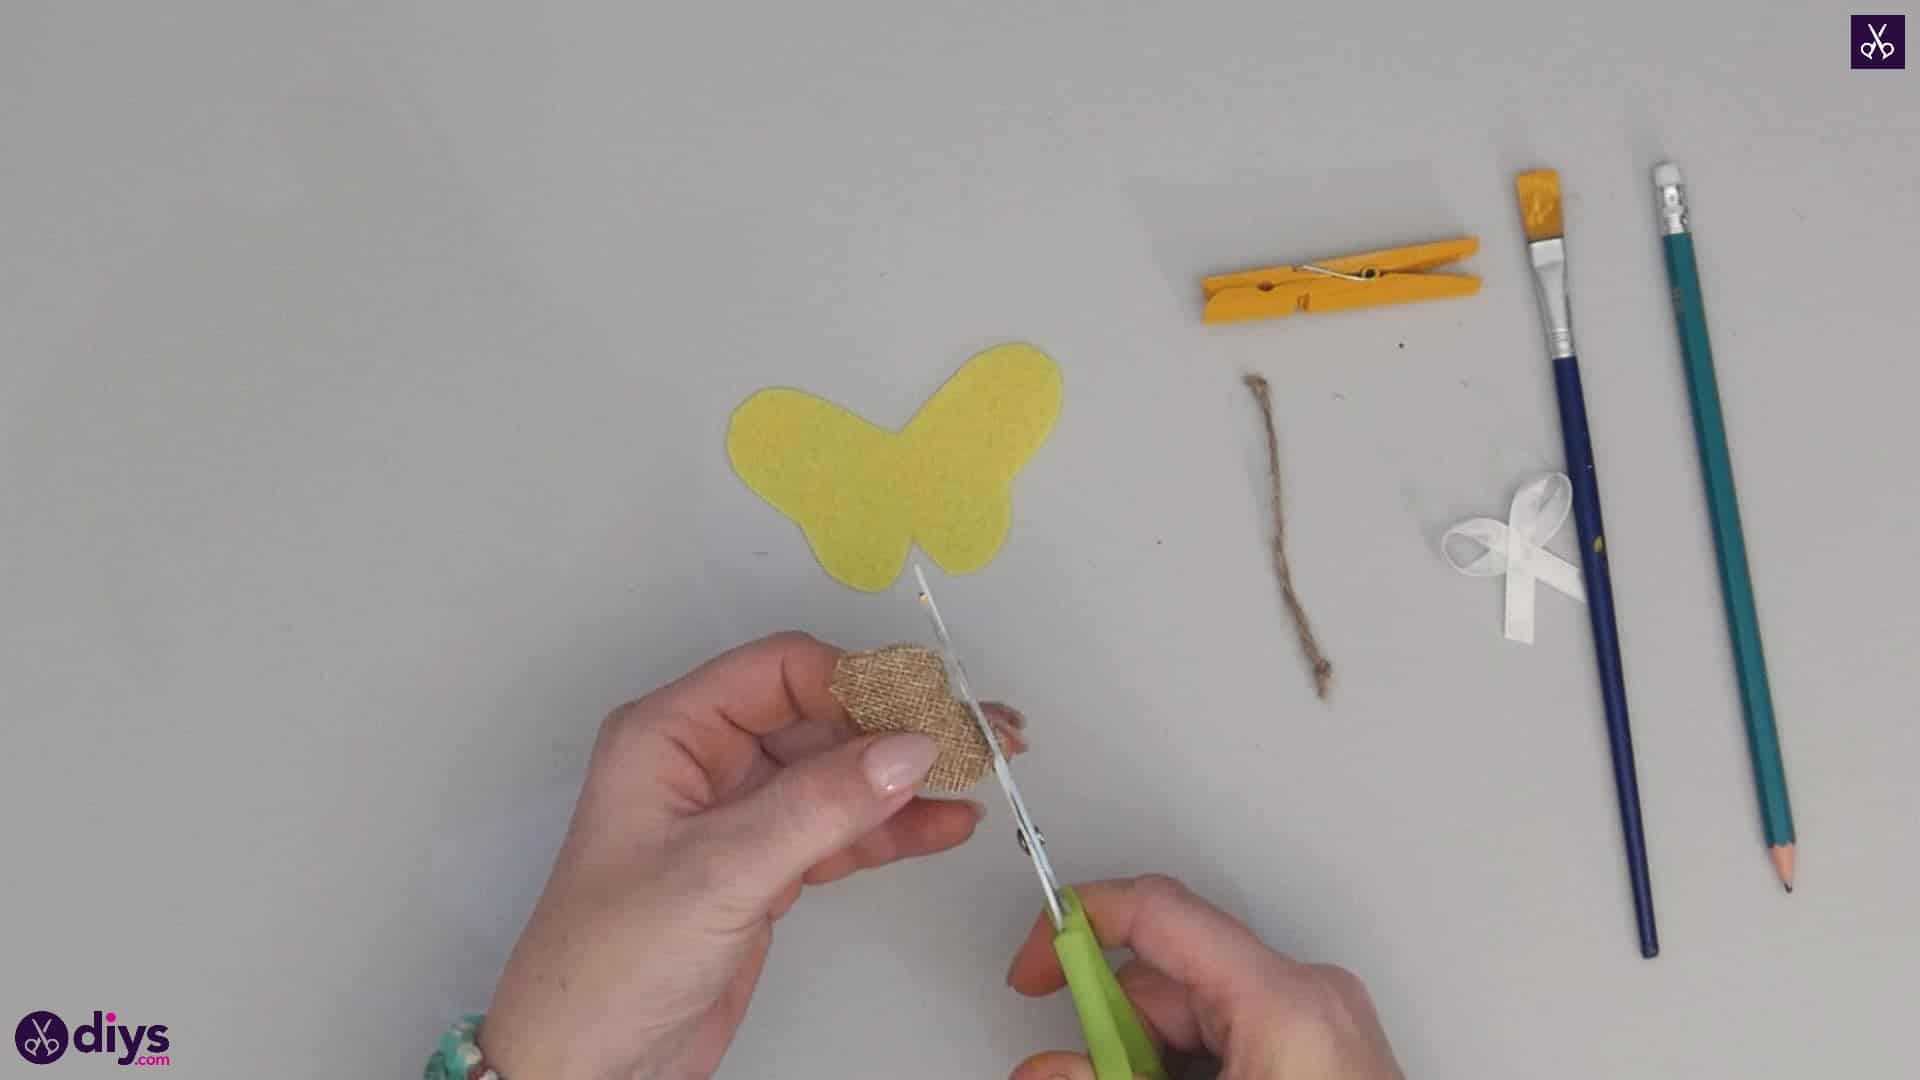
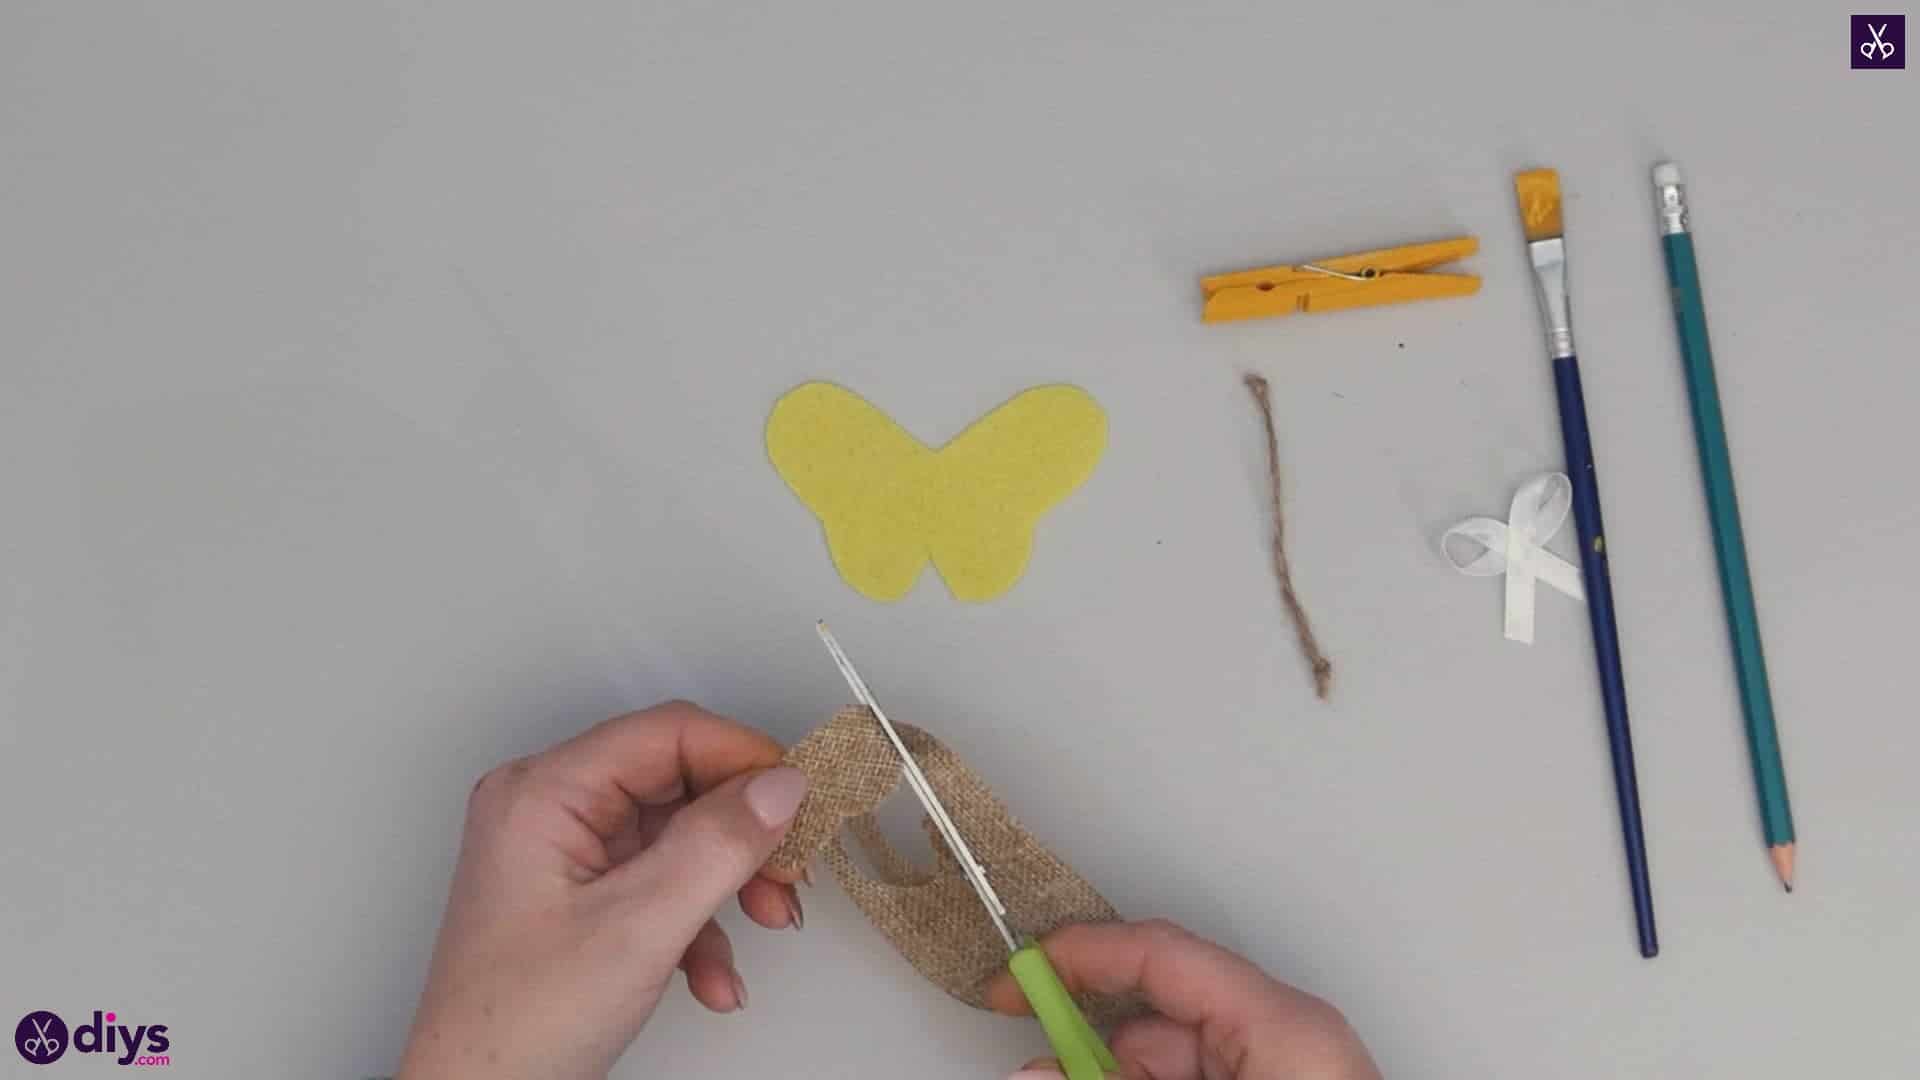
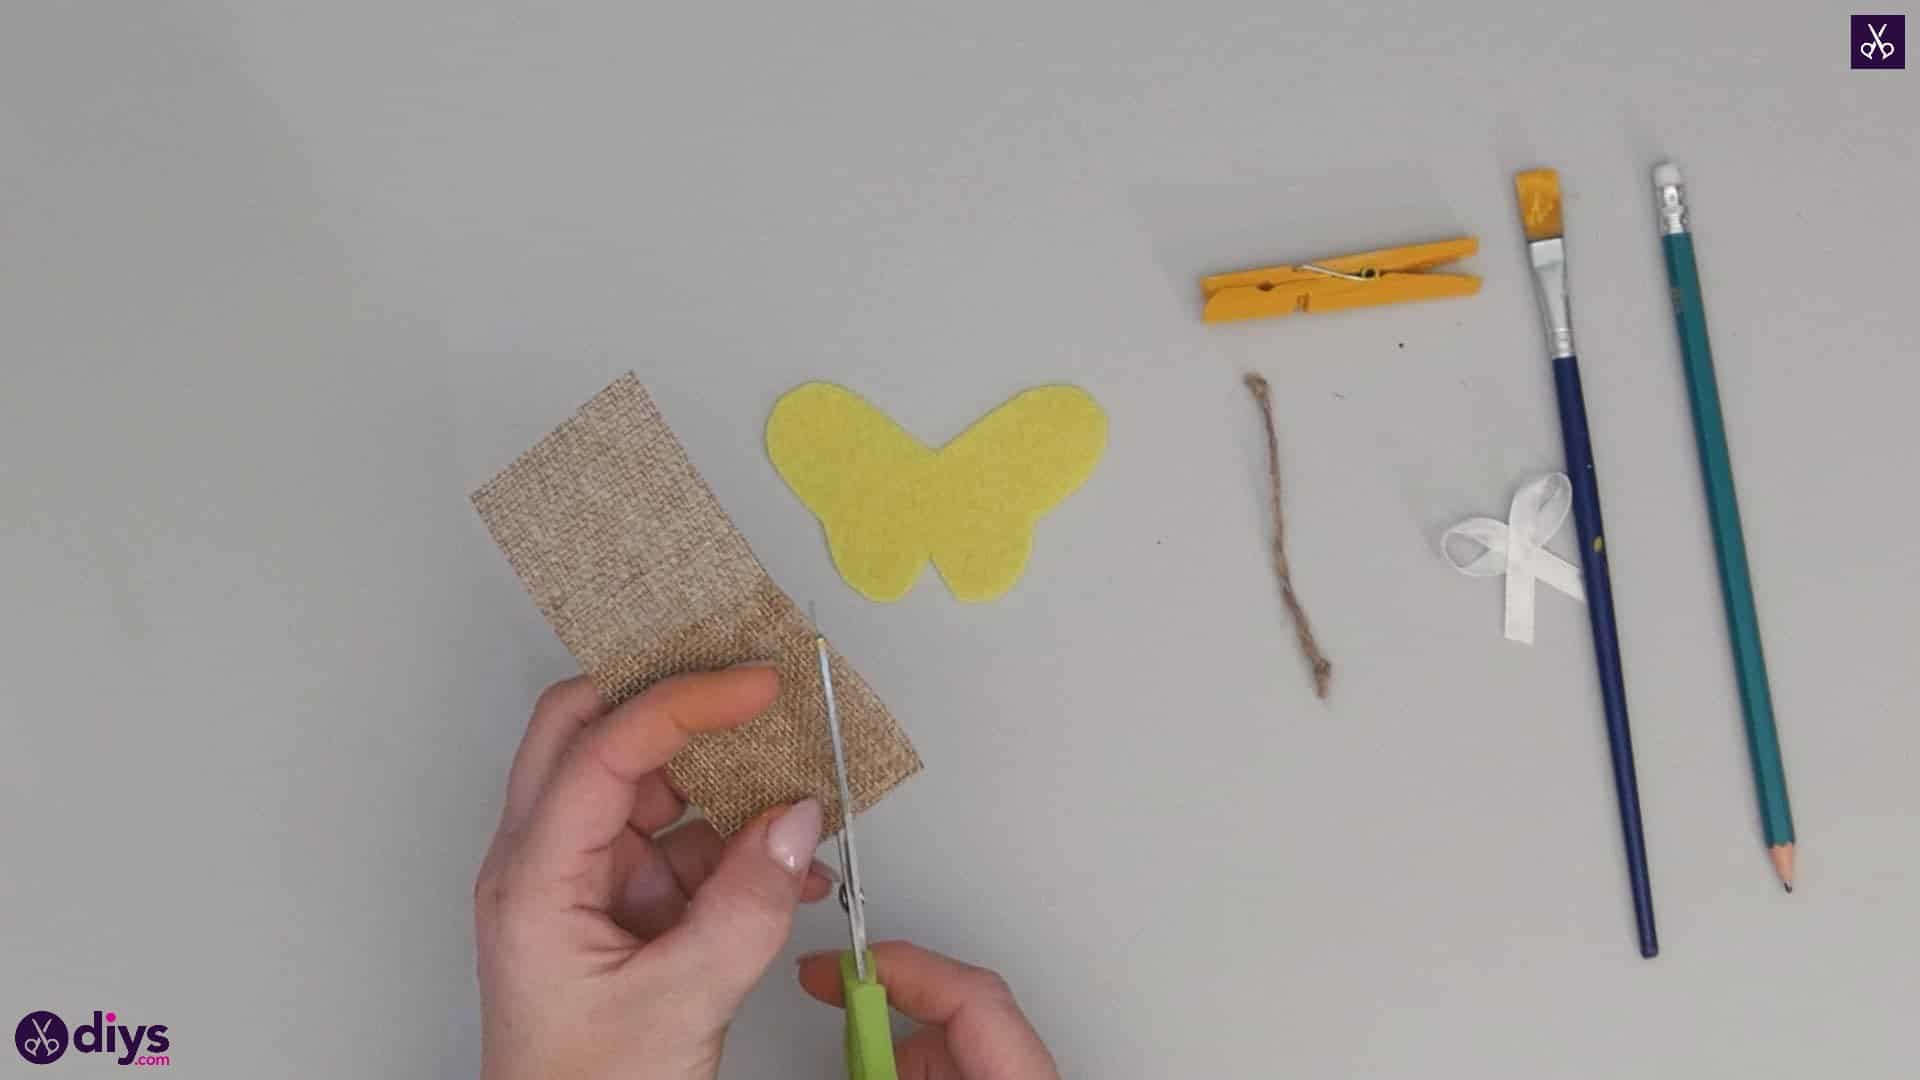
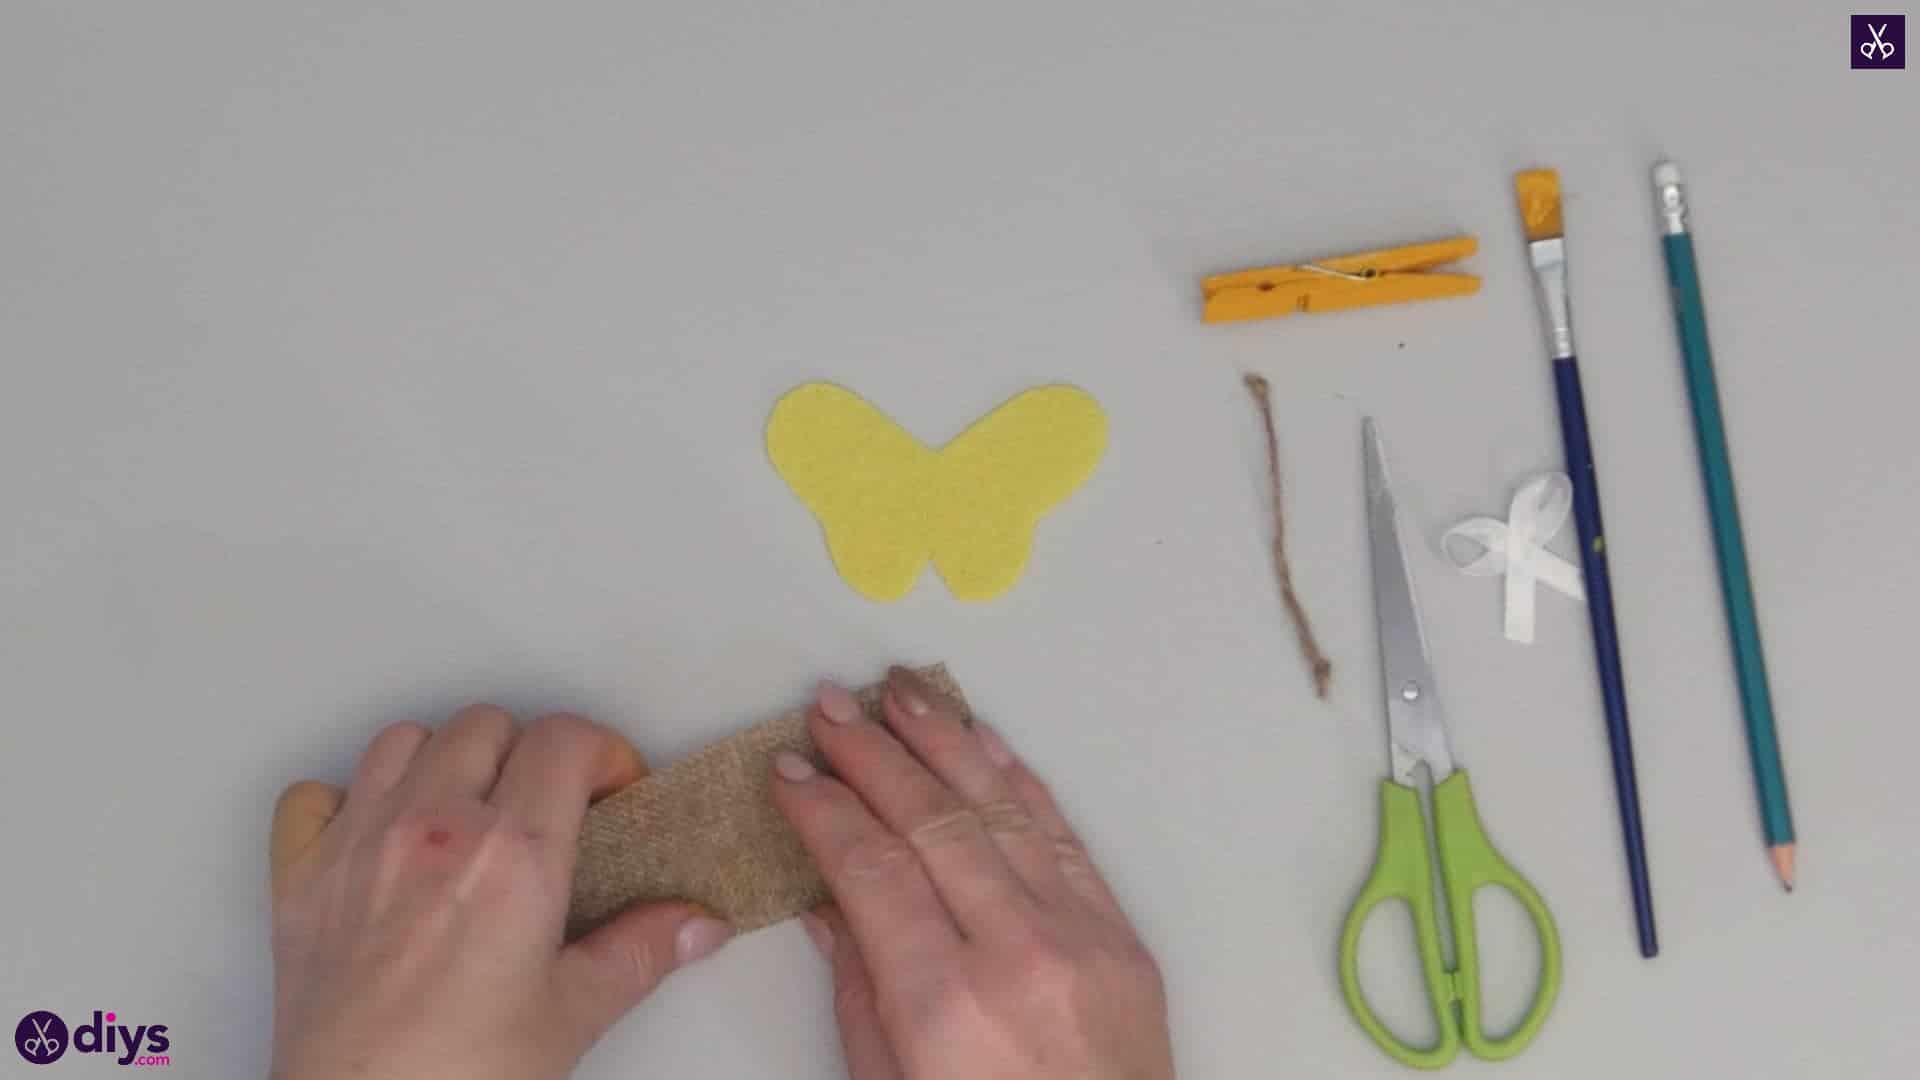
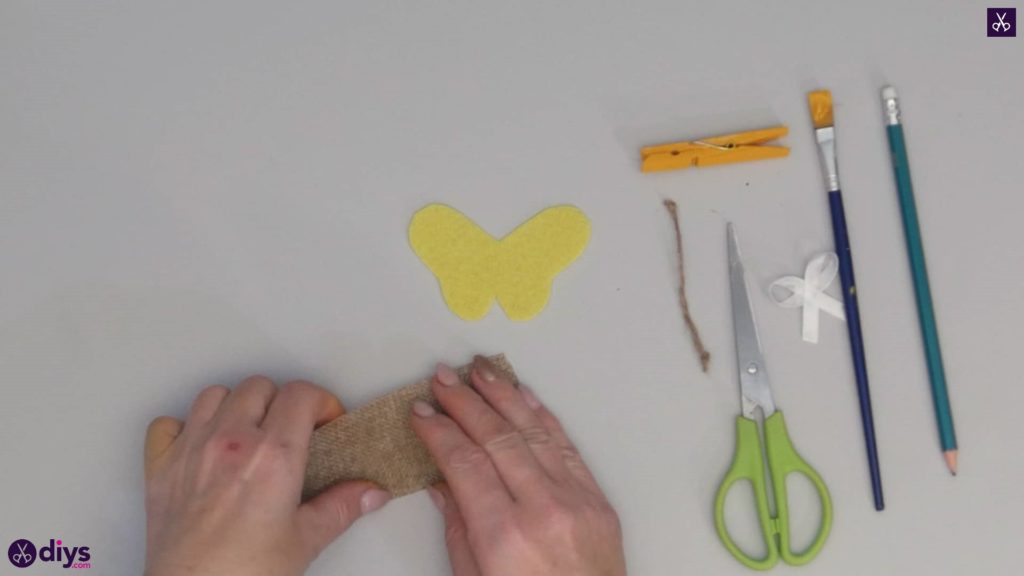
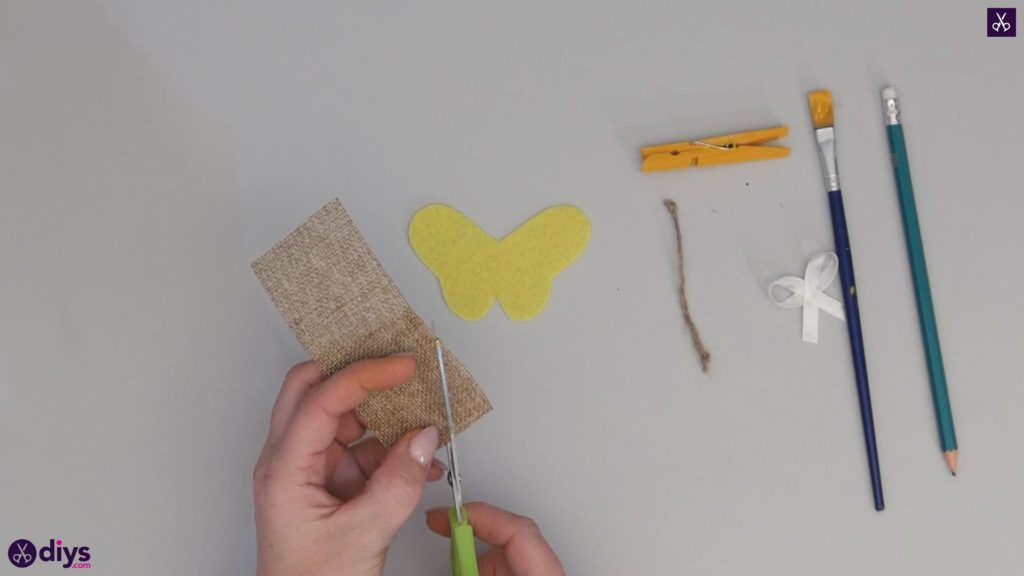
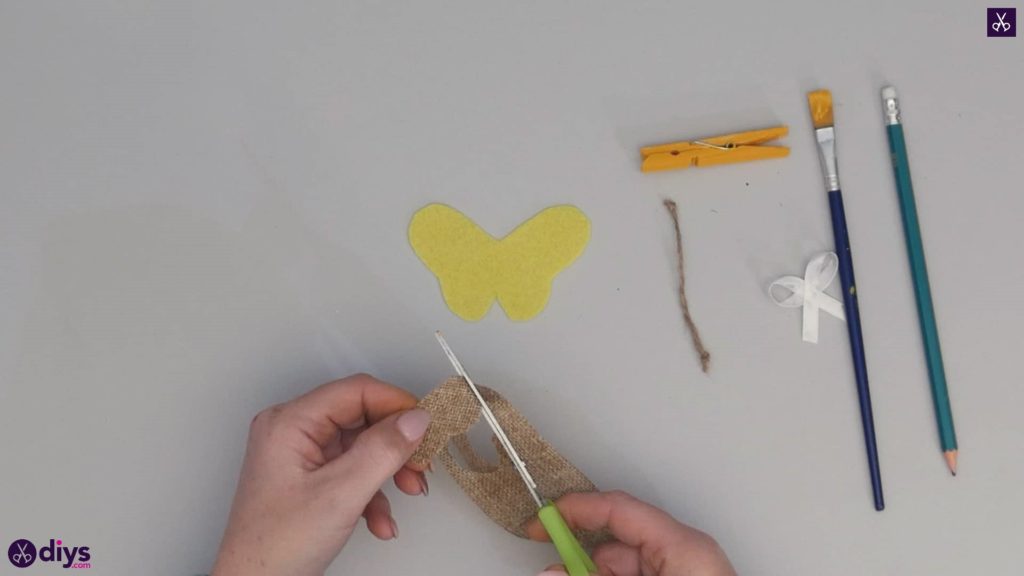
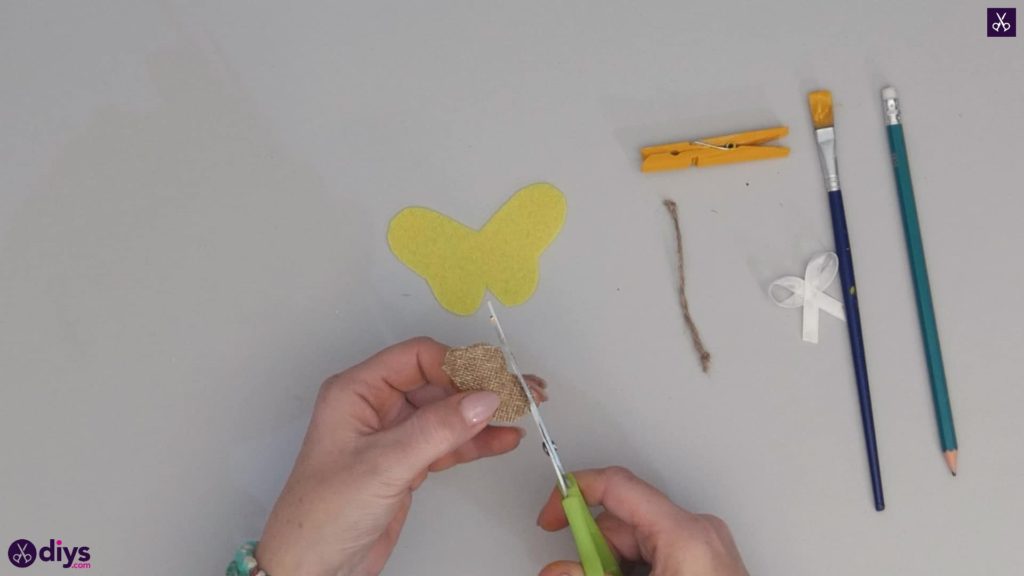
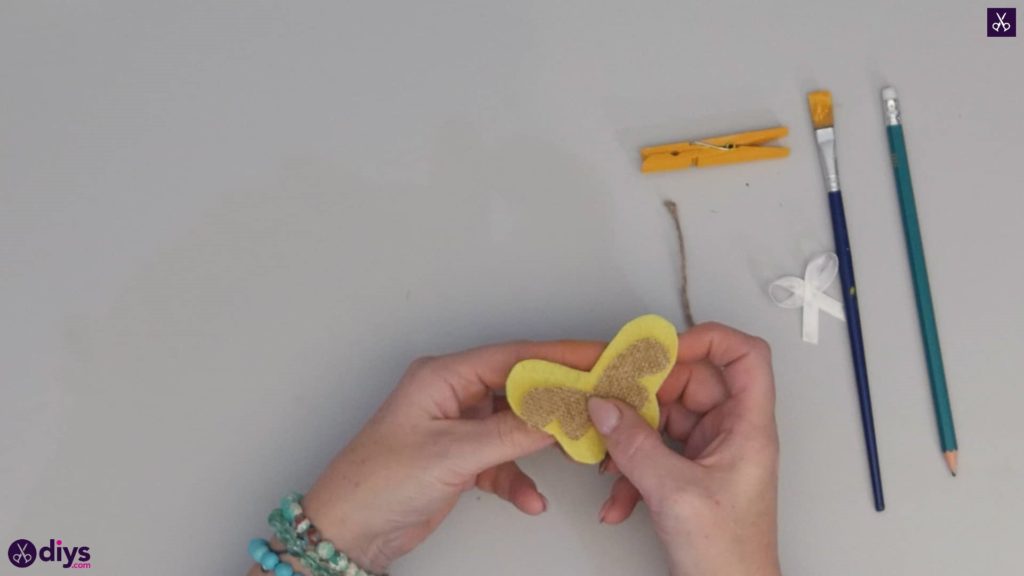
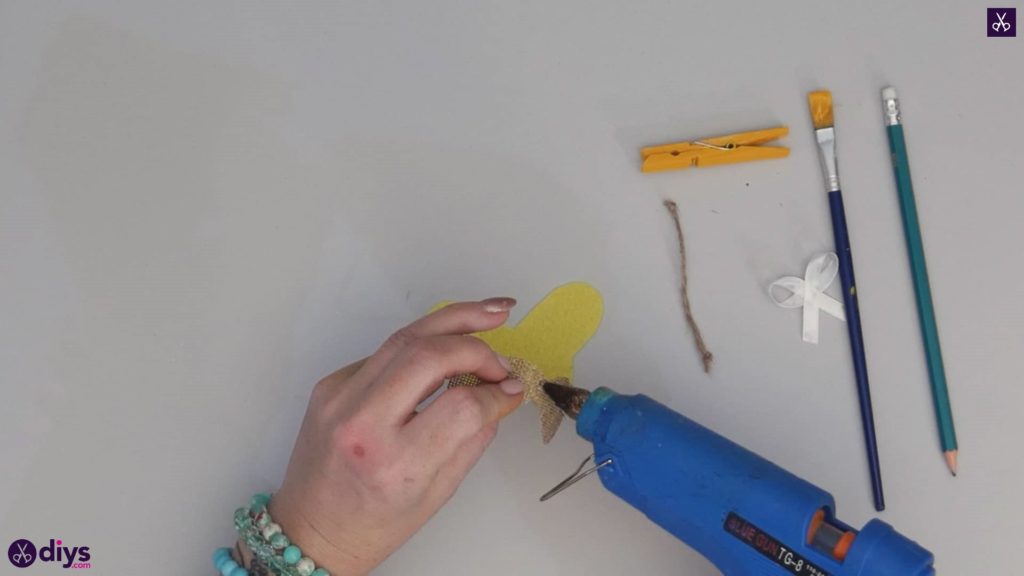
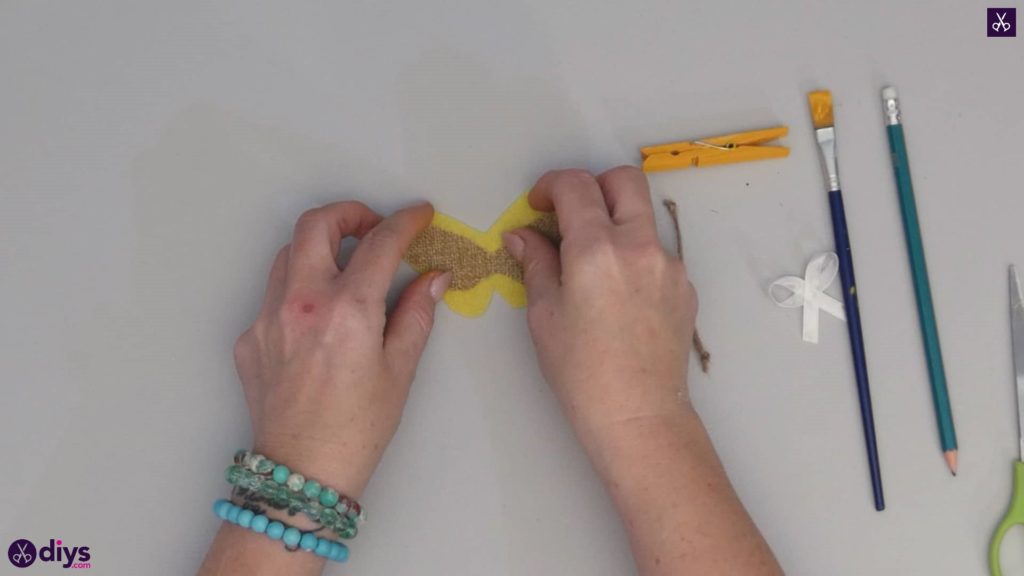
Fold your piece of burlap in half so that you have two sides layered against each other; you’ll work along the crease here, cutting a shape into it with your scissors without actually cutting the crease itself. This will give your shape two halves the same shape and size. Cut the shape of one butterfly wing this time, but smaller than you did before. You’ll layer the pieces, so you want the edges of the yellow piece to stick out around the burlap. When you unfold the piece at the crease, you’ll havetwo wings! Measure them against your yellow piece by matching up their centres and trim the wings if necessary to make them fit well on the the bigger wings. Then turn the smaller burlap wings over, apply hot glue on the back, and stick them into place.
Step 7: starting gluing
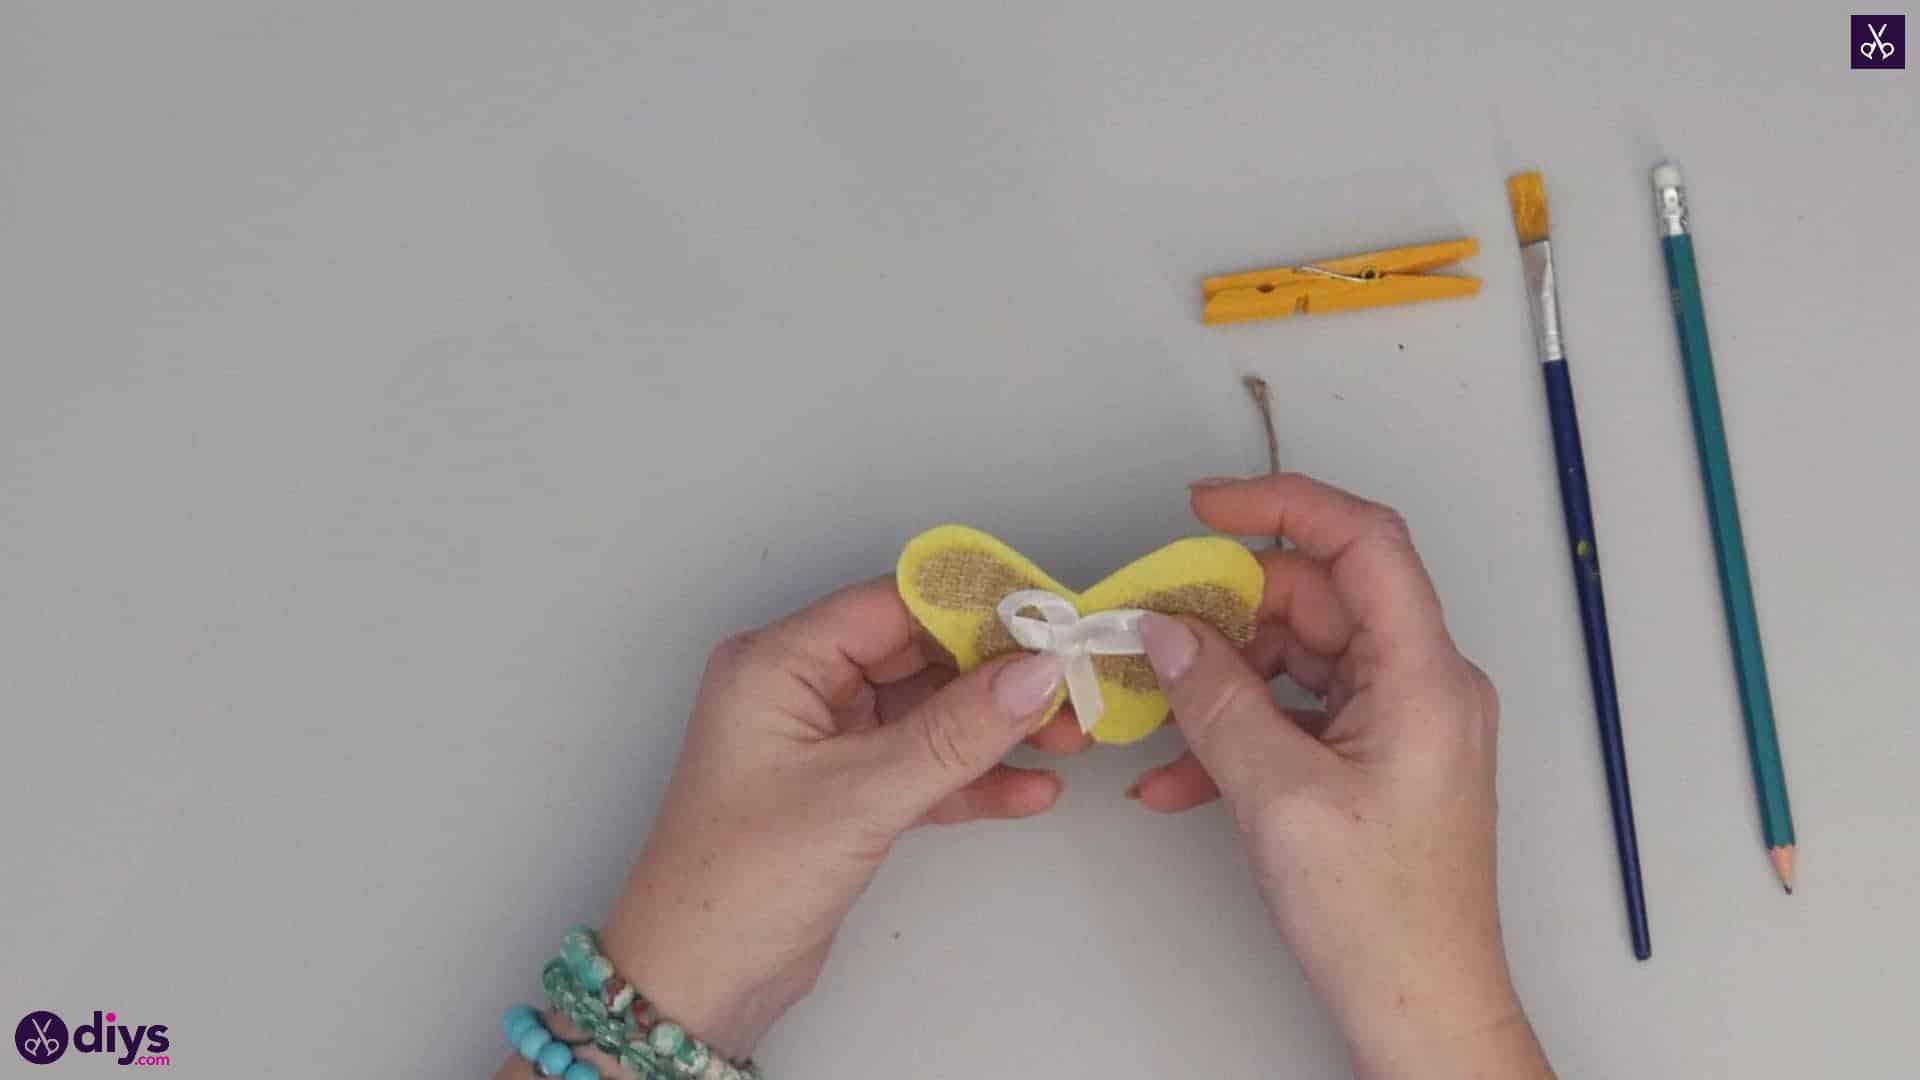
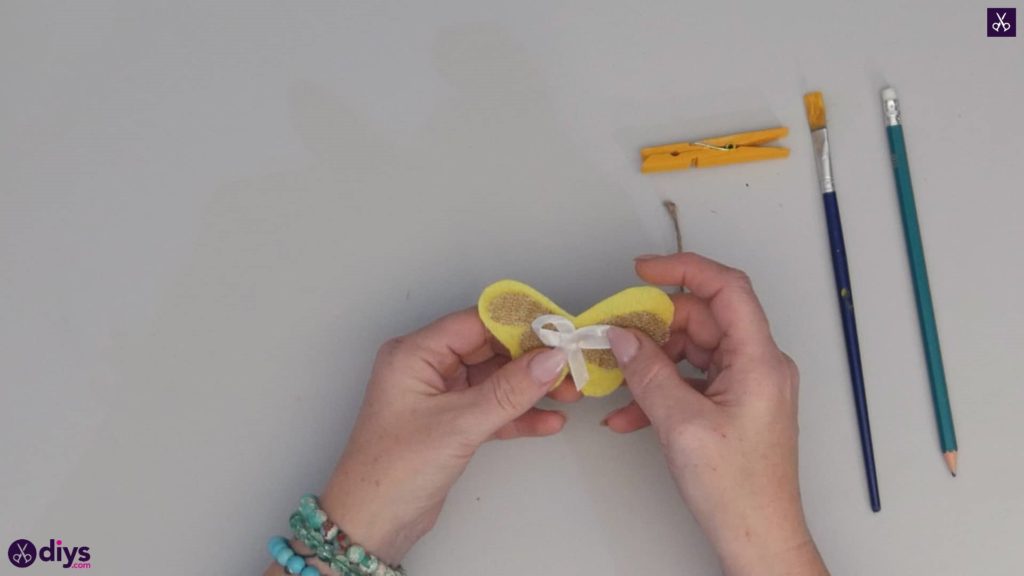
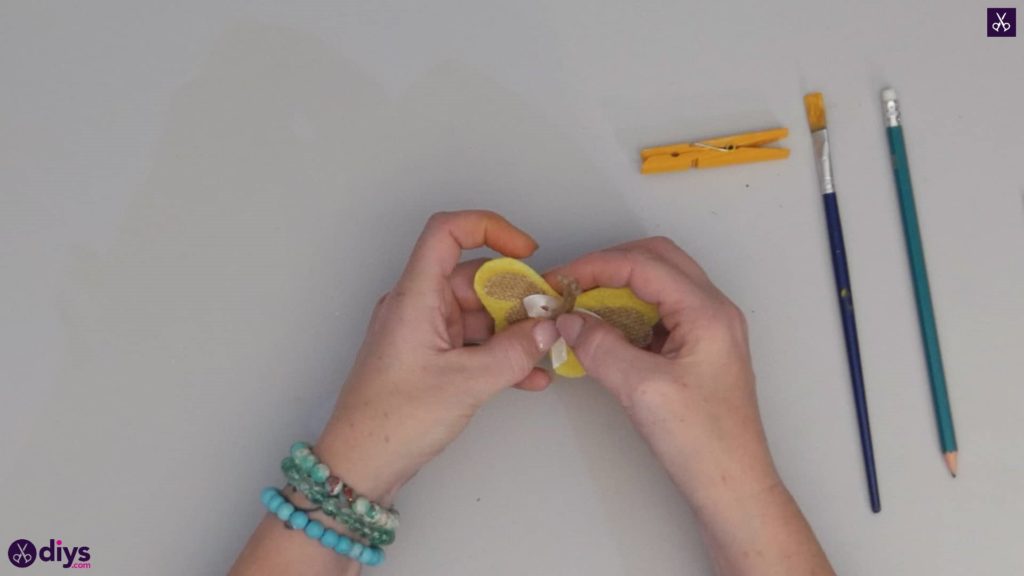
Apply hot glue to the back centre of your white ribbon bow and stick it into place in the centre top of your smaller burlap butterfly wings, so the shape of the bow sort of mimics the wings themselves with the loops and ends.
Step 8: add the antennae
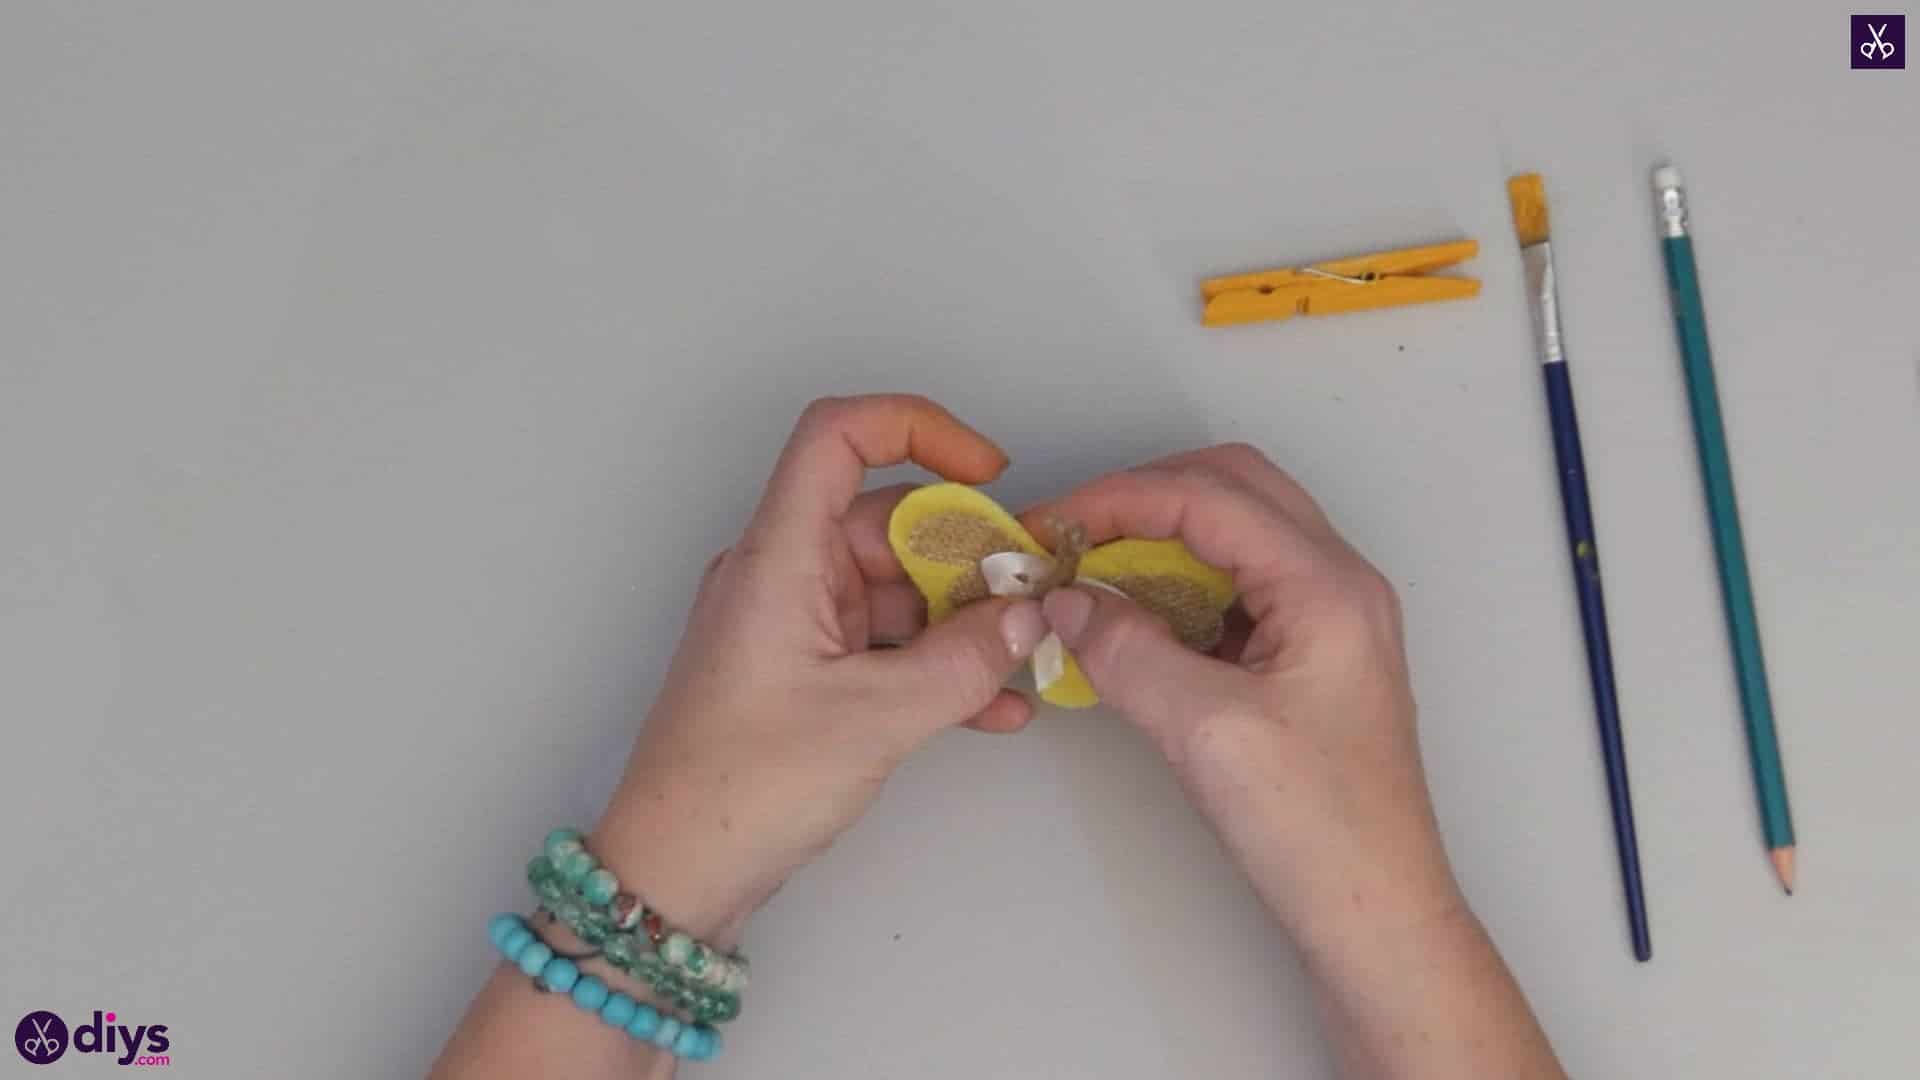
Fold your previously cut piece of jute twine so its knotted ends meet evenly and there’s a crease at the other end. Apply a dot of glue in the centre of your white ribbon bow and stick this bend or crease in the jute twine down there so the knotted ends stick up. These are your butterfly’s antennae!
Step 9: glue the pin
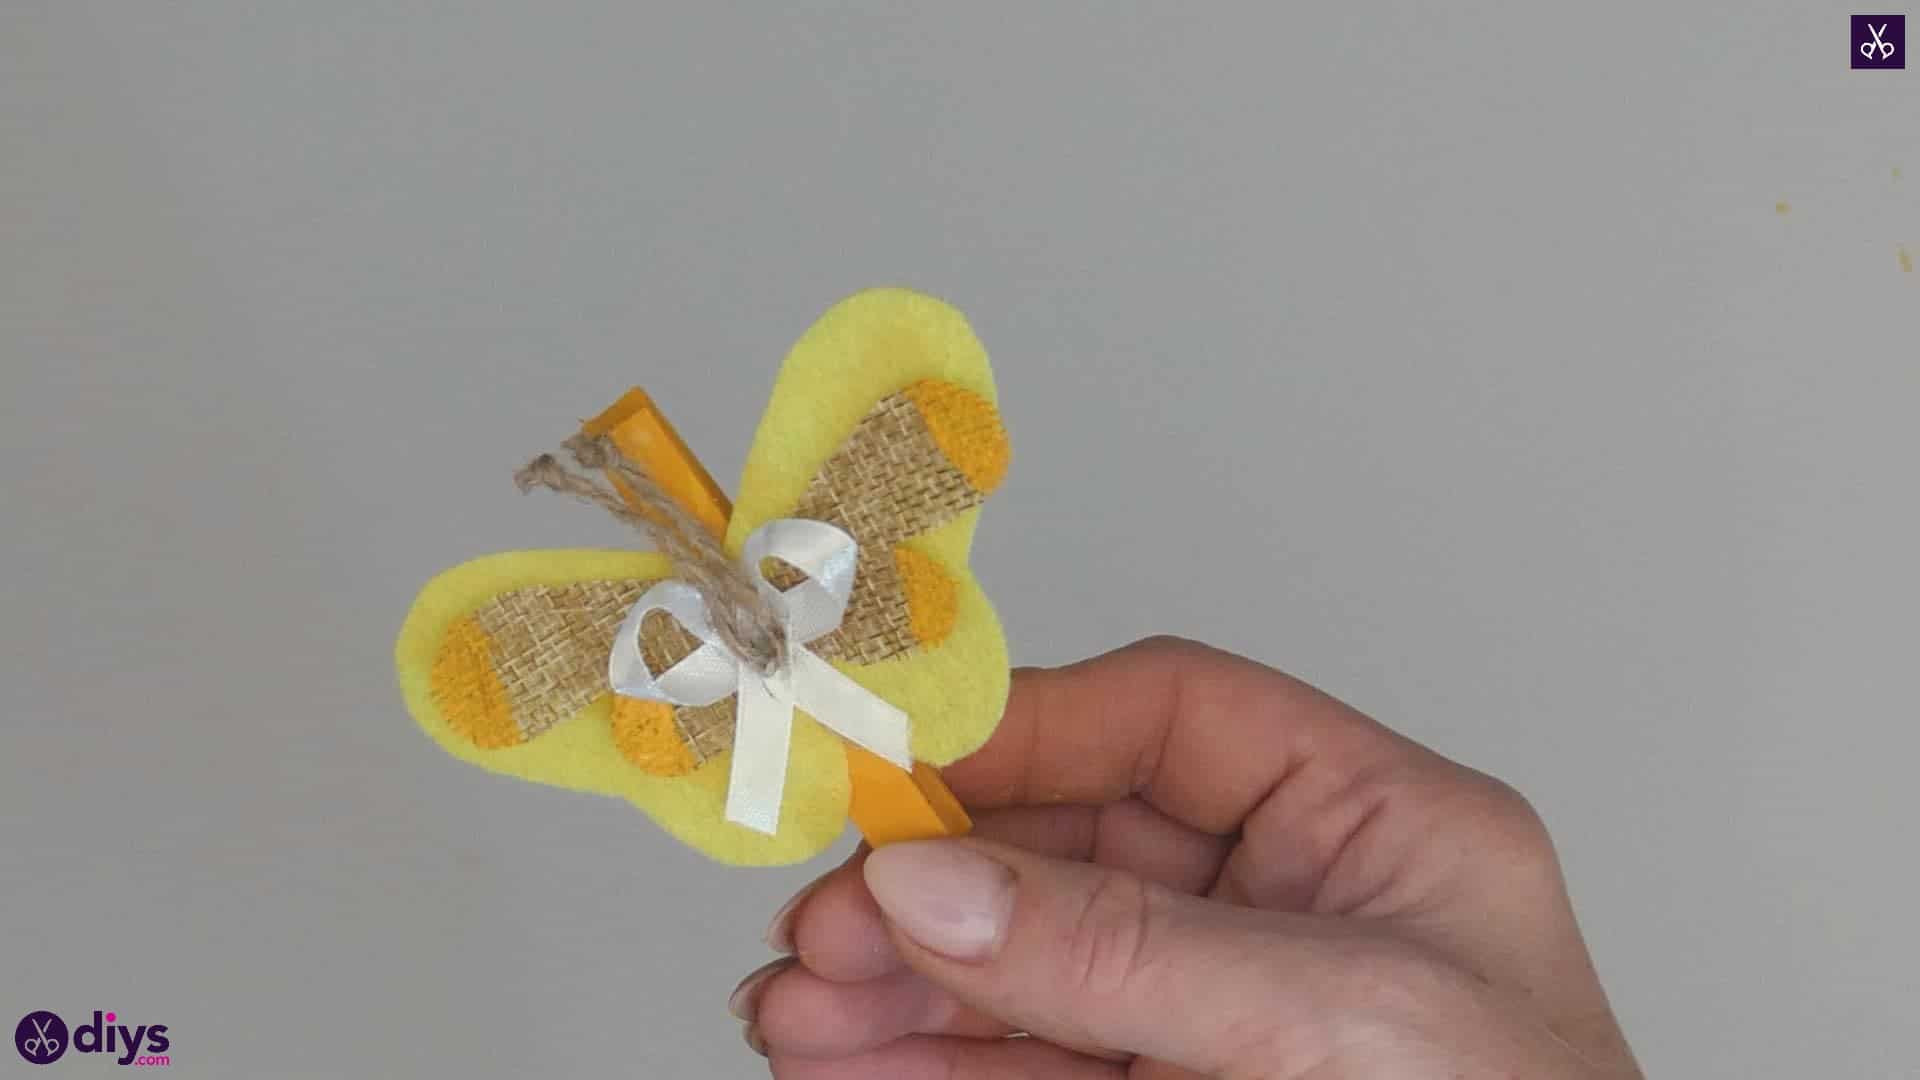
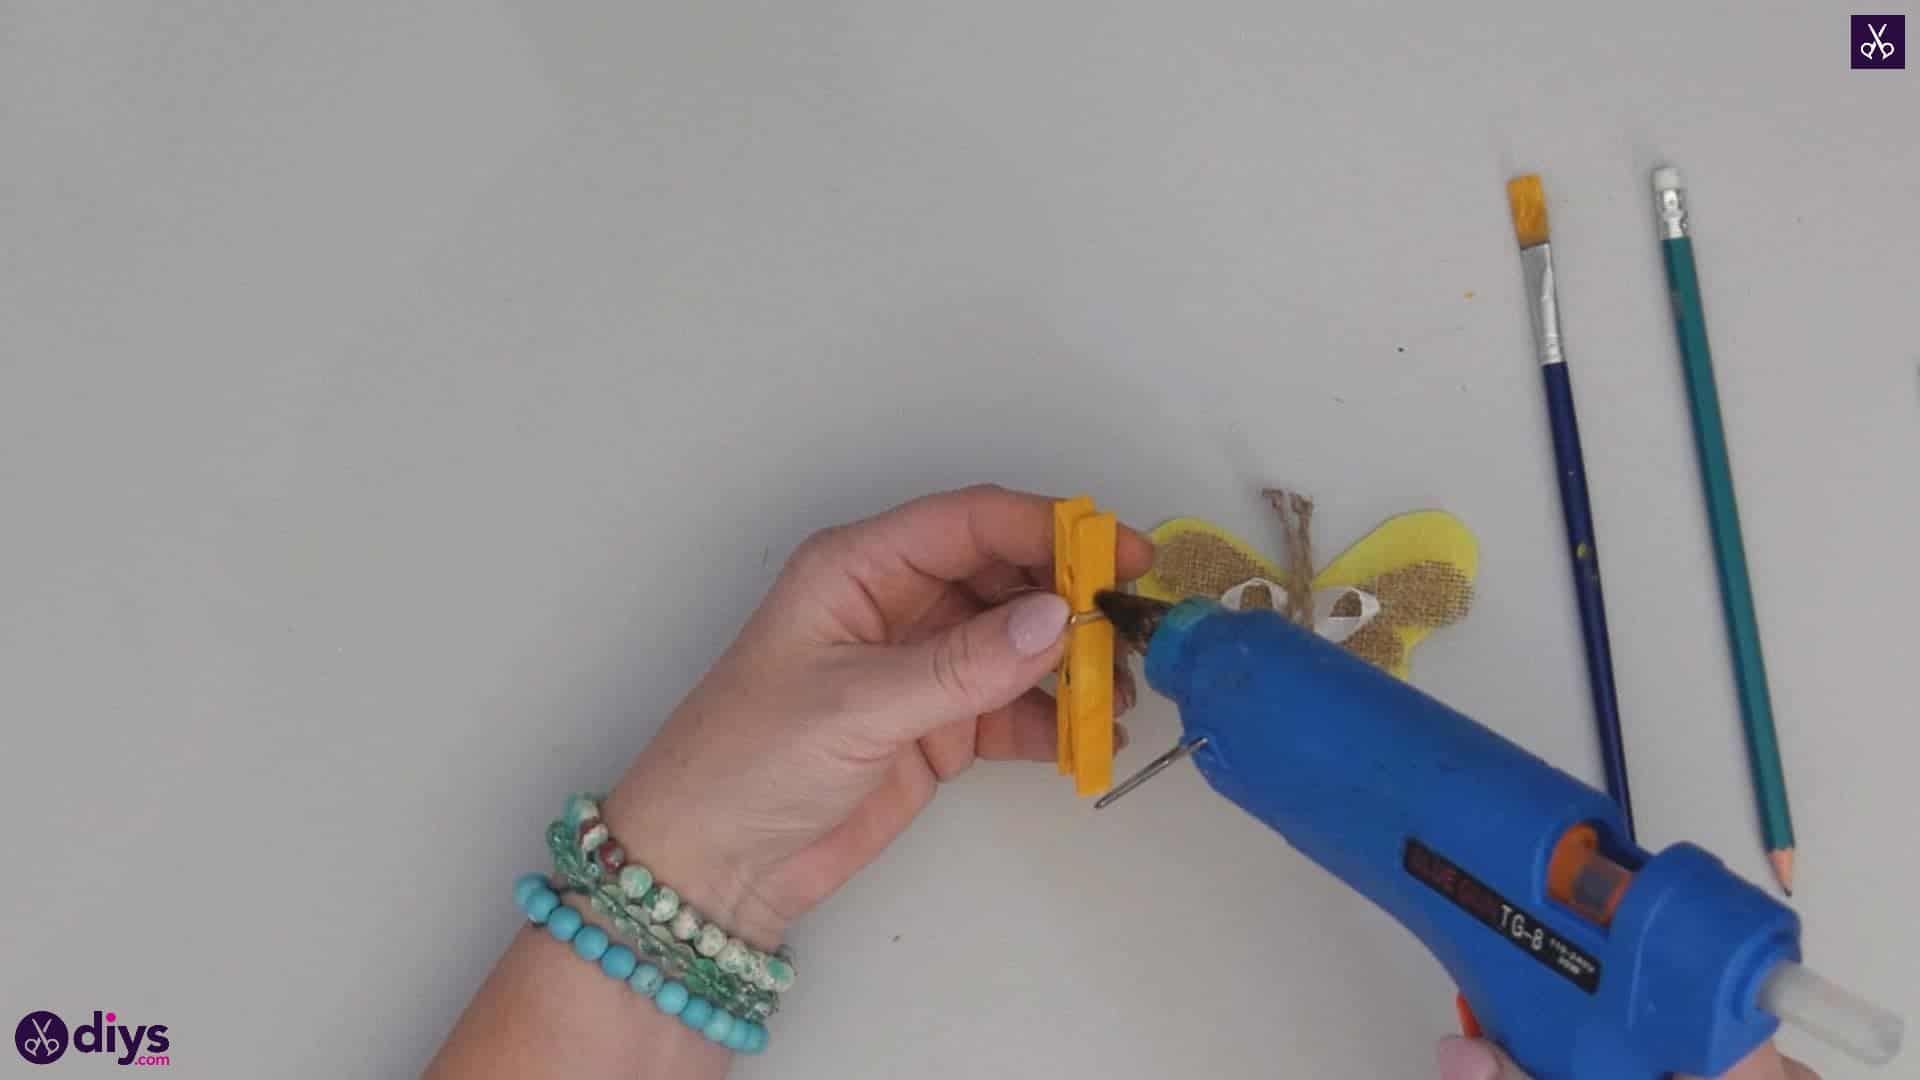
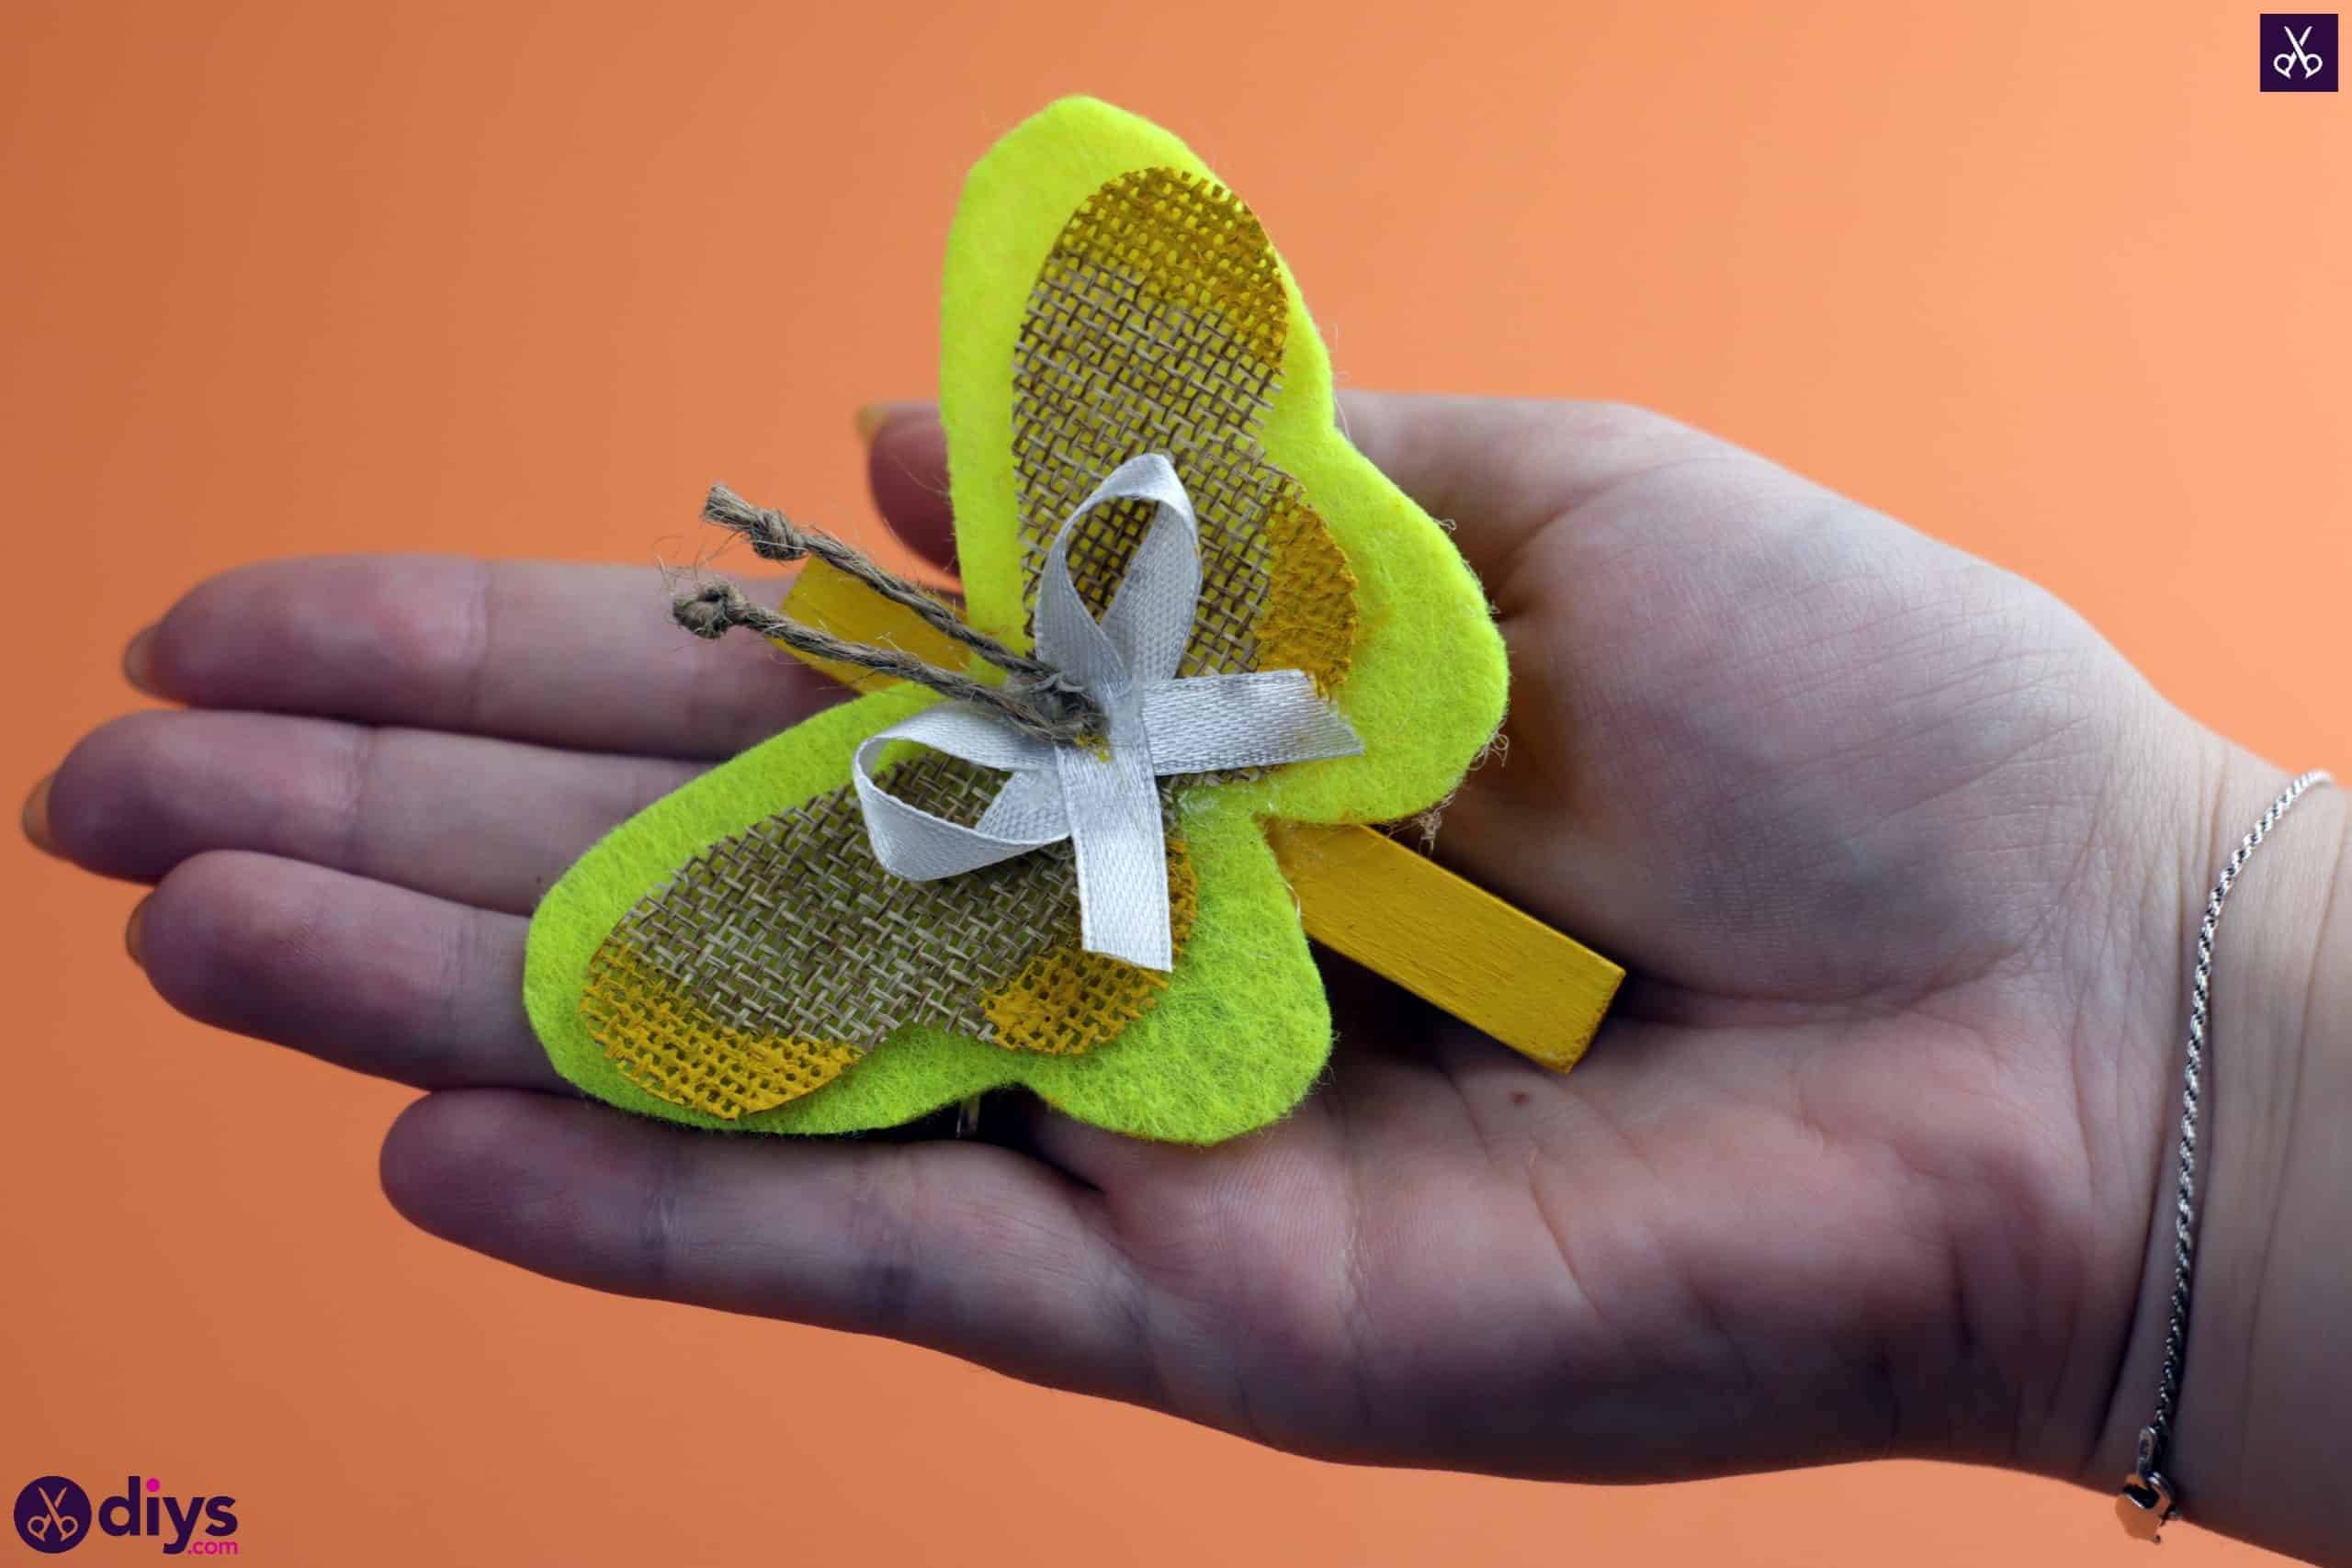
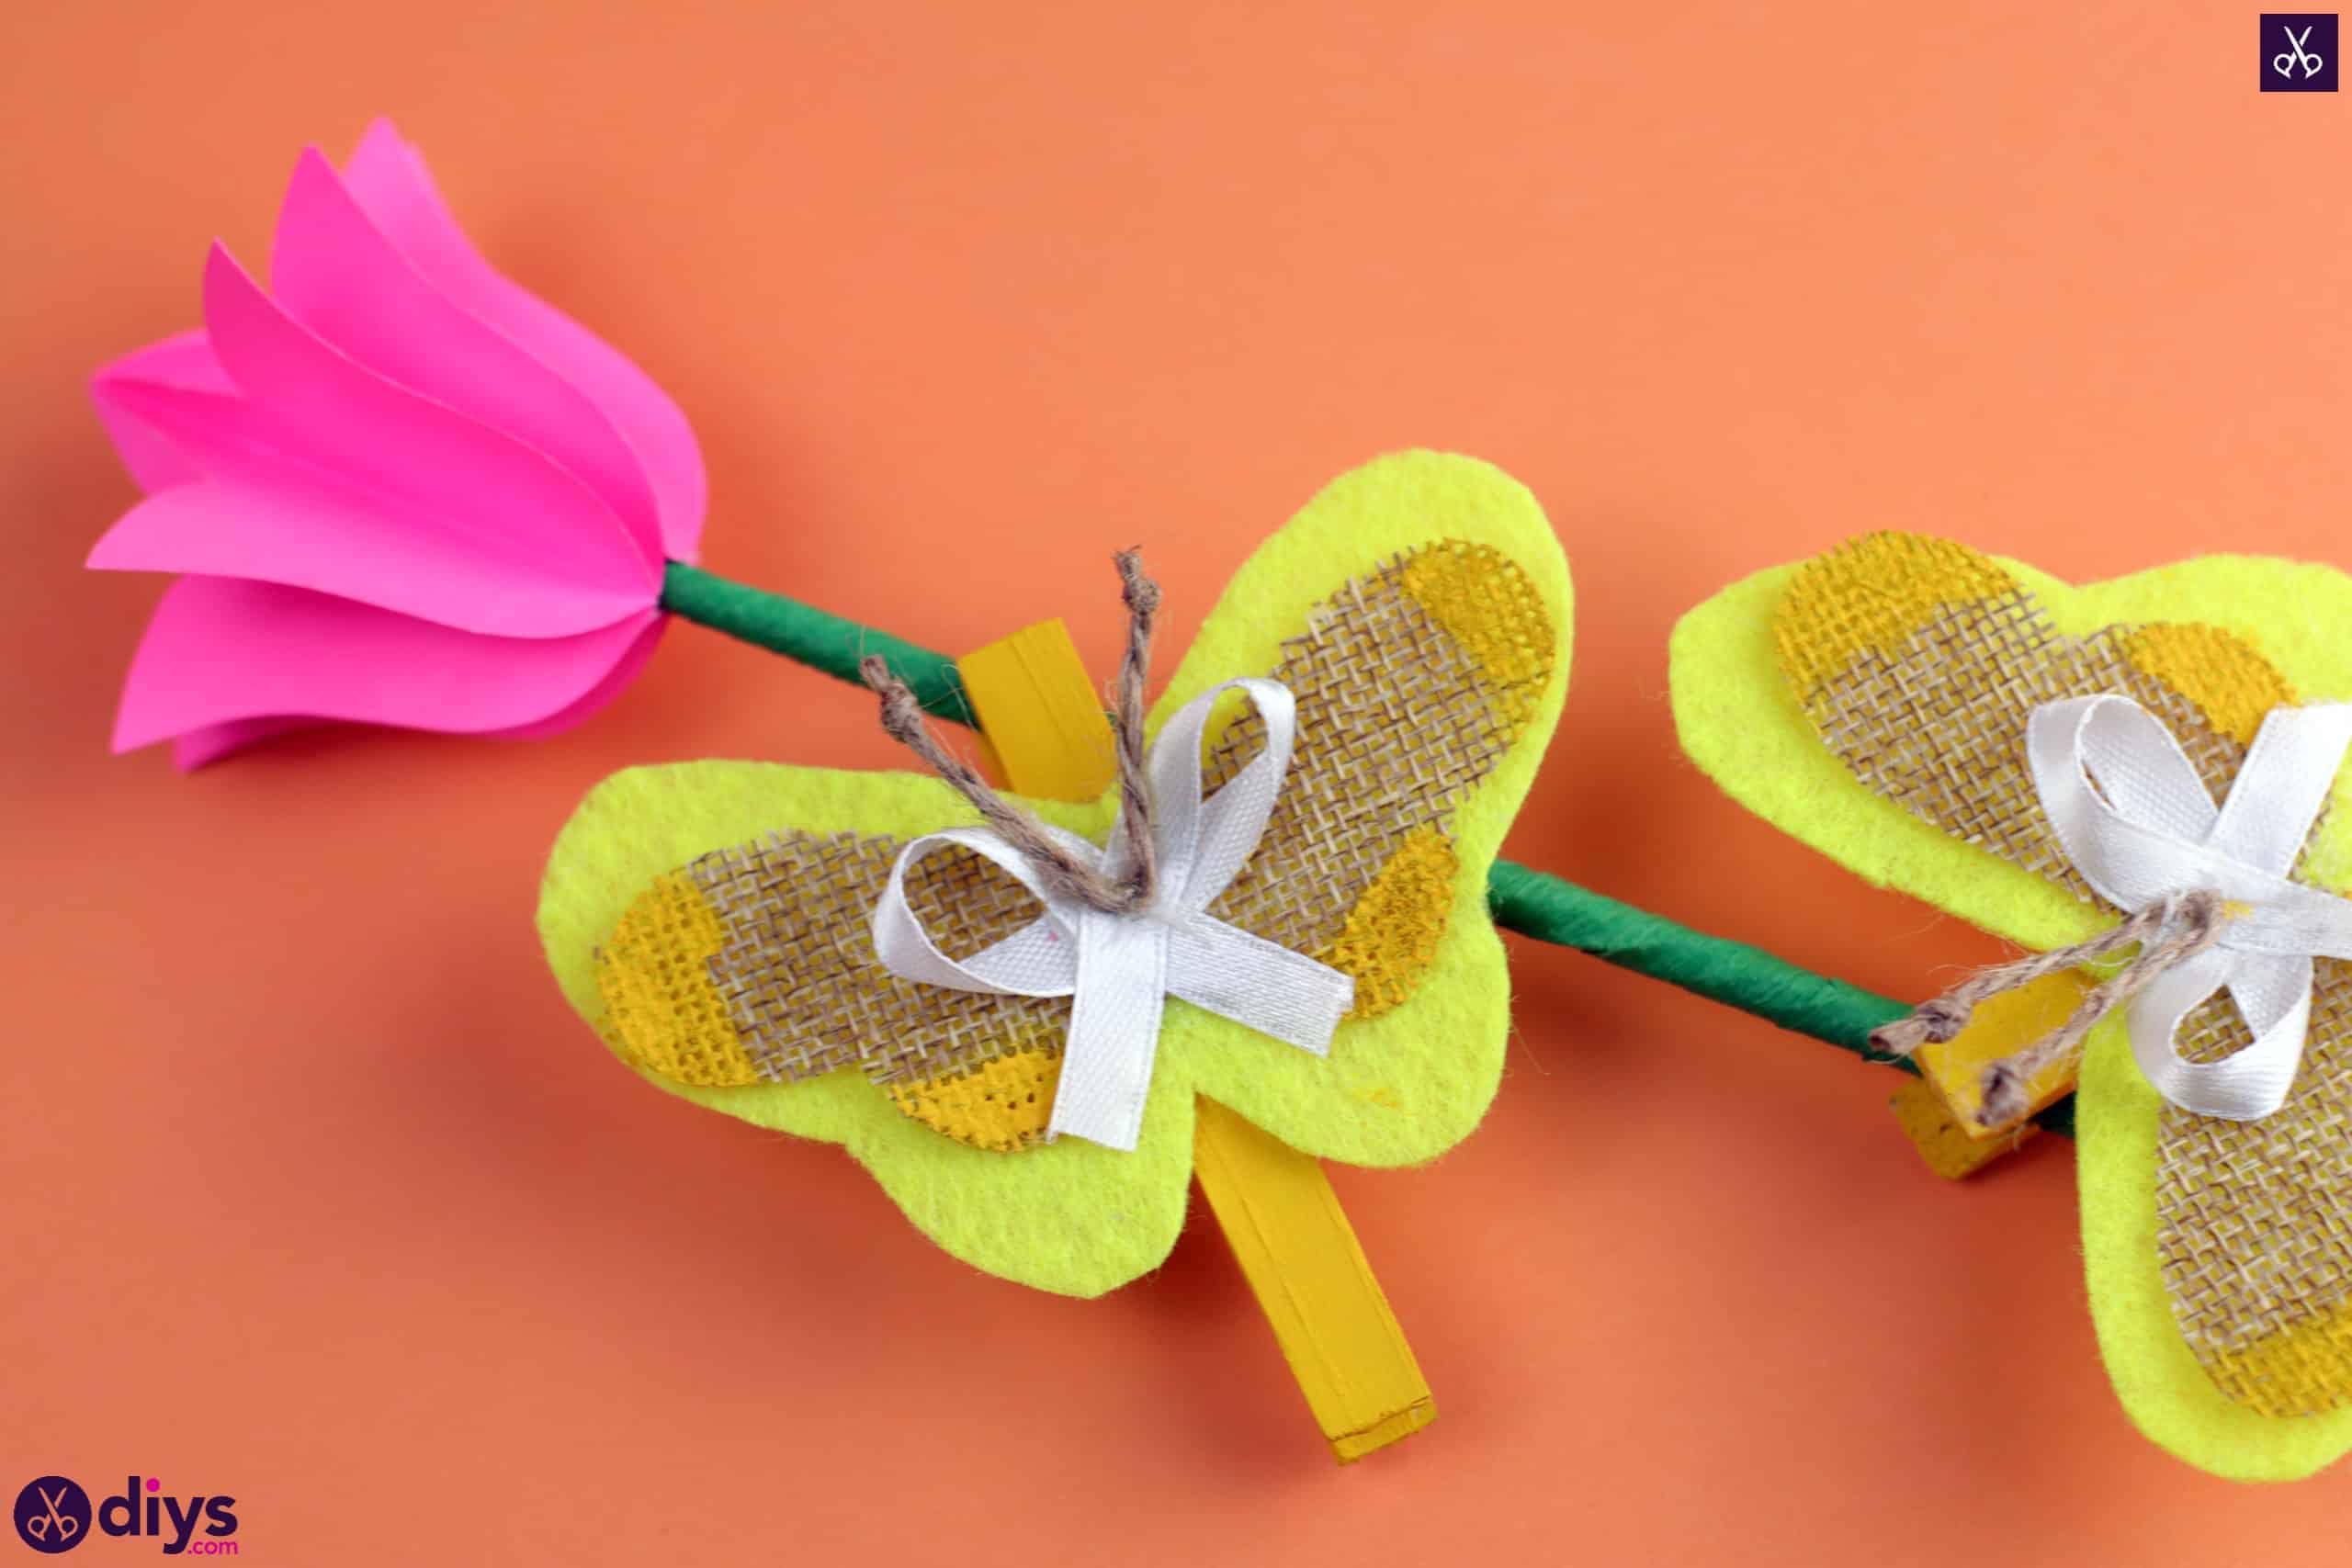
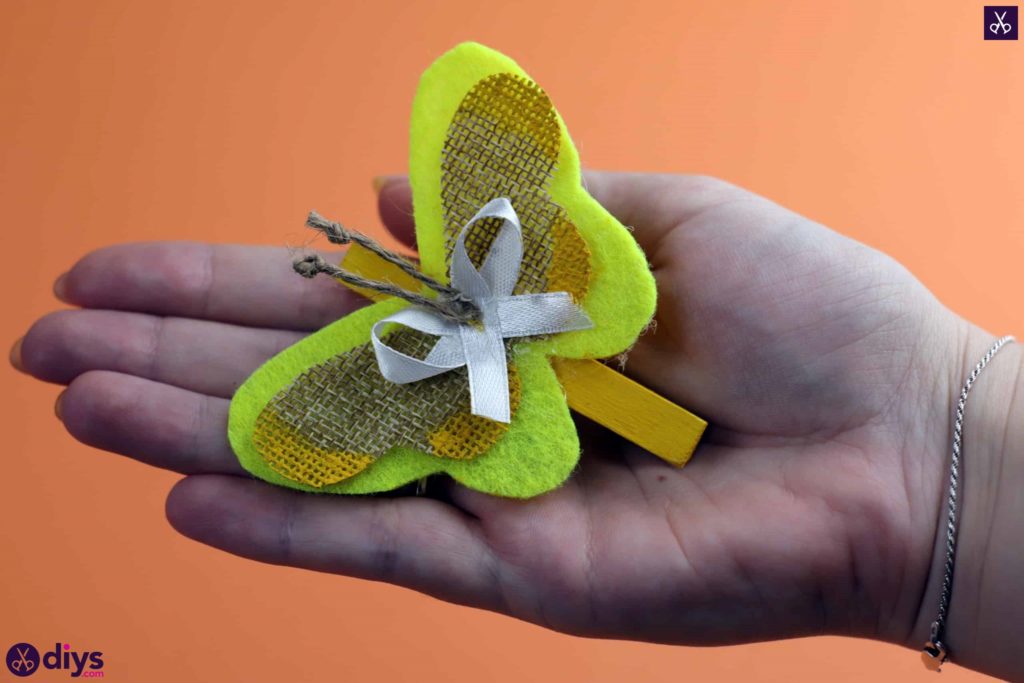
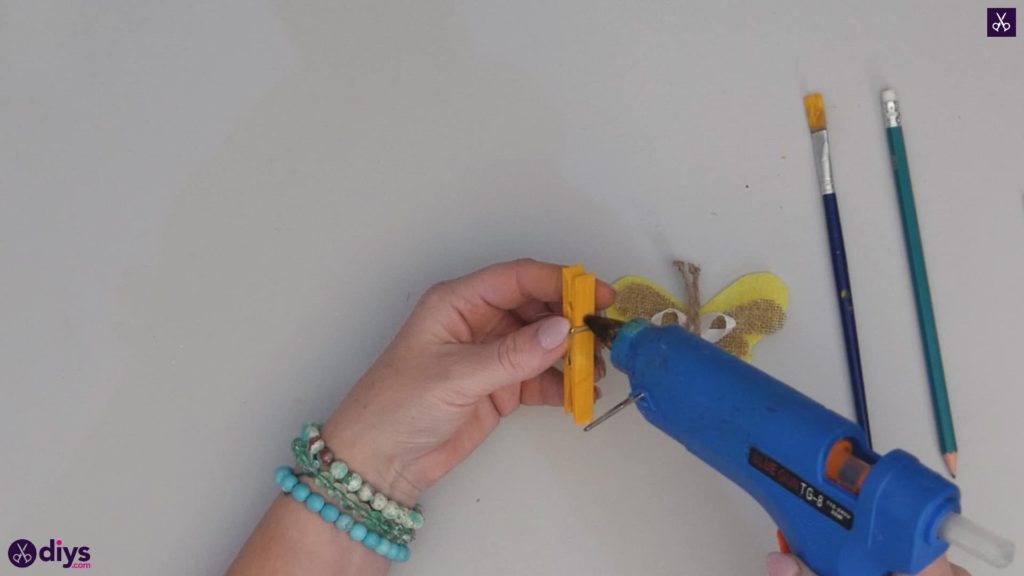
Hold your dried yellow clothespin so the clamp is facing upwards and the handles that you pinch together are facing downwards. Apply hot glue just above the metal brace that holds the spring mechanism in place between the wood pieces. Then stick the back of your yellow butterfly wings down there to complete the construction of your butterfly. The clothespin will be like your butterfly’s body and will also be how you pin it in fun places, like on the curtains in the playroom.
Step 10: finishing touches
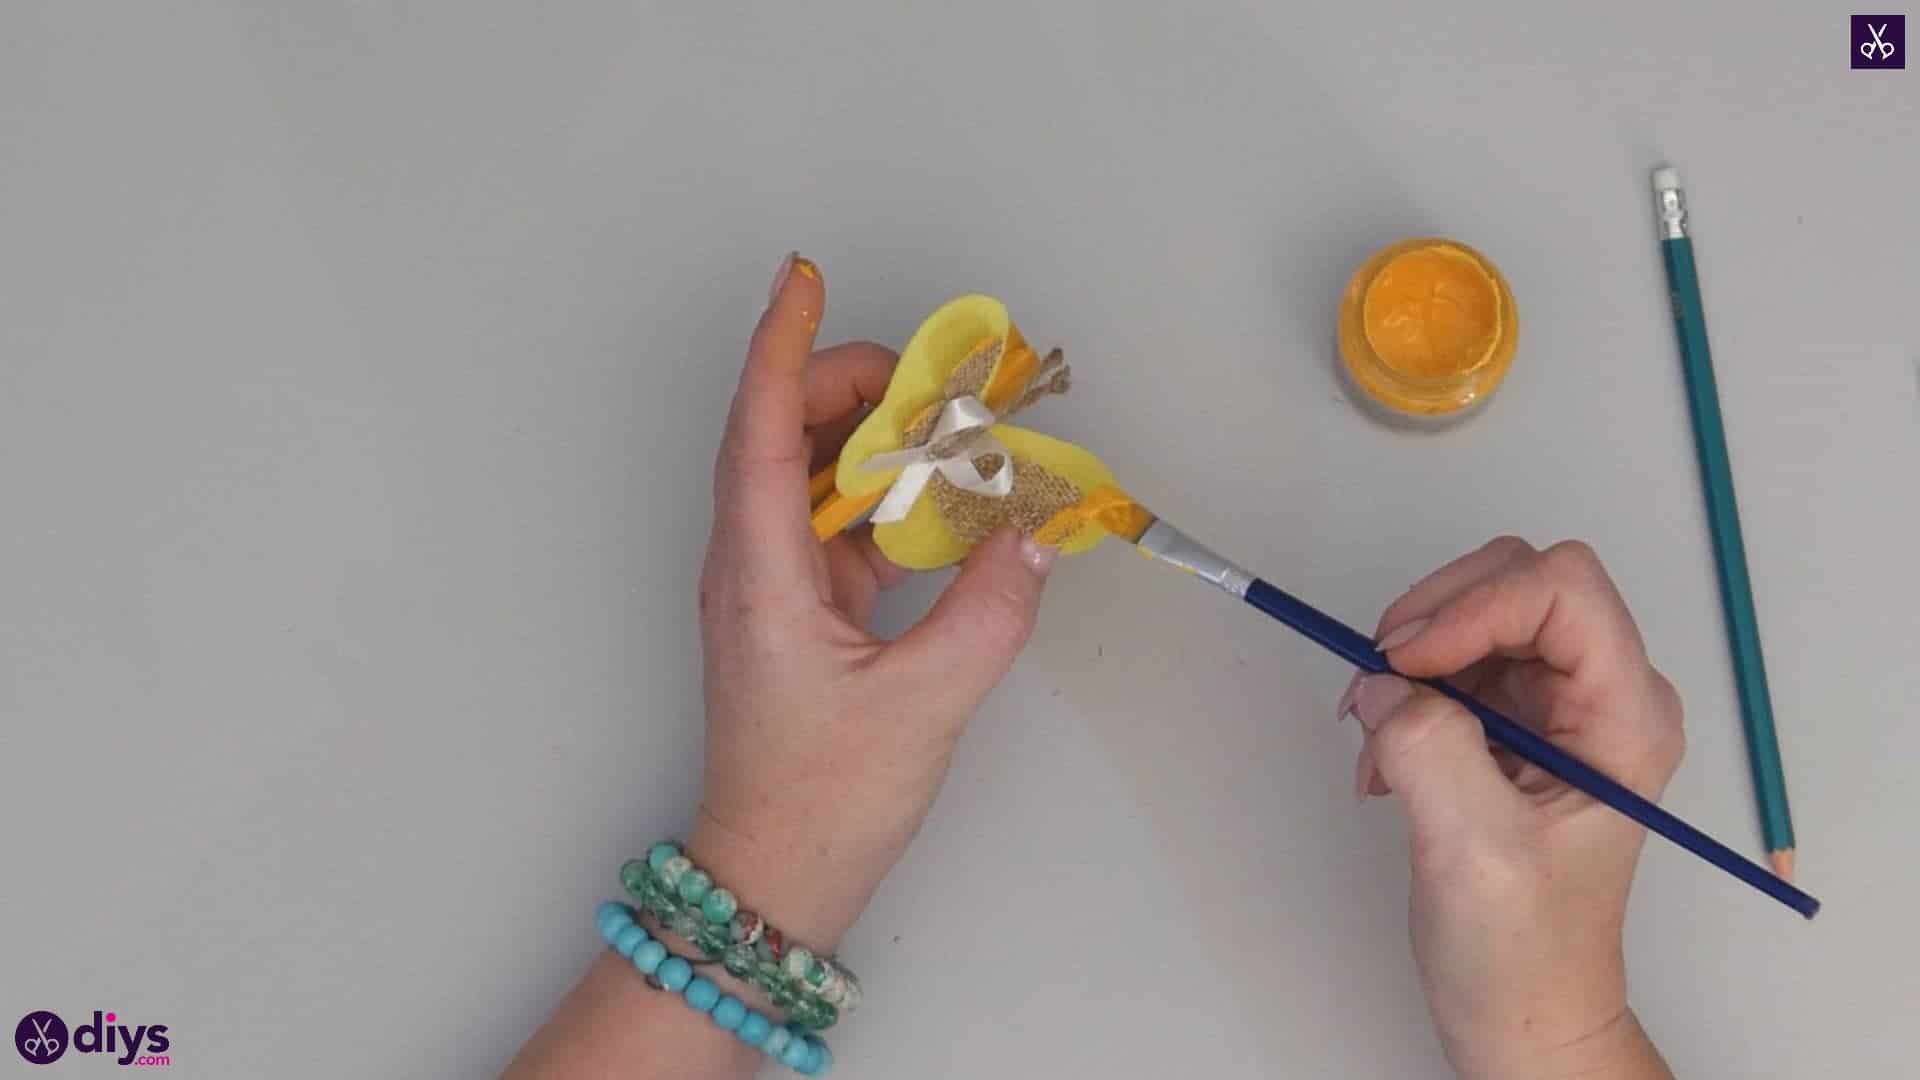
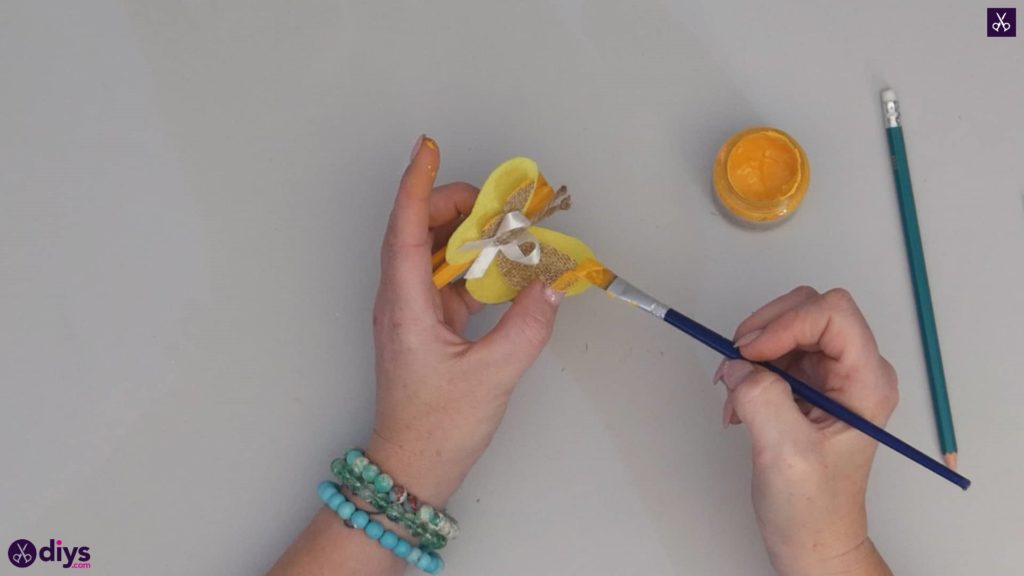
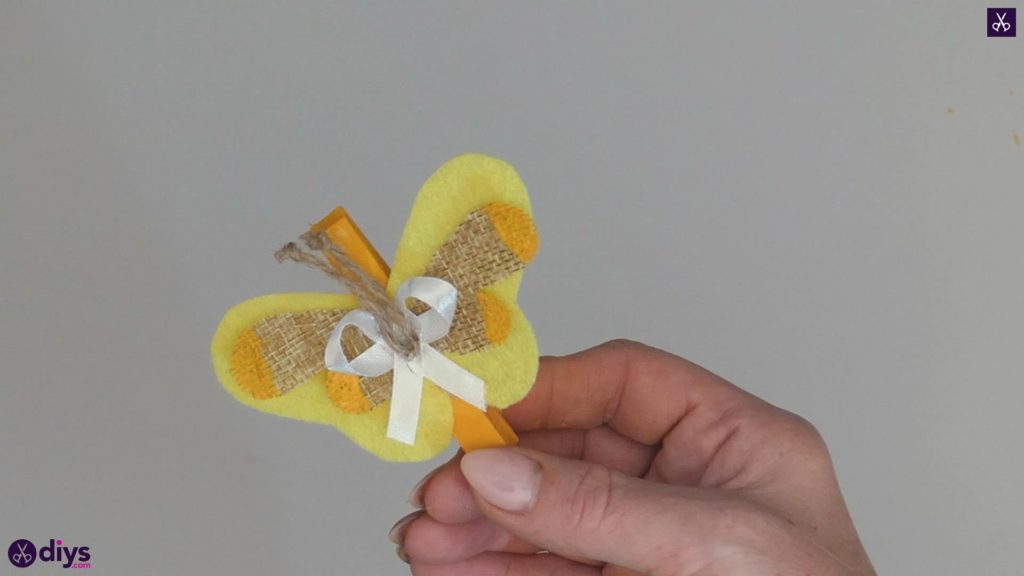
Use your paintbrush to paint the four rounded tips of your butterfly’s smaller burlap wing layer yellow for a bit of cohesive detail and character.
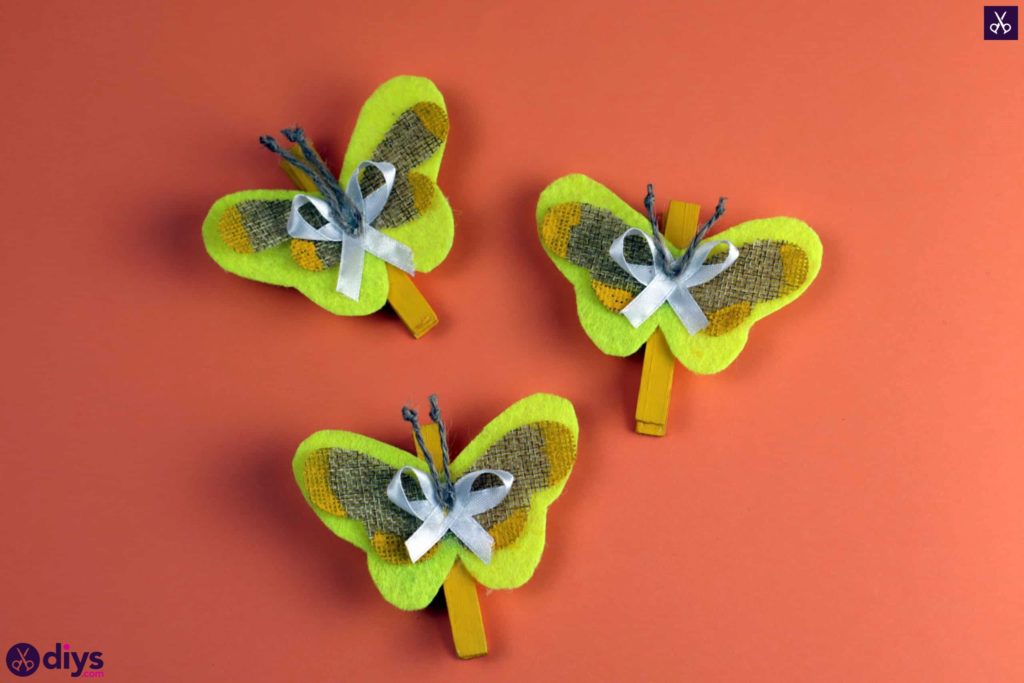
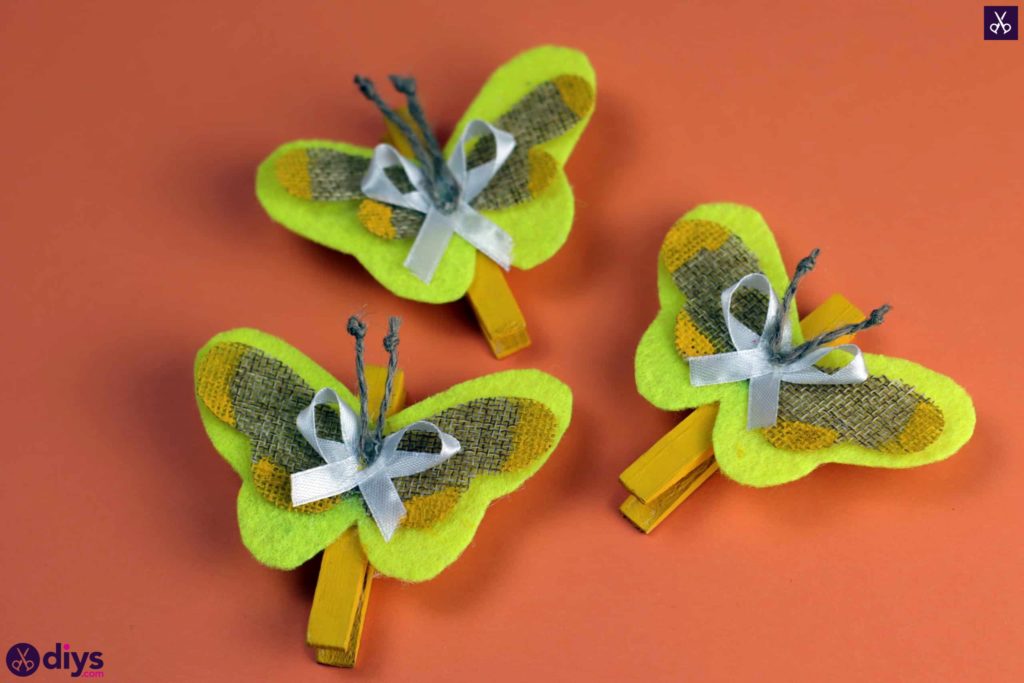
That’s really all there is to it! Of course, you can always feel free to play with colour and details as you please using this basic concept as a guide. Just in case you’d like to try this project out for yourself, here’s a fantastic tutorial video to help you!
