5 Minute DIY – Burlap Utensil Holders
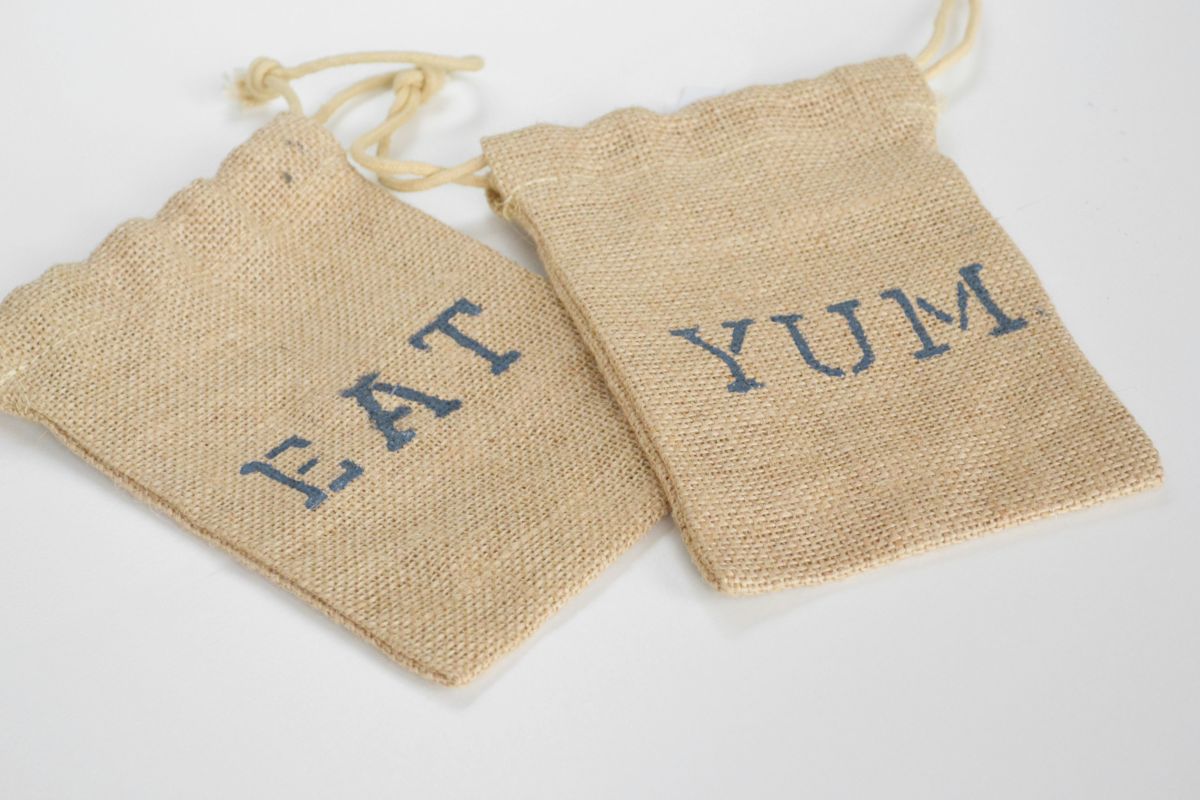
If you need an unconventional way of displaying your utensil this holiday season, try creating these simple utensil holders for your guests. It’s not only a craft the kids can take a stab at, it also gives you quicker way to set the table for those large holiday dinners. It’s nice to have a lot of guests over, but here’s a DIY that will make setting the table and table cleanup a lot simpler.
For this DIY you’ll need:
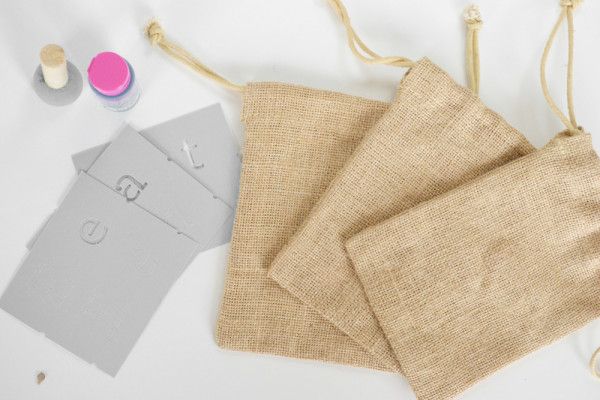
- Miniature burlap sacks, which you should be able to find at your local craft store
- Fabric or acrylic paint, in any color you wish
- Sponge brush
- Letter stencils
This craft can literally take you five minutes. If you’re in need of a quick way to spruce up the holiday table, you can probably have this complete before your guests arrive on the same day.
For this craft I am using a fabric paint, which works very well; however, you can use an acrylic paint if you have that on hand. Both dry pretty quickly.
The burlap sacks should be pretty thick; but before stenciling the letters, make sure to add a piece of cardboard or paper inside the sack to ensure the paint does not bleed through. I didn’t have any problems with this, but it’s good to have that extra protection for the inside and back of the sack.
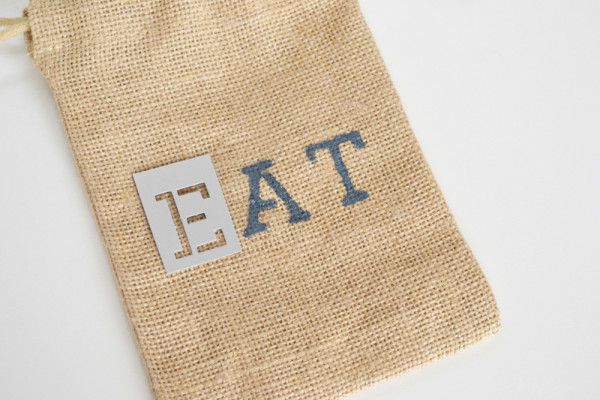
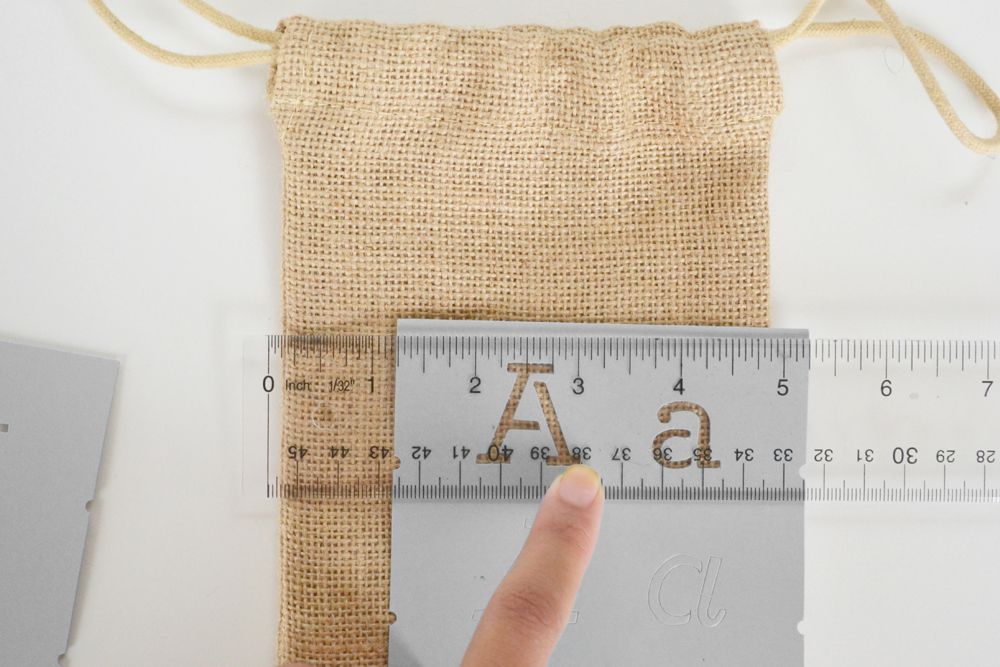
I like to start with the letter in the middle of the word instead of the end to ensure that my word or phrase is centered on it. Measure from the center of the letter to the end of the sack and make sure that on each side the measurement is the same before you start. It doesn’t have to be exact, but for this burlap sack, about 2 and a half inches was needed on each side.
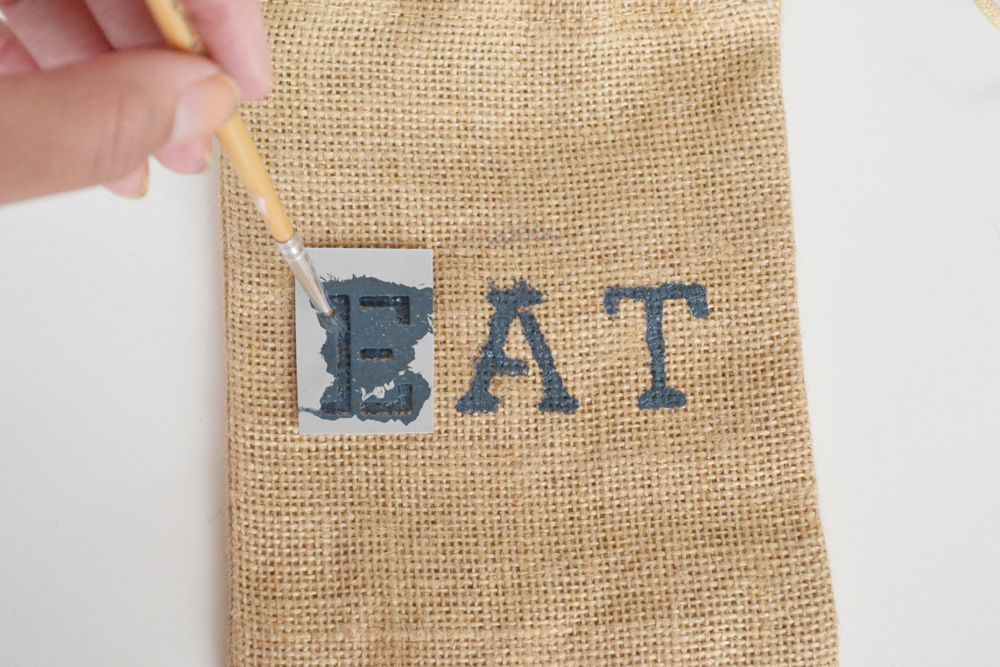
Using a sponge brush or a small paint brush, paint the inside of the letter by dabbing it up and down. Wiping motions from side to side can cause the paint to bleed at the edges when you remove the stencil.
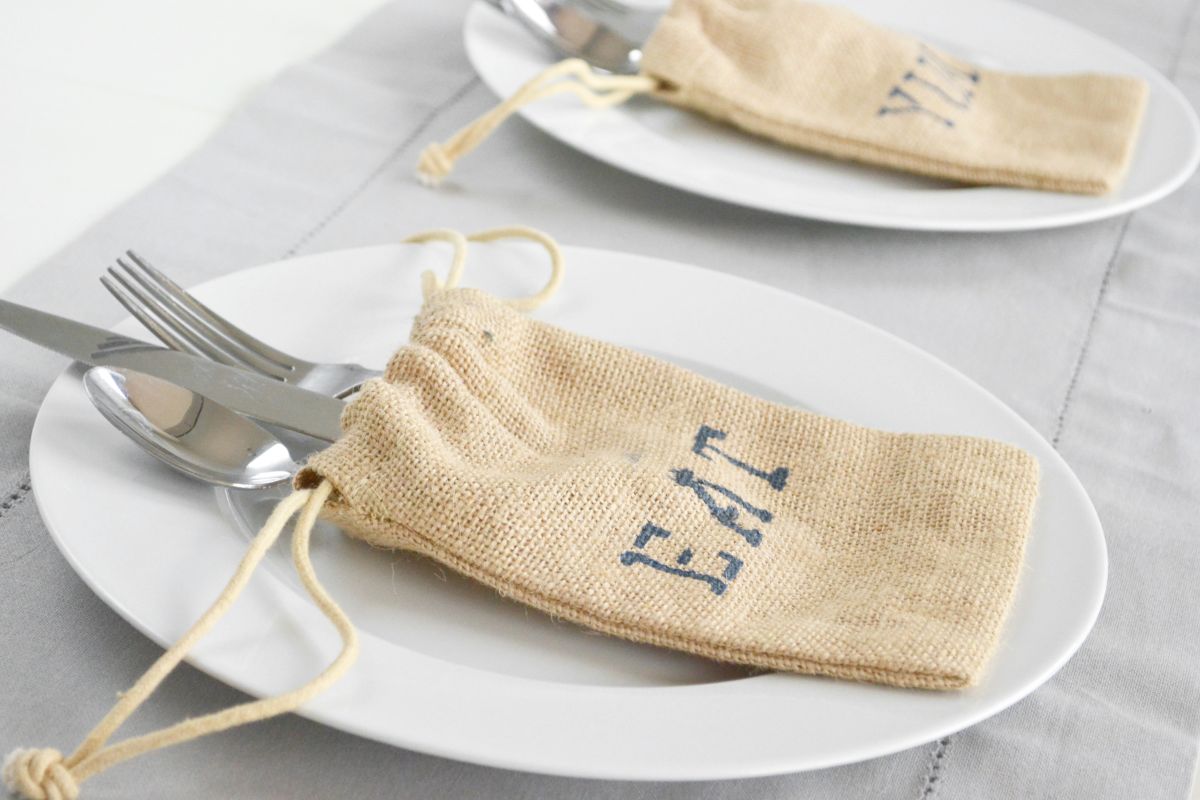
Next I moved to the letter “E” and finished with the letter “T.” Starting from the center letter help with spacing accuracy as well. When you pull up the stencil, you should have a clean letter with minimal to no bleeding. If the paint did bleed a little bit, just touch it up with a very small paint brush.
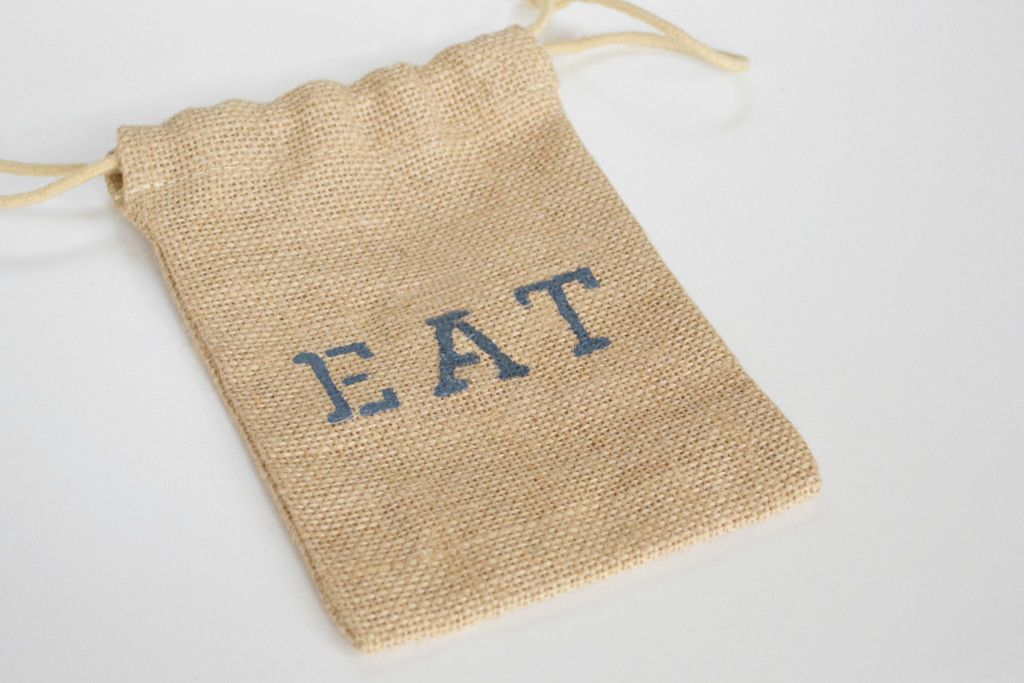
Now you have a cute little burlap sack with fun sayings that you can reuse as many times as you like. If you want to set the paint, run an iron over the sack on a medium-low setting. Hand wash to ensure the paint does not come completely off for future use. With words like “eat,” “yum” and “chow,” you’re sure to have a conversation piece at the table for all your guests to enjoy.
