Boston Ivy Care: How To Grow And Care For Boston Ivy
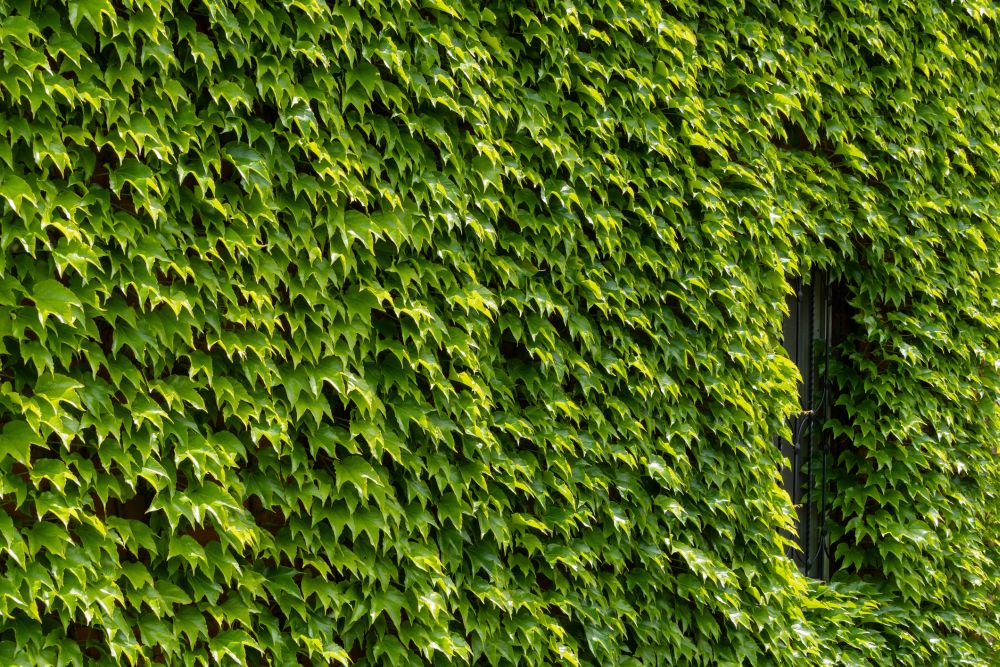
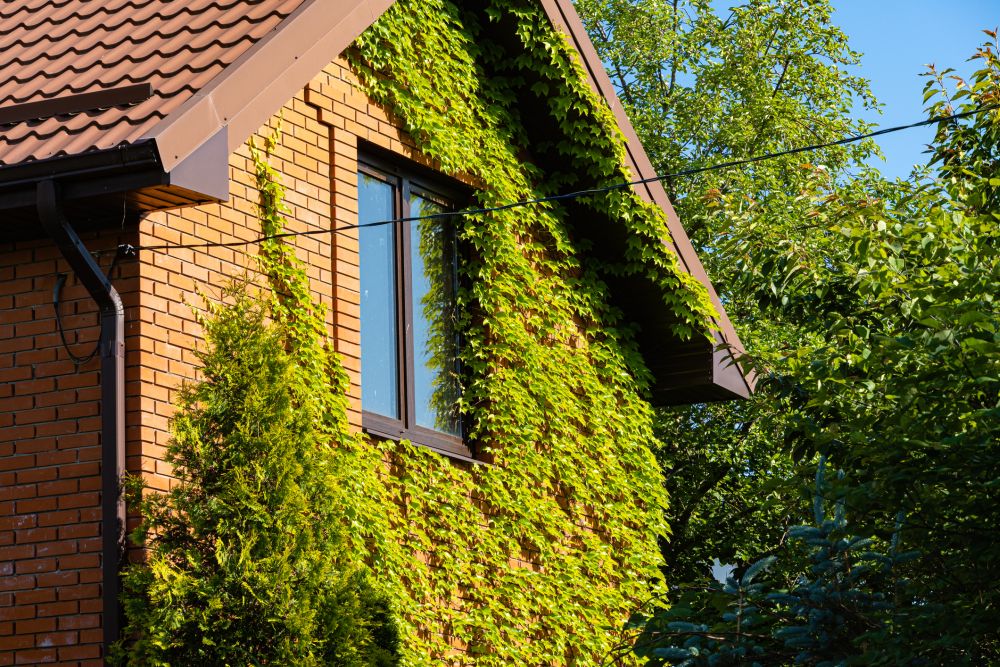
Boston ivy is a decorative vine that grows well on walls and the sides of buildings. With its glossy green leaves, blue fruits, and fiery fall colors, it’s the ideal ornamental covering for a drab wall or a rundown shed. The vine looks its best against stone buildings although it will cover all types of buildings with the same exotic panache. Not to mention the energy savings it offers as it helps keep the building warm in the winter and cool in the summer.
Unlike other ivy species, it doesn’t cause any damage to the walls it attaches itself to. That’s because it glues its tendrils to the surface of the wall with adhesive tips rather than penetrate the walls with aerial rootlets the way English ivy does. That makes Boston ivy safe to grow near to walls and other structures. Read more to know how to start this peculiar ivy from seeds and how to take care of it all year round.
All About Boston Ivy
Boston Ivy (Parthenocissus tricuspidata) is a perennial deciduous vine that hails originally from Japan. But it has taken the world by storm mainly because it doesn’t pose any danger to the buildings it climbs. Its ornamental properties also helped propel it to the top of the list of the popular ivy species to grow.
Although this ivy is considered an invasive plant, it behaves itself when planted in a controlled setting. So there’s little risk of having the vine grow out of hand or spreading all over the building. Regular pruning and some vigilance are required to keep the vine under control.
As a cool climate vine, it’s more suited to zones 3 to 9. It’s not recommended to grow it in warm zones above 9. At the height of the growing season in the summer, the ivy can reach up to 50 feet. But after it sheds its leaves in the late fall, the skeleton vine will give up all the space it used to cover.
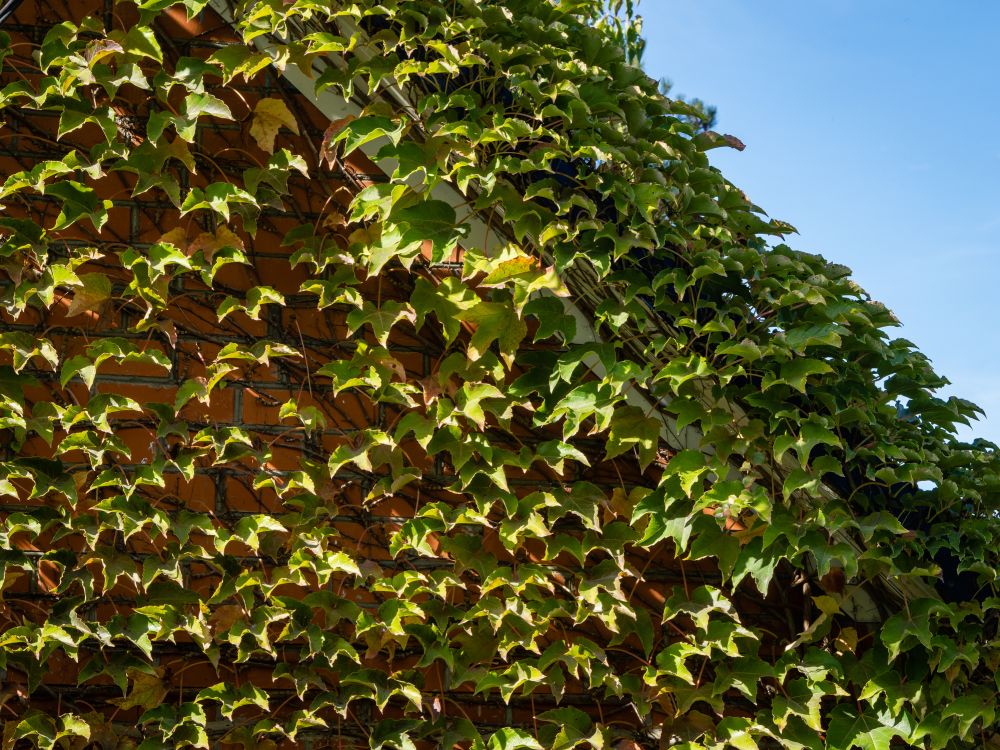
The leaves are ovate and broad, growing to about 3 inches wide. They start as green in the spring and acquire a glossy sheen in the summer before turning full crimson-red in the fall. That’s in contrast to the rather humble green-whitish flowers that make a brief appearance in mid-summer. But when you have showy foliage like that, who needs flowers?
After pollination, bluish berries replace the flowers. They grow in clusters with each berry containing between one to three seeds inside.
Boston Ivy Varieties
As soon as Boston ivy appeared on the stately mansions of Boston, Massachusetts, and Dallas, Texas, more varieties popped up everywhere else. Here we’ll cover the most popular ivy cultivars that have made a name for themselves and you’re most likely to see growing on suburban homes in your neck of the woods.
- Calcazam: A relatively new cultivar that made its first appearance in 2009. It has variegated leaves which start off with pinkish shades. The stems too have pink spots although mature vines tend to revert back to their solid green colors. It has a fast growth rate and gains between 6 to 10 feet every year. It only needs a few years to cover up the whole building.
- Ginza Light: Originally from Japan where it was named after the Ginza suburb in Tokyo. It has smaller leaves with permanently variegated colors. That means that the patterned leaves will keep their patterns until they fall. Although some nurseries in California still grow it, the cultivar is considered rare in the United States.
- Fenway Park: The leaves of this cultivar appear to be glowing. The bright light green color reflects the light and shimmers under the sun. In the fall, all leaves turn purple-red before shedding in the late fall or early winter.
- Purpurea: One of the oldest Boston ivy cultivars in the US. It dates back to 1903 and has stunning purple-green shoots that turn bright green as the leaves mature. But it’s in the fall that the vine’s true colors show. Instead of the regular crimson-red, the leaves turn purple-maroon.
- Lowii: Also known as Little Leaf, this cultivar doesn’t tend to cover walls and buildings. Rather, it contrasts its small green leaves with the natural colors of the building behind it. In the fall the one-inch leaves turn a deep crimson. Other features include entwining branches which further limit the ivy’s spread and coverage area.
How to Grow Boston Ivy
Although Boston ivy is a cultivar, starting it from seeds is still the best way to approach this vine. The chances of germination are high and for all intents and purposes, the new vine will grow identical to its parent. Here’s how to collect the seeds from a mature plant and start them in your own garden.
- Monitor the berries of the mature ivy until they turn dark blue and become squishy. They’re ripe and ready to harvest.
- Place the ripe berries on a plate and crush them with your hands to extract the seeds. Don’t damage the seeds in the process.
- Wash the seeds under running water then place them in a bowl full of warm water. Keep them for 24 hours to soften the shell.
- Strain the seeds and spread them on a paper towel to dry.
- Once they’re dry, put wet sand in a few plastic bags and drop the seeds in the bags. Keep them in the fridge until next spring. Don’t let the sand go dry.
- After the last frost, wait for the soil temperature to rise to 55 degrees Fahrenheit then turn the top 8 inches of the soil with a spade.
- Mix in organic materials and compost with the soil then rake it.
- Take the seeds out of the fridge and dust off the sand attached to them.
- Plant the seeds a half-inch deep into the soil then cover them with a thin layer of dirt.
- Water the seeds to get the soil moist. Keep it moist until the seeds germinate.
Boston Ivy Care
Since it’s categorized as an invasive plant in many states, you’ll need to keep a watchful eye on your Boston ivy. It has a tendency to spread out and self-seed in the wilderness. One easy way to control it is to deadhead the non-showy flowers before they pollinate. Or you can wait for the leaves to fall then collect the unripe berries and dispose of them safely. Other than that, the vine needs little in the way of care and maintenance.
Soil
Boston ivy is not very picky when it comes to the soil you plant it in. It prefers loamy soil like most other plants growing in your garden. But if you have sandy or even clay soil, that will not hinder its growth or diminish its beauty in any way. The same applies to soil pH. The ivy has a high tolerance for both slightly acidic and alkaline soil. As long as the soil is well-drained, you won’t have an issue with the vine. Neither fumes nor air pollution hinders the ivy from blossoming in urban settings.
Water
Before it establishes, the Boston ivy needs a lot of water. So during the first year, keep the soil moist and don’t let it dry out. Water the vine deeply in the morning hours to help the roots develop. After the first year, the plant needs less water. You can let the topsoil go dry between waterings. On average, watering it once a week should be fine during the growing season. Less so in clay soil or if the weather is not too hot. After the vine sheds its leaves in the fall, cut back watering to once every 4 to 6 weeks.
Light
Plant your Boston ivy in full sun or partial shade. The sunlight is not a necessity for the plant’s growth. And since the flowers are lackluster, to say the least, you won’t miss much if the vine doesn’t produce blooms. However, come fall, the leaves will not put on a good show of colors unless they have soaked up the sun all summer. That said, too much sun, especially in warm zones, is not a good thing. So position the vine on a wall facing the north or east to escape the hot afternoon sun.
Fertilizer
The foliage of the Boston ivy is its main draw. And that should tell you all you need to know about feeding the vine. In the spring, side-dress it with a custom 10-5-10 fertilizer high in nitrogen. This will trigger a growth spurt and fortify the ivy against pests and diseases. Apply the fertilizer once every 3 weeks. In the fall, use slow-release fertilizers to boost the growth of the roots as the plant goes dormant.
Winter Care
In the late fall, even though the Boston ivy appears dormant after shedding the last leaf and dropping the last squishy berry, it still needs some maintenance to prepare it for the coming winter. That usually involves cutting the vine back. The best time to prune the ivy is in the winter. This helps the plant preserve its resources. You can also prune it any time you deem necessary. If the branches cover windows or doors, you can cut them away even in the middle of the growing season. This will not impact the vine or harm it. Just don’t prune it deeply since that could slow its growth the next season.
Toxicity
While the Boston ivy doesn’t have toxic chemicals per se, it is still dangerous to handle both for humans and pets. The leaves and berries have considerable amounts of oxalate crystals. The crystals are like shards of glass that lodge themselves in the mouth and throat of any animal or human unfortunate enough to eat them. Symptoms include nausea, throat pain, vomiting, and excessive drooling. Medical help is required. Sometimes even touching the ivy leaves with your bare hands can cause skin irritation. So always wear protective gloves and eyewear when pruning or interacting with the ivy.
Pests and Diseases
Oxalate crystals aside, the branches and leaves are still attractive to a whole bunch of pests. These include beetles, leafhoppers, and eight-spotted foresters. But it’s the scale that you need to watch out for. The tiny insect attacks the leaves as soon as they emerge in the spring. Infected leaves turn yellow in the summer and die before the fall. Signs of scale infestation include scabby lumps on the underside of the leaves and branches. Spray the vine with neem oil to eliminate the stubborn pest.
The most common diseases that affect Boston ivy are powdery mildew, canker, wilt, leaf spots, and downy mildew. Most fungal infestations are caused by high humidity and lack of air circulation around the vine. Pruning will improve ventilation as well as removing debris and weed will deter insects that carry pathogens from attacking the vine.


