DIY Beach Inspired Mason Jar Decor
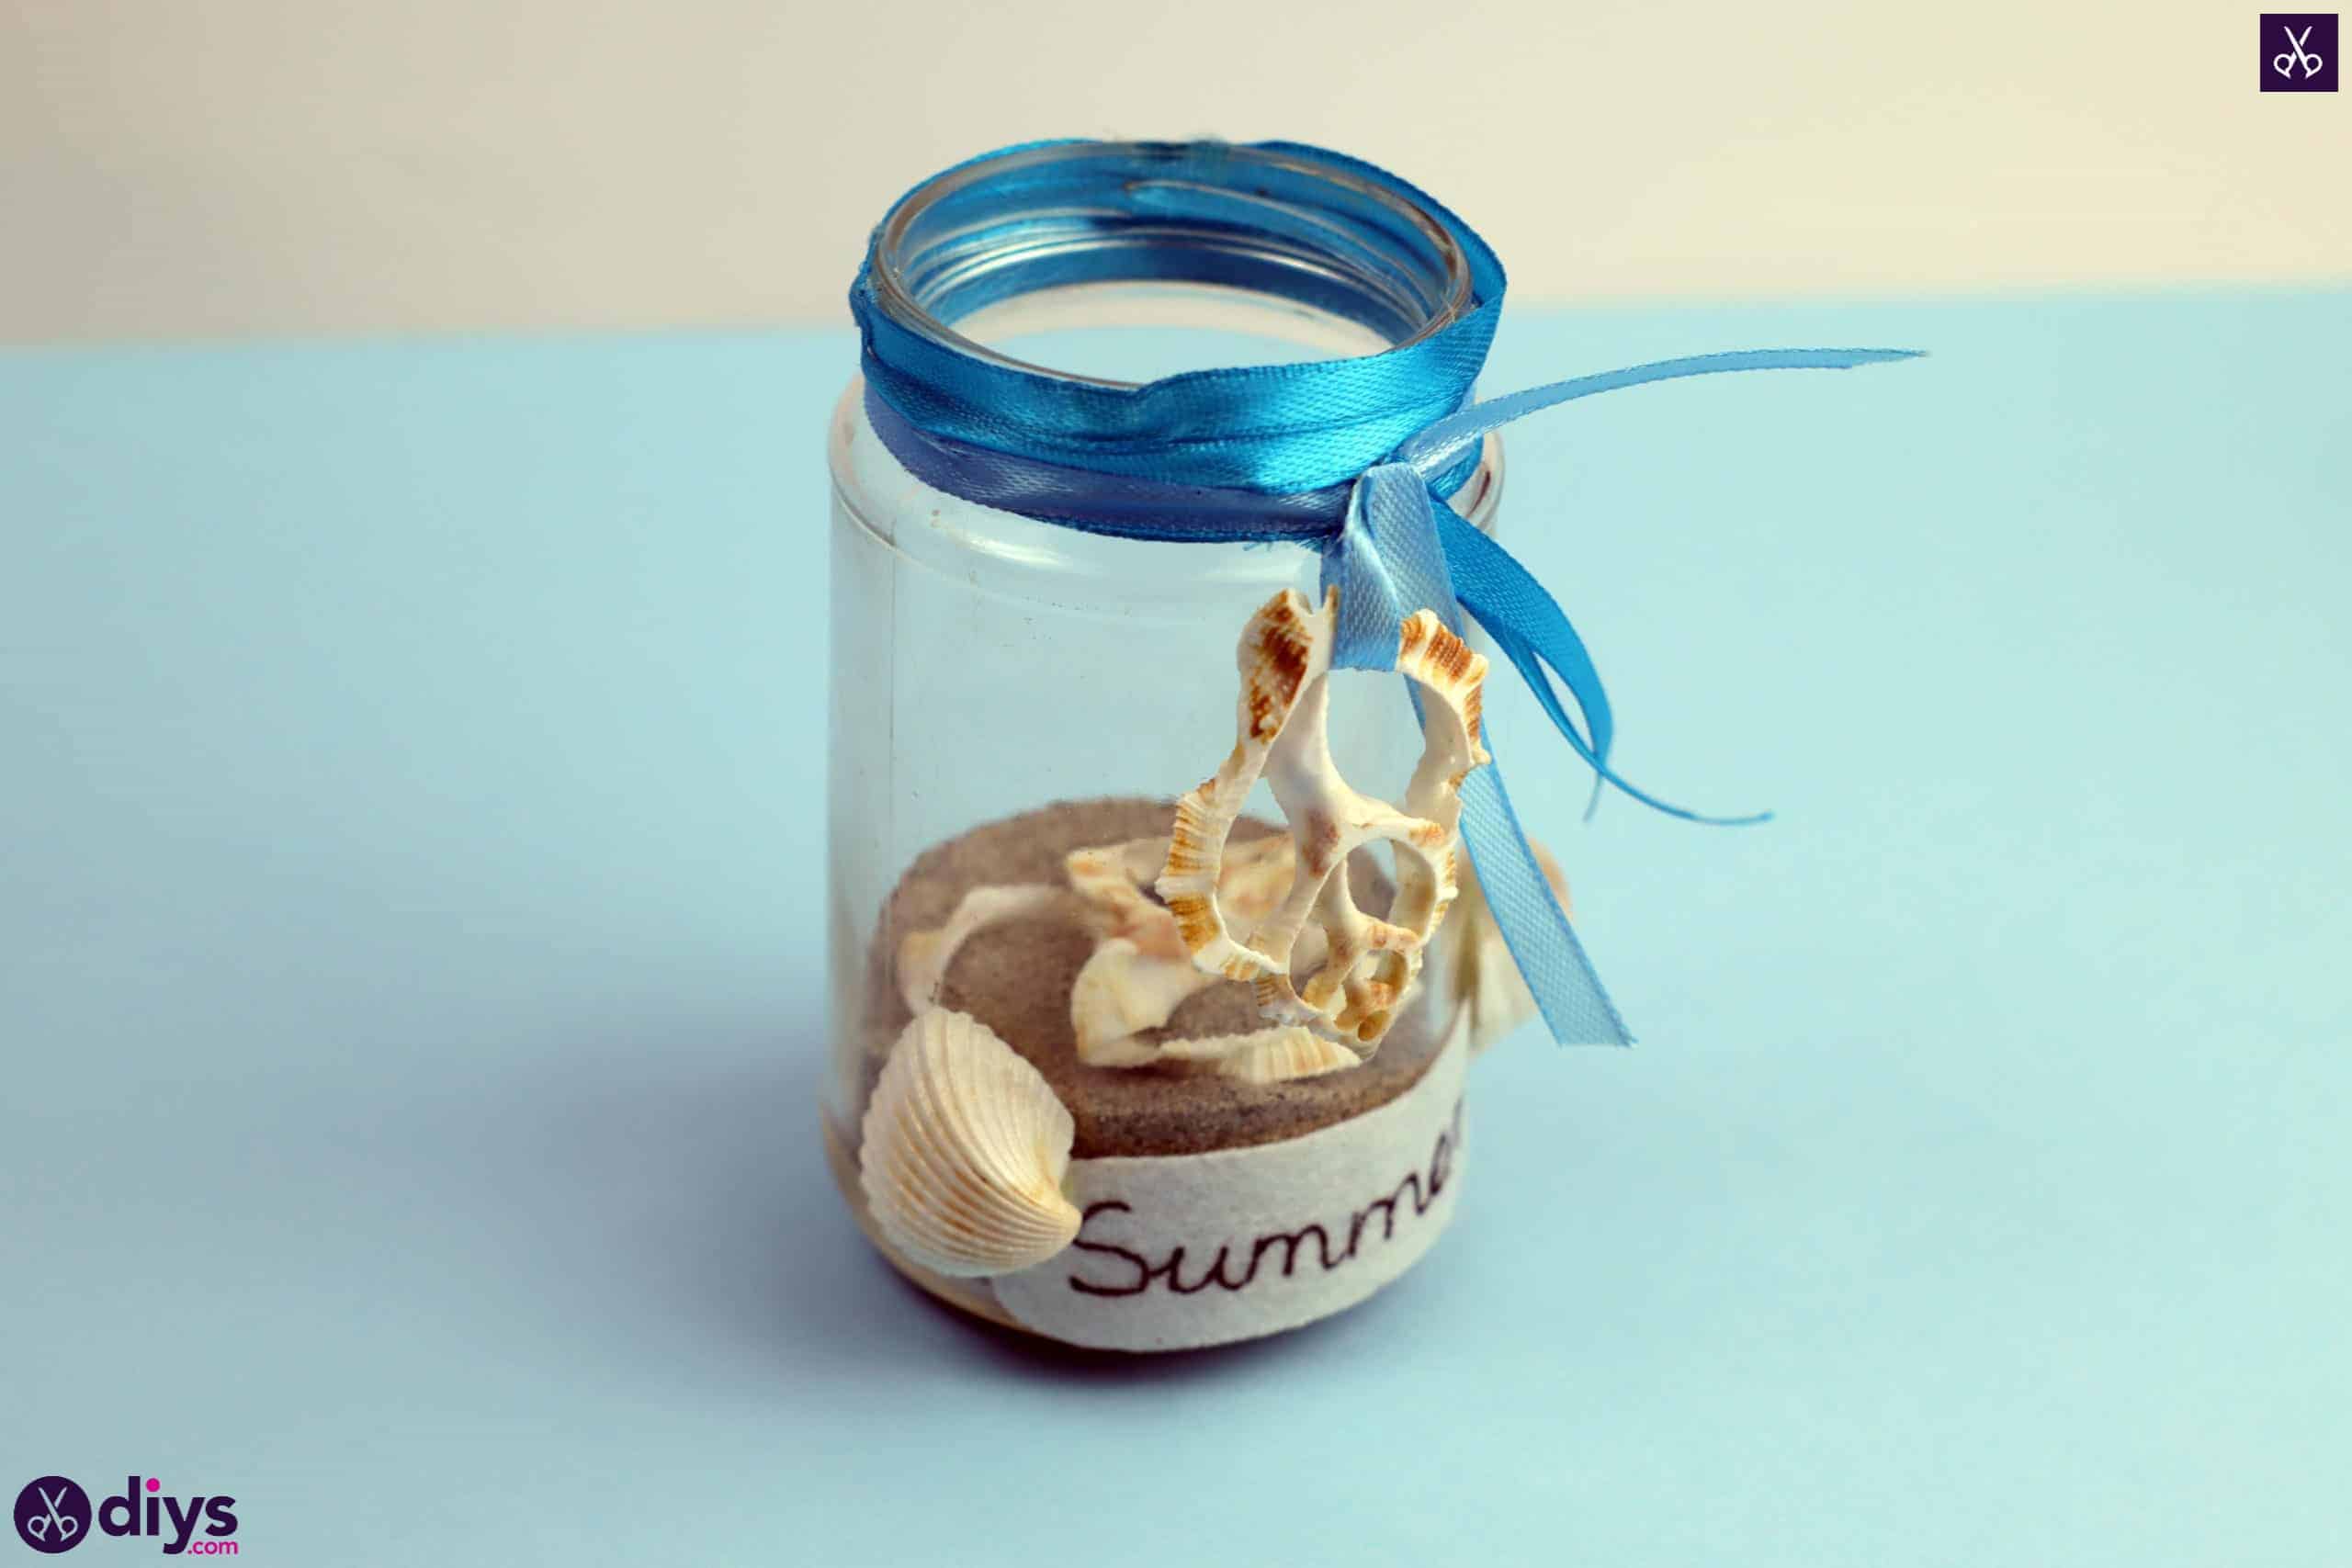
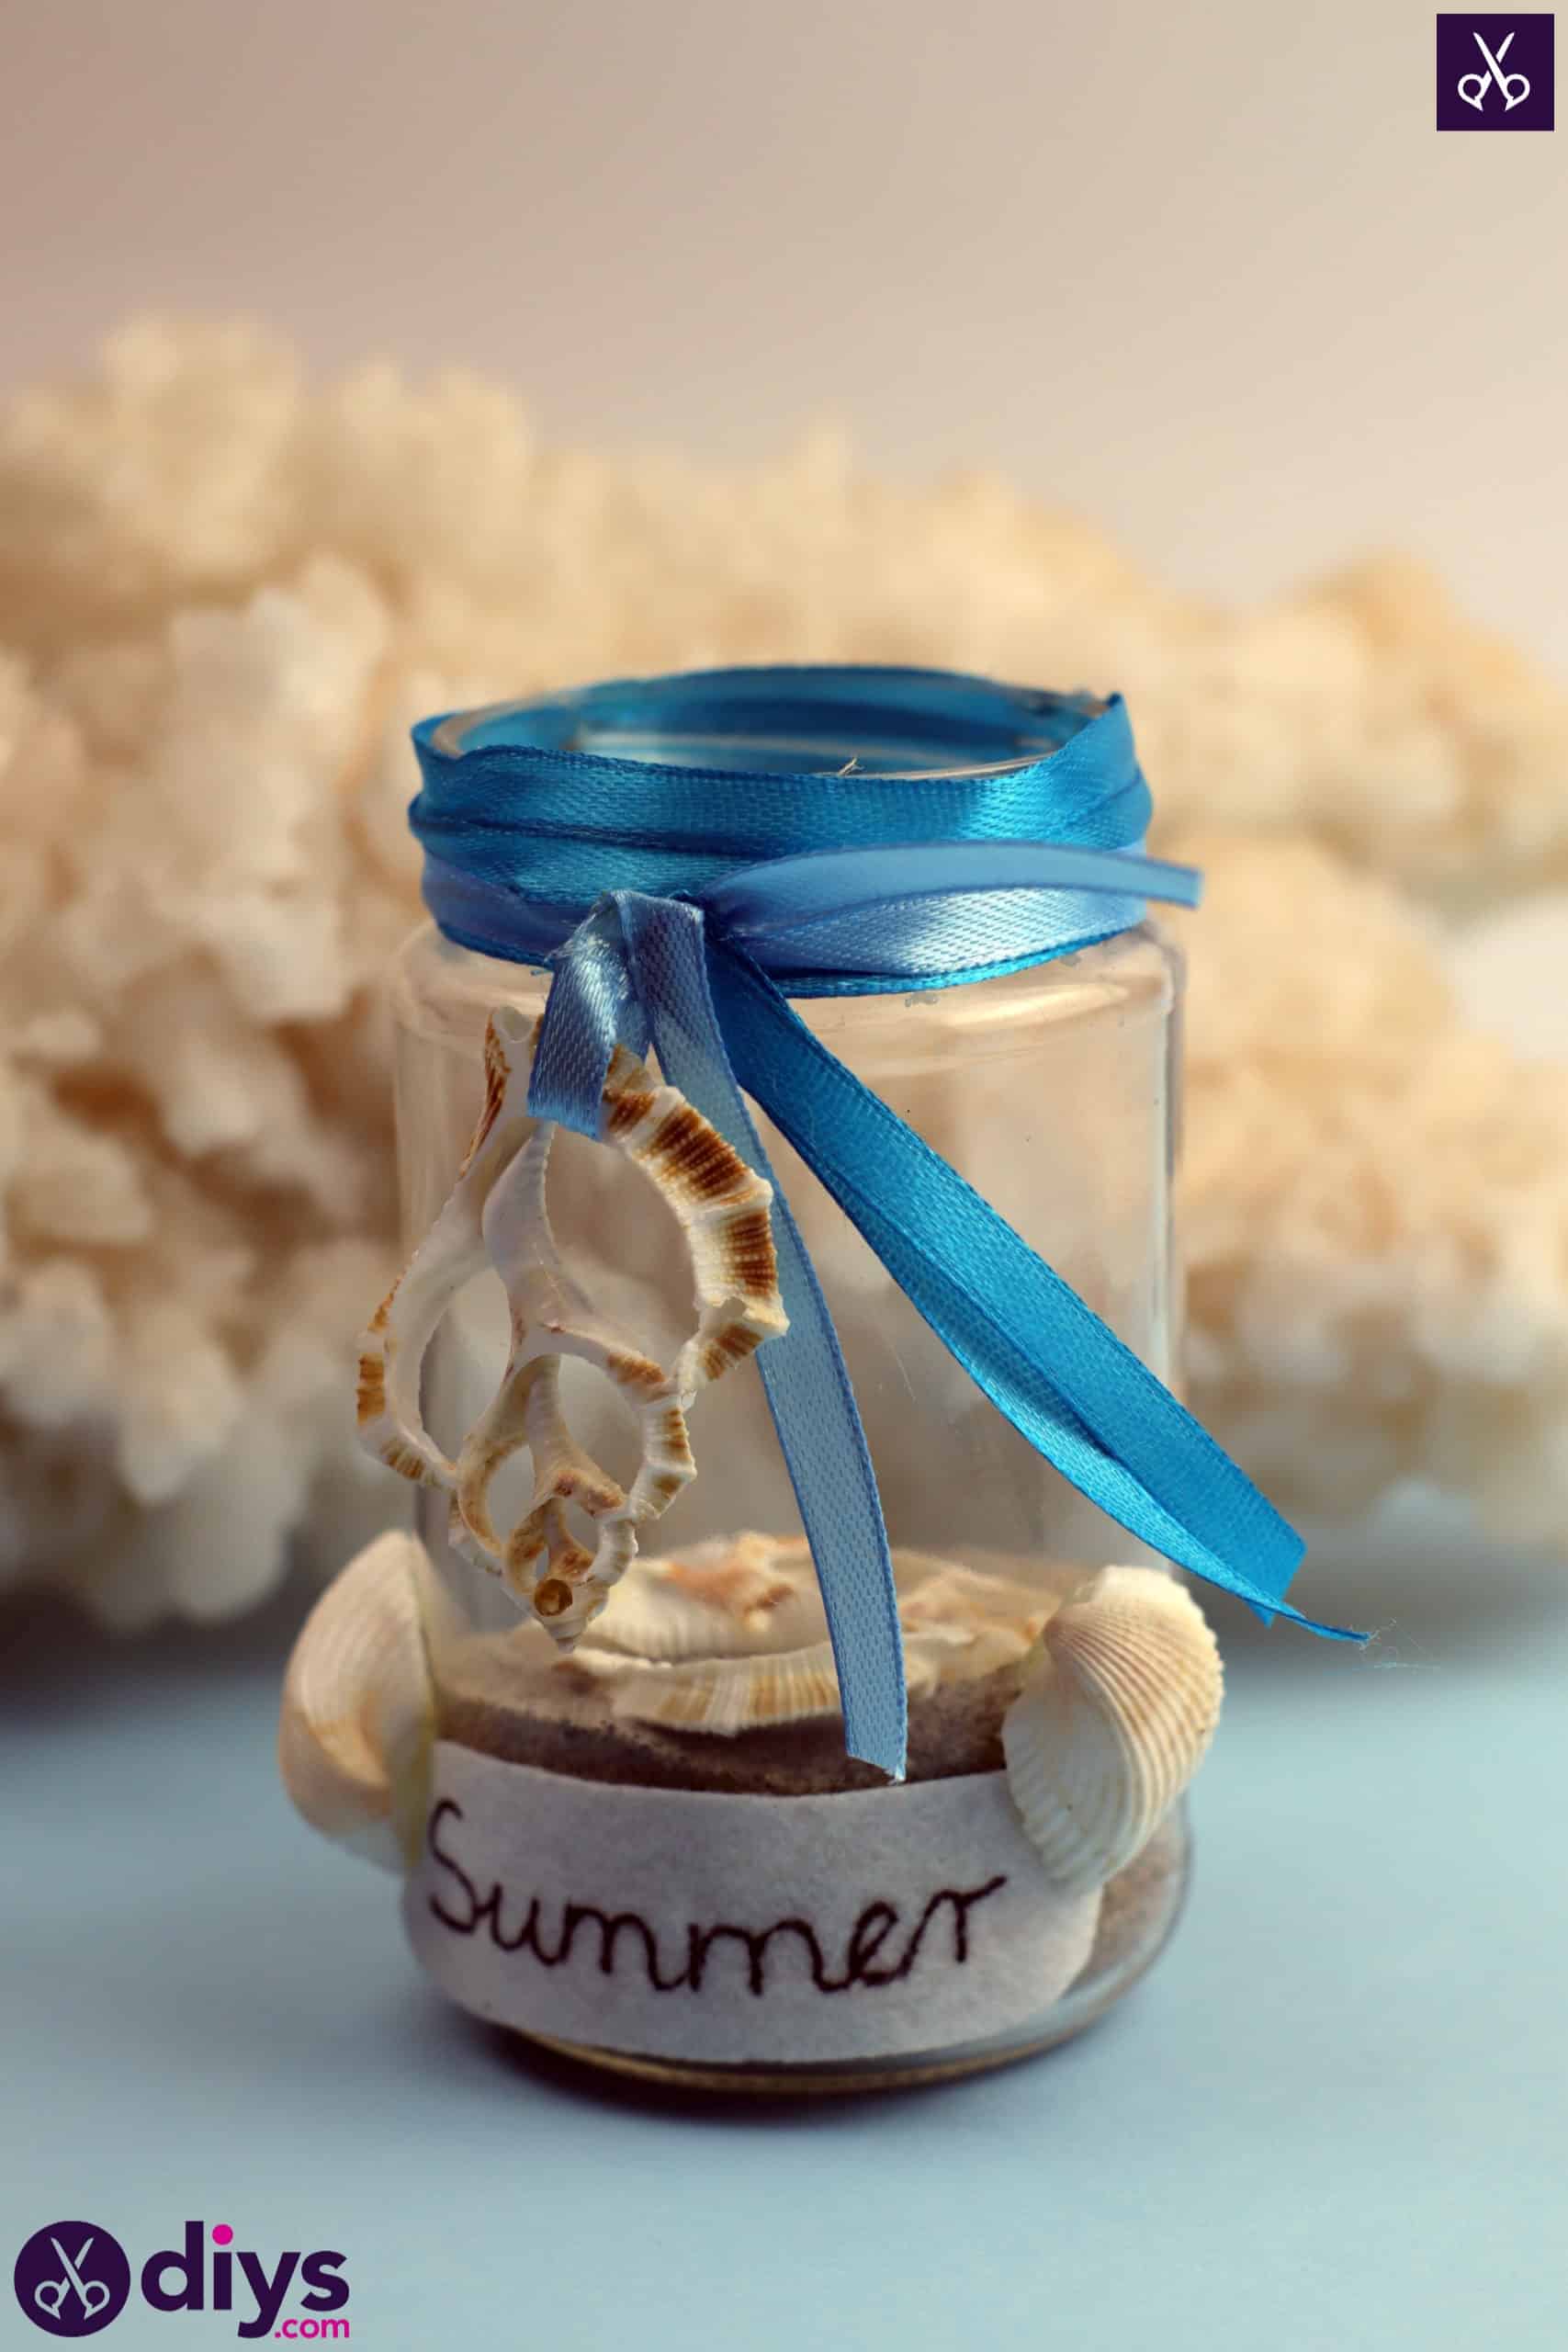
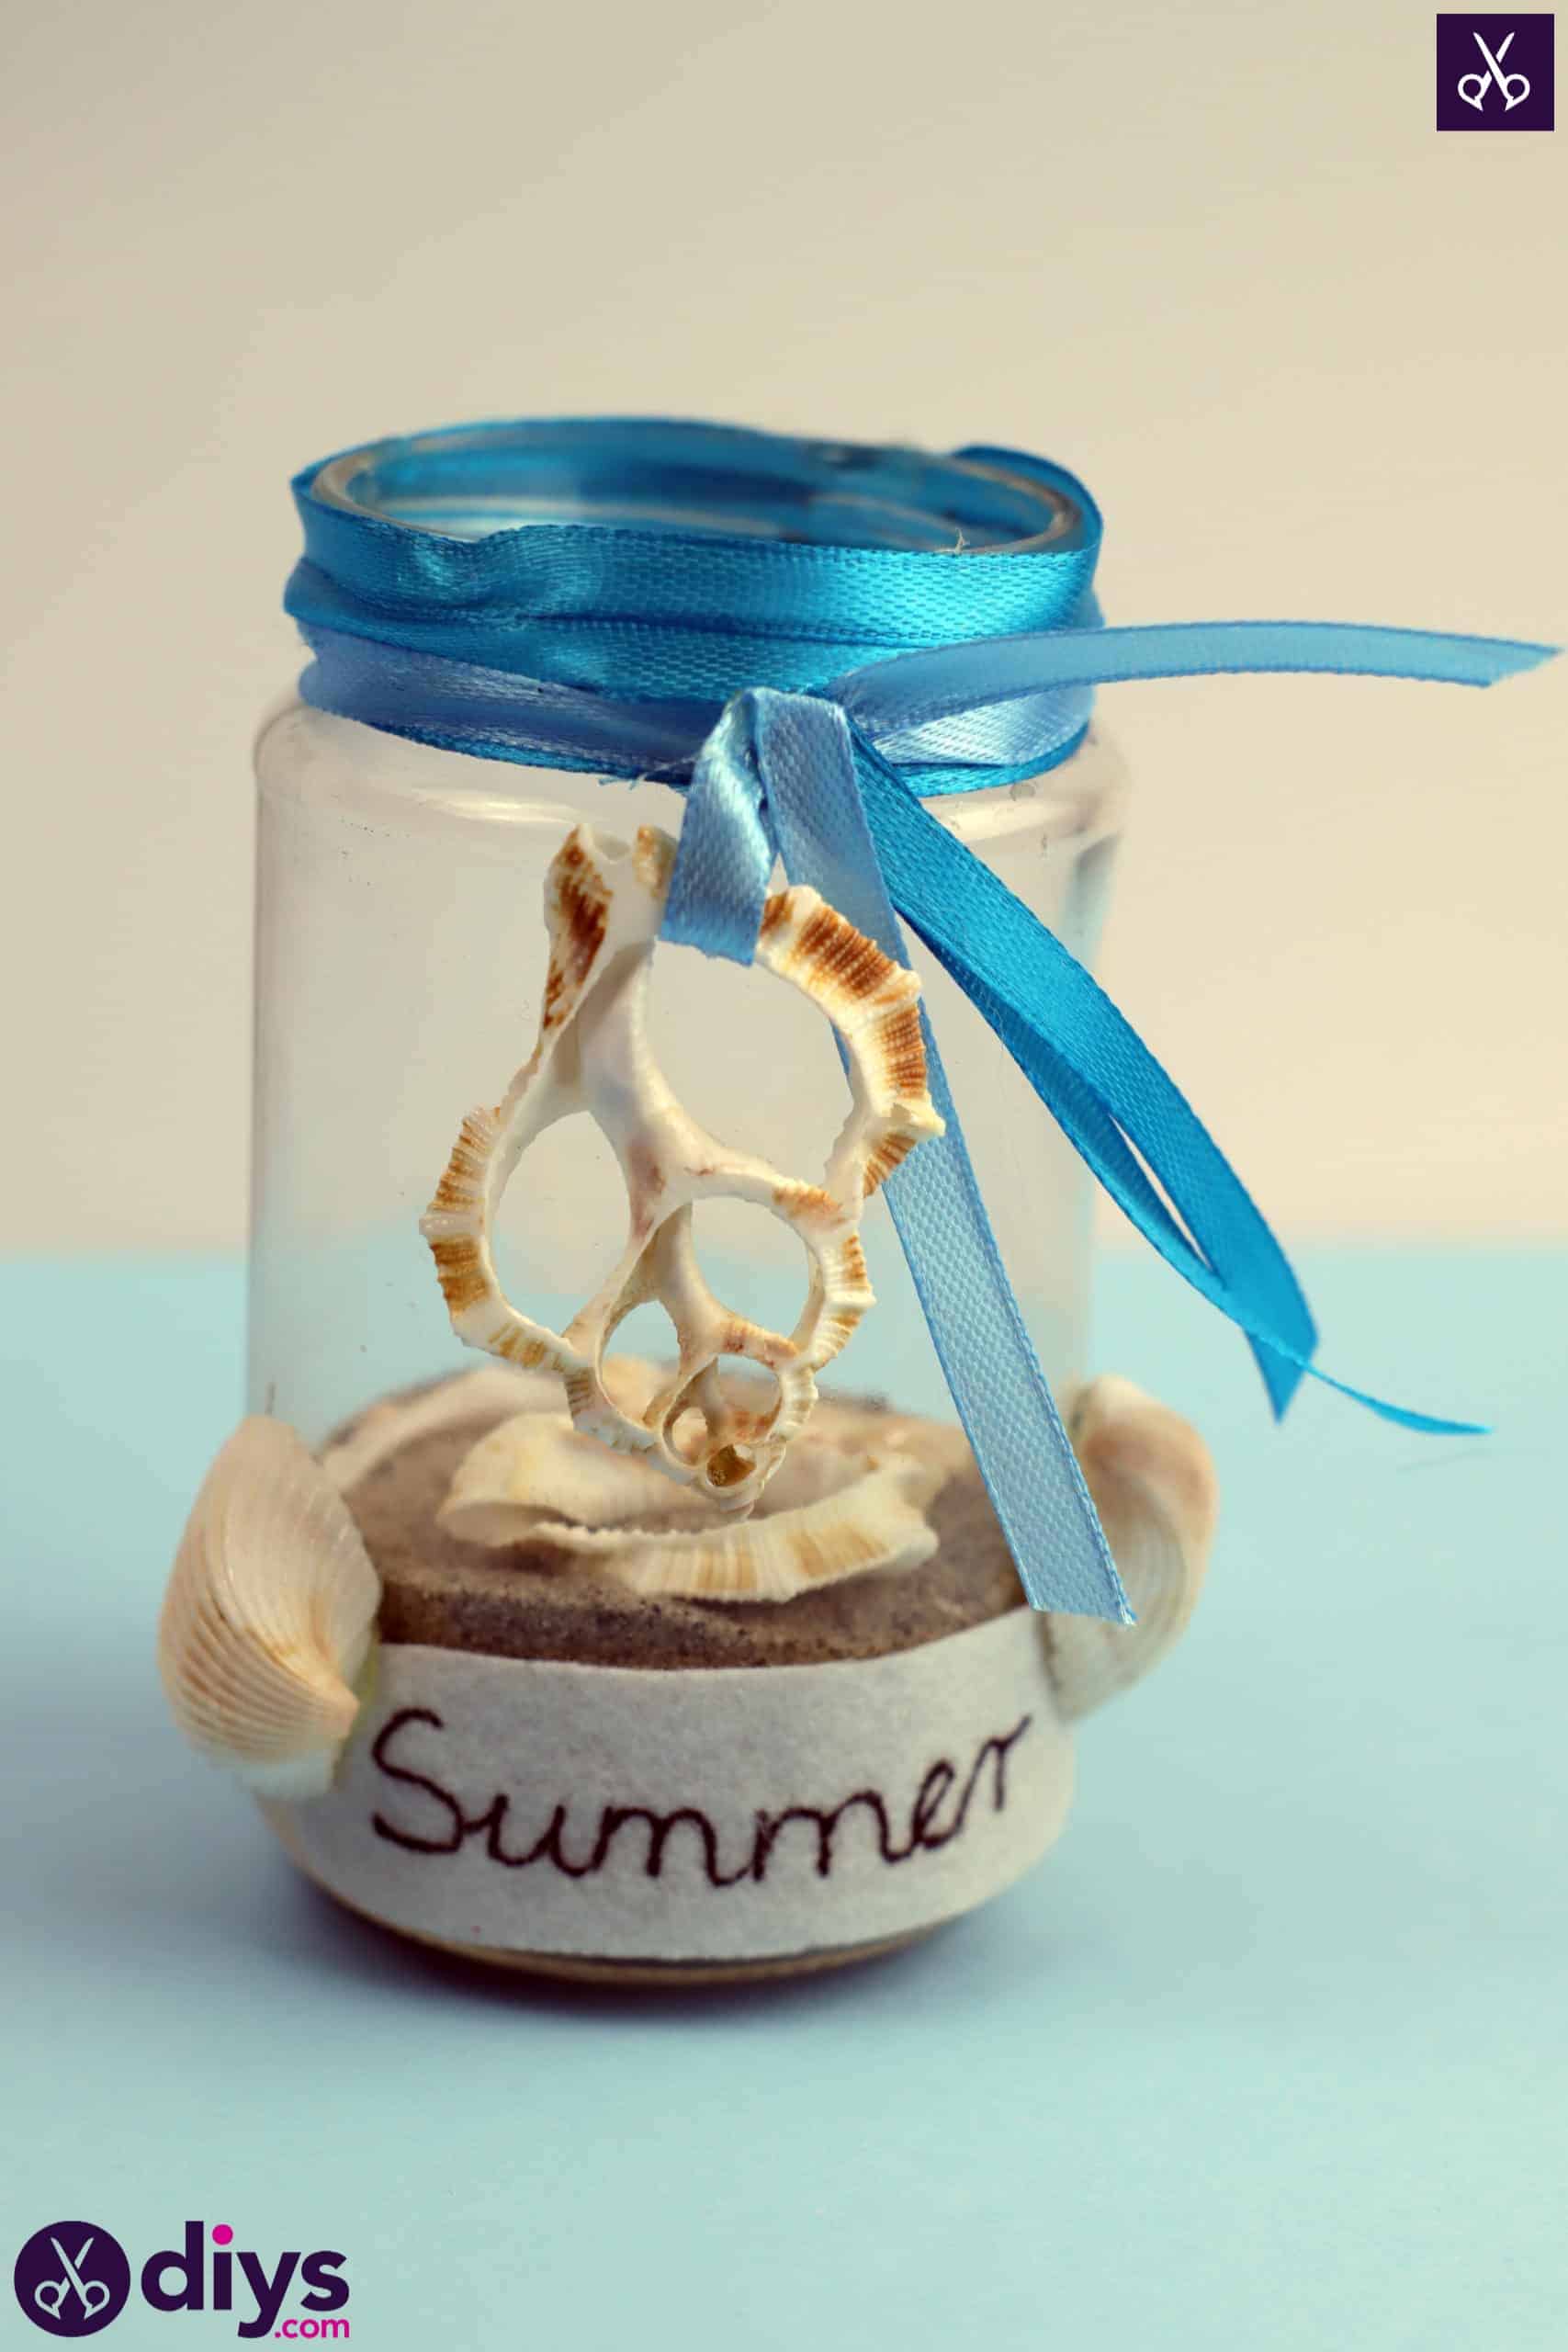
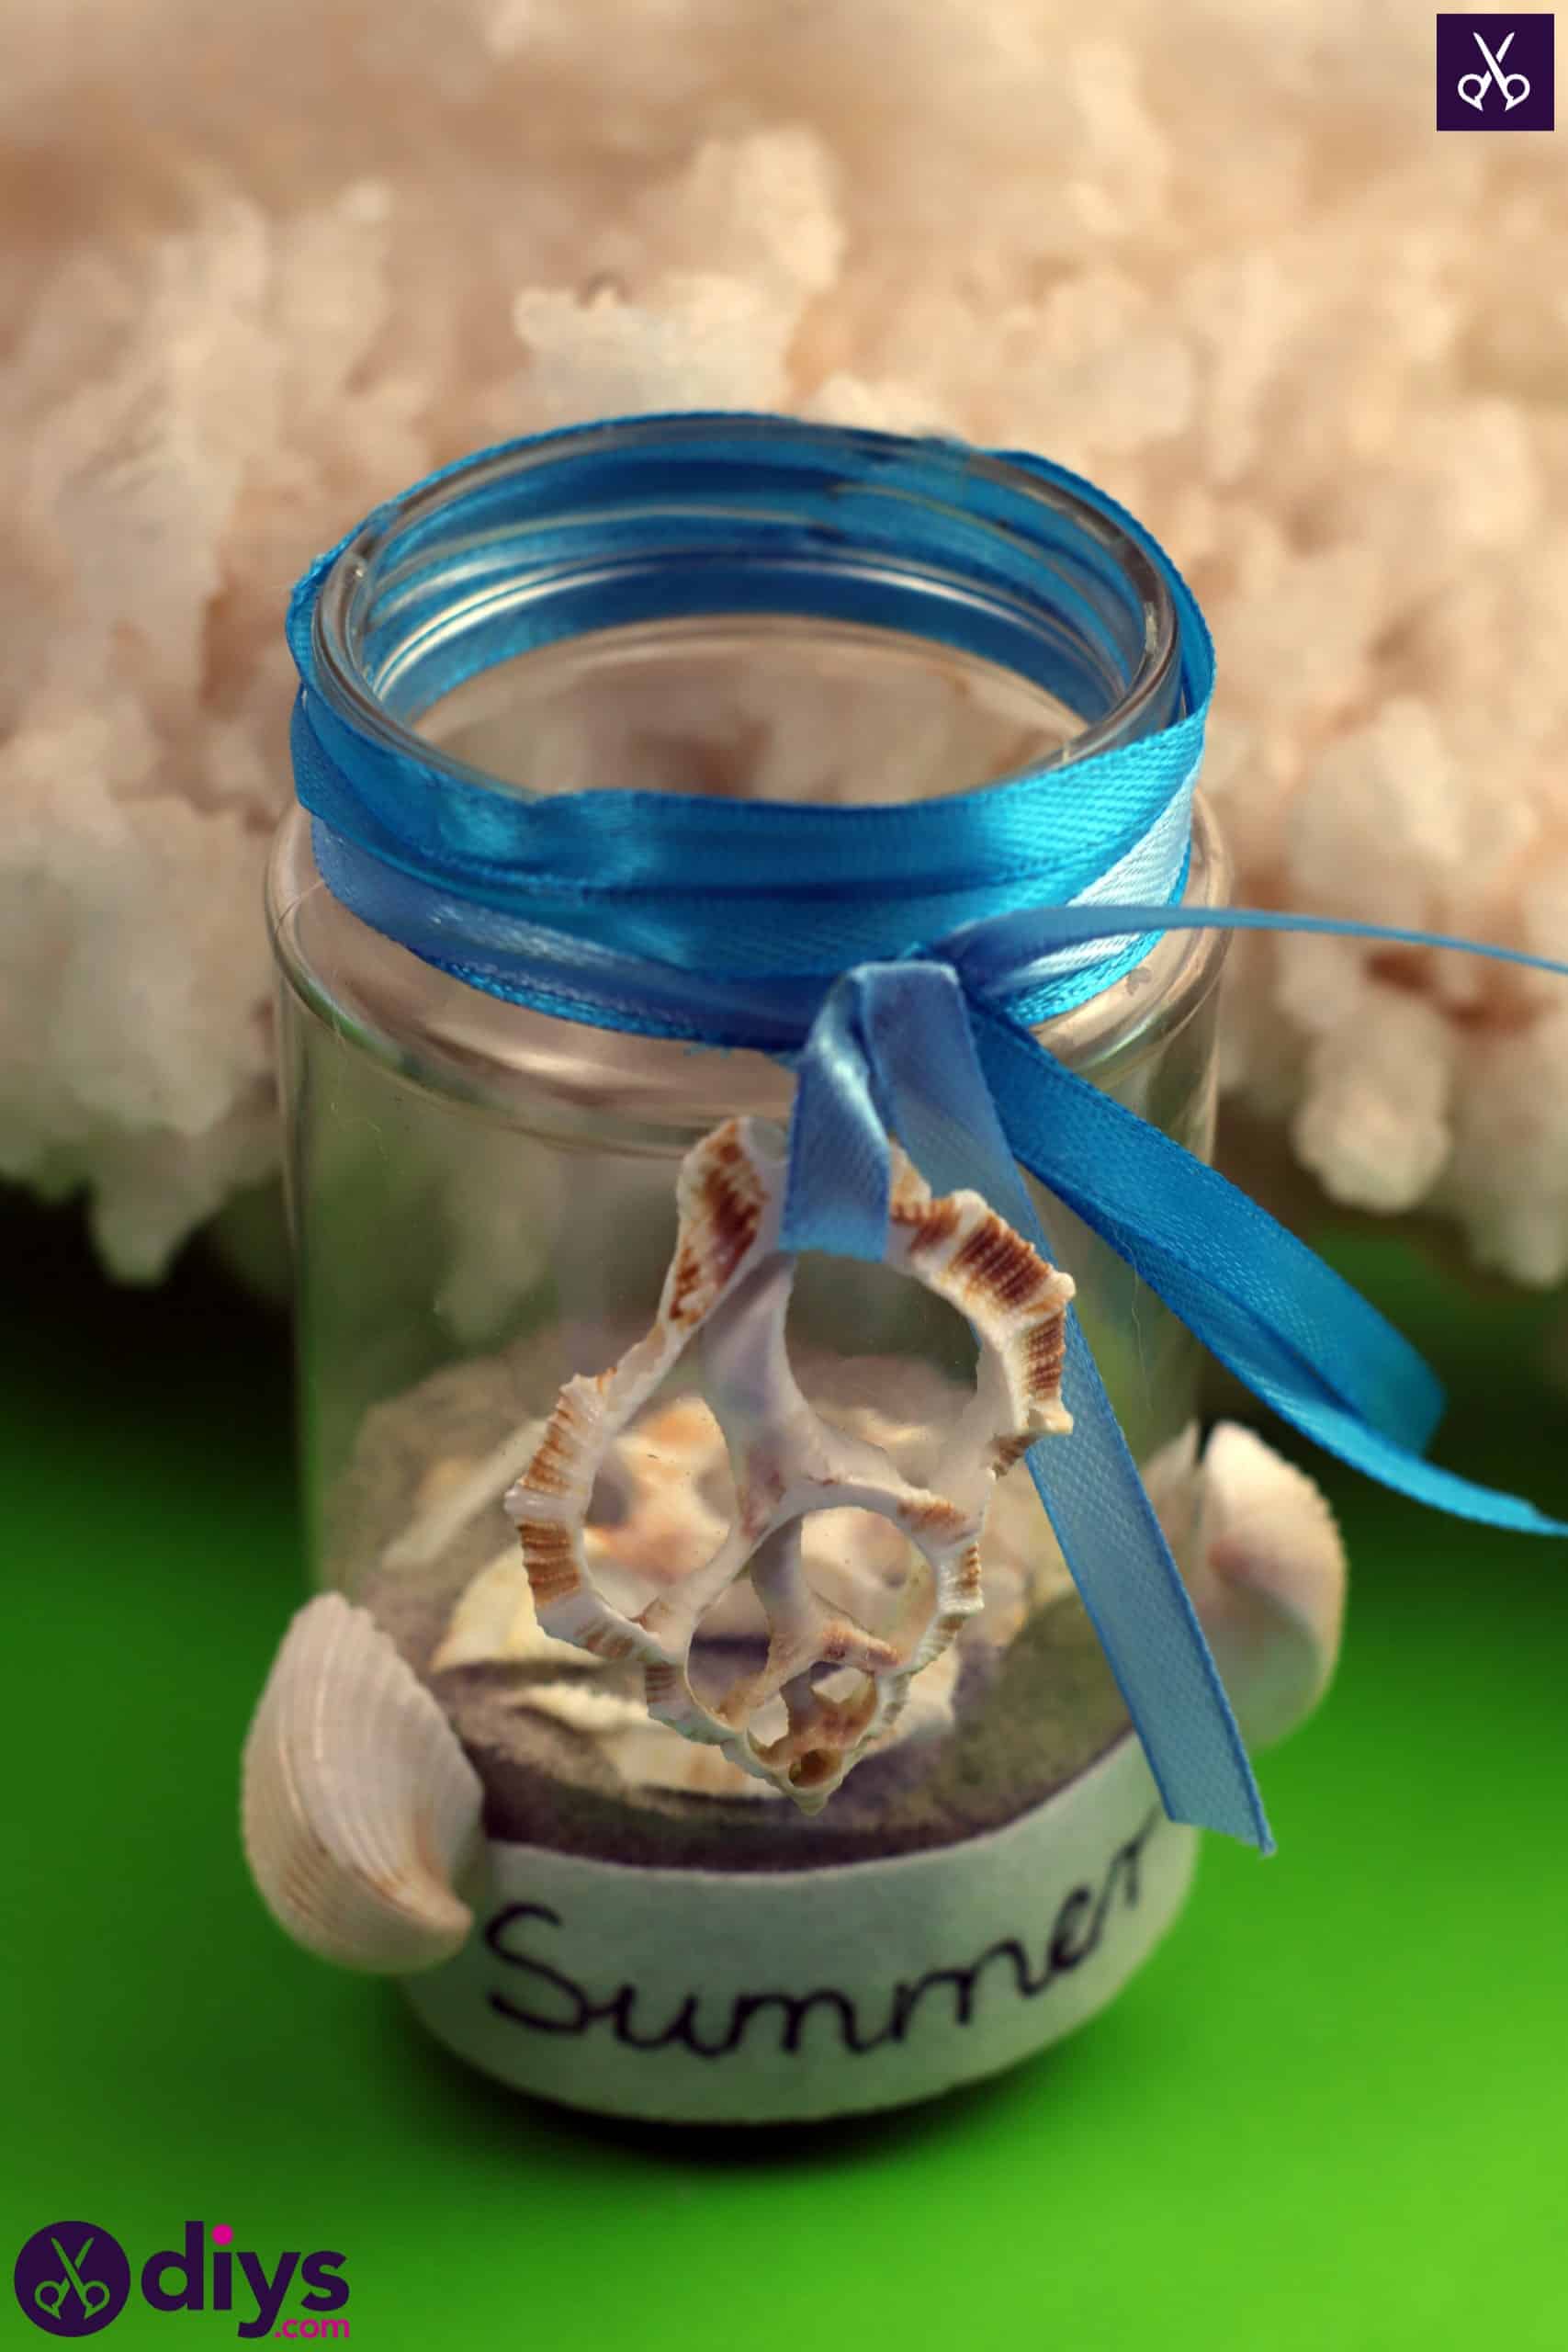
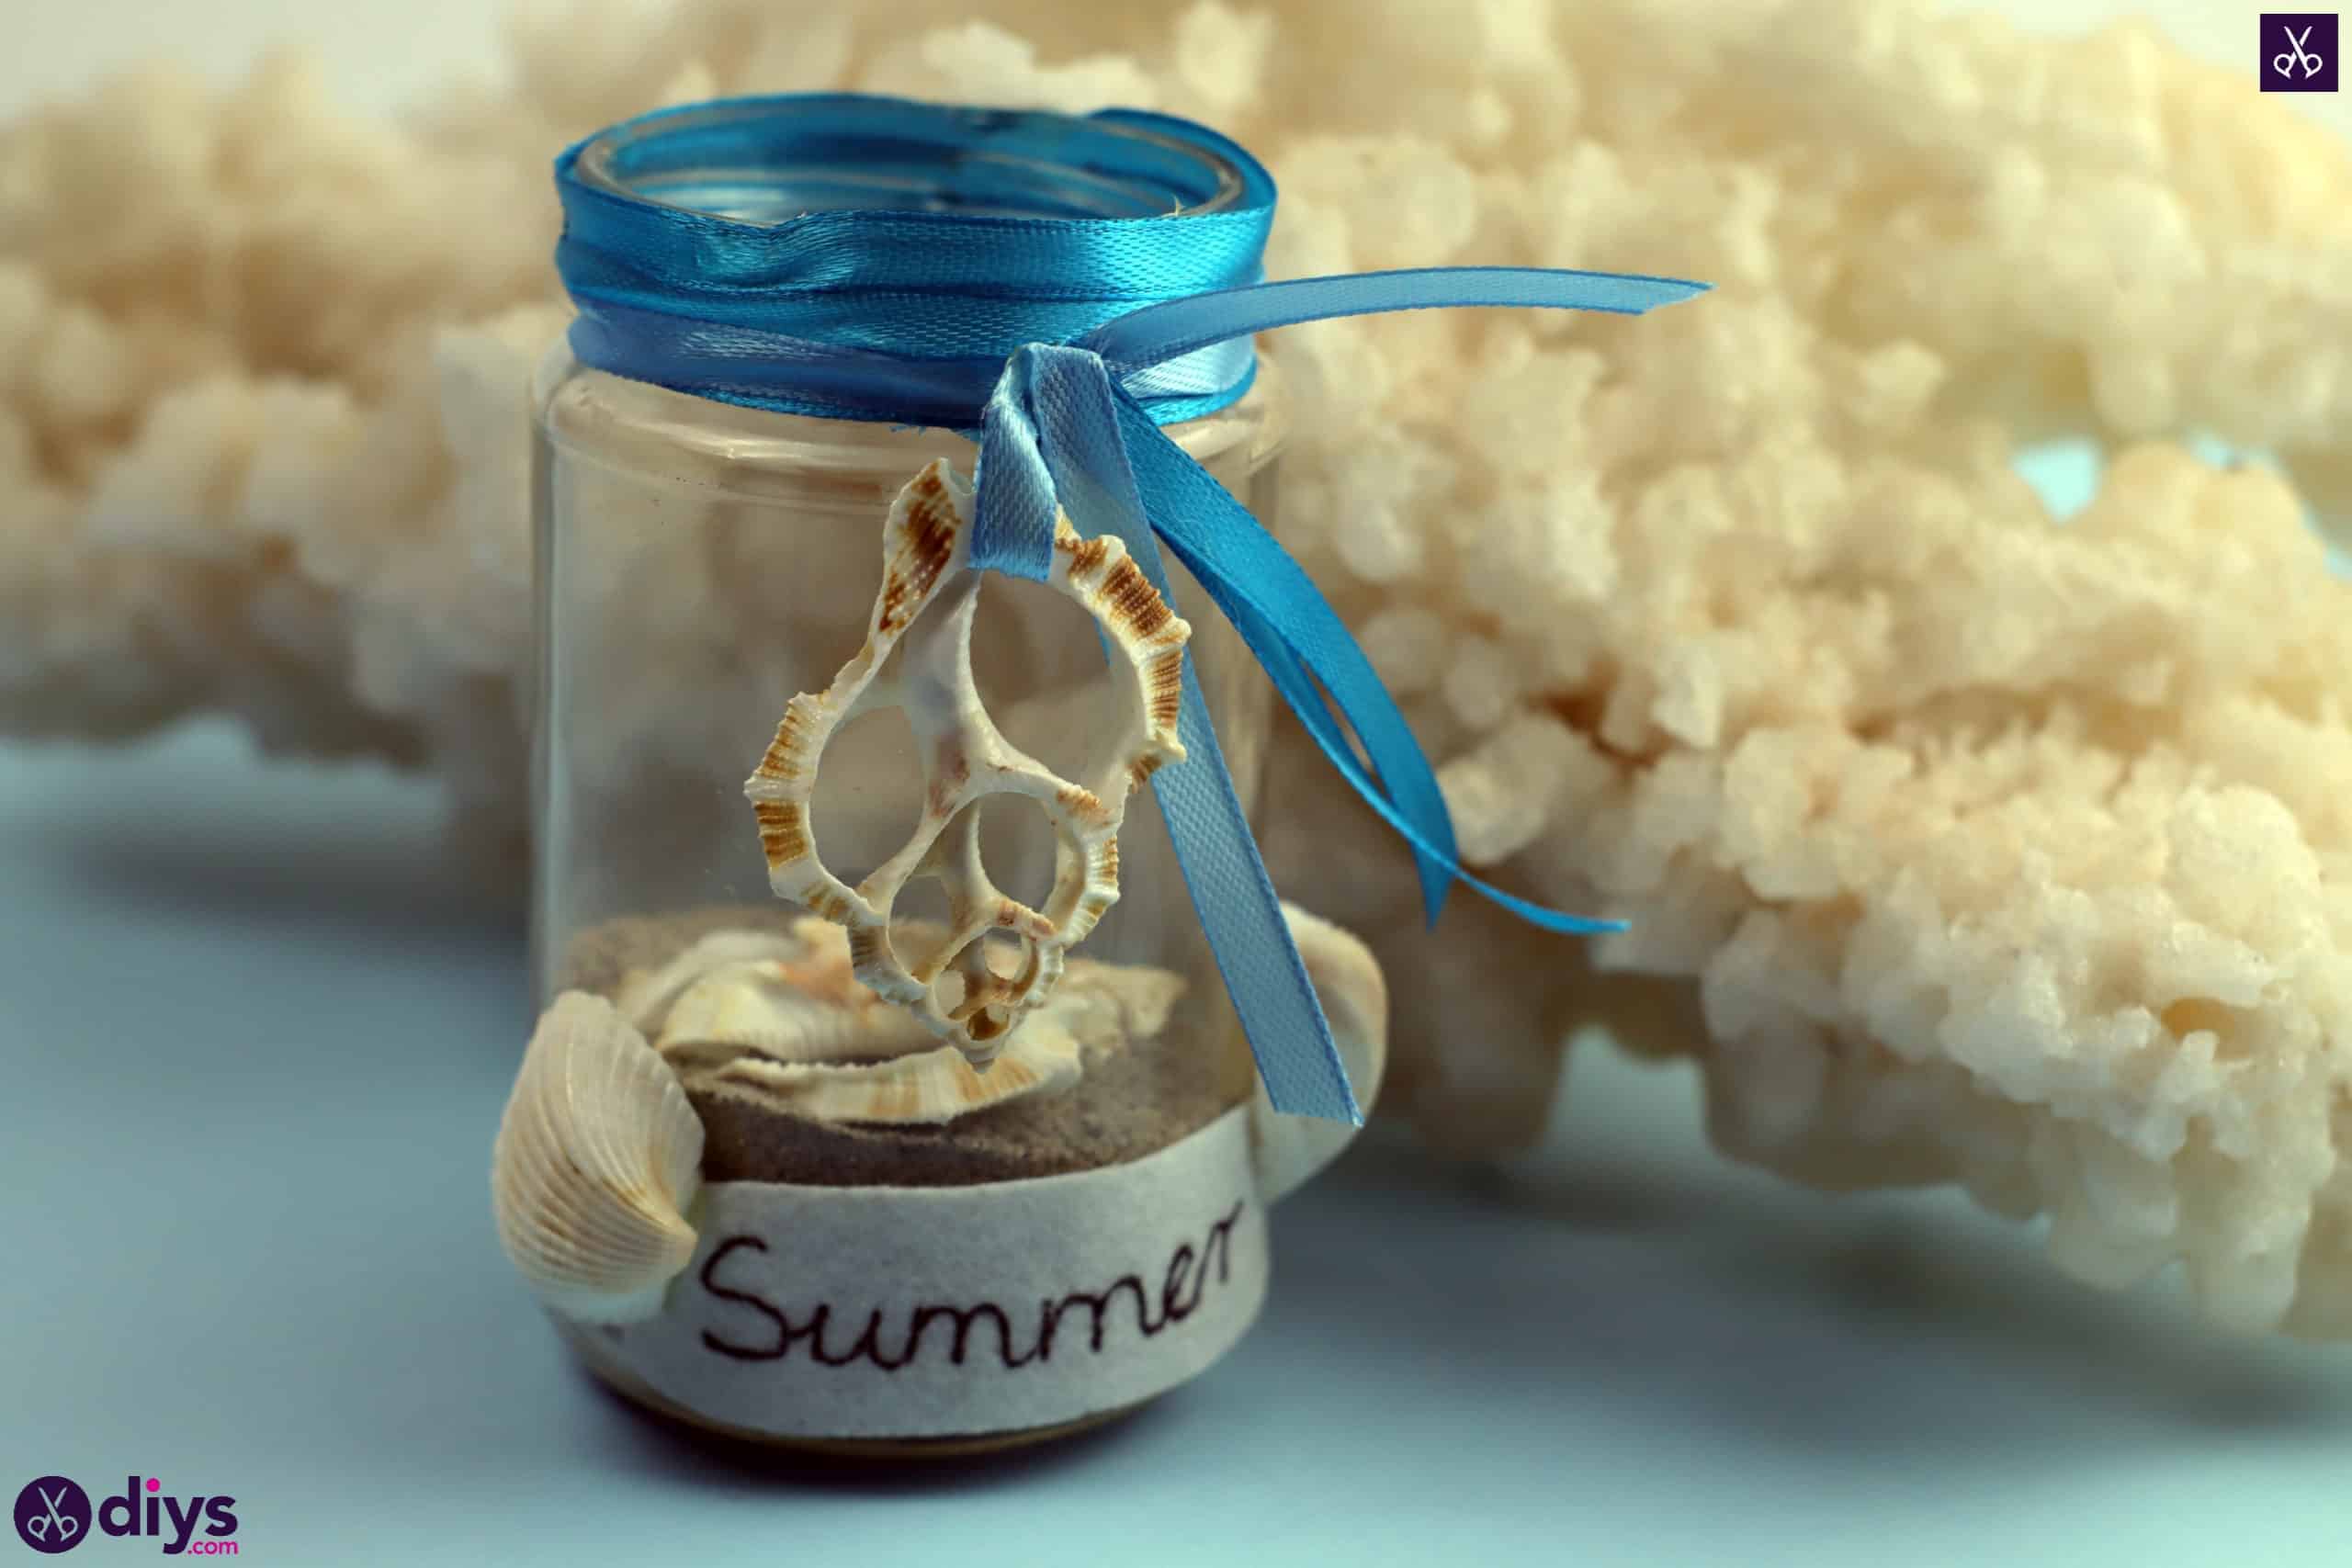
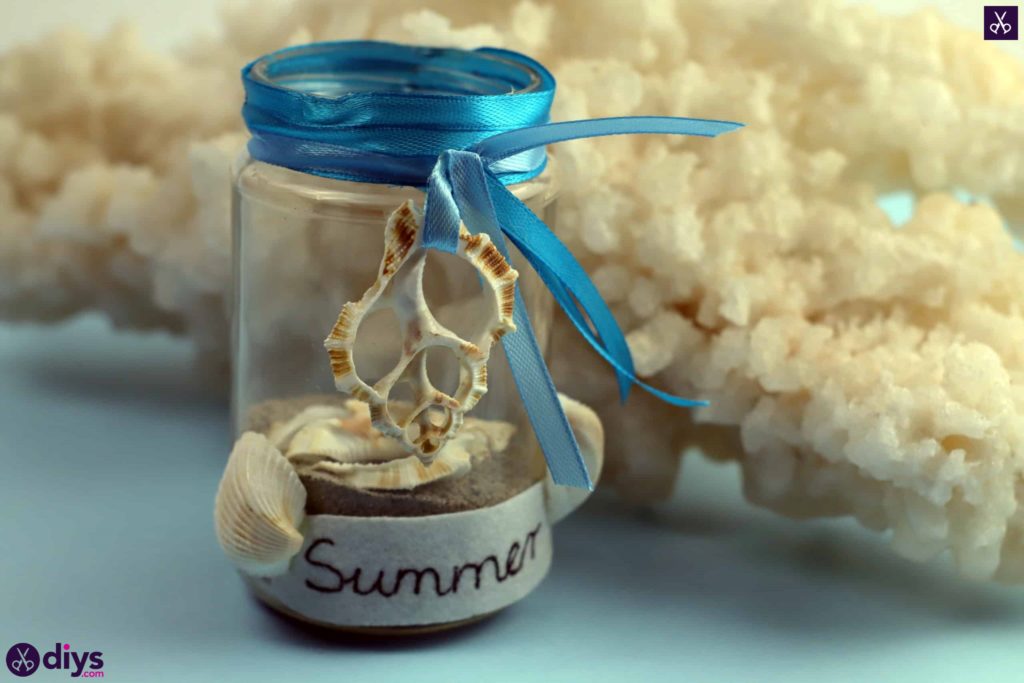
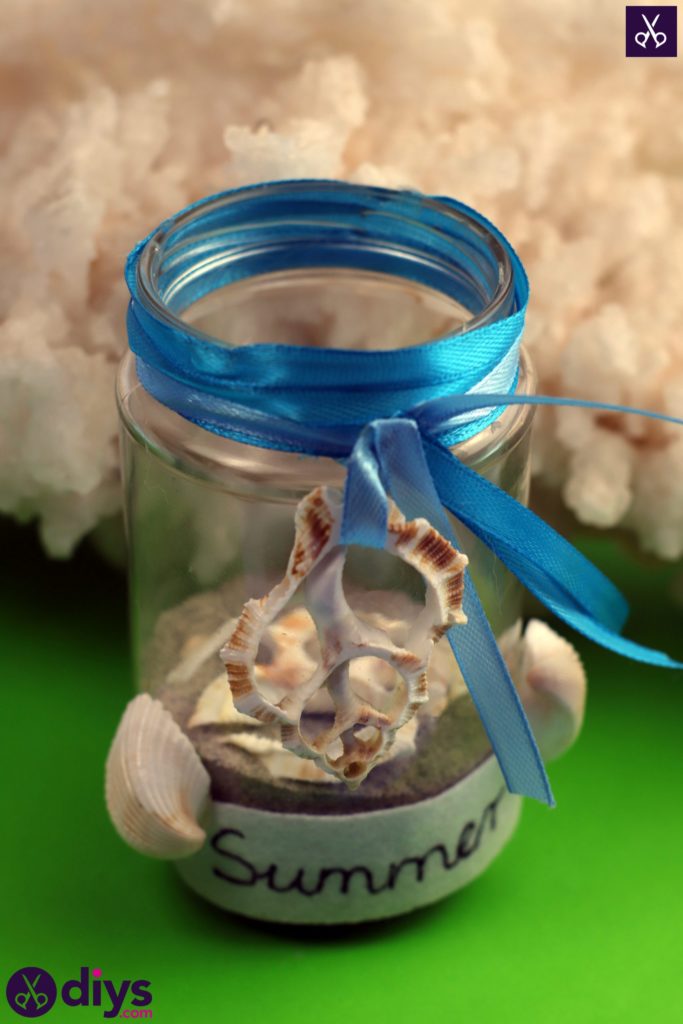
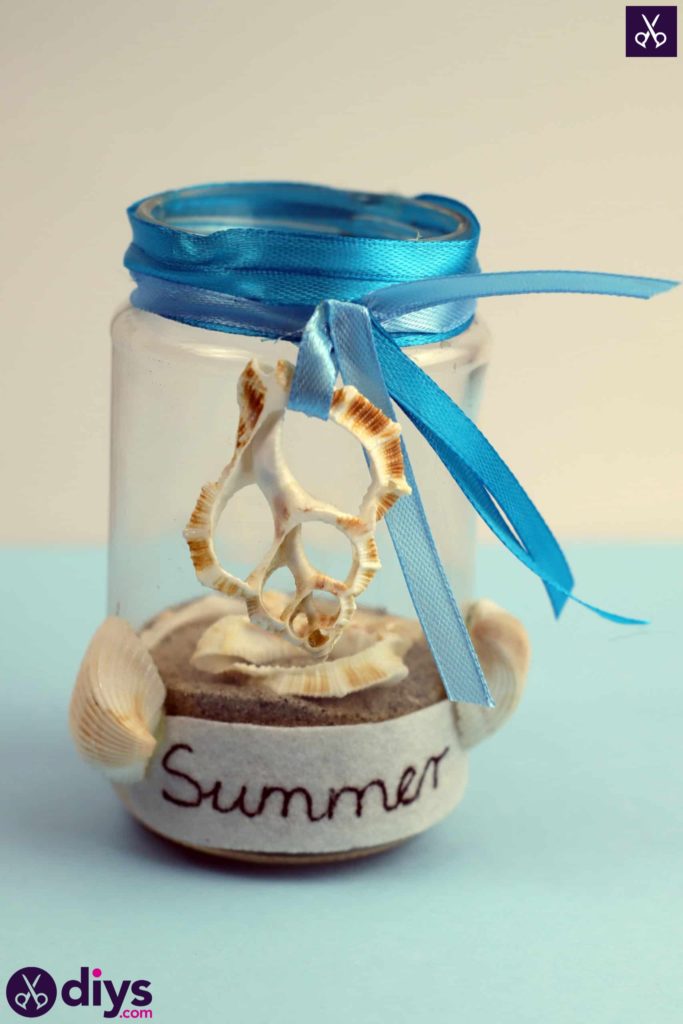
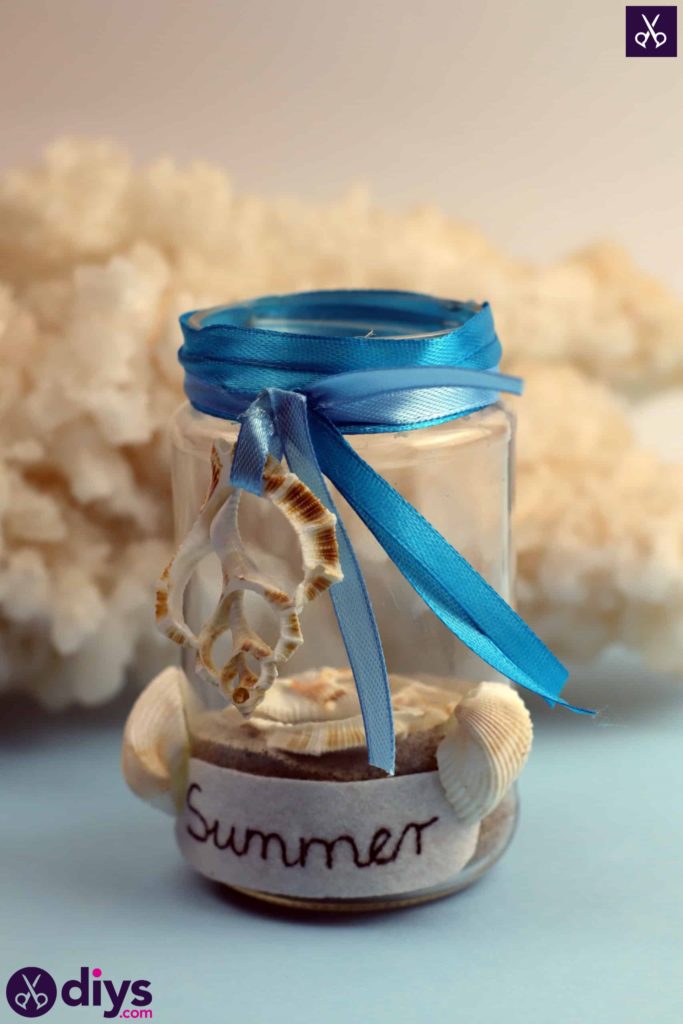
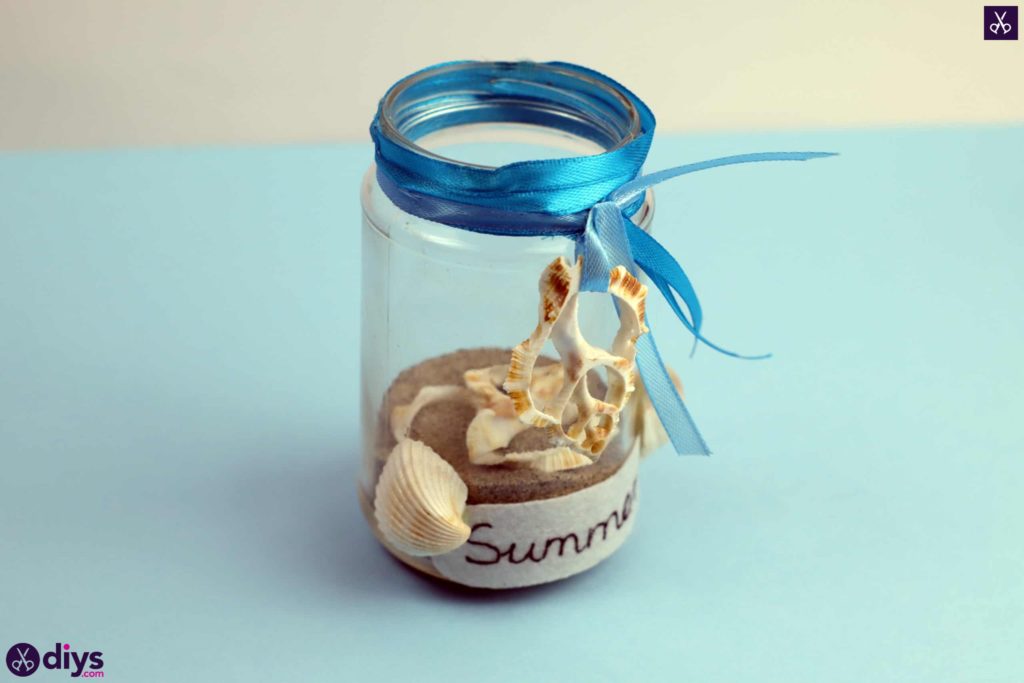
Capture the look of summer and use in your home decor with this DIY beach inspired mason jar decor idea! We’ve aid out the steps on how to make it right here so check it out!
I’ve always adored following other people’s crafting tutorials in order to make new decor pieces, so every once in a while I like to create one of my own in order to return the favour a little. That’s precisely what I did with the beach-inspired piece. Check out these step by step instructions complete with photos! If you’d rather follow along with a video tutorial instead of written words, scroll to the bottom of this post to find just what you’re looking for.
For this project, you’ll need:
- Sand
- Shells
- Ribbon (dark and light blue)
- An empty jar
- Felt (brown and white)
- Scissors
- Hot glue
- A black marker
Step 1: make your label
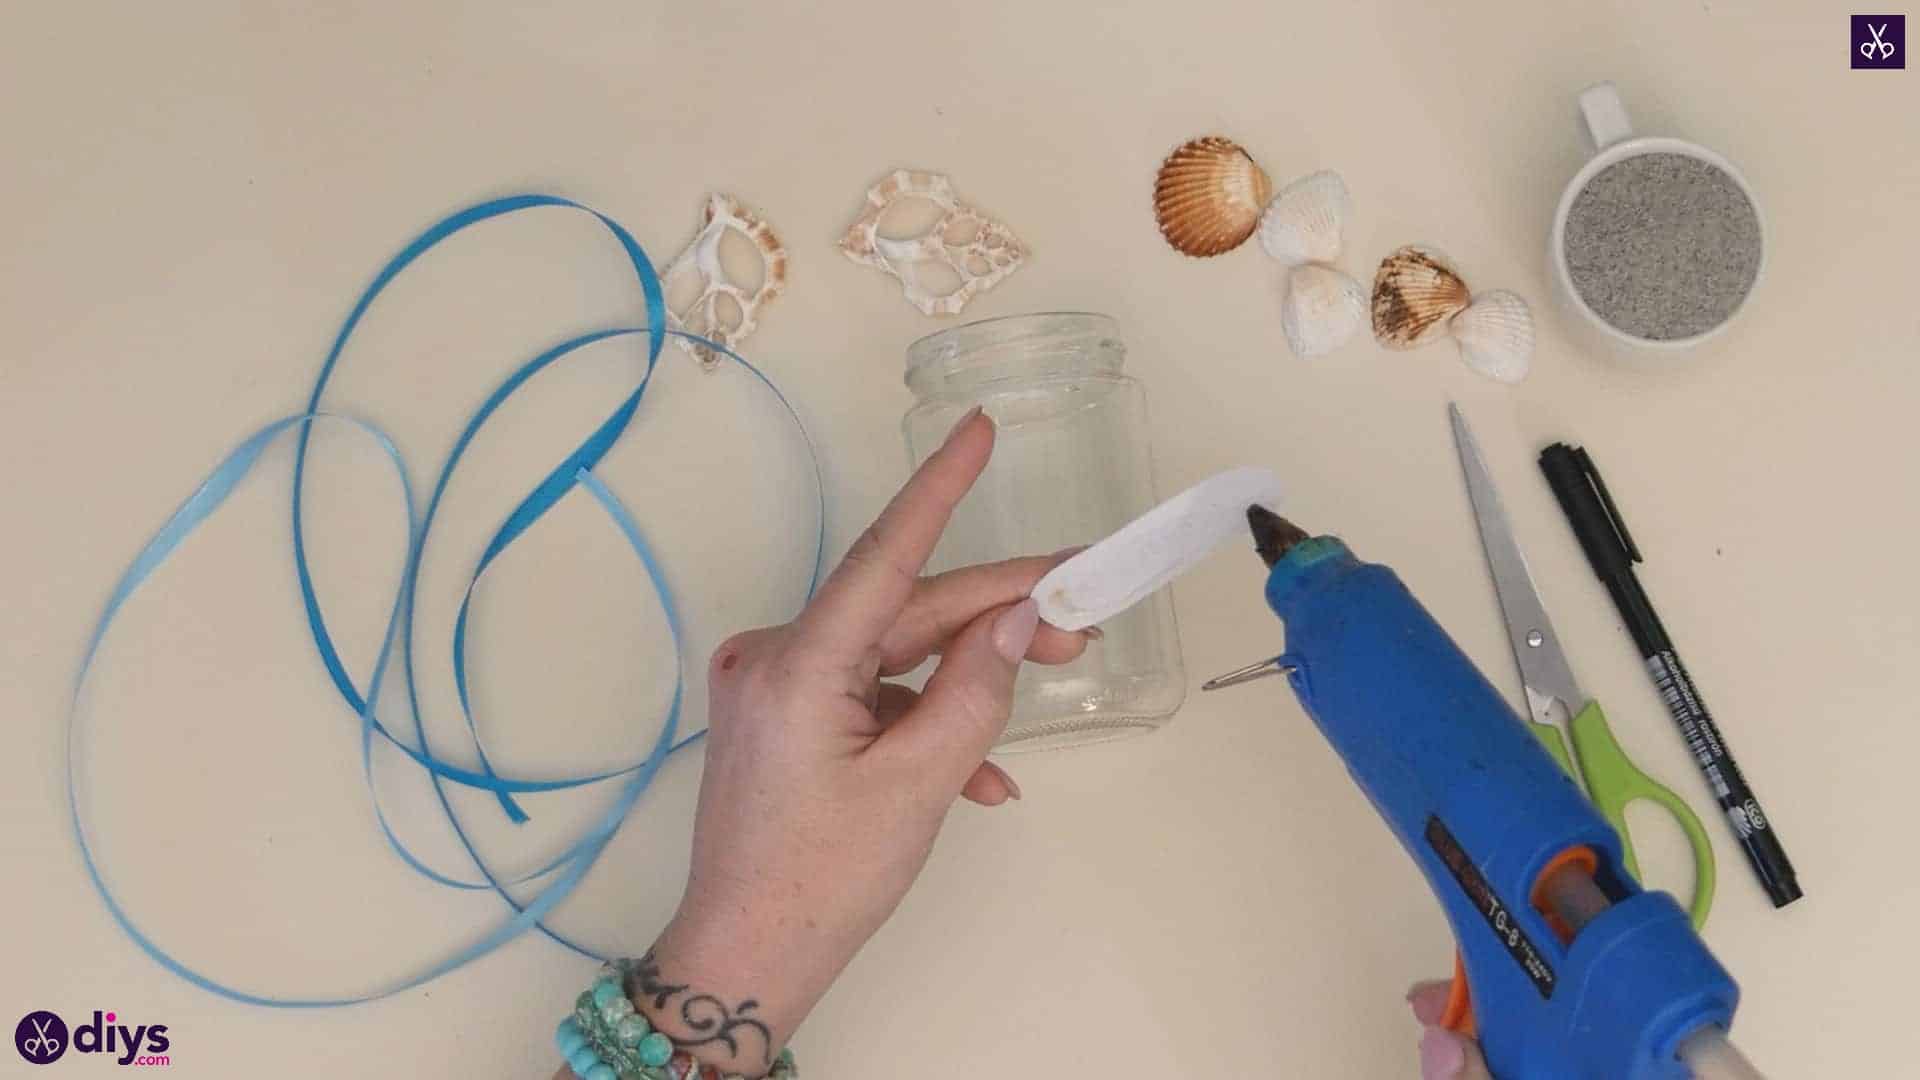
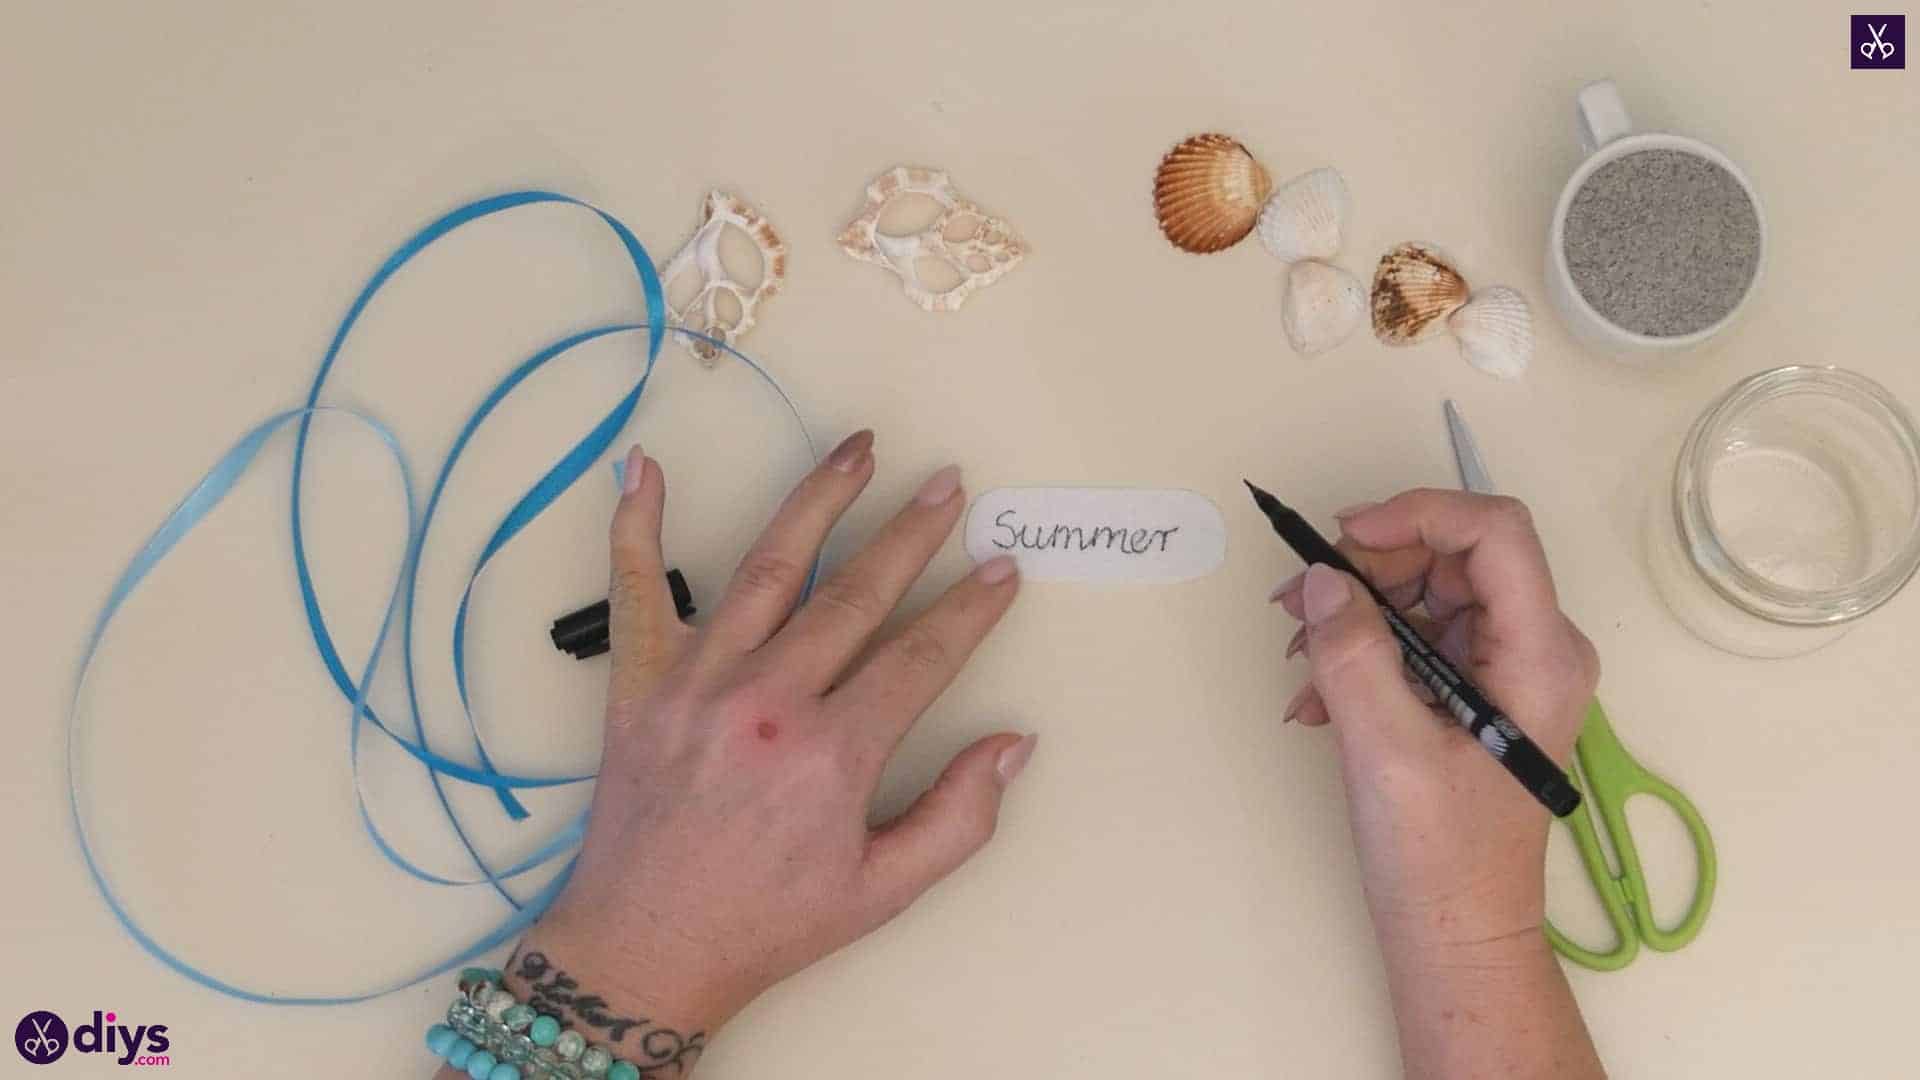
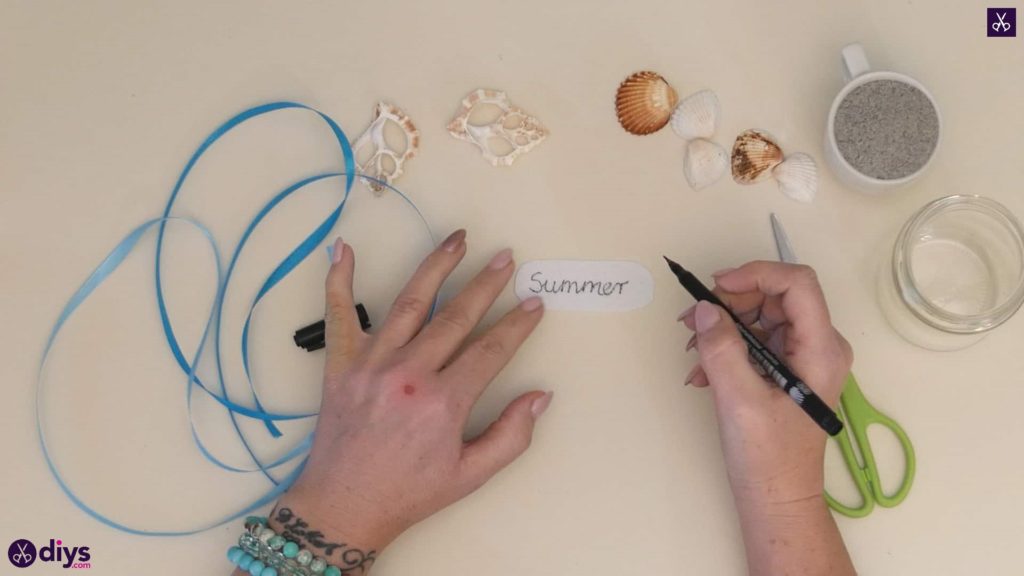
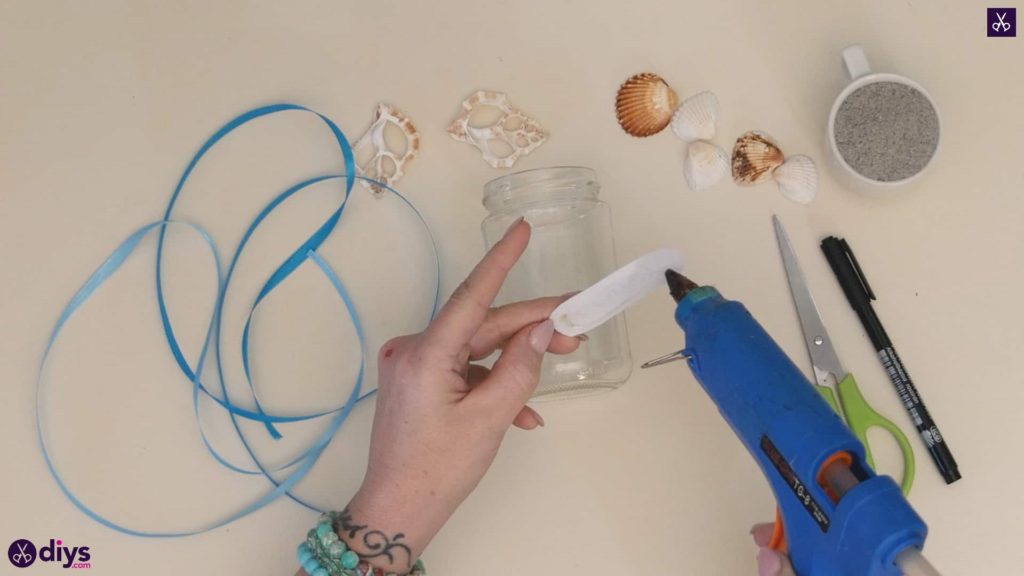
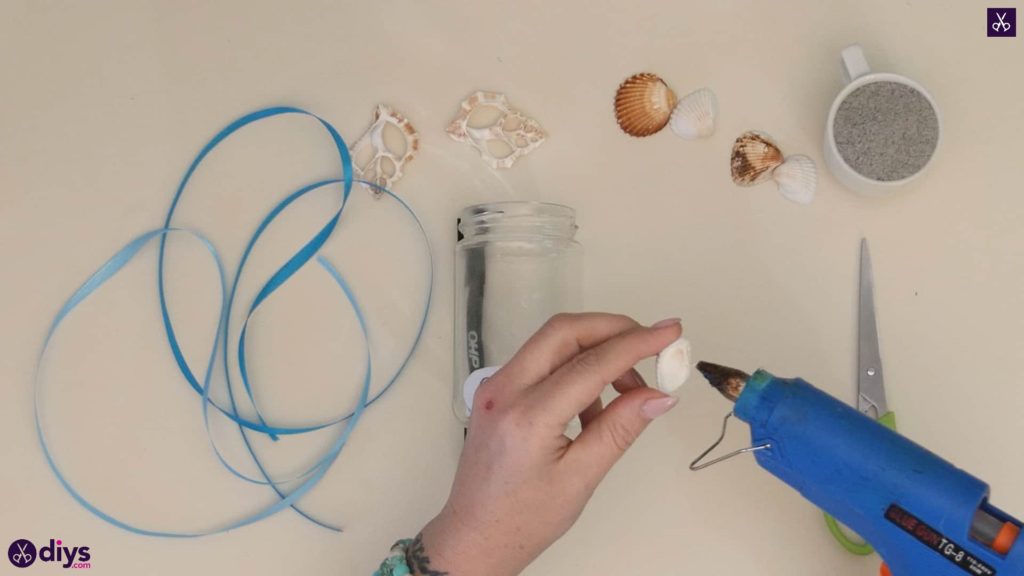
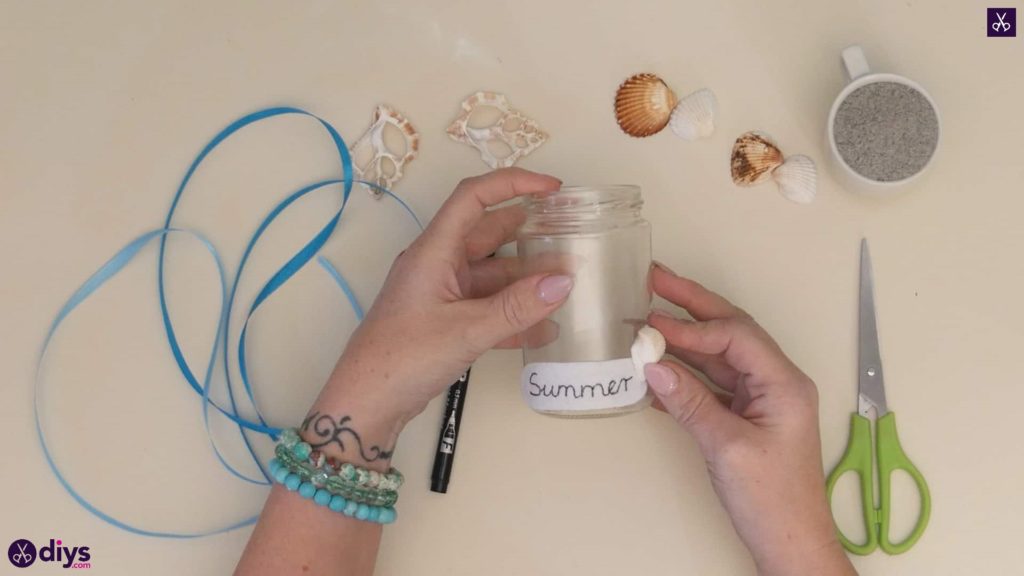
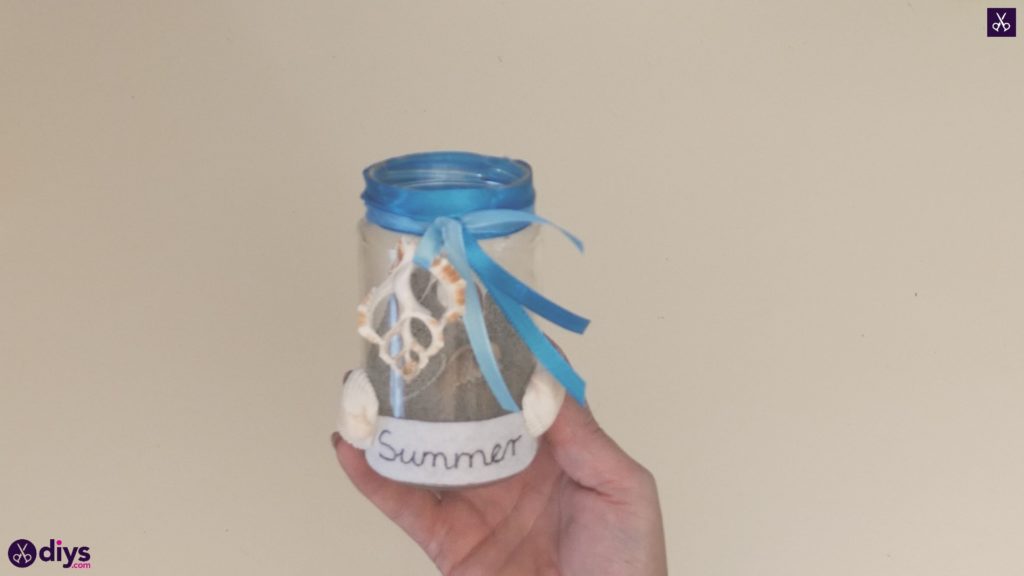
Cut a rectangular shape from your white felt that’s about two inches long and one inch tall, then use your scissors to round off the corners and straight edges of that piece, leaving you with a sort of oblong oval. Turn this so the longer sides become the top and bottom and lay it flat on your tabletop so you can use your black marker to write “summer” in whatever kid of cursive, print, or playful hand writing you please. Turn the piece over and apply glue to the back side of the felt and then stick it down on the jar’s surface a little higher than the bottom edge, on whichever side you’d like the front of your jar to be.
Step 2: add detail
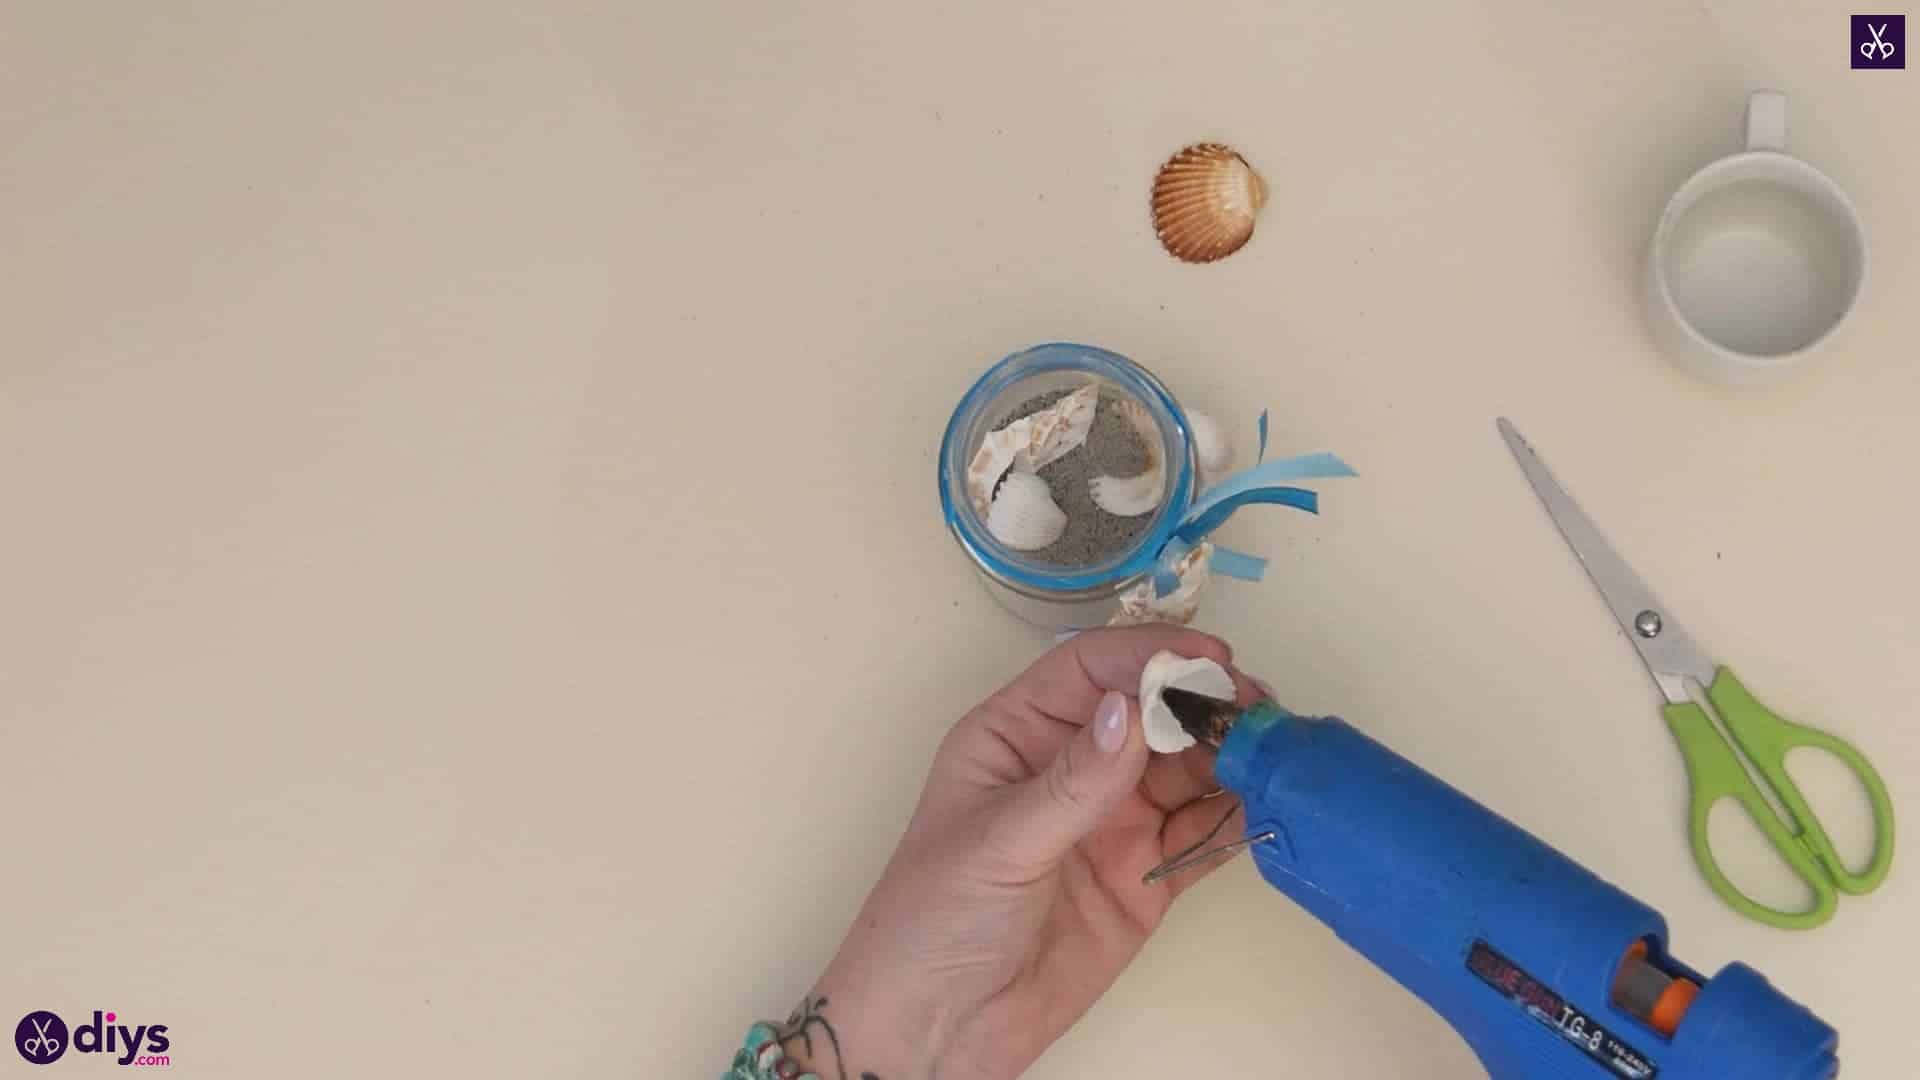
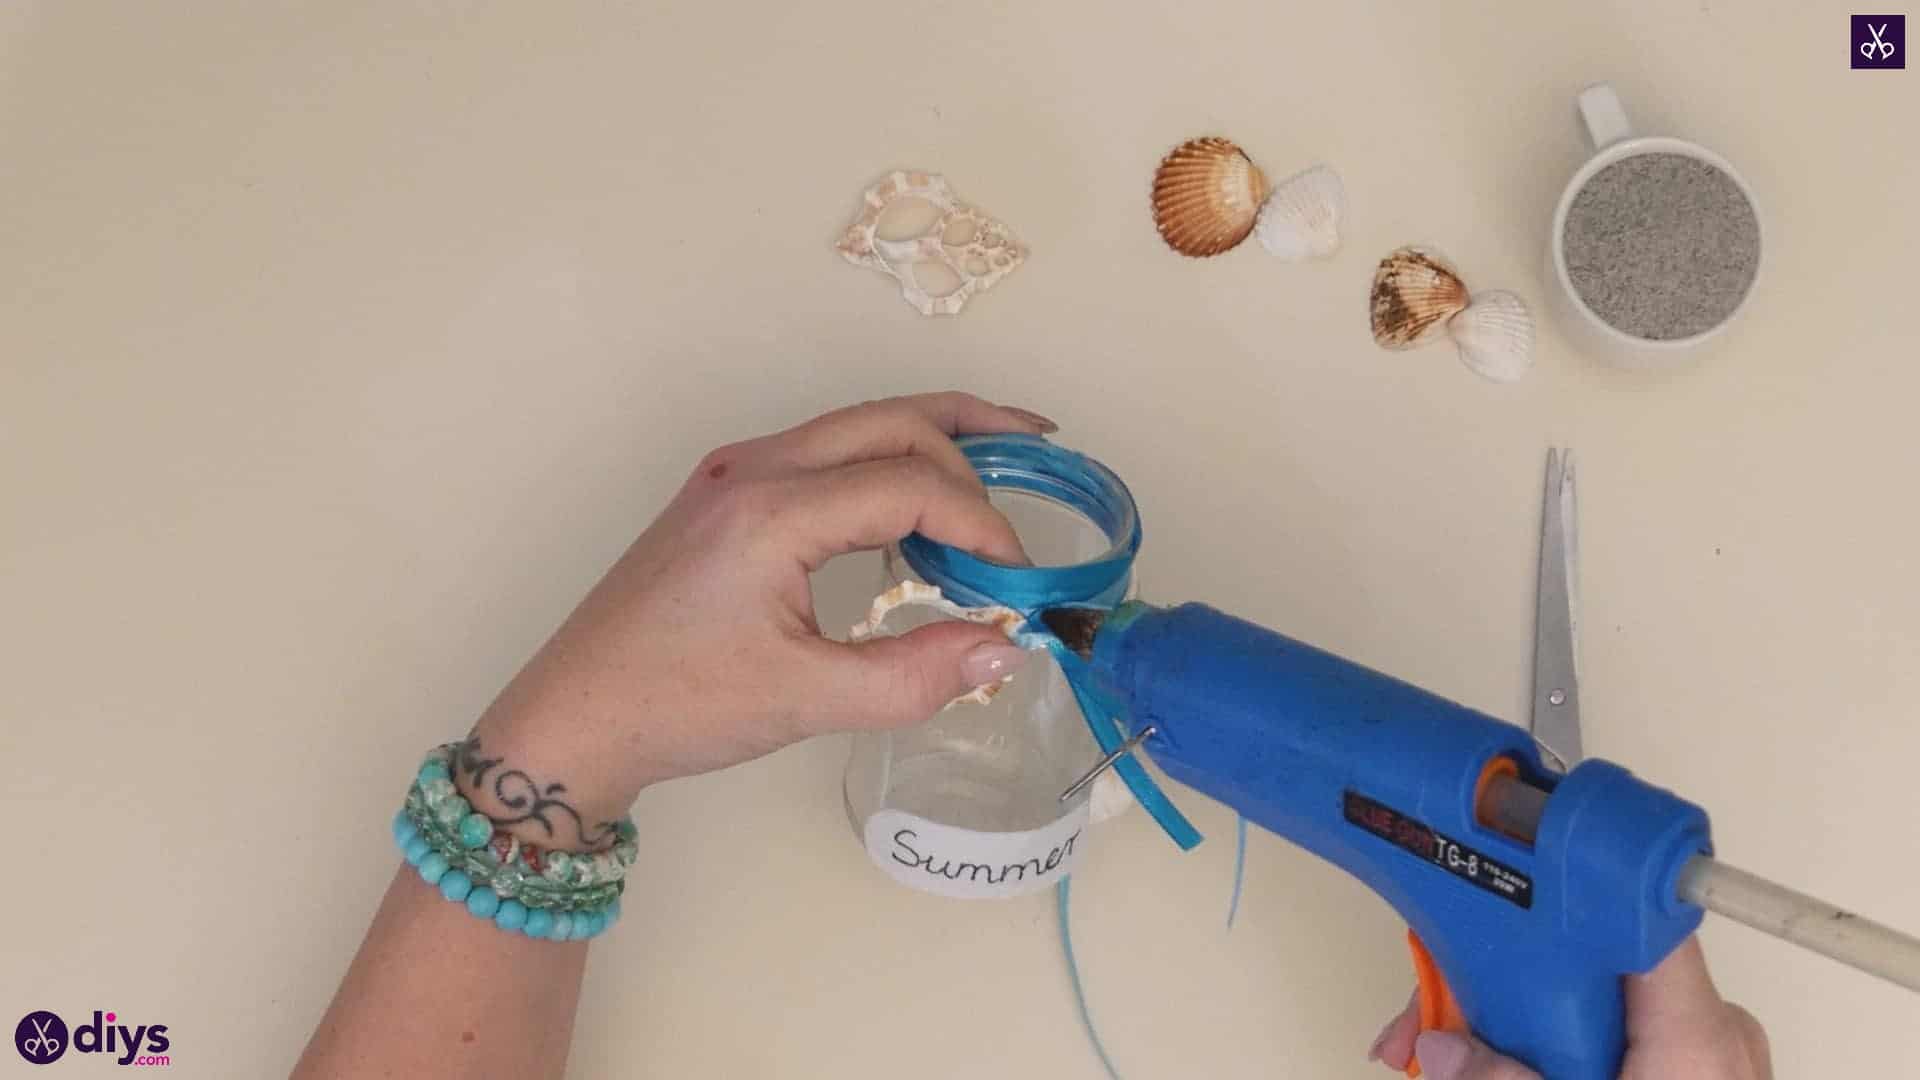
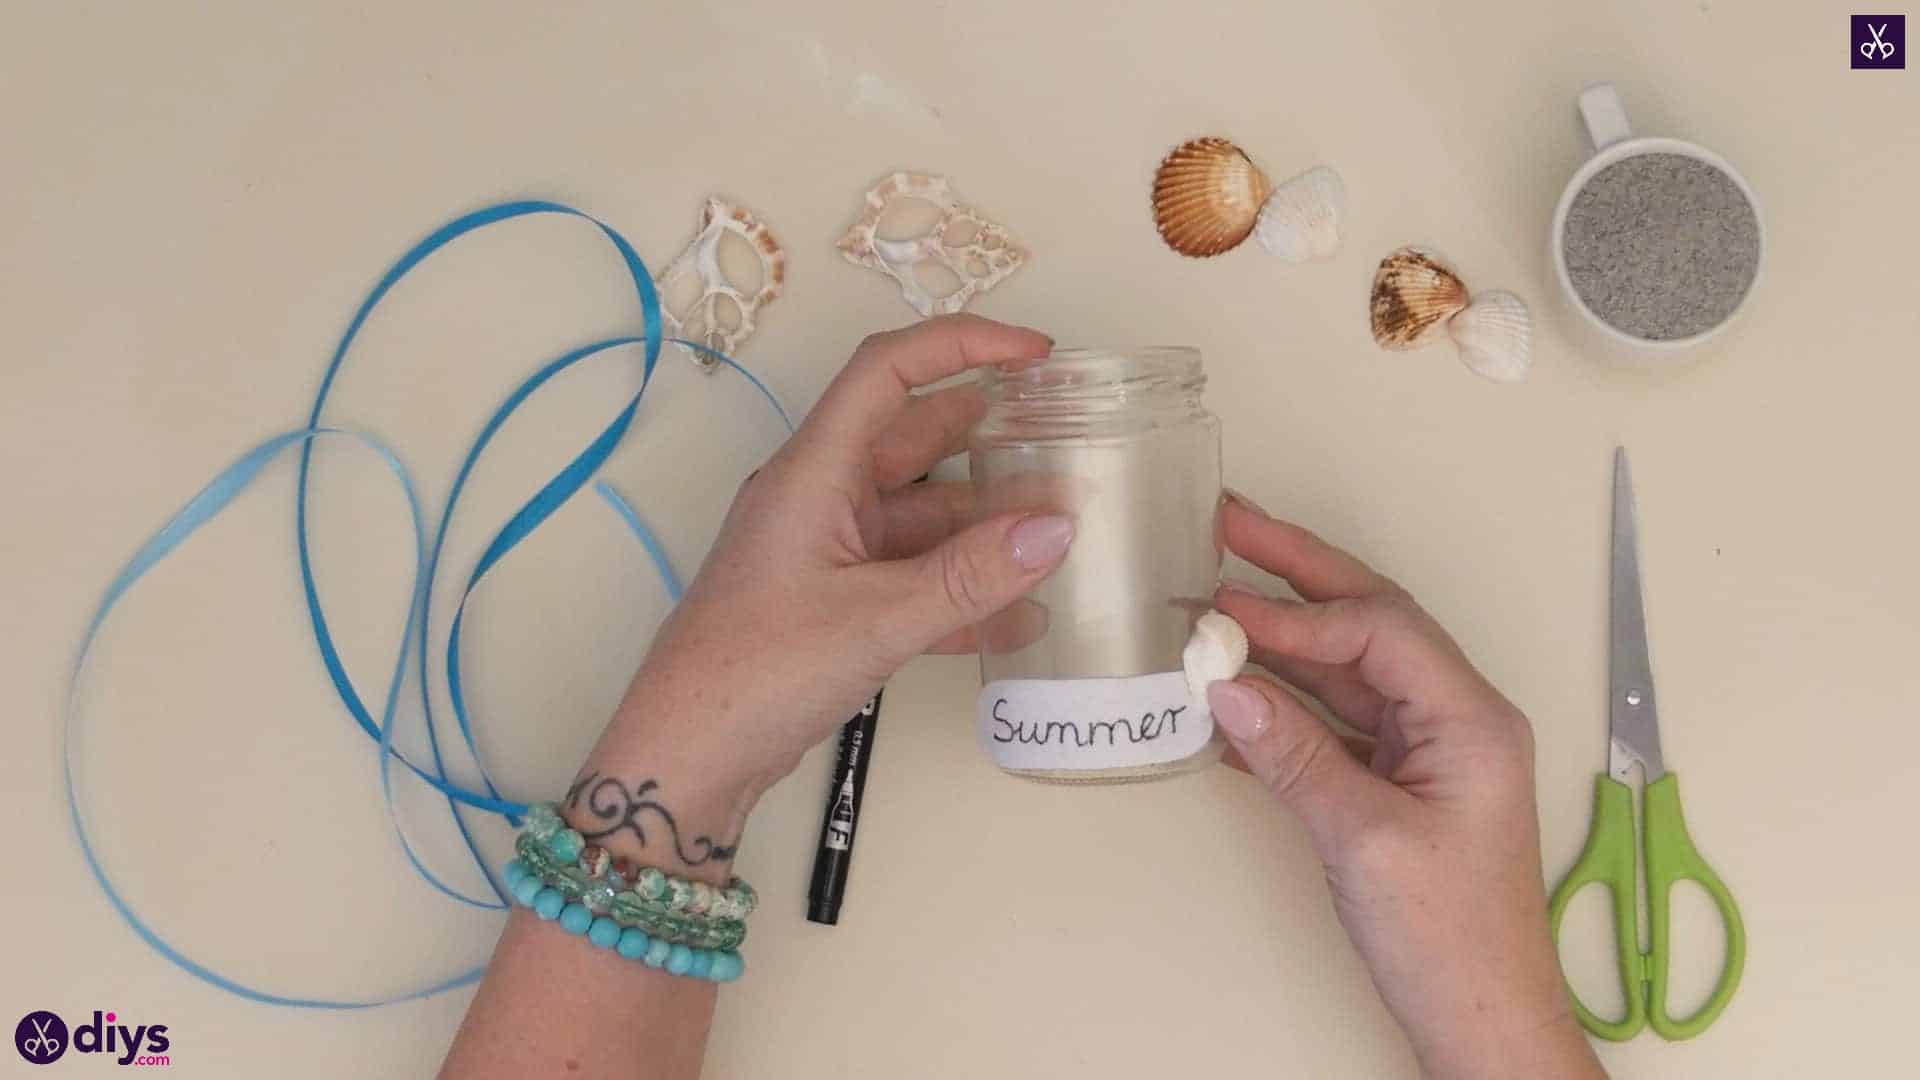
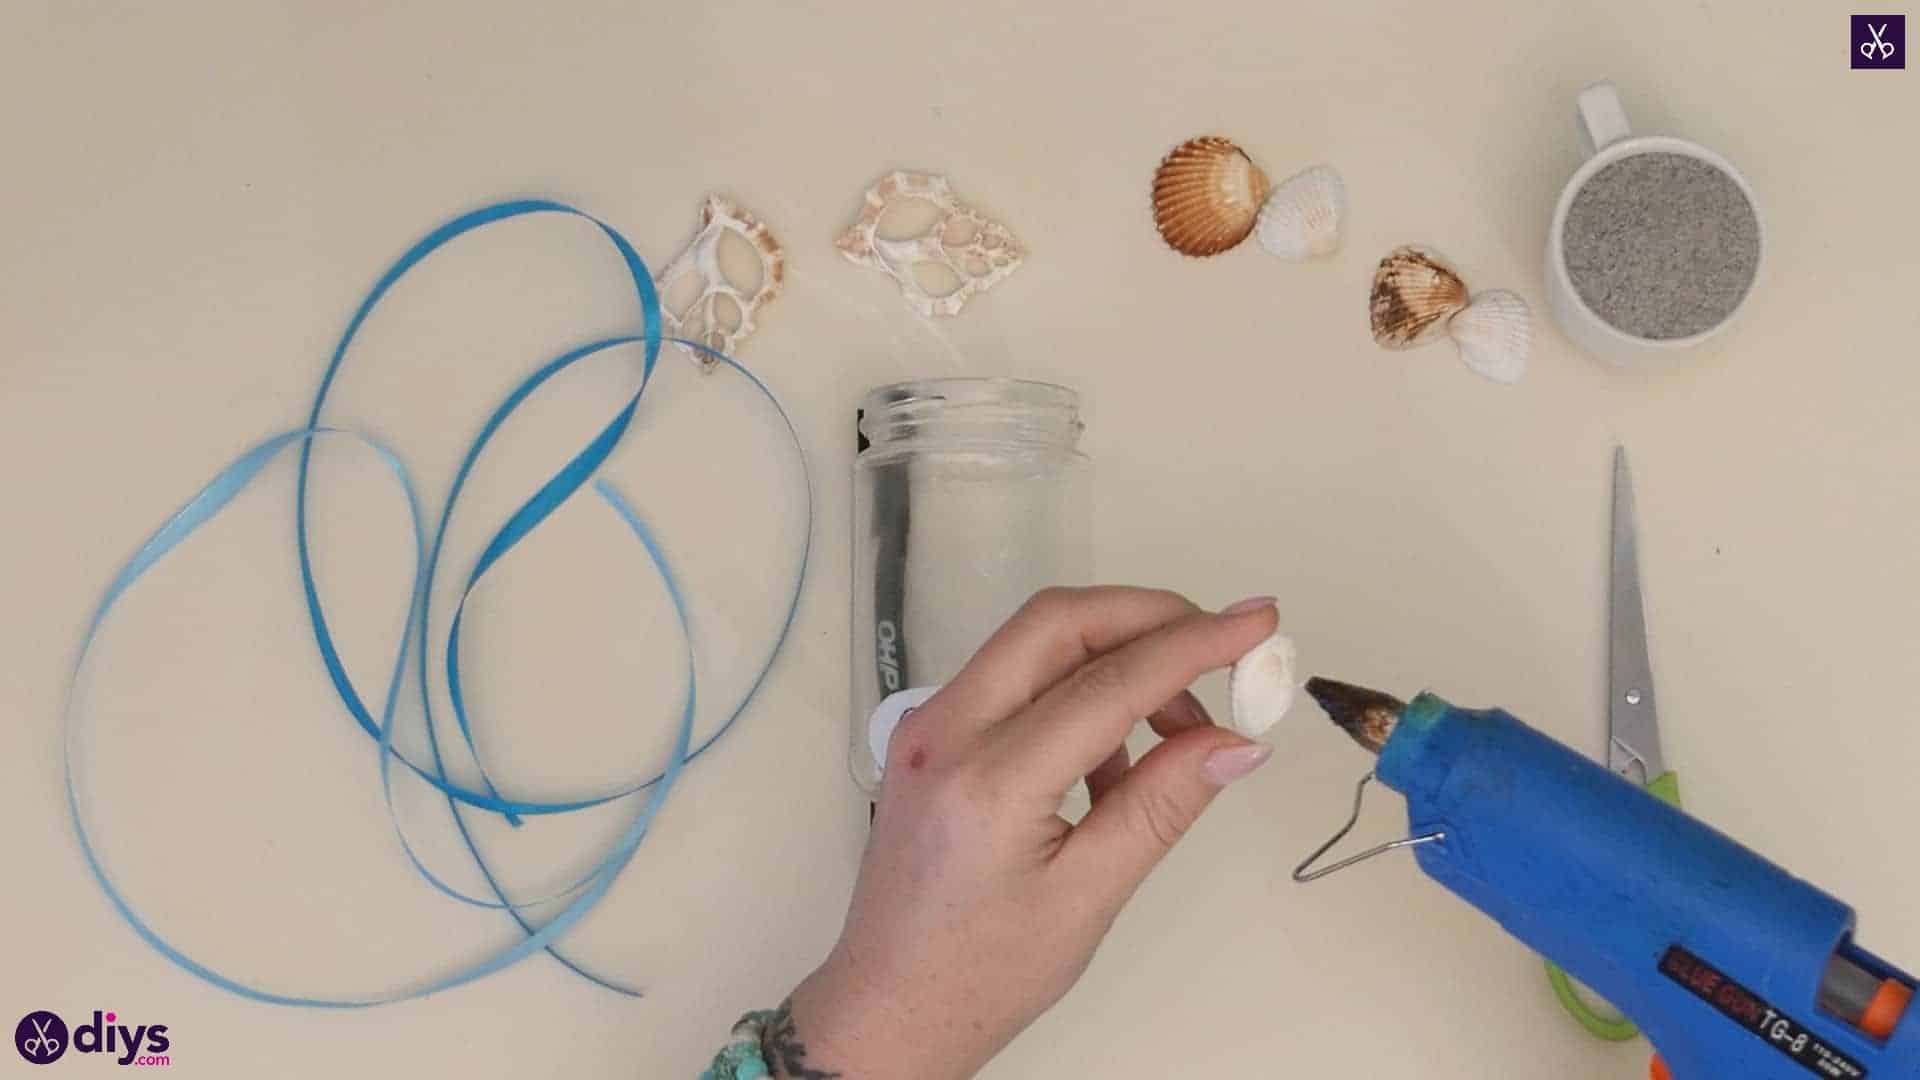
Add some beachy detail to this “summer” sign by gluing a seashell in one corner! Apply glue to the underside of a small shell, around its edges that will actually sit against the jar, and stick it down overlapping the top right of the felt where you rounded that corner off.
Step 3: add ribbon
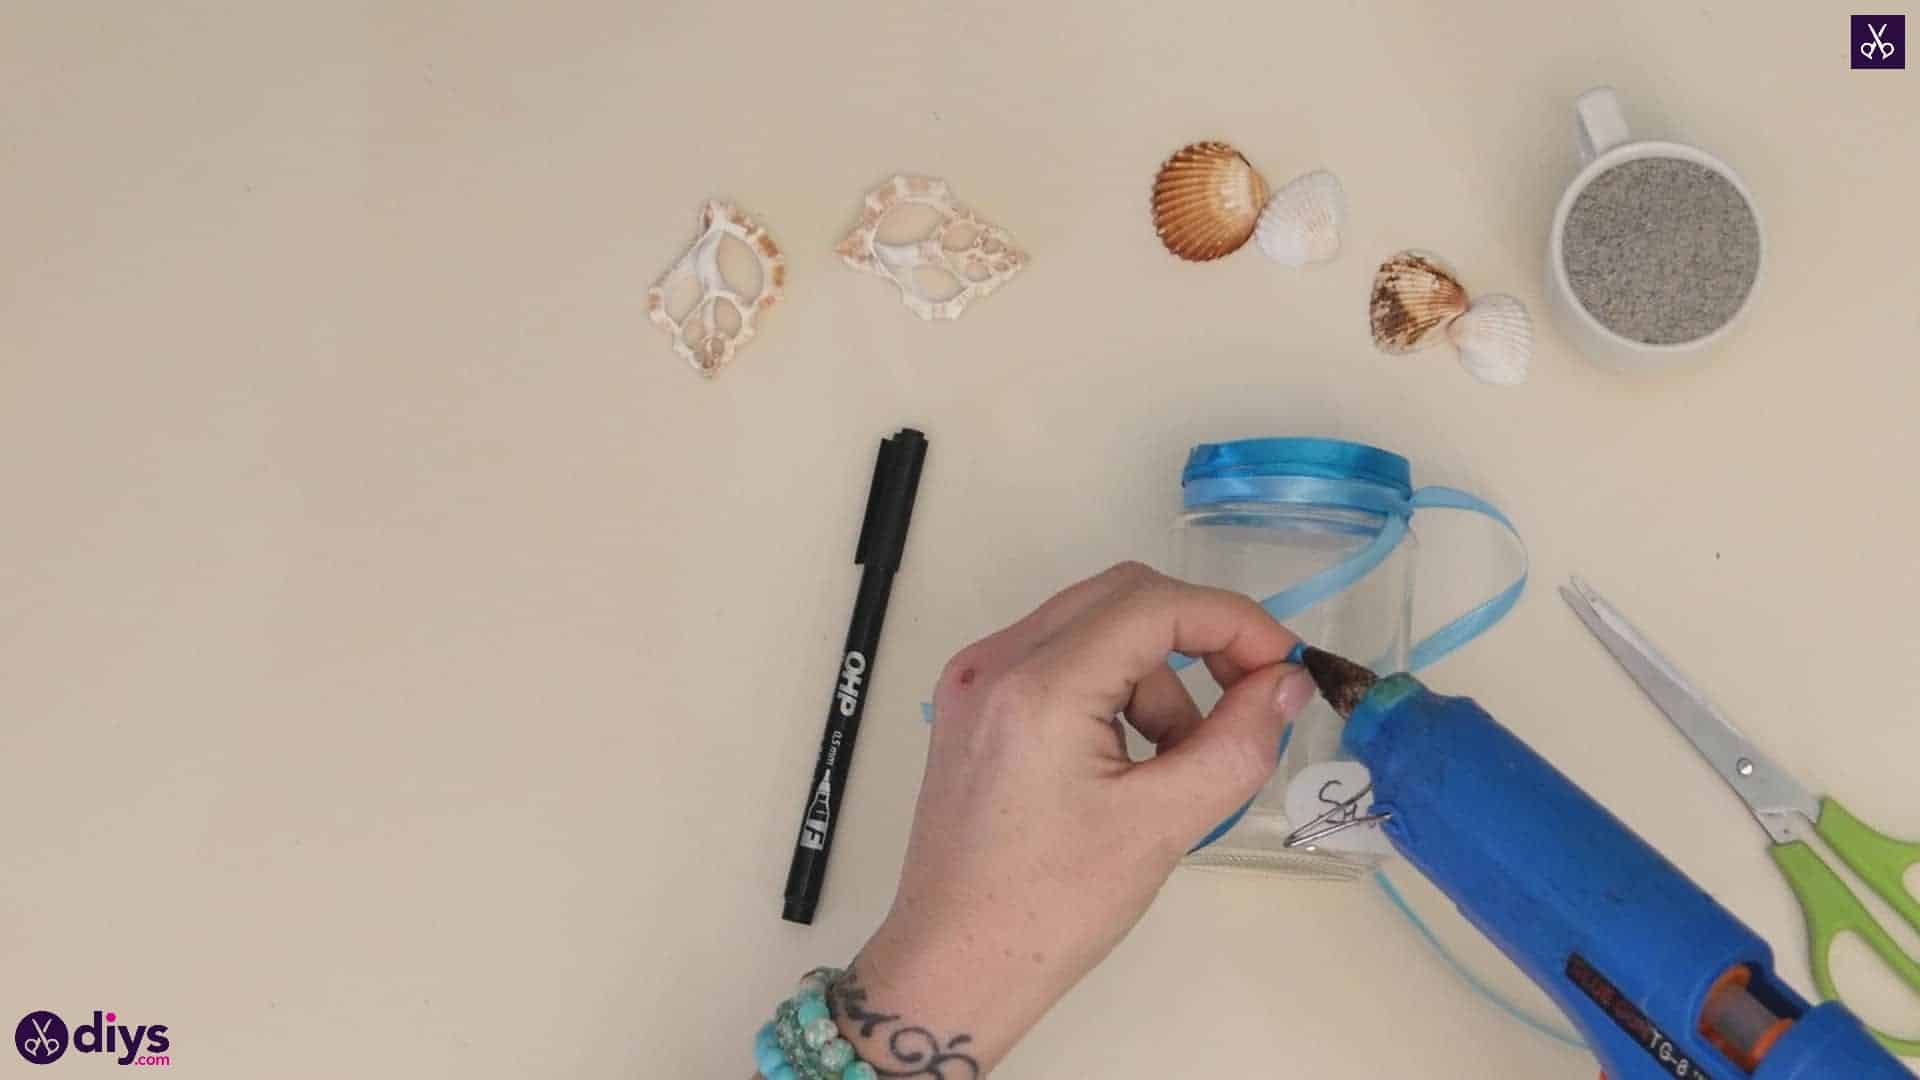
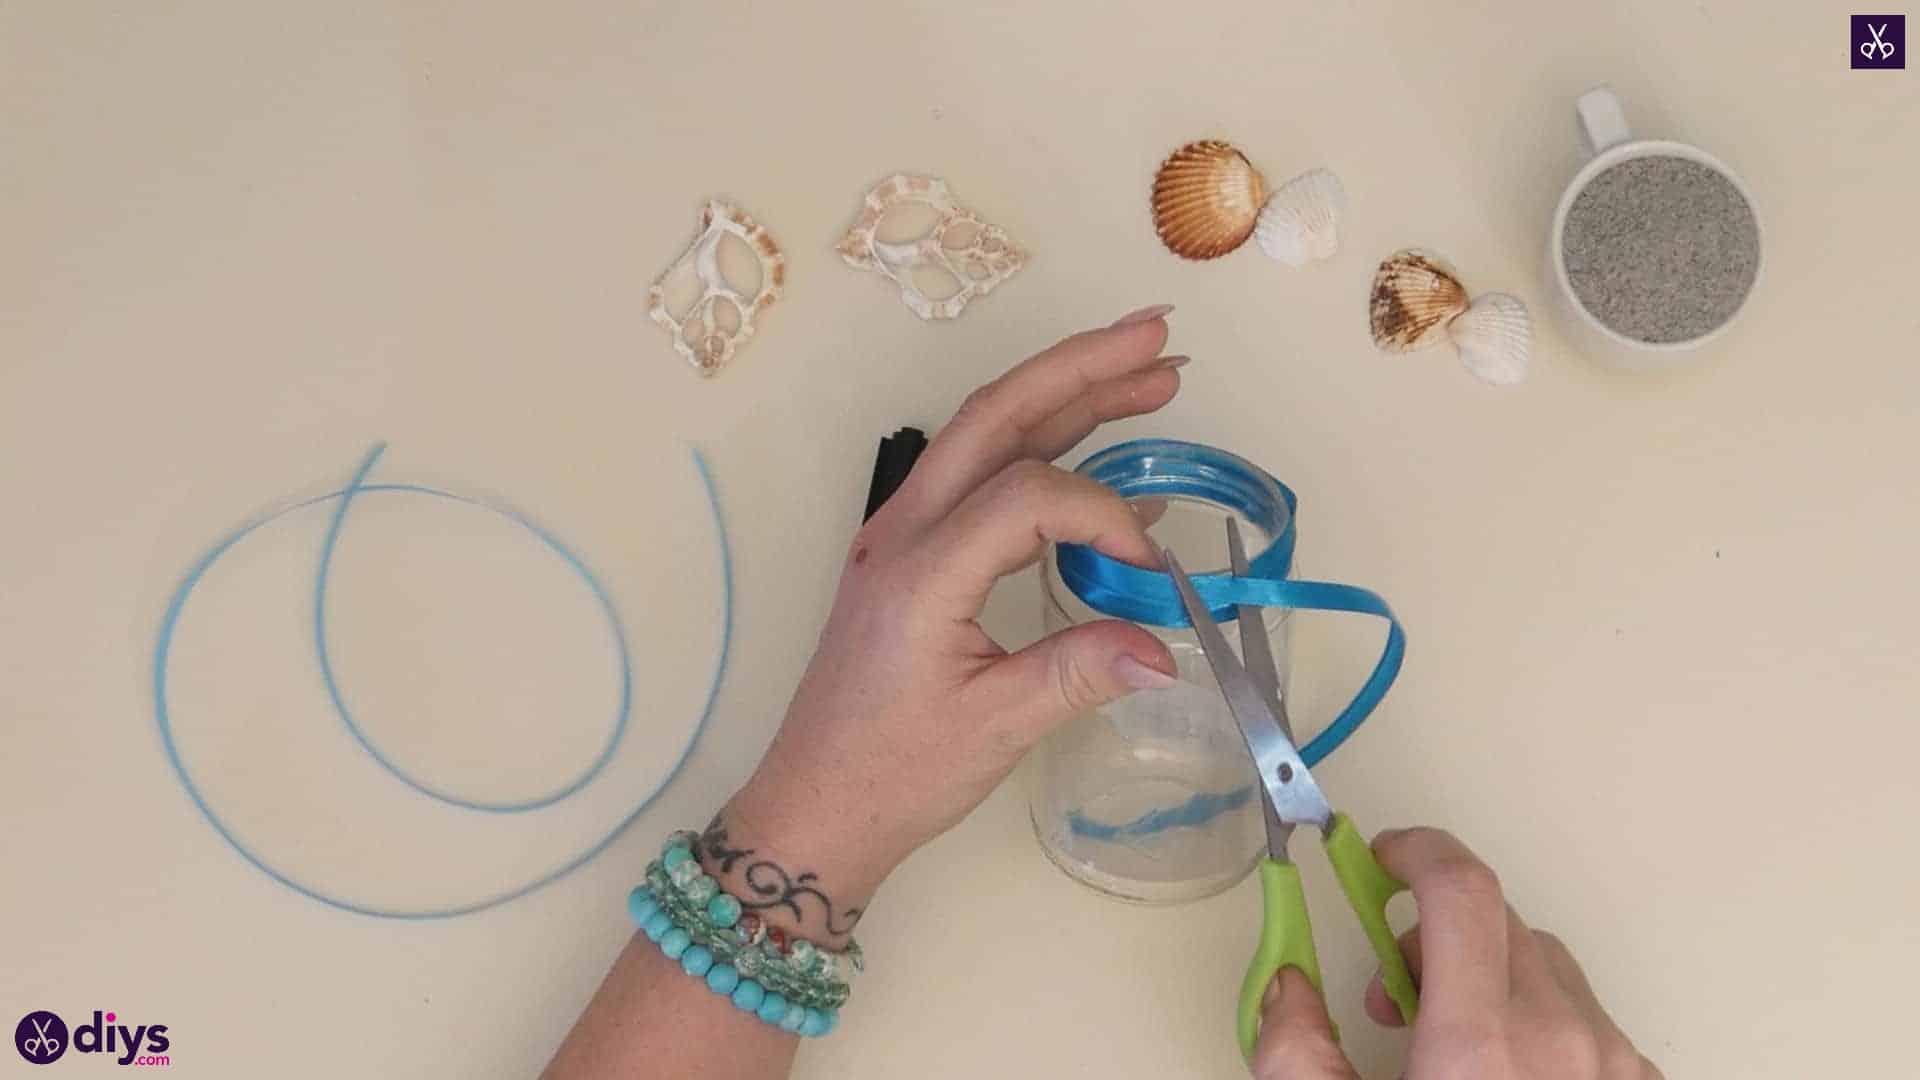
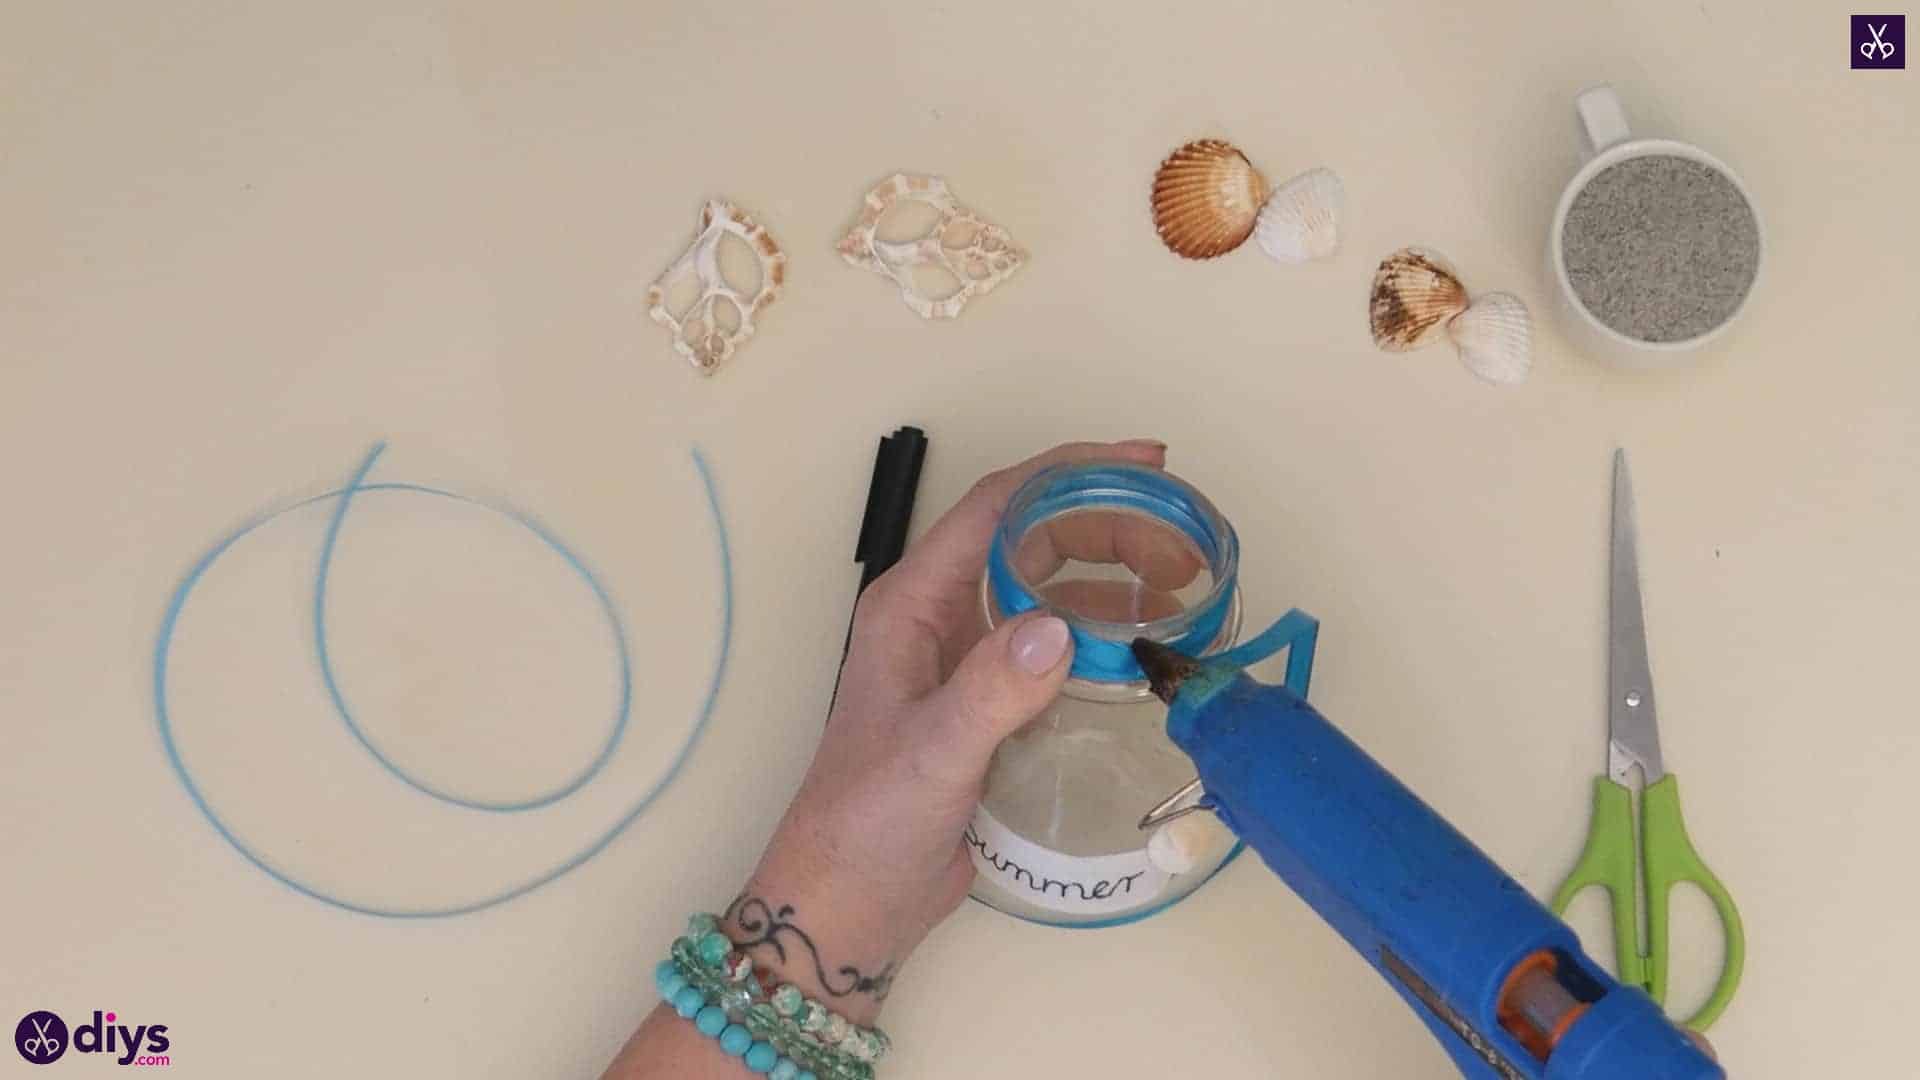
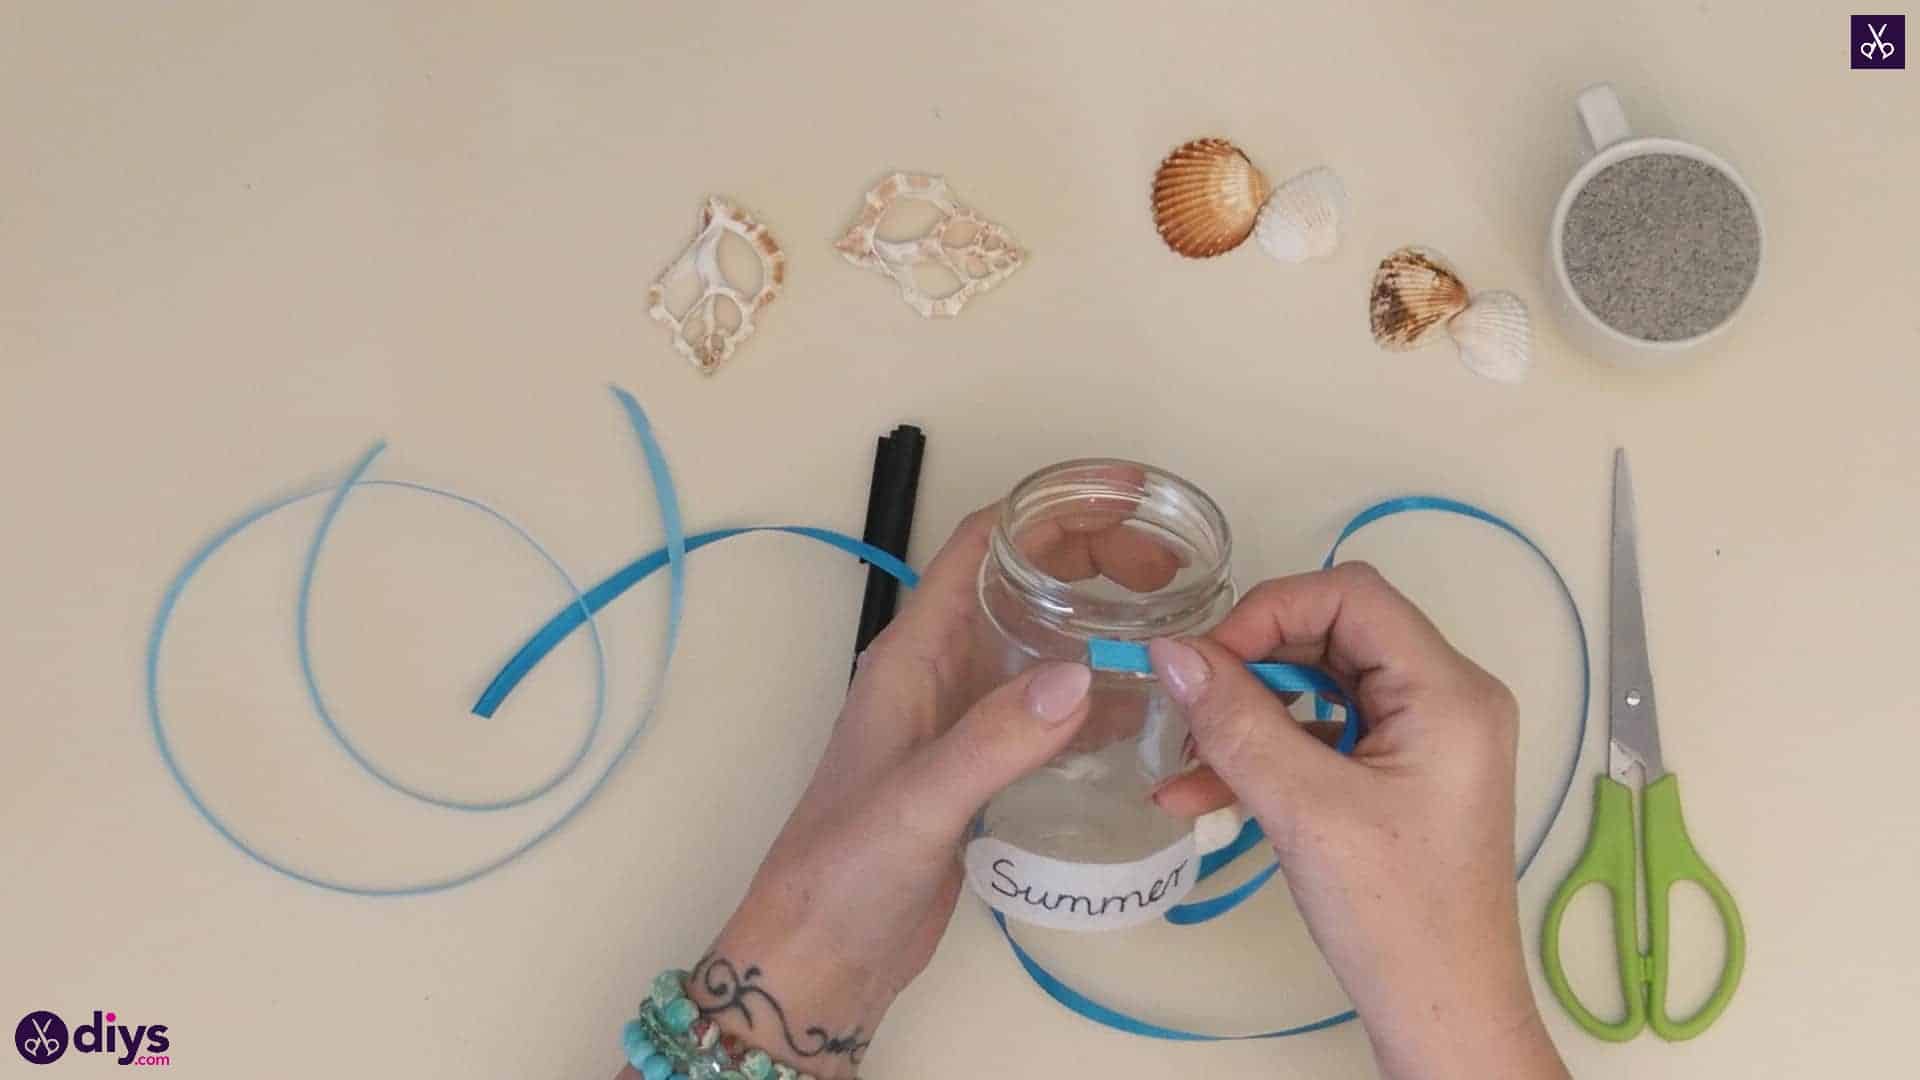
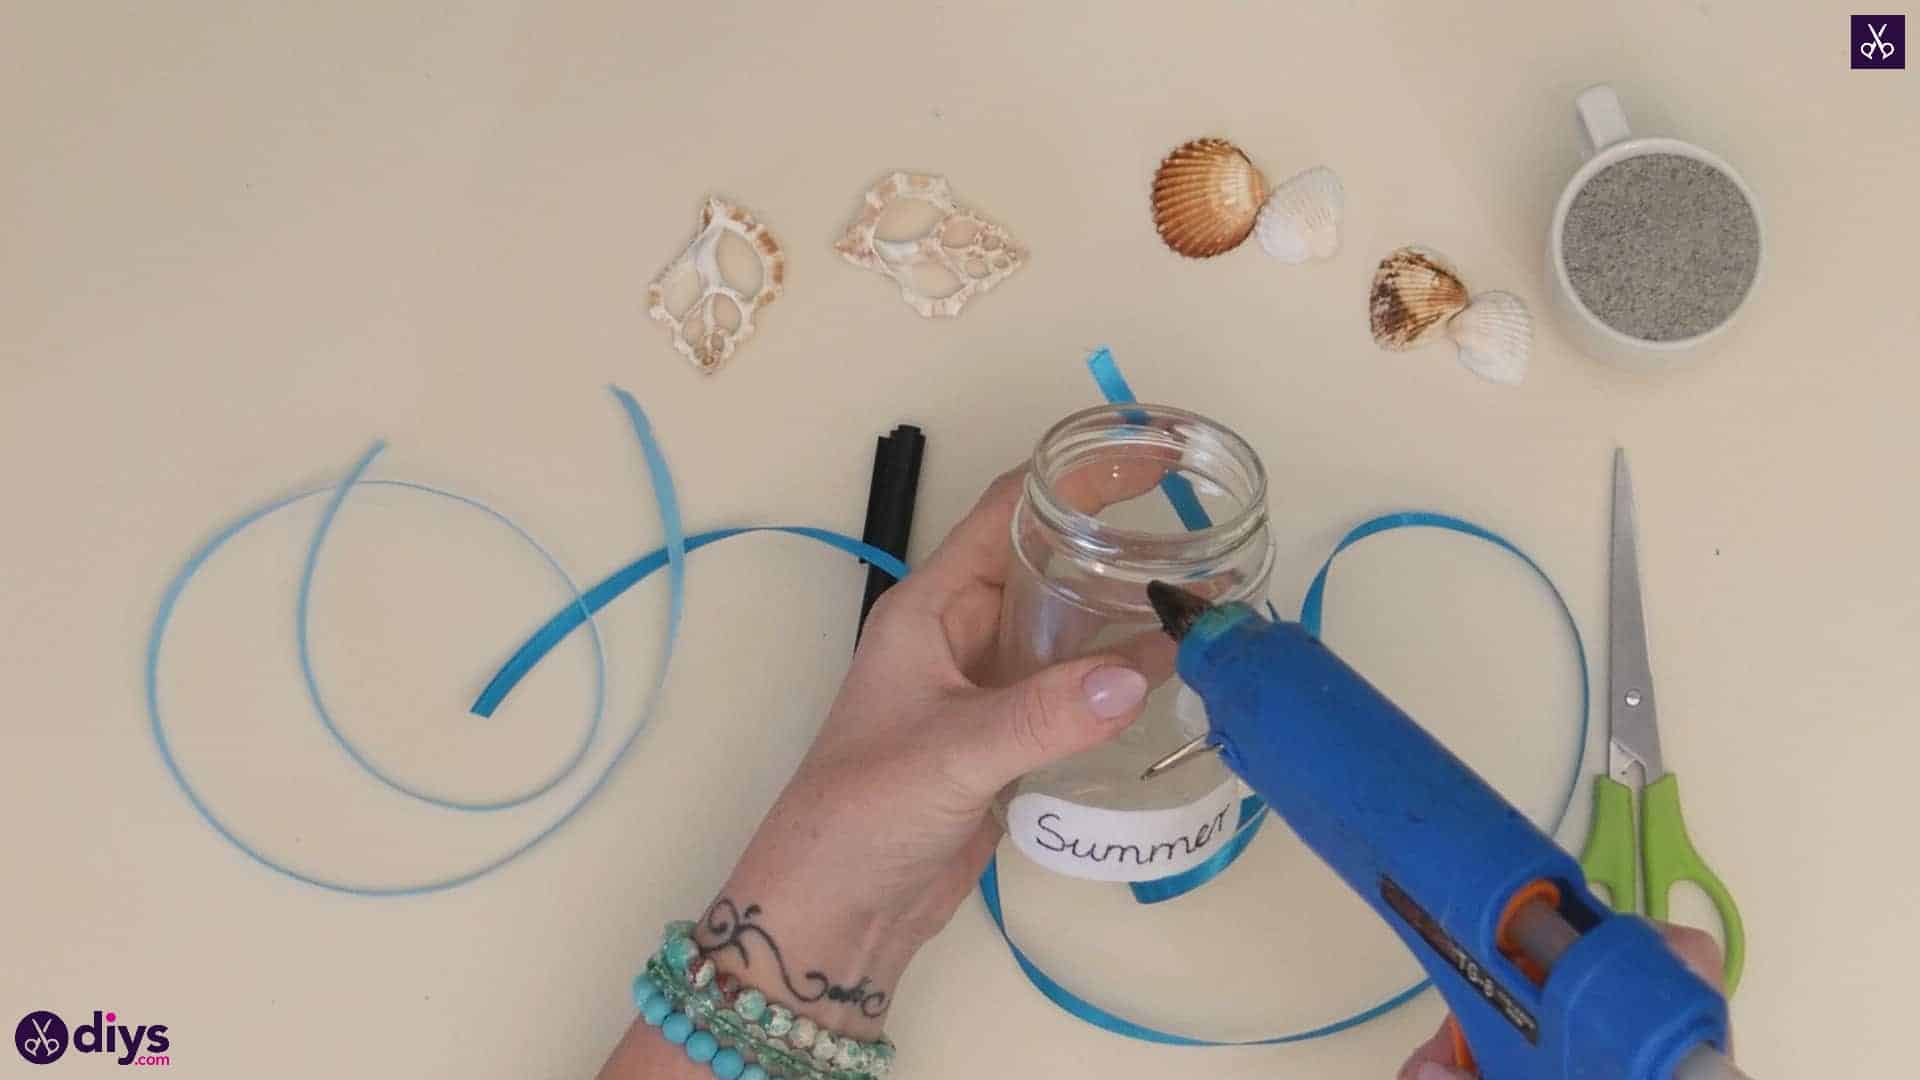
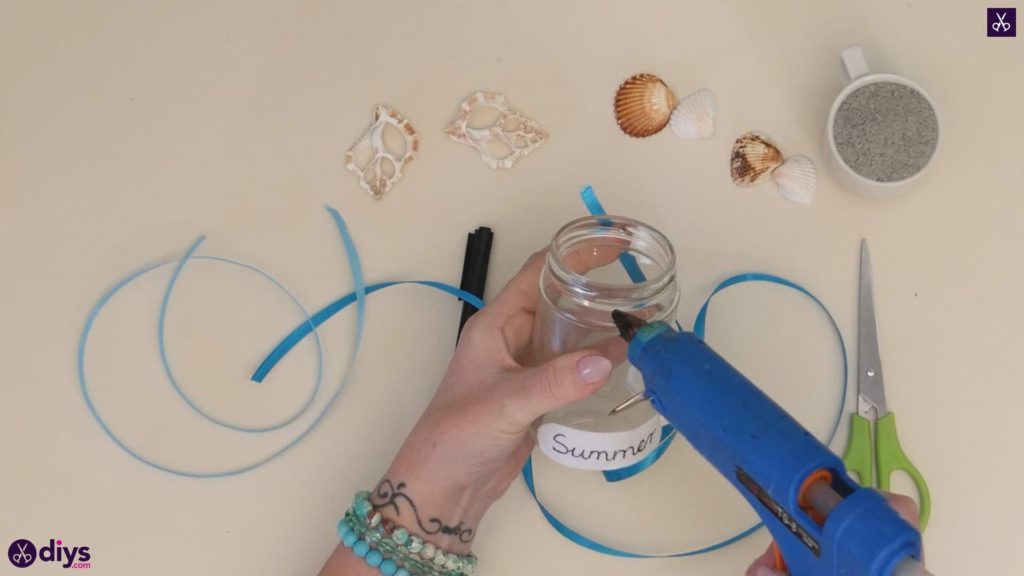
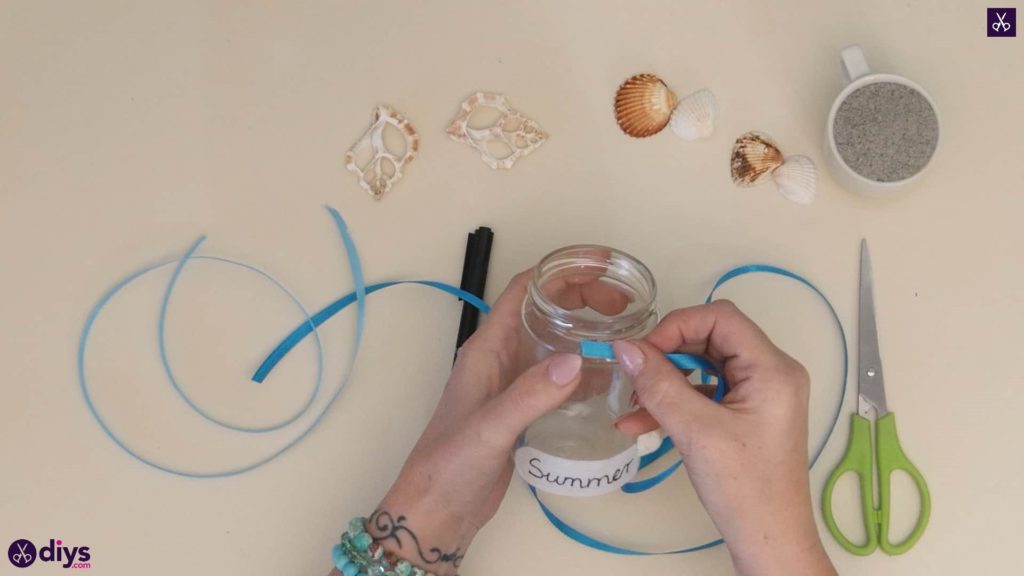
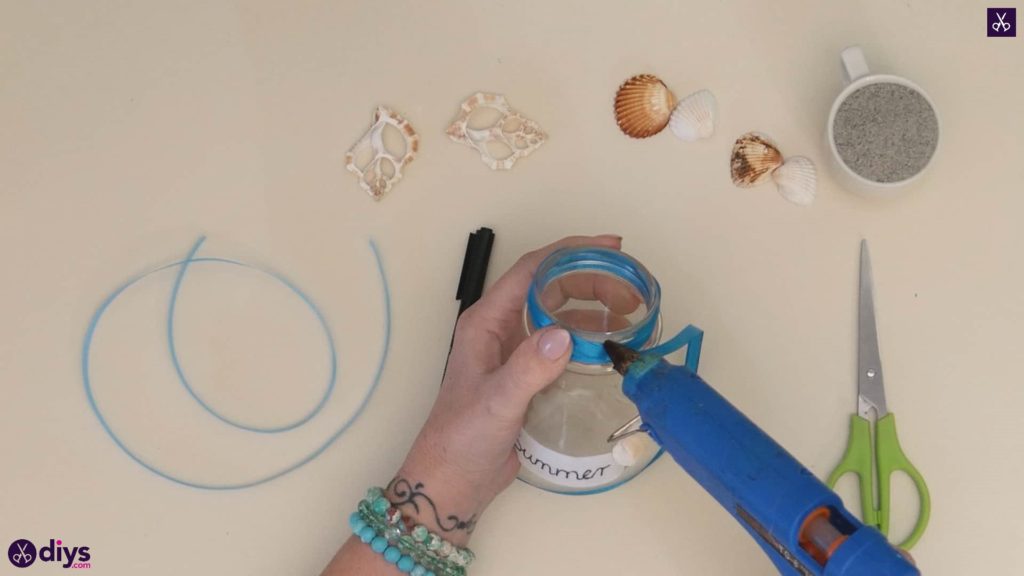
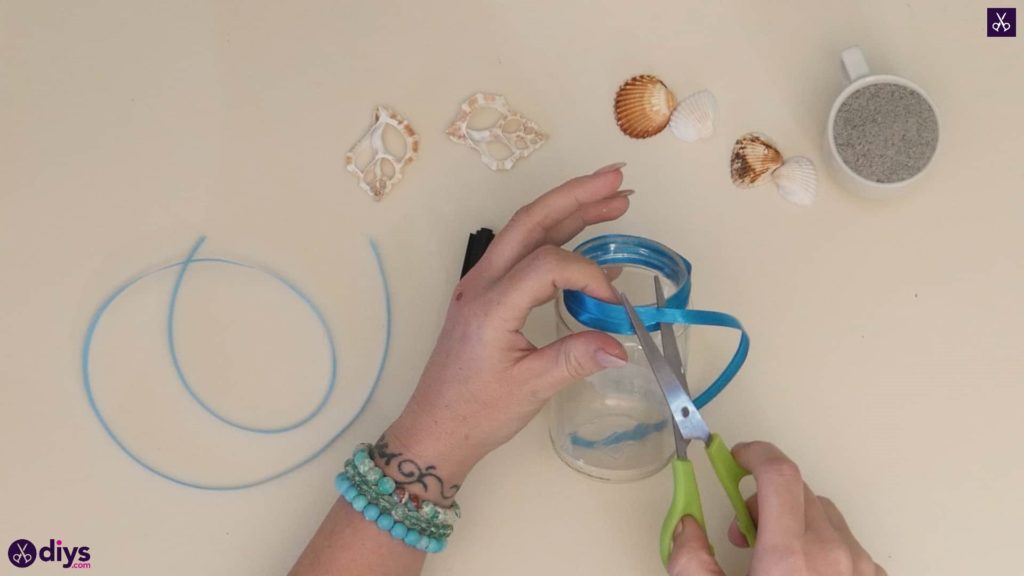
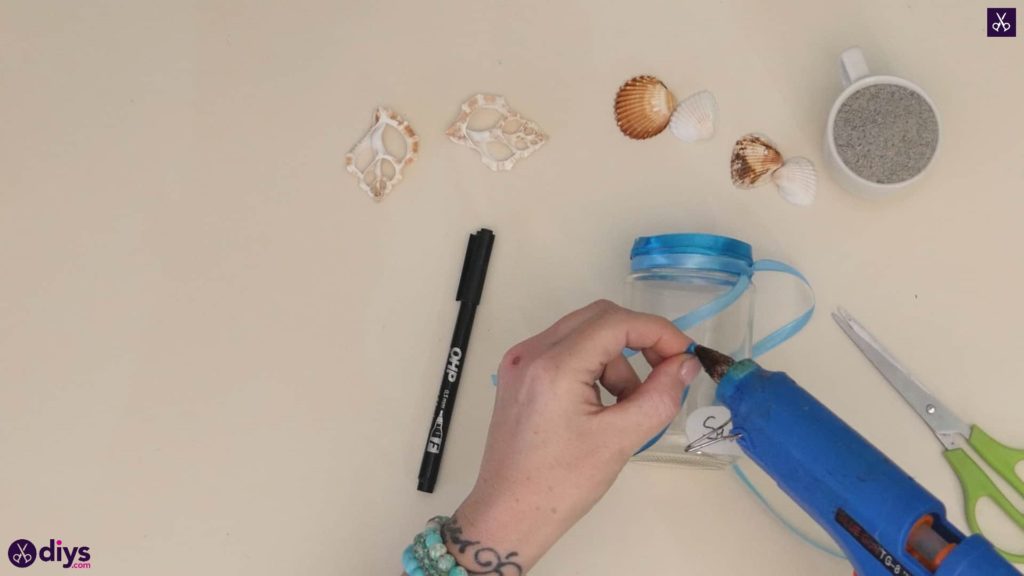
Apply a dot of glue at the base of the jar’s top, where it starts tapering towards the edge and where a lid might theoretically screw on if it were filled. Place the tip of your blue ribbon in the glue, positioned so that the ribbon is horizontal and can be wrapped around the entire jar. Wrap it around until you get back to your starting point and then move the ribbon you’re going to keep wrapping with up a little so it lines up with the side of the ribbon you’ve already laid down. Keep spiralling upwards until you reach the edge of the jar’s opening and there’s no more room to keep wrapping. Apply a dot of glue to stick the ribbon in place and trim the end, tucking it neatly if you can.
Step 4: add bow
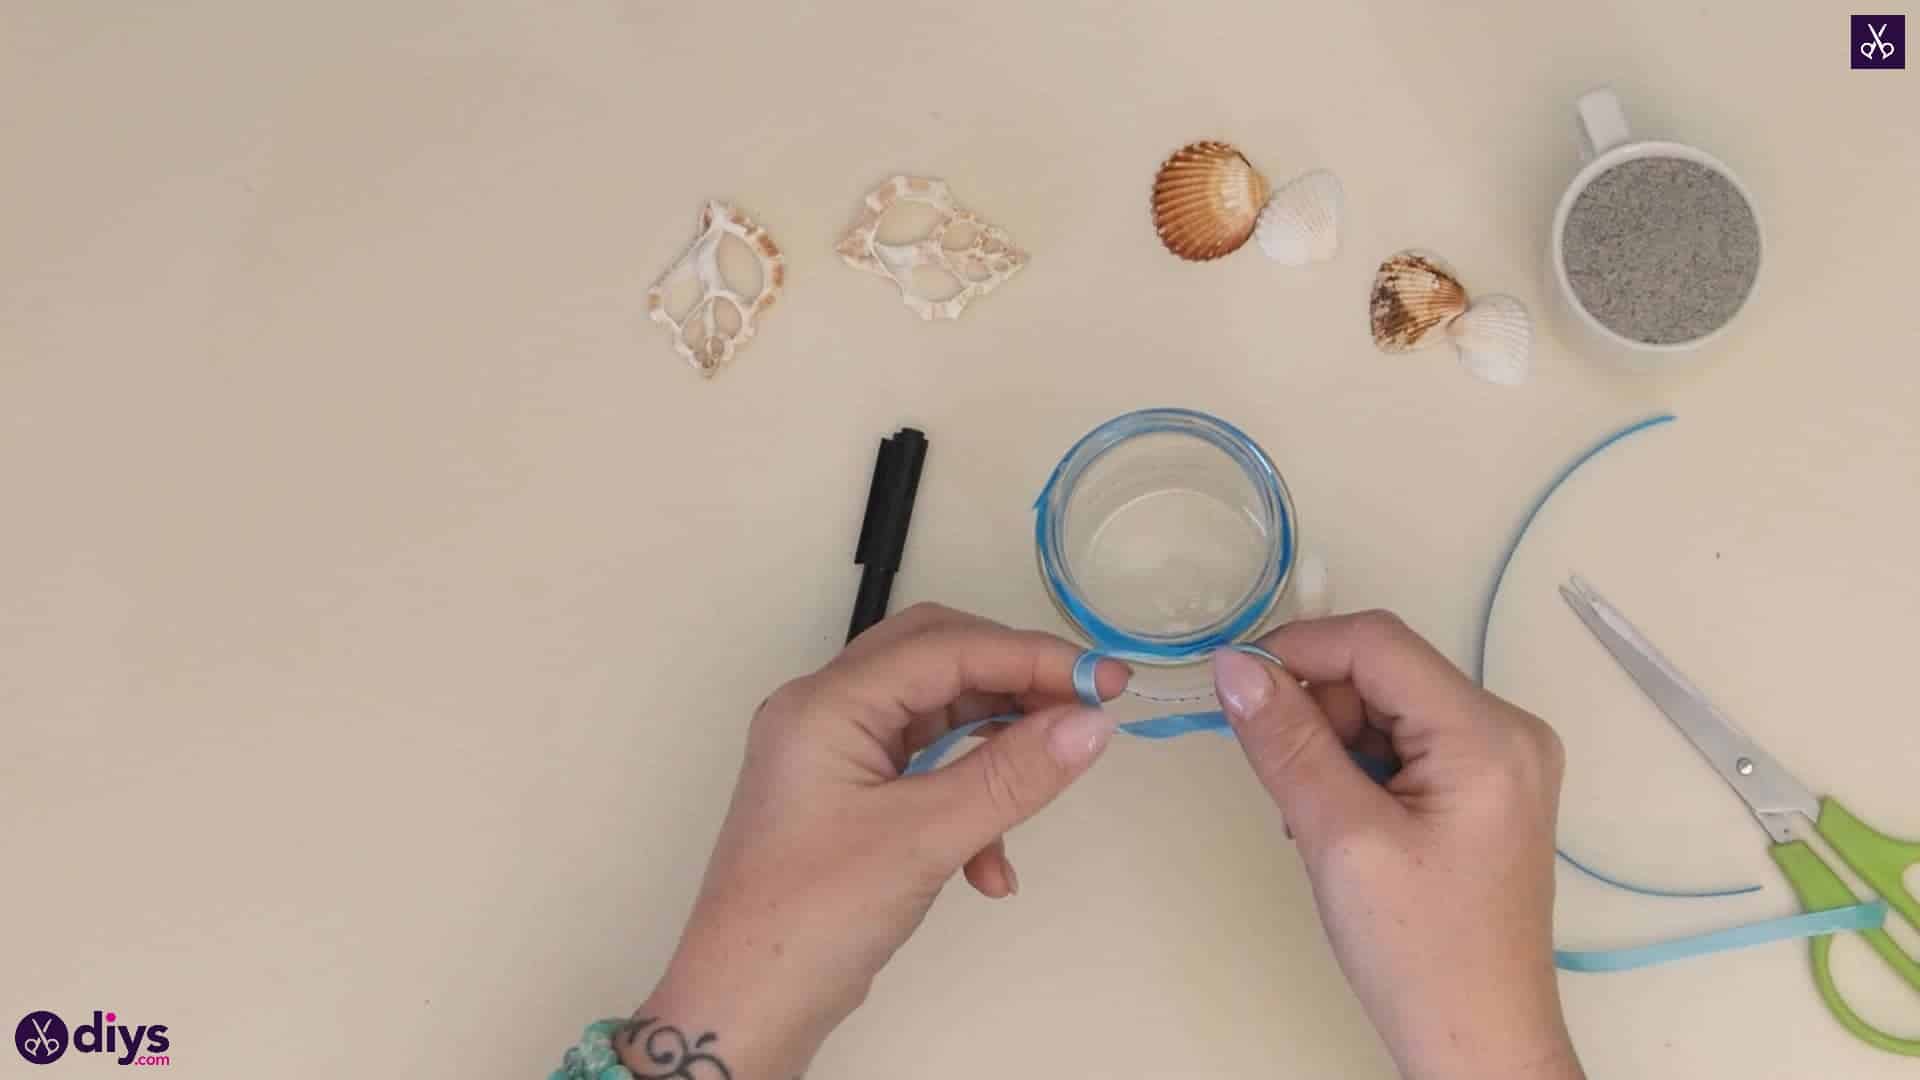
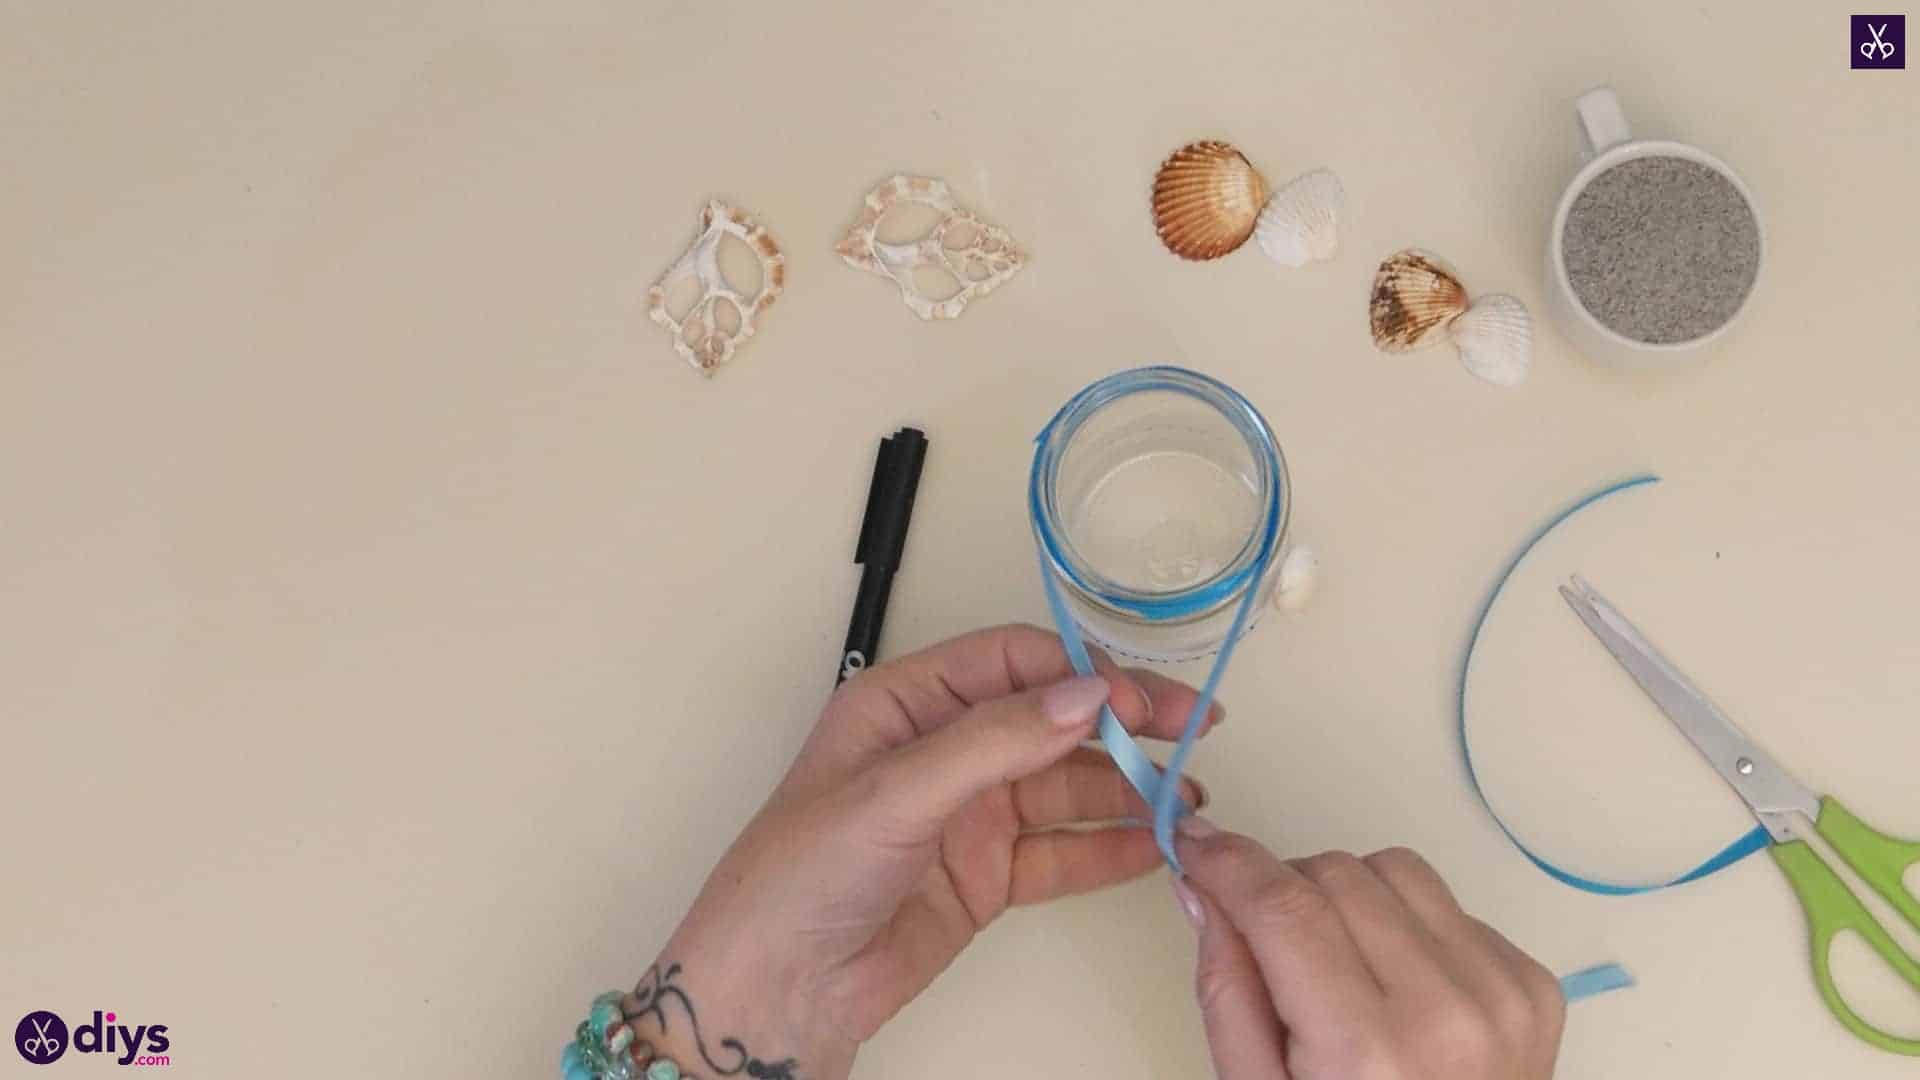
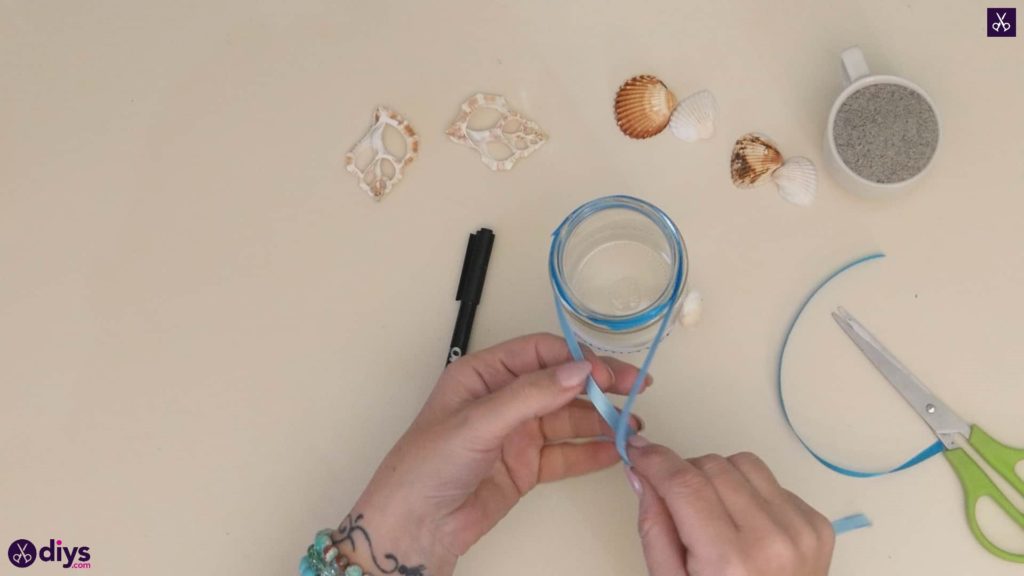
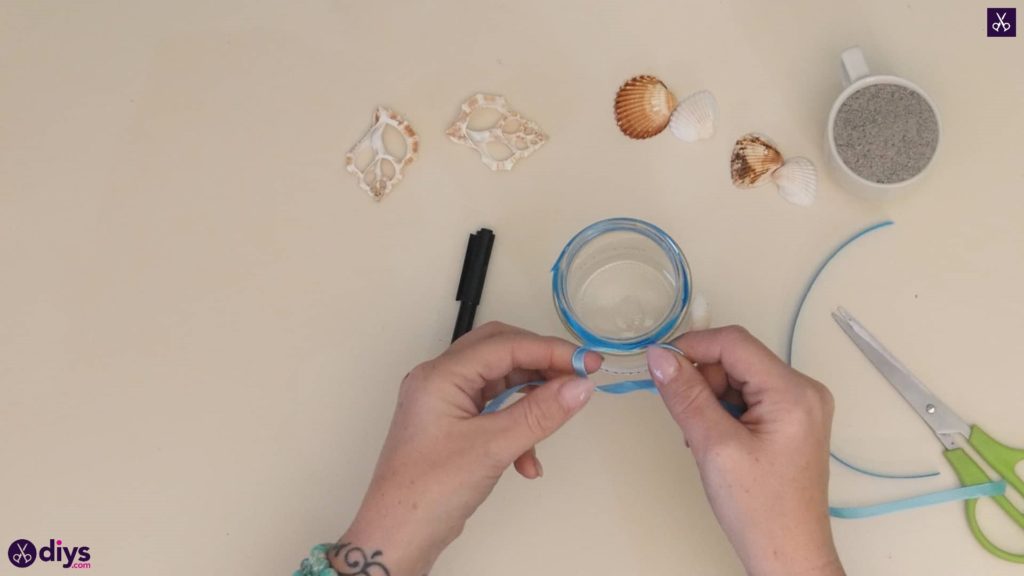
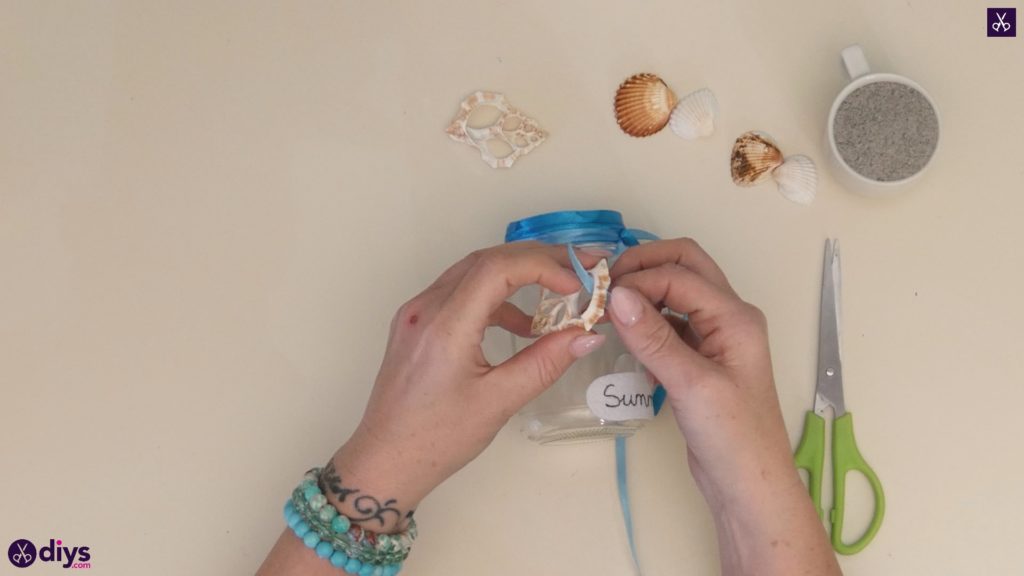
Cut another length of blue ribbon that’s long enough to wrap all the way around the top of the jar and still have several inches on each side to work with. Bring the ends to the front of the jar, above the middle of the felt you glued down earlier near the bottom, and tie them in a double knot. You can leave them long for now. Then cut another four inch piece of blue ribbon and fold it in half so its ends meet and you have a bend at the top with two two-inch pieces on each side. Apply glue to the bend in the ribbon and stick it down right on the knot of the two ends you just double knotted, right in the centre. These will hand down for detail.
Step 5: add shells
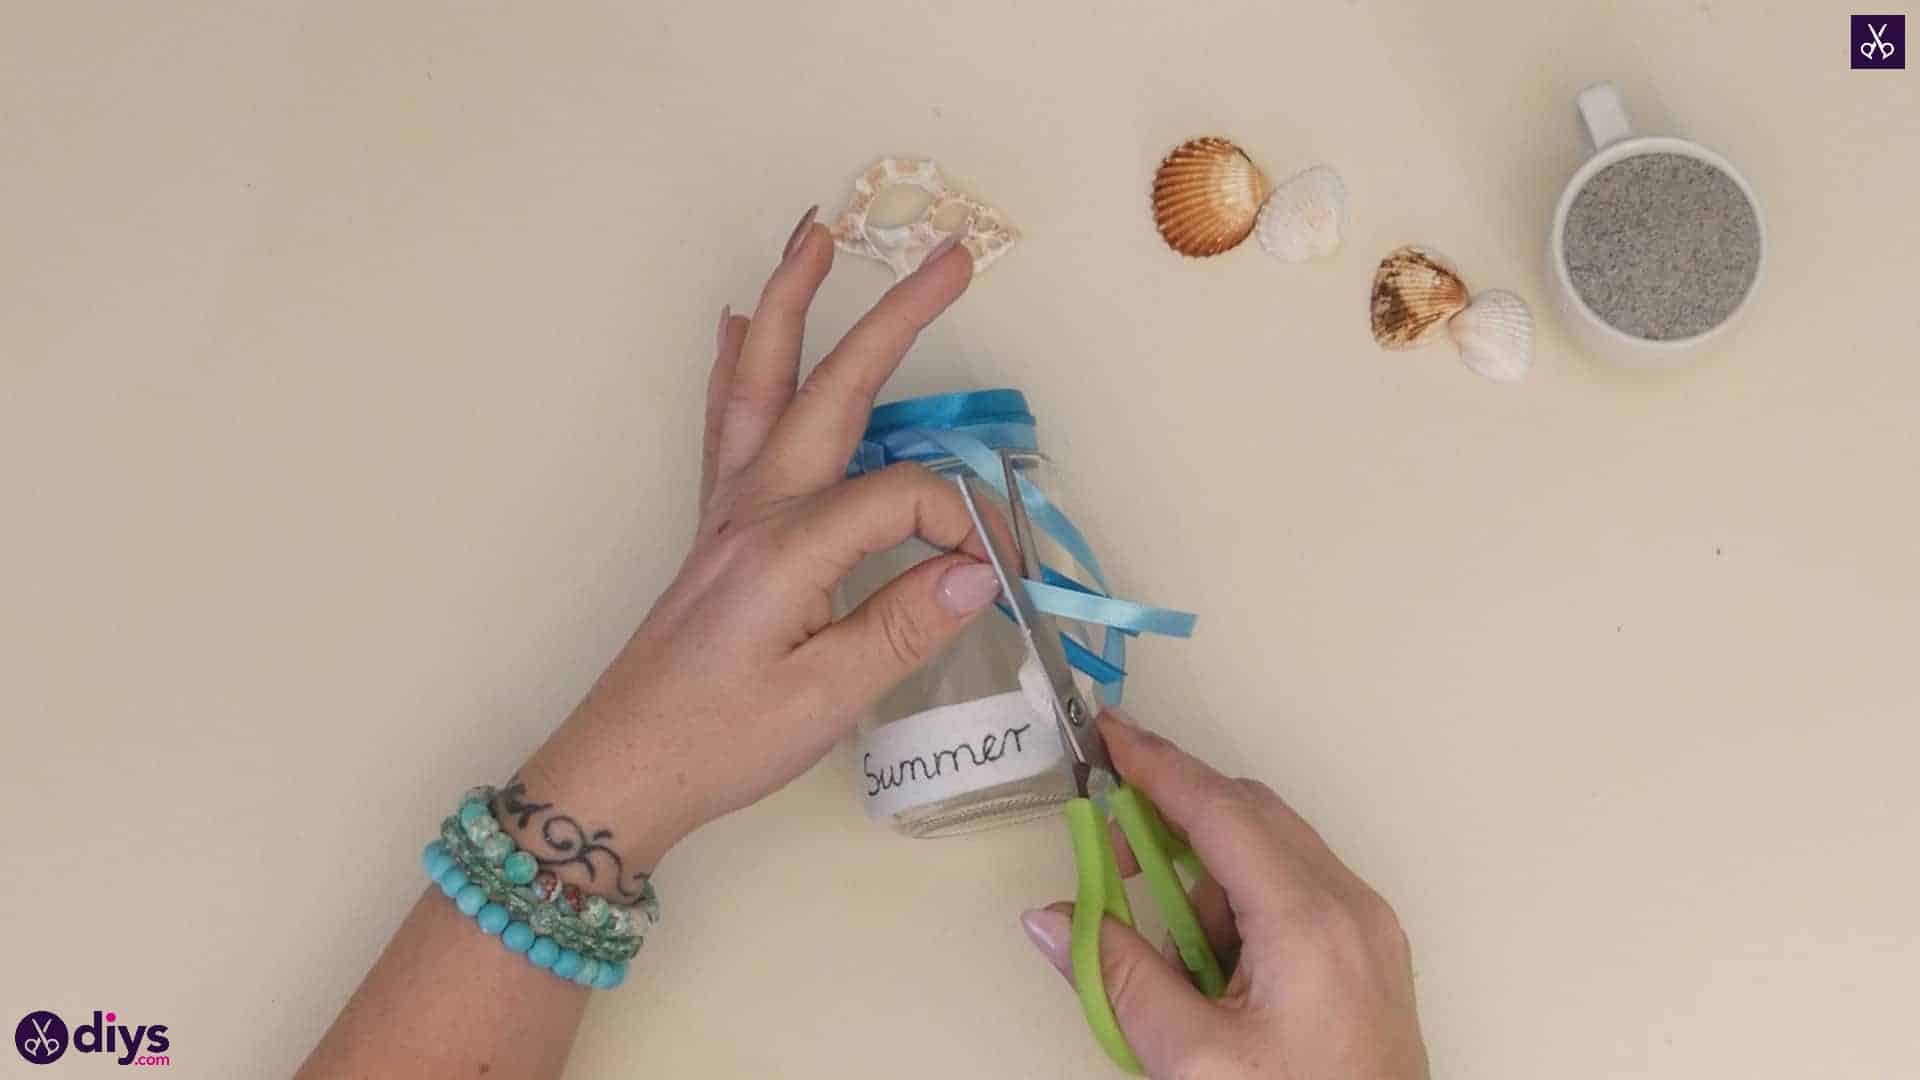
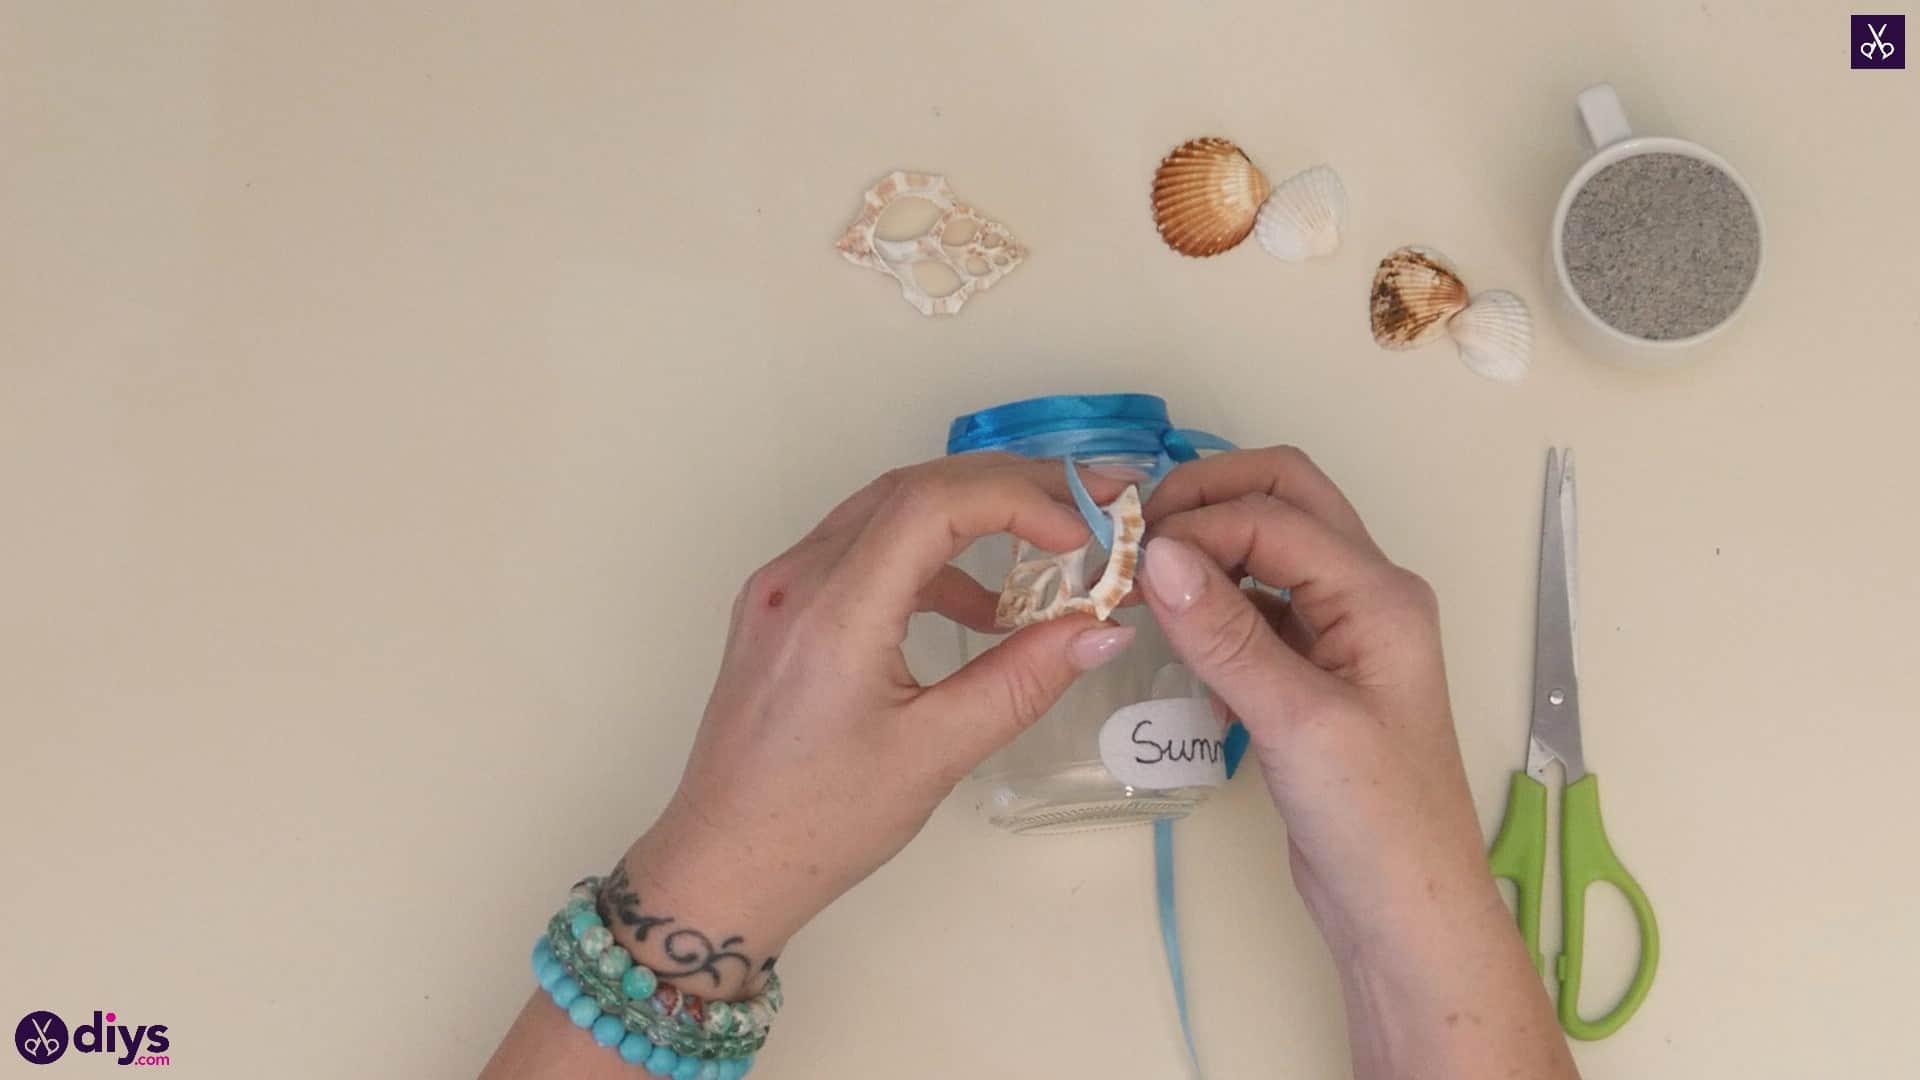
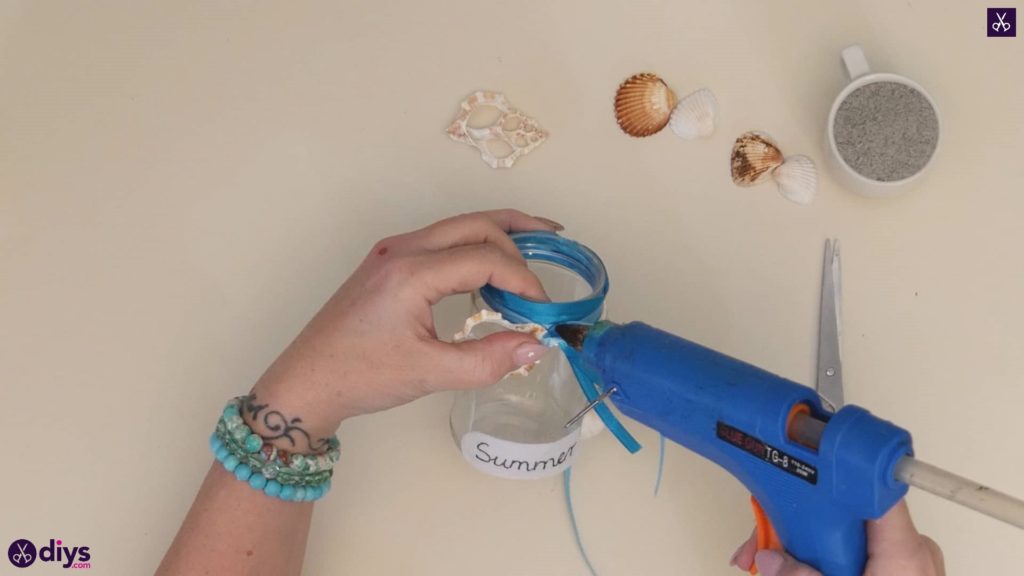
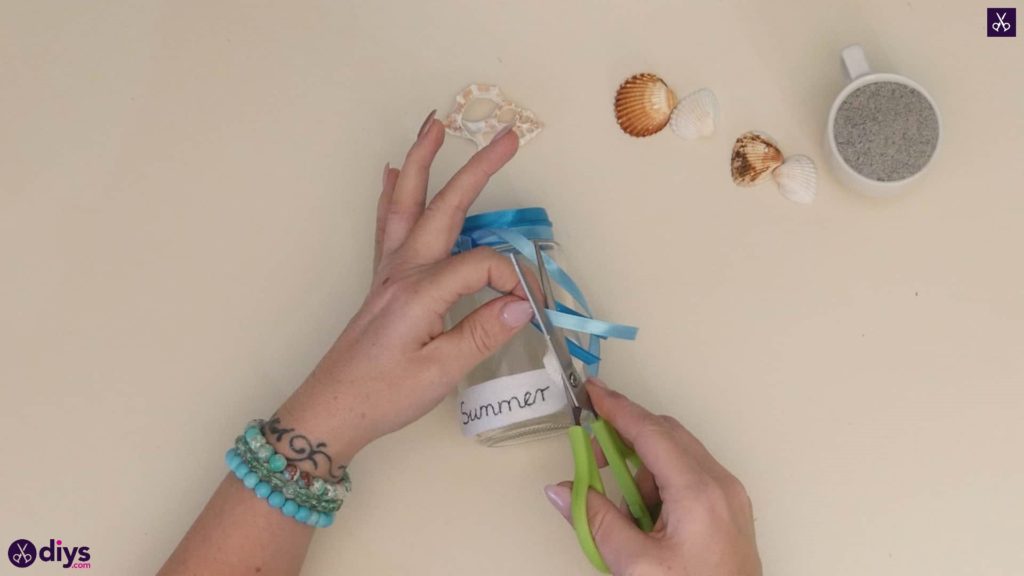
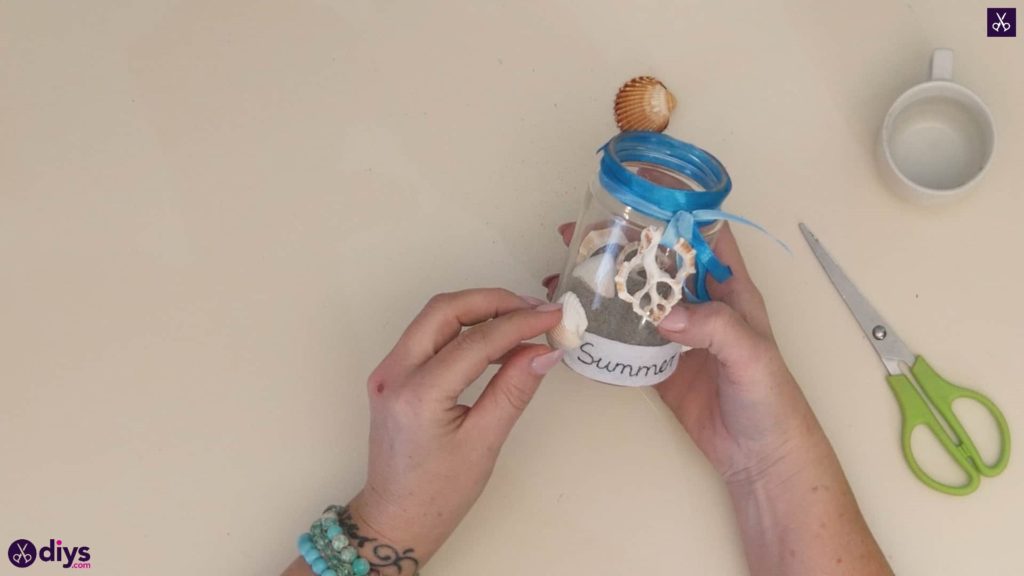
Find whichever of your shells is the flattest and has holes (or carefully make a small hole with the tip of your scissors). Thread the end of your lefthand knotted ribbon strand through the hole and slide the shell upwards so it rests flat against the glass at the base of where the ribbon comes out of the knot. Fold that same piece of ribbon upwards over the edge of the shell and towards the knot and glue it into place where it meets the wrapped ribbon above. Then apply a bit of glueon that piece of ribbon, over where you just stuck it down, and fold the ribbon back on itself, sticking it into place so it stays folded. This should complete covering the knot. Finally, use your scissors to trim all four of the ribbon ends you now have there, cutting them on an angle to stop them from fraying.
Step 6: fill with sand
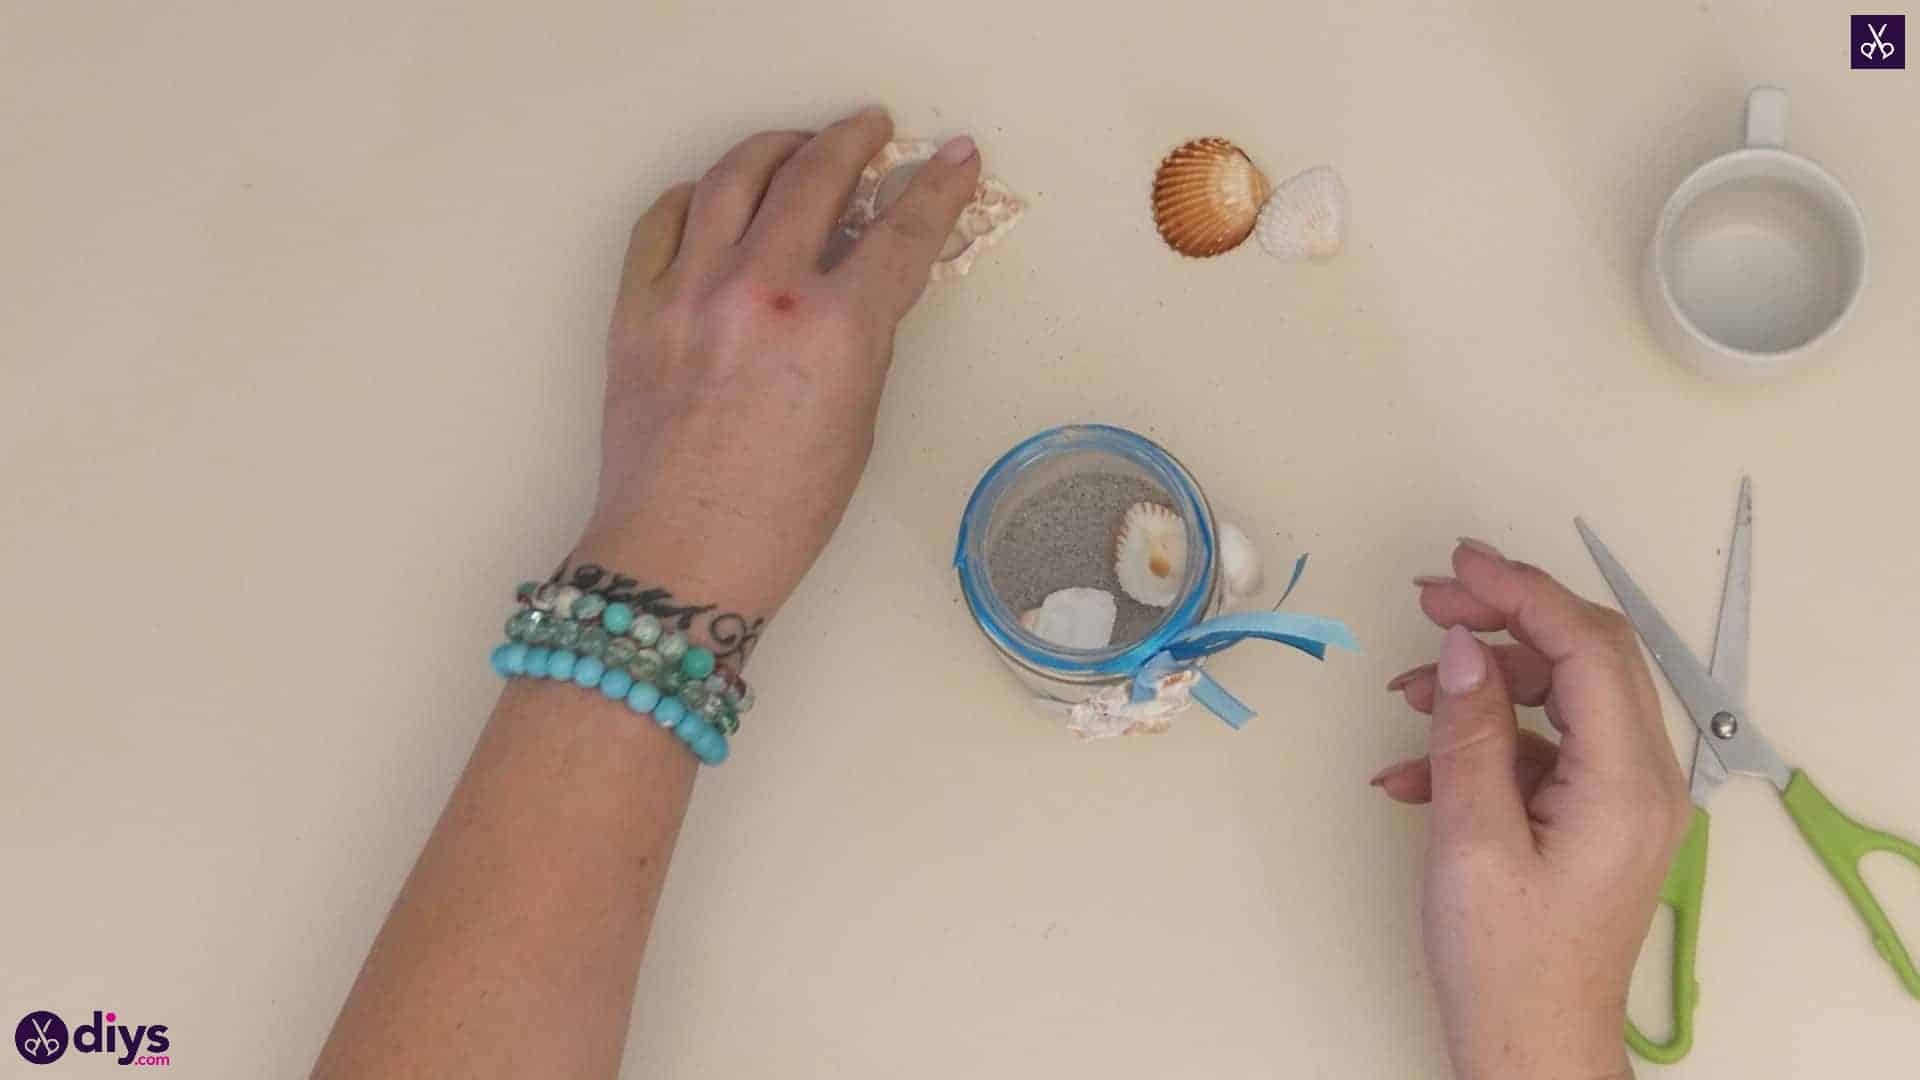
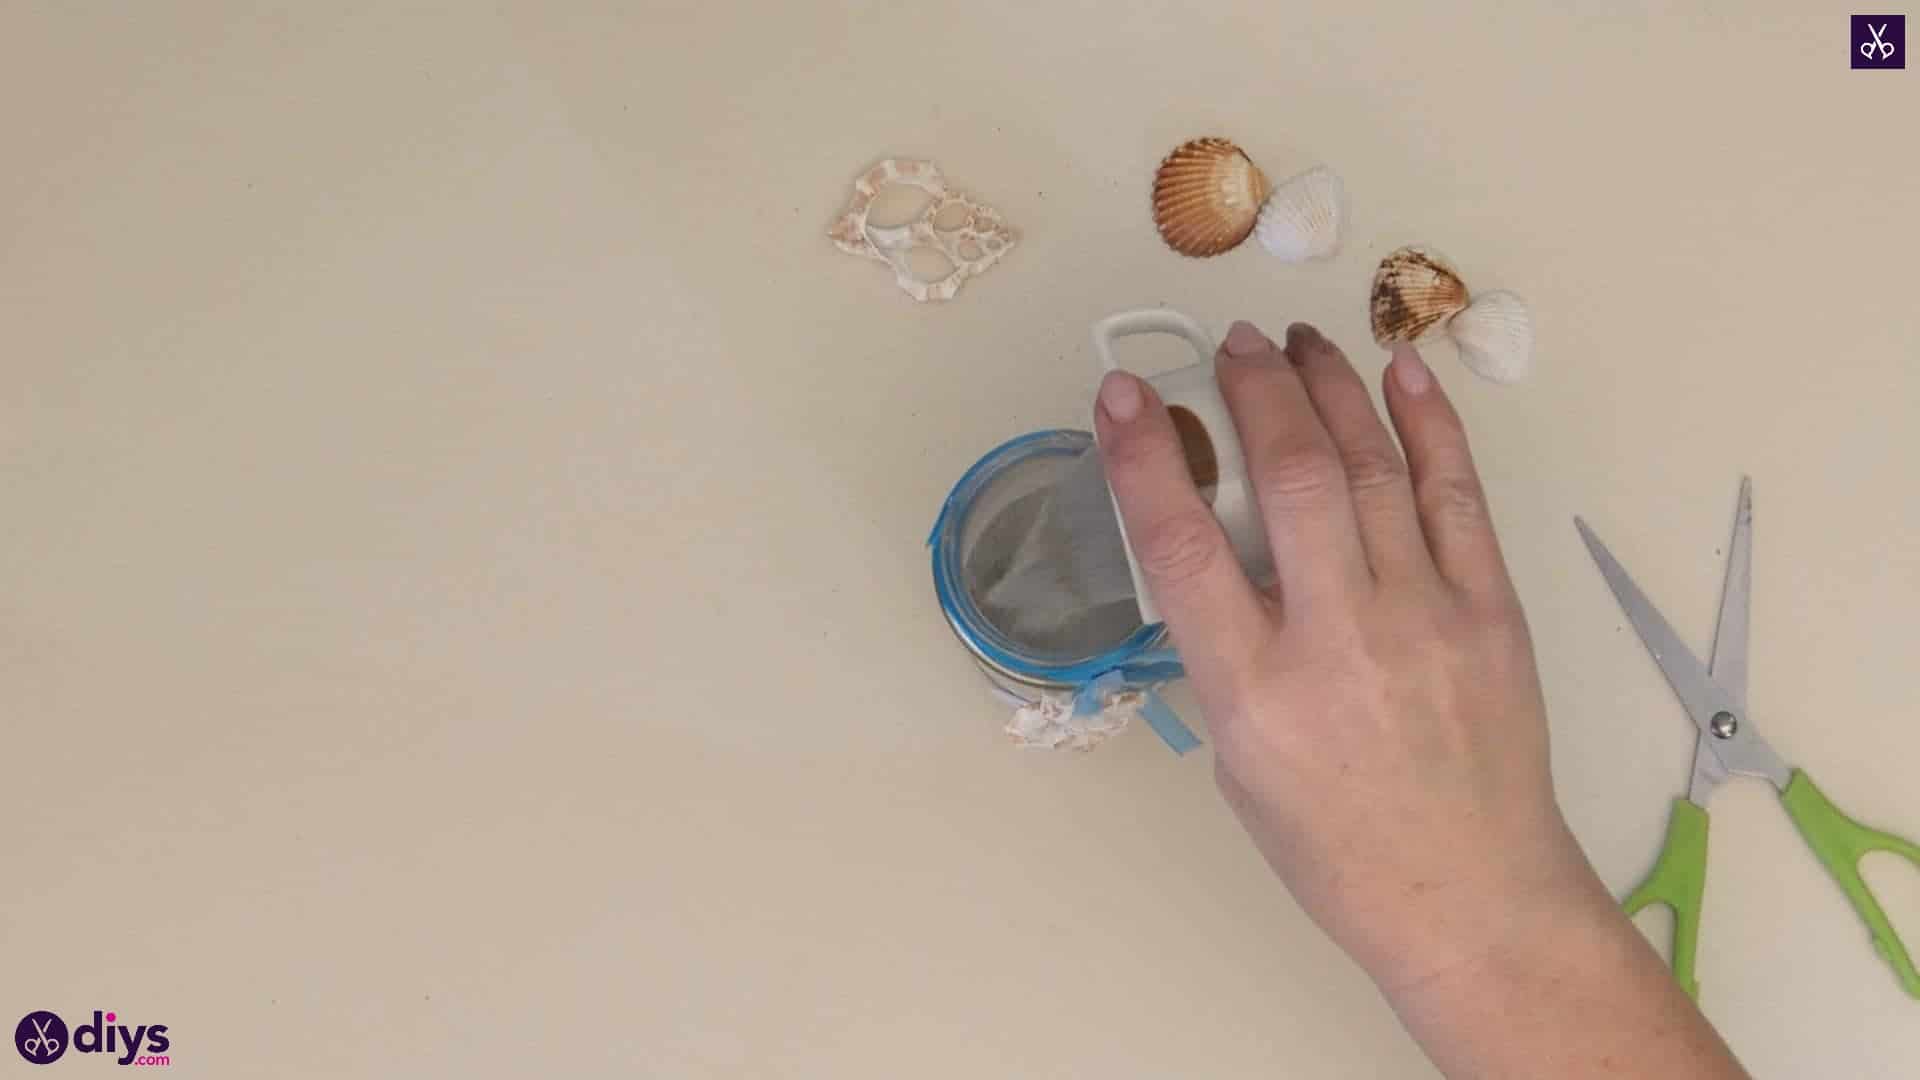
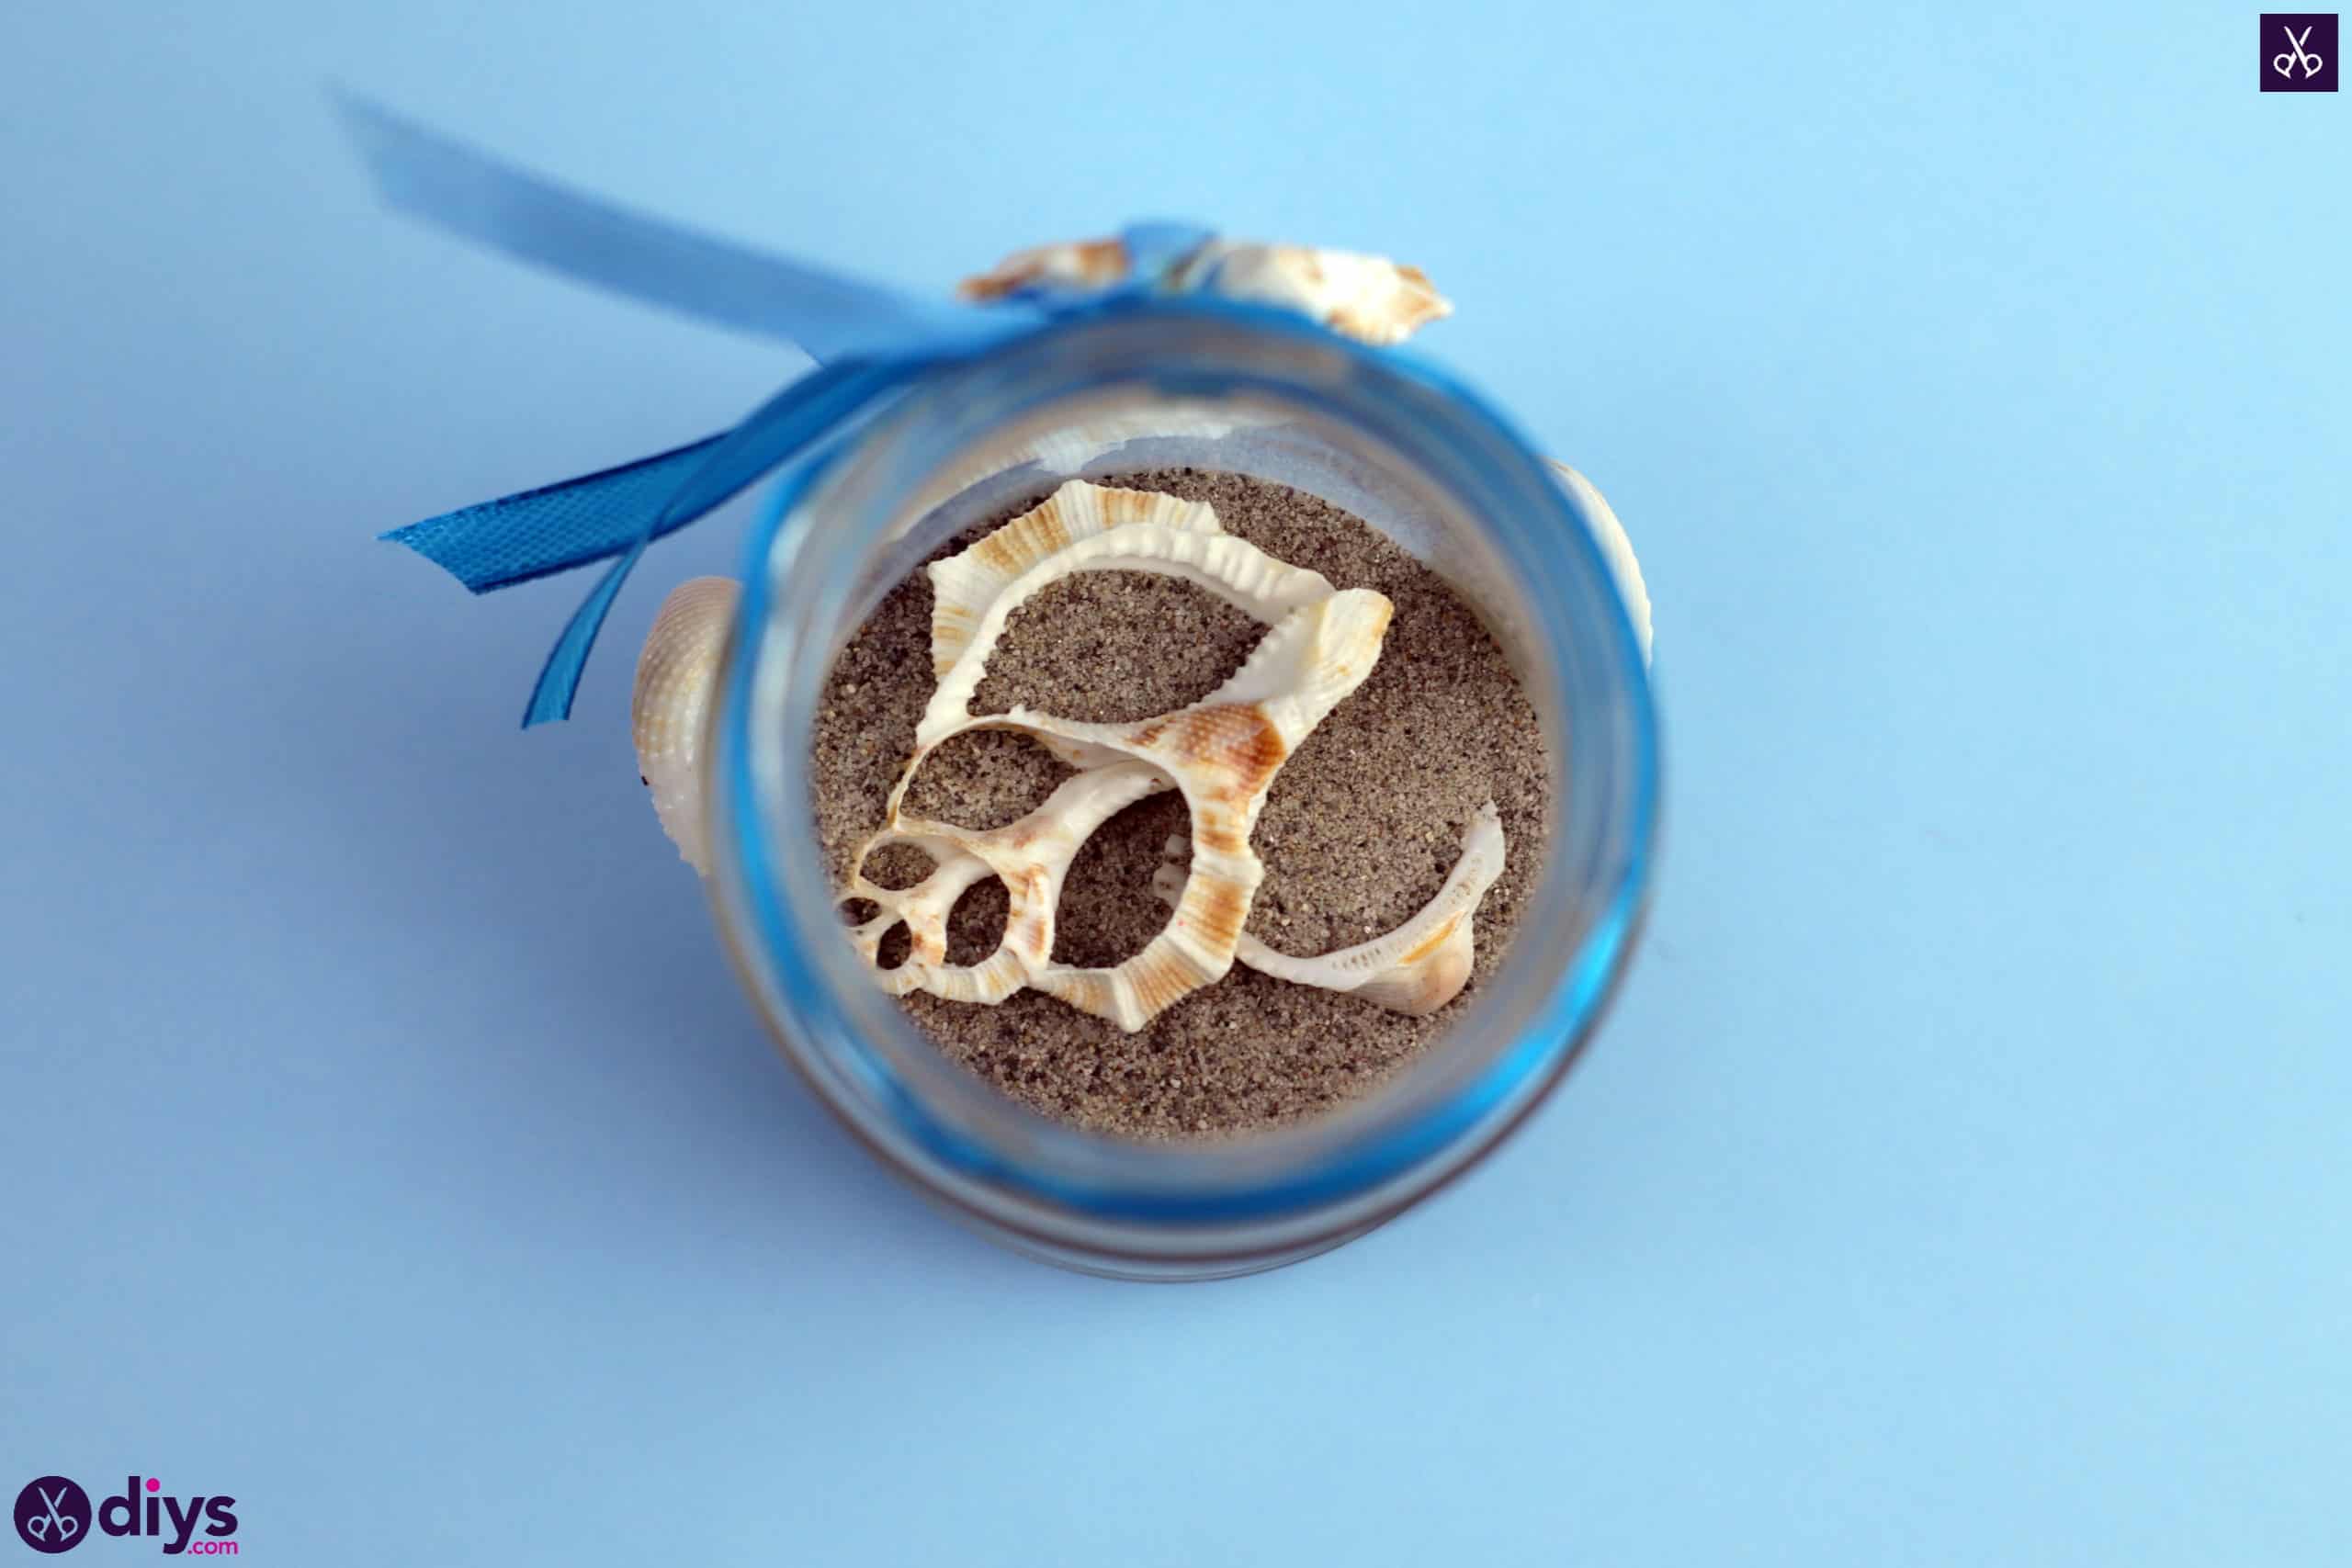
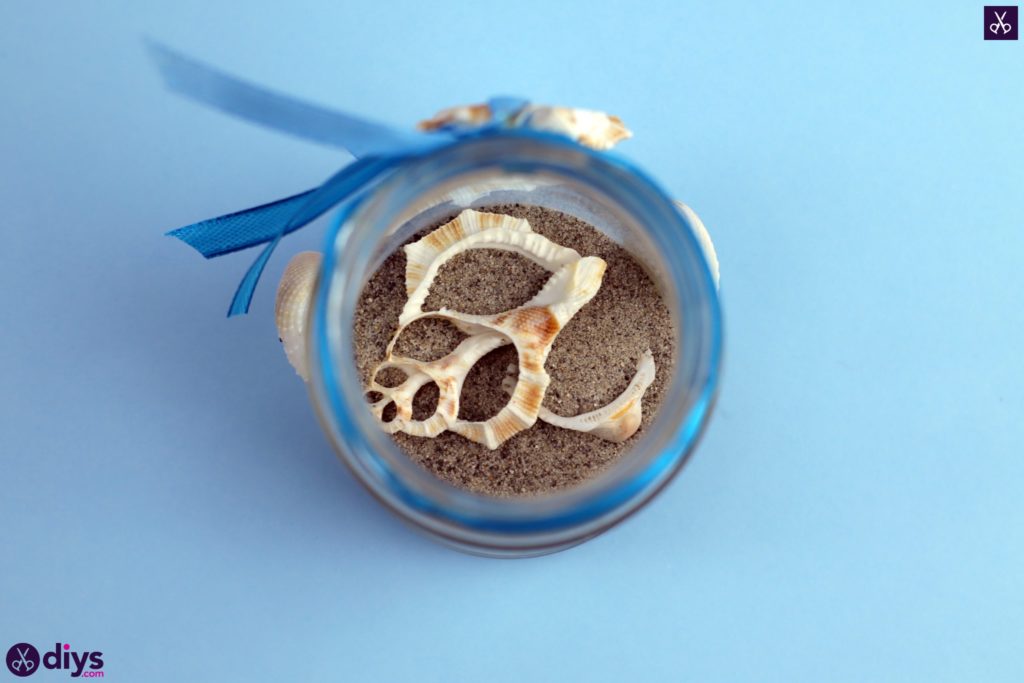
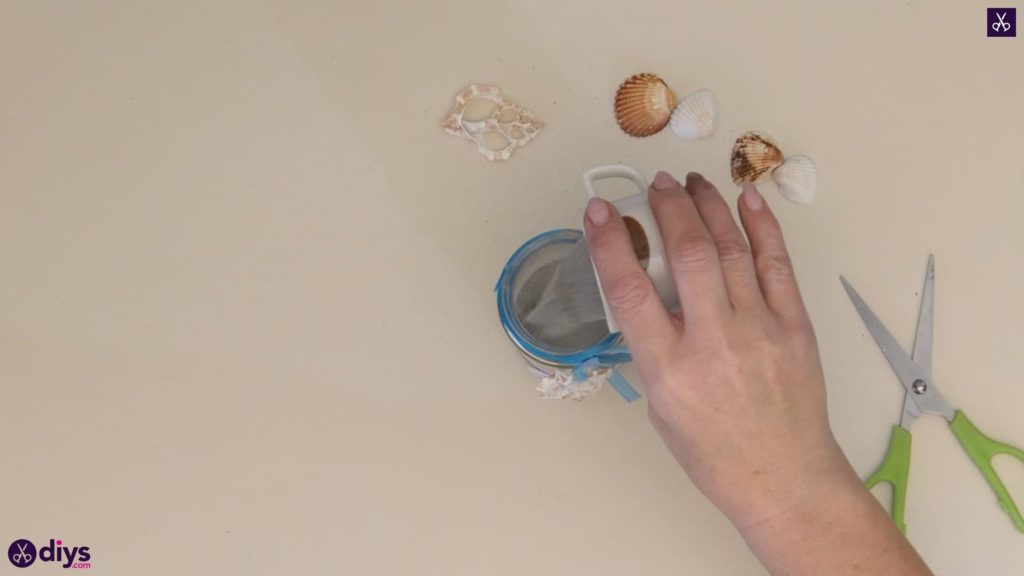
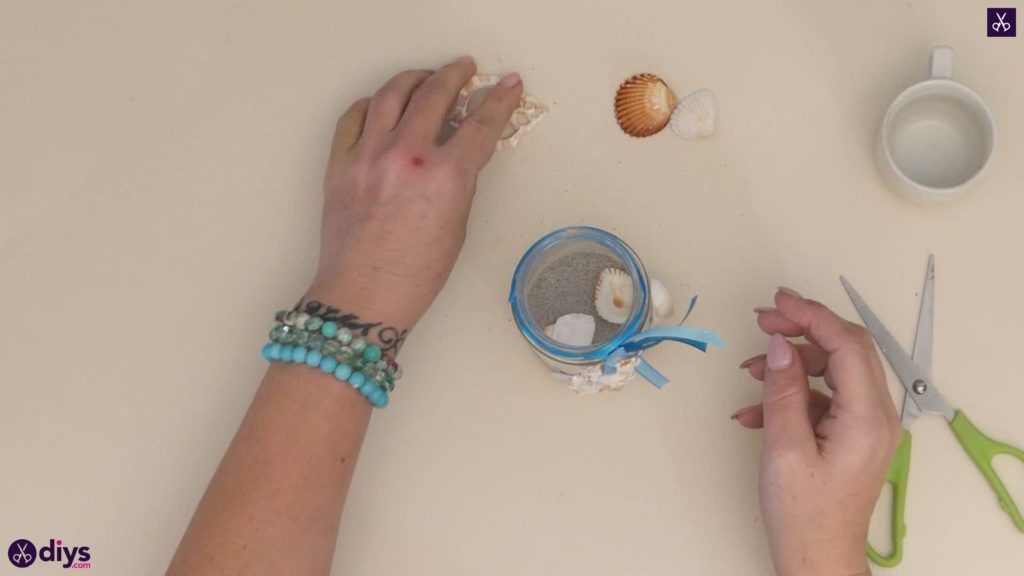
Fill your jar with sand! I chose to fill mine about halfway so the top of the sand showed above the white felt at the bottom but so it still had lots of space. Then drop some seashells onto the sand’s surface! I nestled in three shells so they looked like they were resting on the beach.
Step 7: add more shells
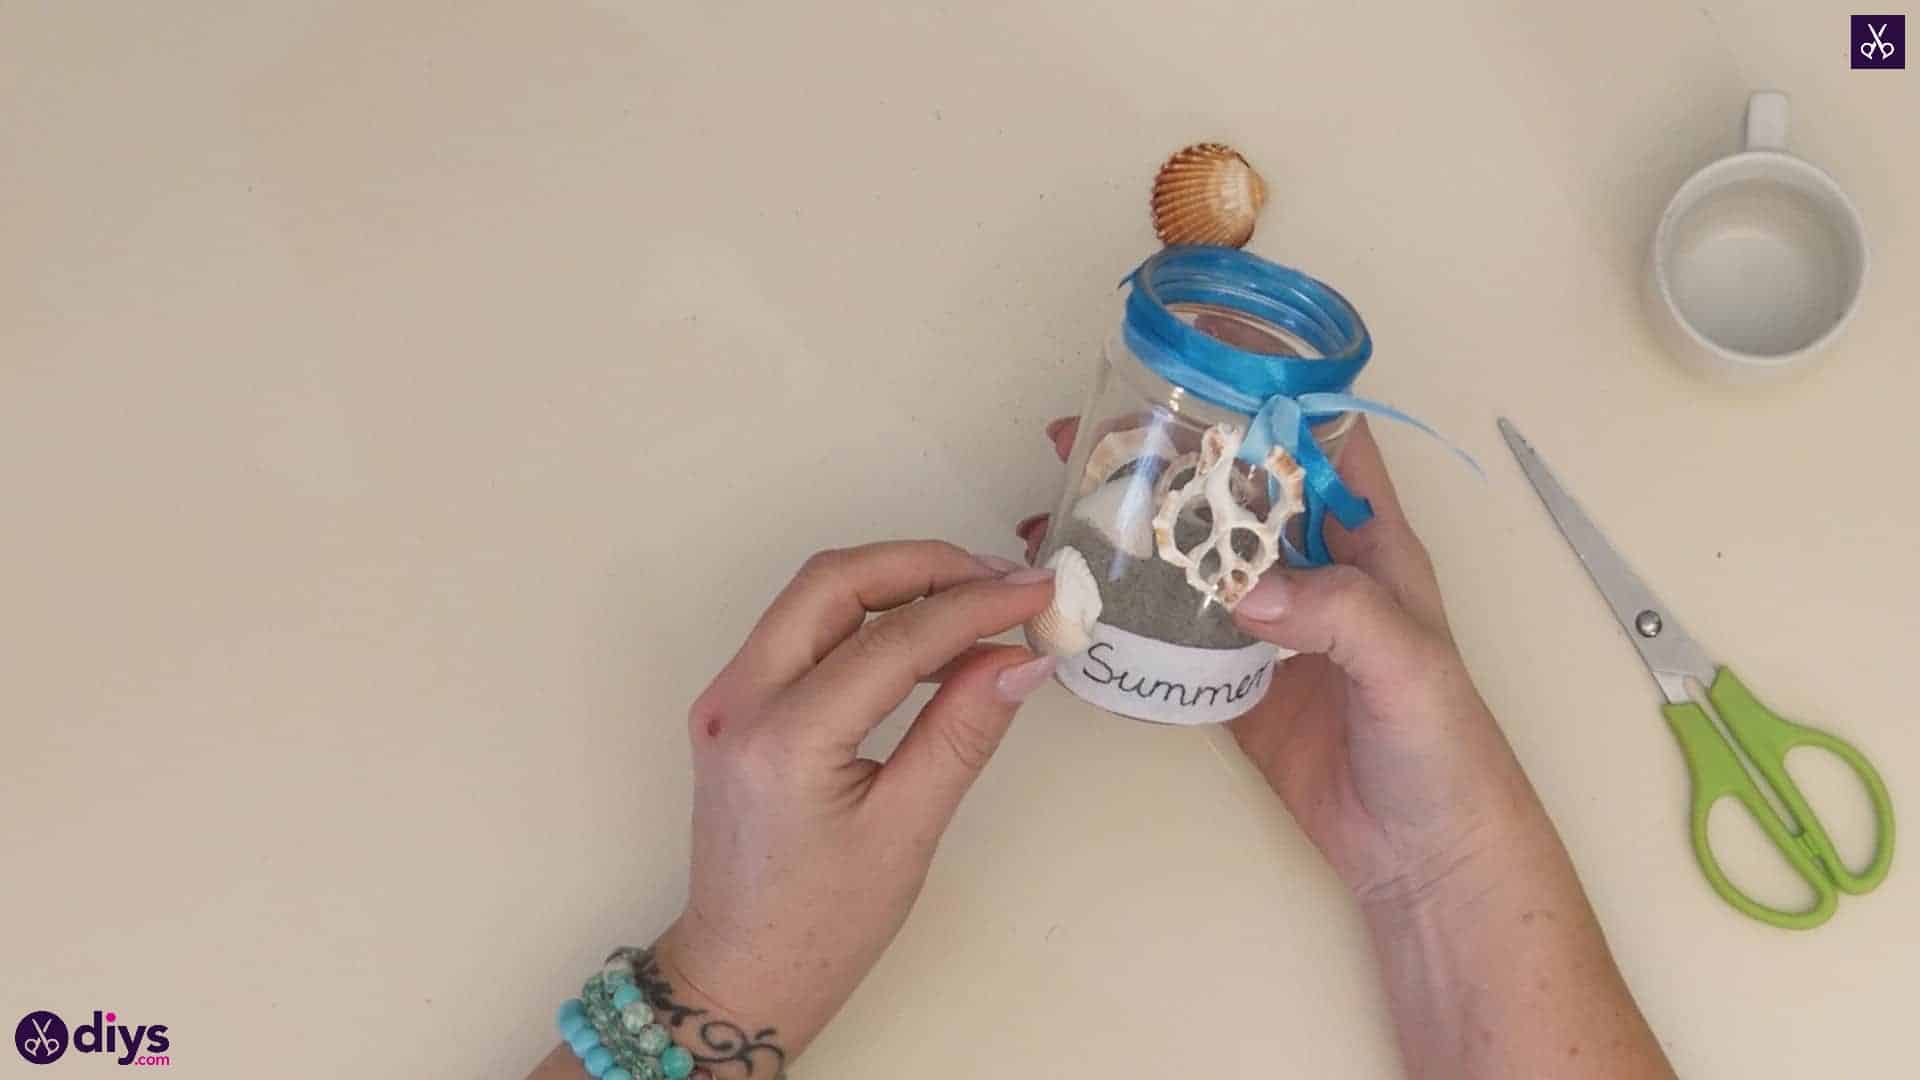
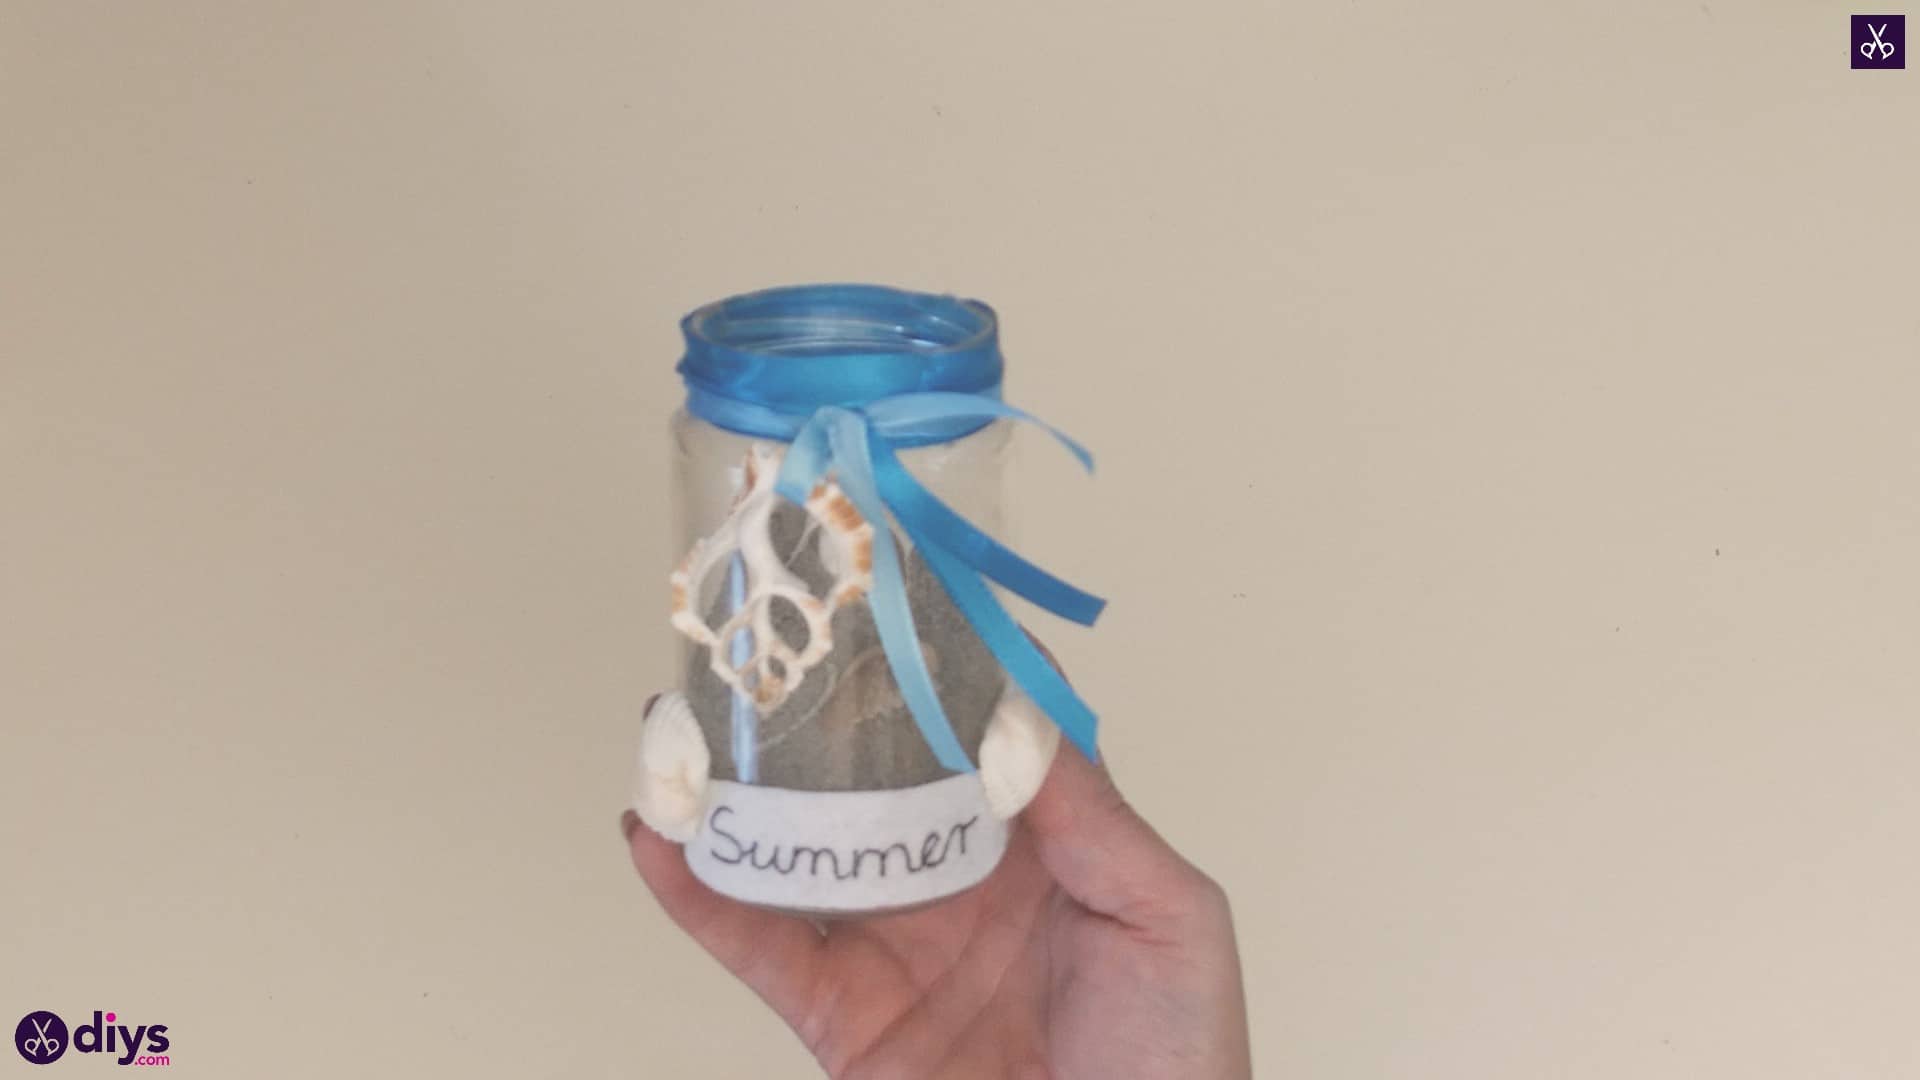
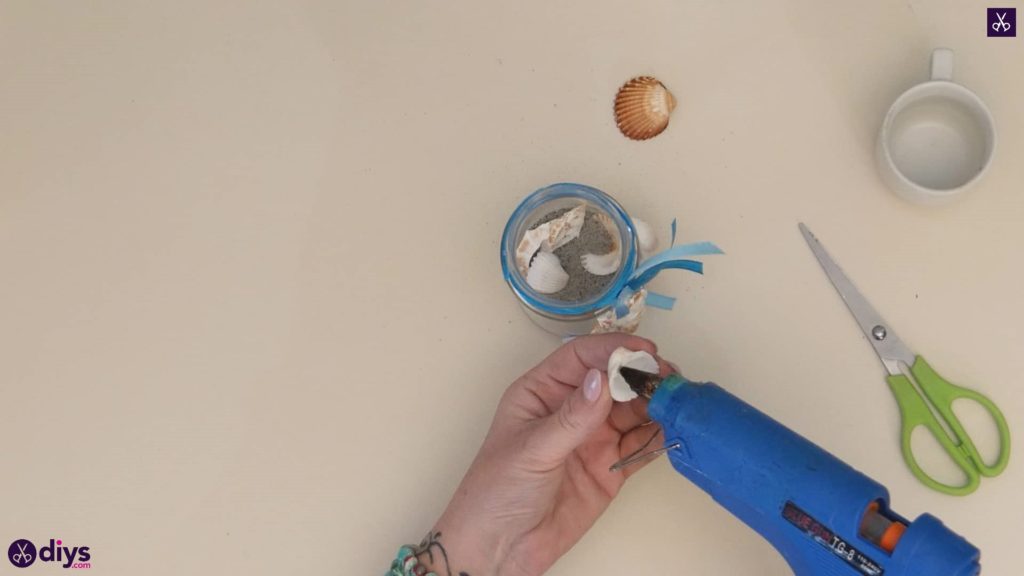
I decided that I wanted to balance out the seashell on the felt’s rounded corner, so I grabbed another one of the same shape, colour, and size and glued it down in the same way, this time on the left top corner.
You’re all finished! Feel free to get create with the colours involved or the kind of shells you put inside. Just in case you’d like to try this project out for yourself, here’s a fantastic tutorial video to help you!
